




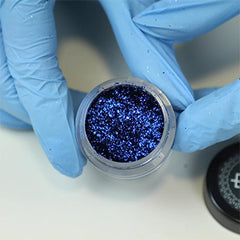
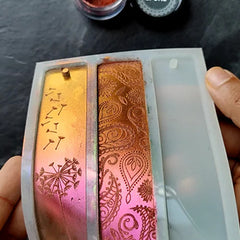
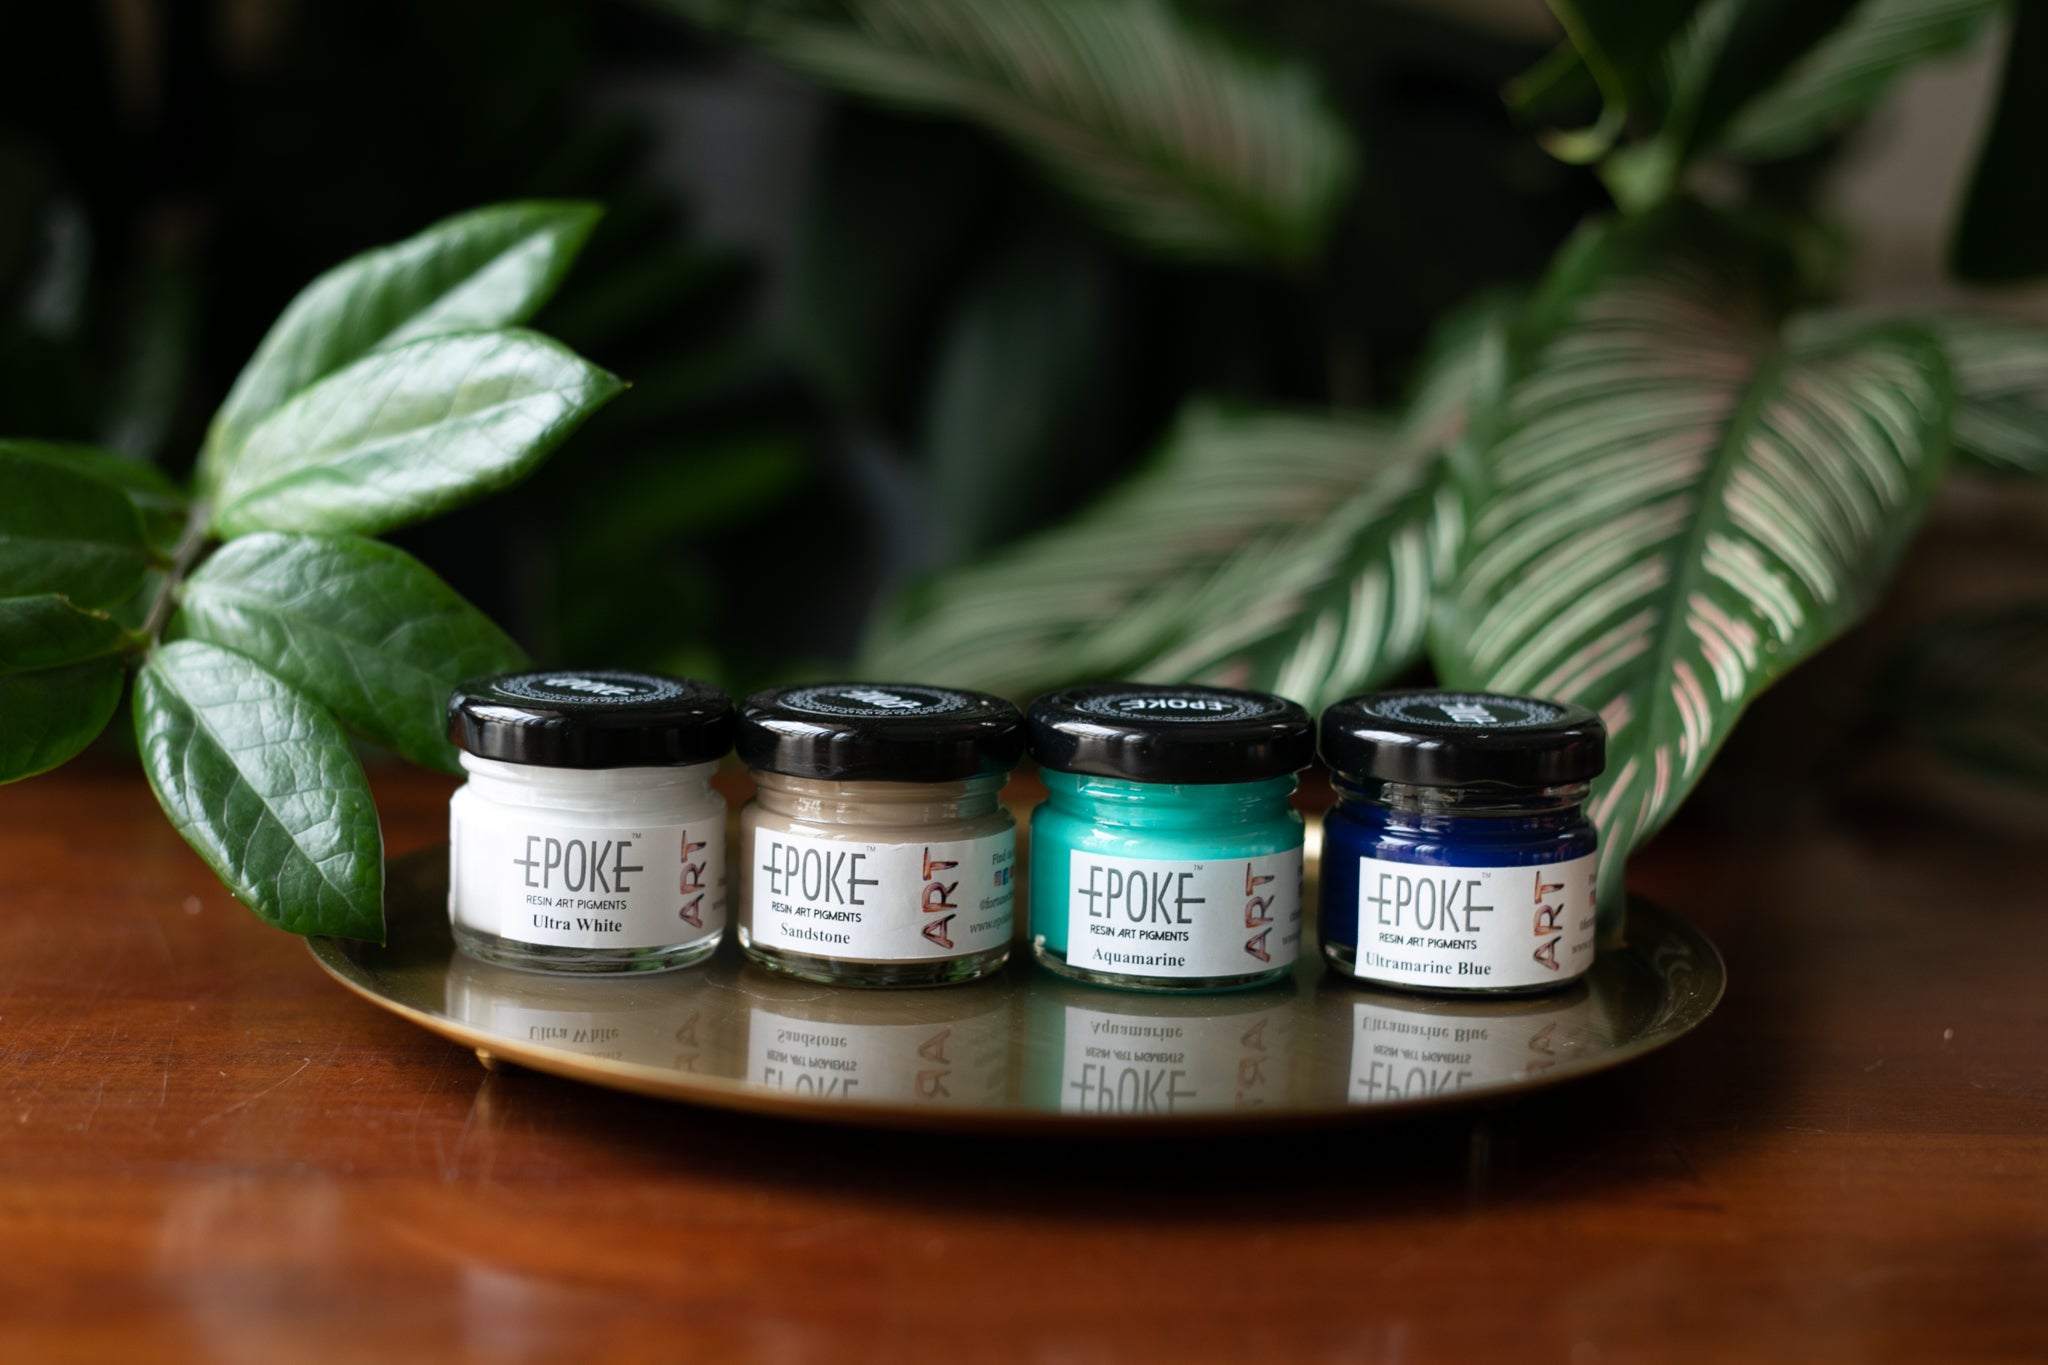



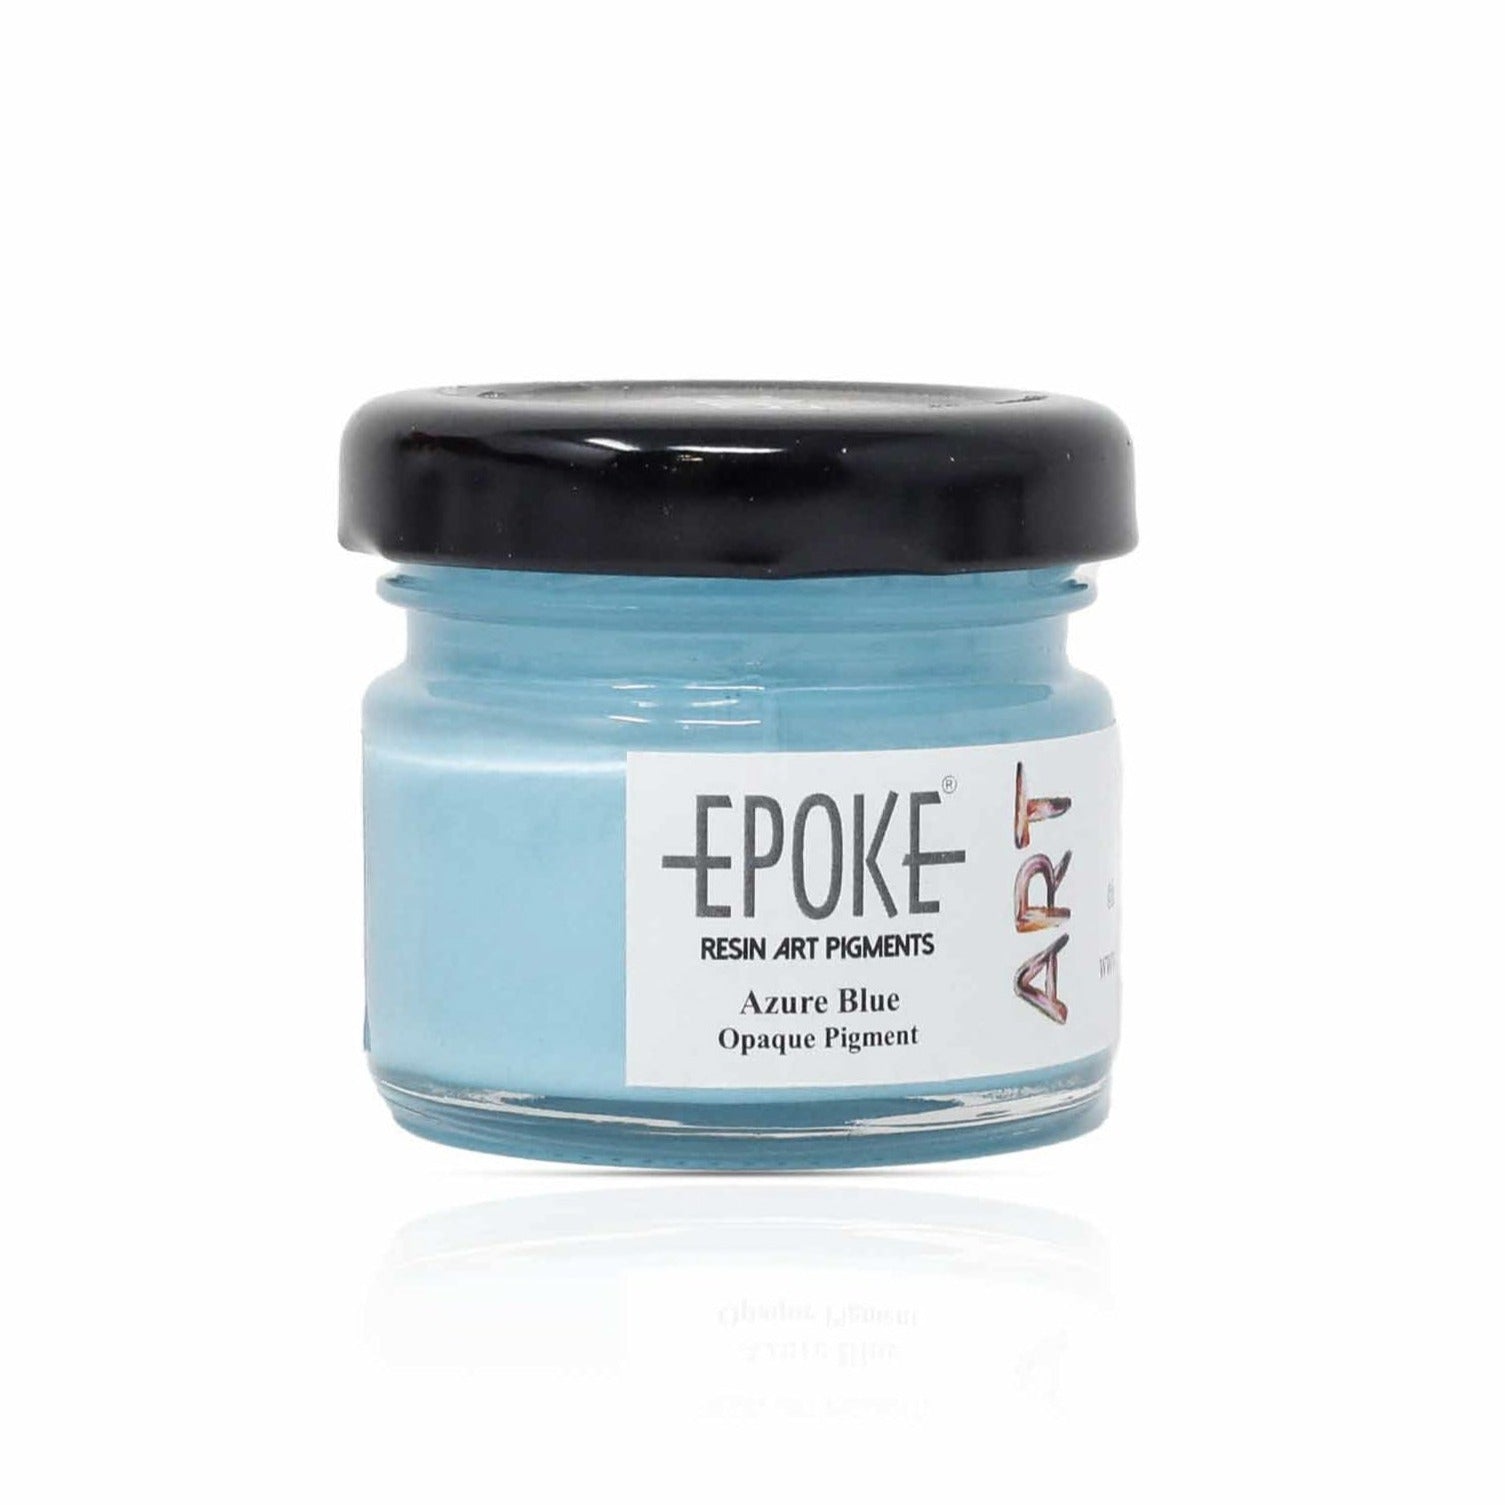
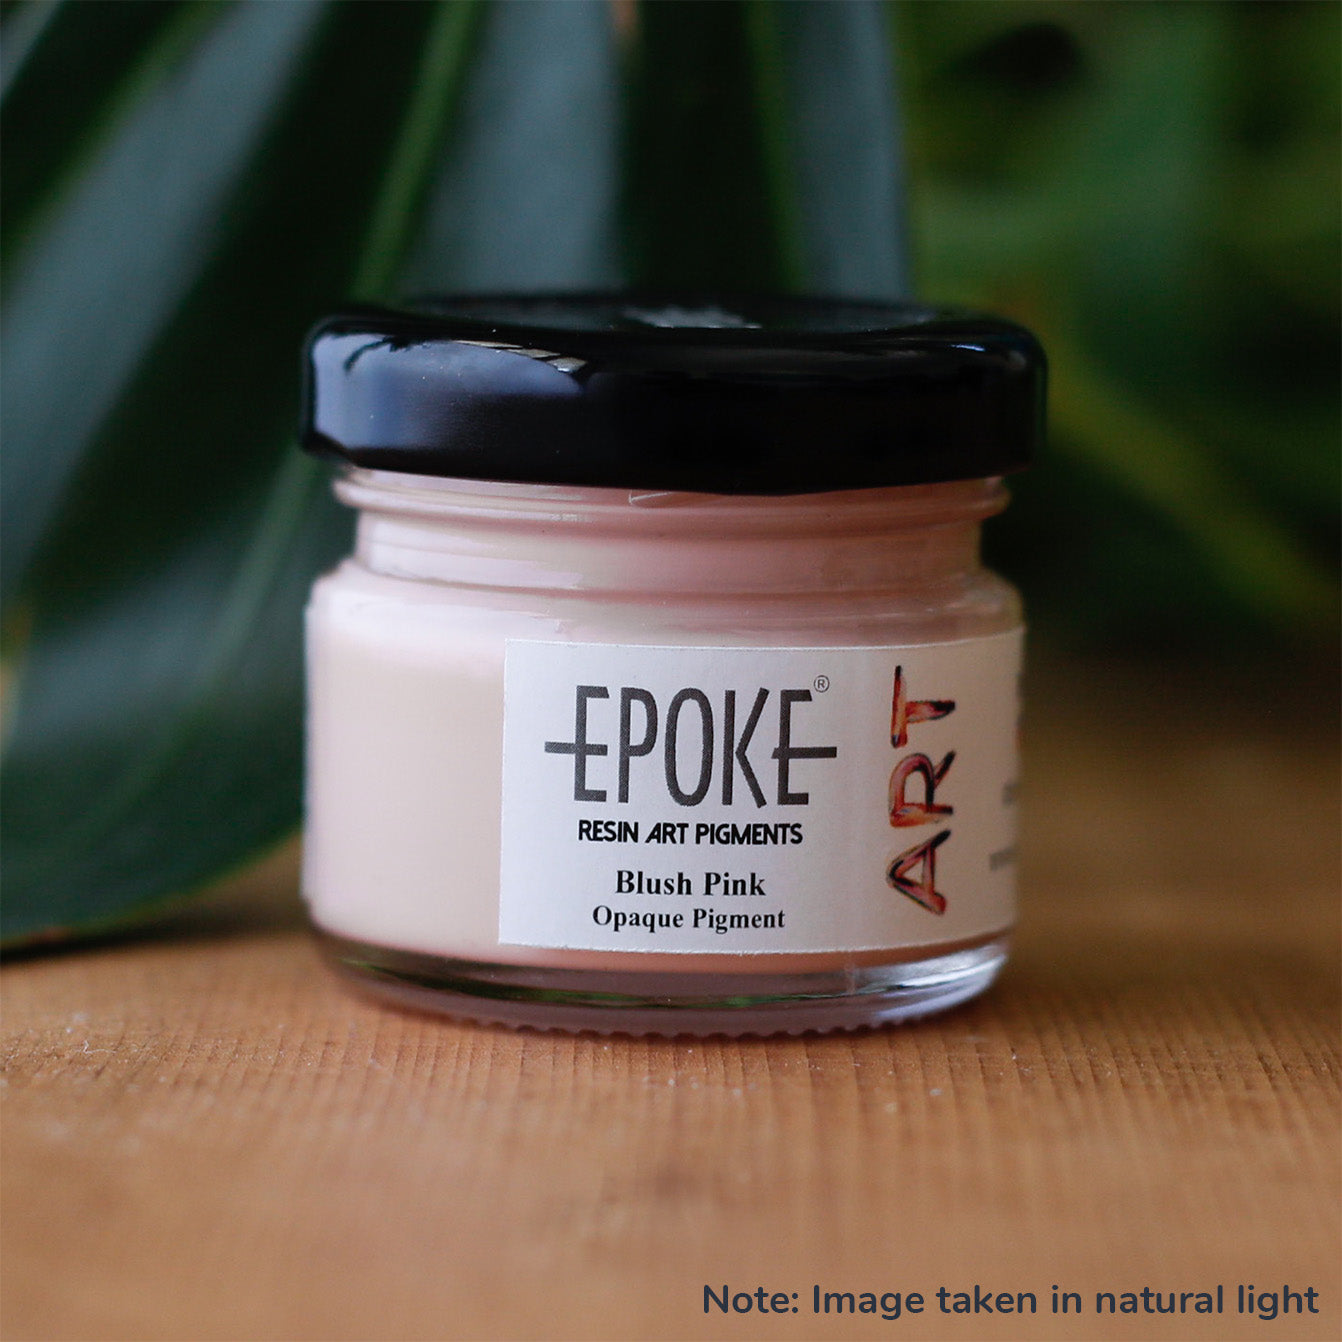
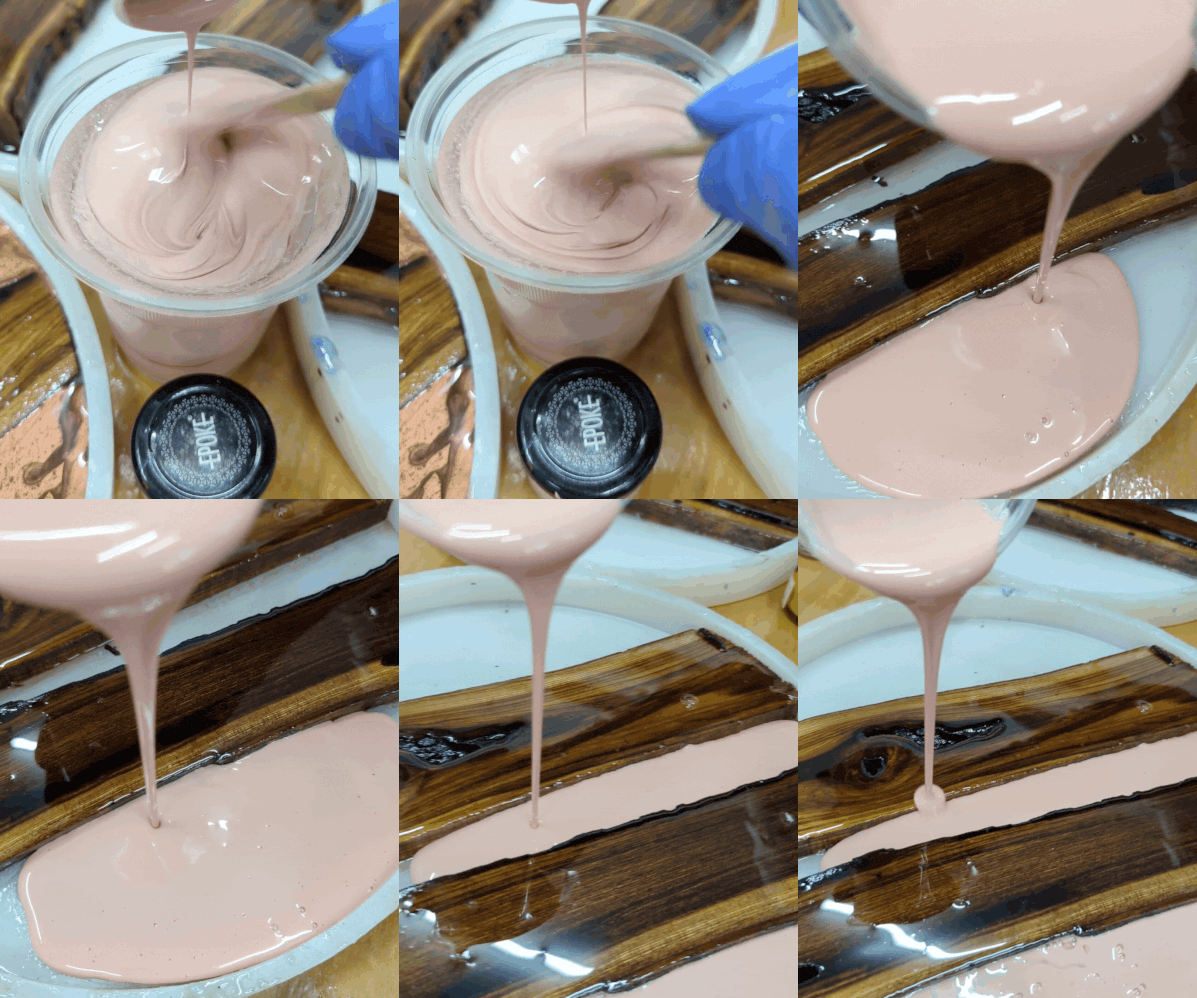
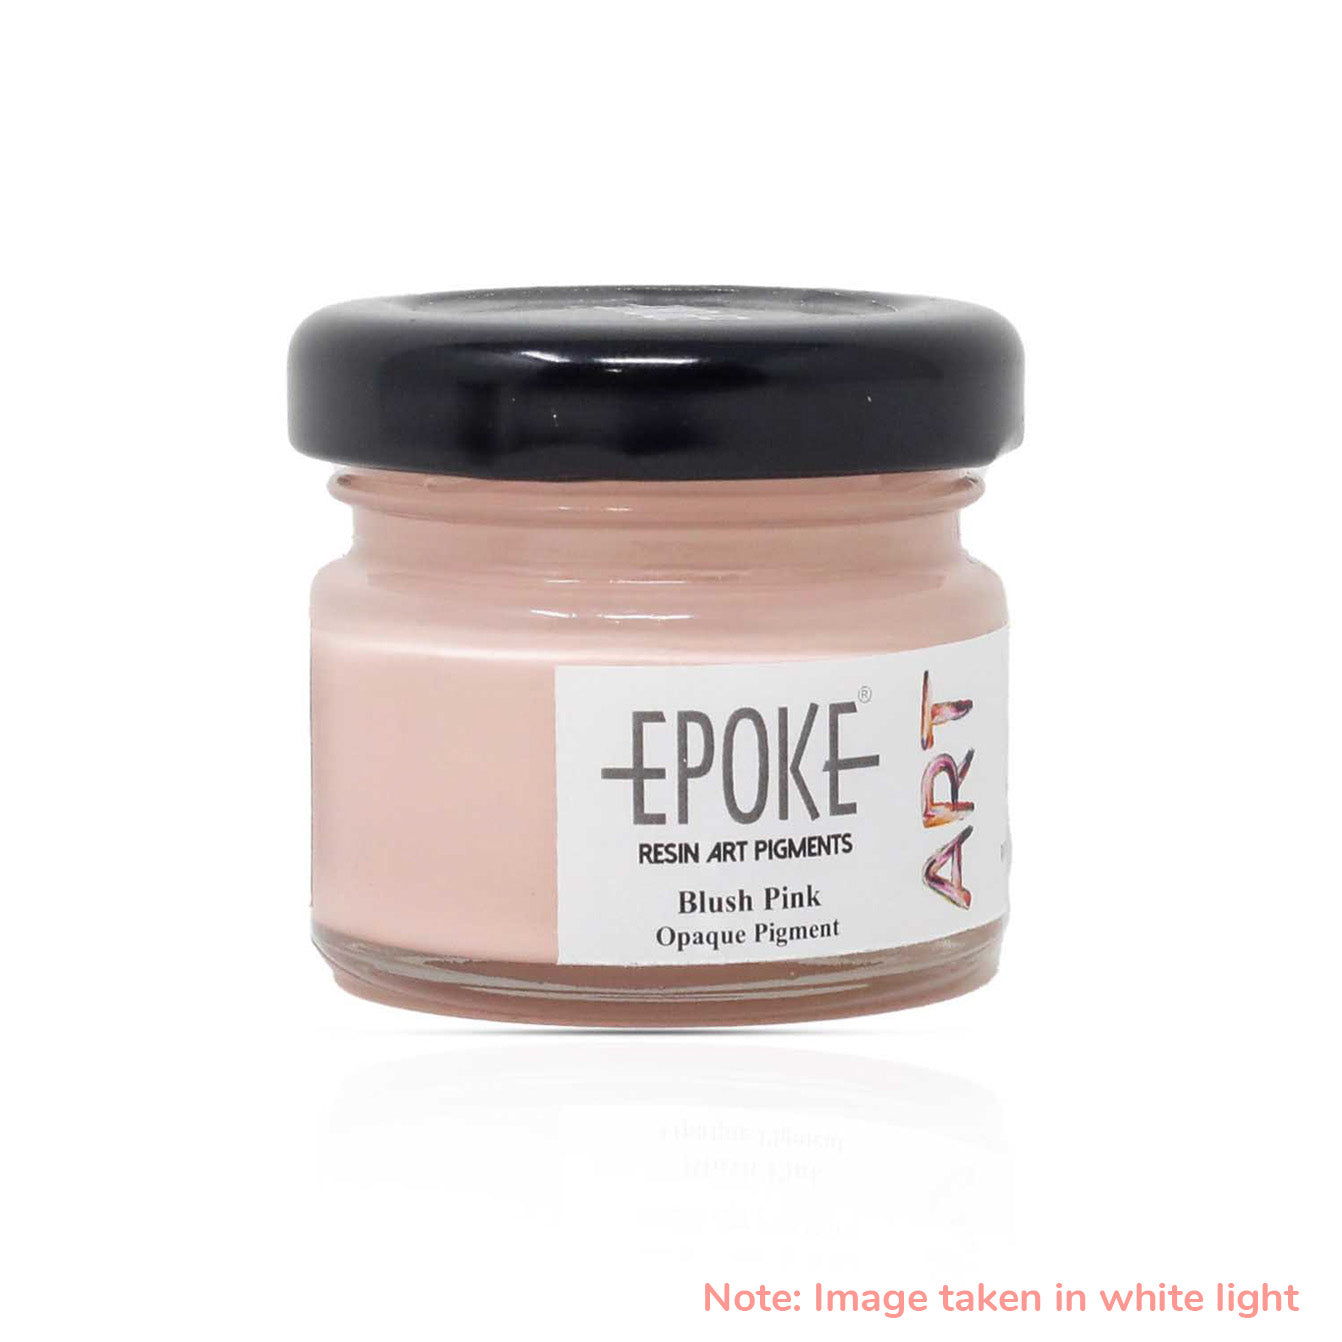








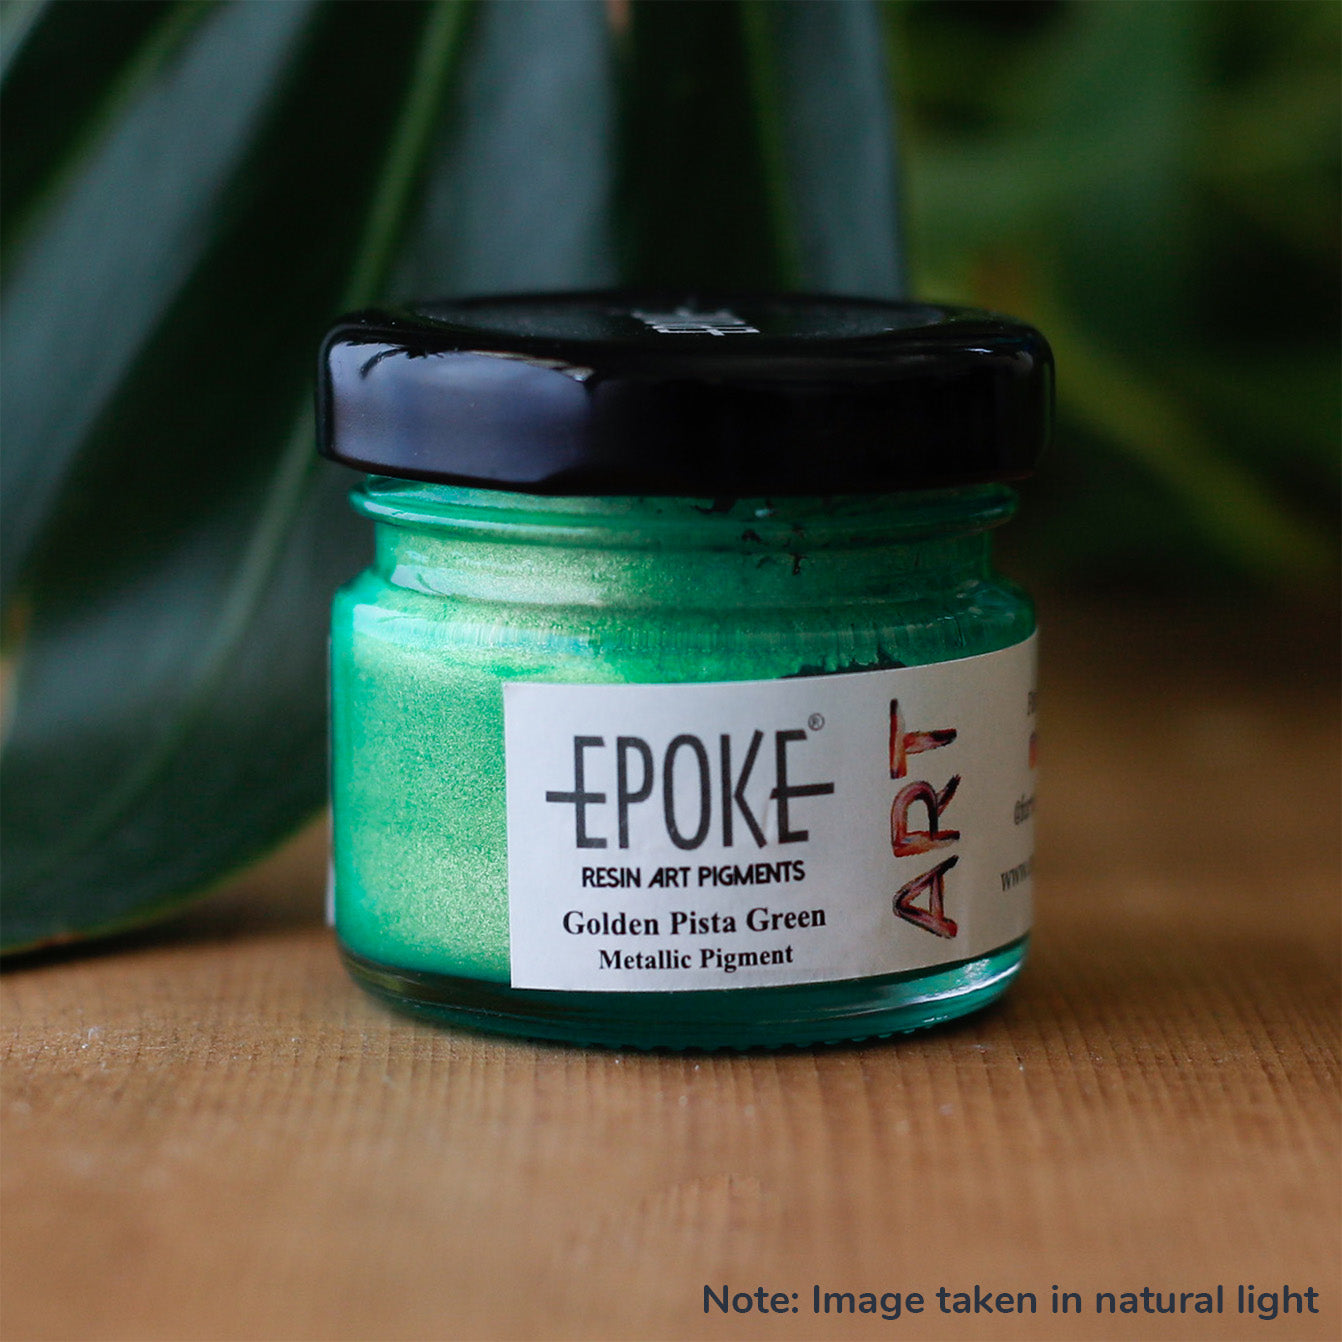
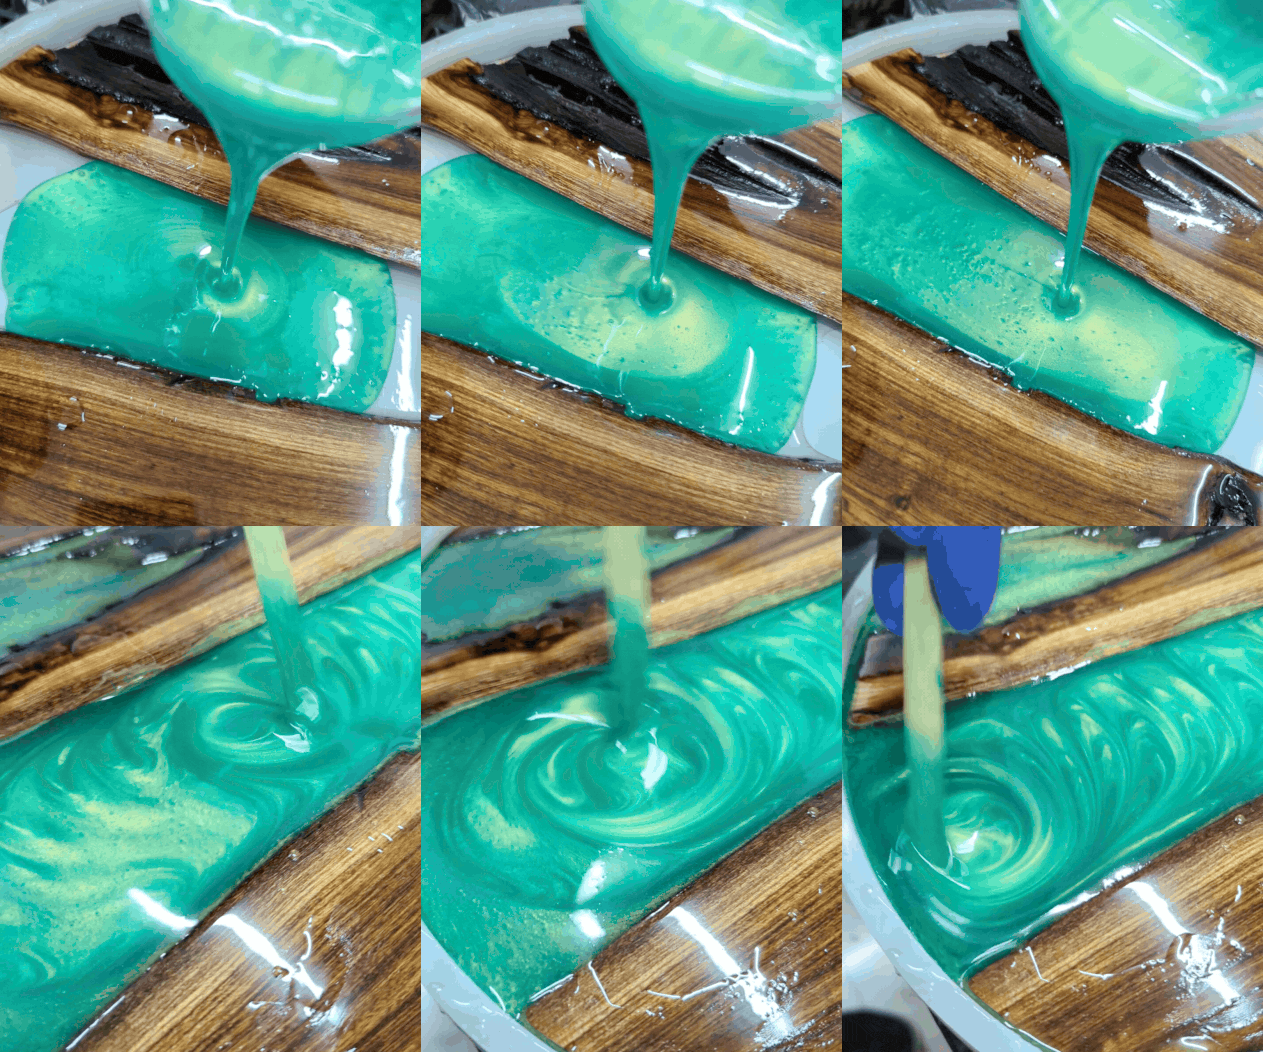
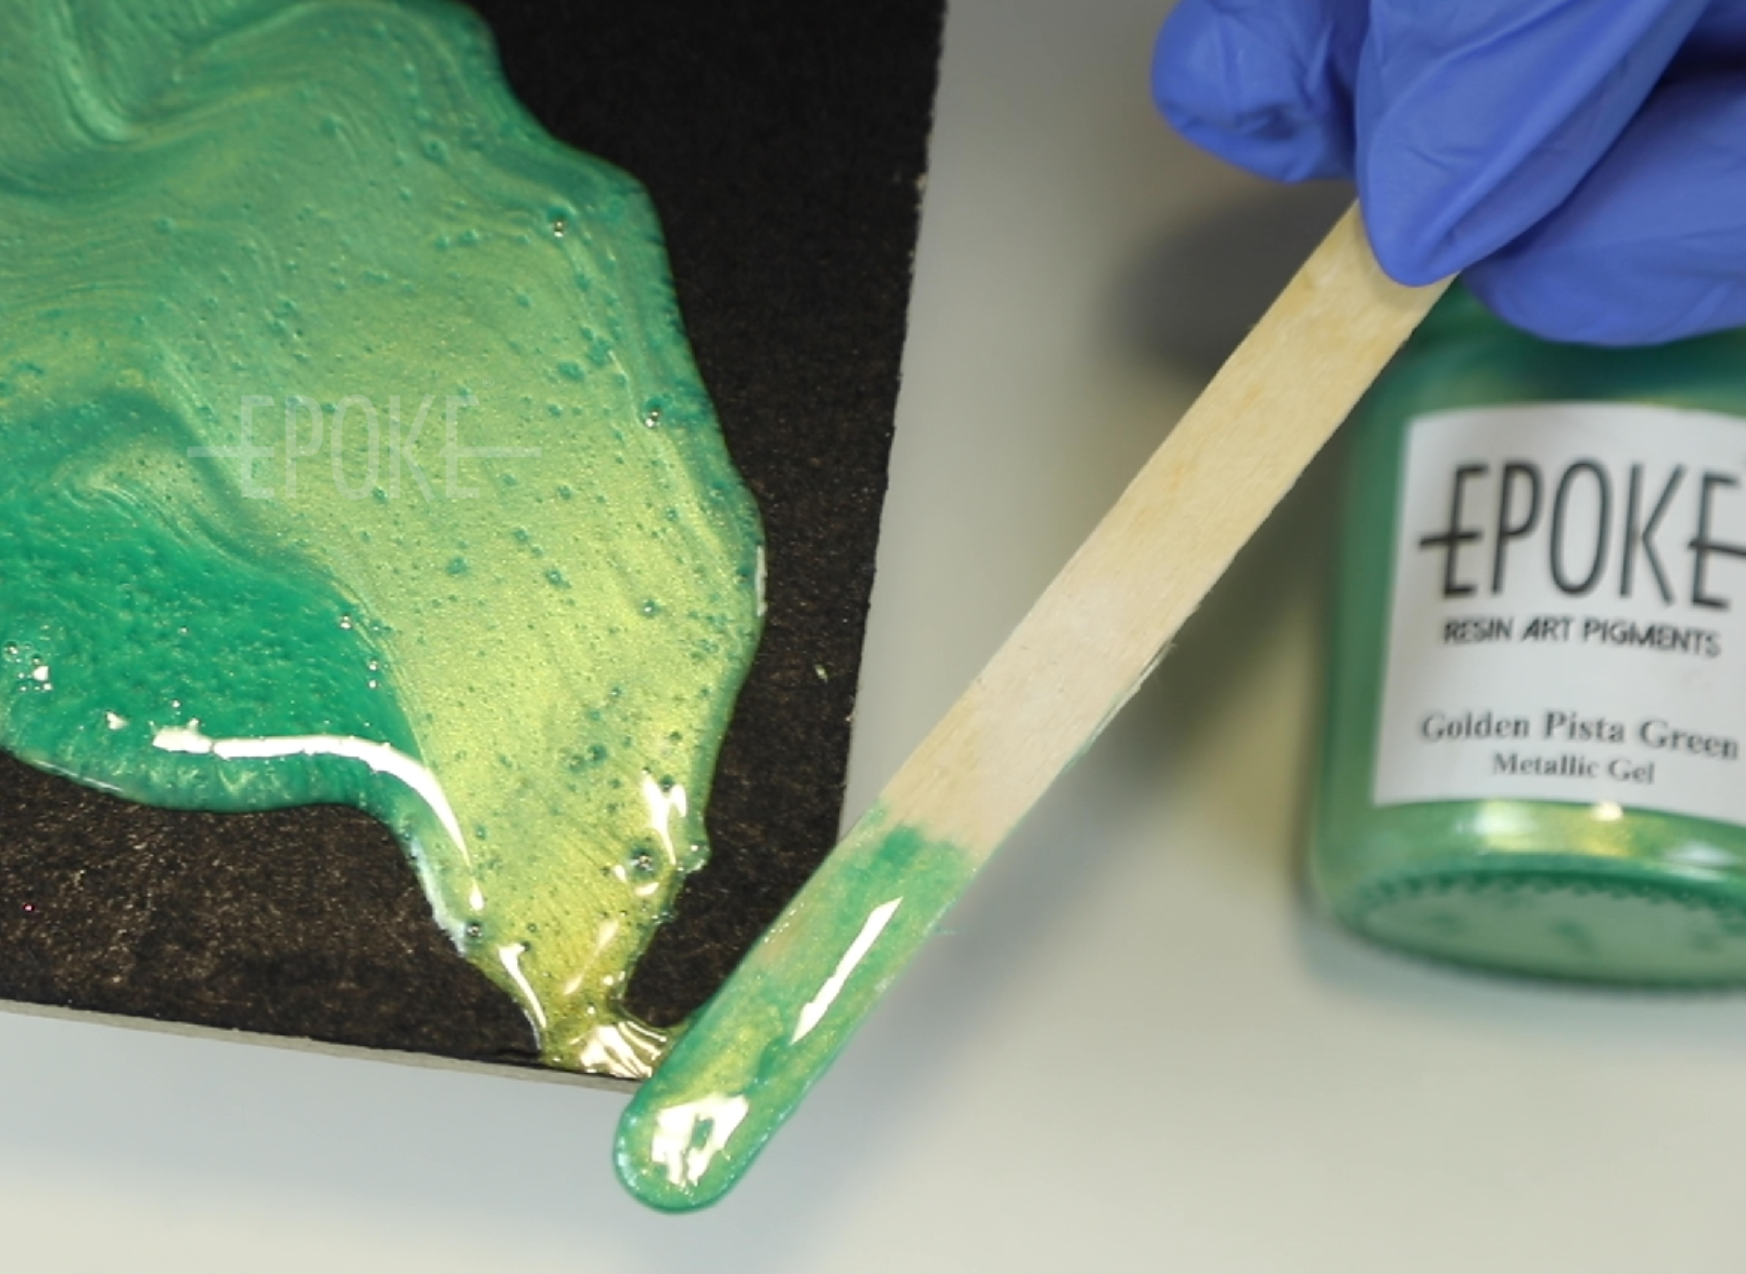
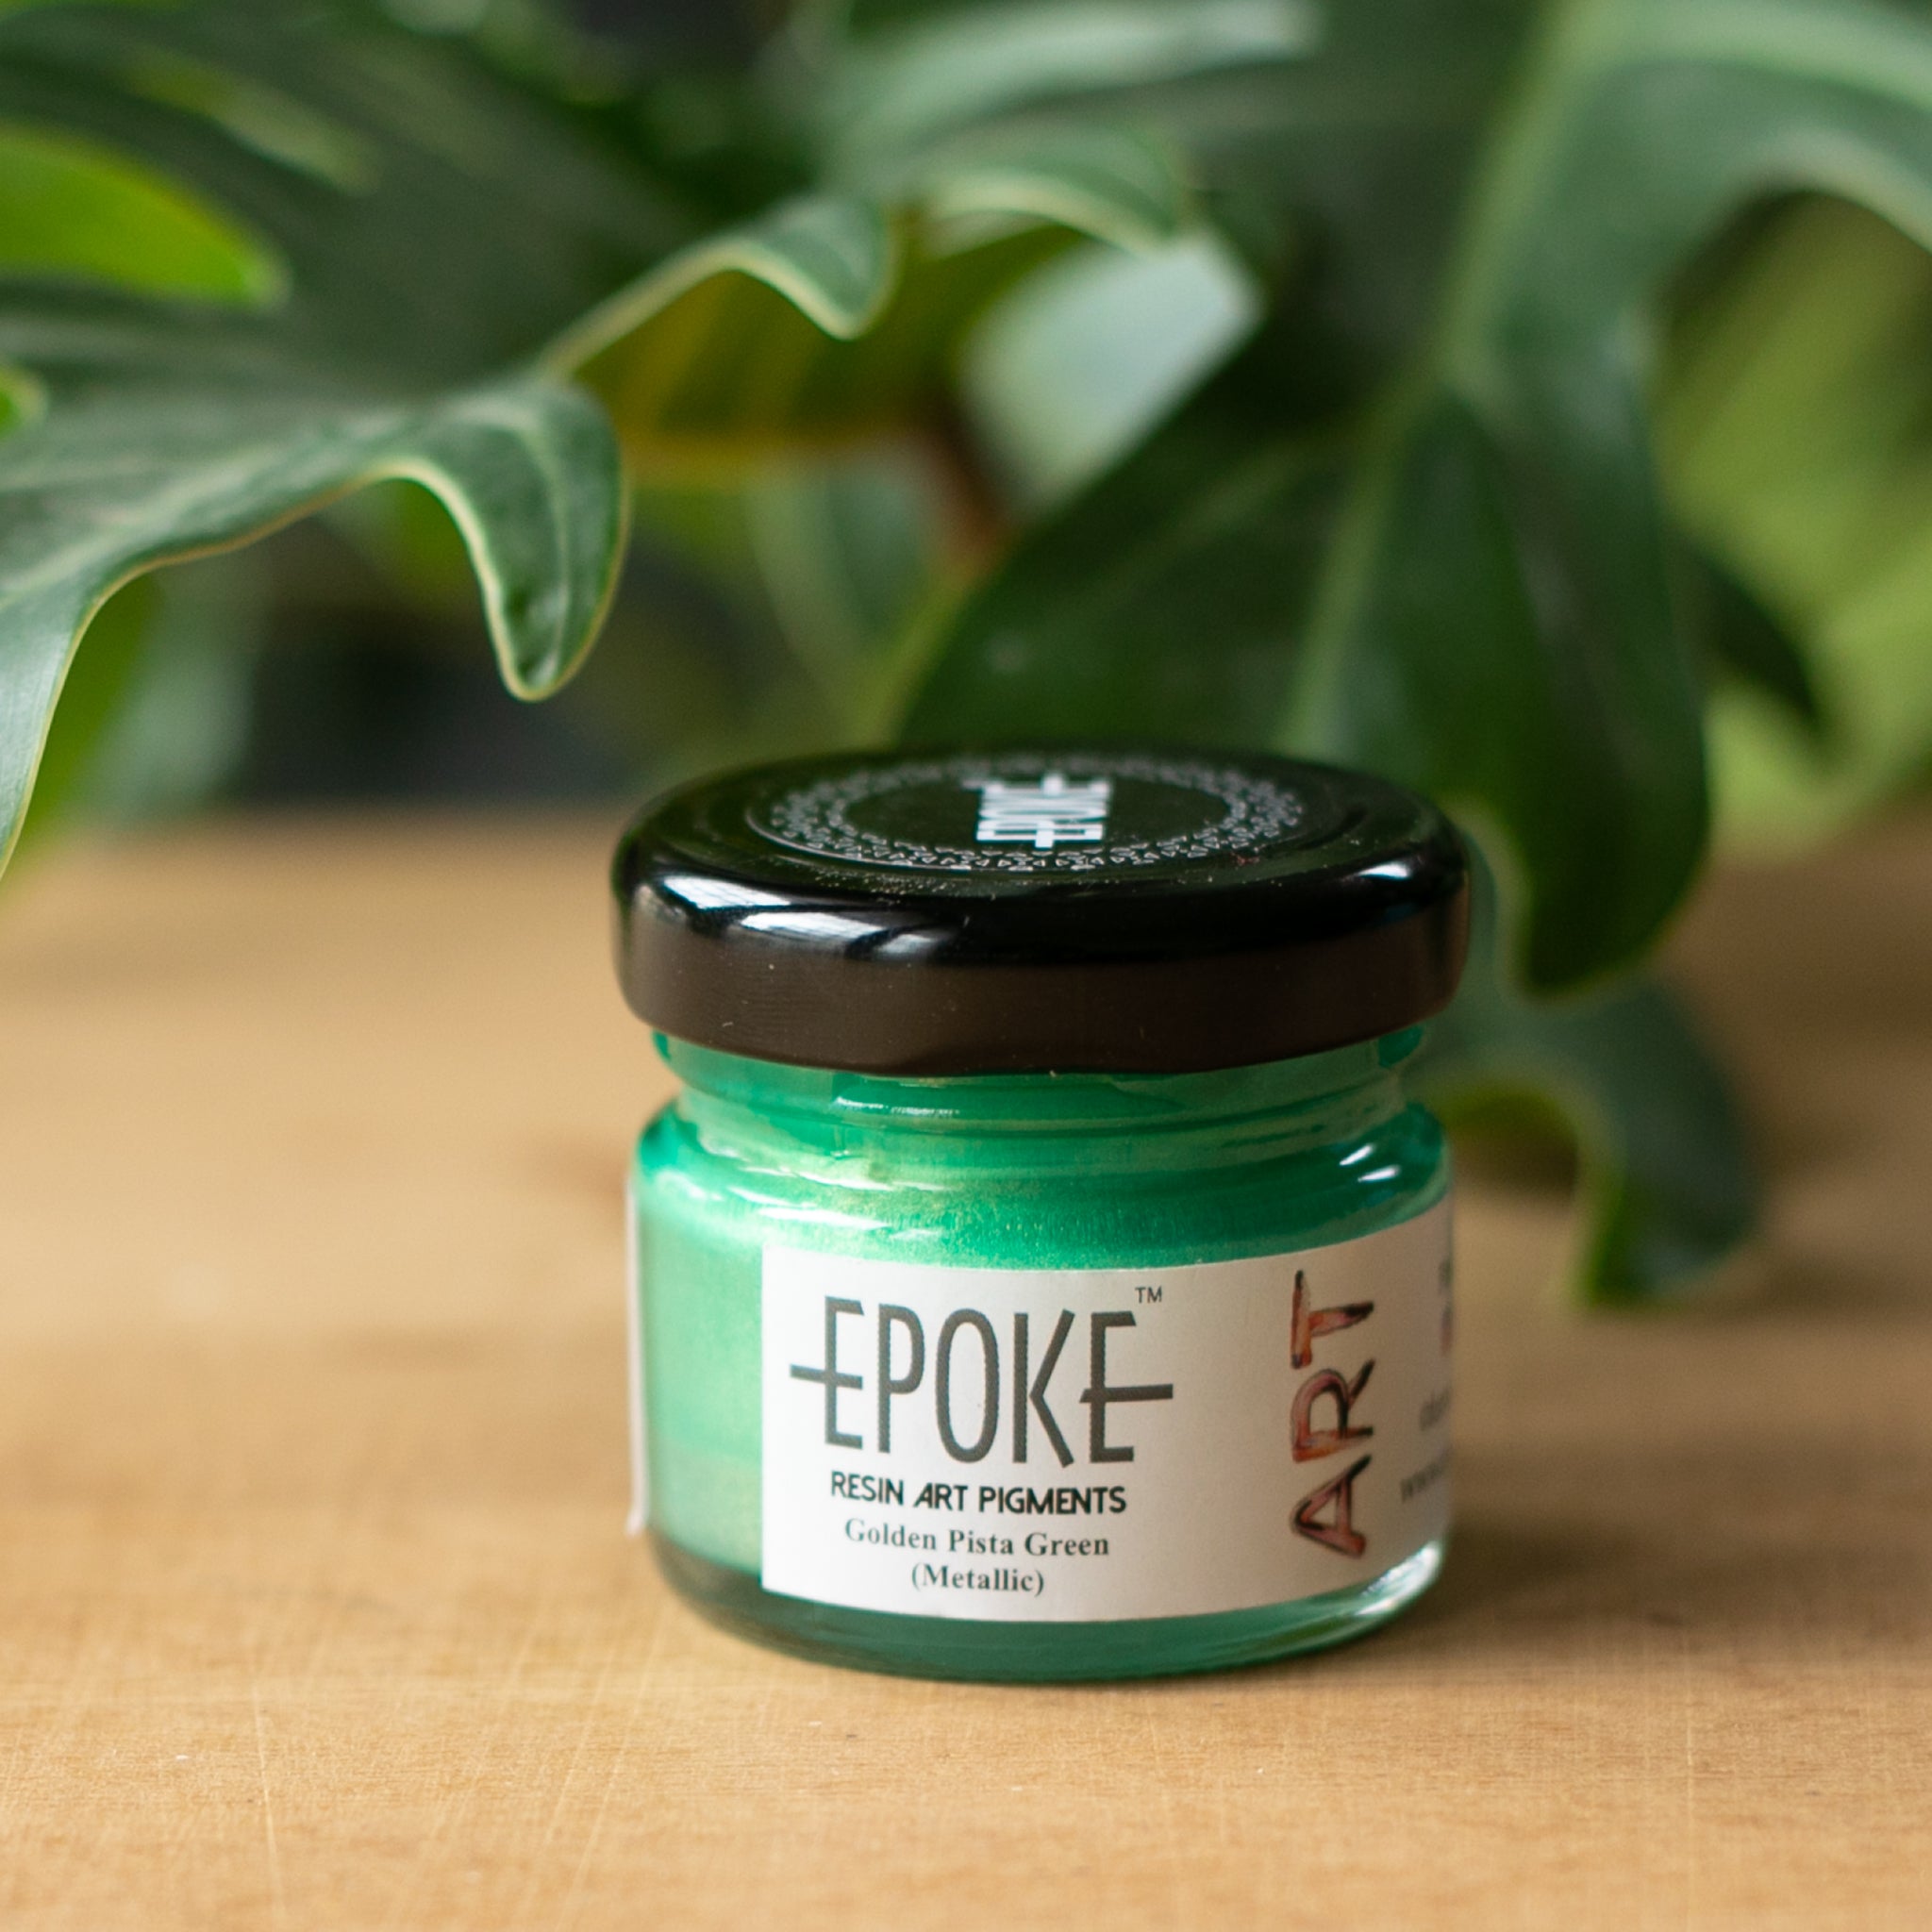











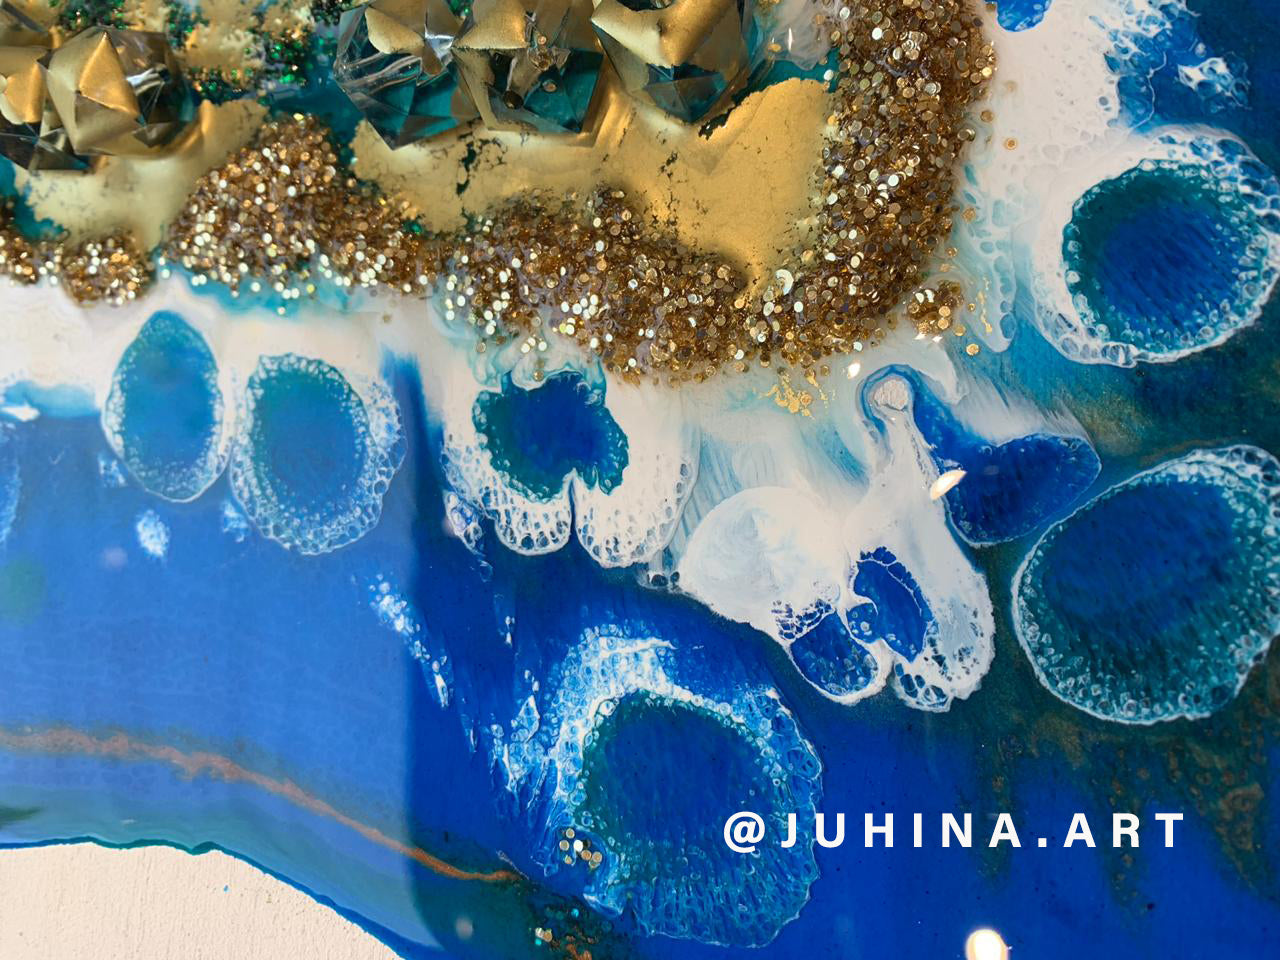



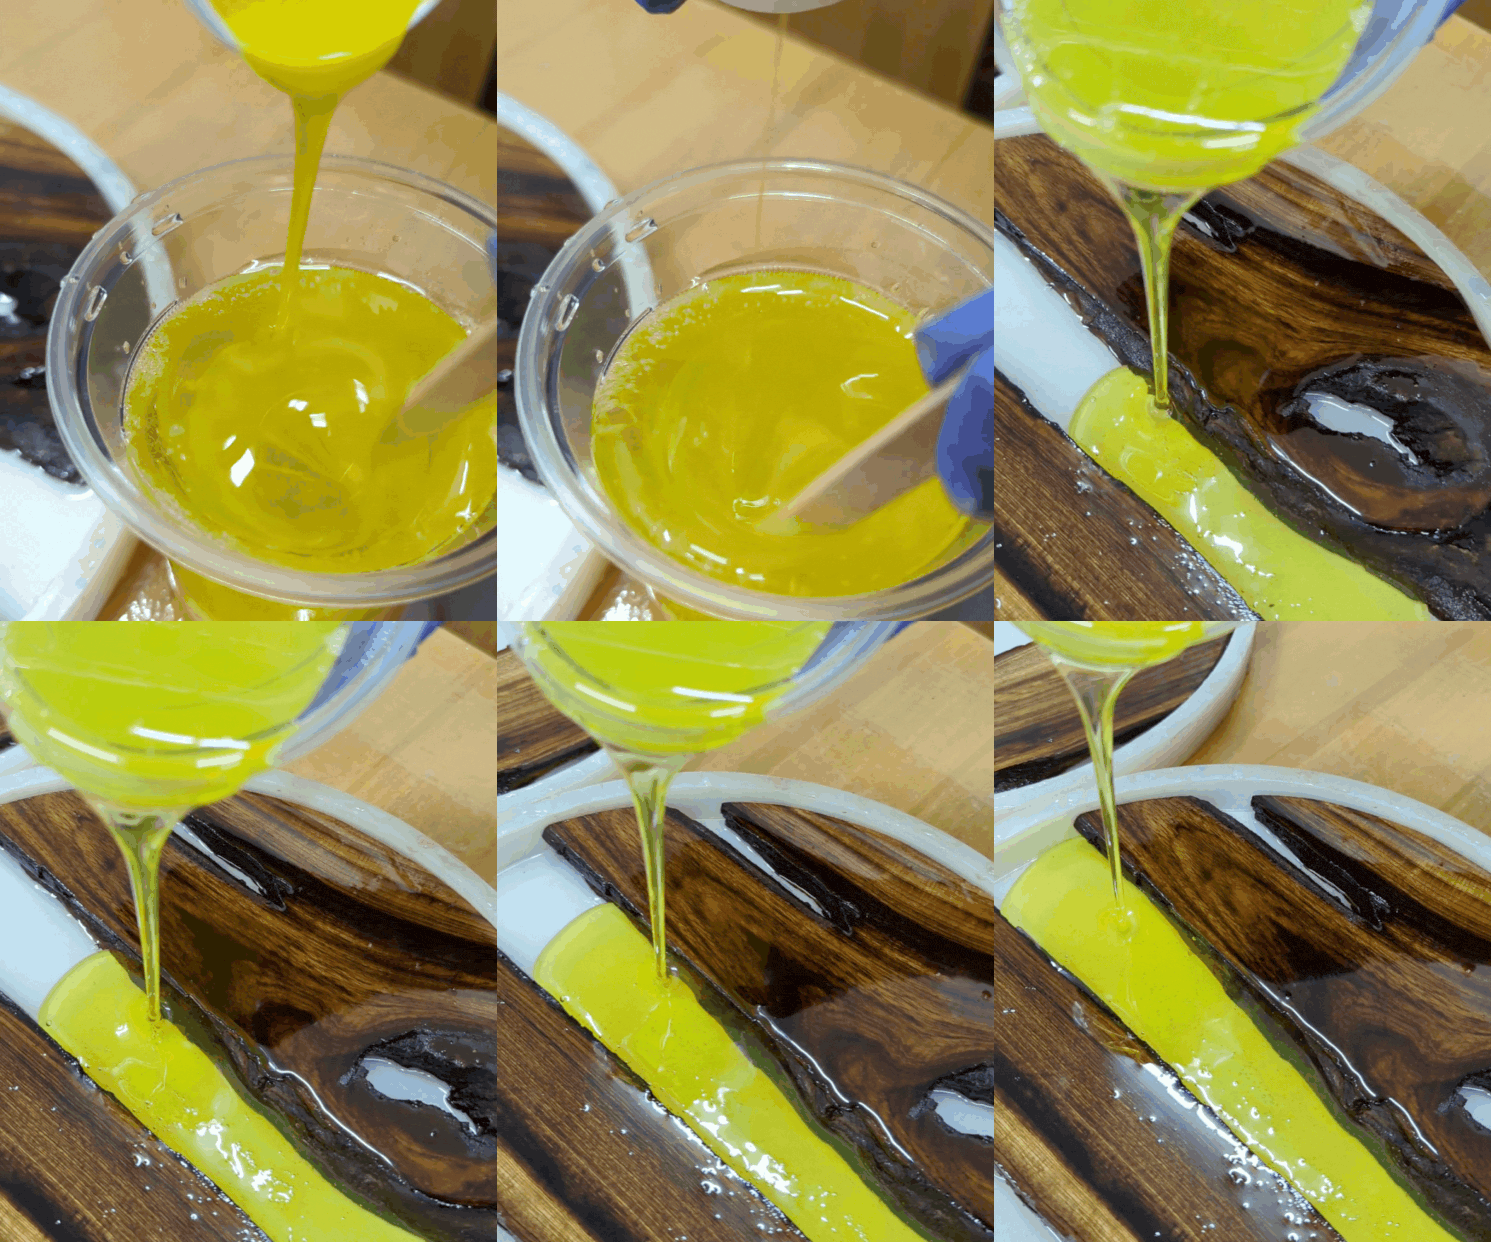
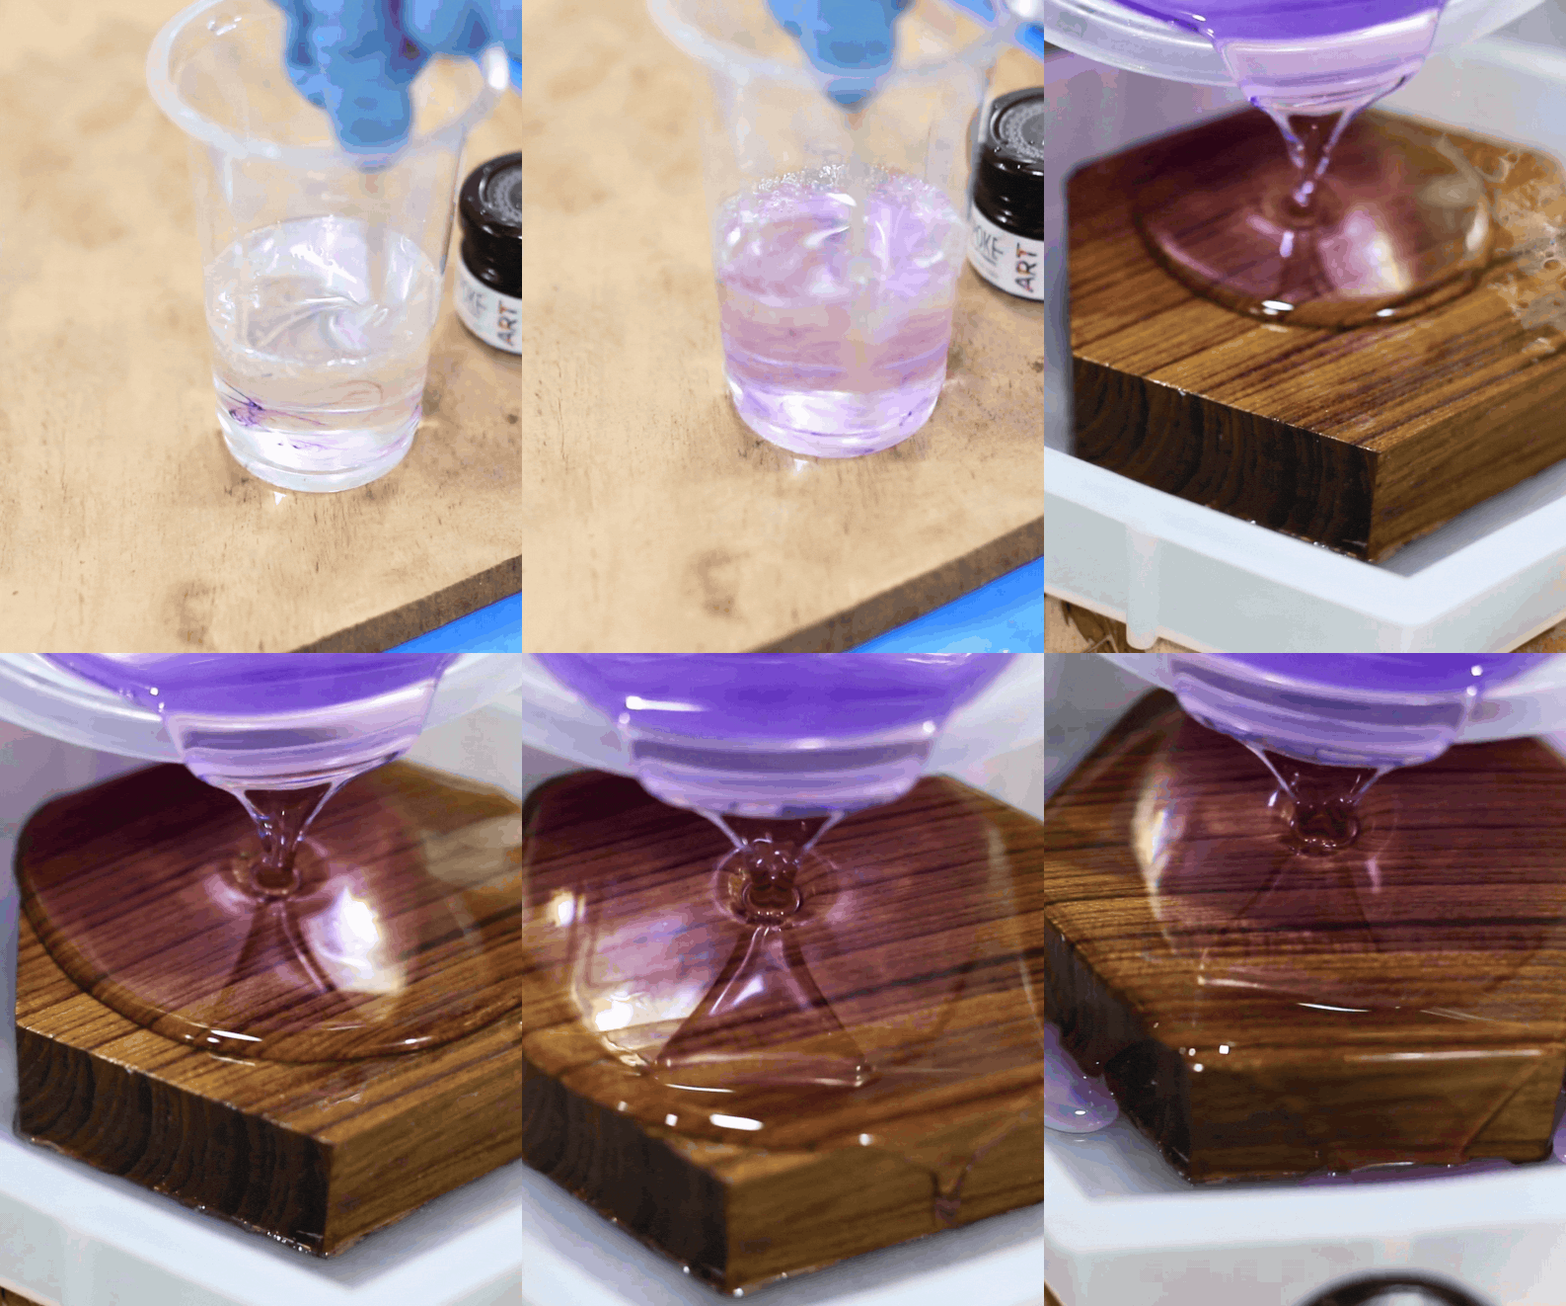


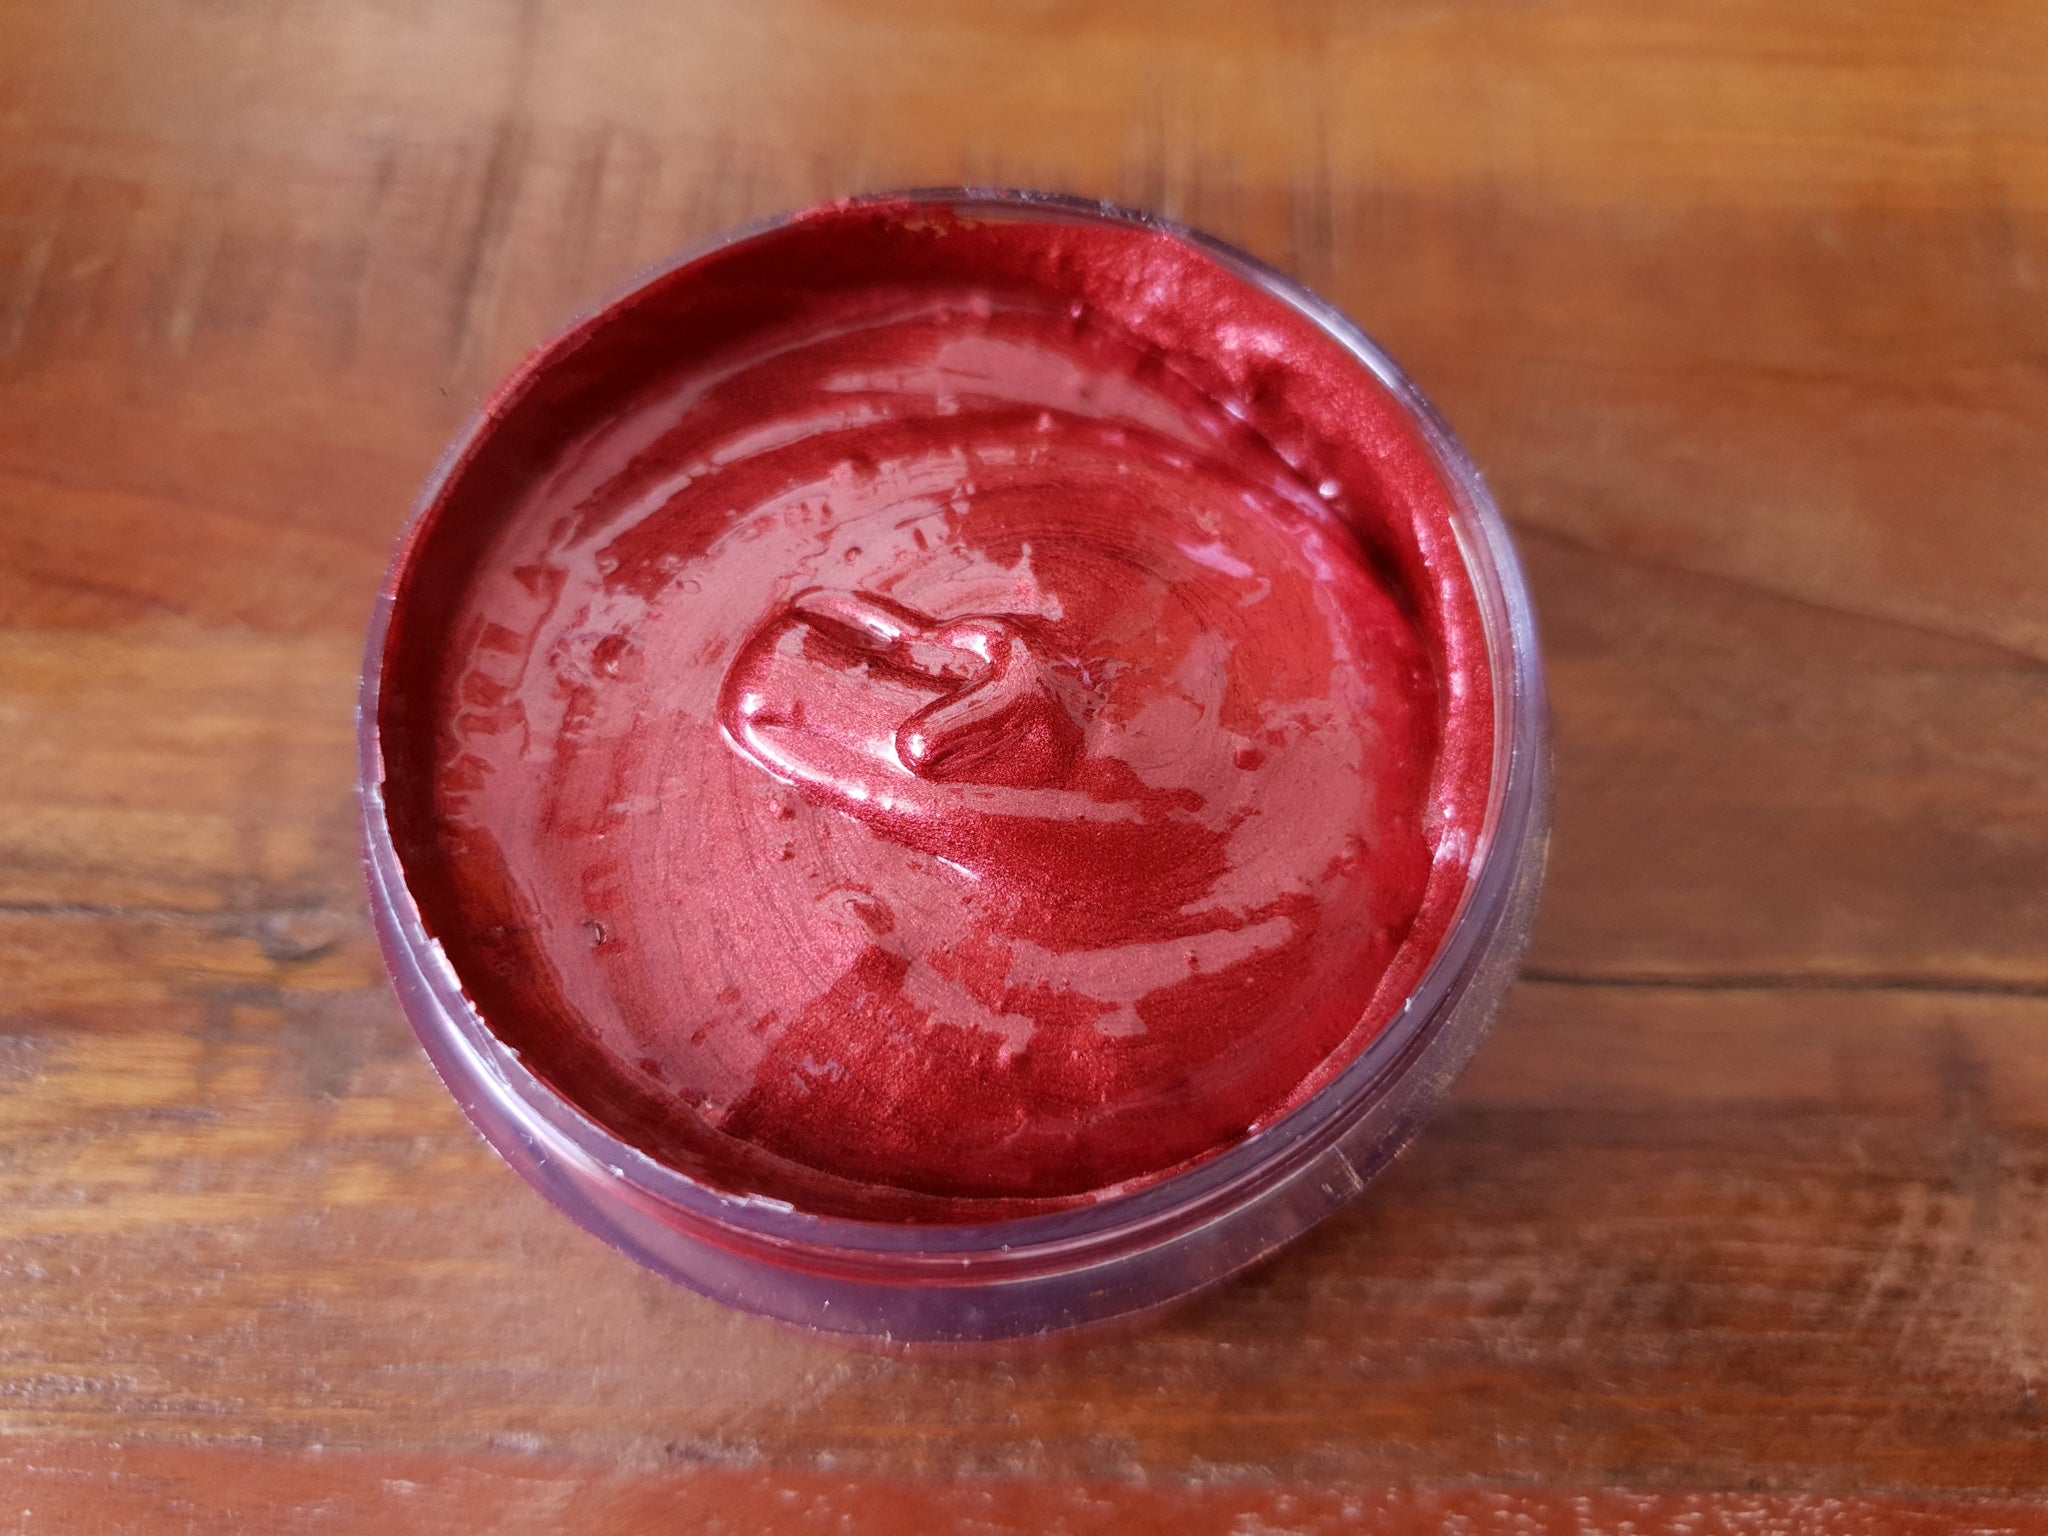
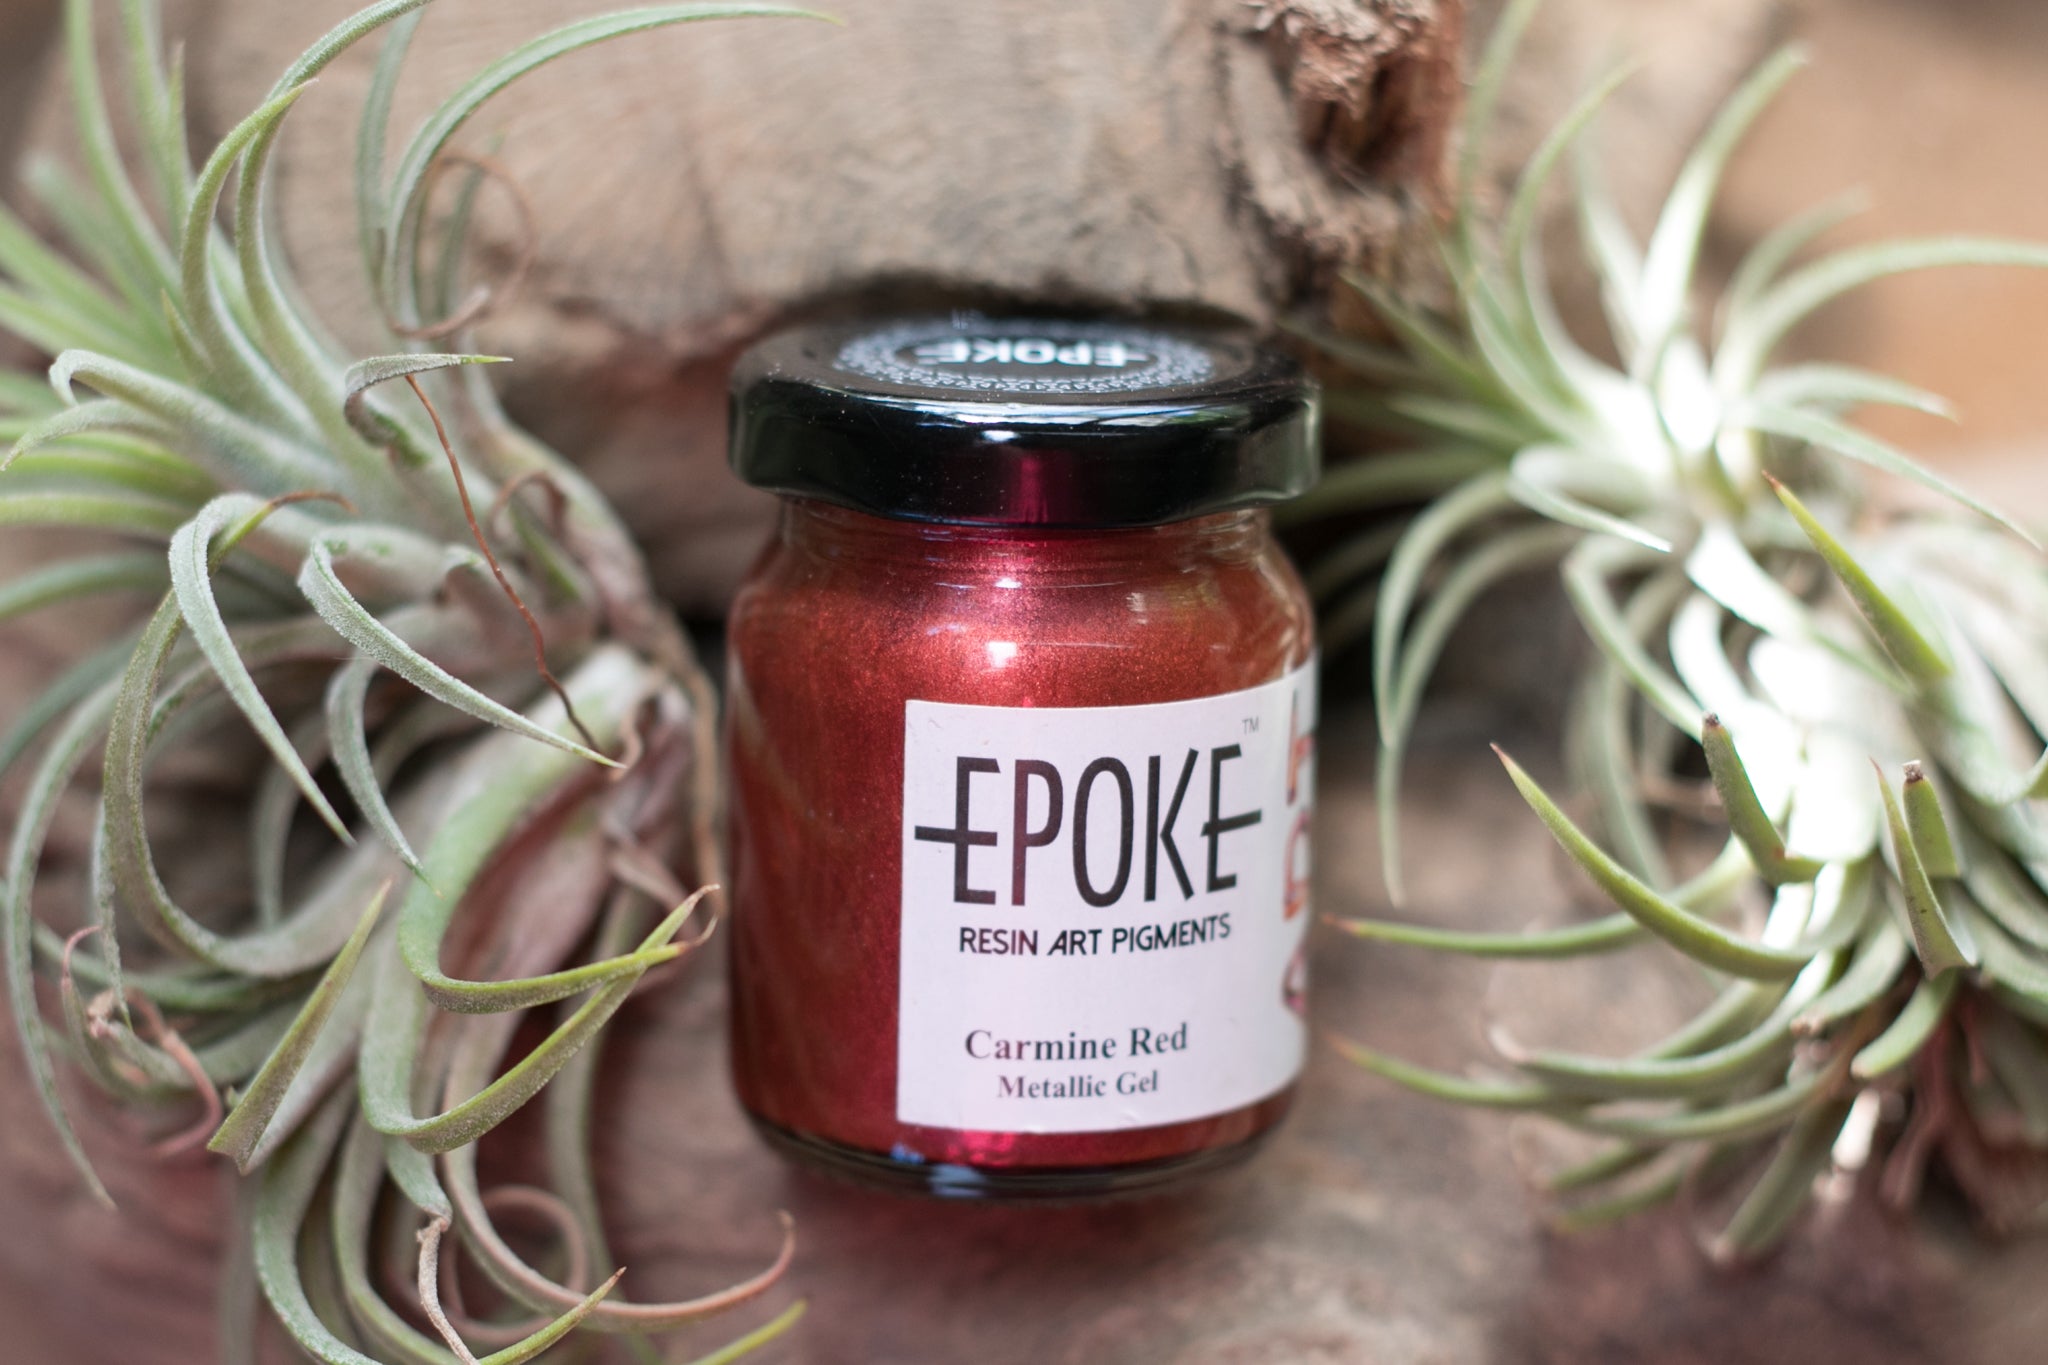
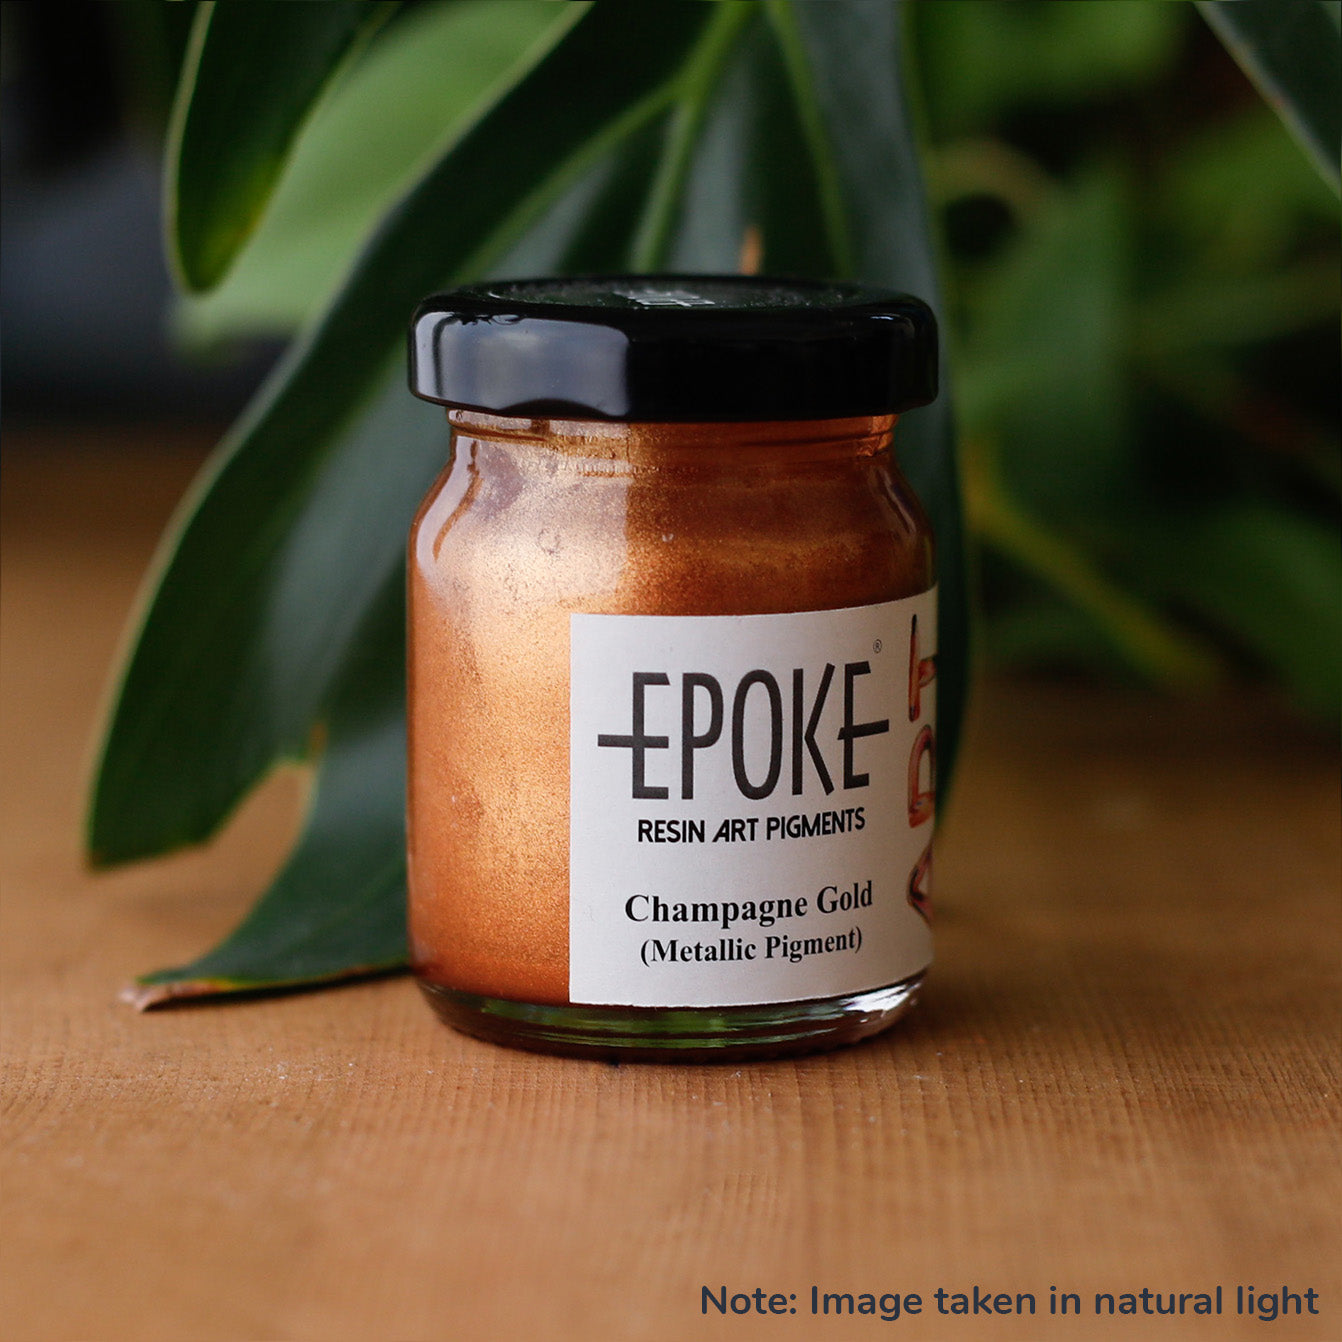
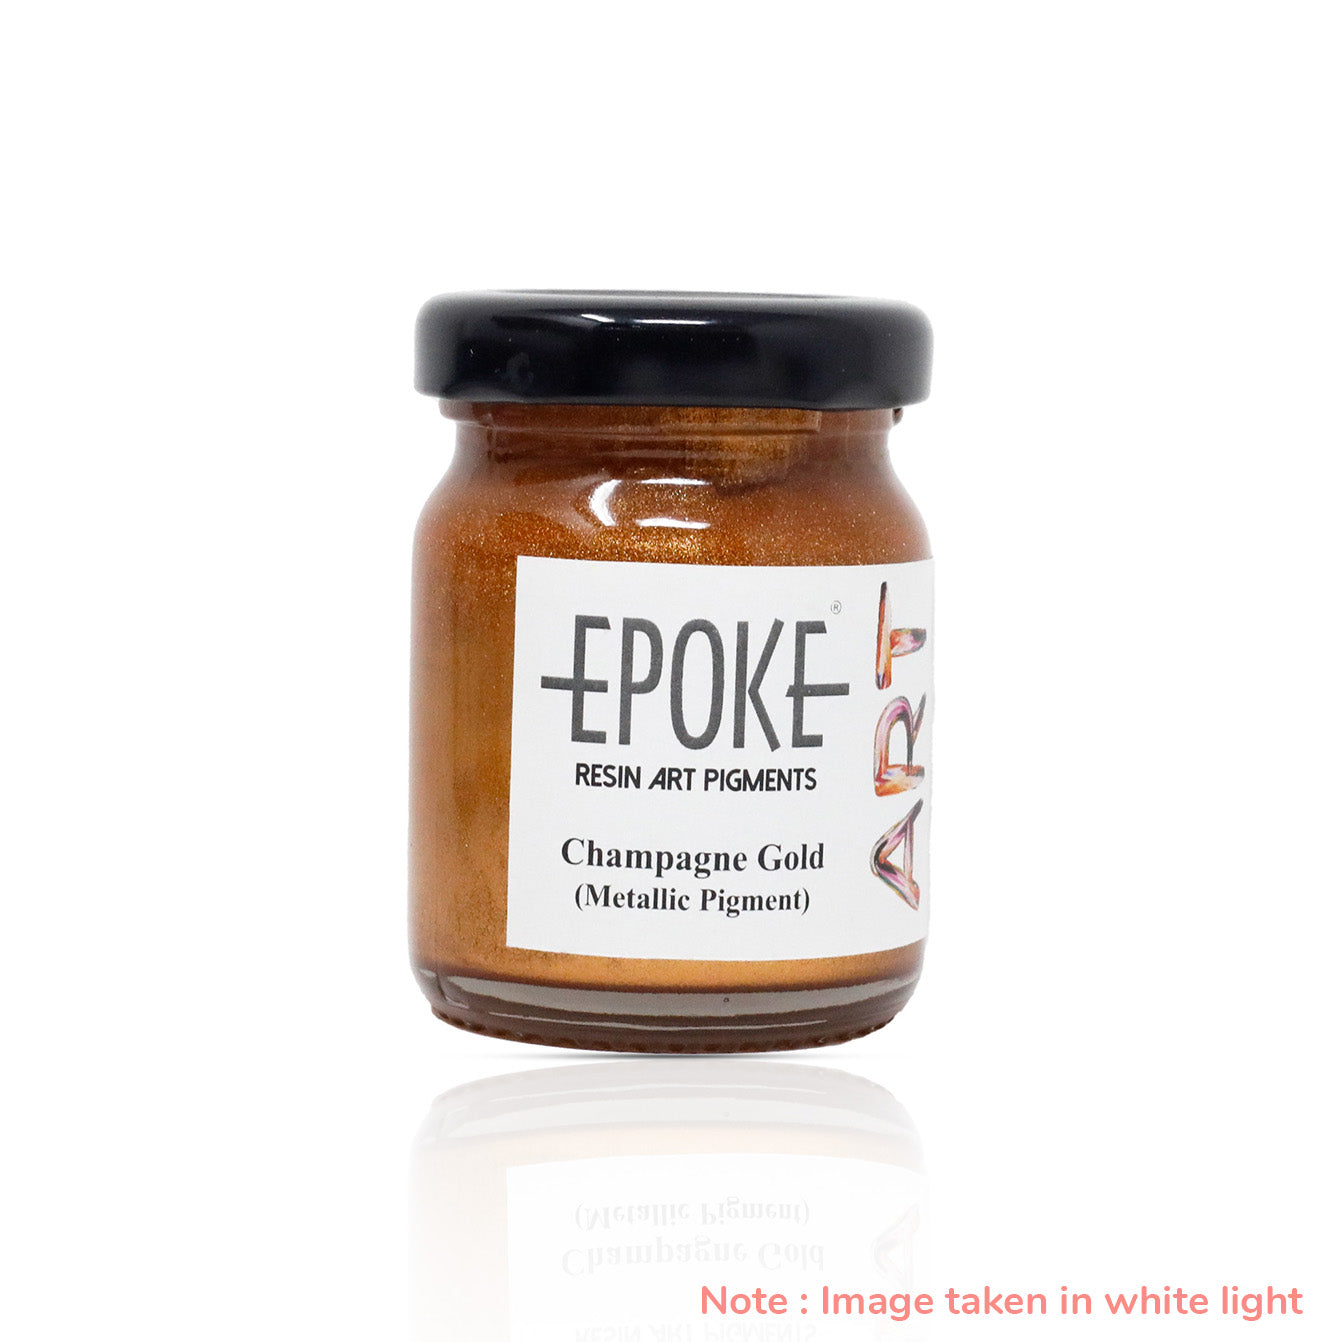
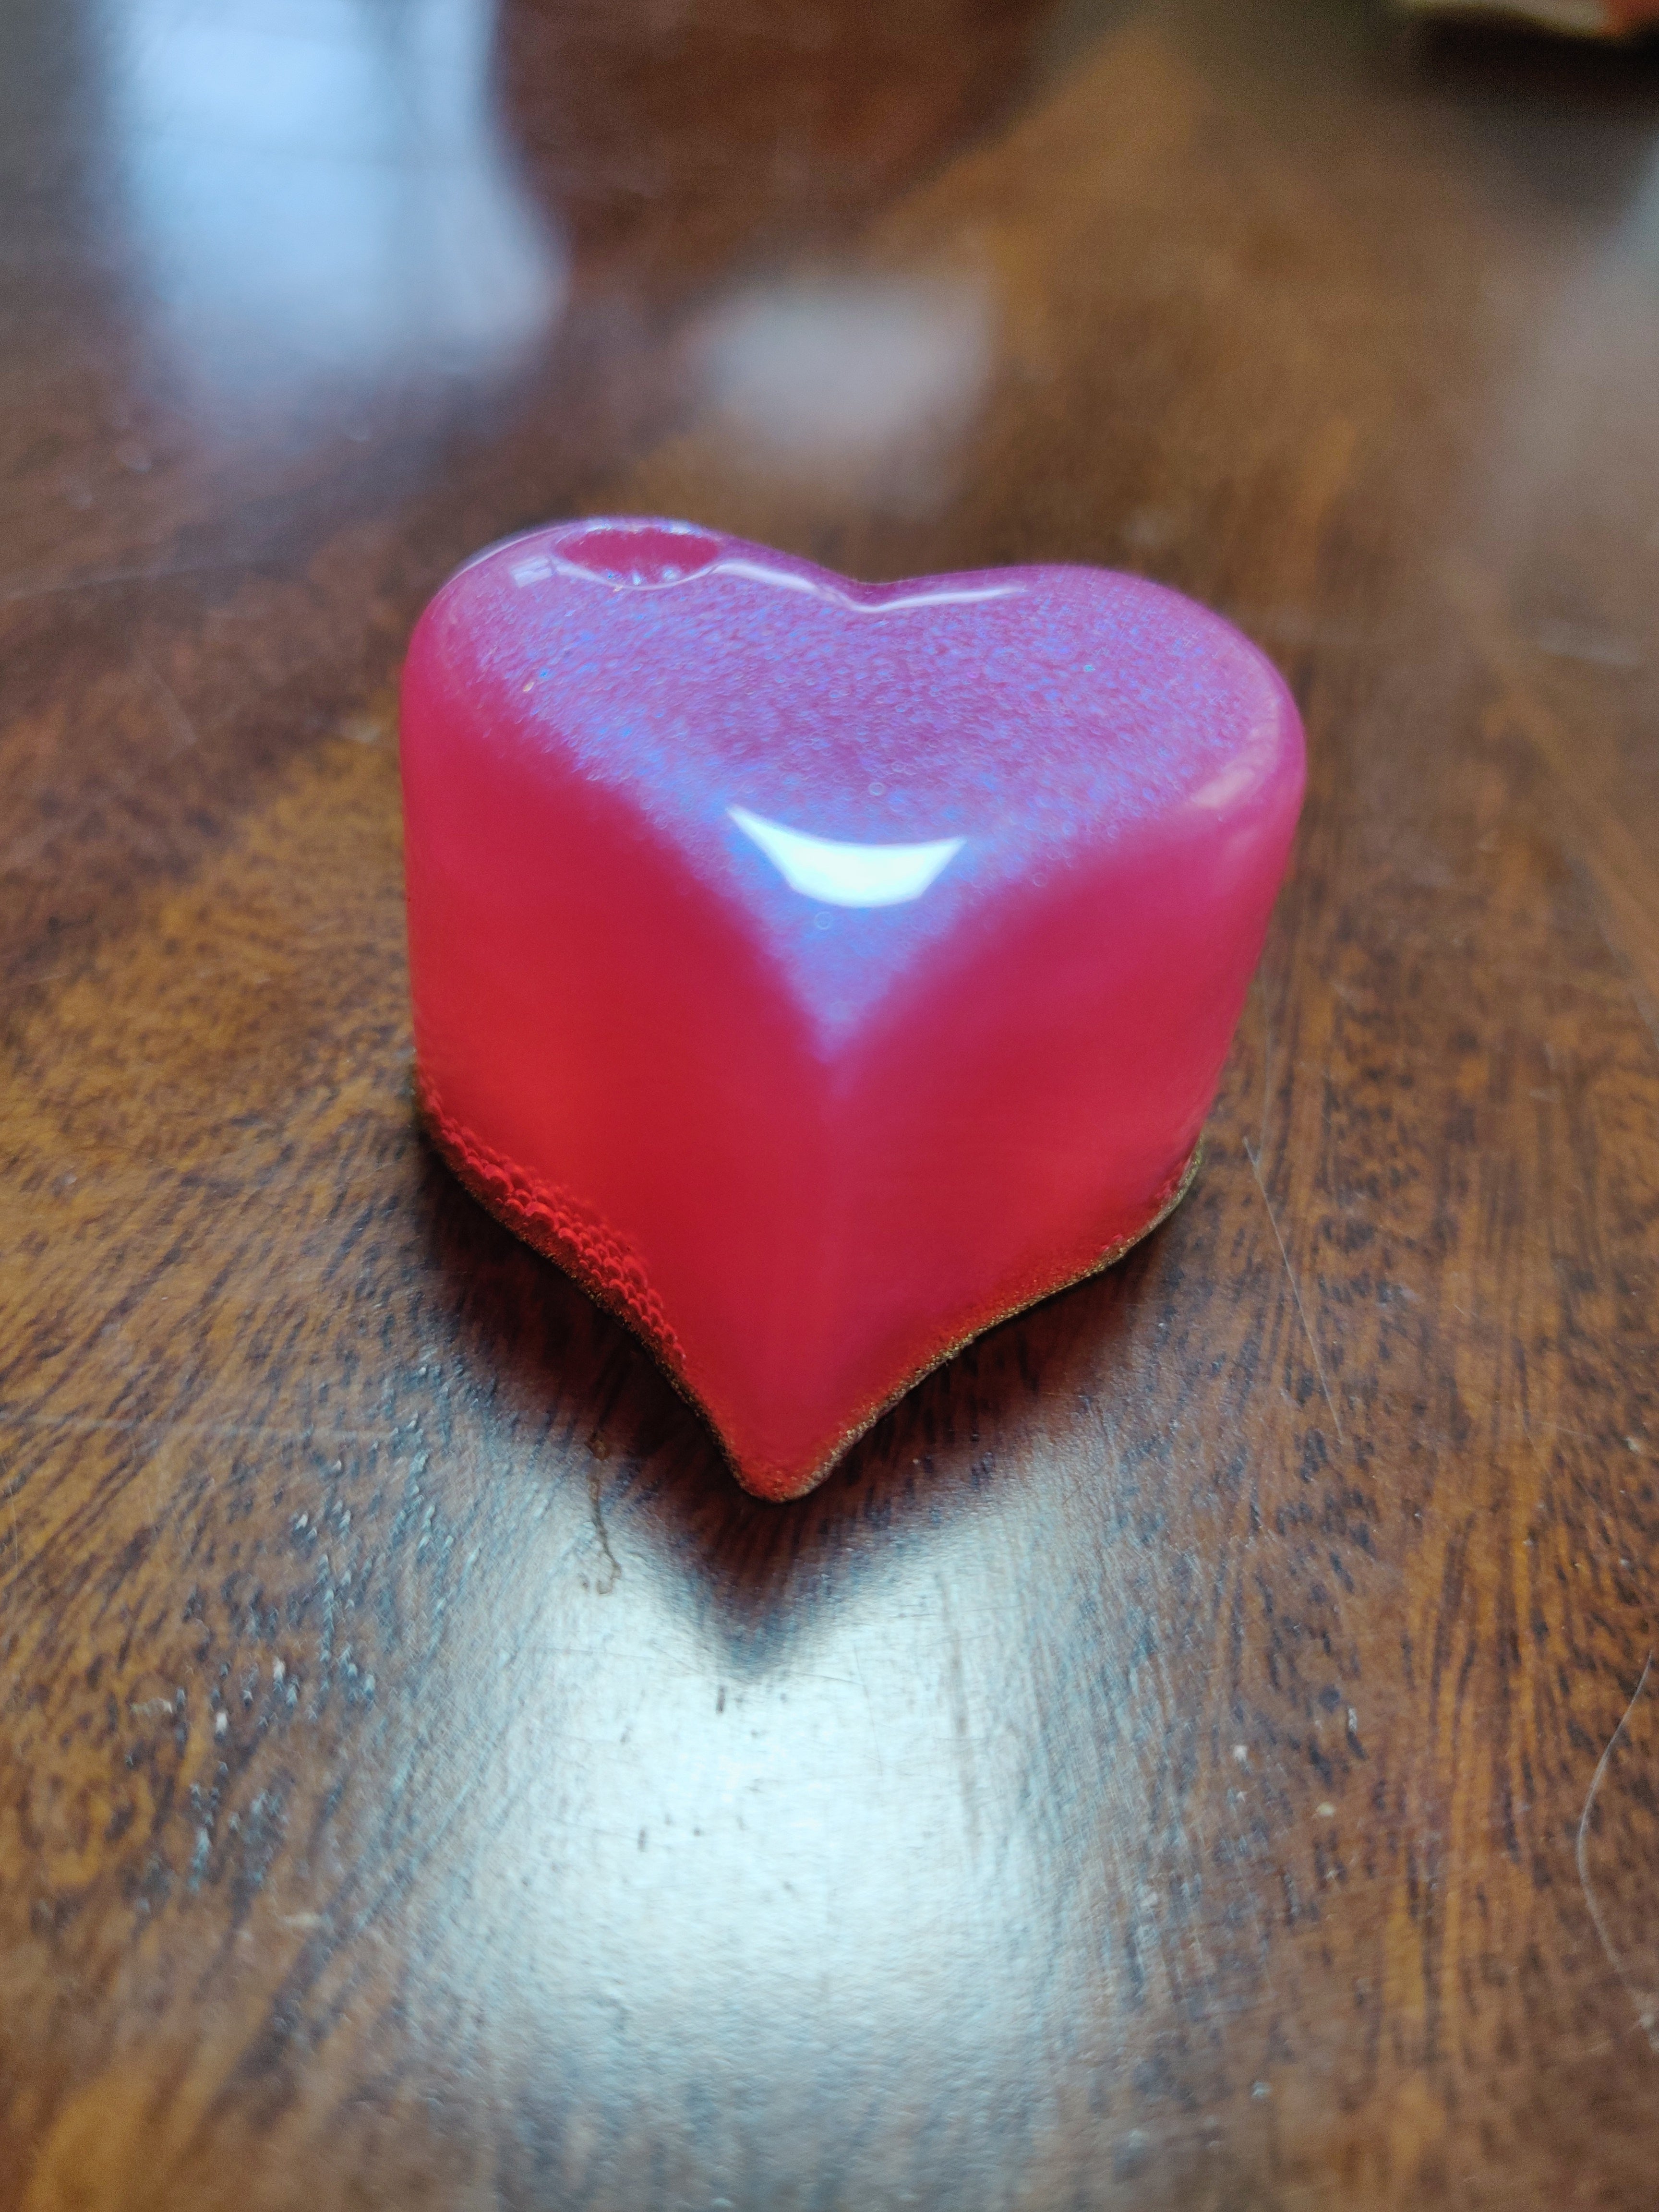
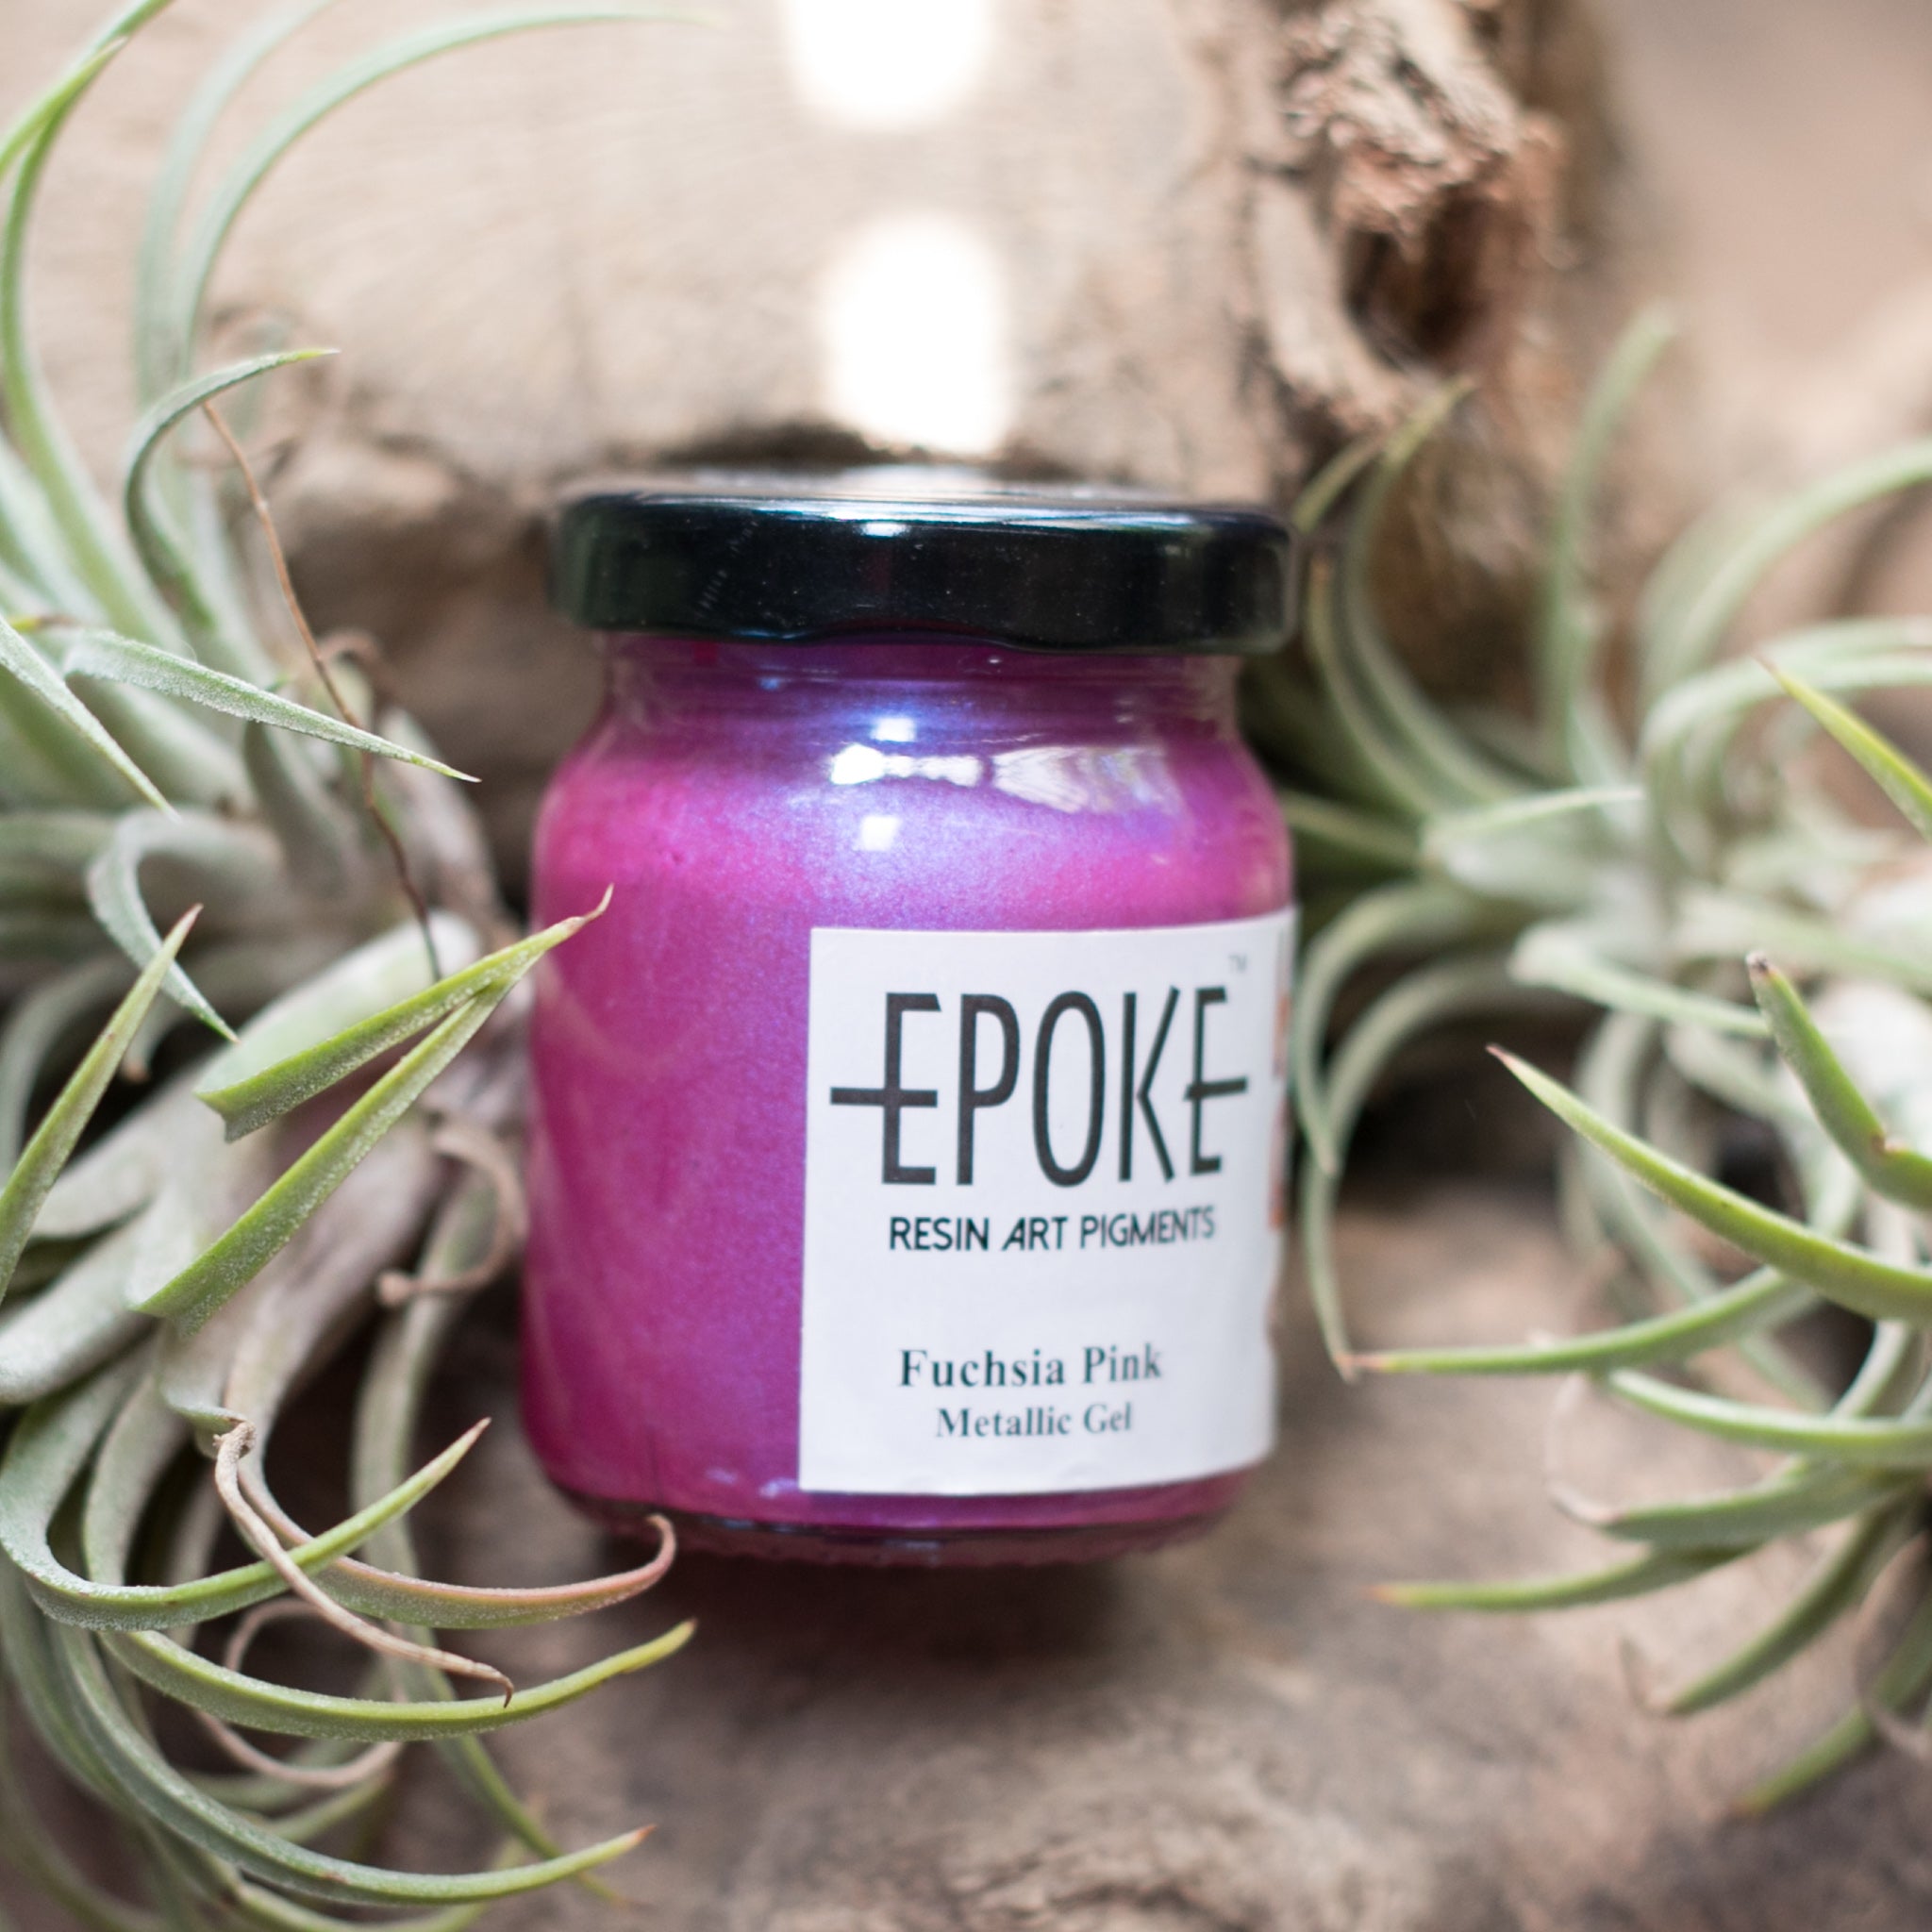
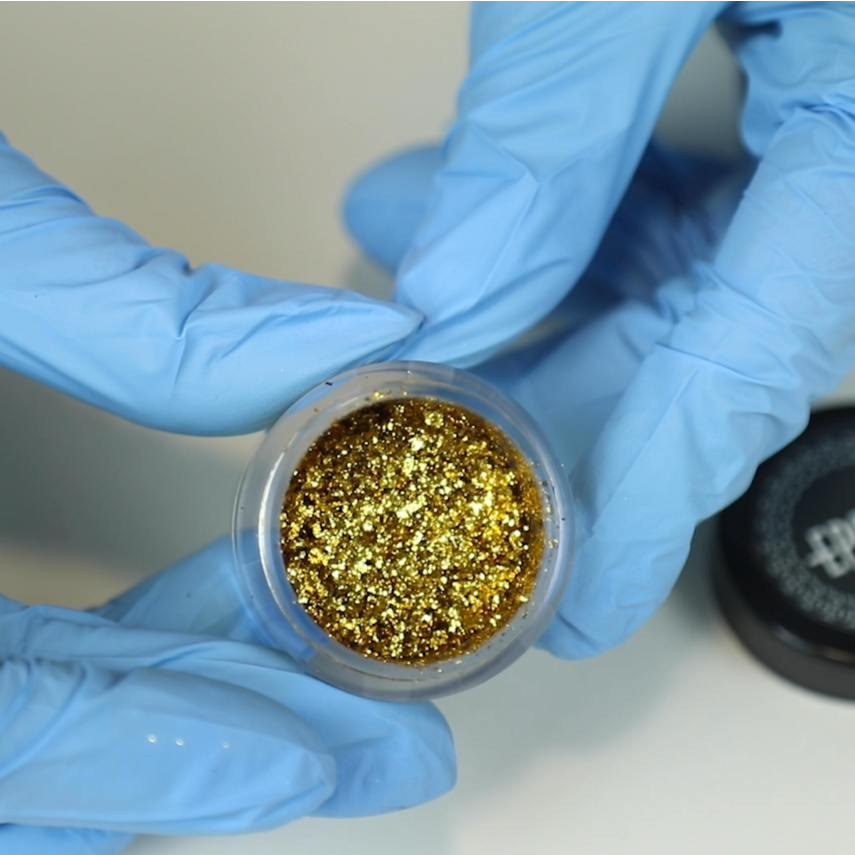
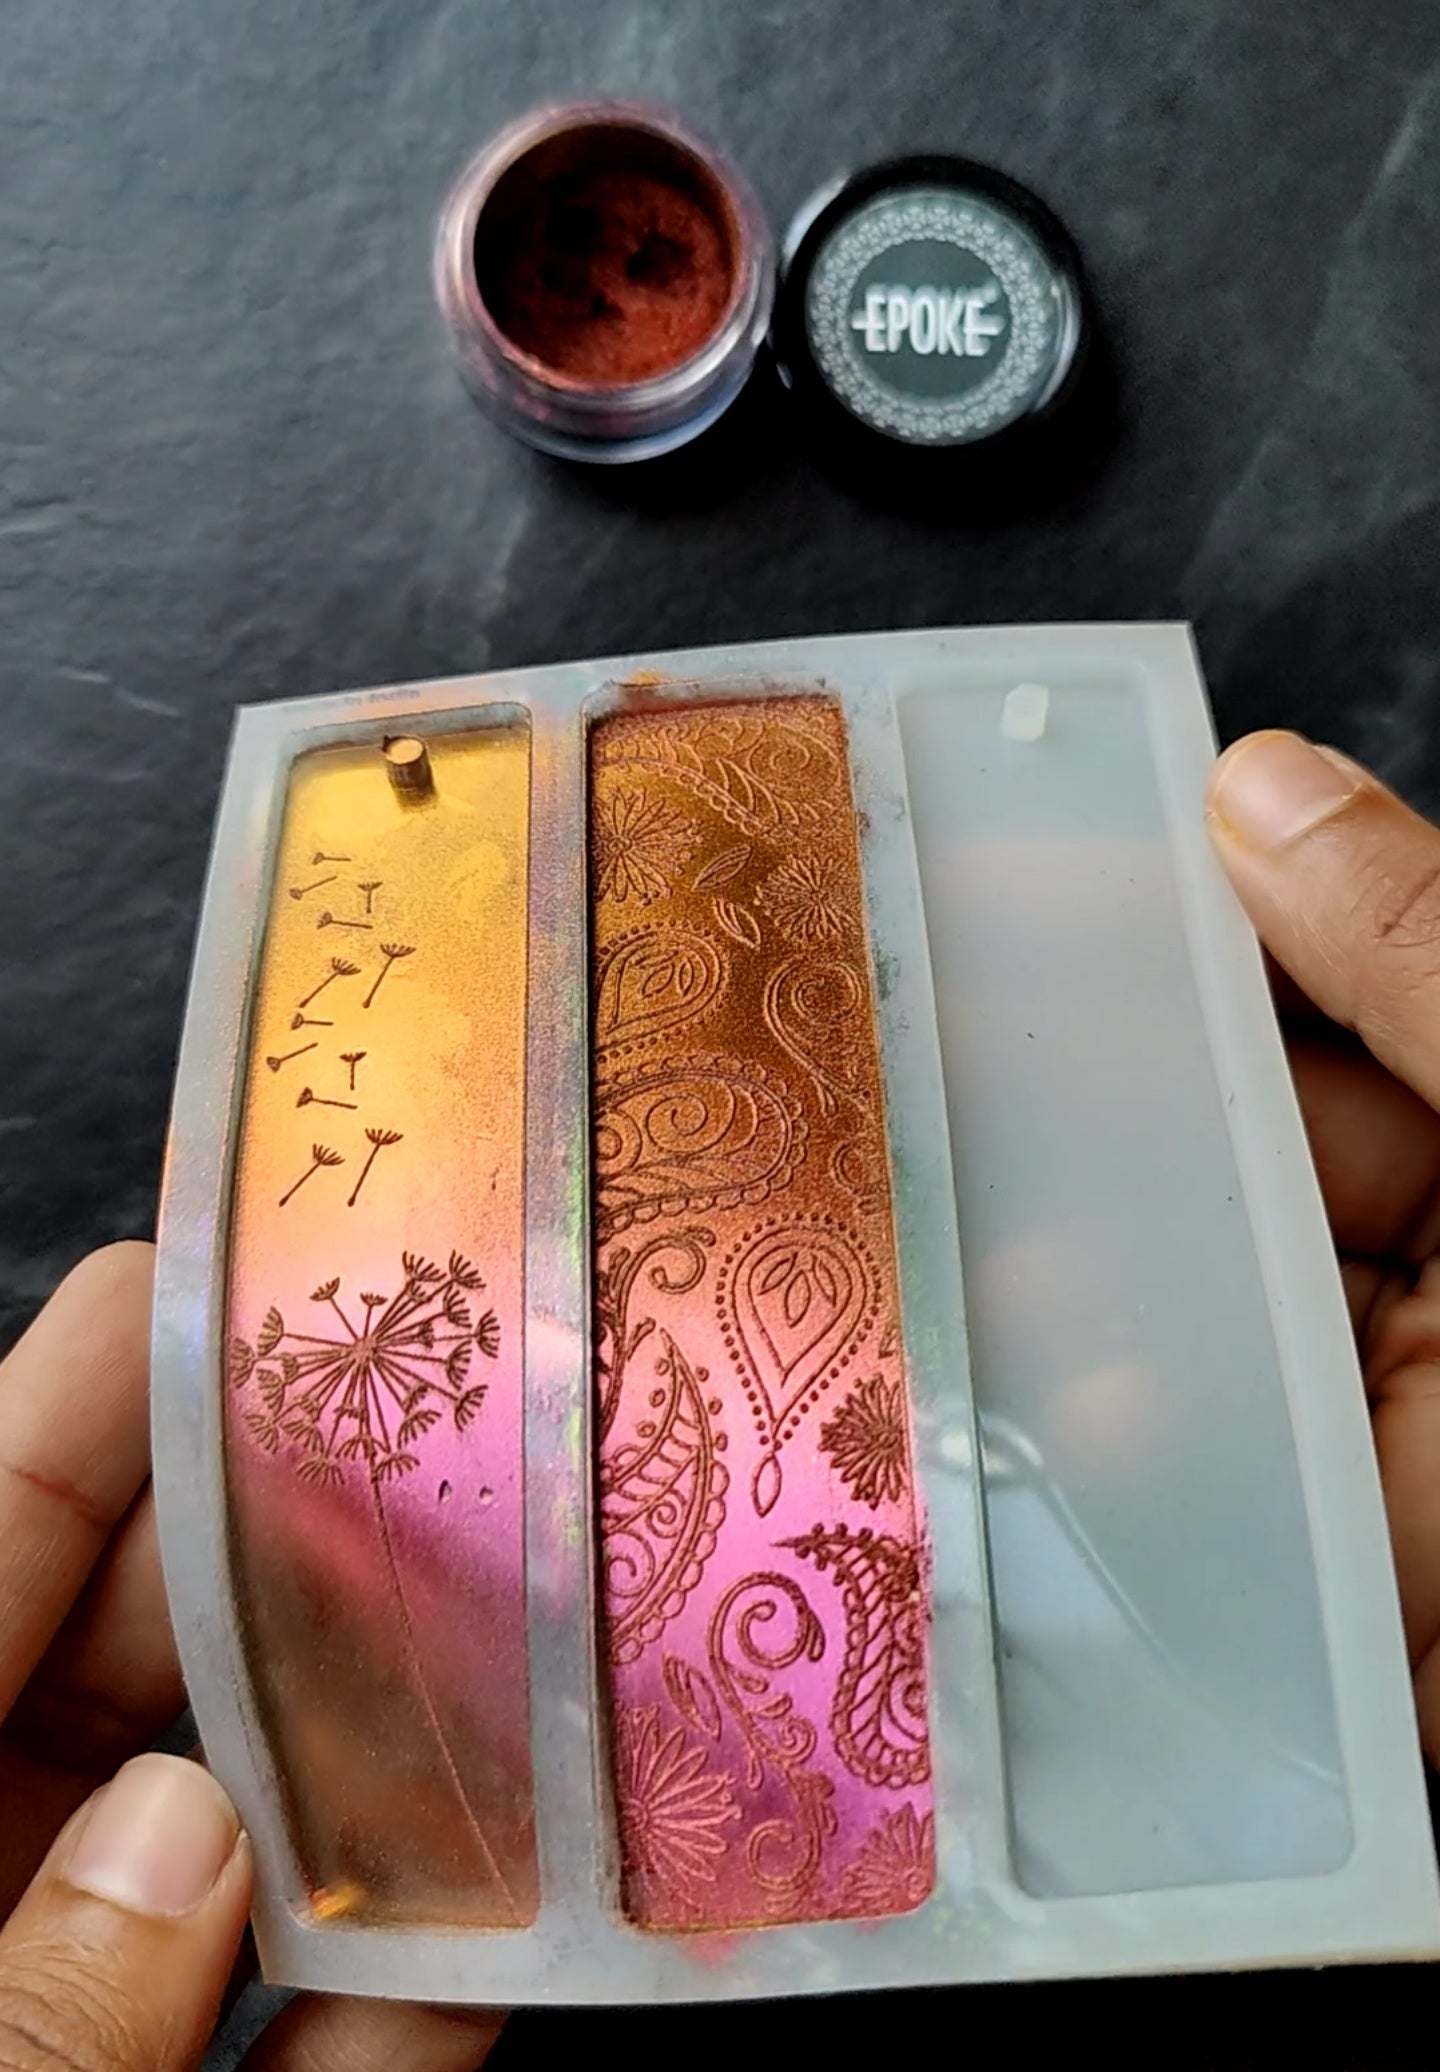





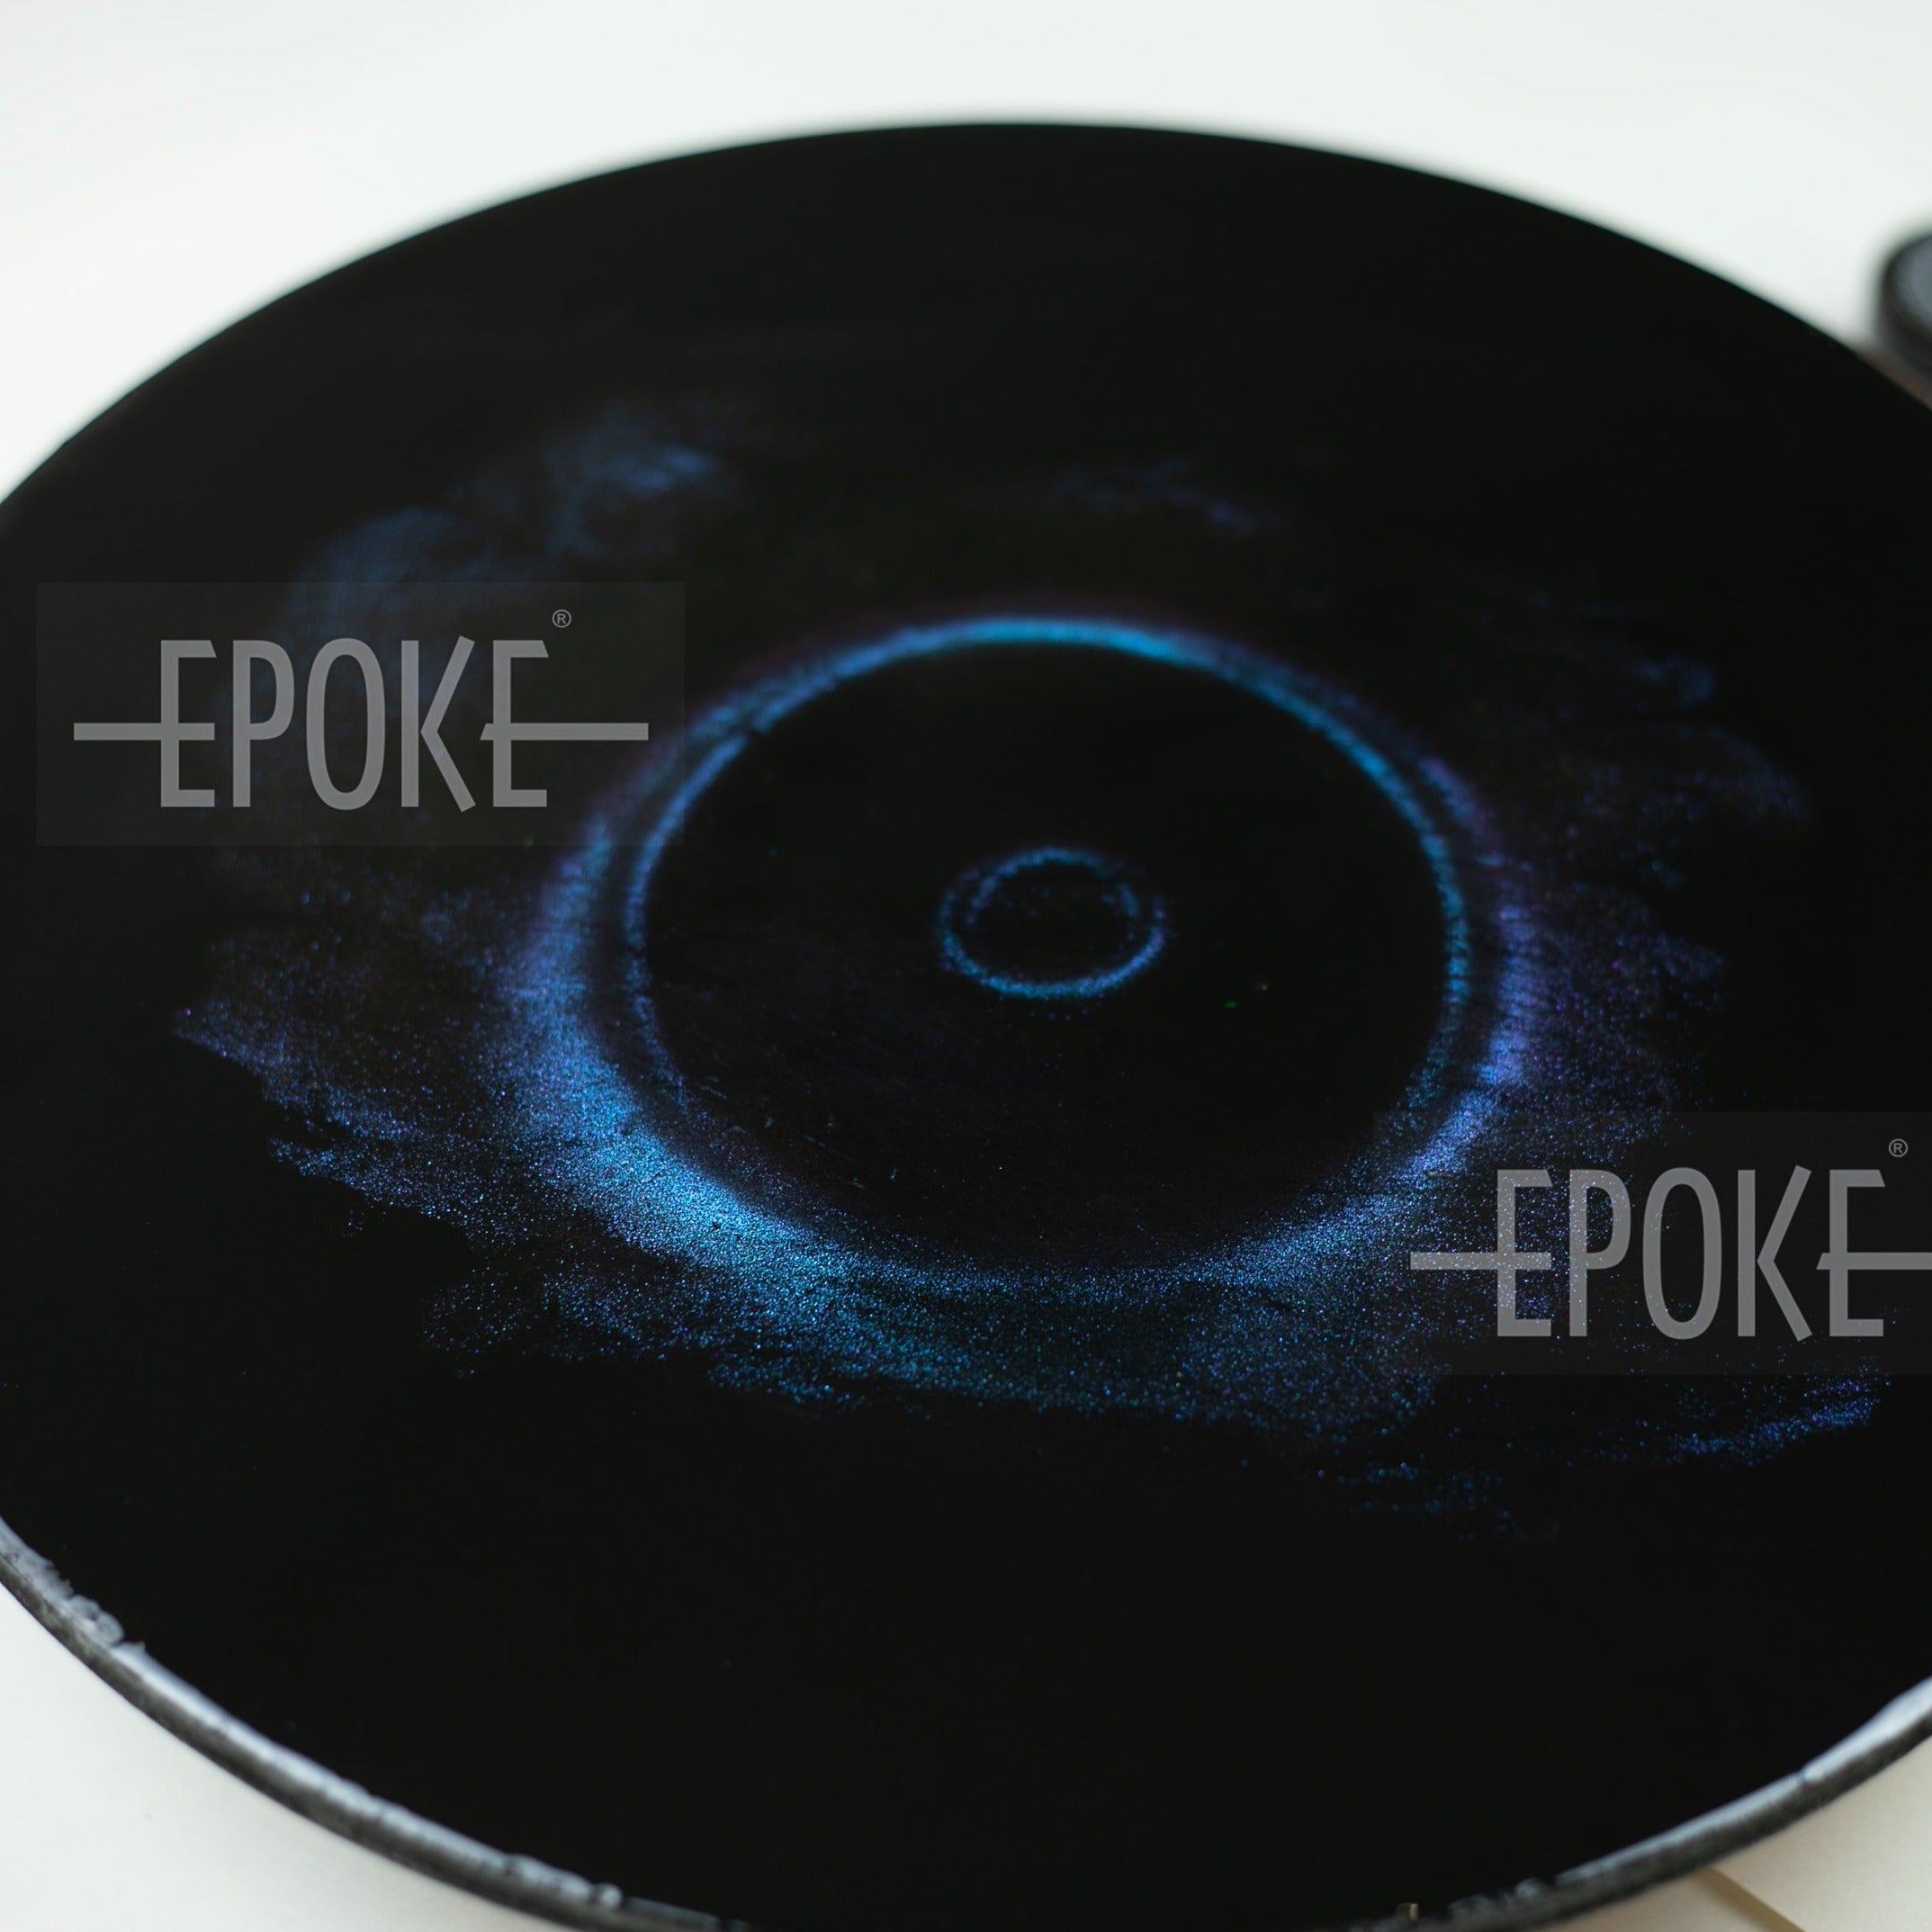
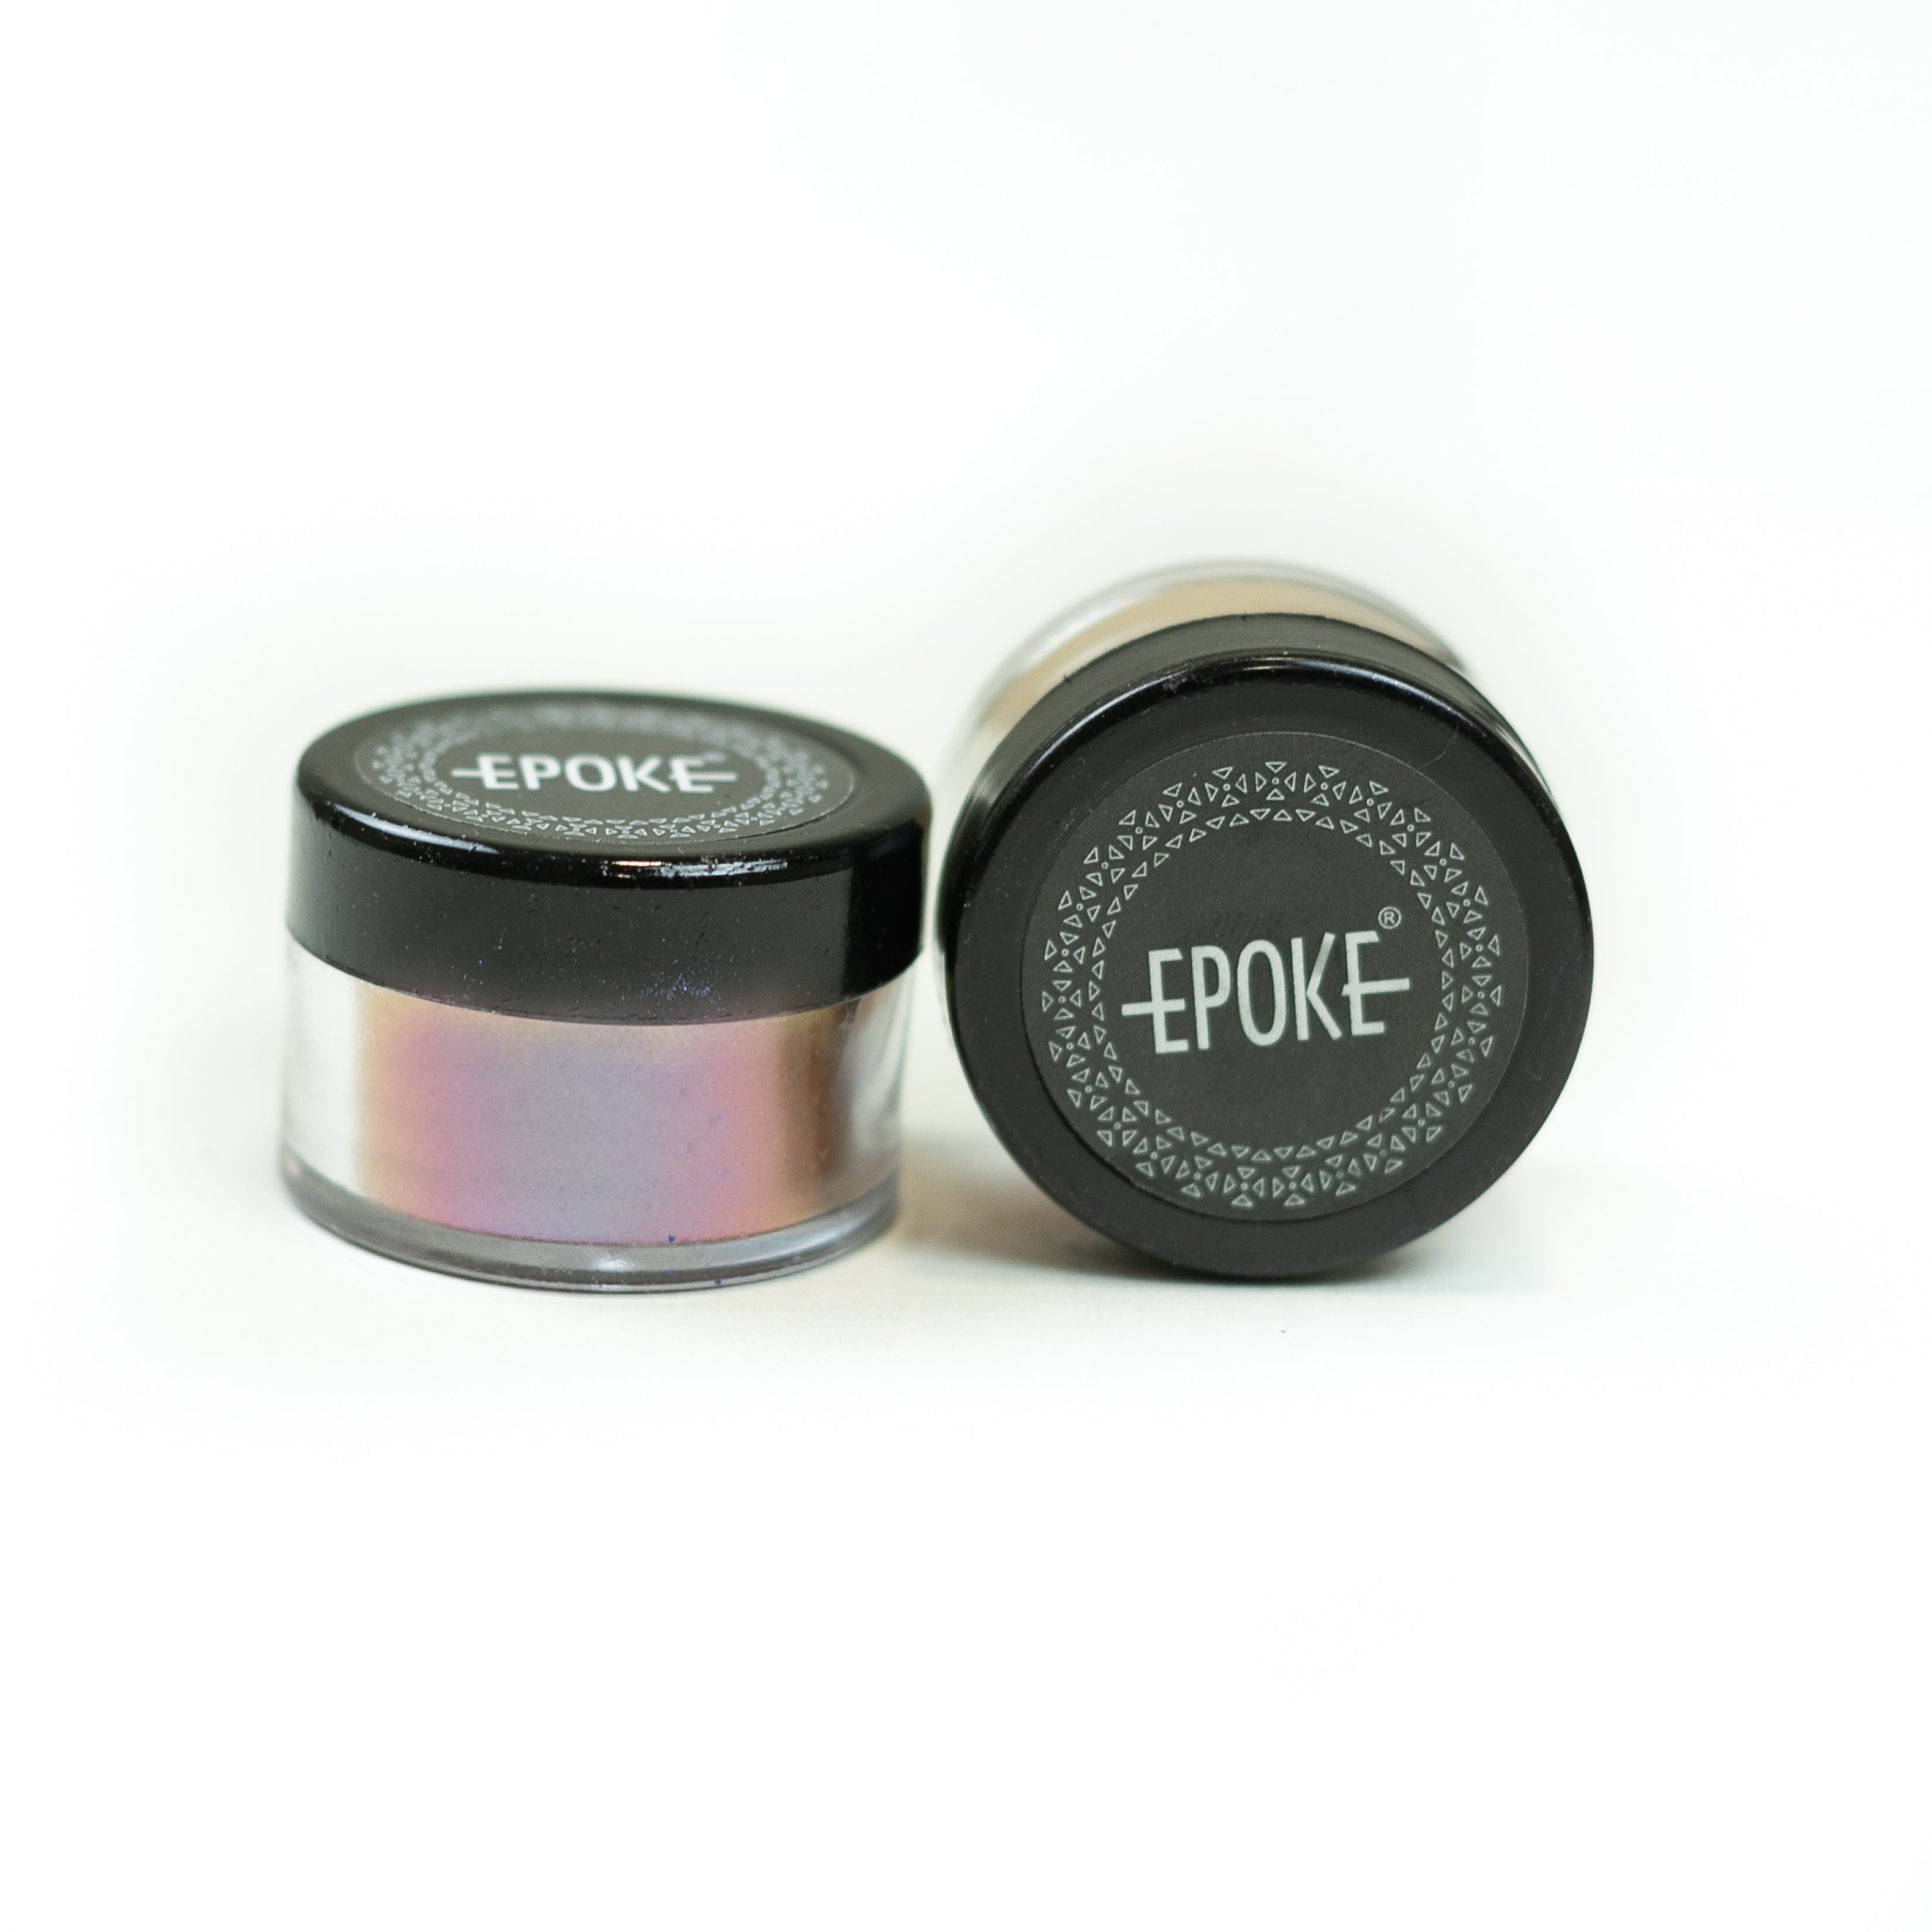
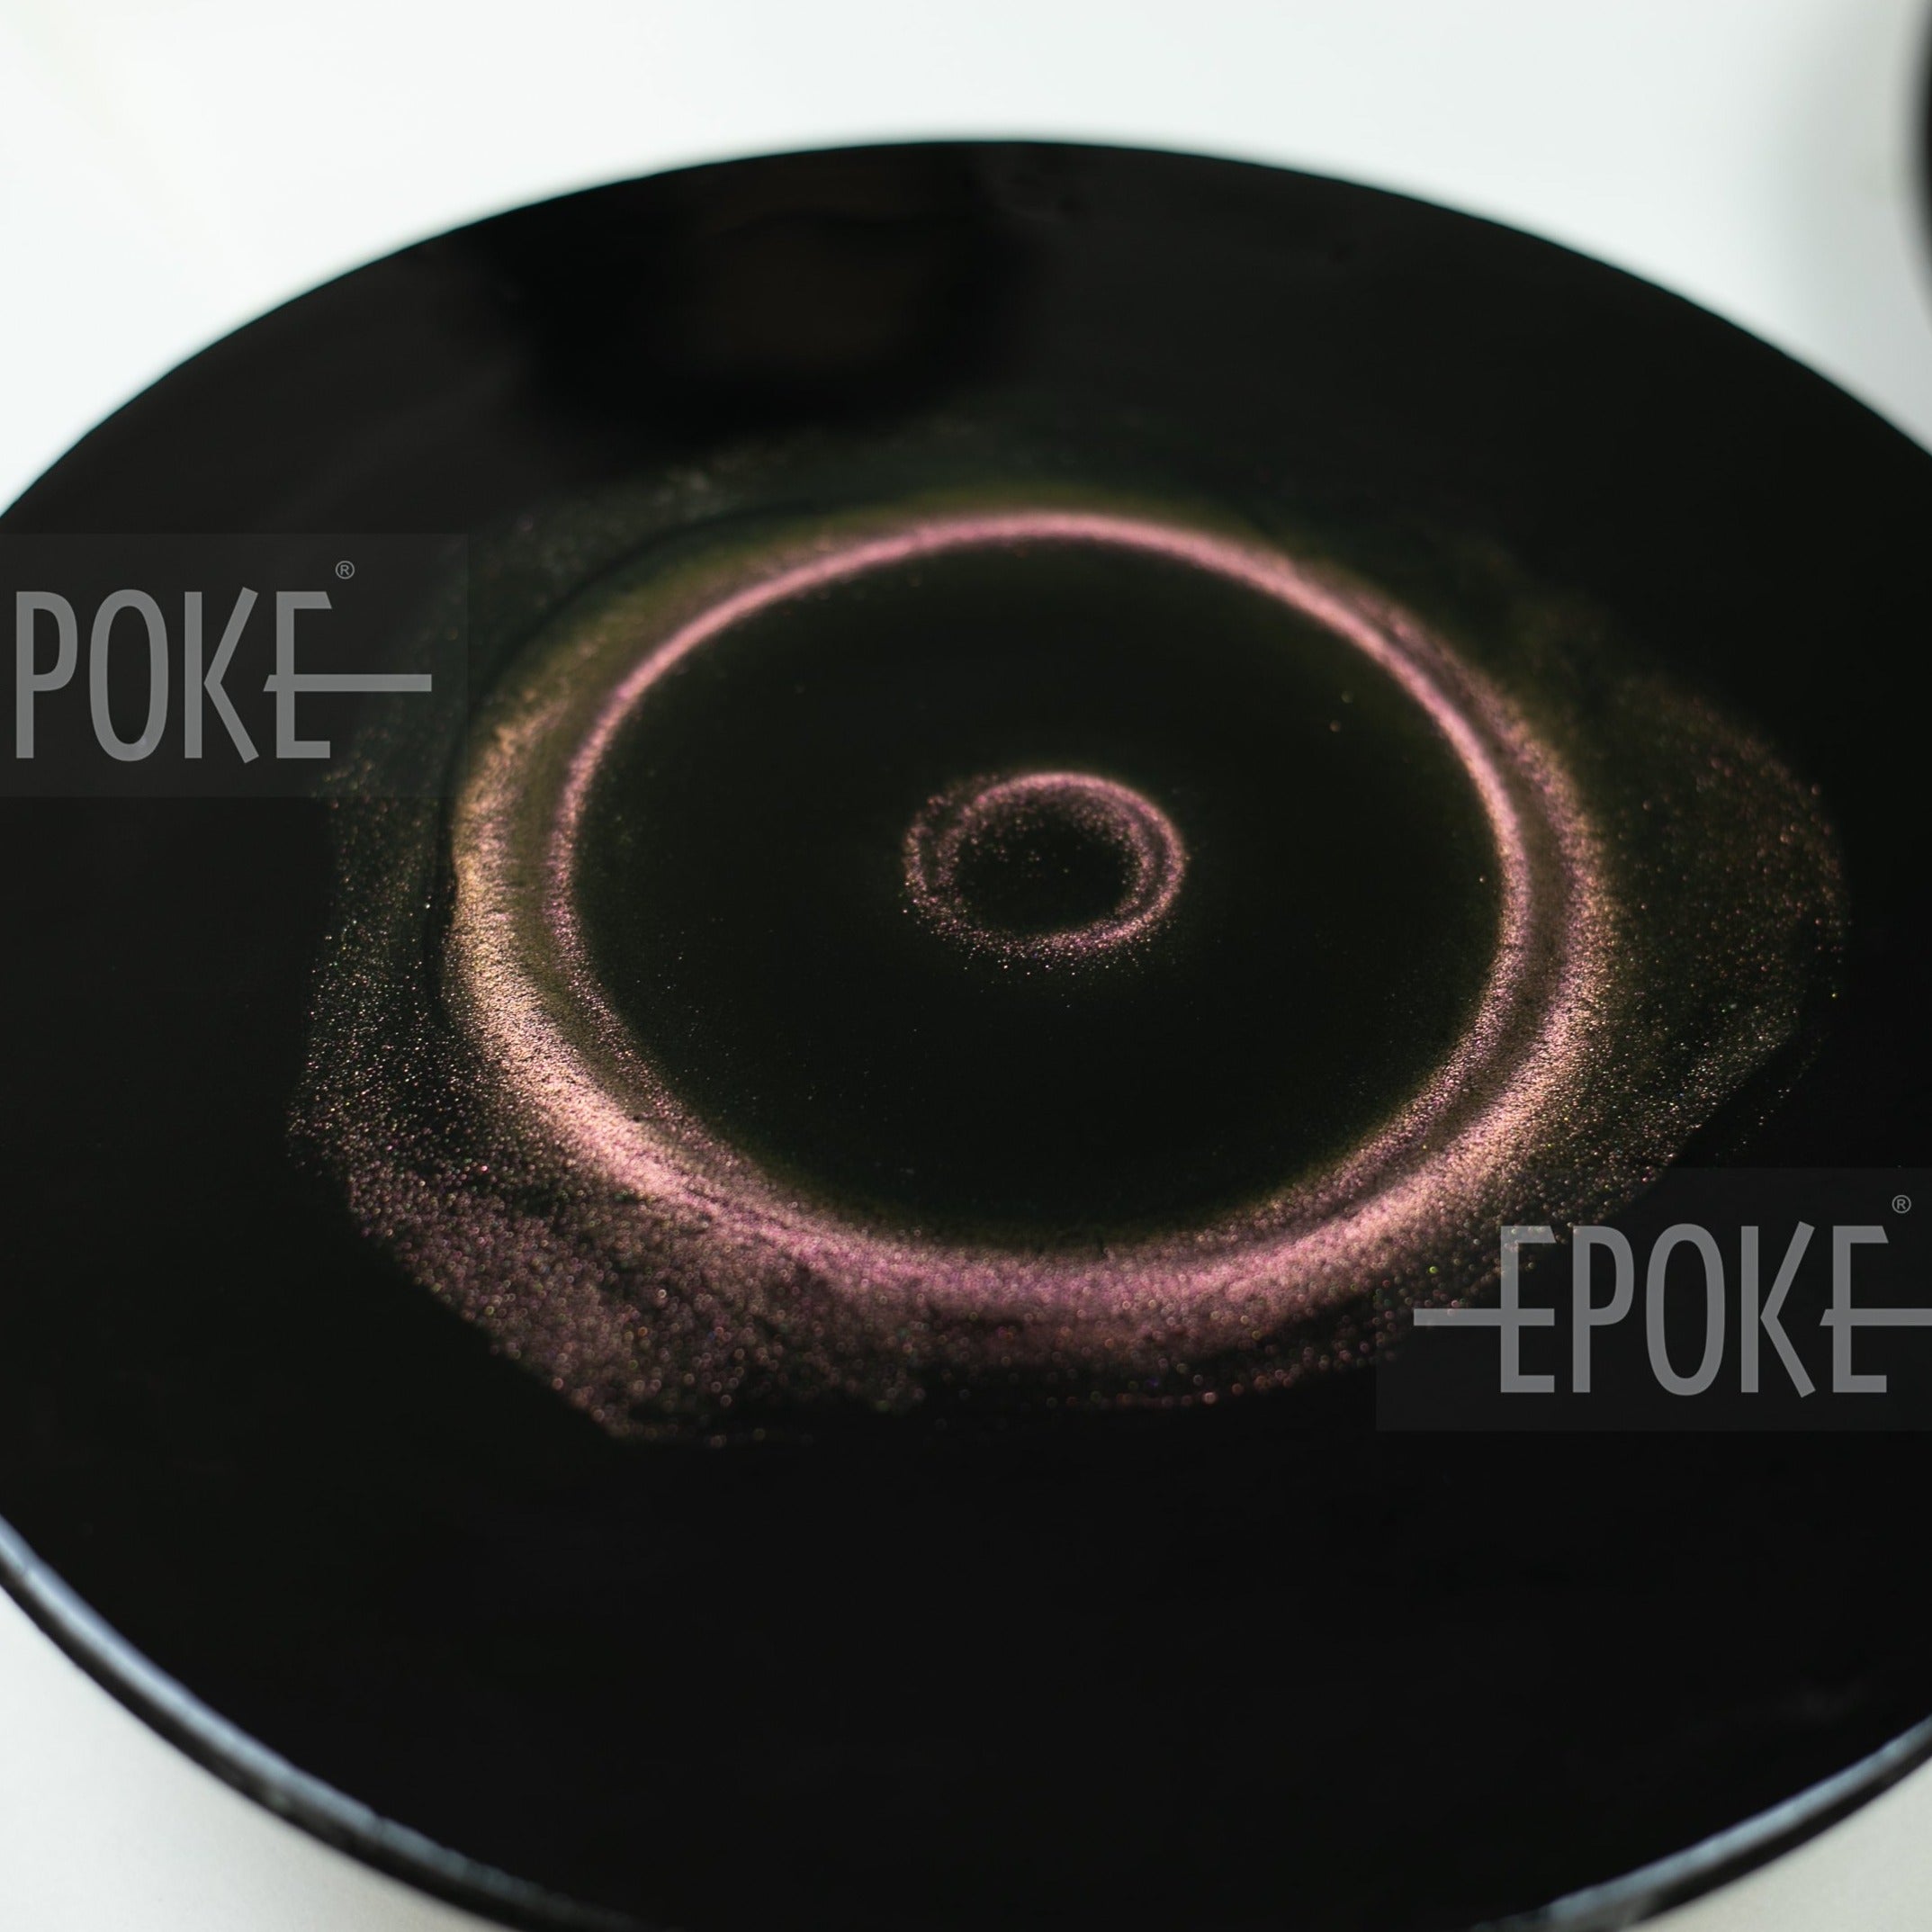
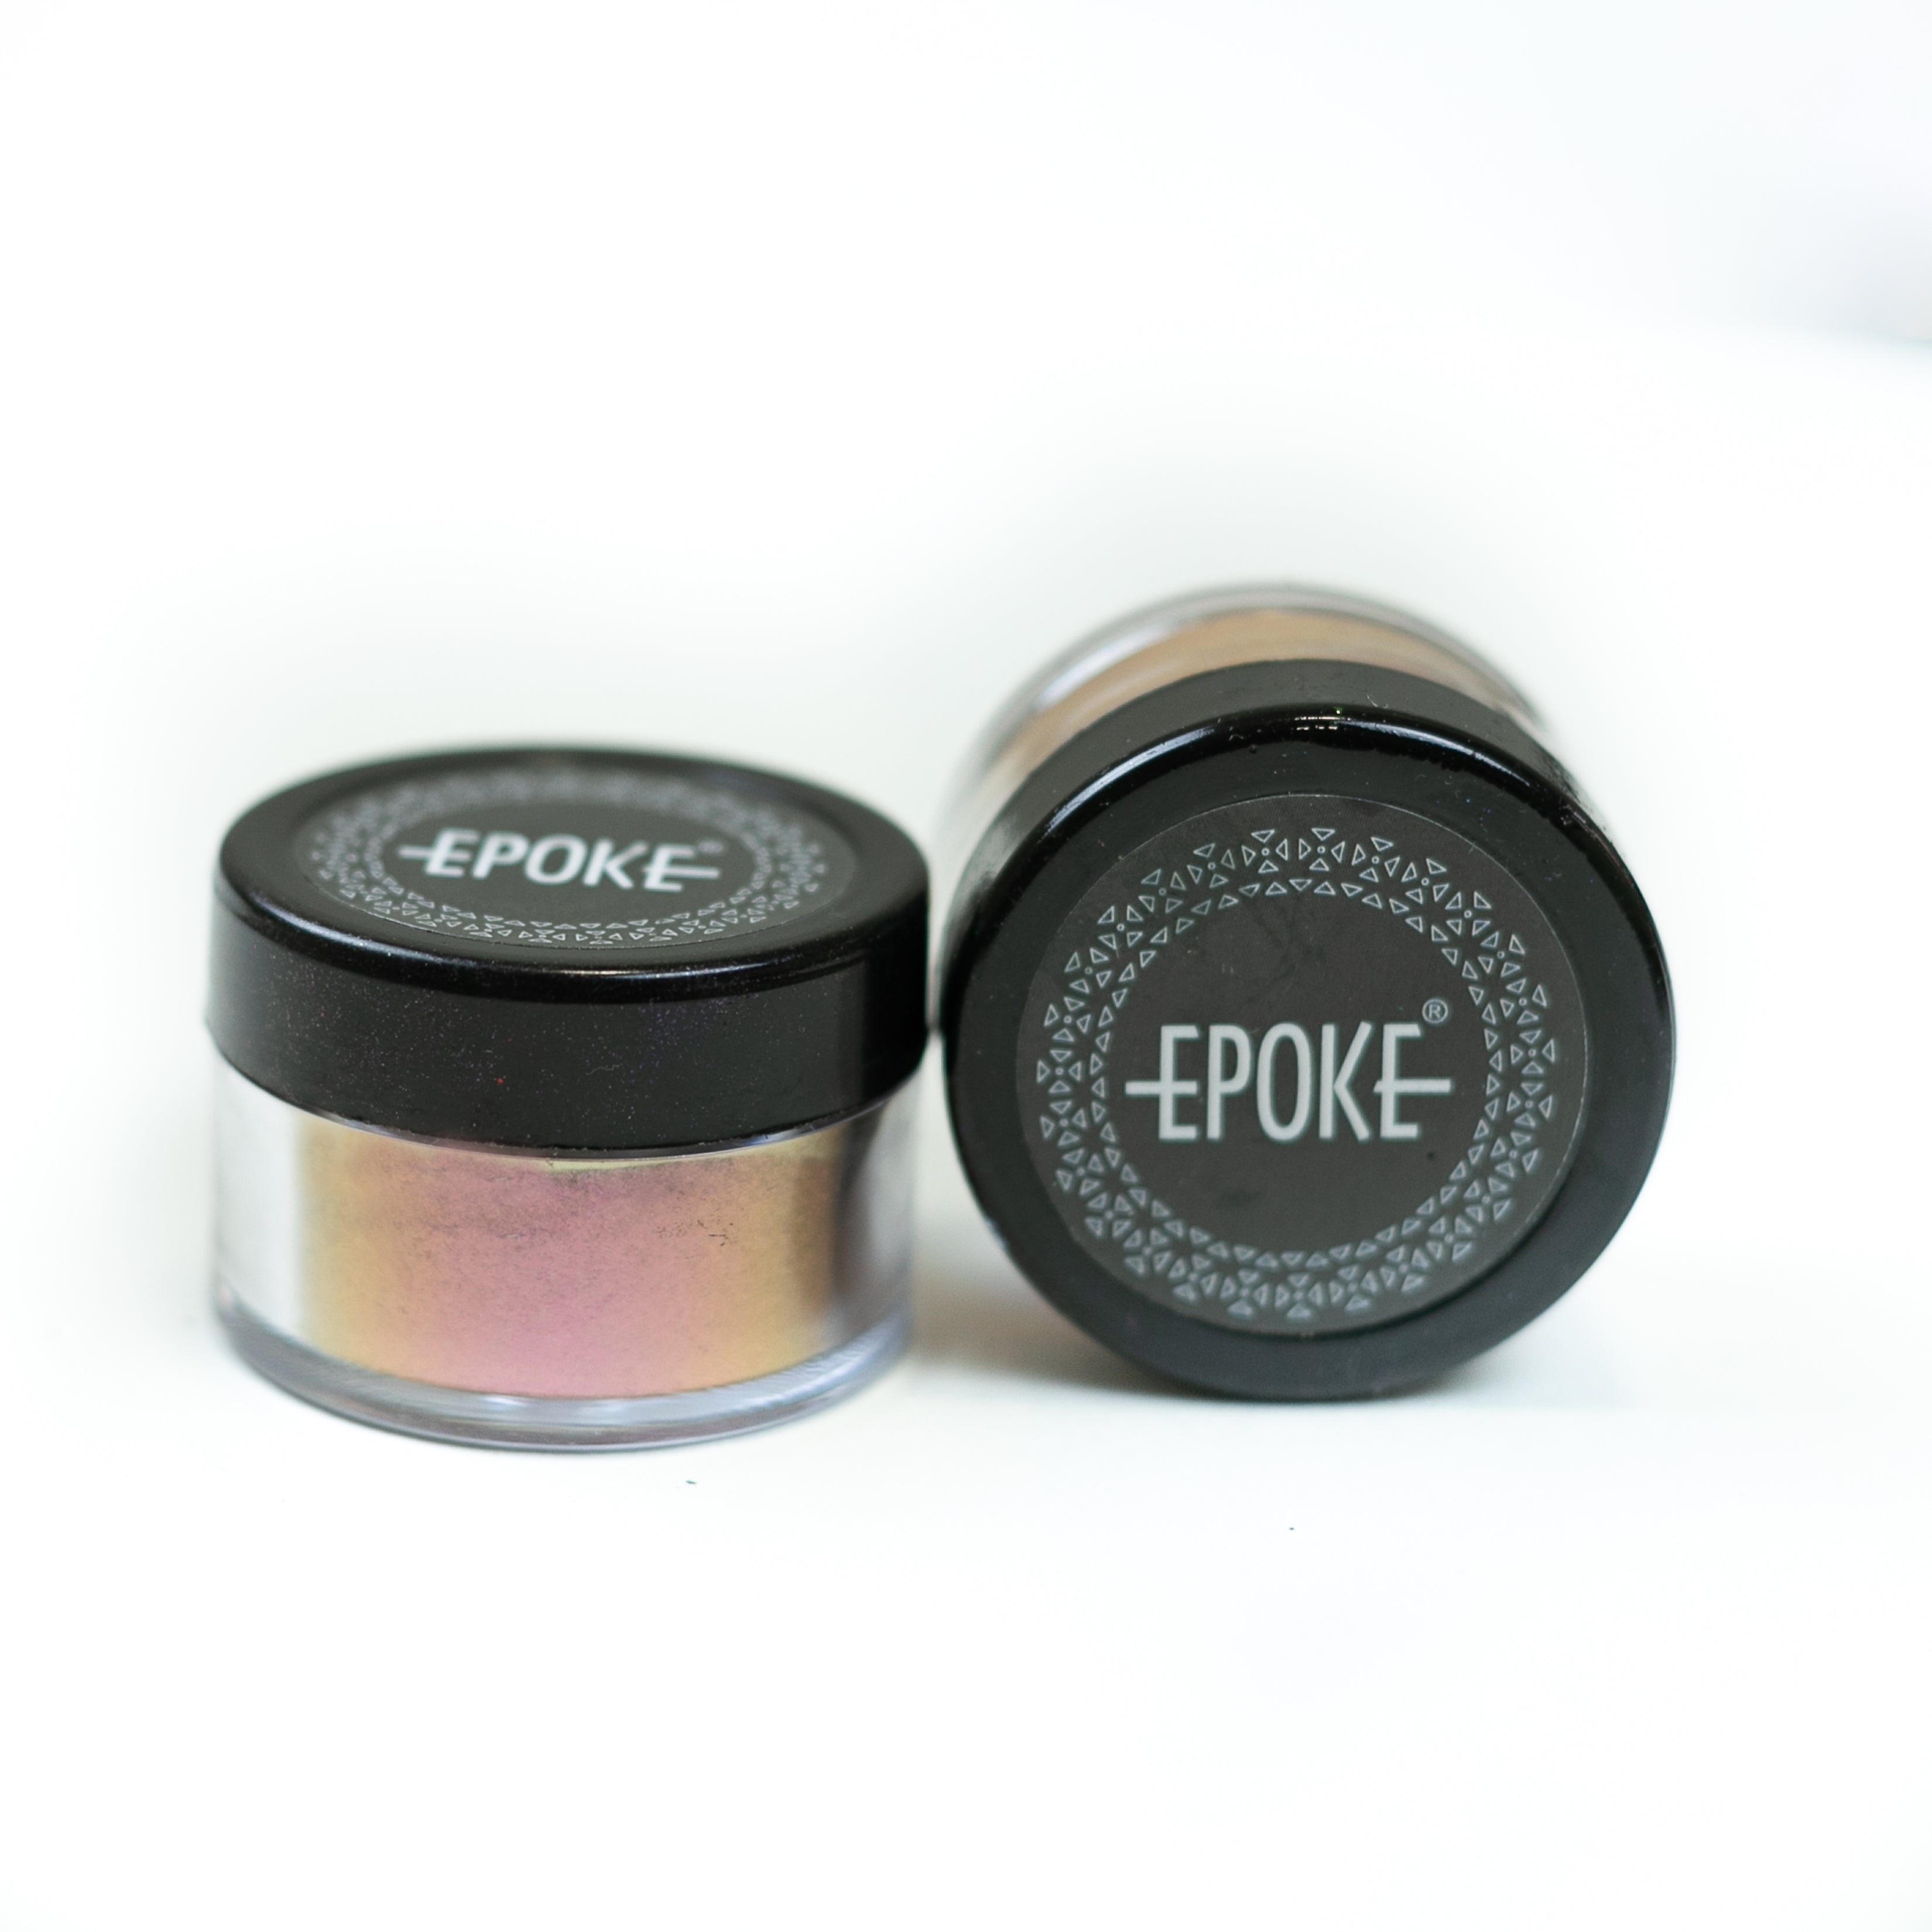
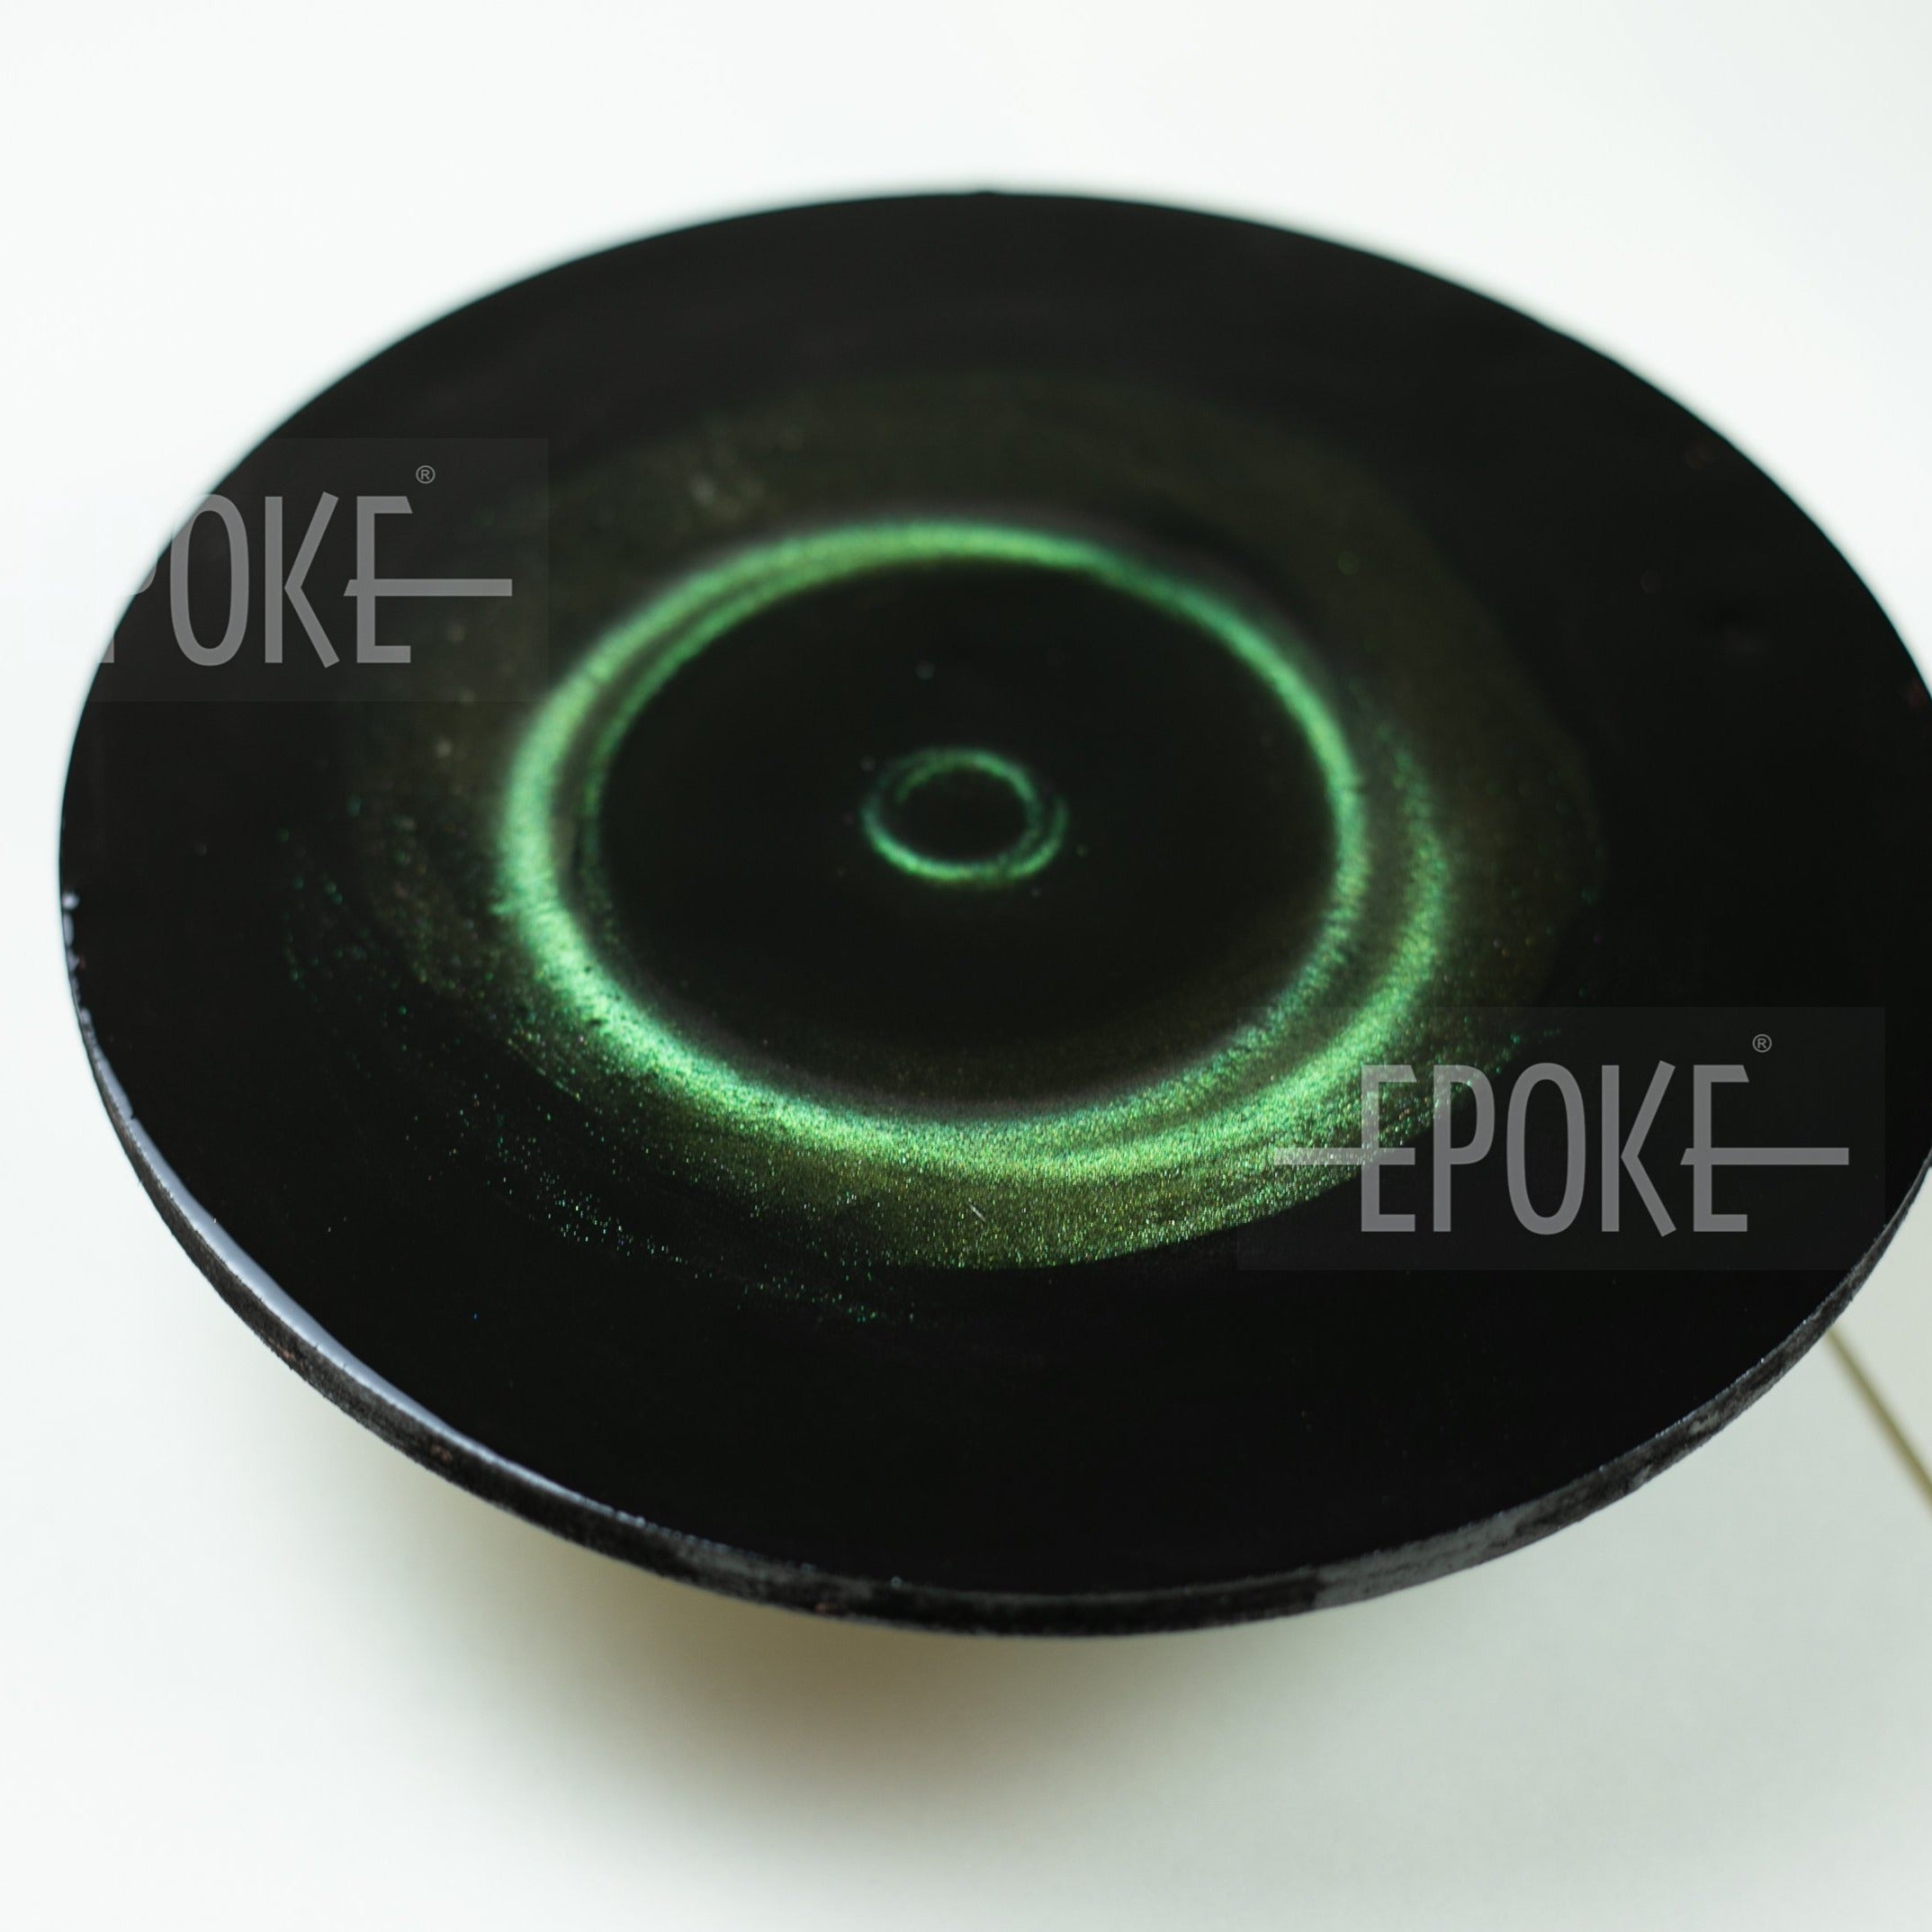
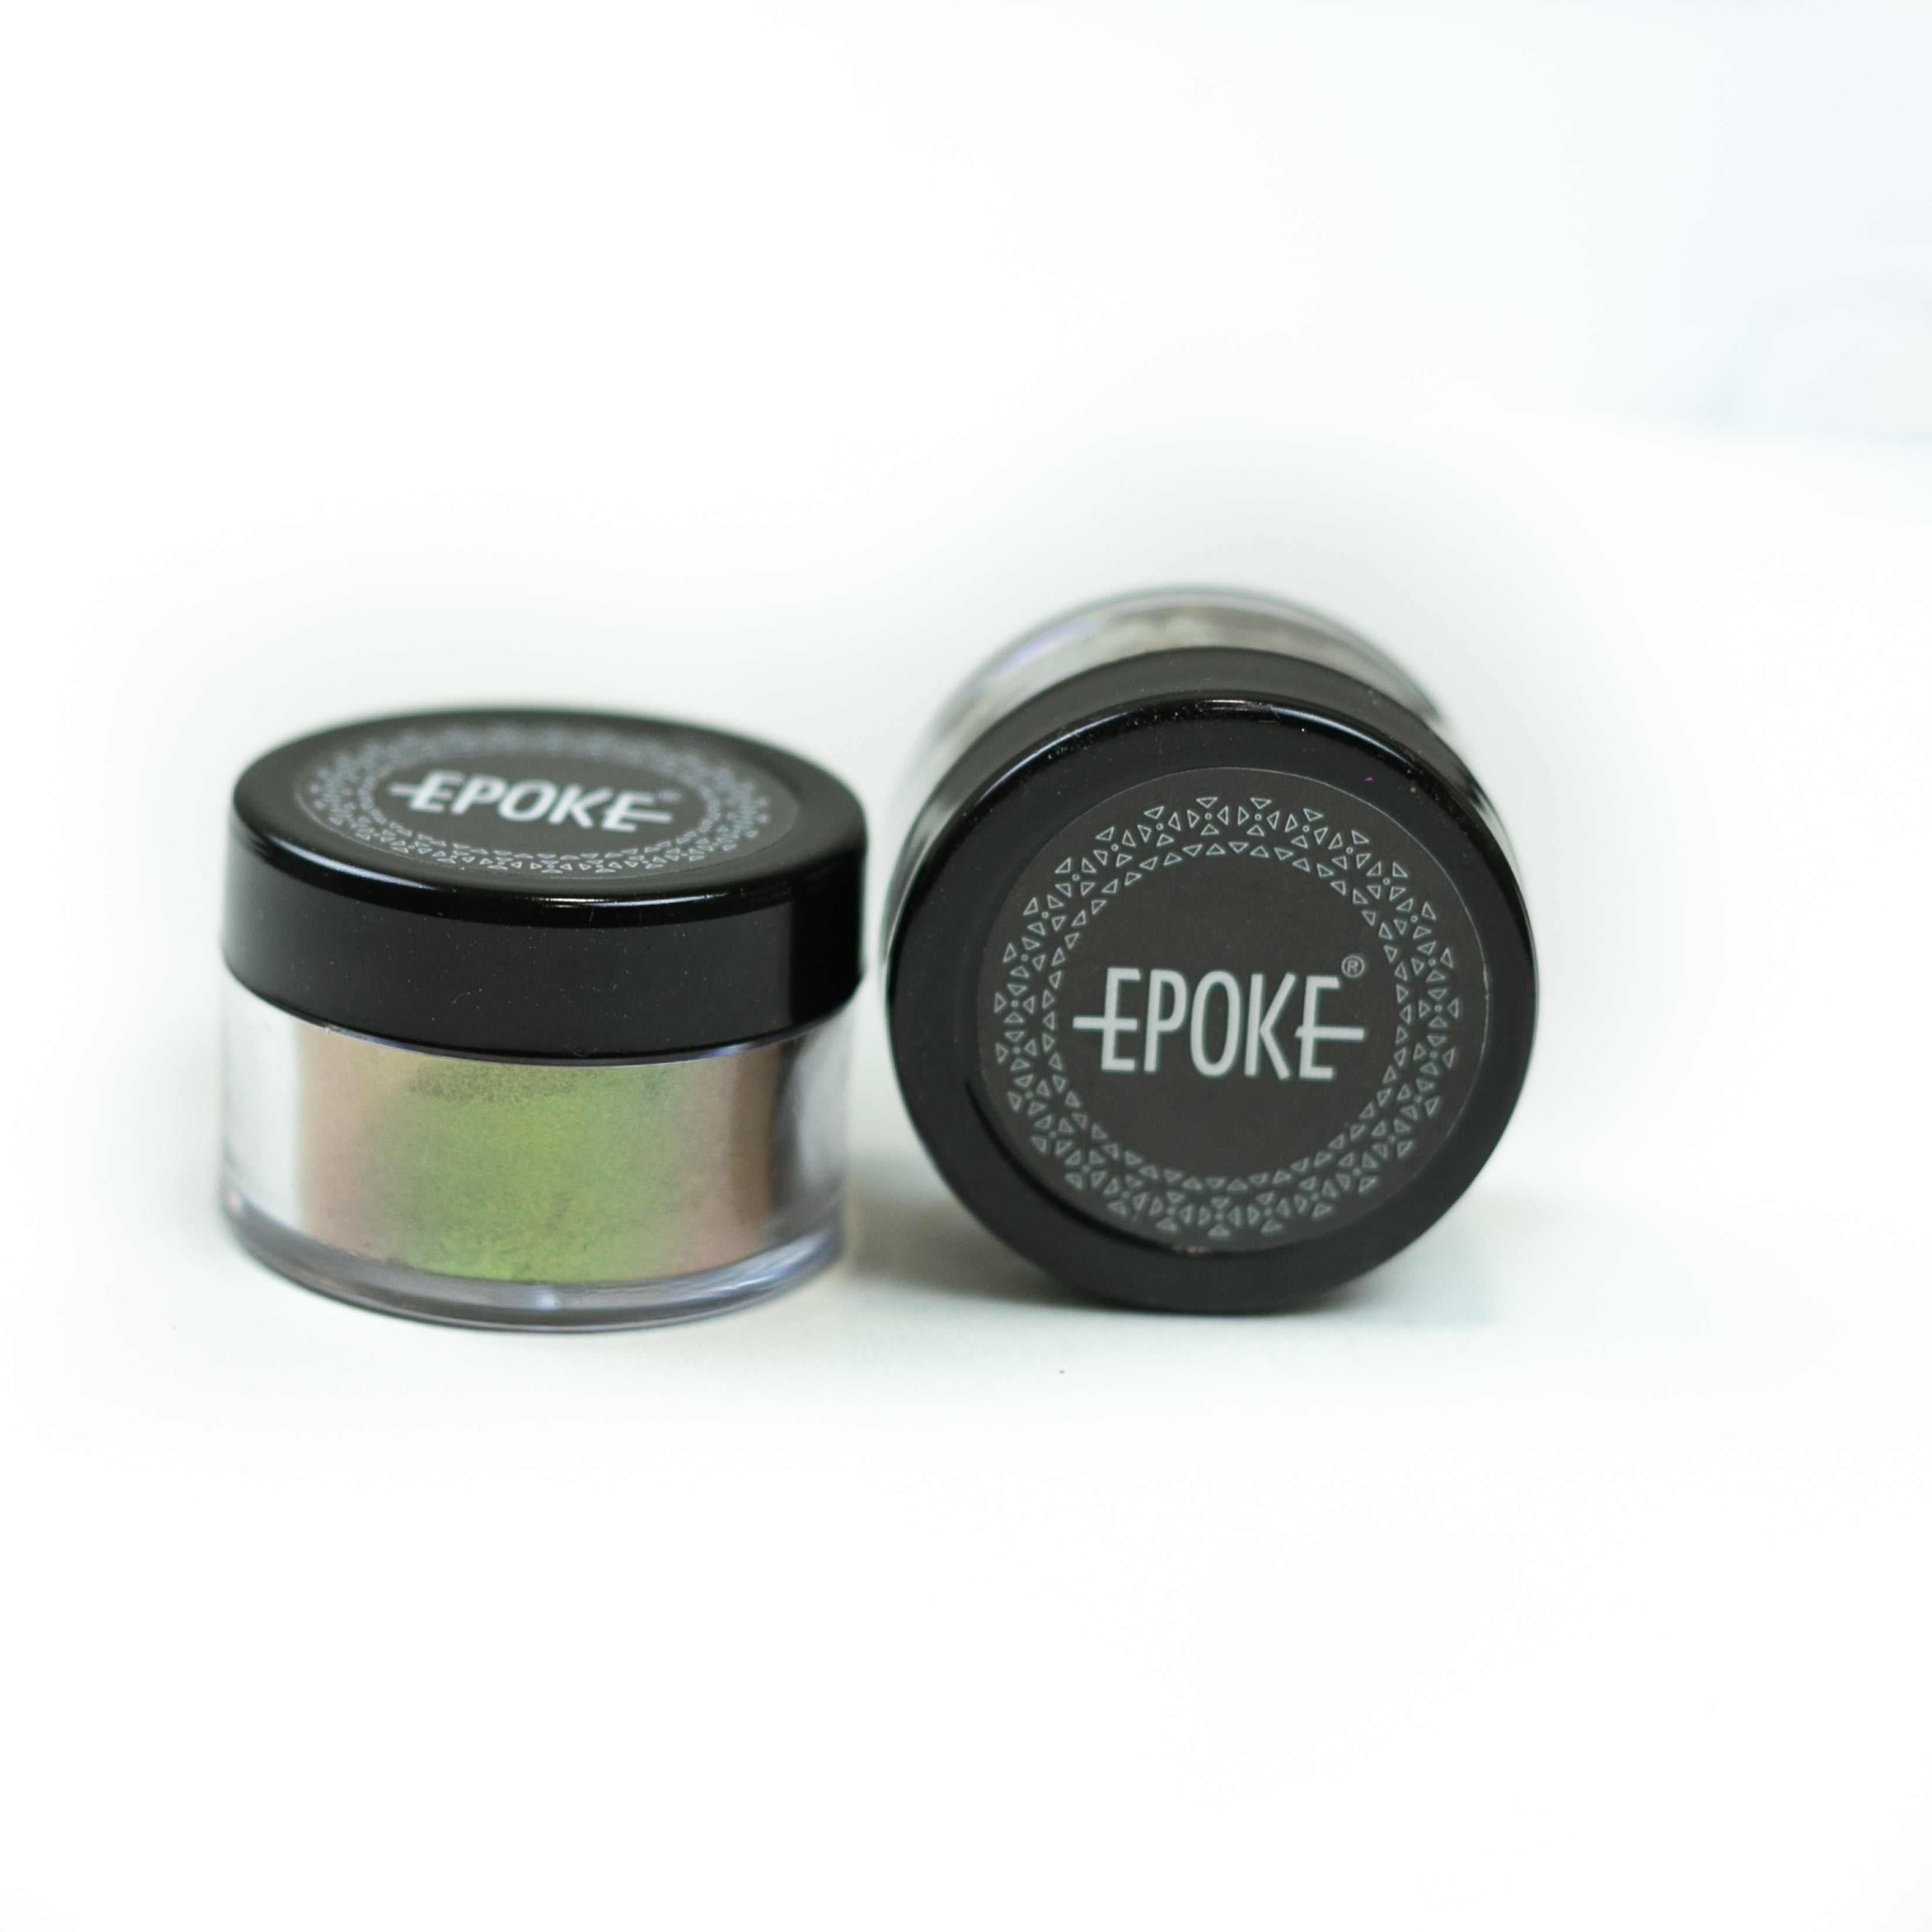
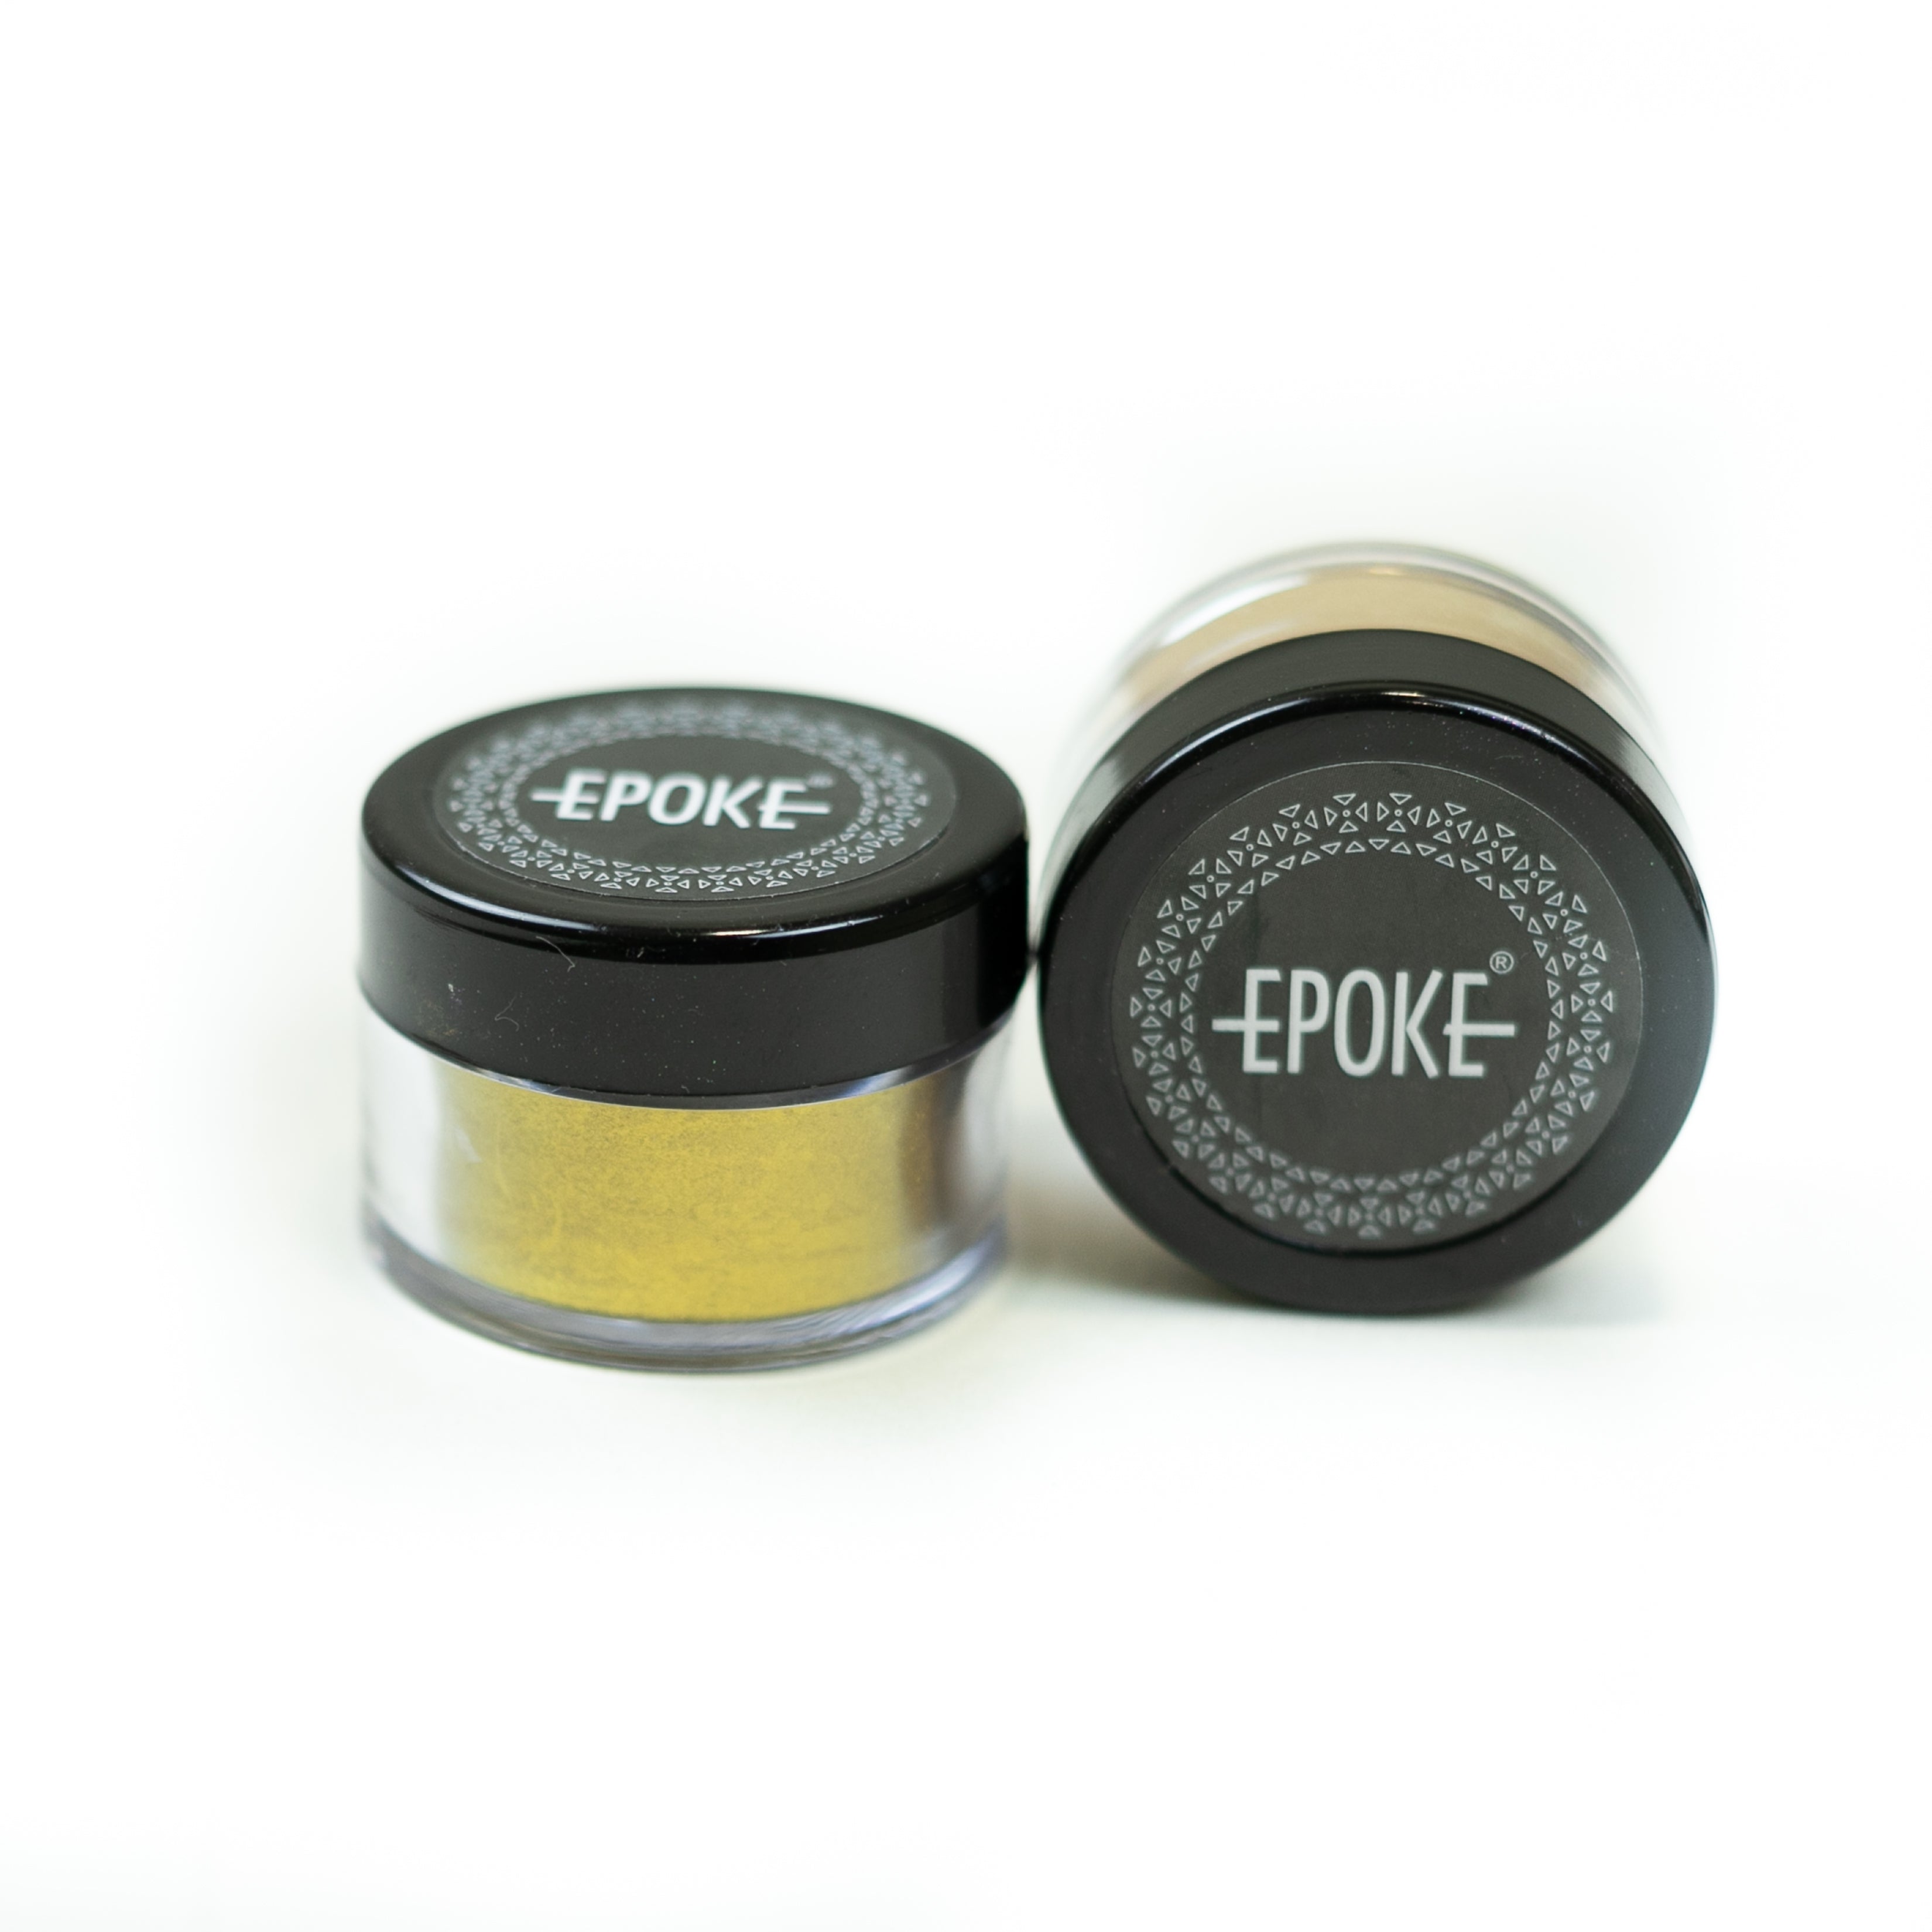
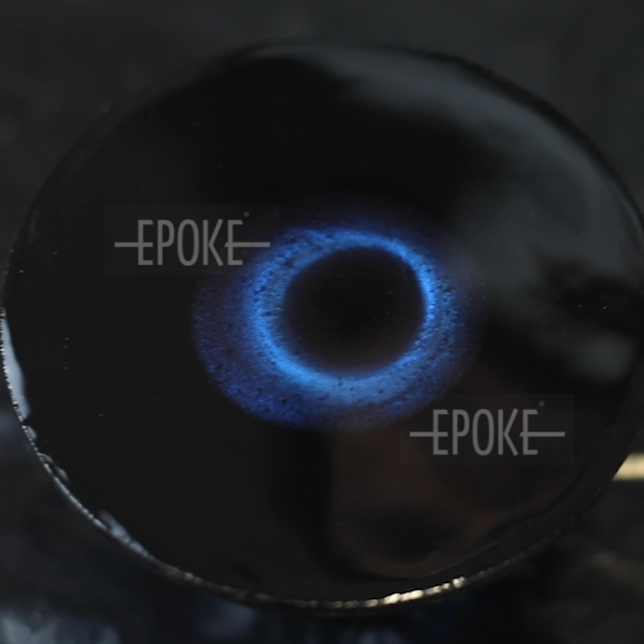
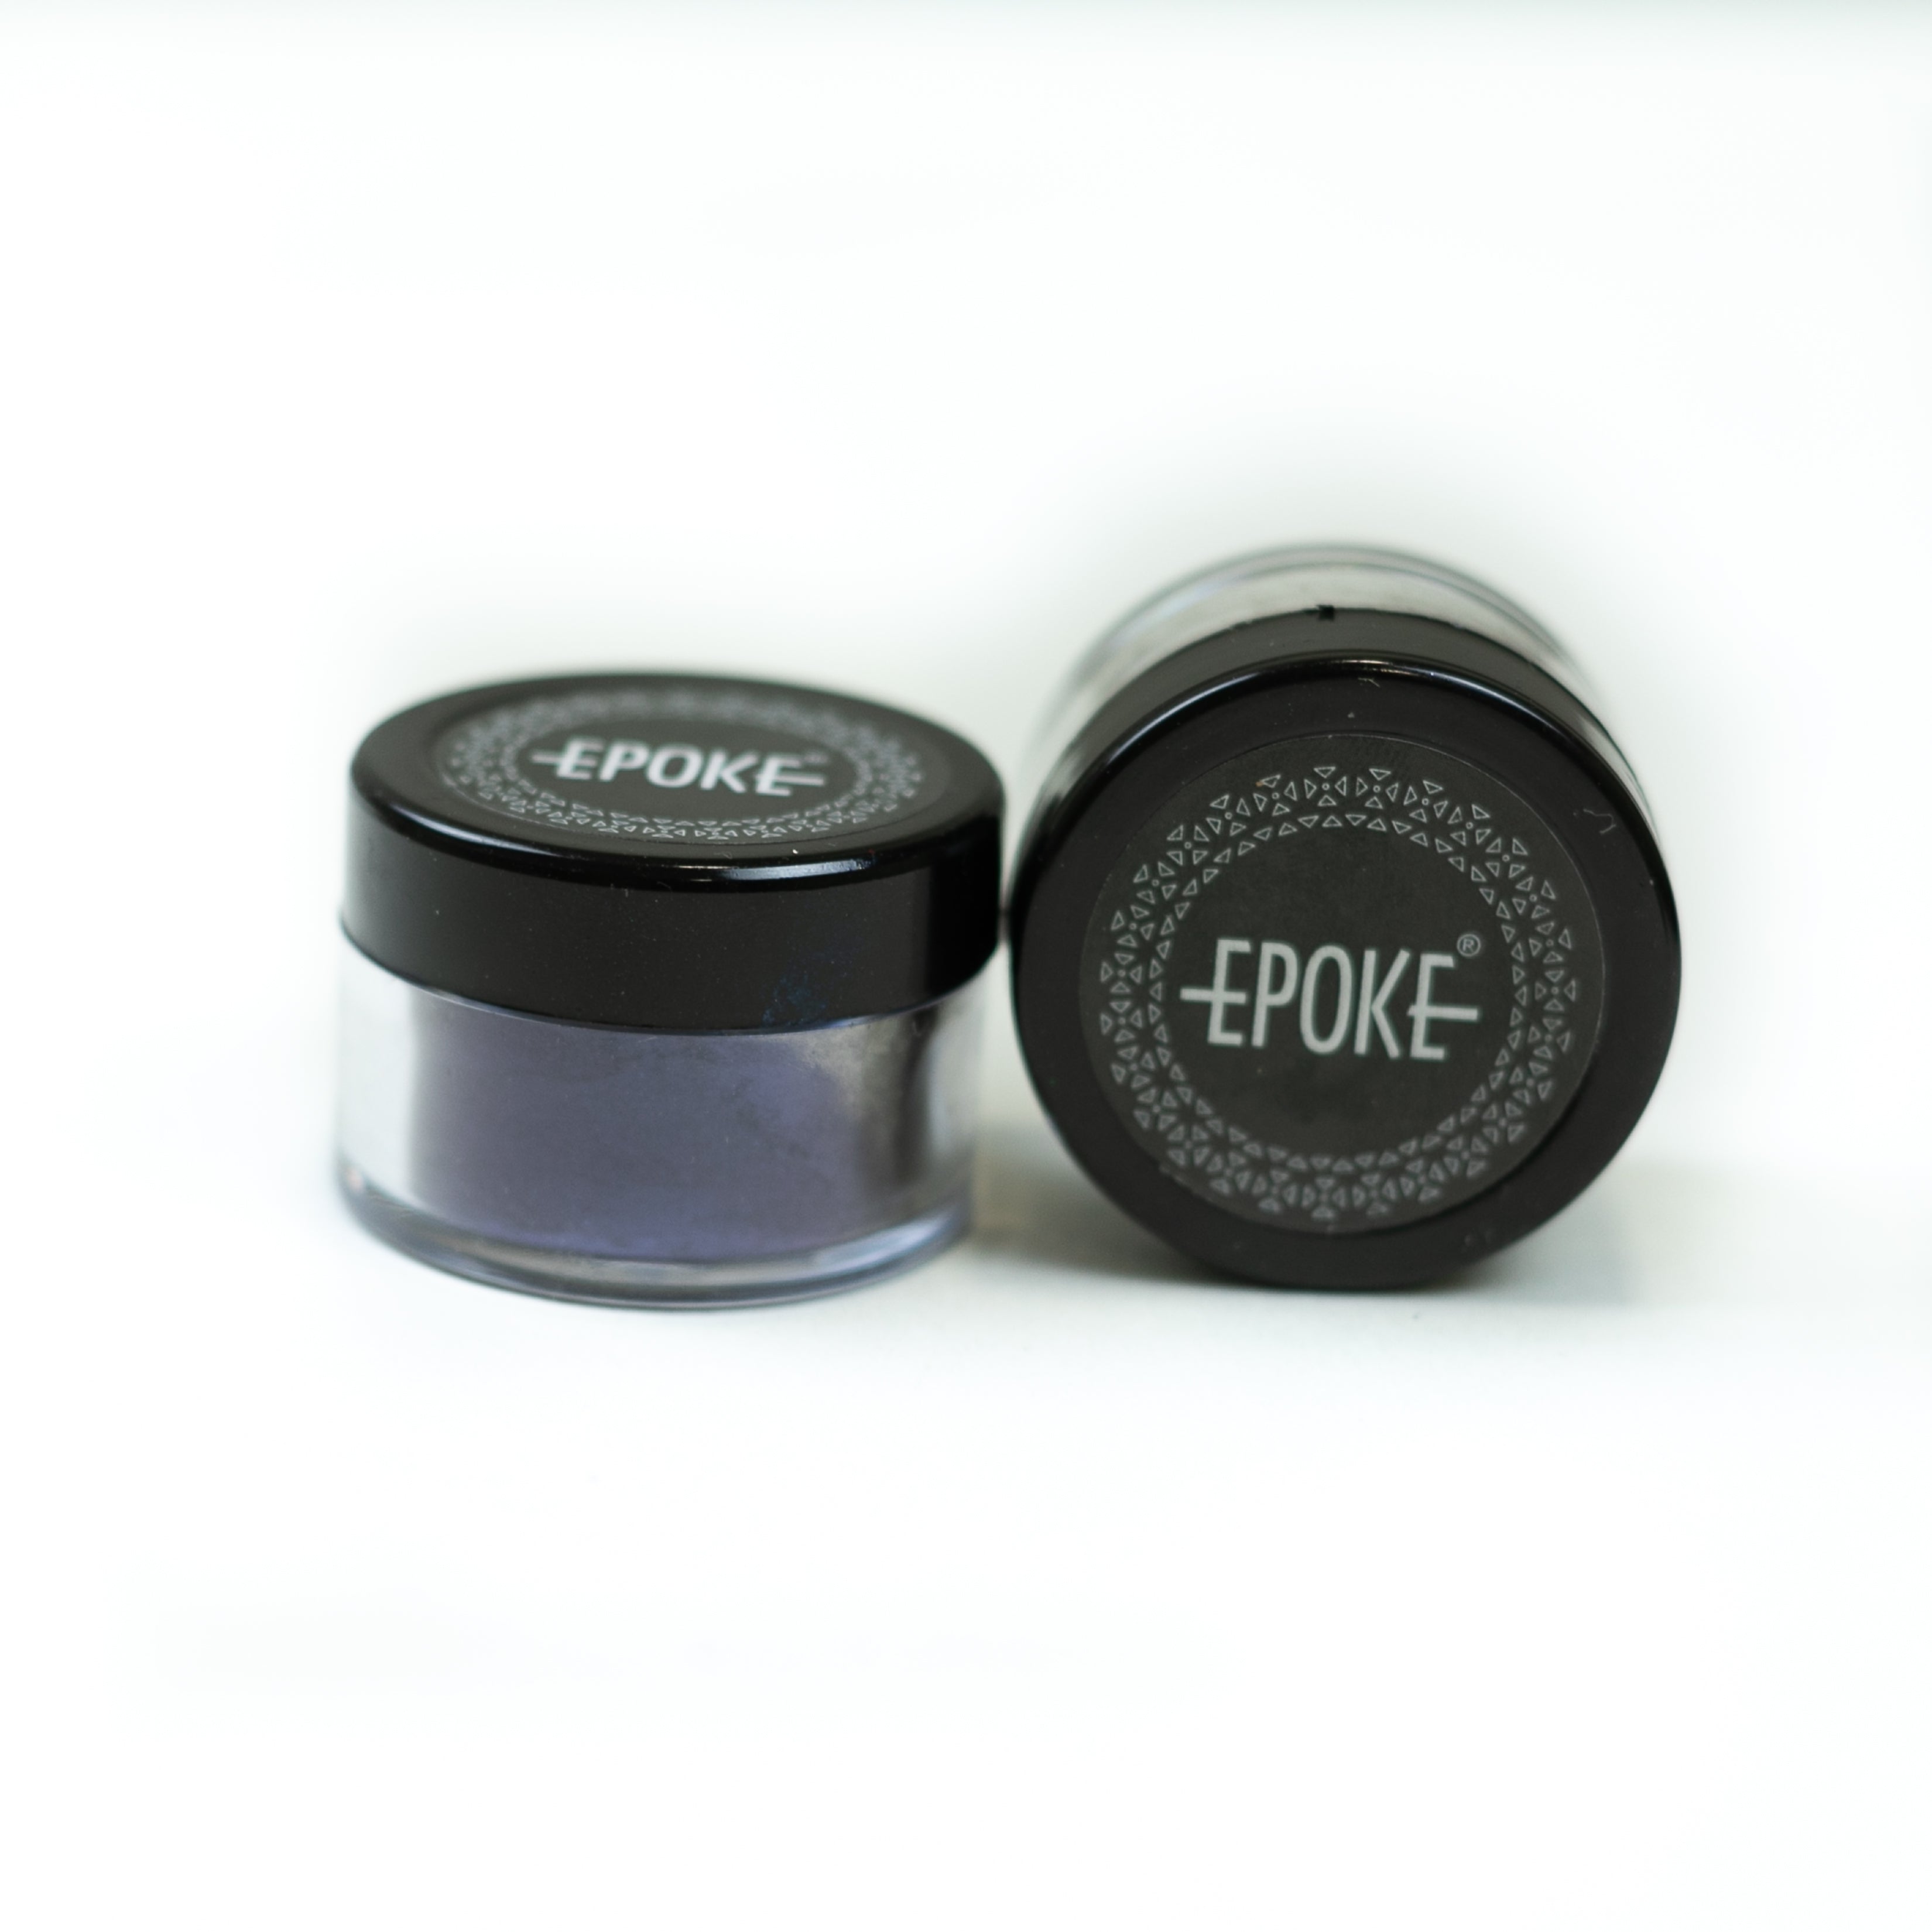
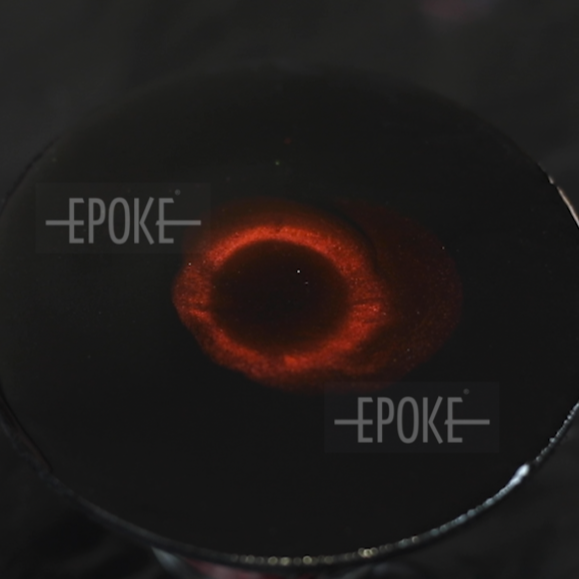
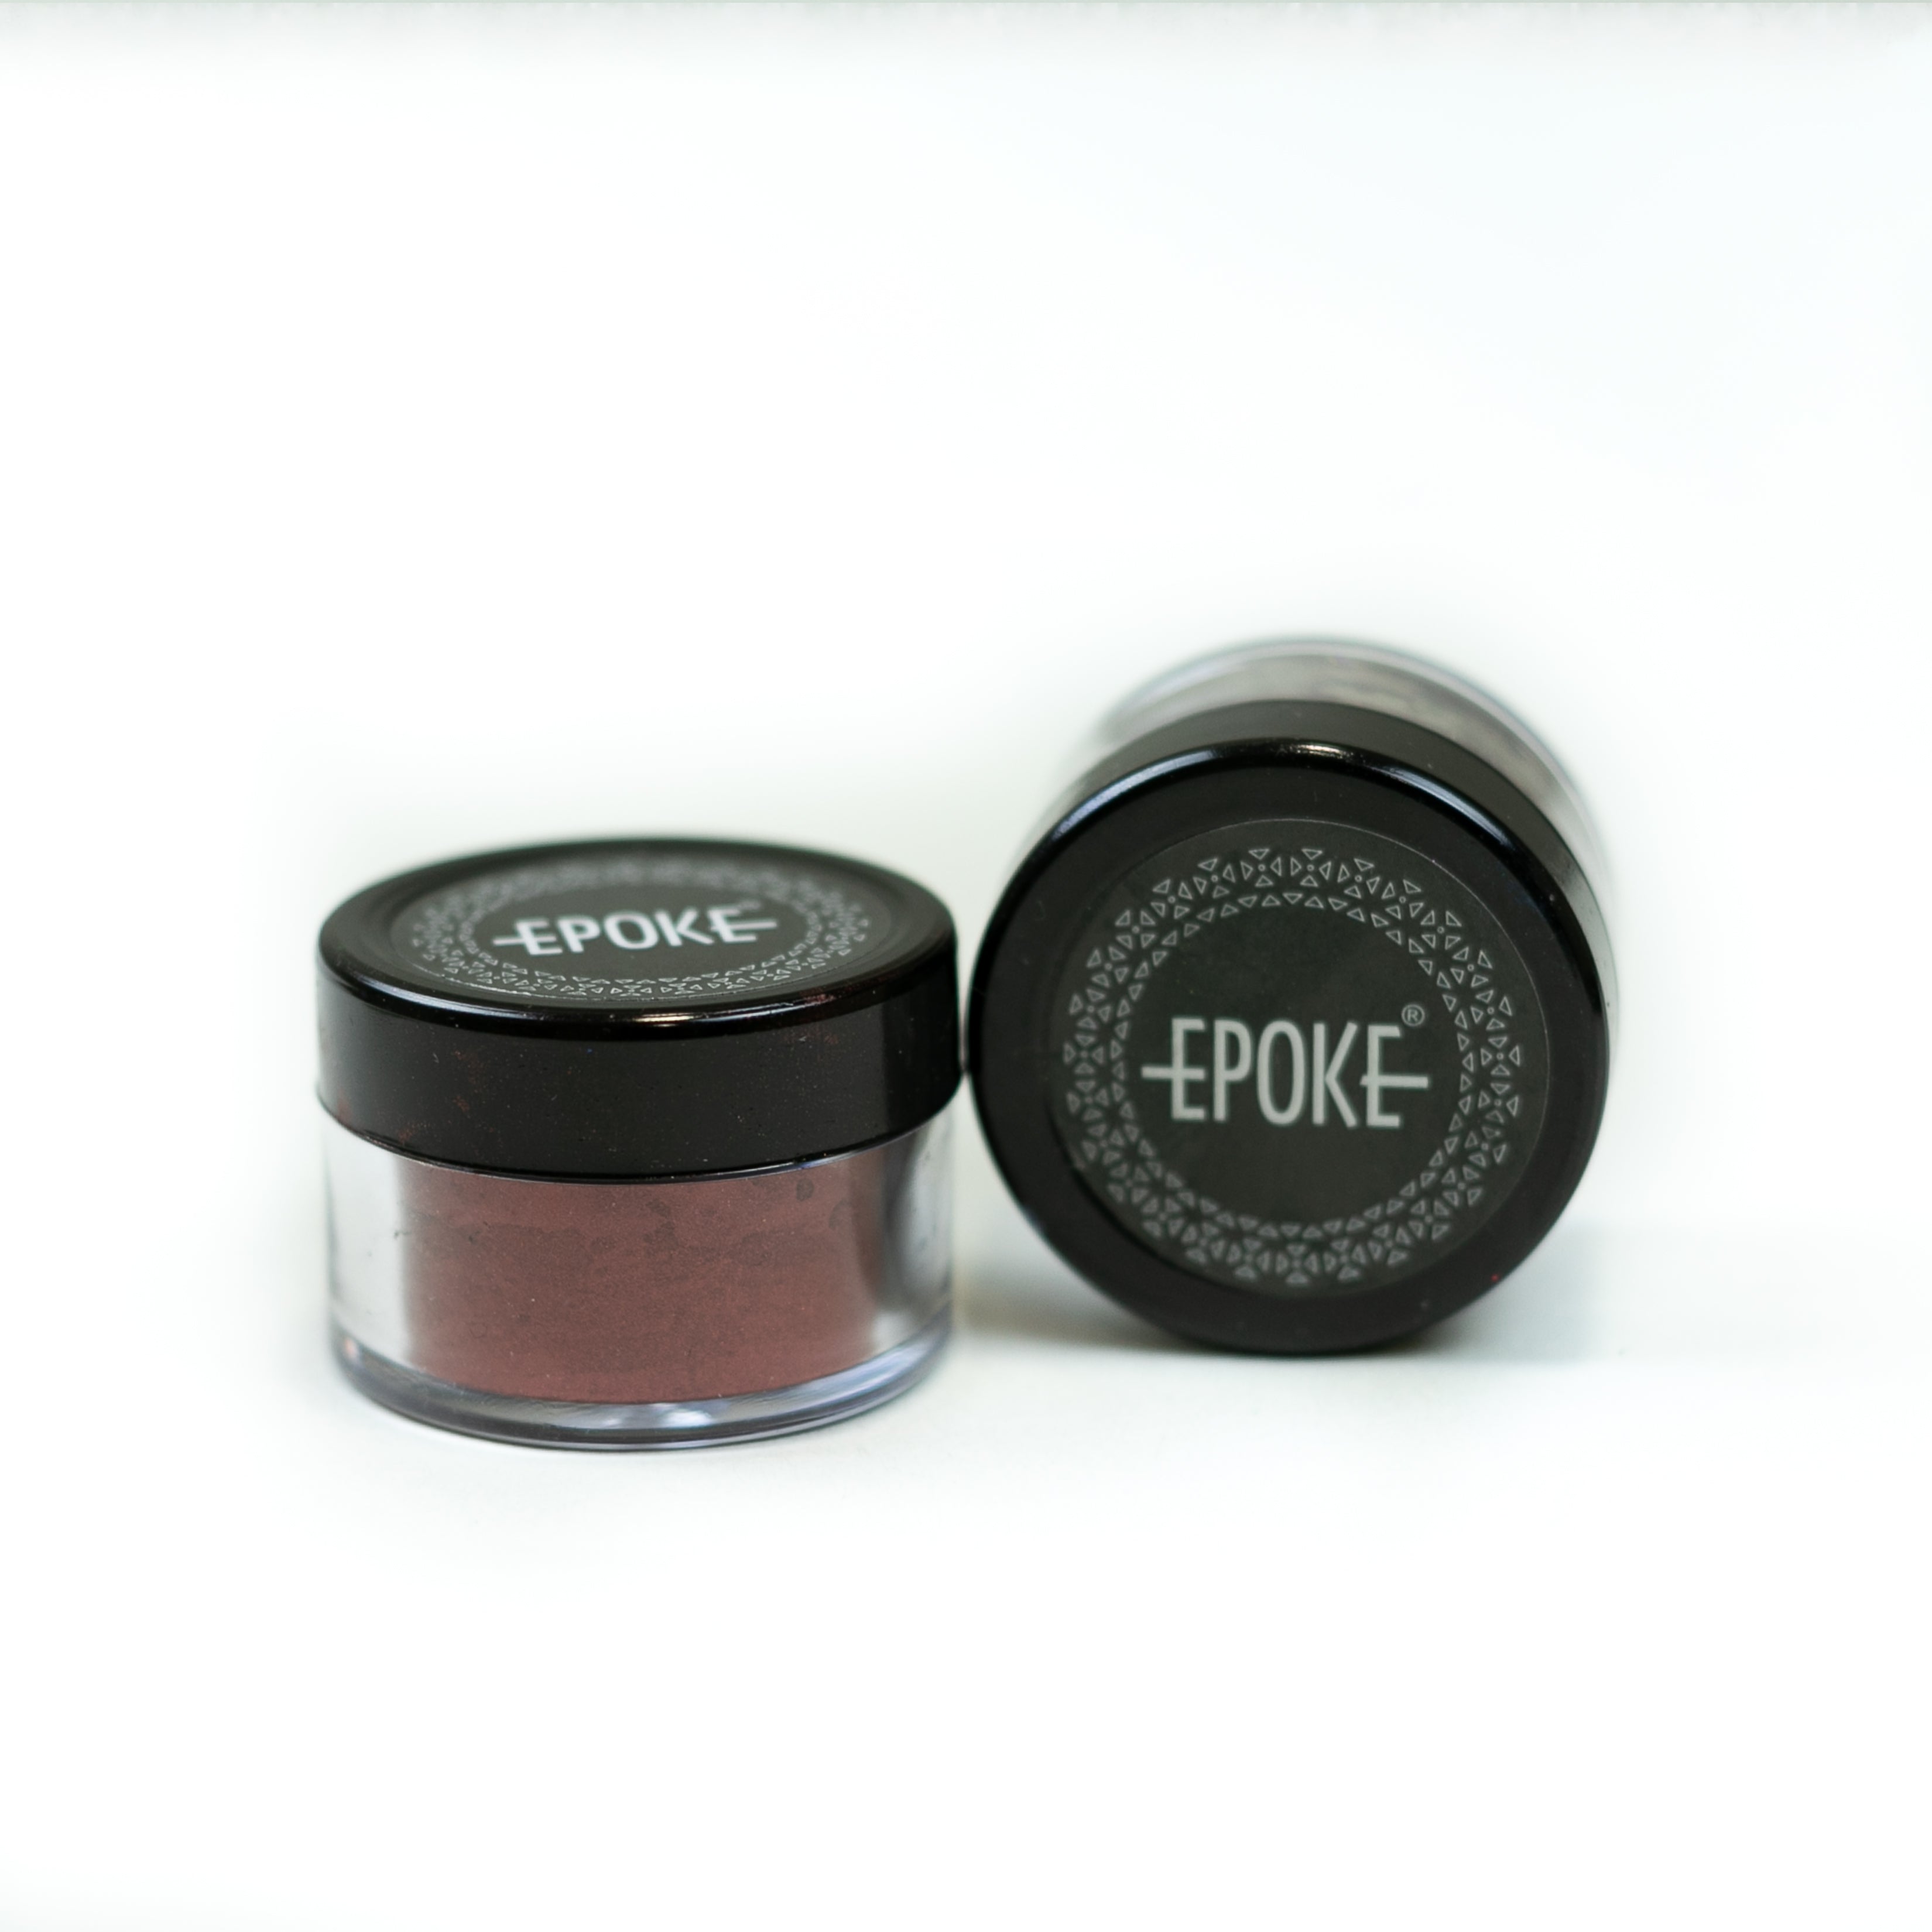
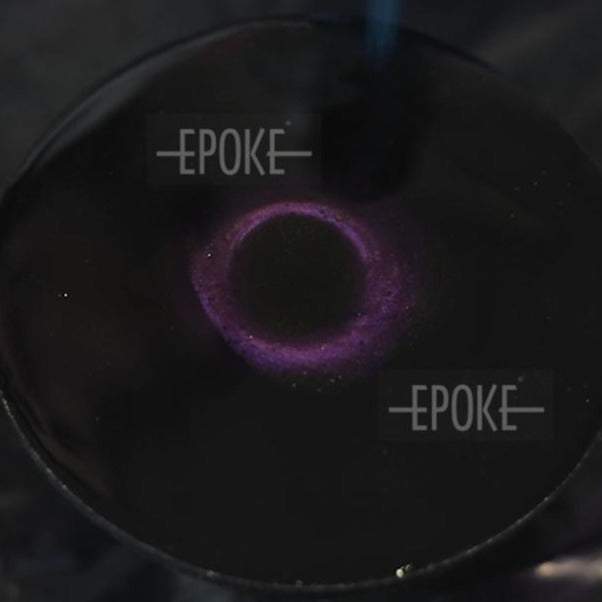
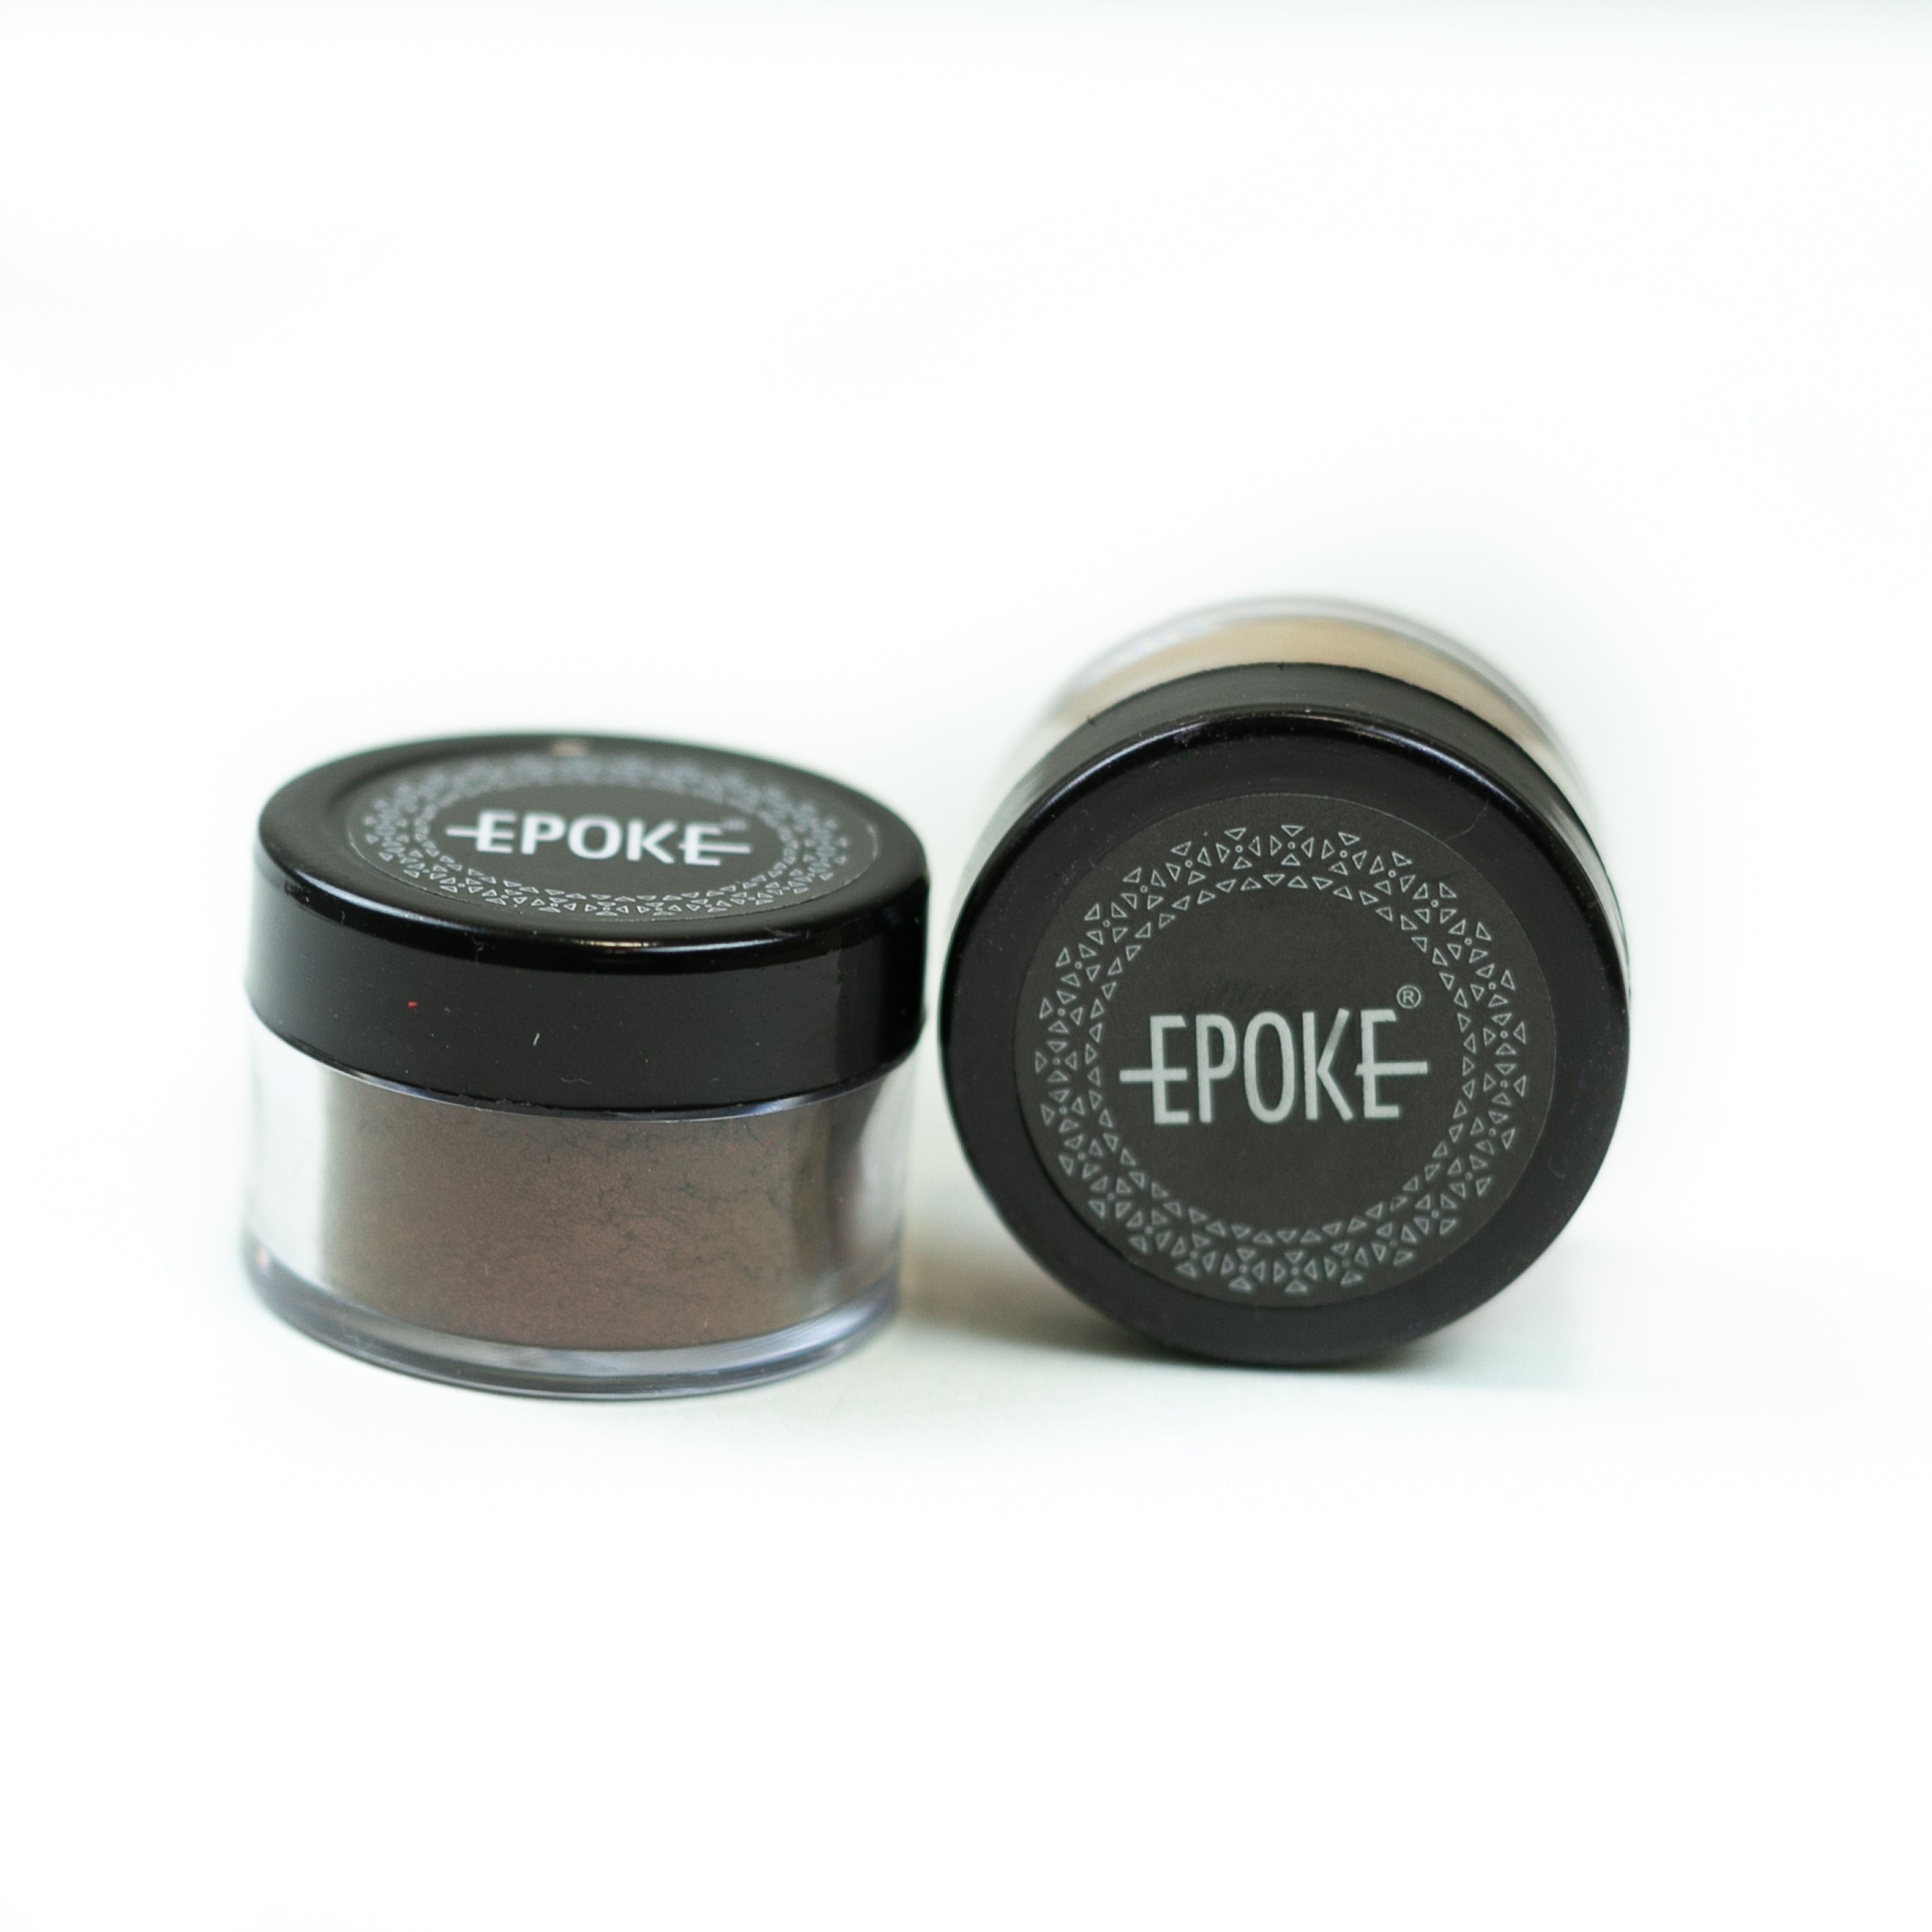
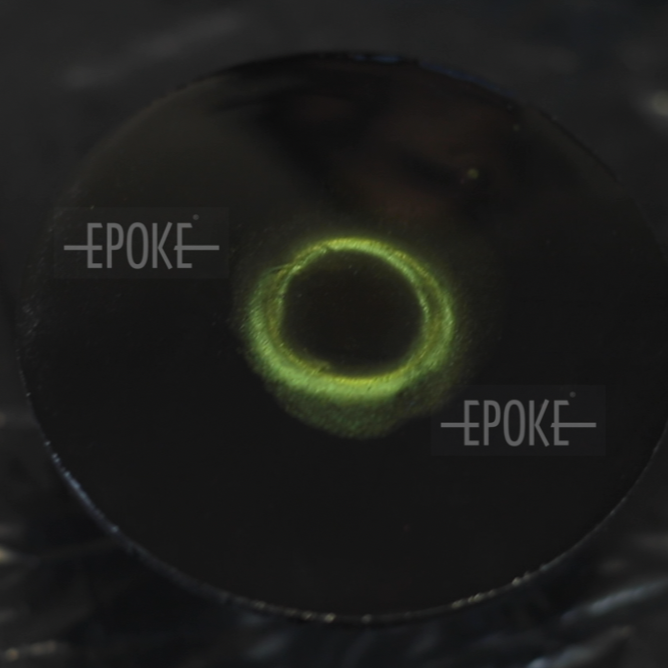
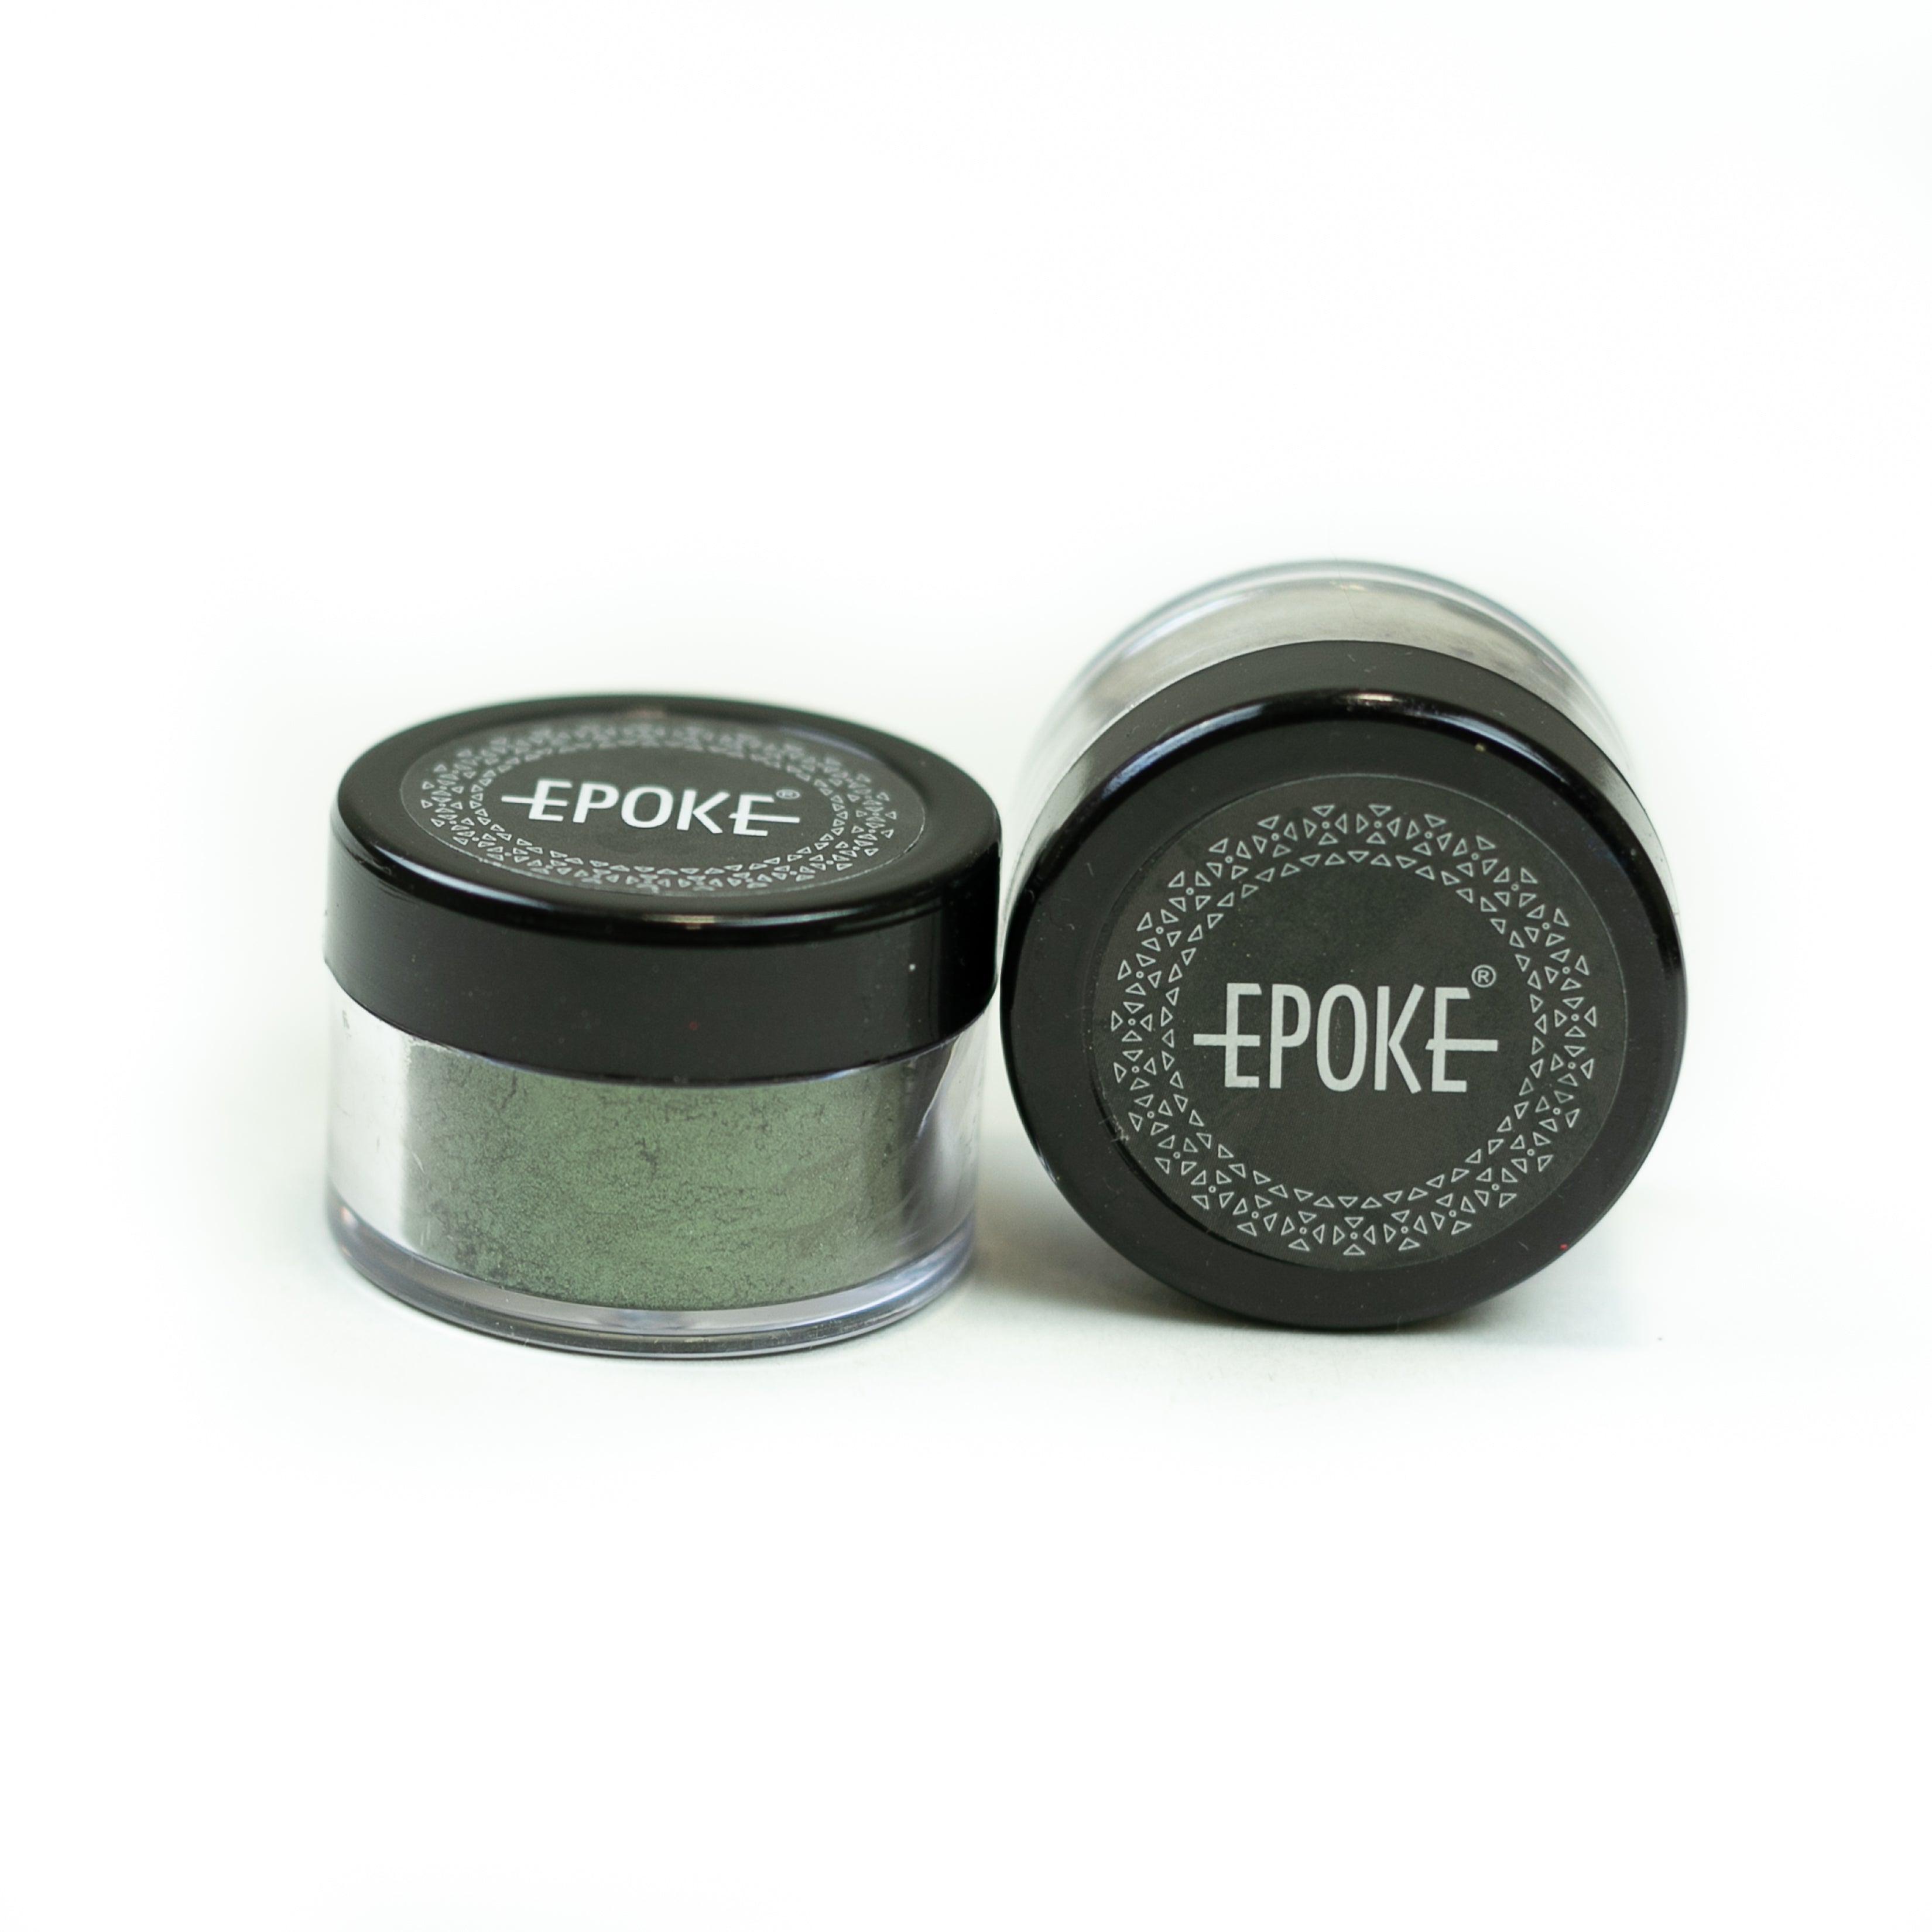
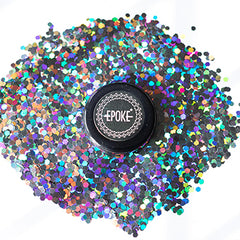
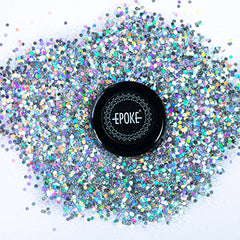
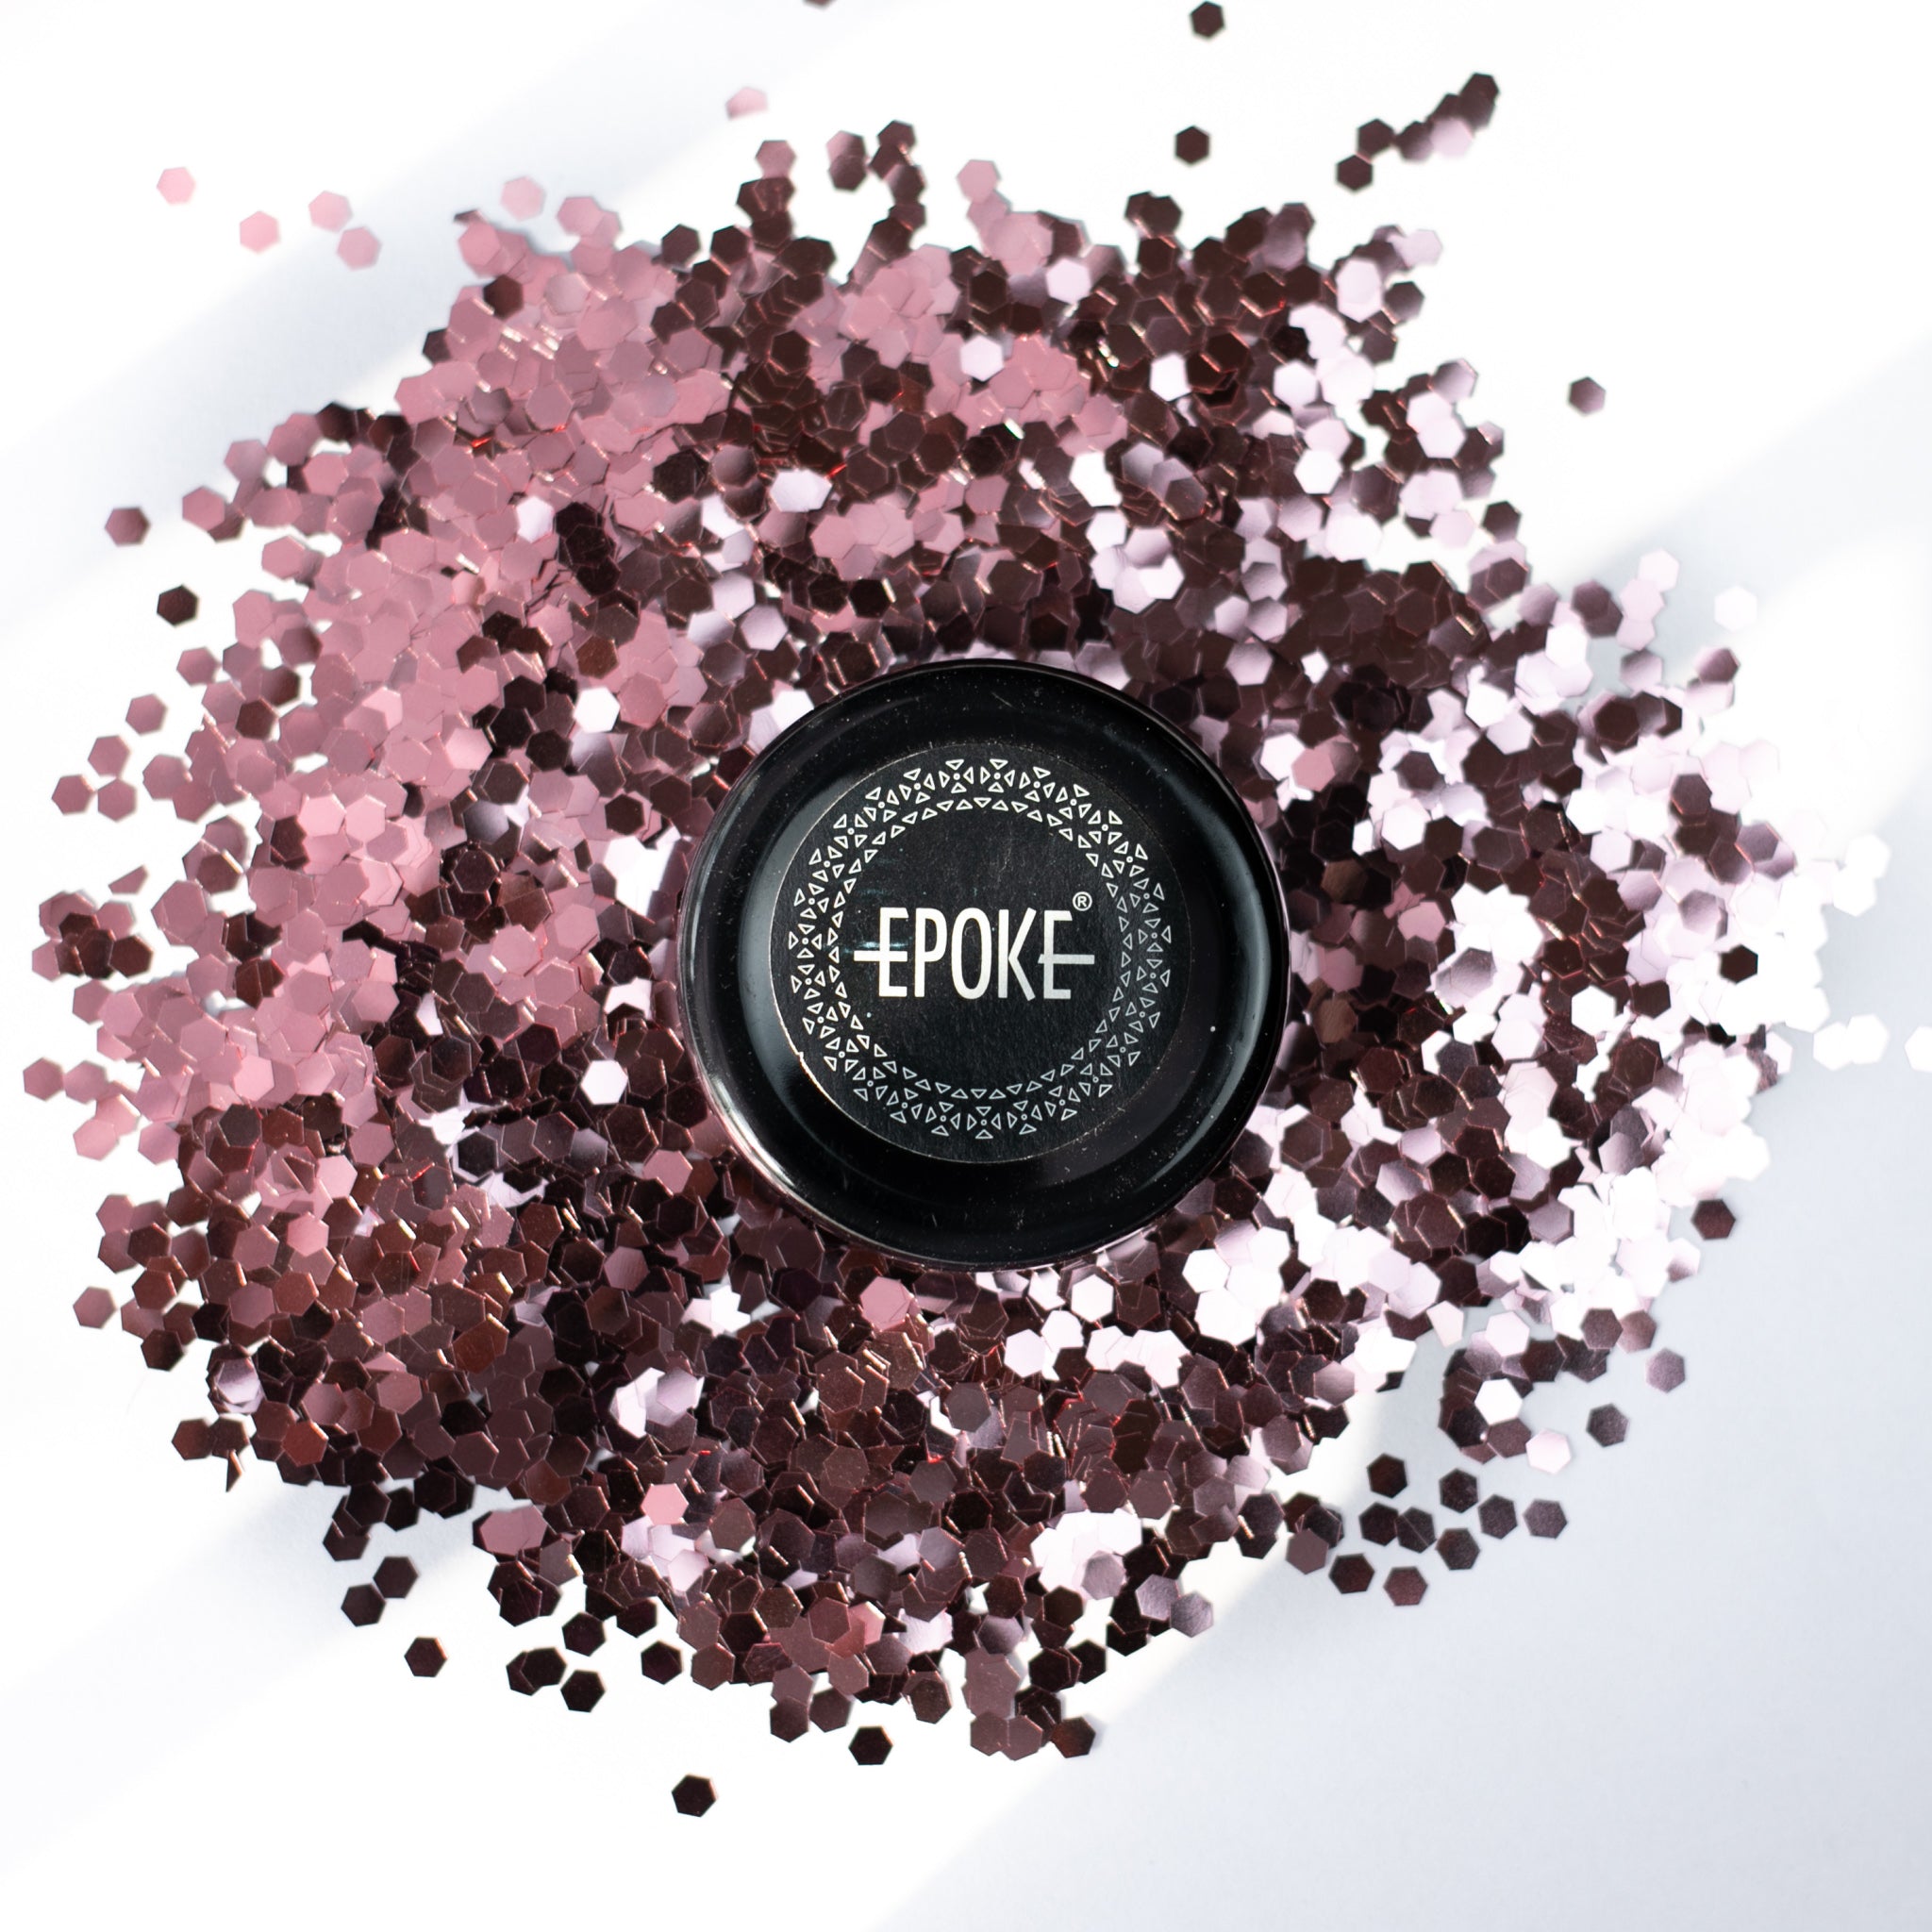
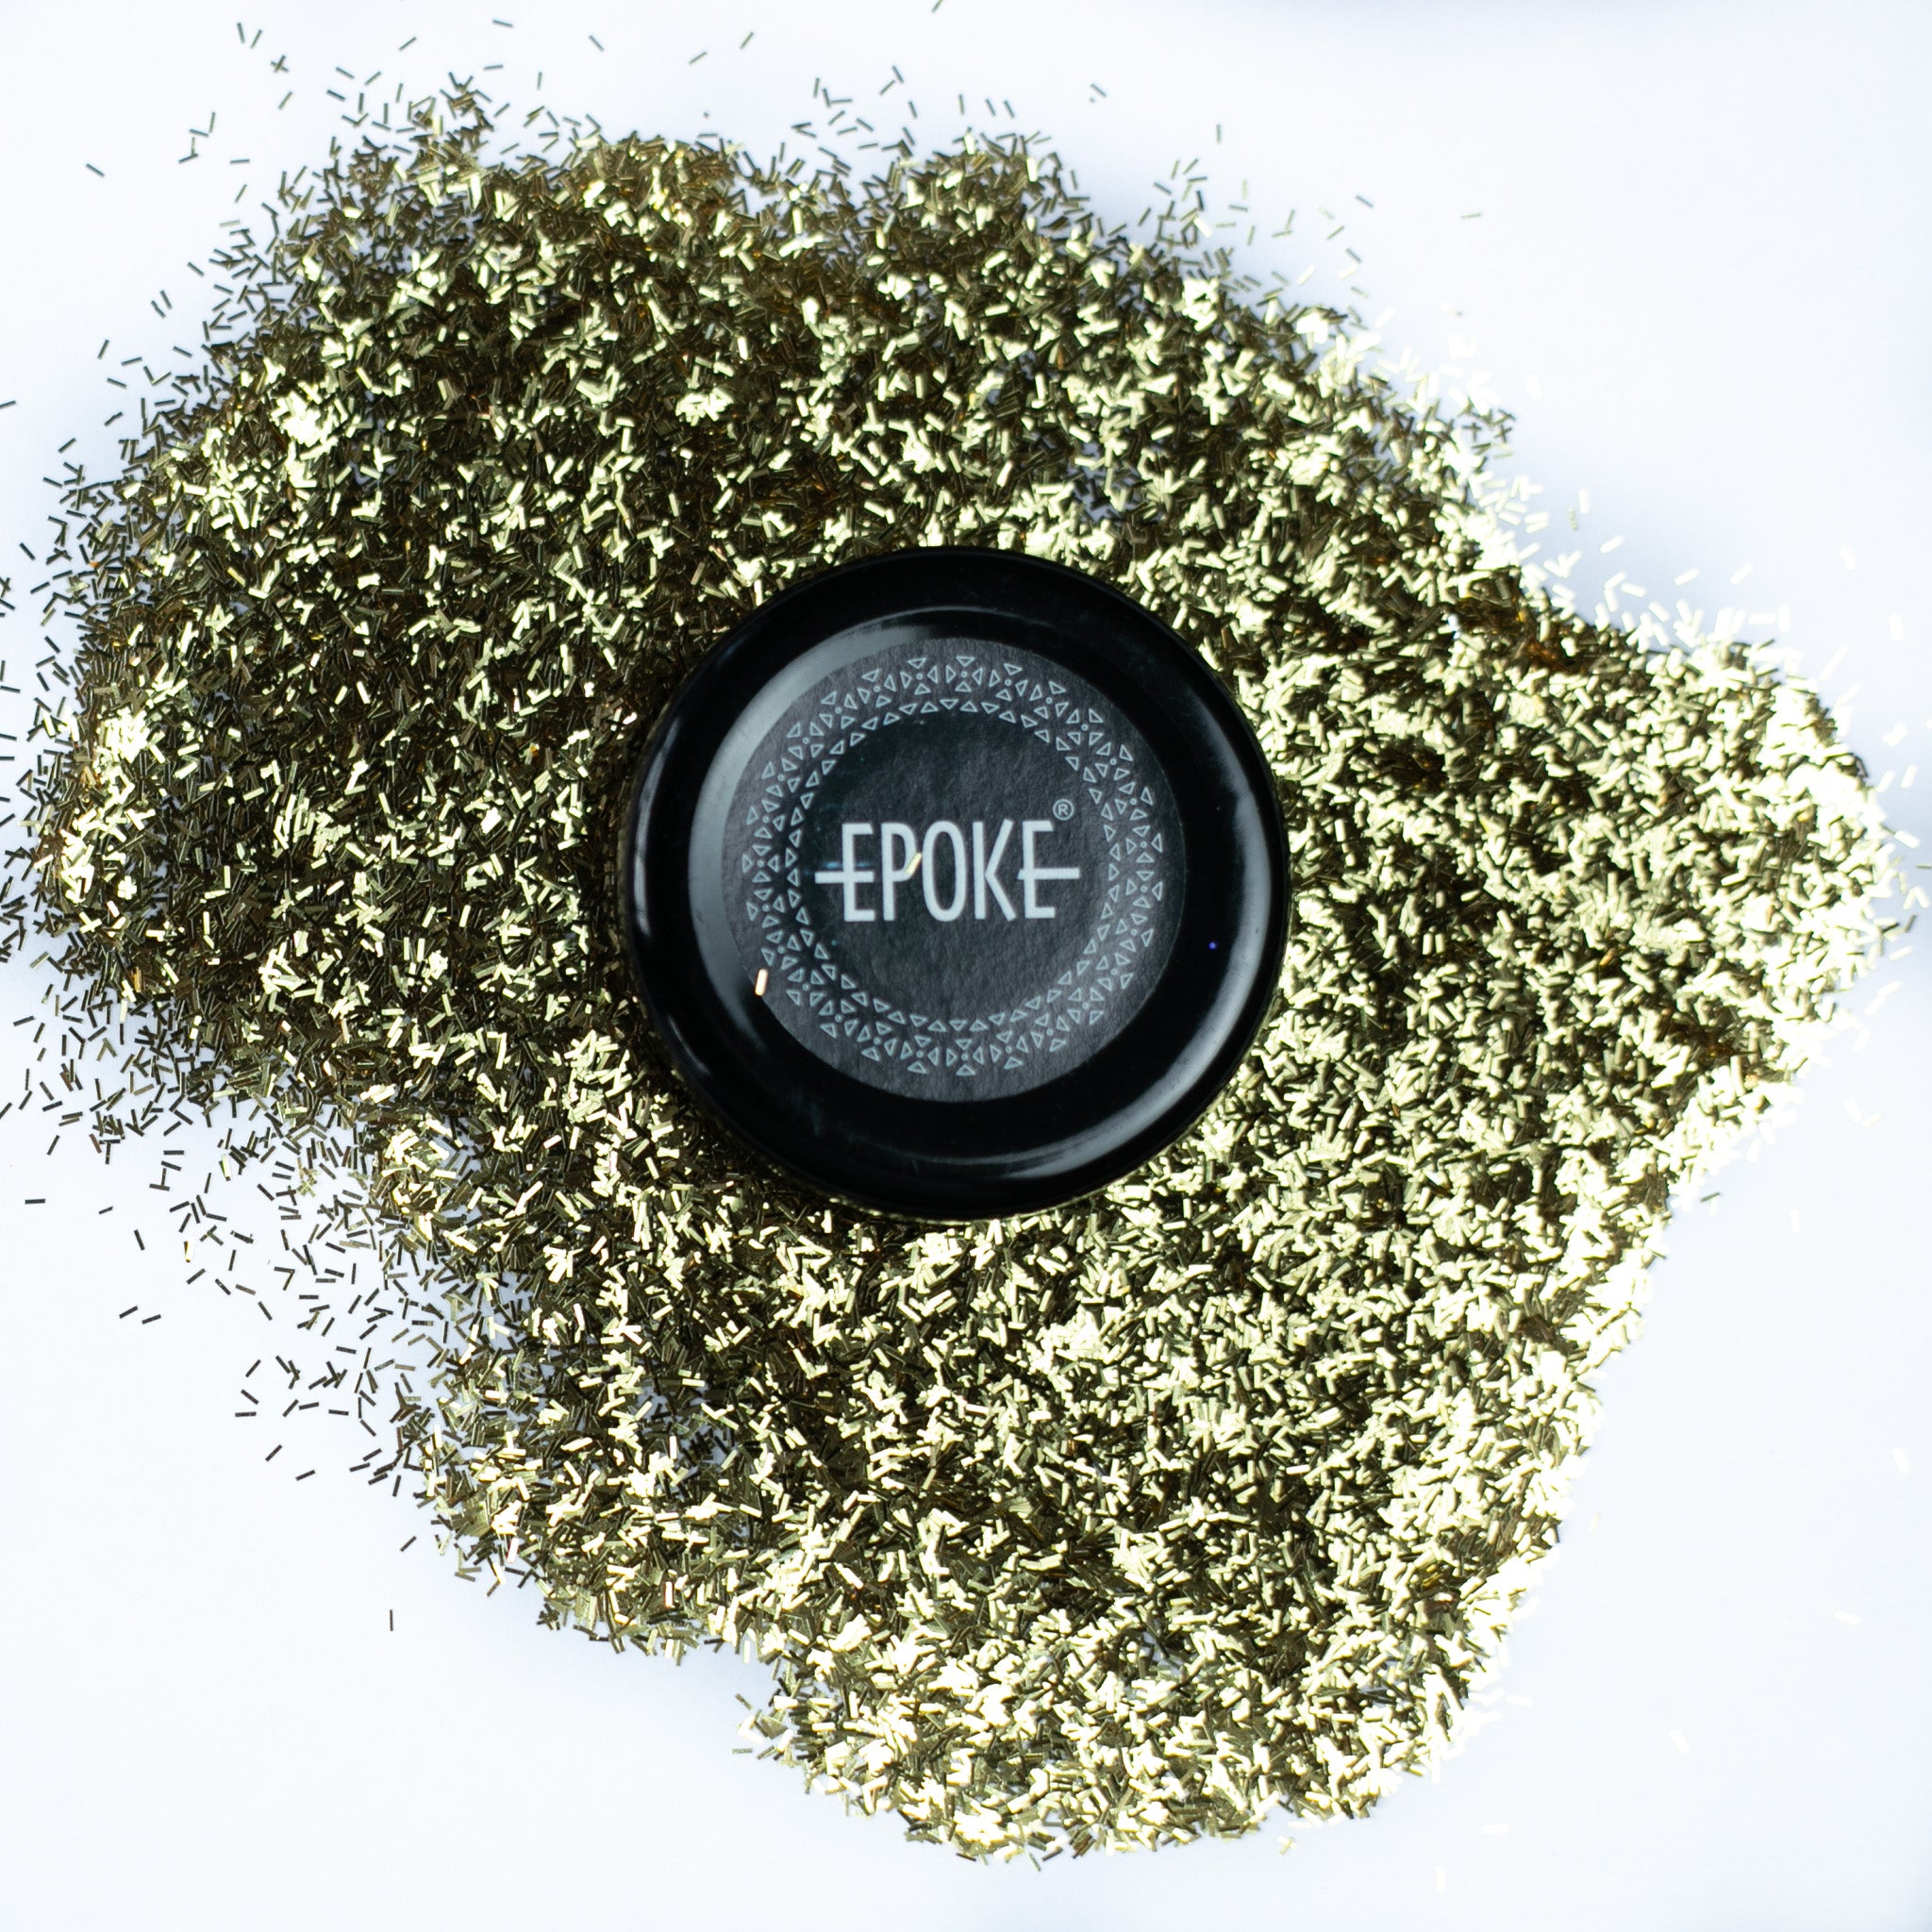
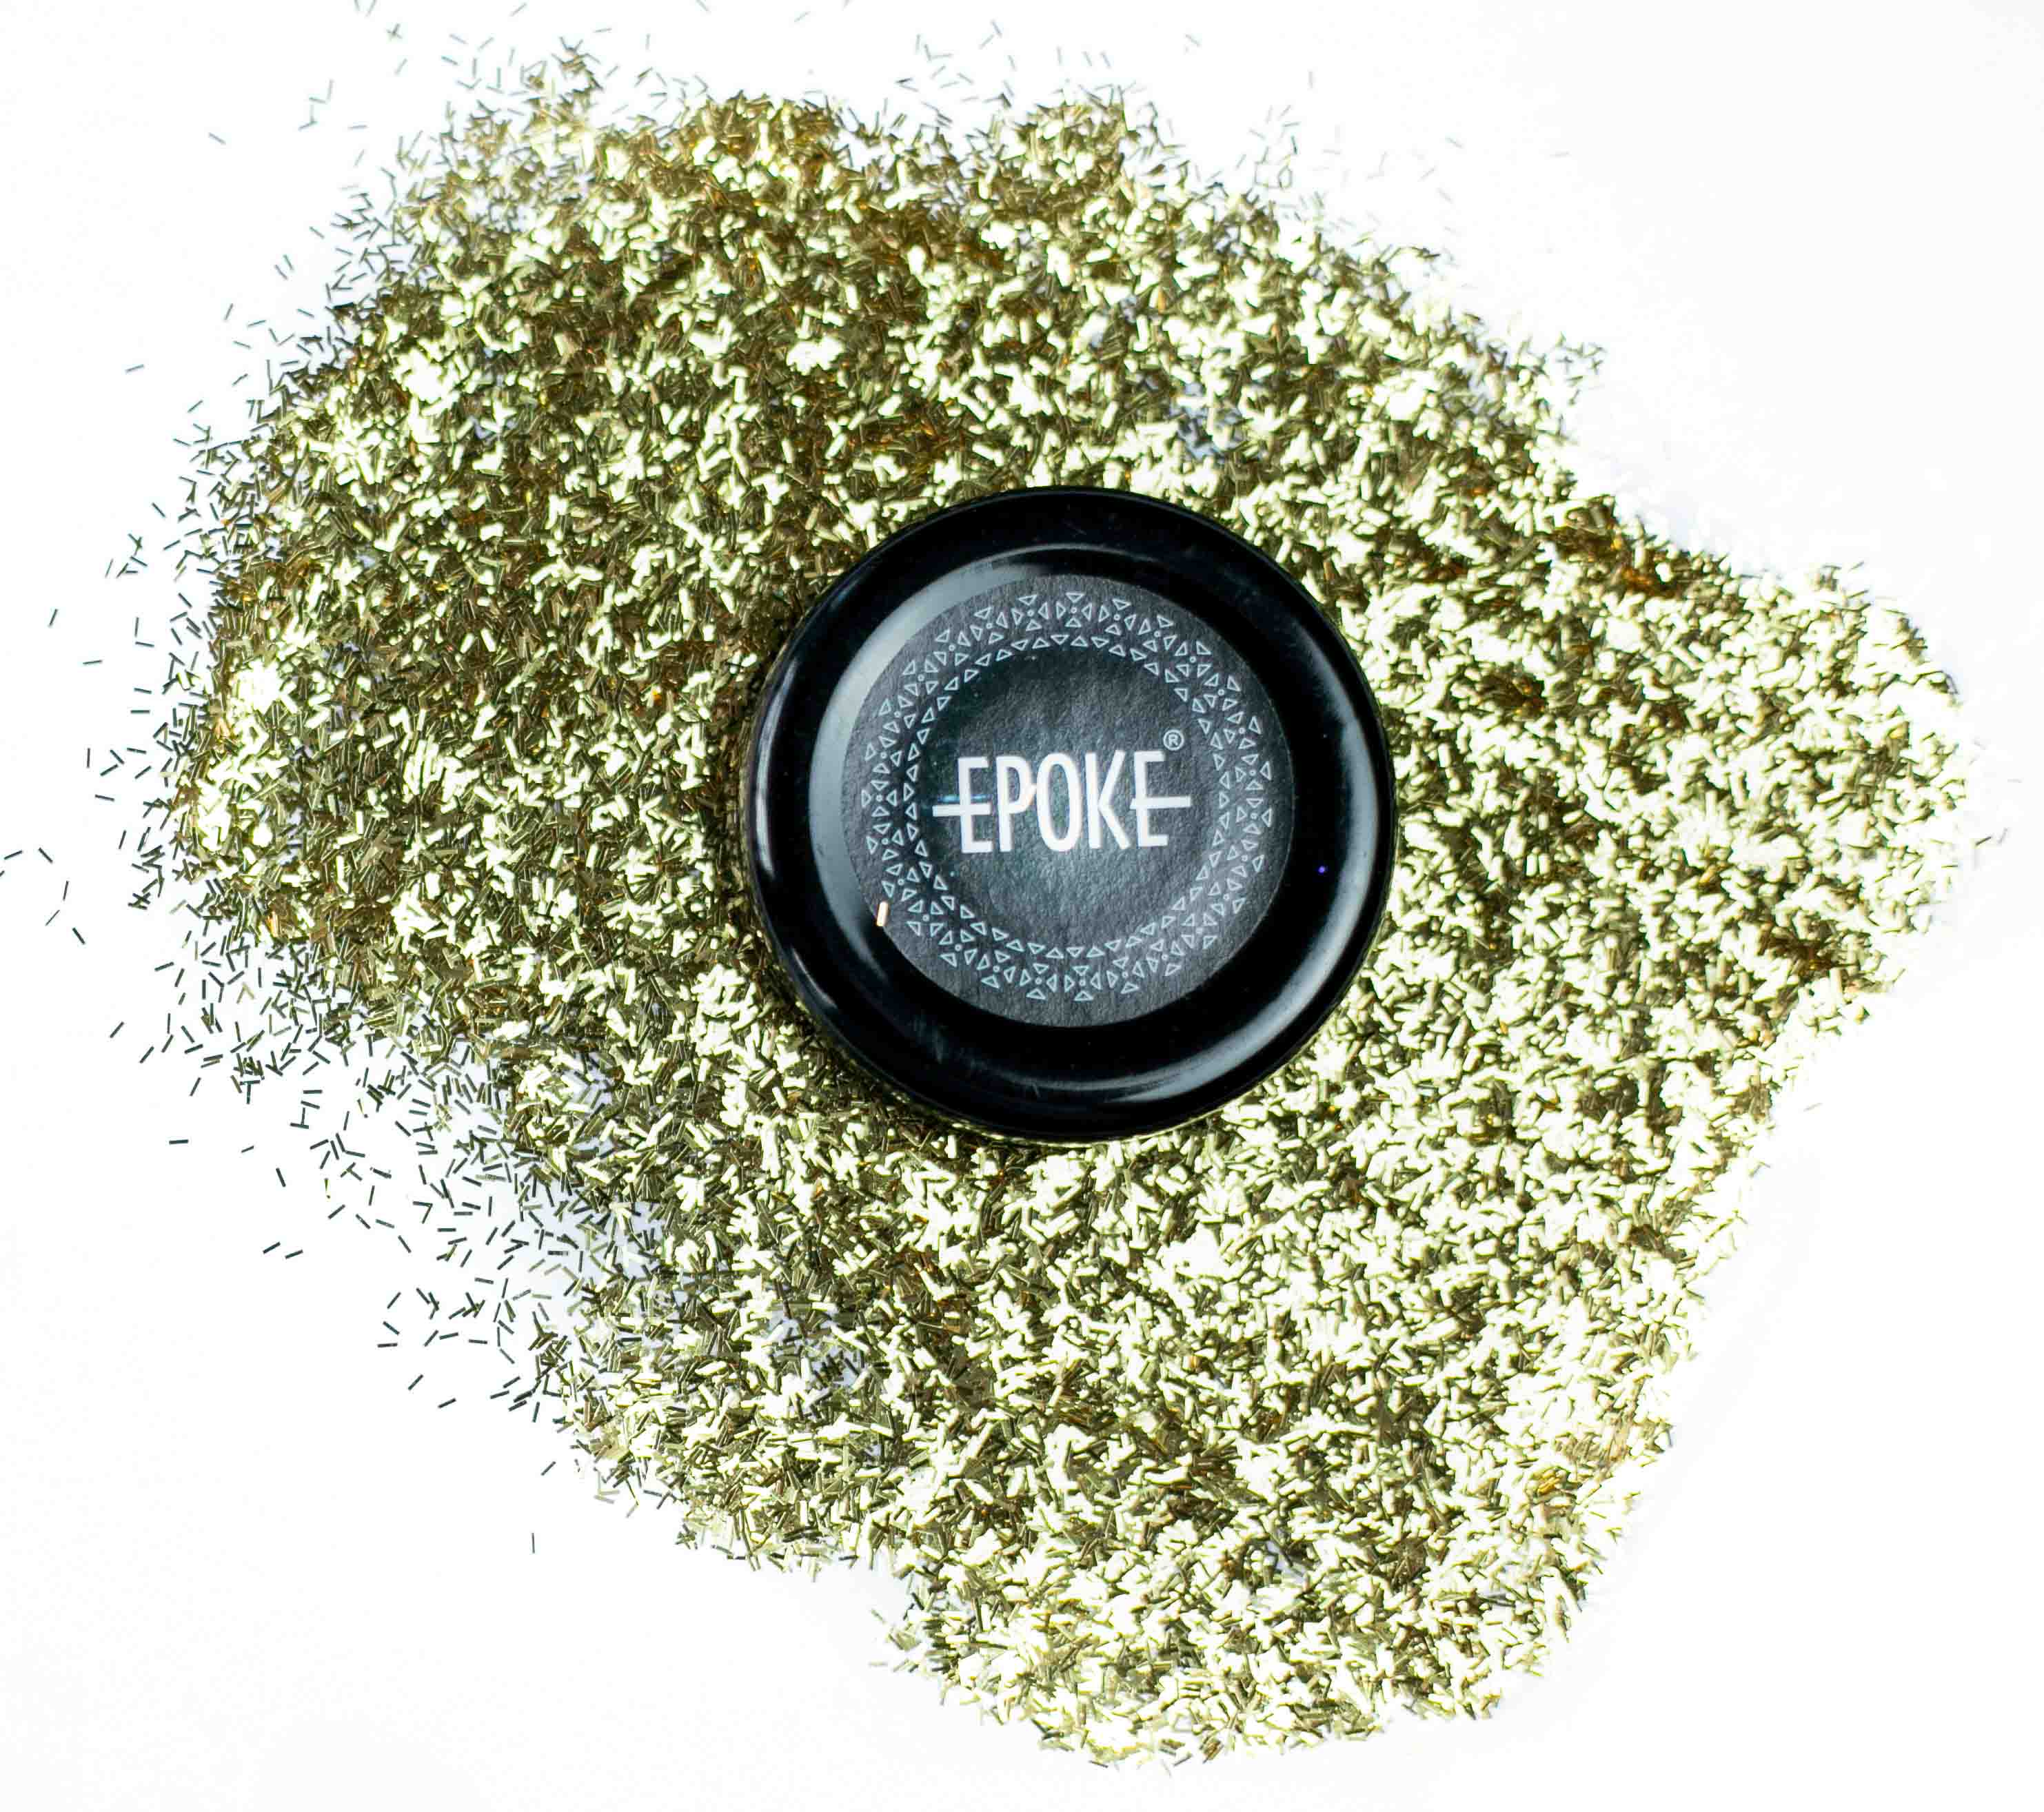
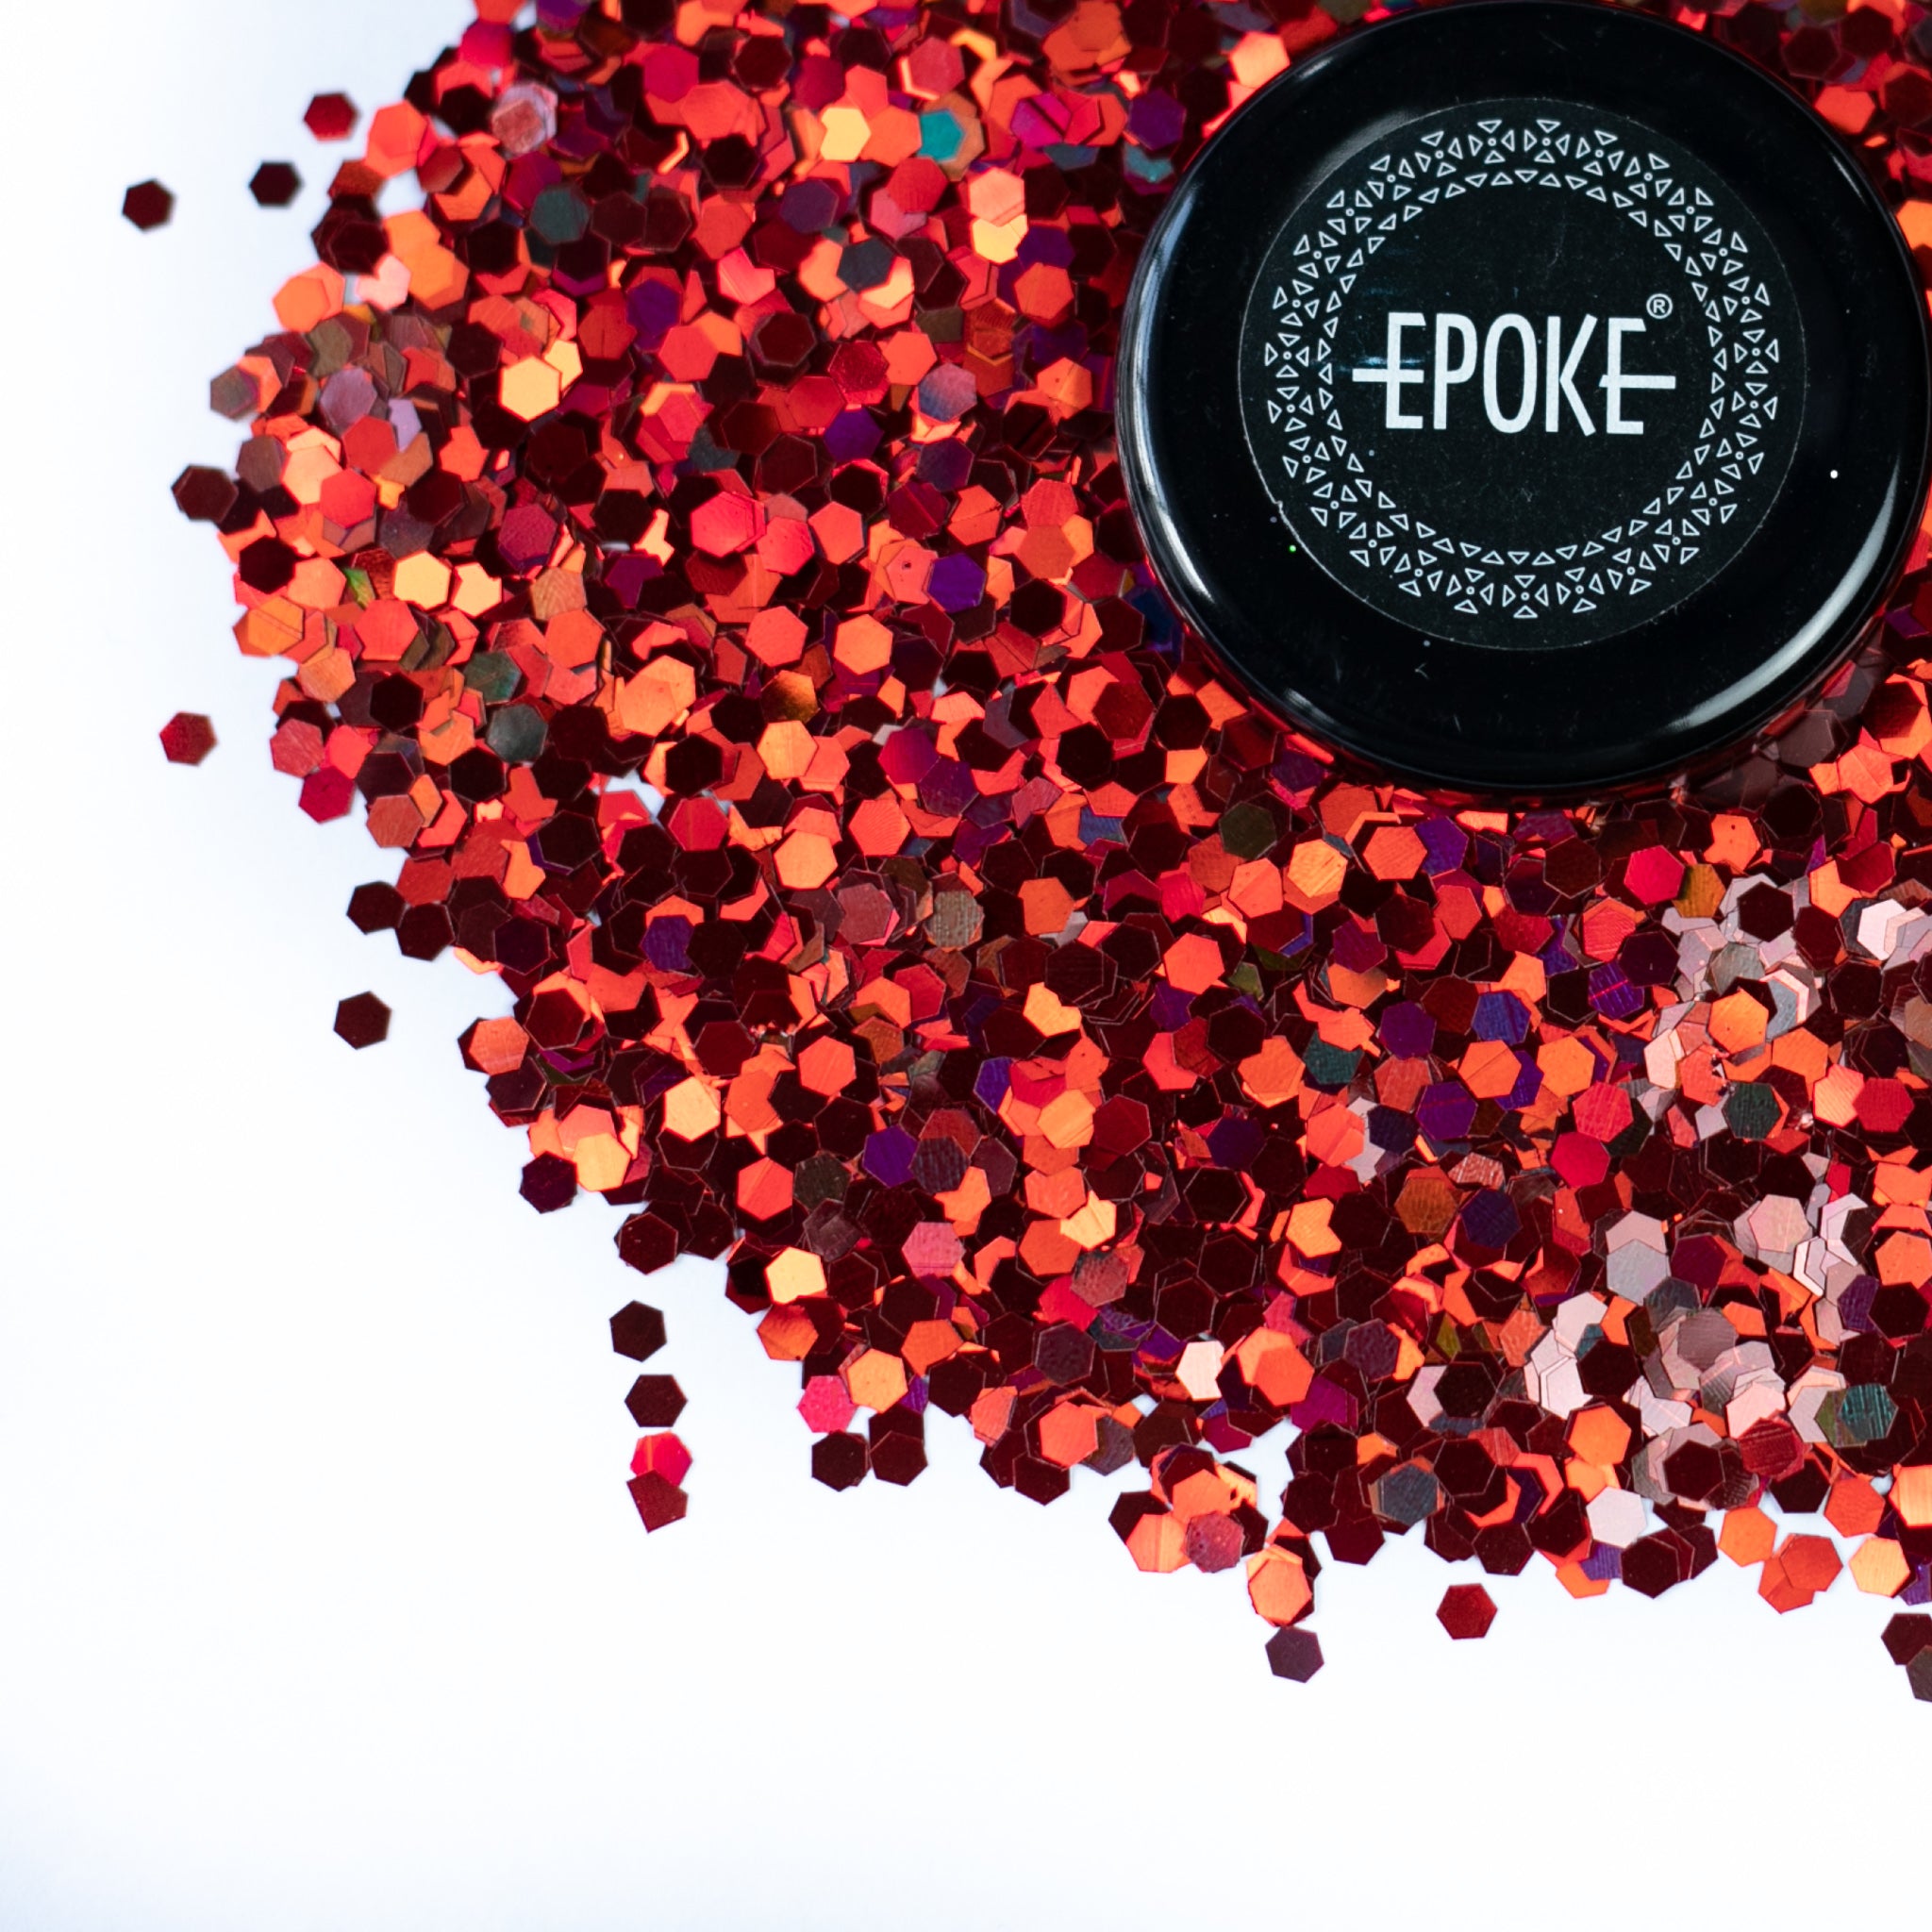
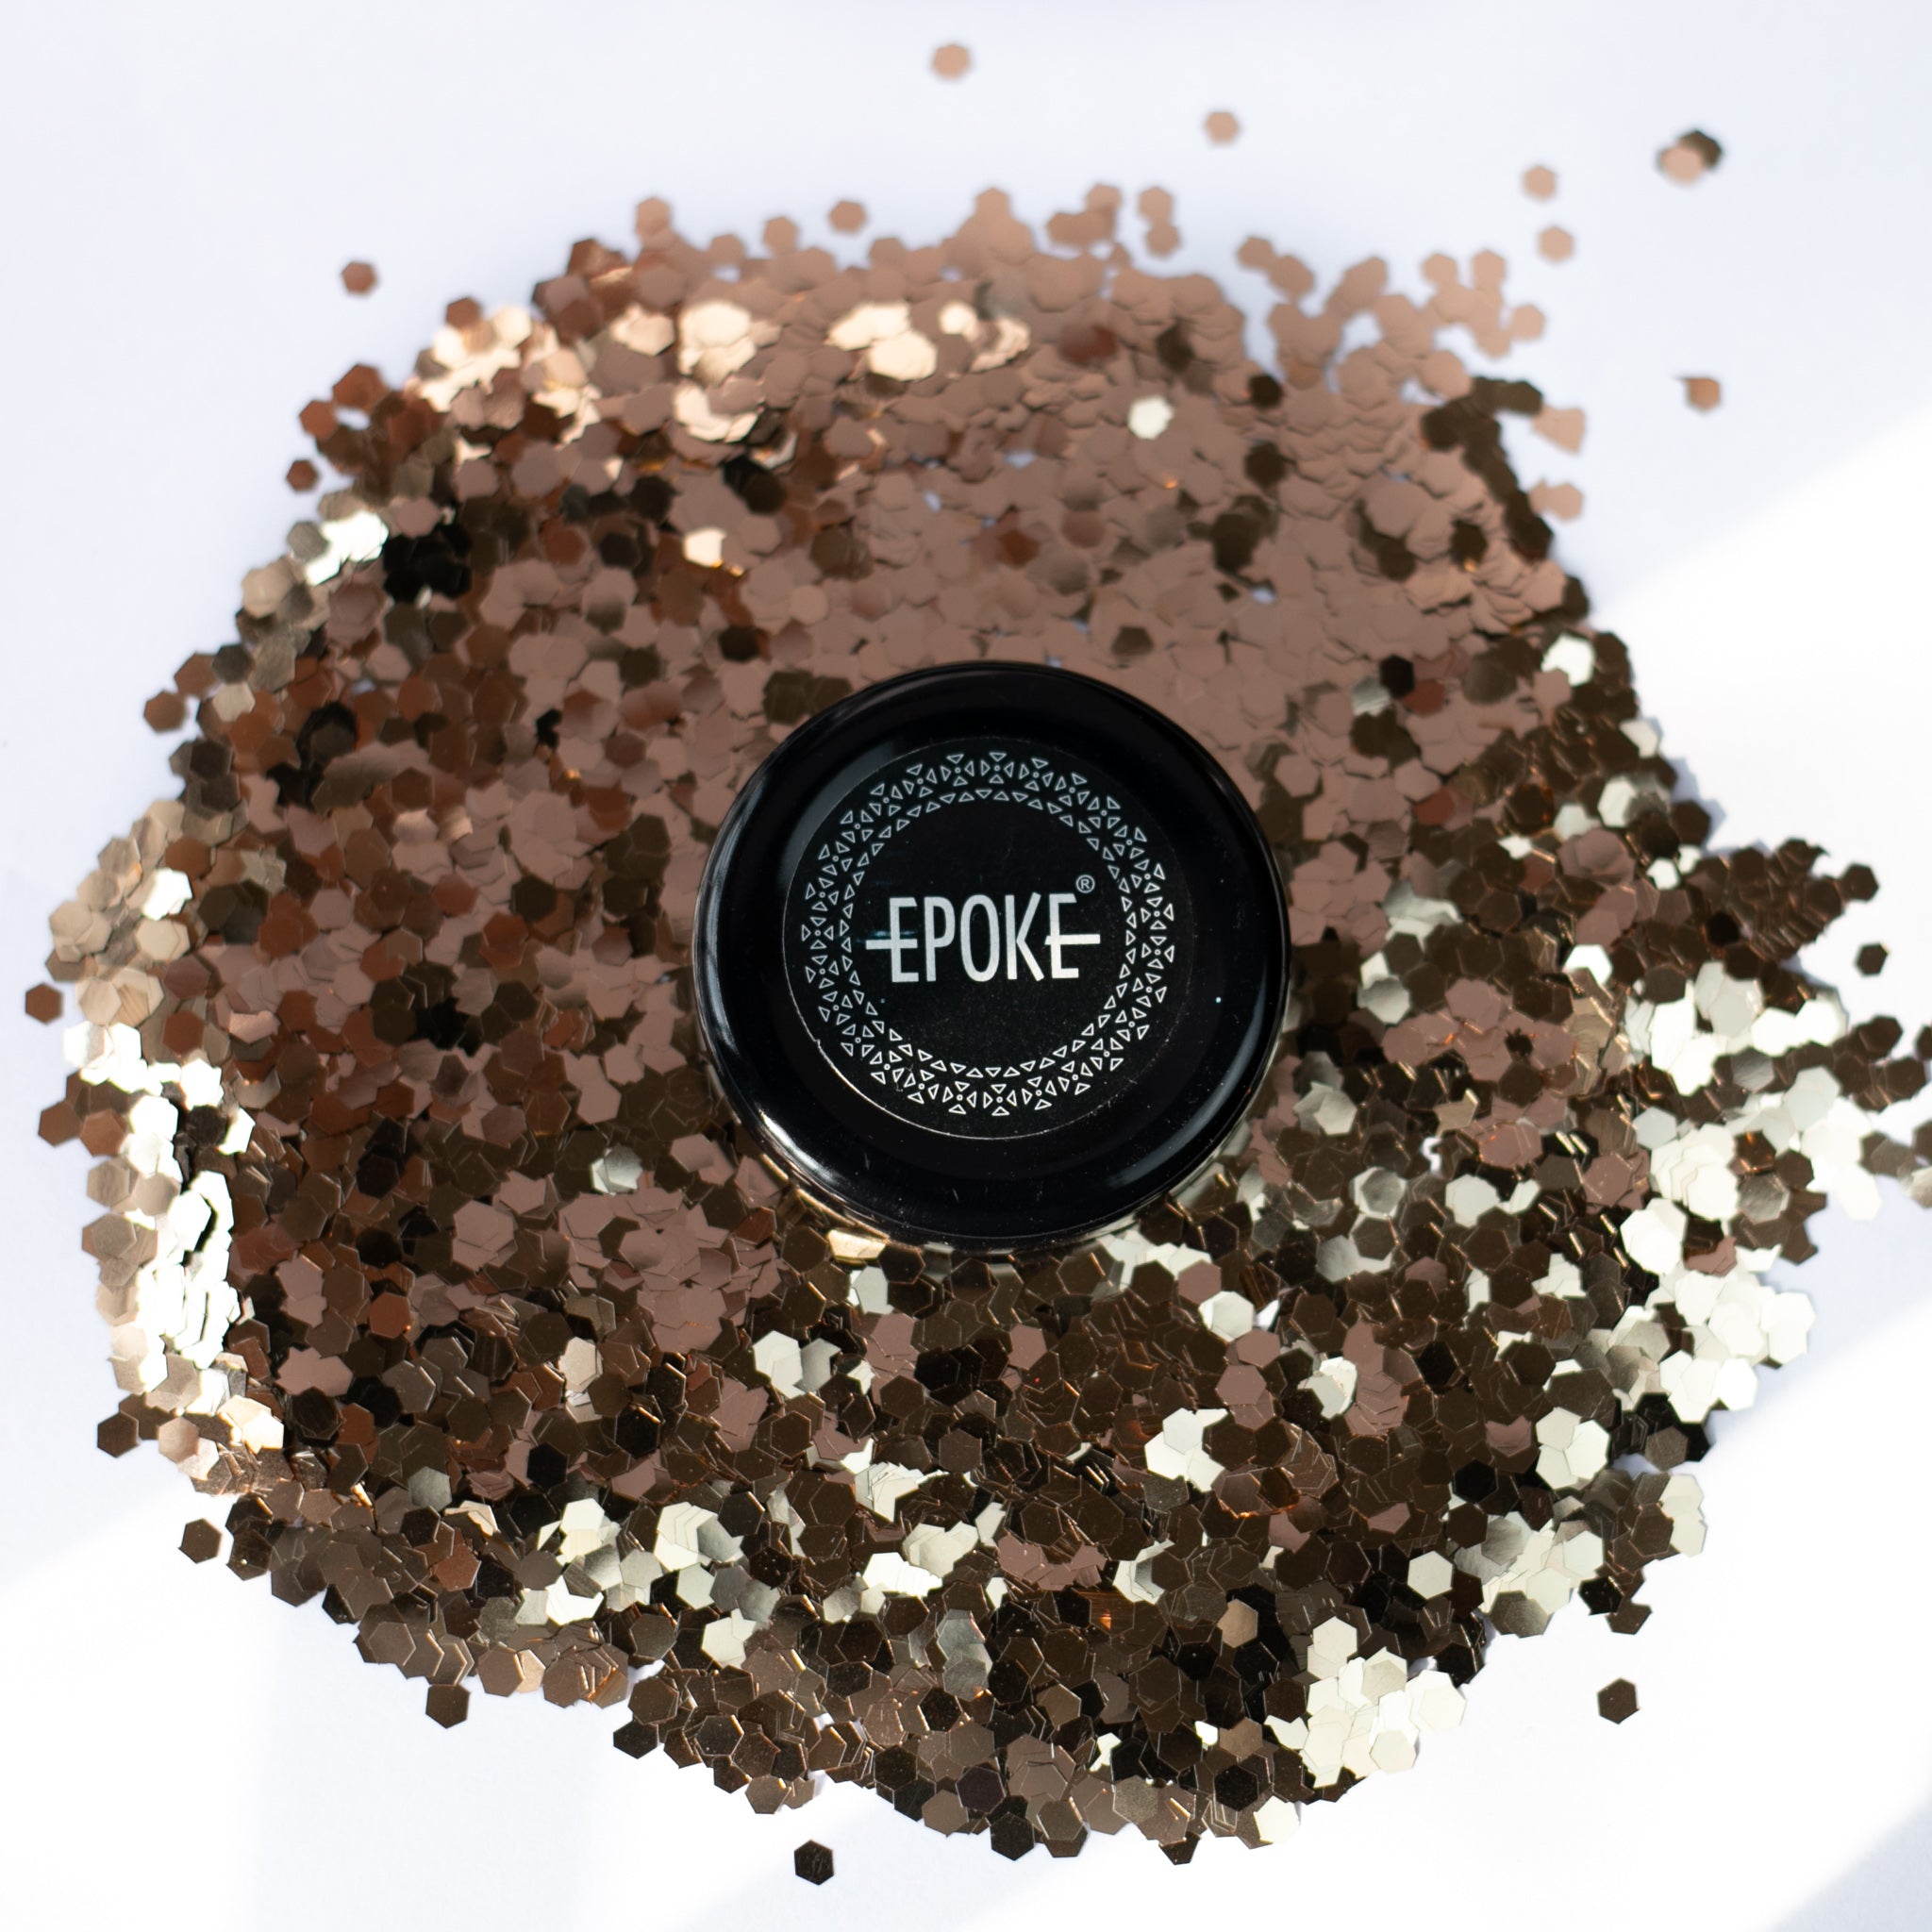
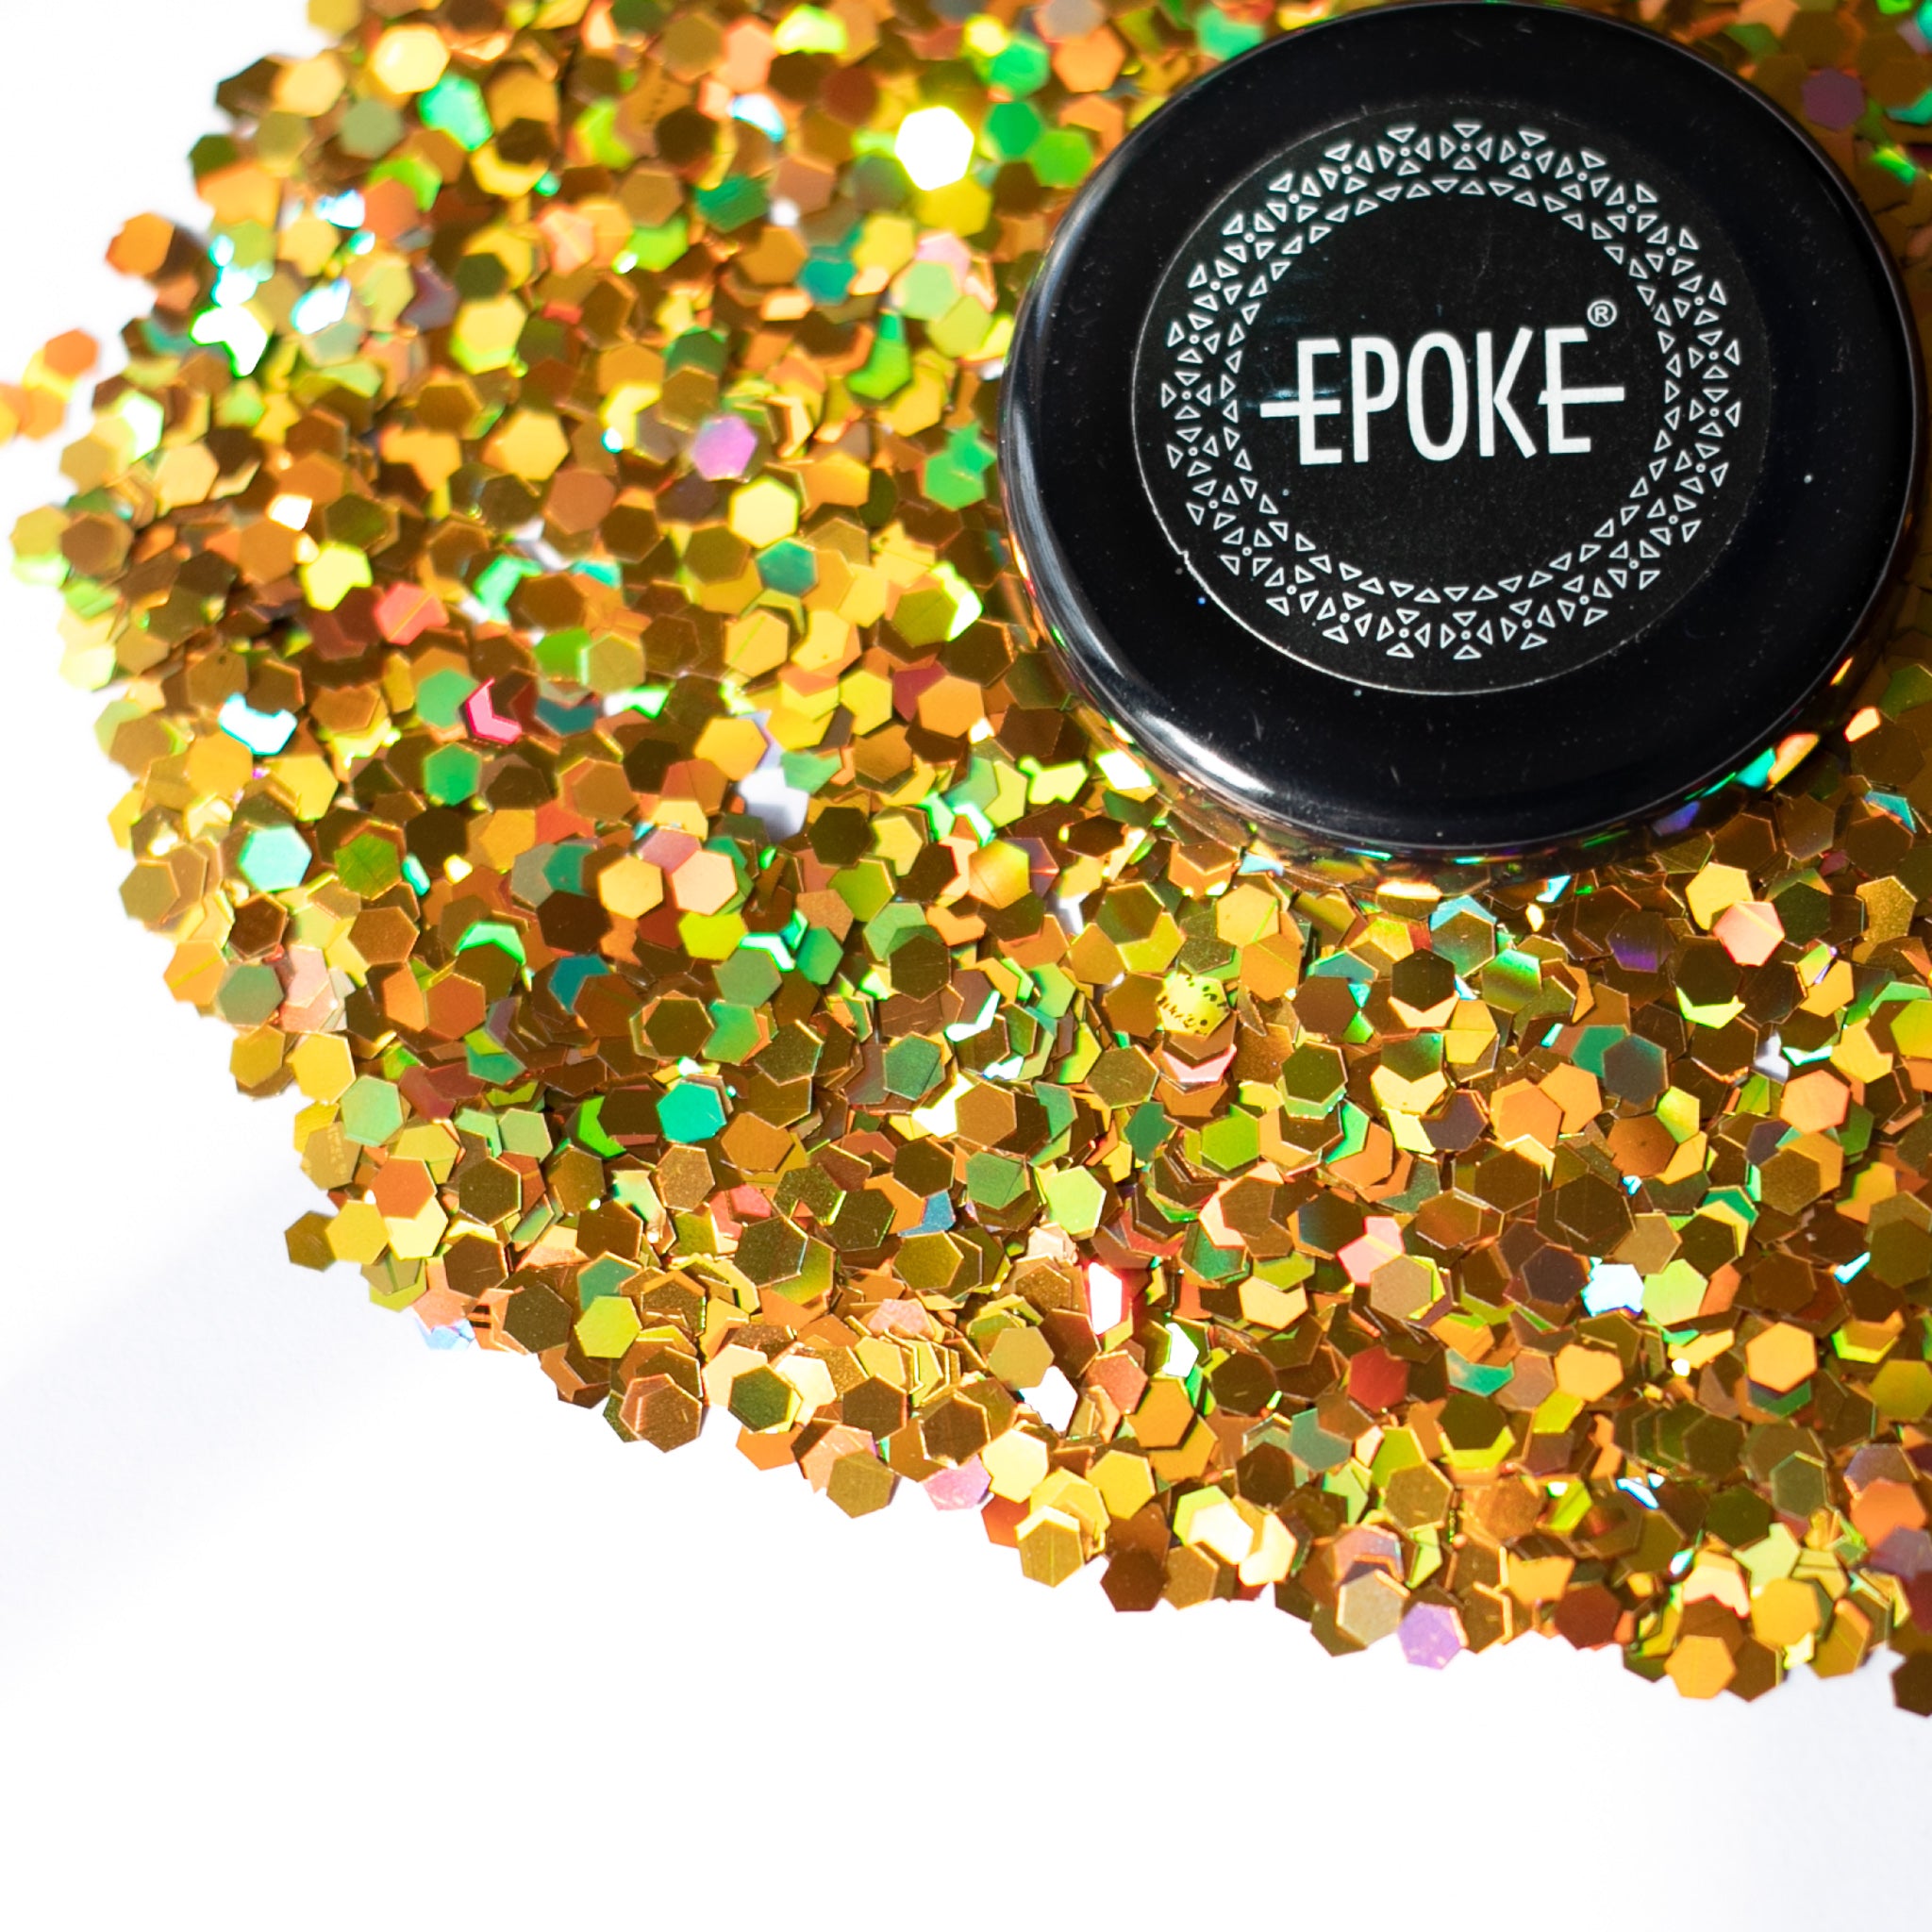
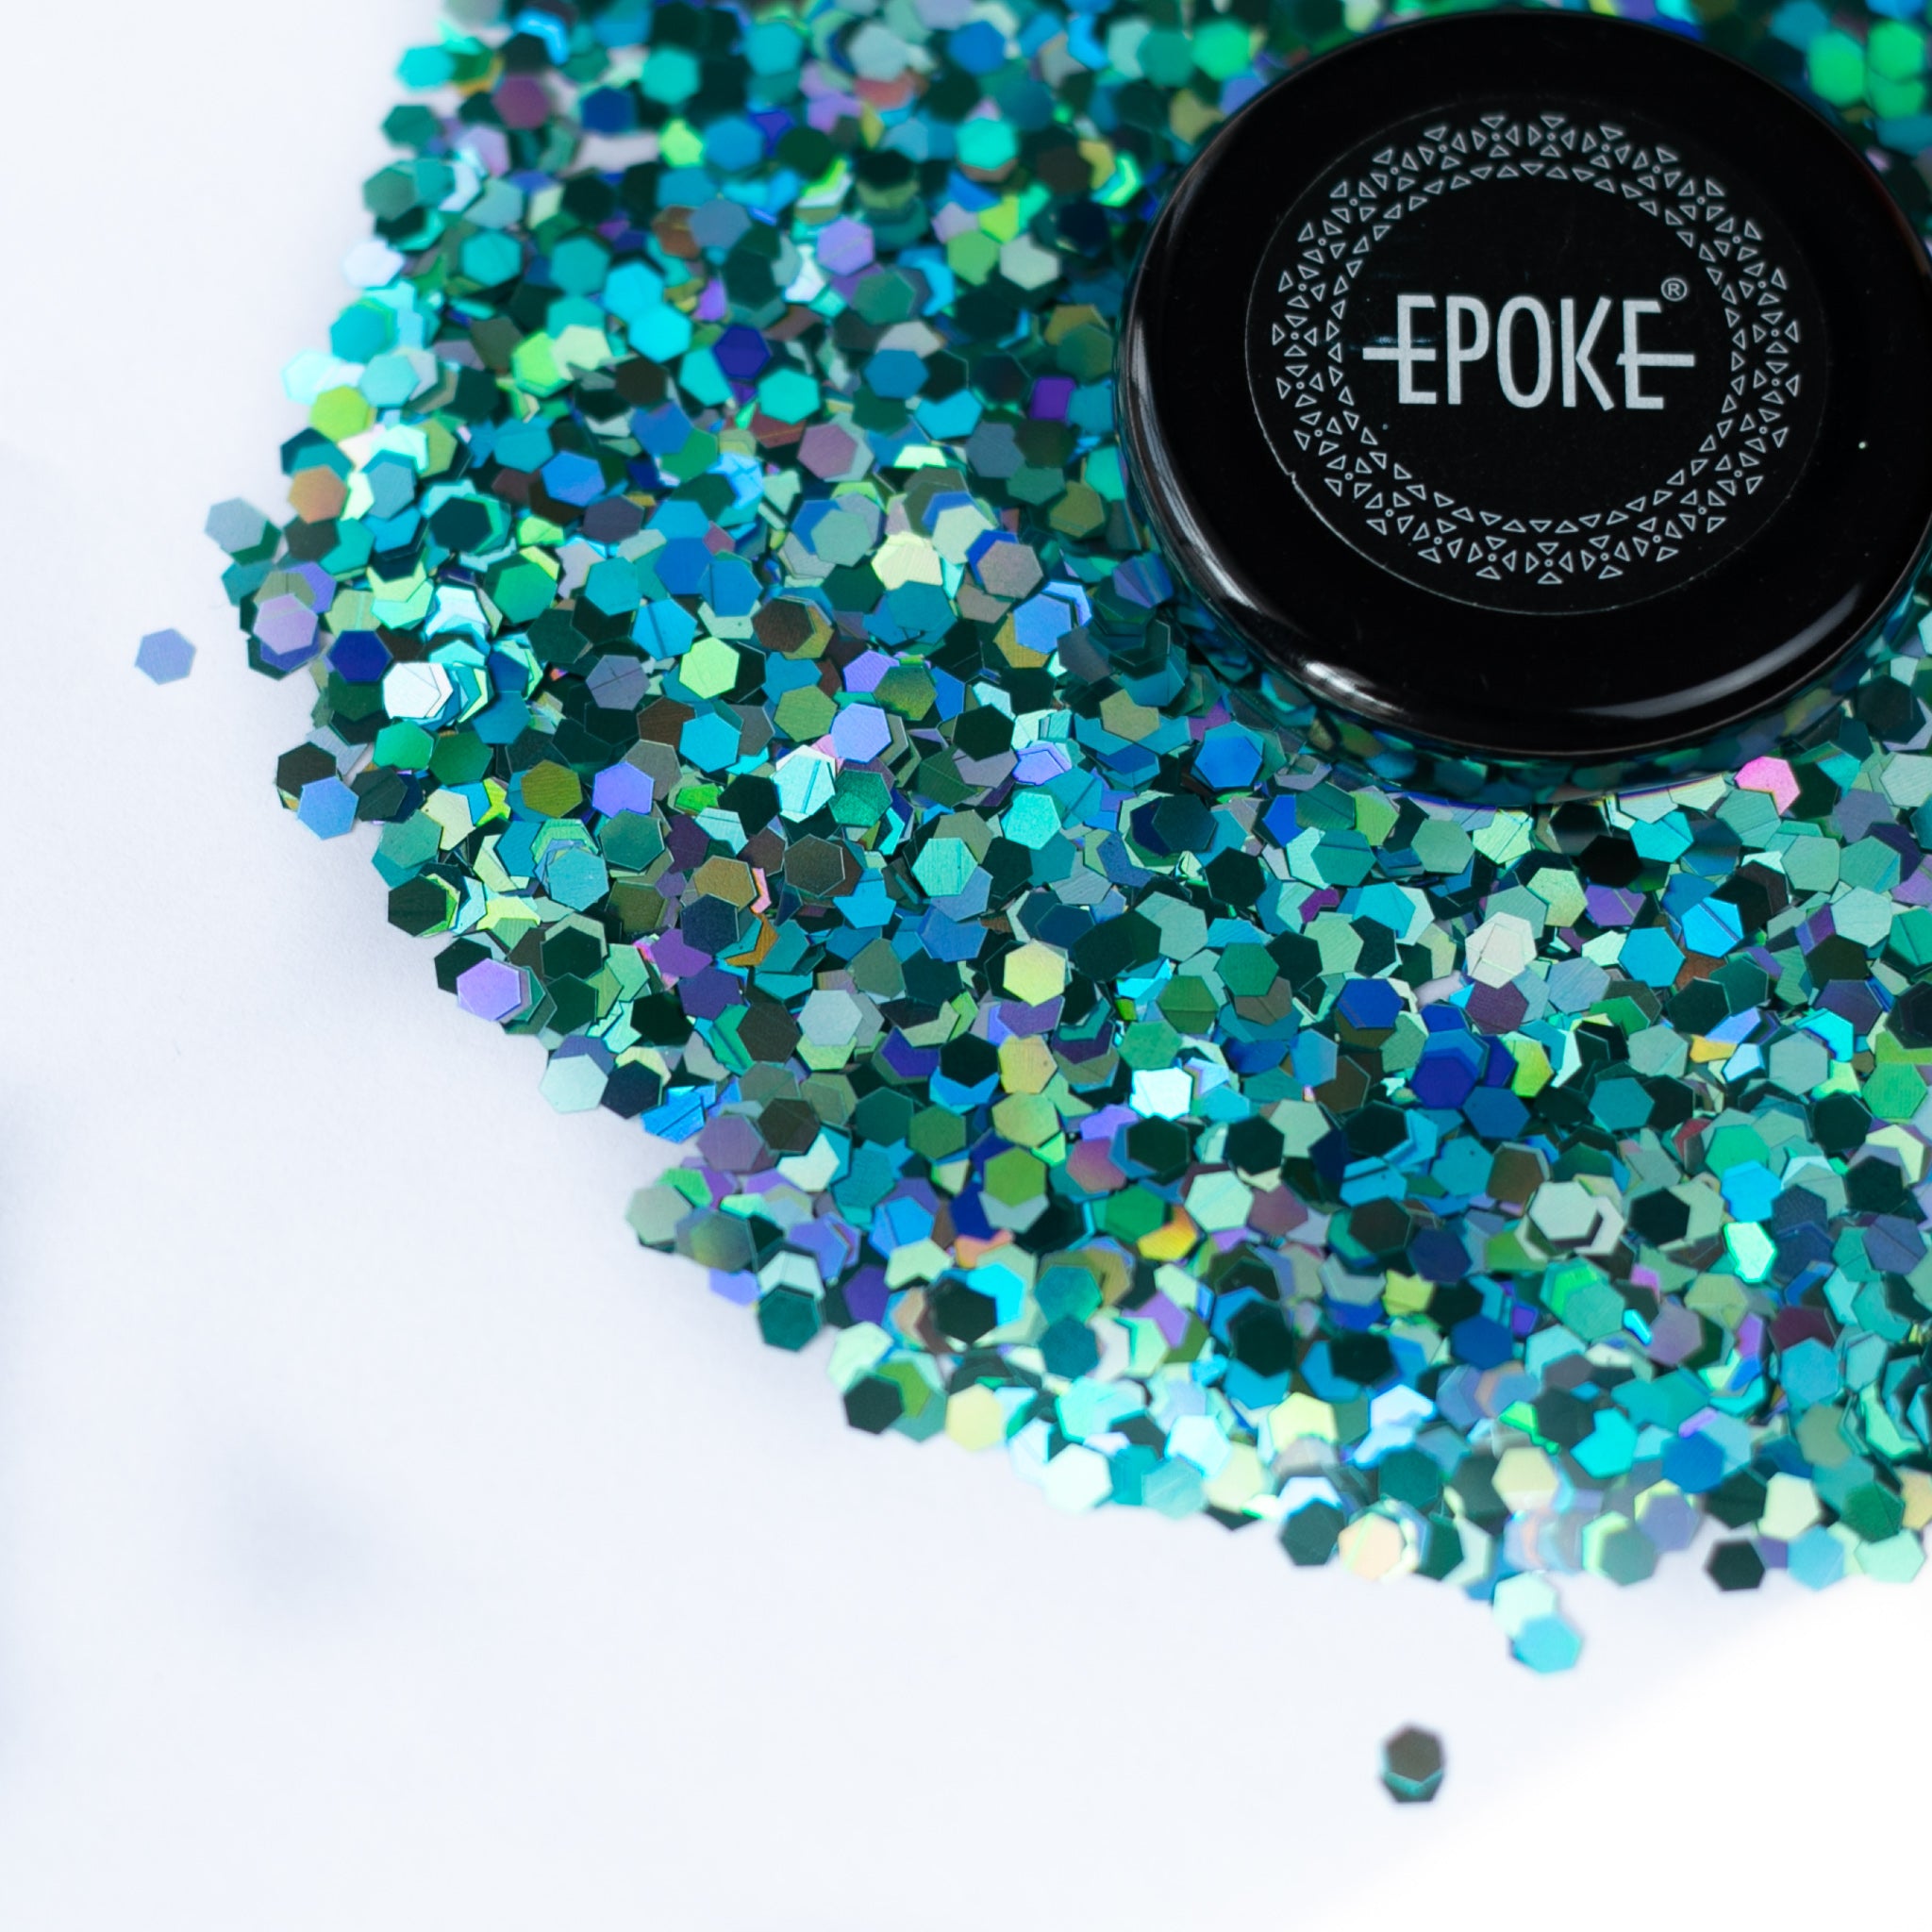
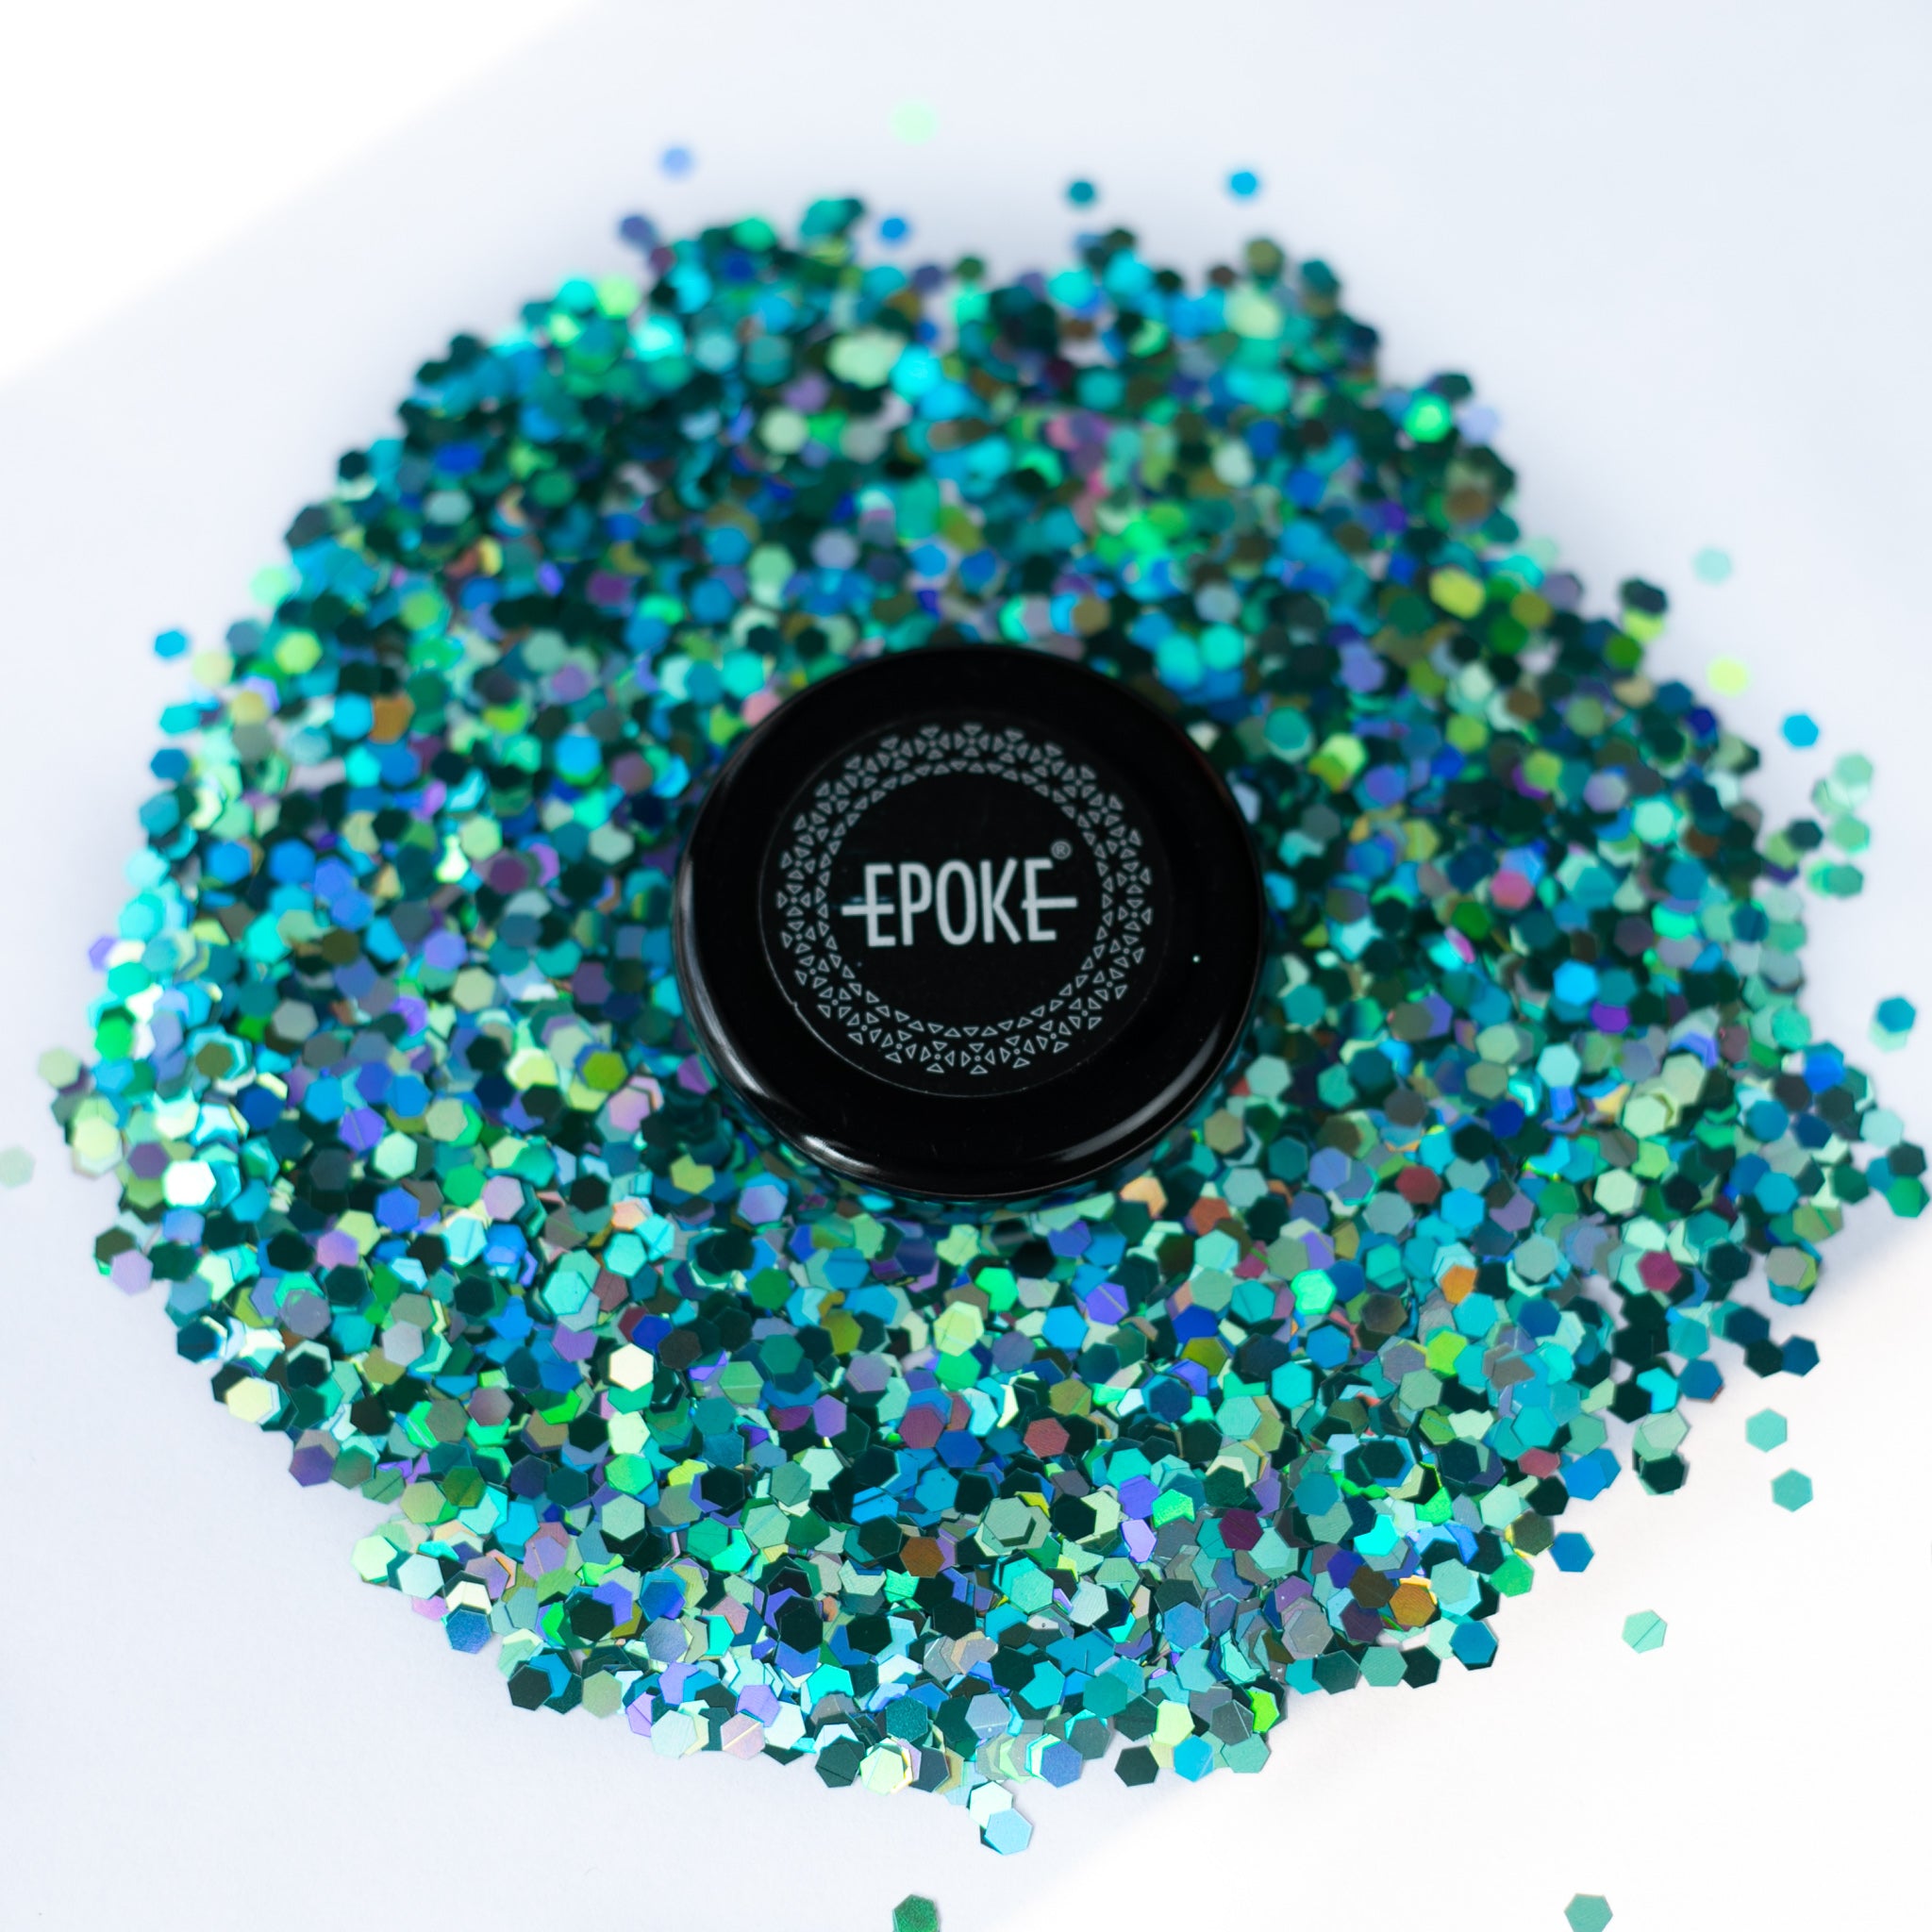
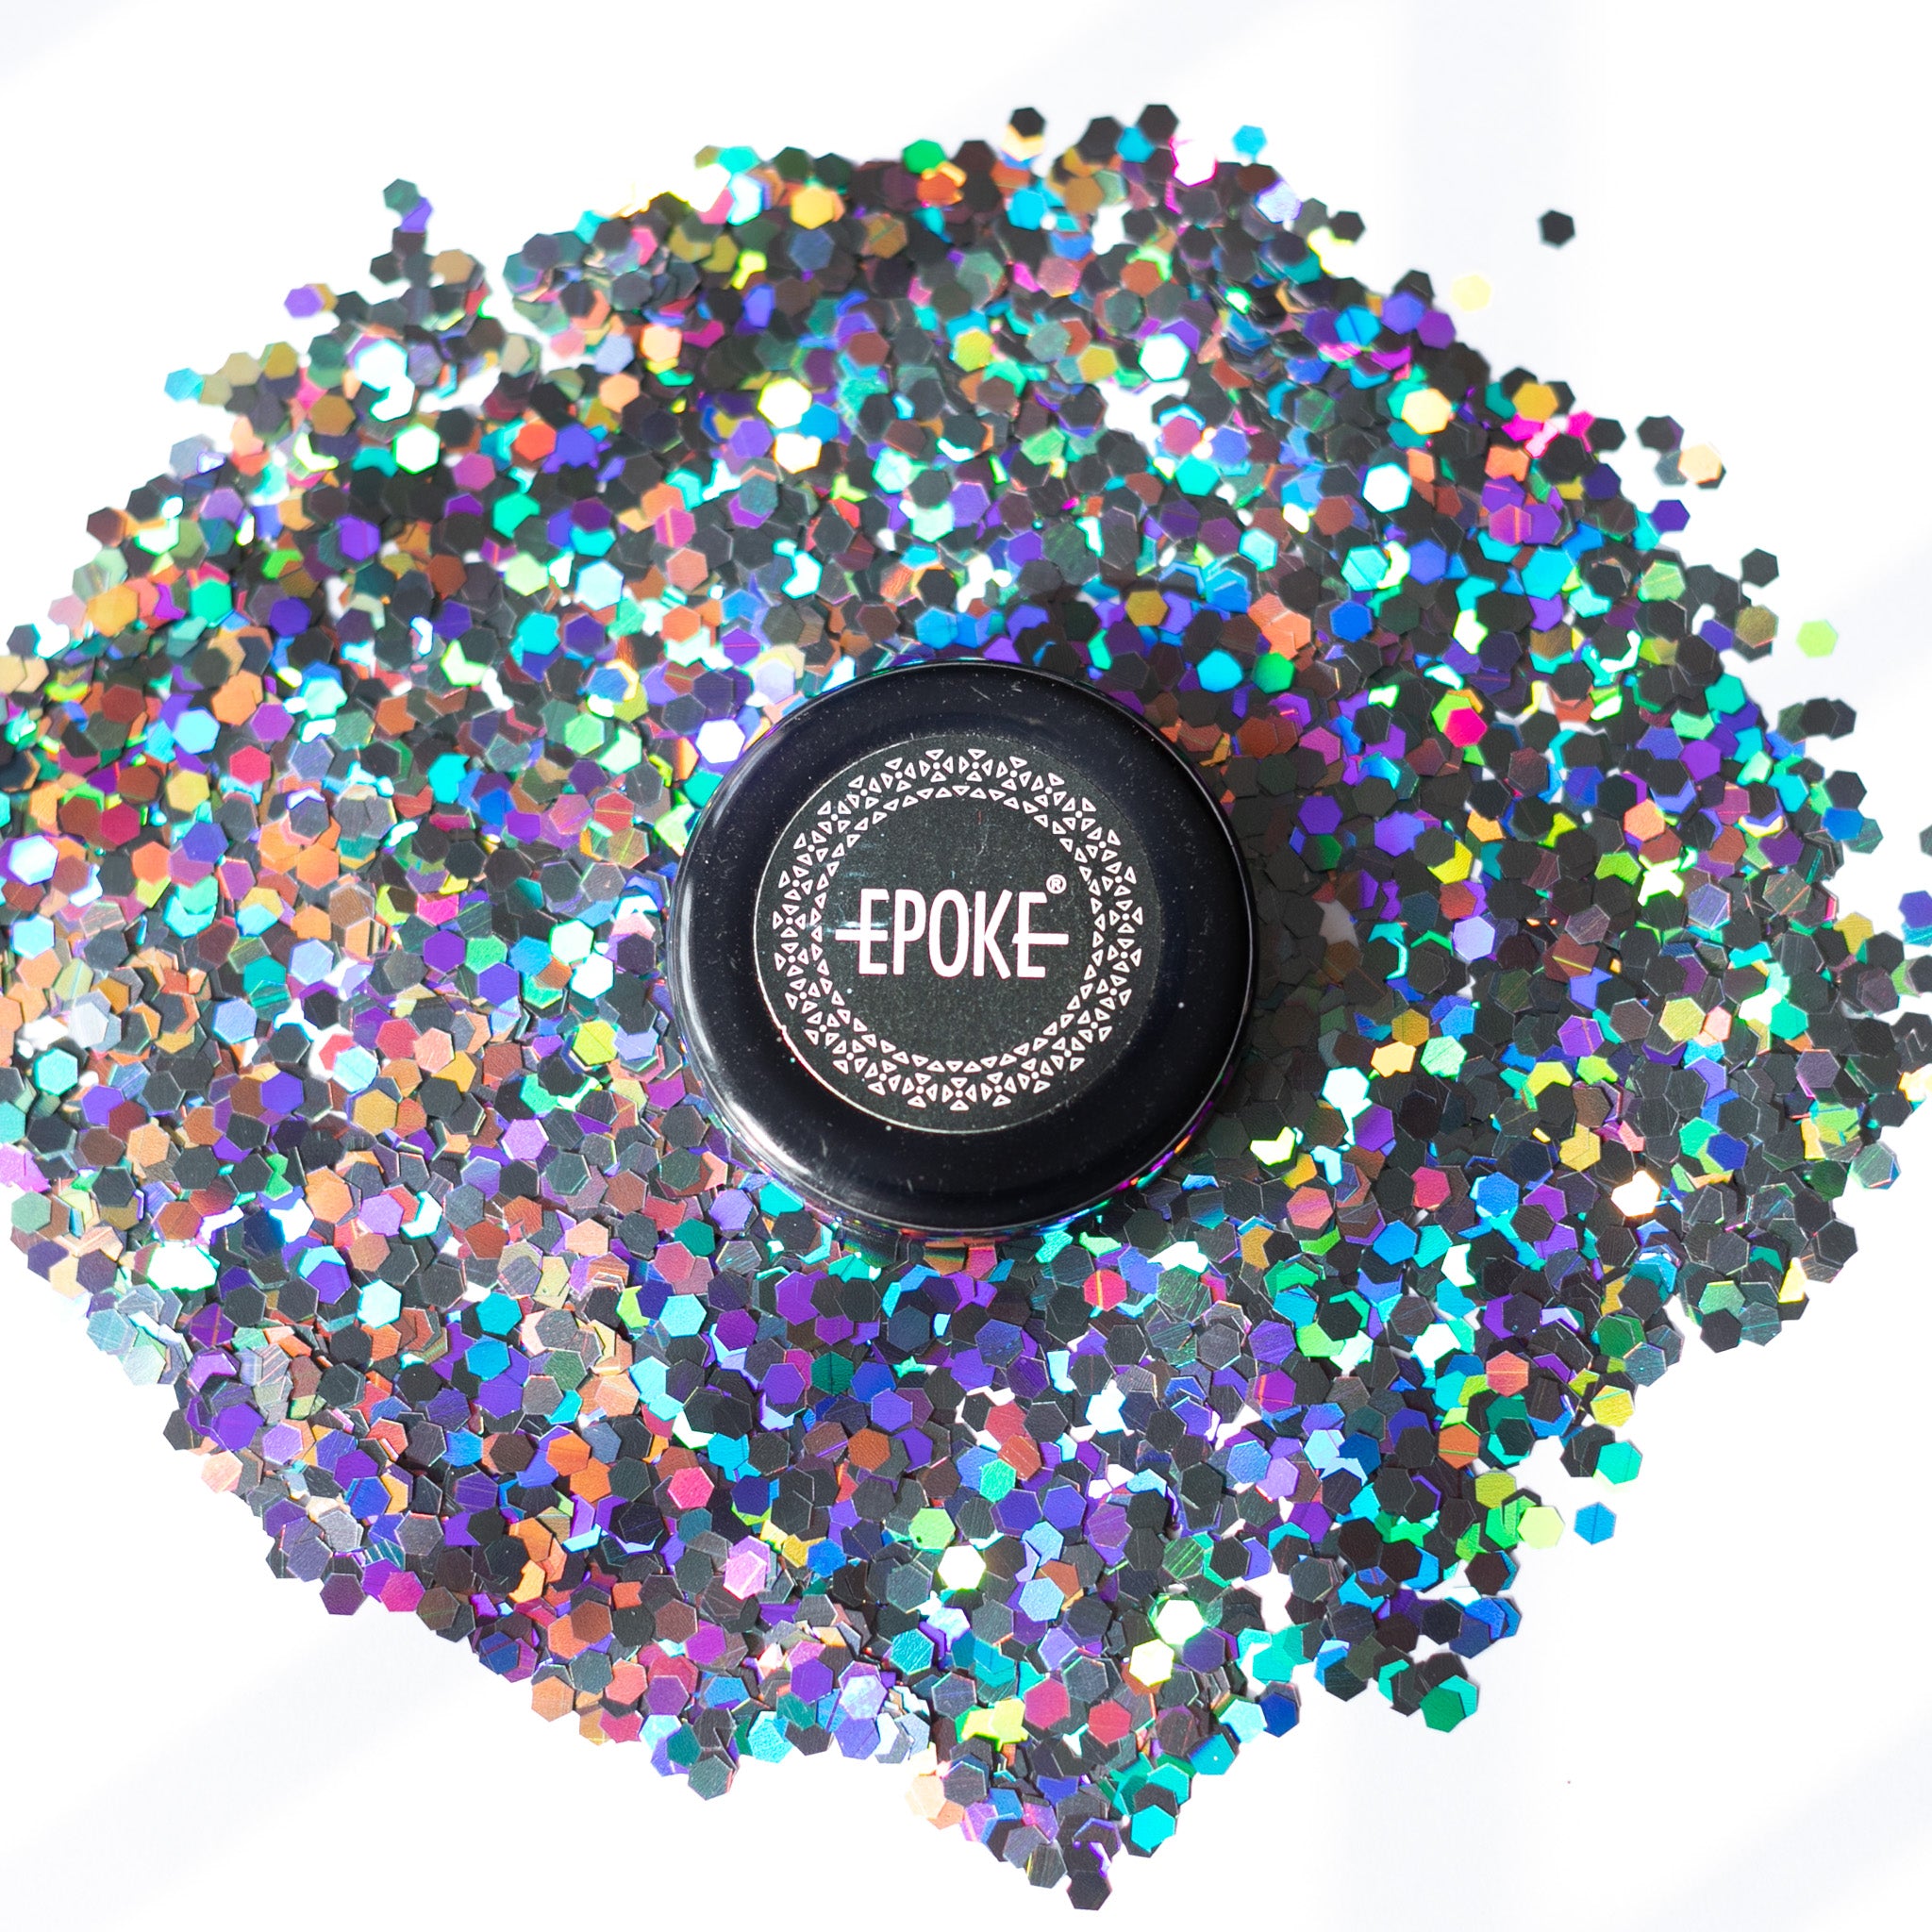
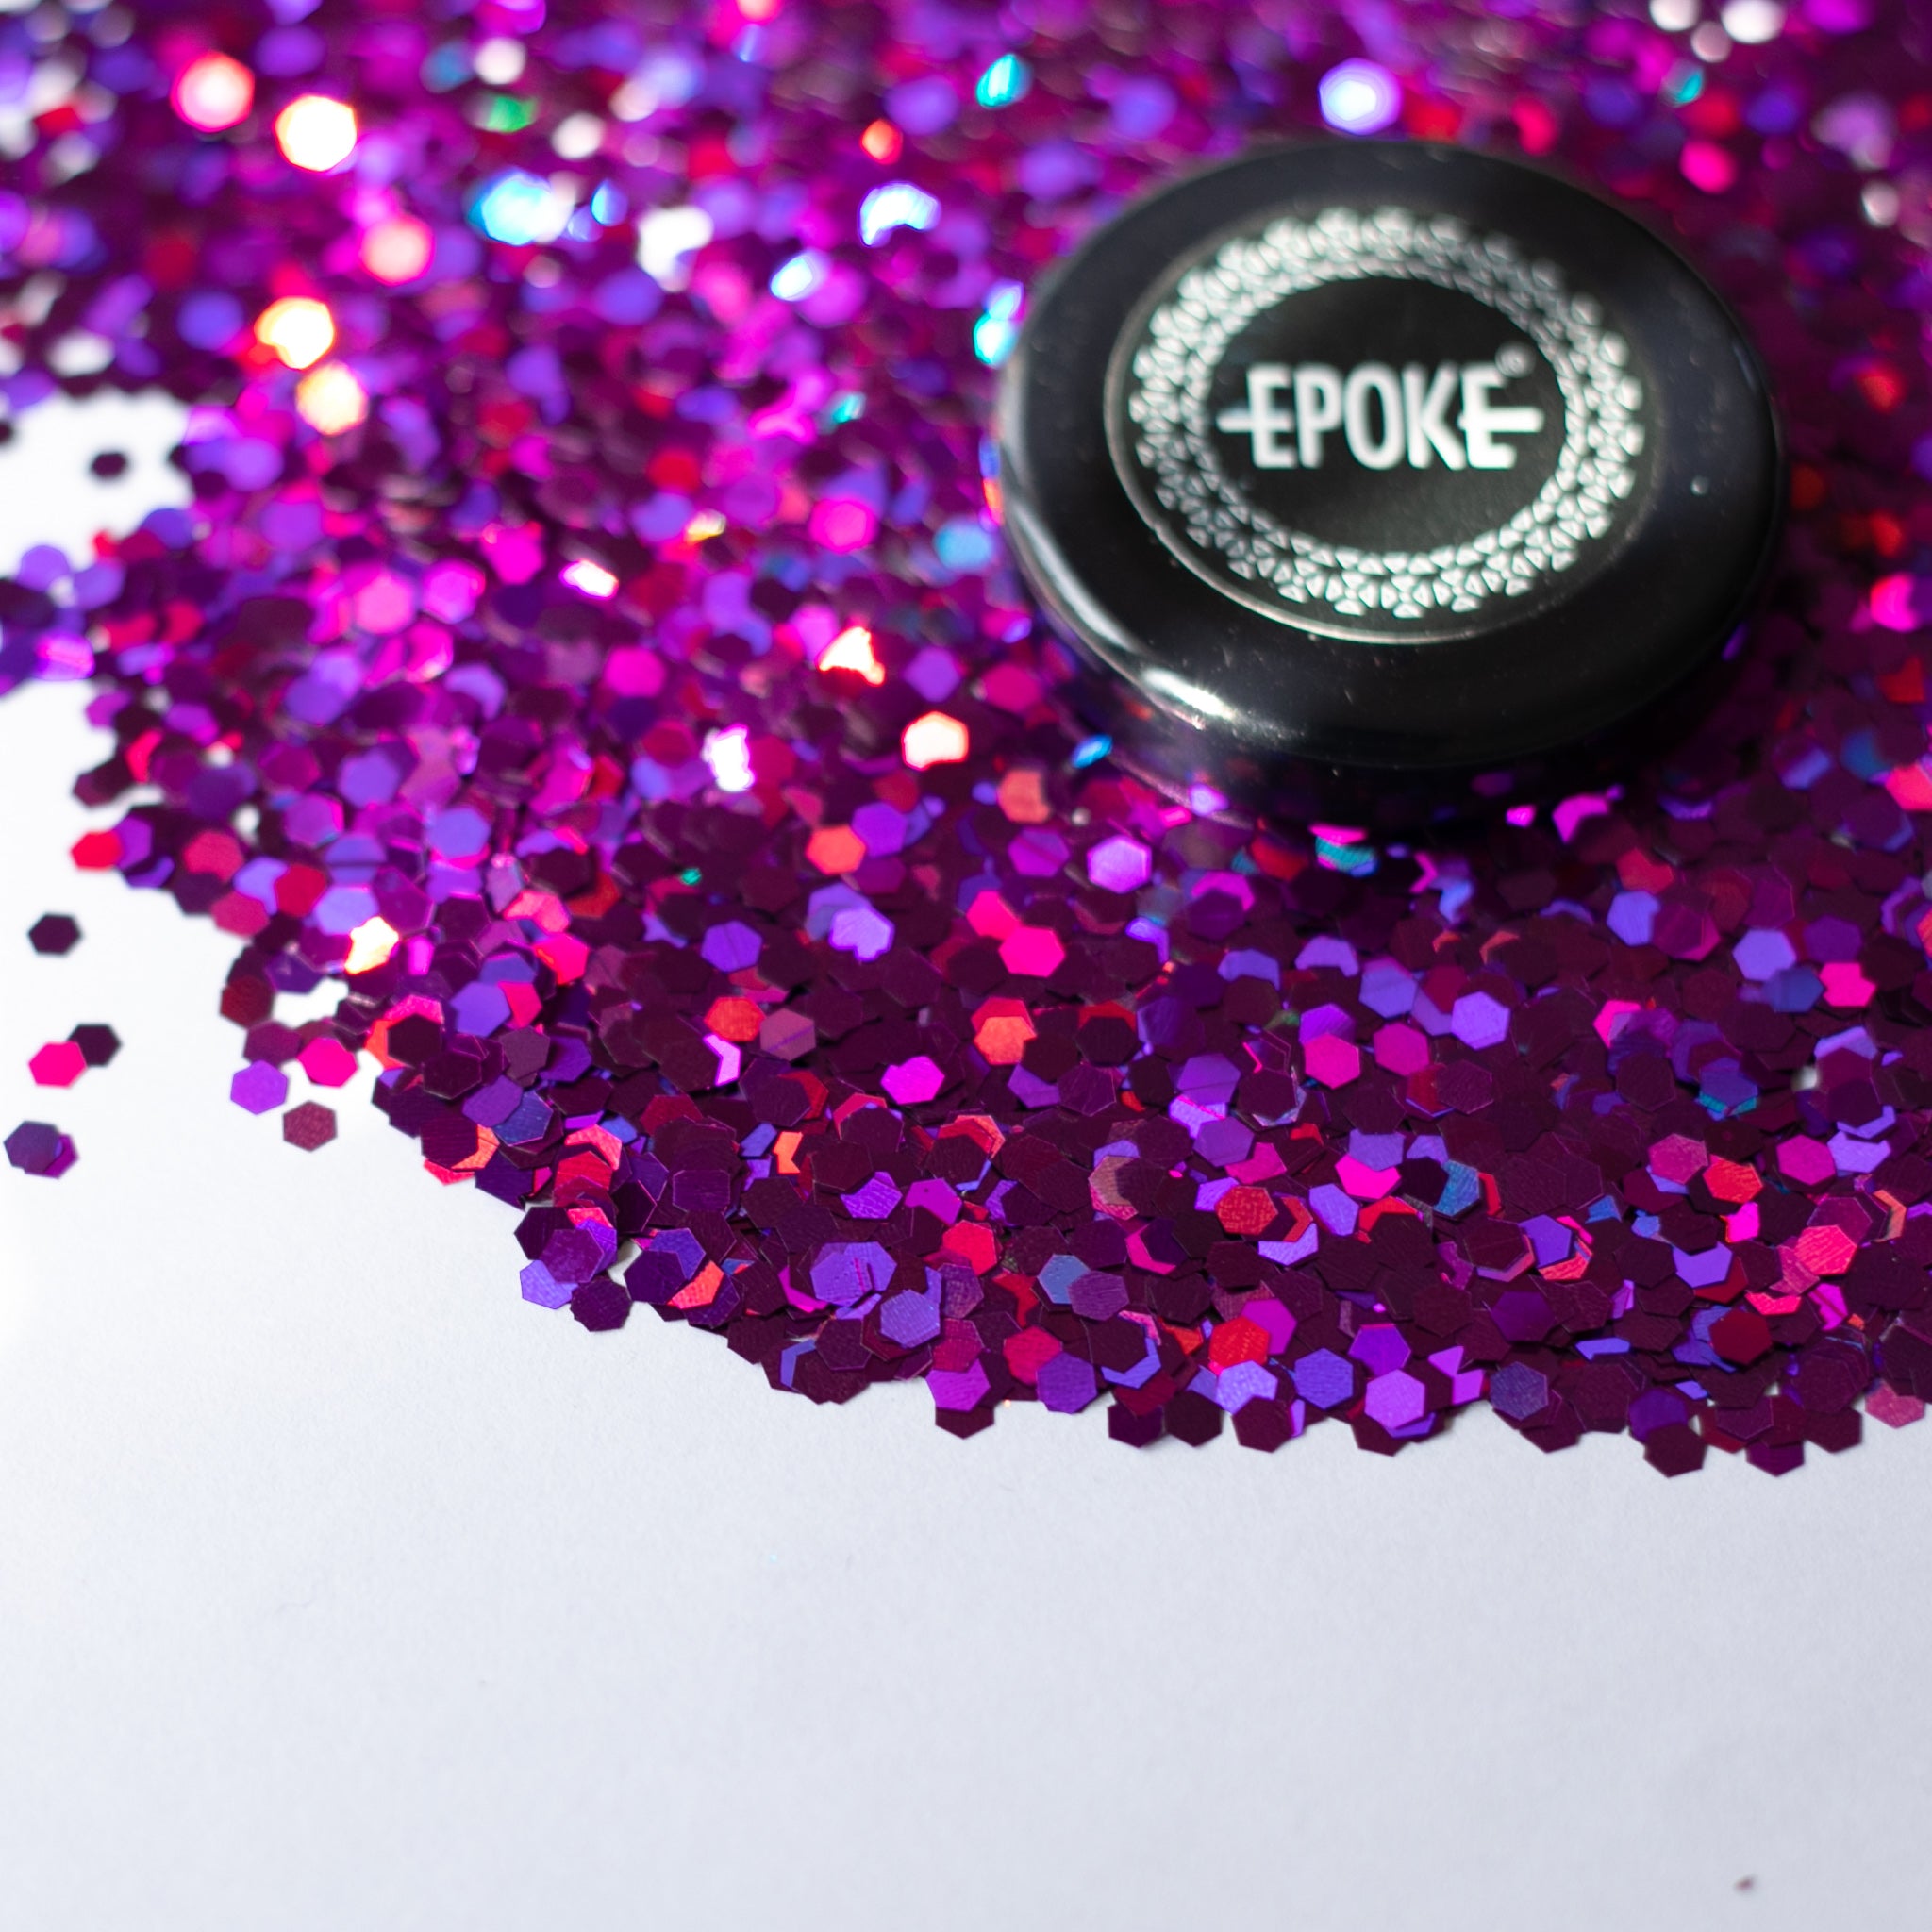
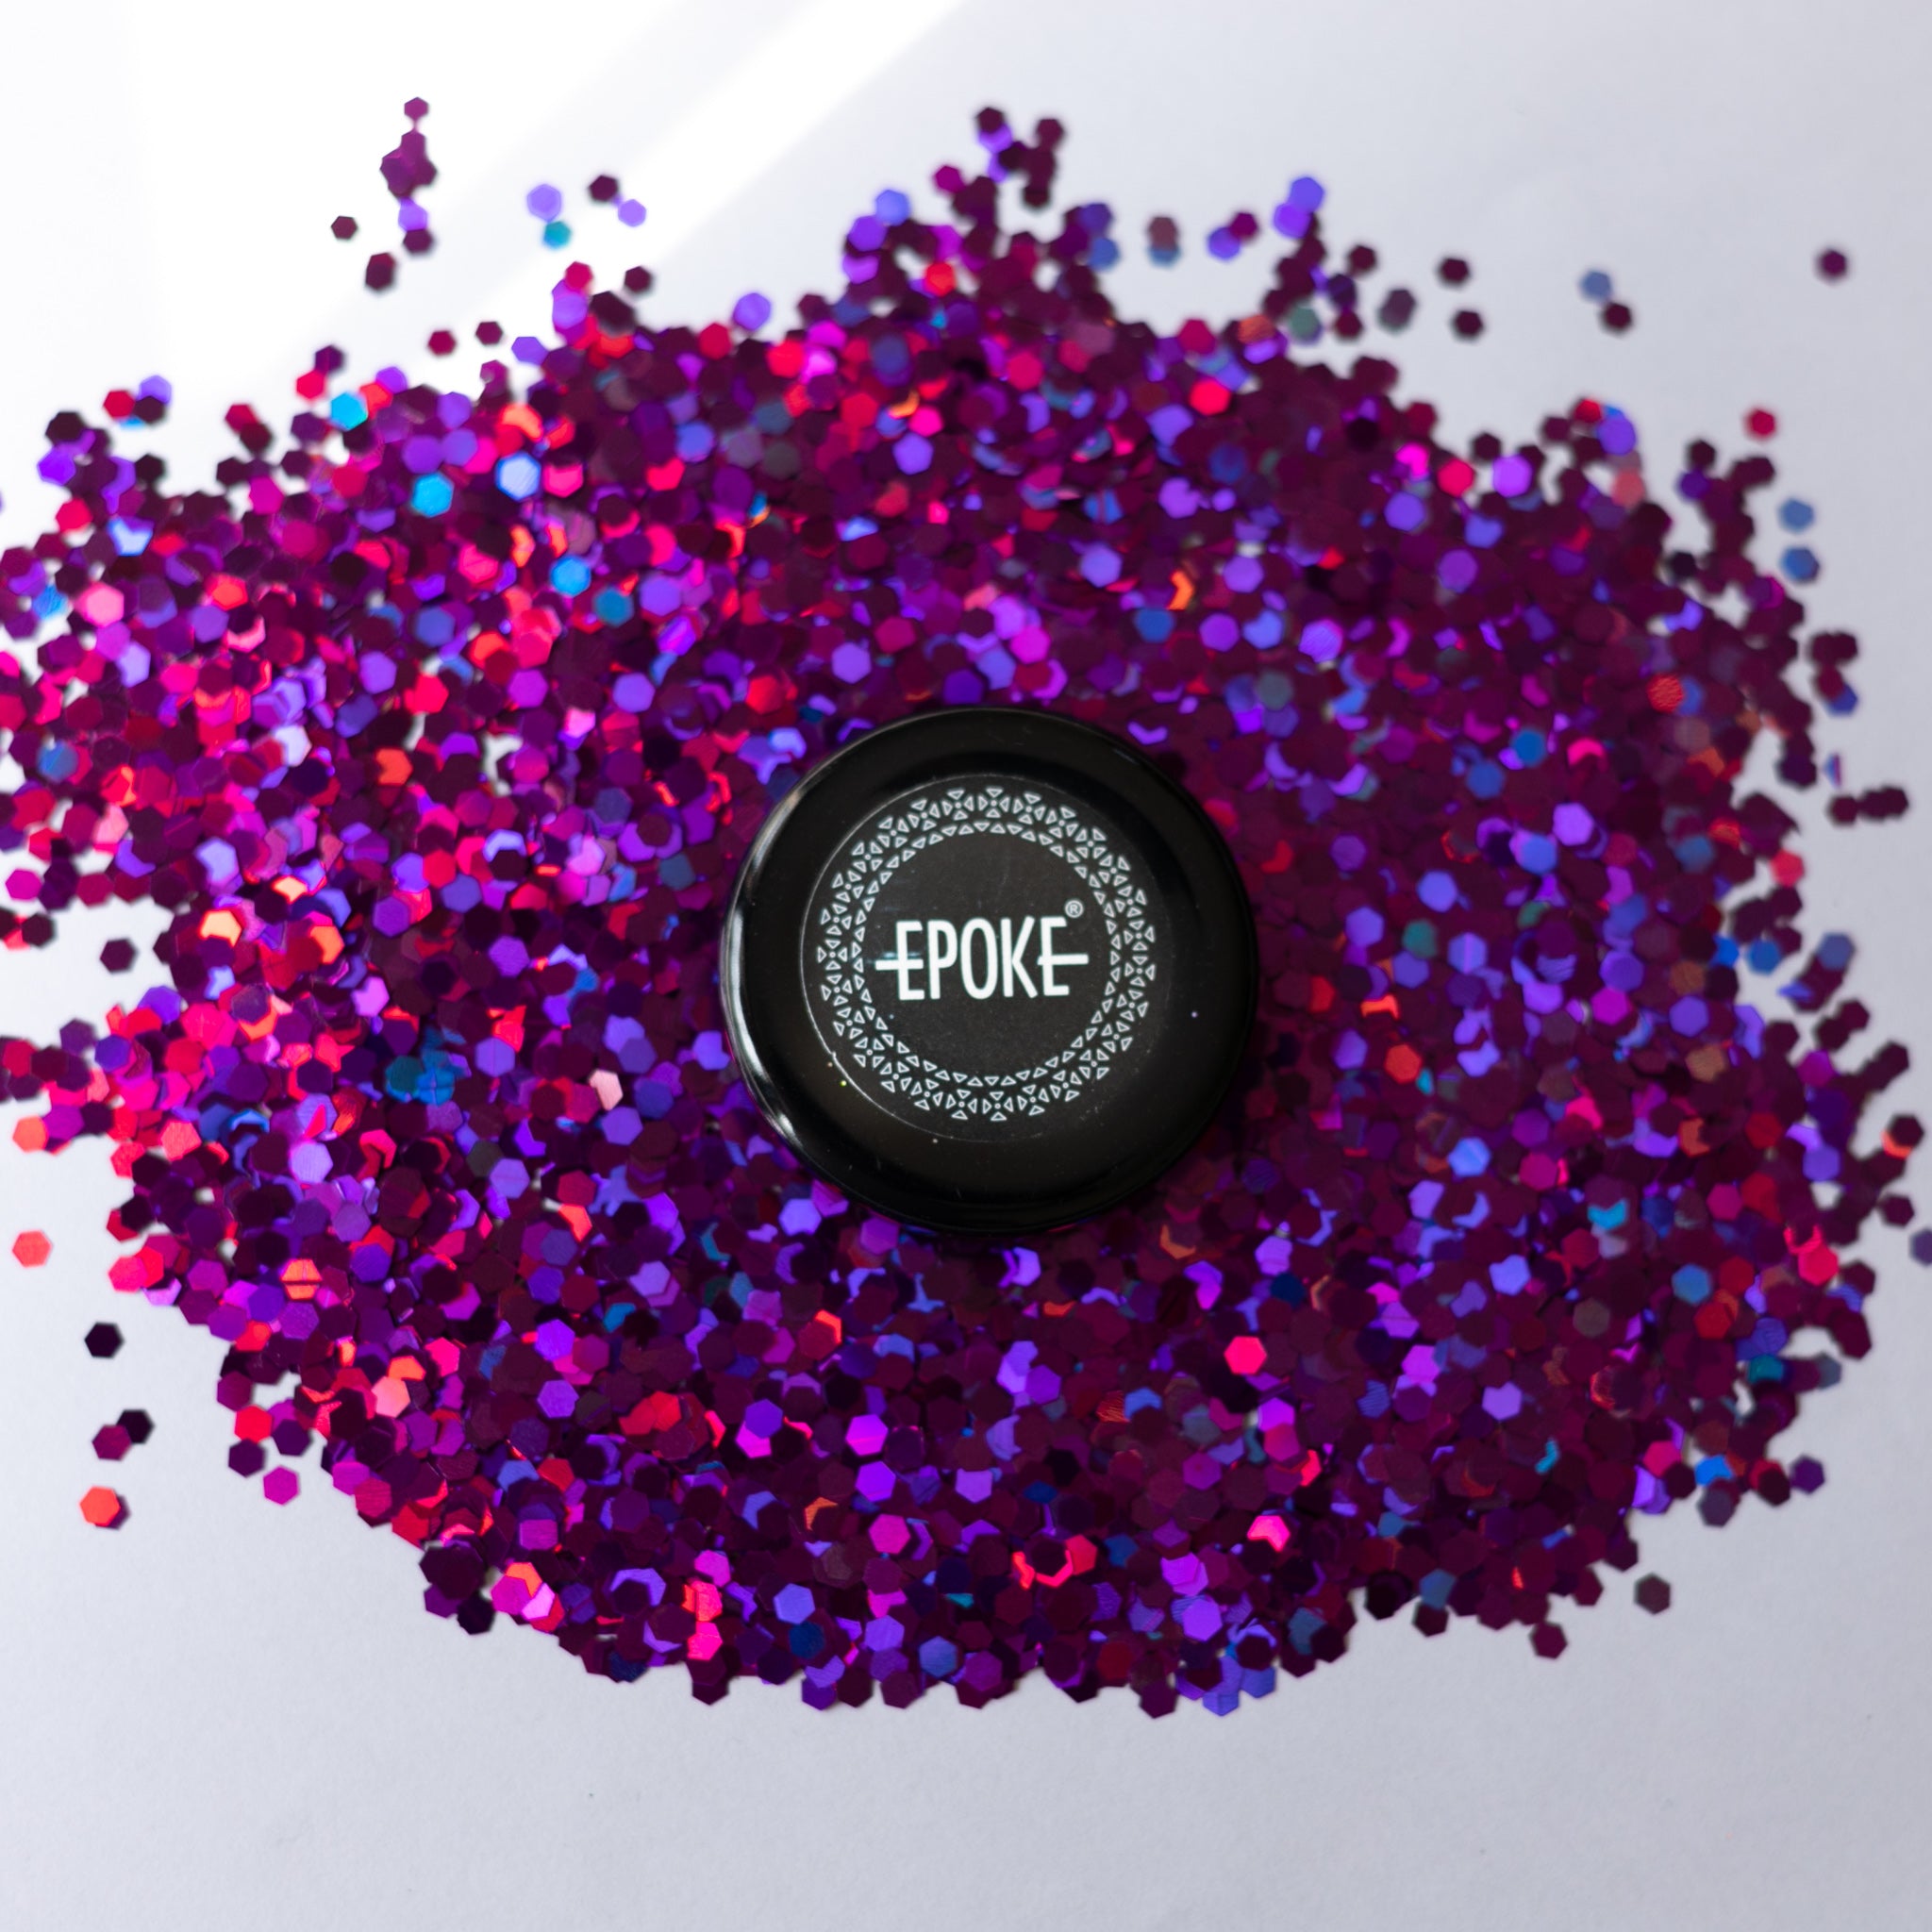
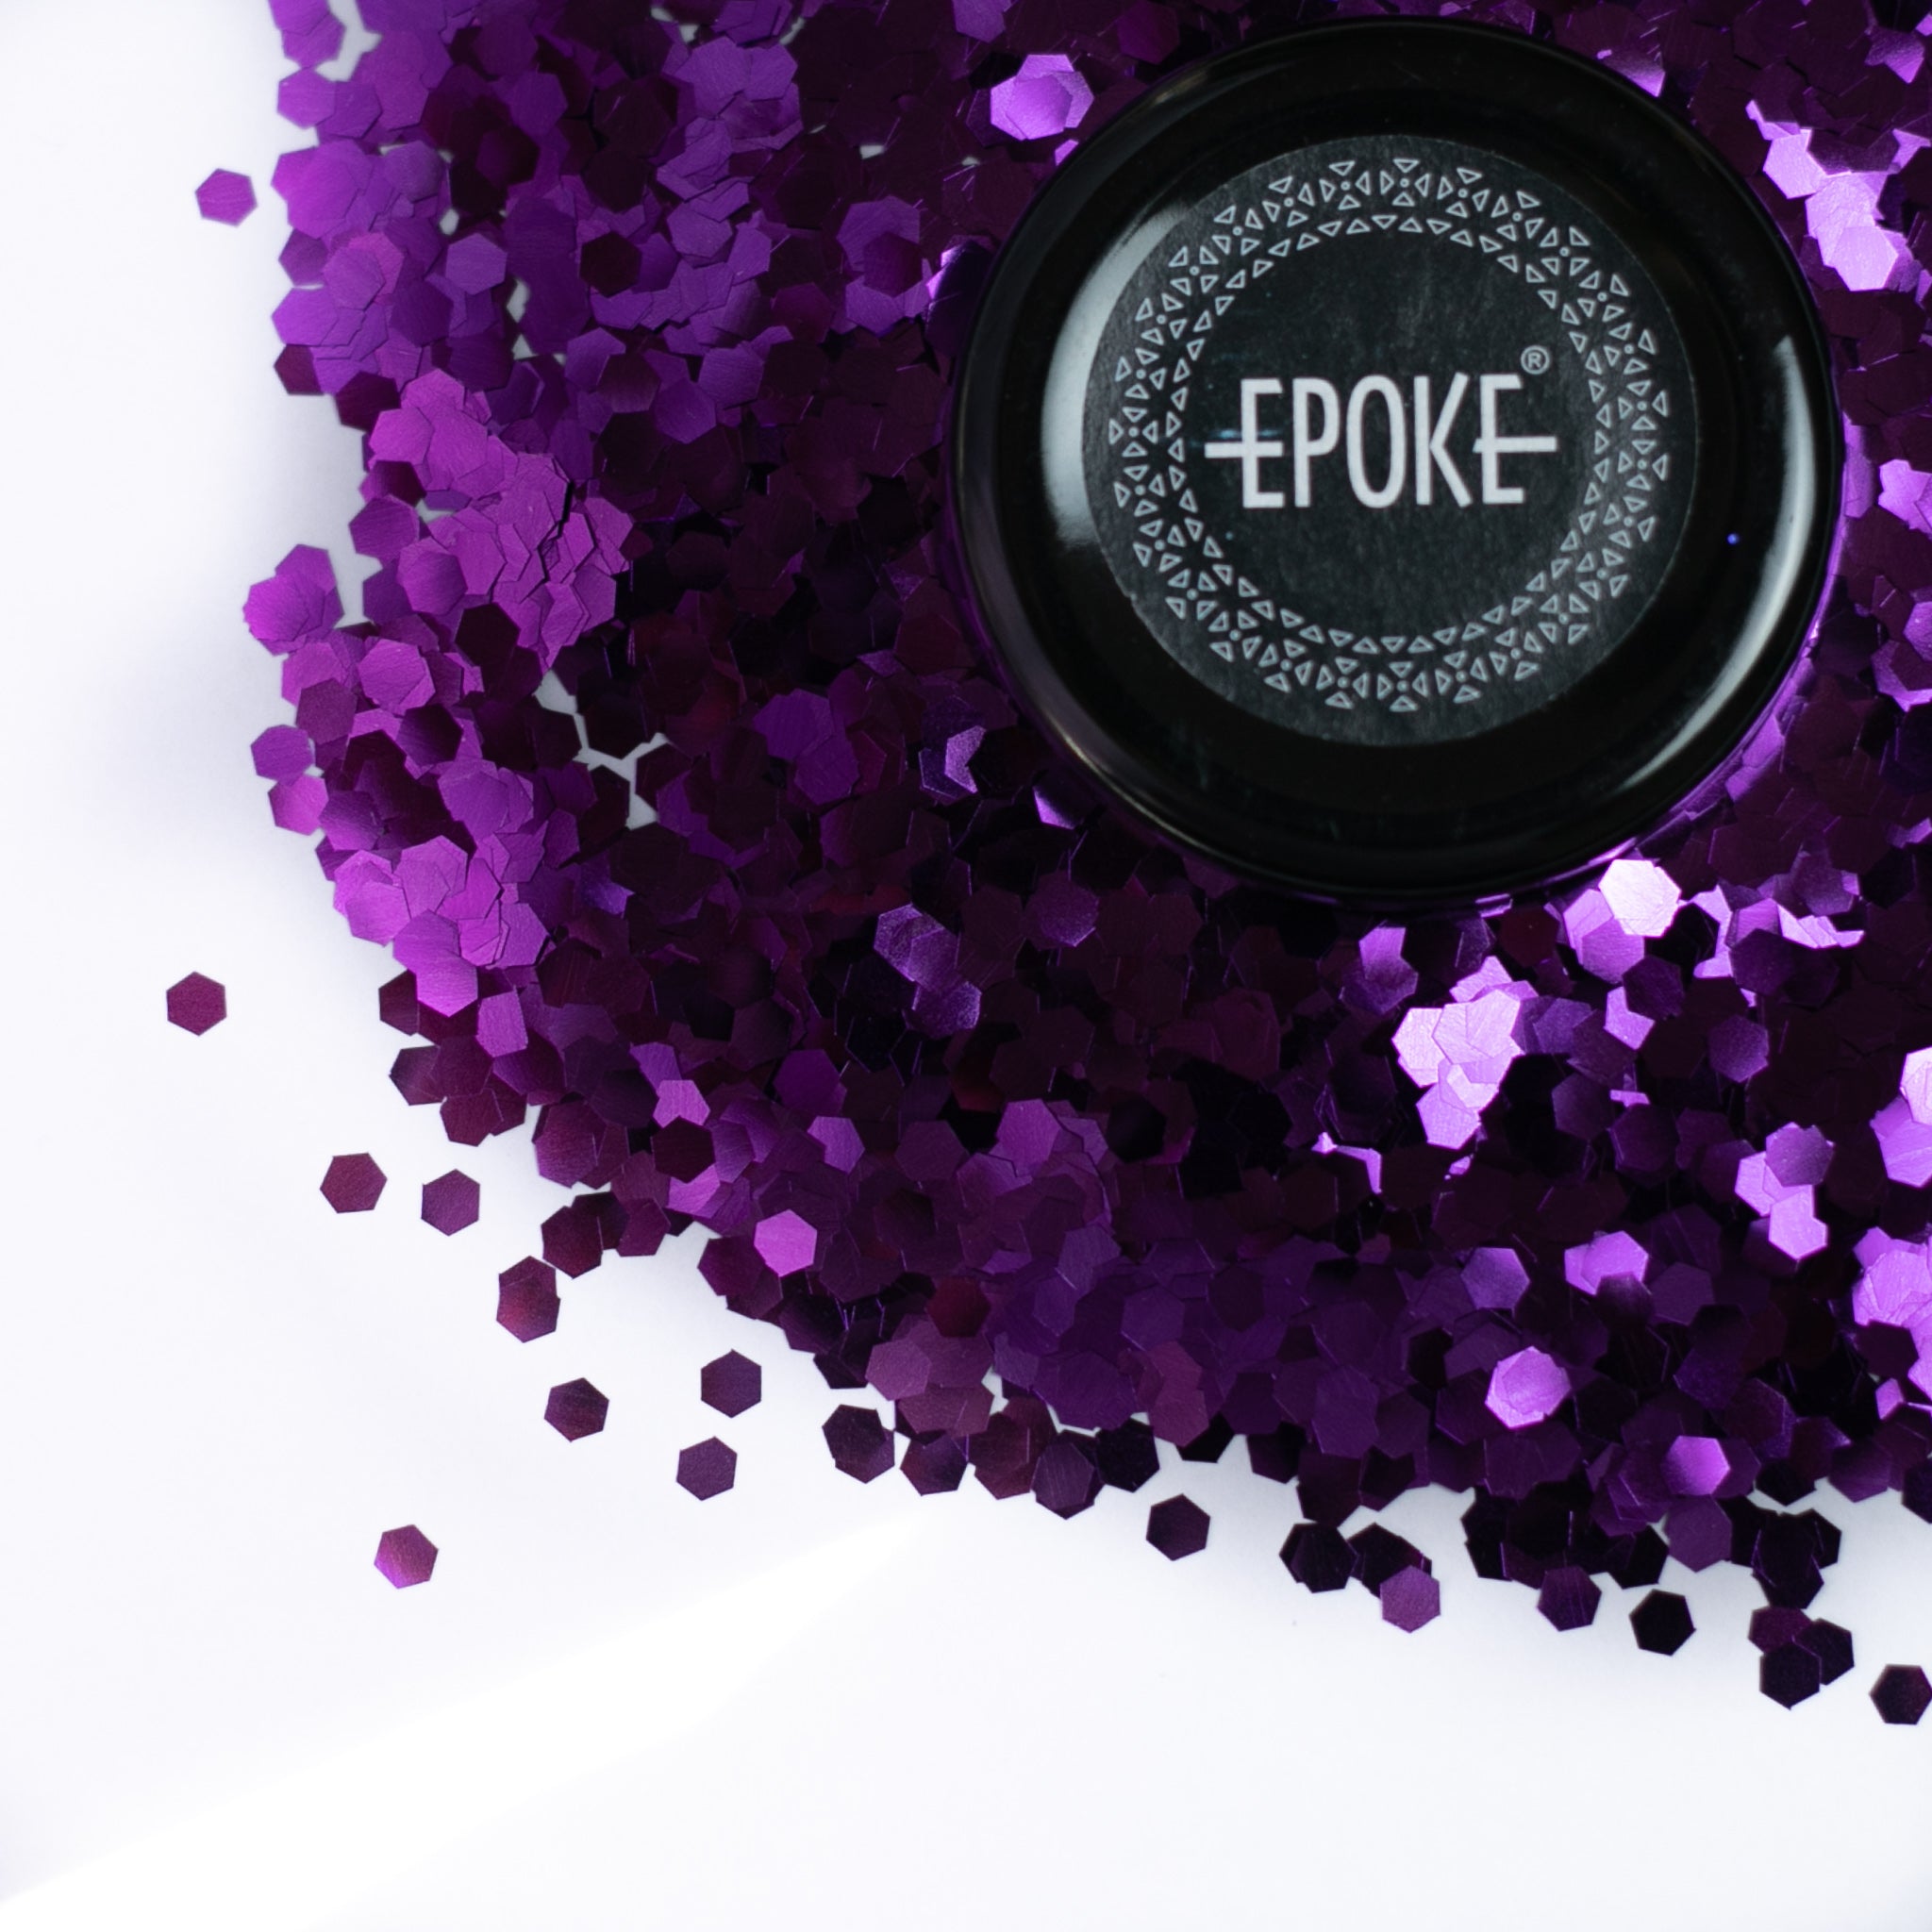

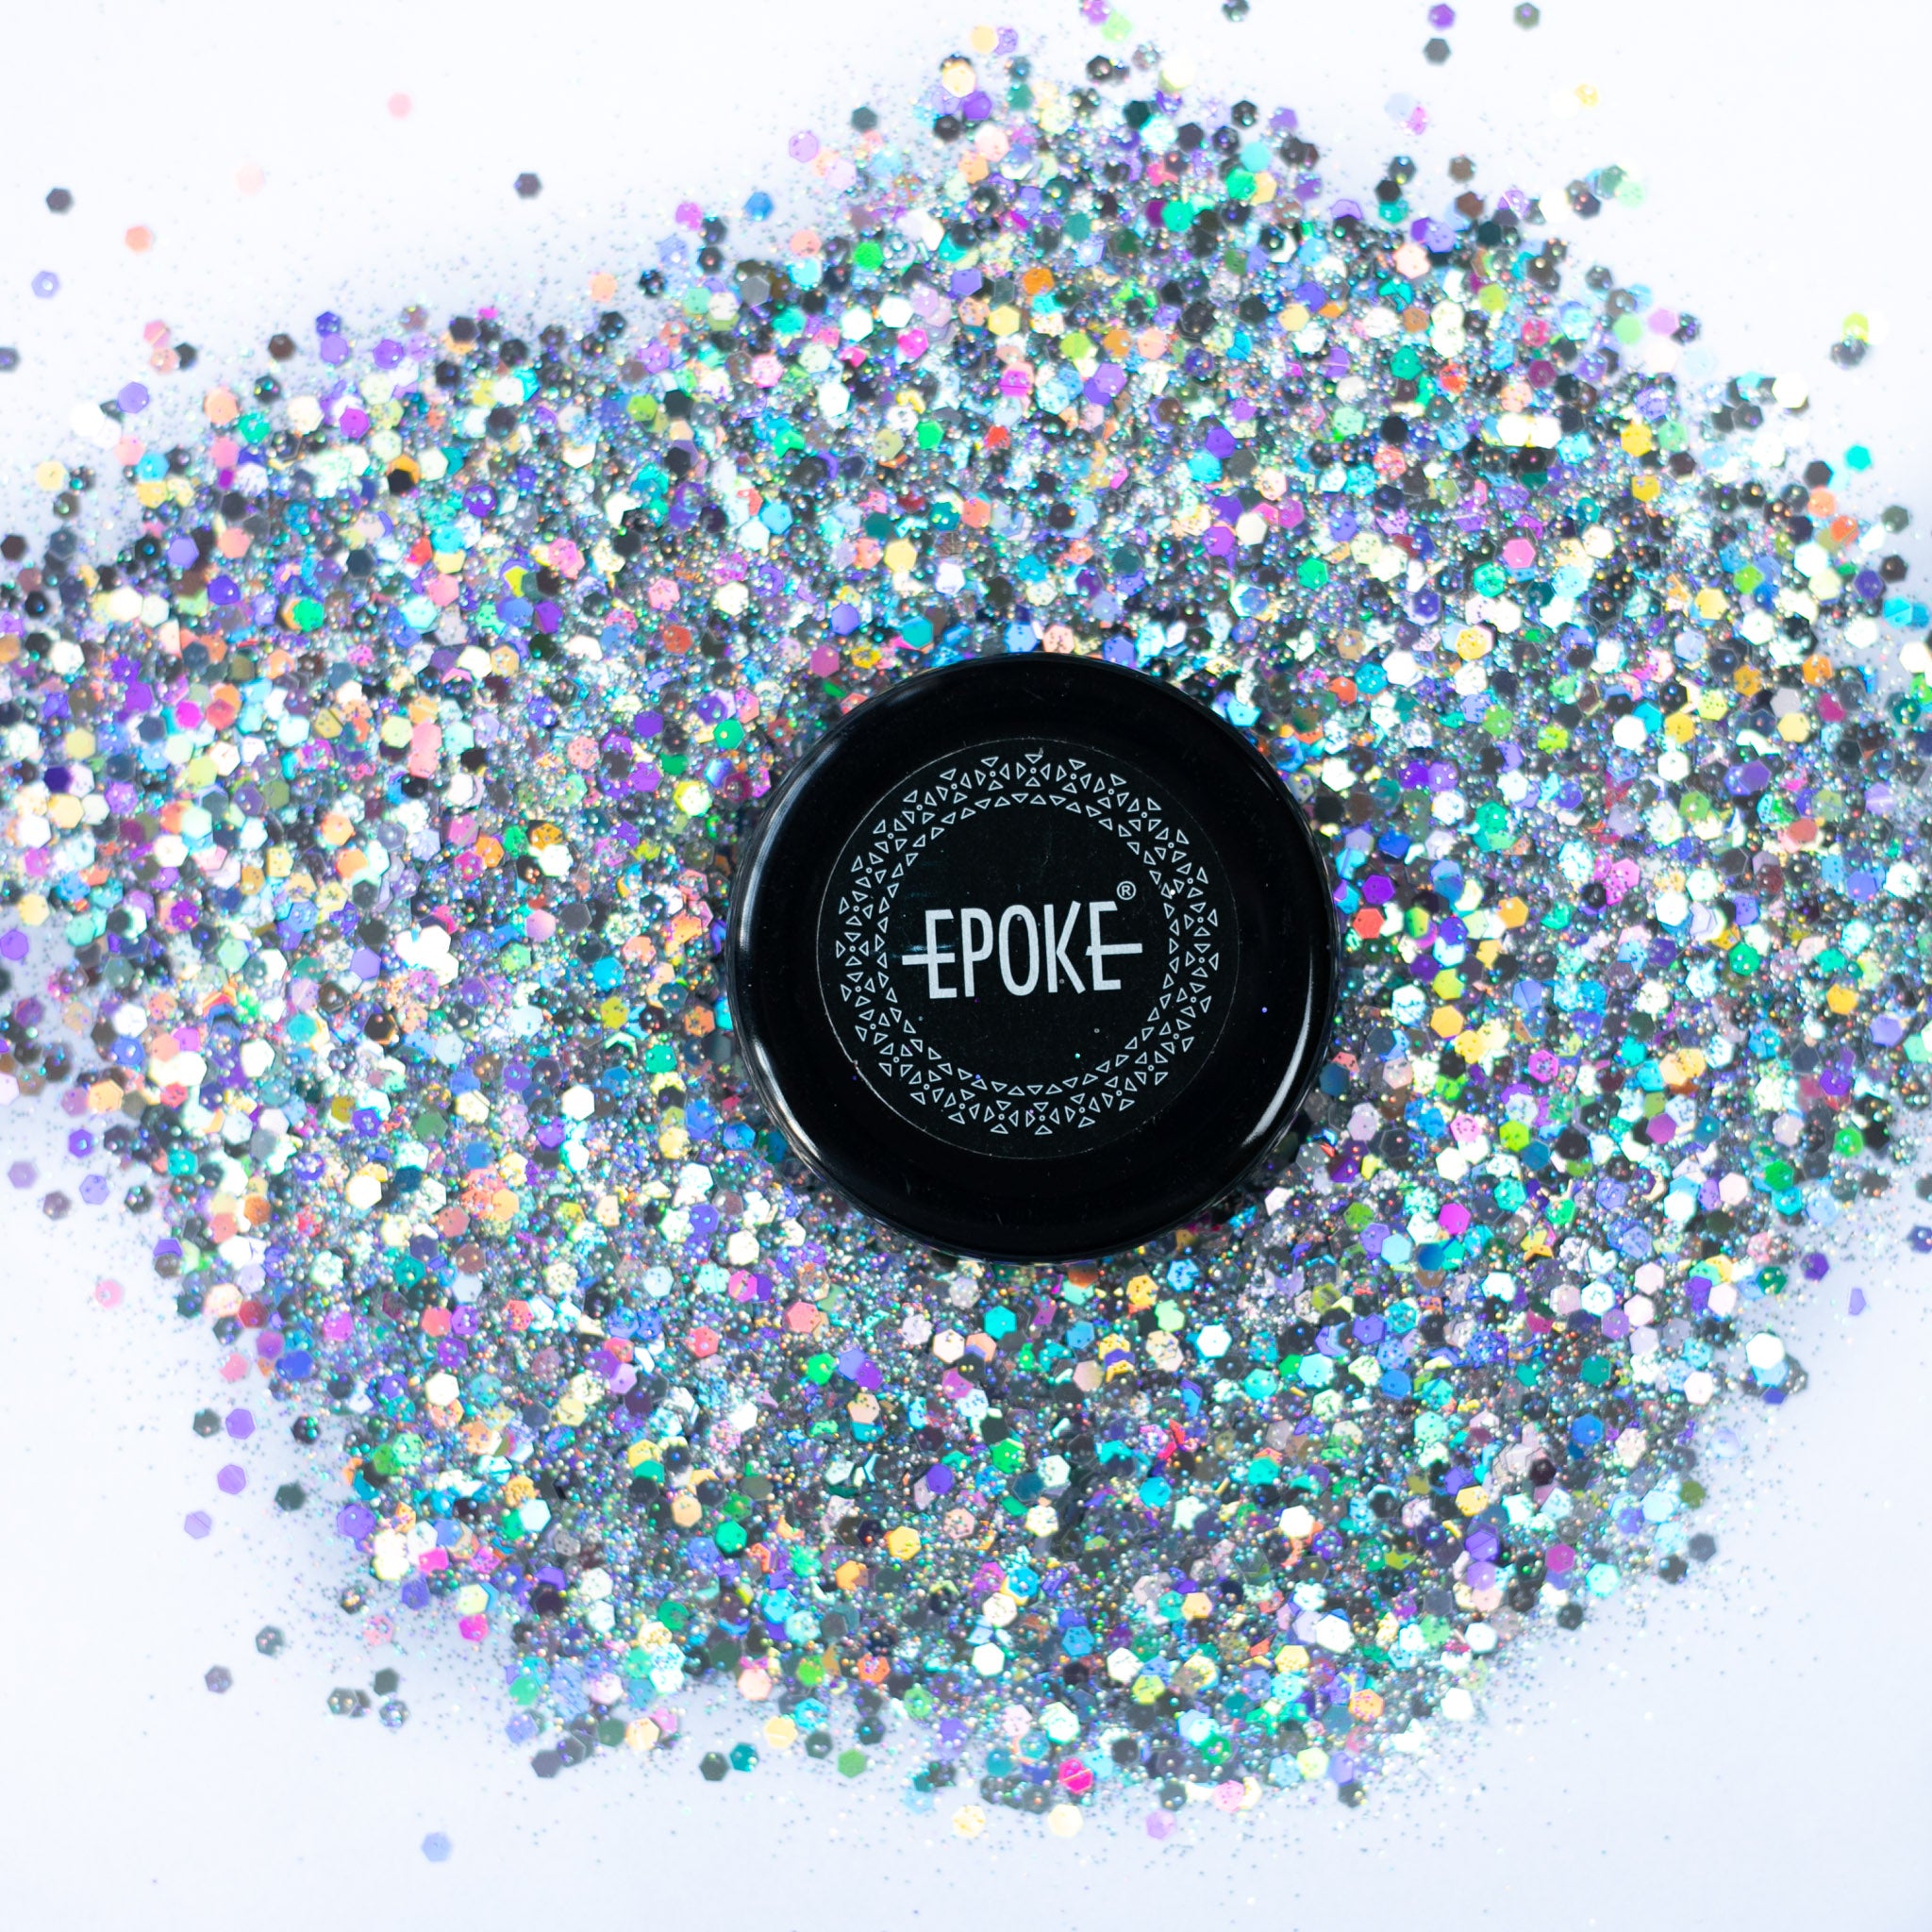
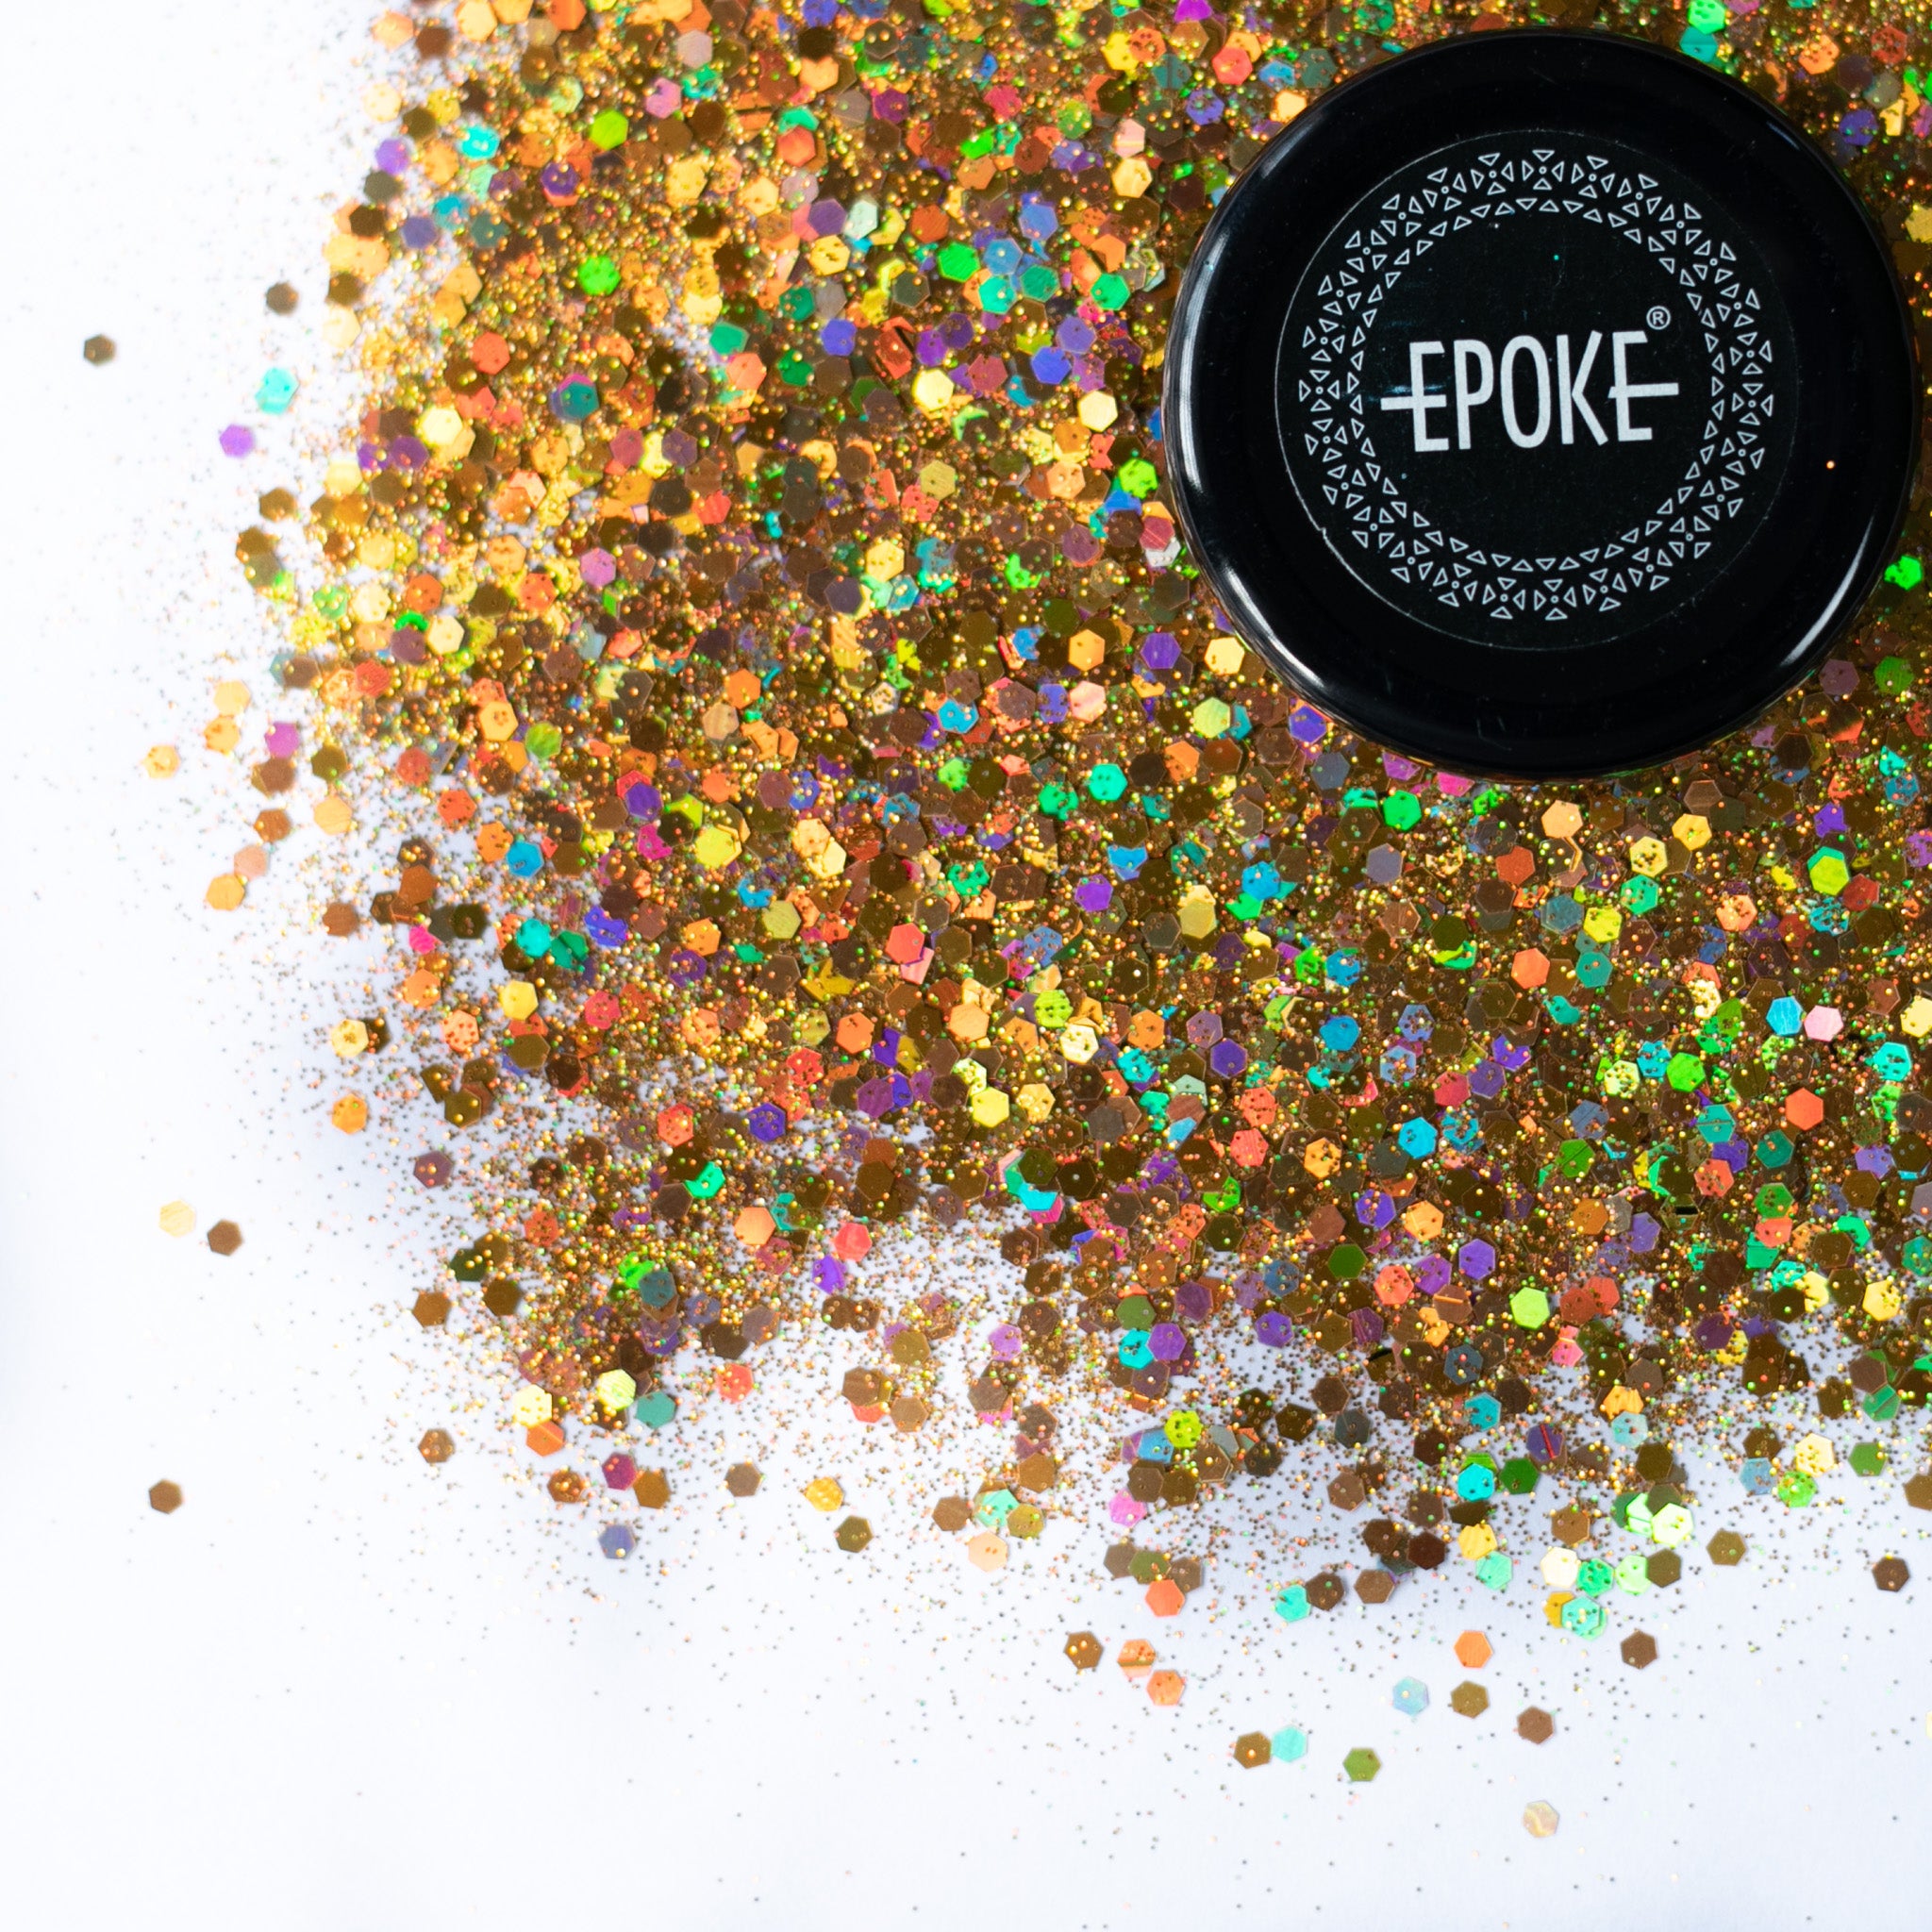
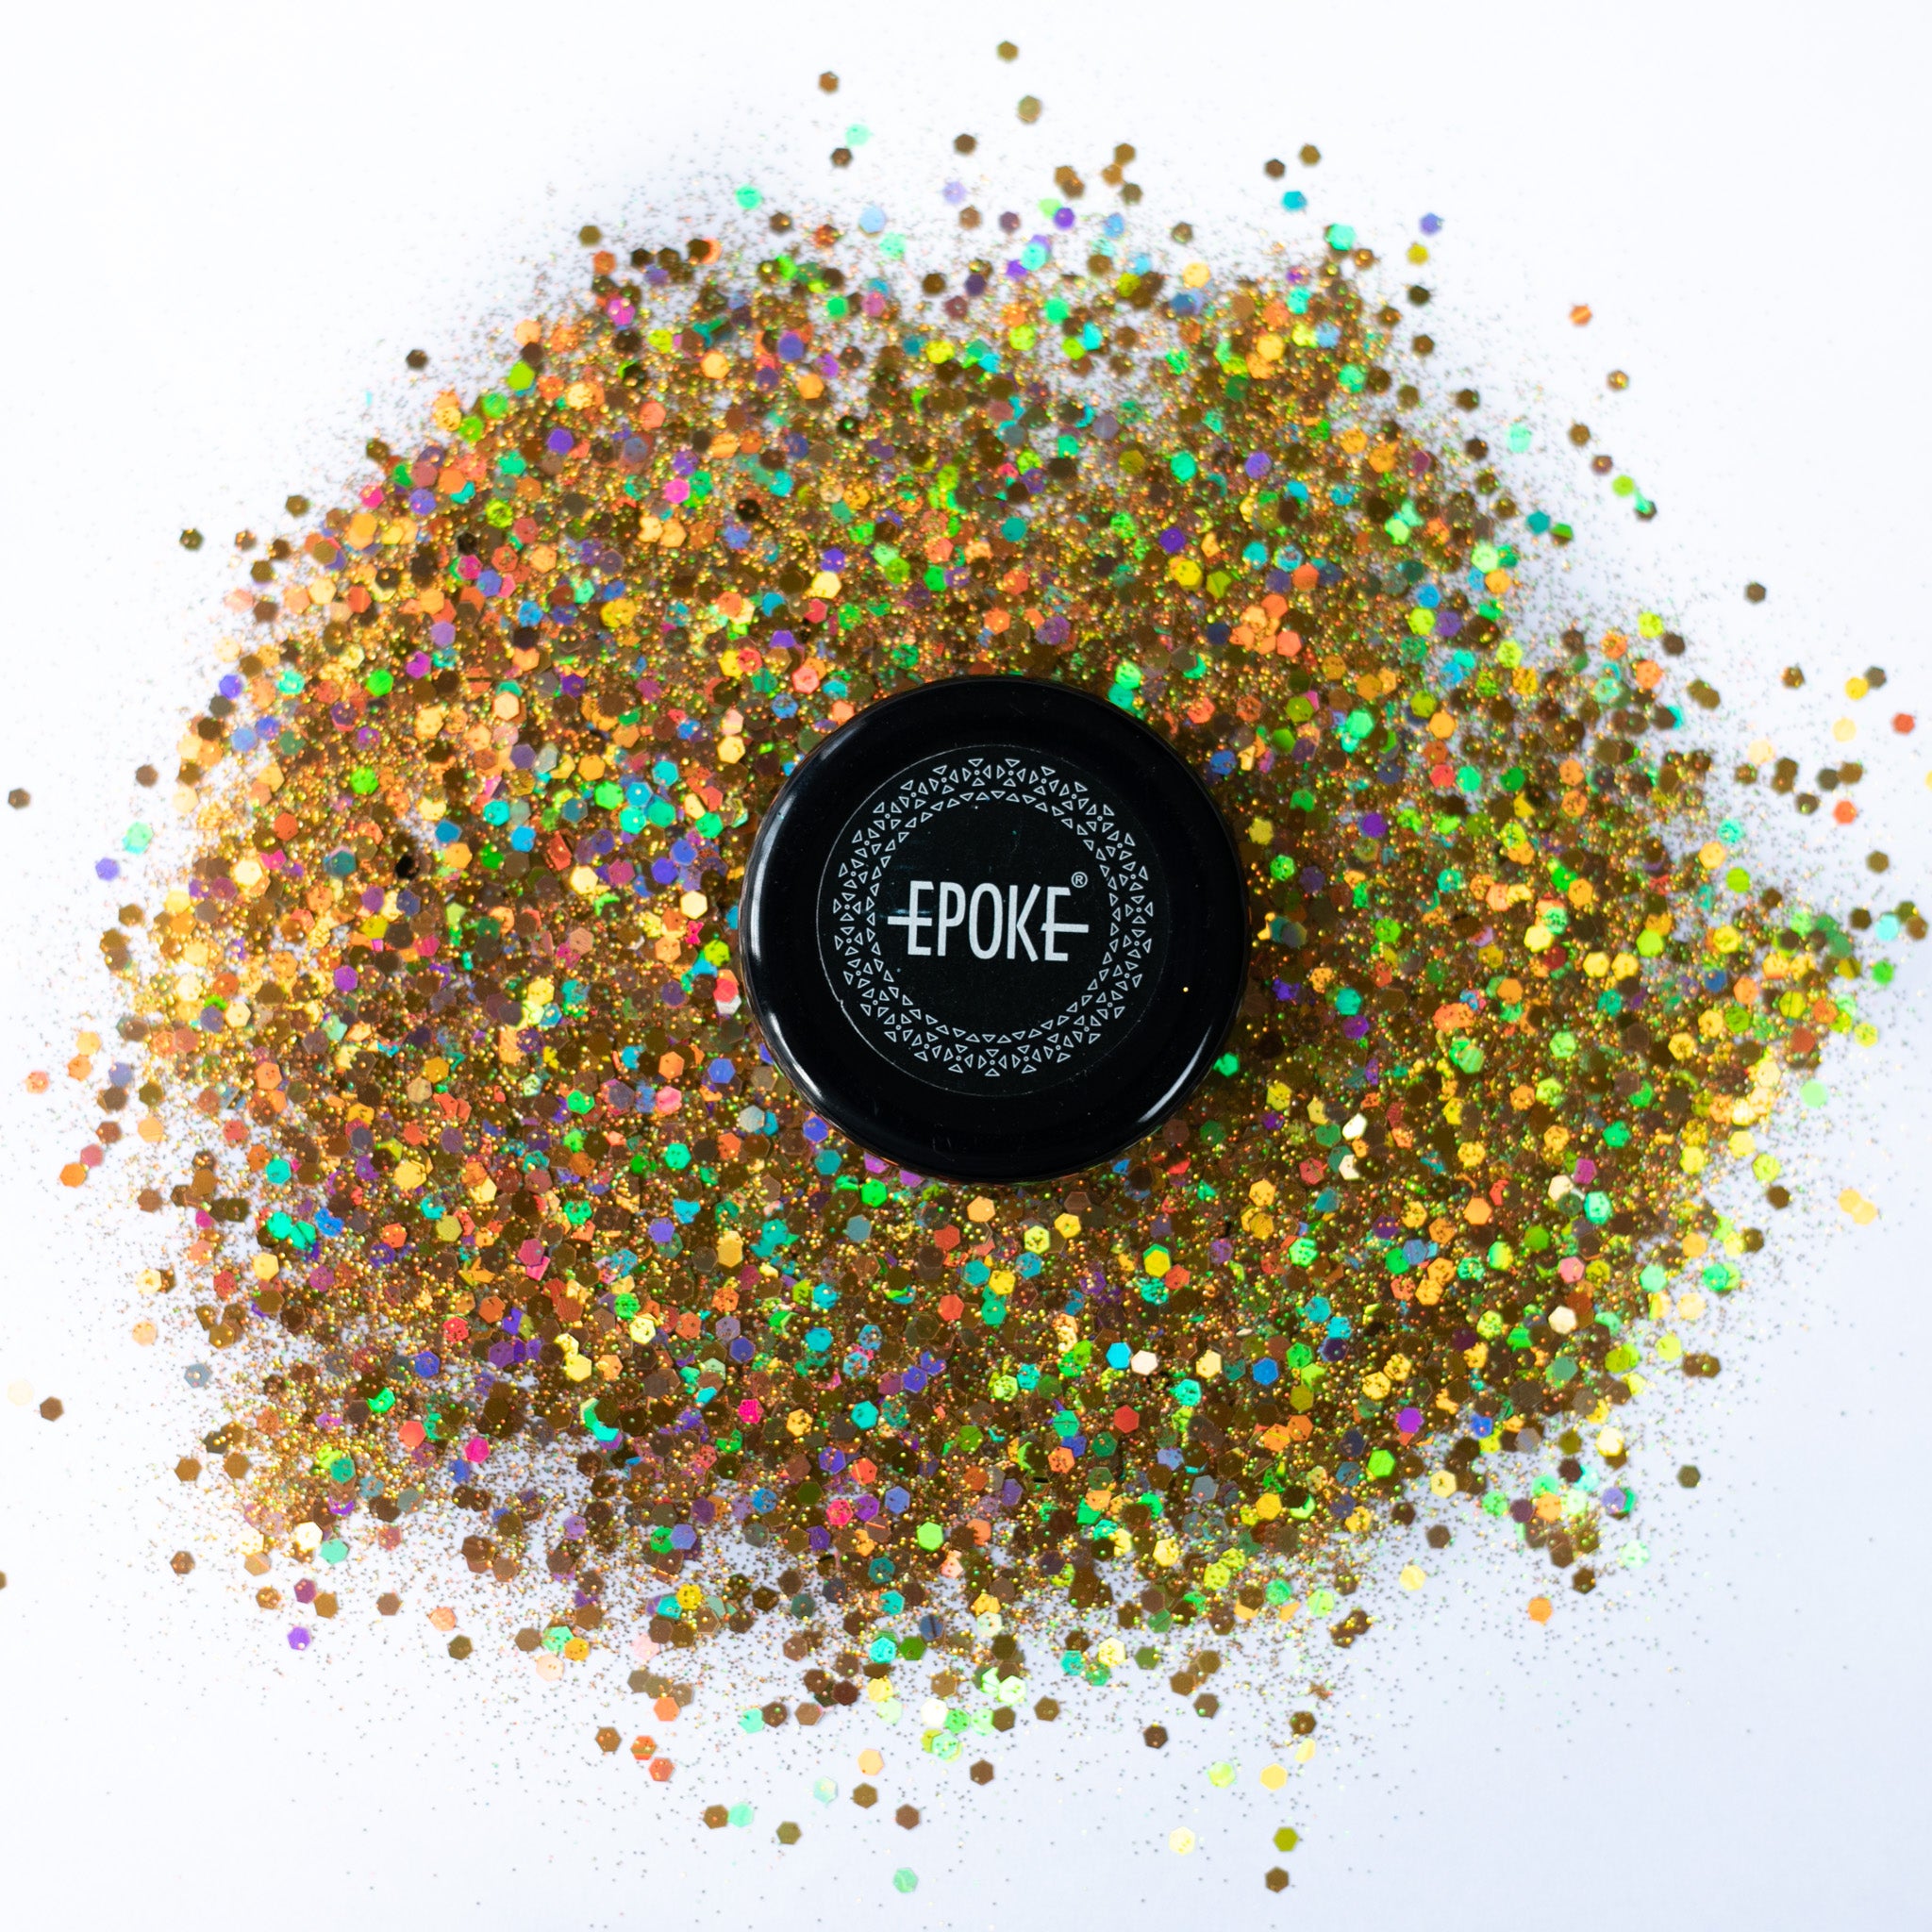
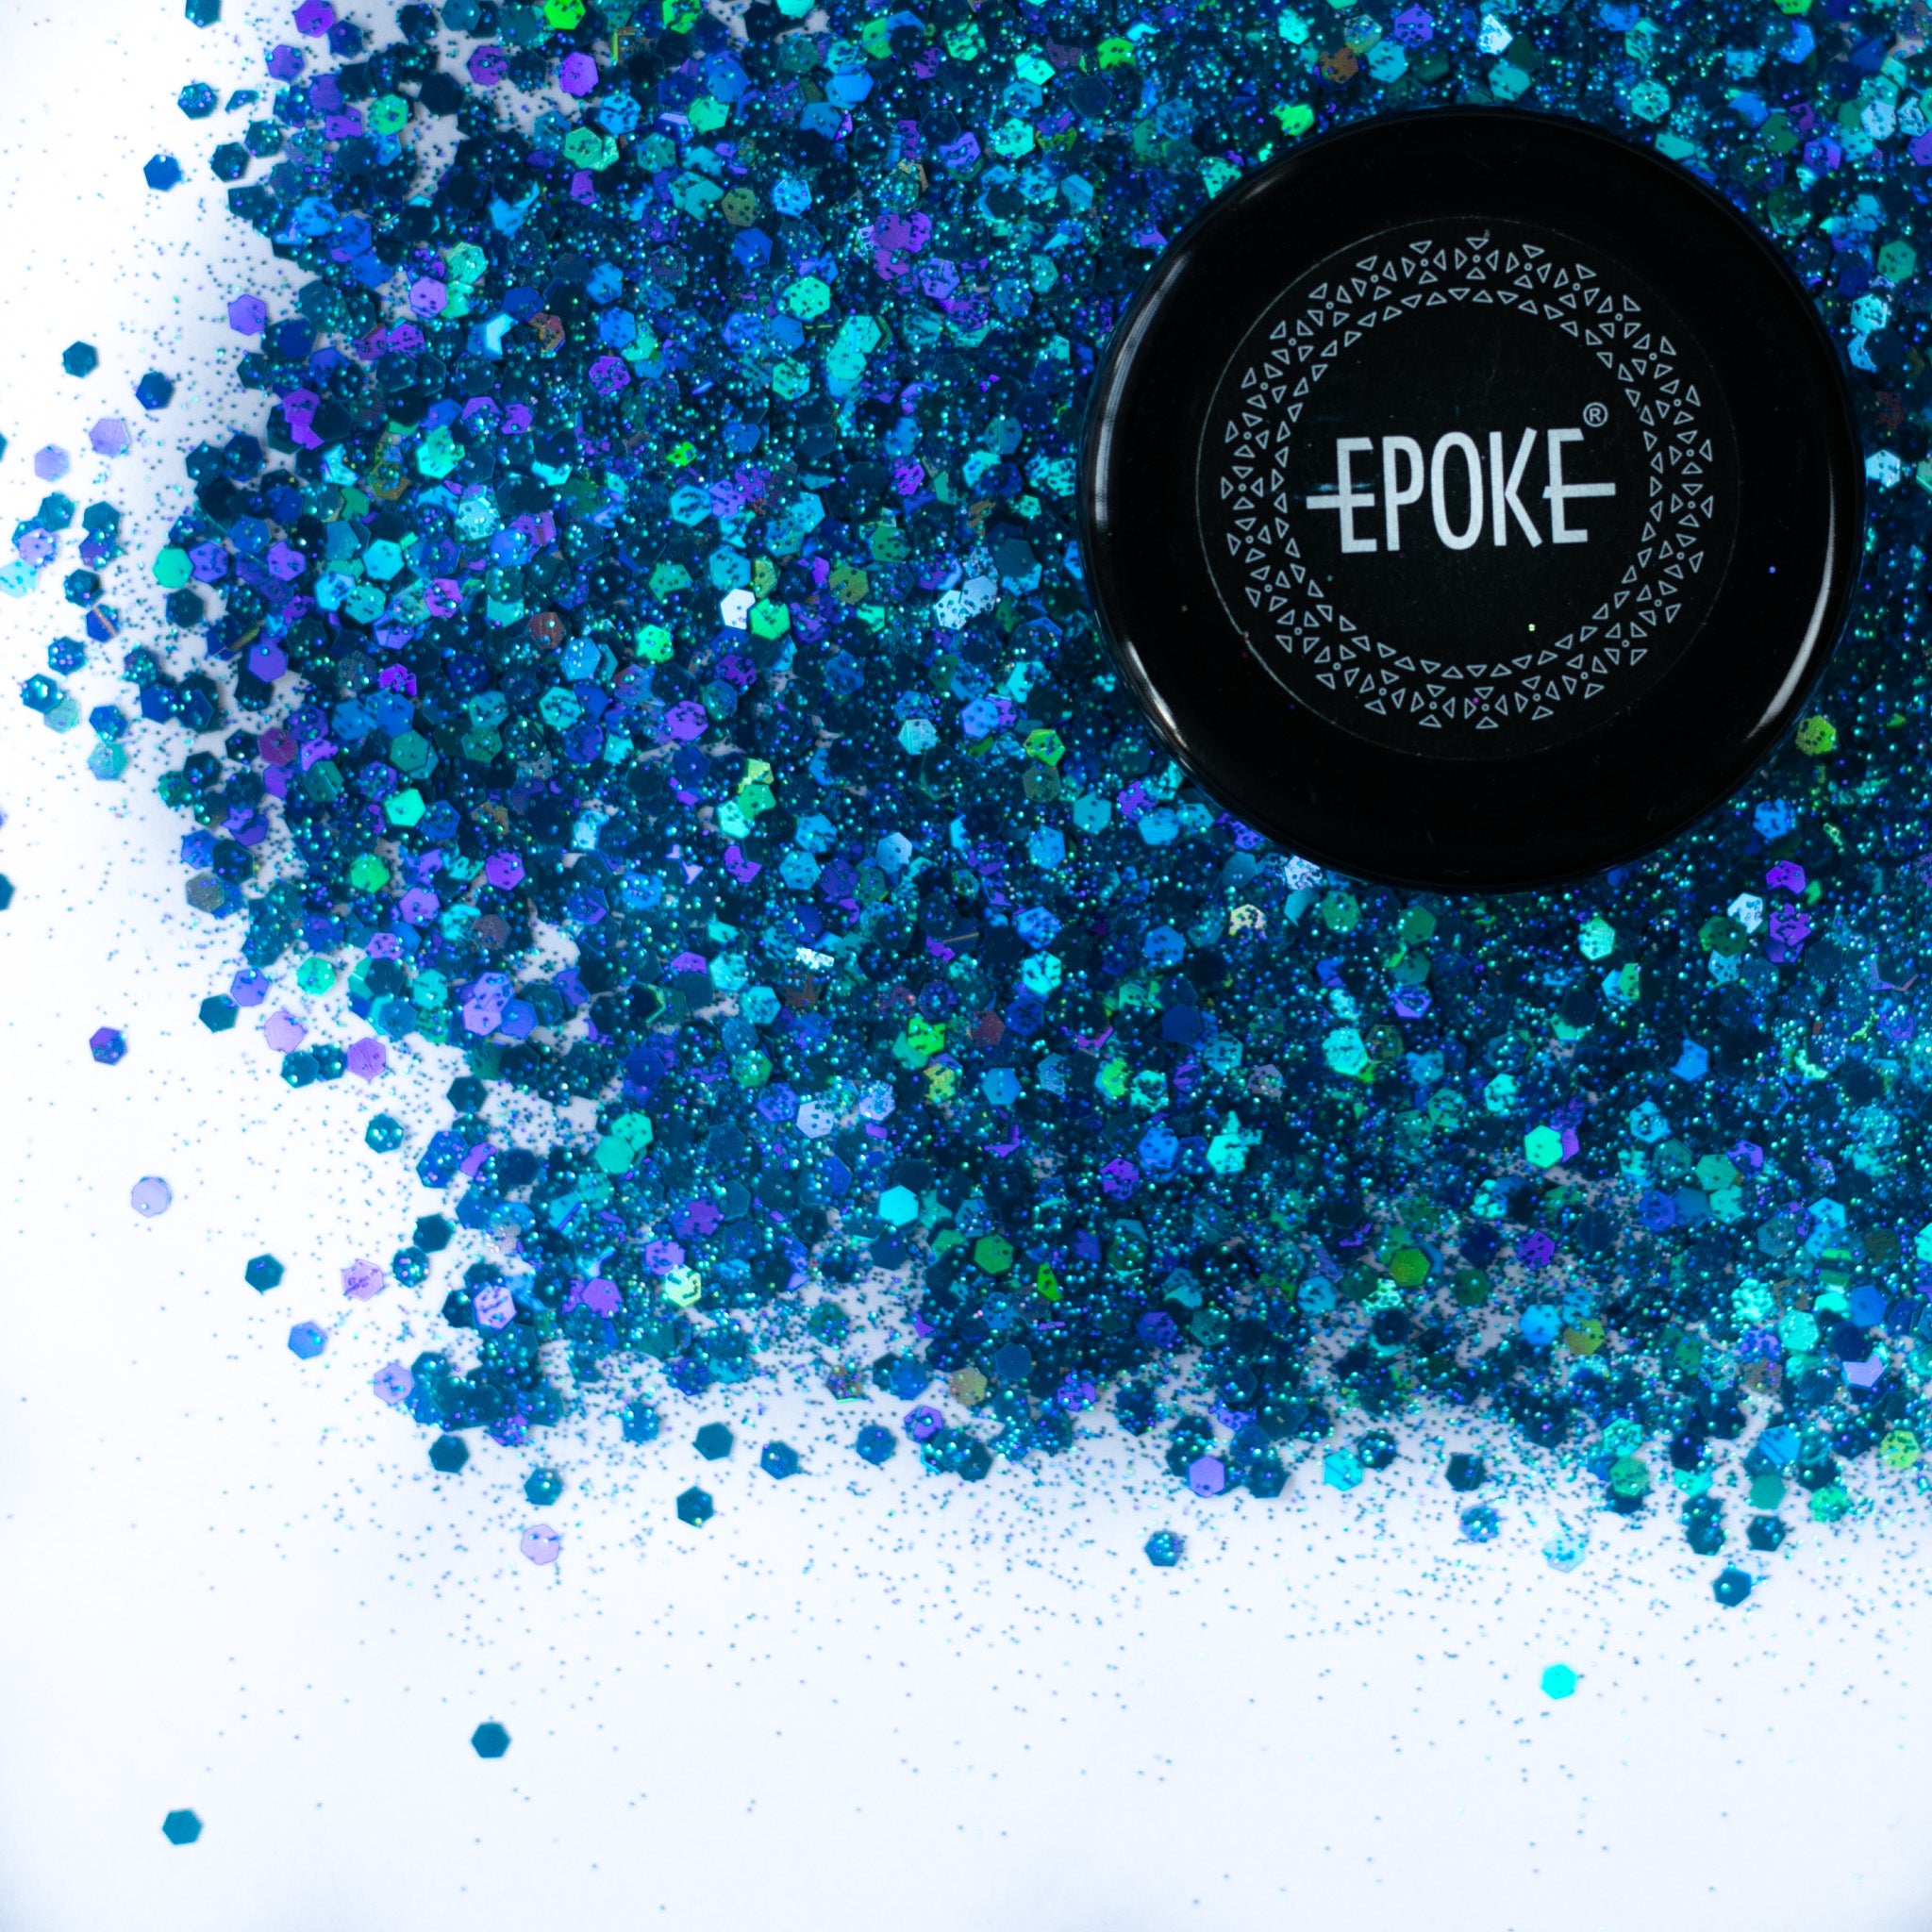
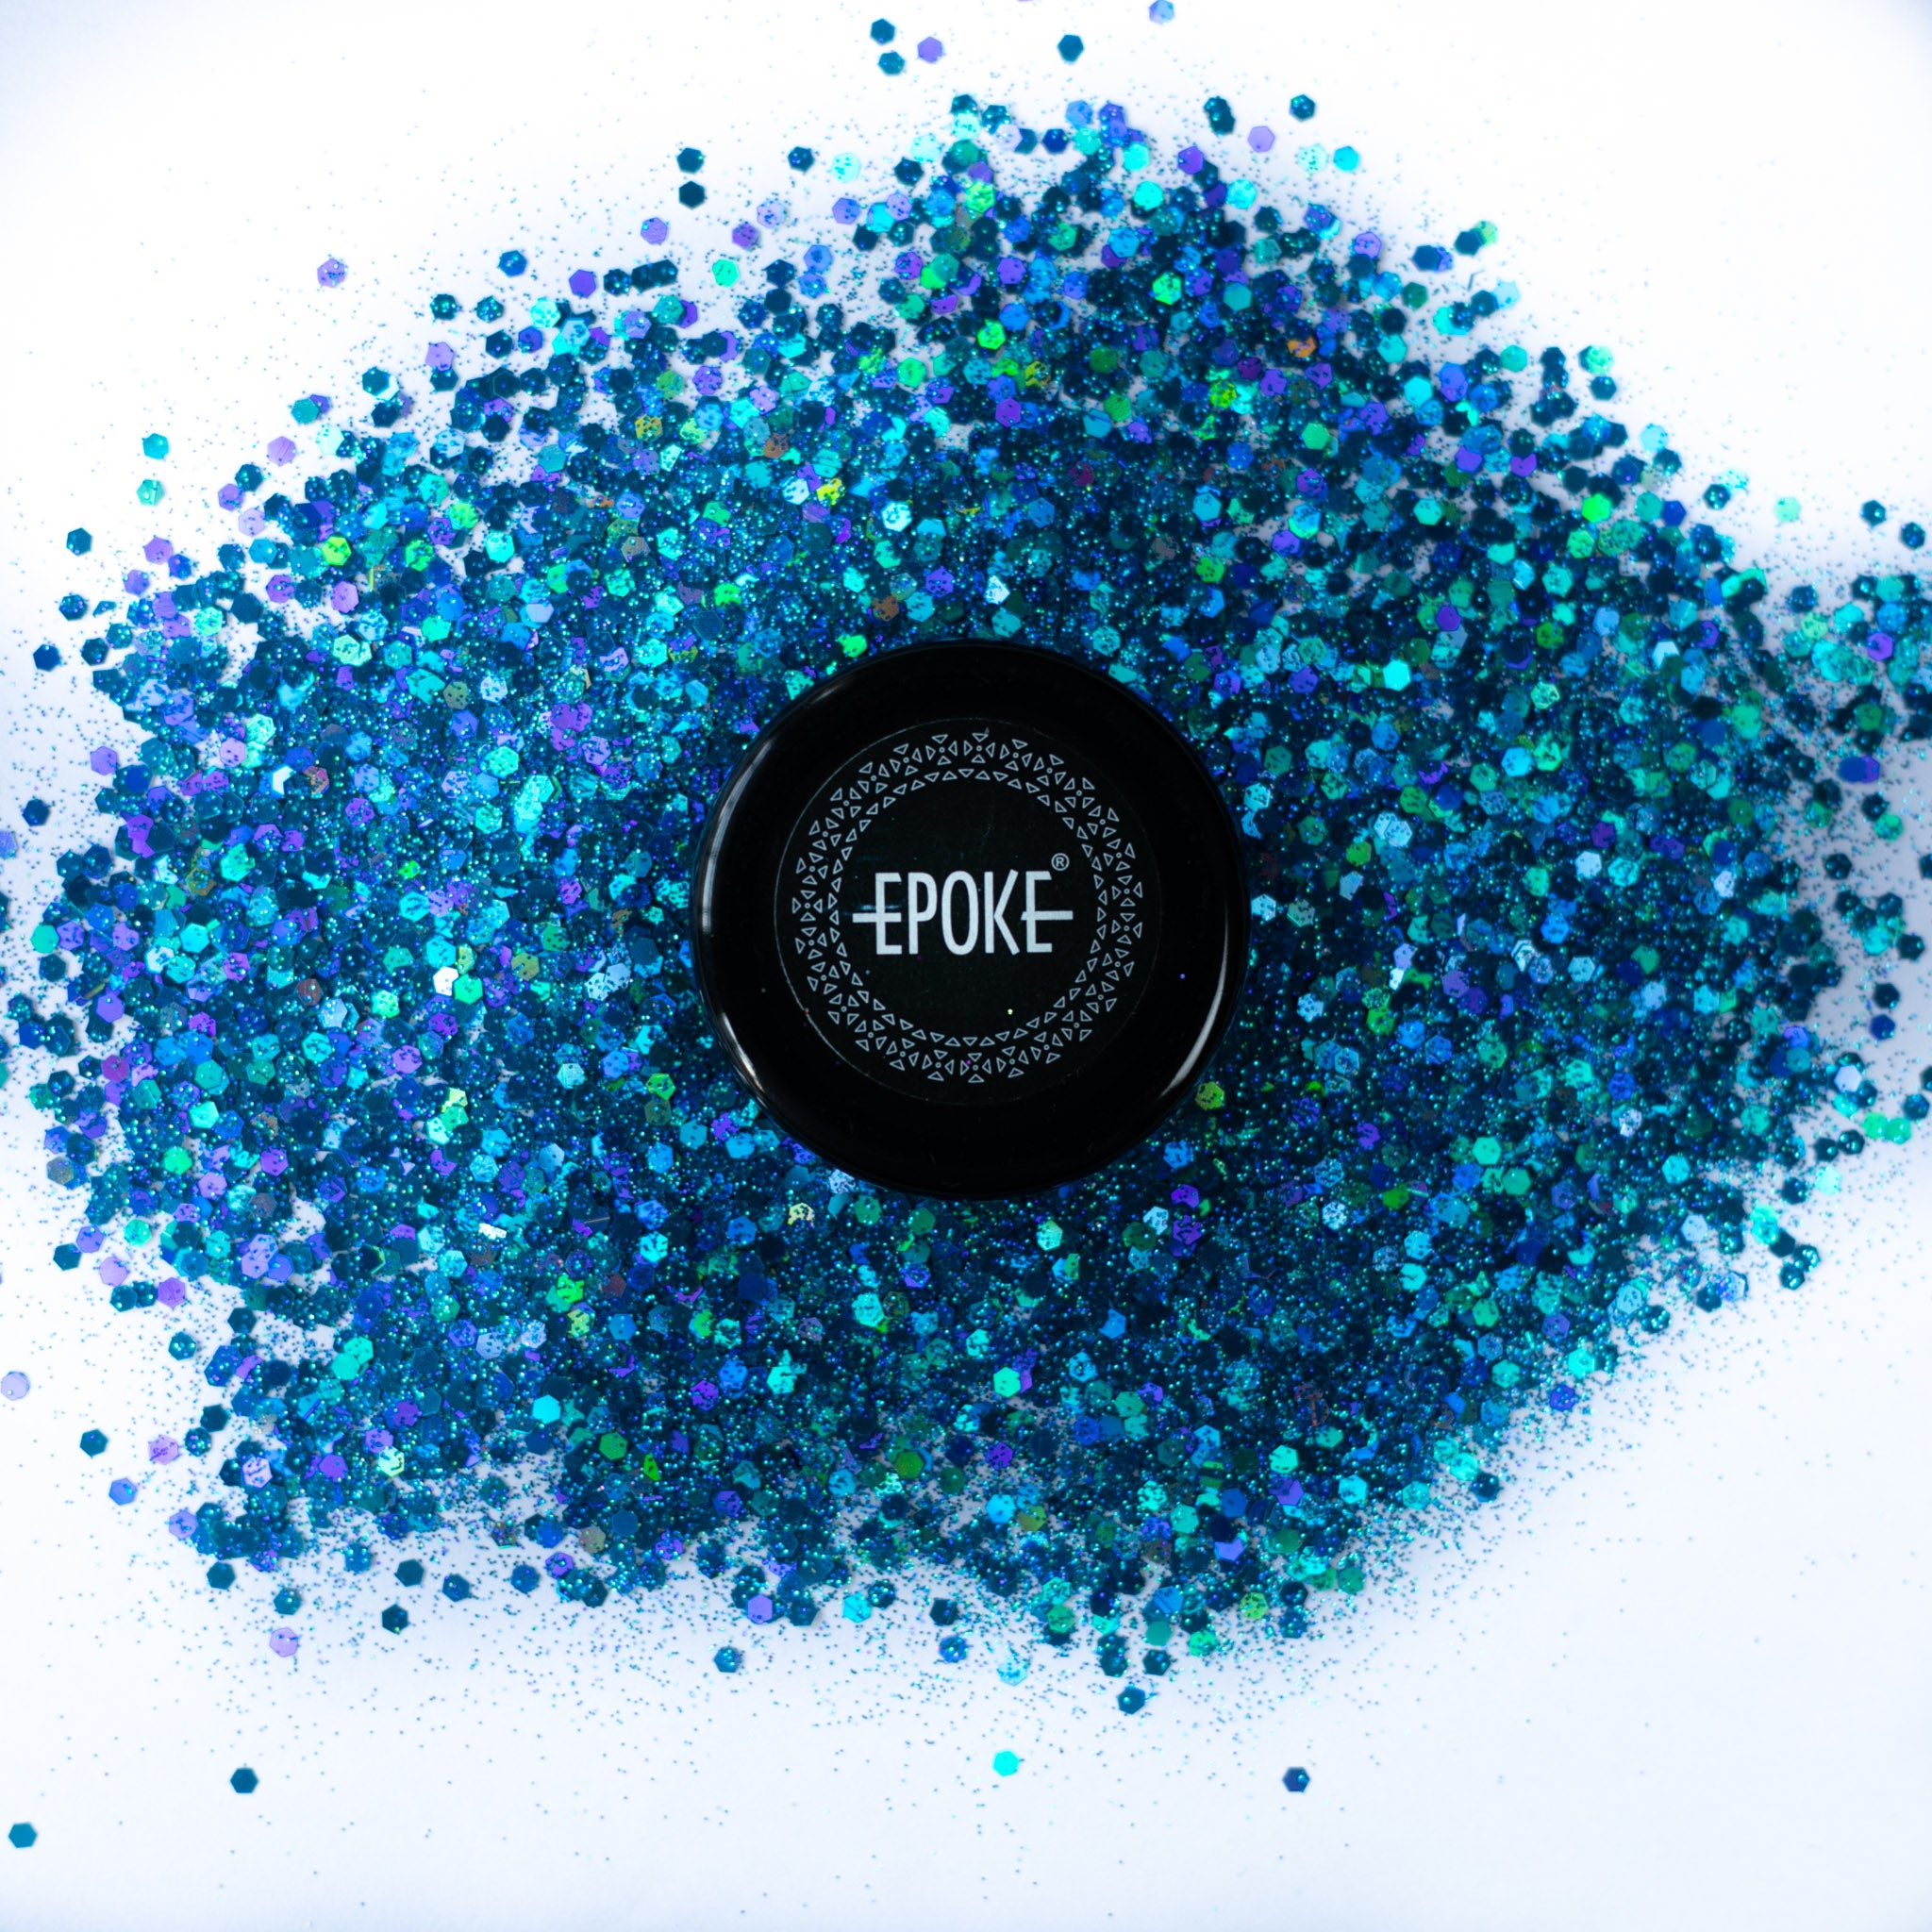
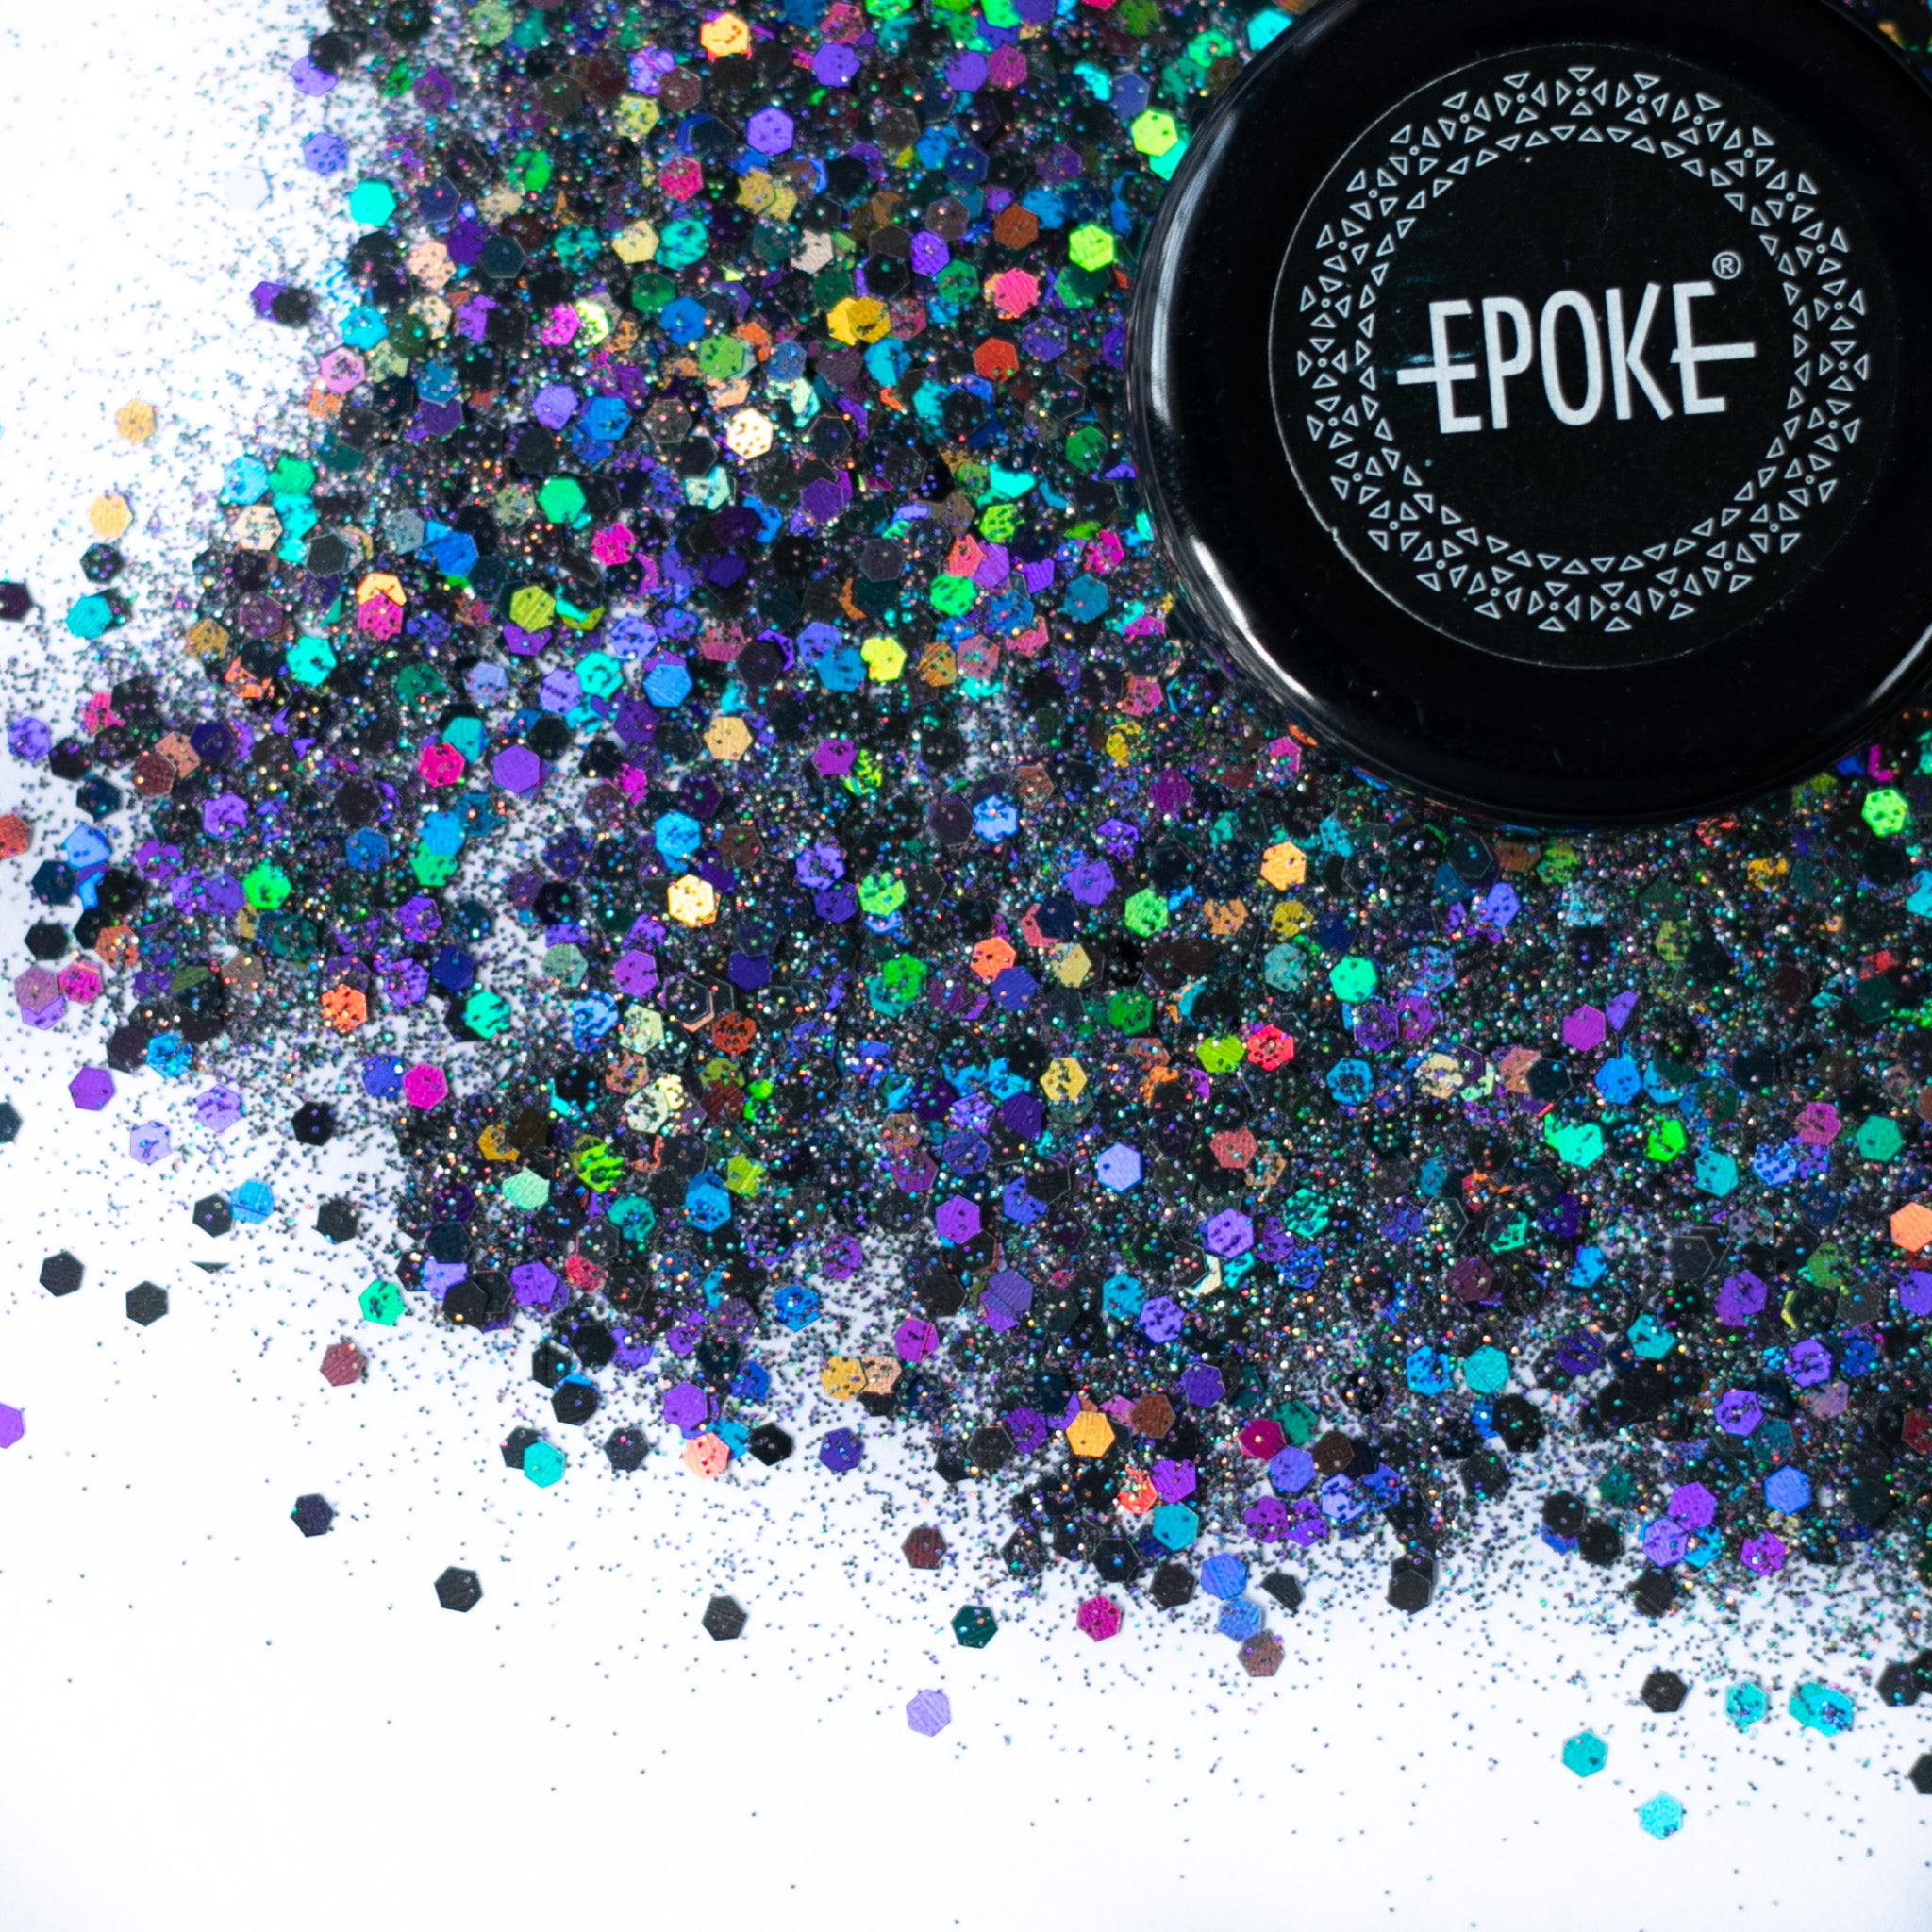
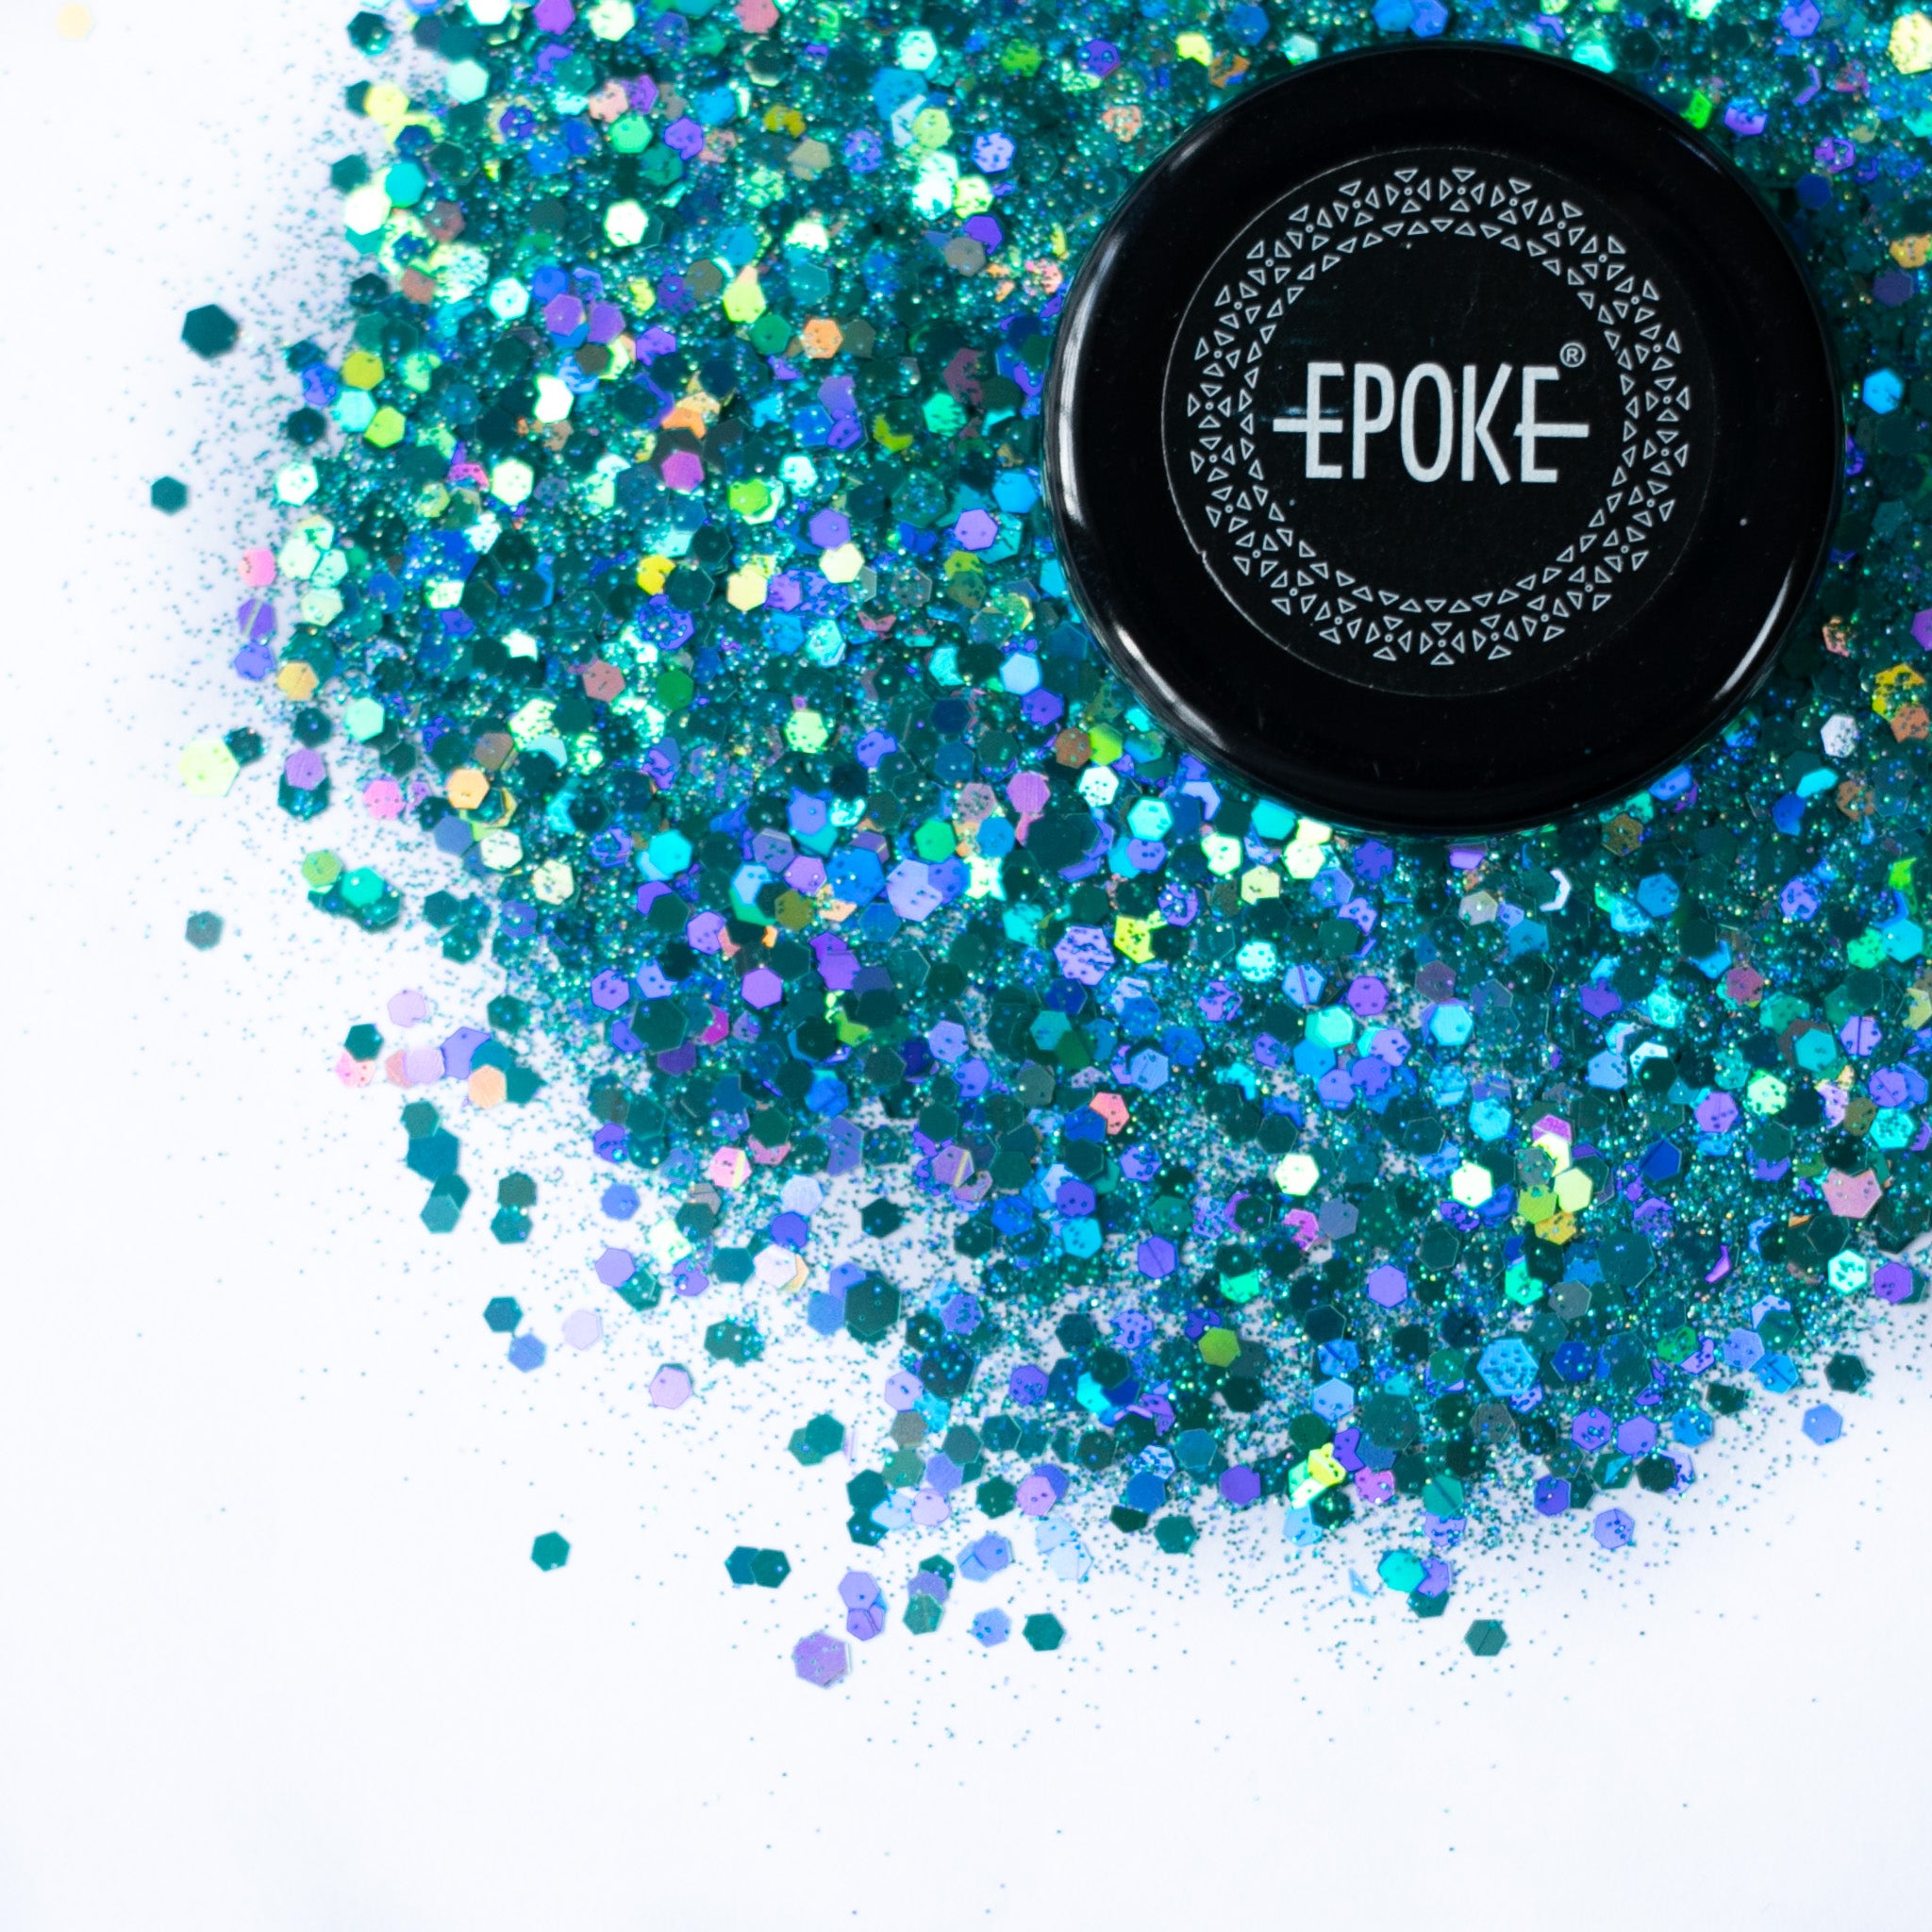
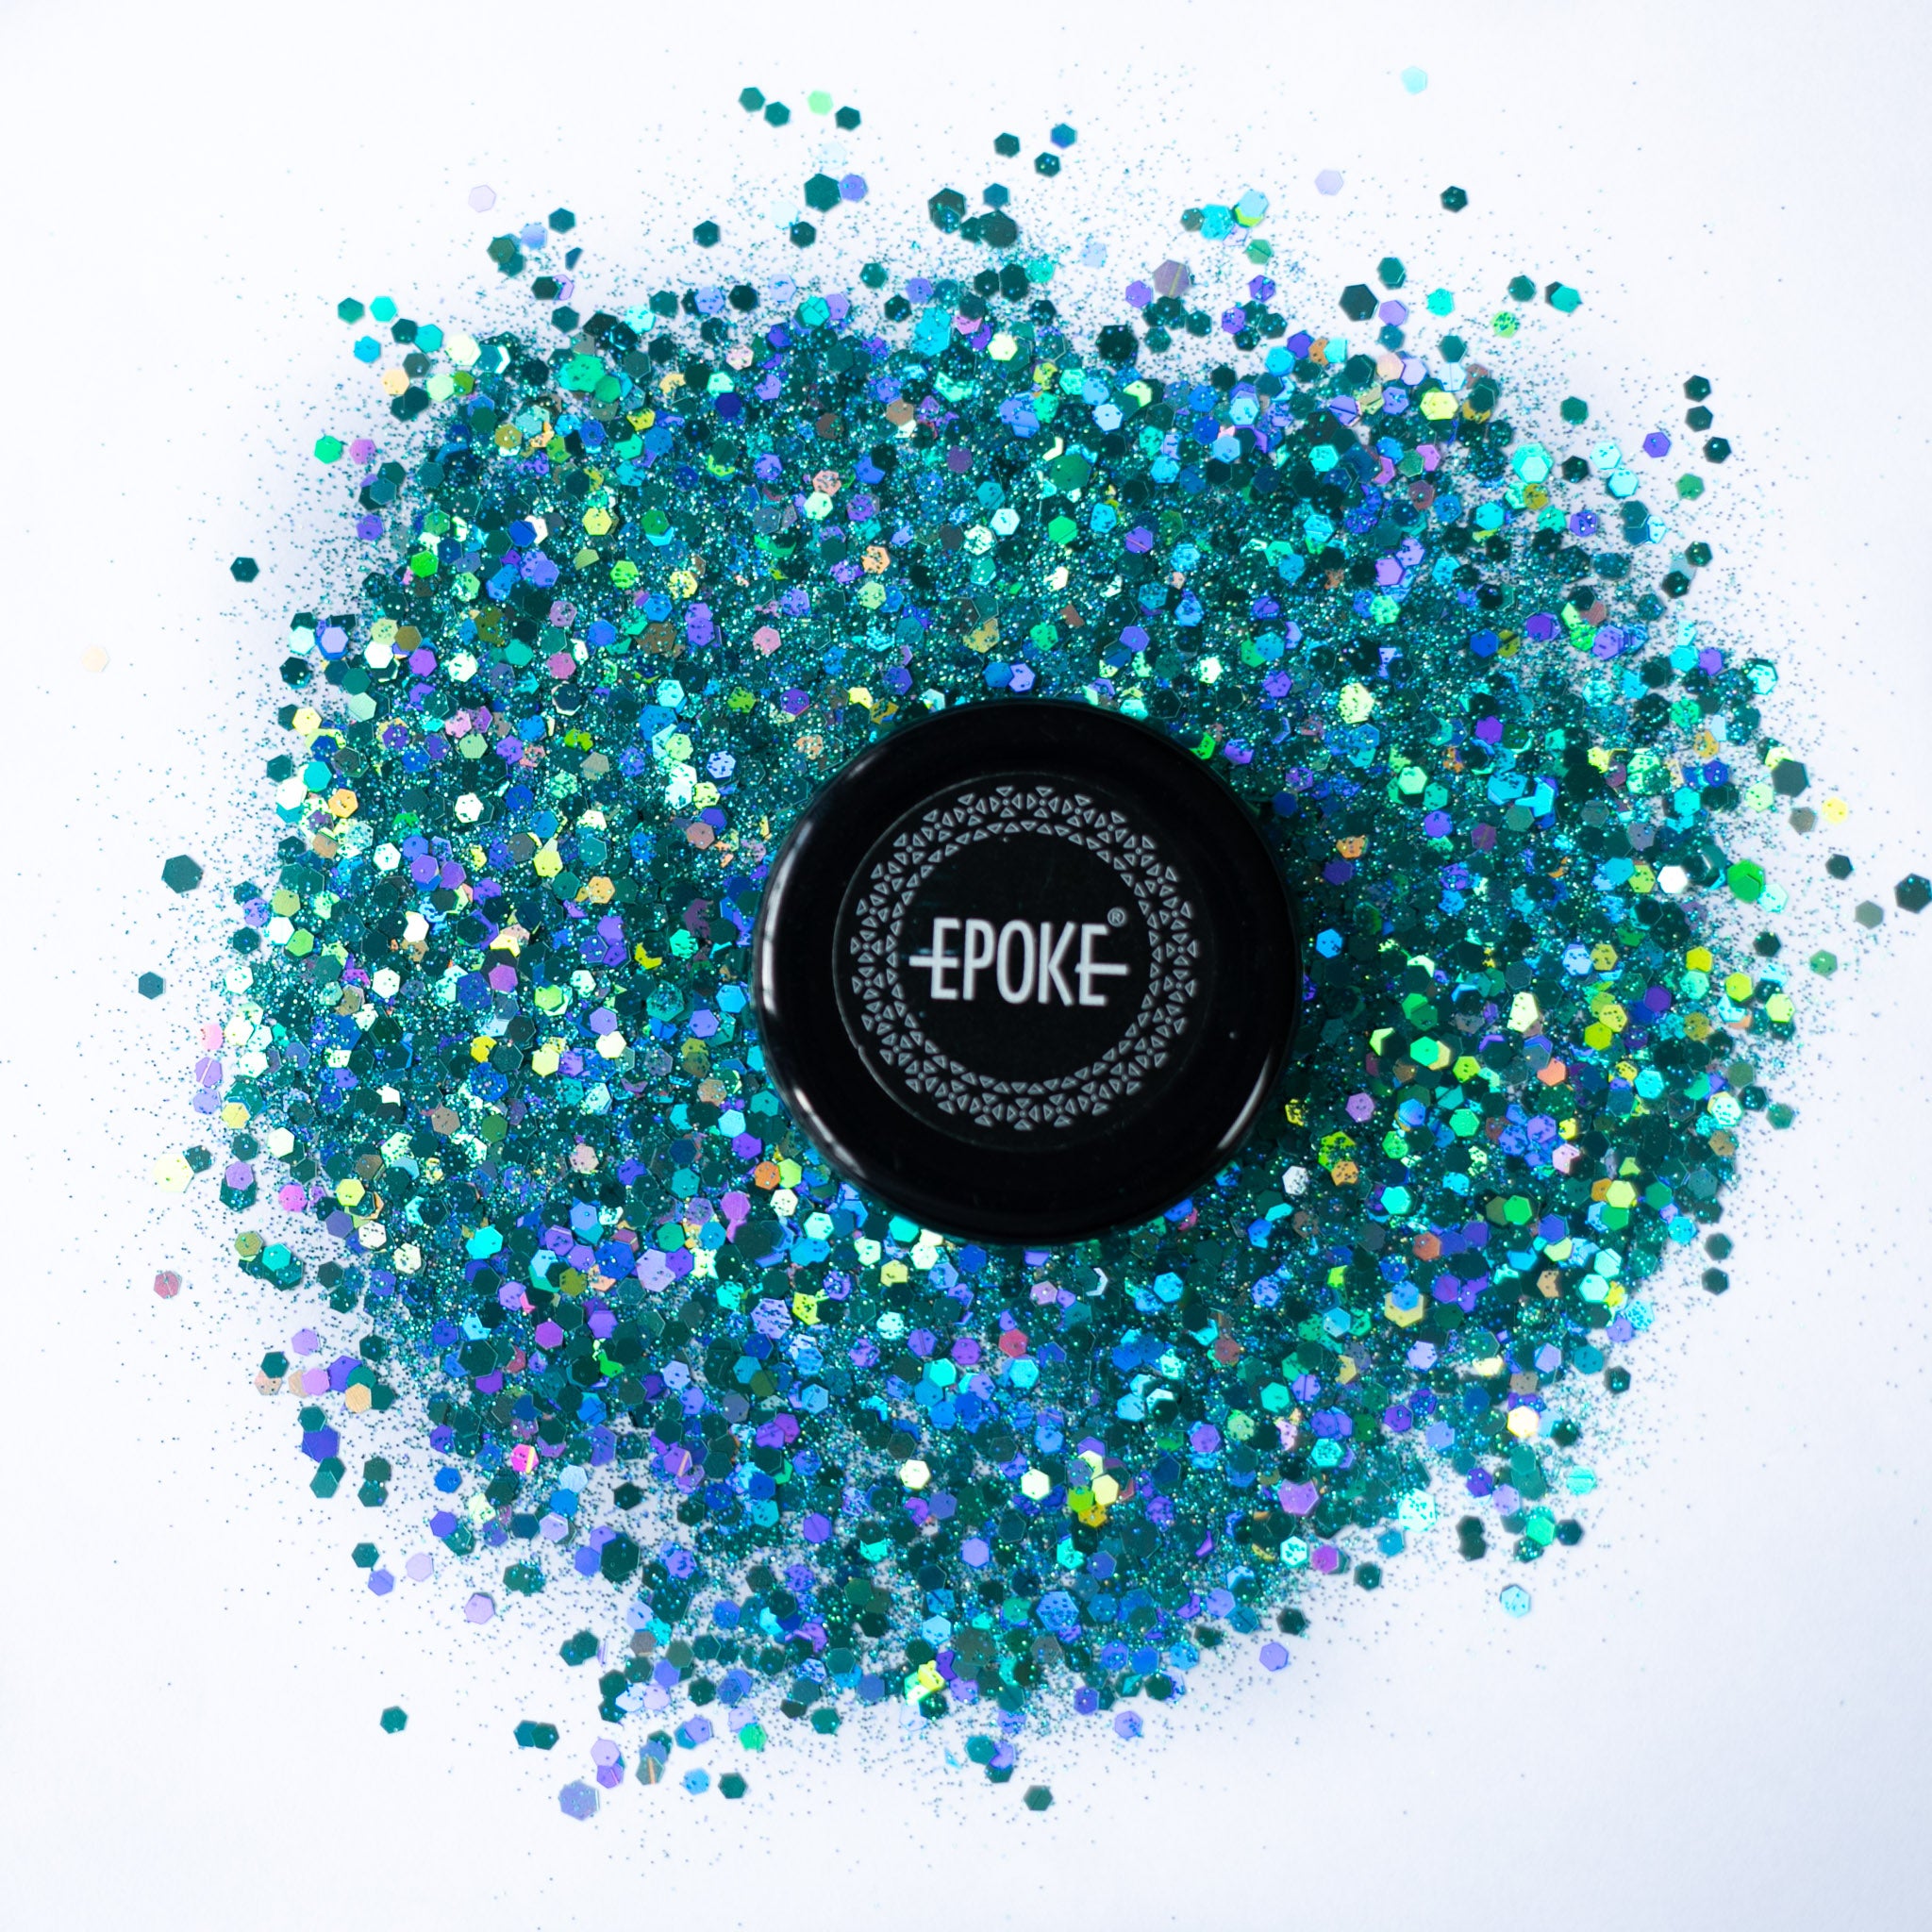
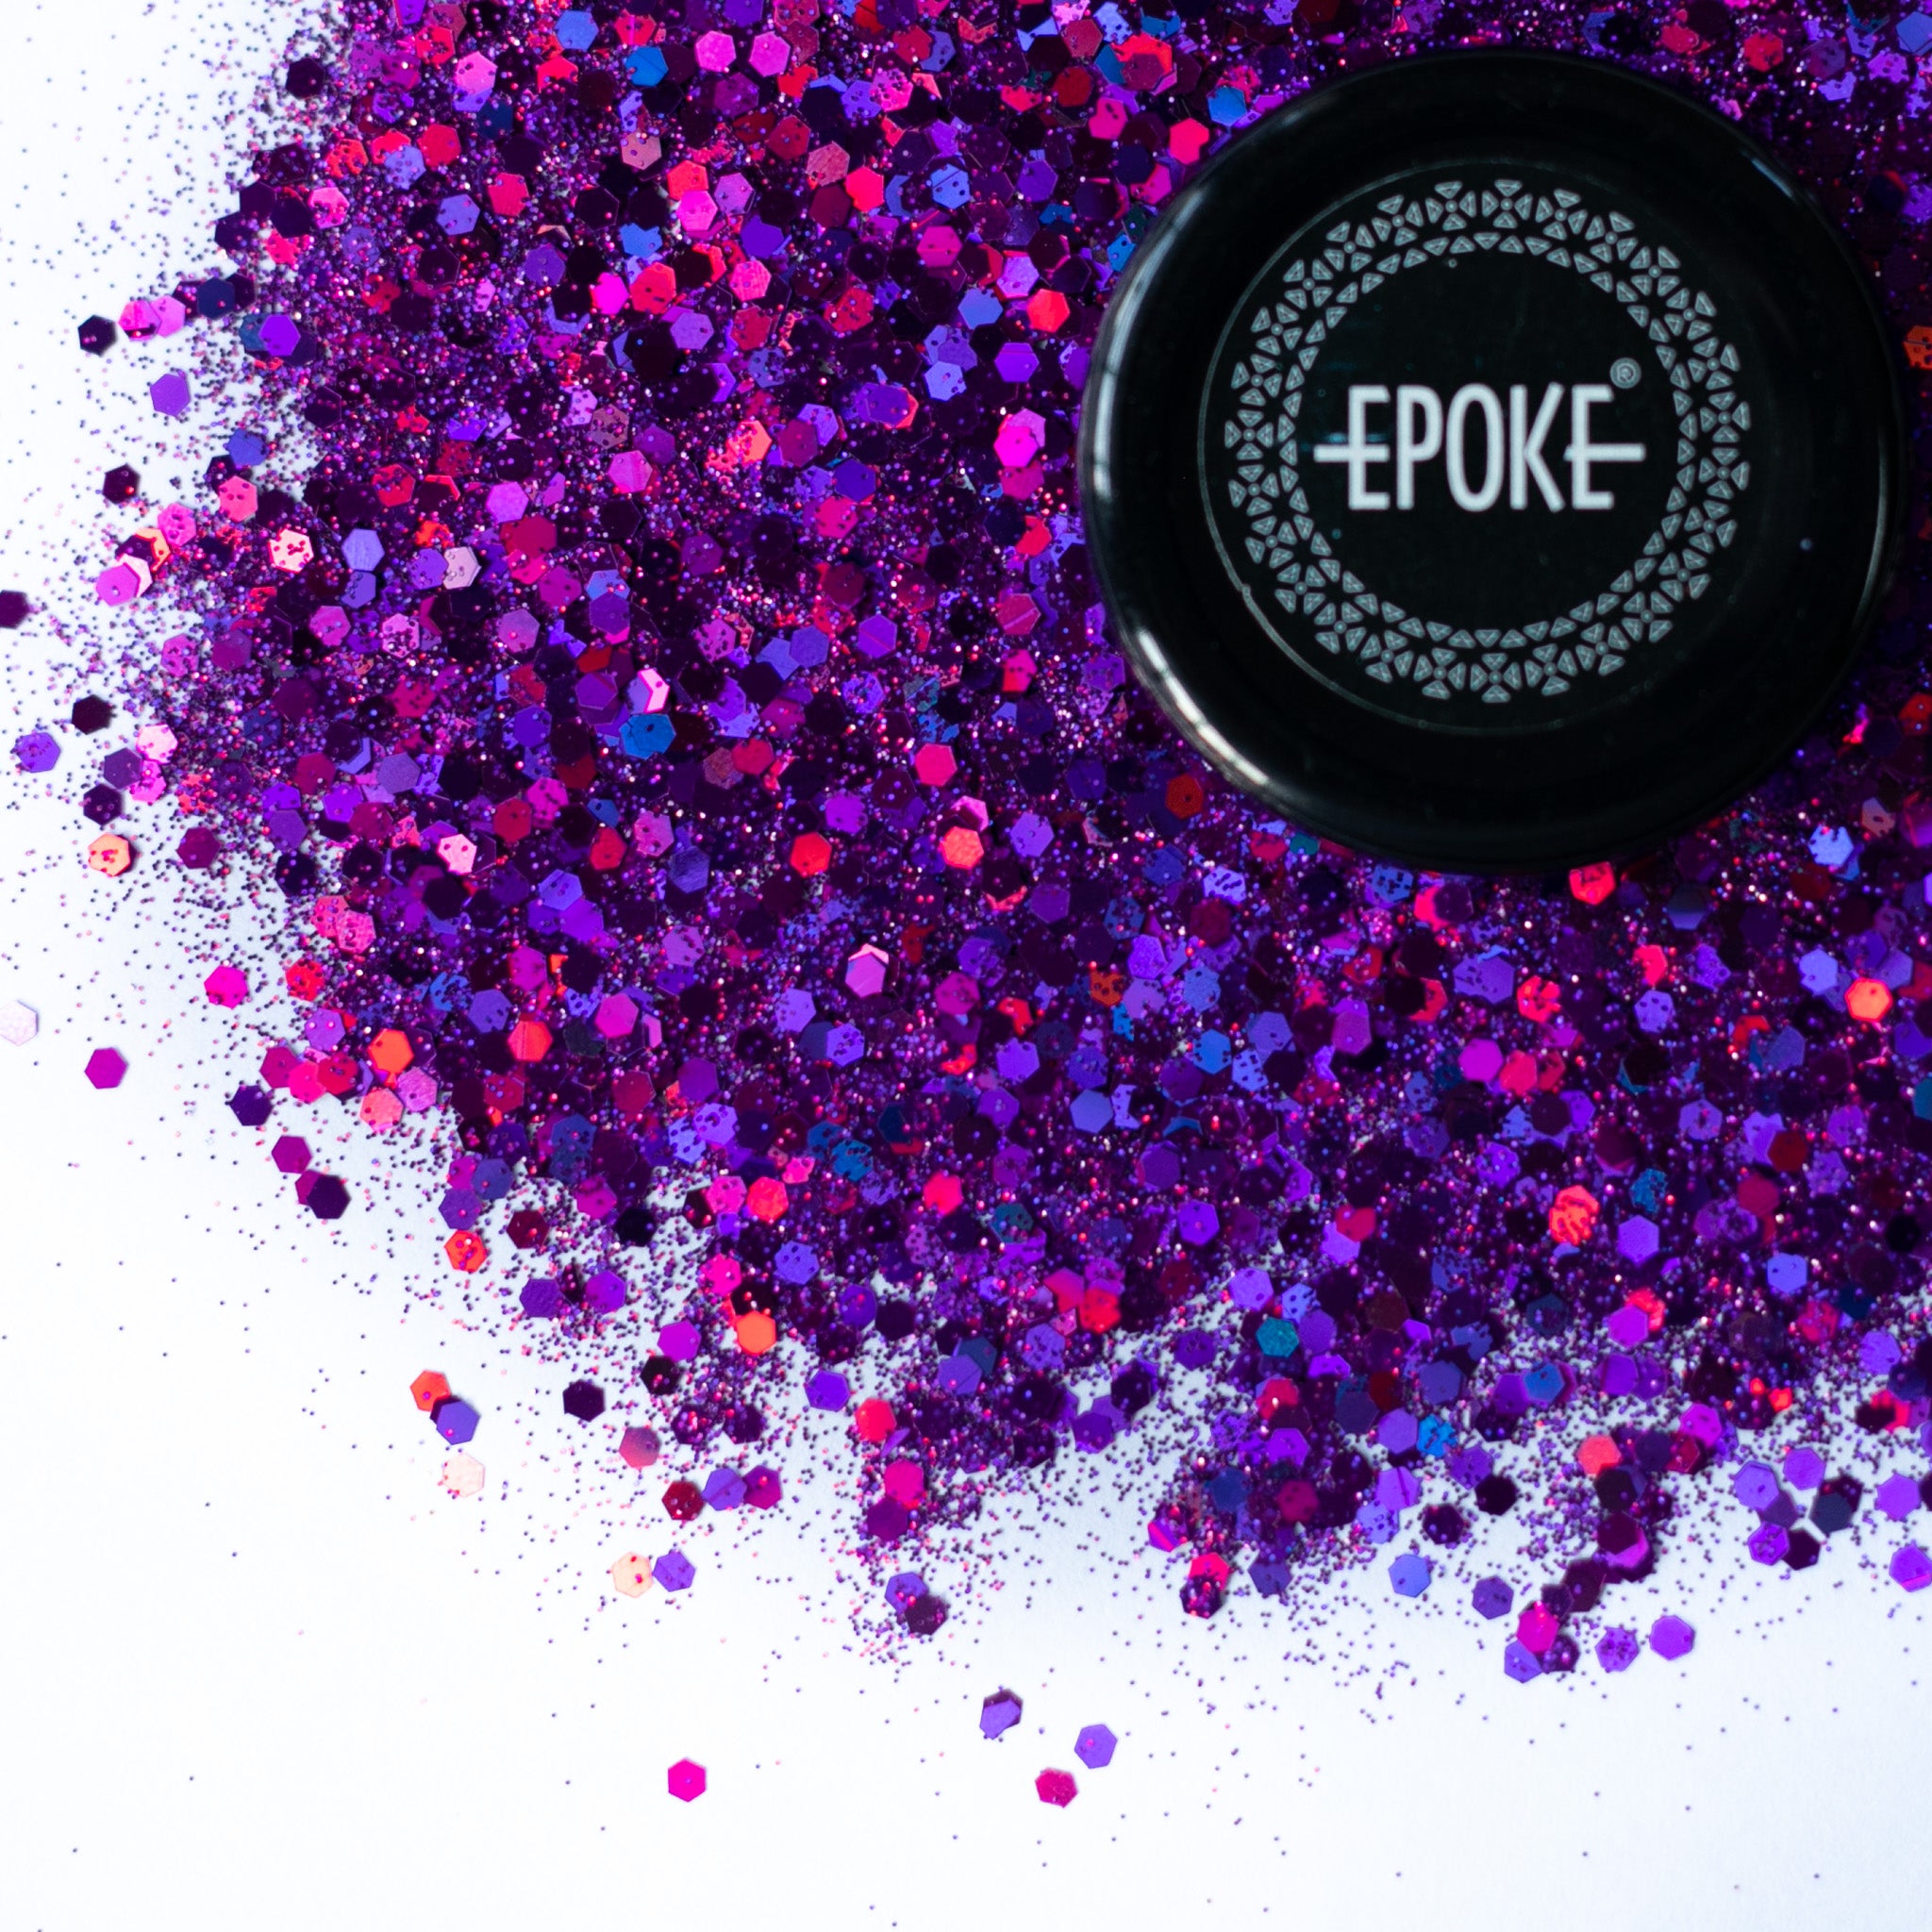

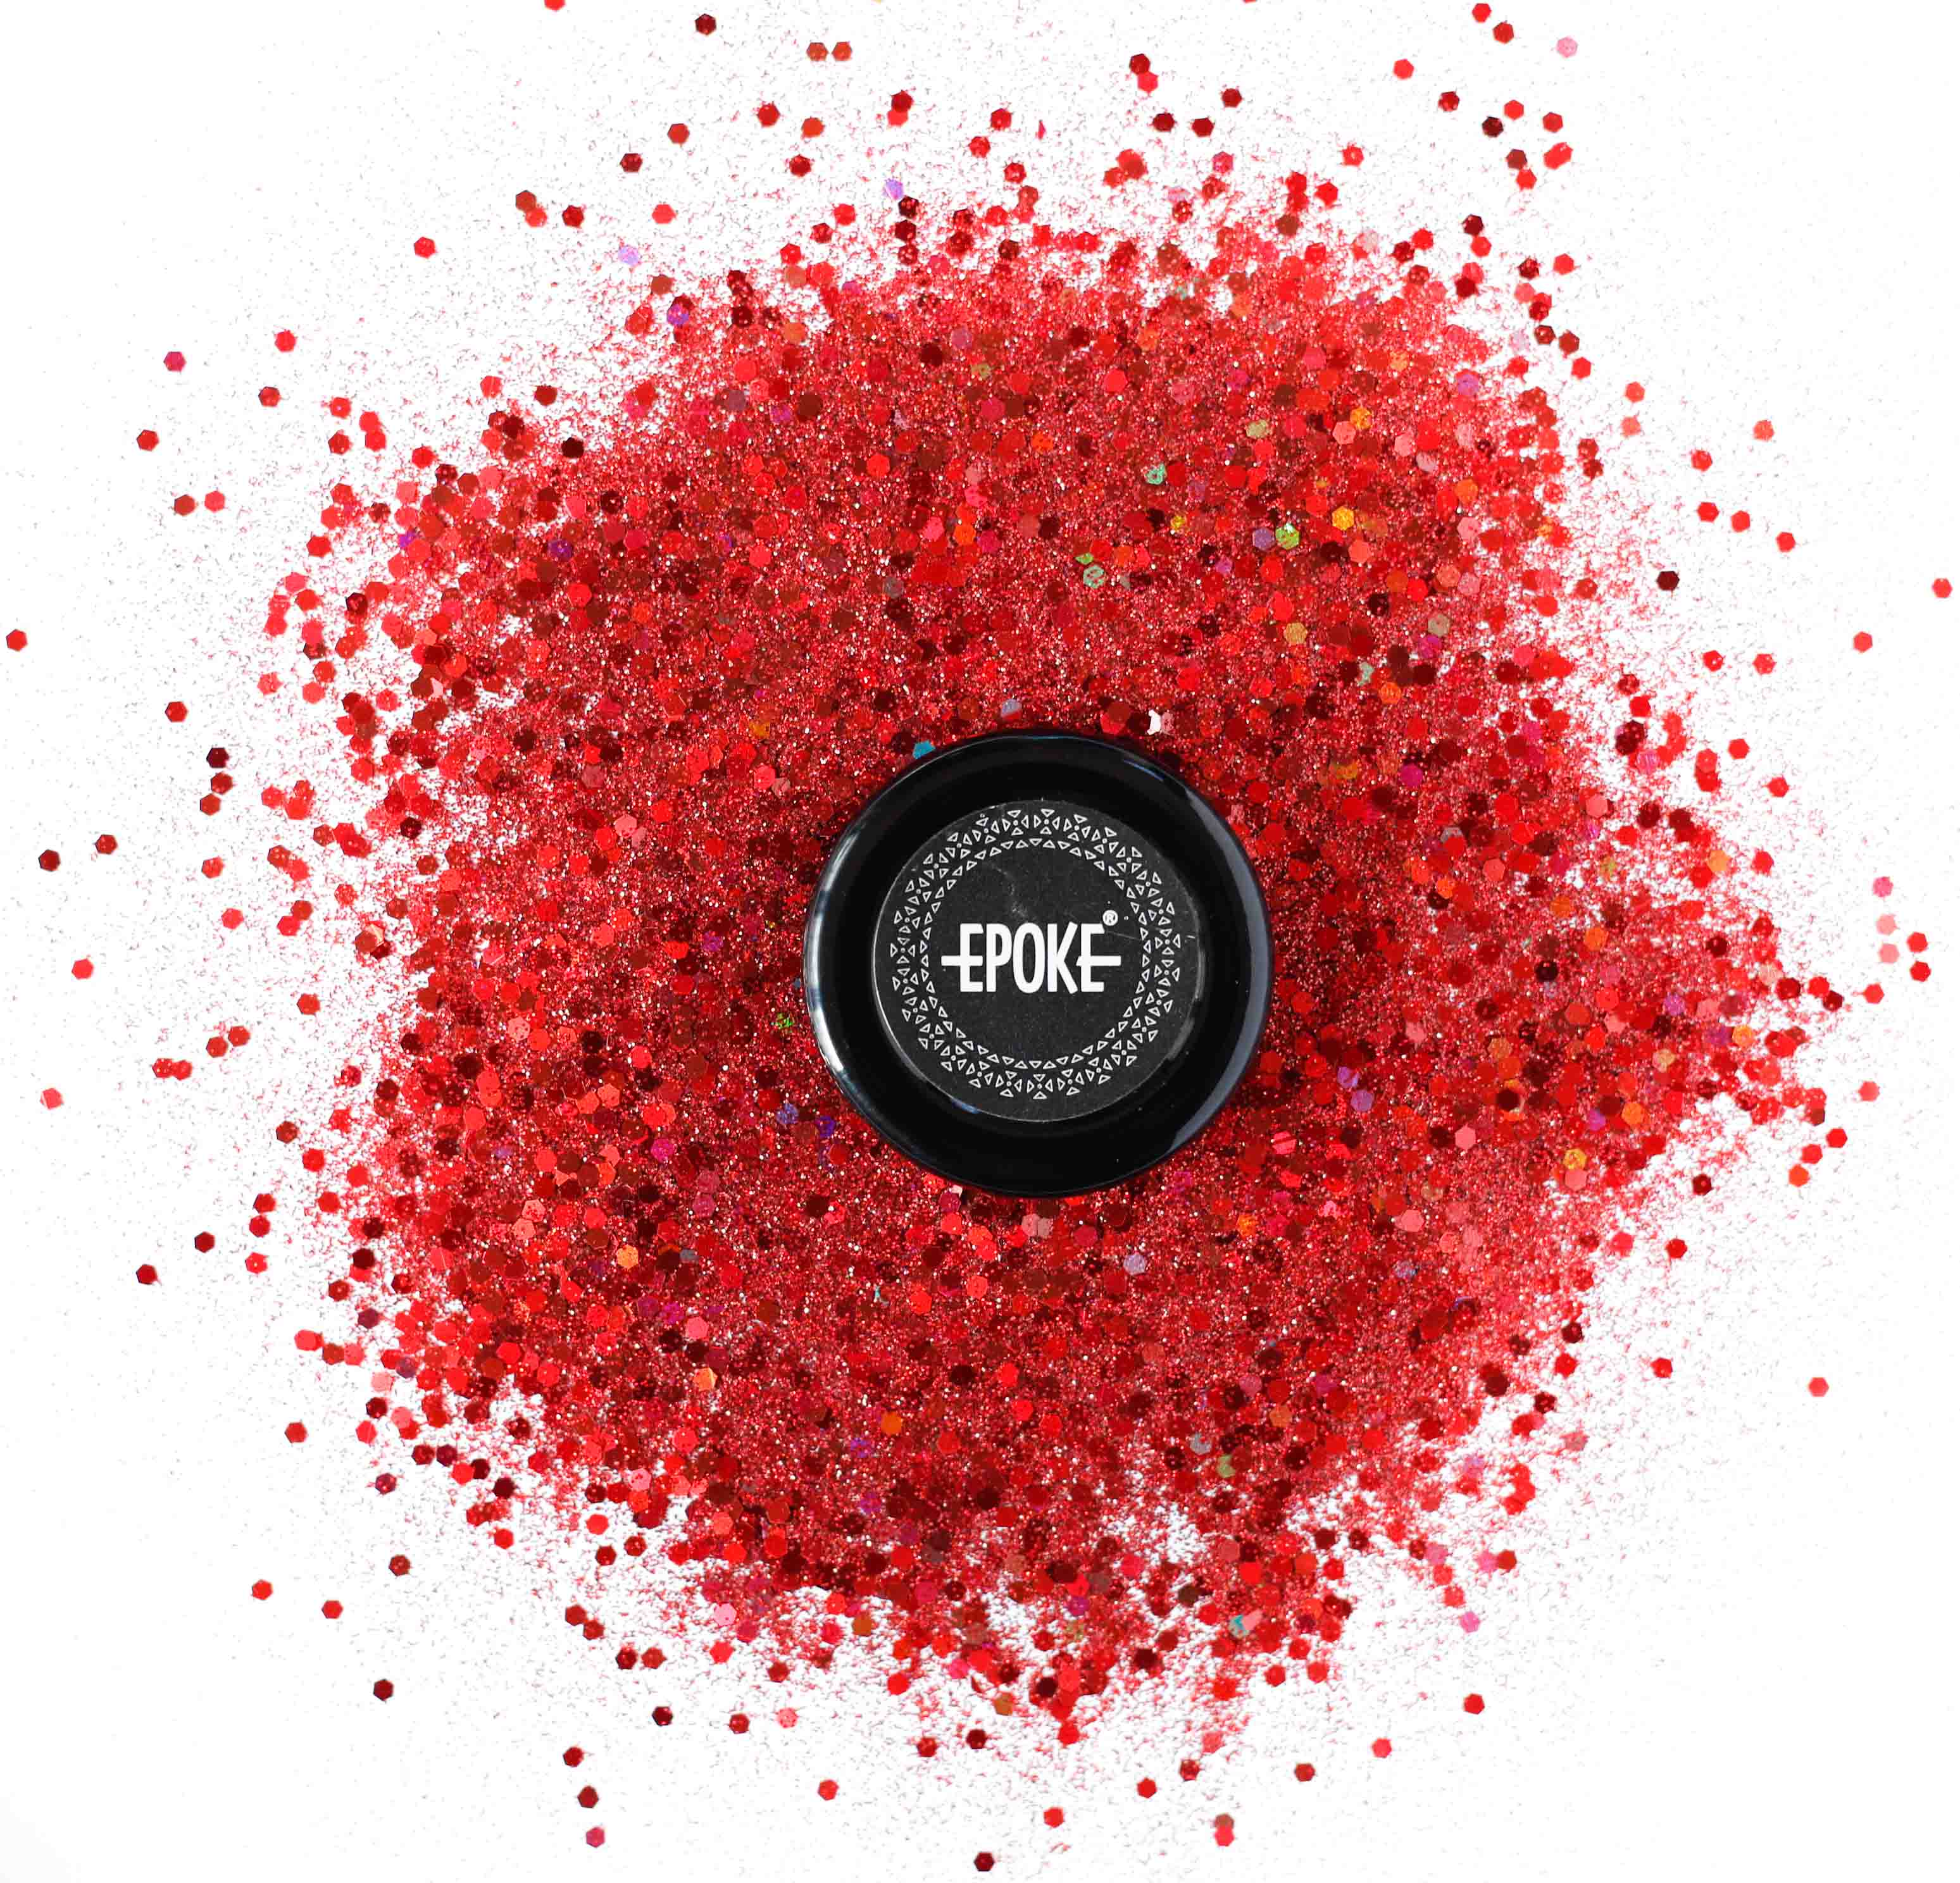
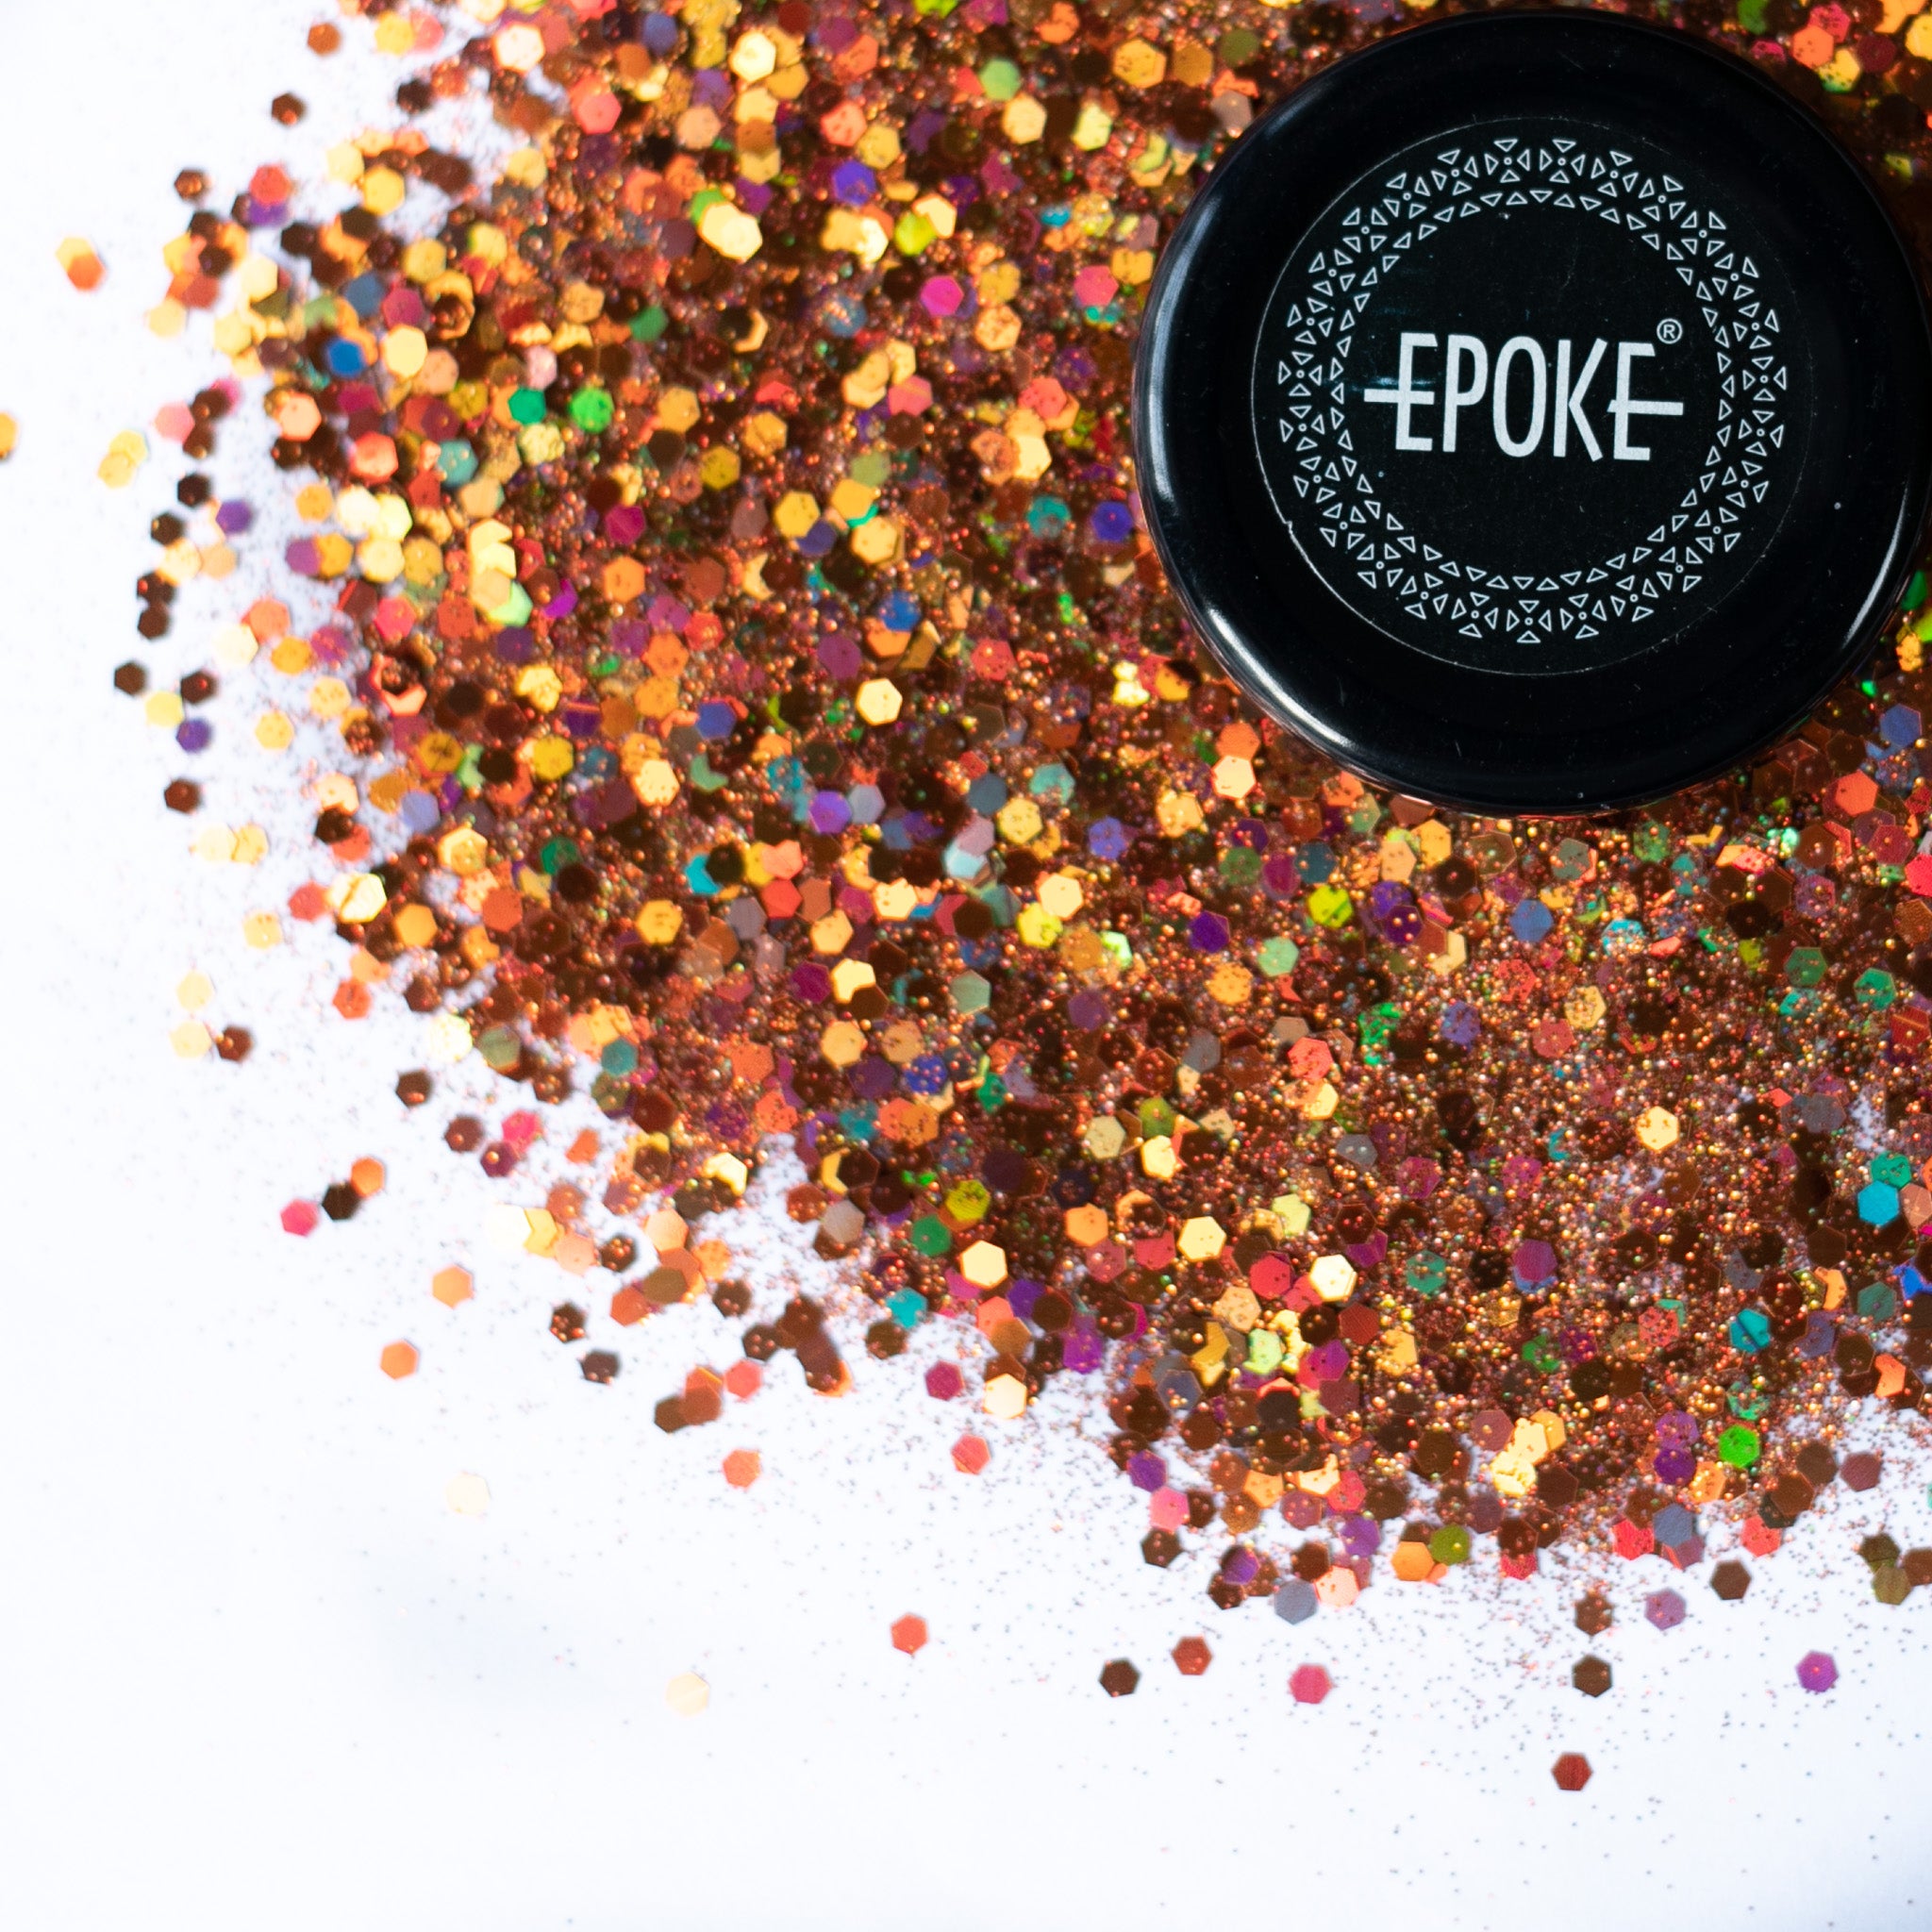
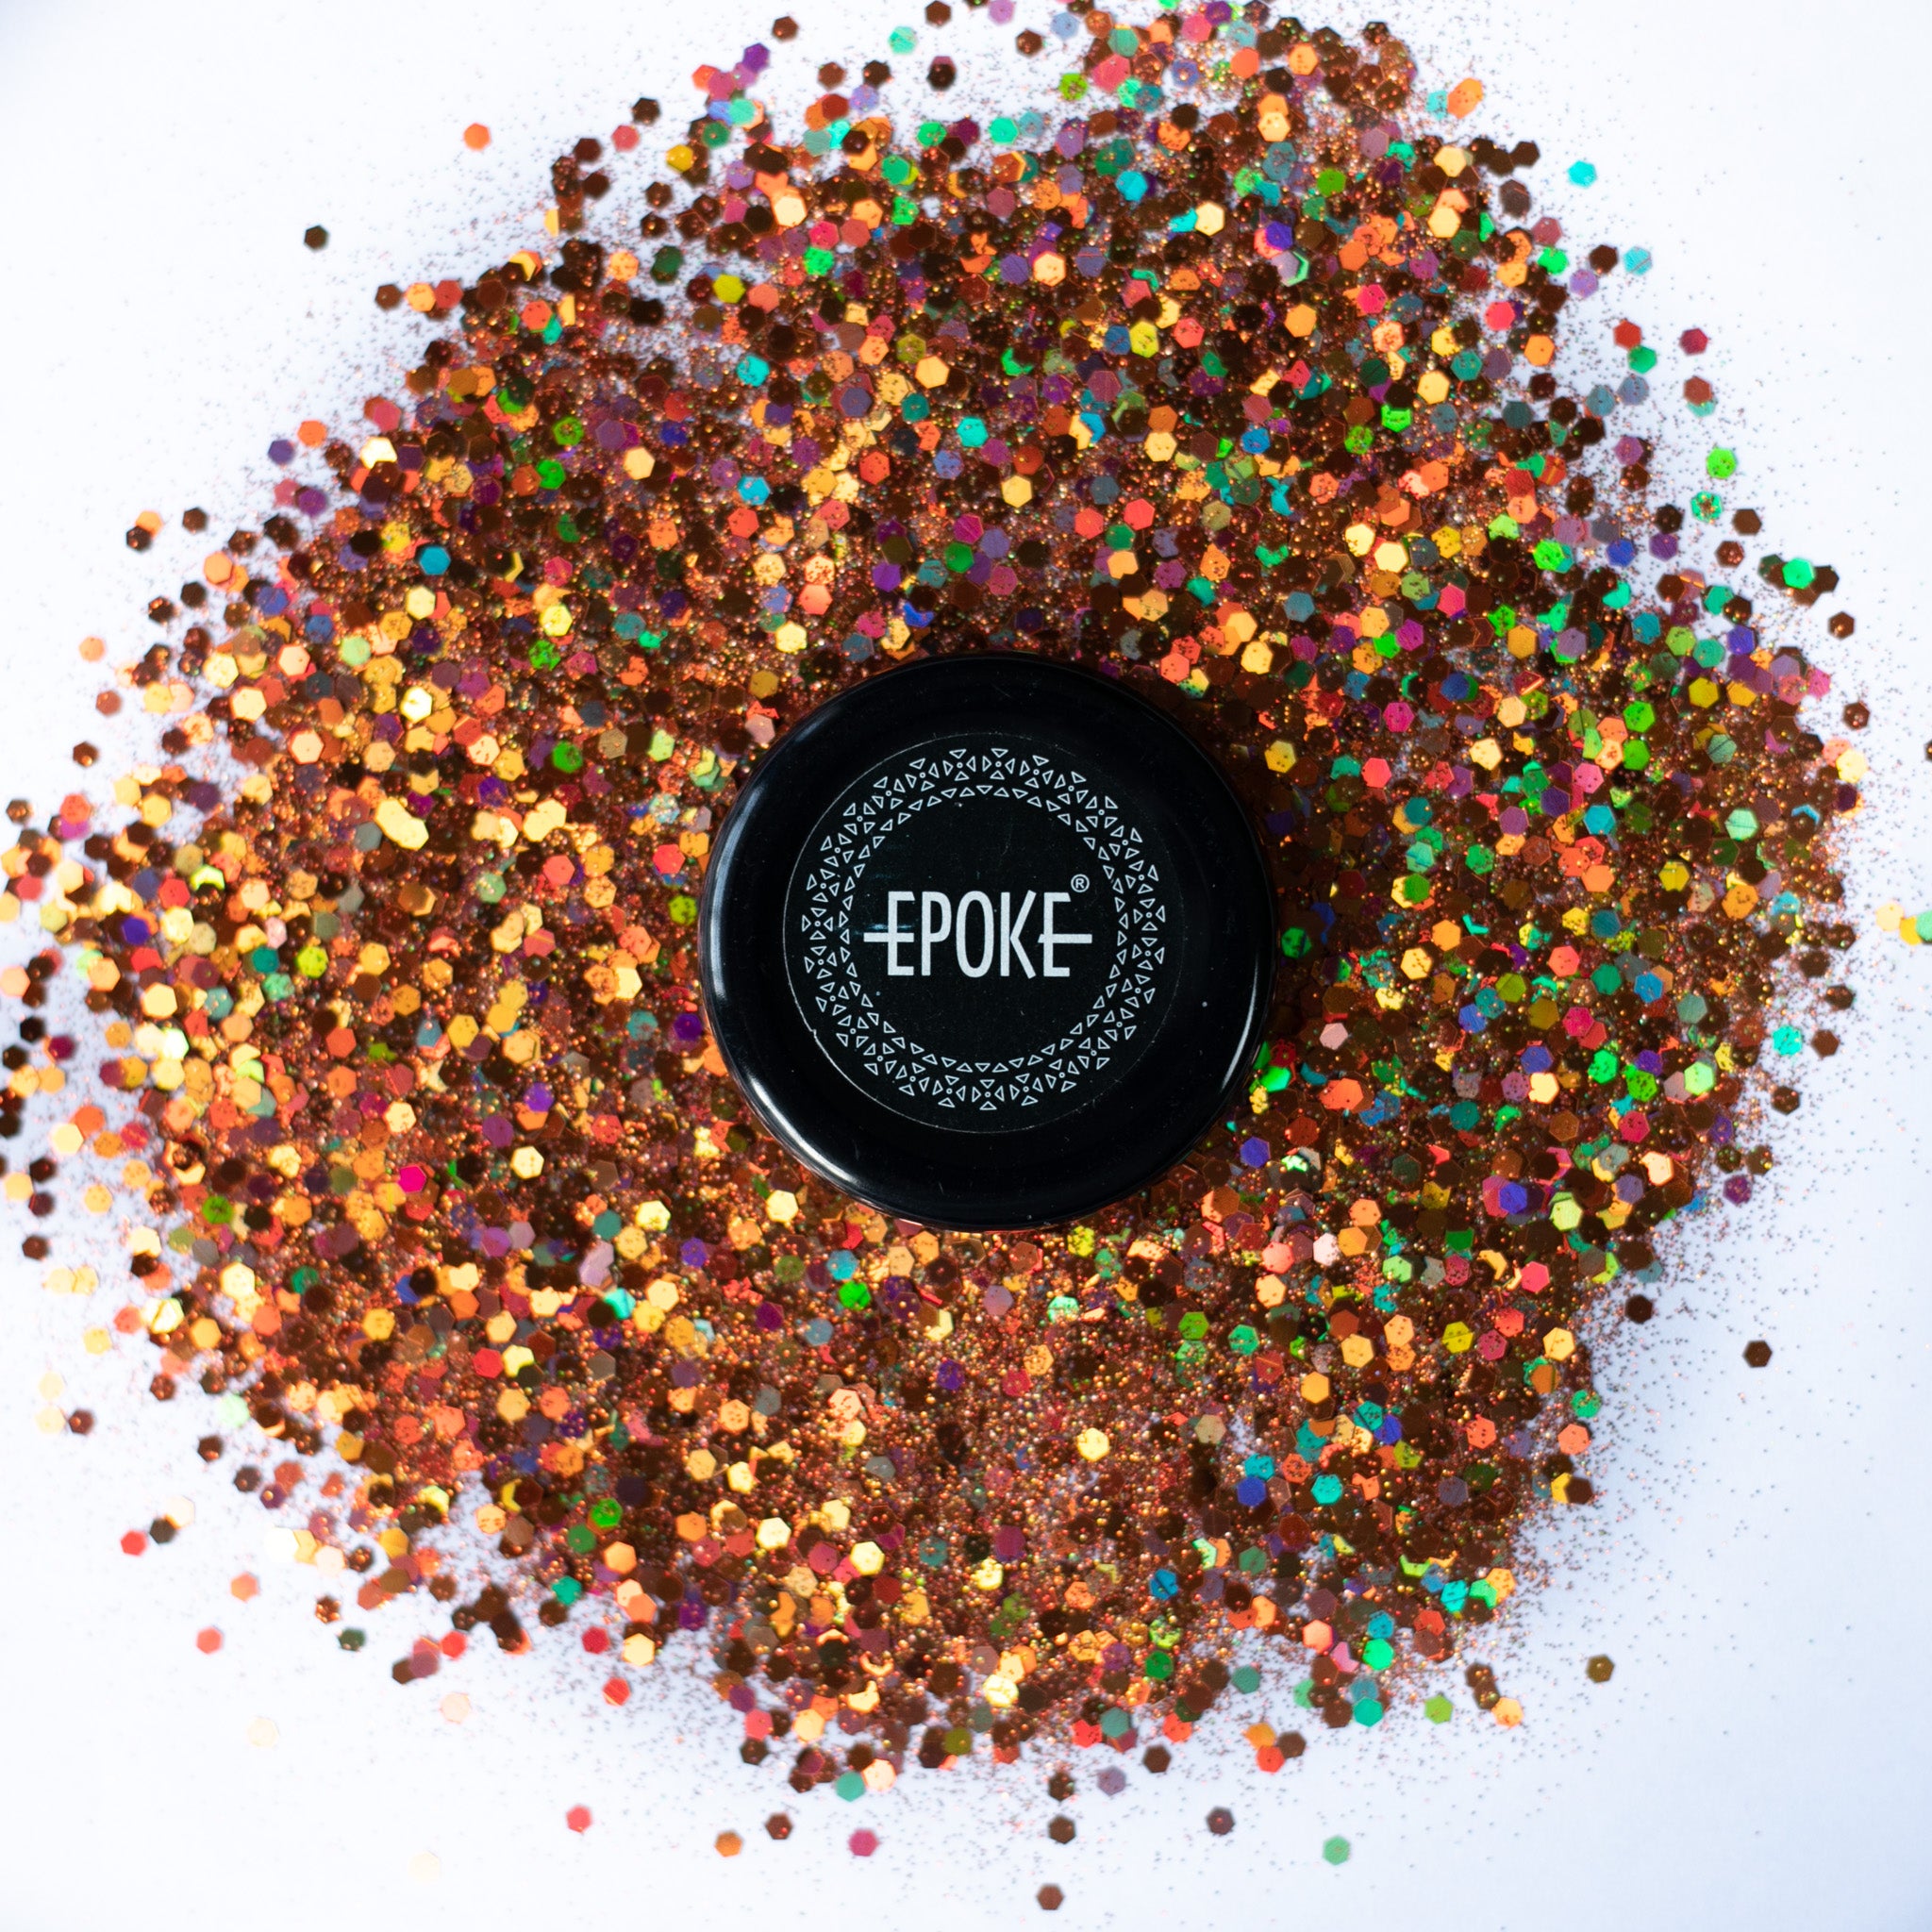
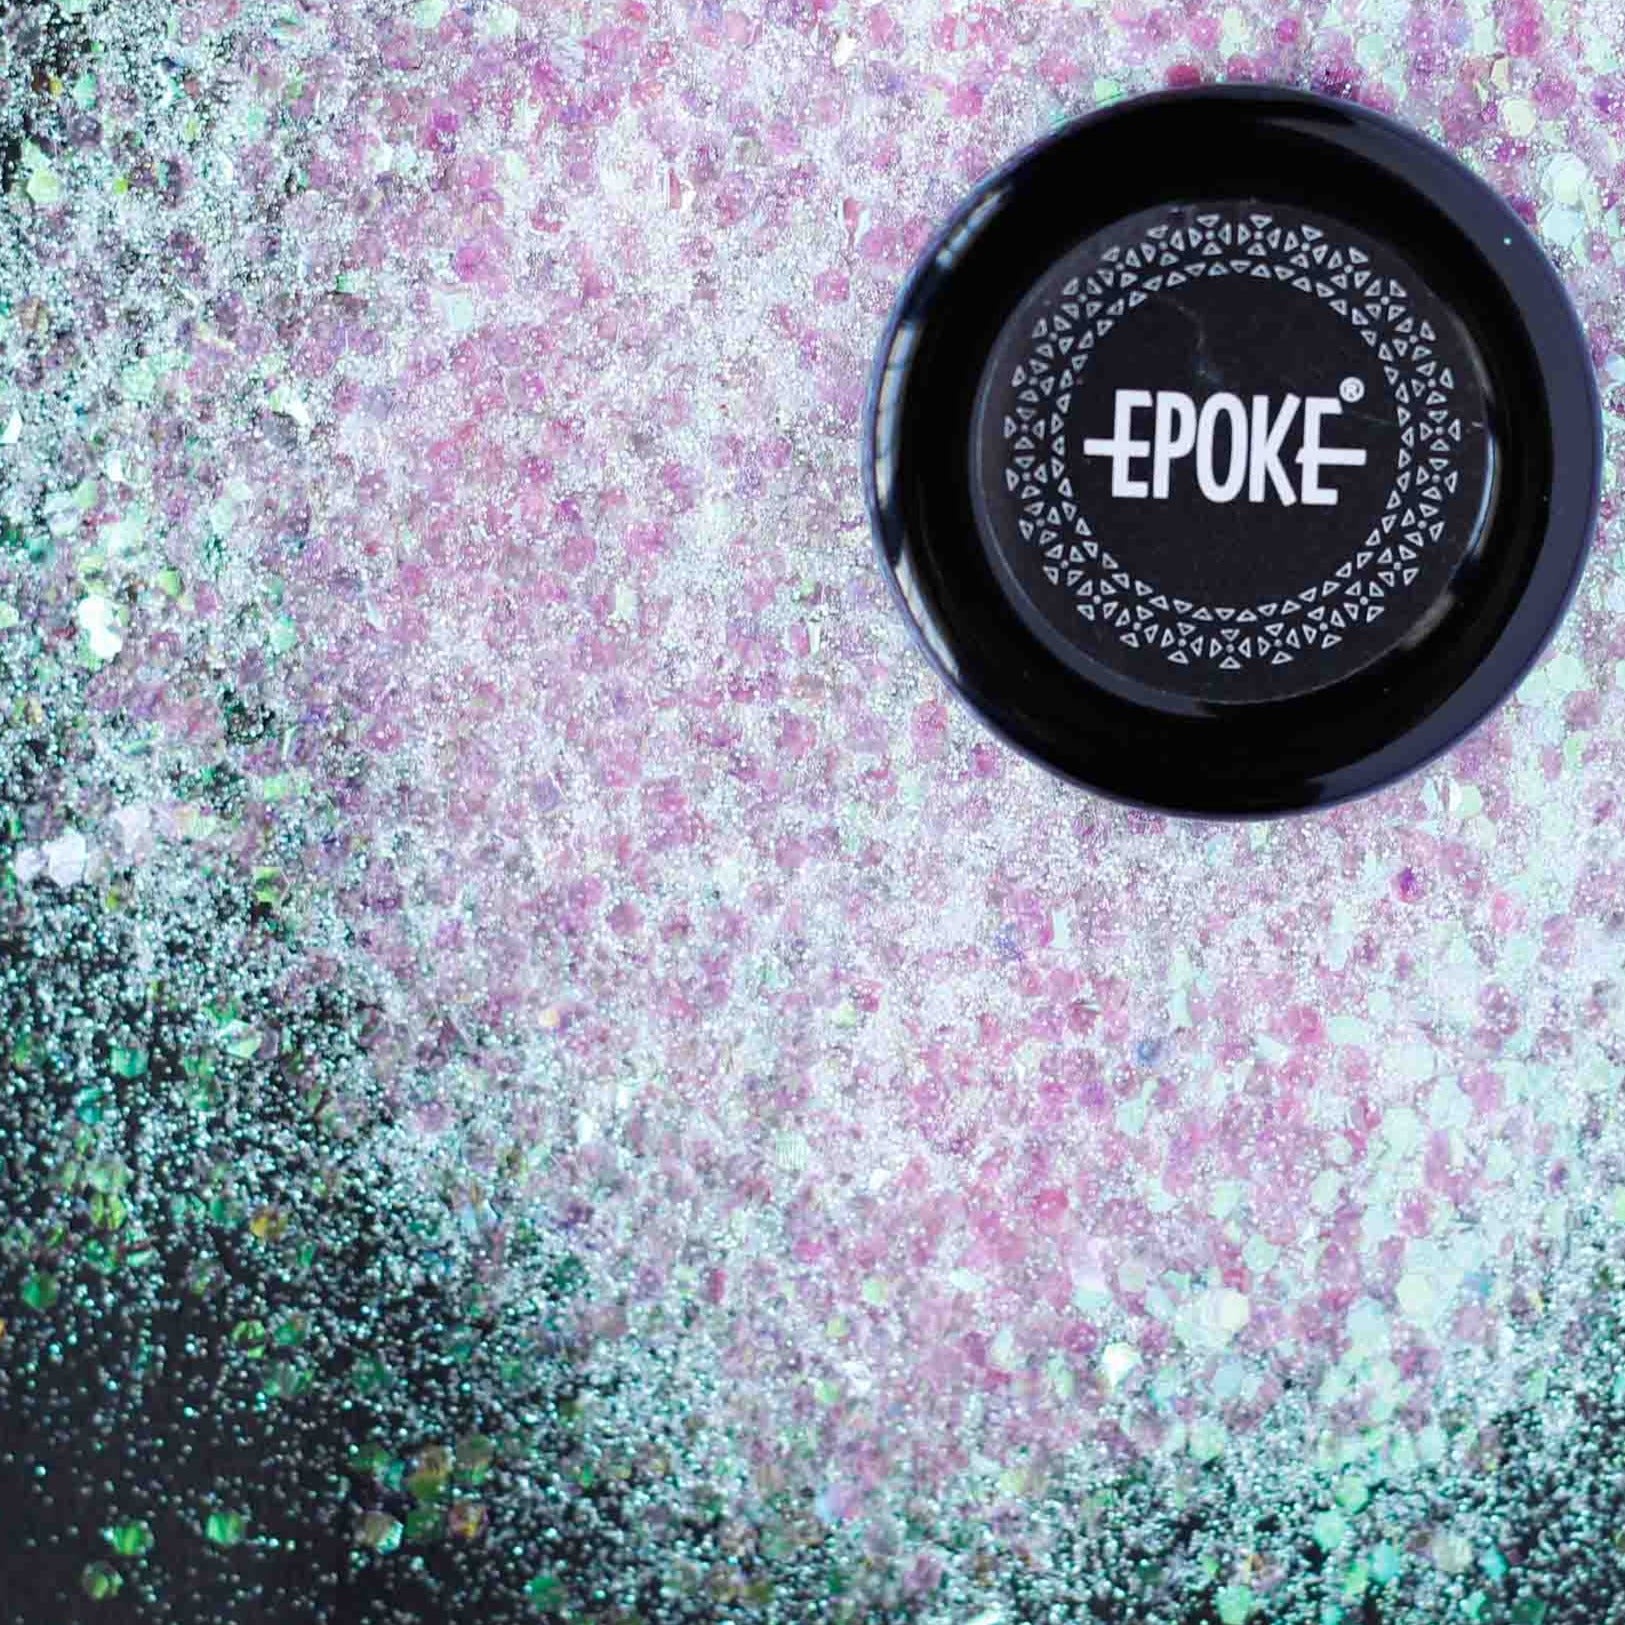
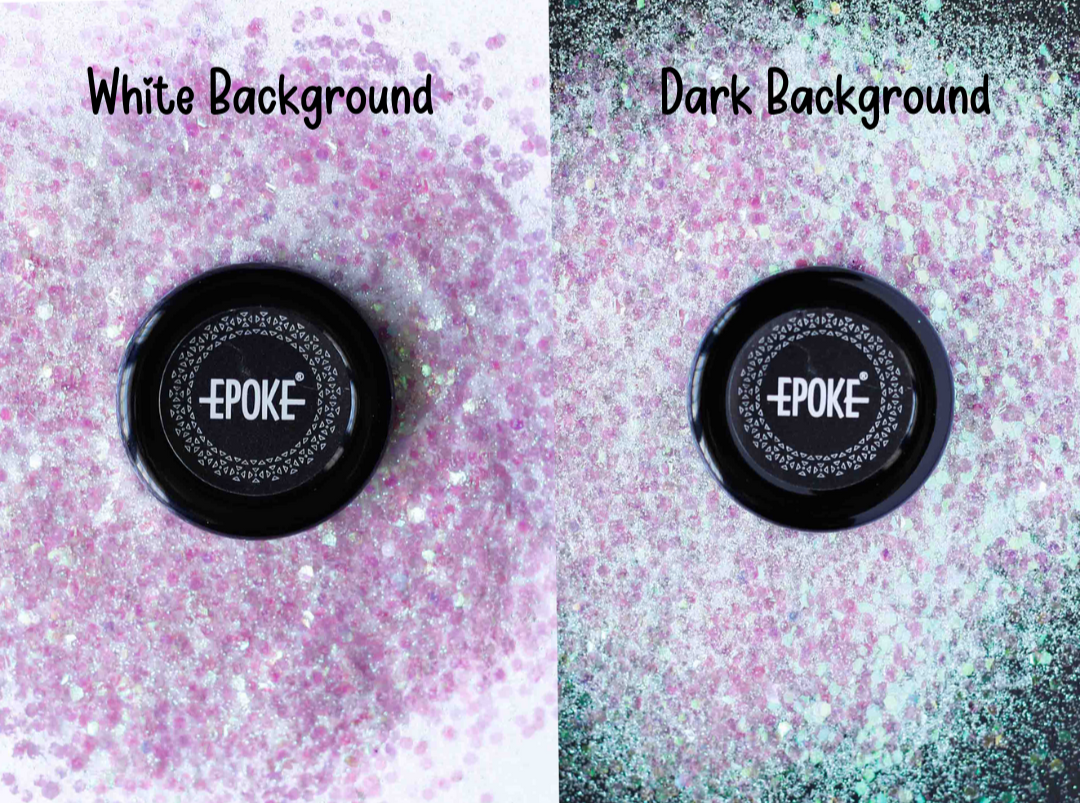
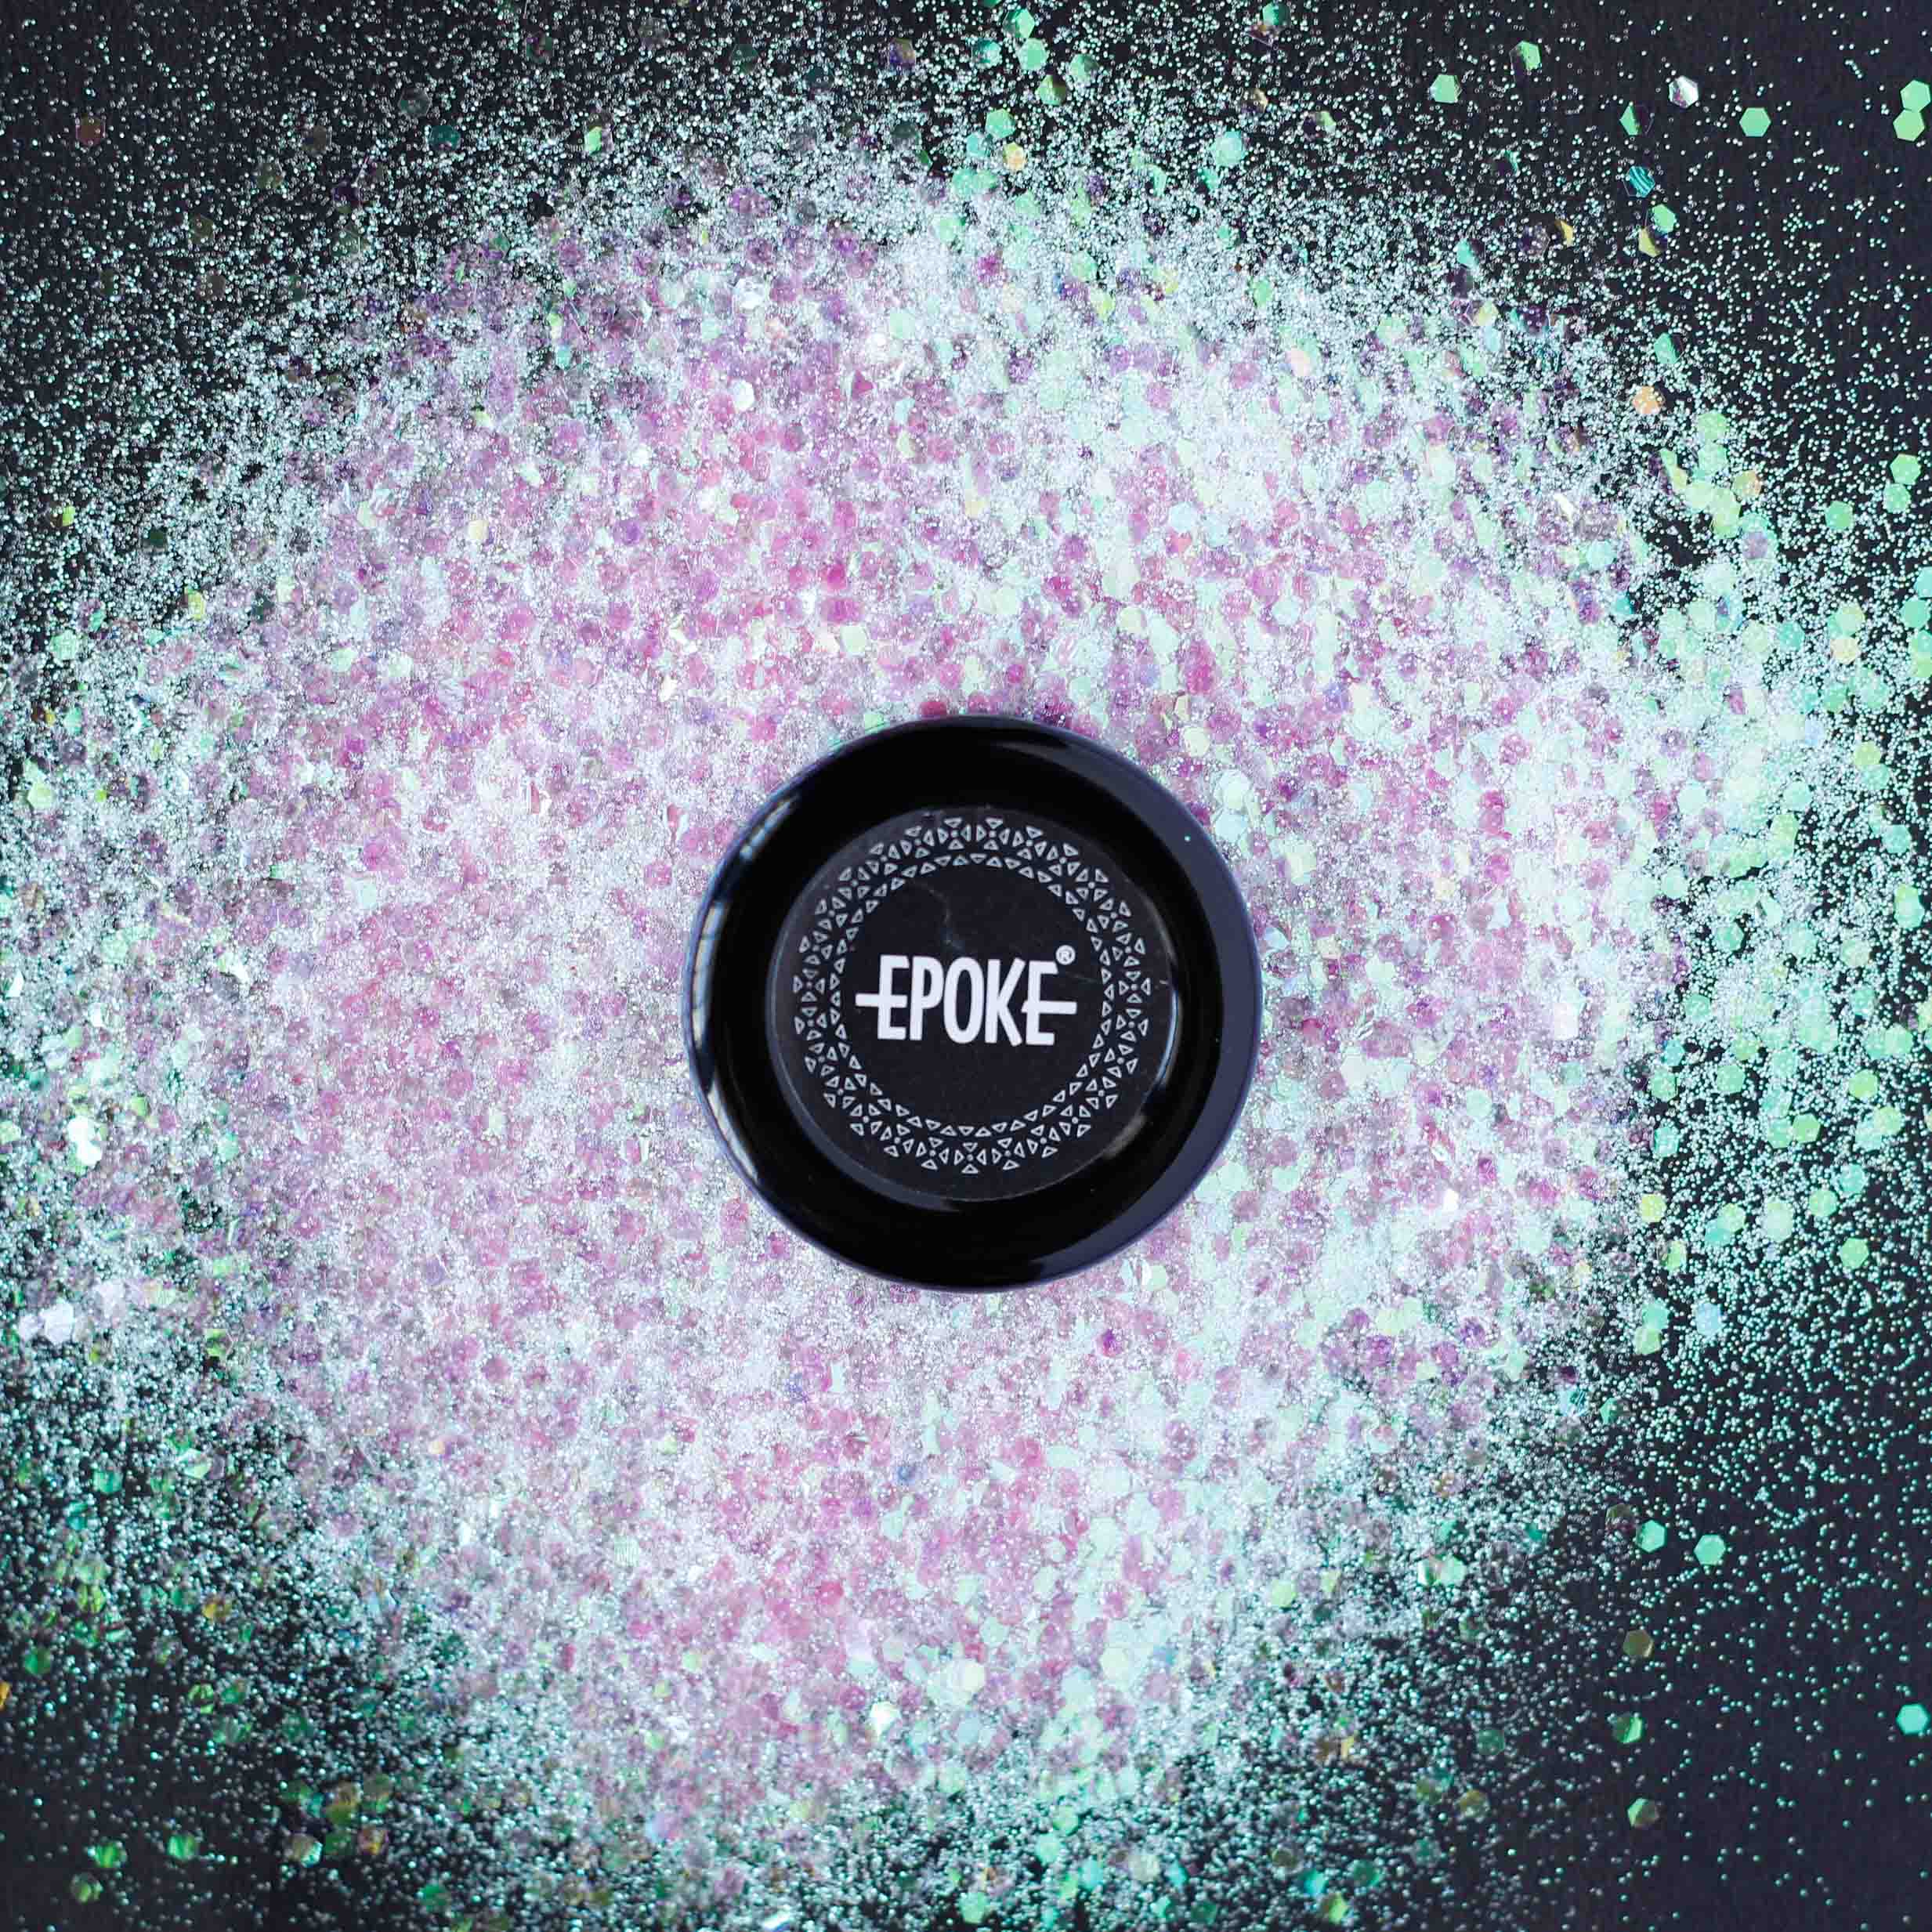
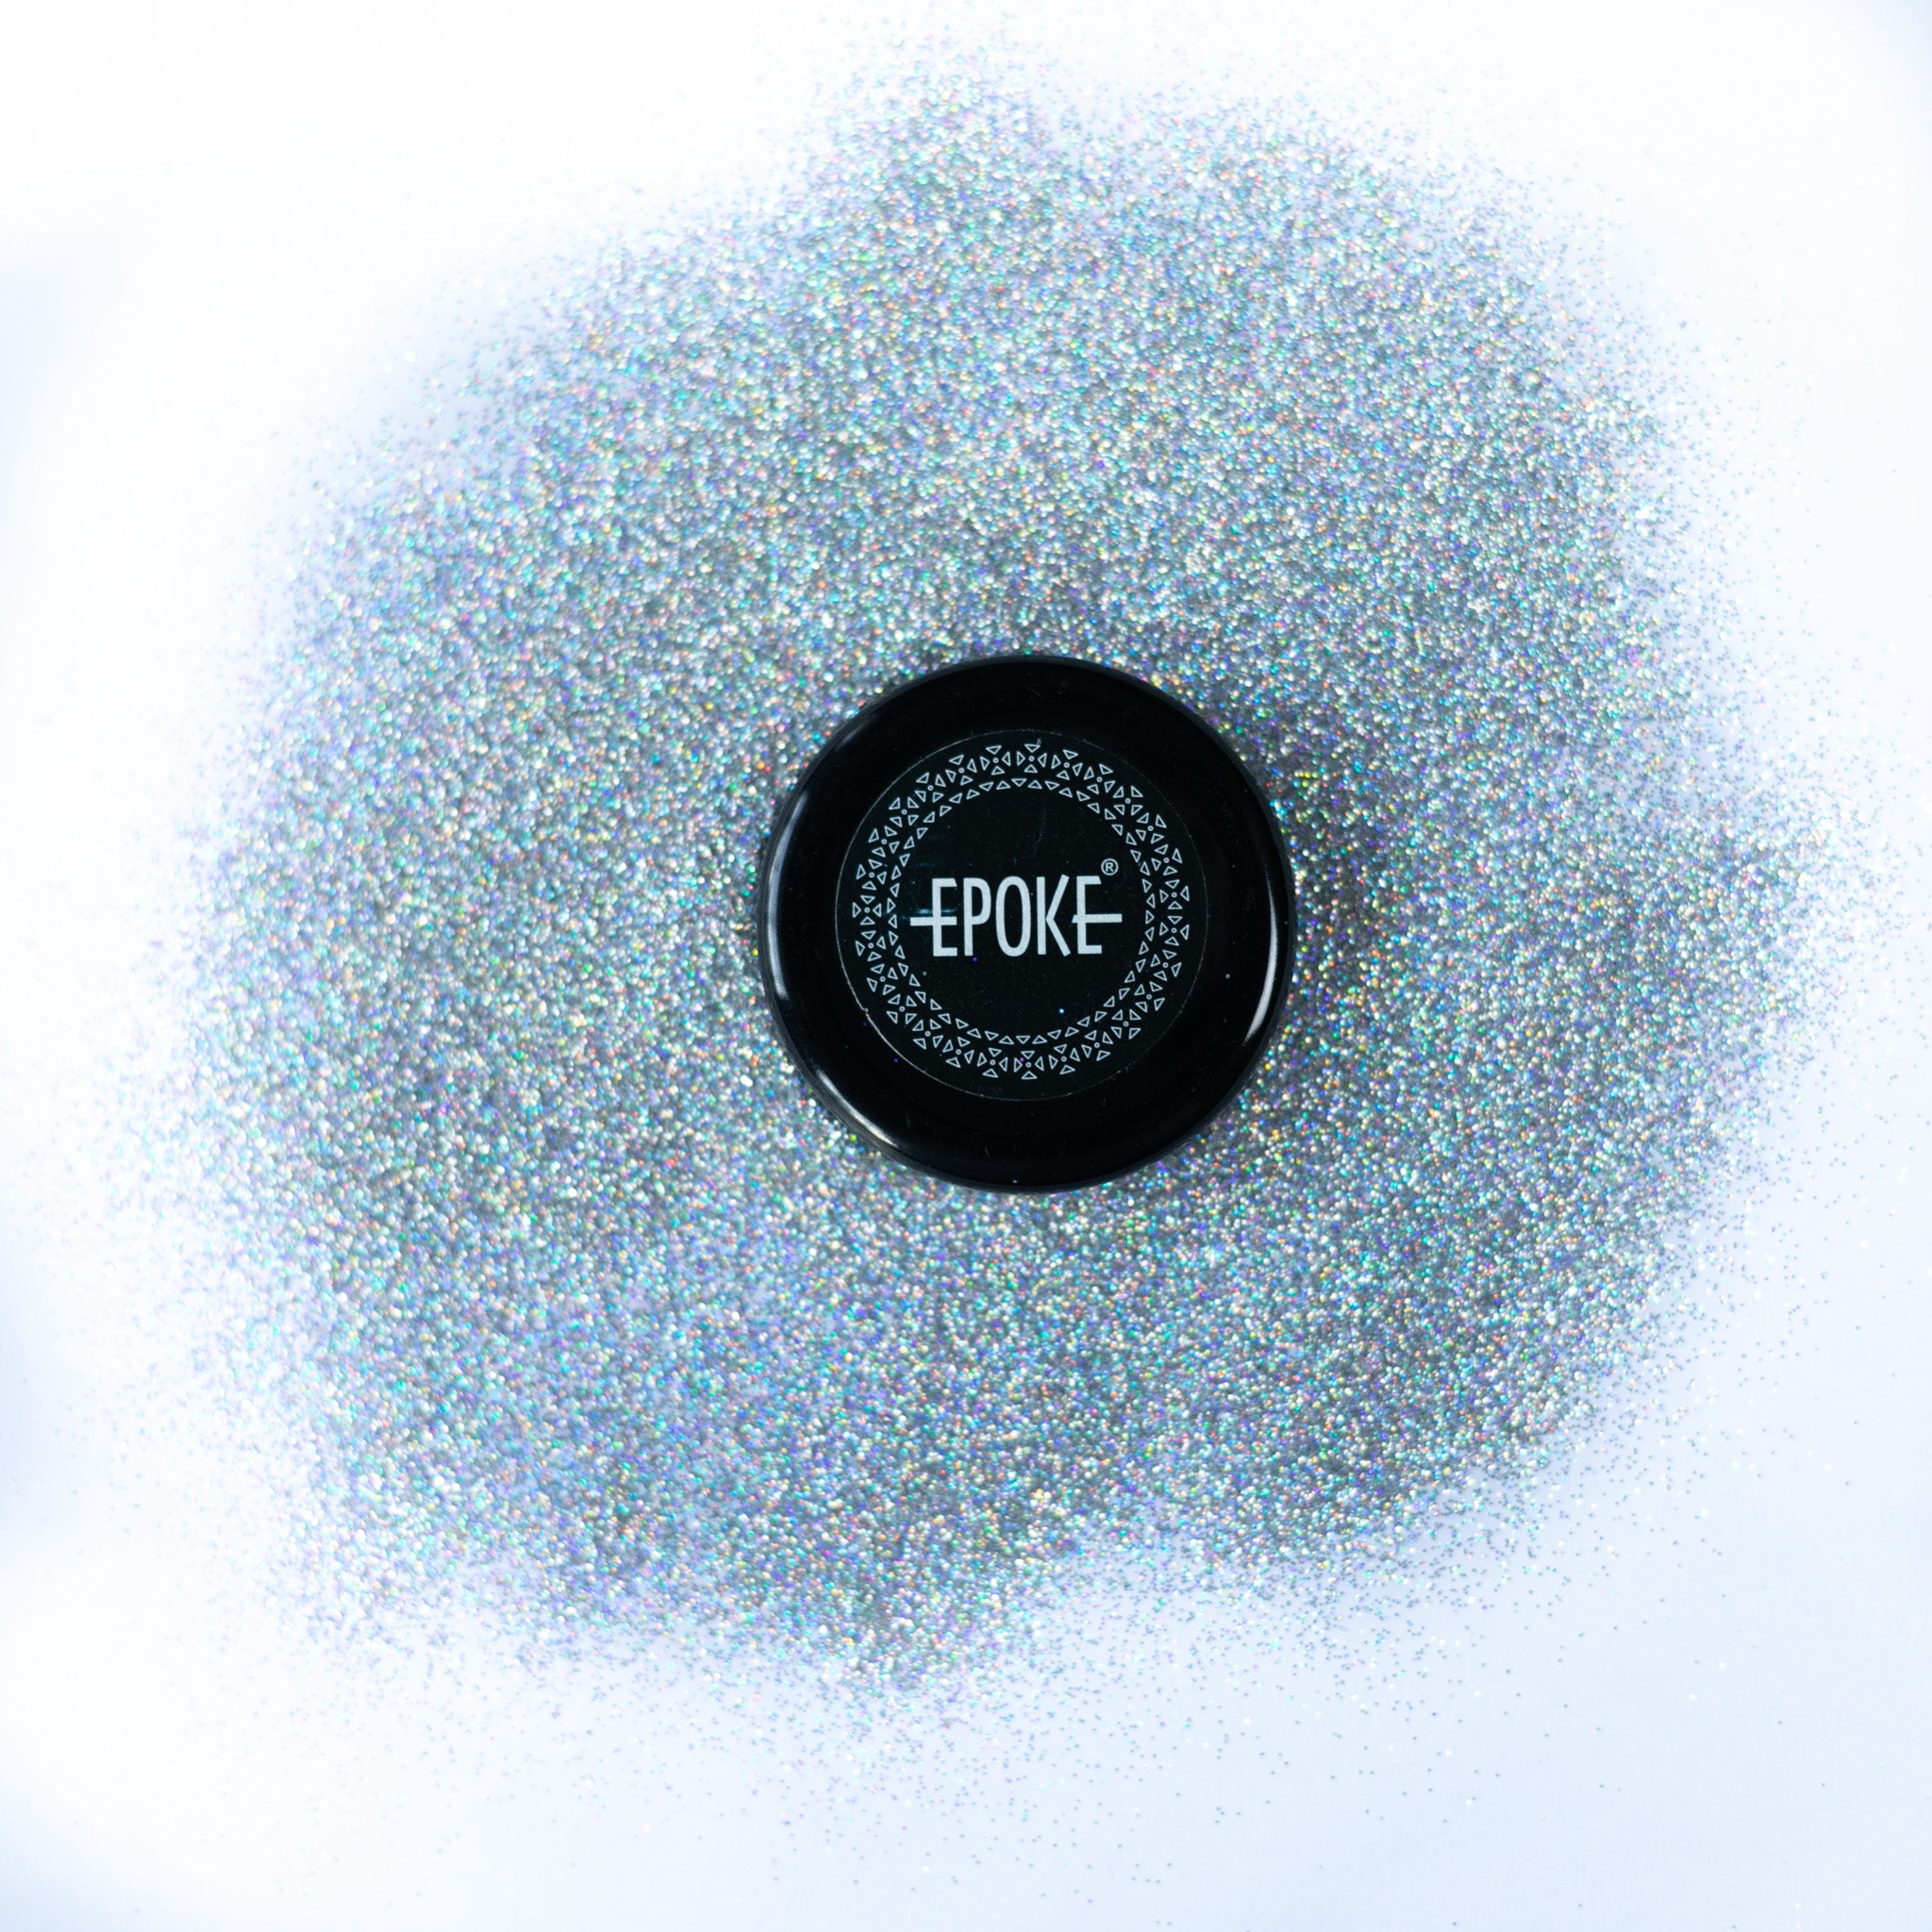
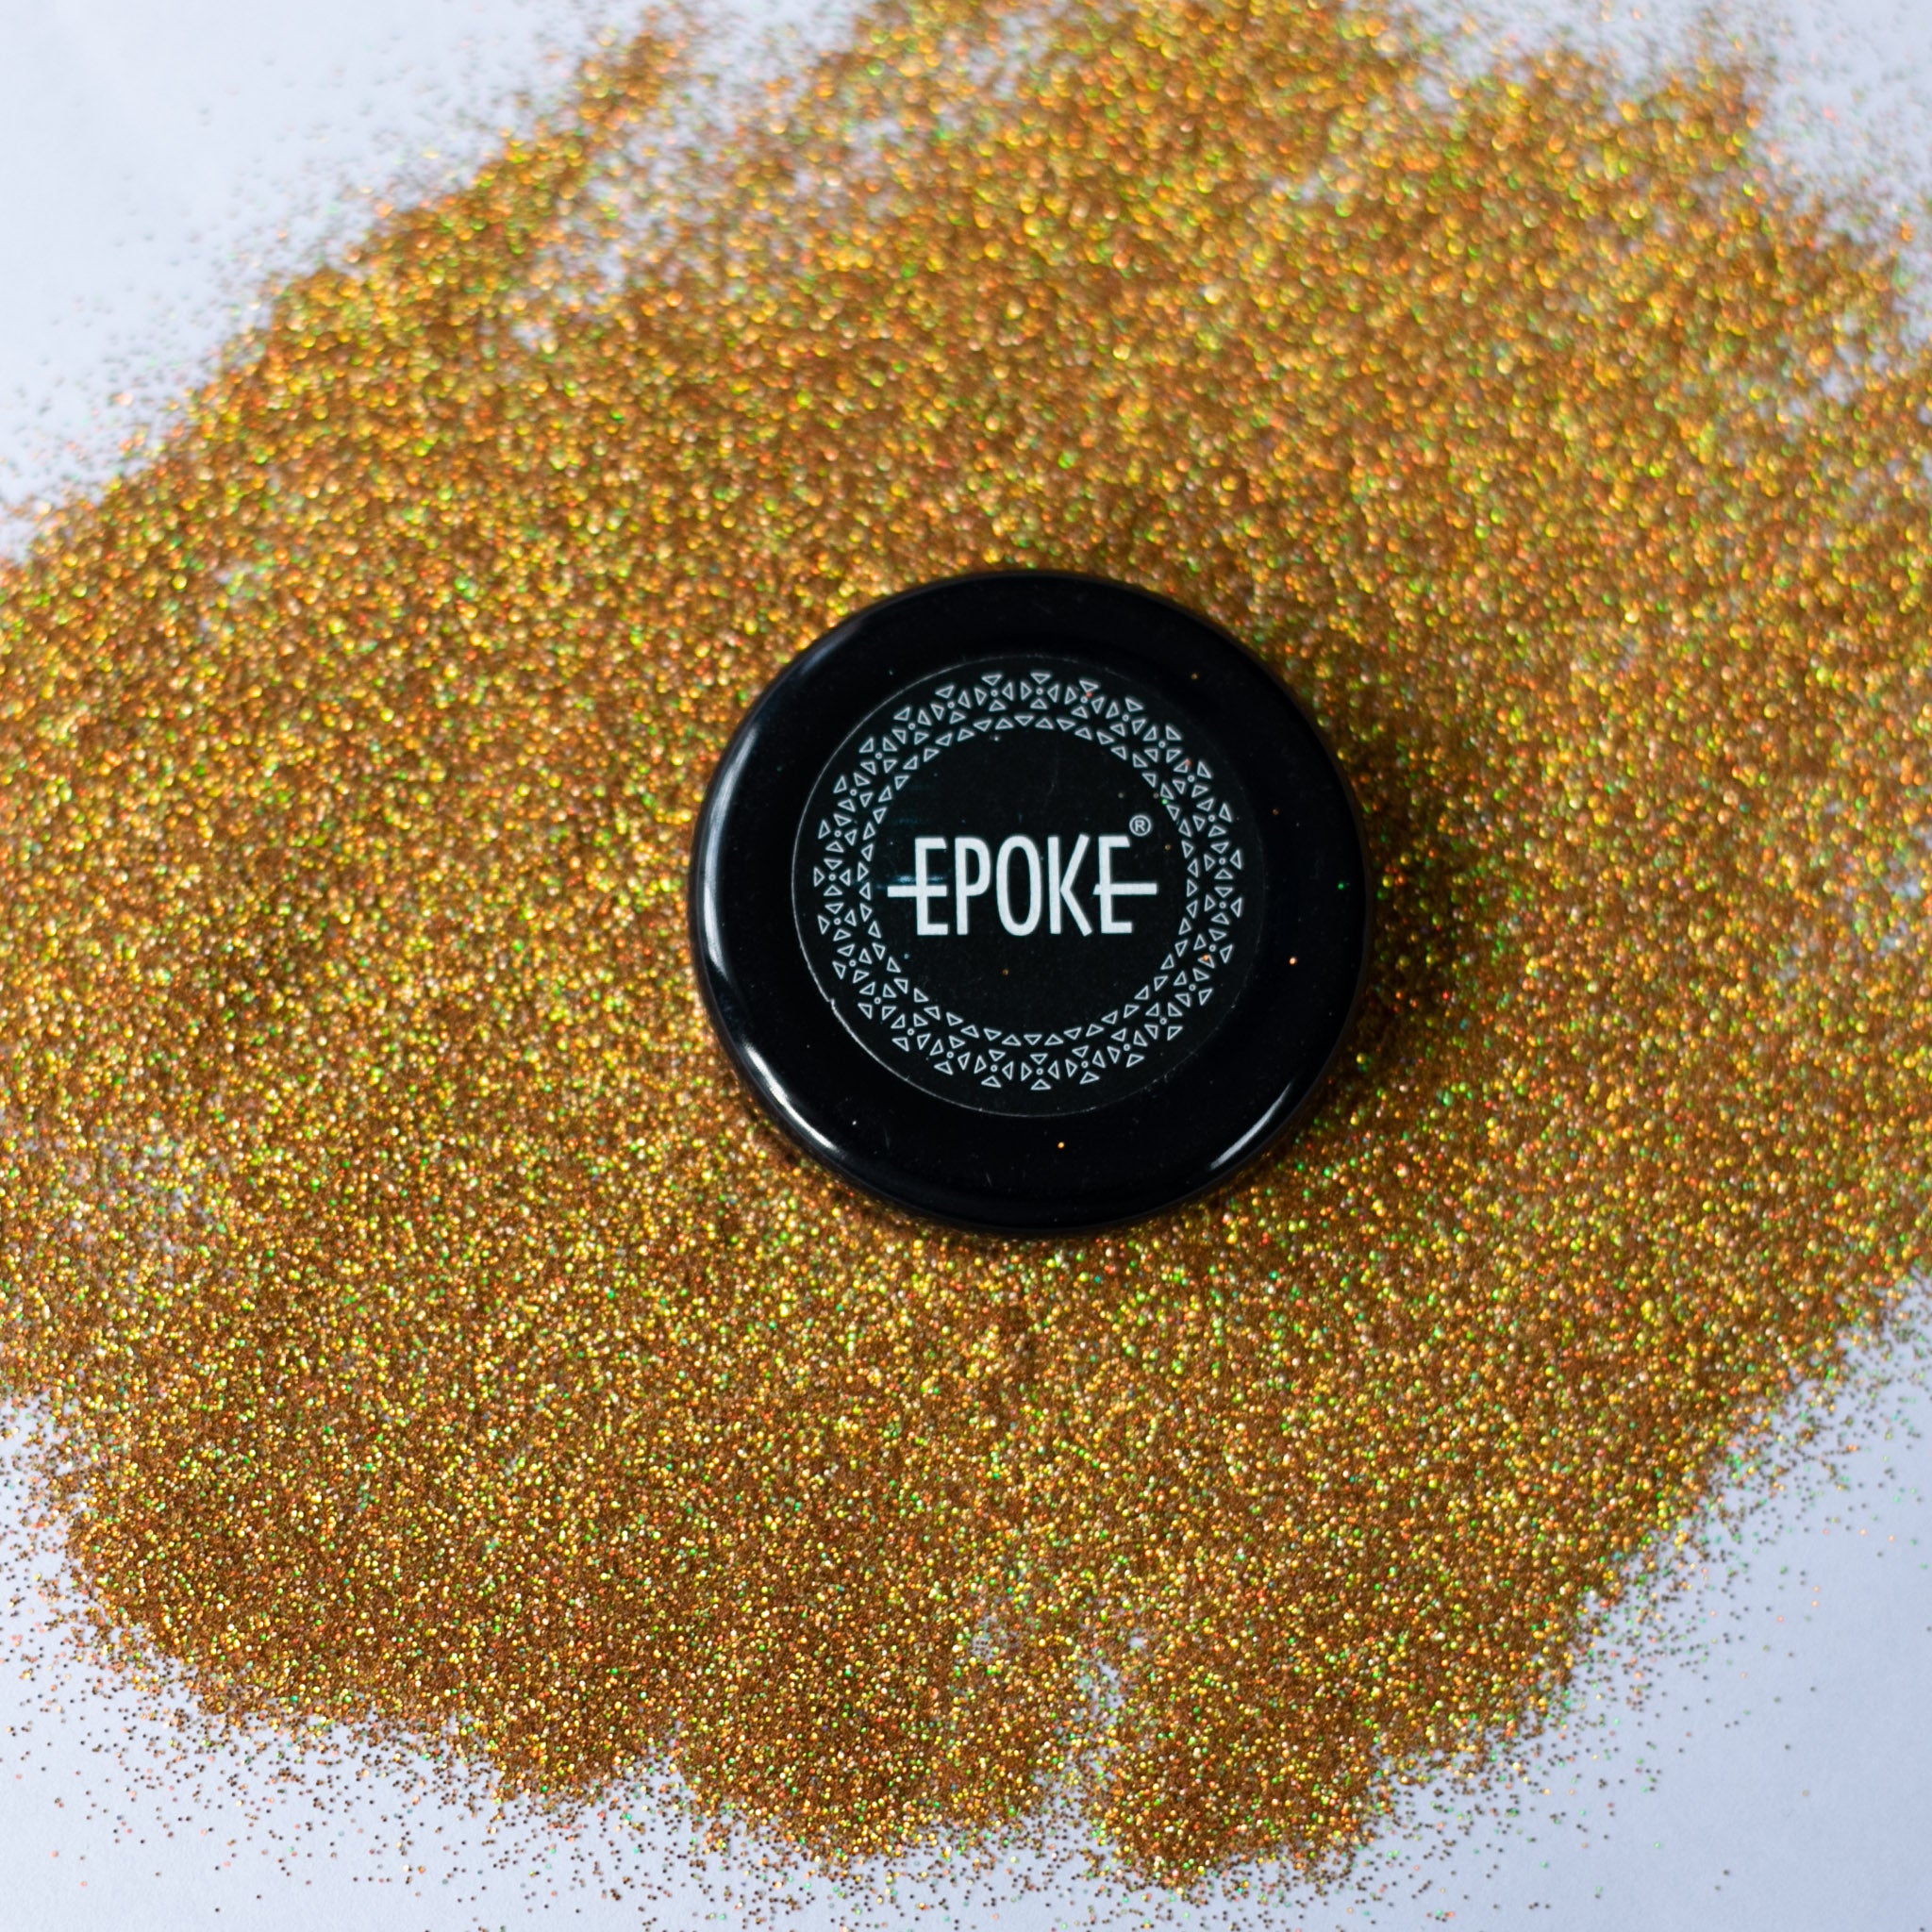
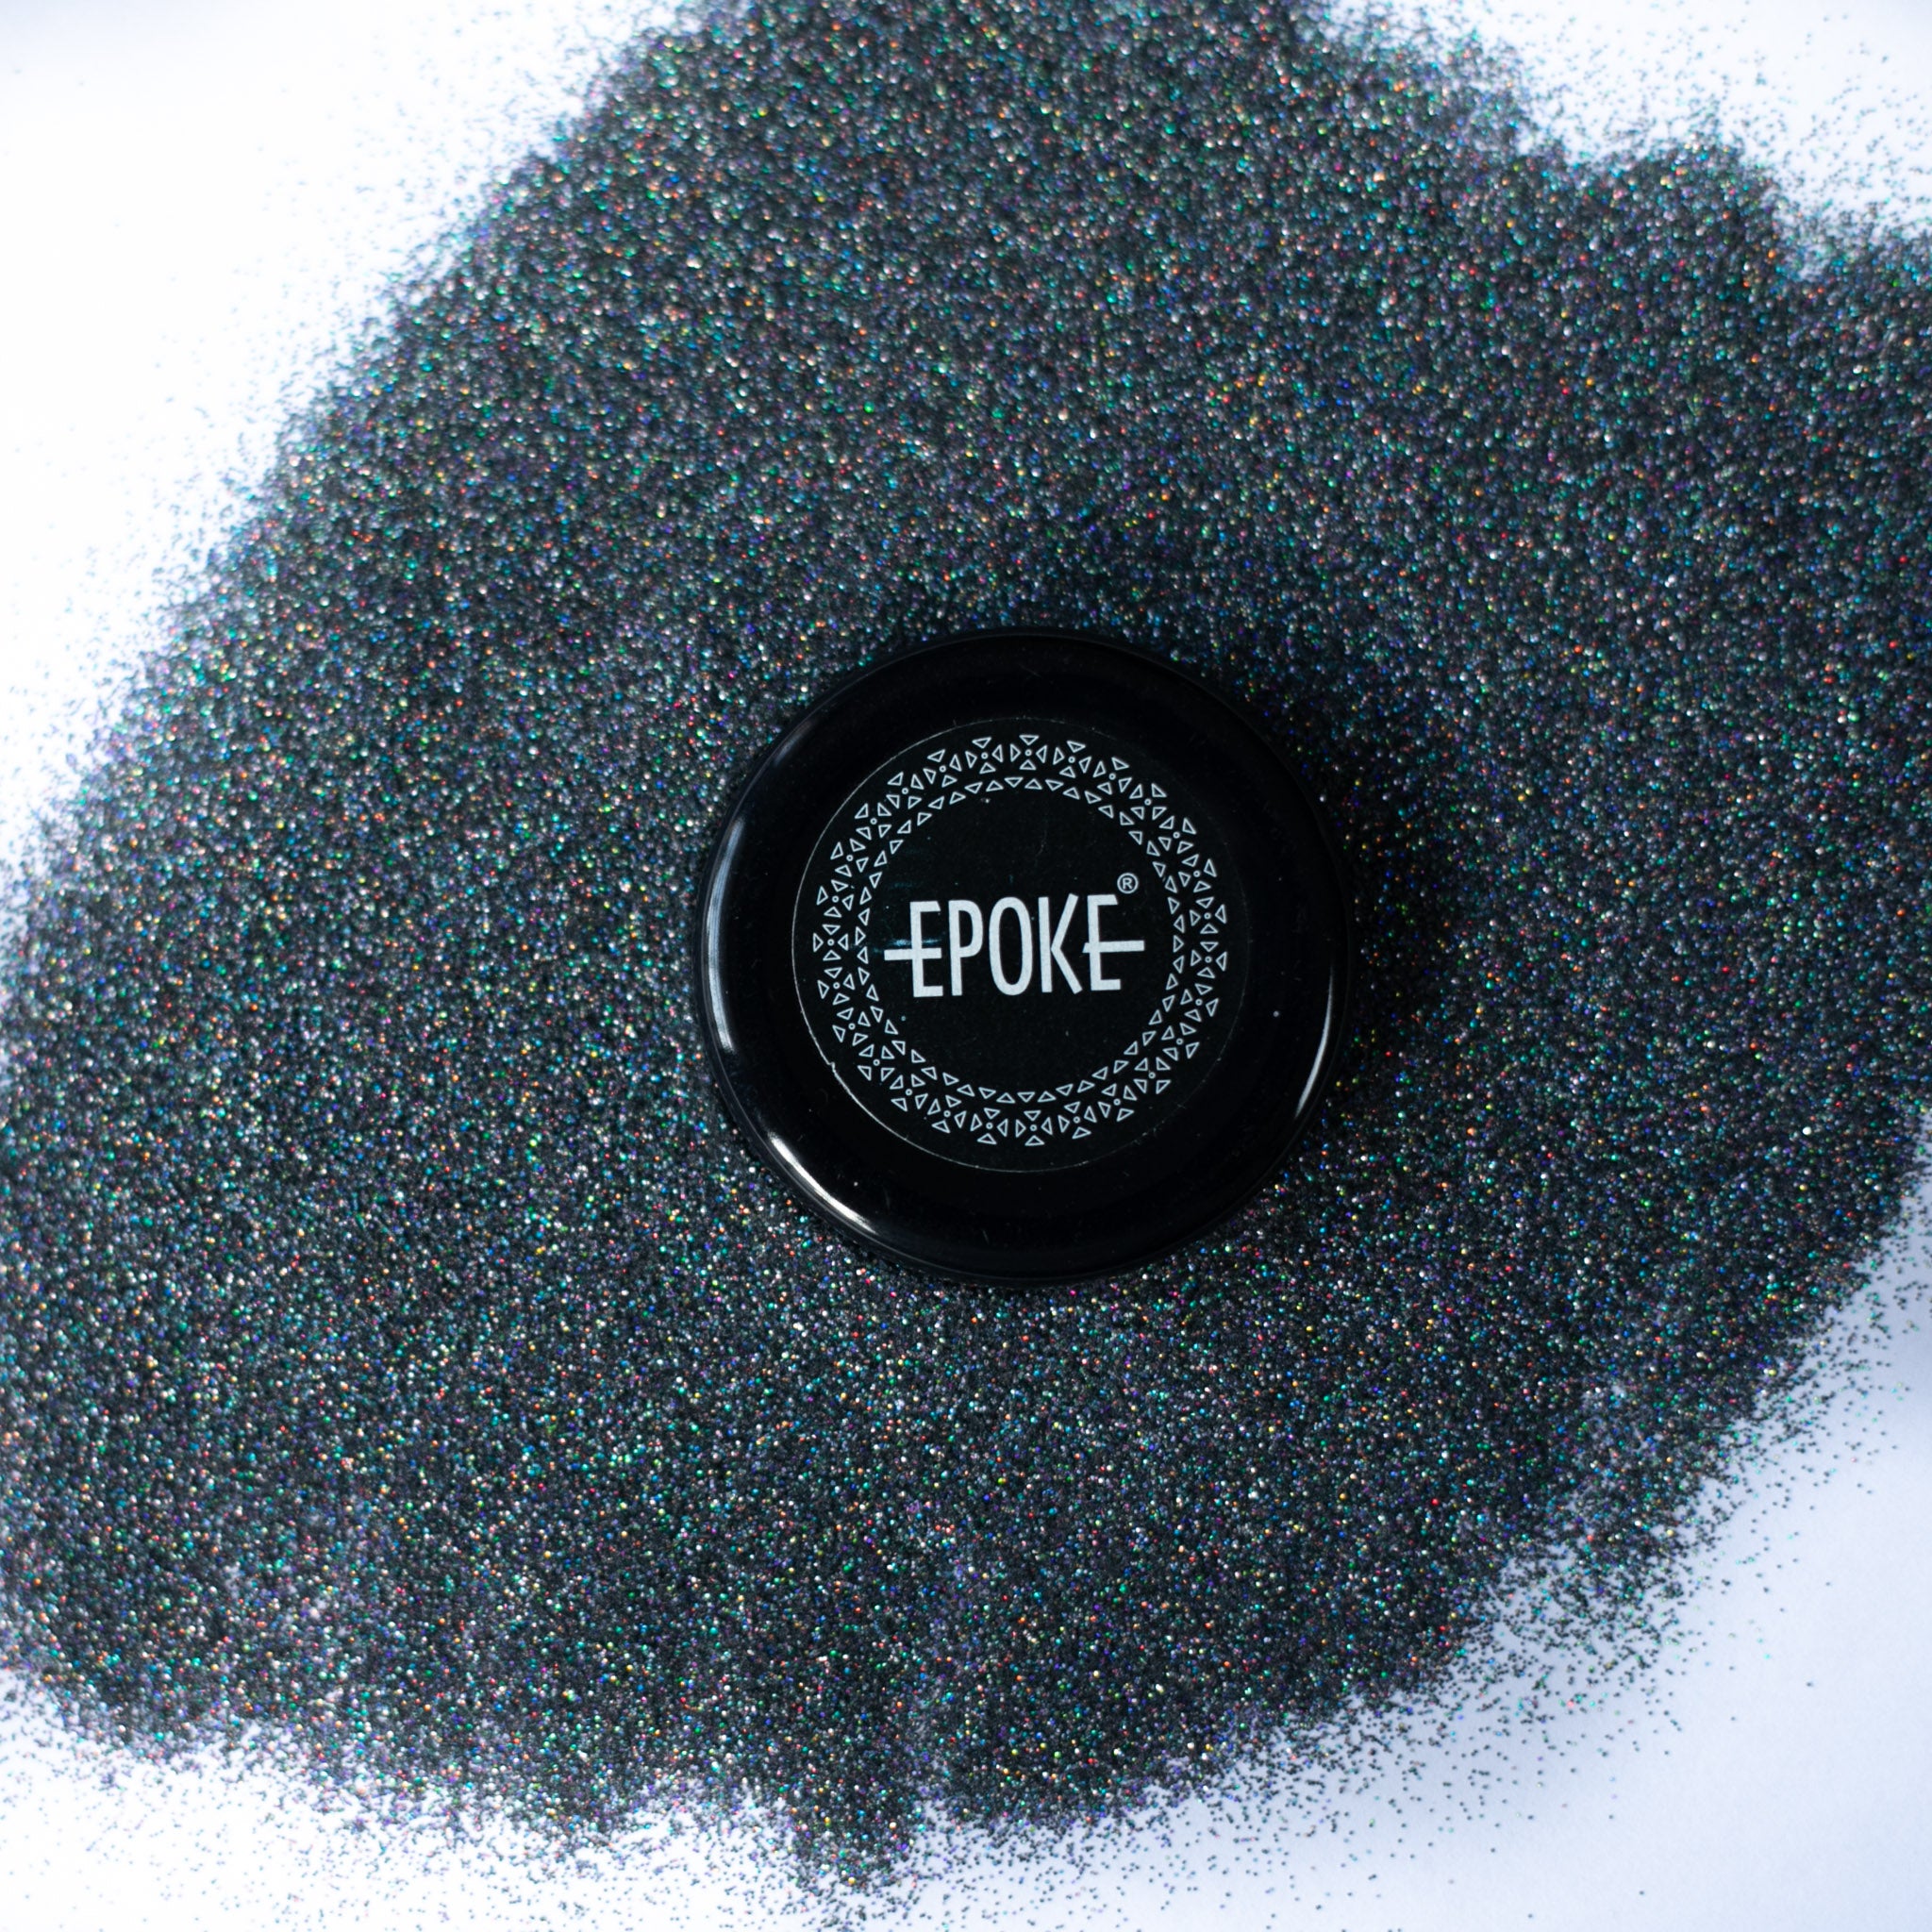
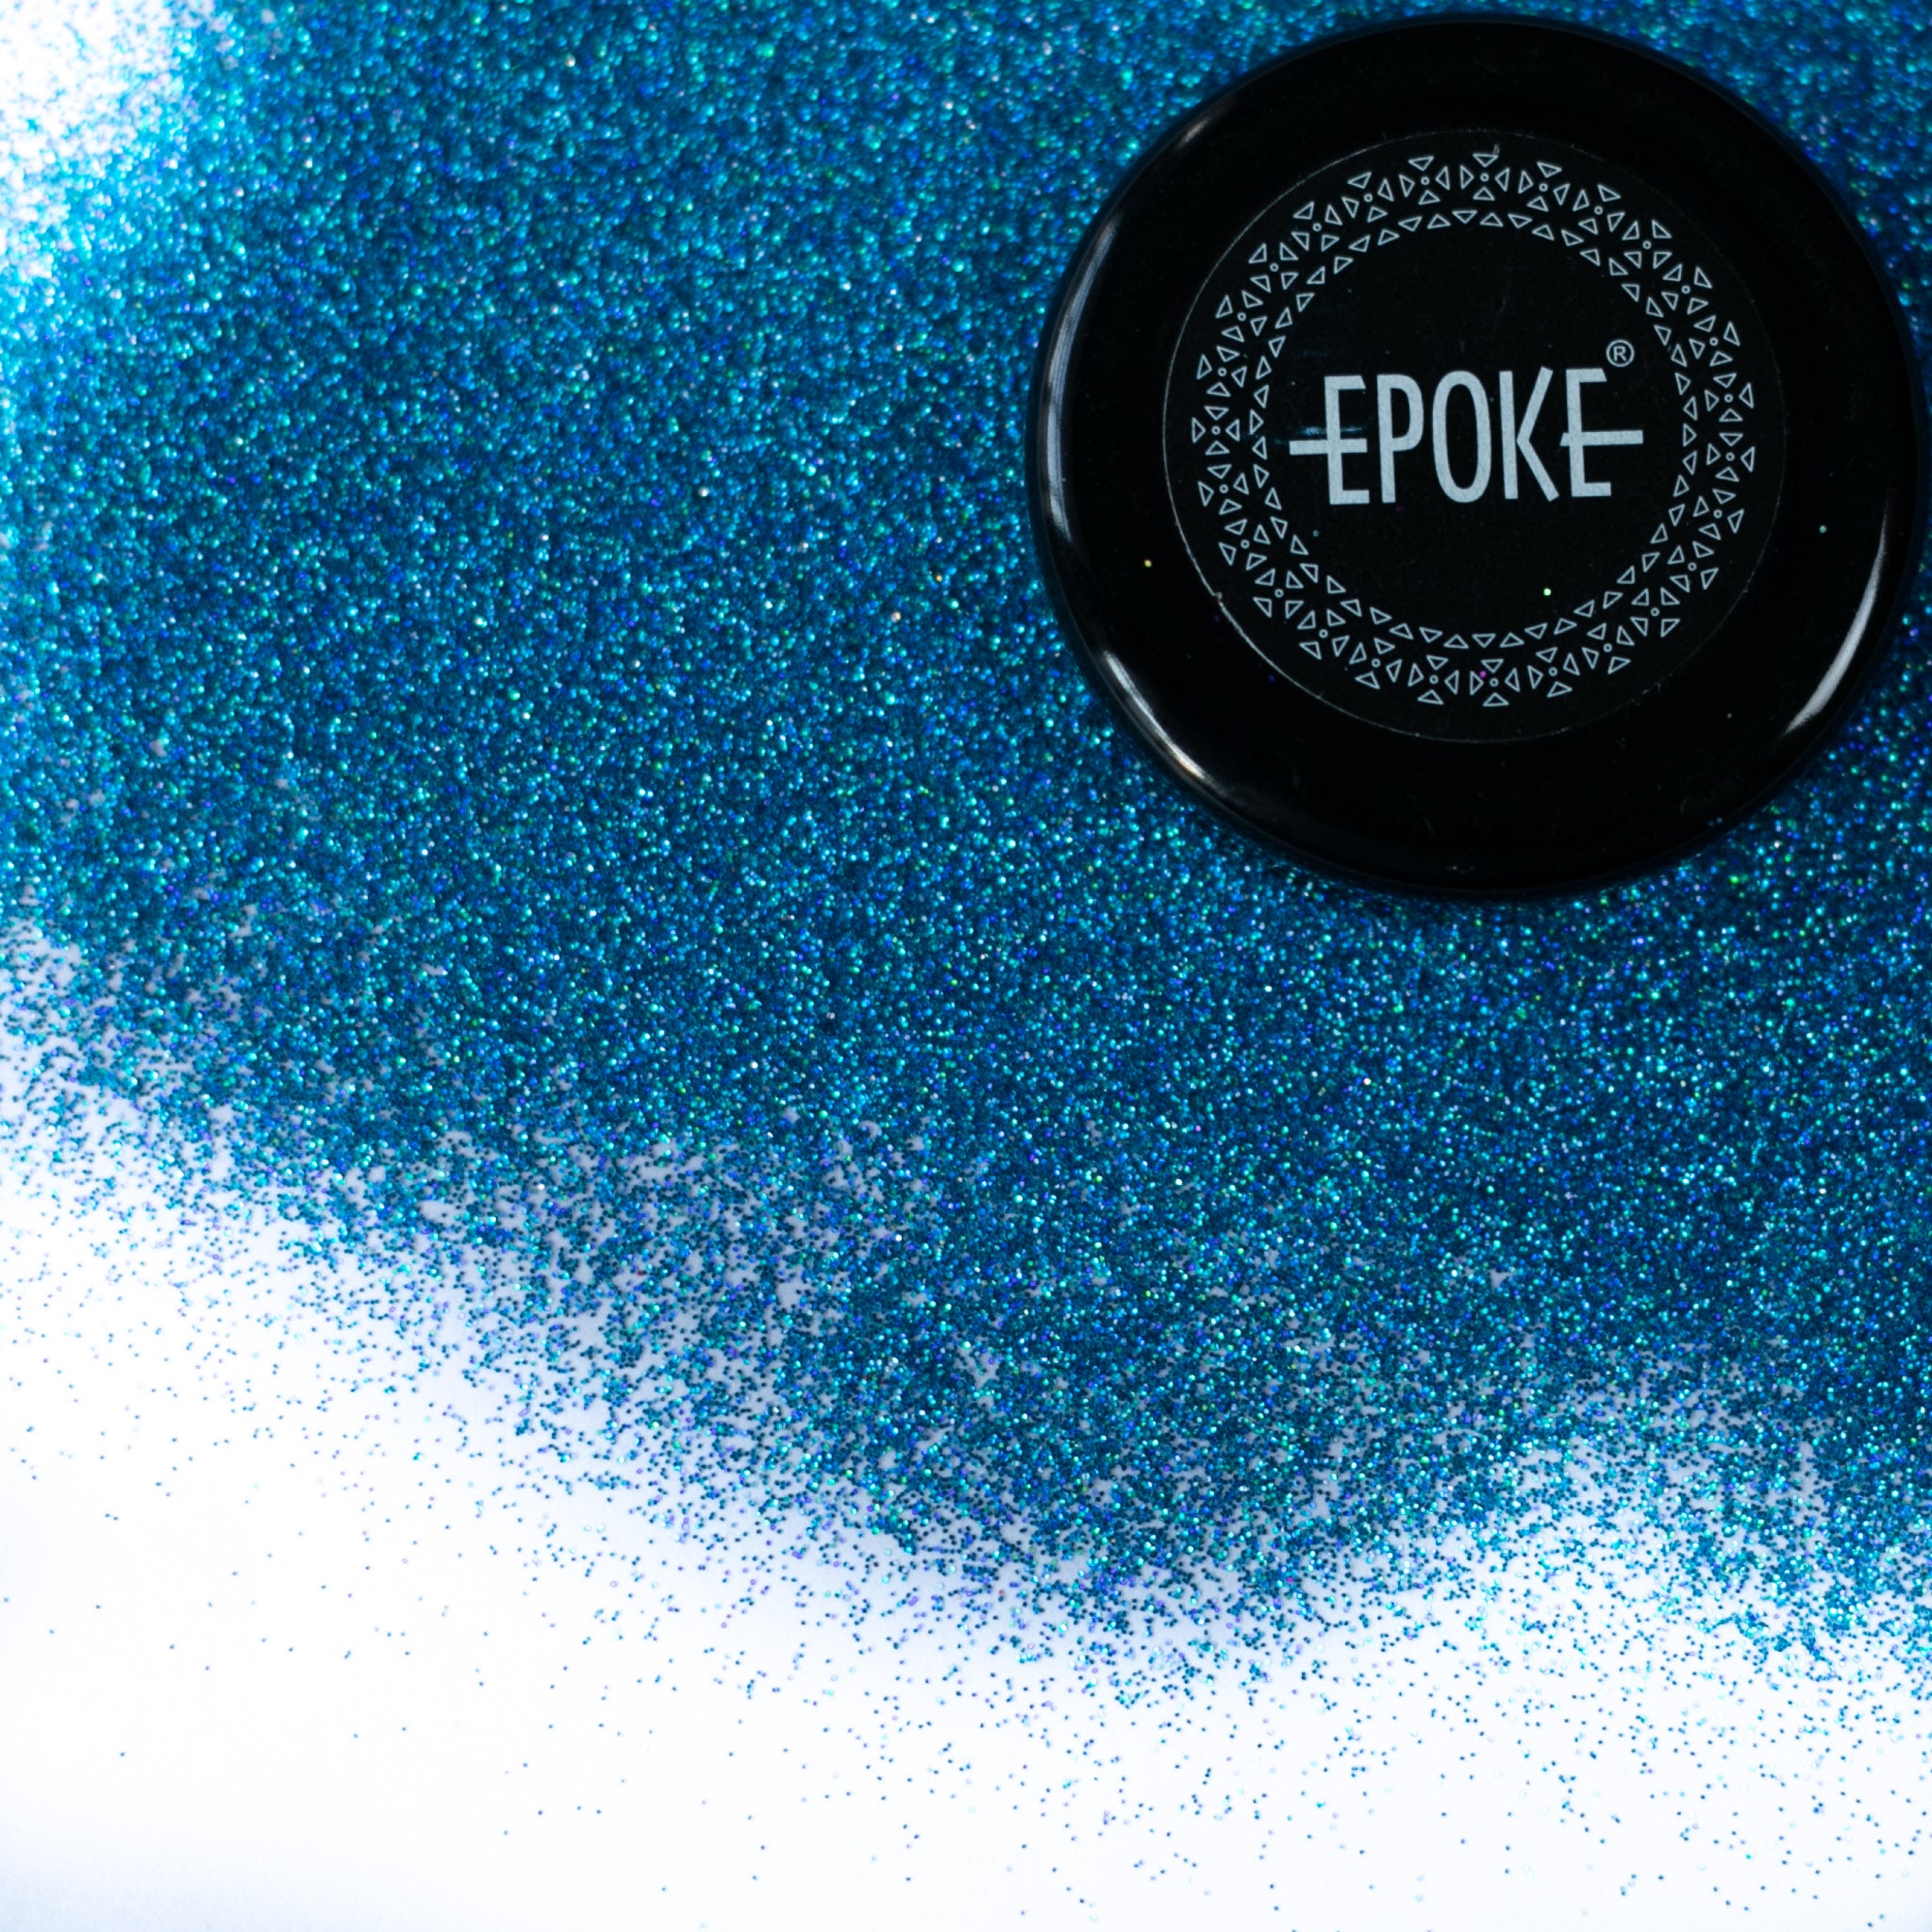
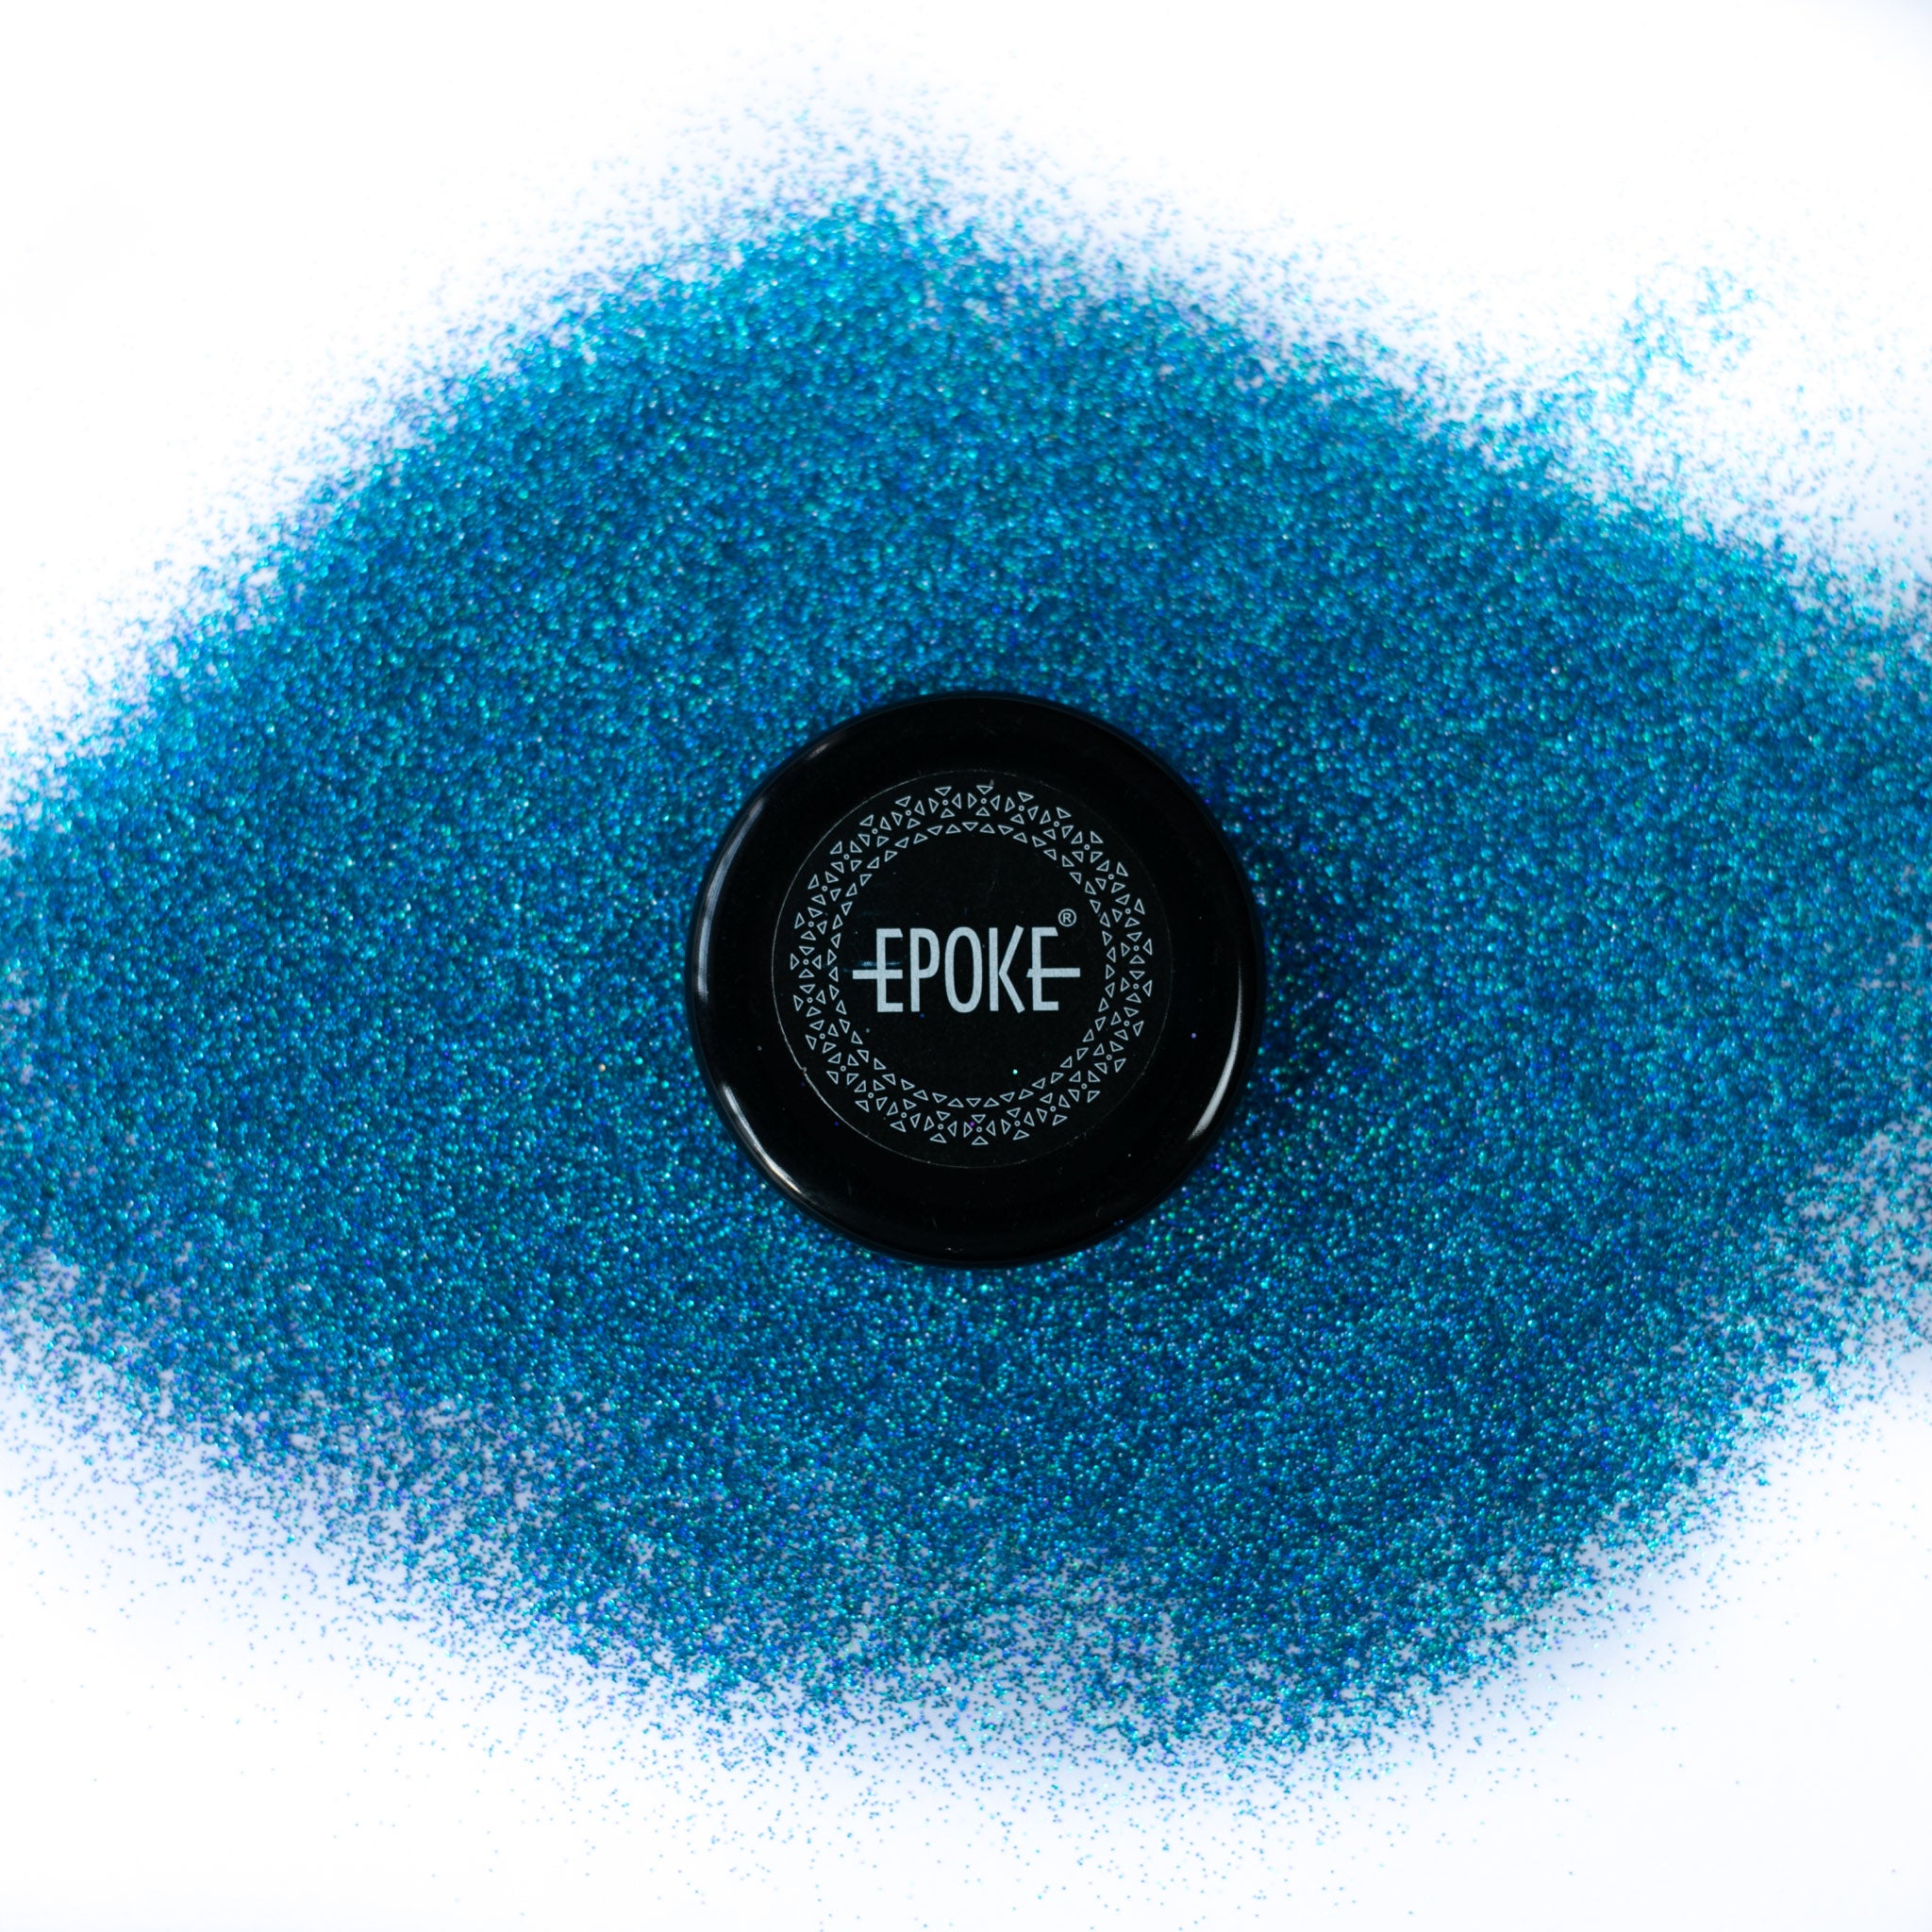
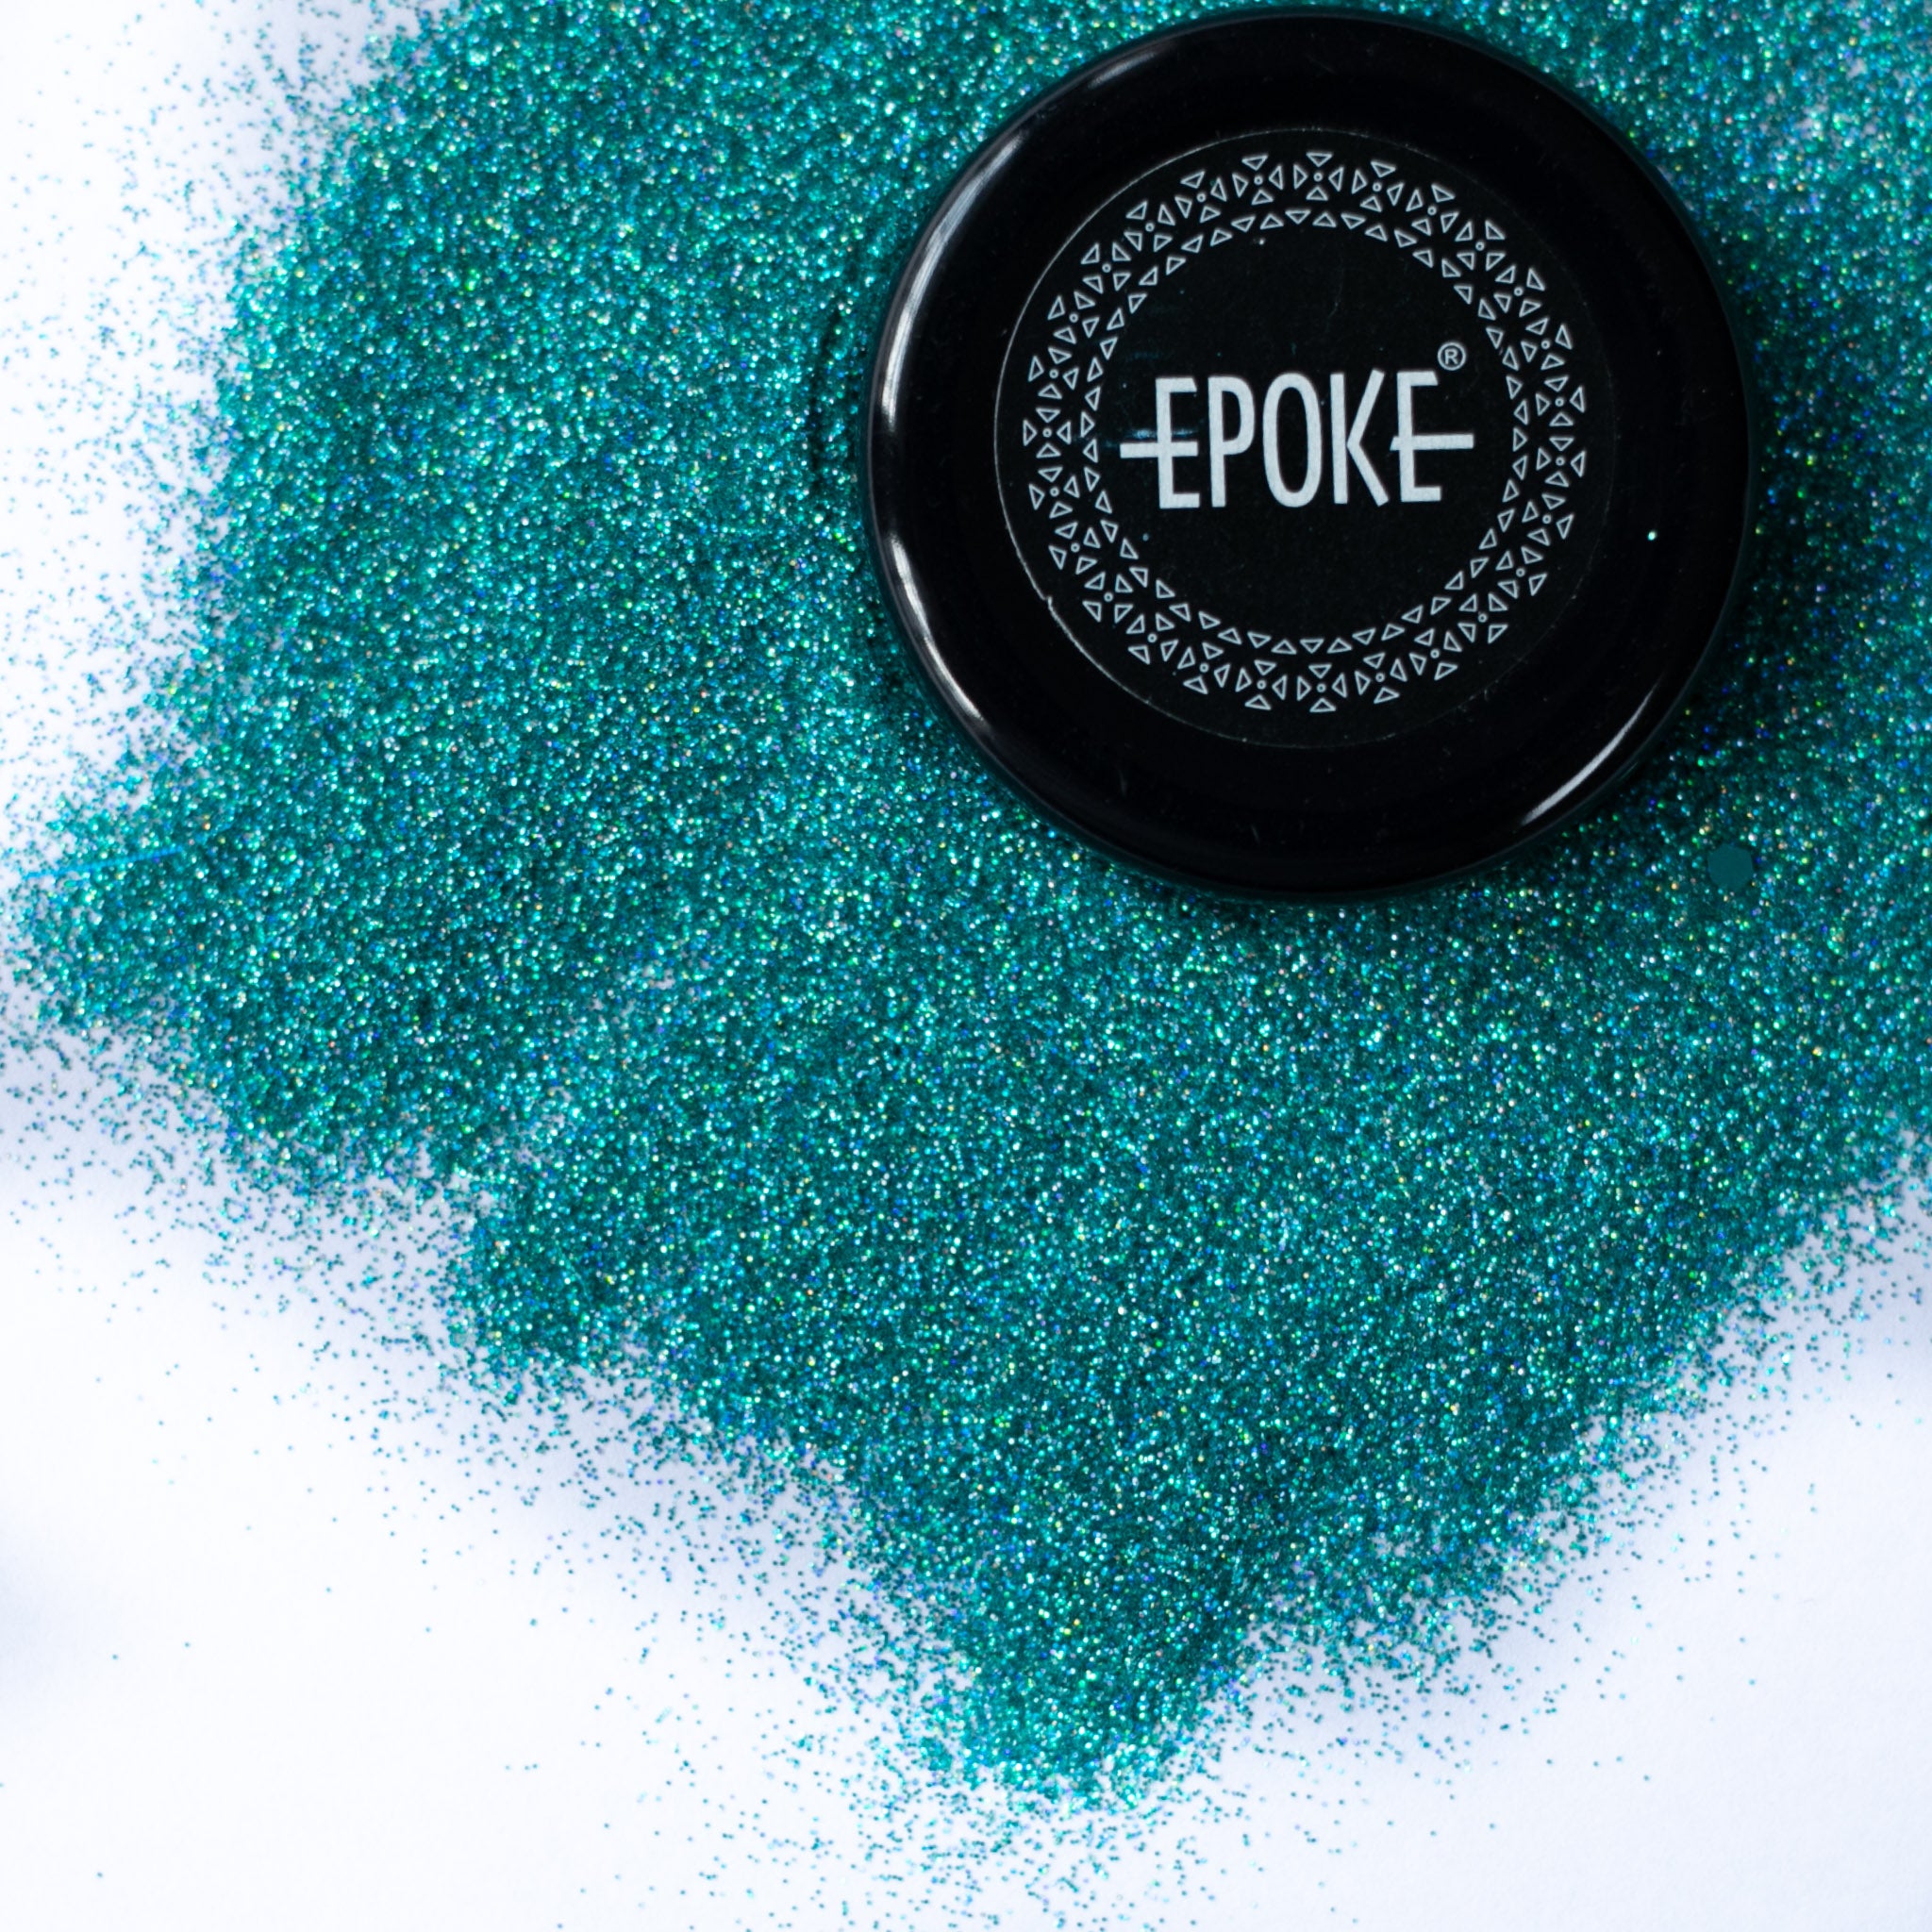
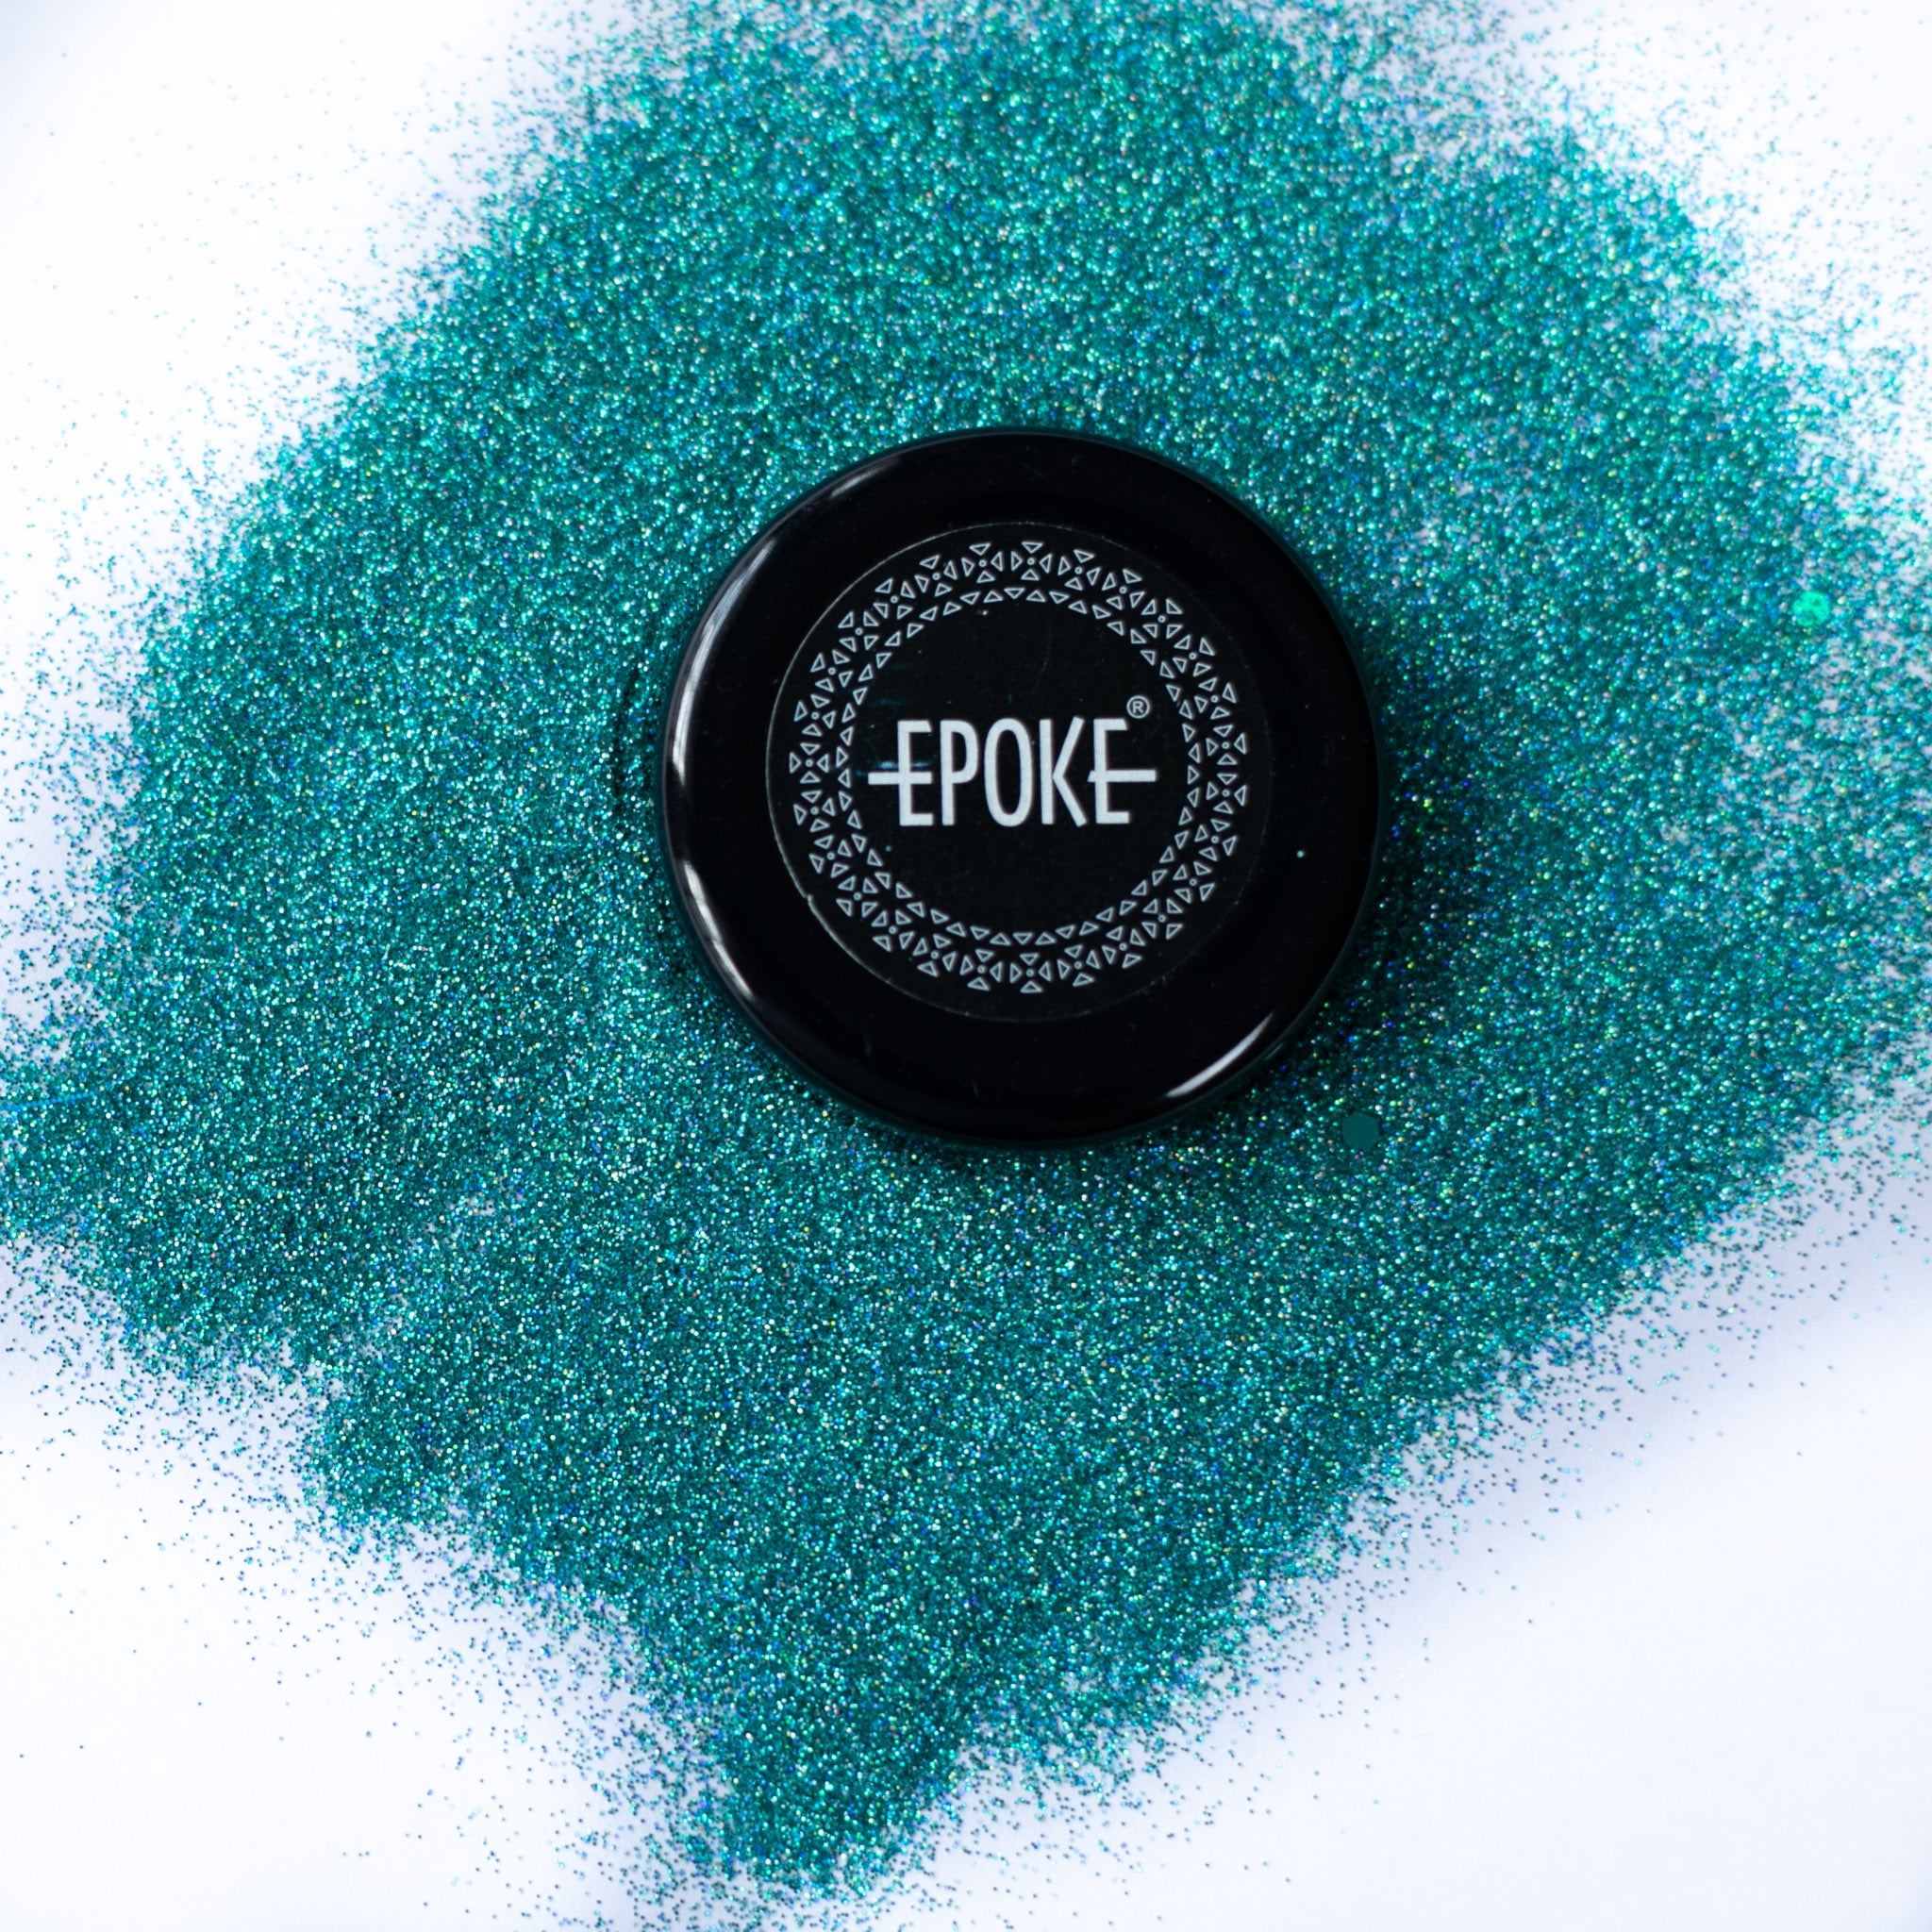
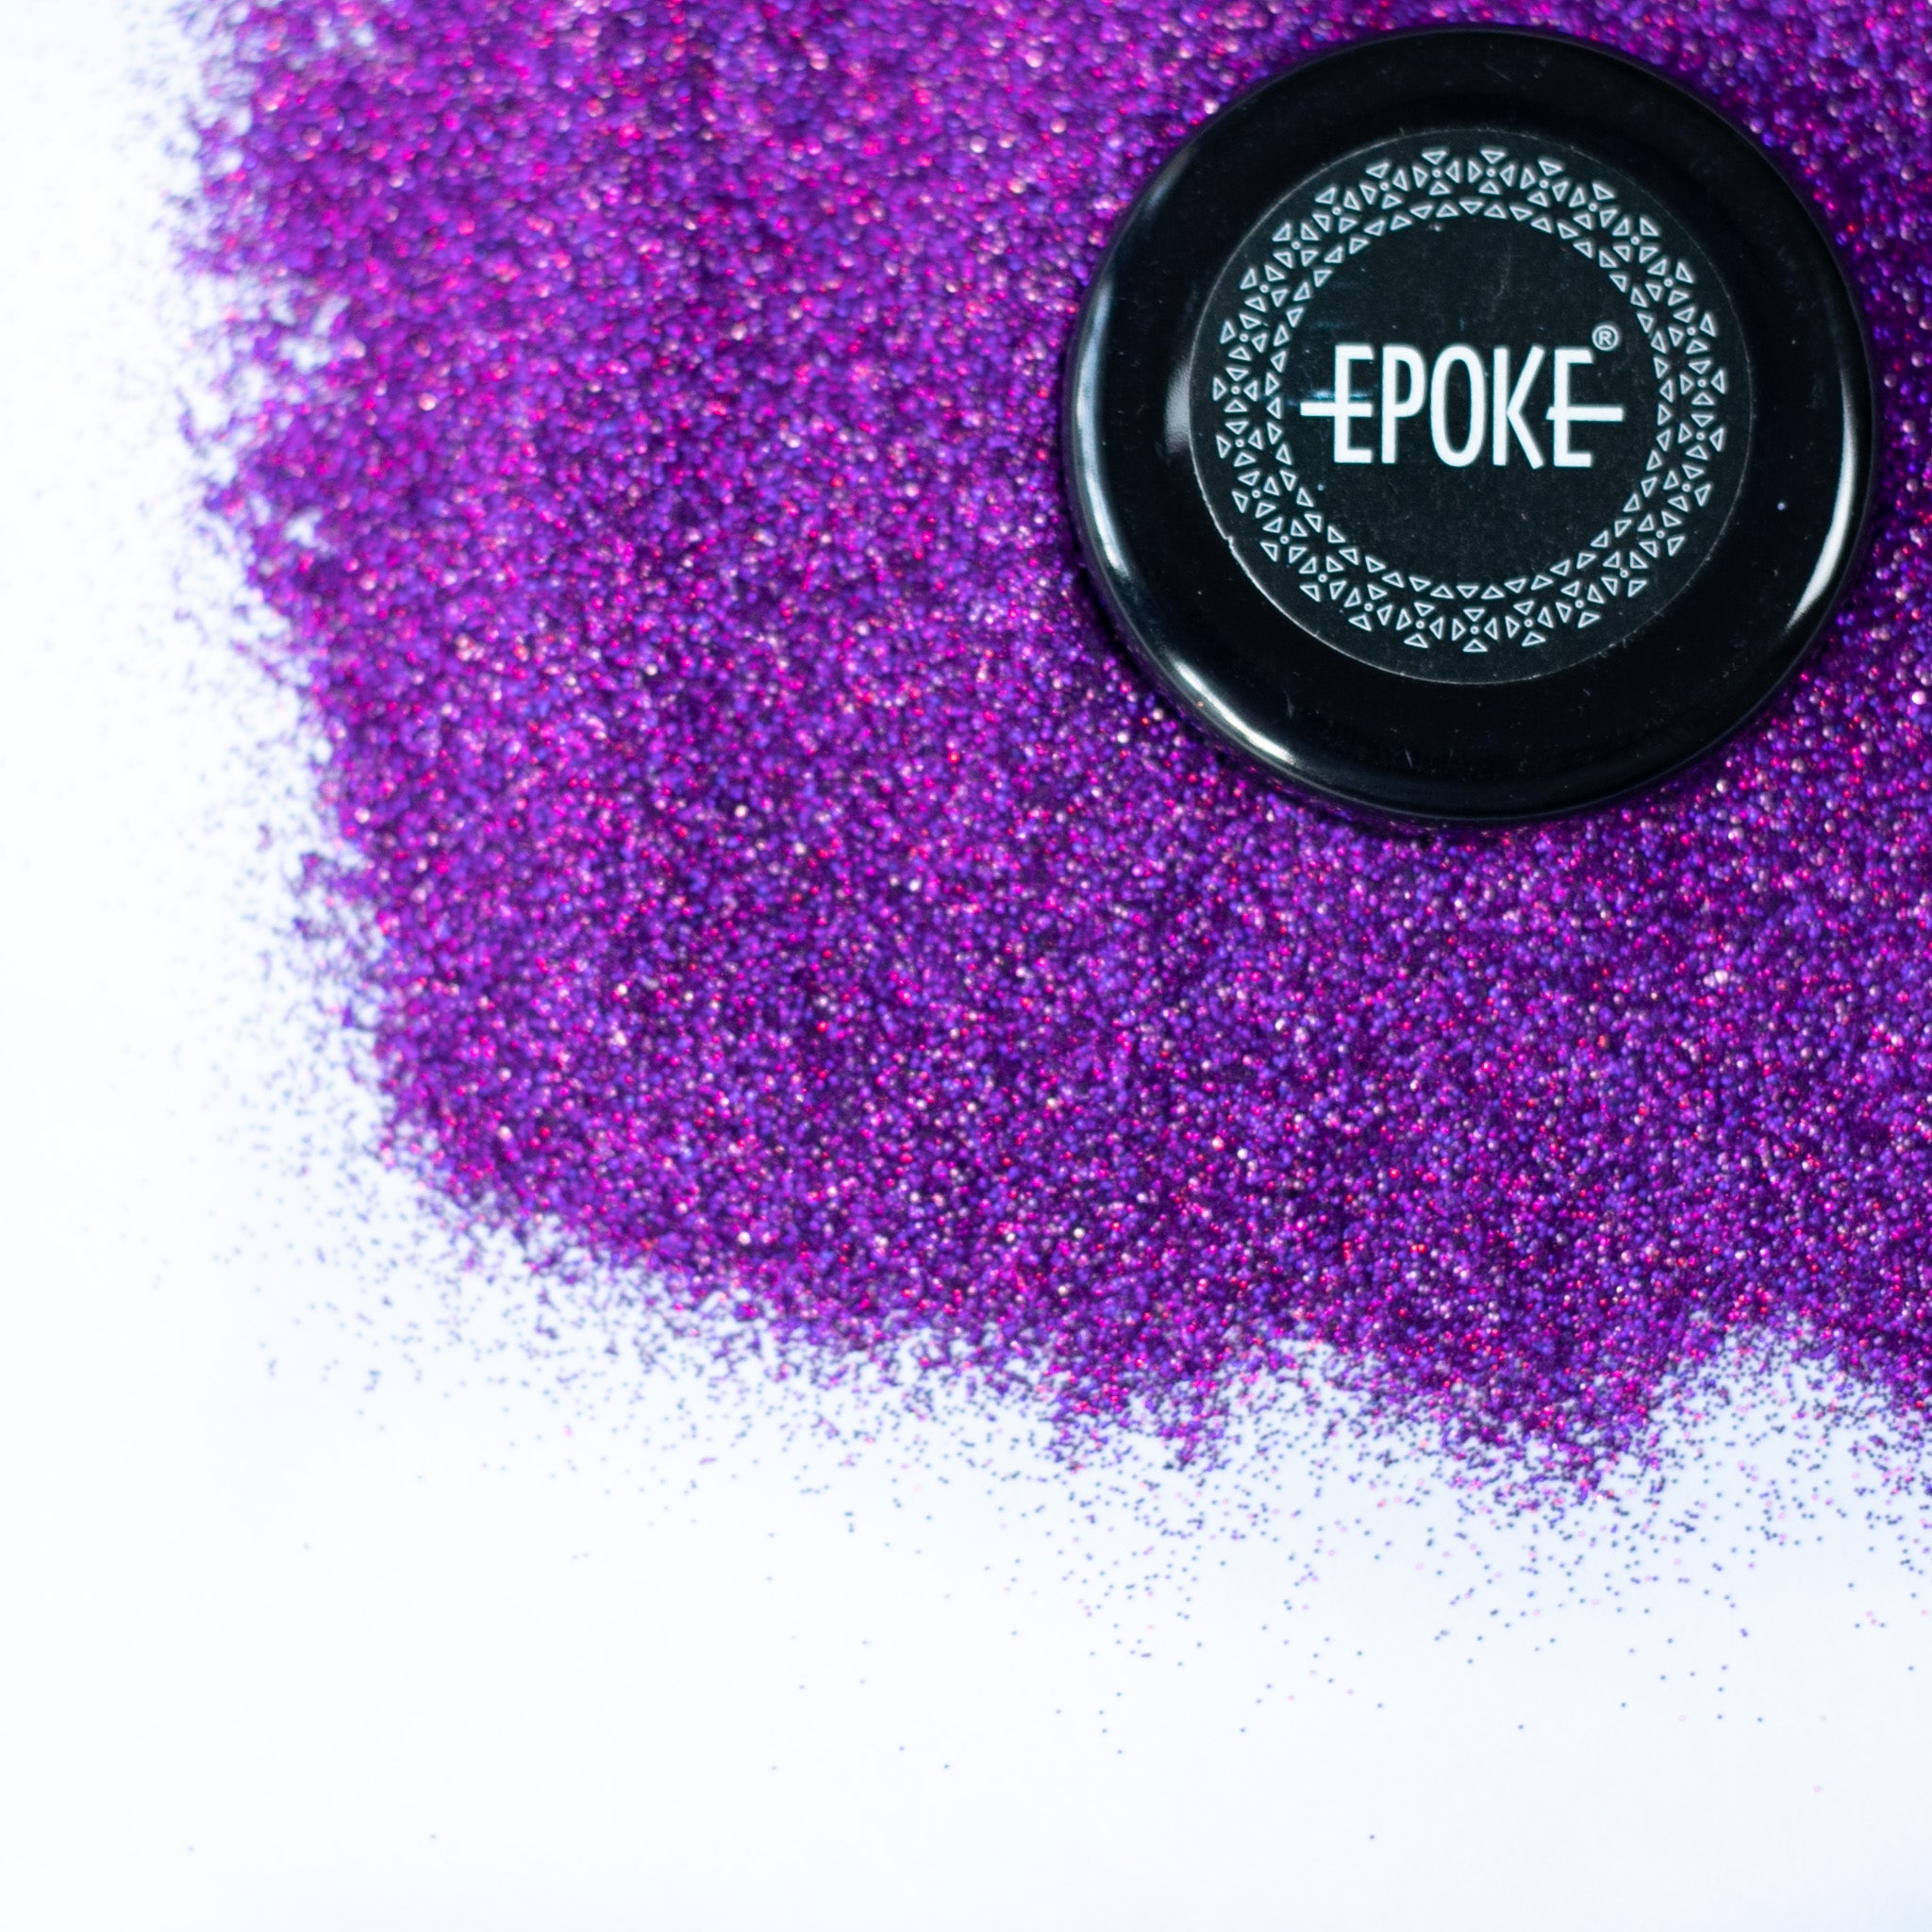
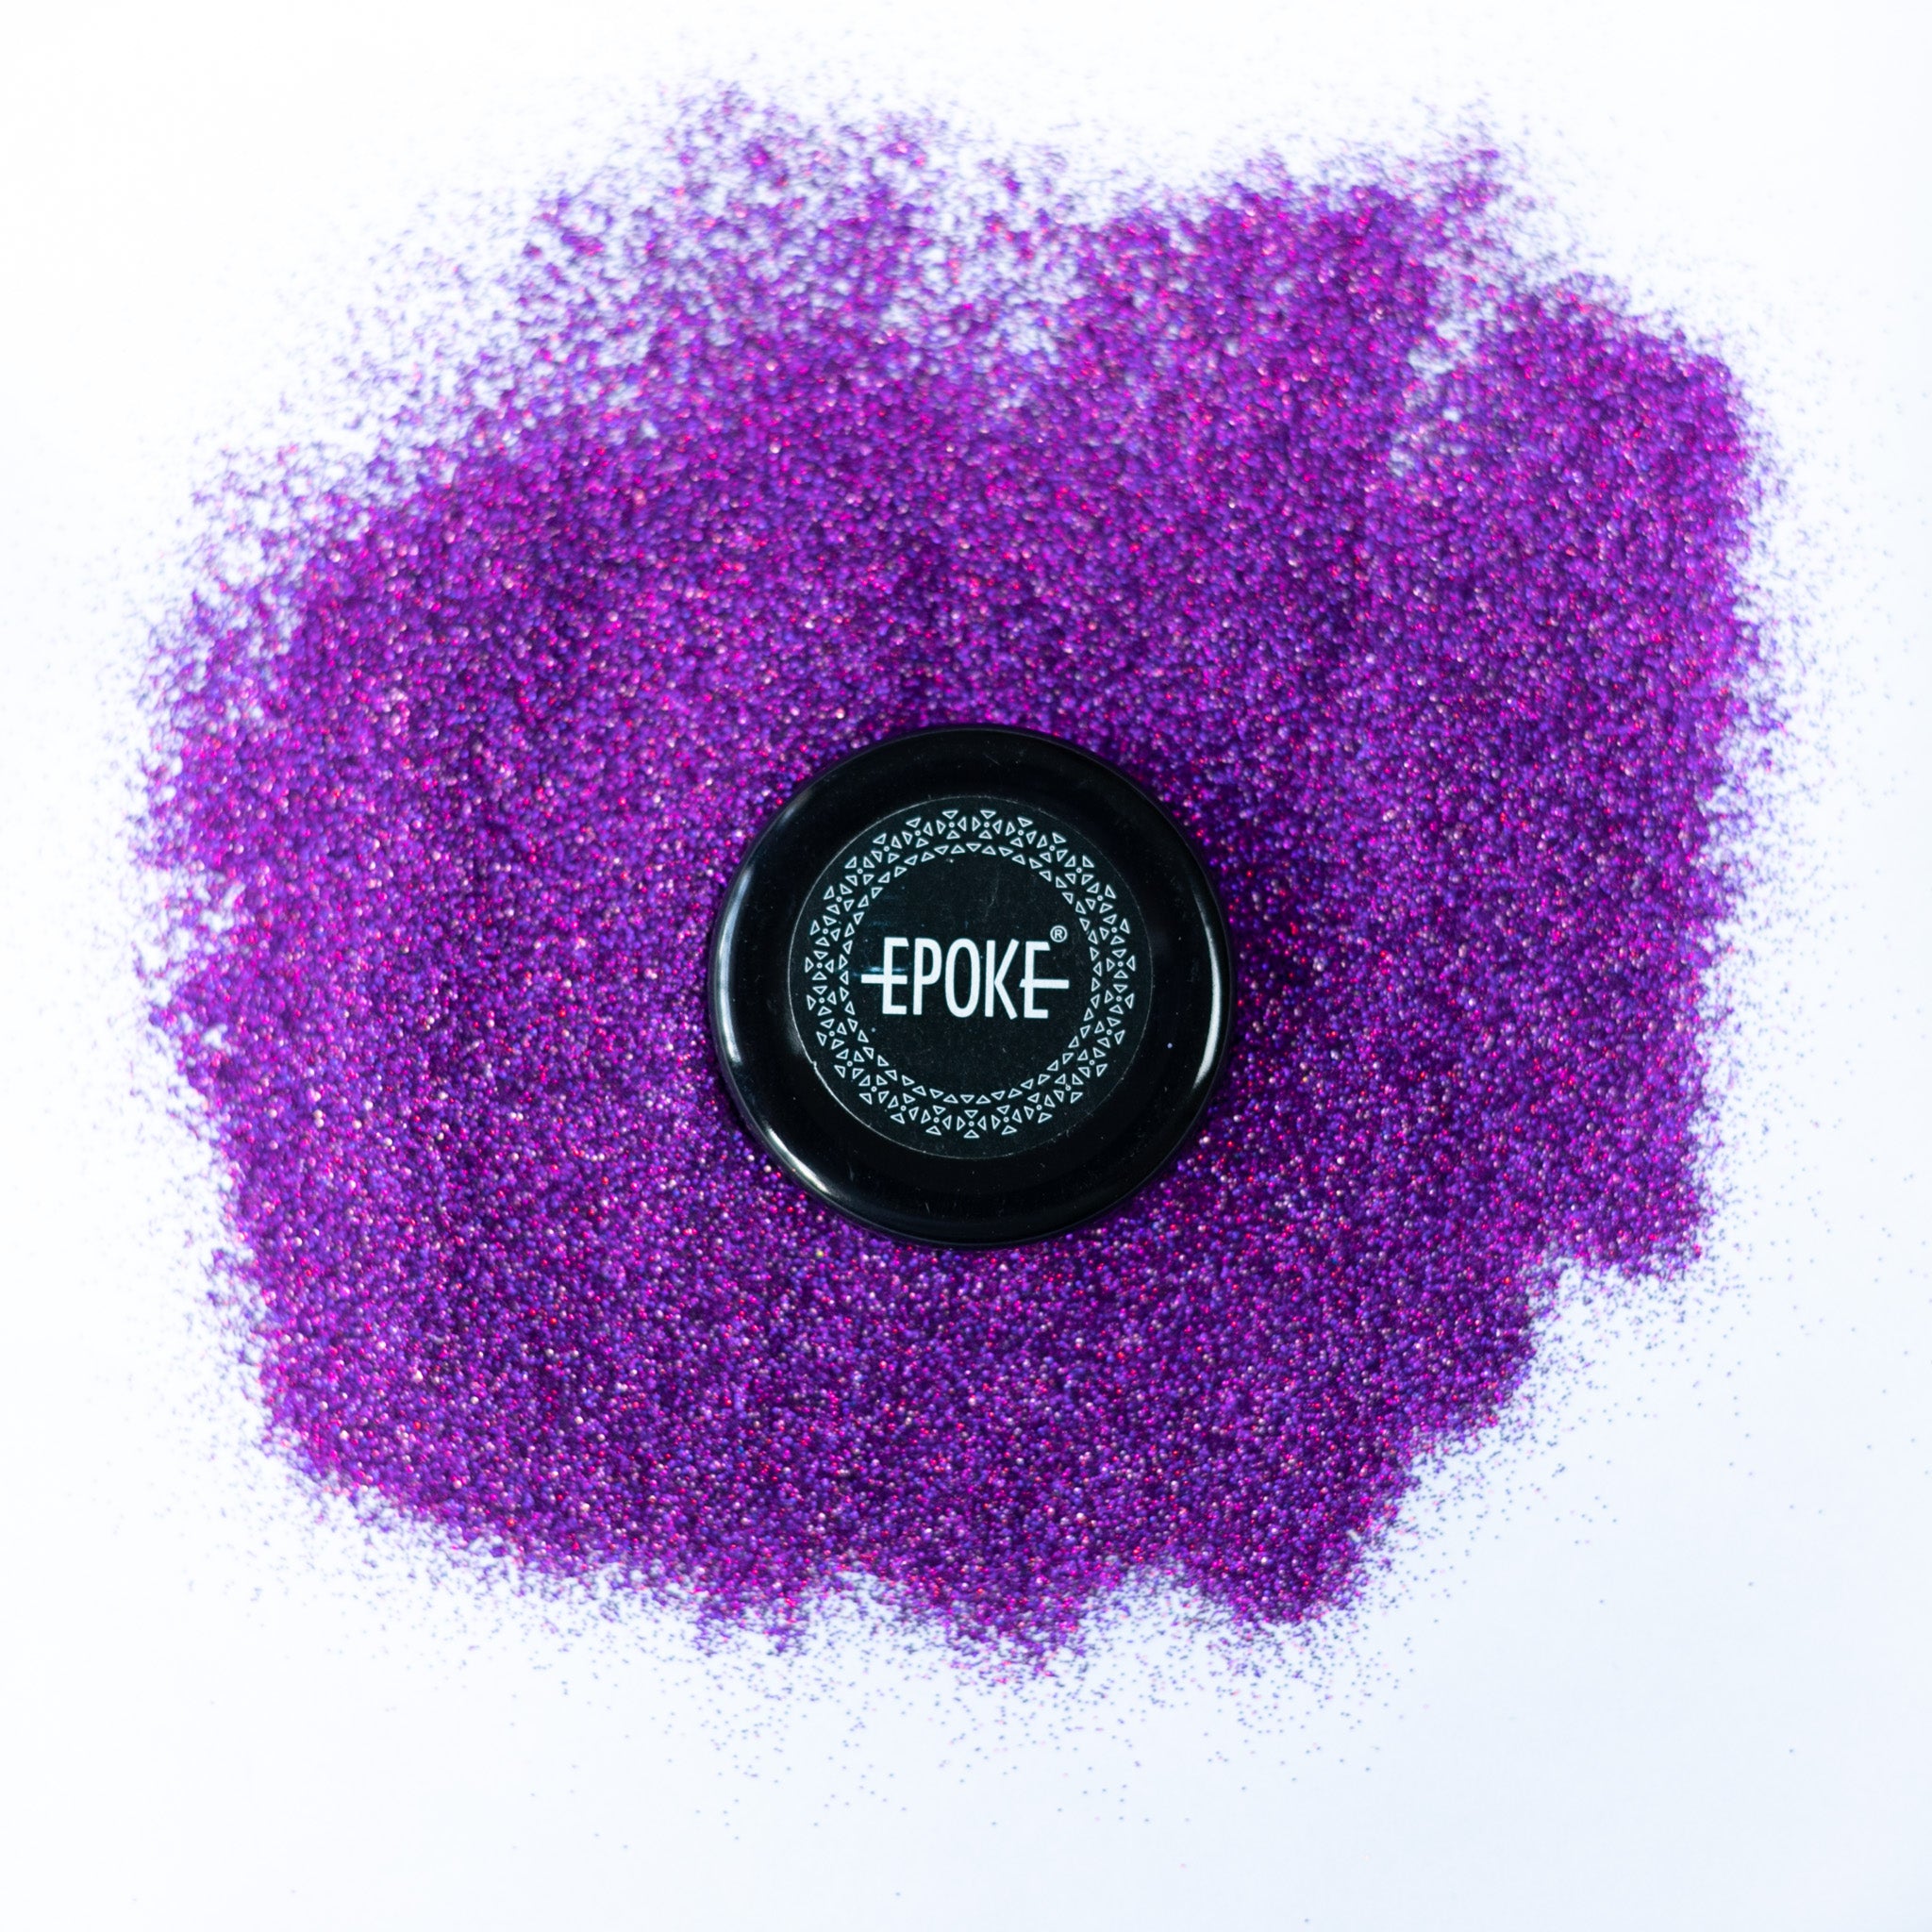
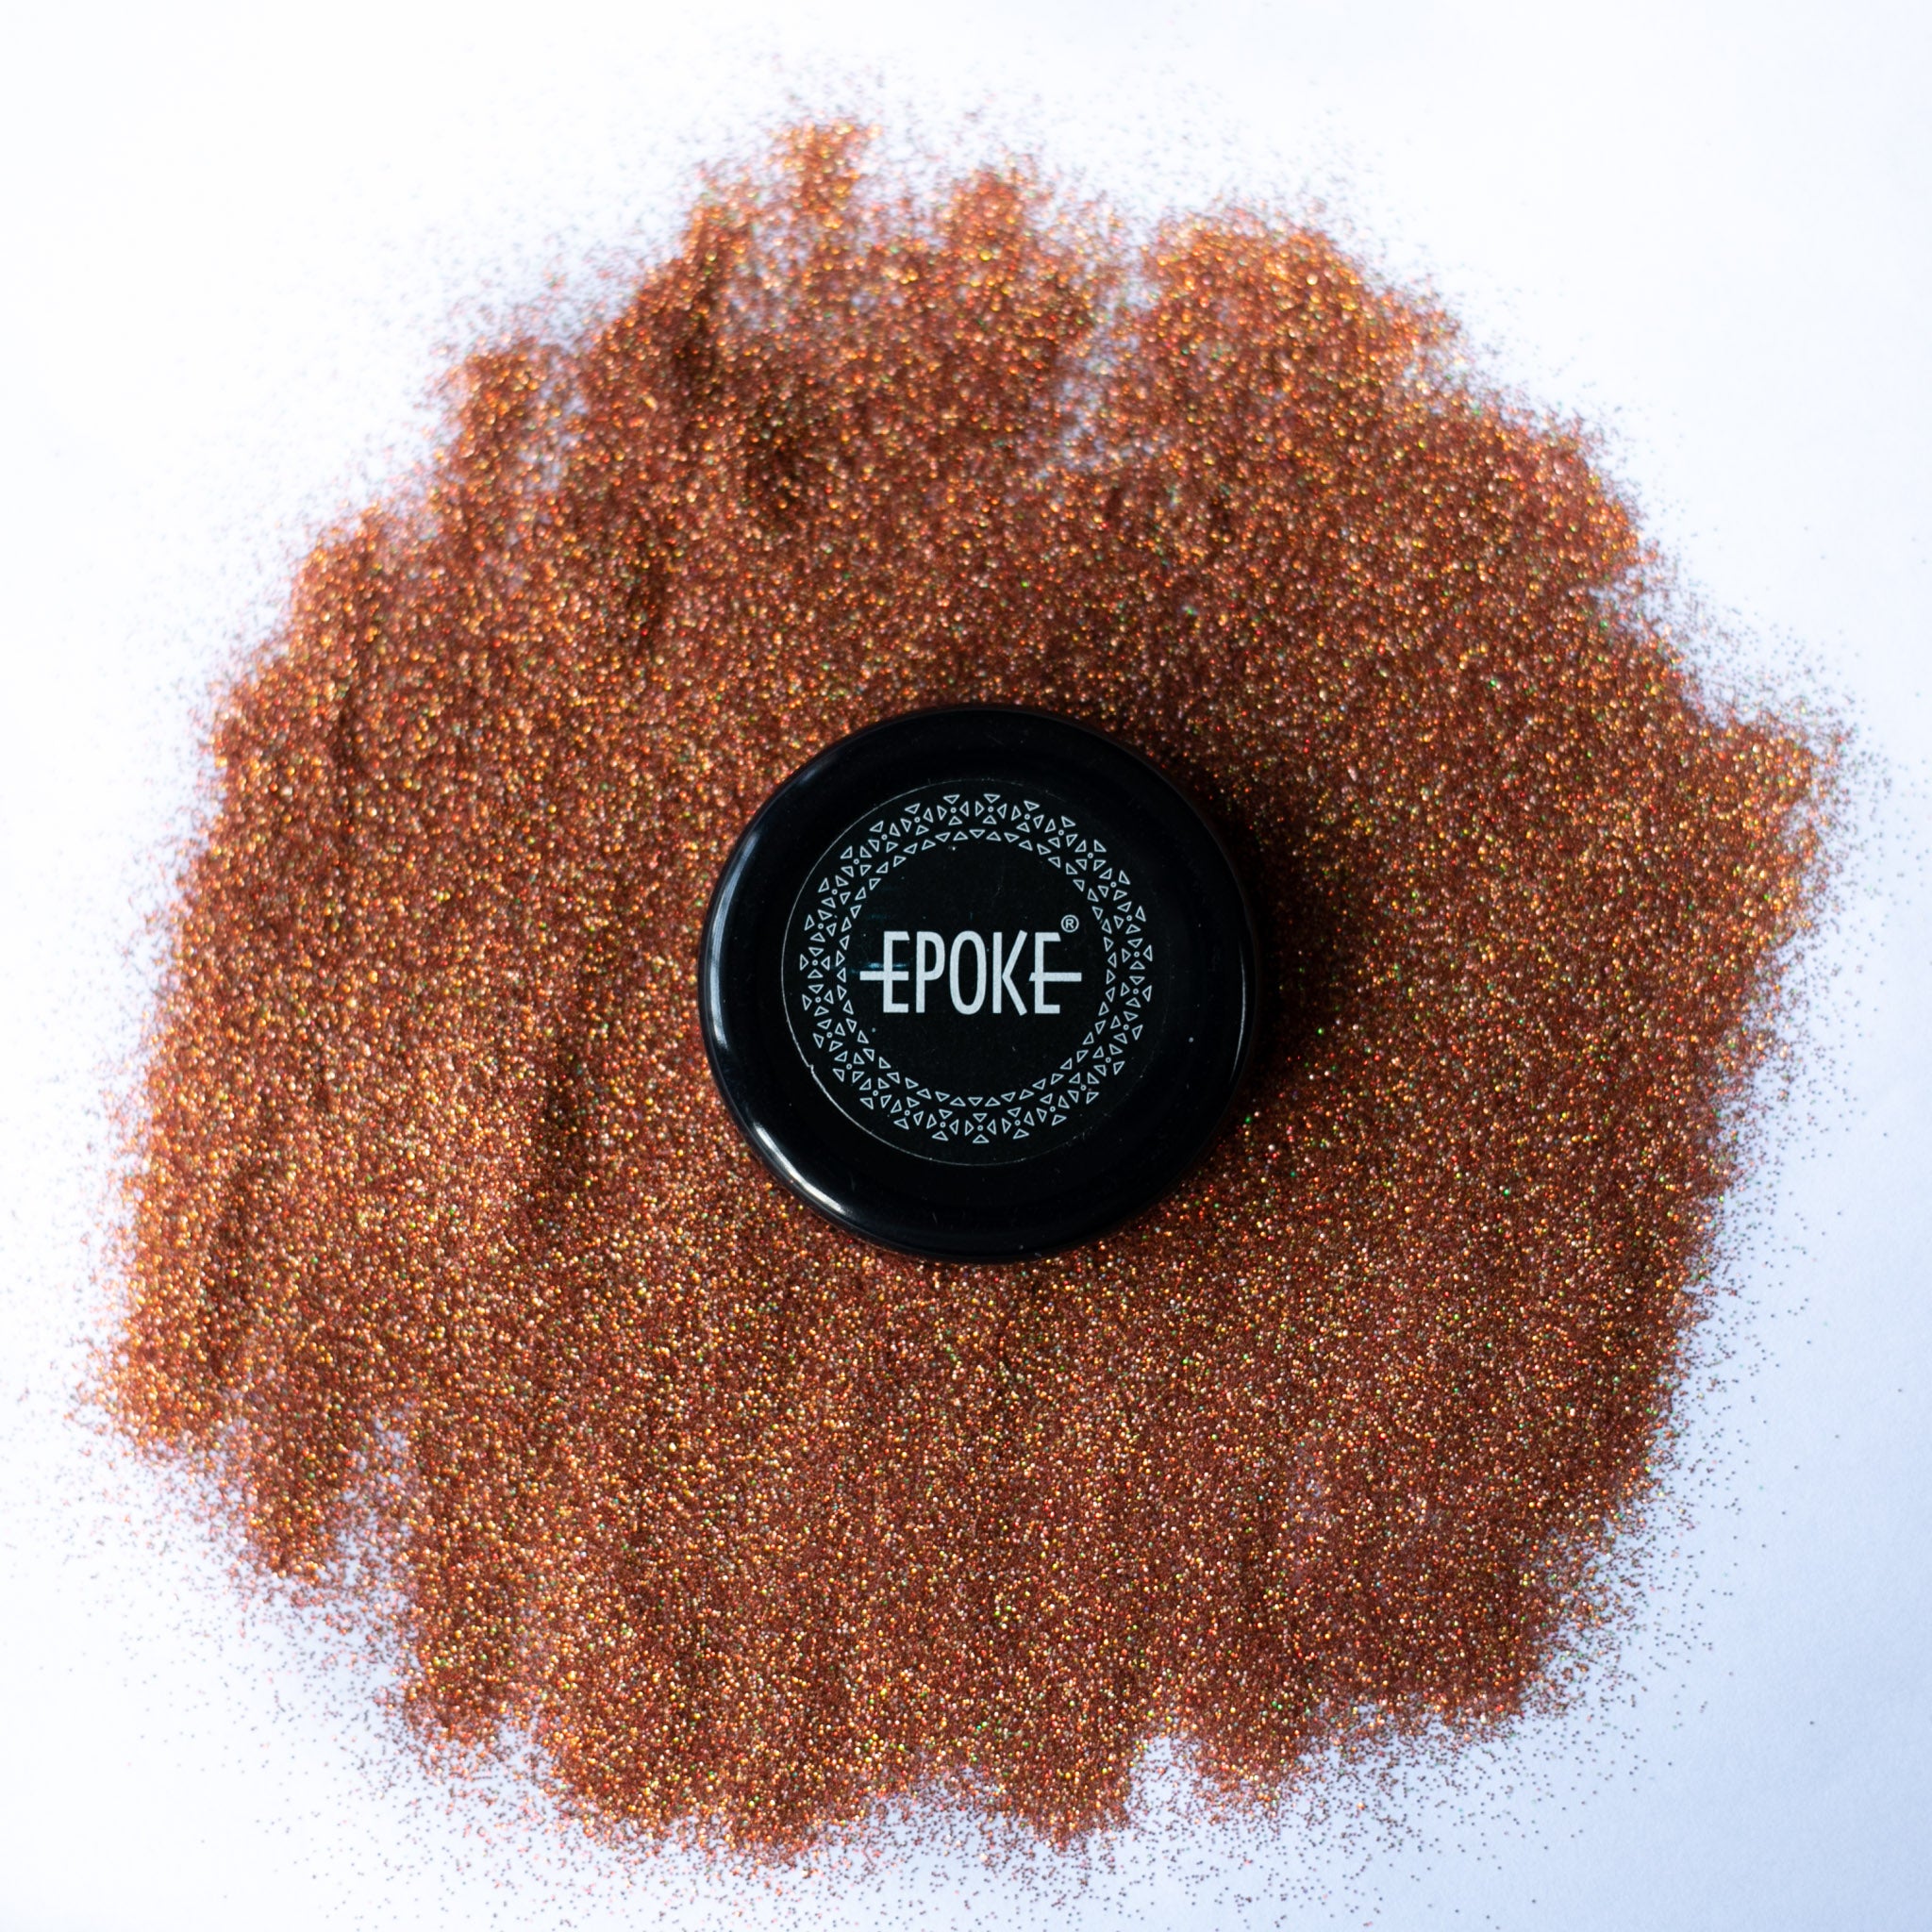
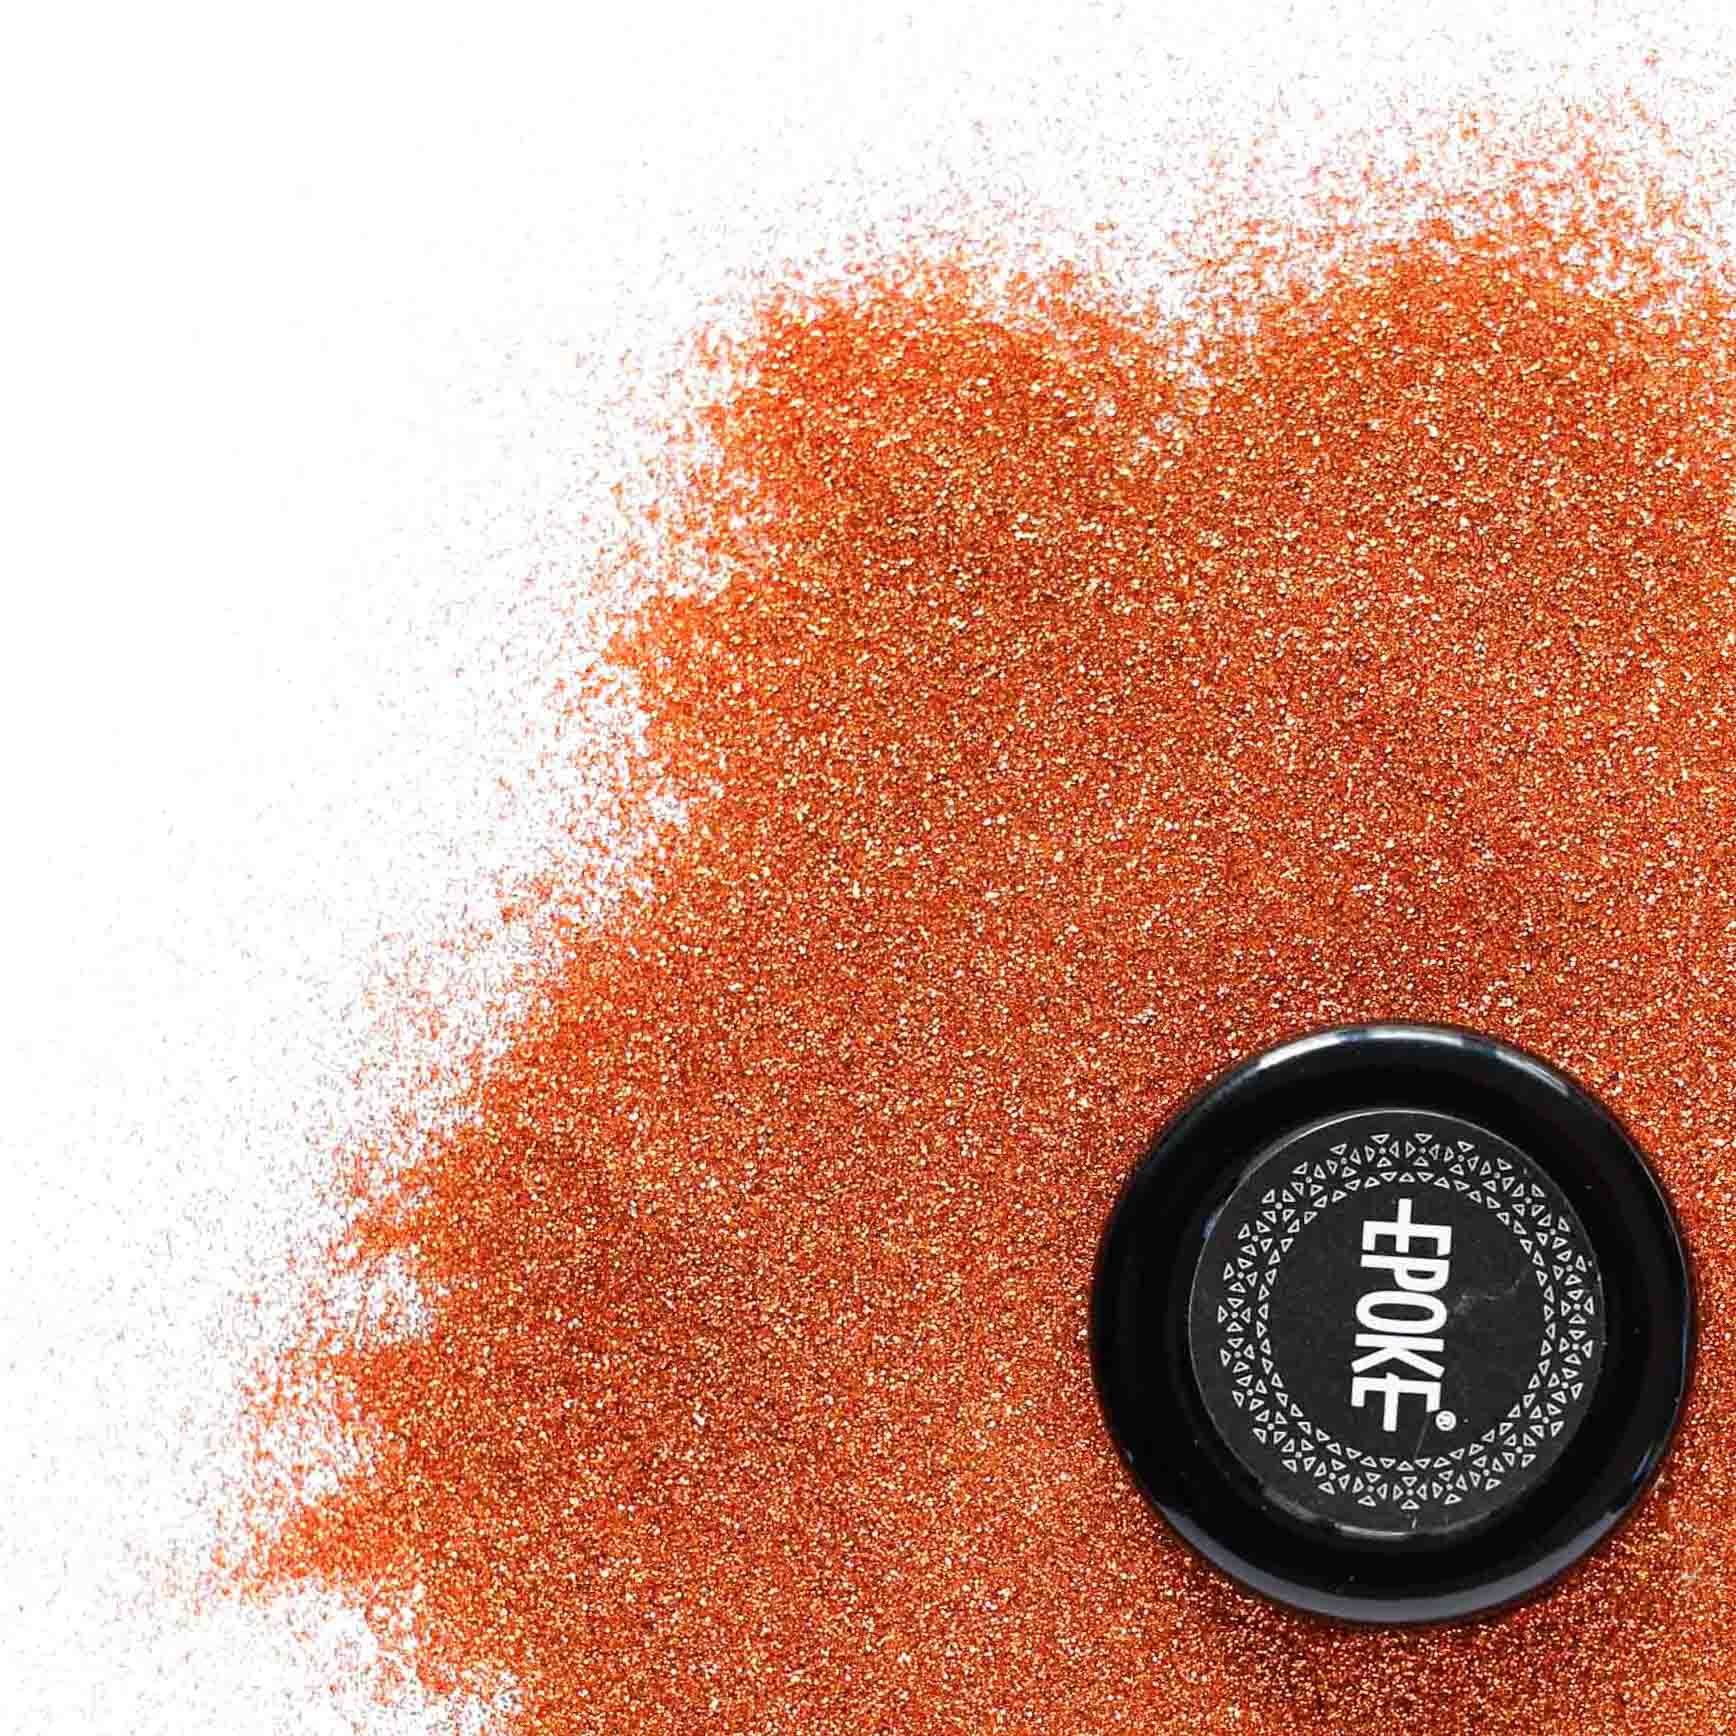
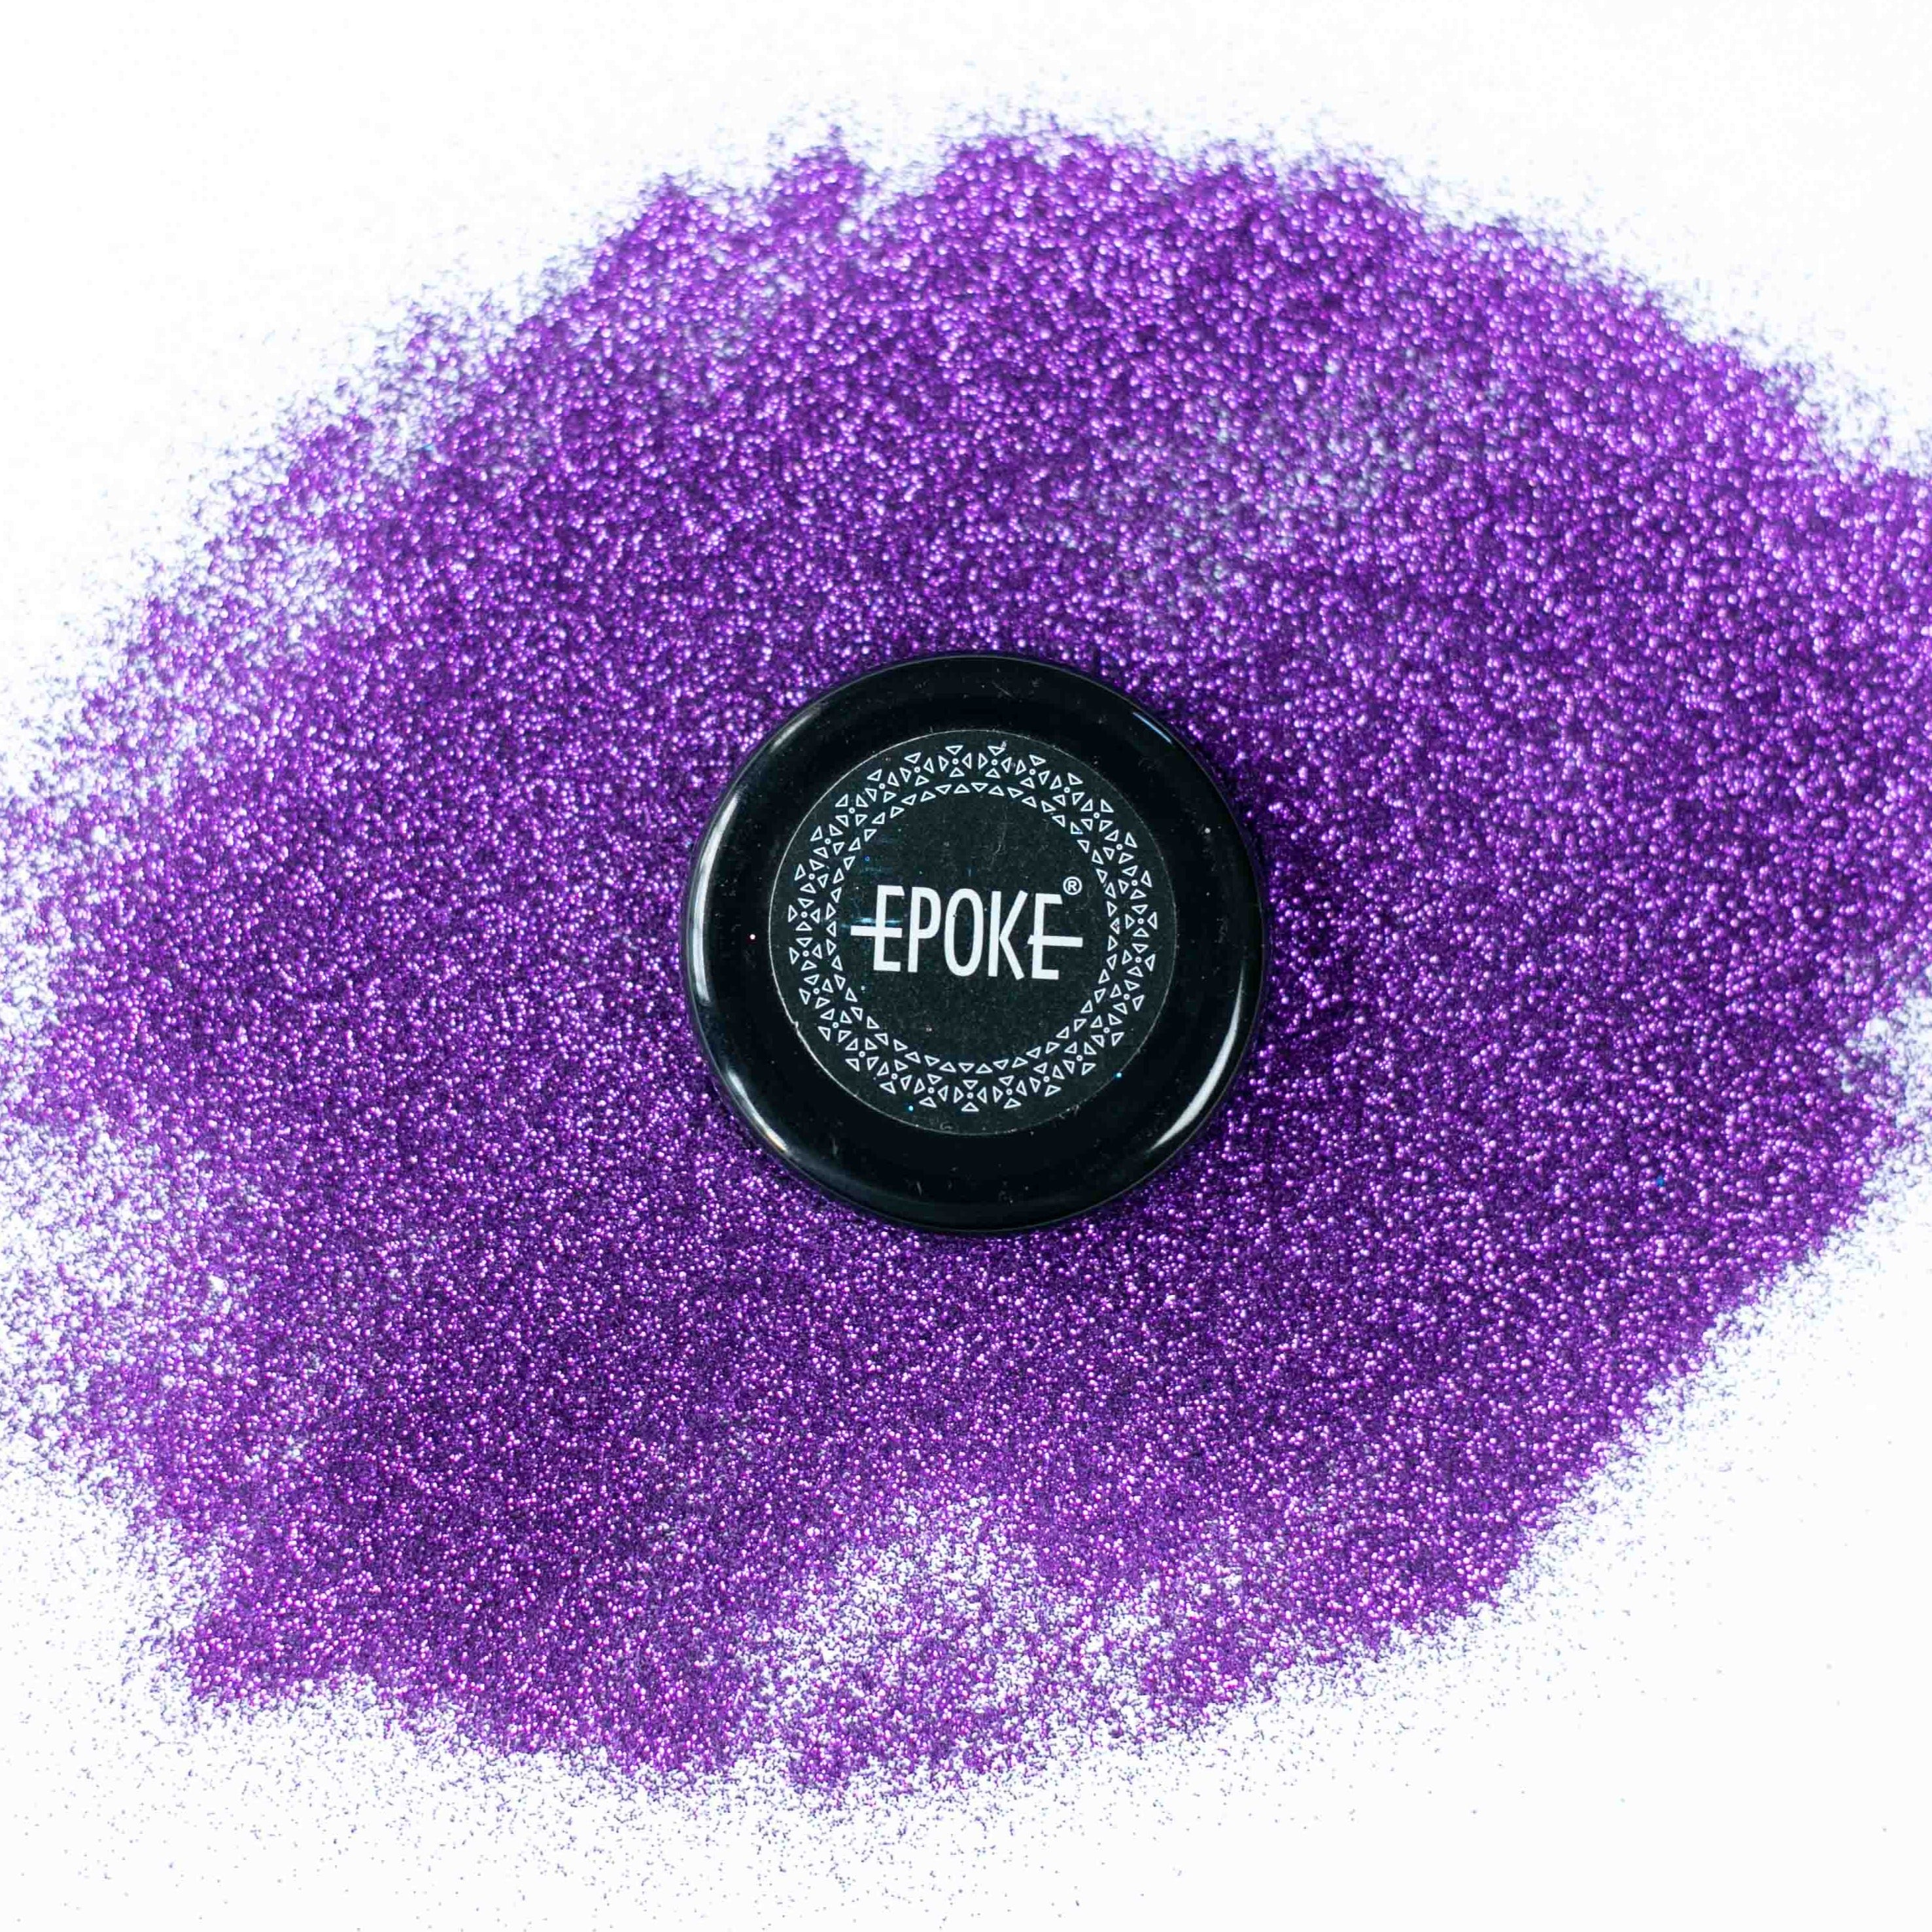
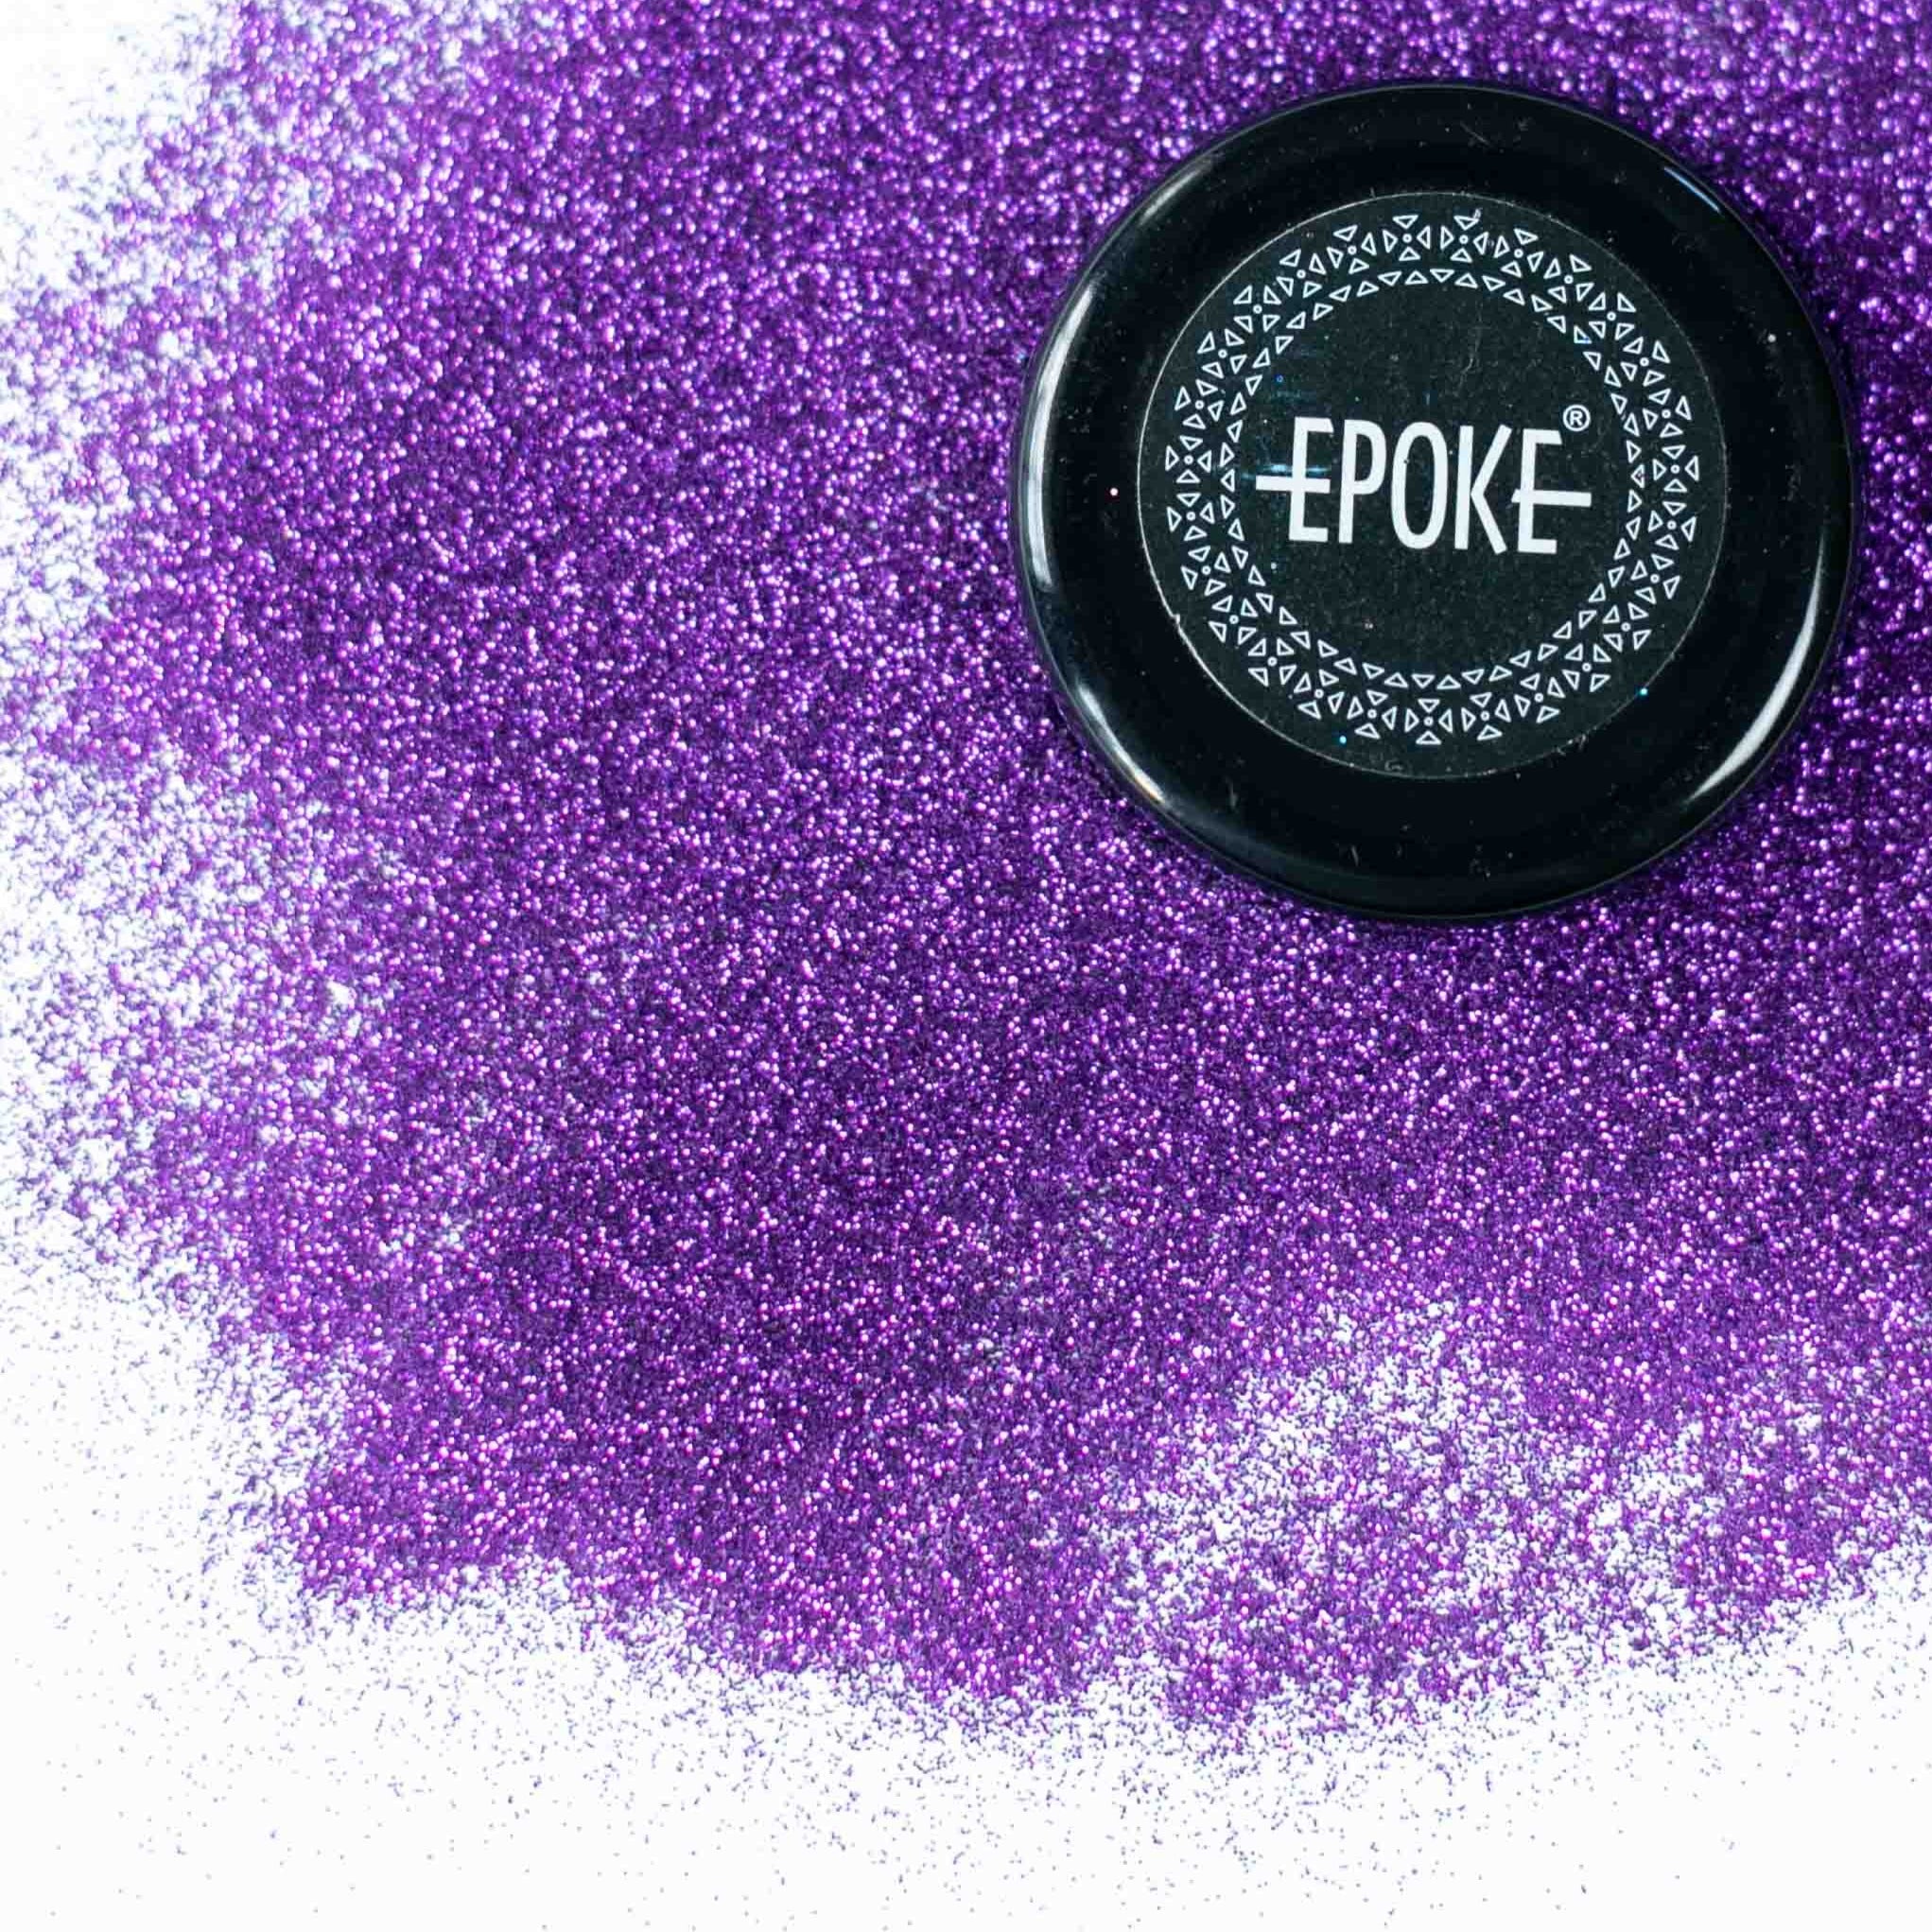


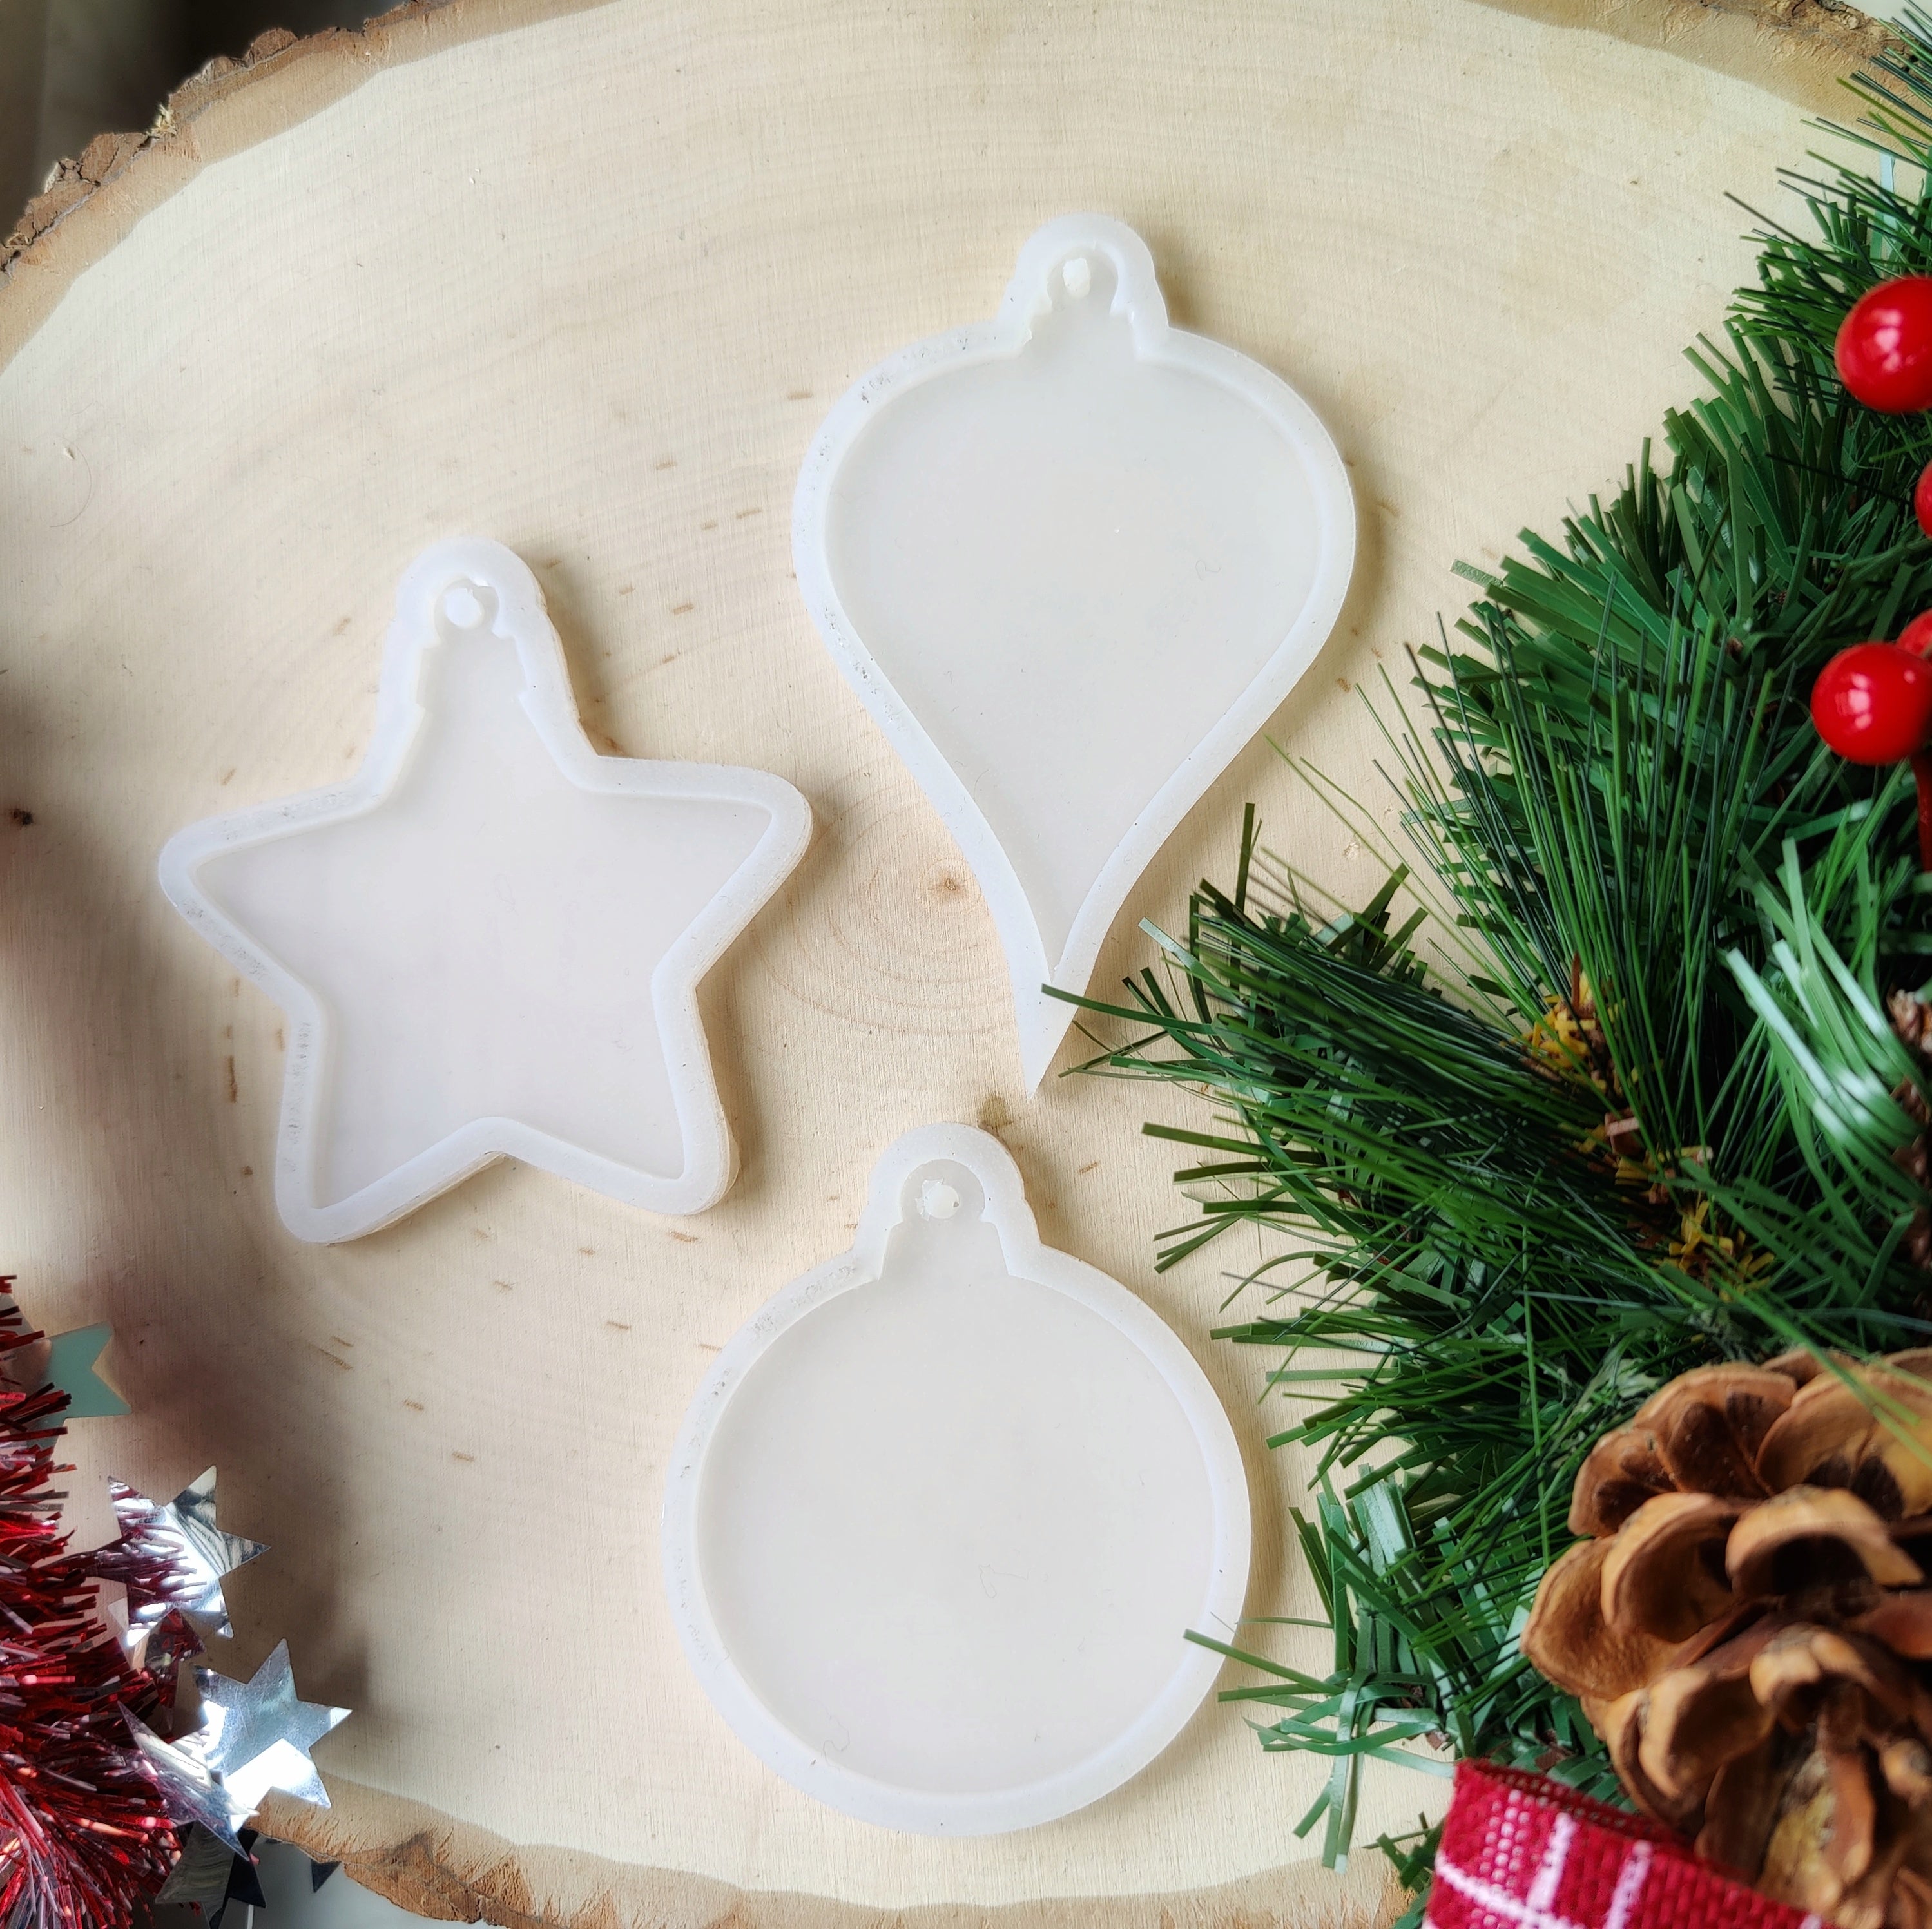
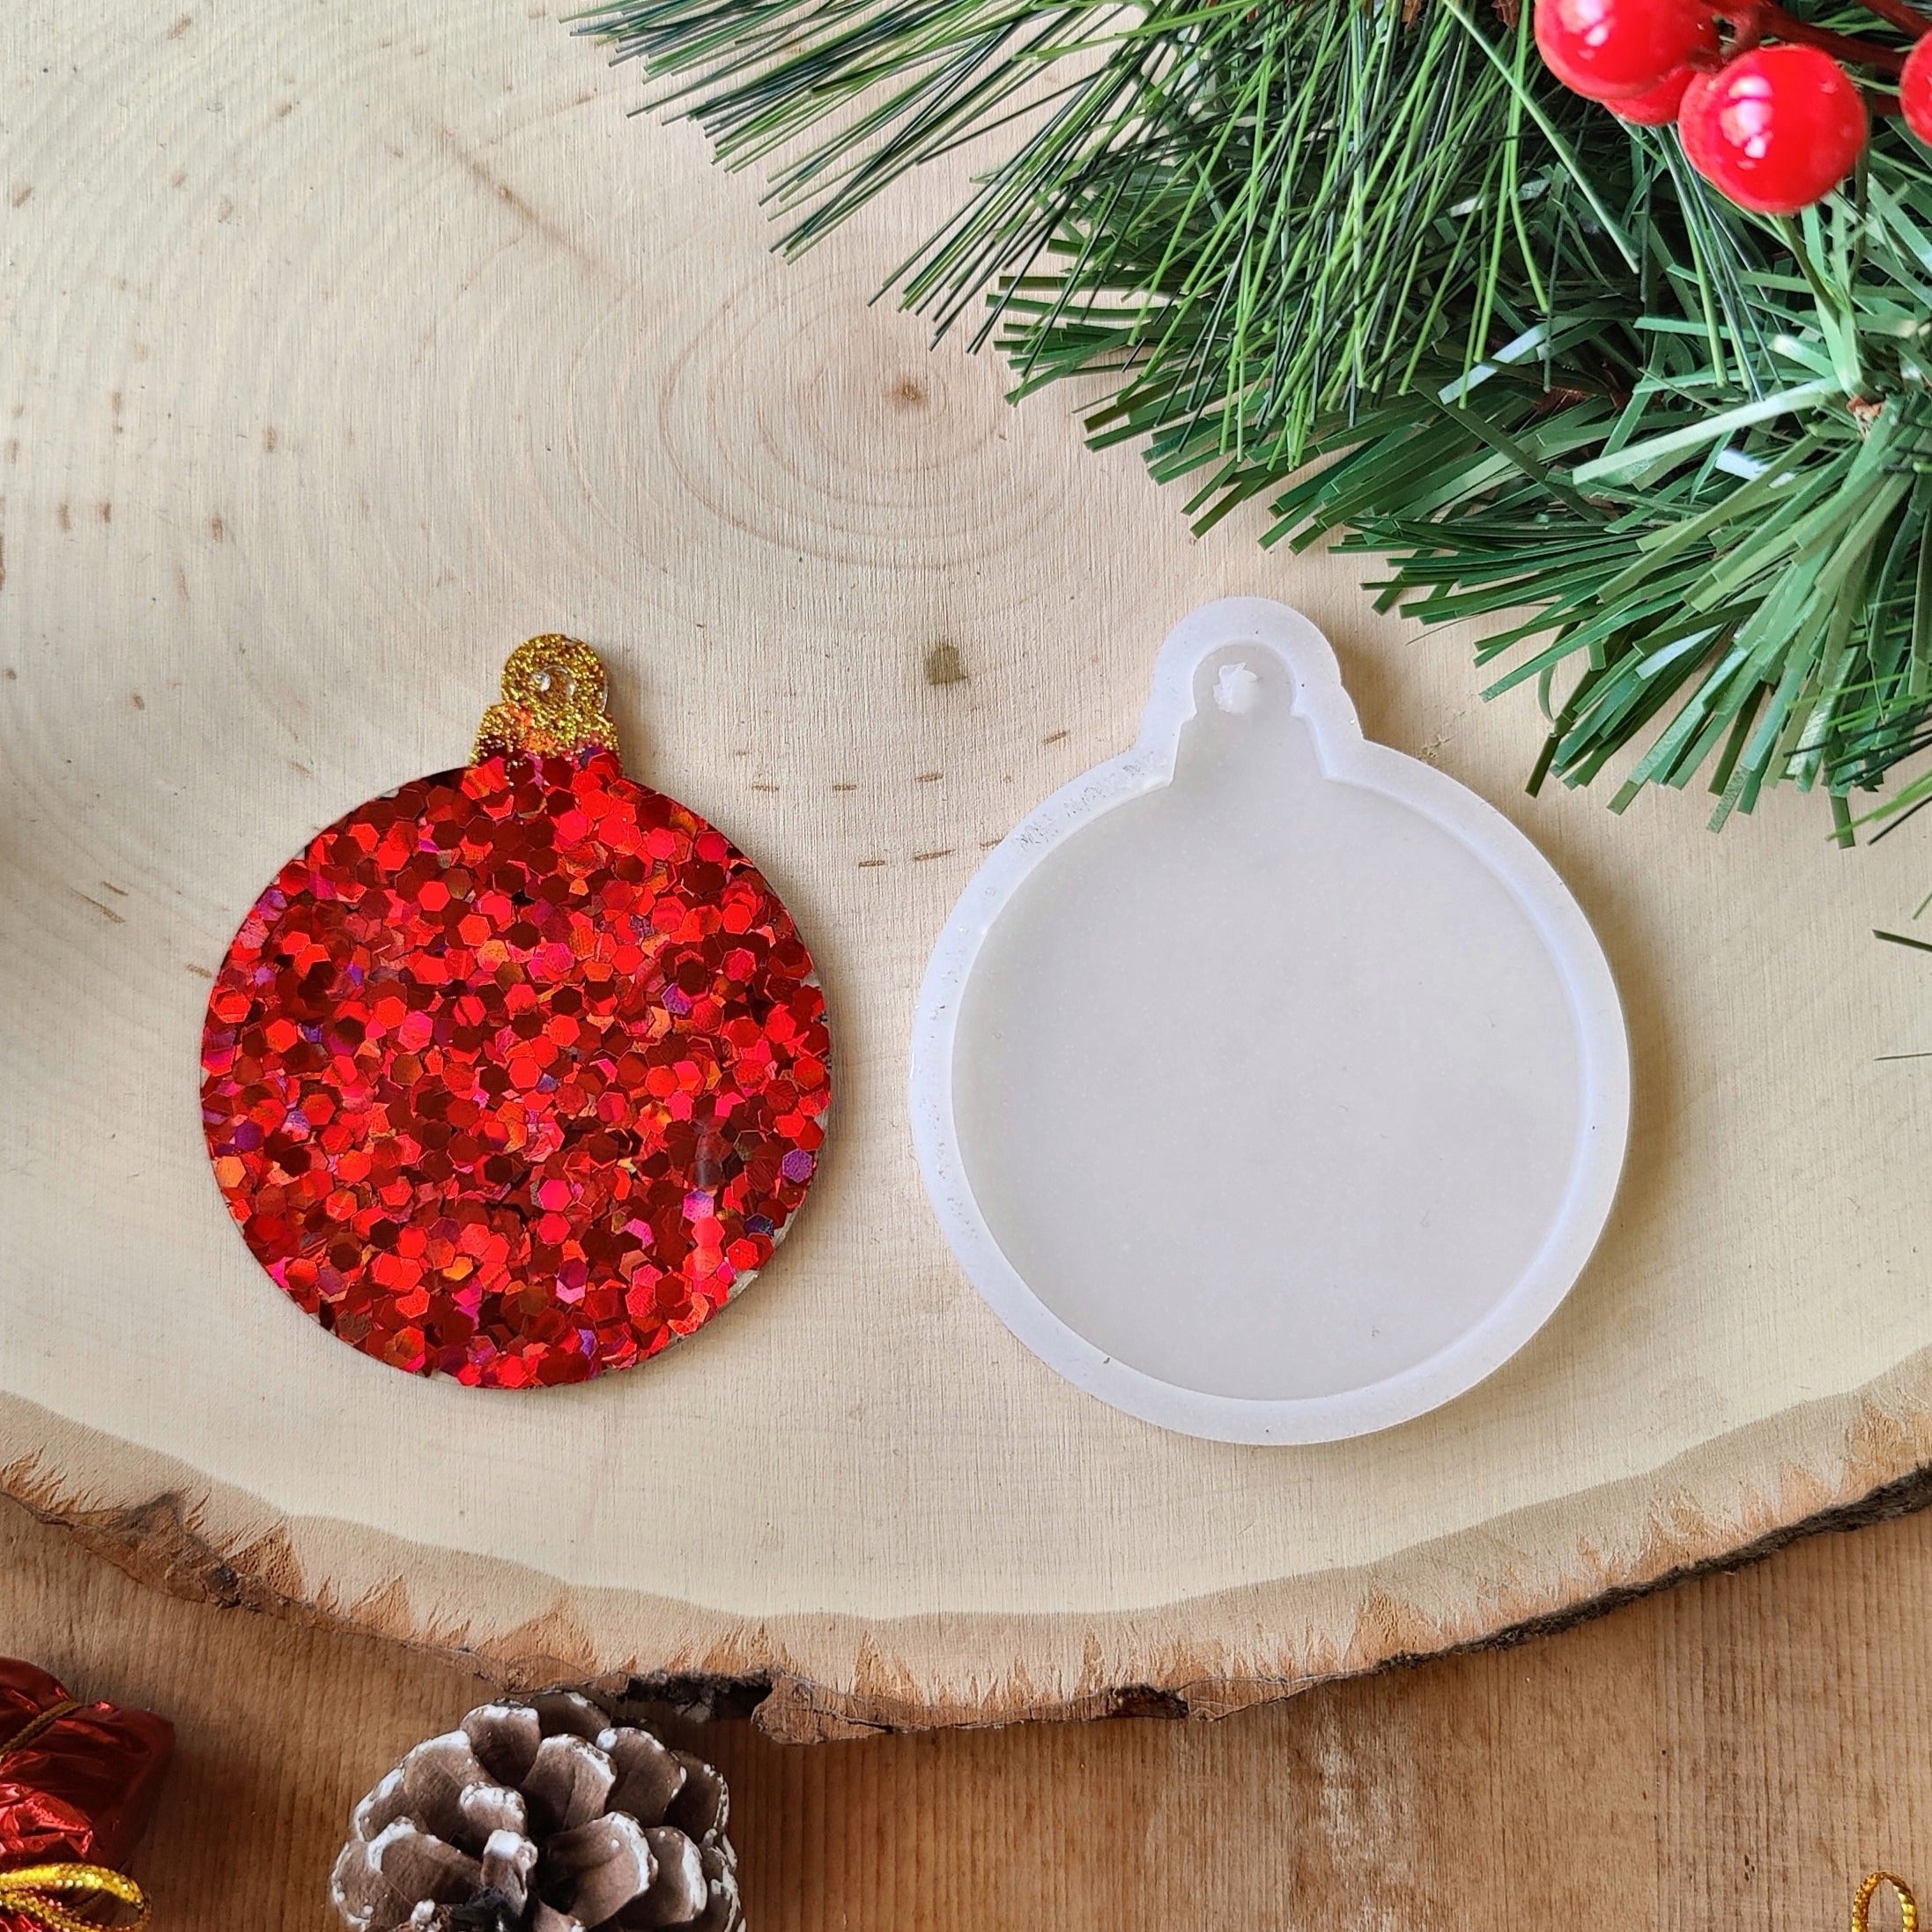

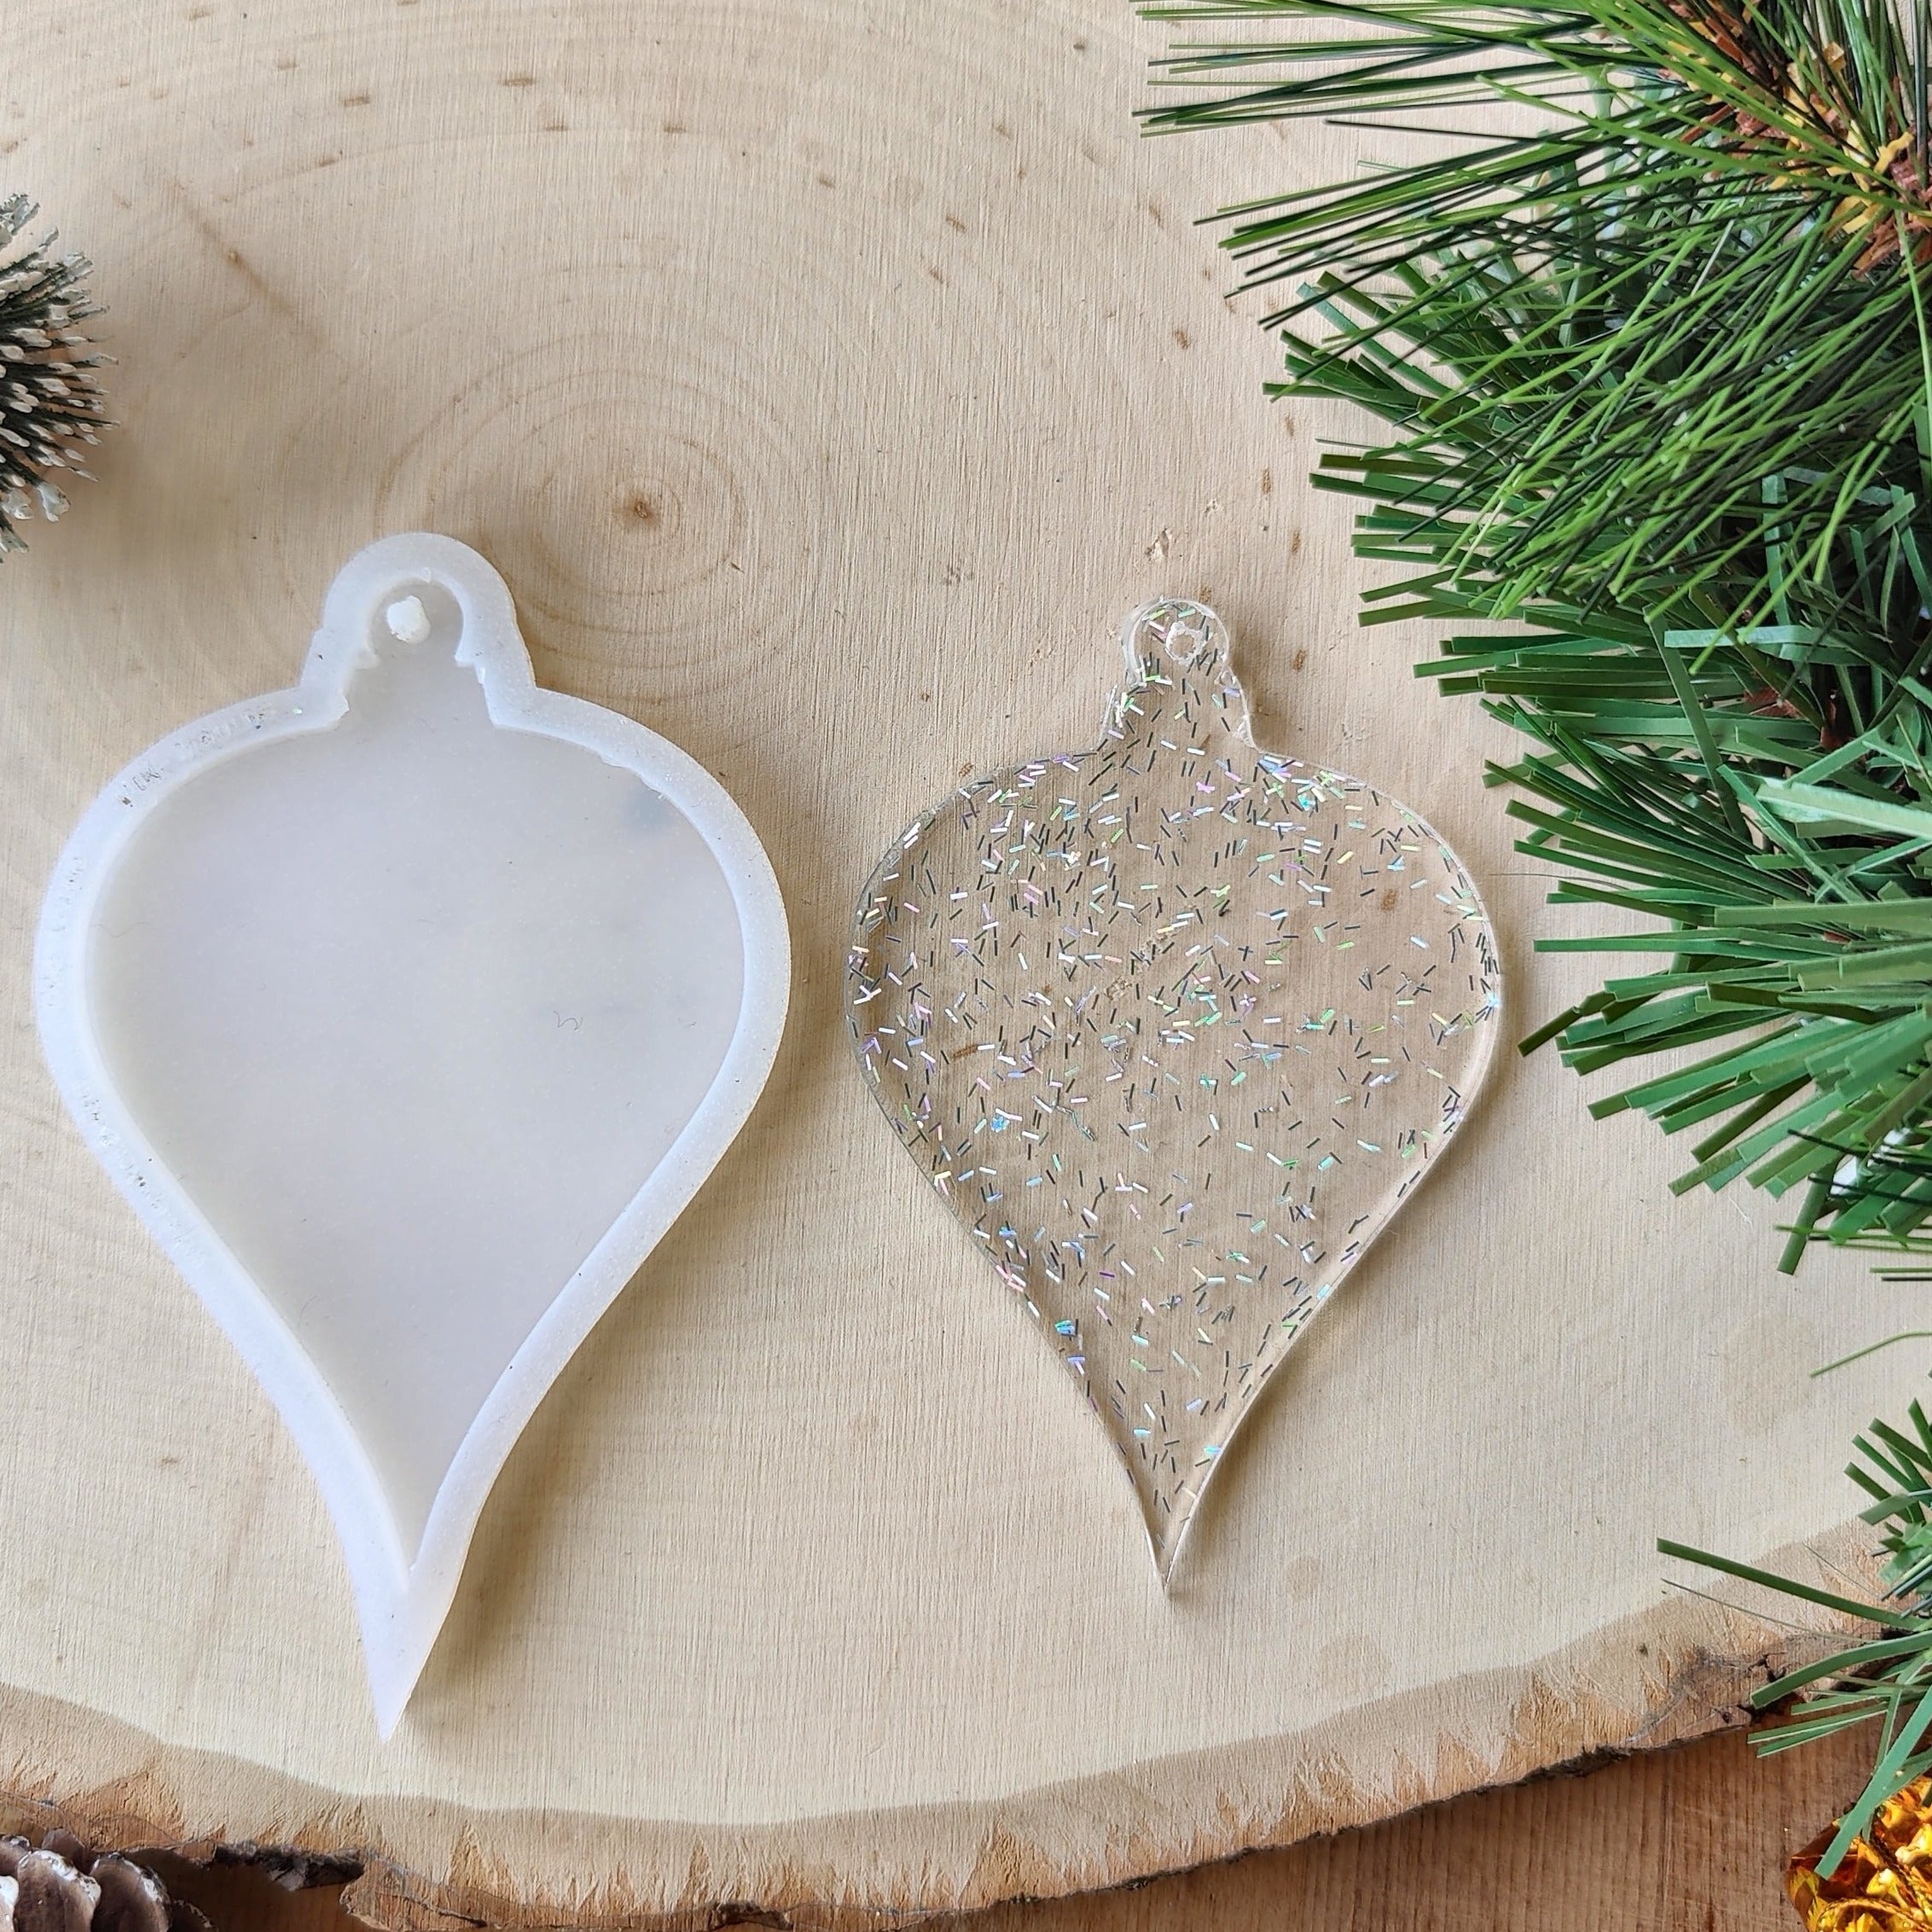
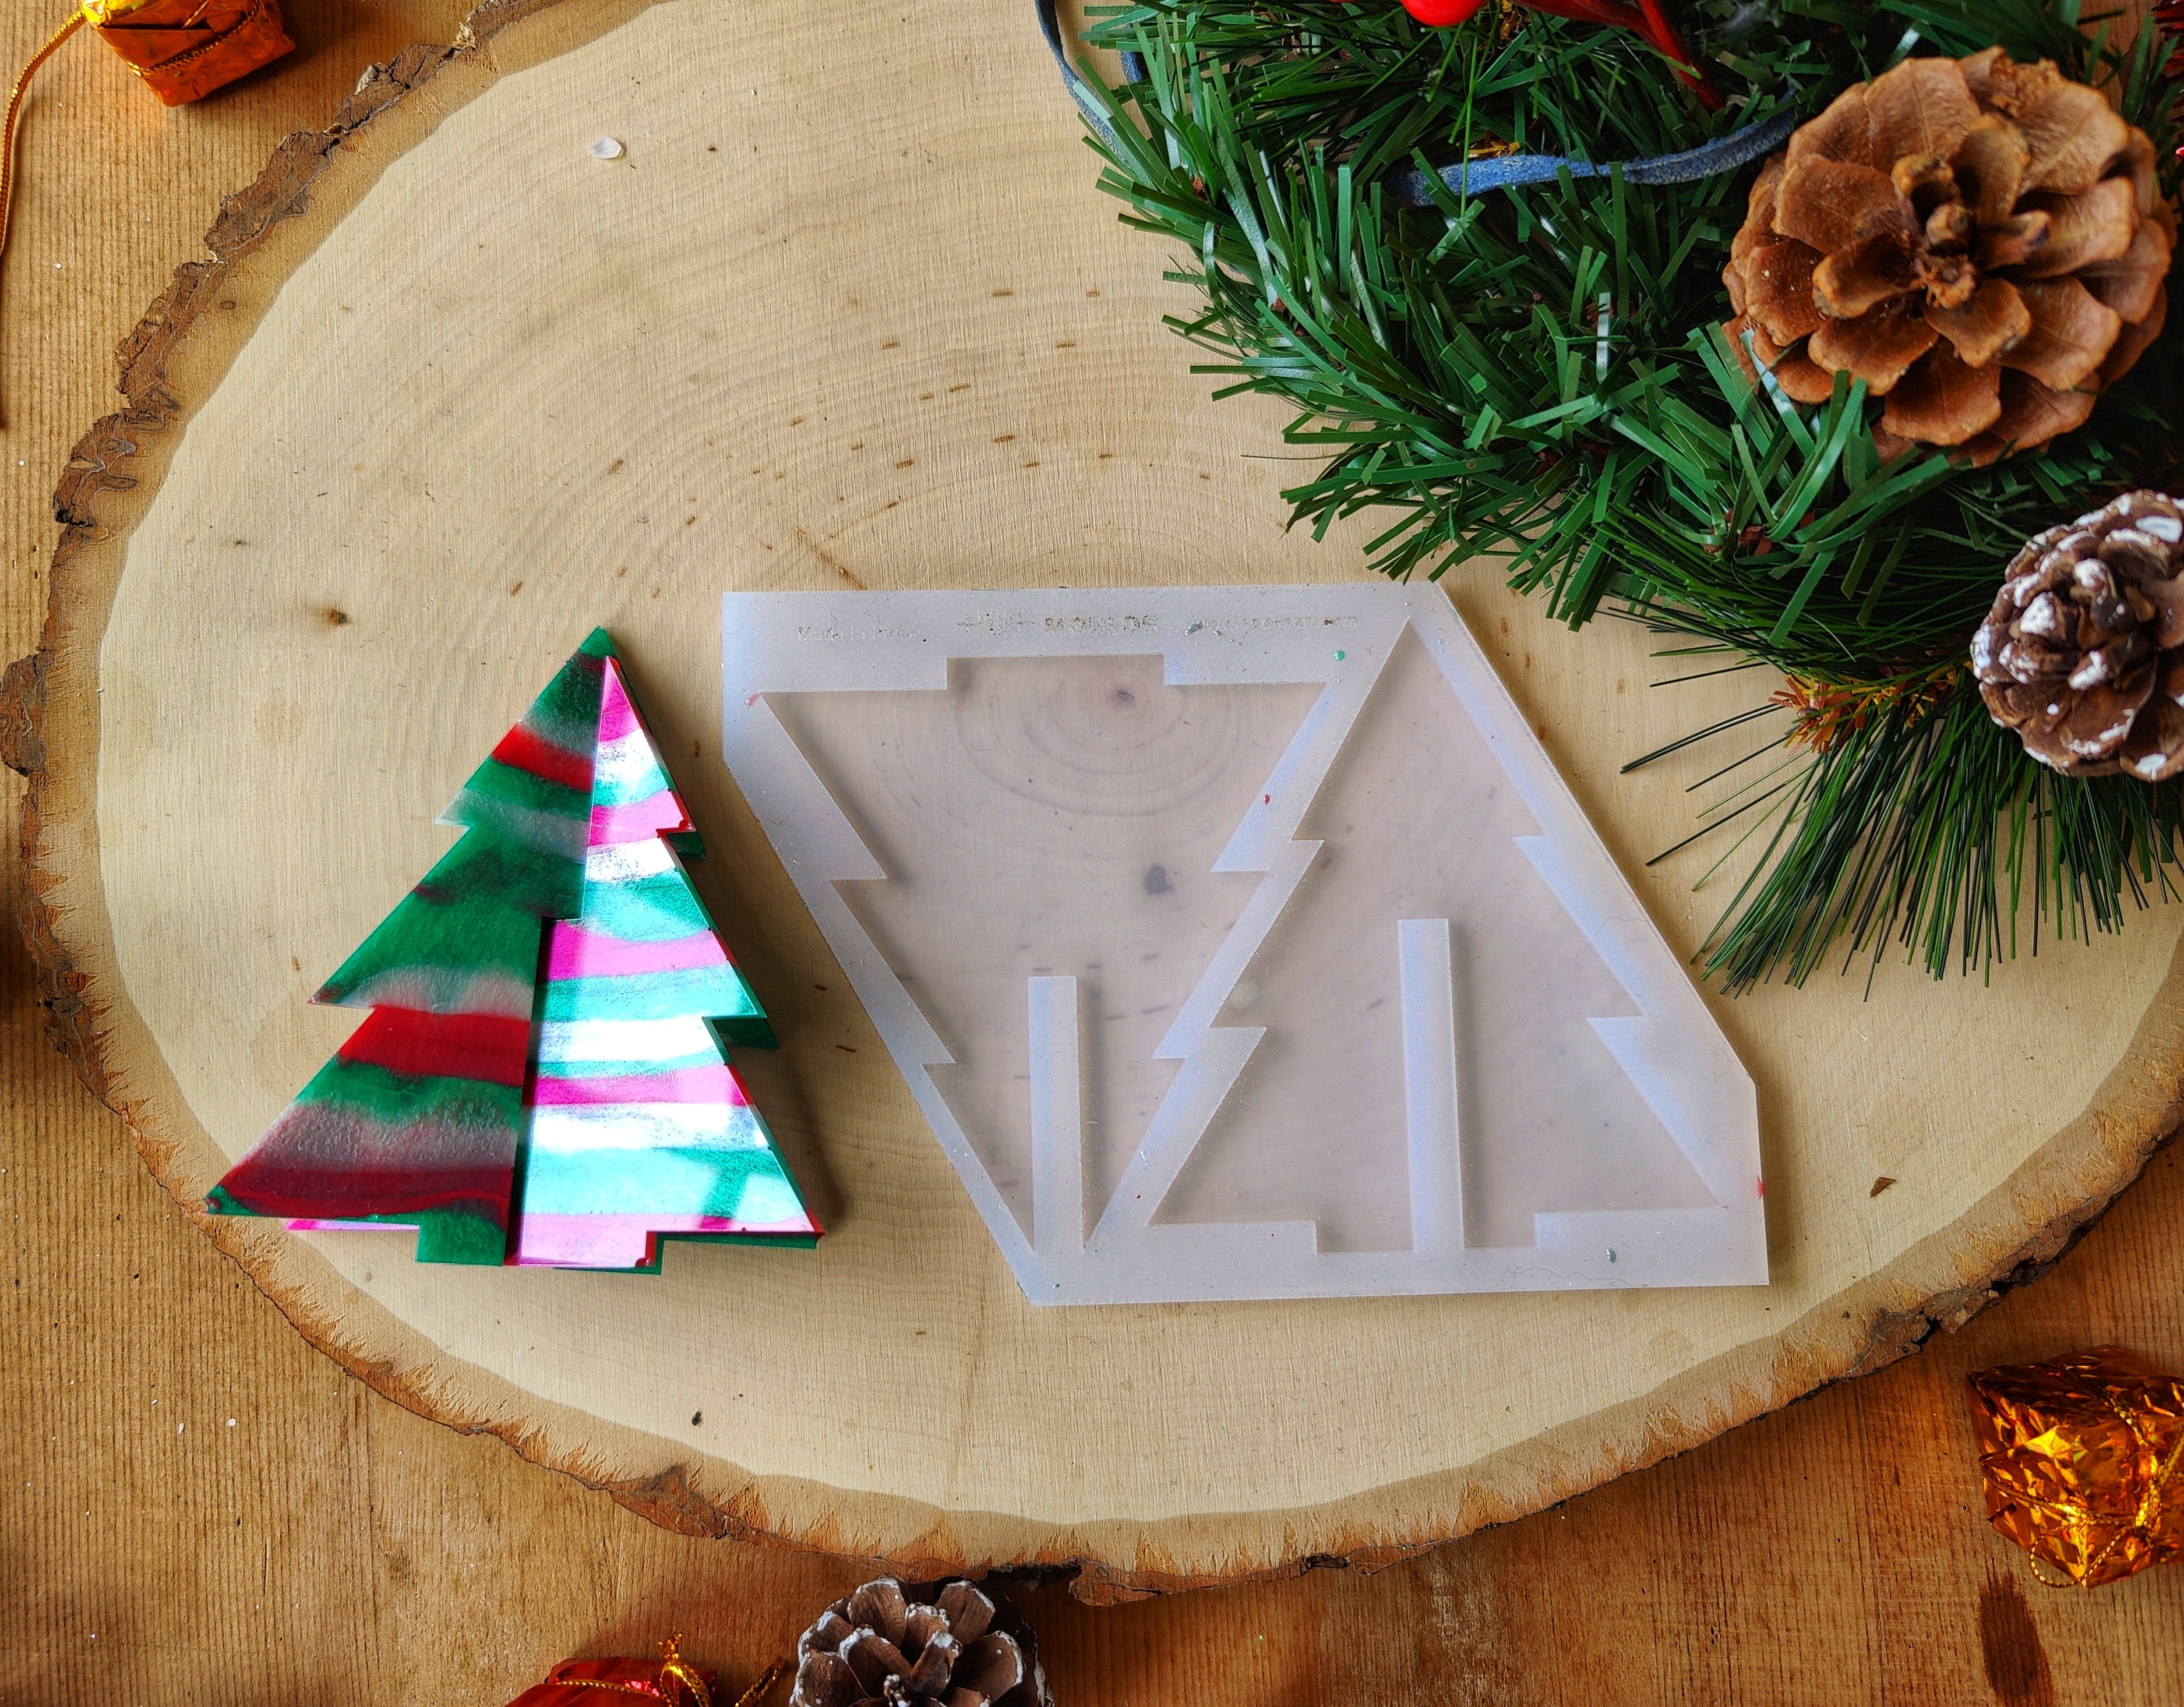
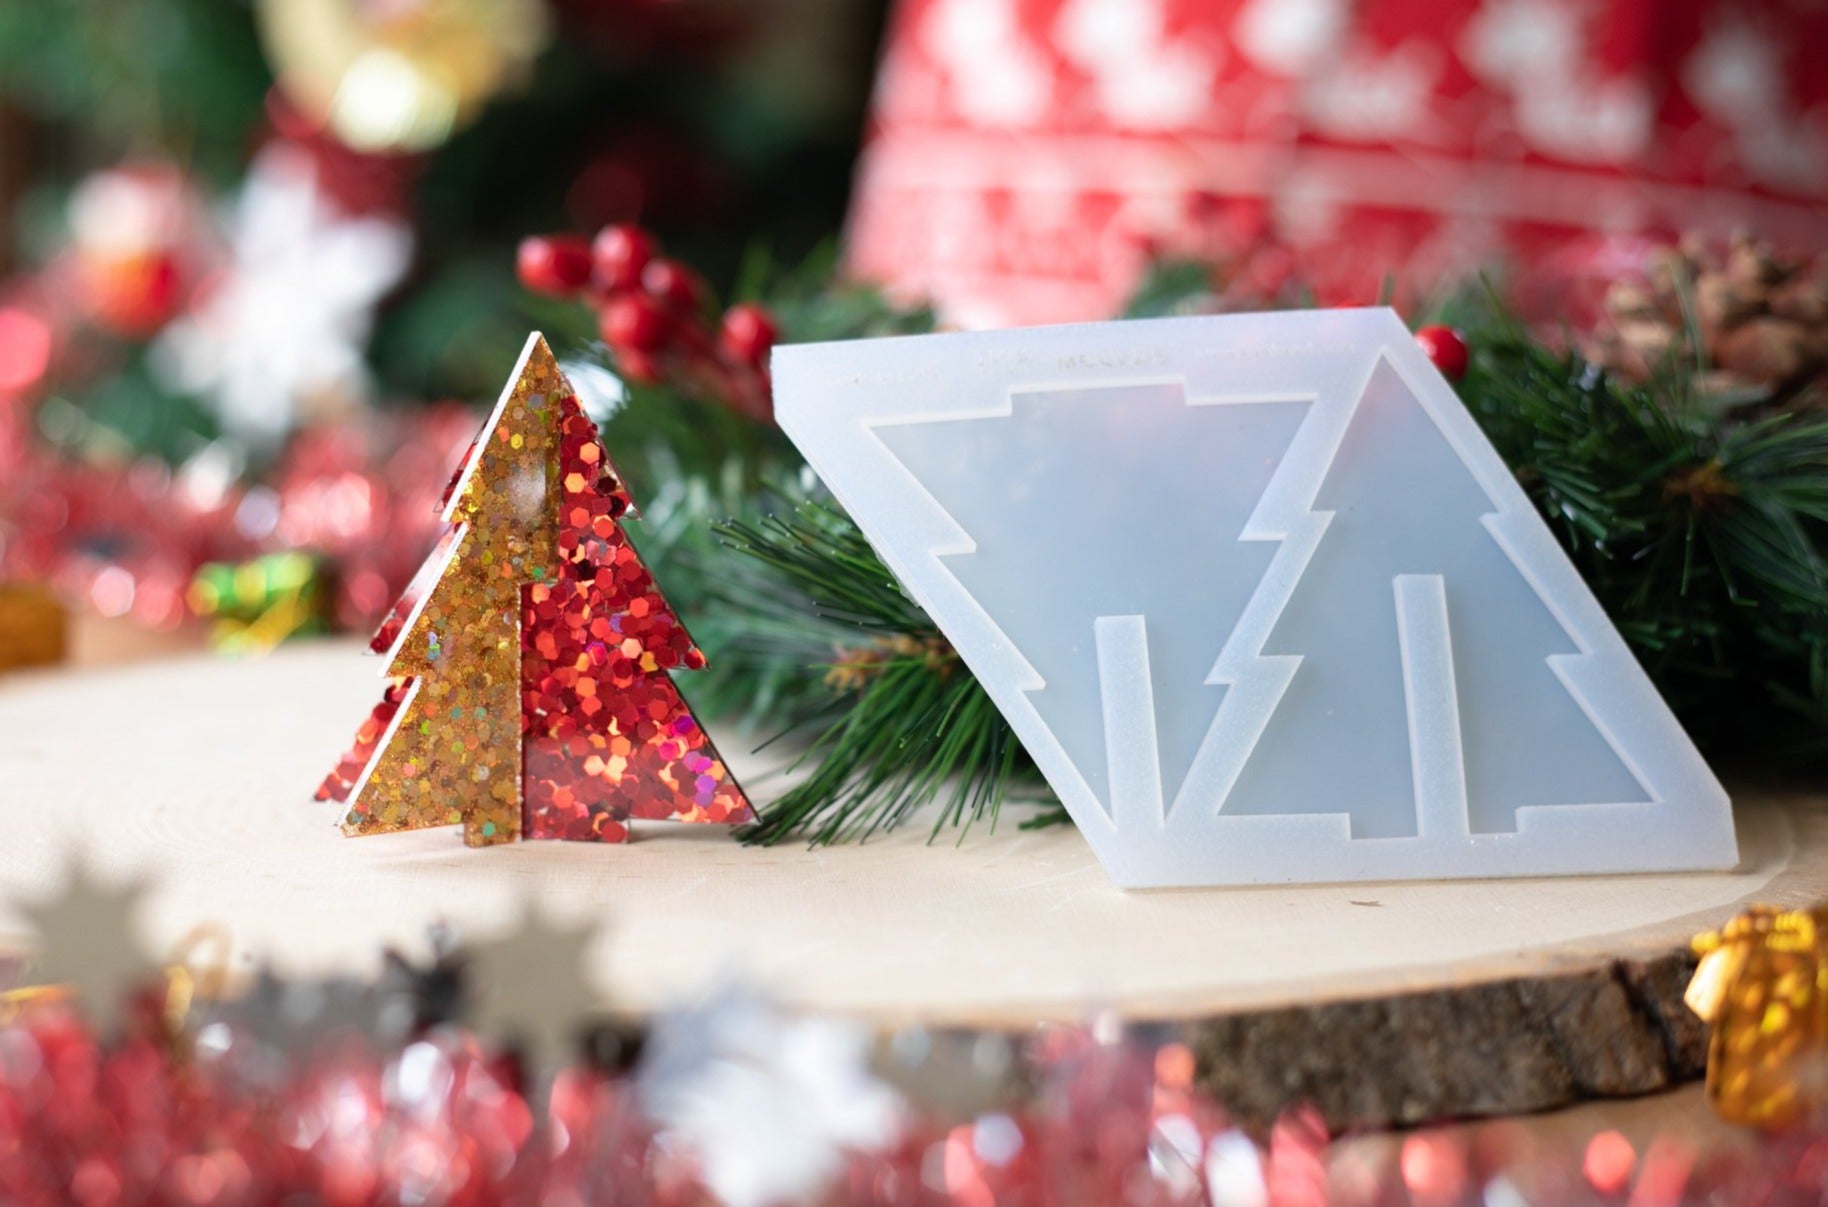
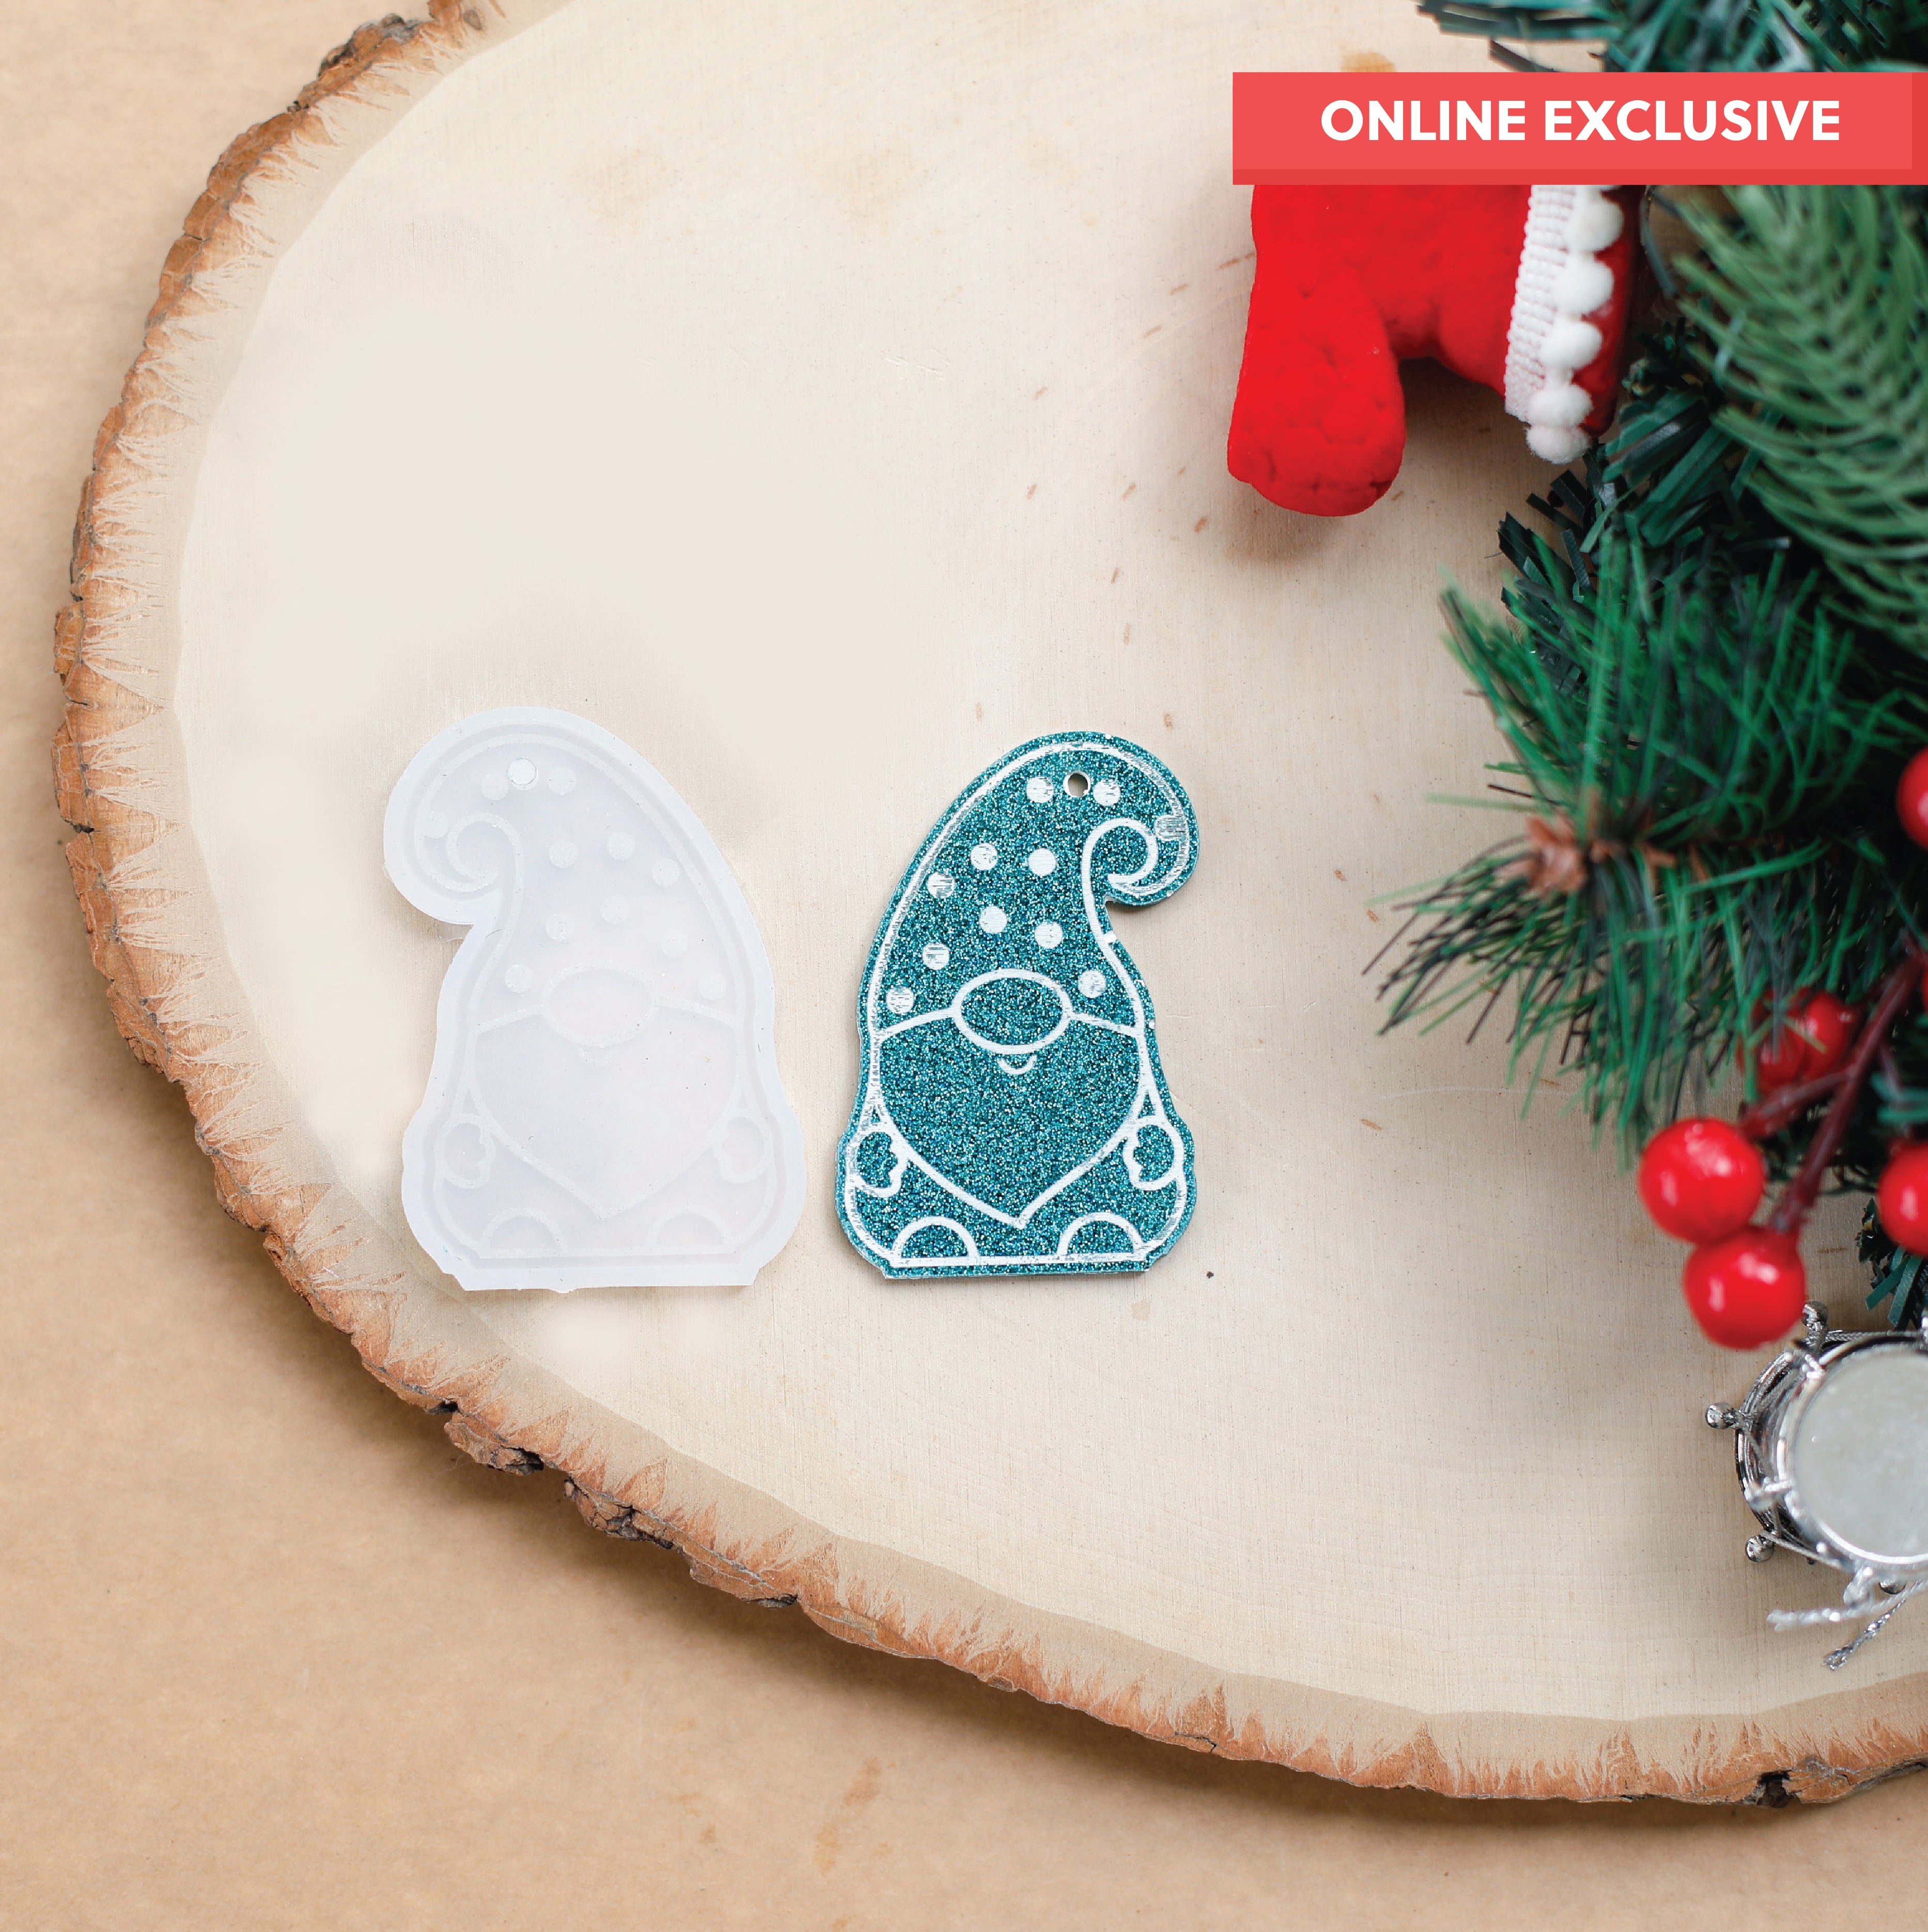
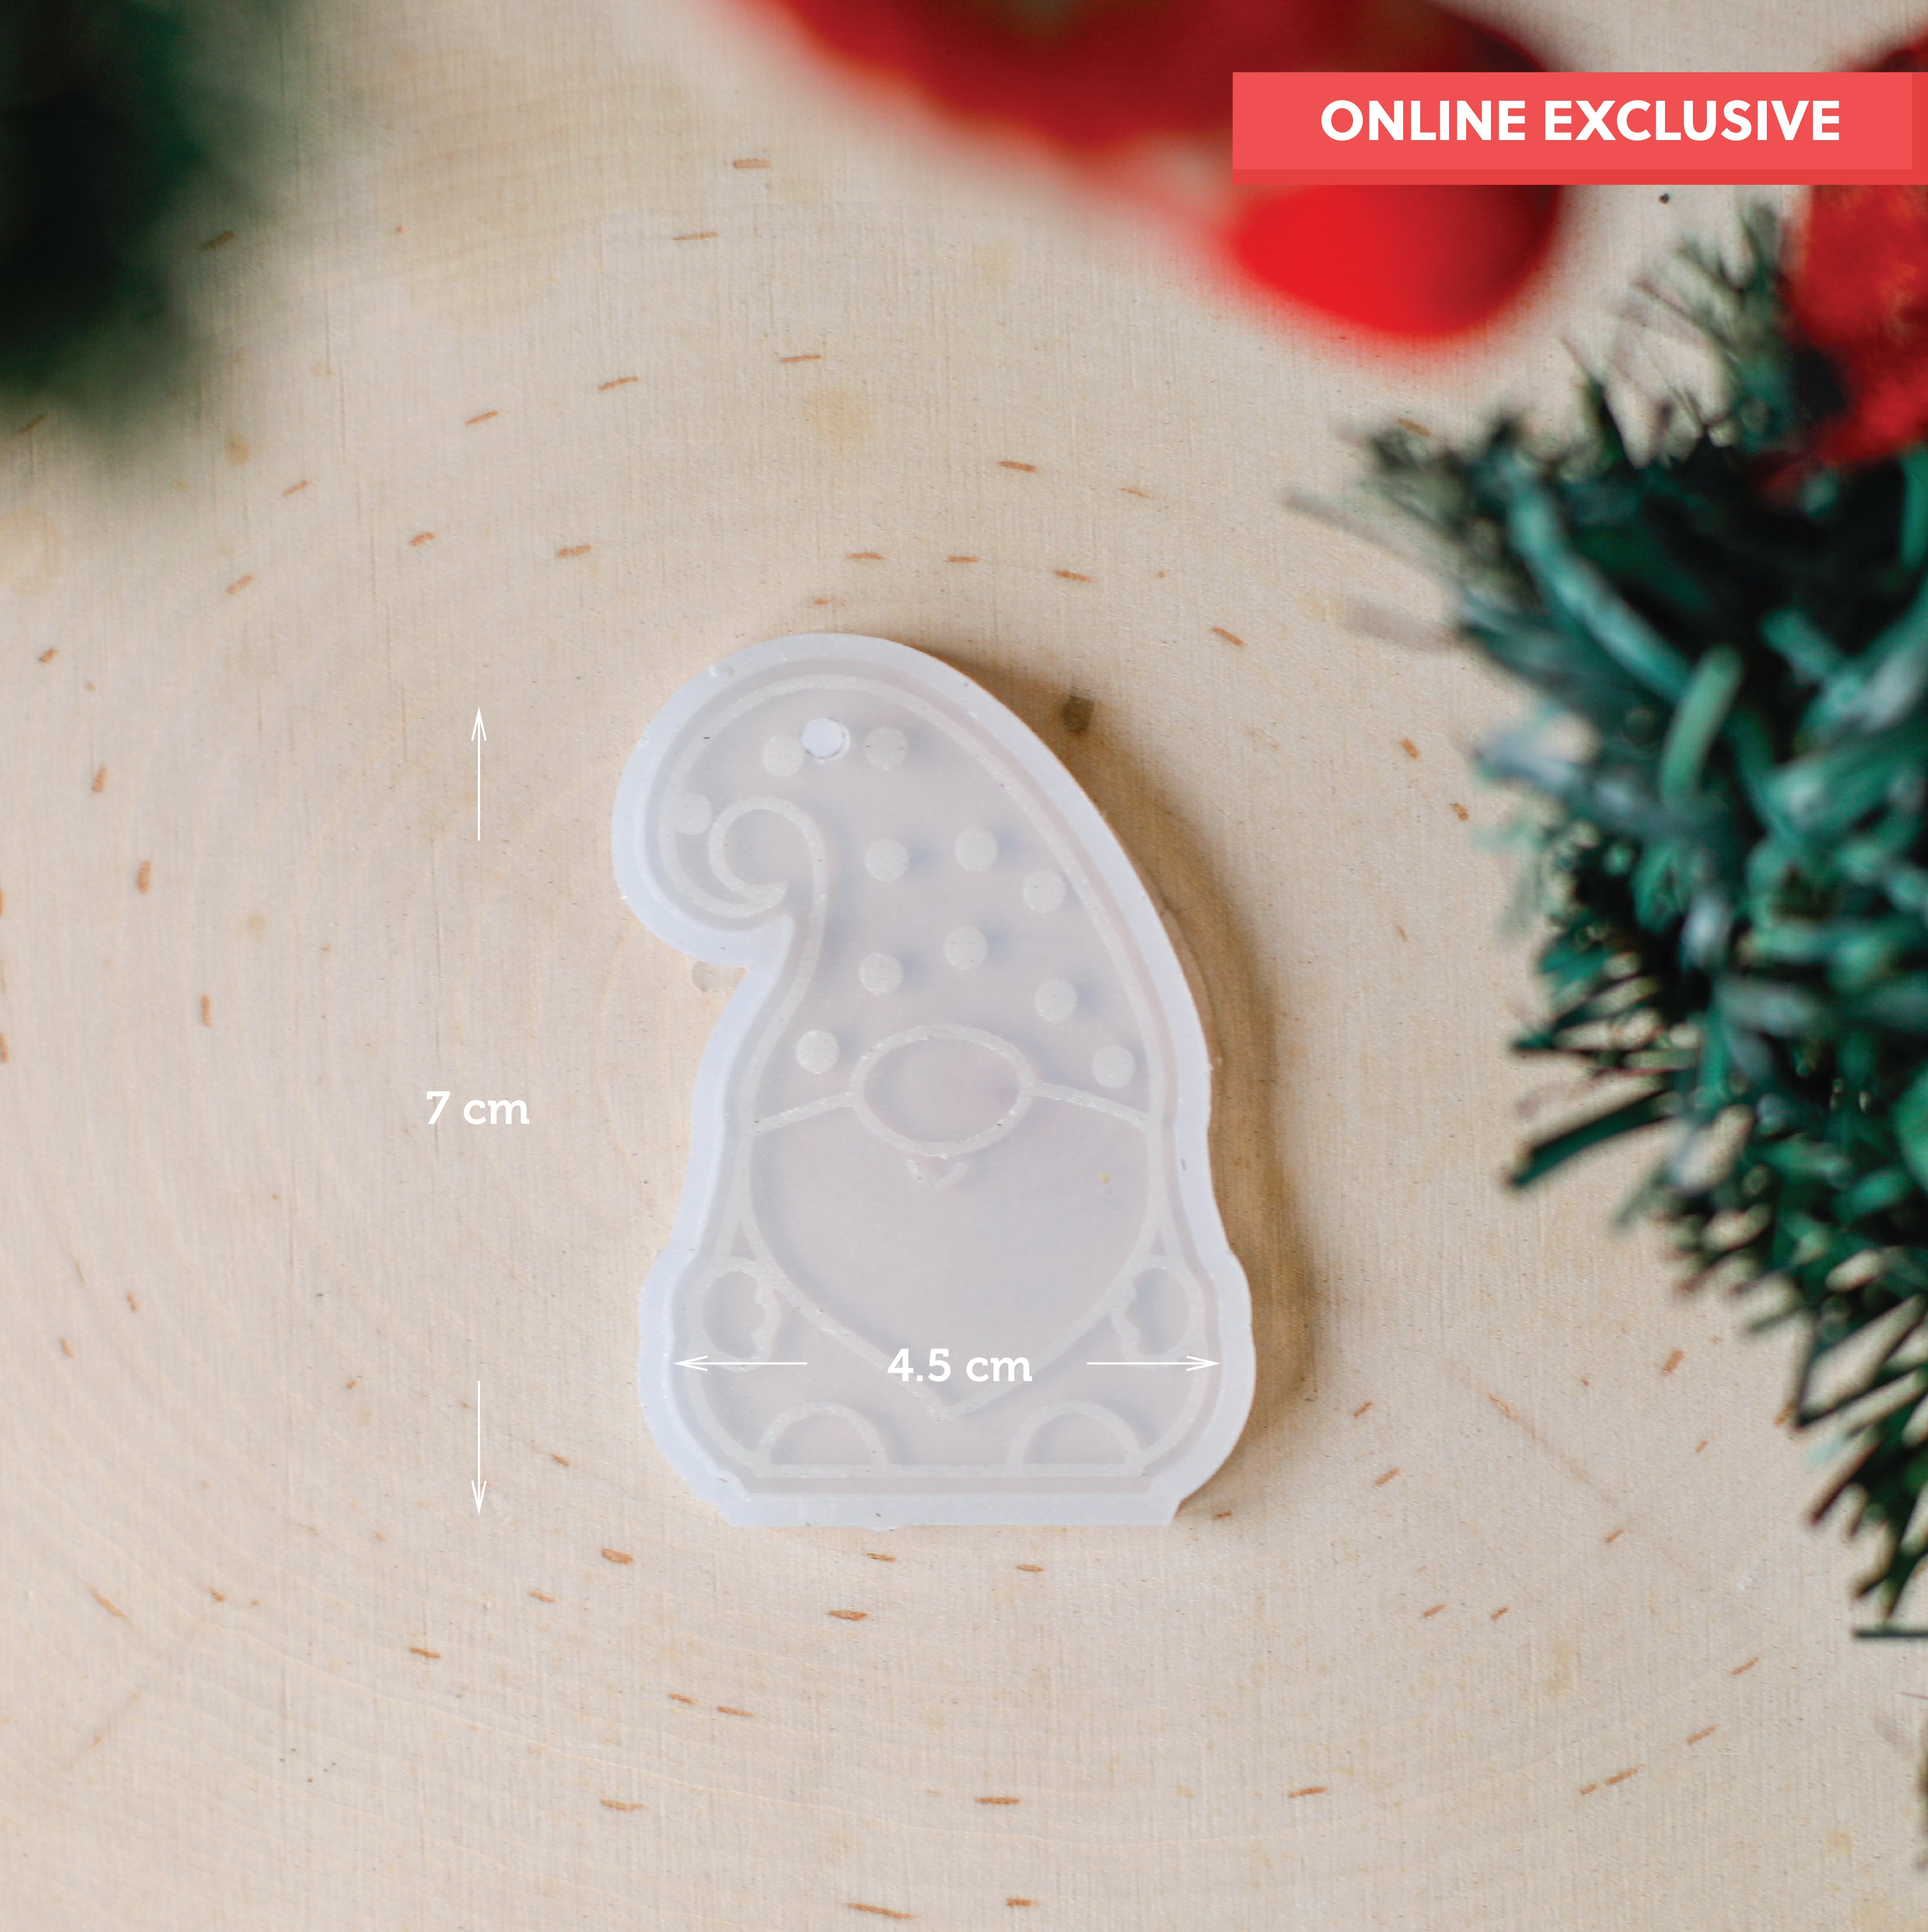

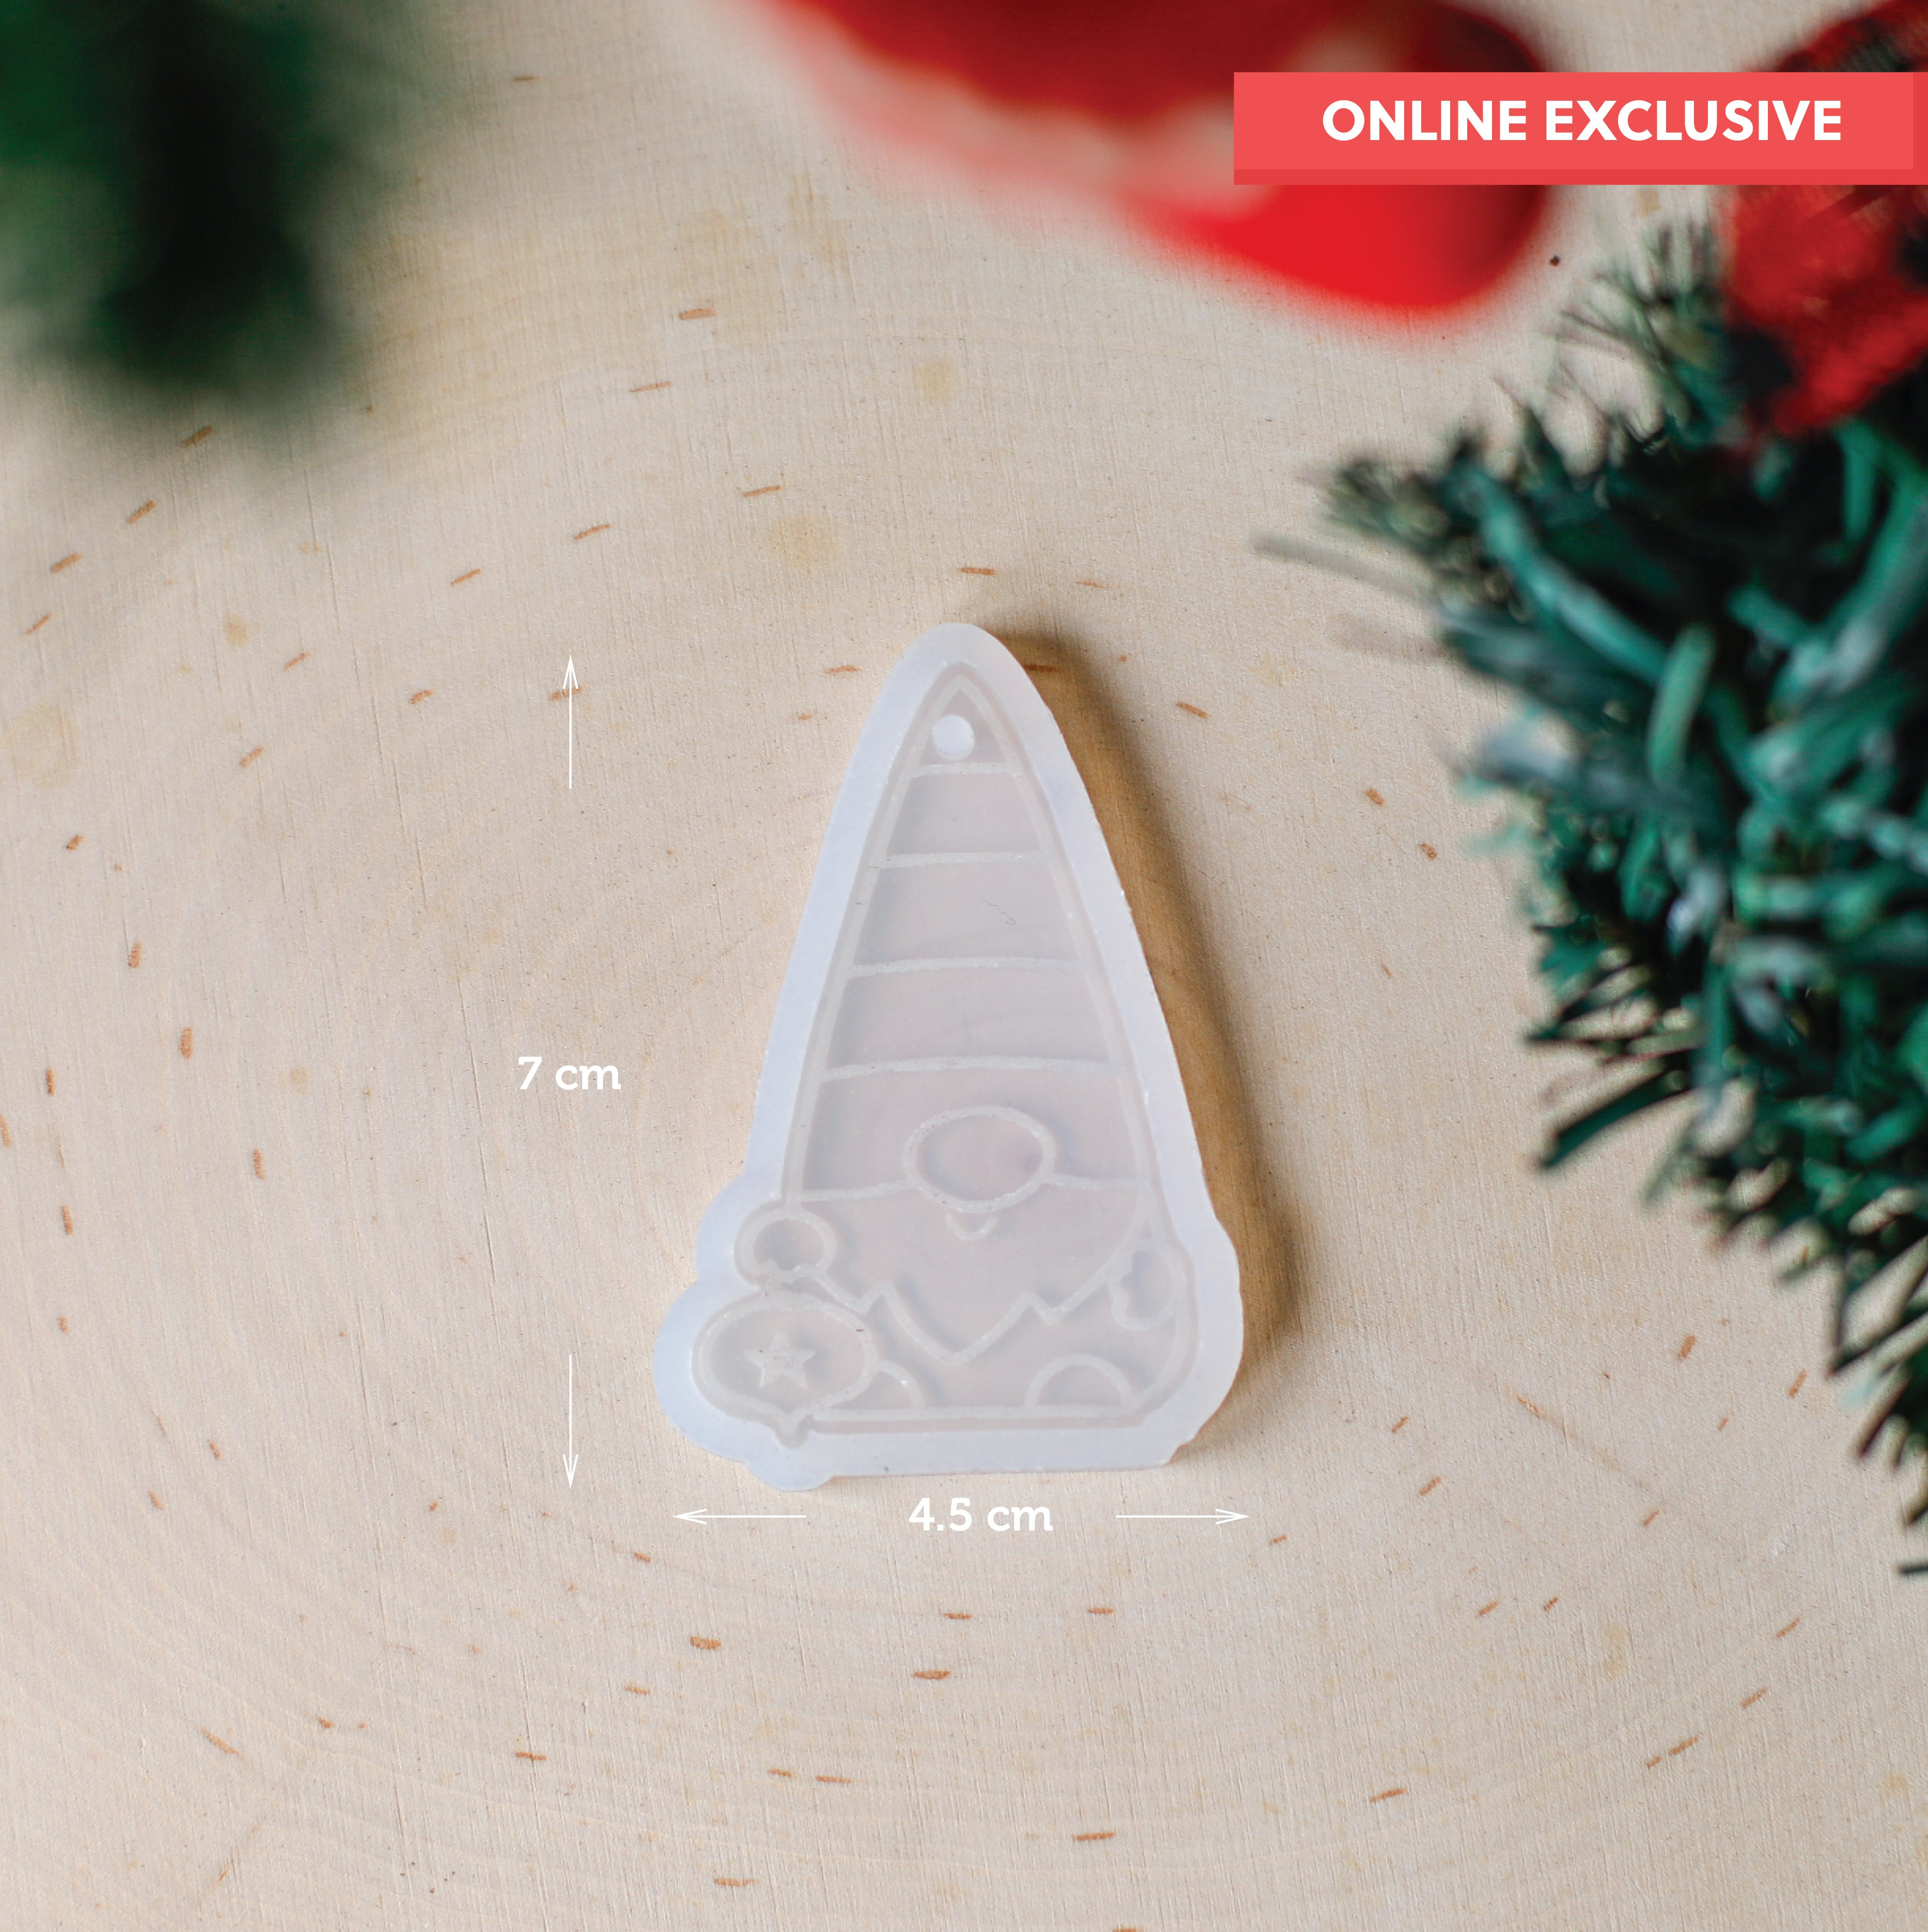
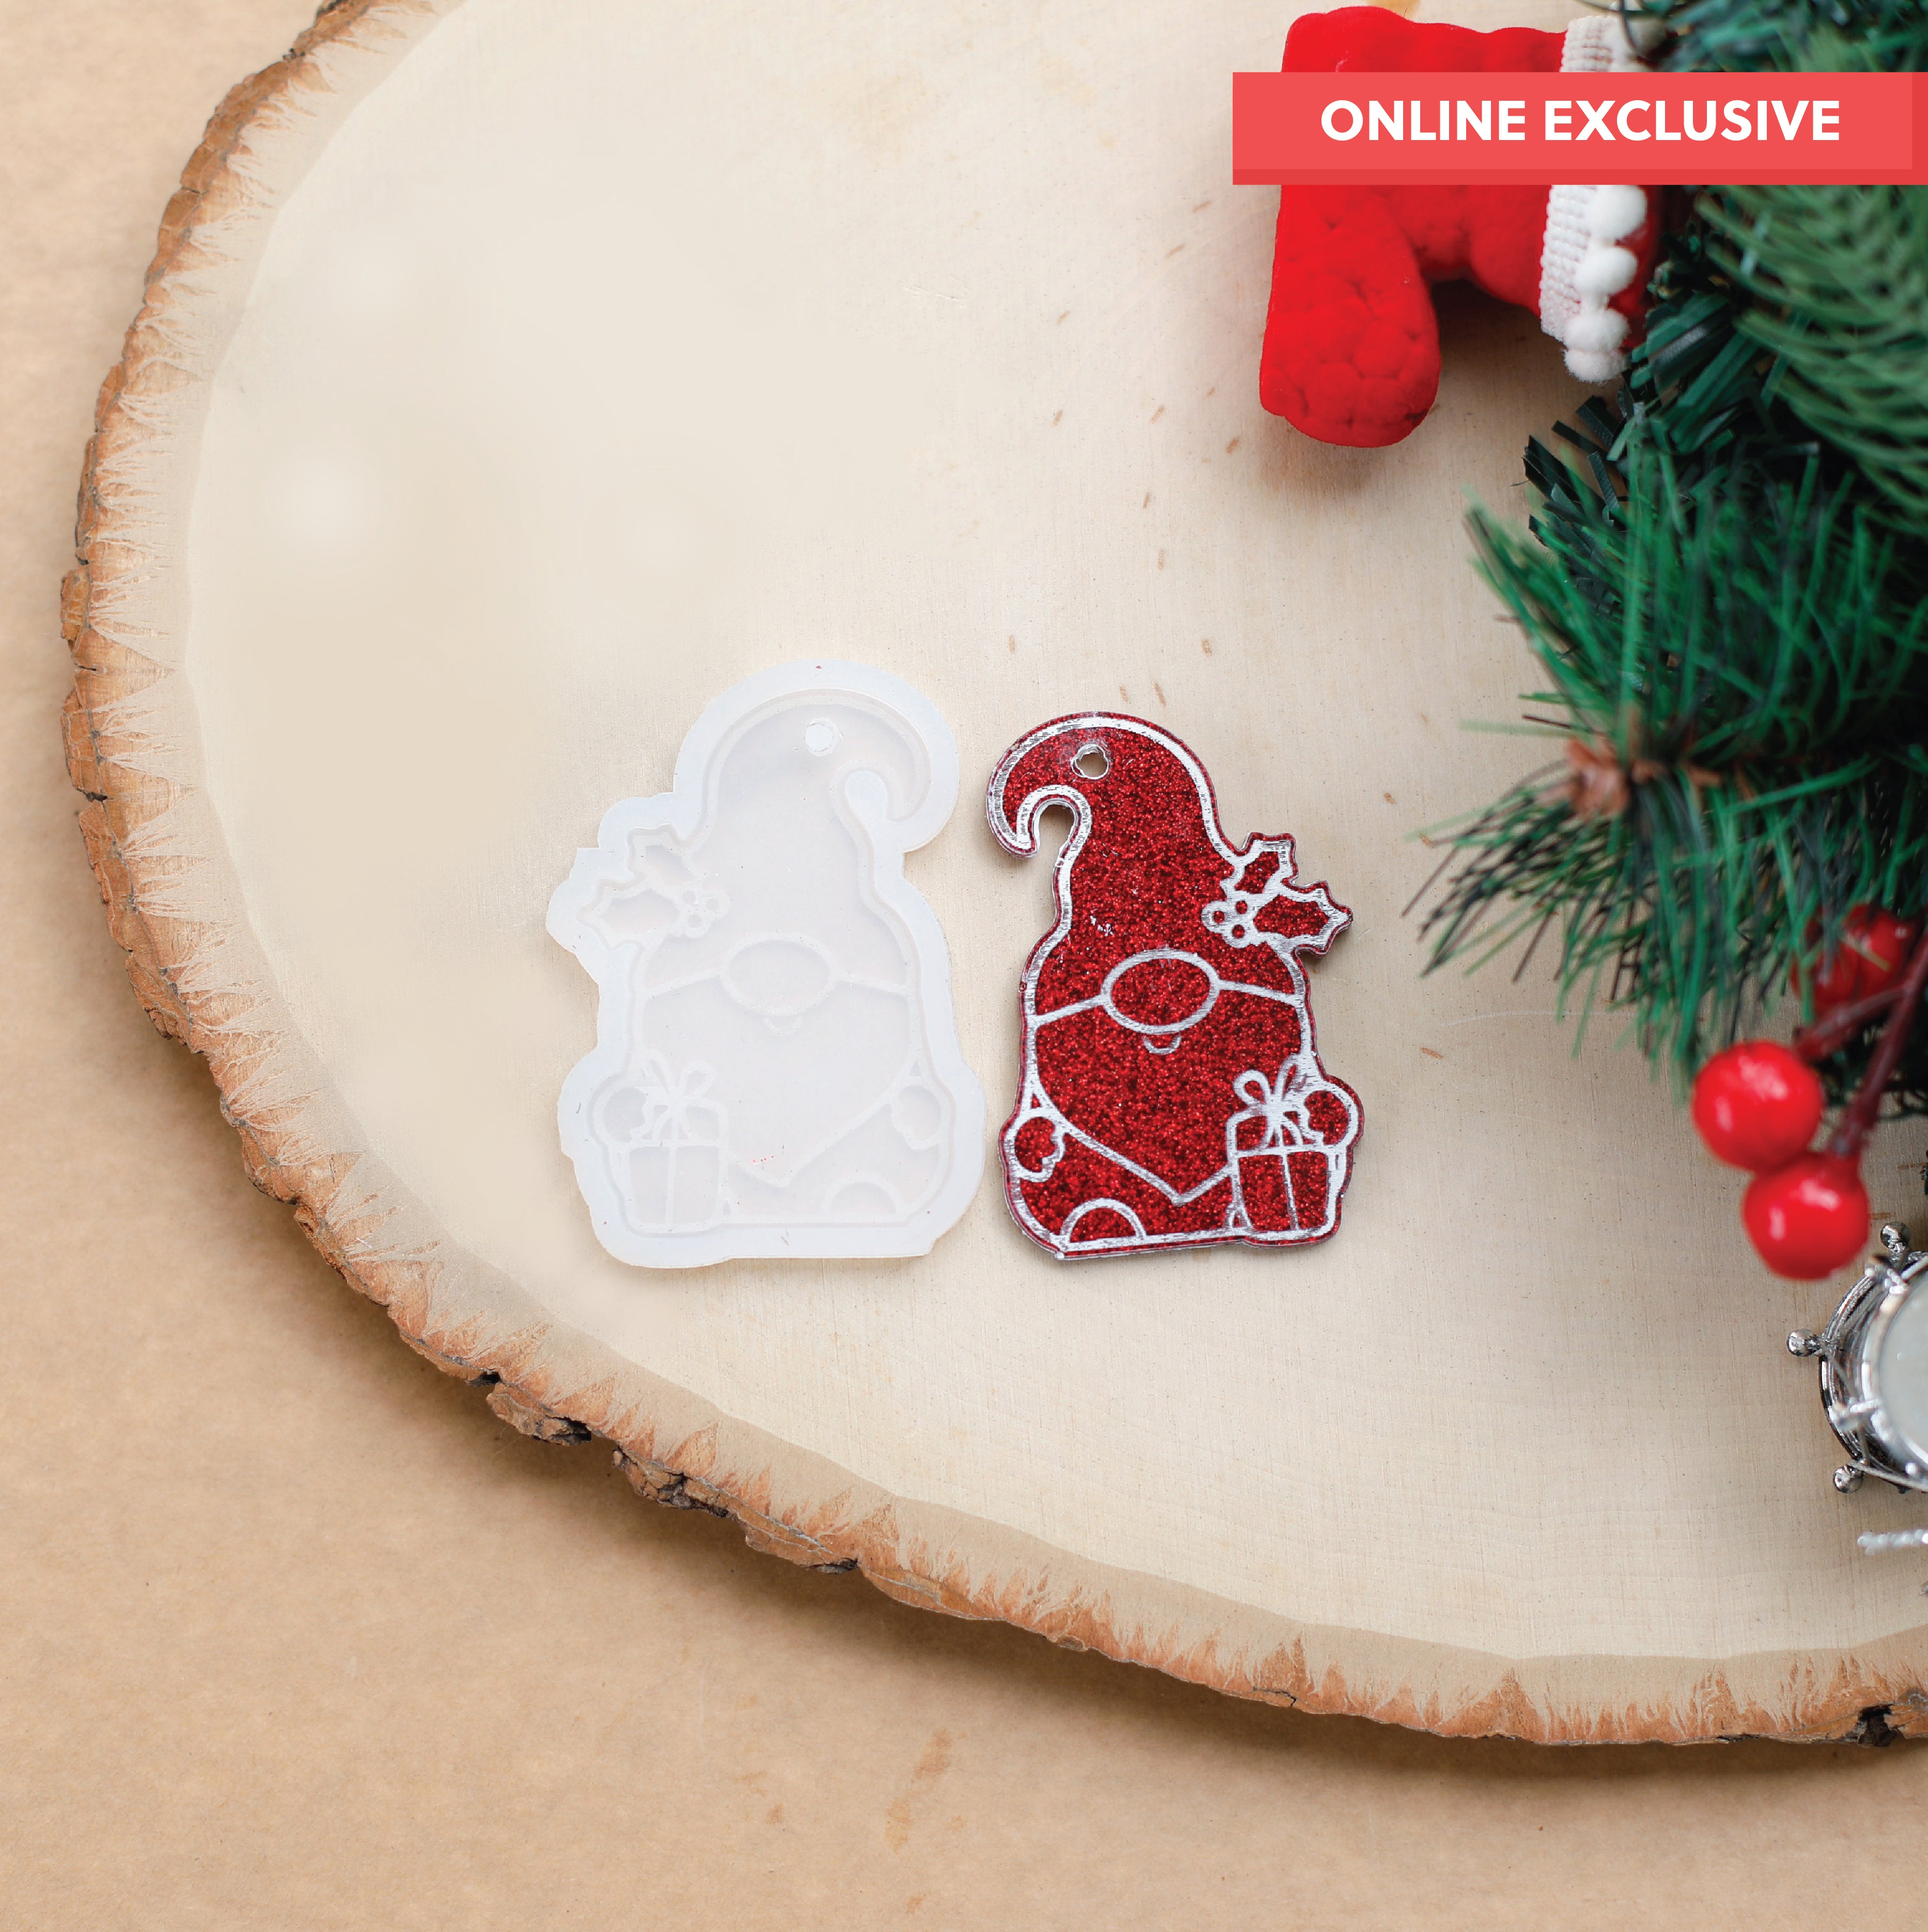
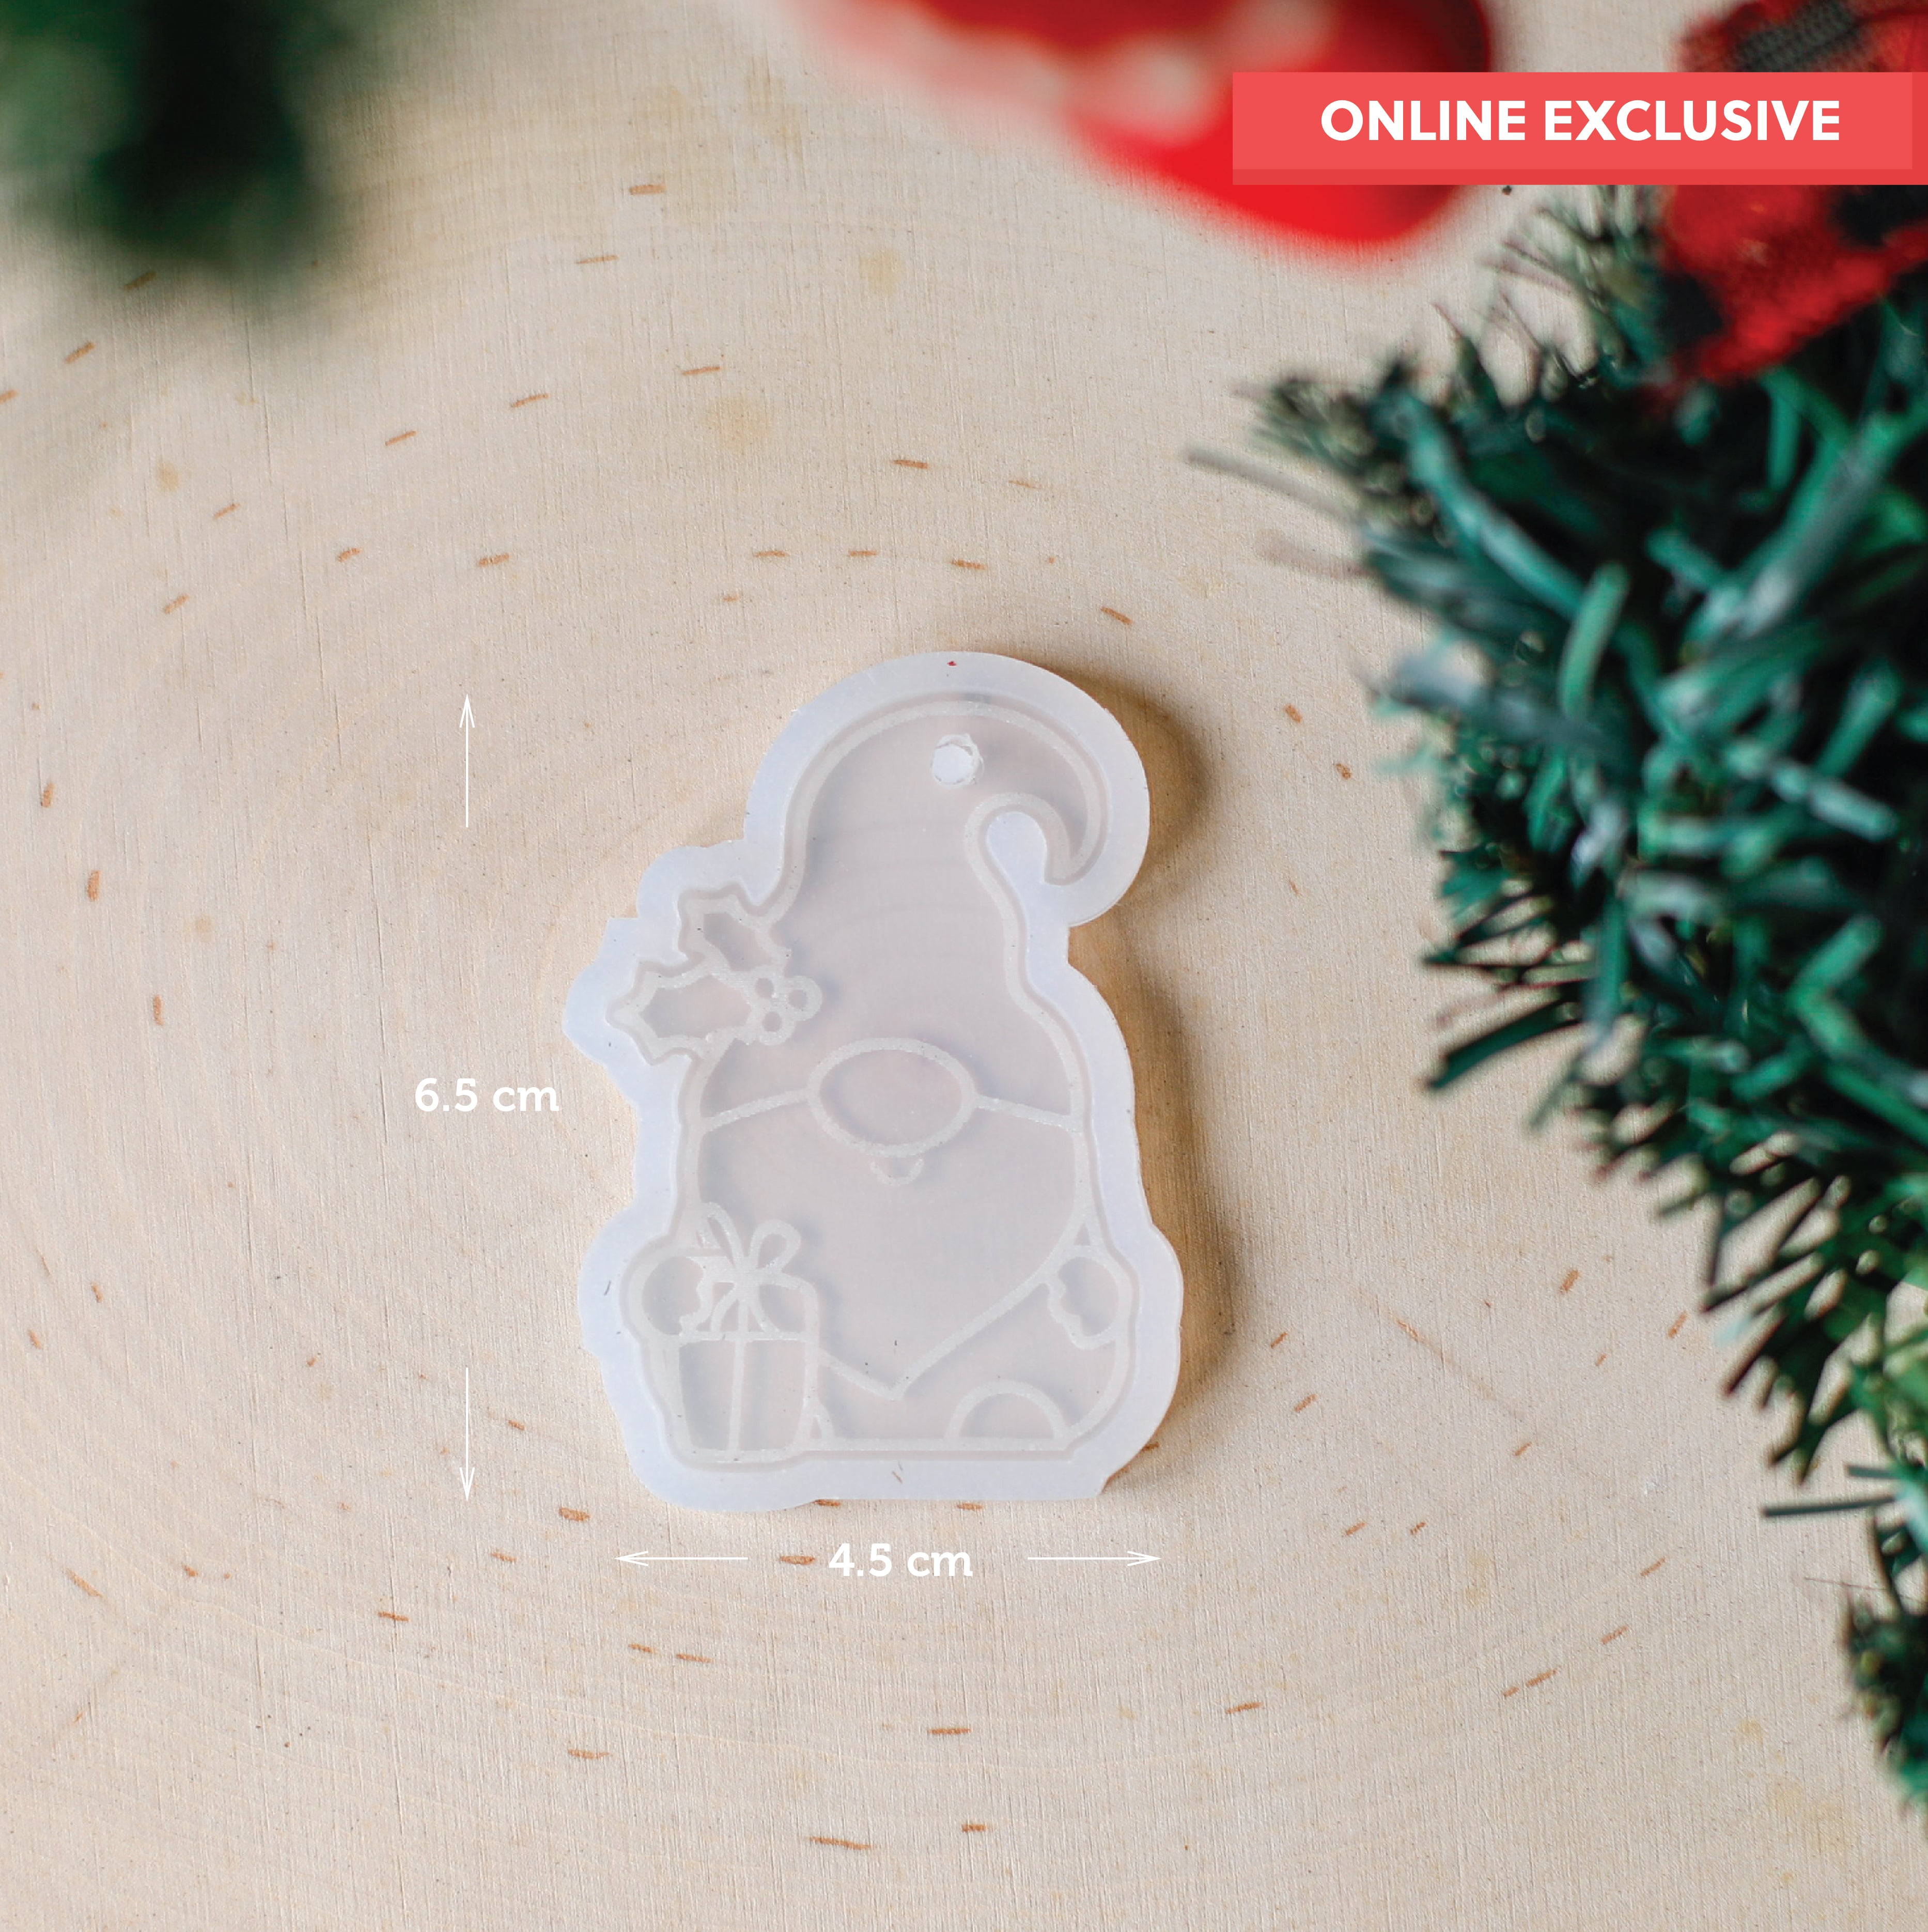
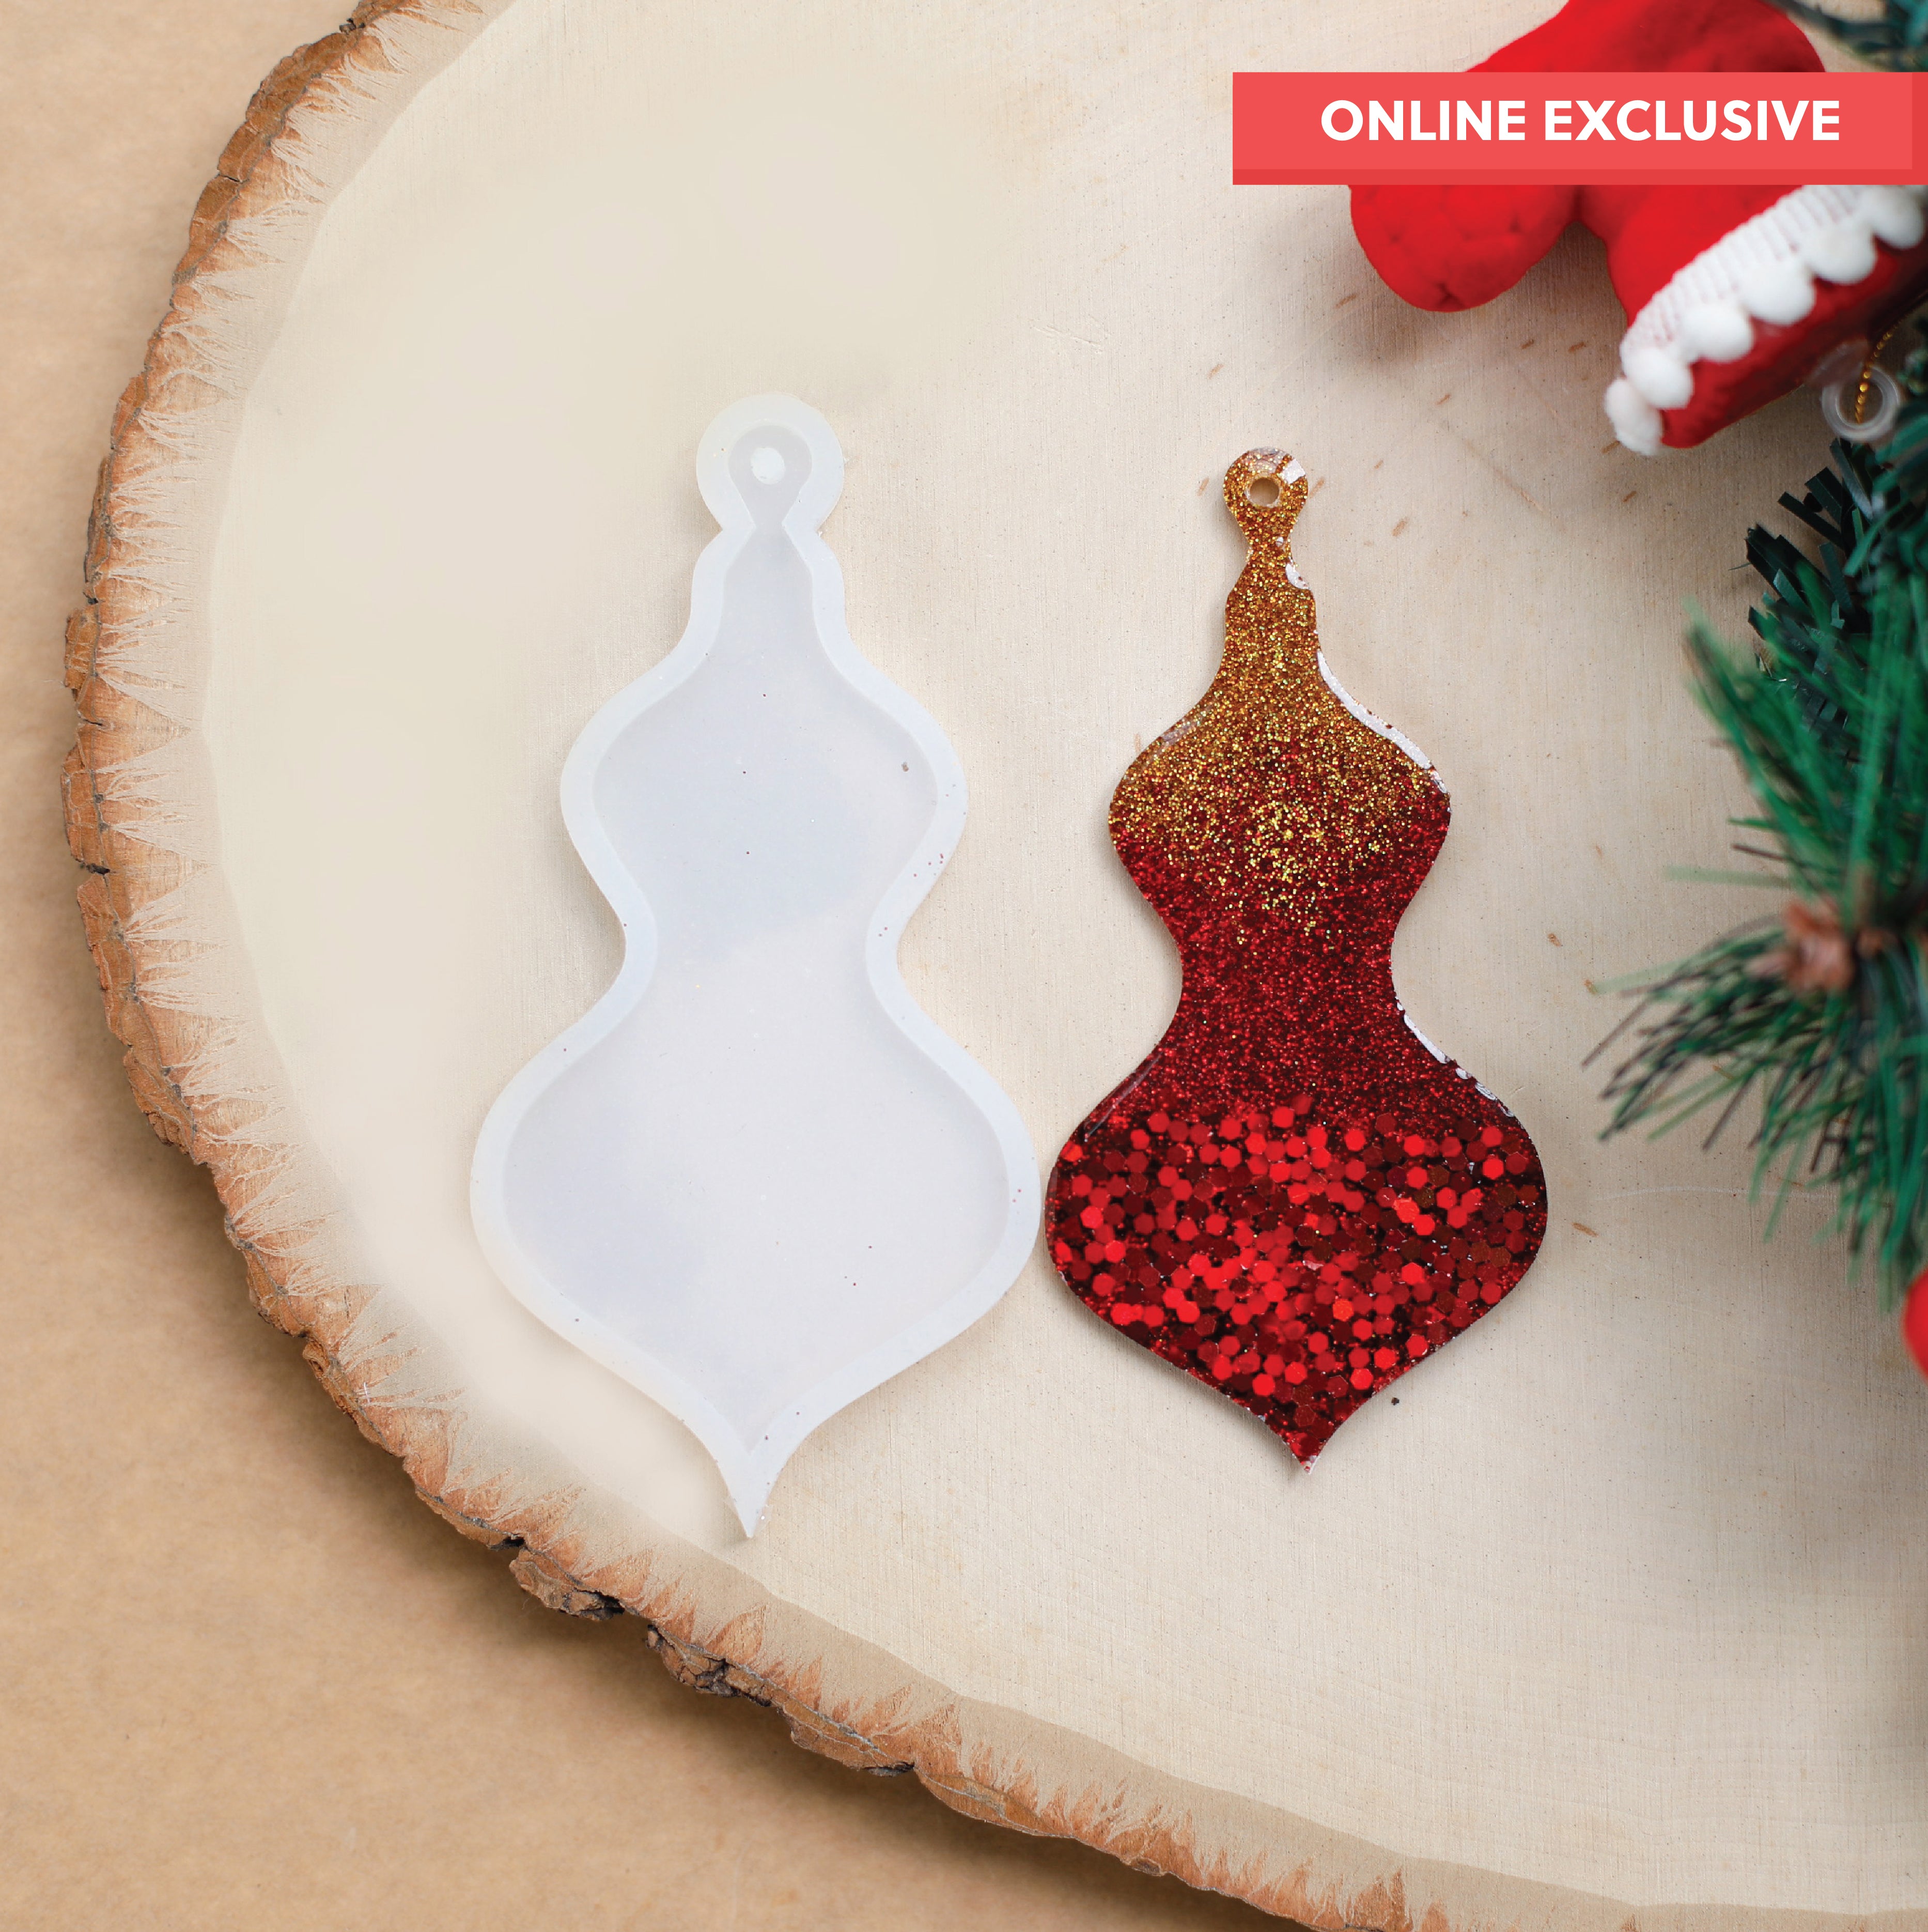
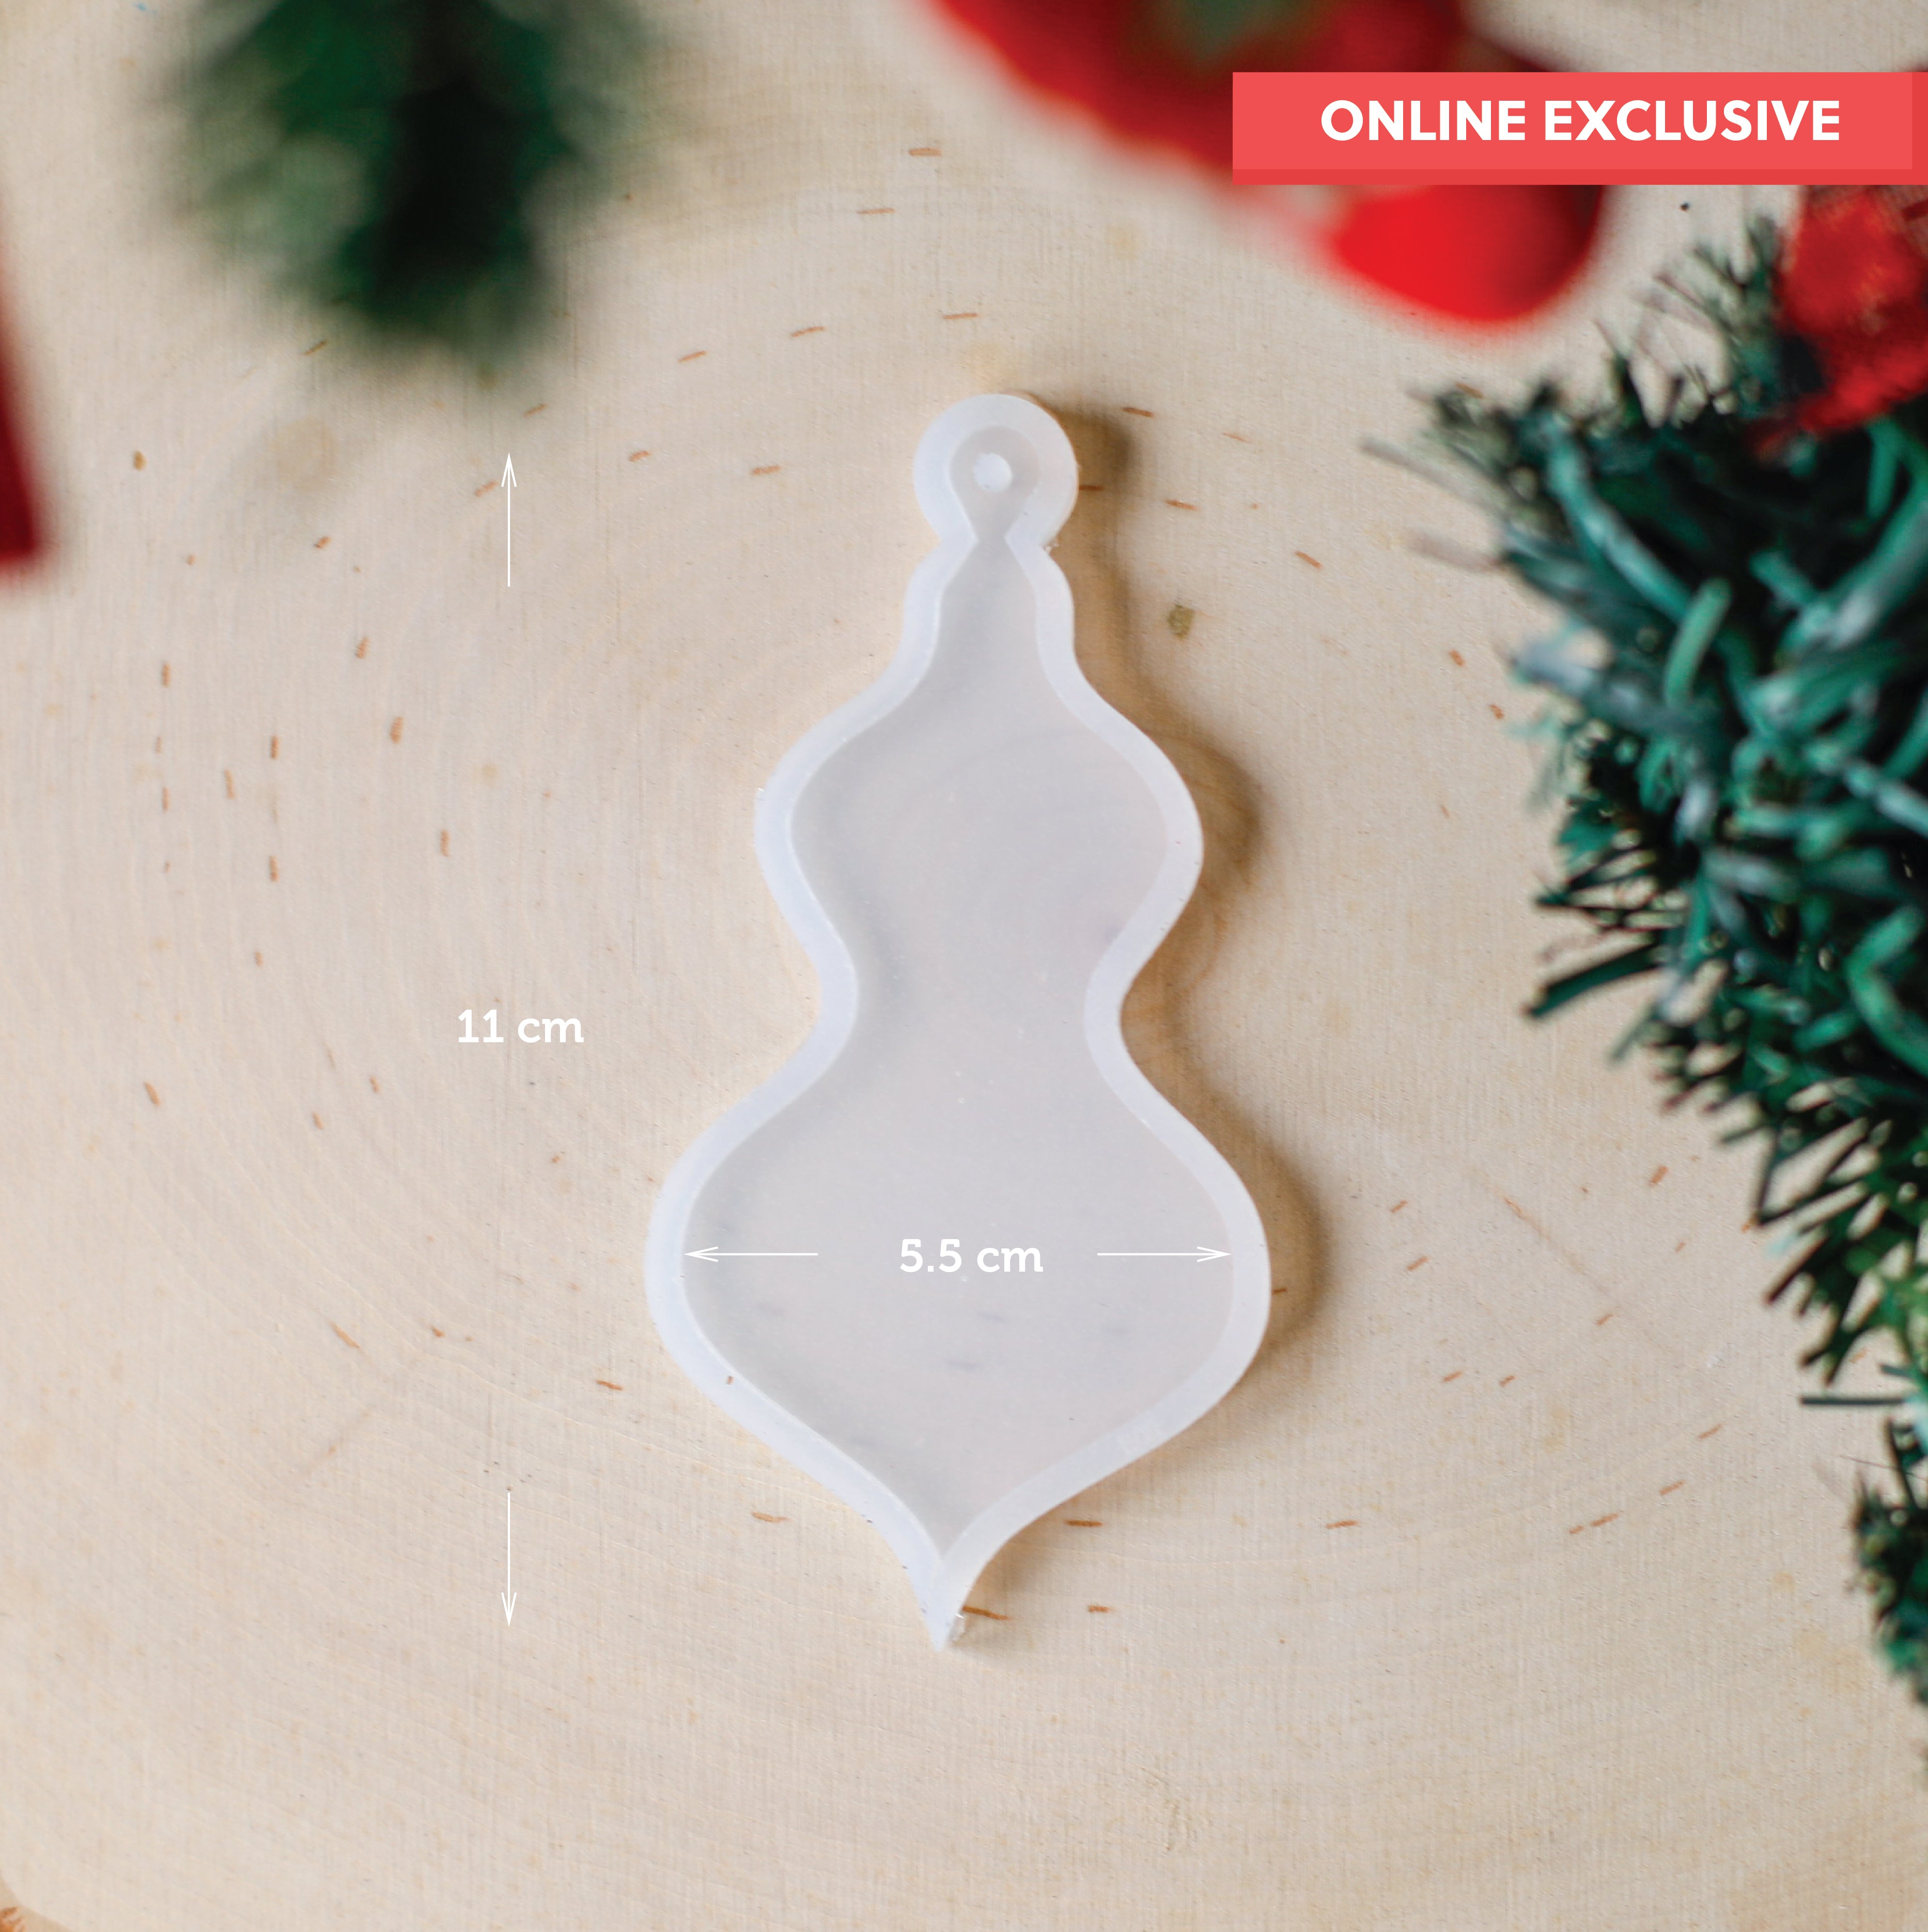
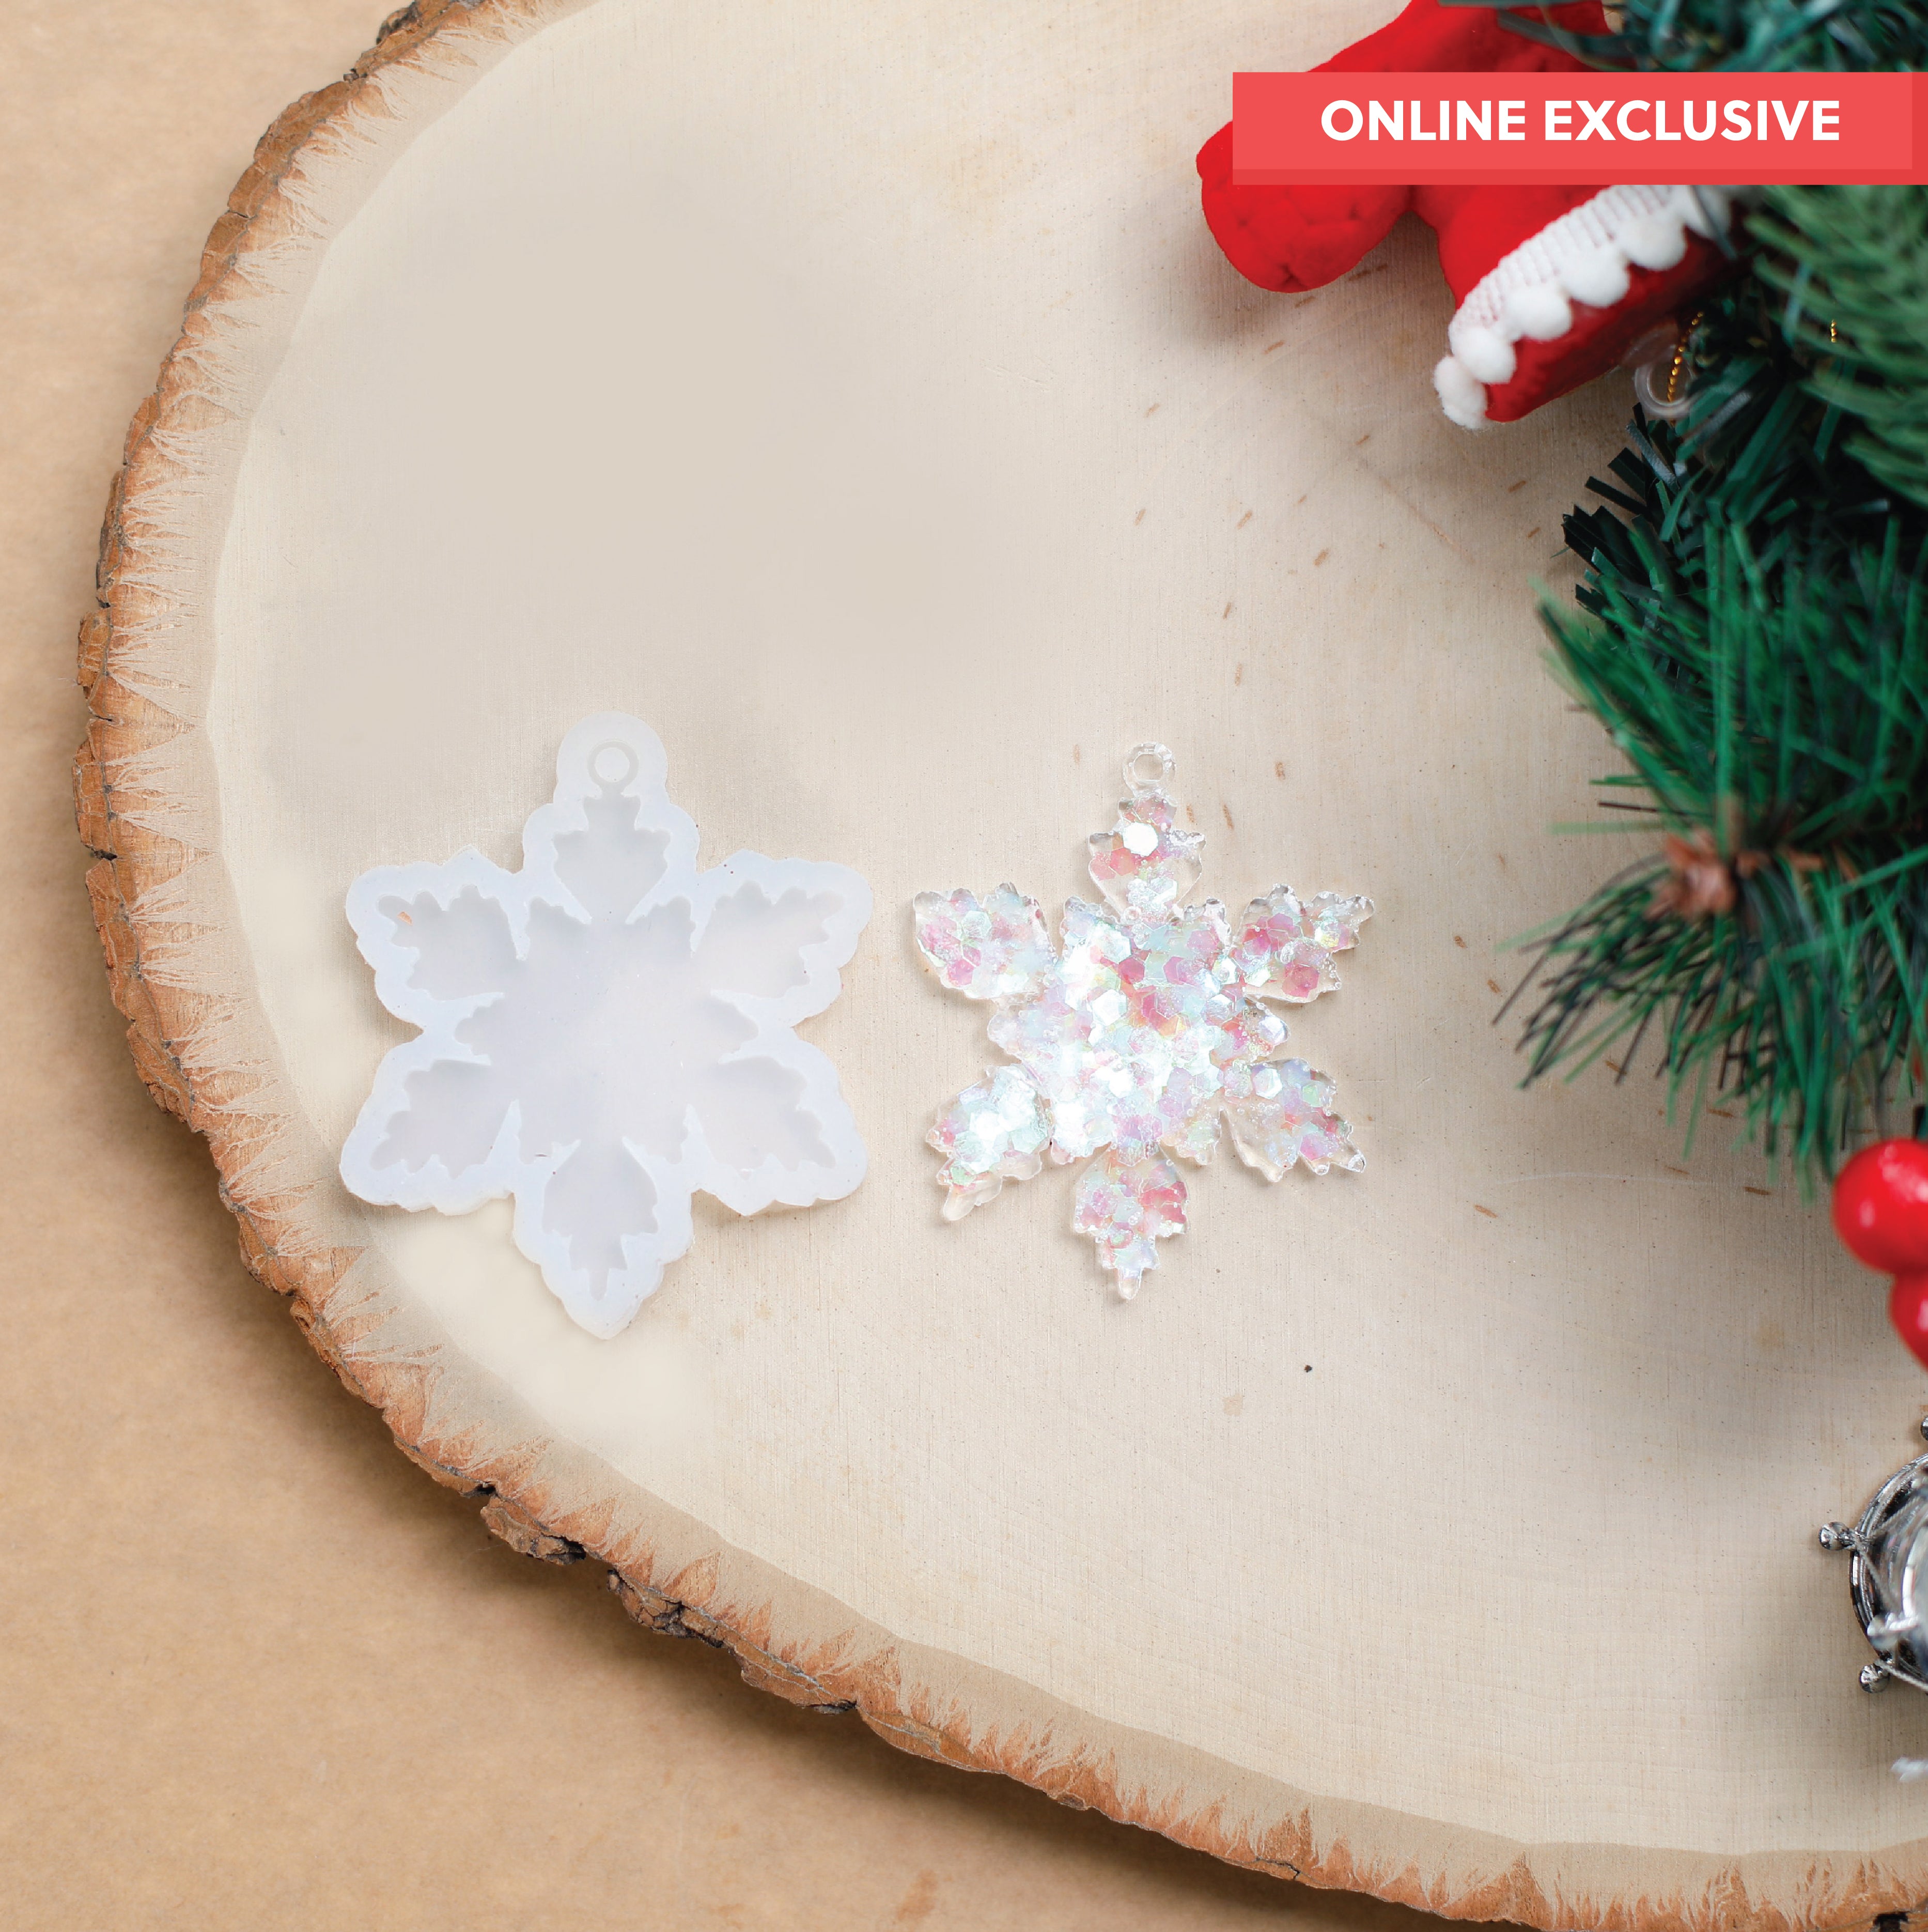
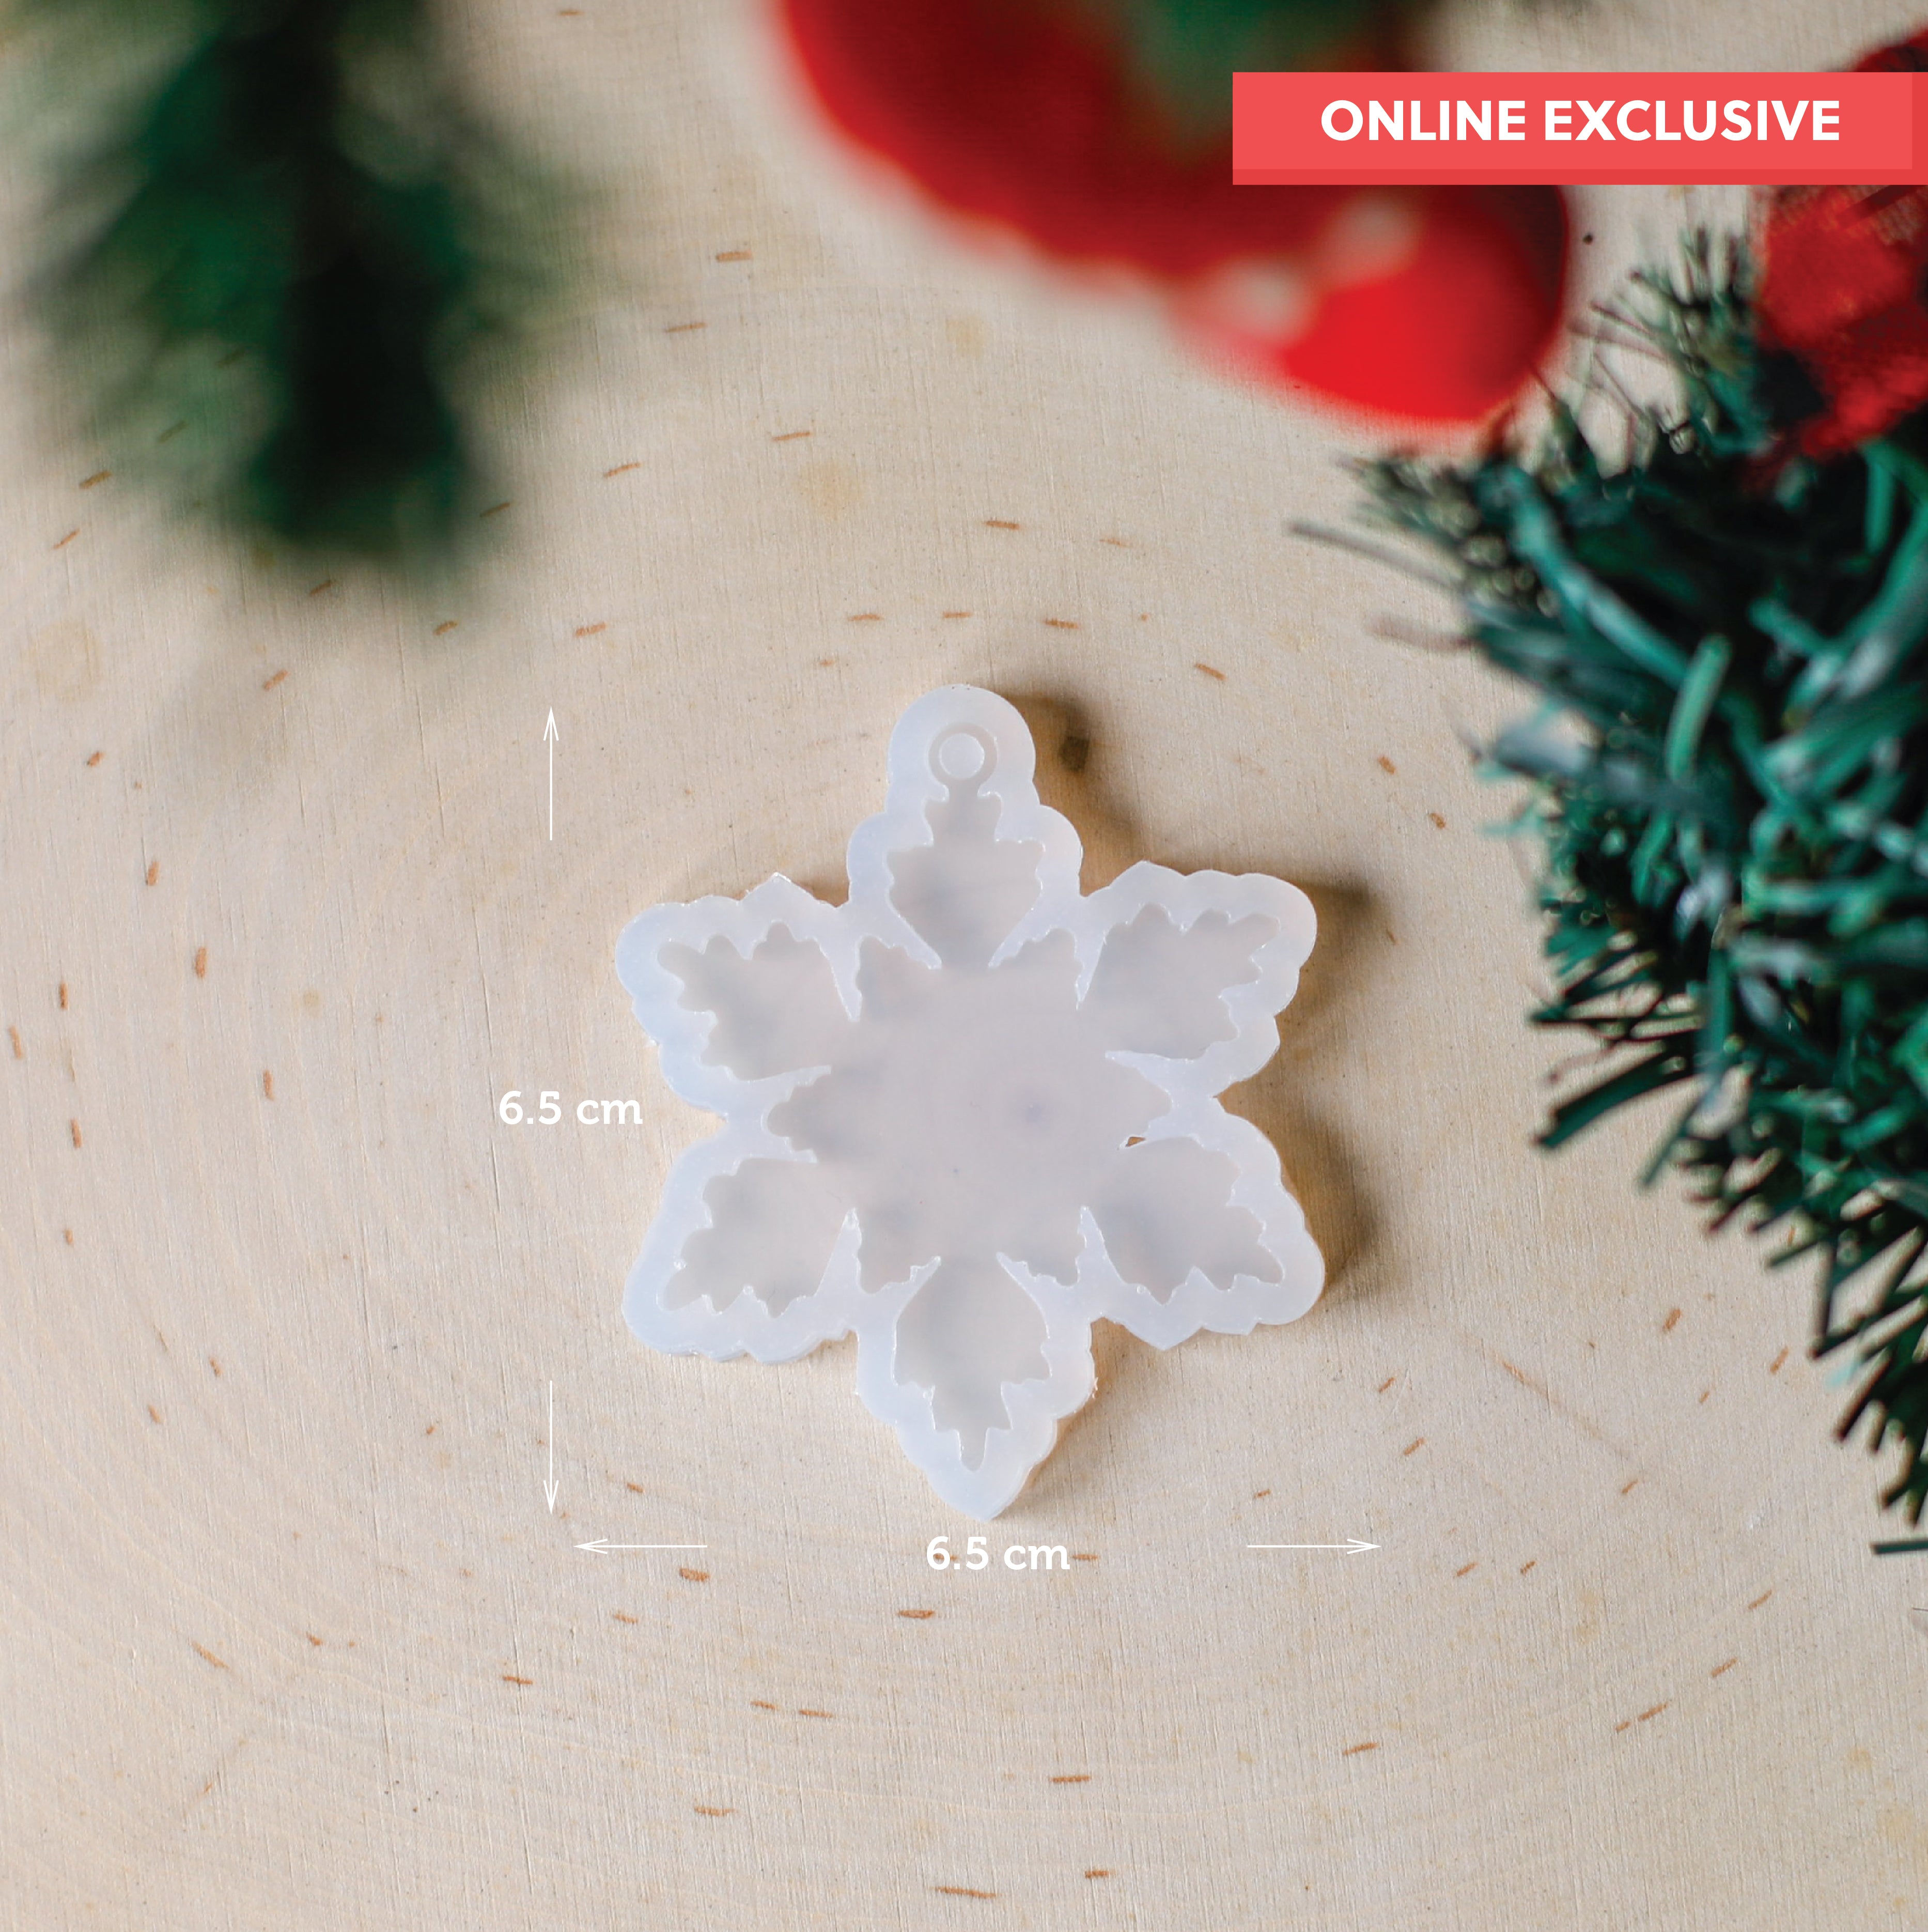
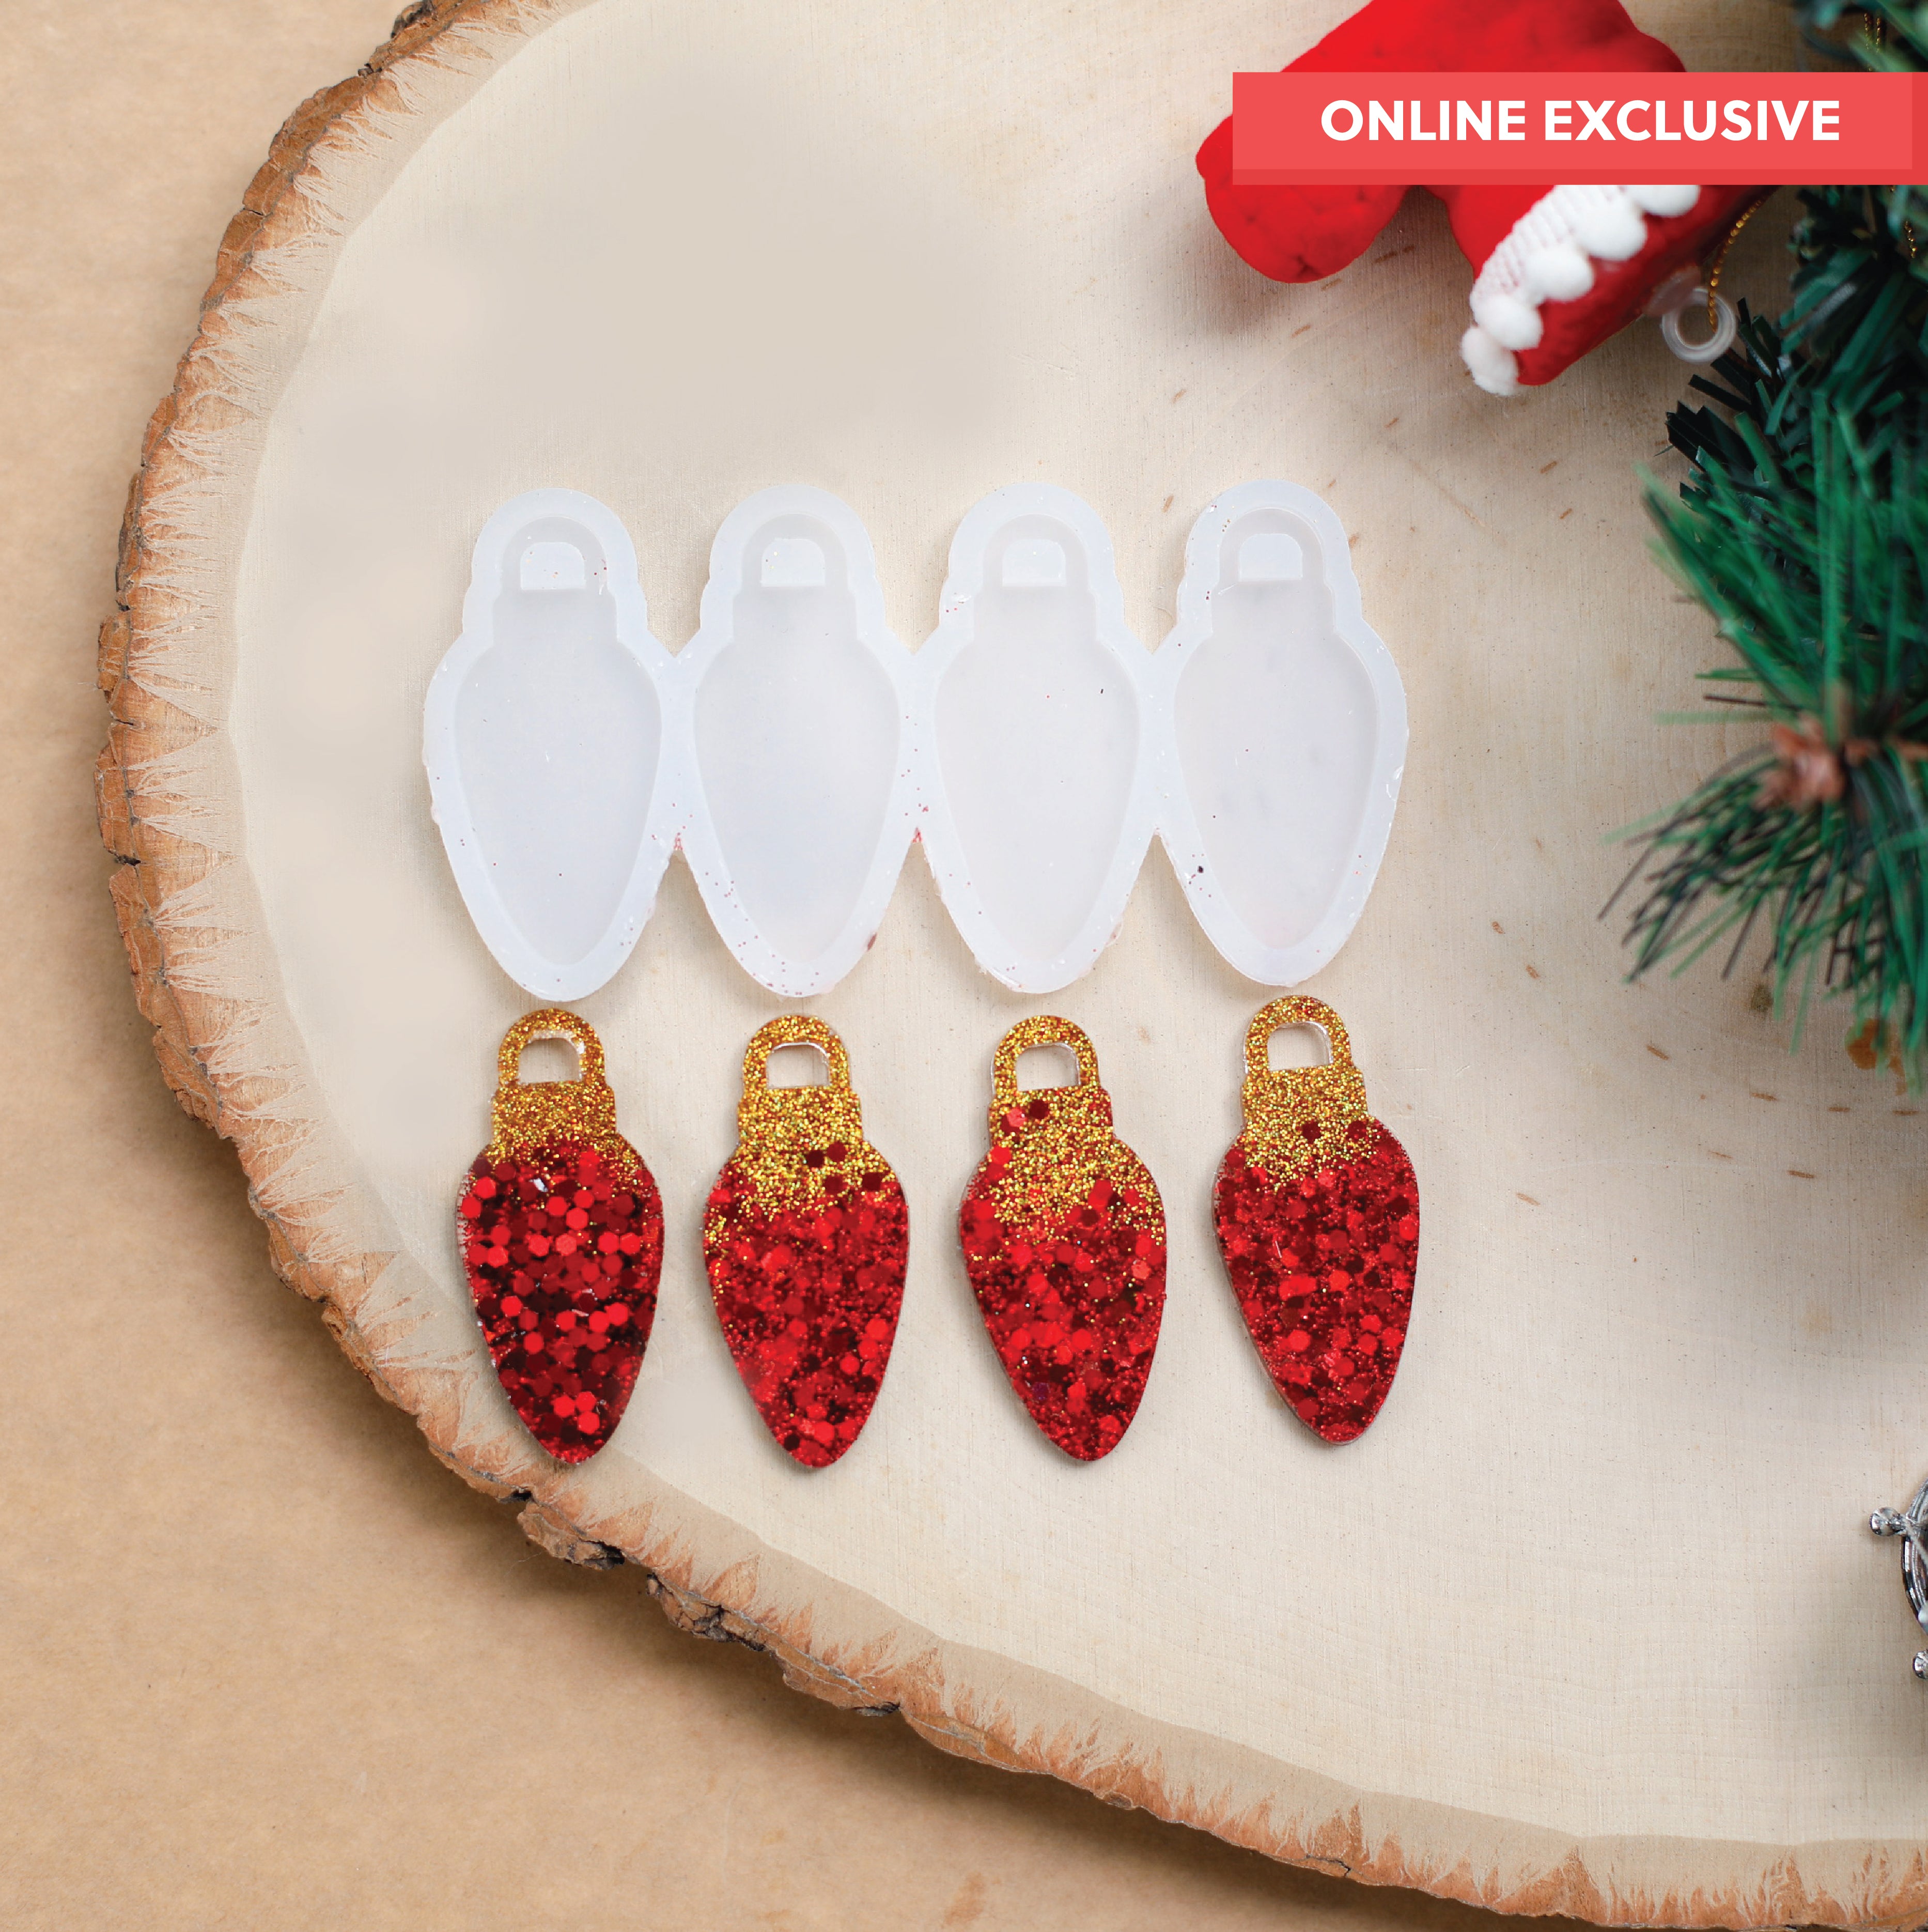
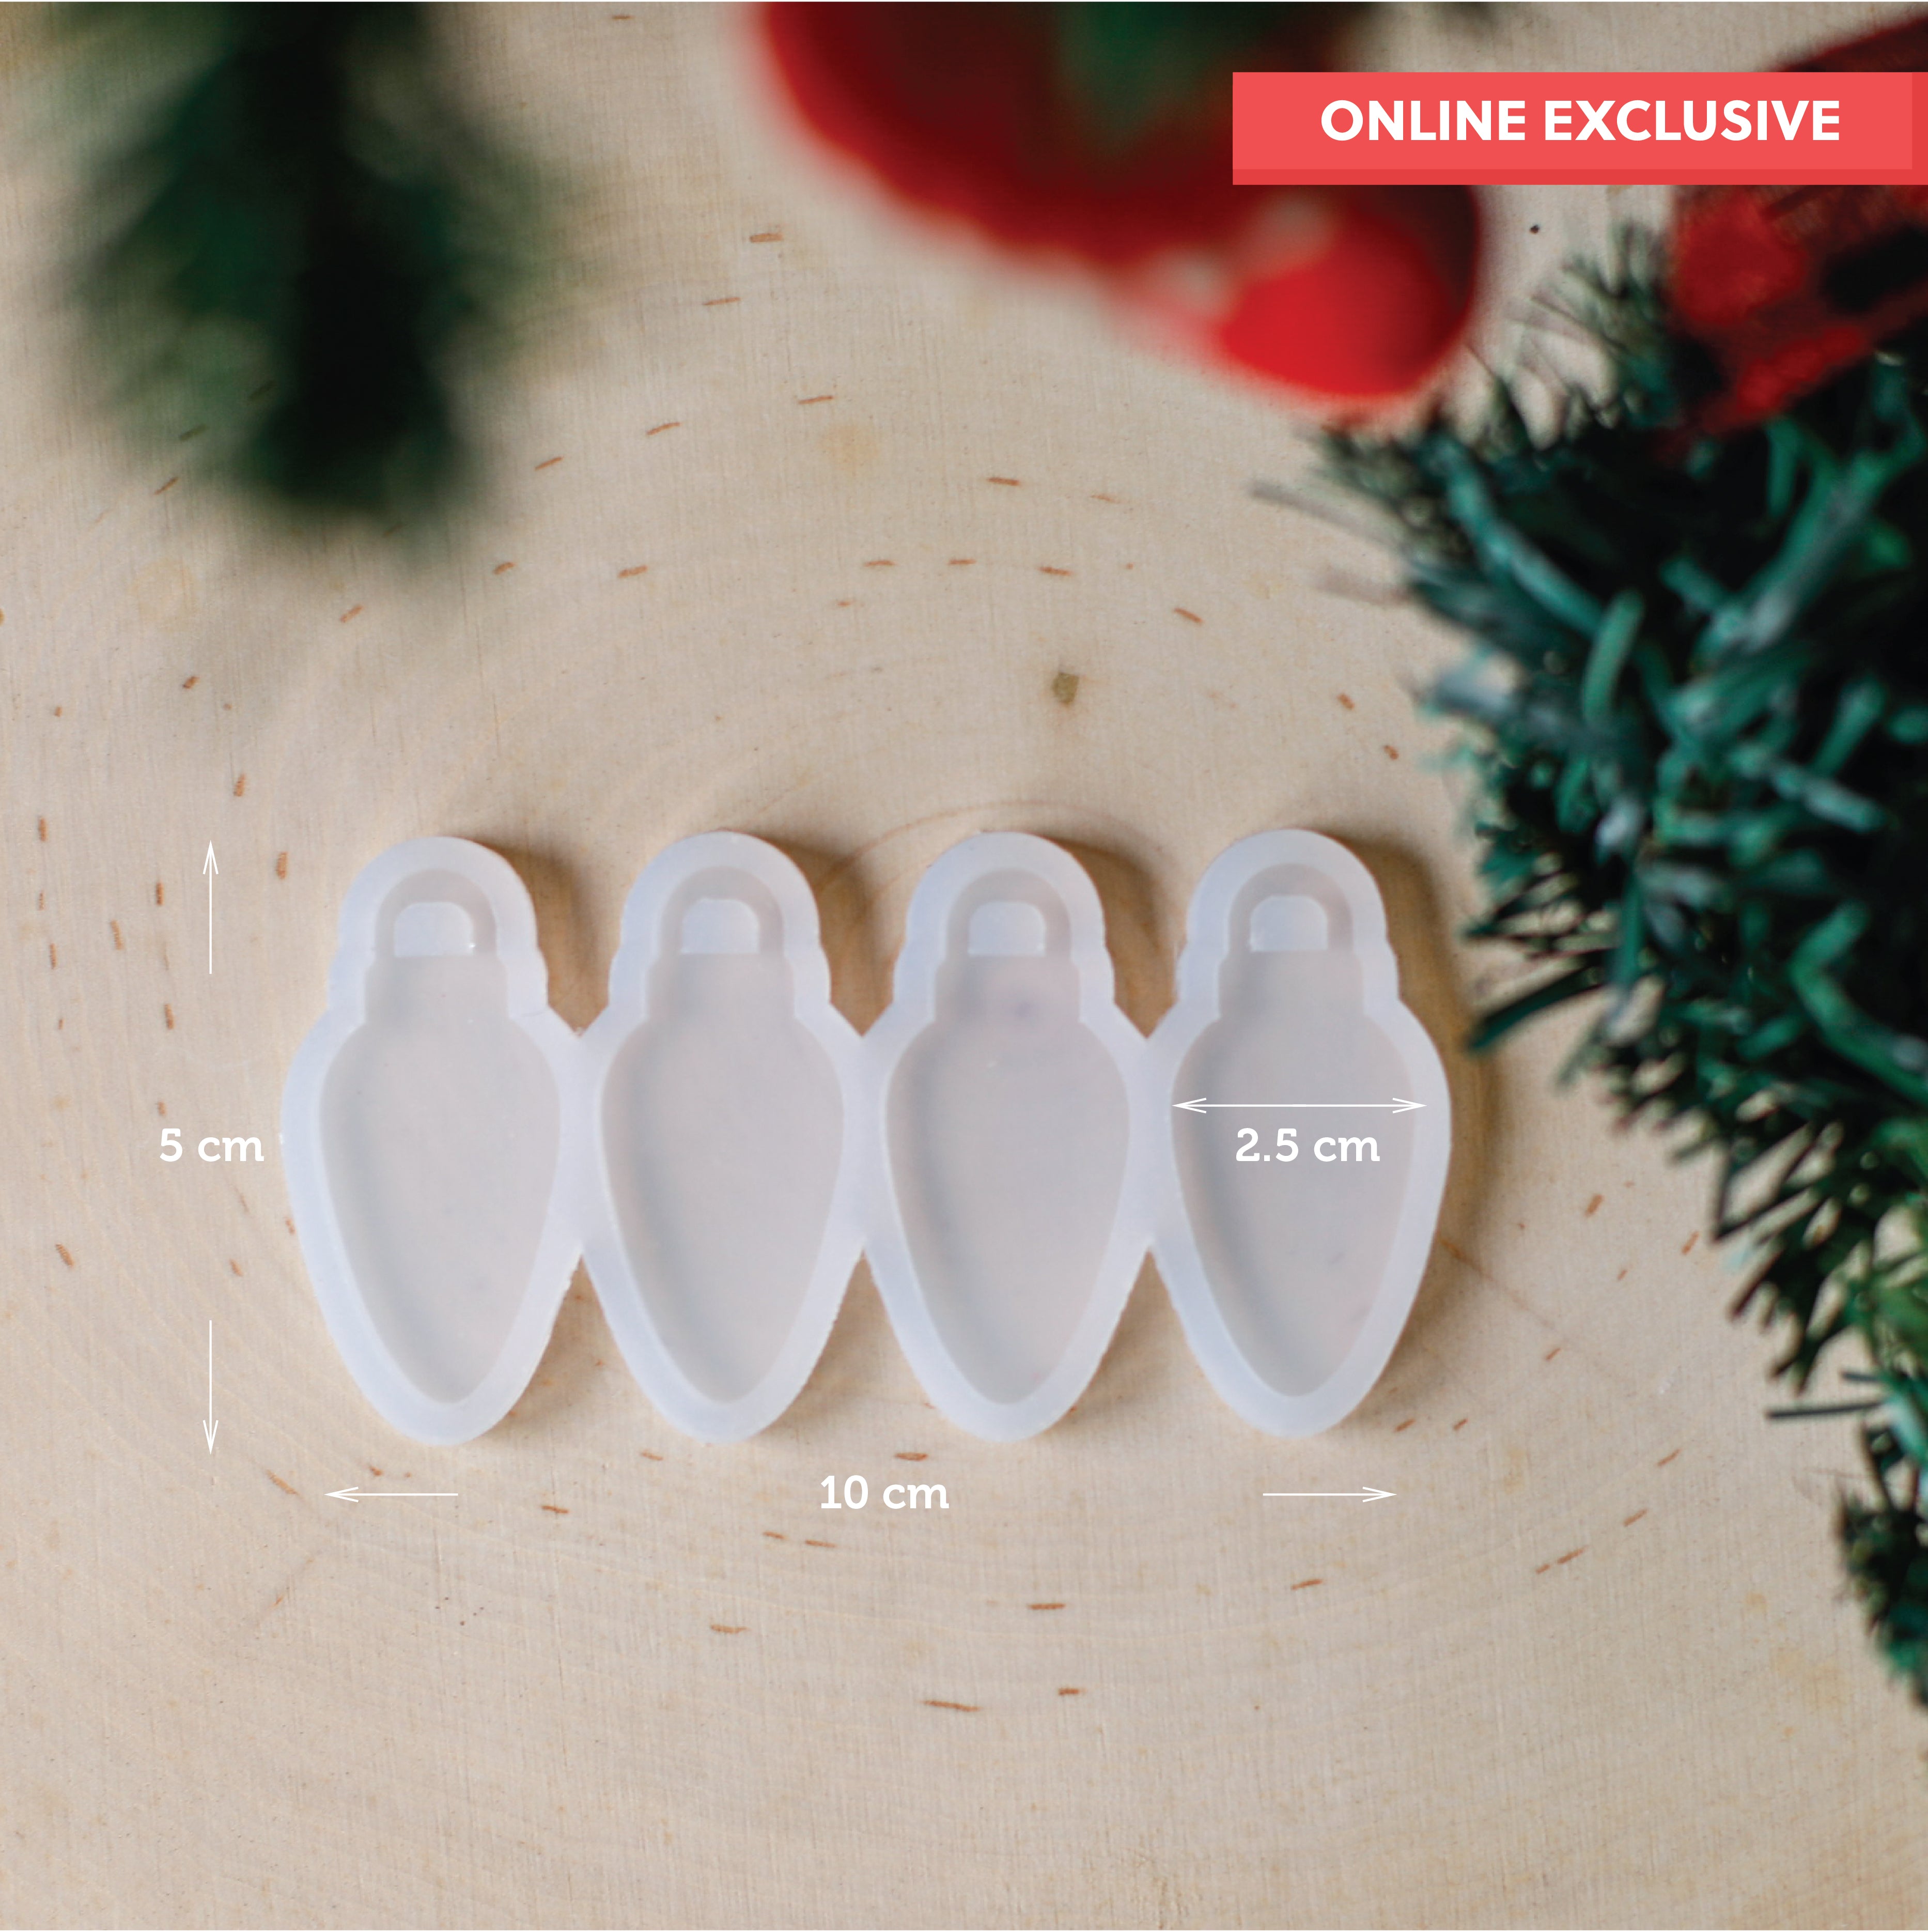


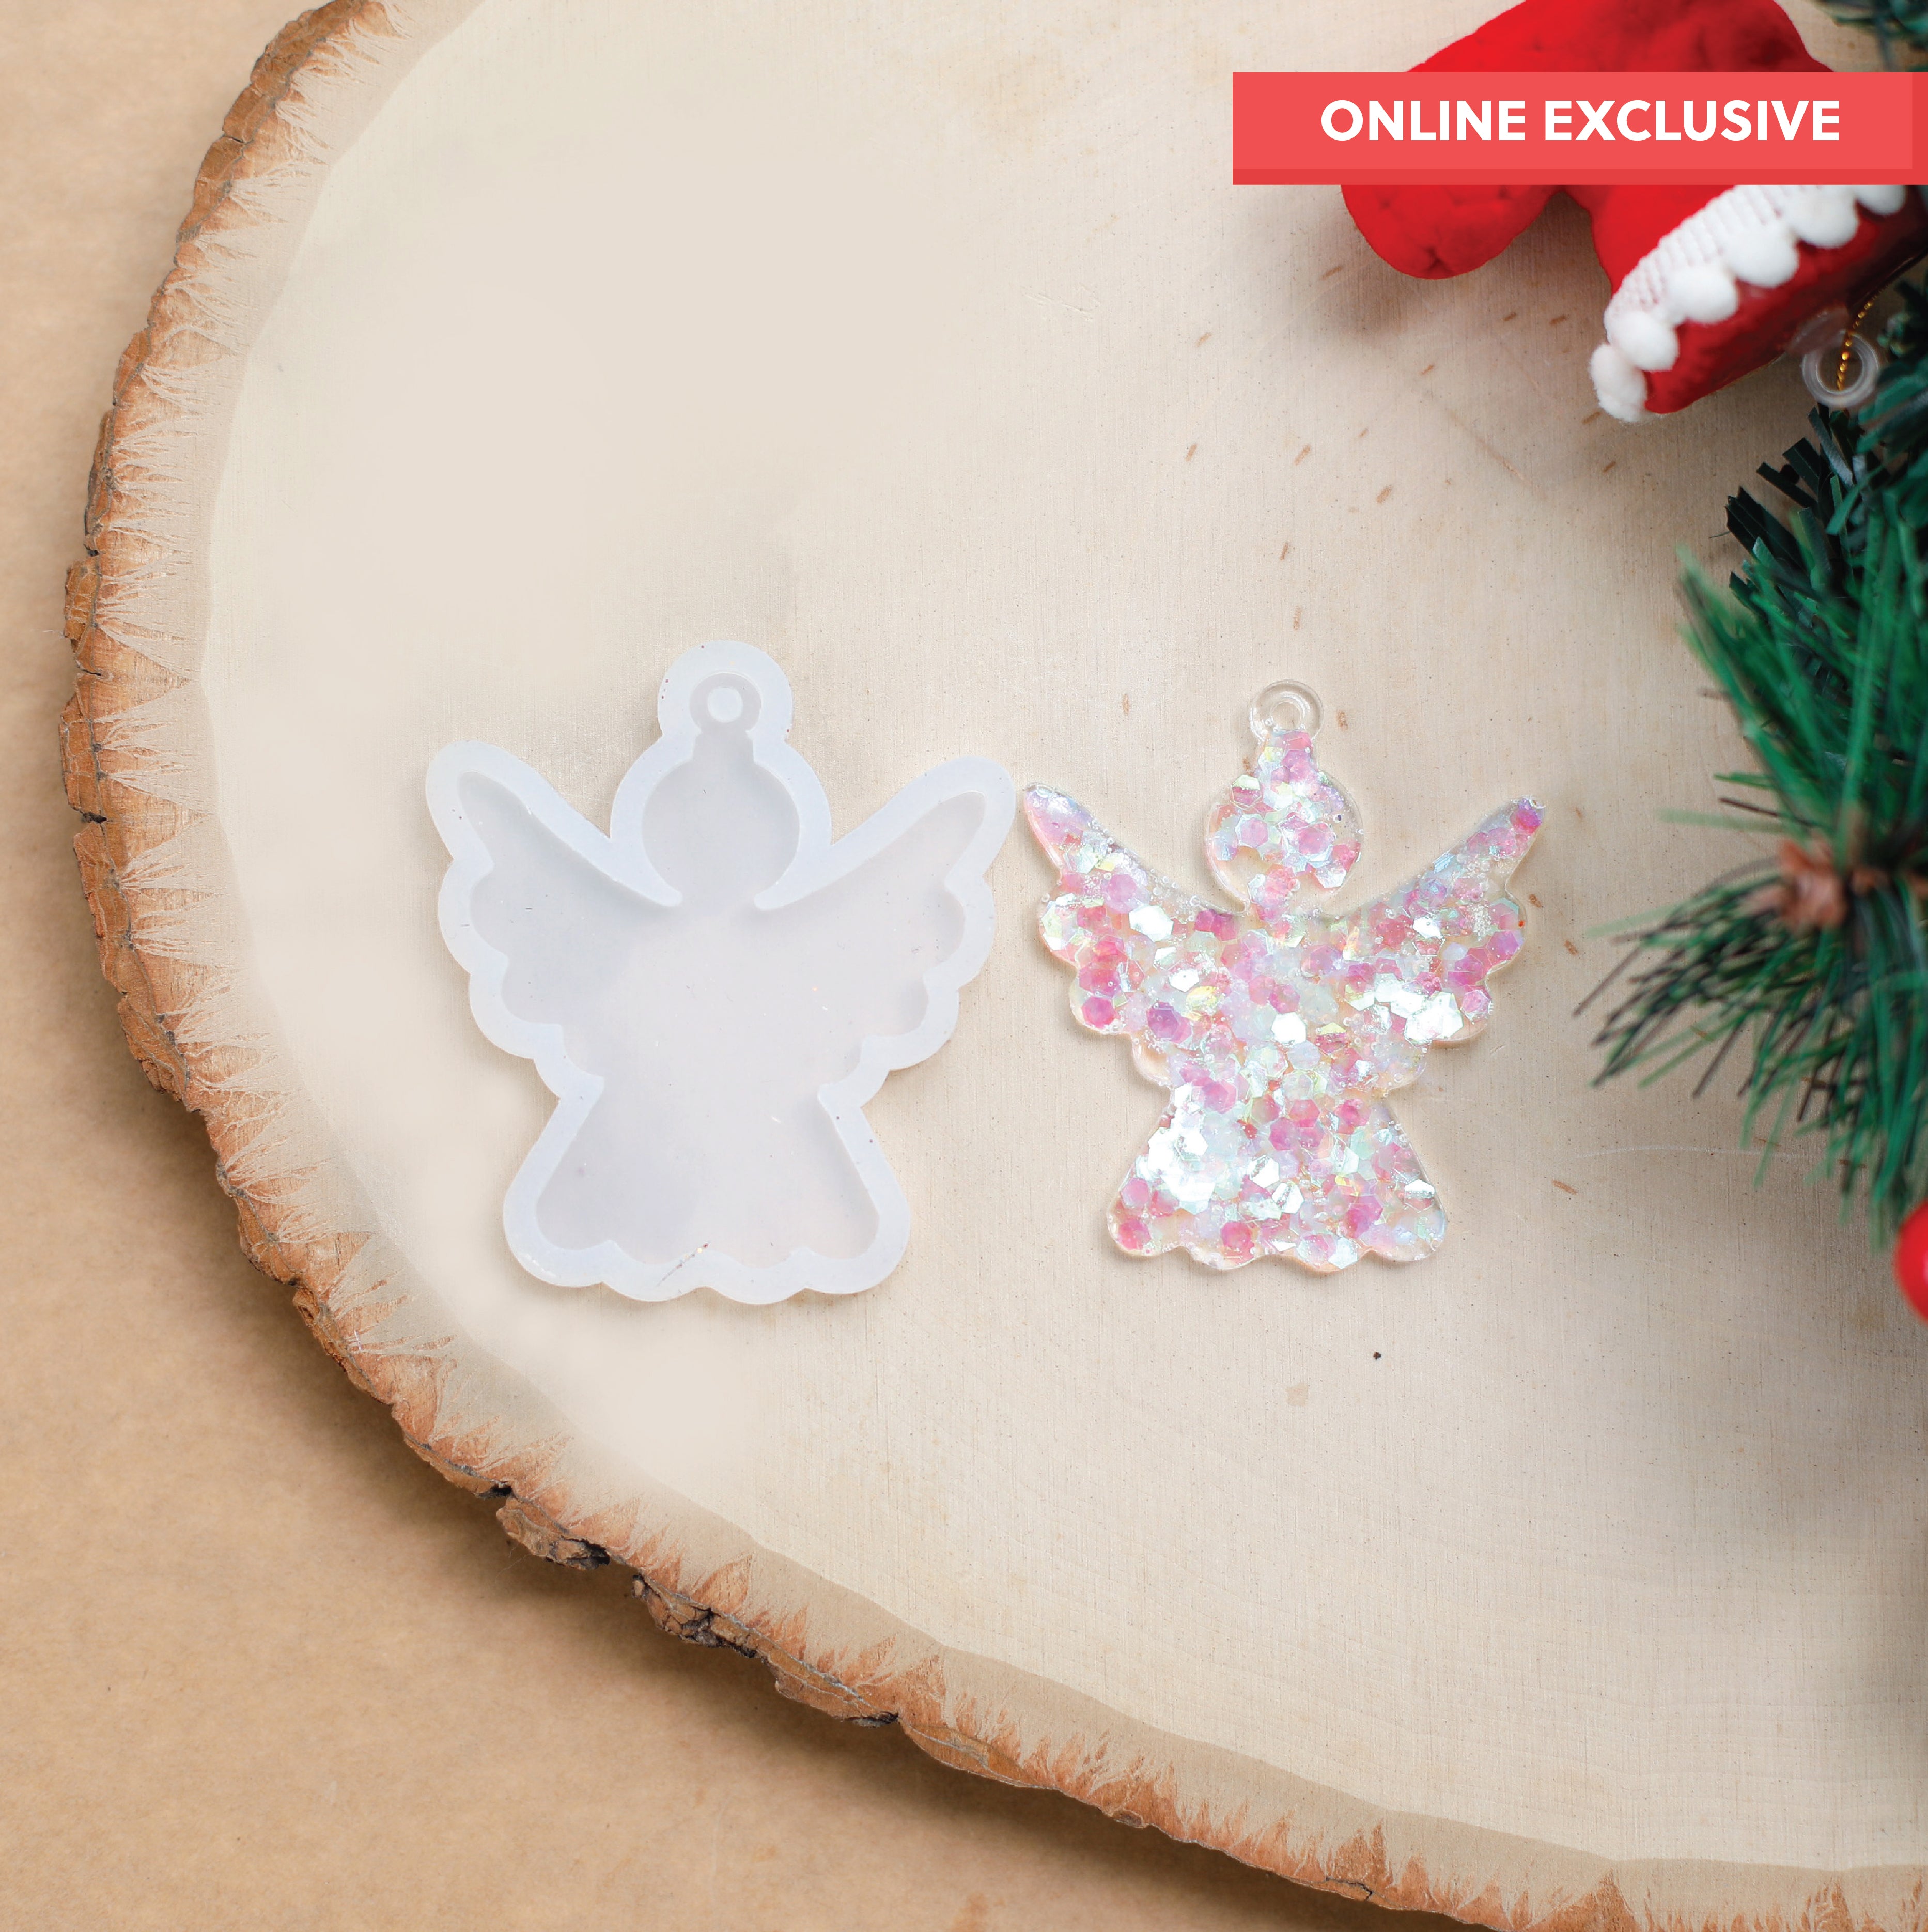

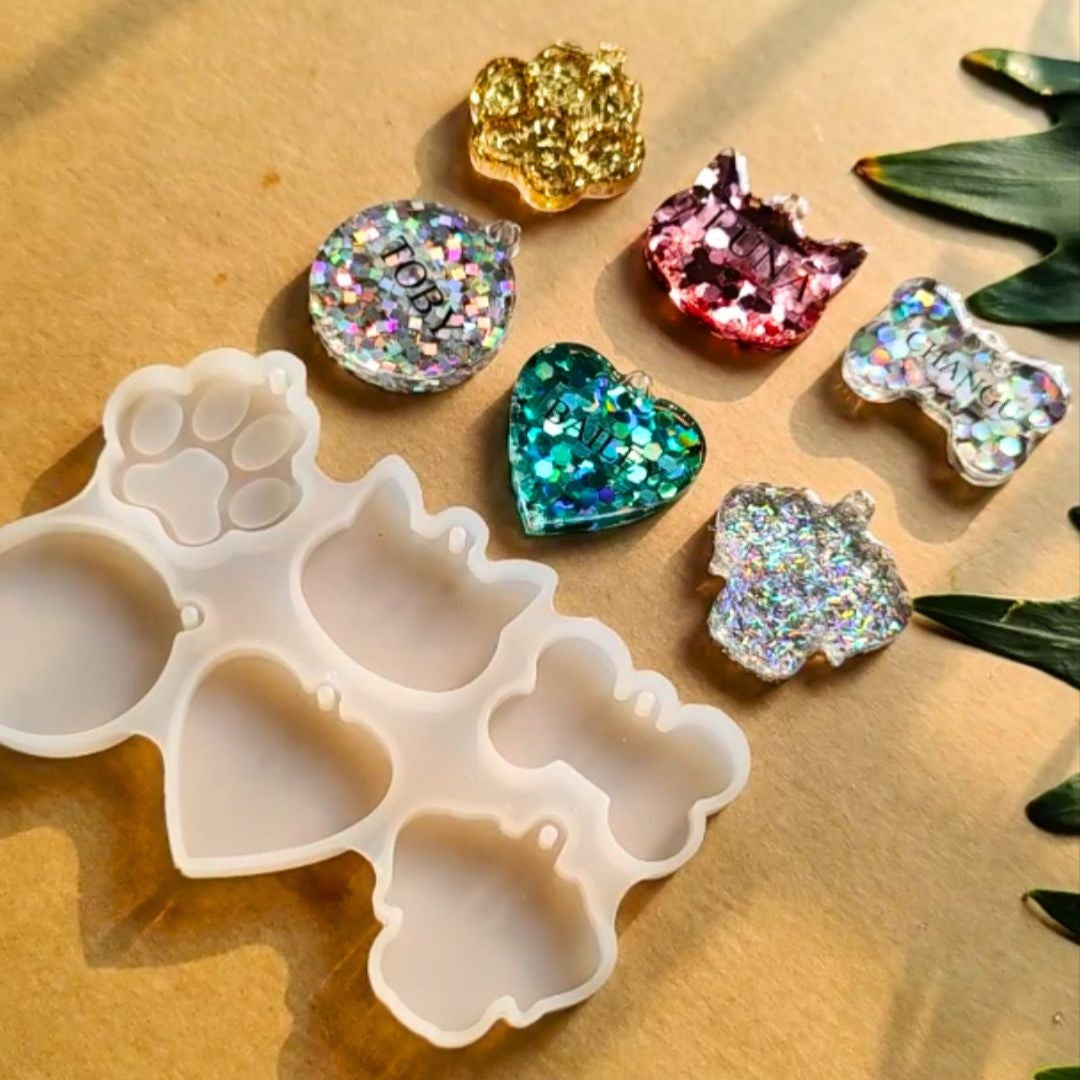


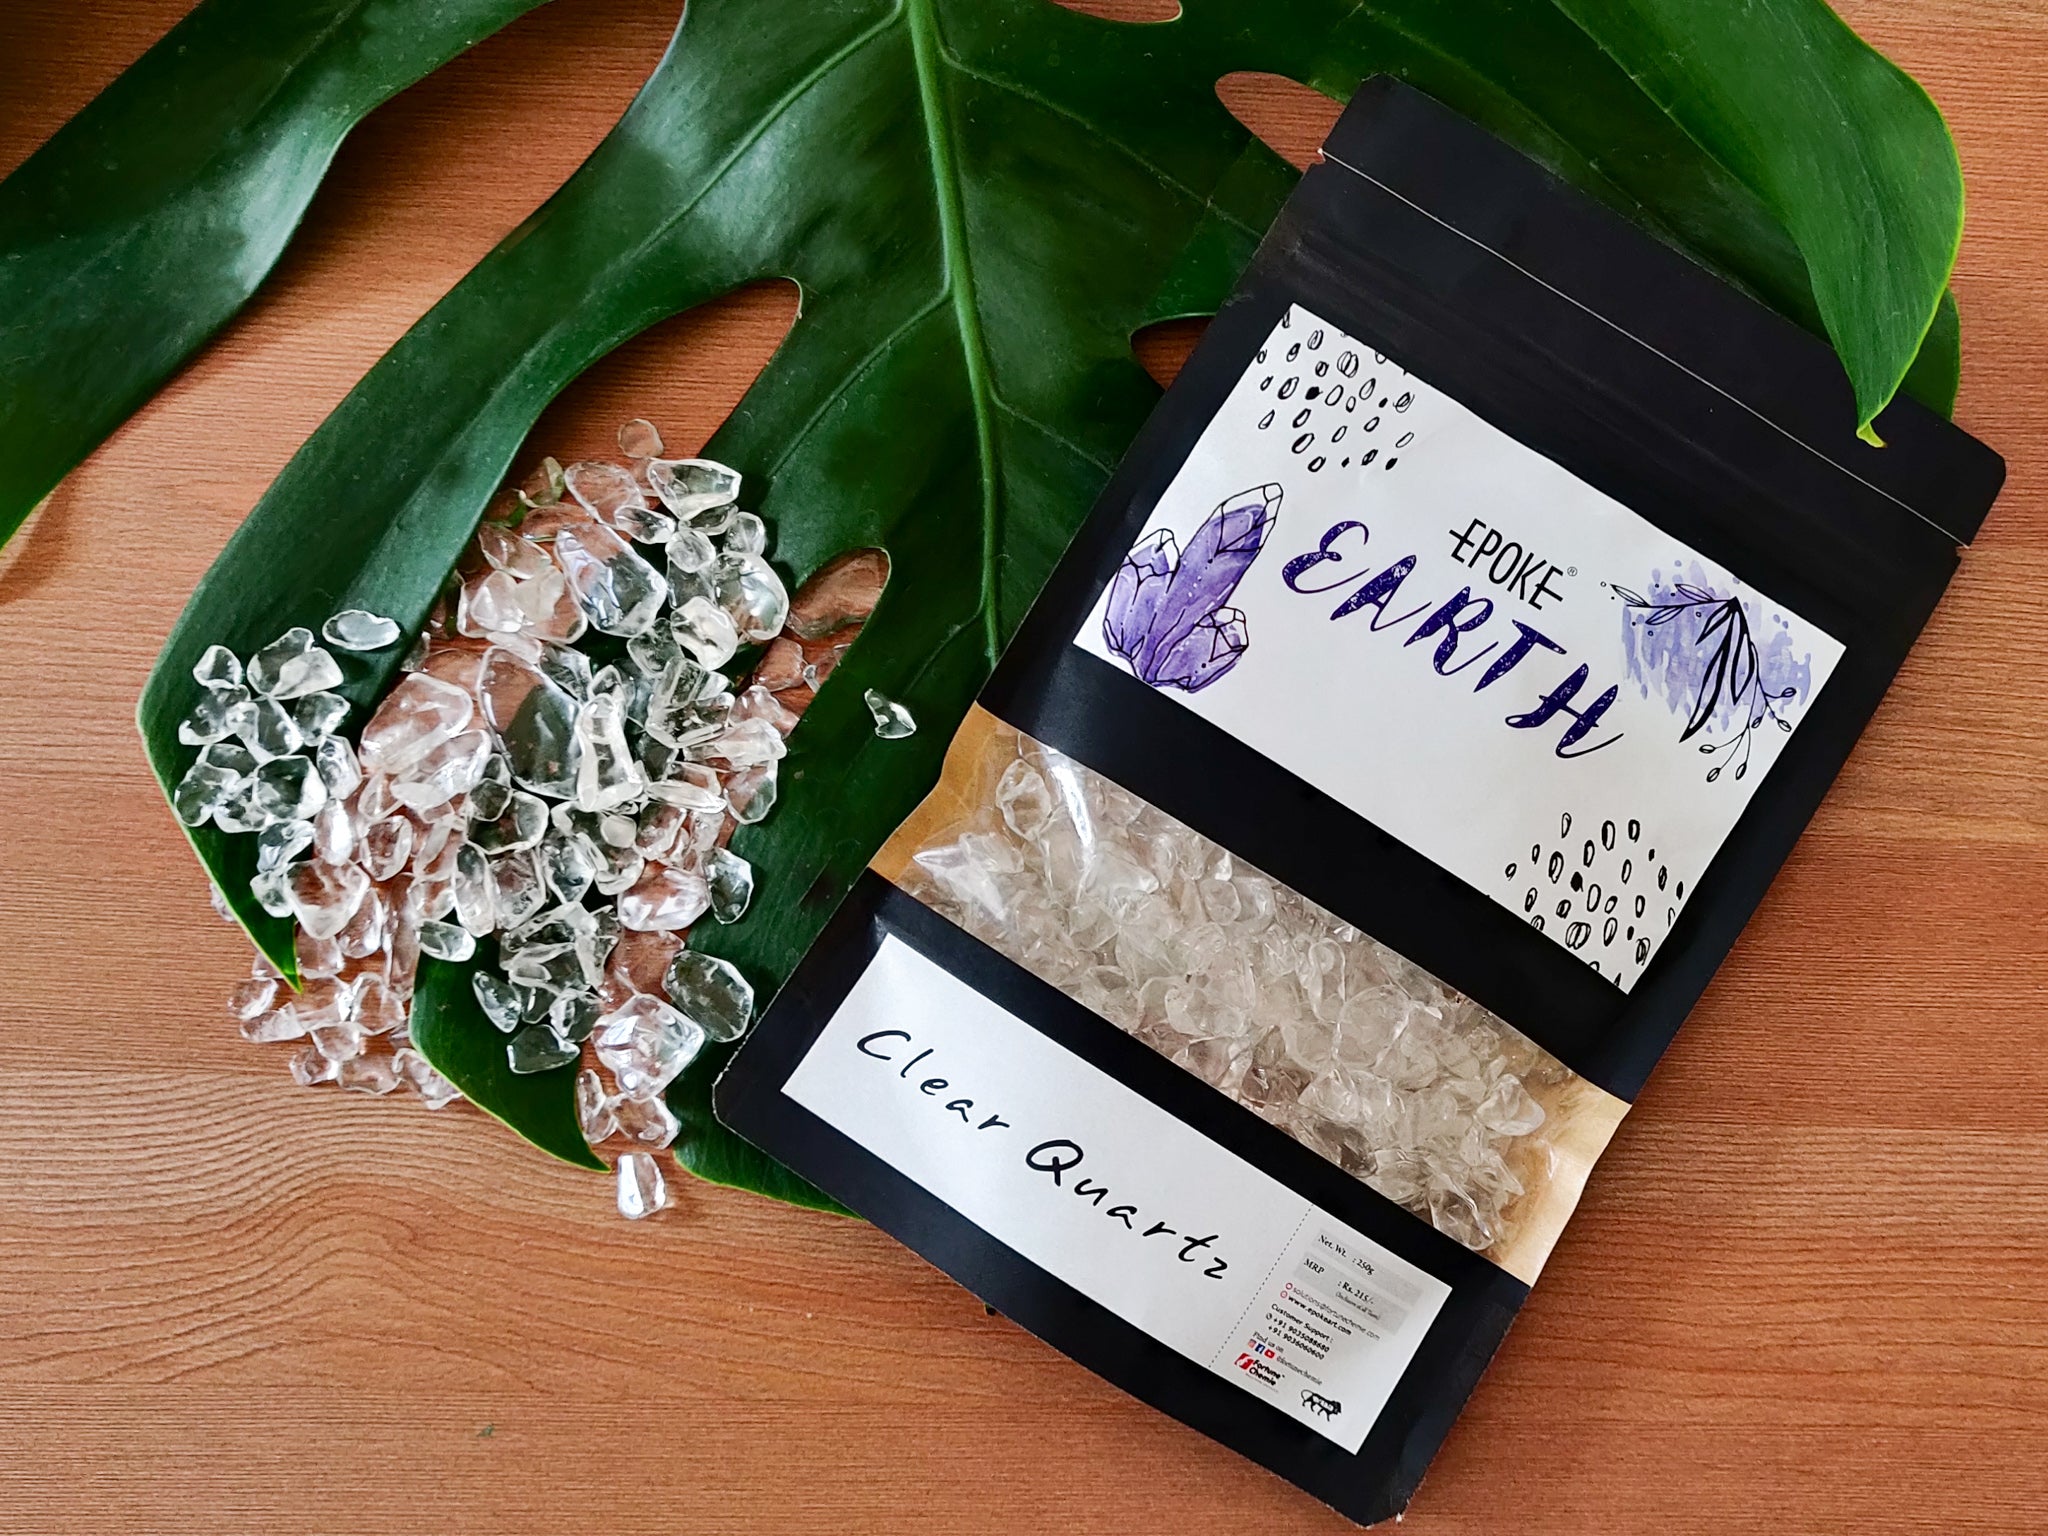


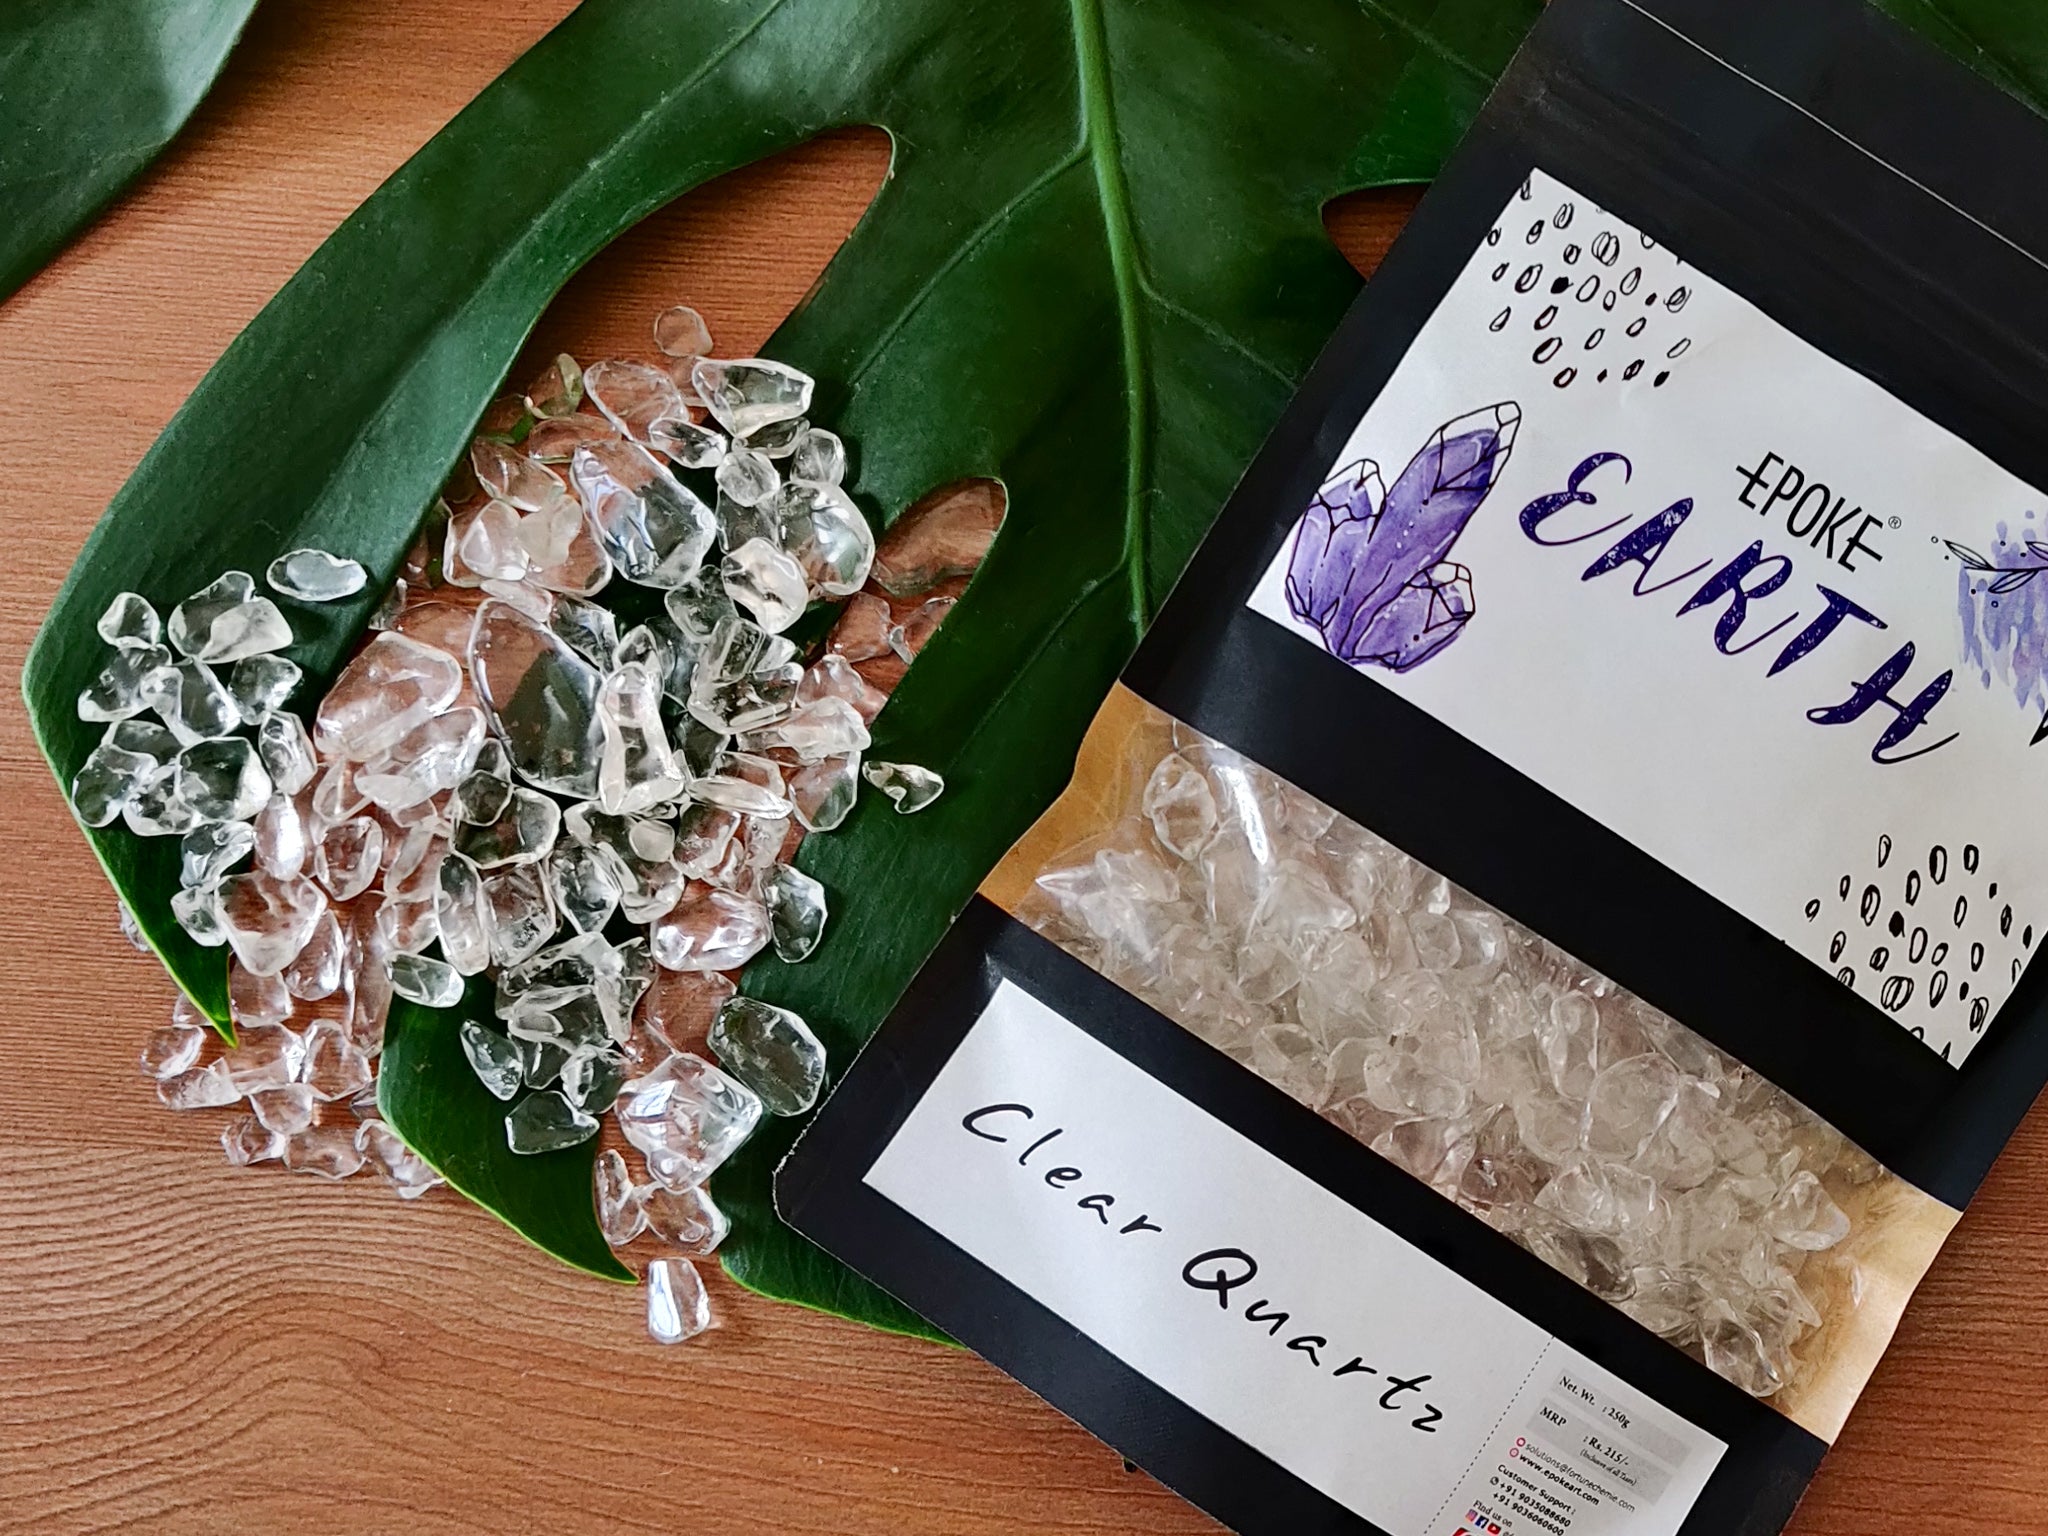



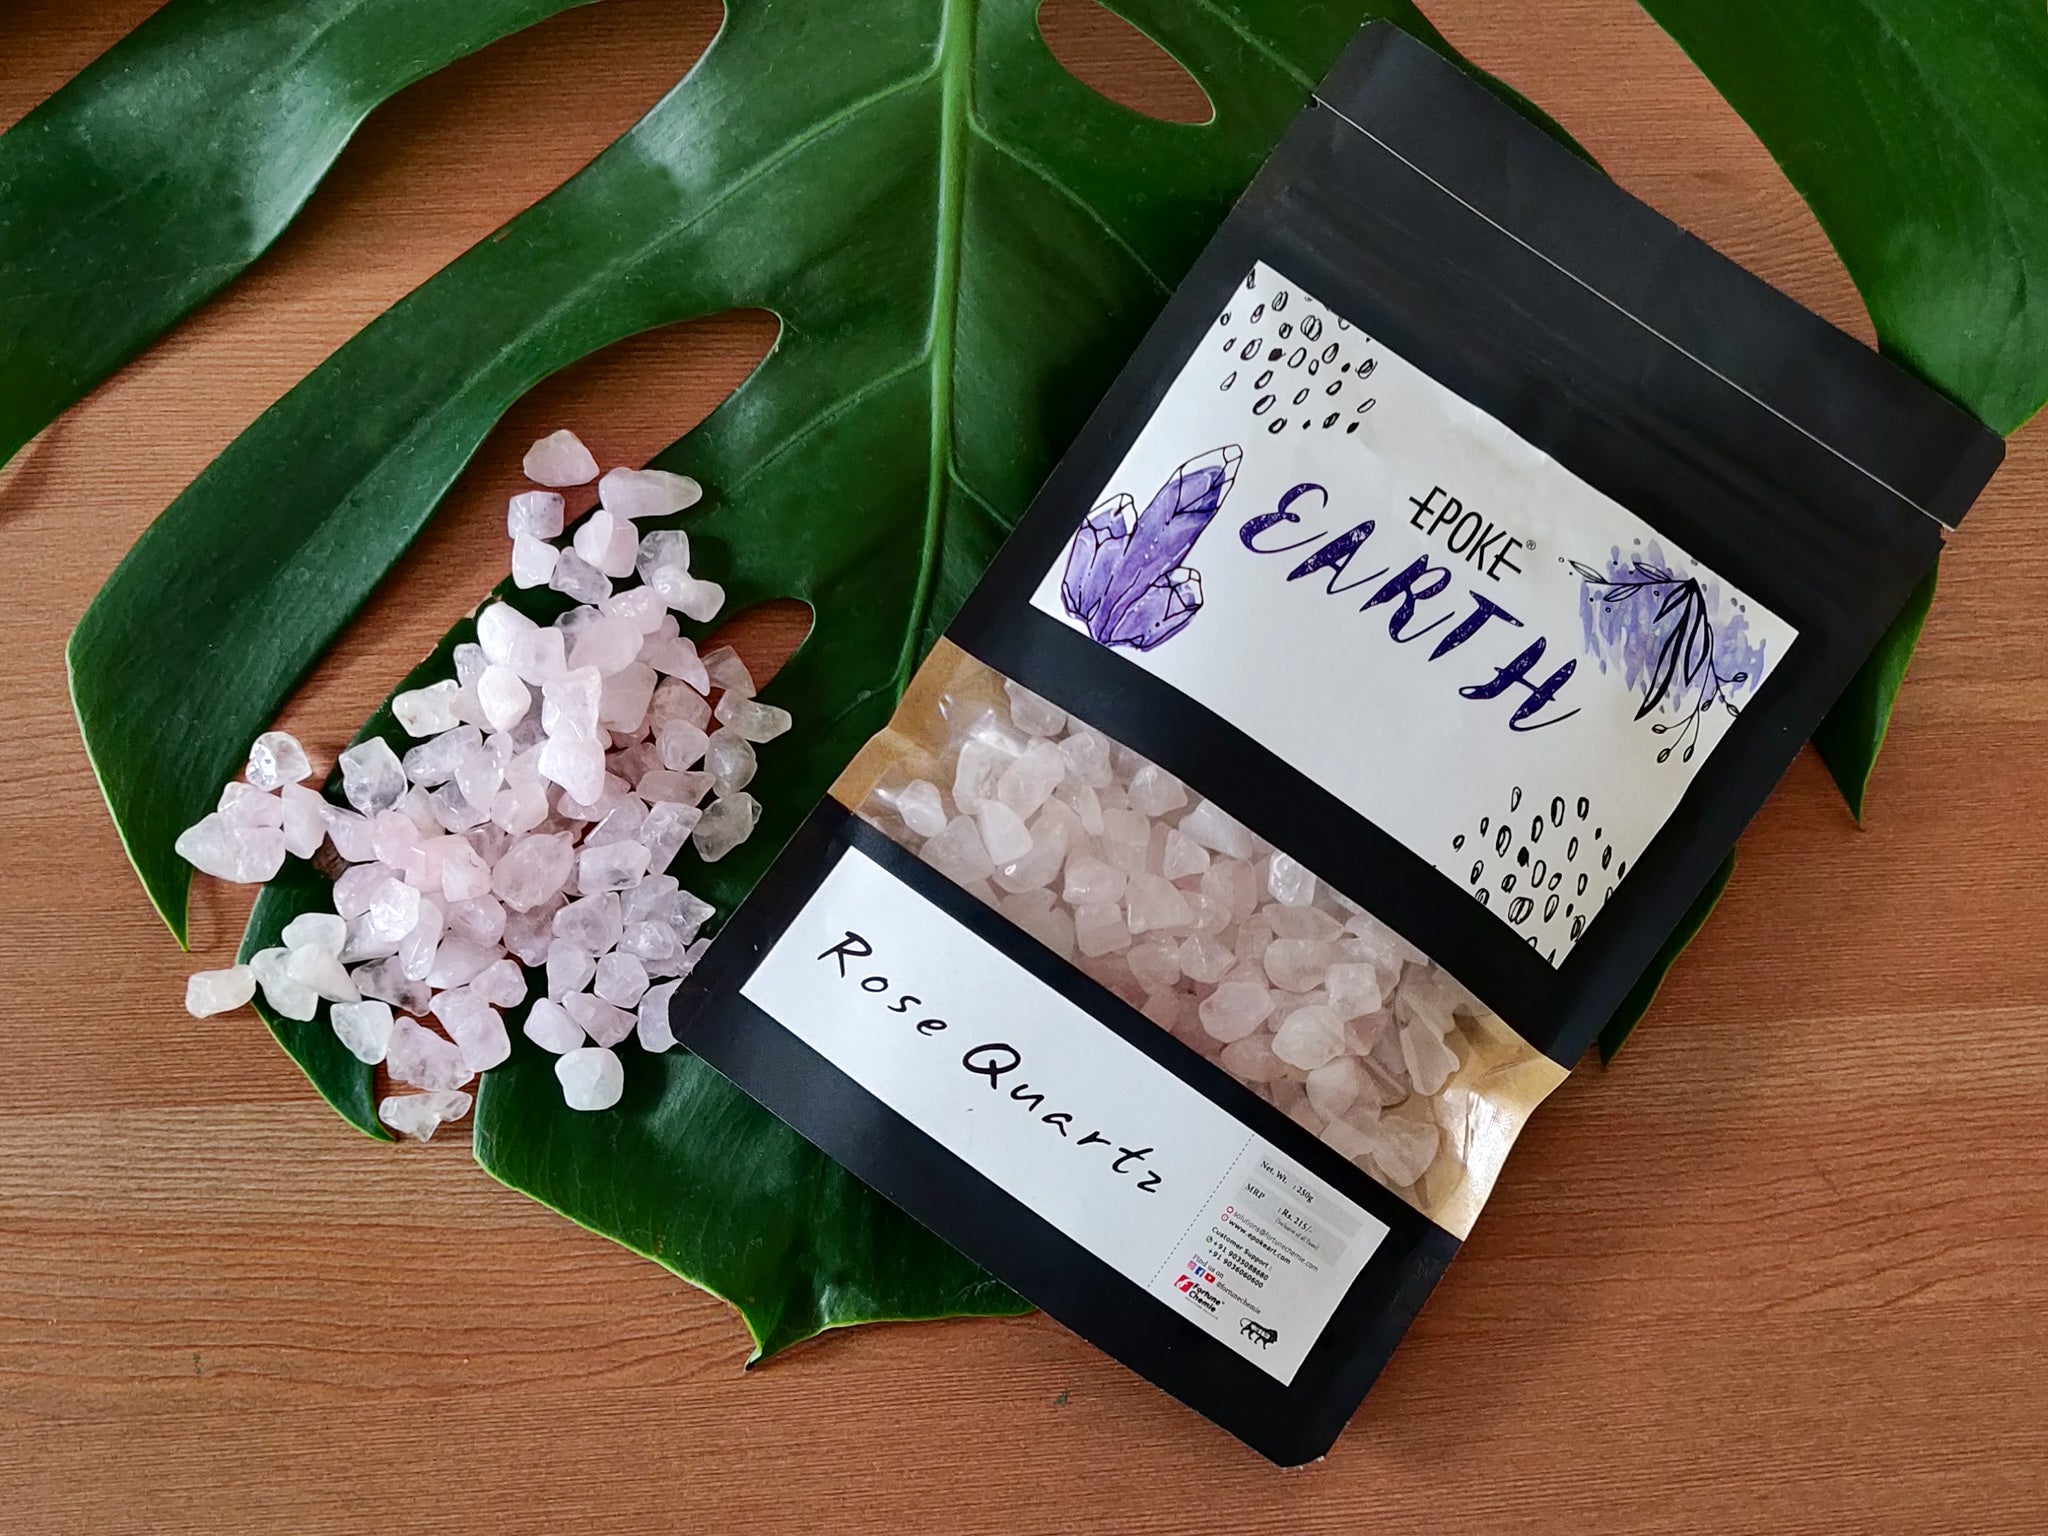











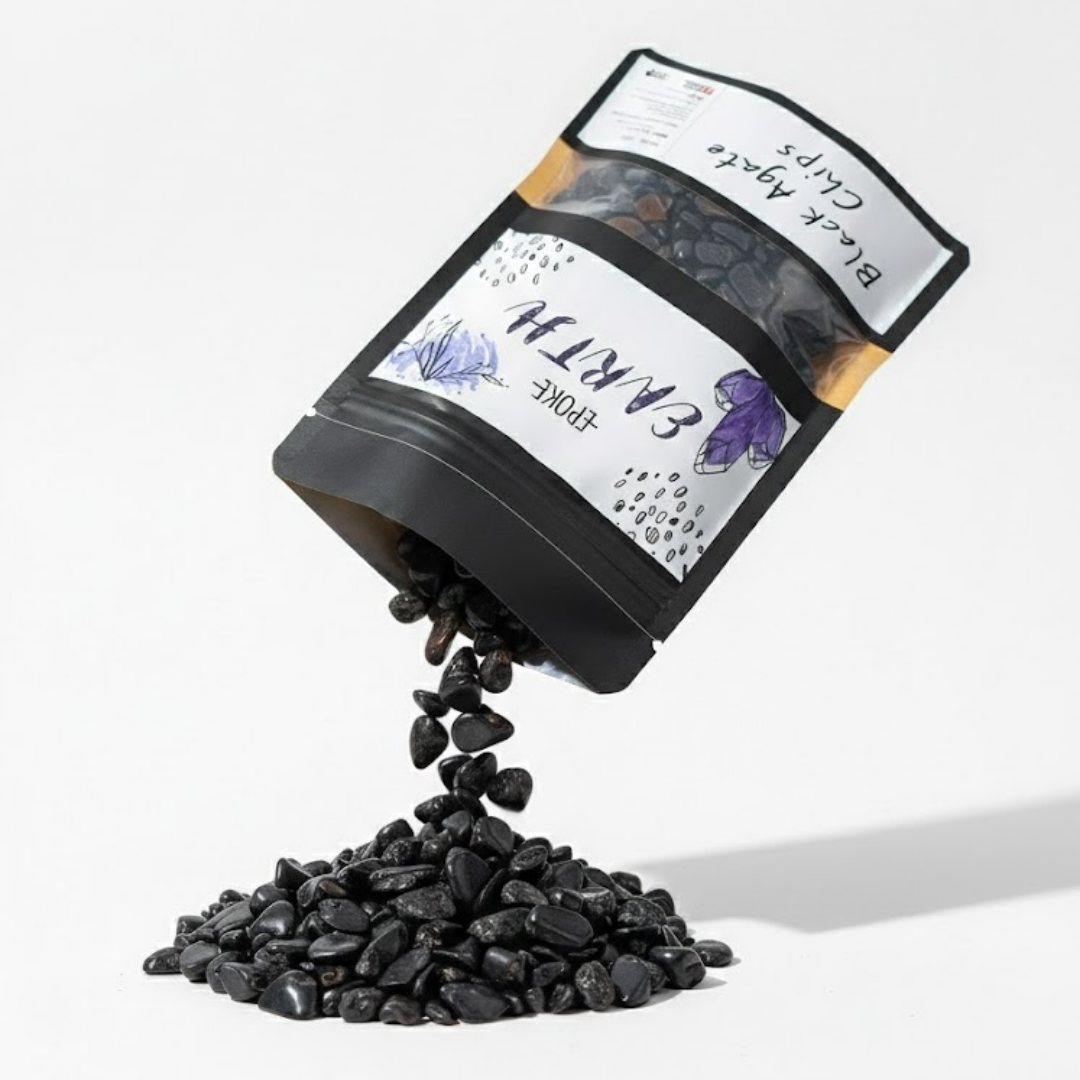
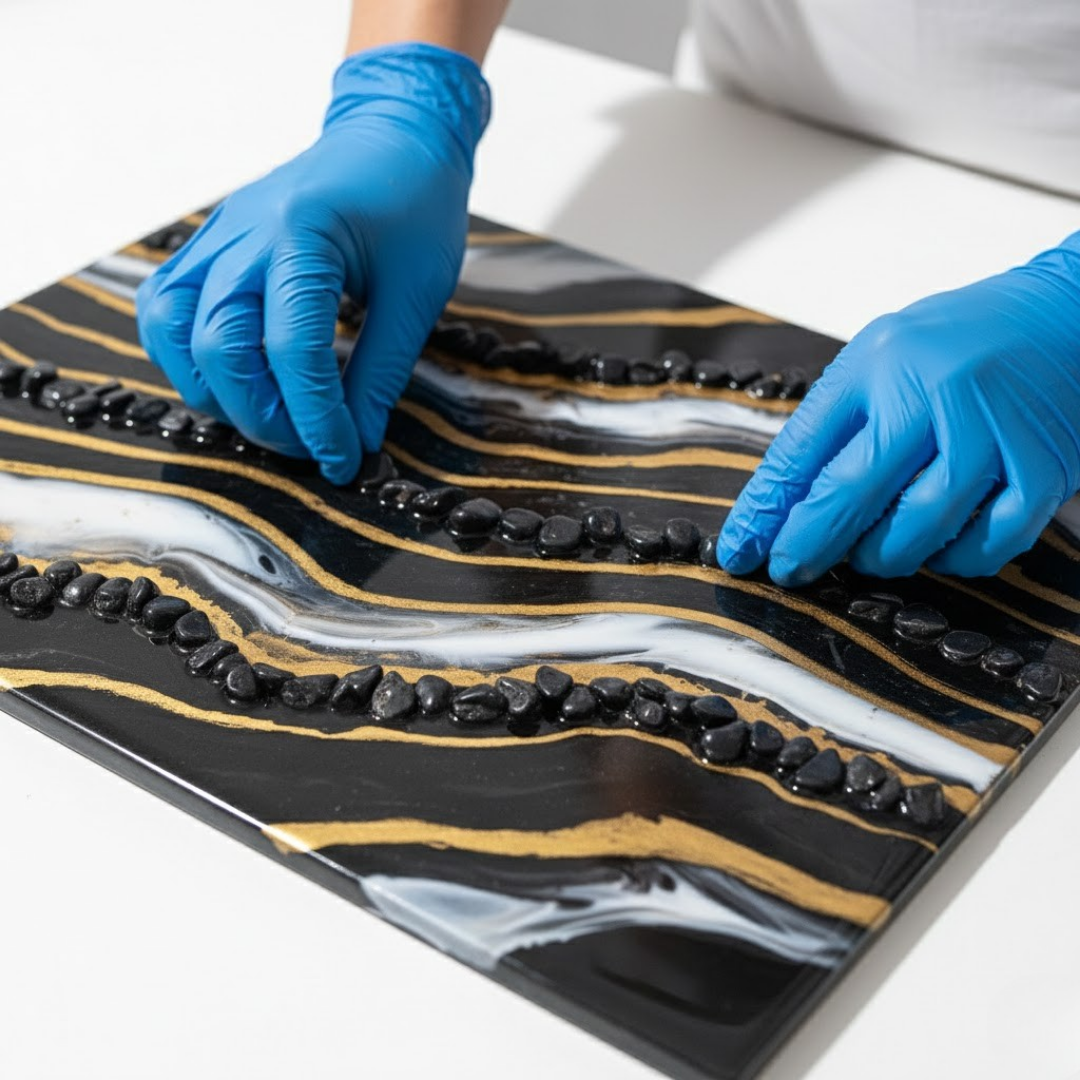

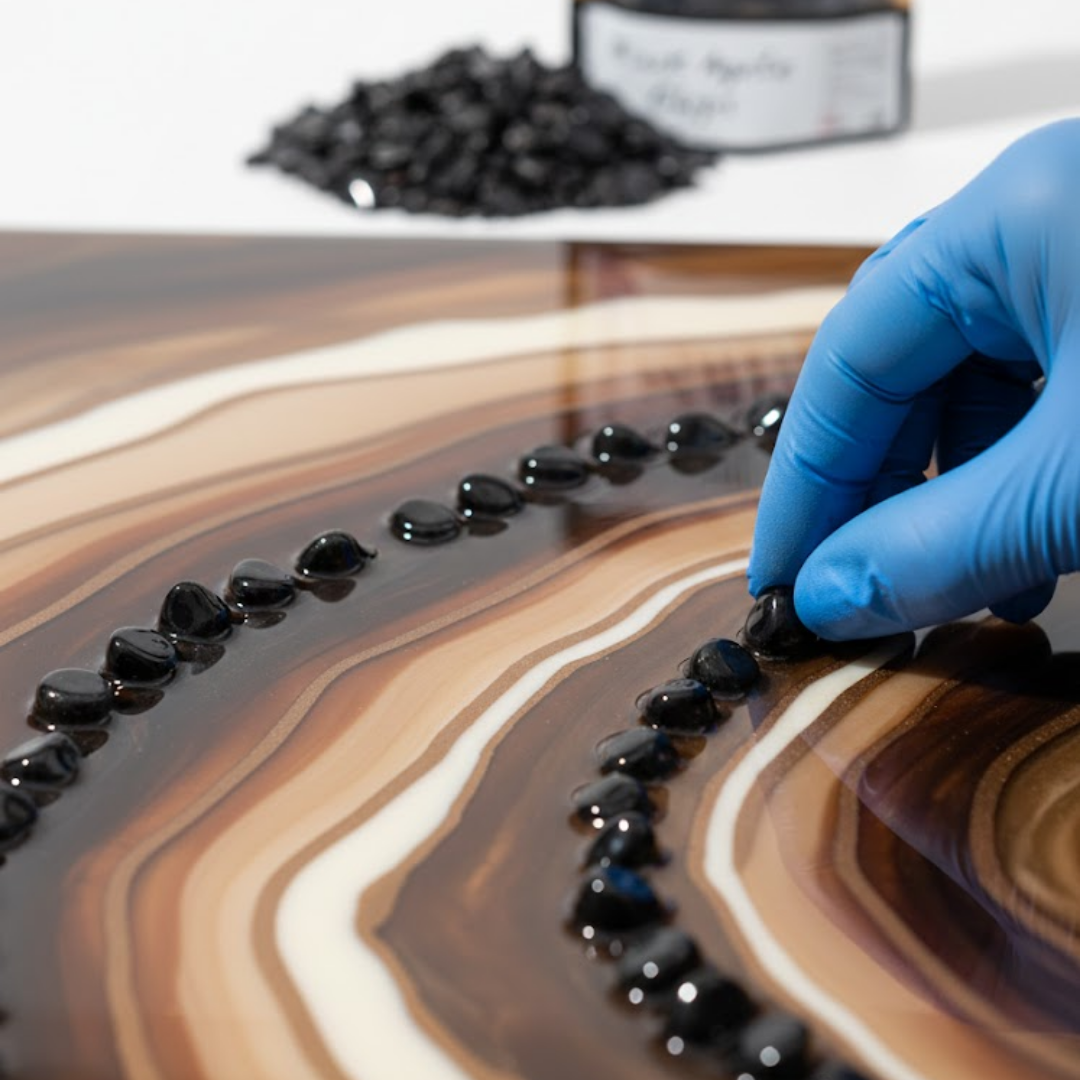











Chunky glitter changes the way resin art looks and feels. The larger particles catch light from different angles, so your finished piece has movement and depth that flat, fine glitter cannot give you. If you want your resin work to stand out, chunky glitter is one of the easiest ways to get there.
This guide covers what chunky glitter is, why it works so well in resin, and how to use it correctly from start to finish.
Key Takeaways
-
Chunky glitter adds texture and light movement that fine glitter cannot match.
-
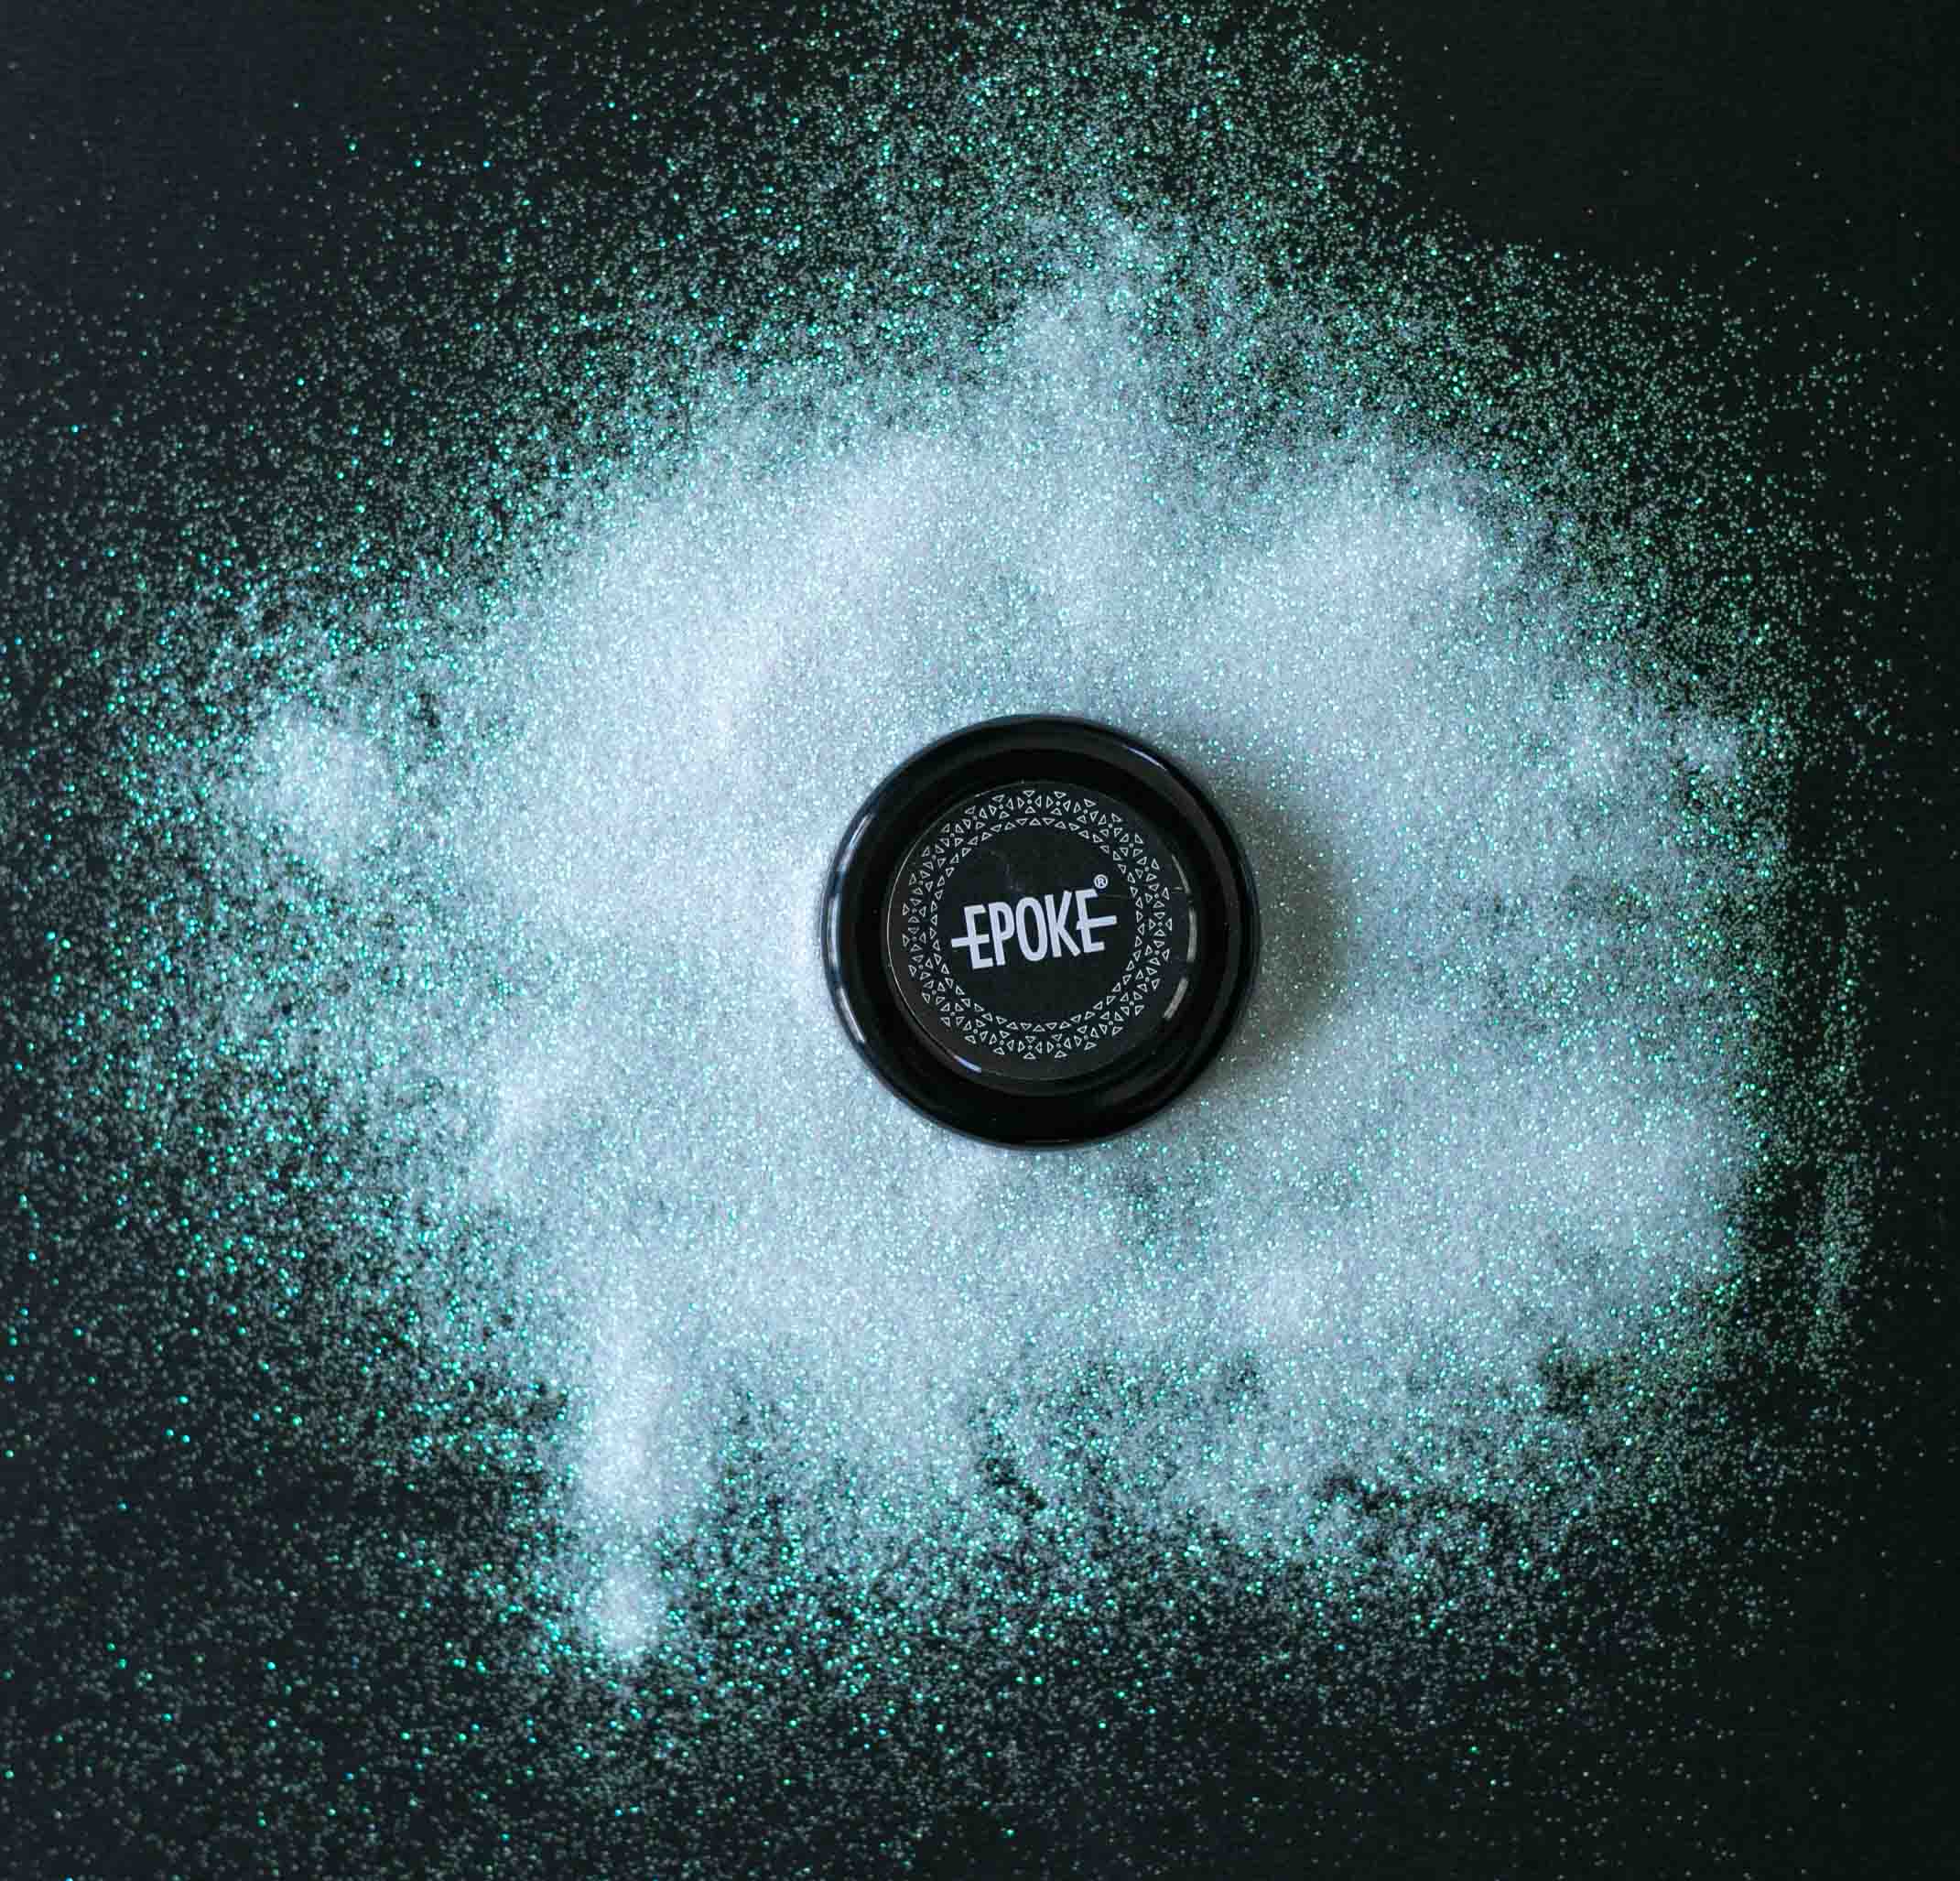
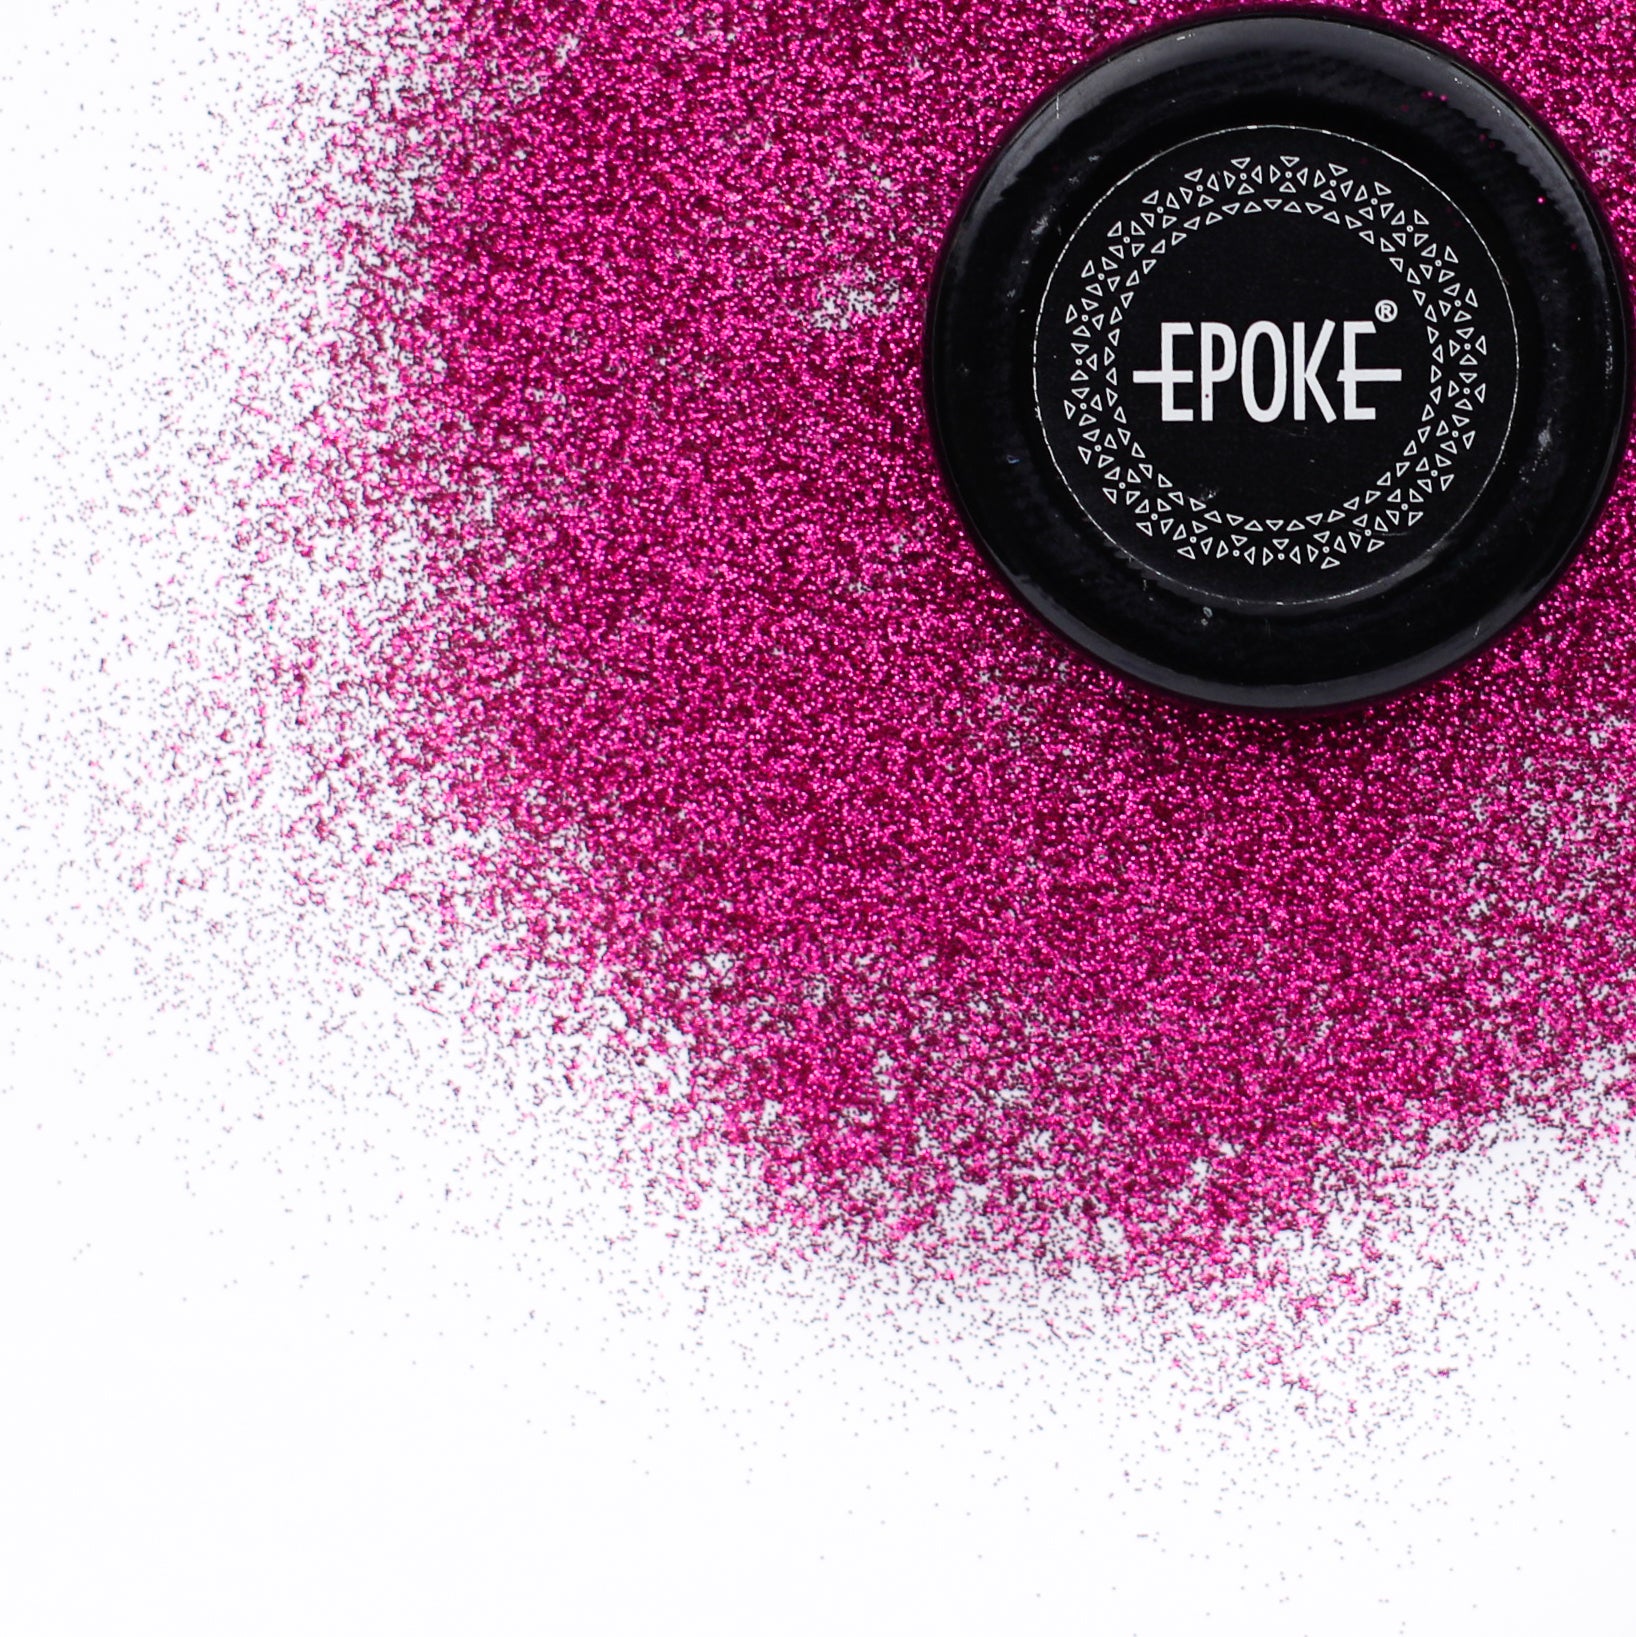
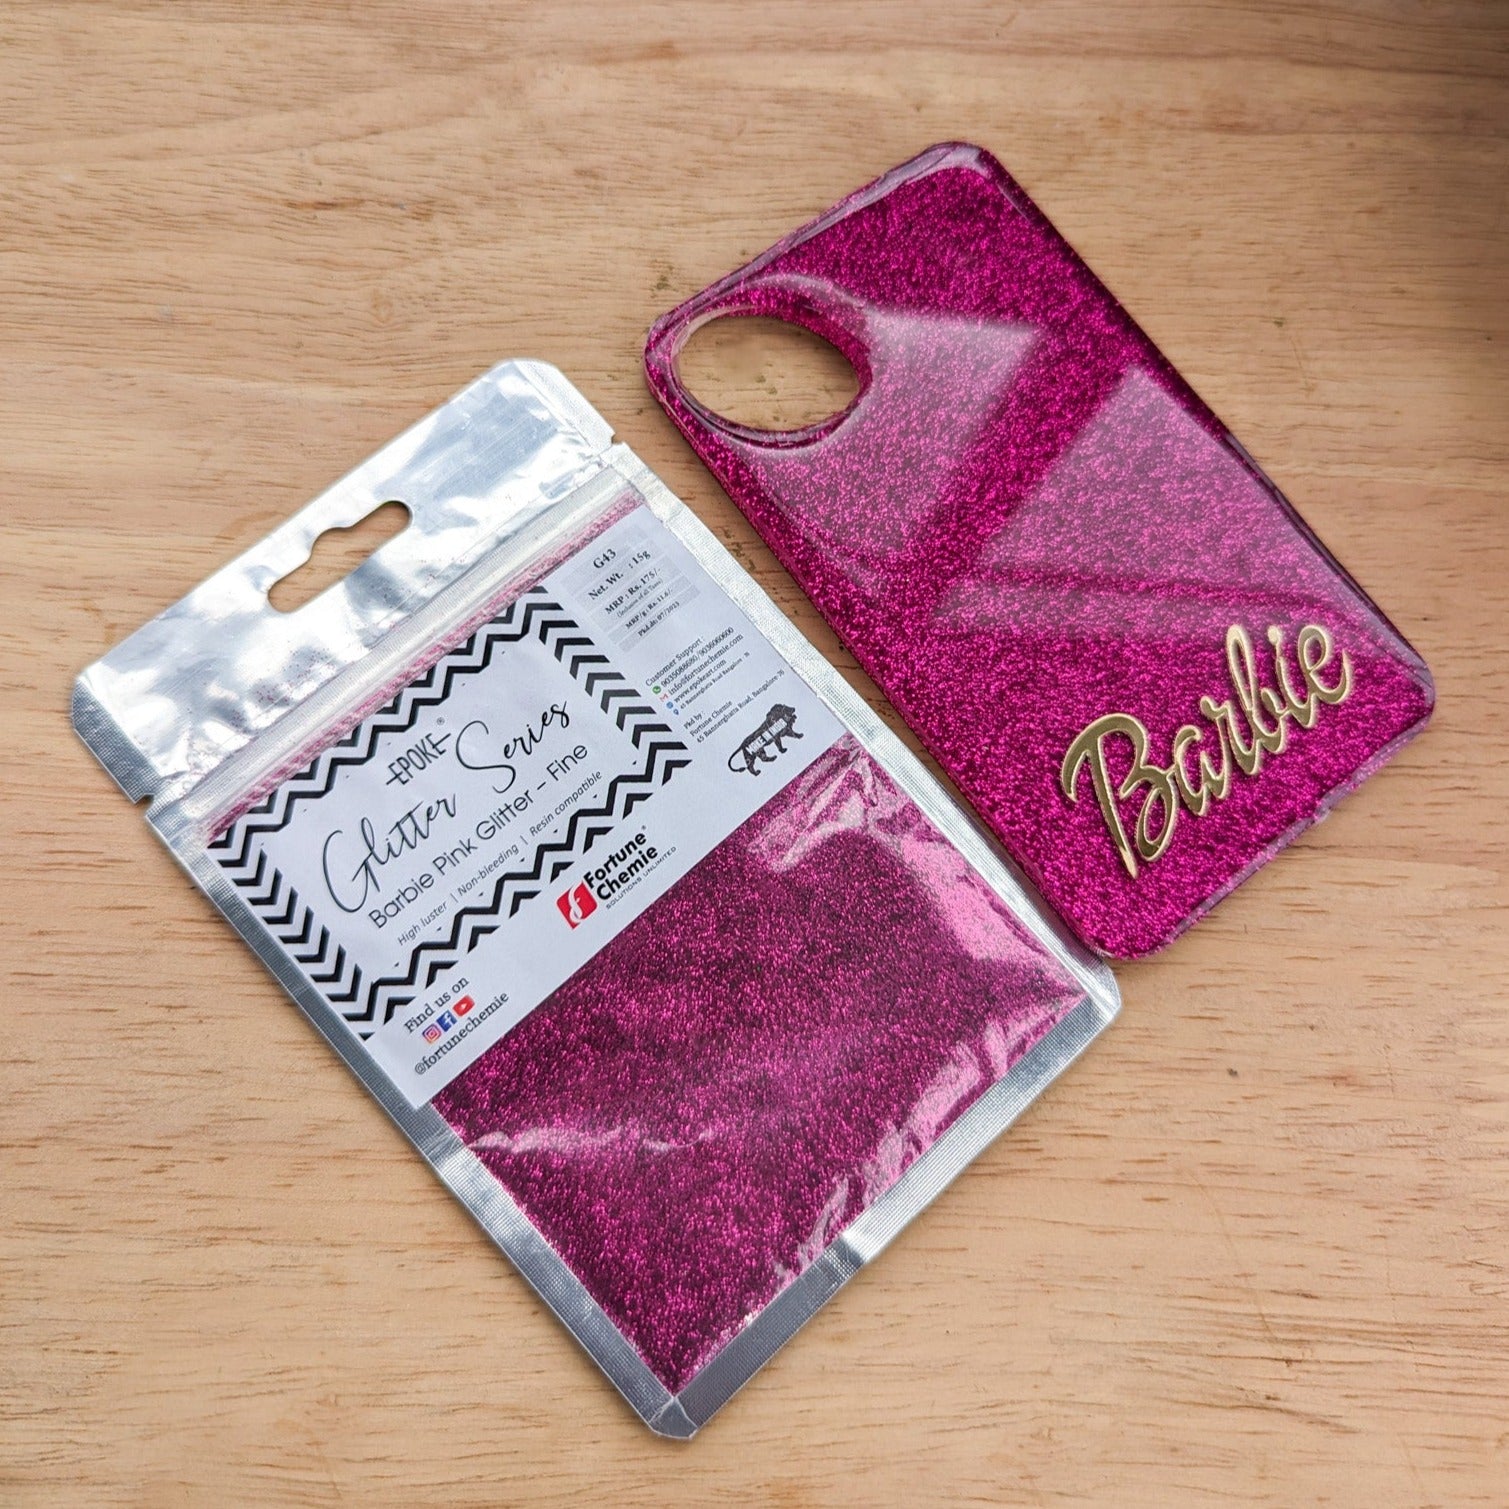
EPOKE chunky glitter is high luster, non-bleeding, and resin compatible.
-
Glitter can be mixed into resin or layered on top for different effects.
-
This glitter is sold by weight, so you control exactly how much you buy.
-
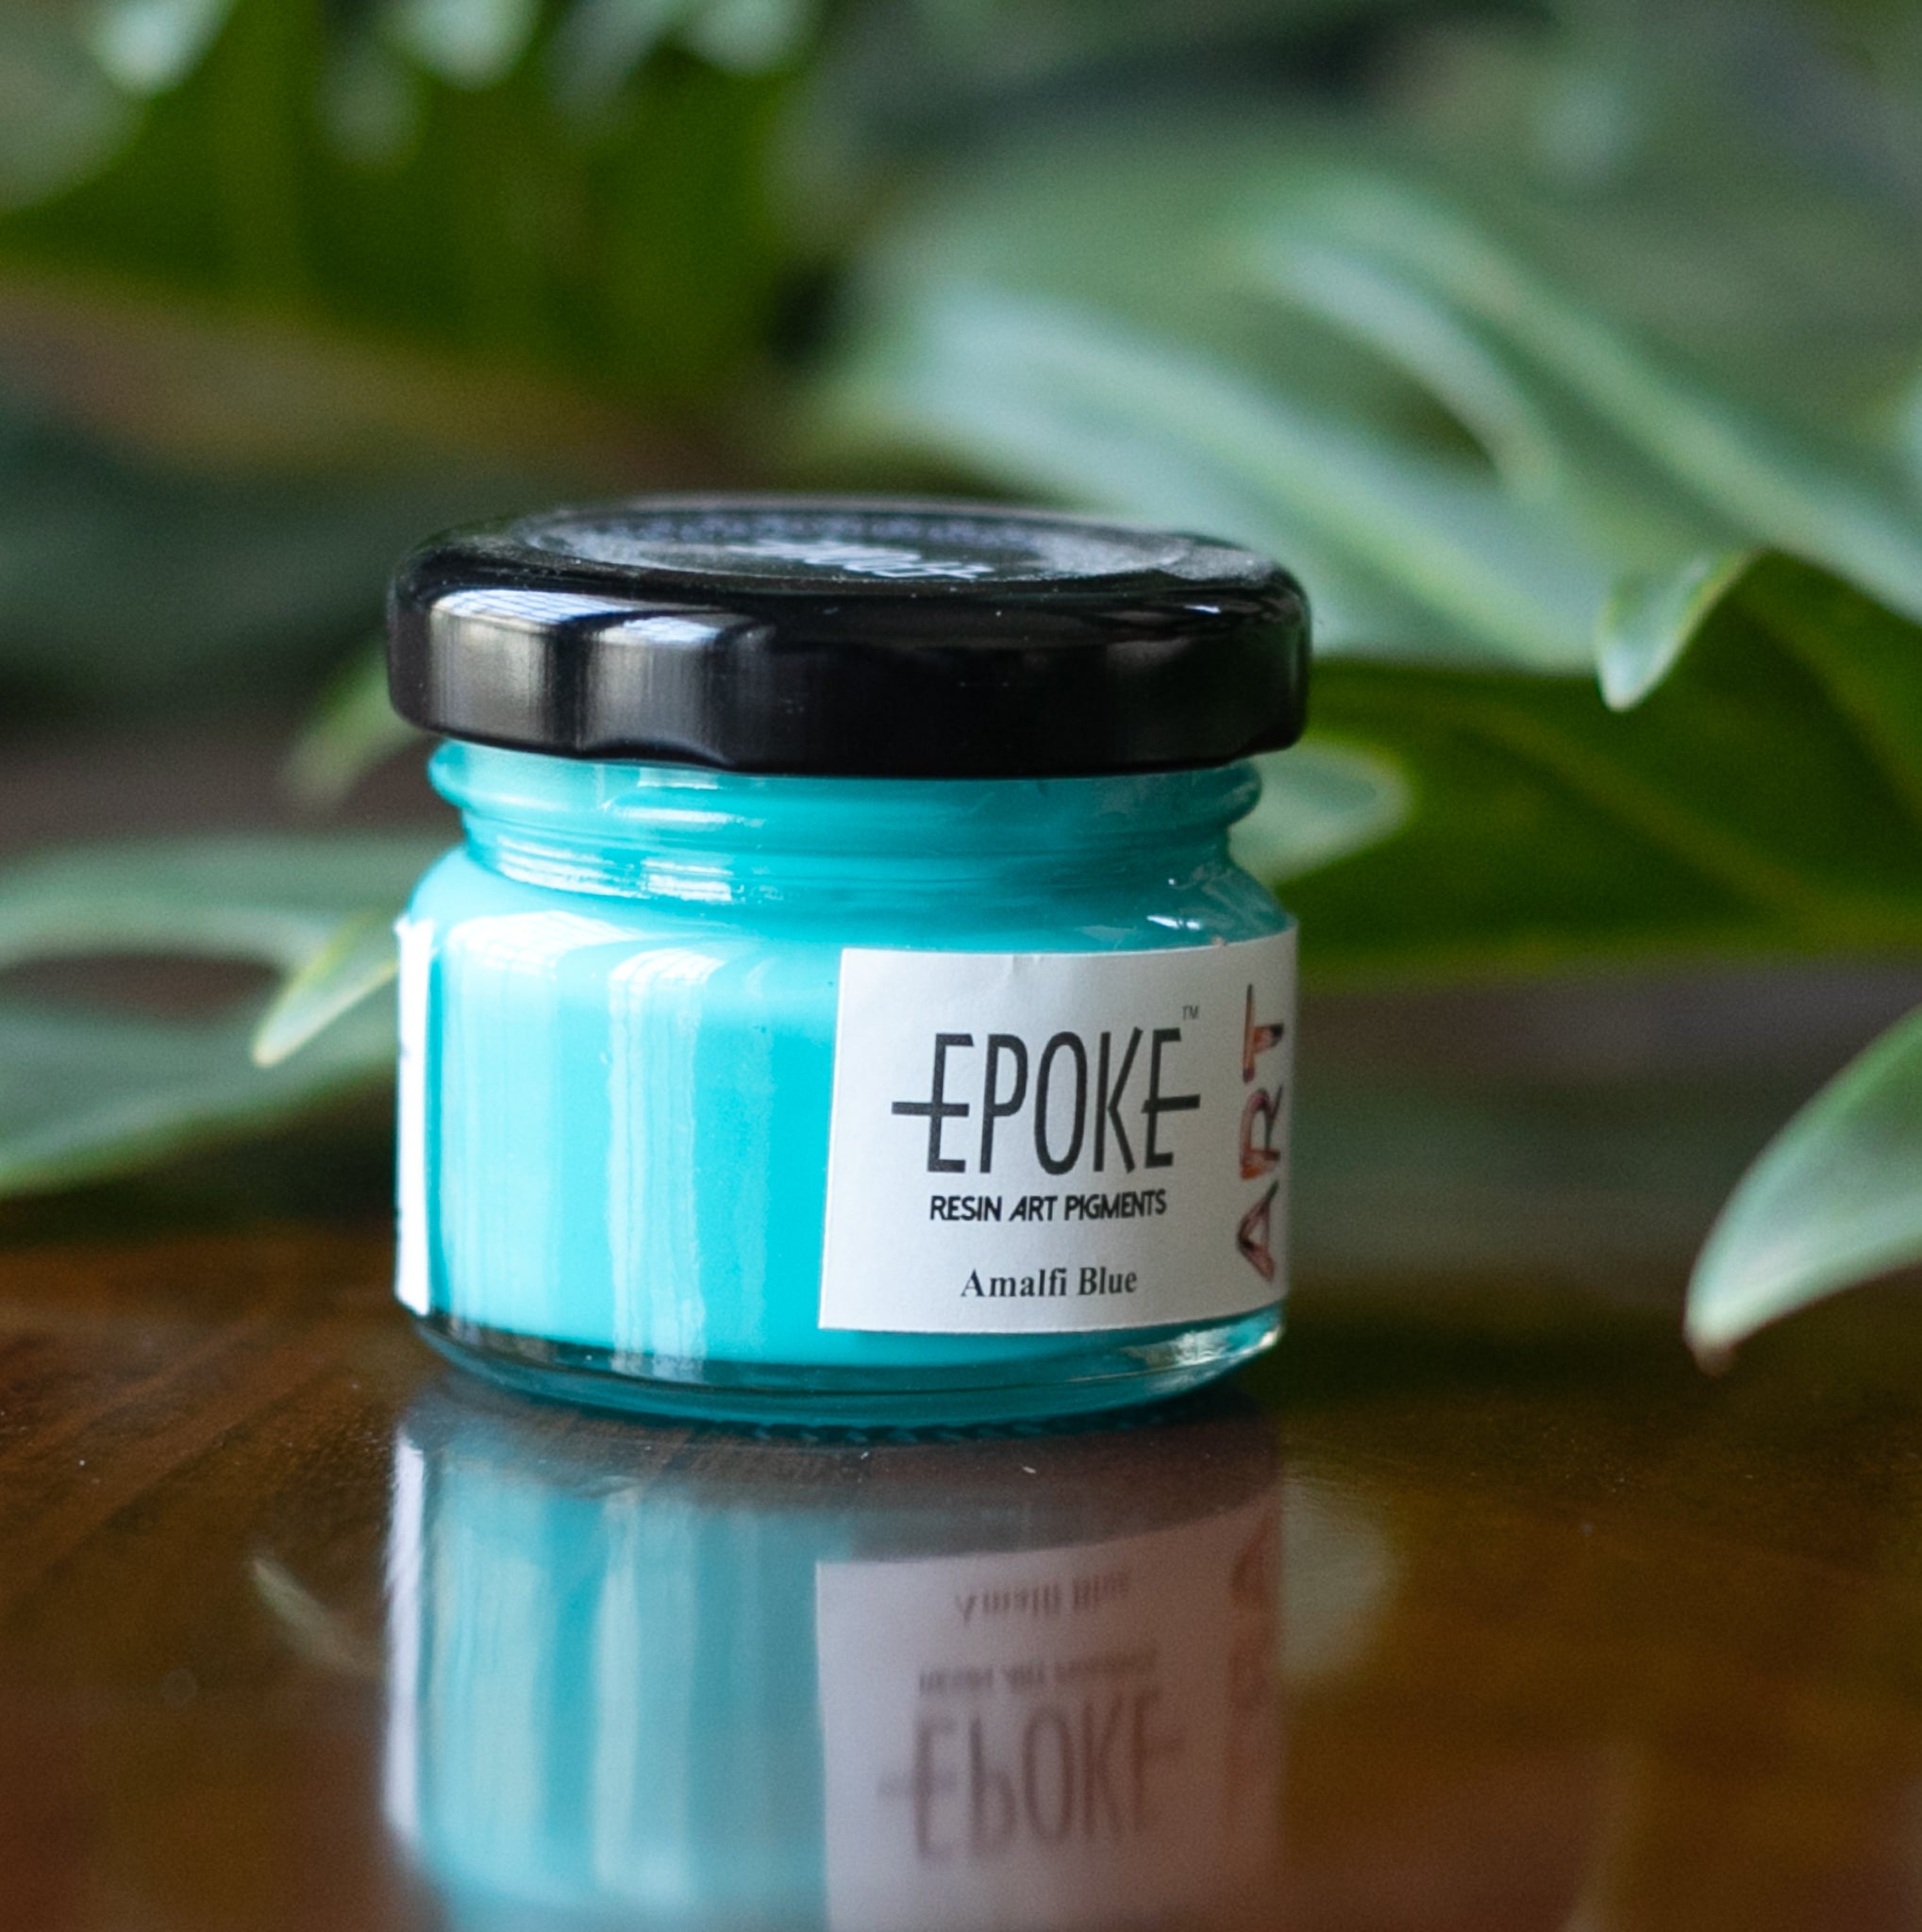
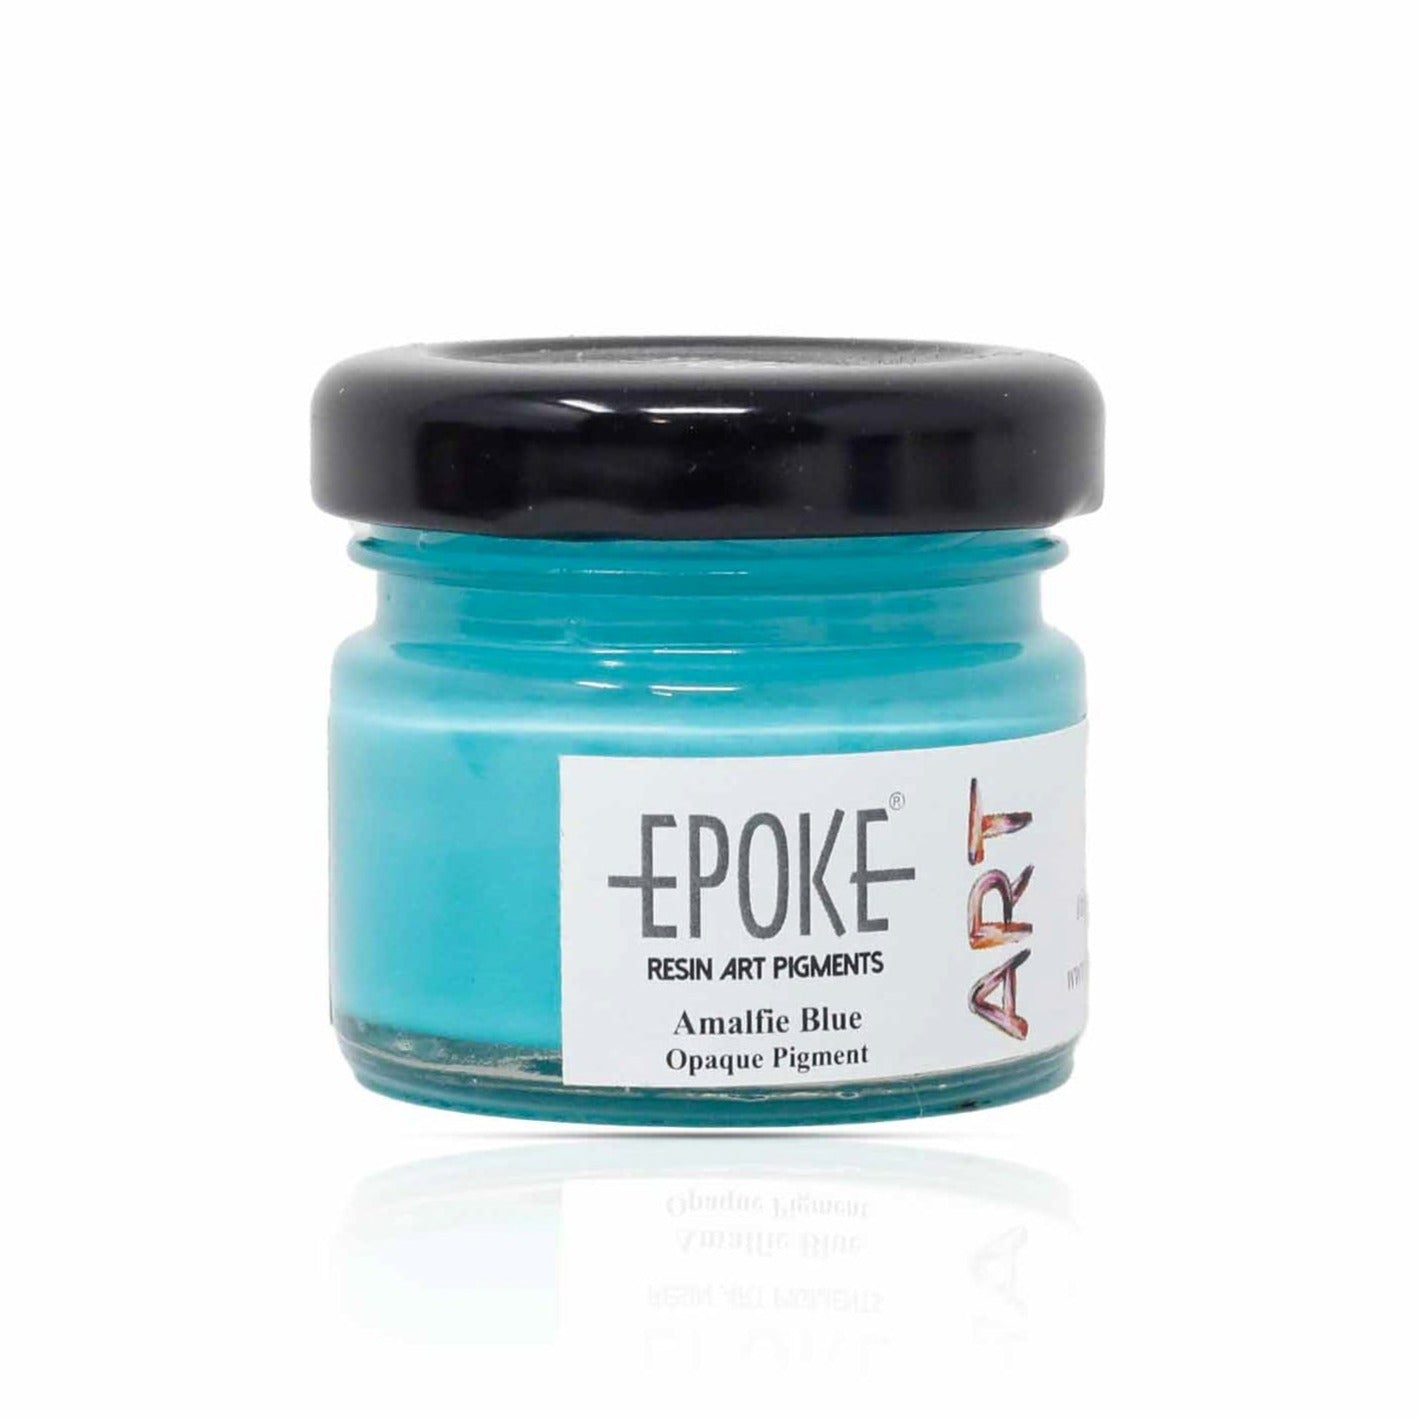
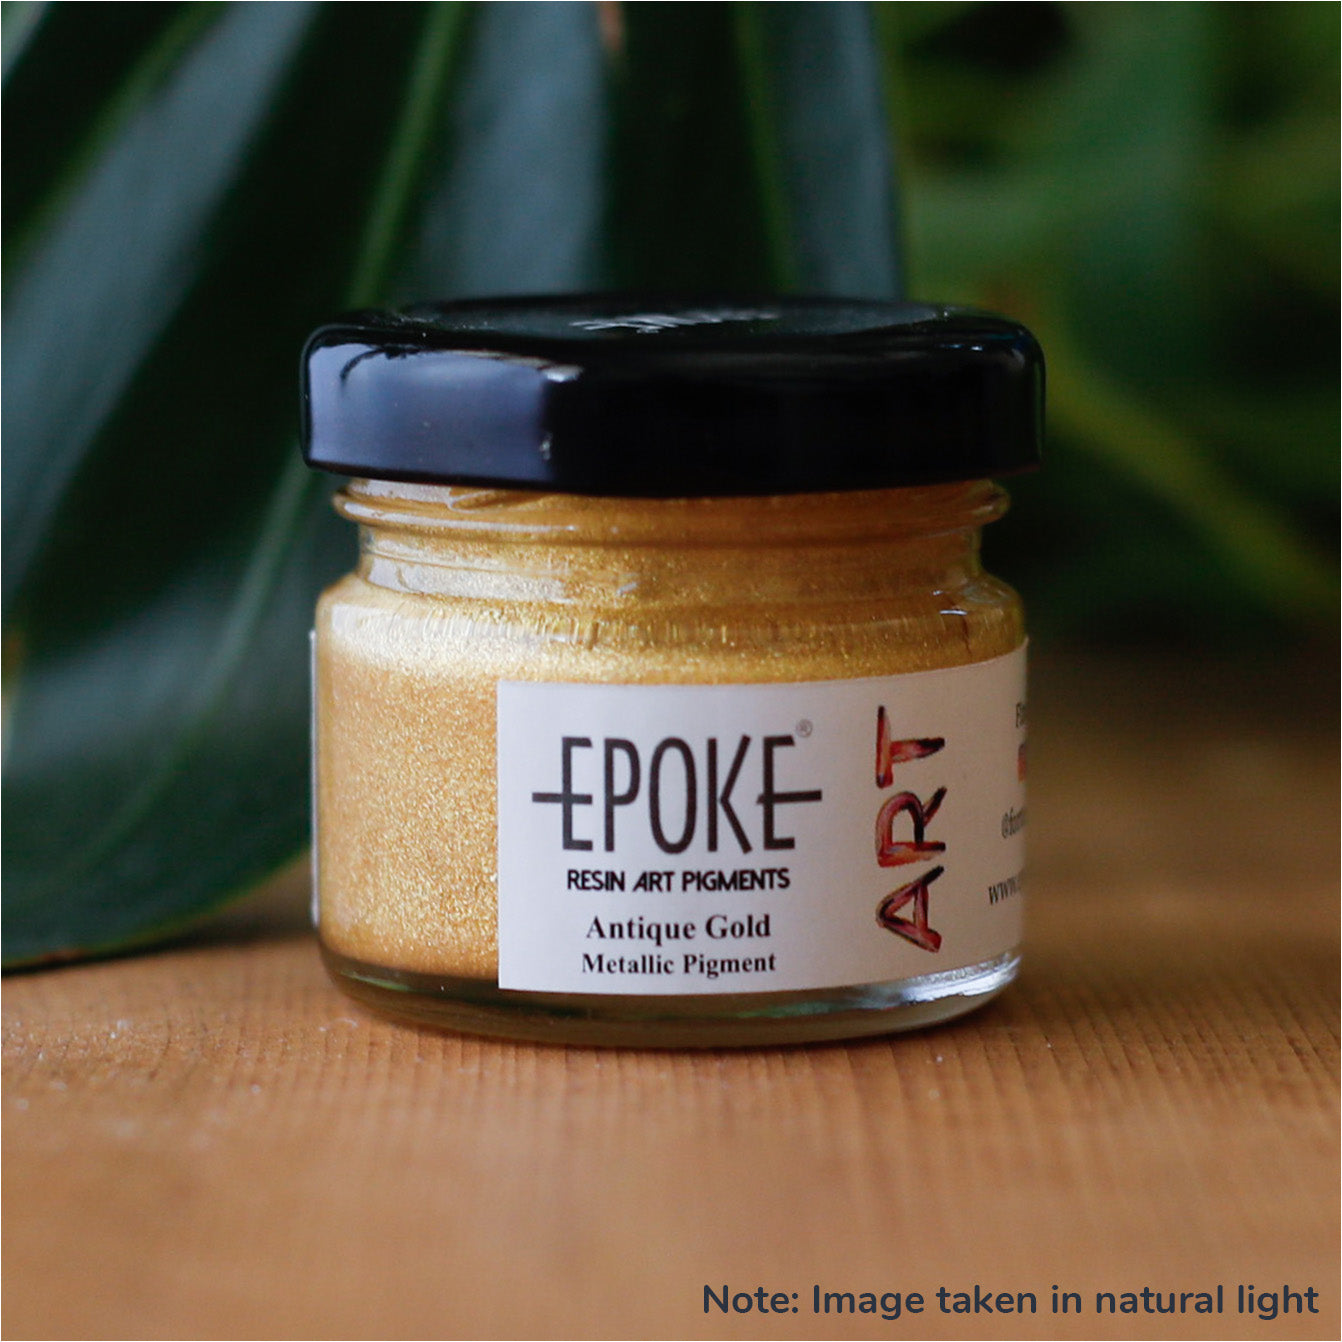
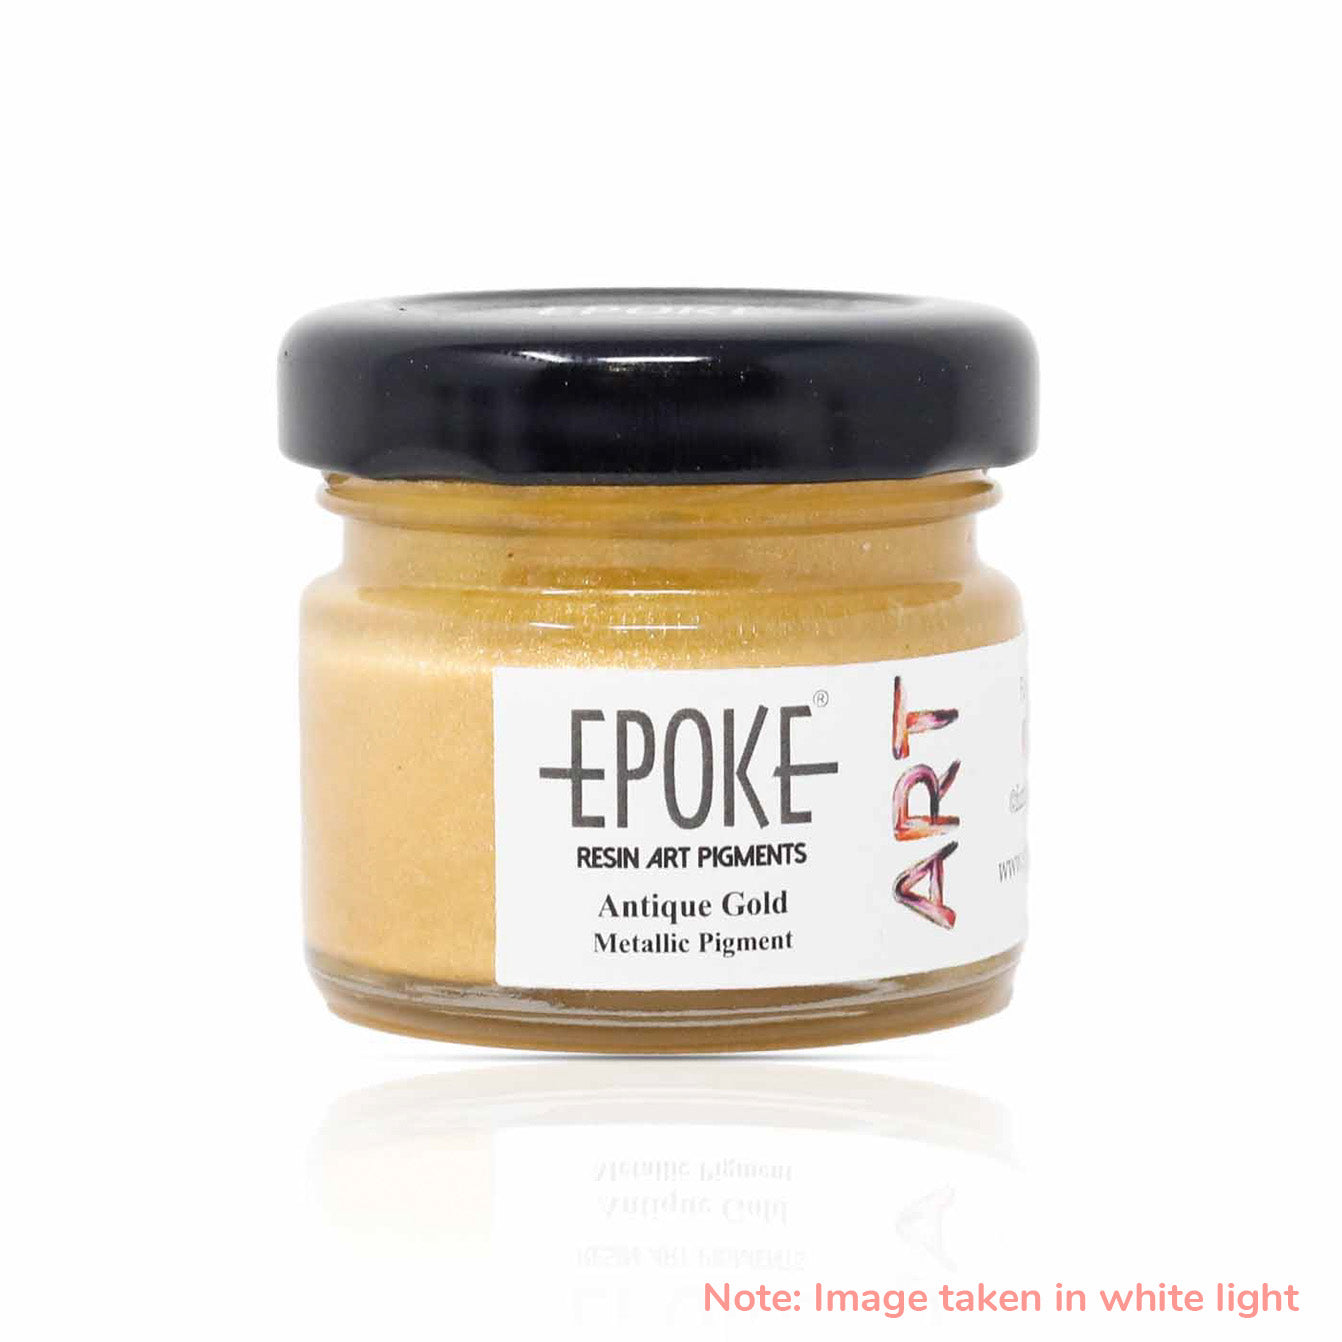
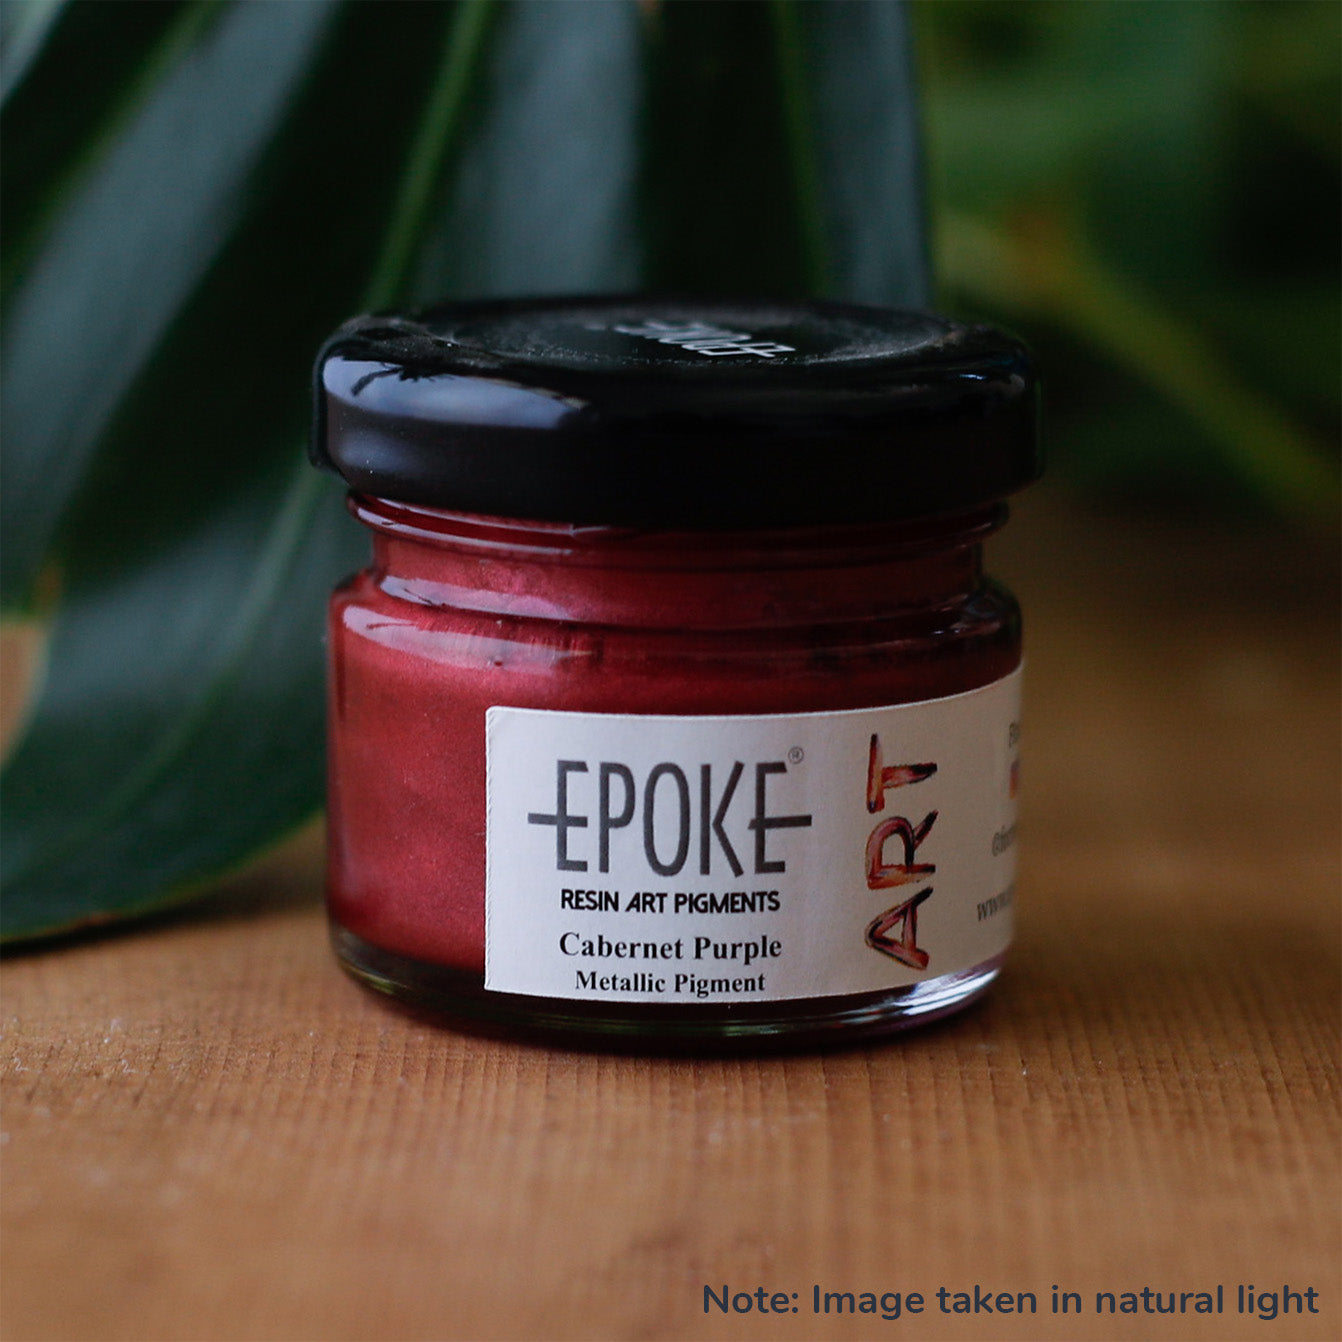
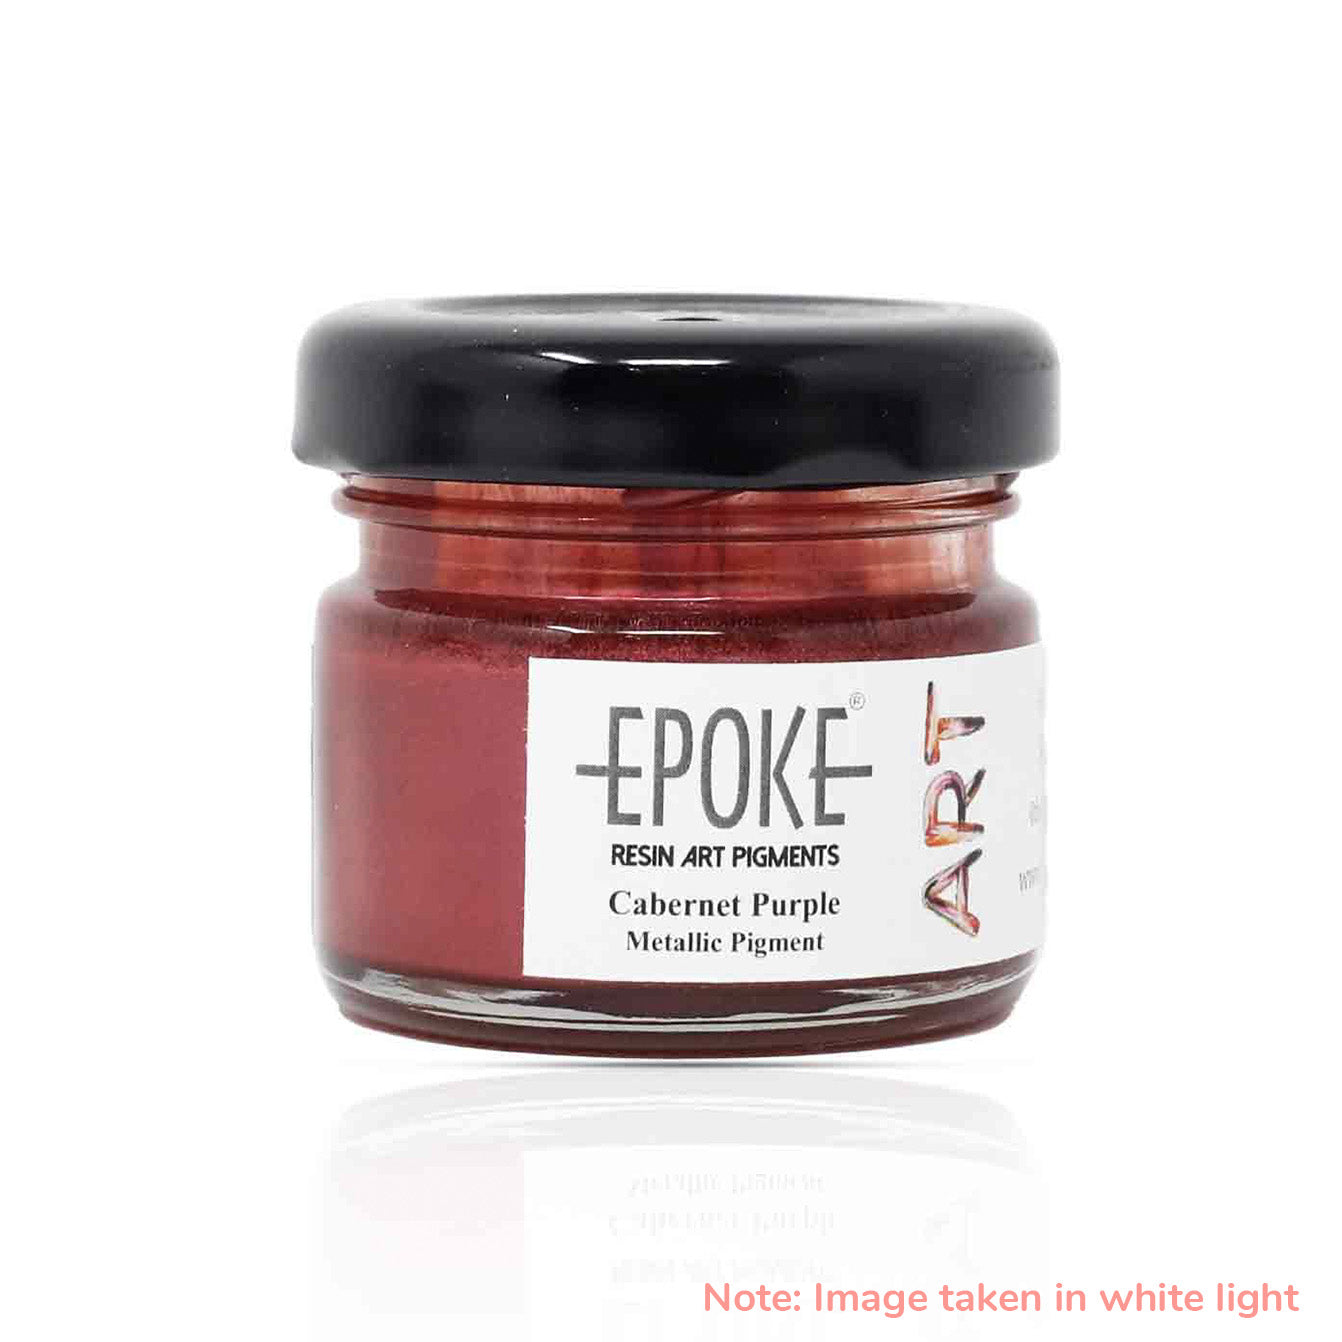
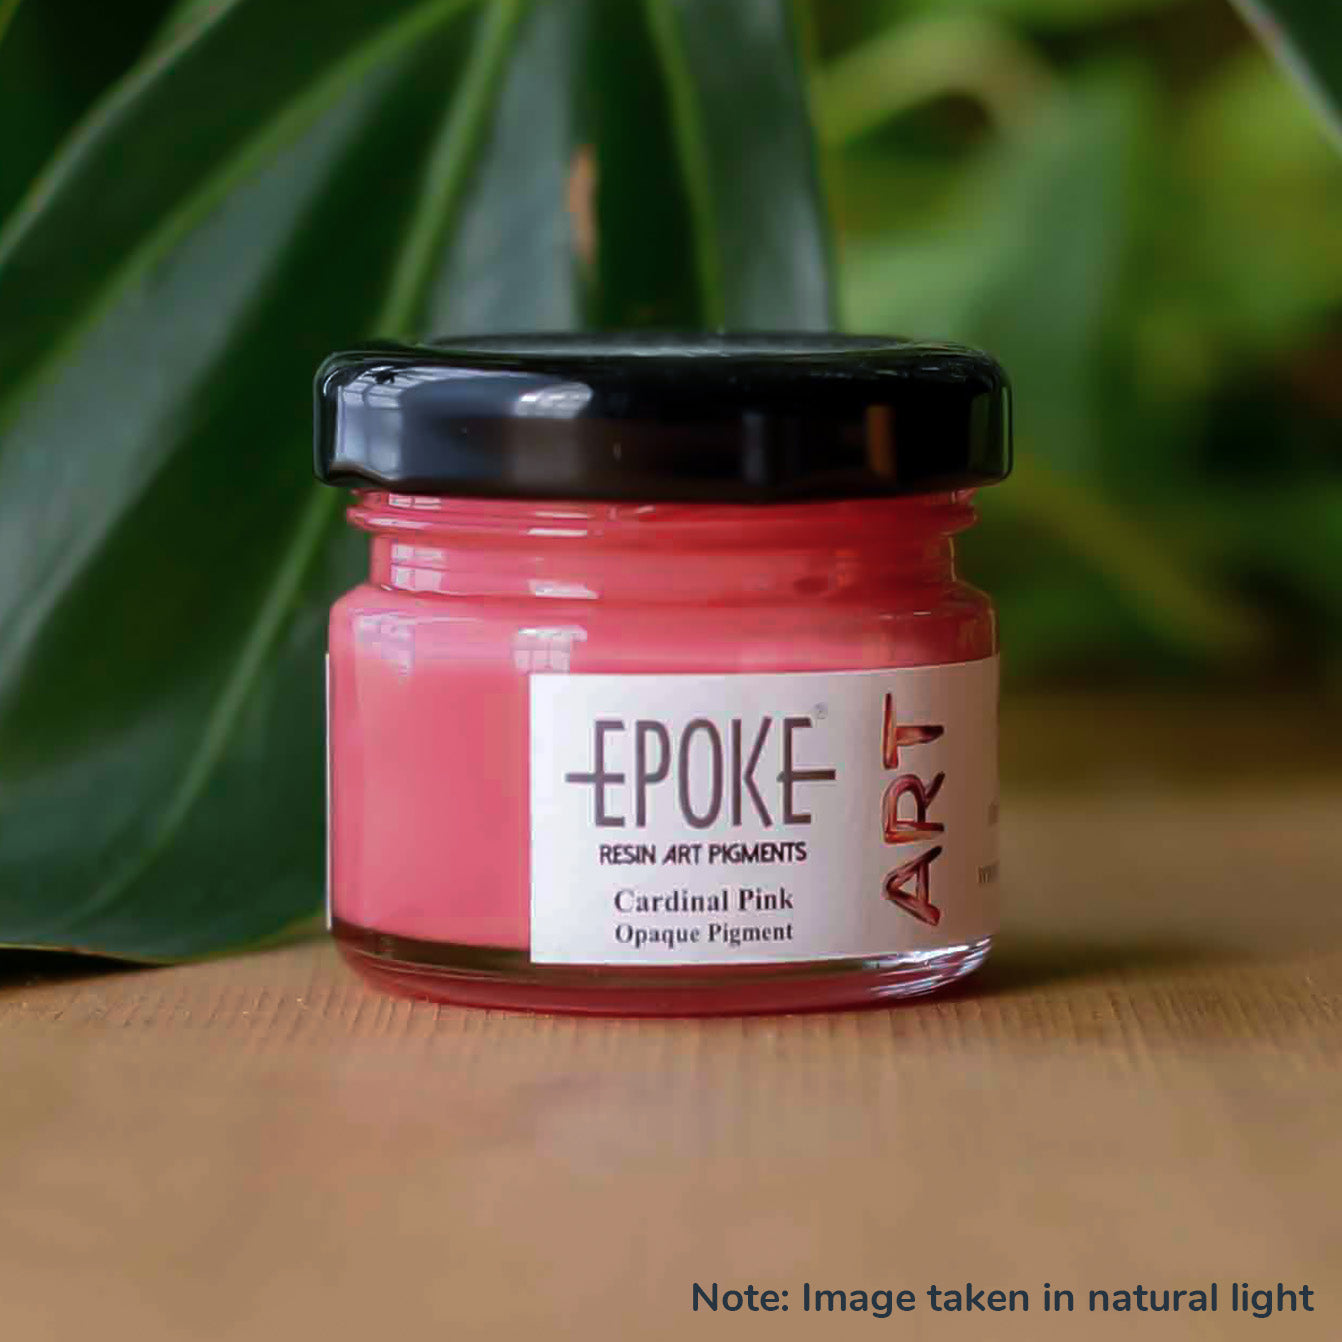
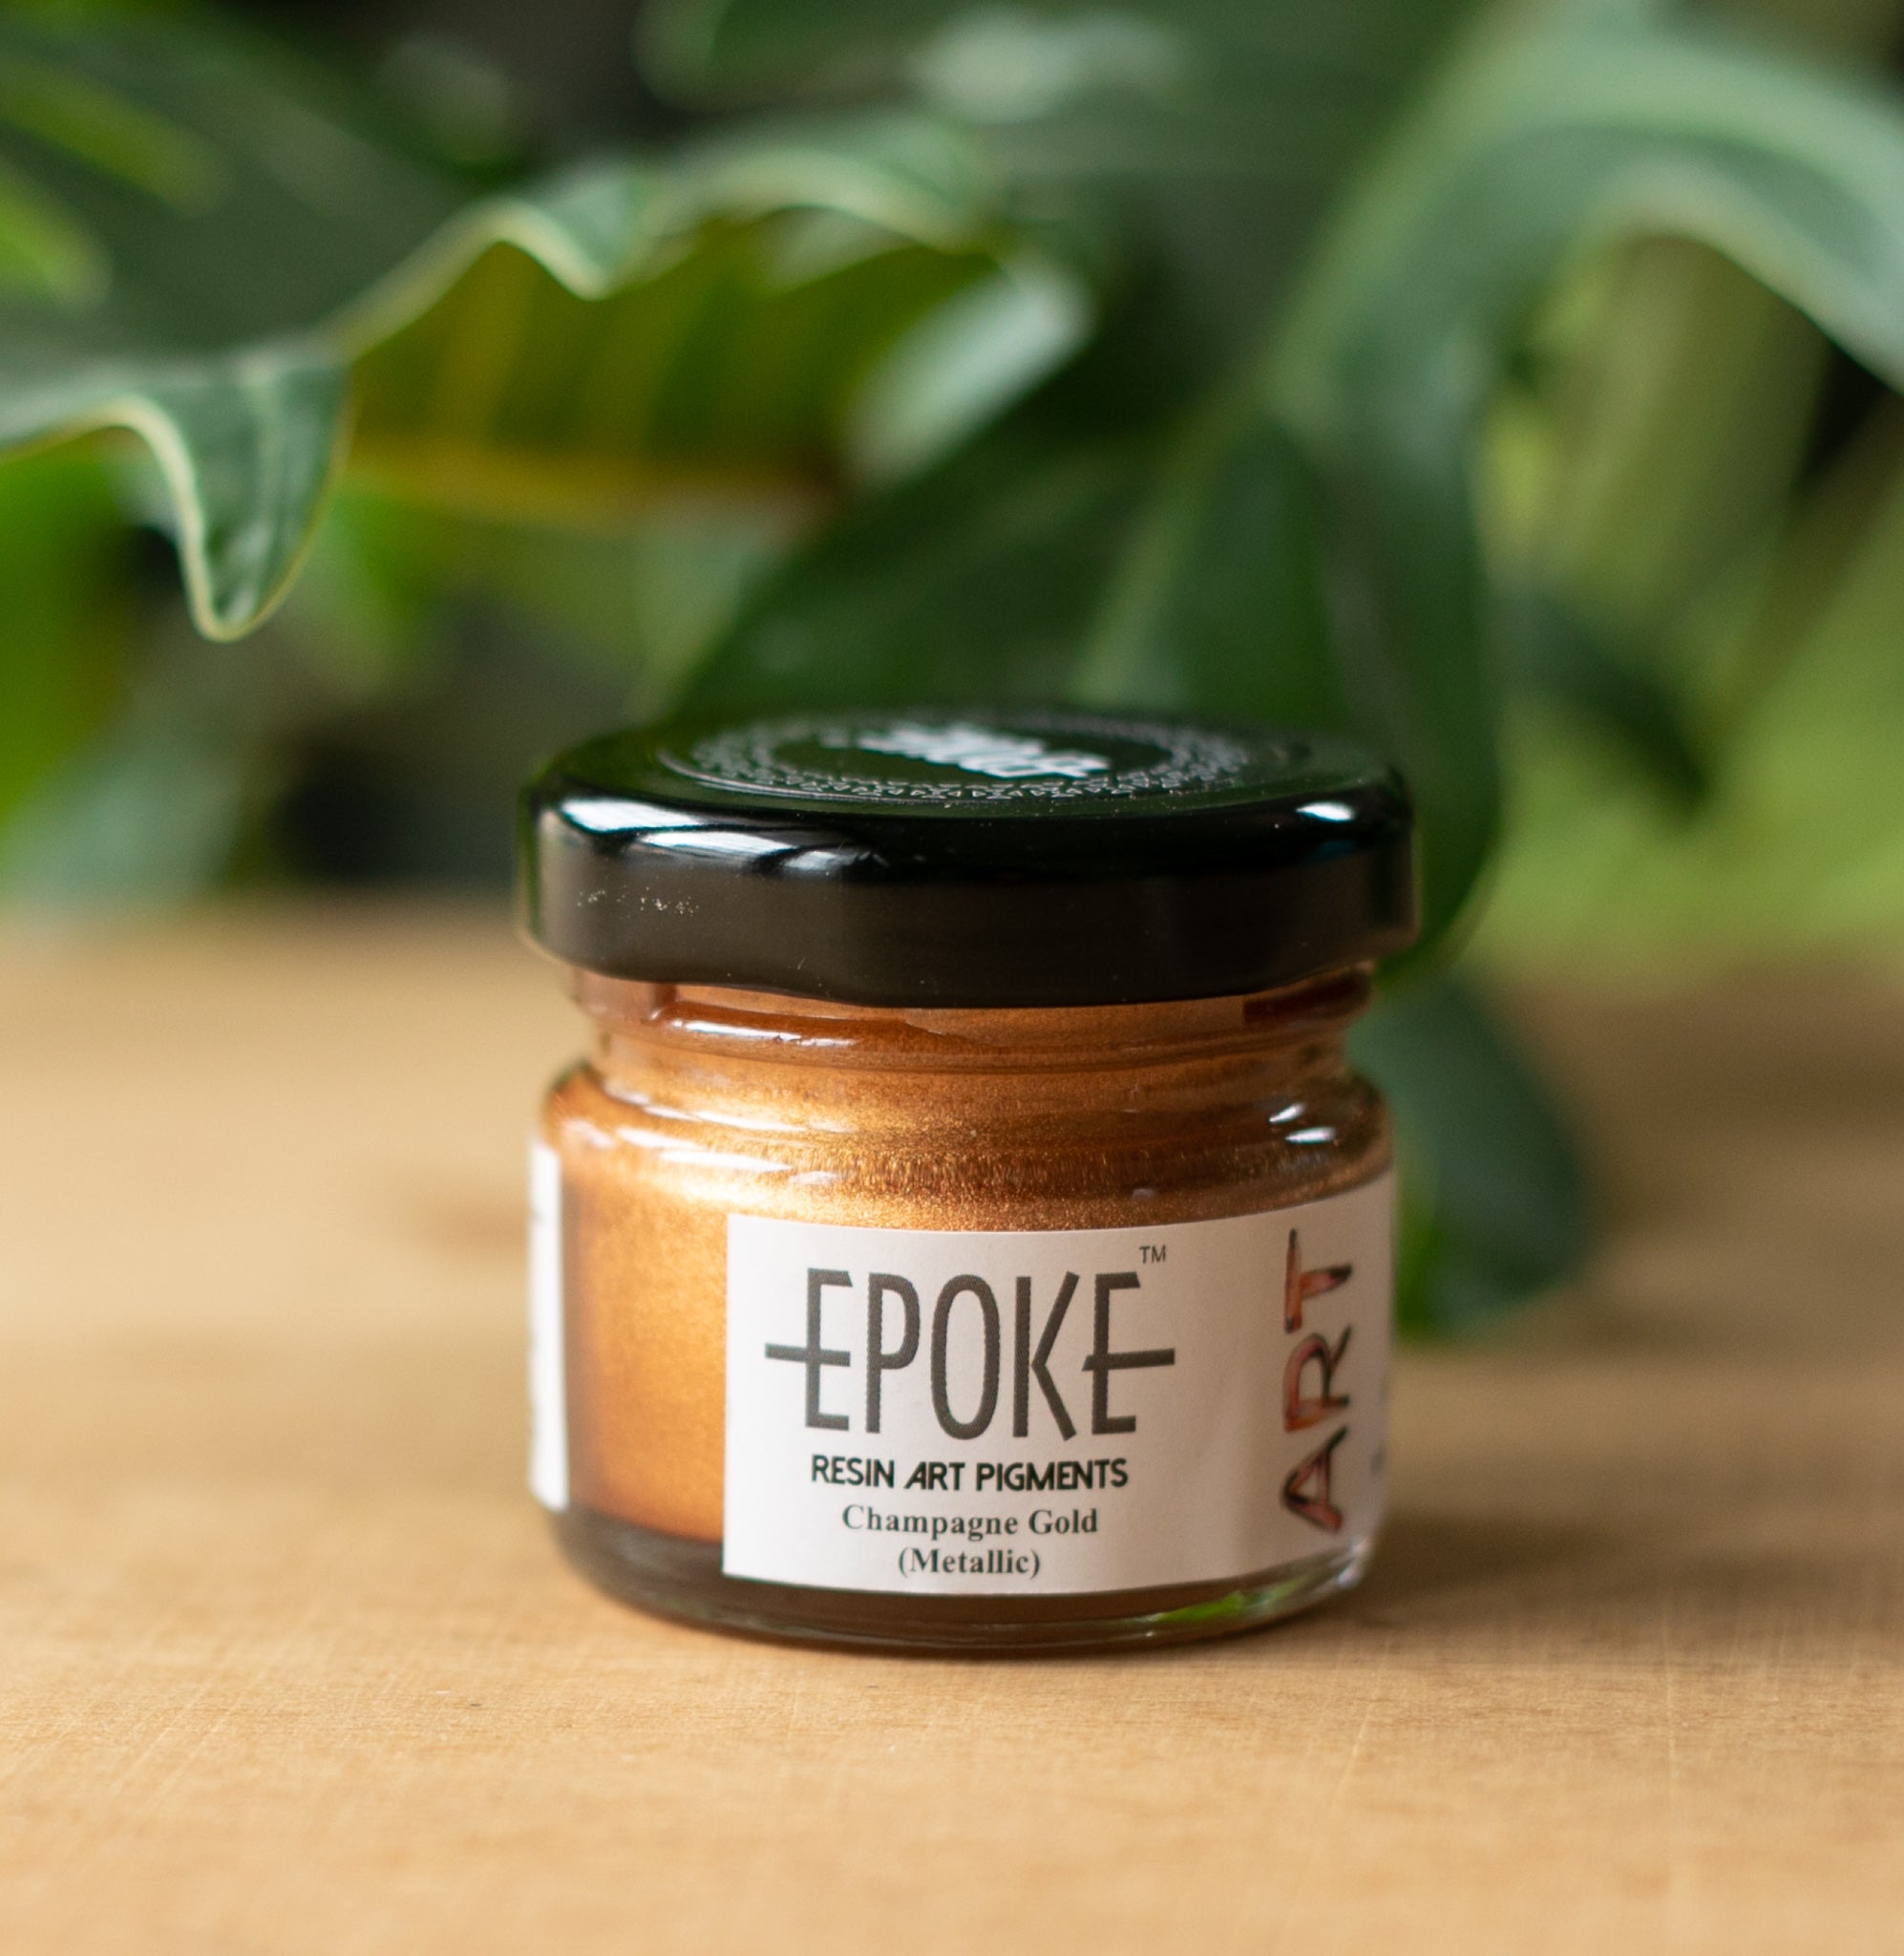
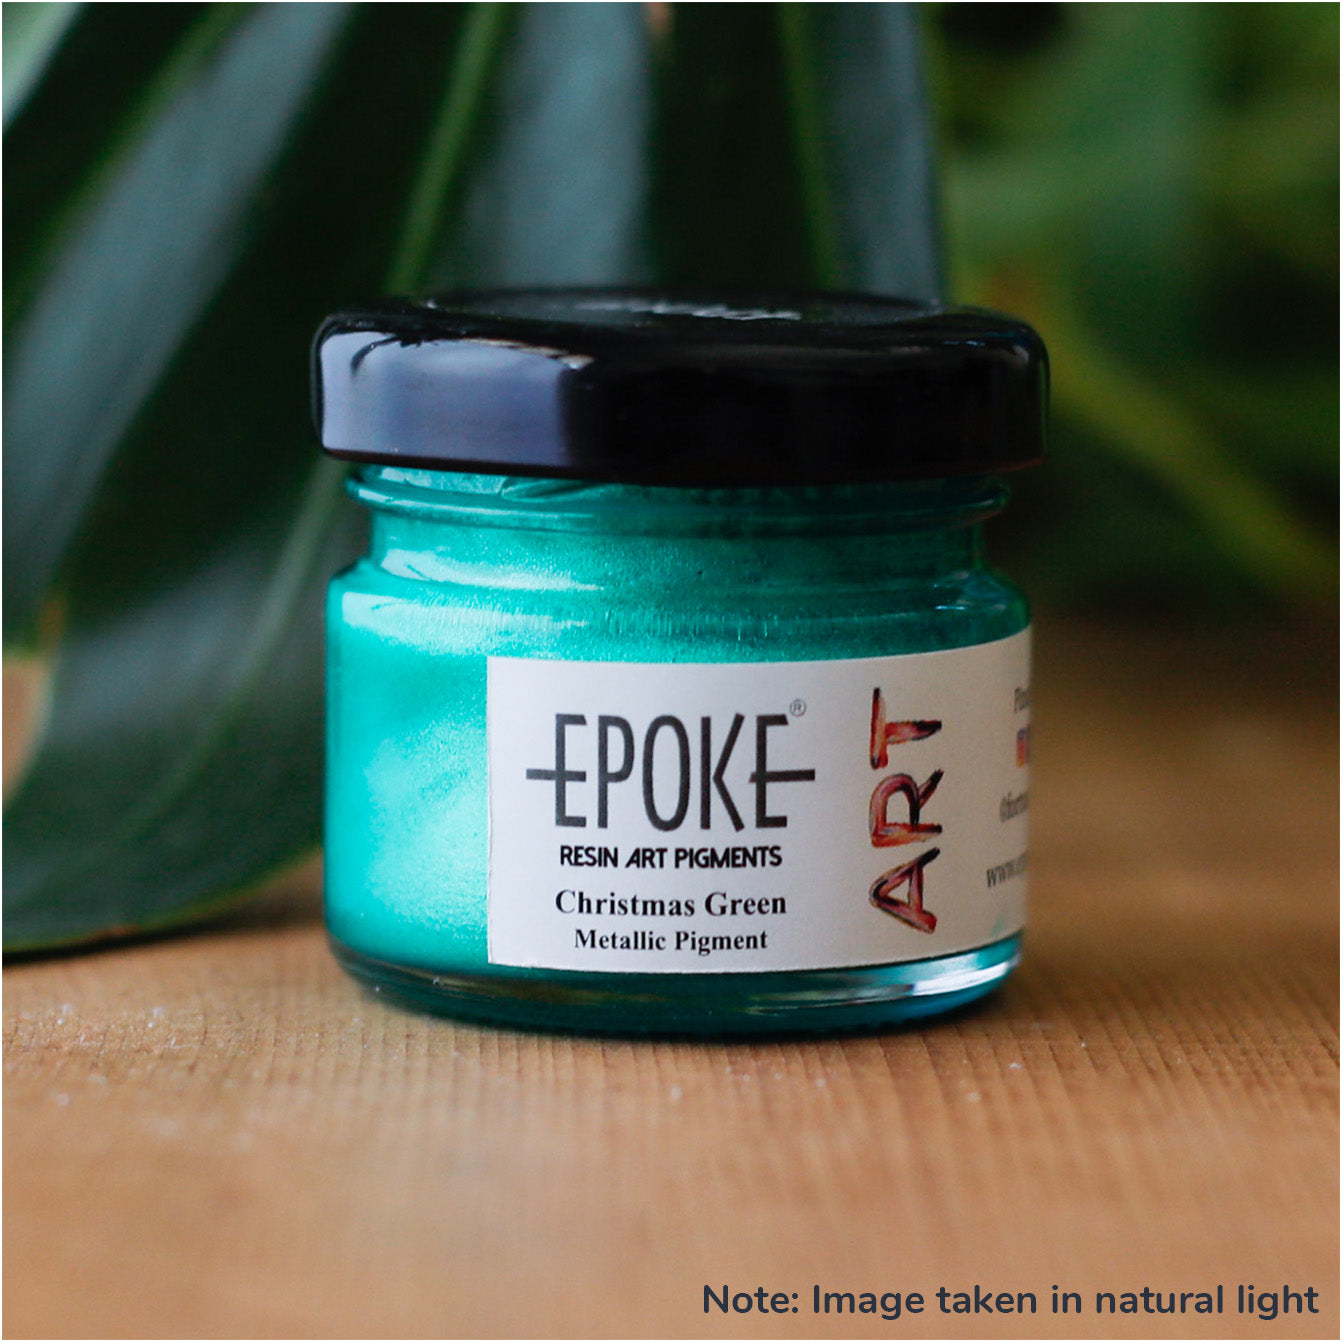
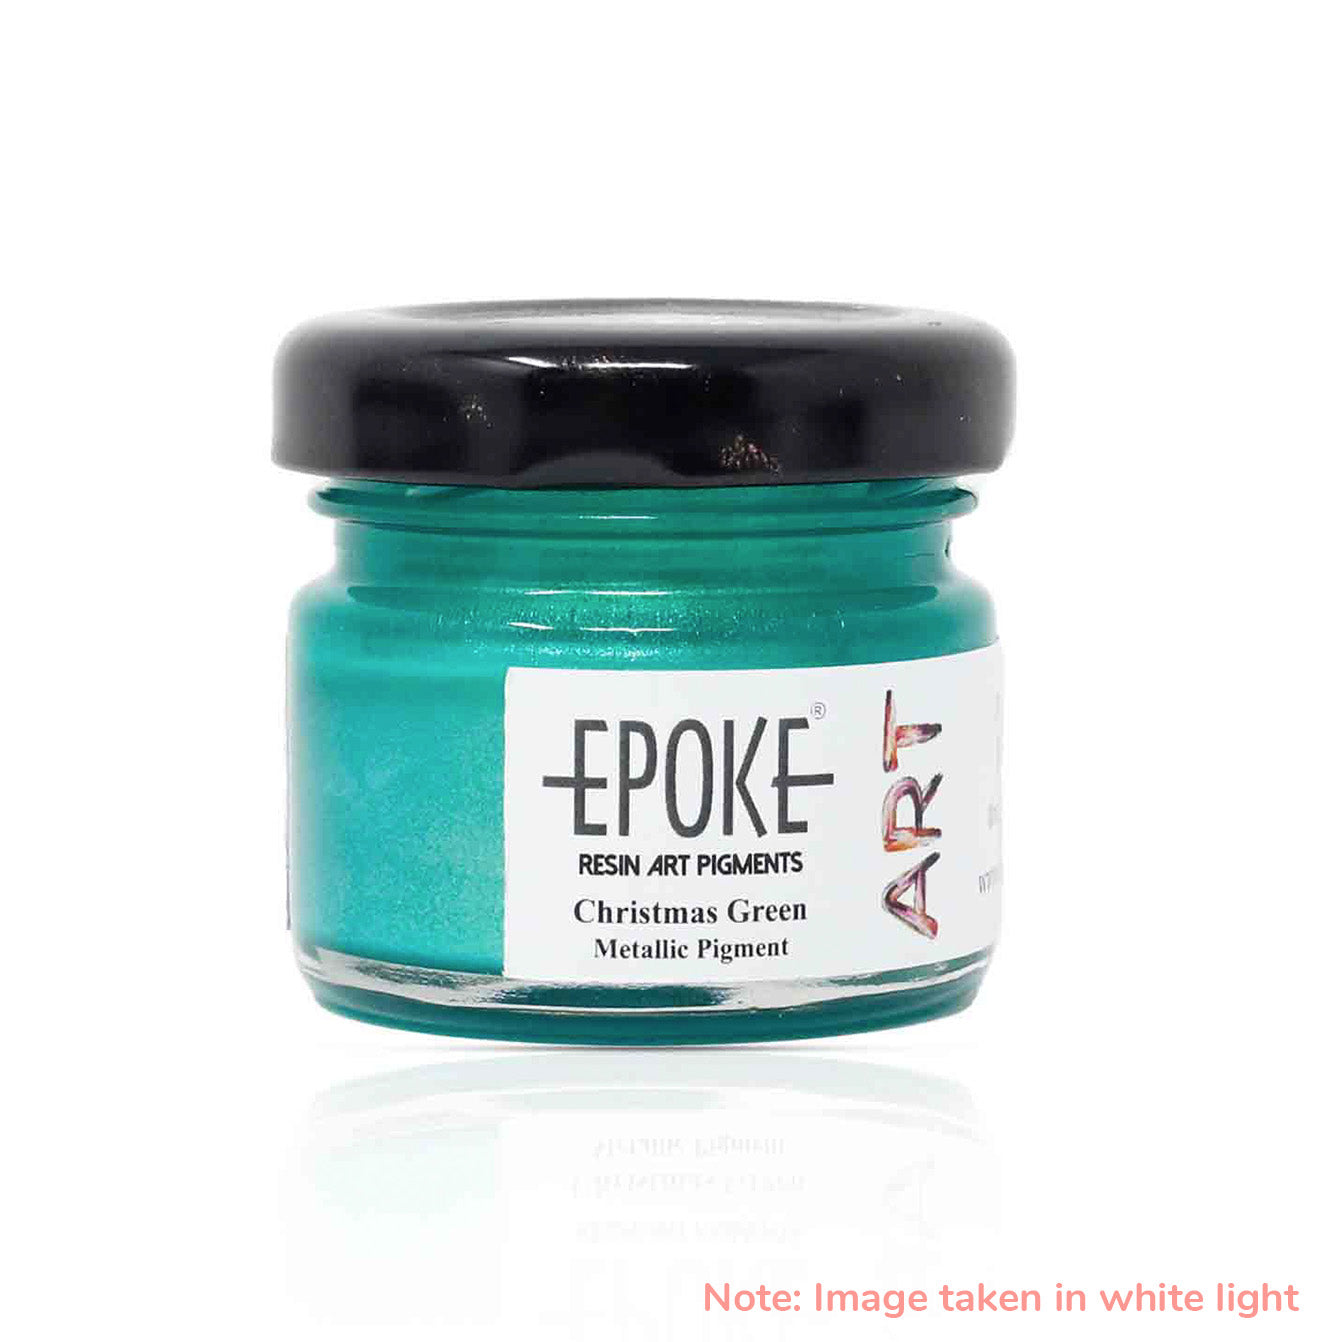
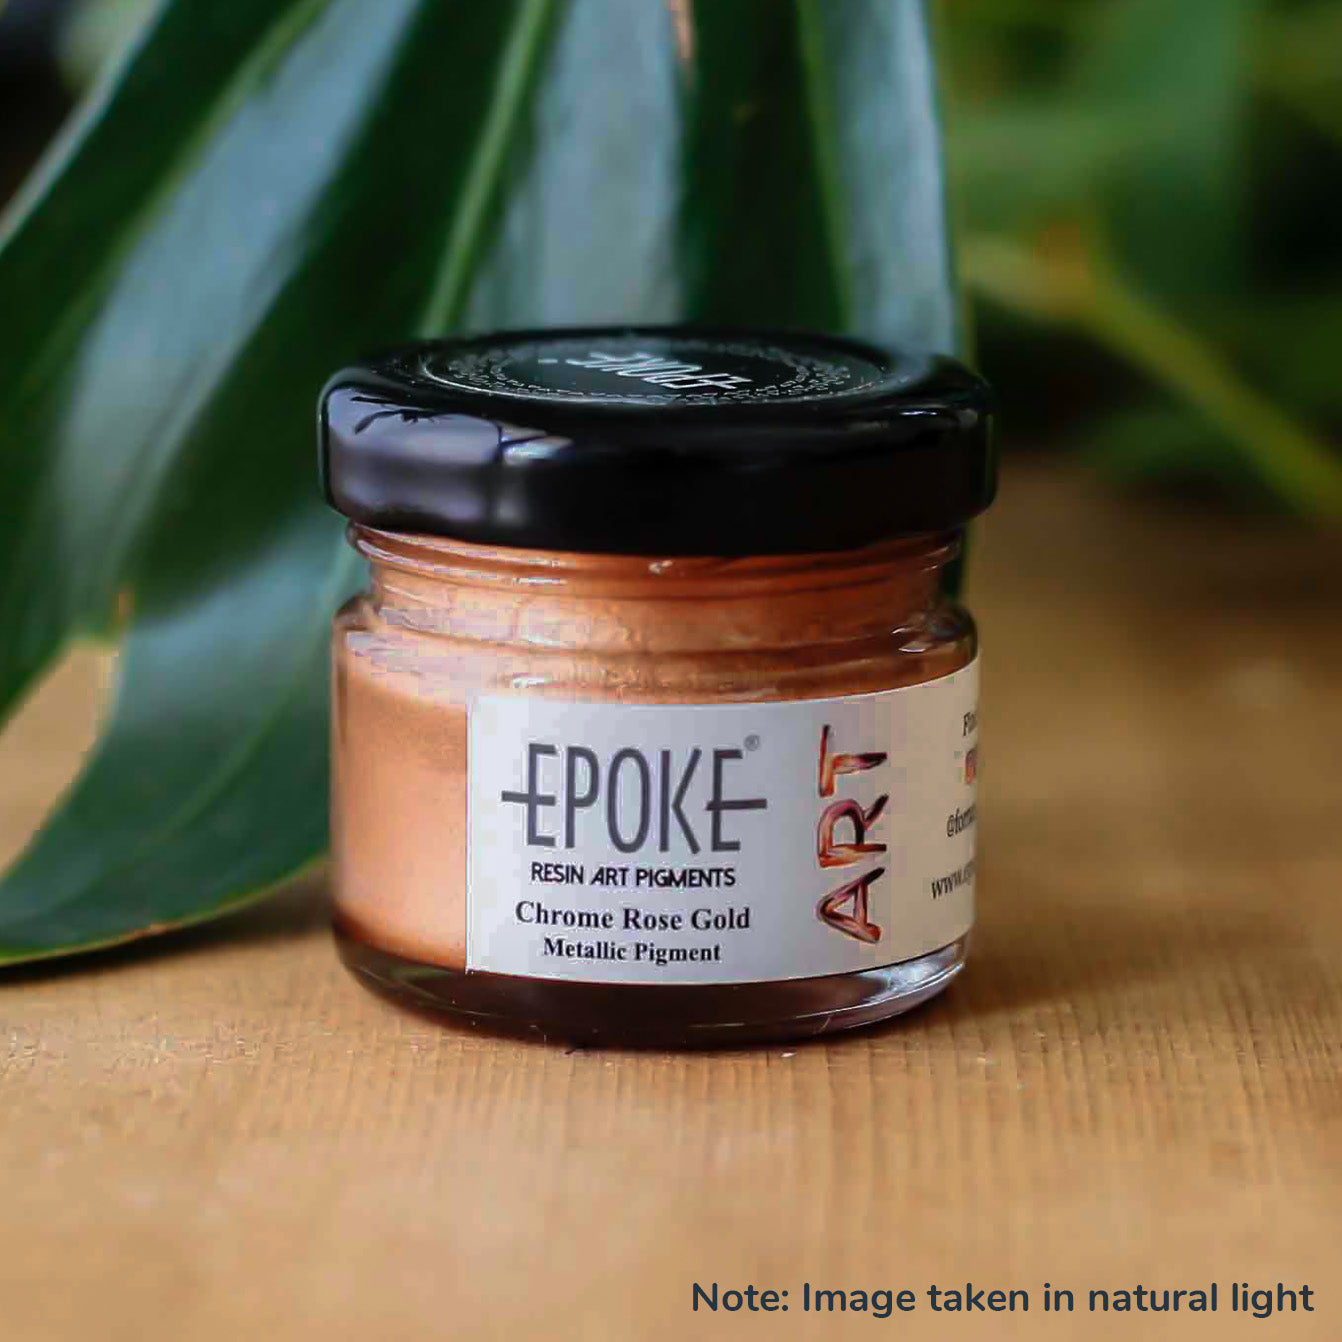
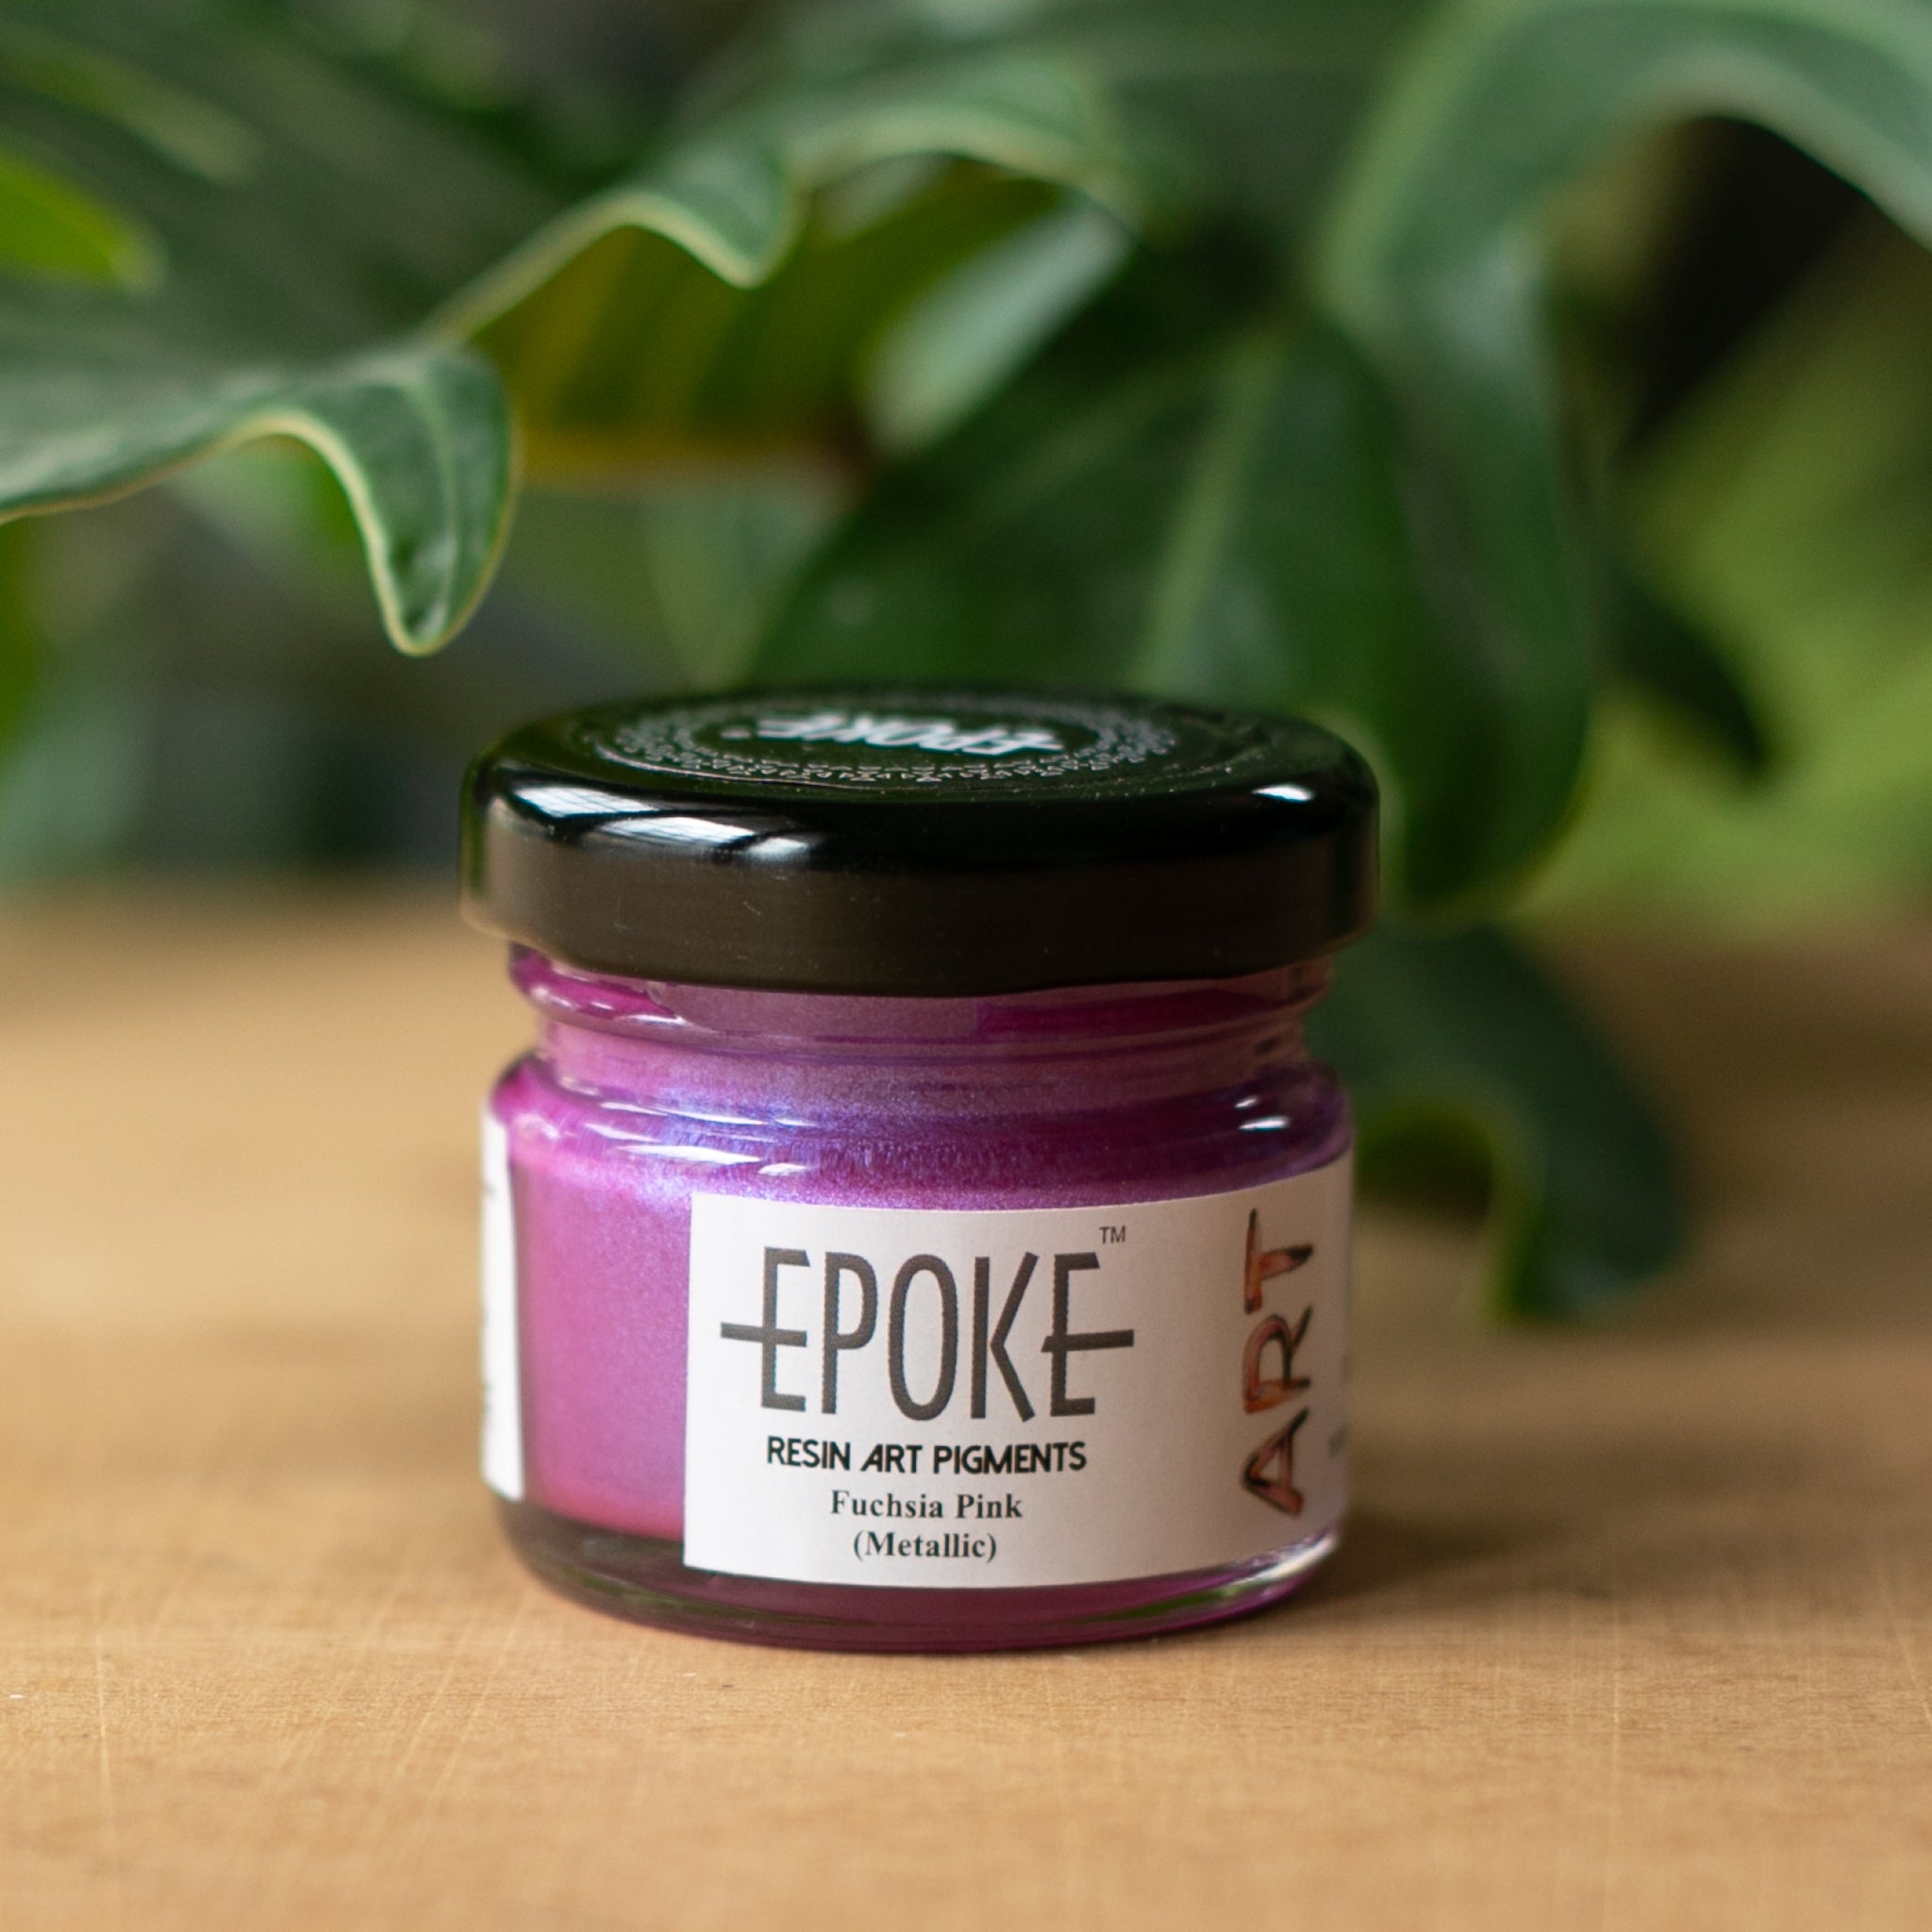
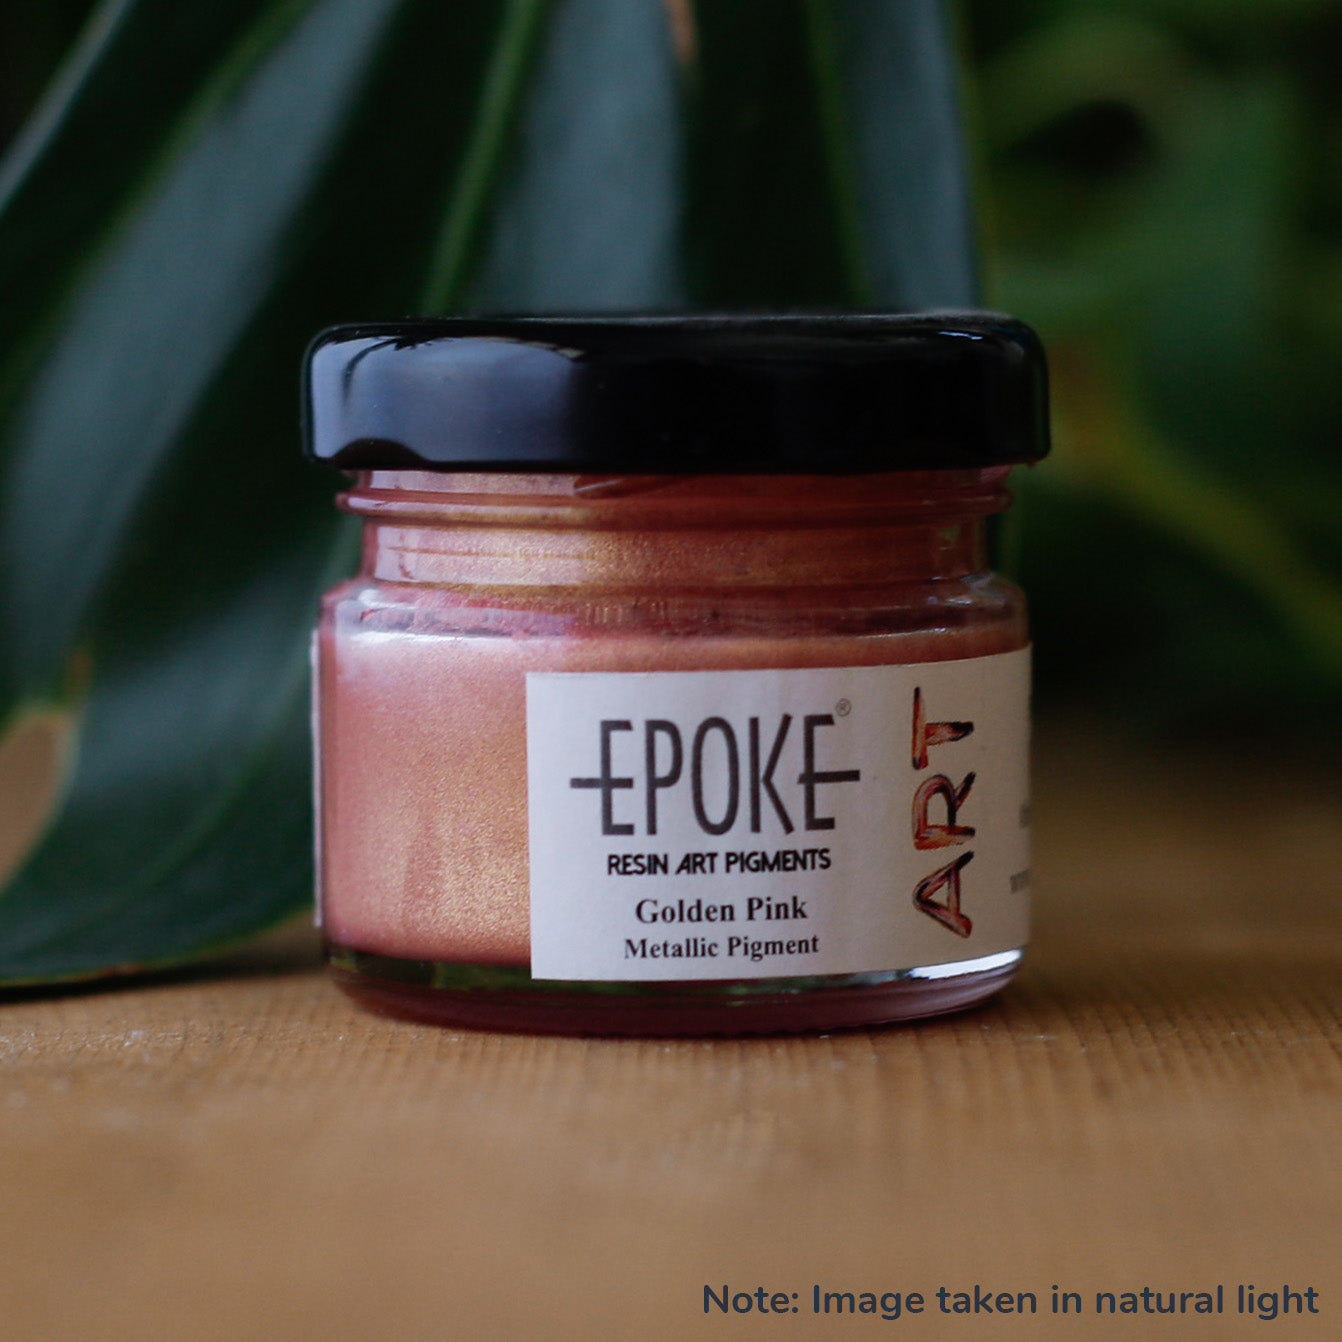
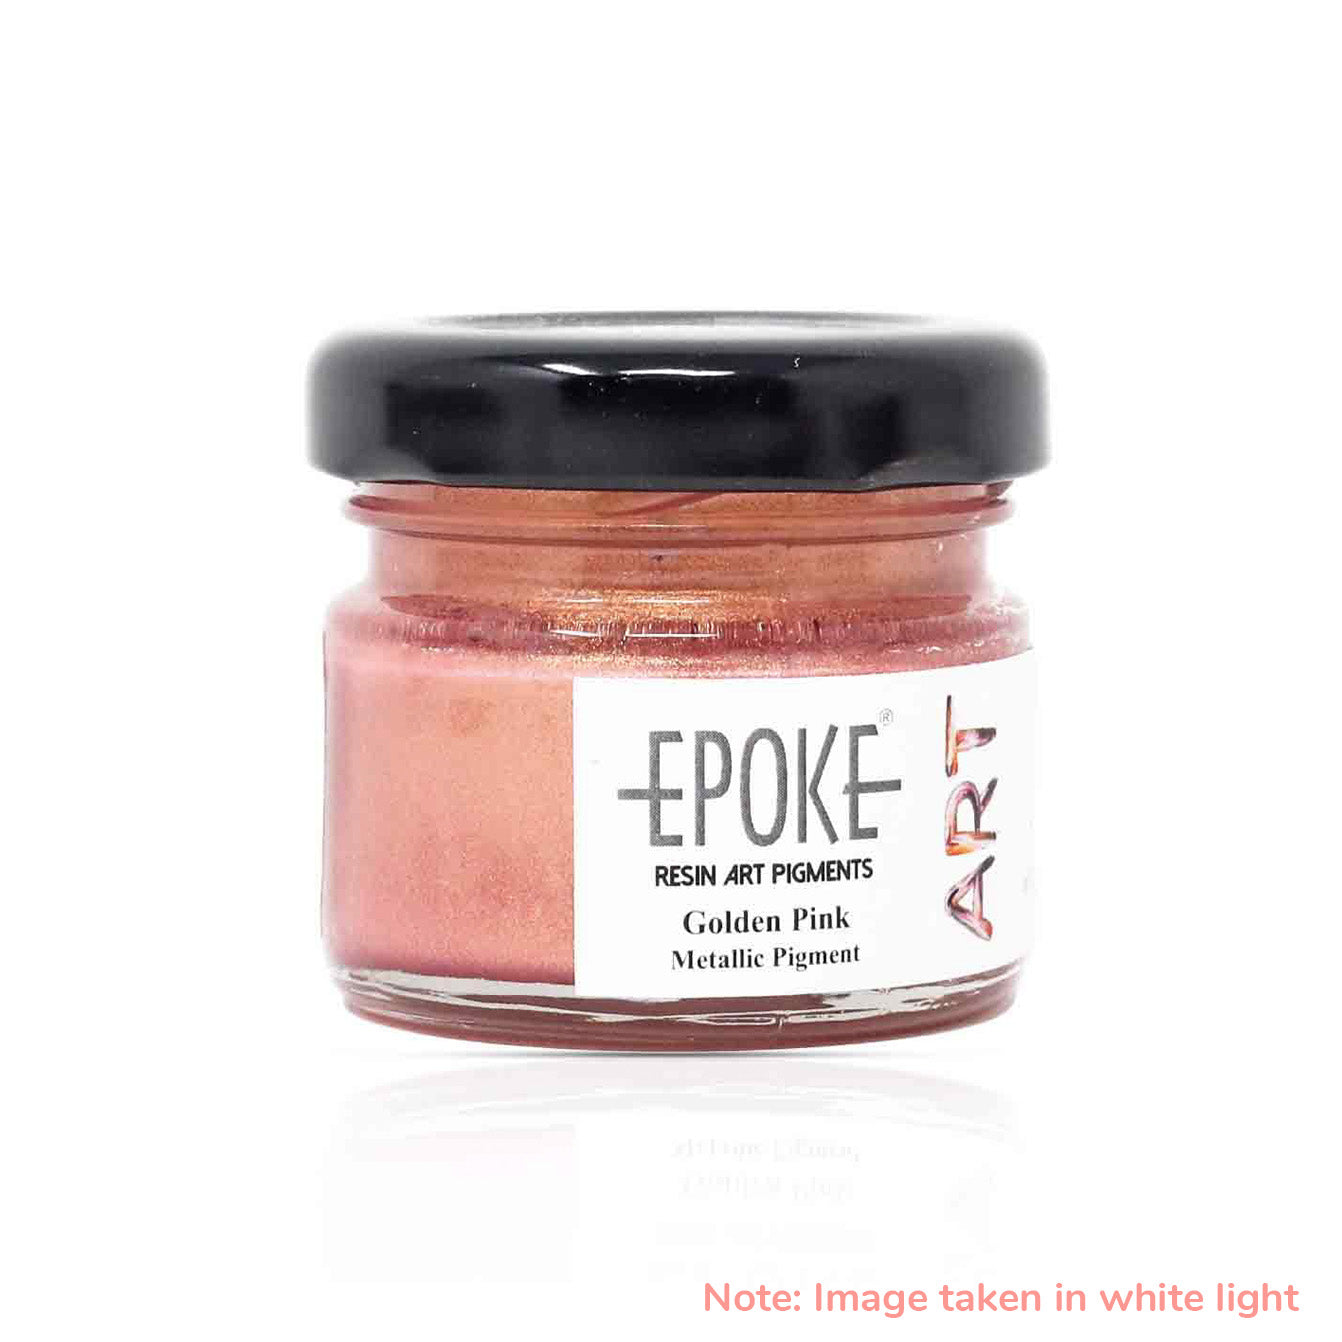
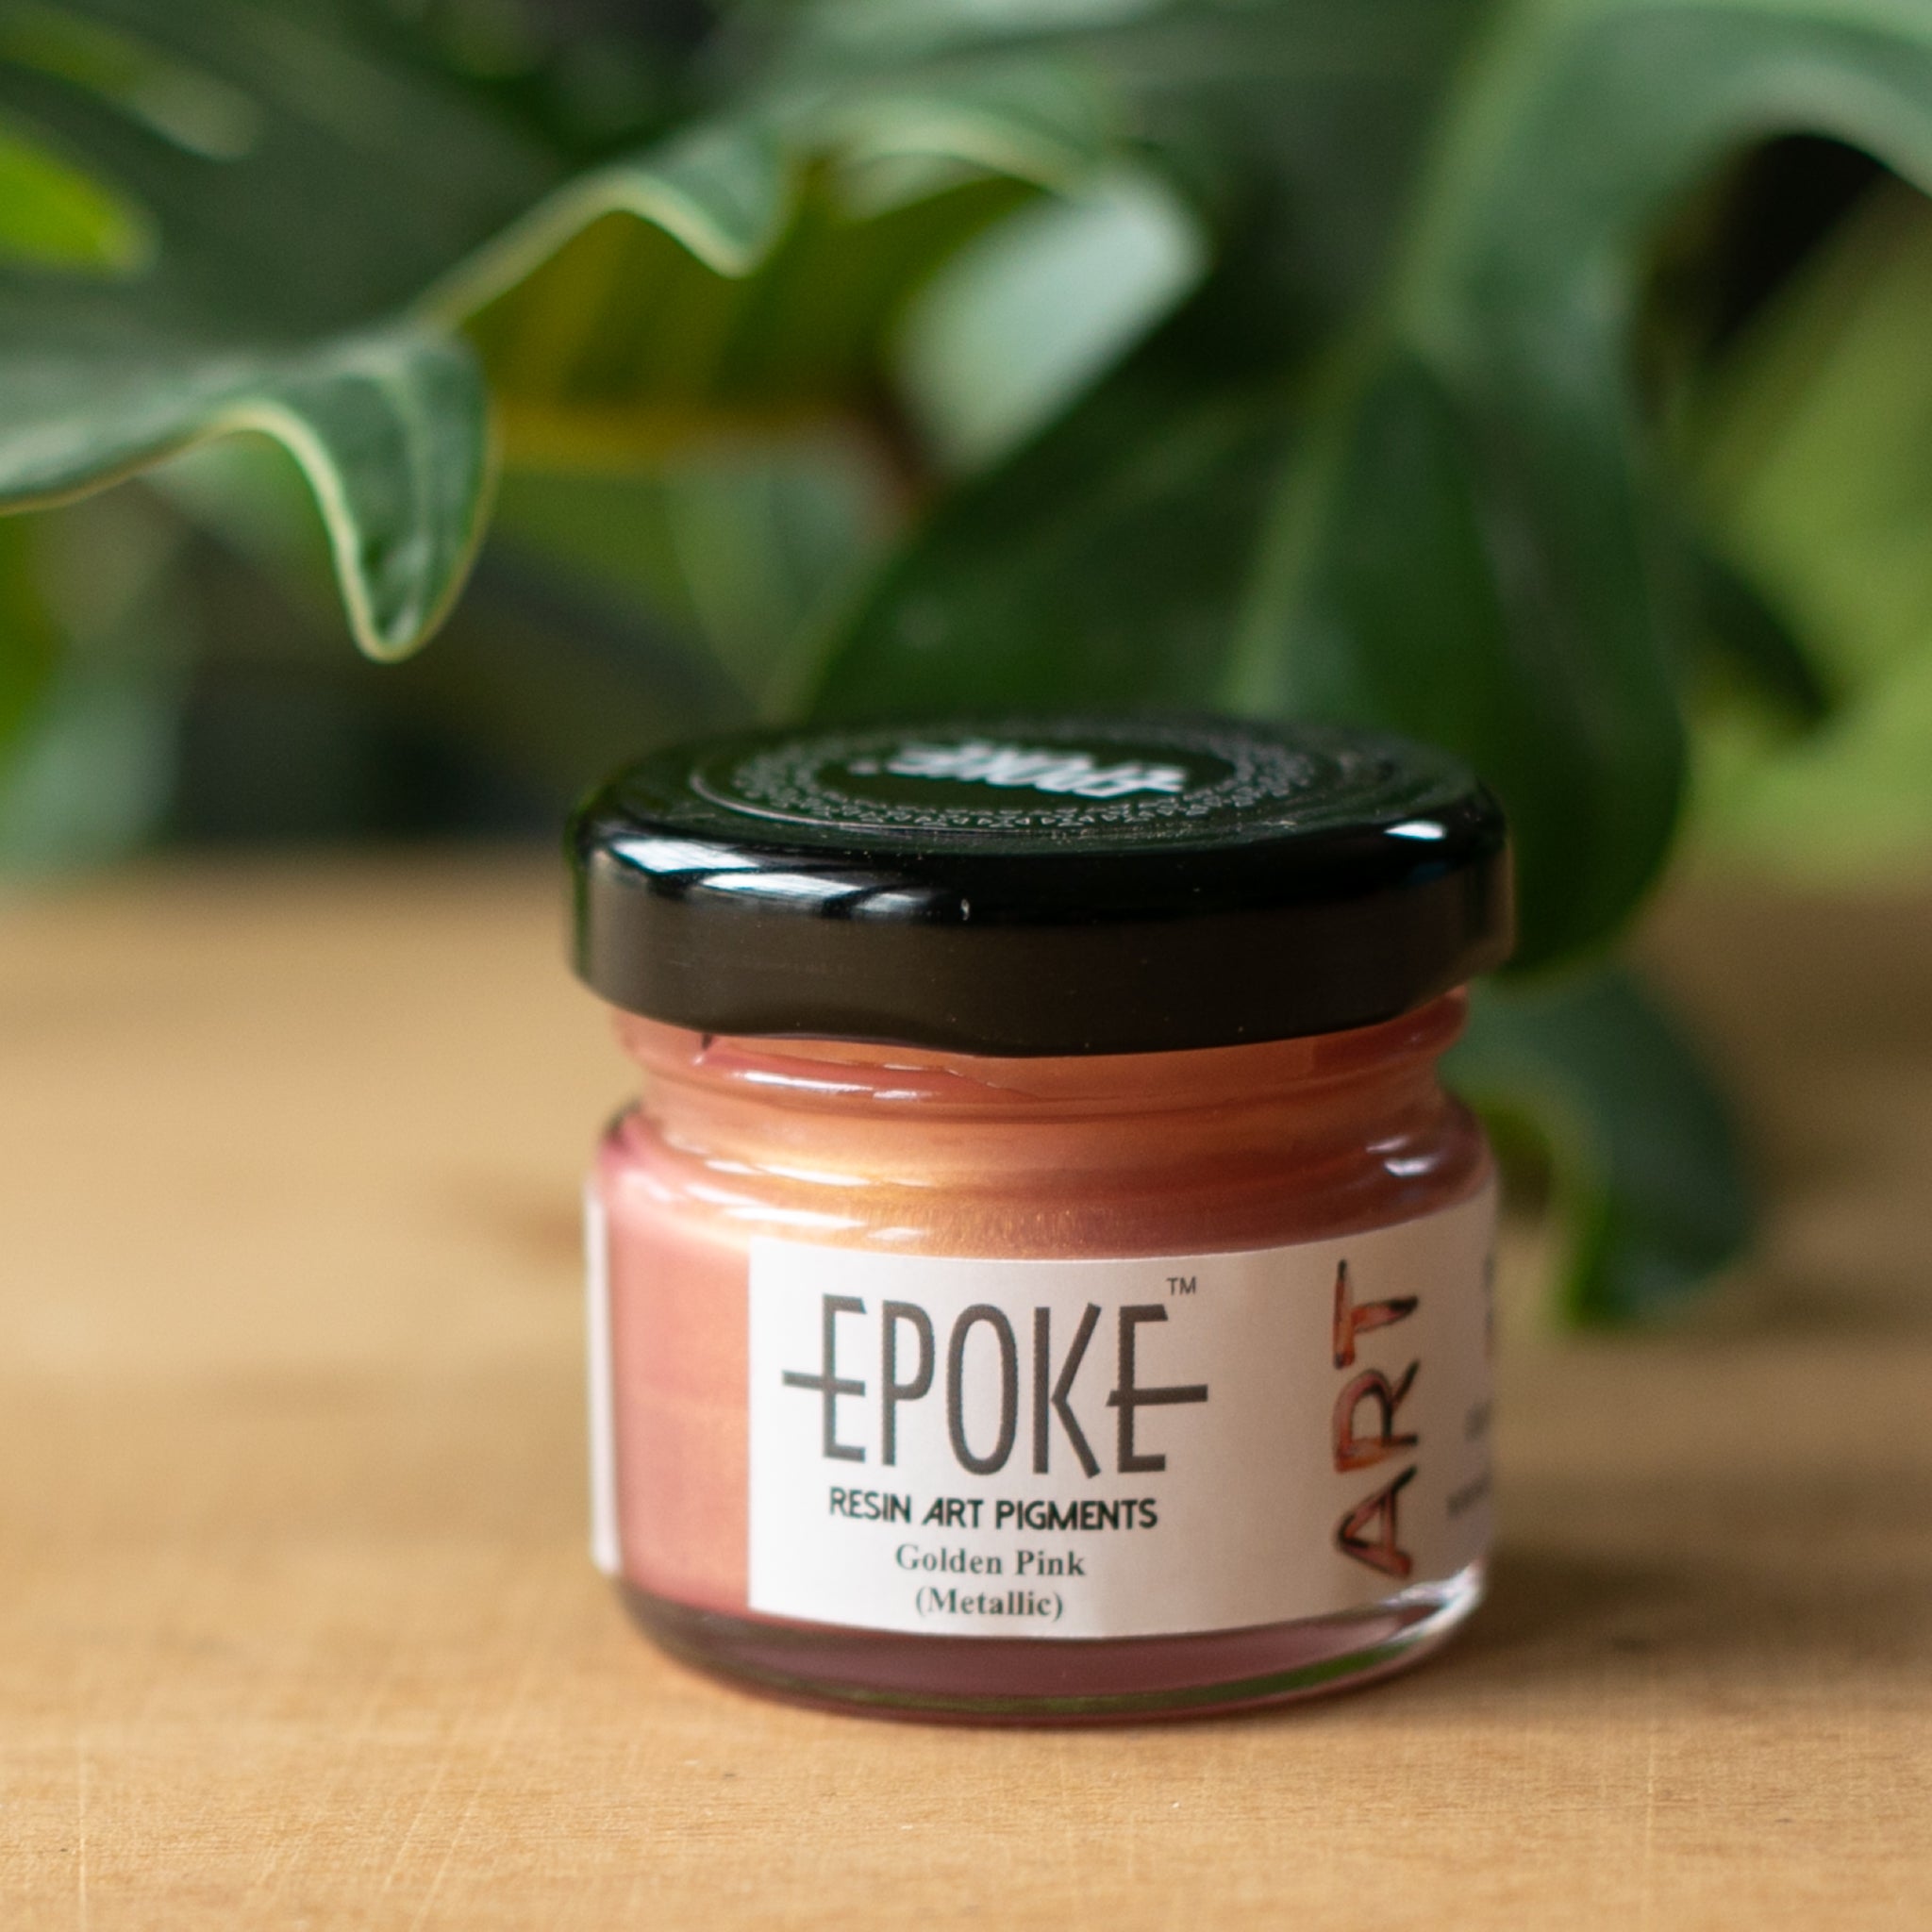
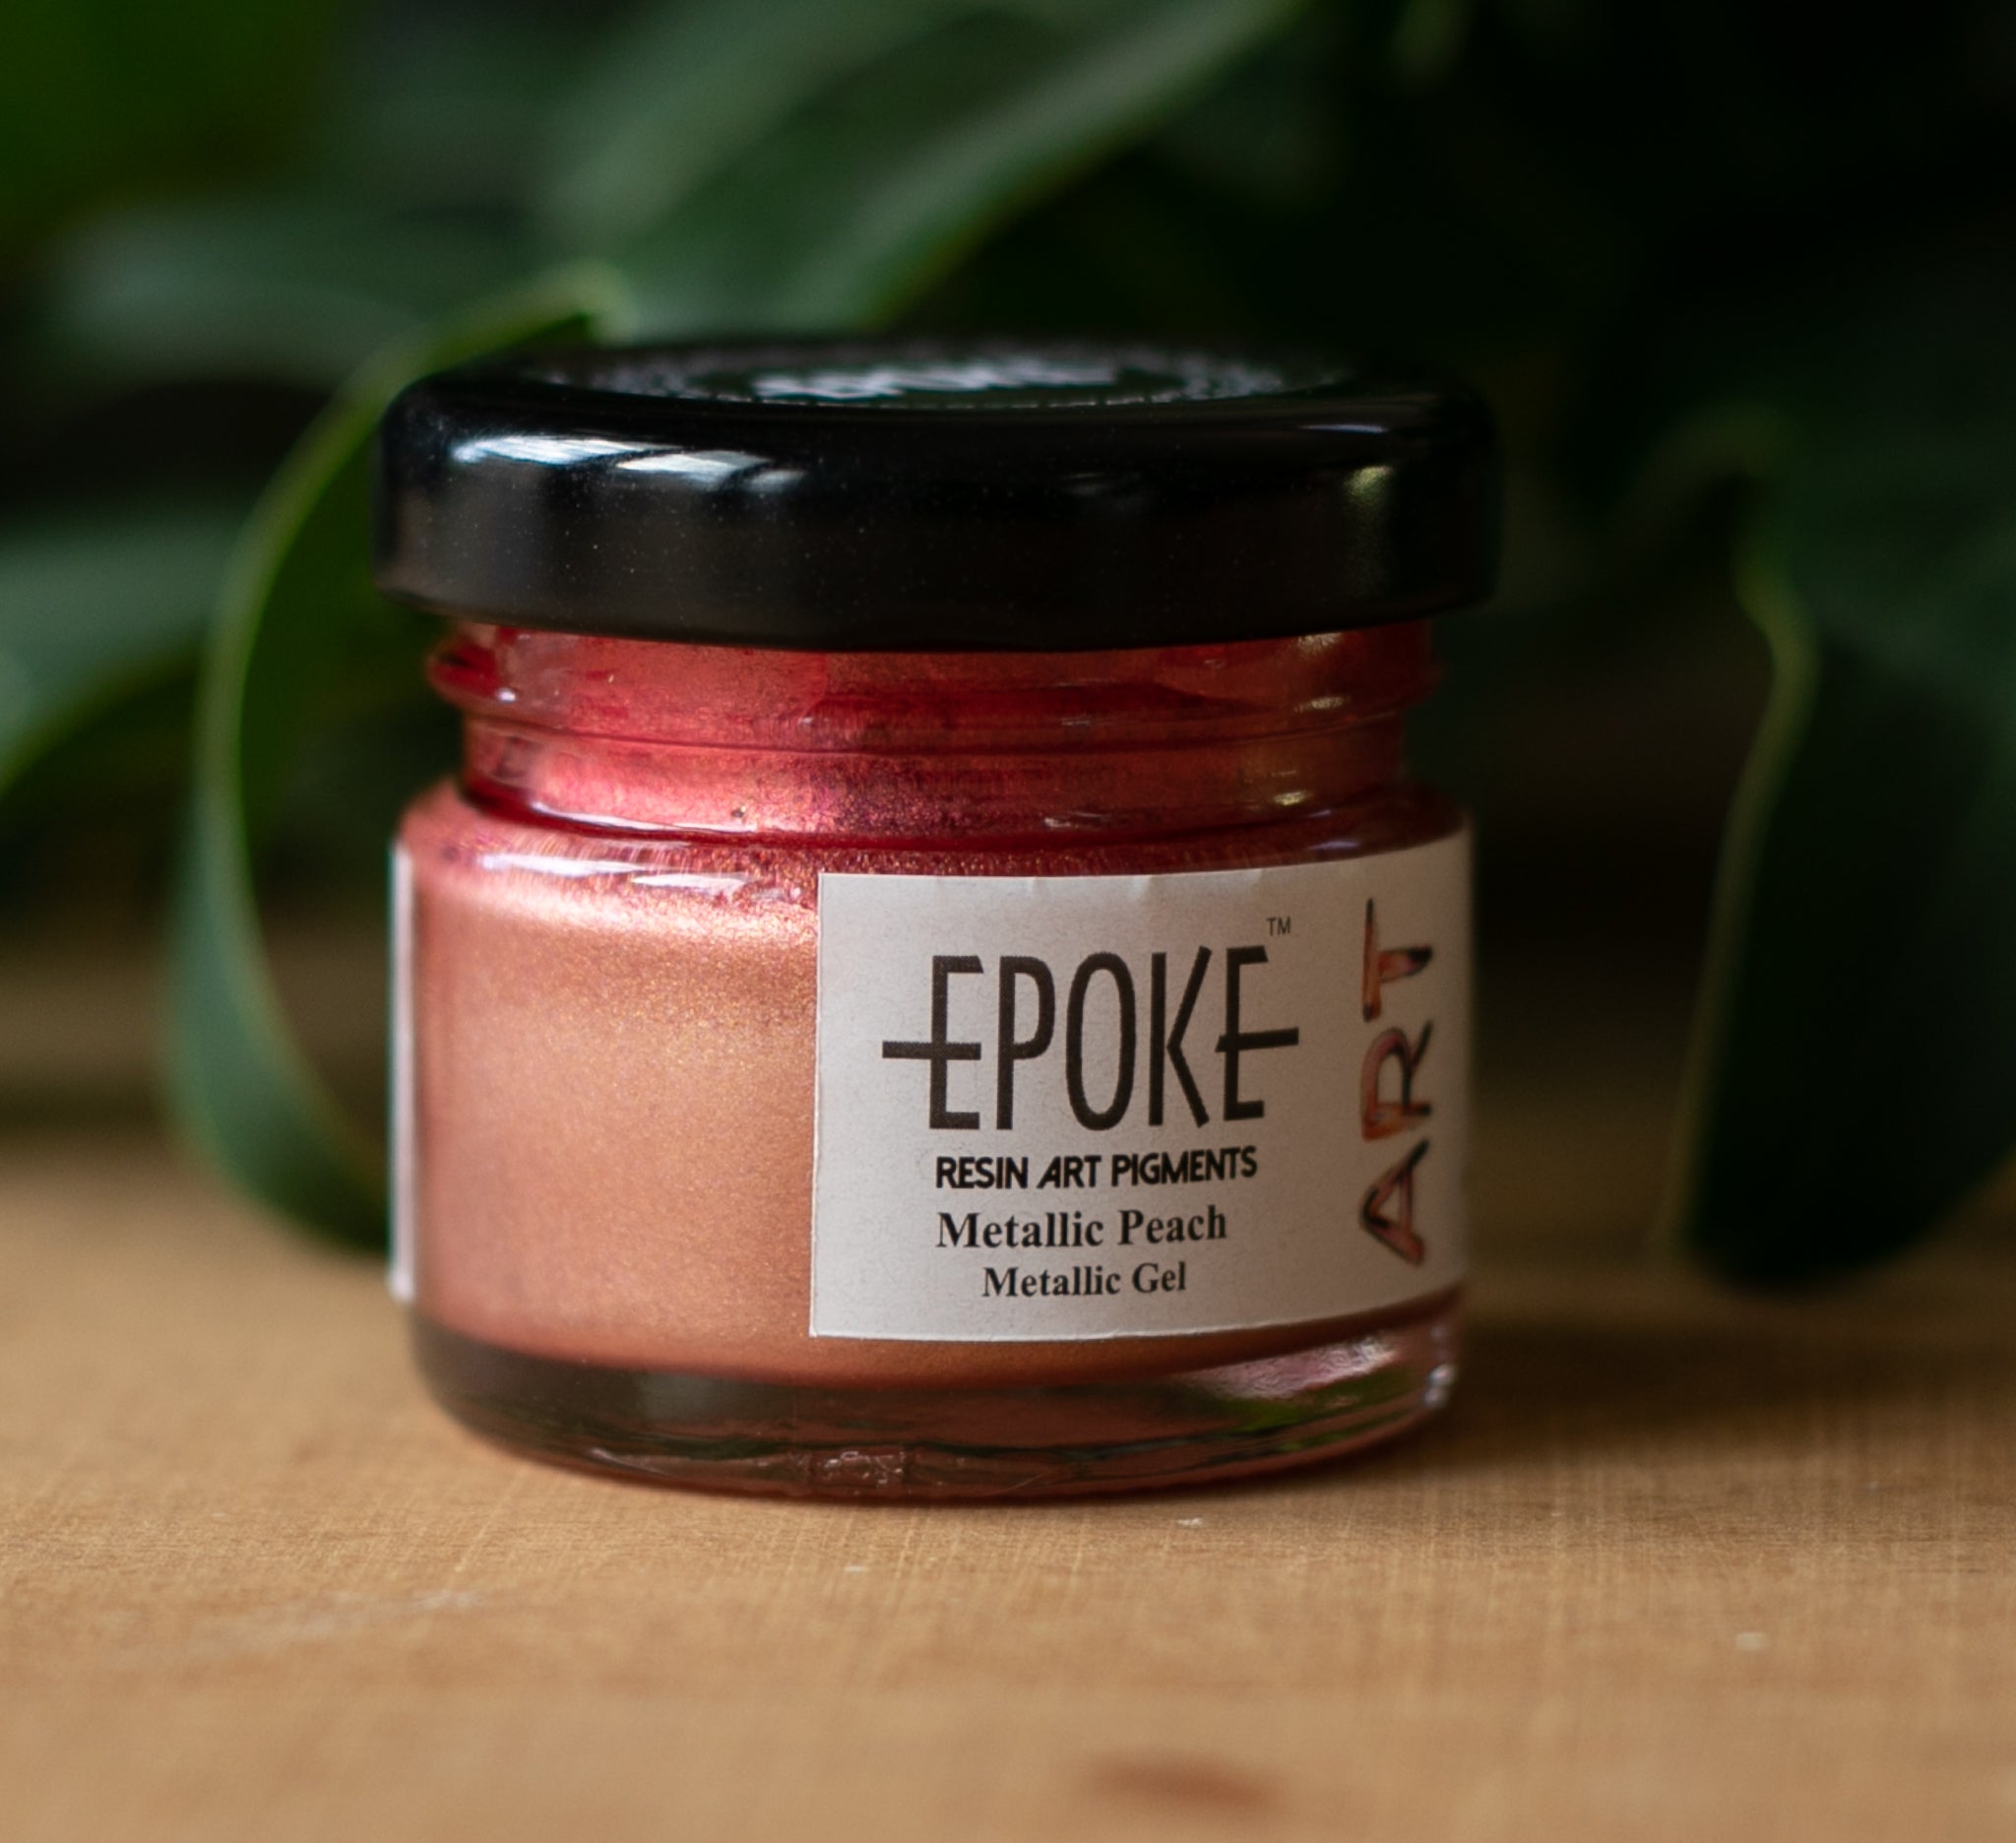
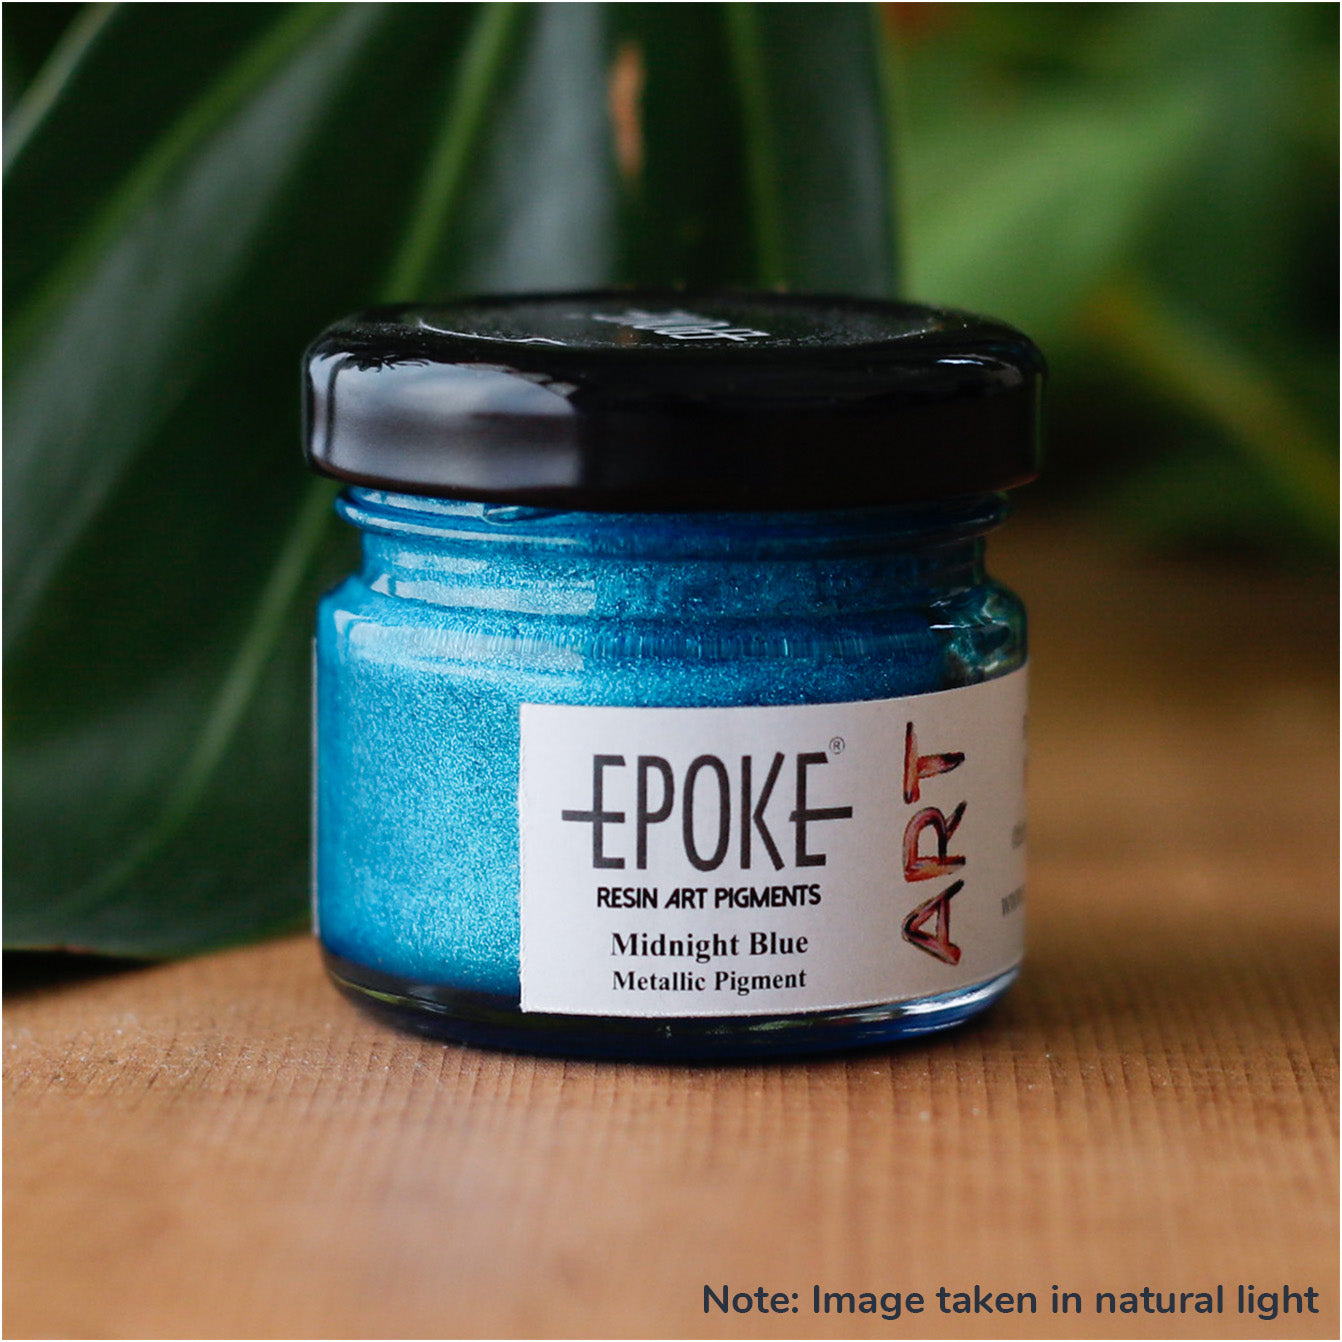
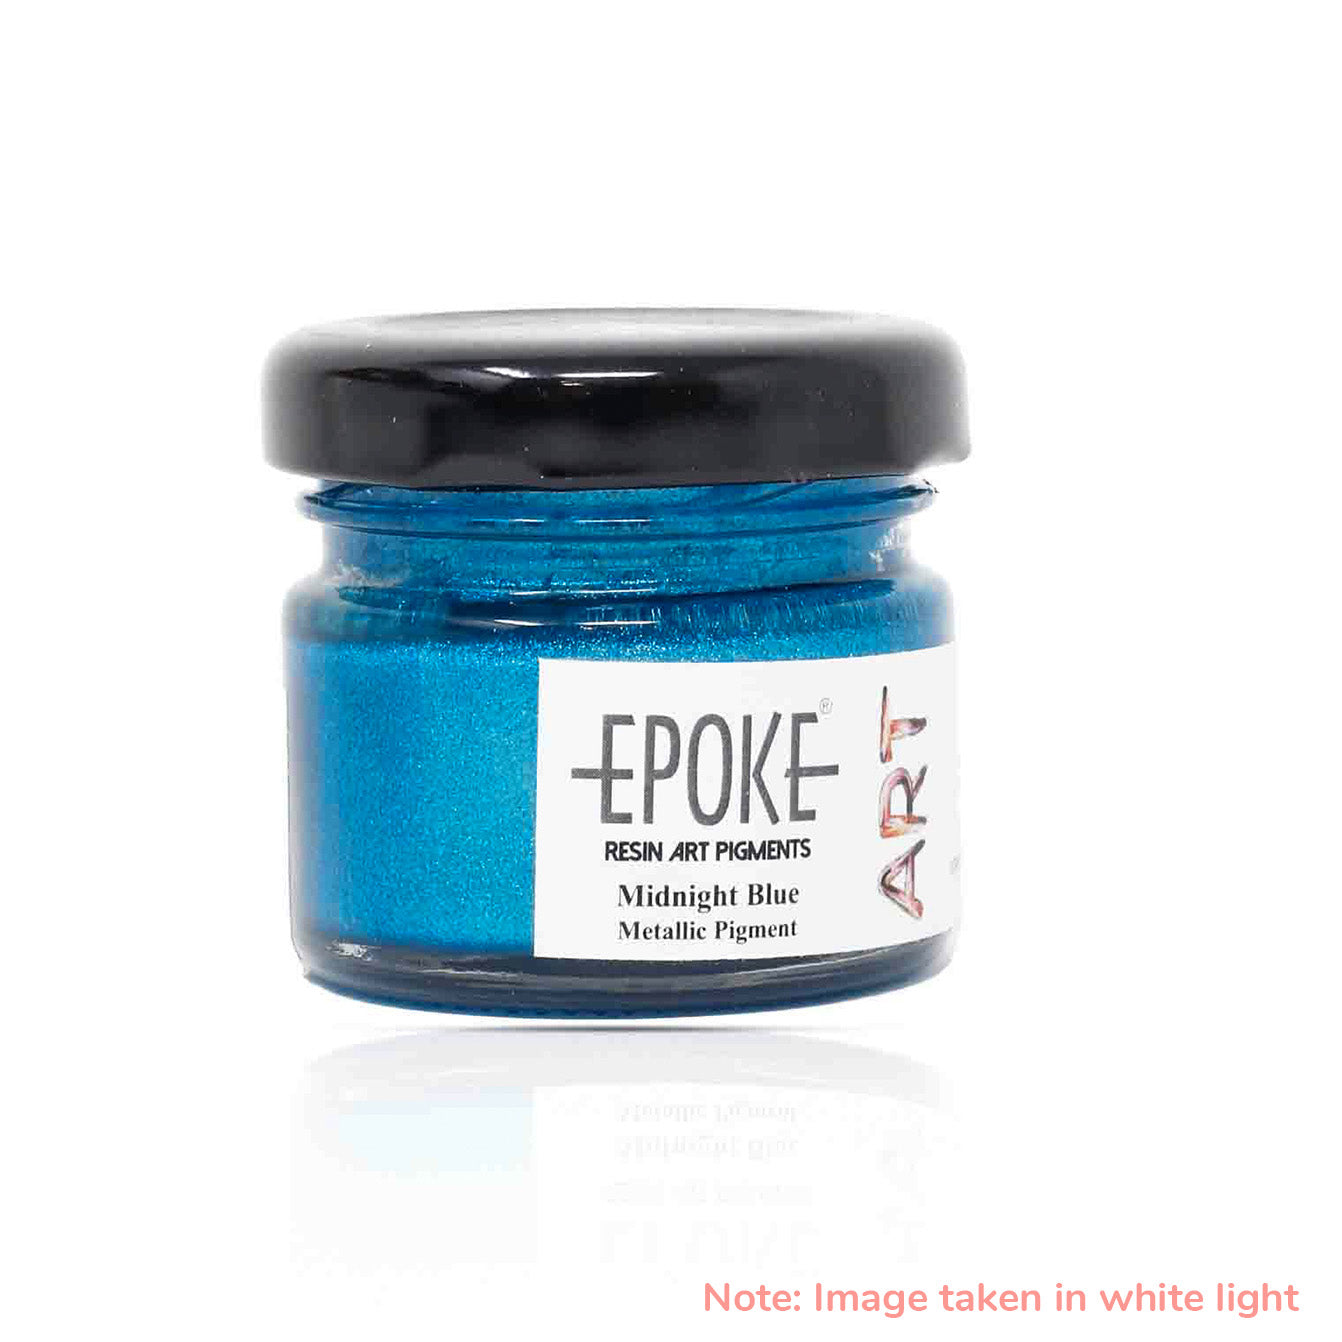
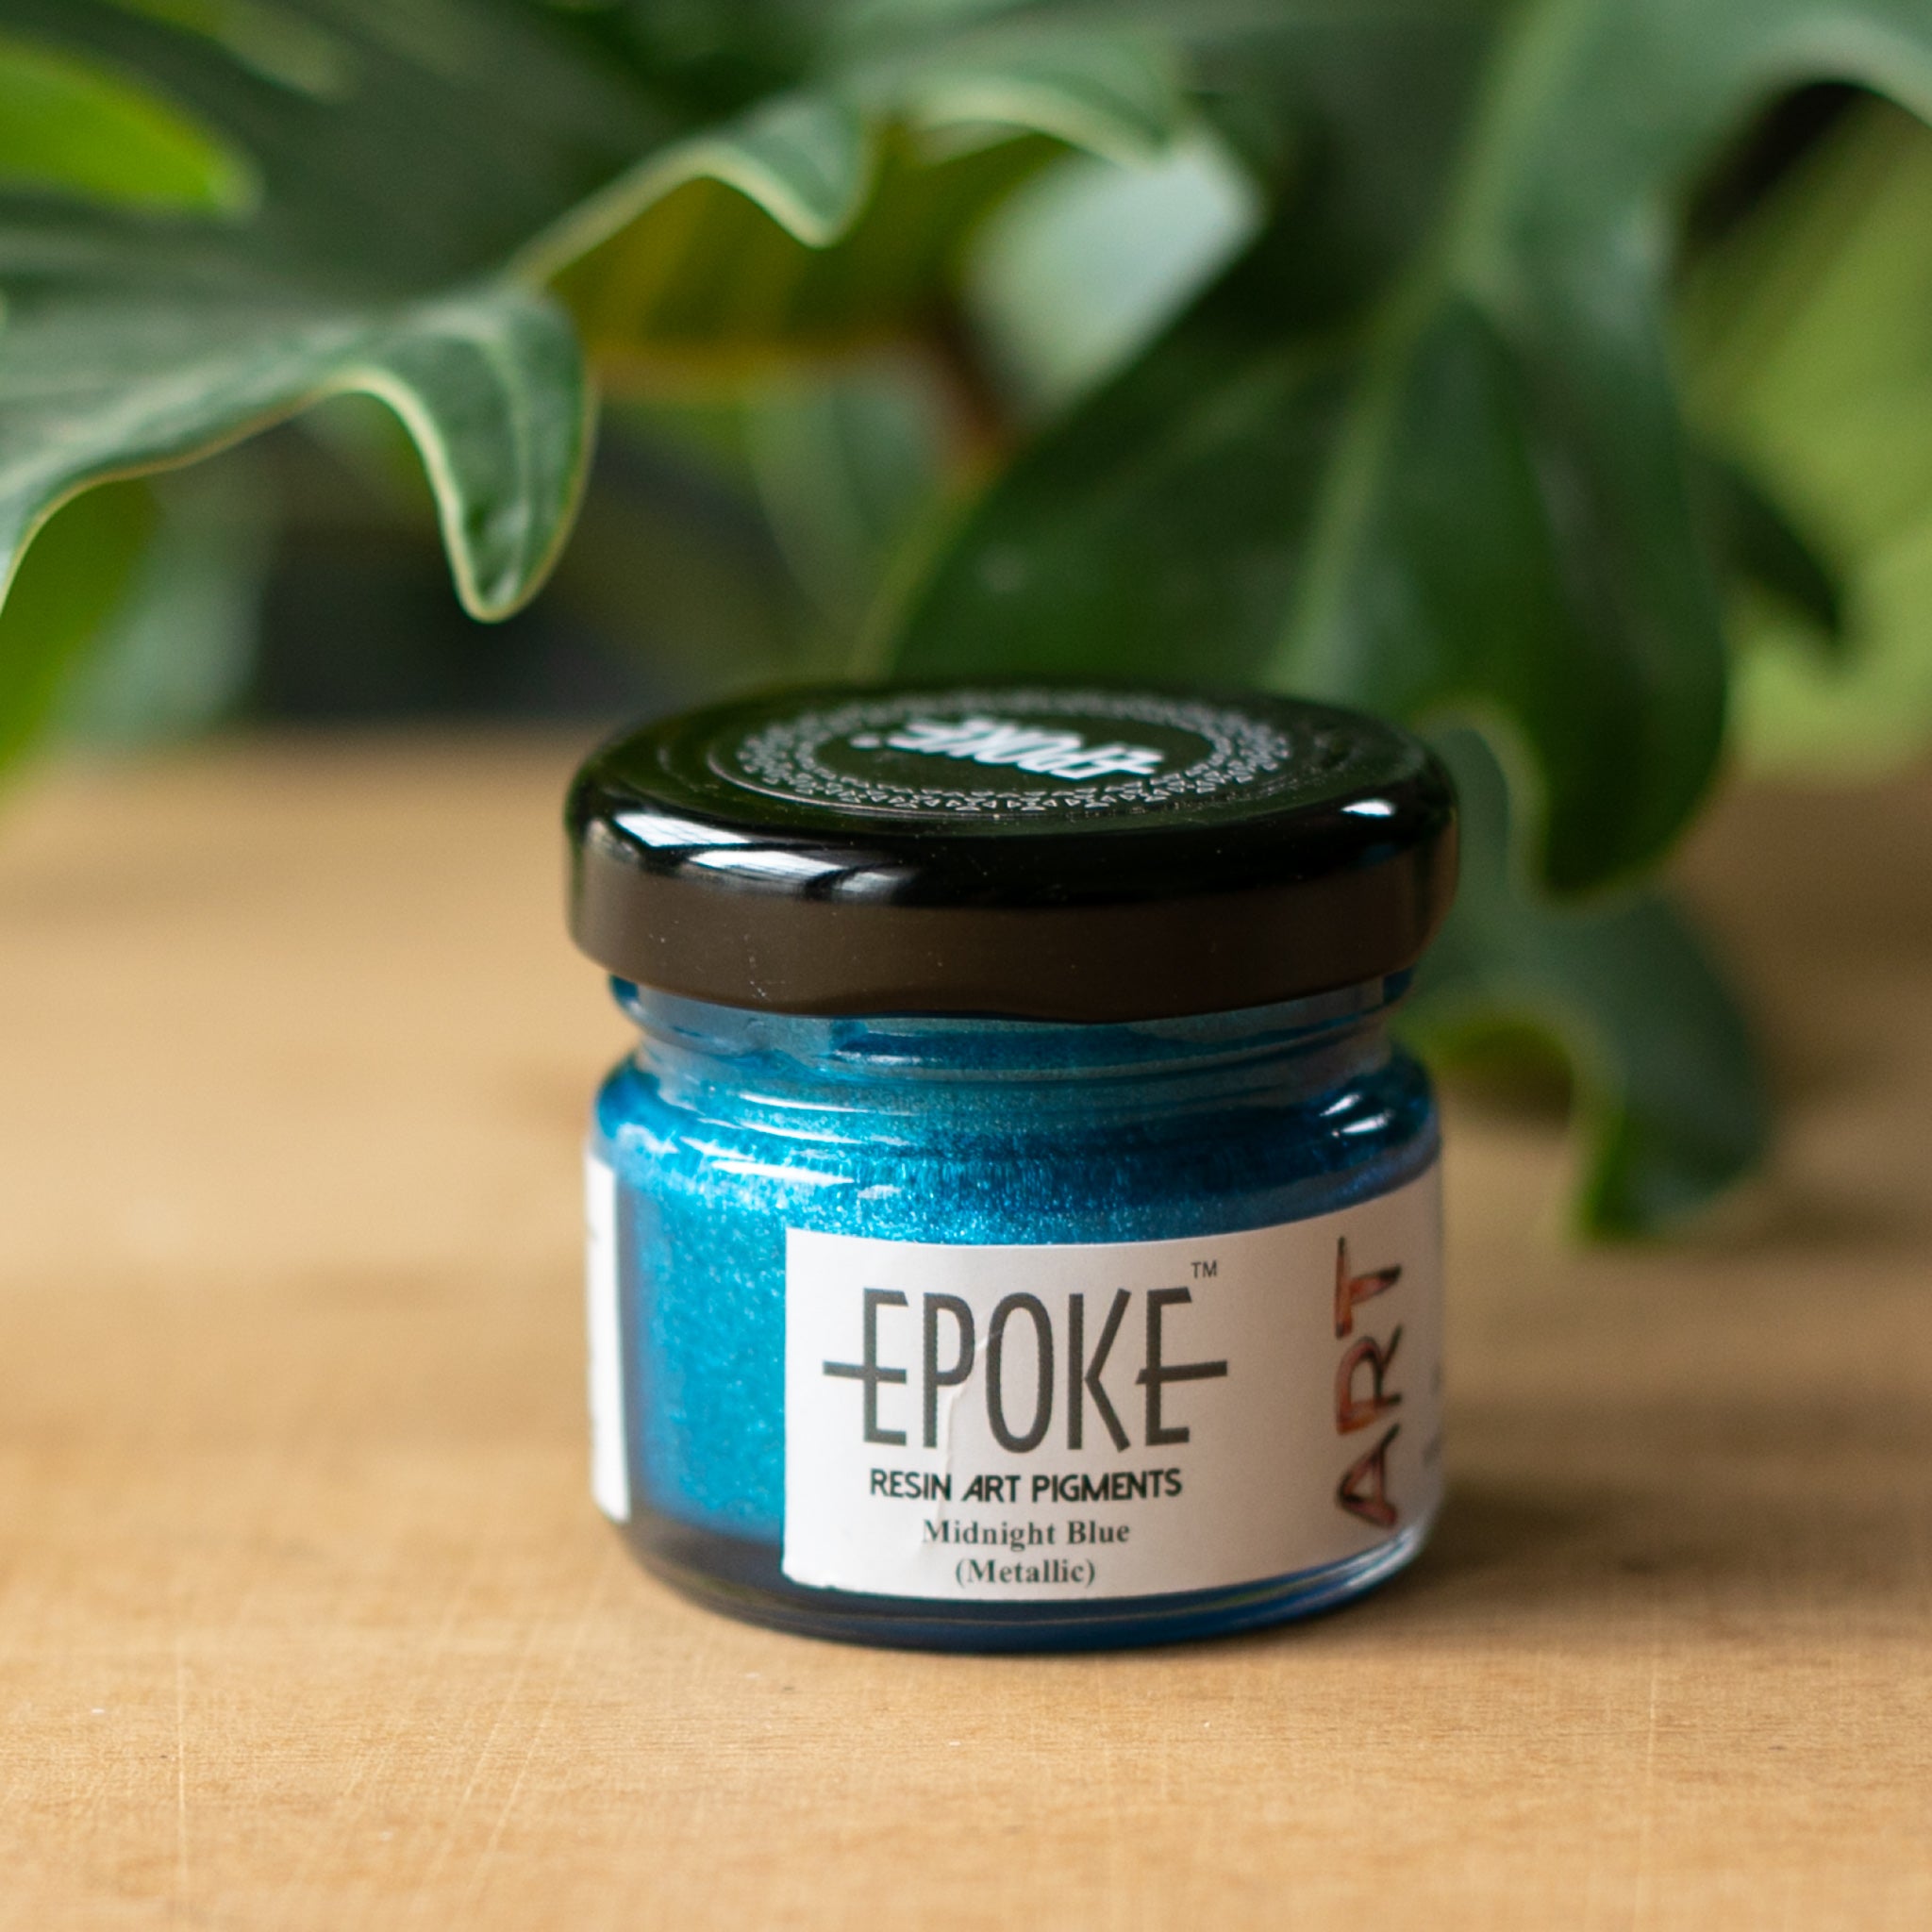
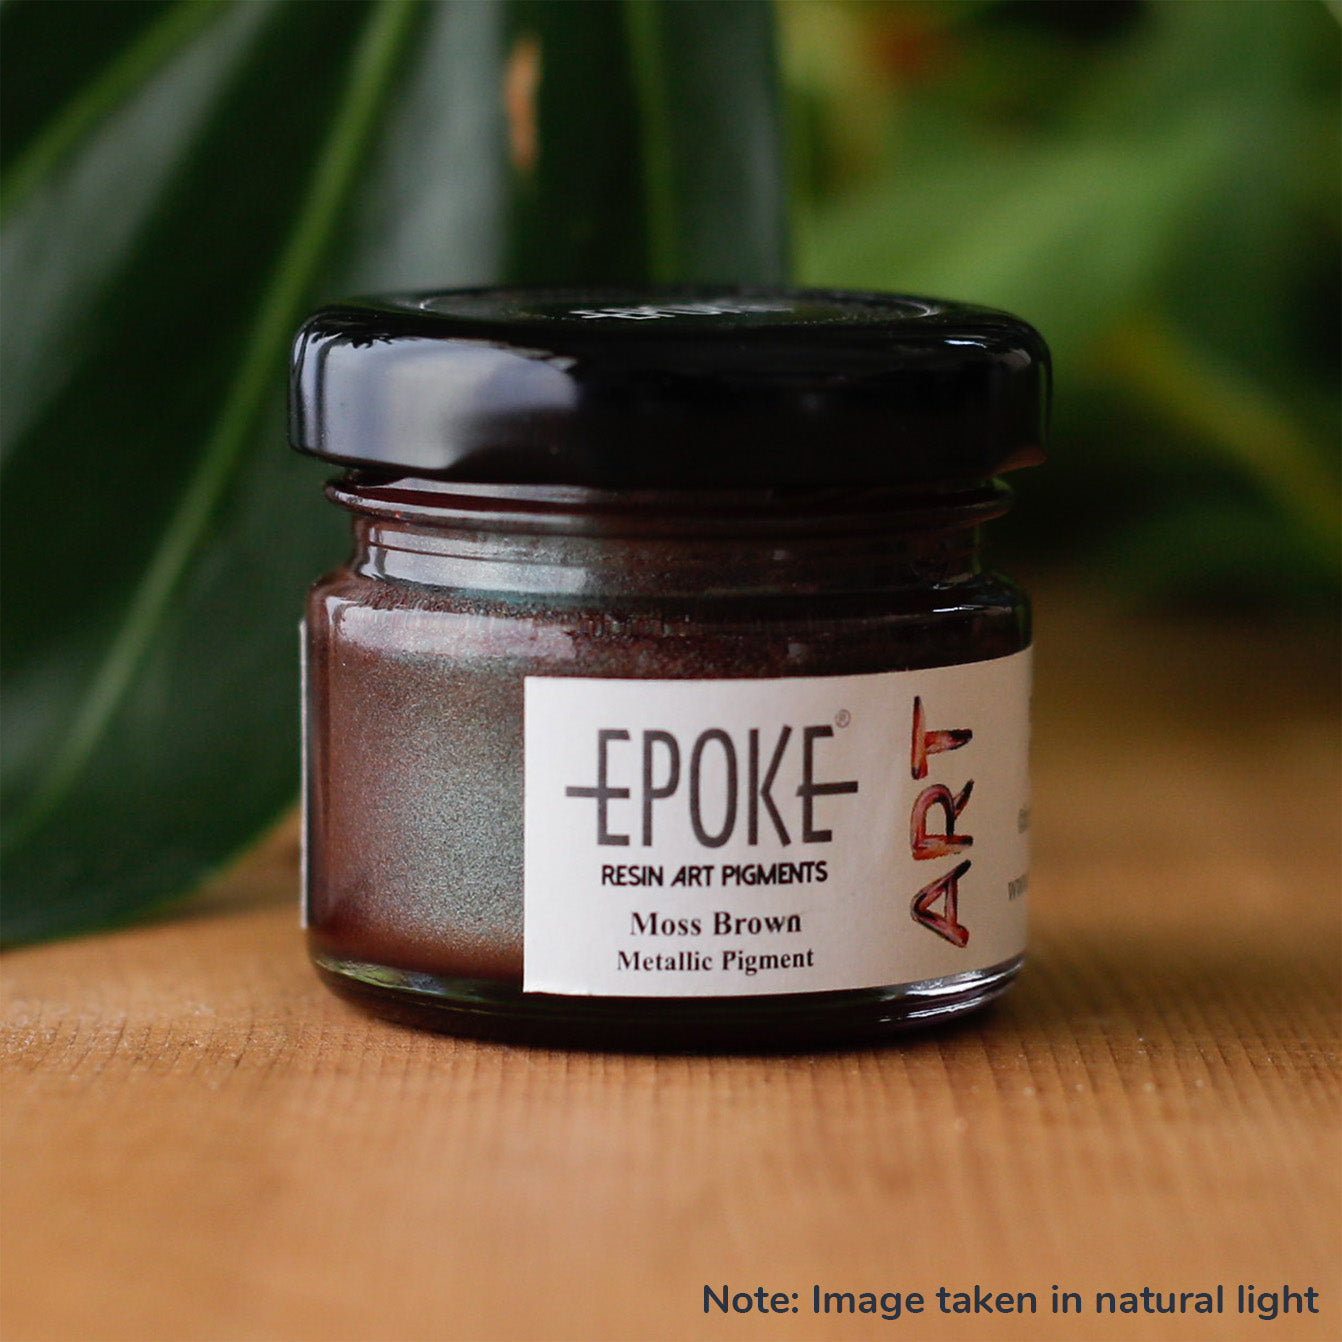
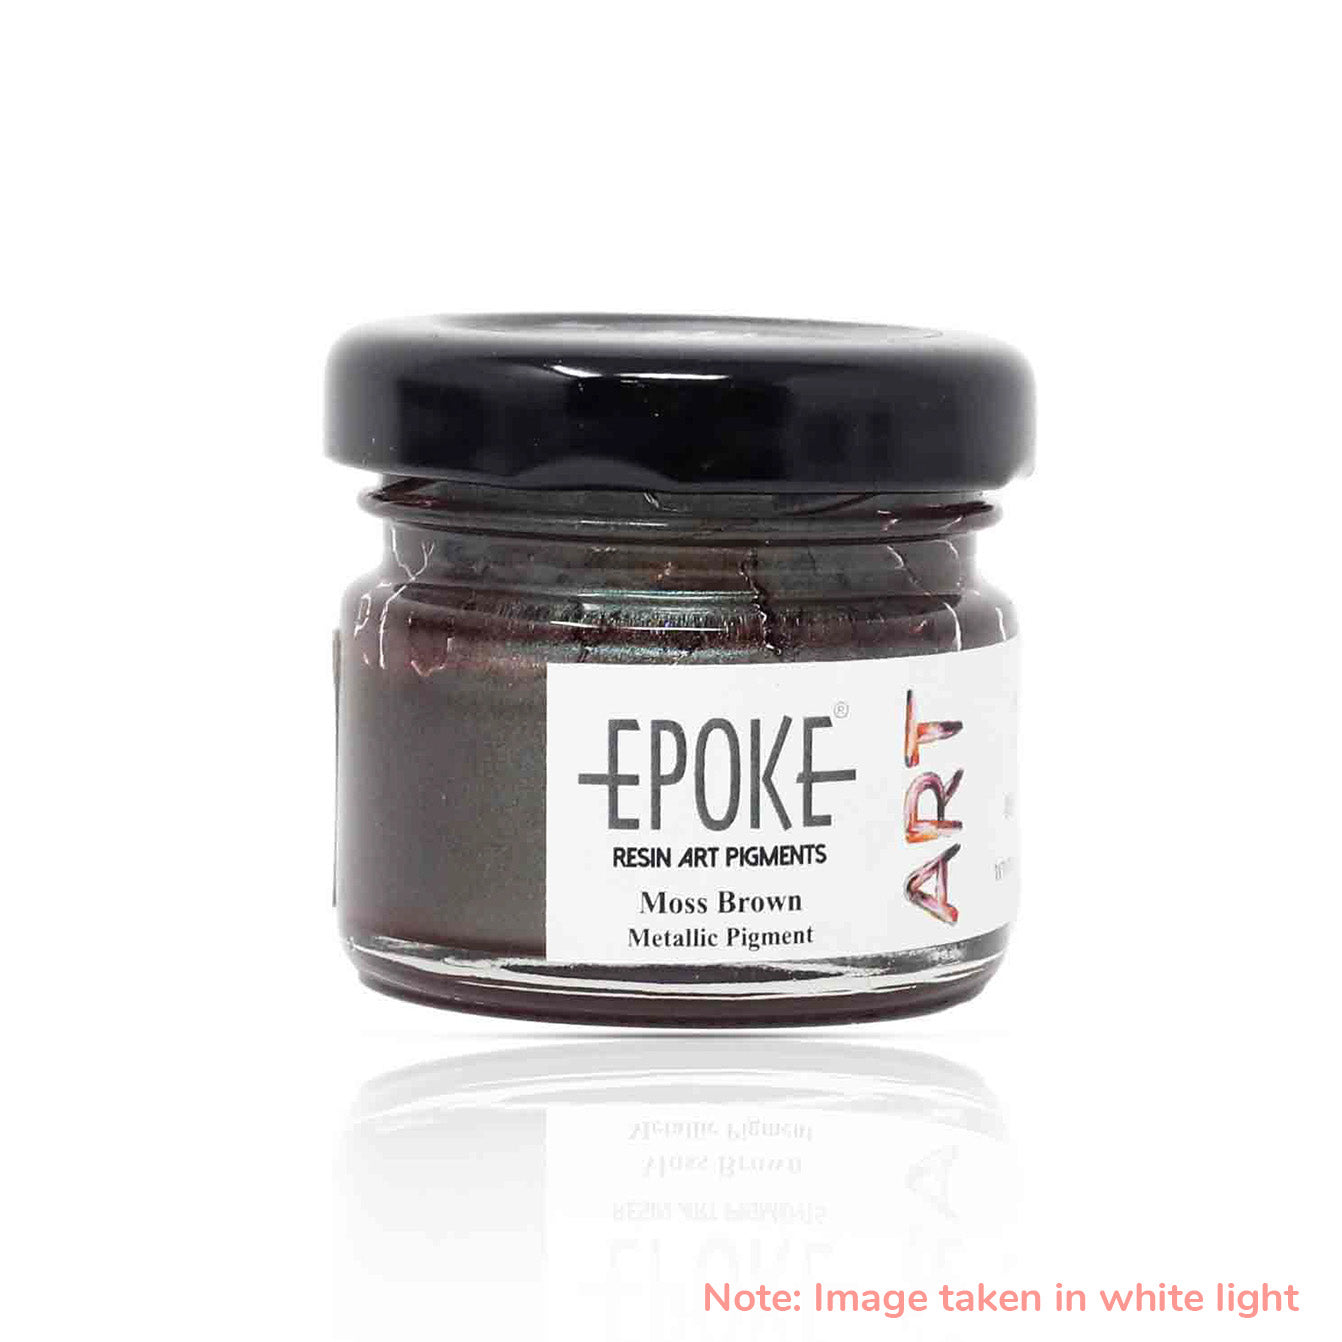
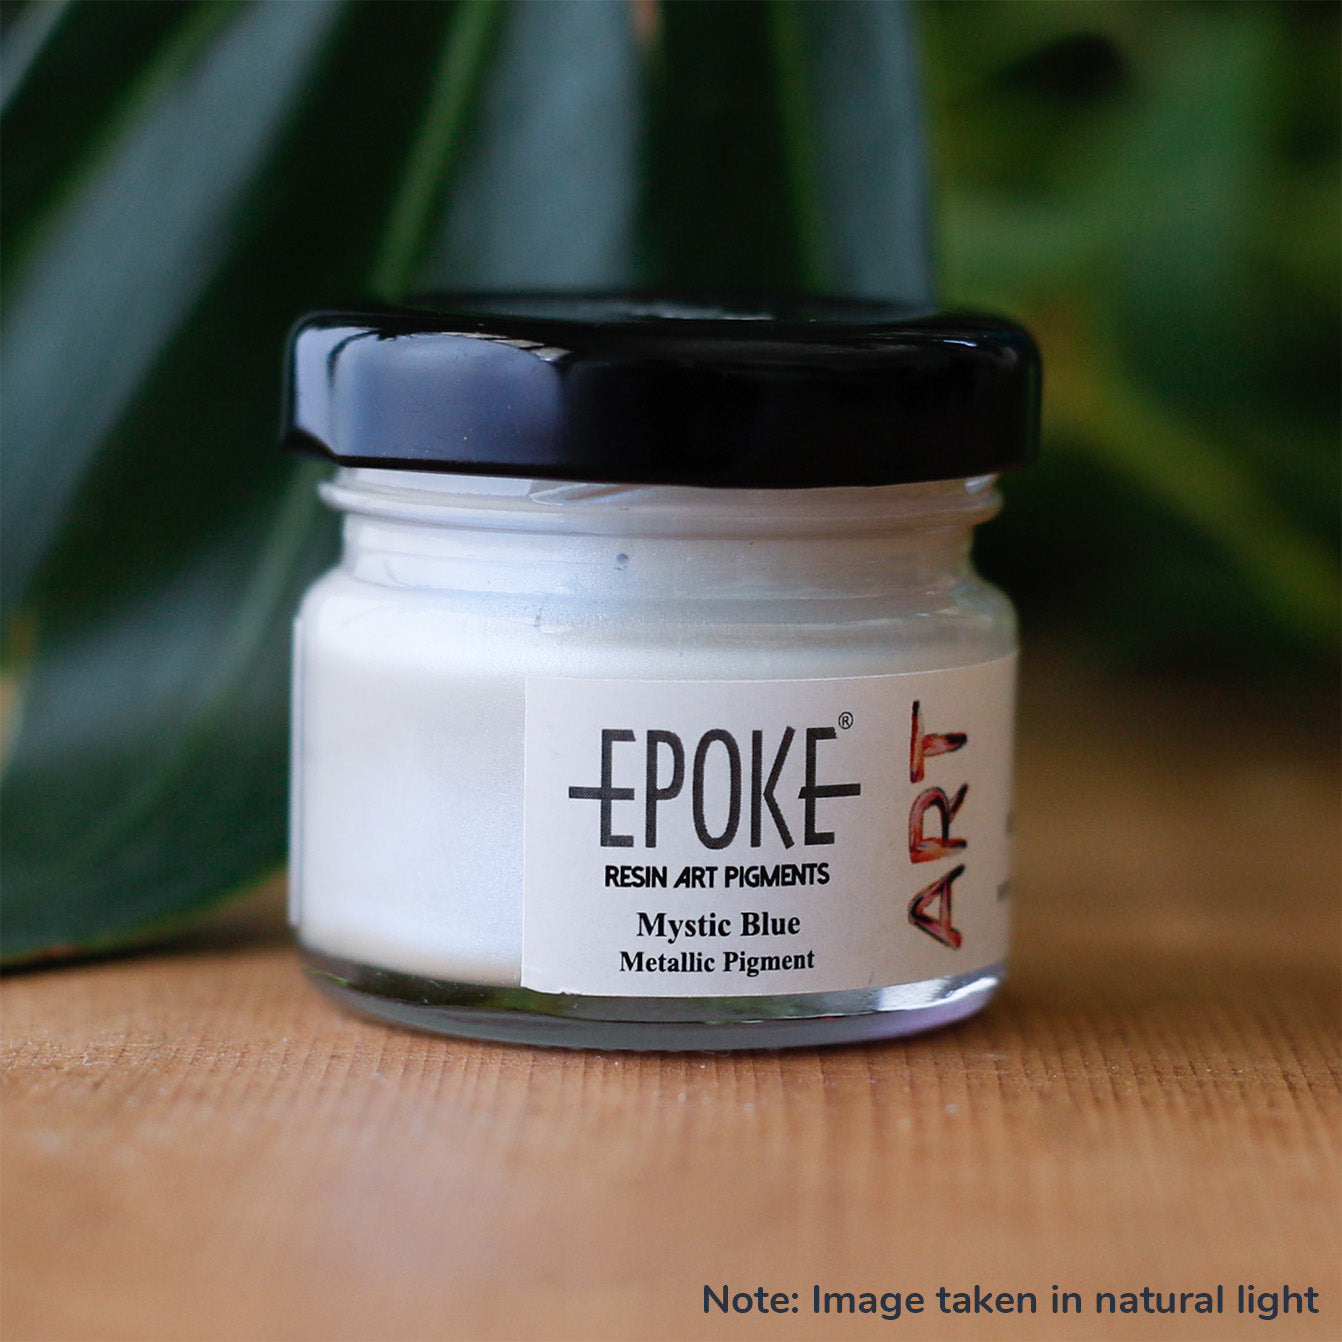
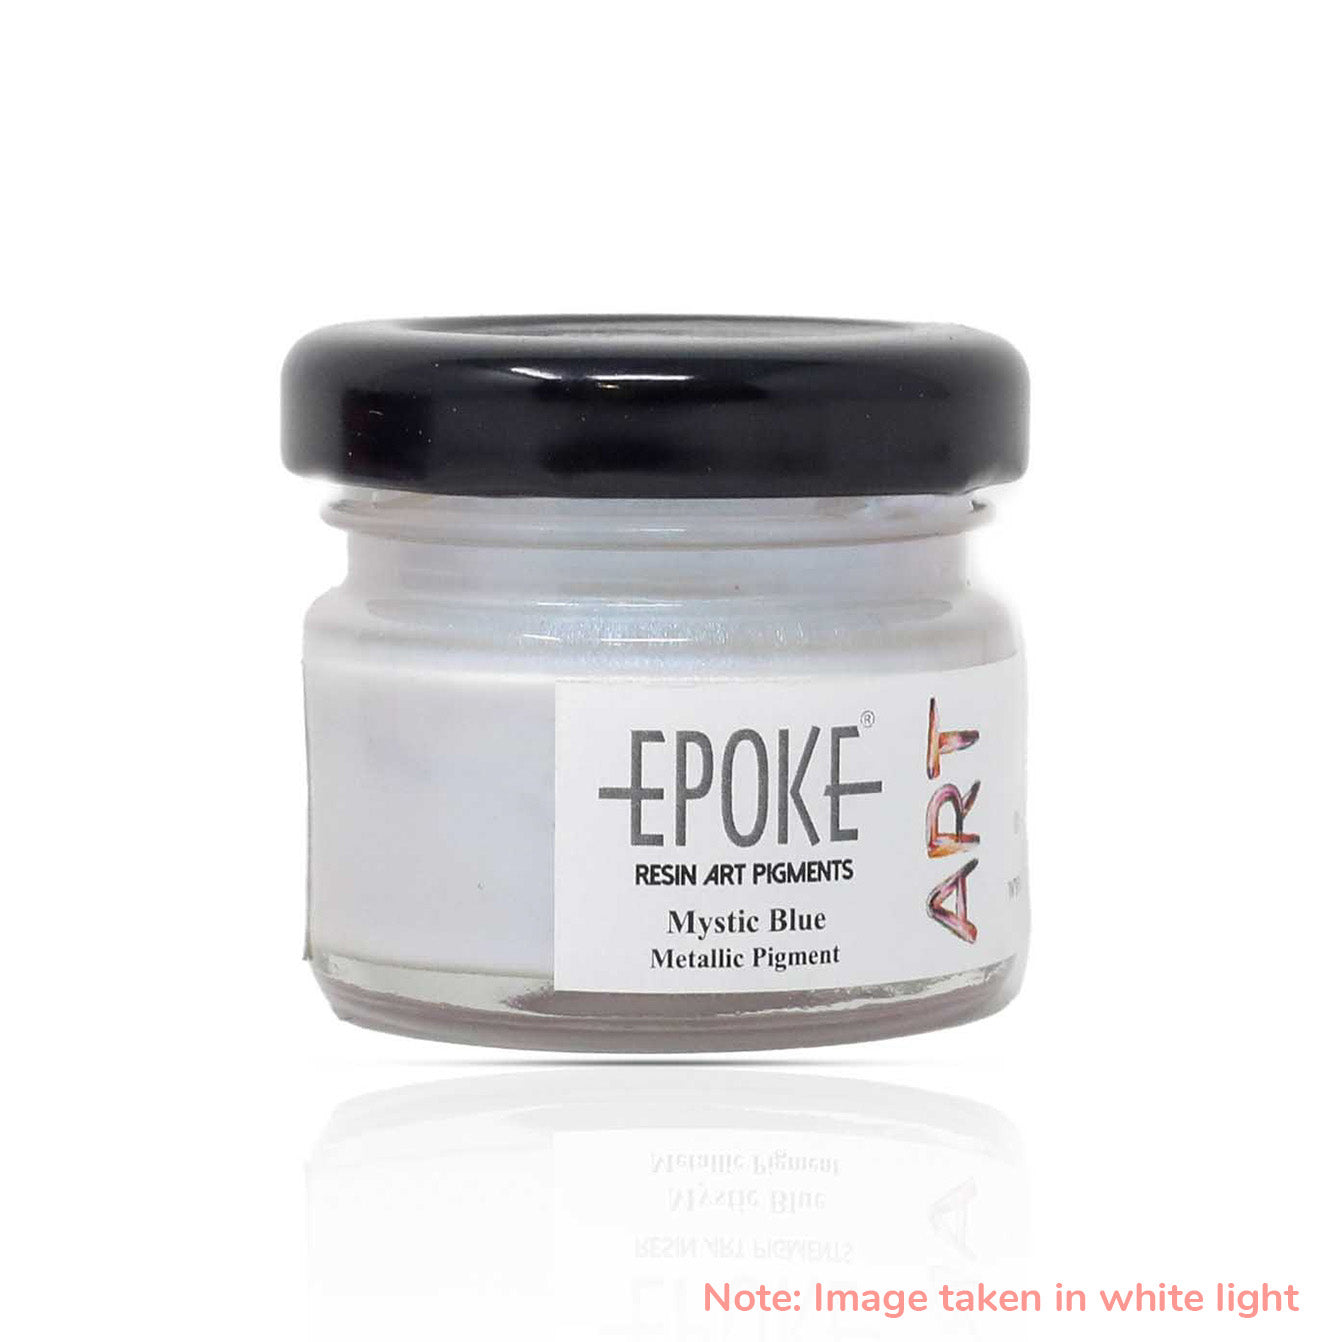
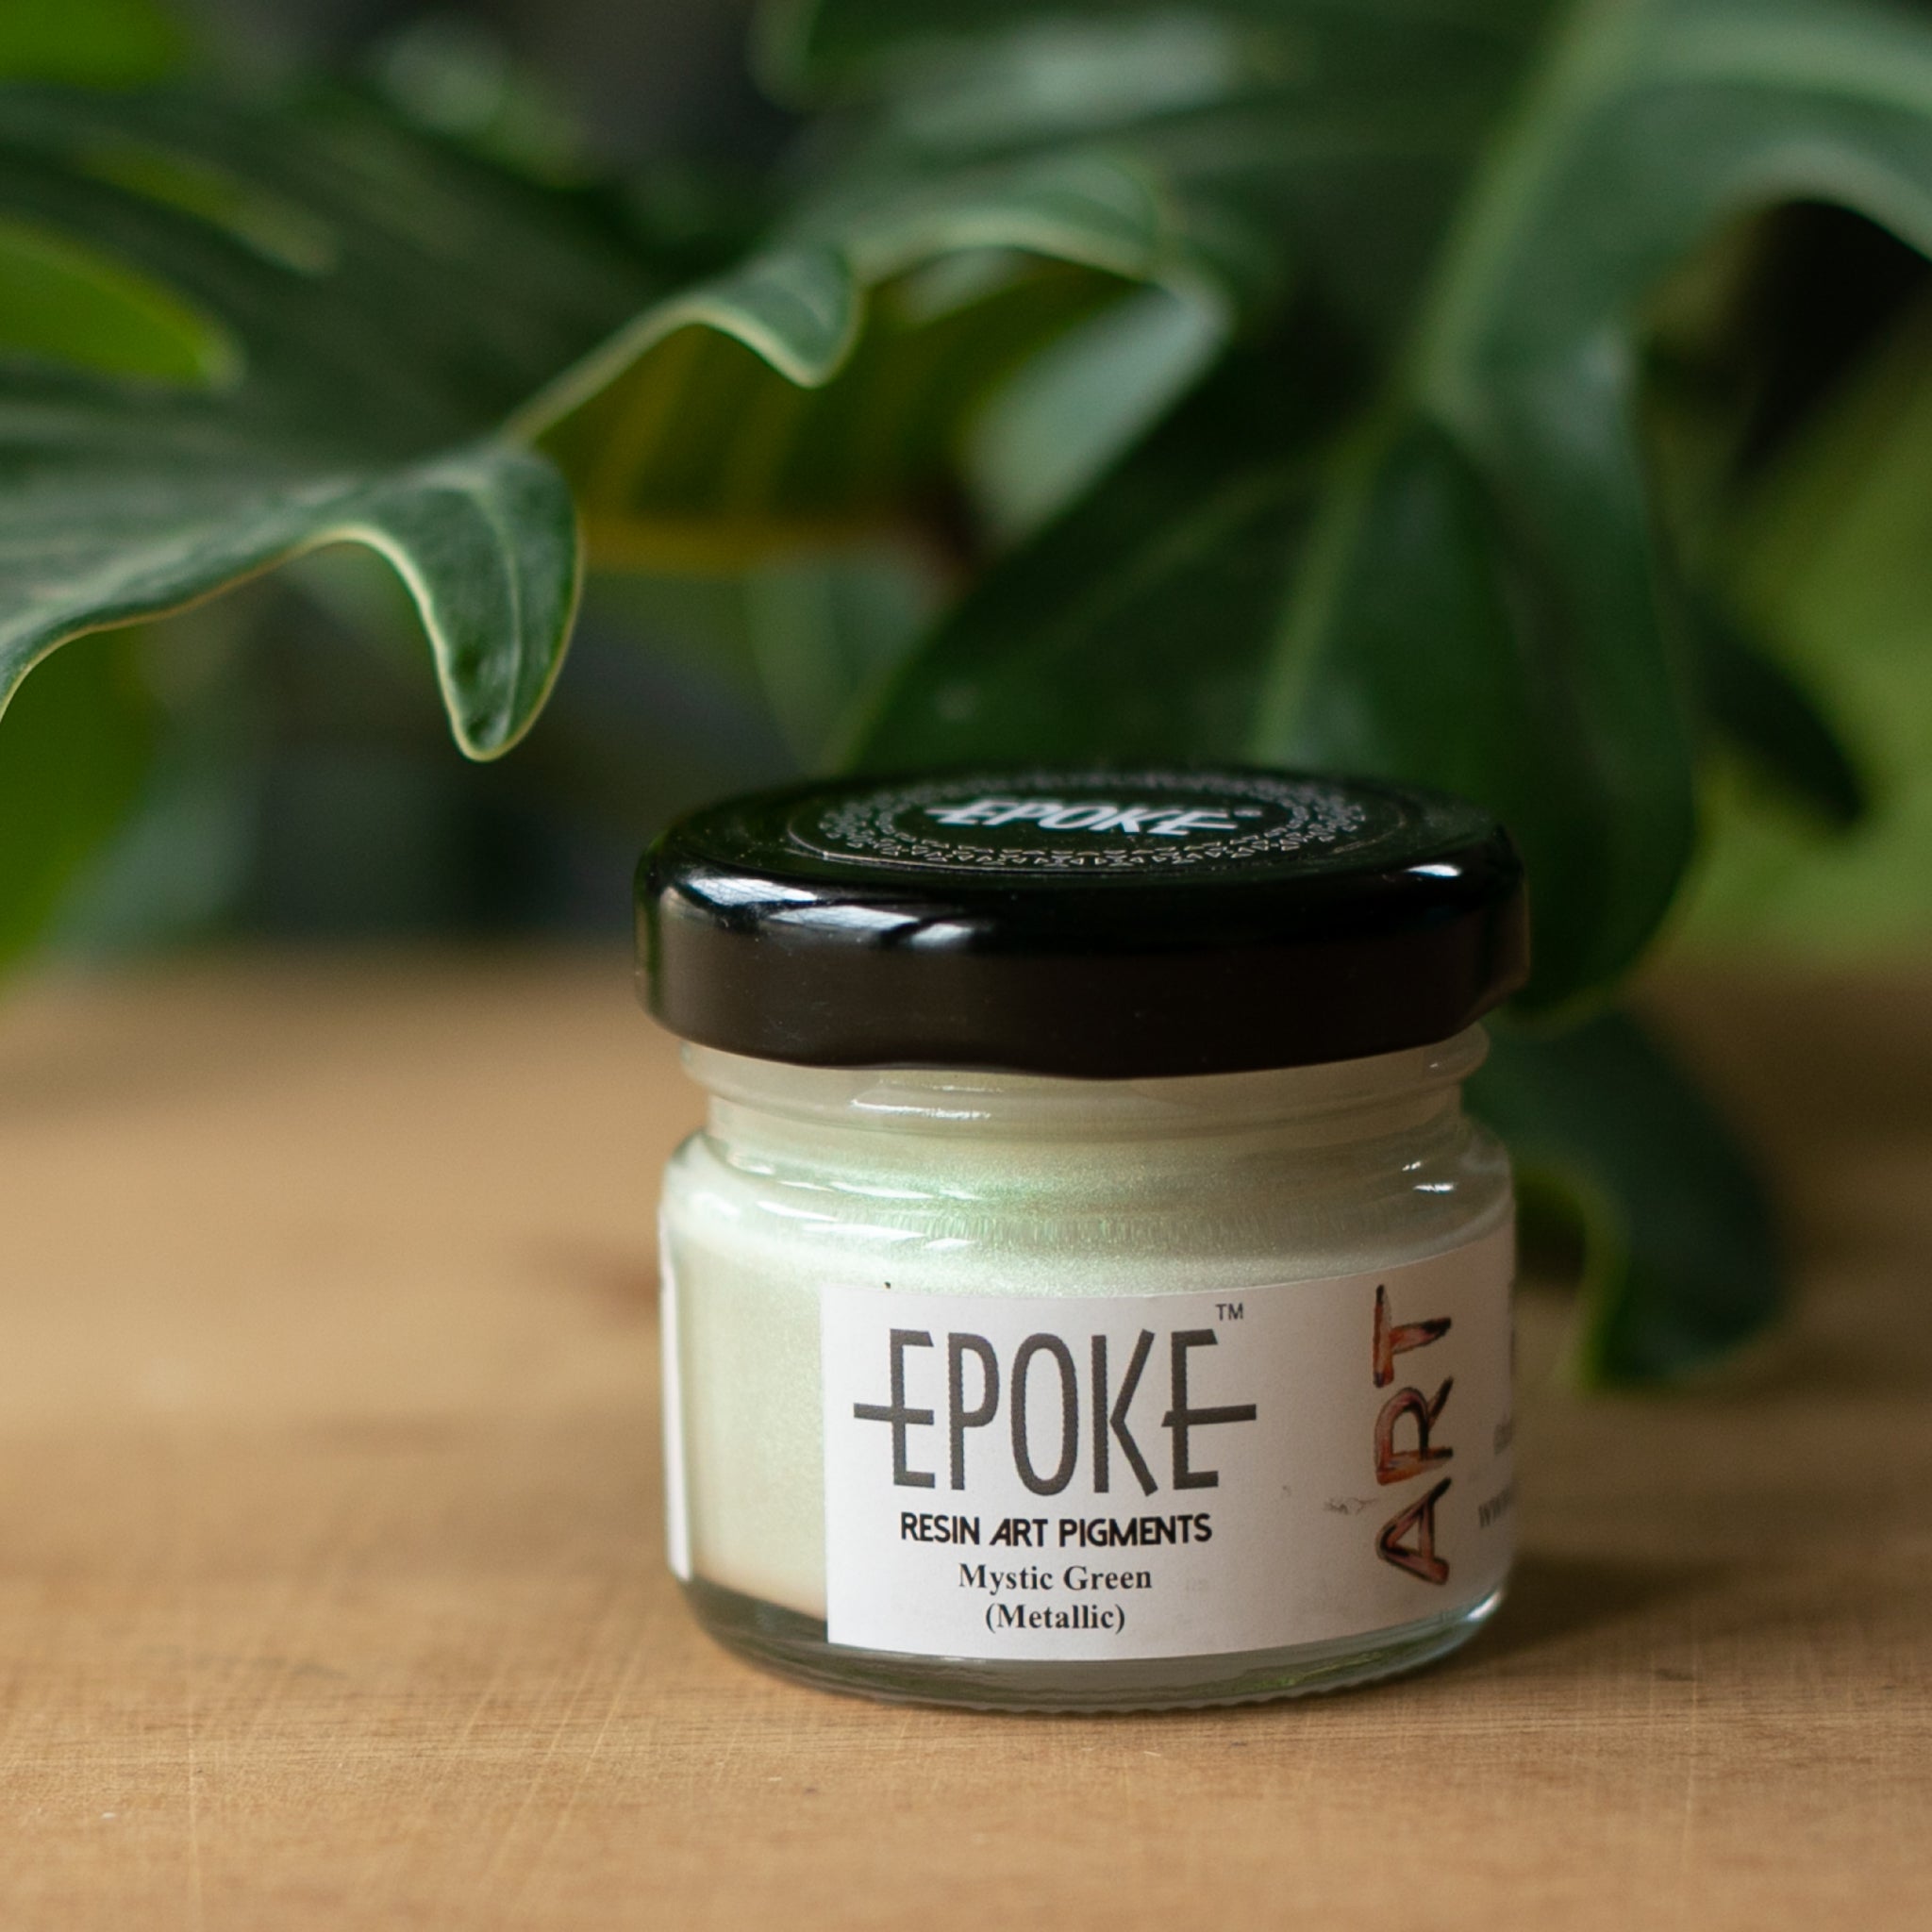
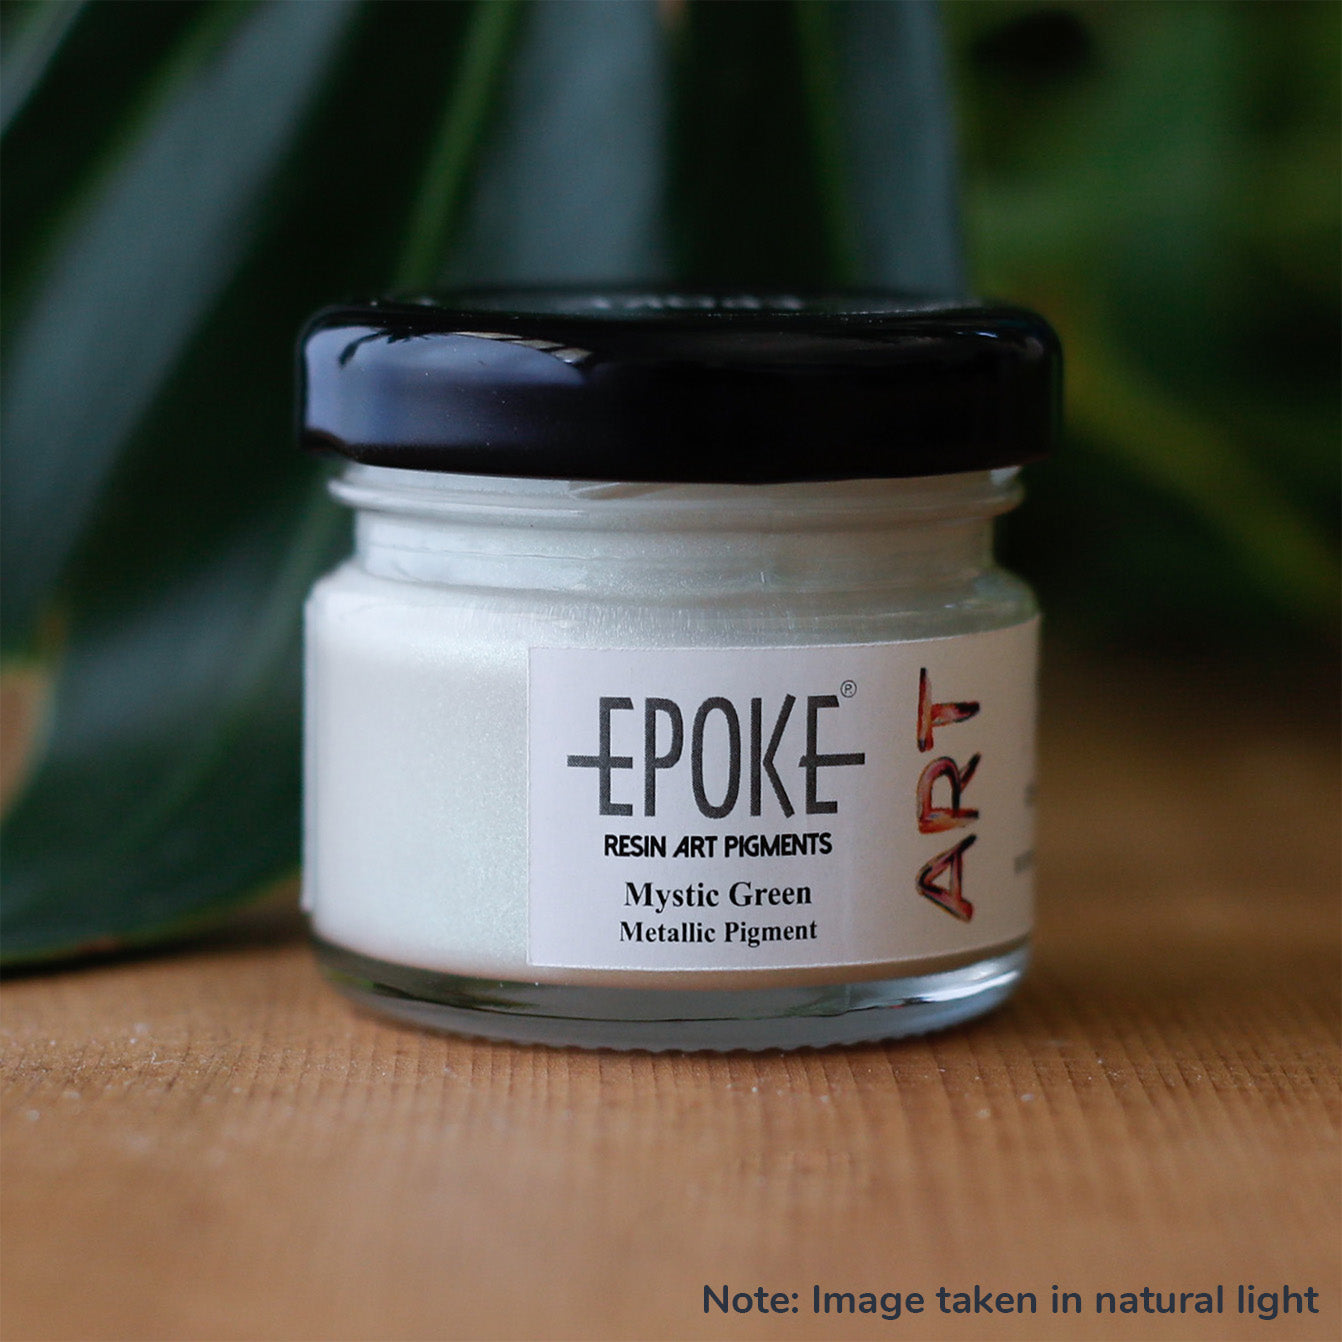
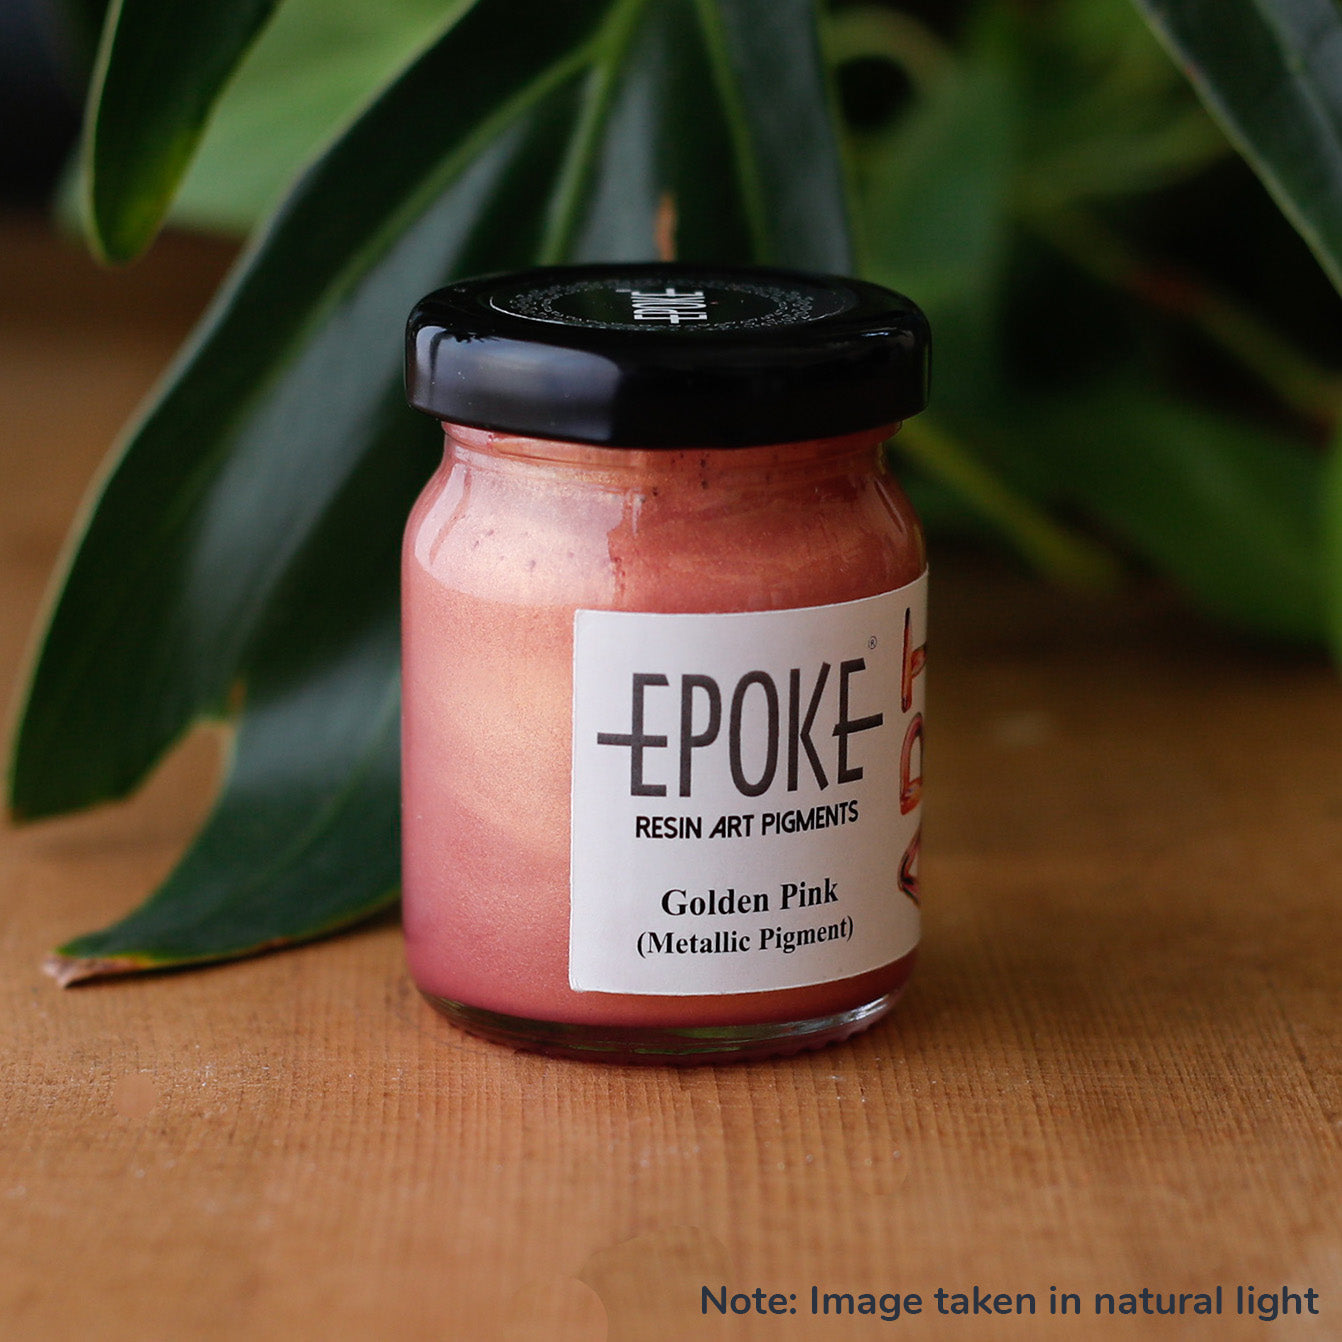
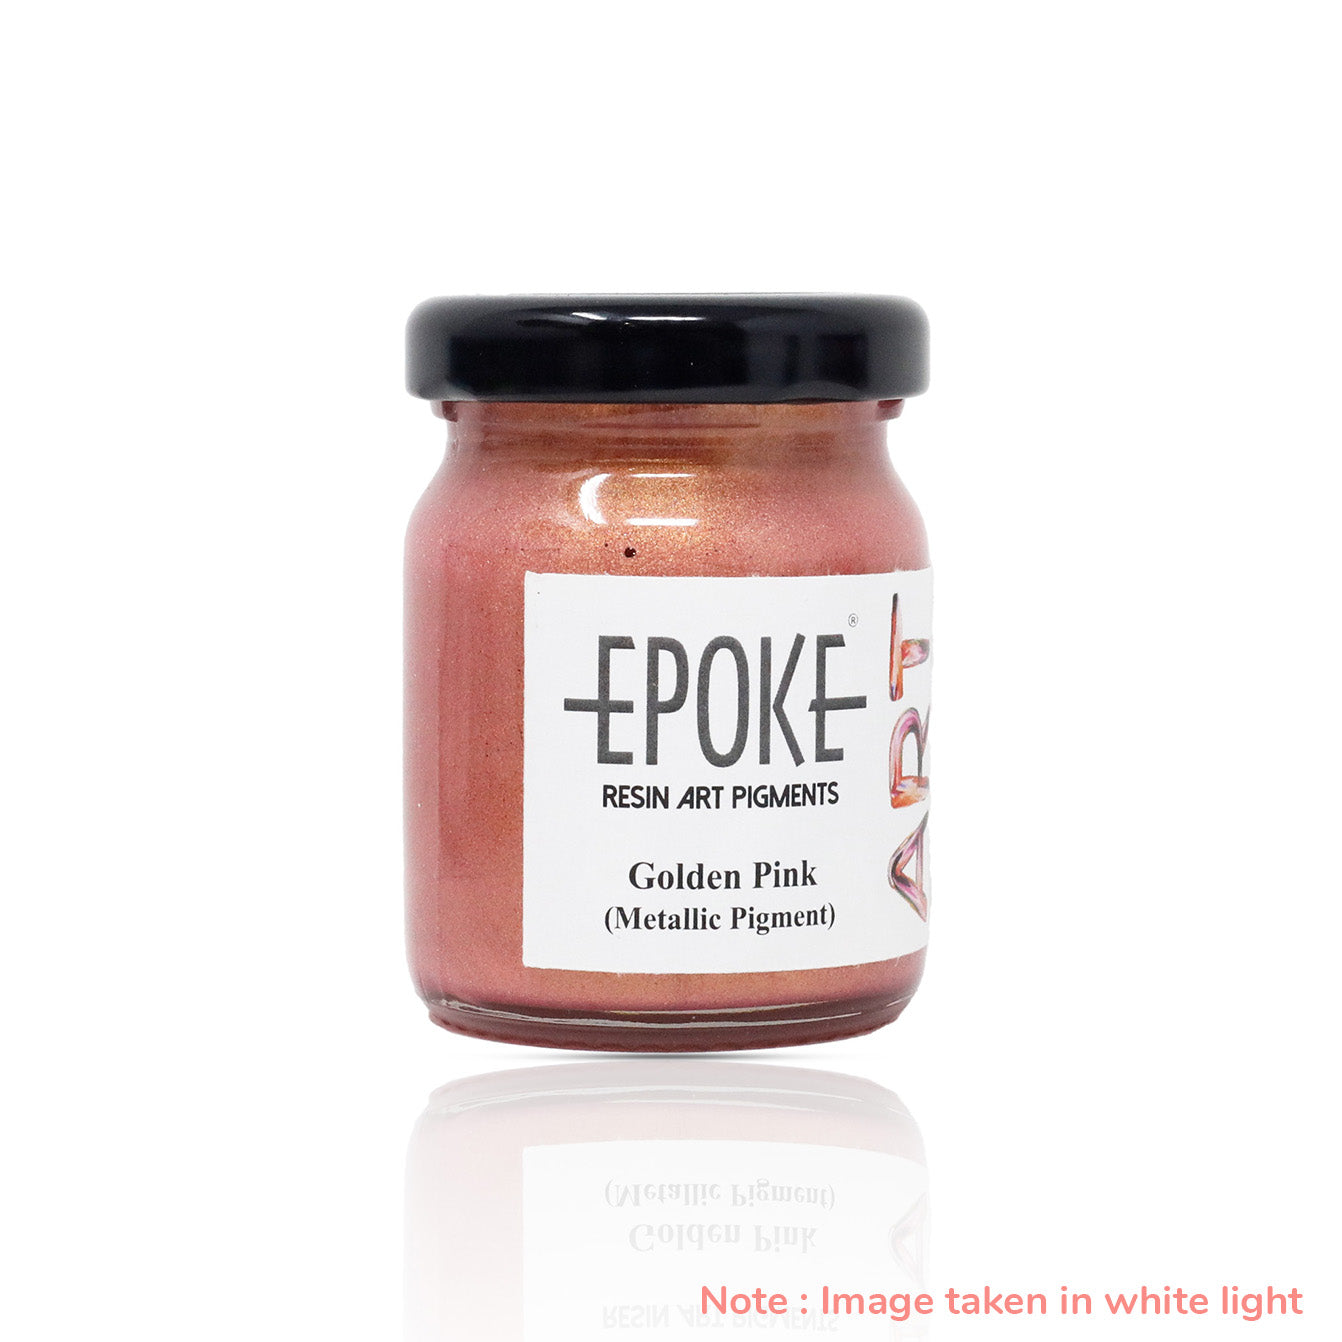
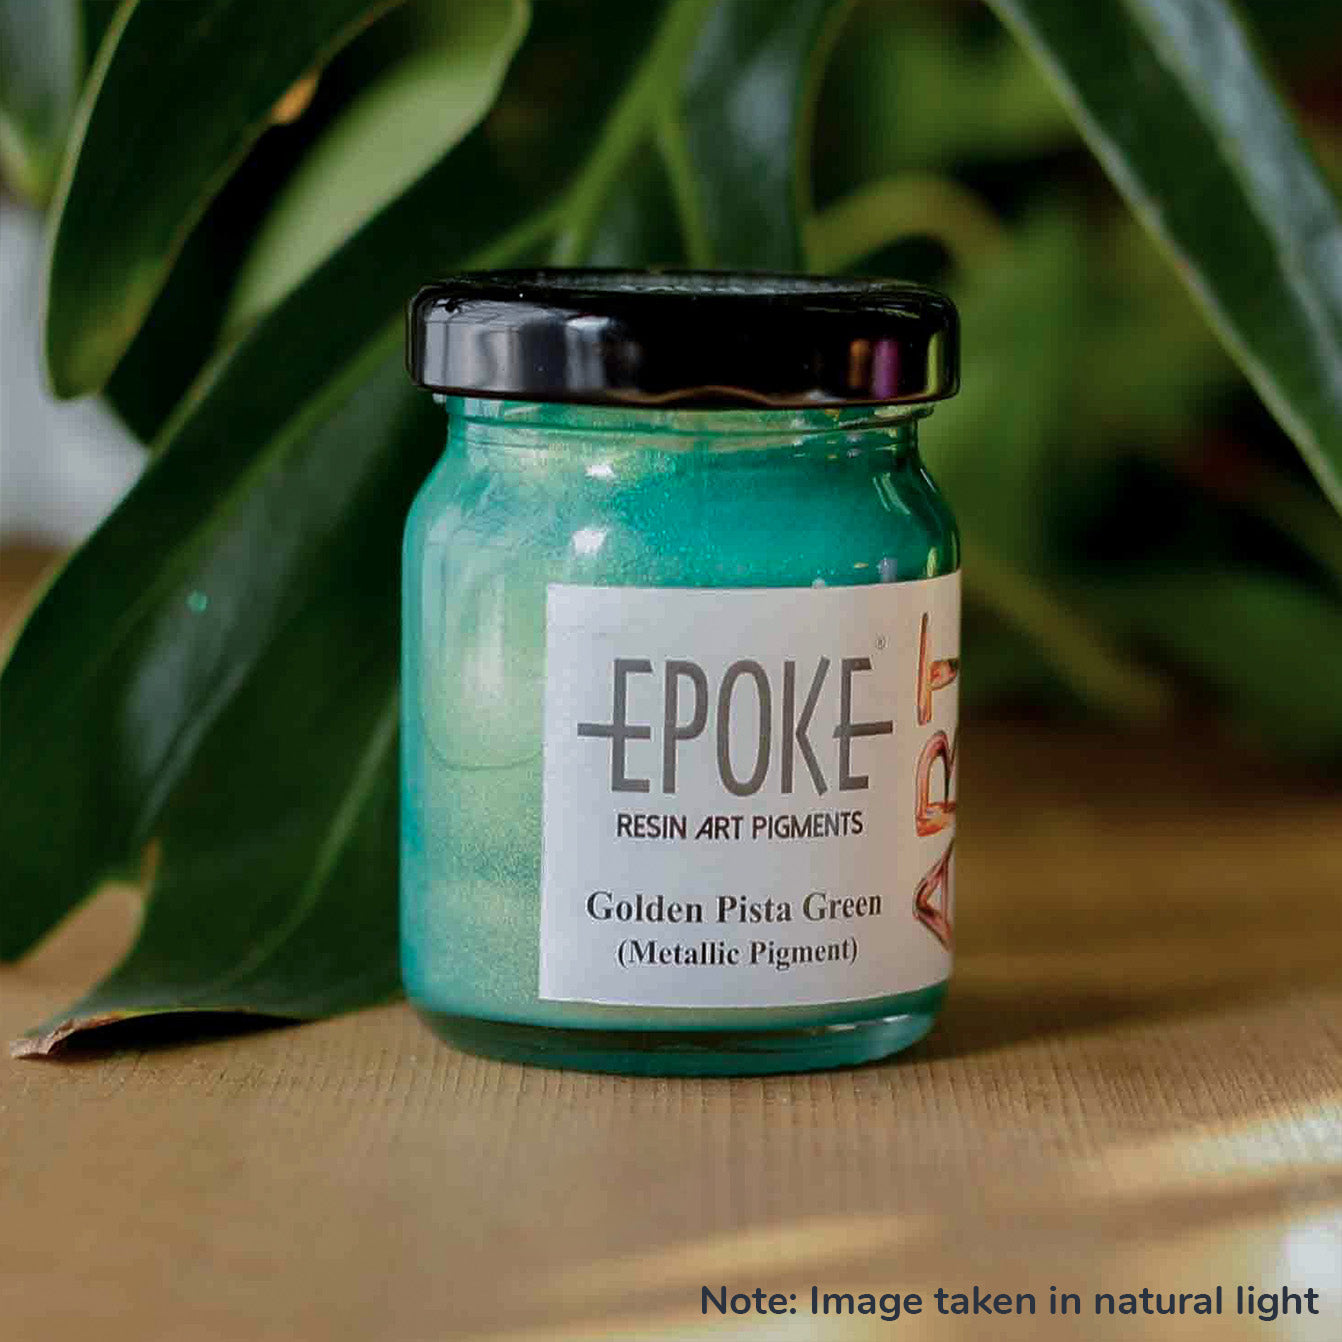
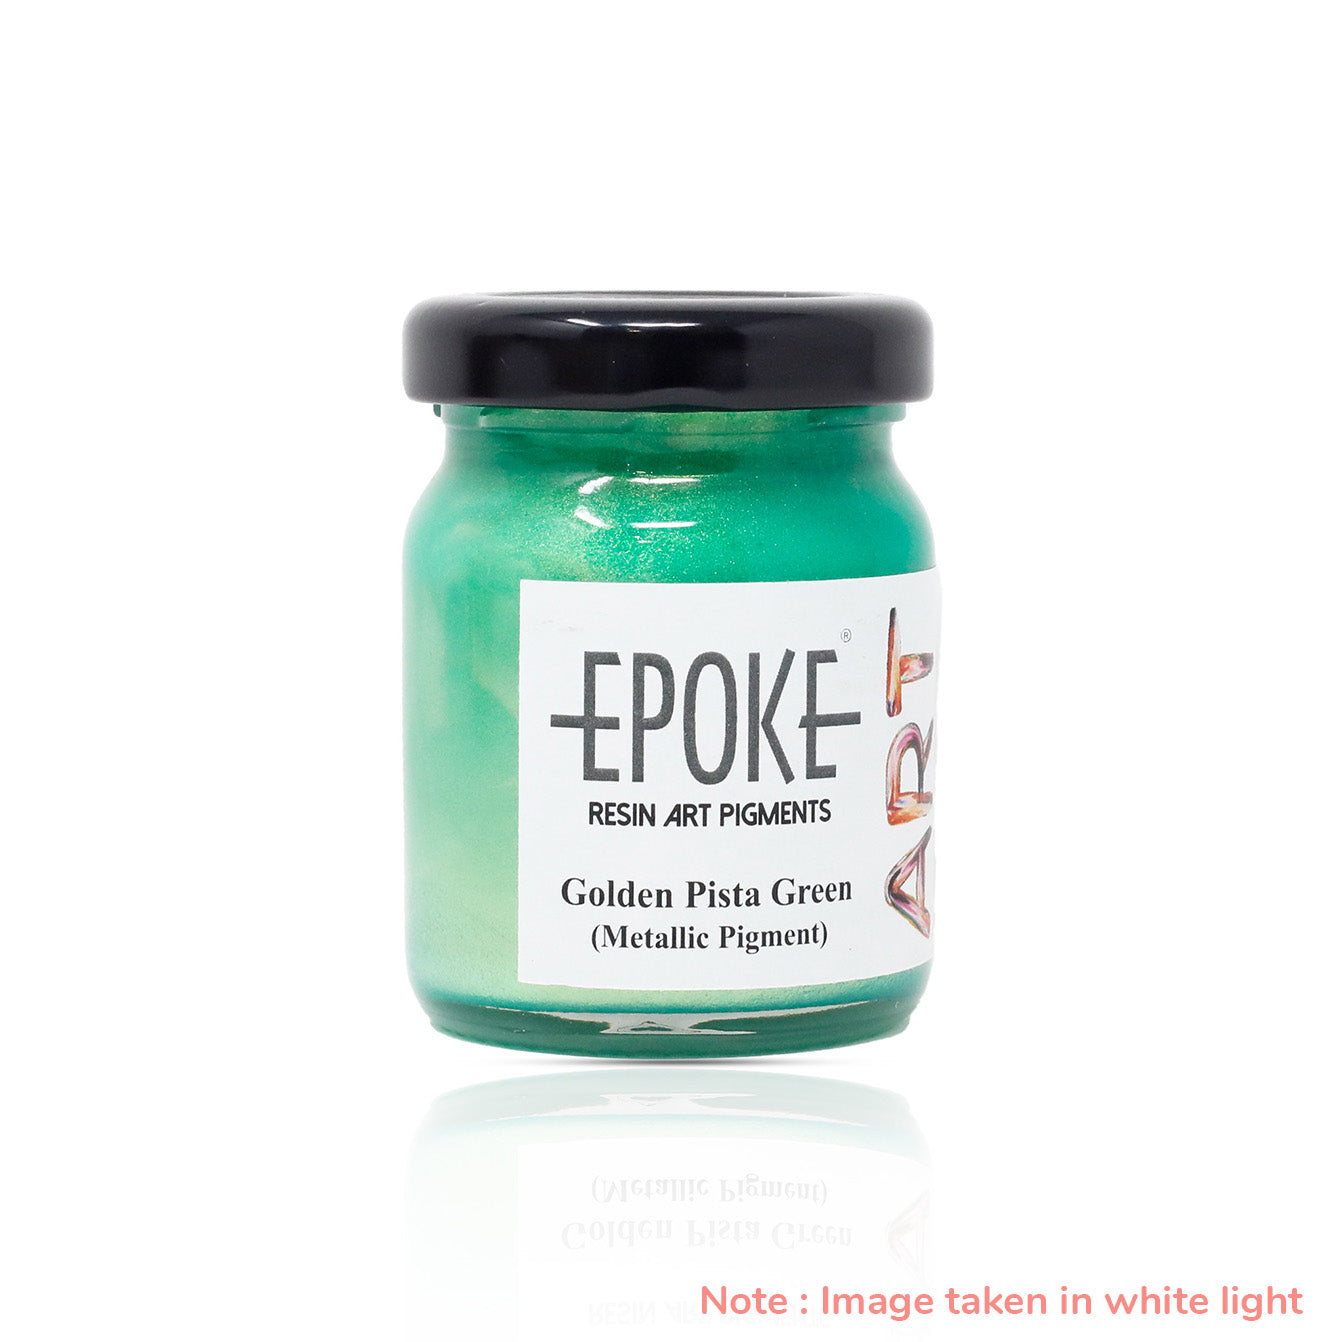
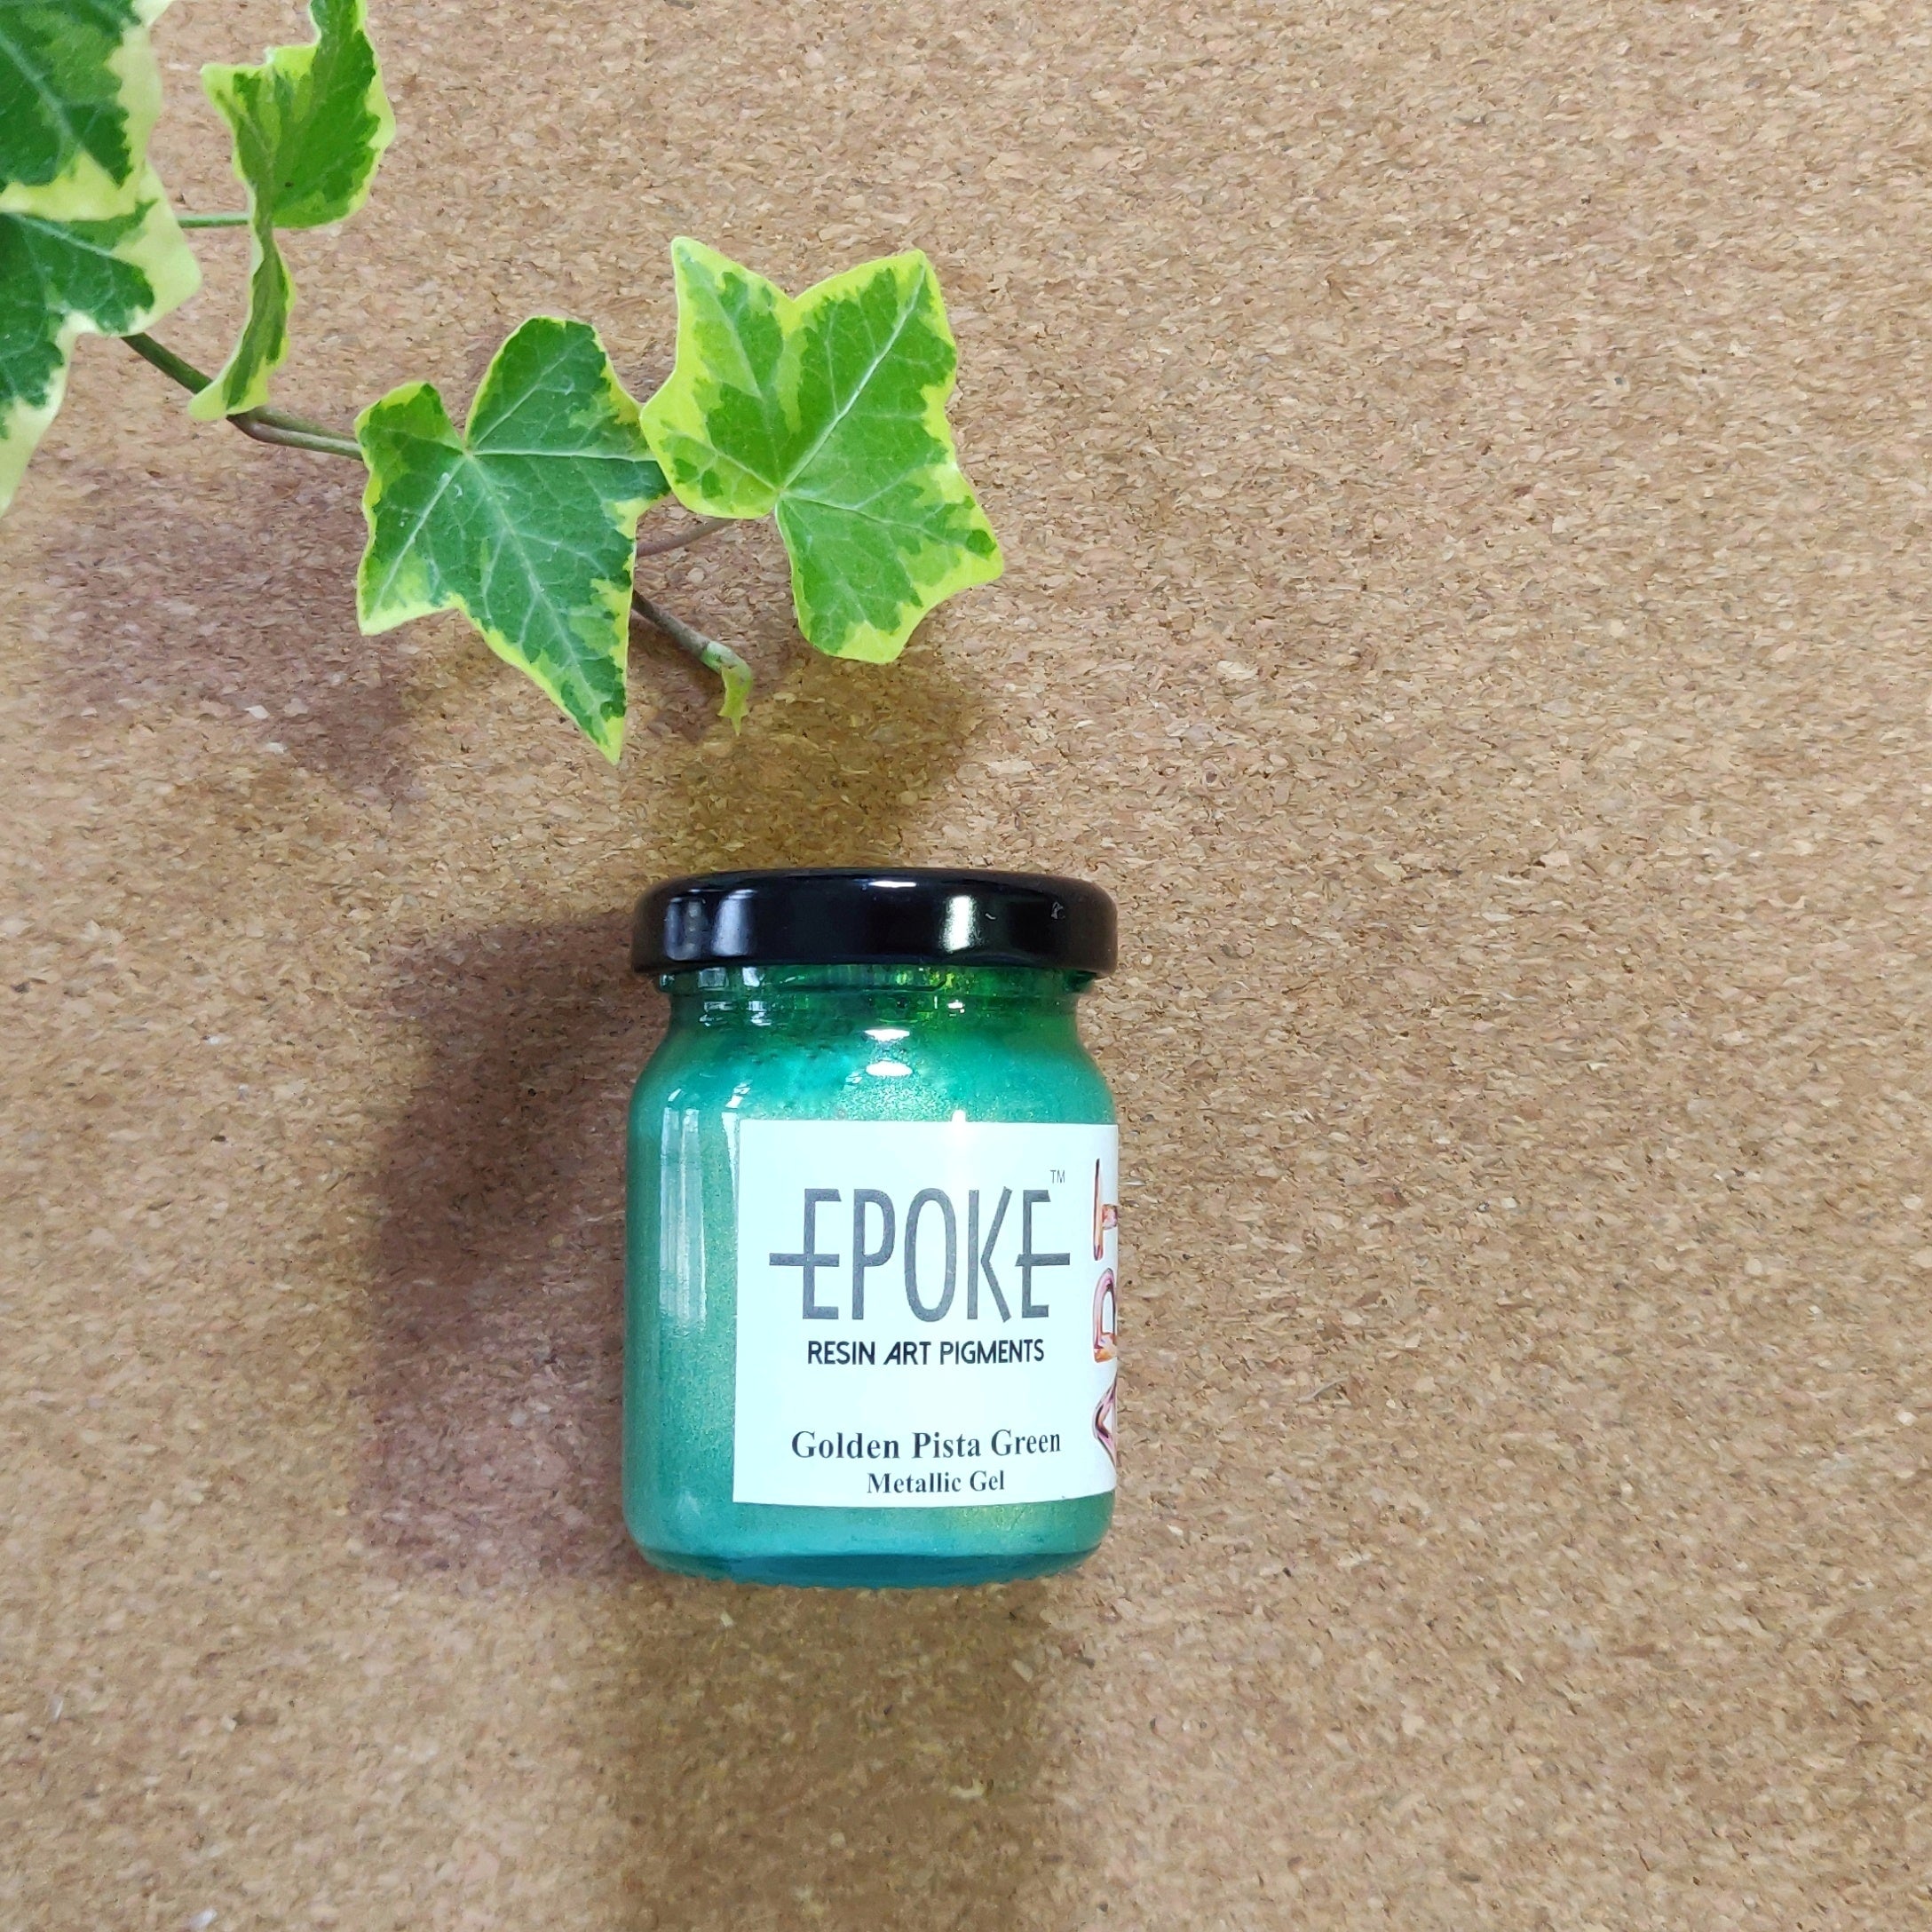
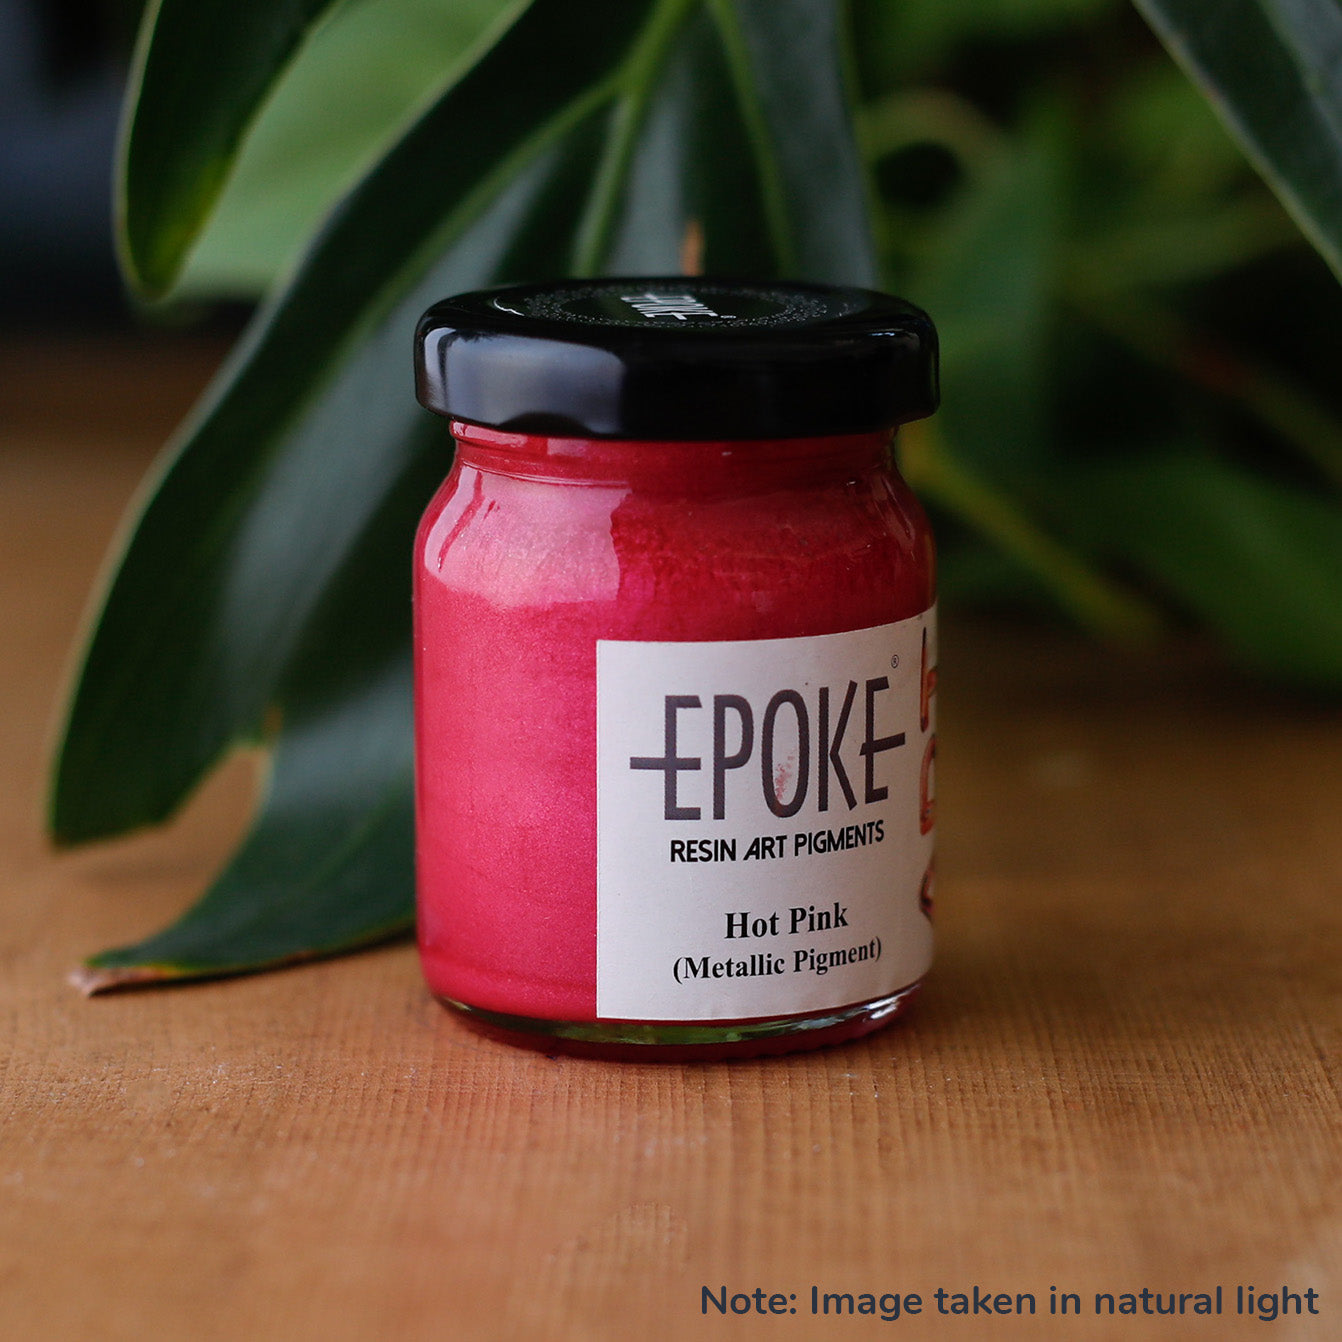
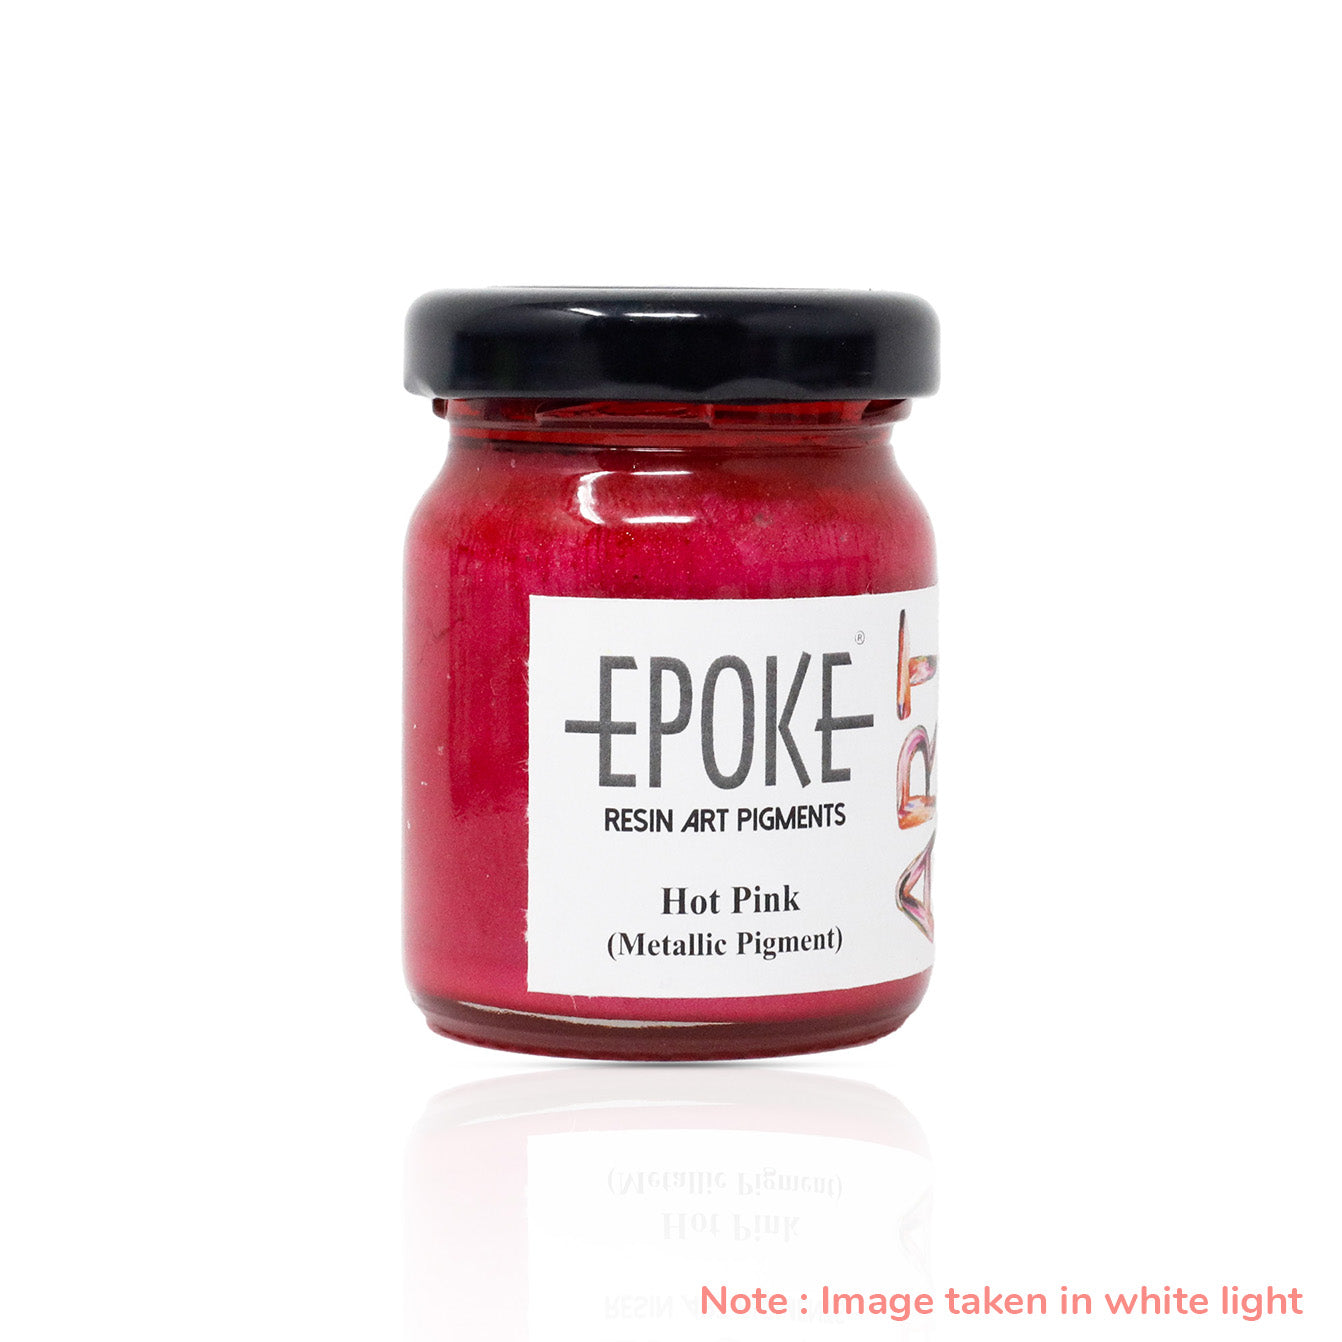
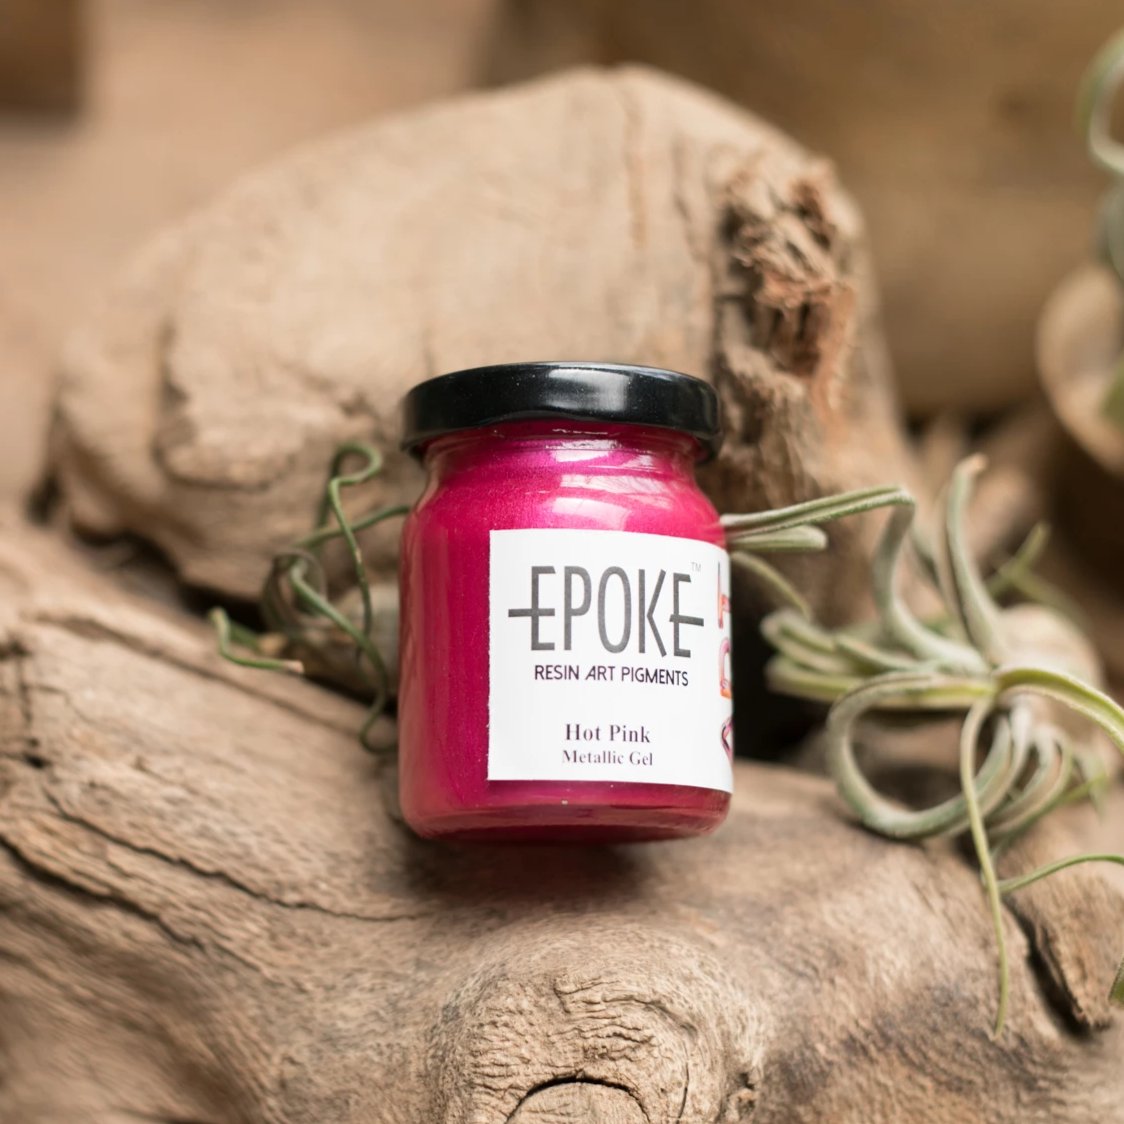
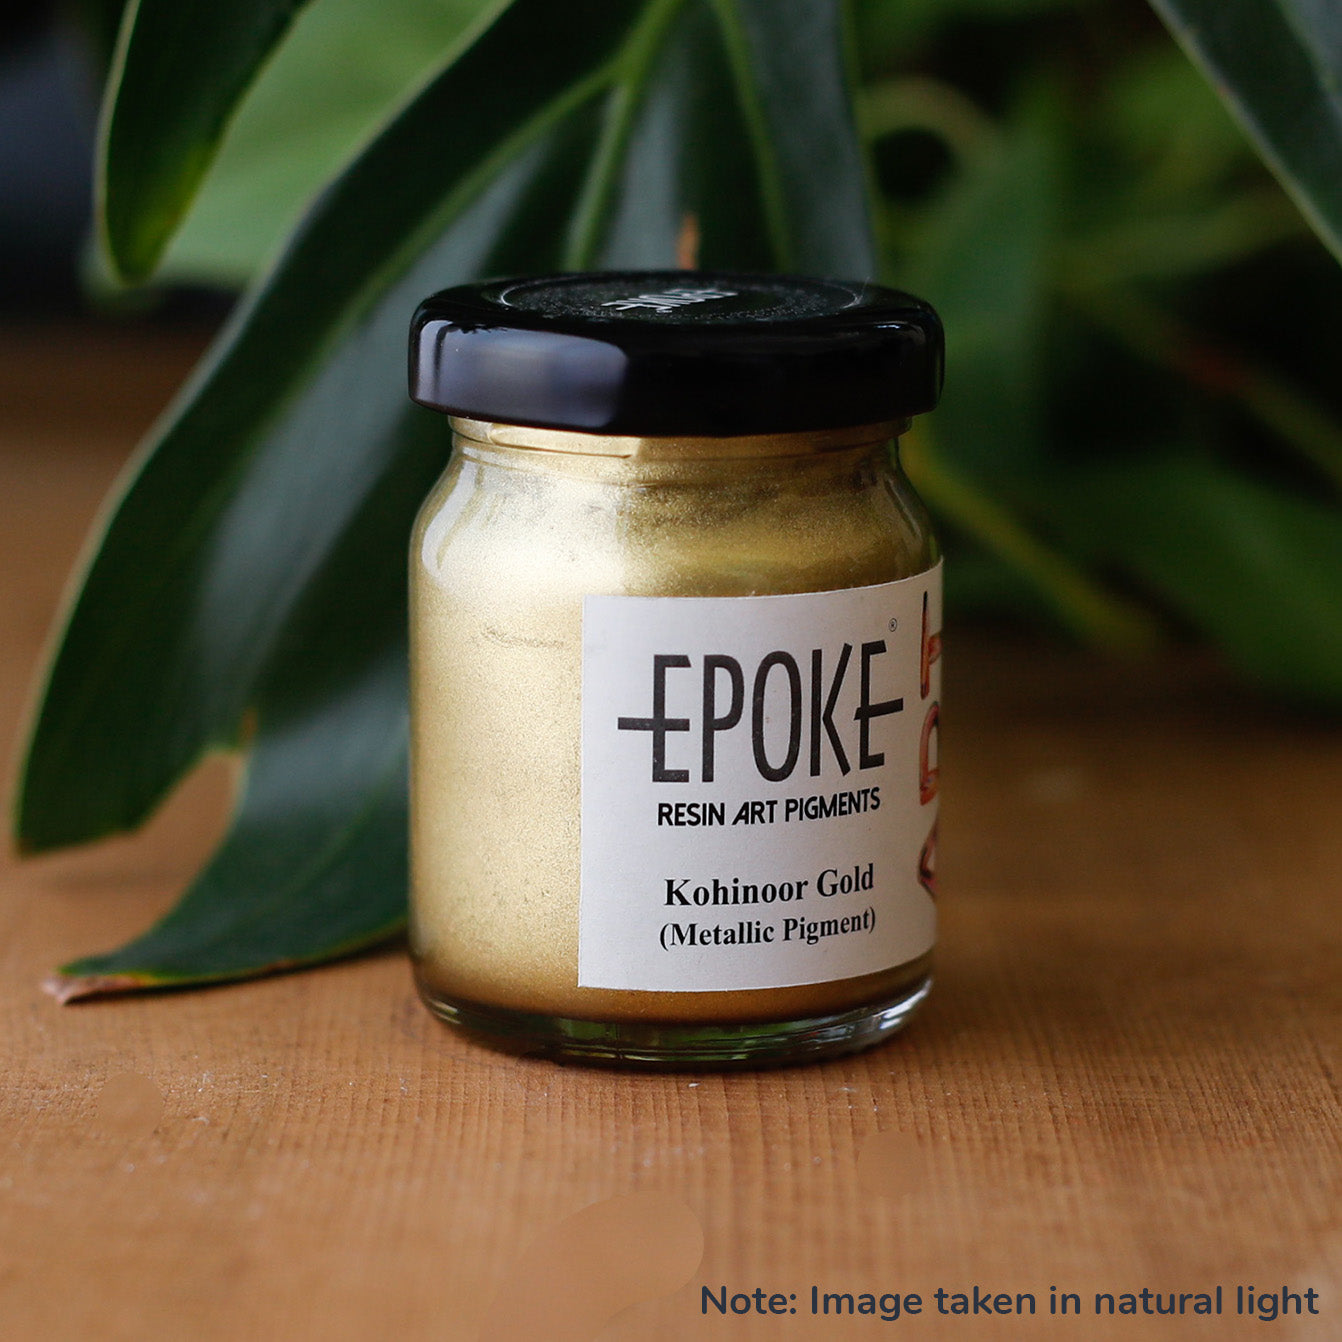
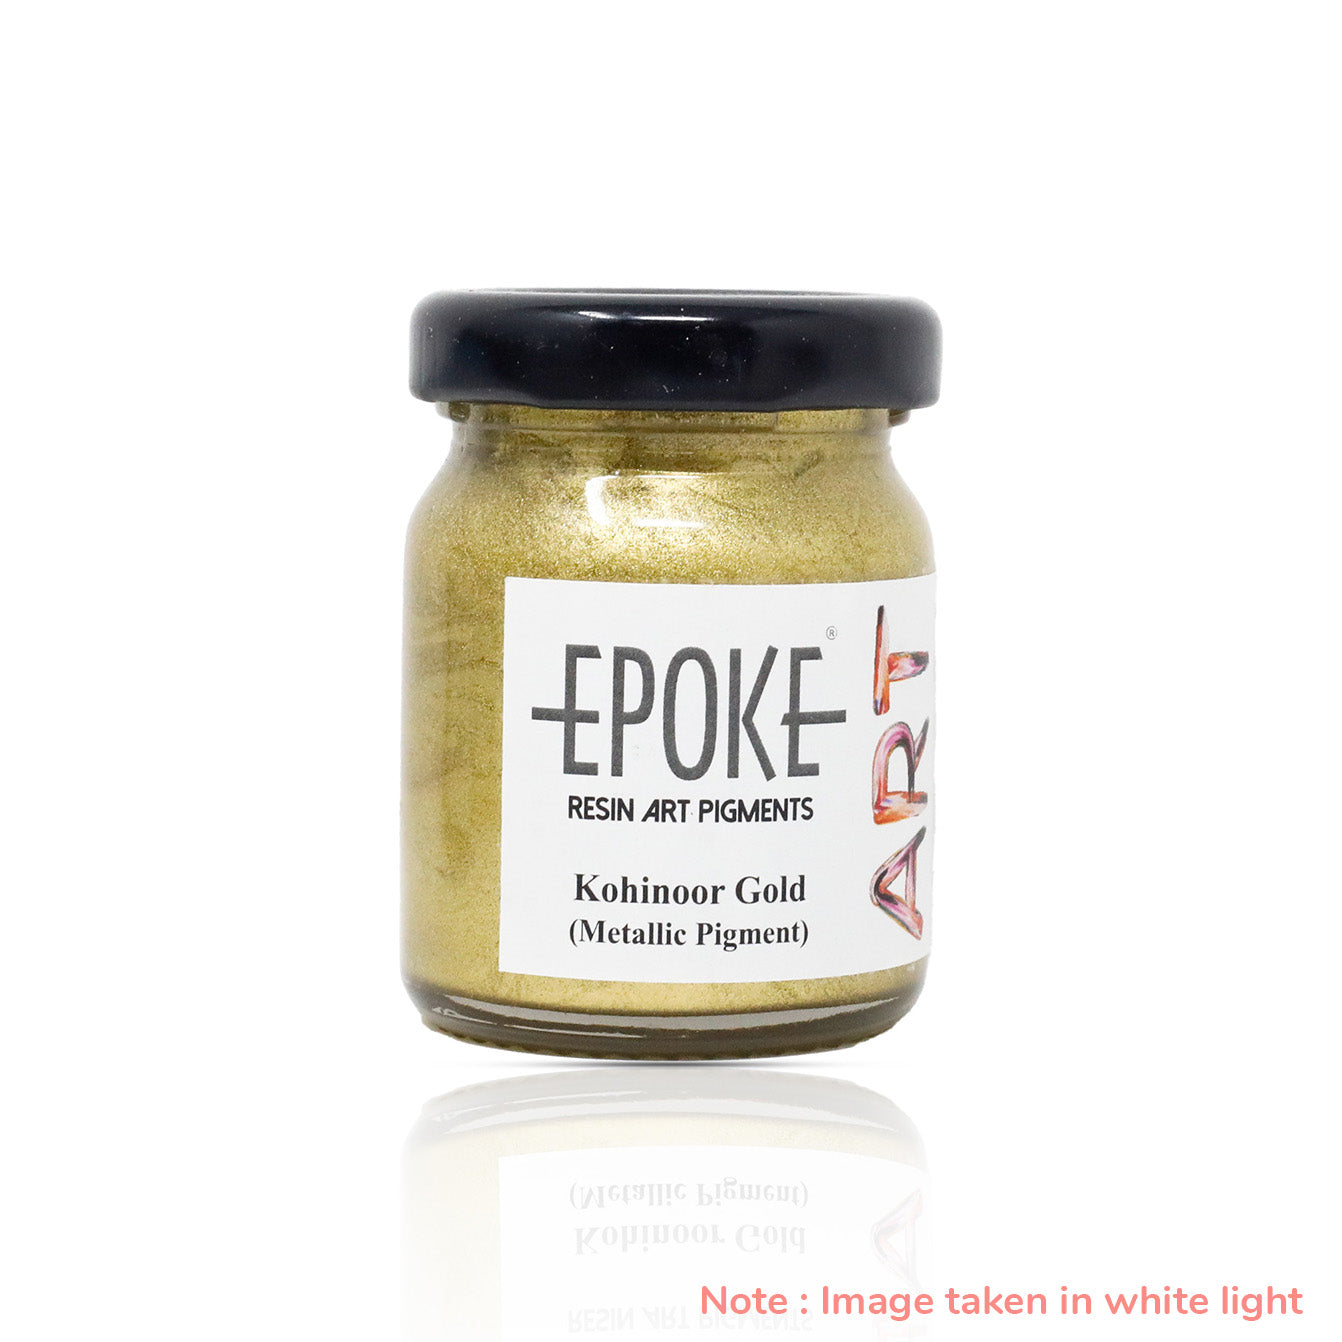
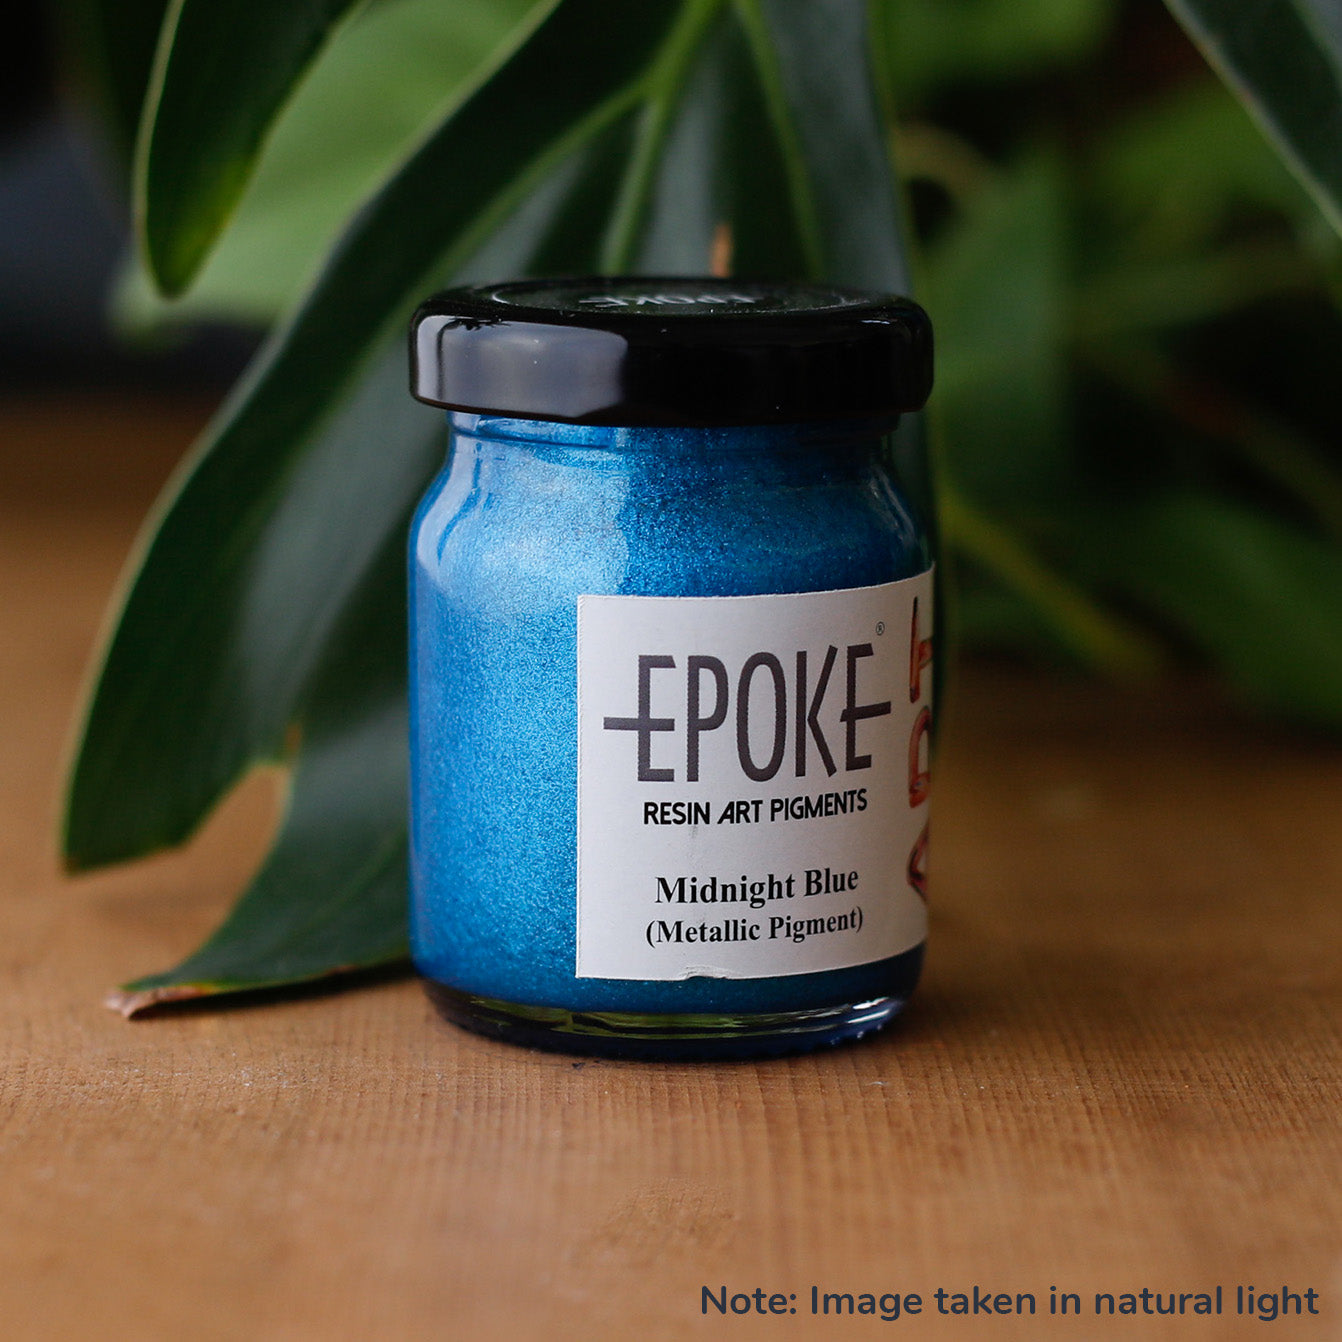
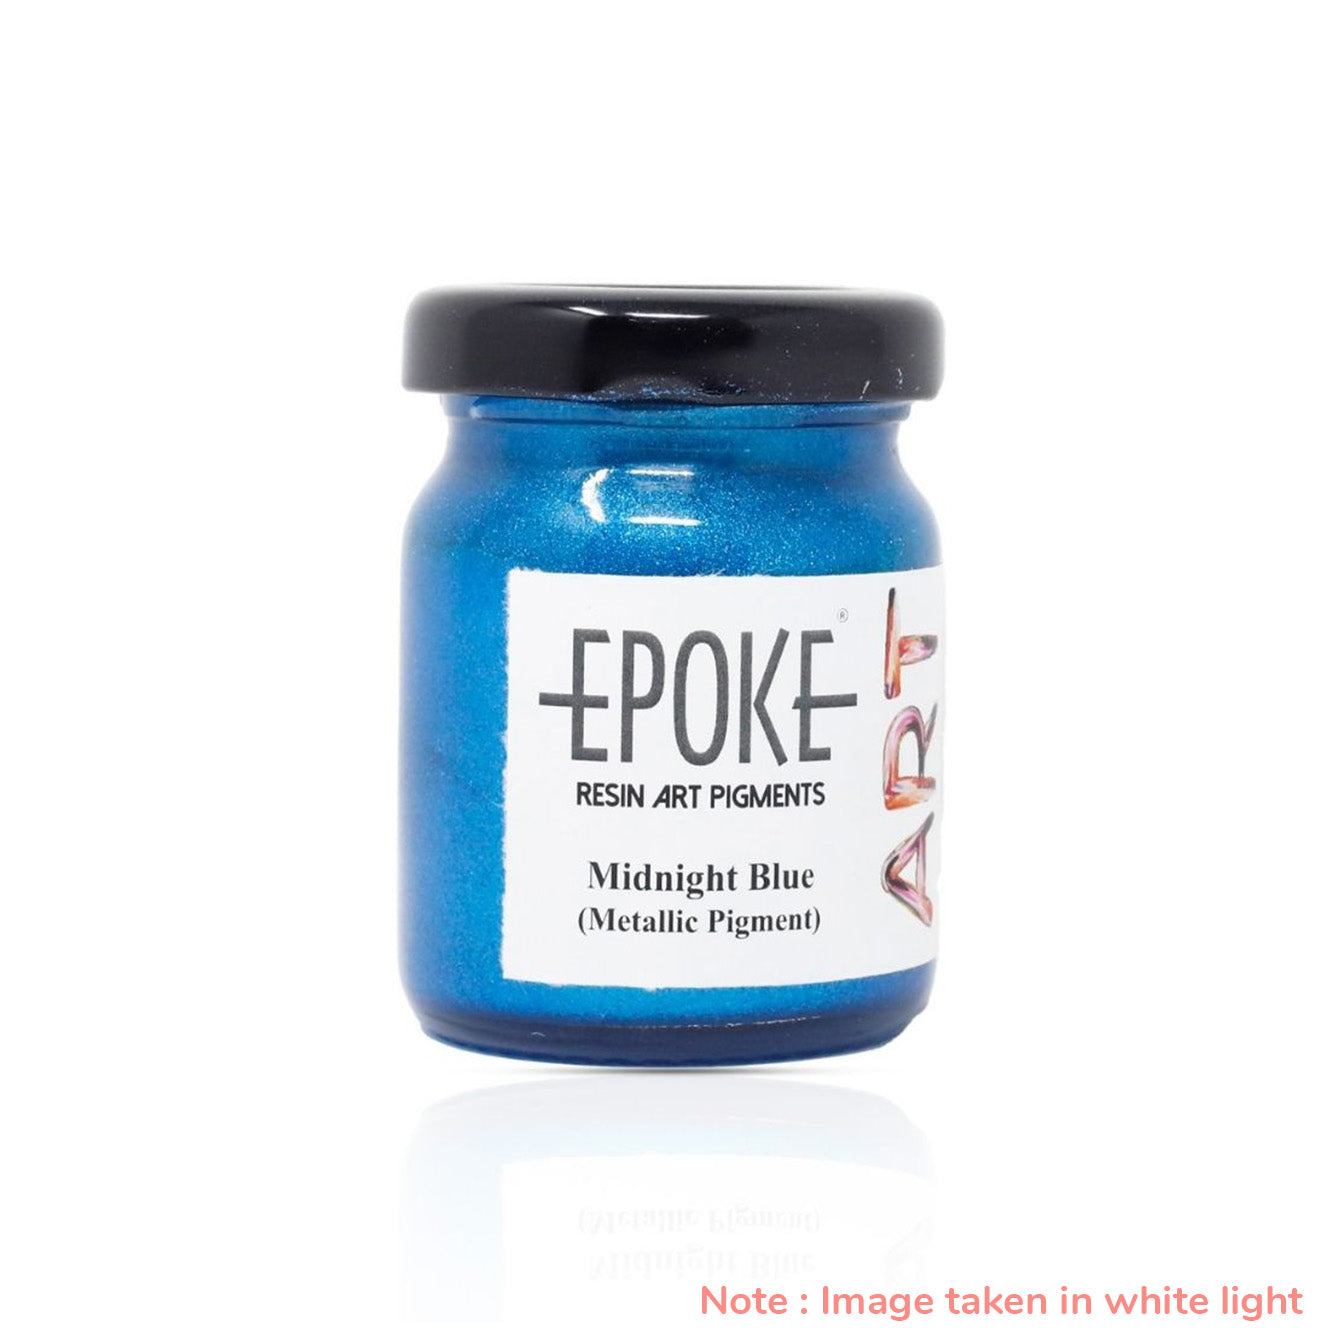
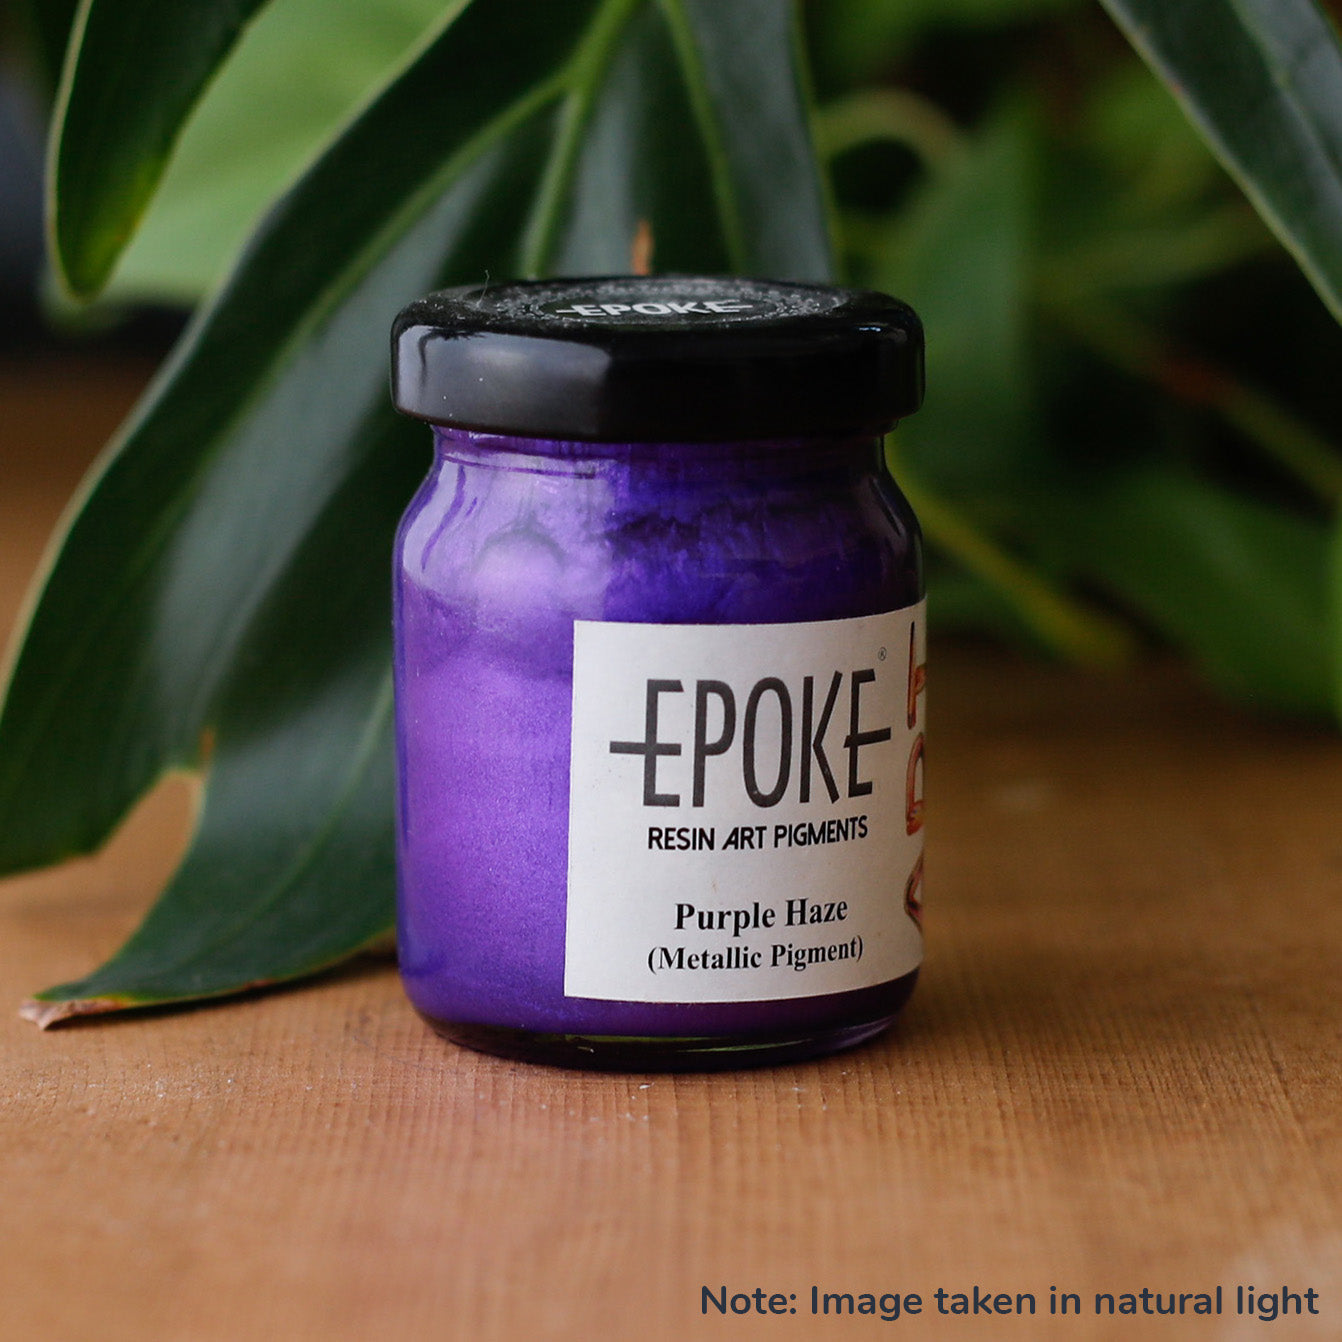
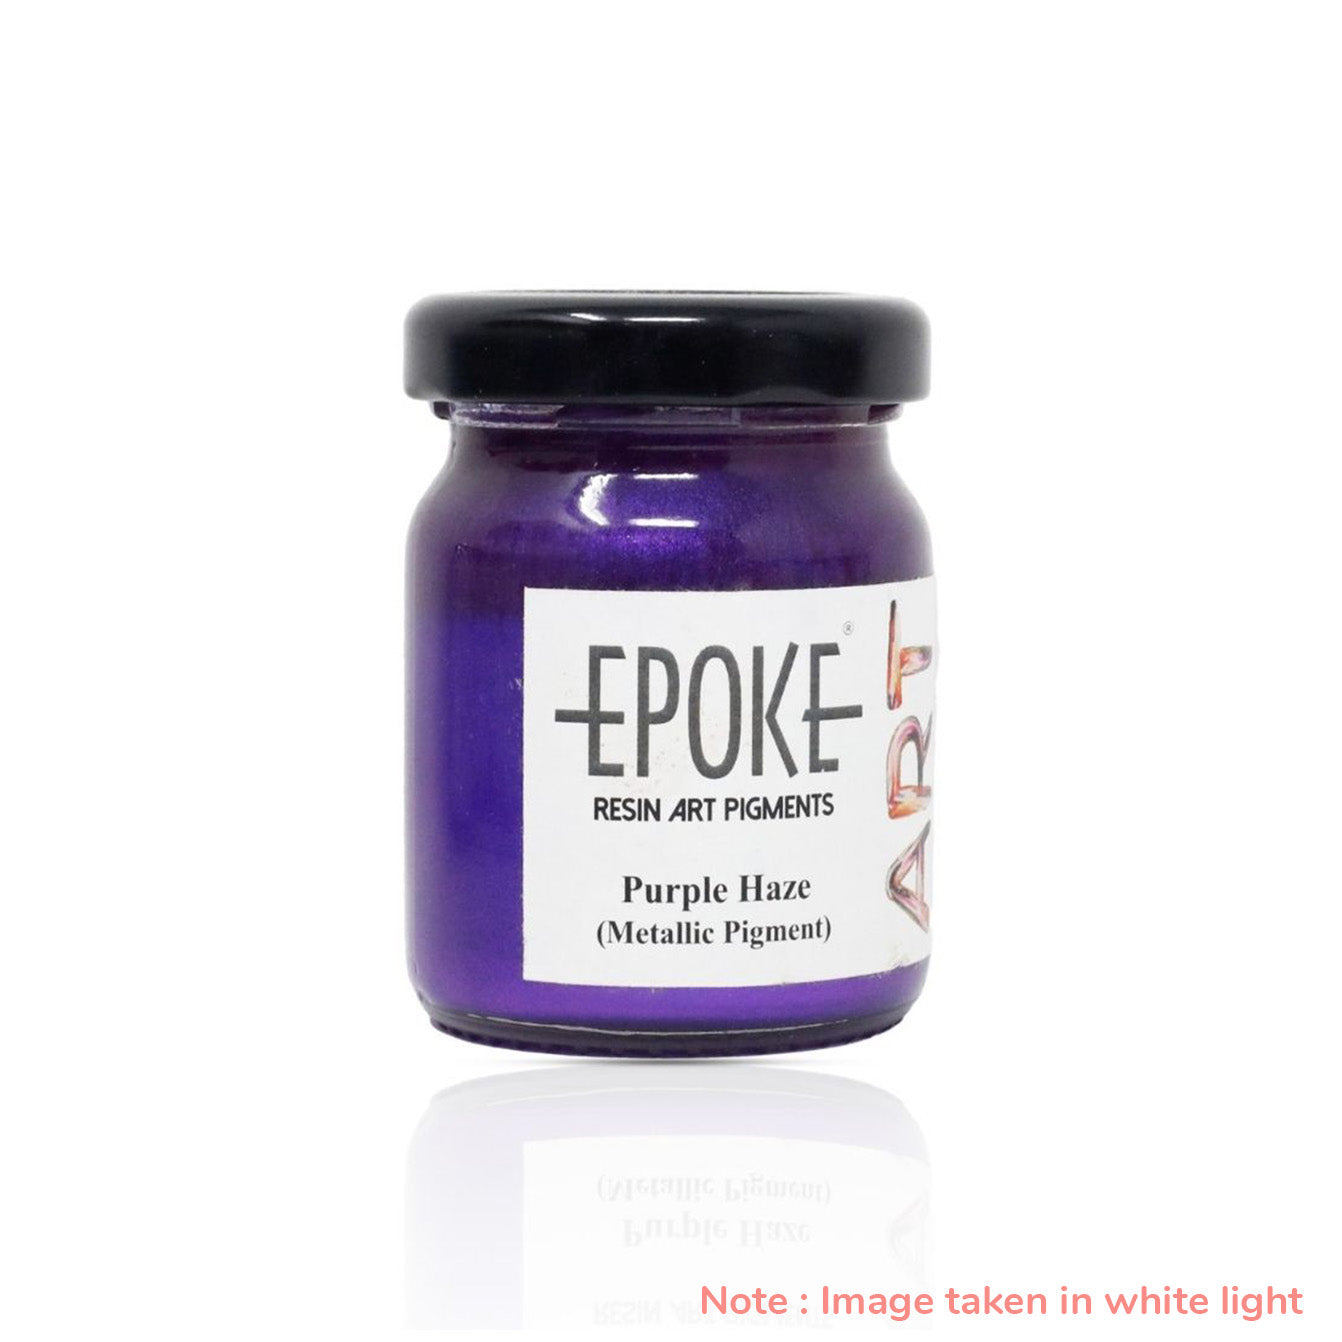
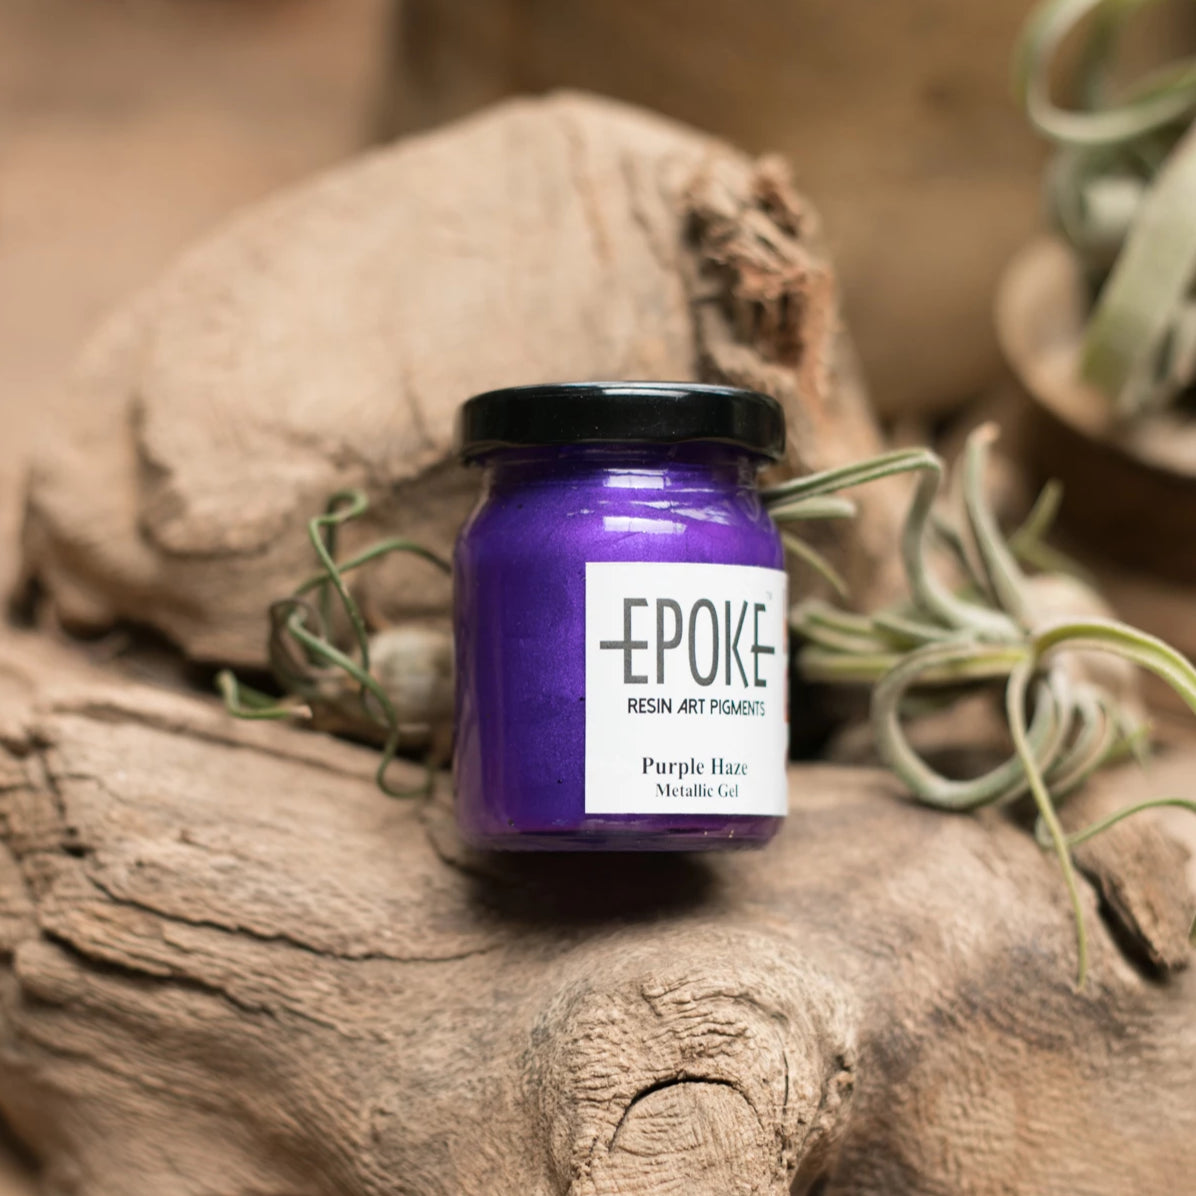
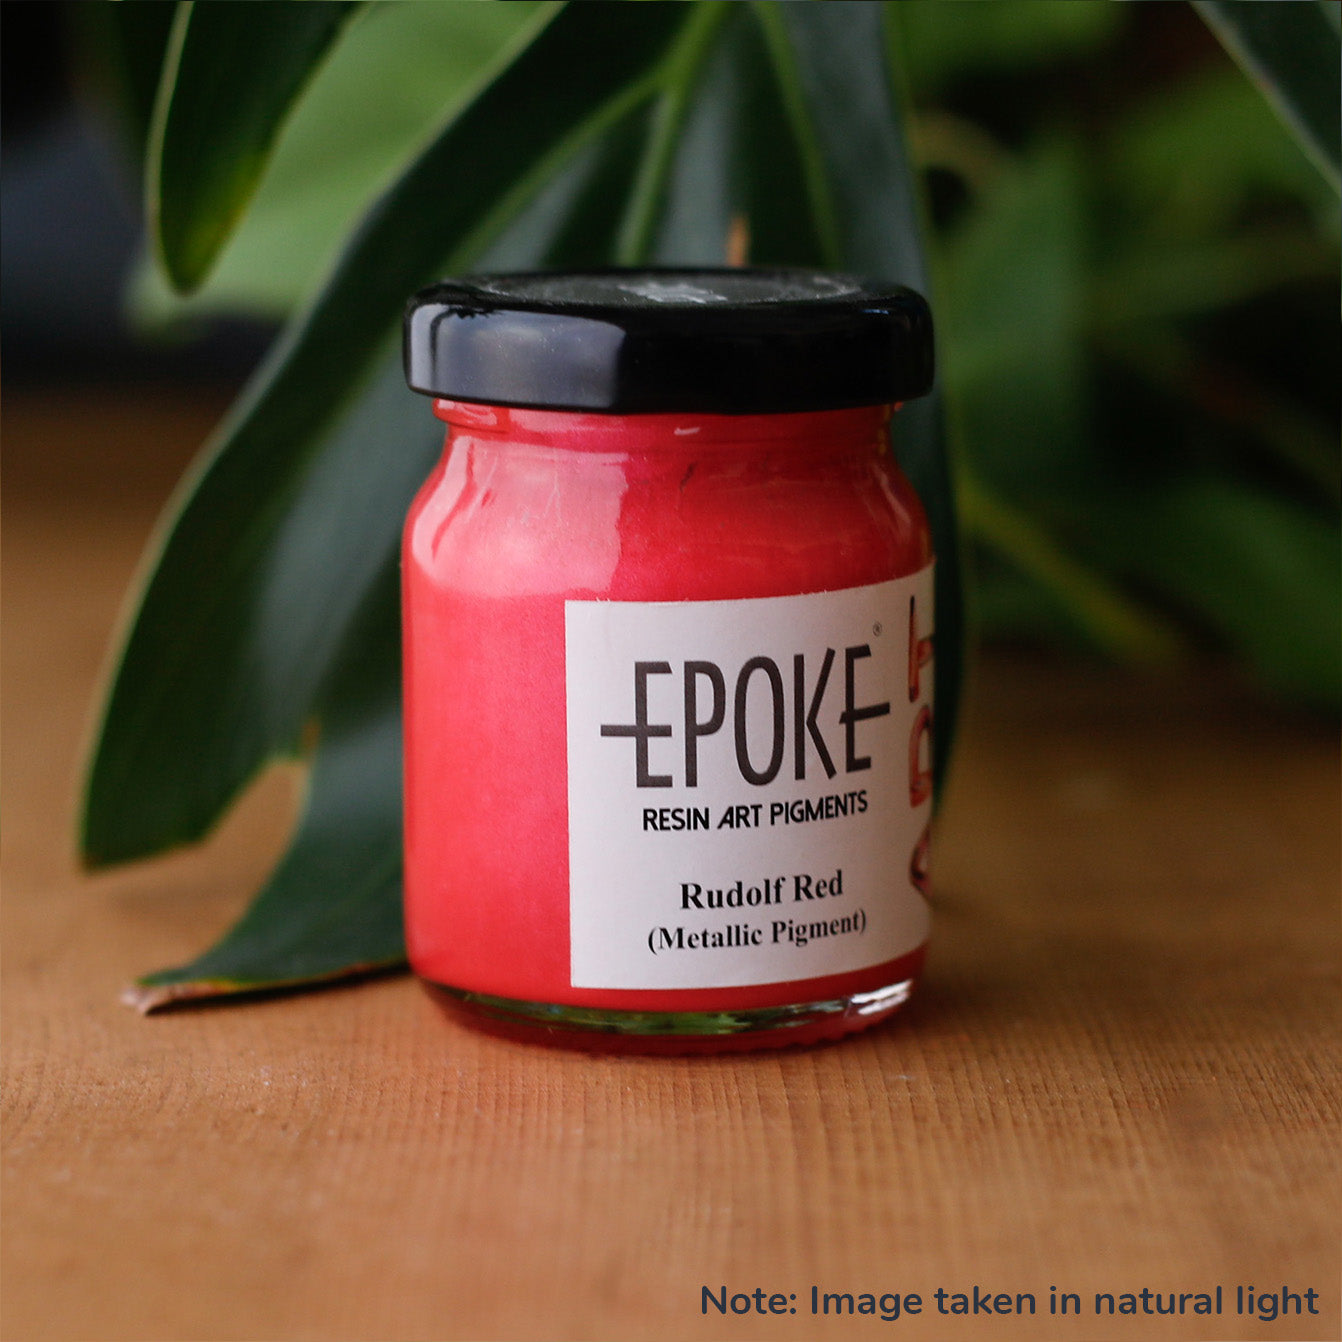
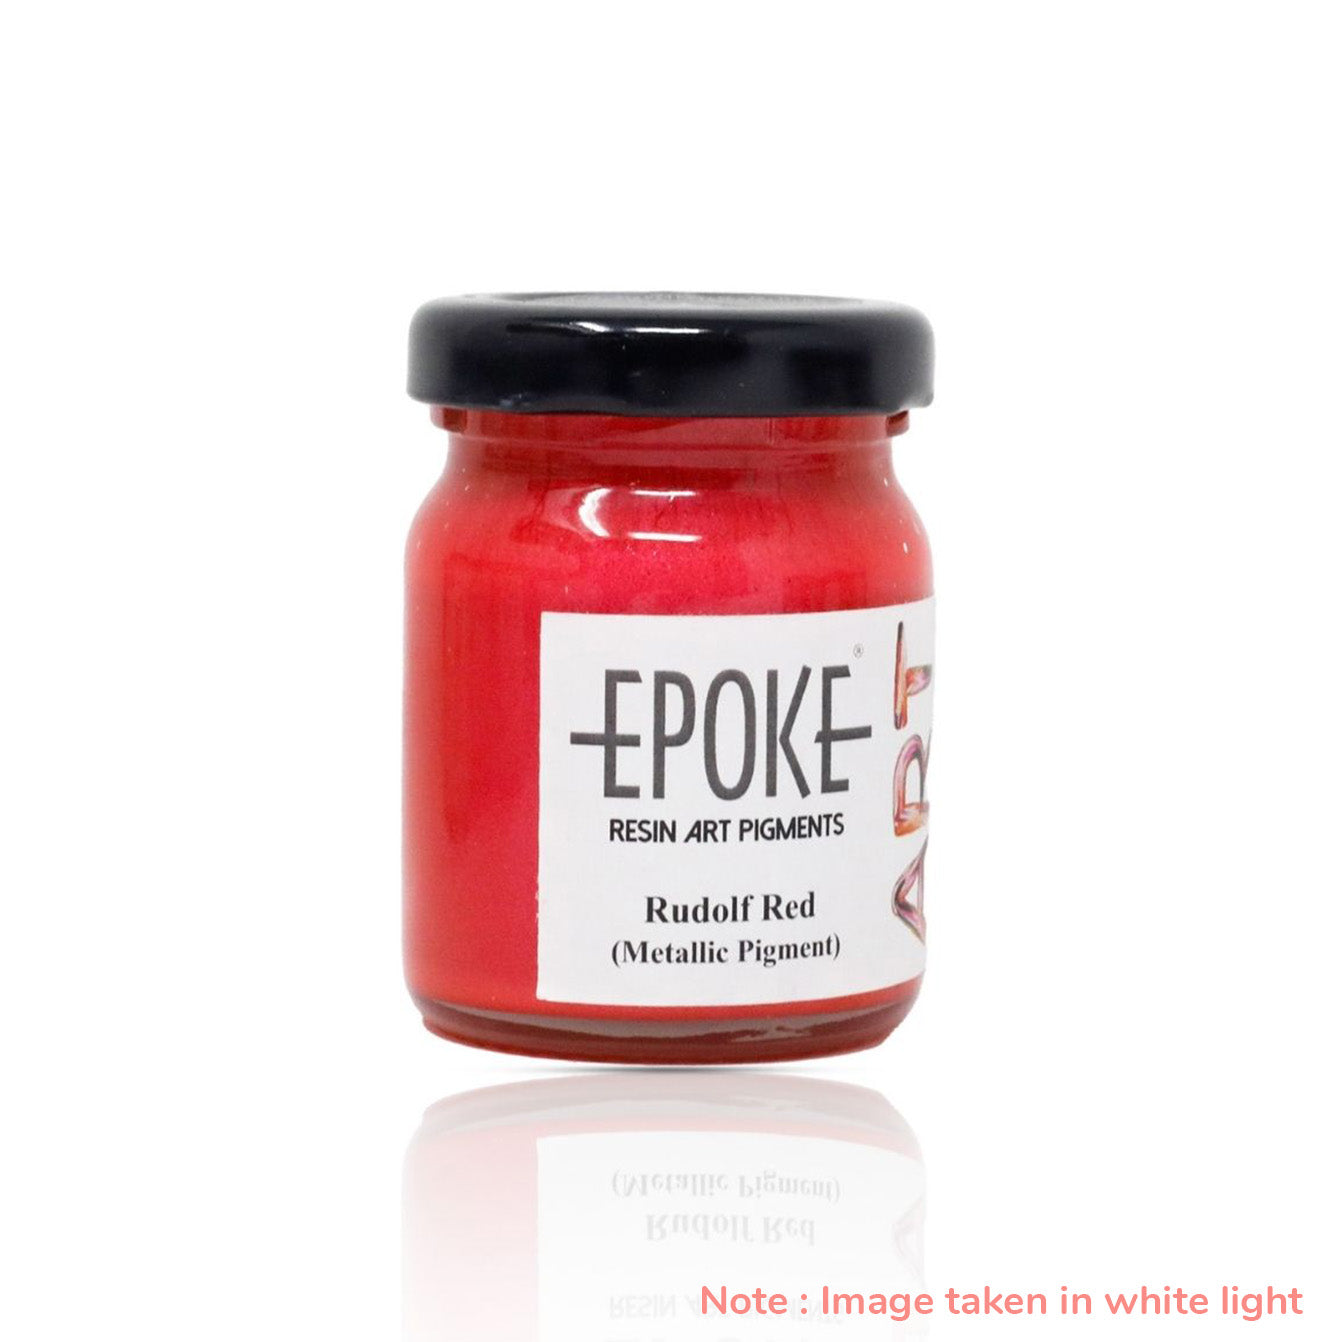
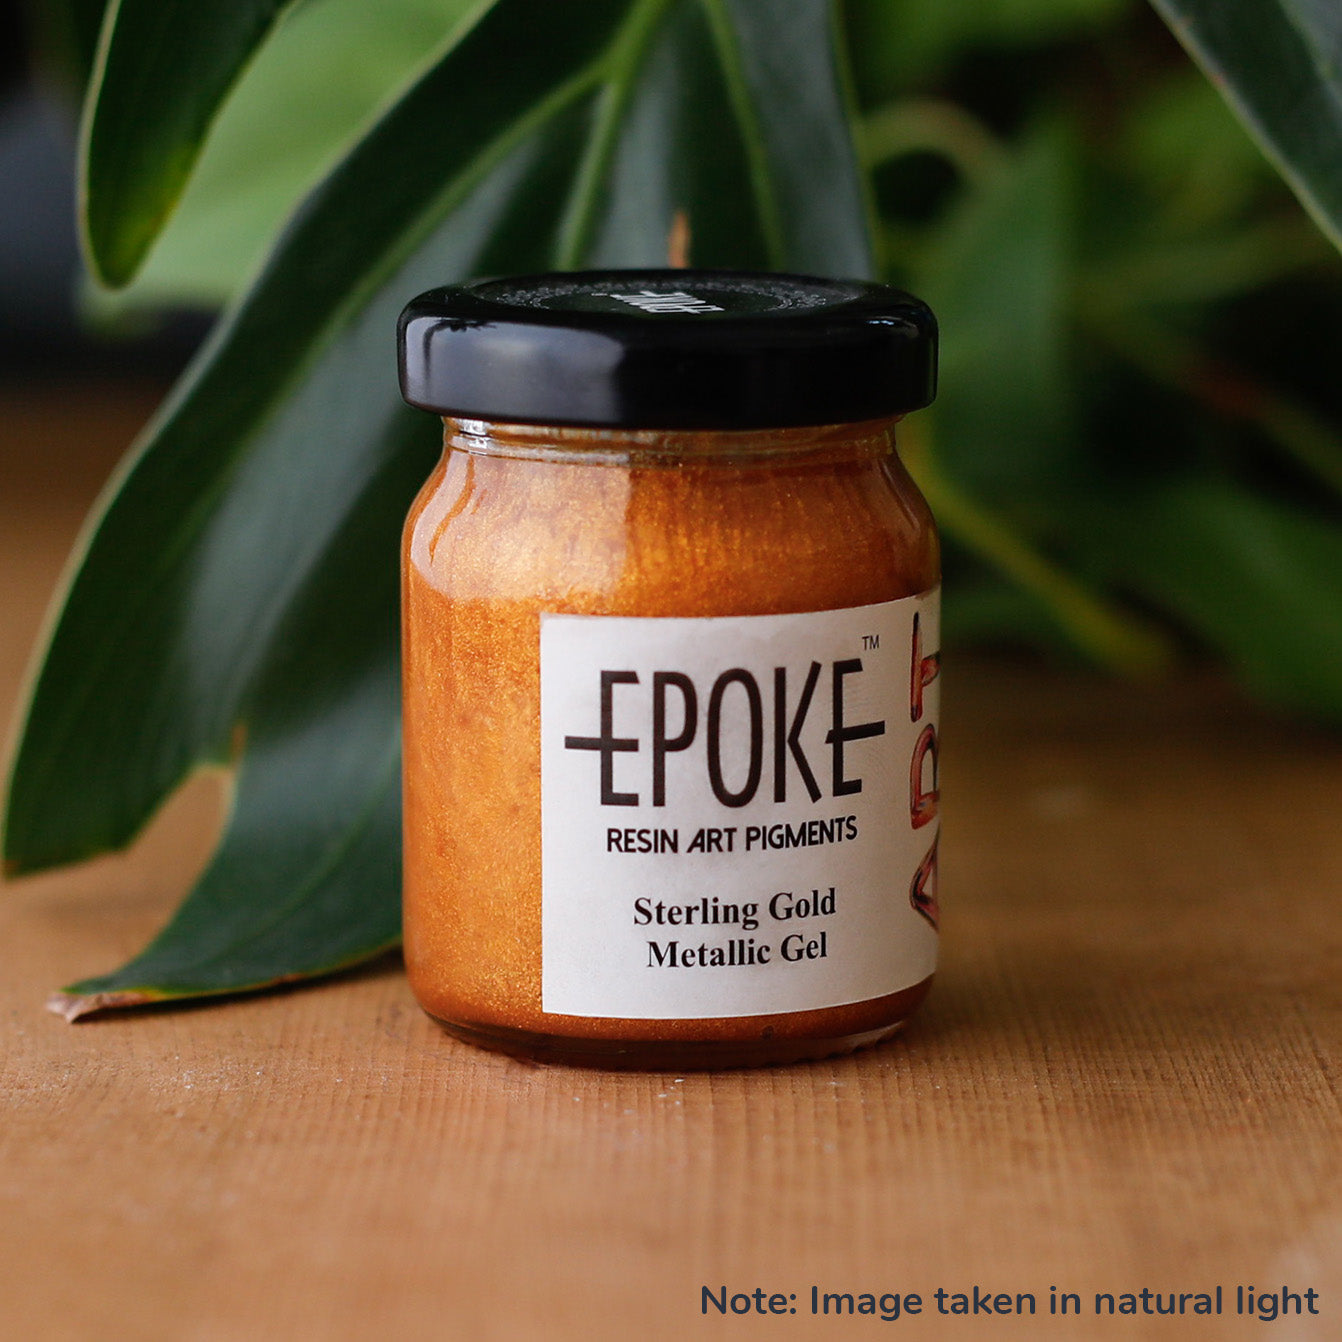
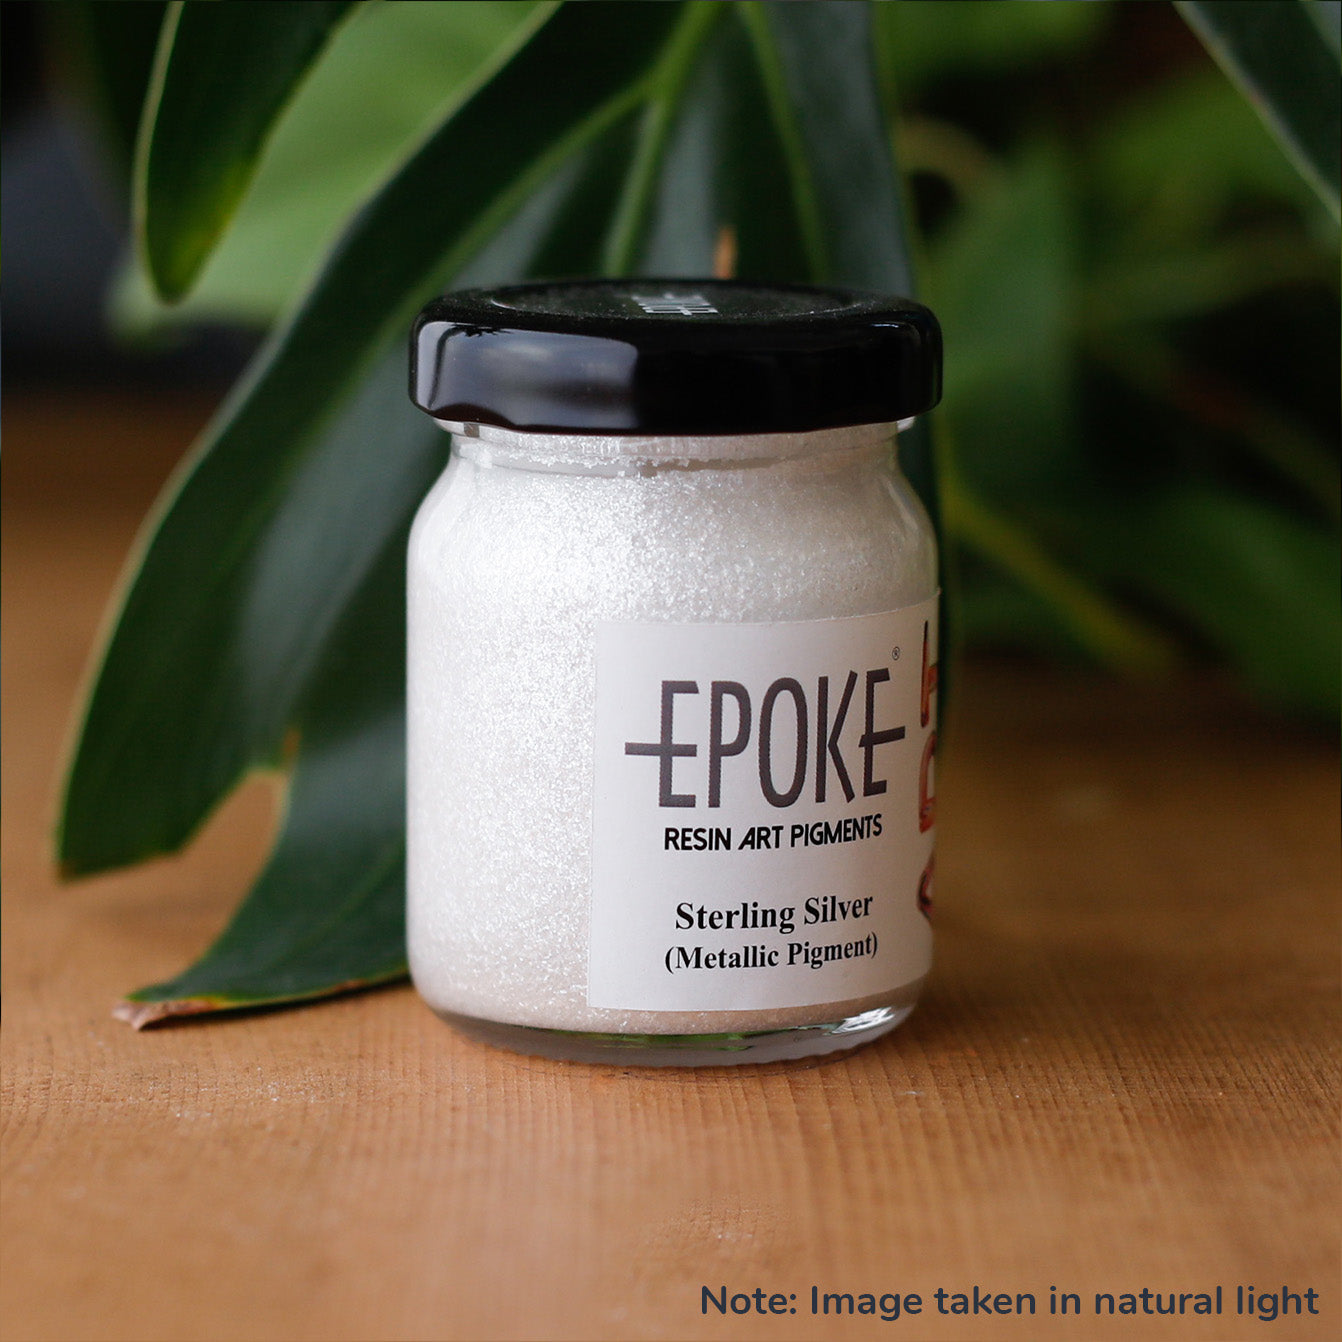
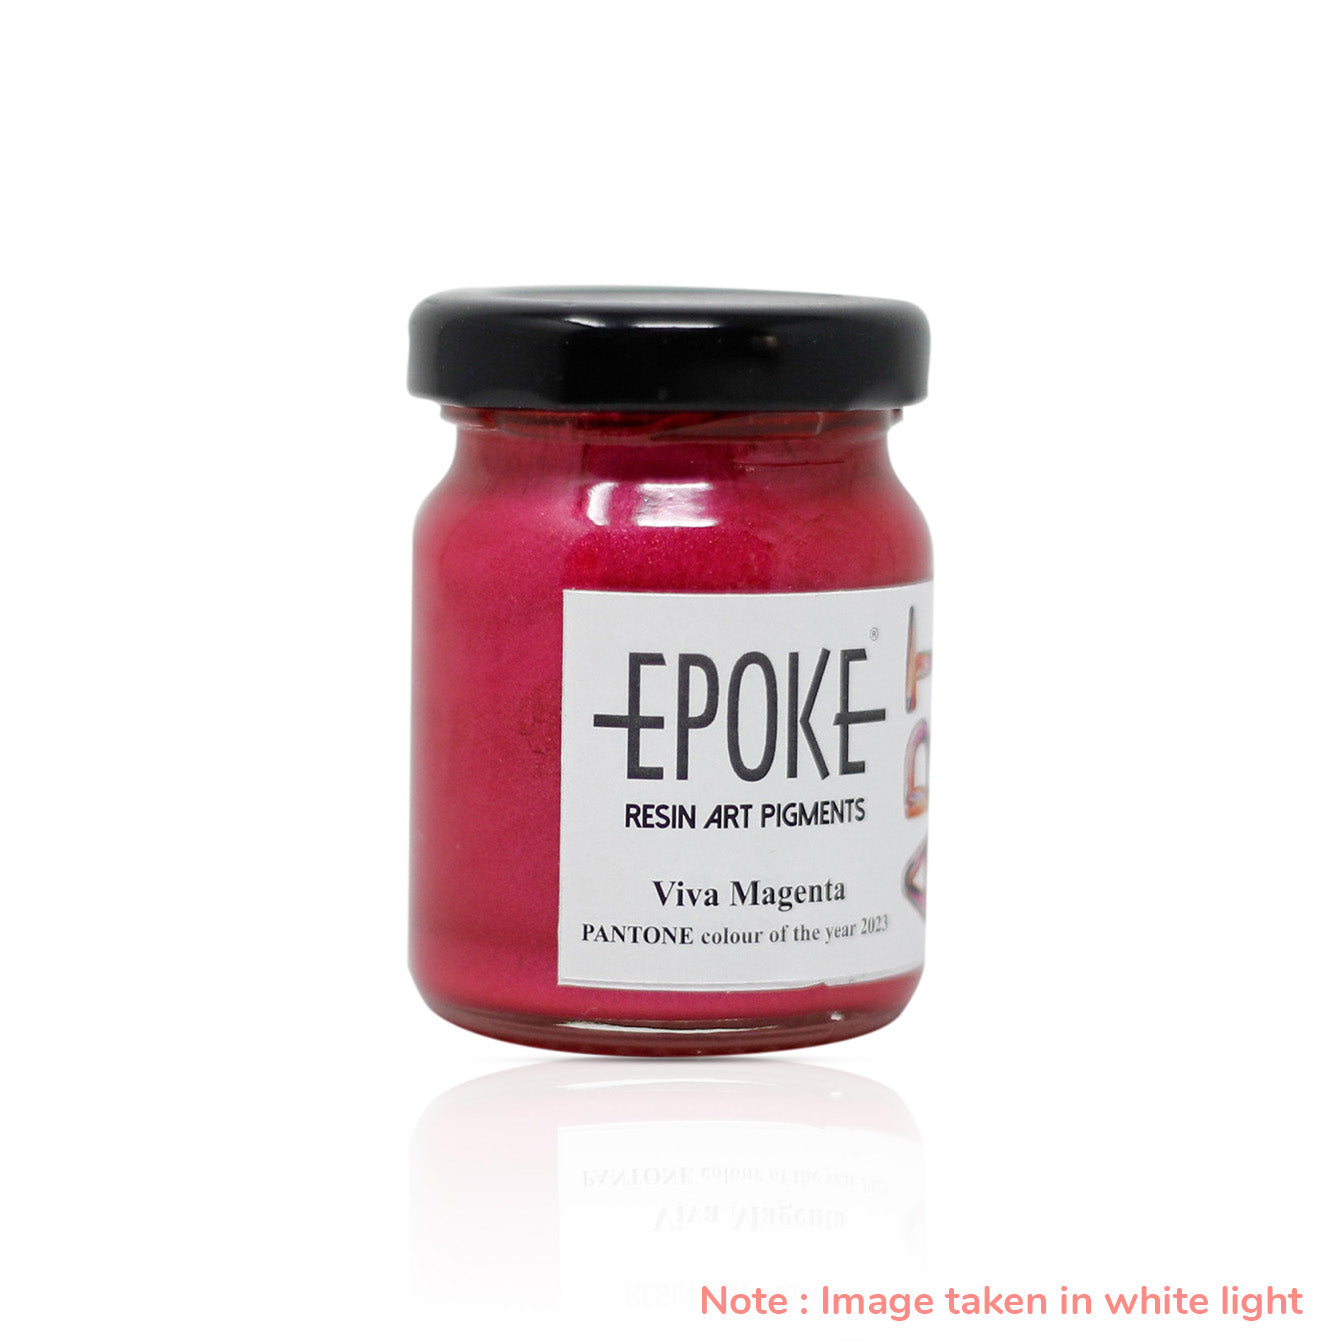
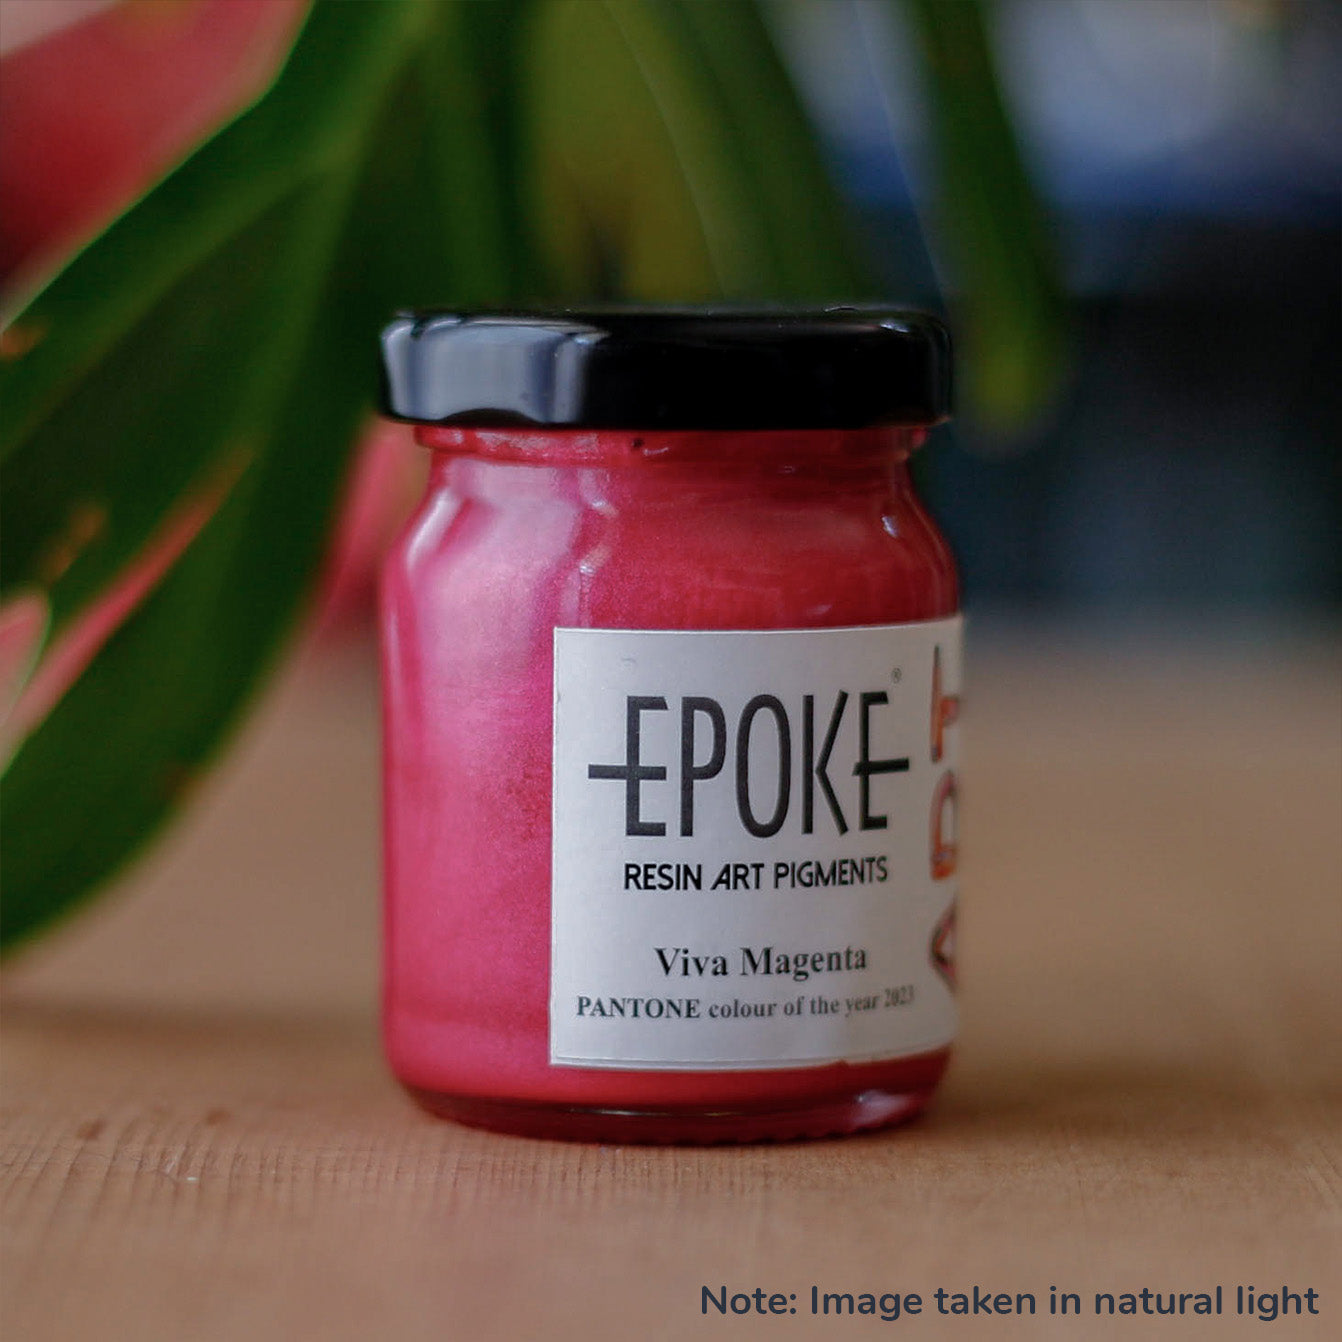
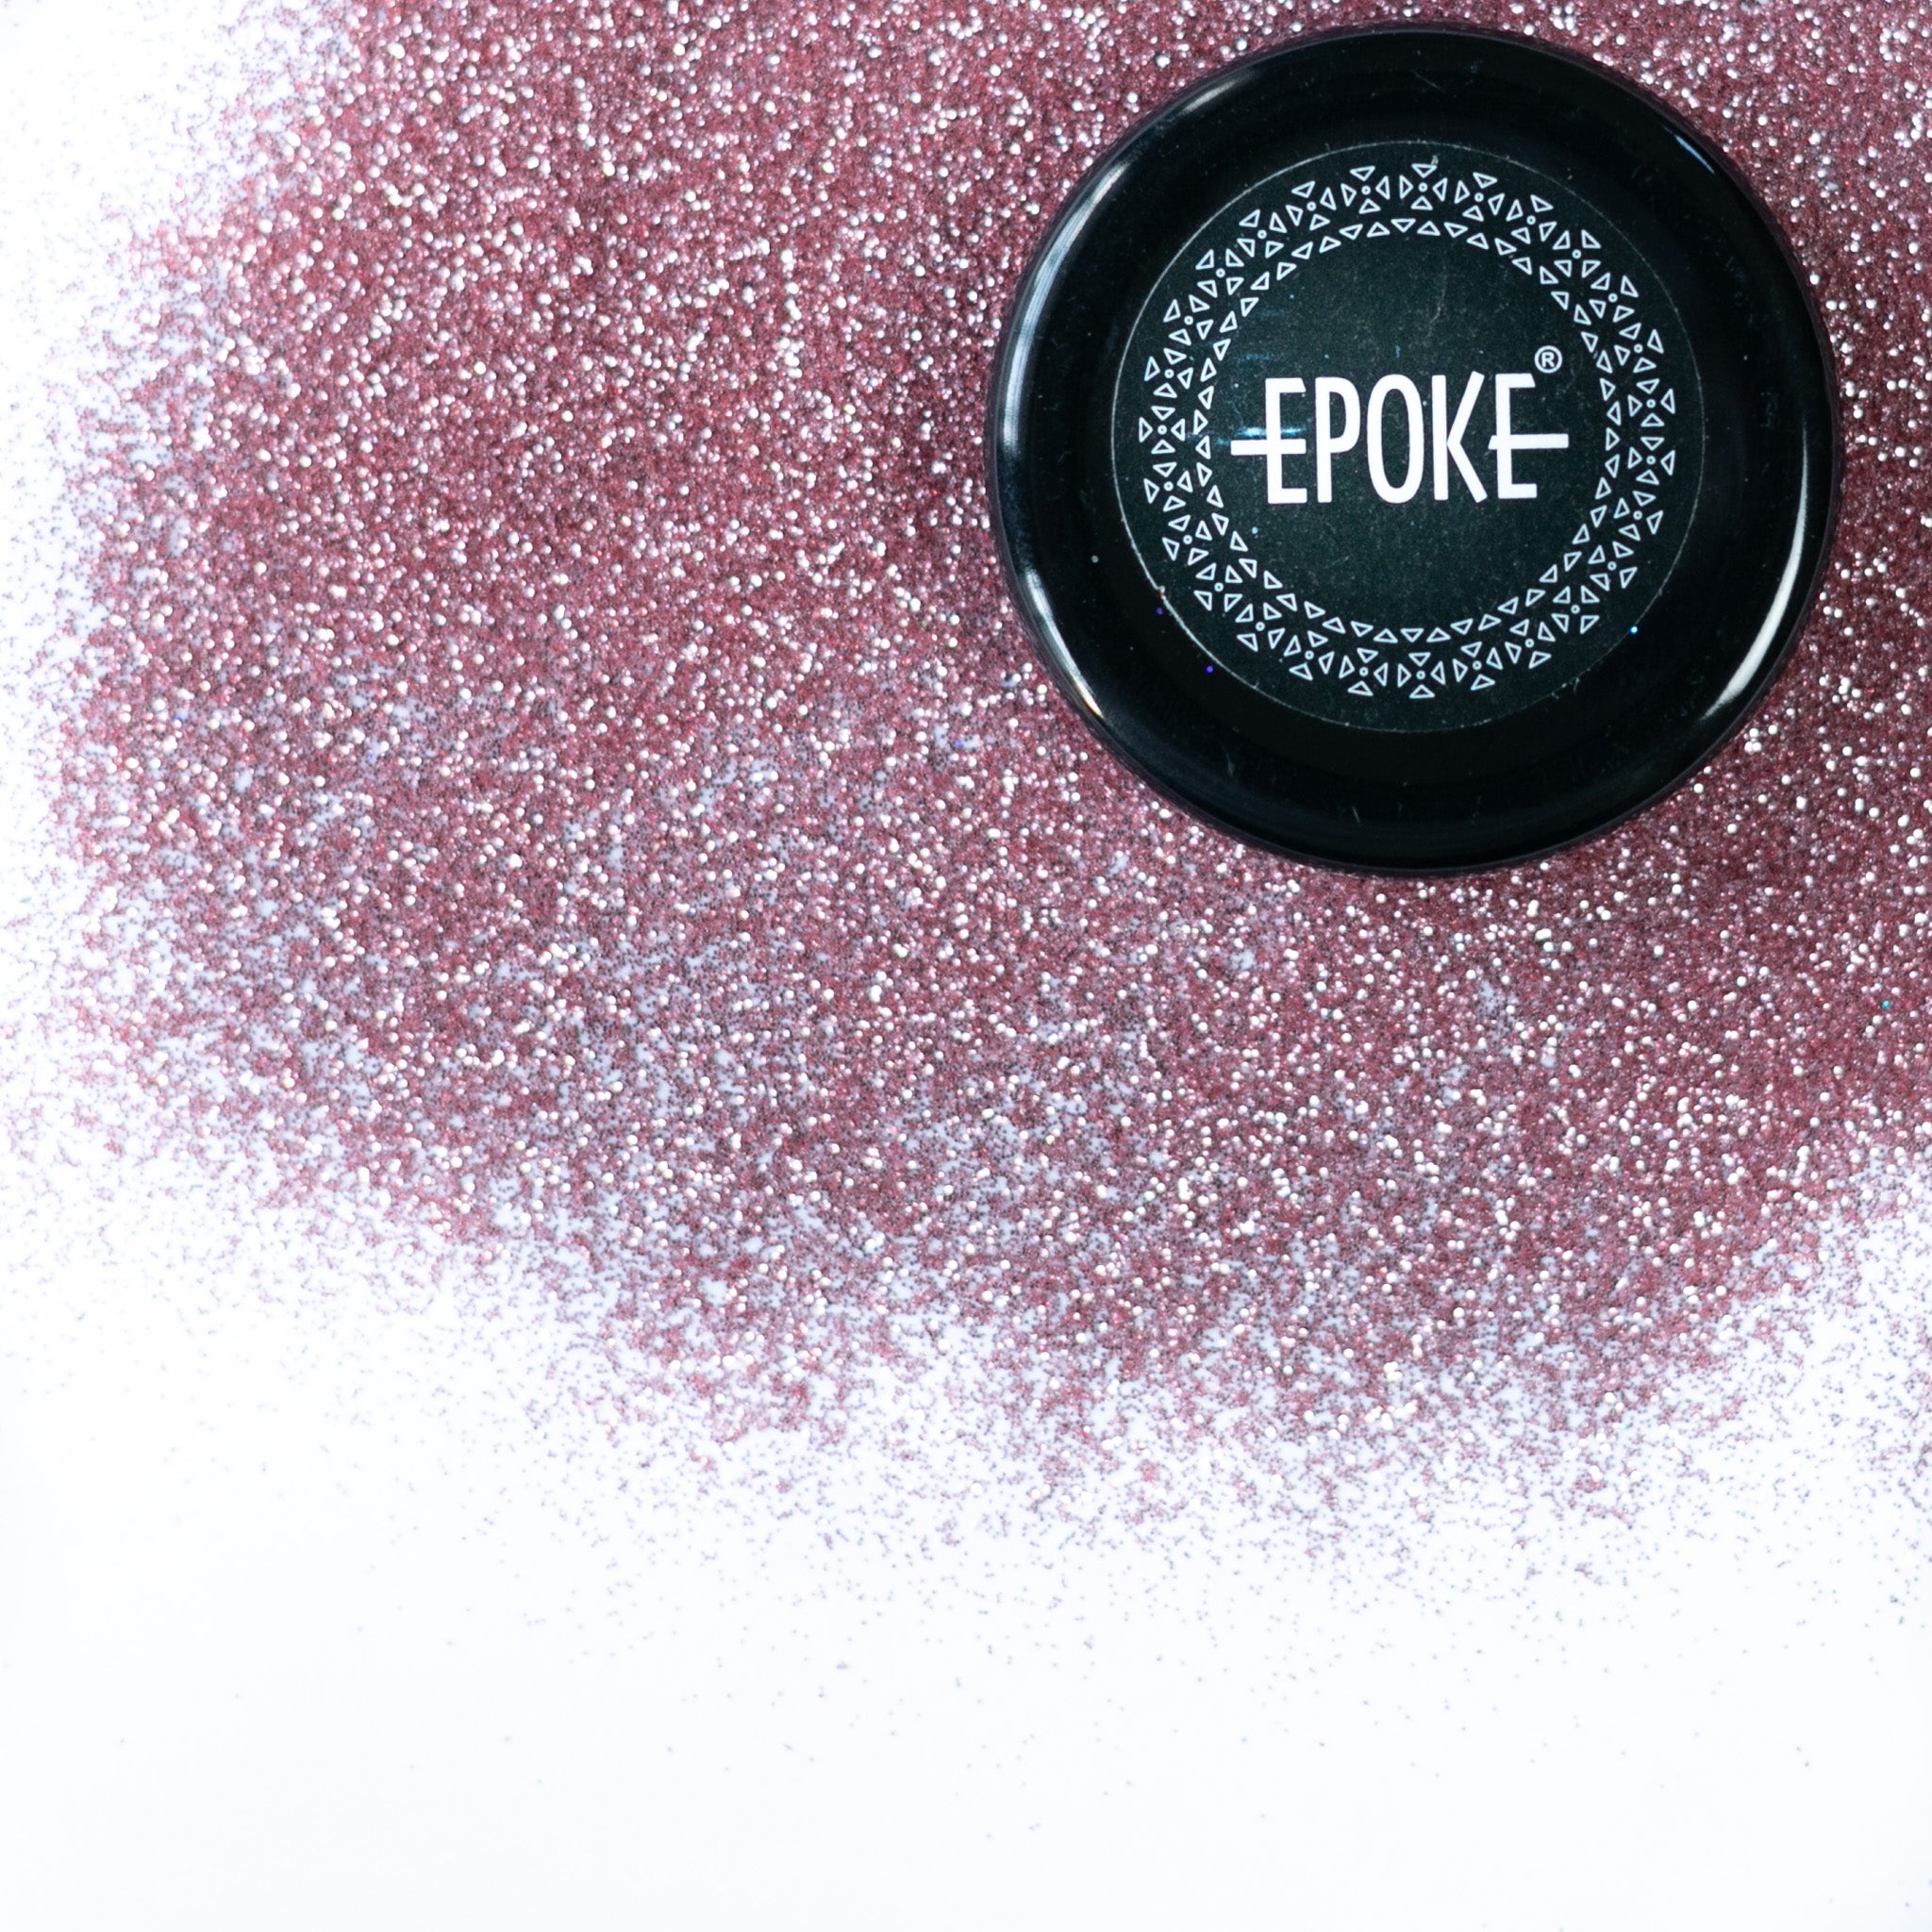
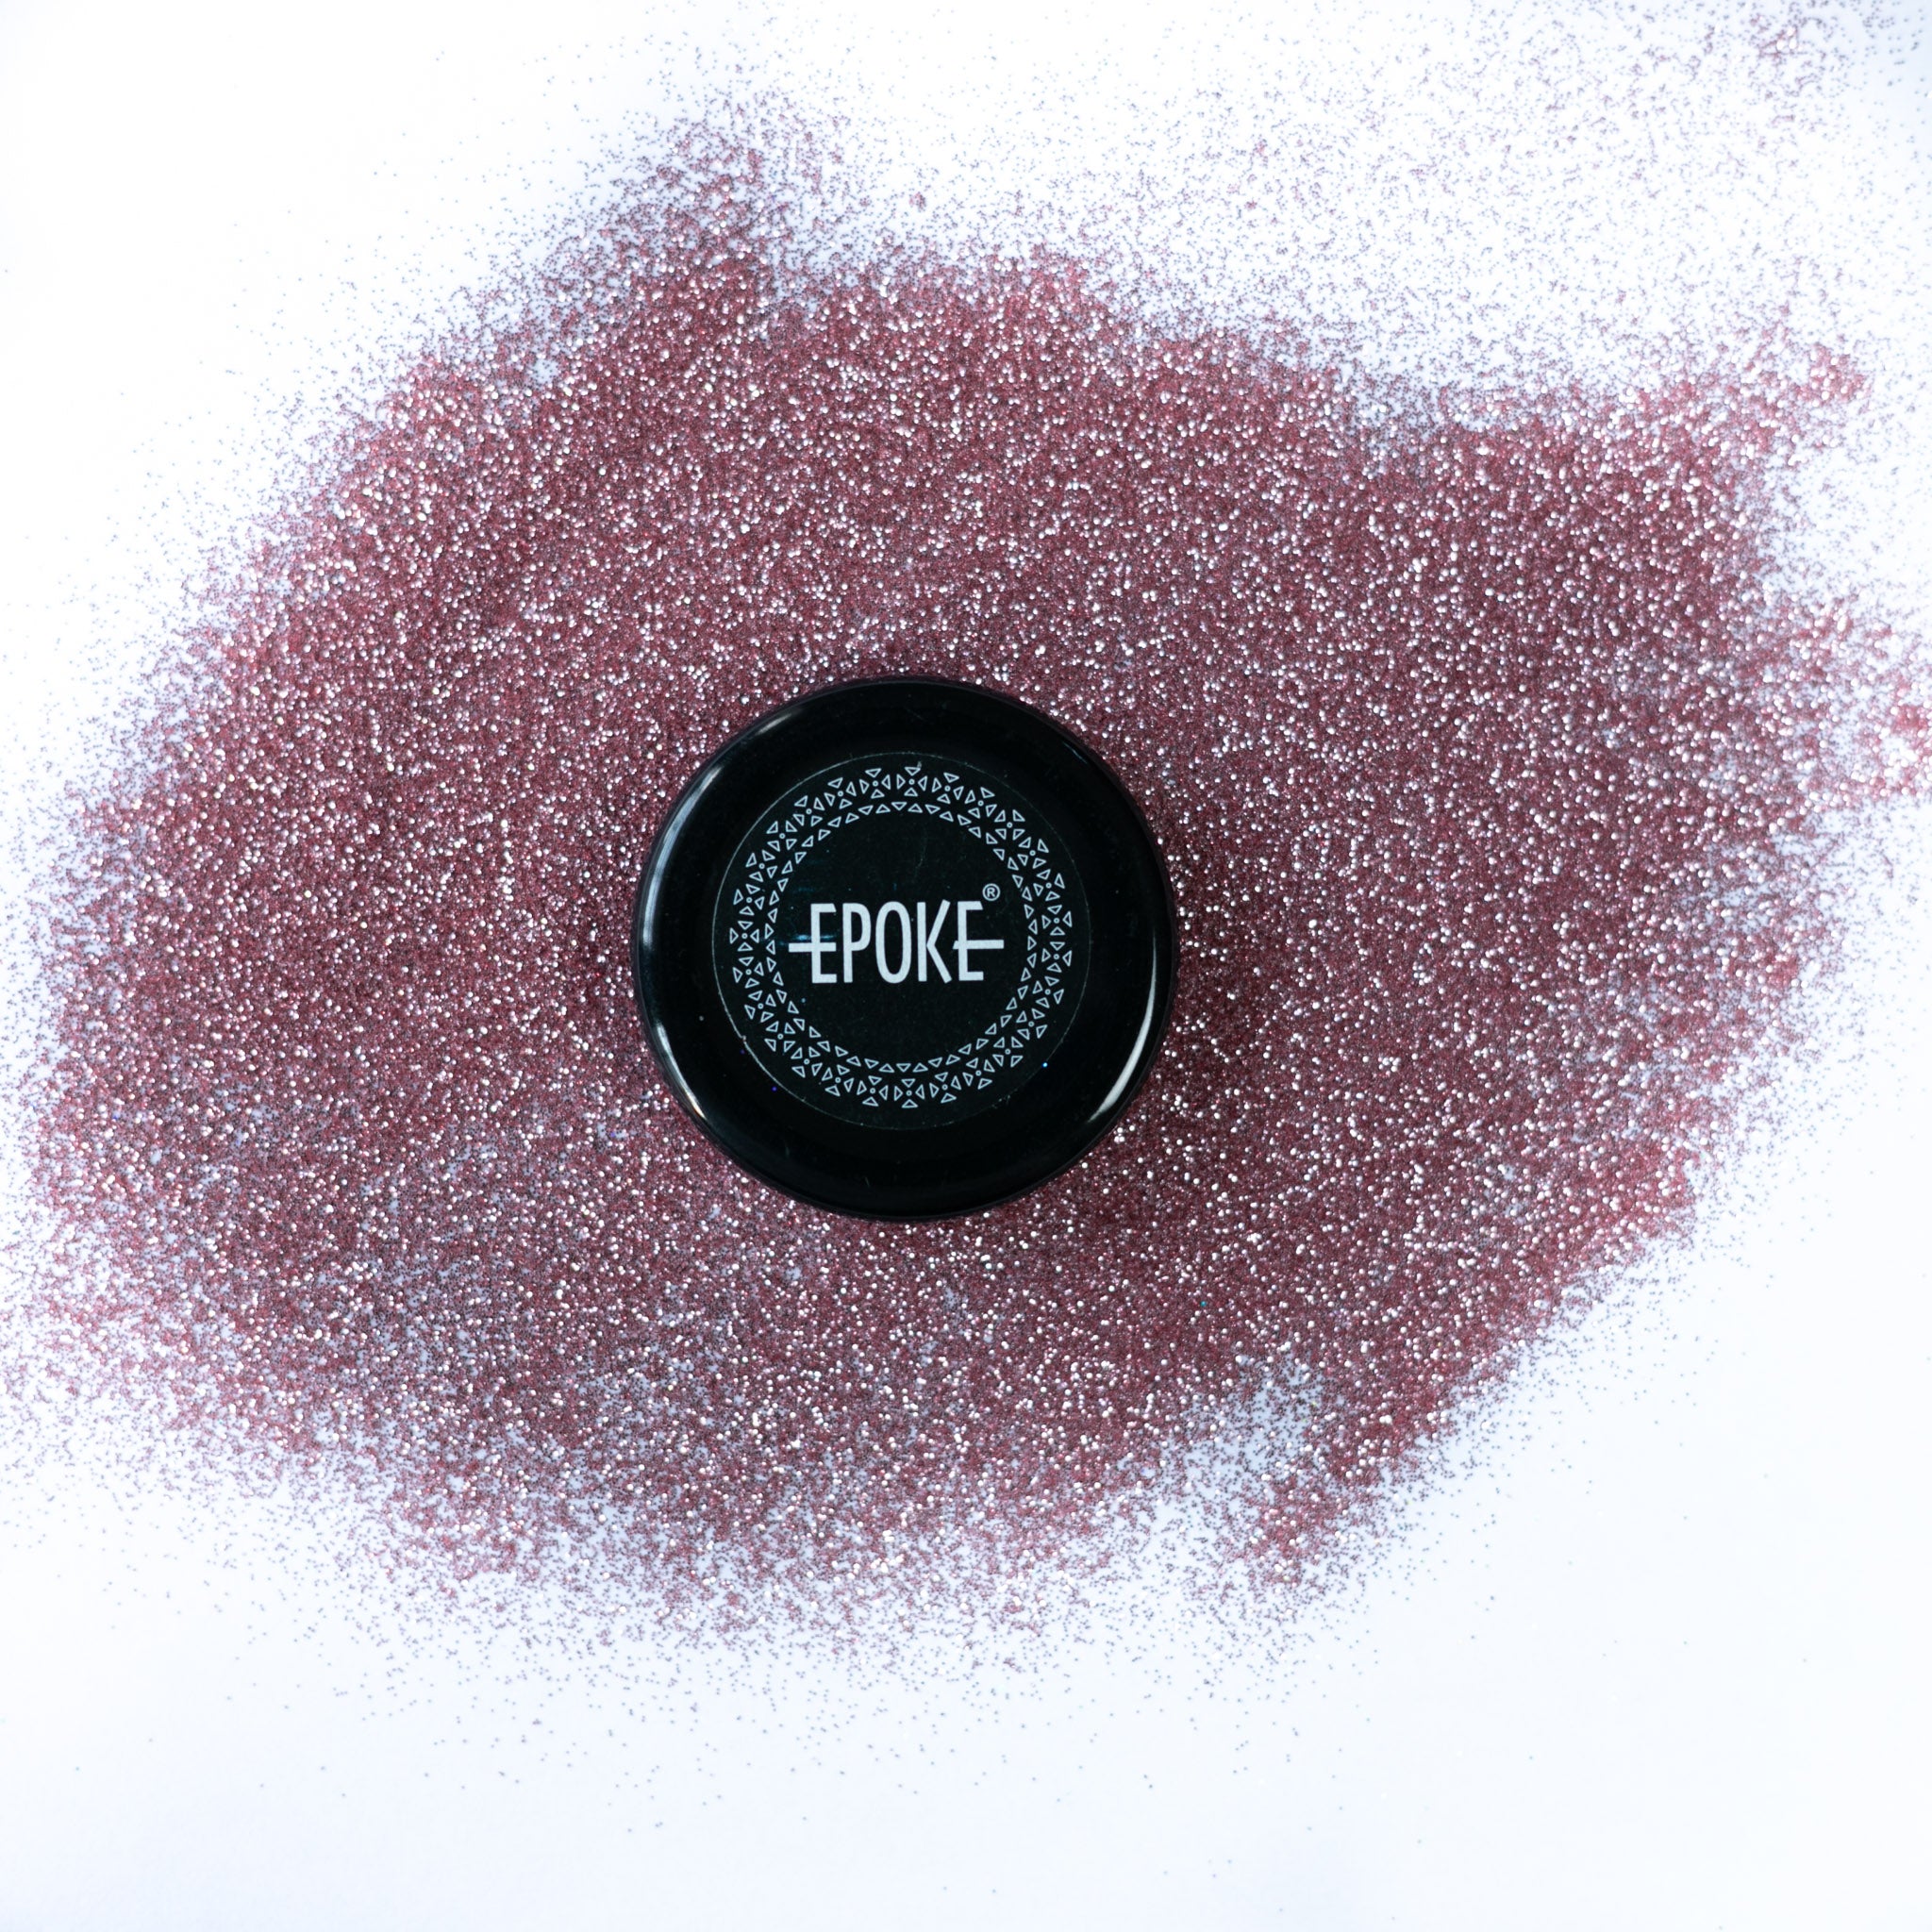
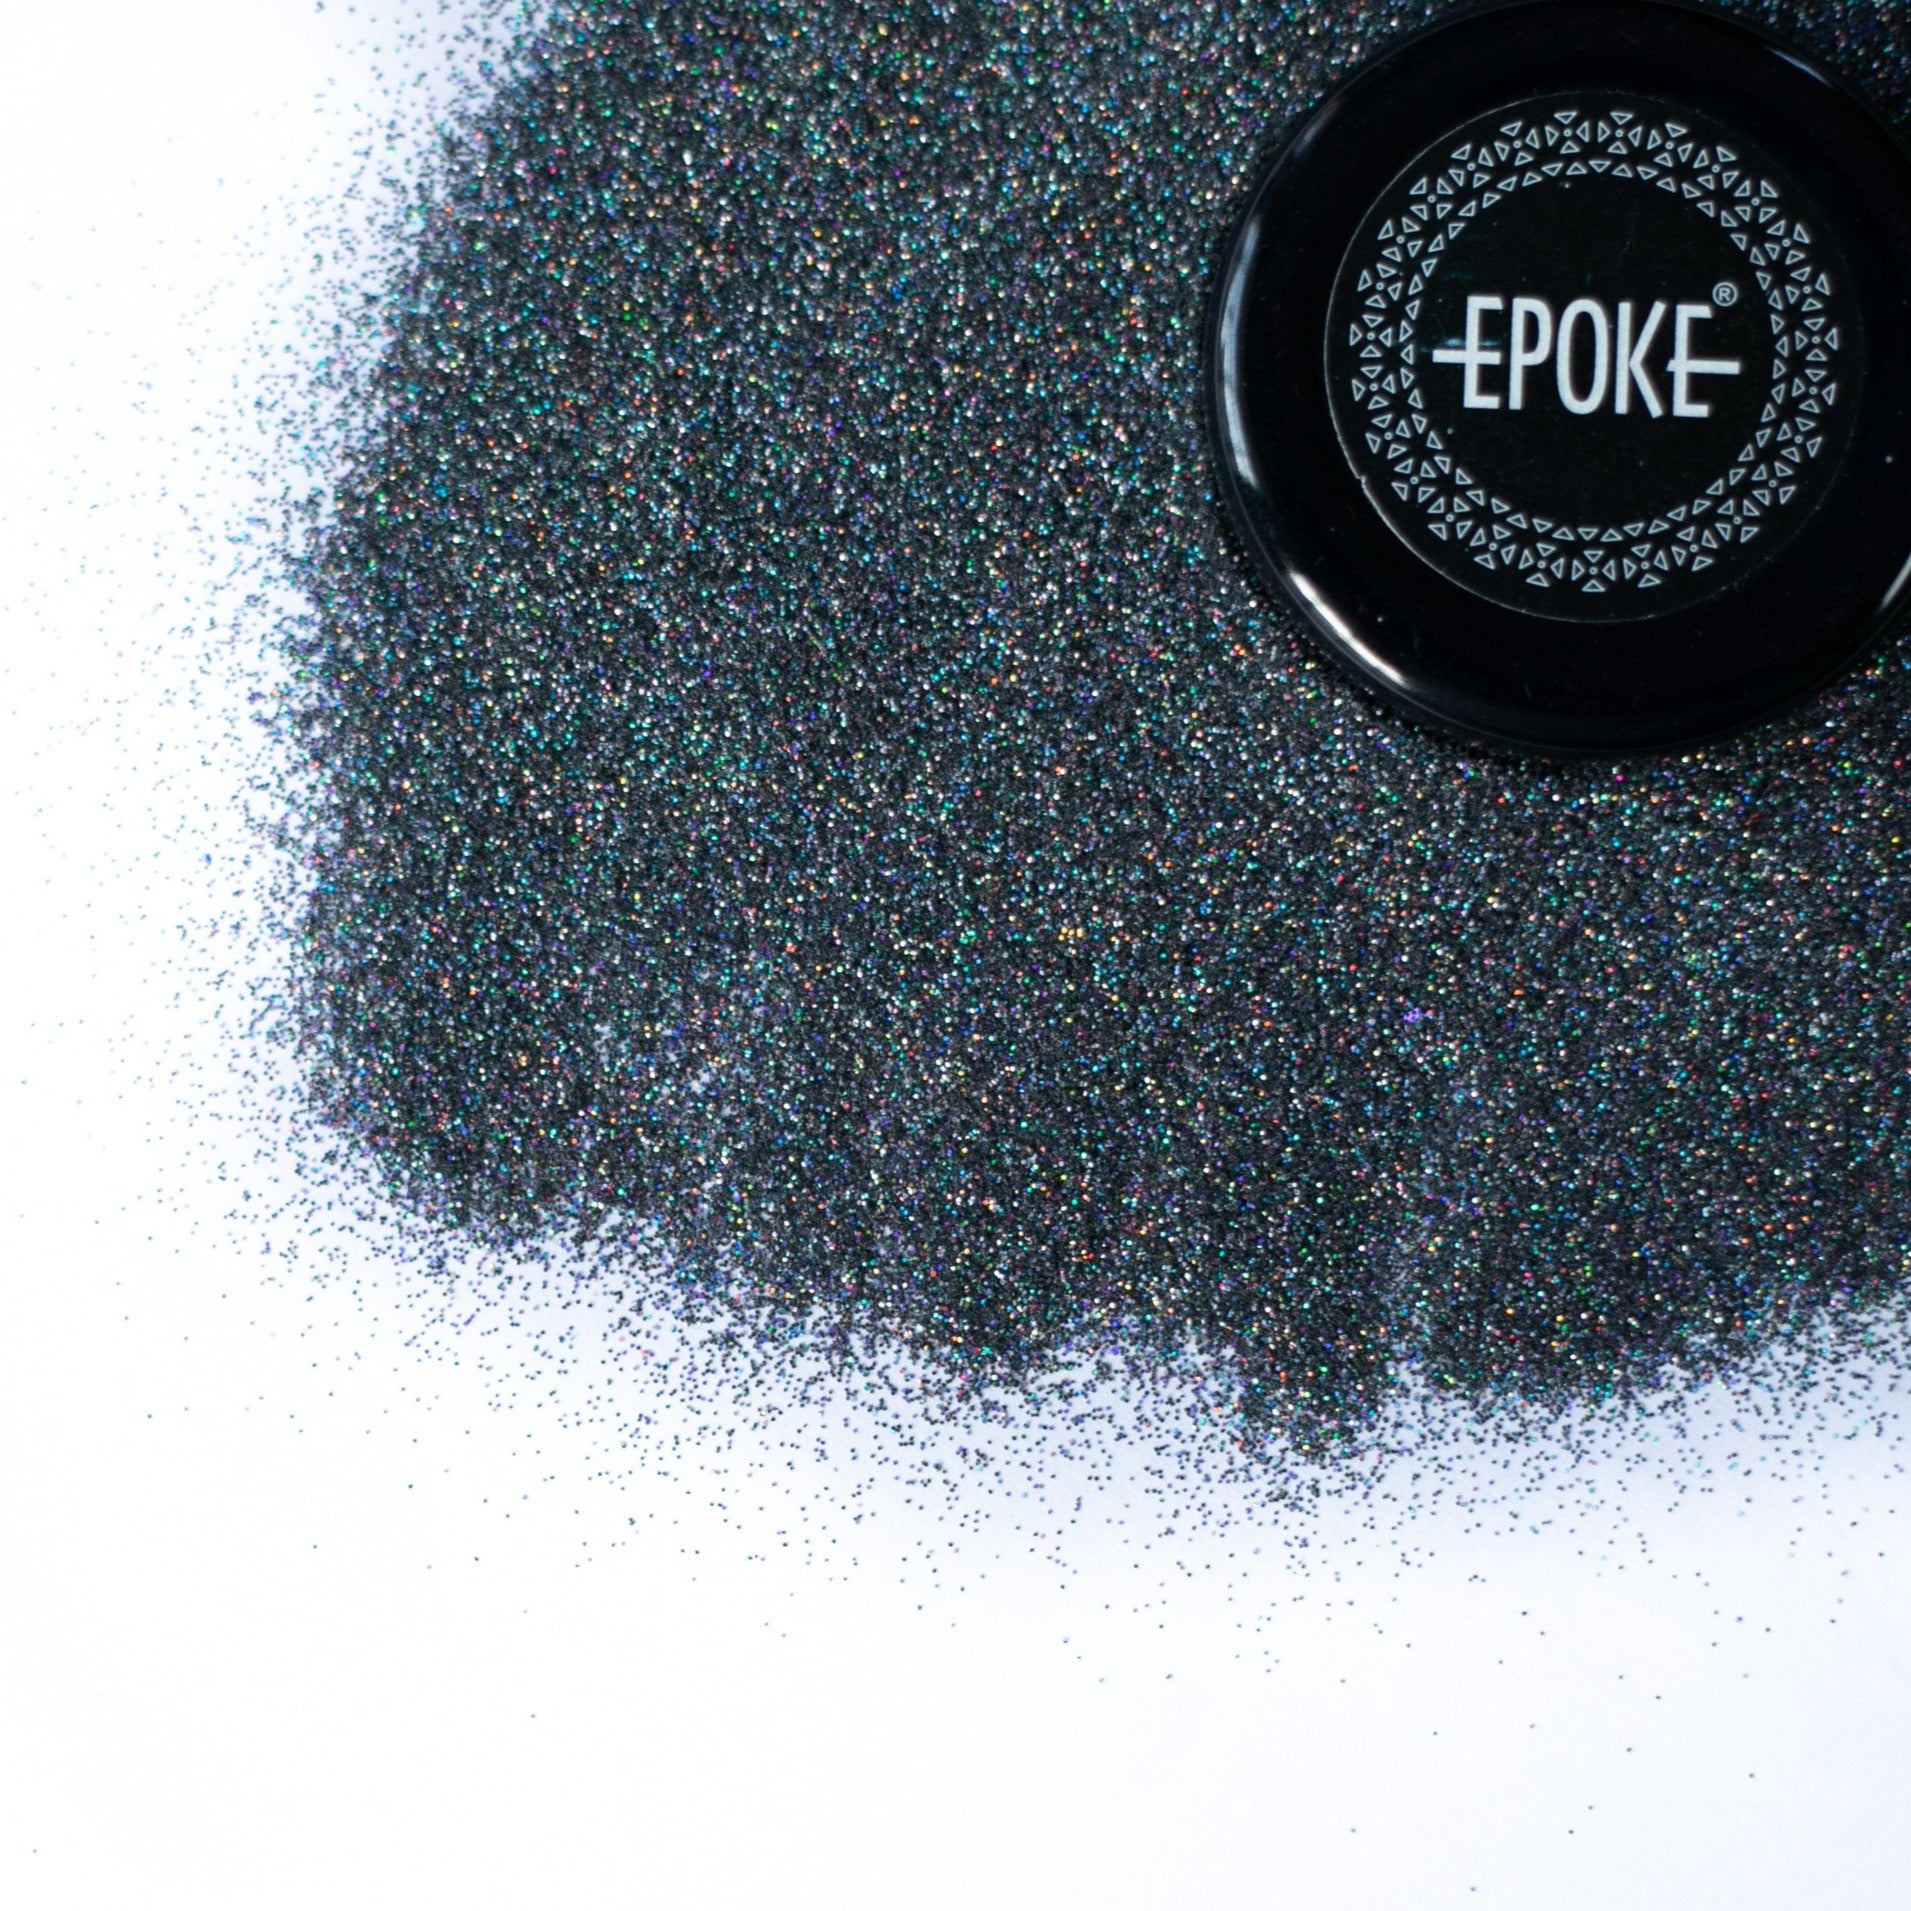
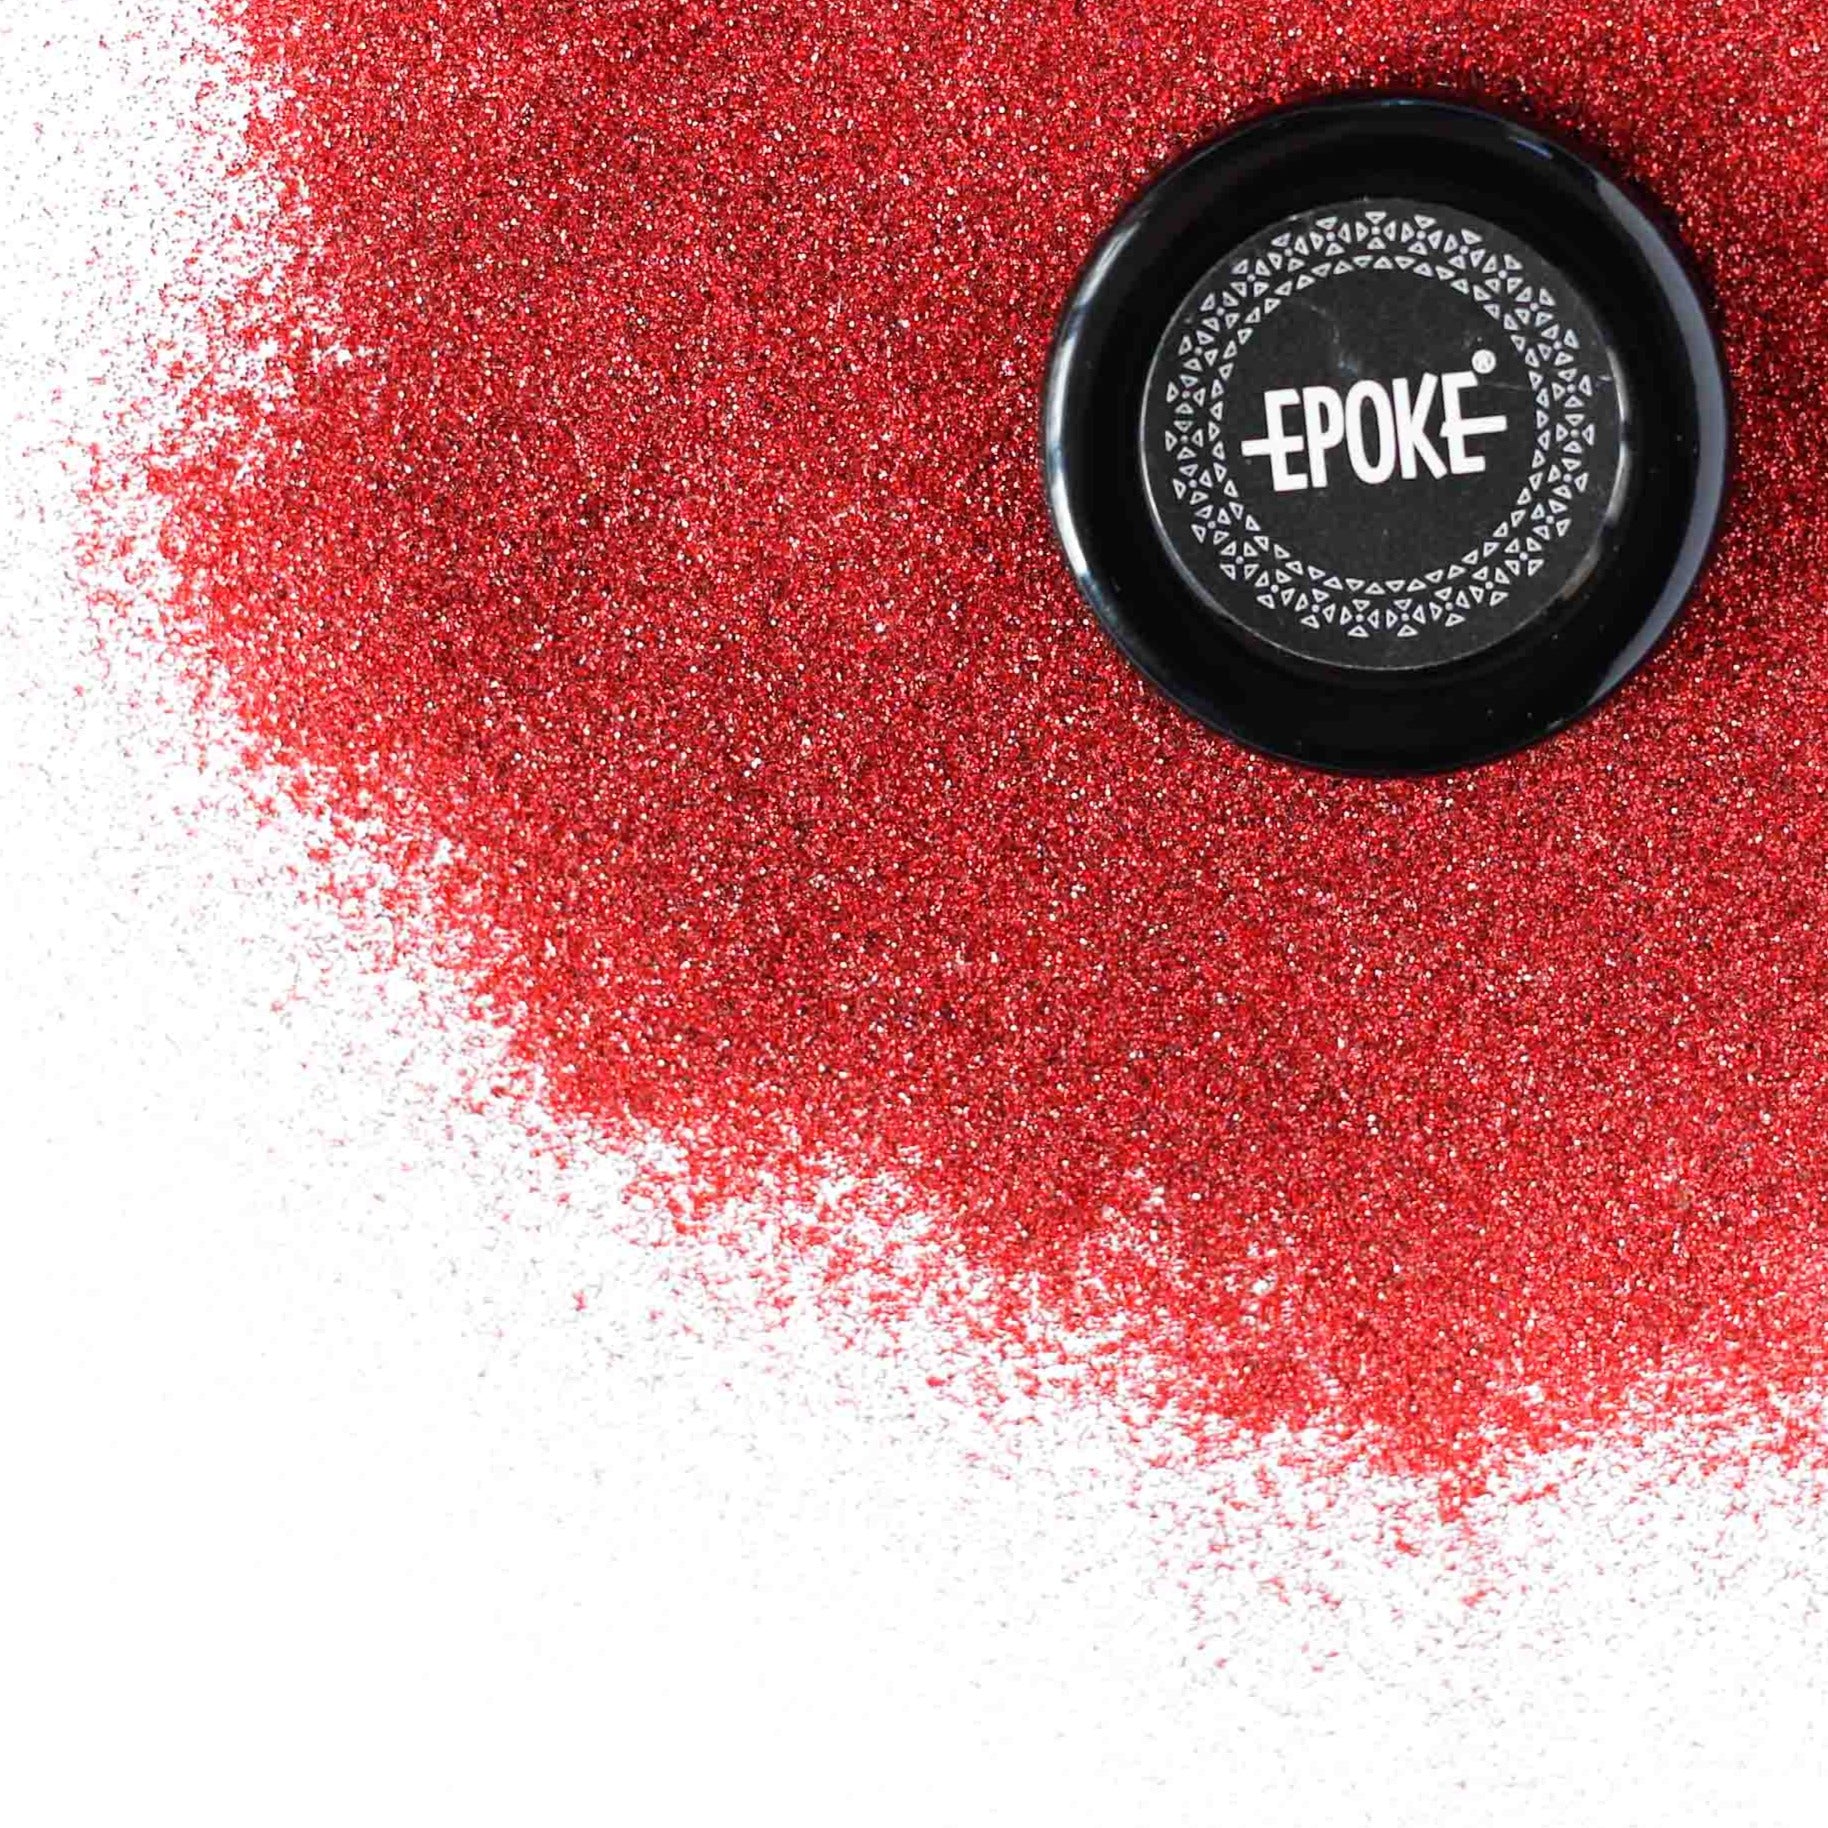
Screen colors can look slightly different from the actual product due to device and photo settings.
What Is Chunky Glitter and Why It Works So Well in Resin
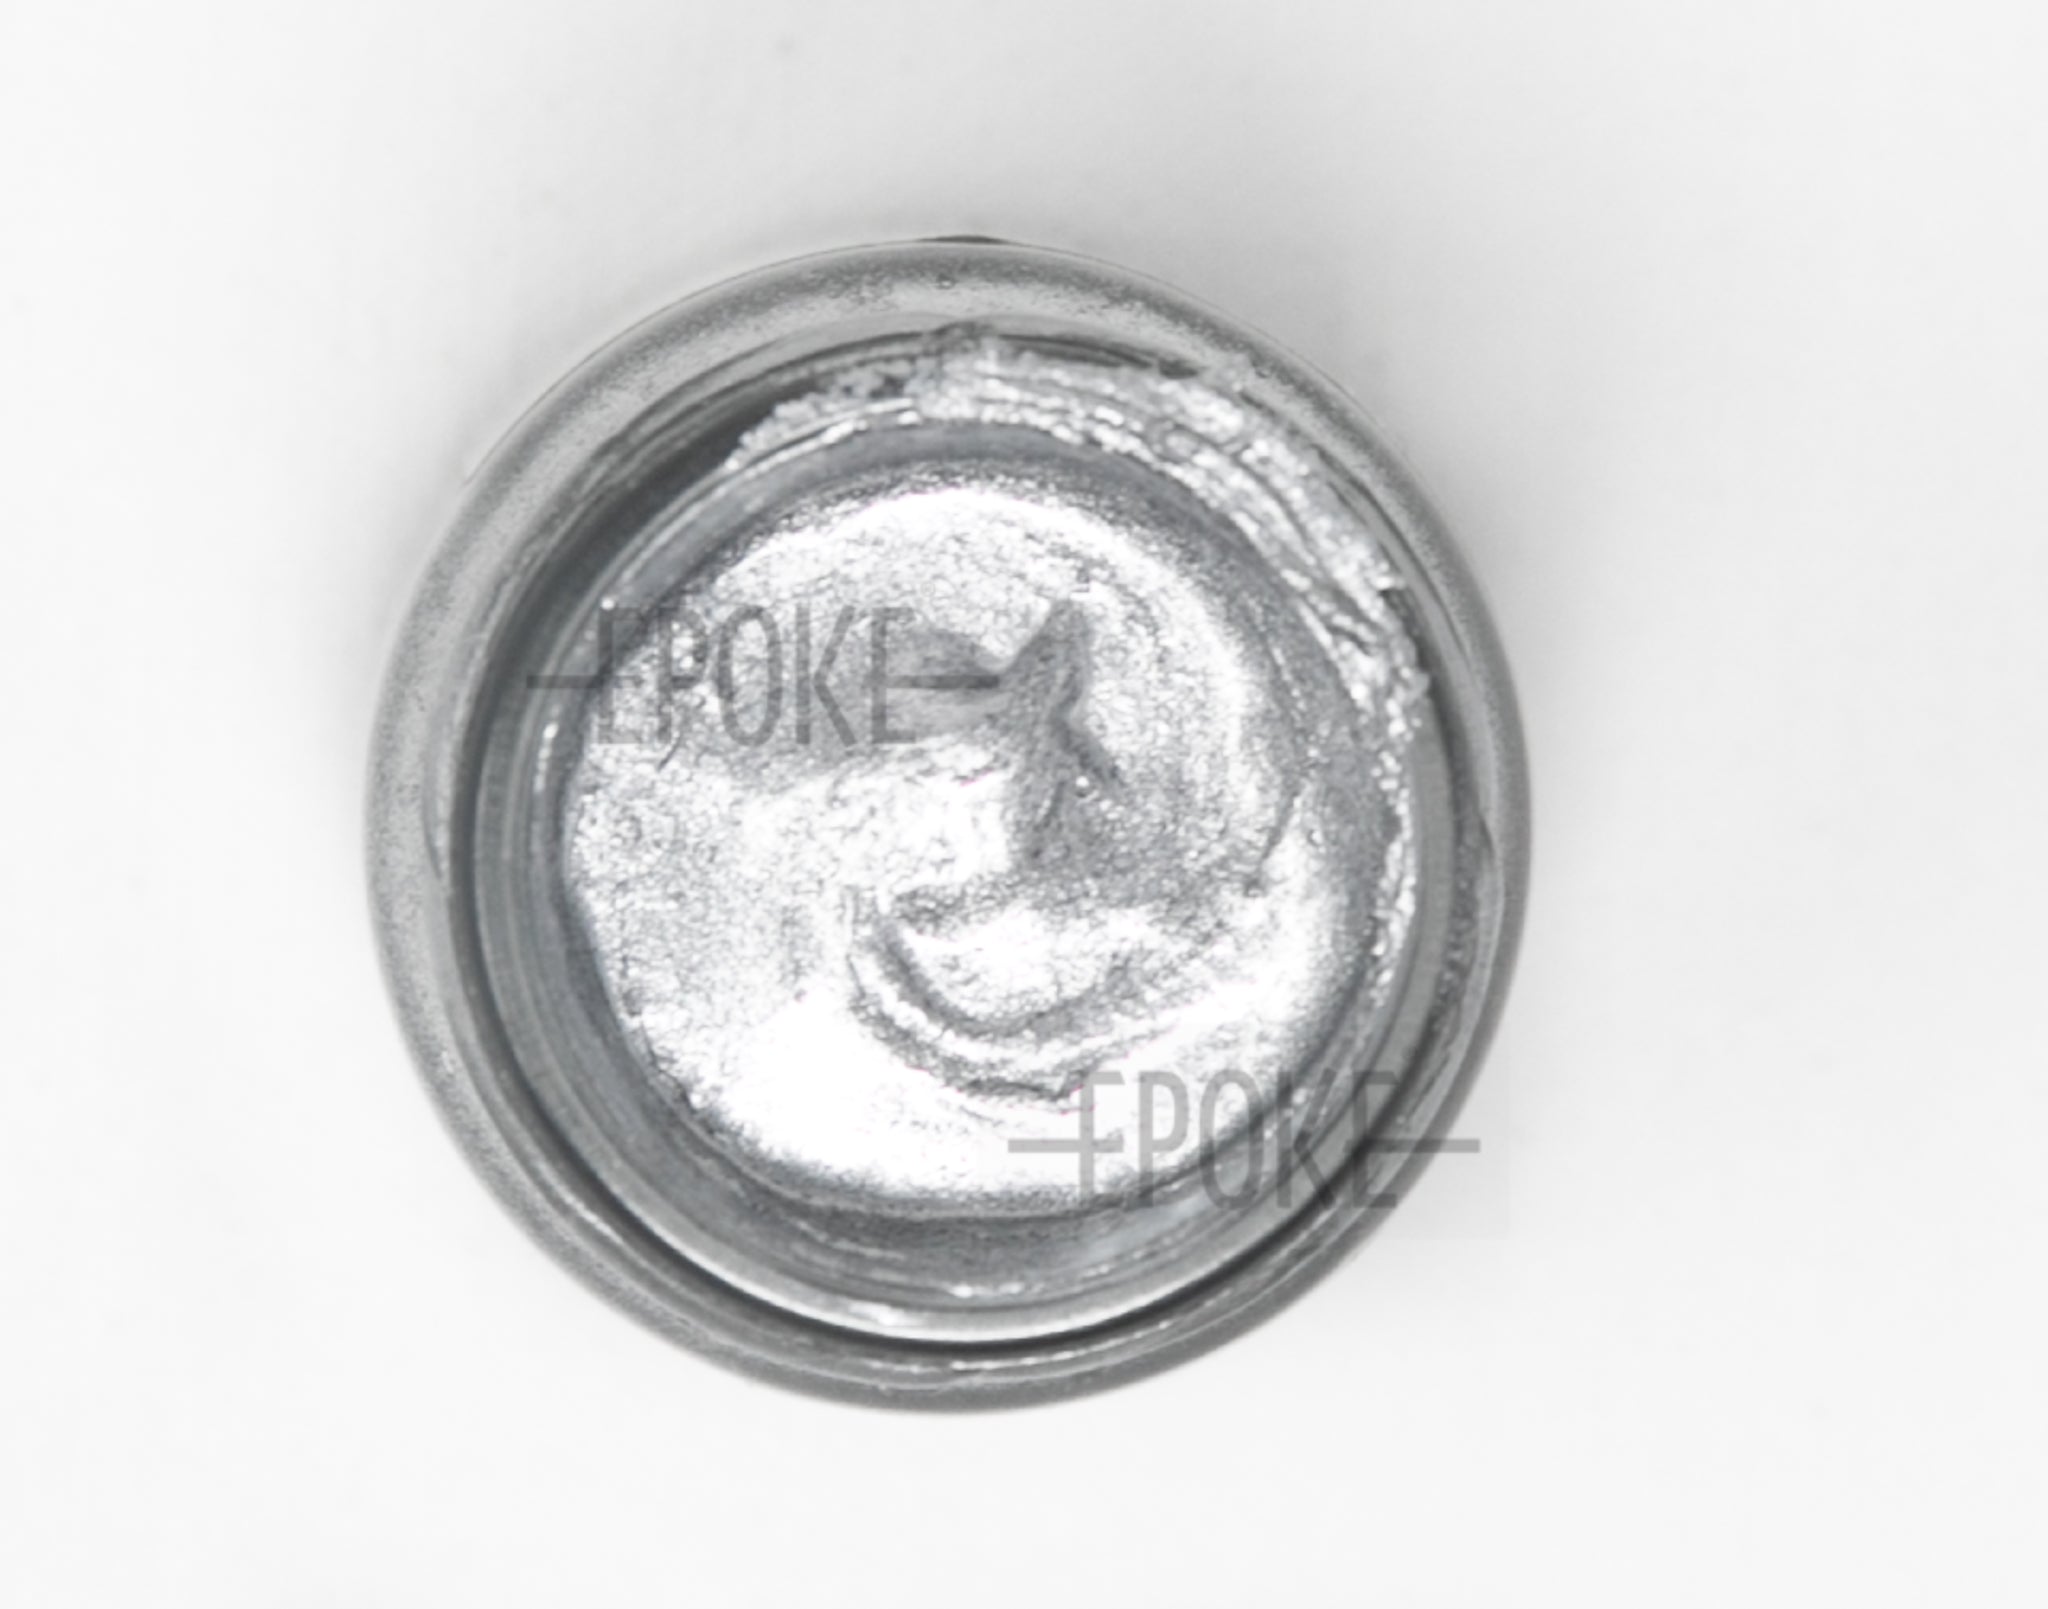
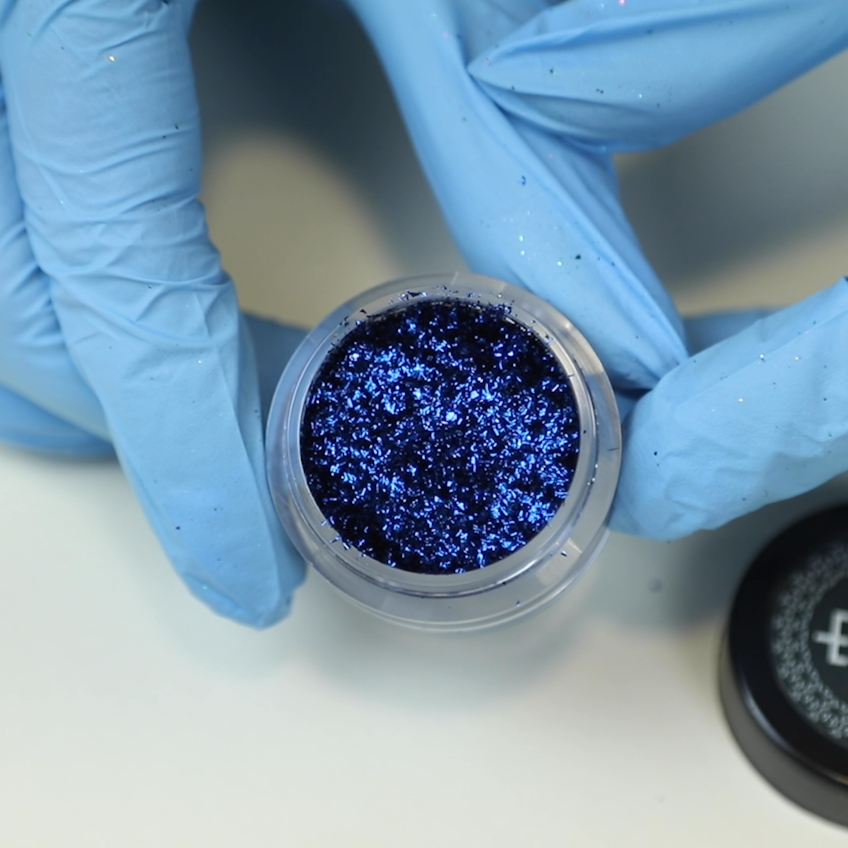
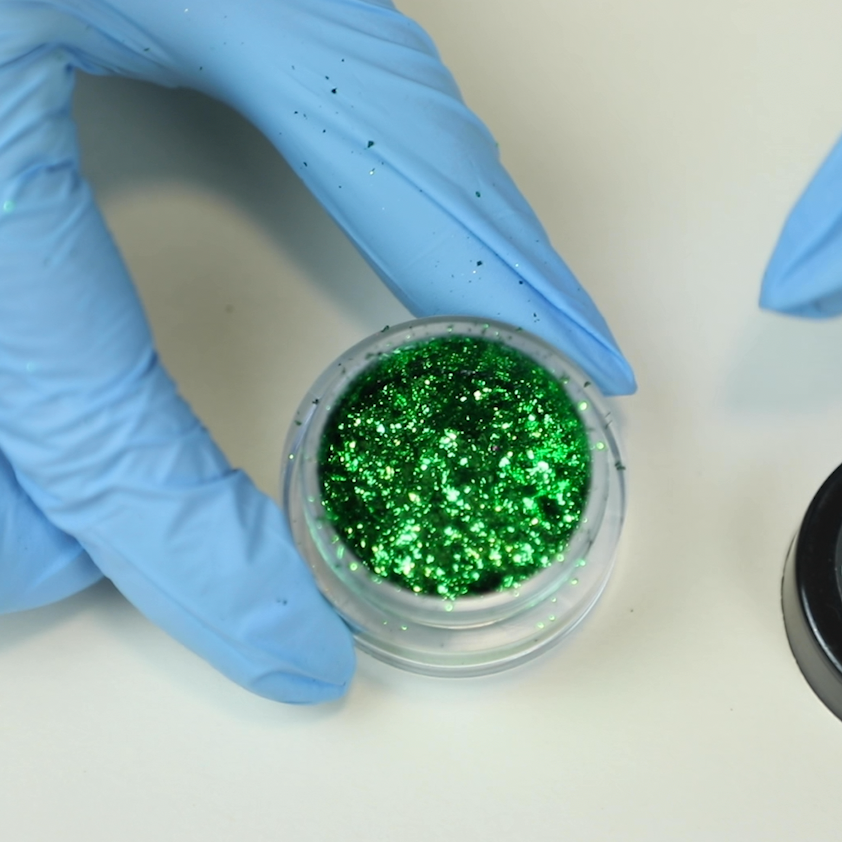
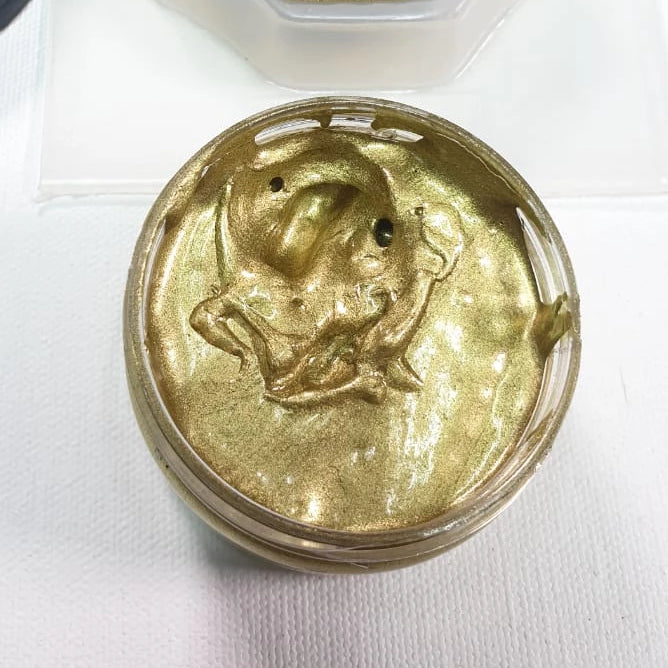
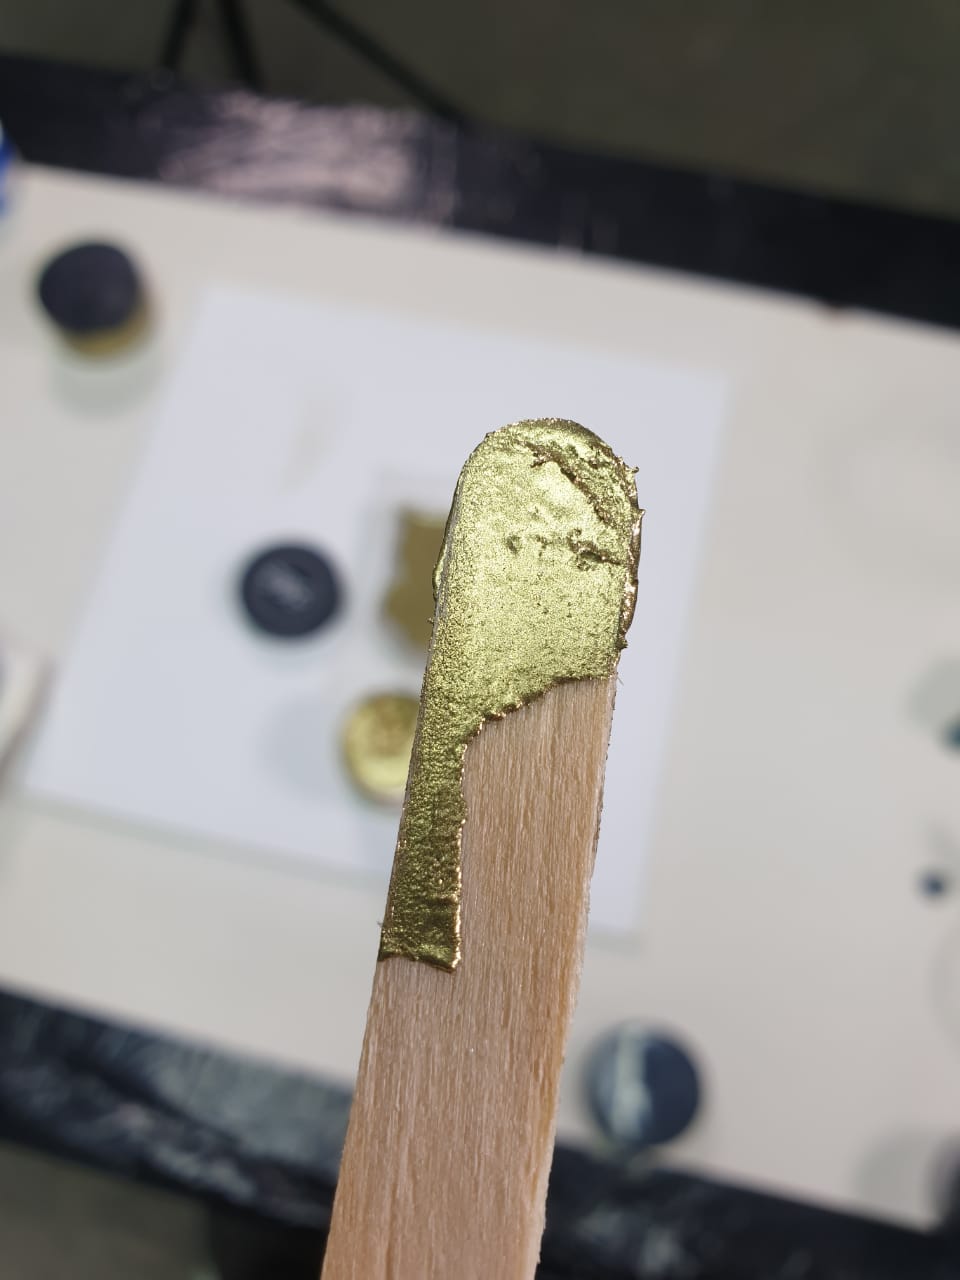
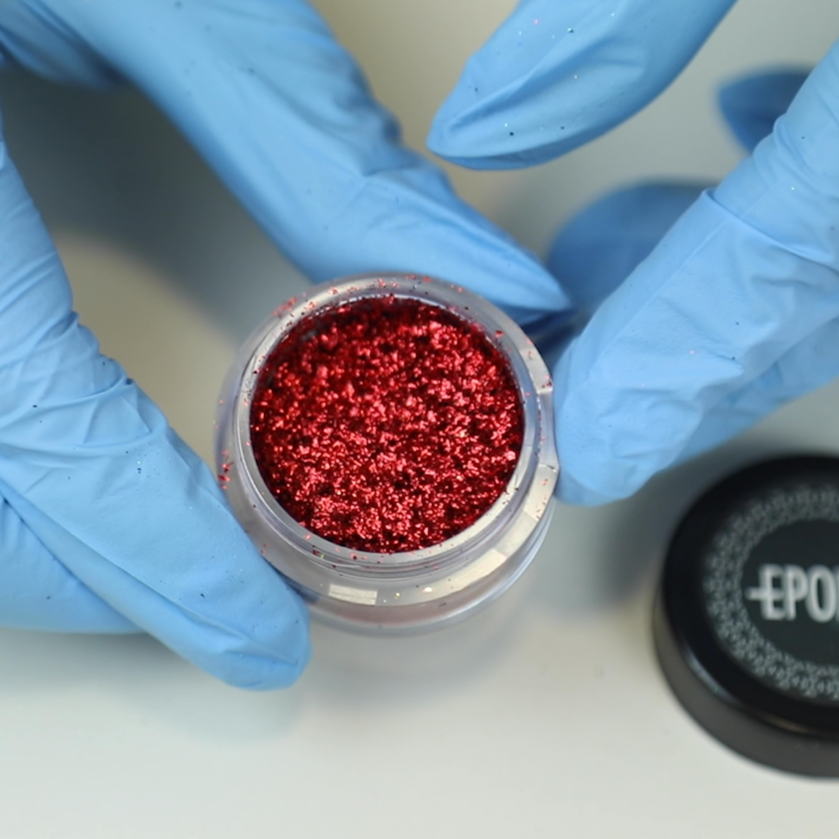
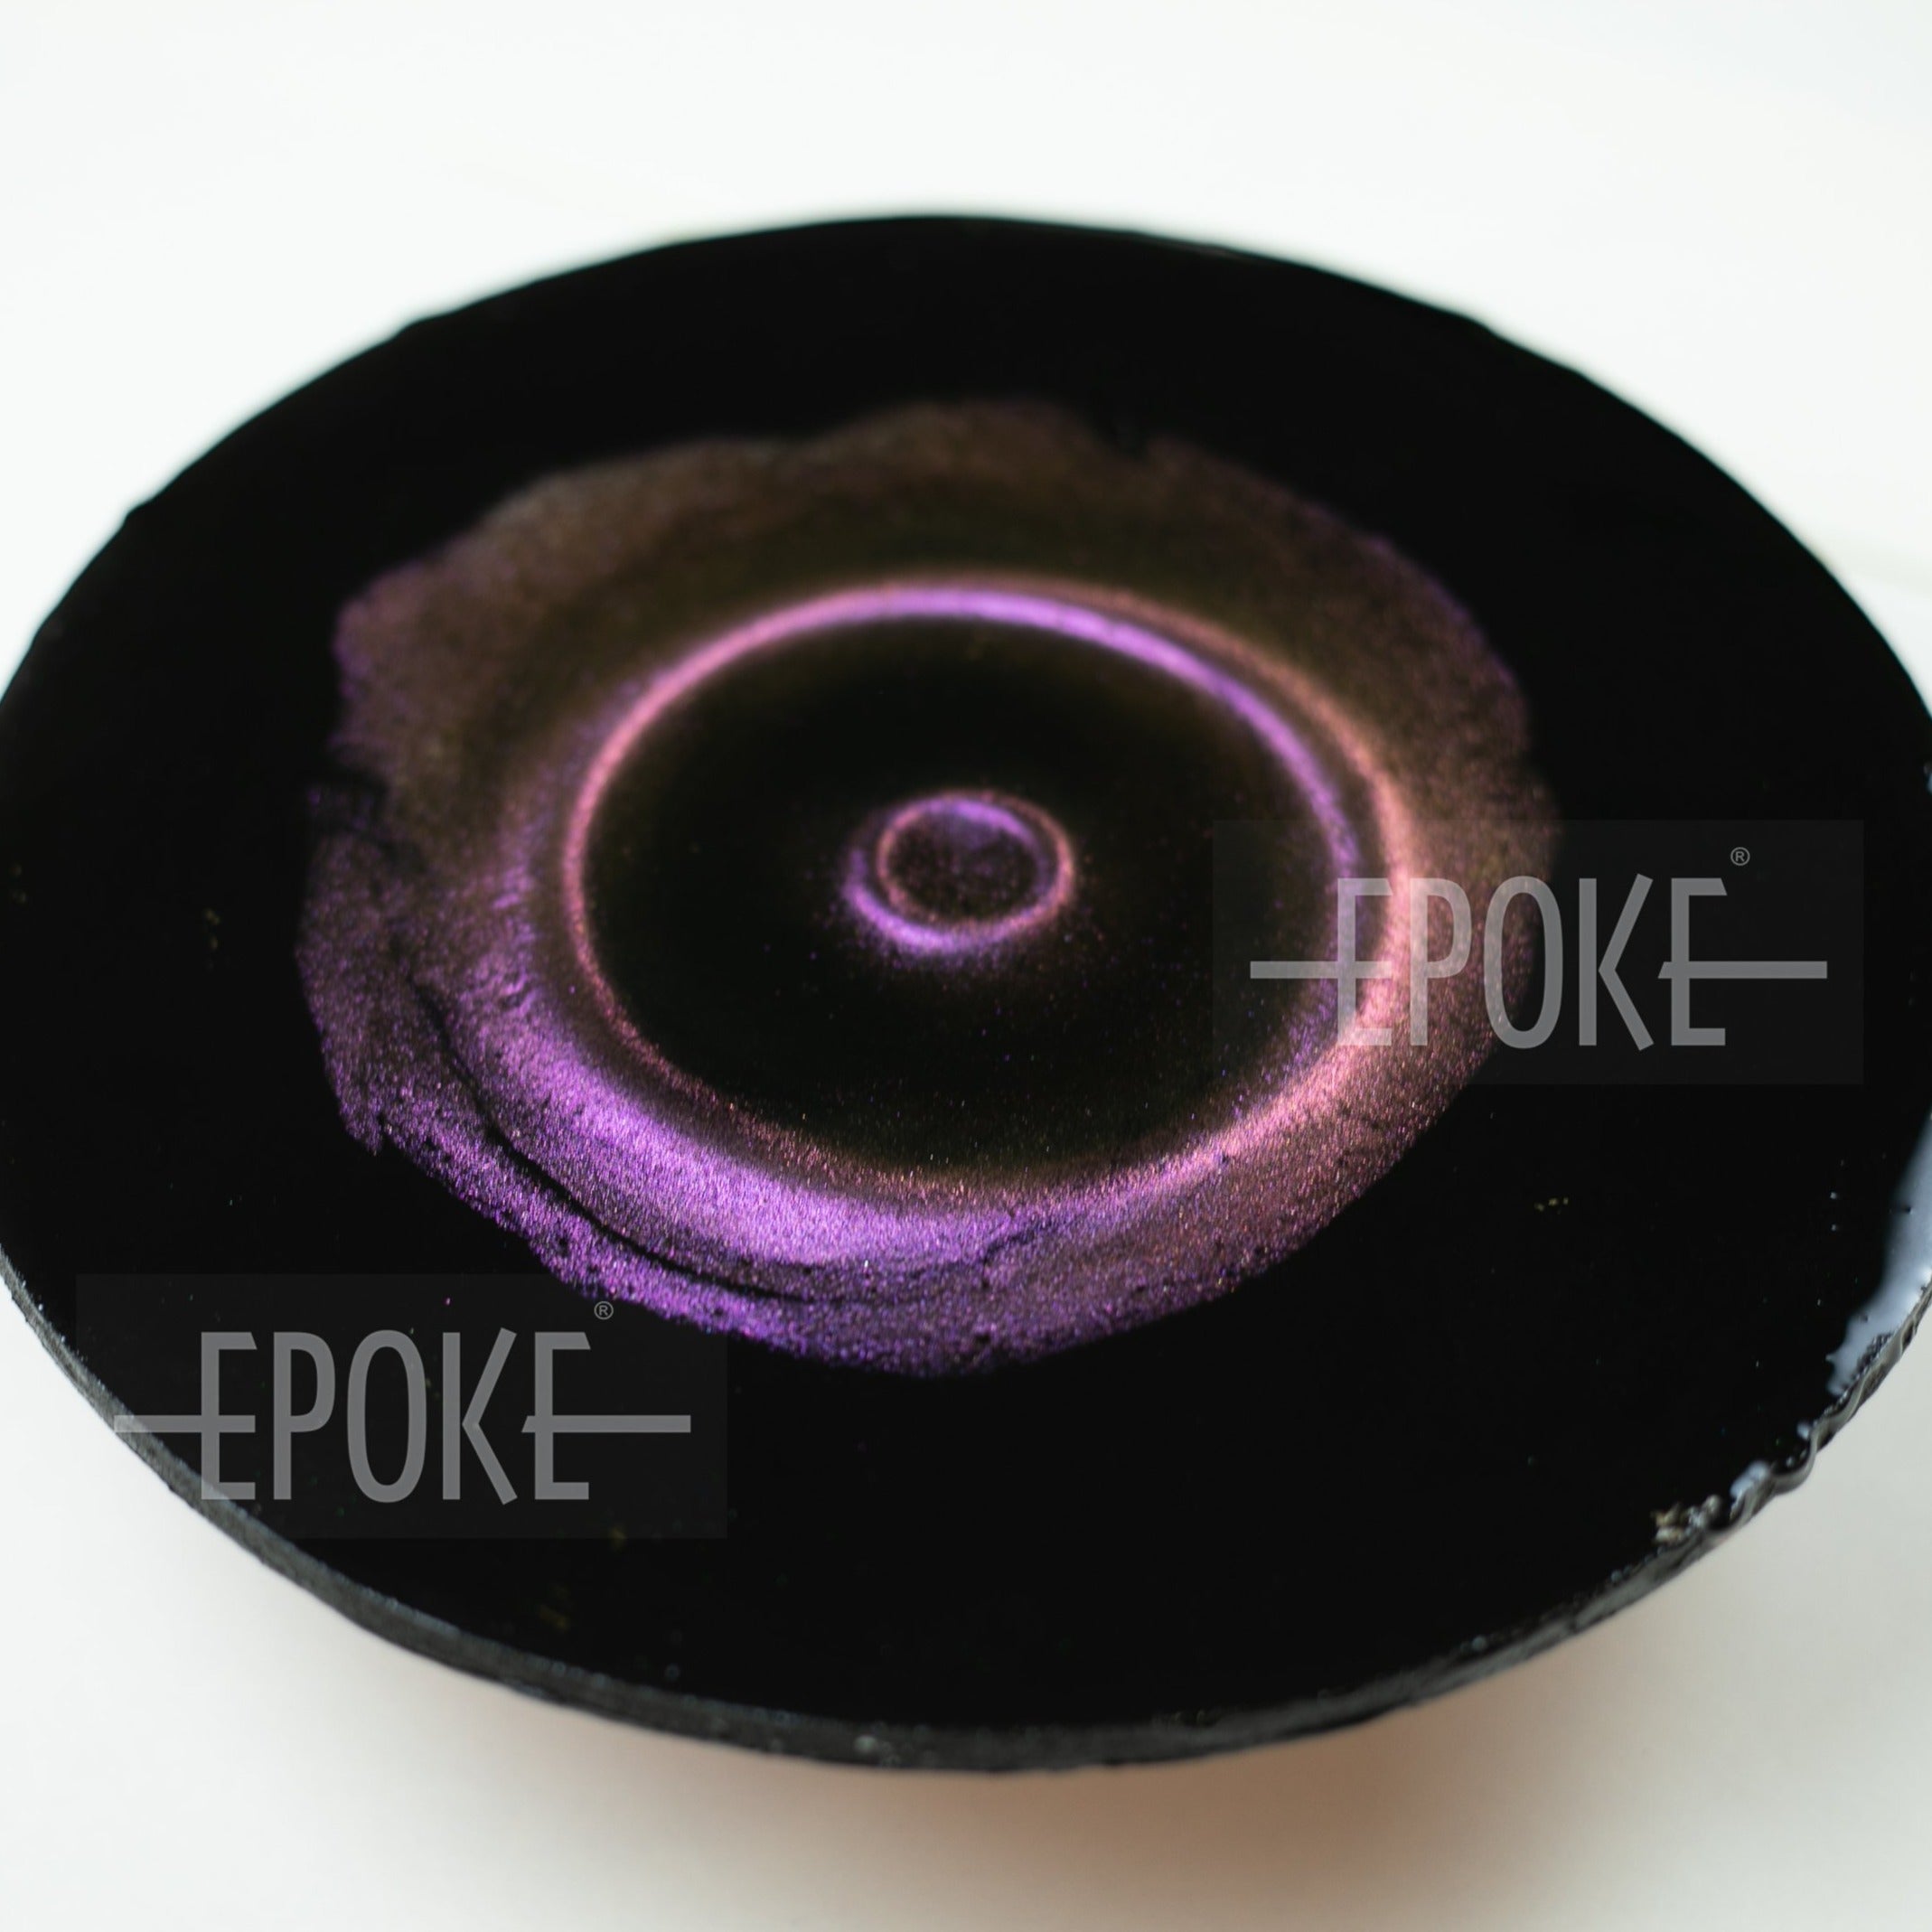
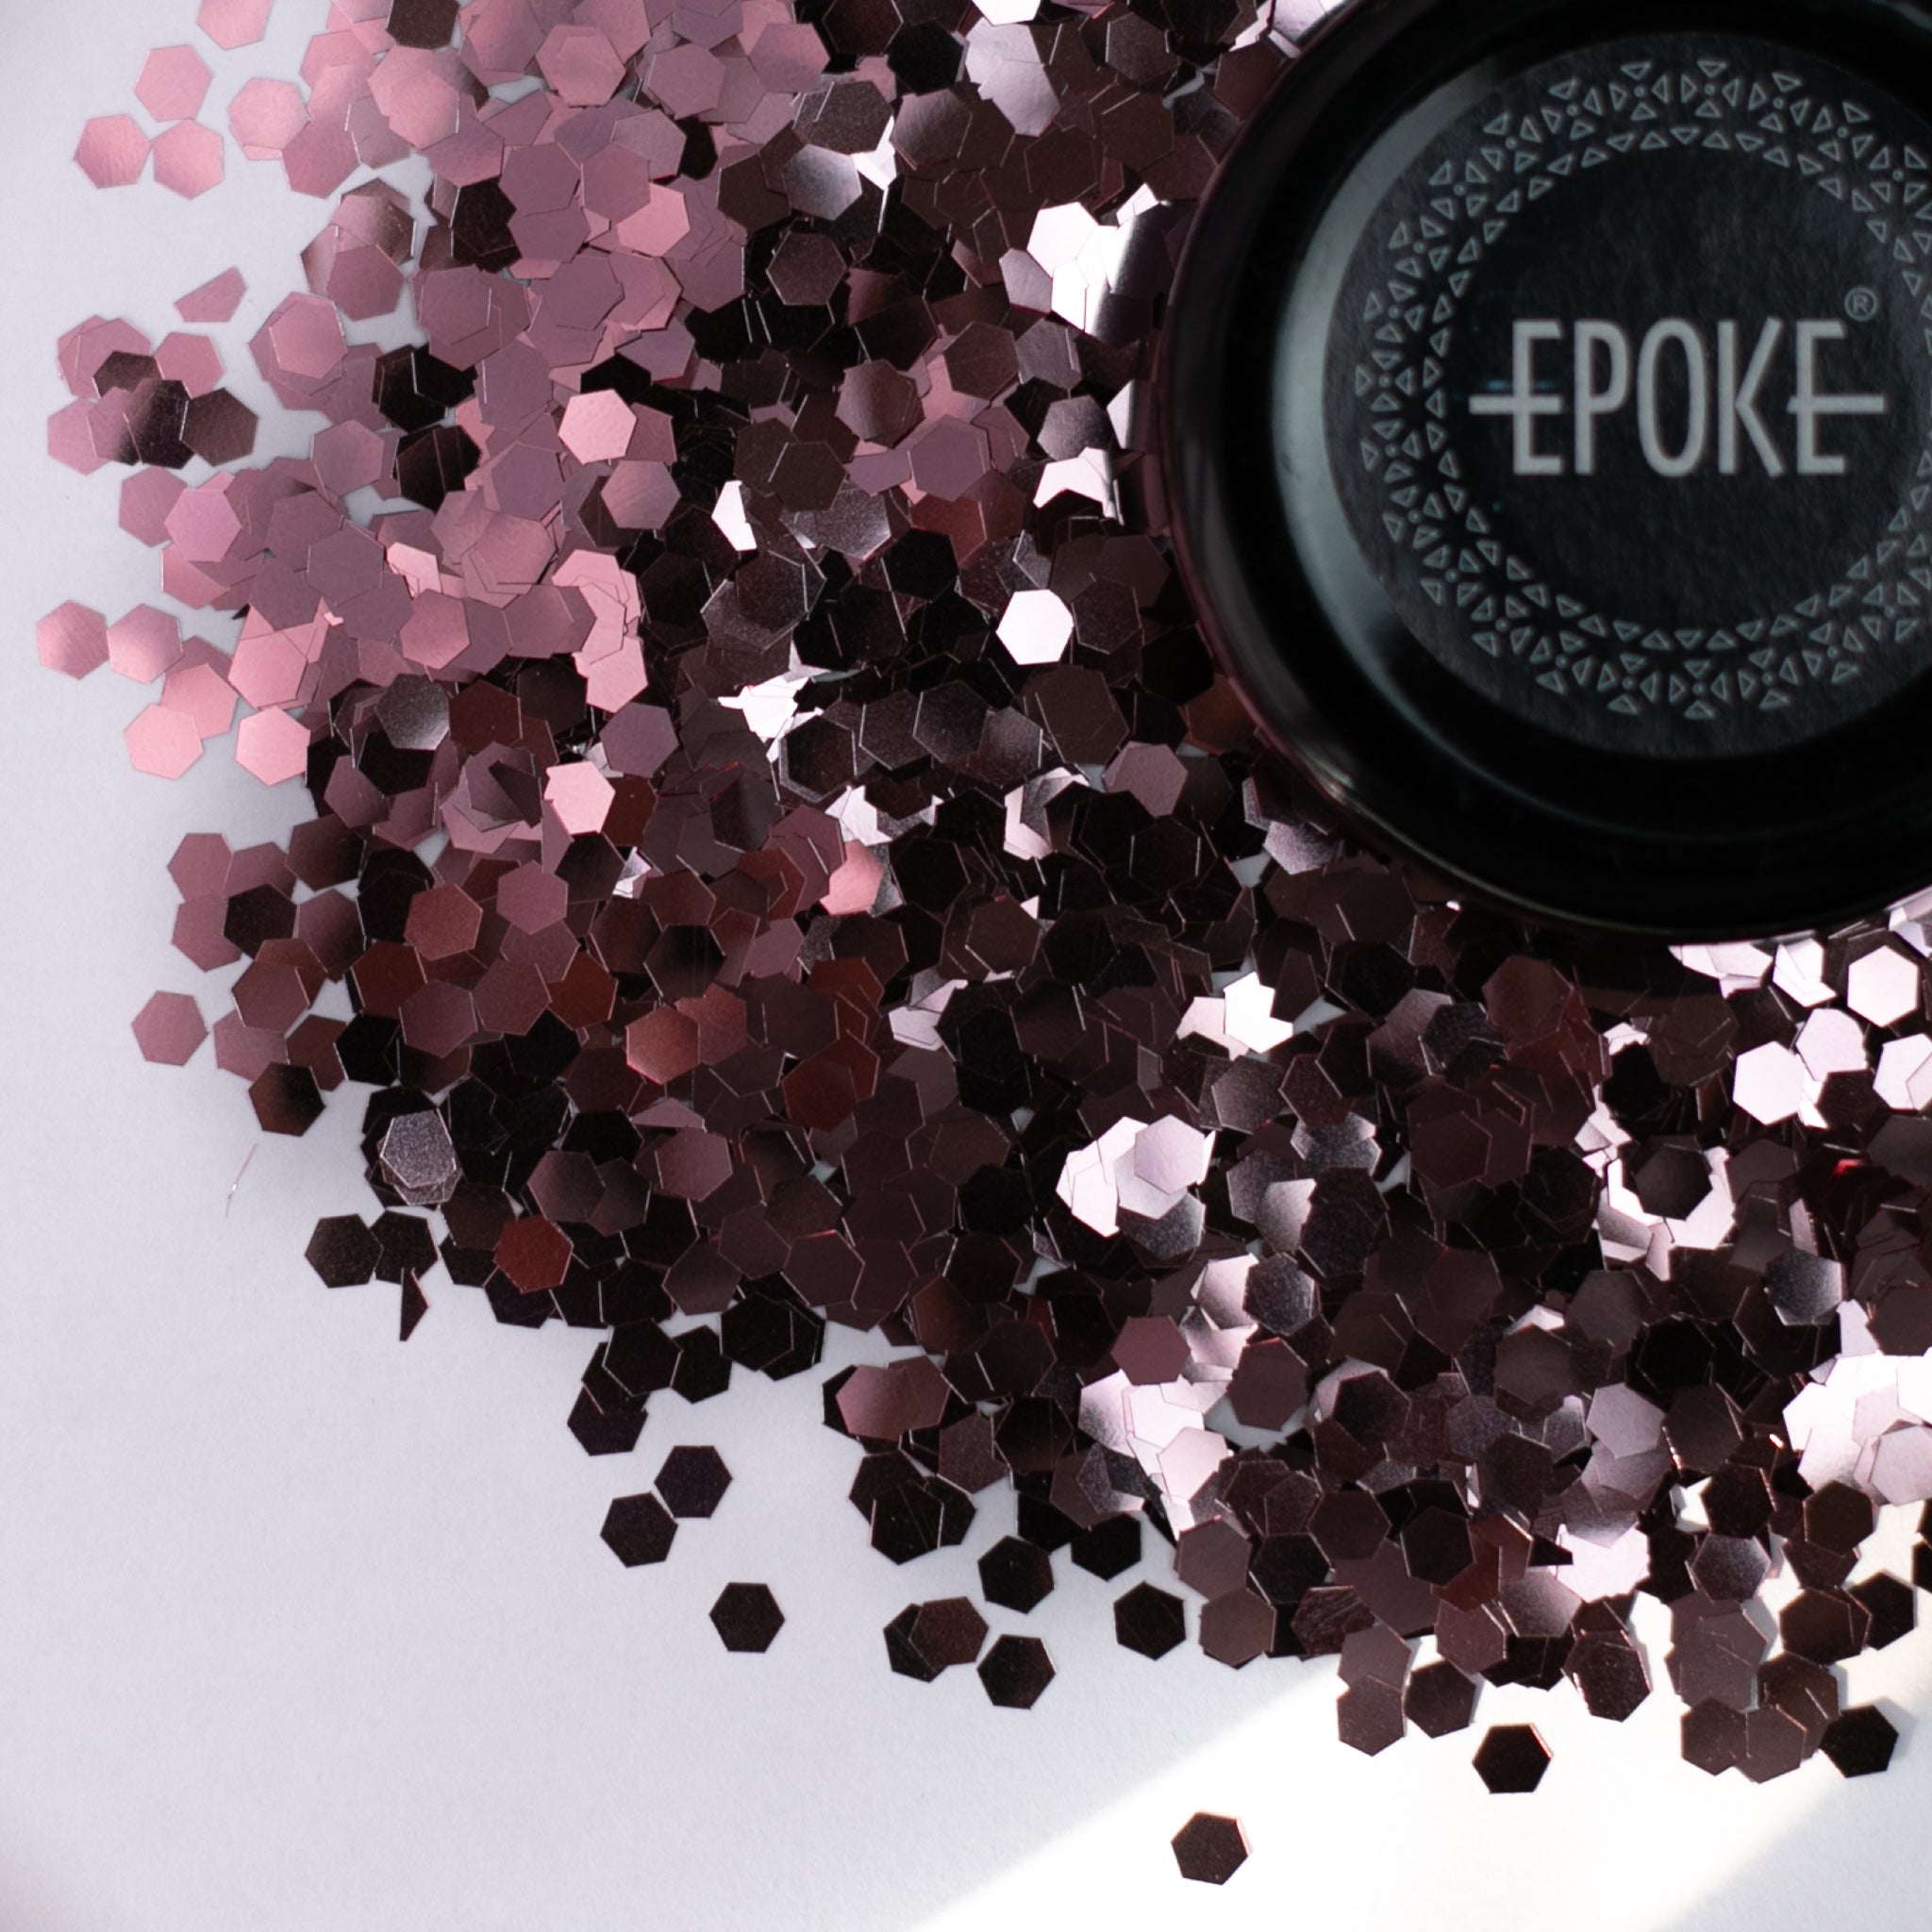
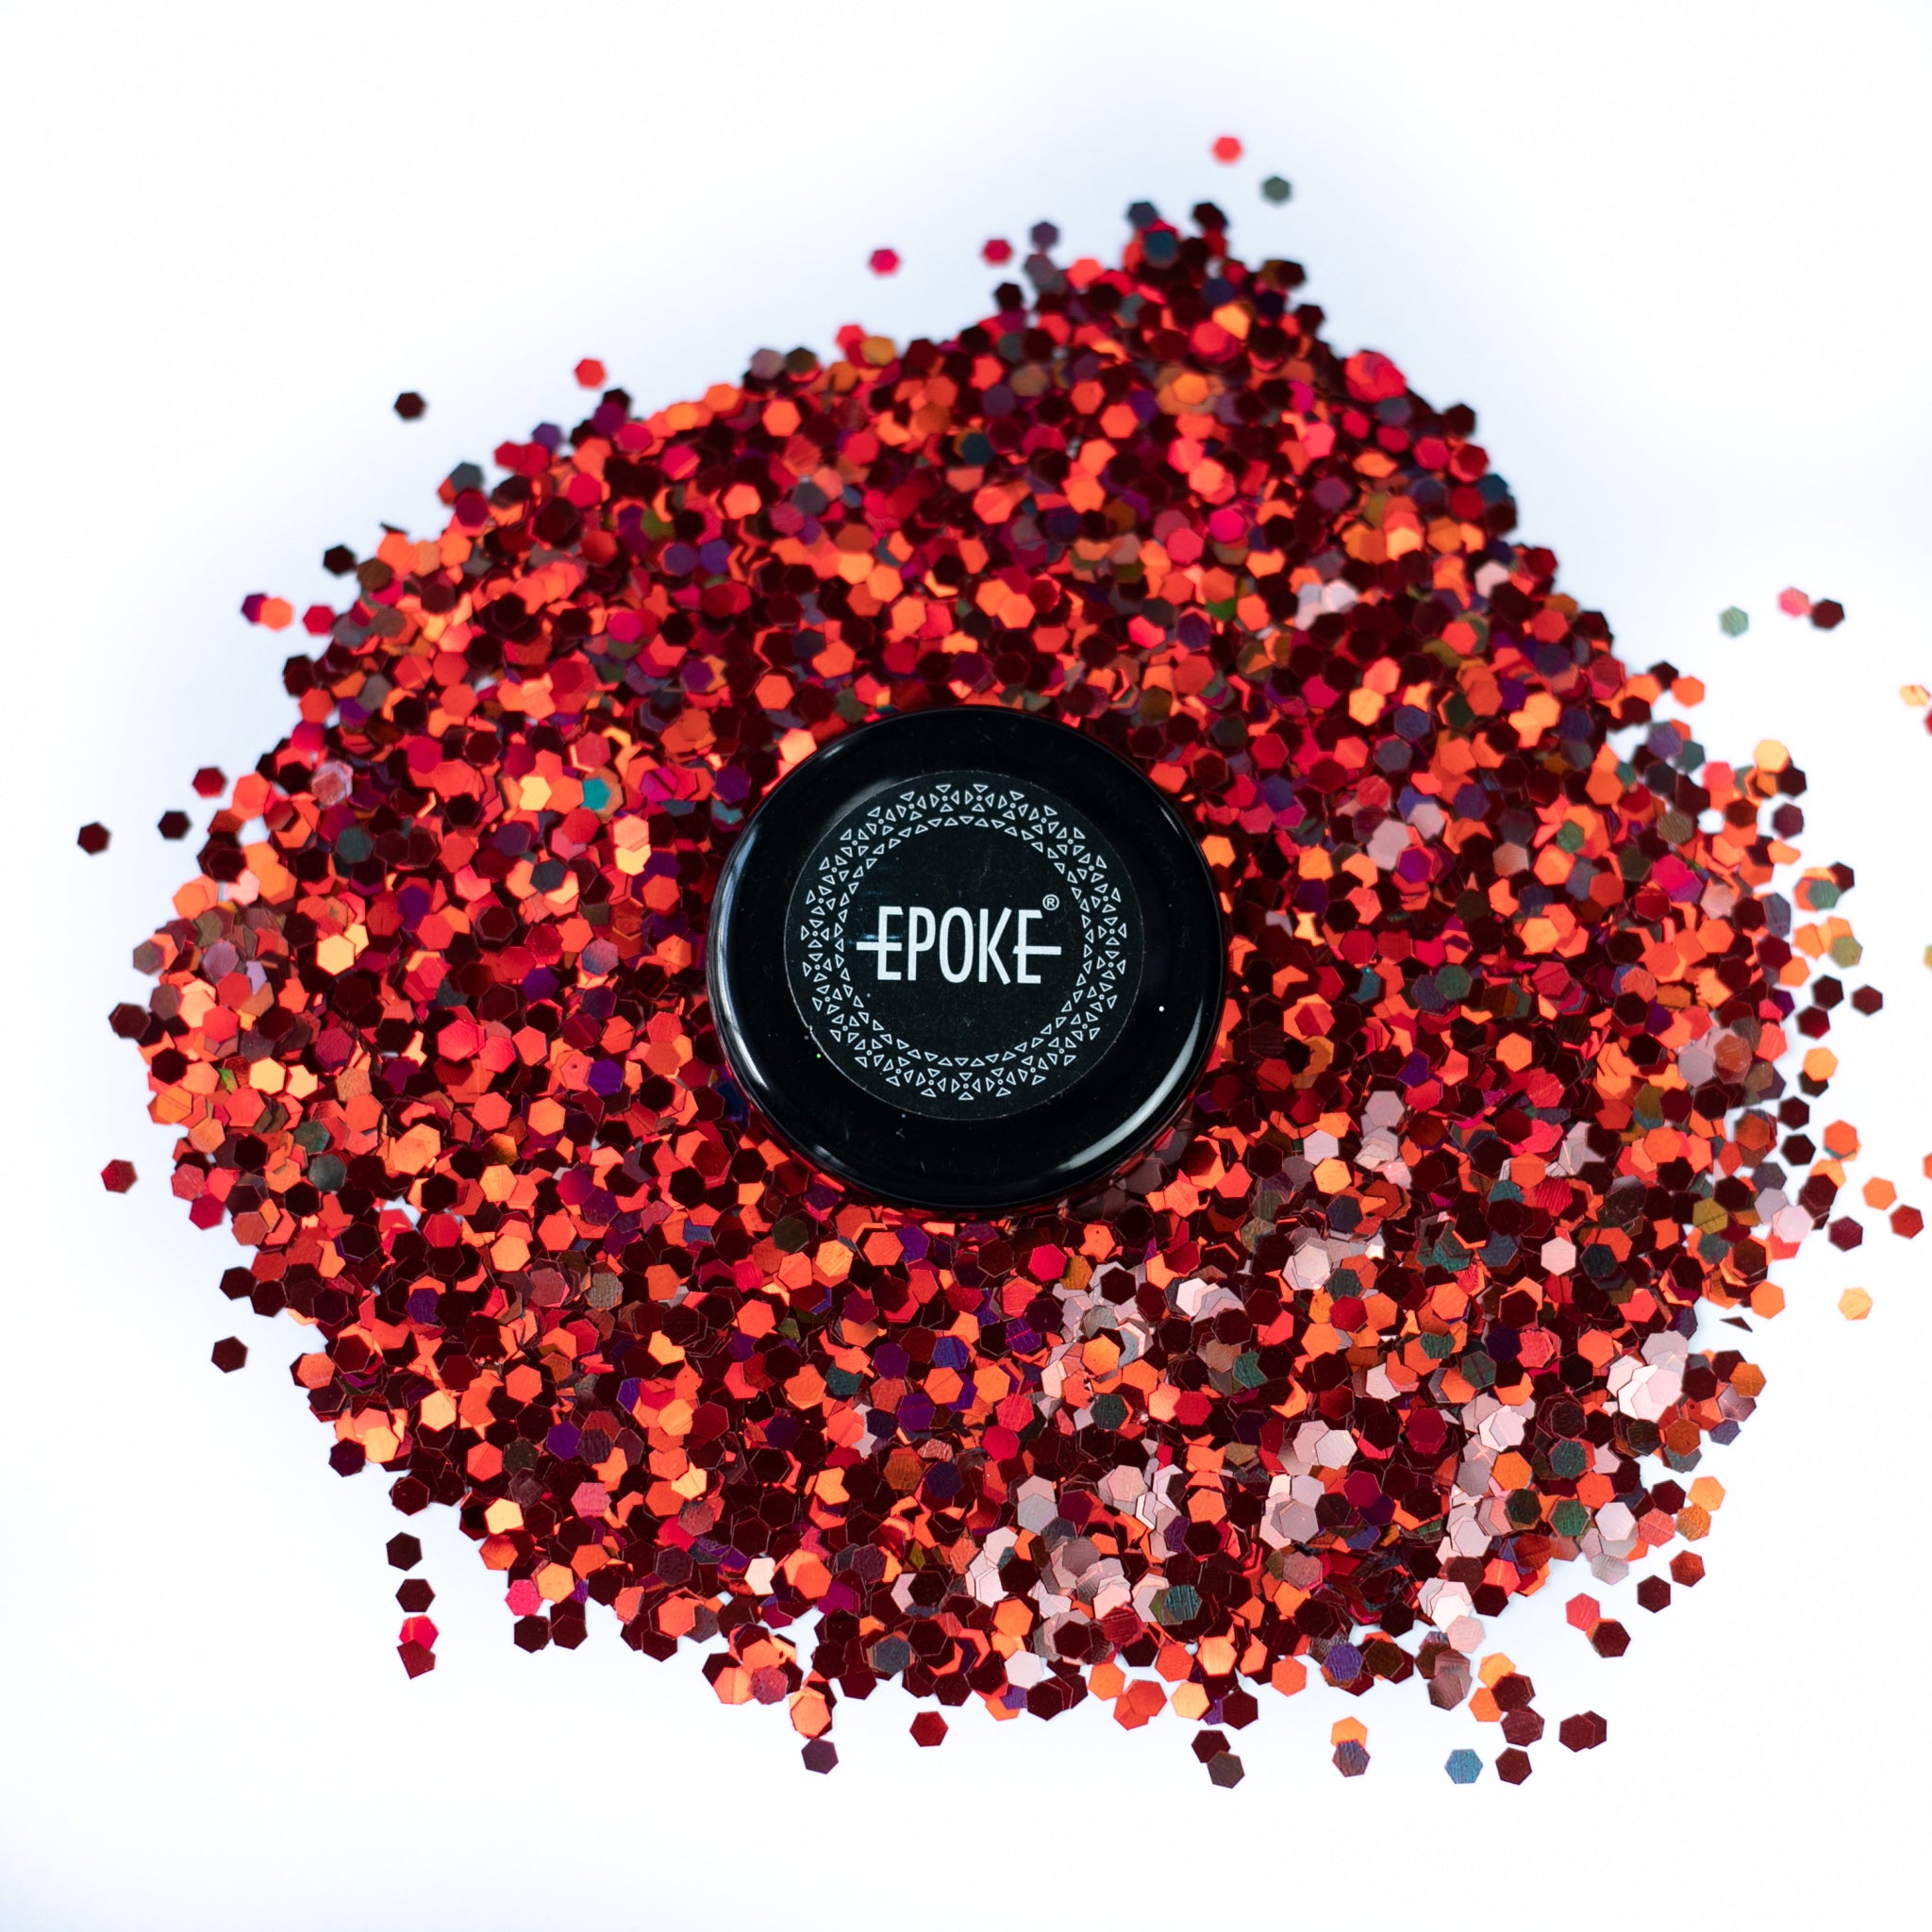
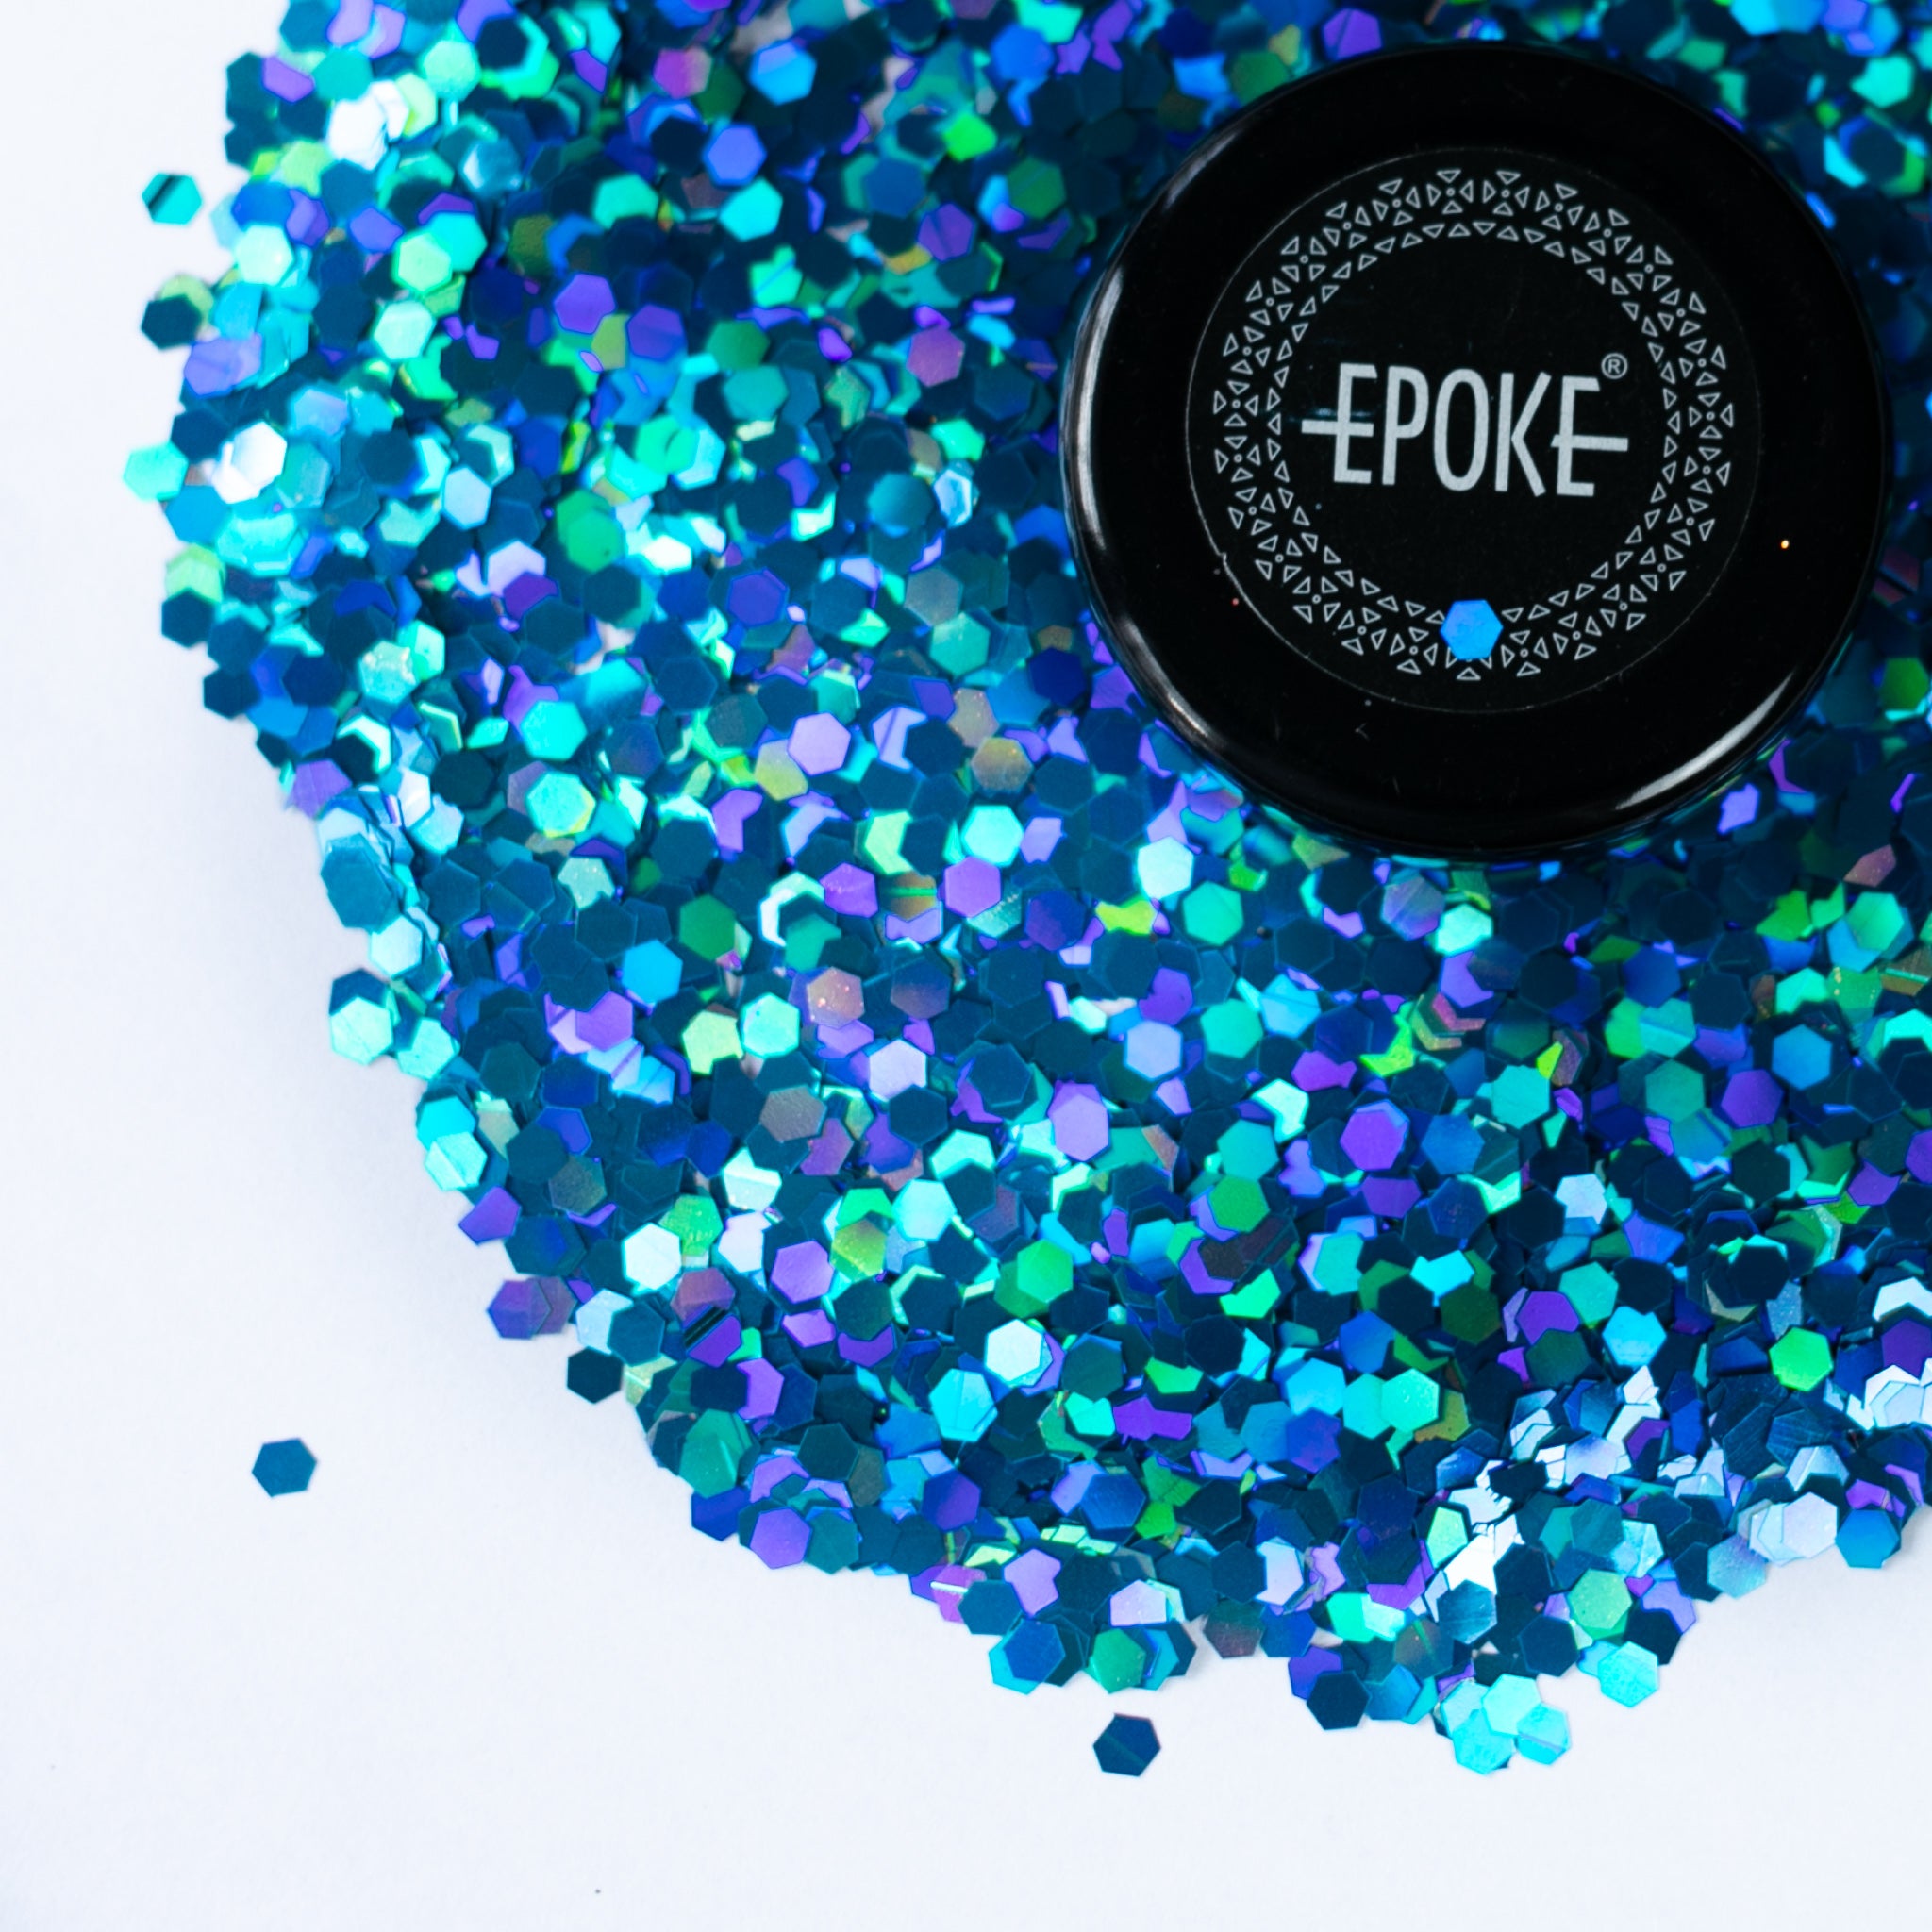
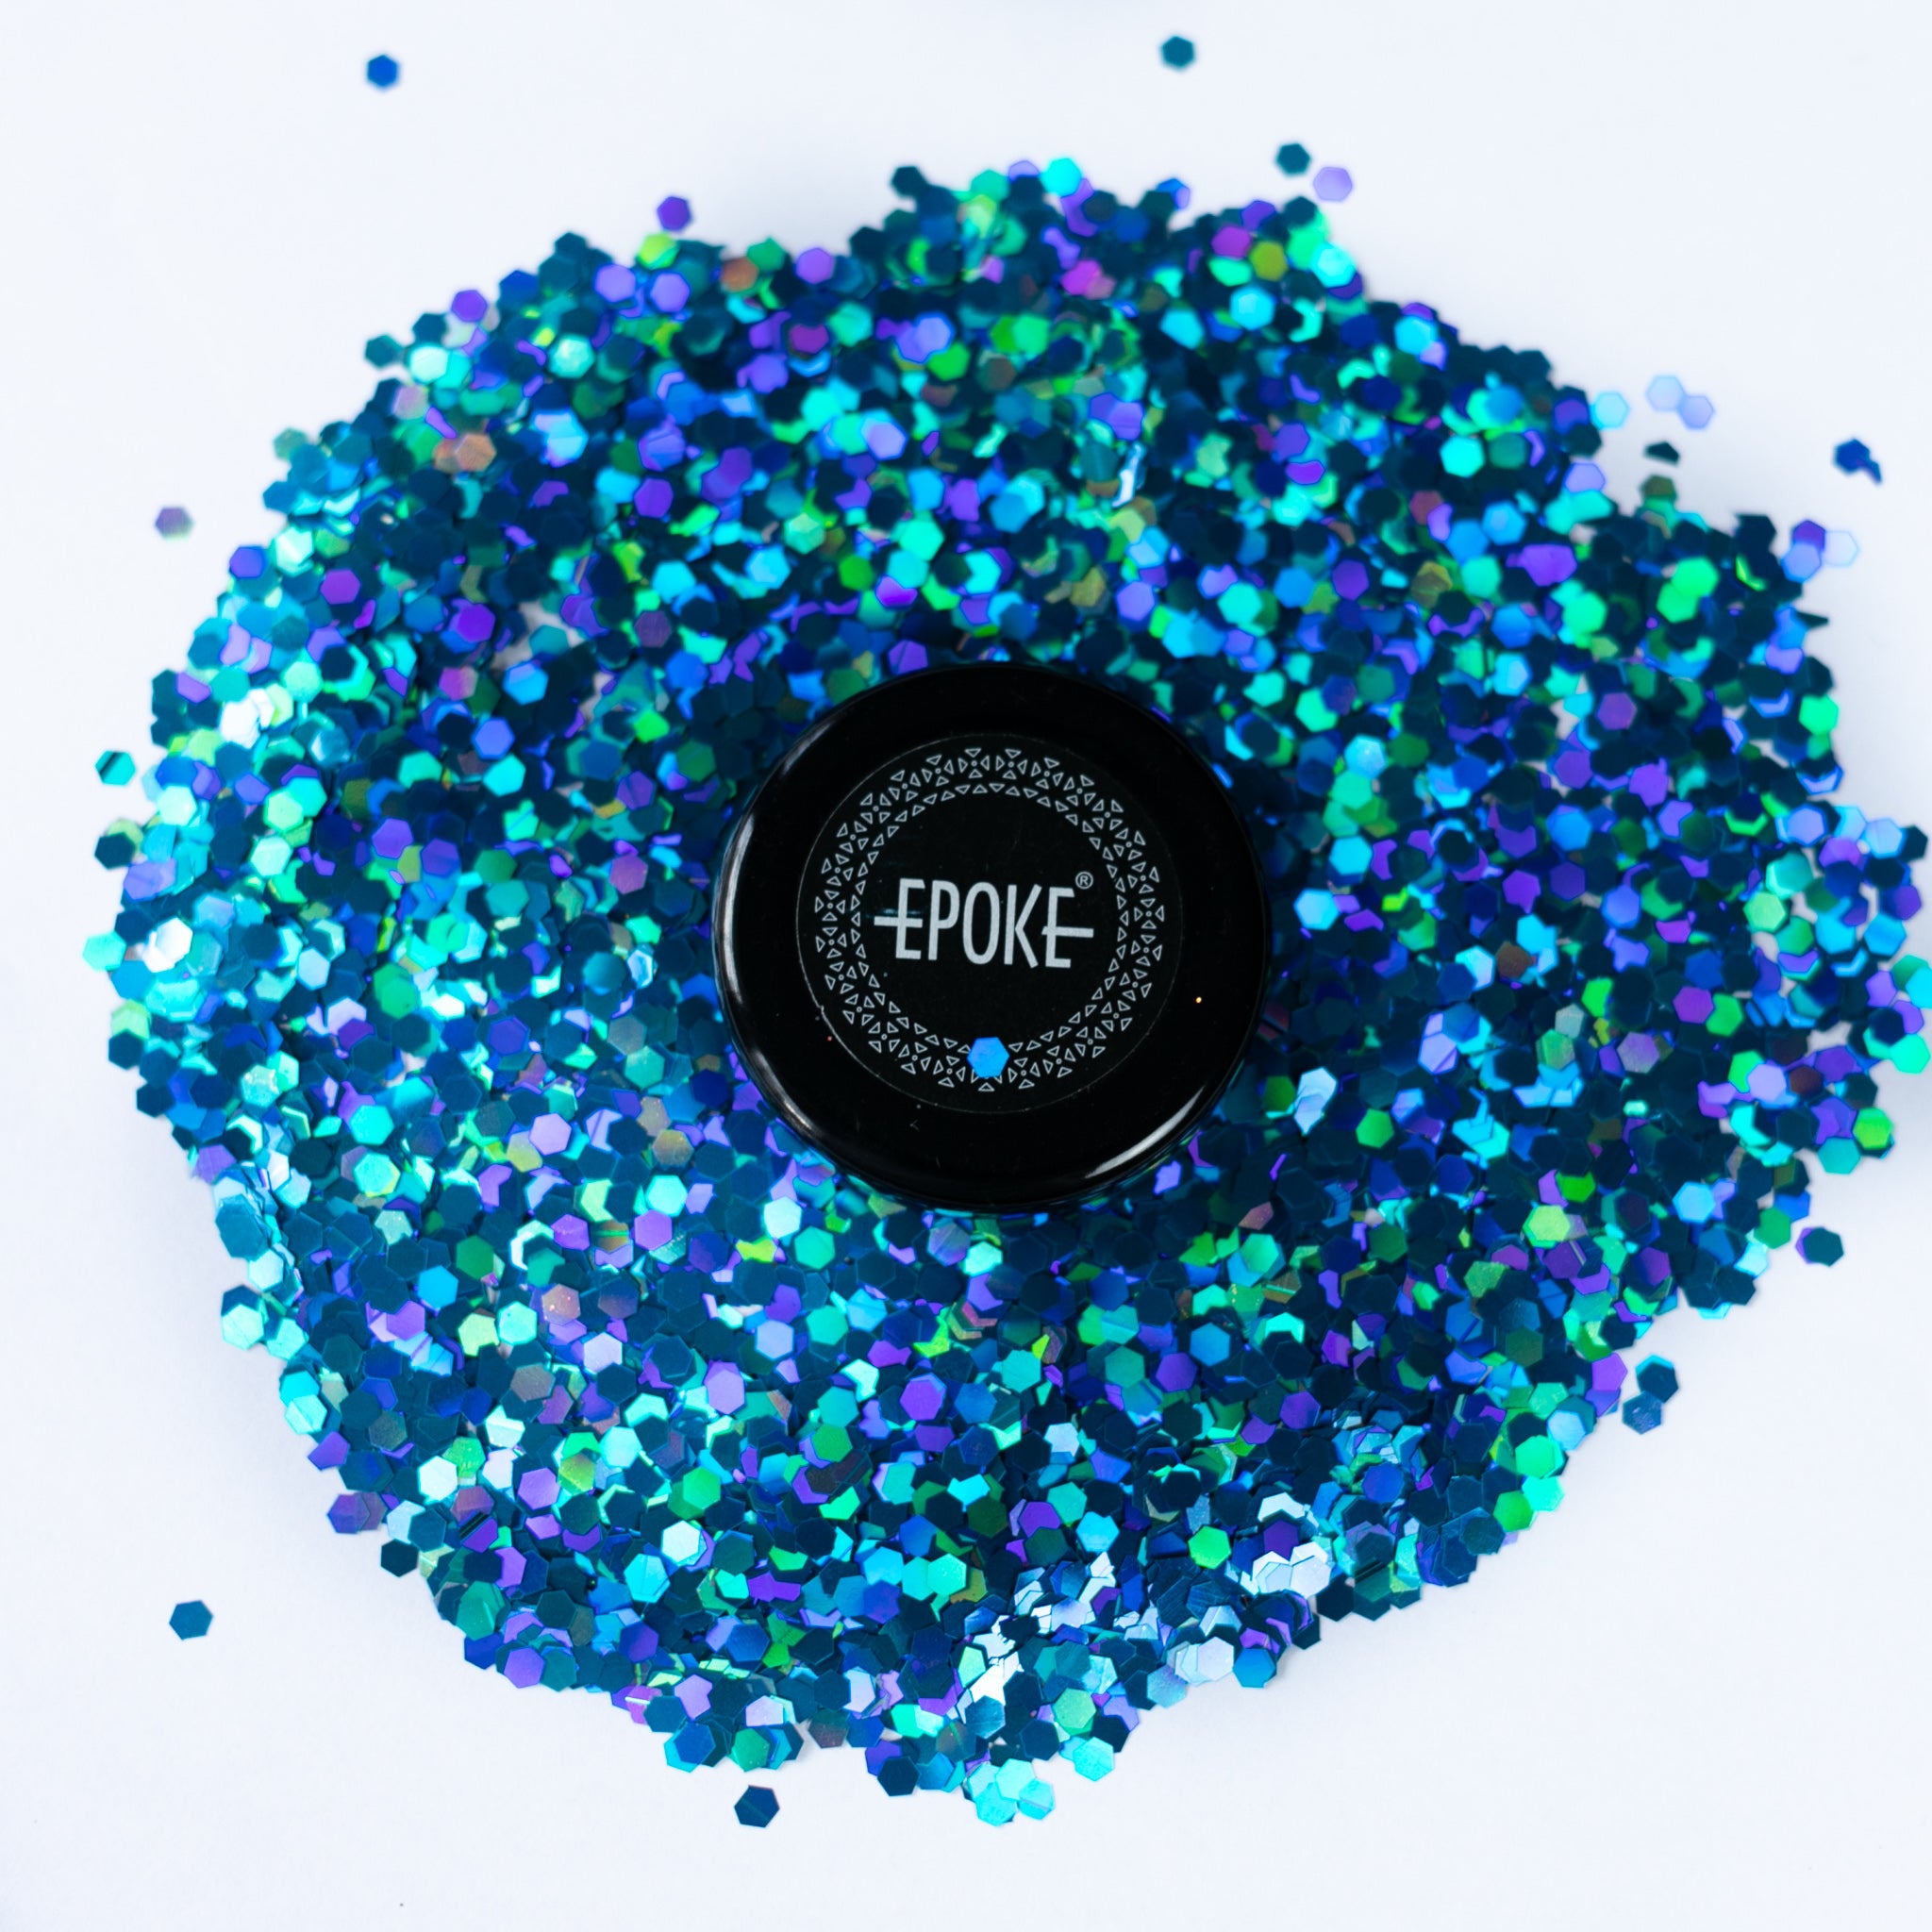
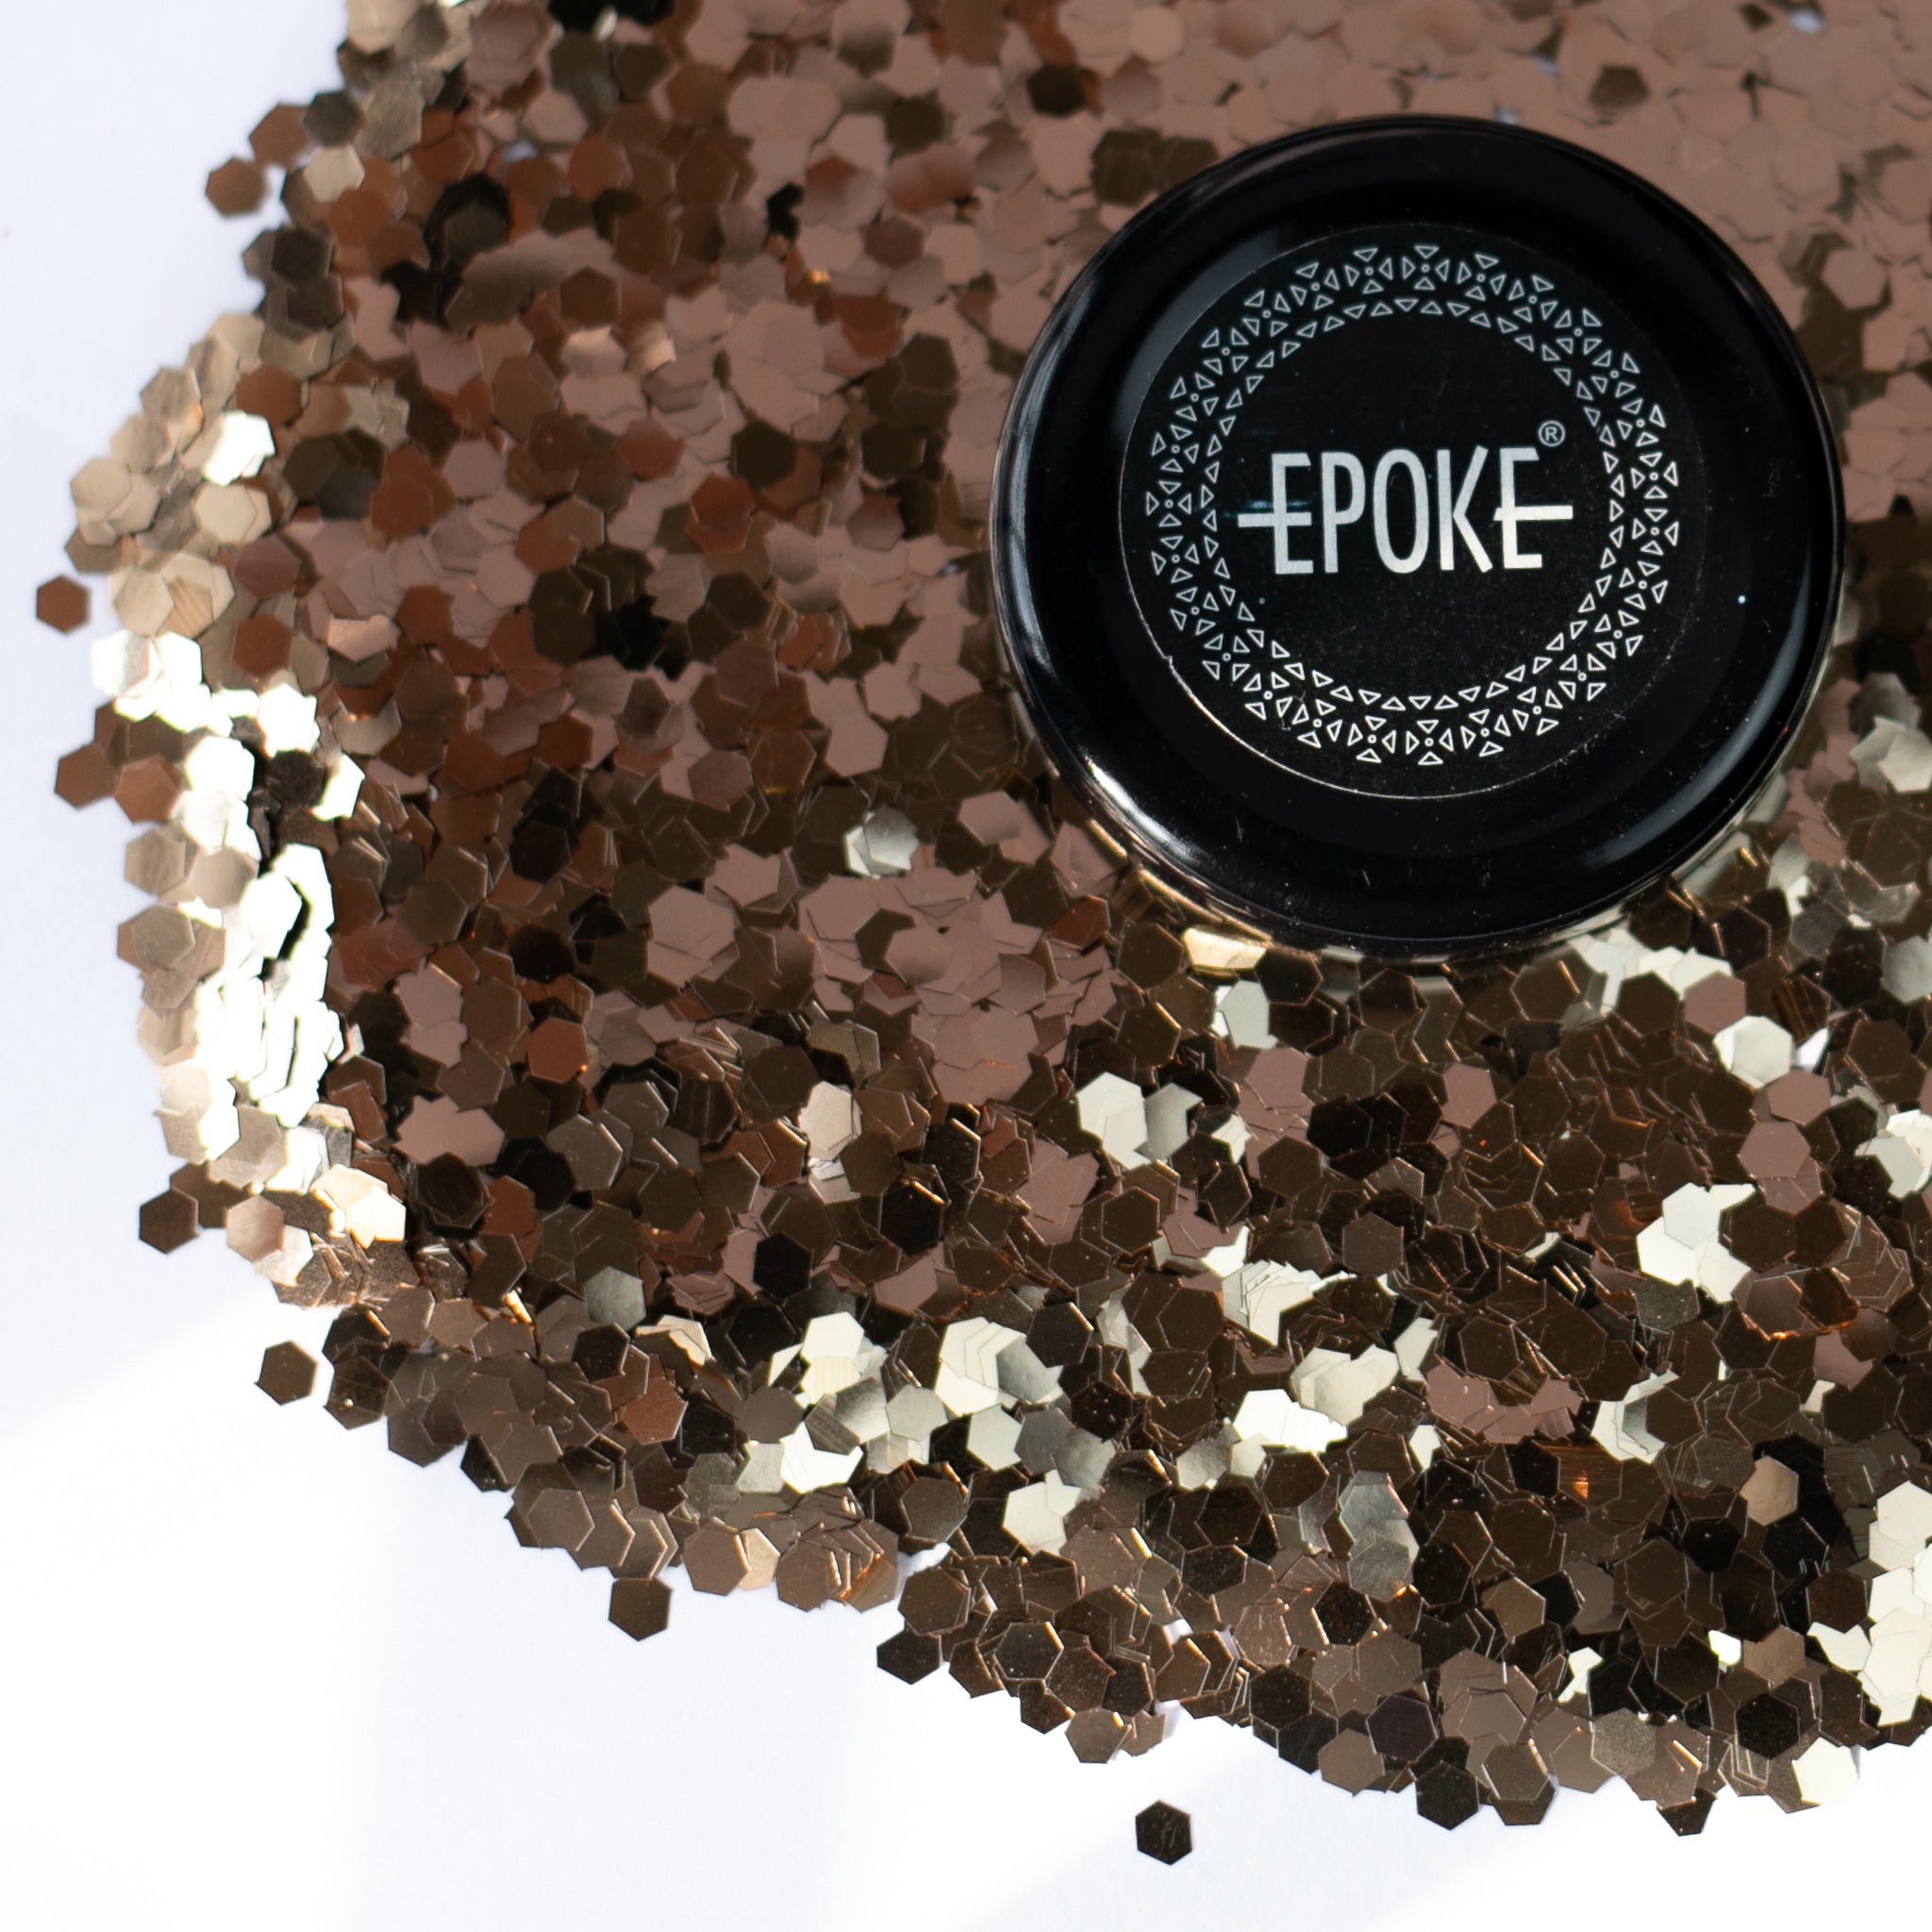
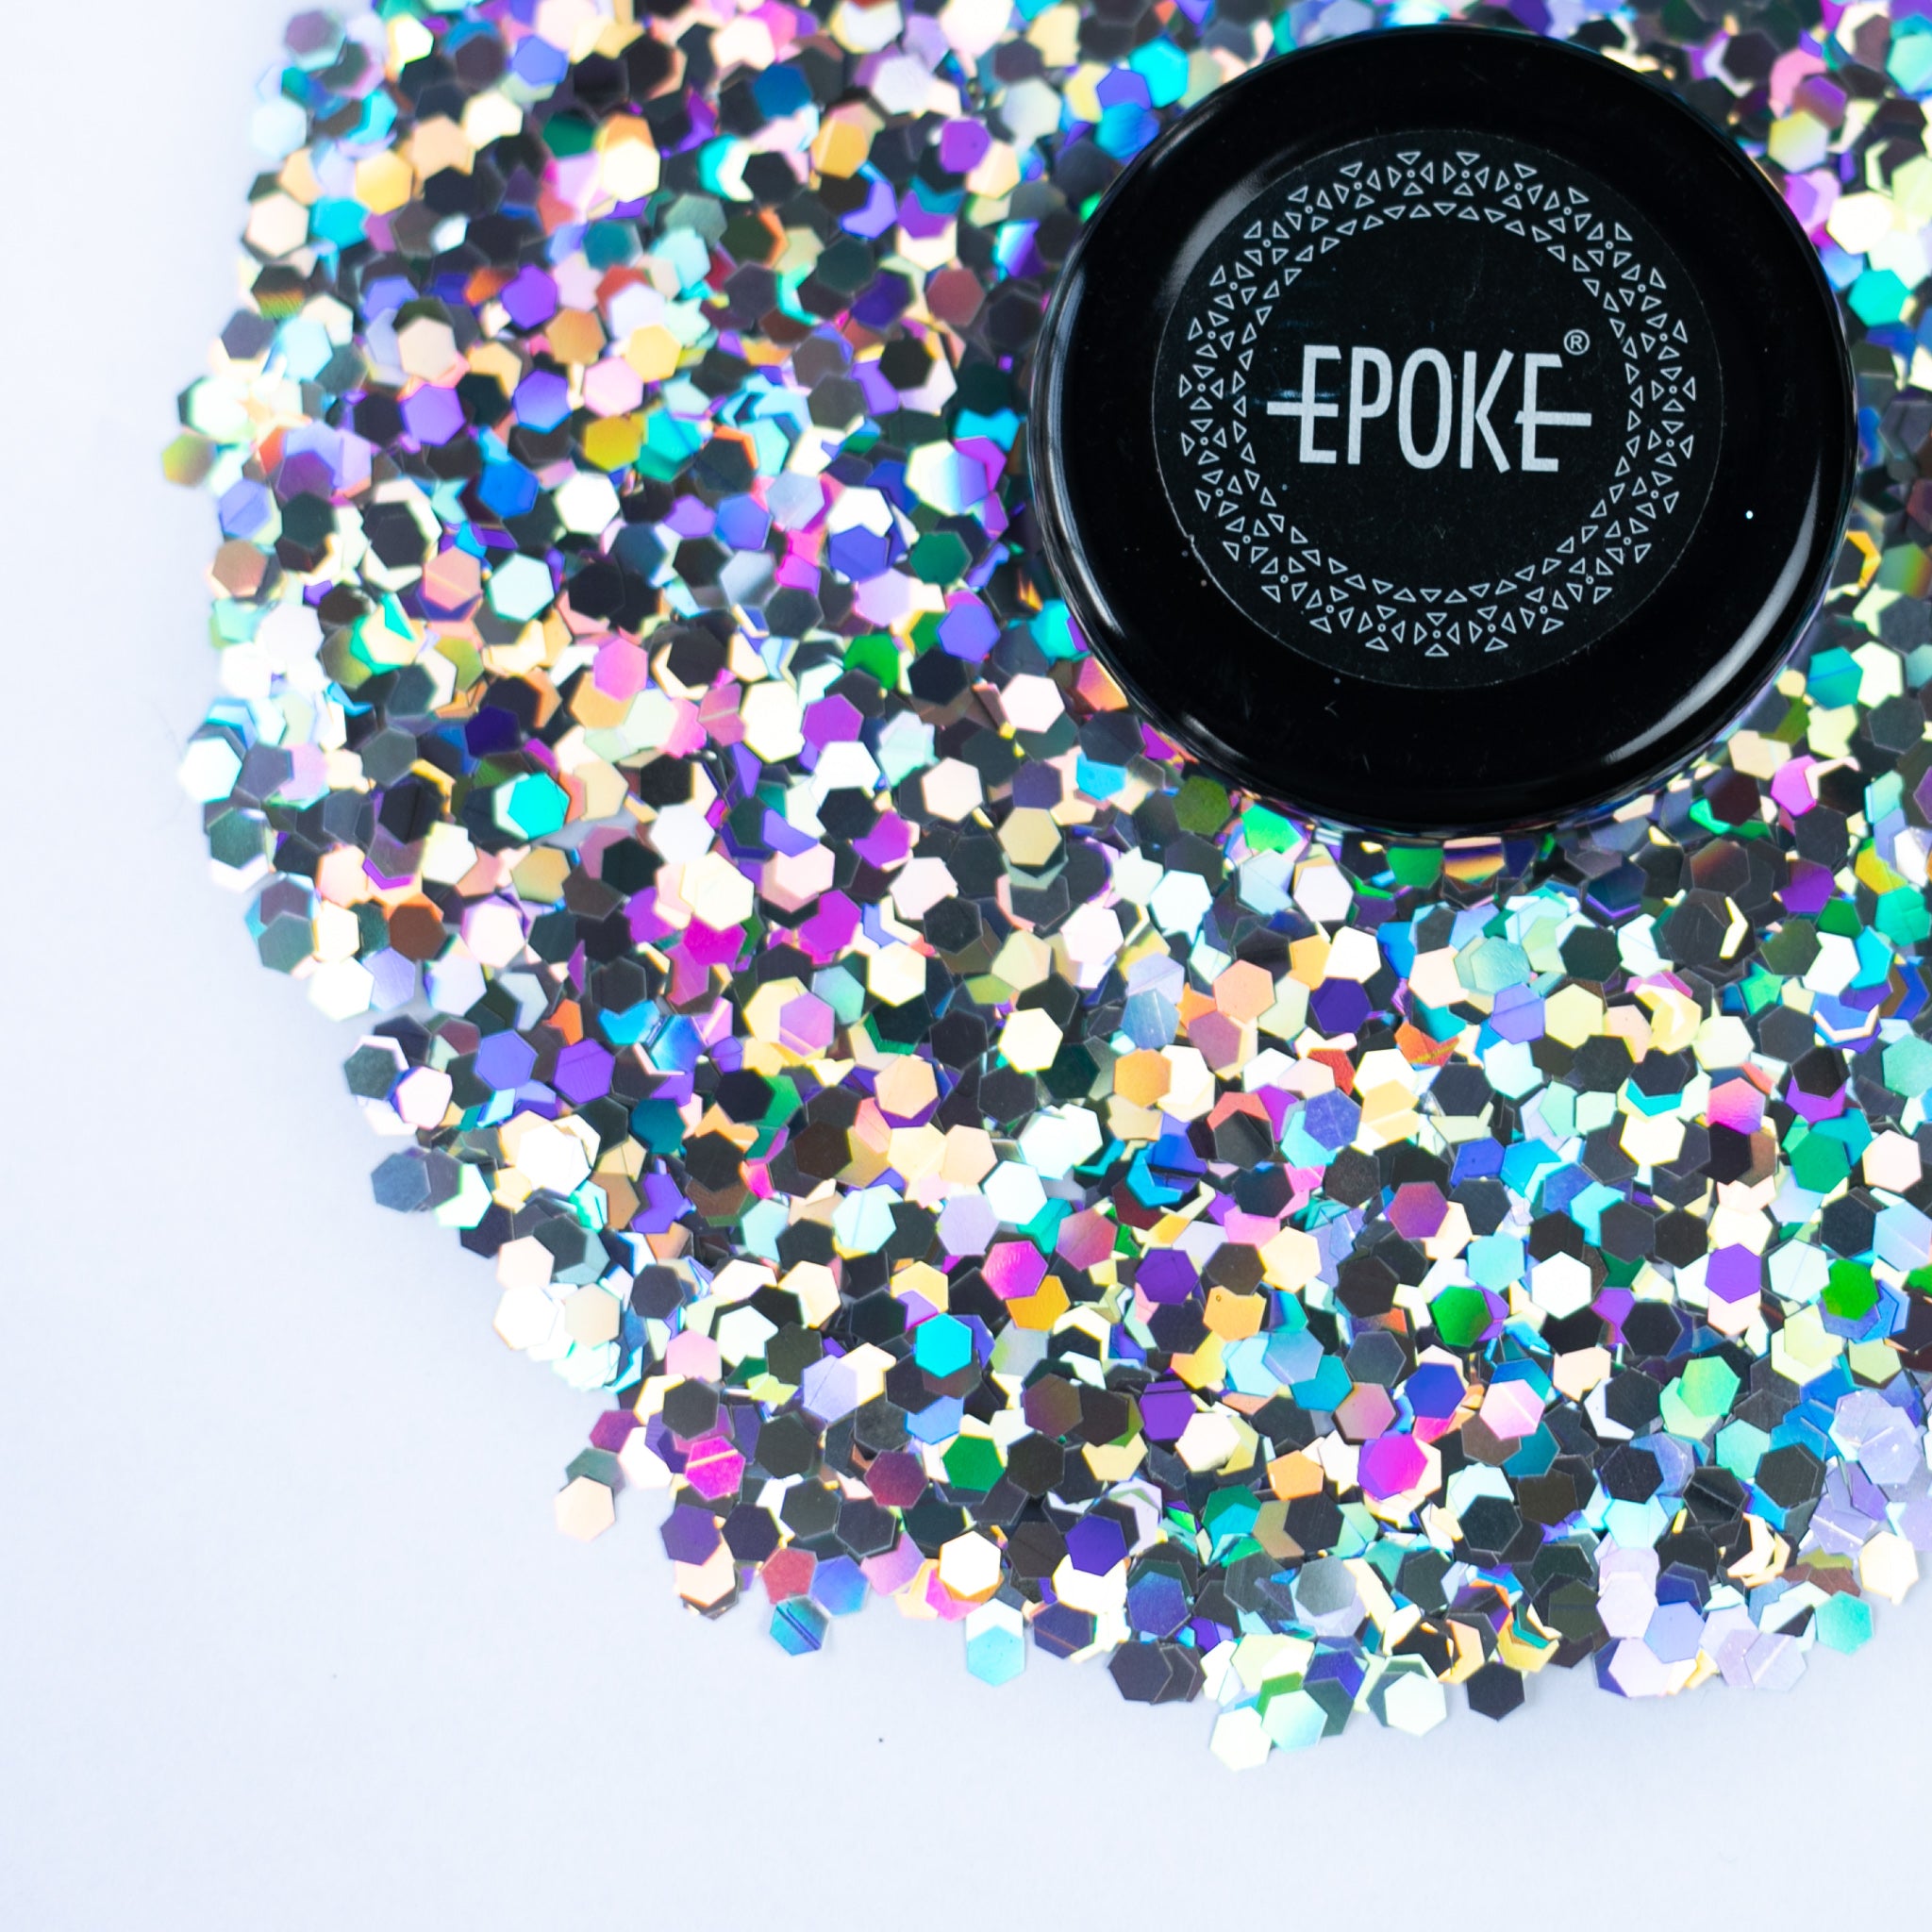
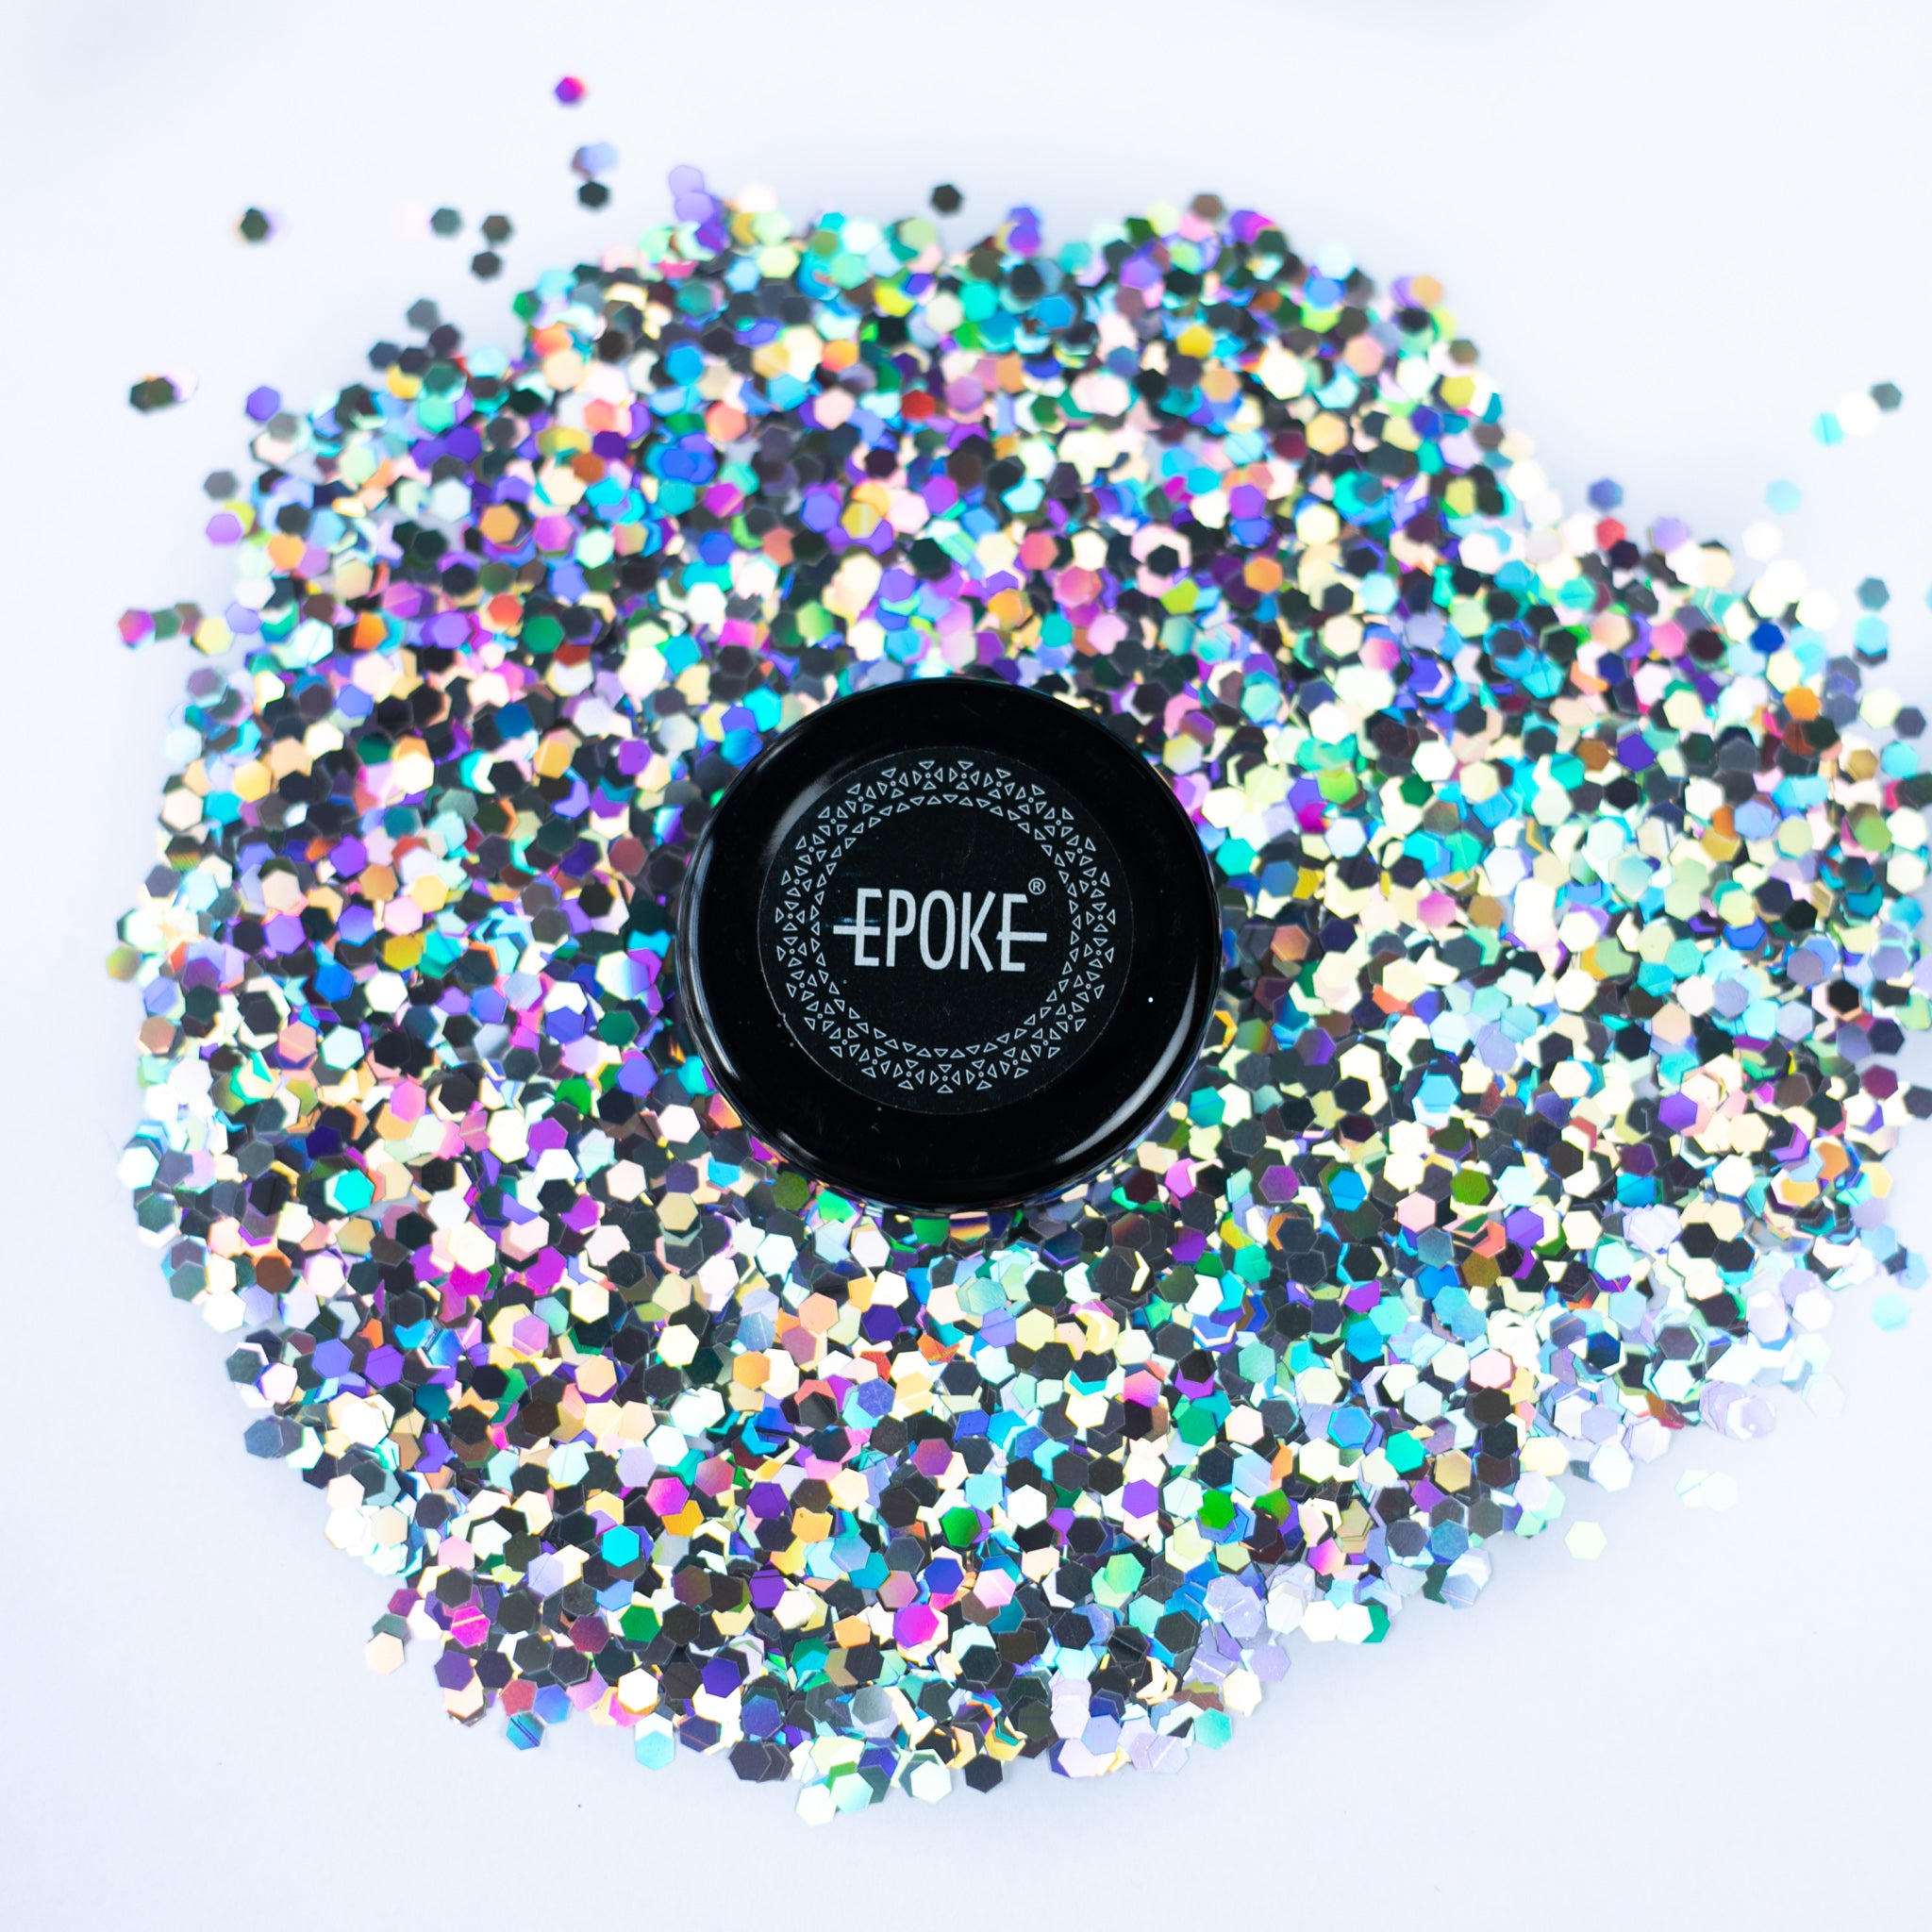
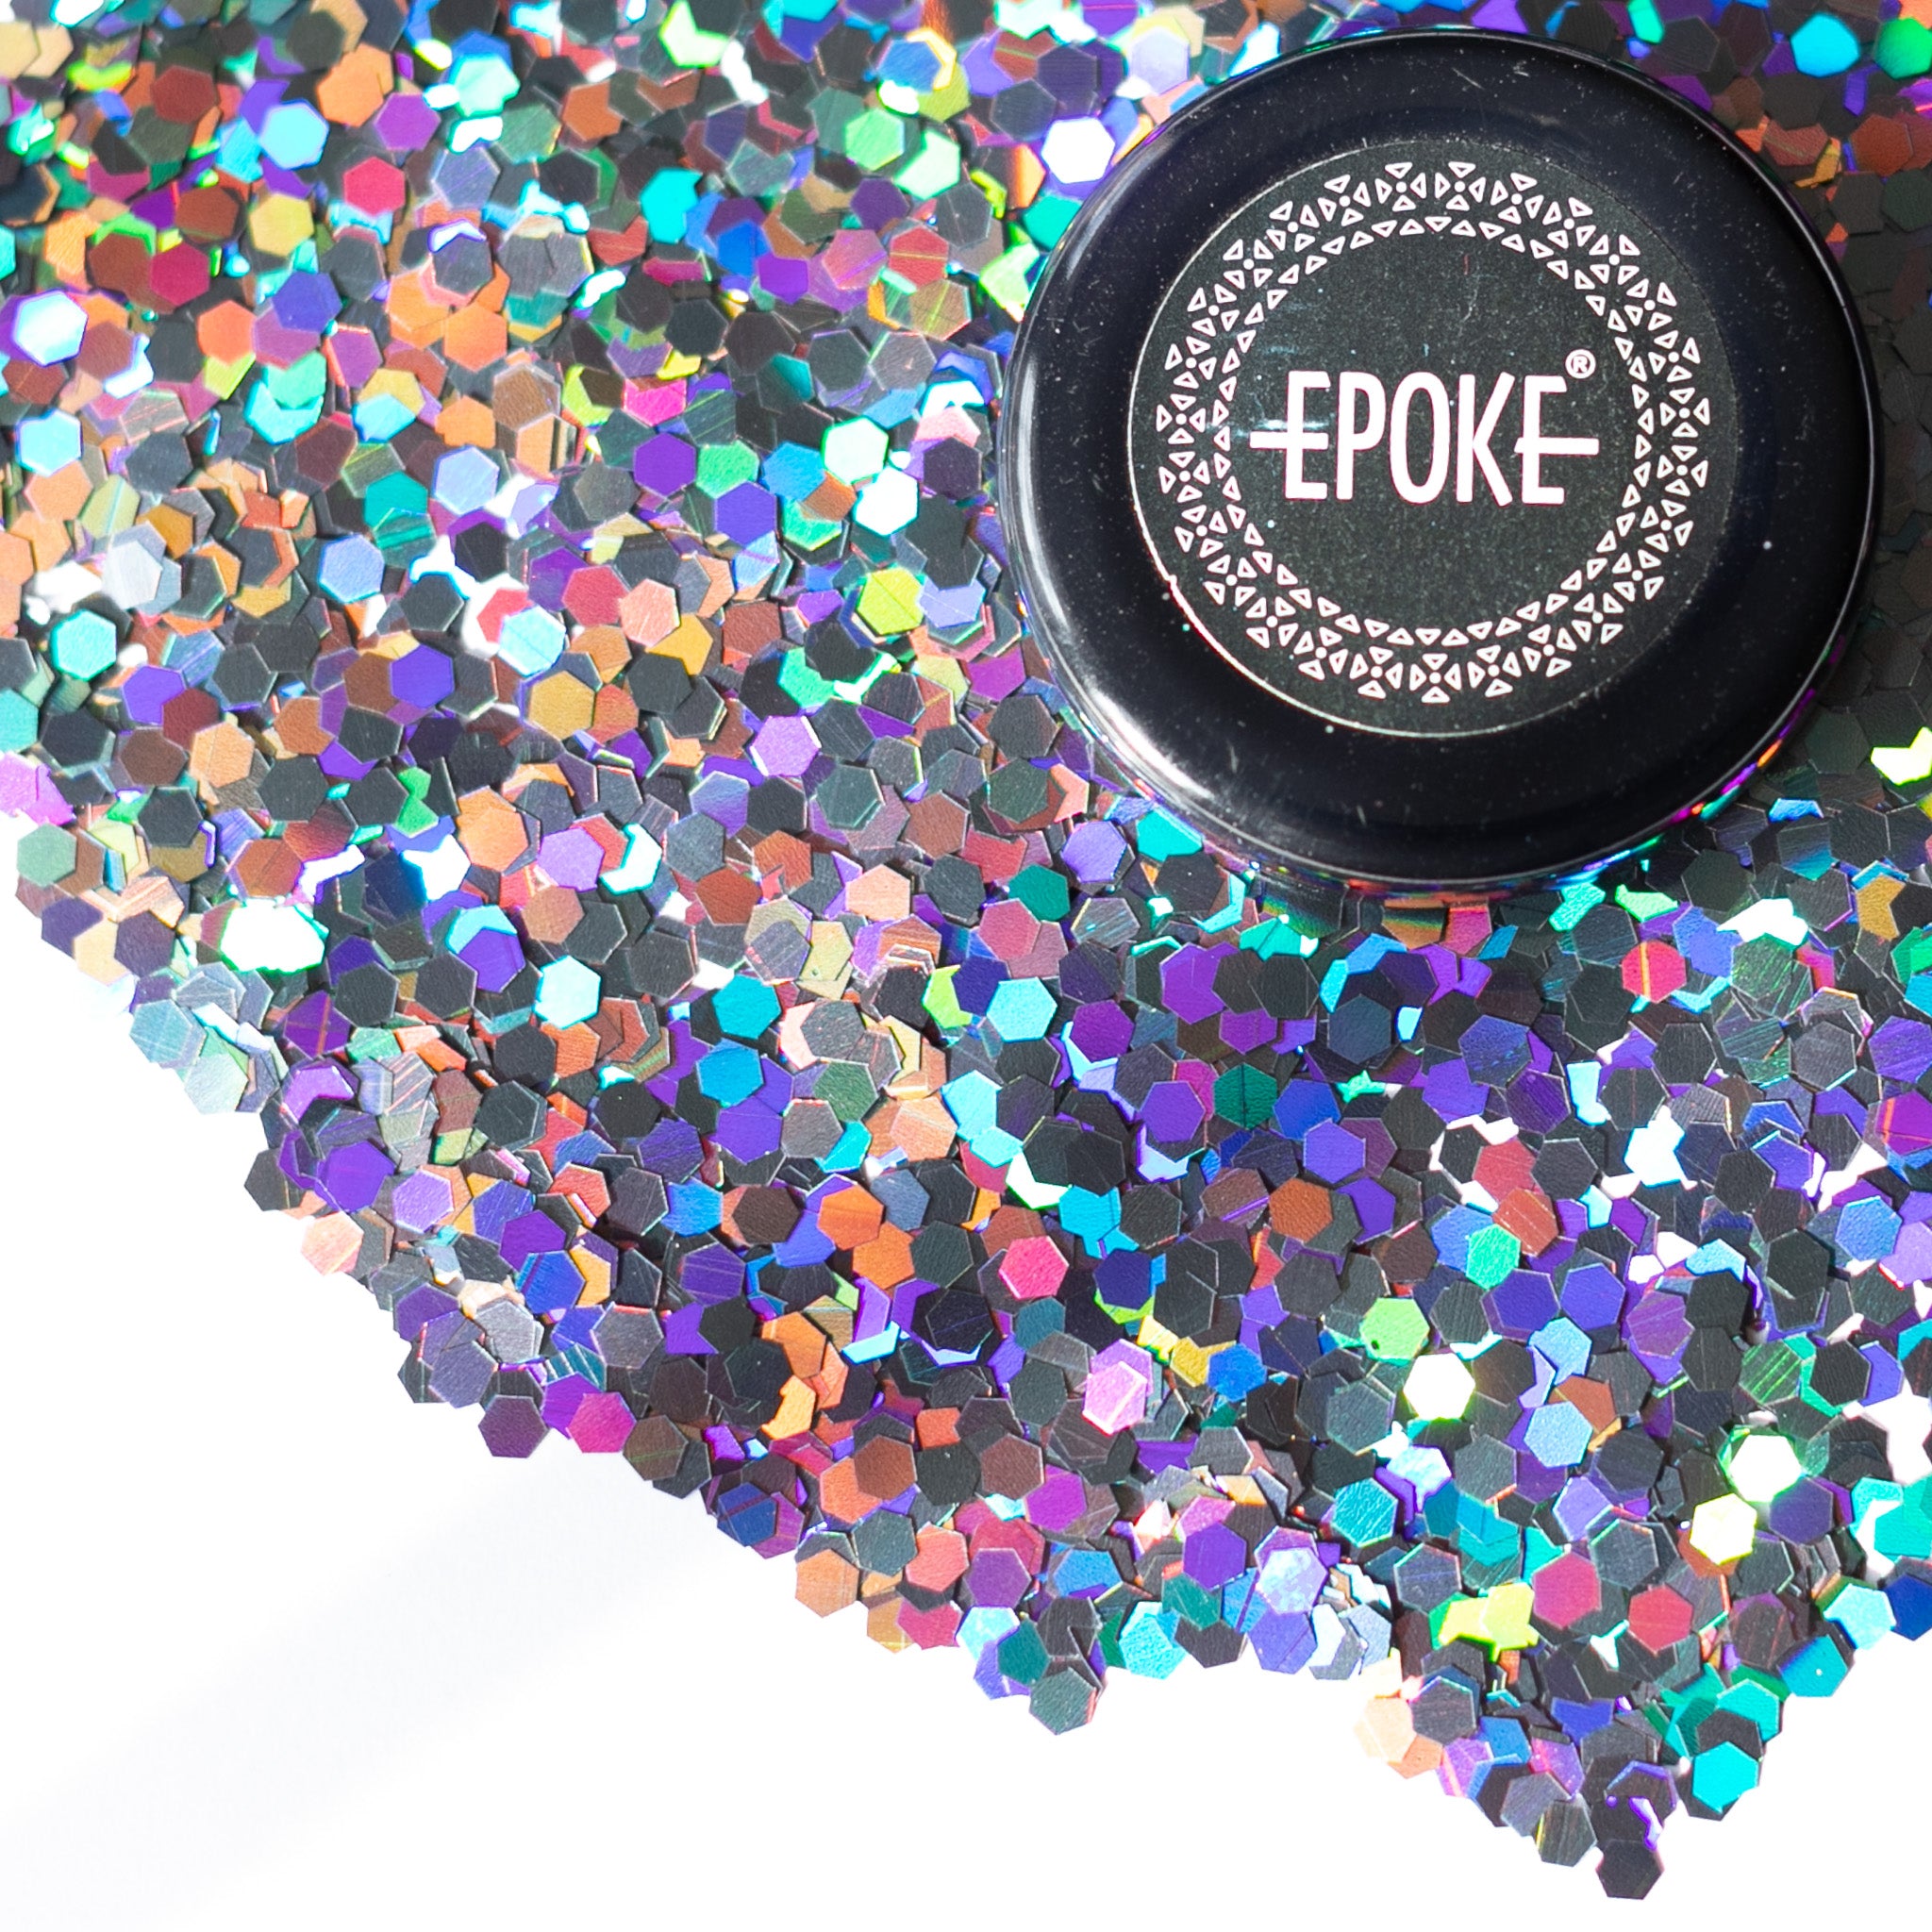
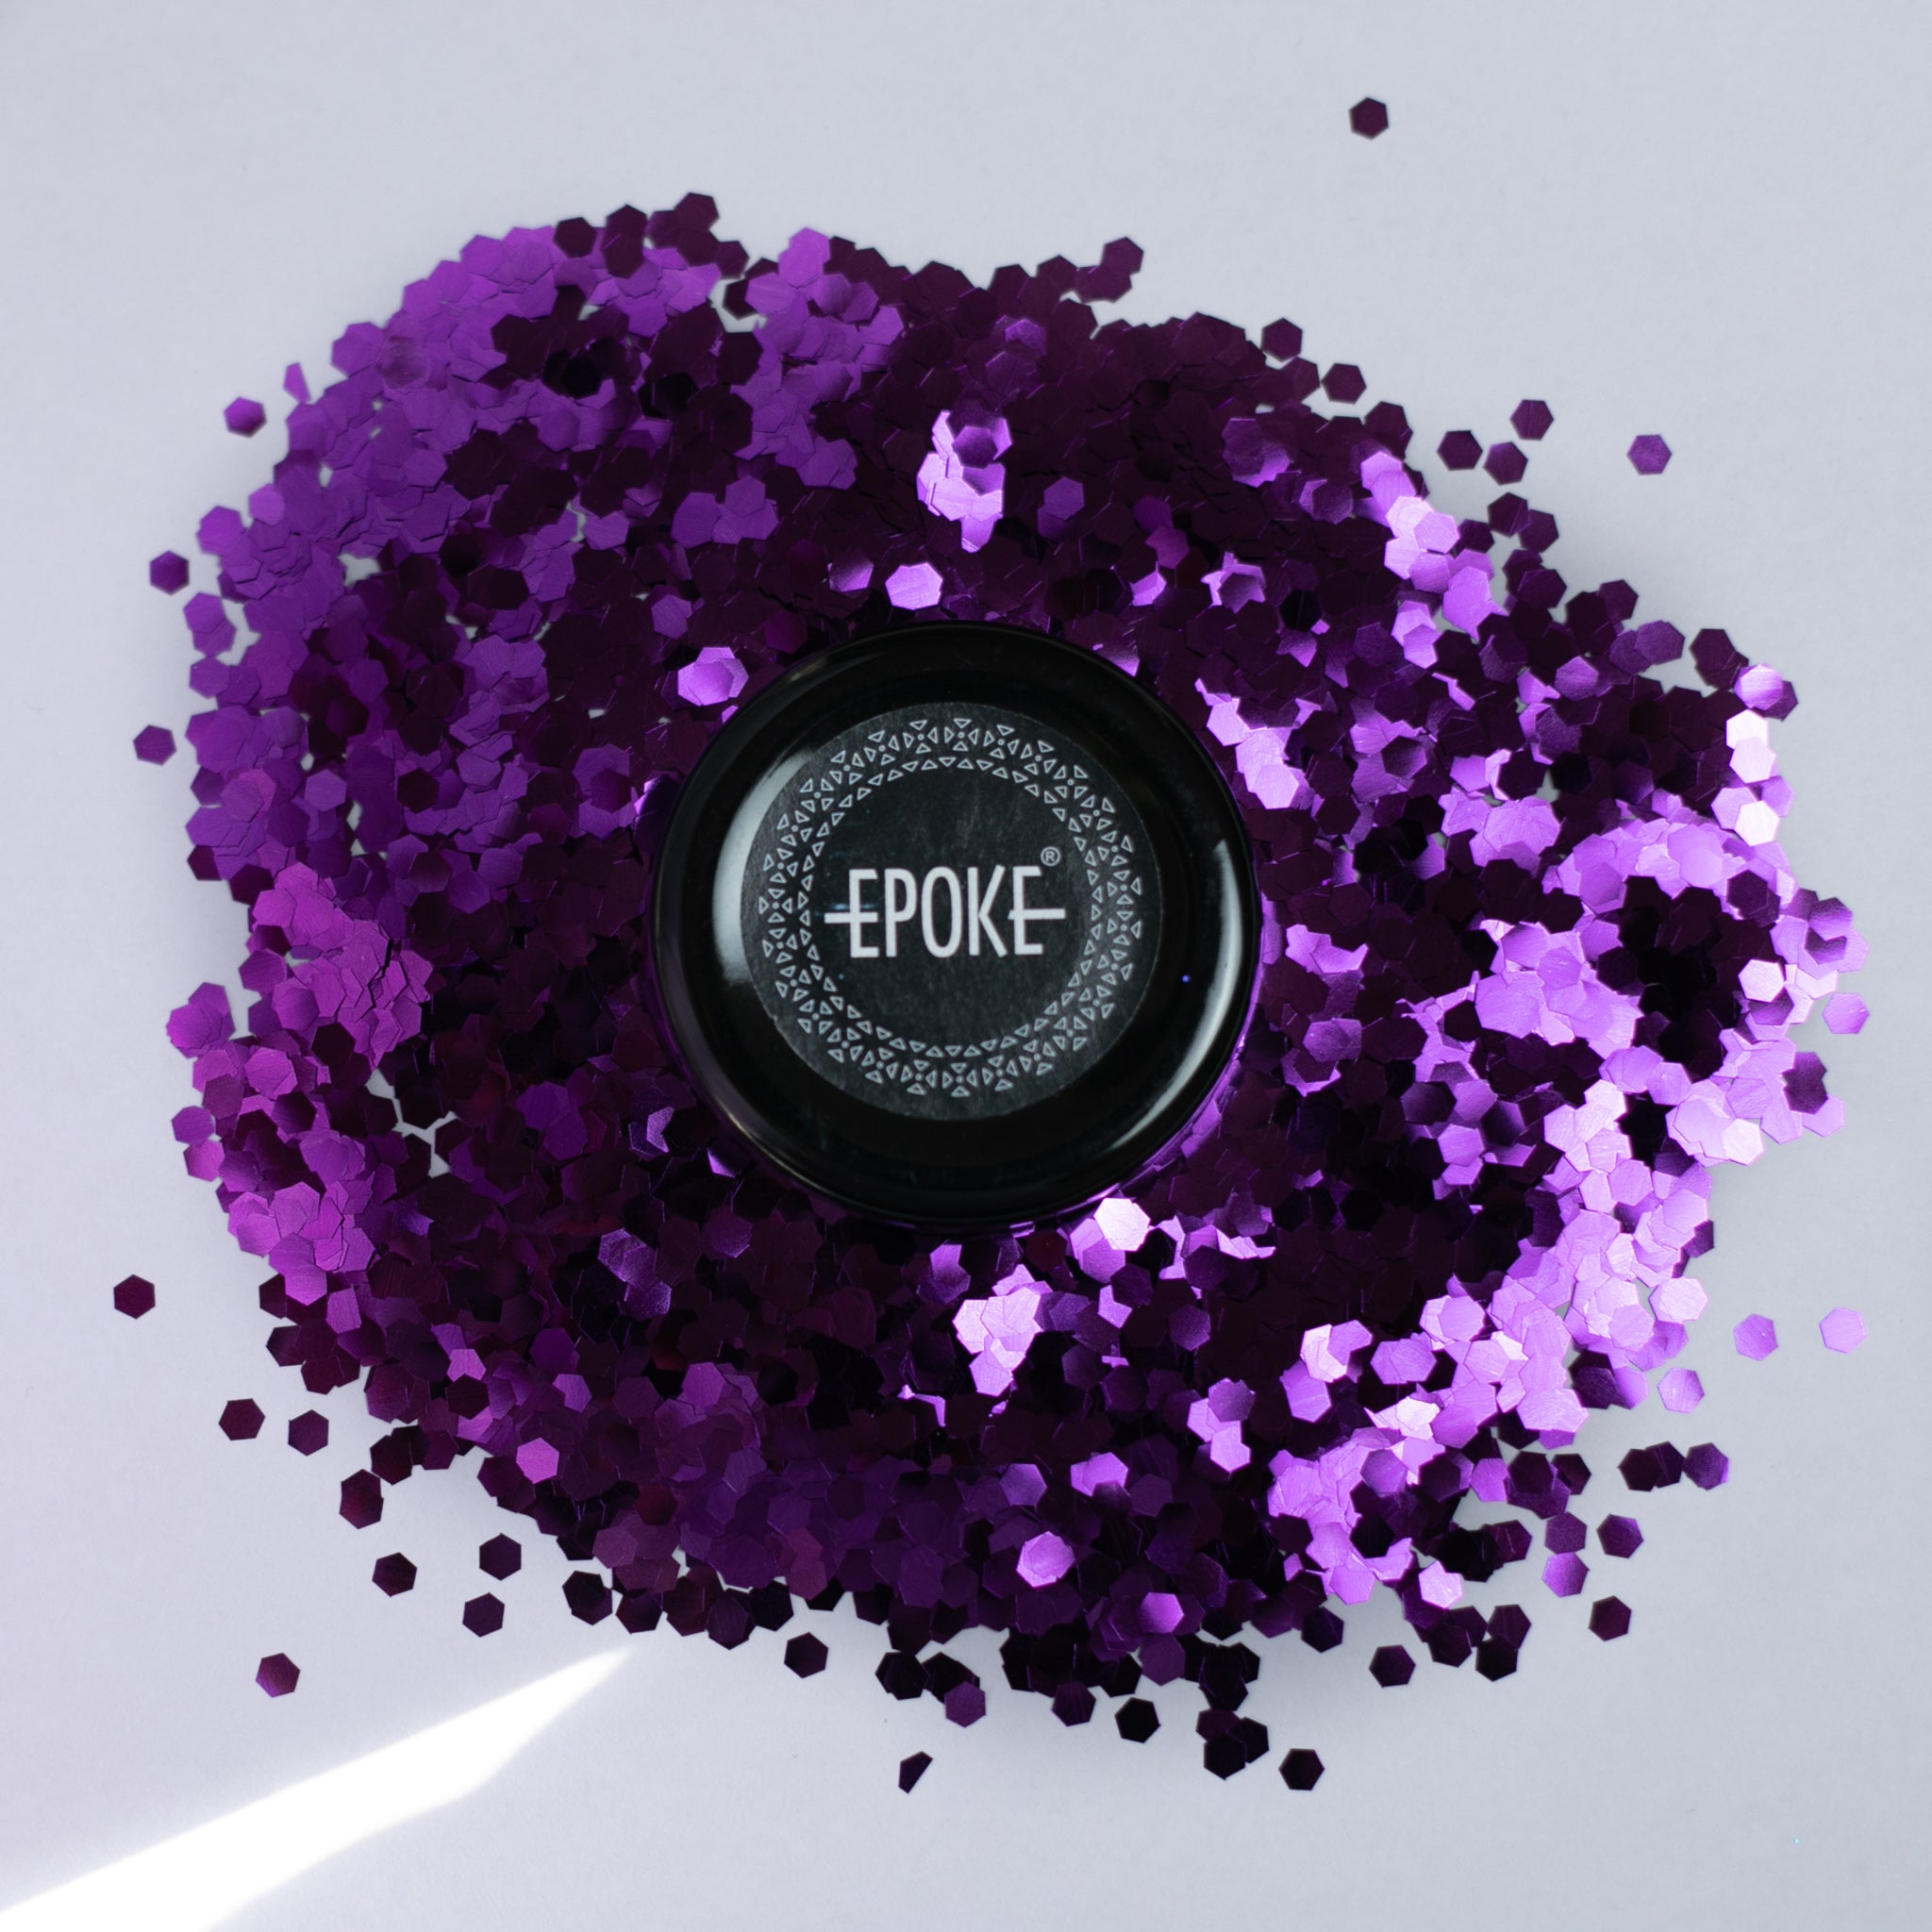
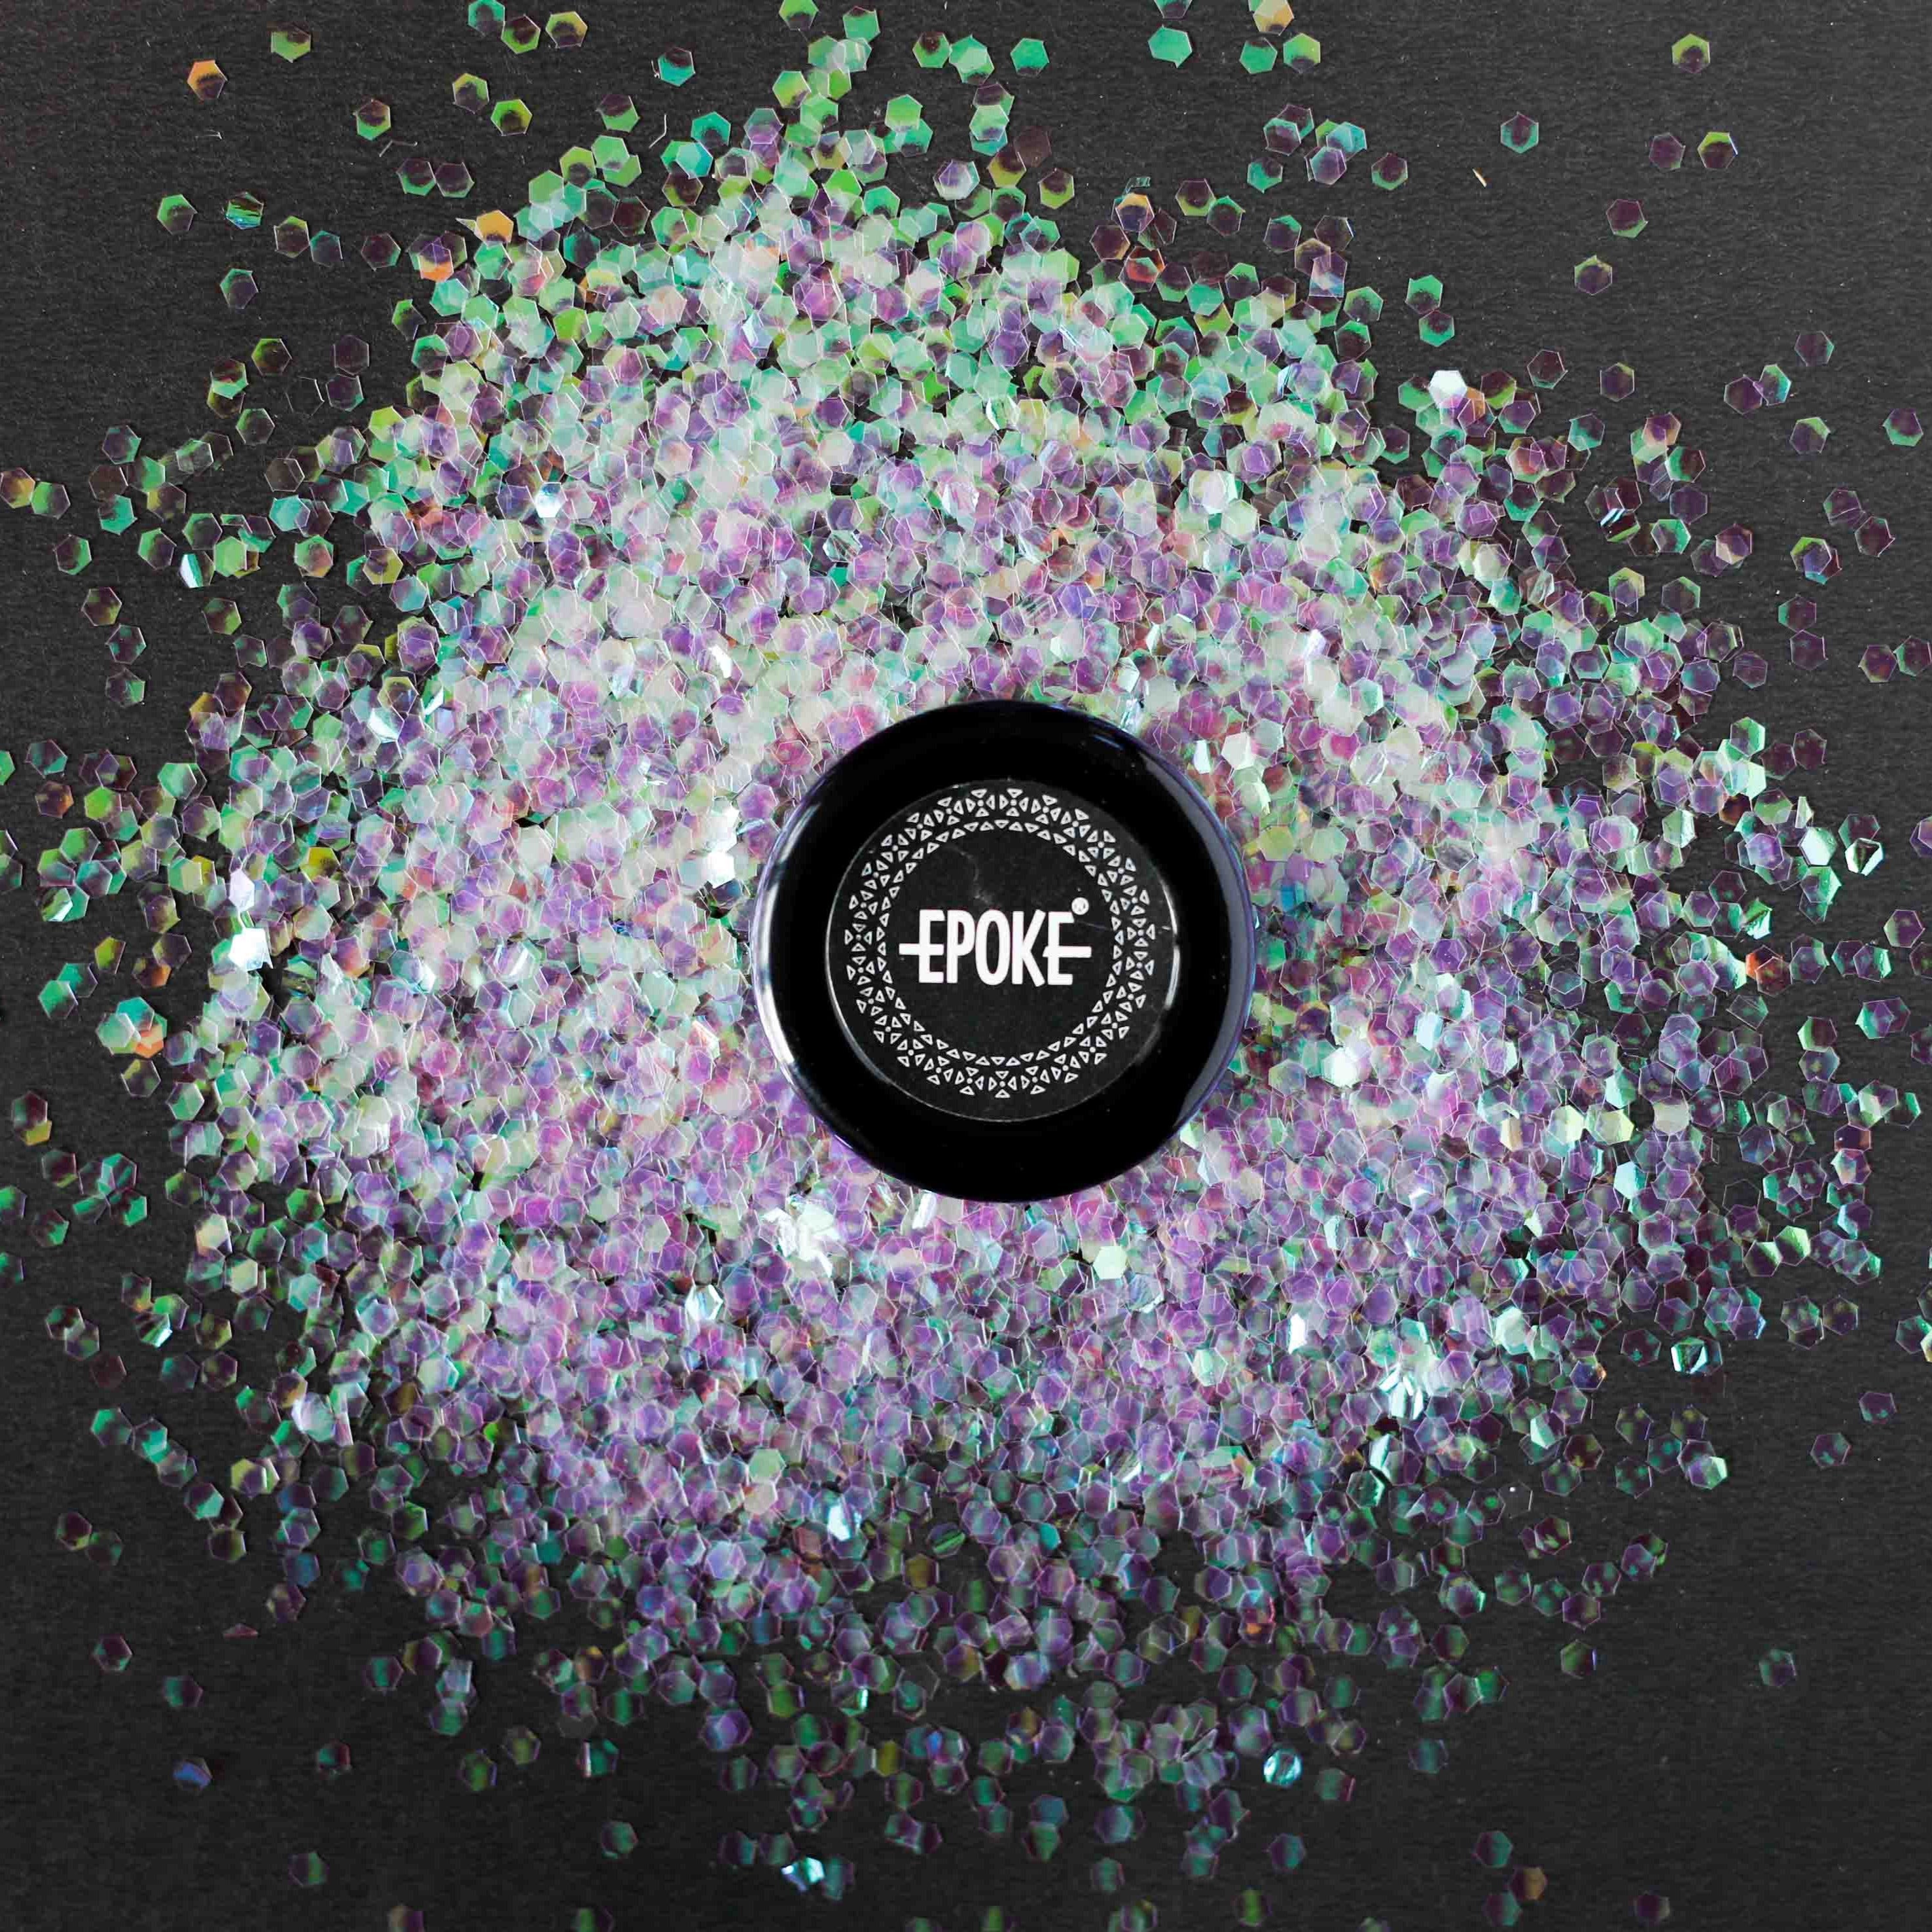
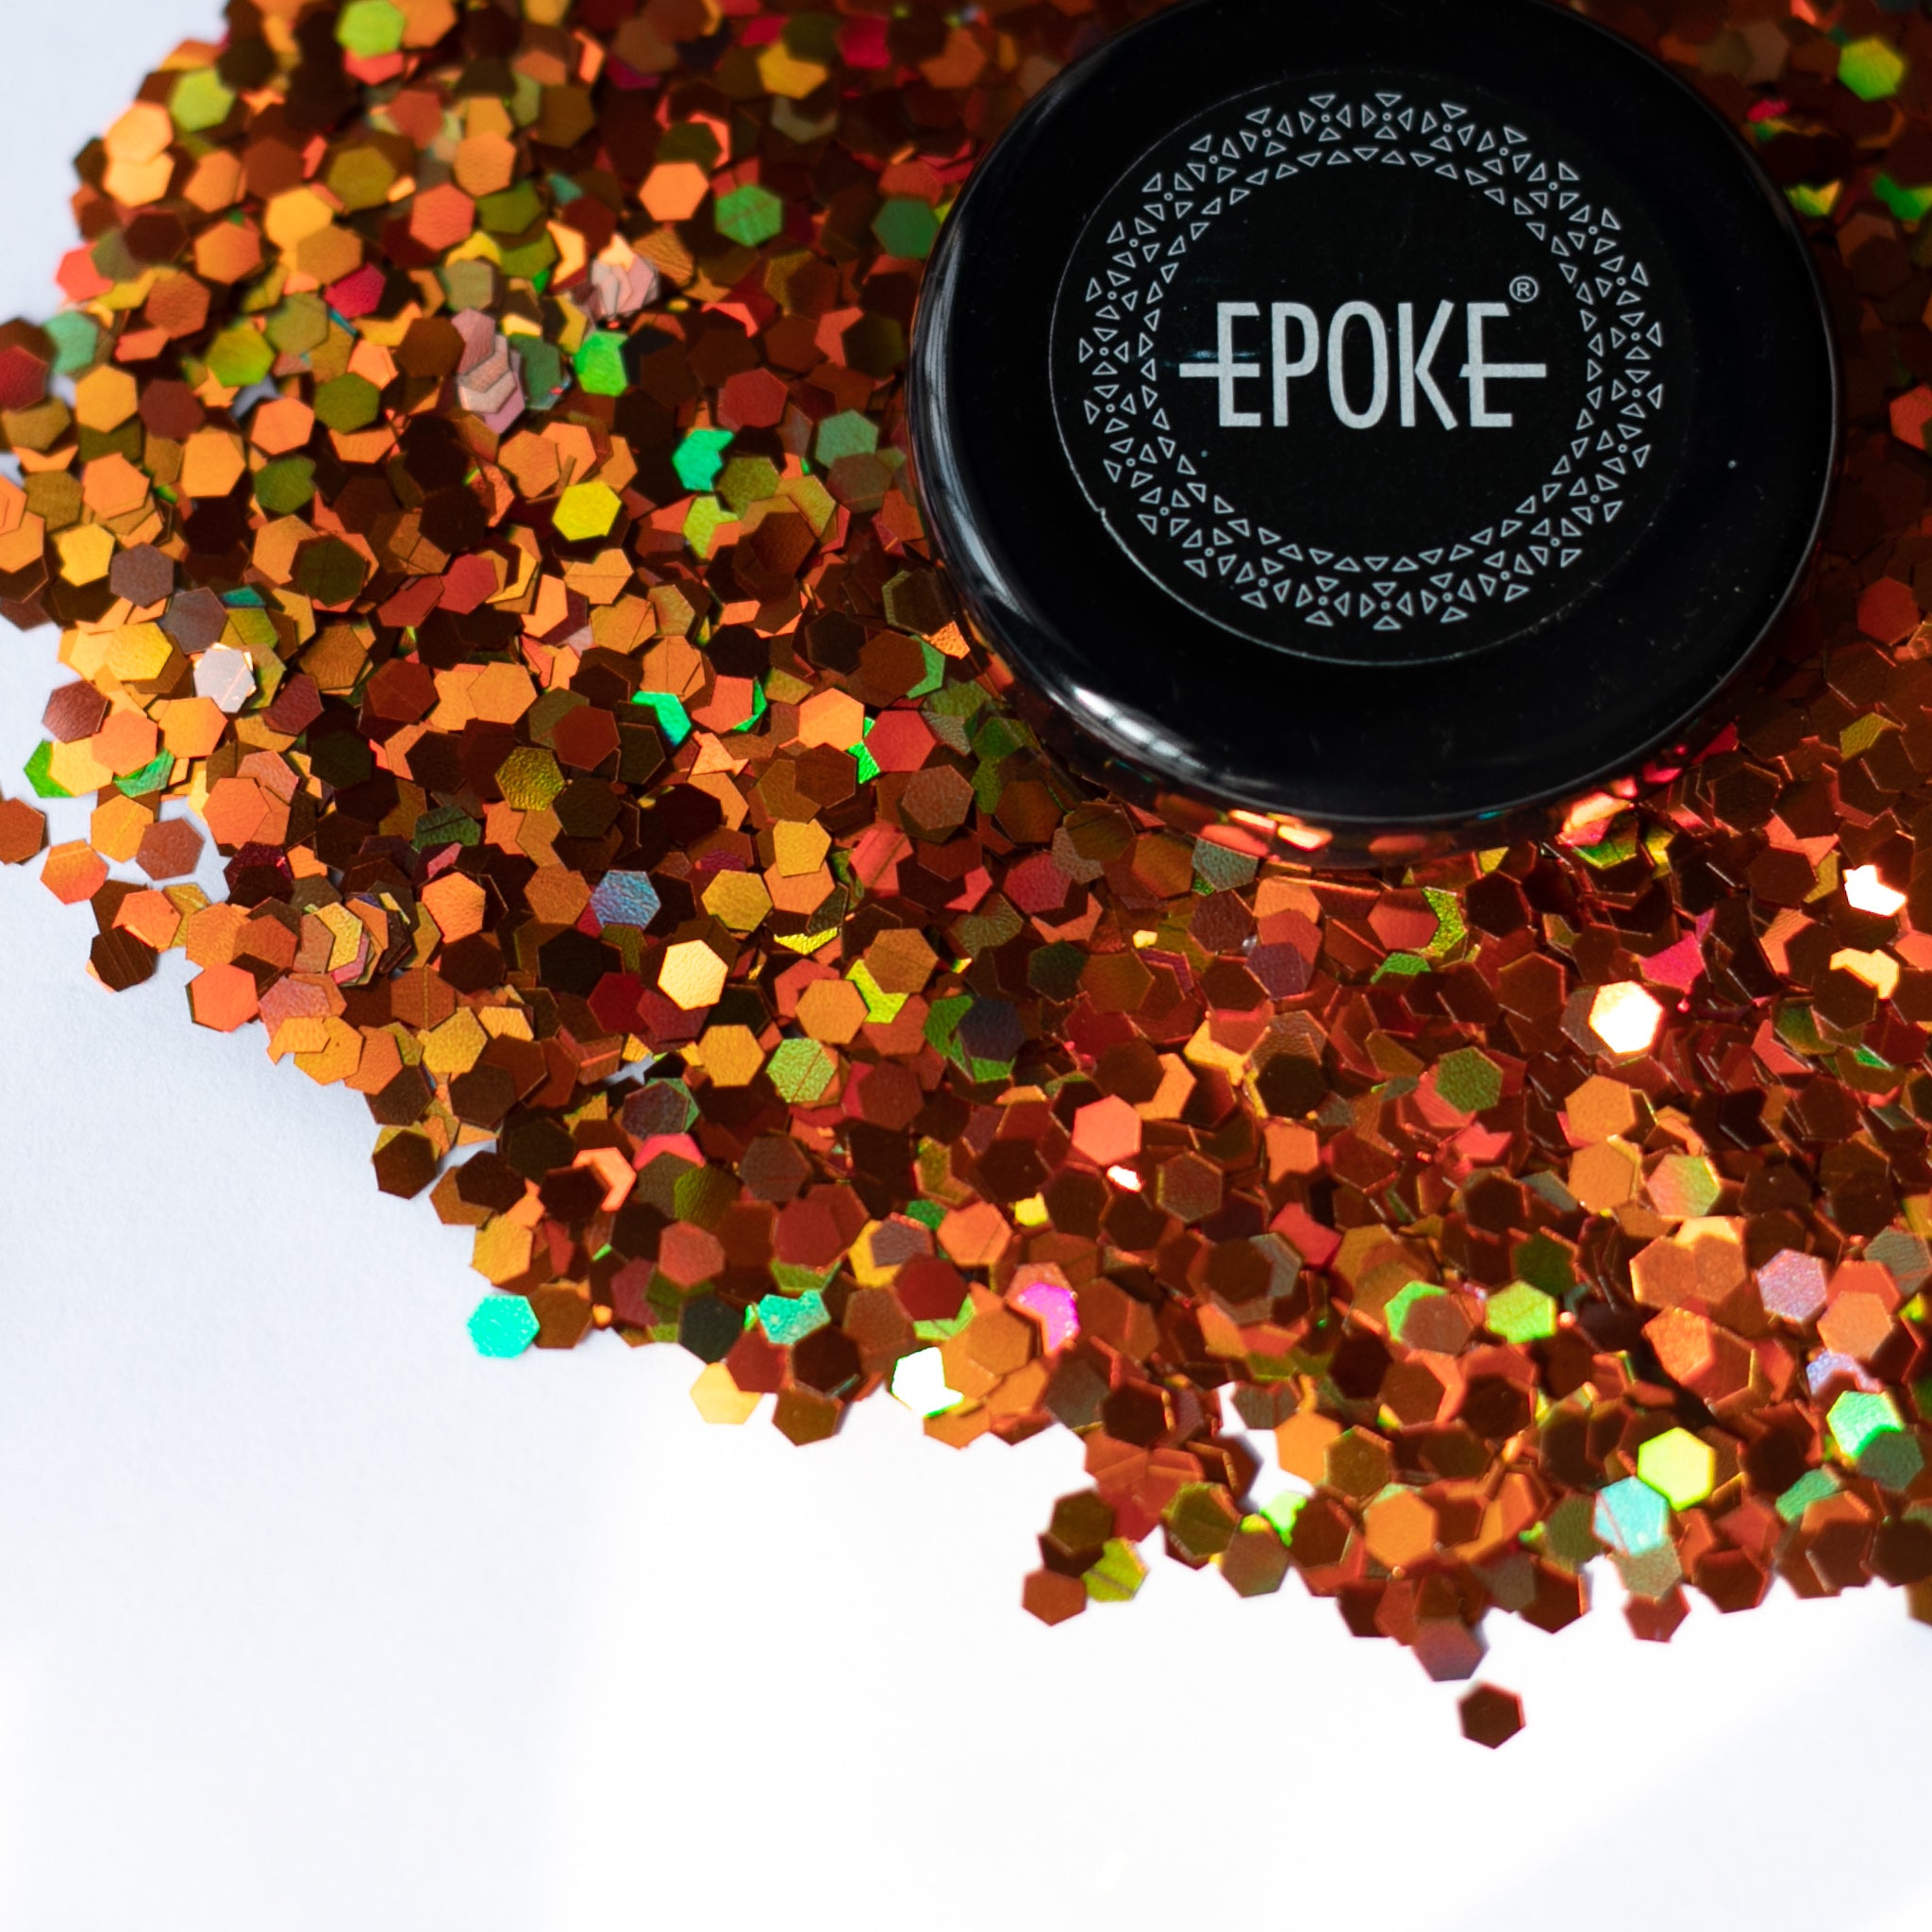
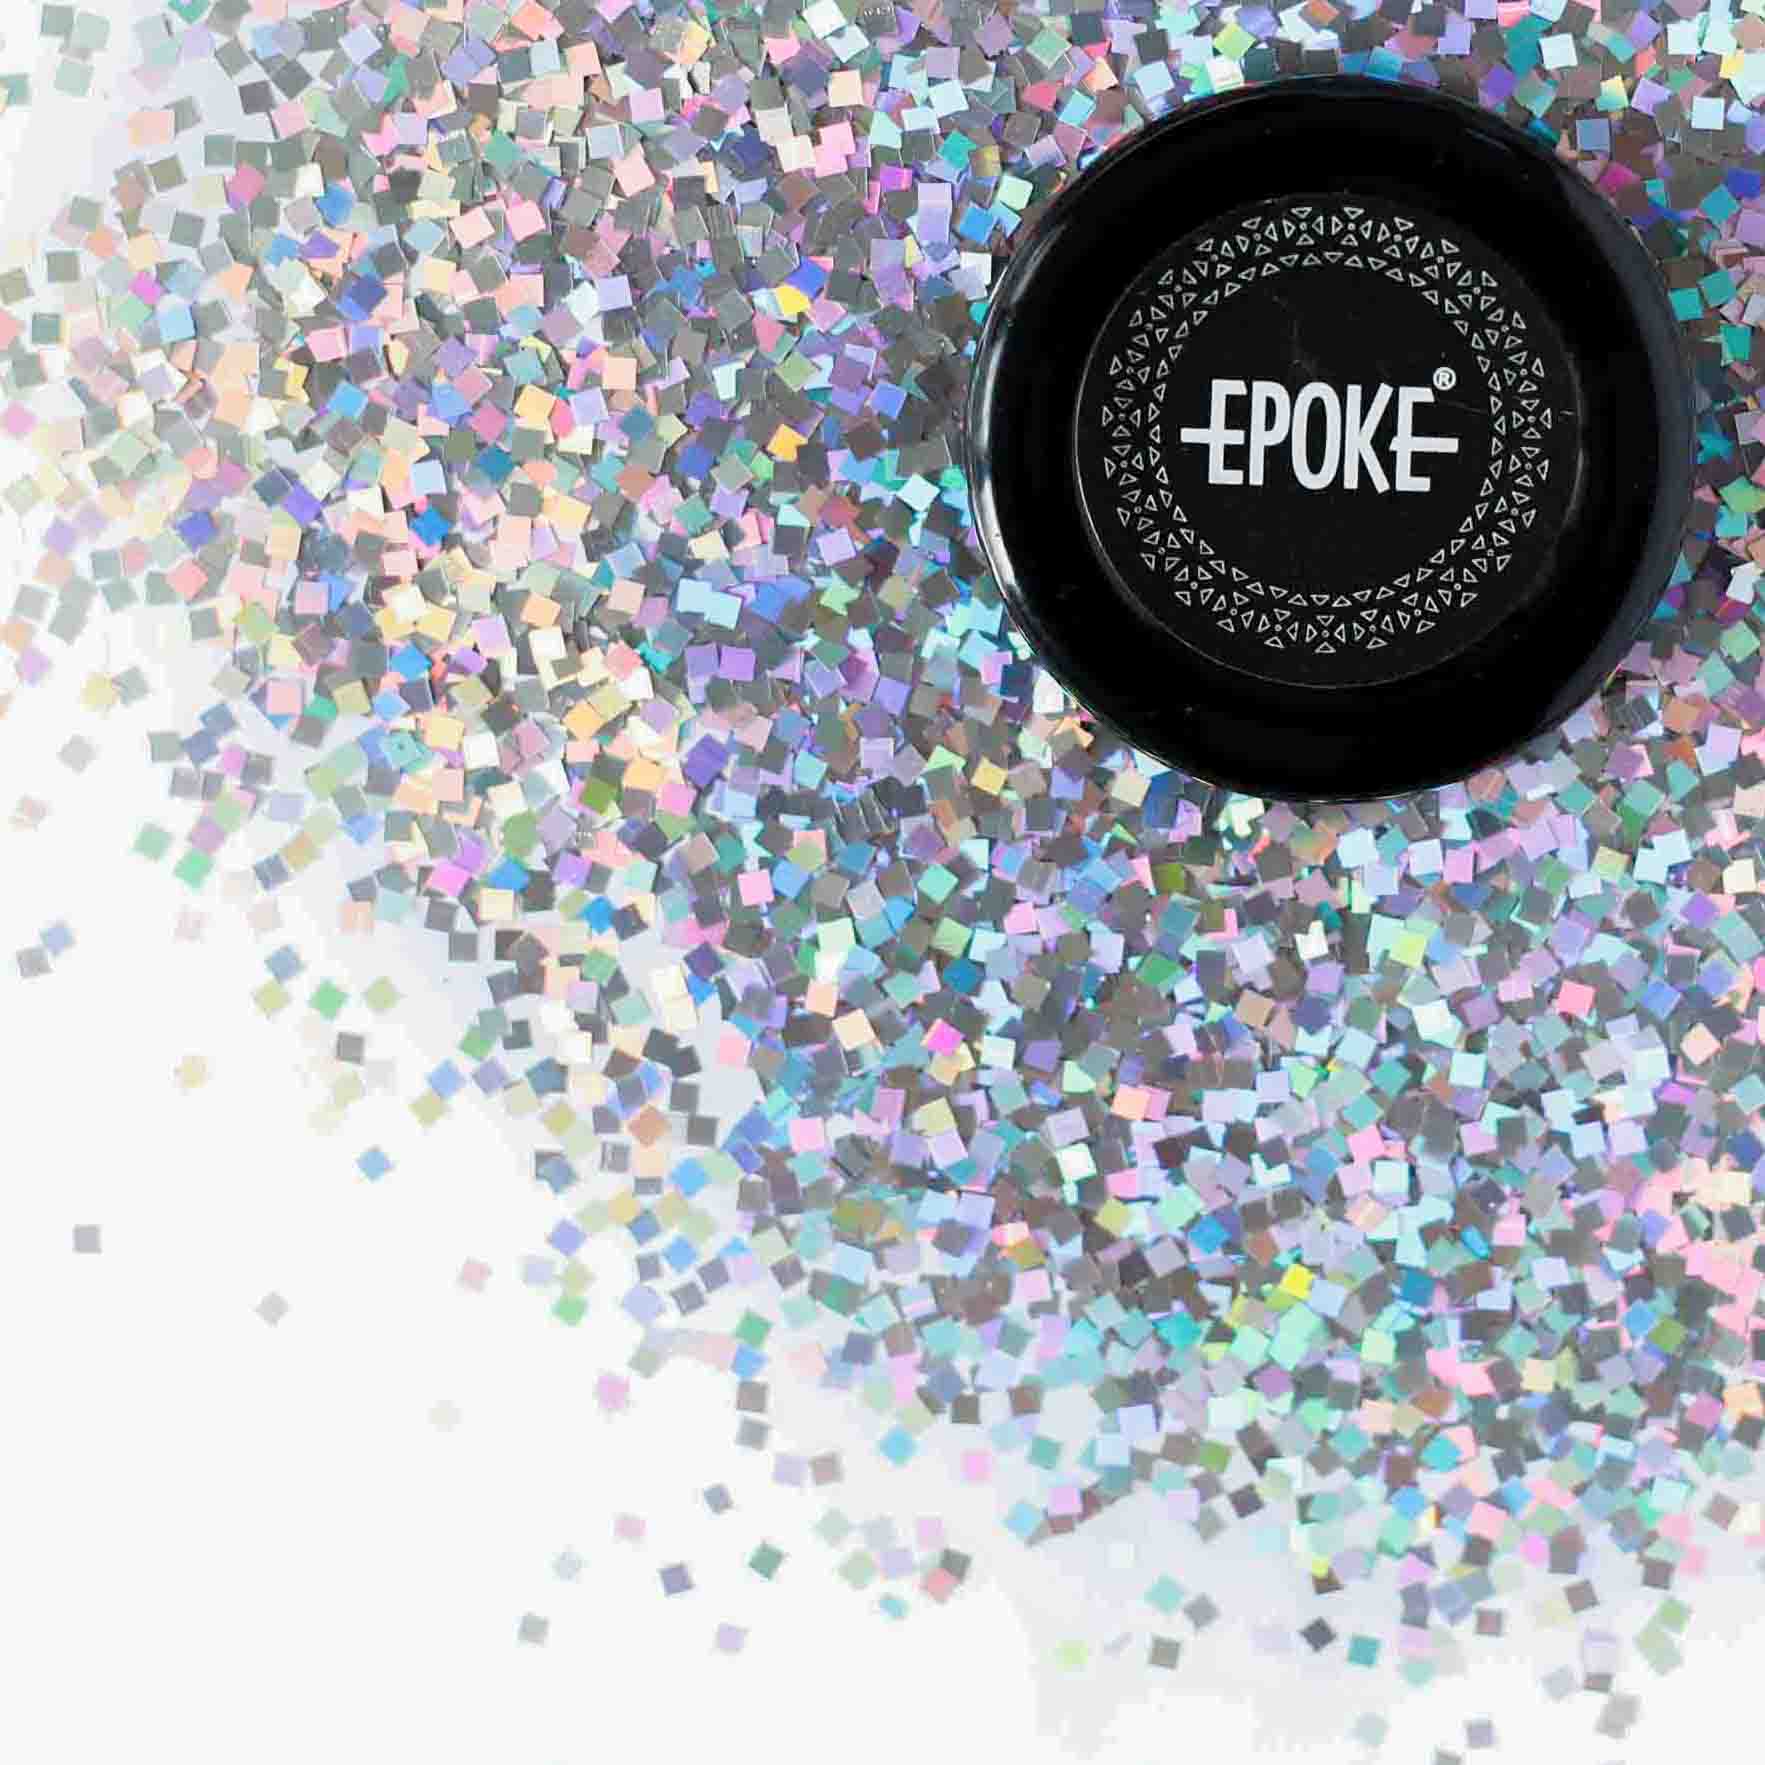
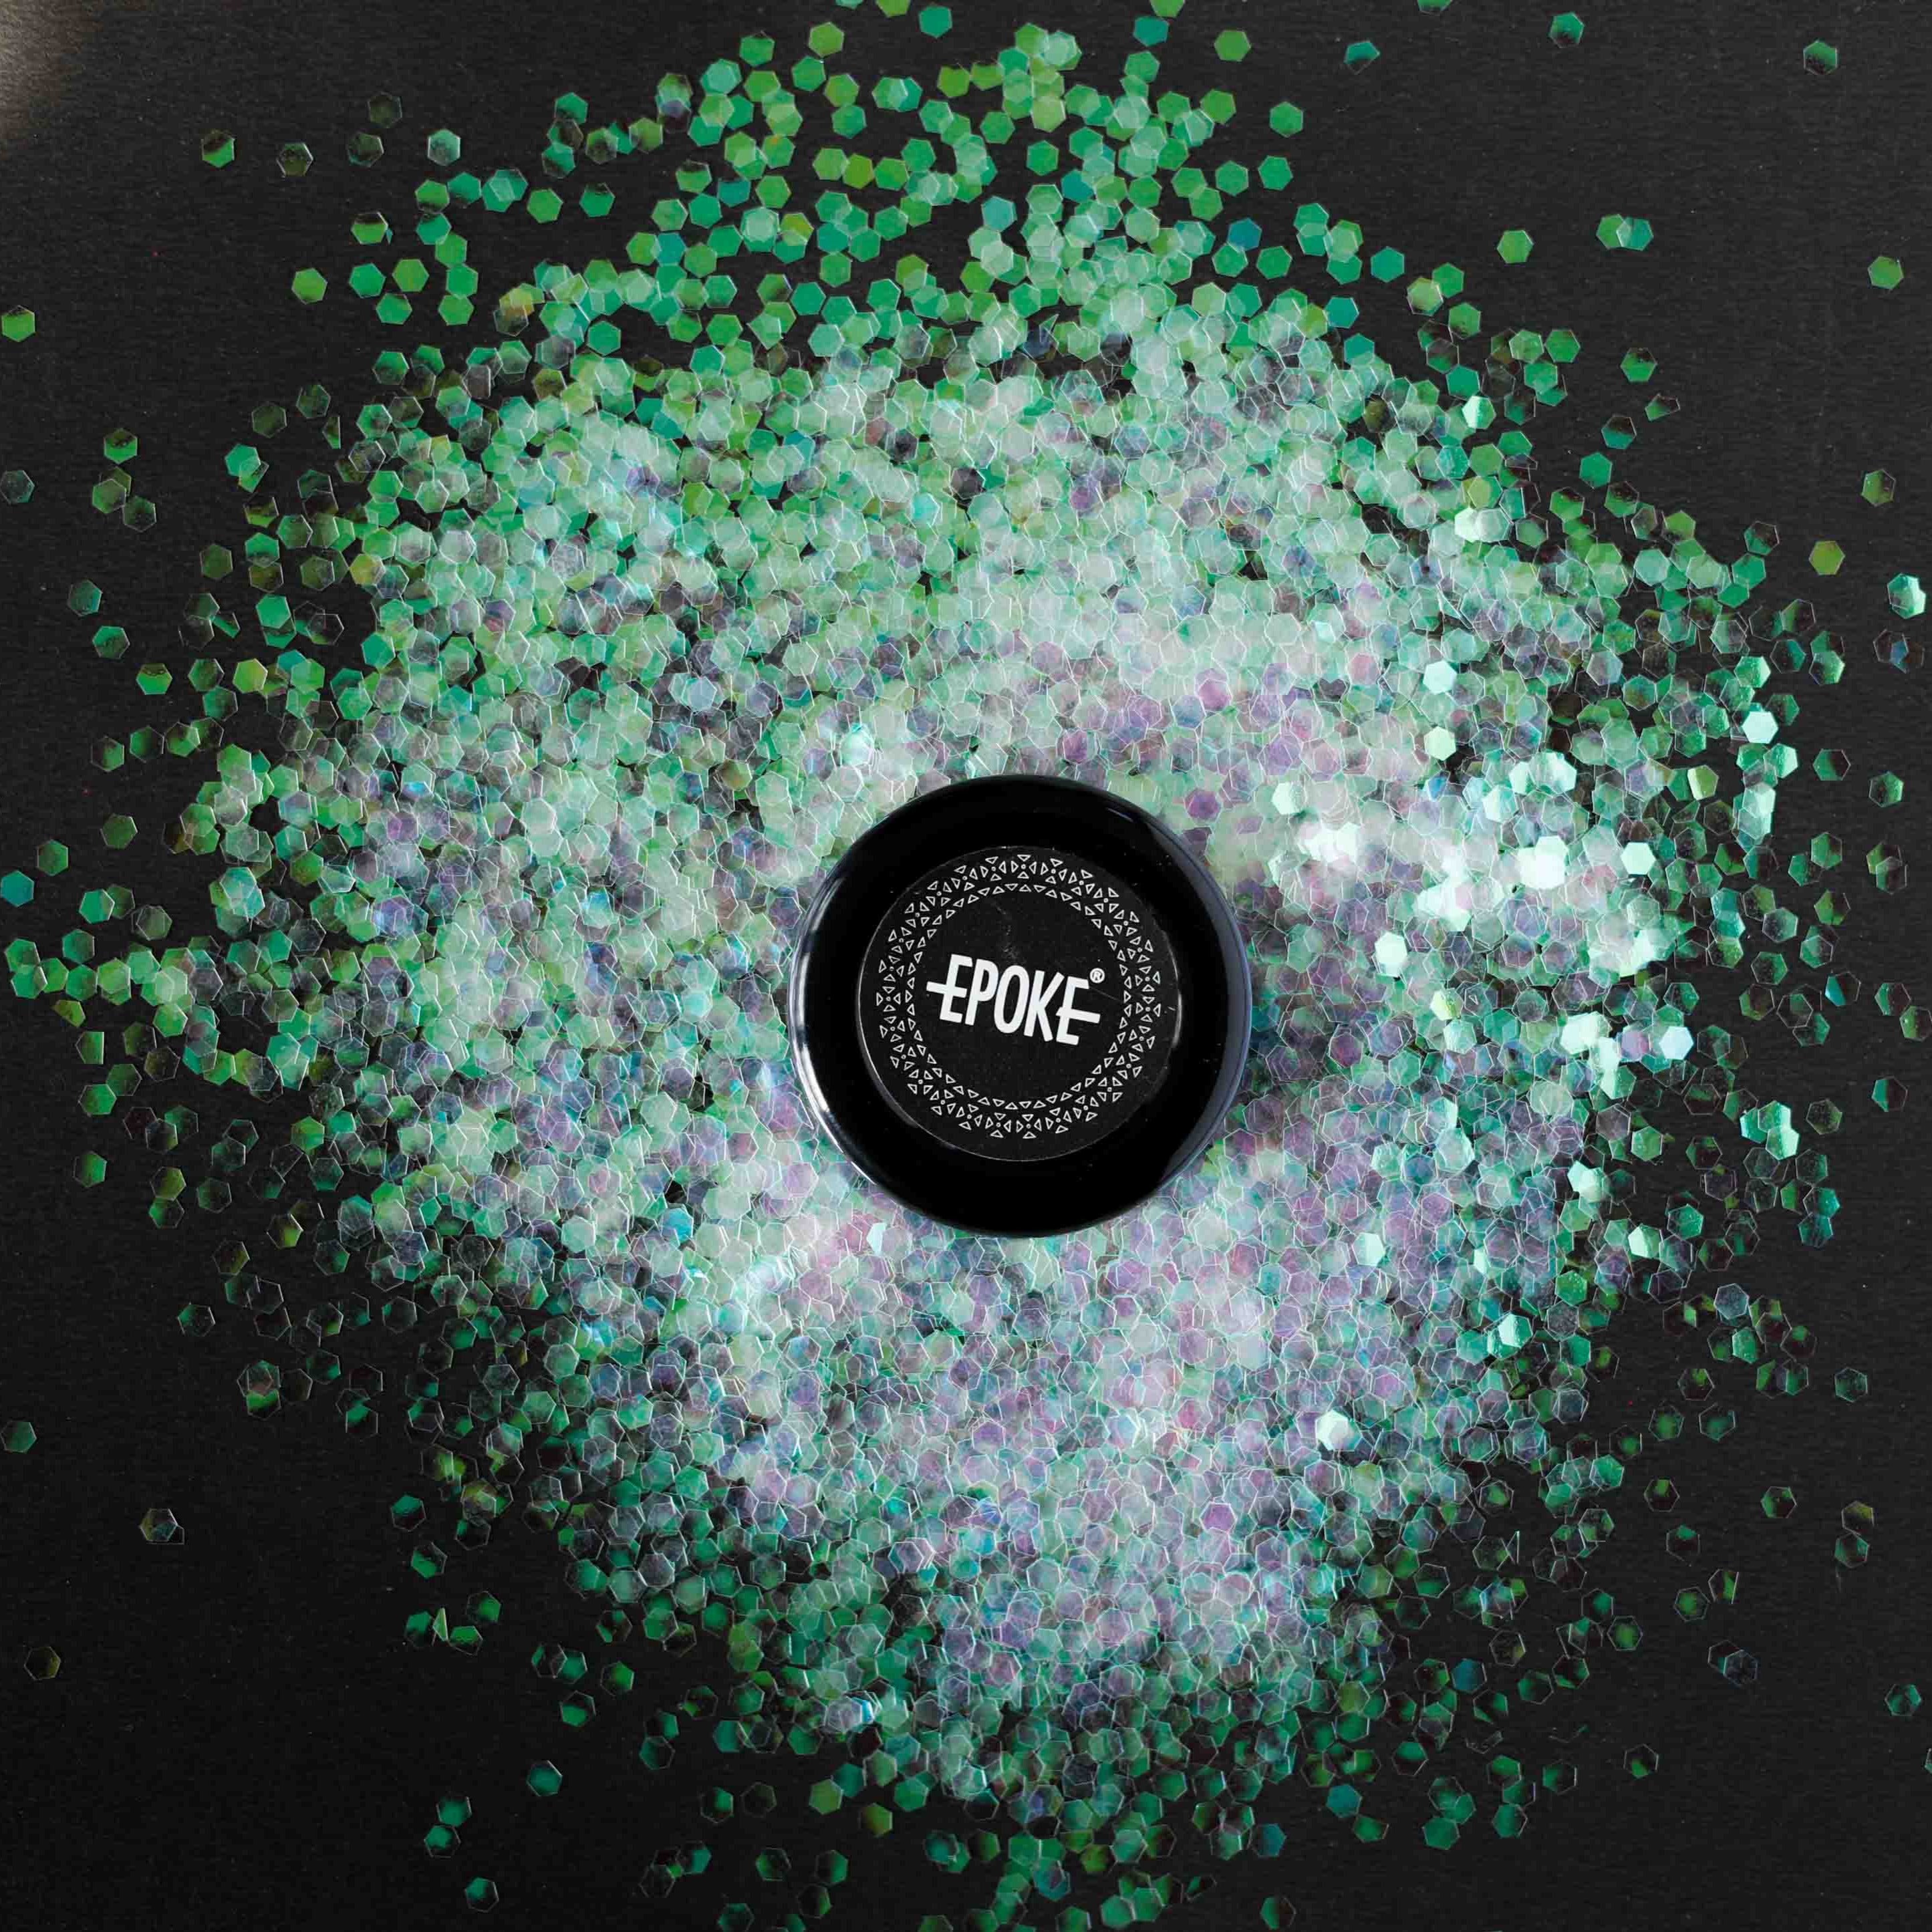
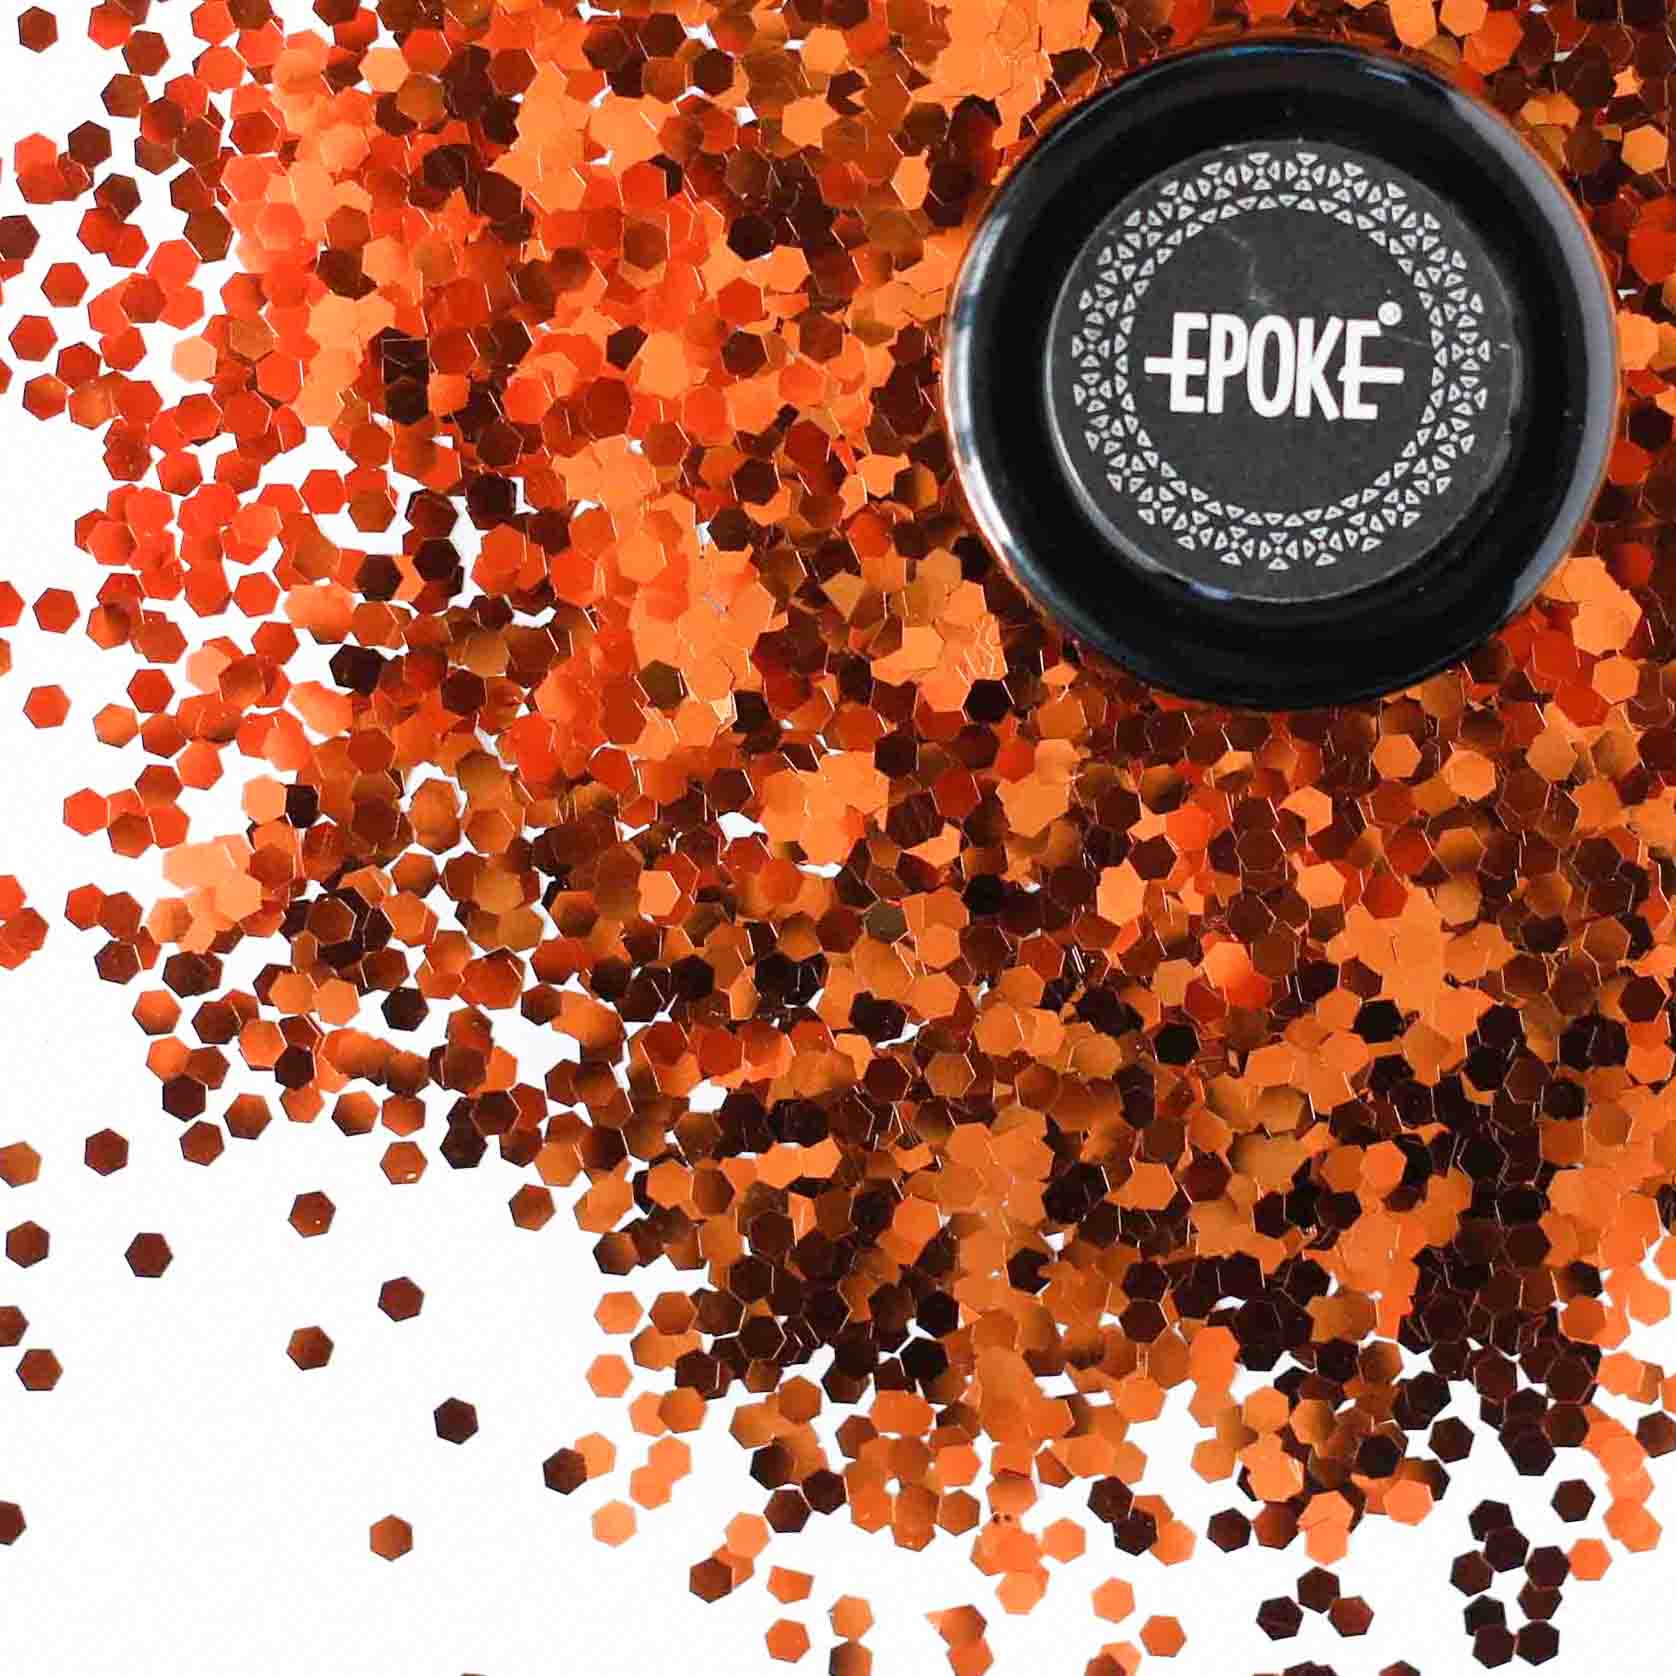
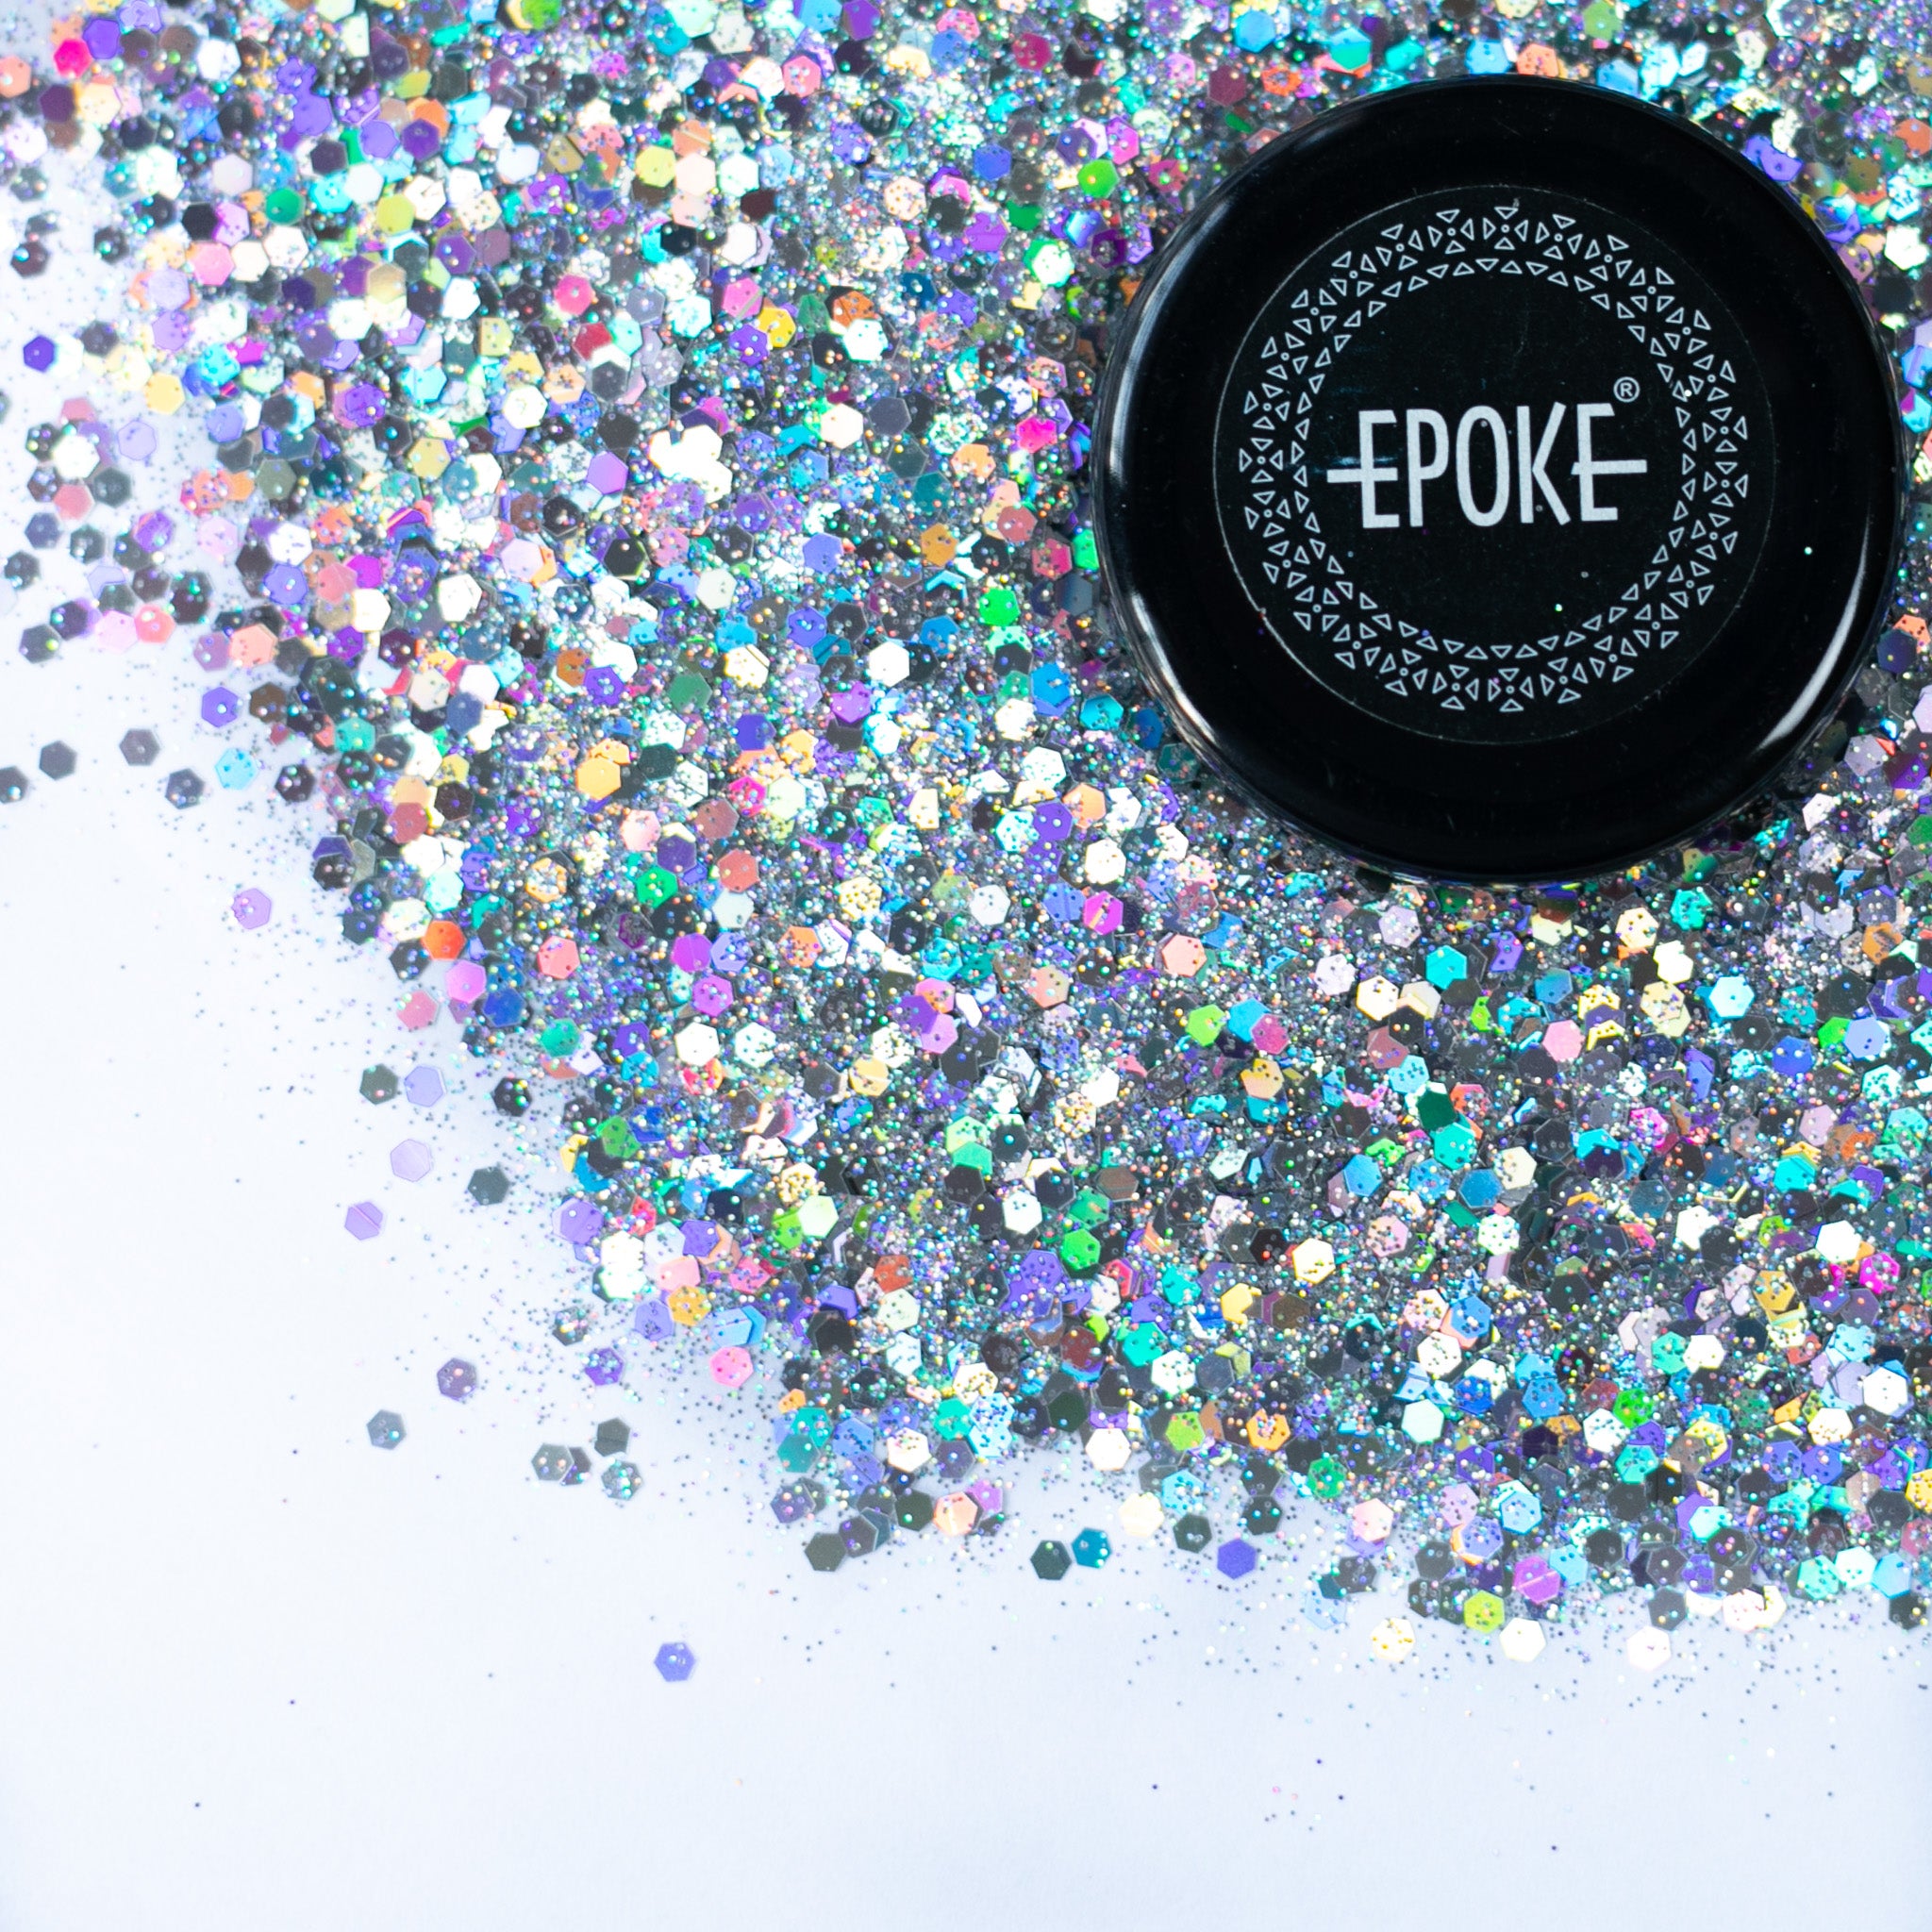
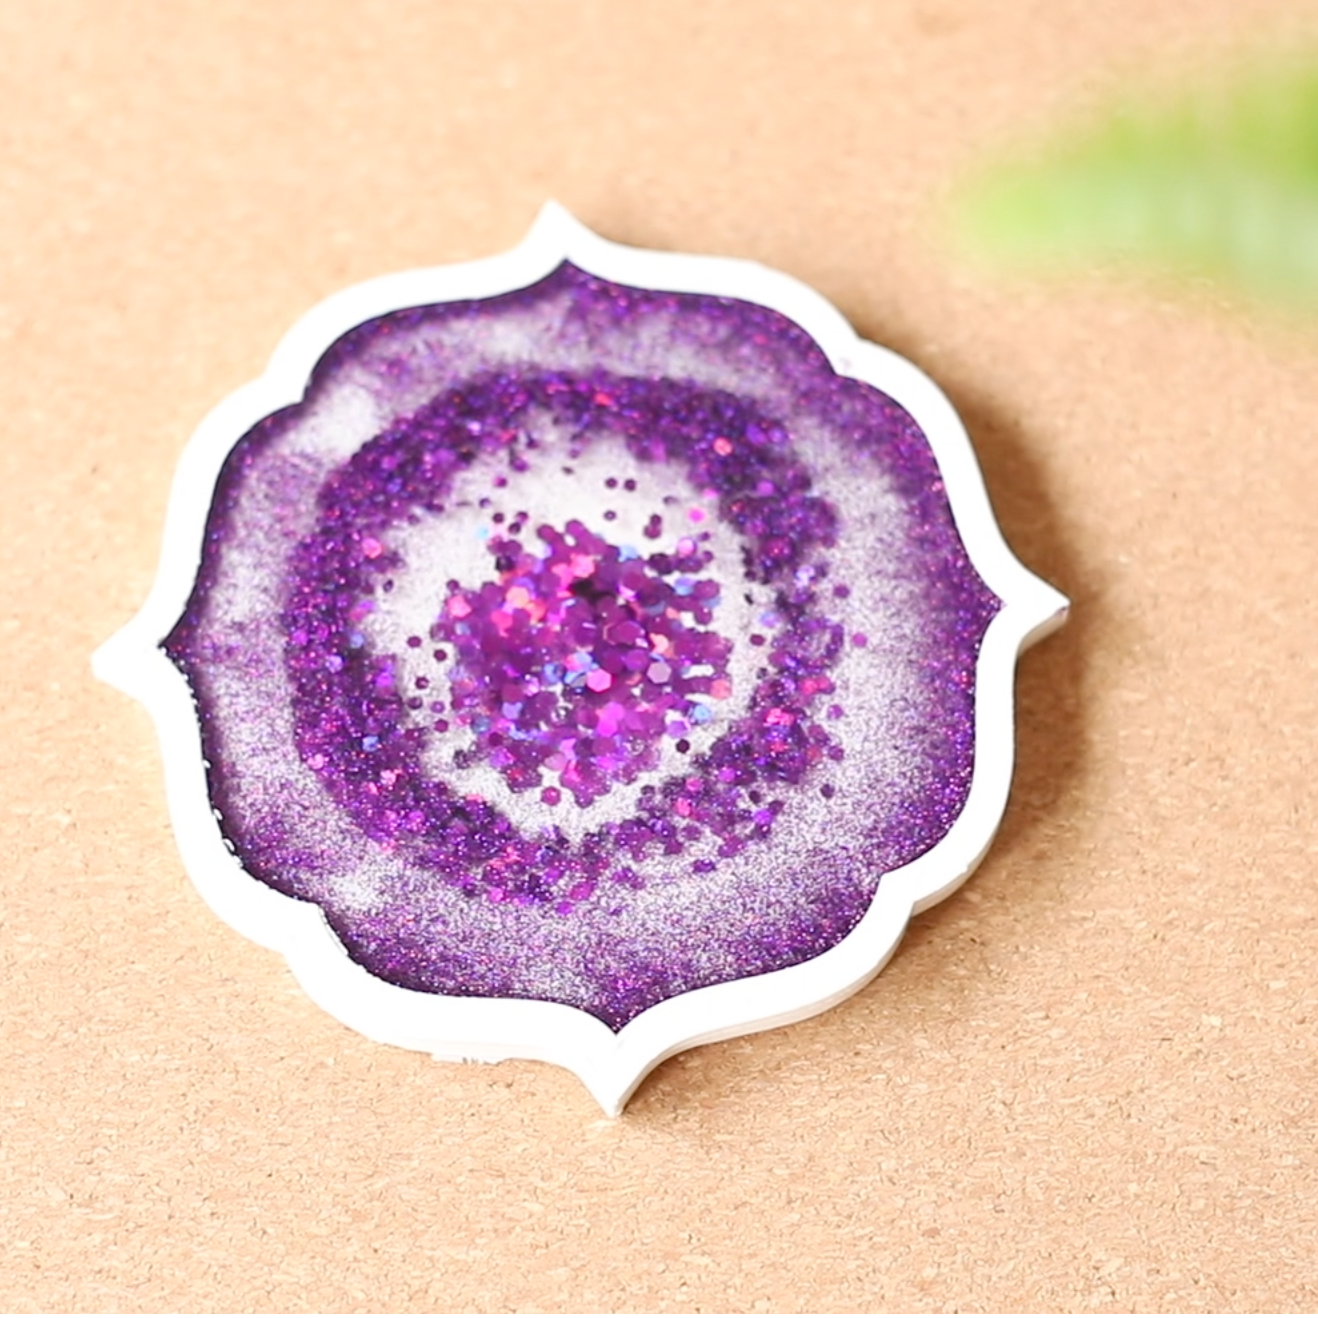
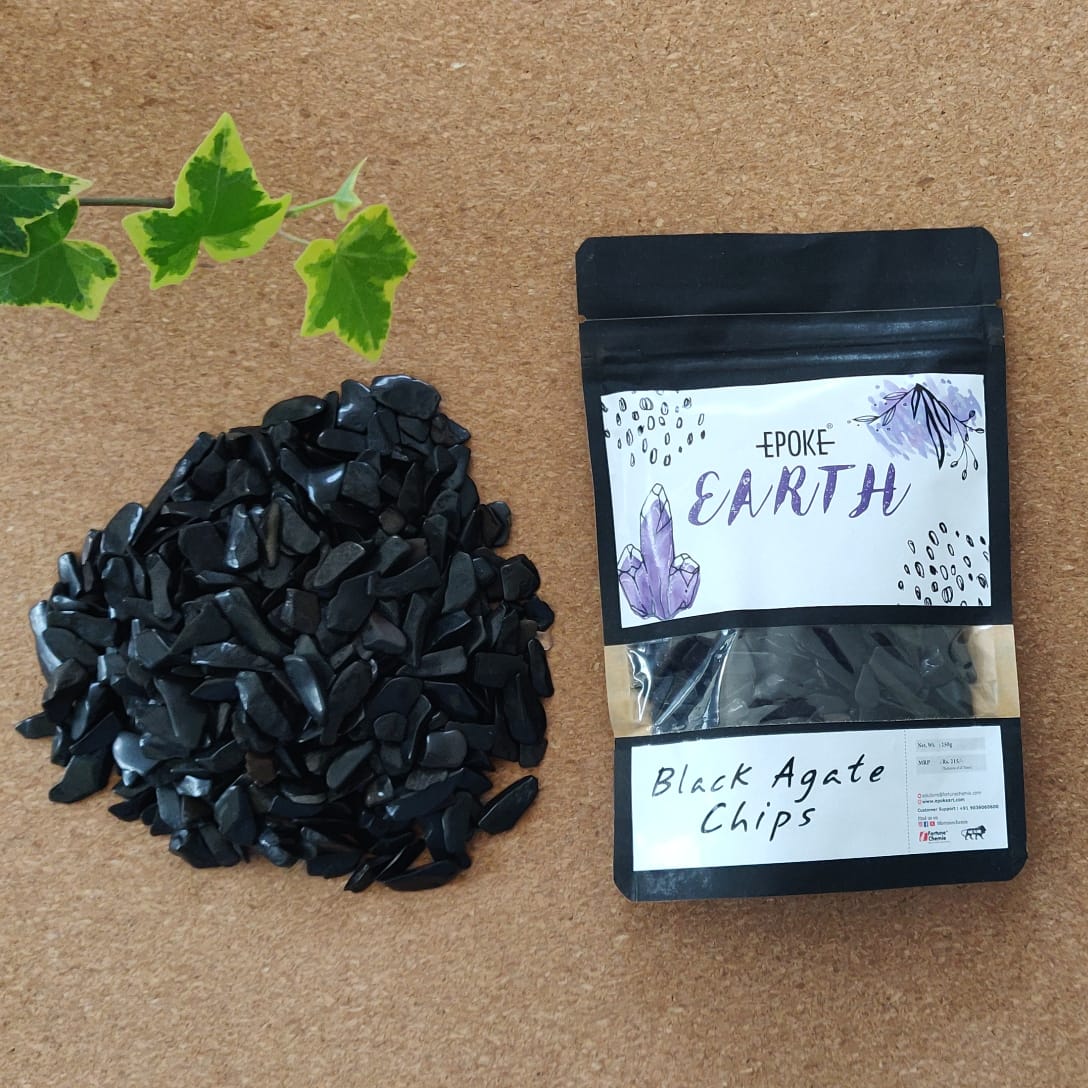
Chunky glitter is made of larger glitter particles cut in bigger shapes than standard fine glitter. Instead of a flat, uniform sparkle, you get visible flecks that add dimension to your piece. This gives resin art a 3D look that draws attention right away.
EPOKE chunky glitter is built specifically for resin work. It offers:
-
High luster. The glitter reflects light strongly, so your resin piece looks bright and alive even under normal indoor lighting.
-
Non-bleeding formula. The glitter color stays put and does not bleed or smear into your resin during curing.
-
Resin compatible material. The glitter is made to hold its shape and shine once it is set inside resin, so it will not fade or lose its finish over time.
These three features matter because cheap glitter often bleeds color, loses its shine, or reacts poorly with resin as it cures. With EPOKE glitter, you get a clean, consistent result every time.
Choosing the Right Glitter for Your Project
Before you start, think about the look you want:
Color and finish. Chunky glitter comes in different colors and finishes. Pick one that fits the mood of your project, whether that's bold and bright or soft and subtle.
Amount needed. Since this glitter is sold by weight, you can buy exactly what your project needs without guessing bag sizes or piece counts. Small projects like jewelry need very little, while larger pieces like trays or tumblers need more.
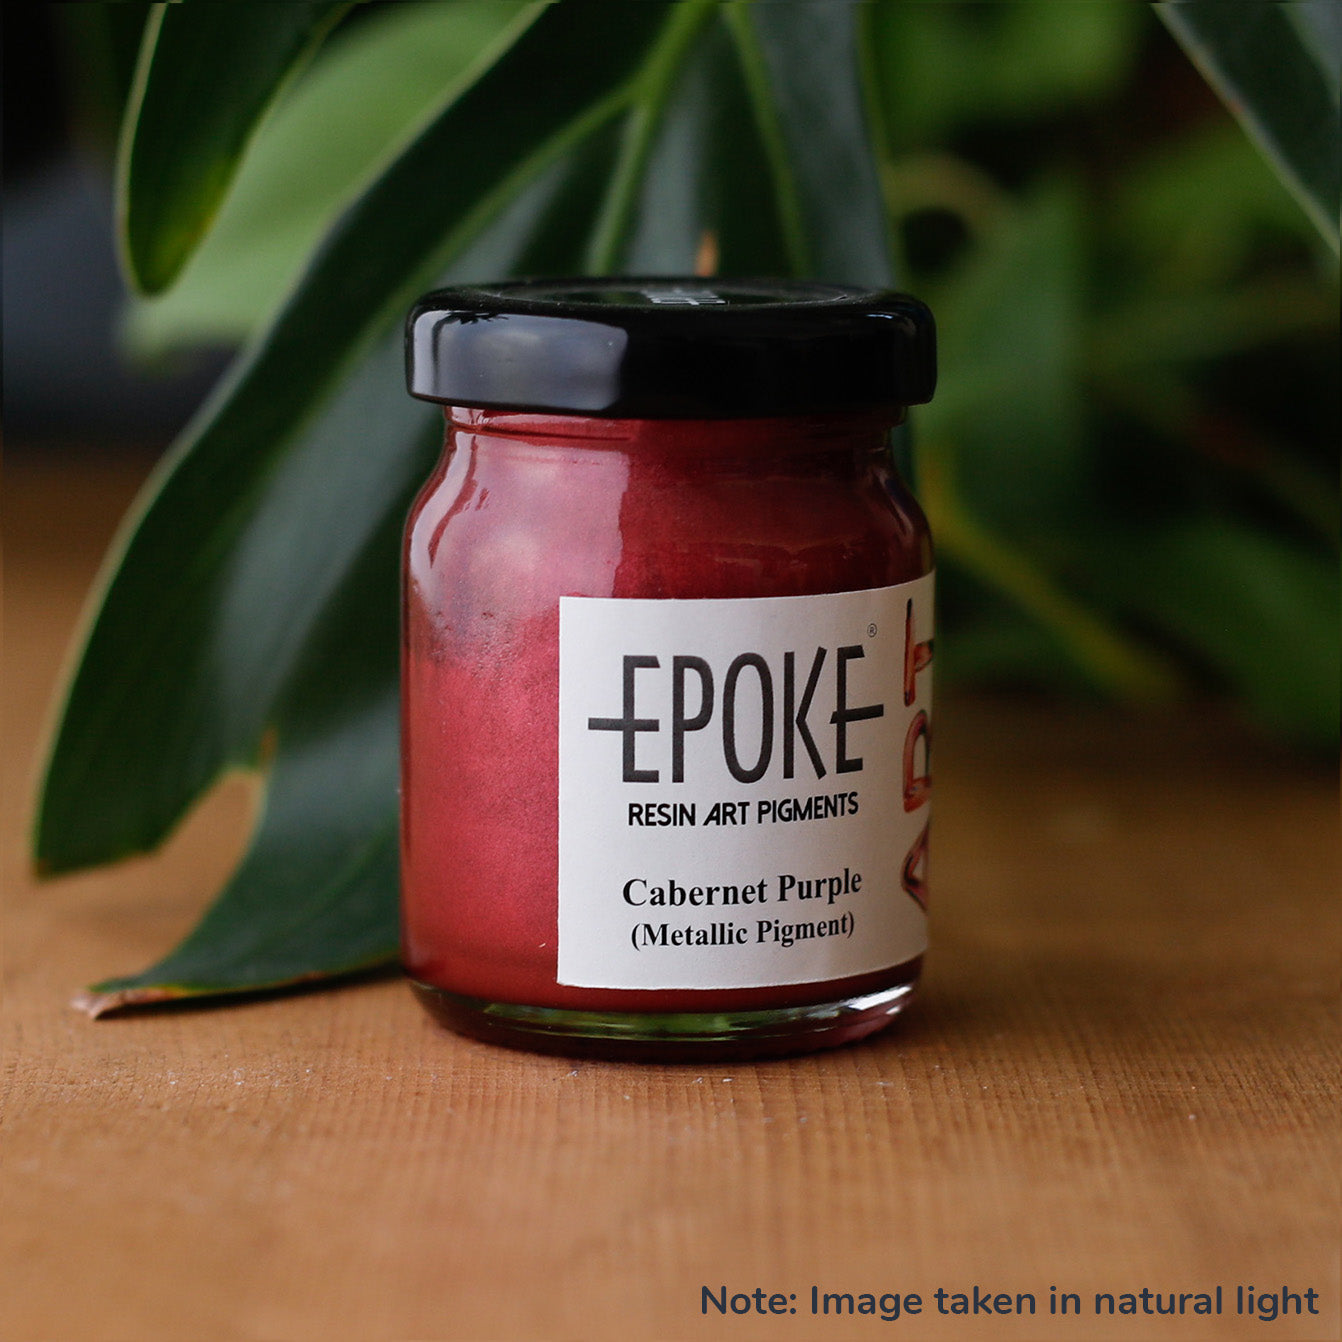
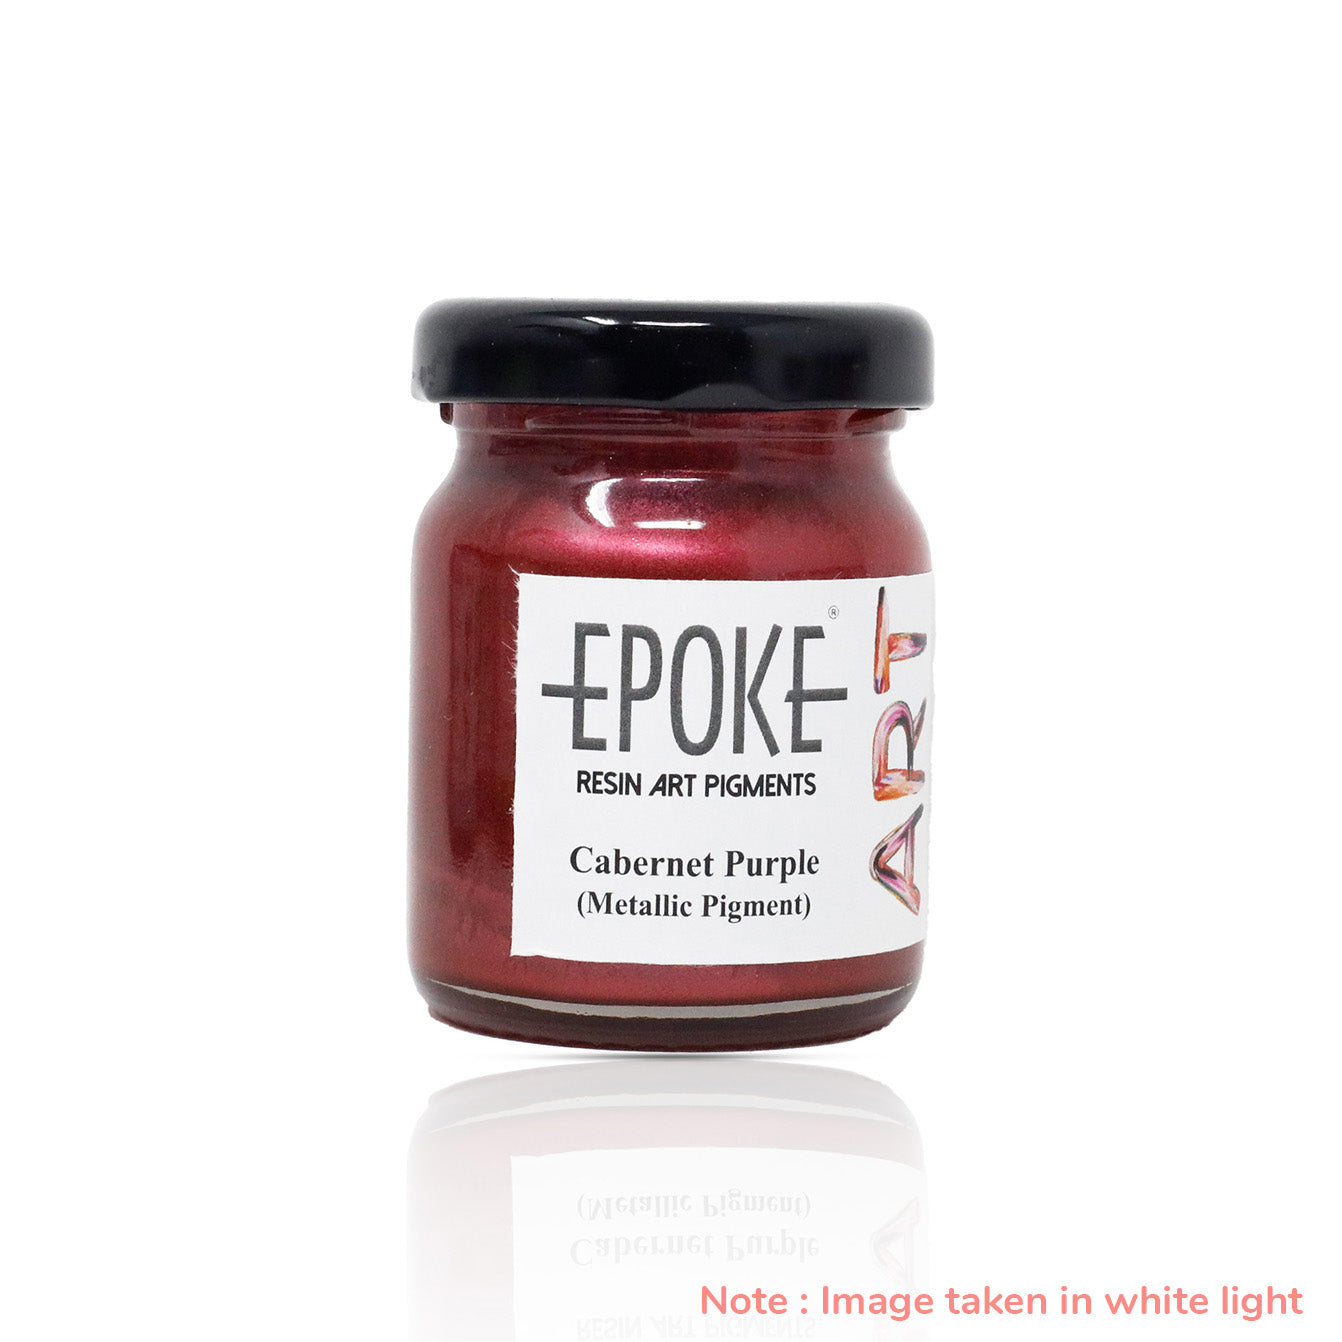
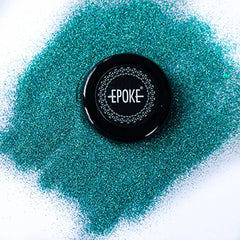
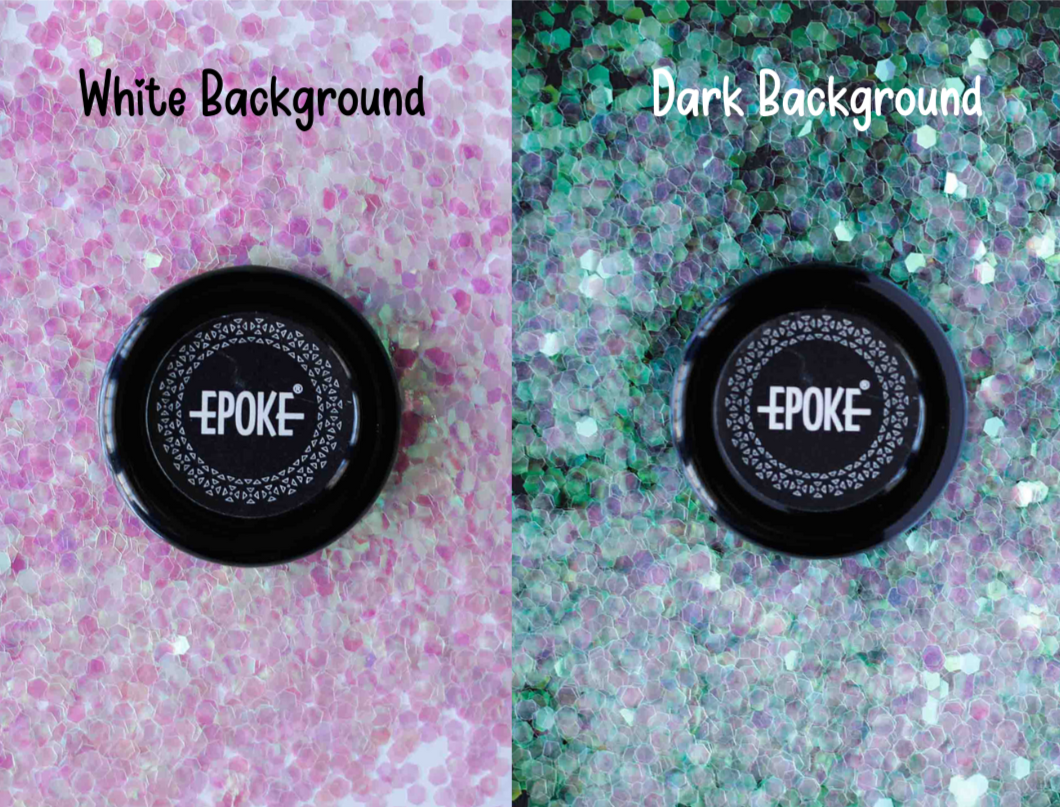
Screen versus real color. Because of how digital screens and photos display color, the shade you see online may look slightly different in person. This is normal and happens with every digital device, not just one screen or browser.
Step-by-Step Guide to Using Chunky Glitter in Resin
Step 1: Set Up Your Workspace
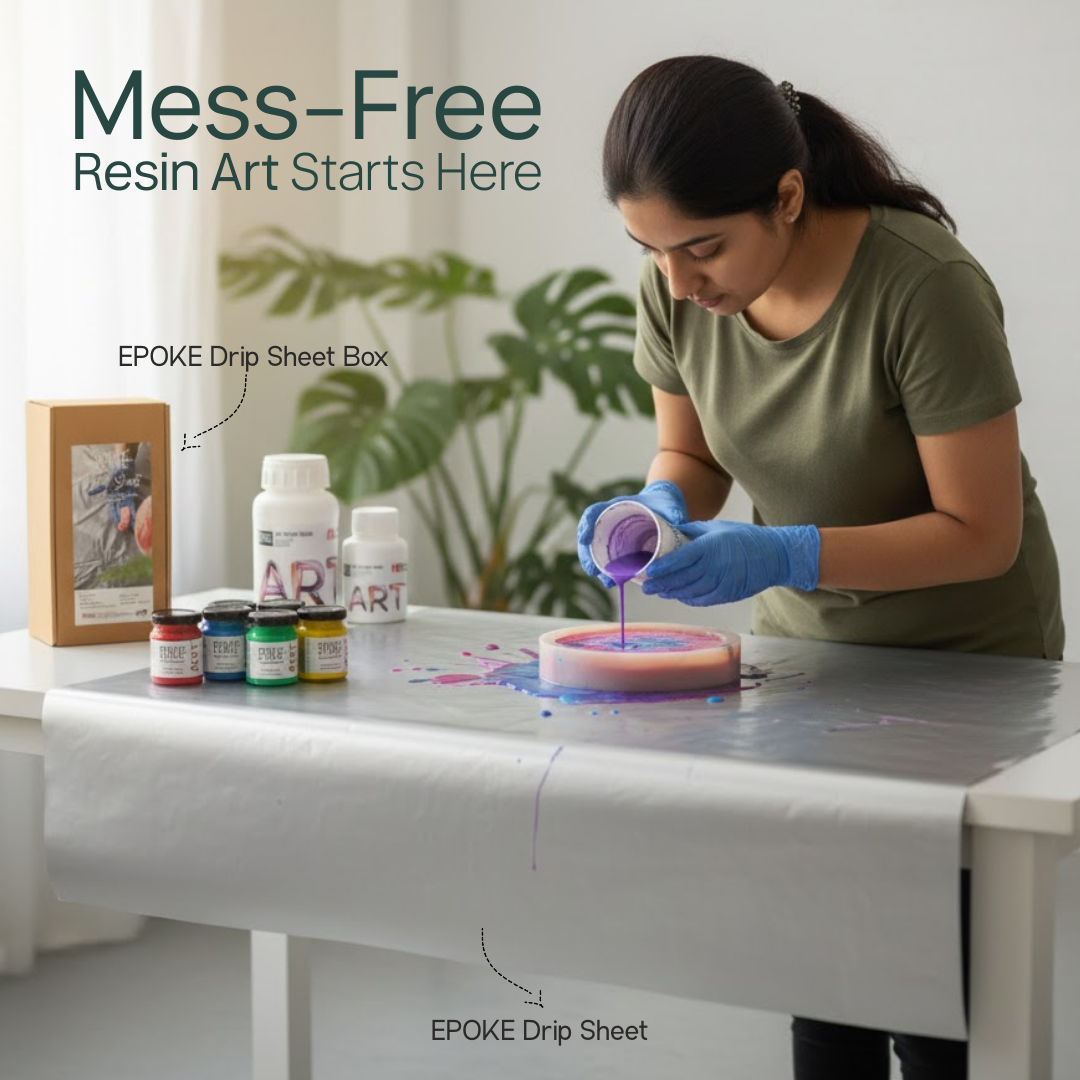
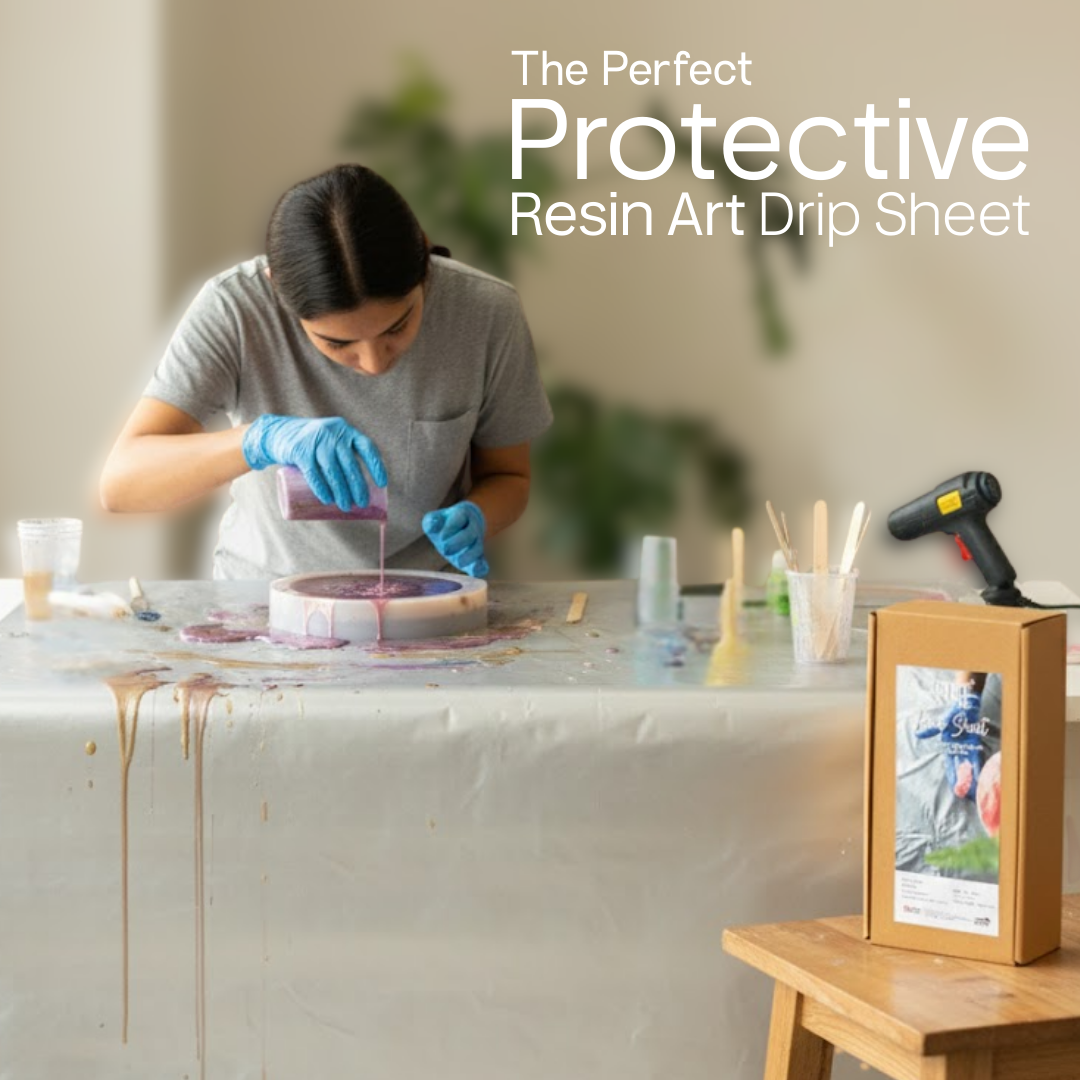
Work on a flat, level surface covered with a protective sheet. Resin sets exactly the way you pour it, so an uneven surface leads to an uneven finish. Keep your glitter, mixing cups, and stir sticks close before you begin.
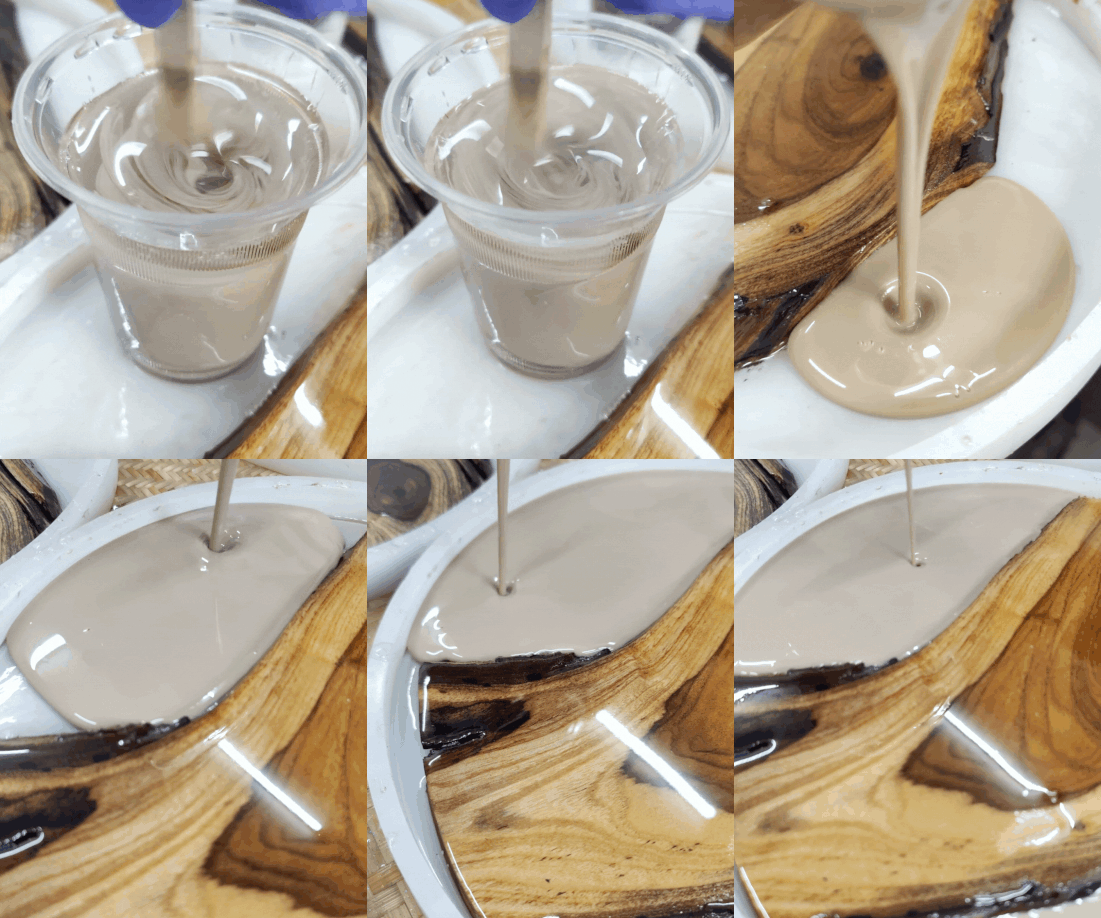
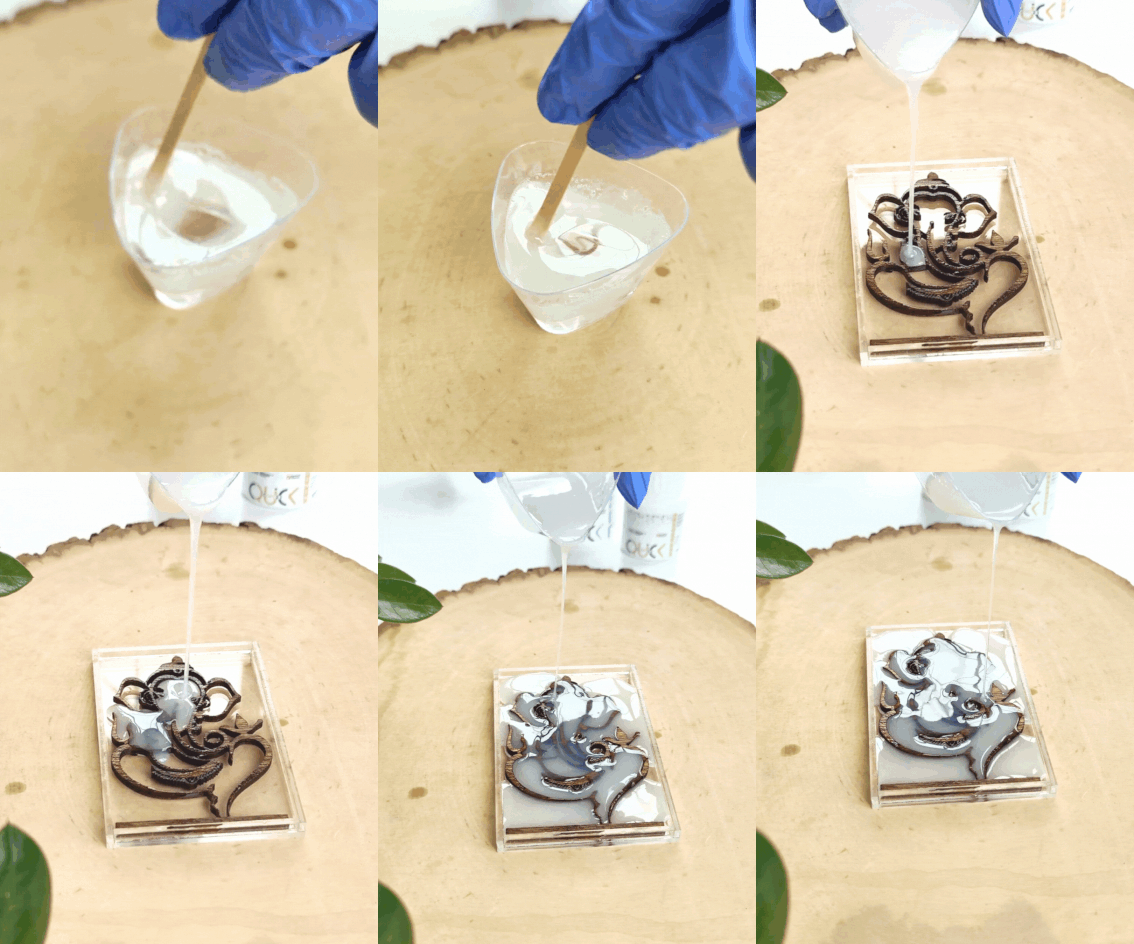
Step 2: Mix Your Resin
Follow the mixing ratio on your resin product label. Stir slowly and scrape the sides and bottom of your cup to avoid soft spots later. Rushed mixing is one of the main reasons resin fails to cure evenly.
Step 3: Add the Chunky Glitter
You have two main options:
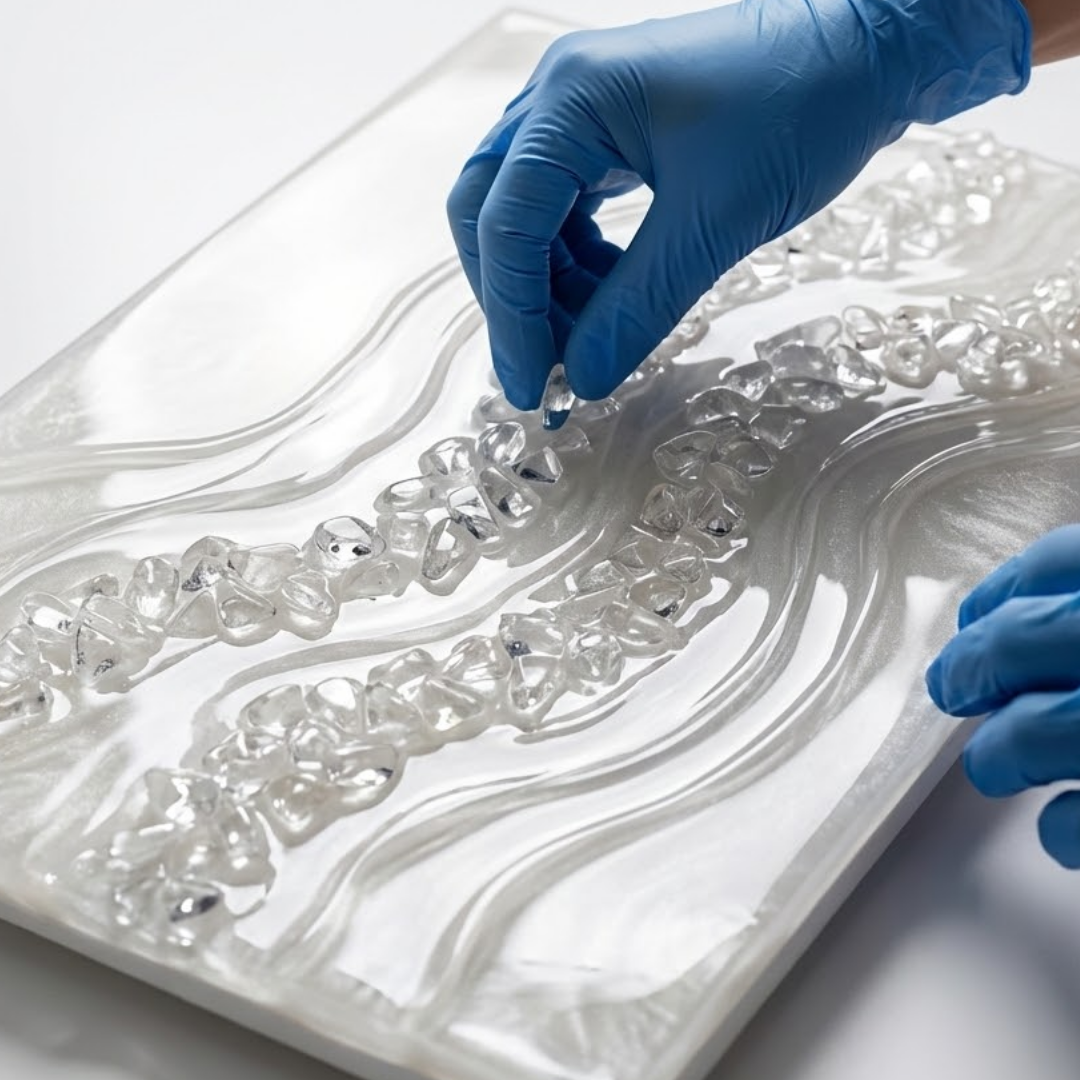
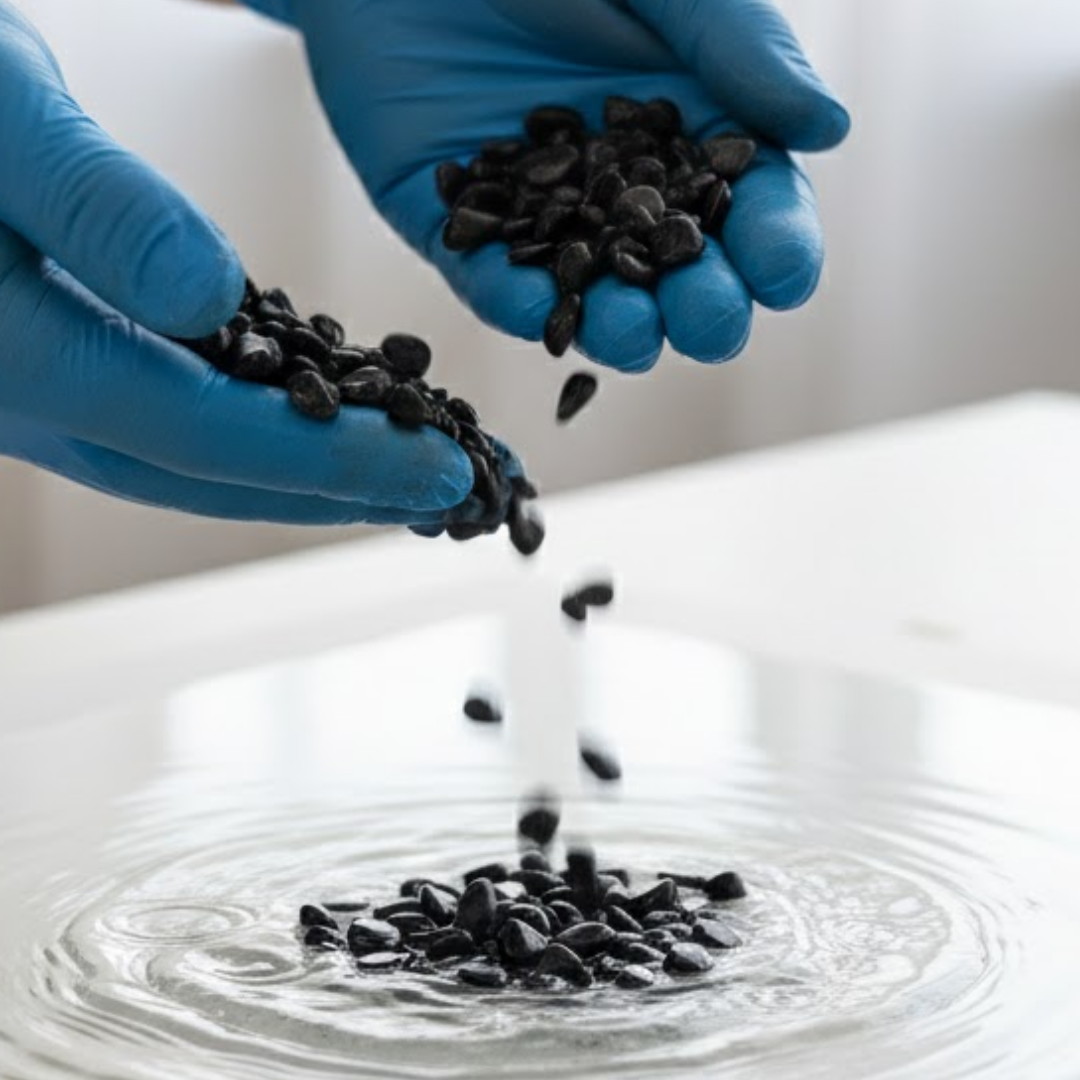
Mix it directly into the resin. This spreads the glitter evenly through the piece and works well for tumblers, coasters, and small decor items.
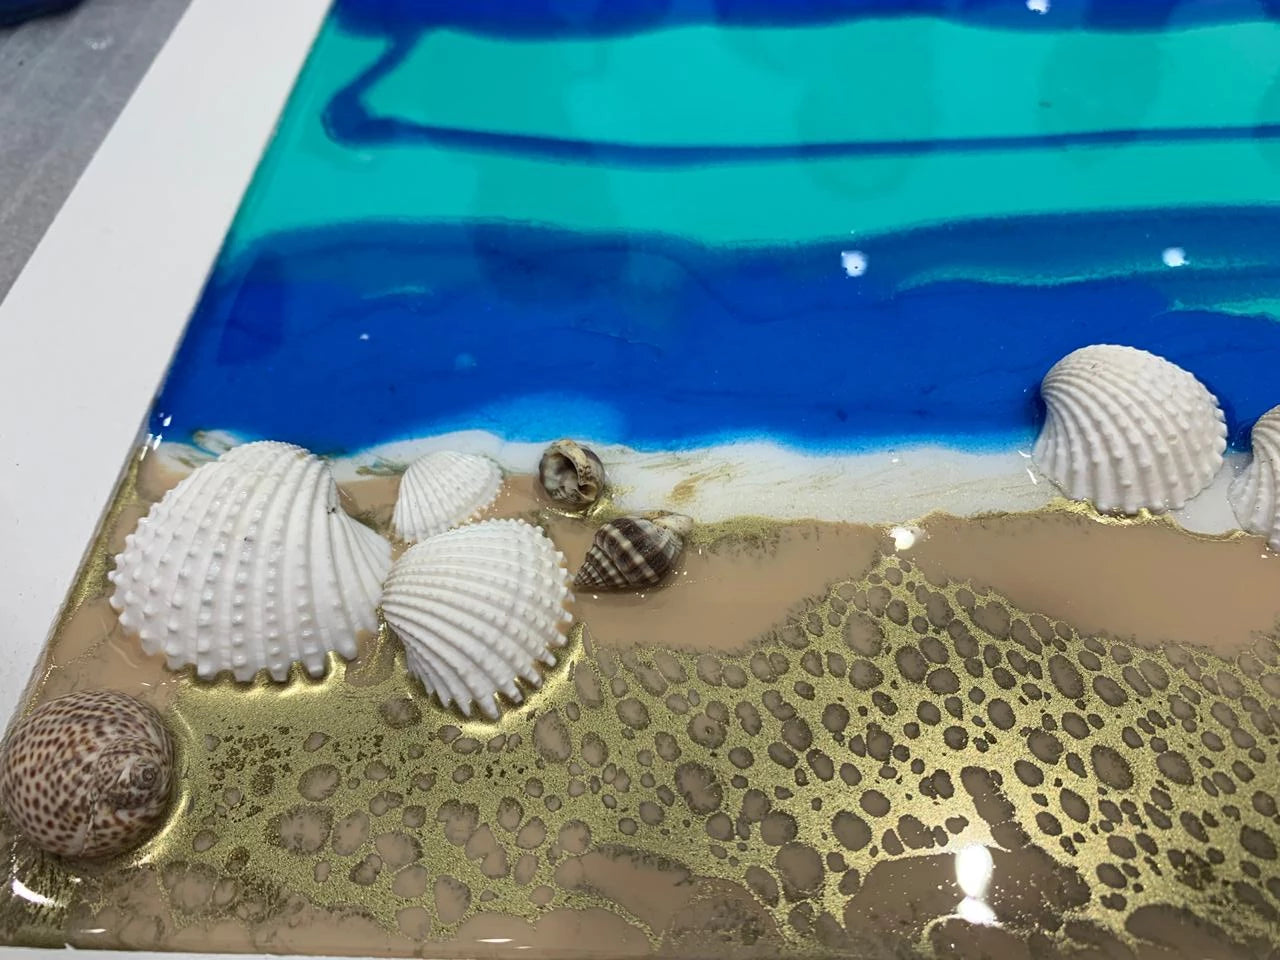
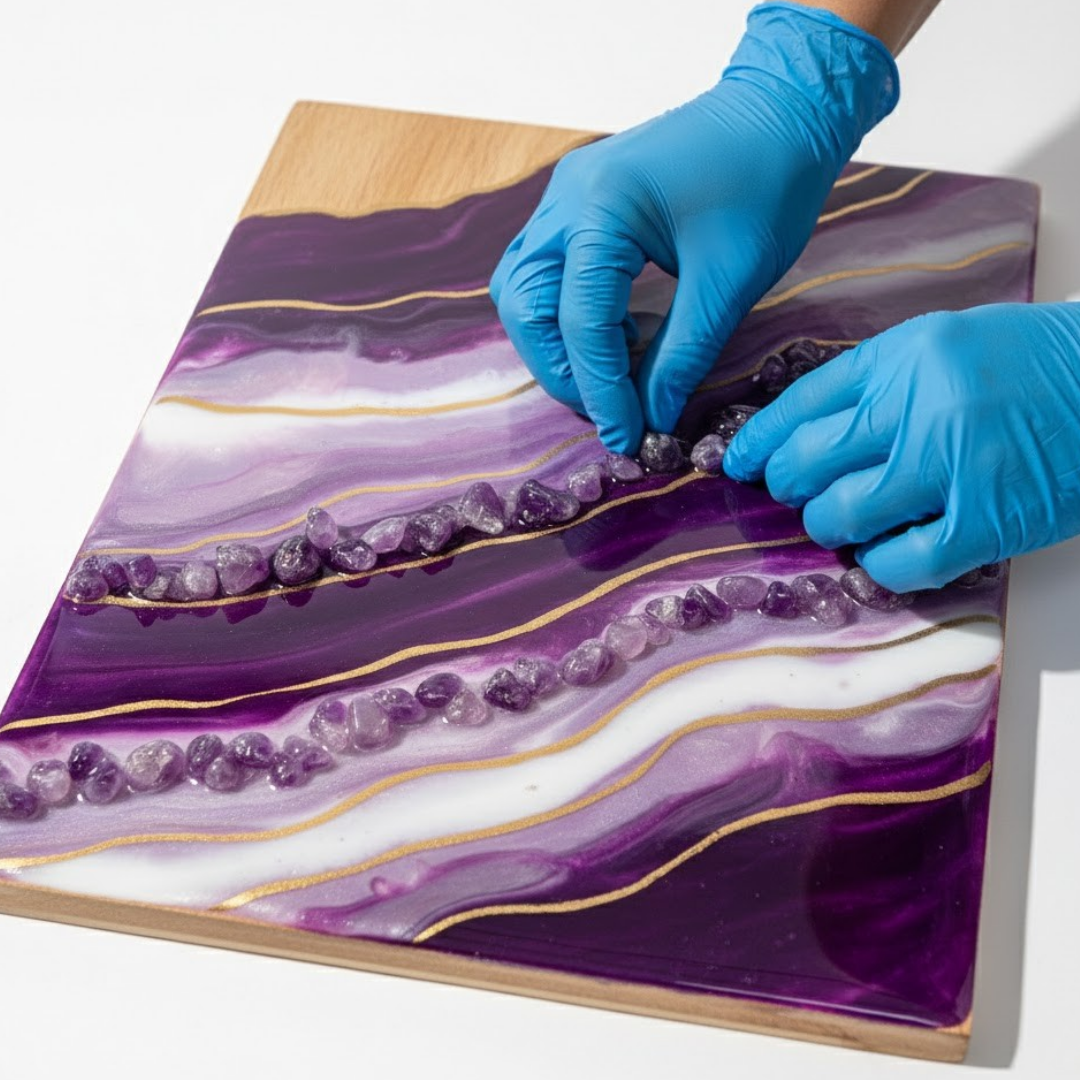
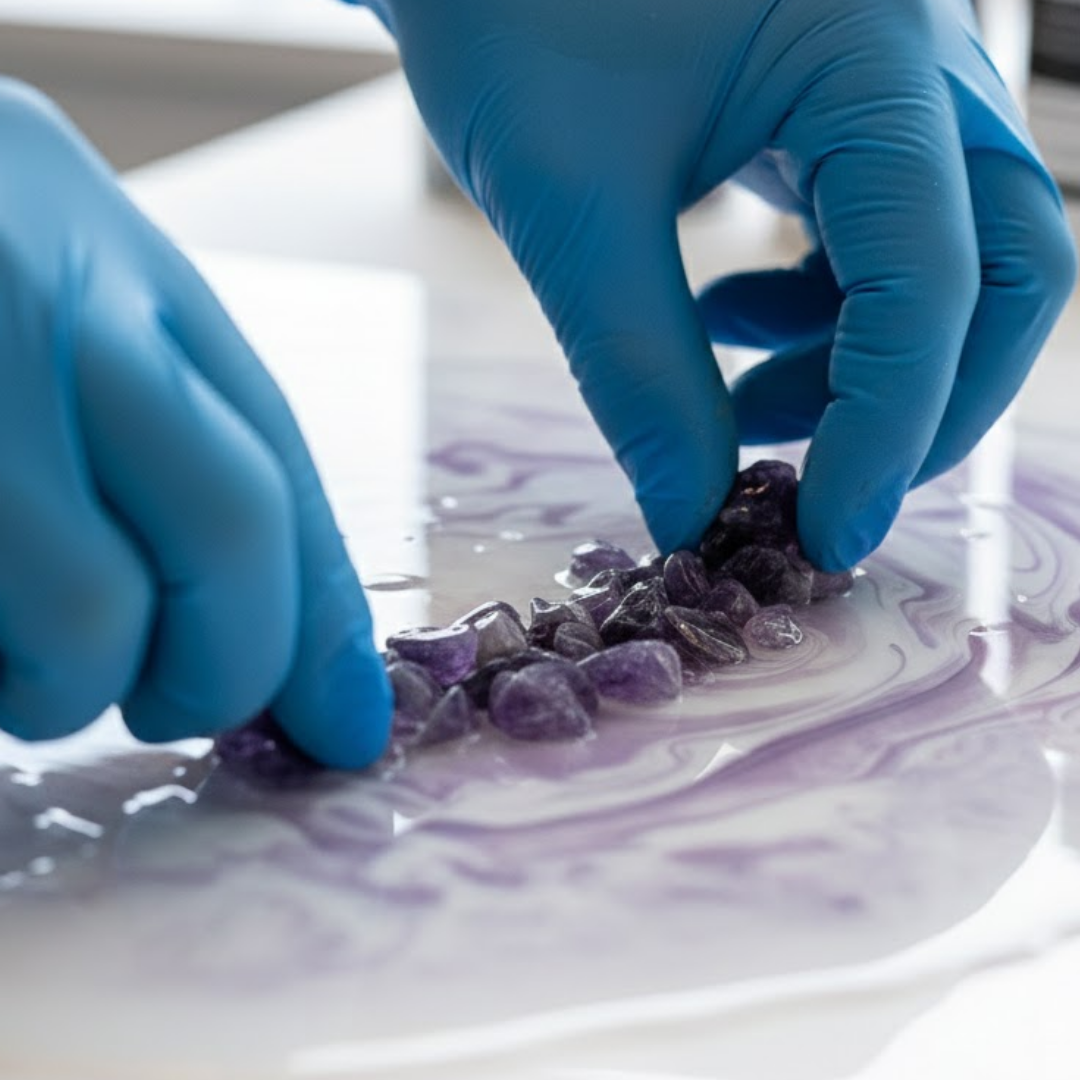
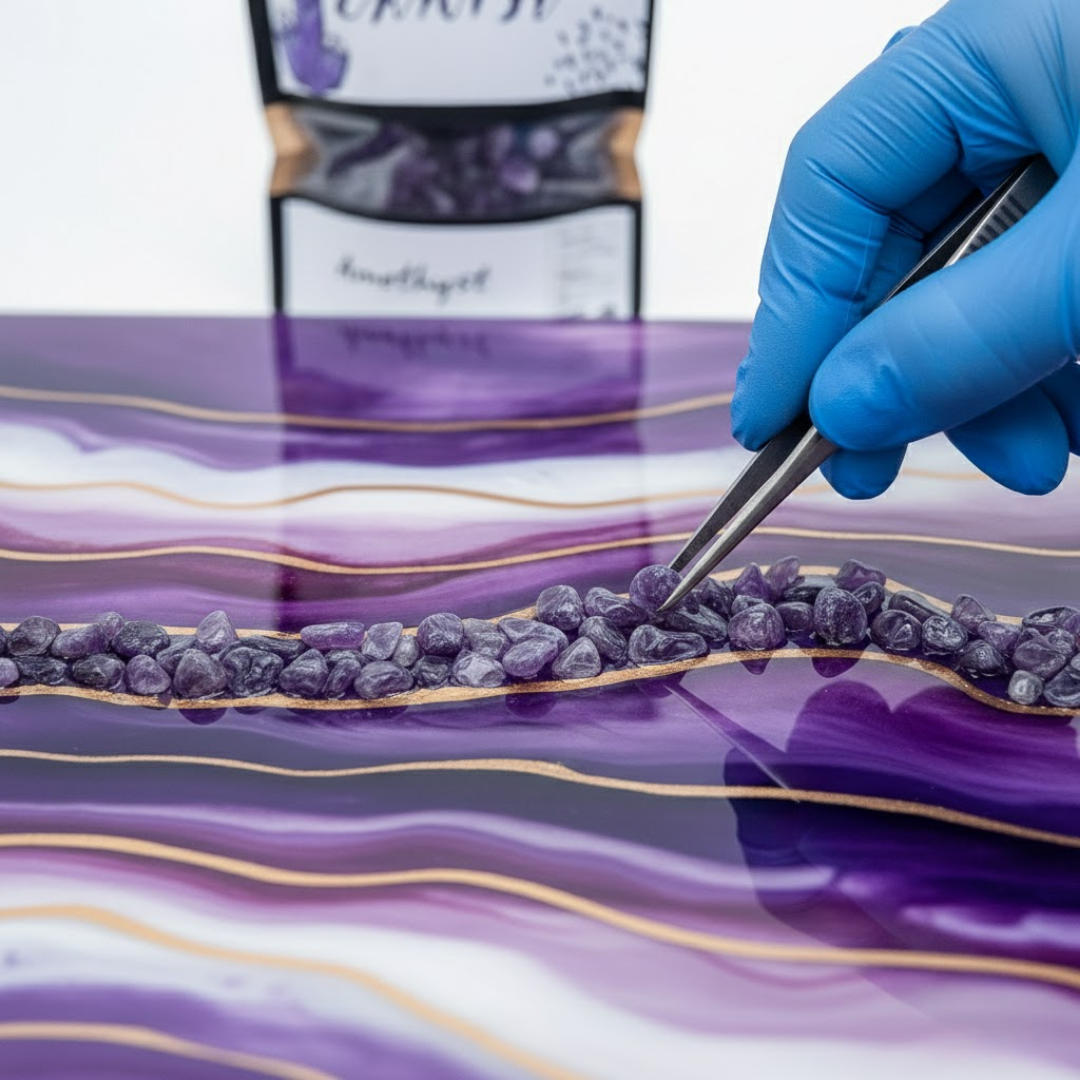
Layer it between resin pours. Pour a thin layer of resin, sprinkle glitter on top, then add another resin layer once the first sets slightly. This creates a floating, dimensional look.
Add glitter a little at a time. Since it's sold by weight, you can measure out small amounts and add more as needed rather than using it all at once.
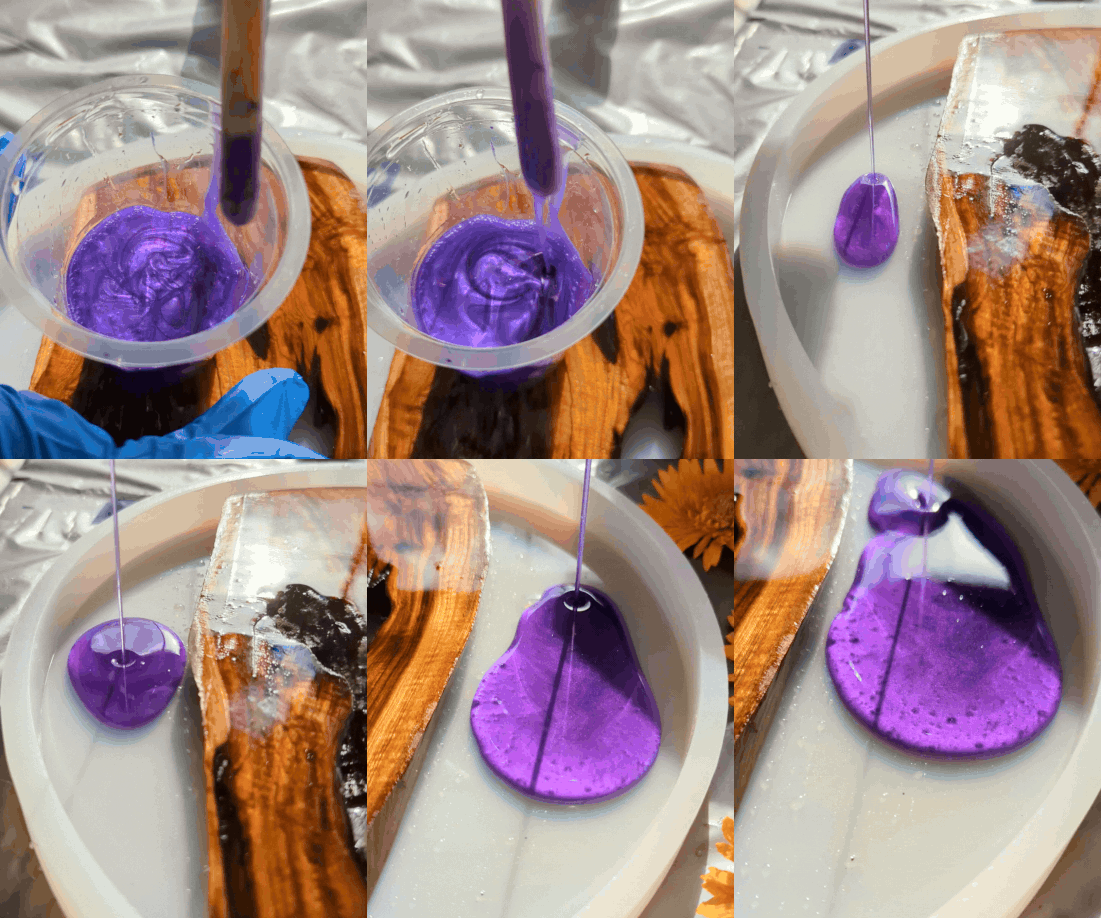
Step 4: Pour and Spread
Pour your resin mixture over your project base. Use a heat gun briefly to release trapped air bubbles, moving it steadily so you don't overheat one spot.
Step 5: Let It Cure
Cure time depends on your resin brand, but most projects need 24 to 72 hours. Keep your piece covered while it cures to keep dust off the surface.
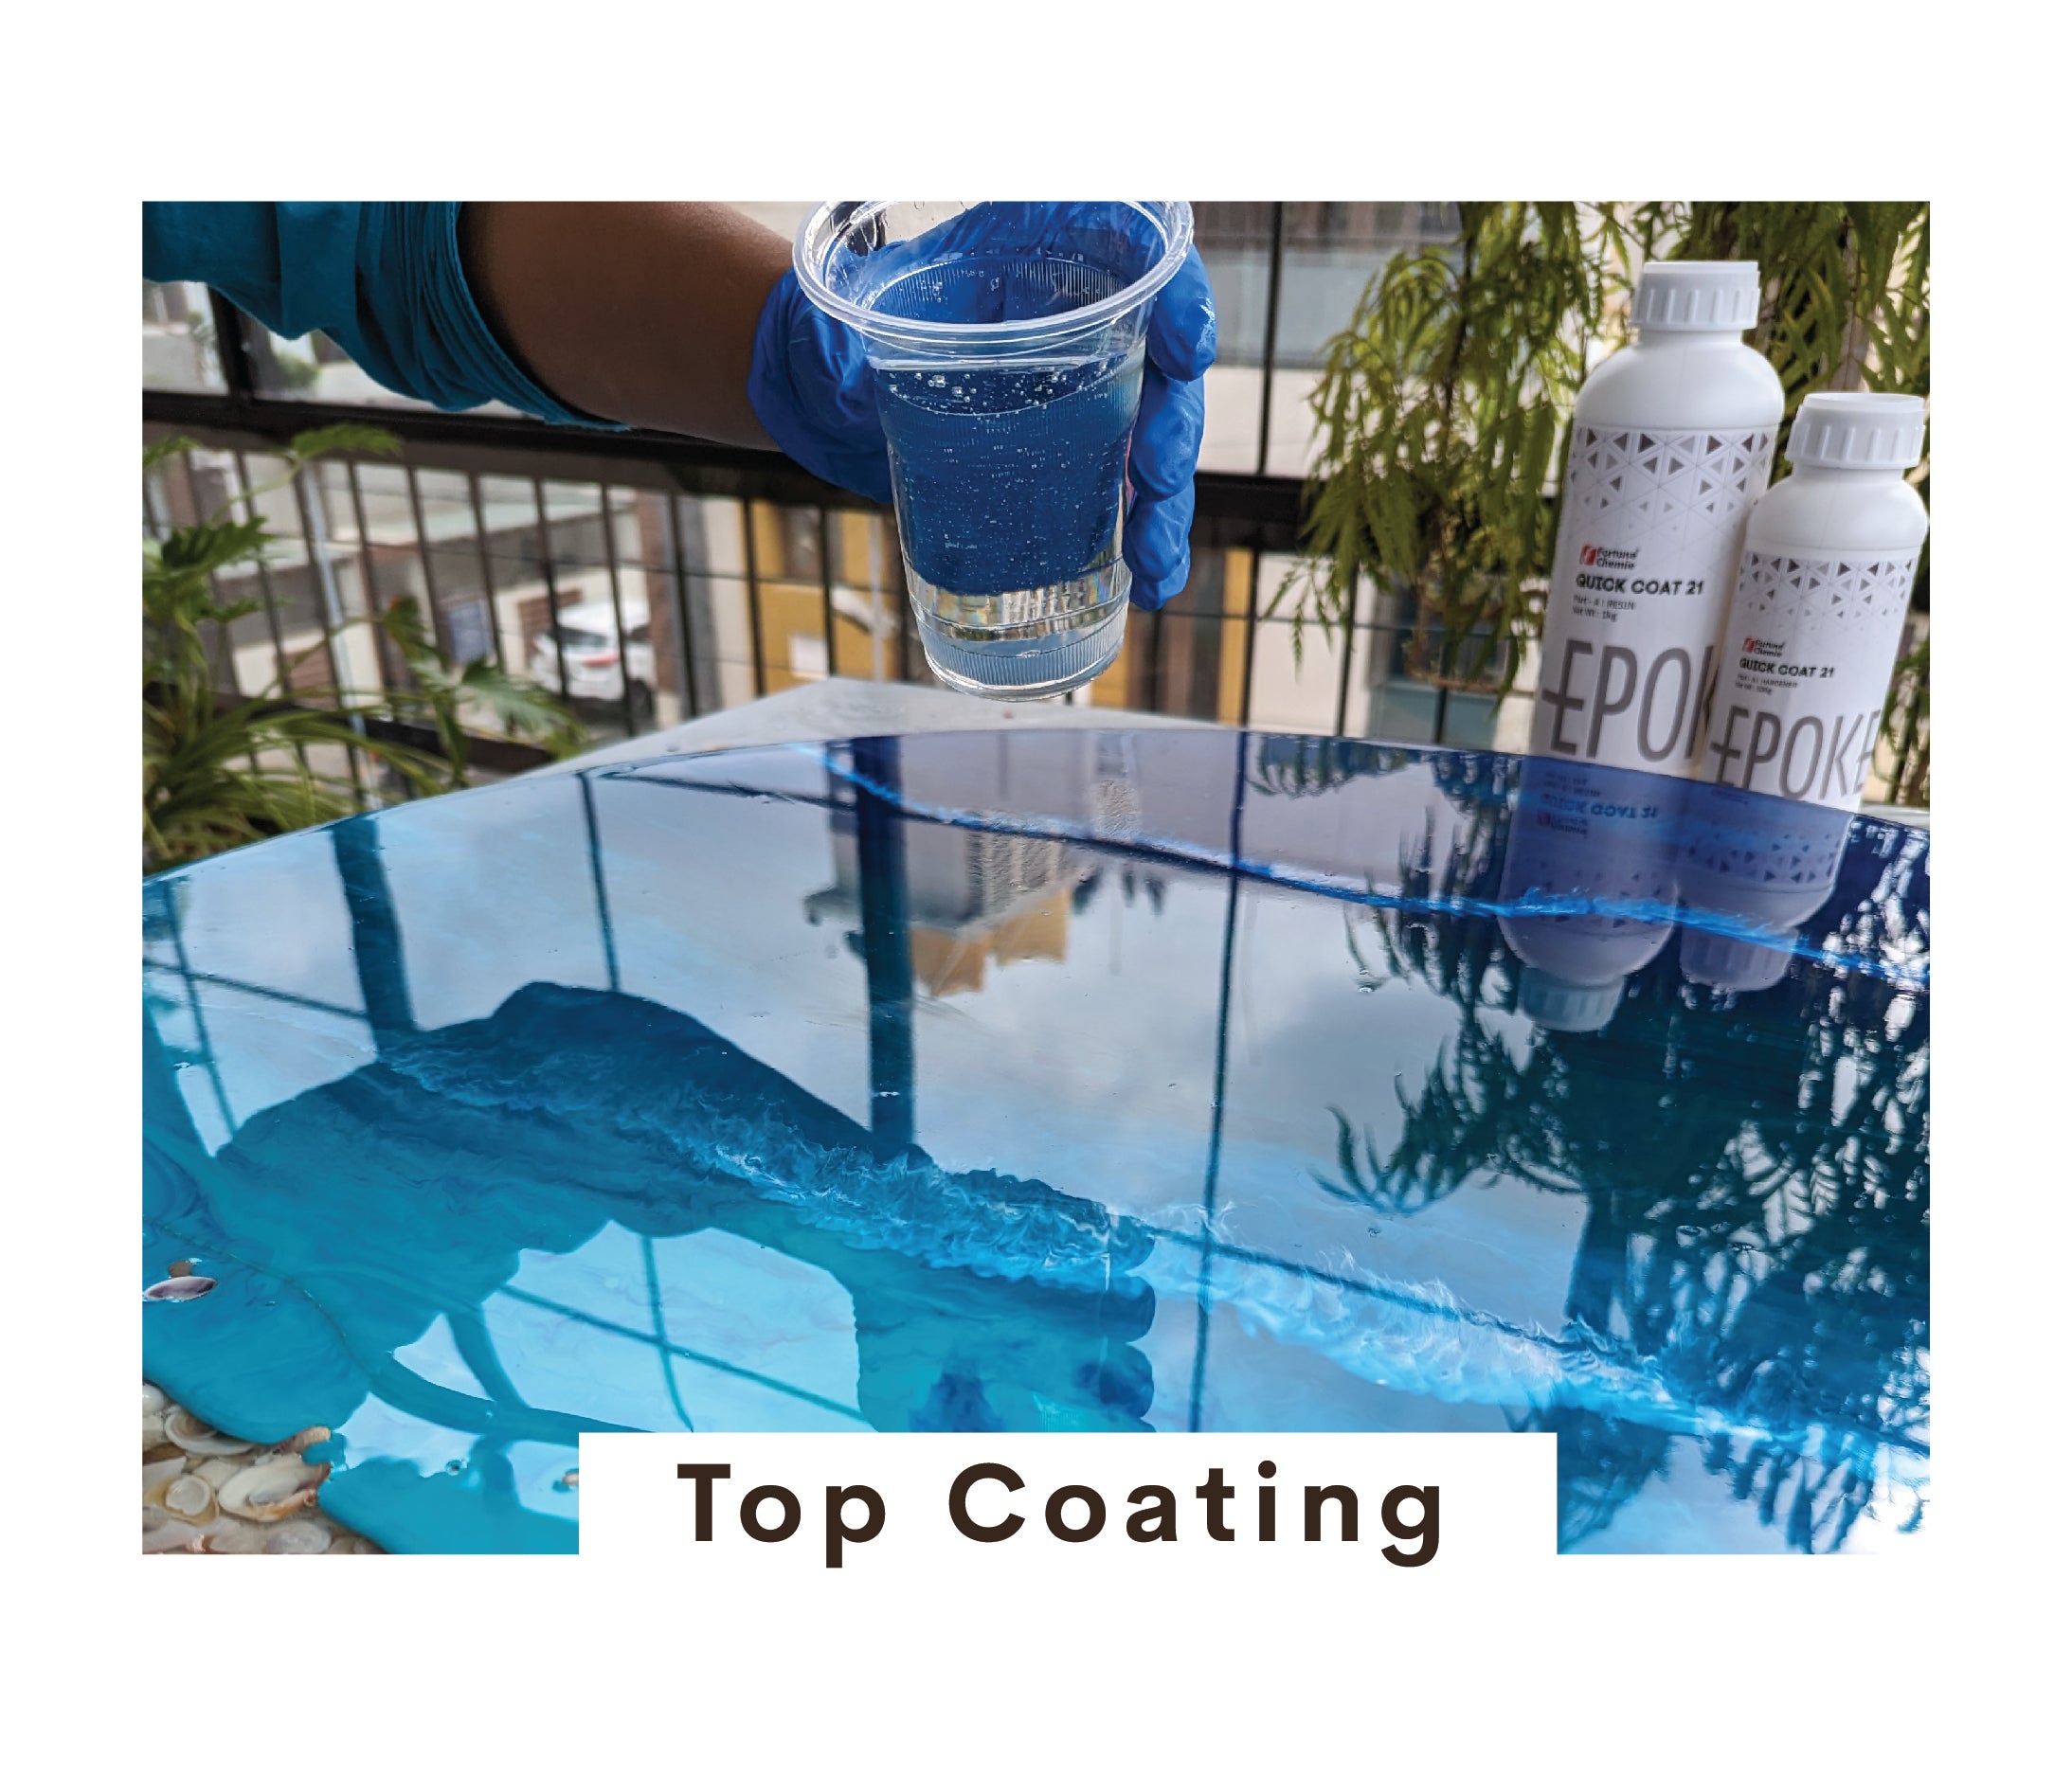
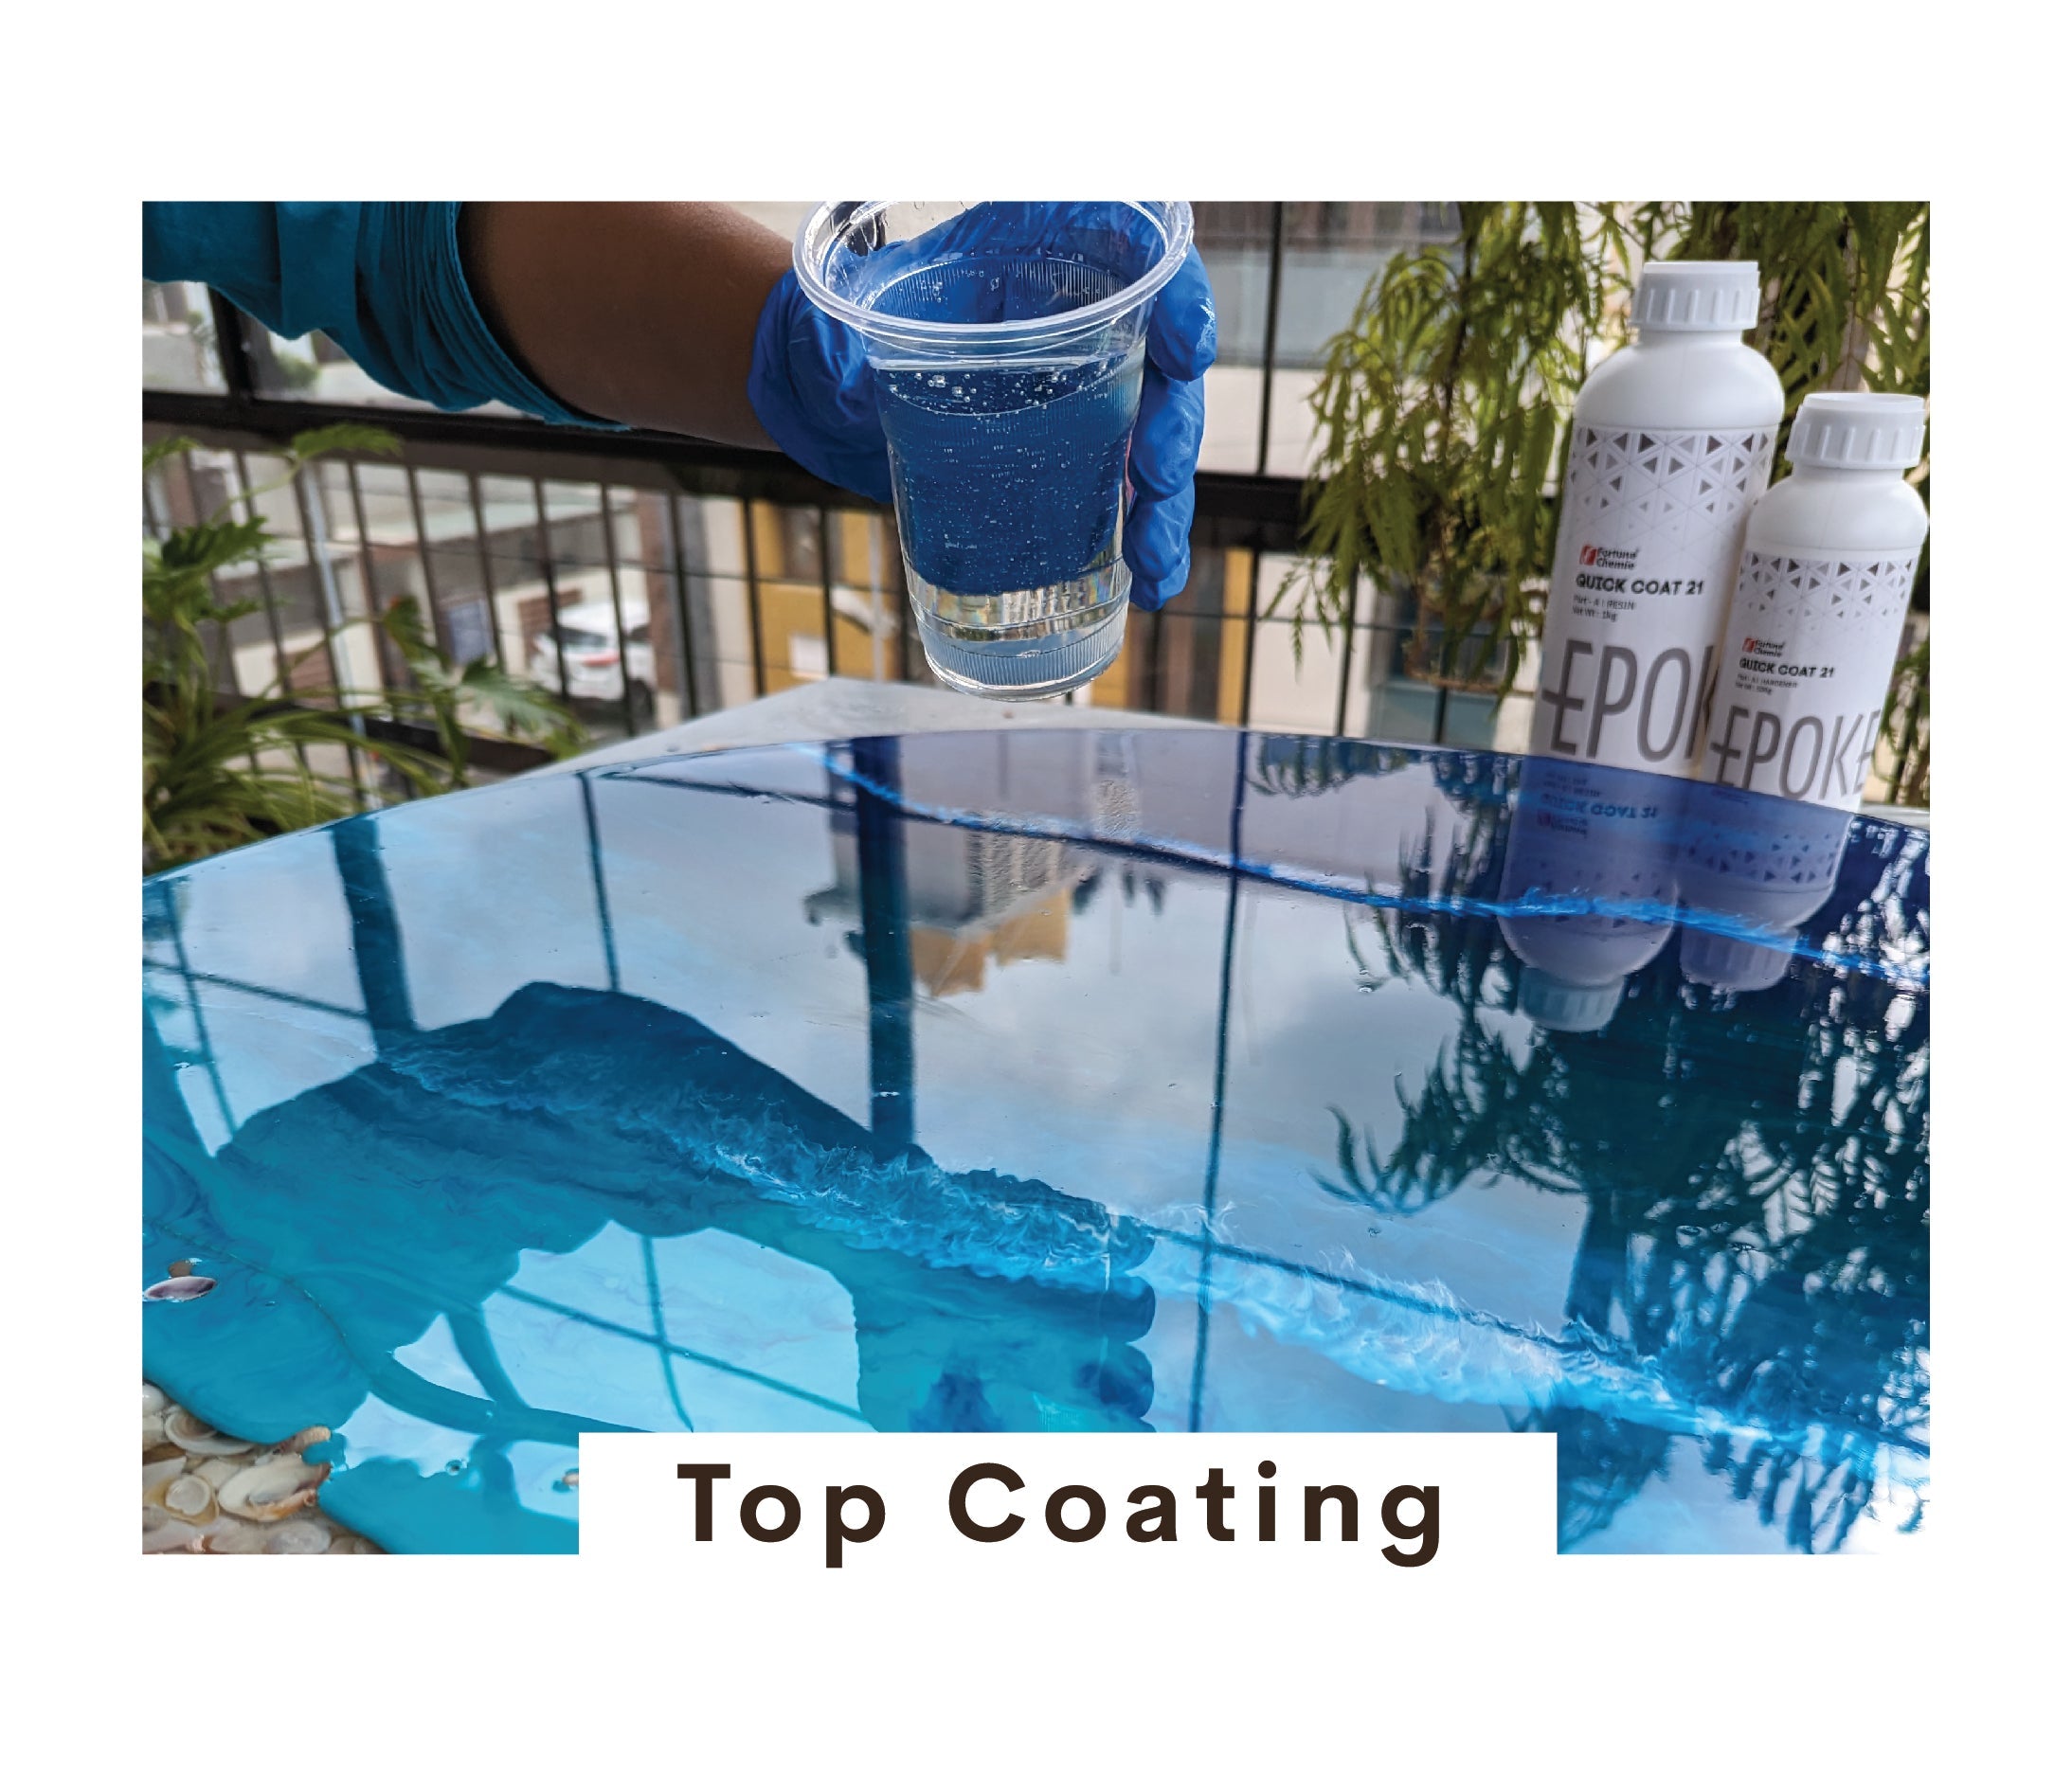
Step 6: Seal With a Topcoat
Once cured, add a clear topcoat if you want extra shine or protection. This keeps glitter edges sealed and gives the surface a smooth, finished feel.
Common Mistakes to Avoid
-
Adding too much glitter at once. This causes clumping and uneven texture.
-
Skipping careful mixing. Uneven mixing leads to soft or tacky spots.
-
Pouring too thick a layer. Thick pours trap air and heat, which can cause cracking.
-
Not accounting for screen color differences. Order a small amount first if you want to check the color in person before buying more.
Tips for a Clean Finish
-
Warm your resin slightly before mixing to reduce bubbles.
-
Use a toothpick to nudge glitter pieces into place before the resin sets.
-
Combine two glitter colors for added texture and depth.
-
Store extra glitter in a sealed container to keep it dry.
Final Thoughts
Chunky glitter gives resin art a bold, dimensional finish that fine glitter cannot deliver on its own. With a high luster, non-bleeding, resin compatible glitter and a steady process, you can build pieces that hold their shine and color long after they cure. Take your time with each step, measure your glitter by weight, and your resin work will show the difference.
FAQs
1. How much chunky glitter should I add to resin?
Since EPOKE glitter is sold by weight, start with a small amount and add more gradually. A light dusting is often enough for a noticeable effect; add more if you want a denser look.
2. Why does my chunky glitter sink to the bottom instead of floating in the resin?
Thinner resin lets heavier glitter settle faster. Mix glitter into slightly thicker resin or add it in layers instead of all at once to keep it suspended.
3. What's the difference between chunky glitter and fine glitter in resin art?
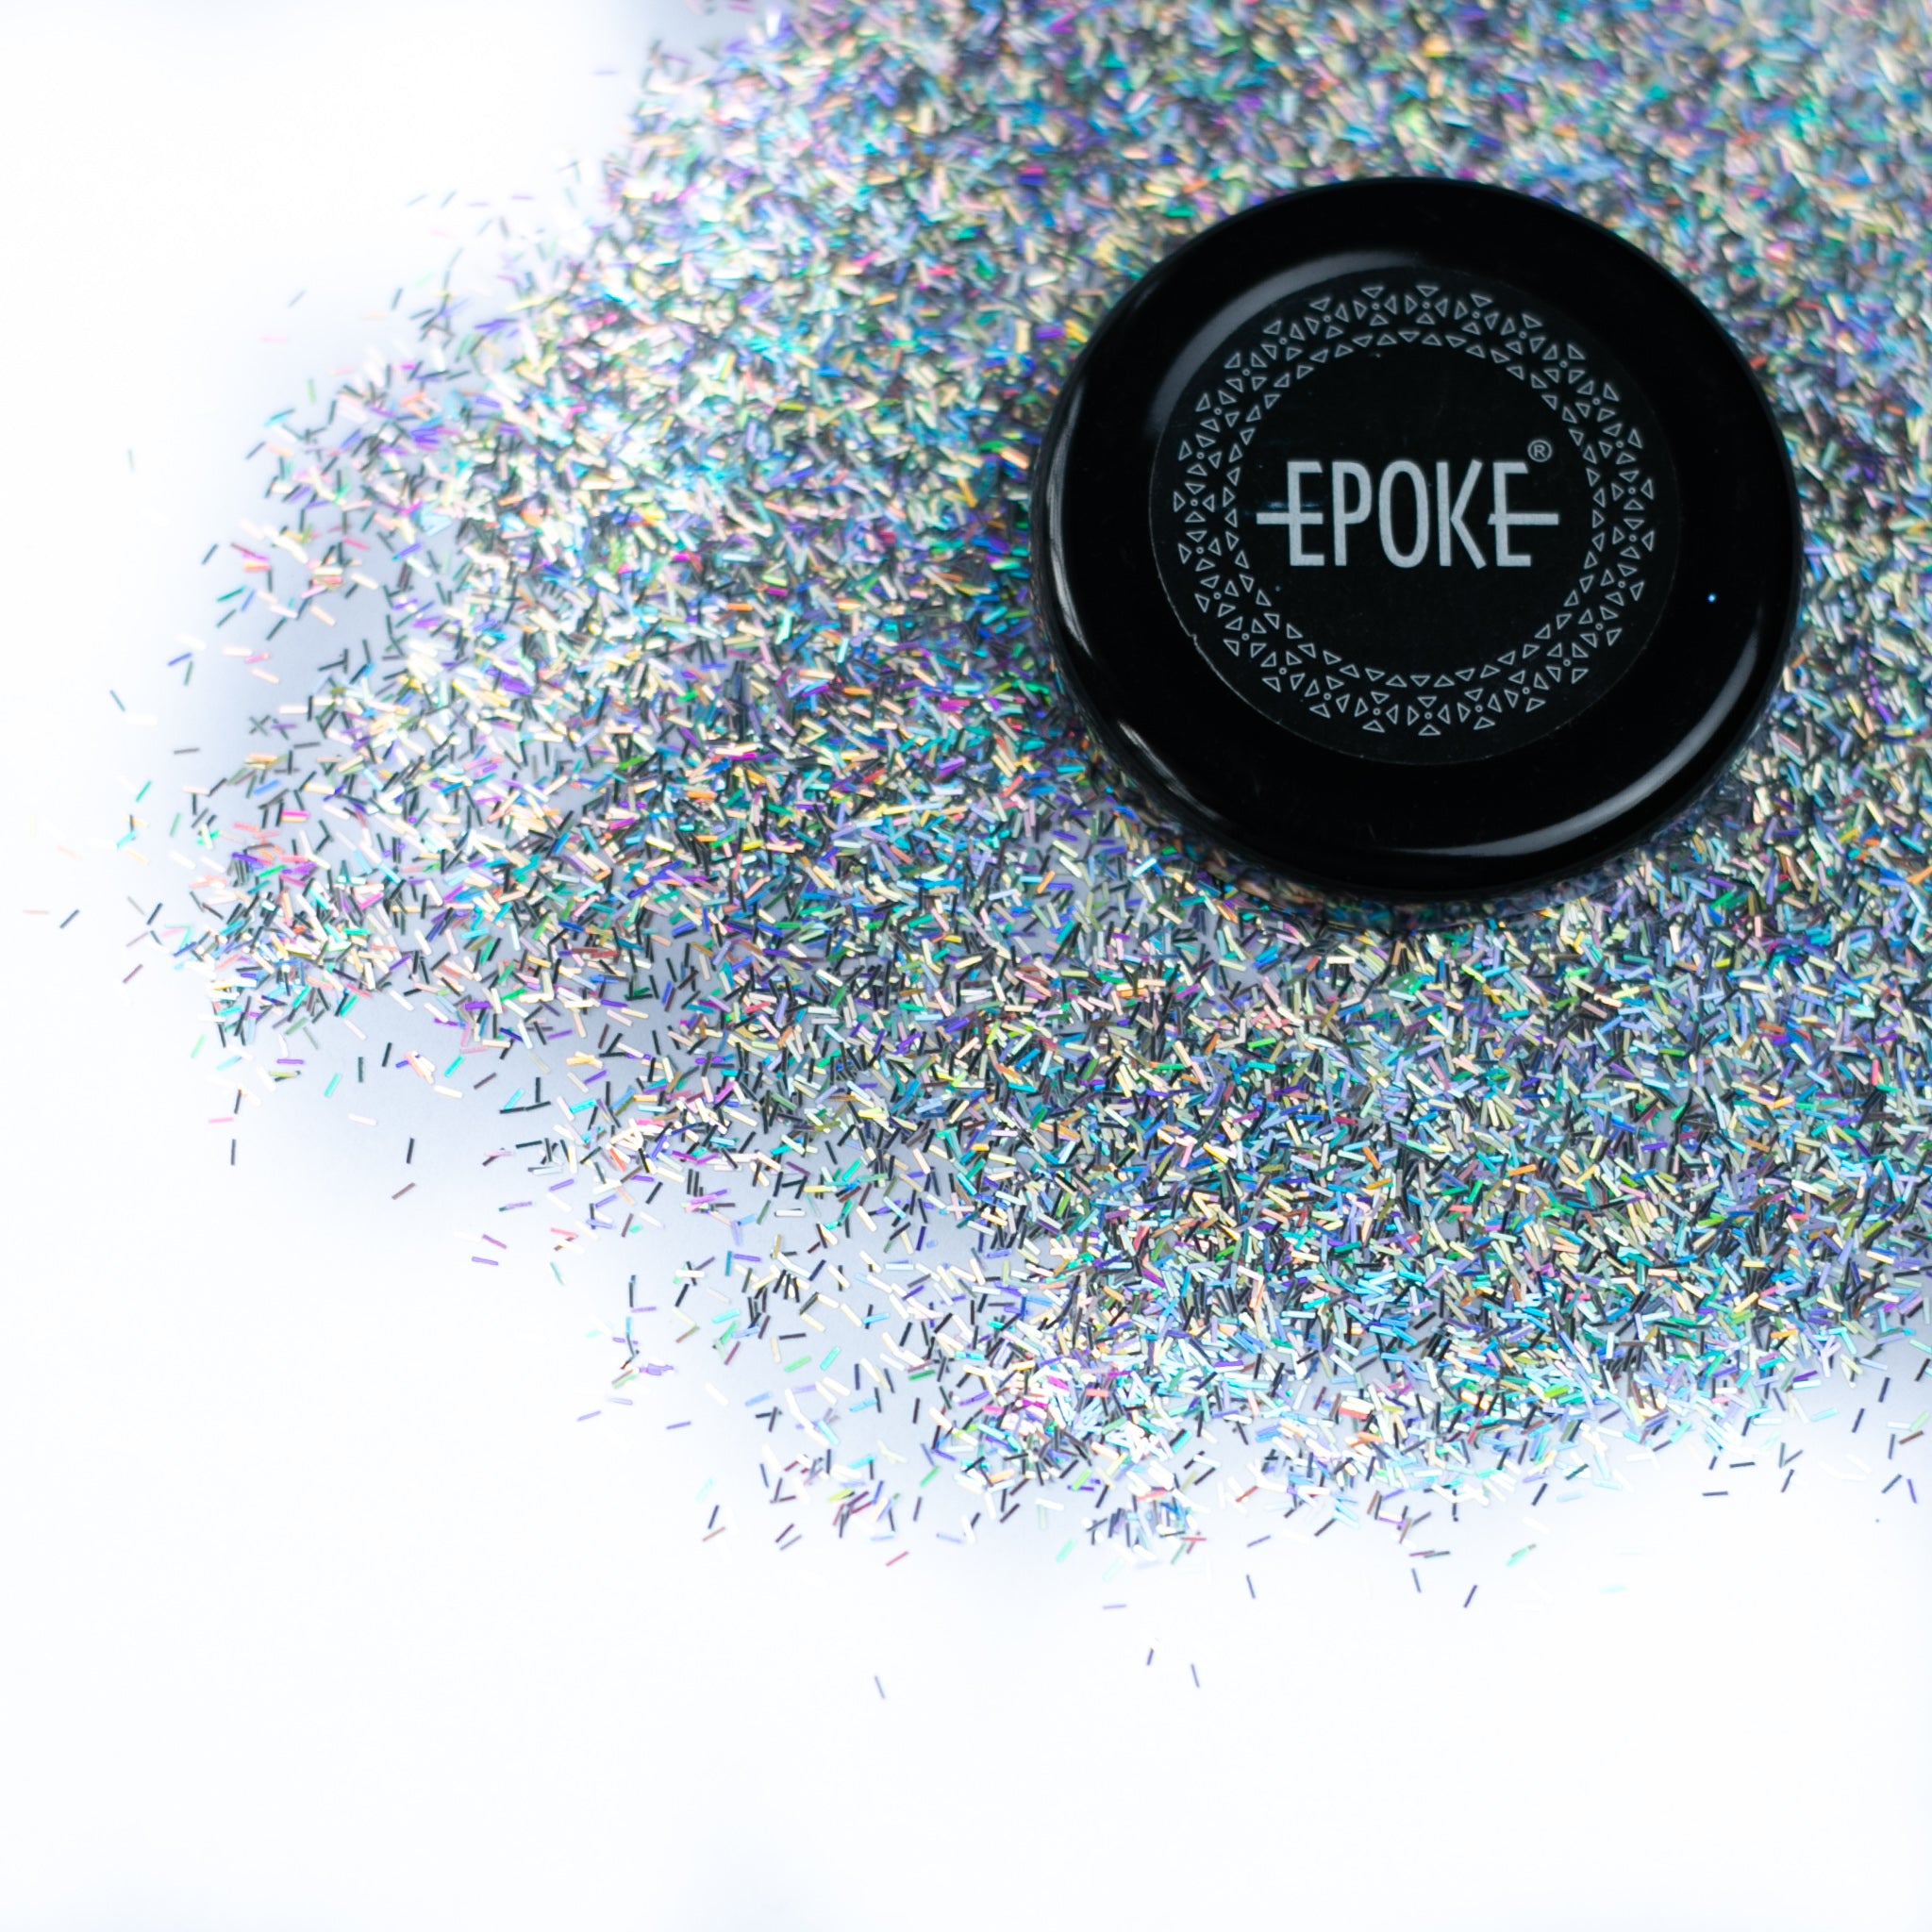
Chunky glitter has larger, visible particles that add texture and depth. Fine glitter gives a smoother, more even sparkle with less visible shape.
4. Should I mix glitter into the resin or sprinkle it on top?
Both work well. Mixing gives even coverage throughout the piece. Sprinkling between layers creates a floating, dimensional effect.
5. Do I need extra topcoats when using chunky glitter in resin?
A topcoat isn't required, but it protects glitter edges and gives the surface extra shine. Most people add one for a smoother, more finished look.