


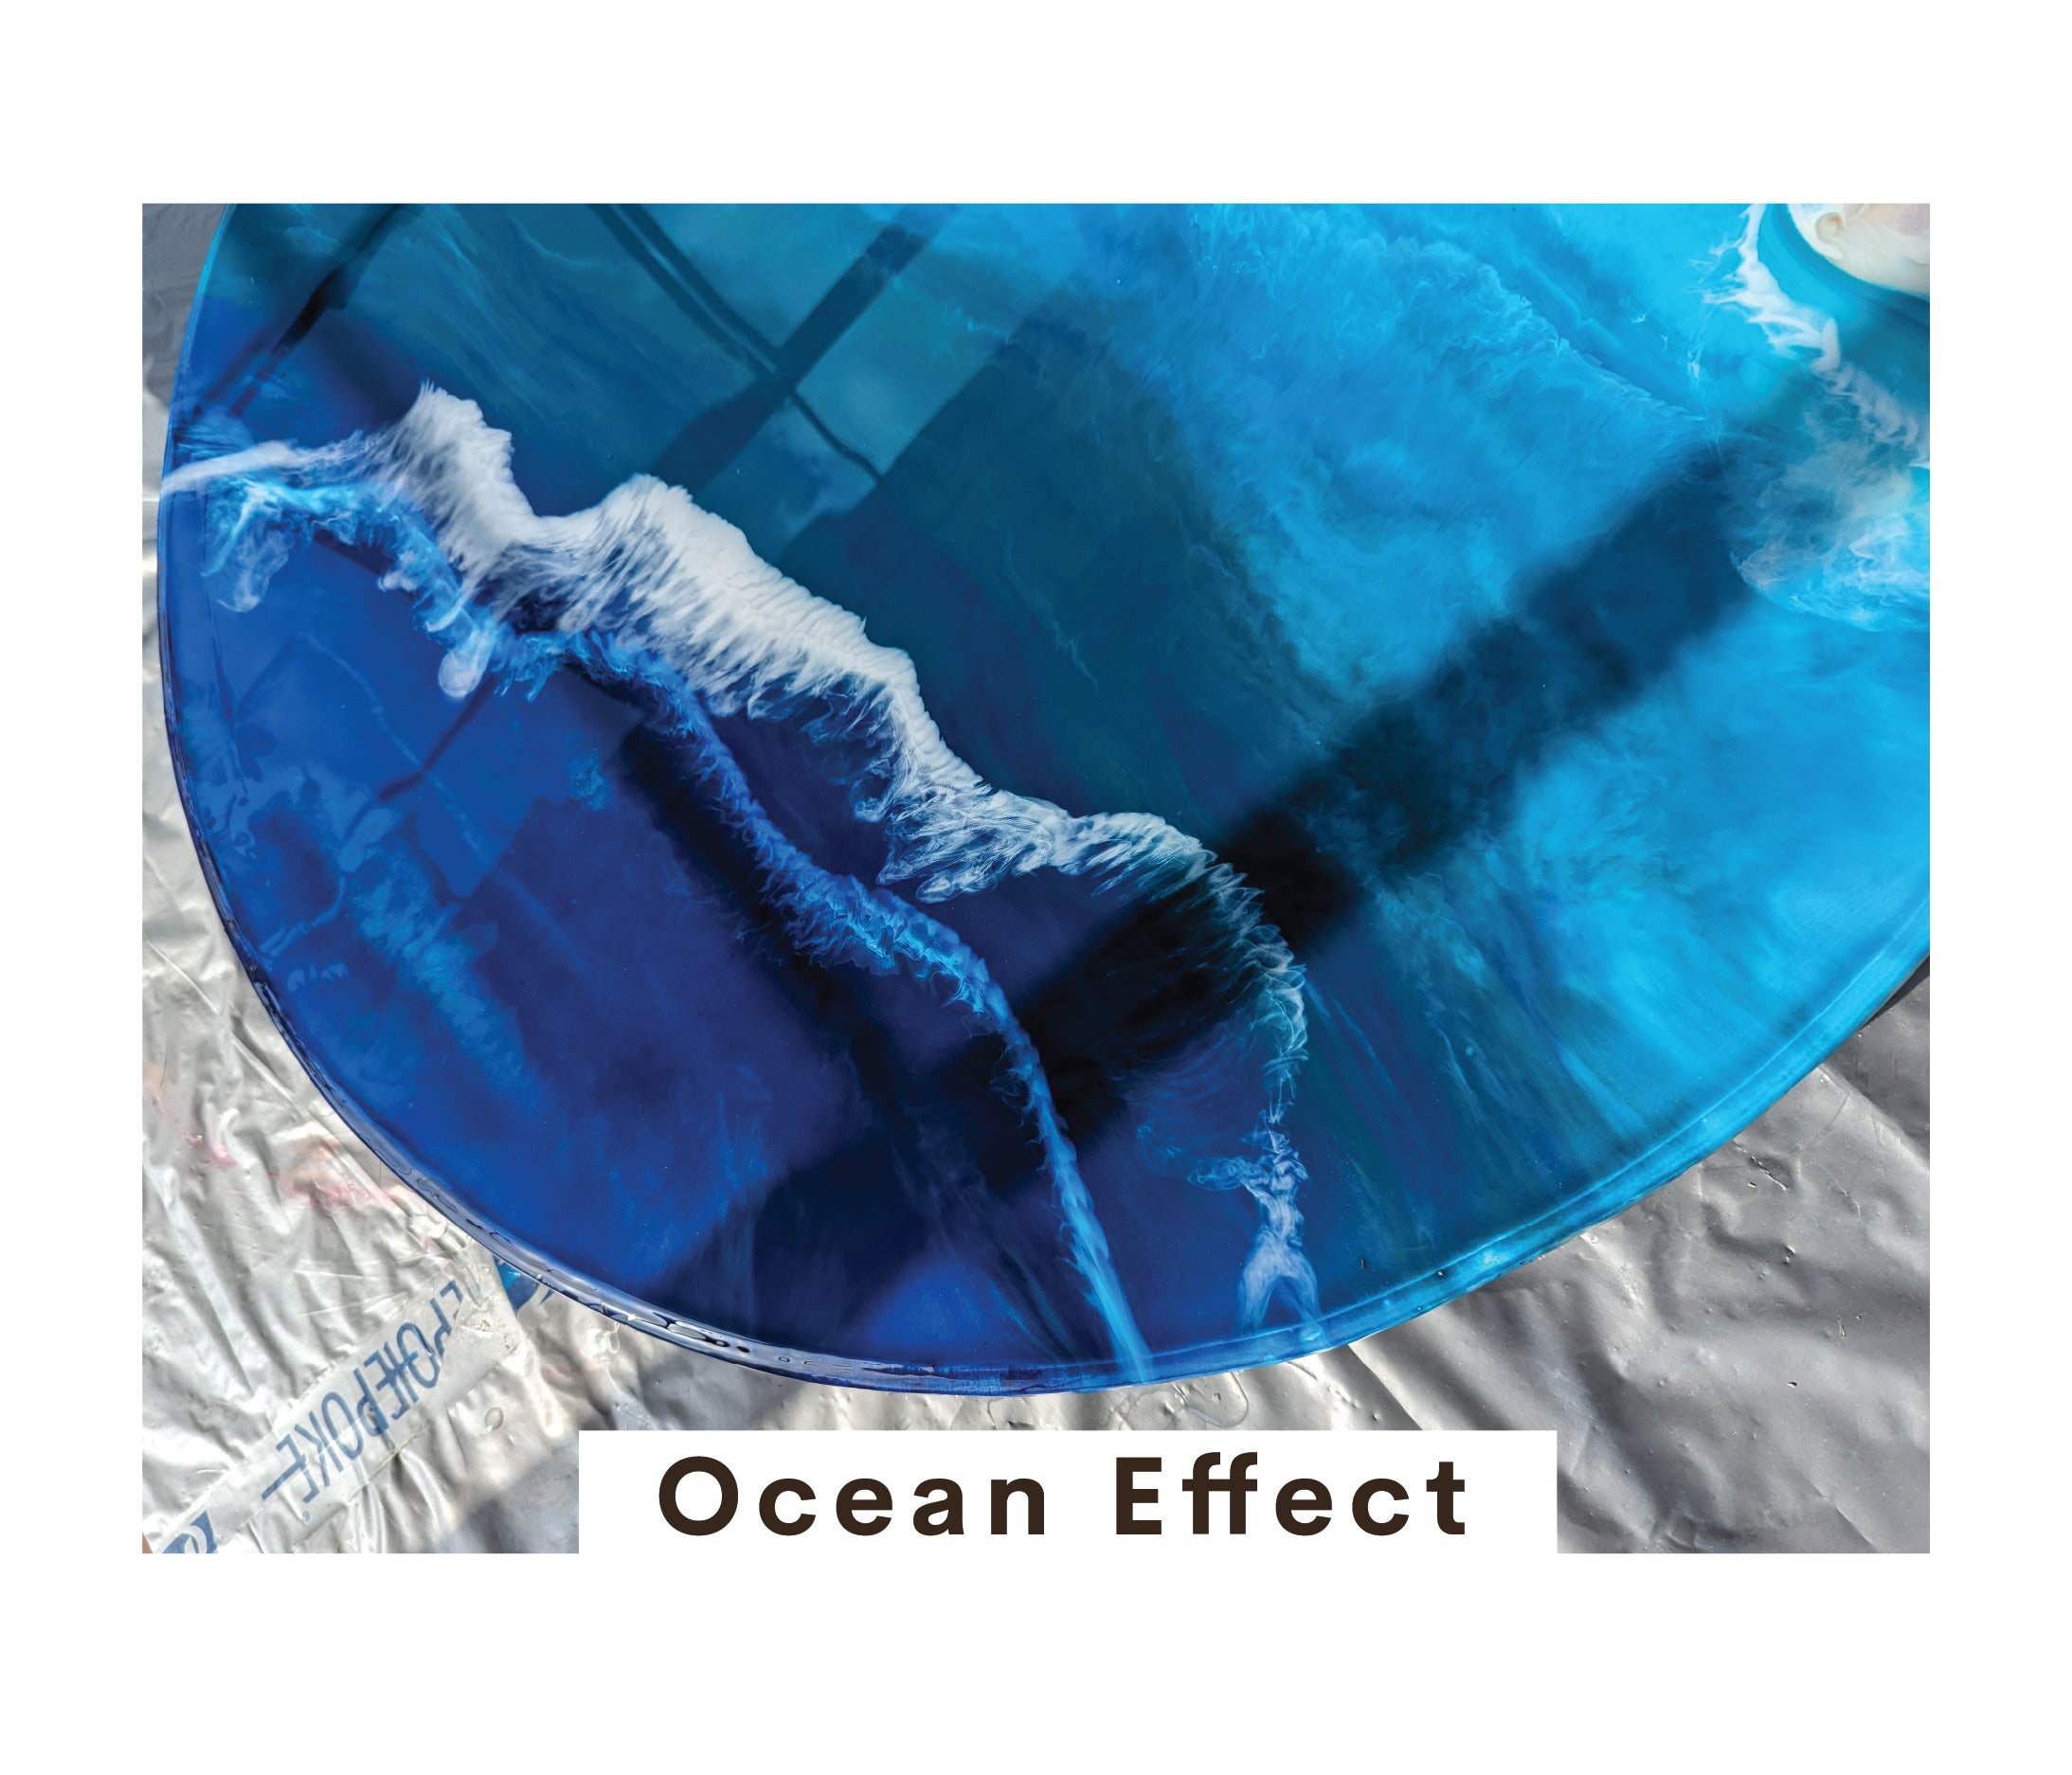


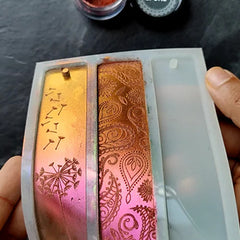


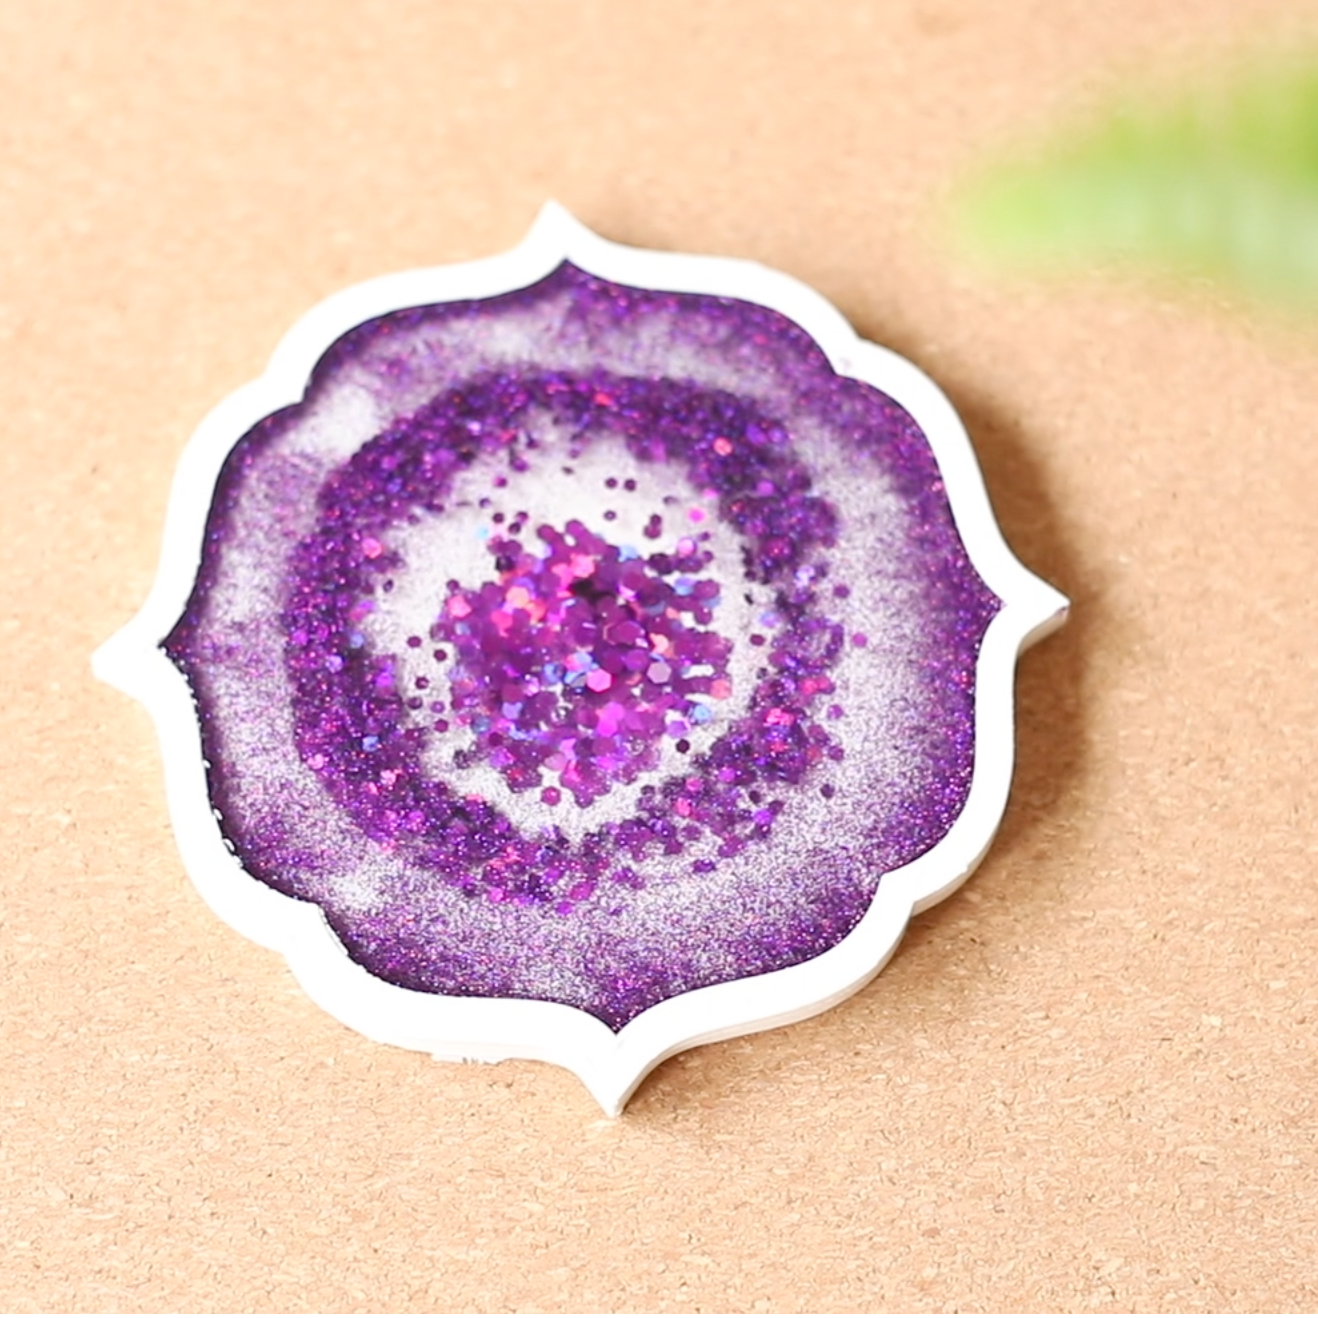
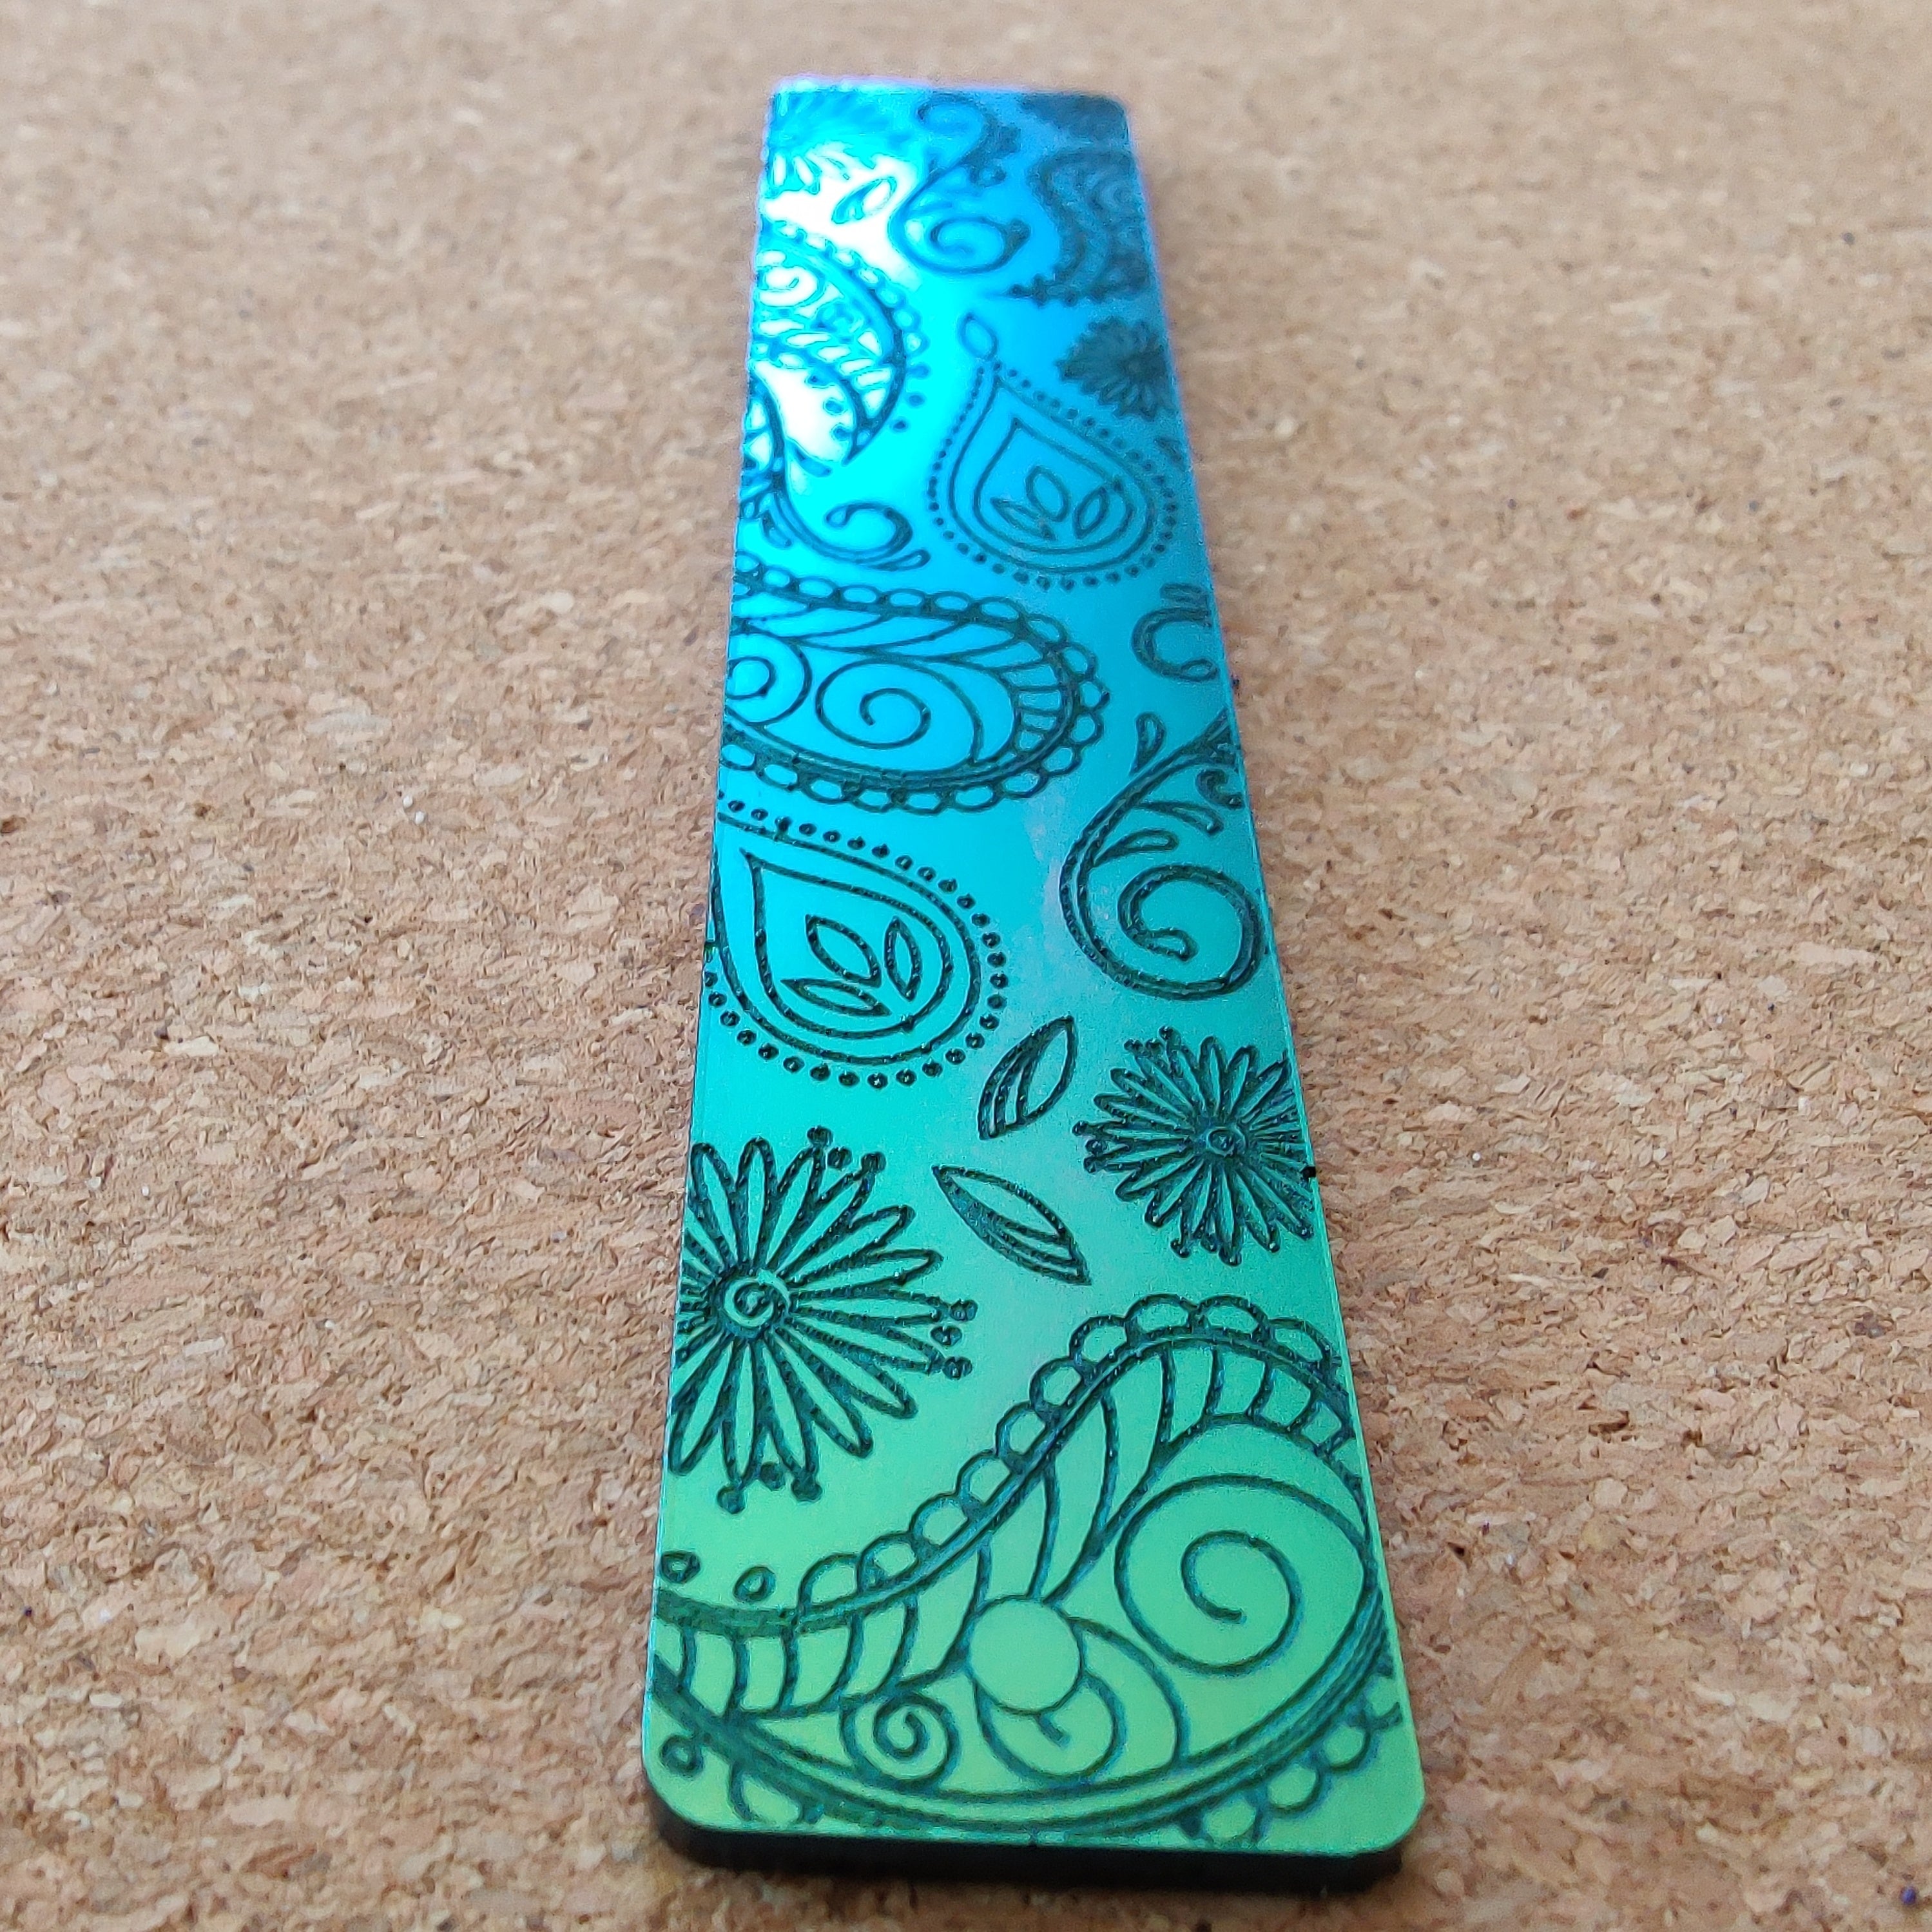
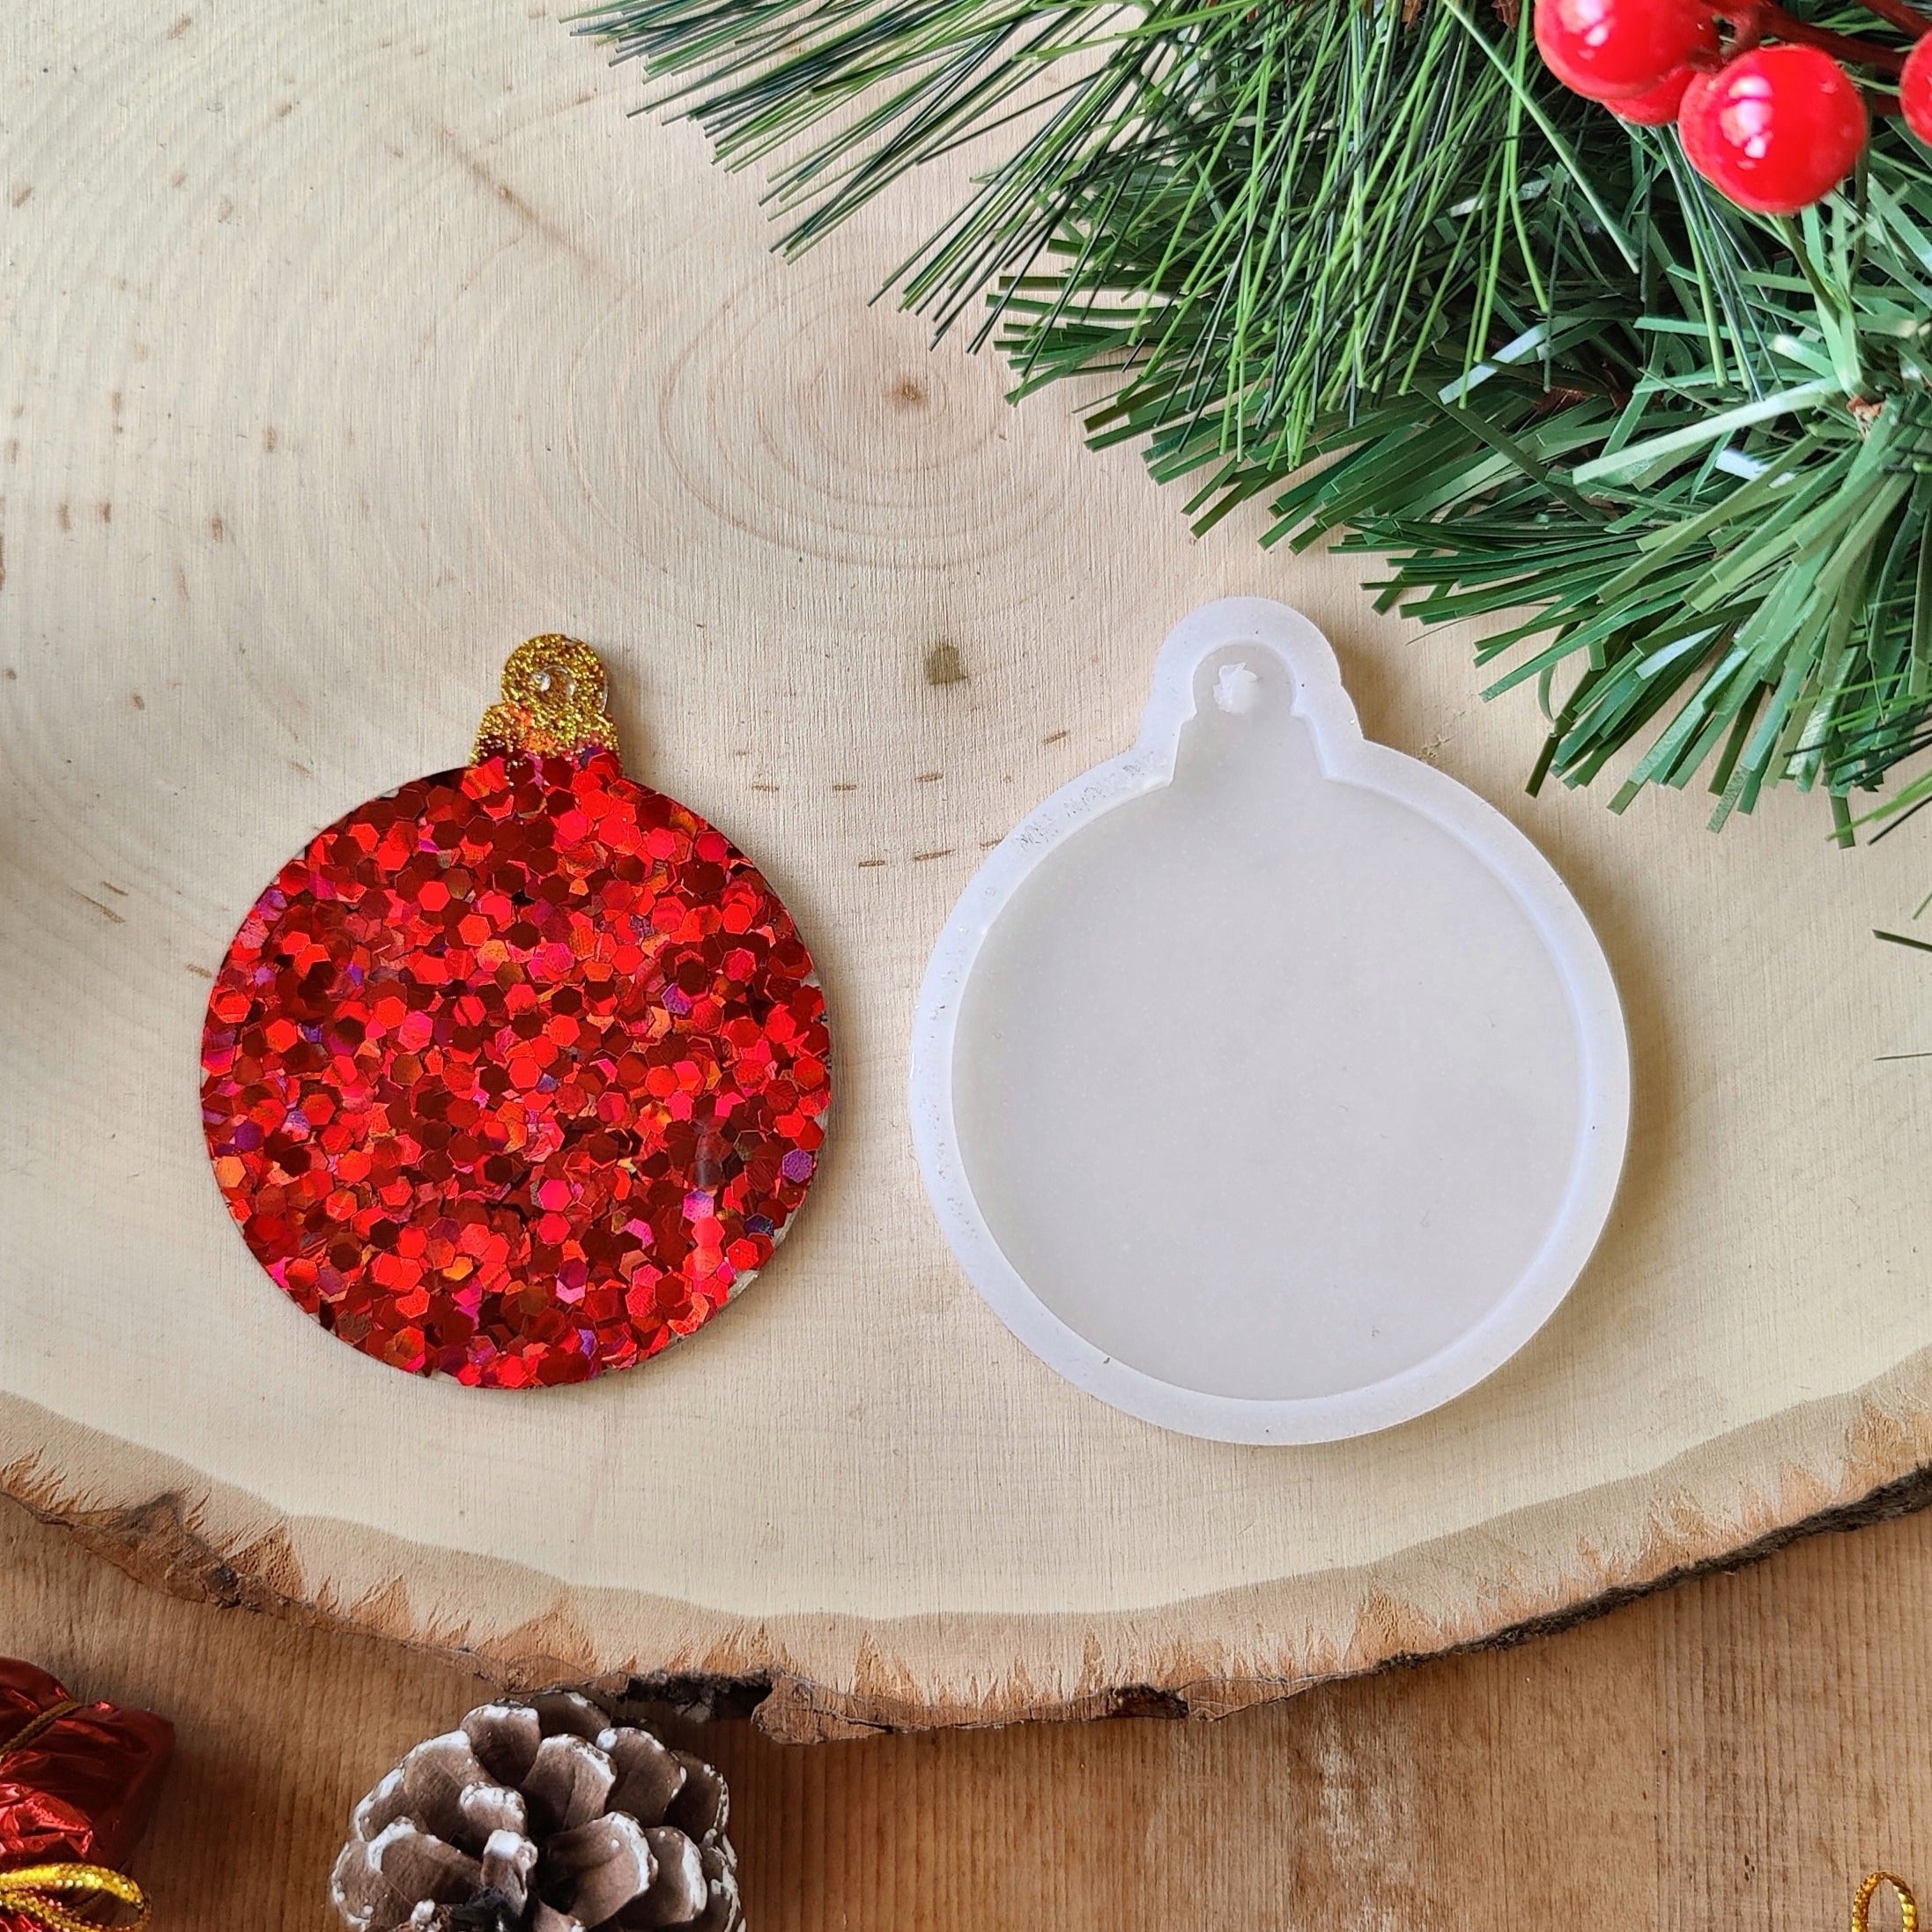


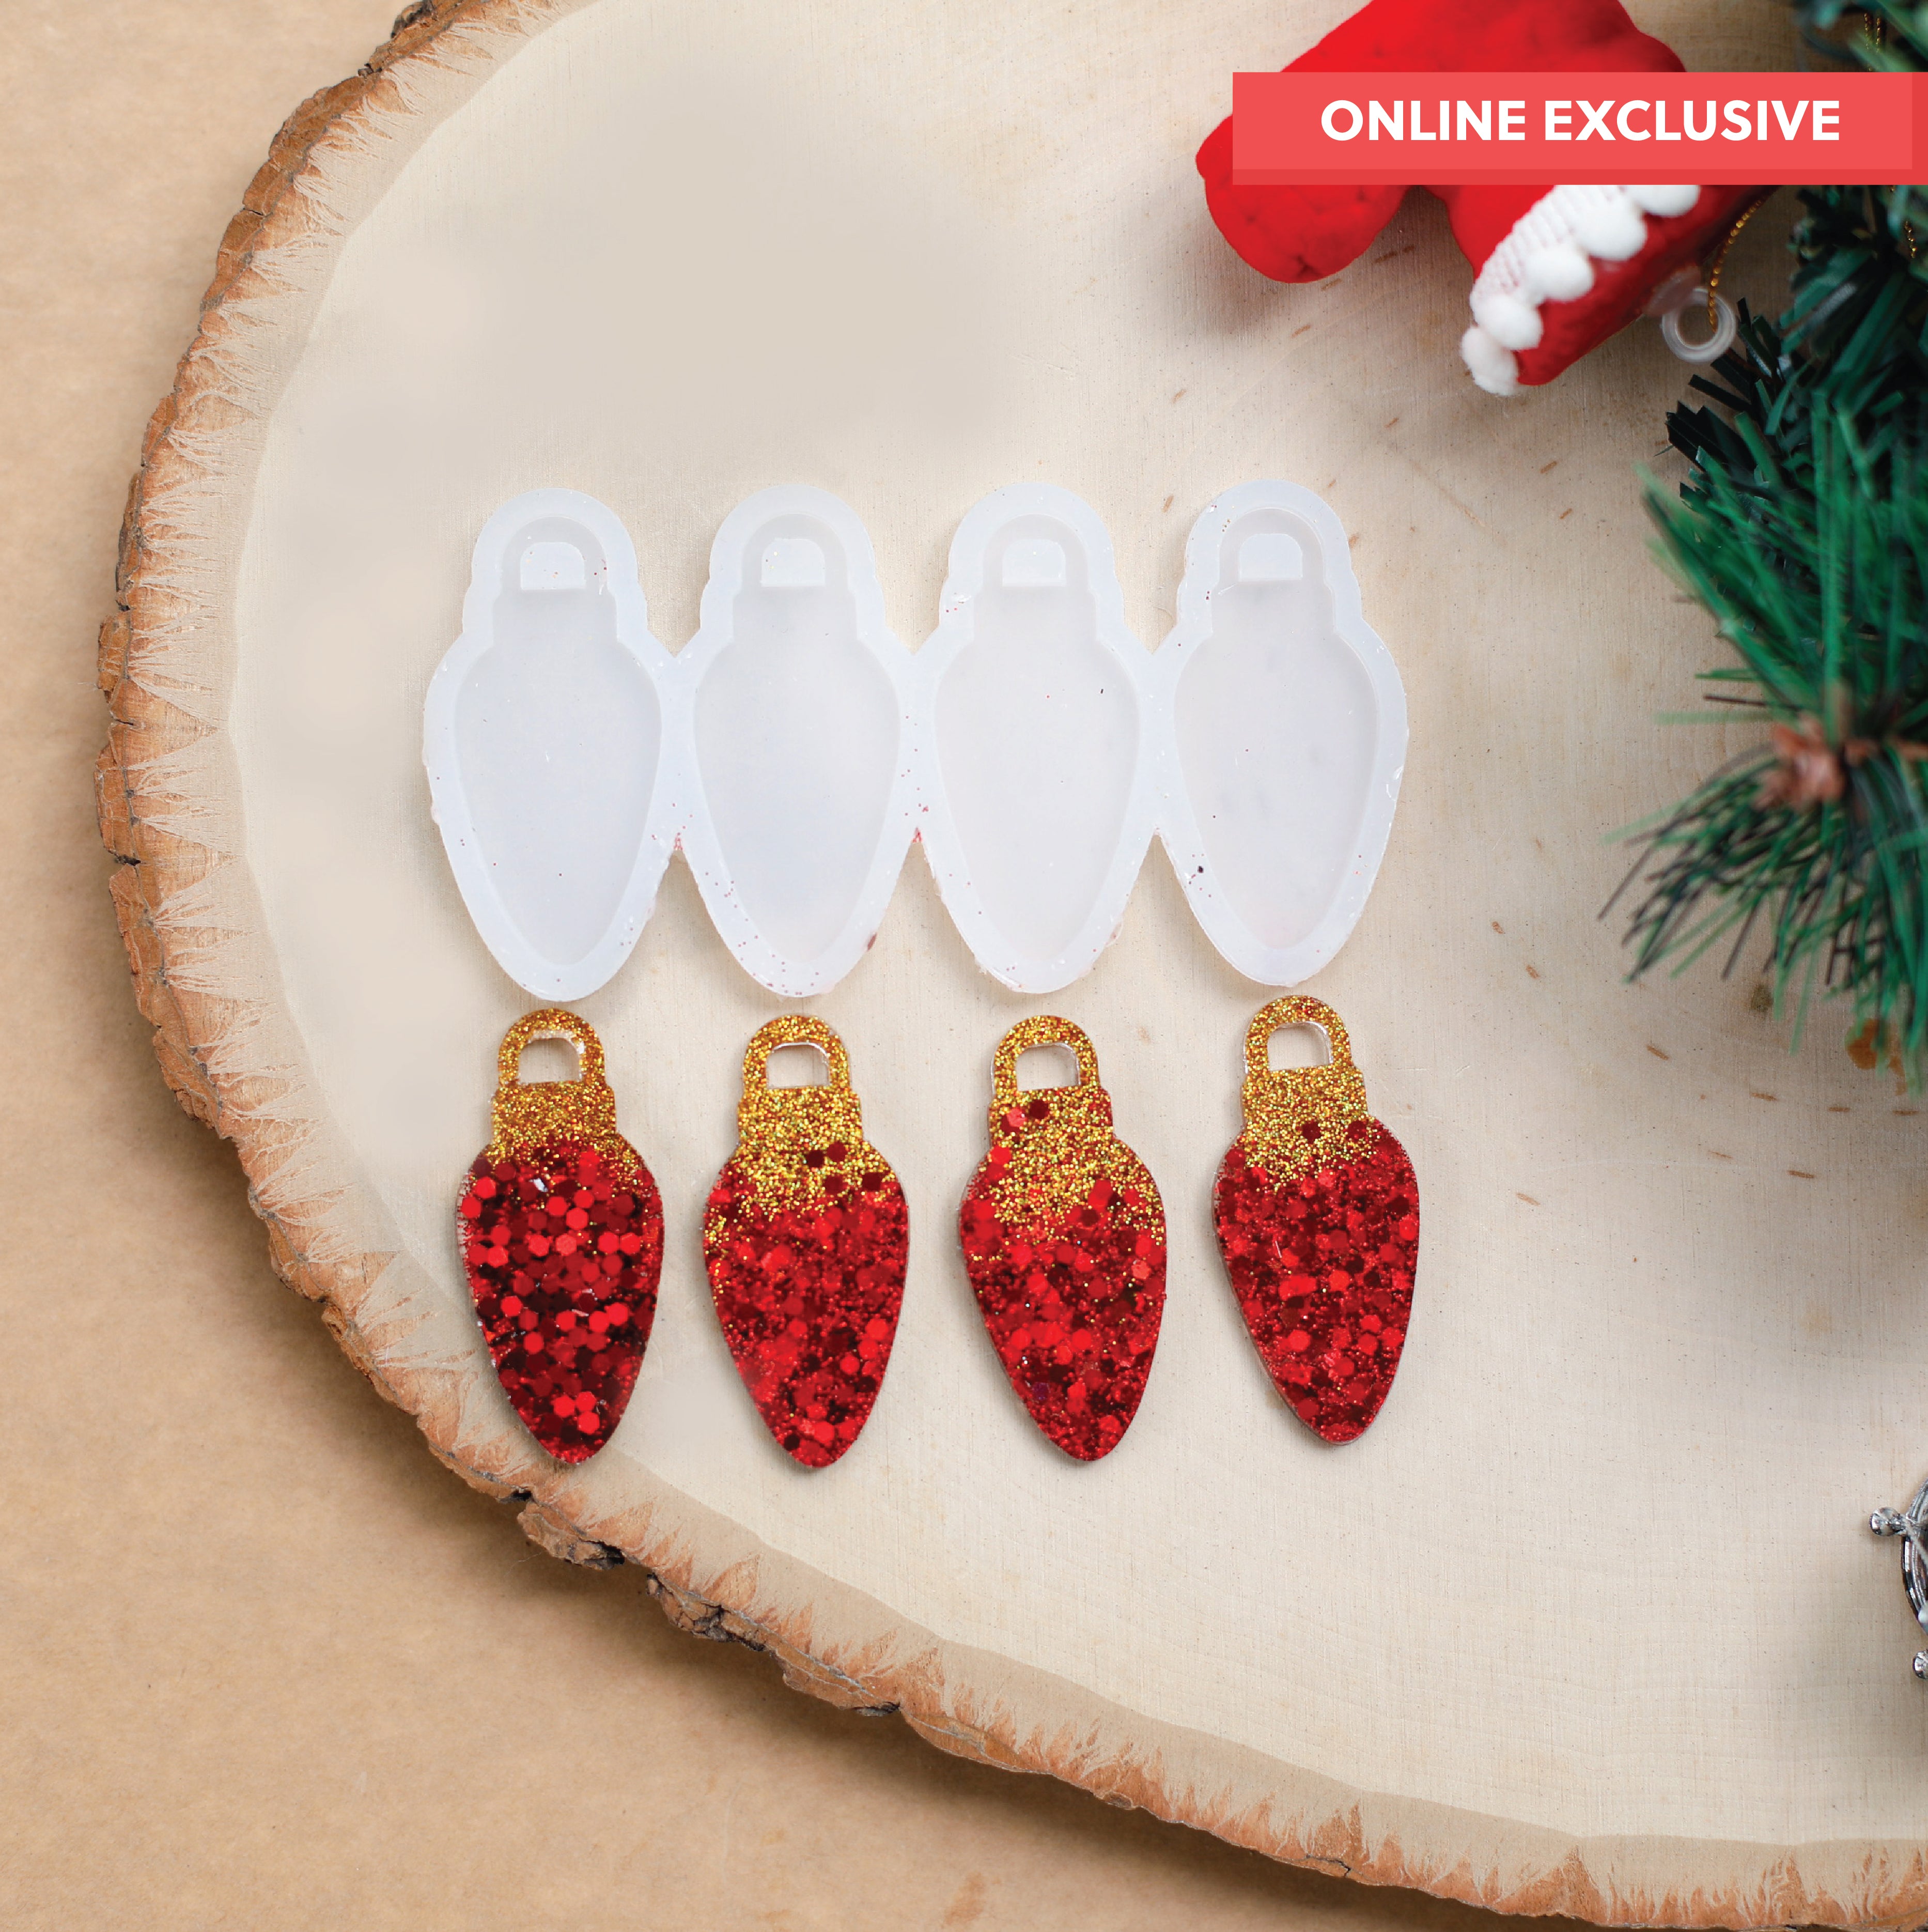
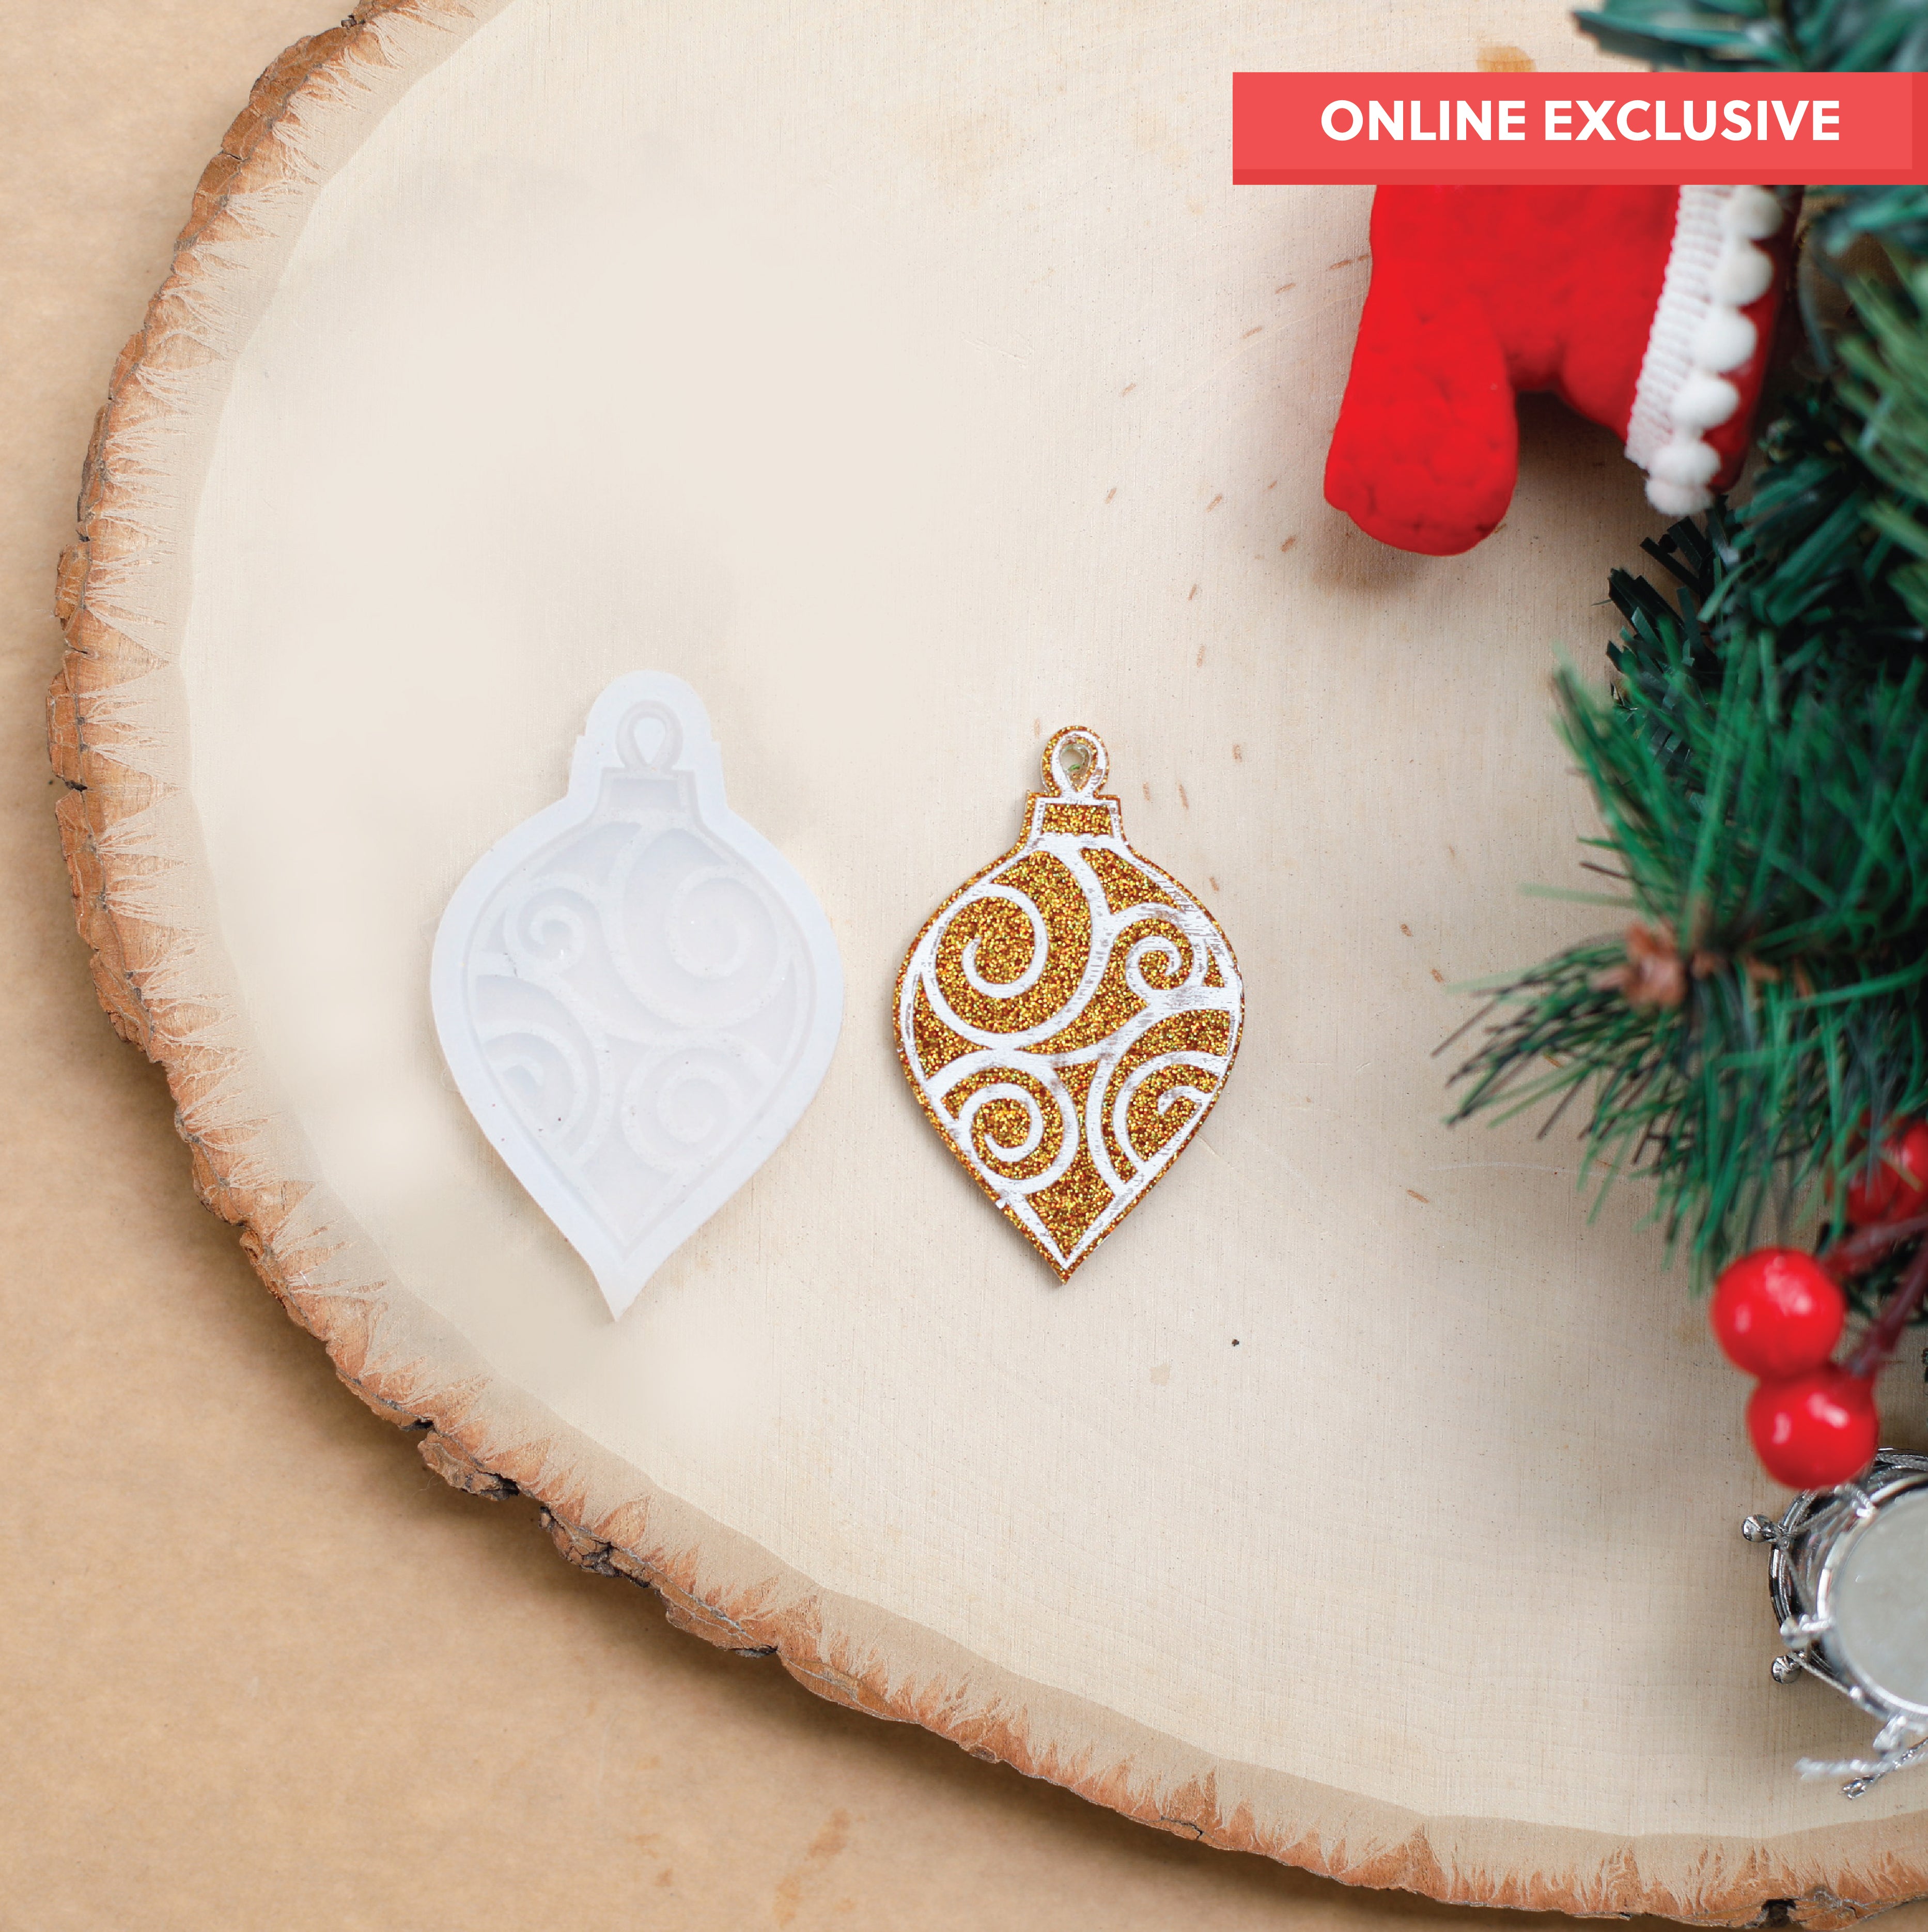

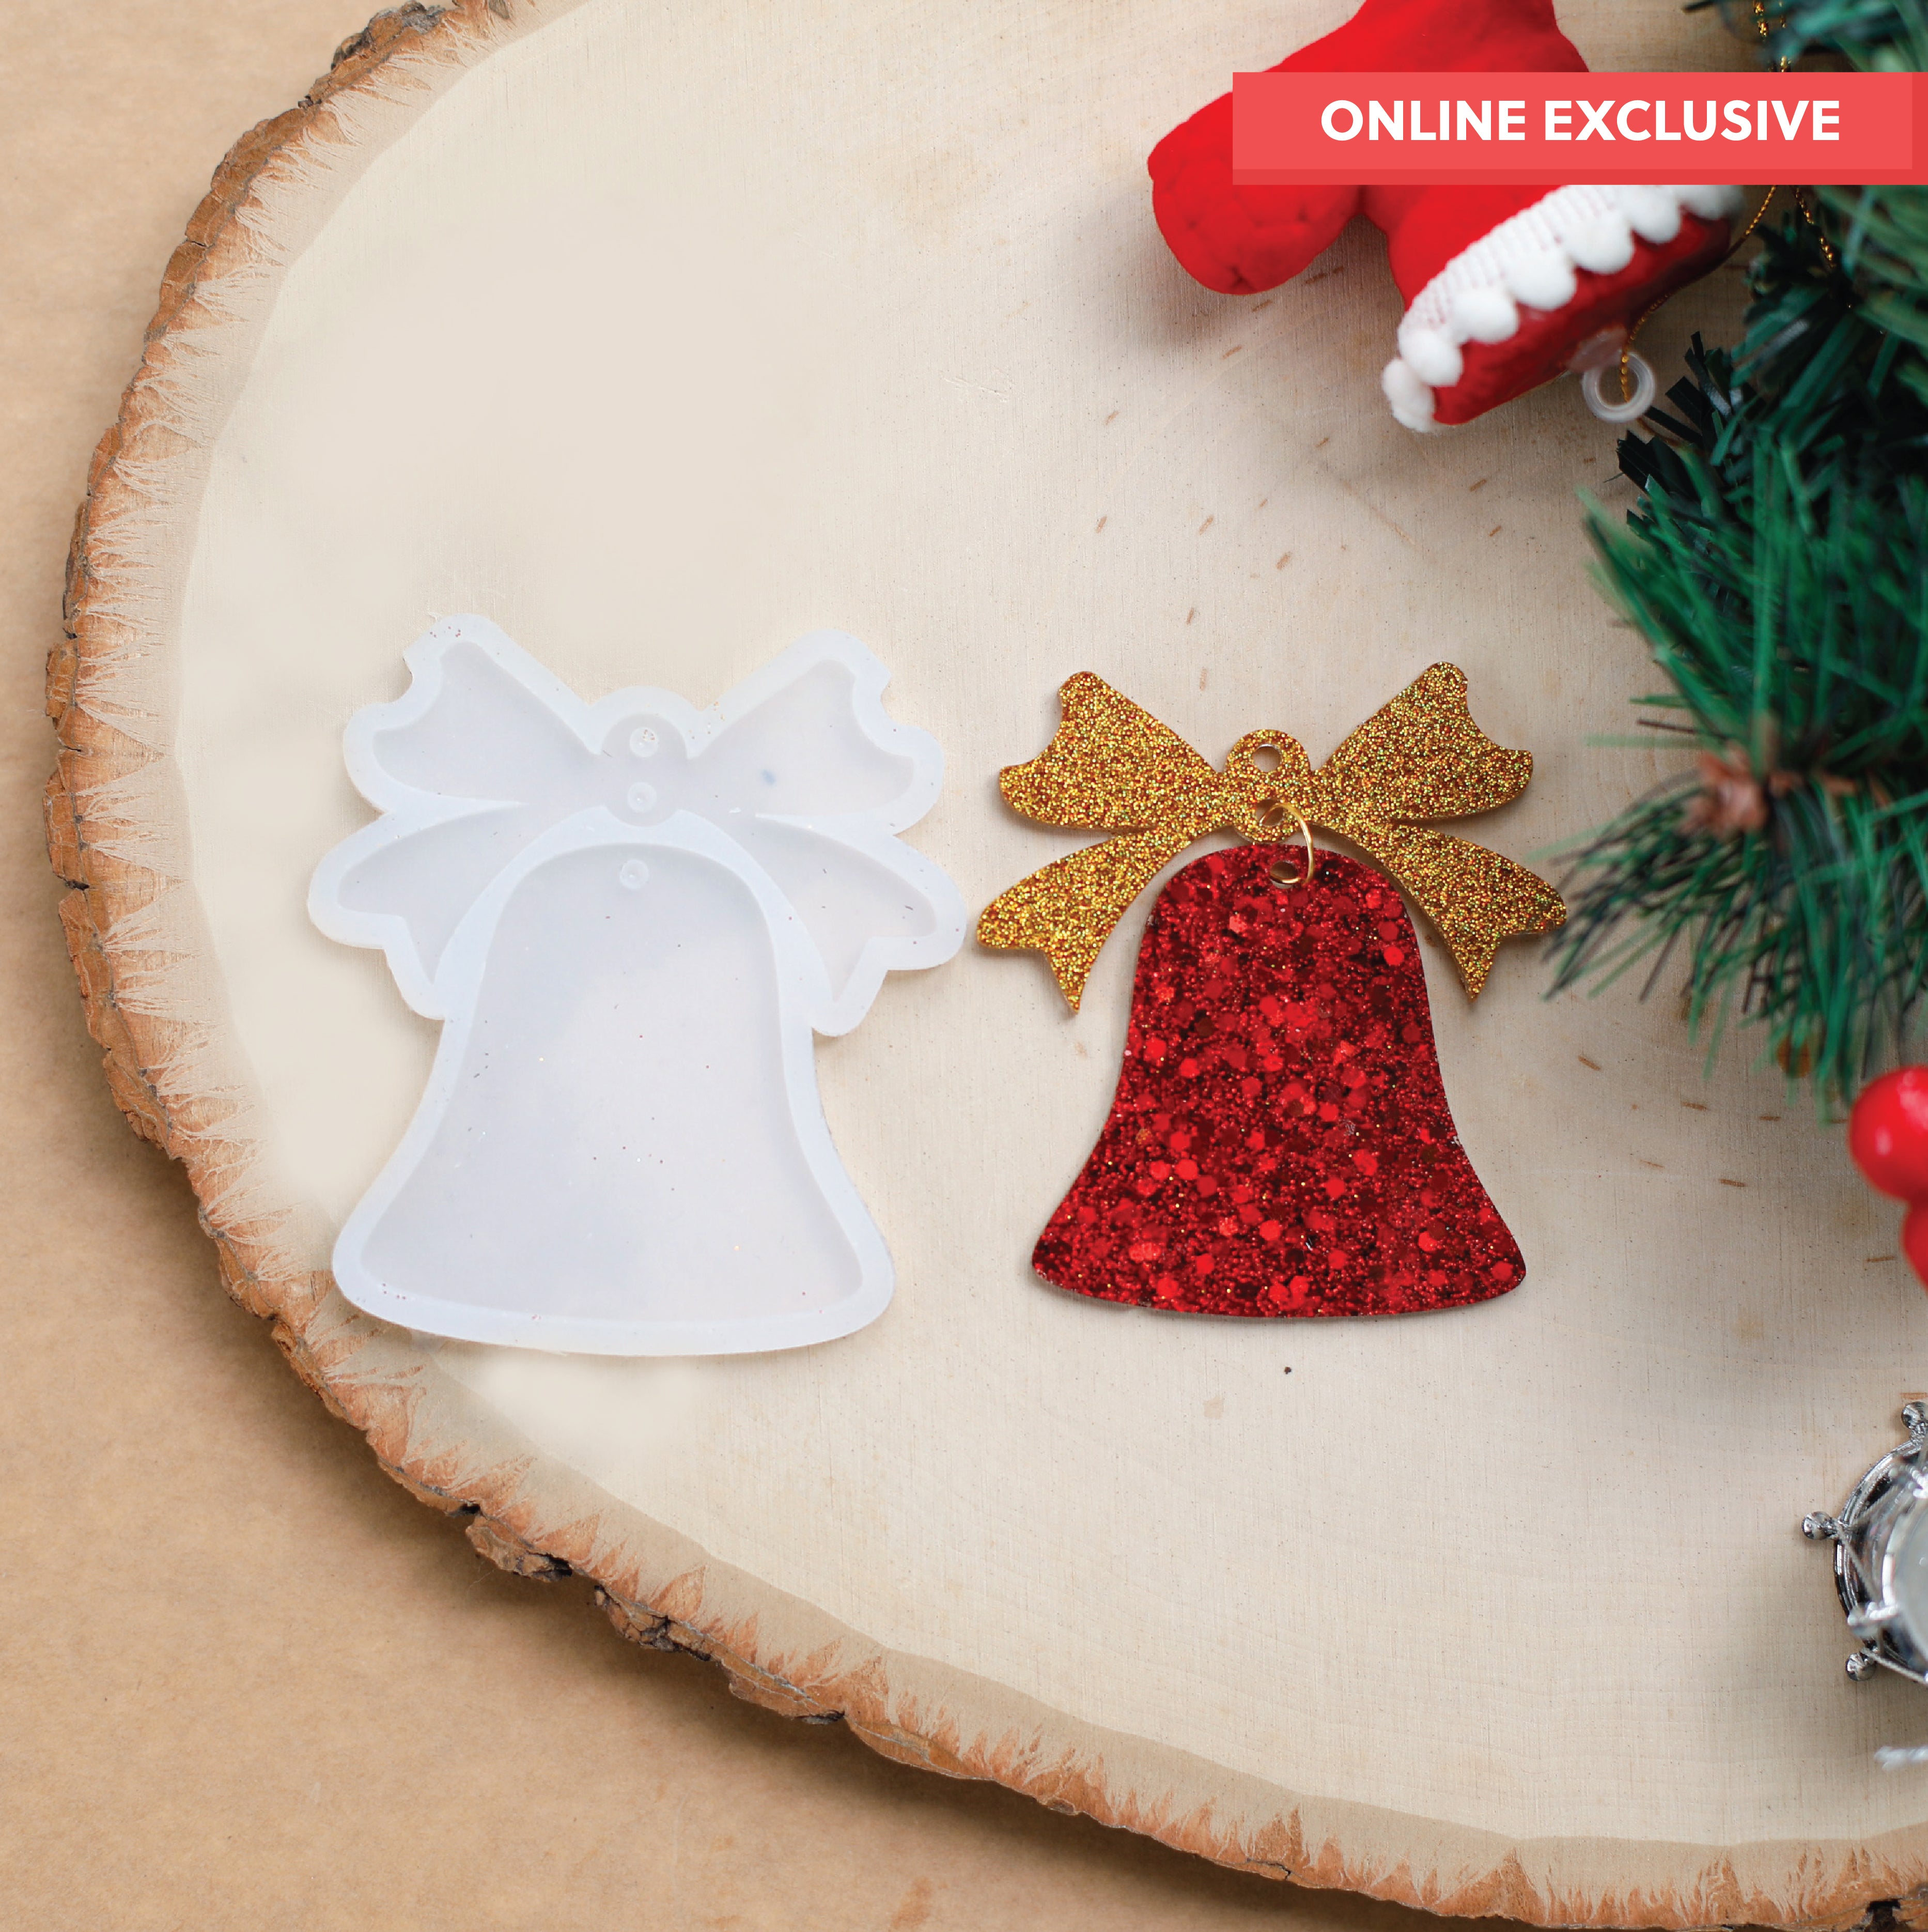
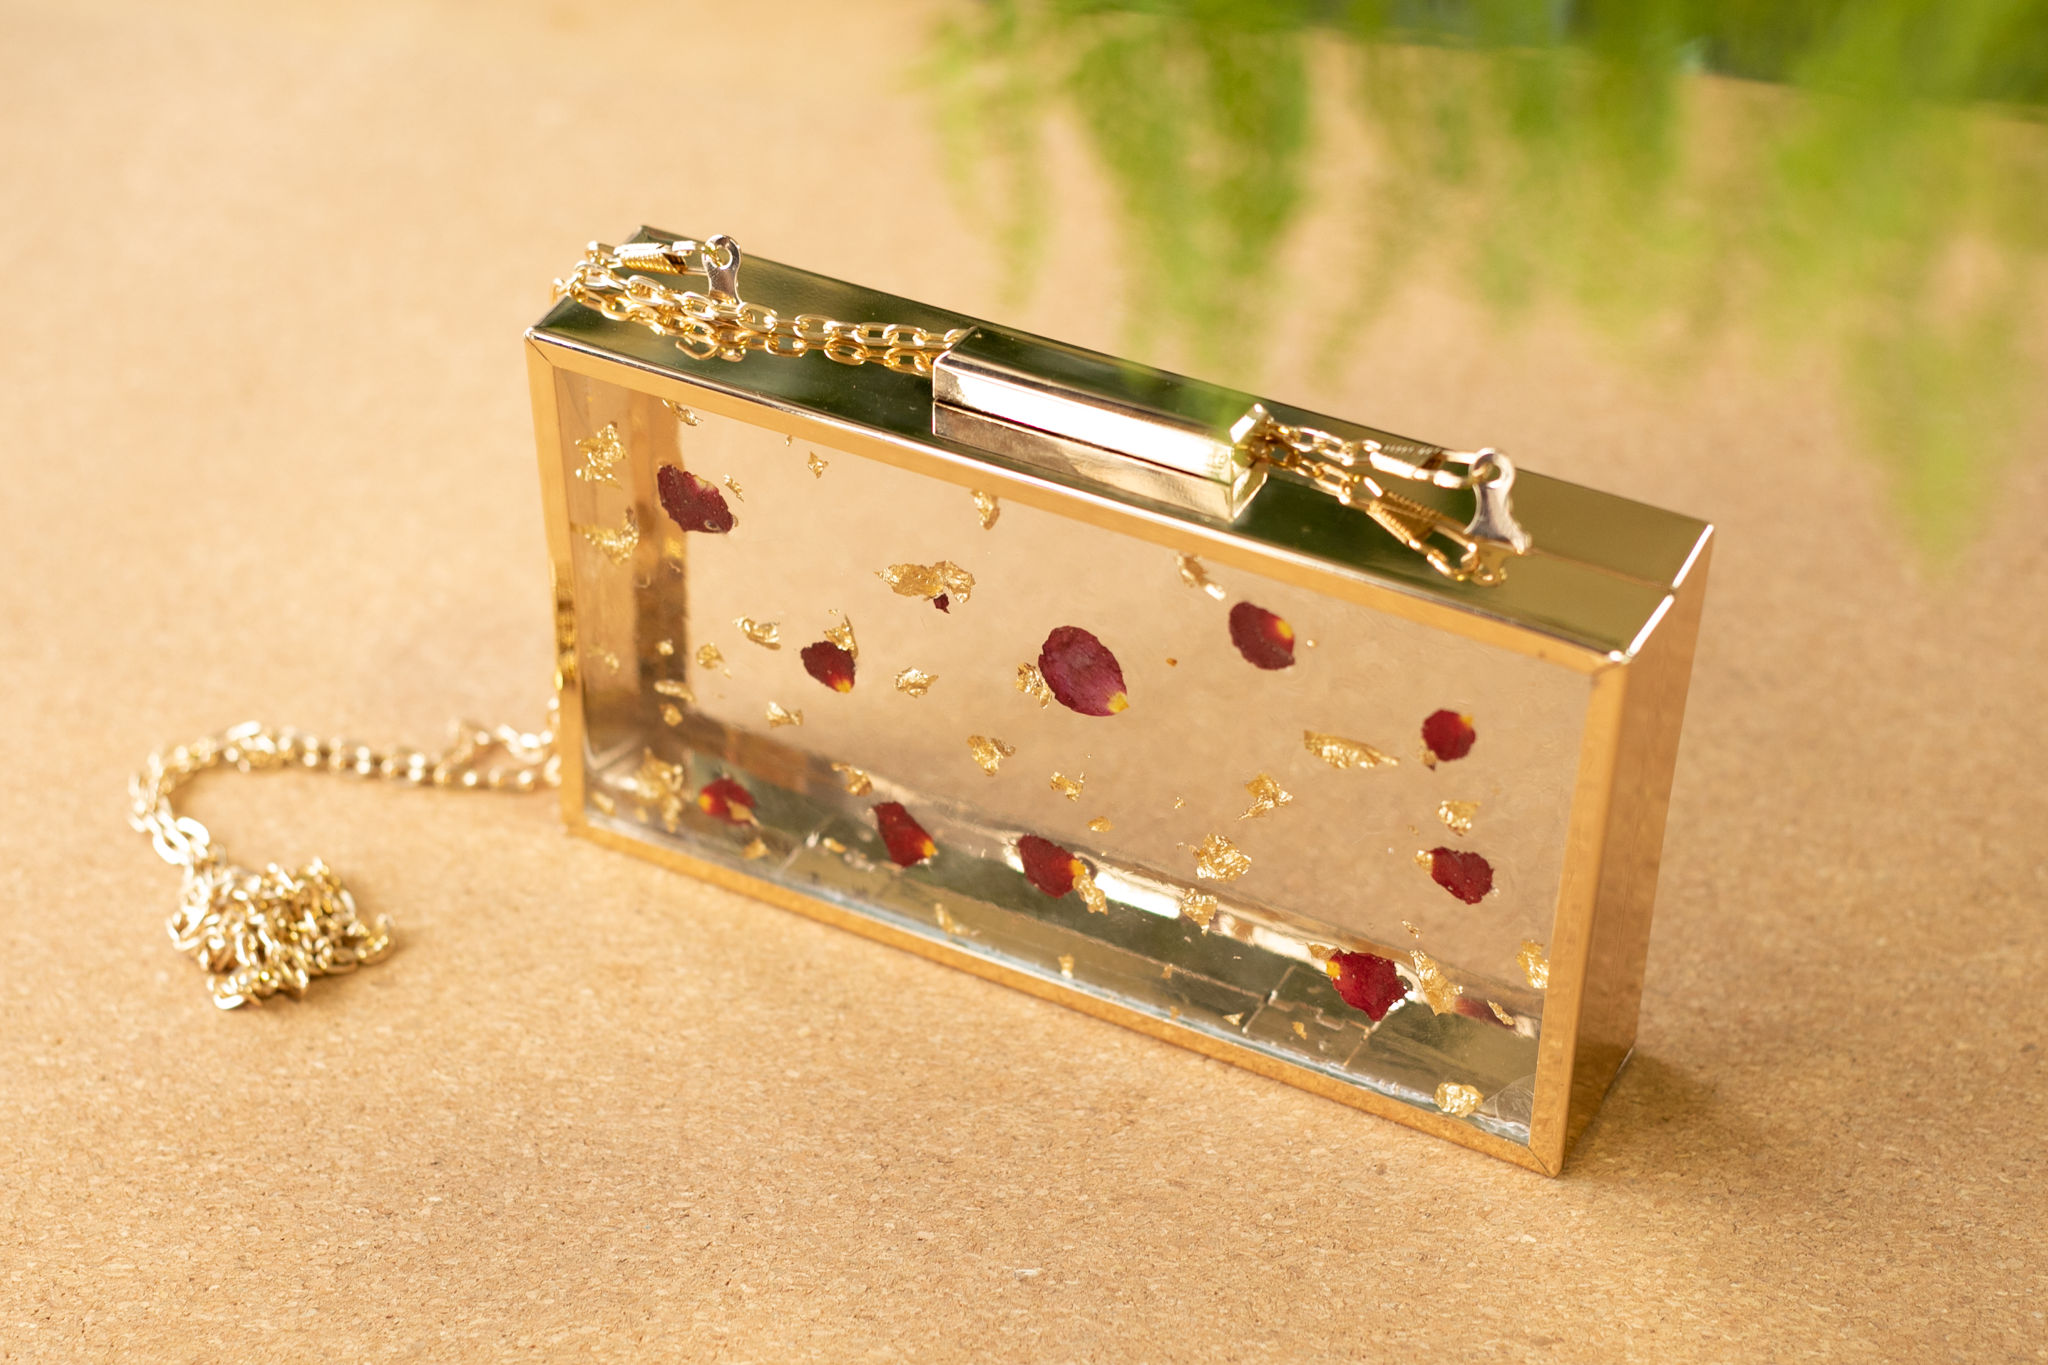


The glitter inside the cured resin looks incredible. Whether you are making coasters, jewellery, trays, or wall art, adding glitter for resin art turns a good piece into a great one.
But if your glitter has ever bled colour, sunk to the bottom, or clumped up mid-pour, you know the problem is not your skill. It is your materials and method.
This guide covers everything you need: which glitter to pick, how to add it, the right ratios, and how to fix the most common mistakes. Written for artists and hobbyists buying resin glitter in India.
Key Takeaways
-
Use non-bleeding, resin-compatible glitter. Regular craft or nail glitter causes colour bleed and inconsistent results.
-
Chunky glitter creates bold layered effects. Fine glitter gives smooth, even shimmer. Mix glitter offers both in one pack.
-
Always add glitter after mixing resin and hardener fully.
-
Start with 5 to 10% glitter by weight of your total resin mix.
-
Prevent sinking by pouring in layers or using fine glitter for single-pour projects.
-
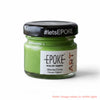
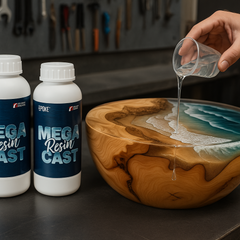
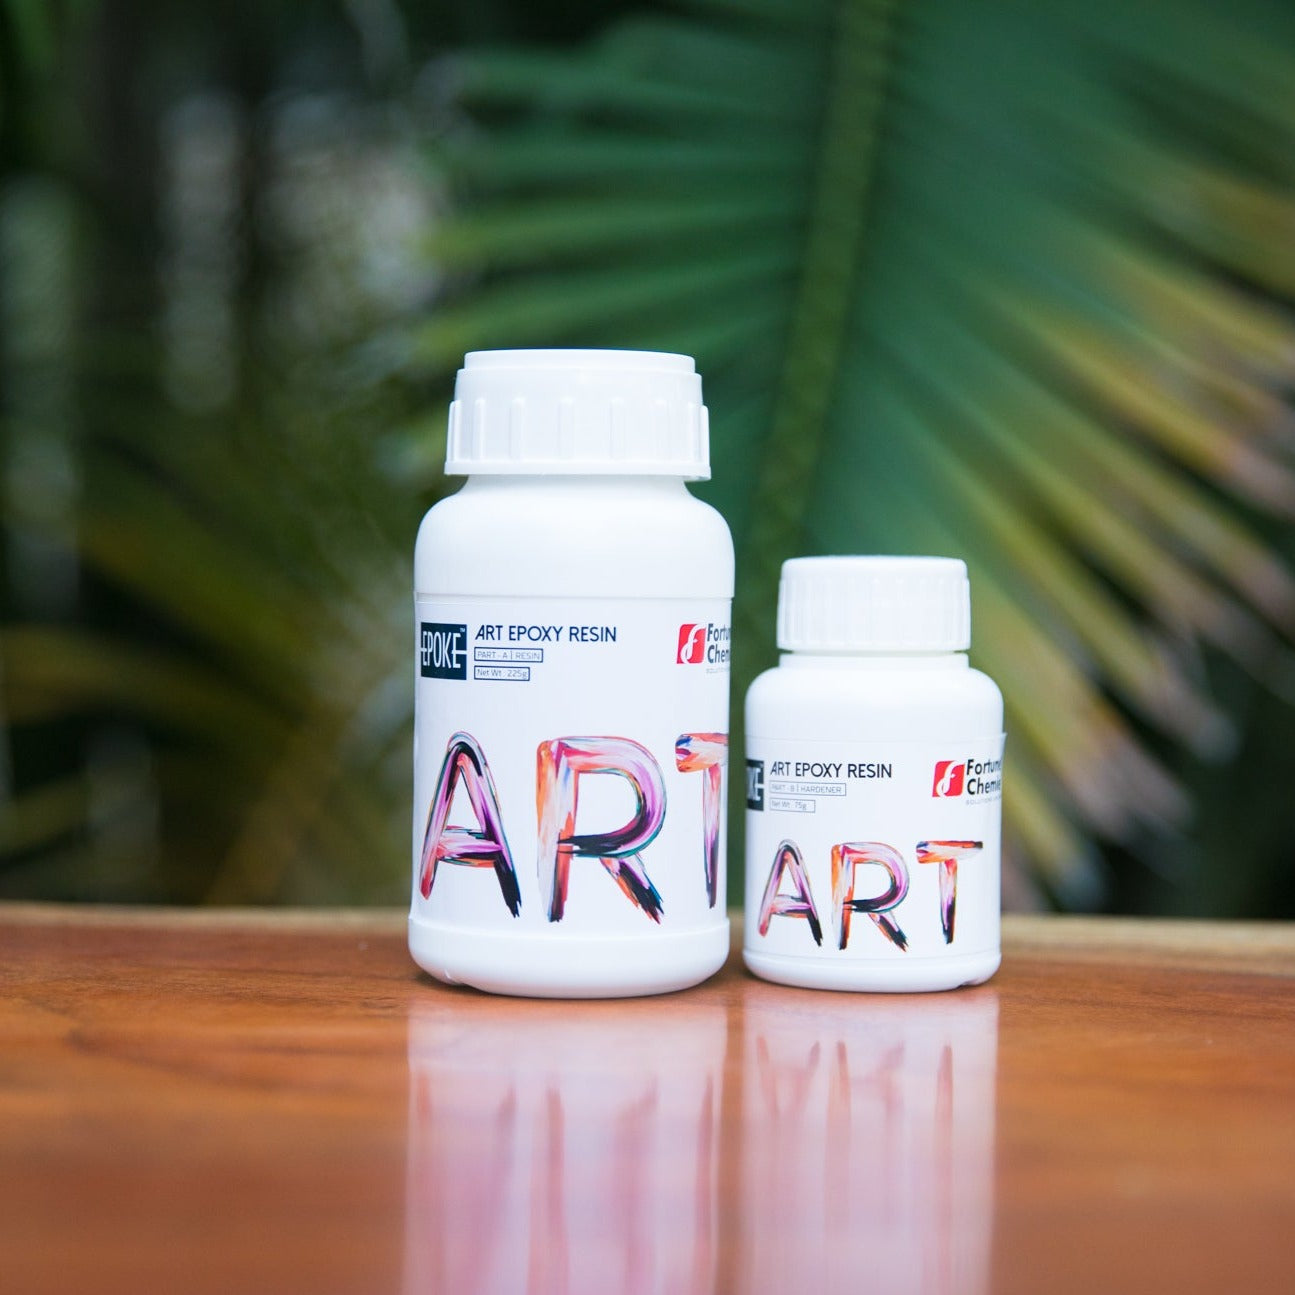
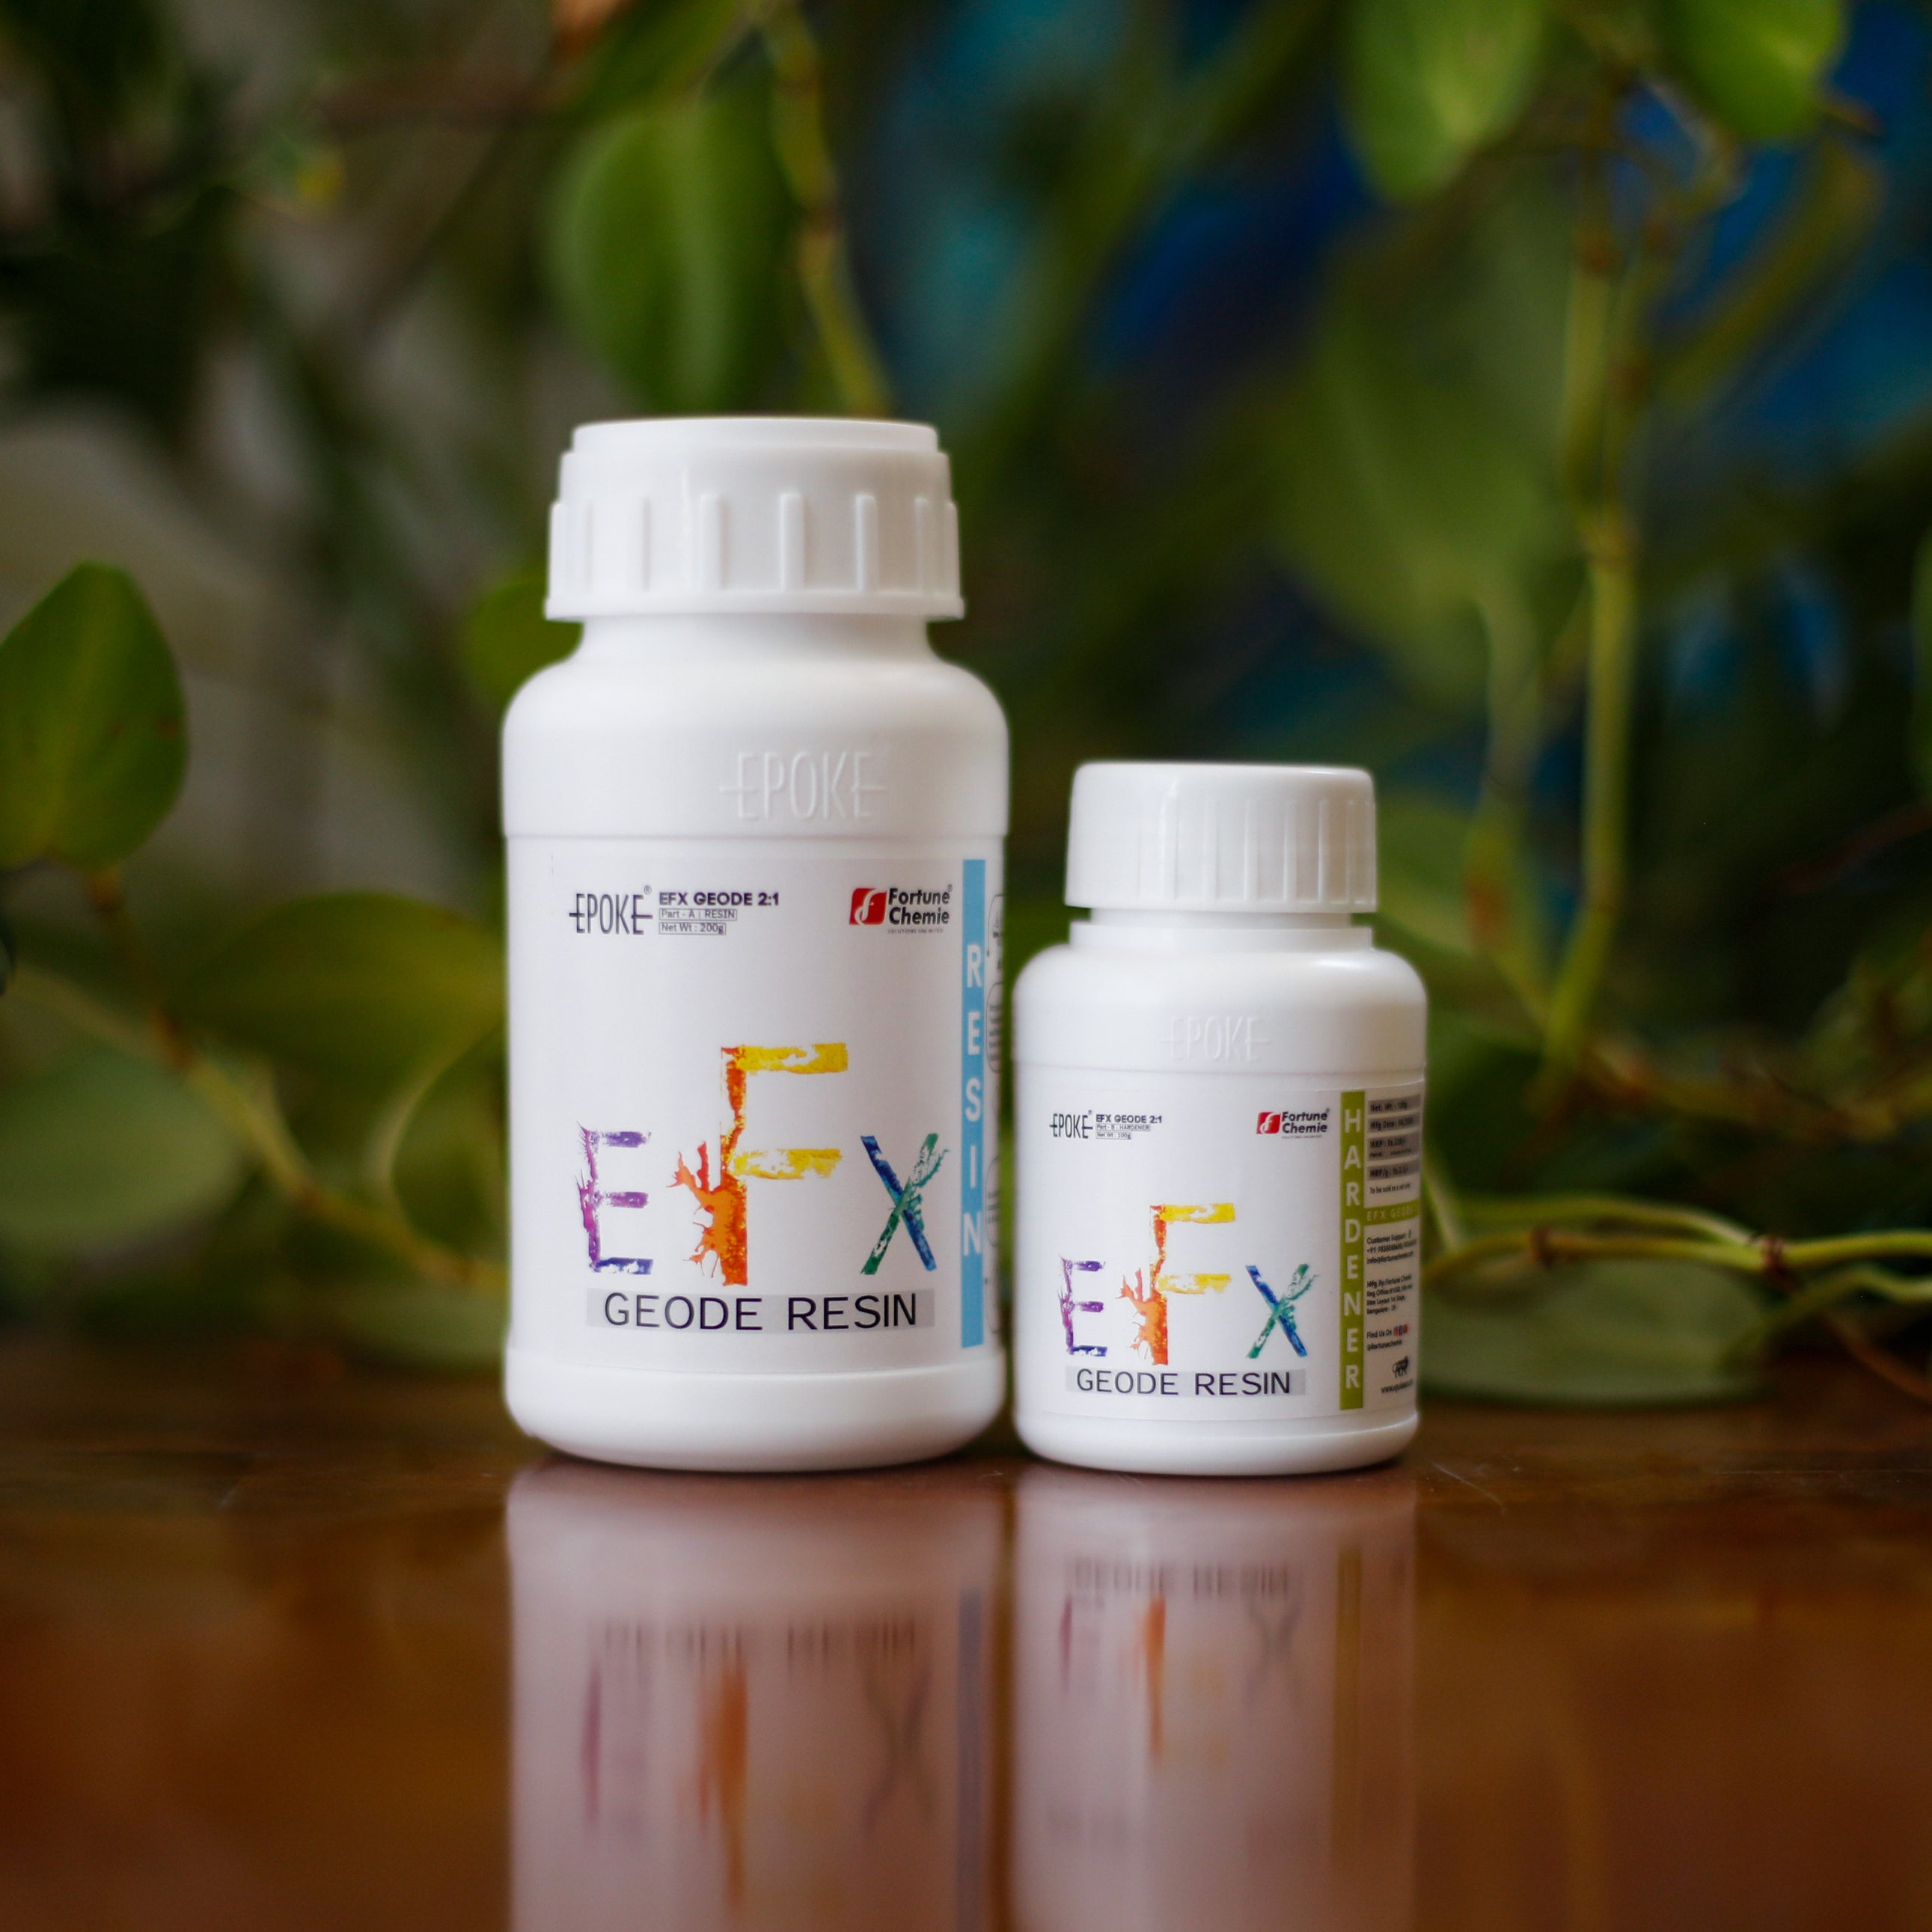
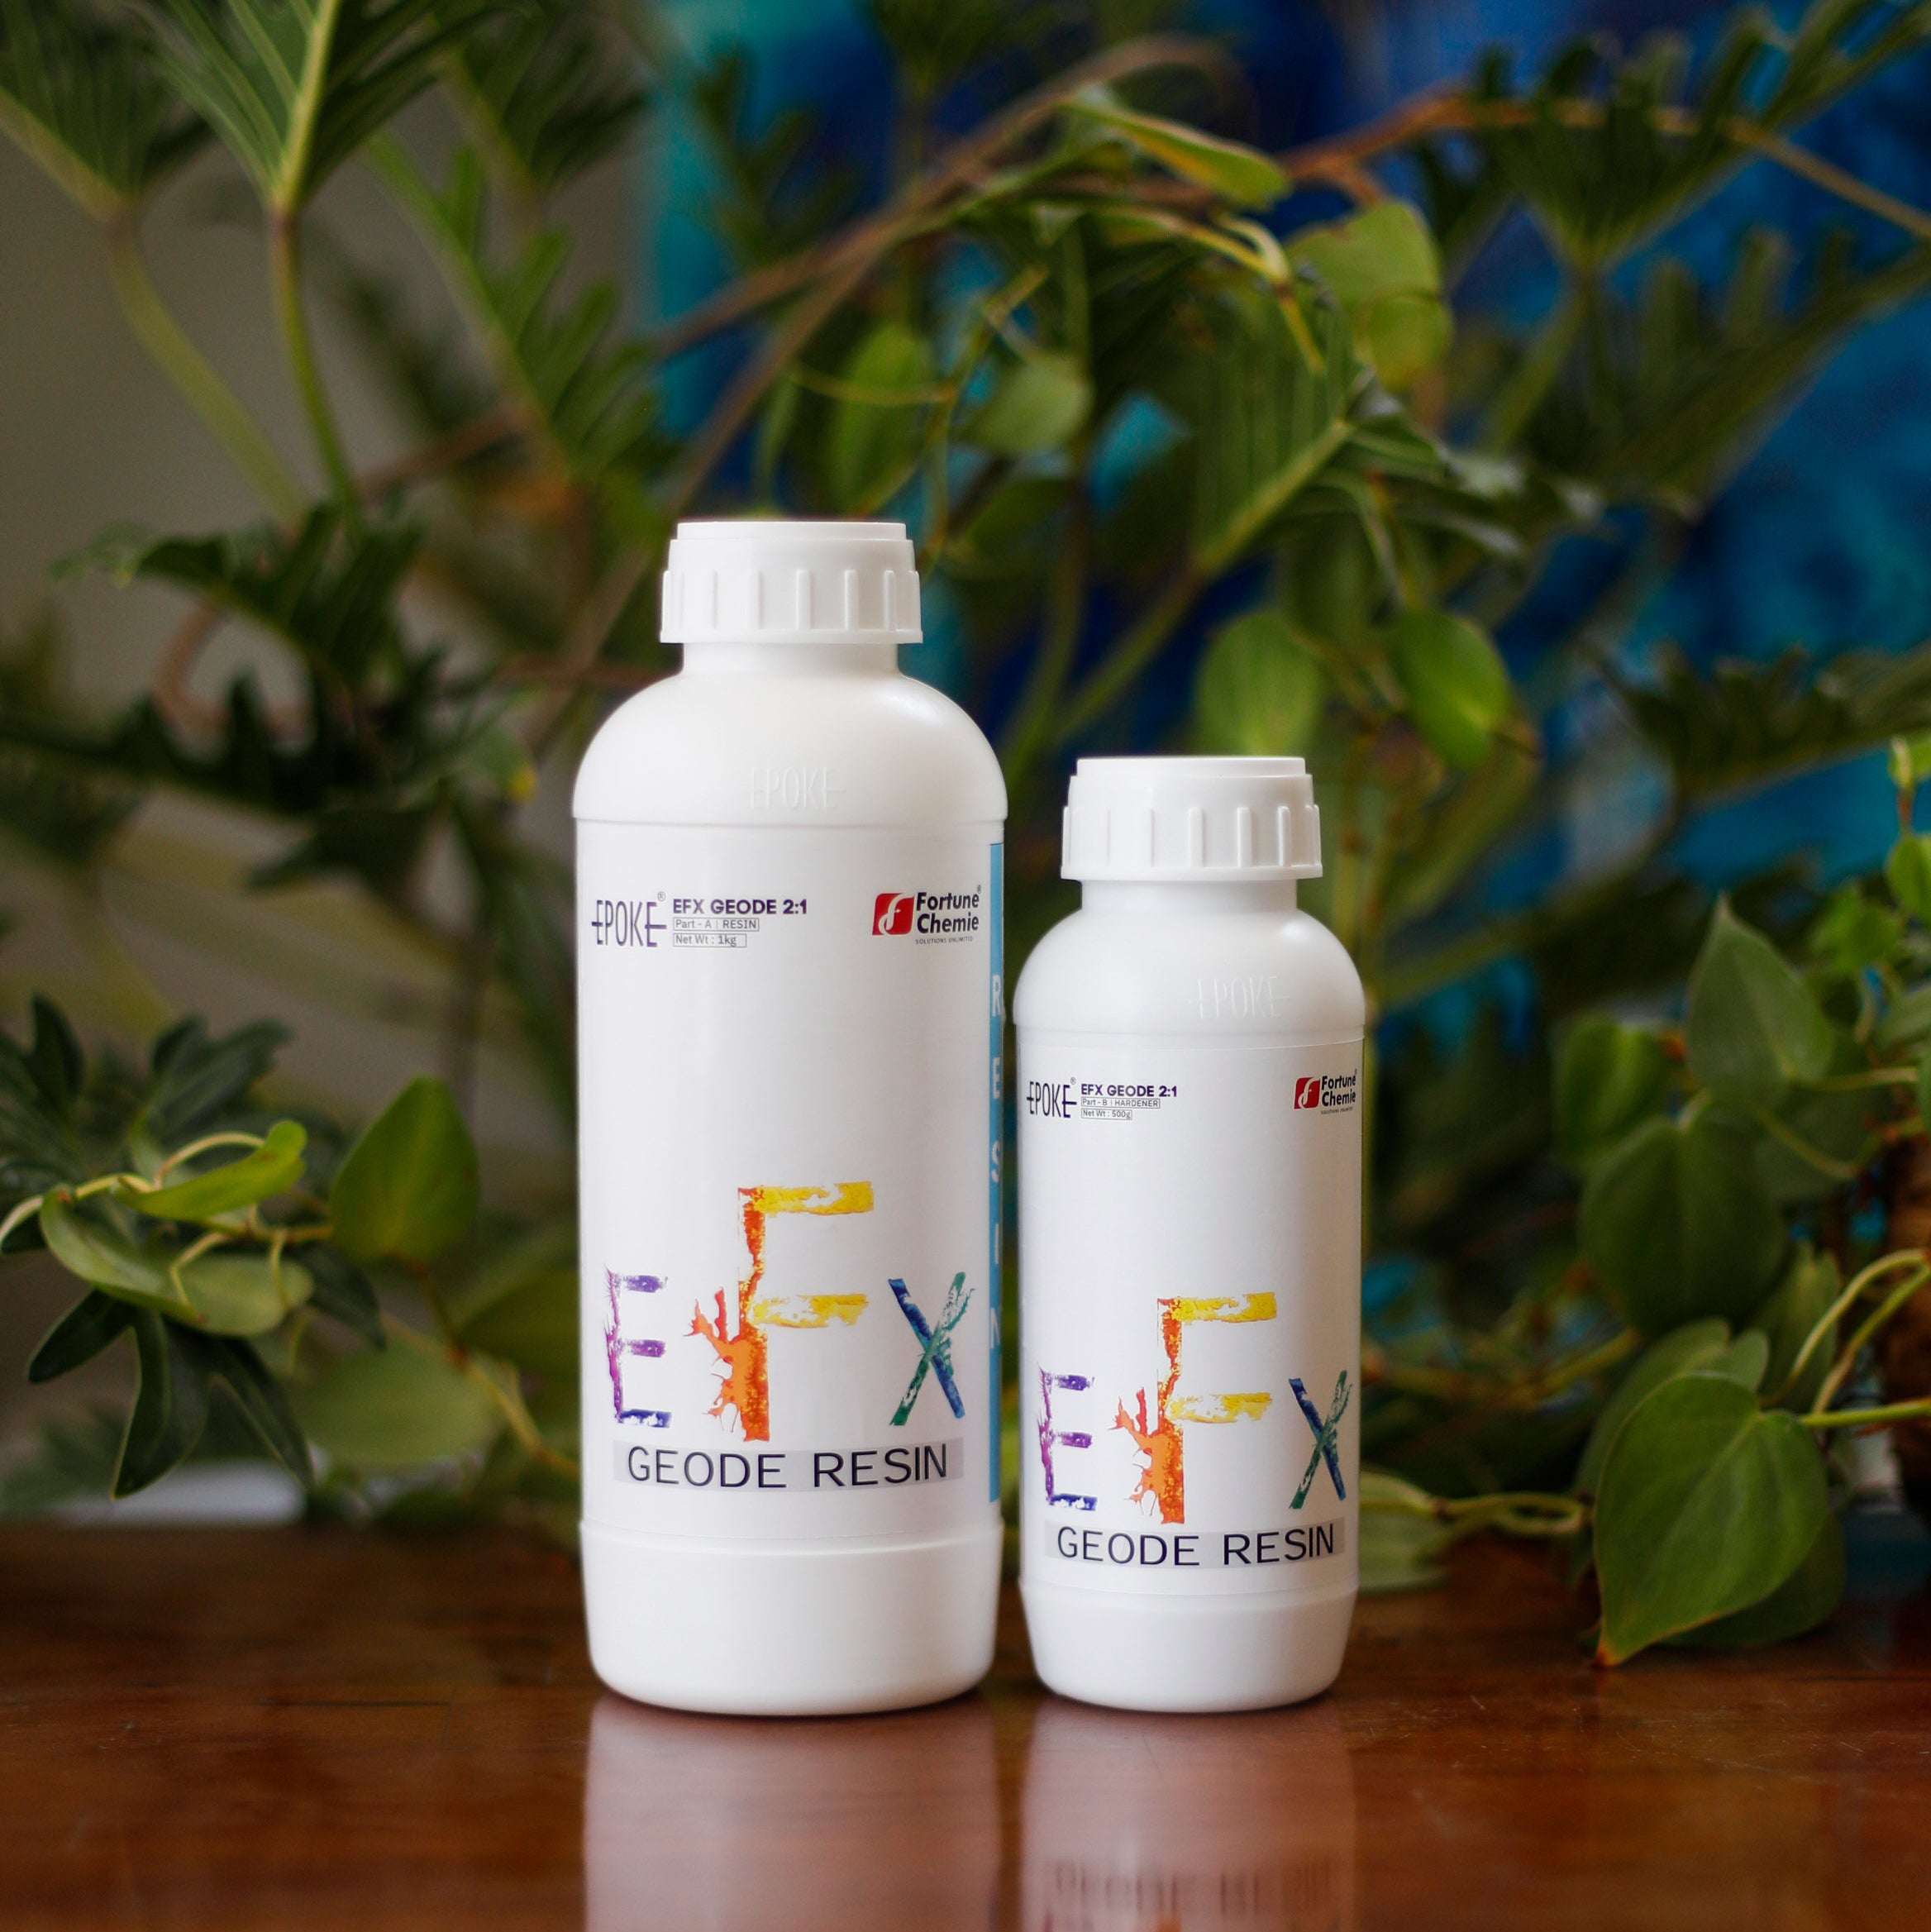
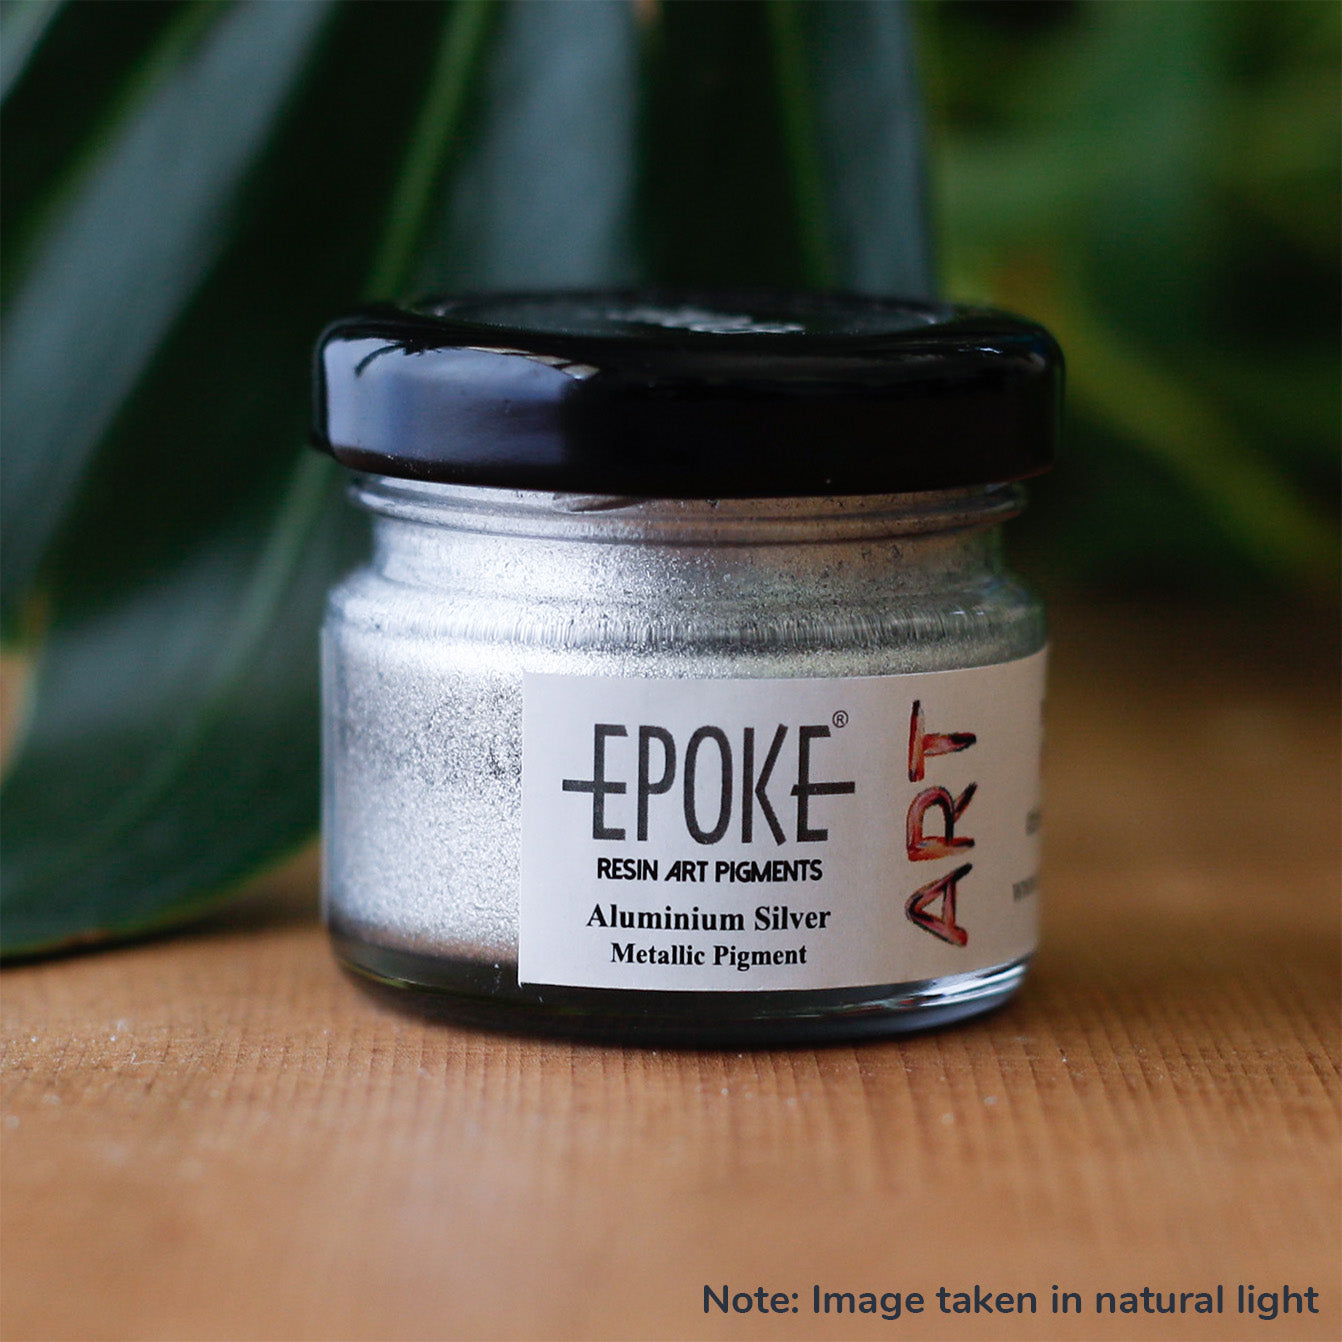
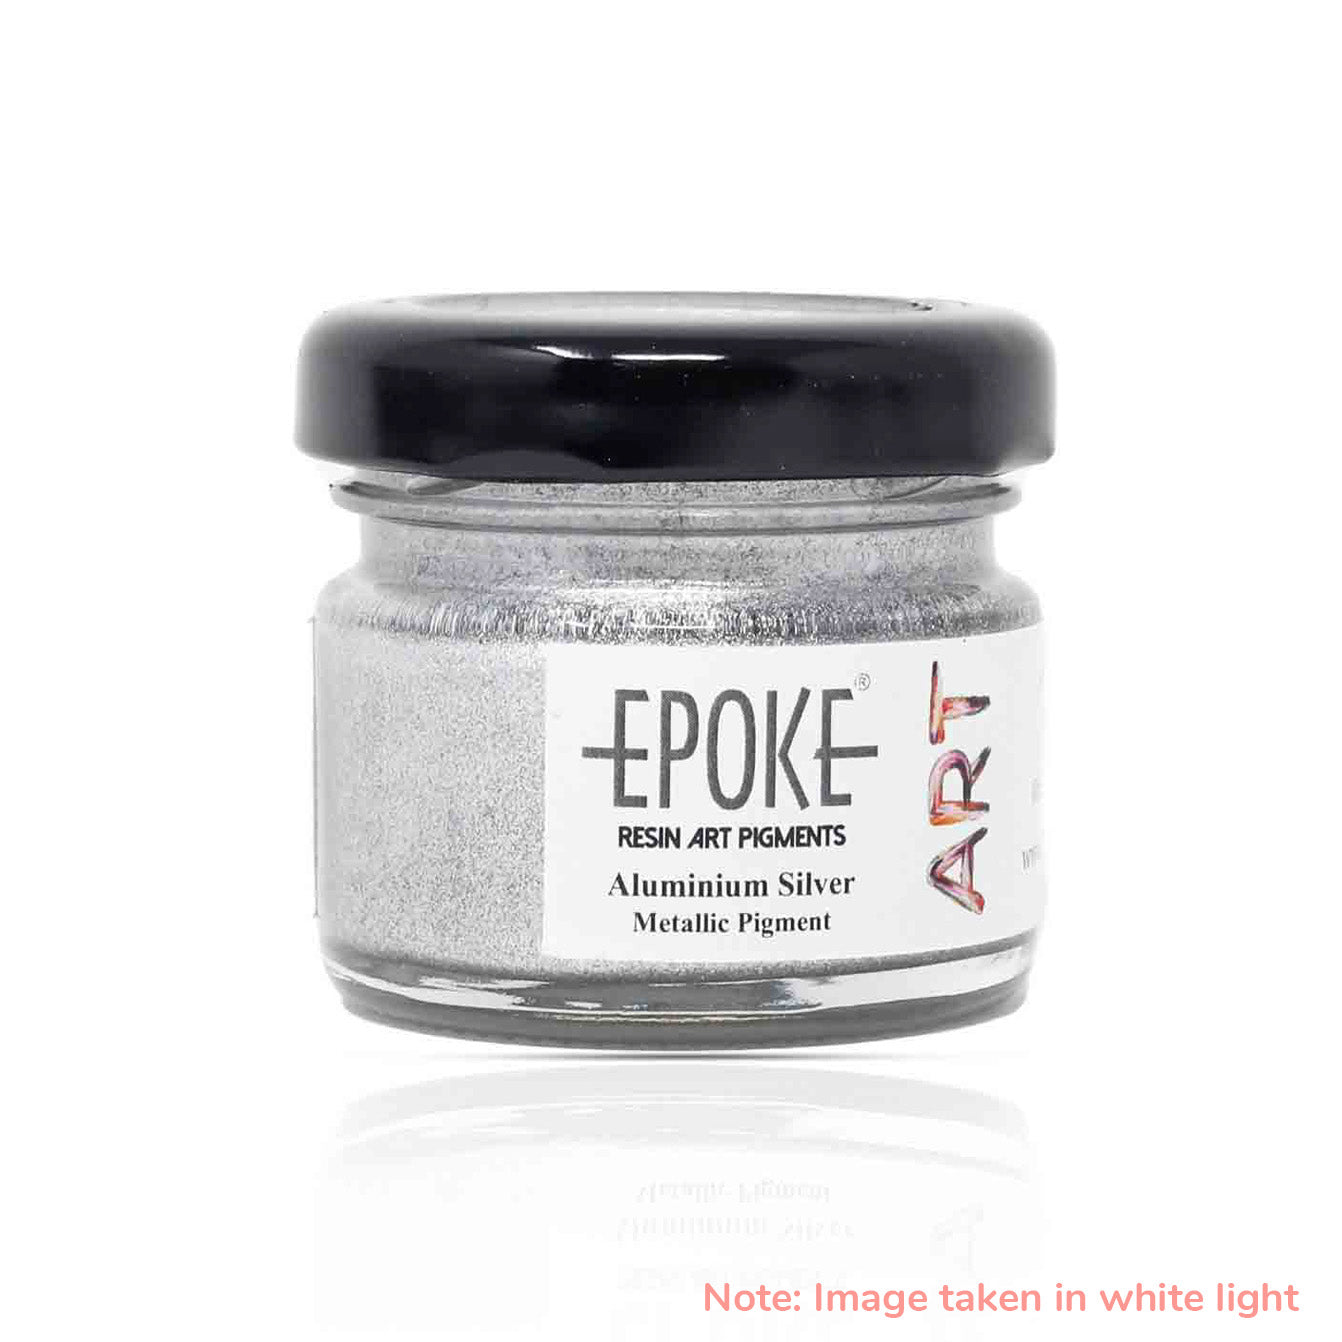
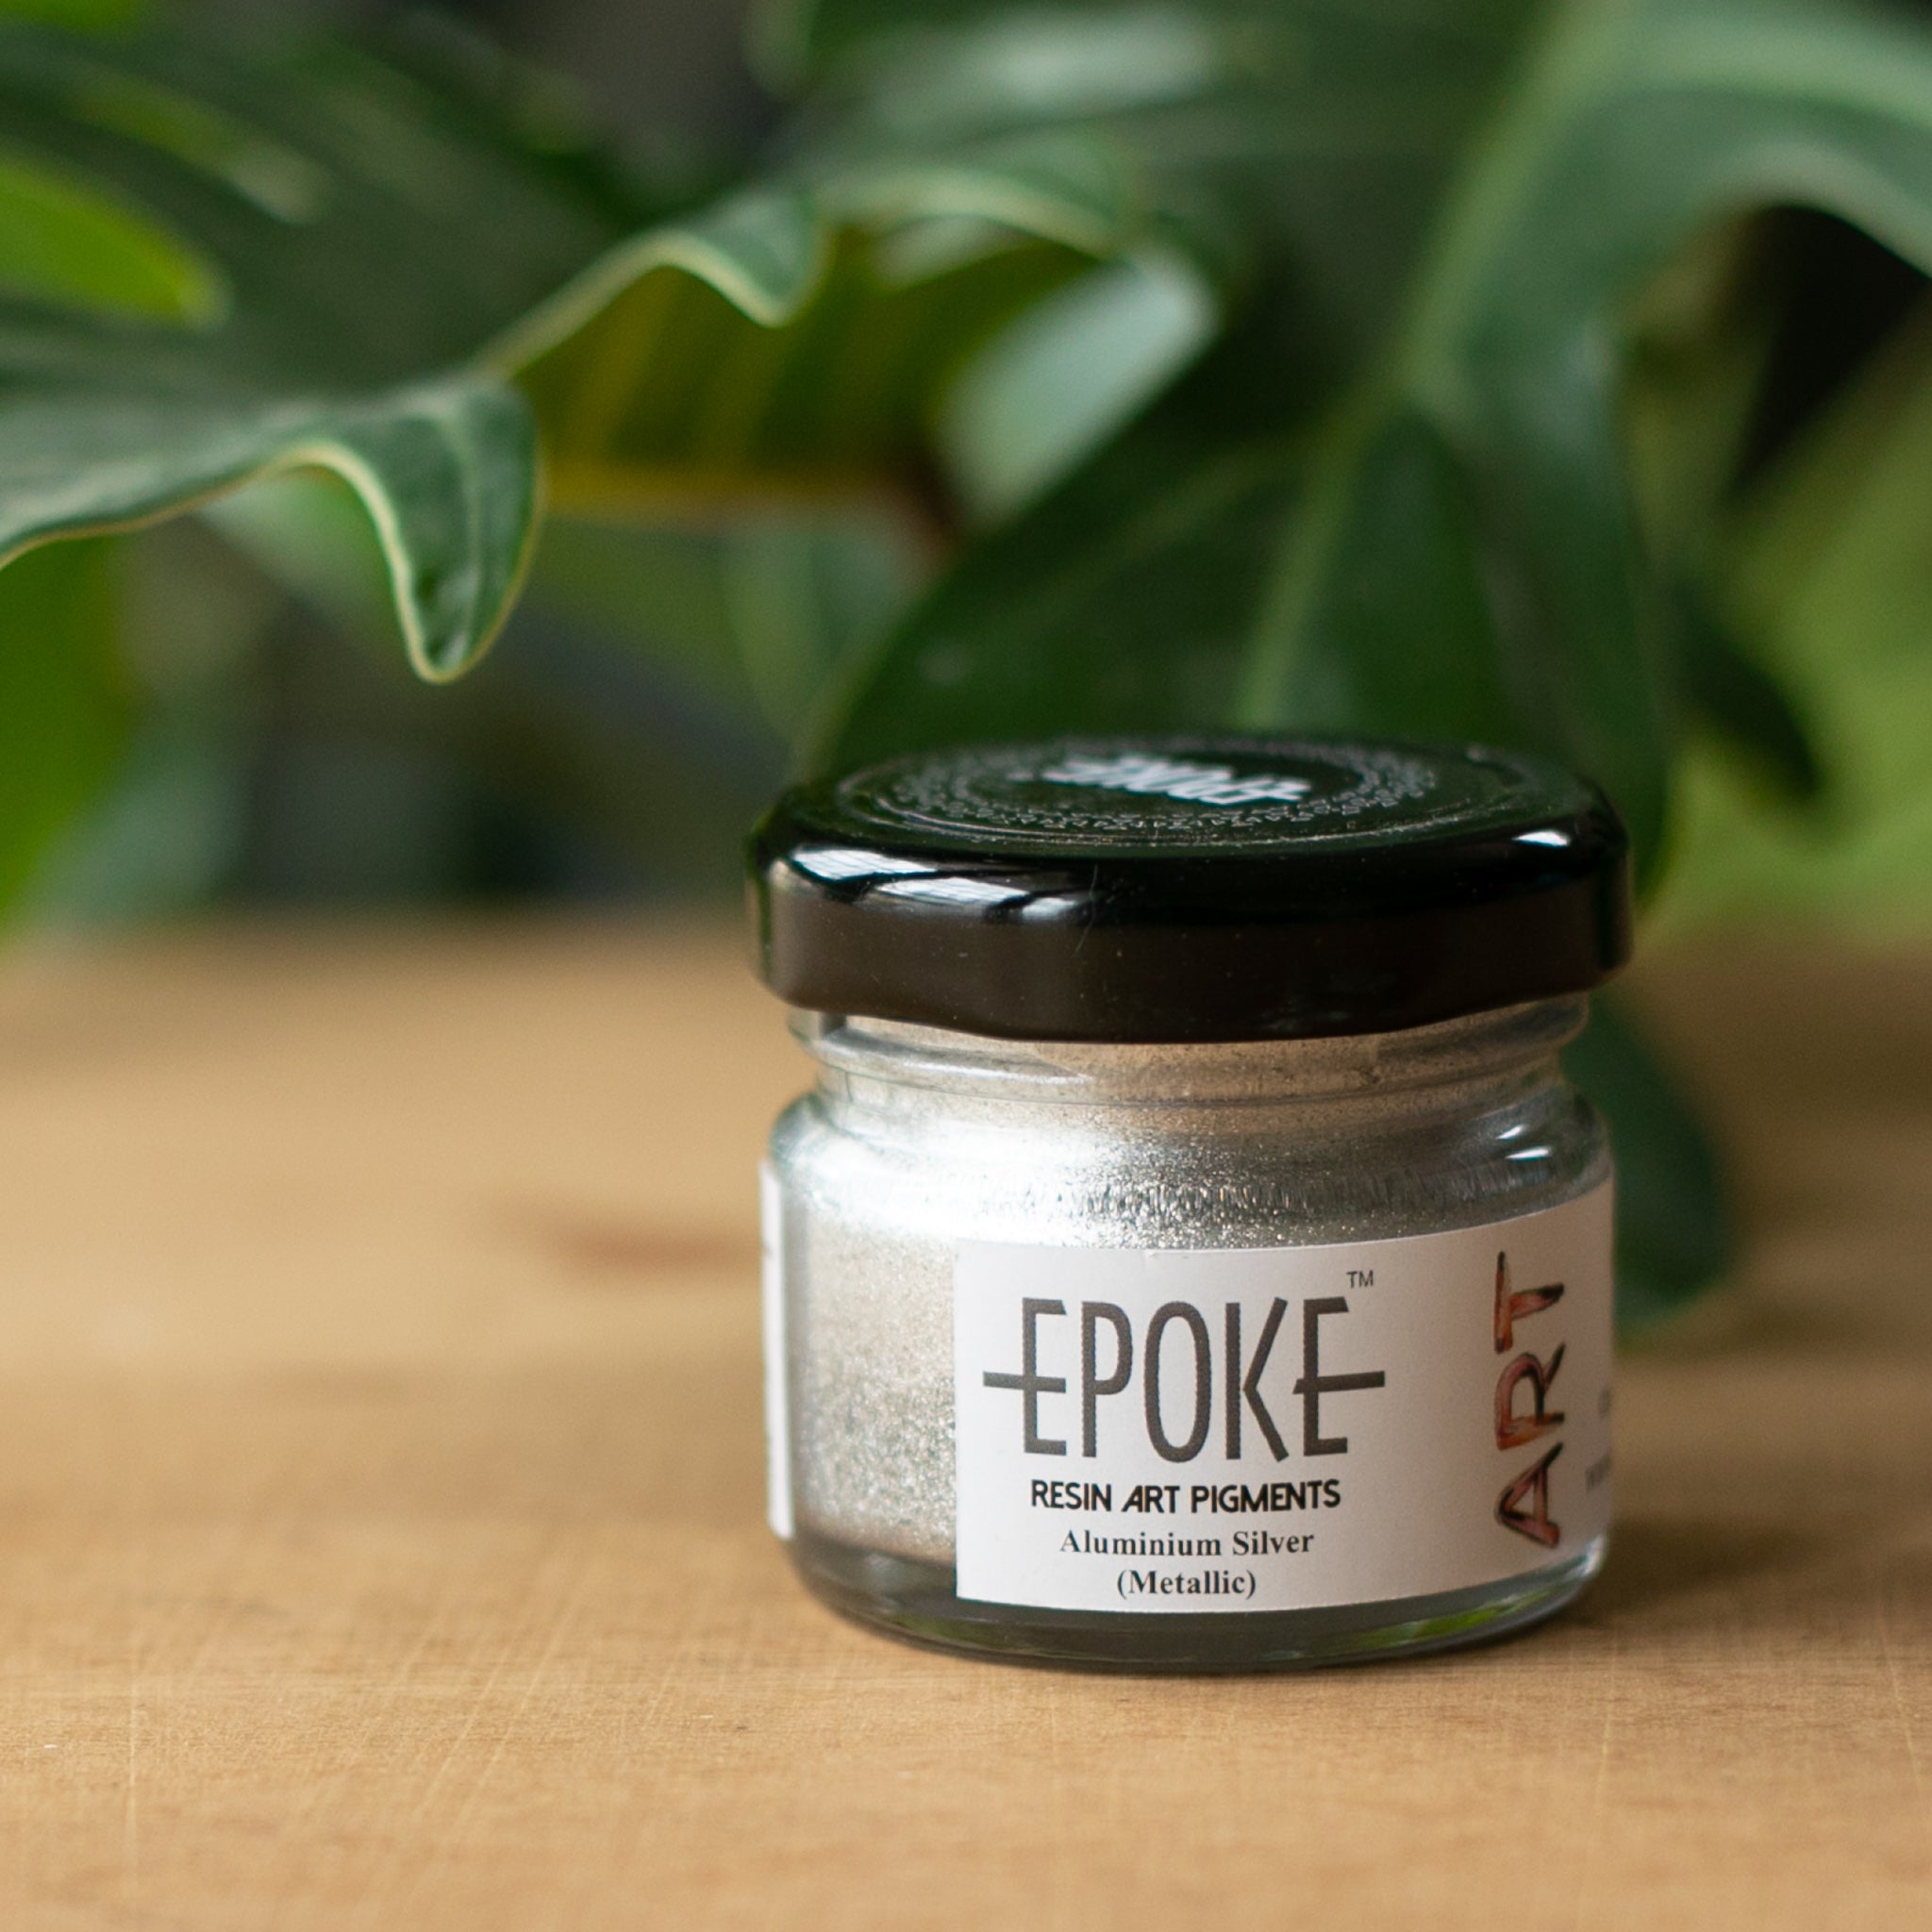
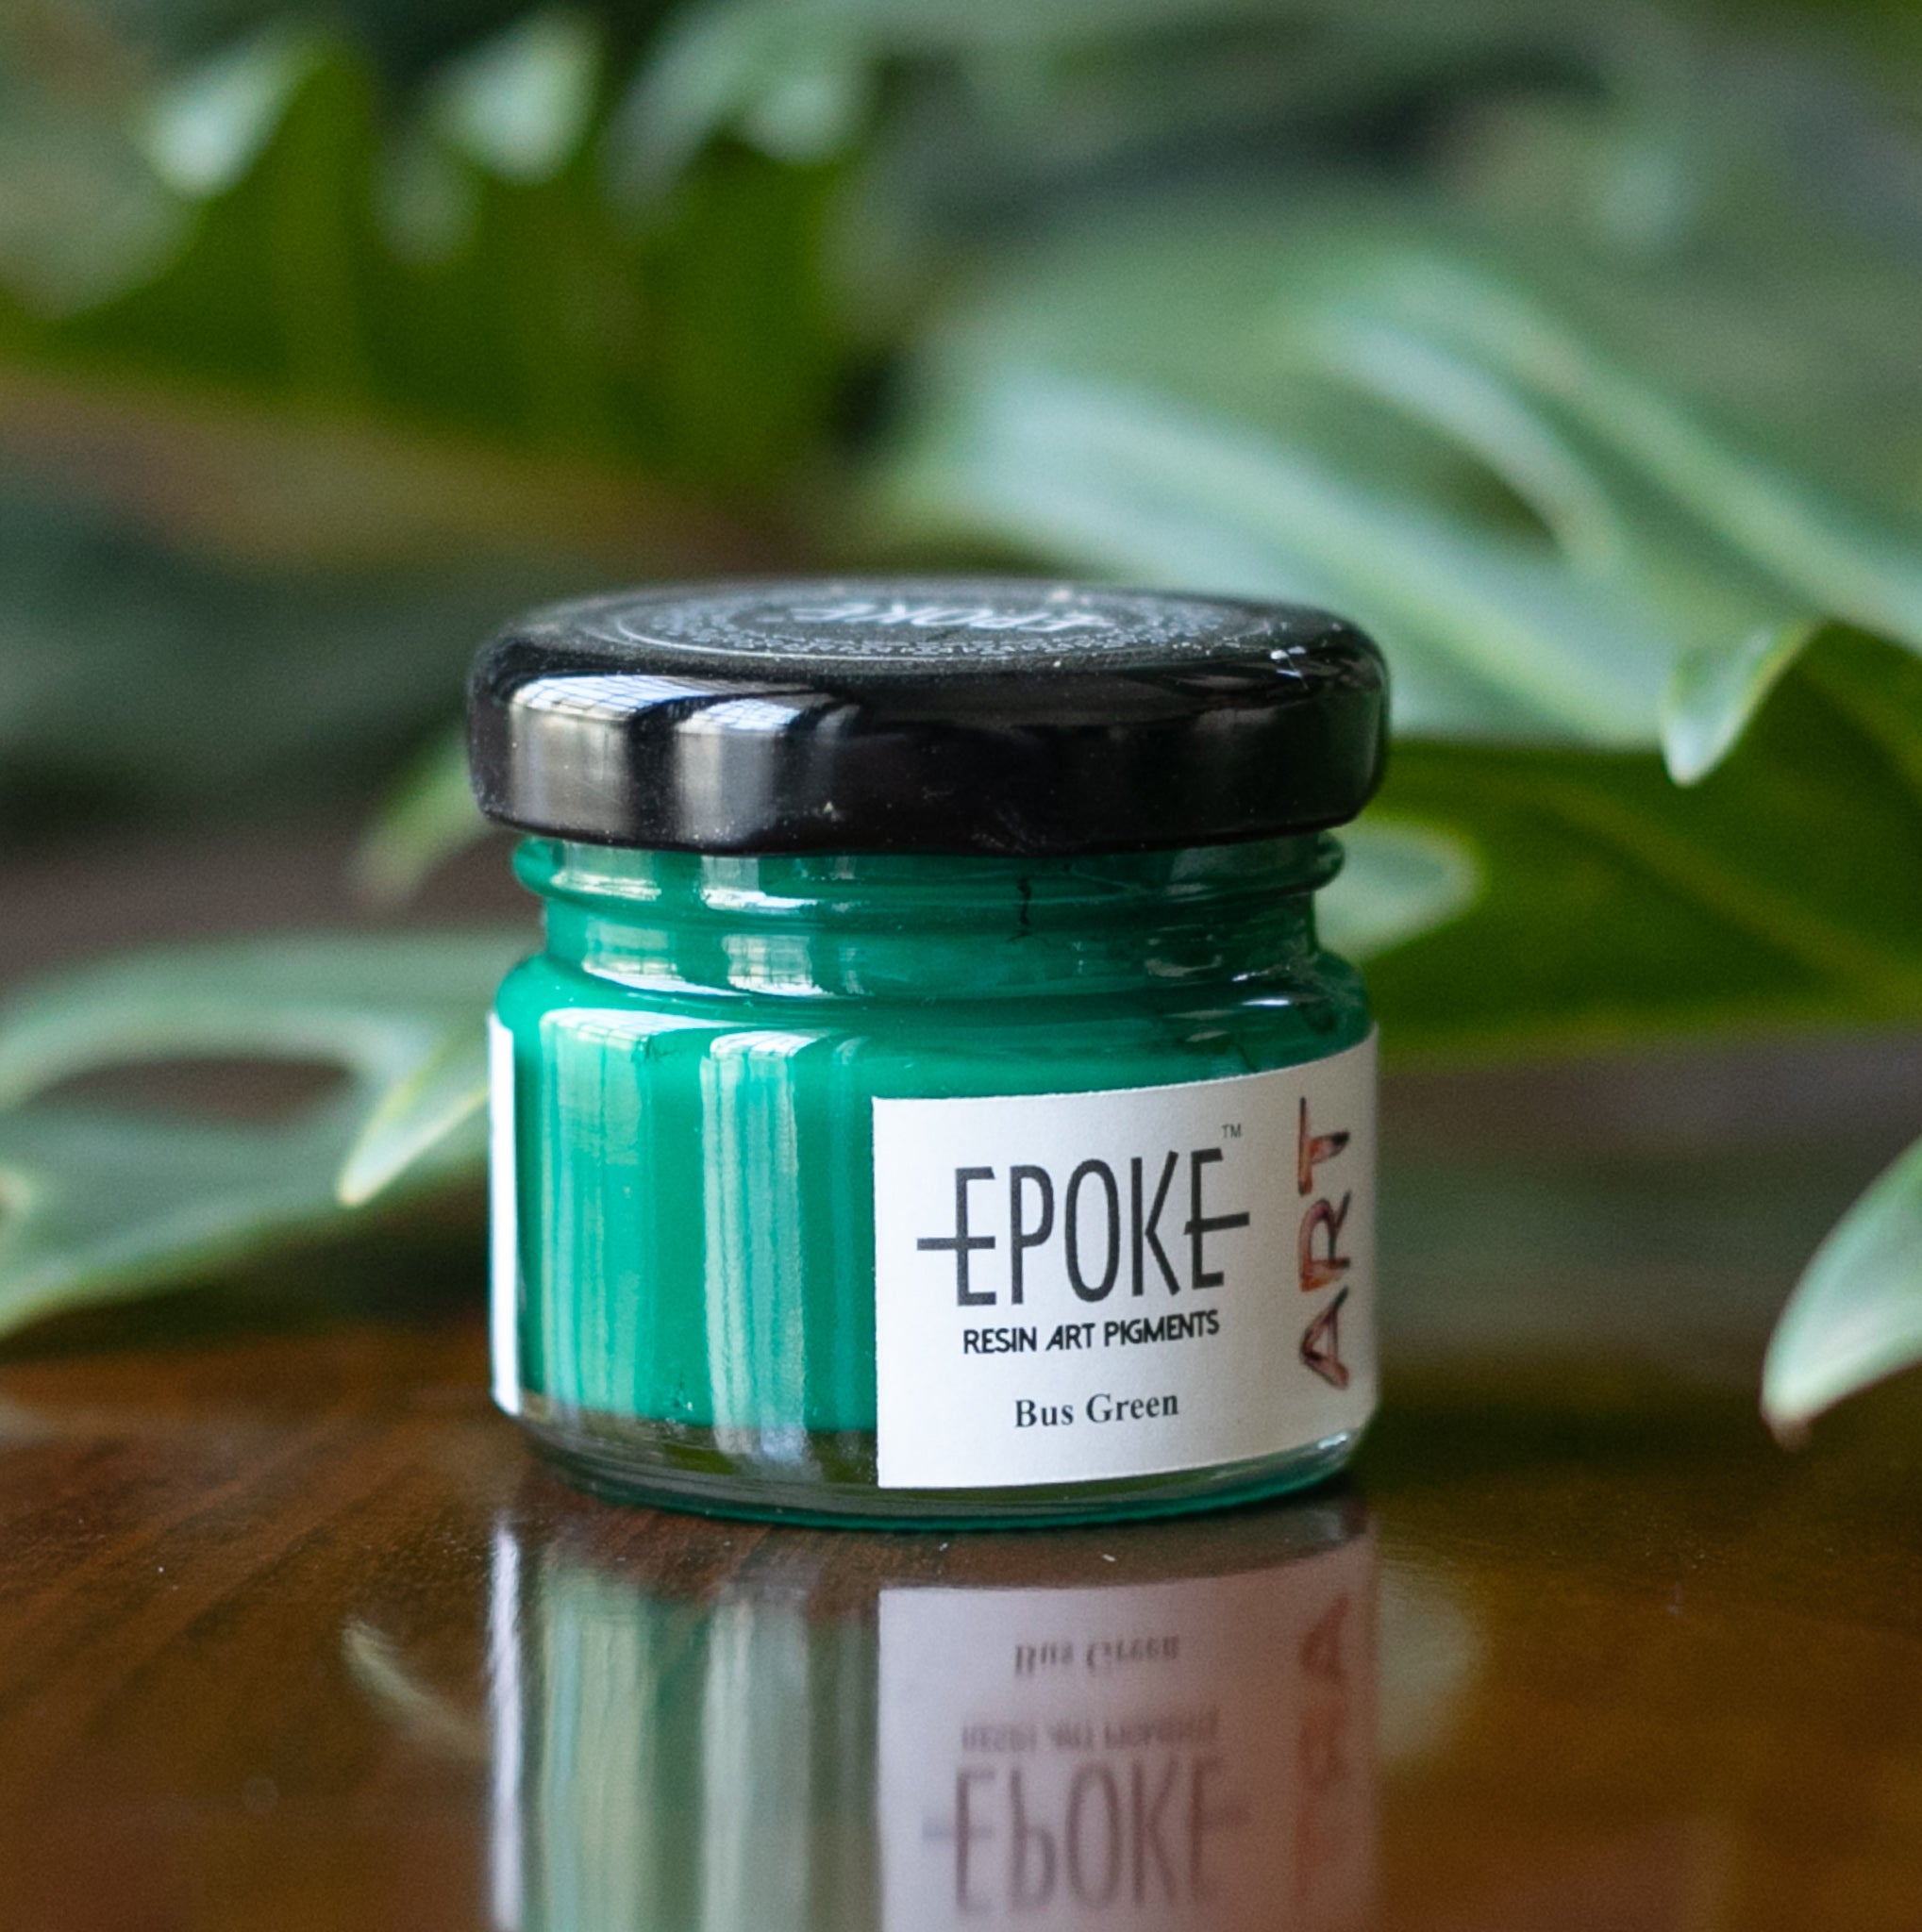
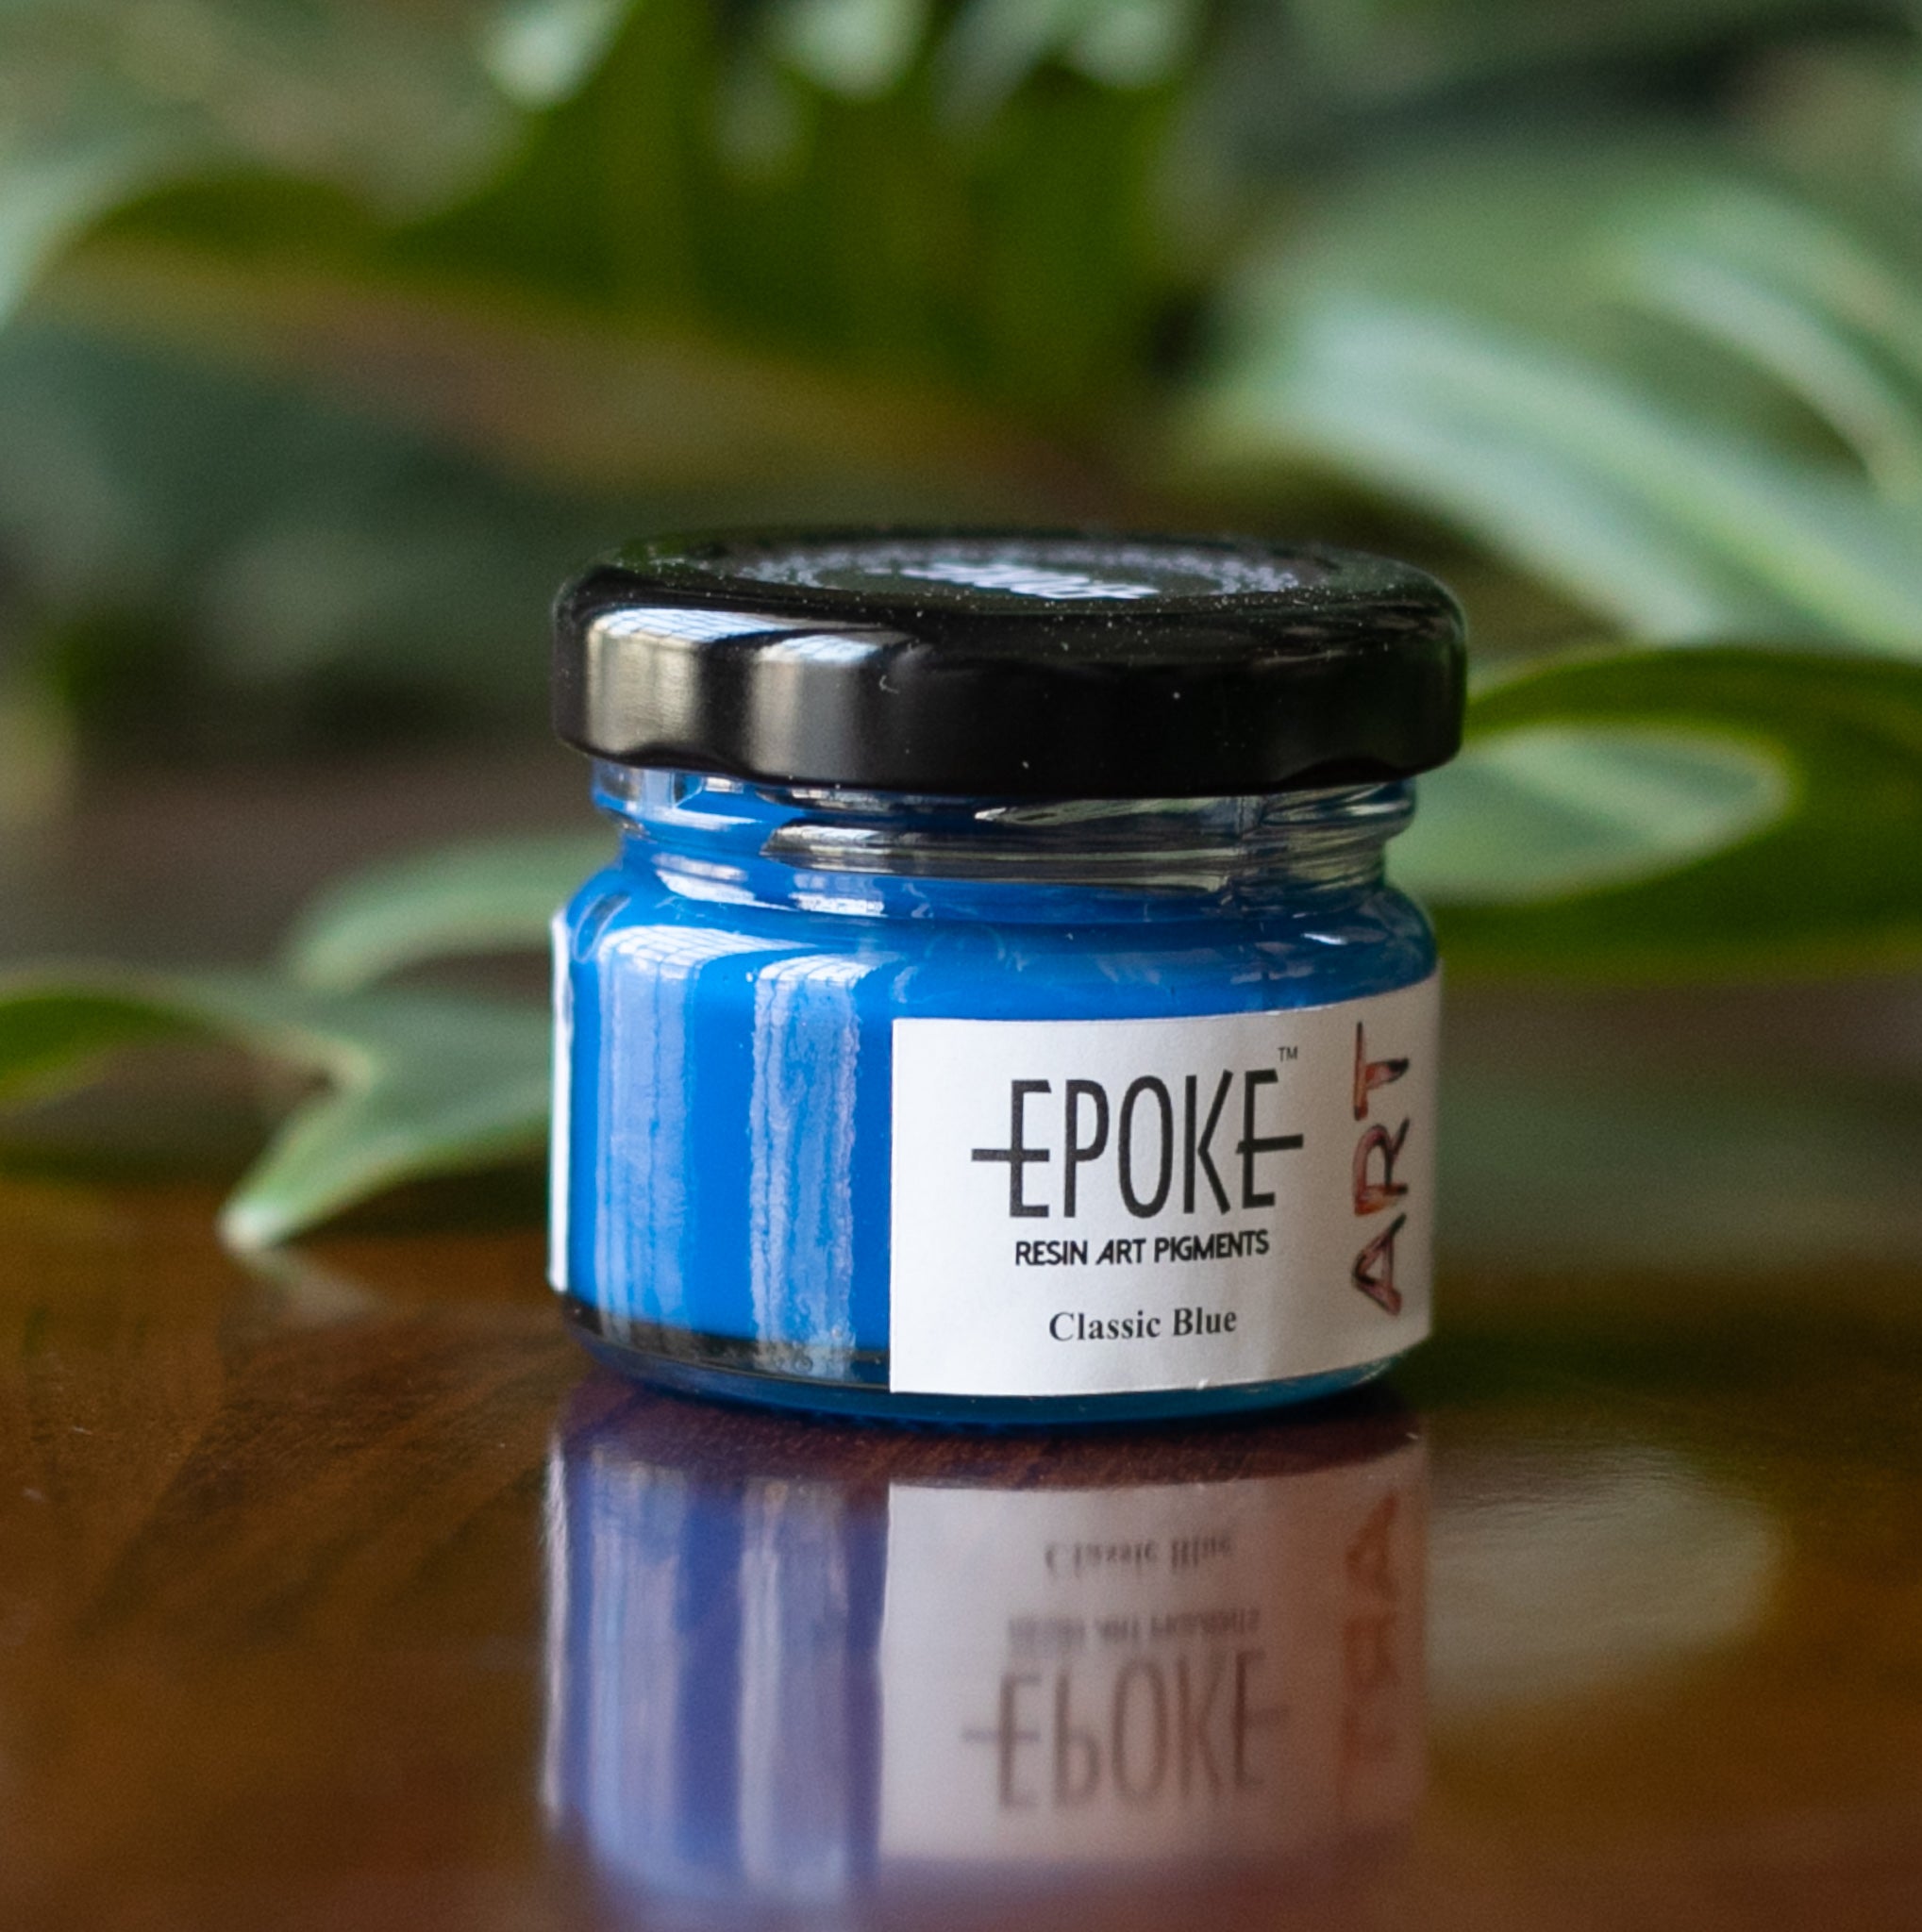
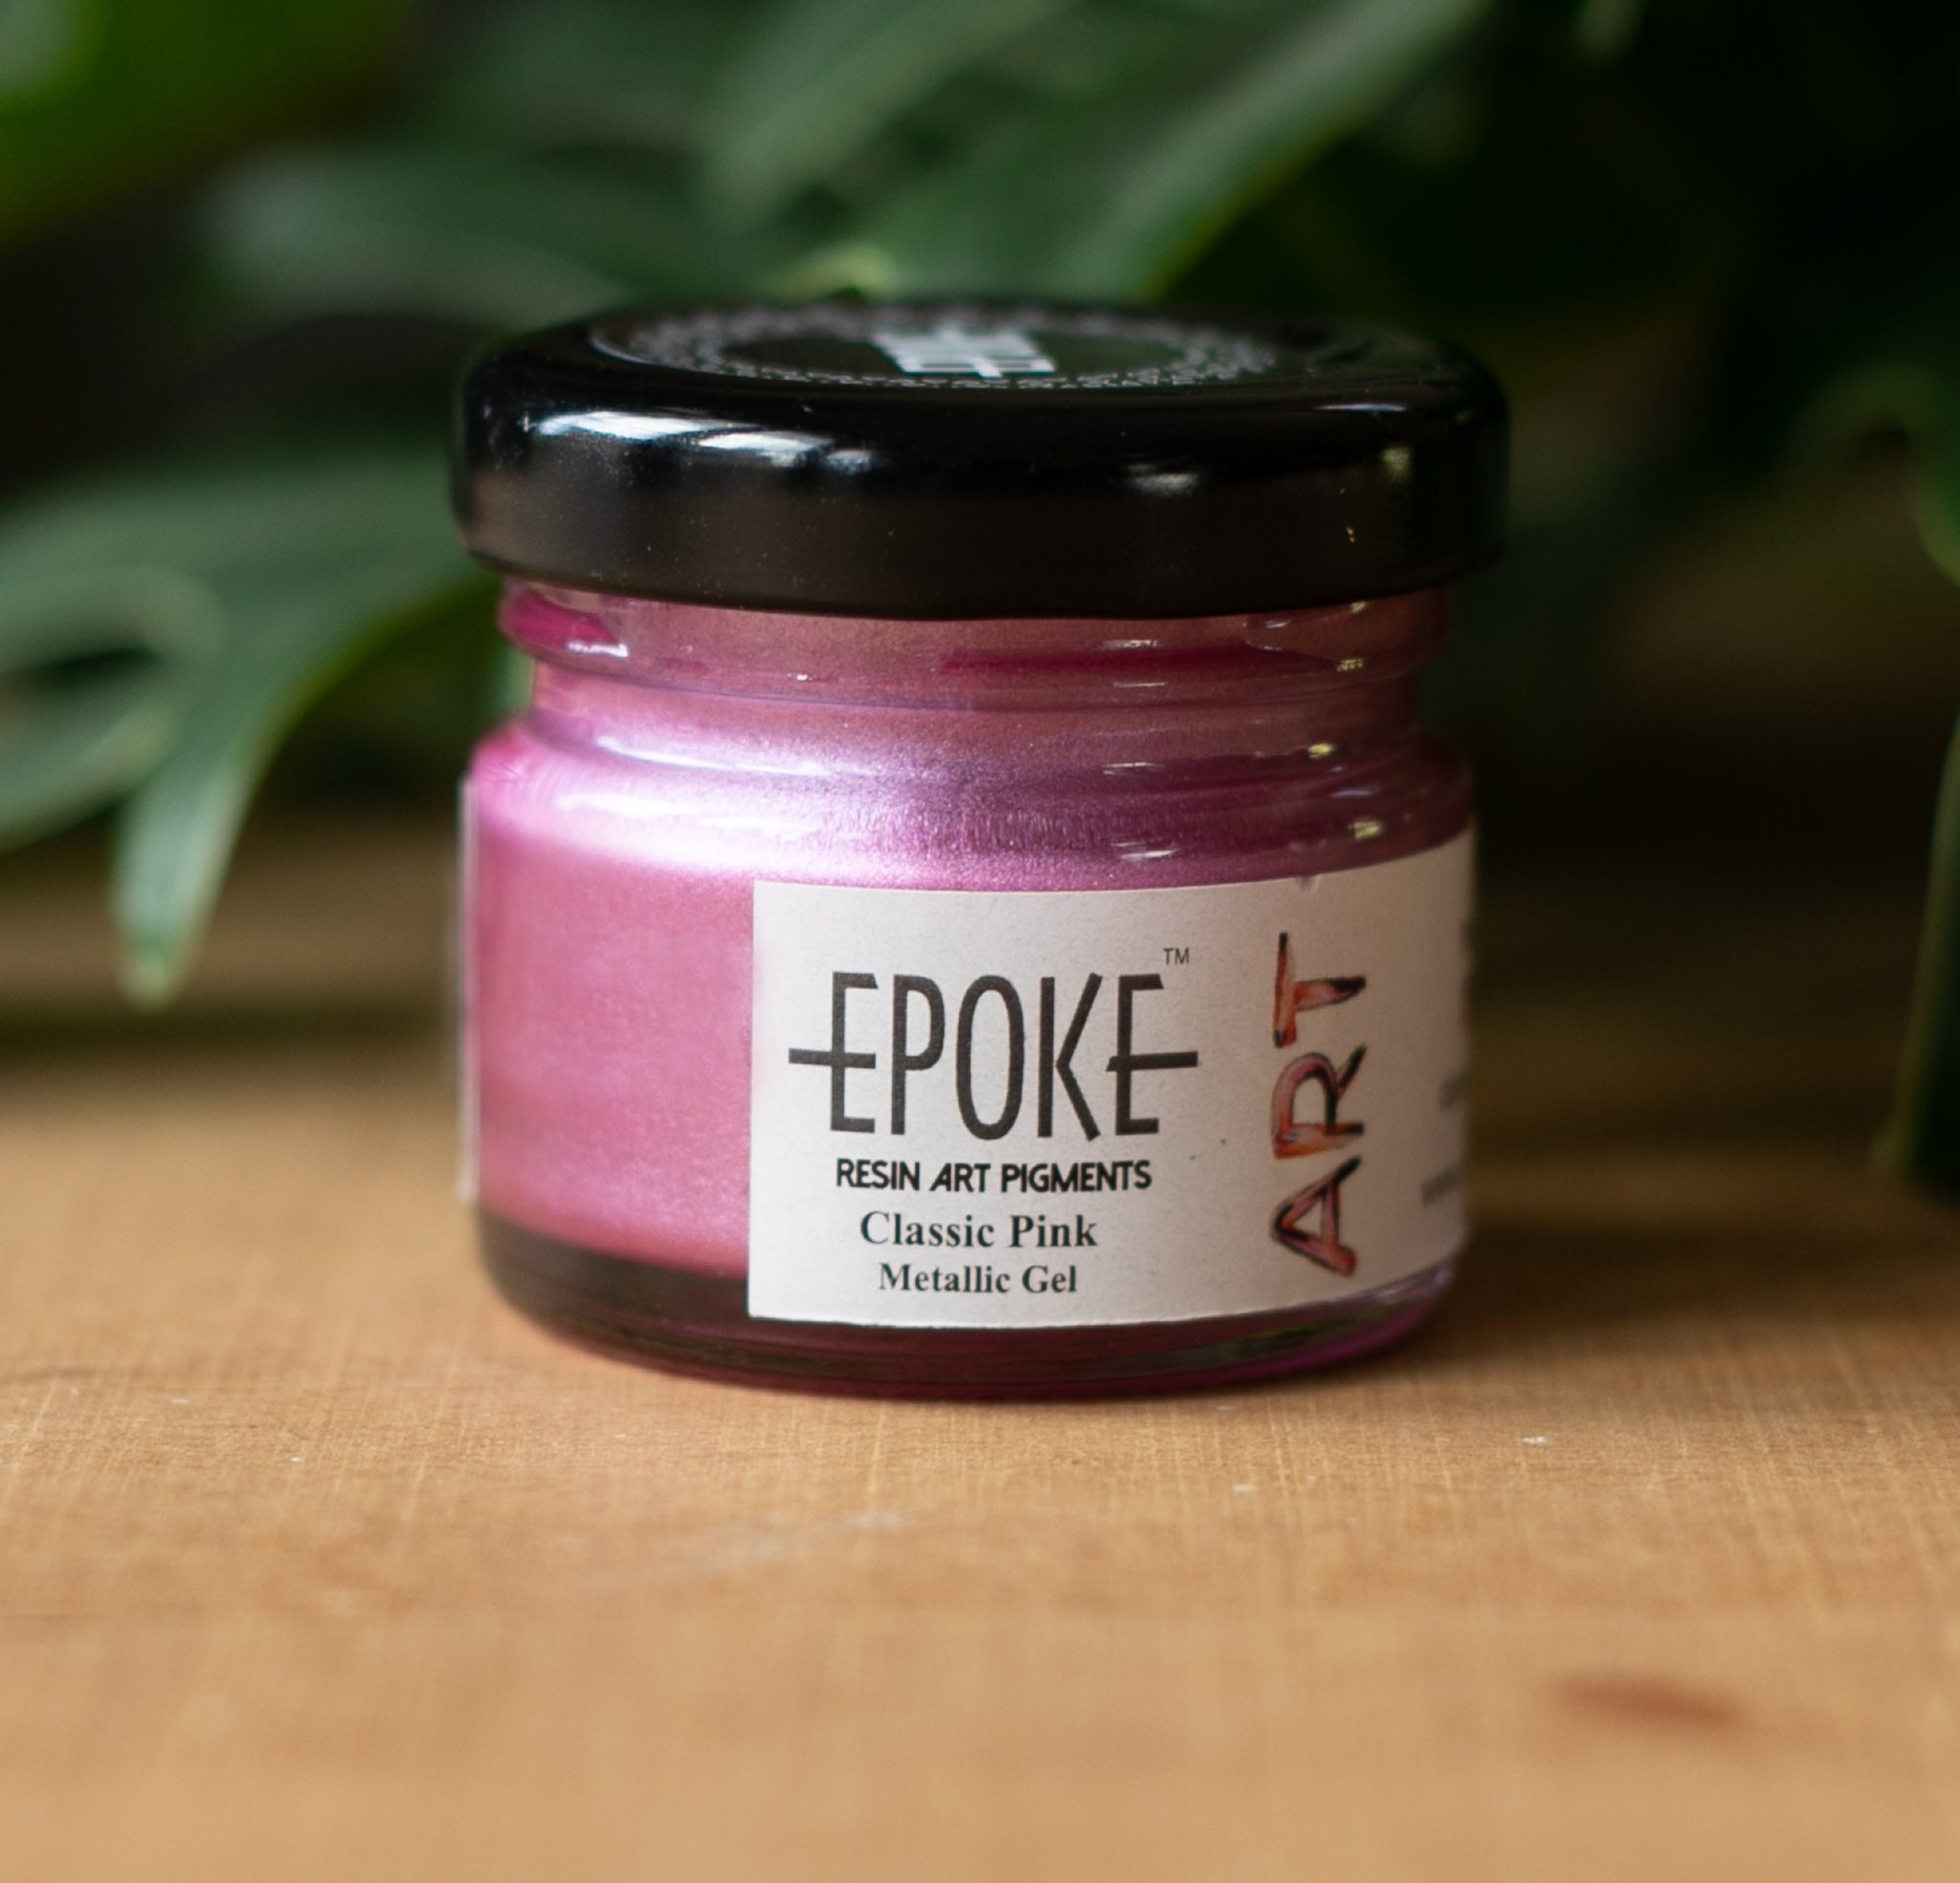
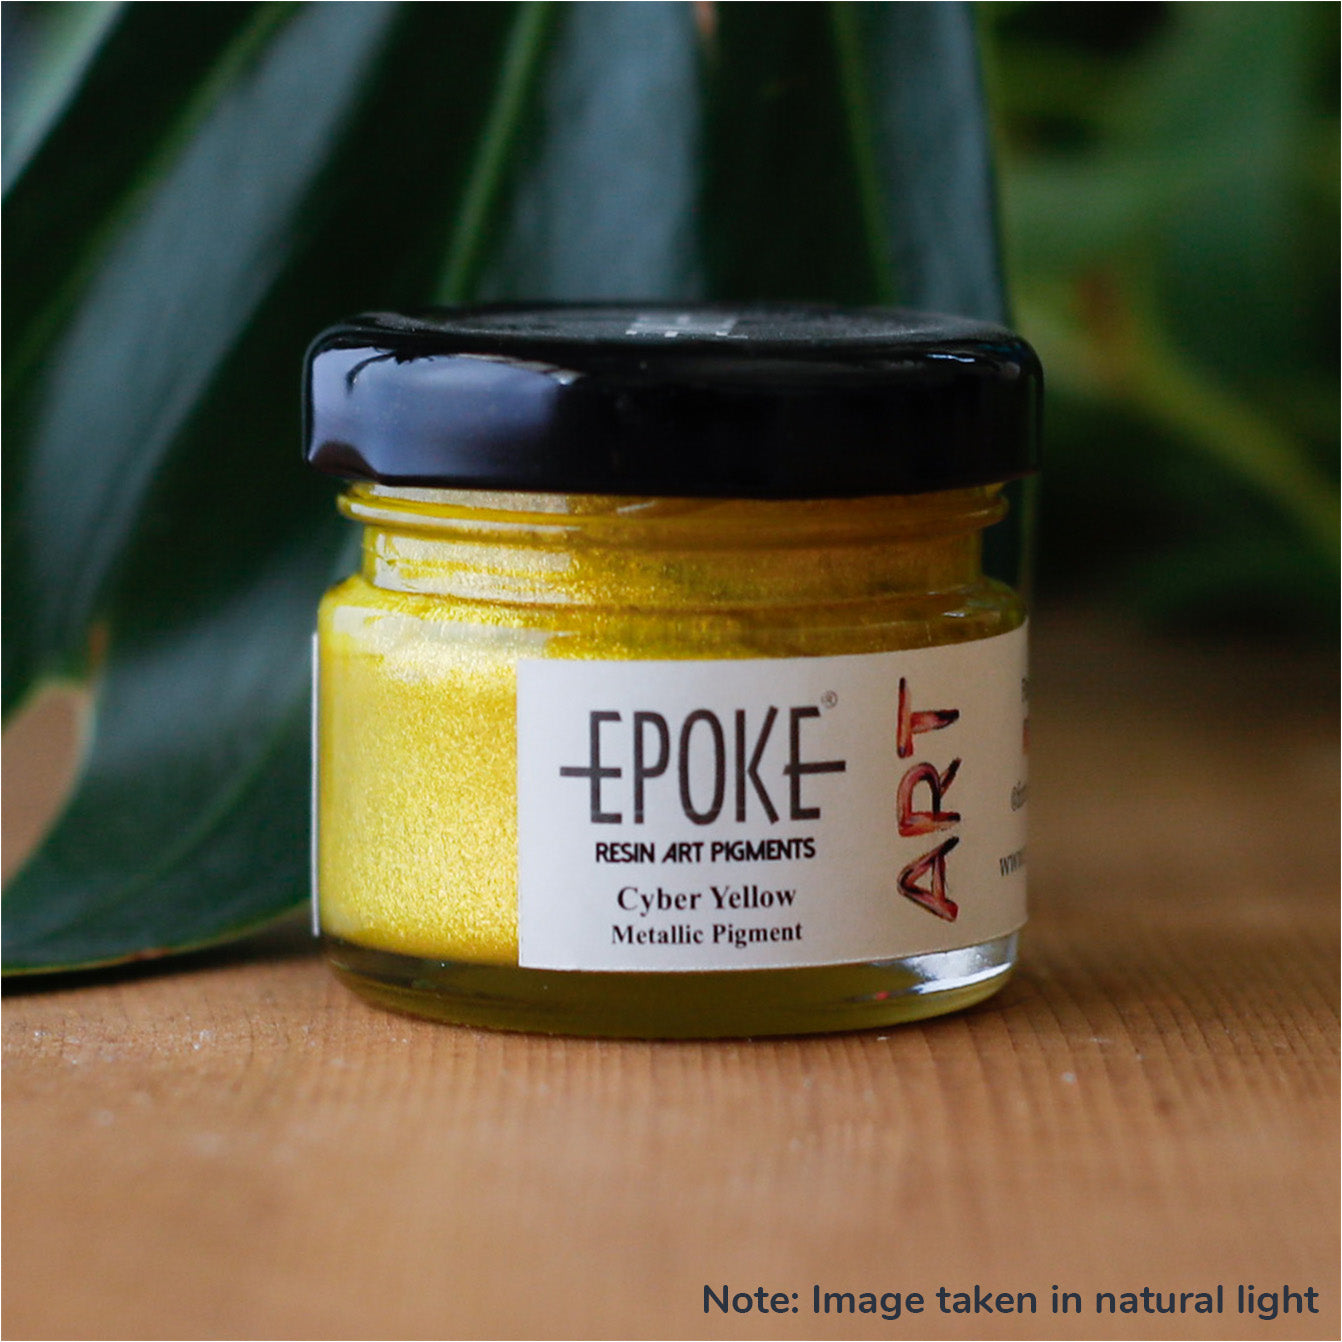
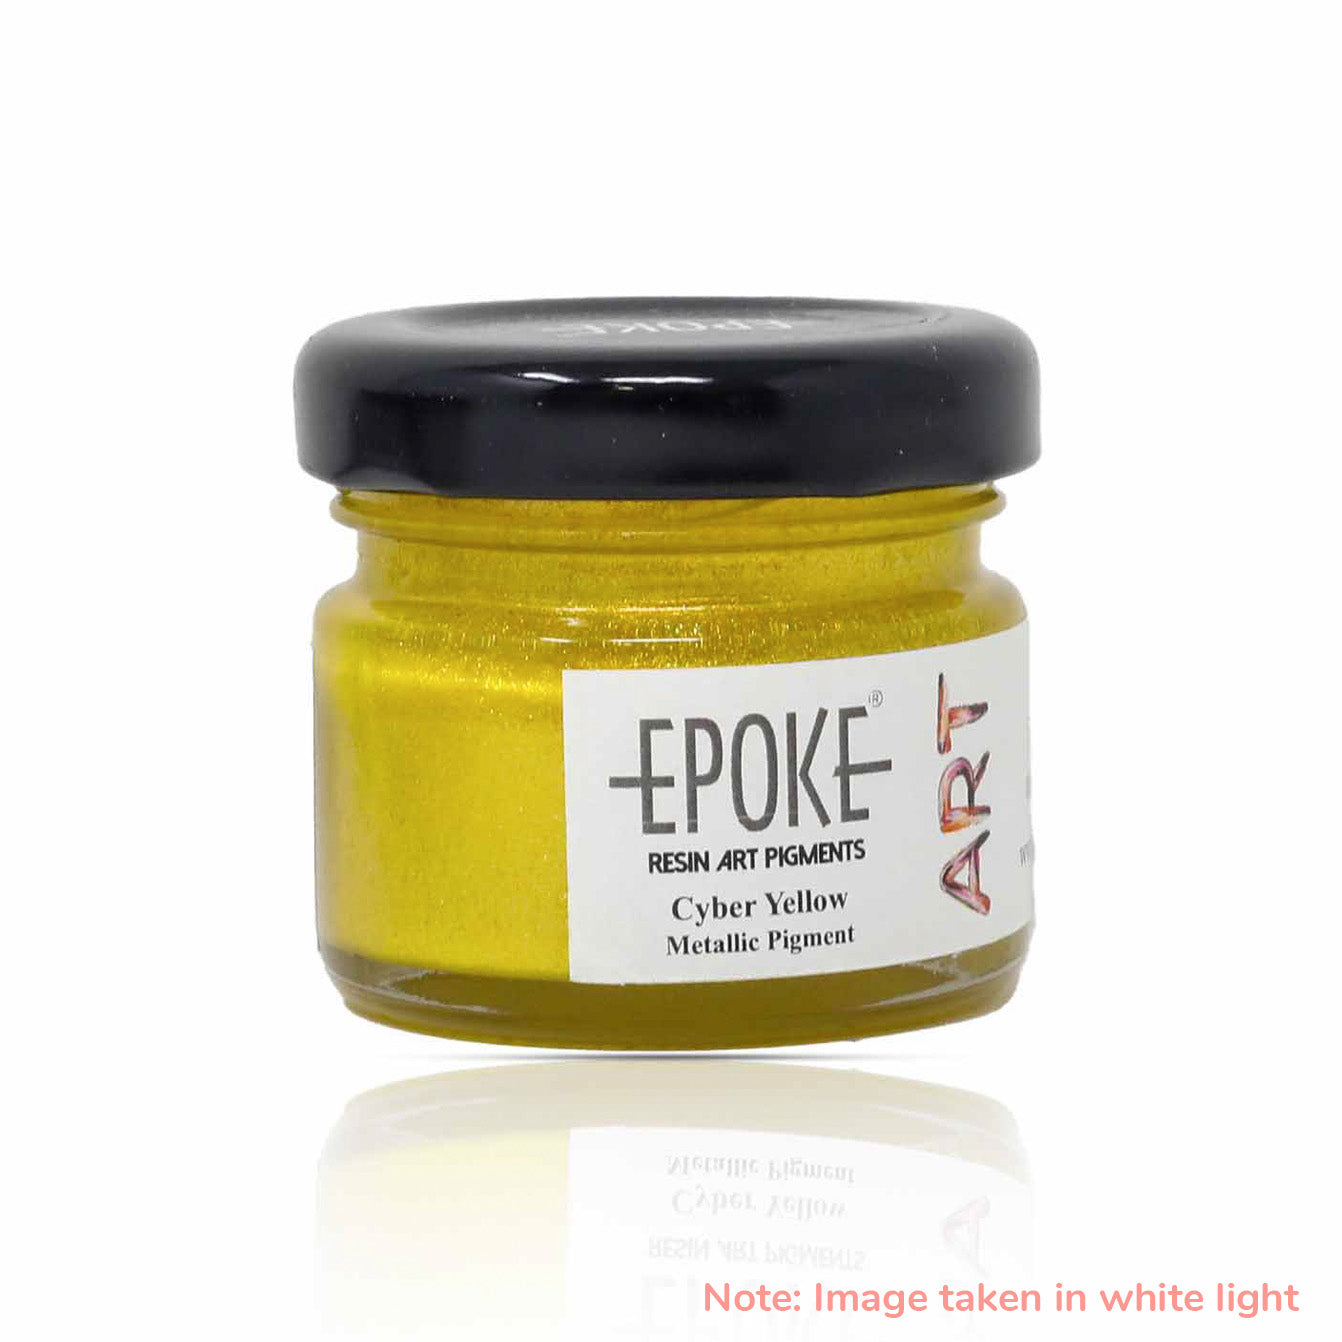
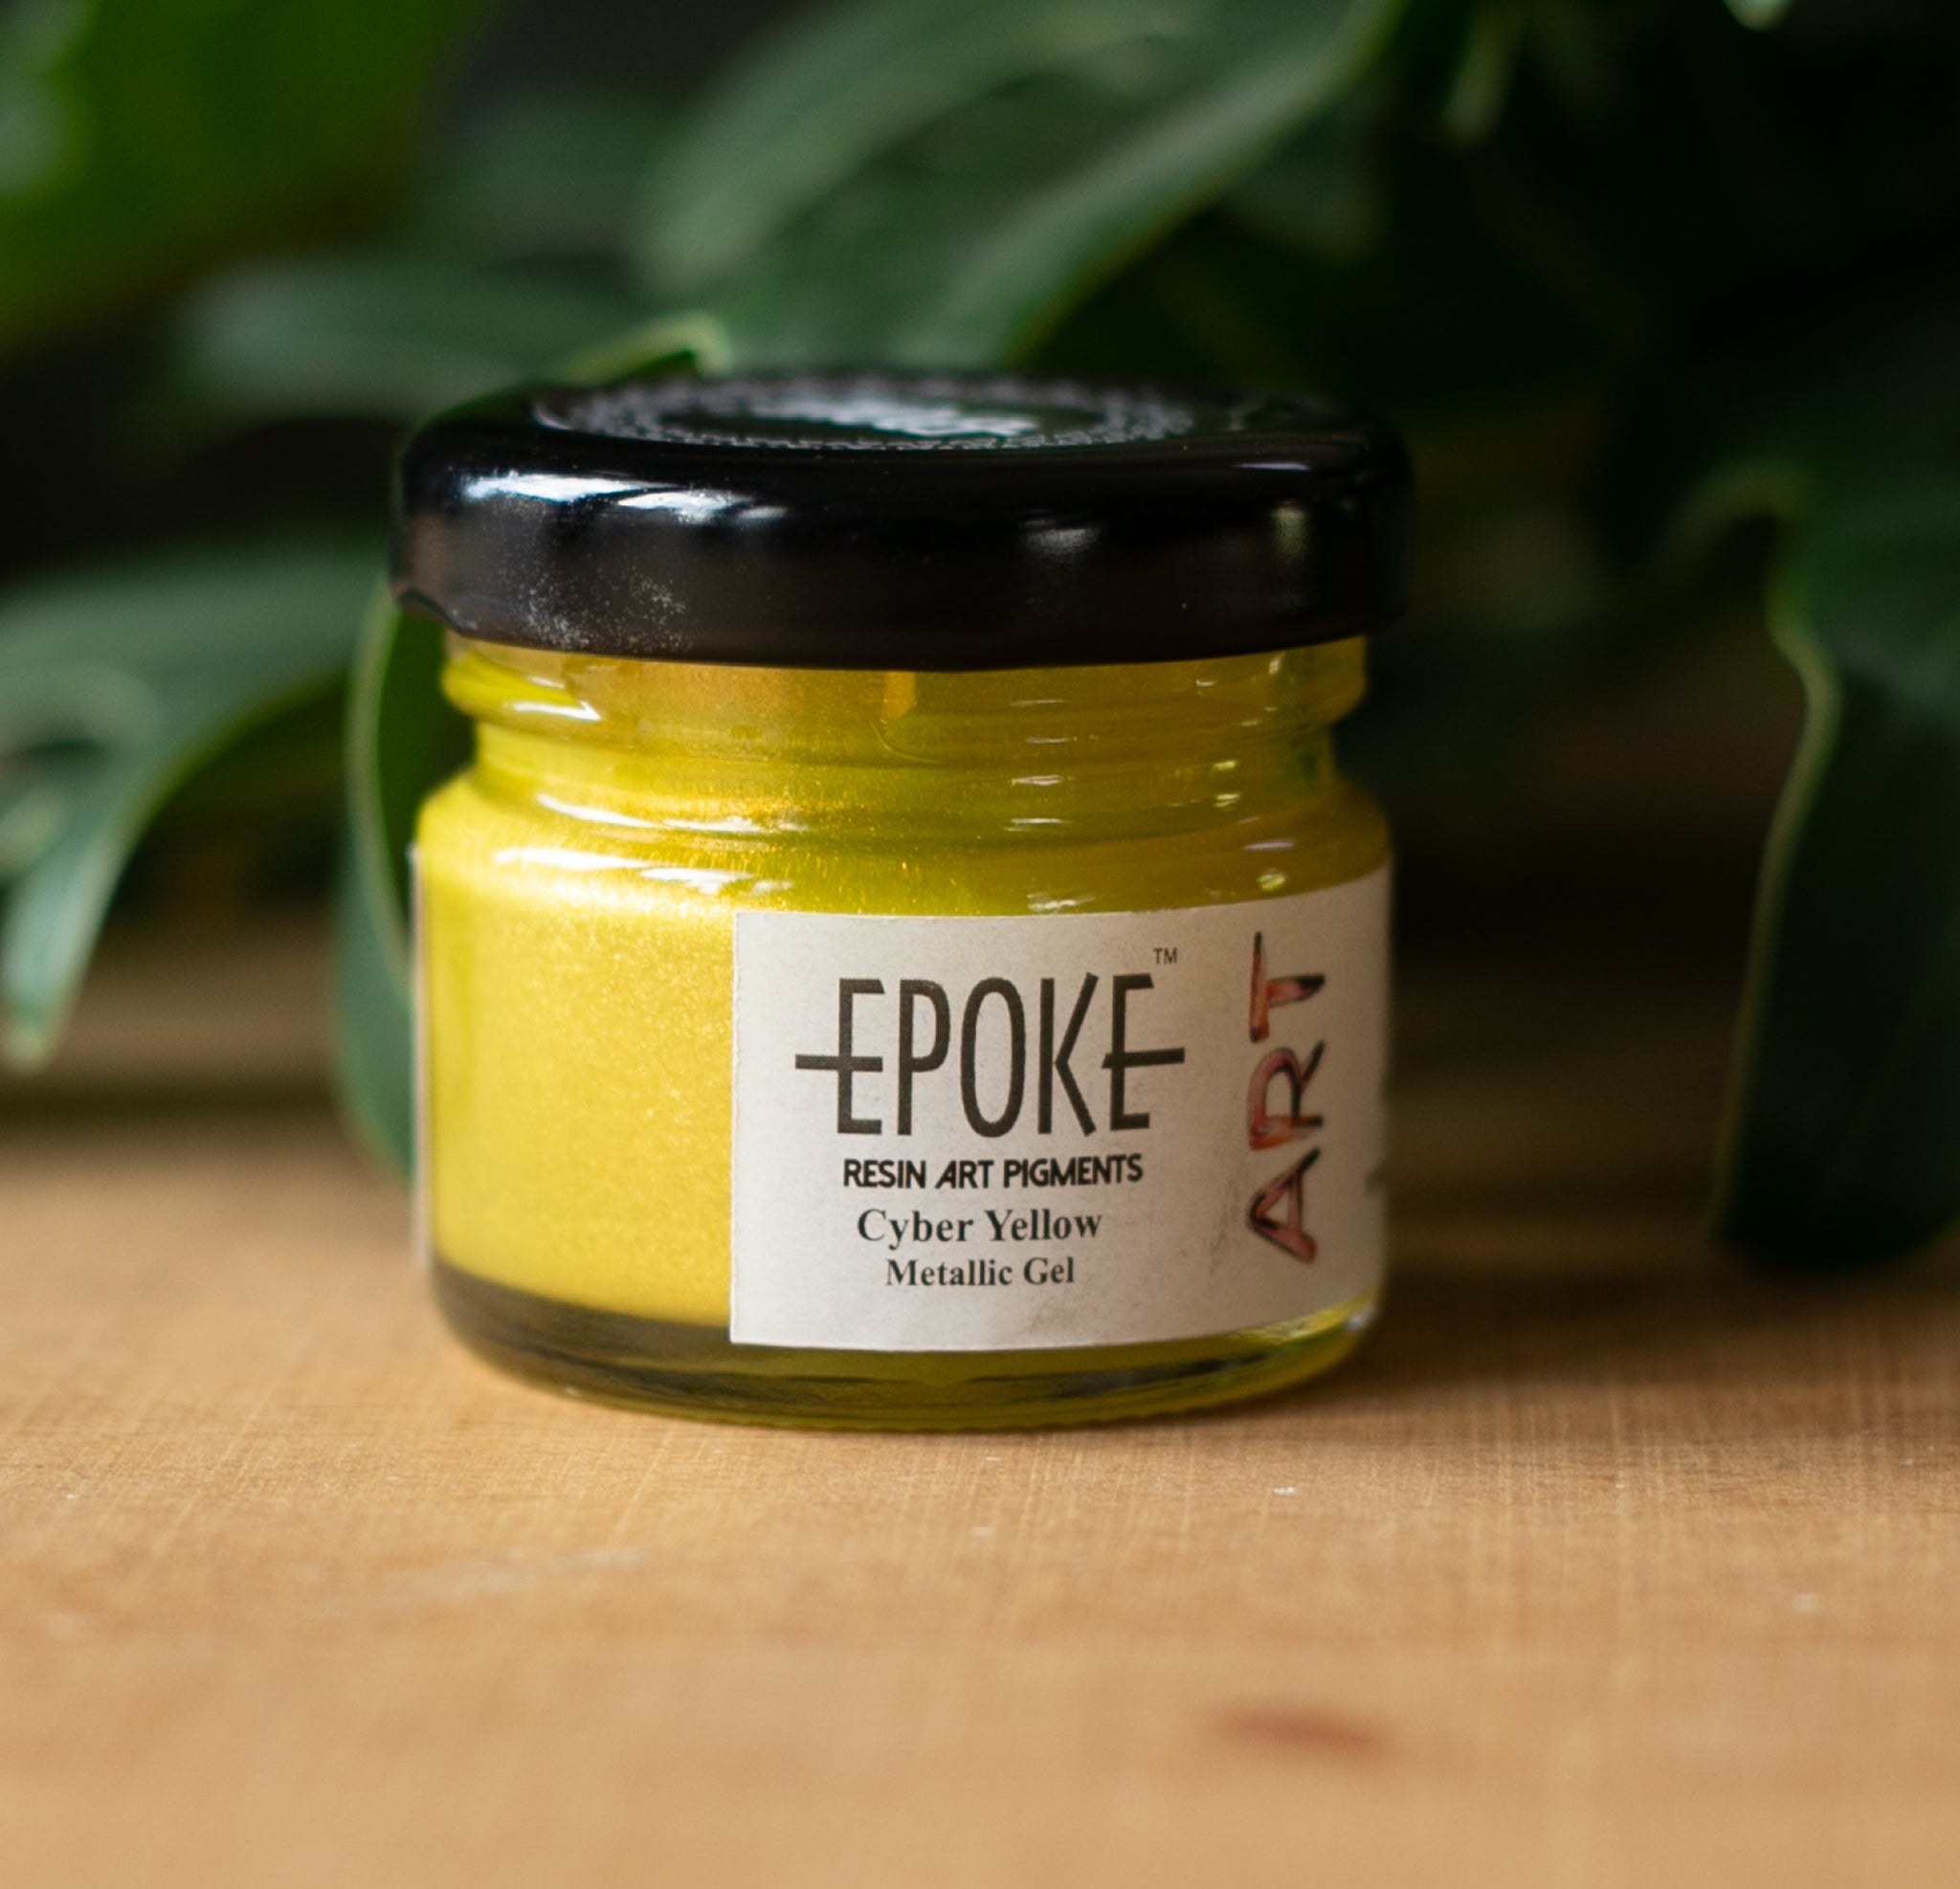
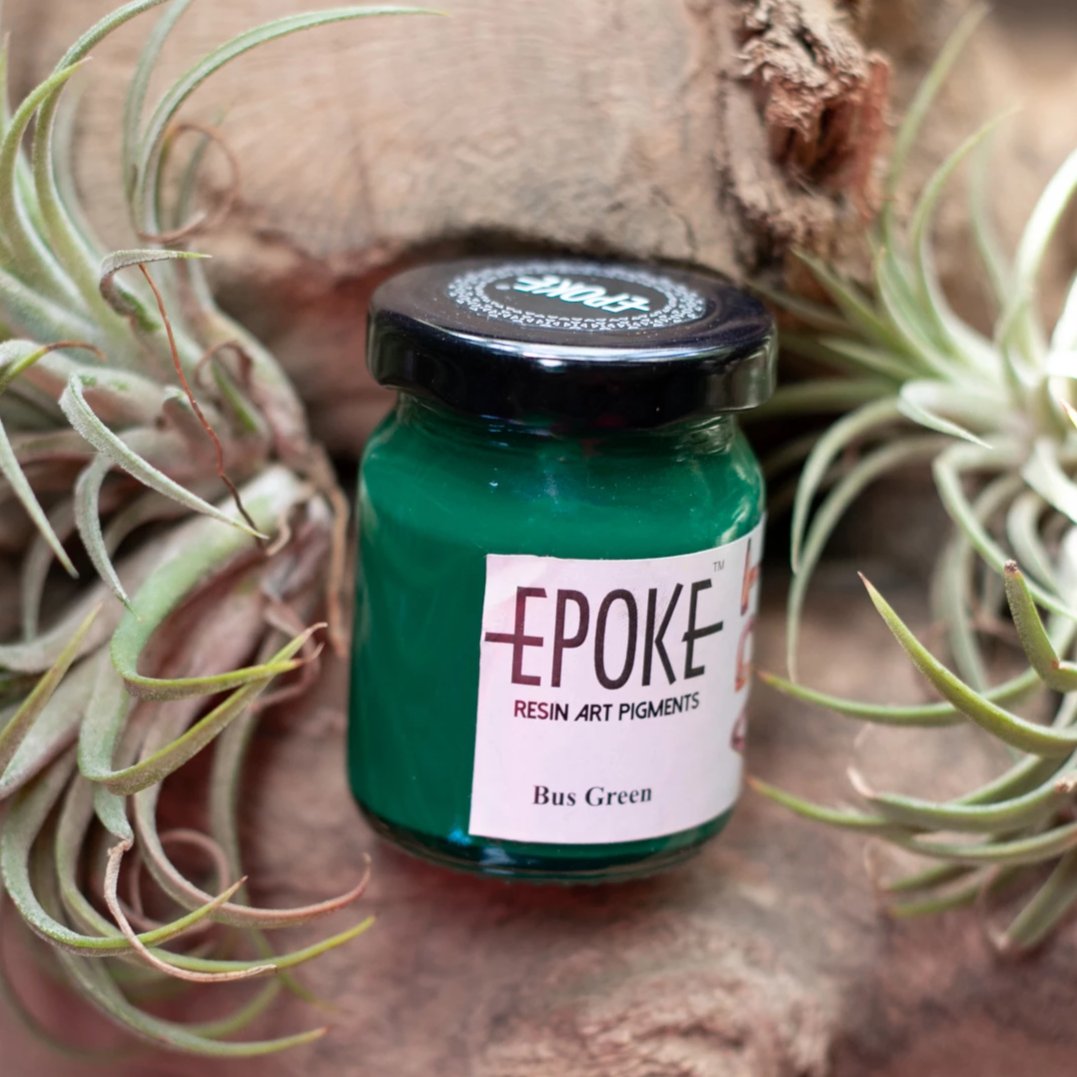
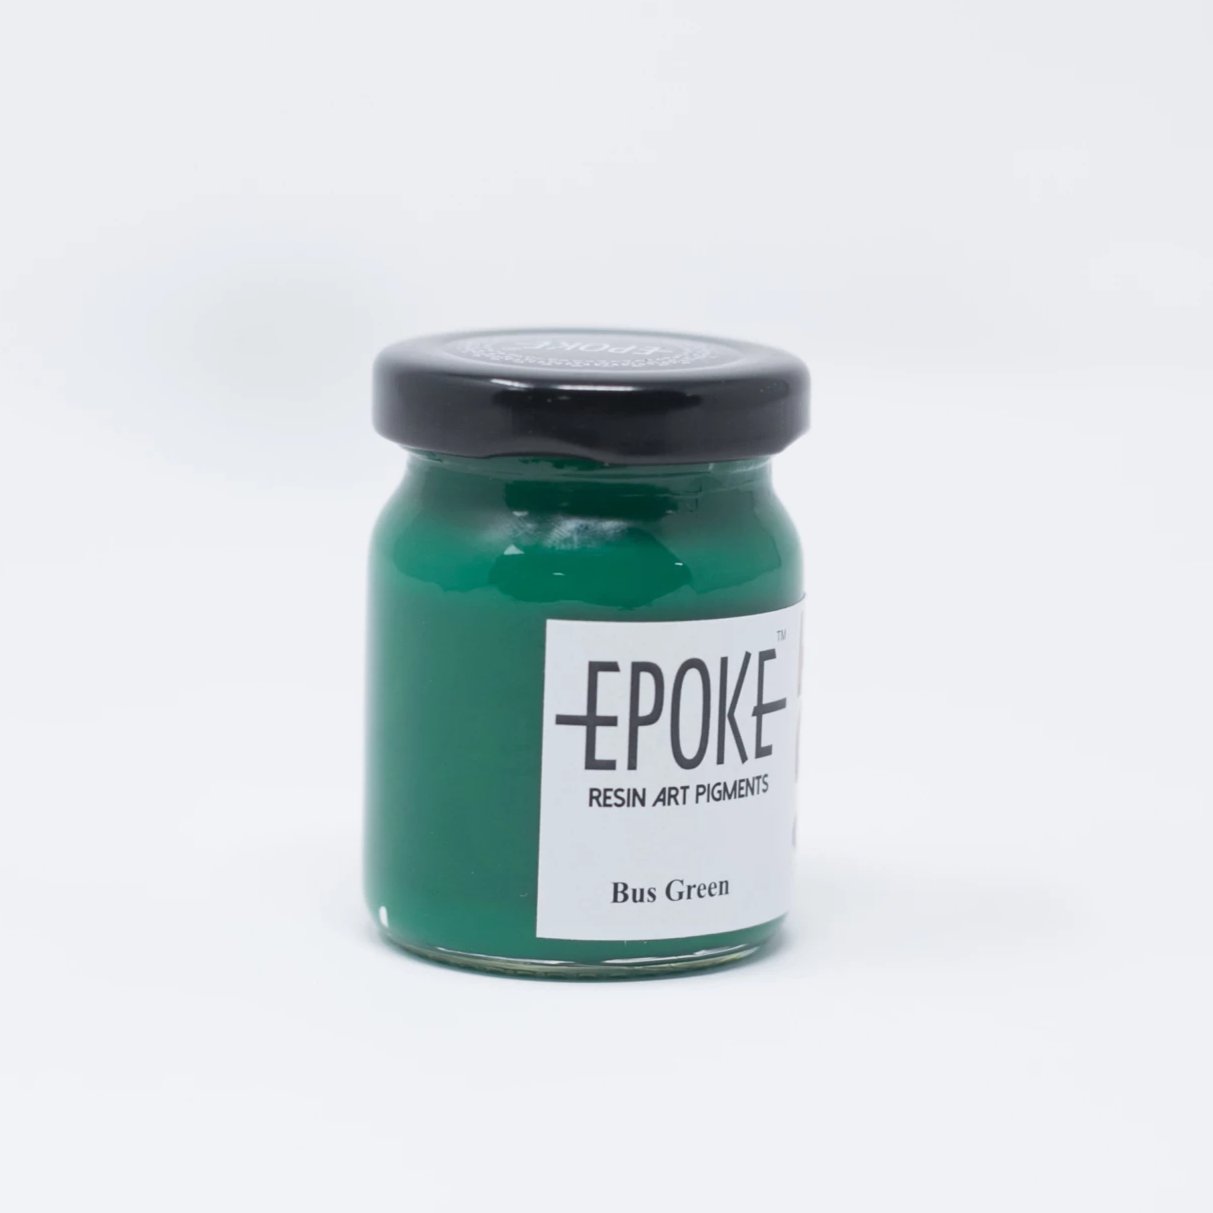
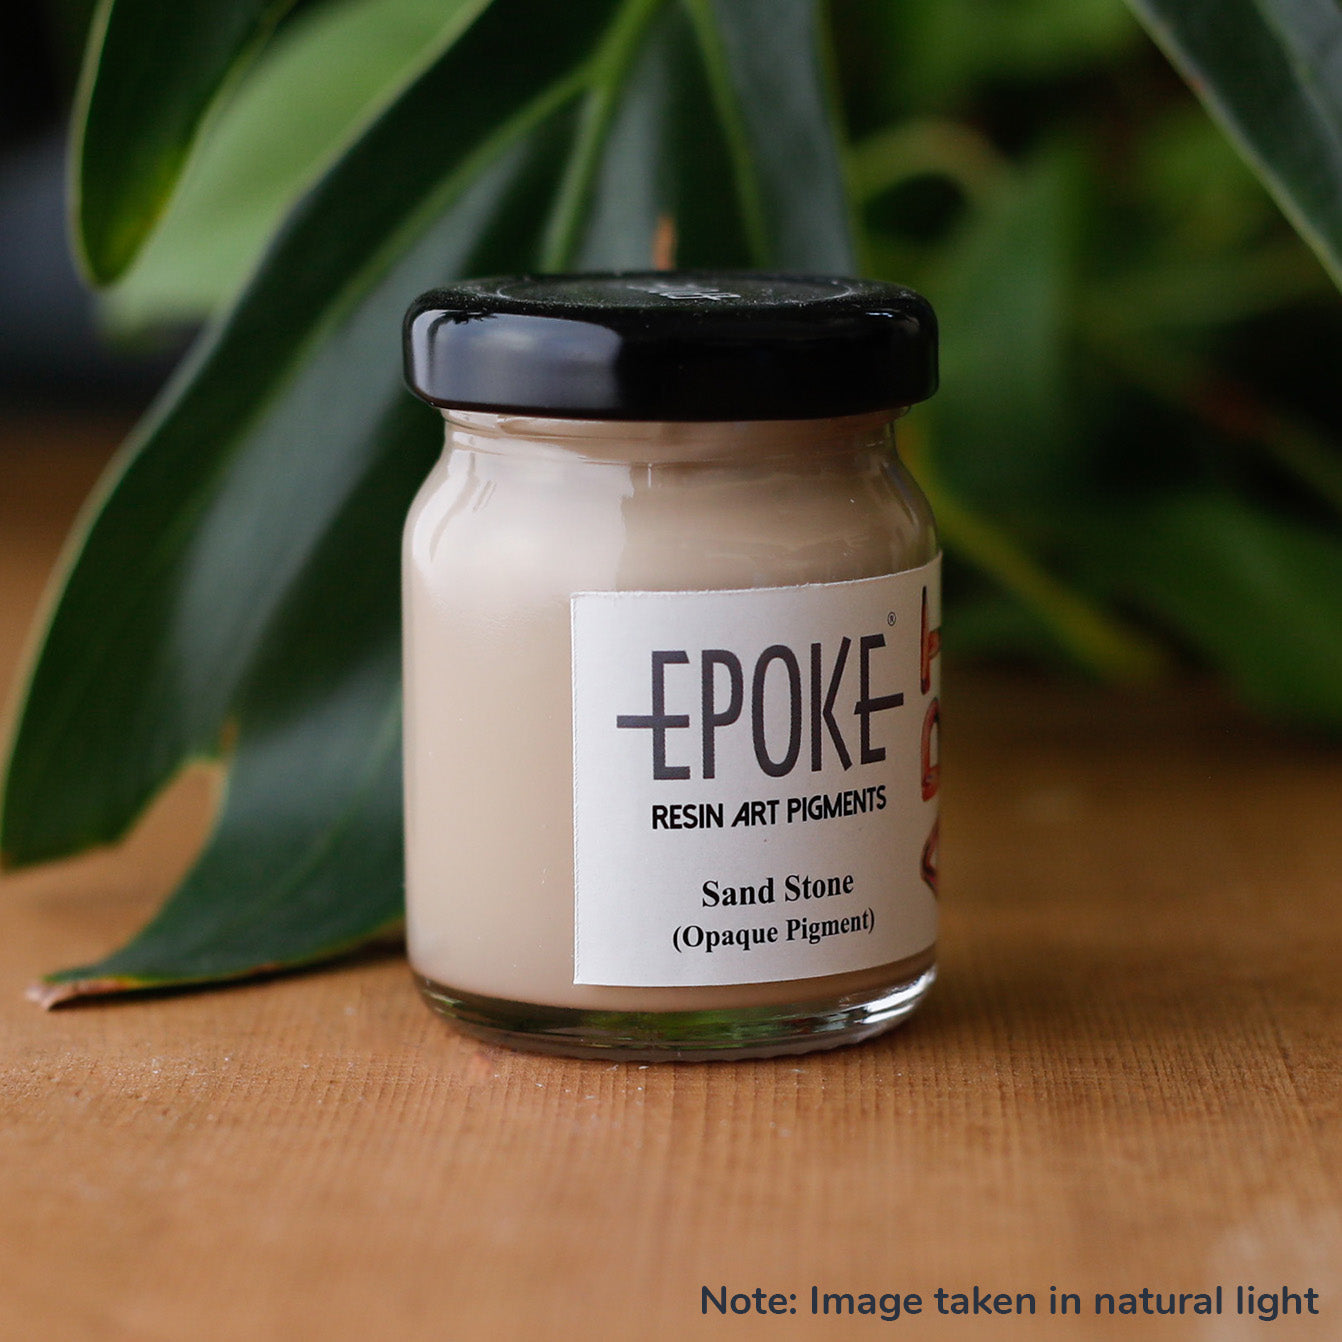
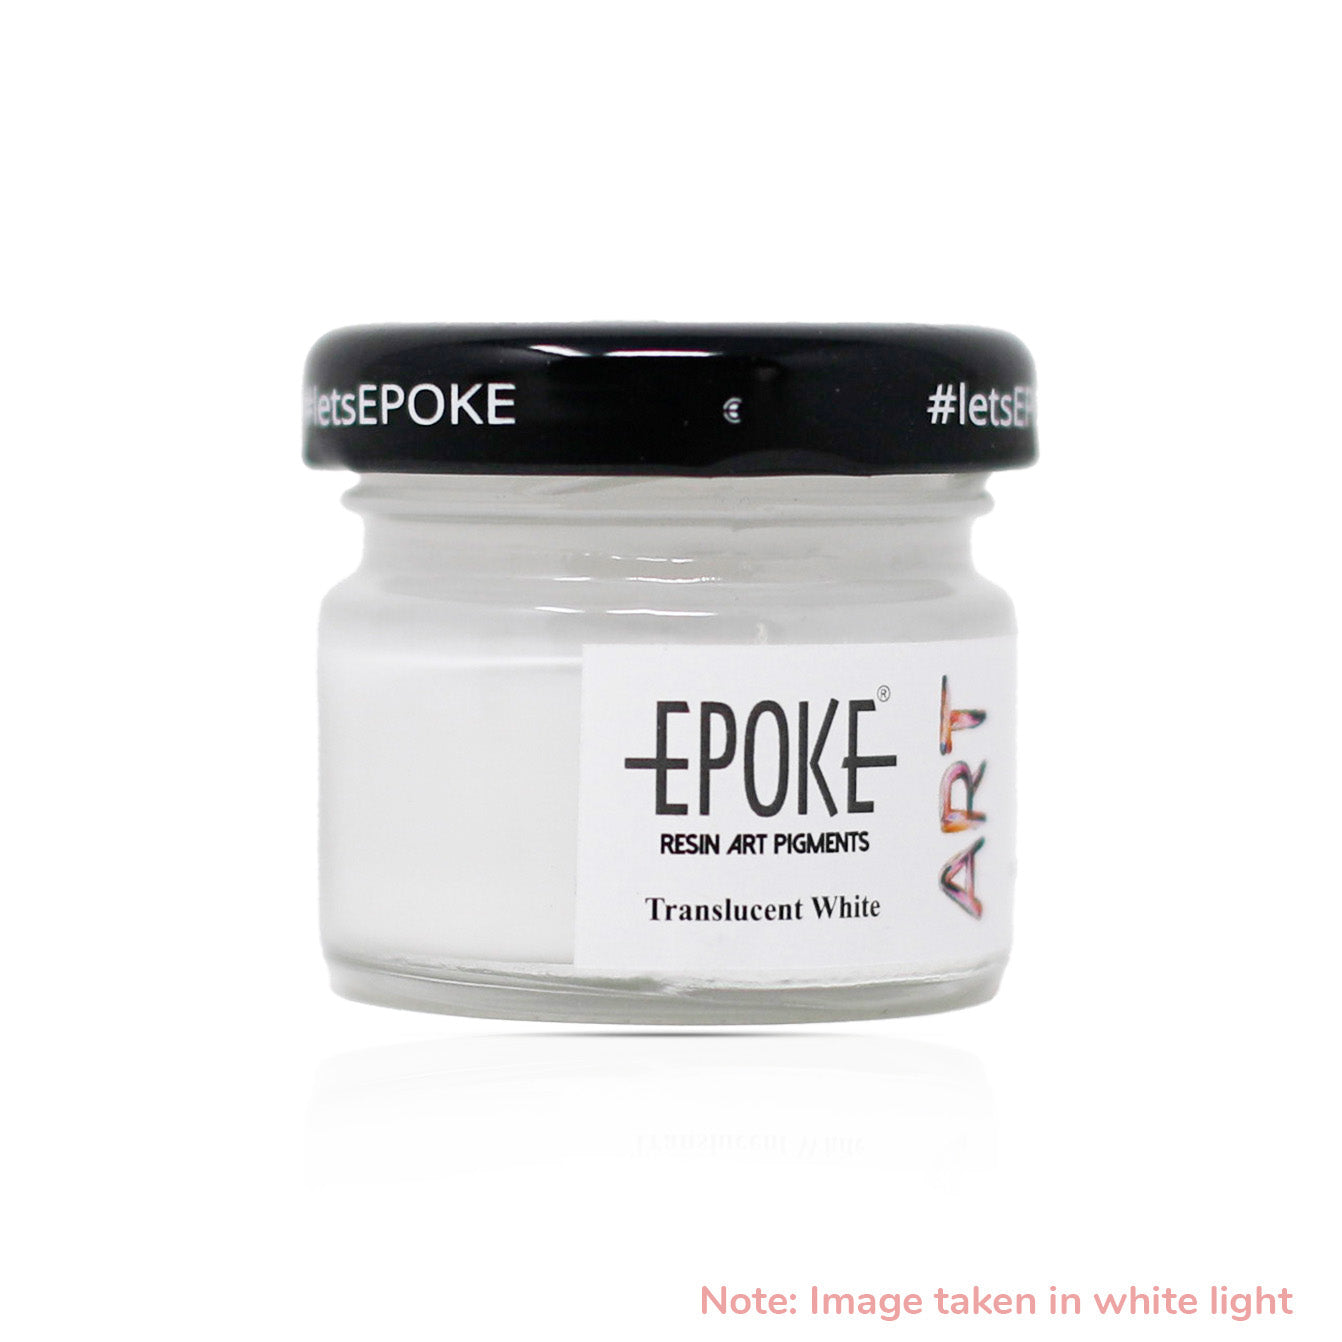
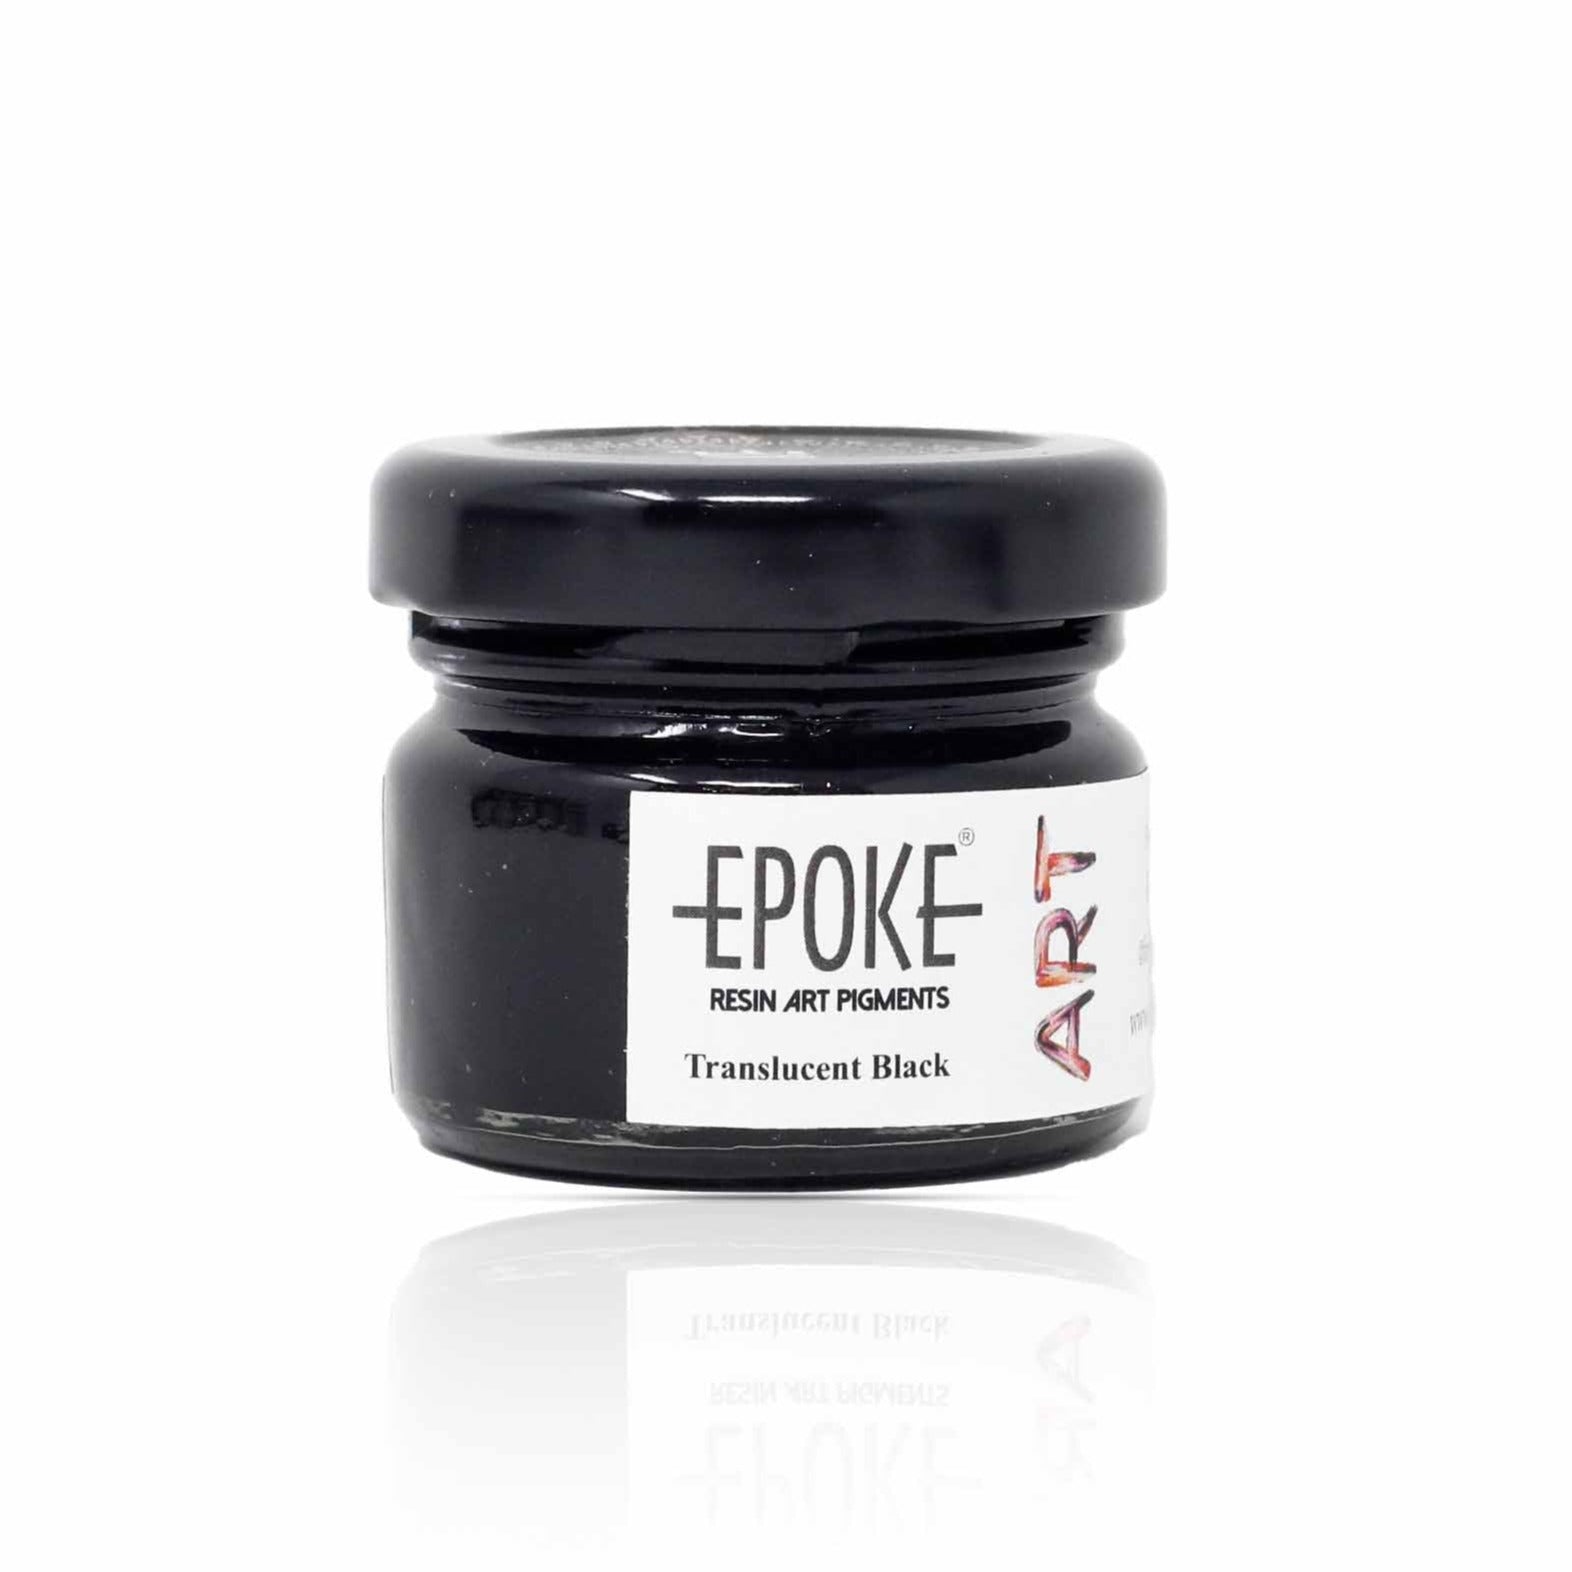
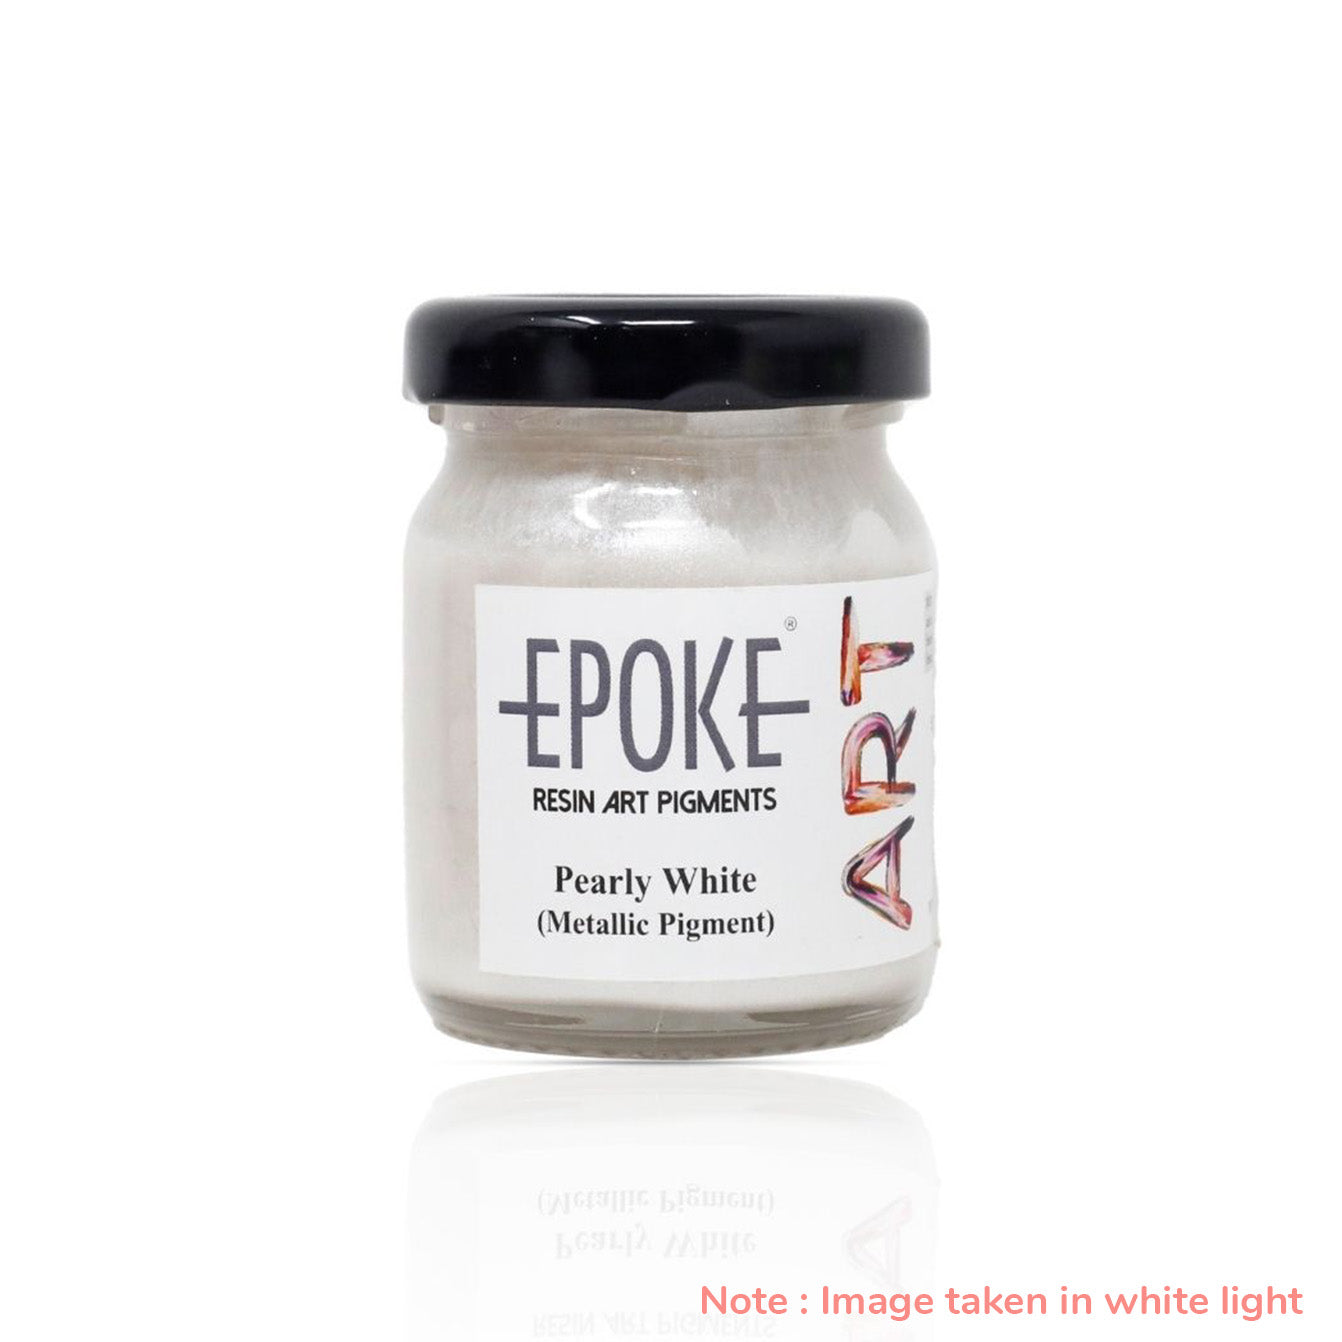
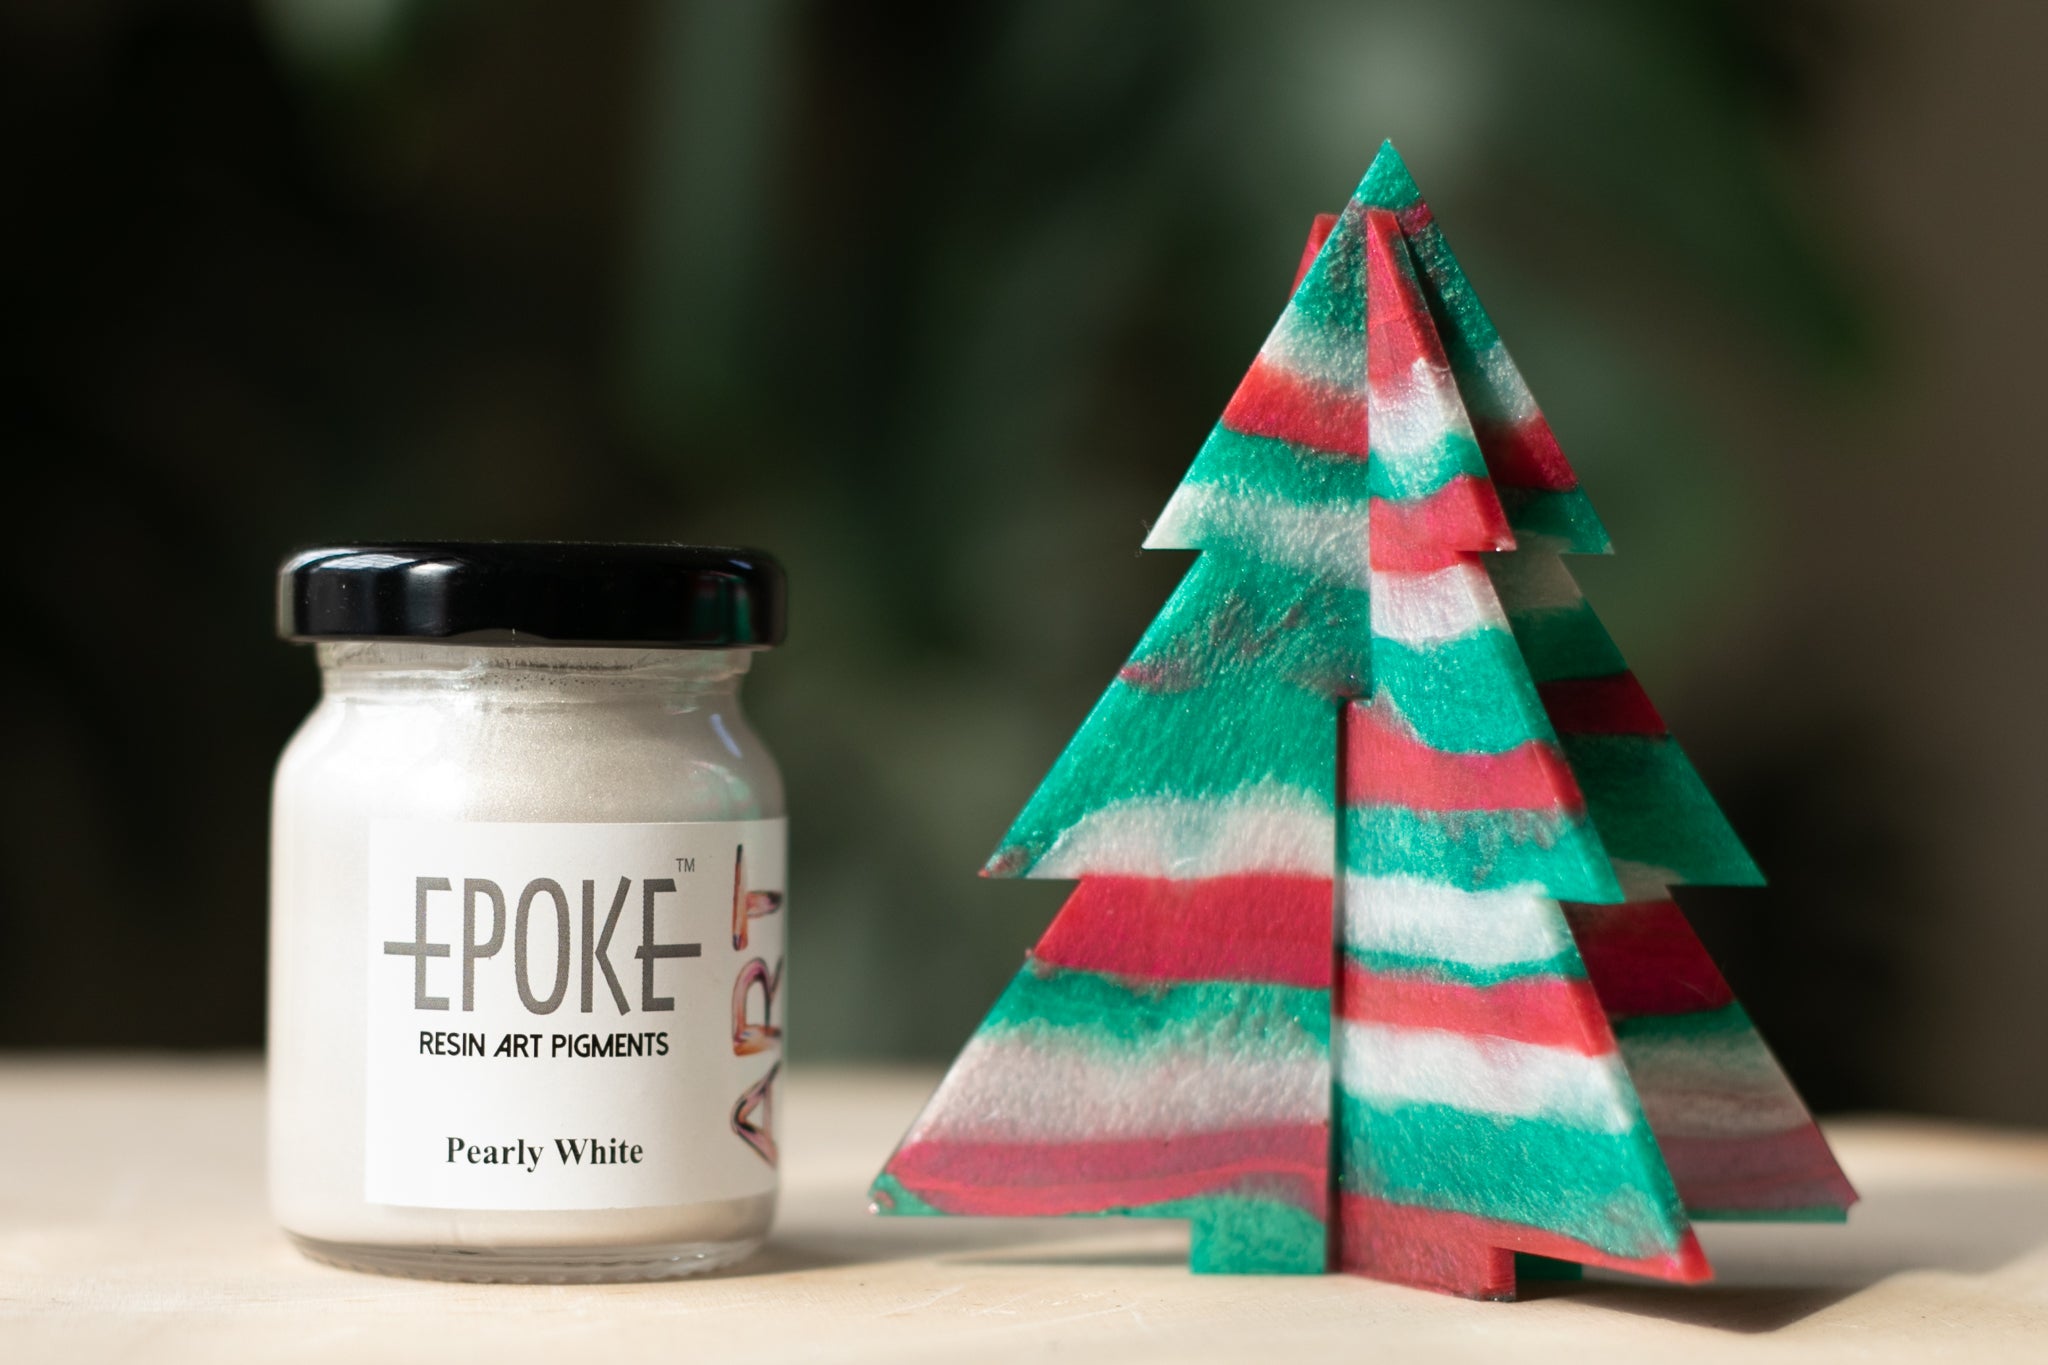
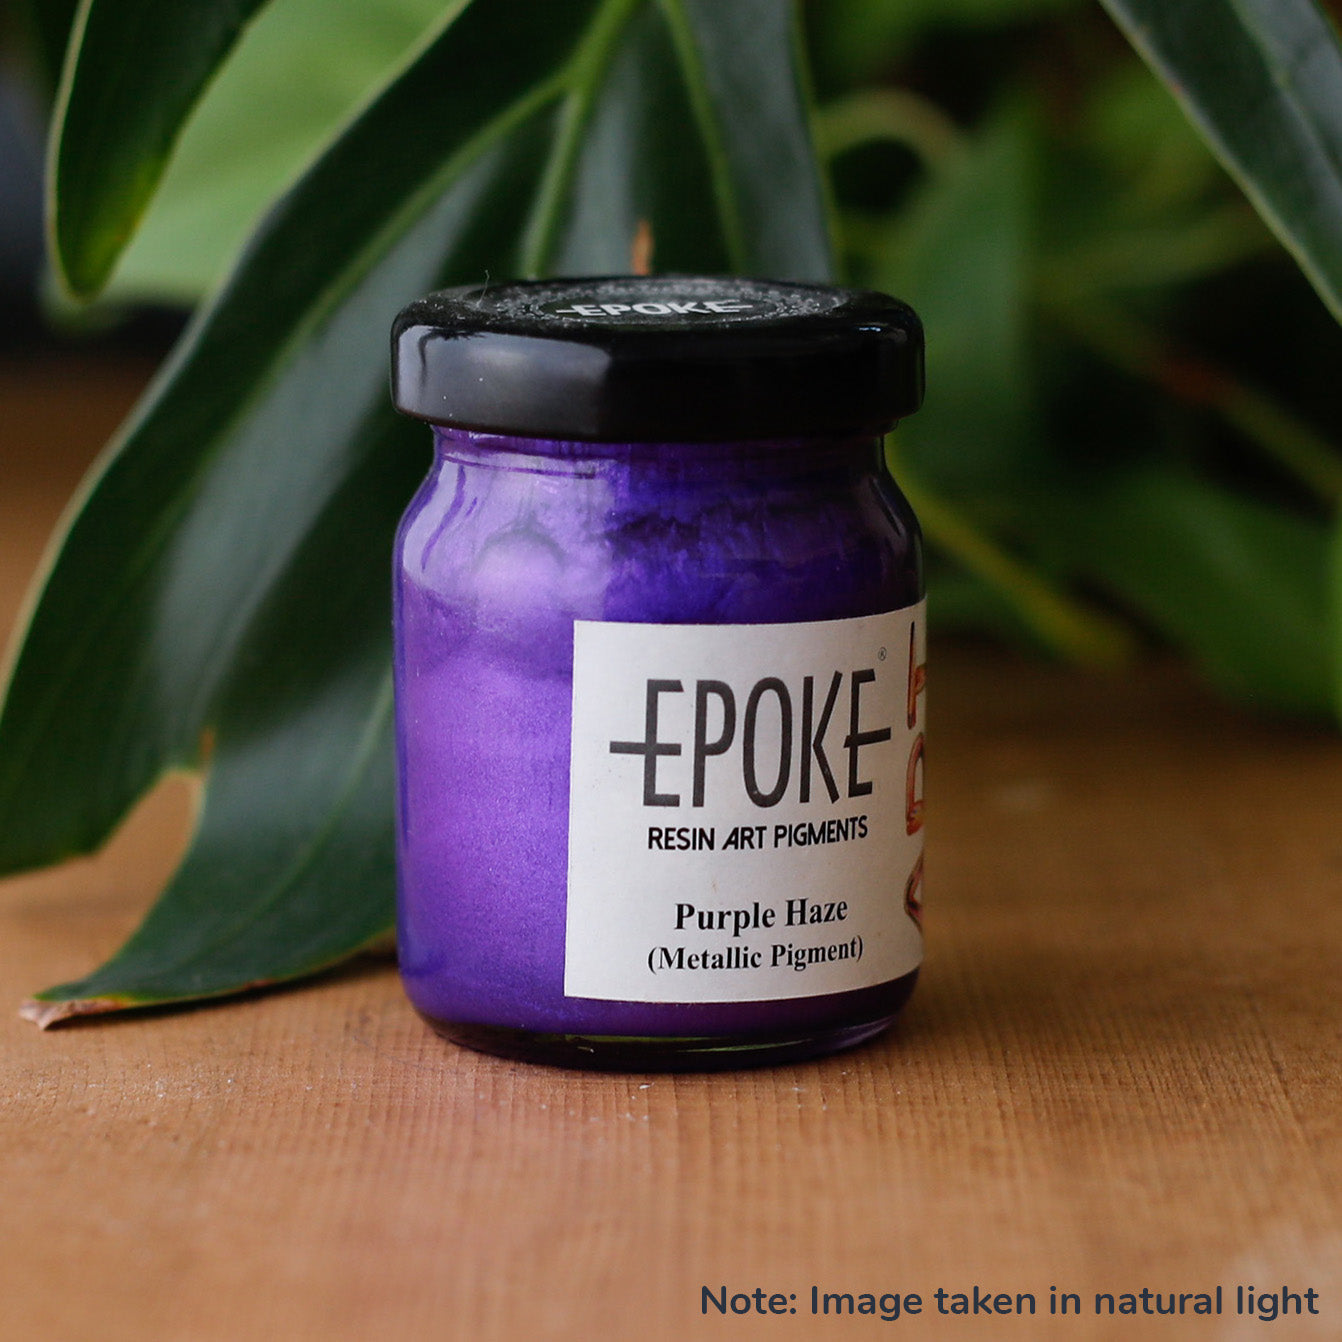
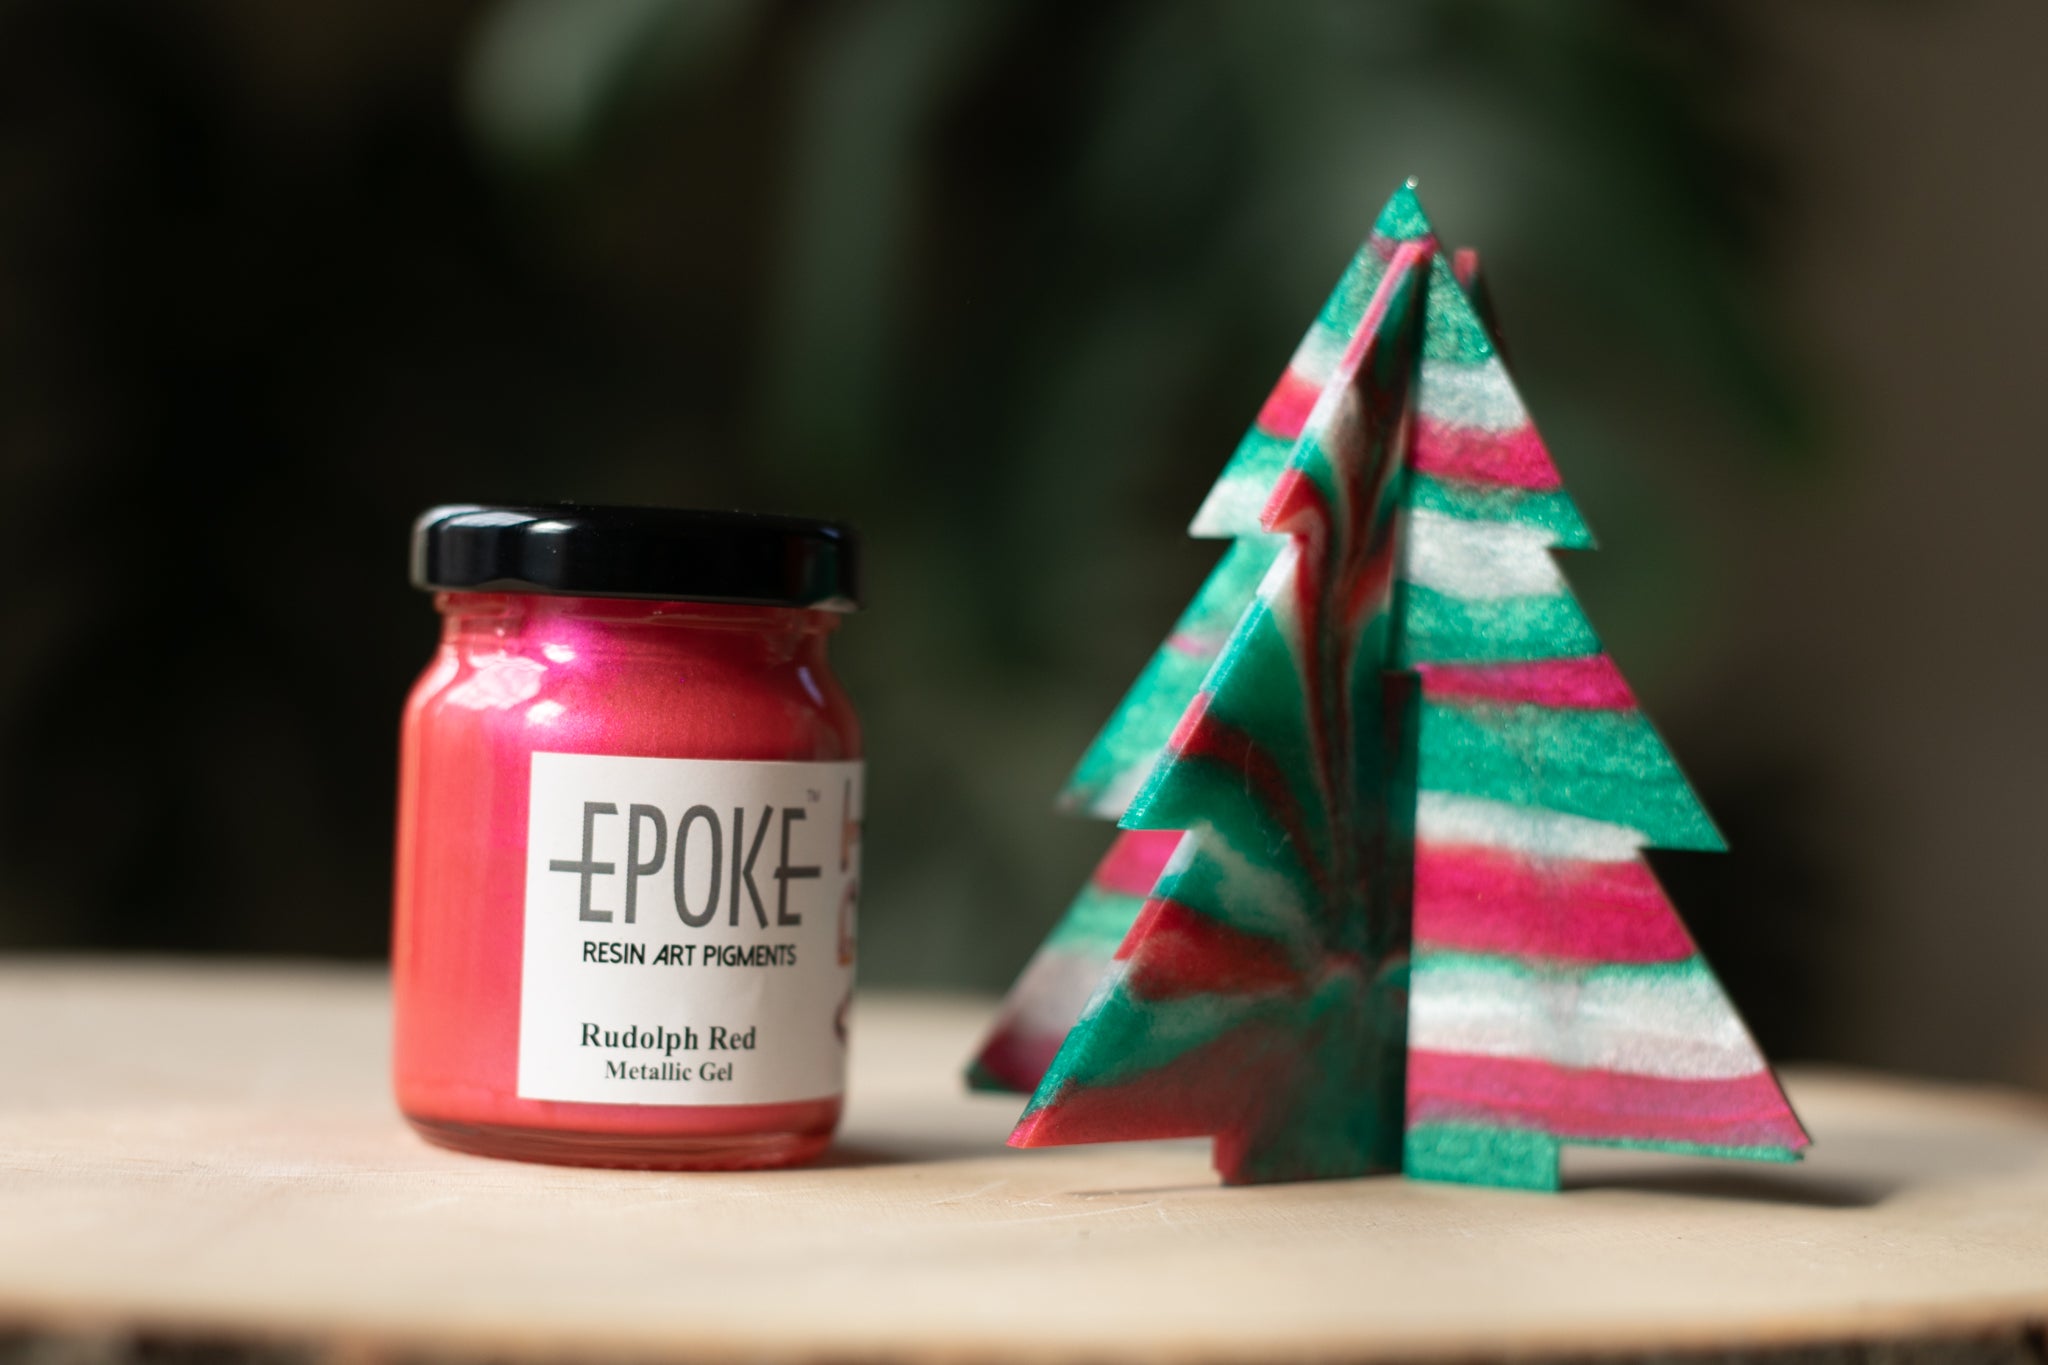
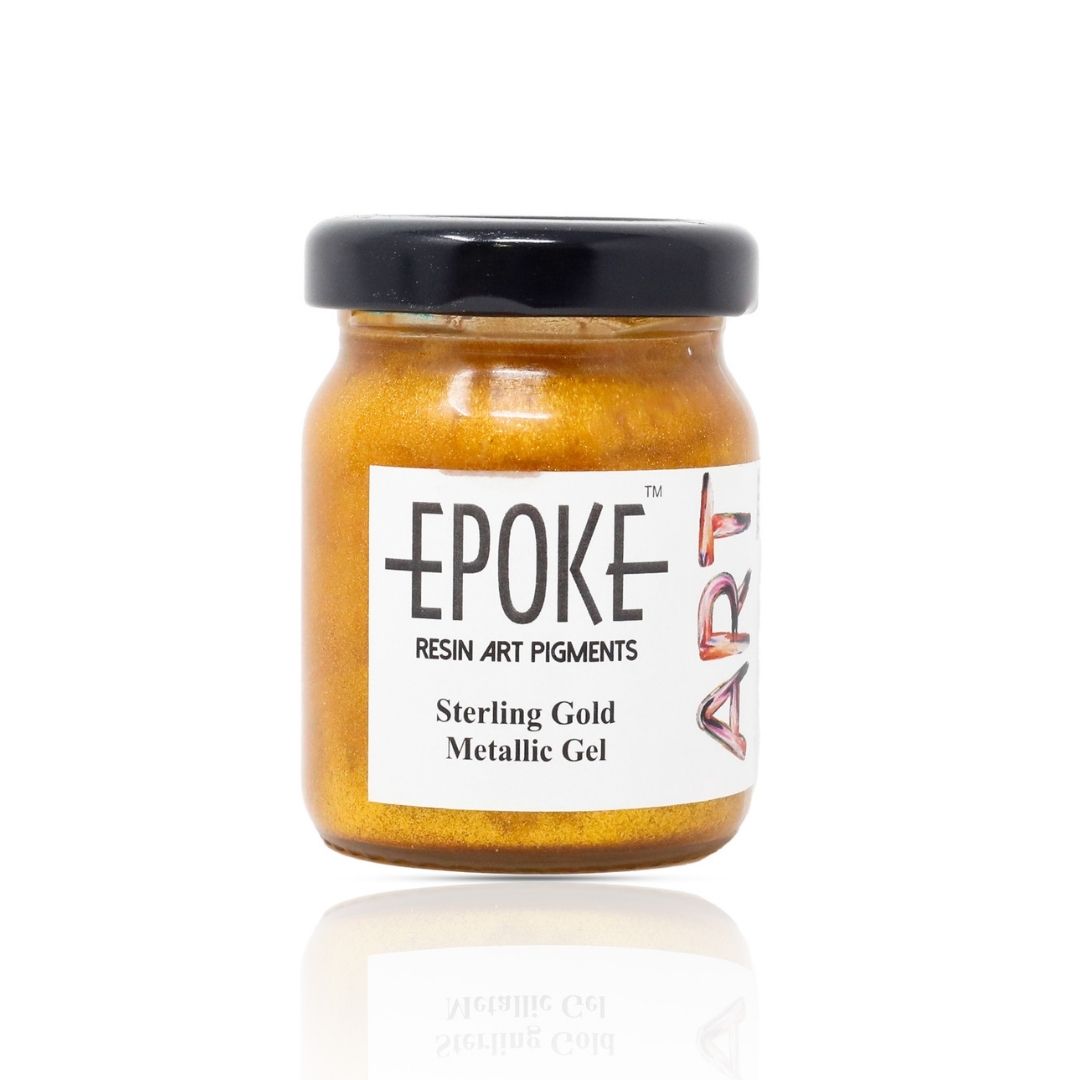
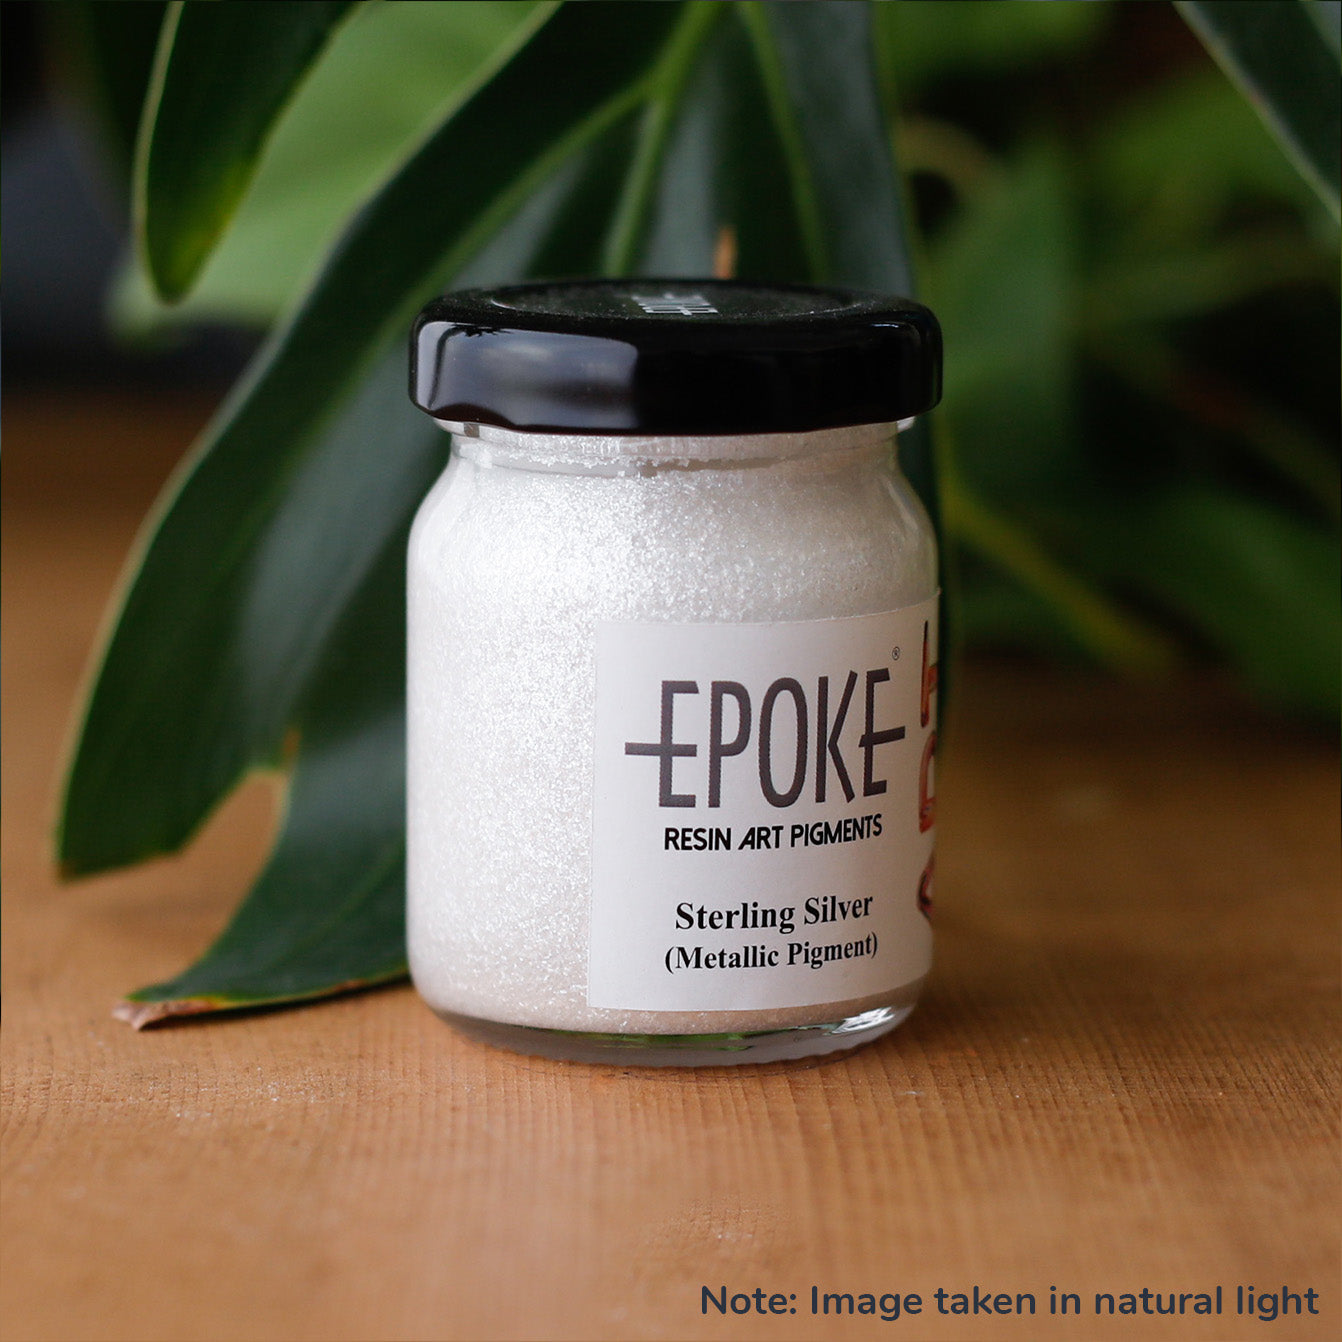
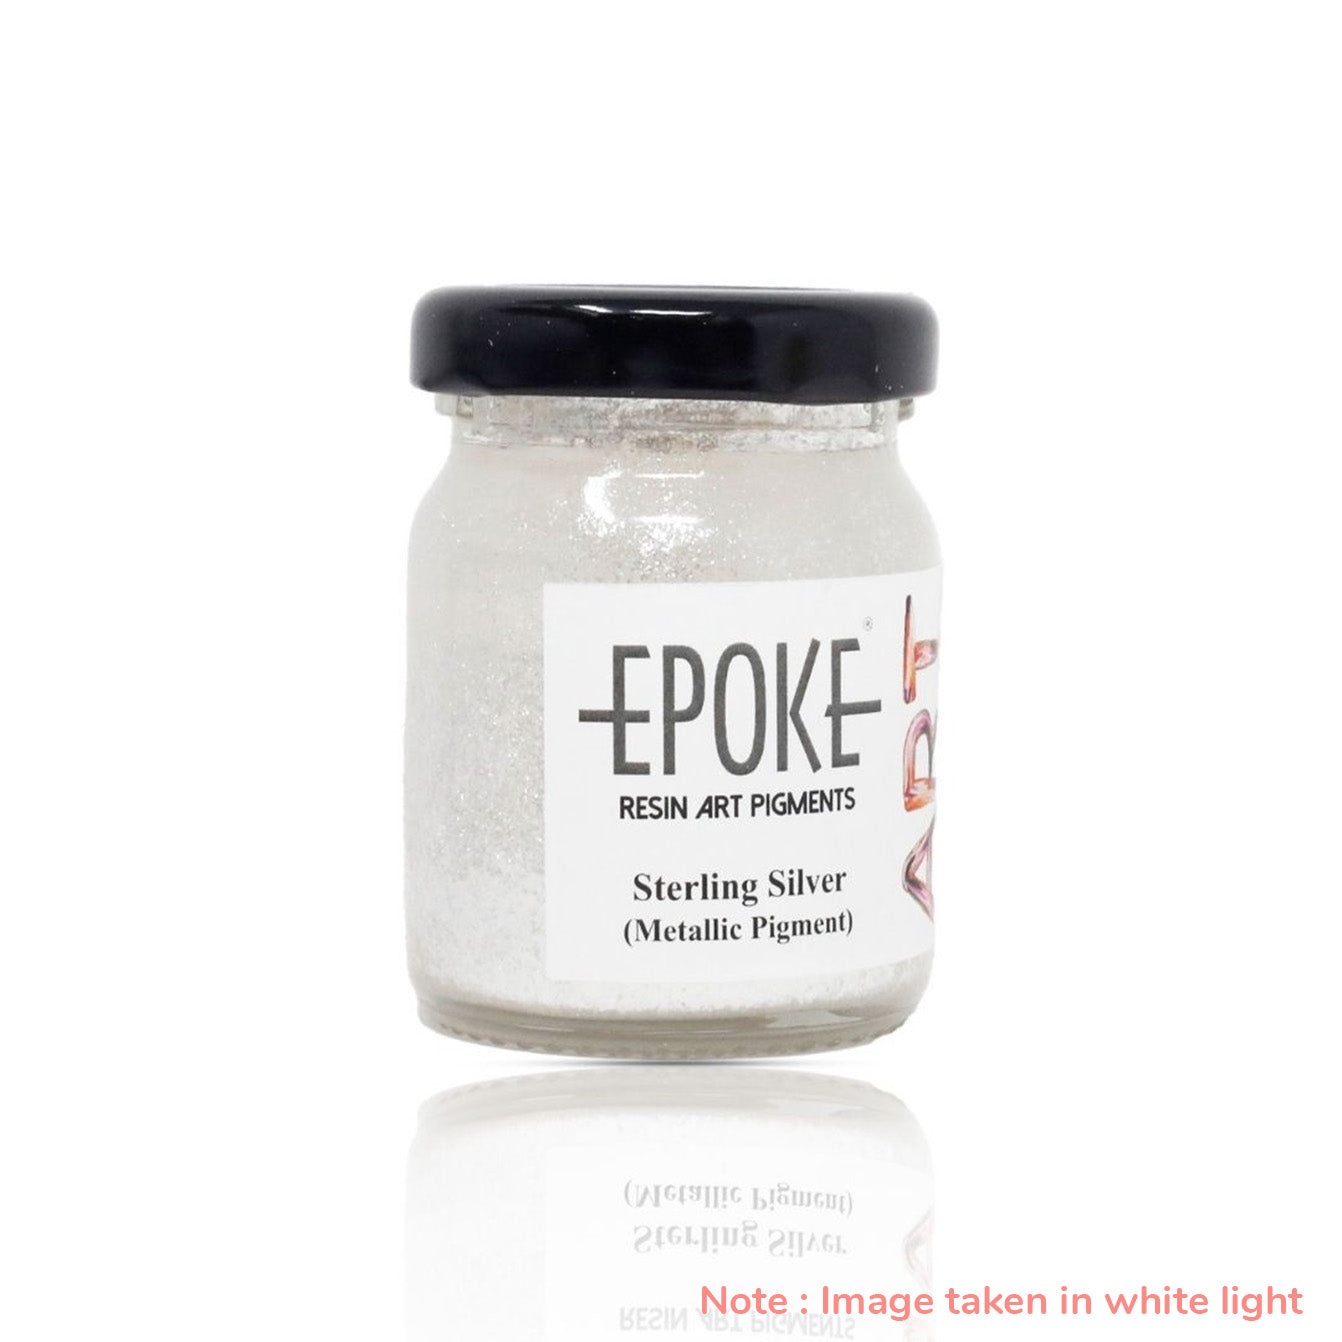
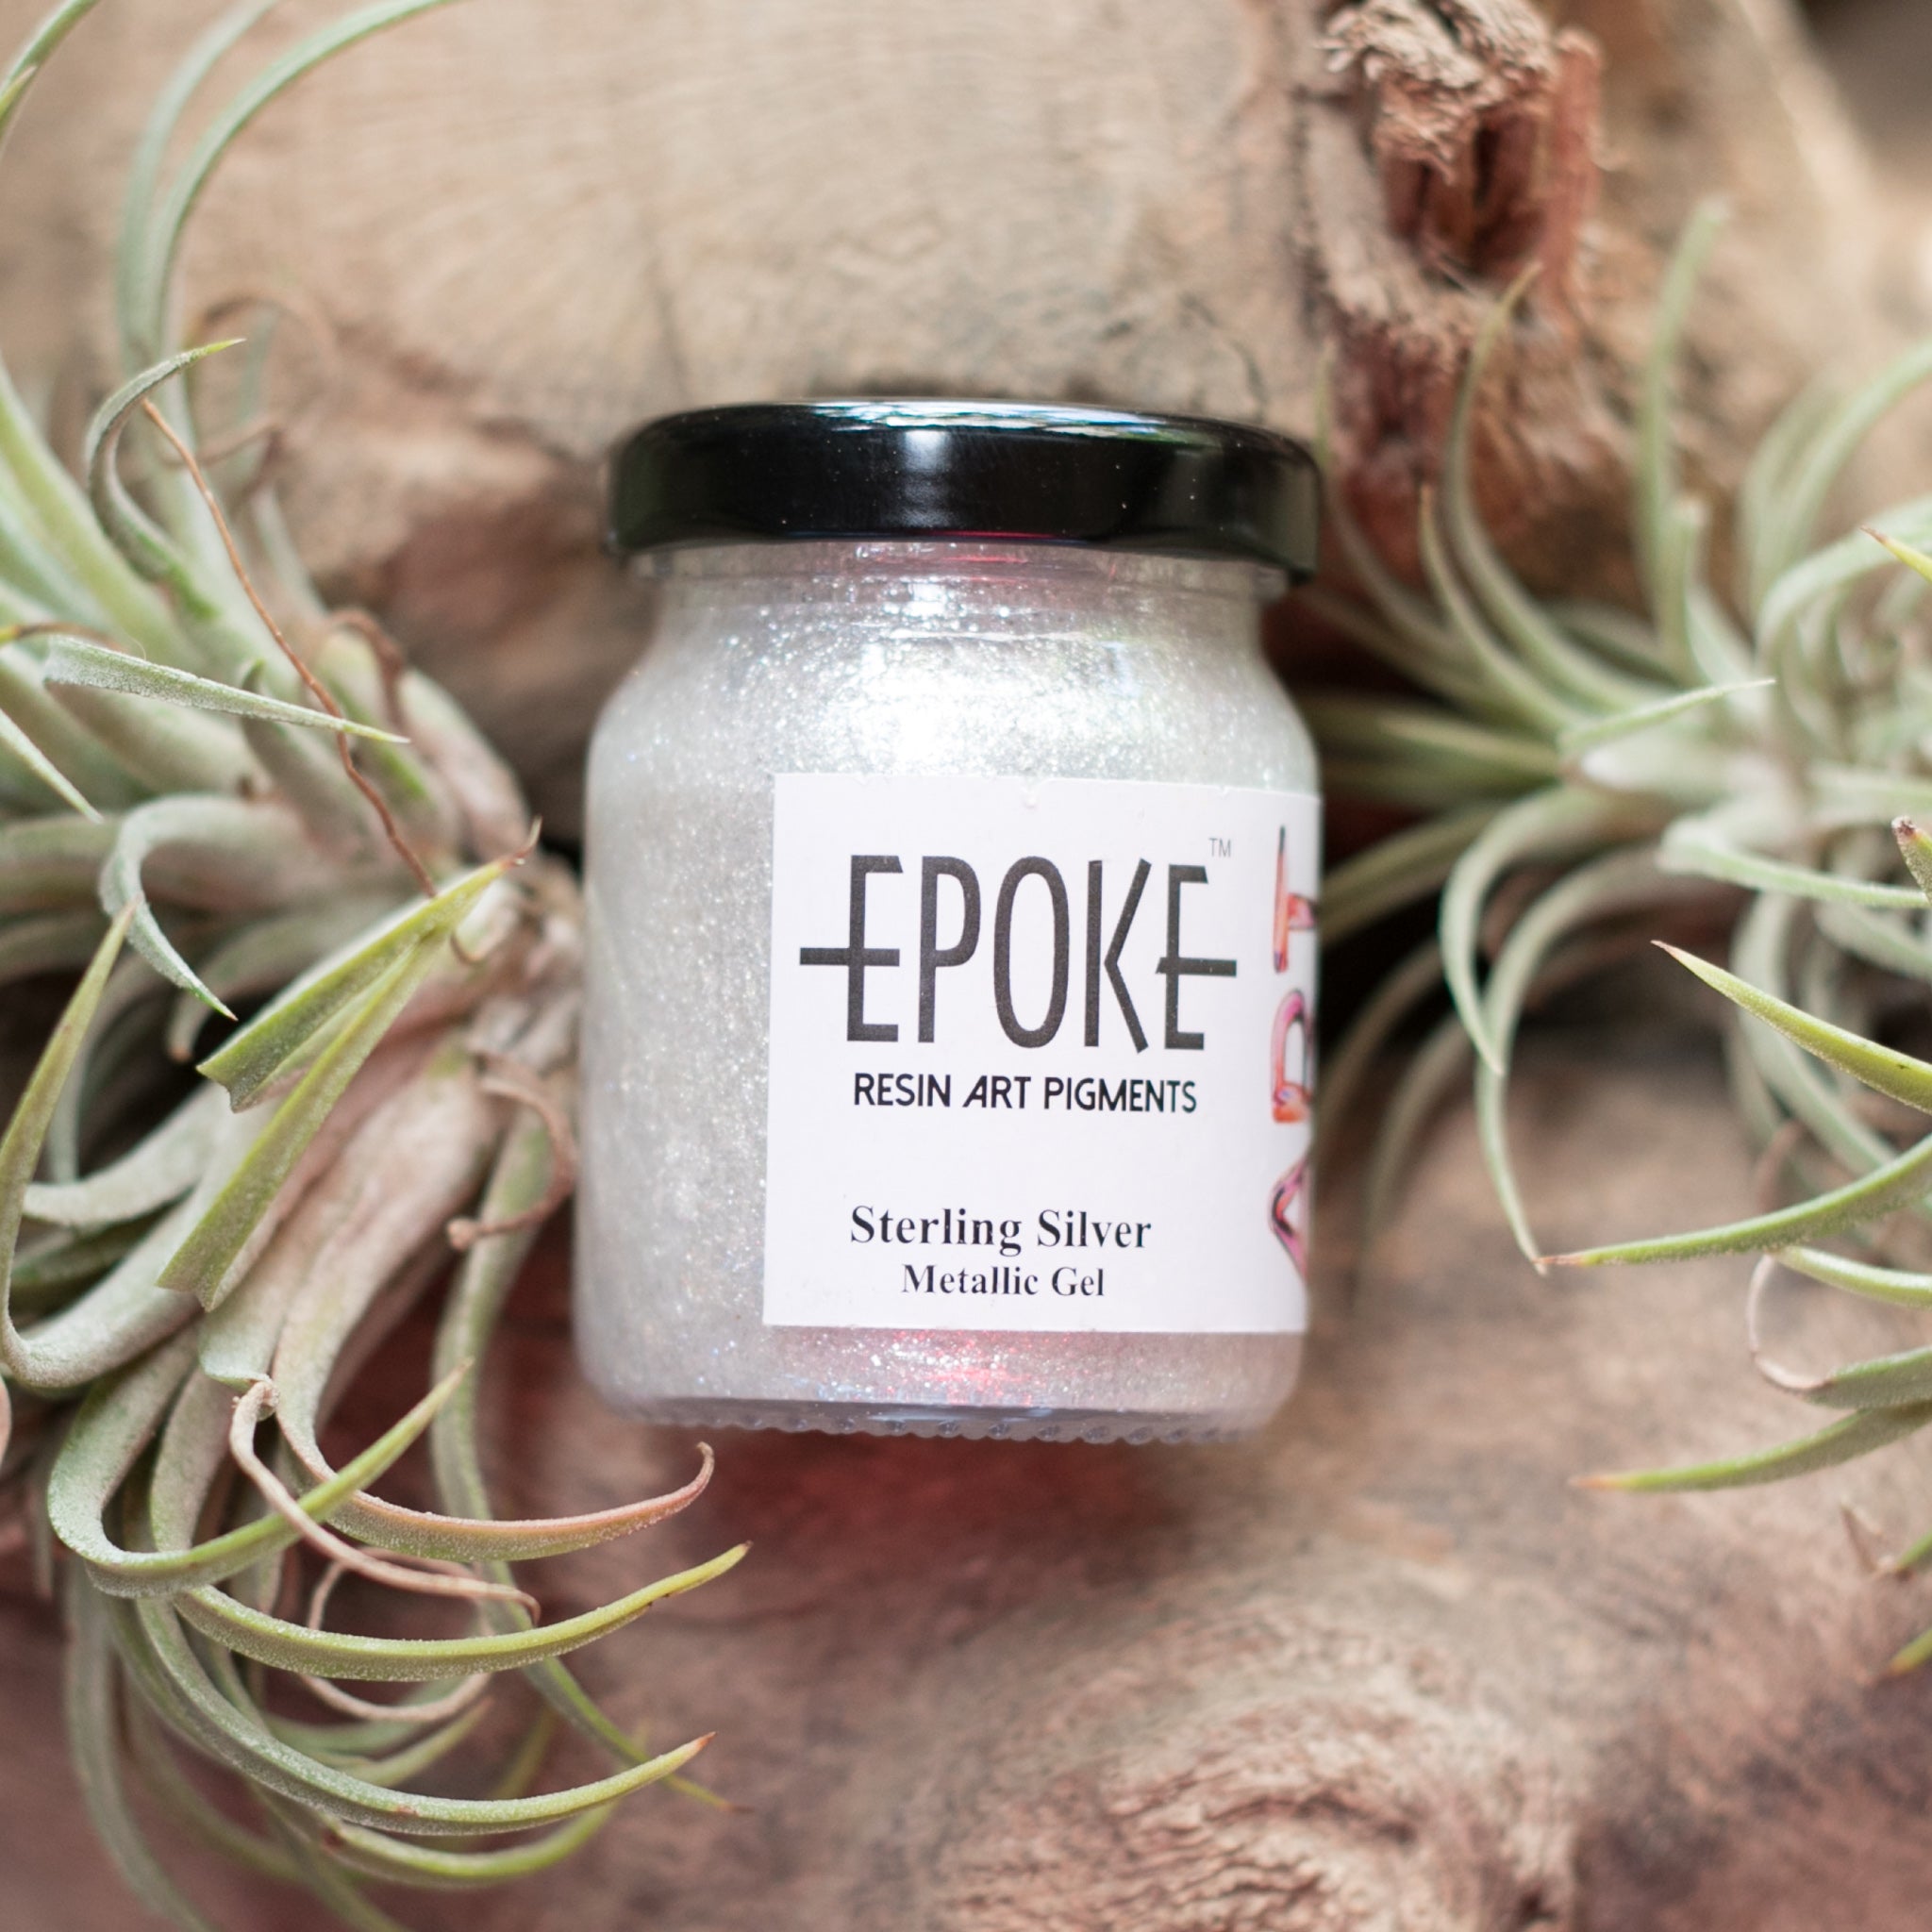
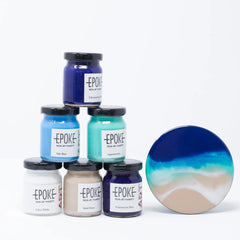
EPOKE Art's full glitter range, including Chunky, Fine, and Mix, is built for resin art with high lustre, non-bleeding performance and full resin compatibility.
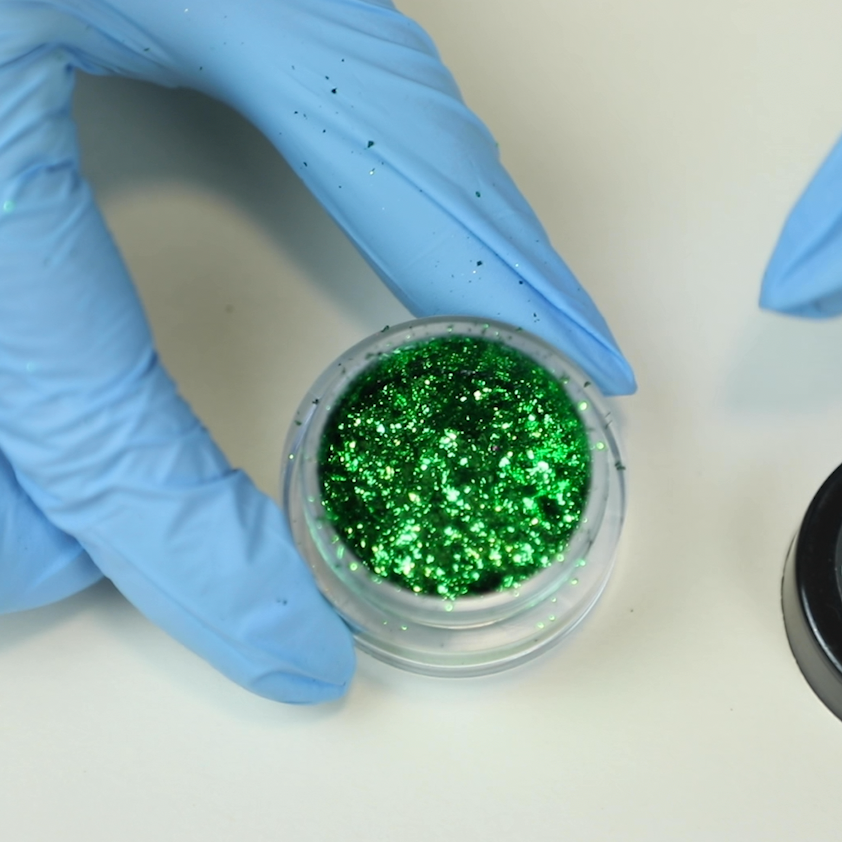
What Makes Glitter Resin-Compatible?
Not all glitter works in epoxy resin.
Regular glitter sold for school projects or nail art is made with dyes and coatings that react with resin chemistry. The result is colour bleeding into your clear base, rapid sinking before the resin cures, or clumping that ruins the surface.
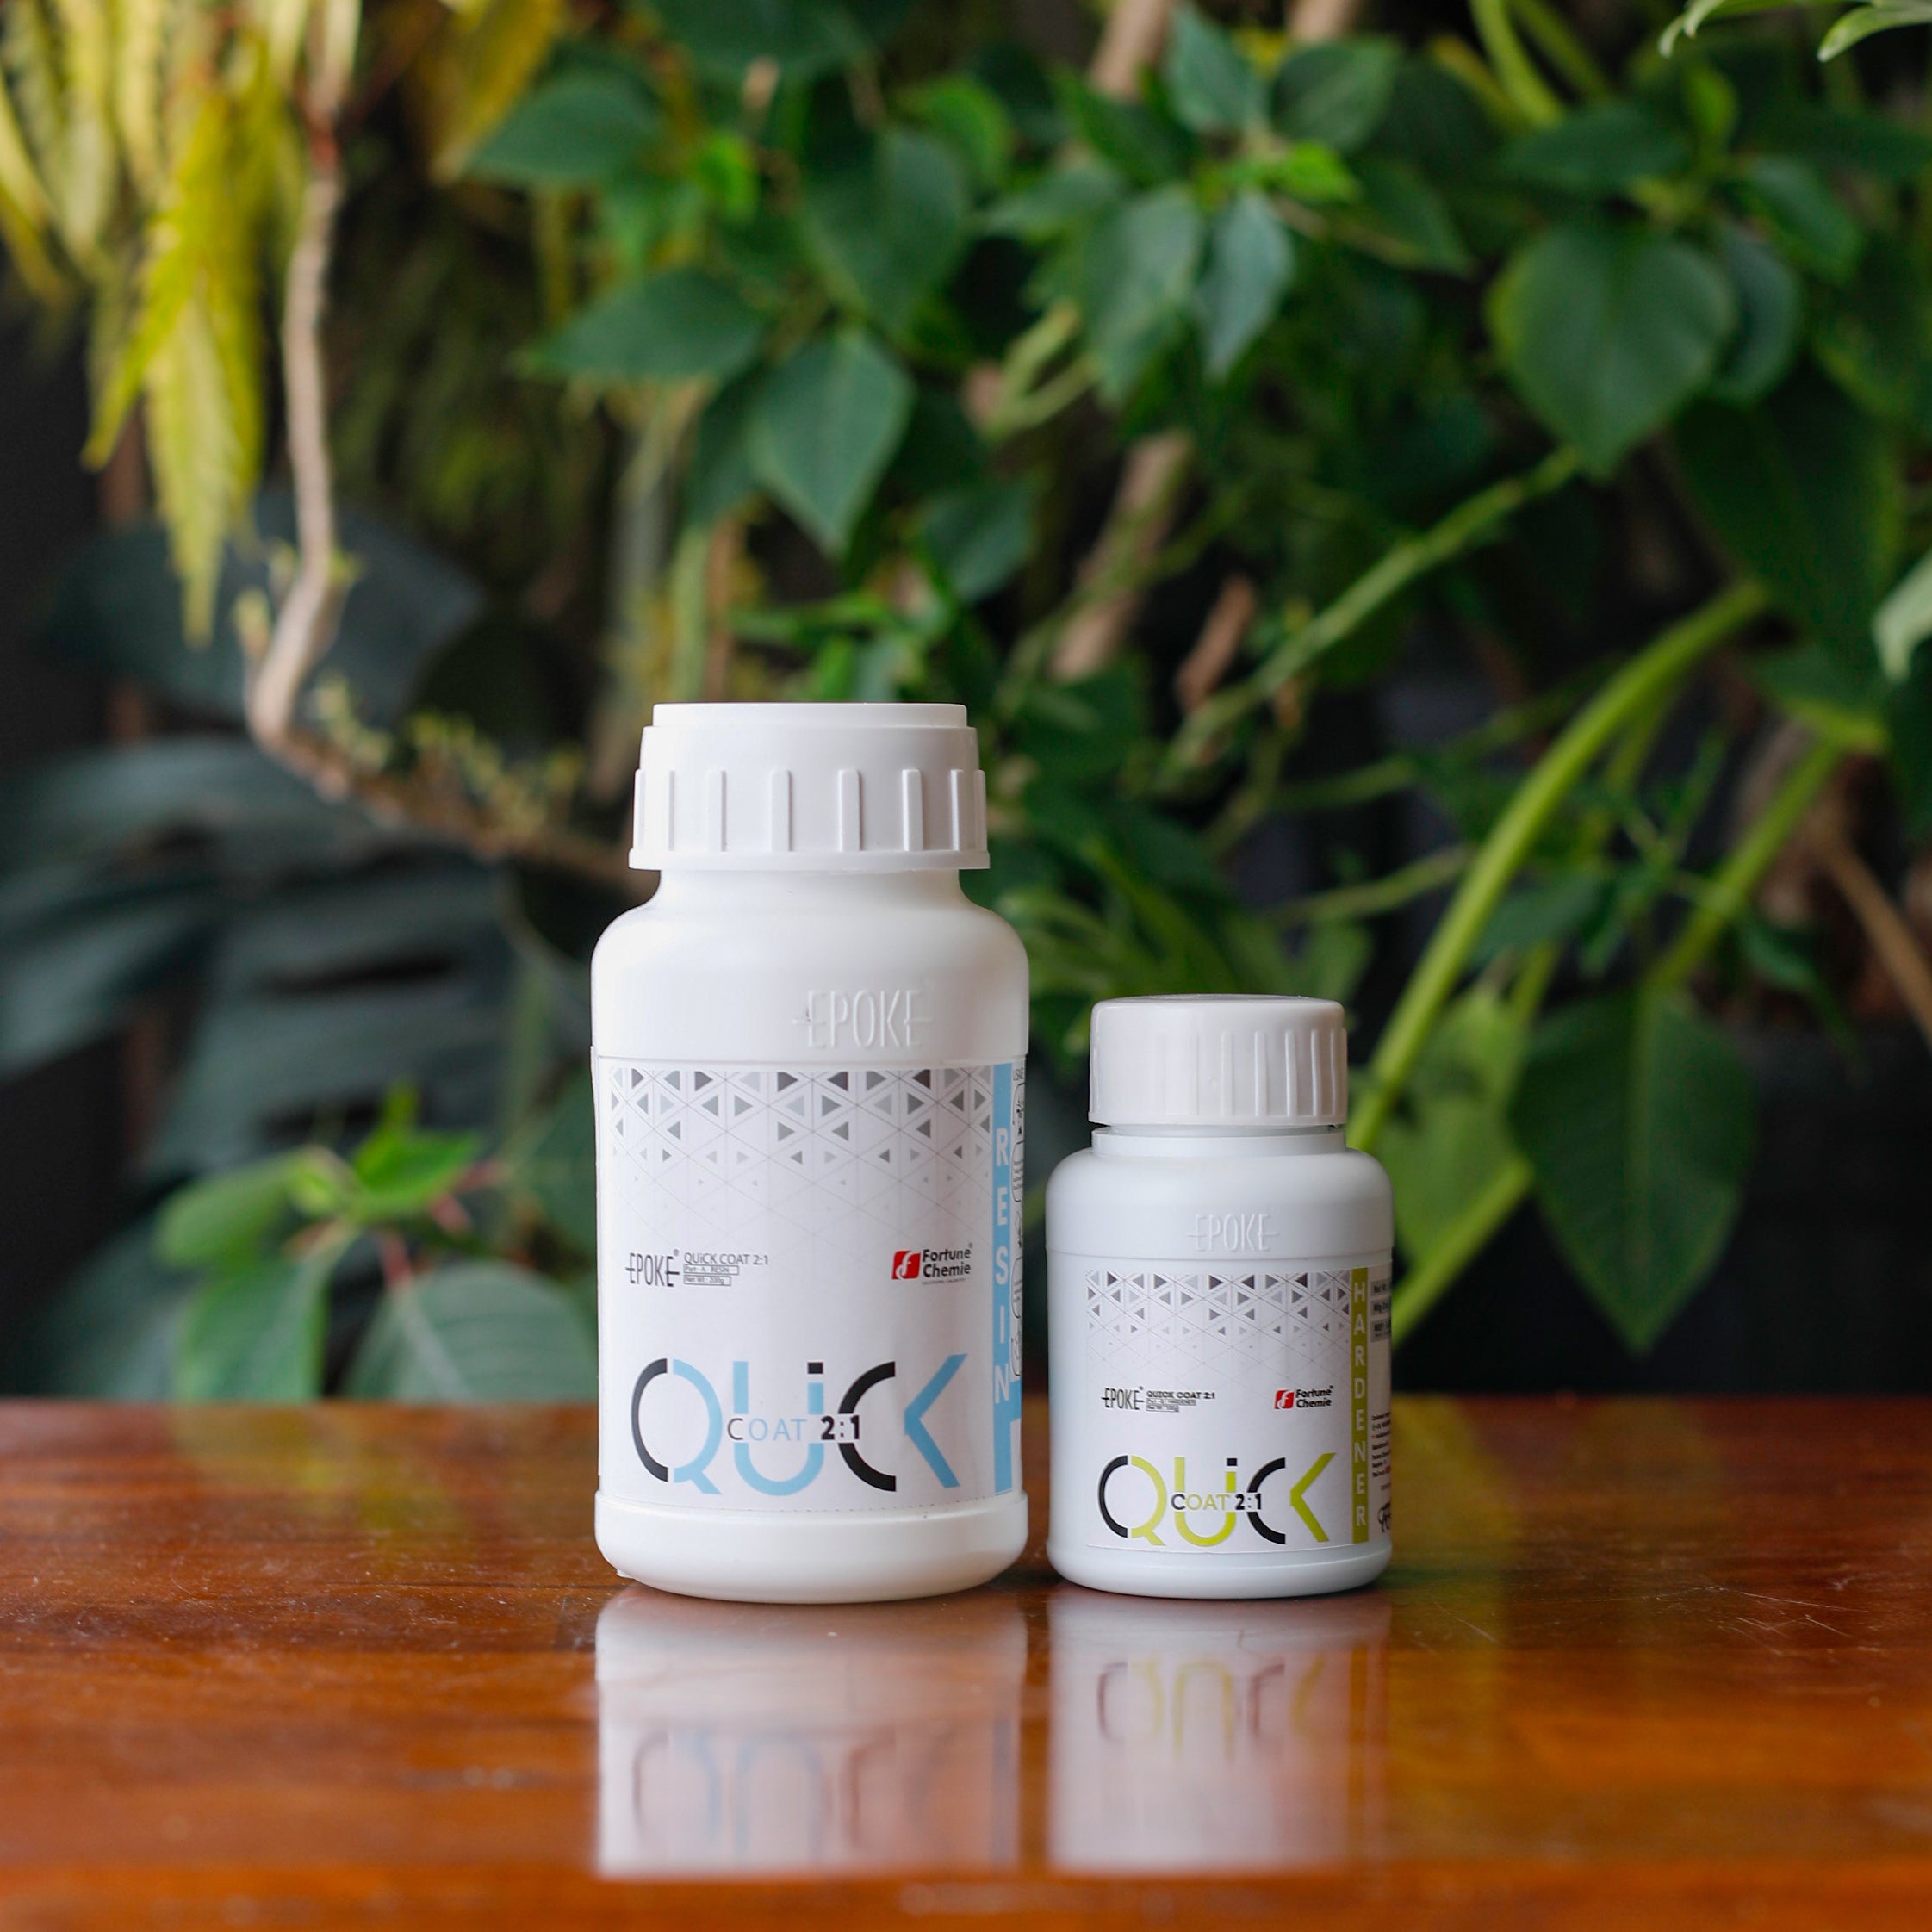
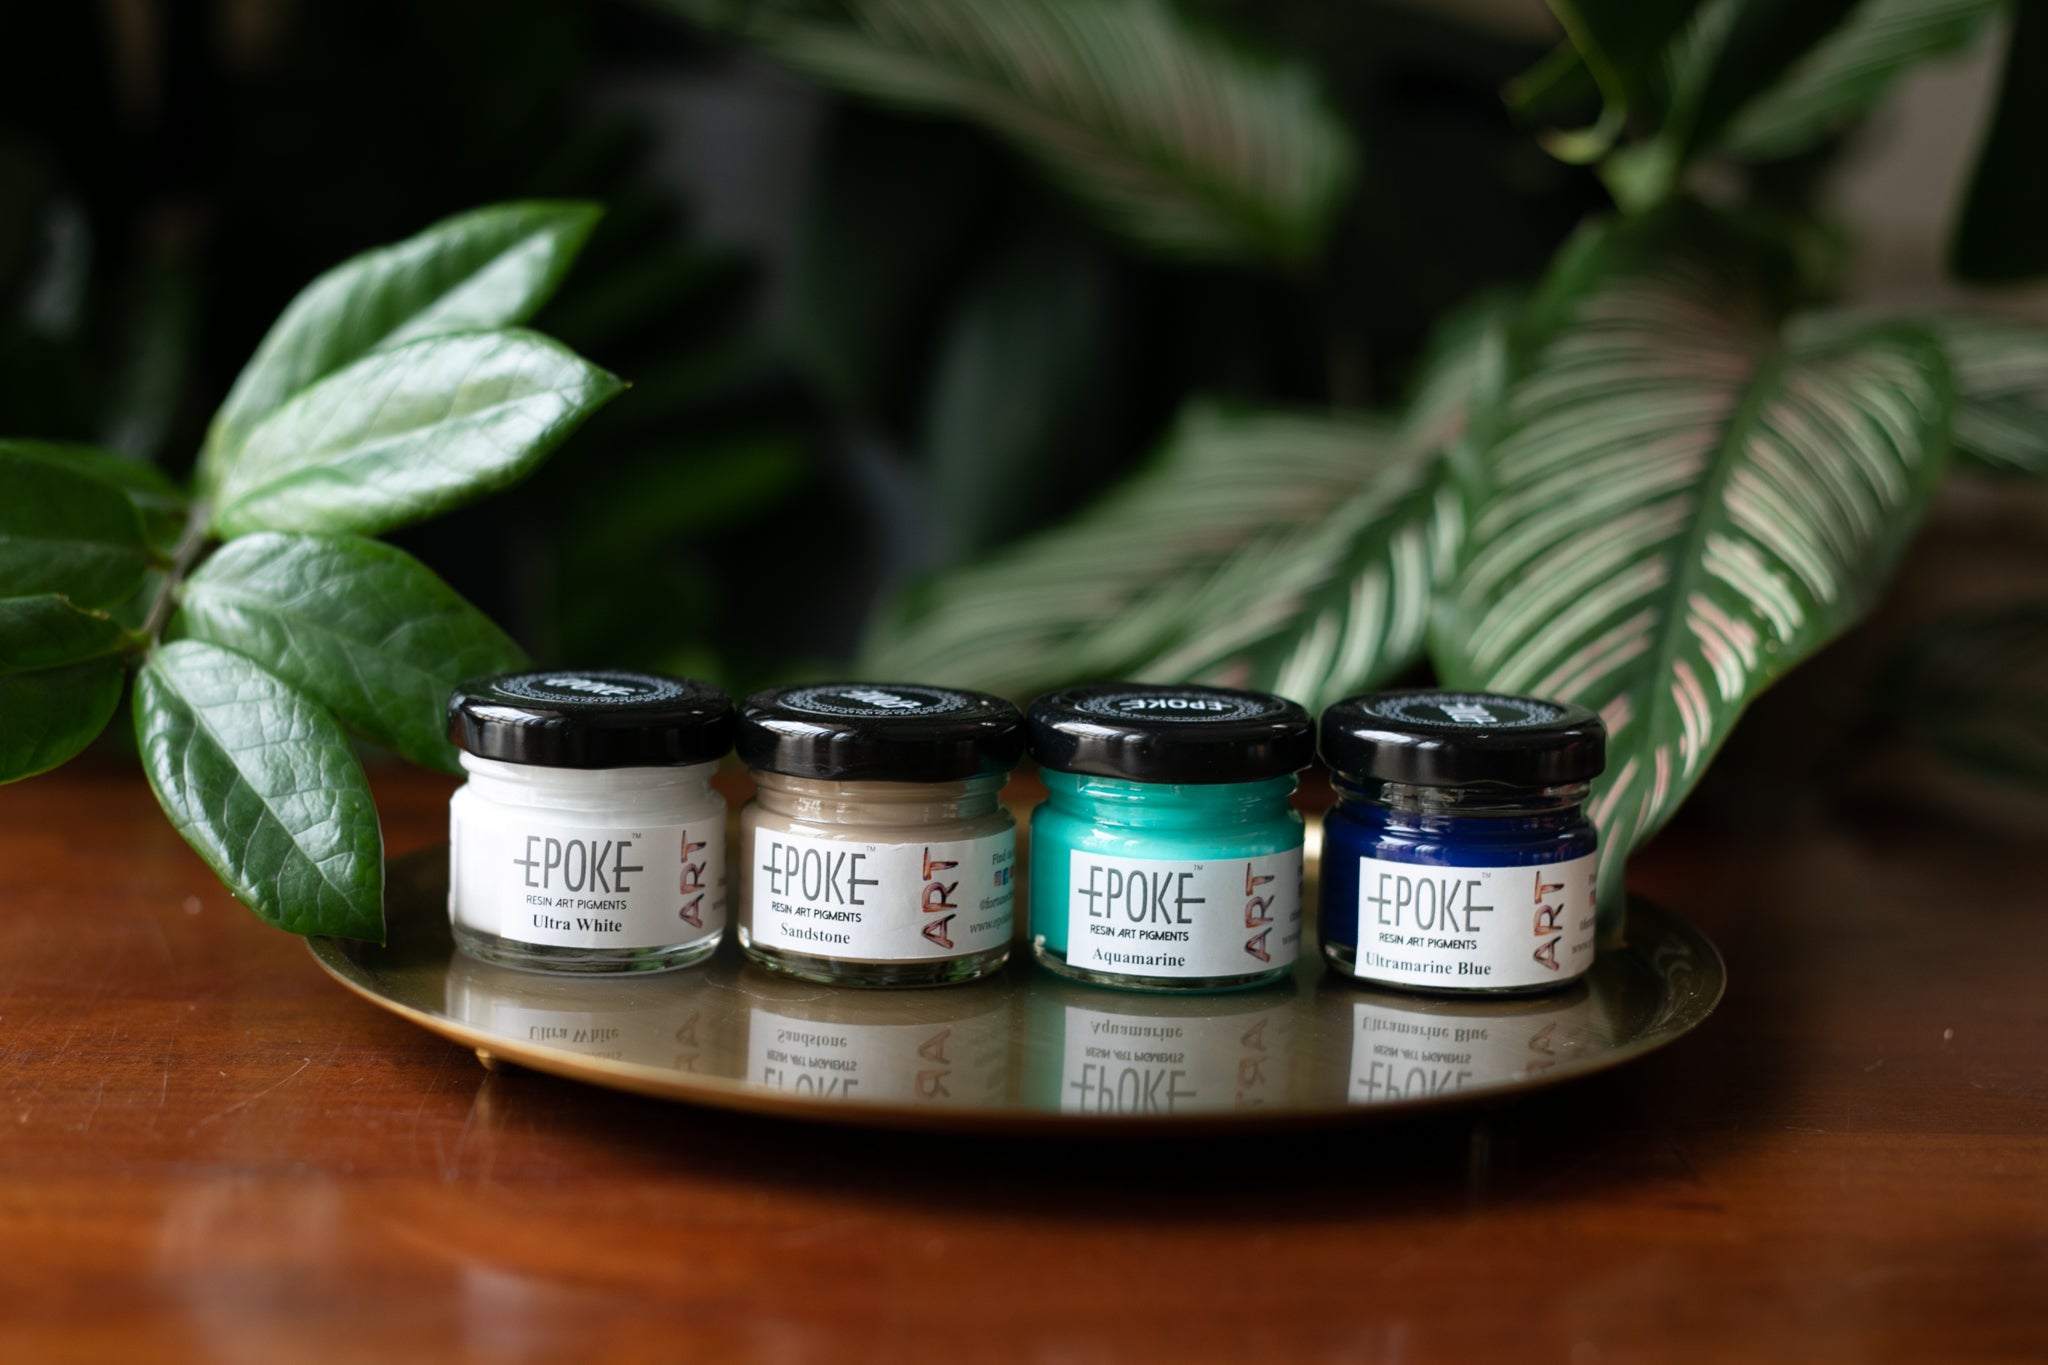
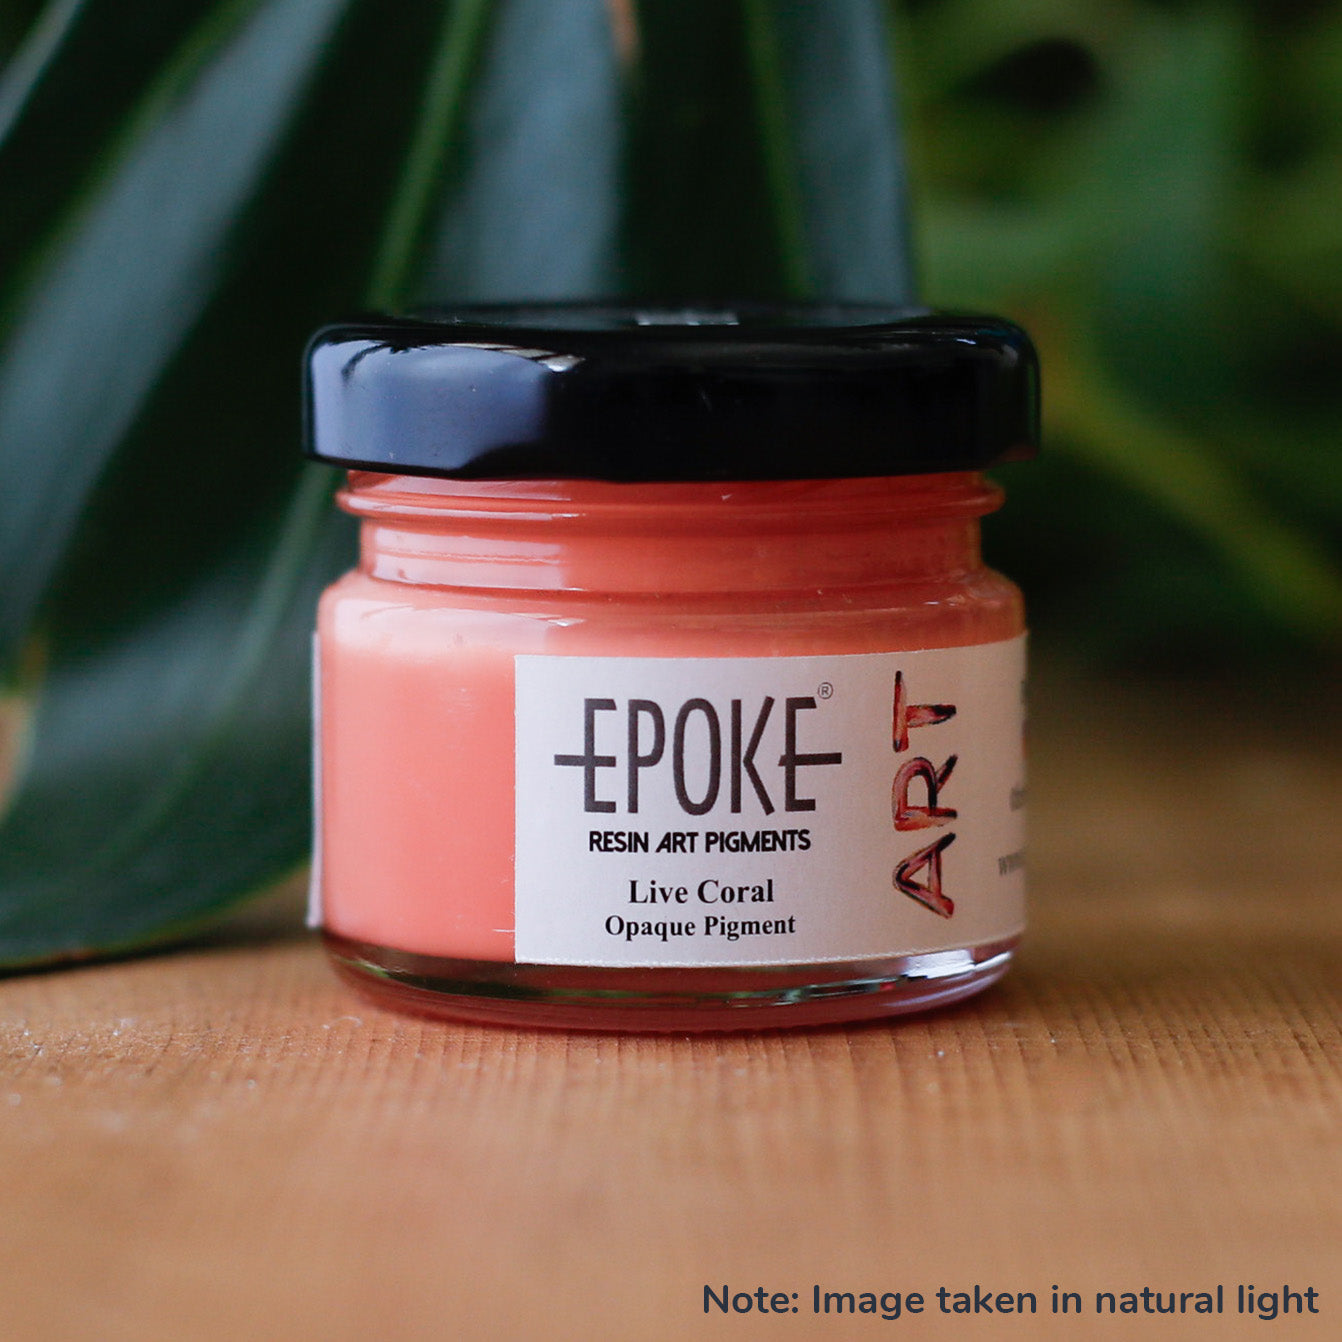
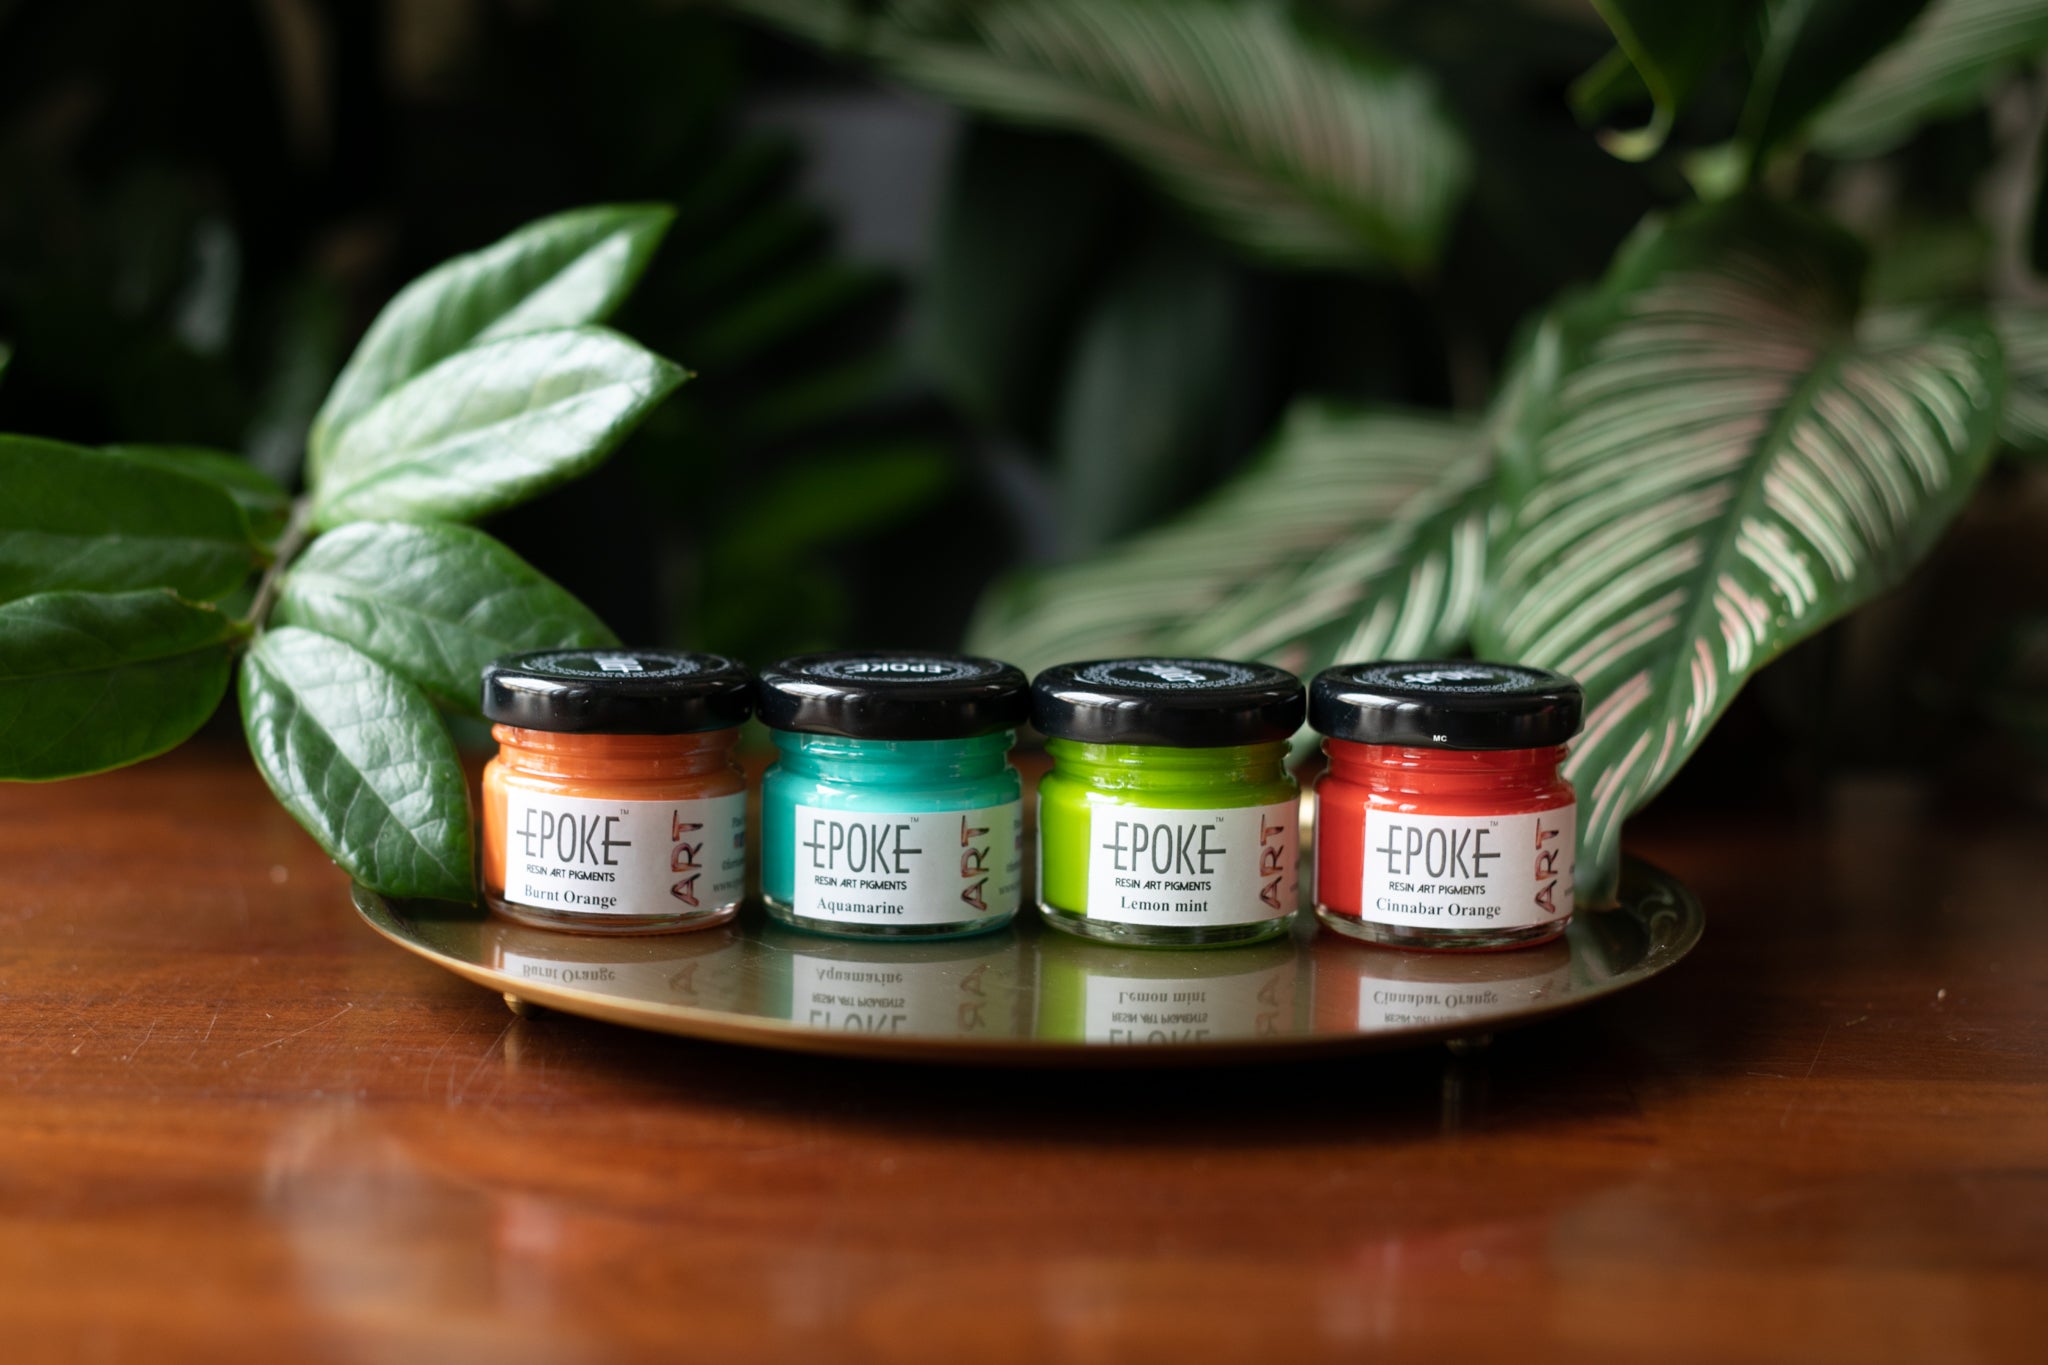
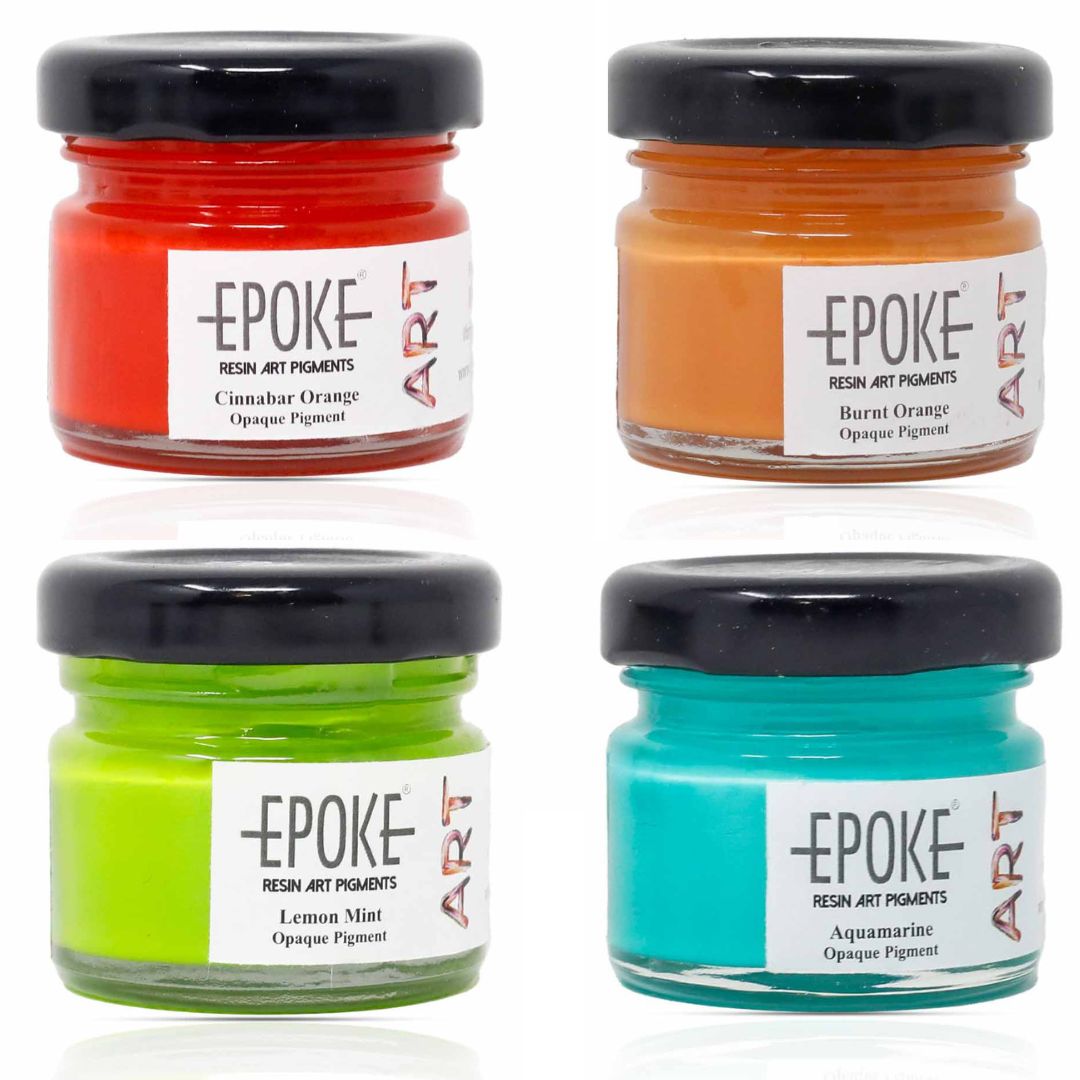
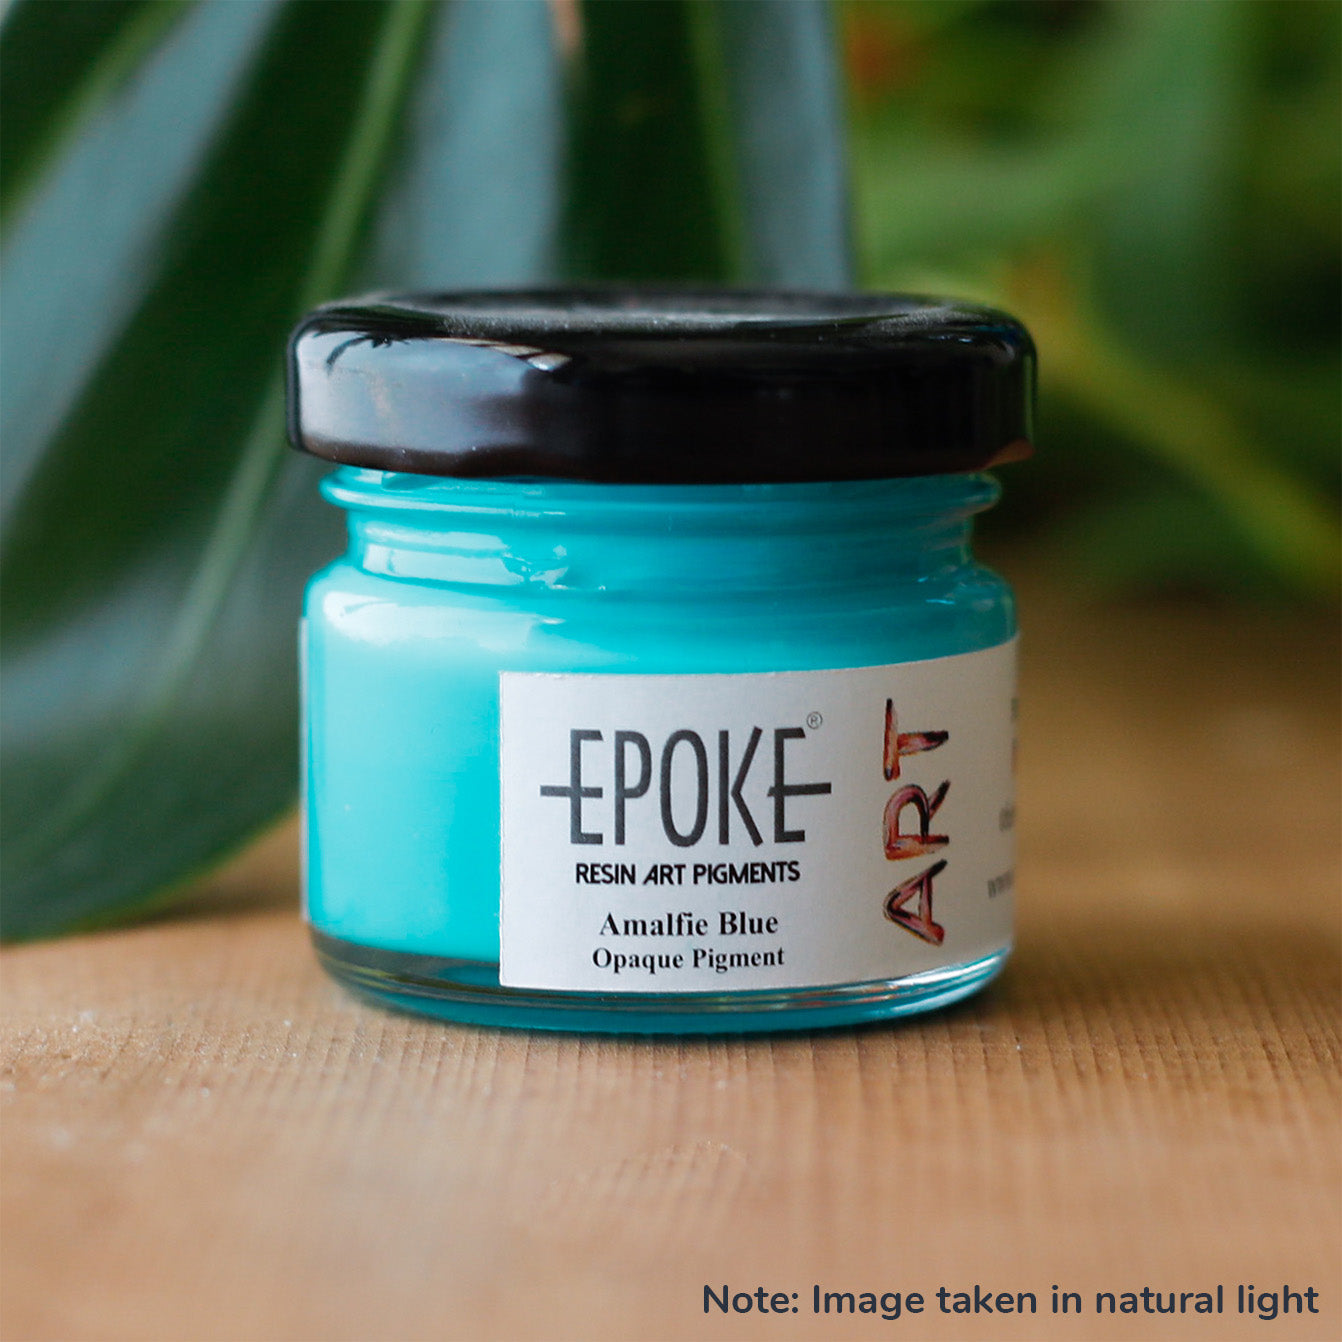
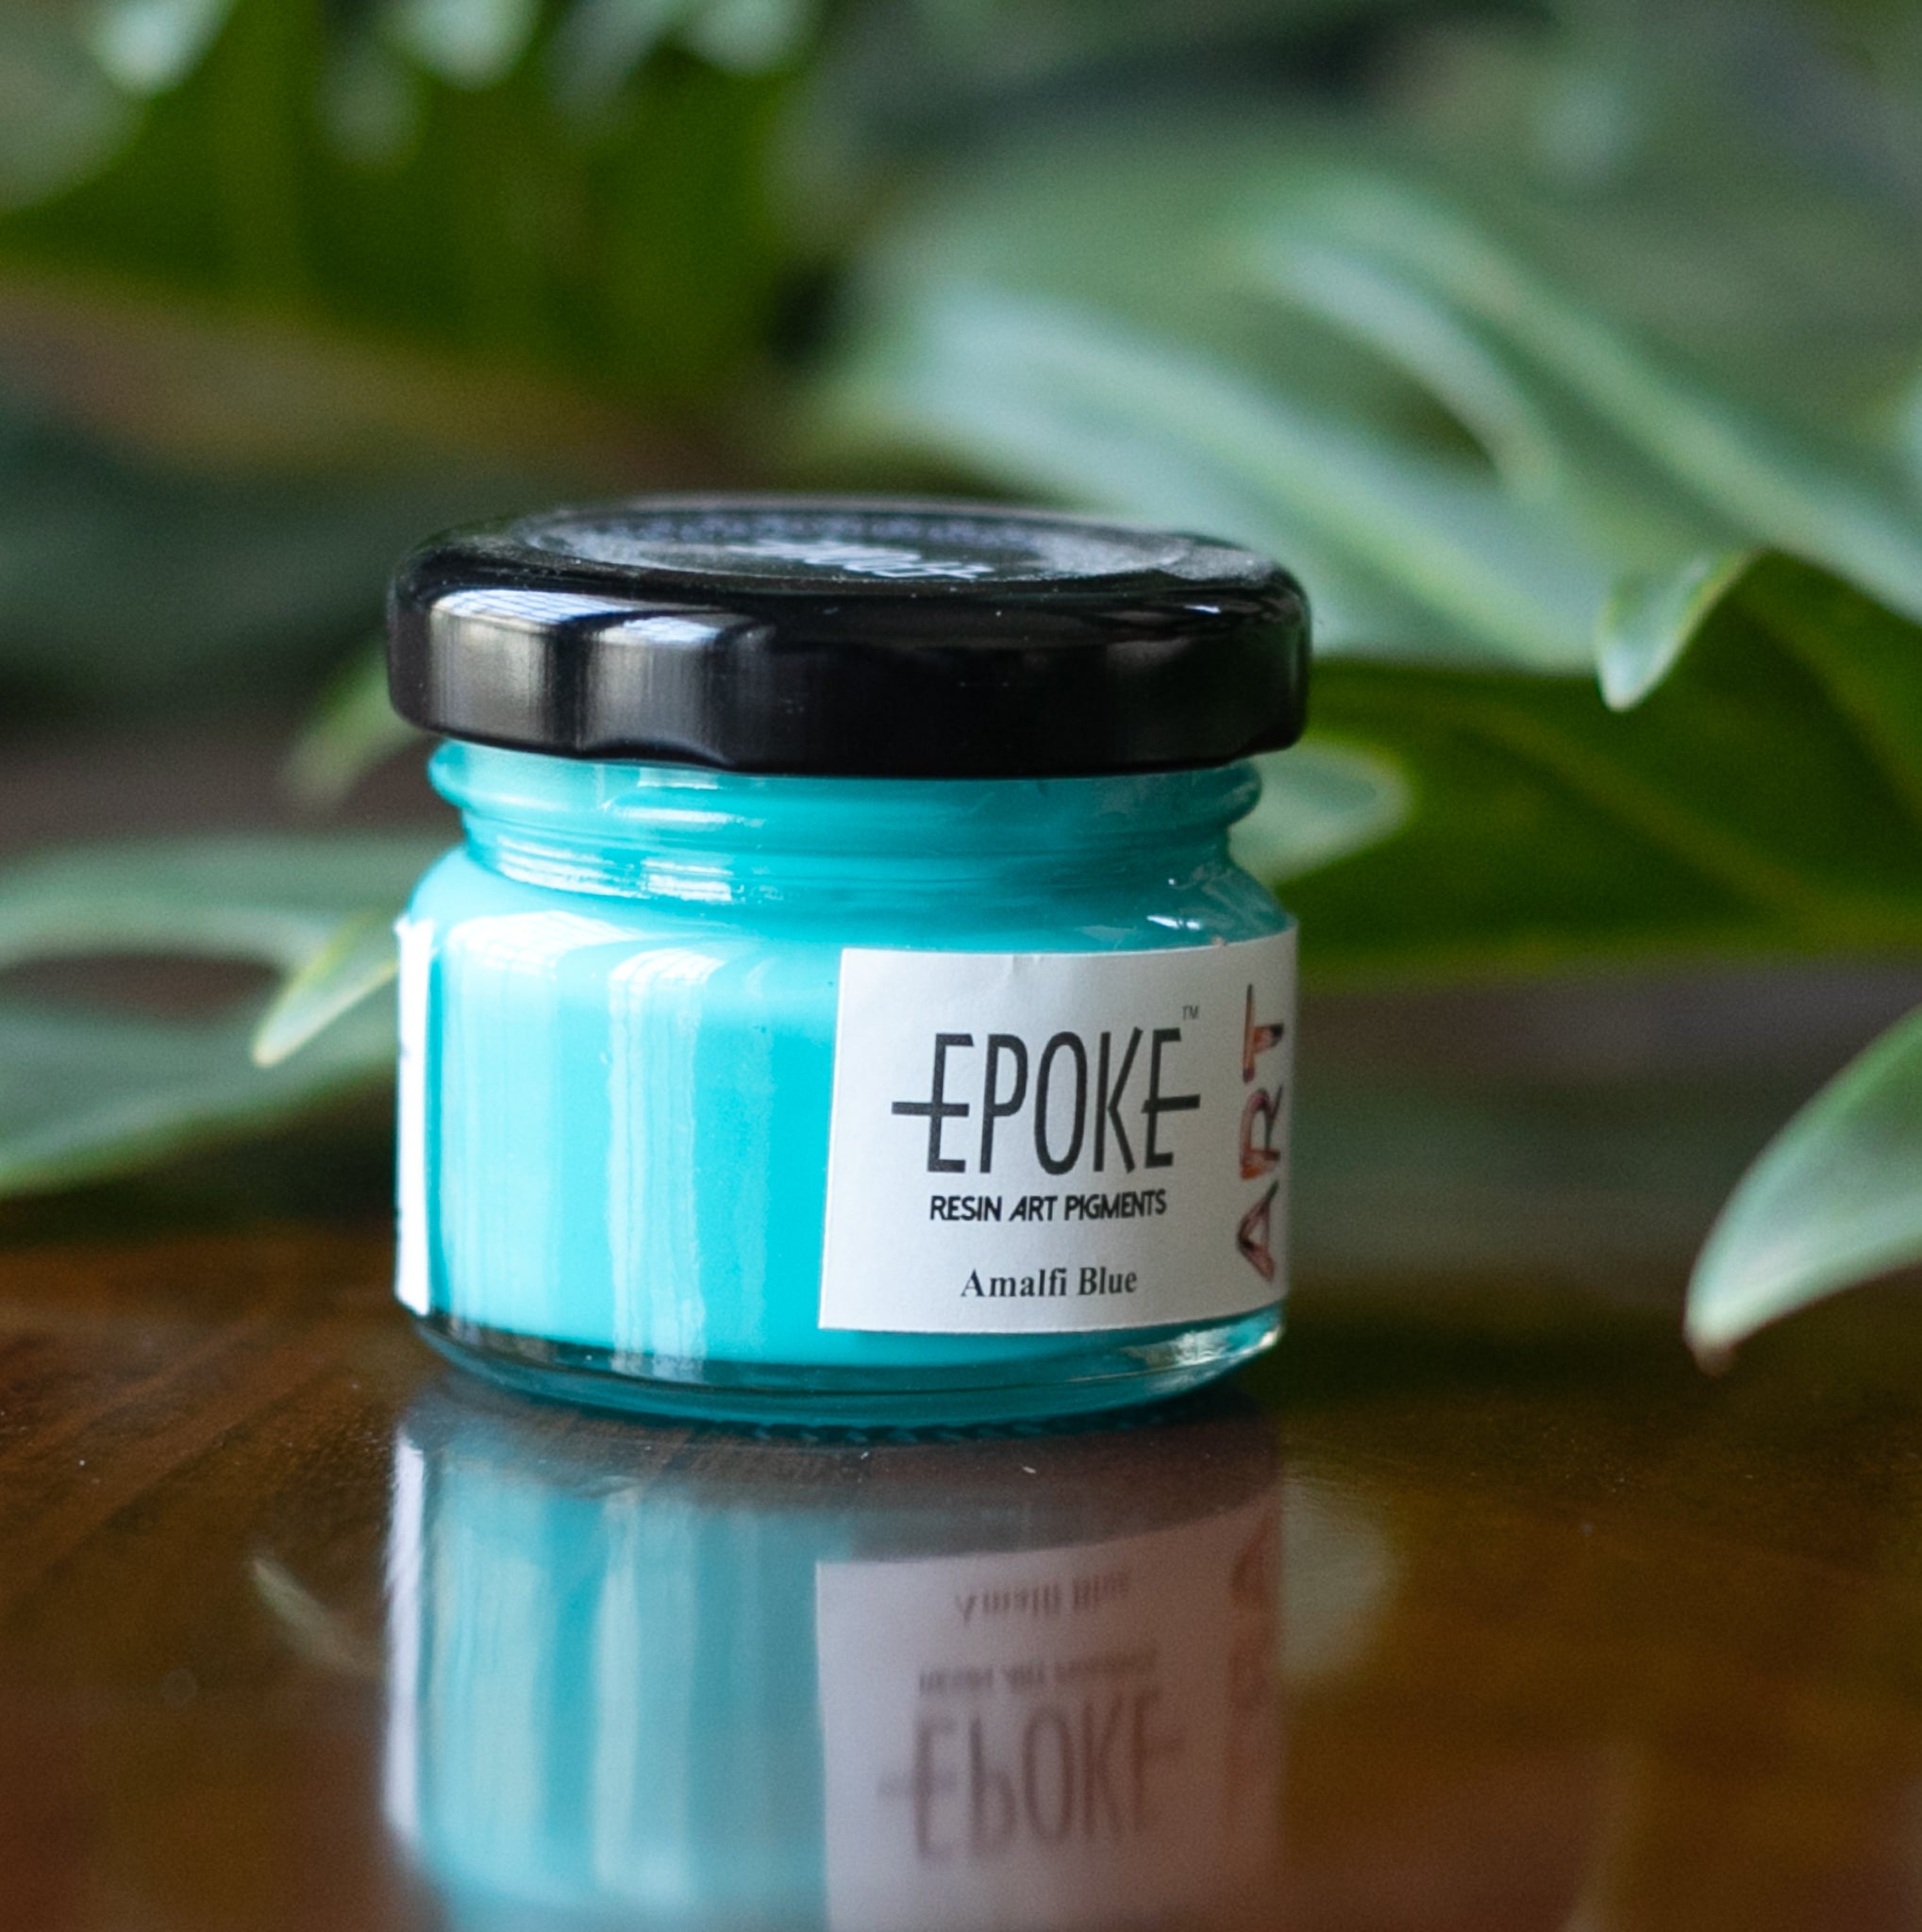
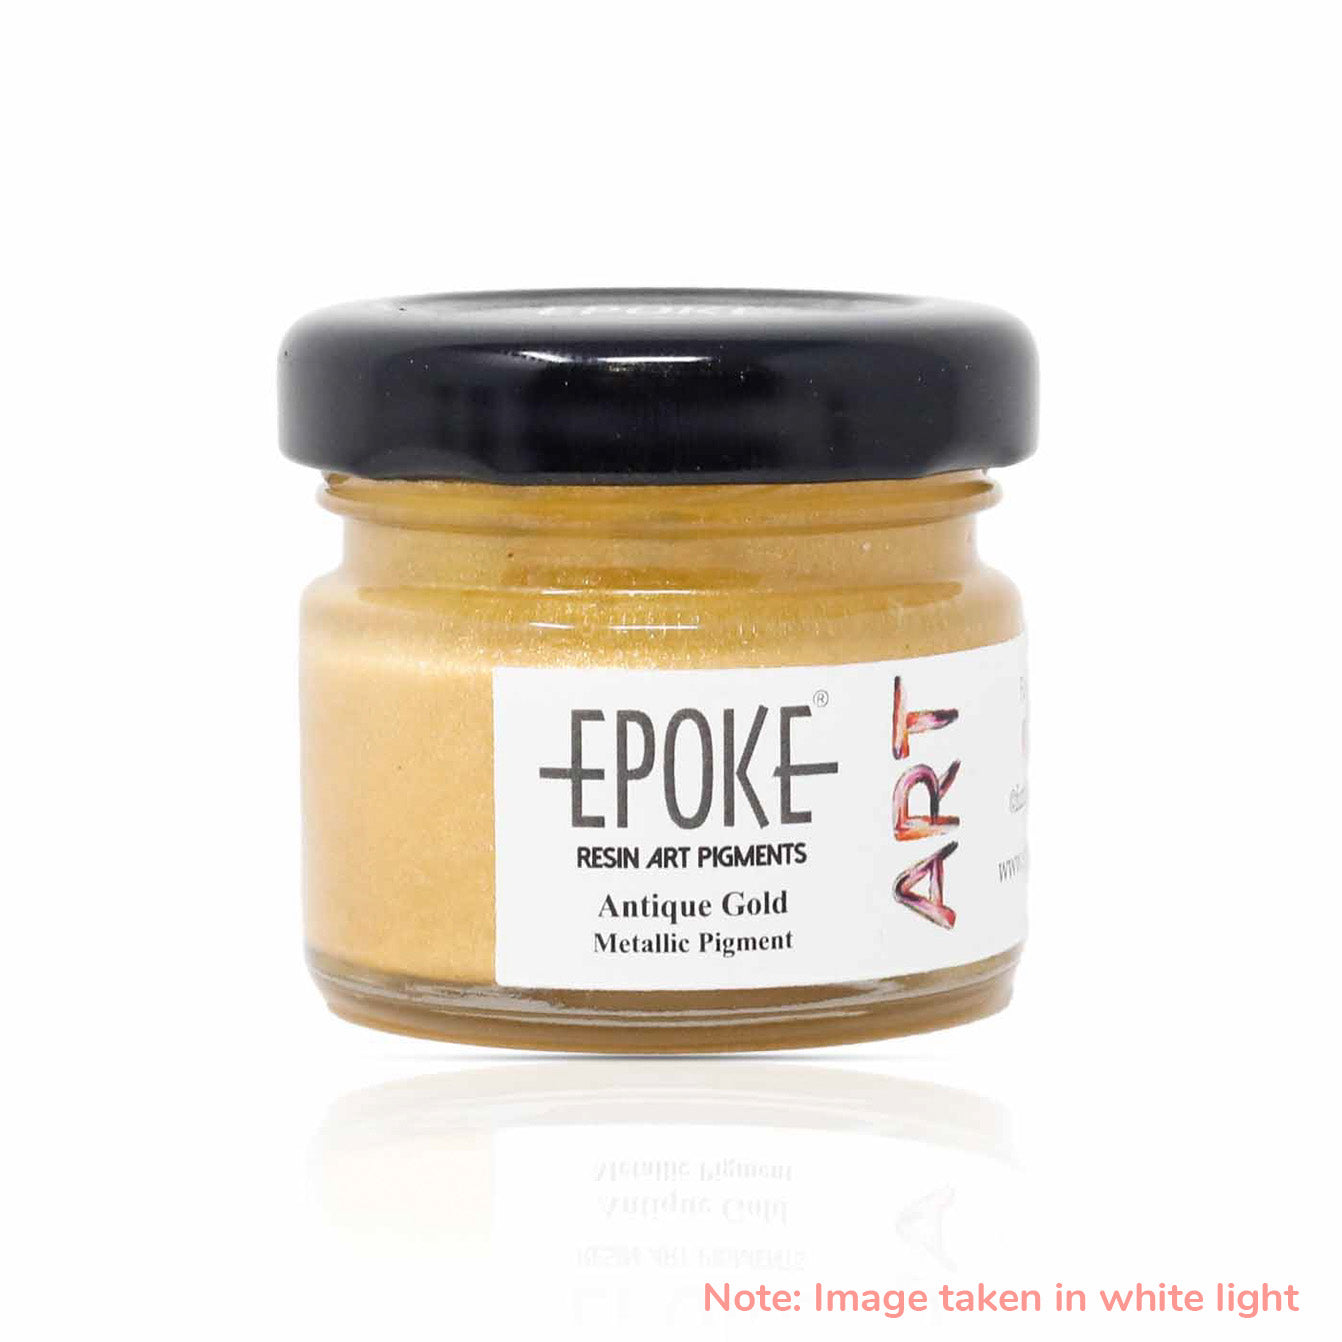
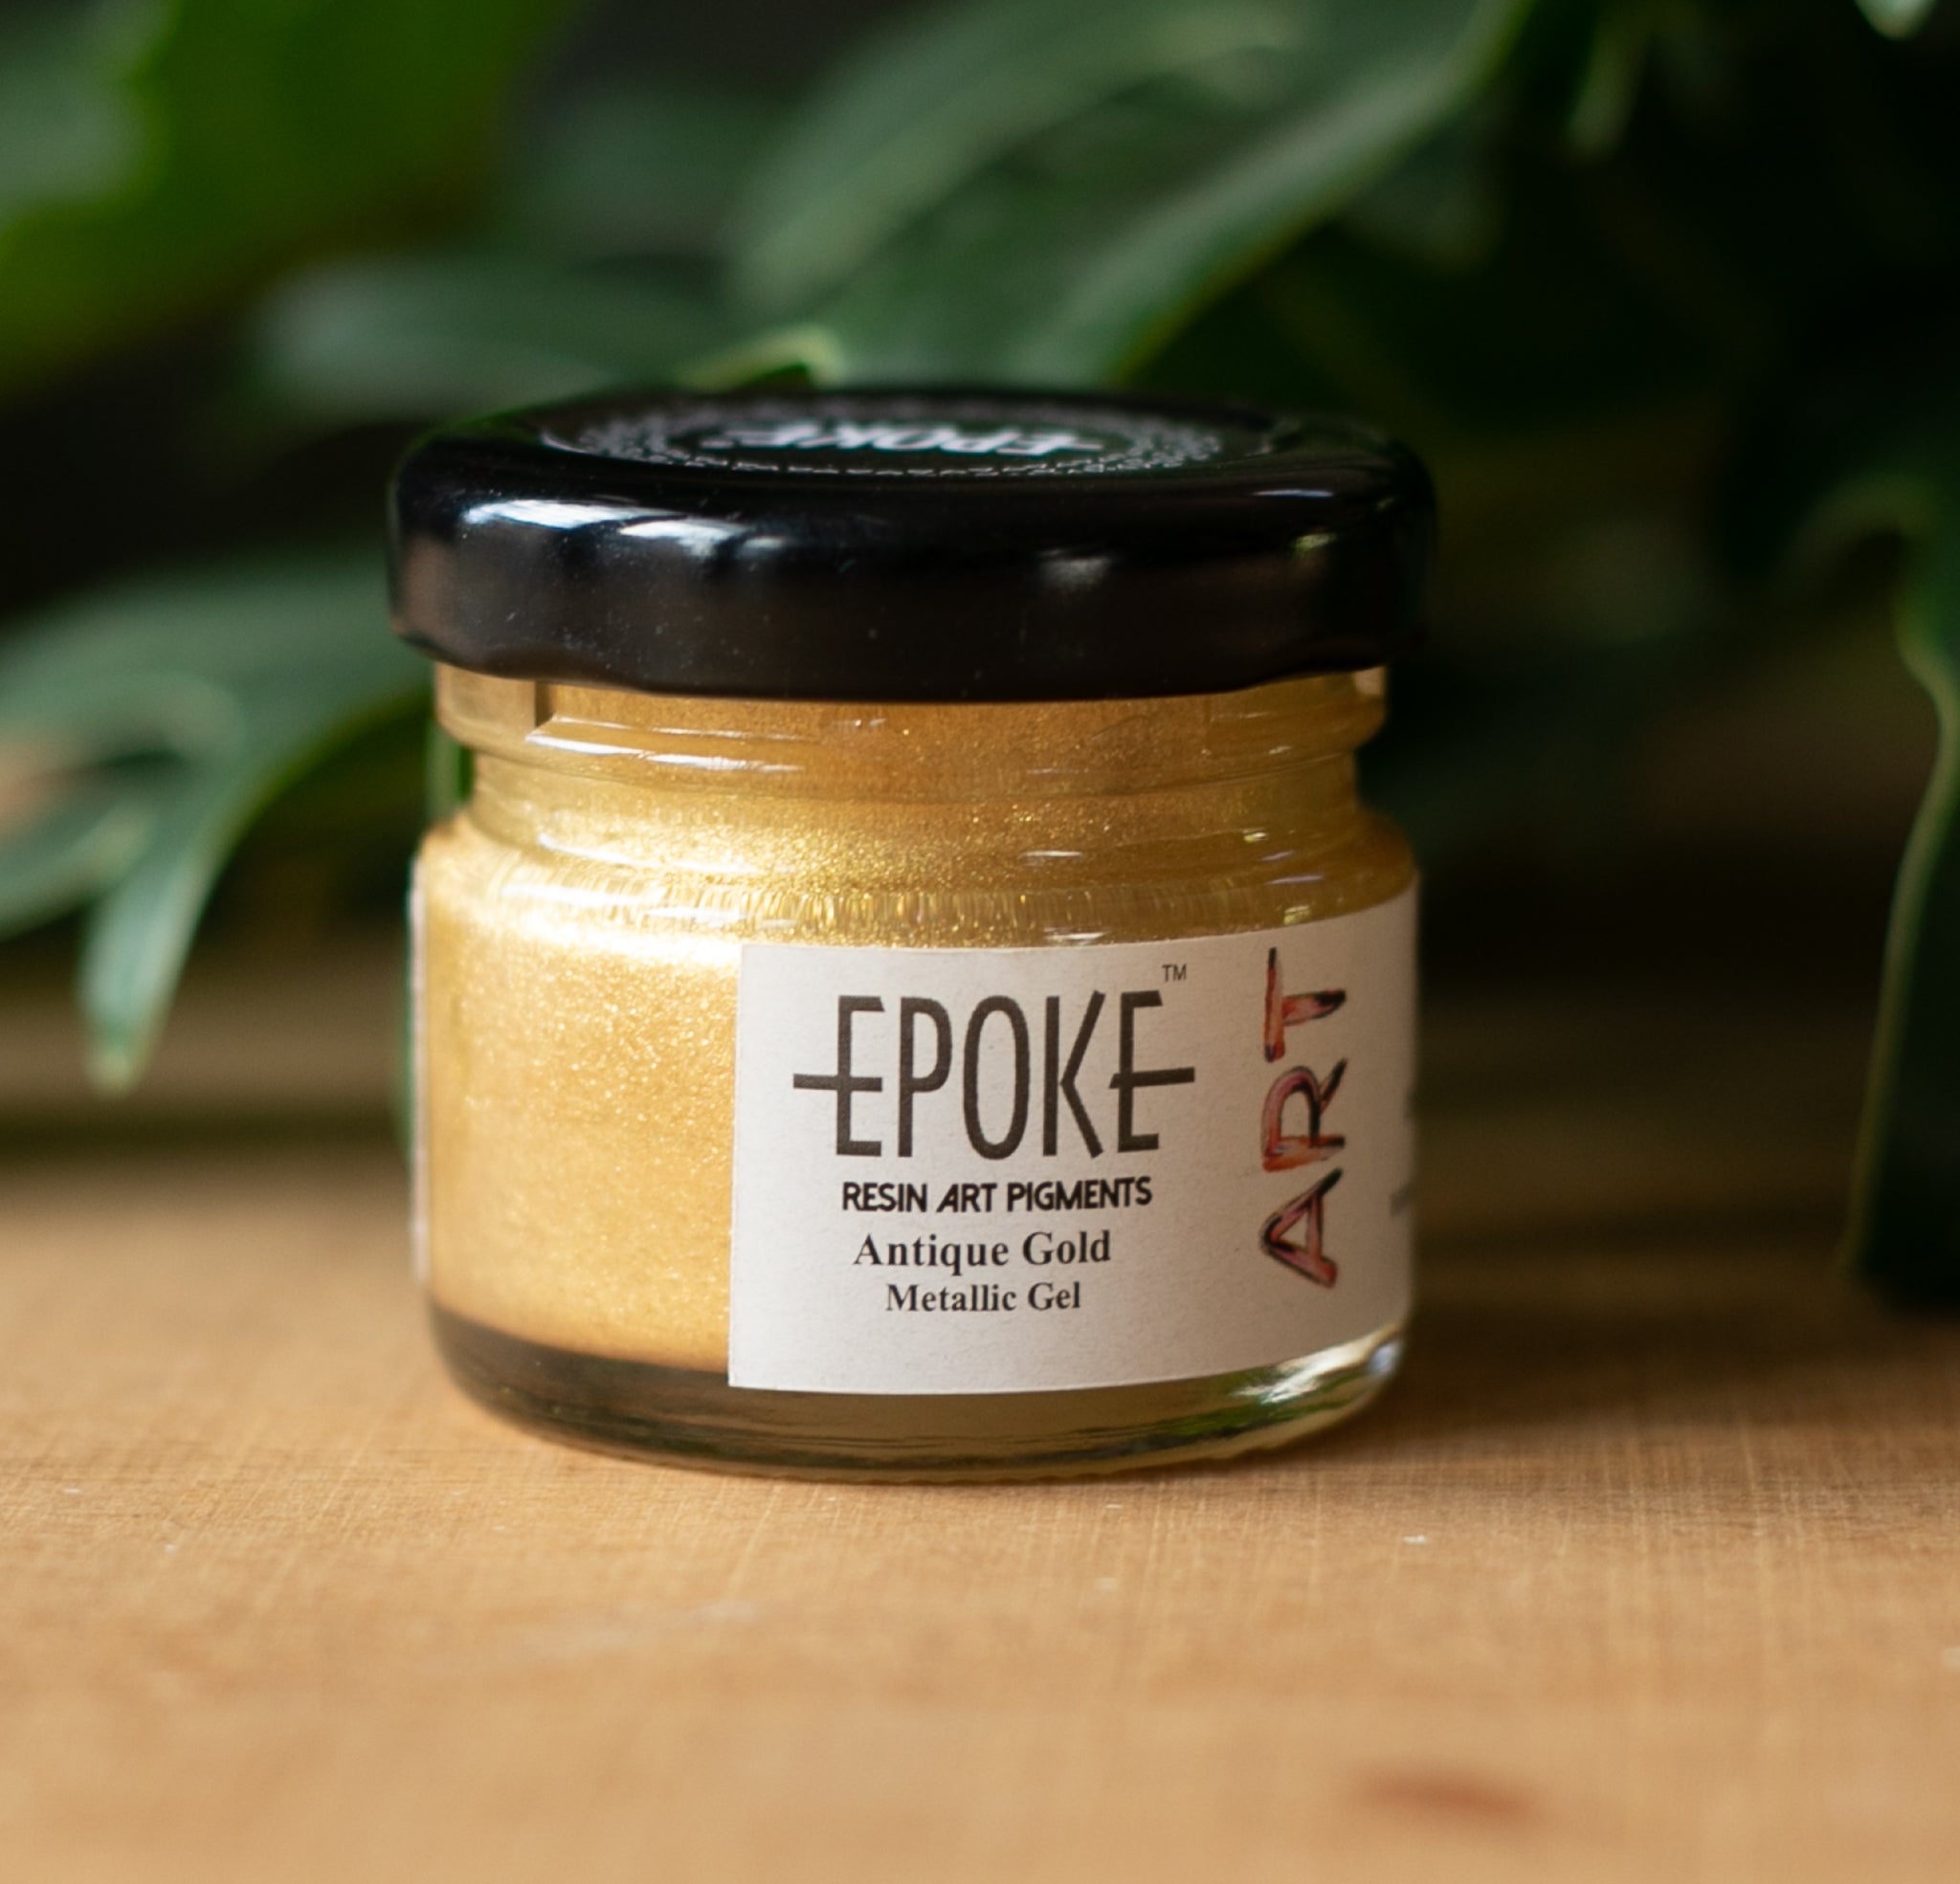
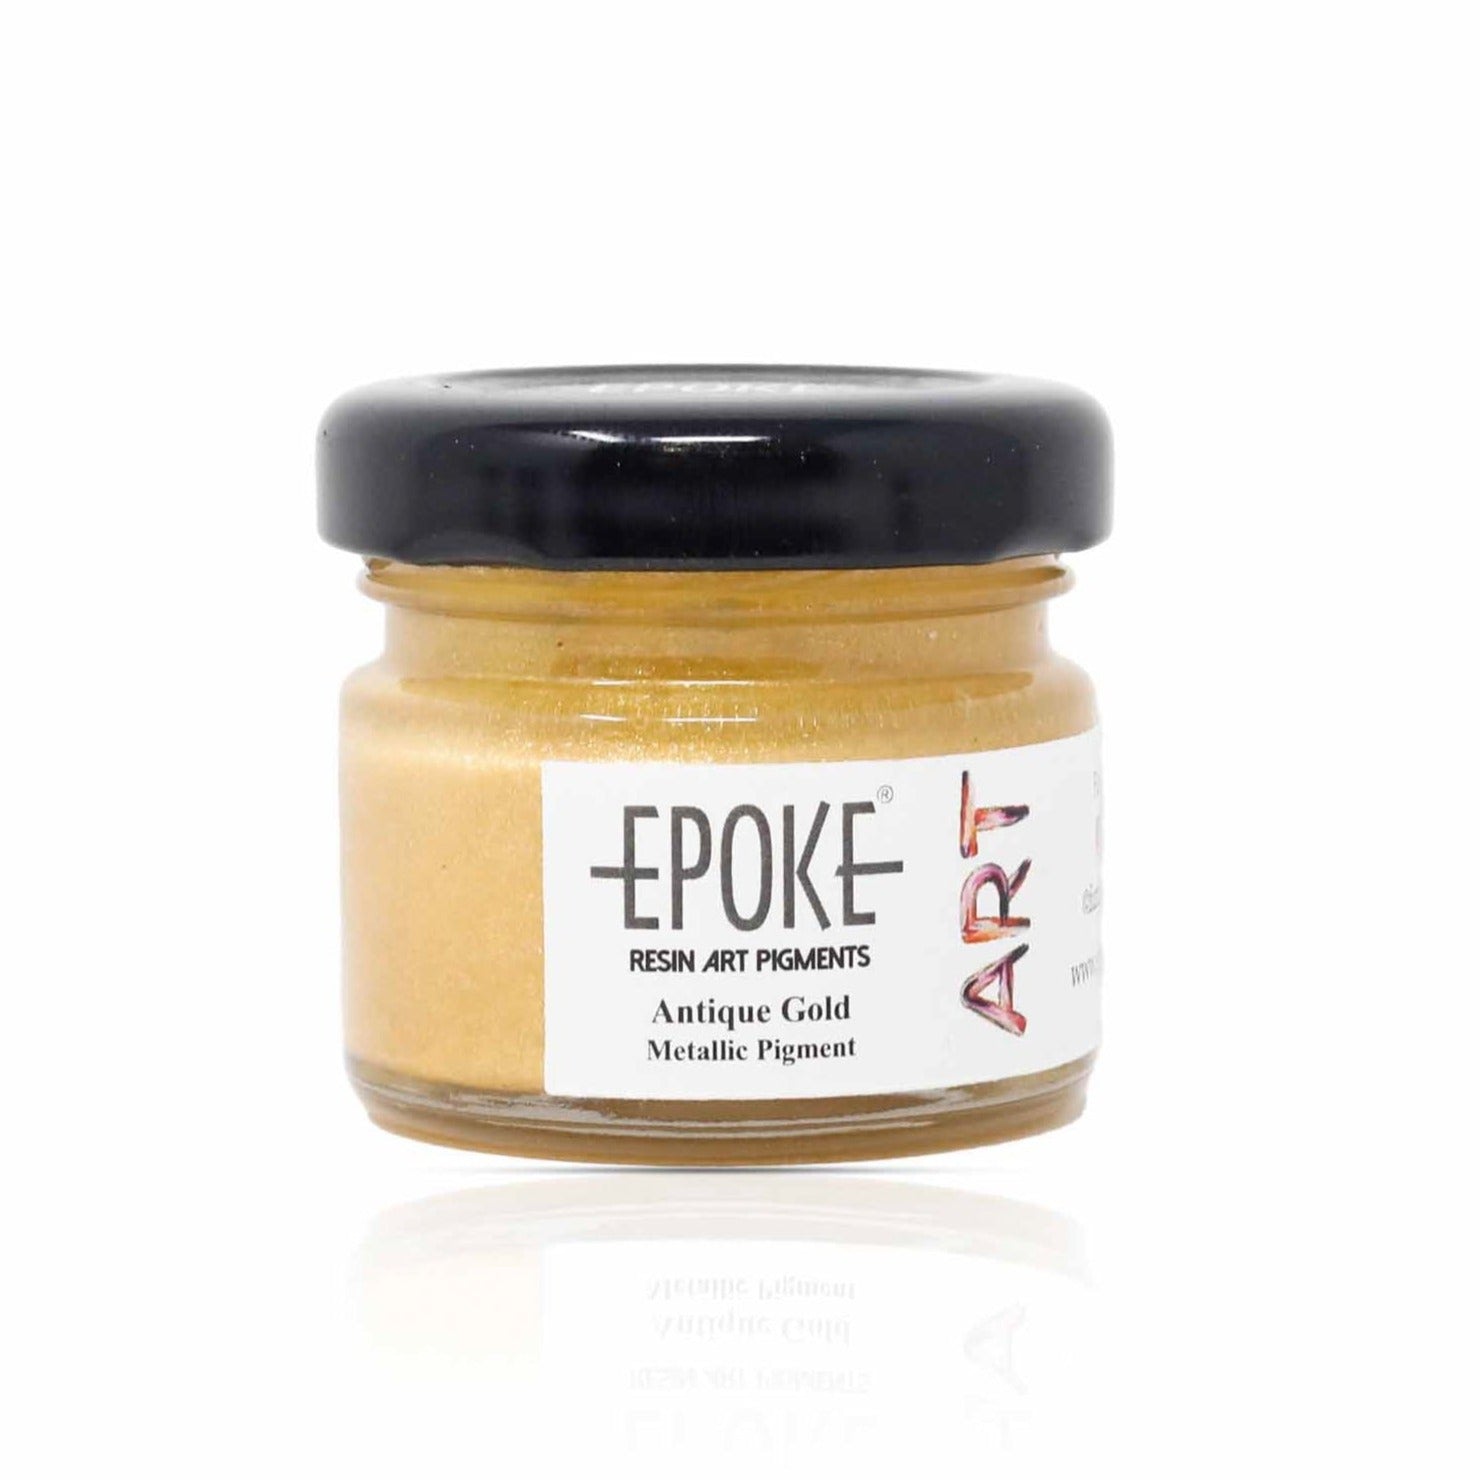
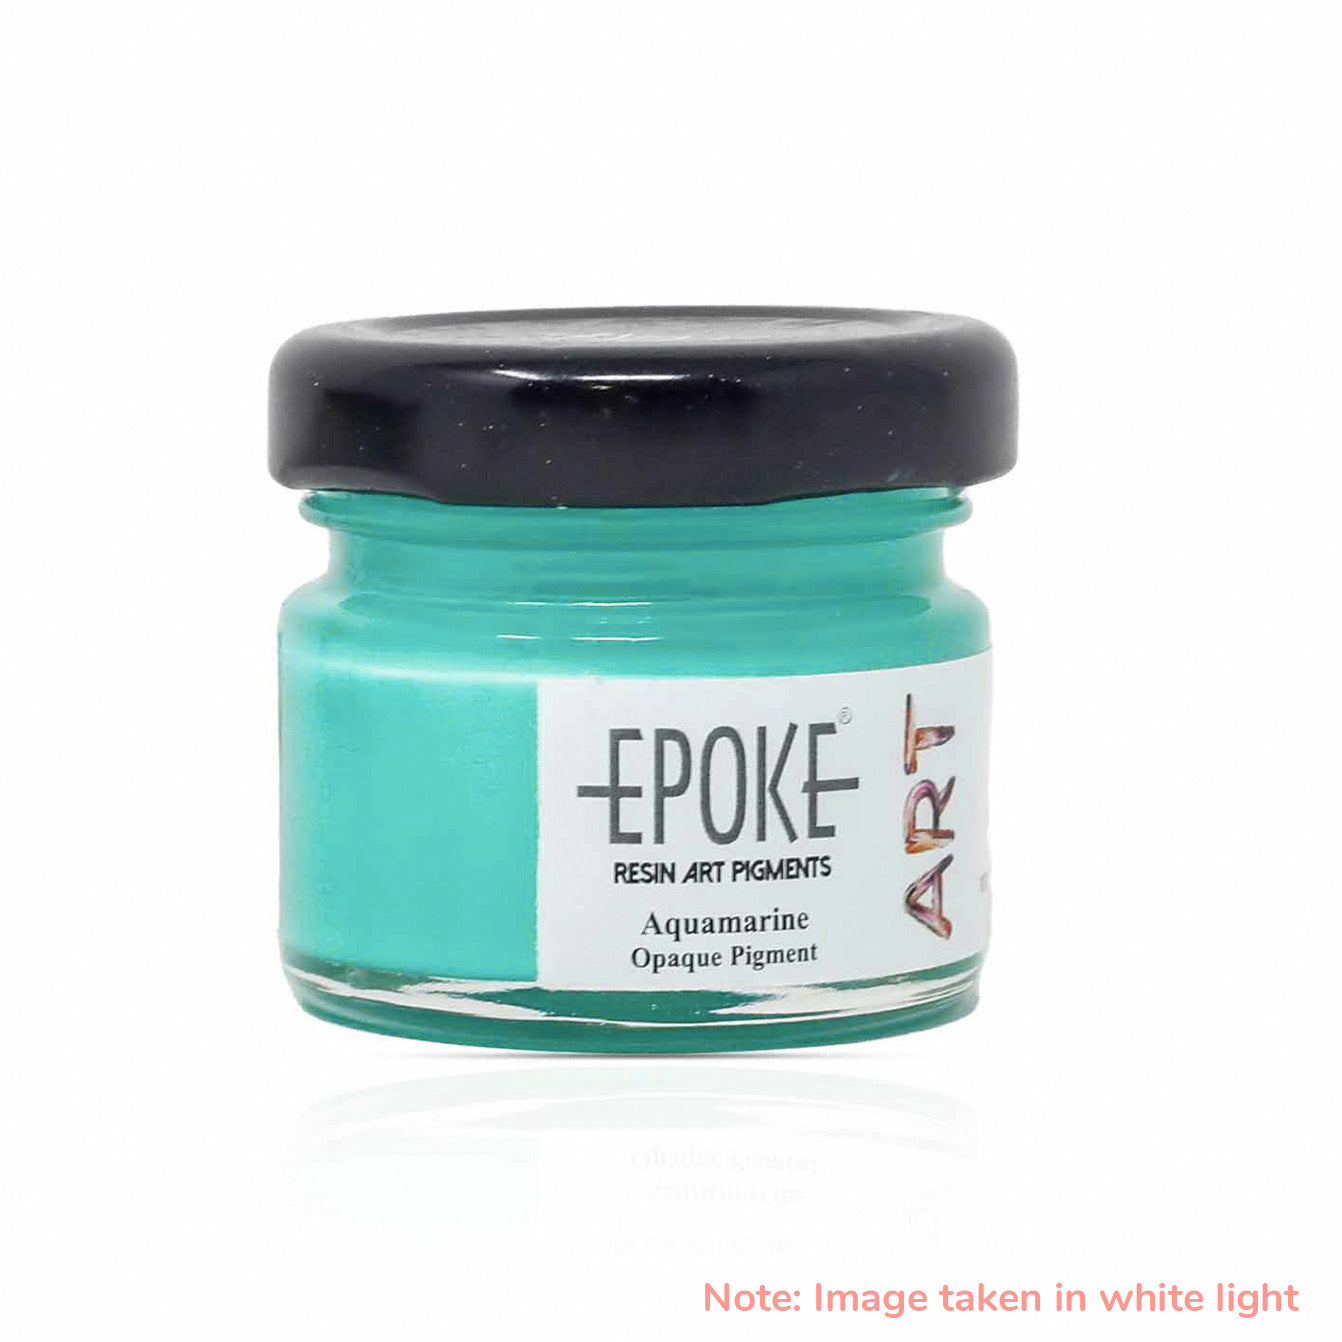
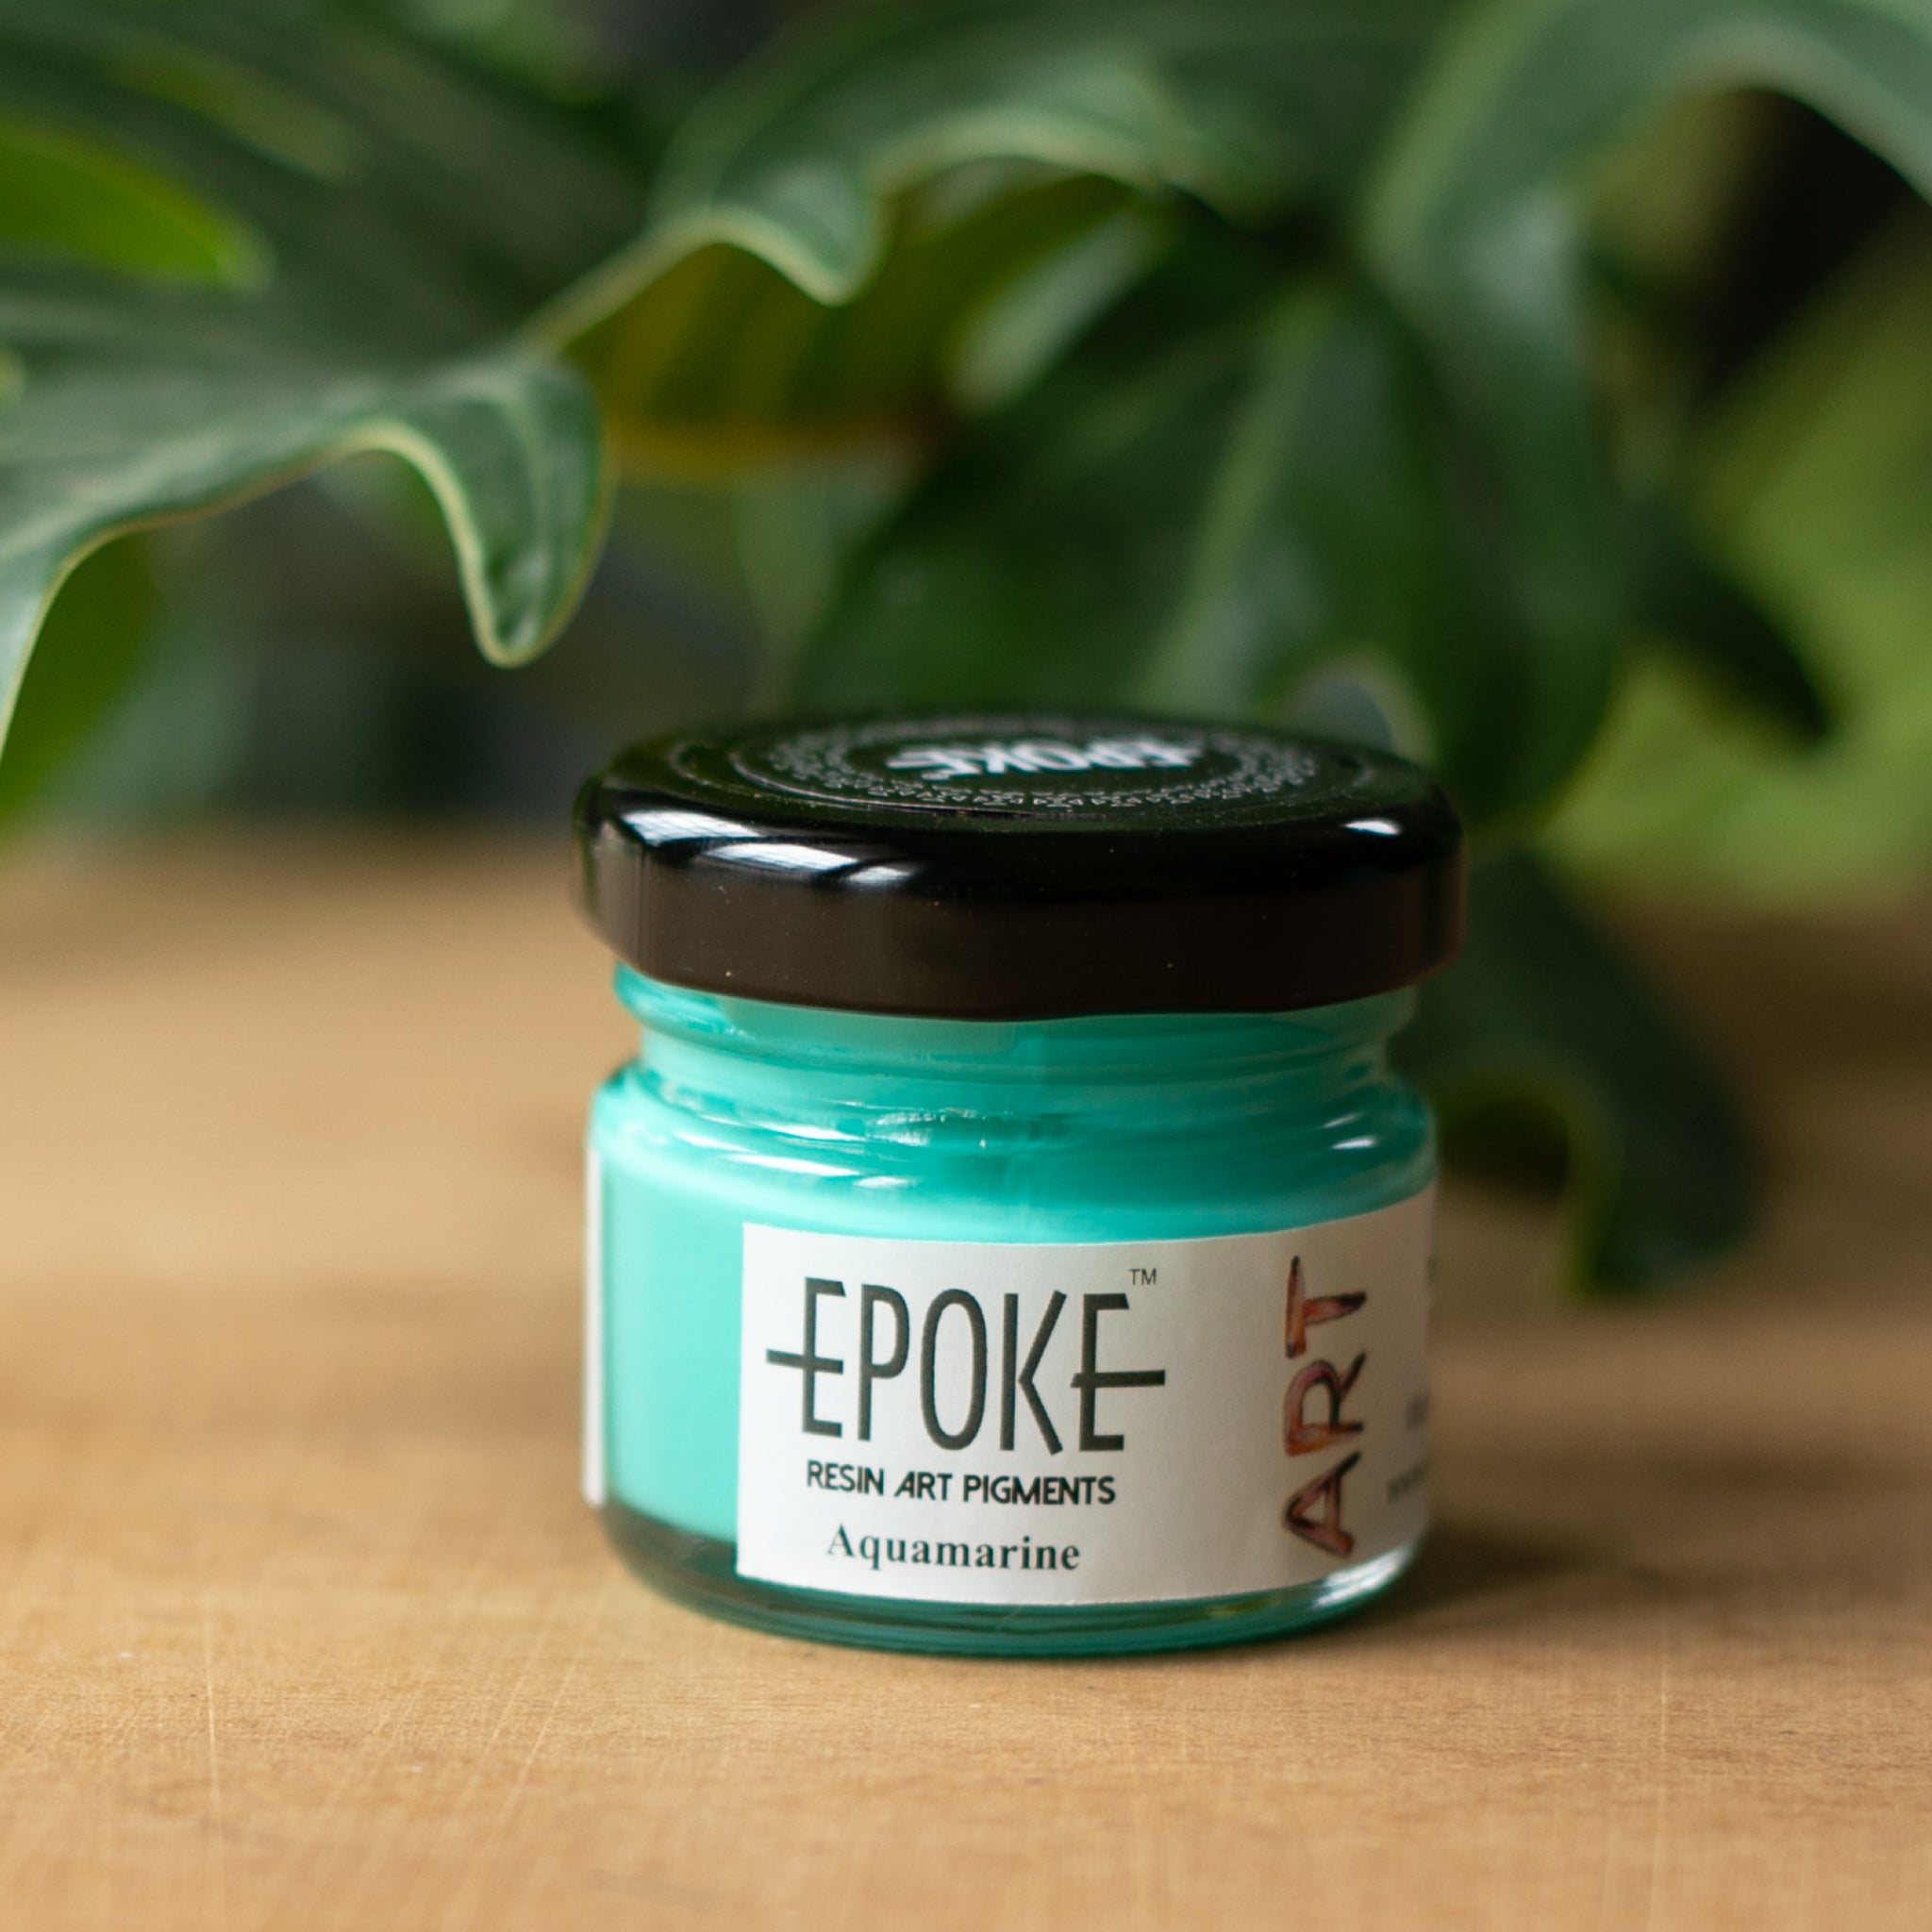
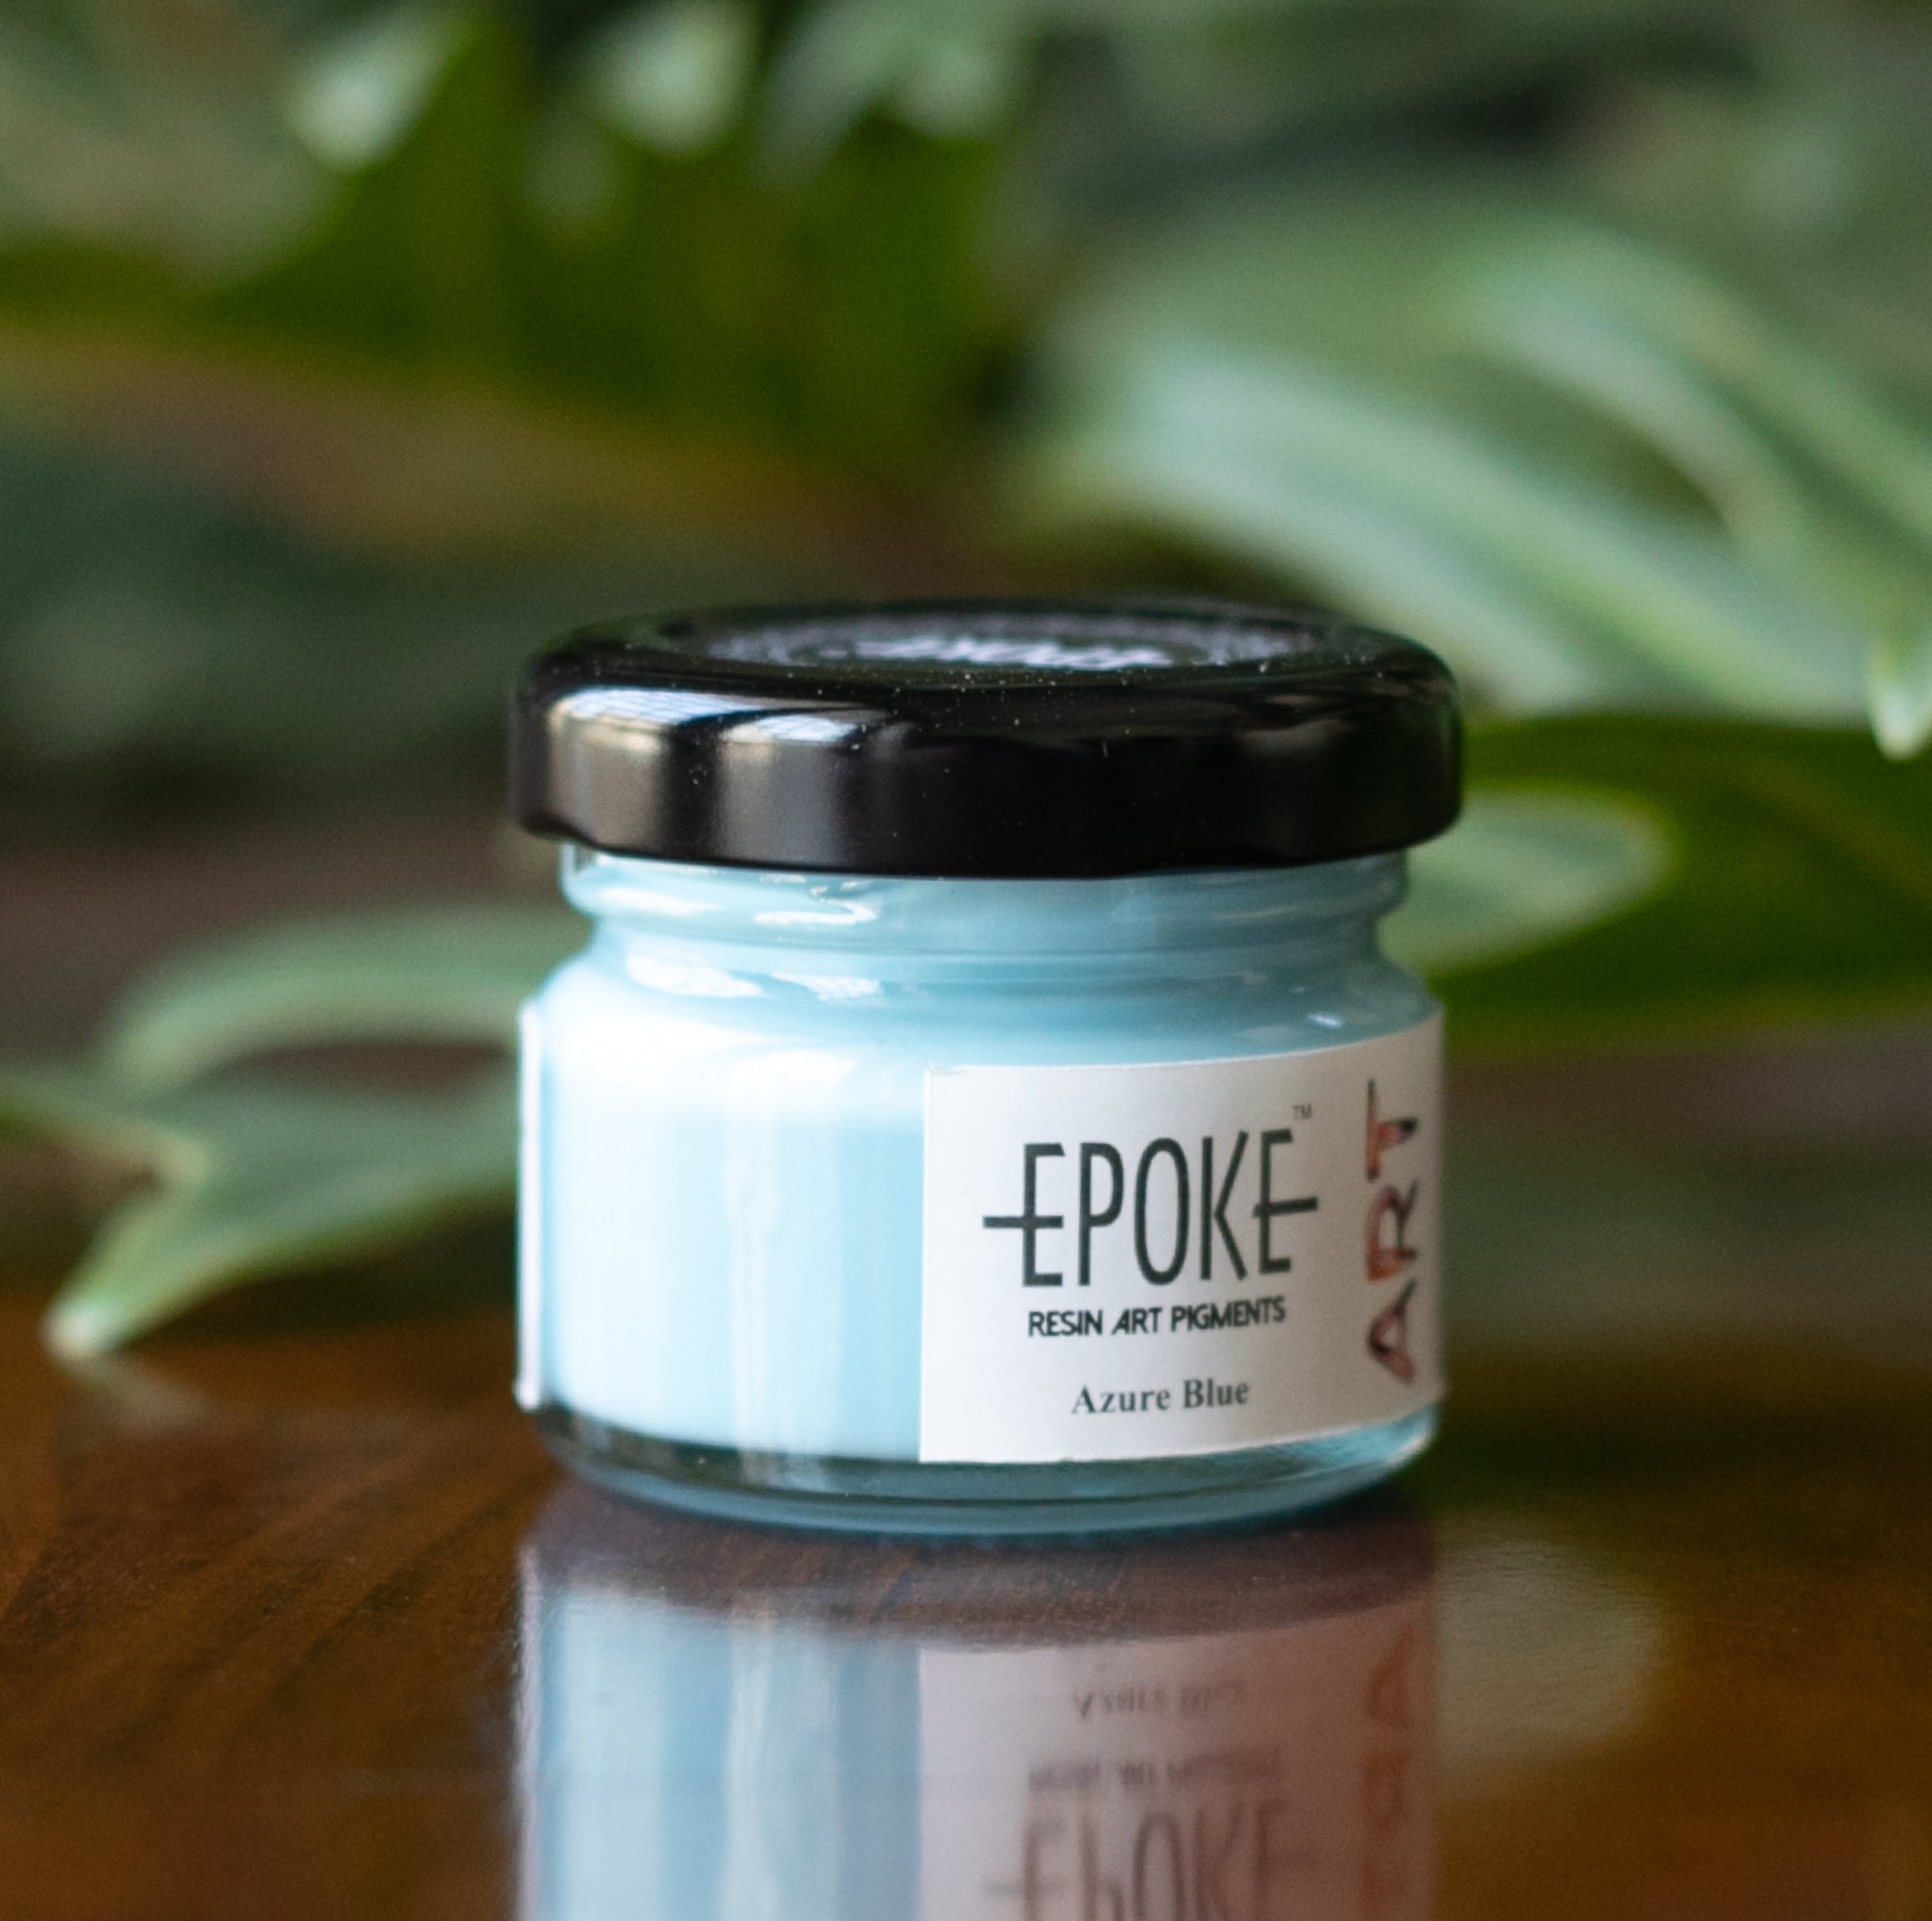
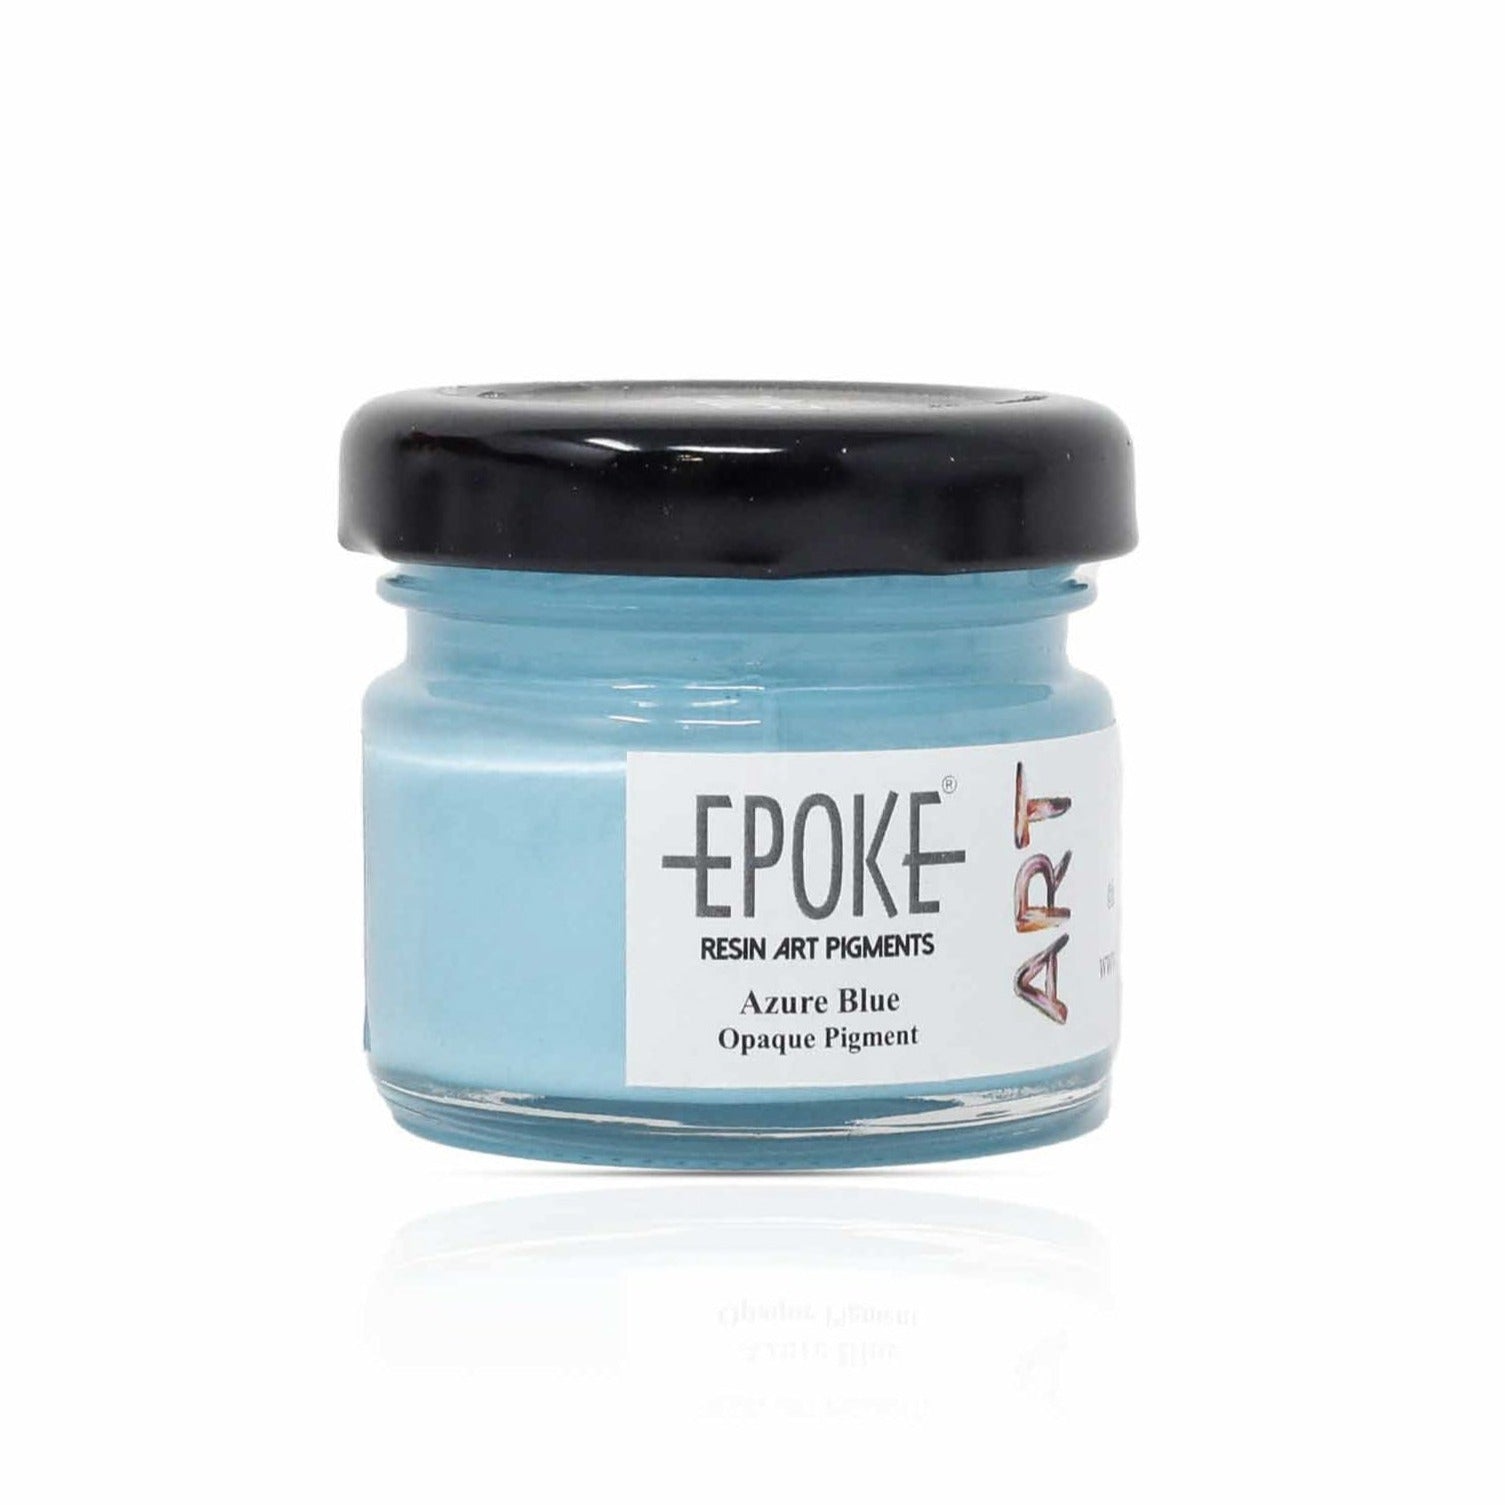
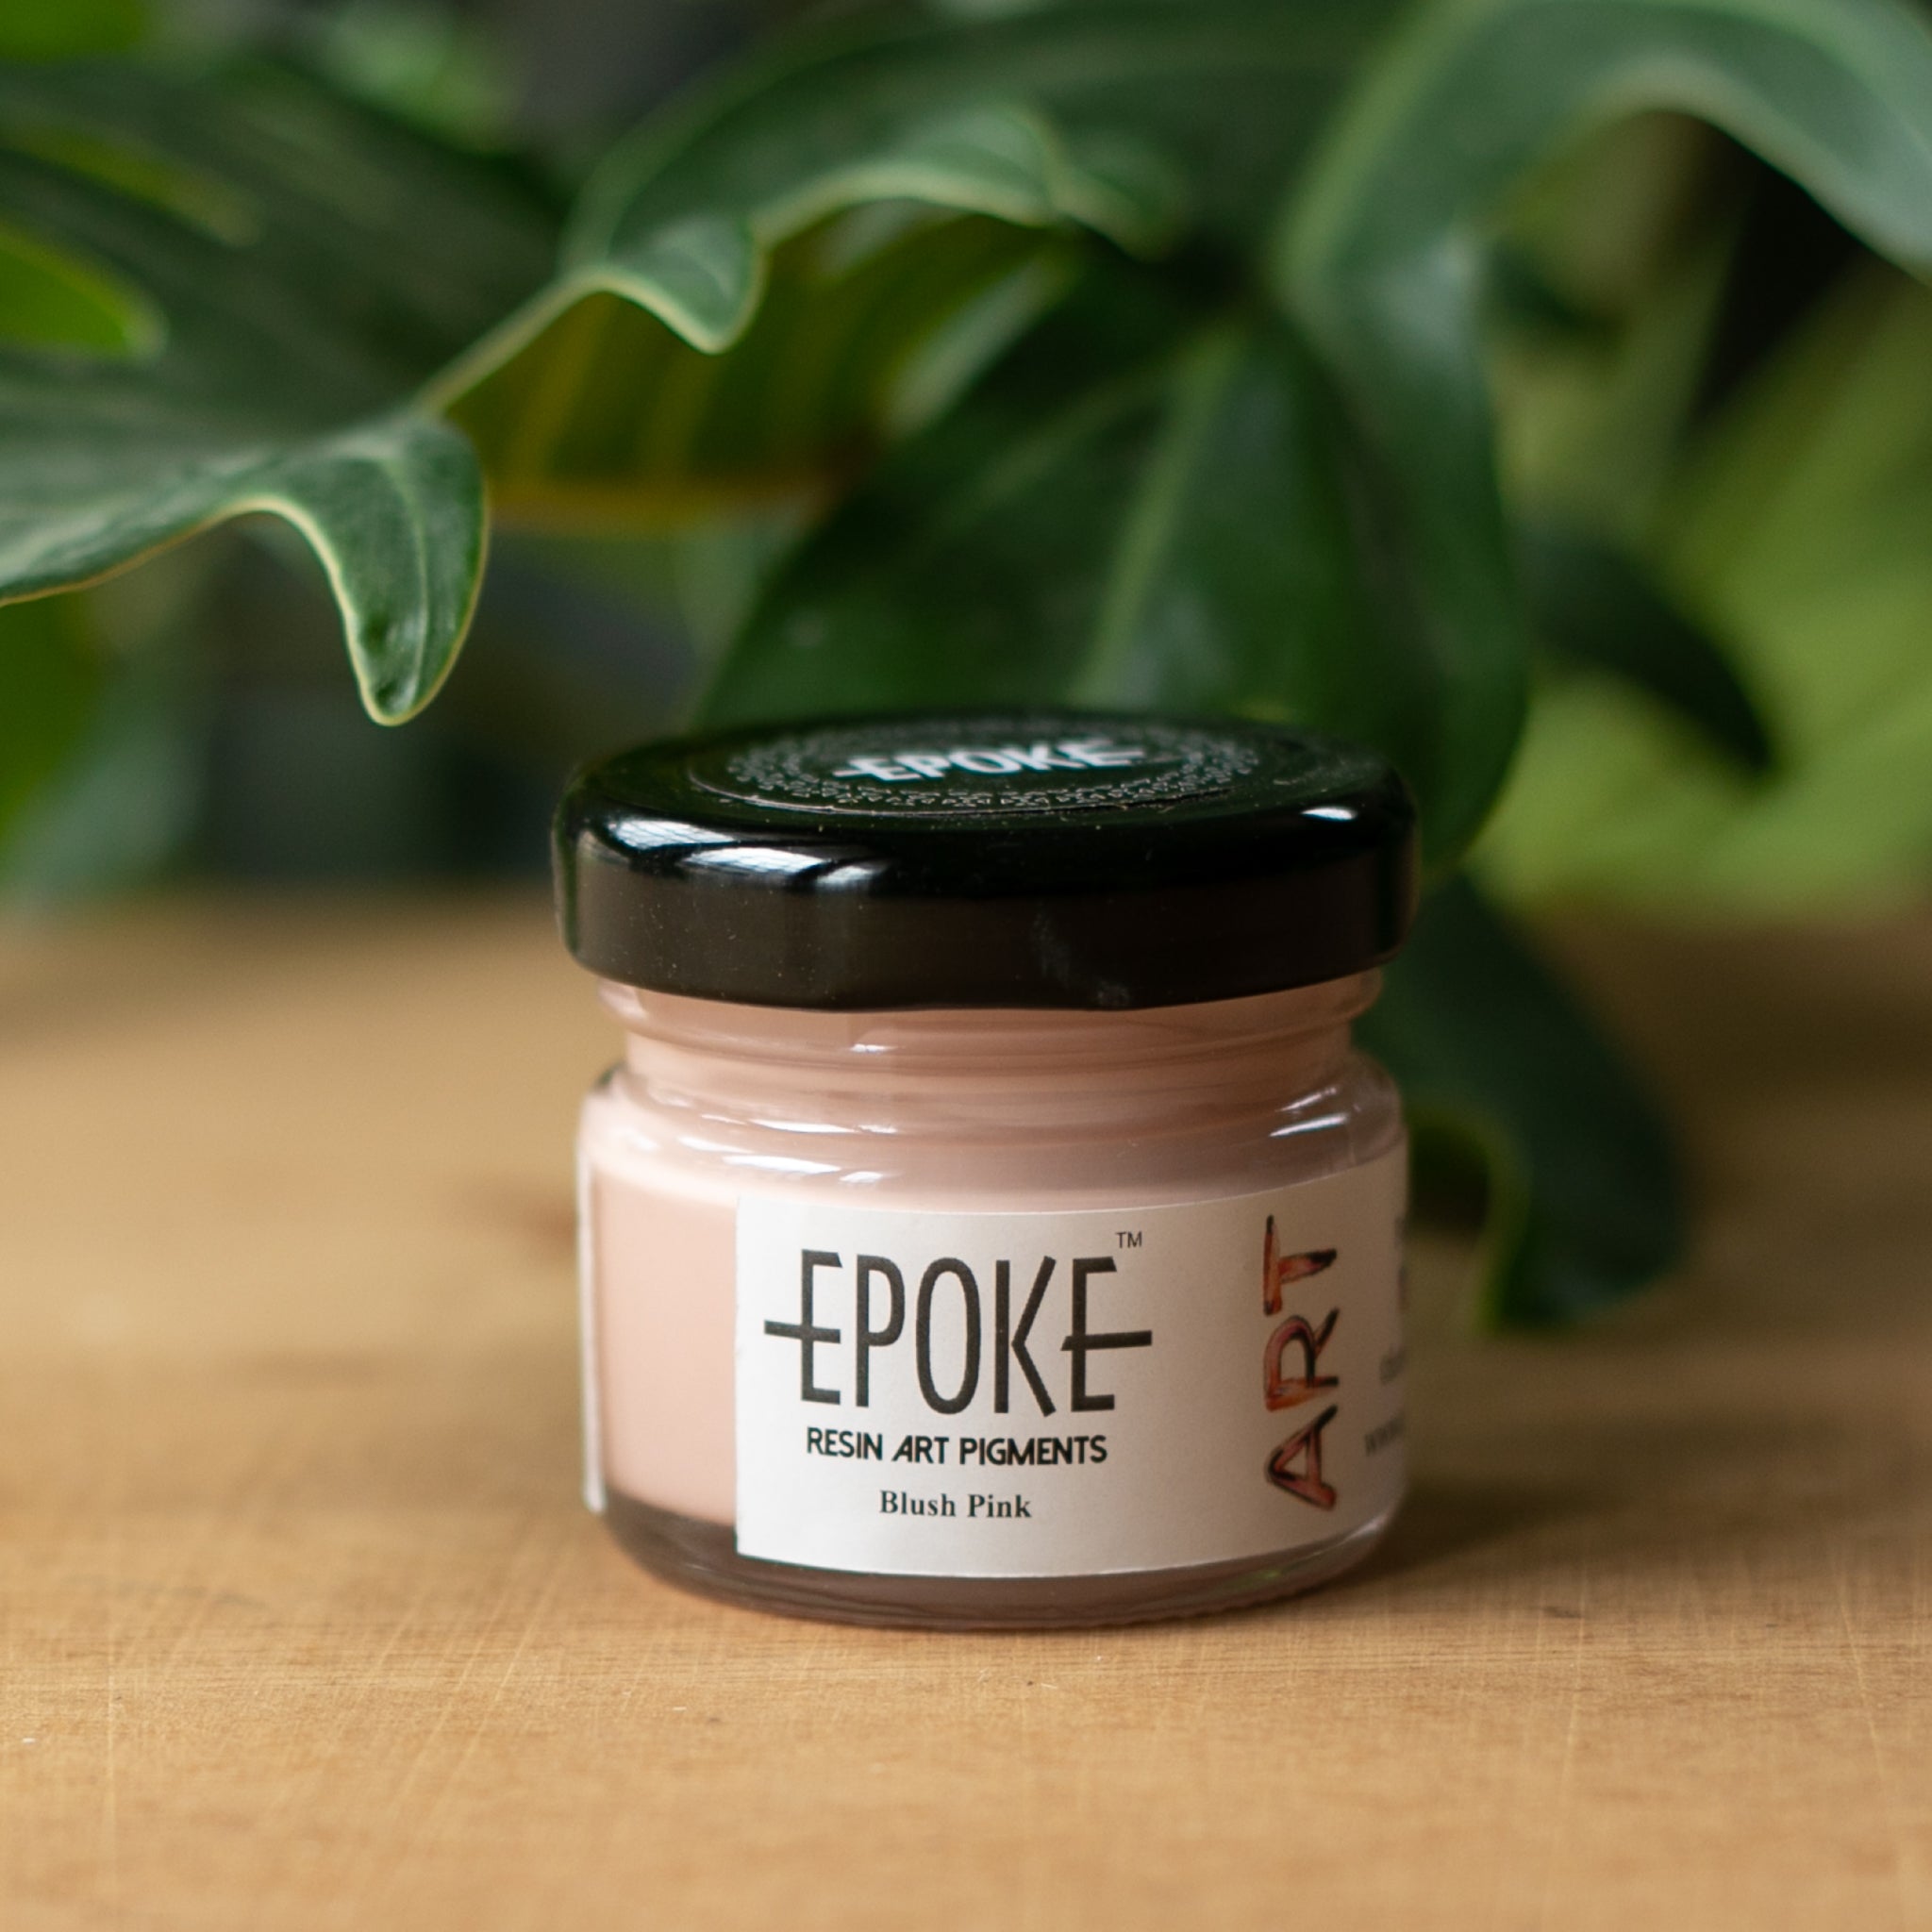
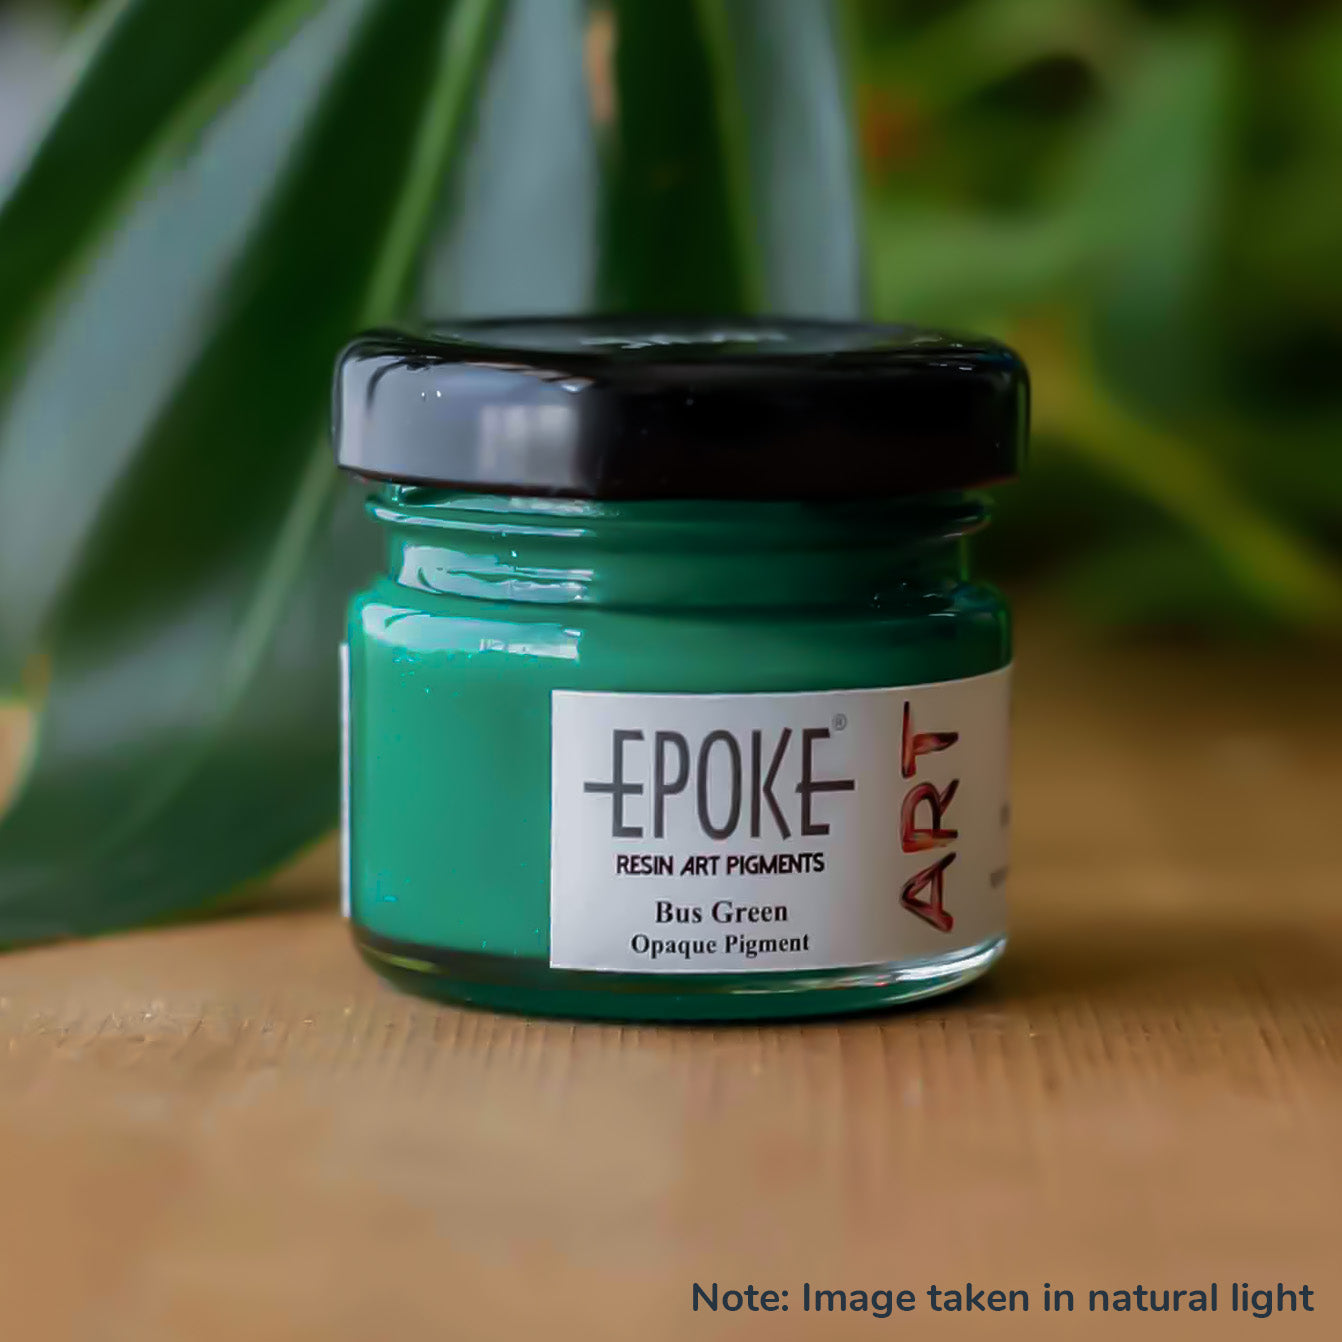
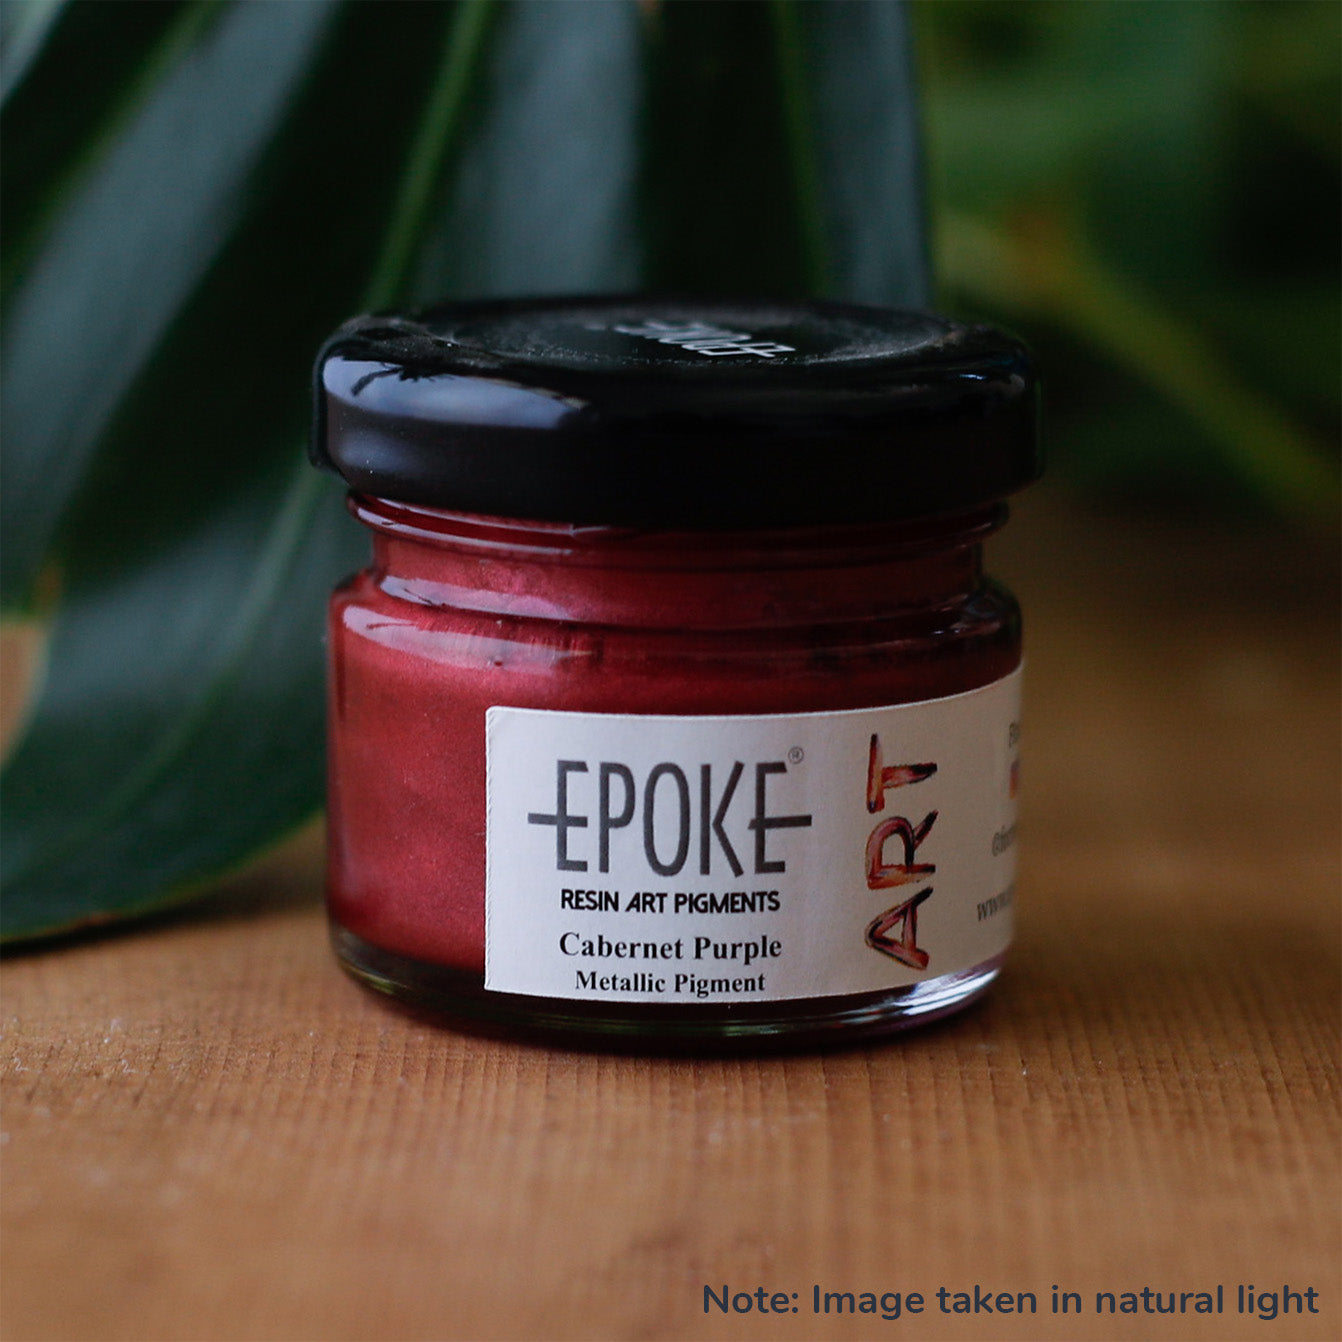
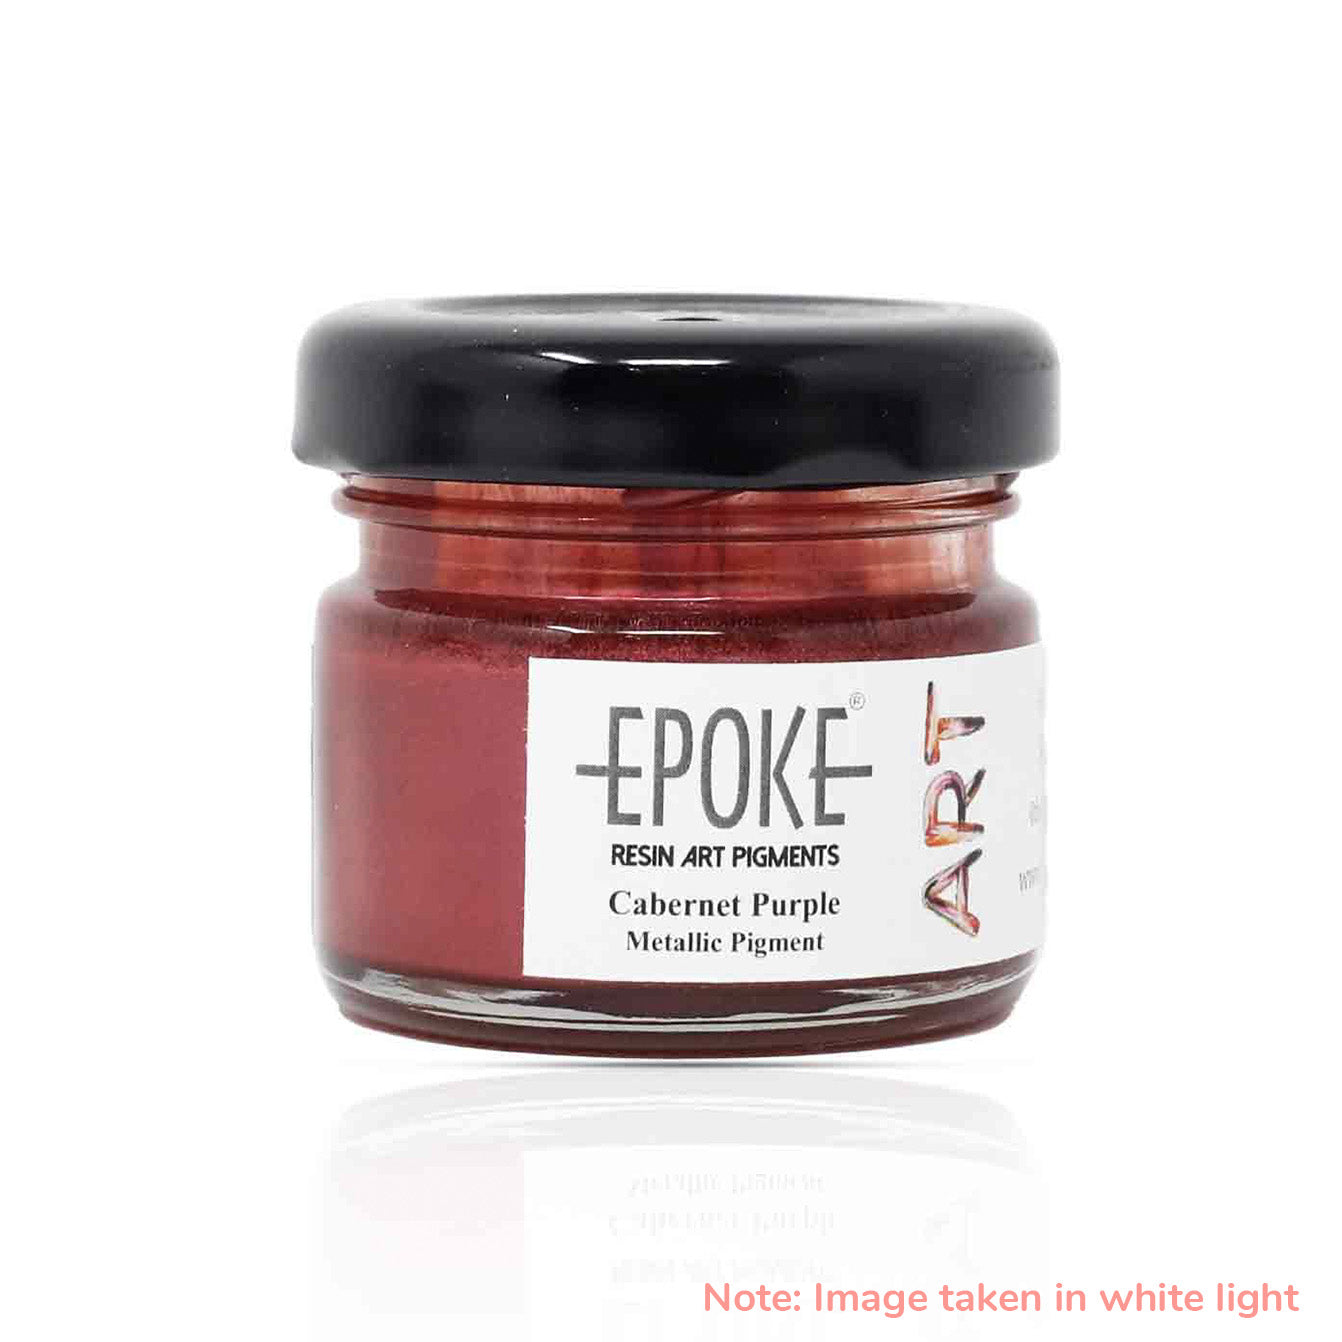
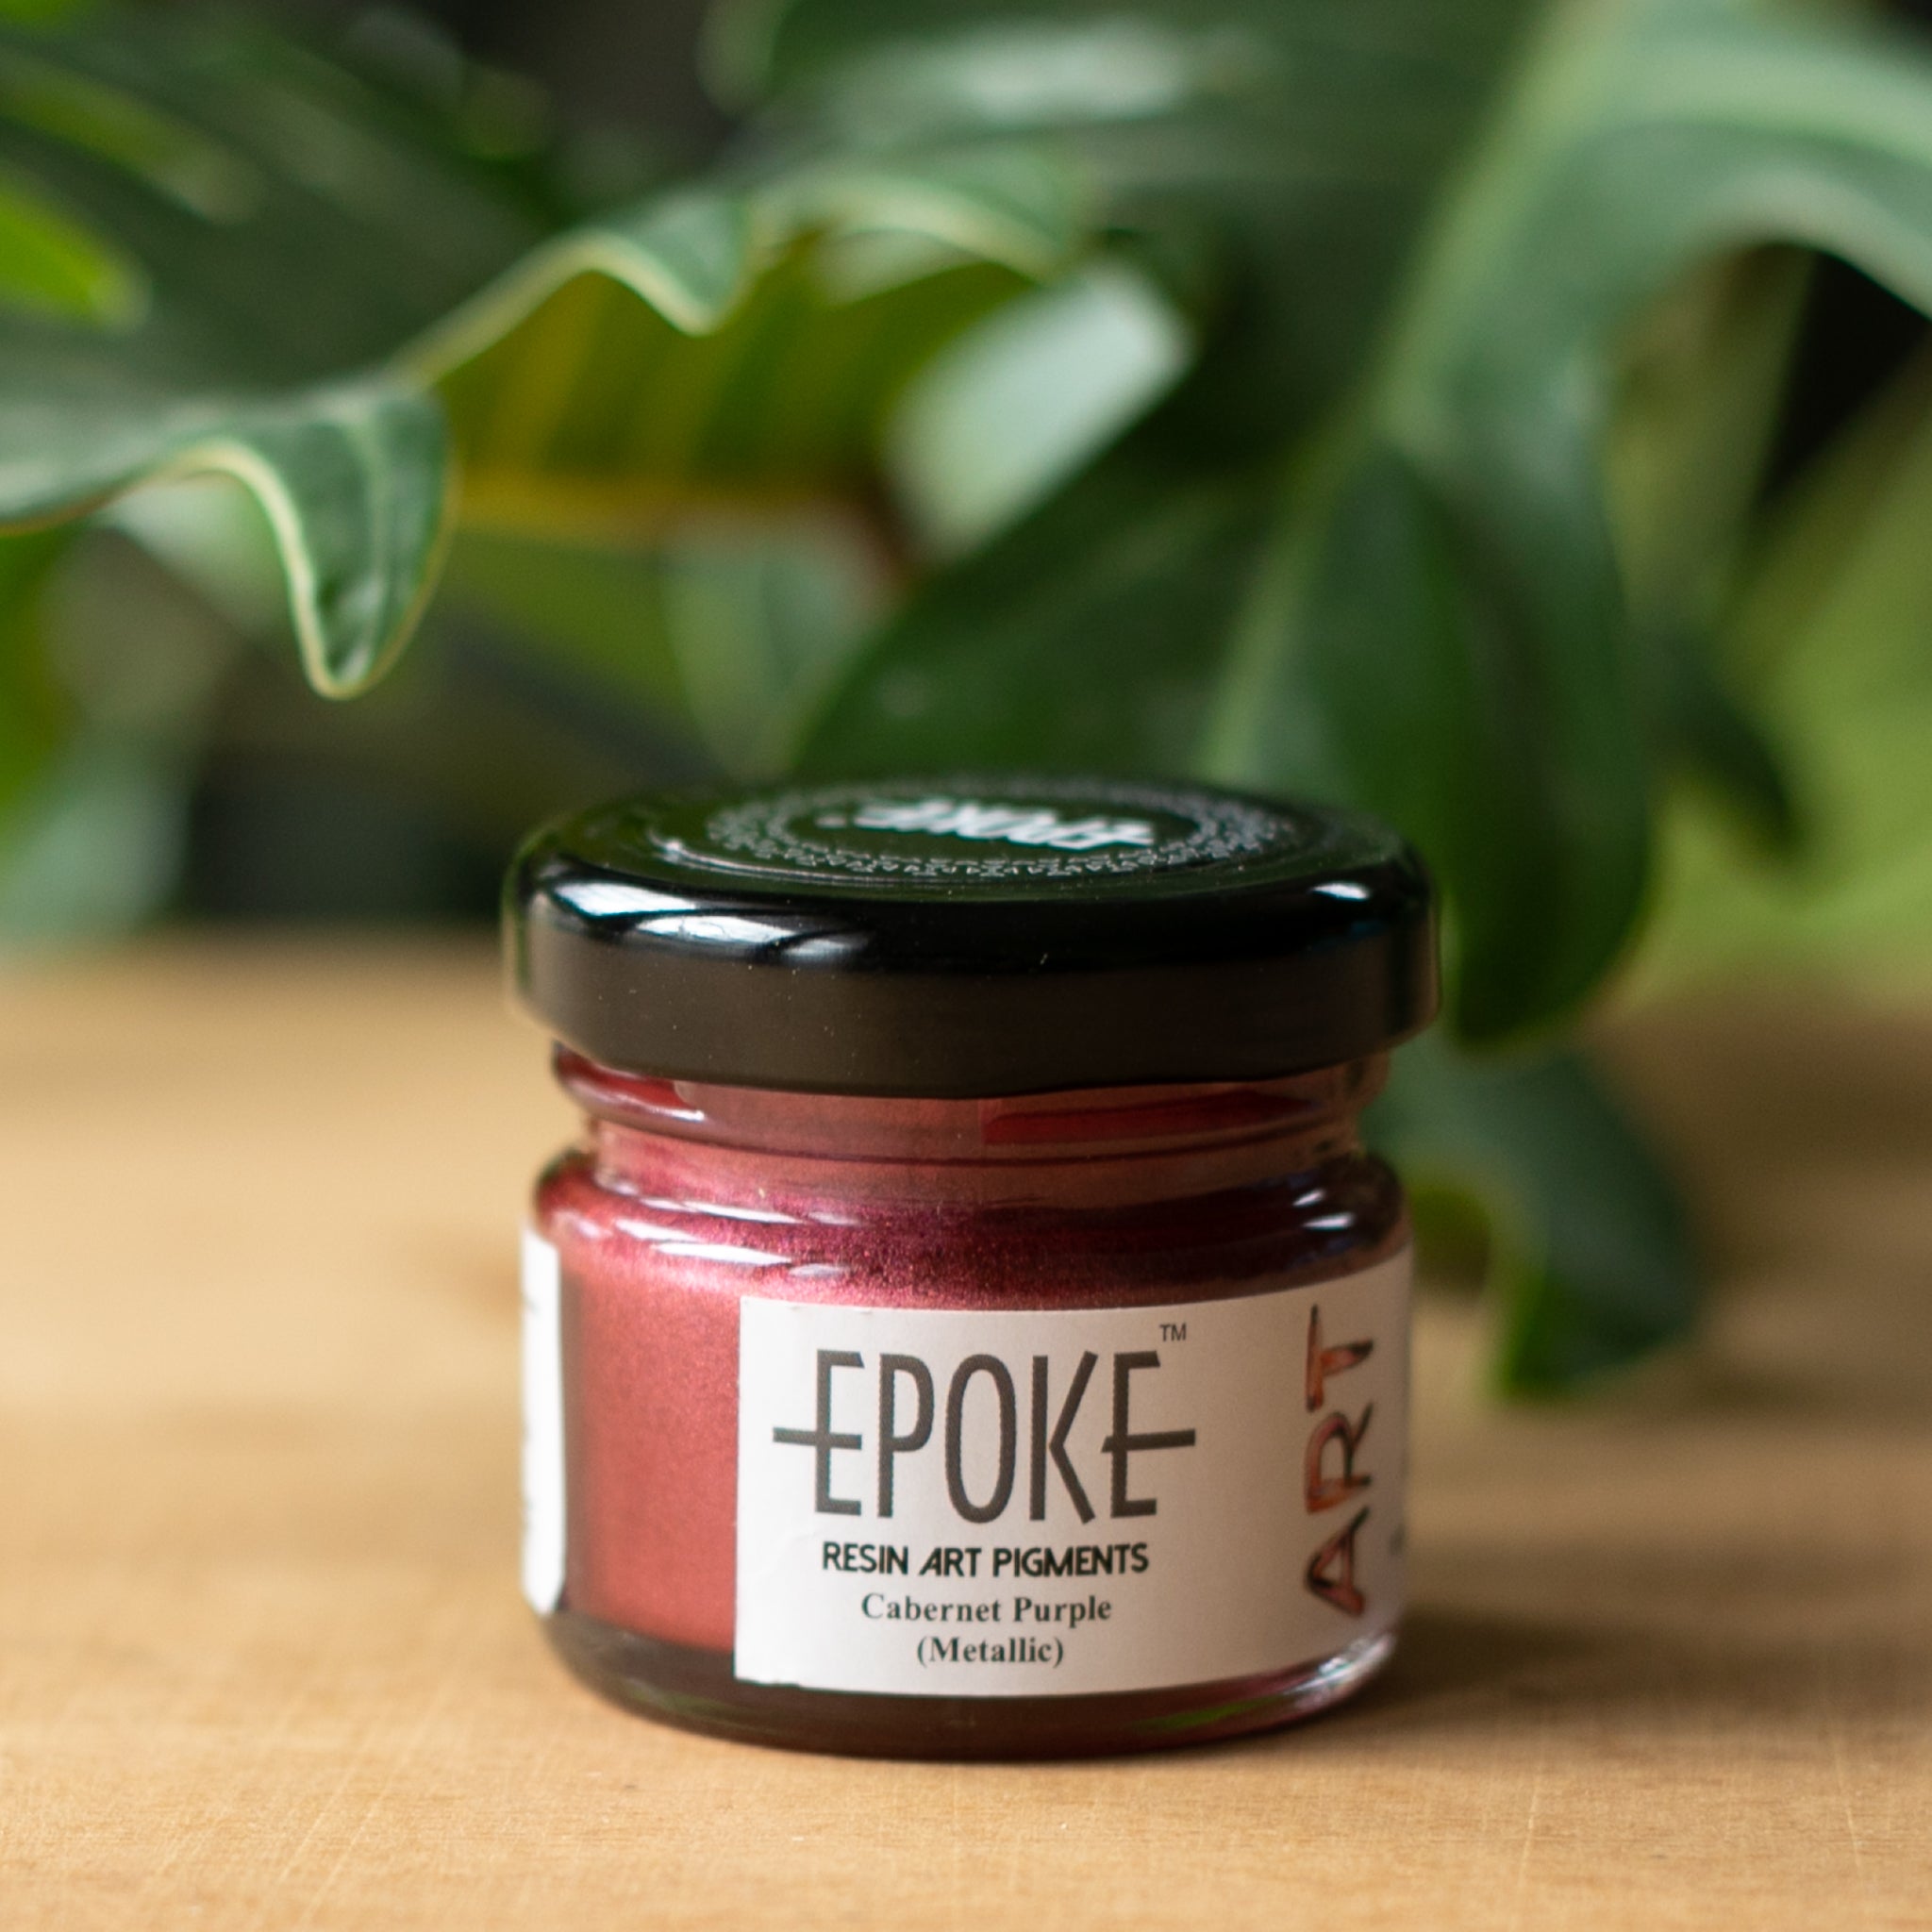
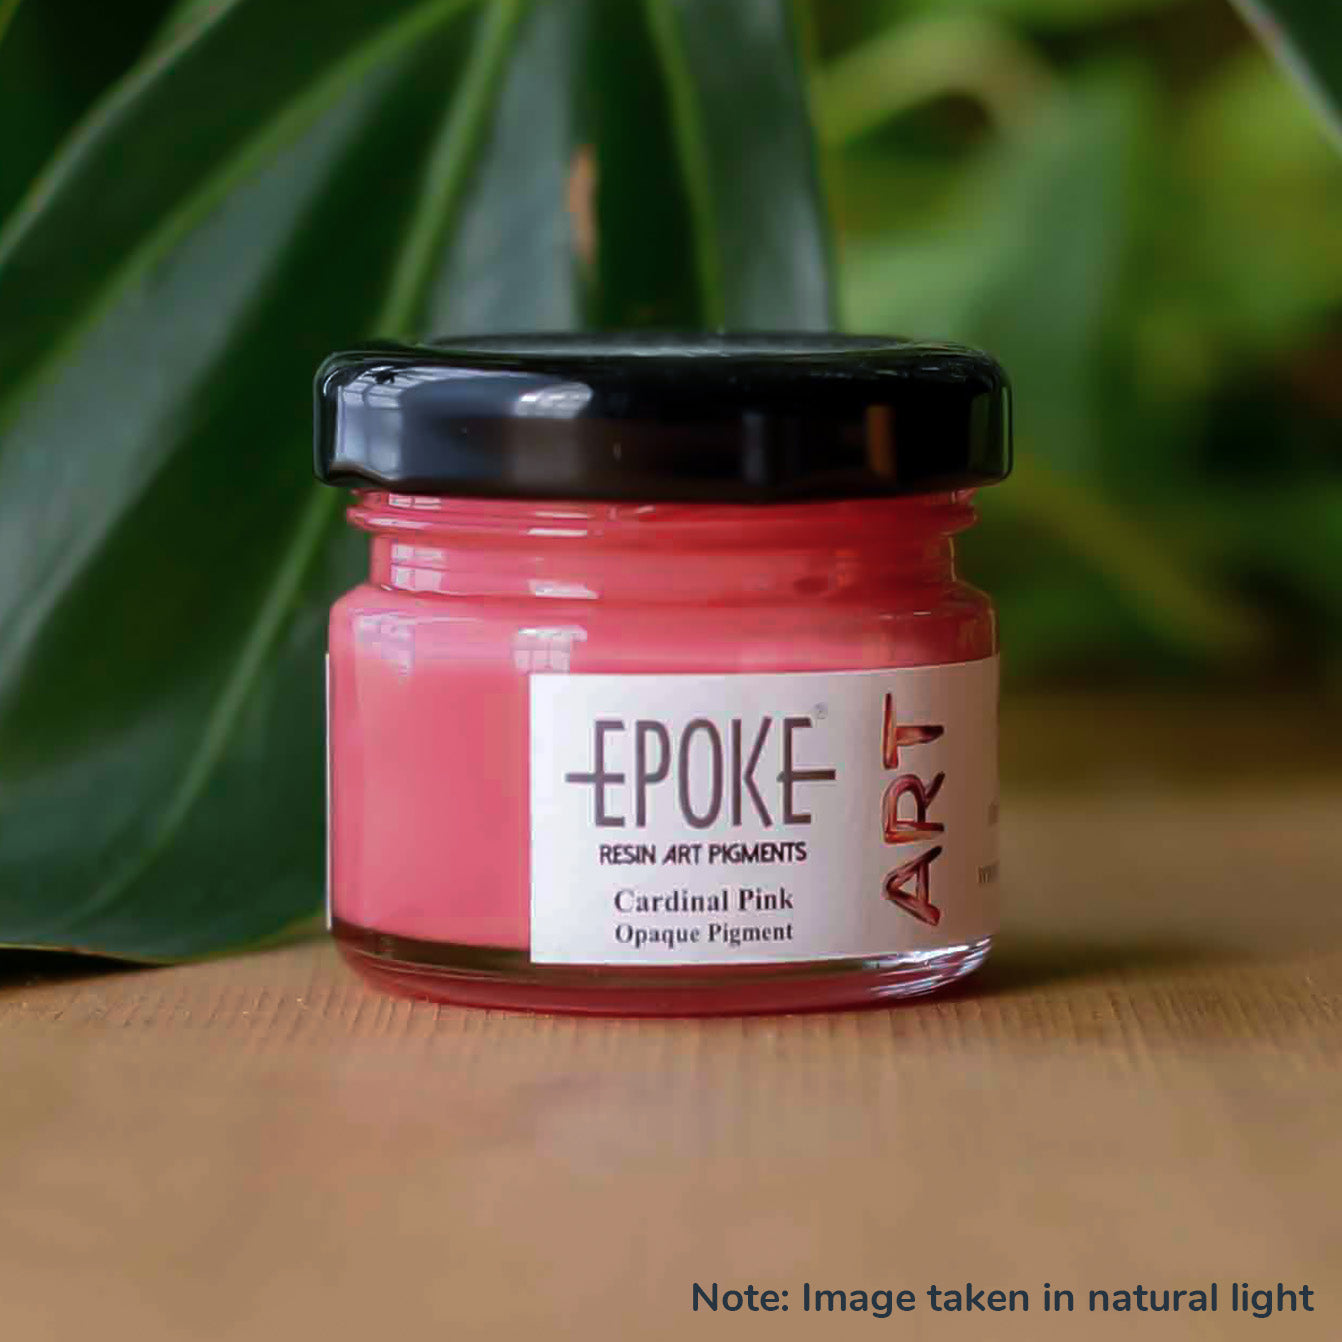
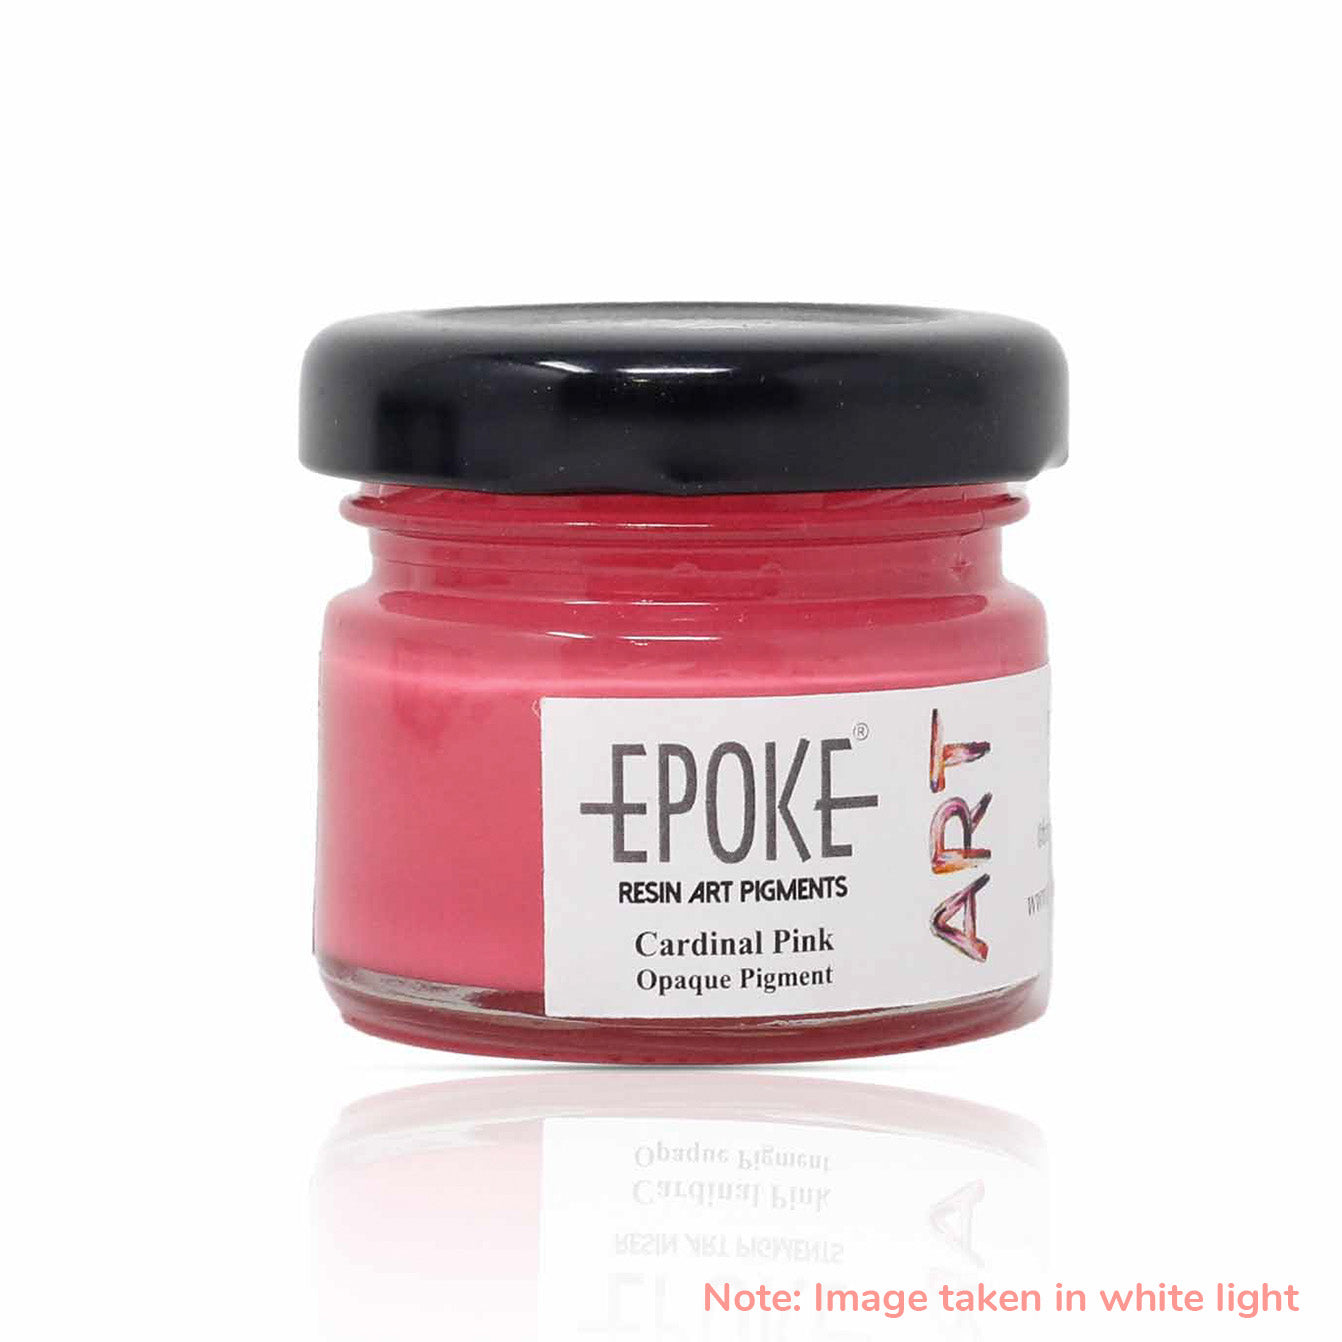
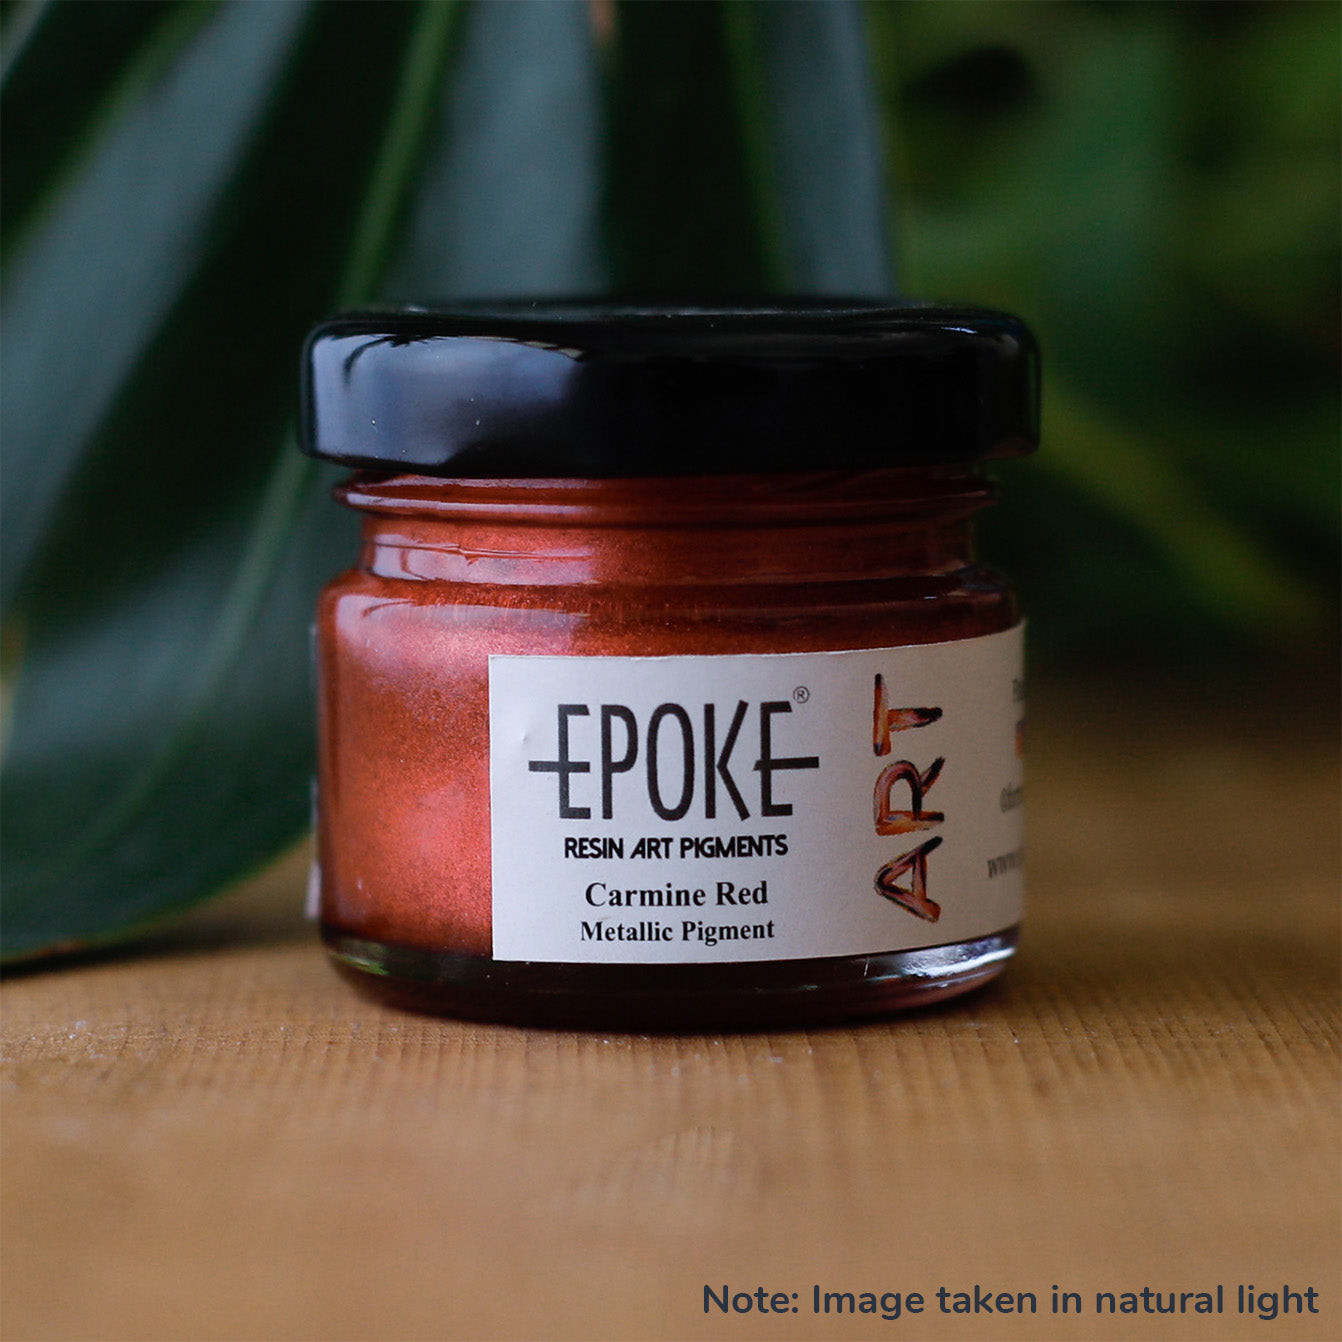
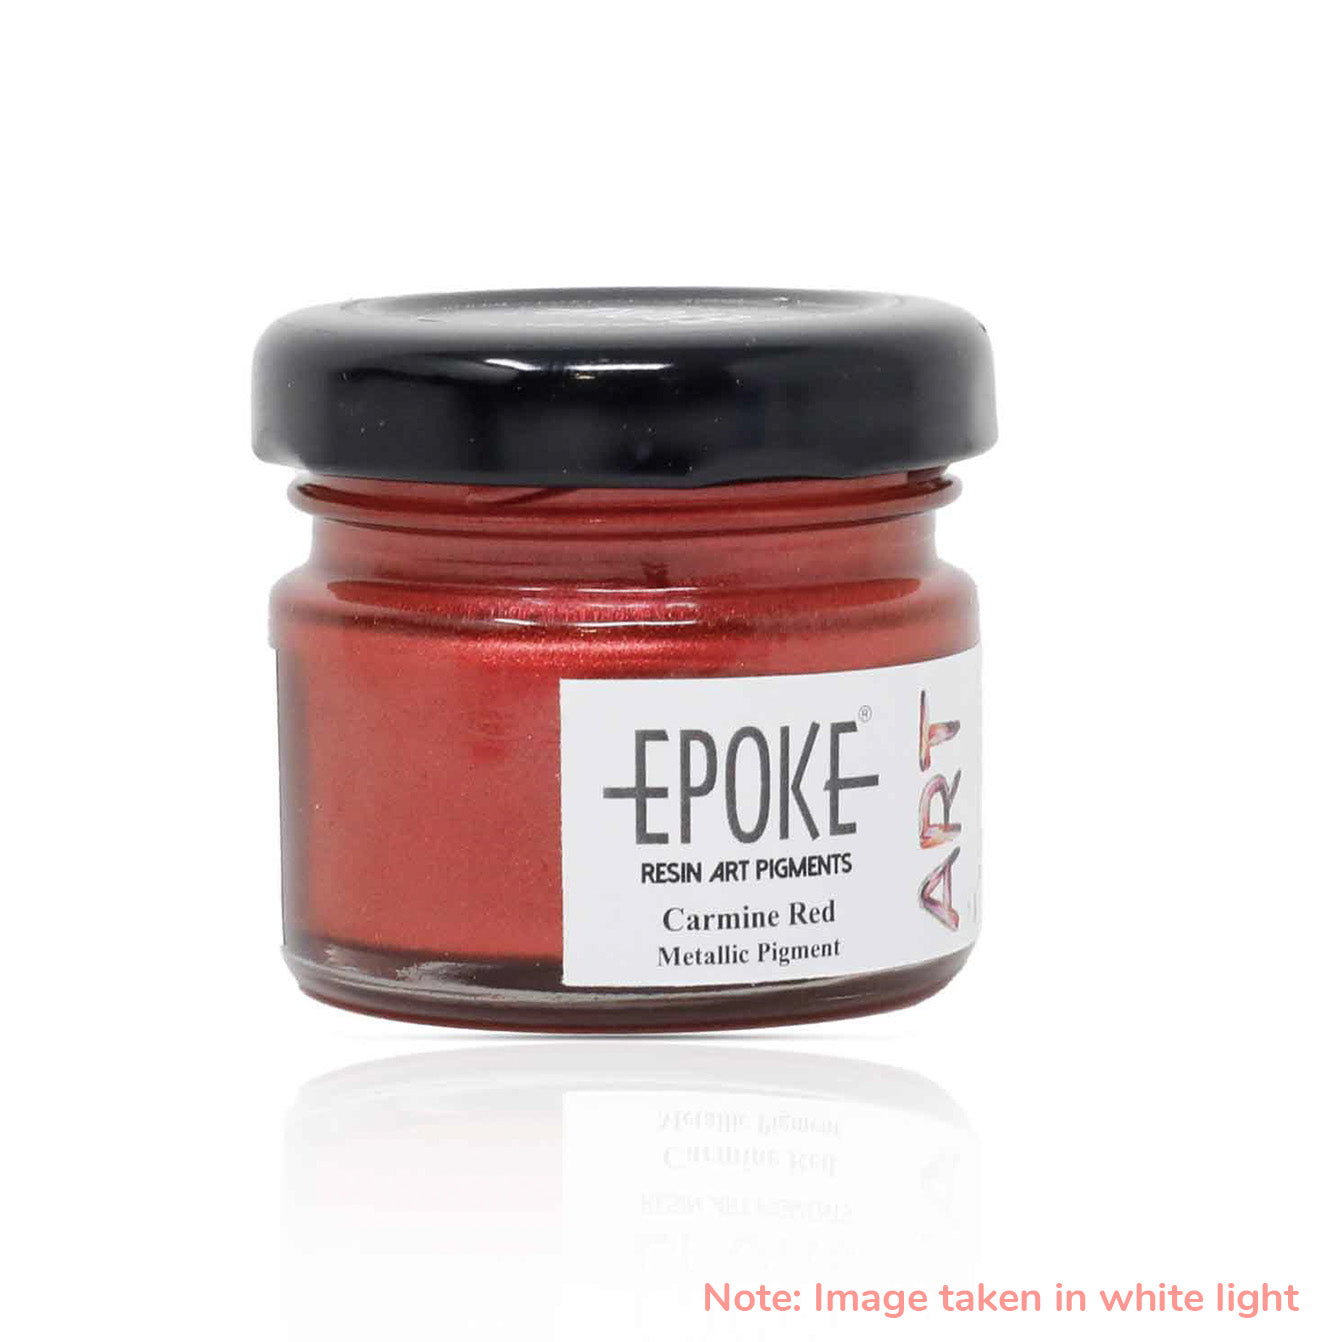
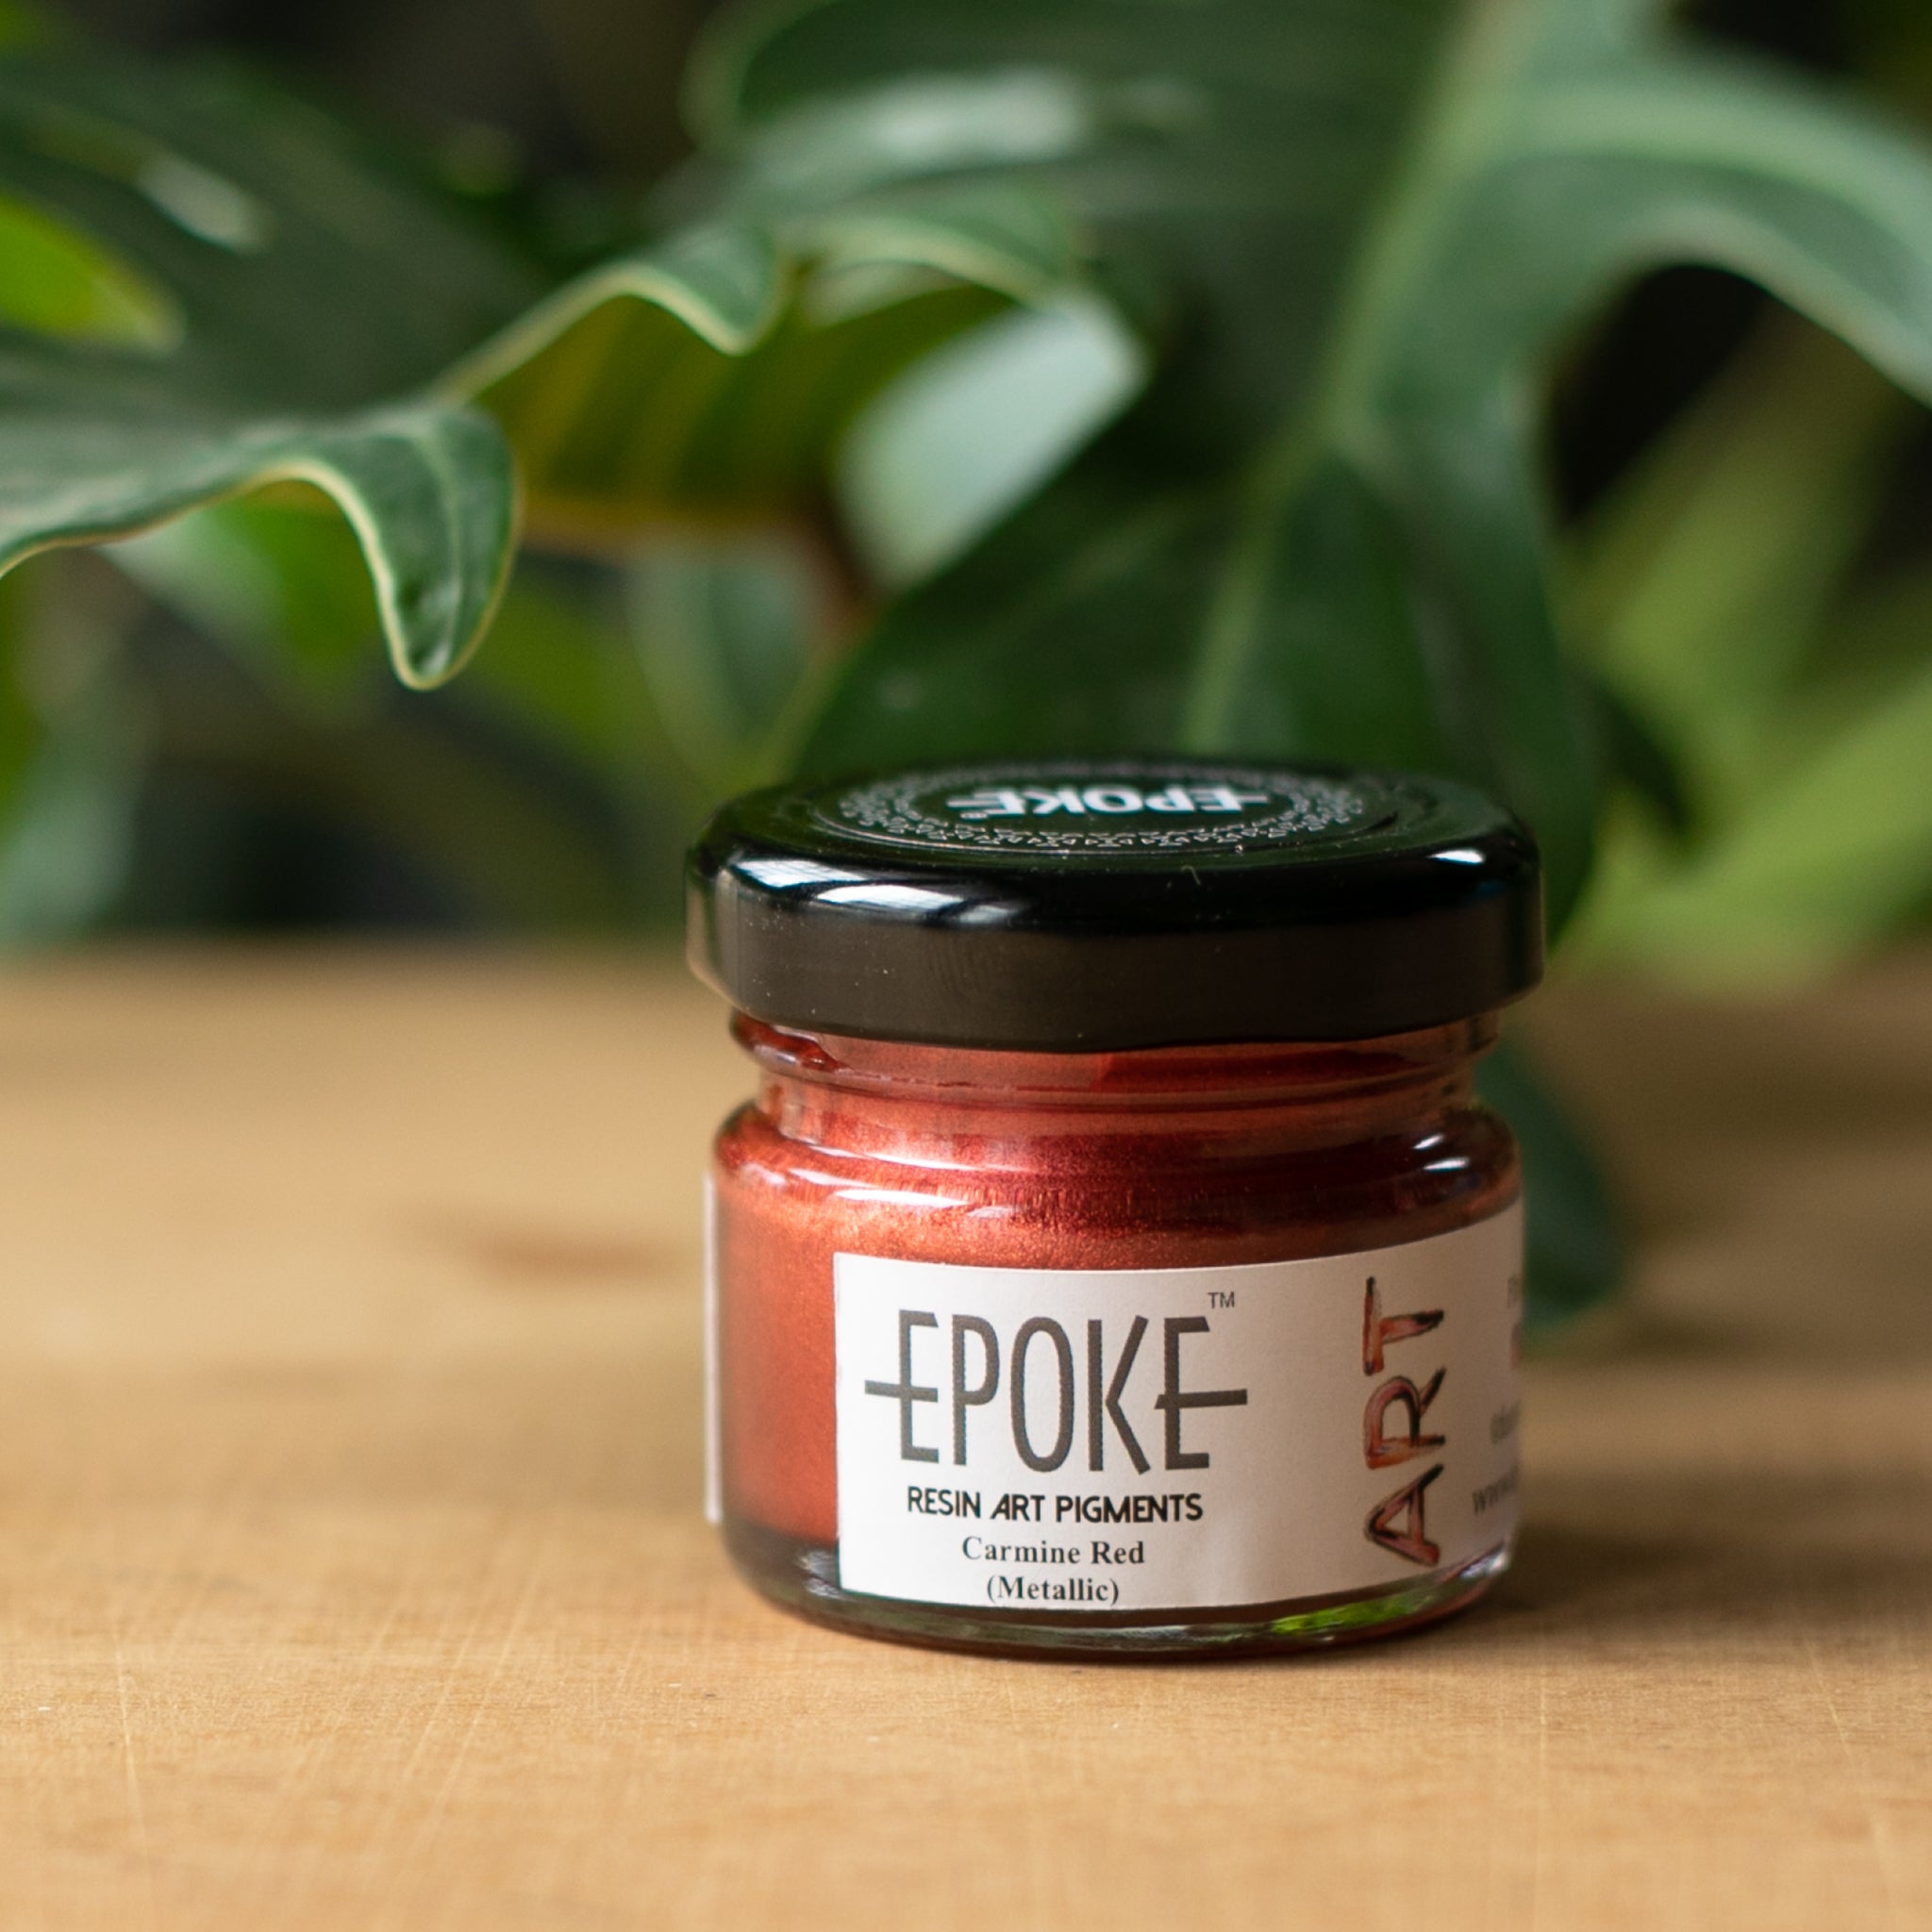
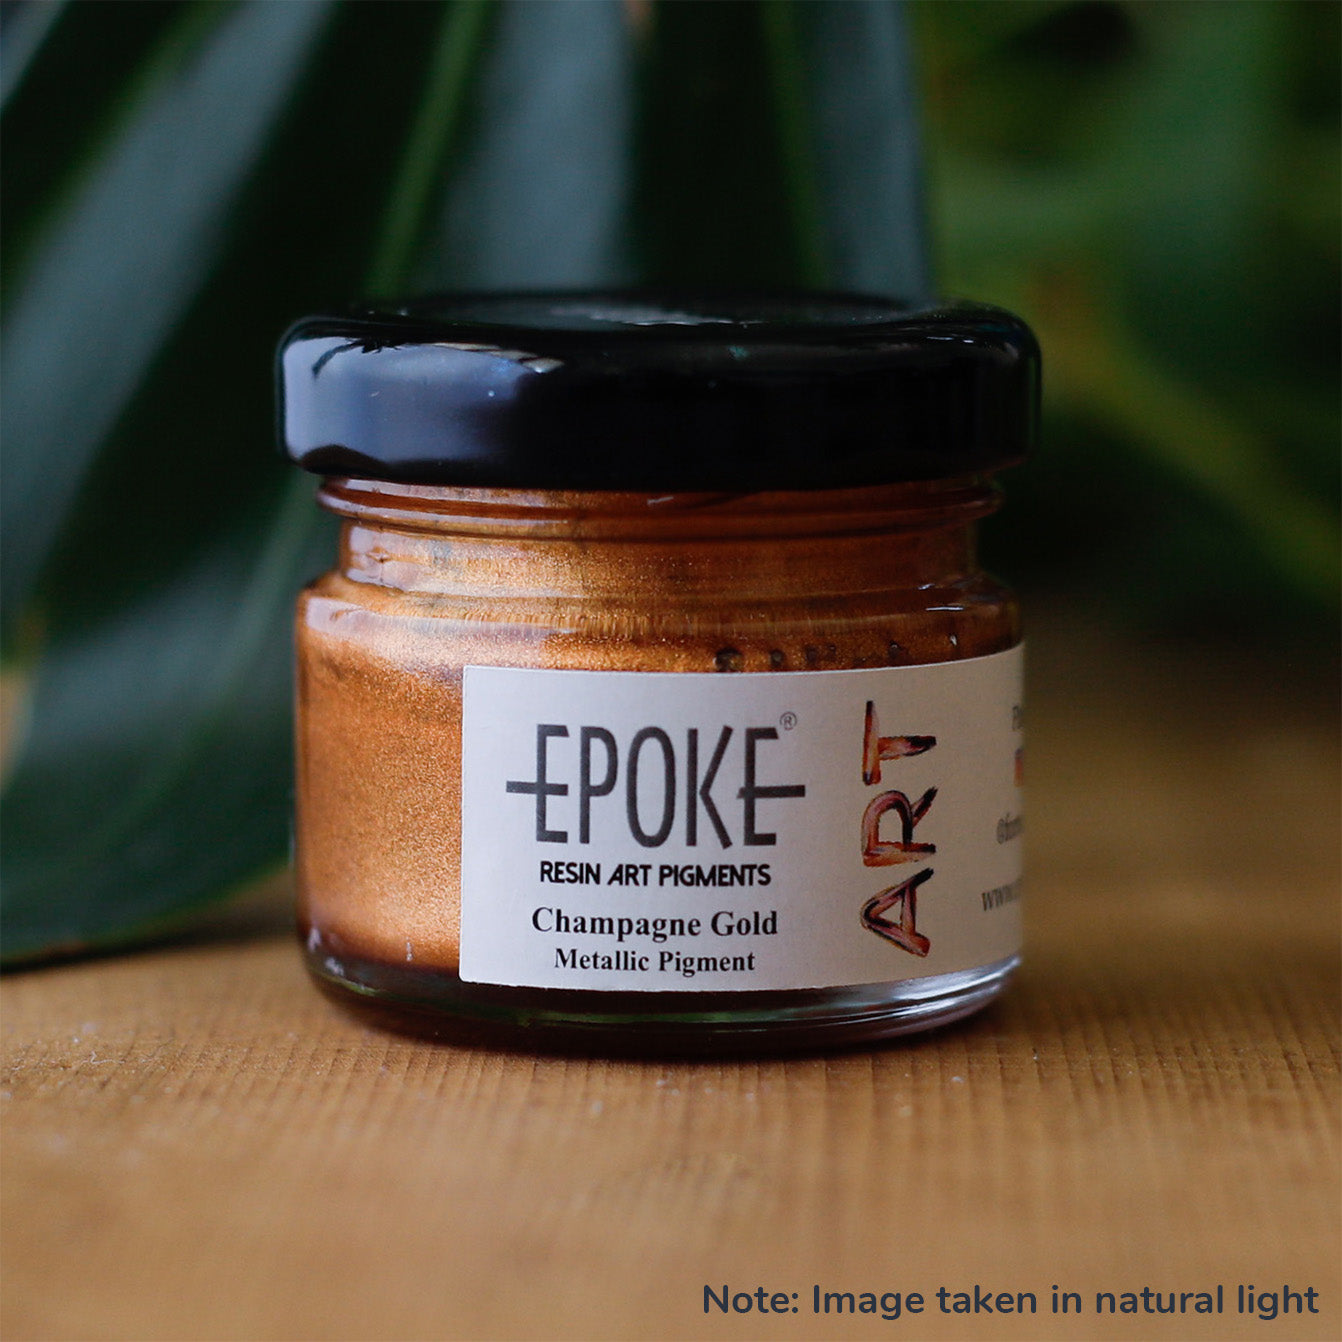
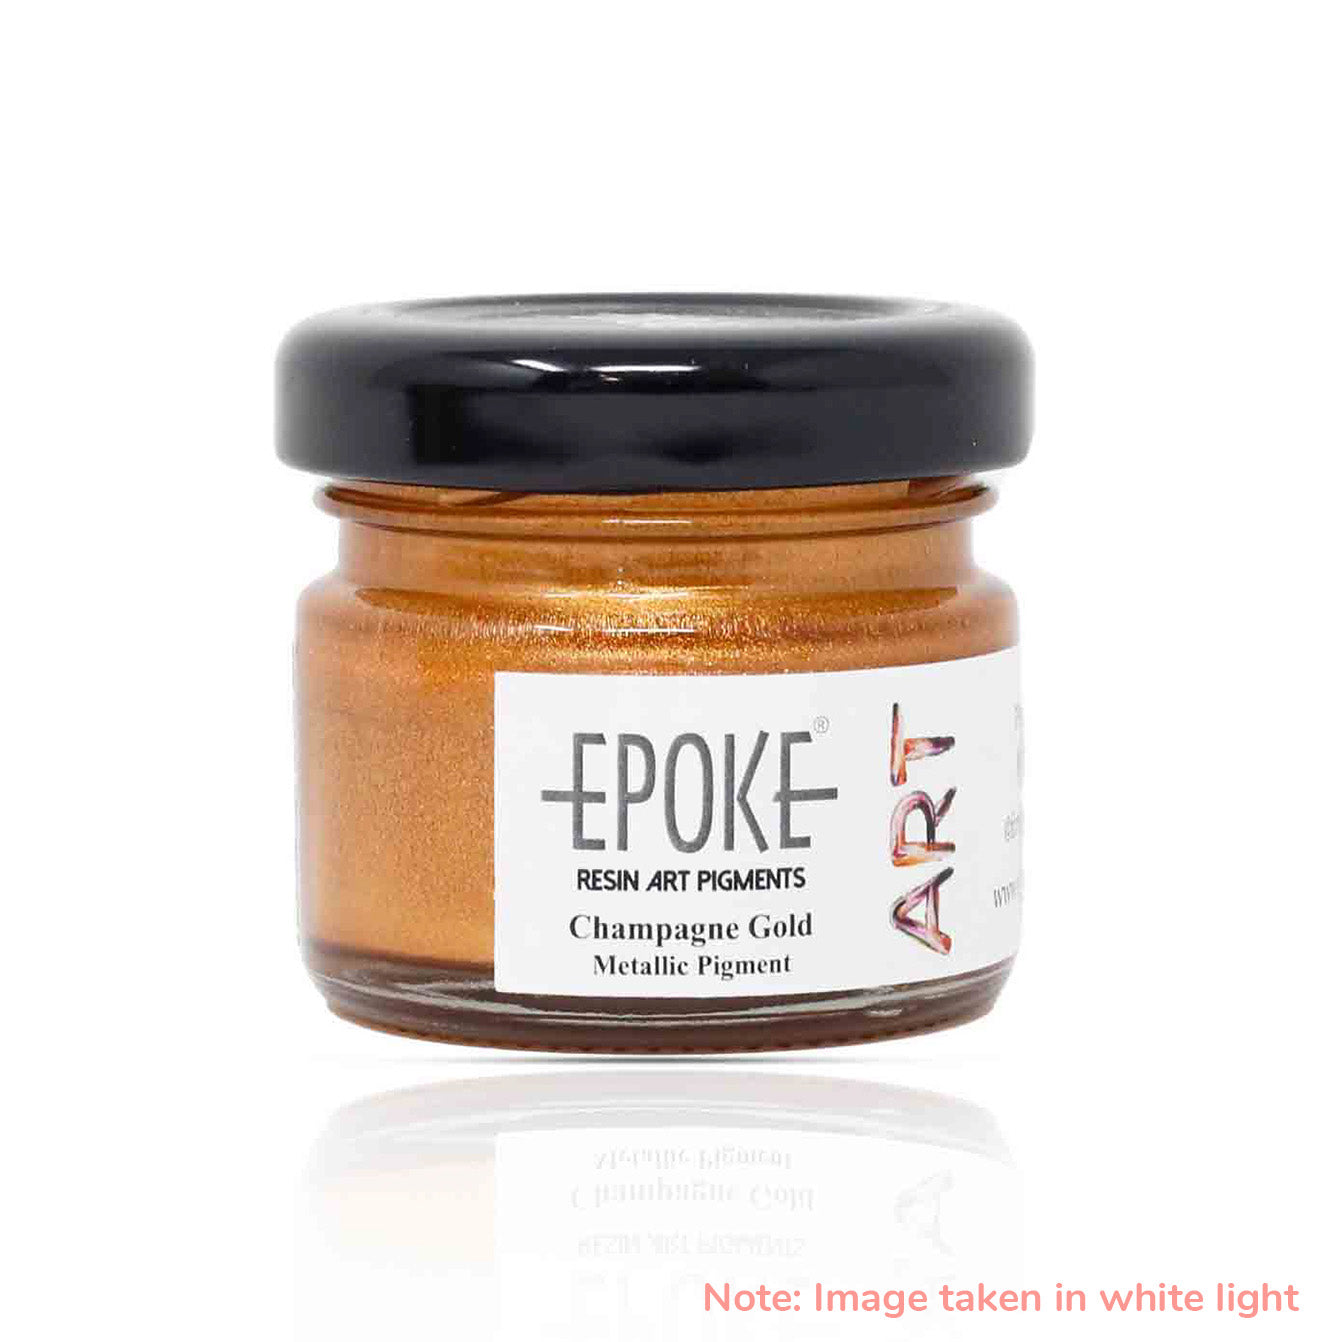
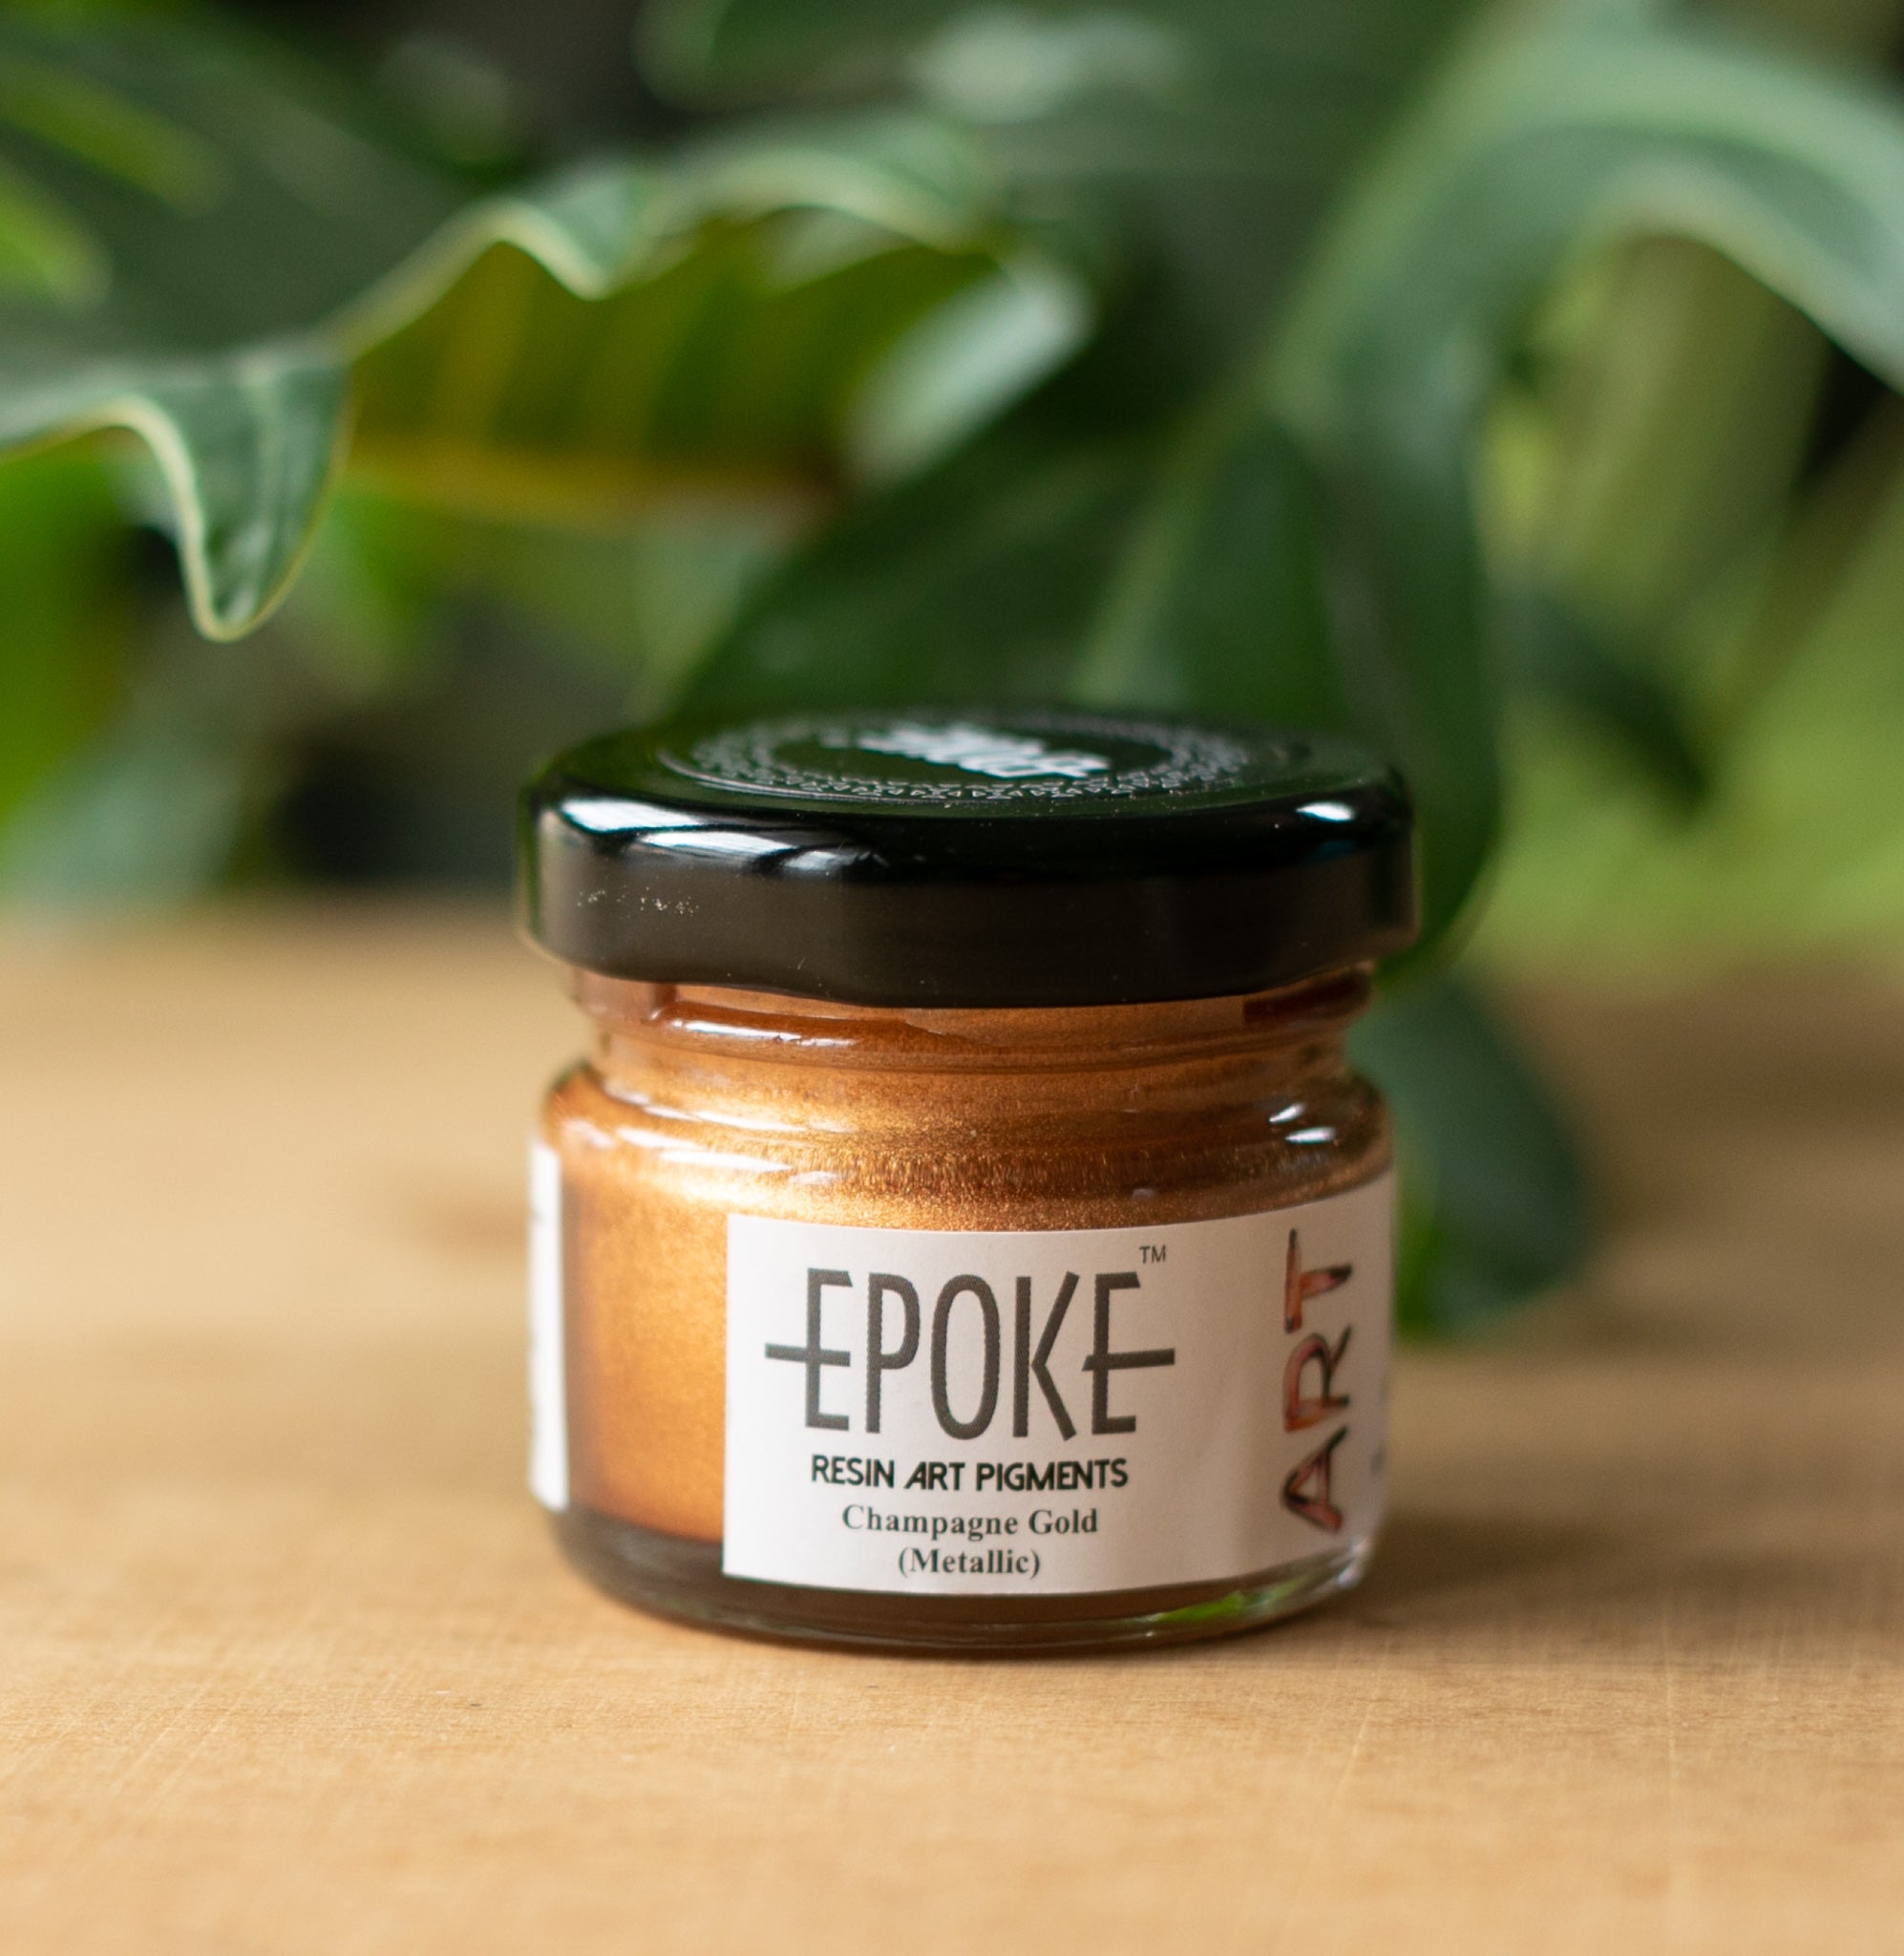
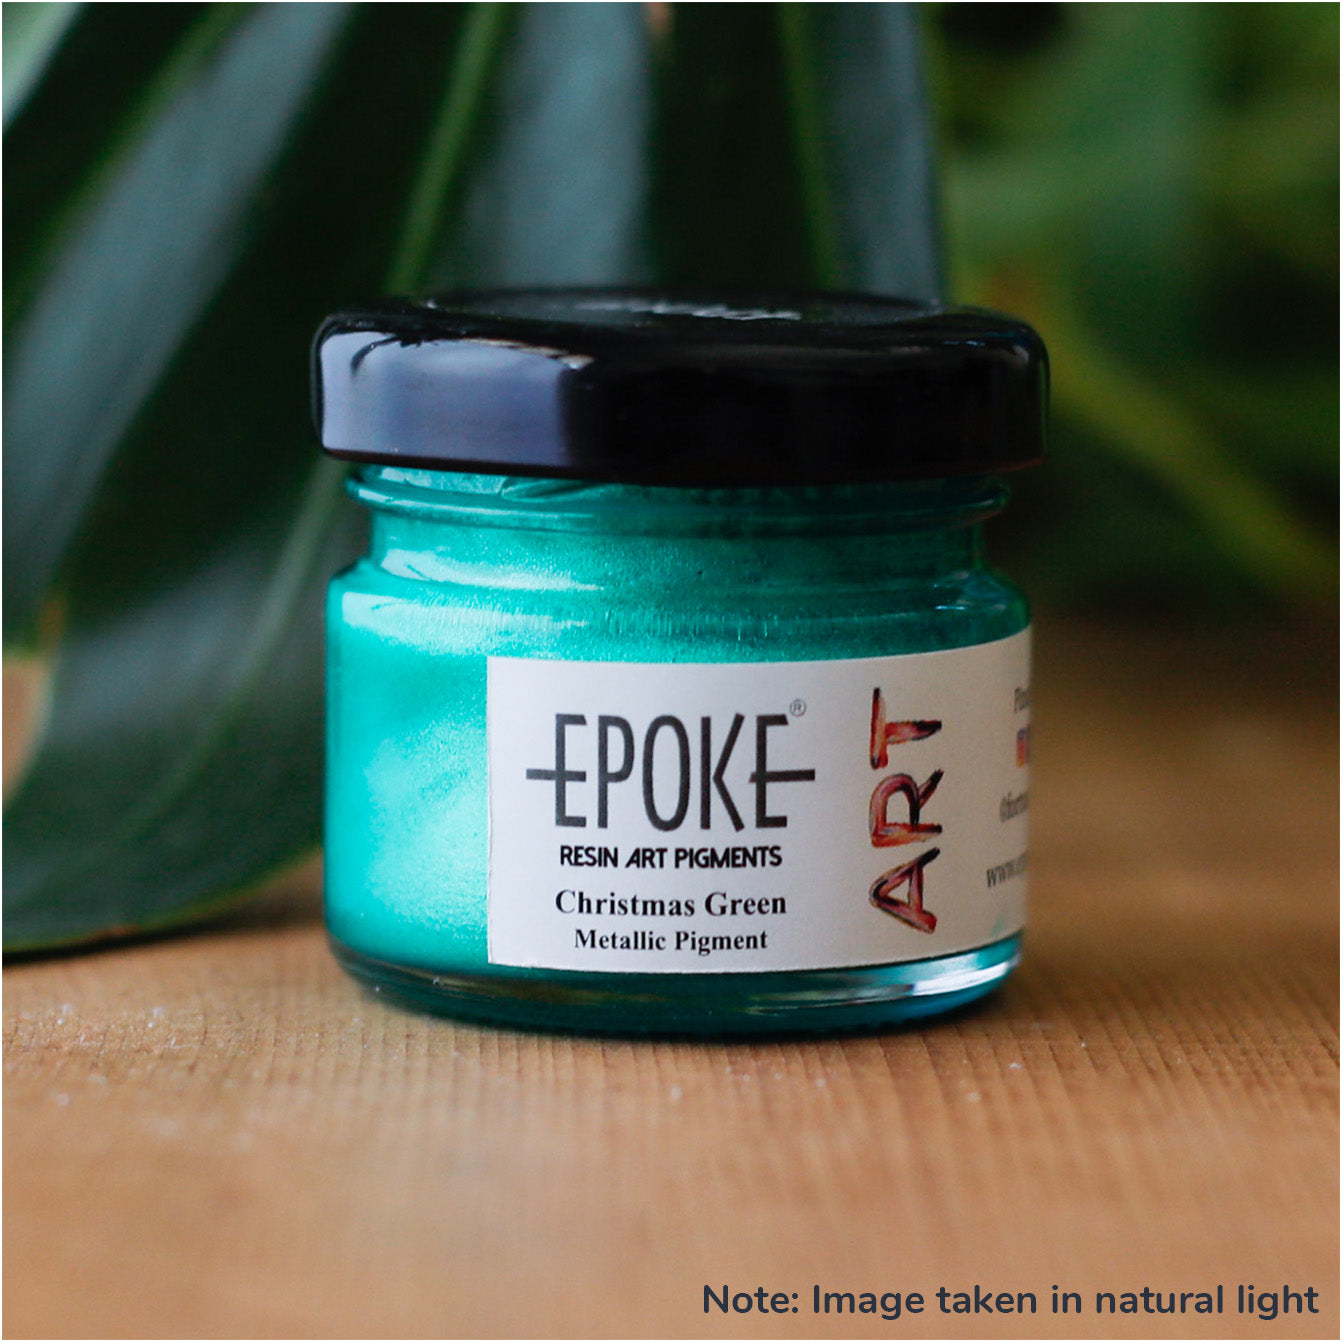
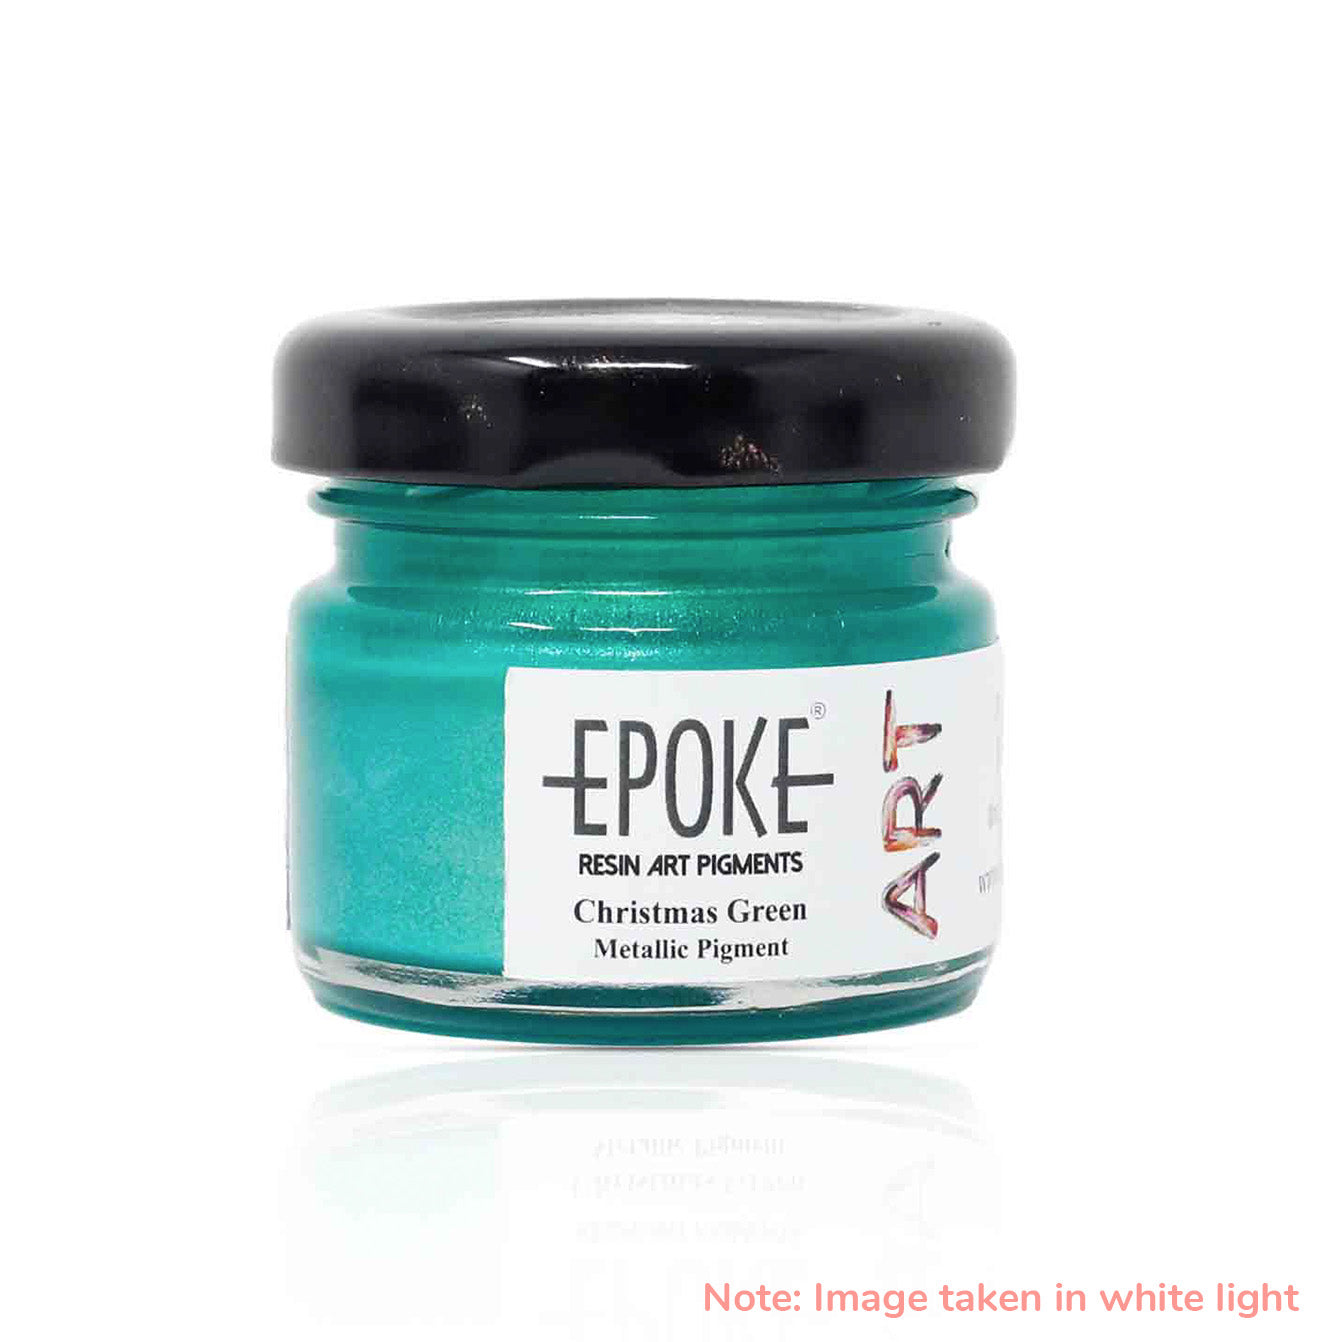
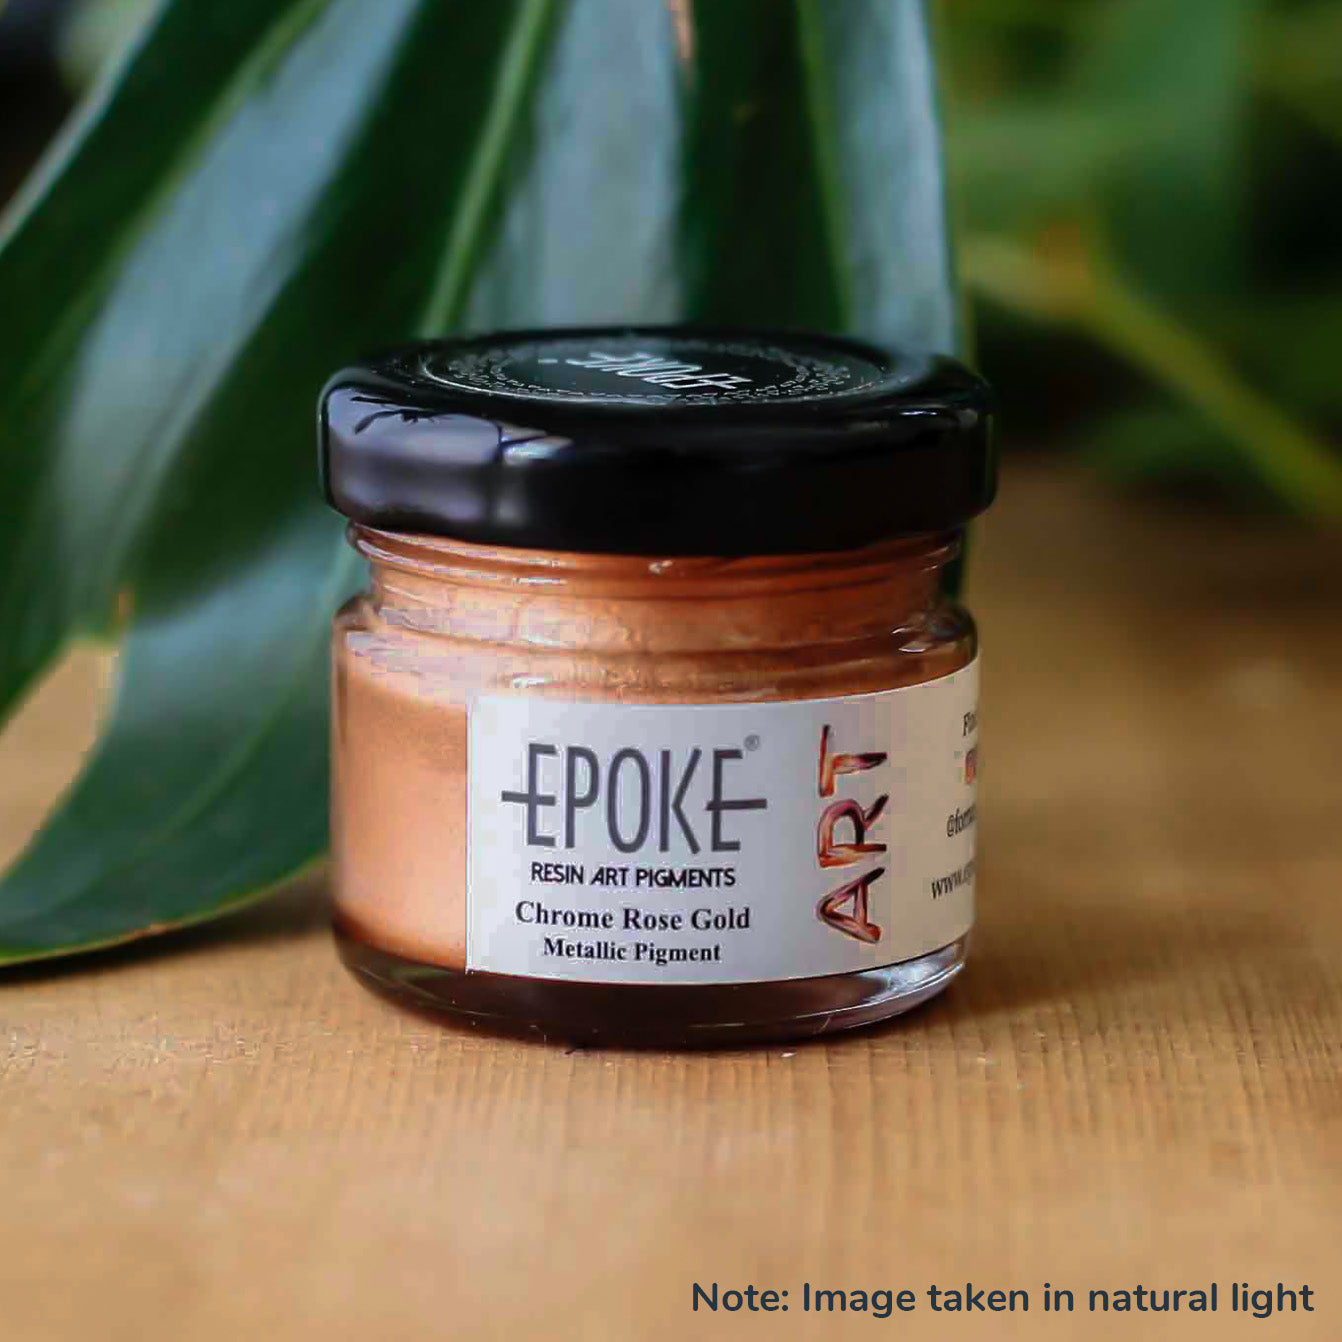
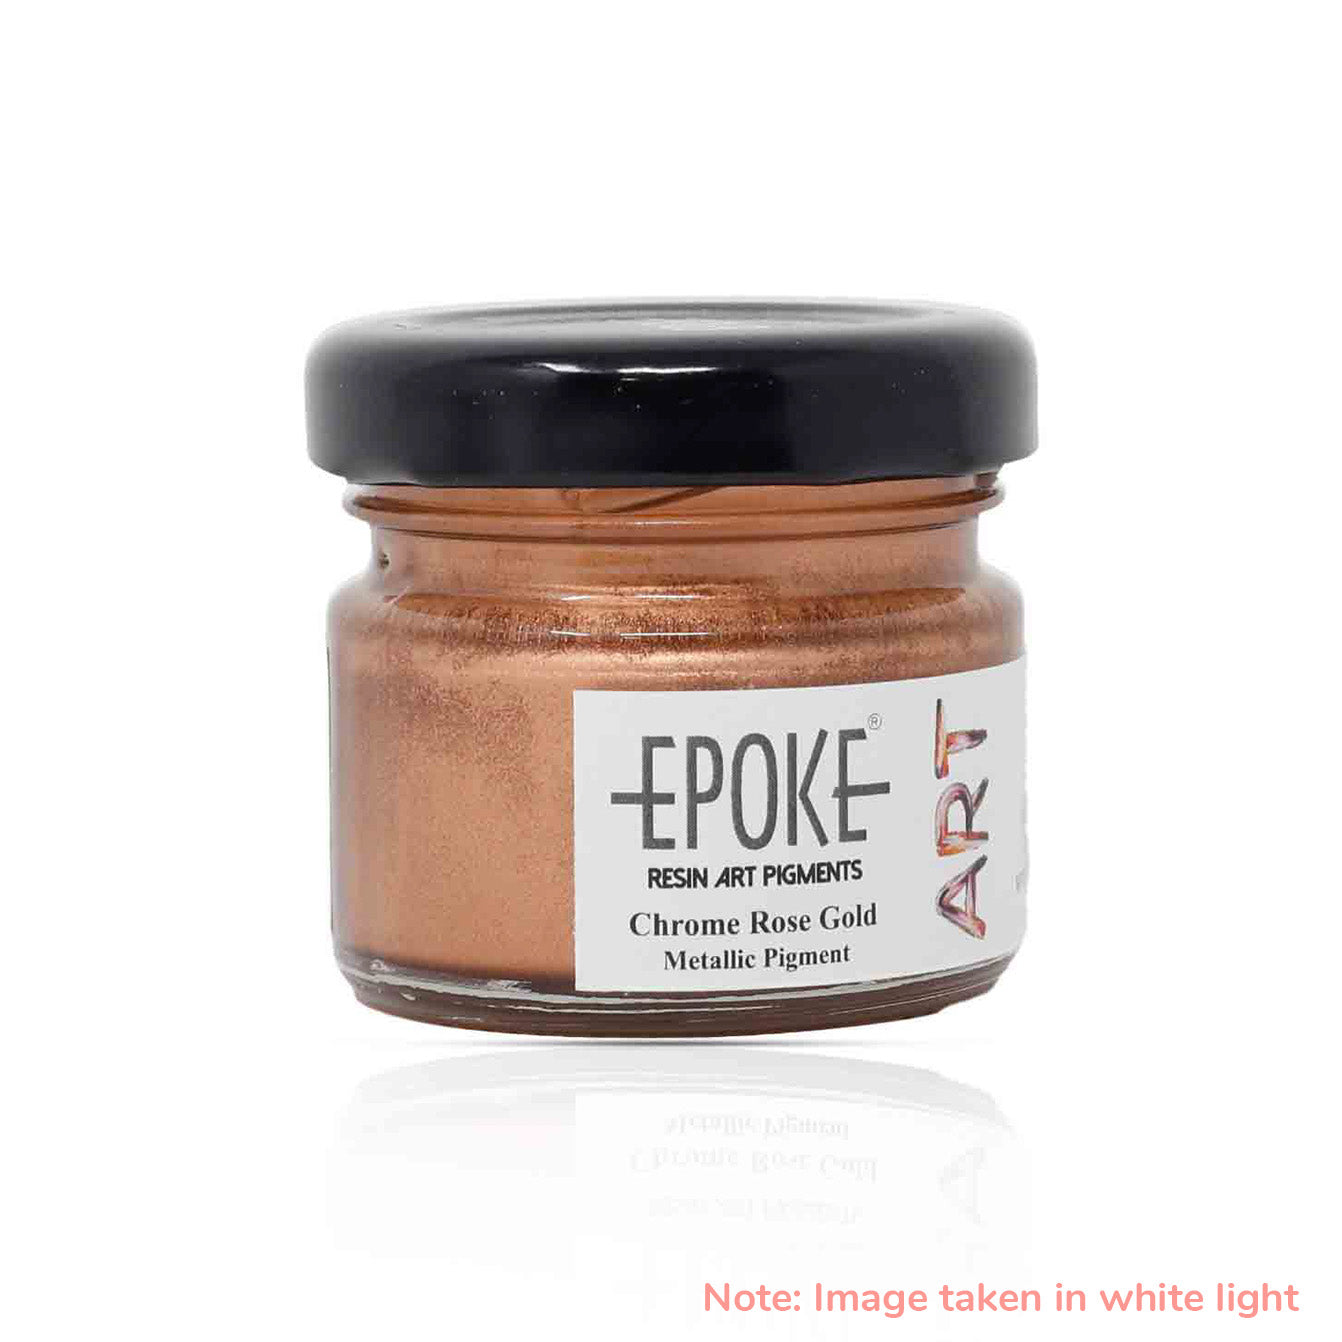
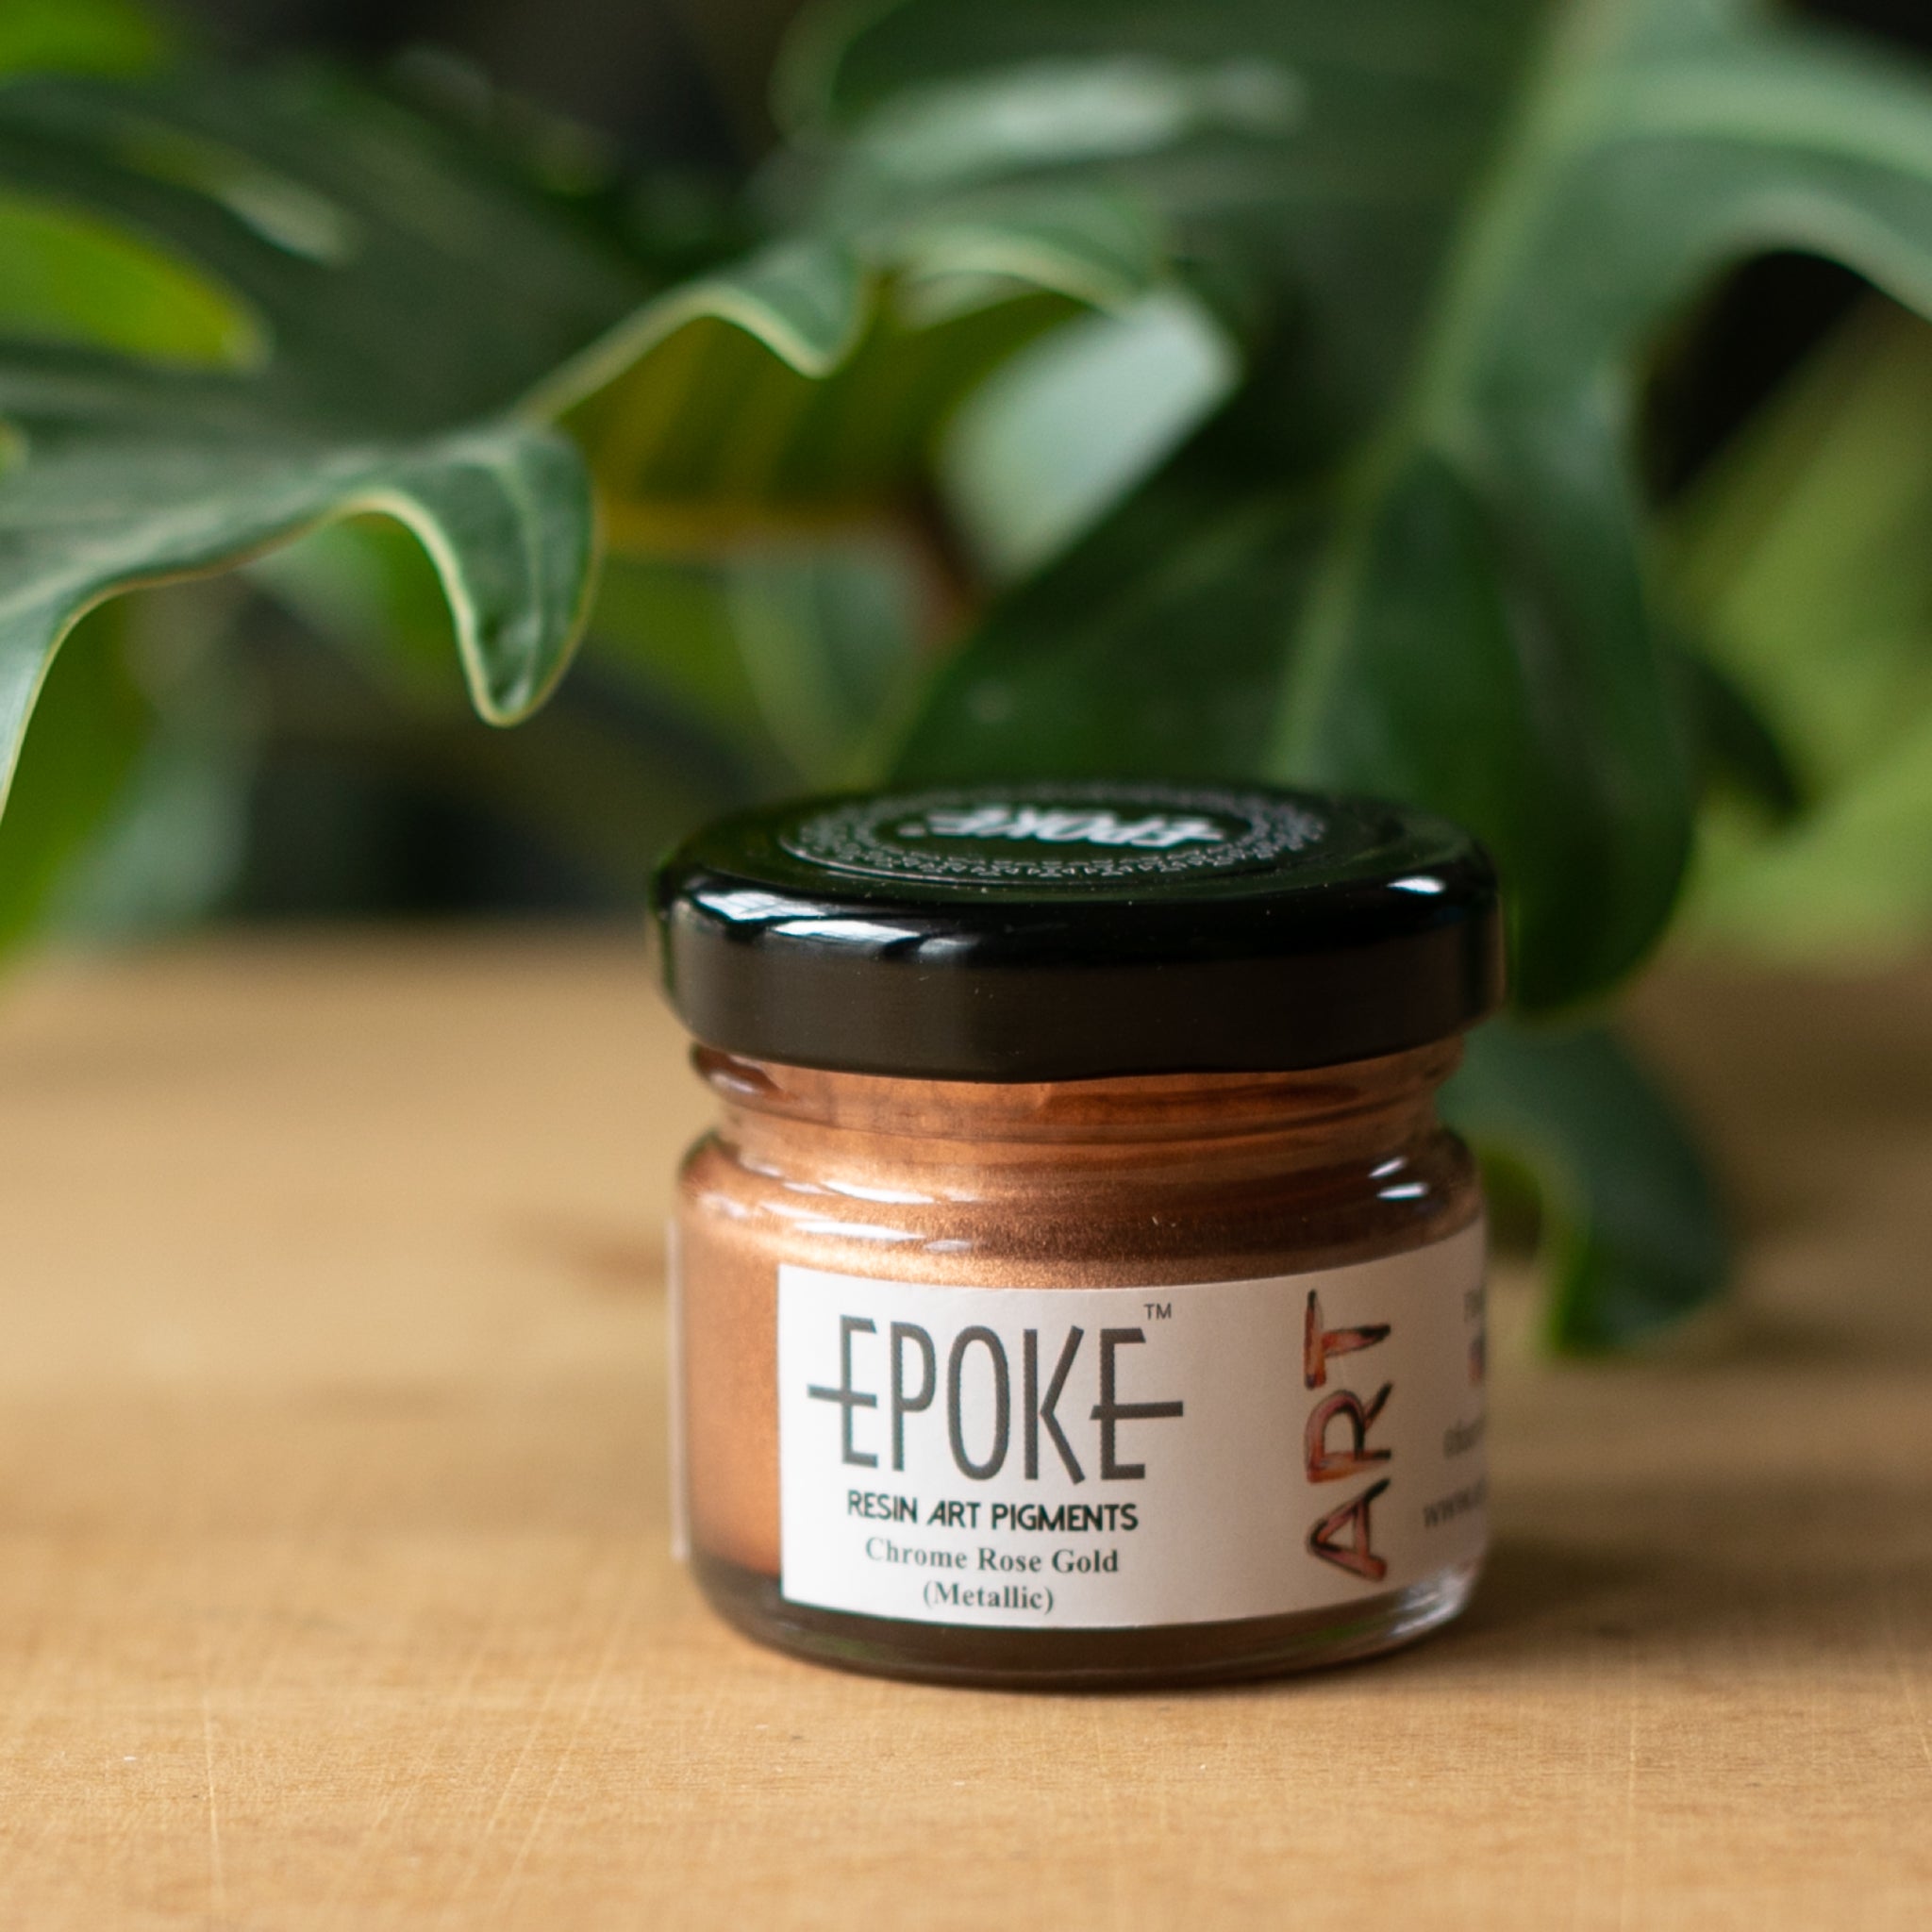
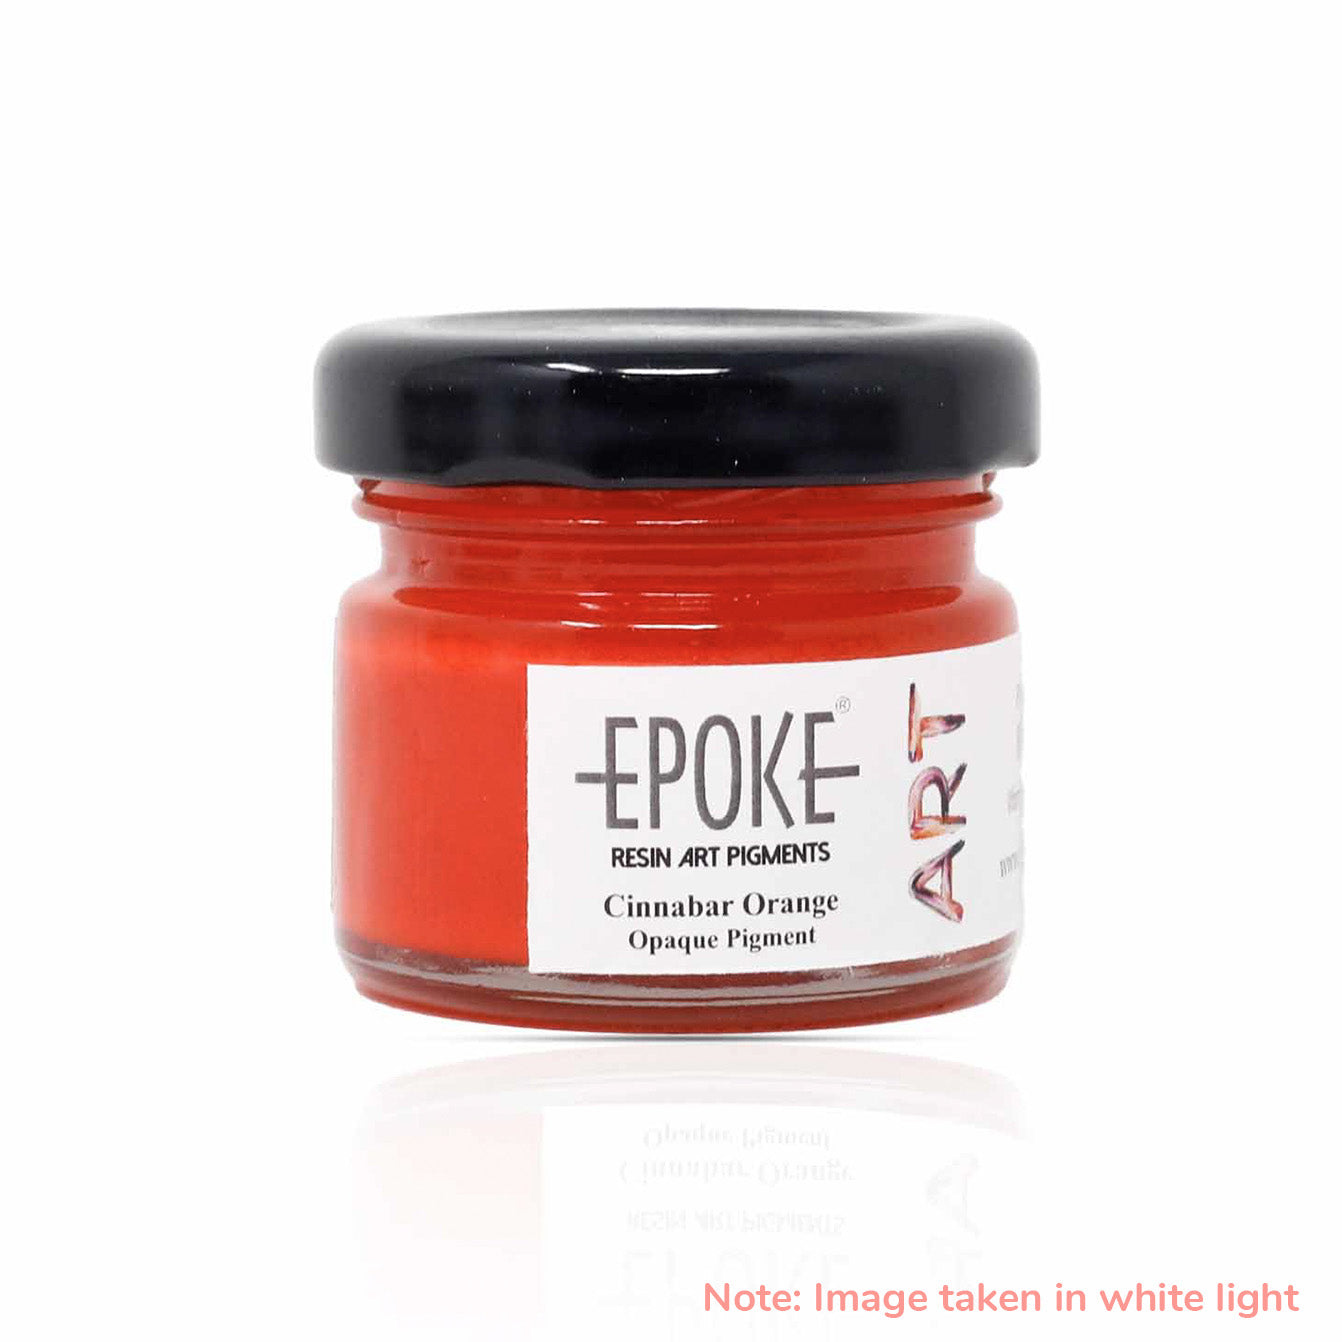
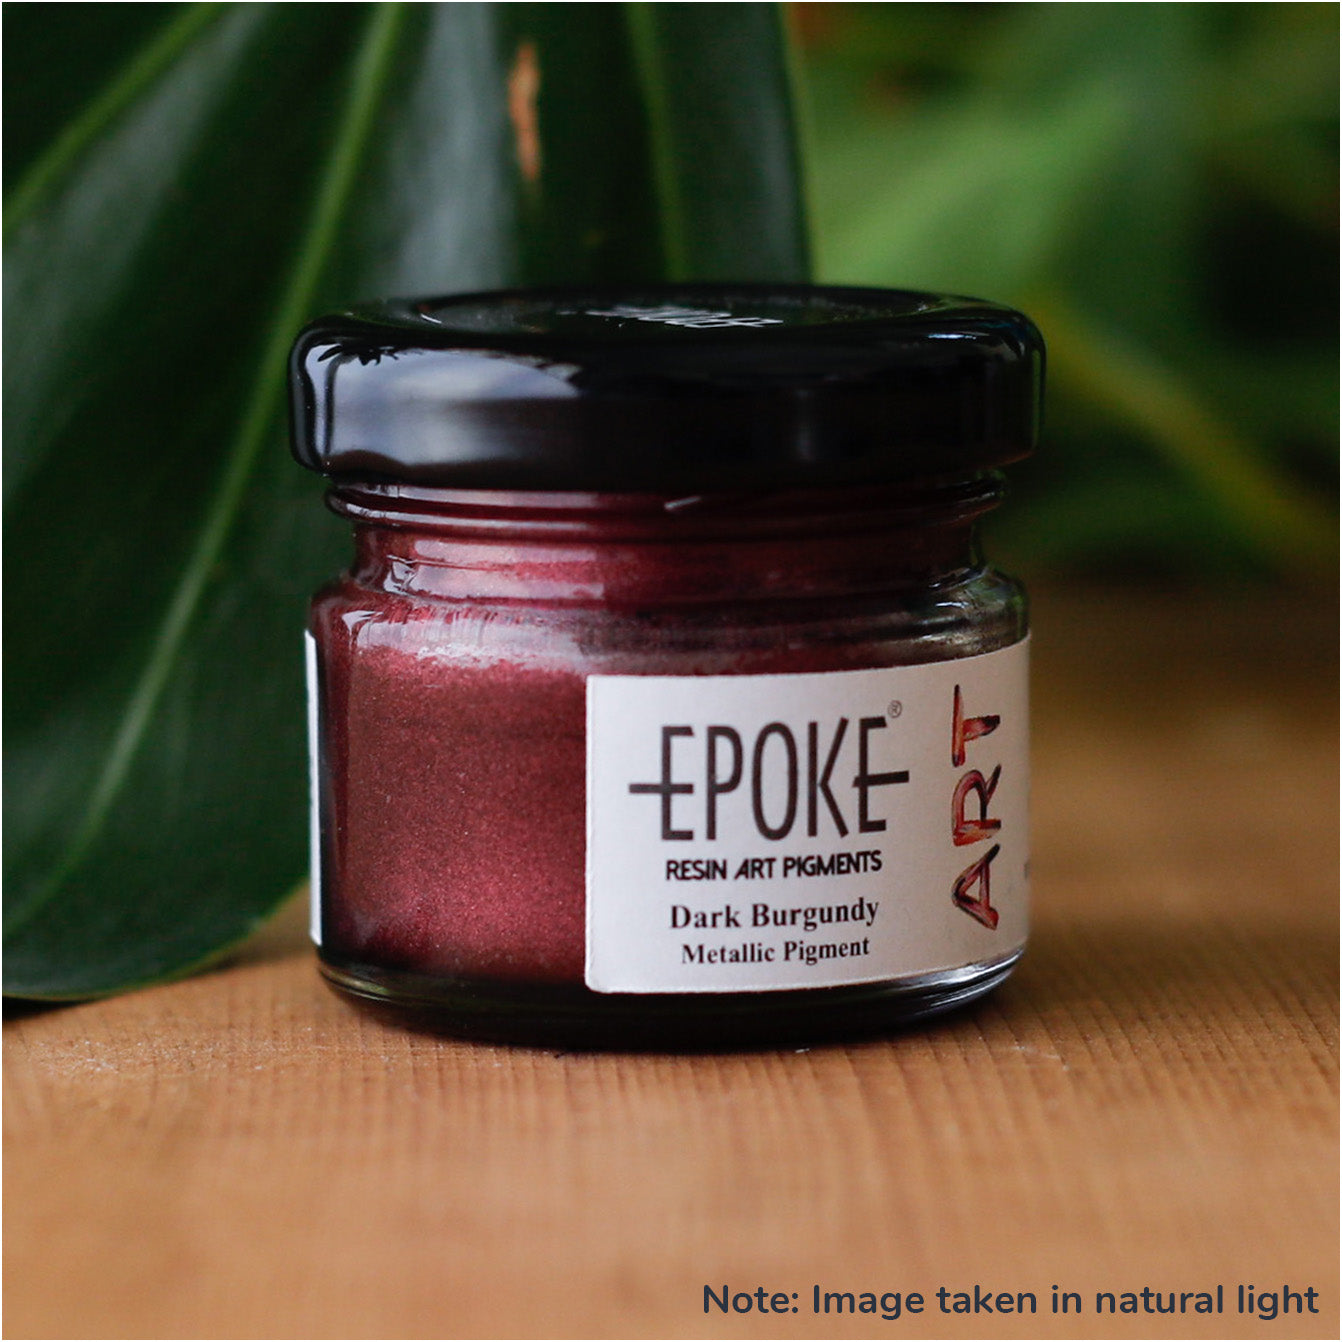
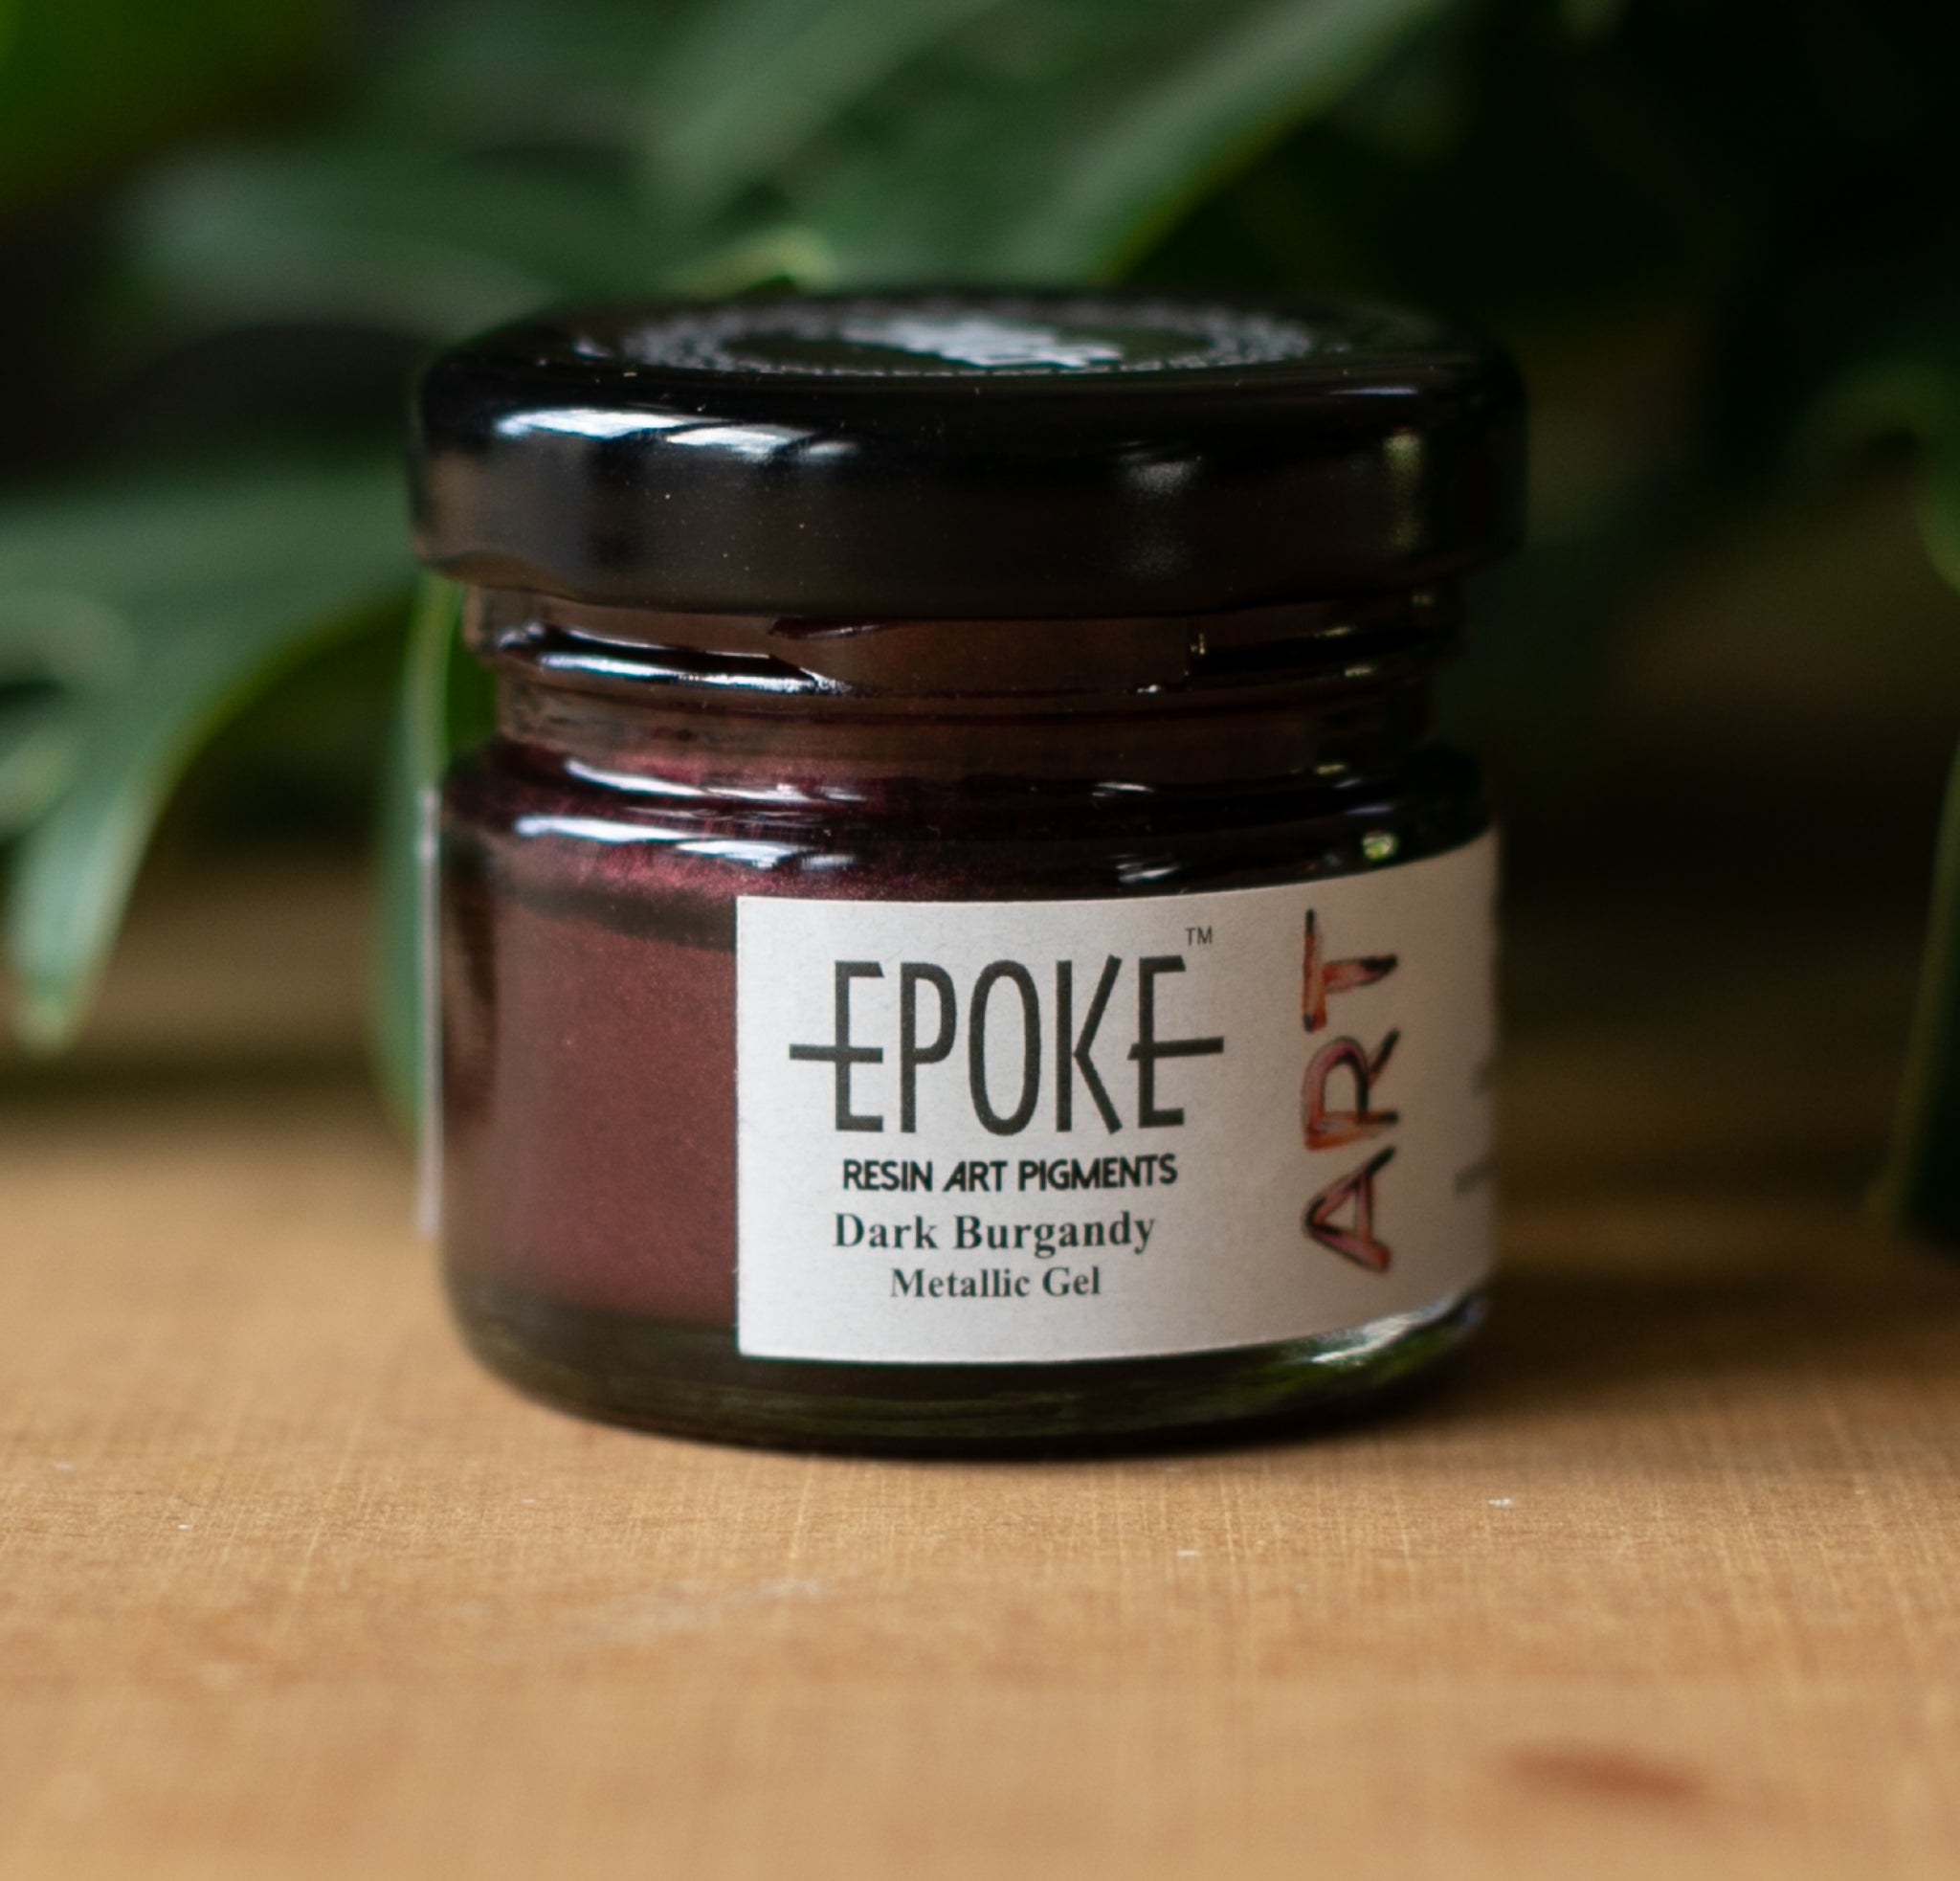
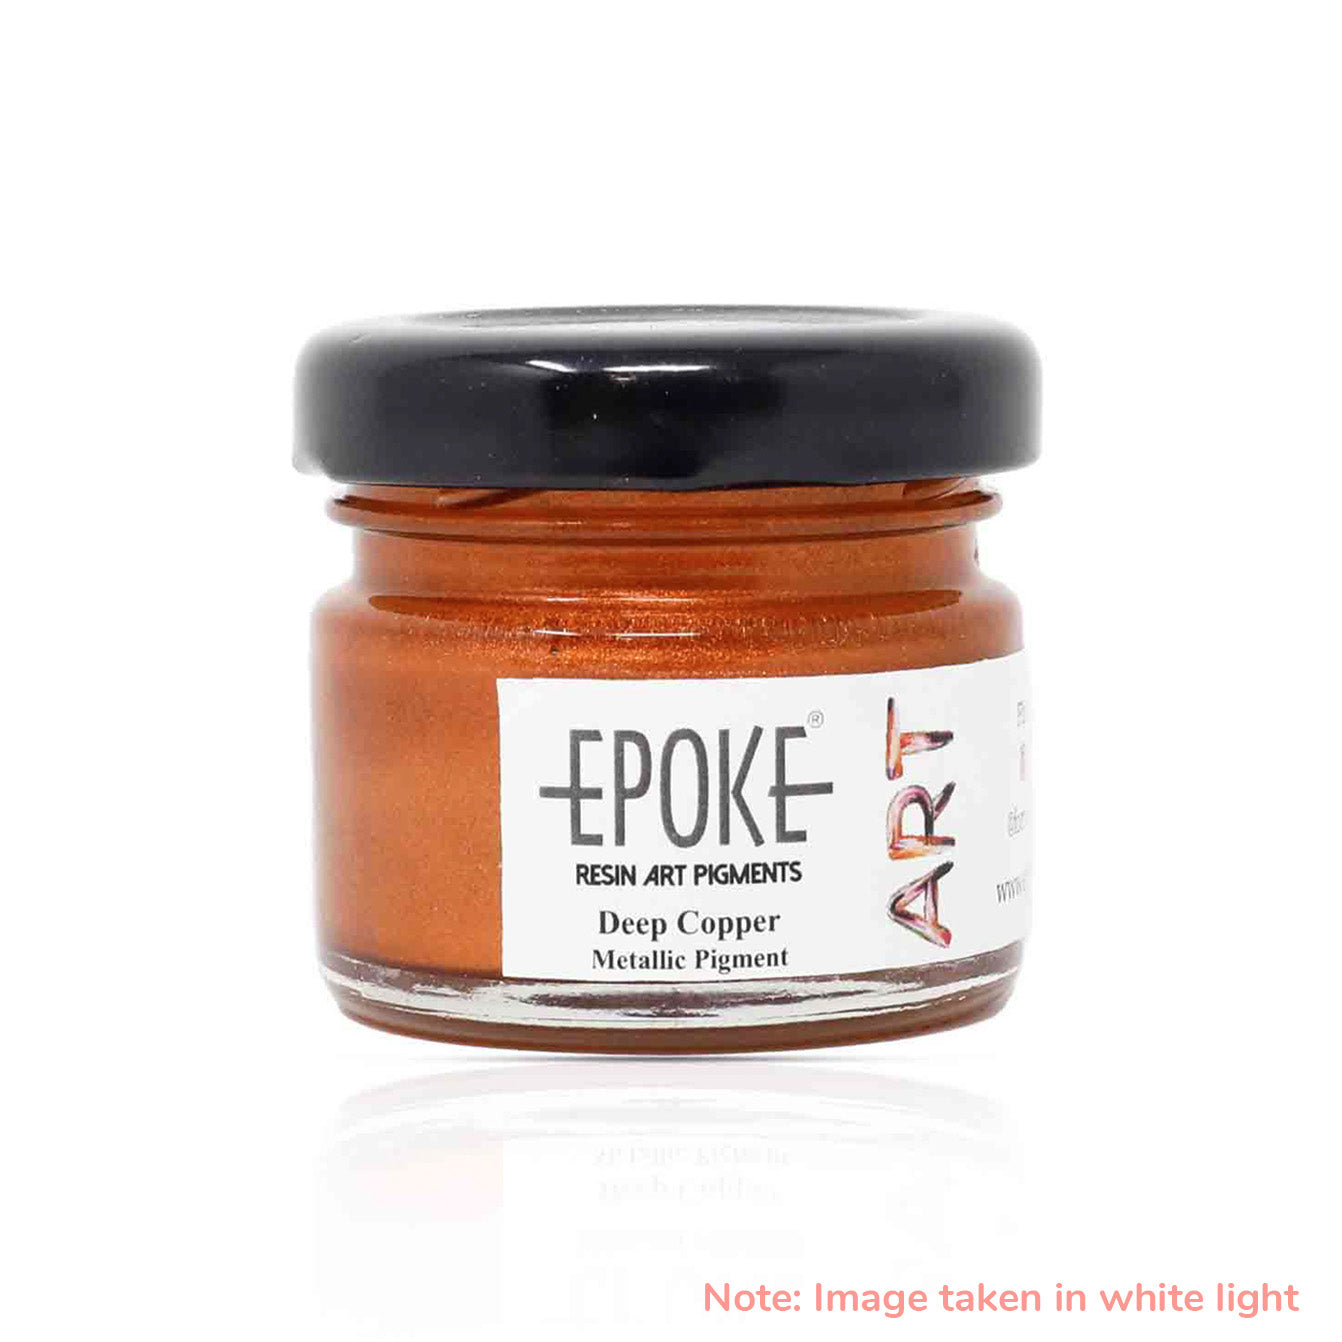
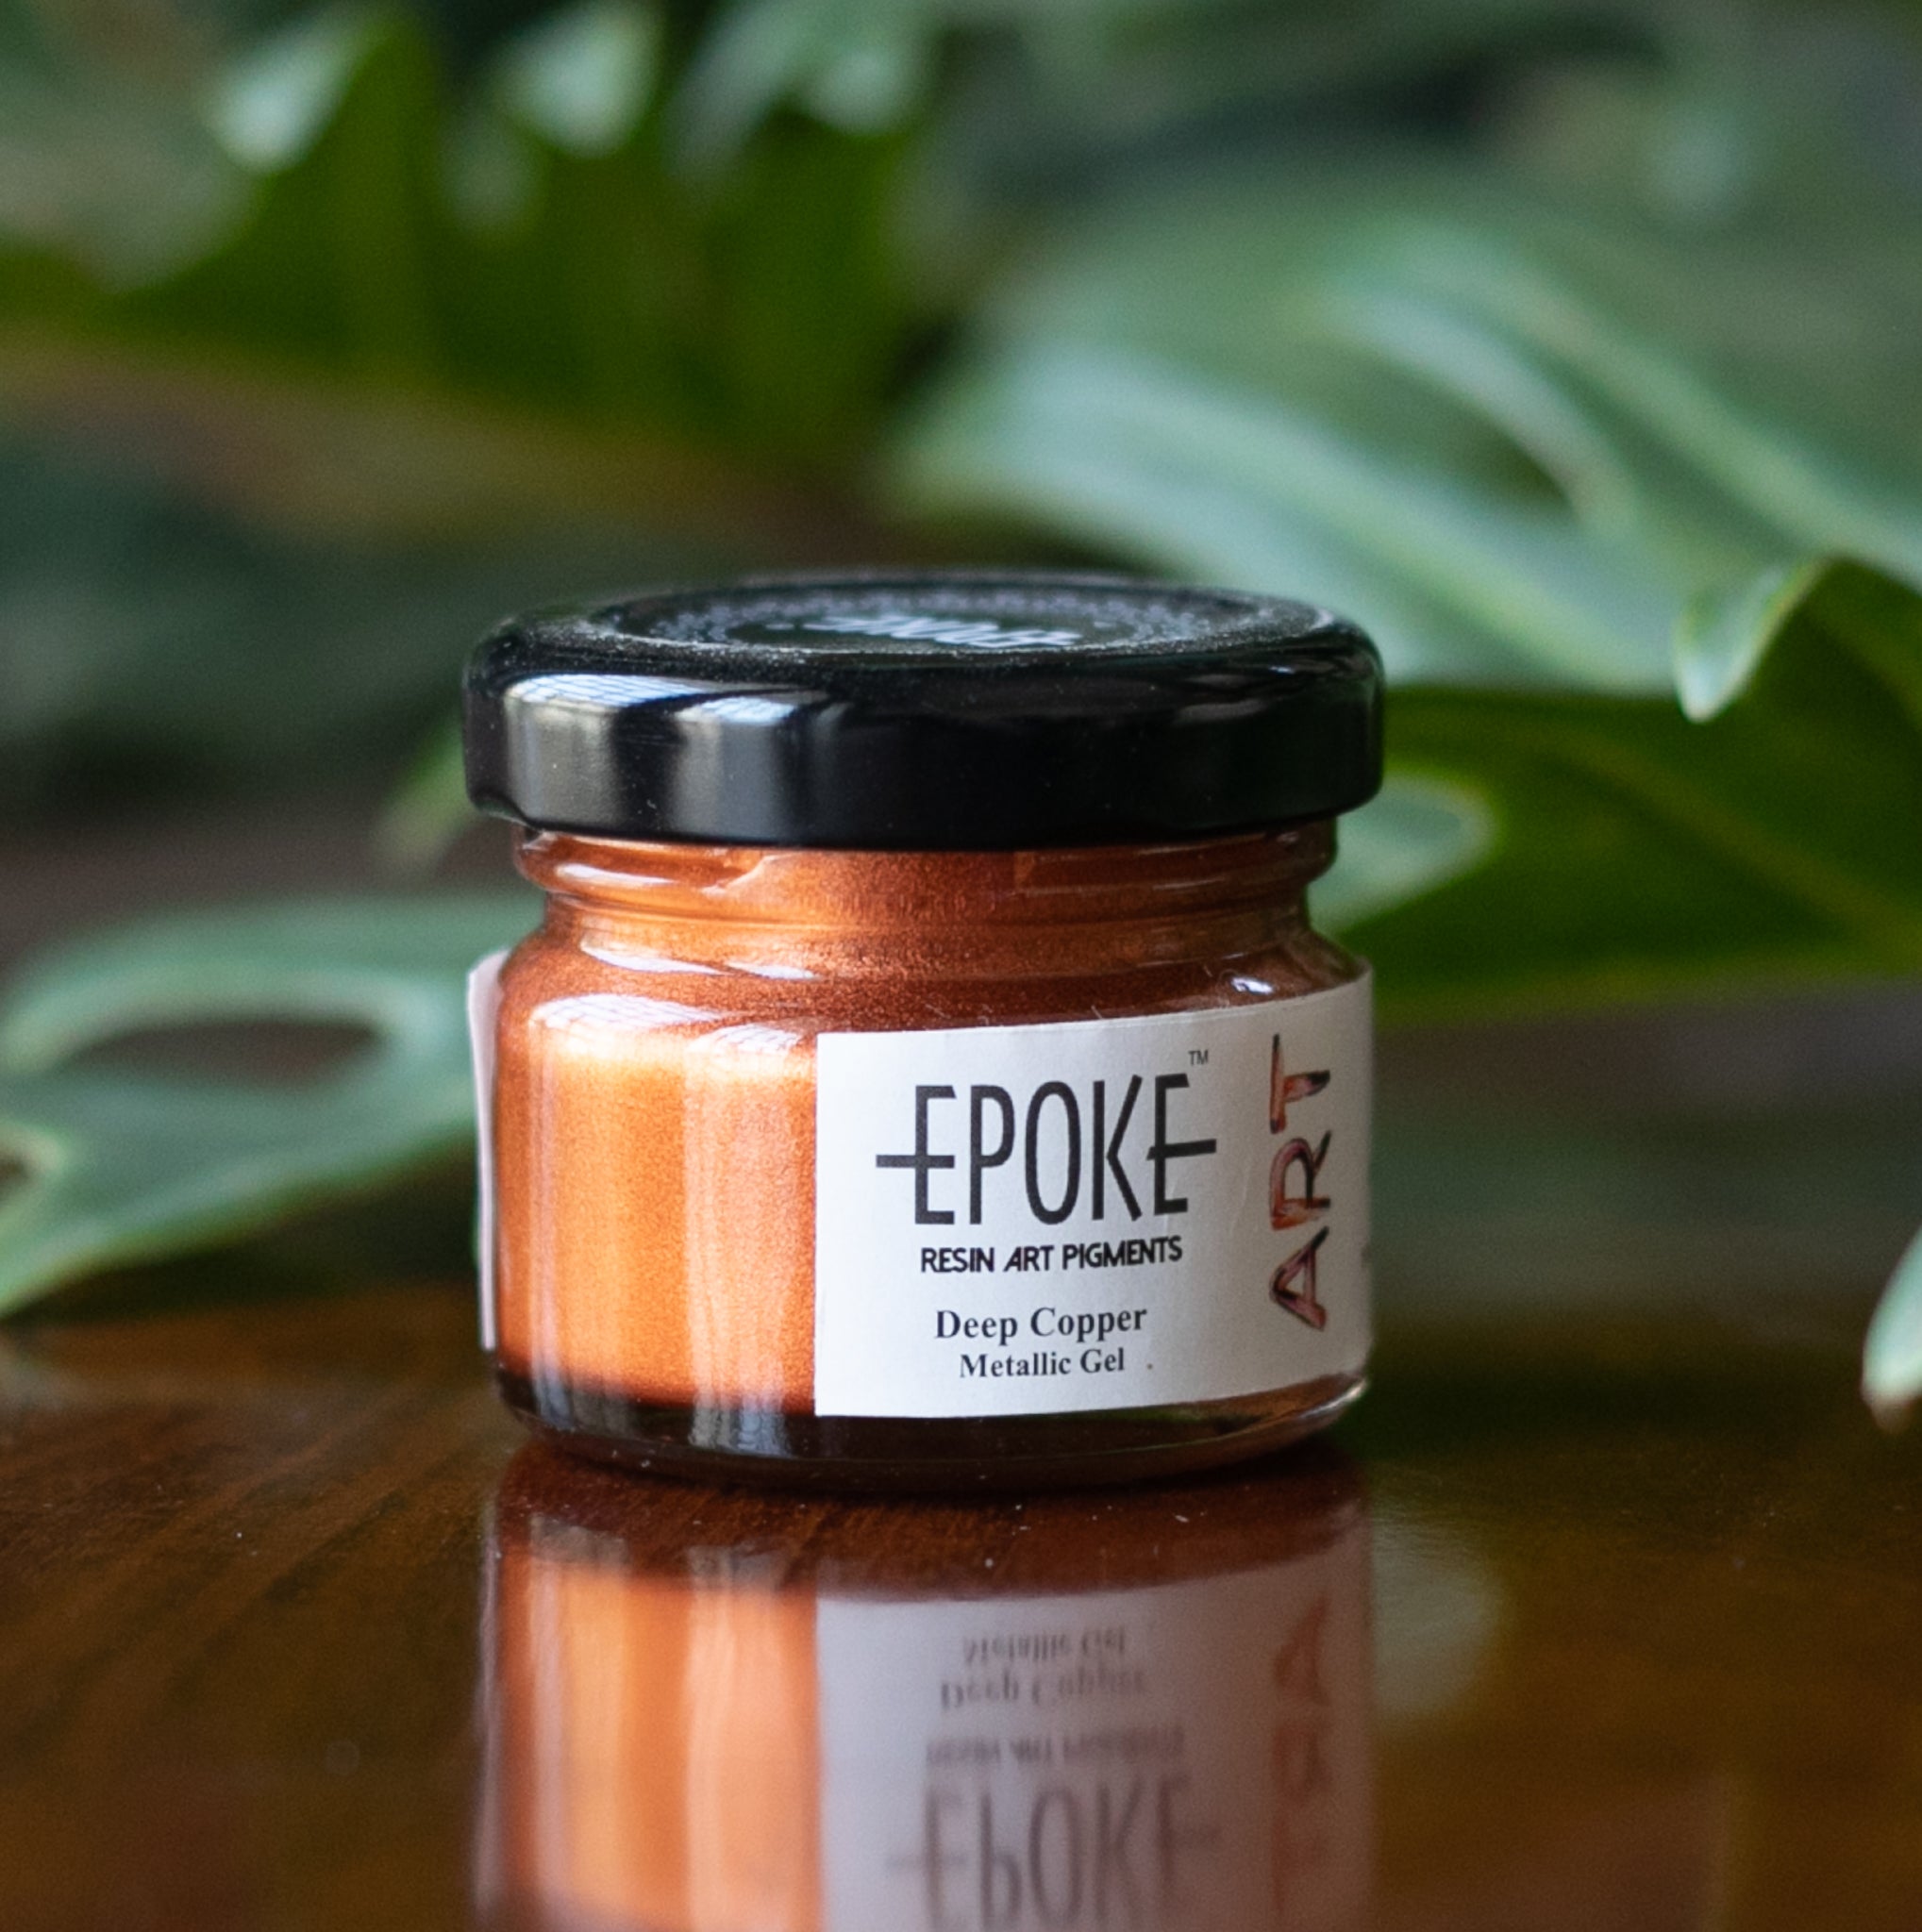
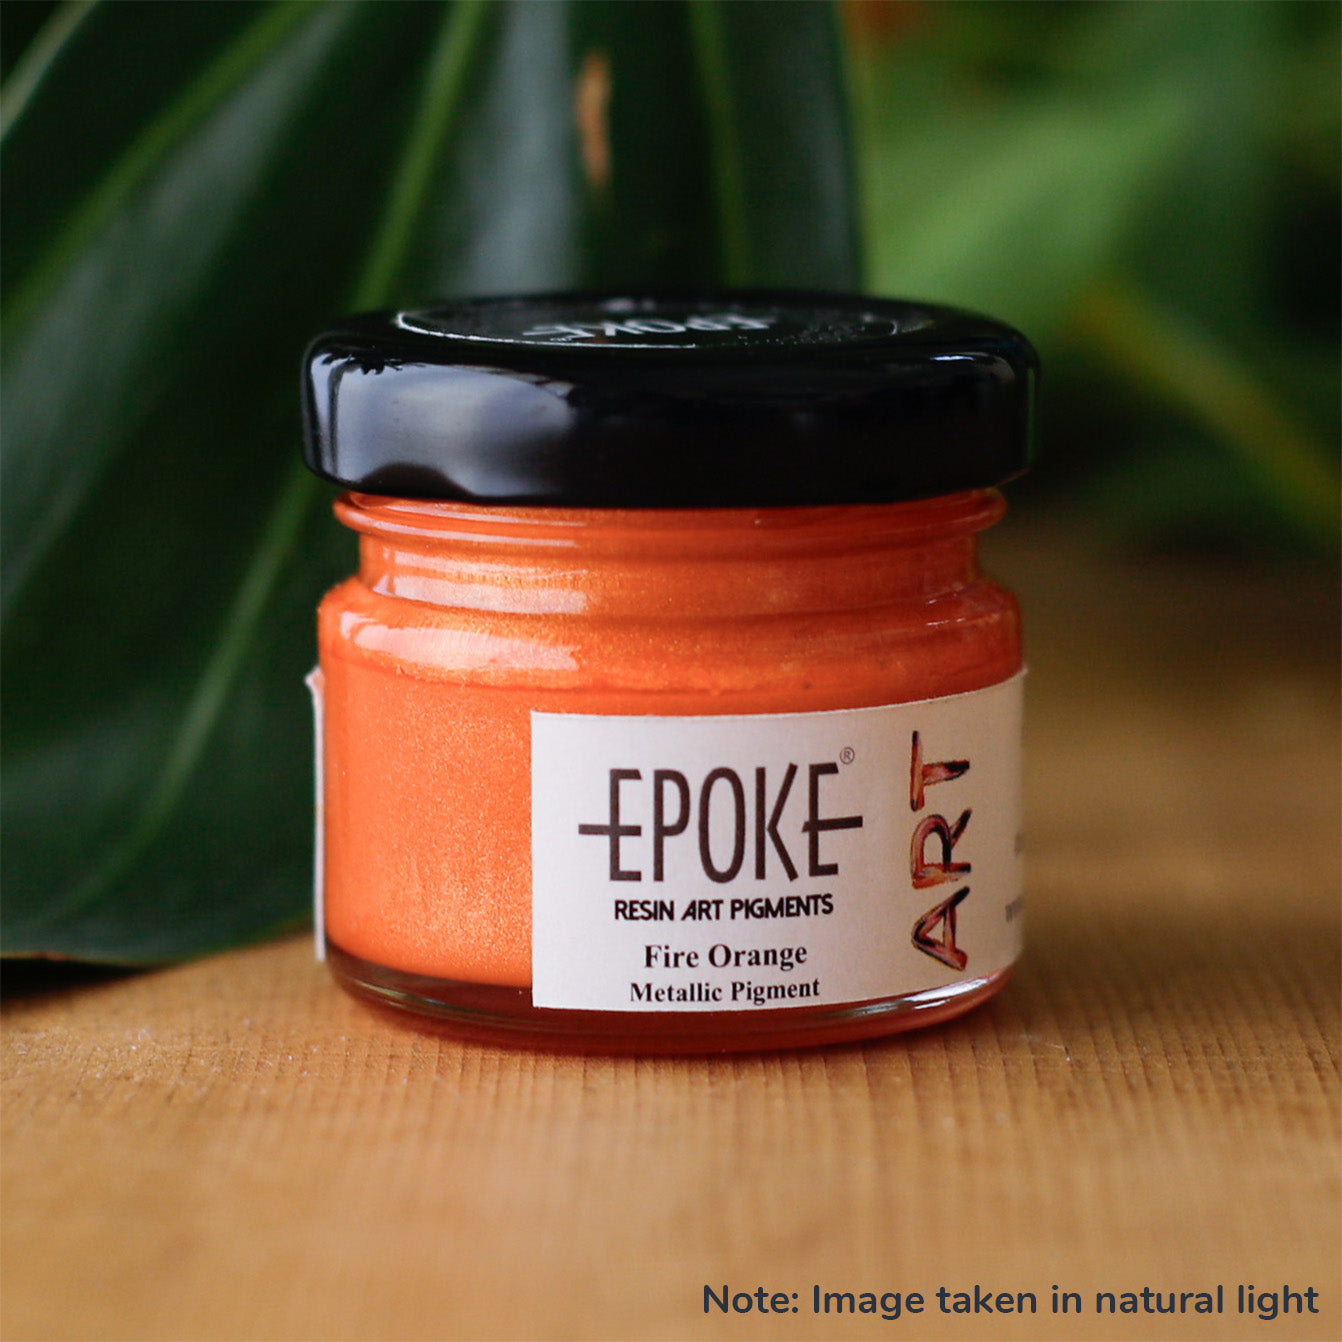
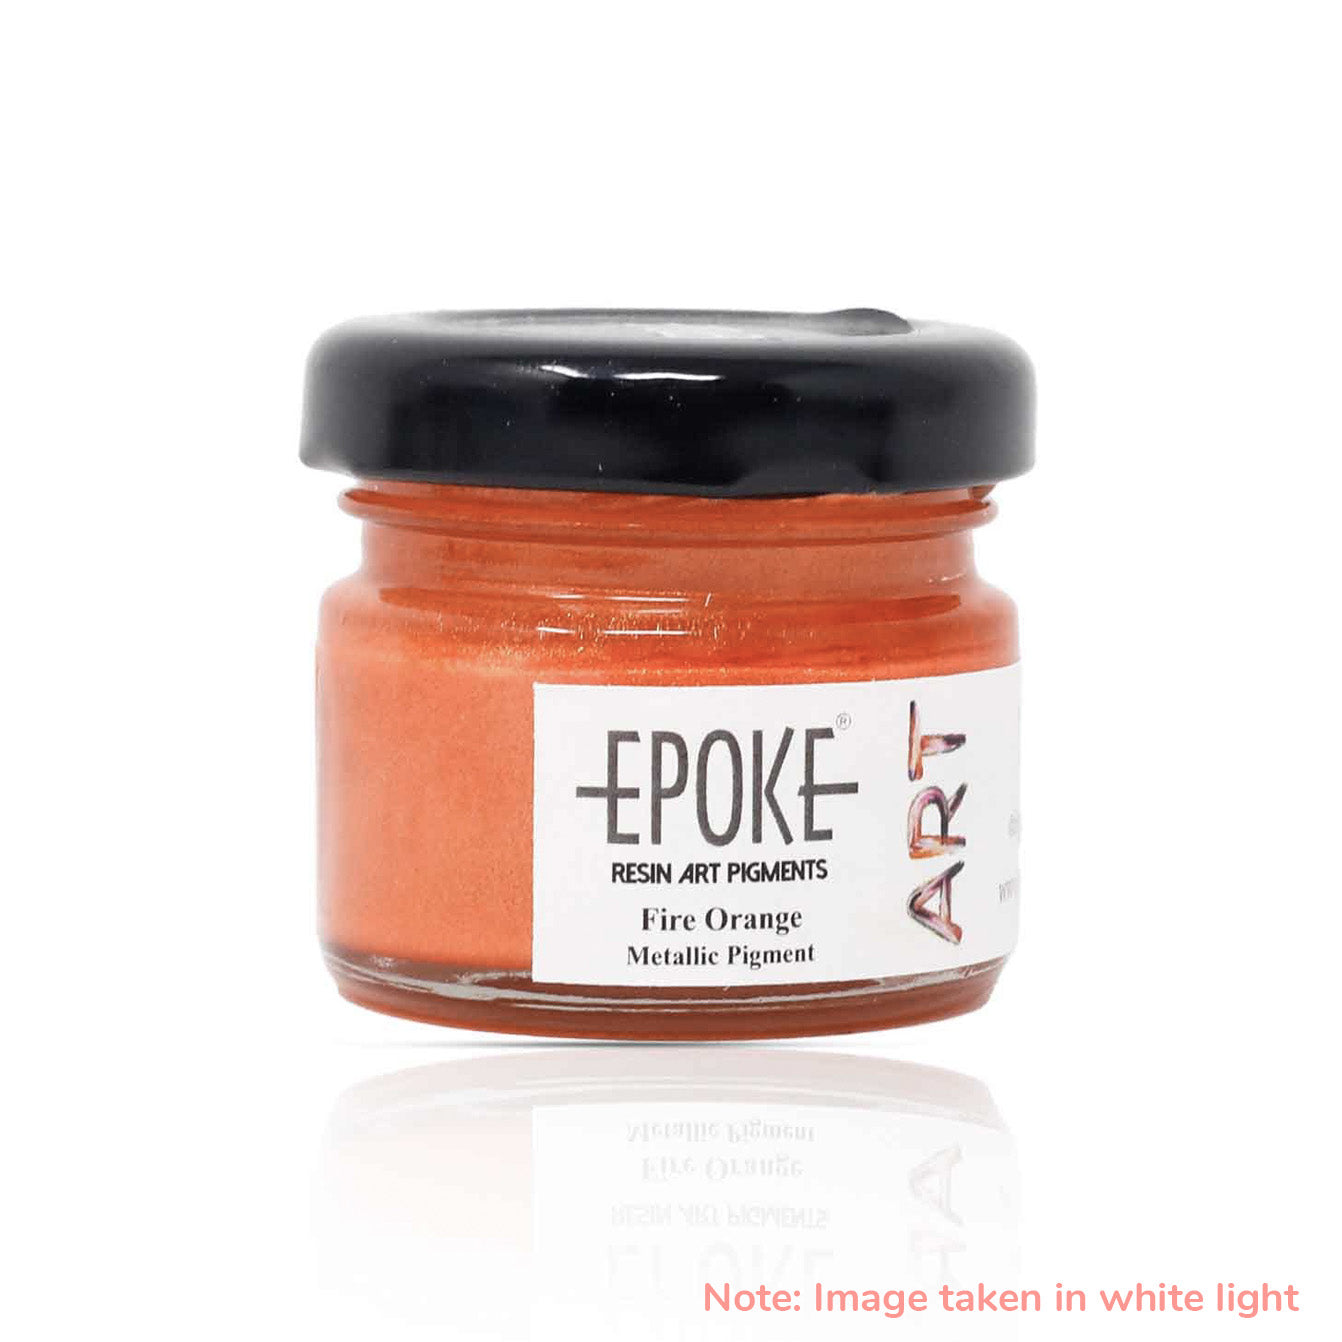
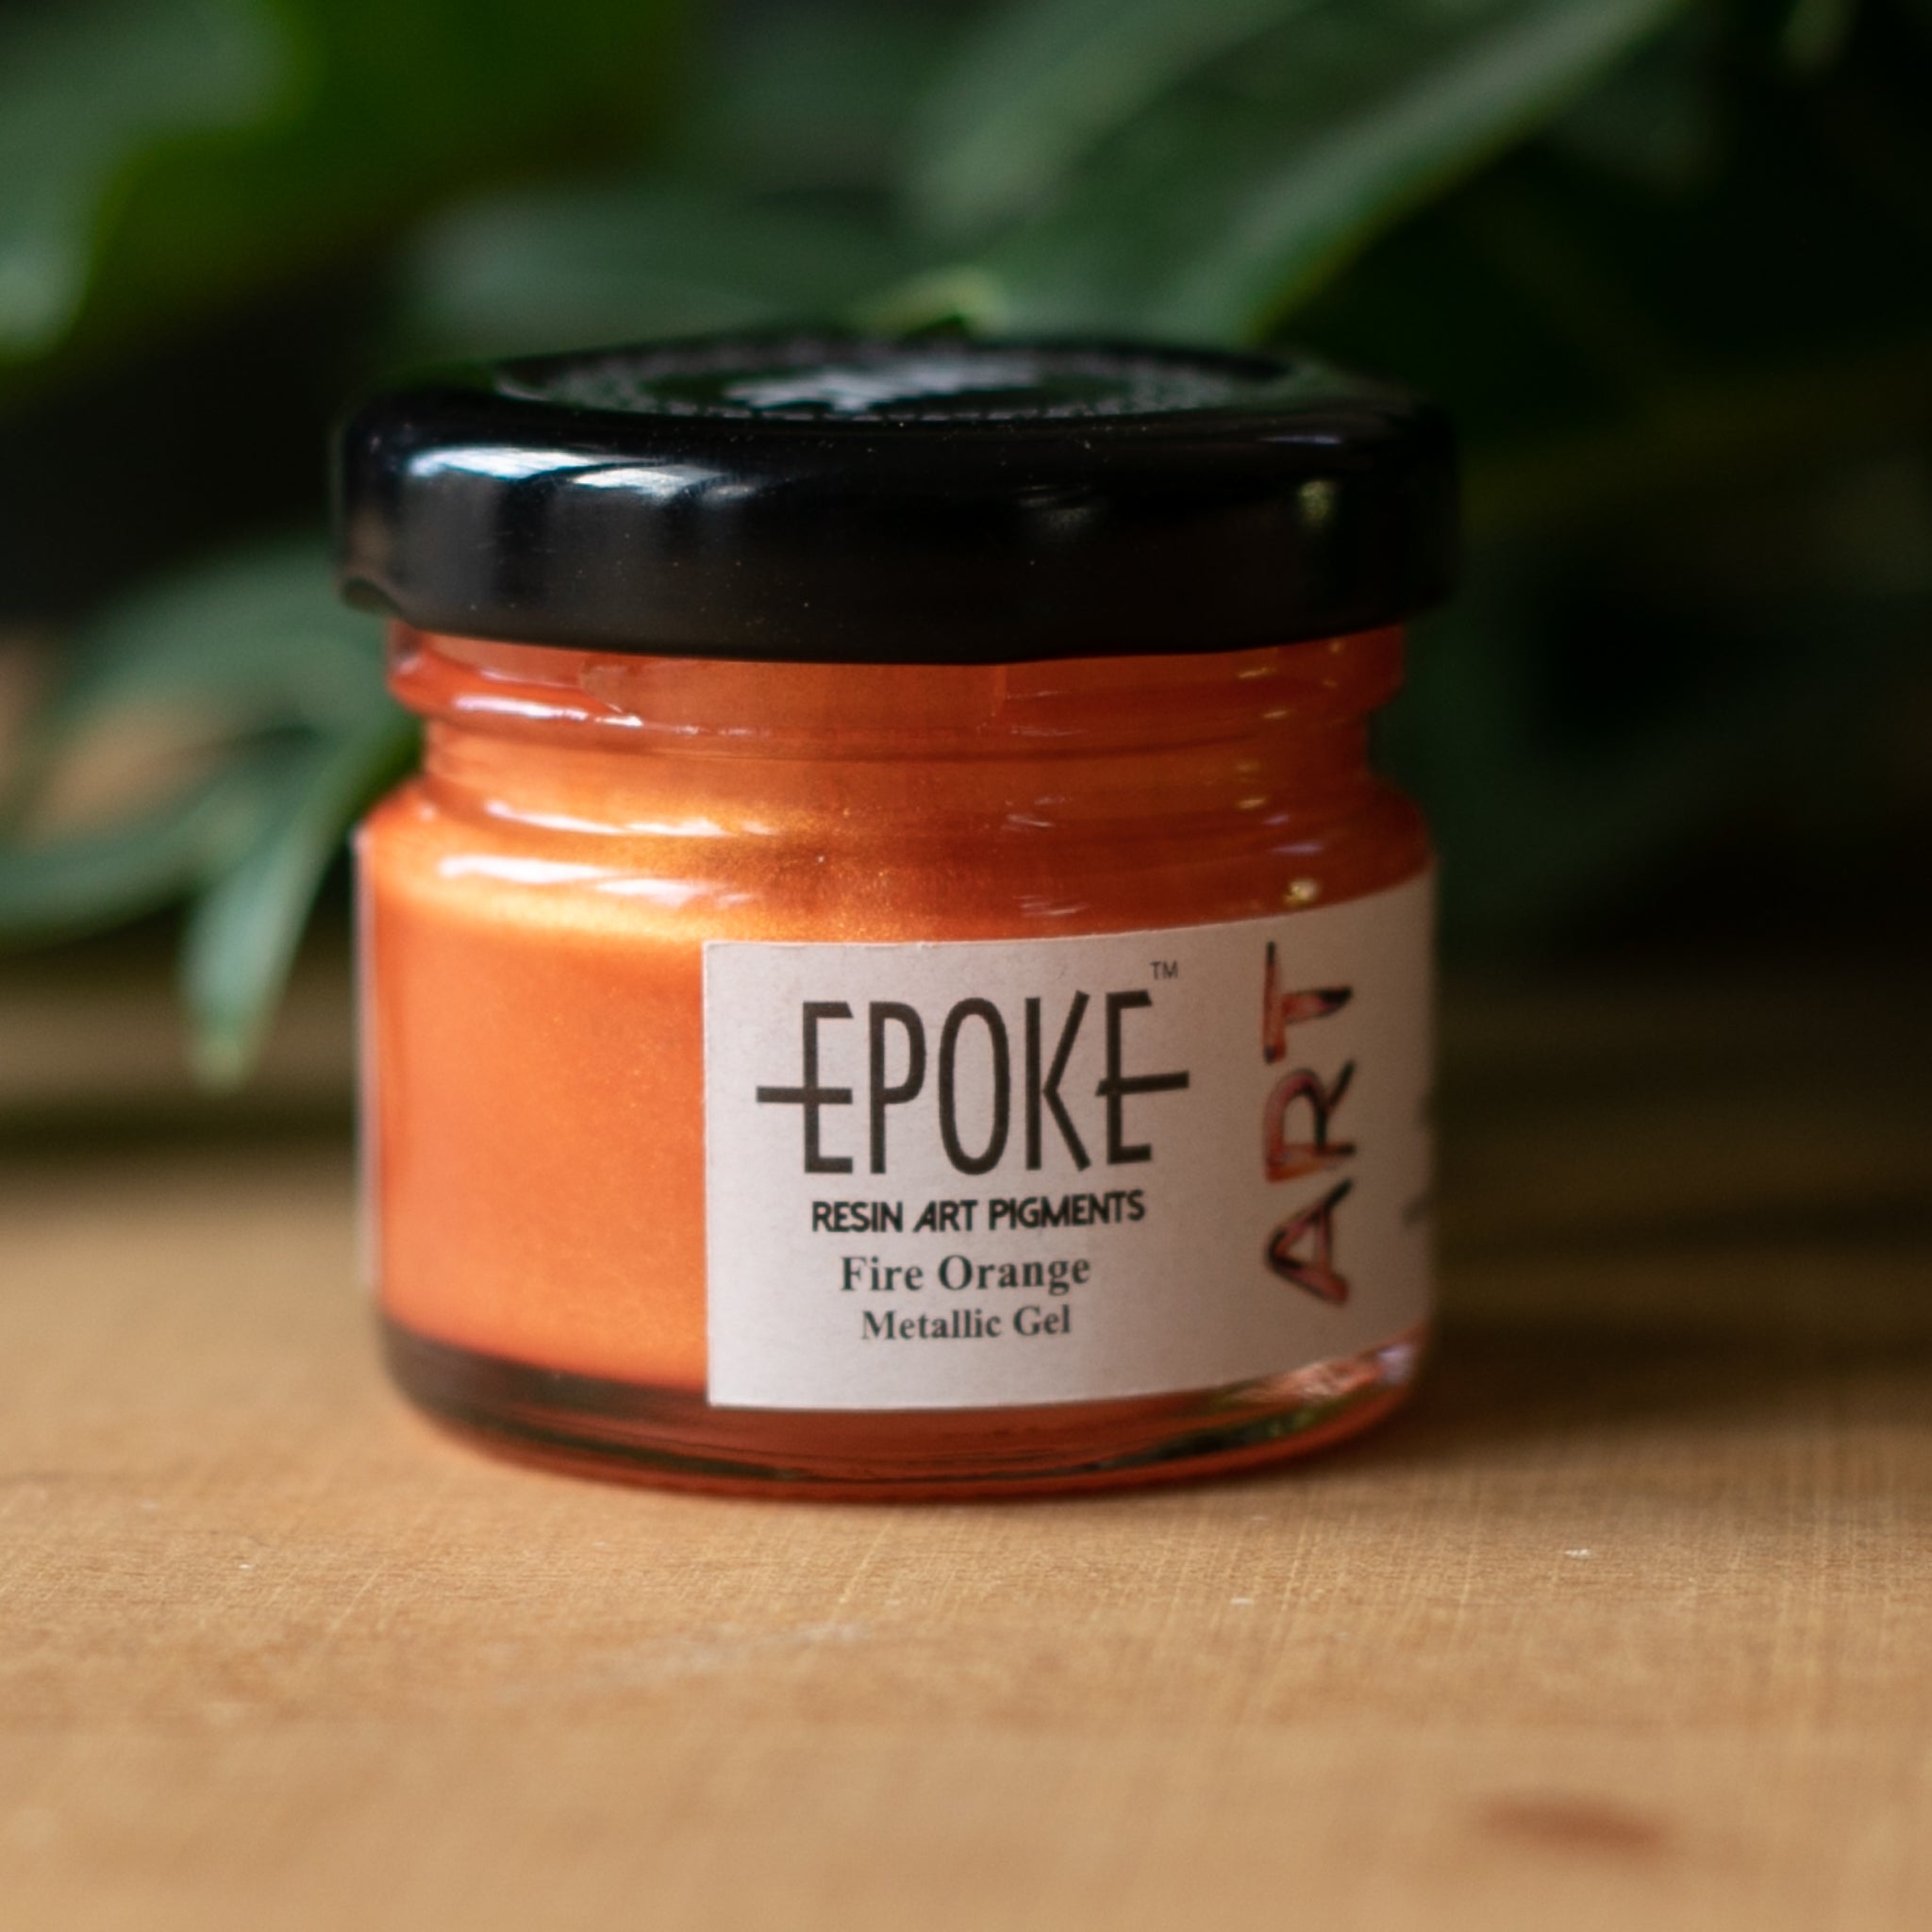
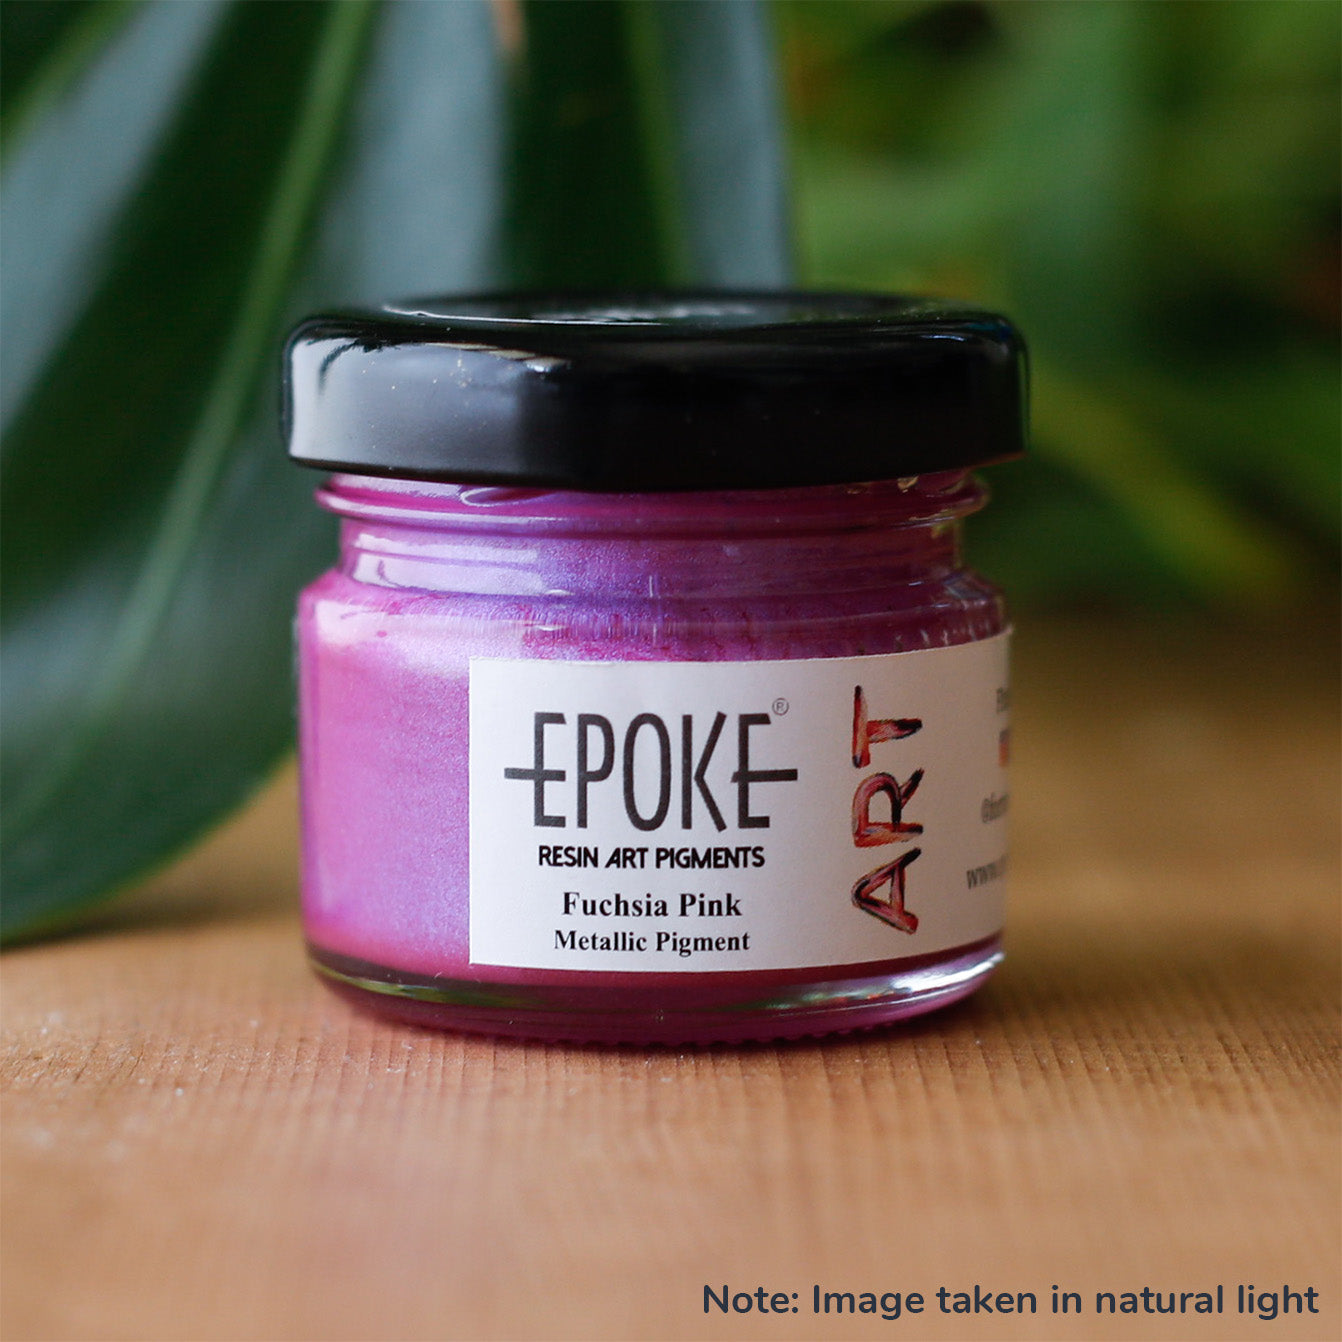
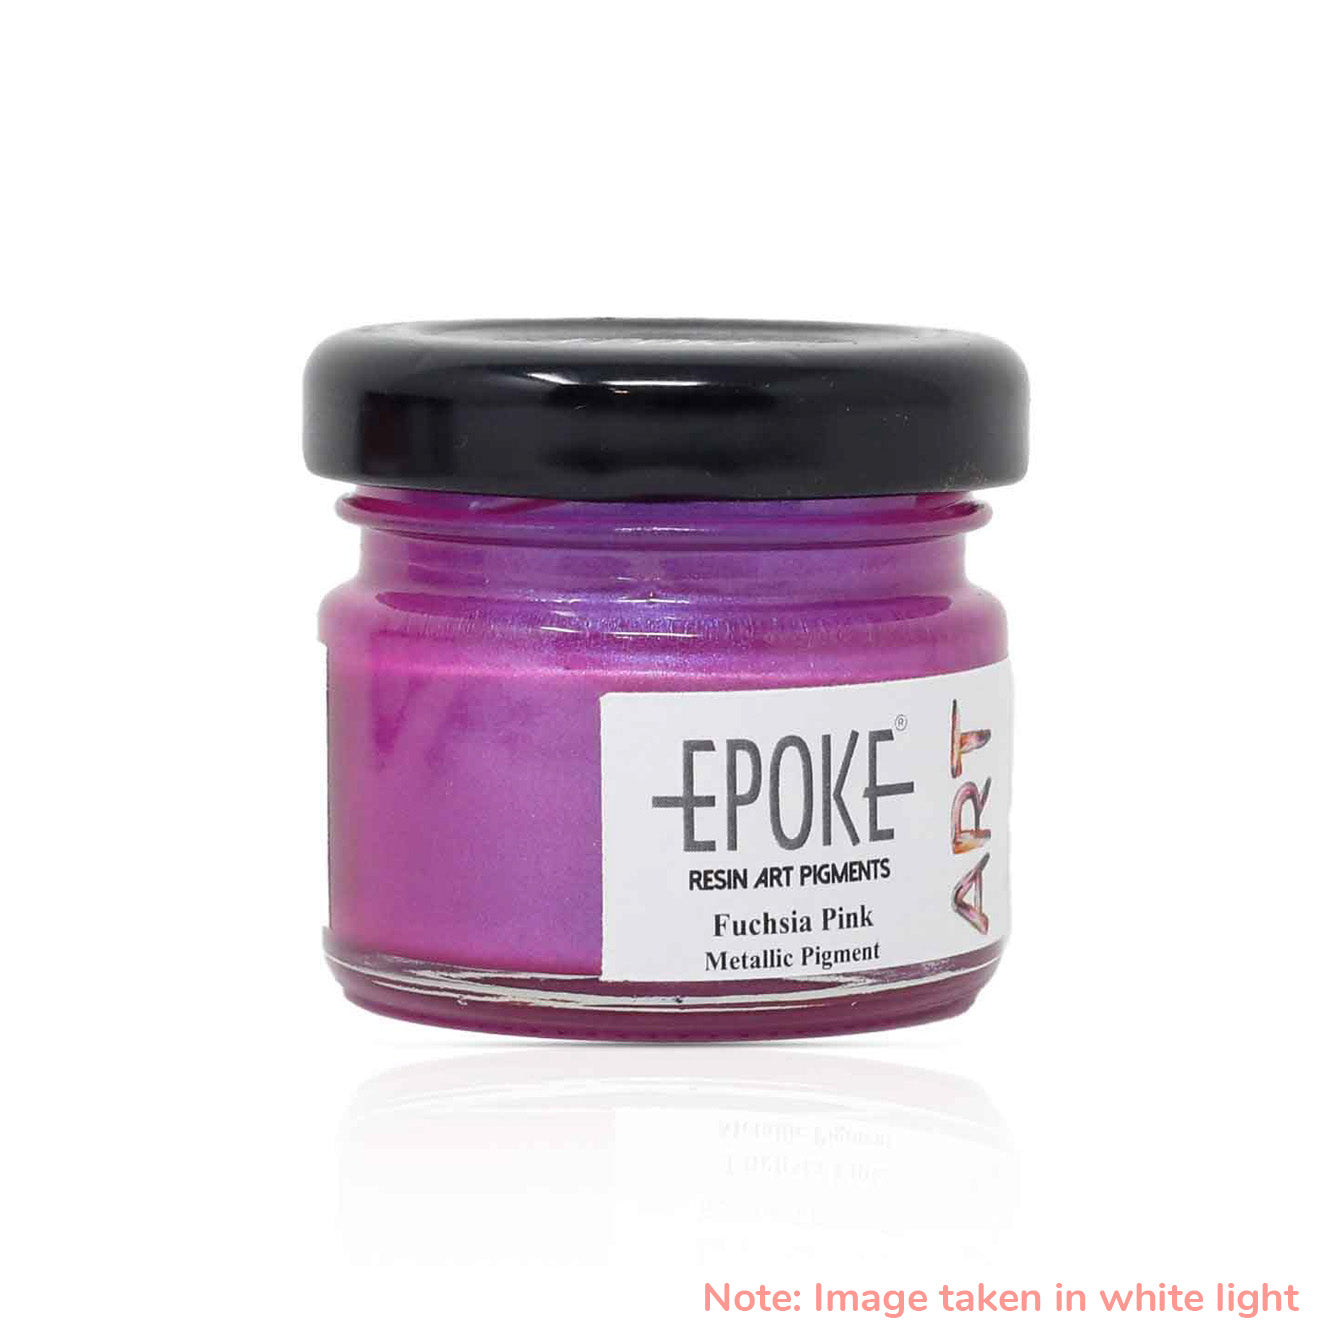
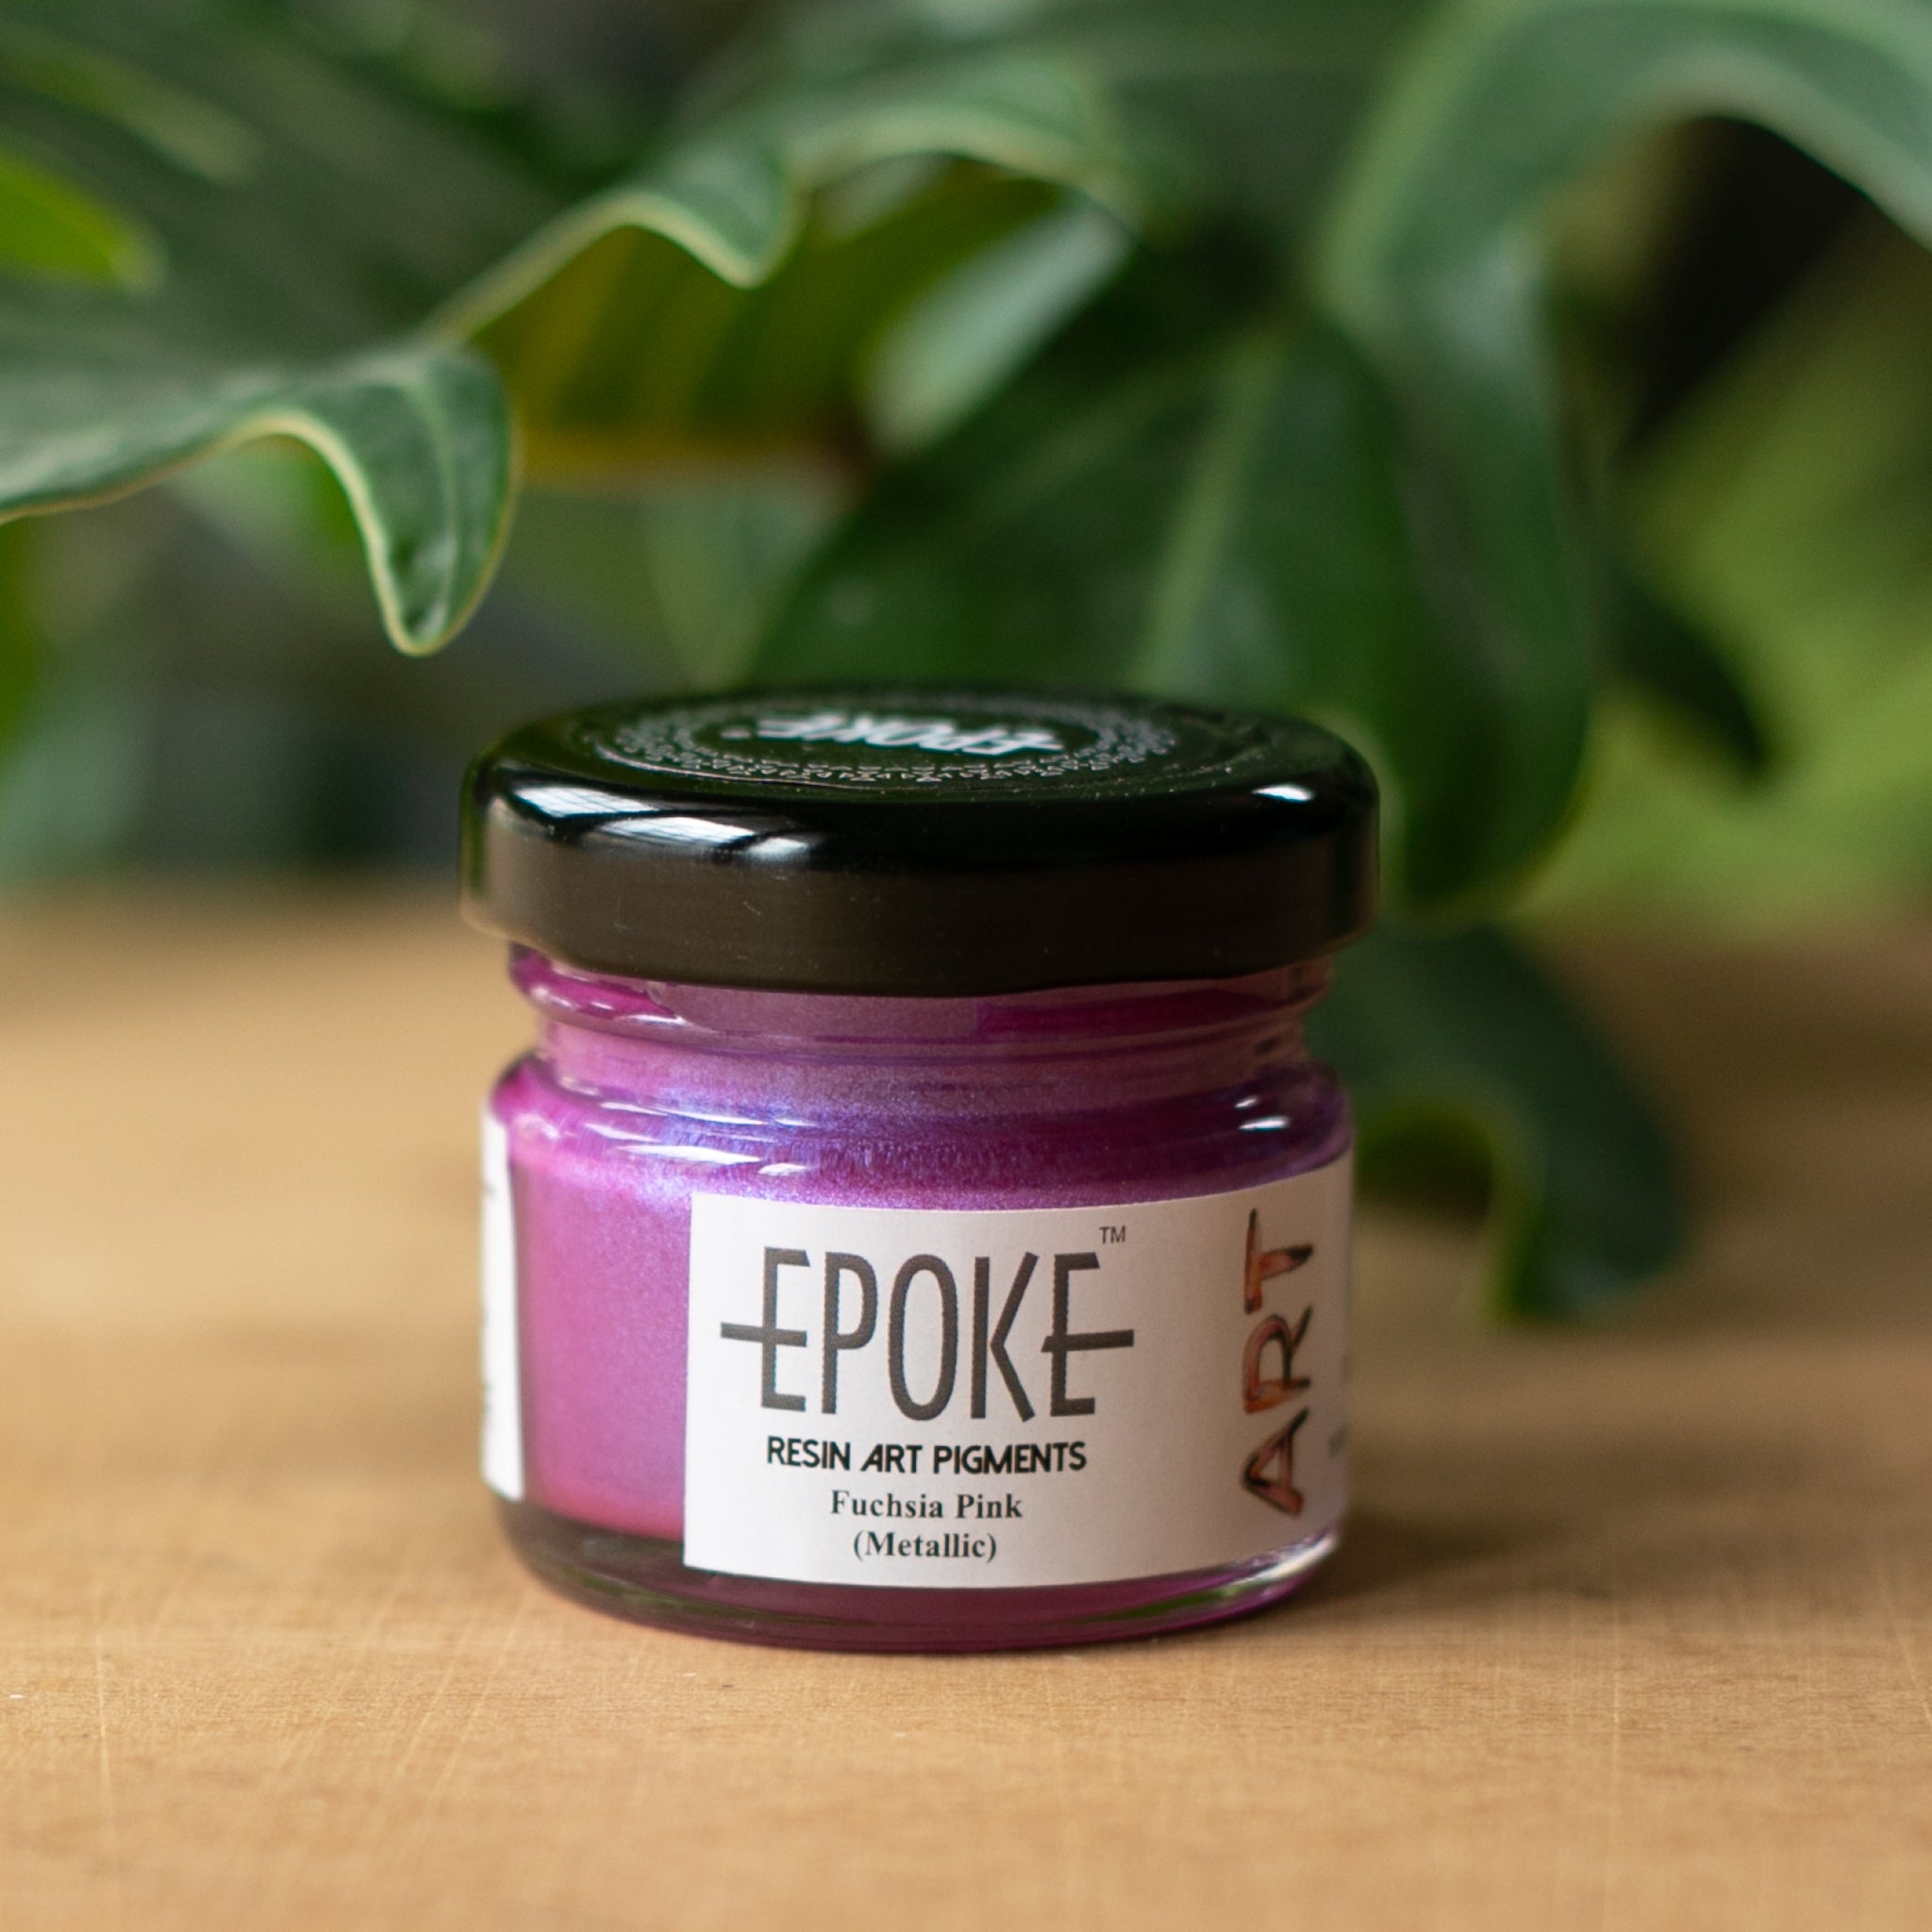
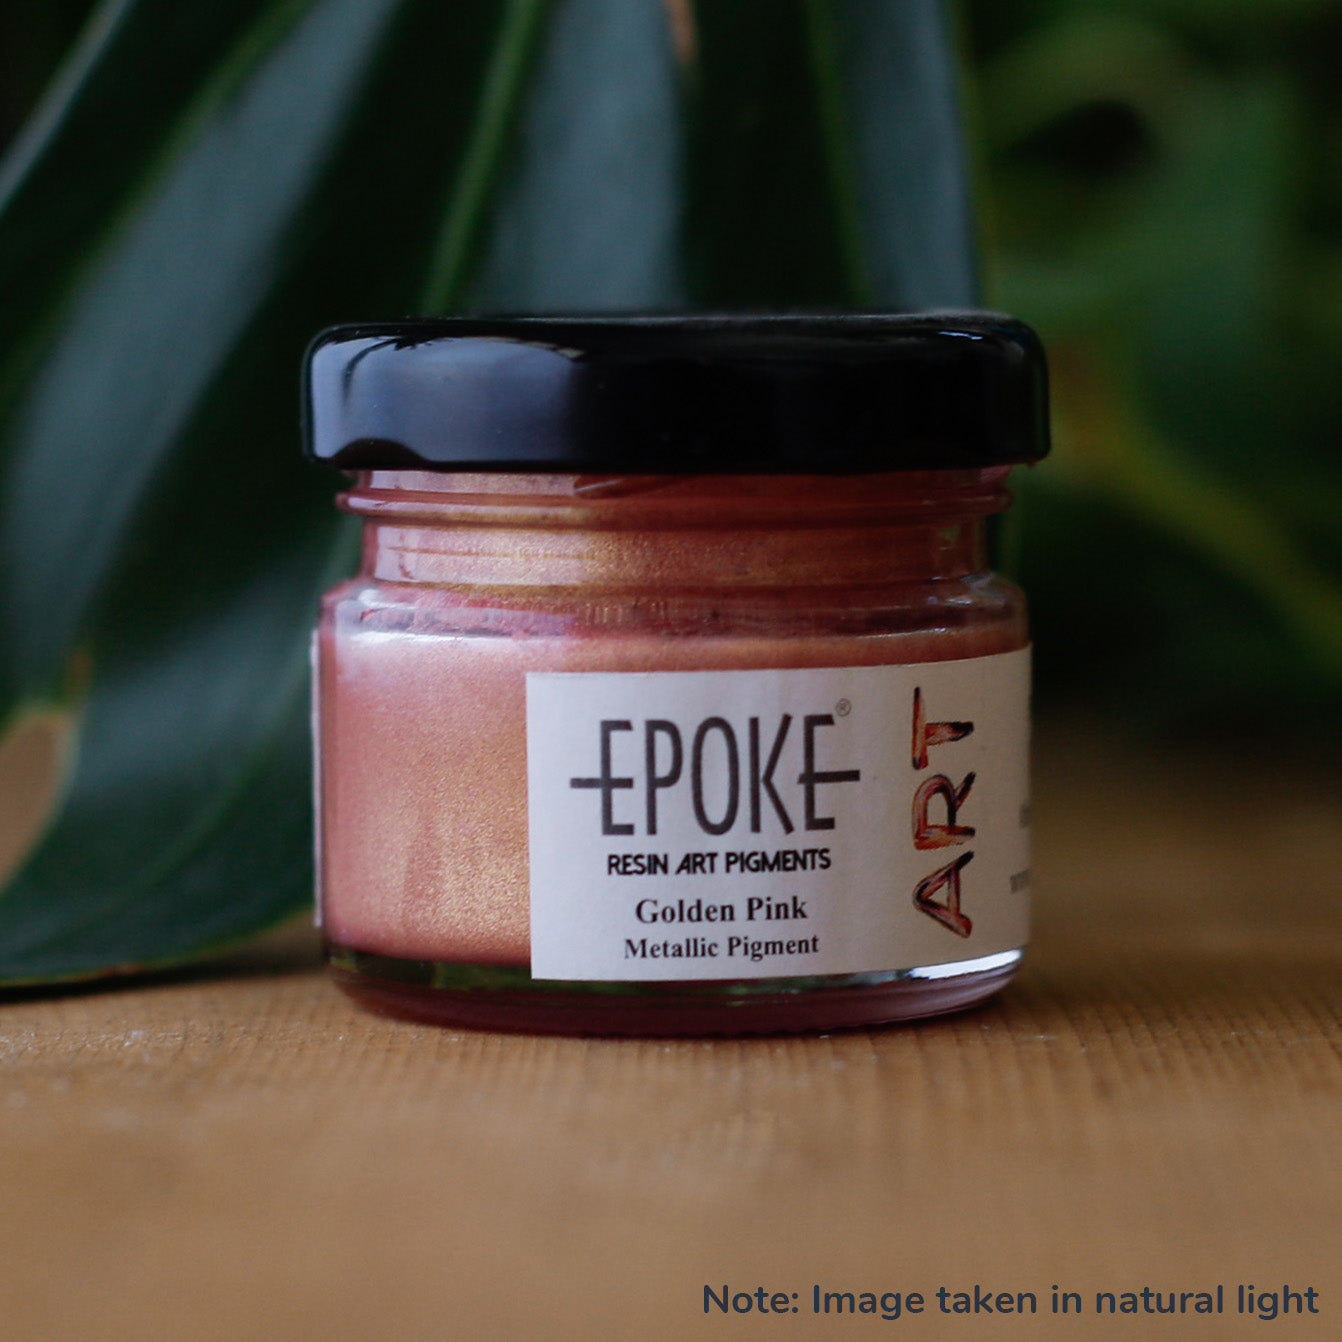
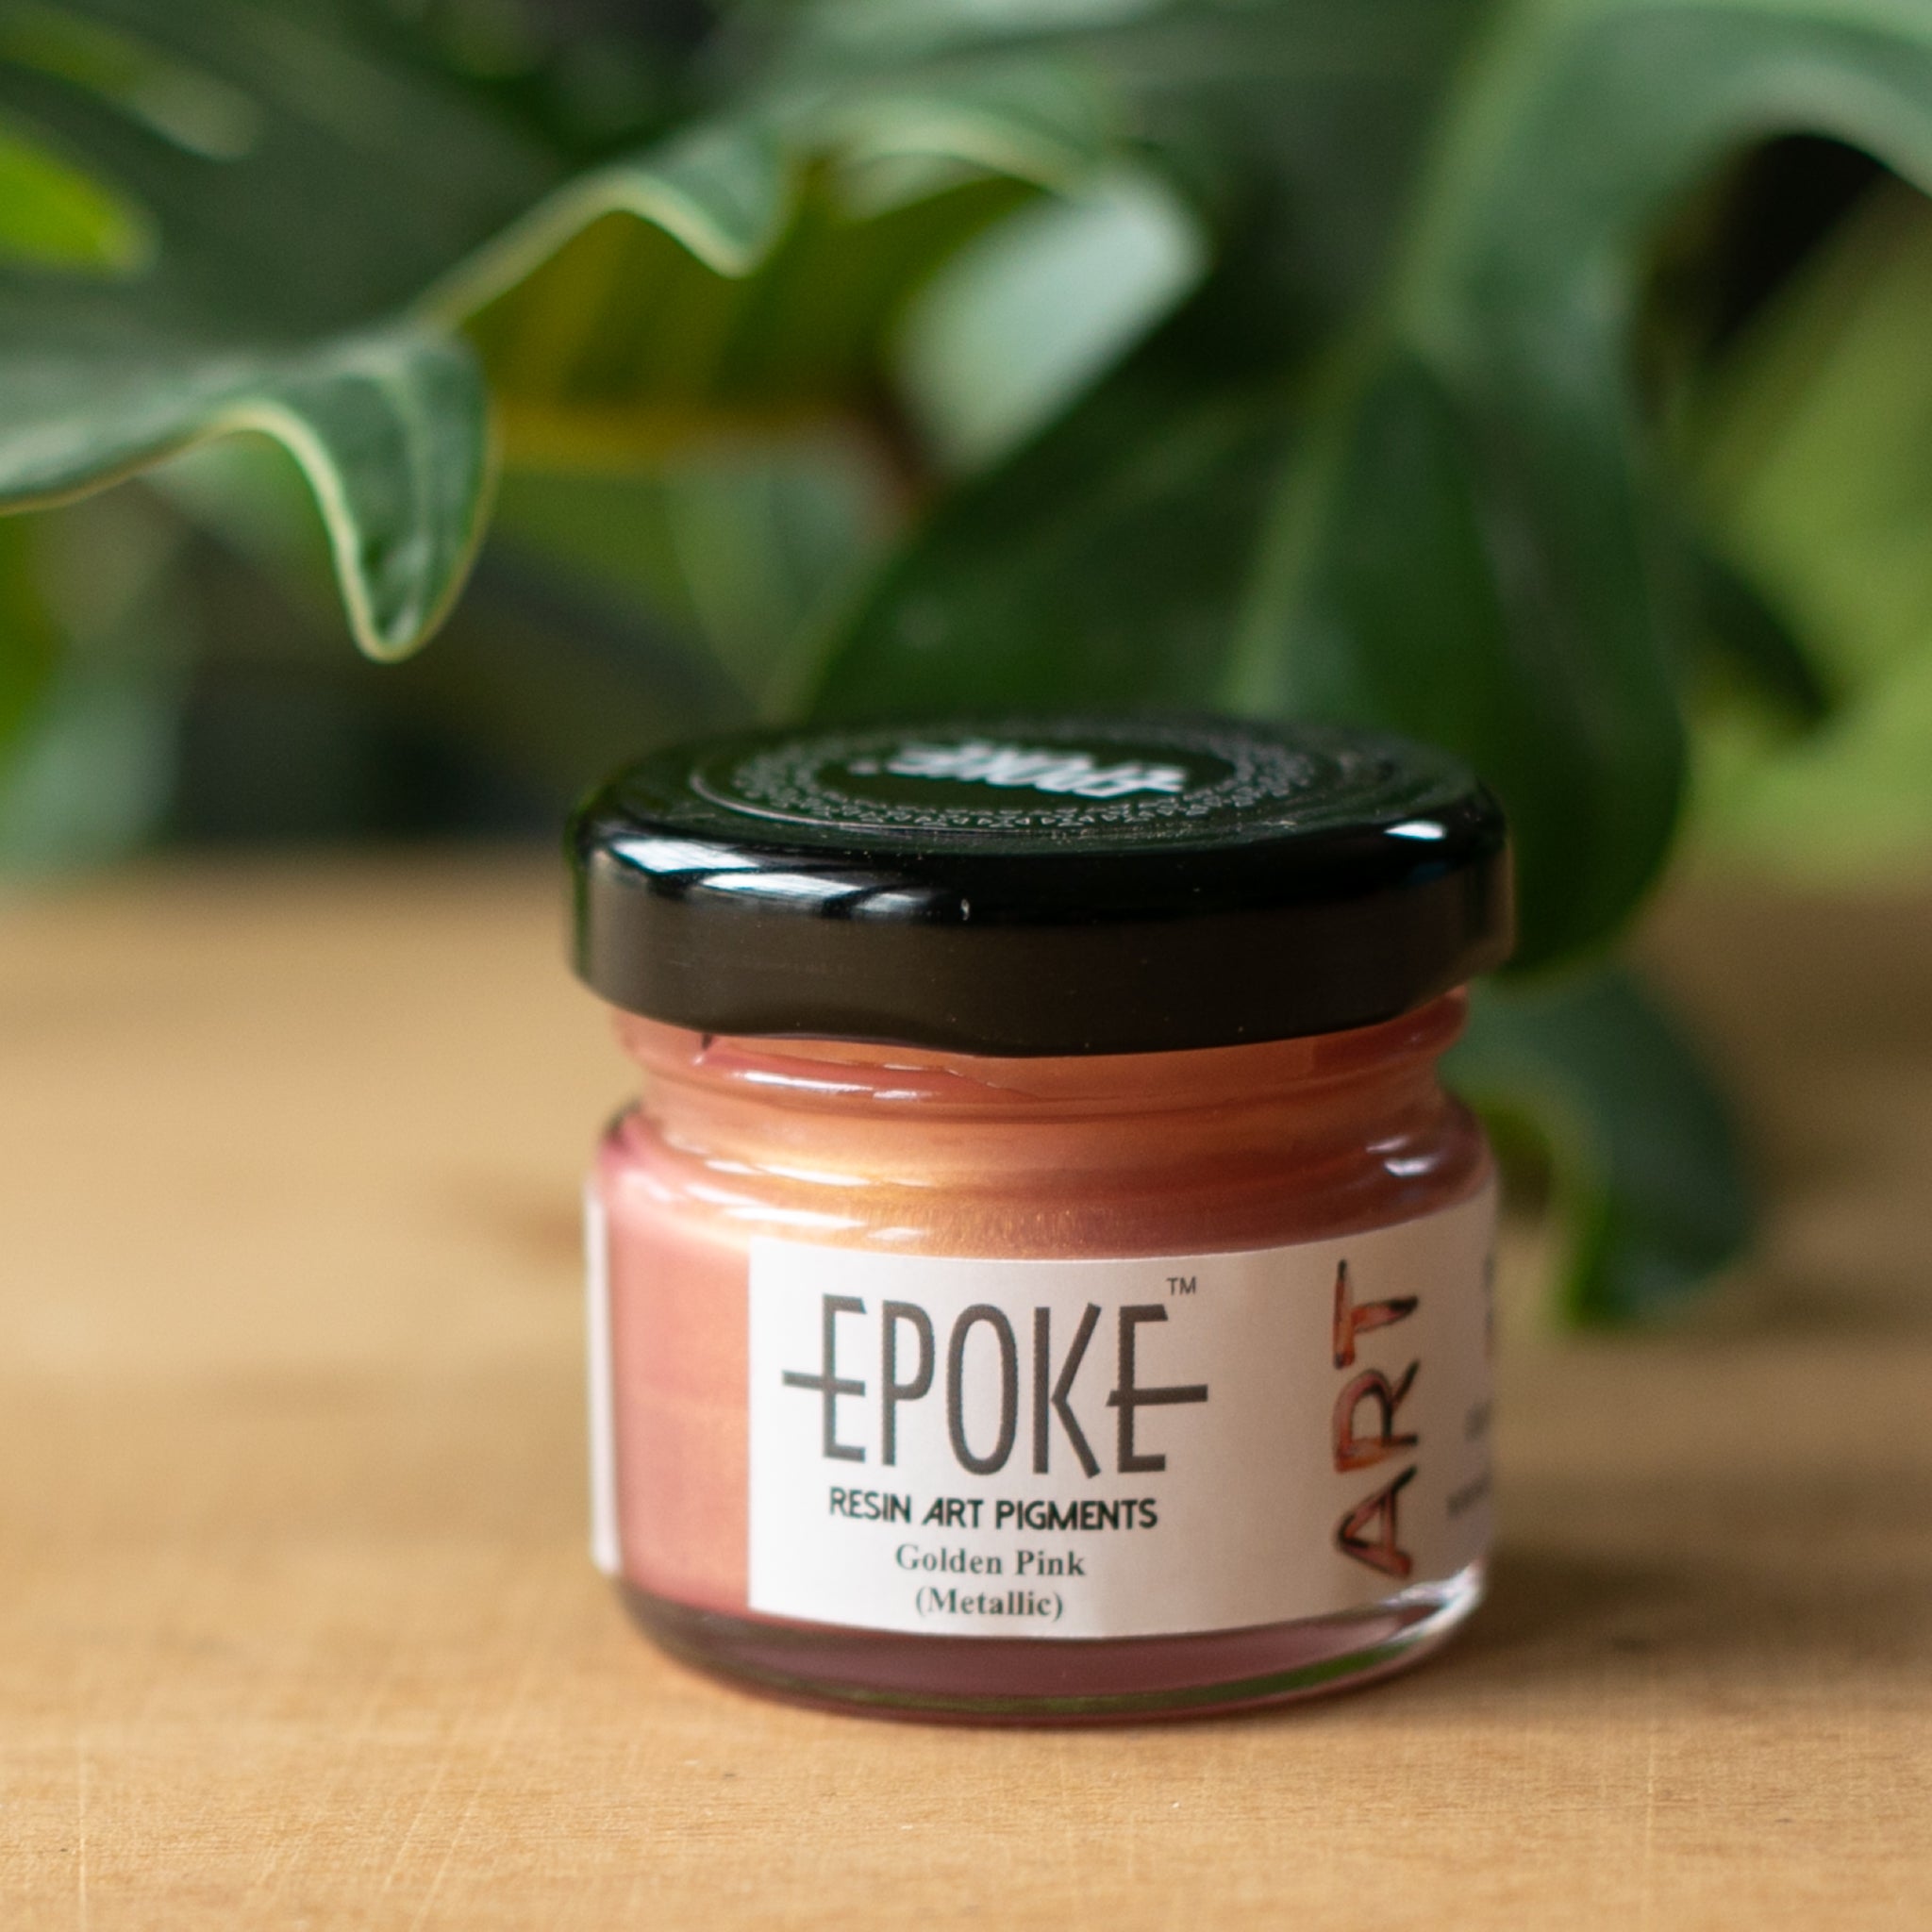
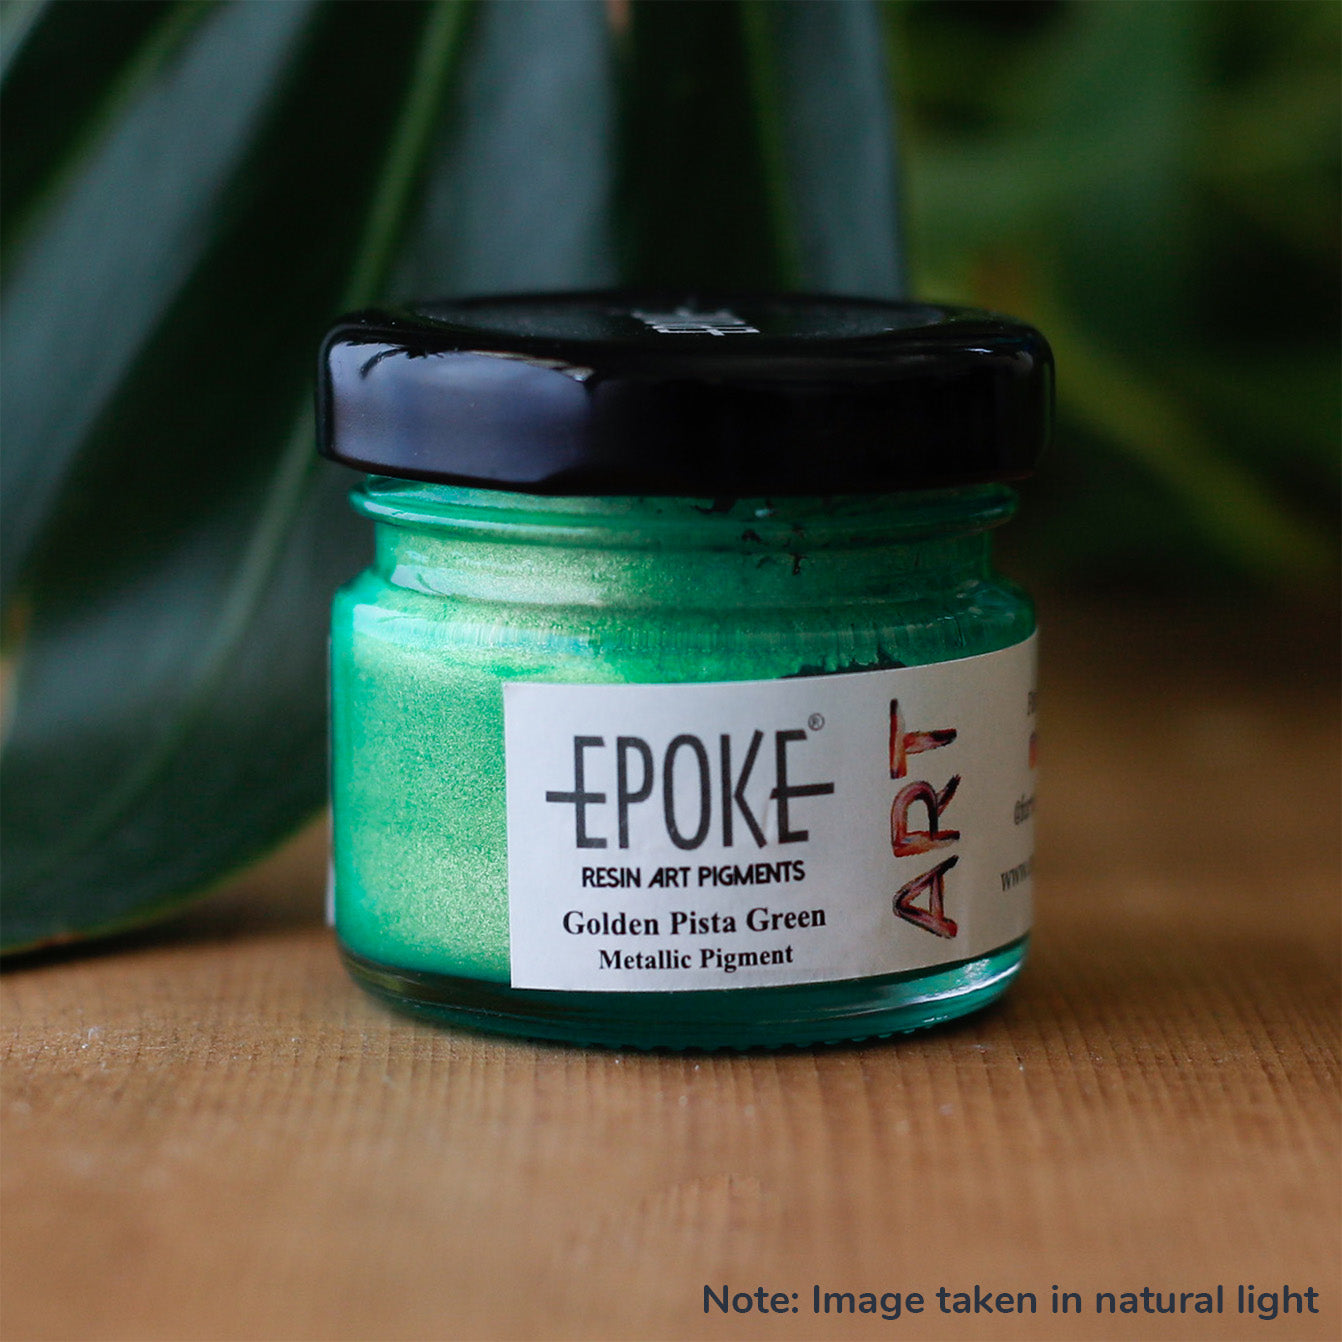
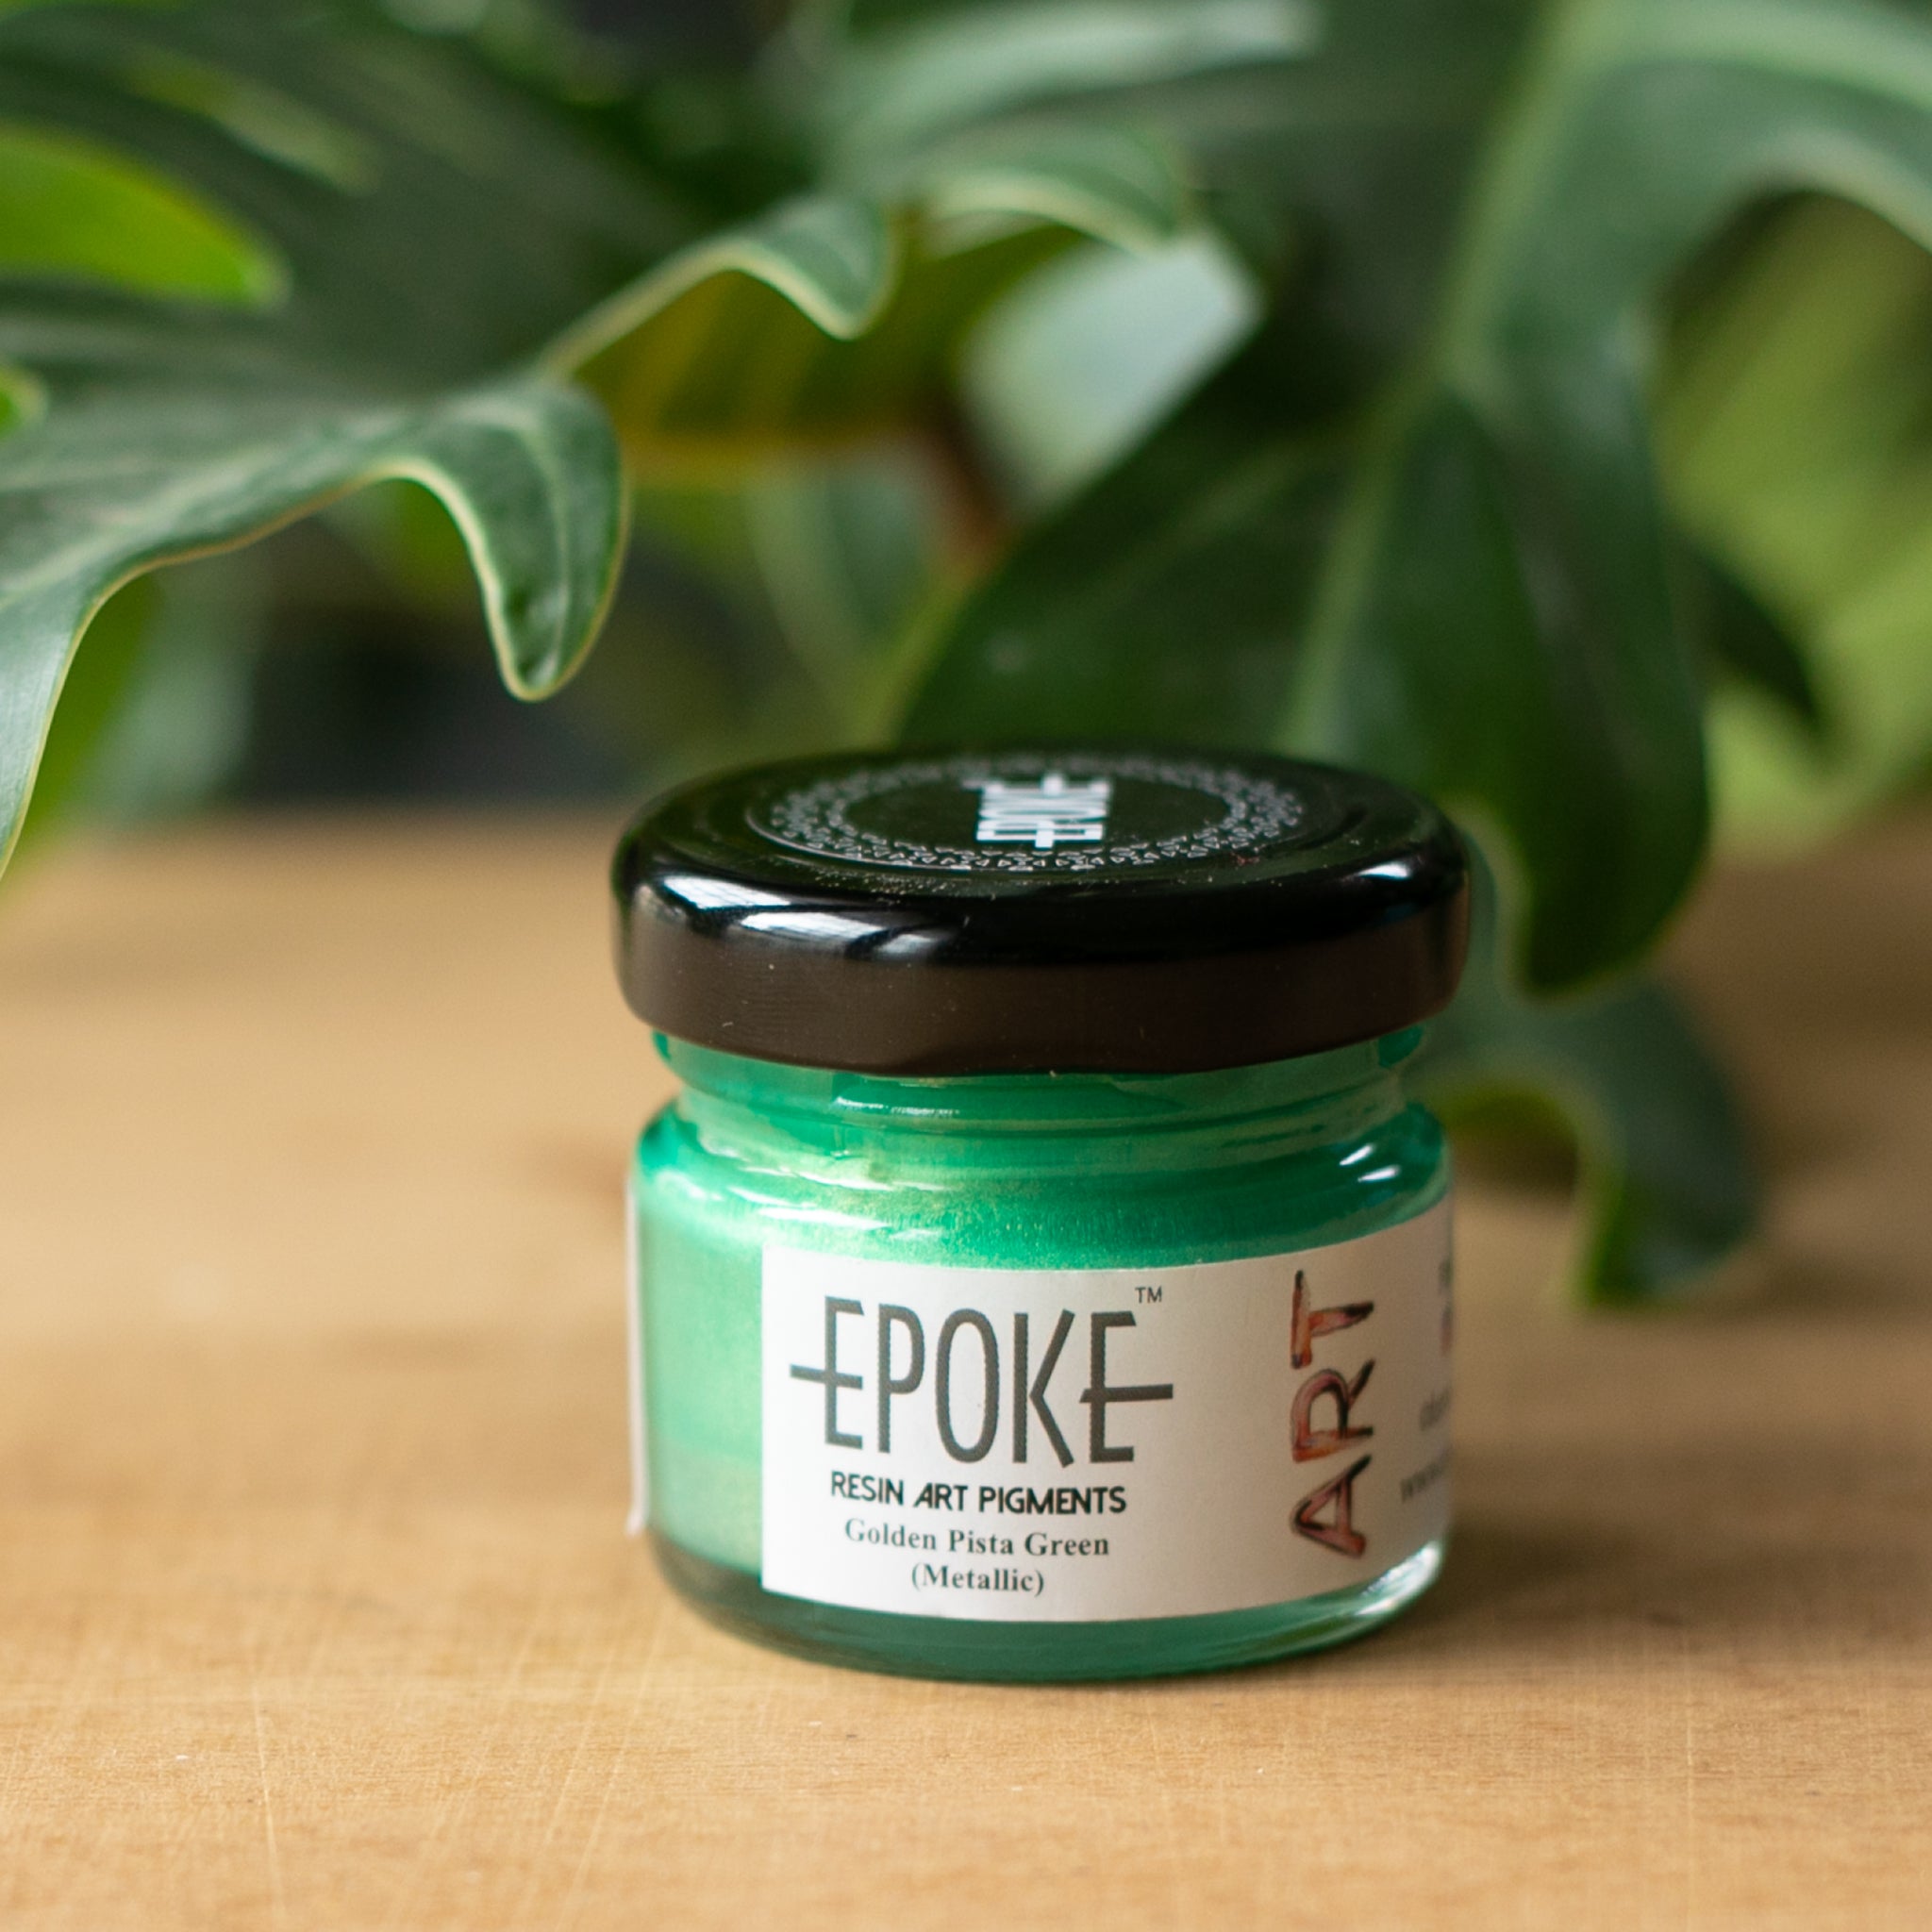
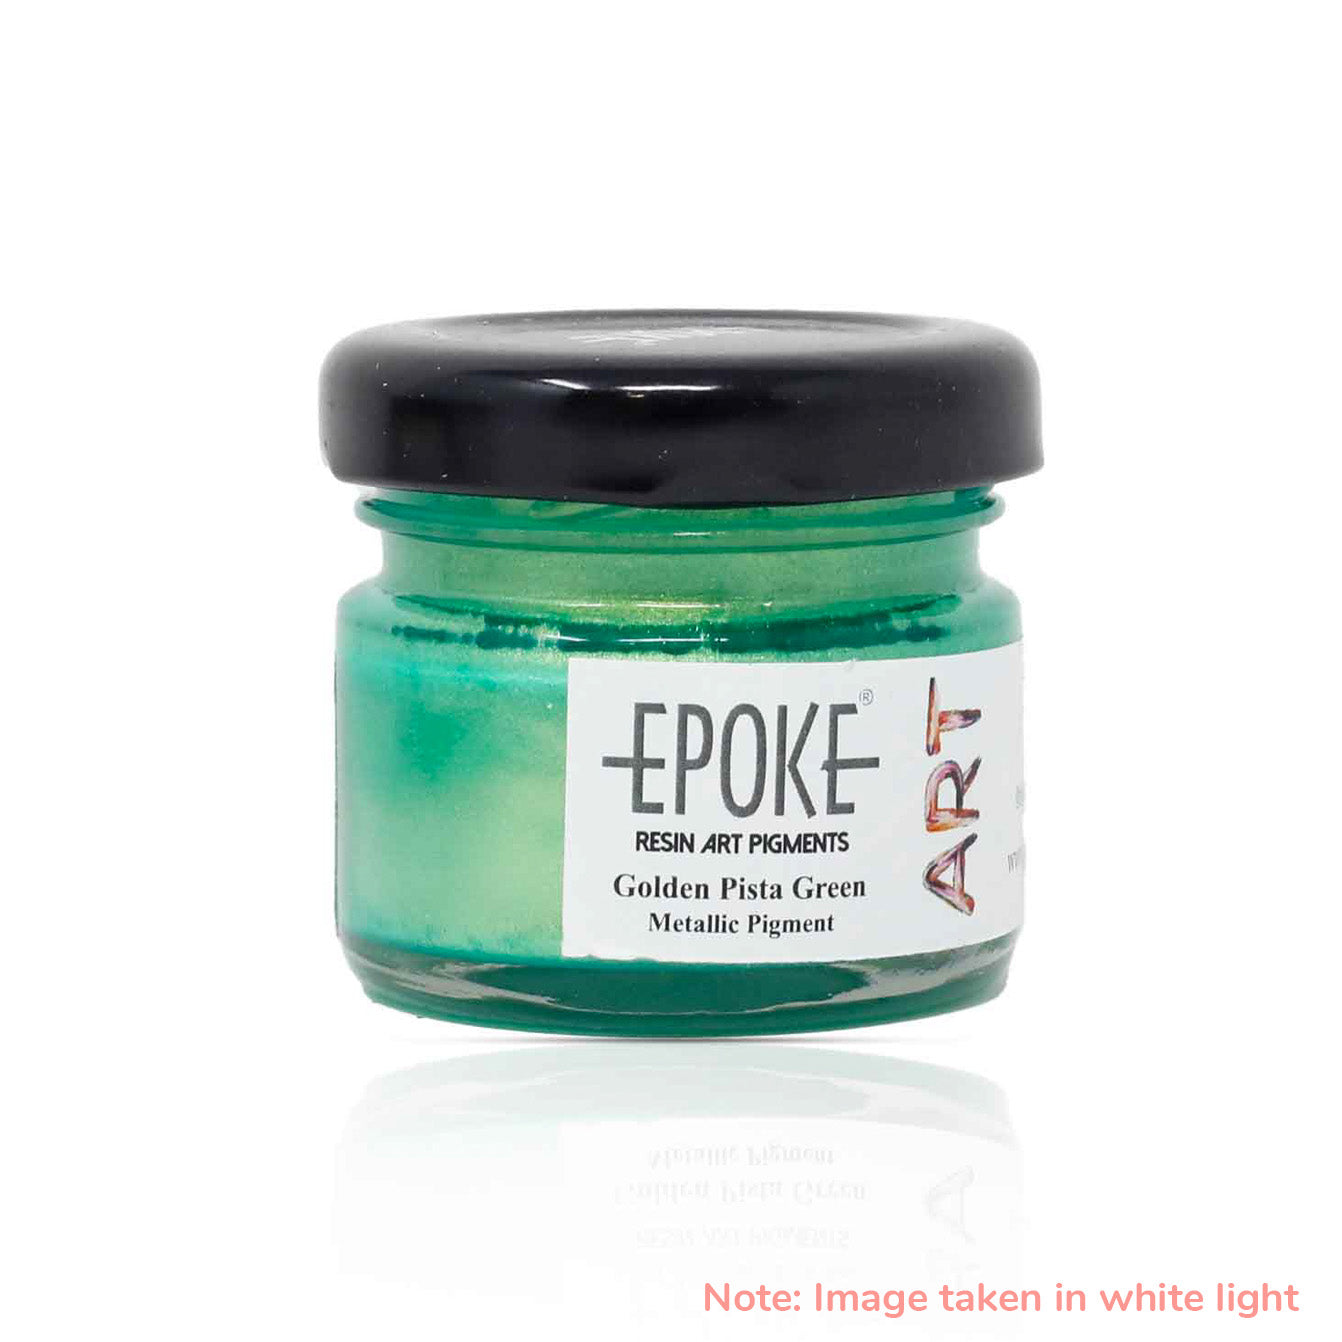
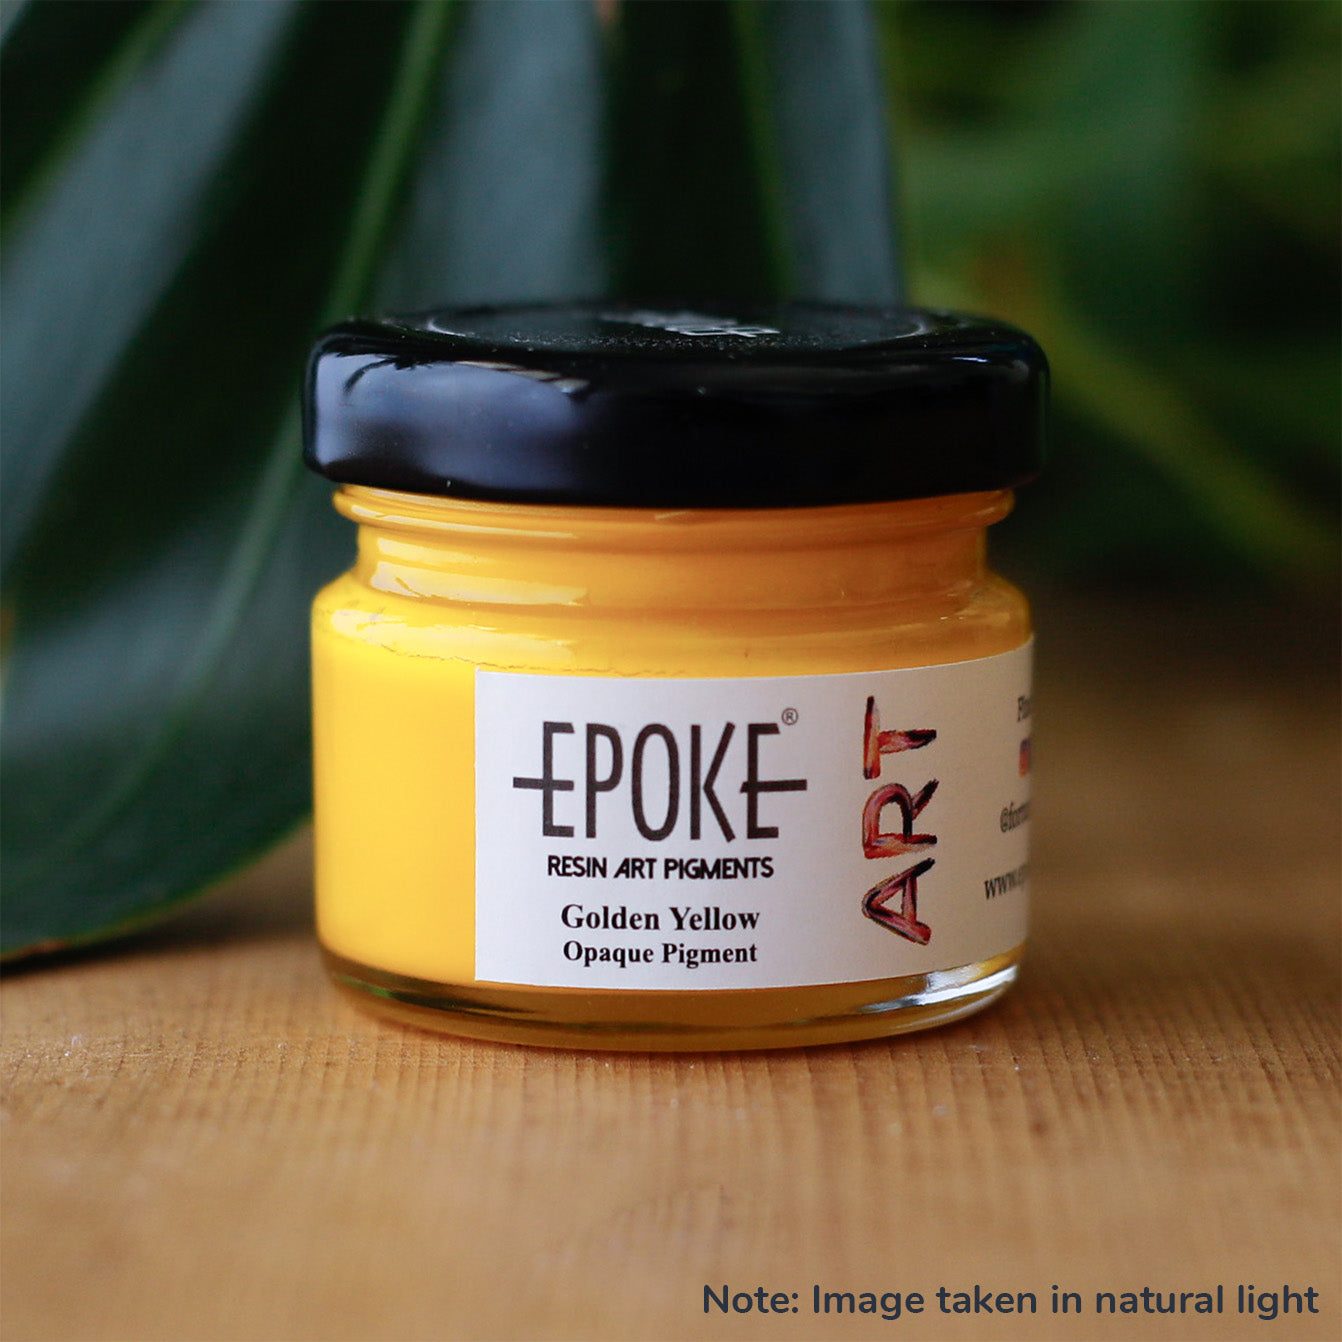
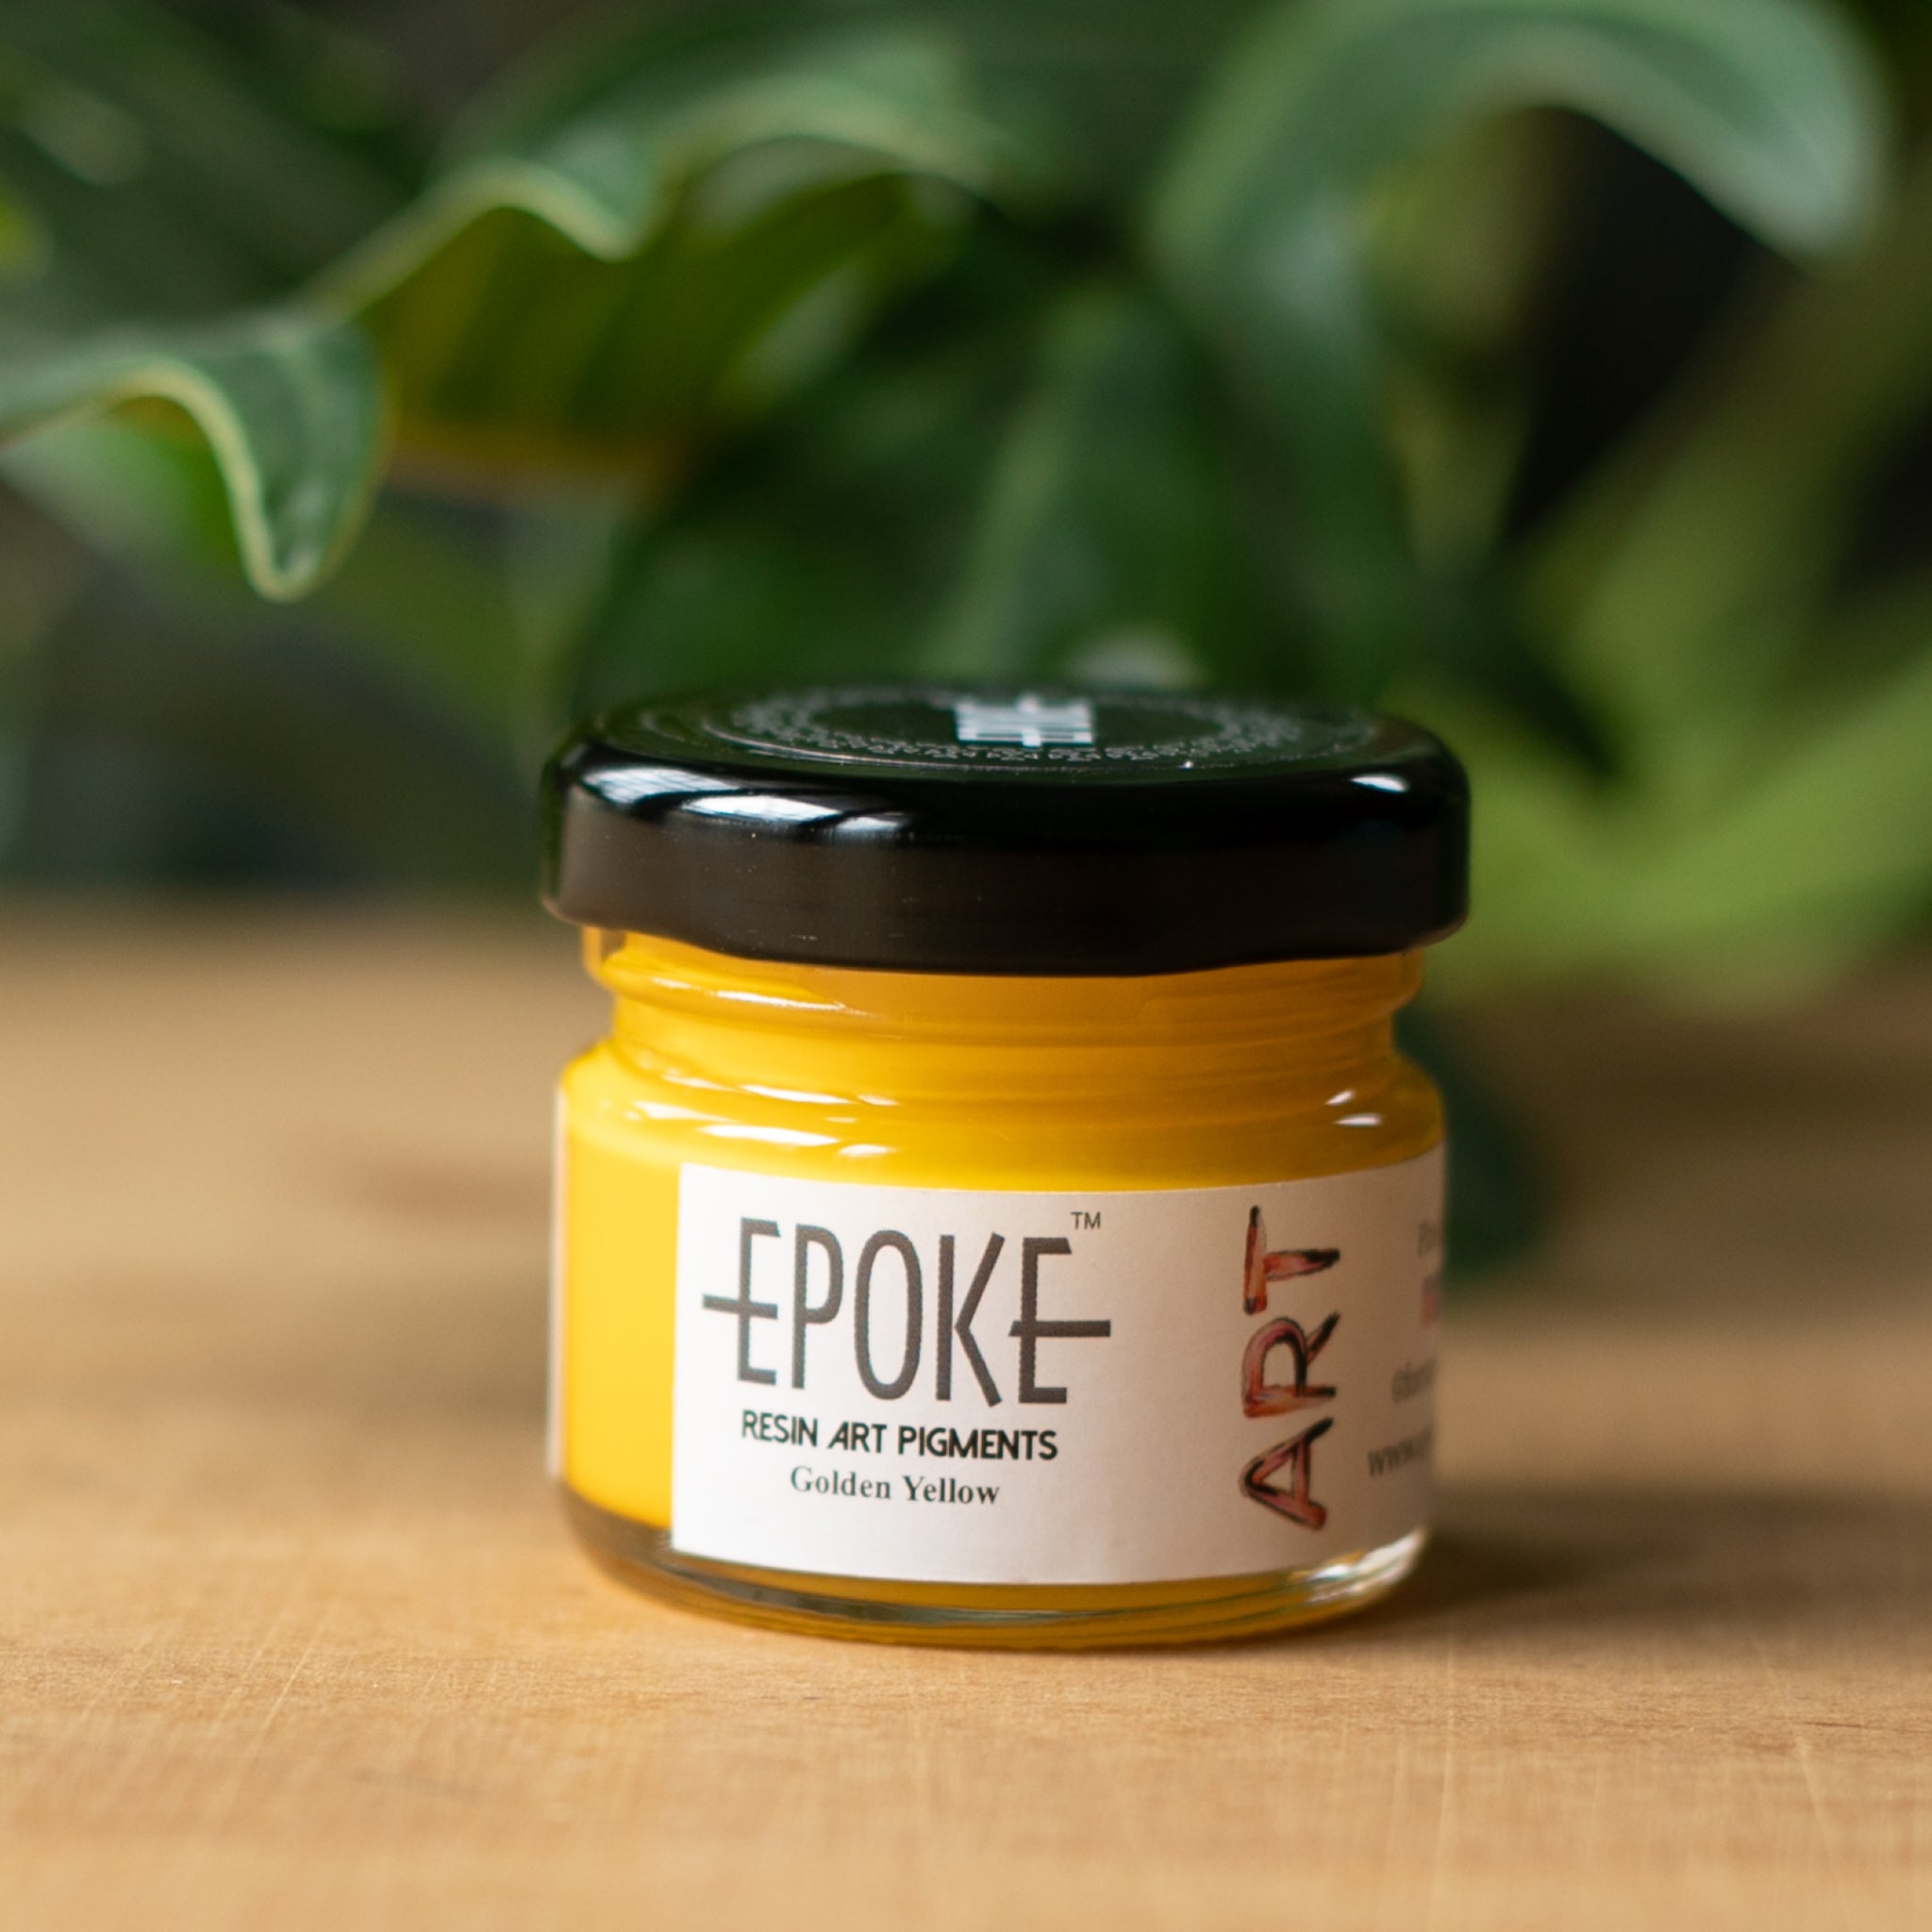
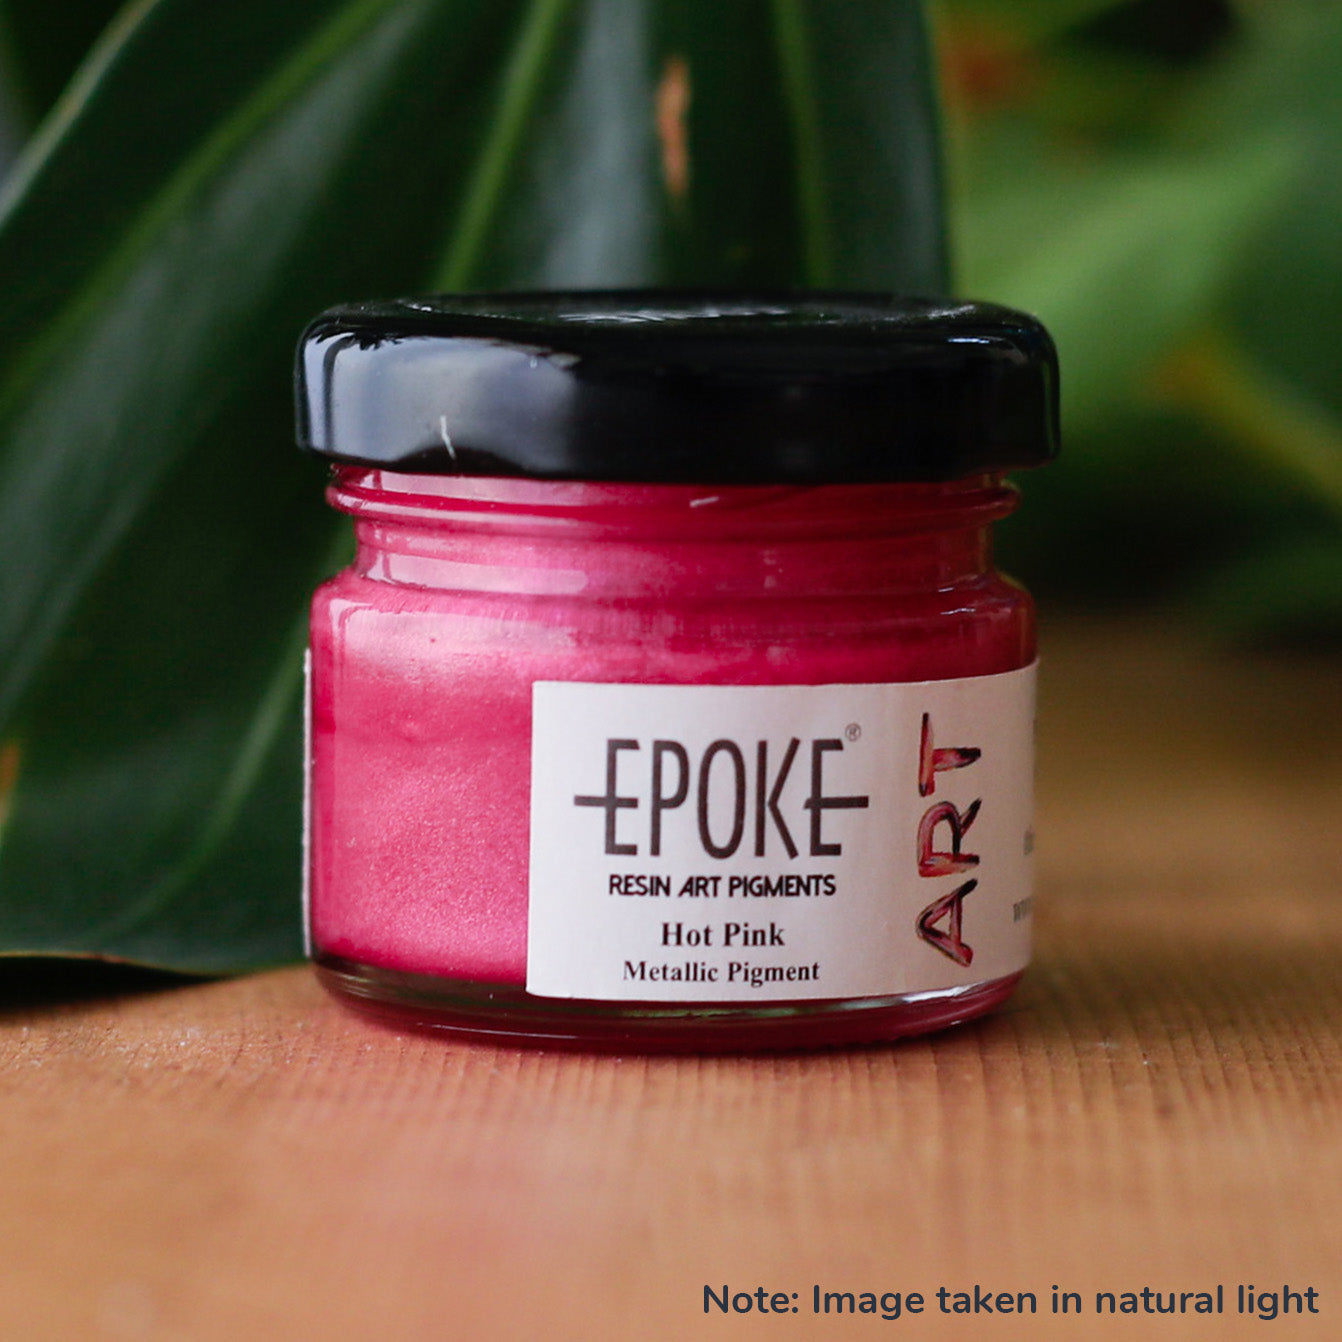
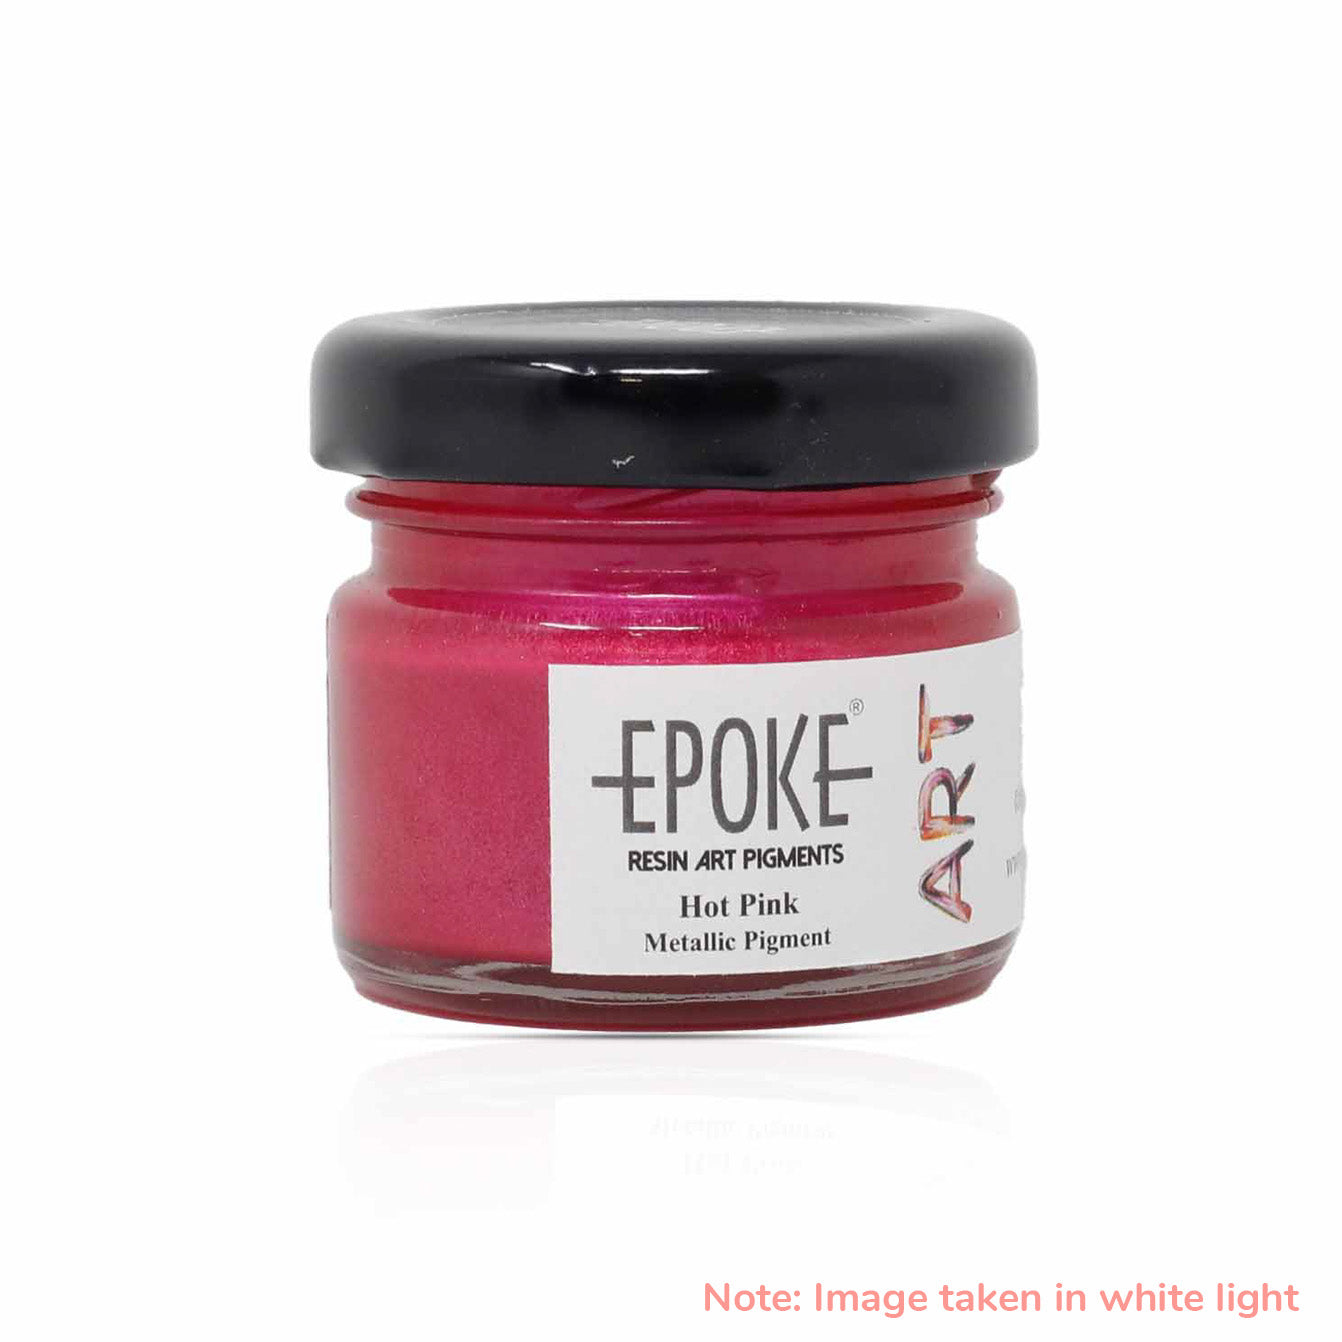
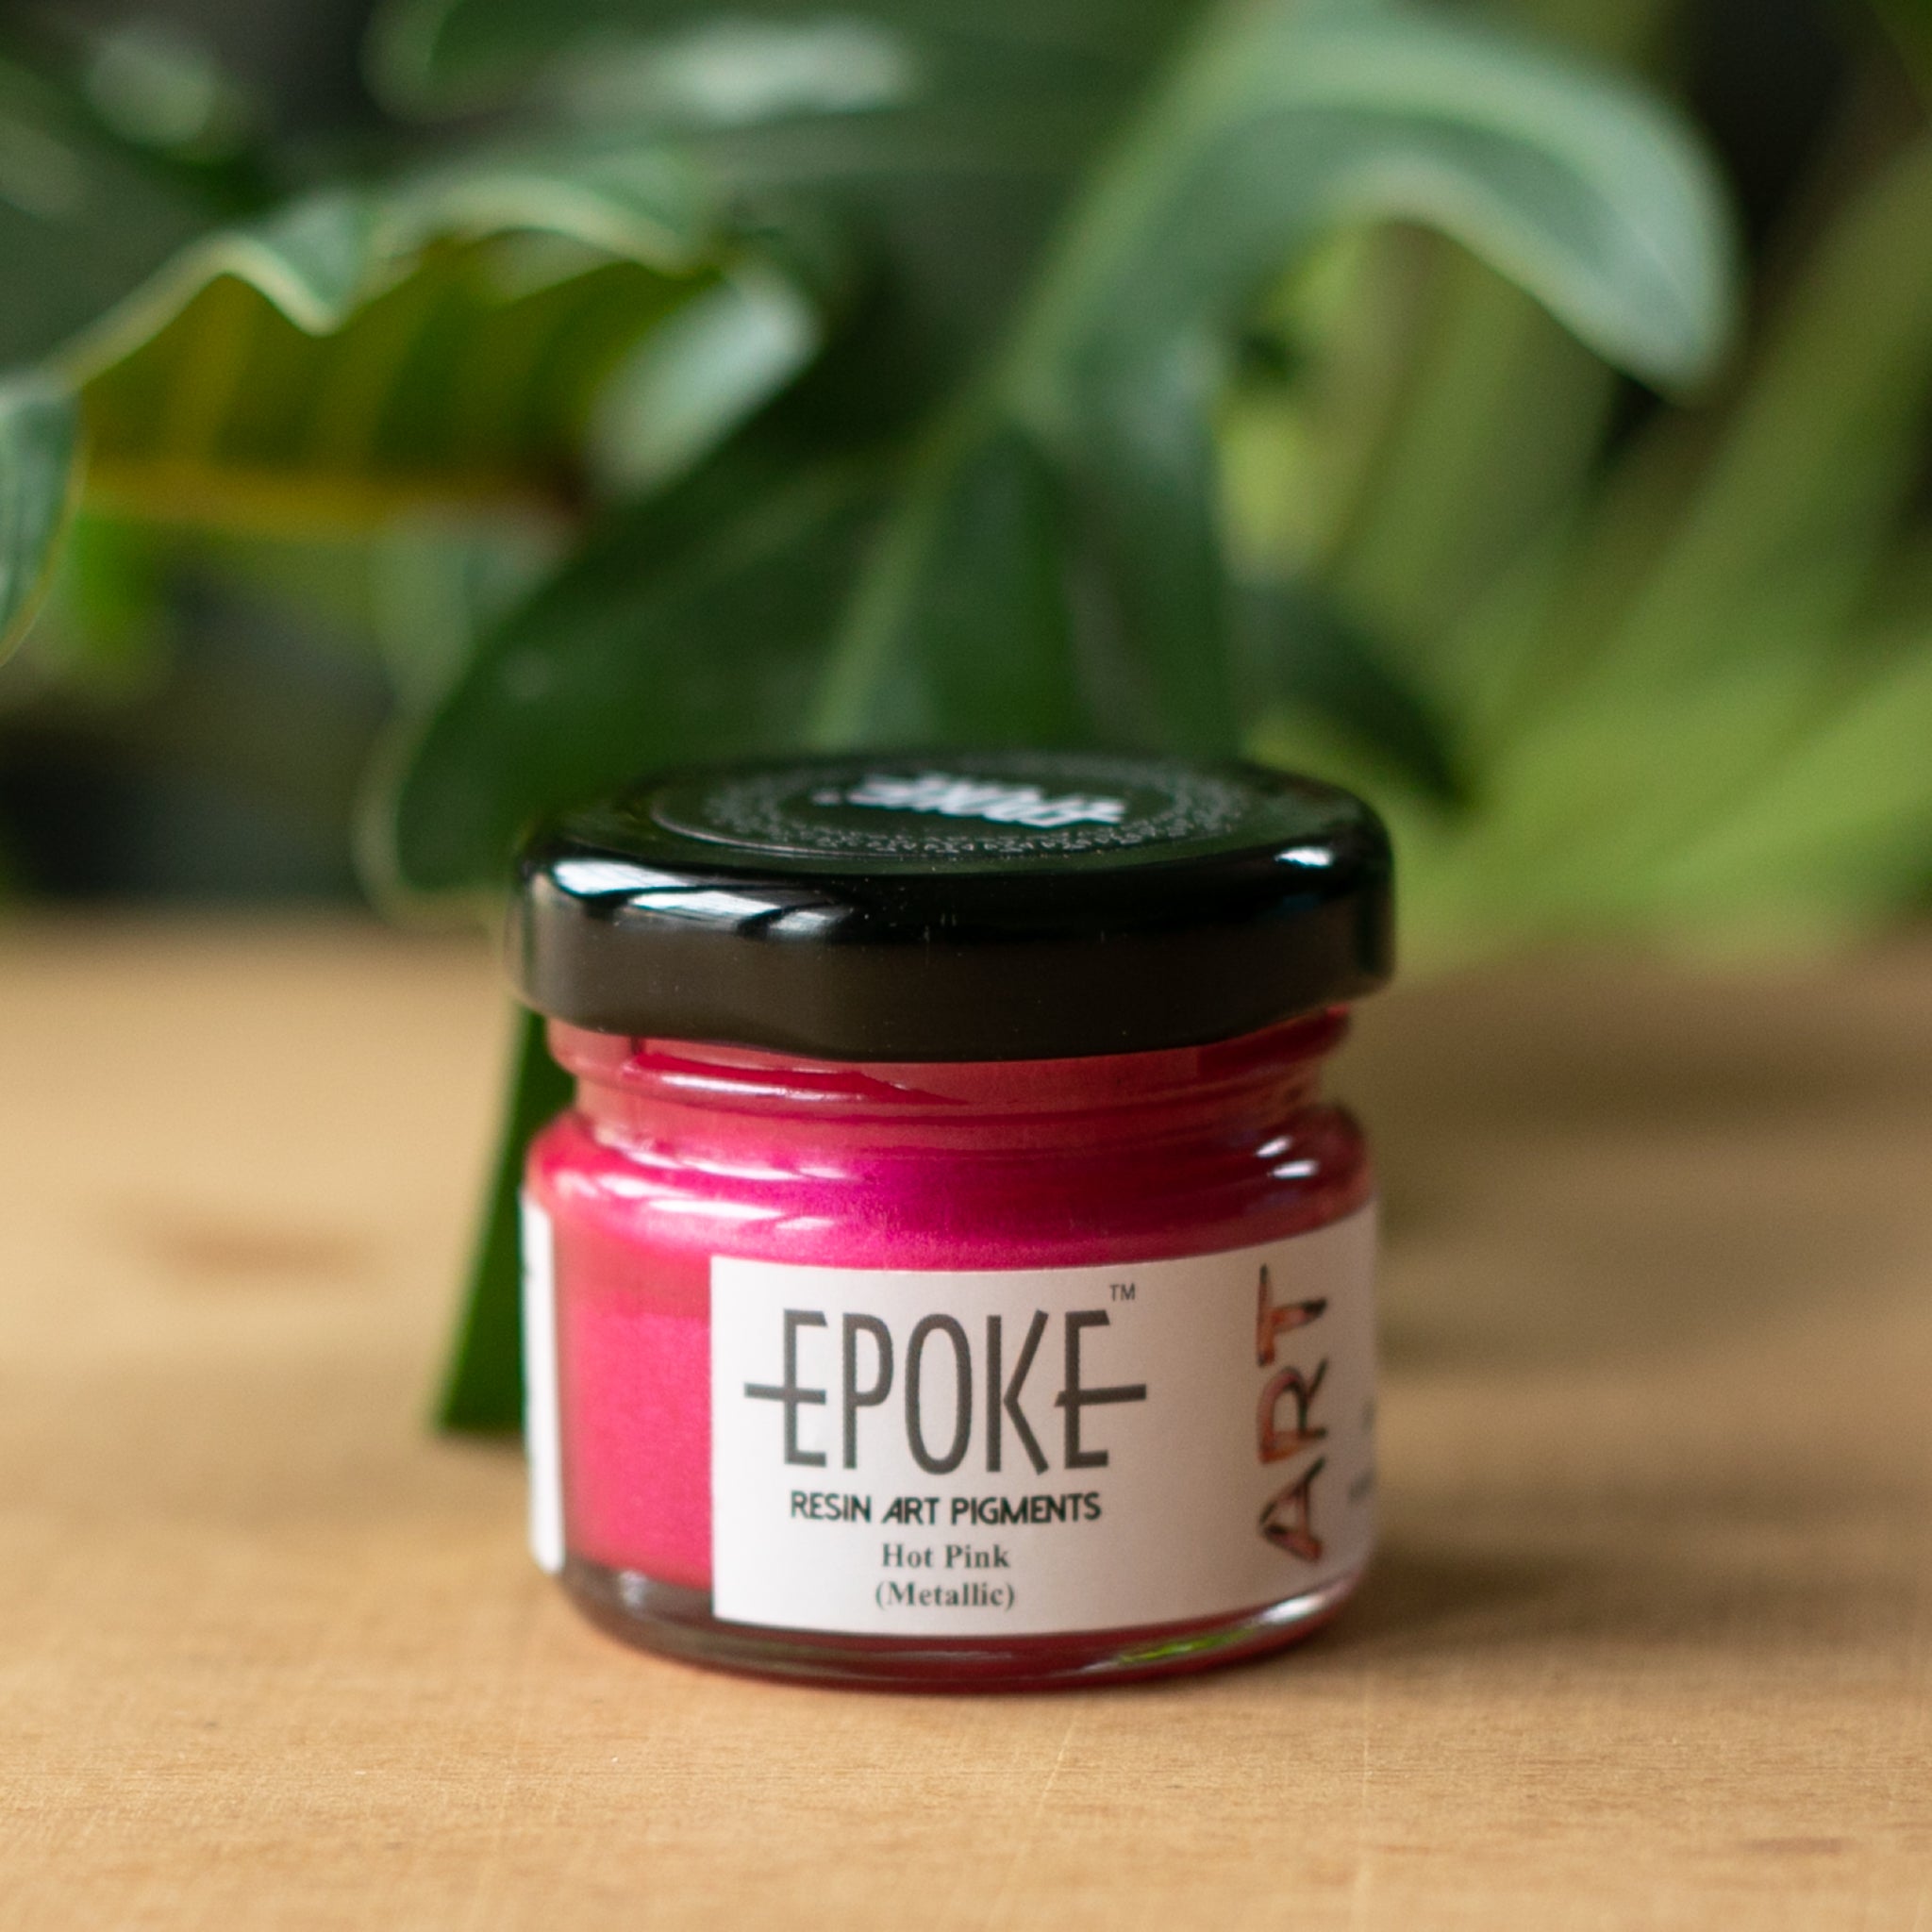
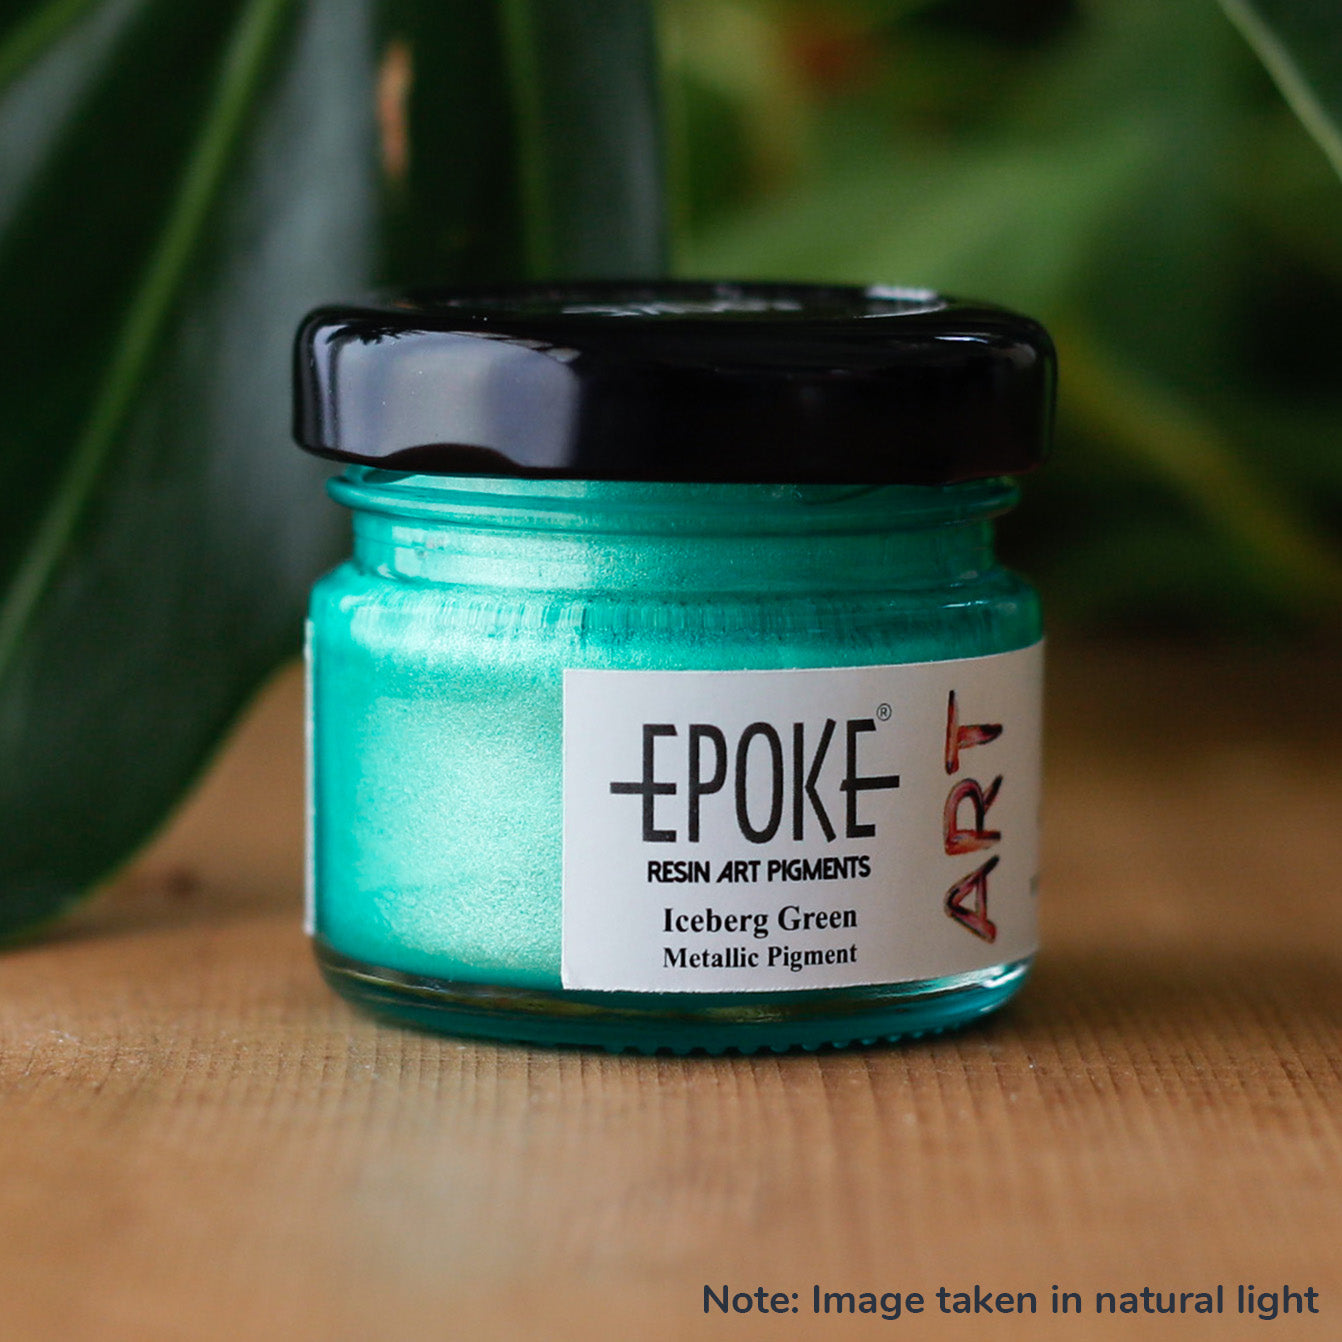
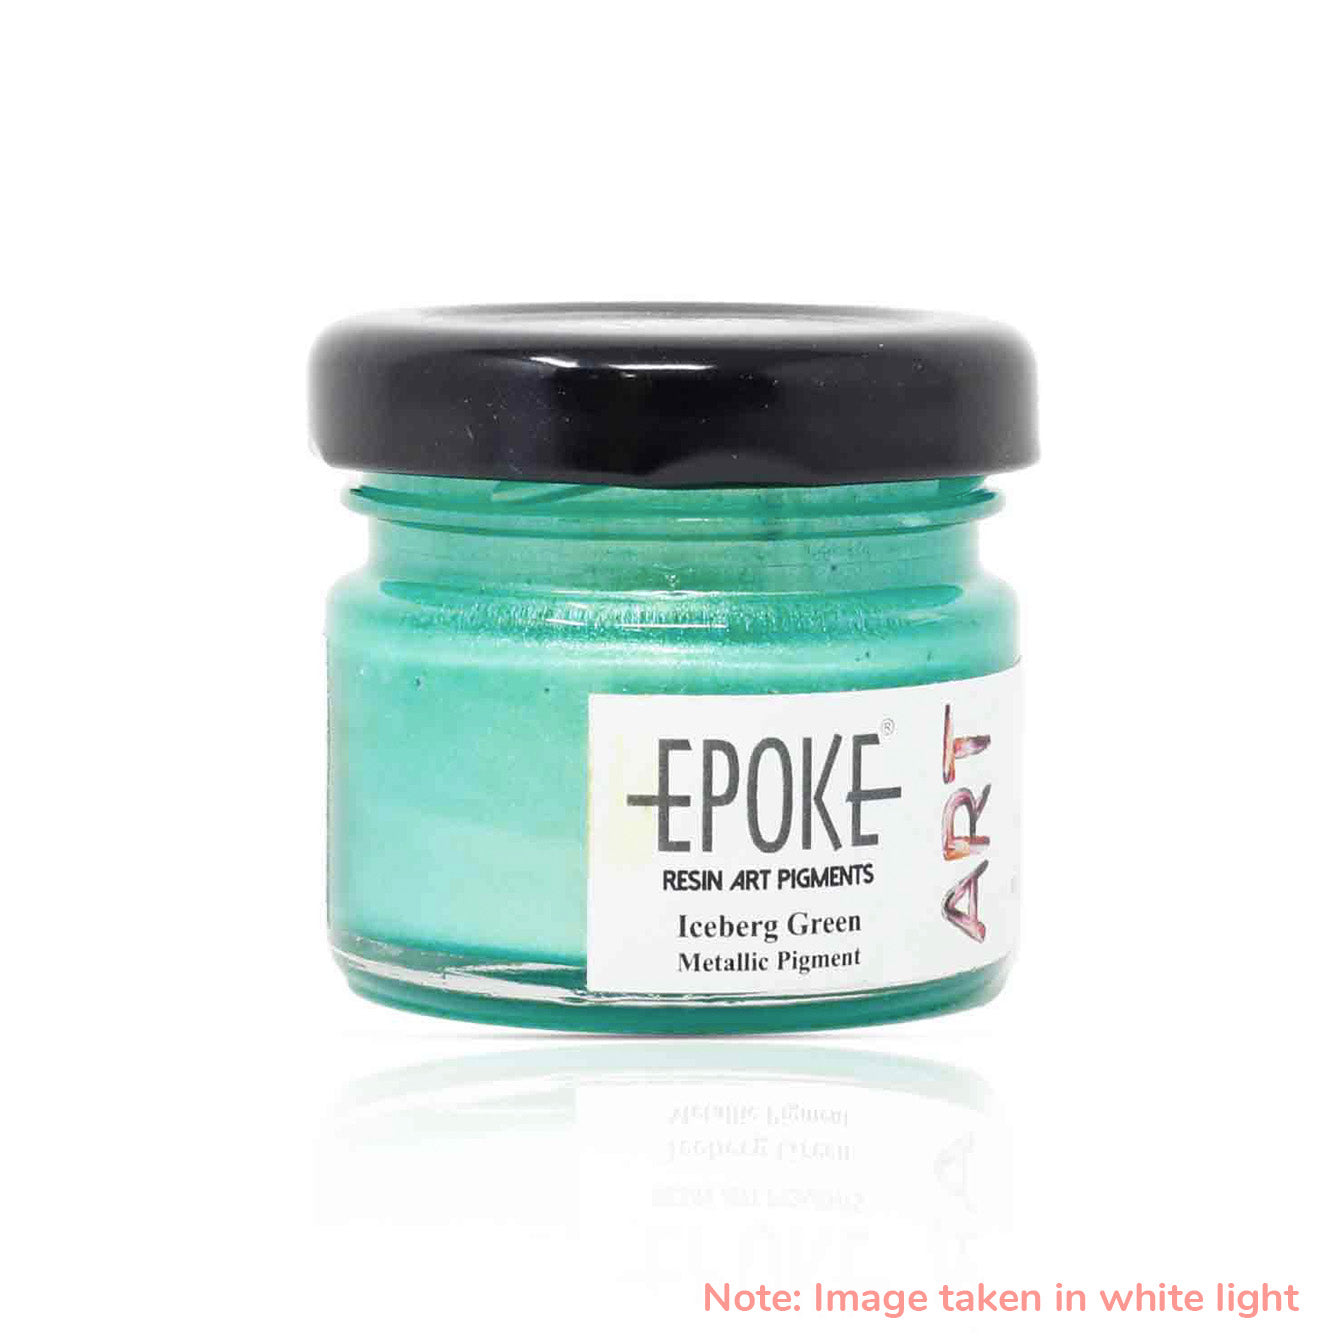
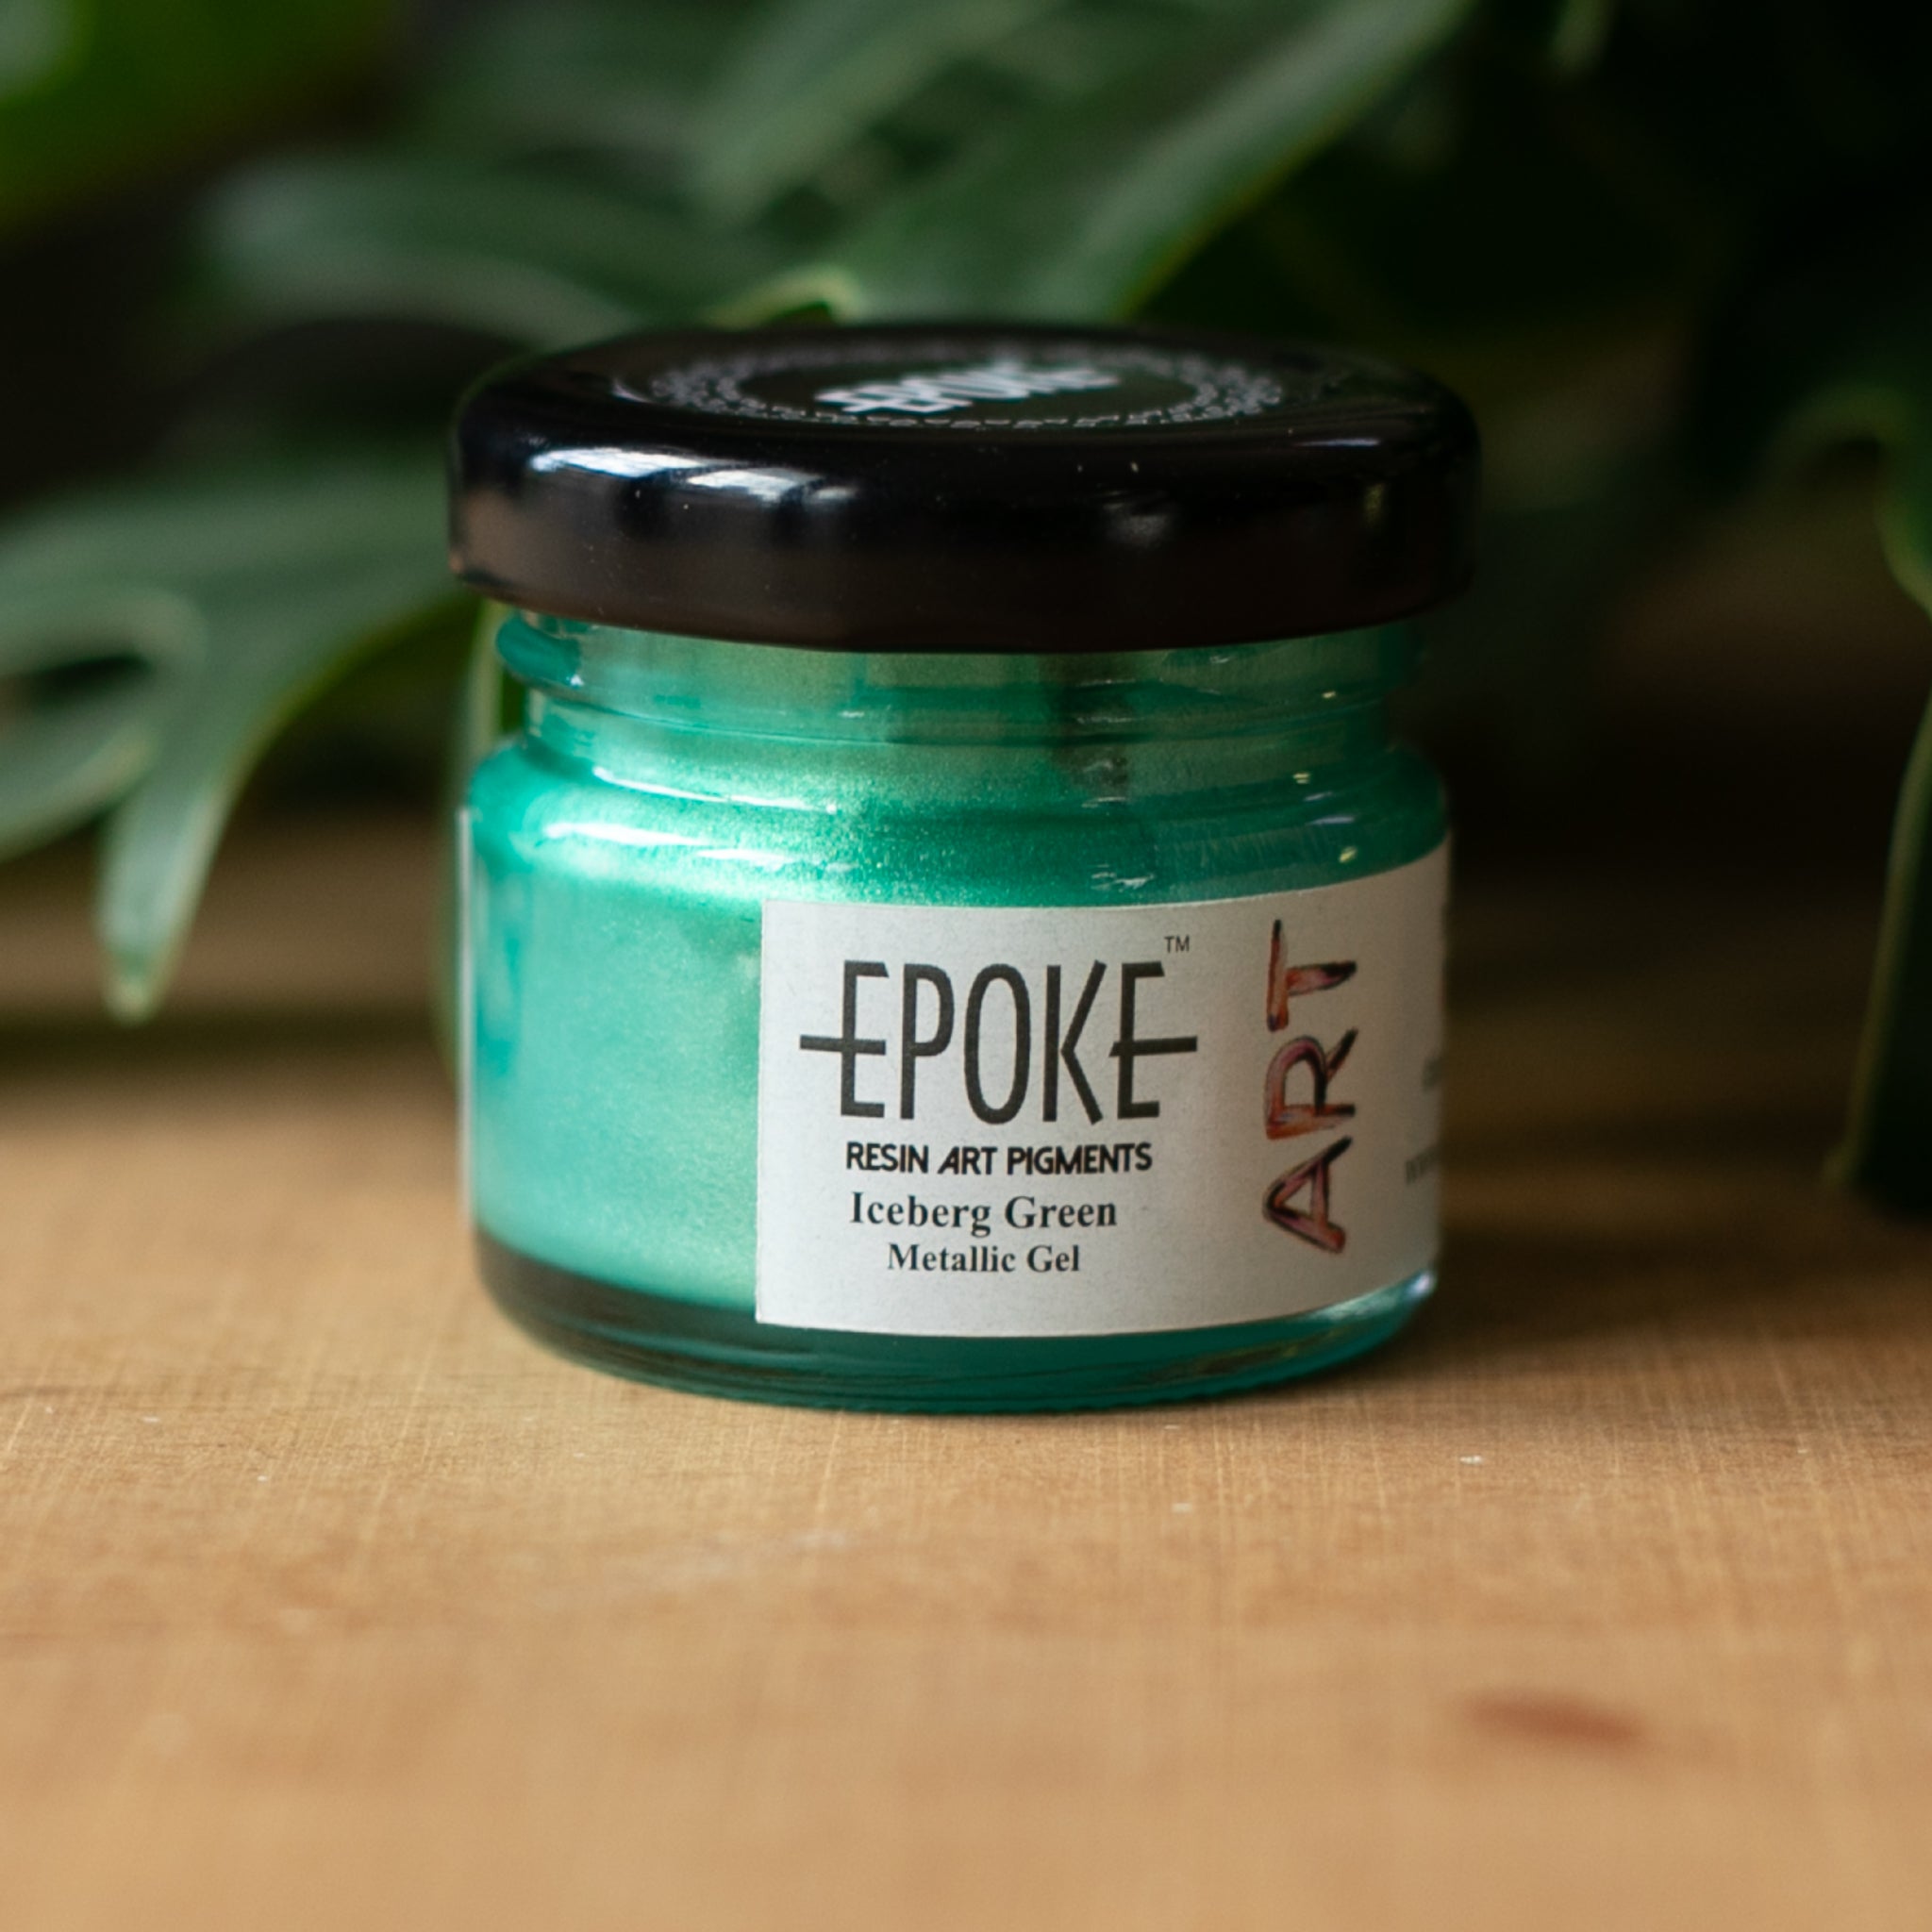
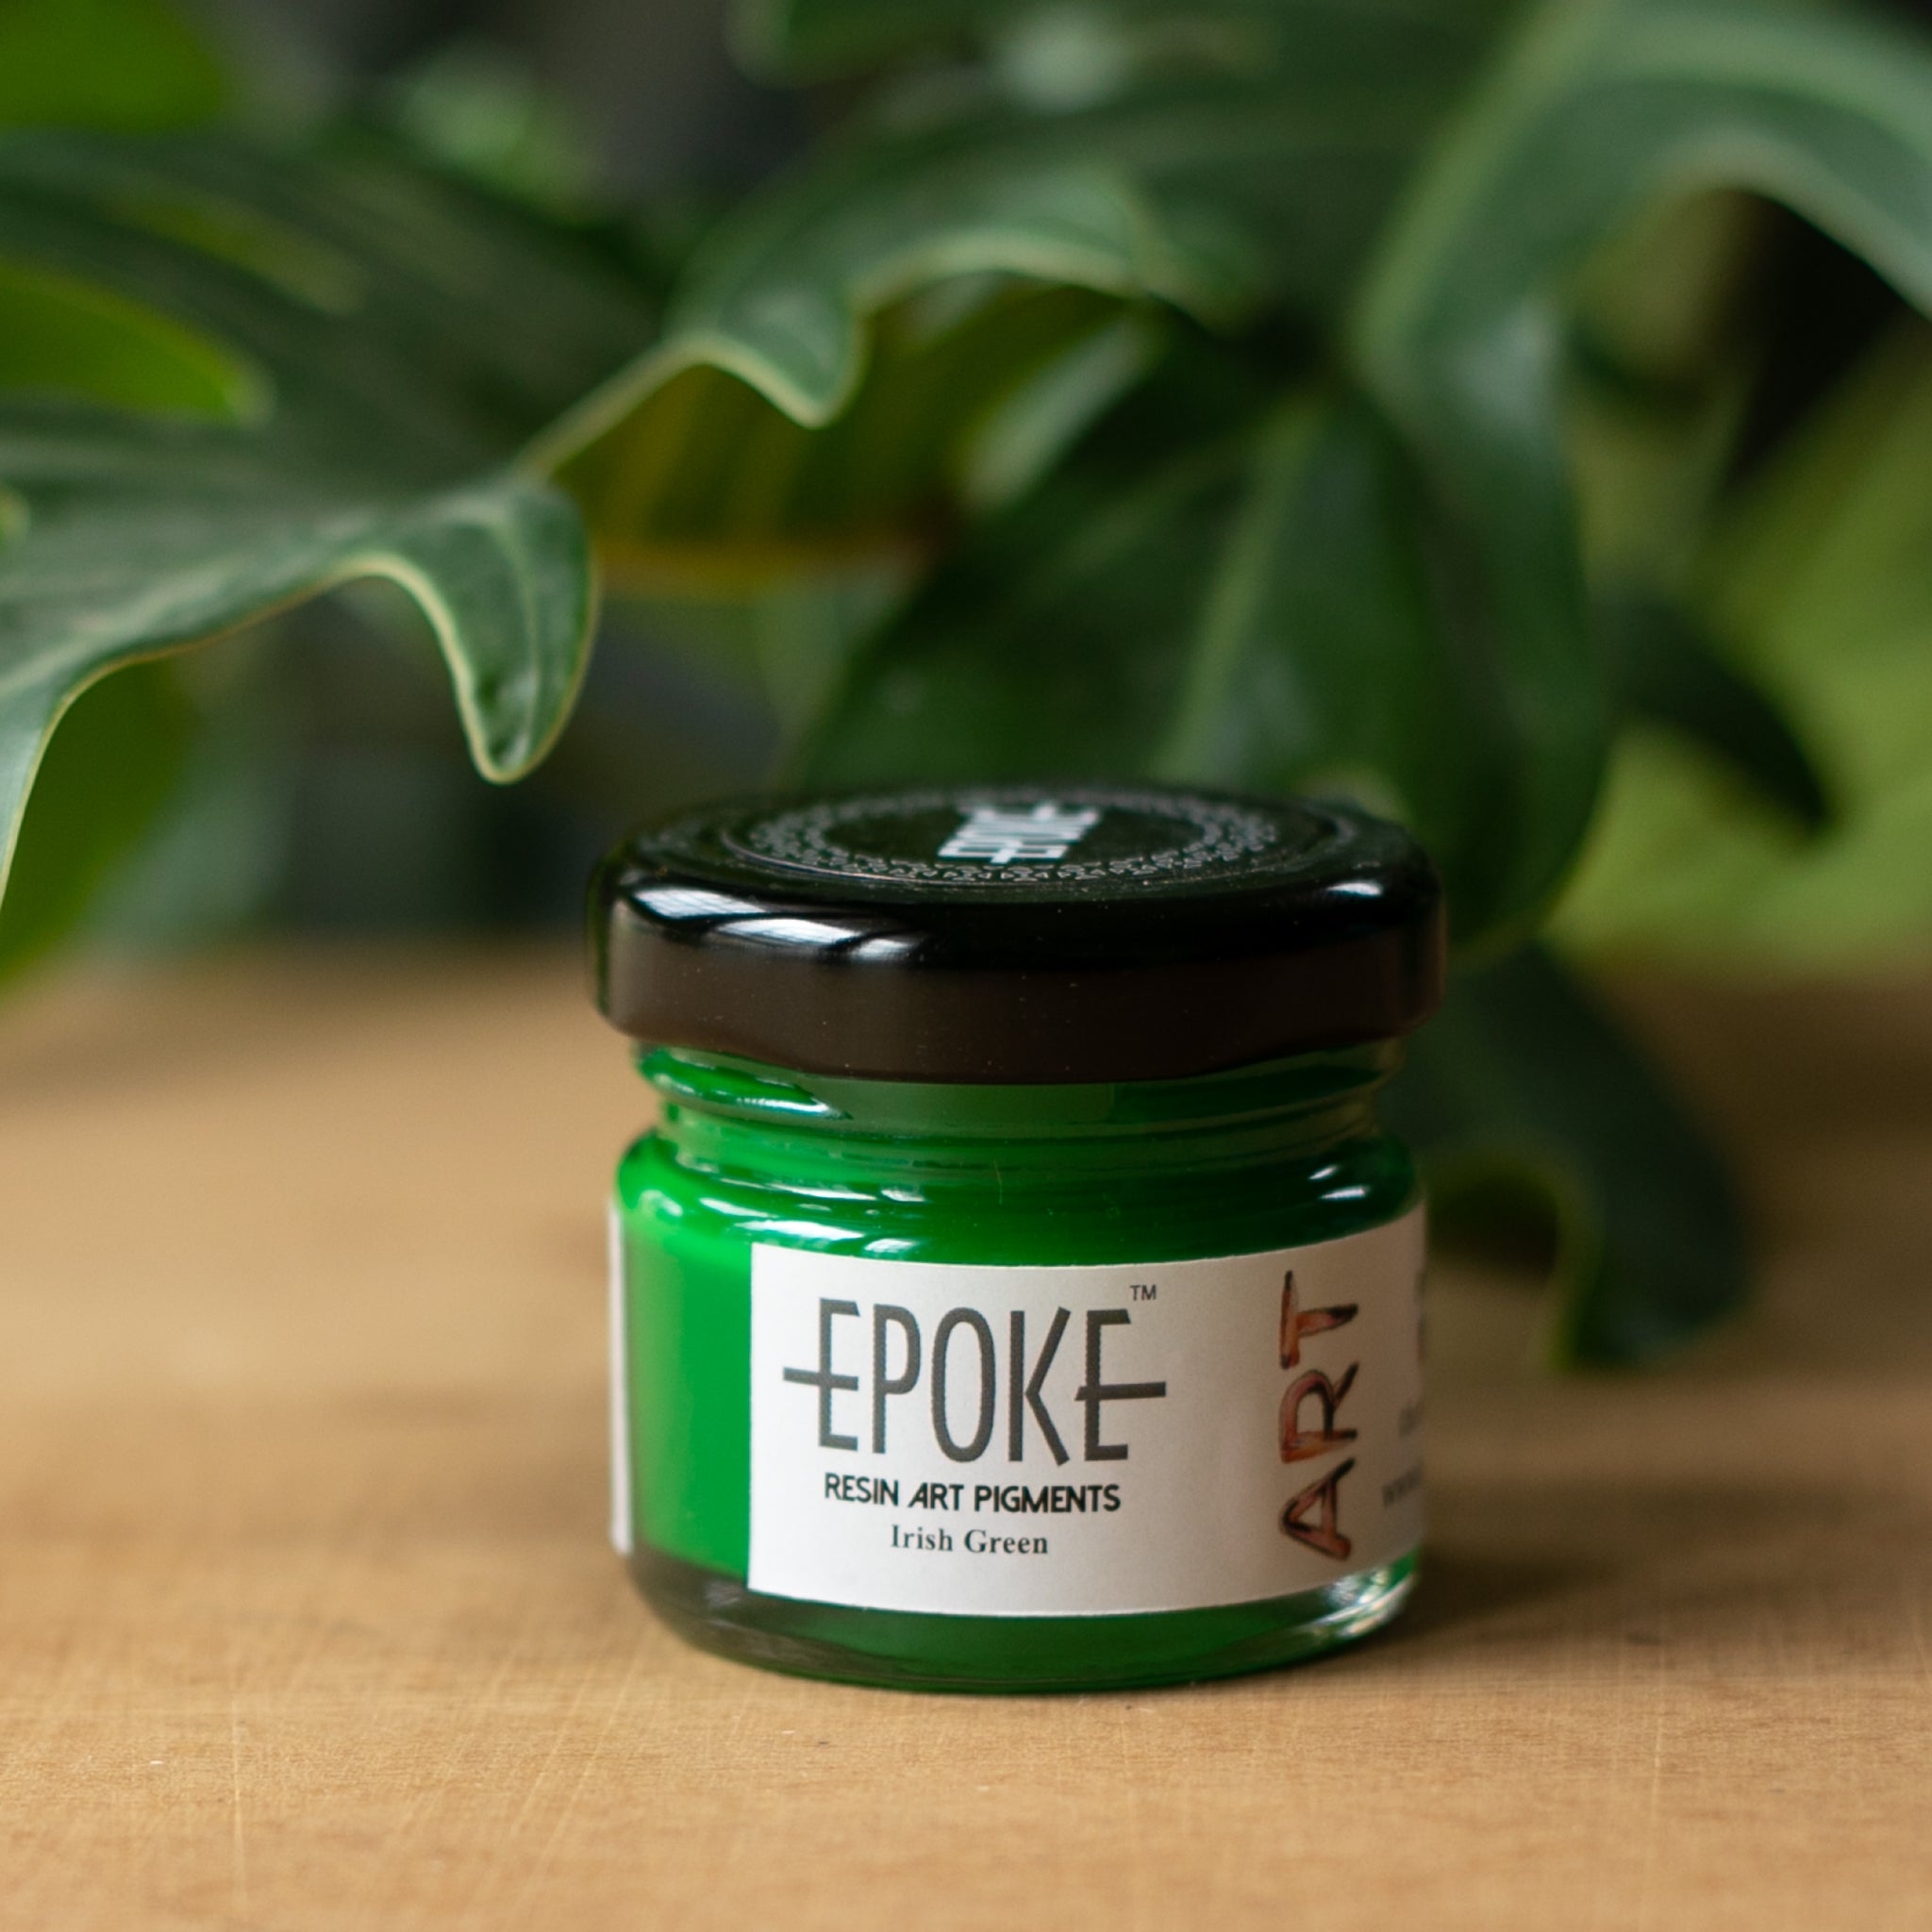
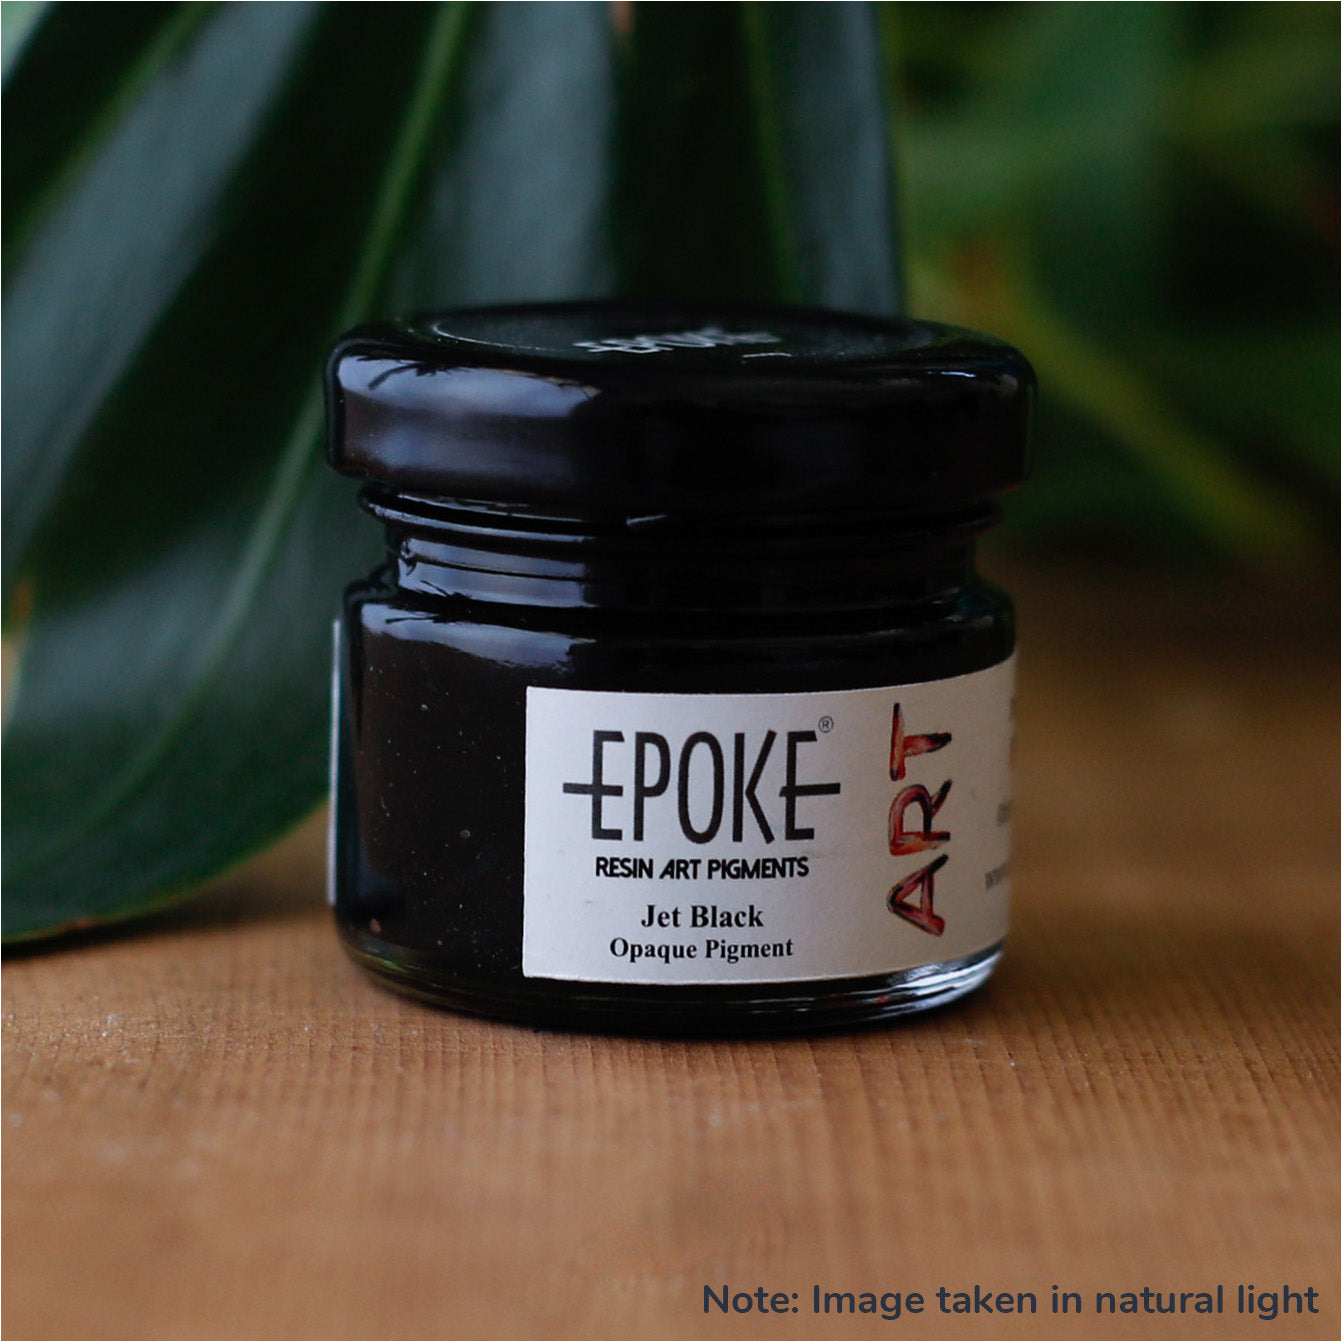
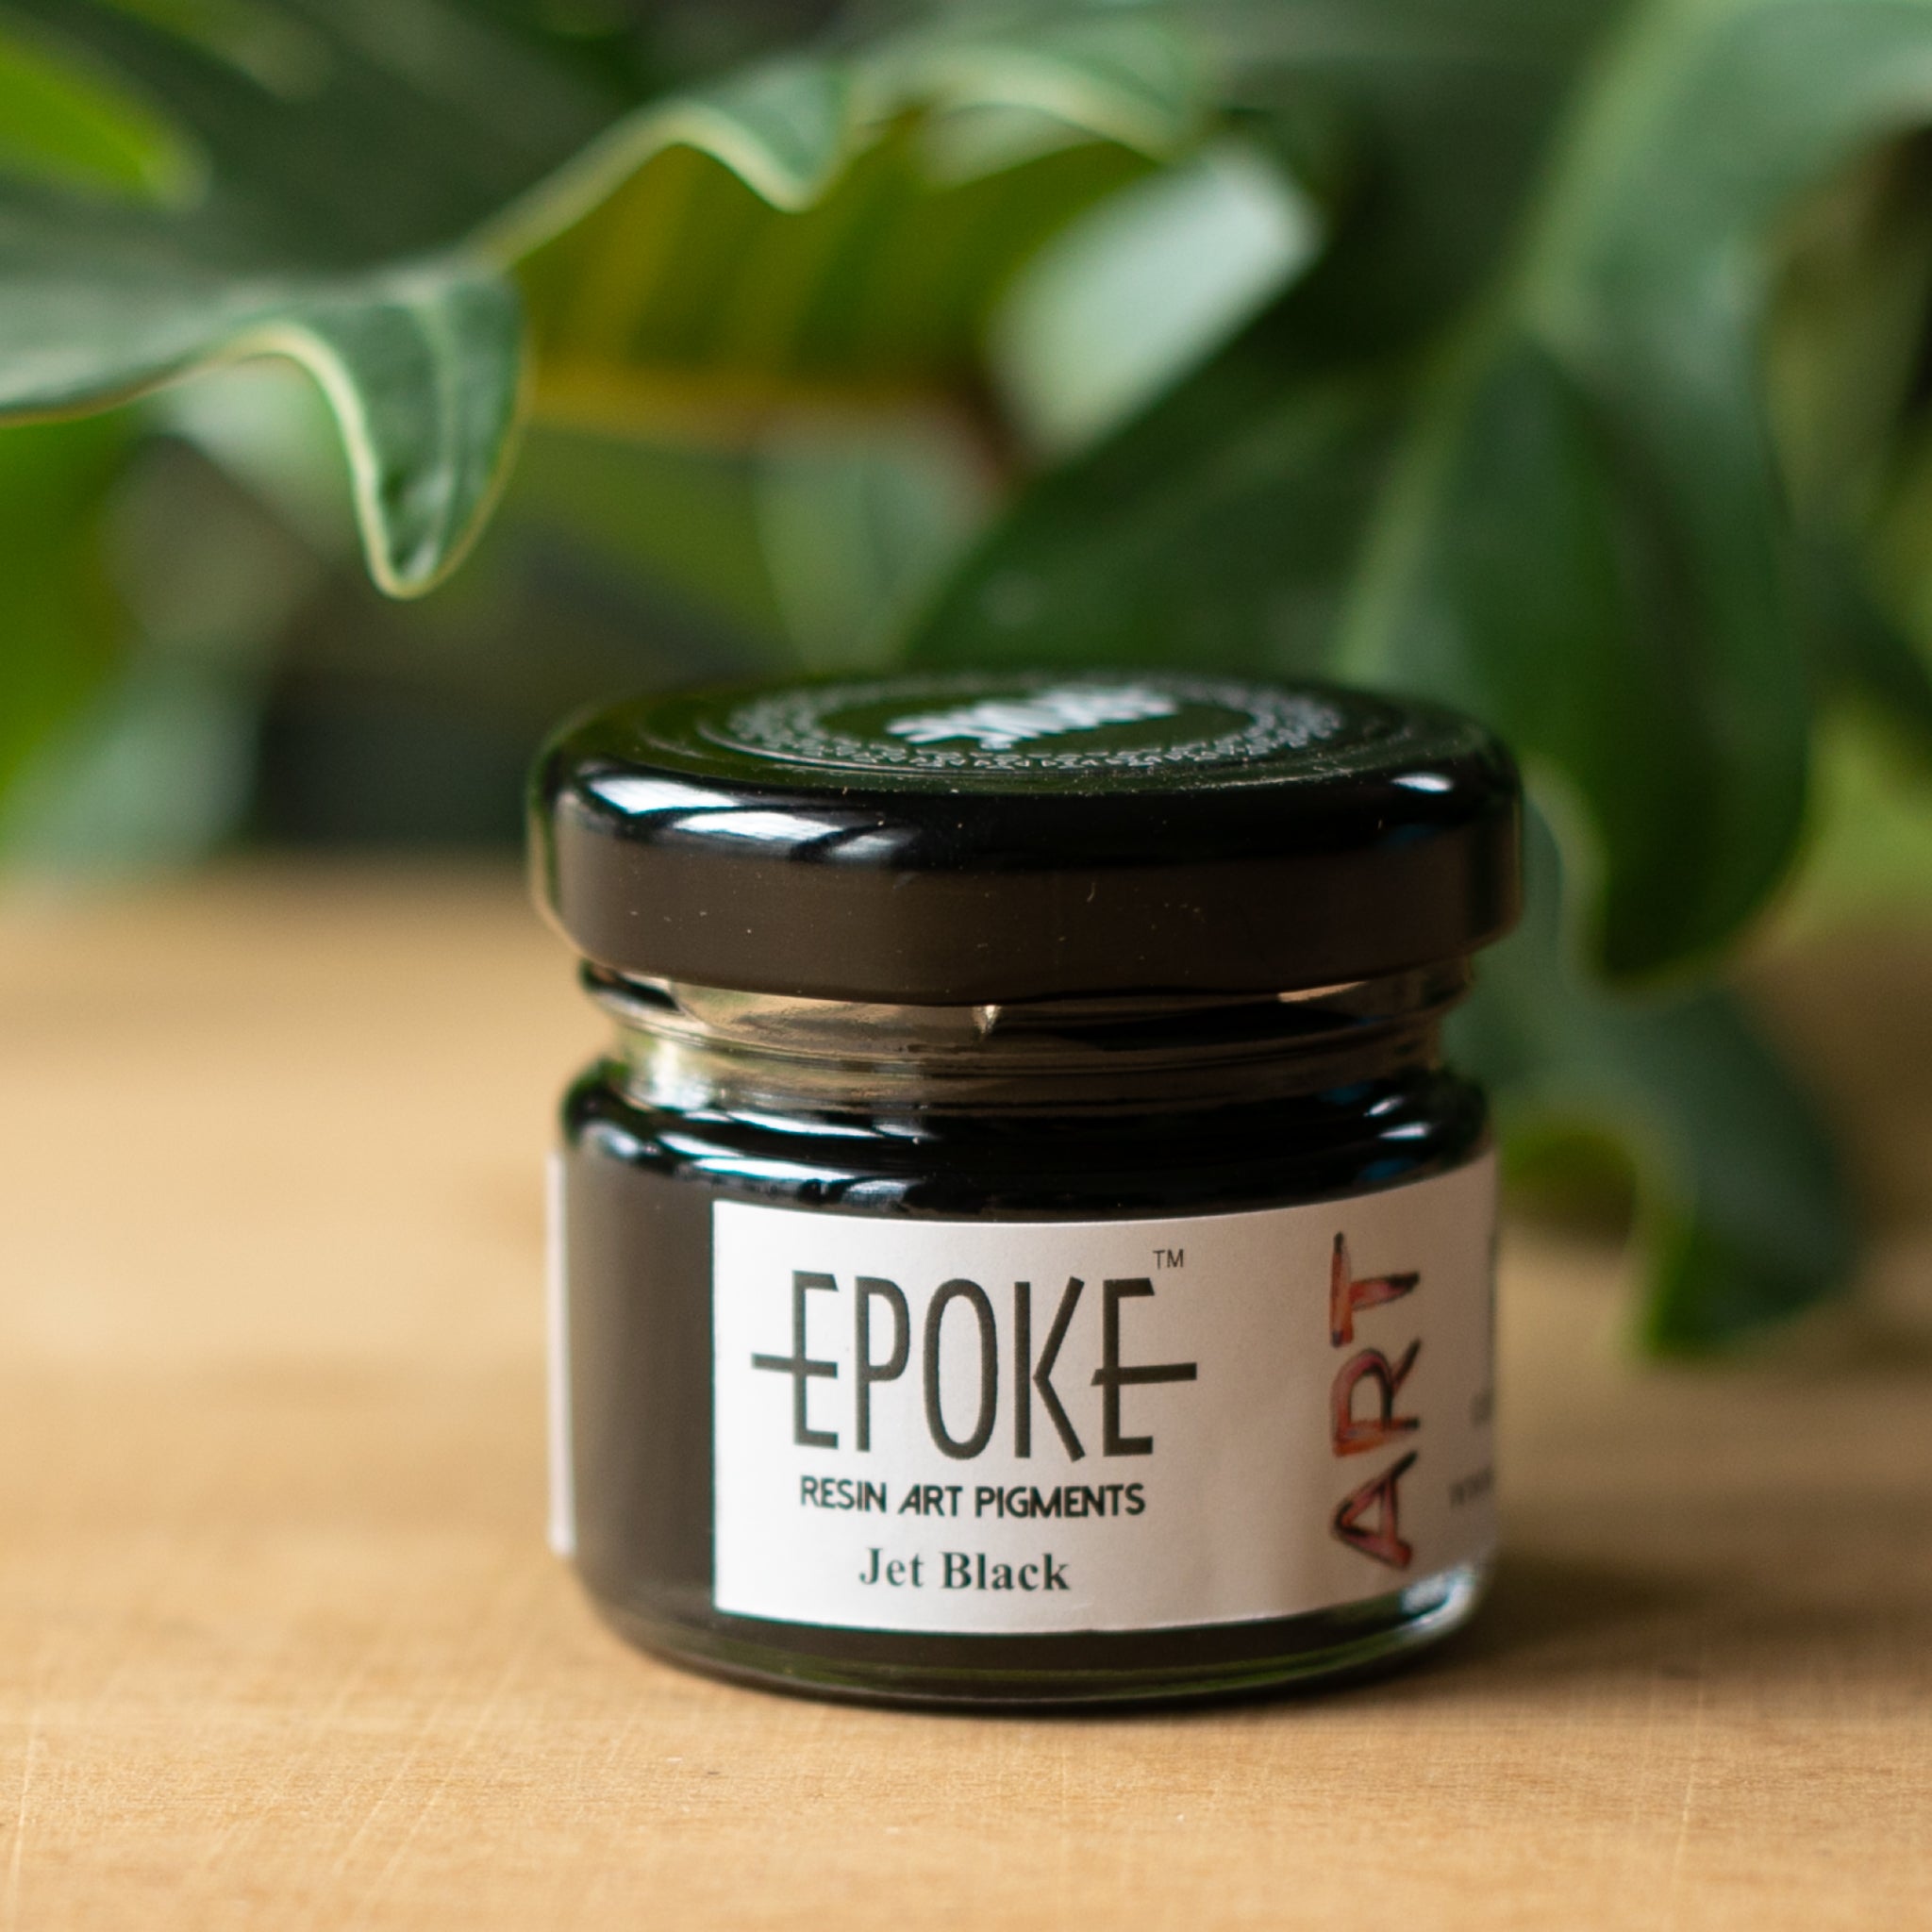
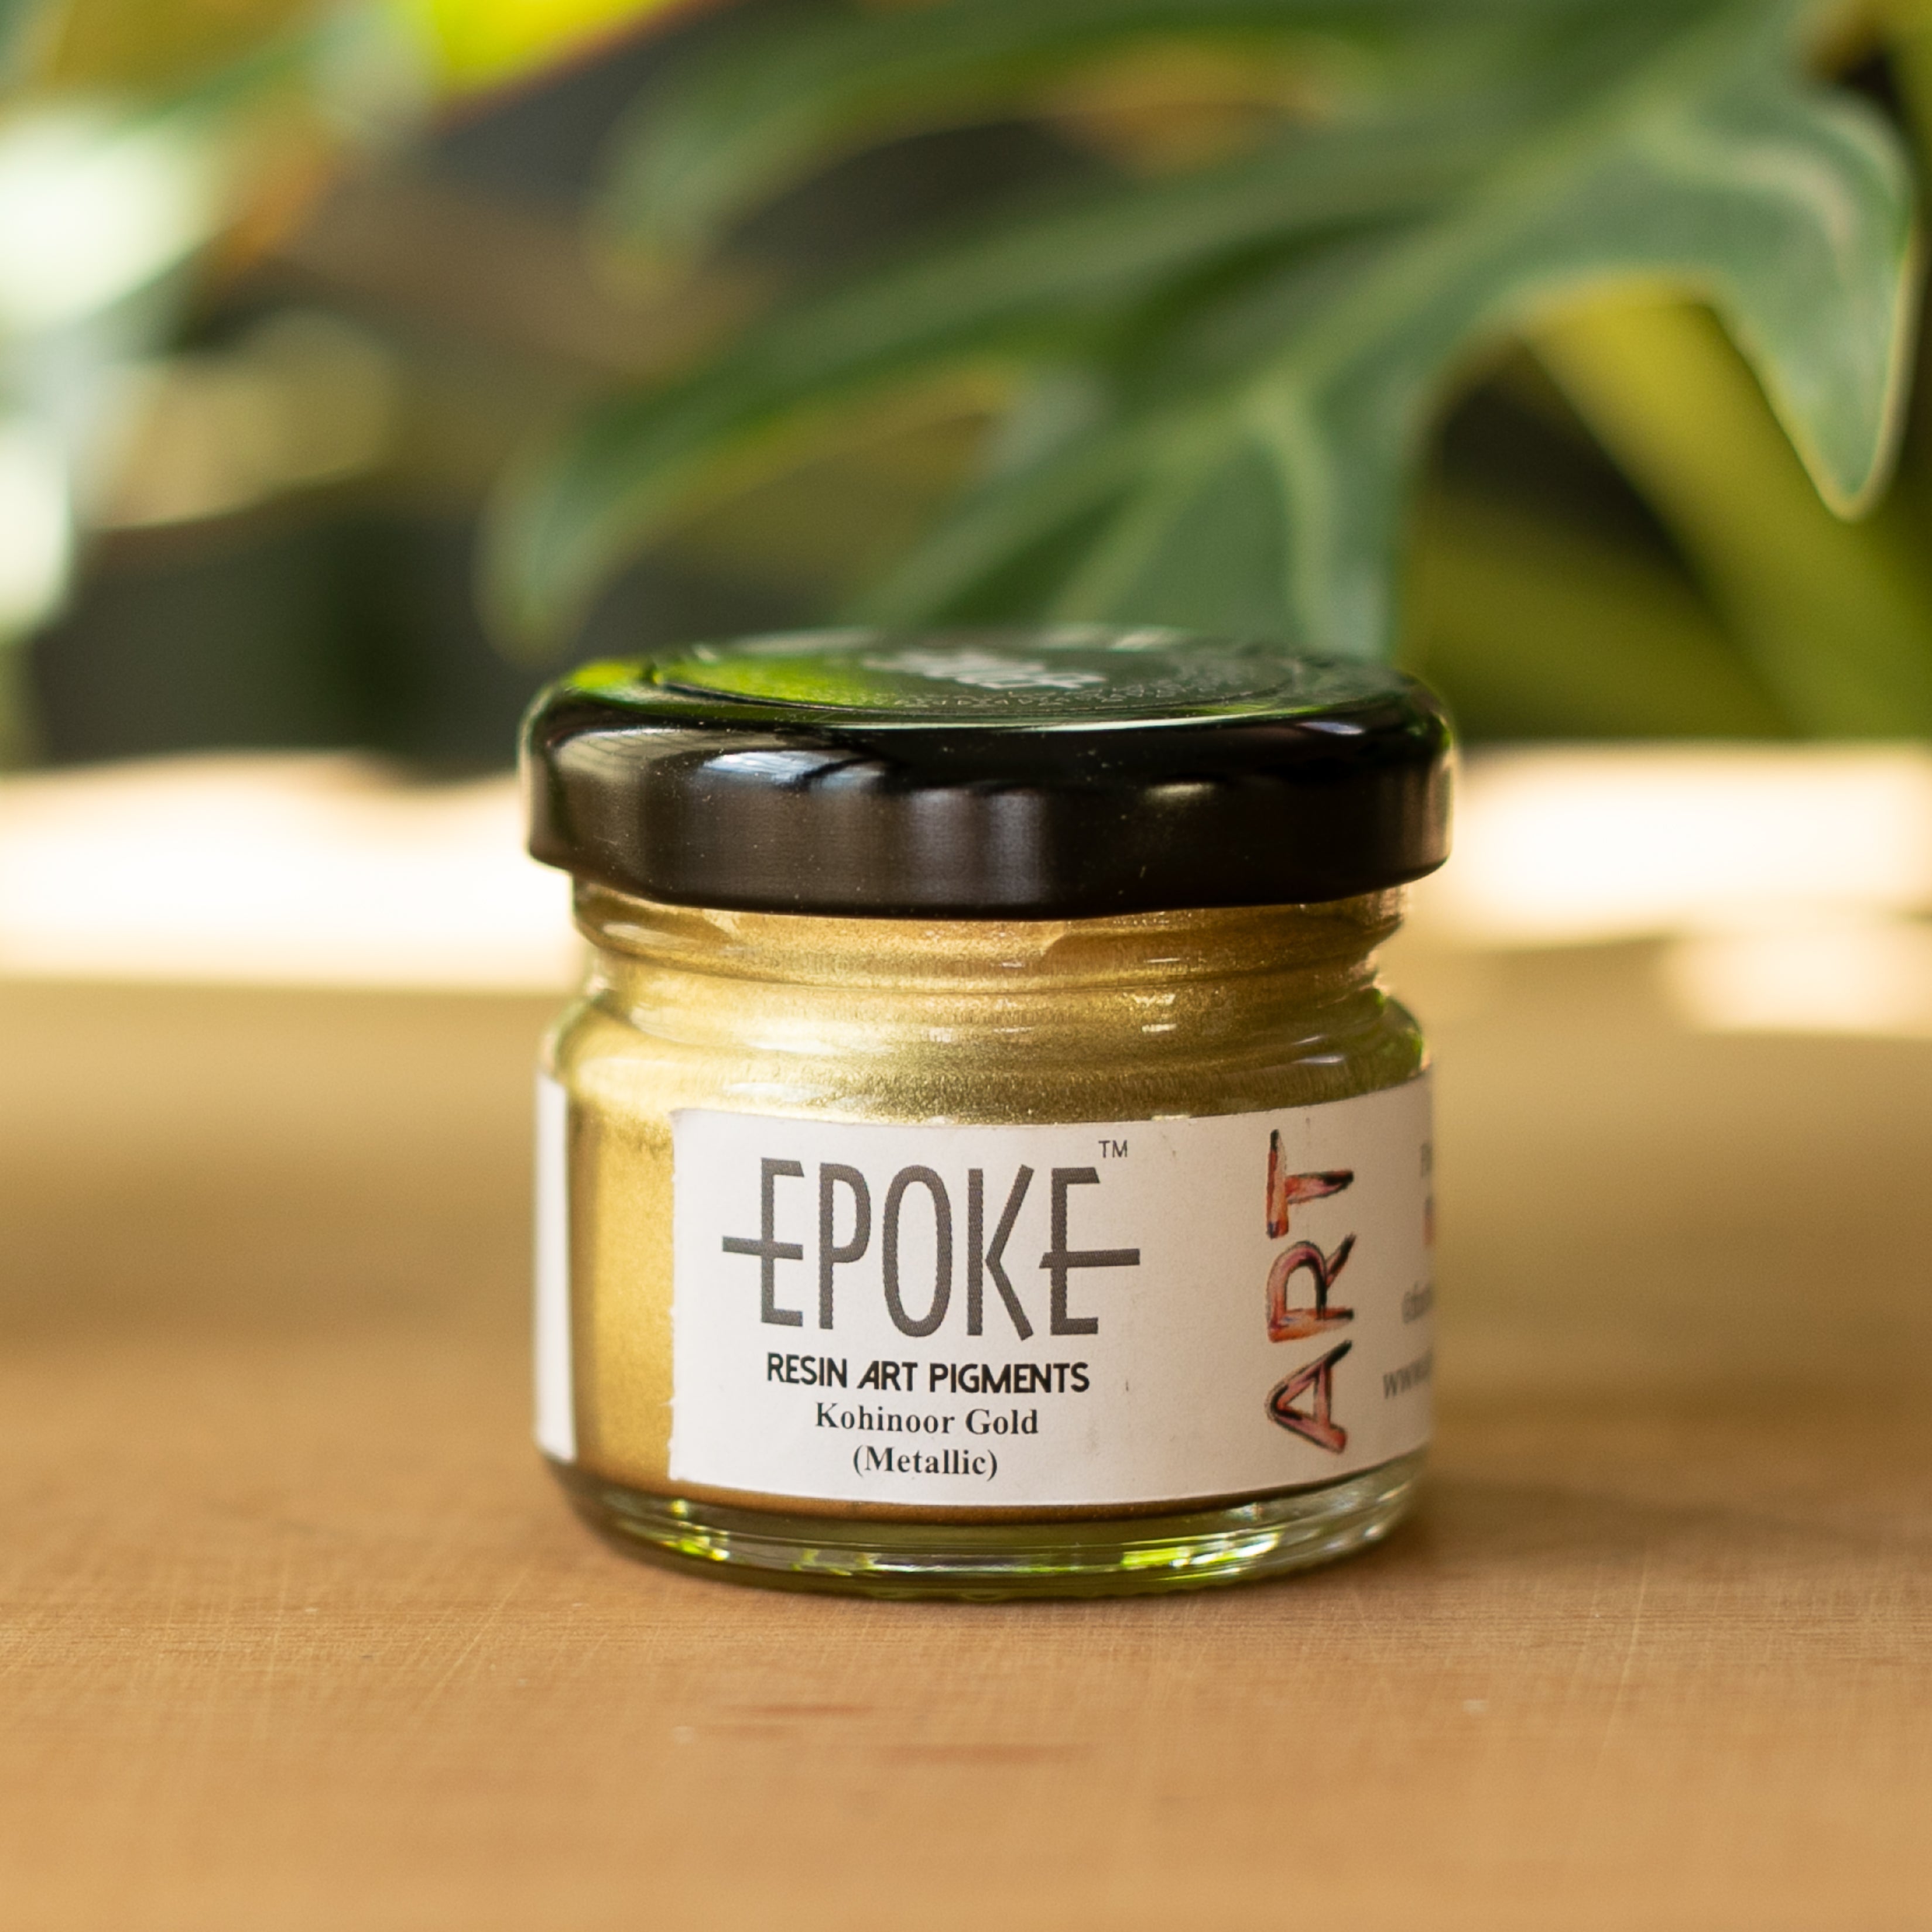
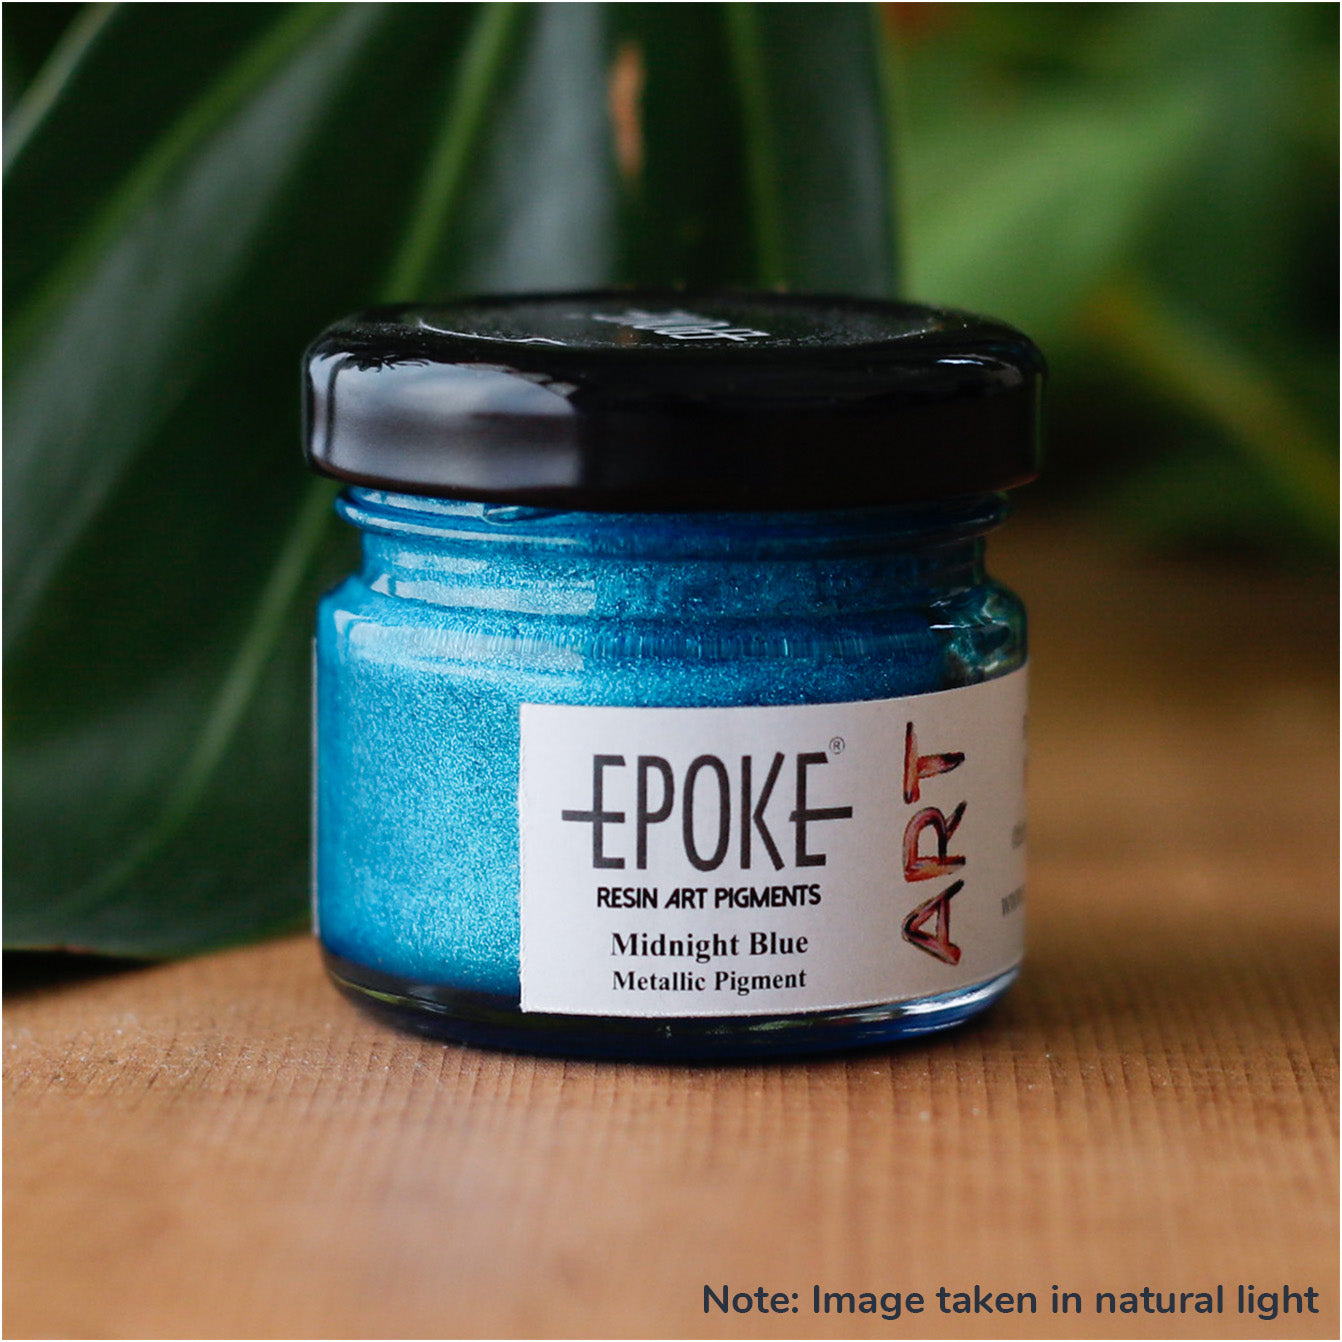
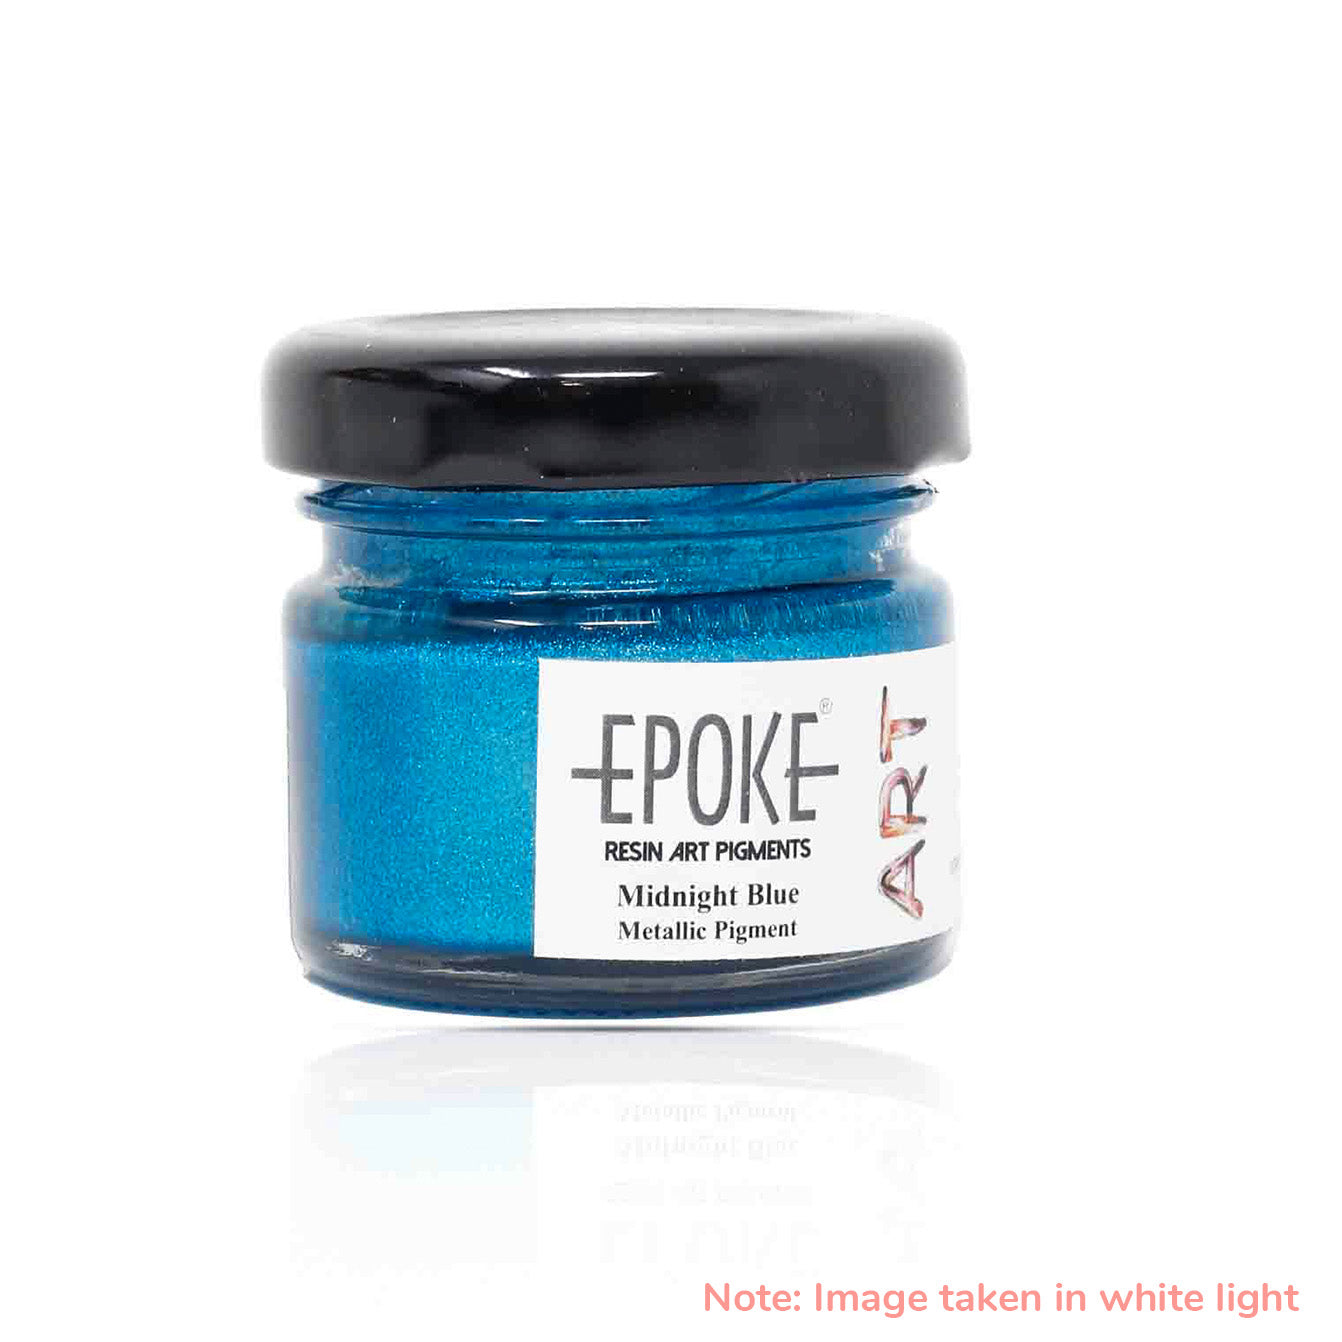
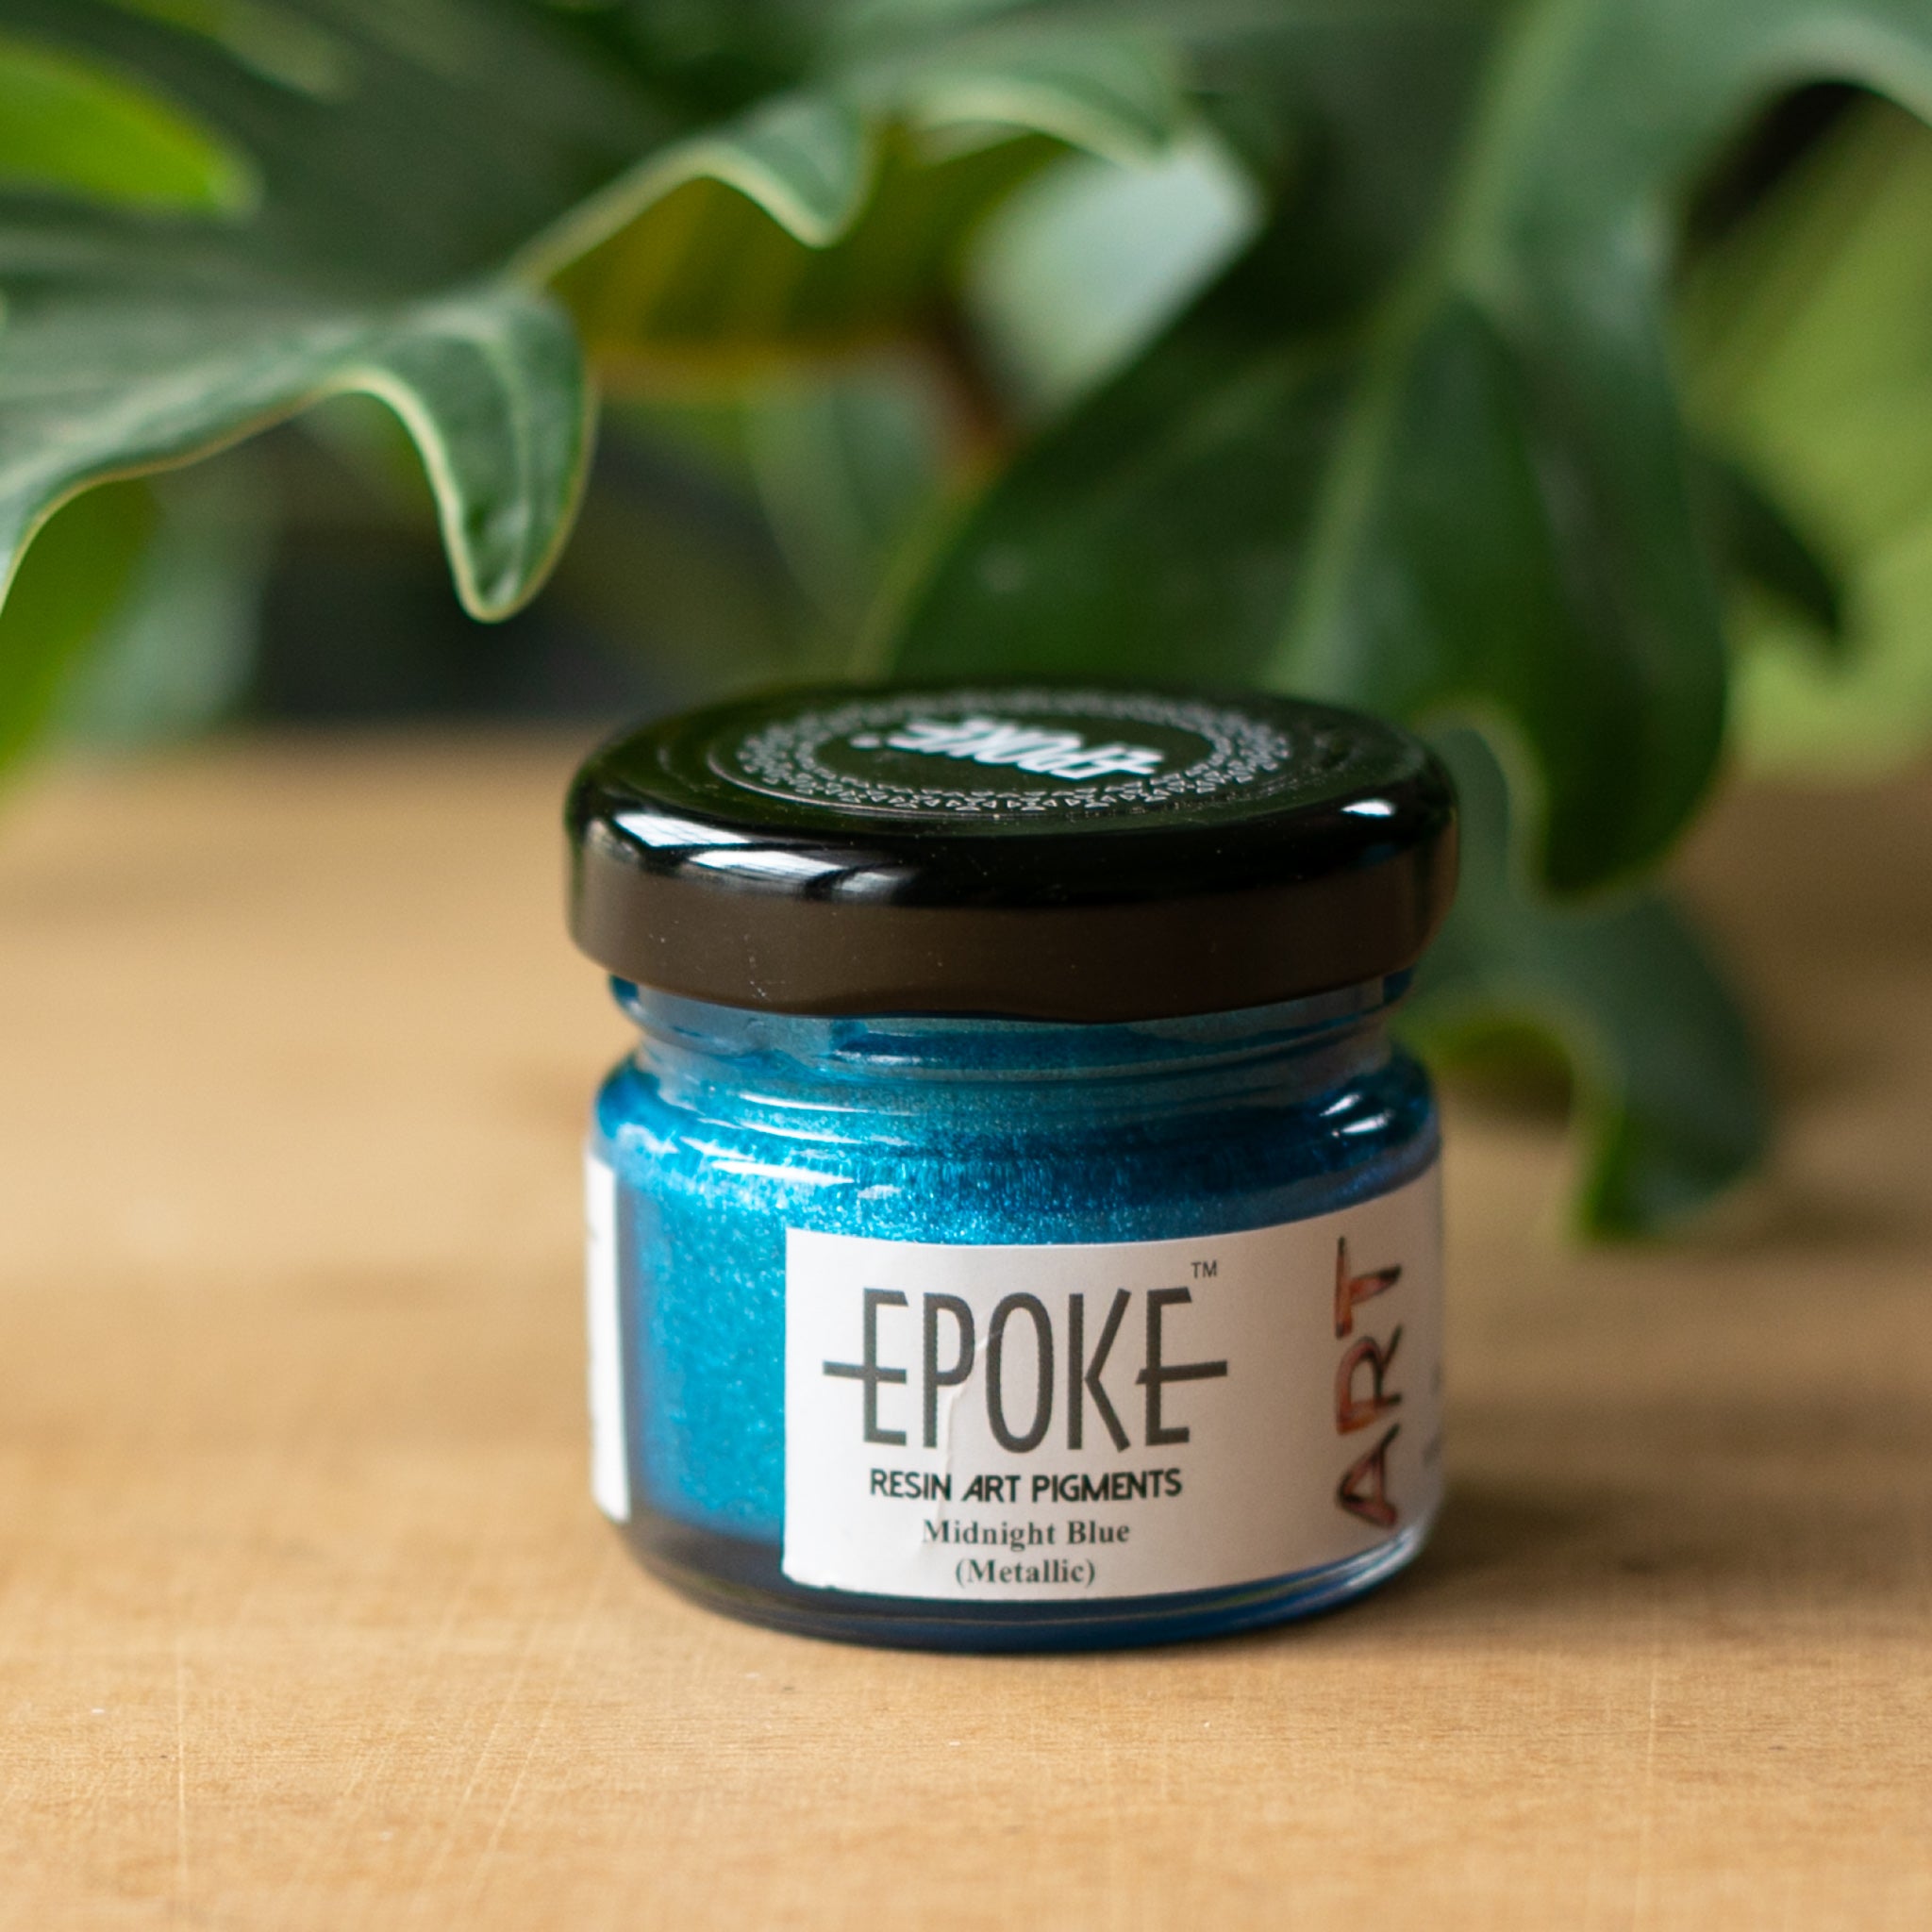
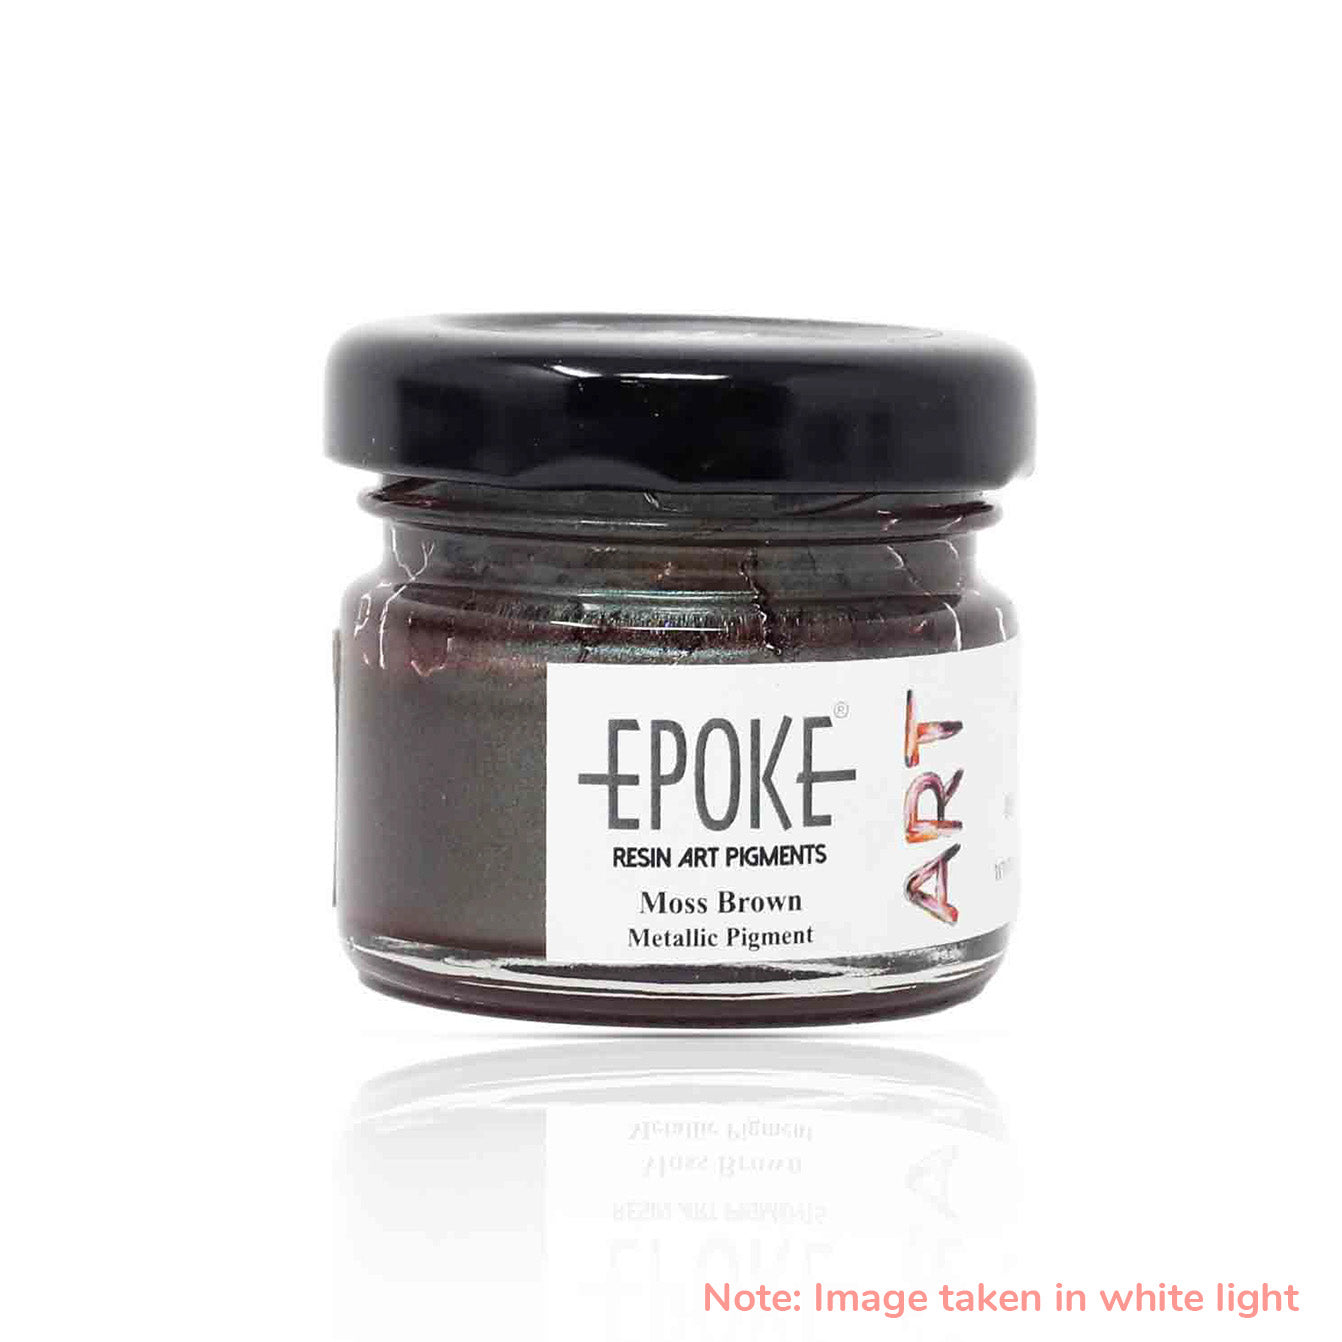
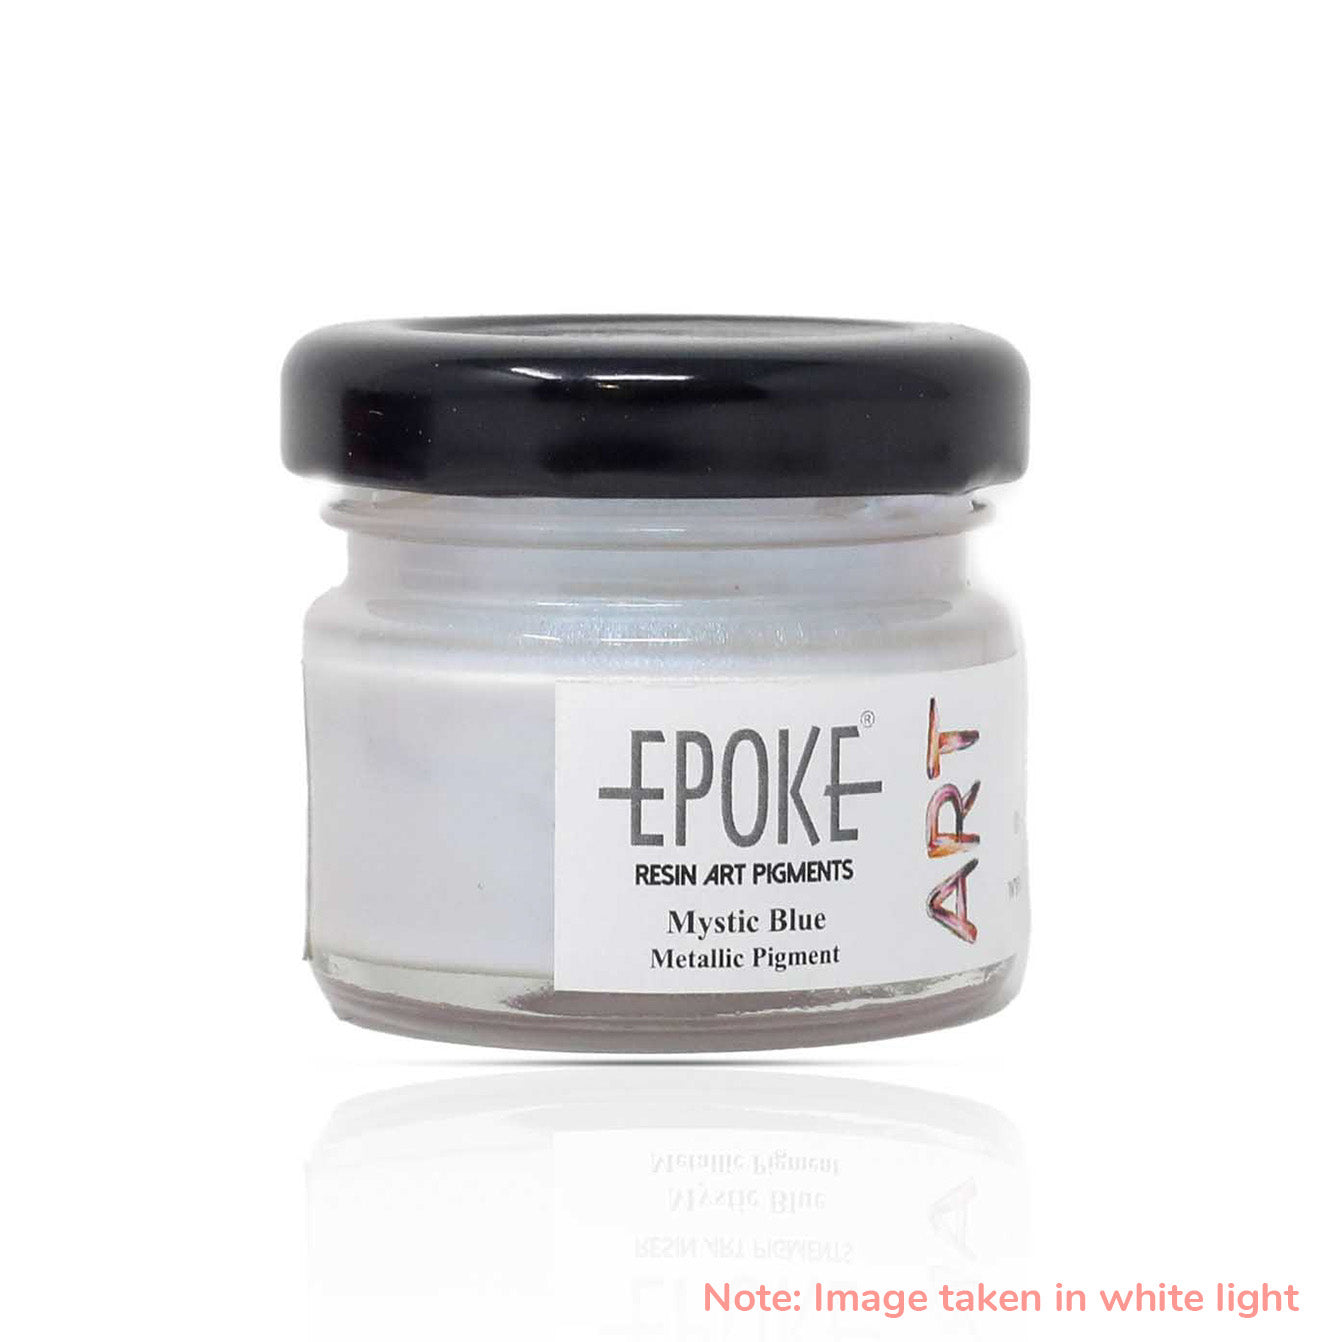
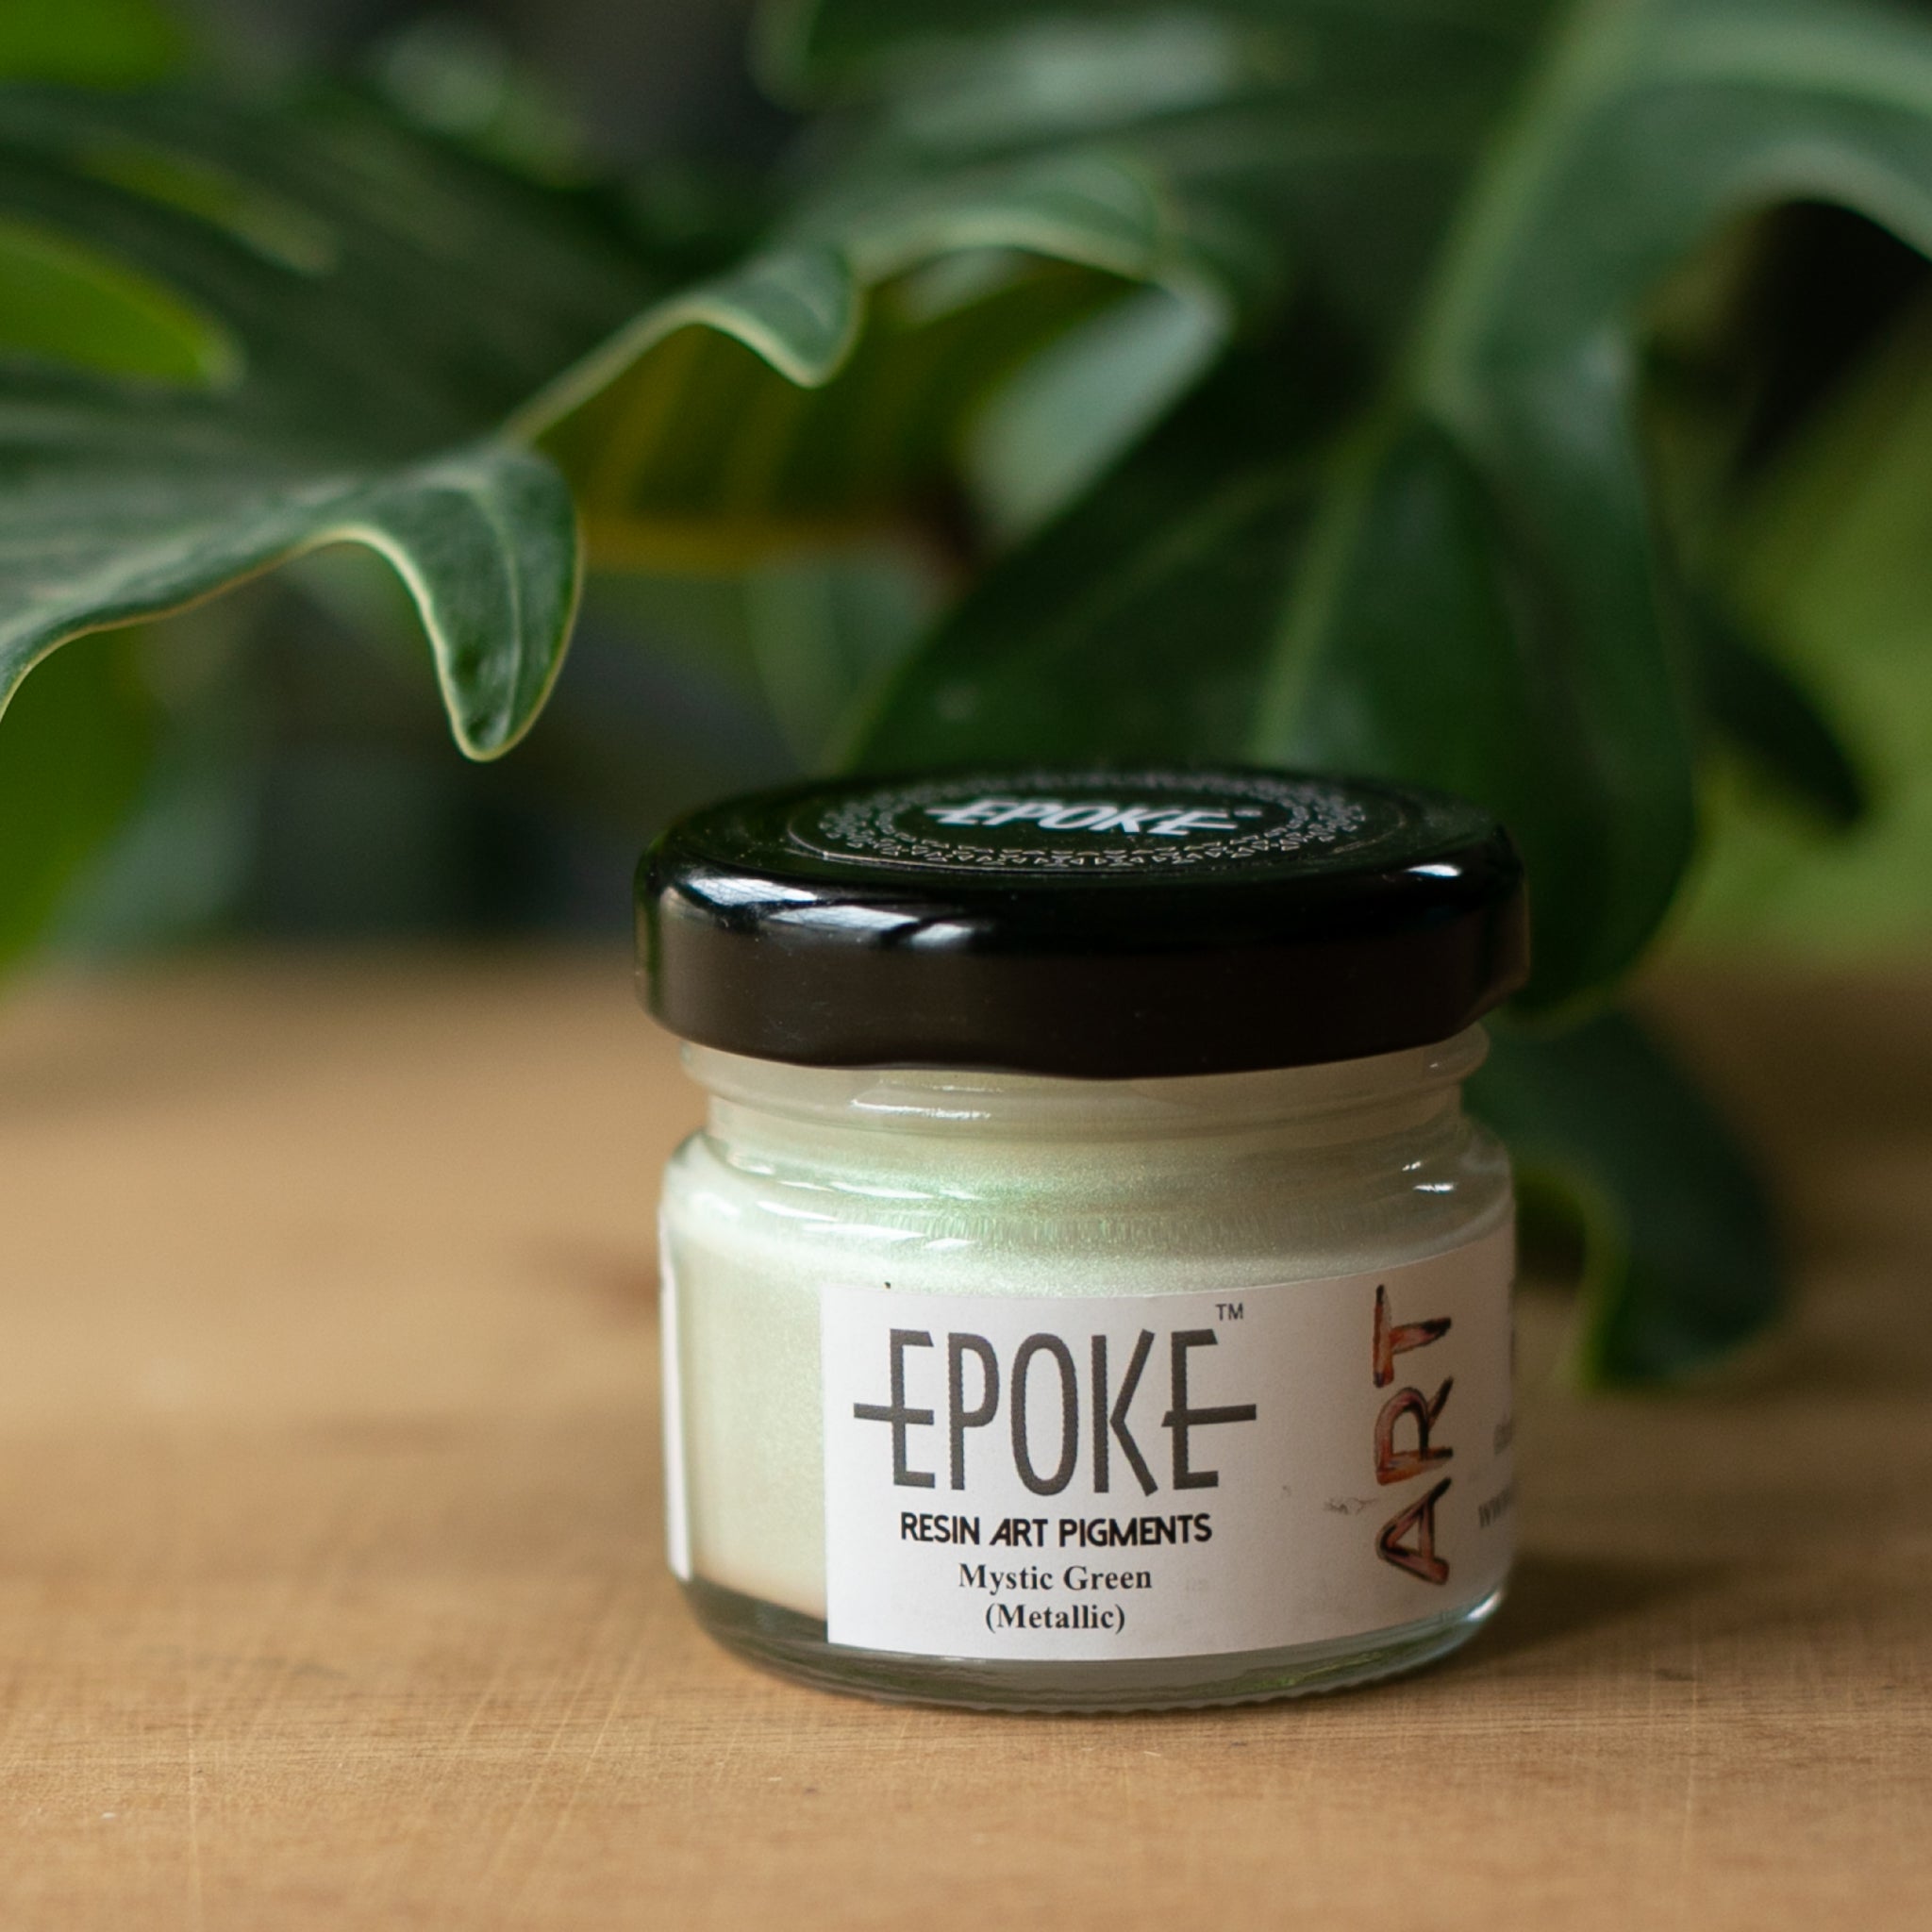
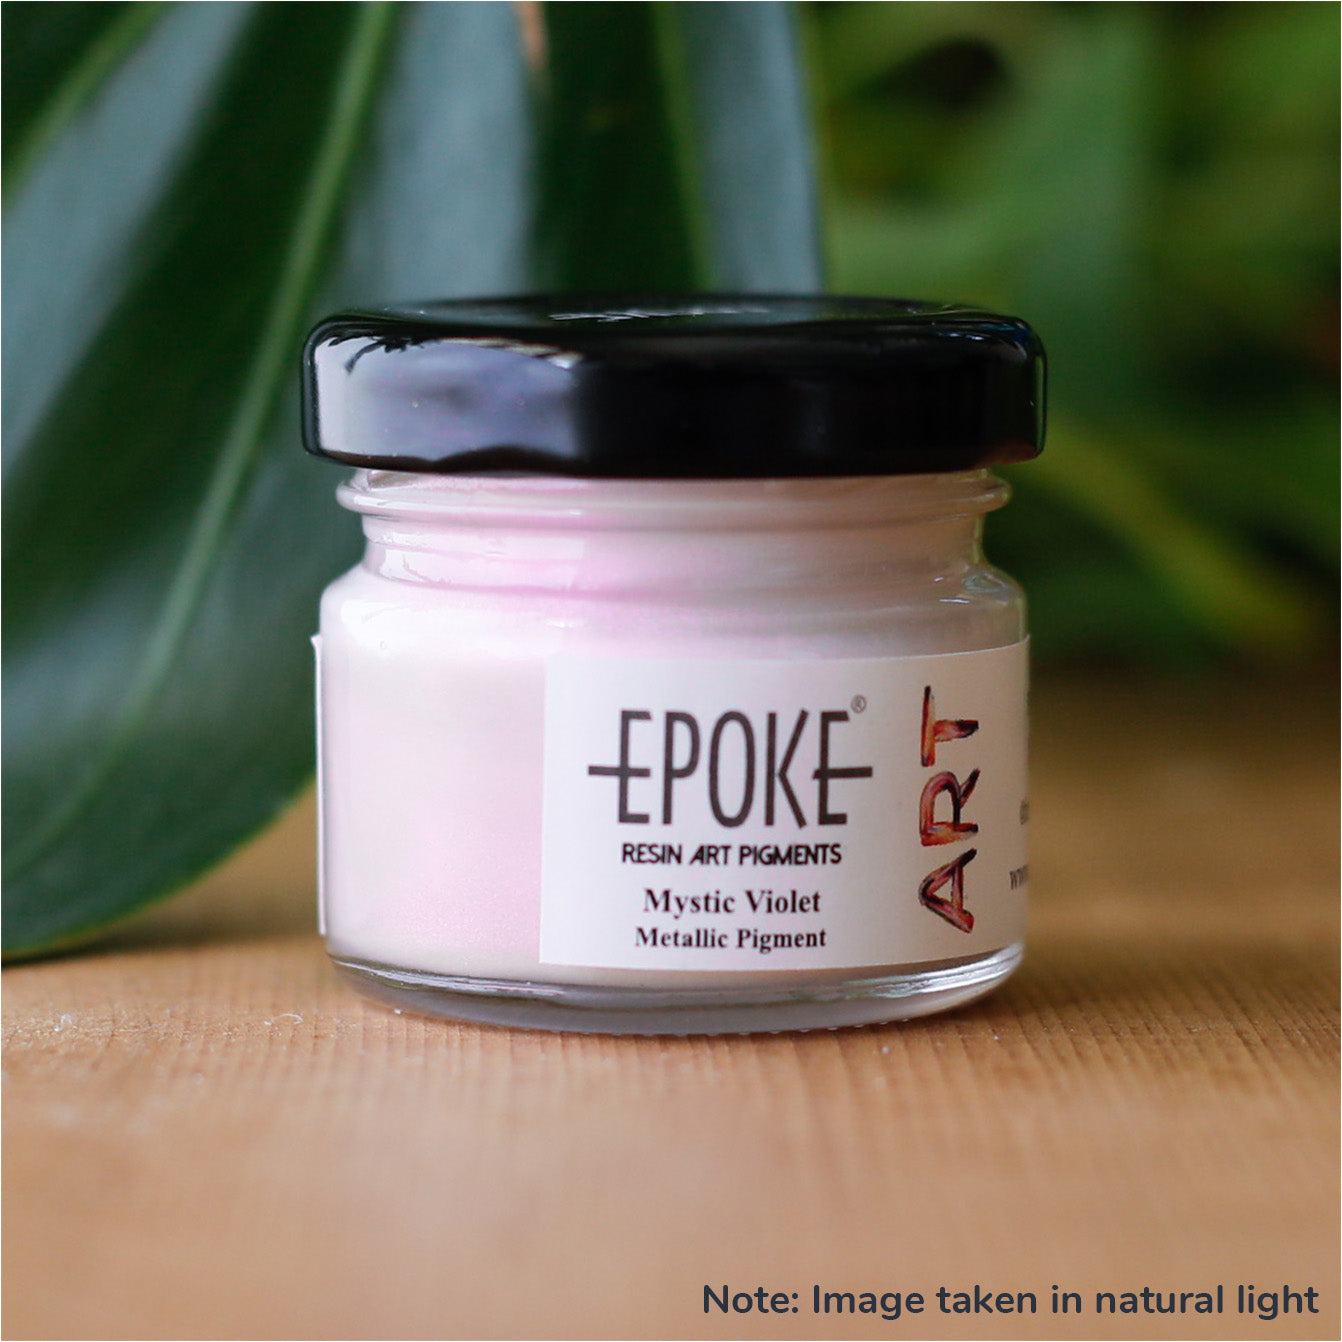
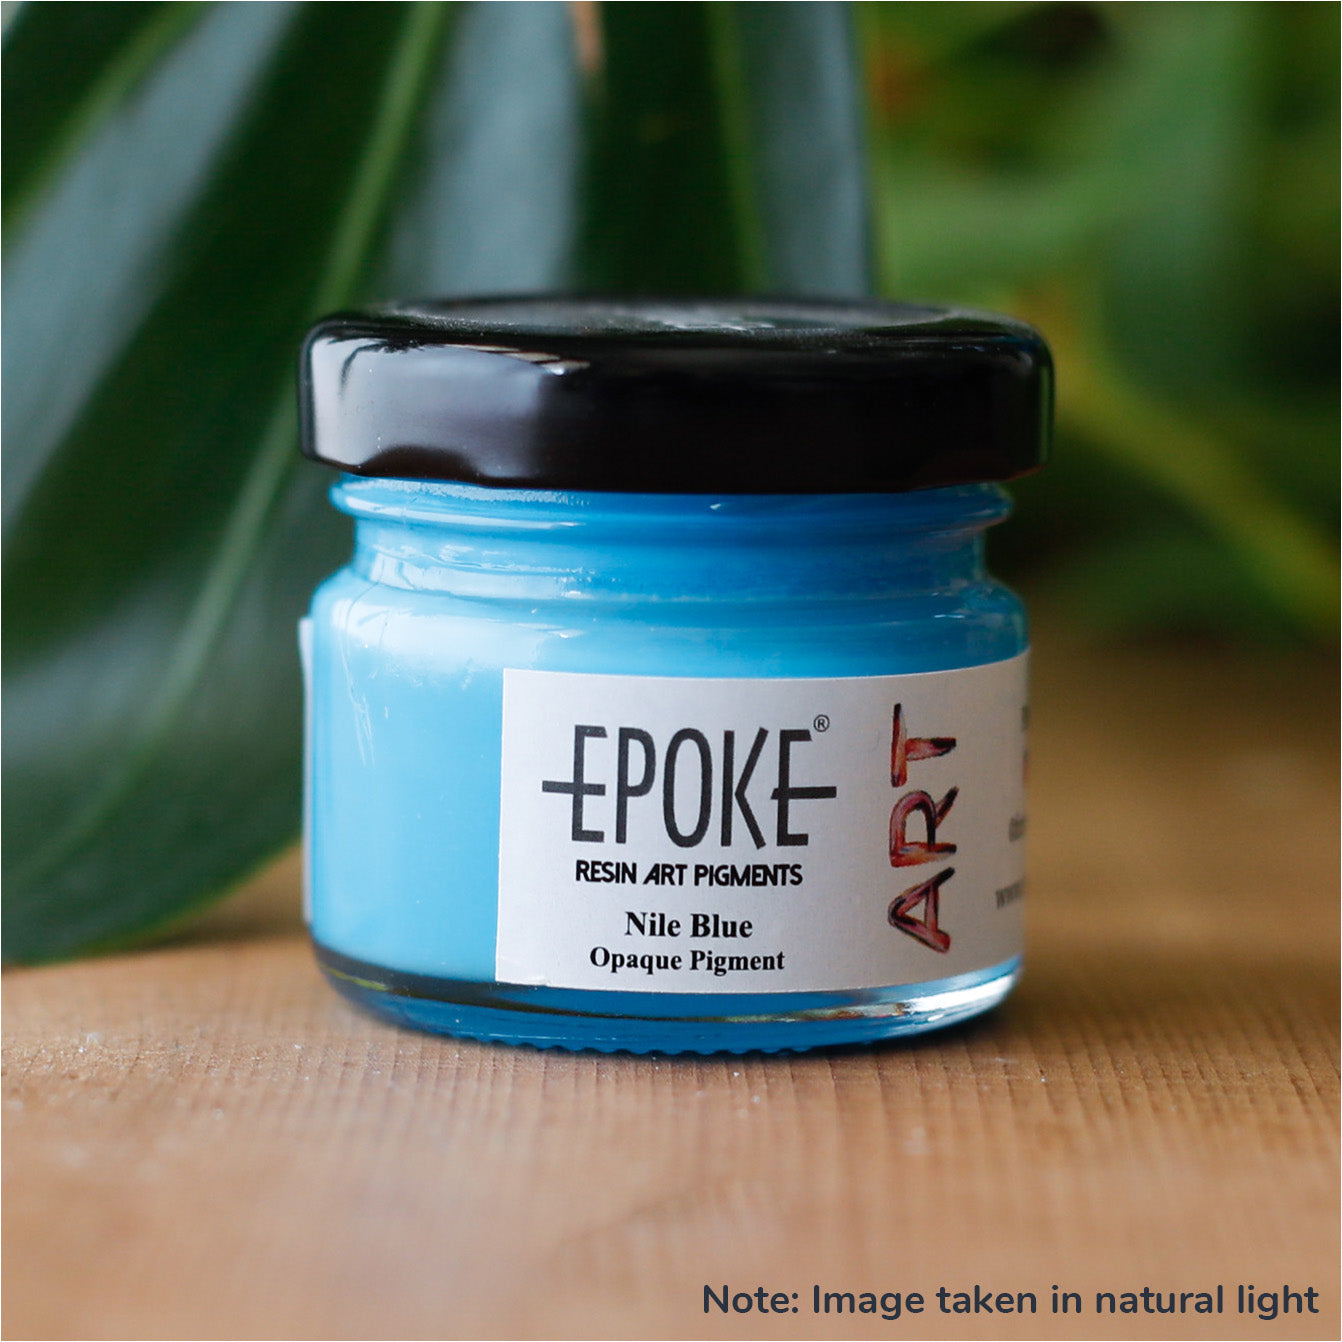
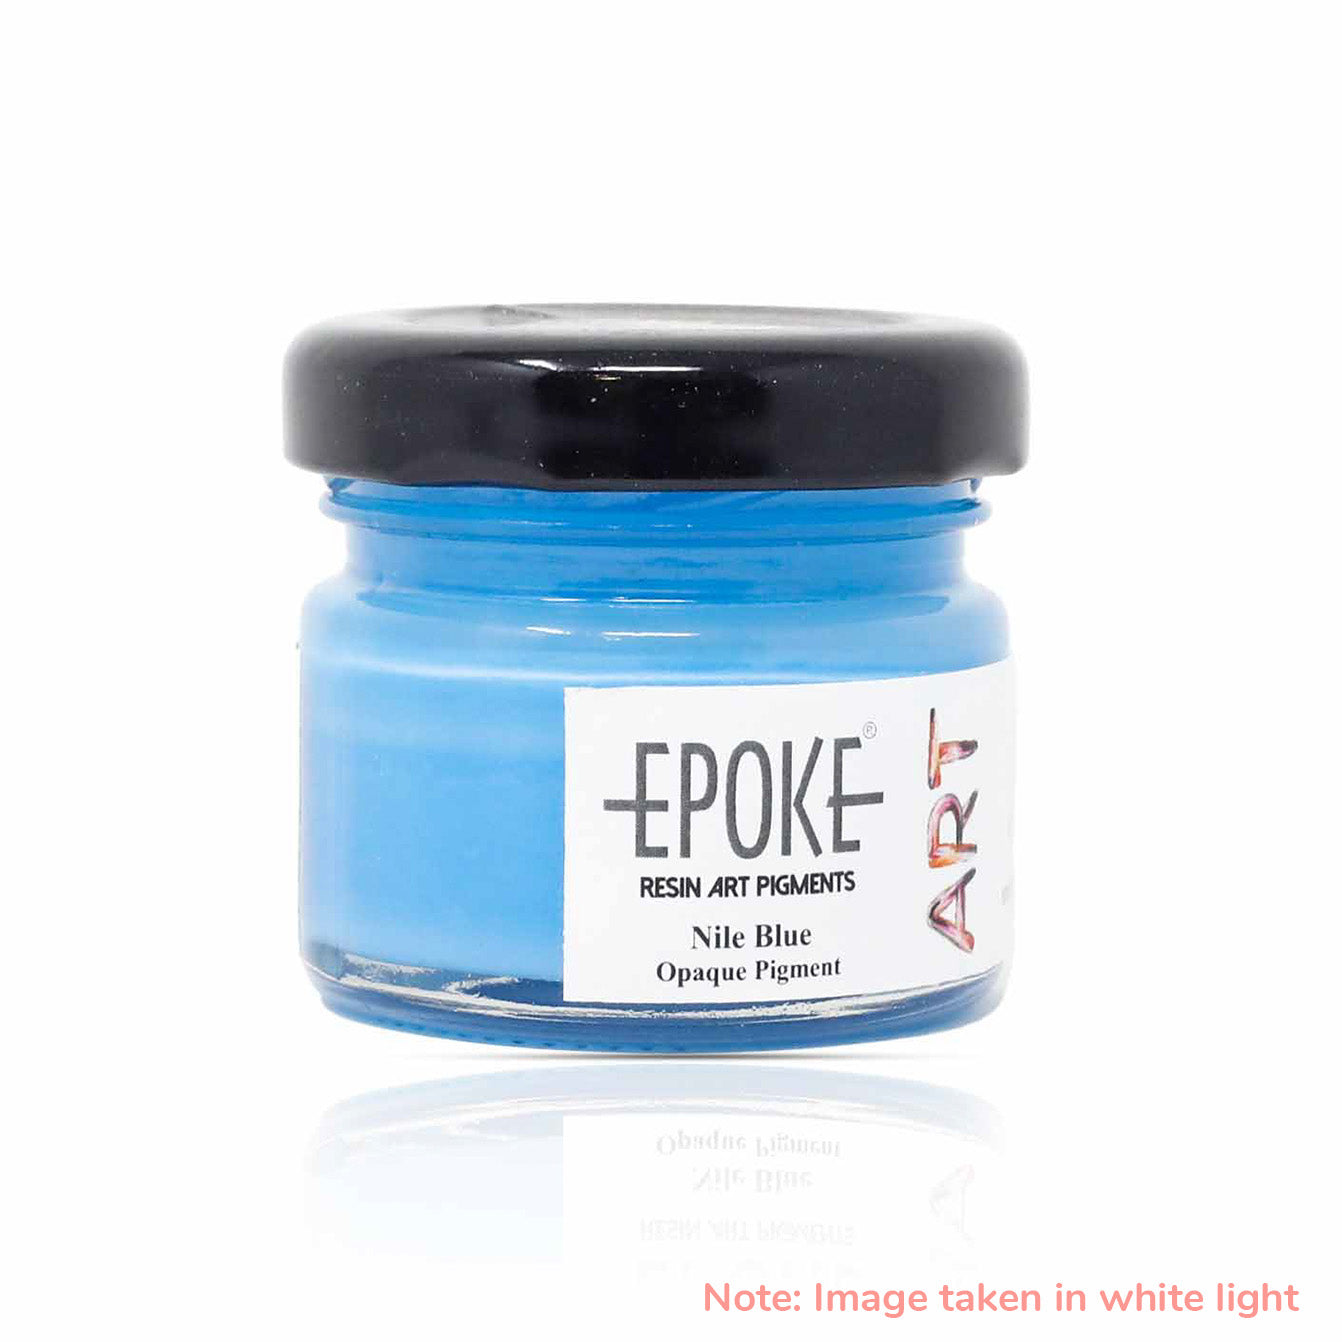
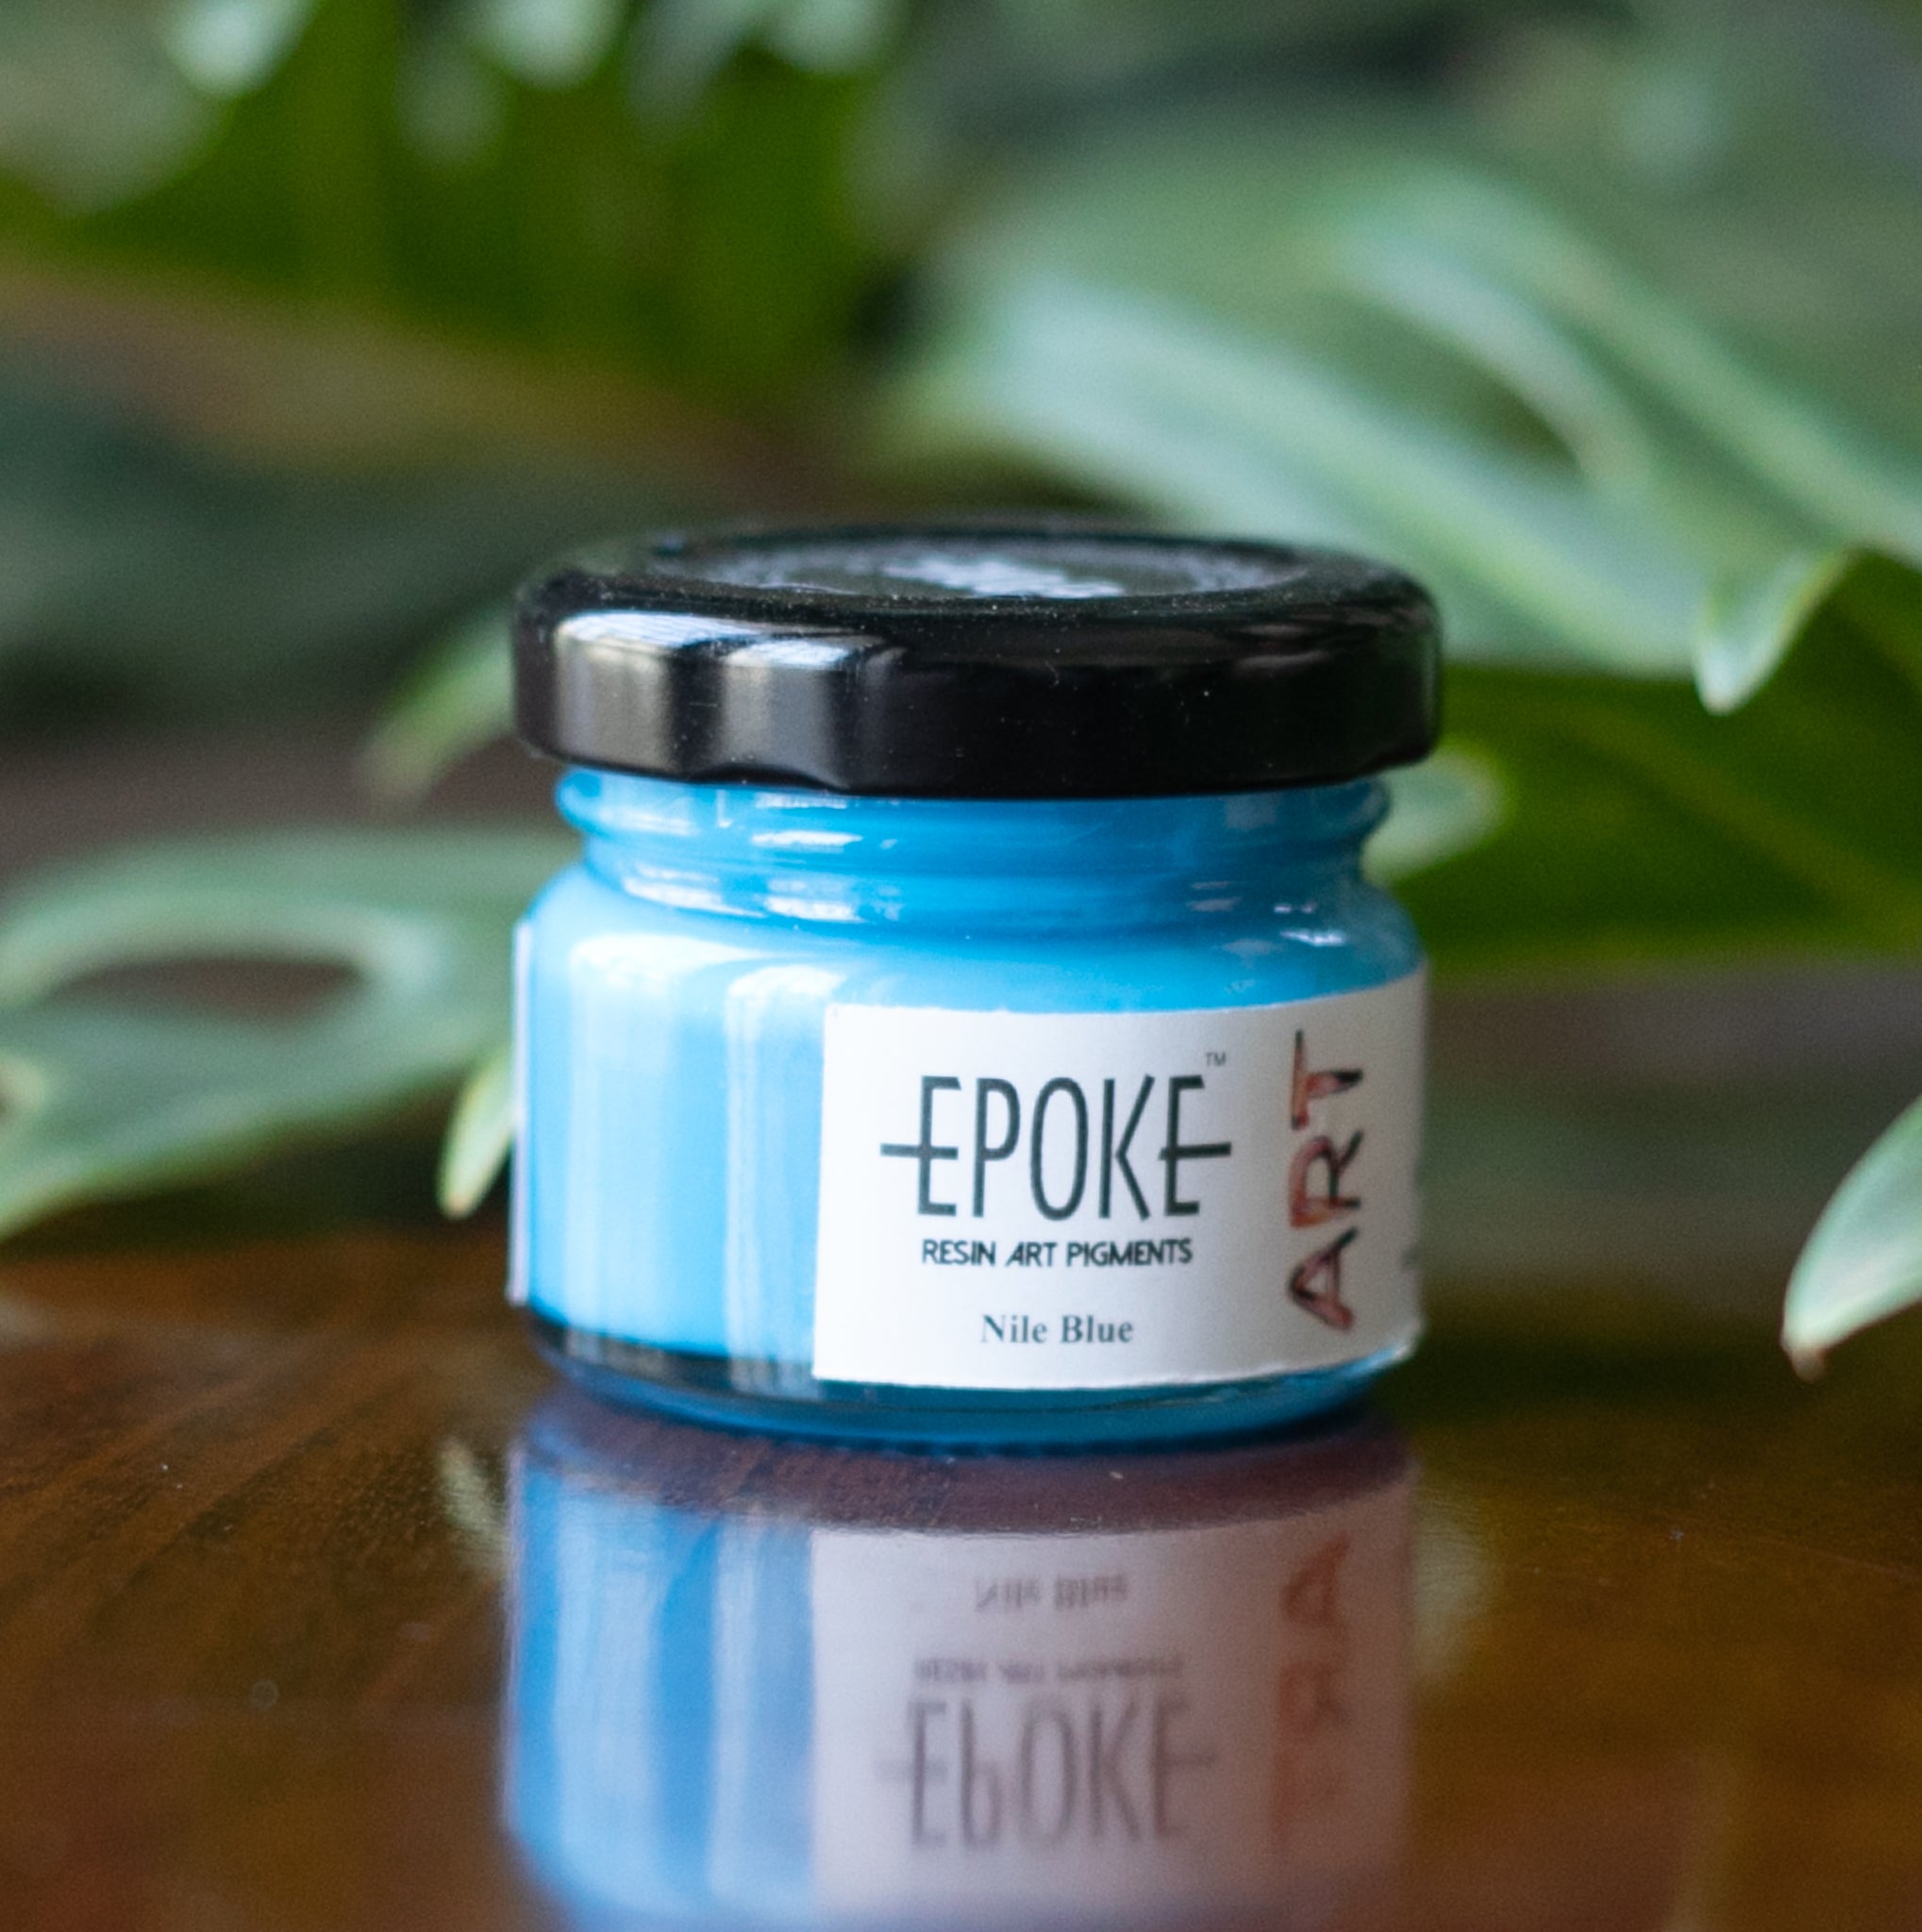
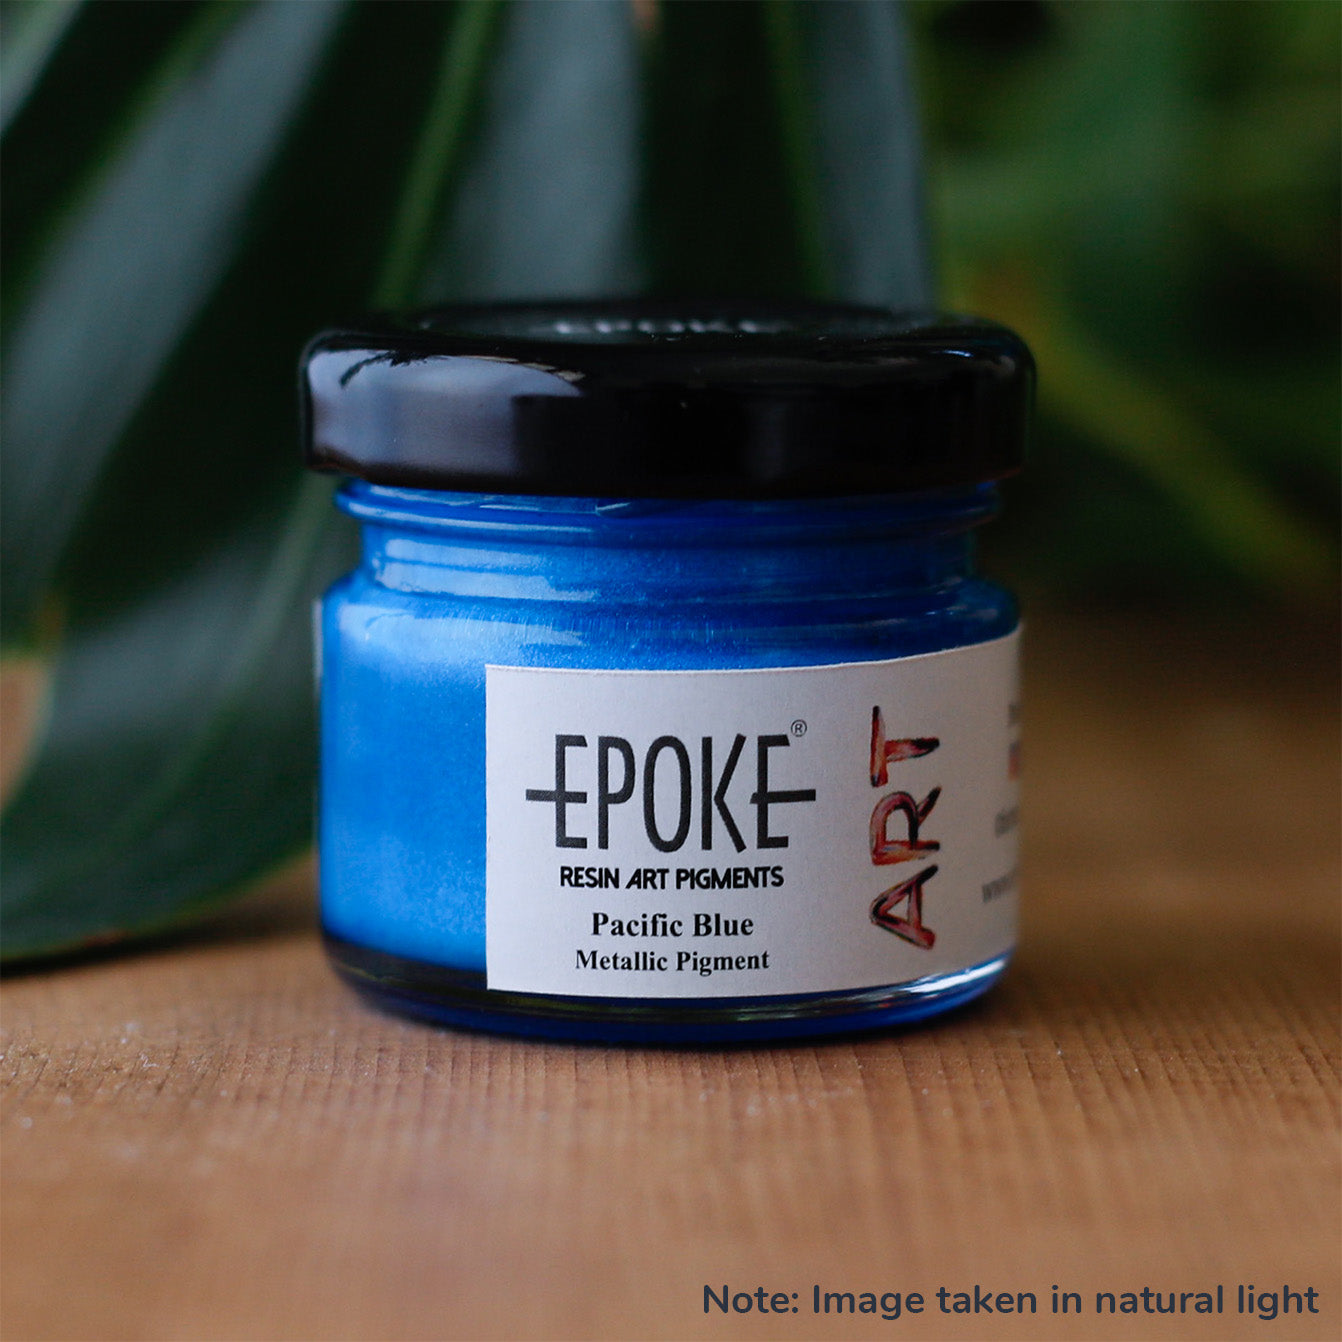
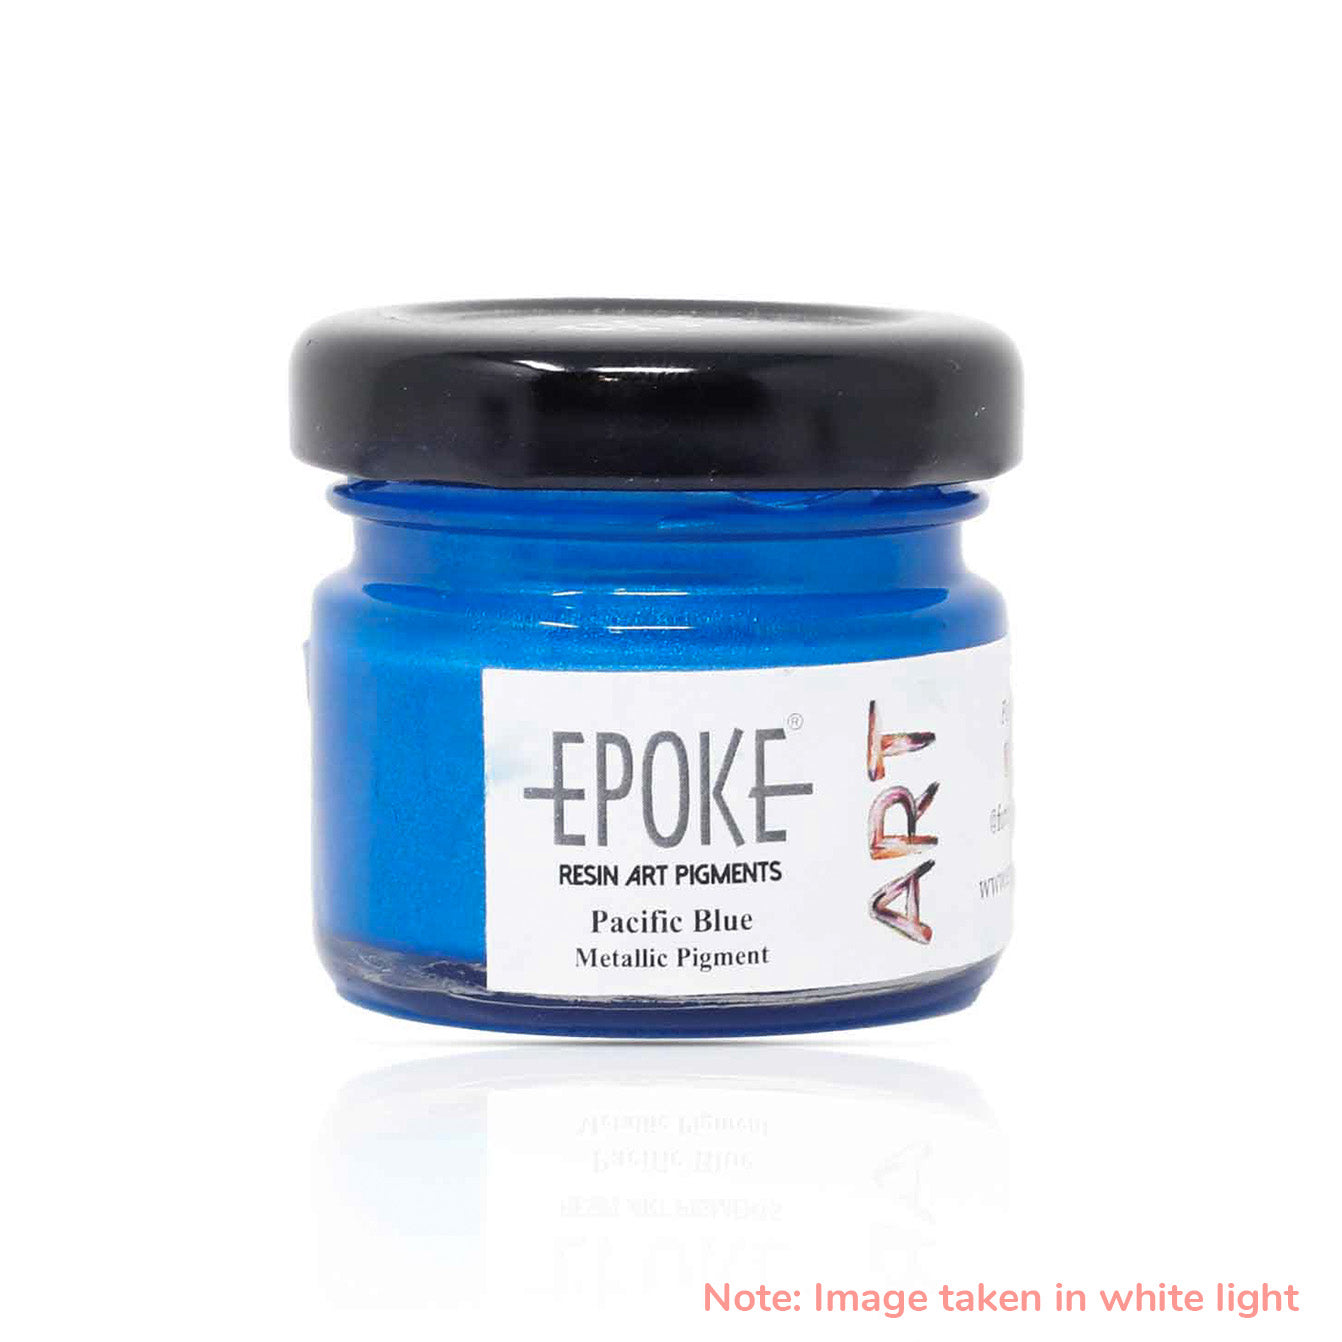
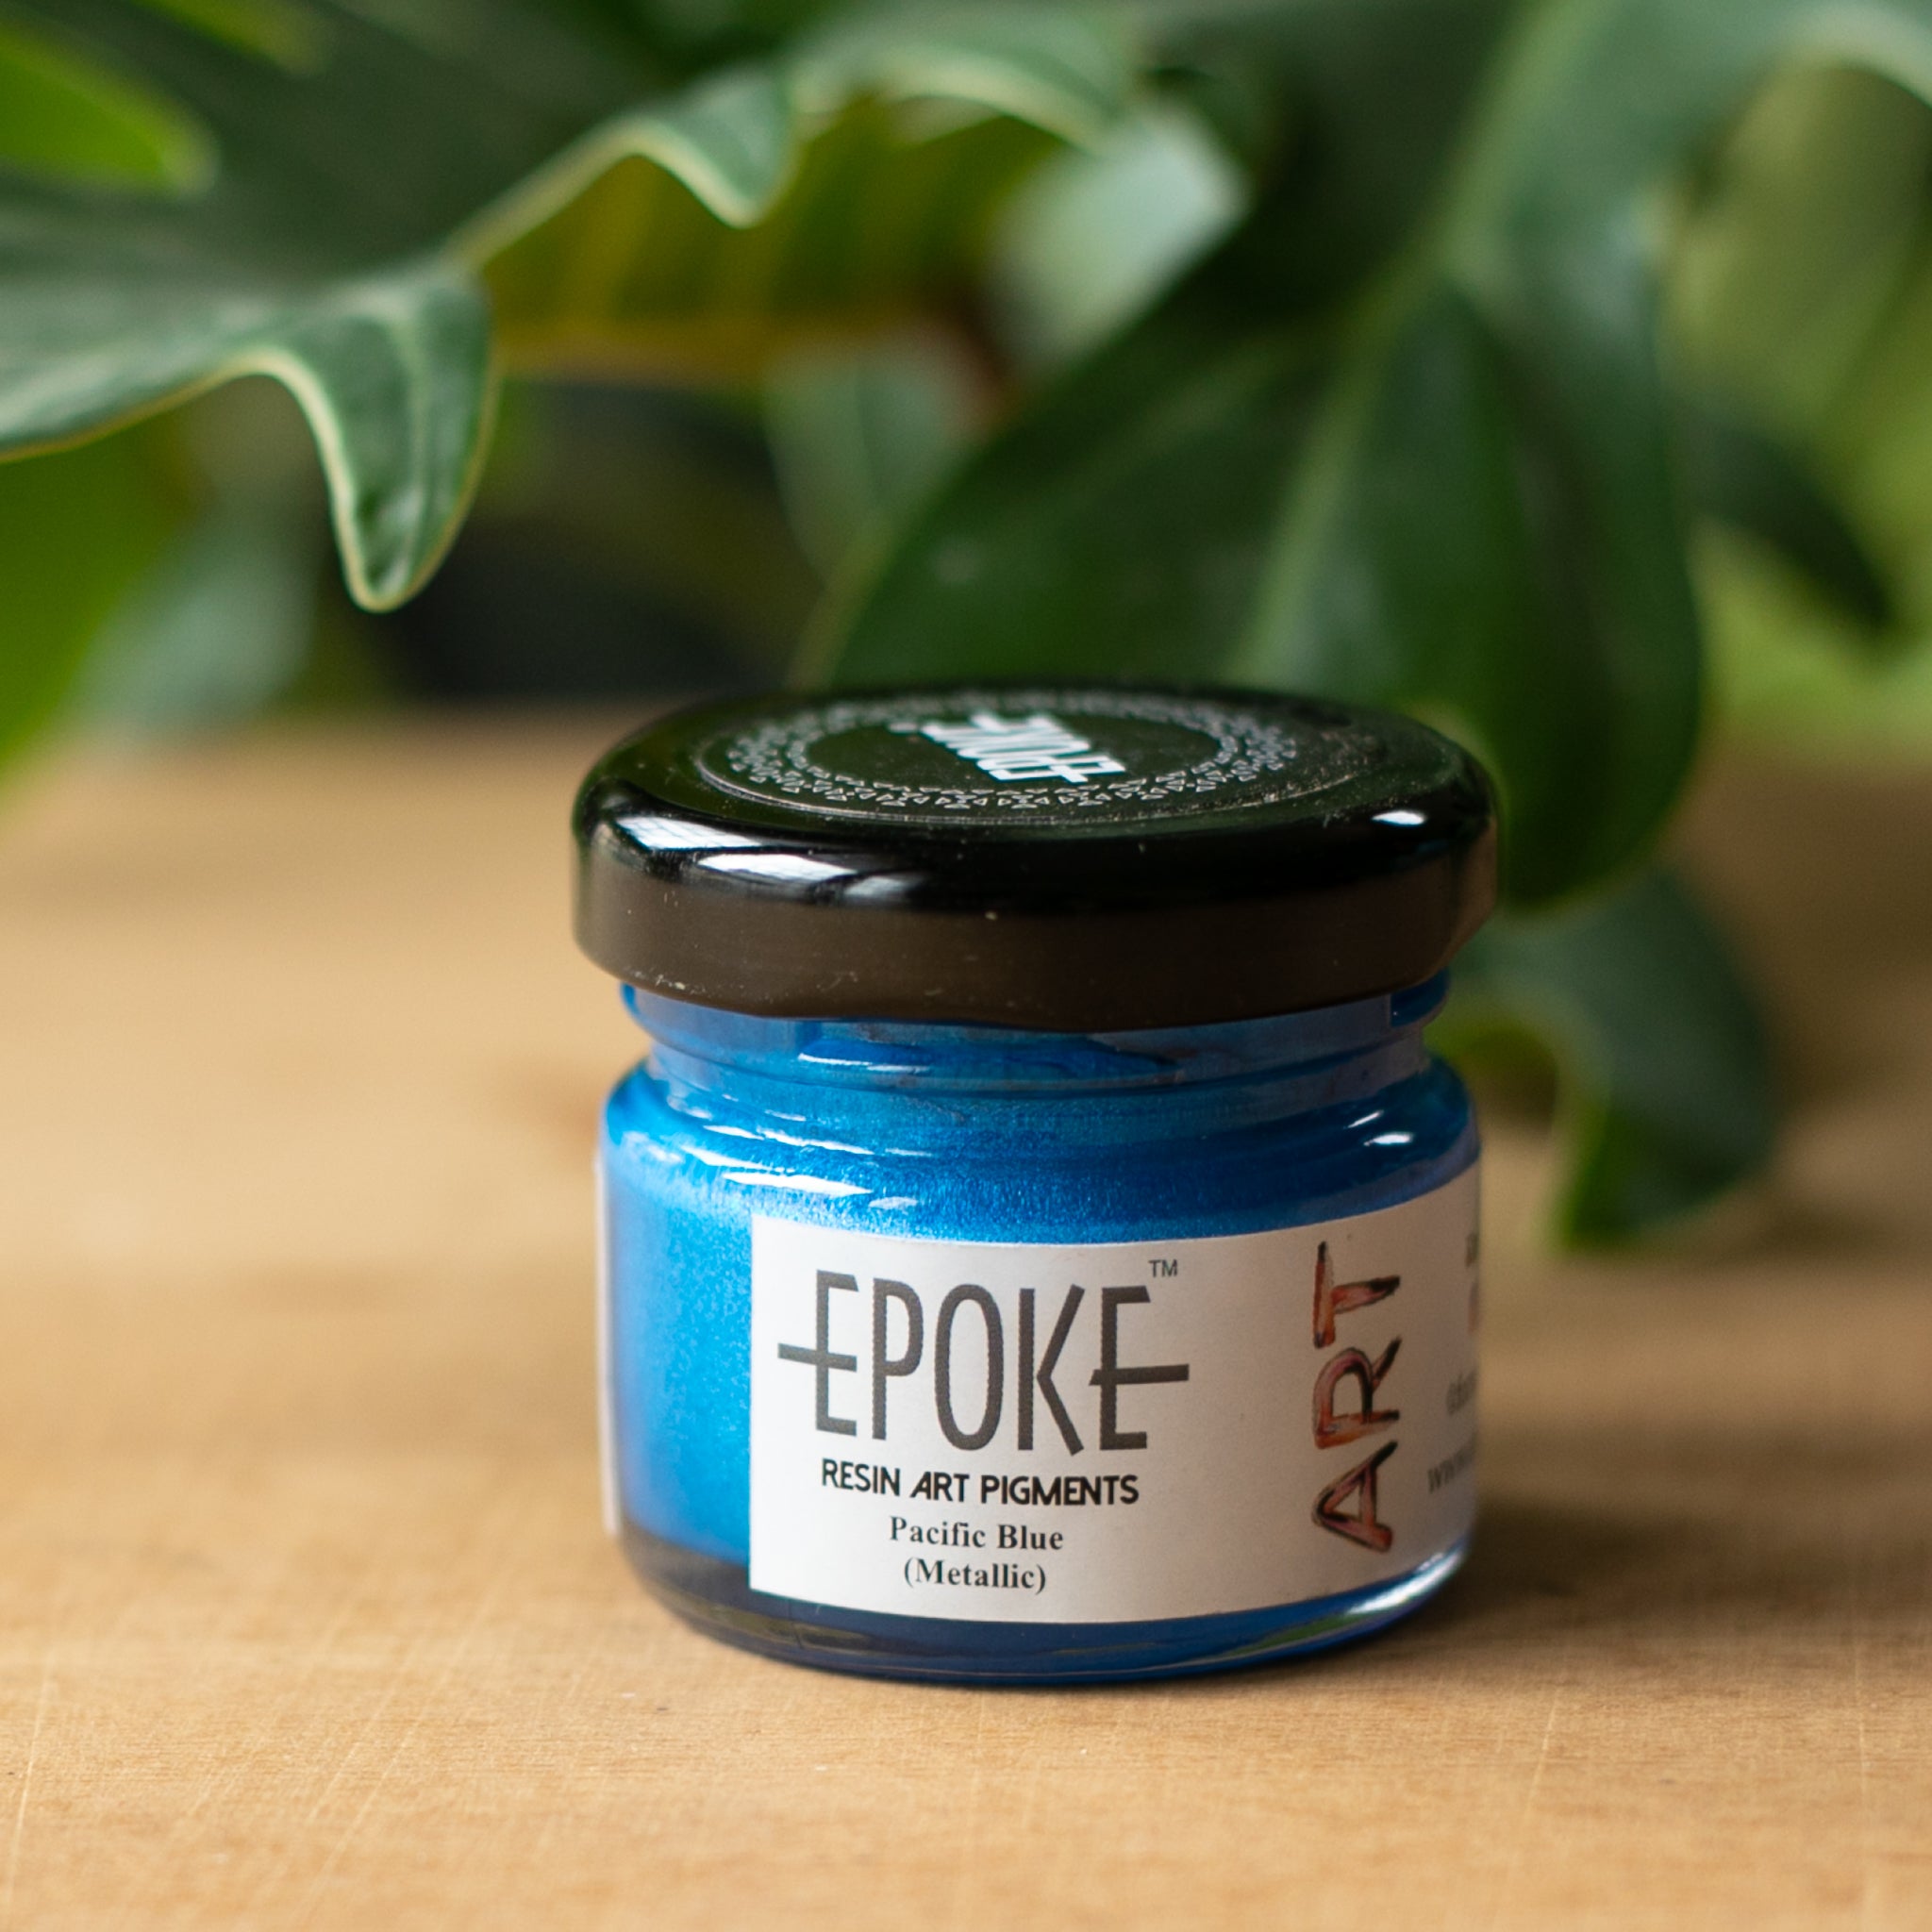
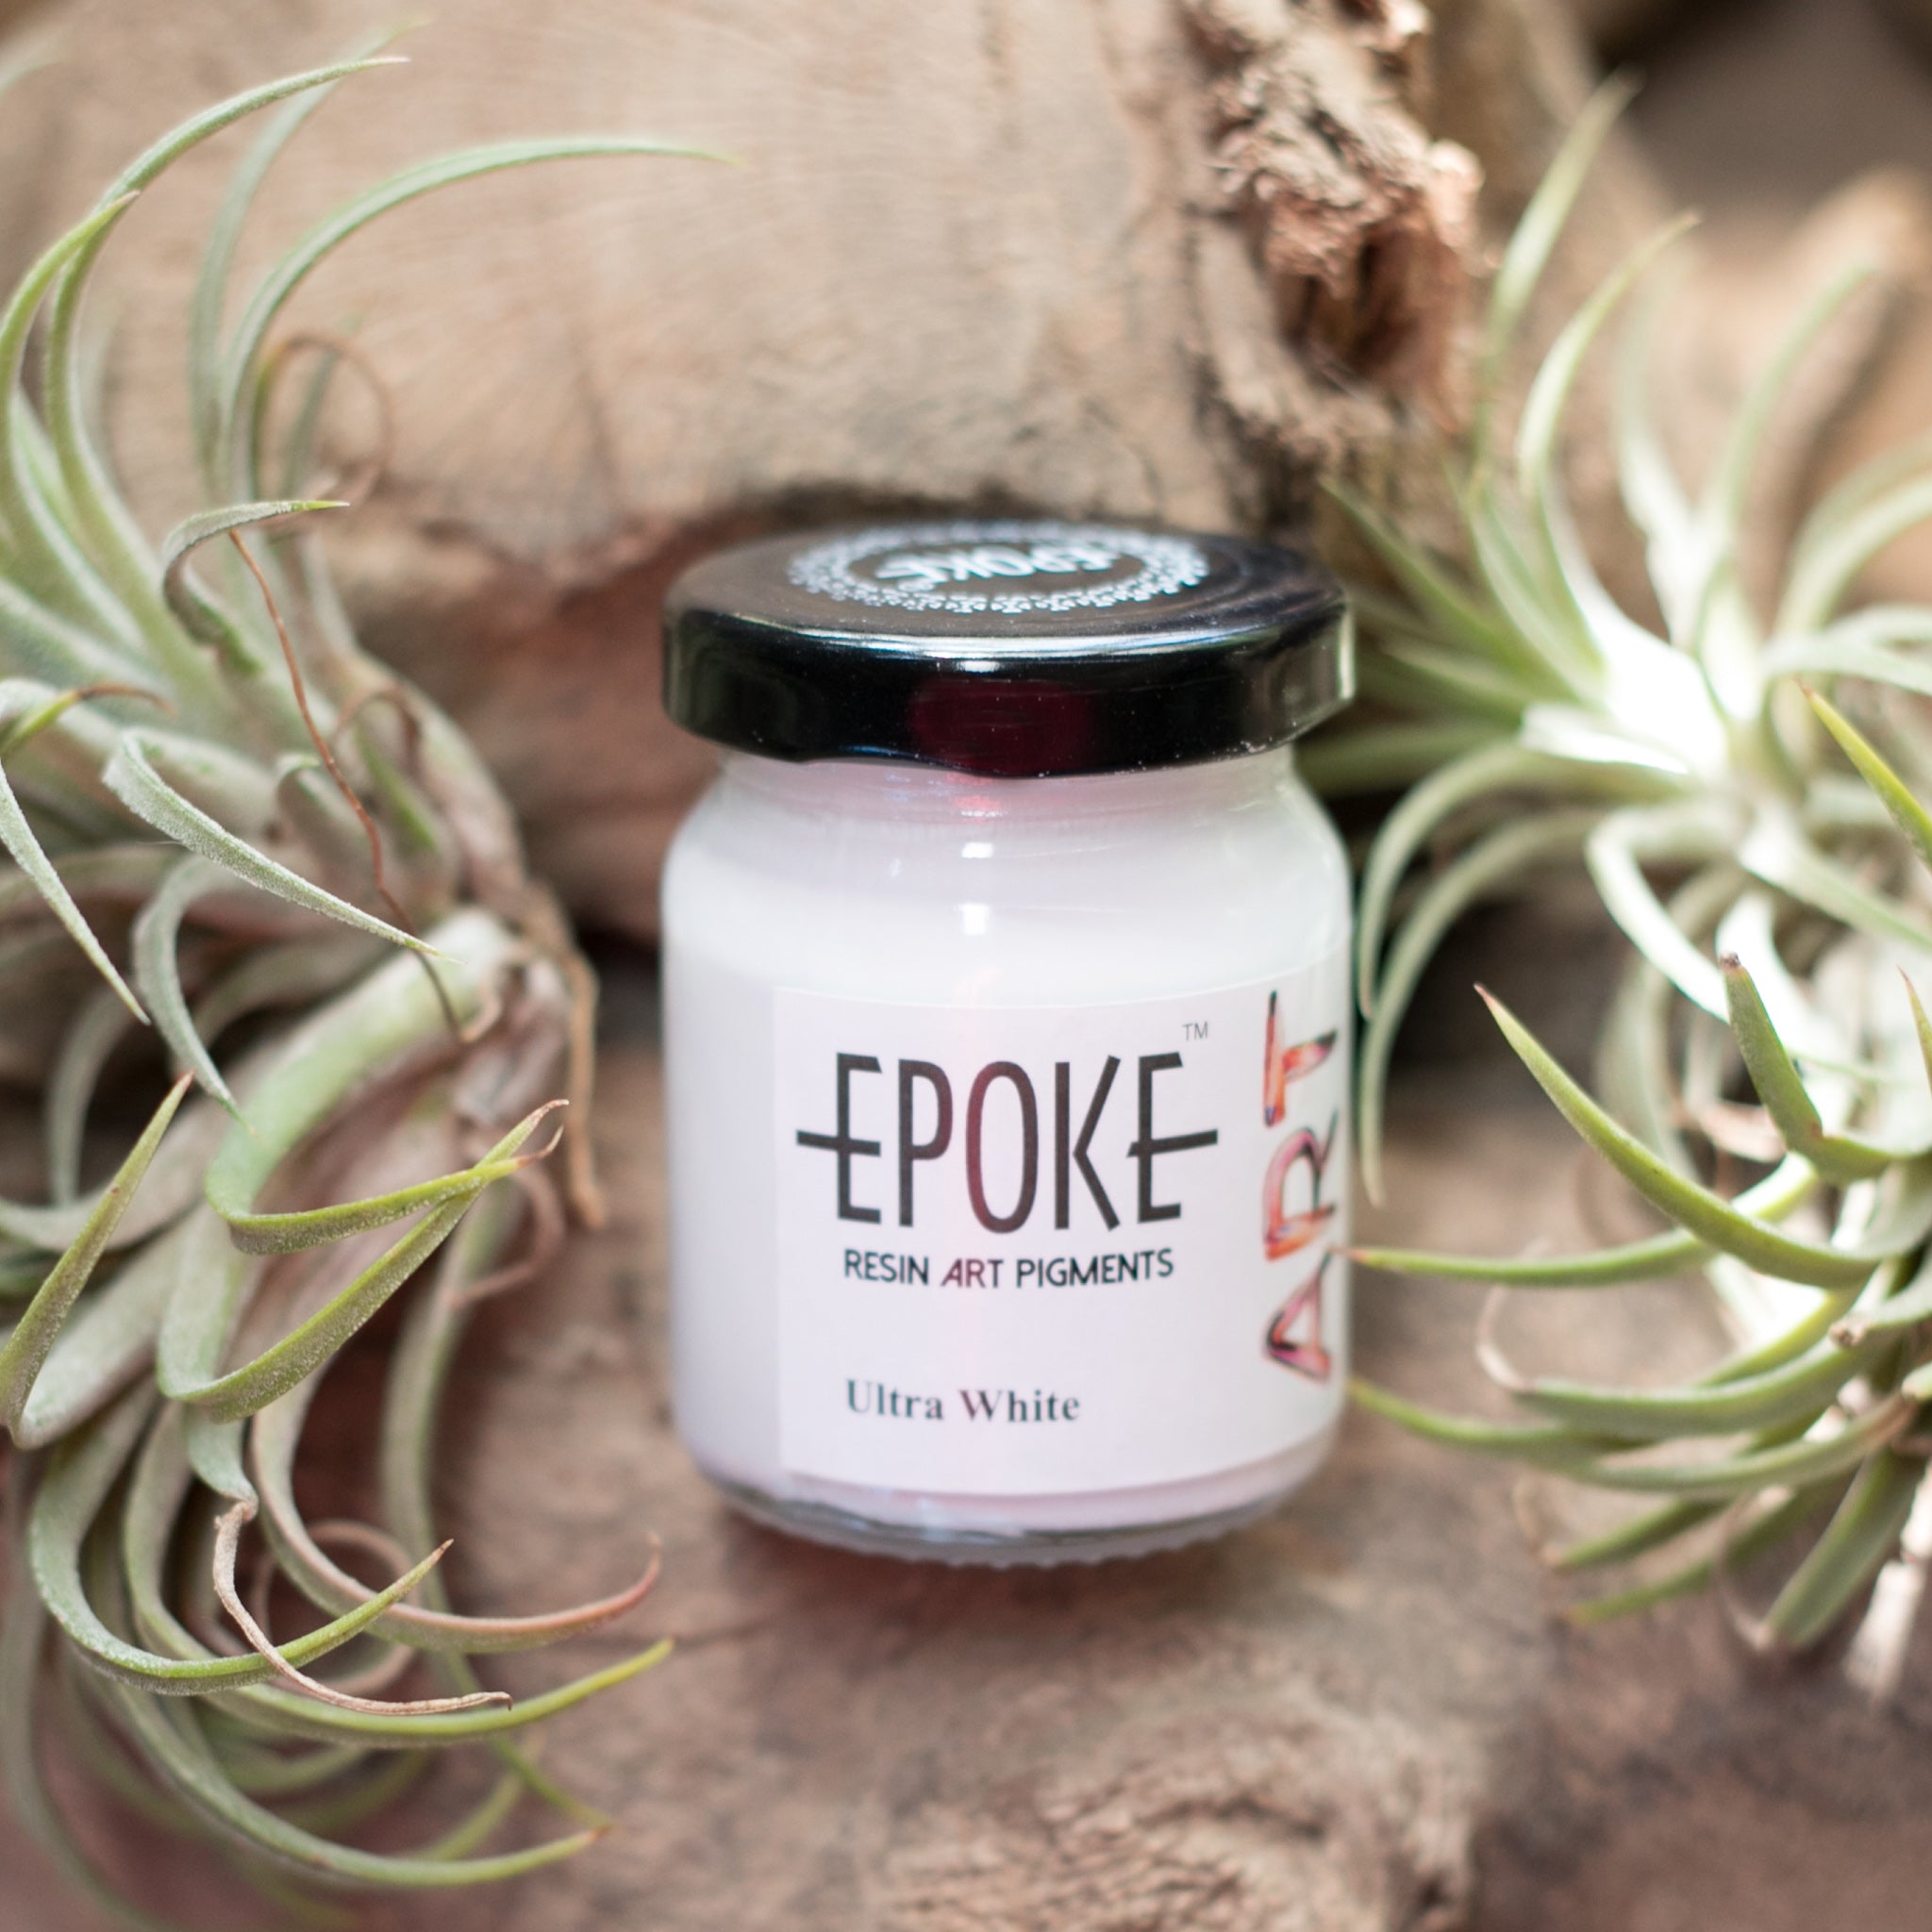
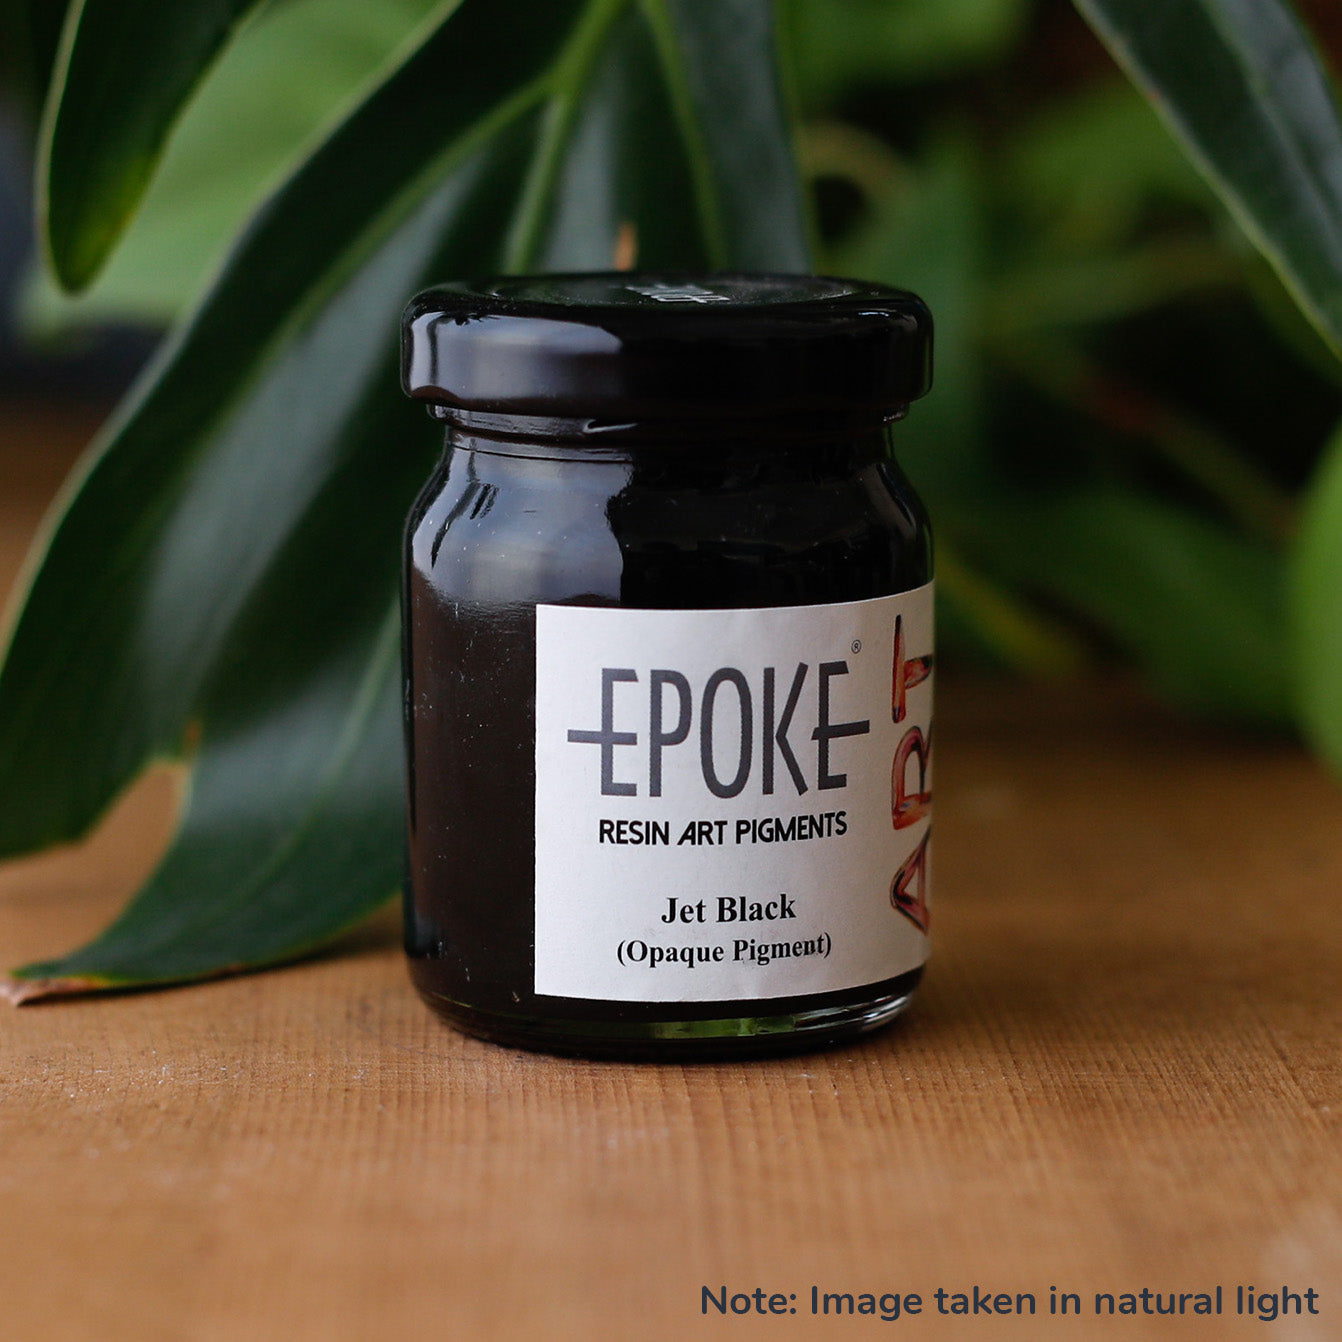
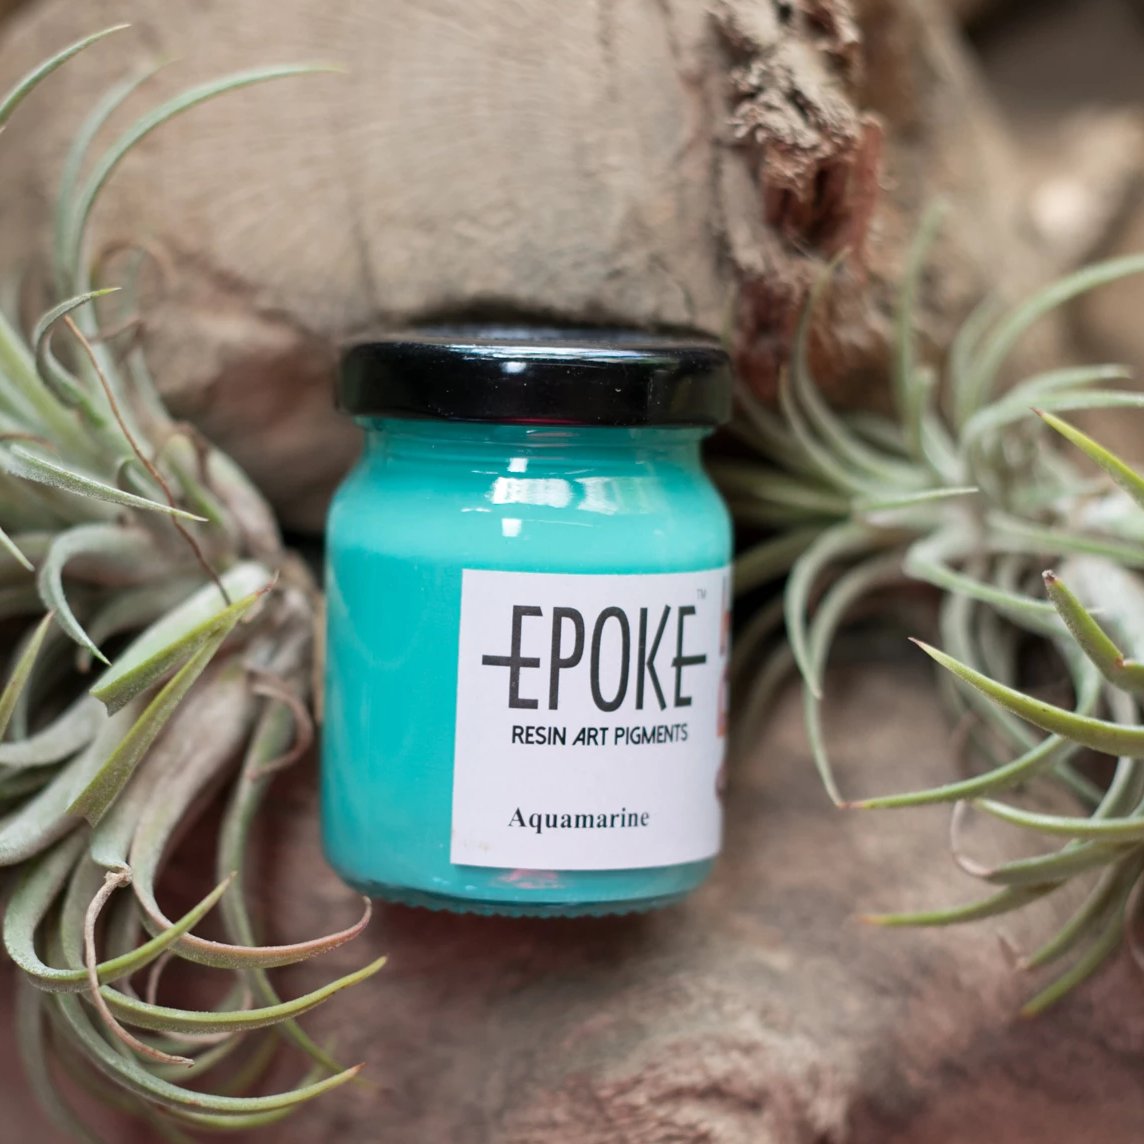
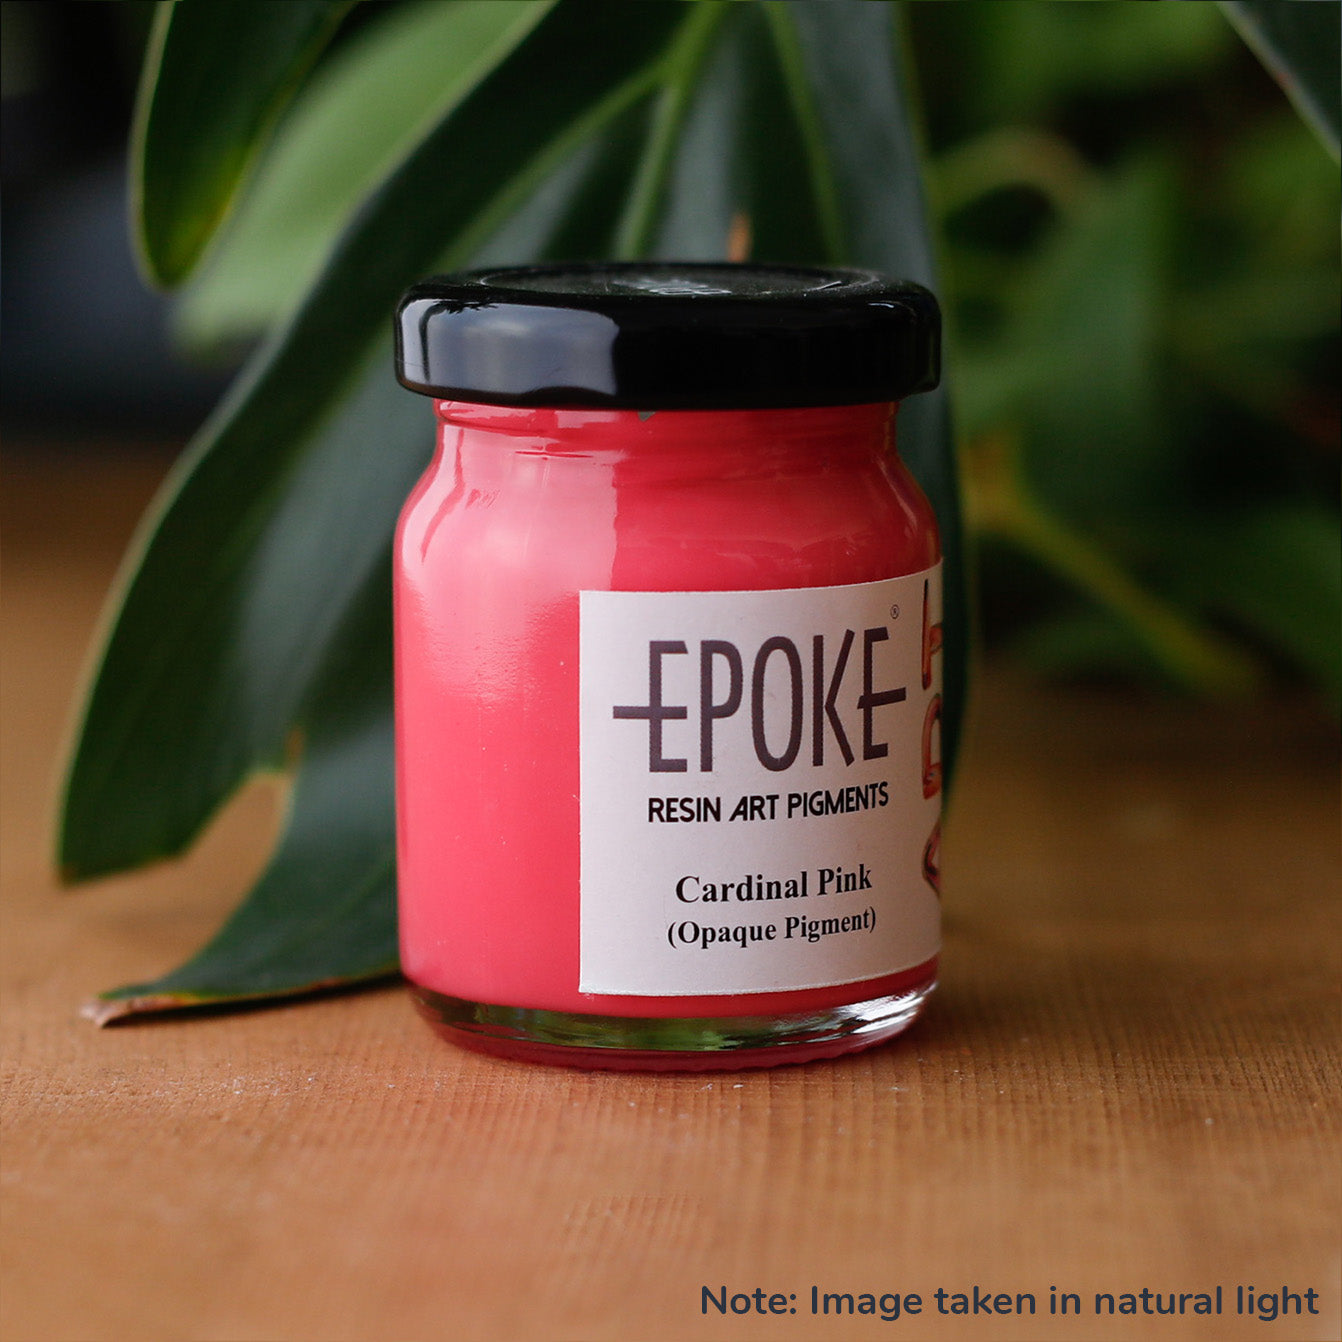
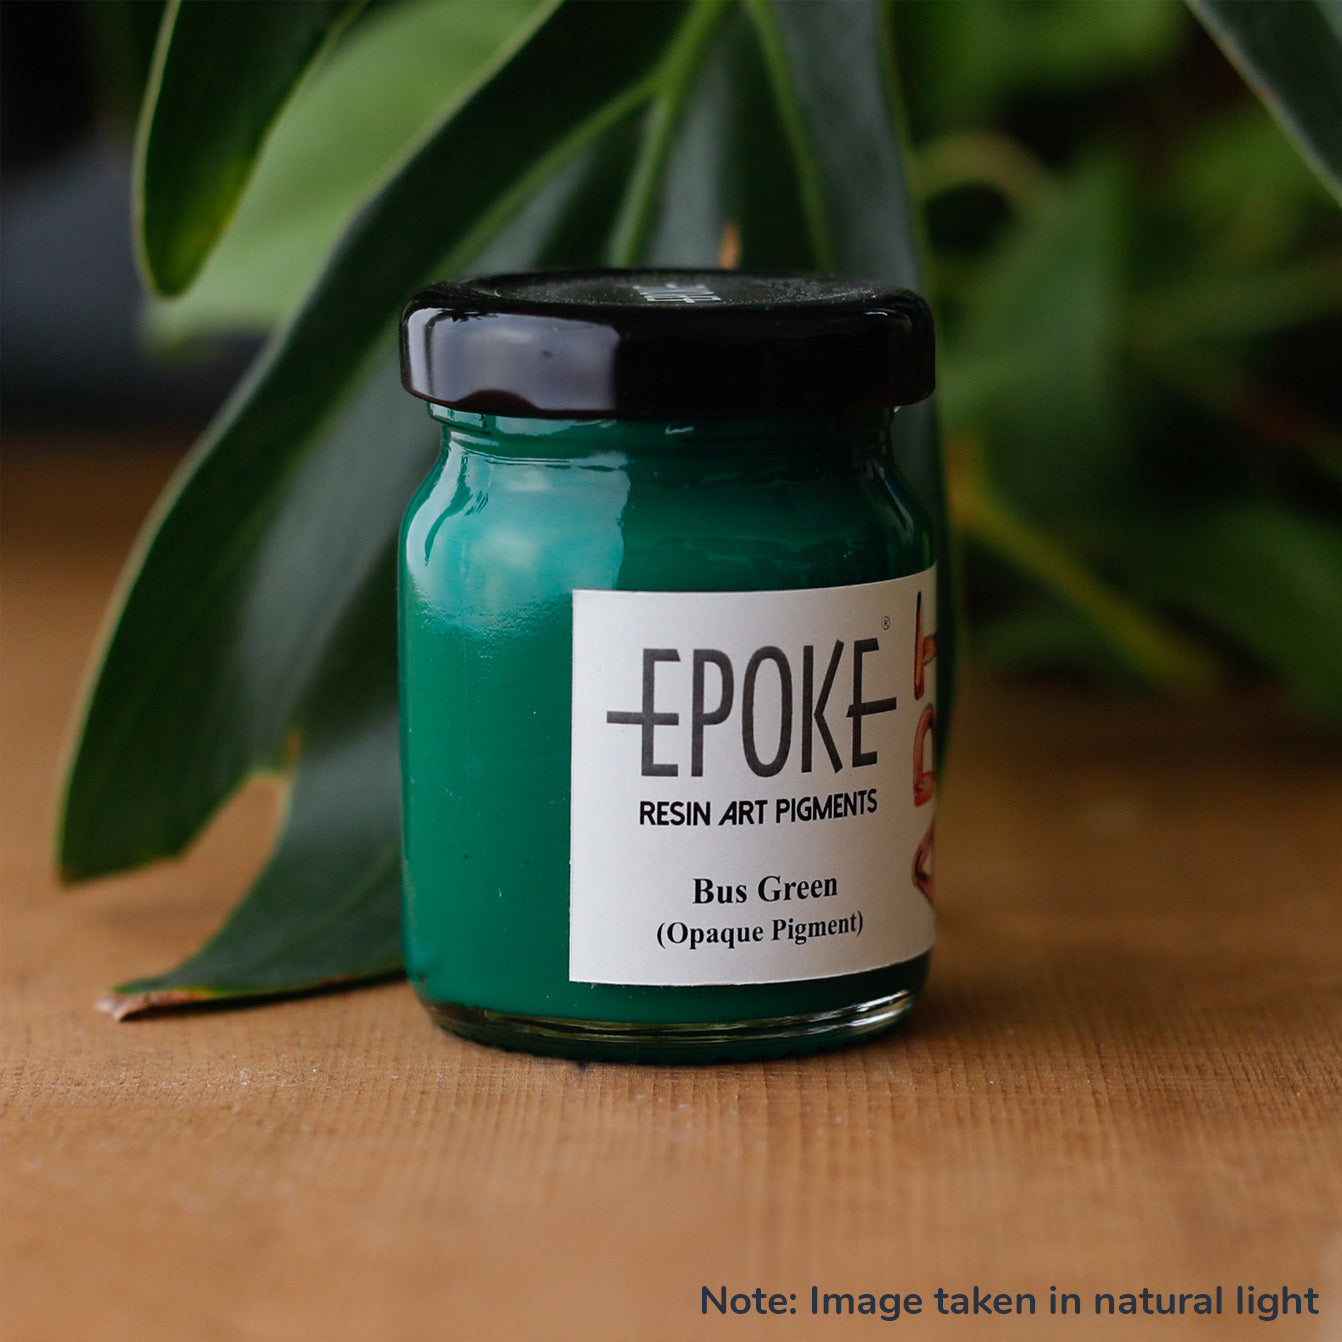
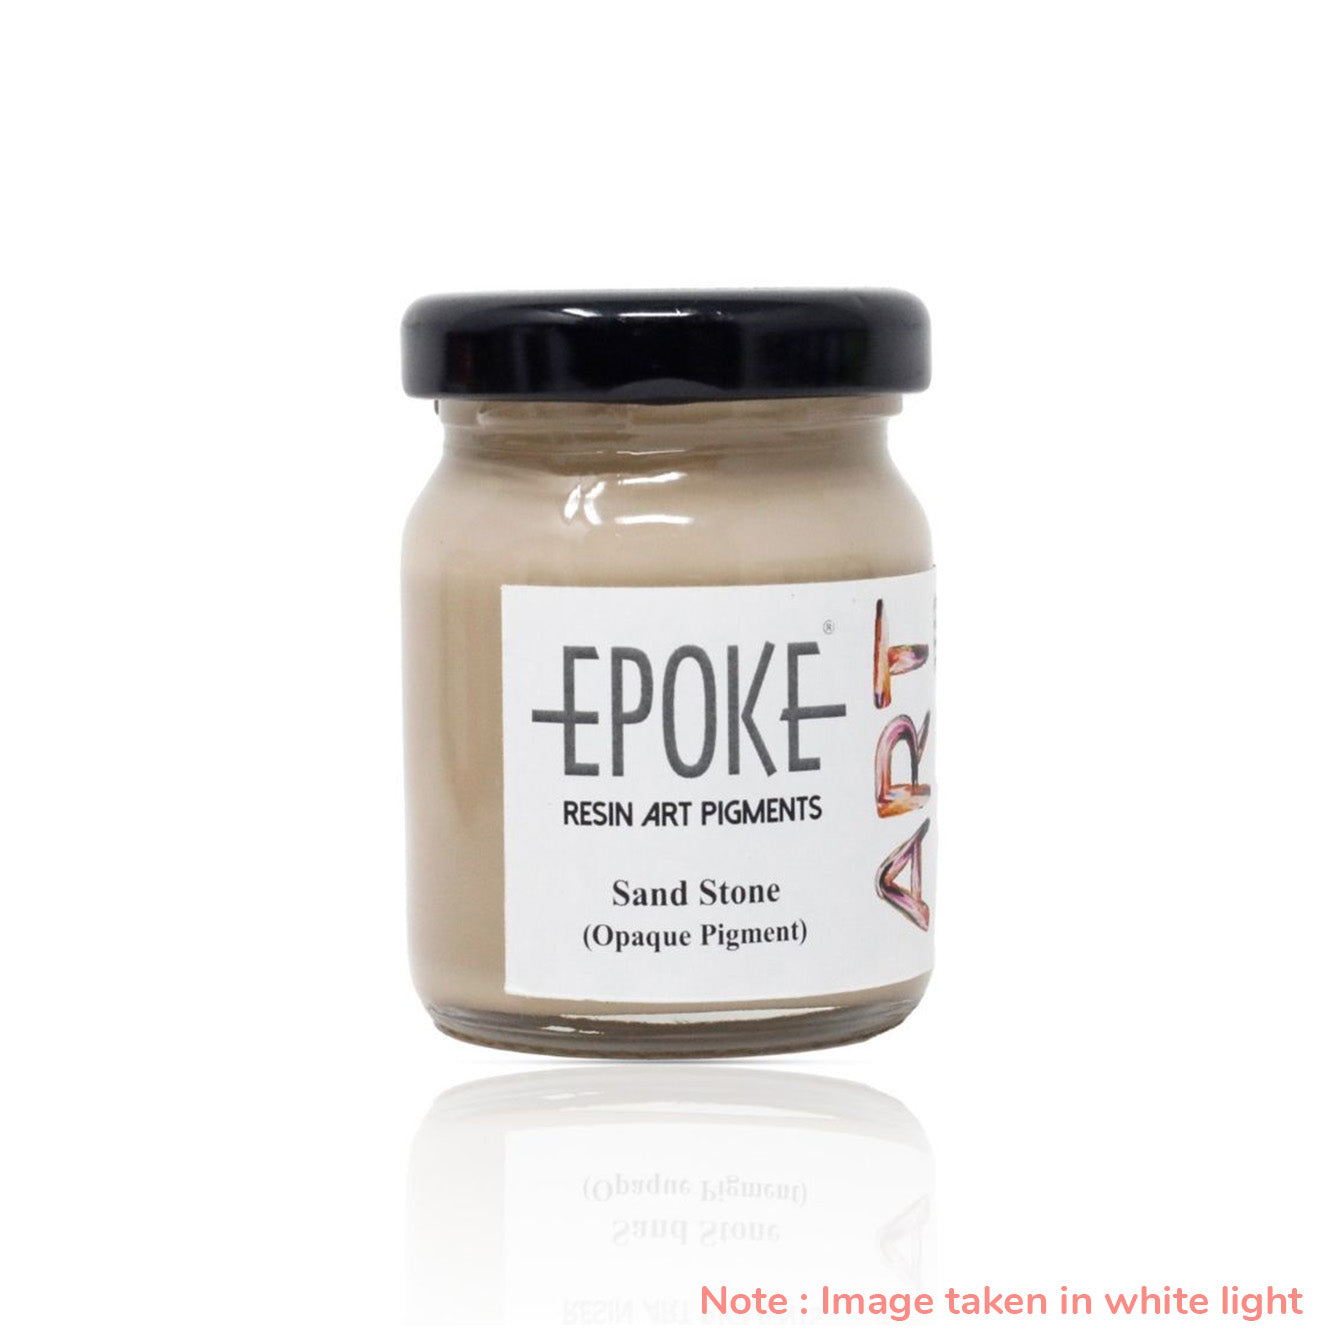
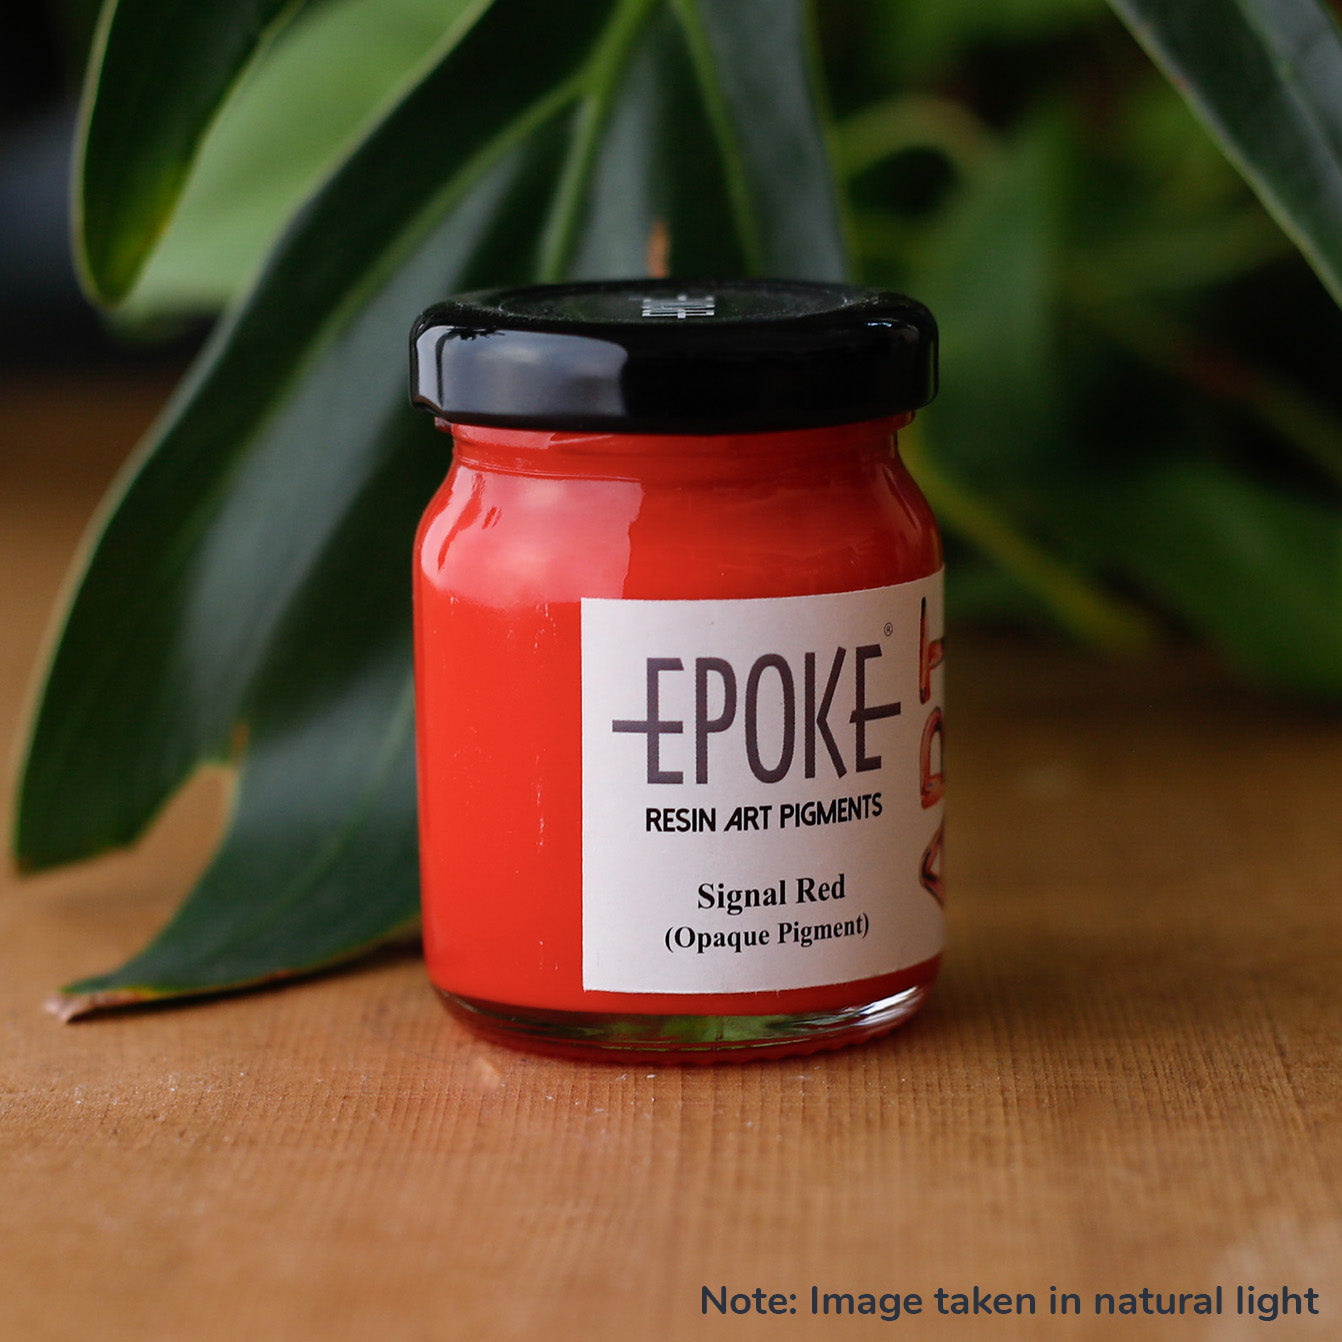
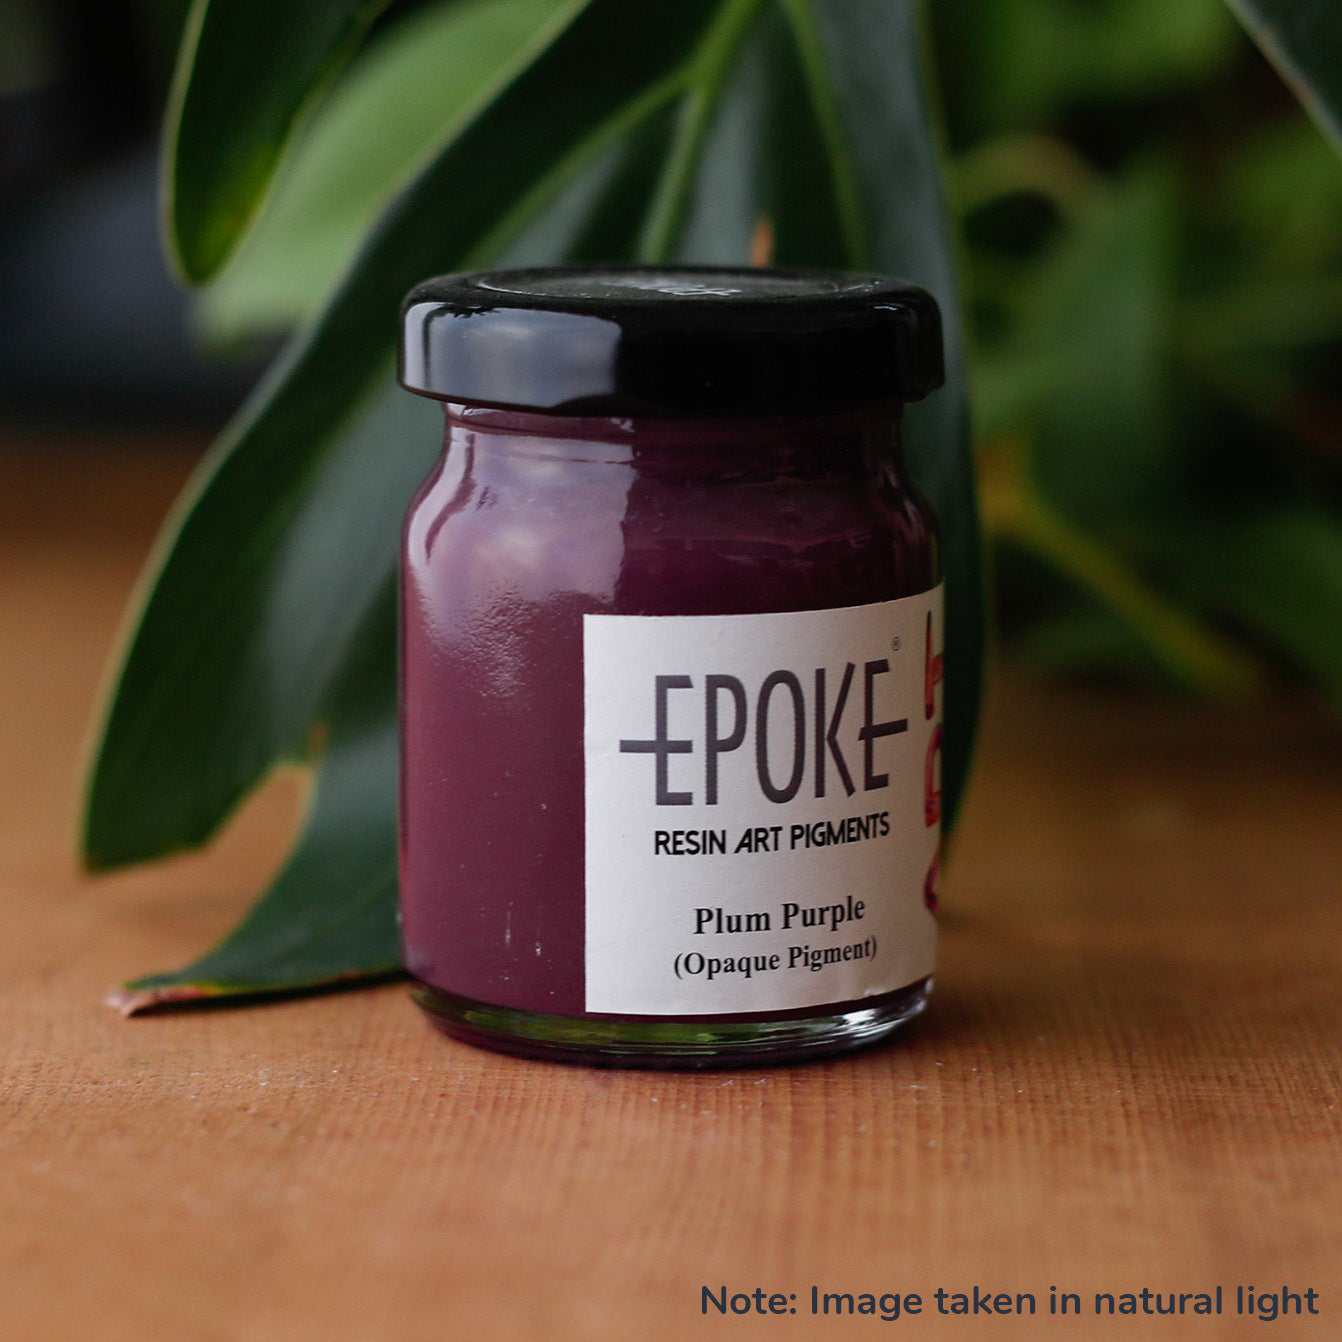
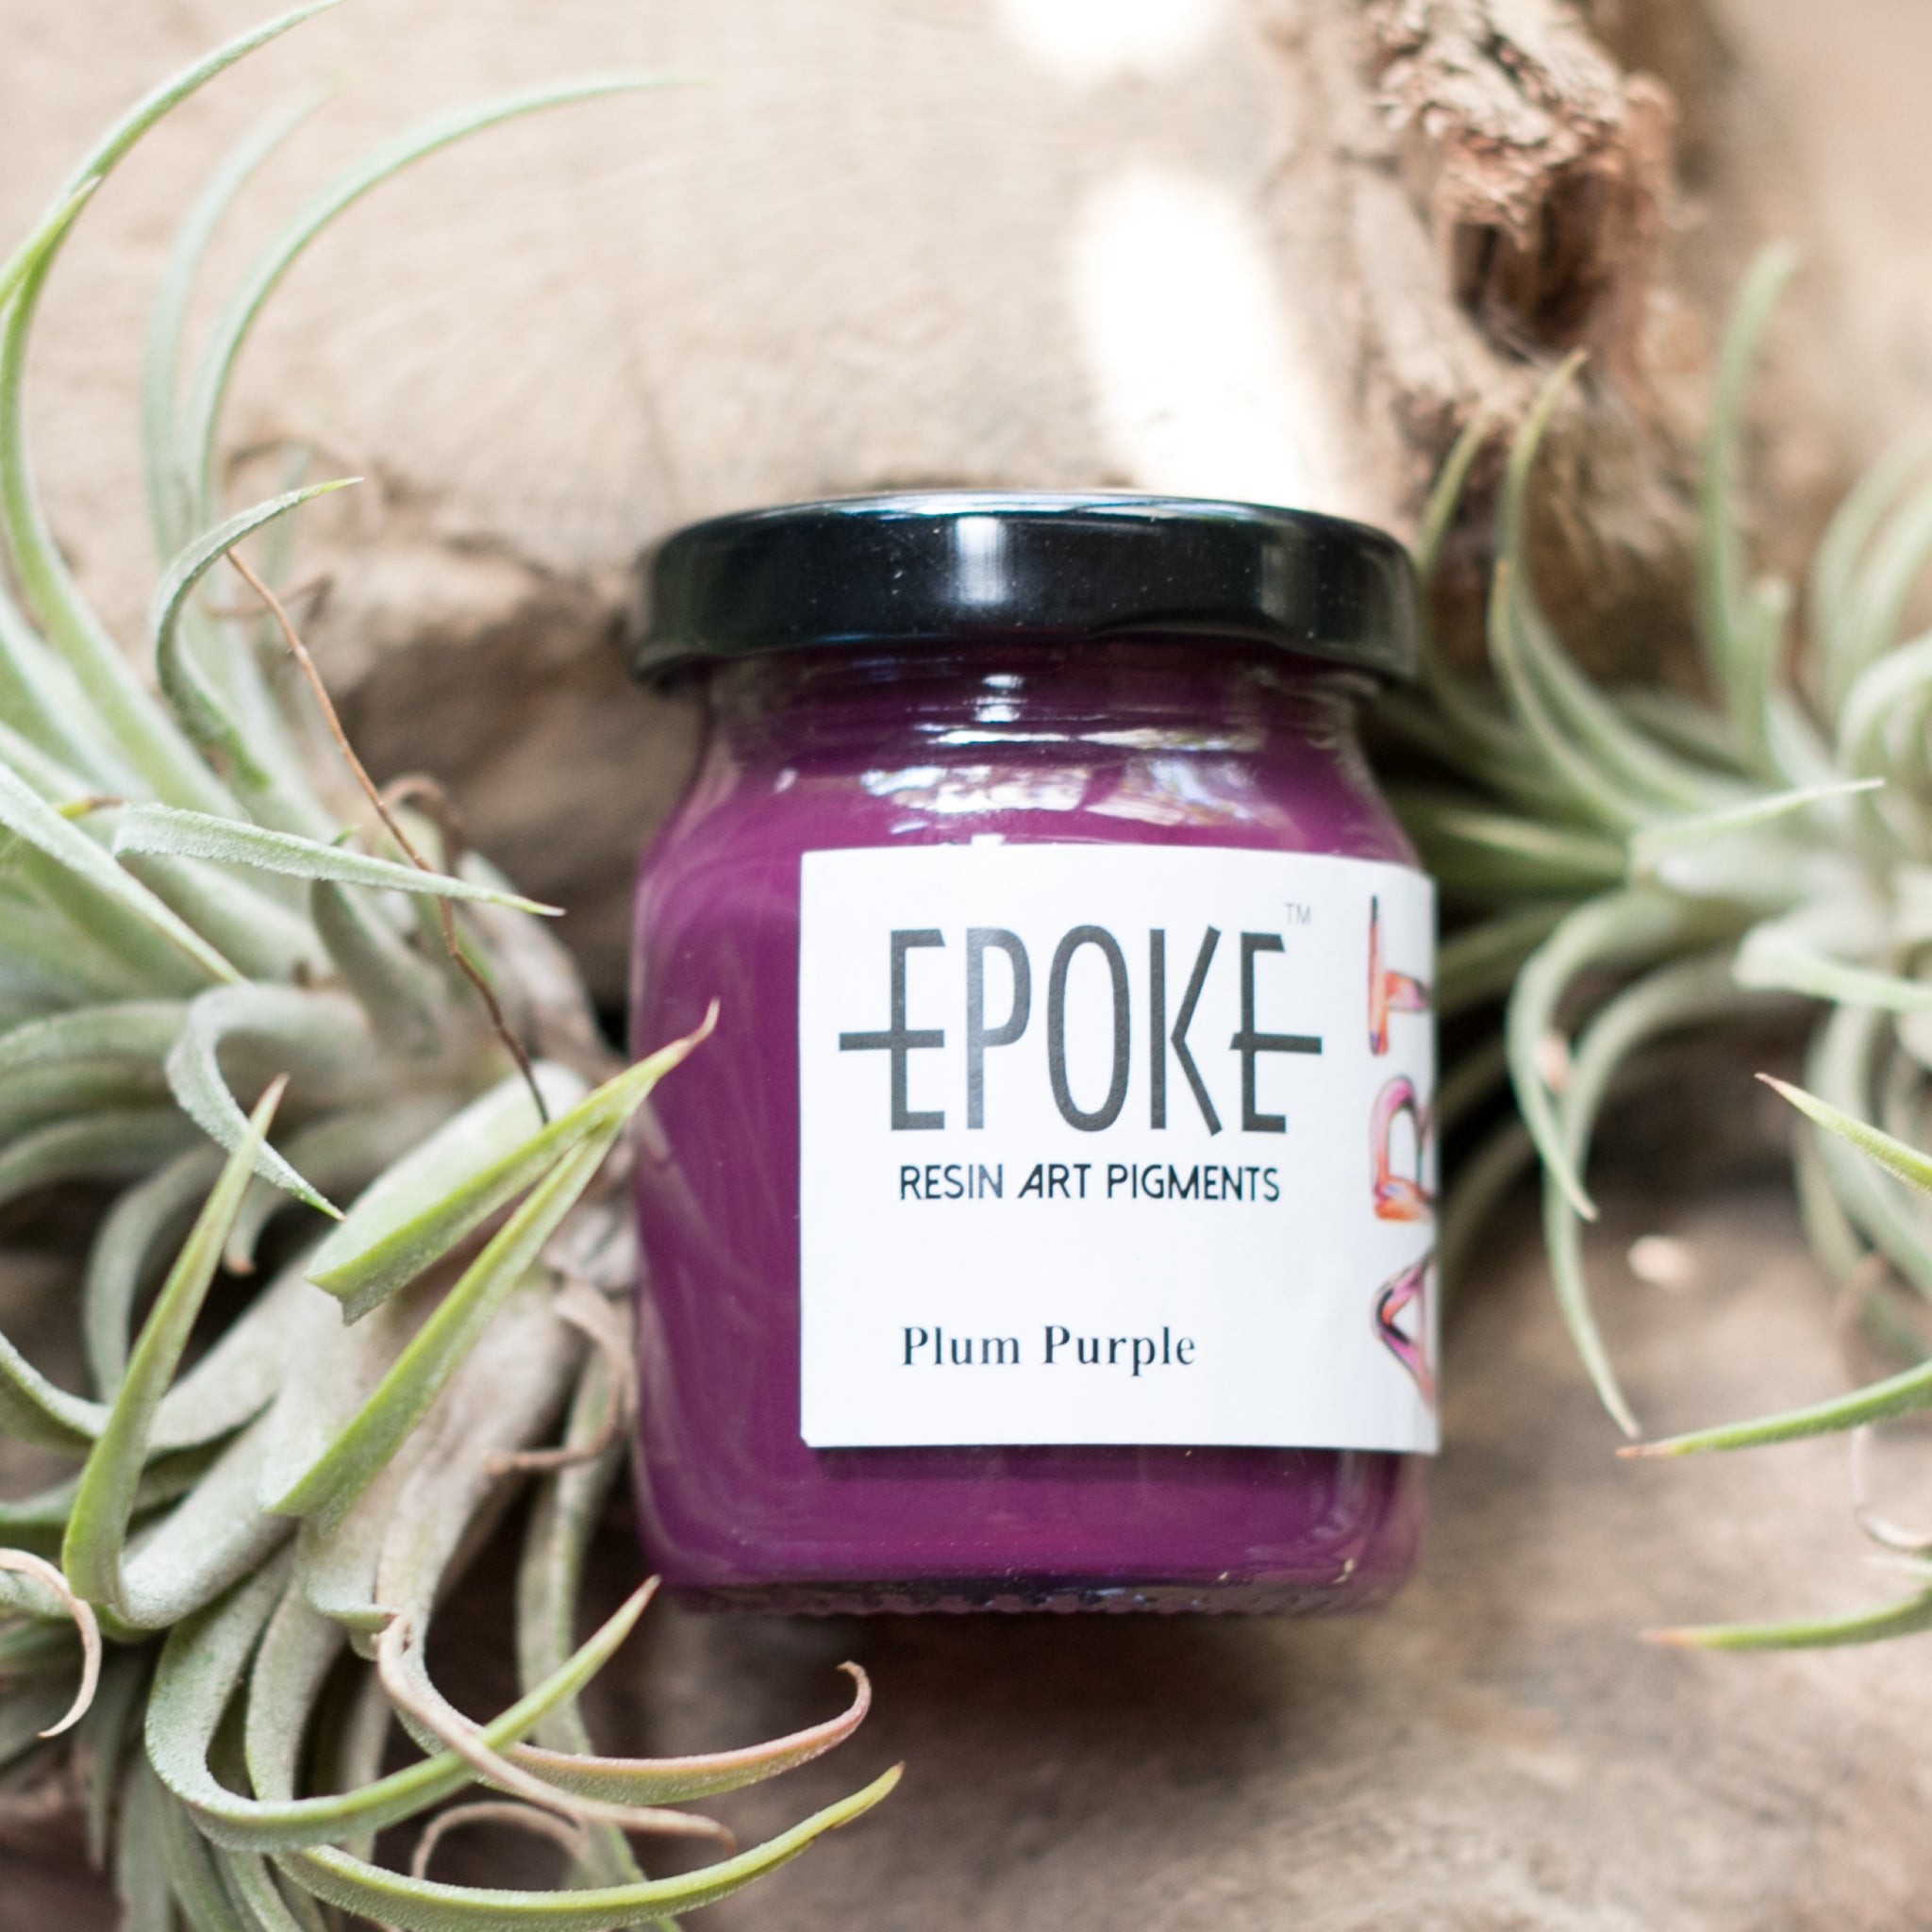
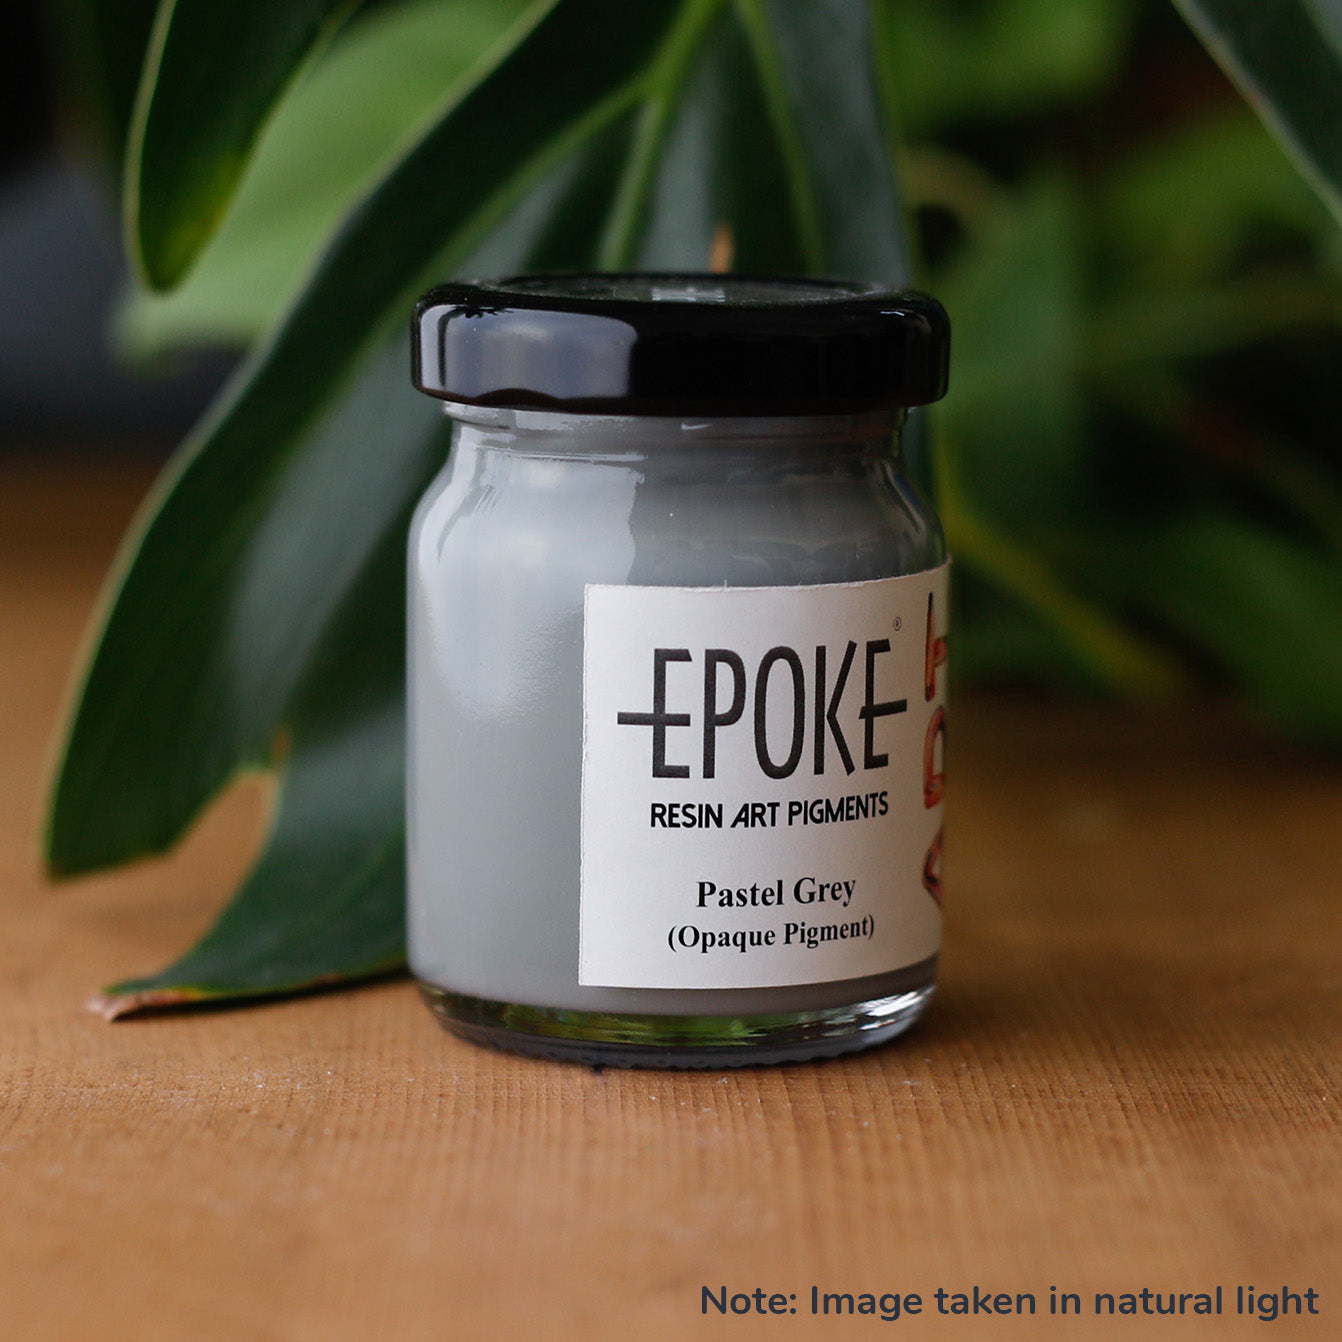
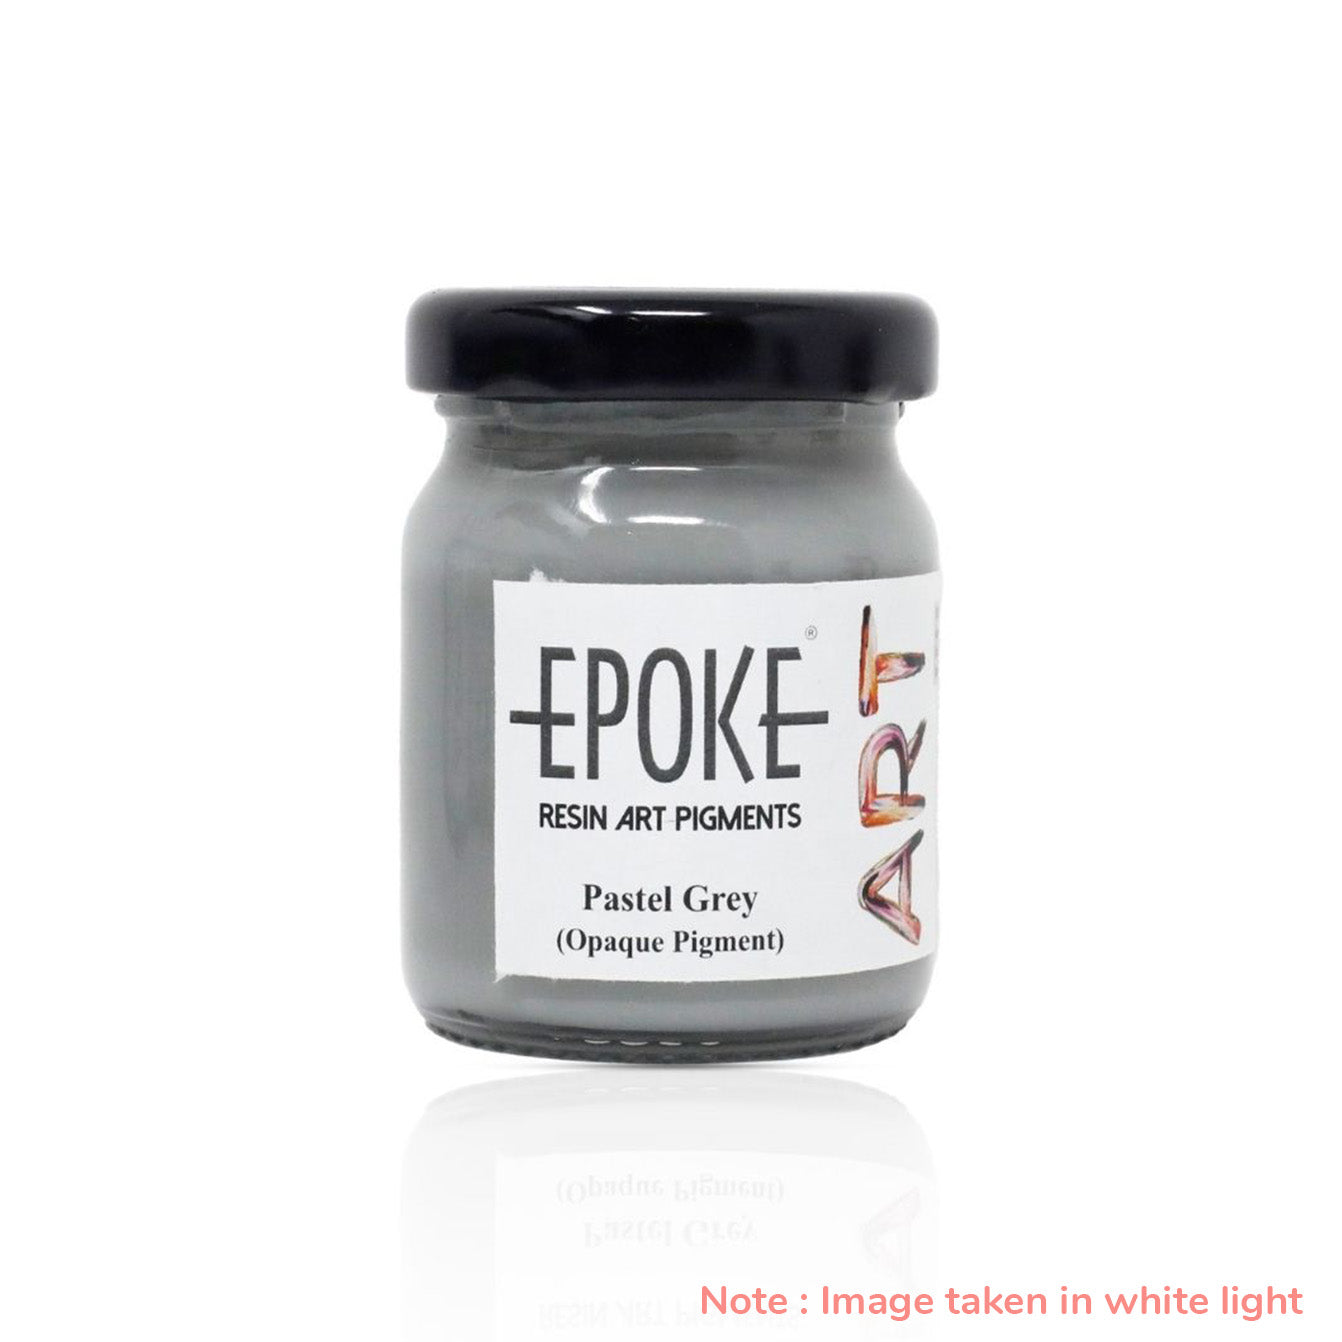
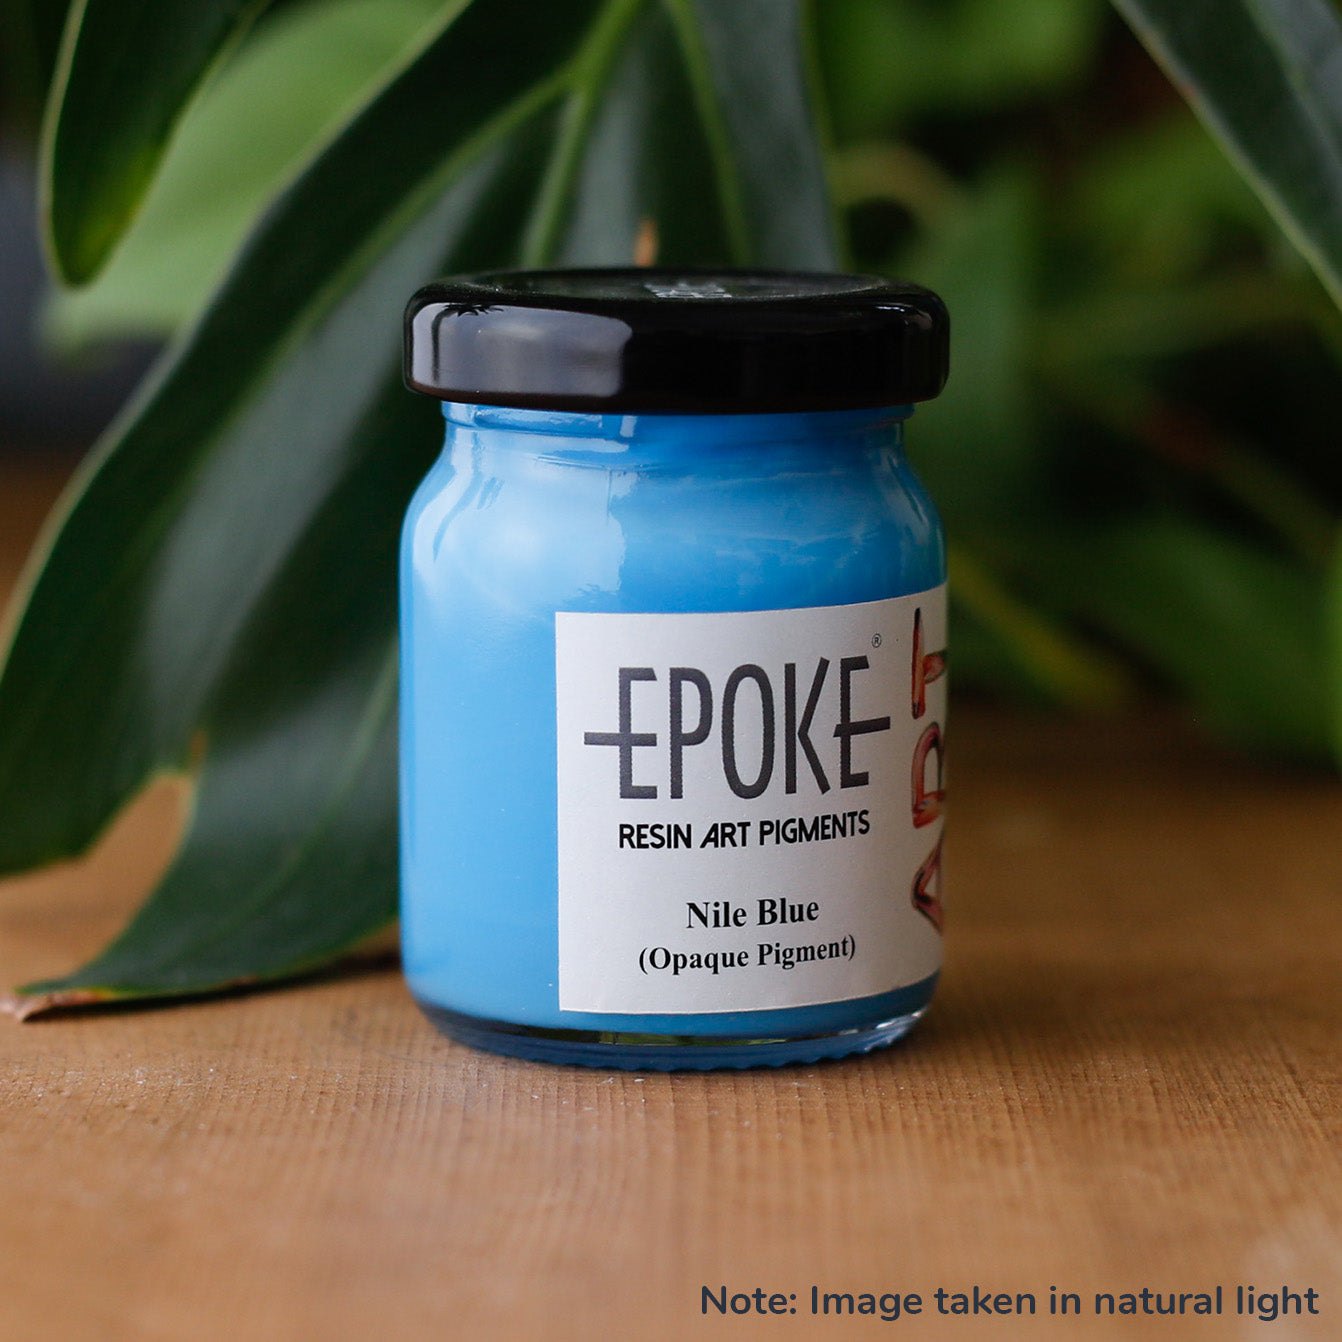
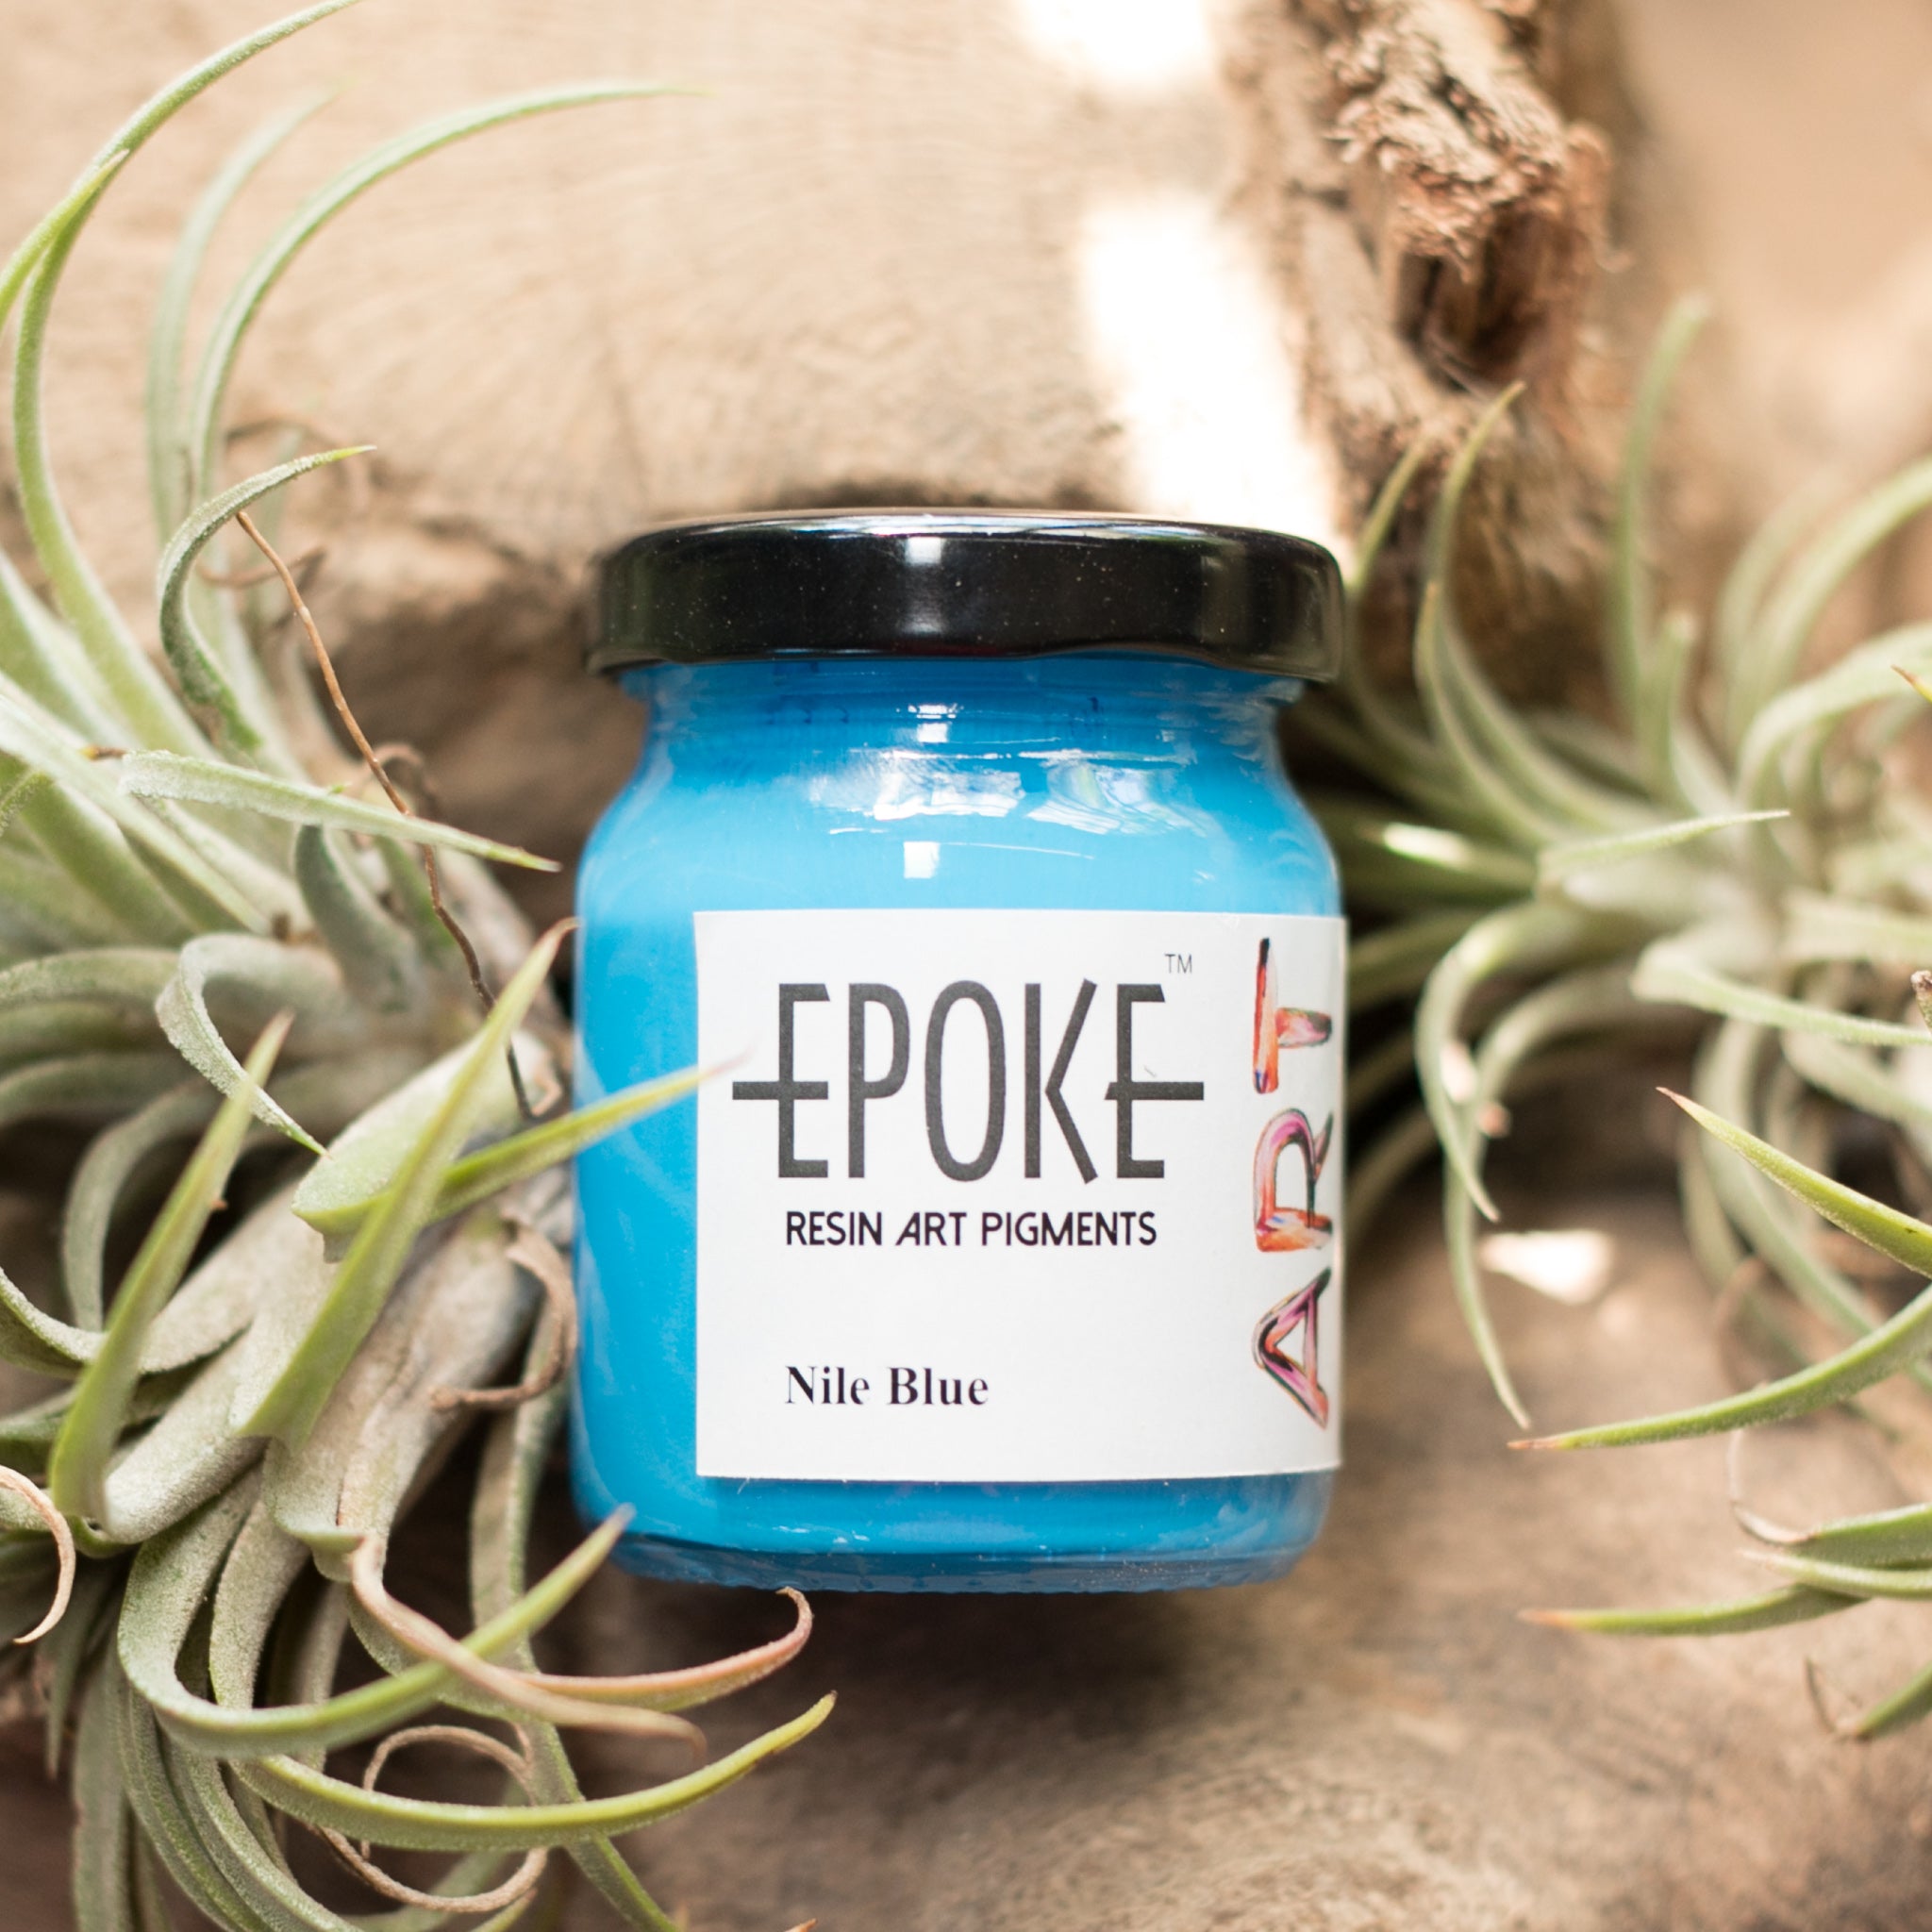
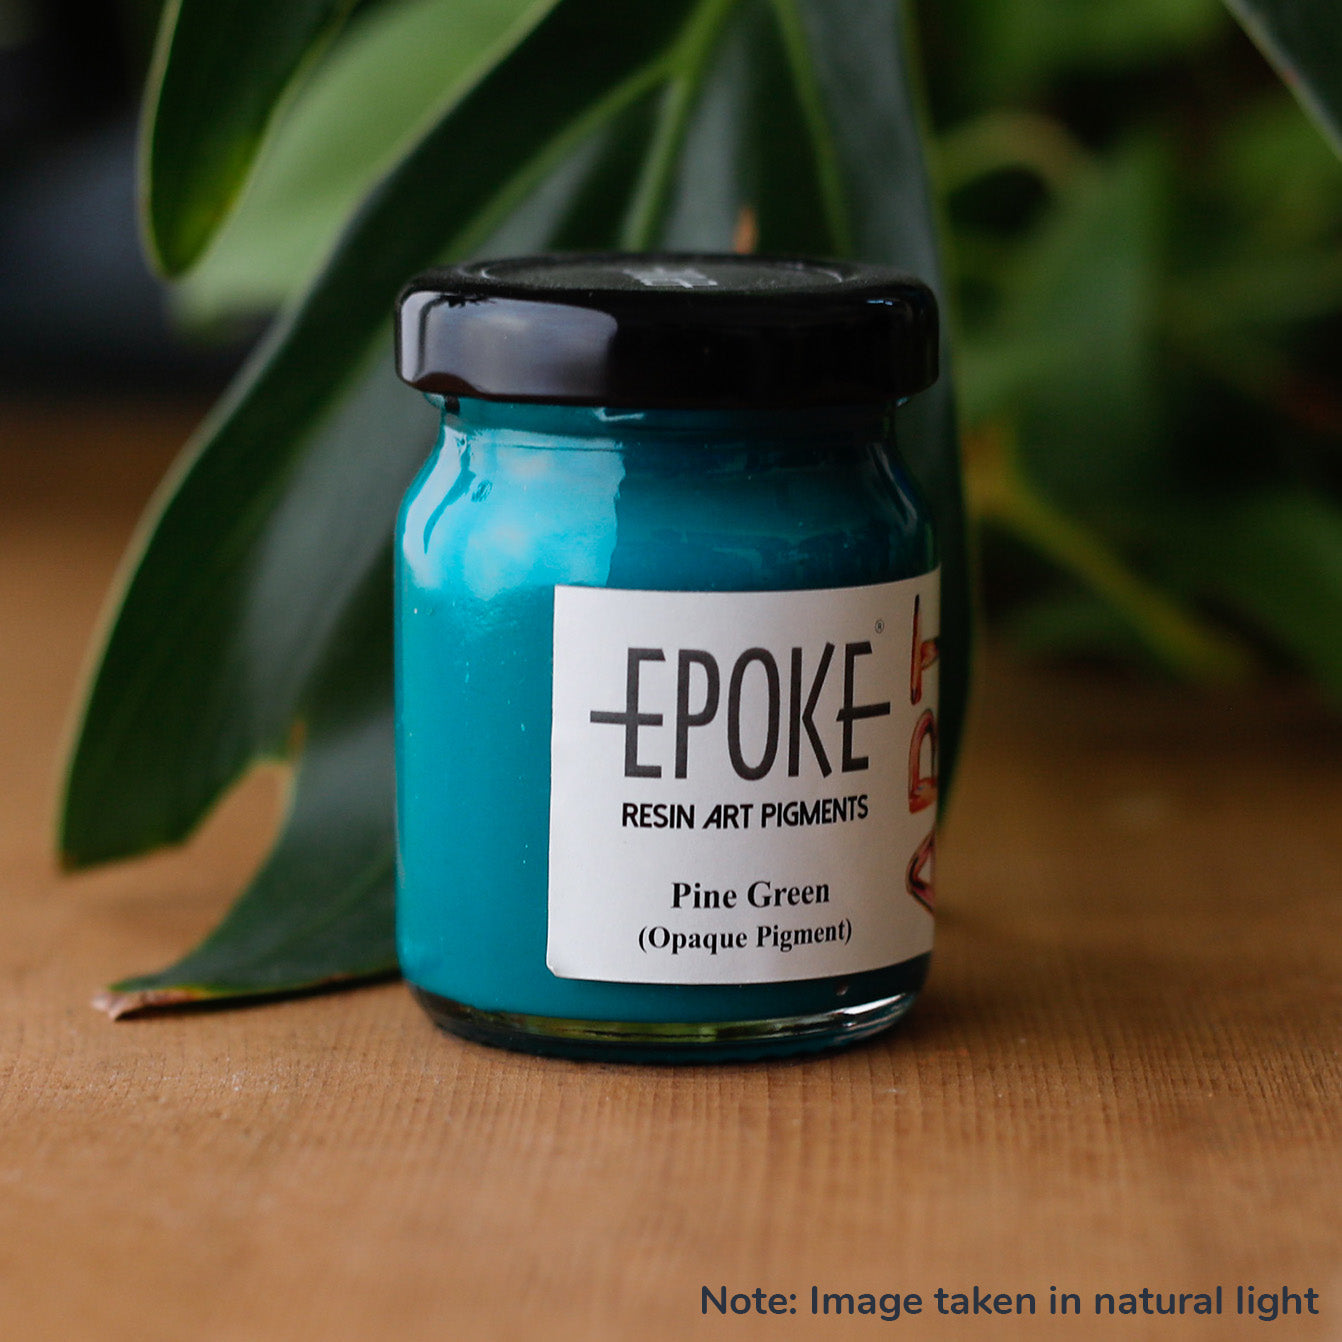
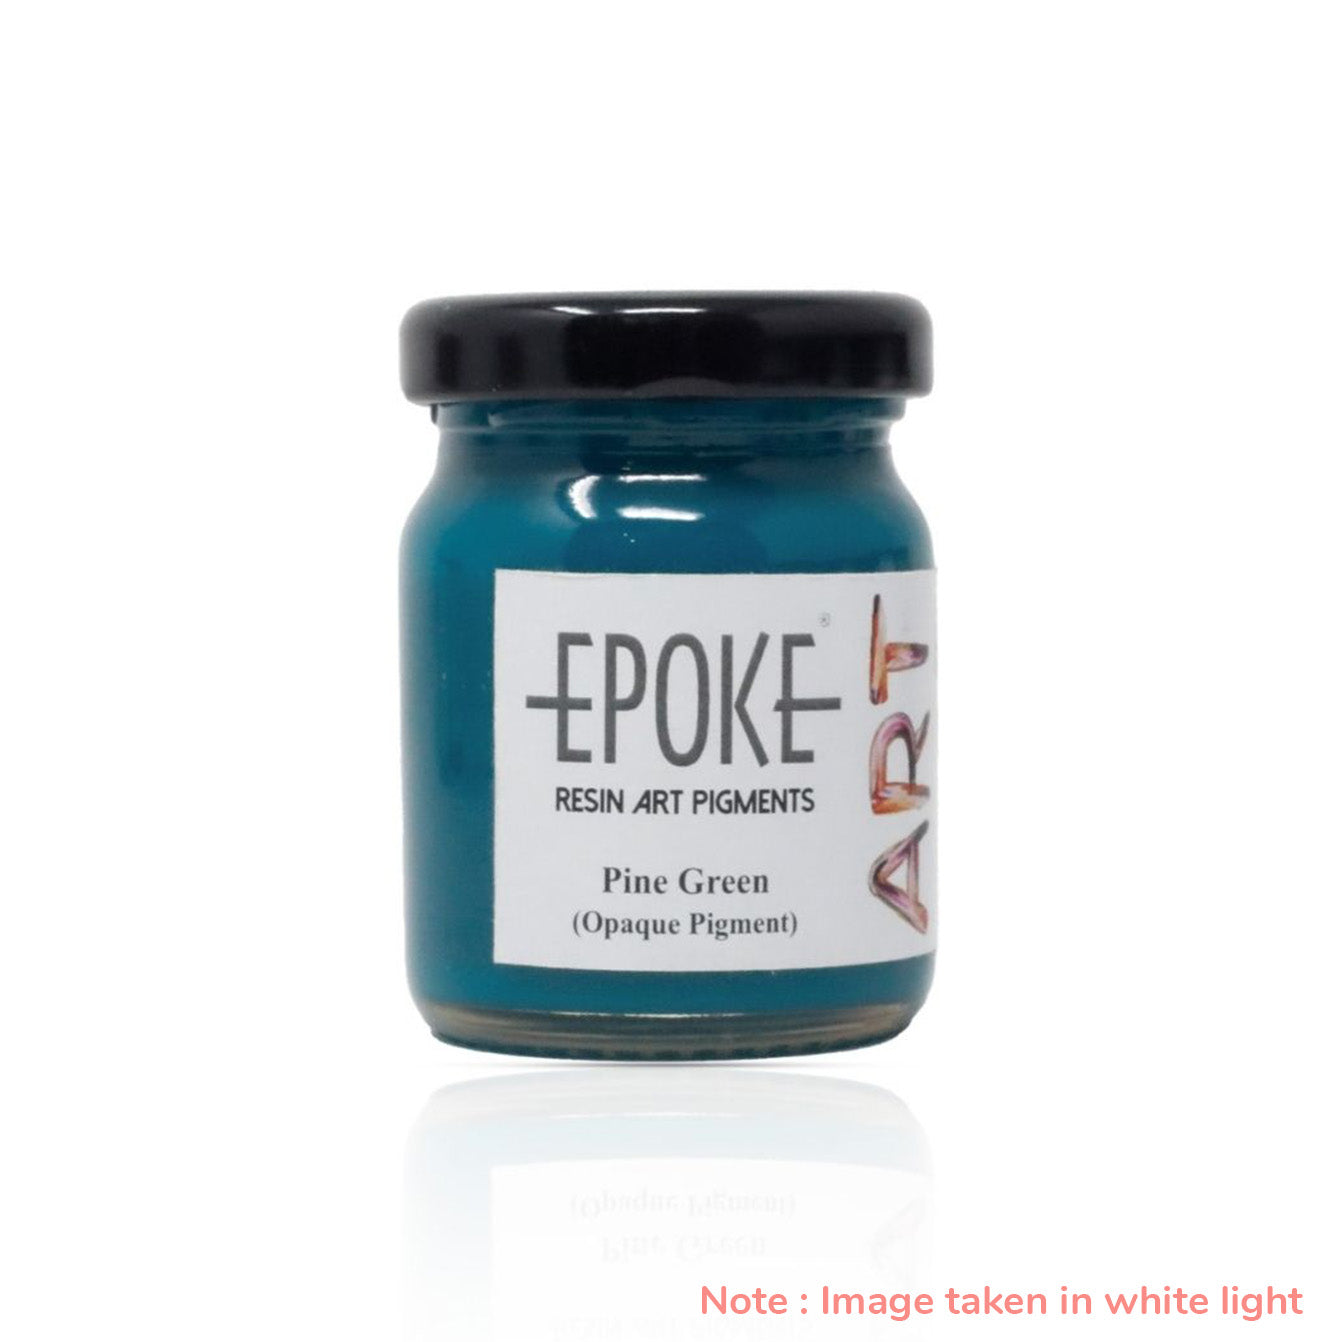
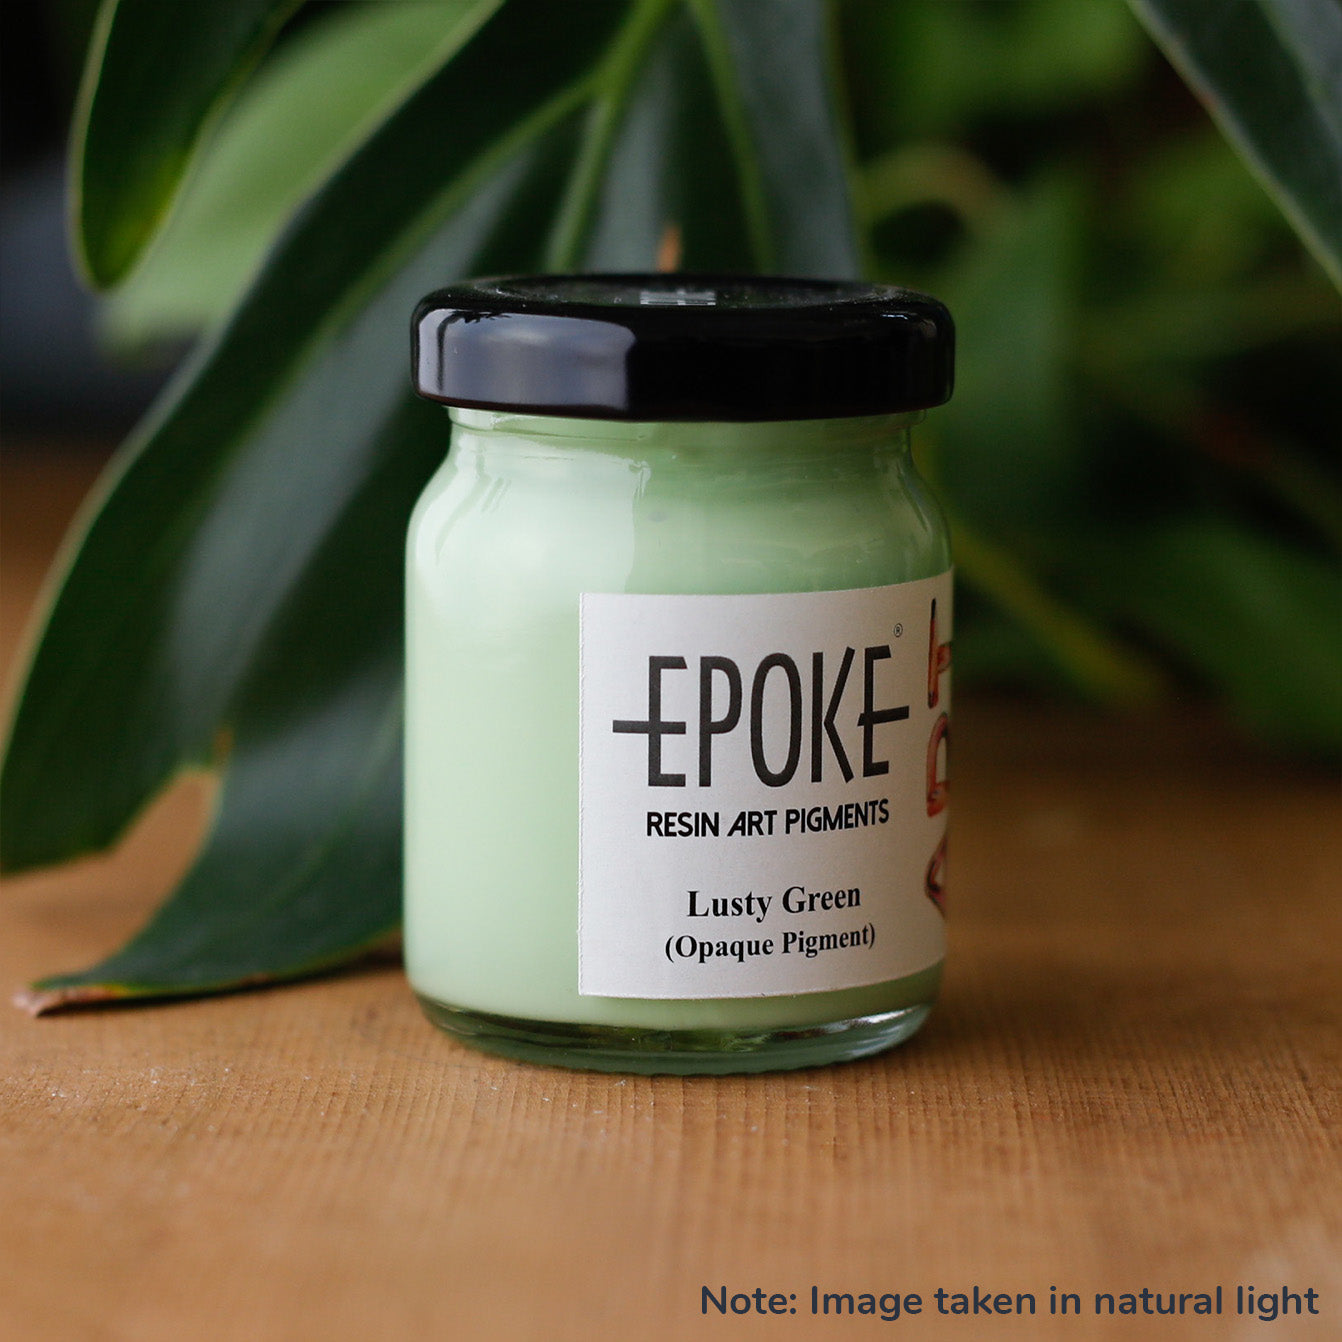
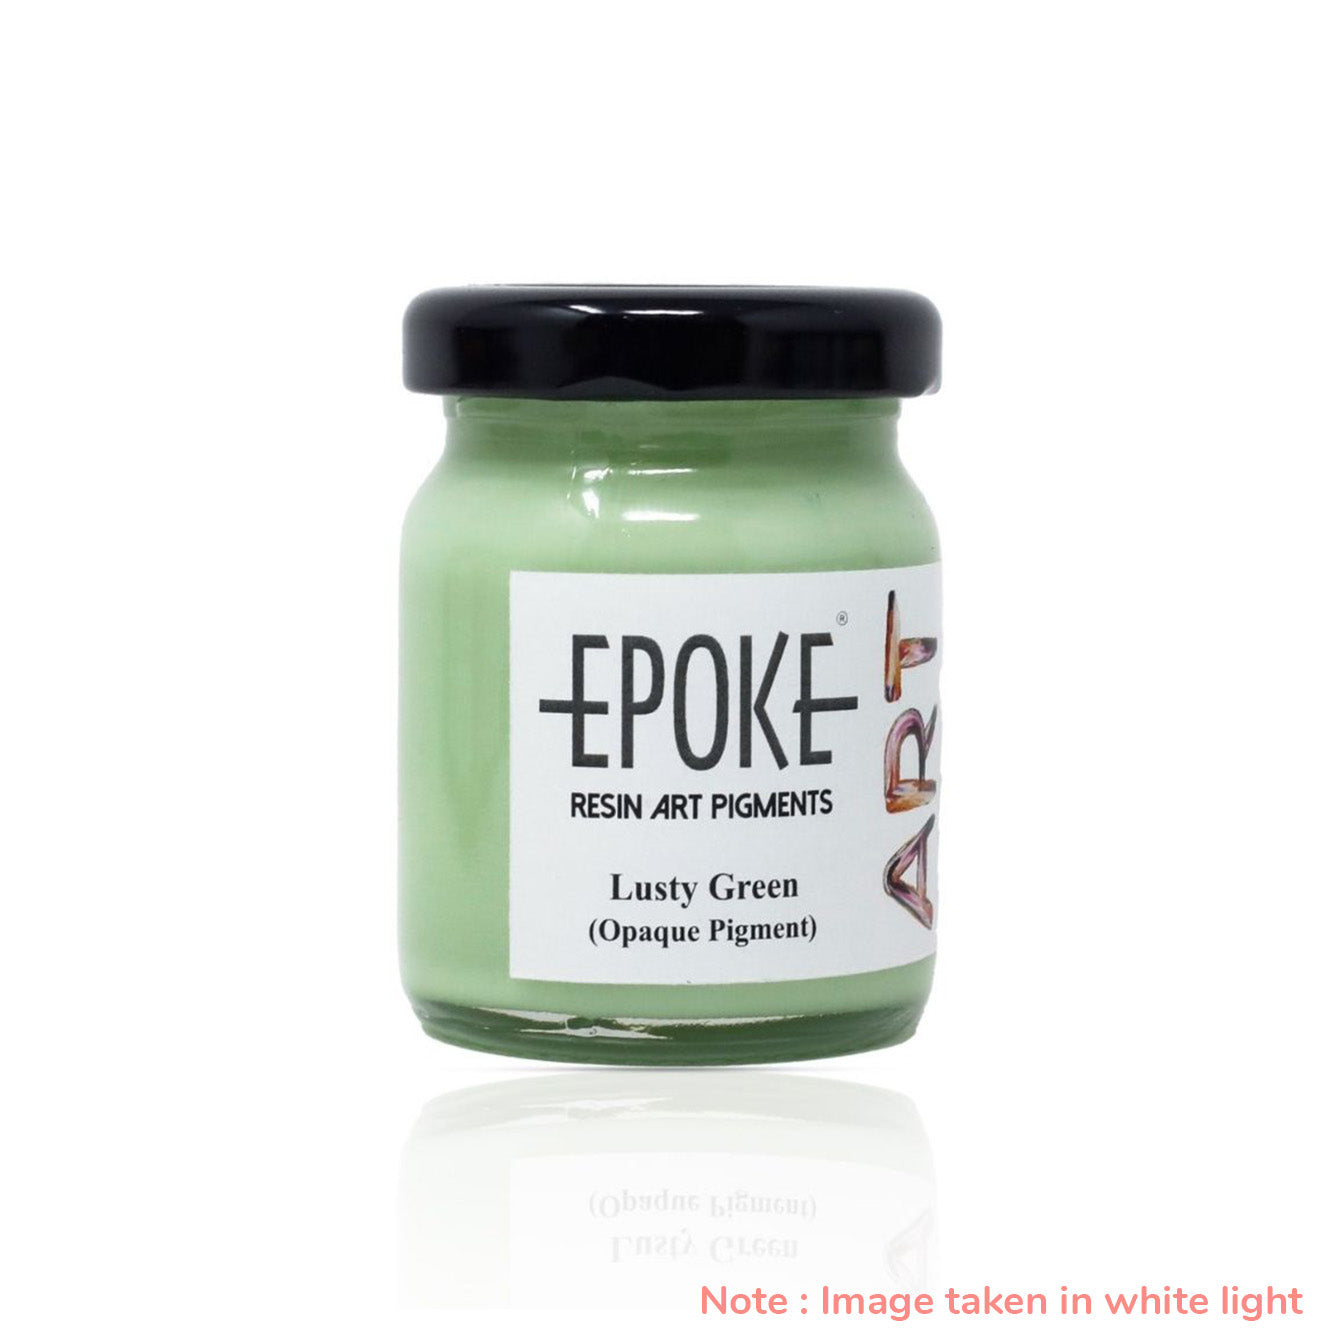
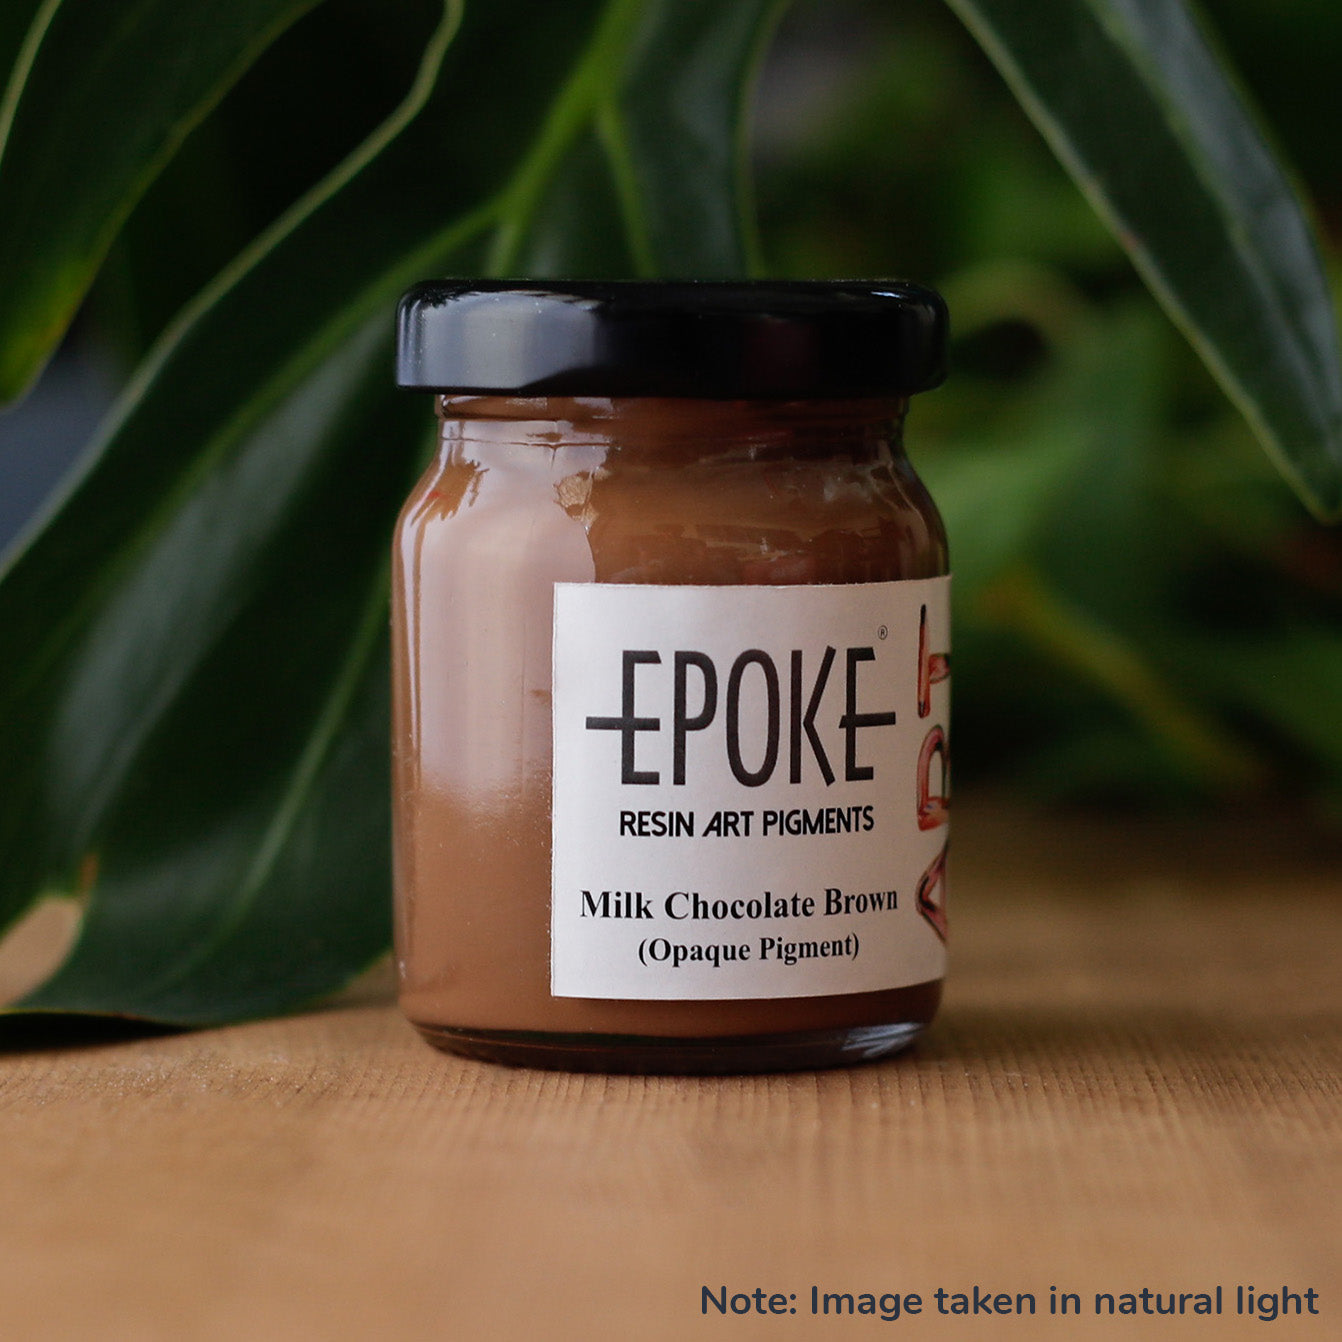
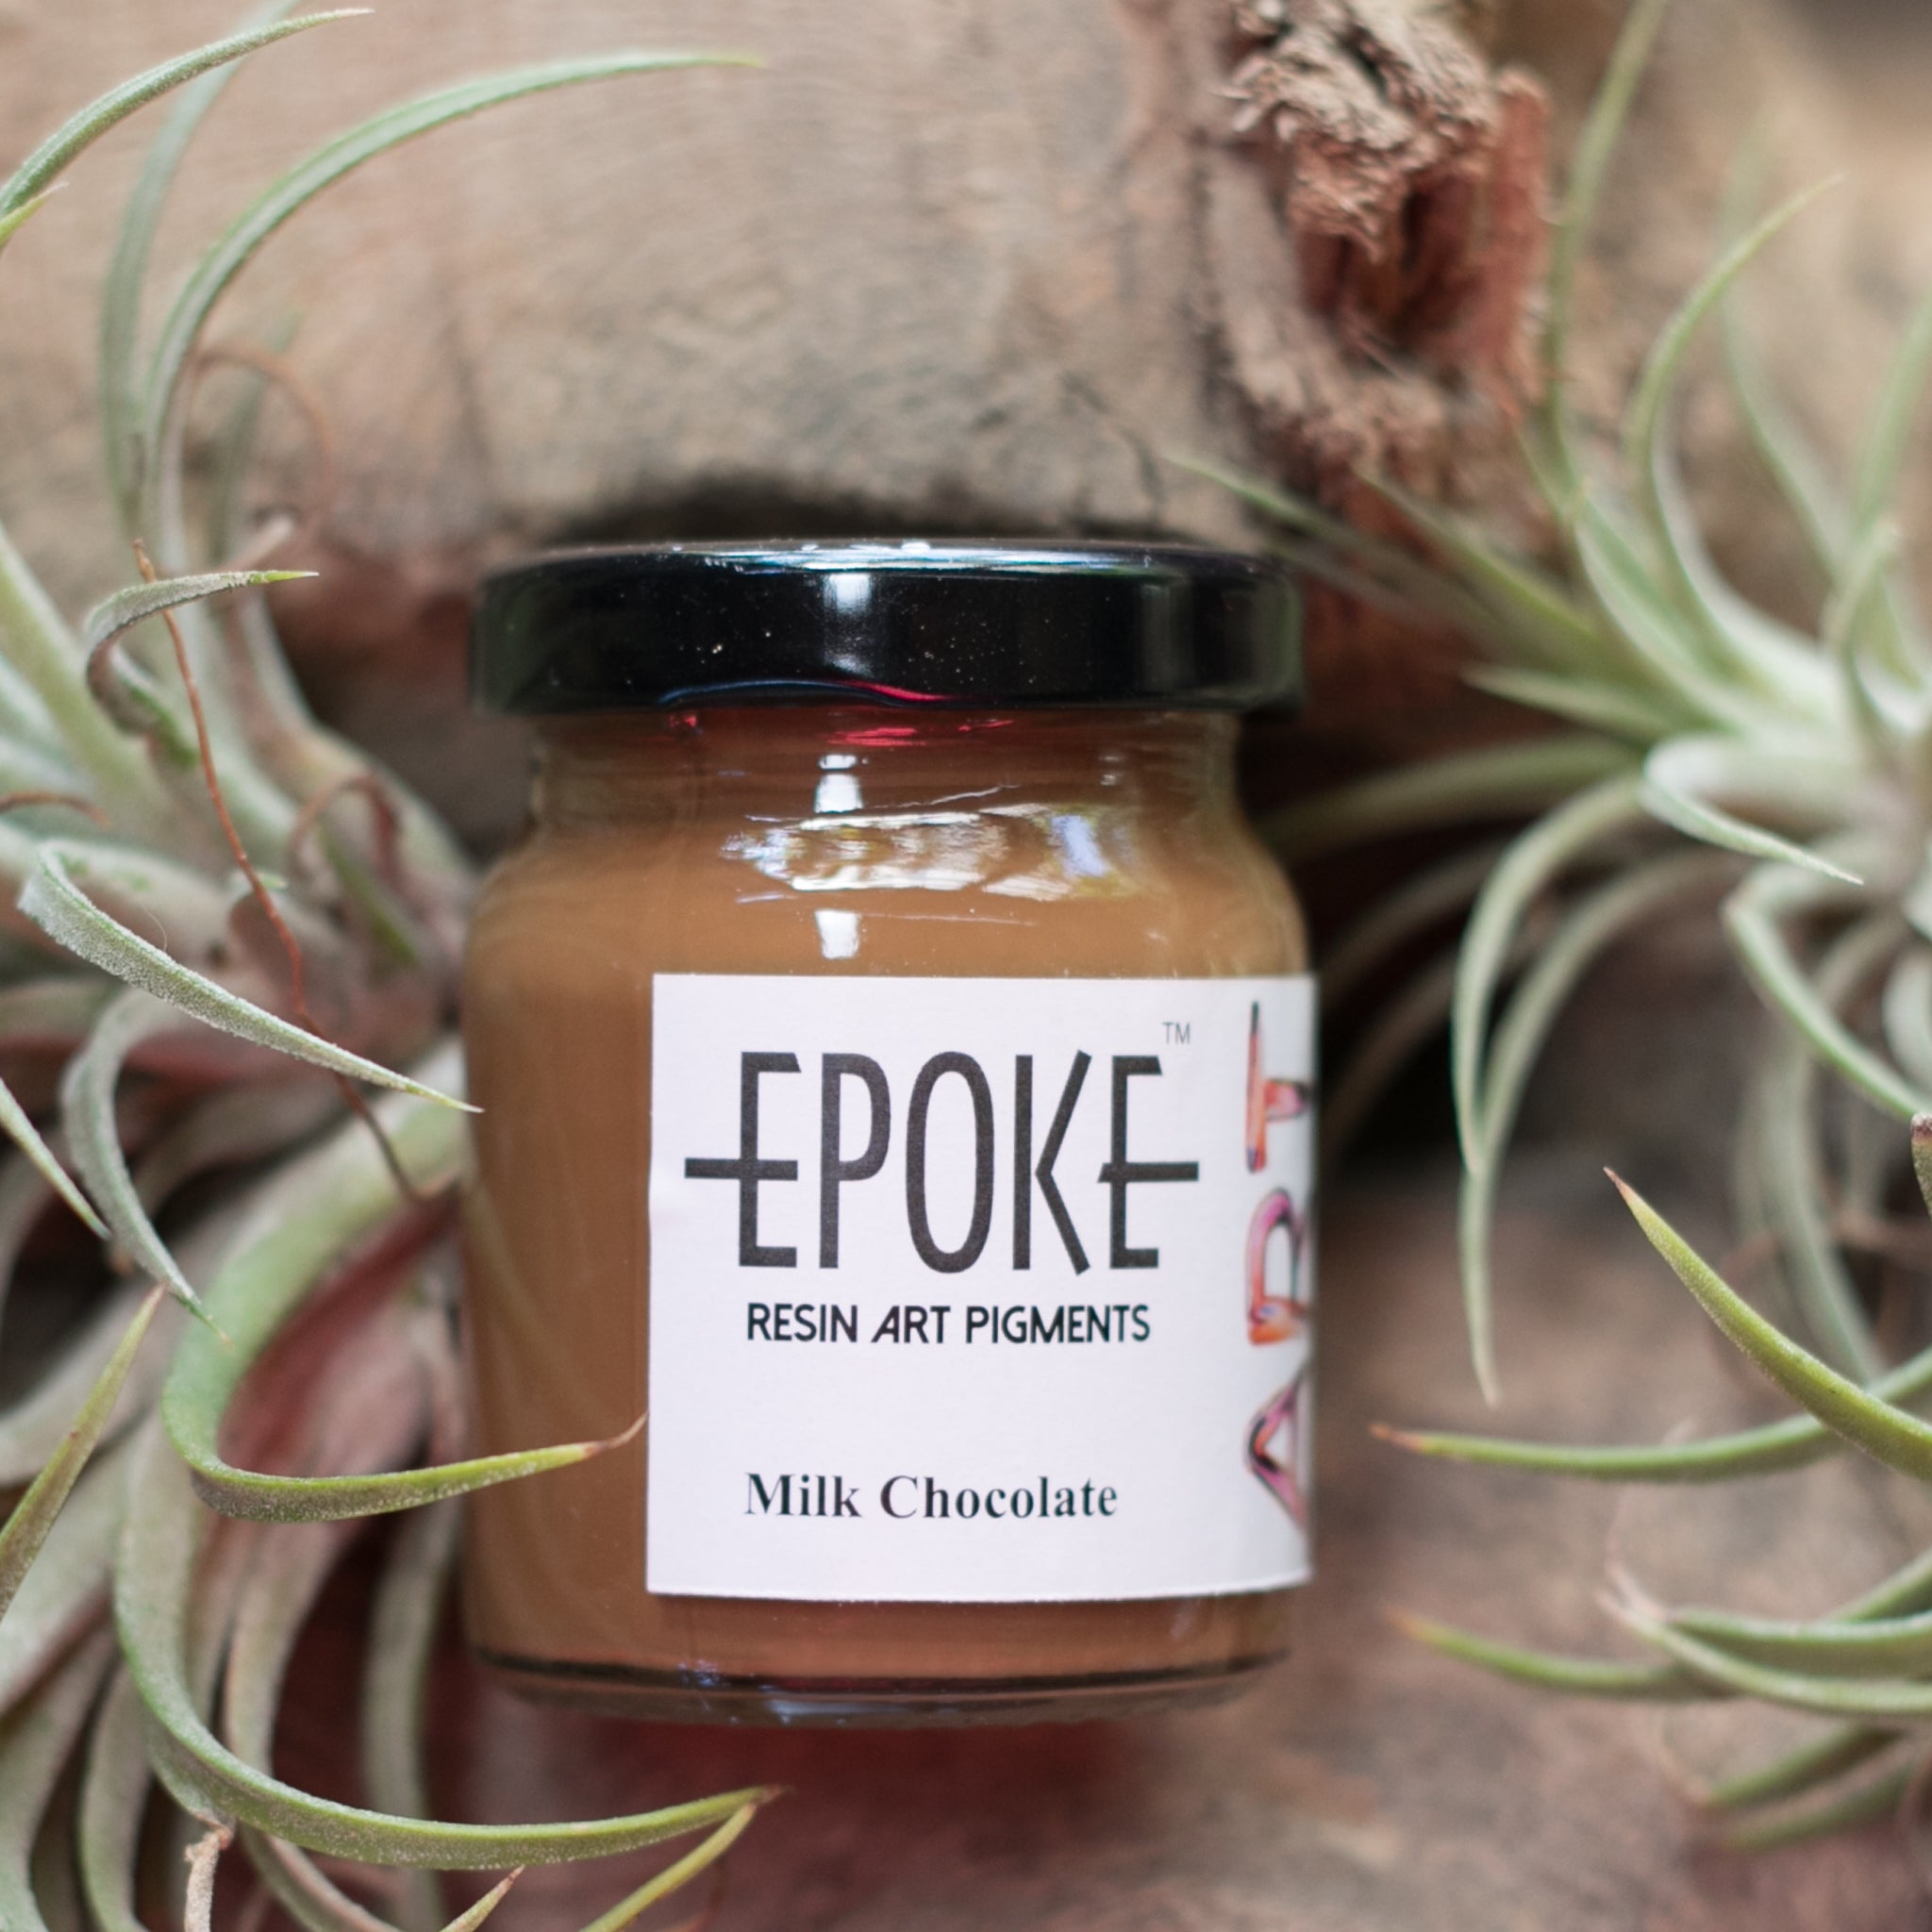
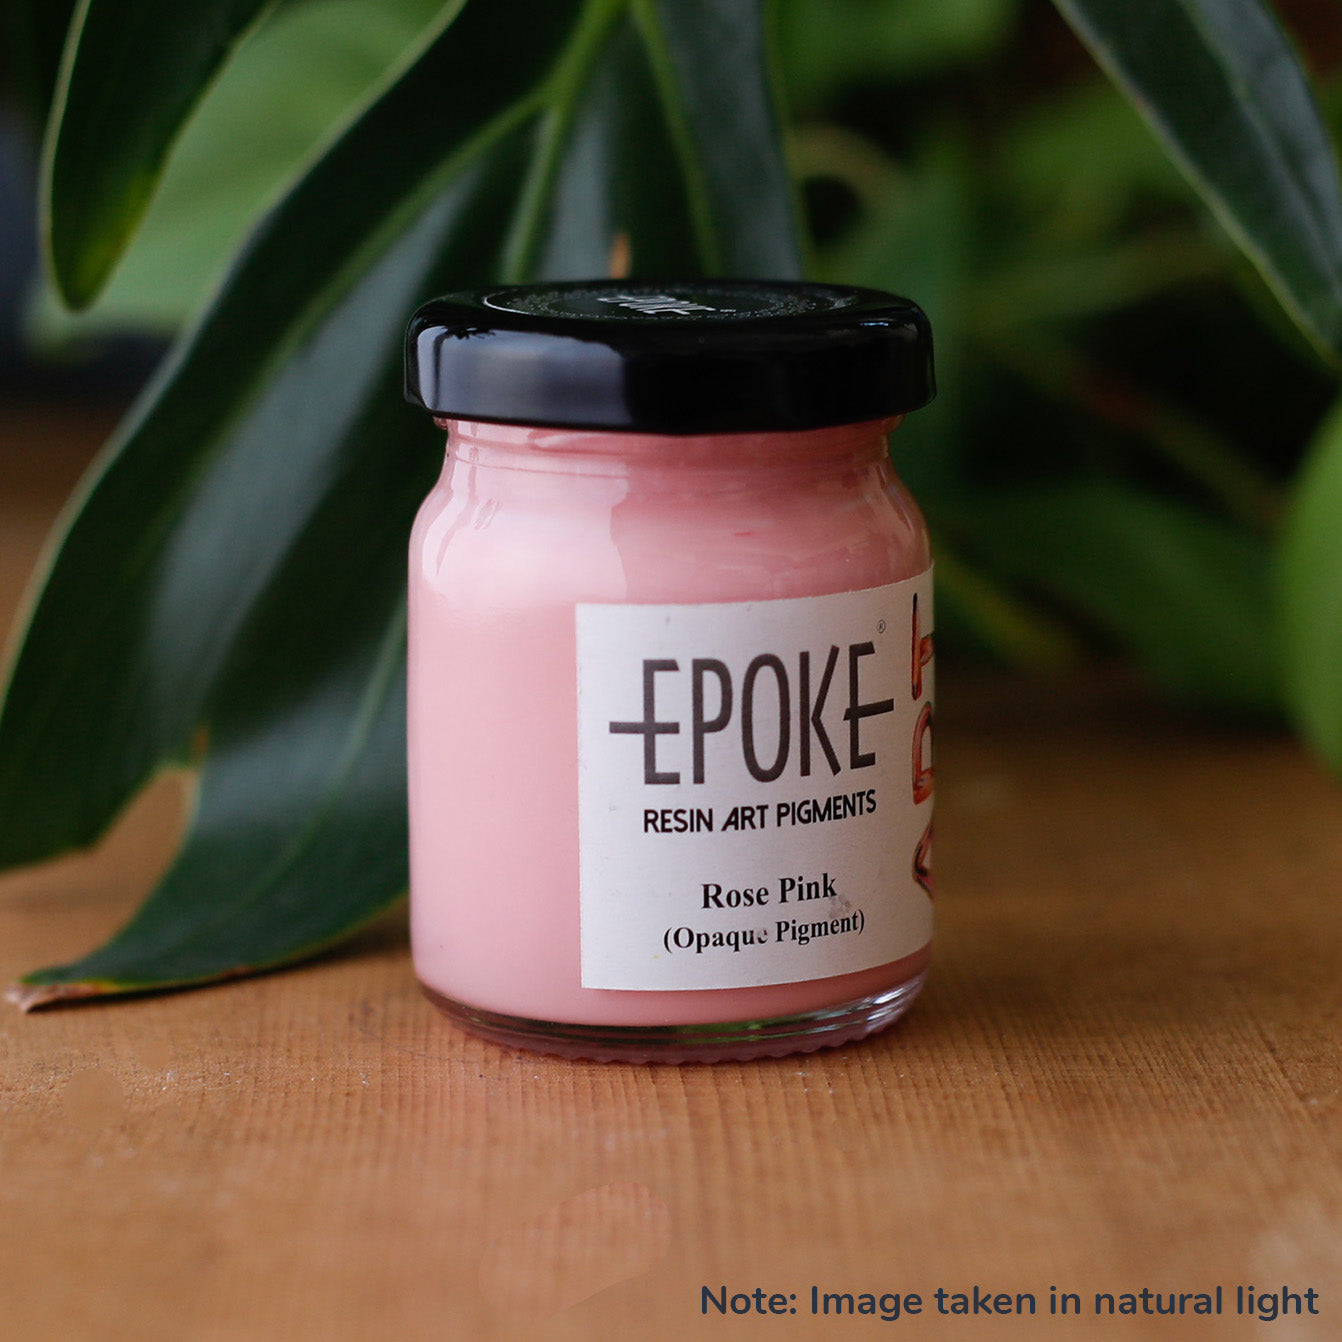
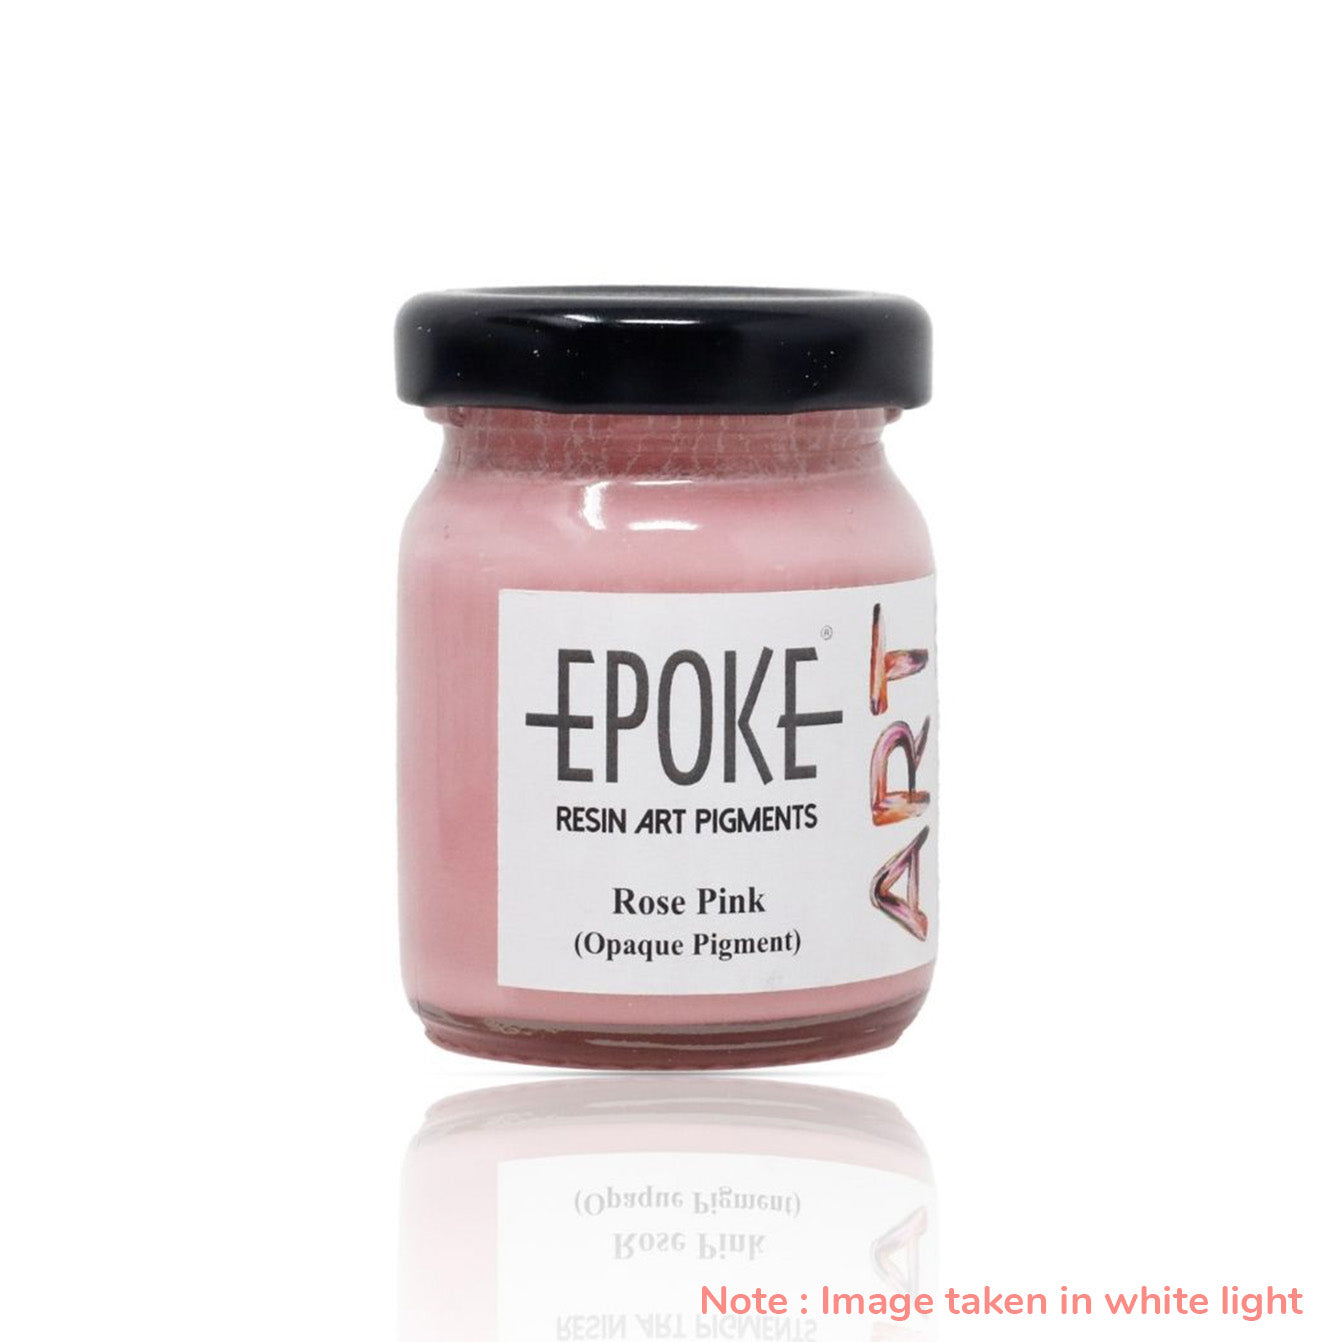
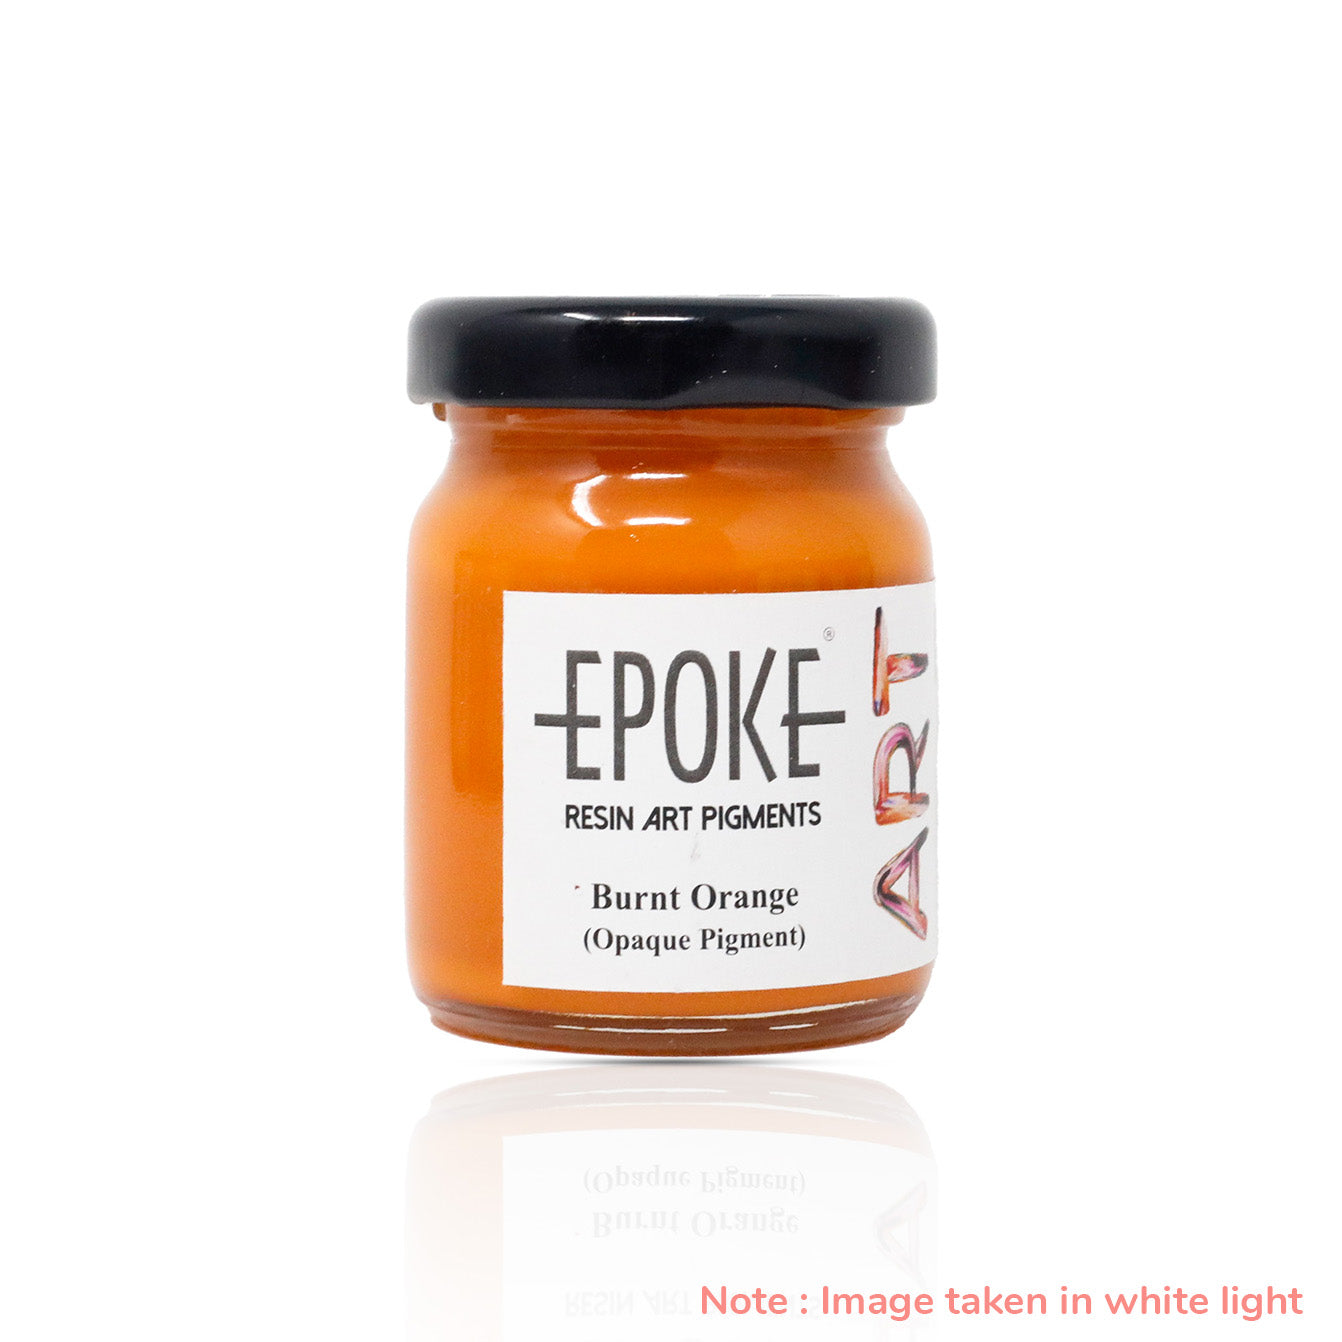
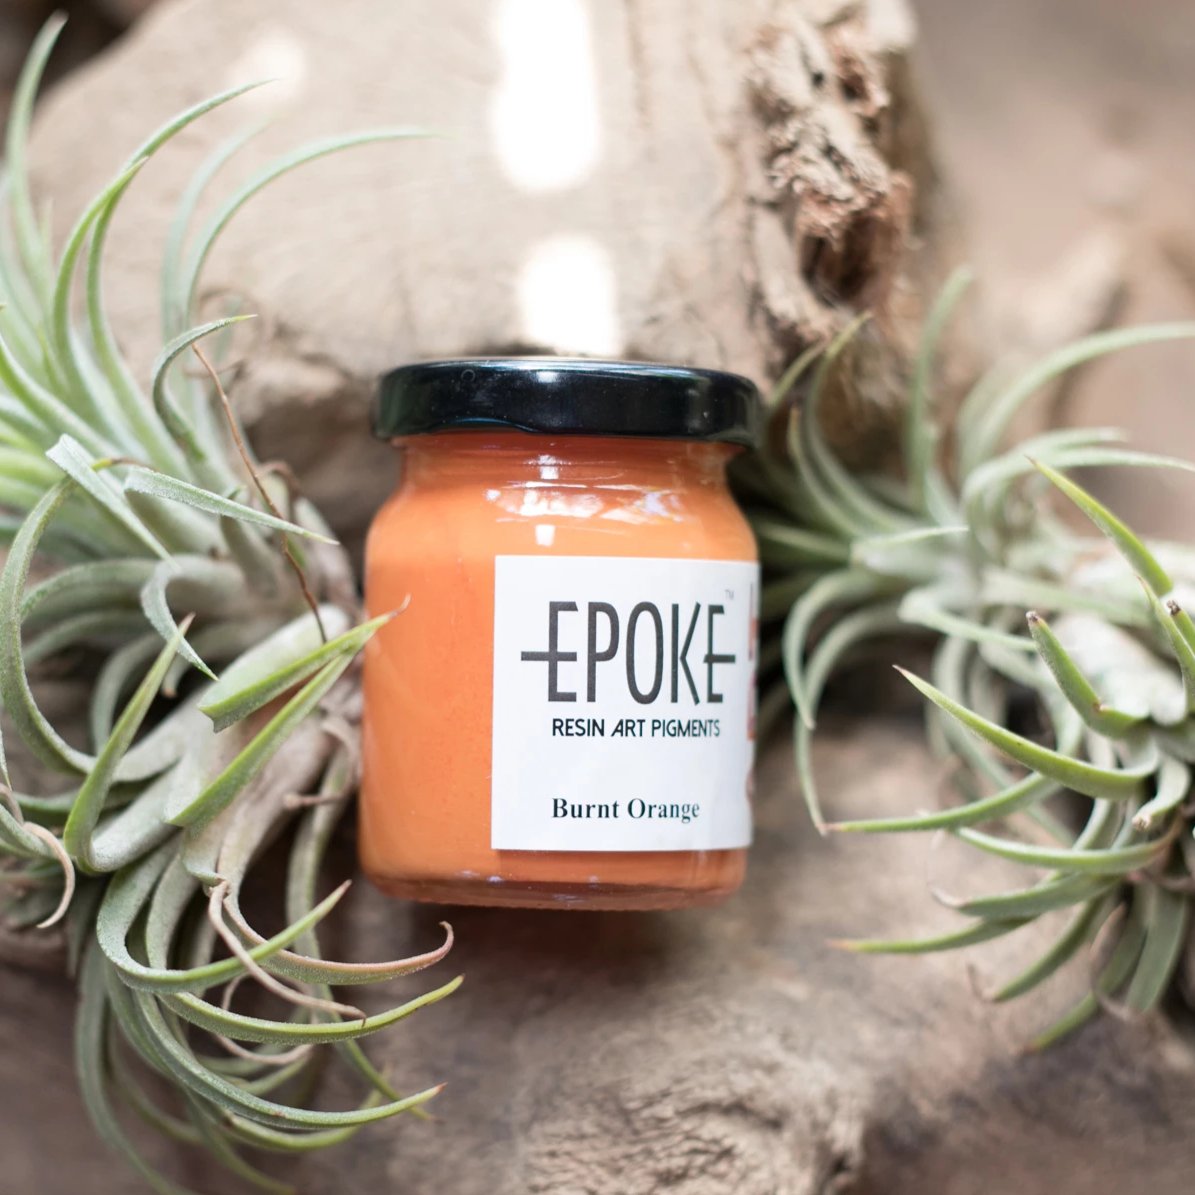
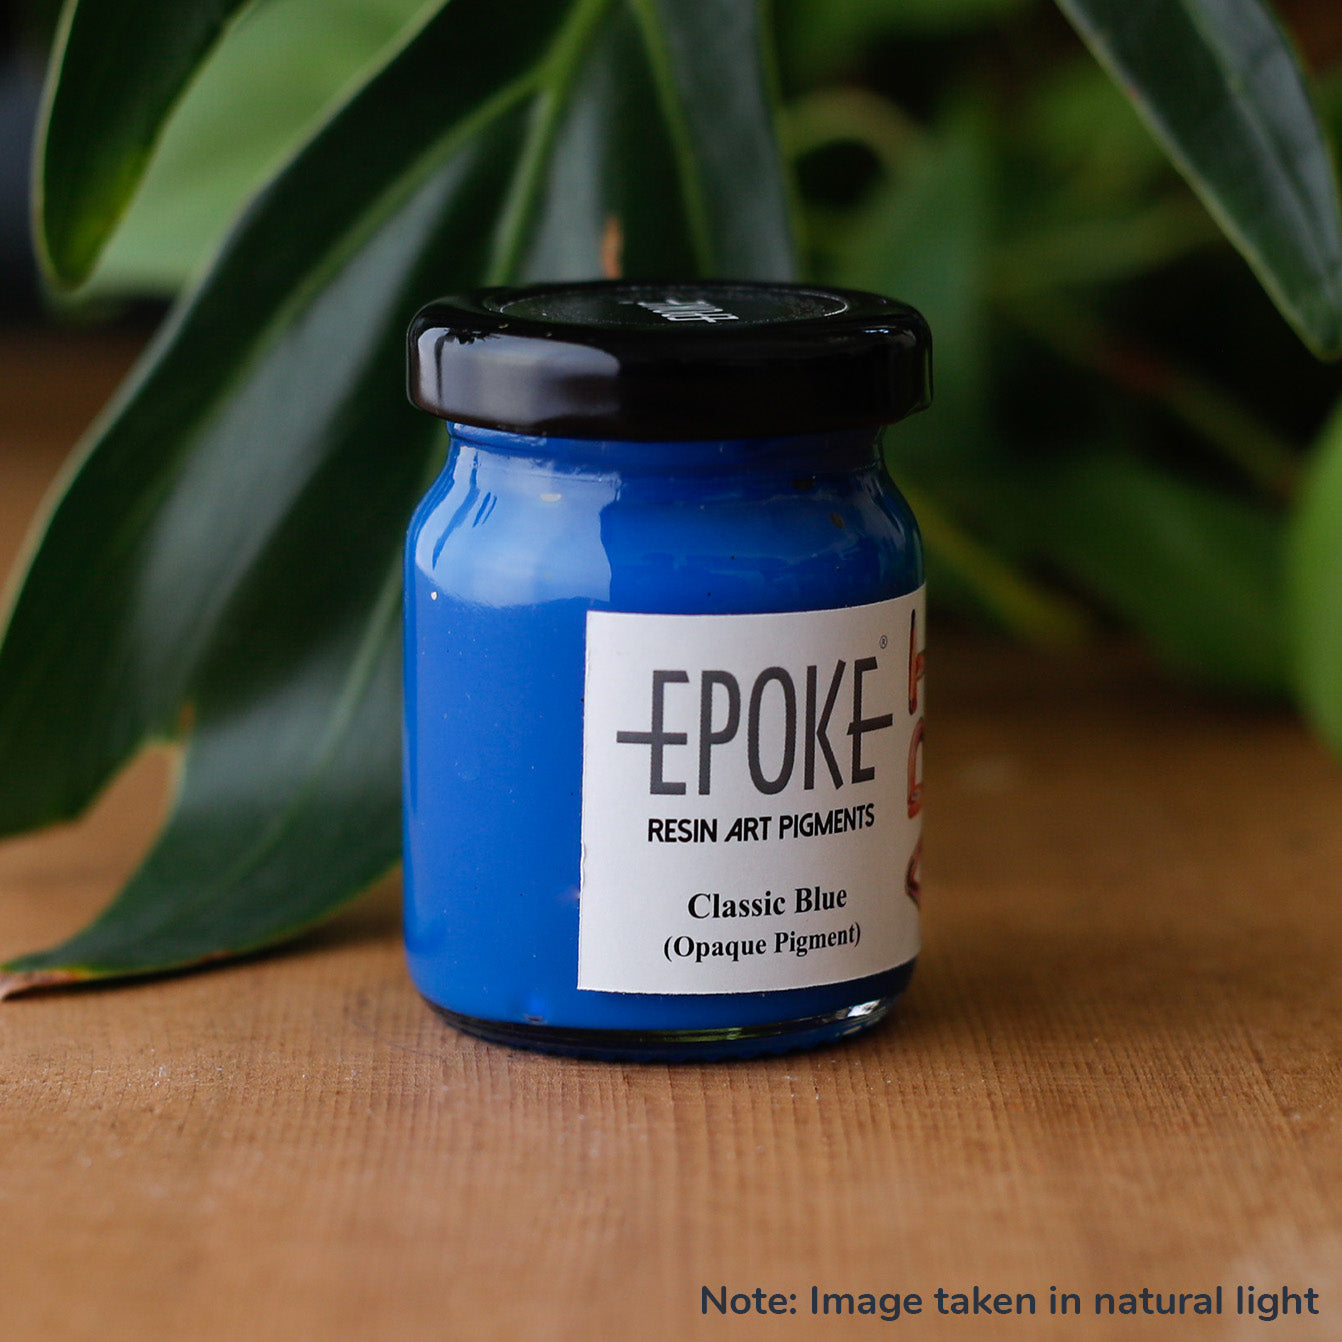
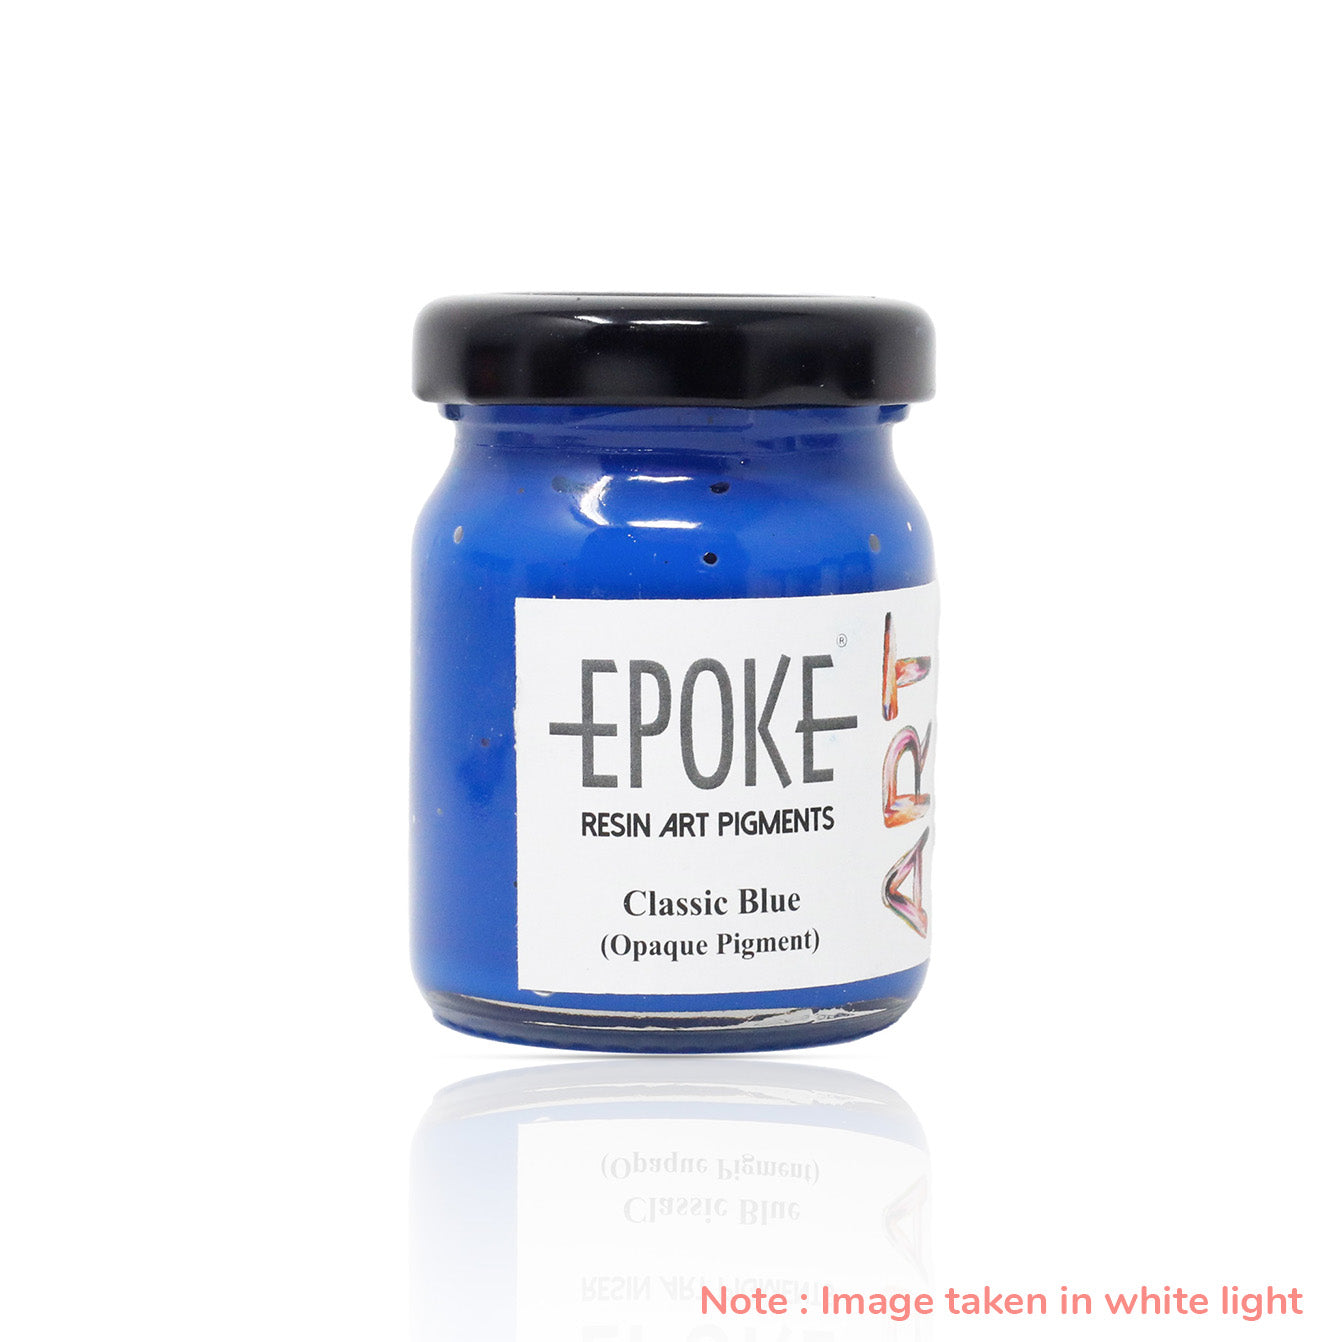
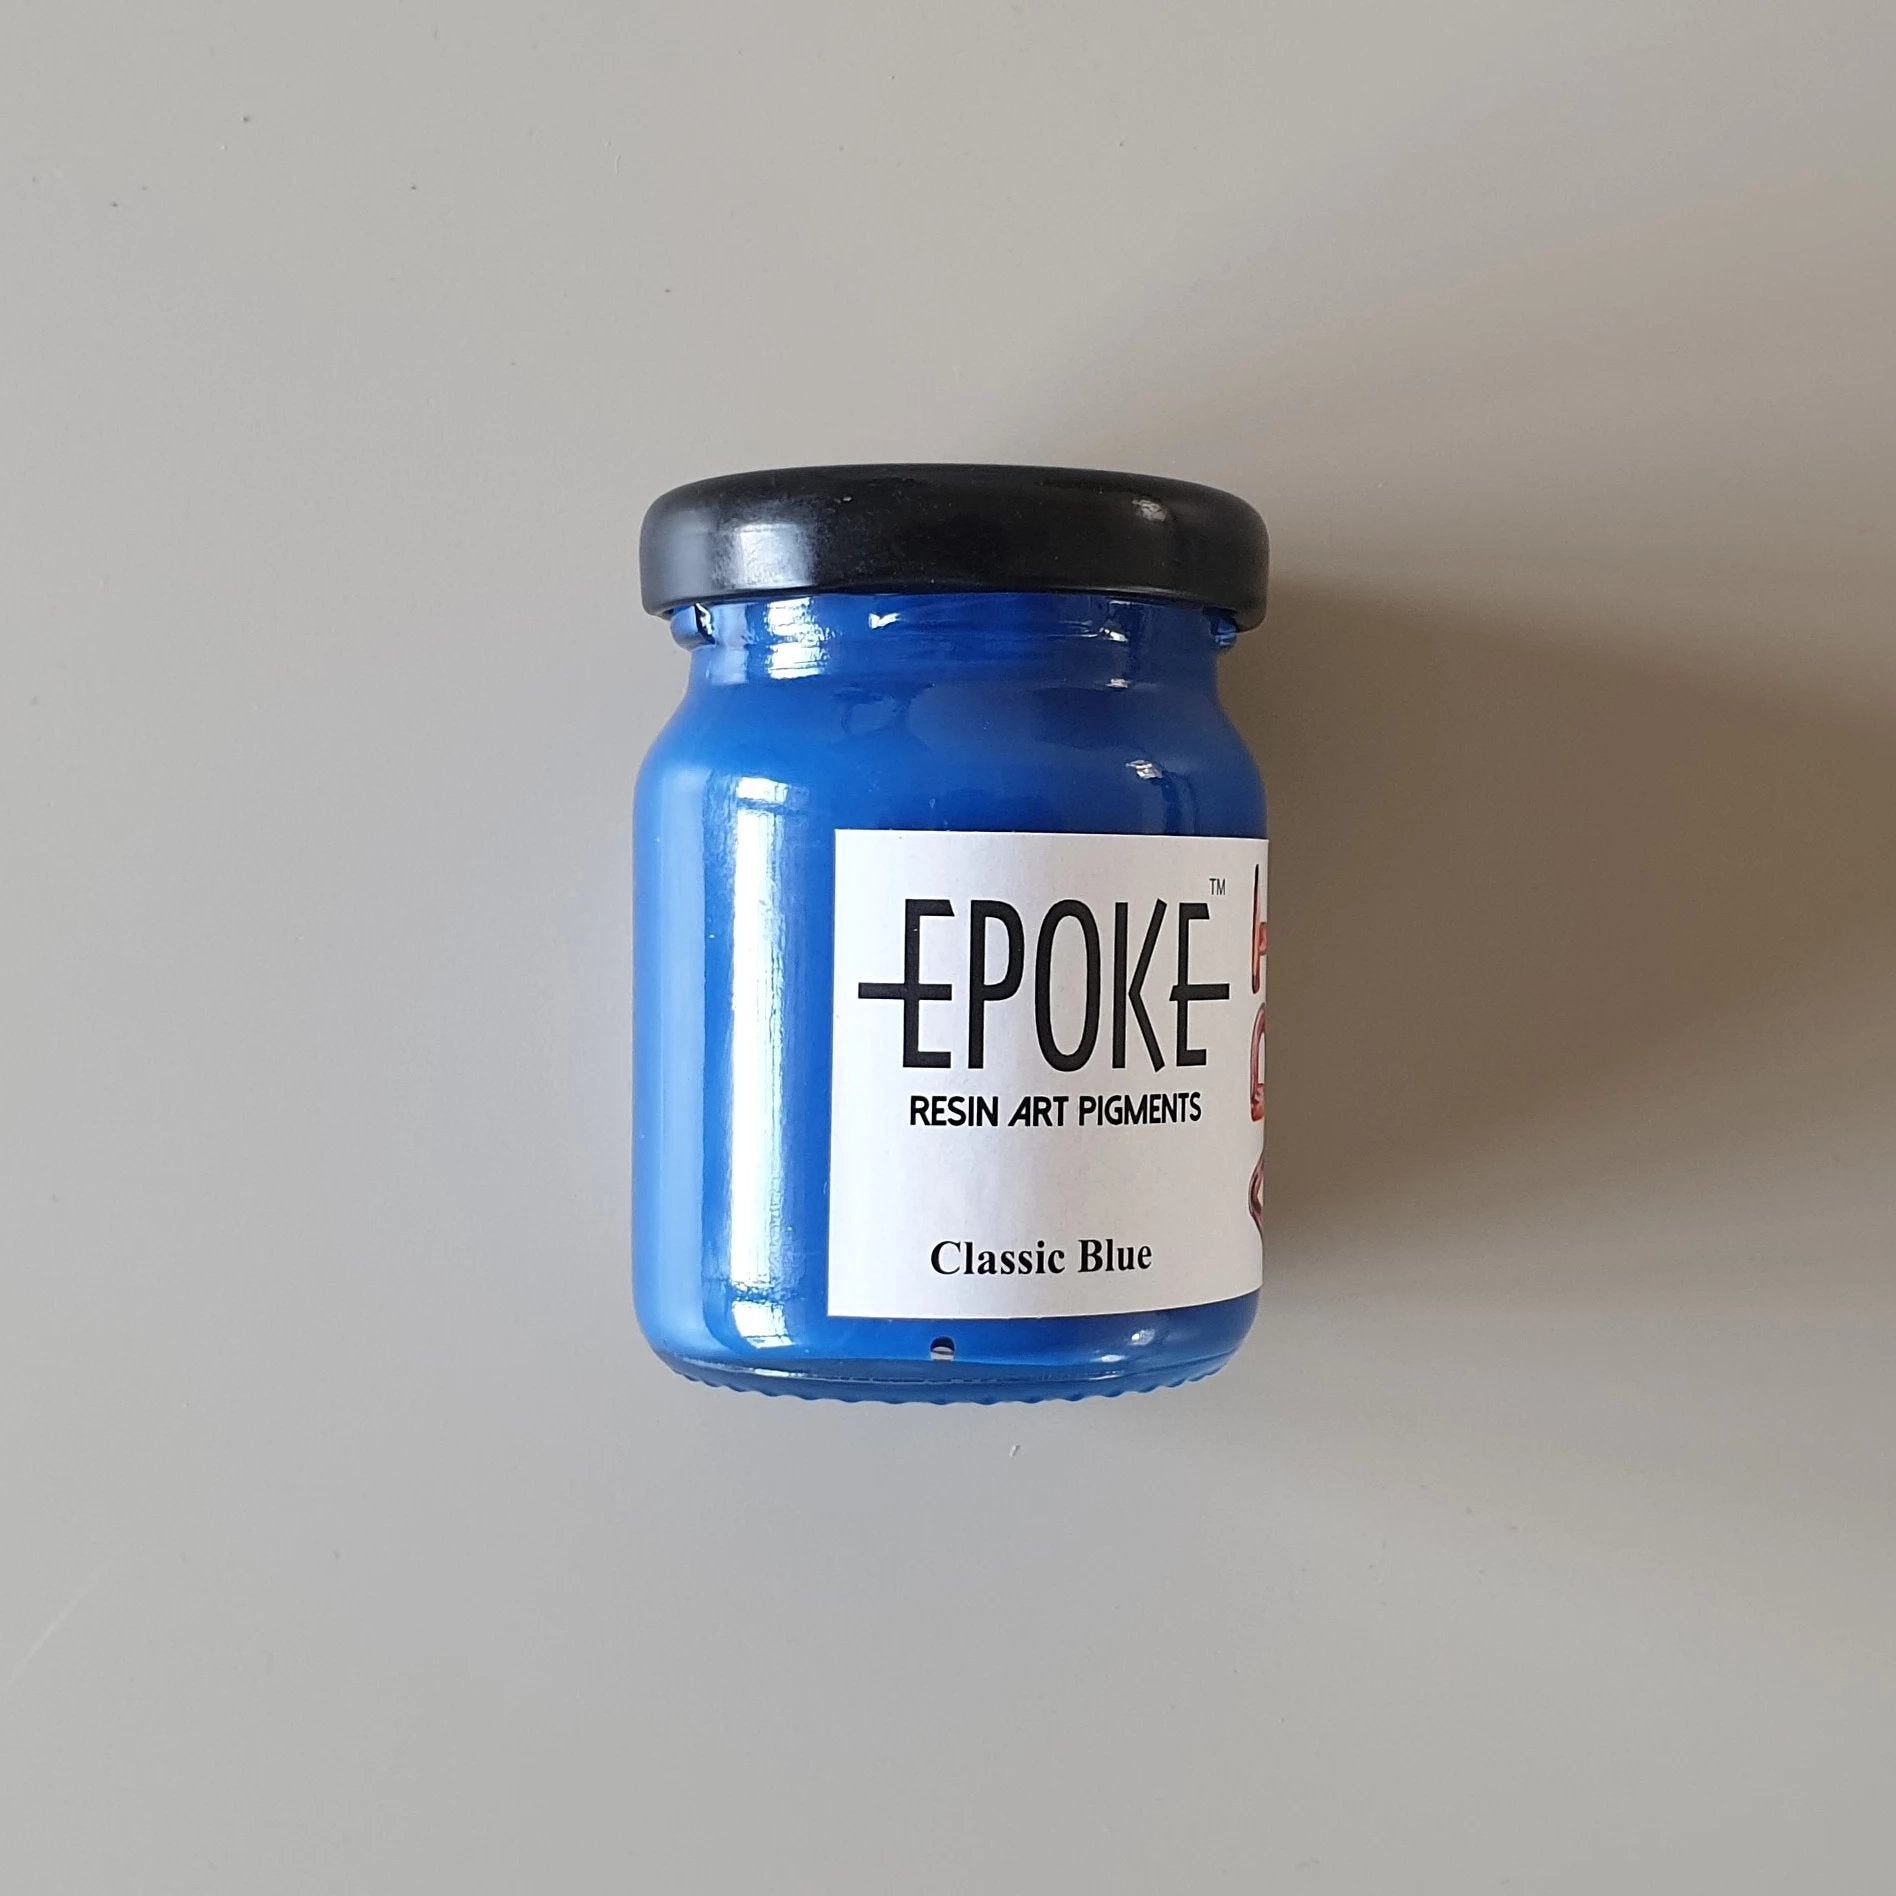
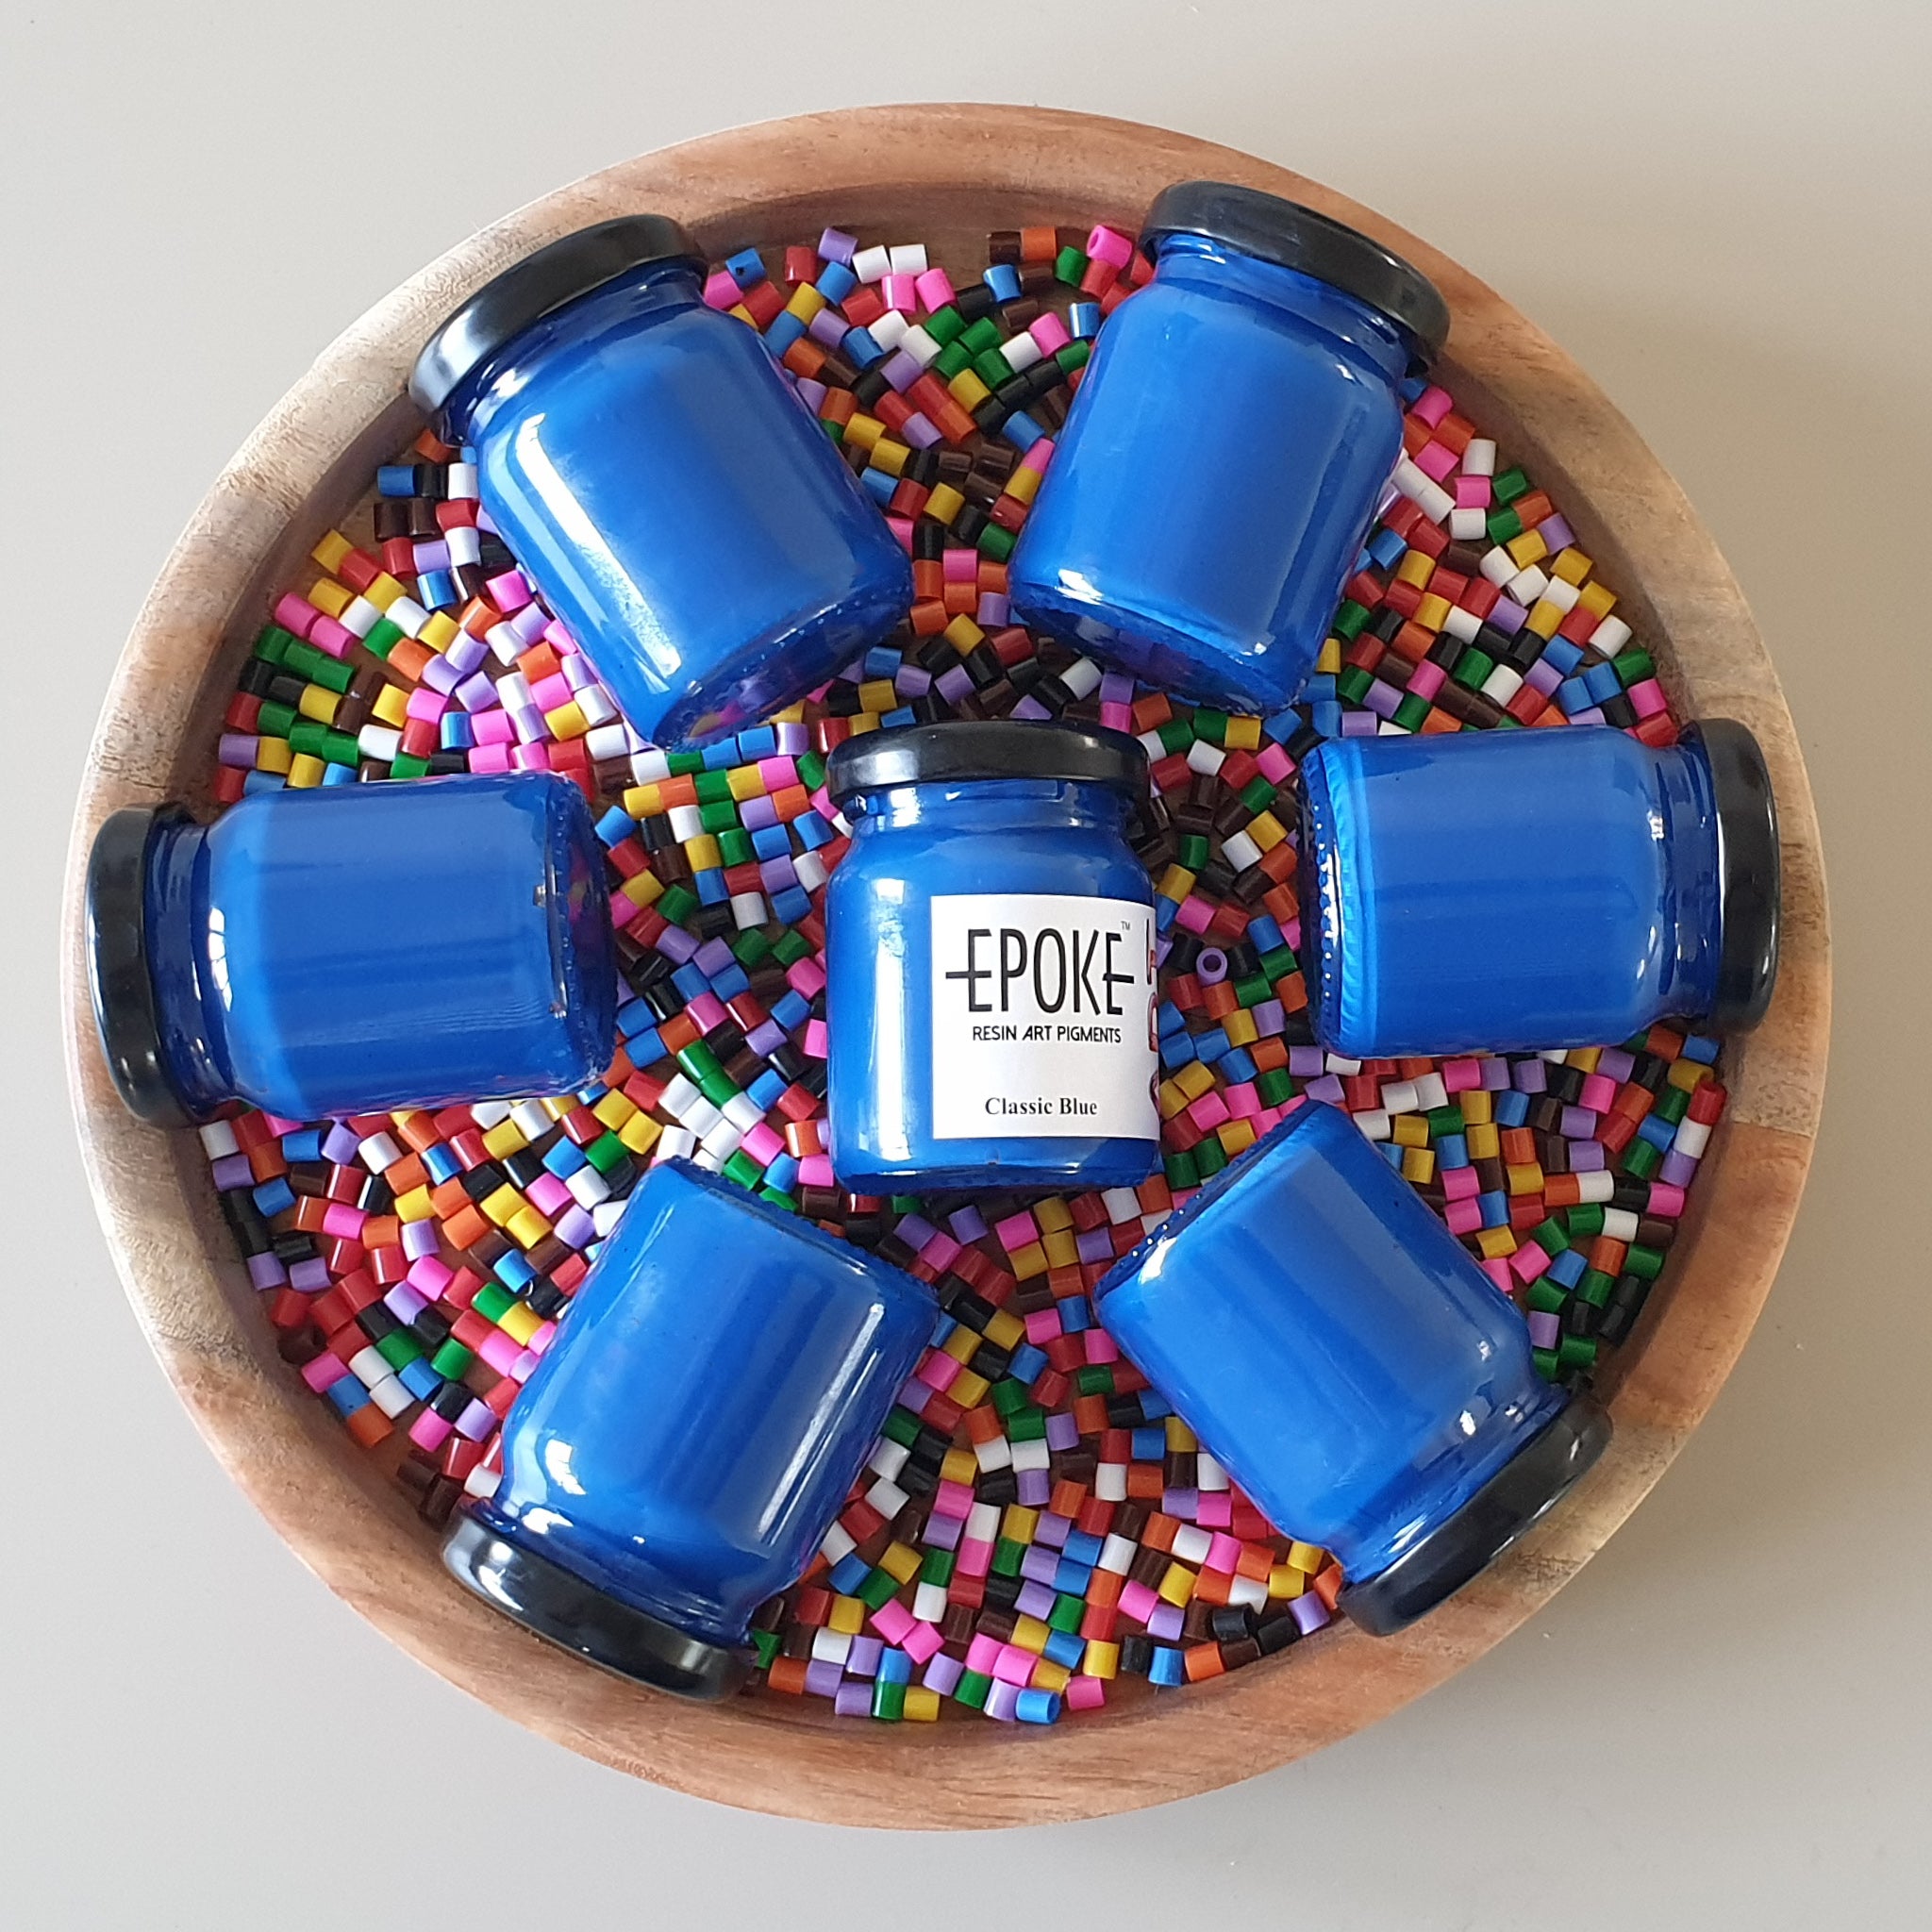
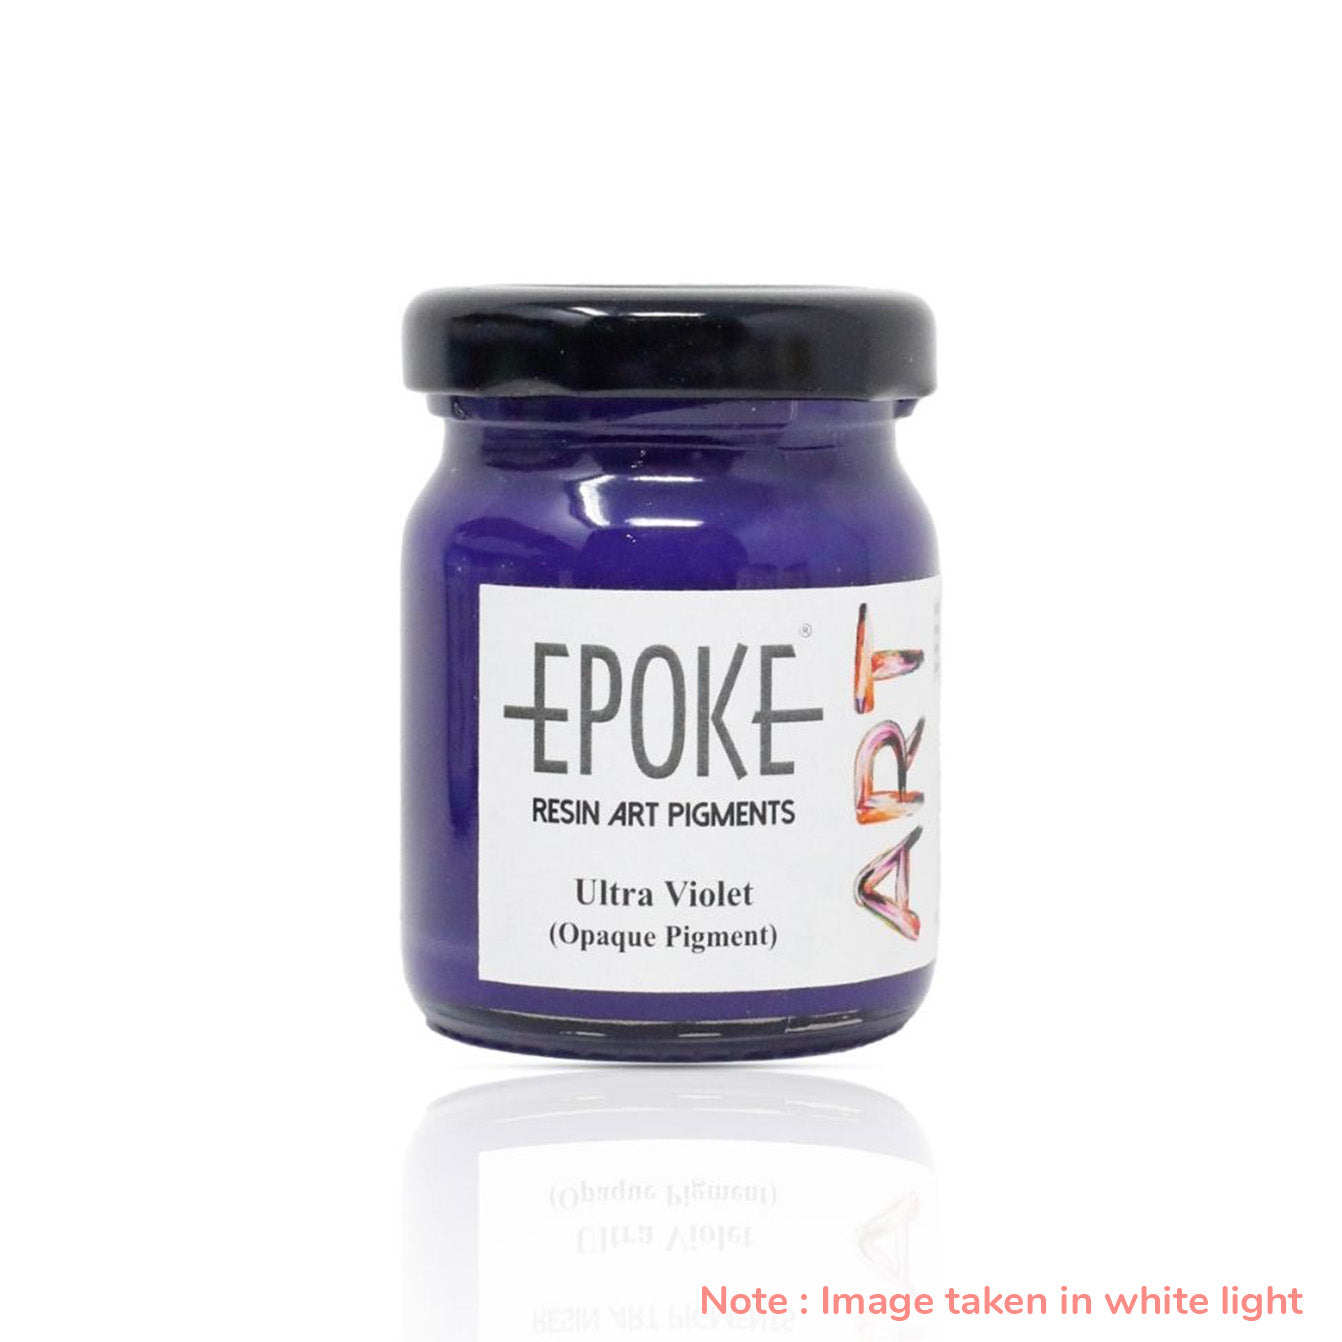
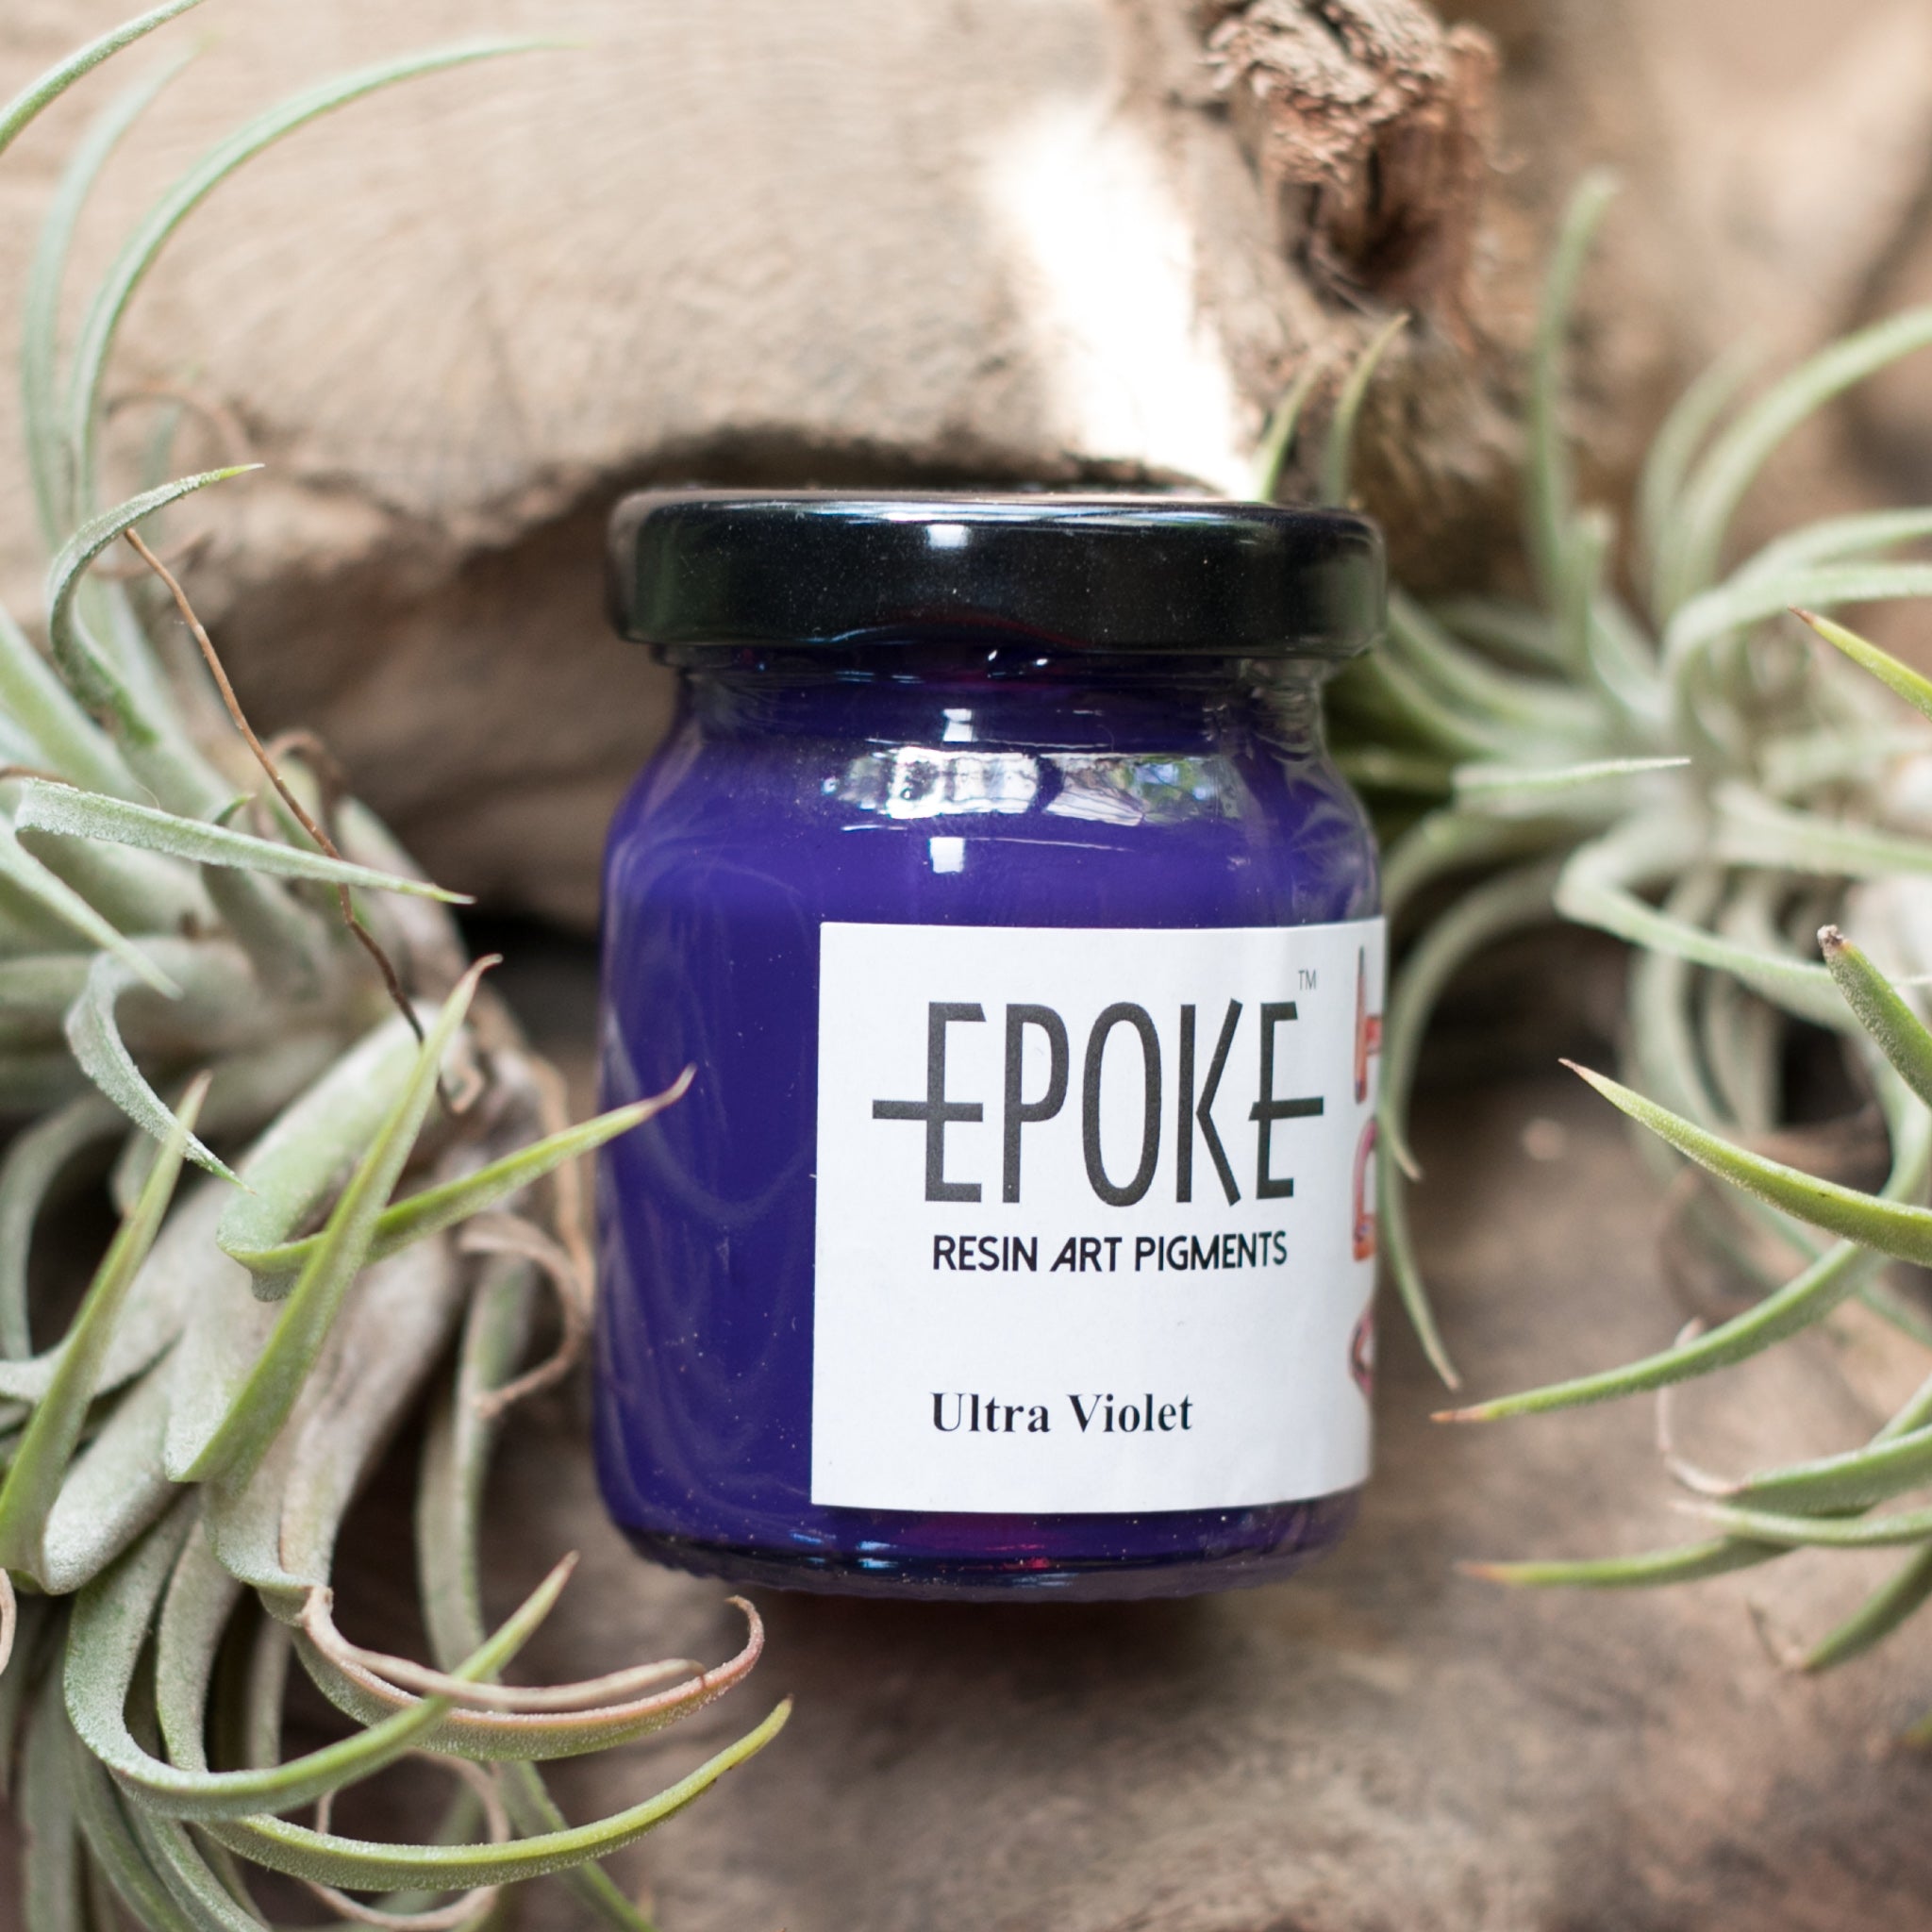
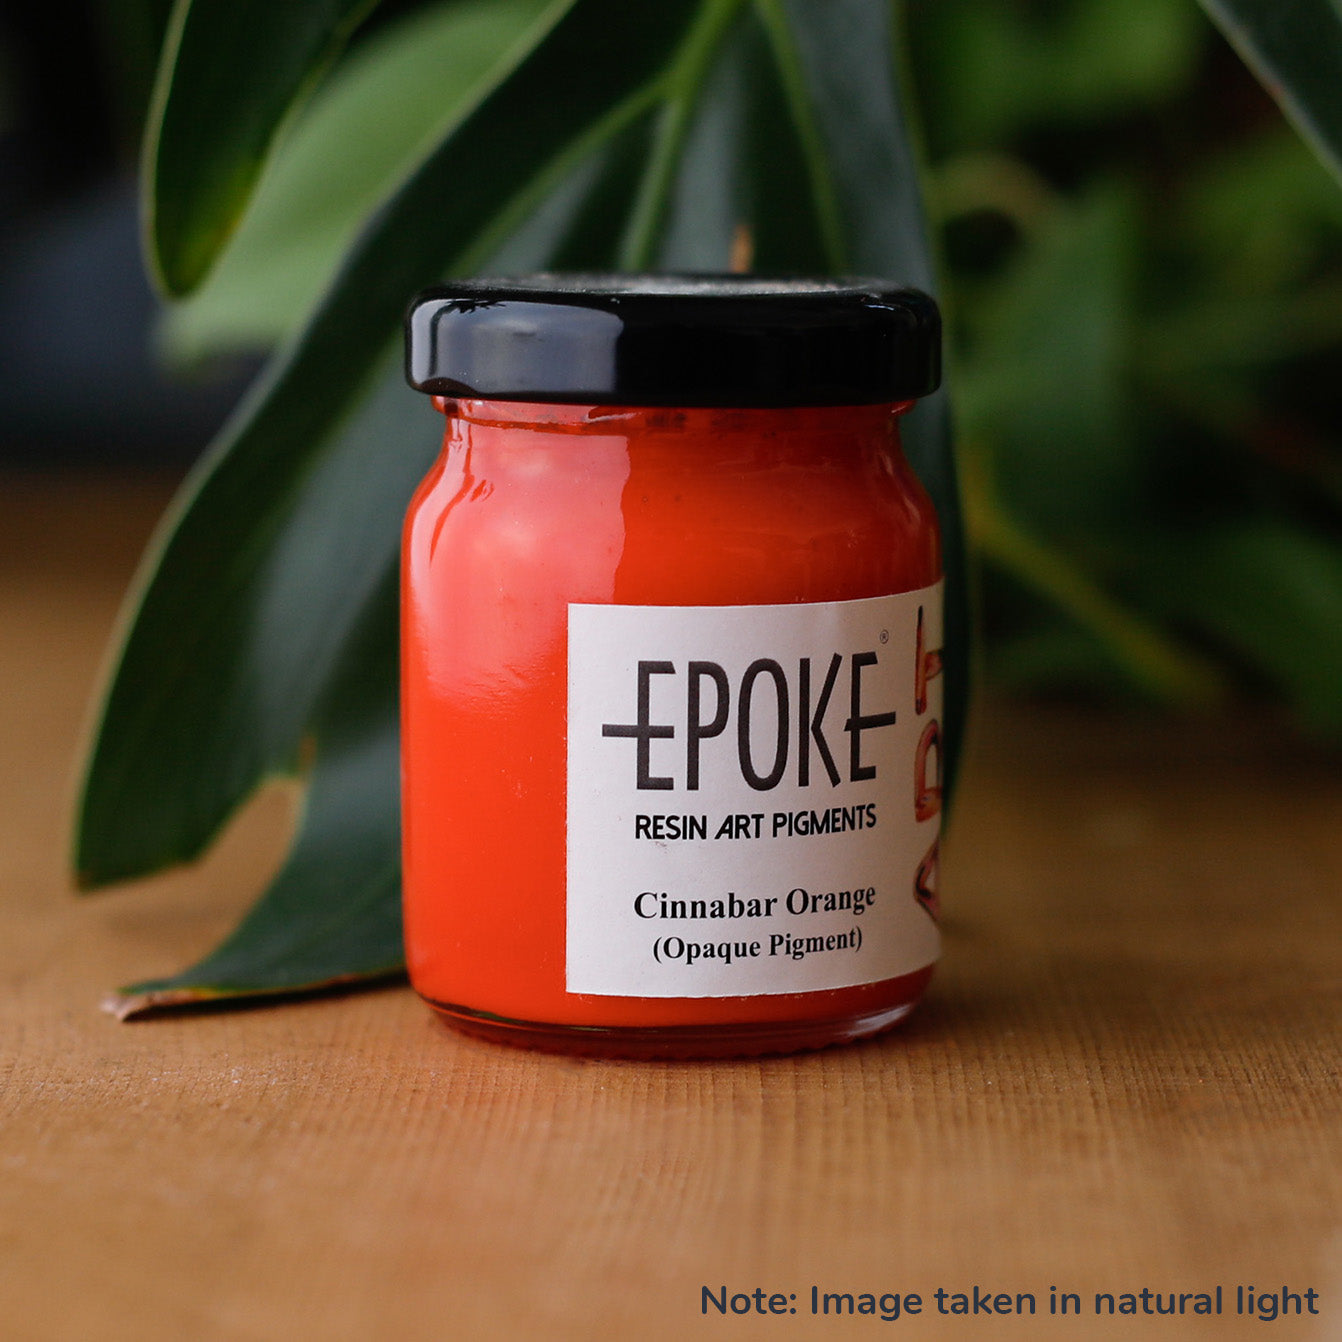
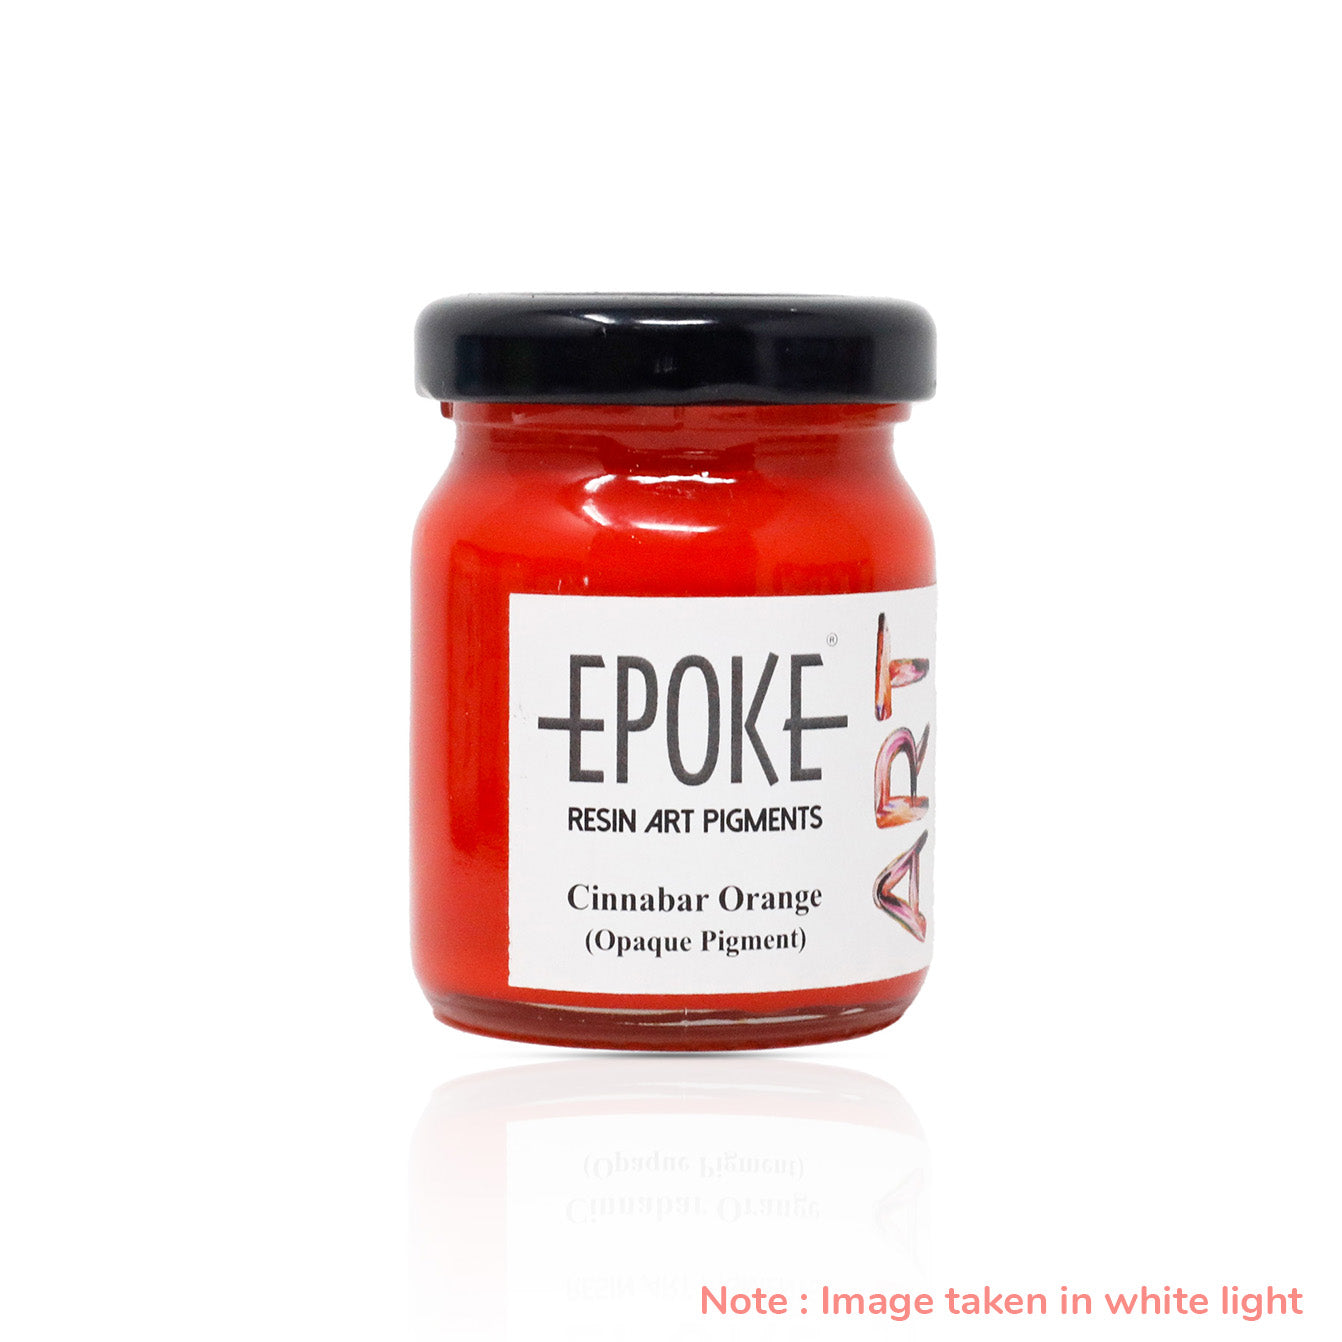
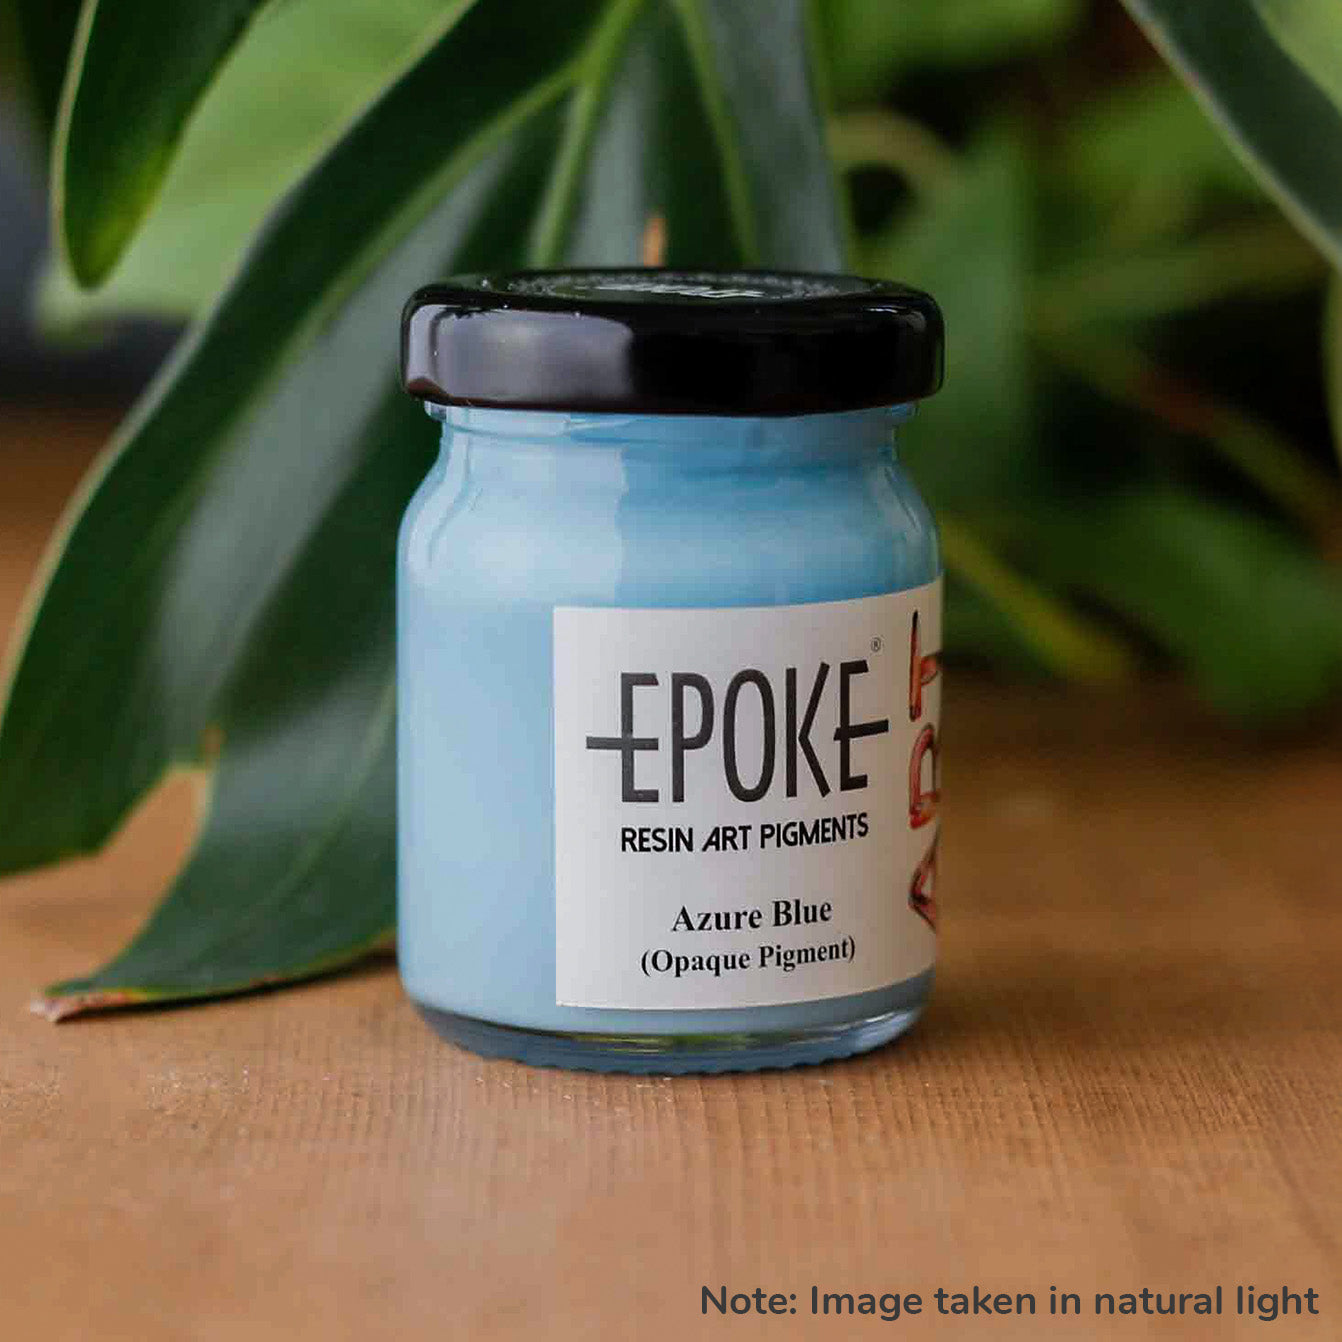
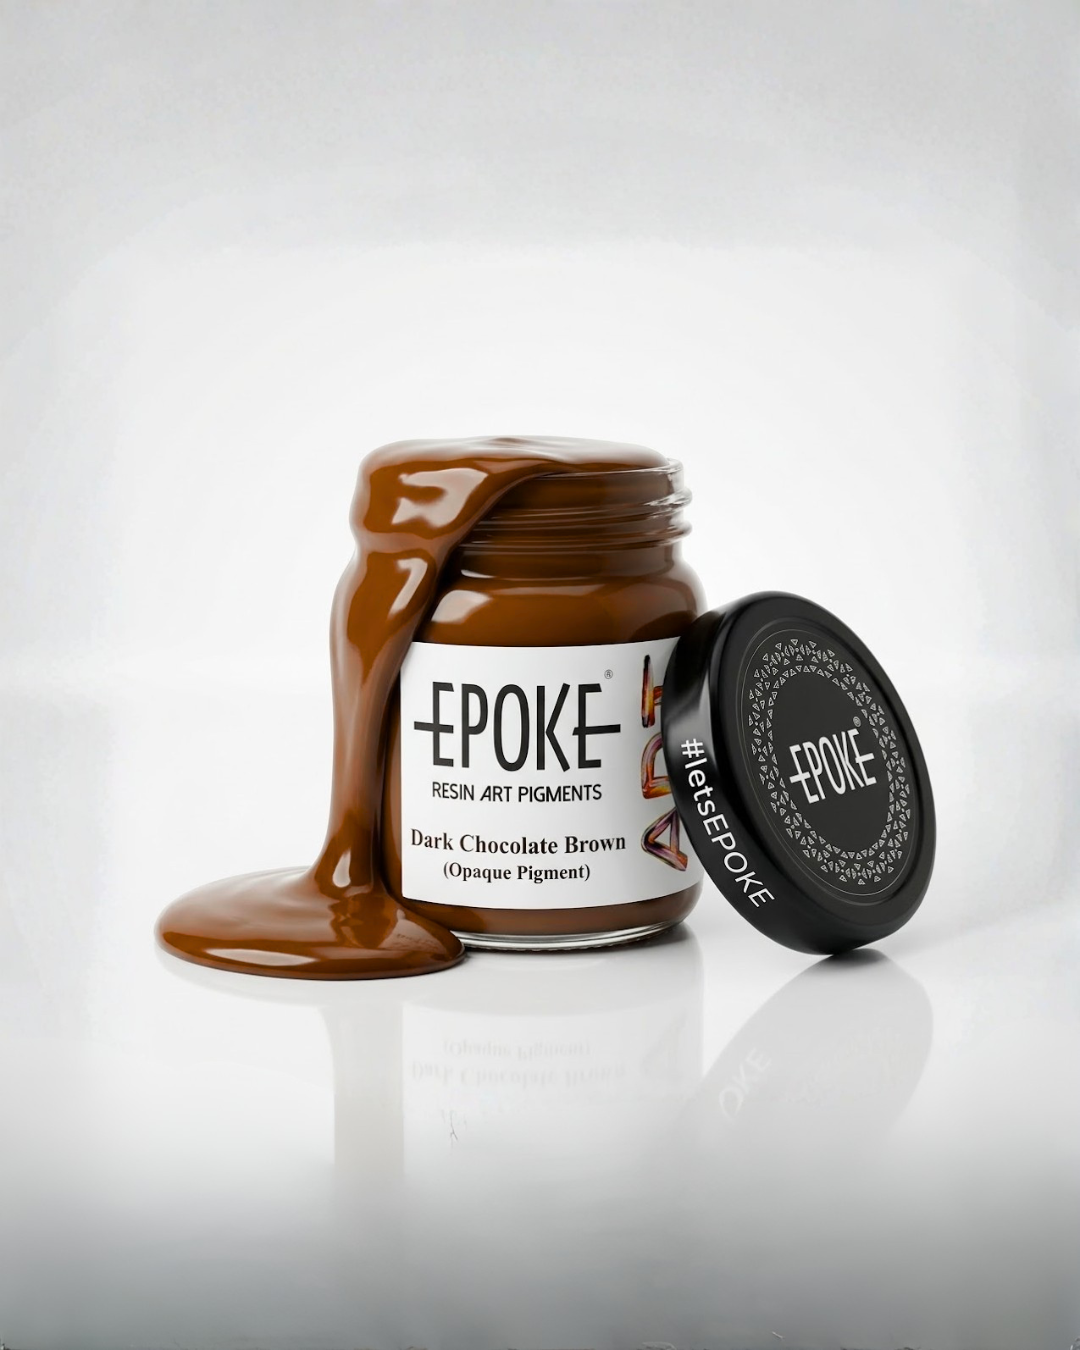
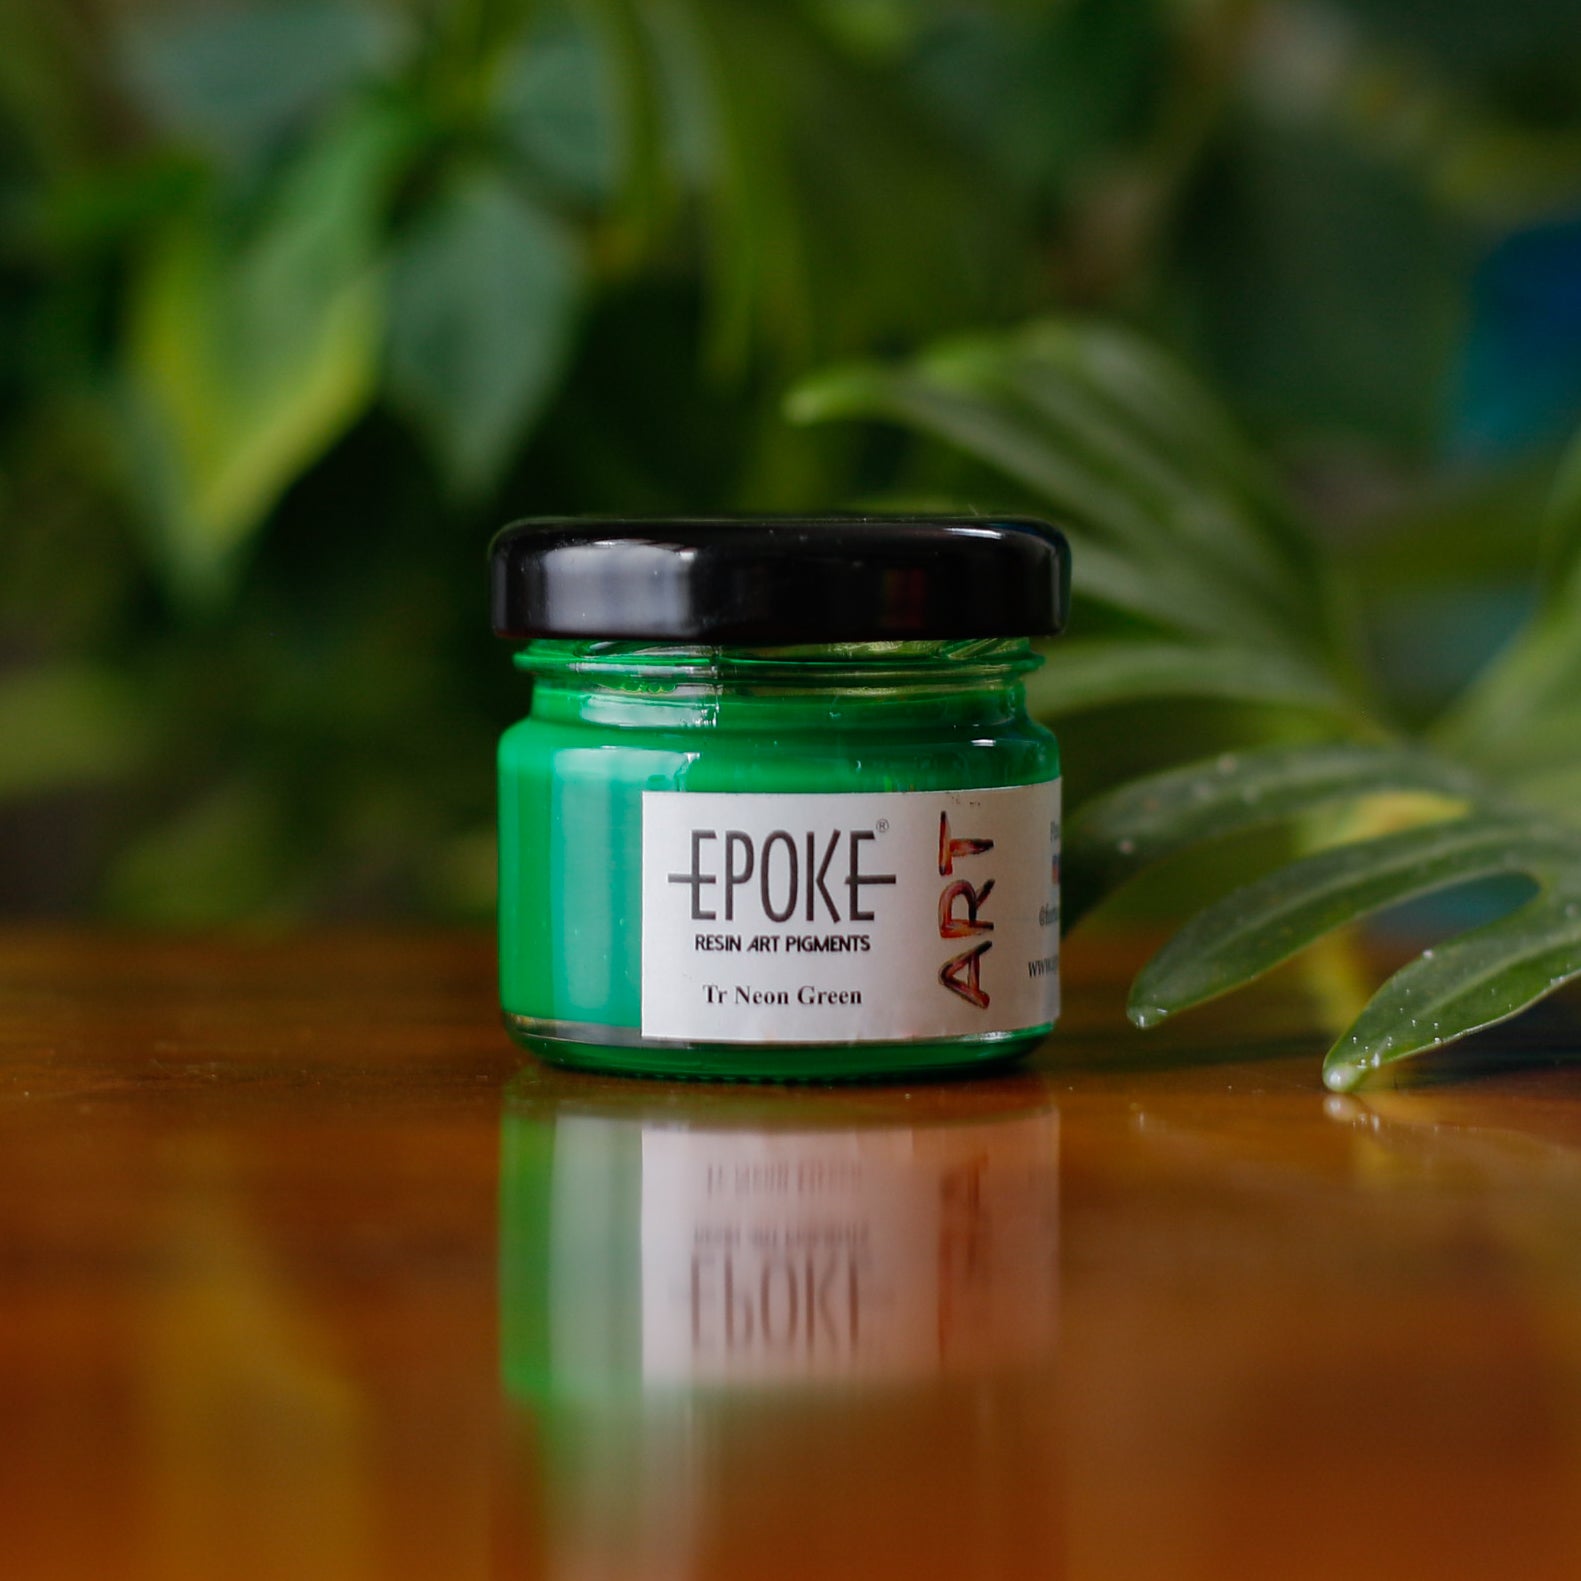
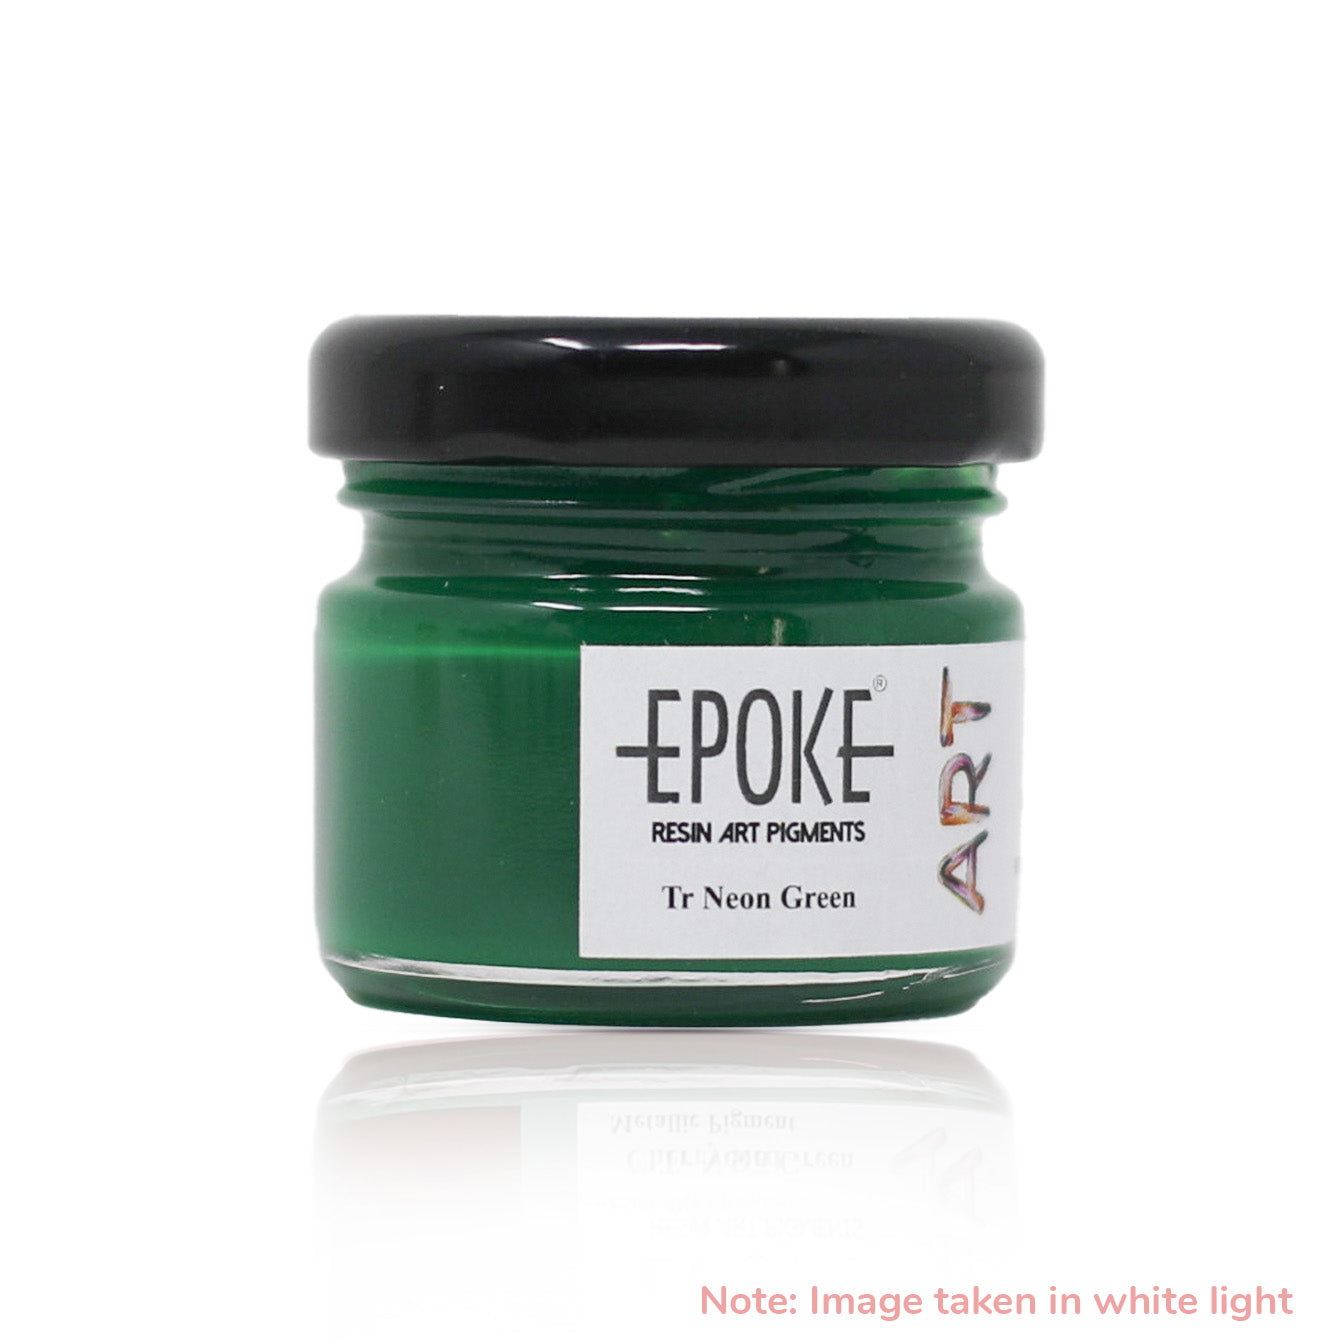
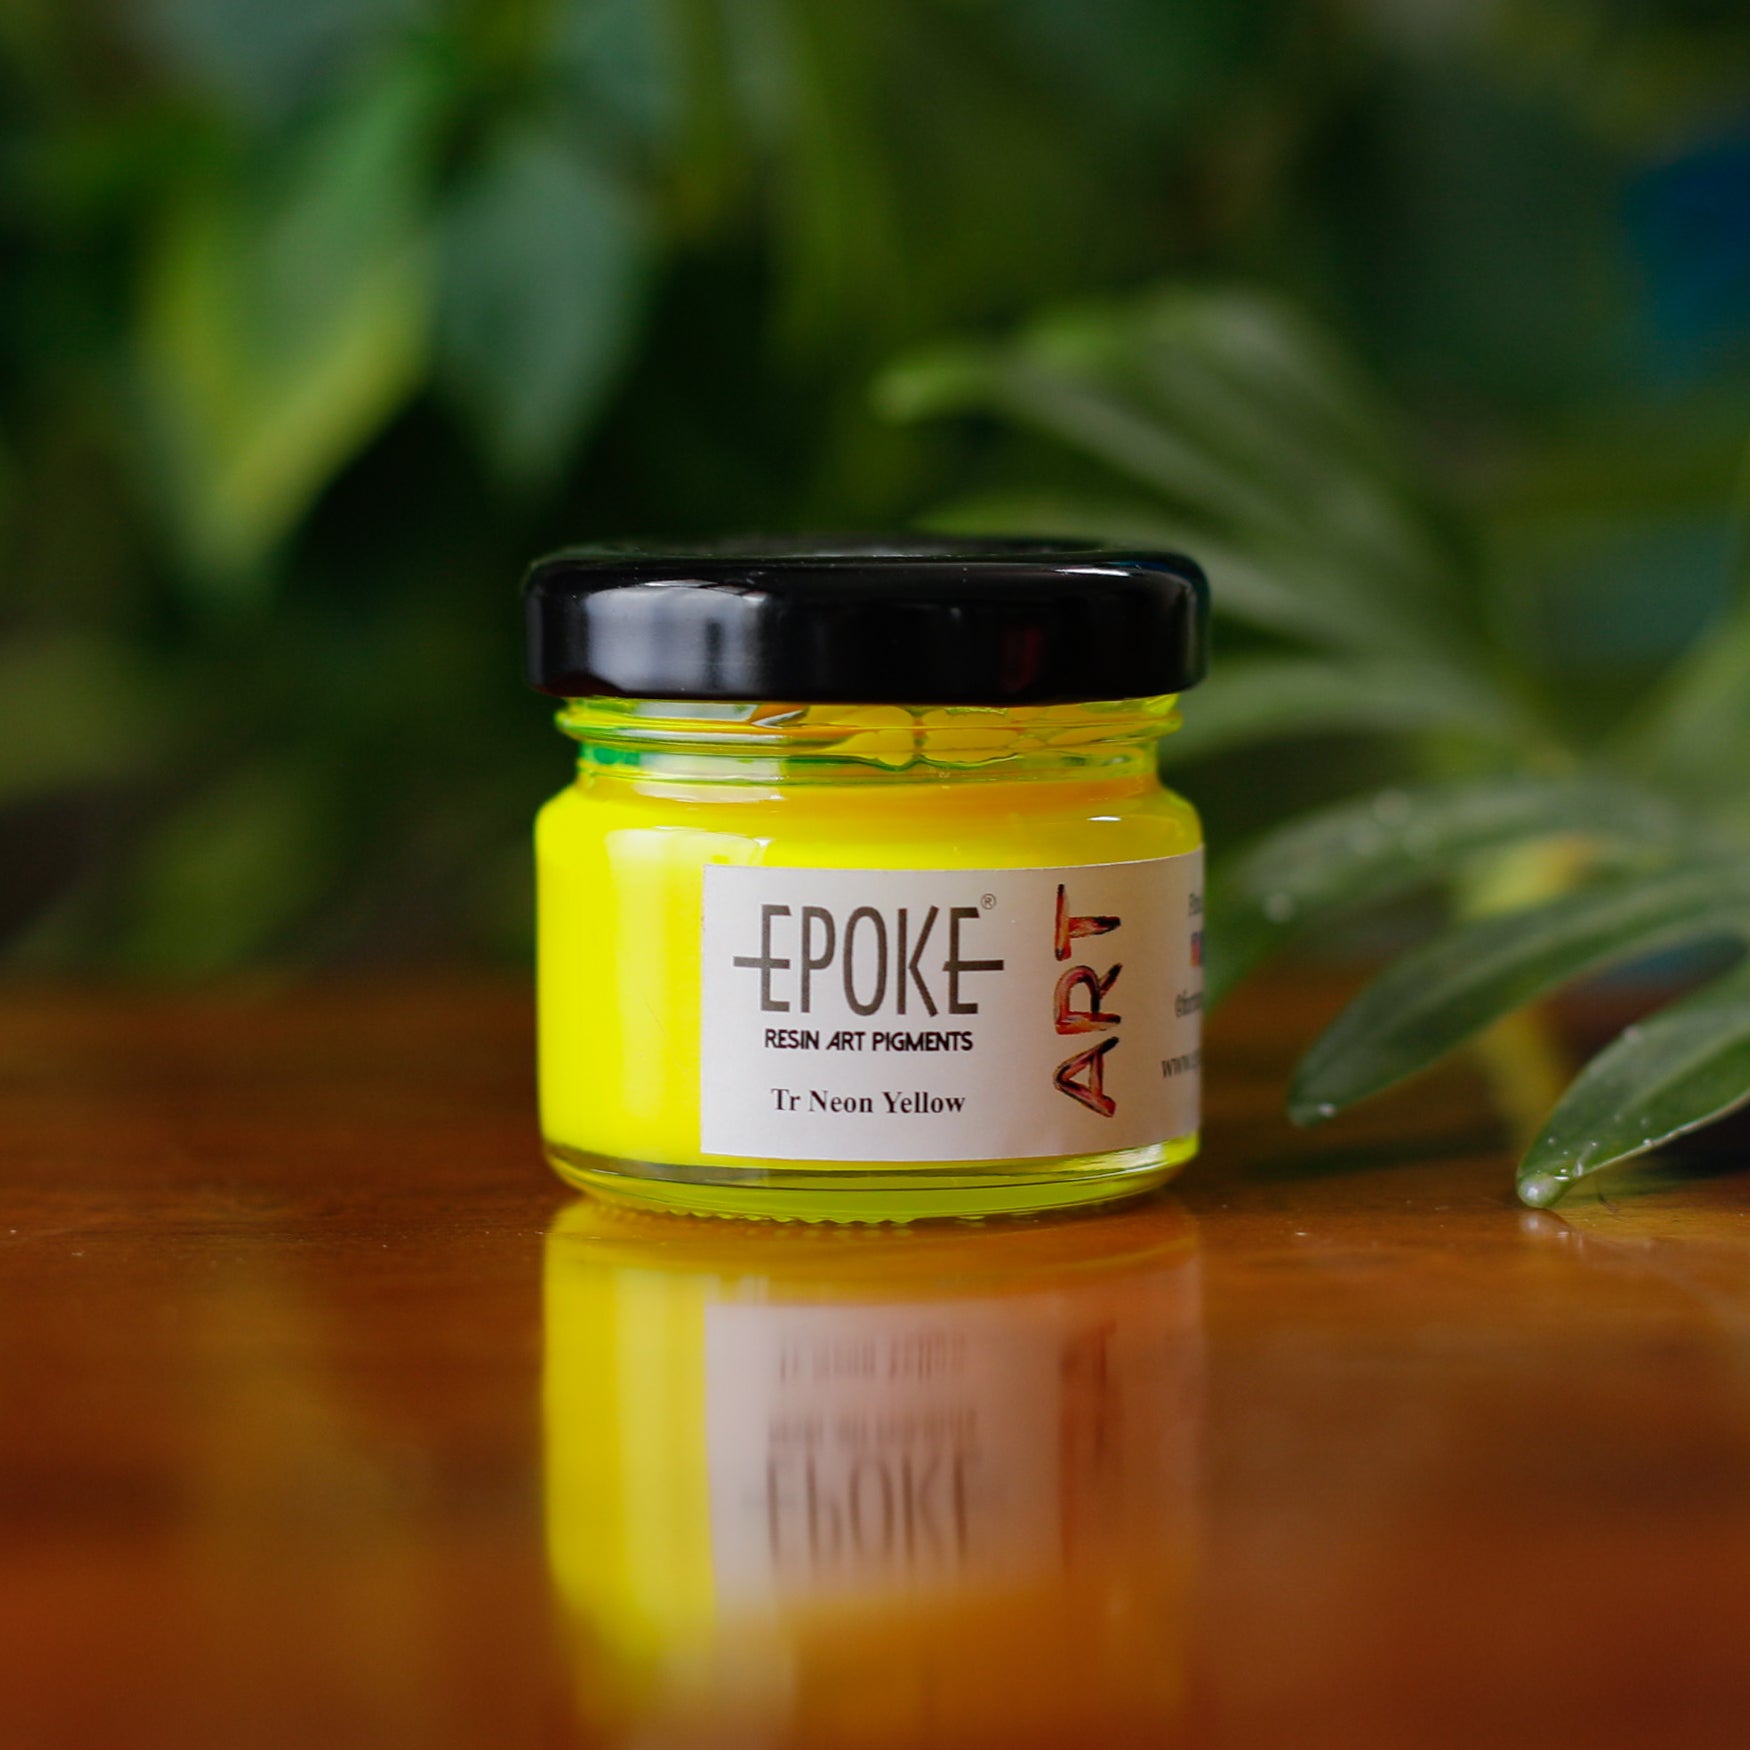
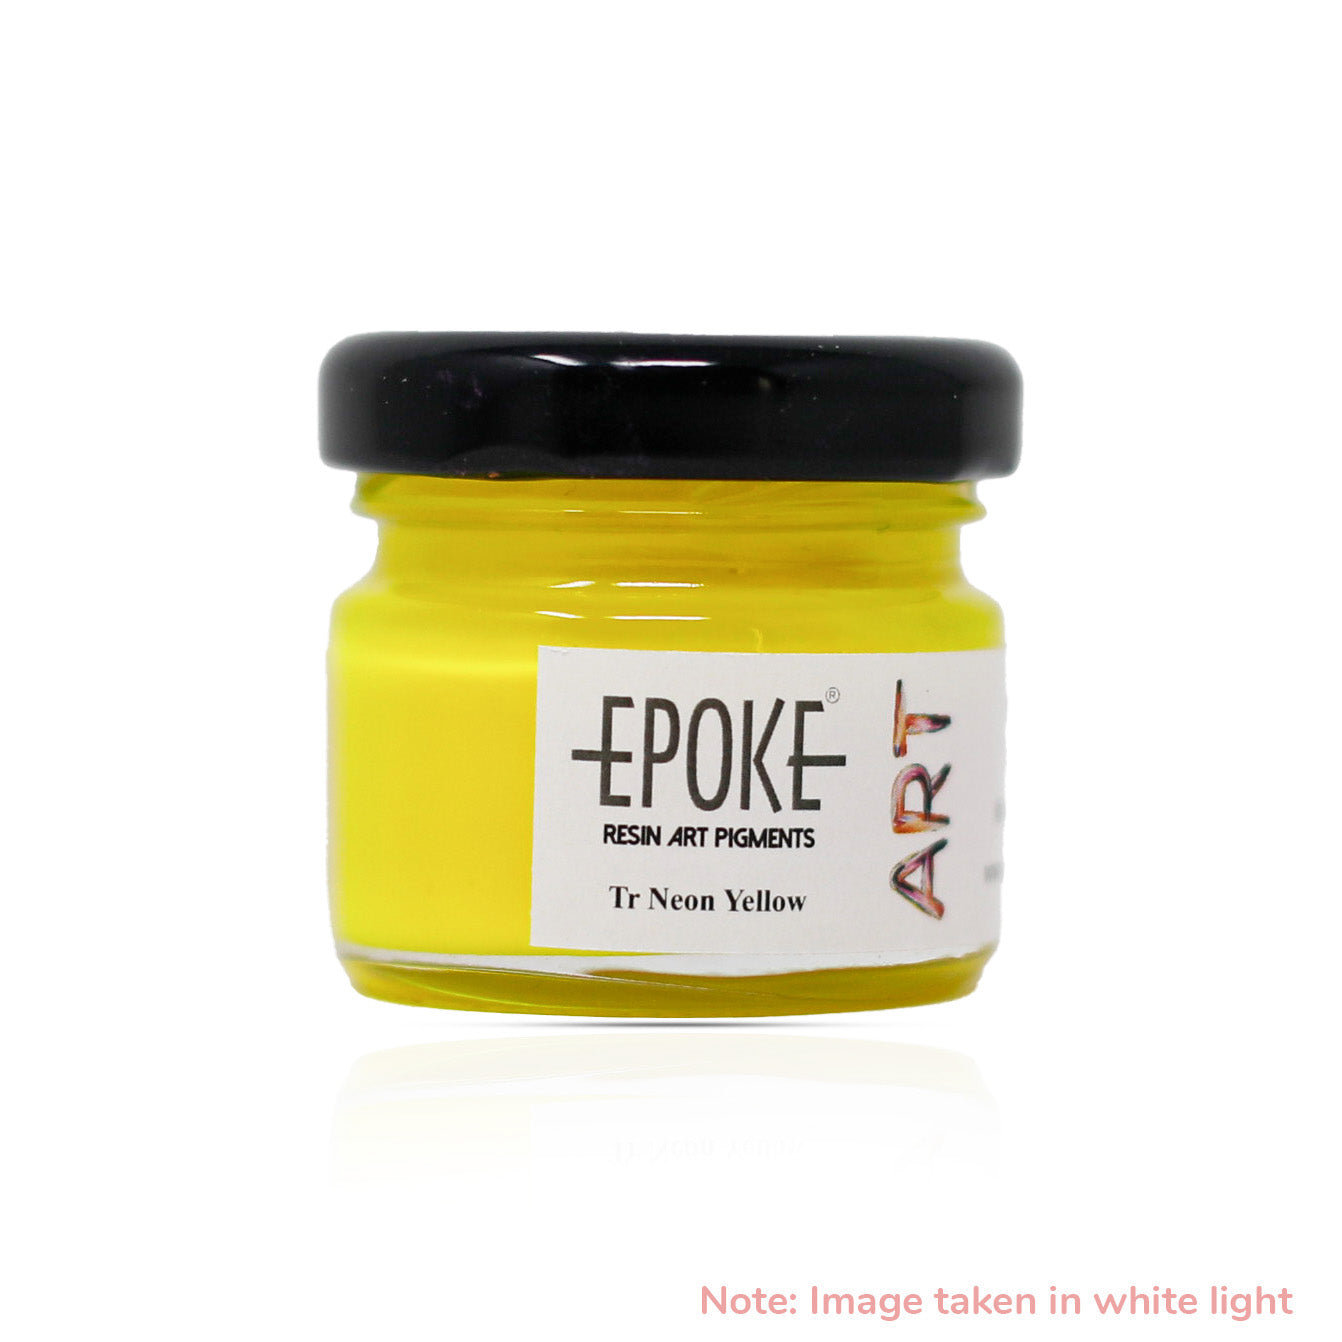
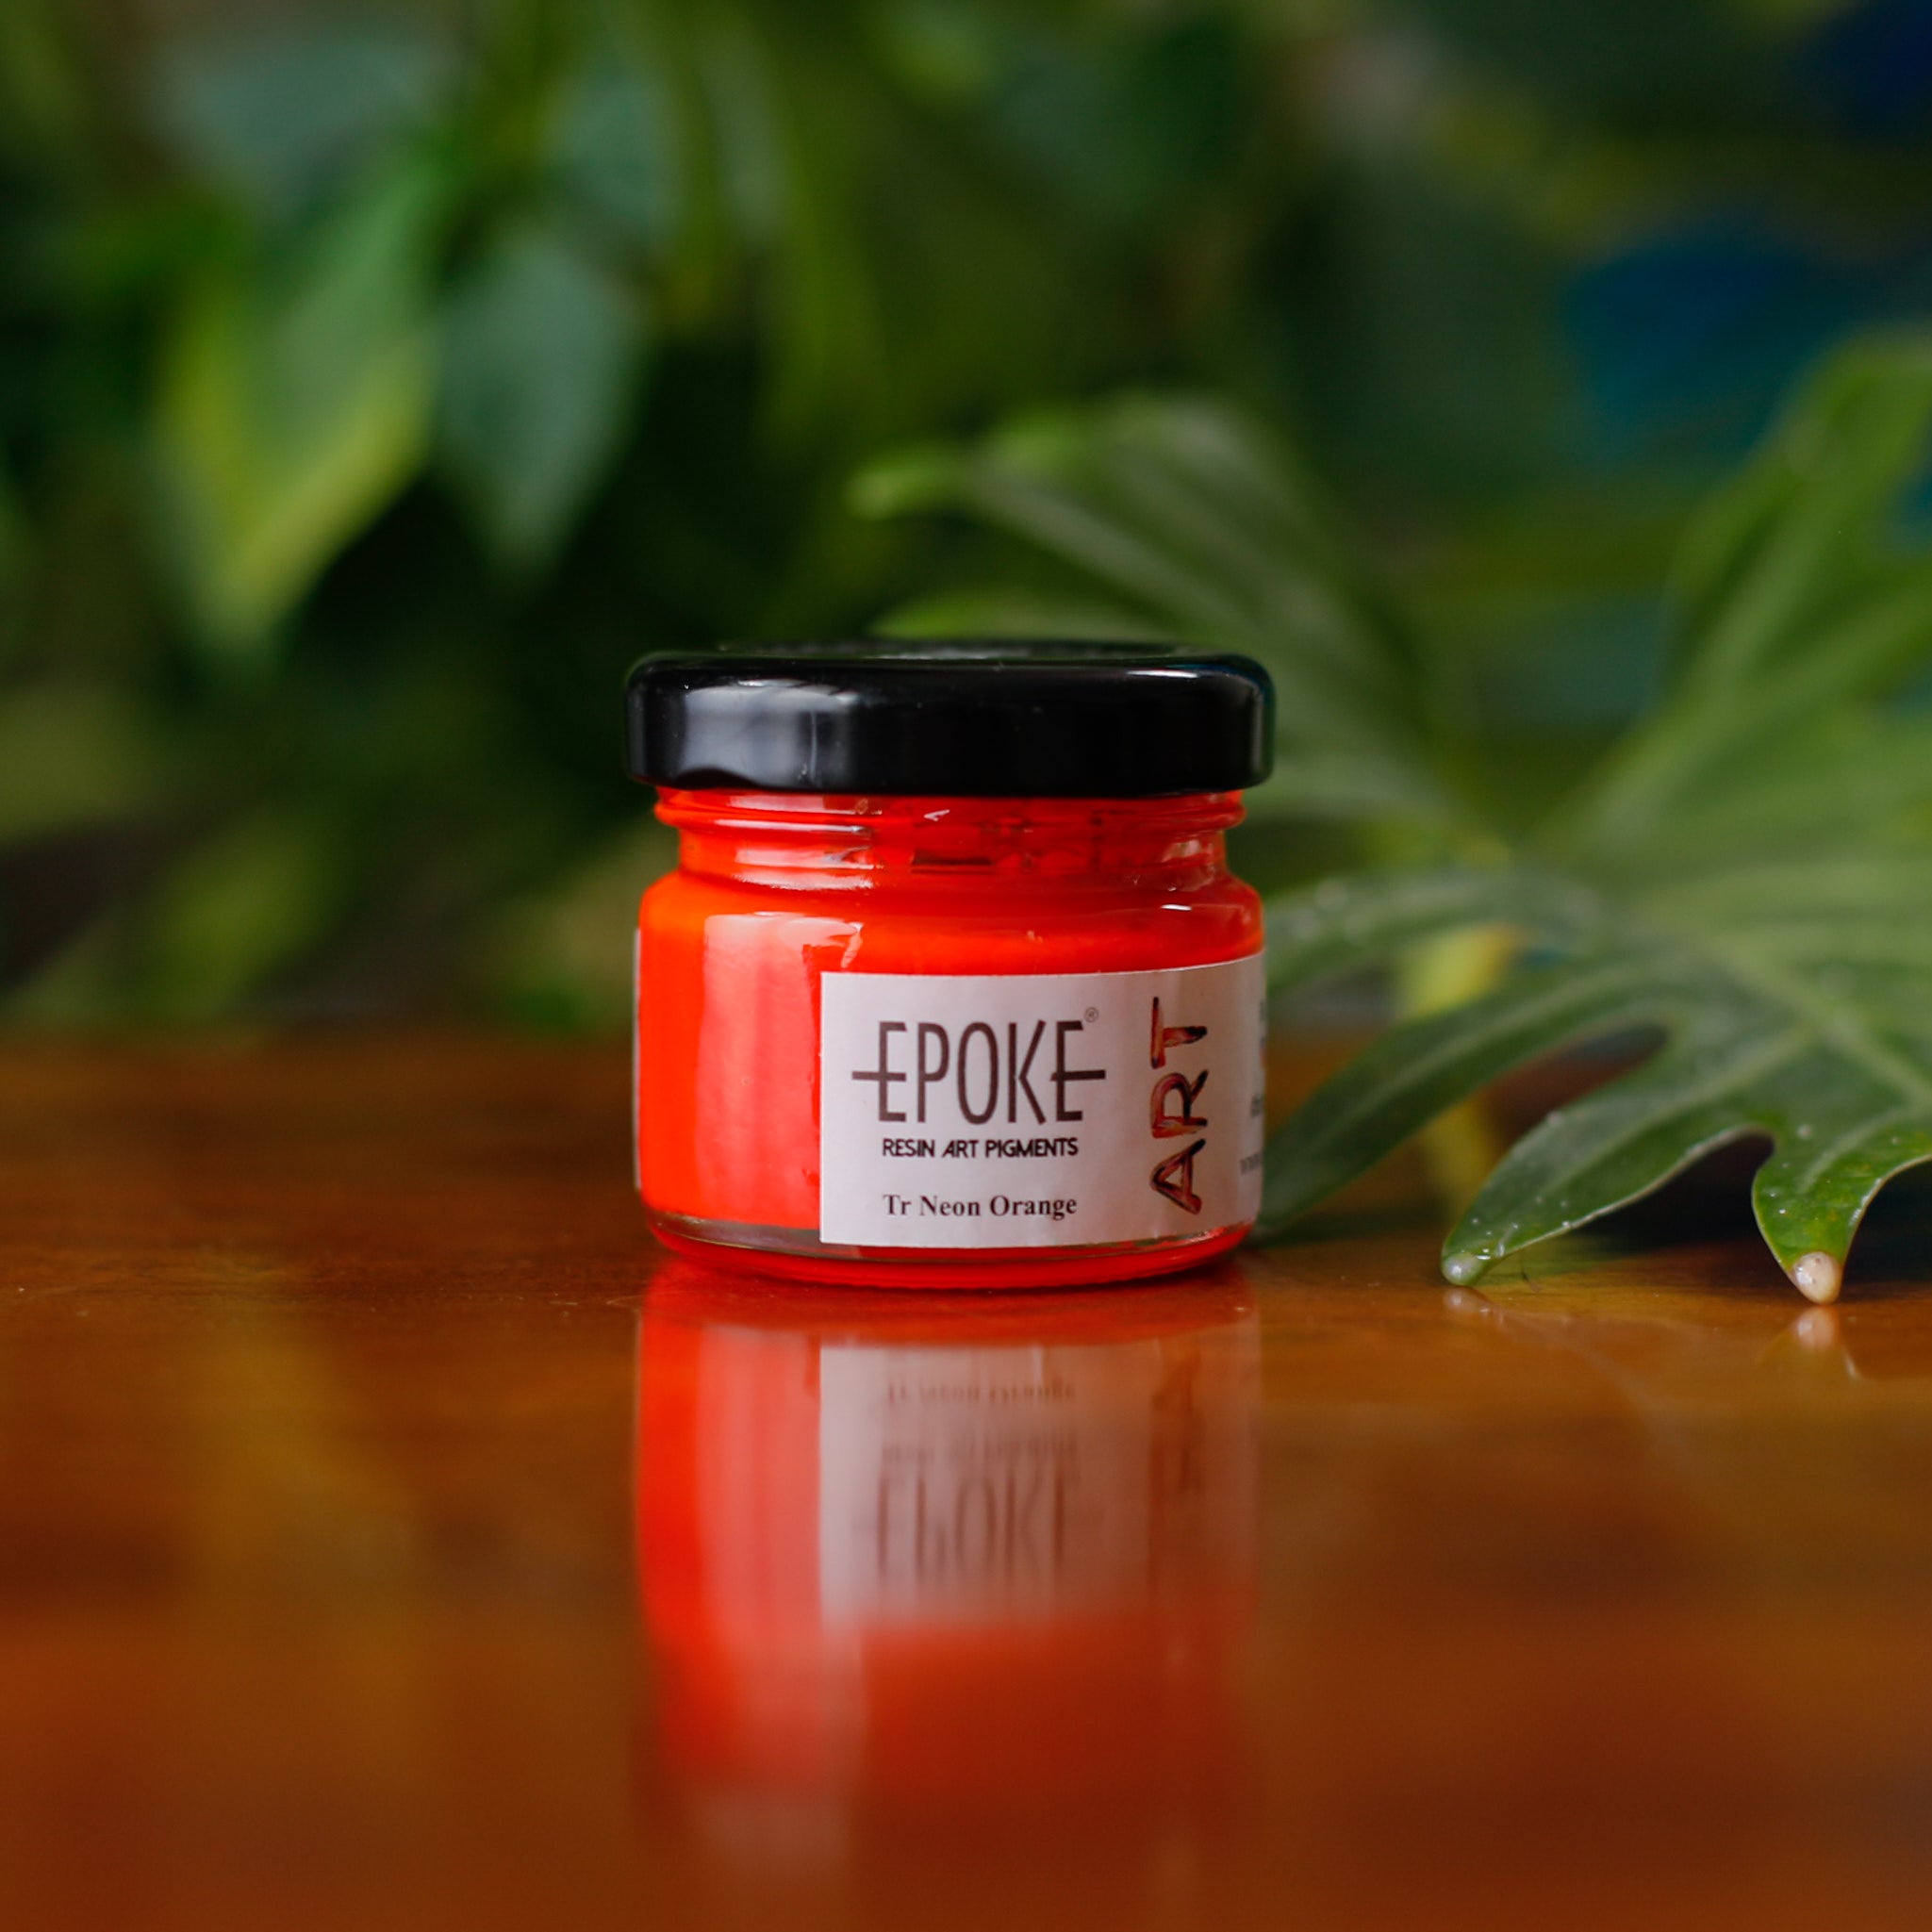
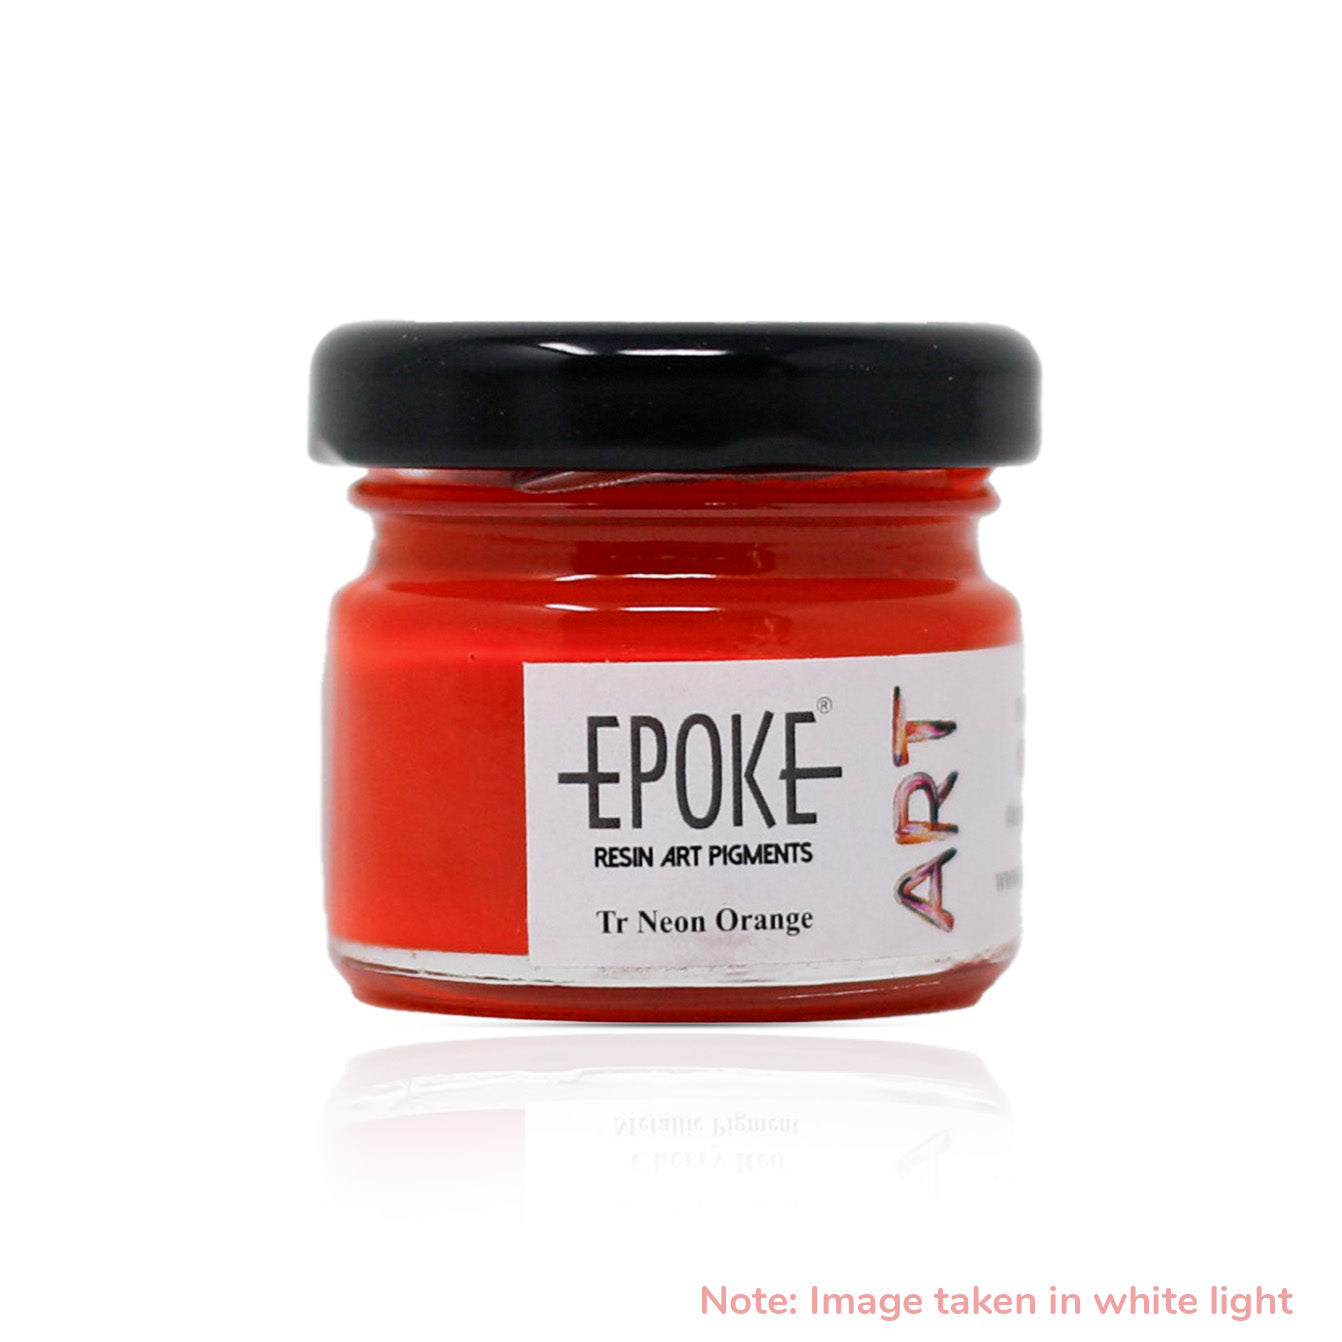
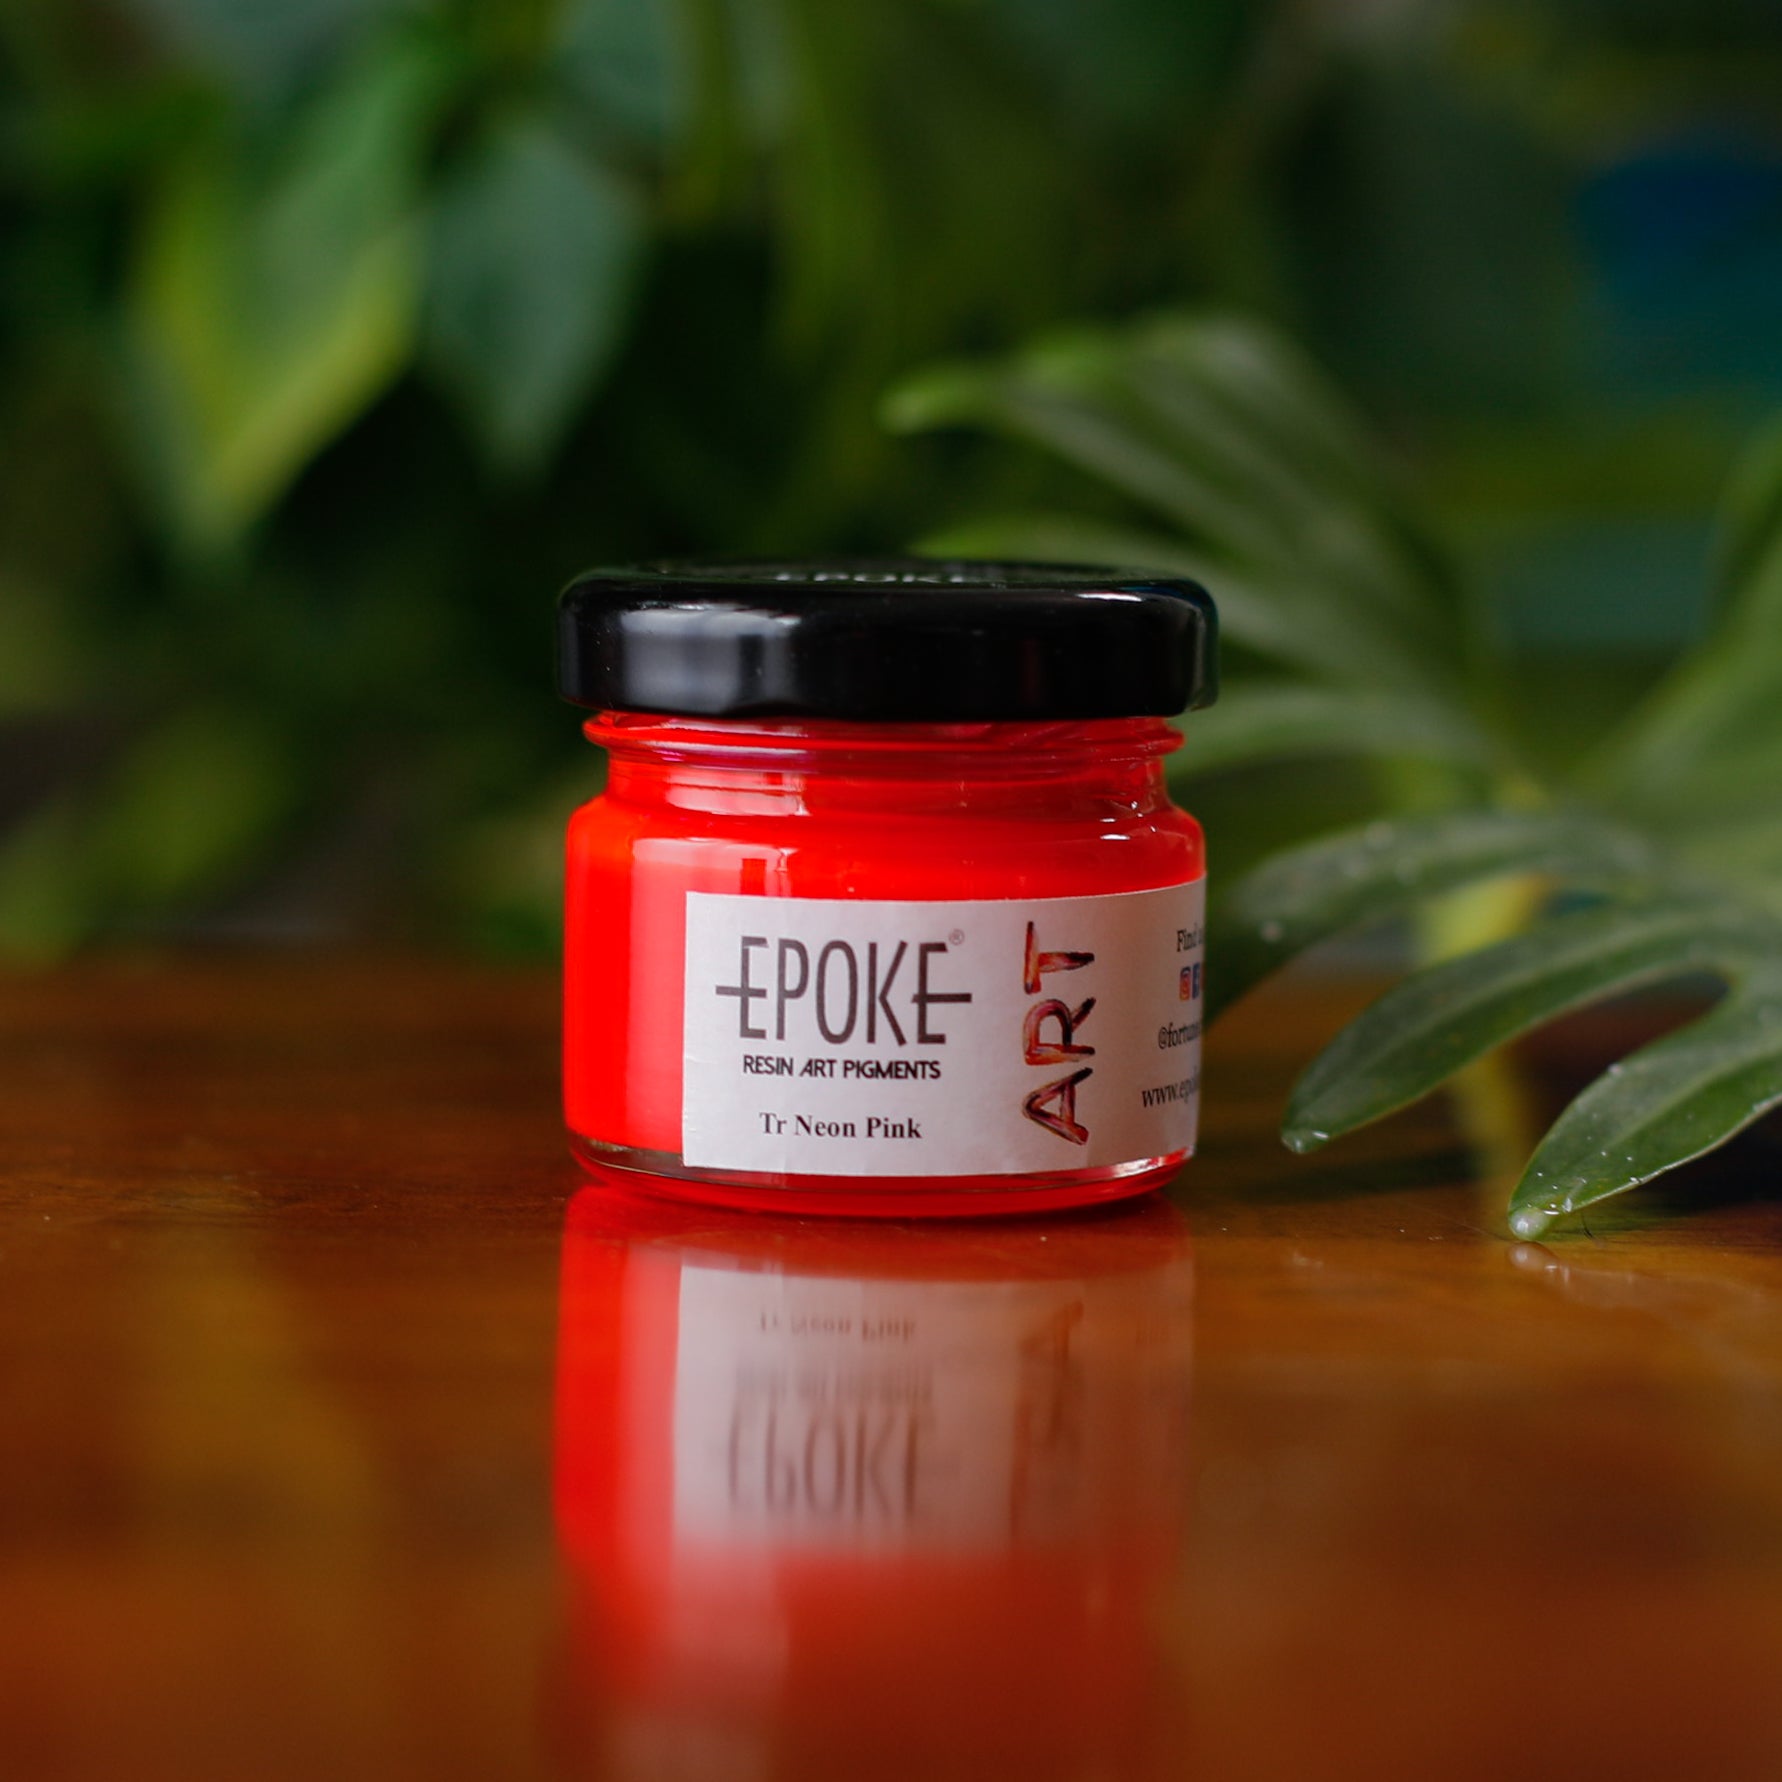
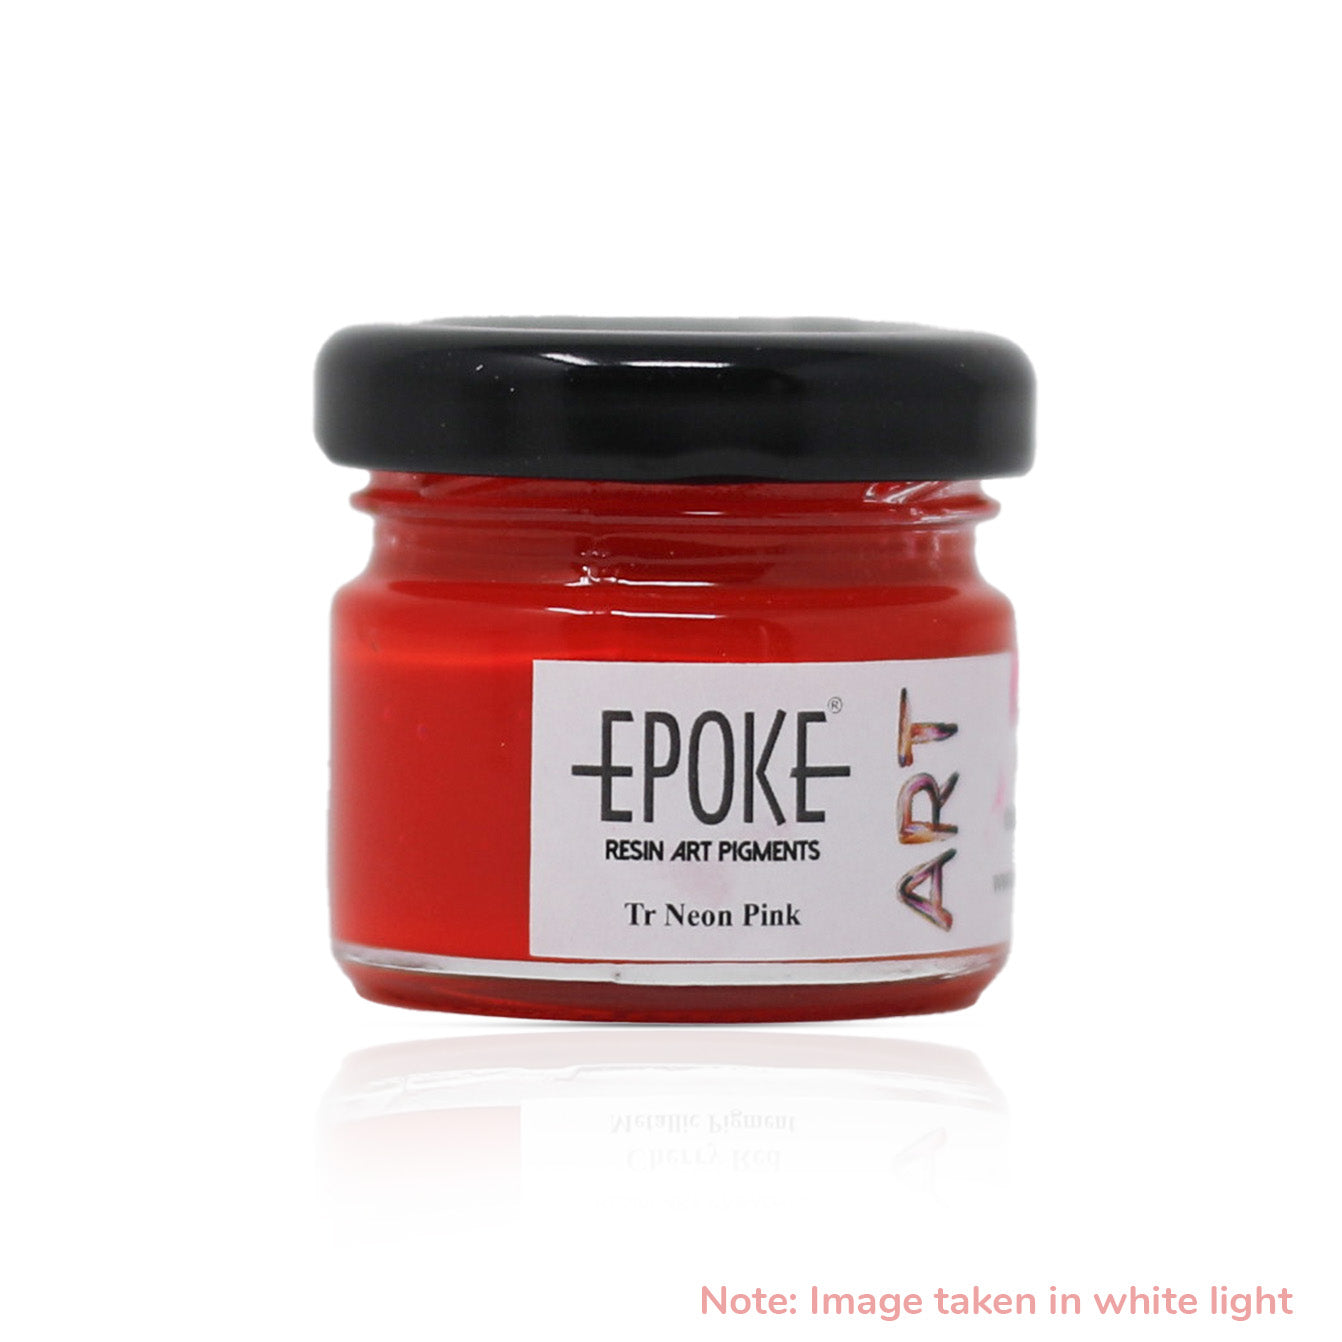
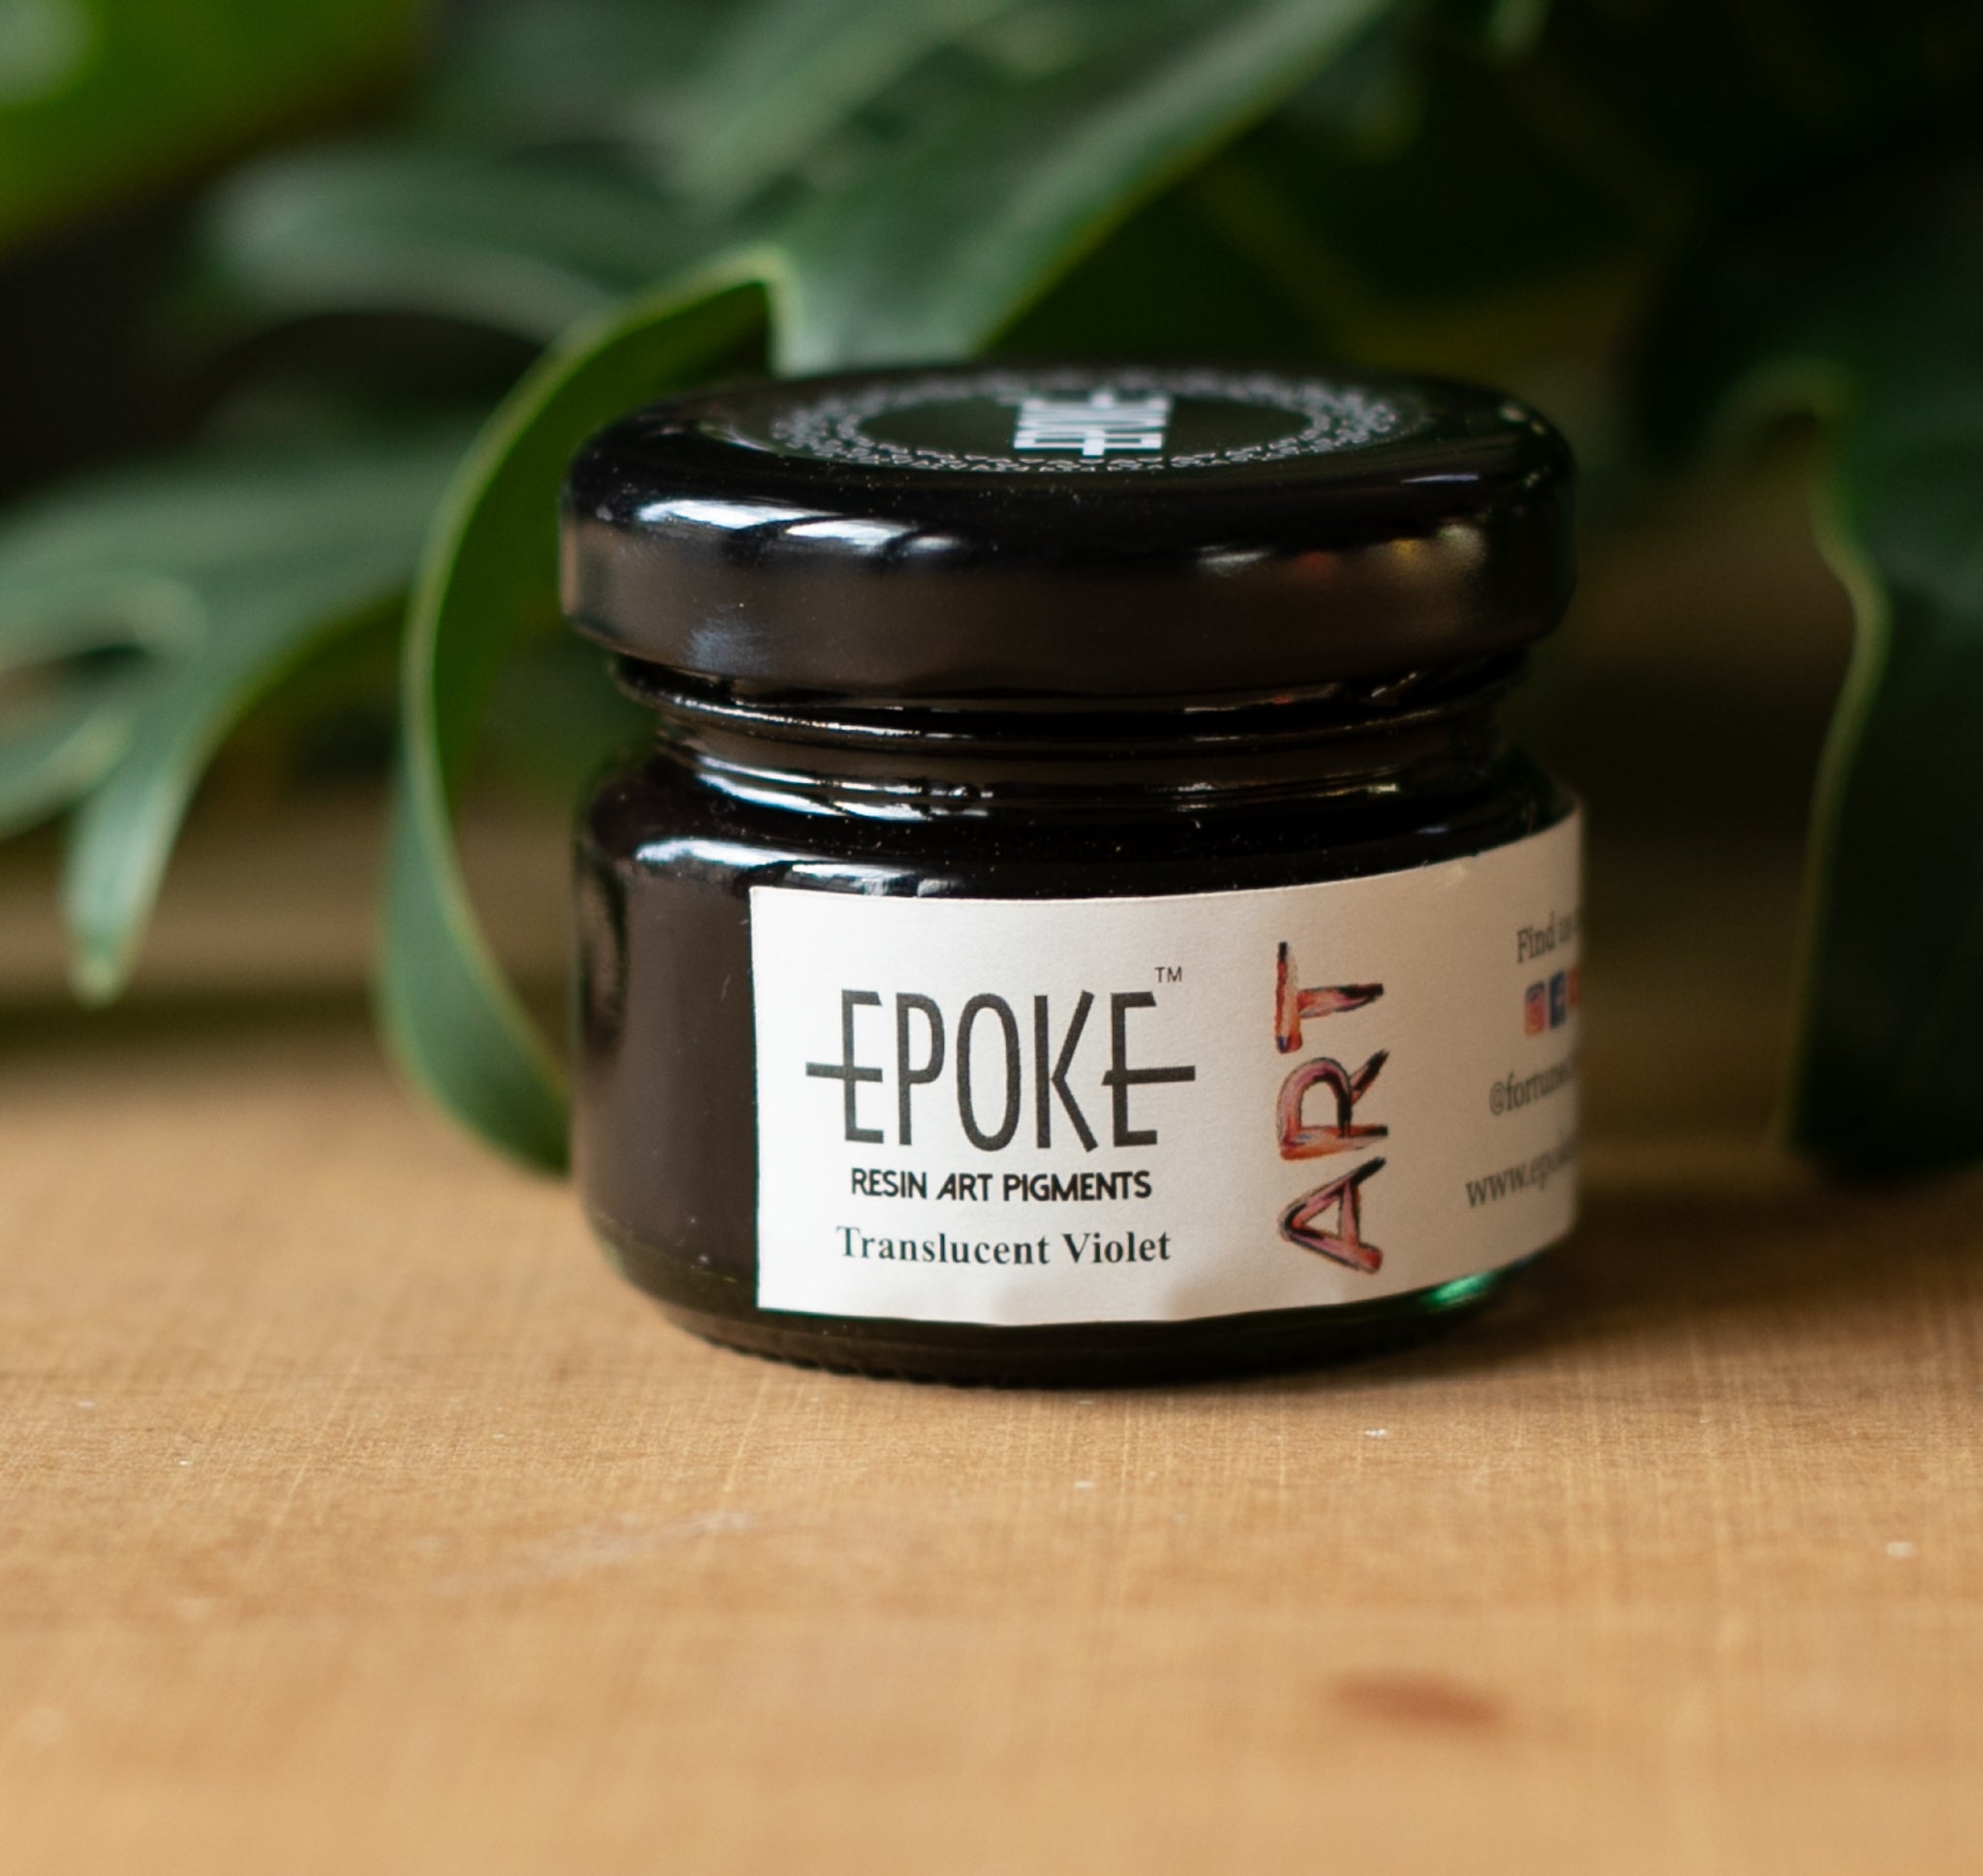
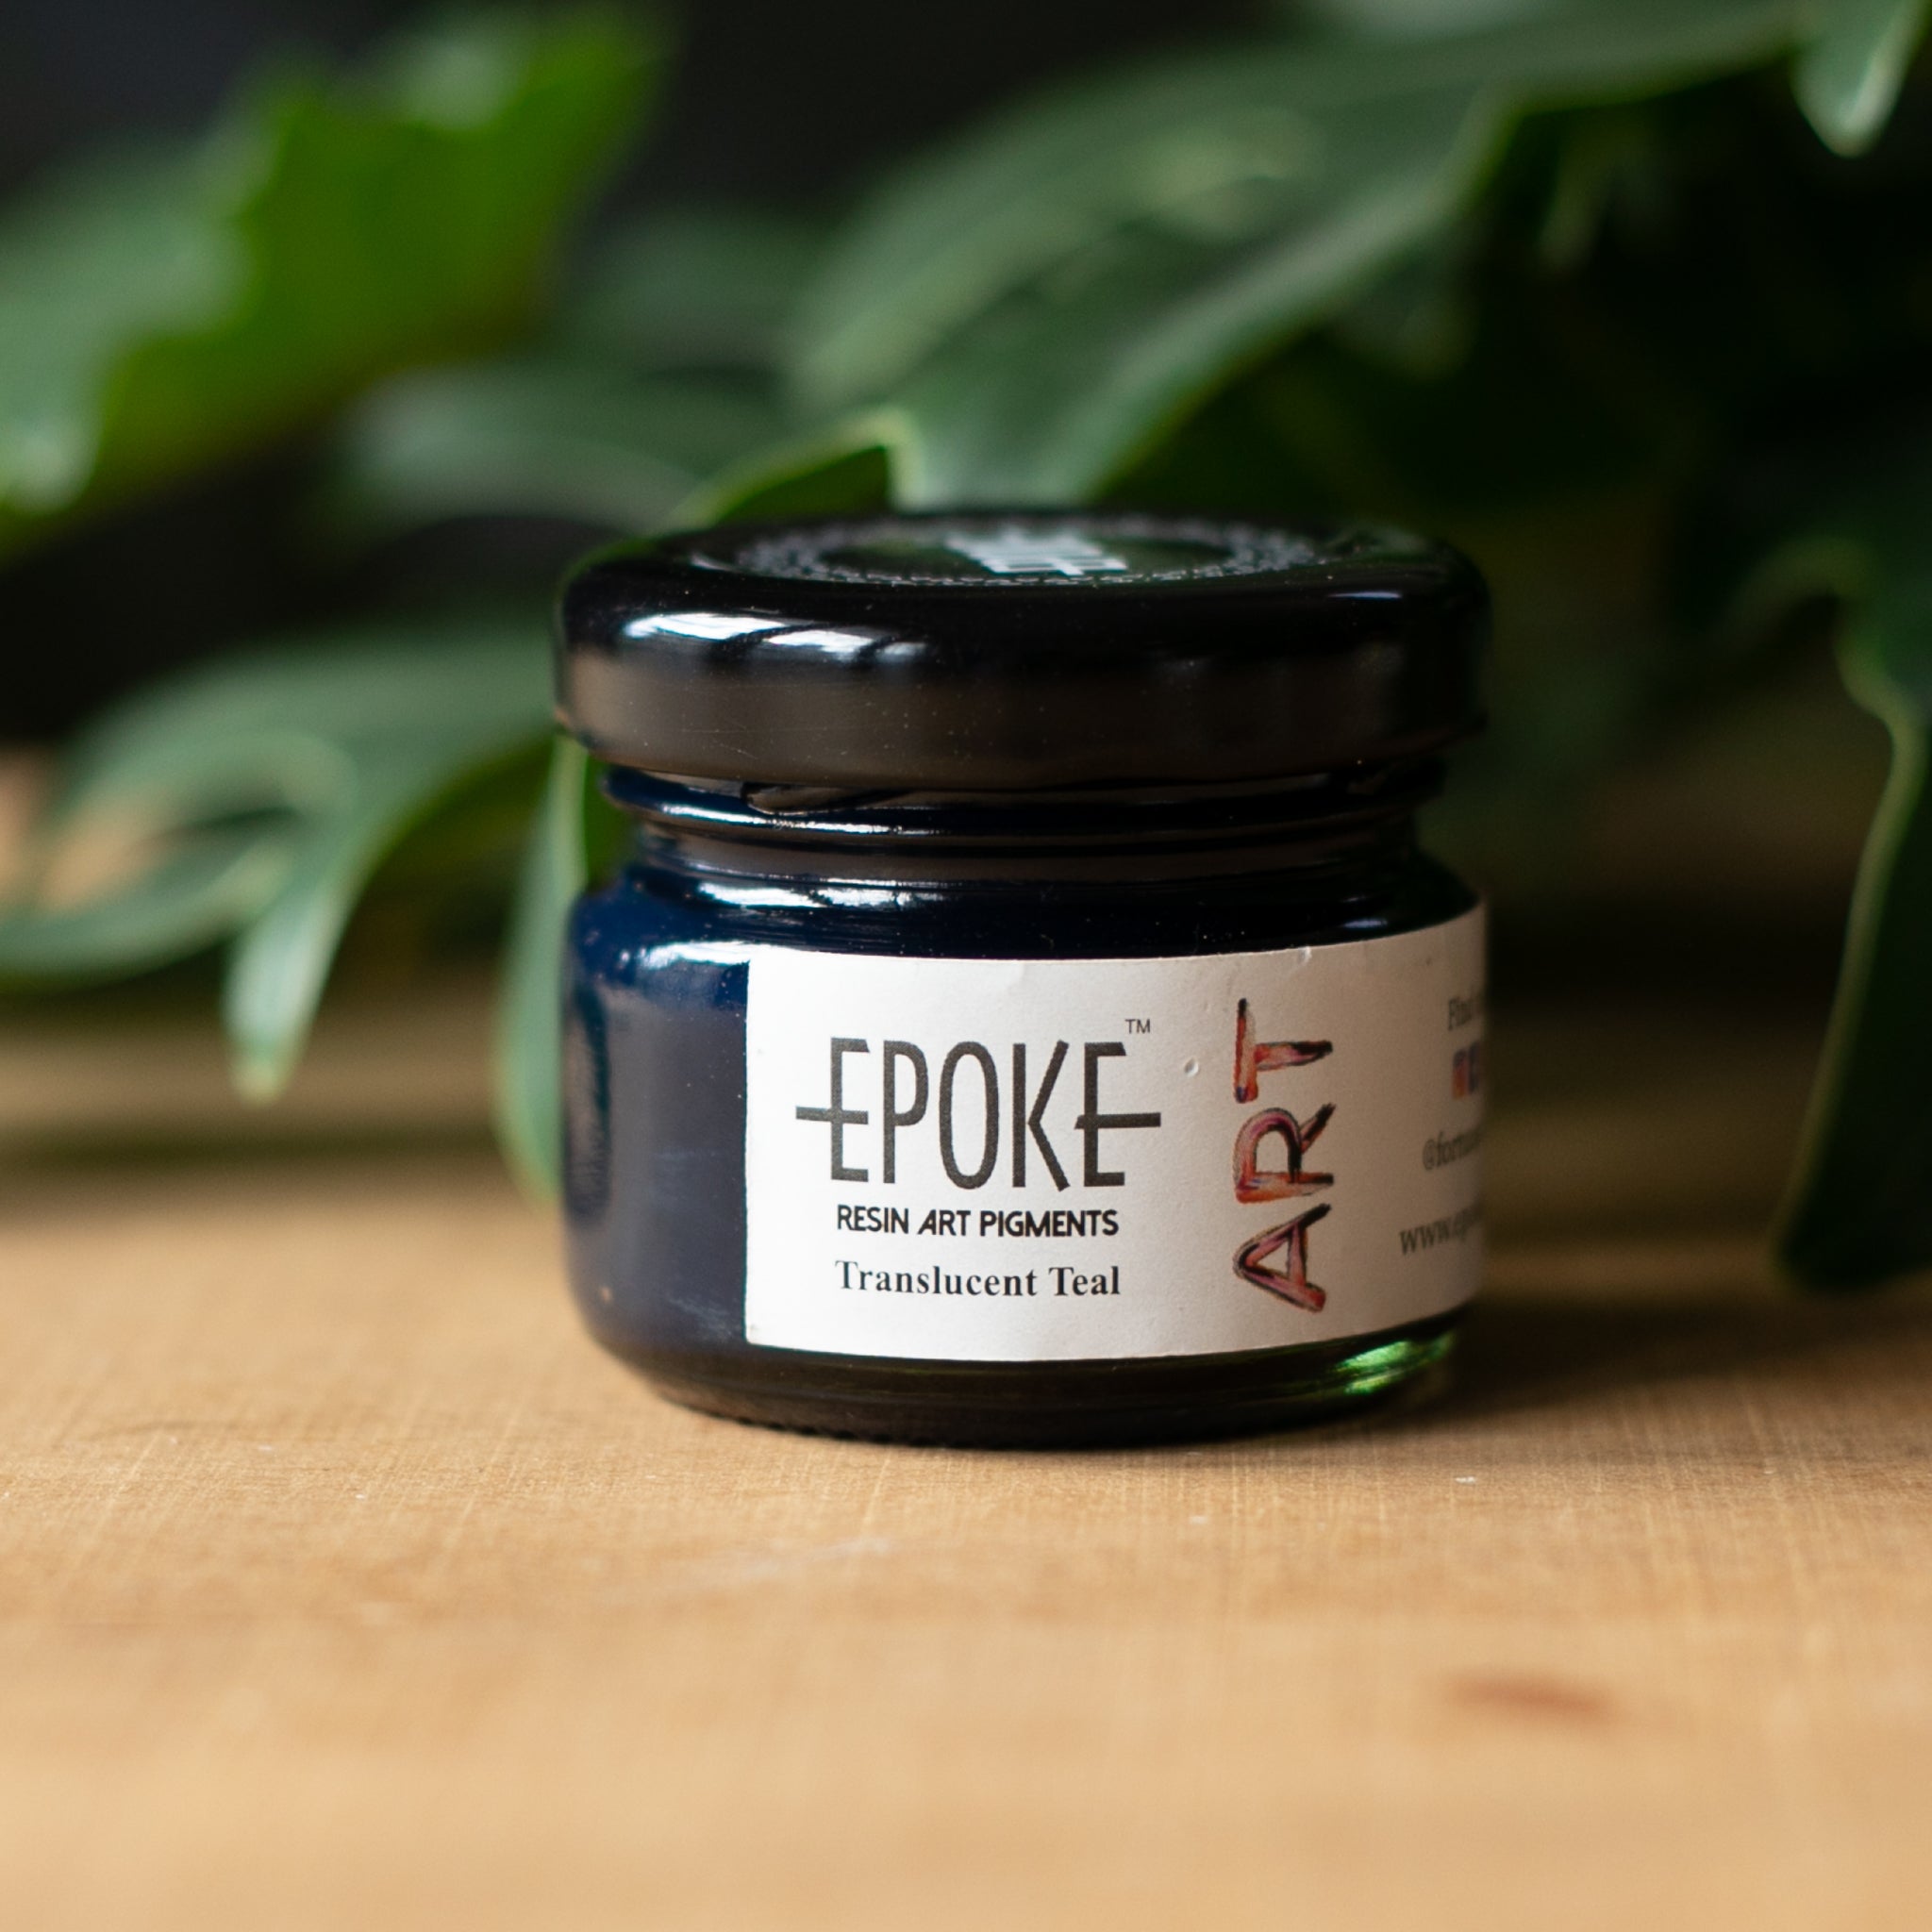
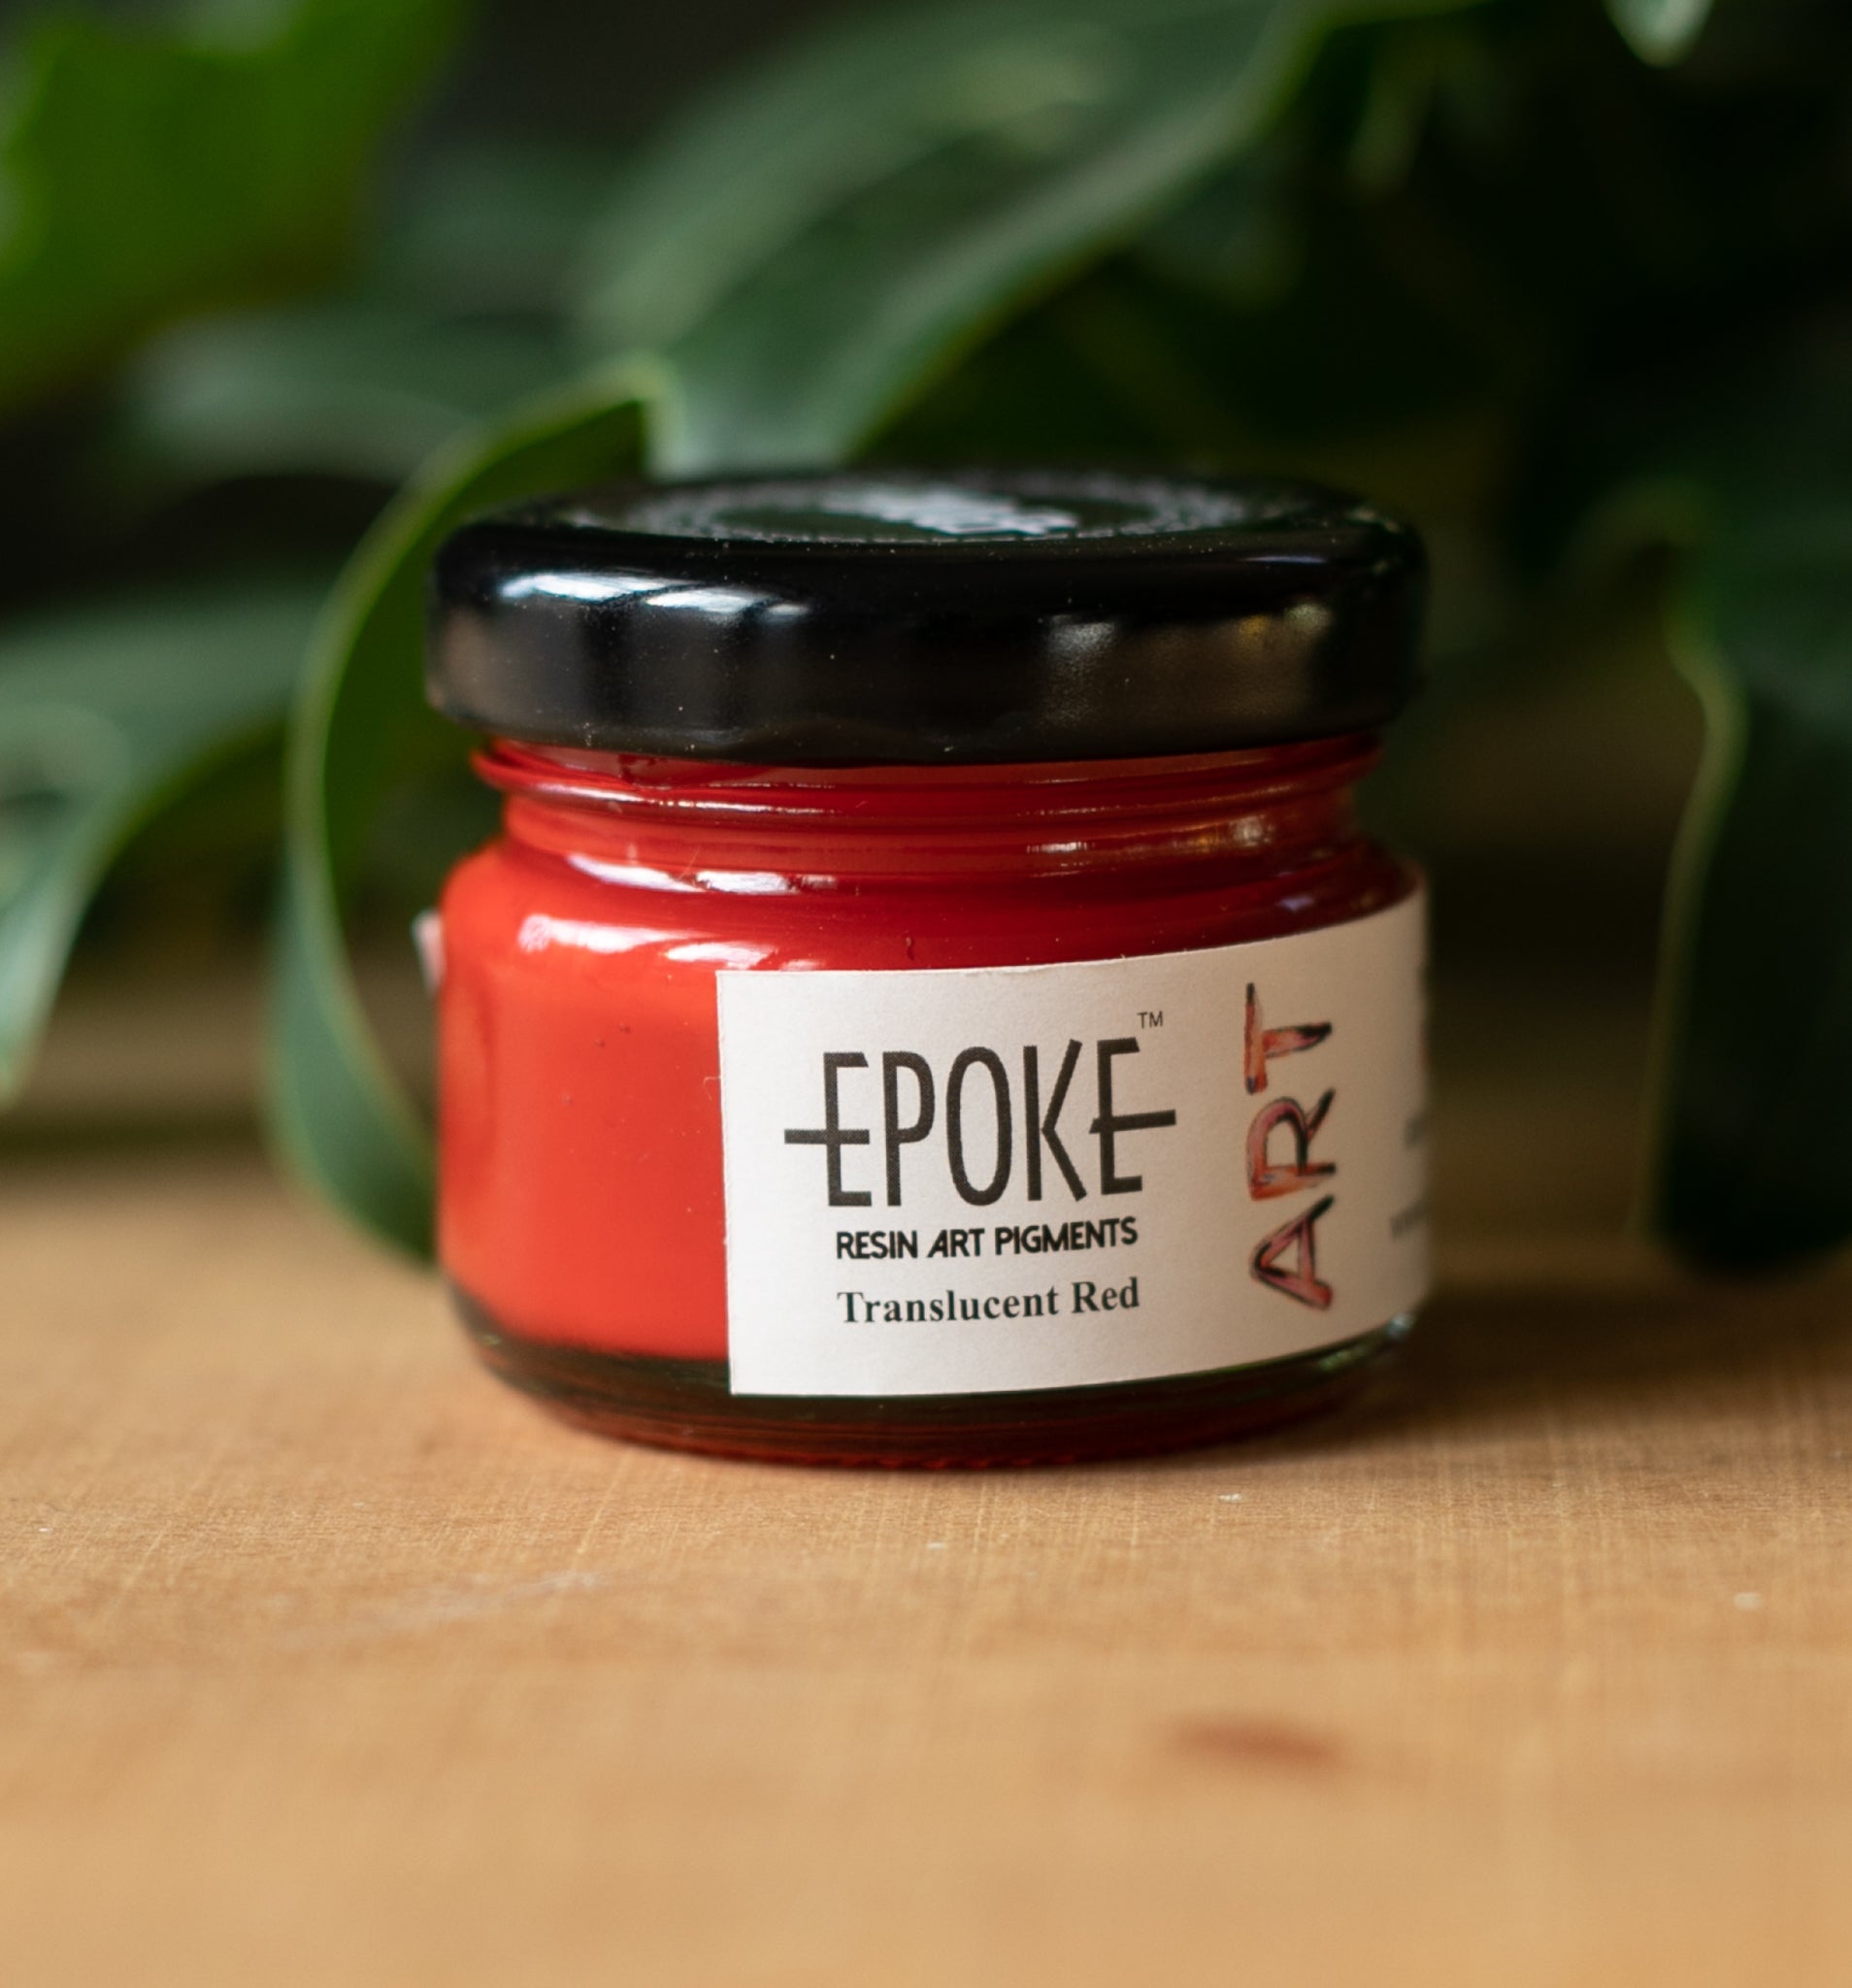
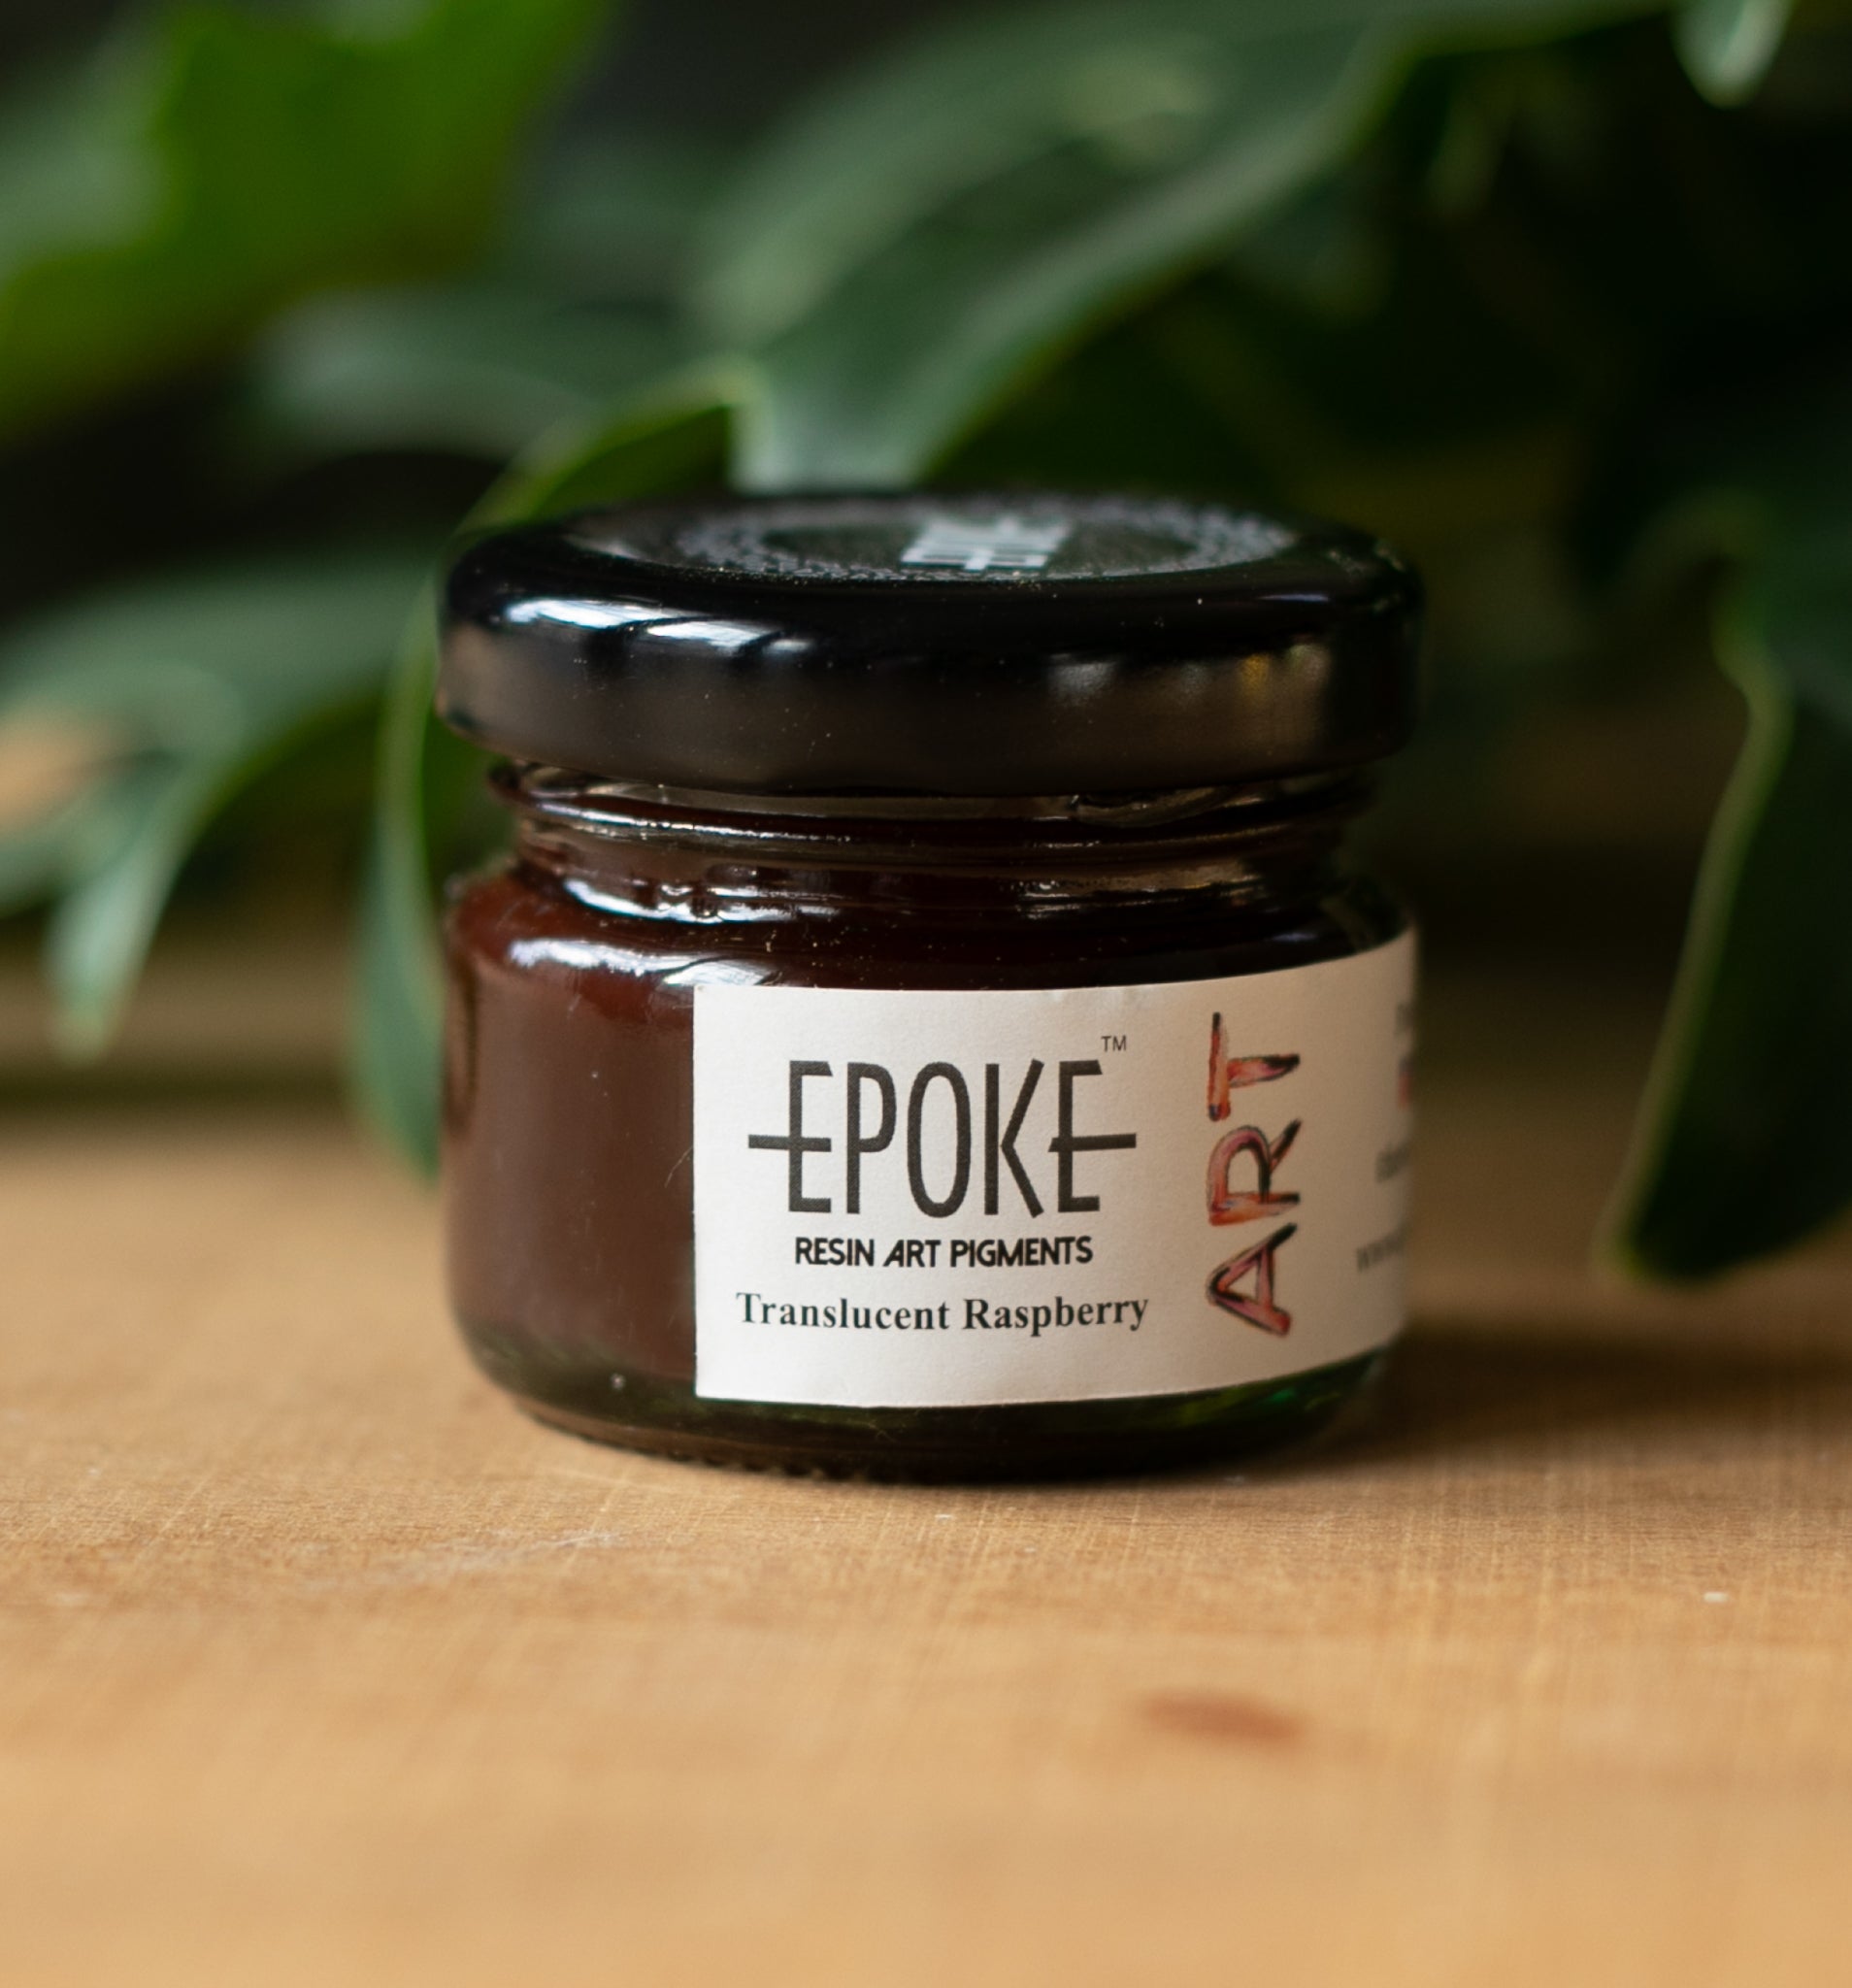
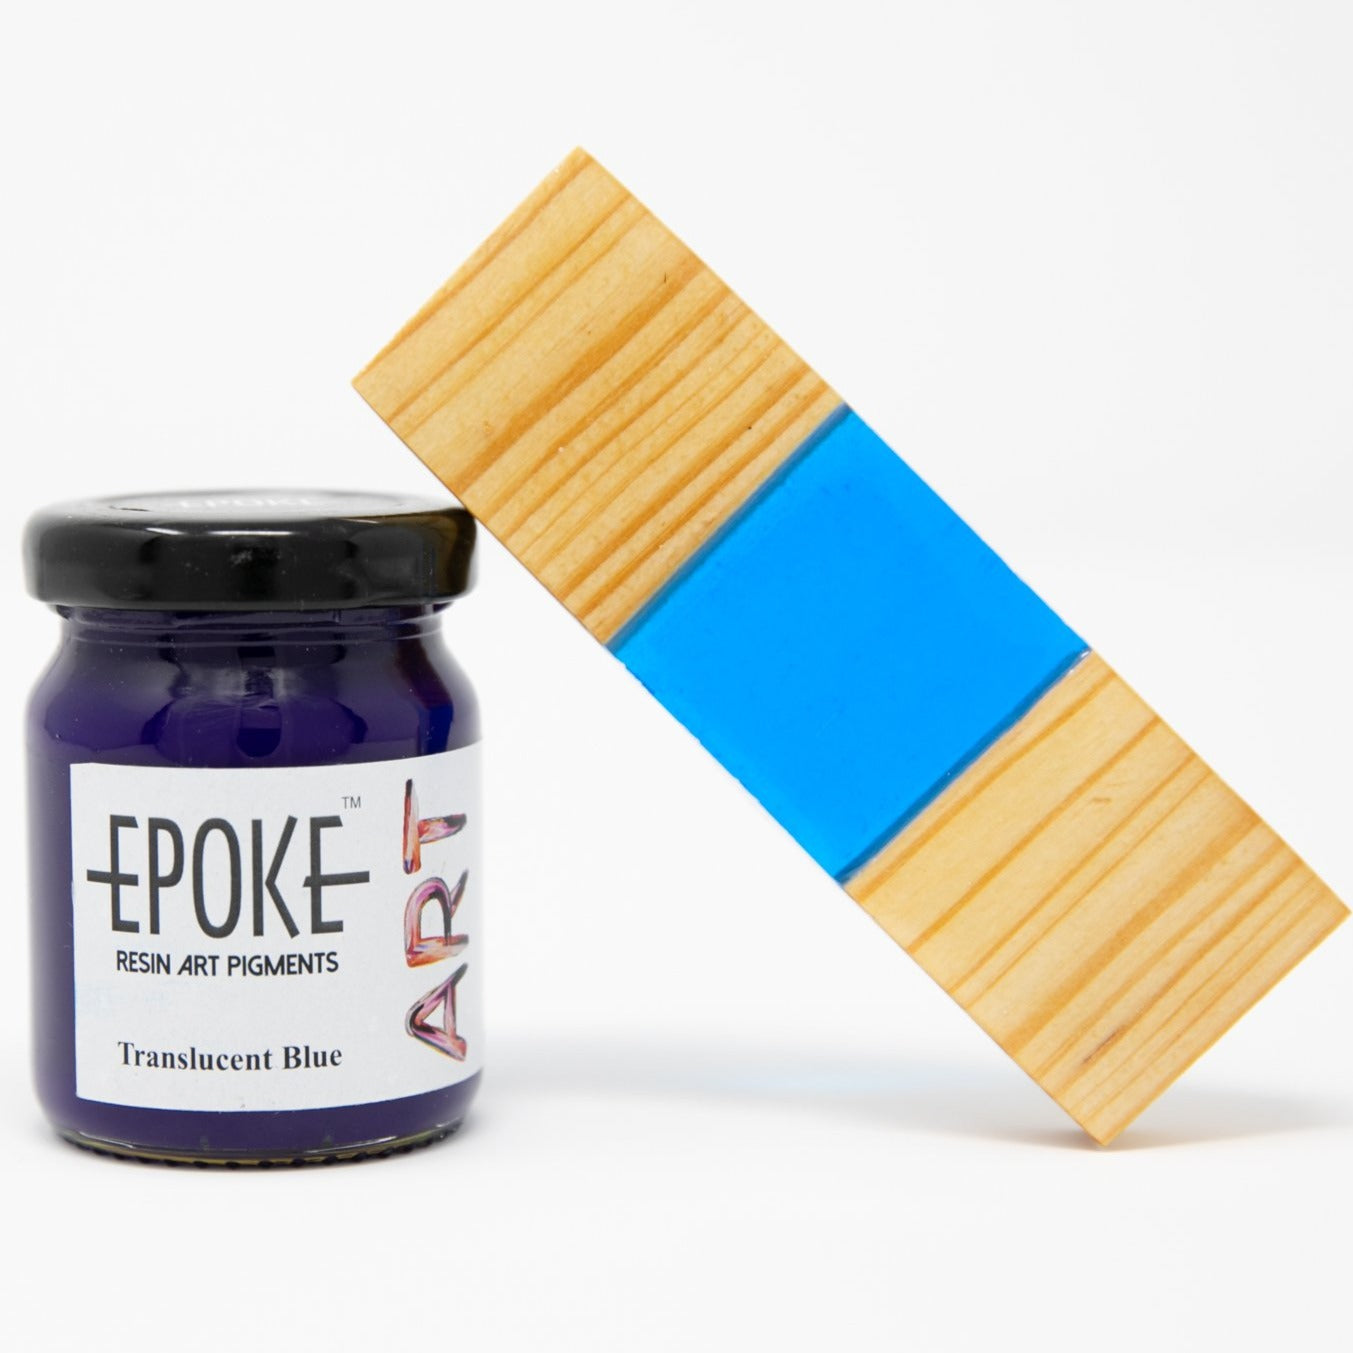
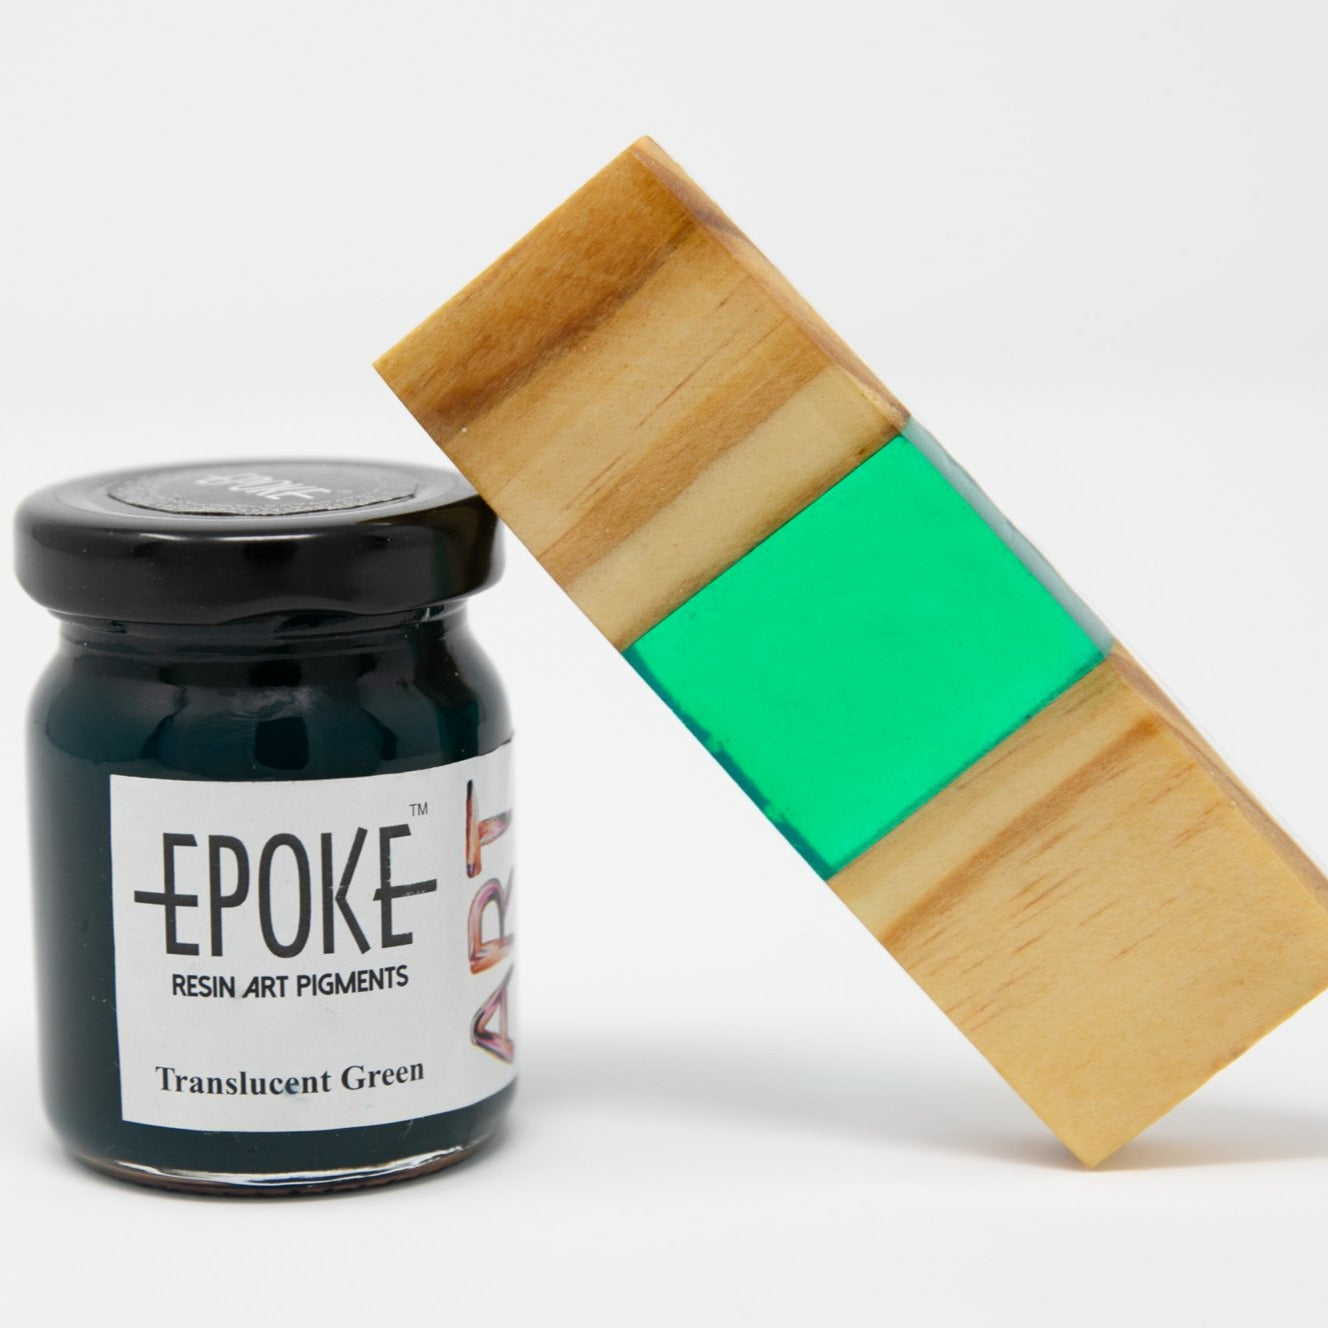
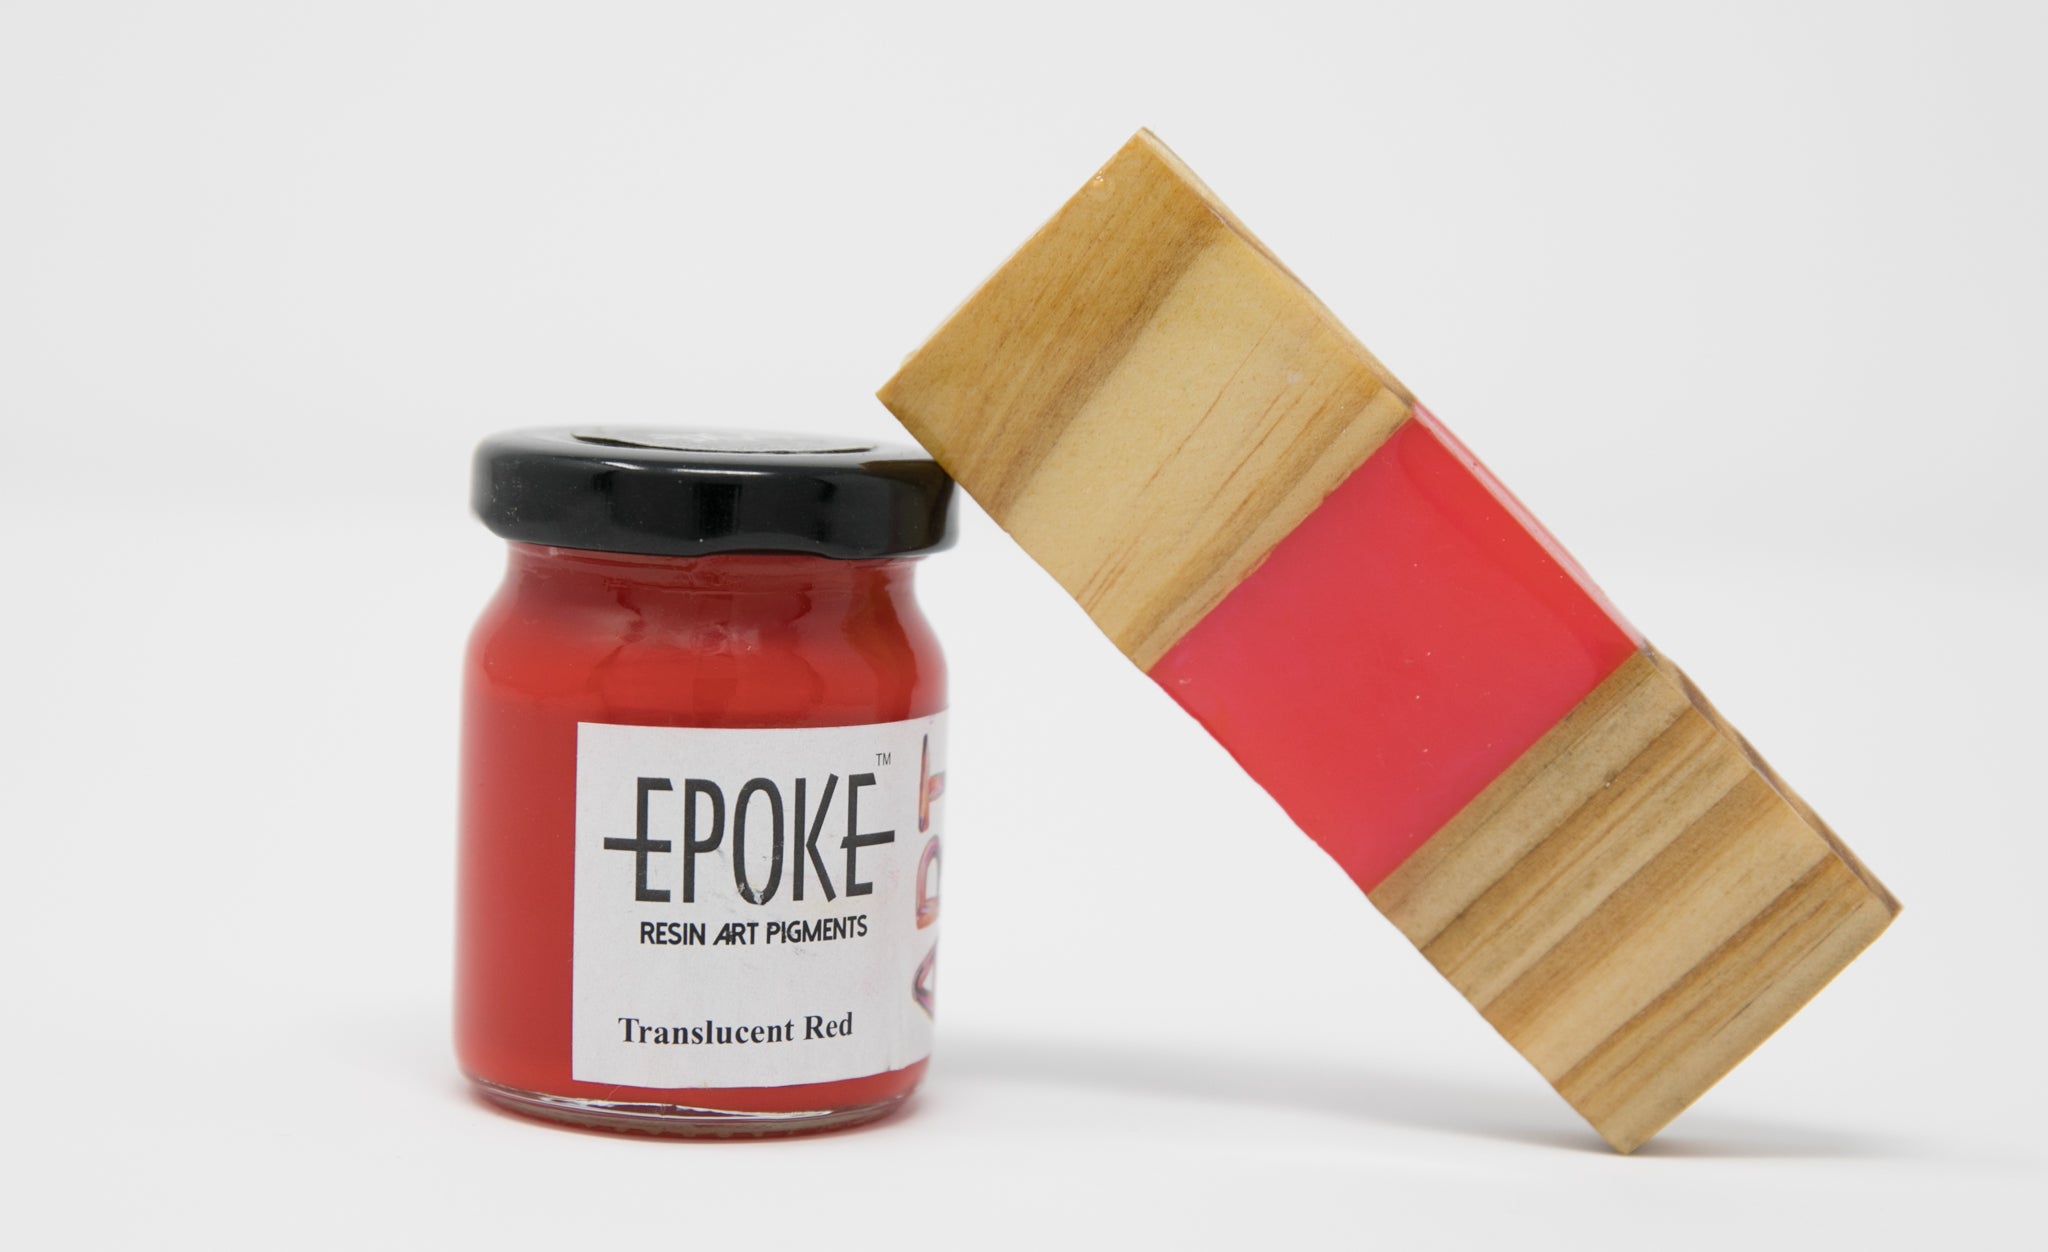
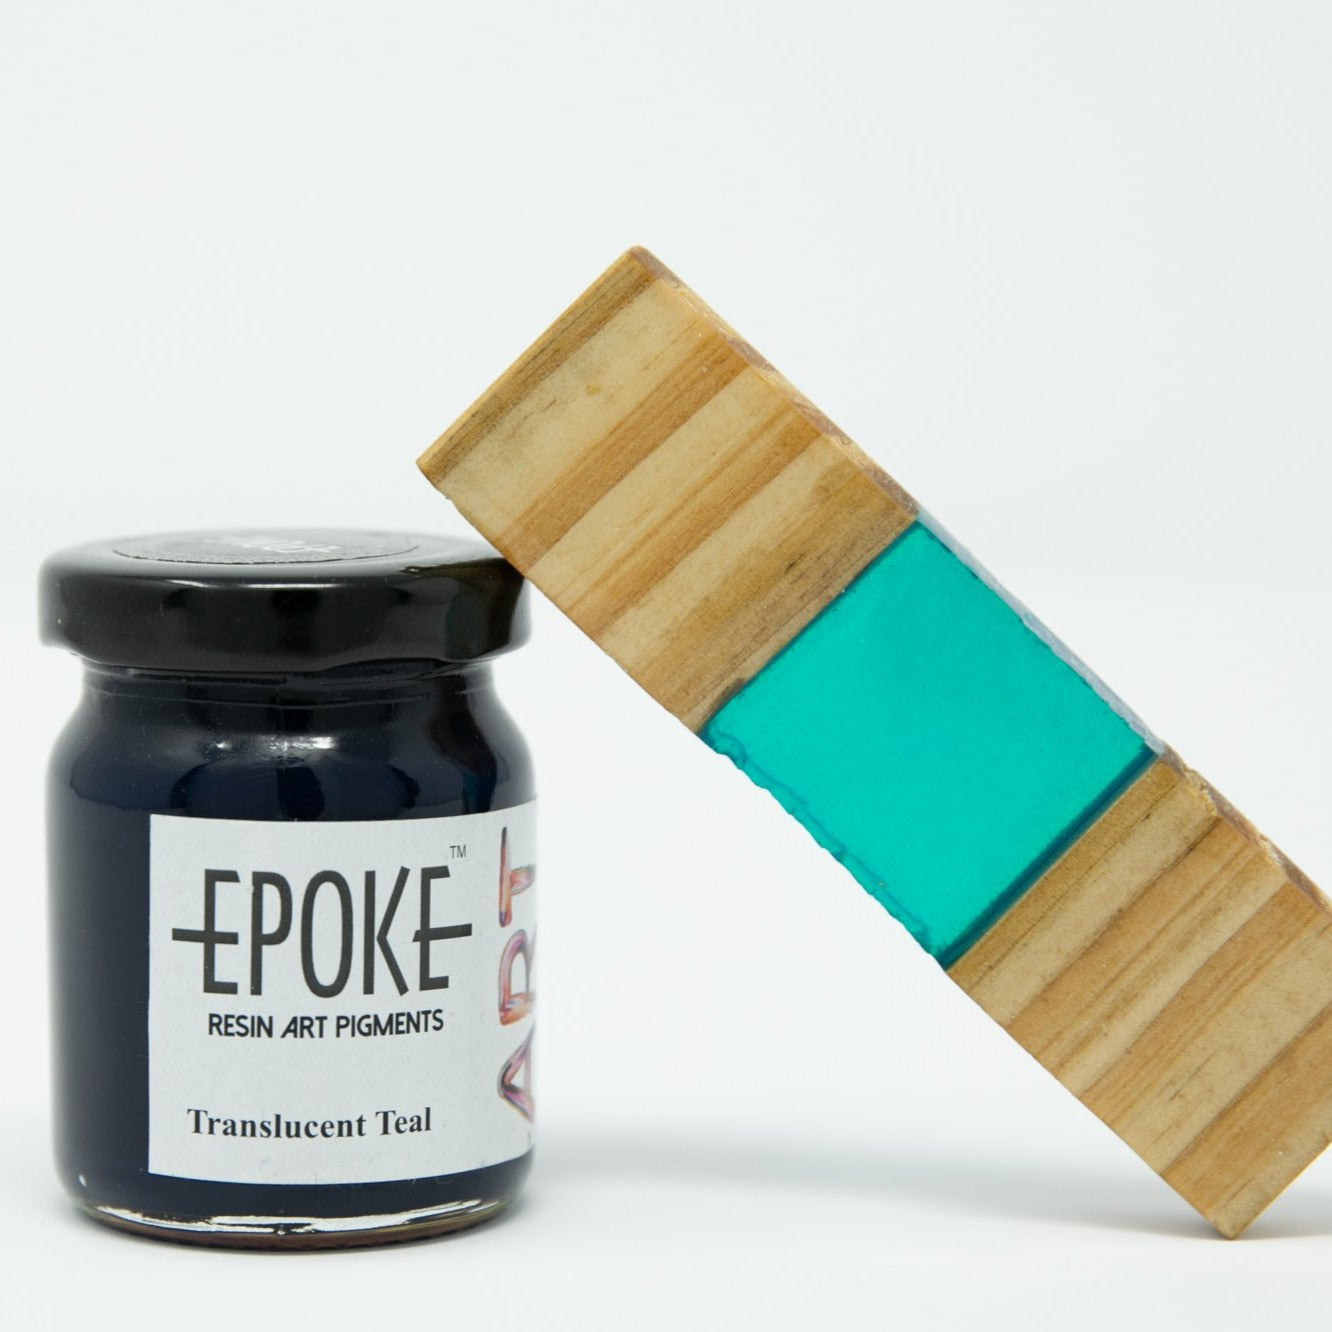
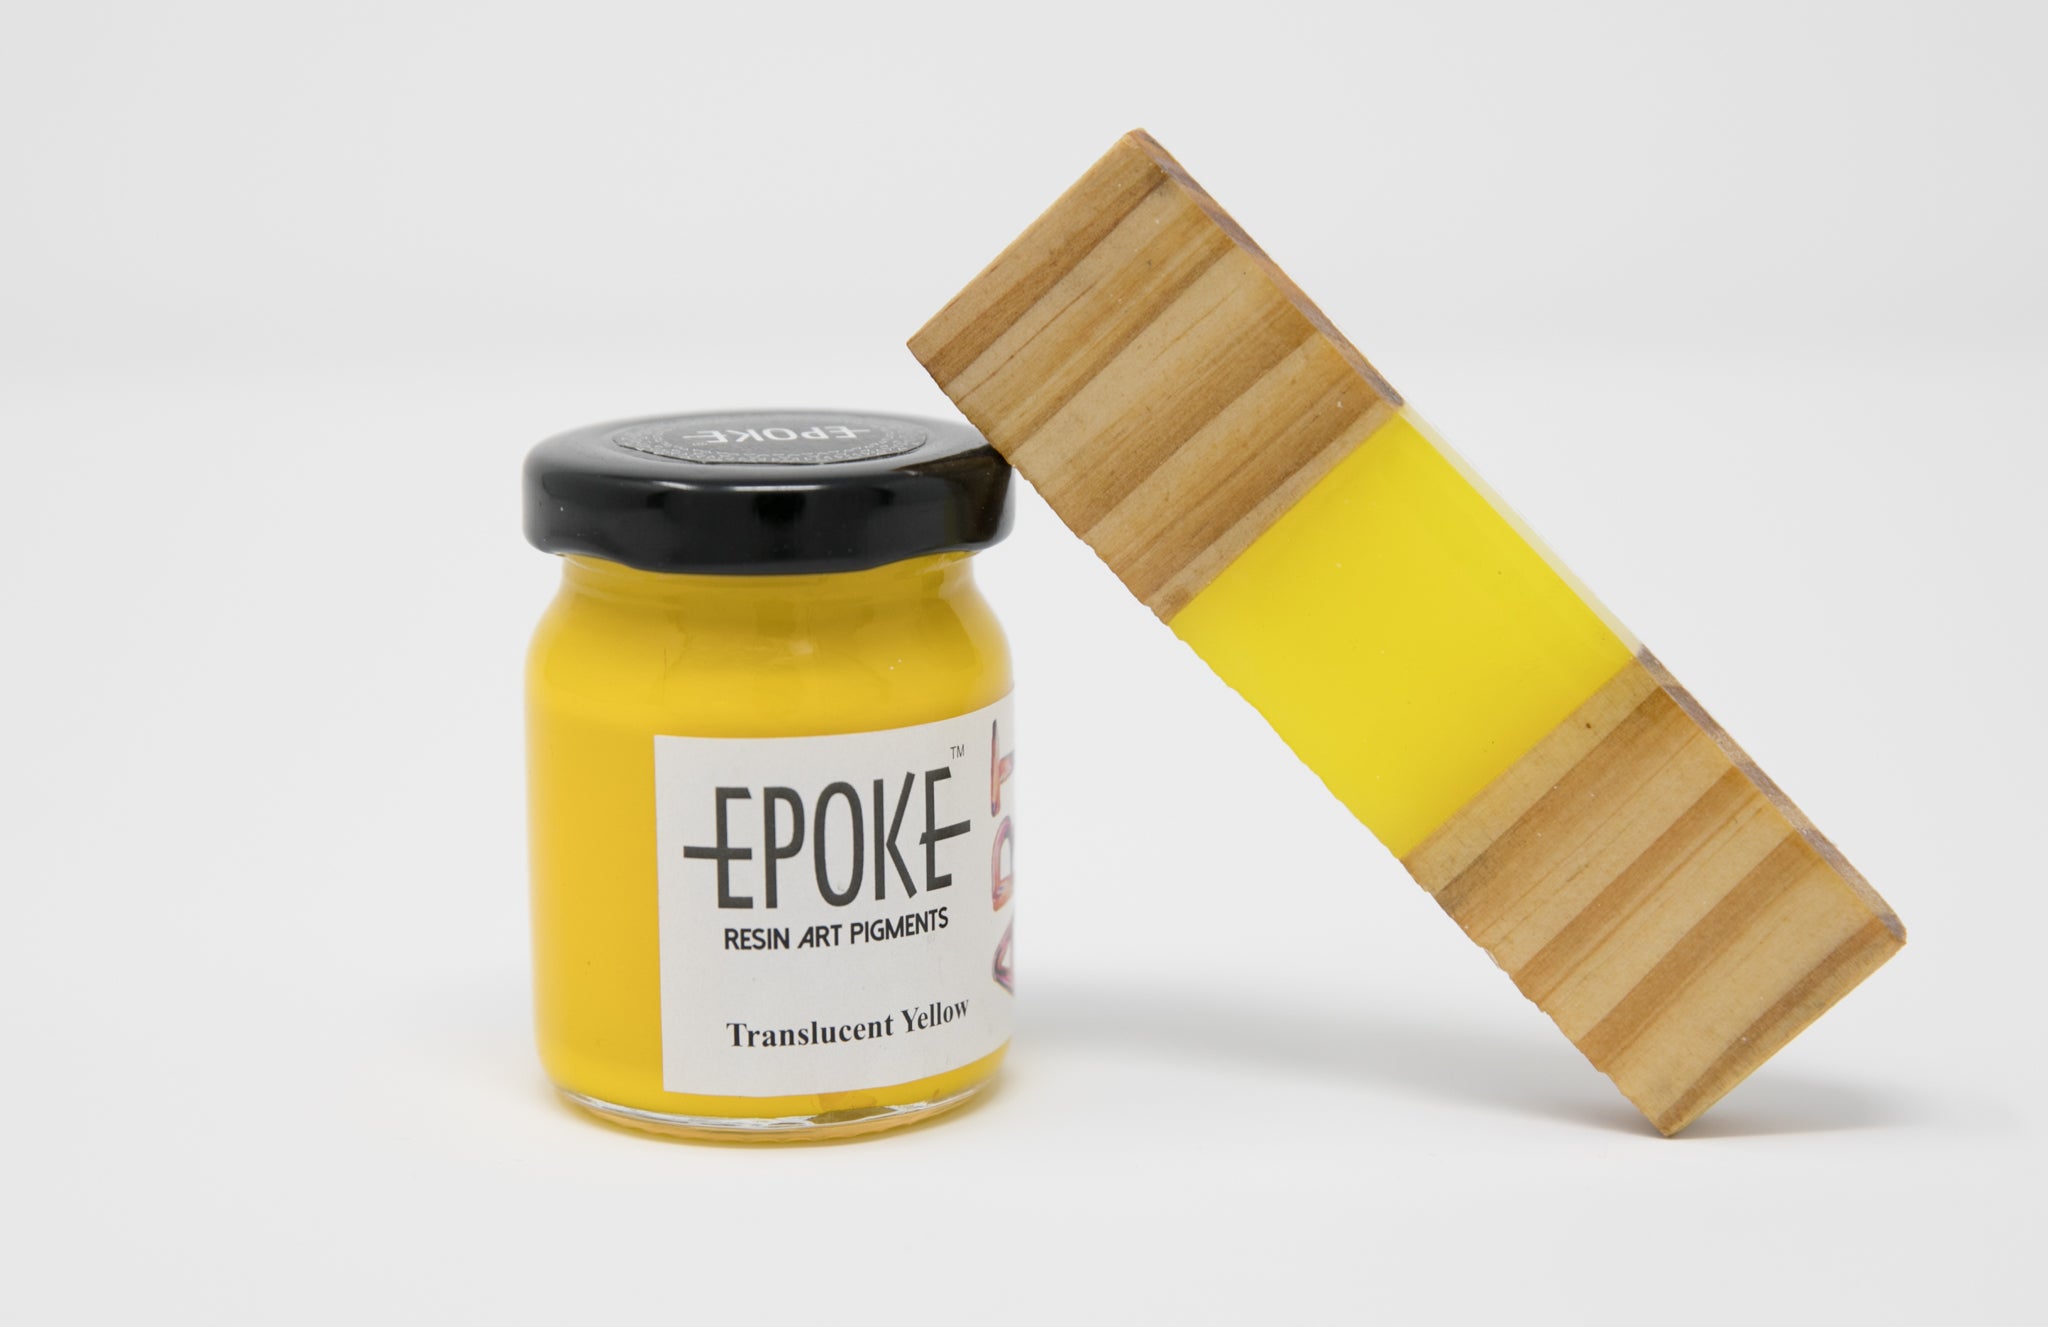
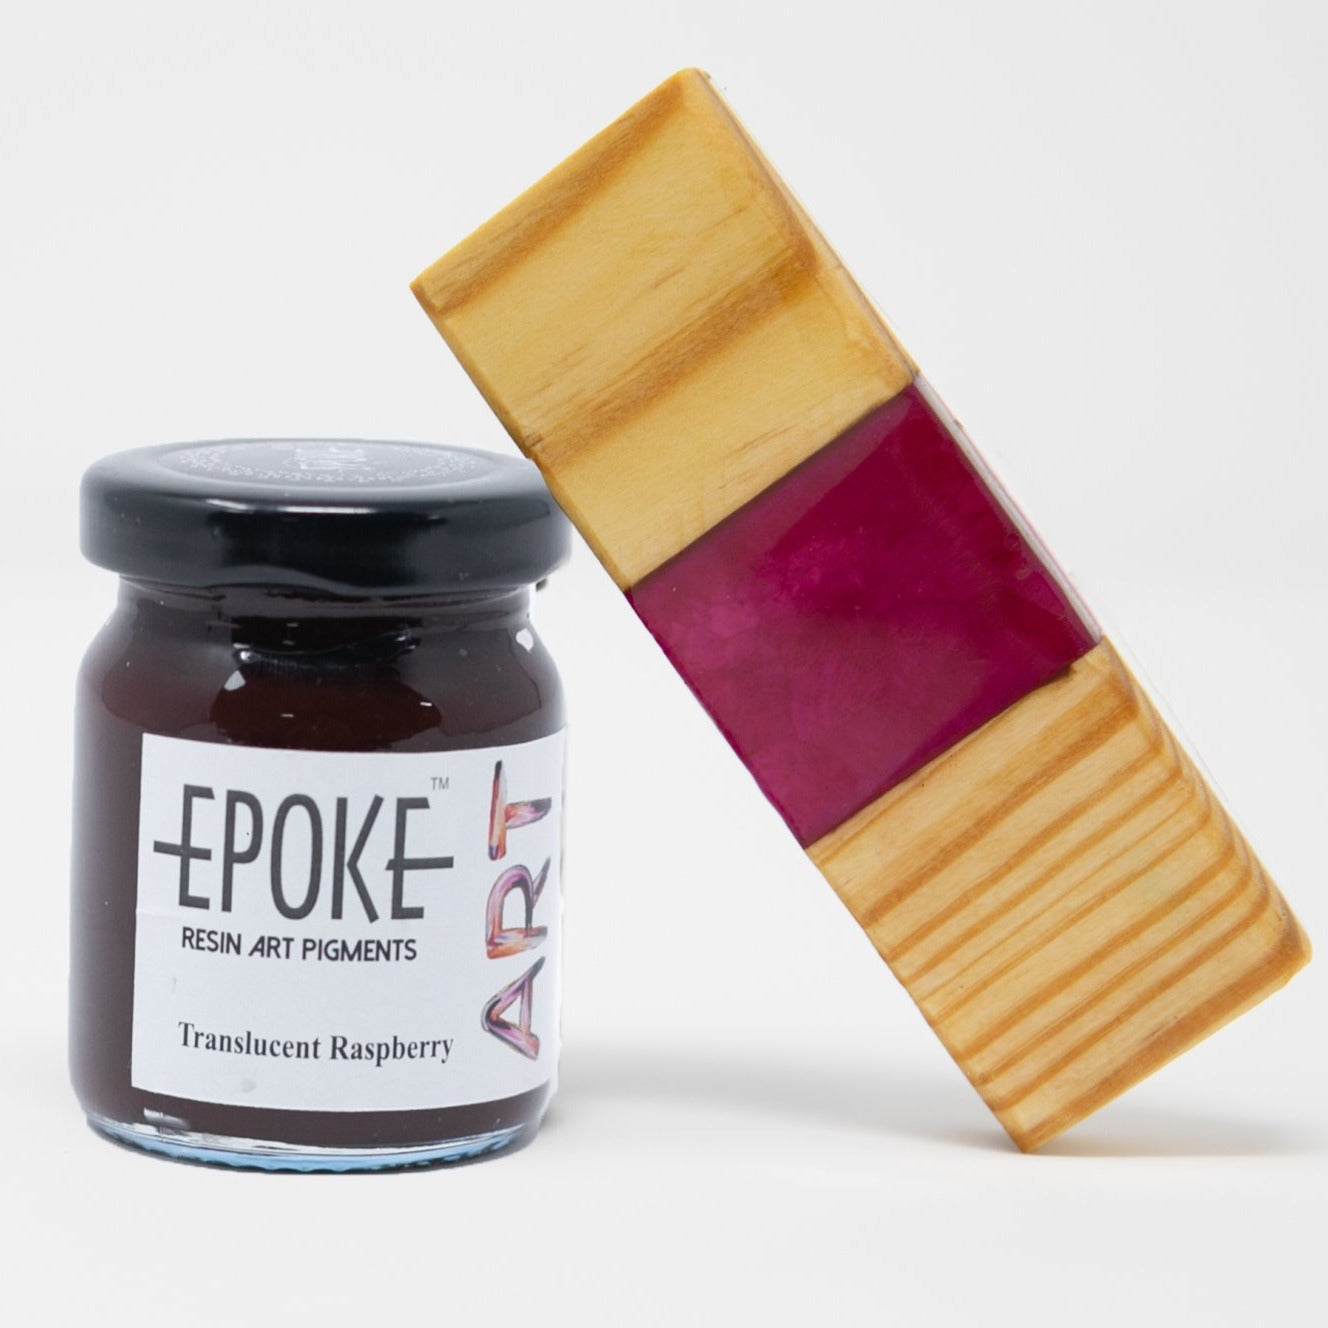
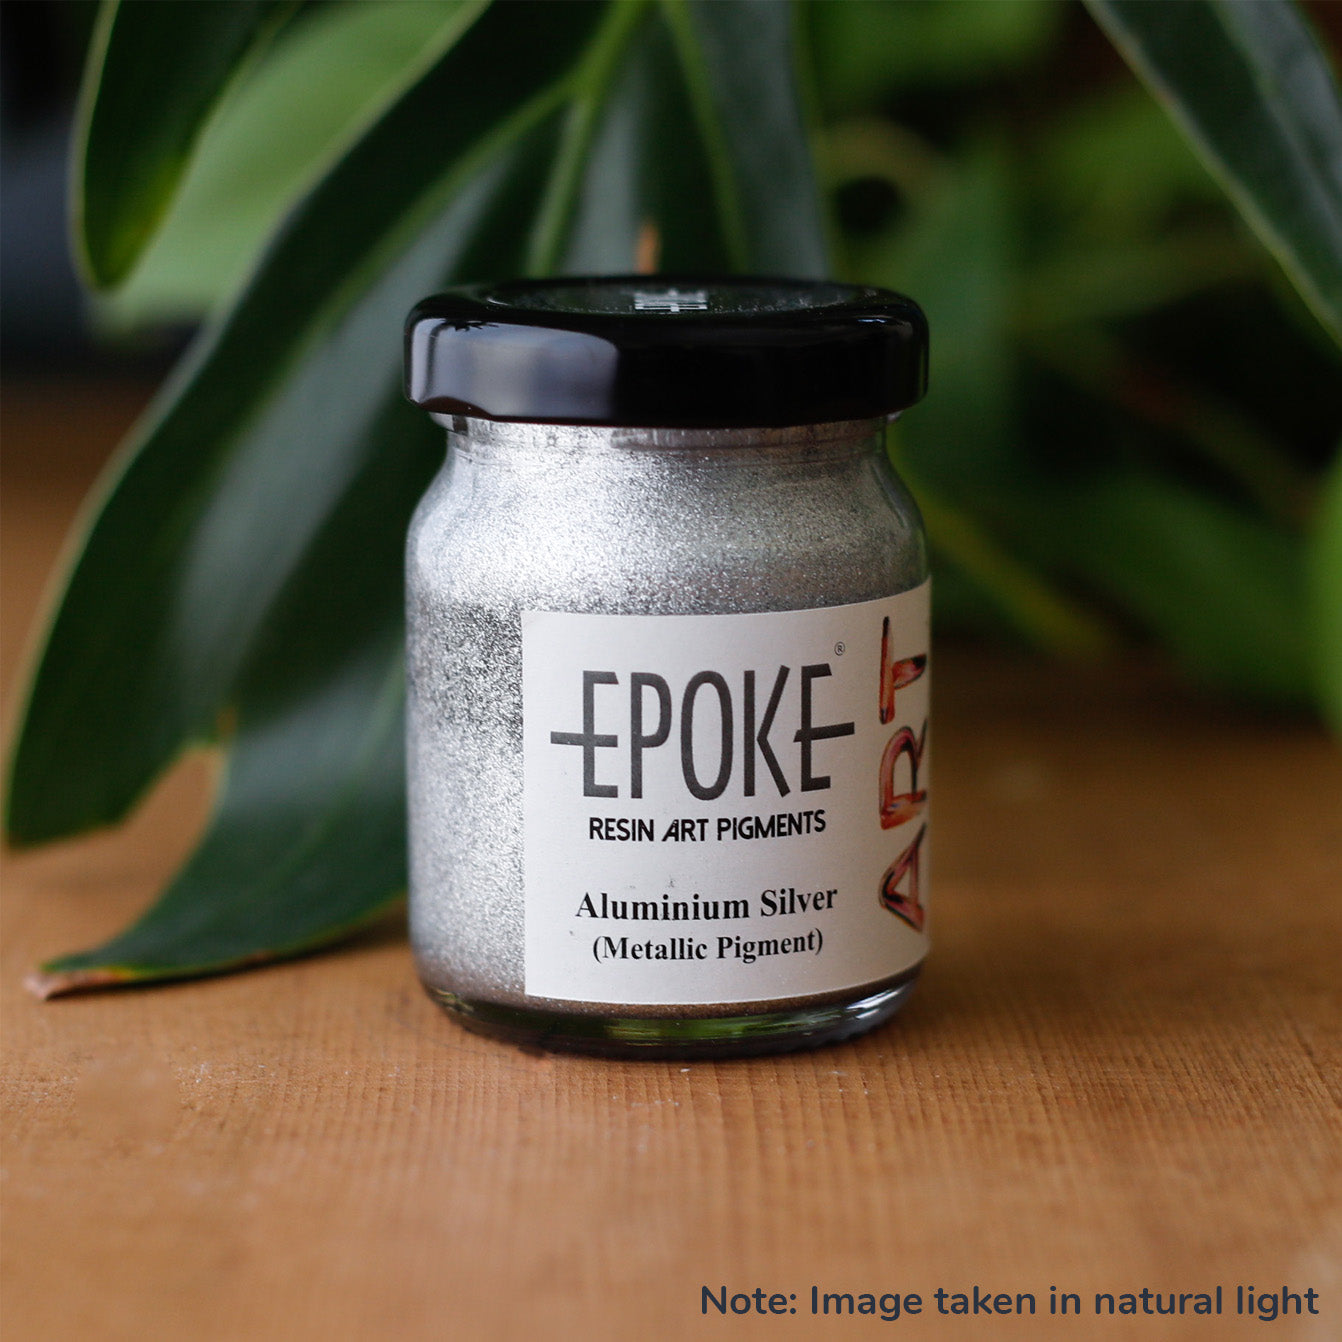
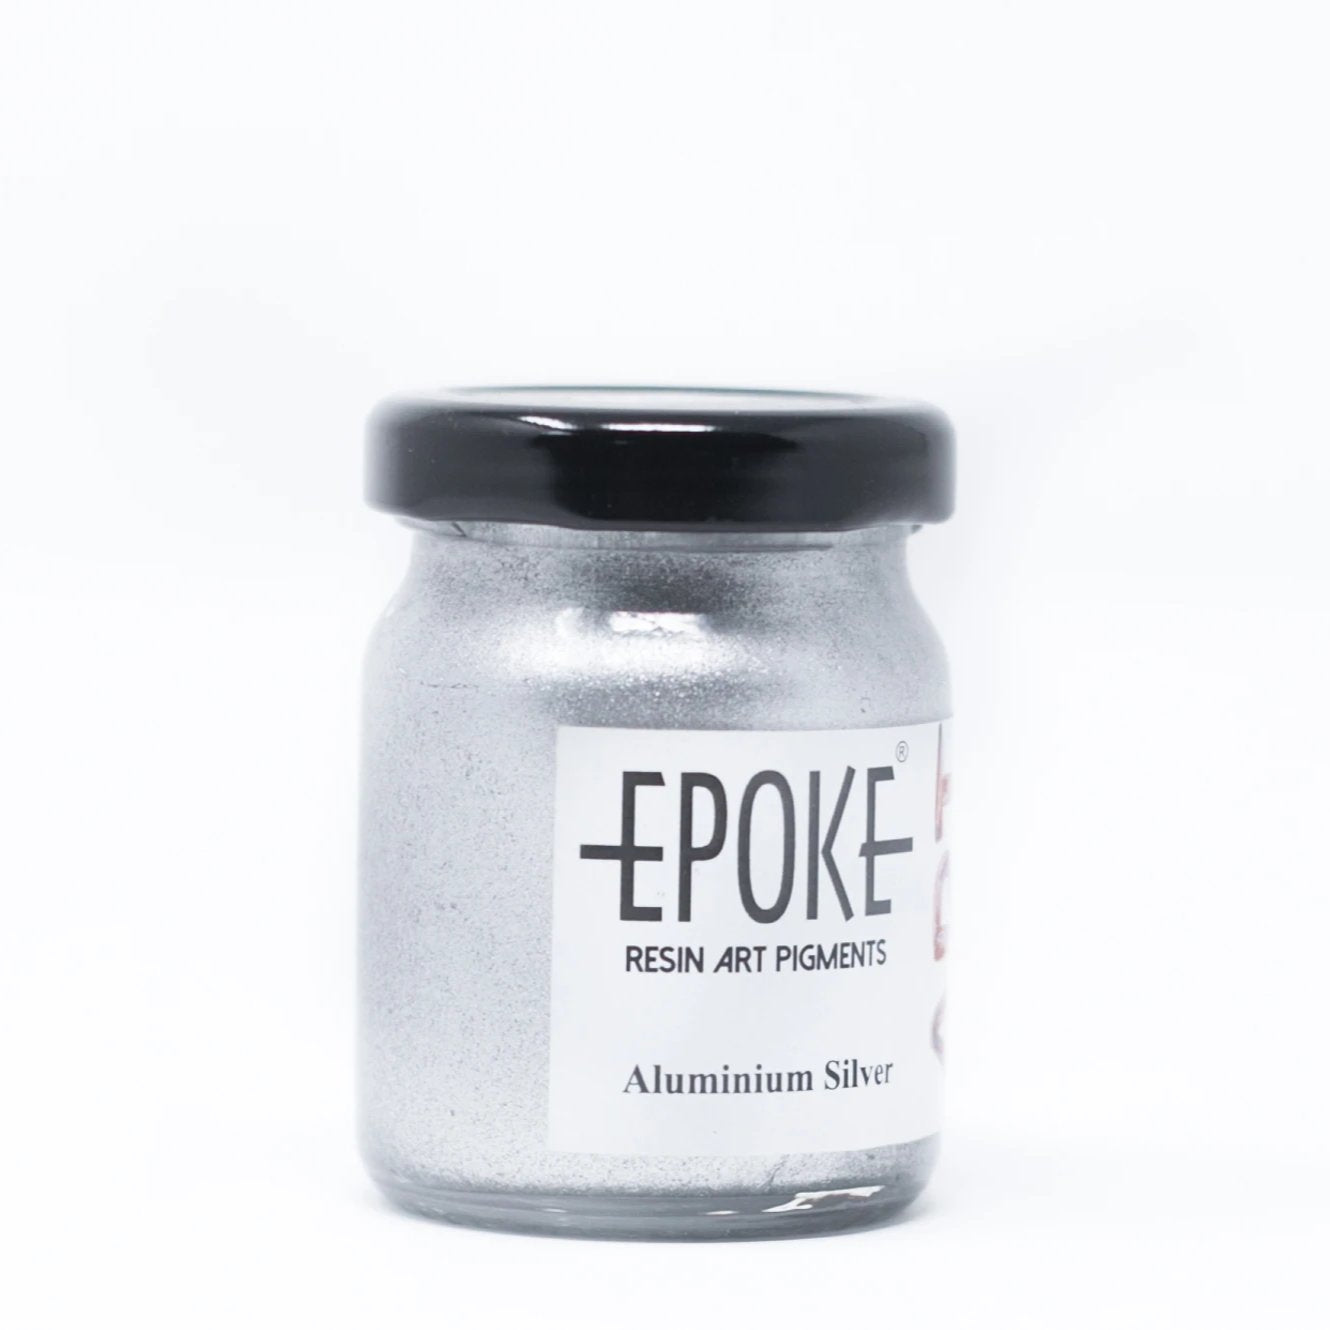
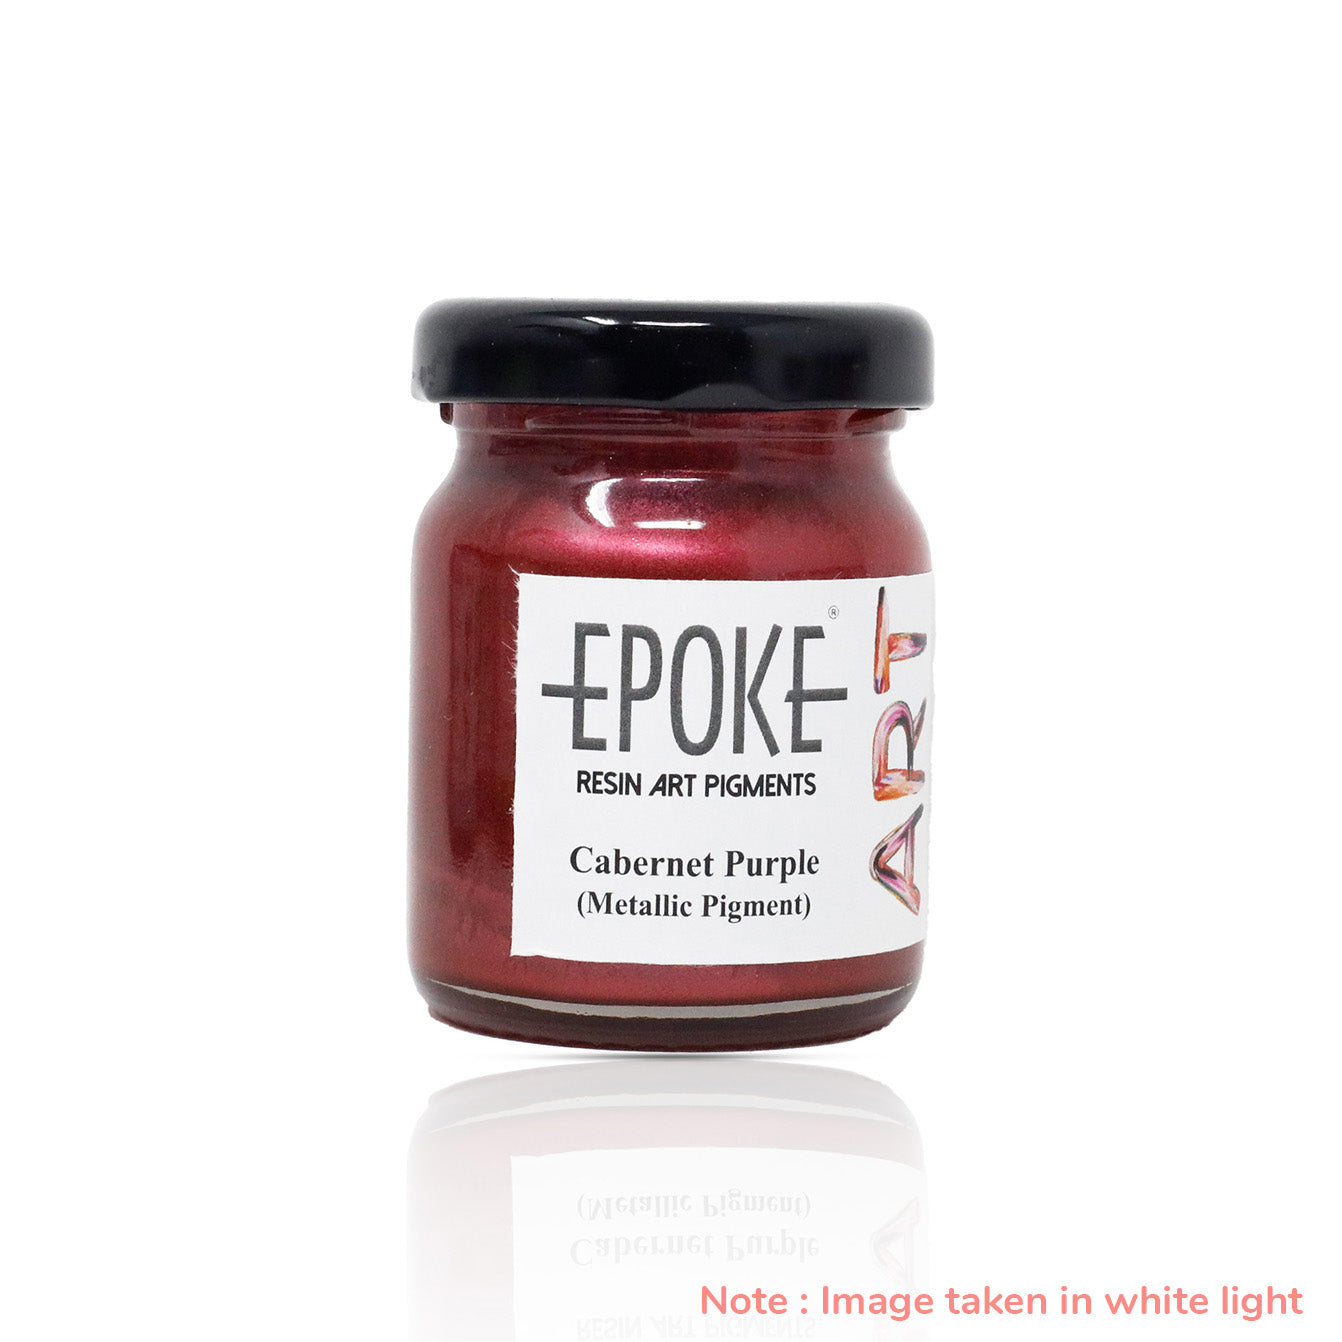
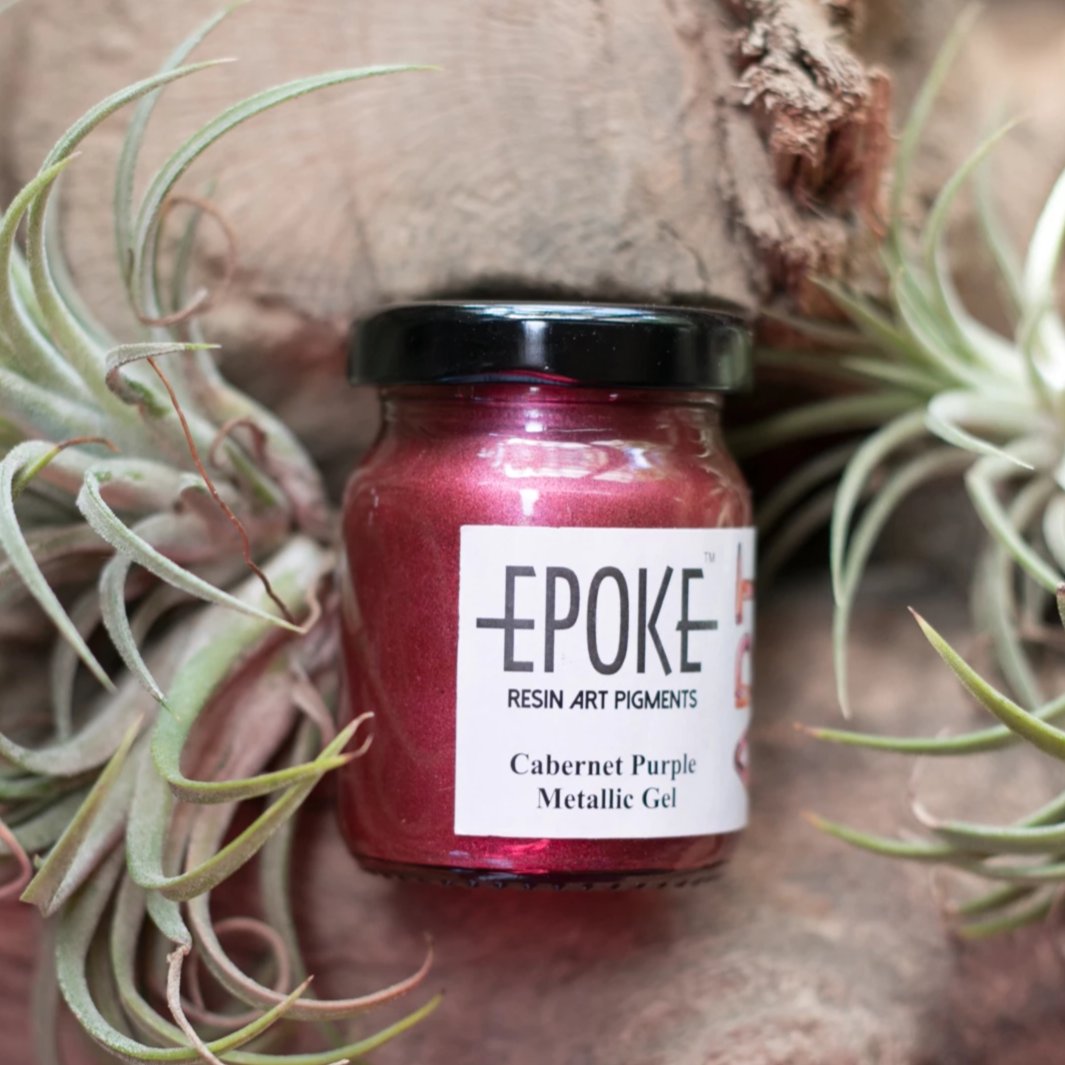
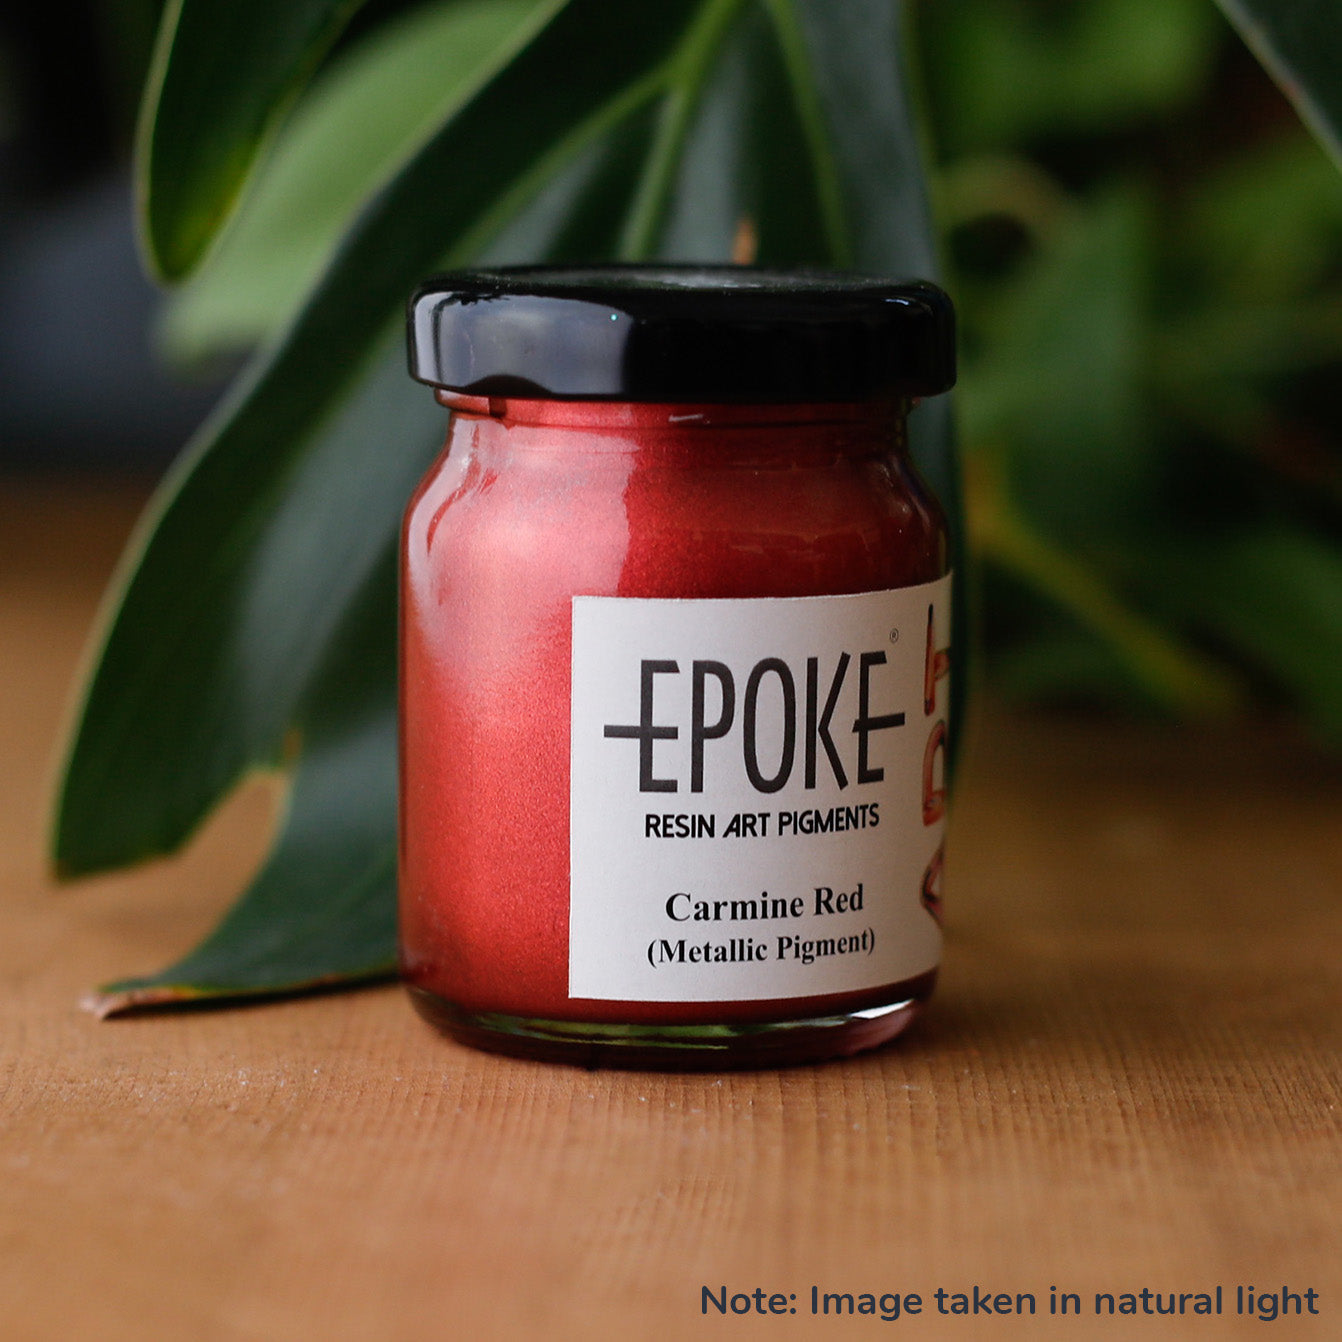
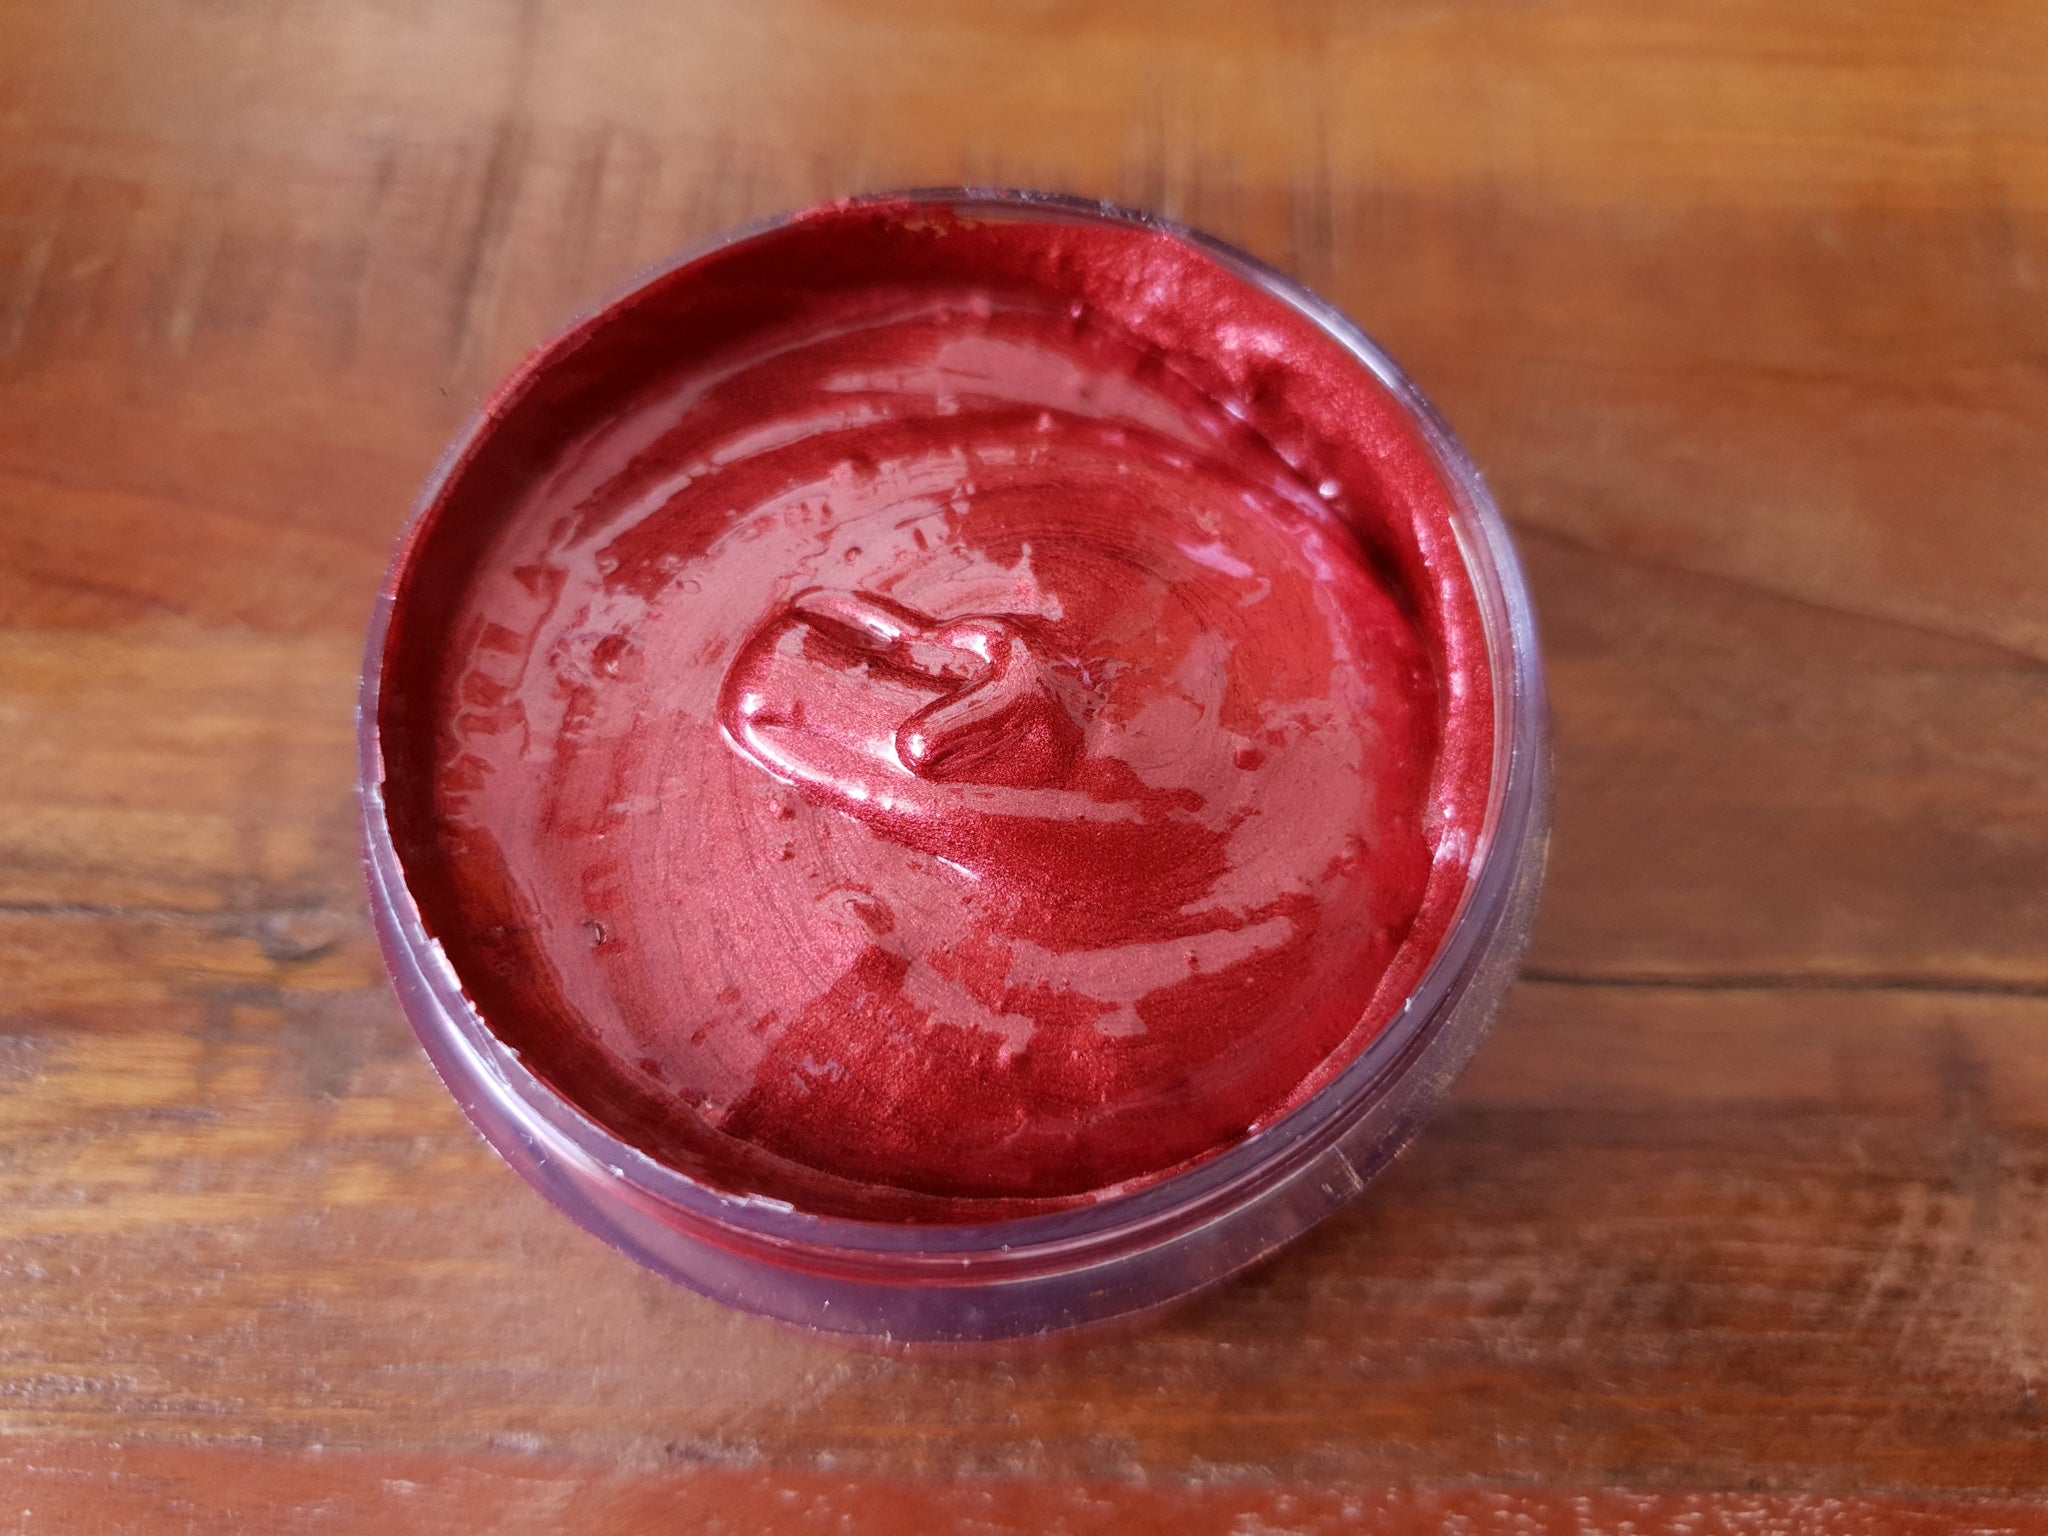
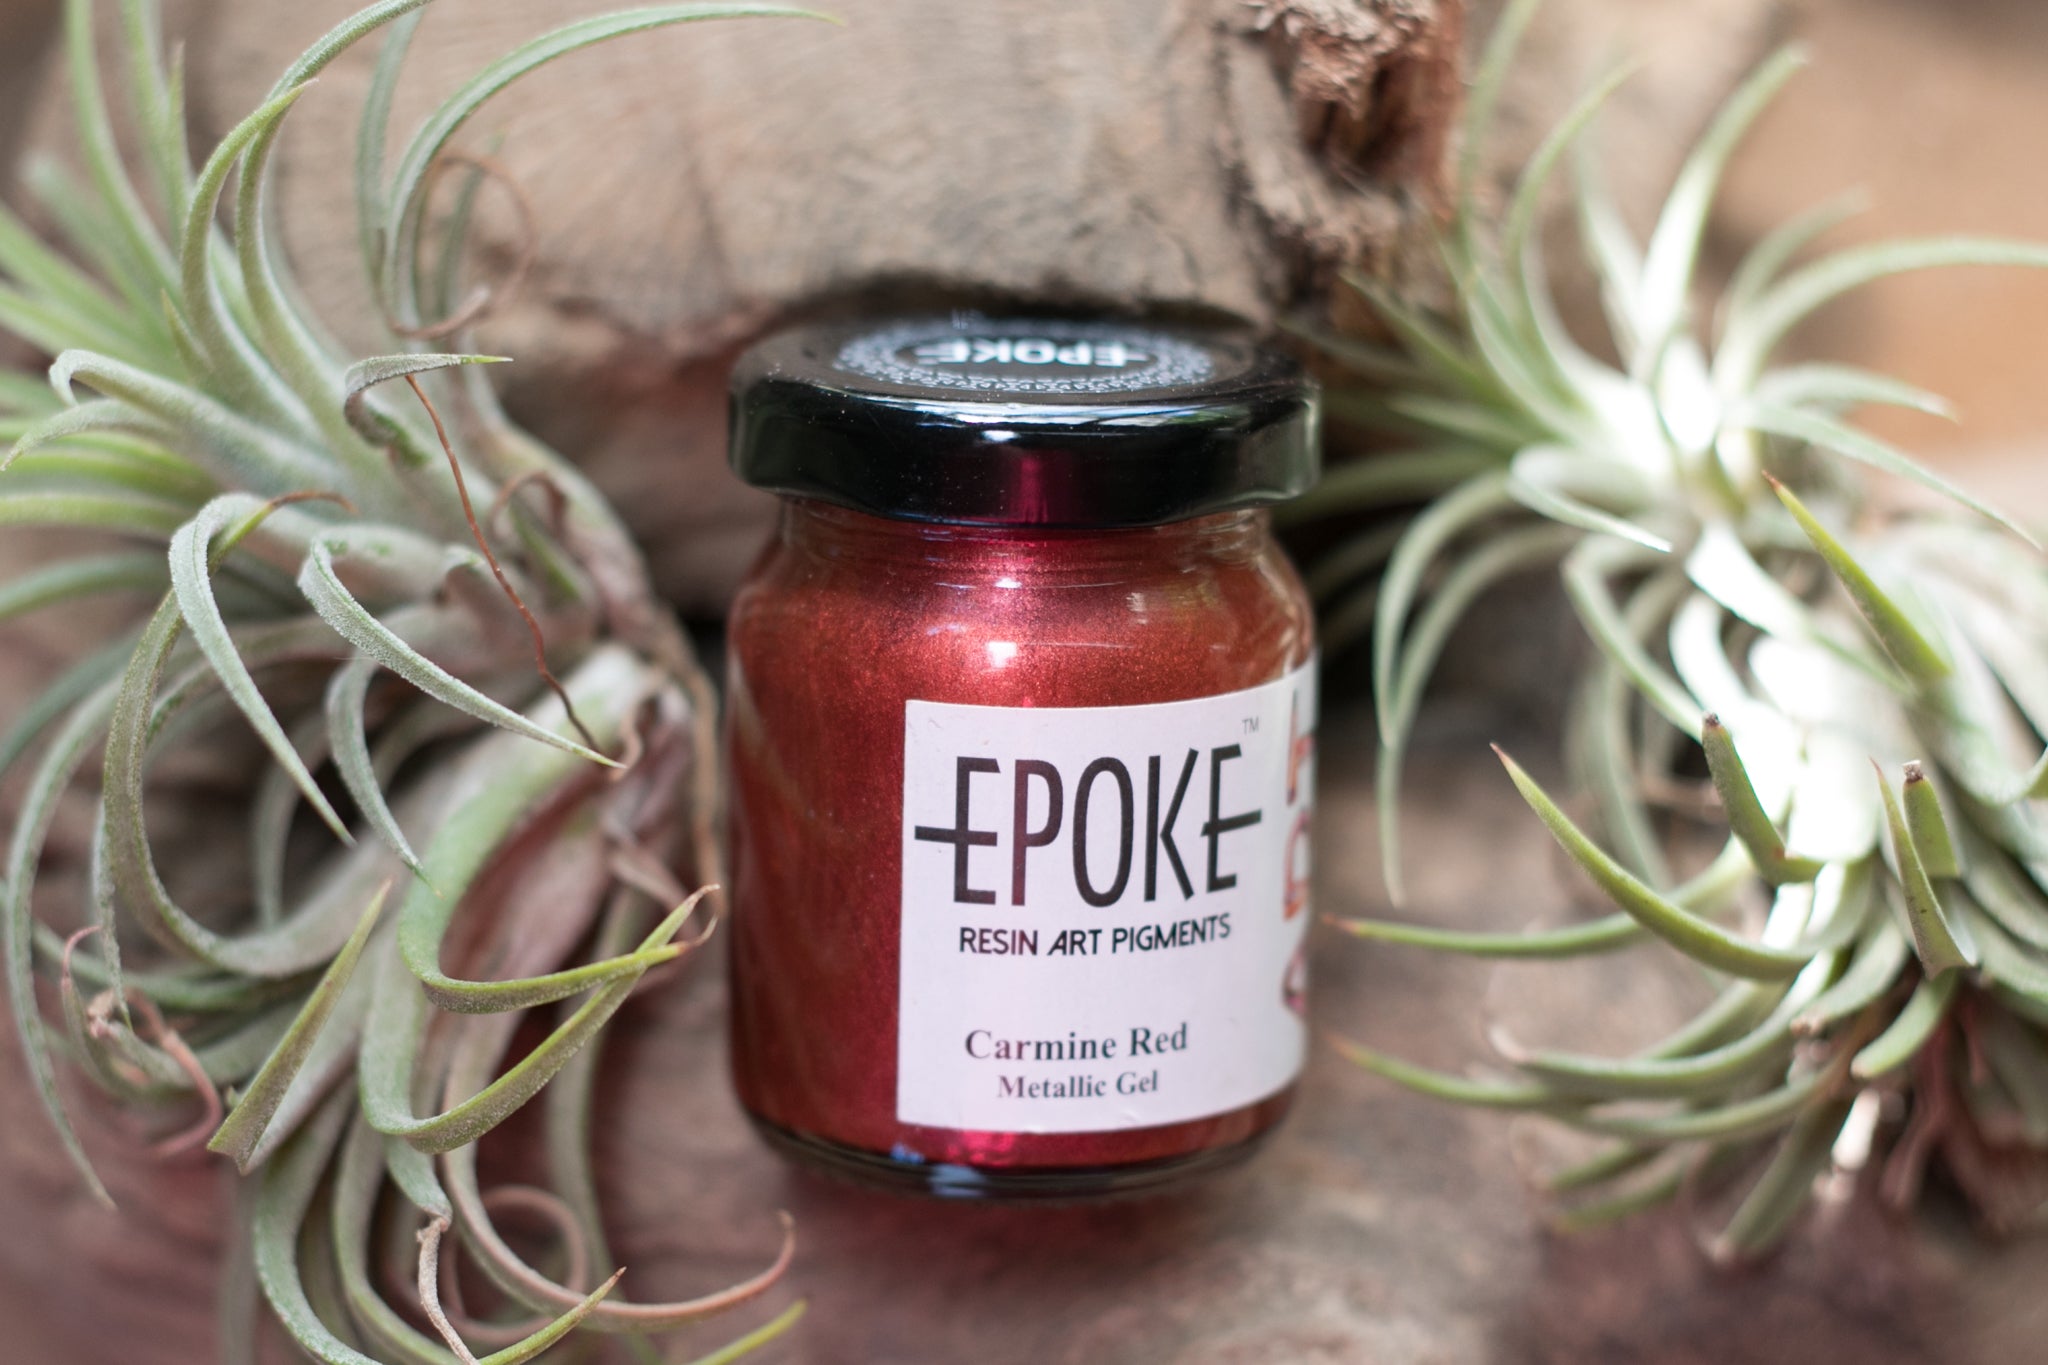
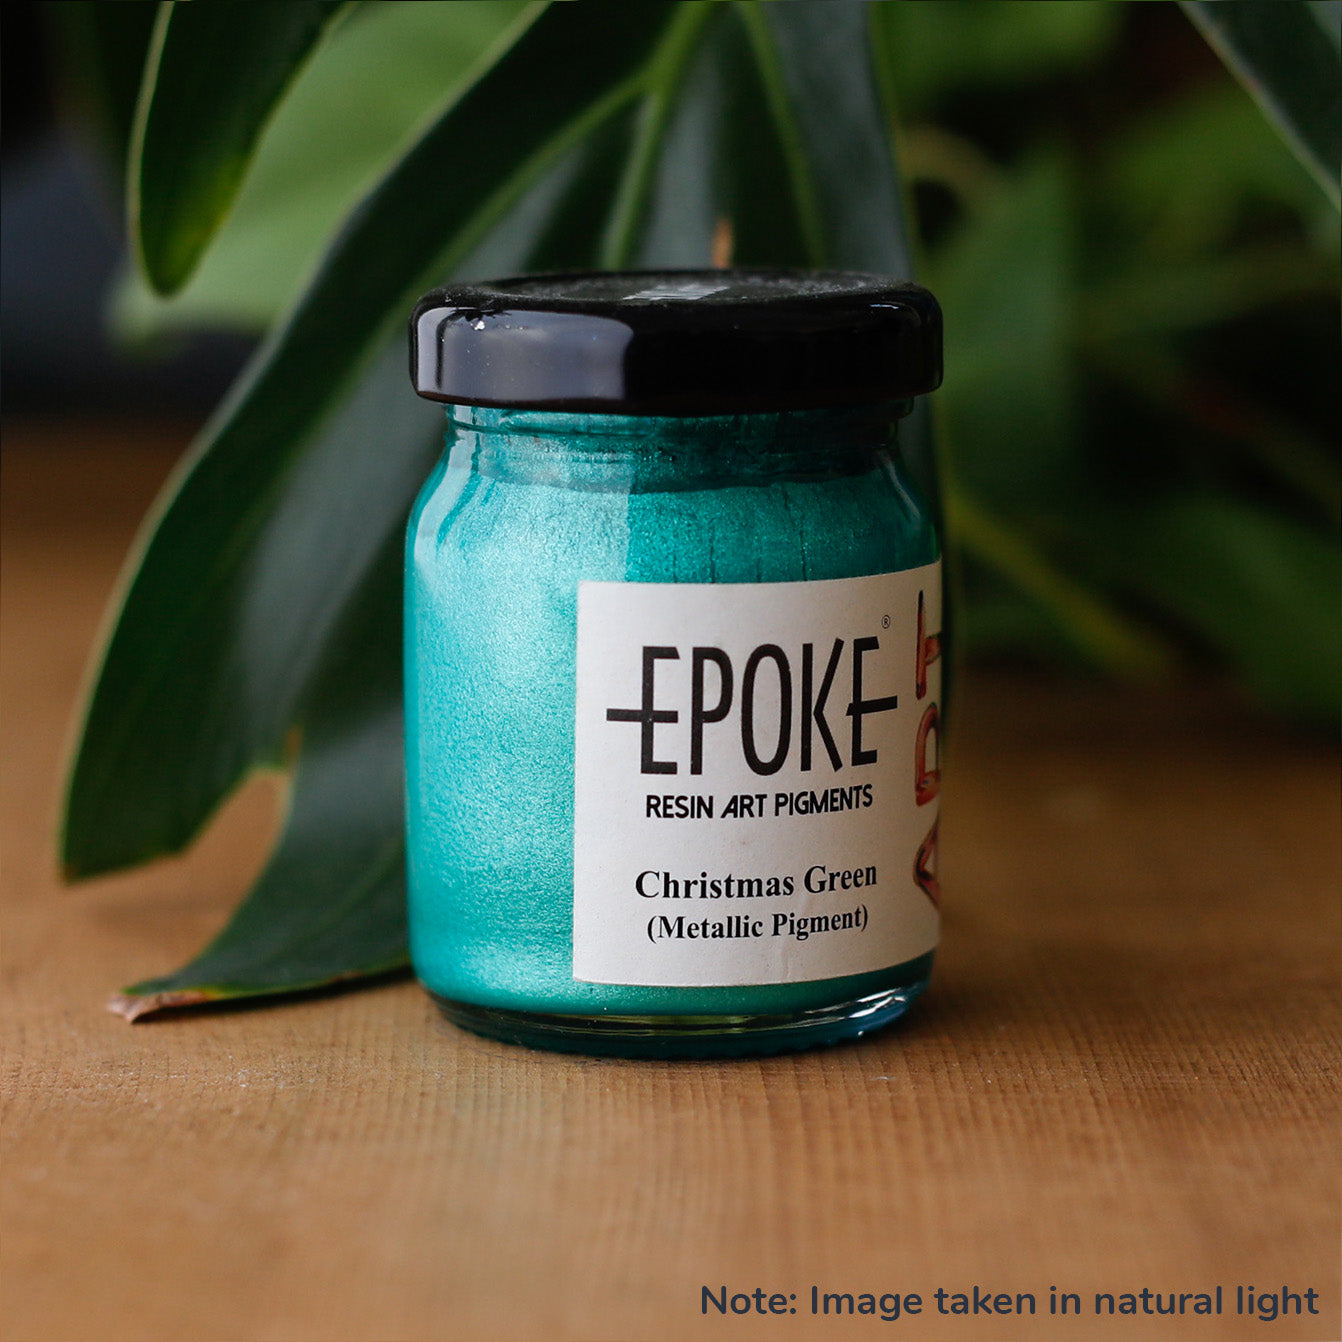
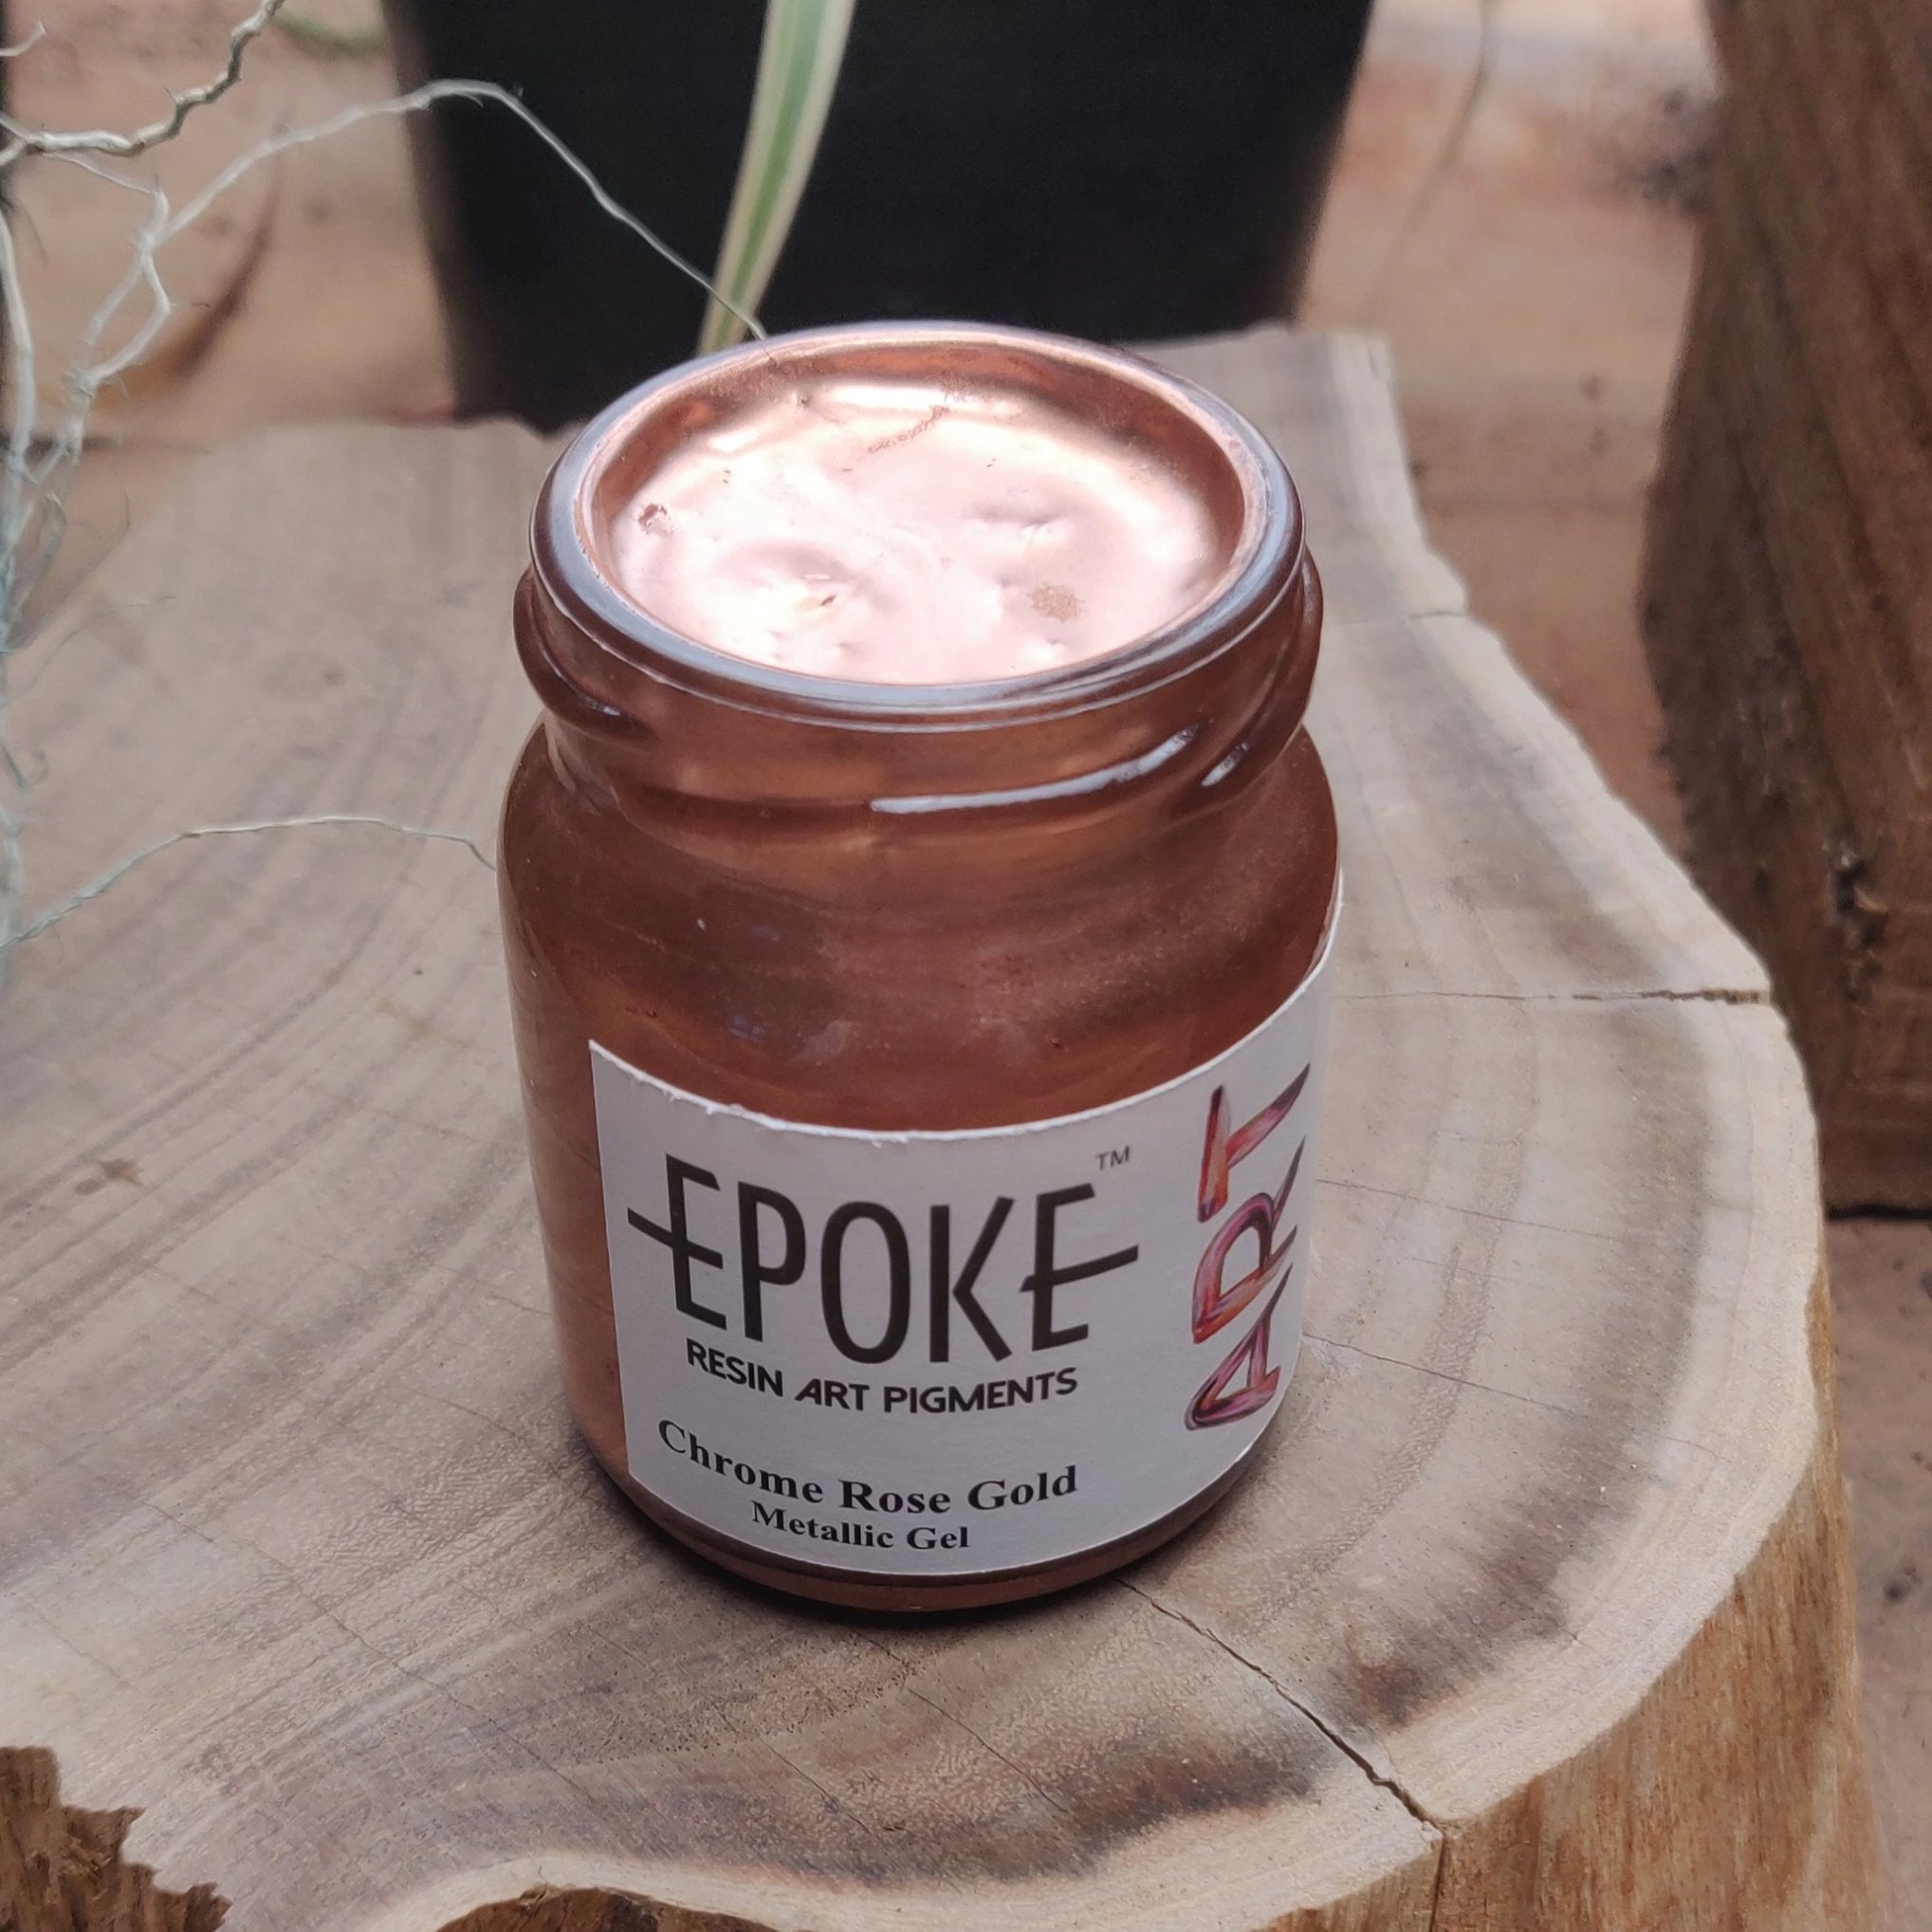
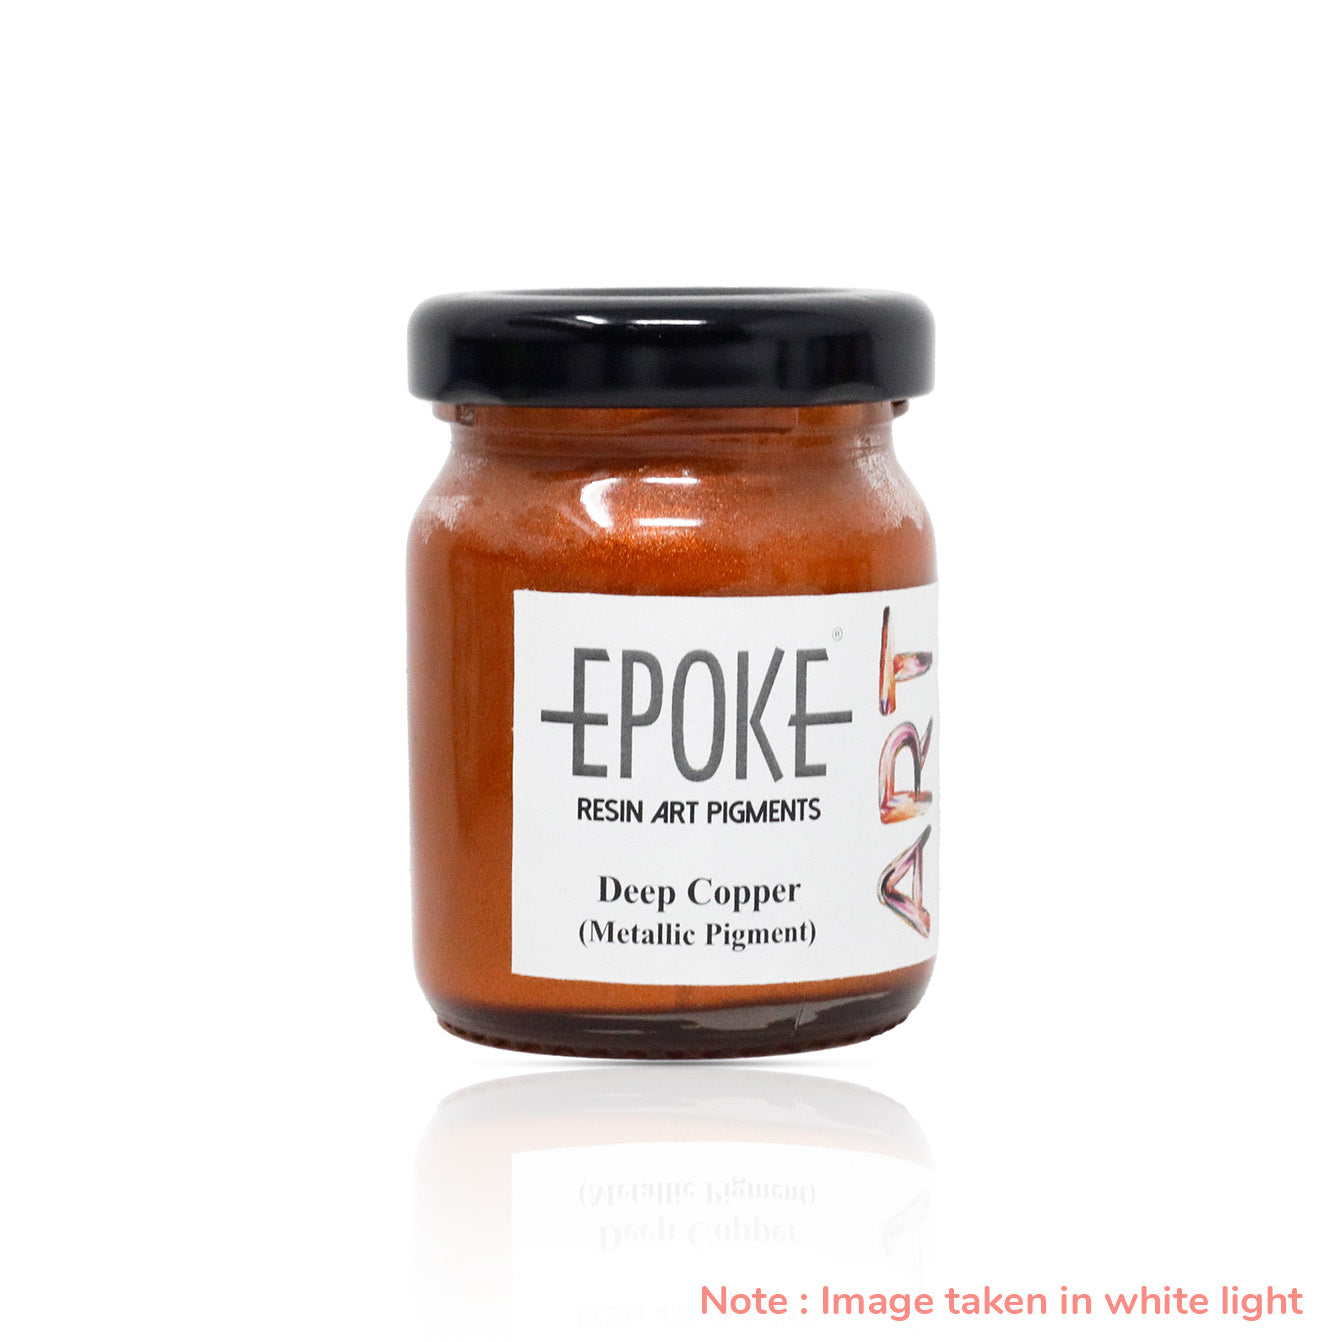
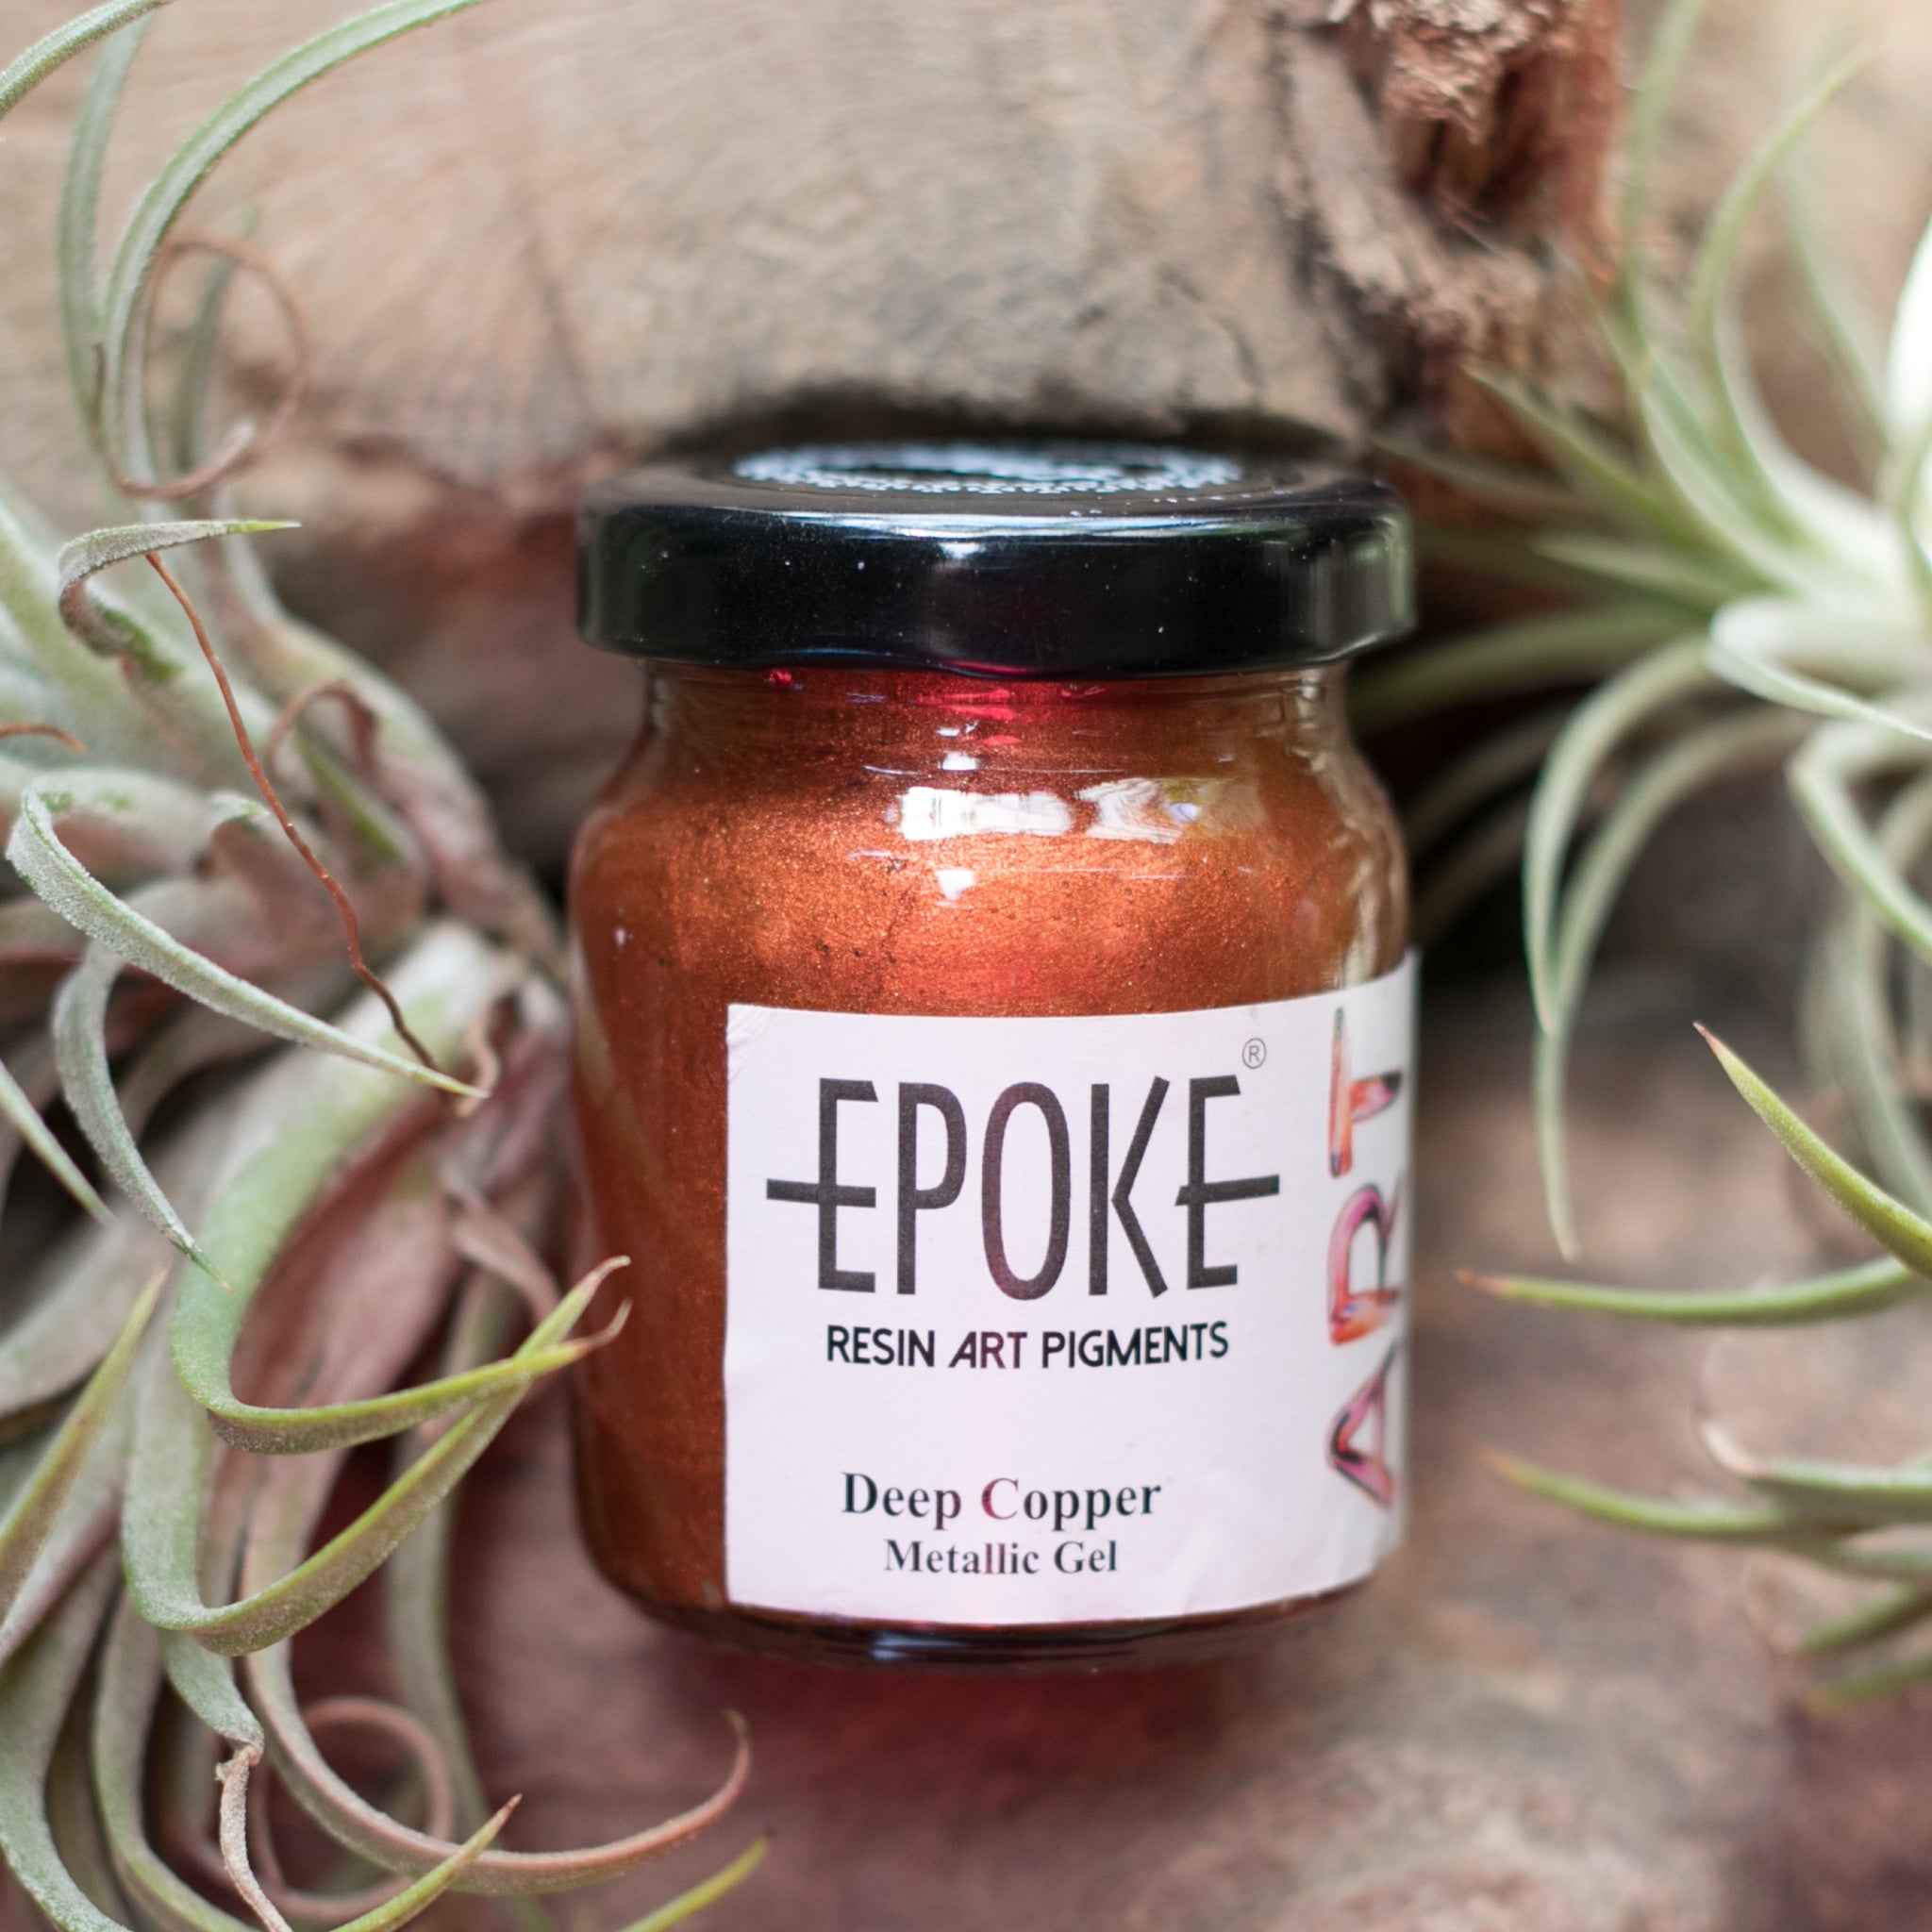
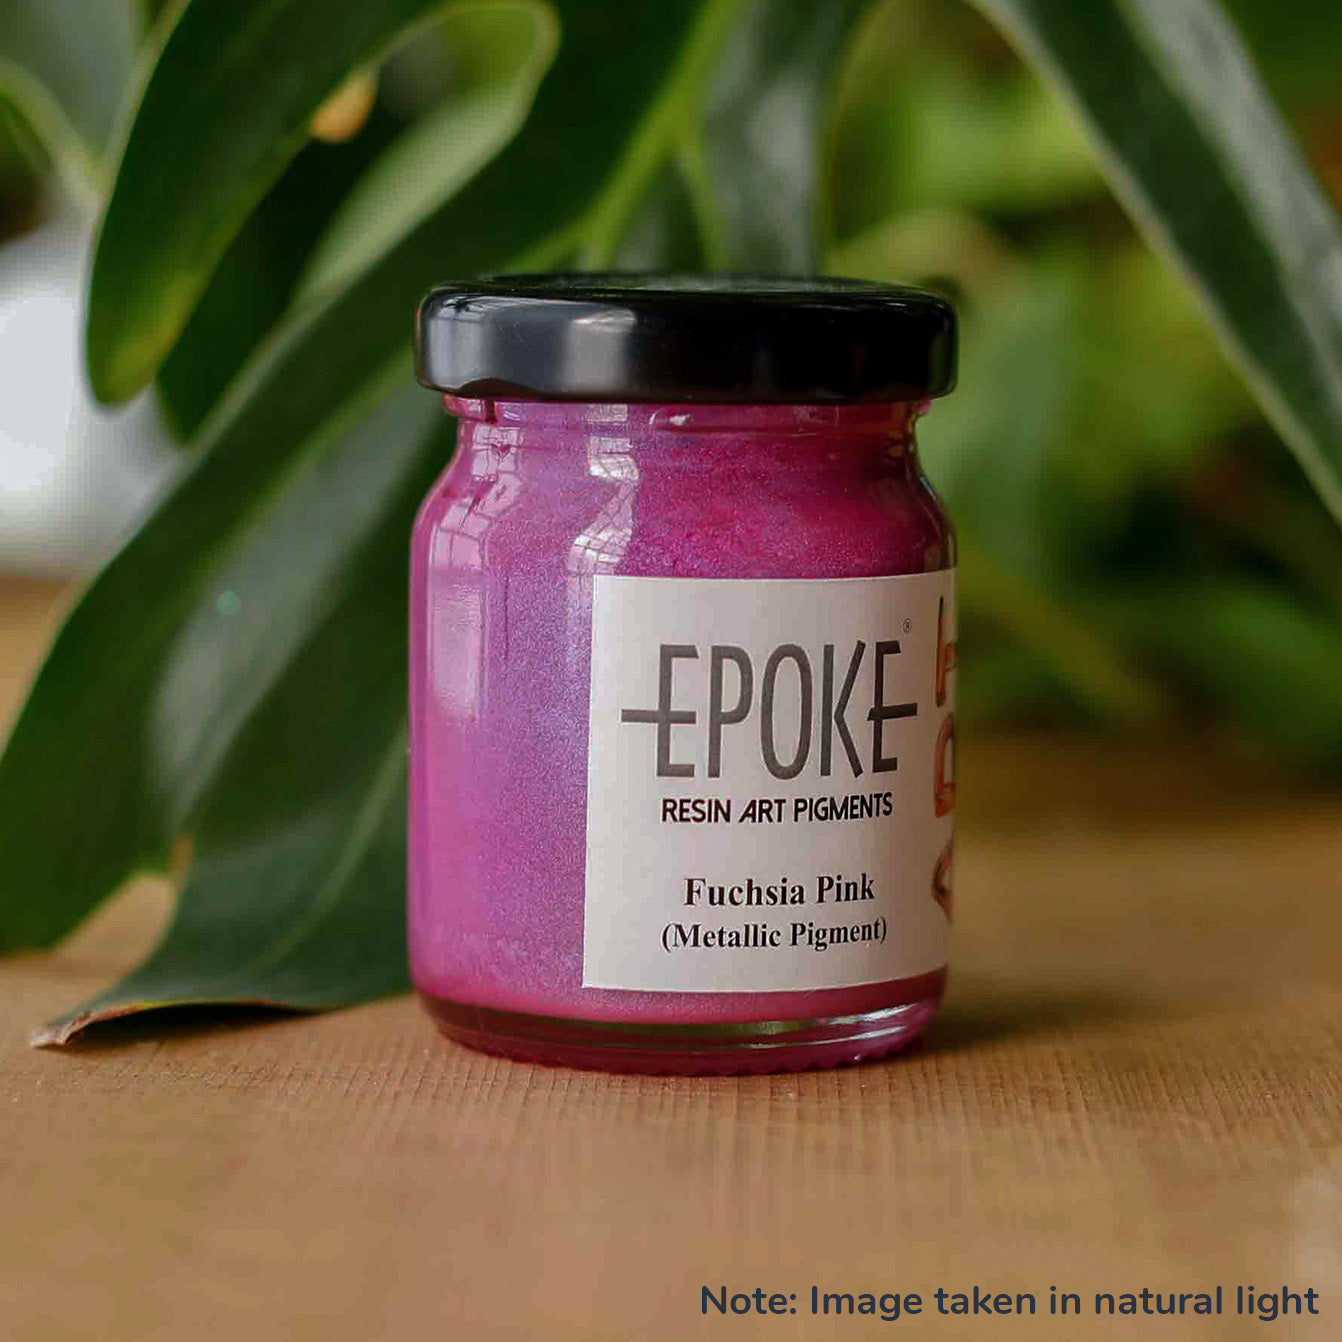
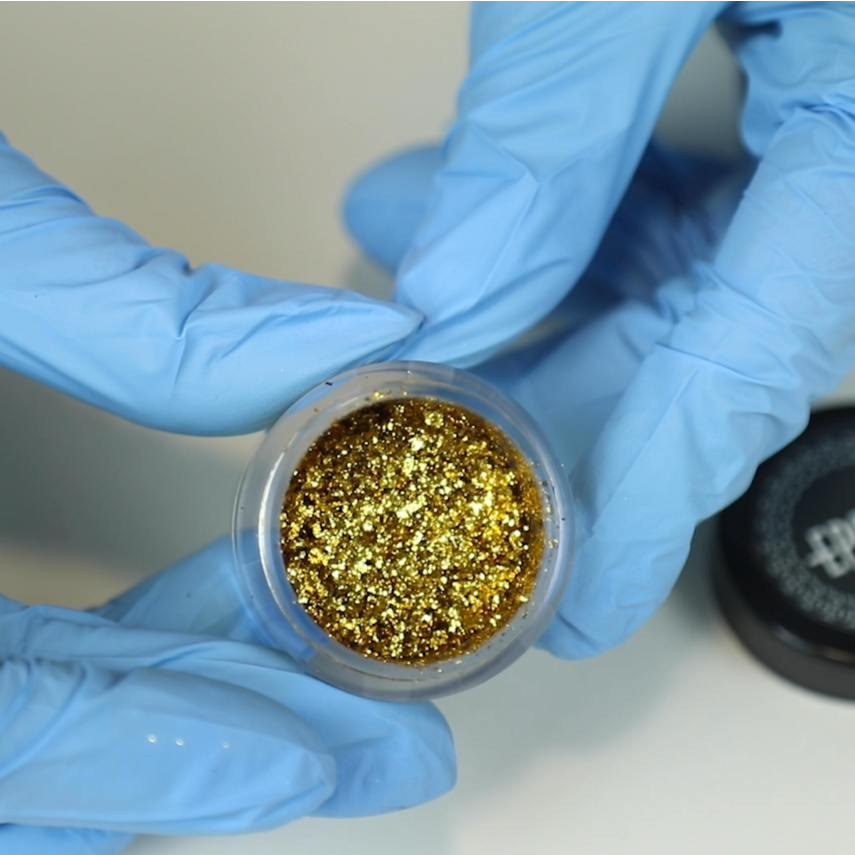
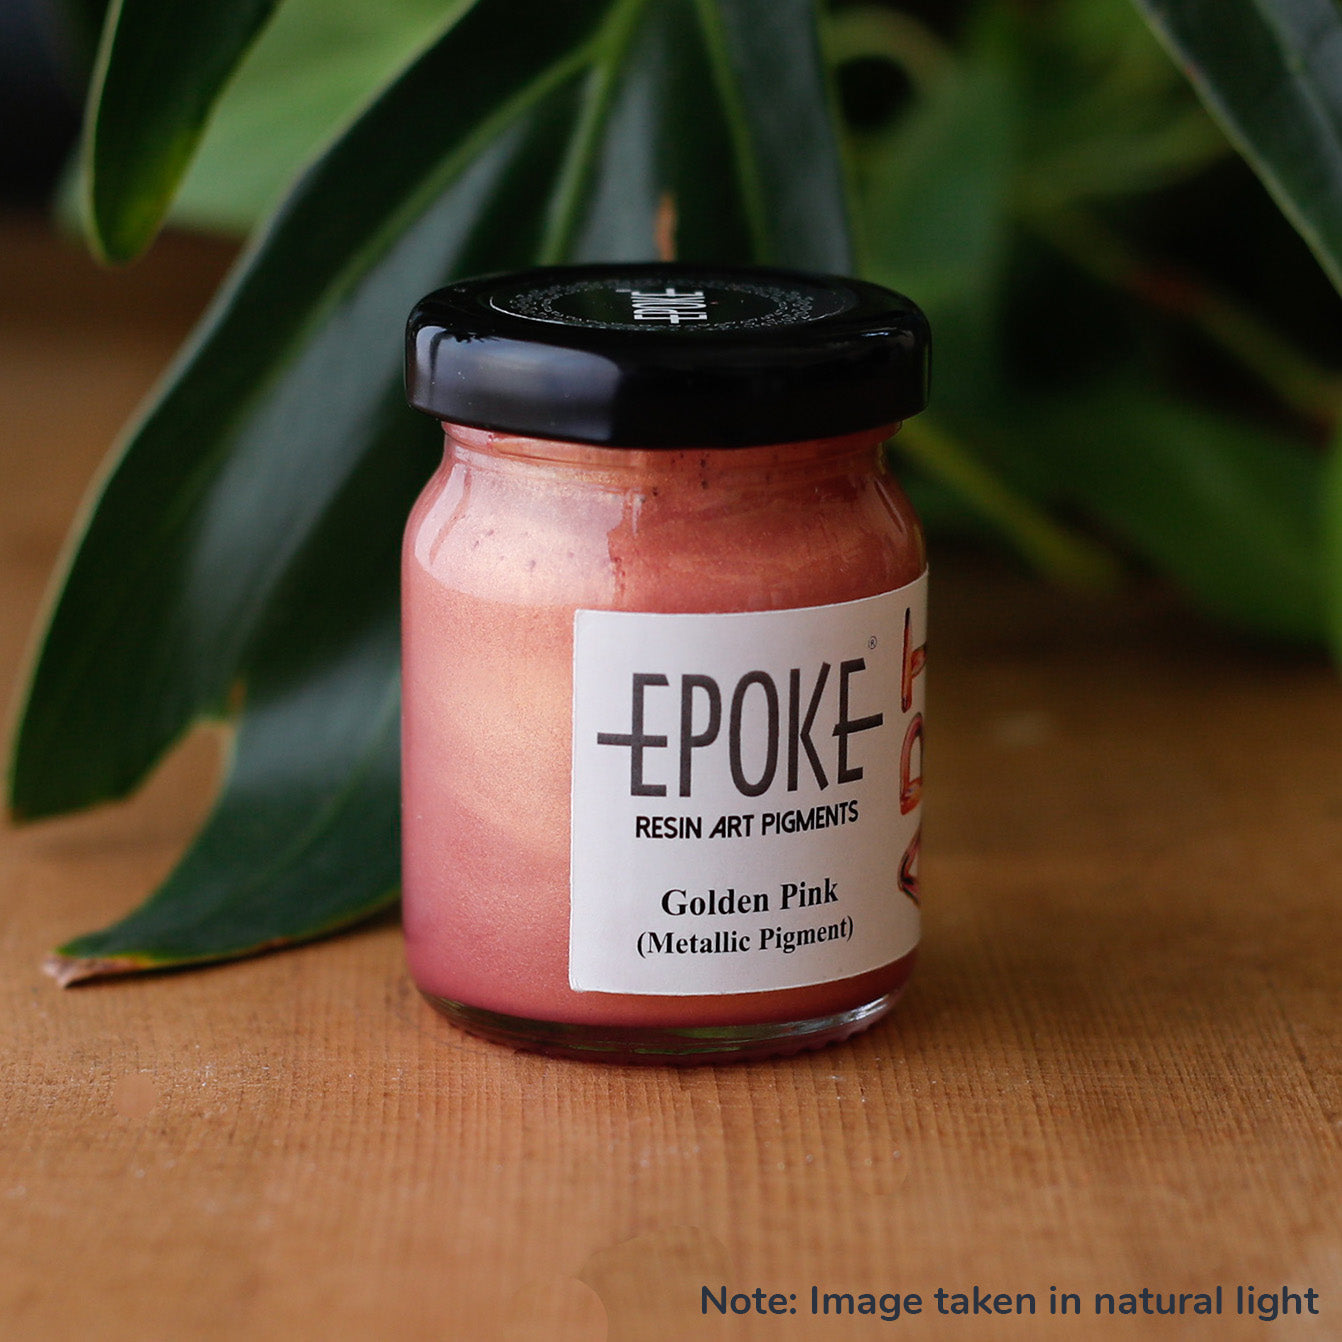
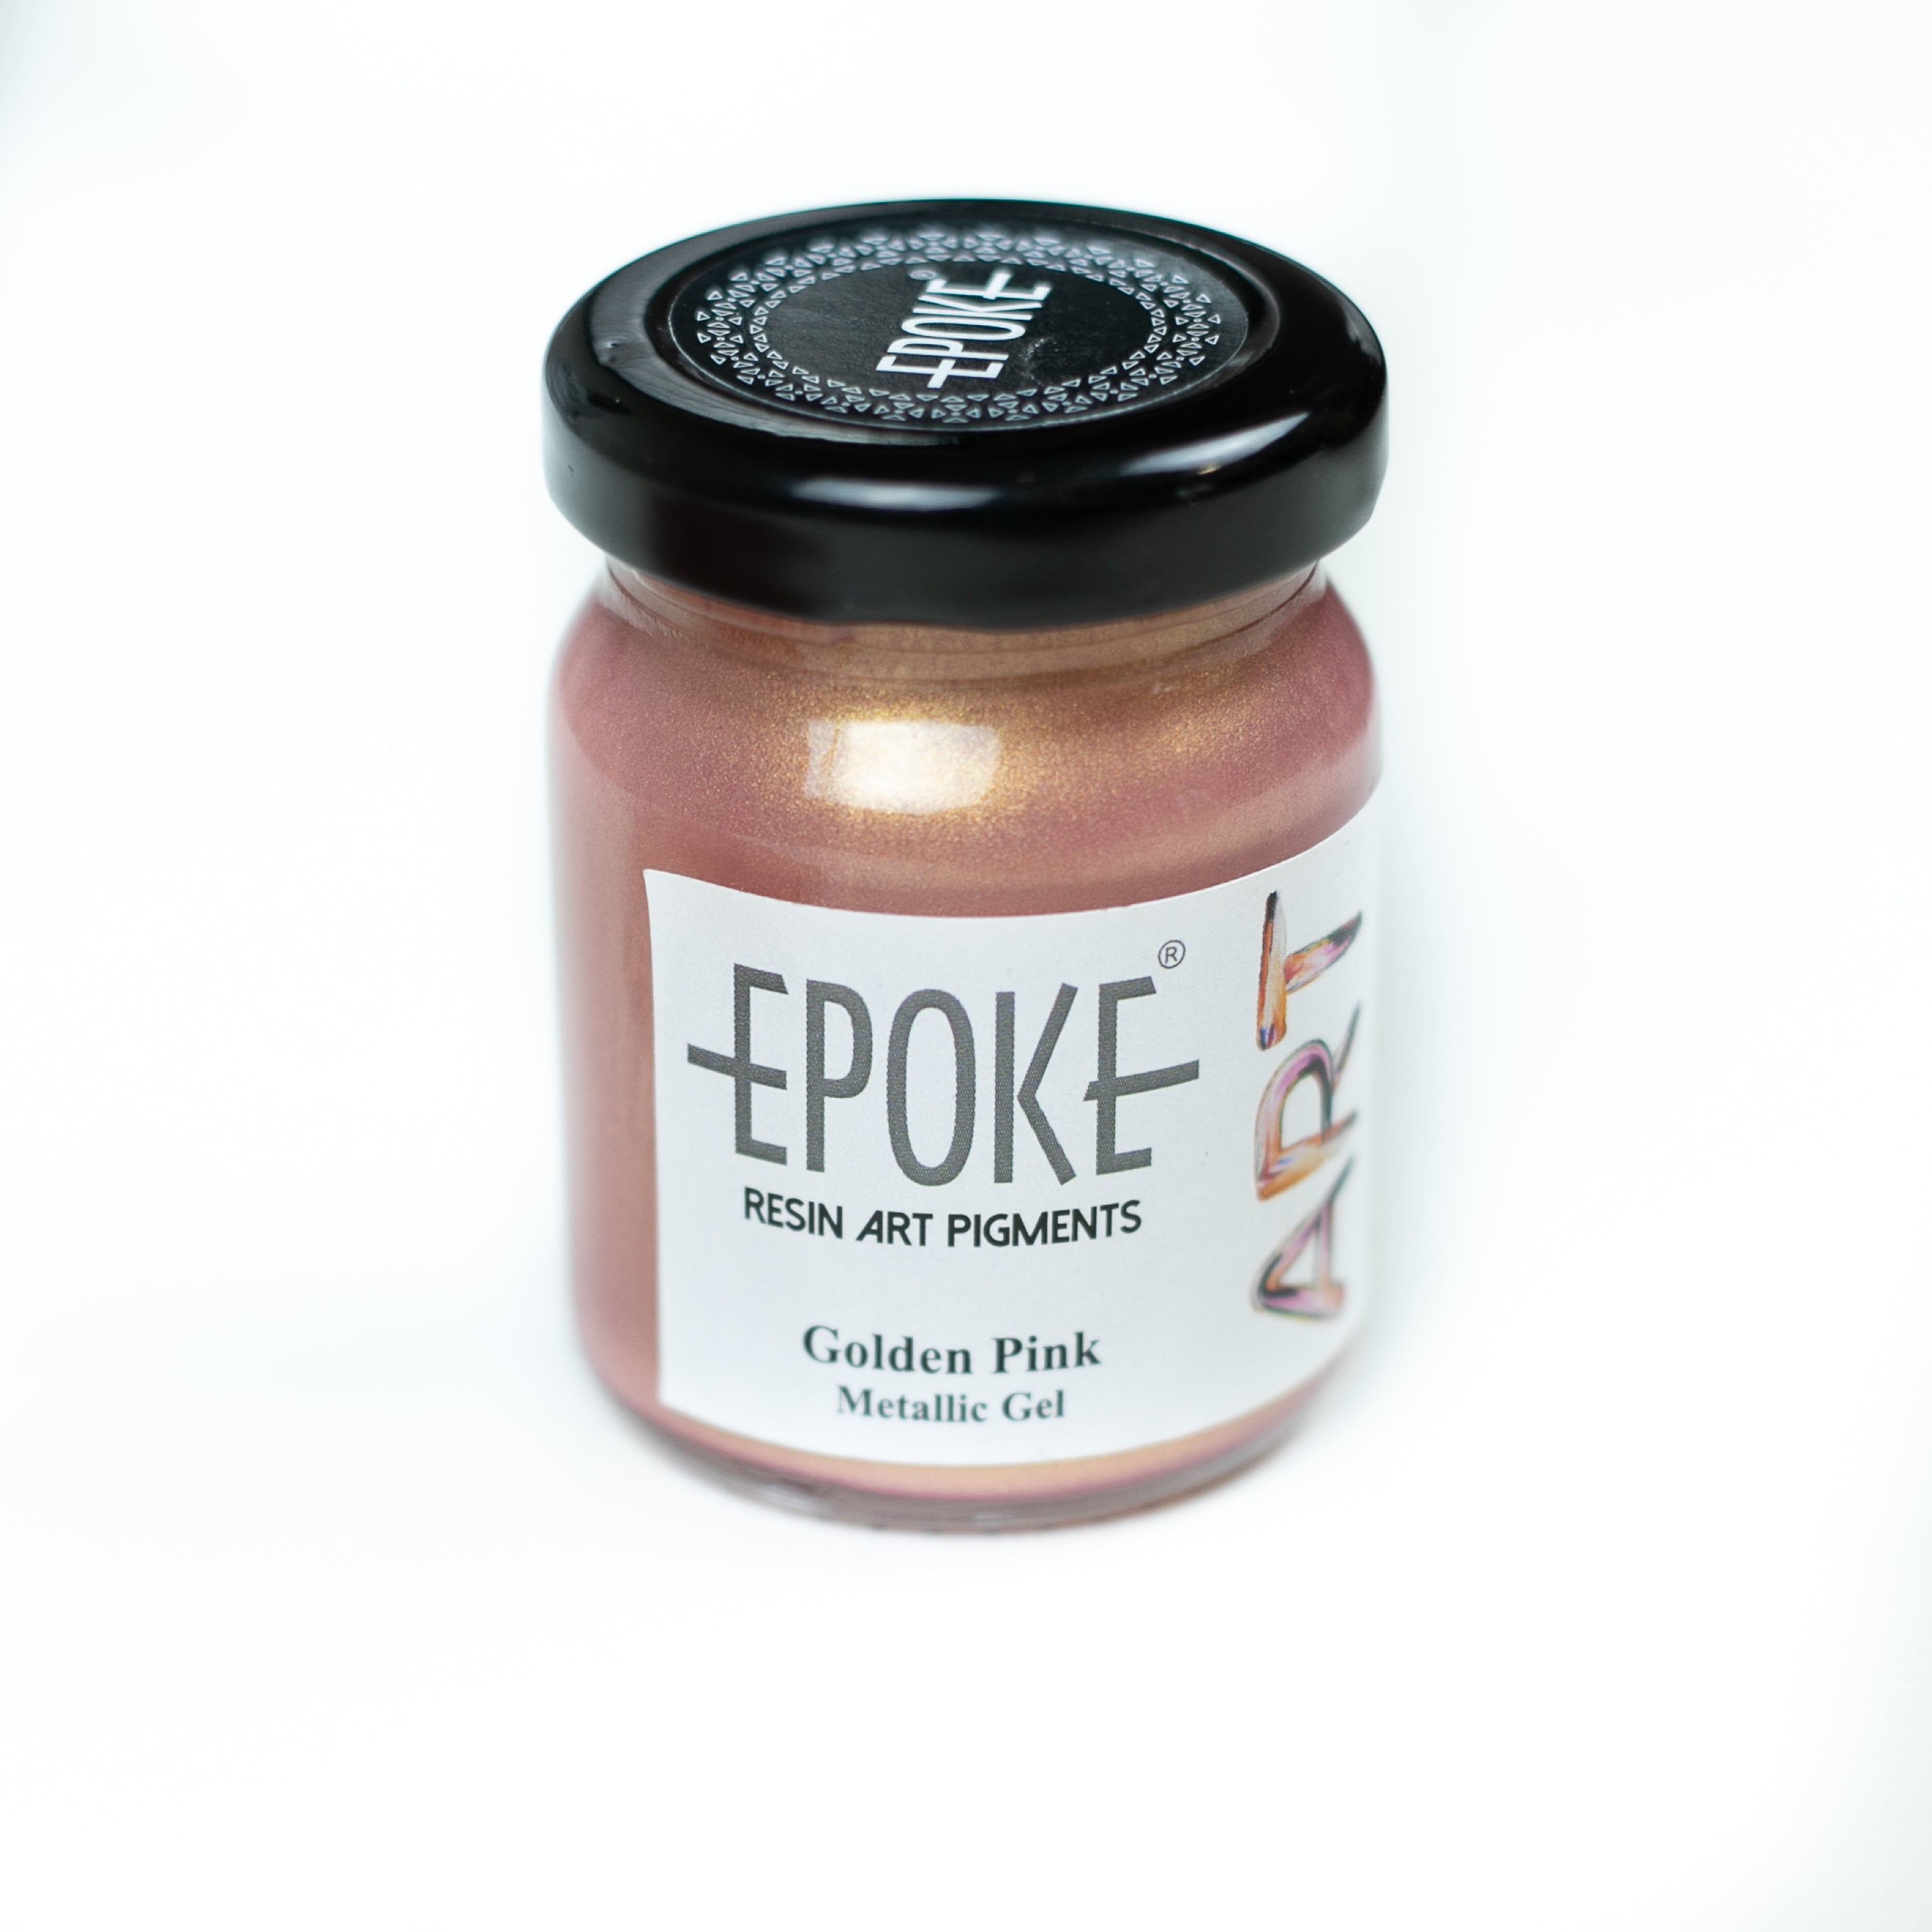
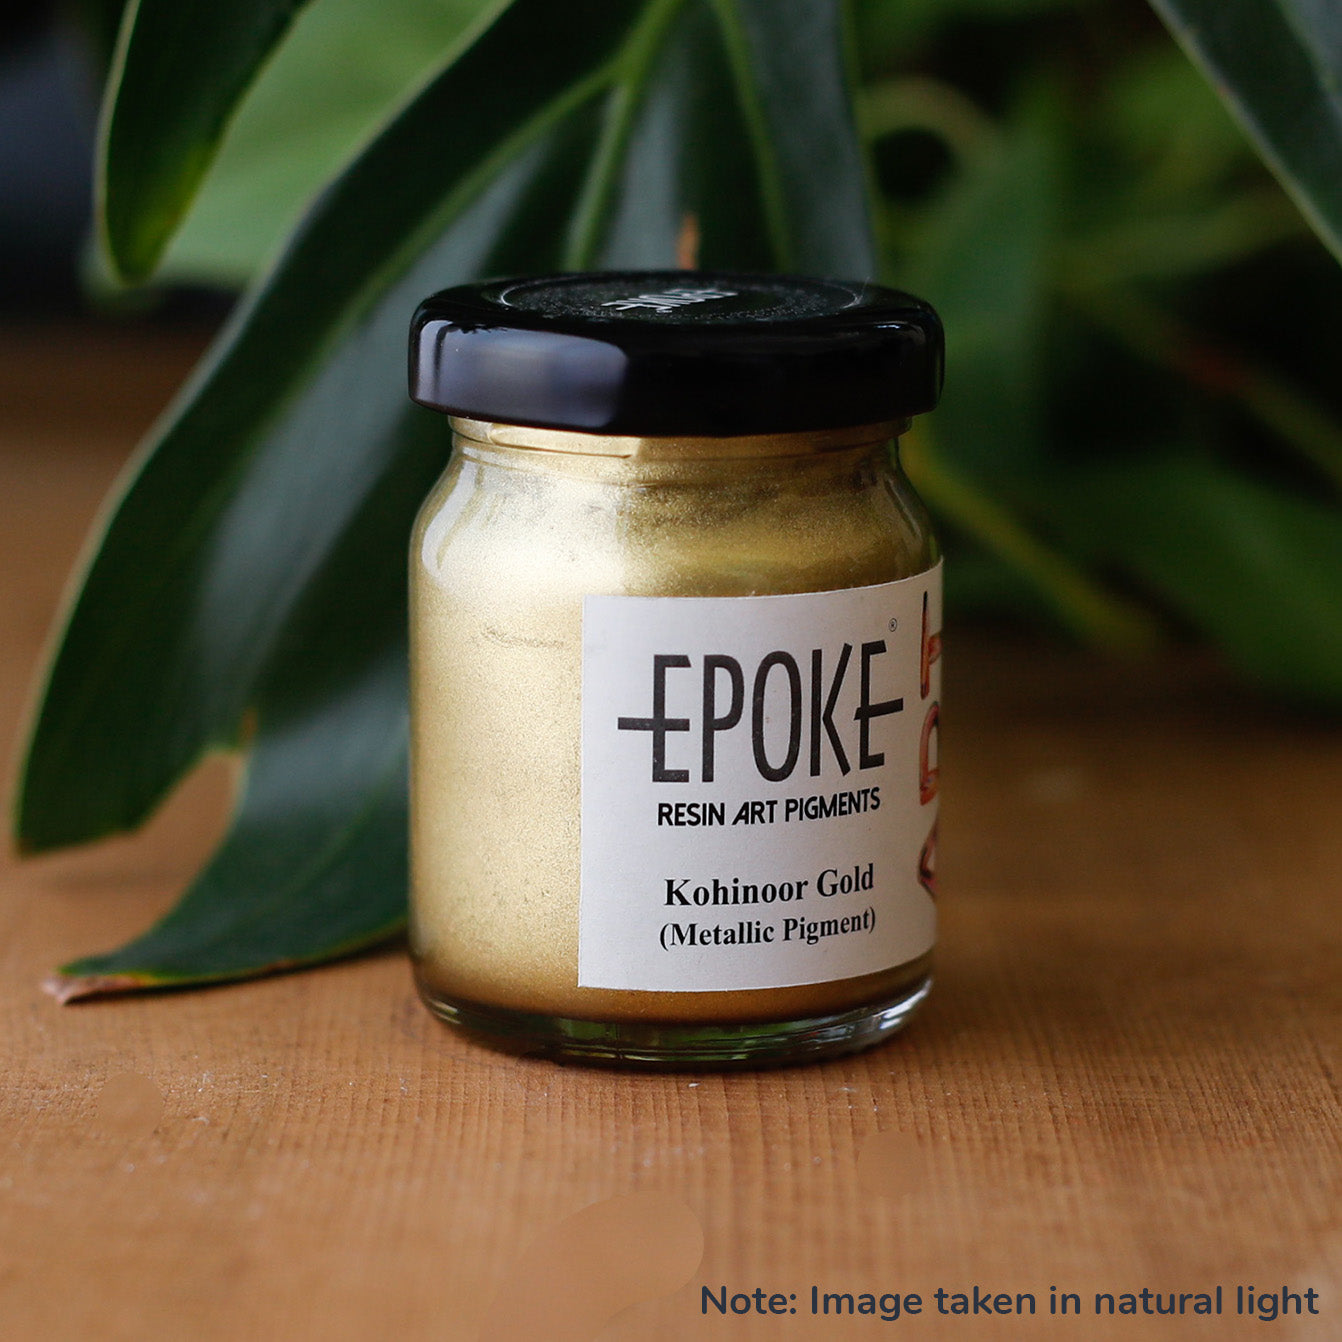
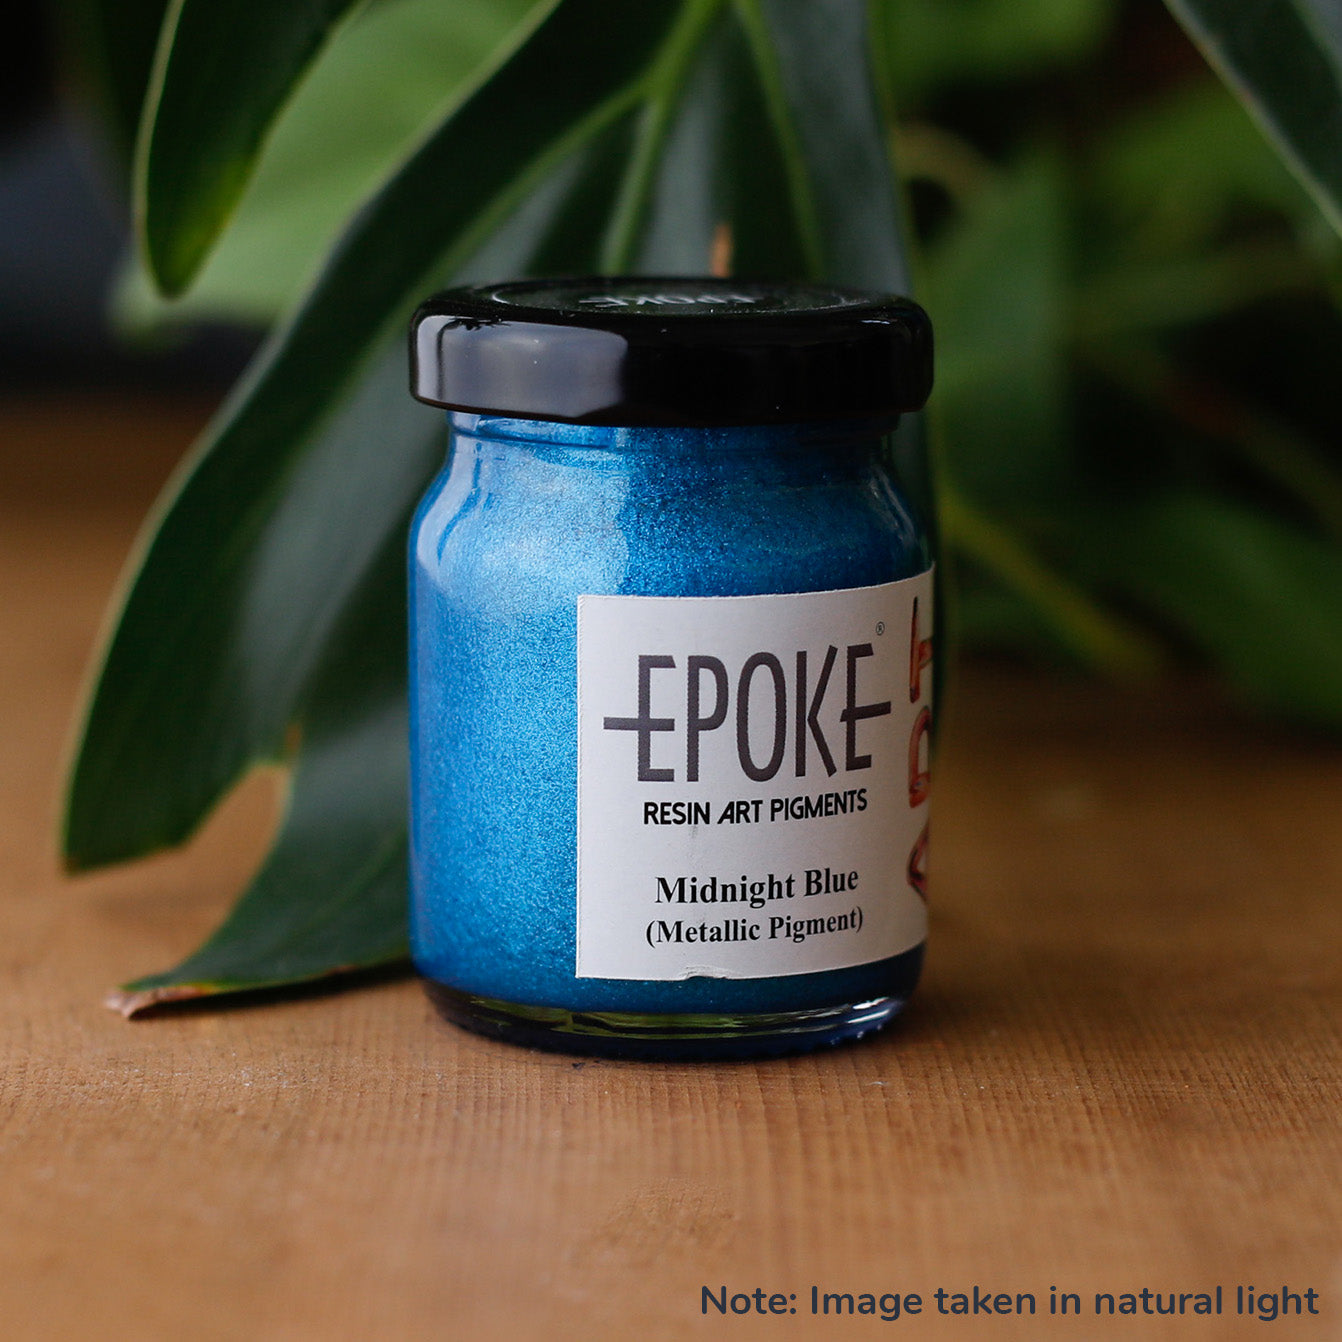
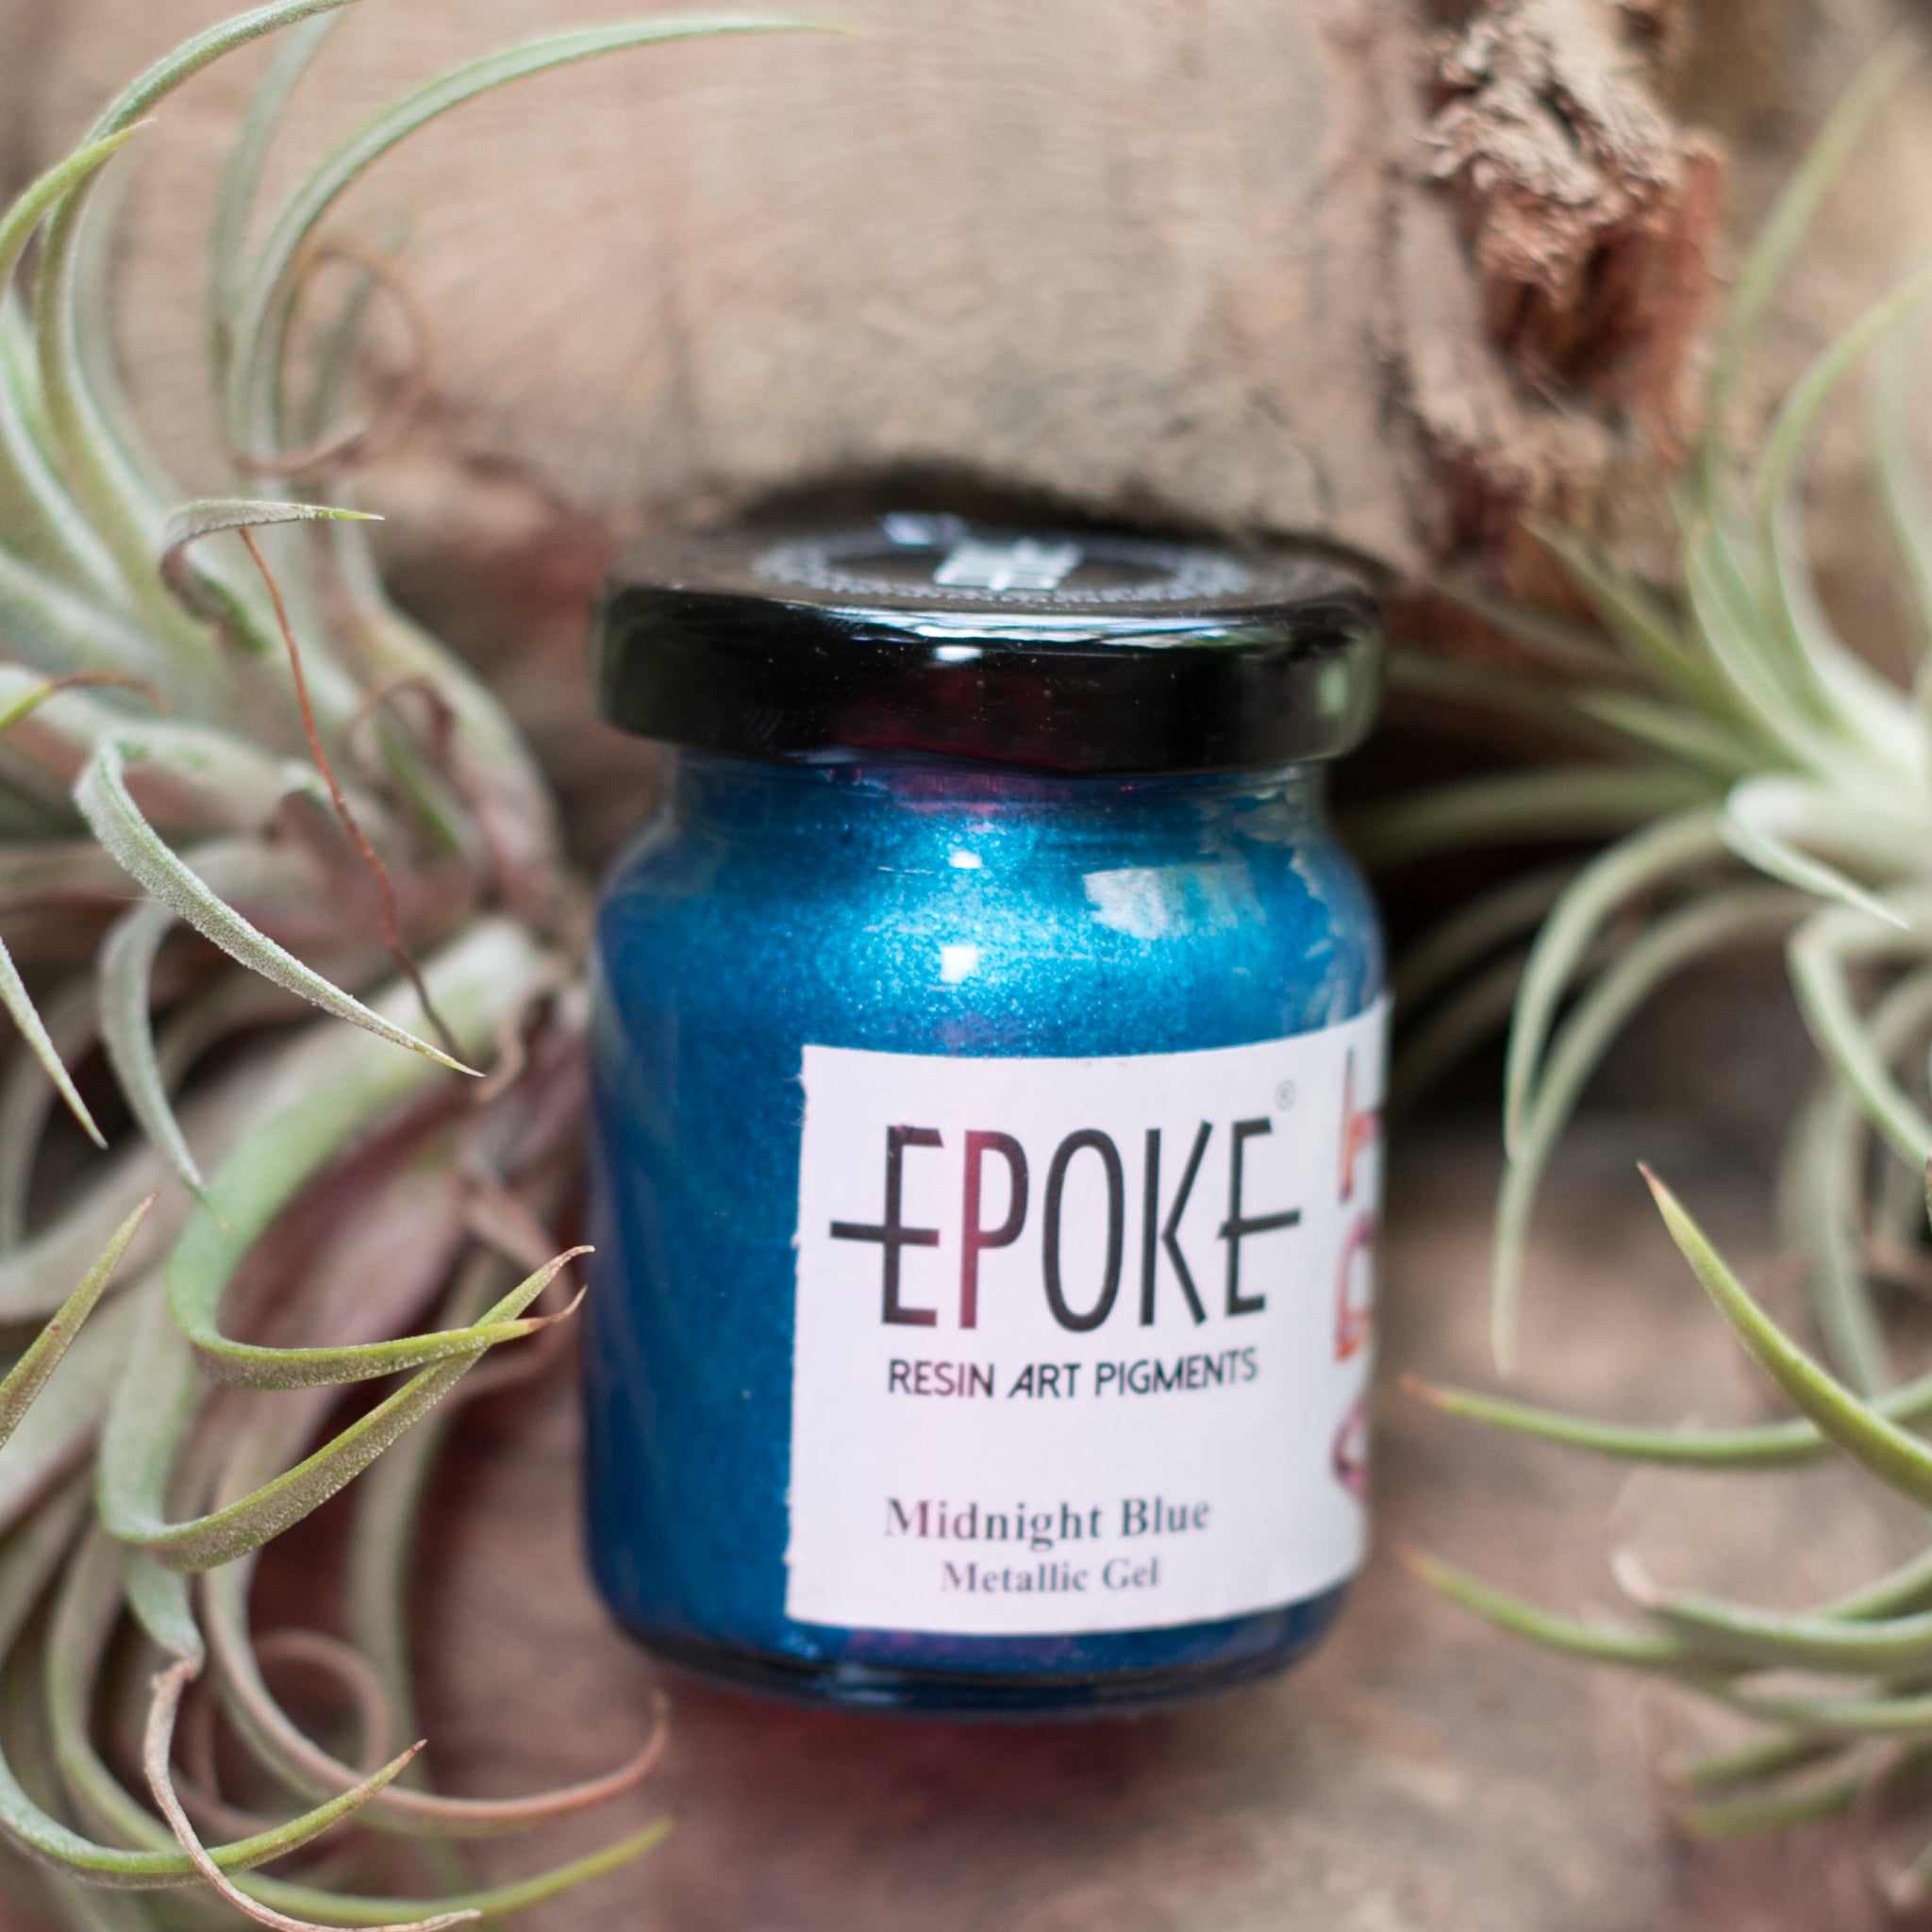
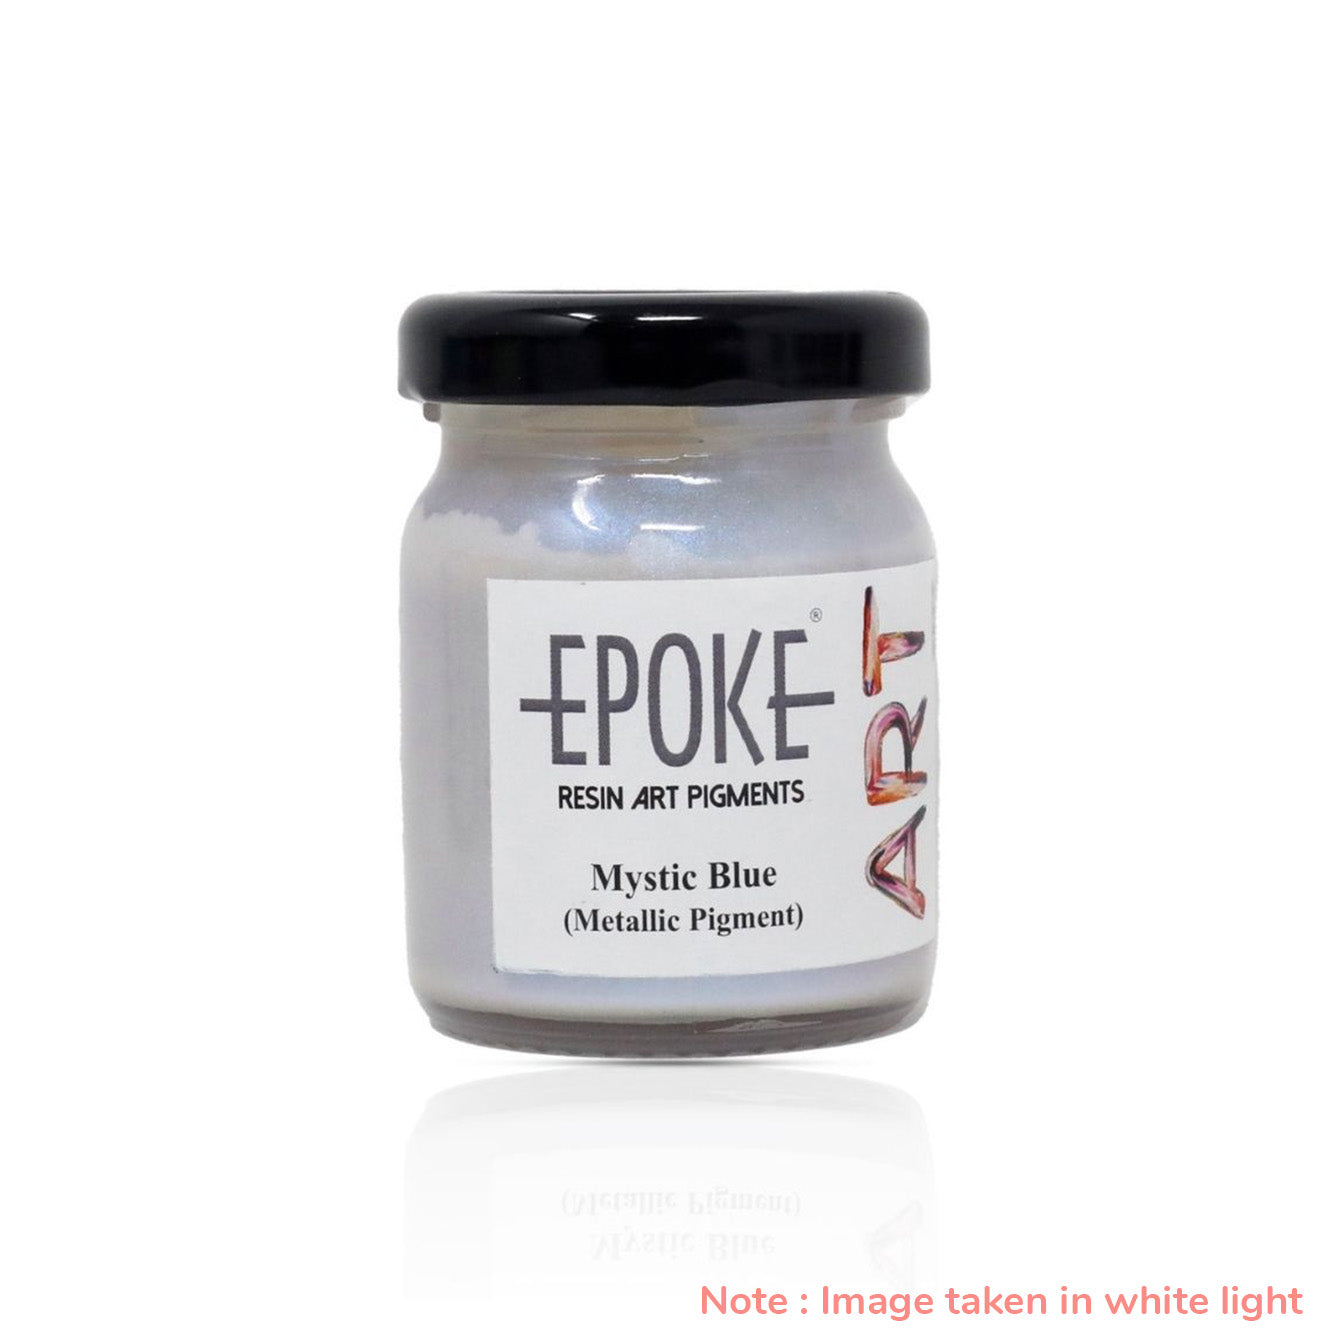
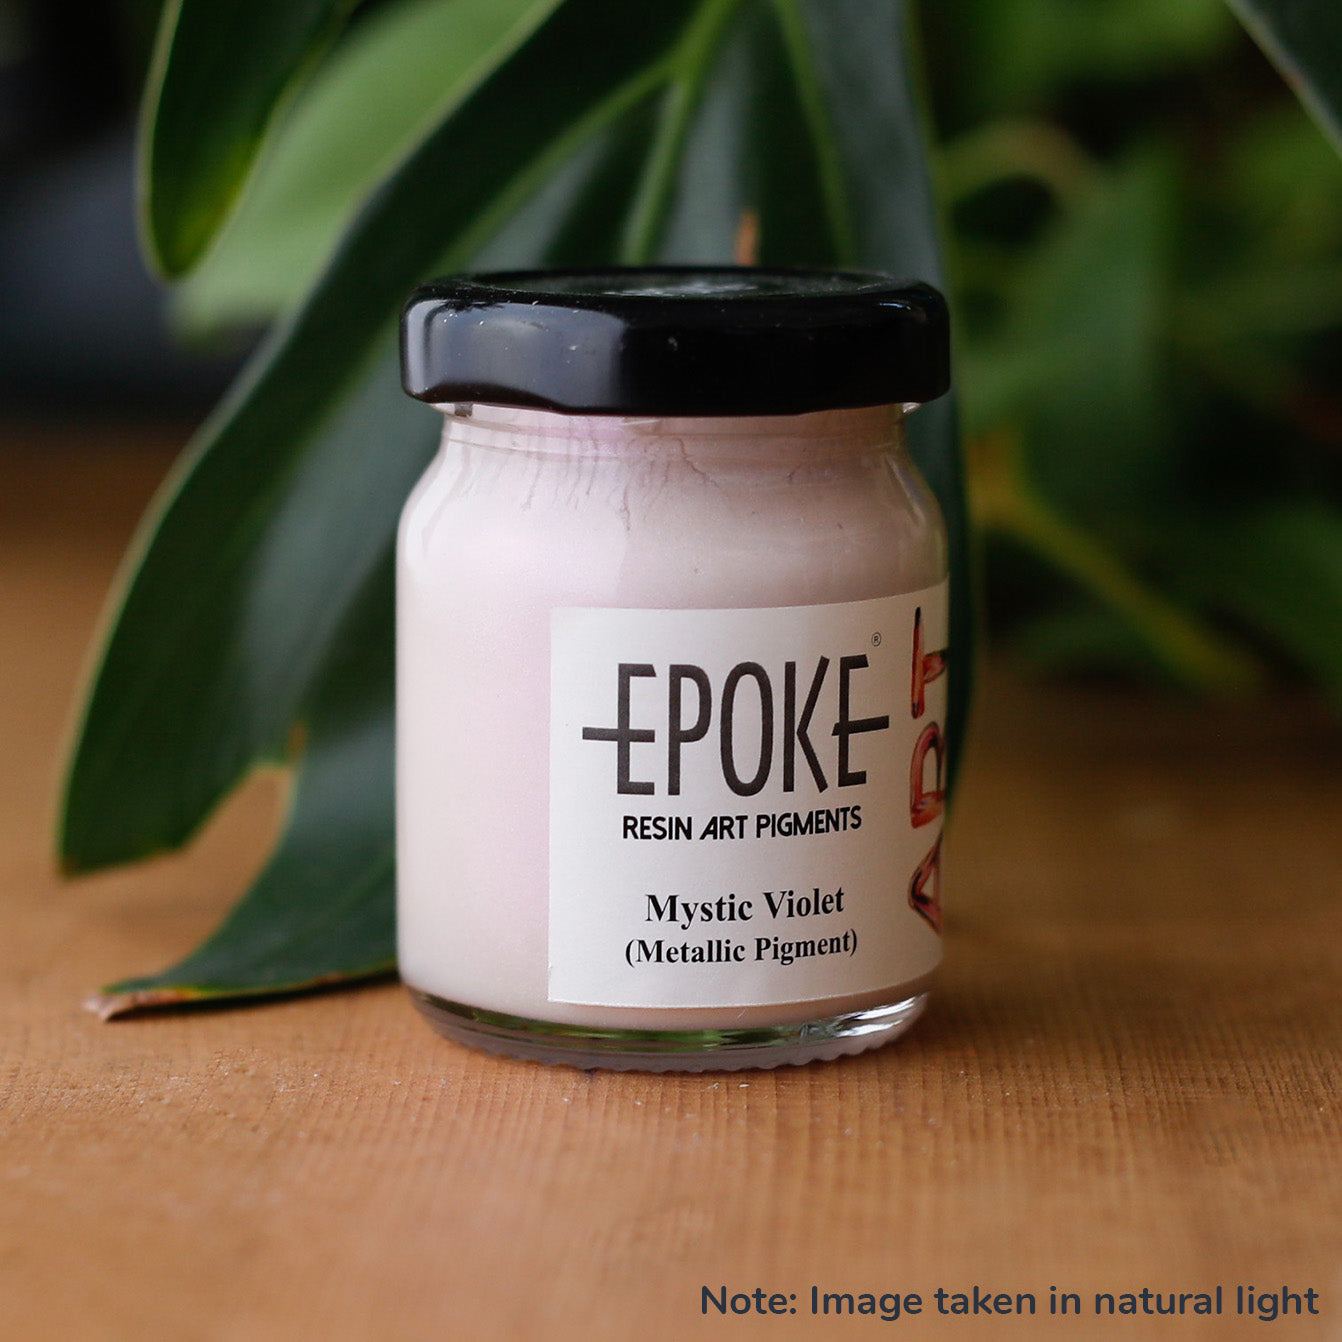
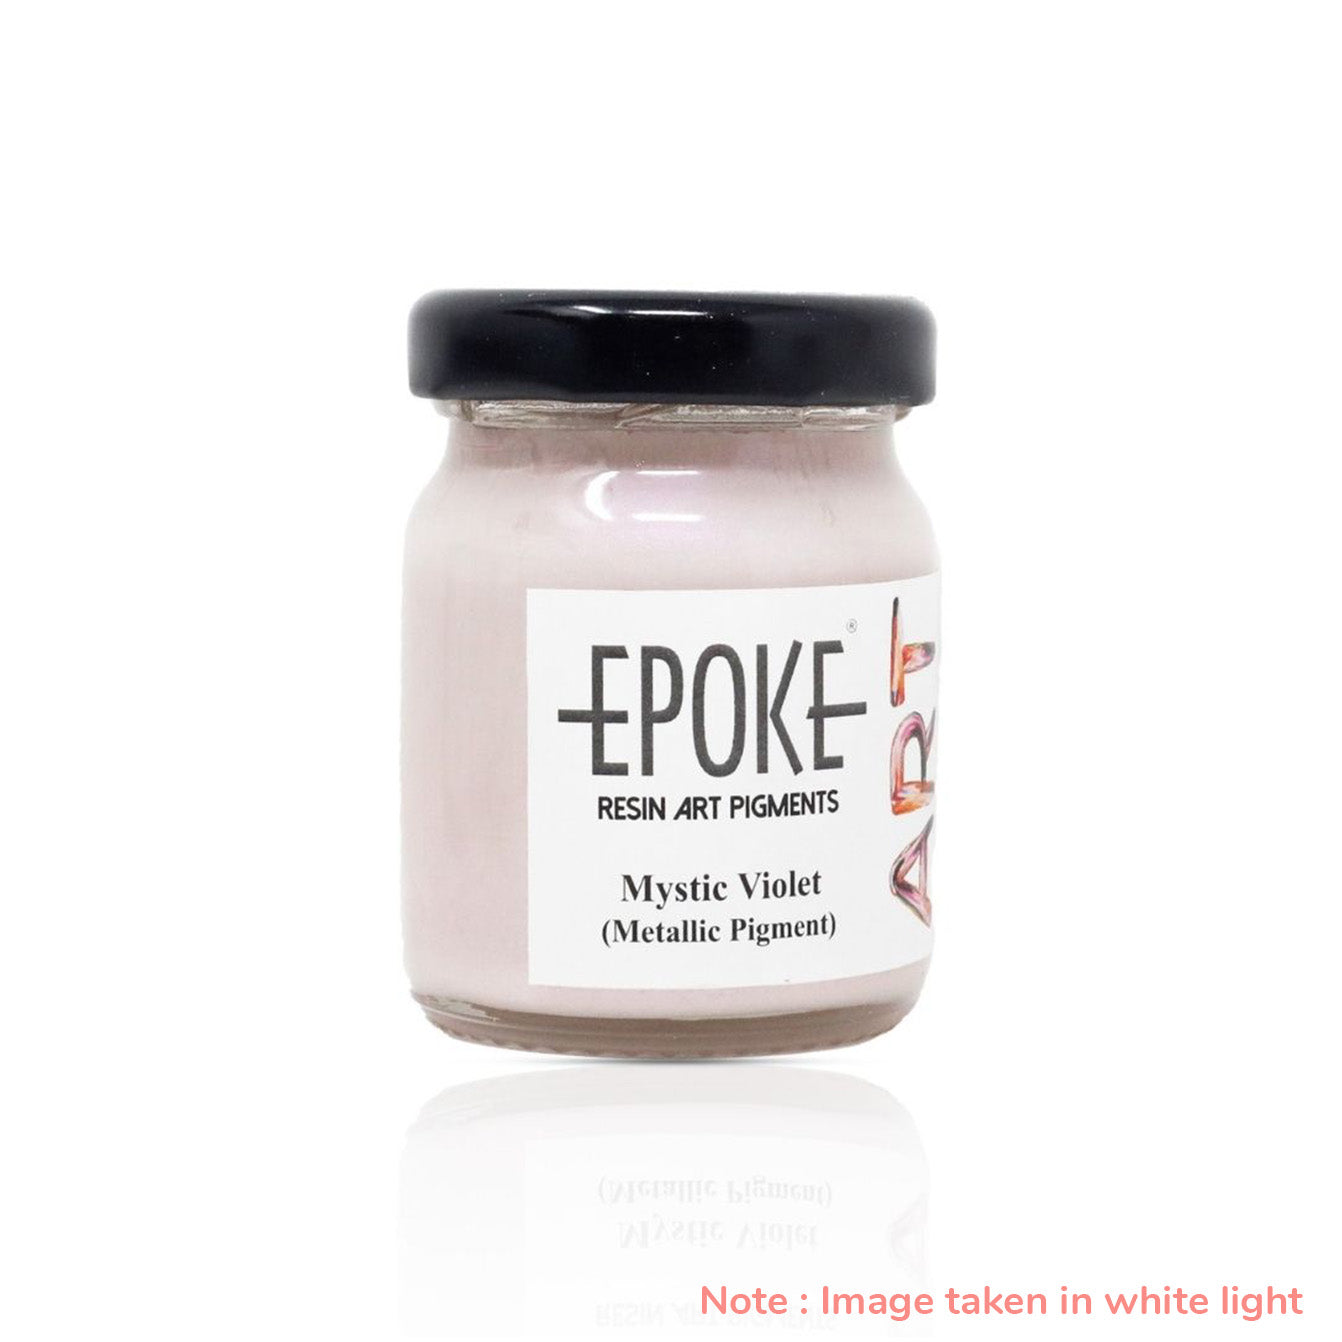
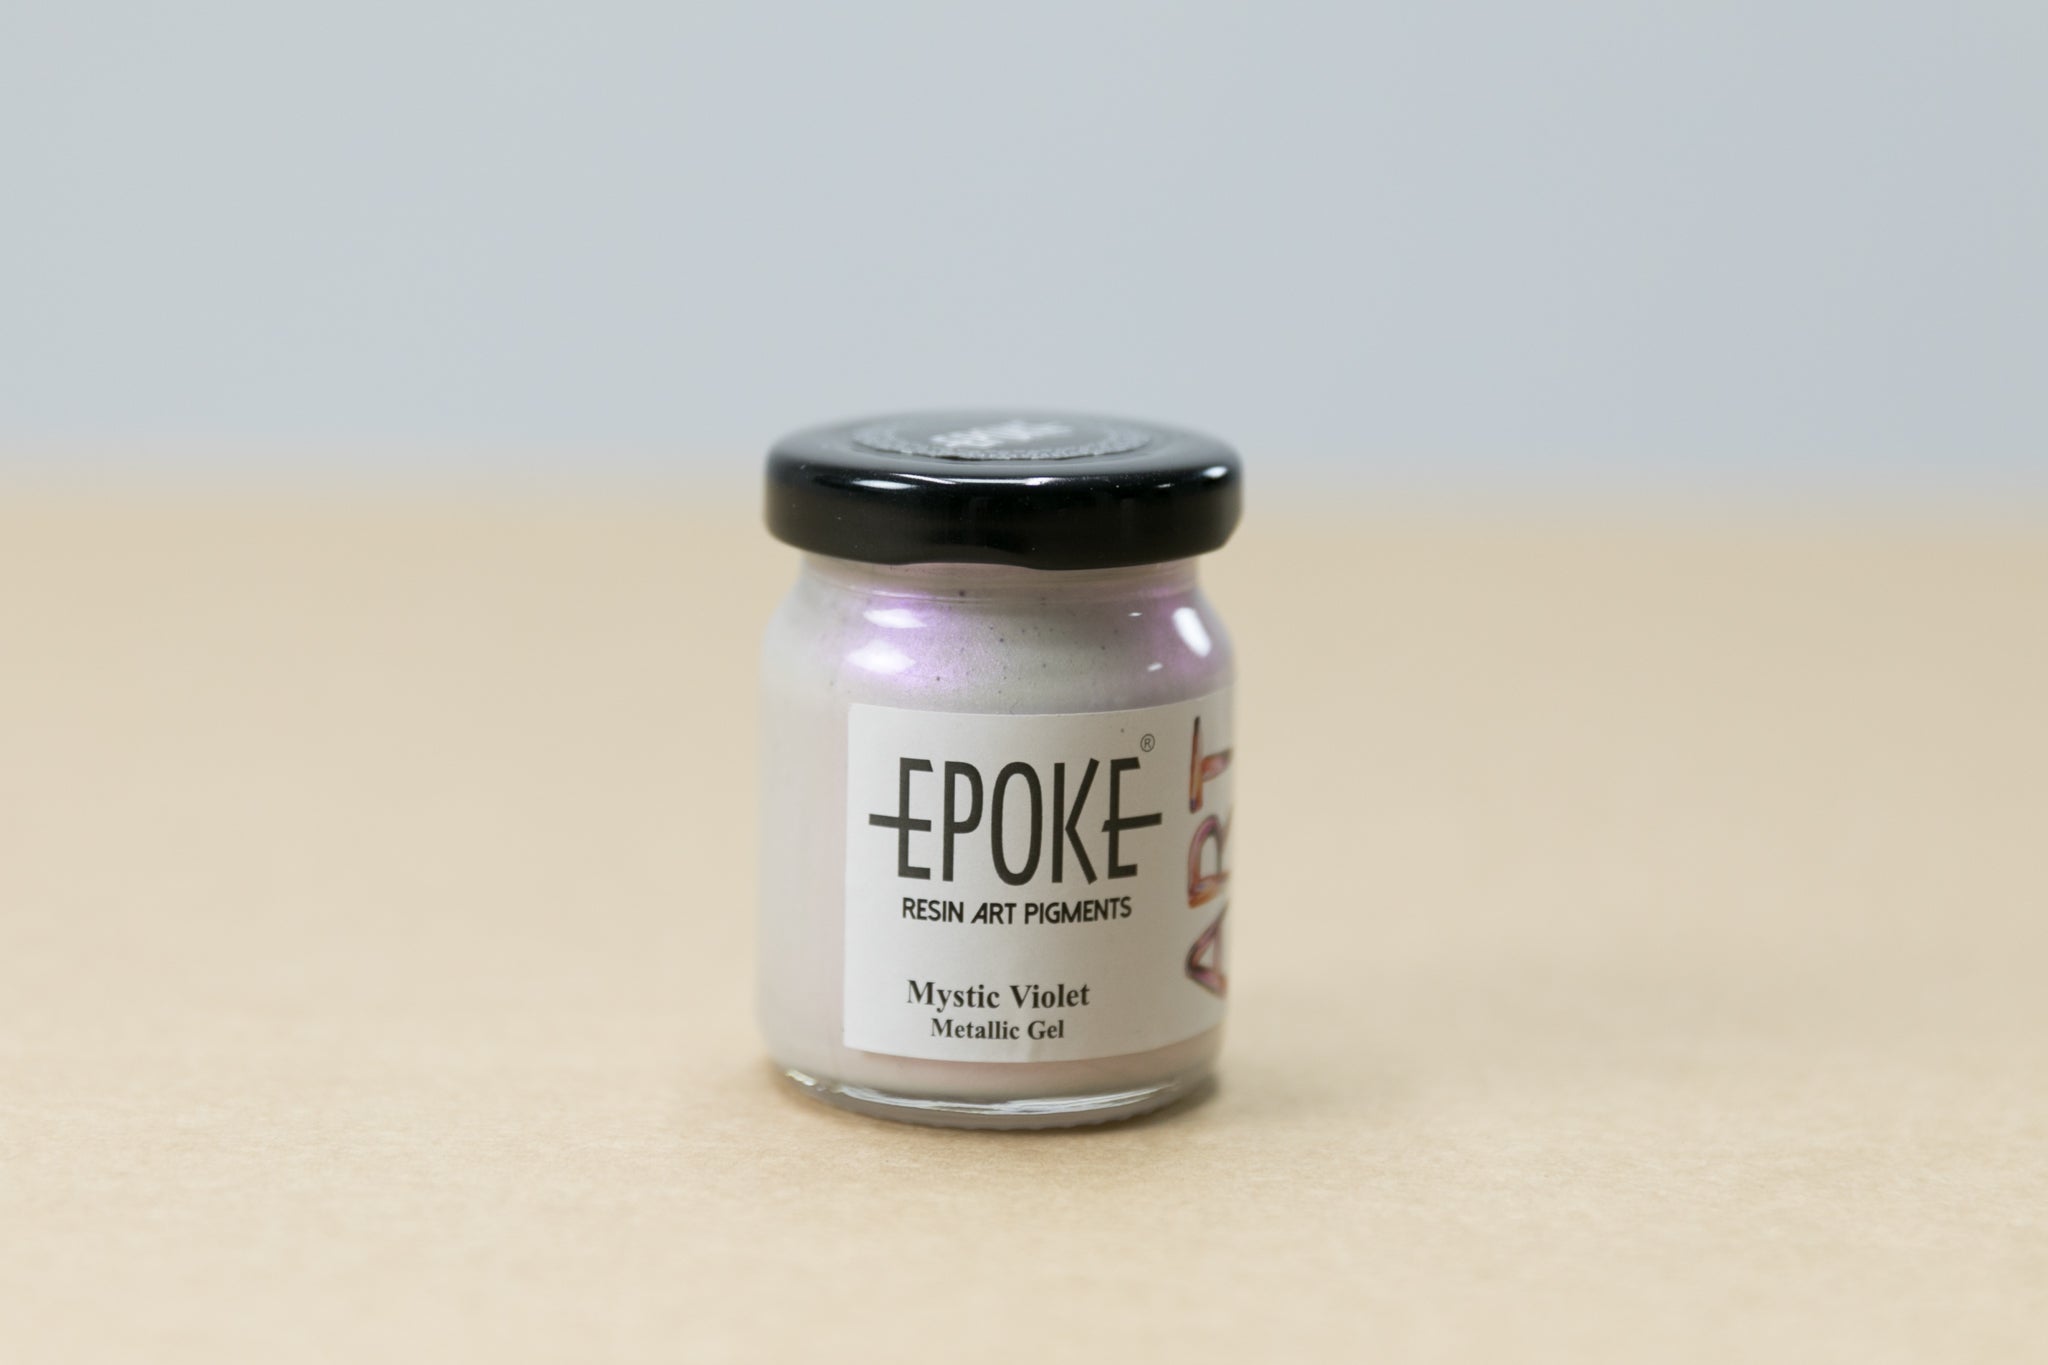
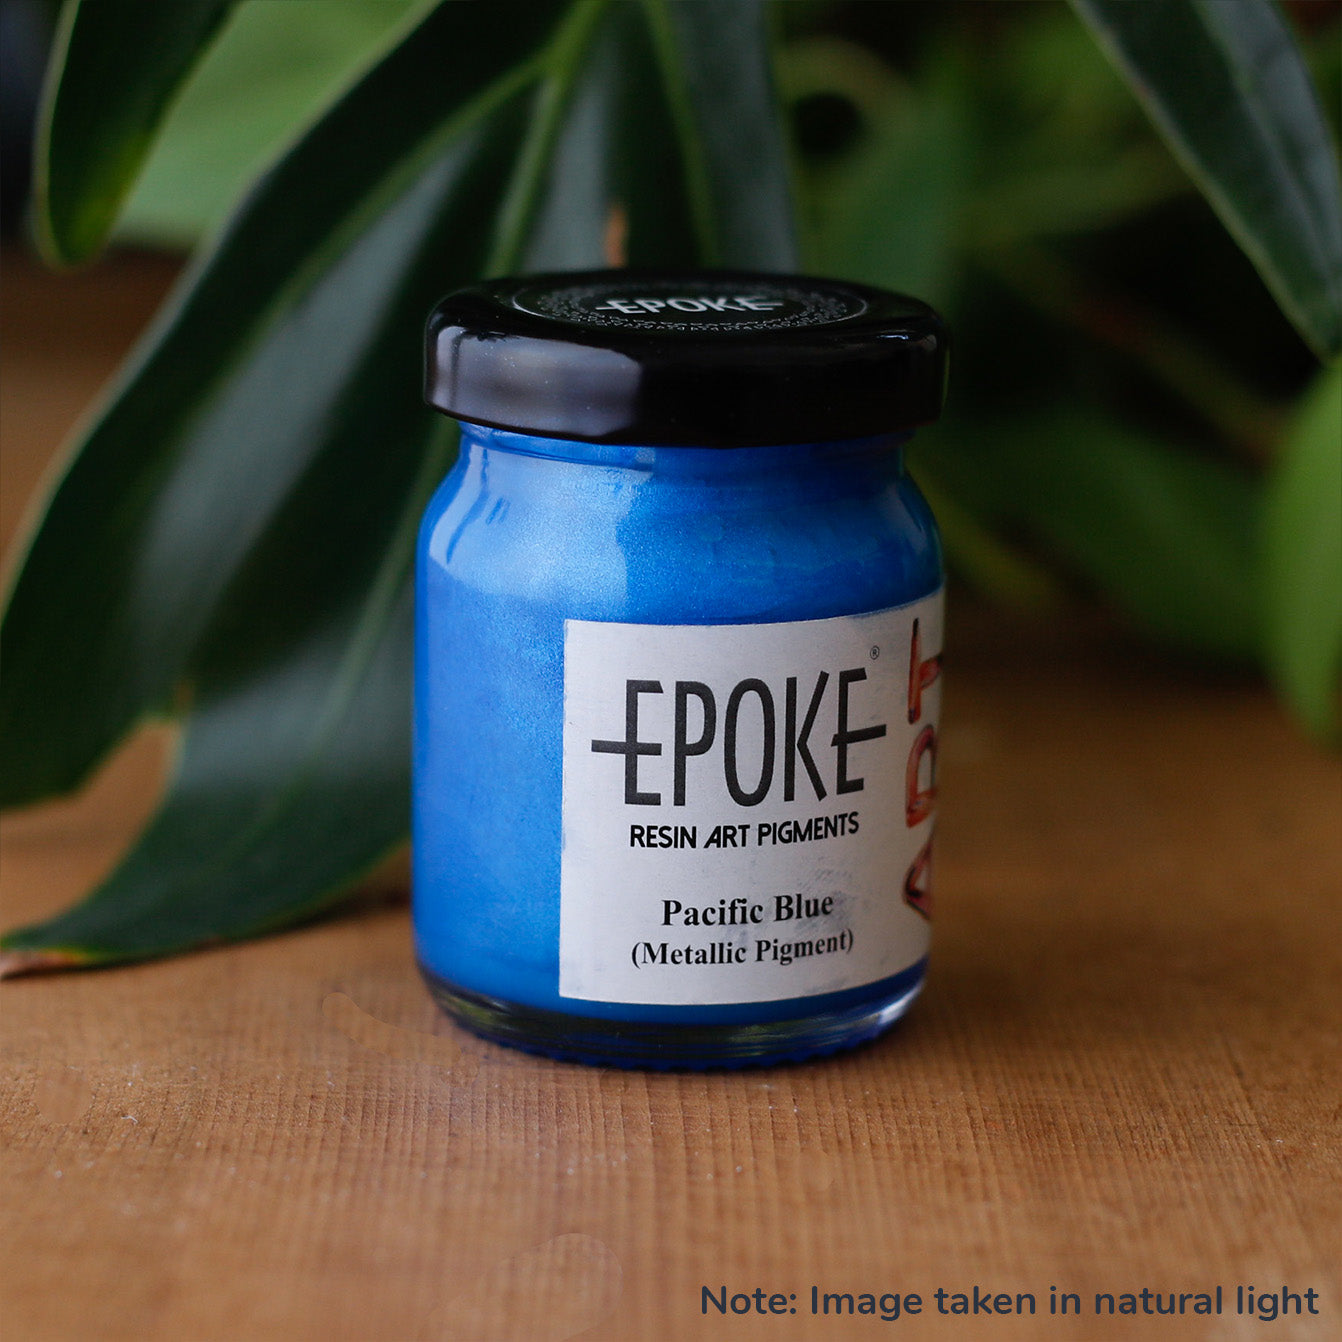
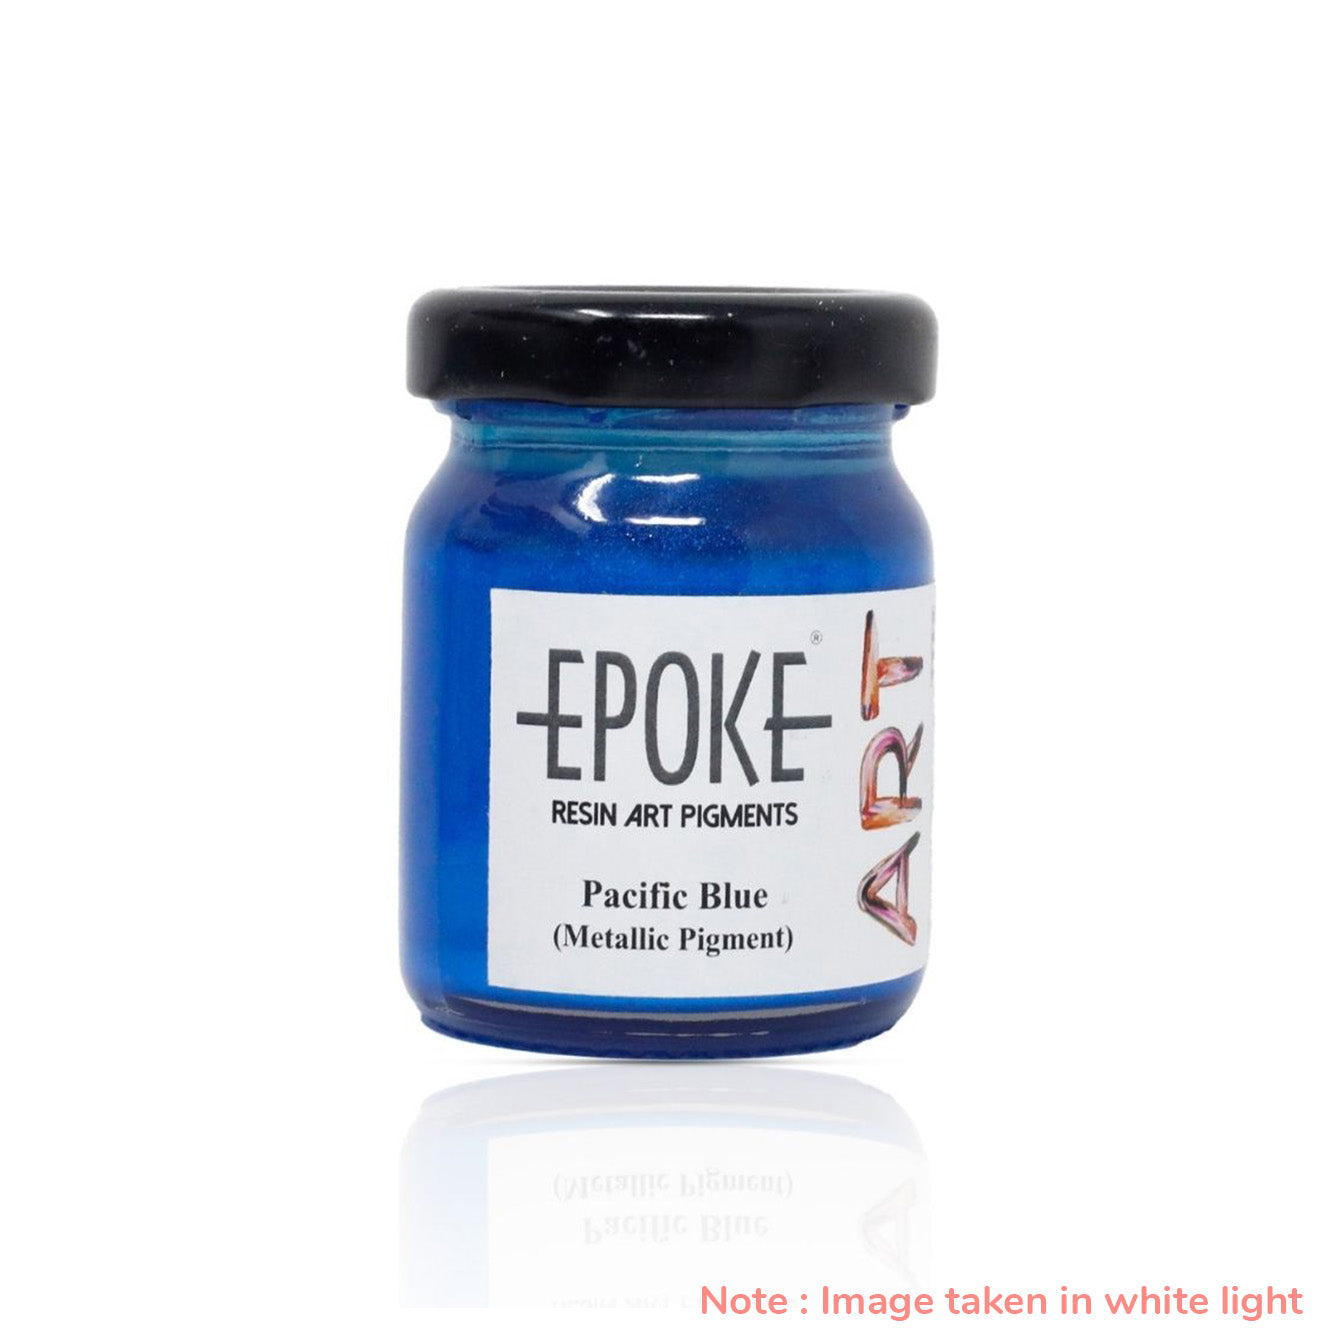
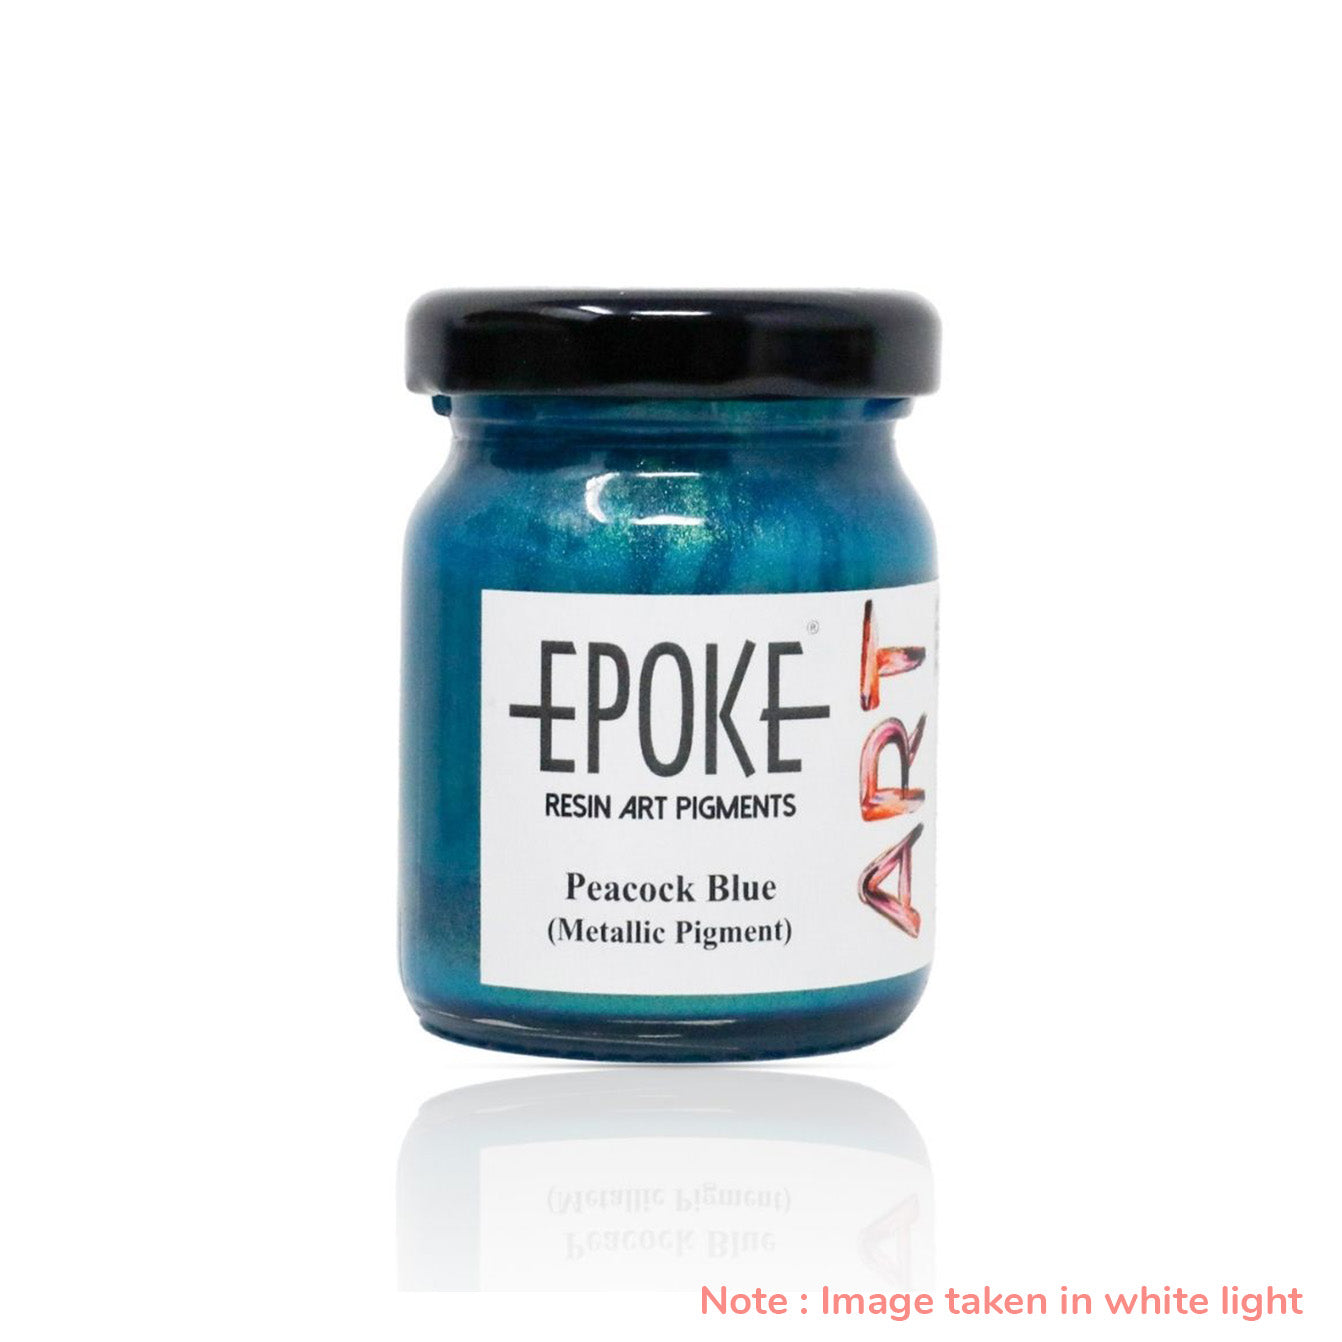
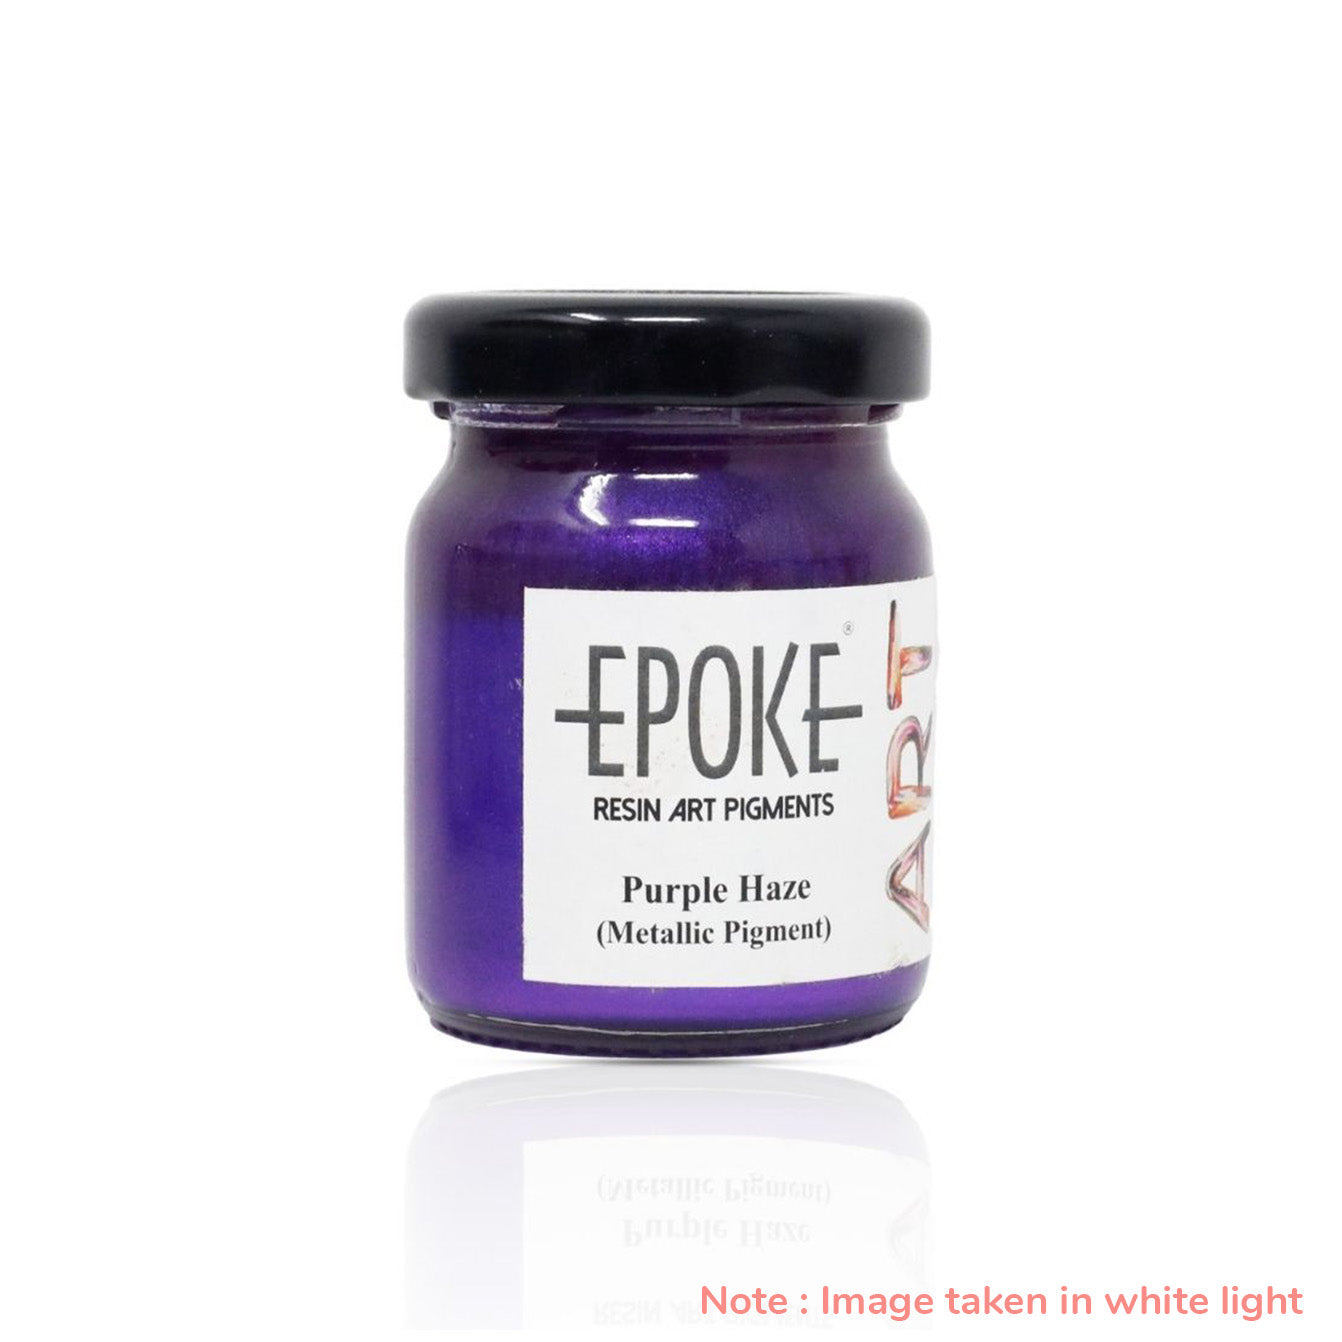
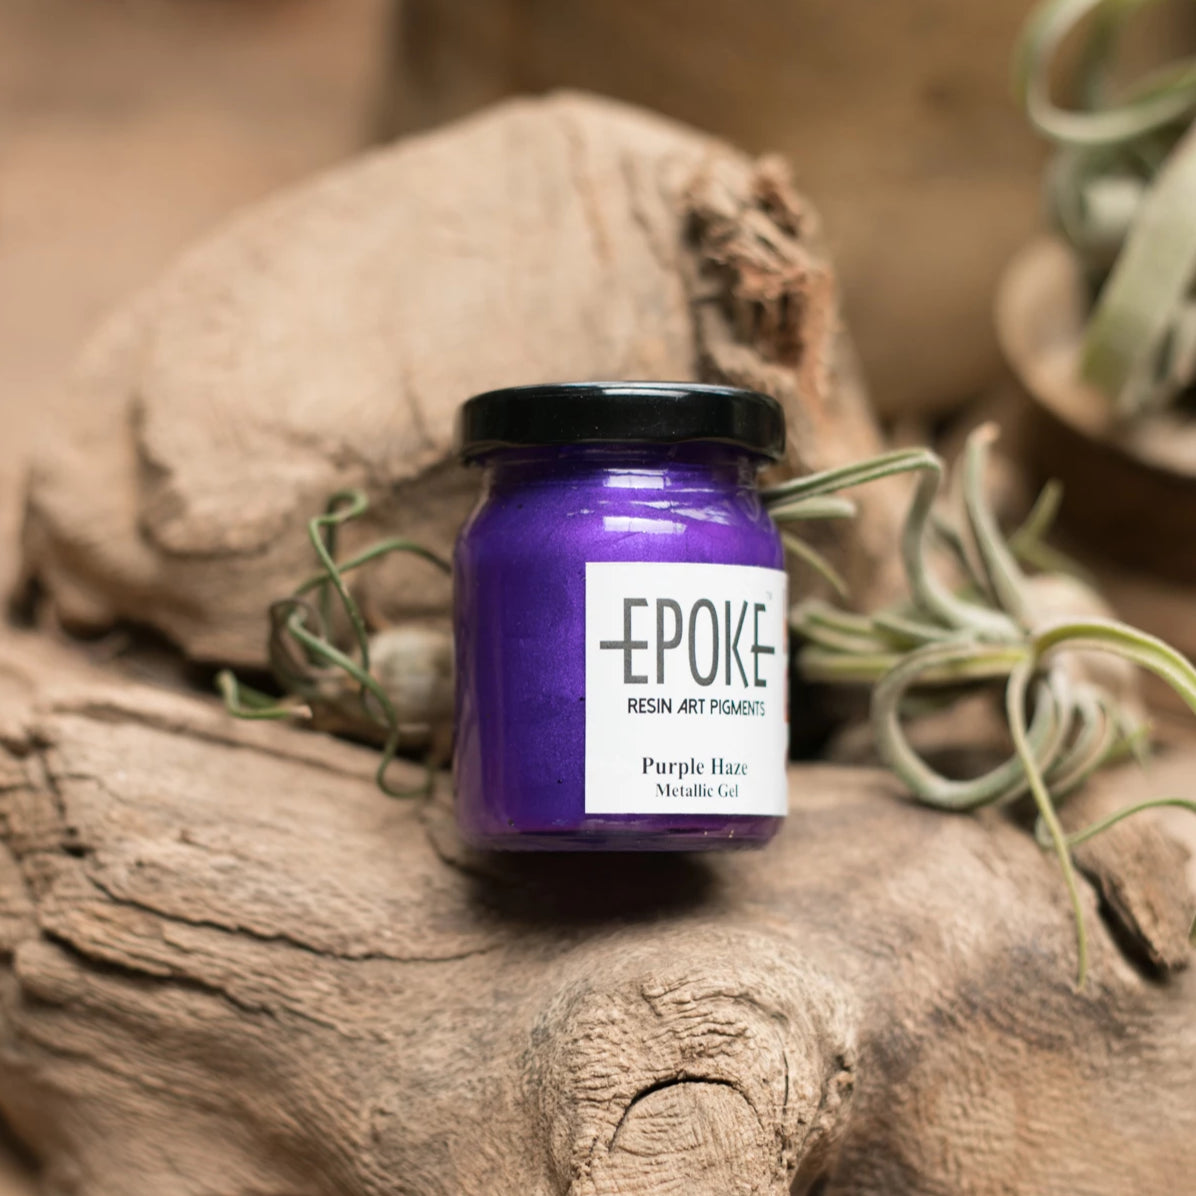
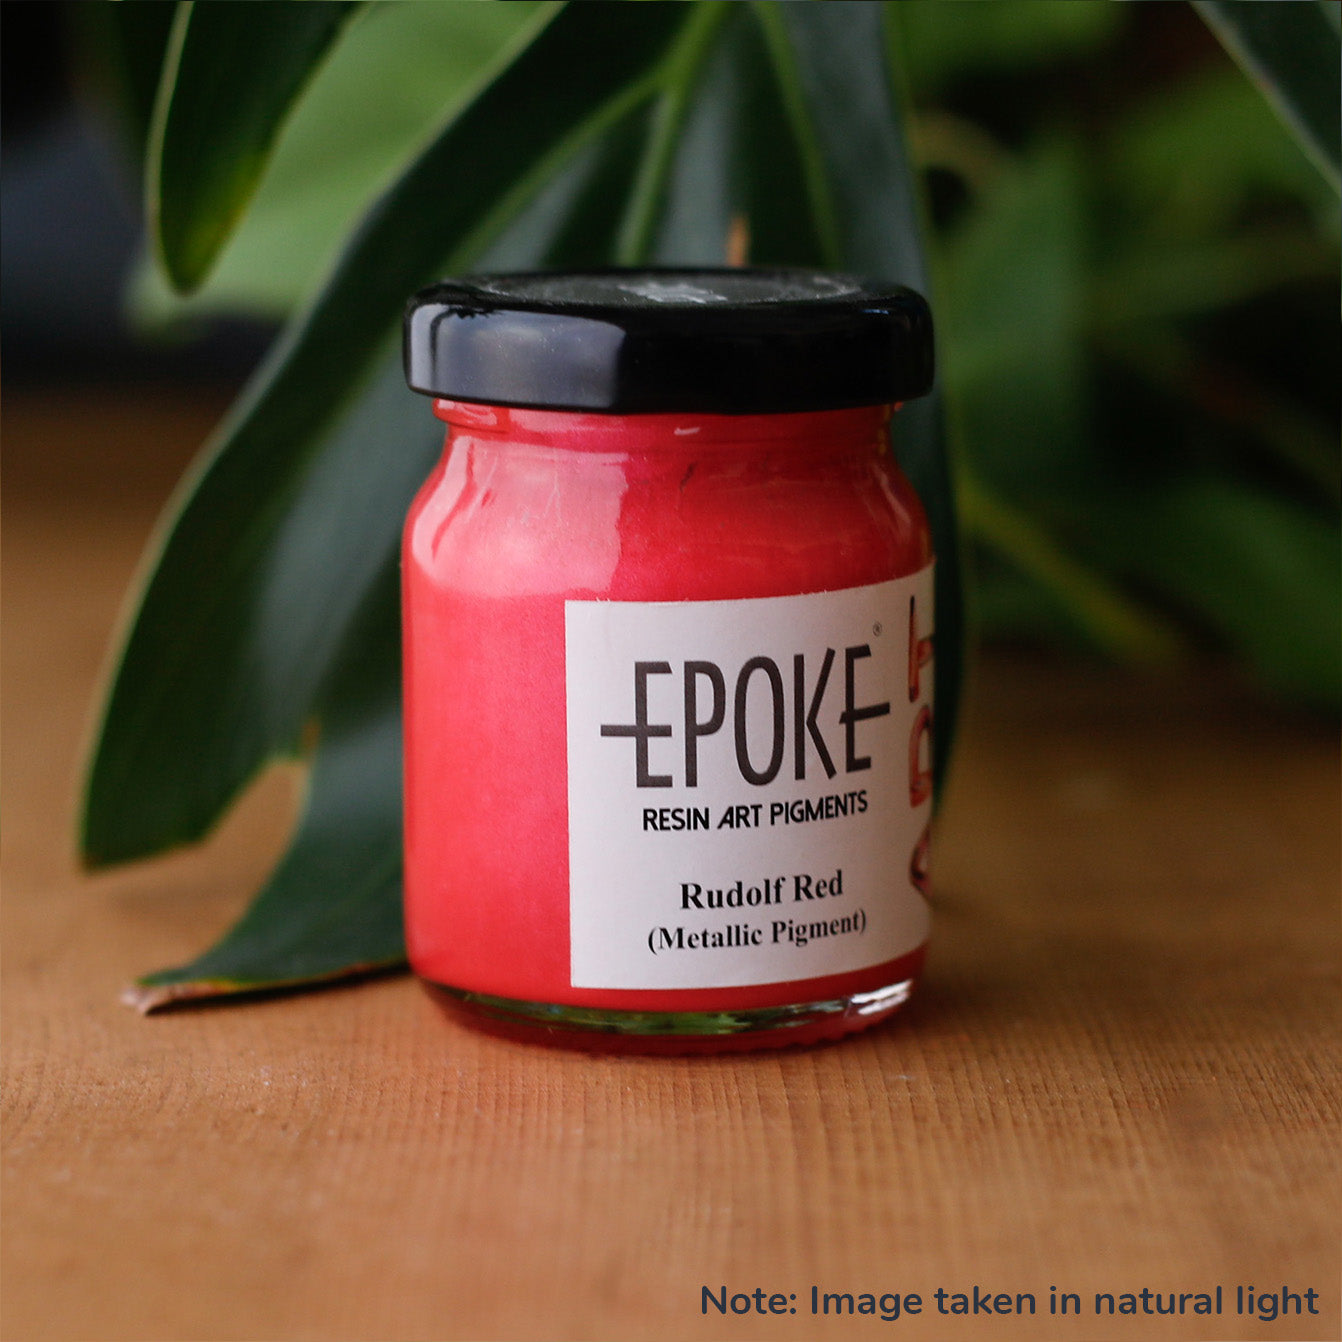
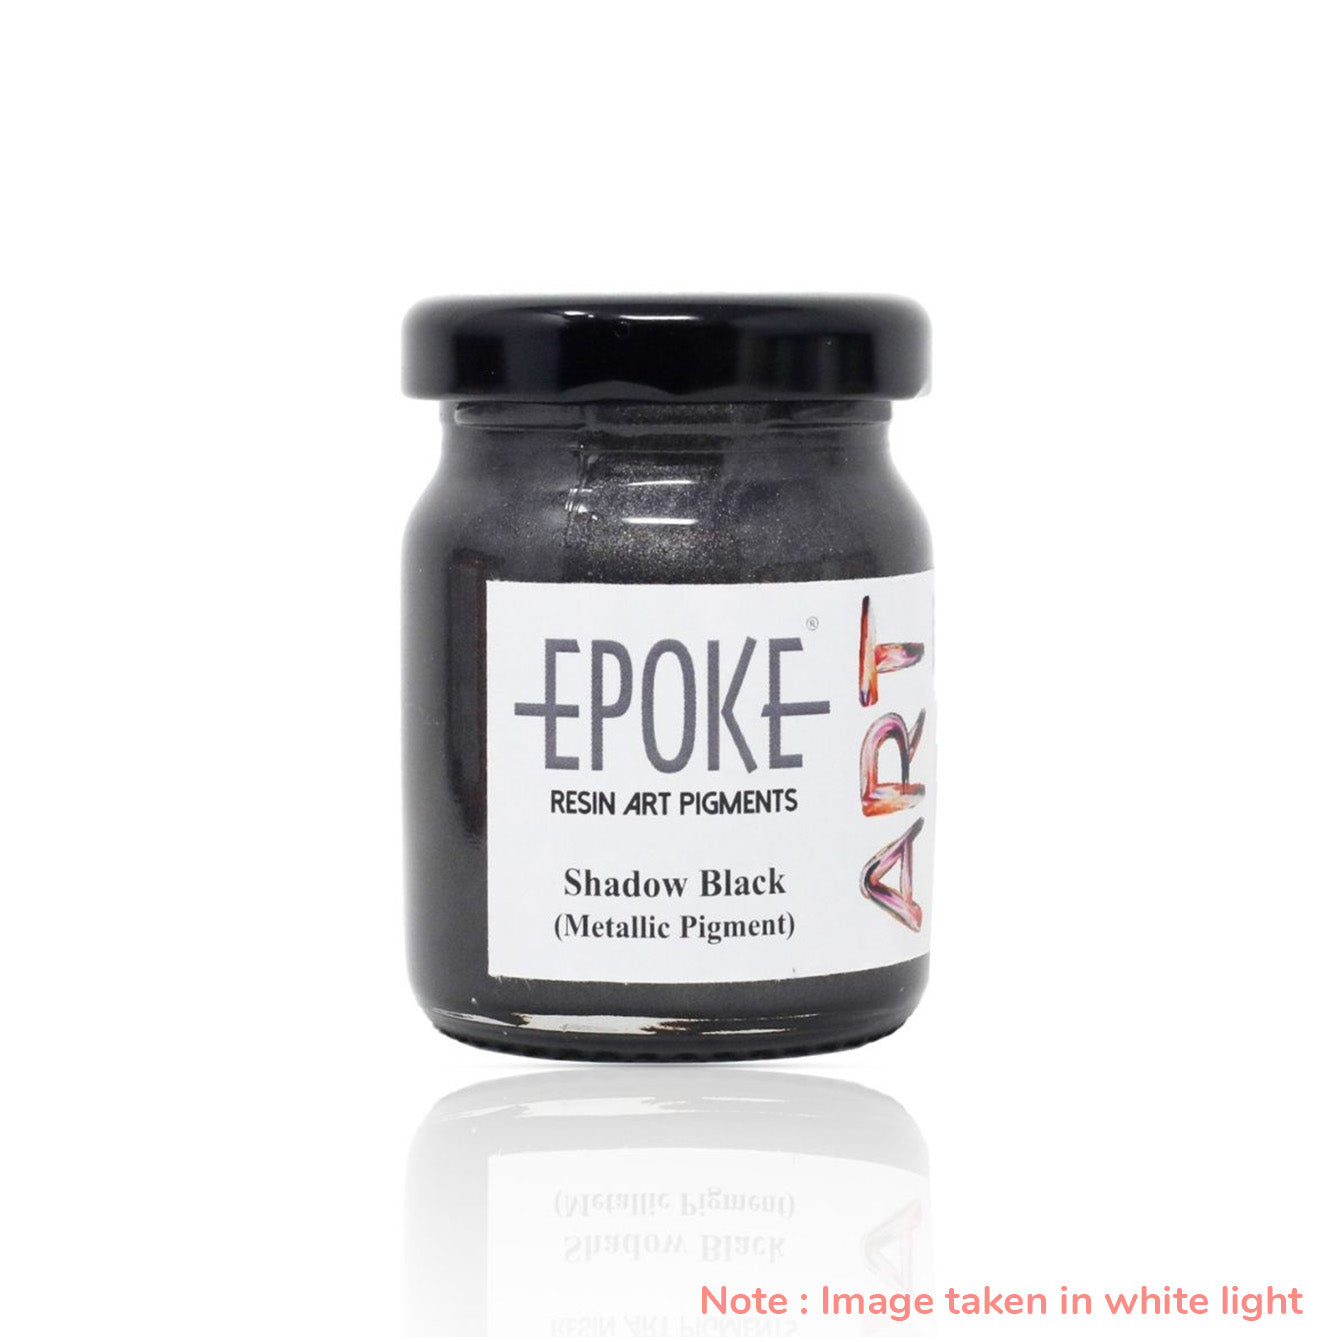
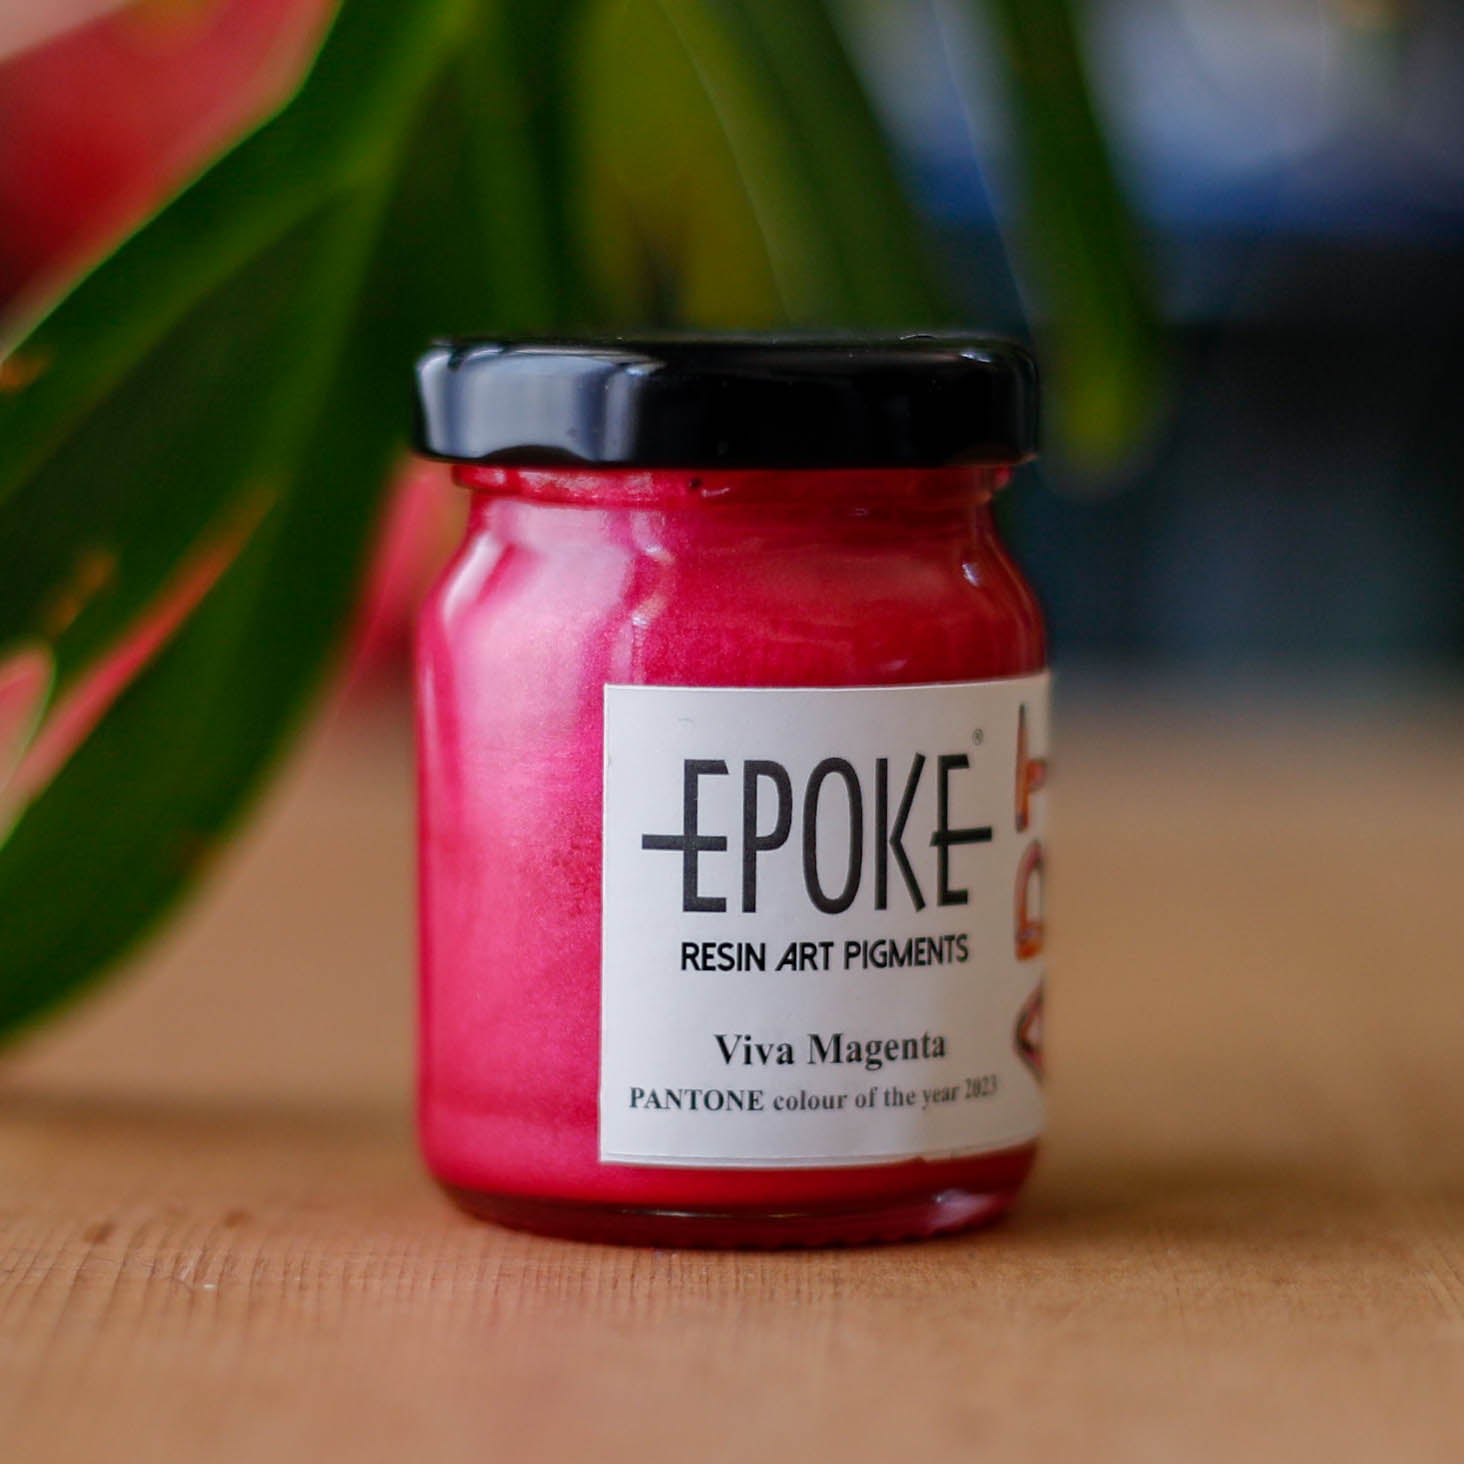
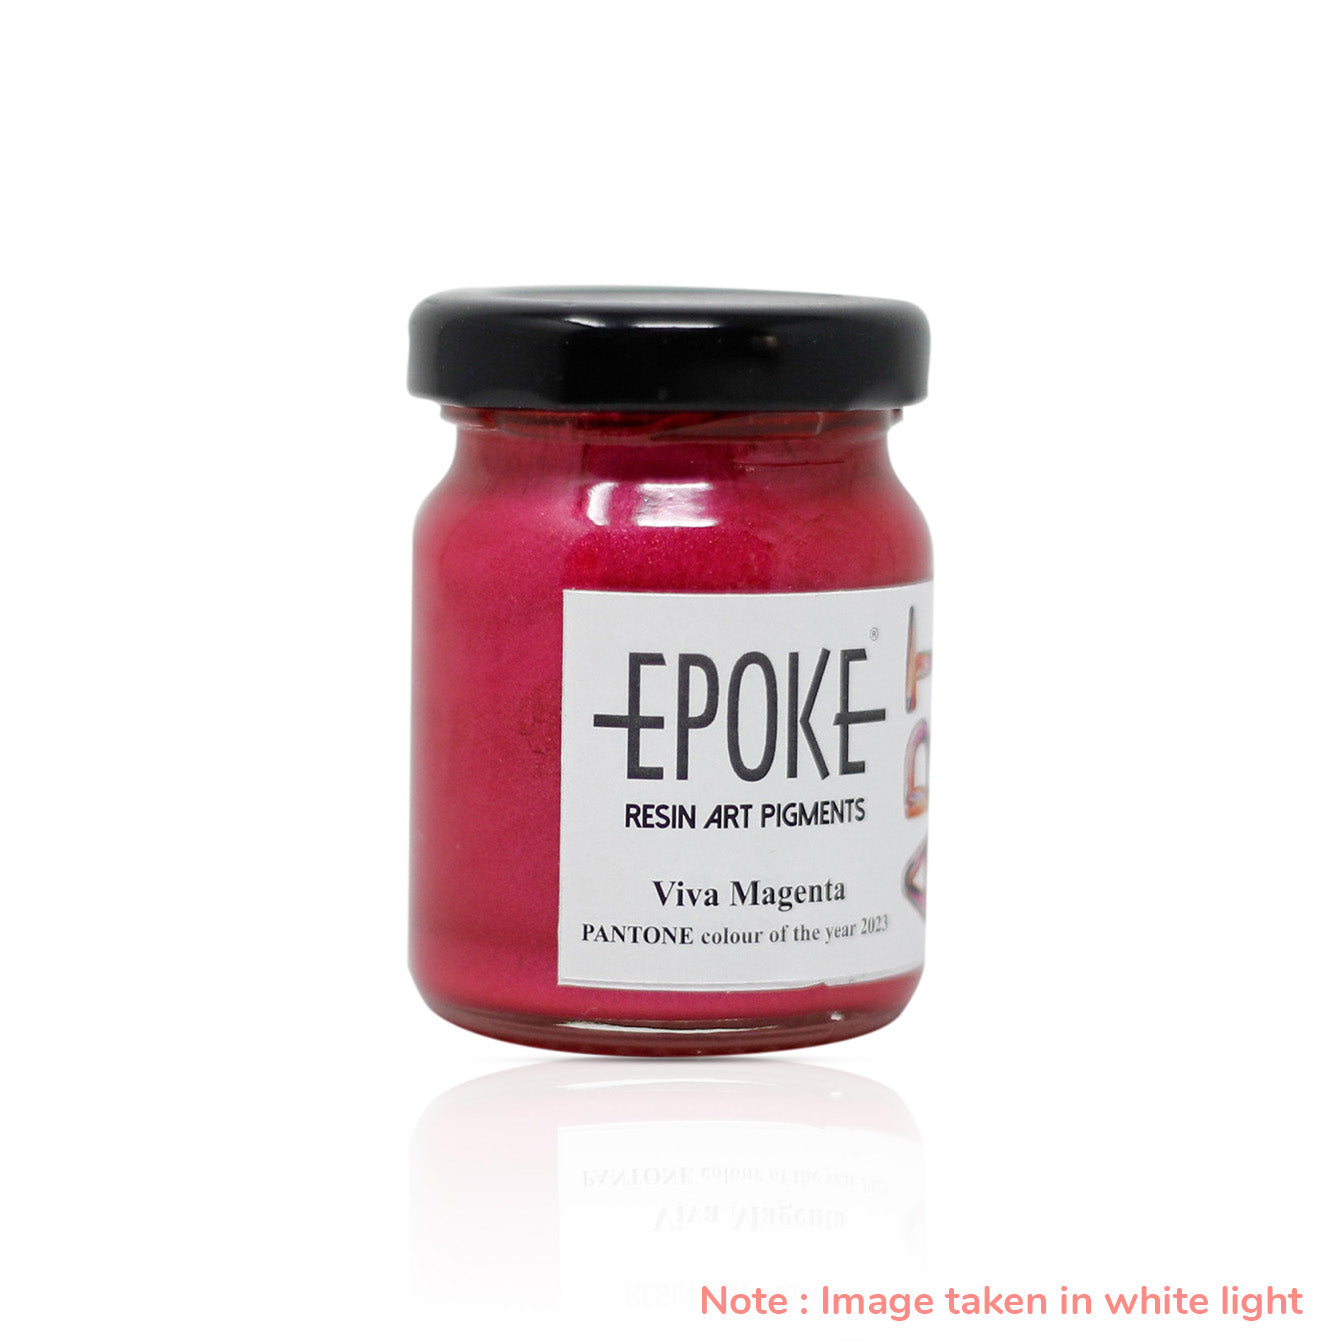
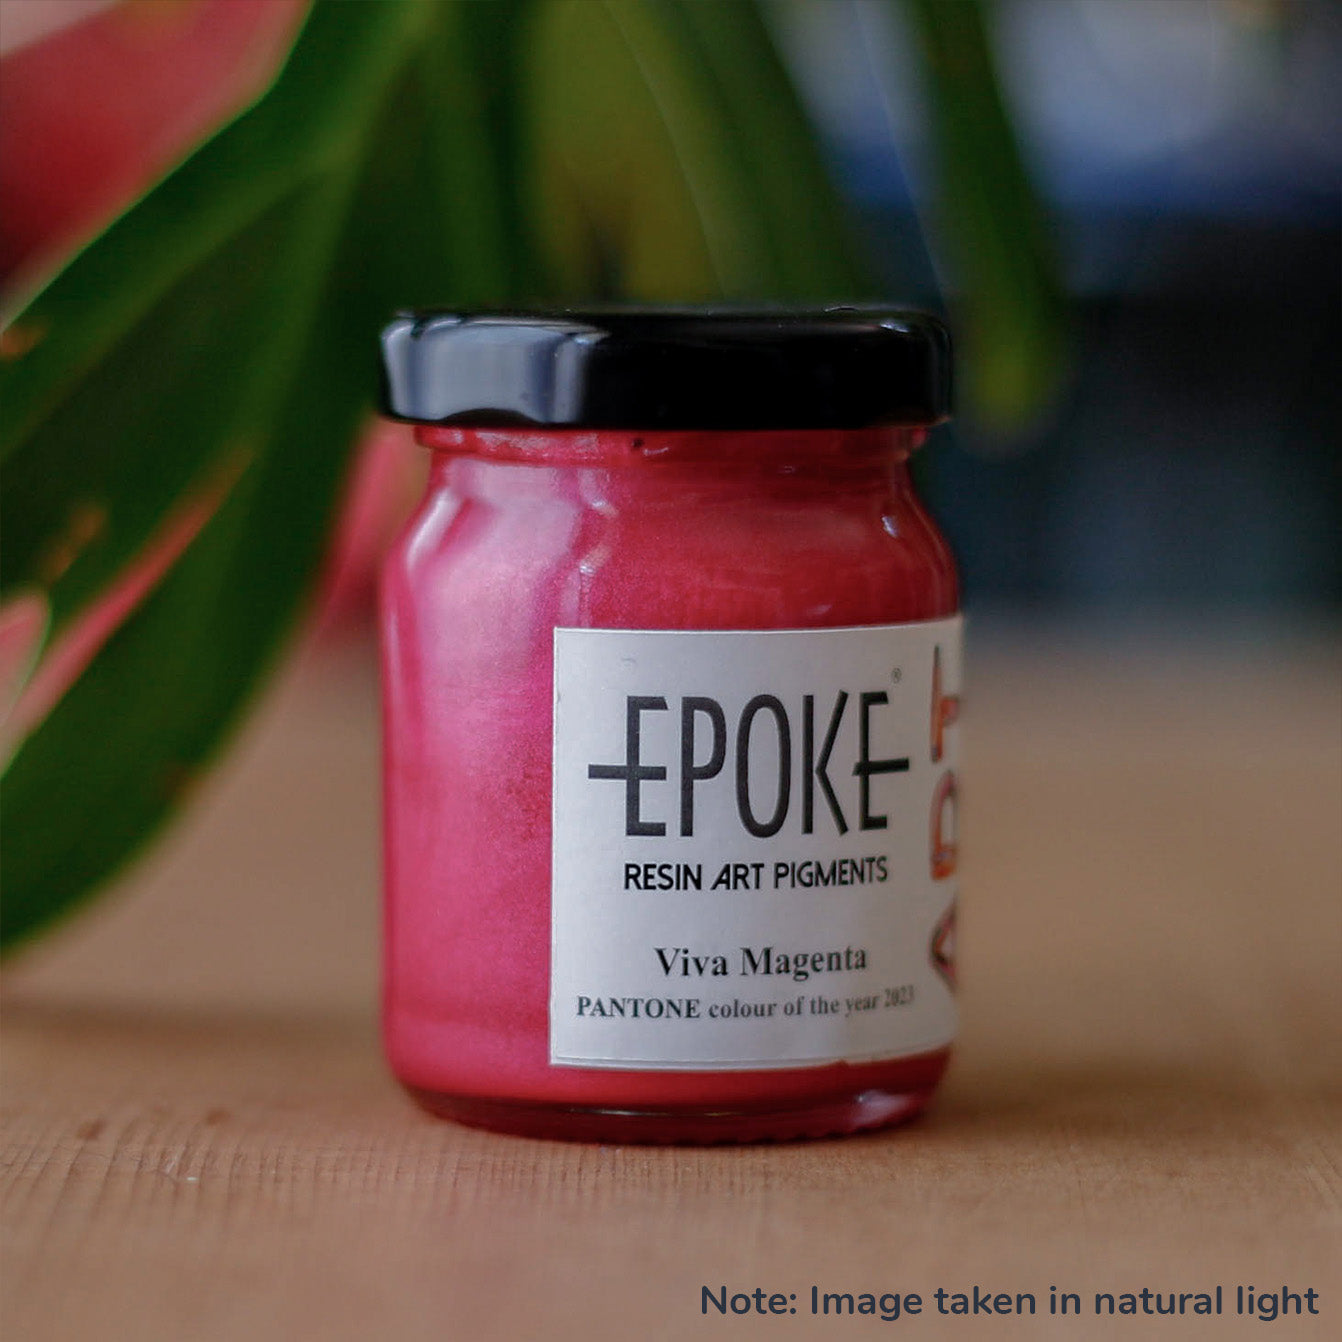
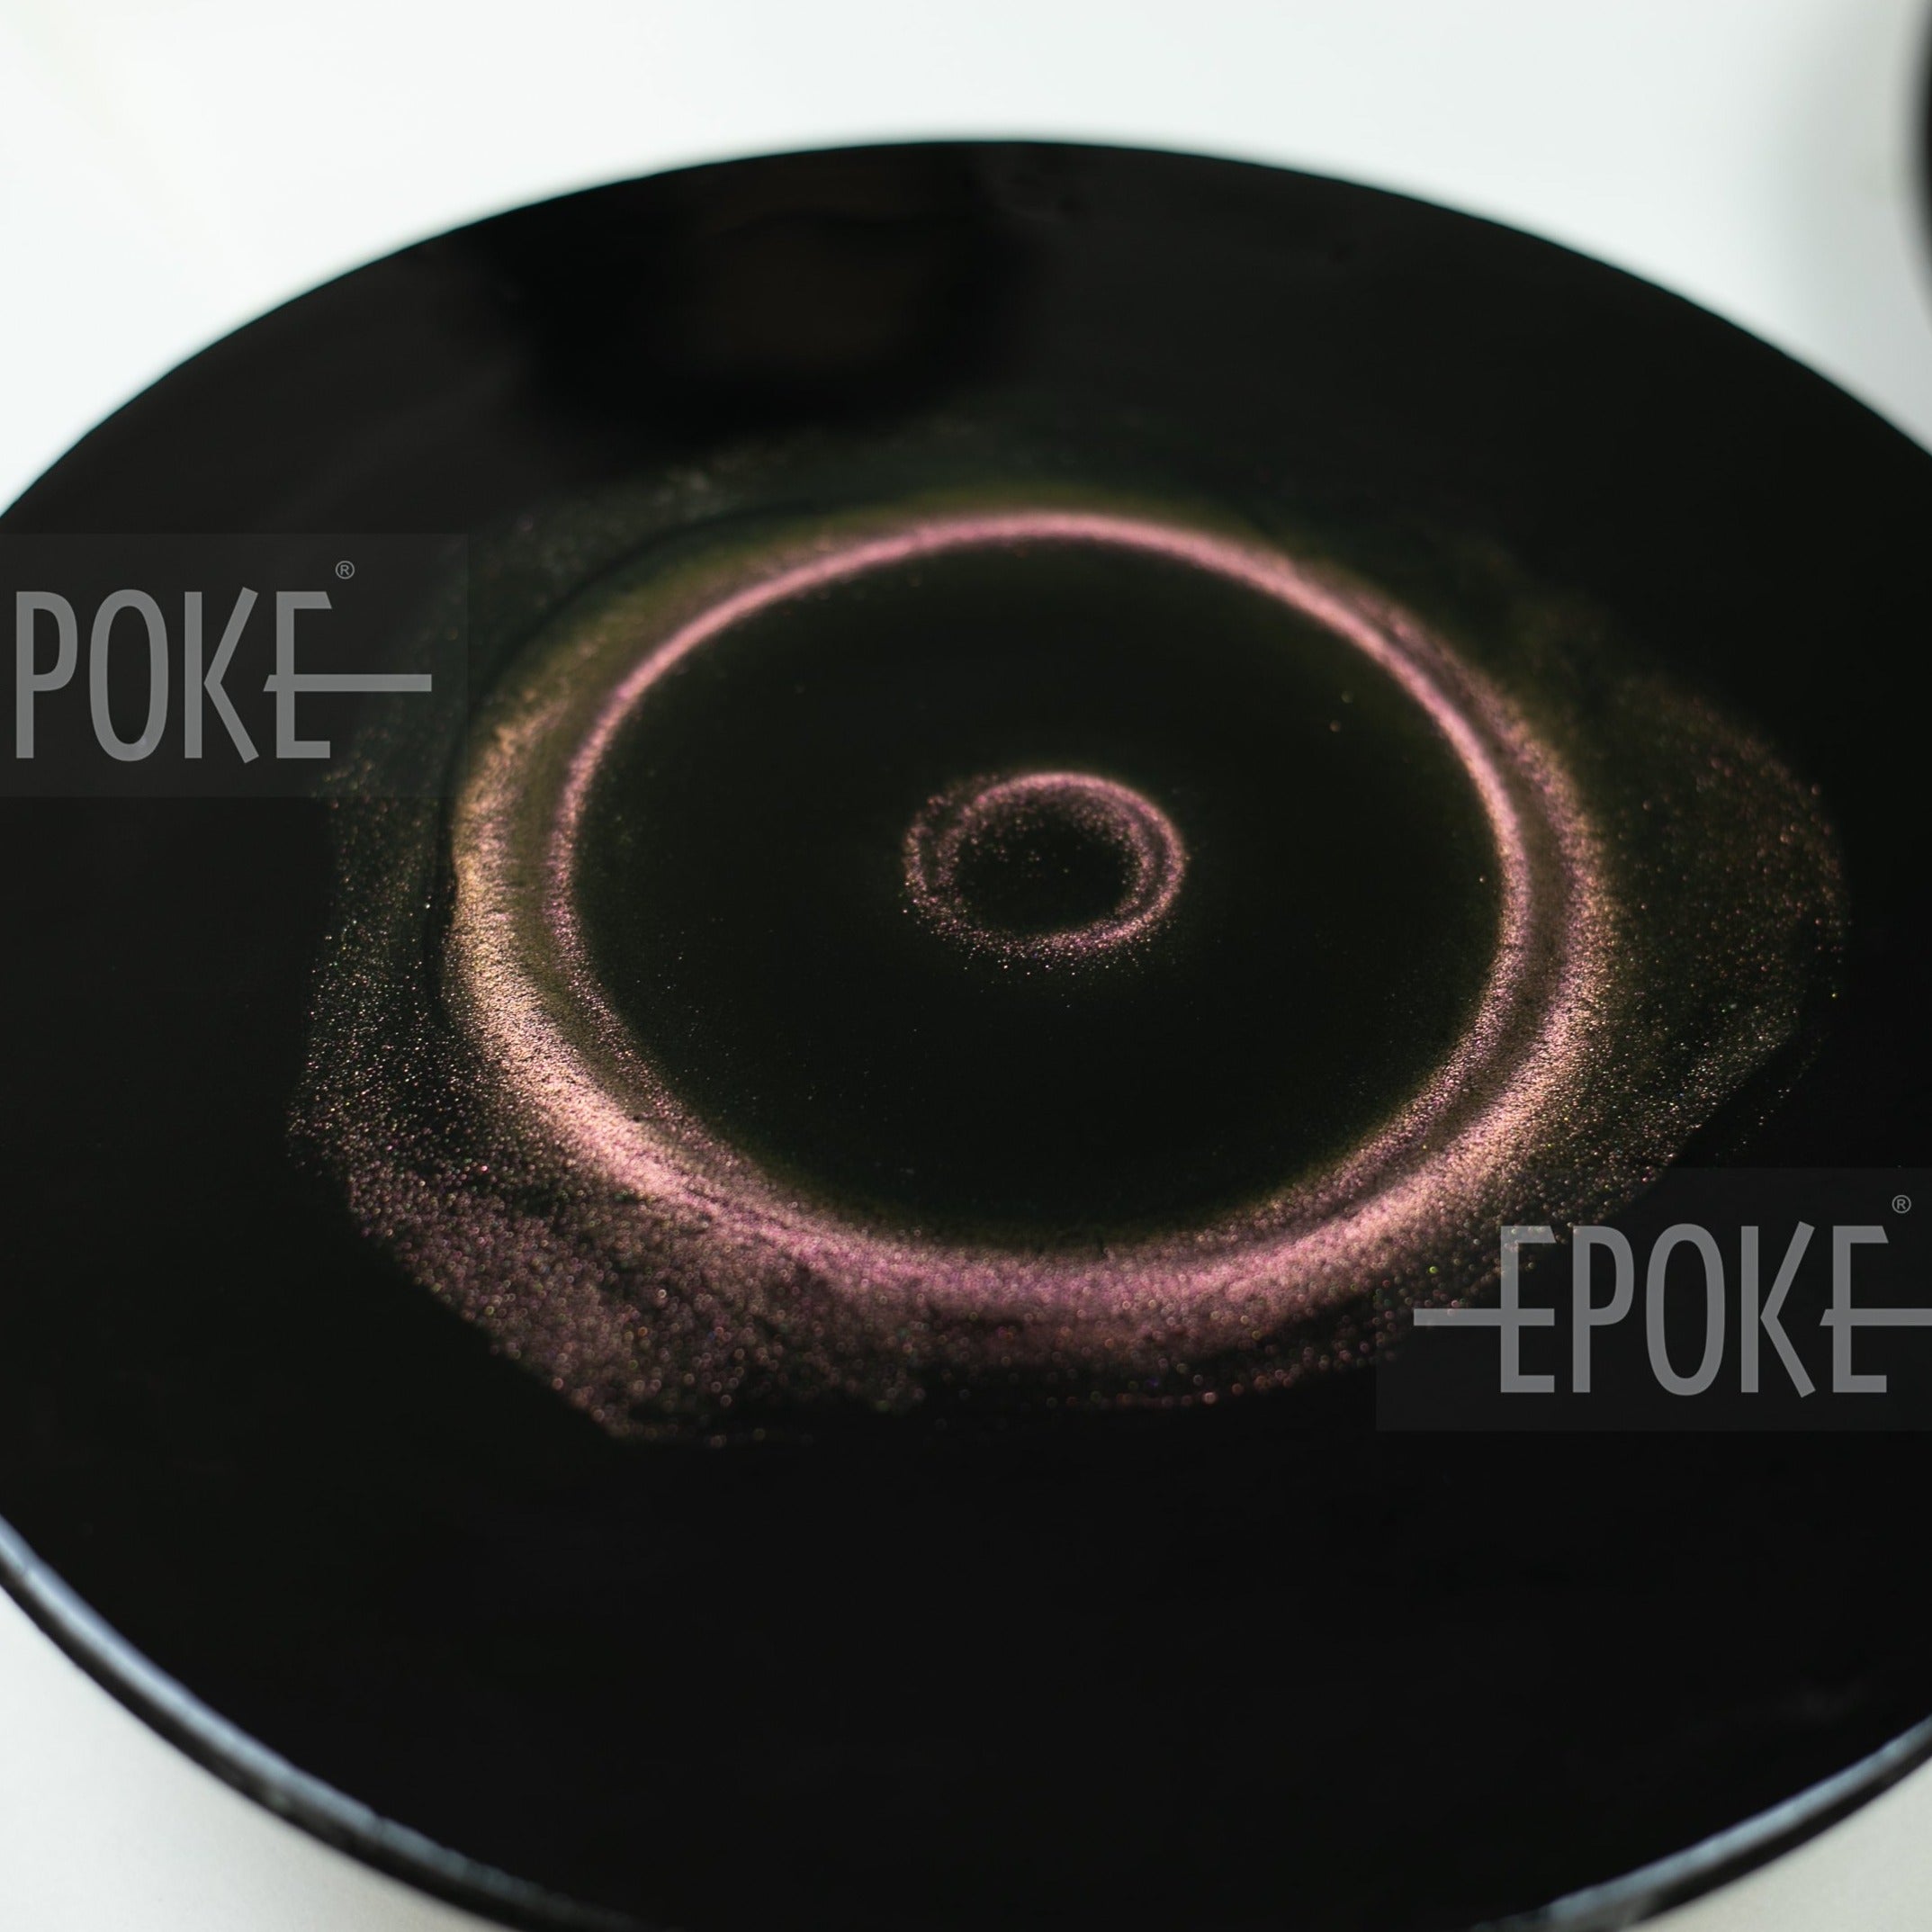
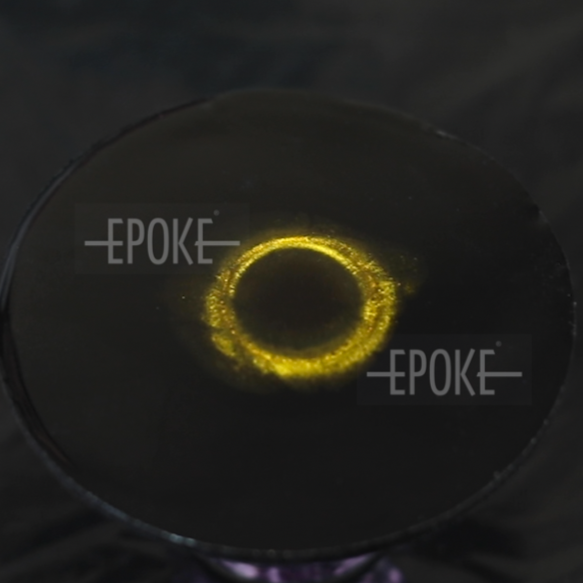
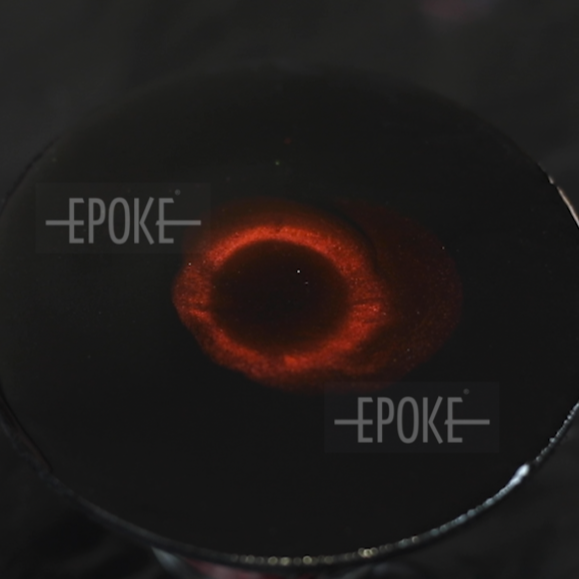
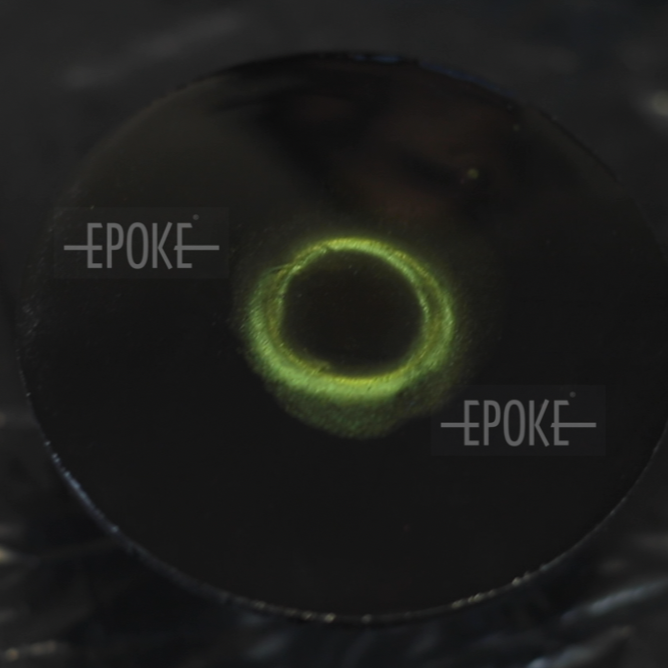
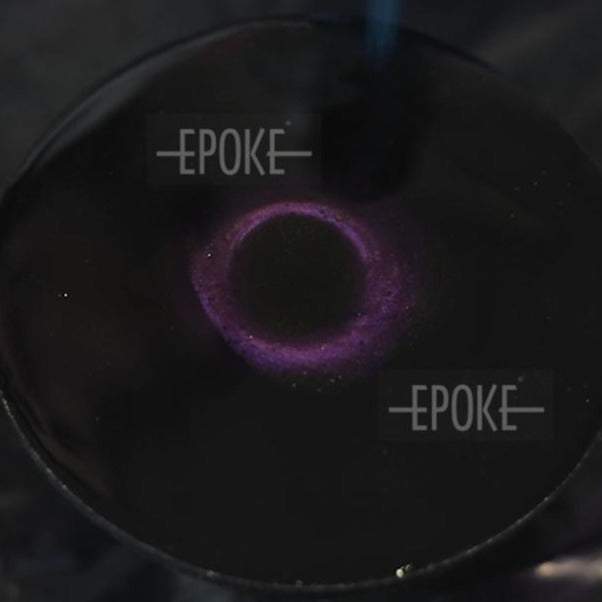
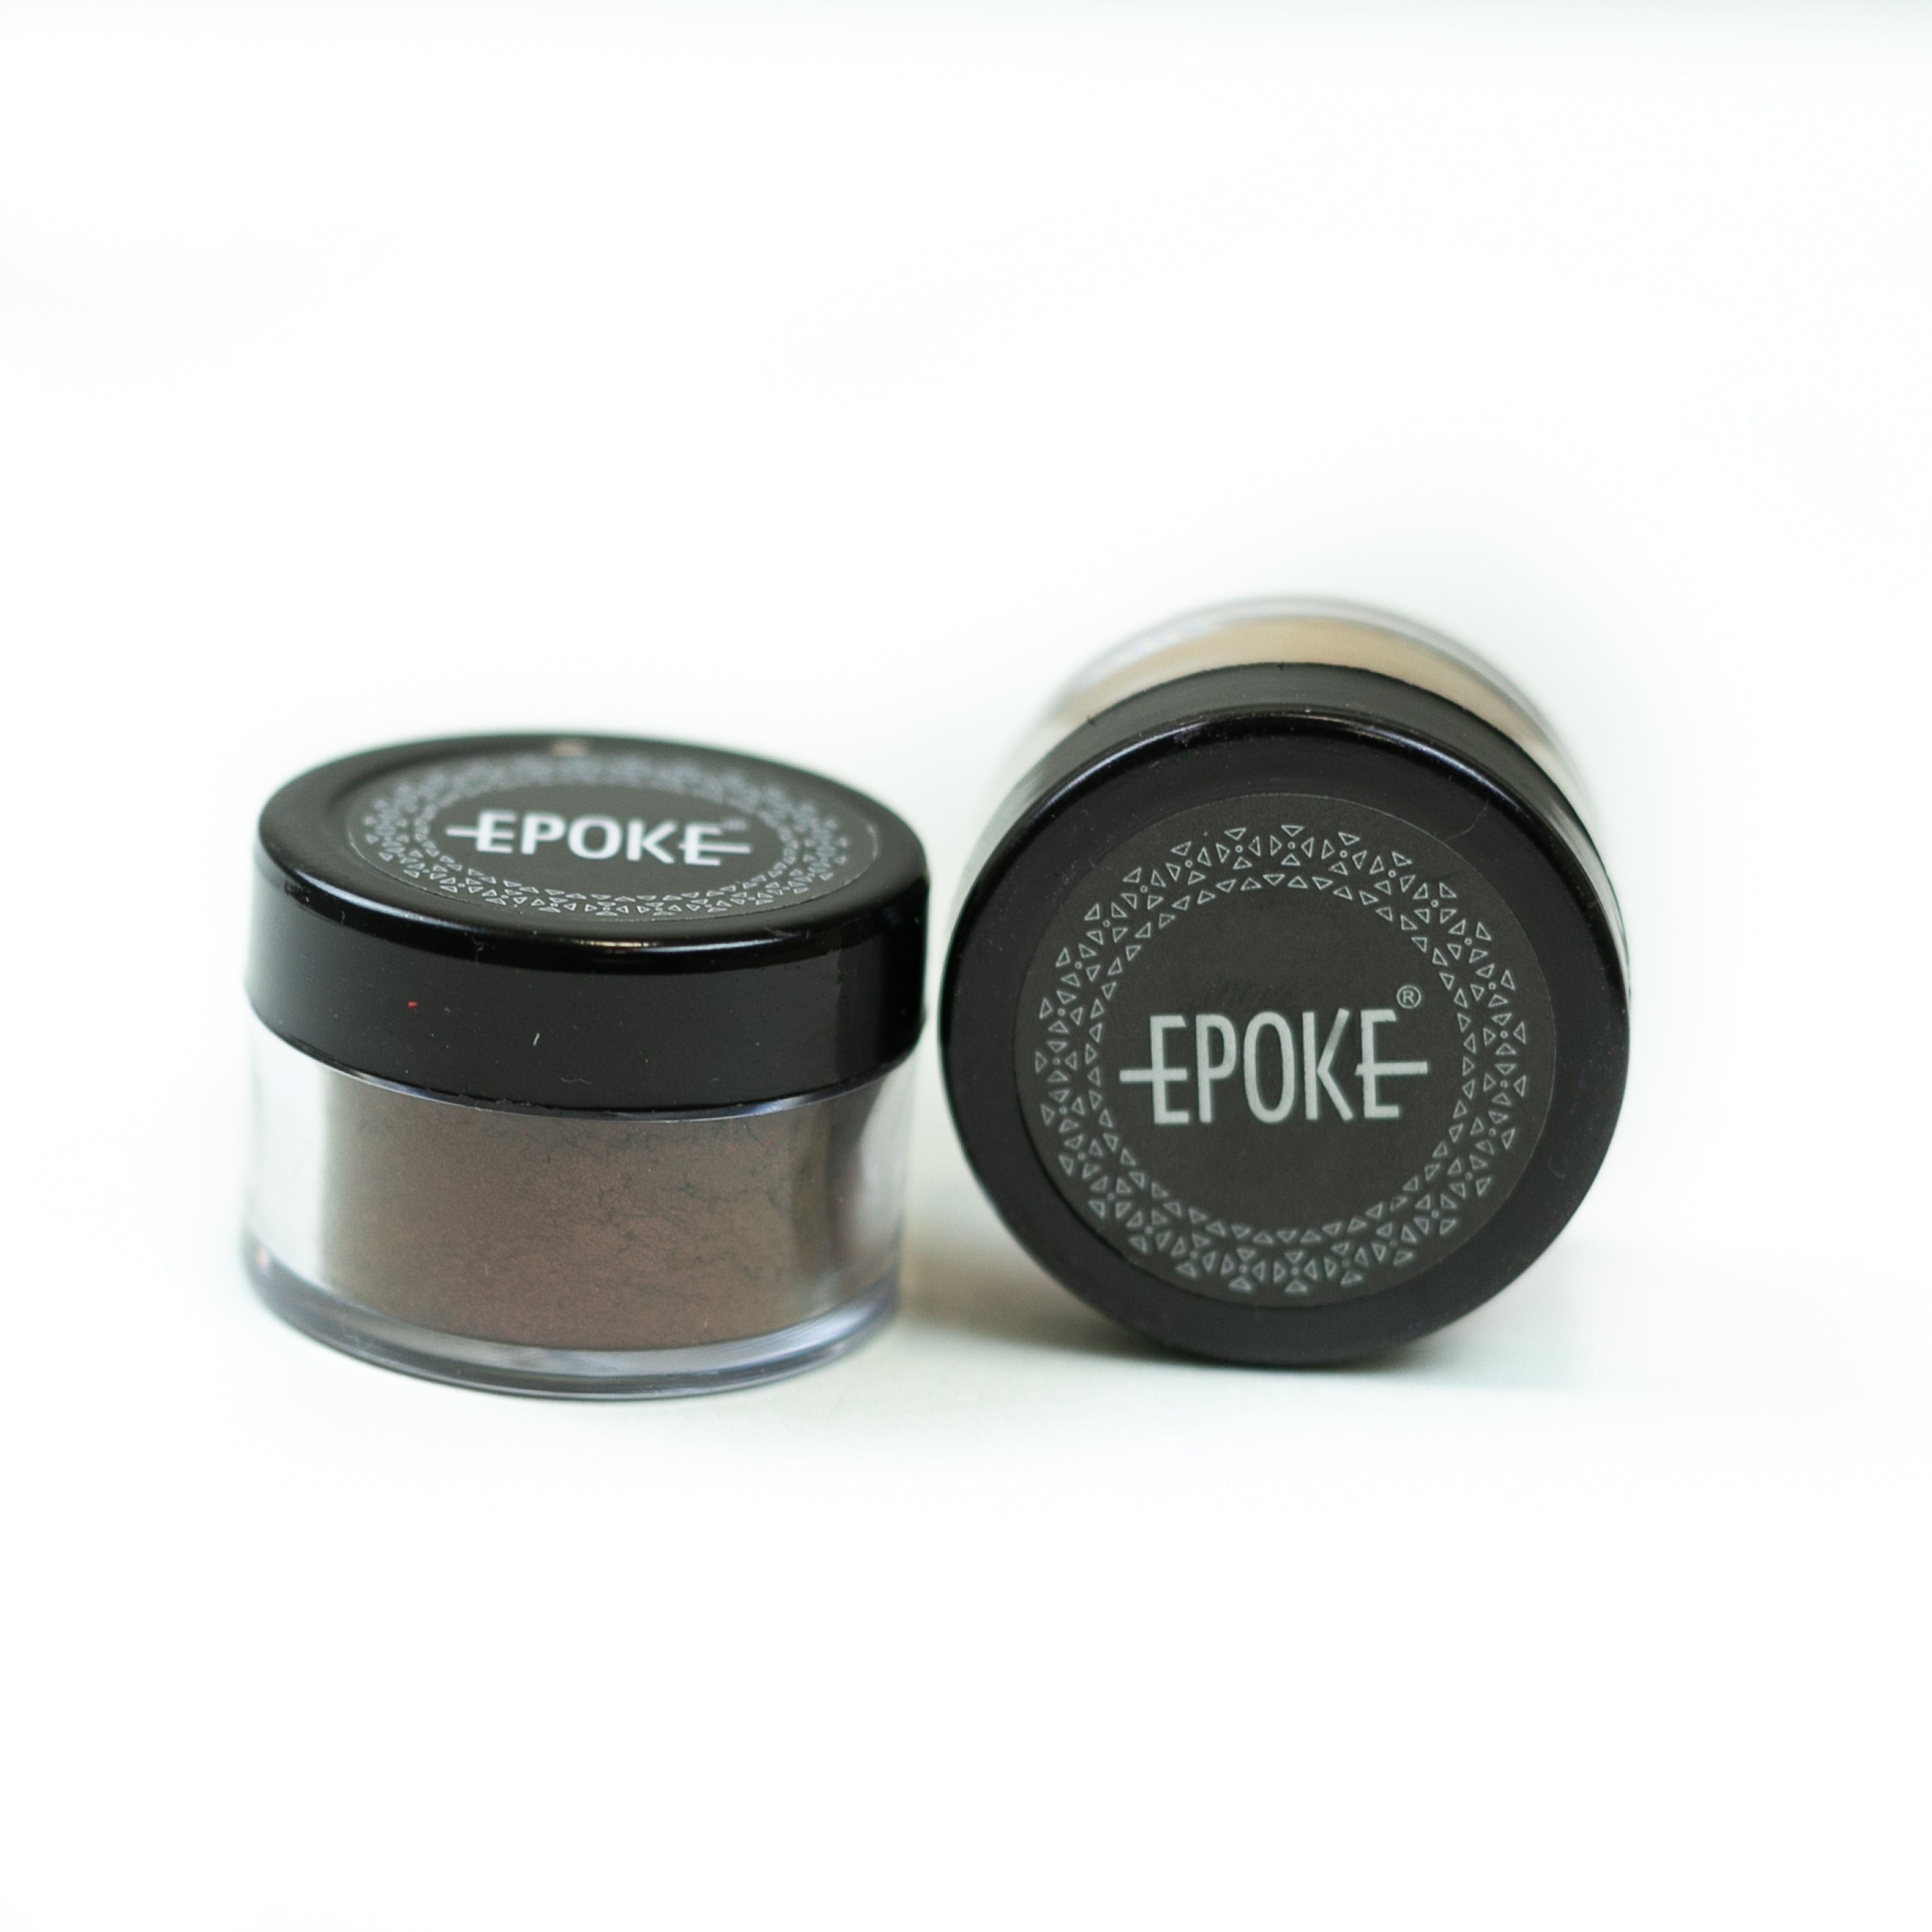
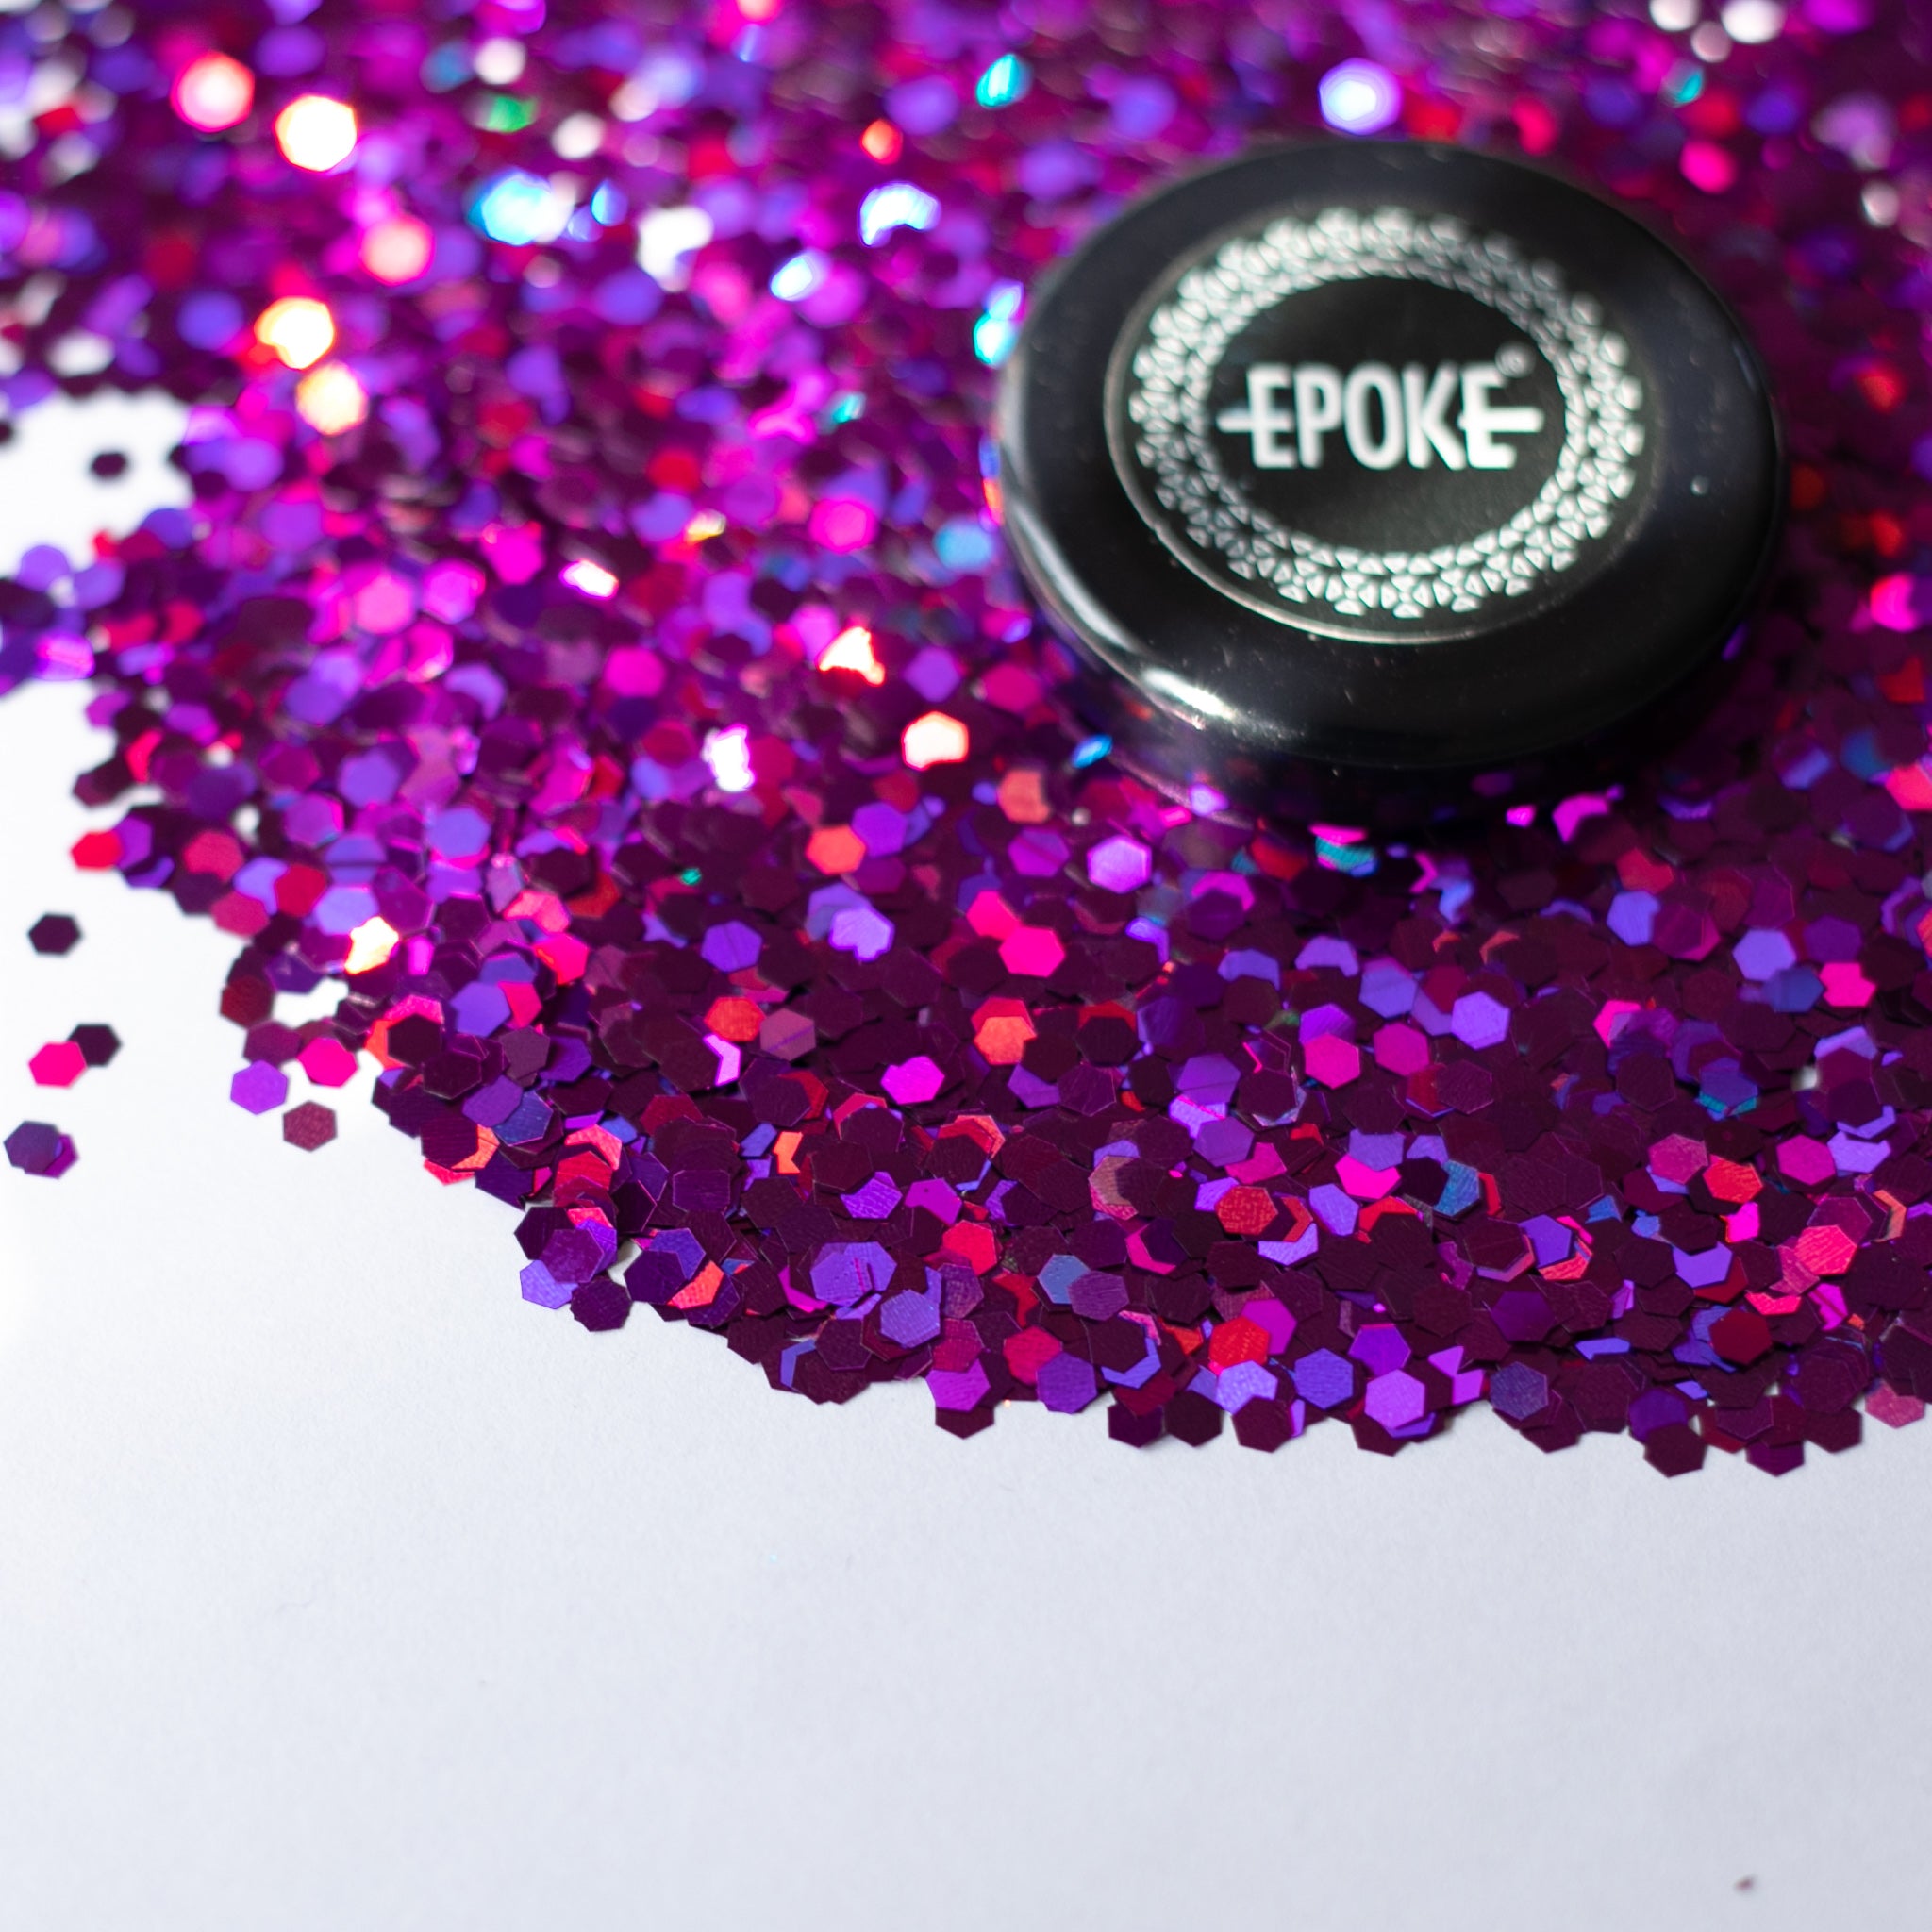
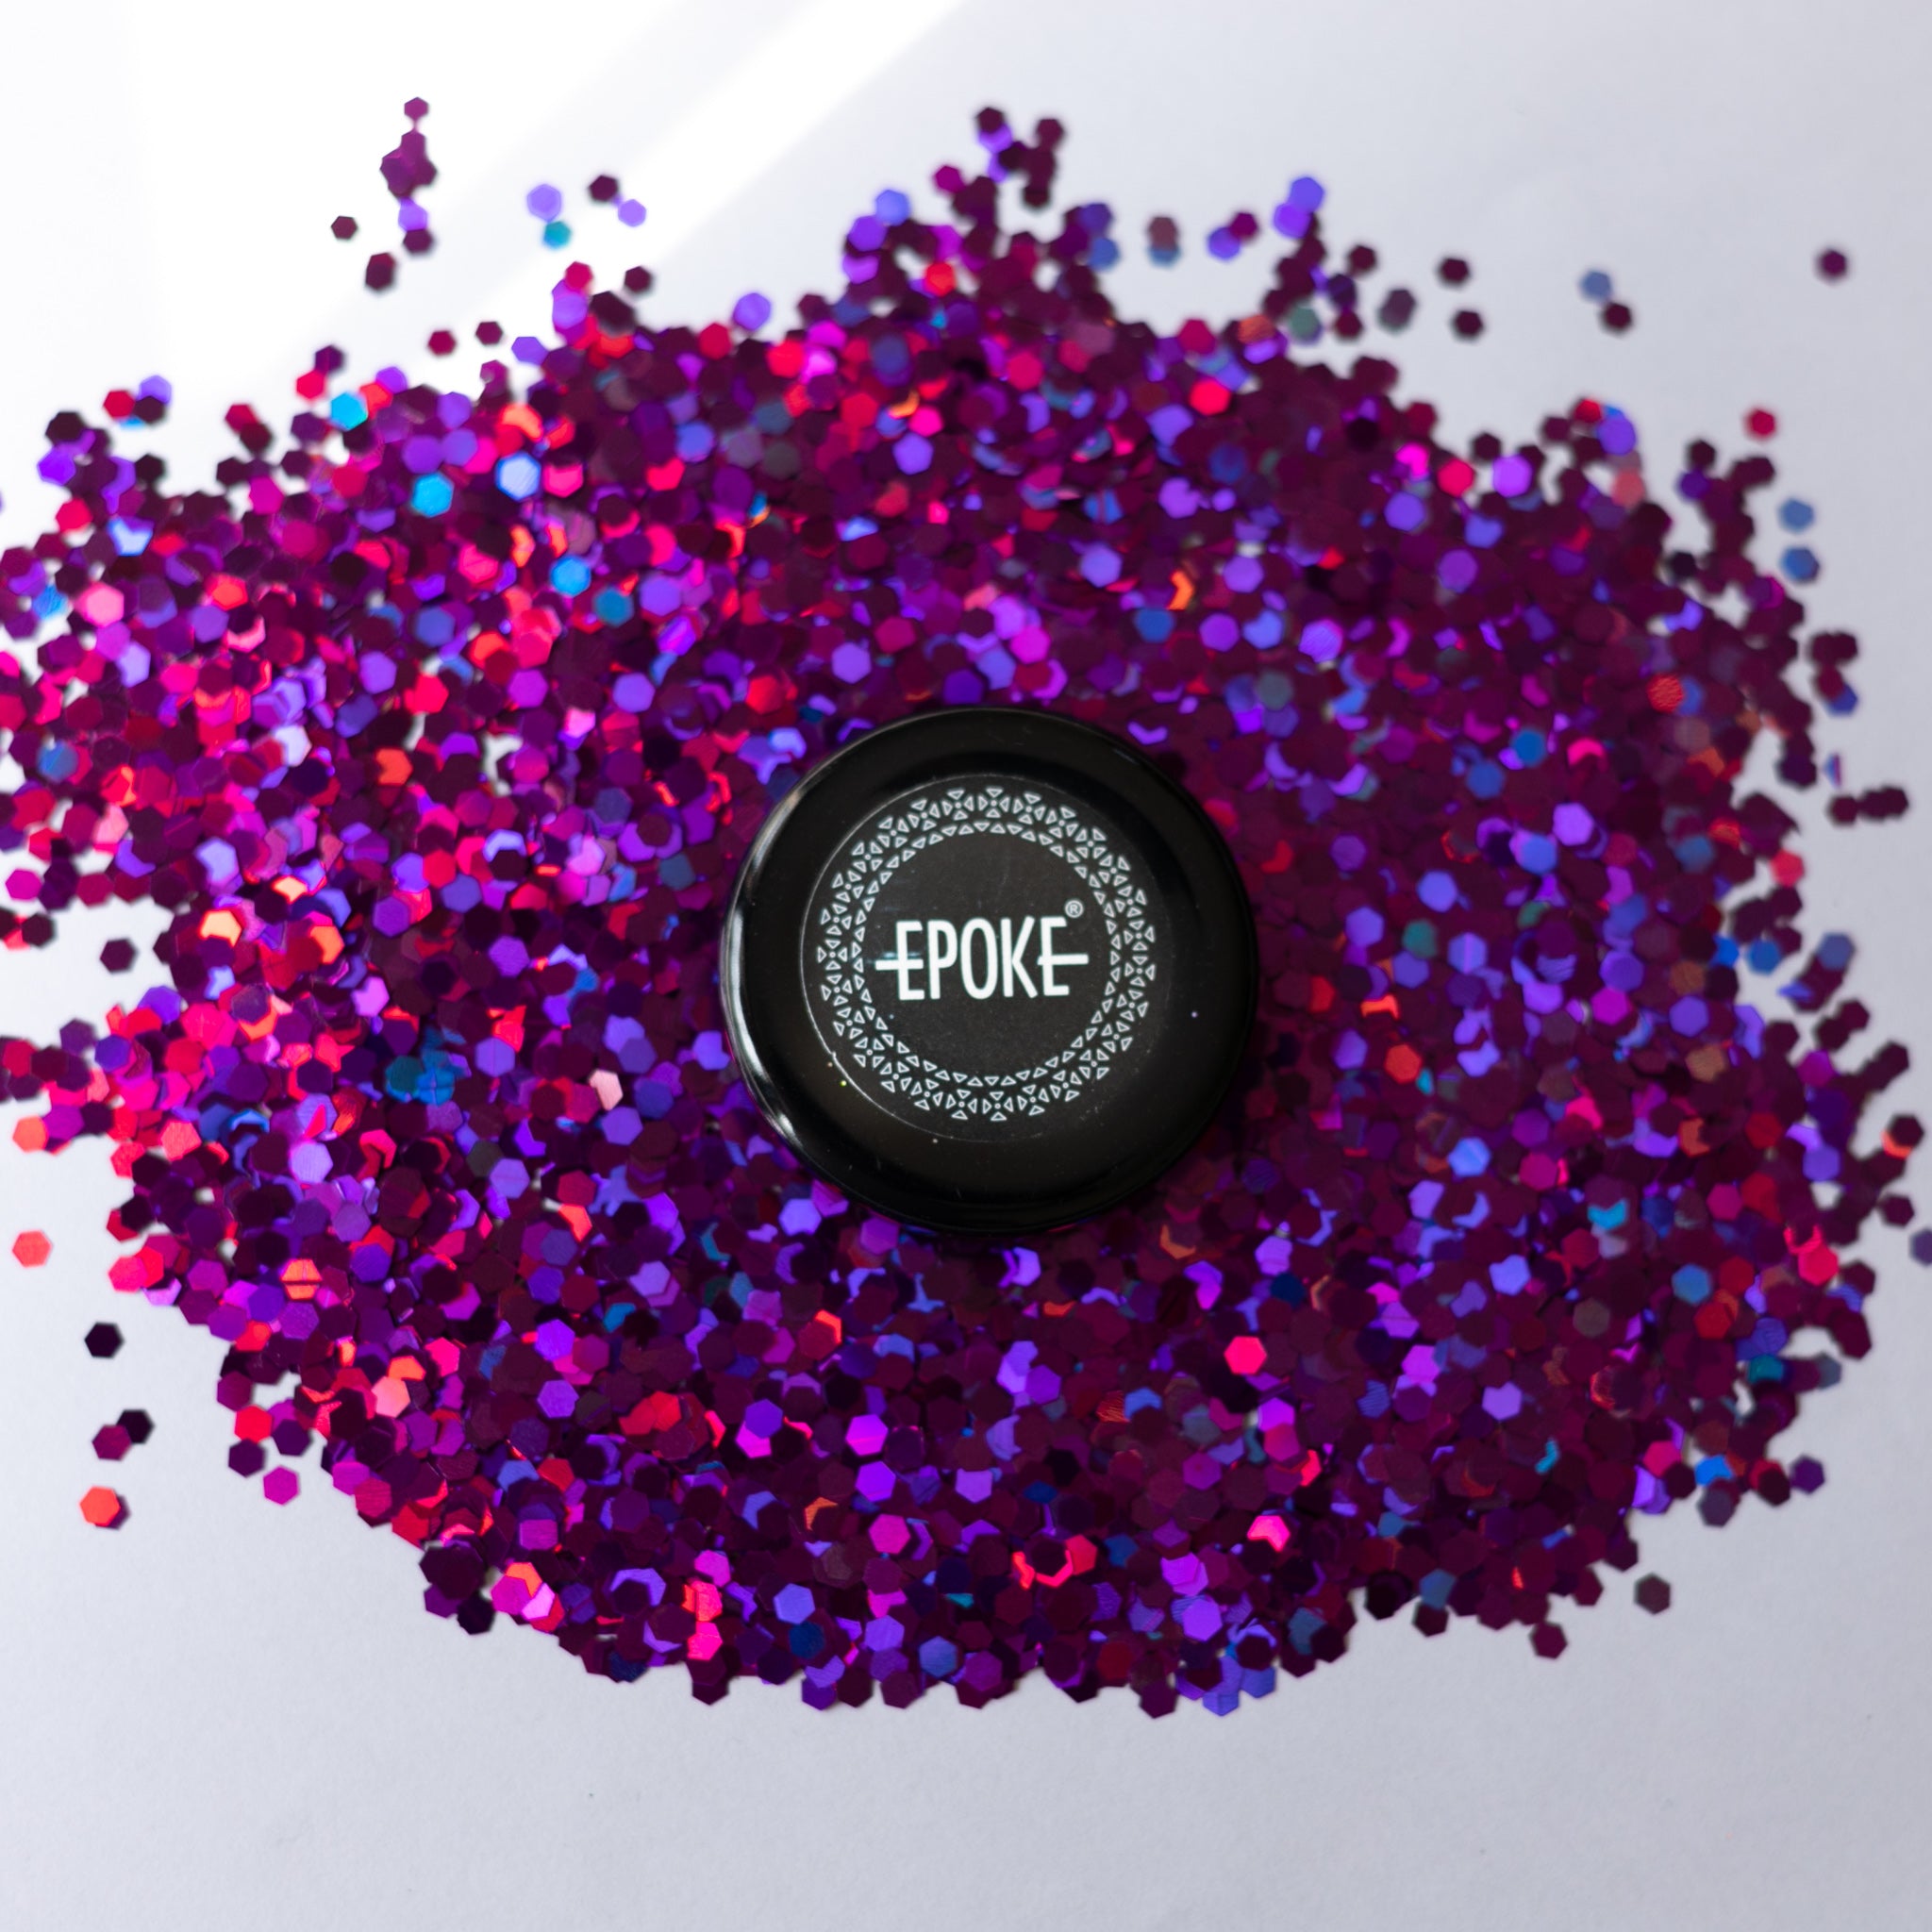
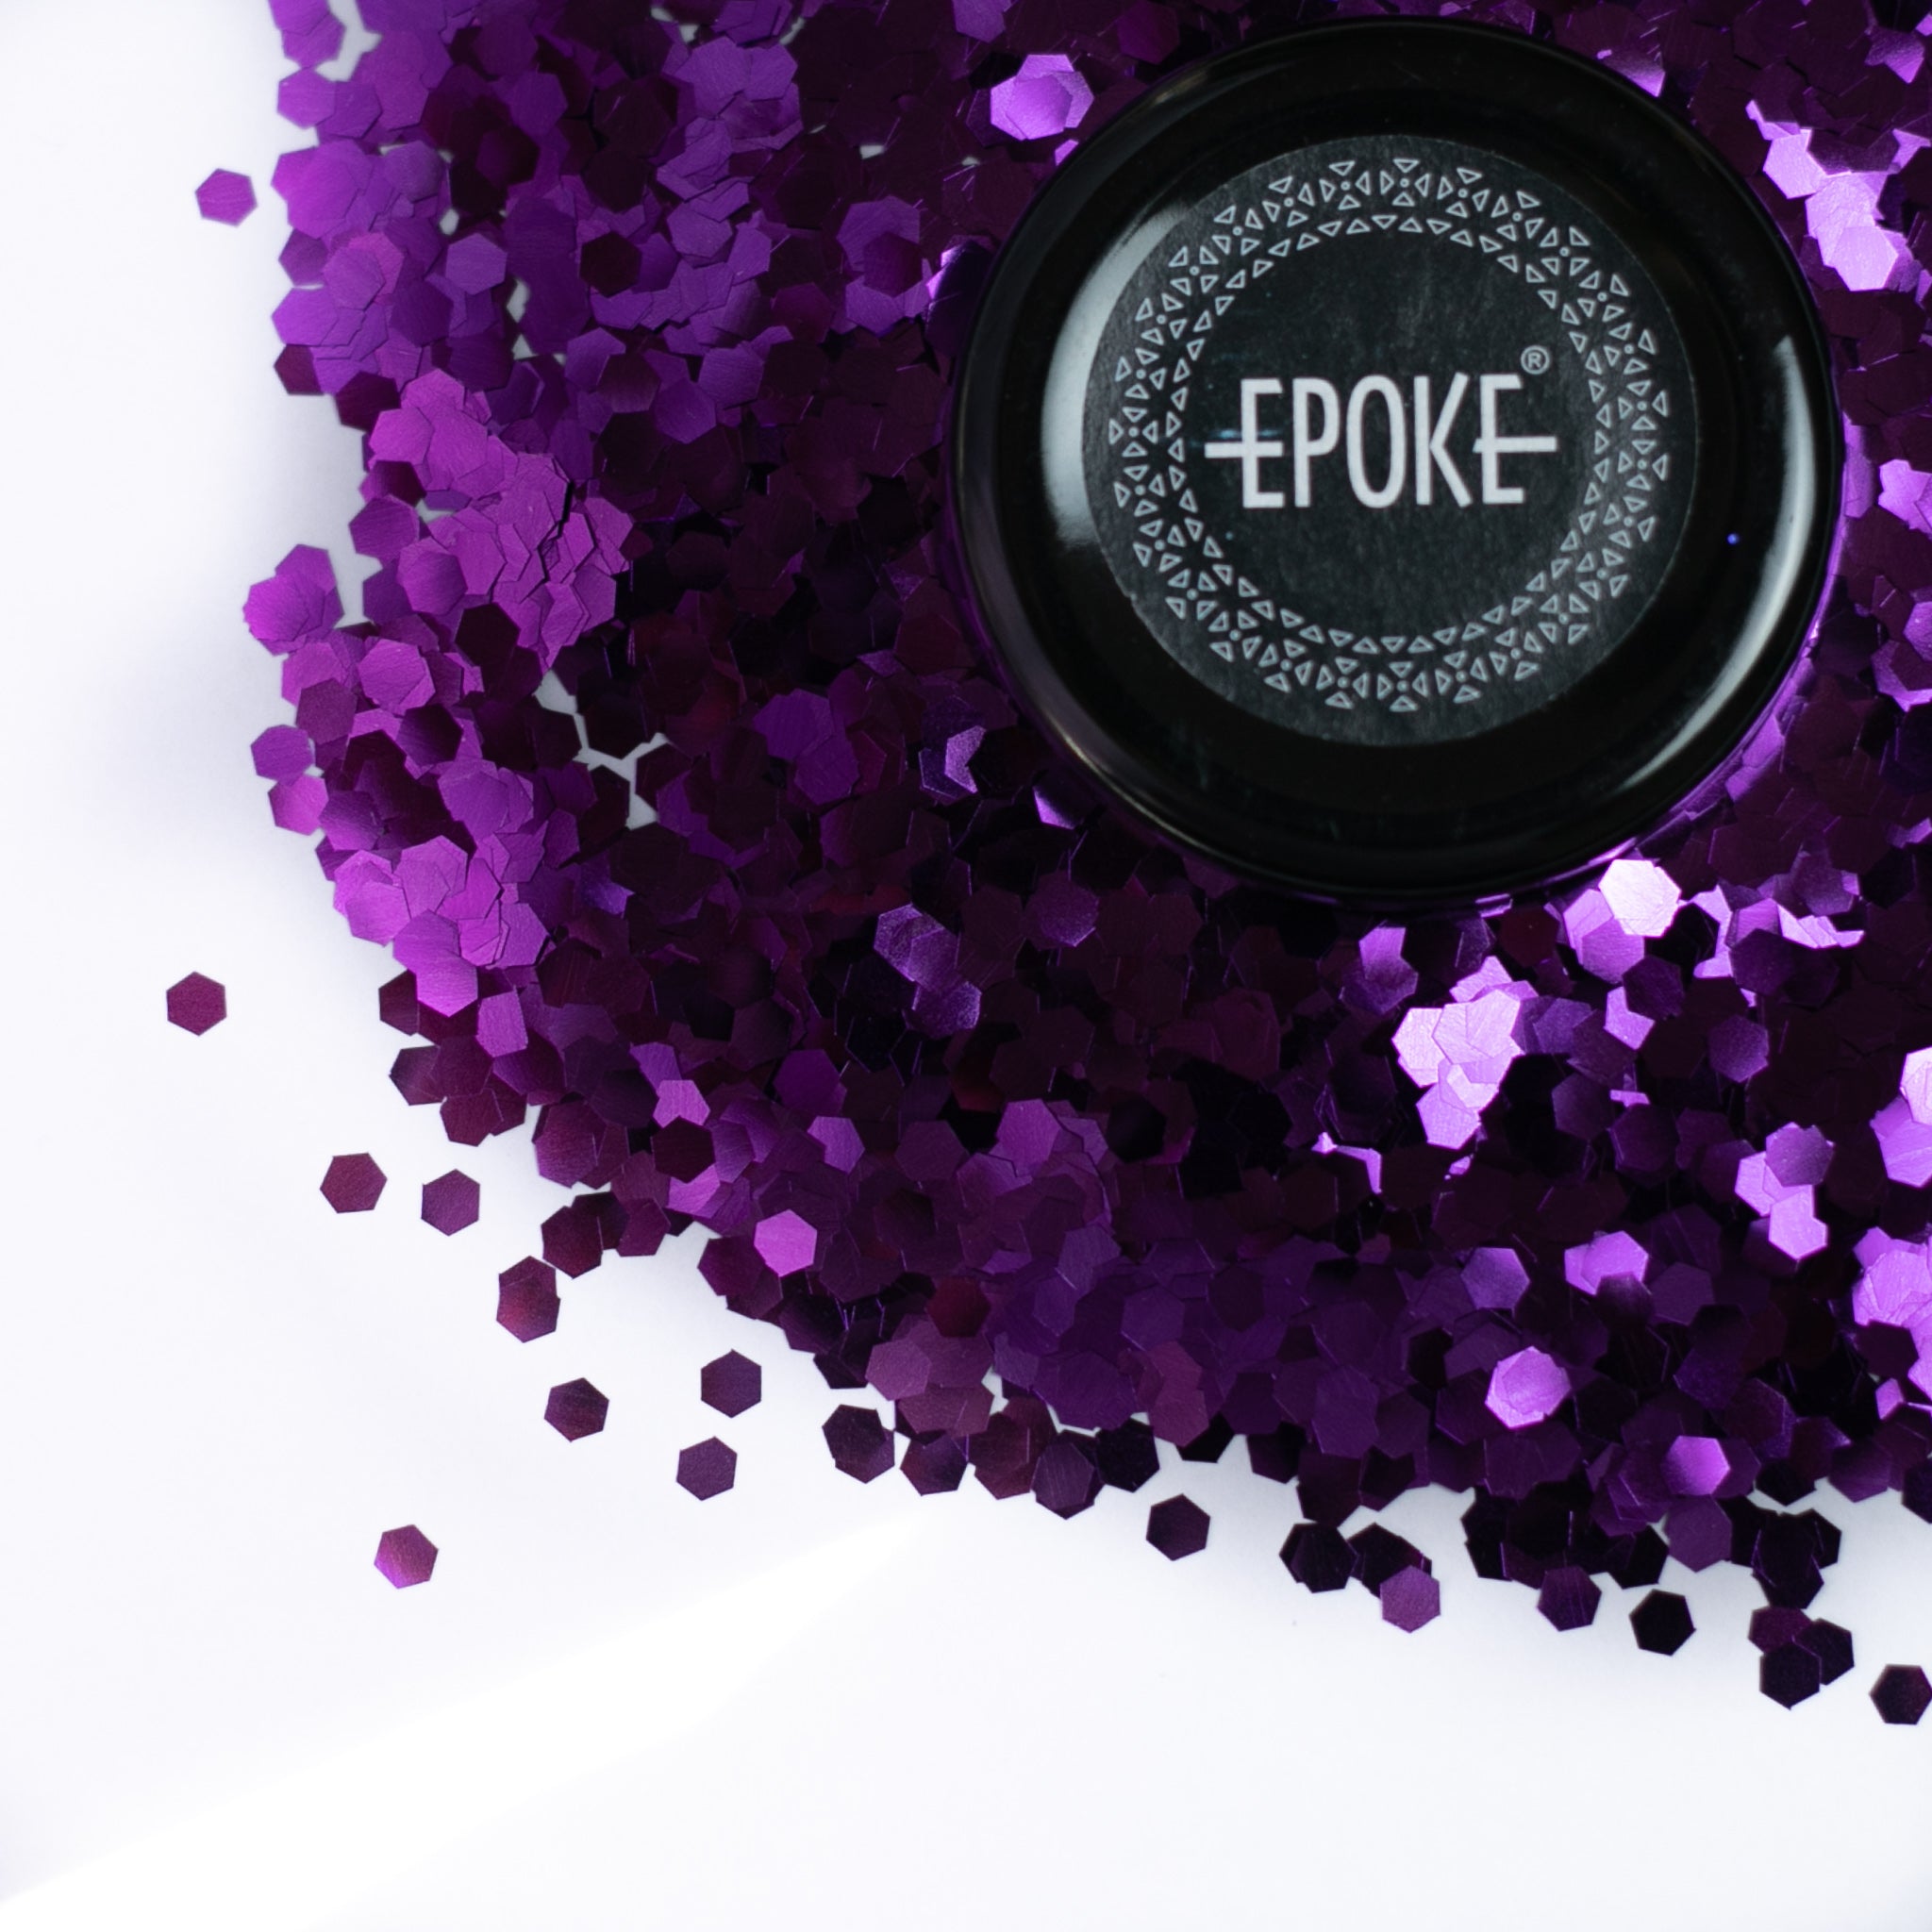
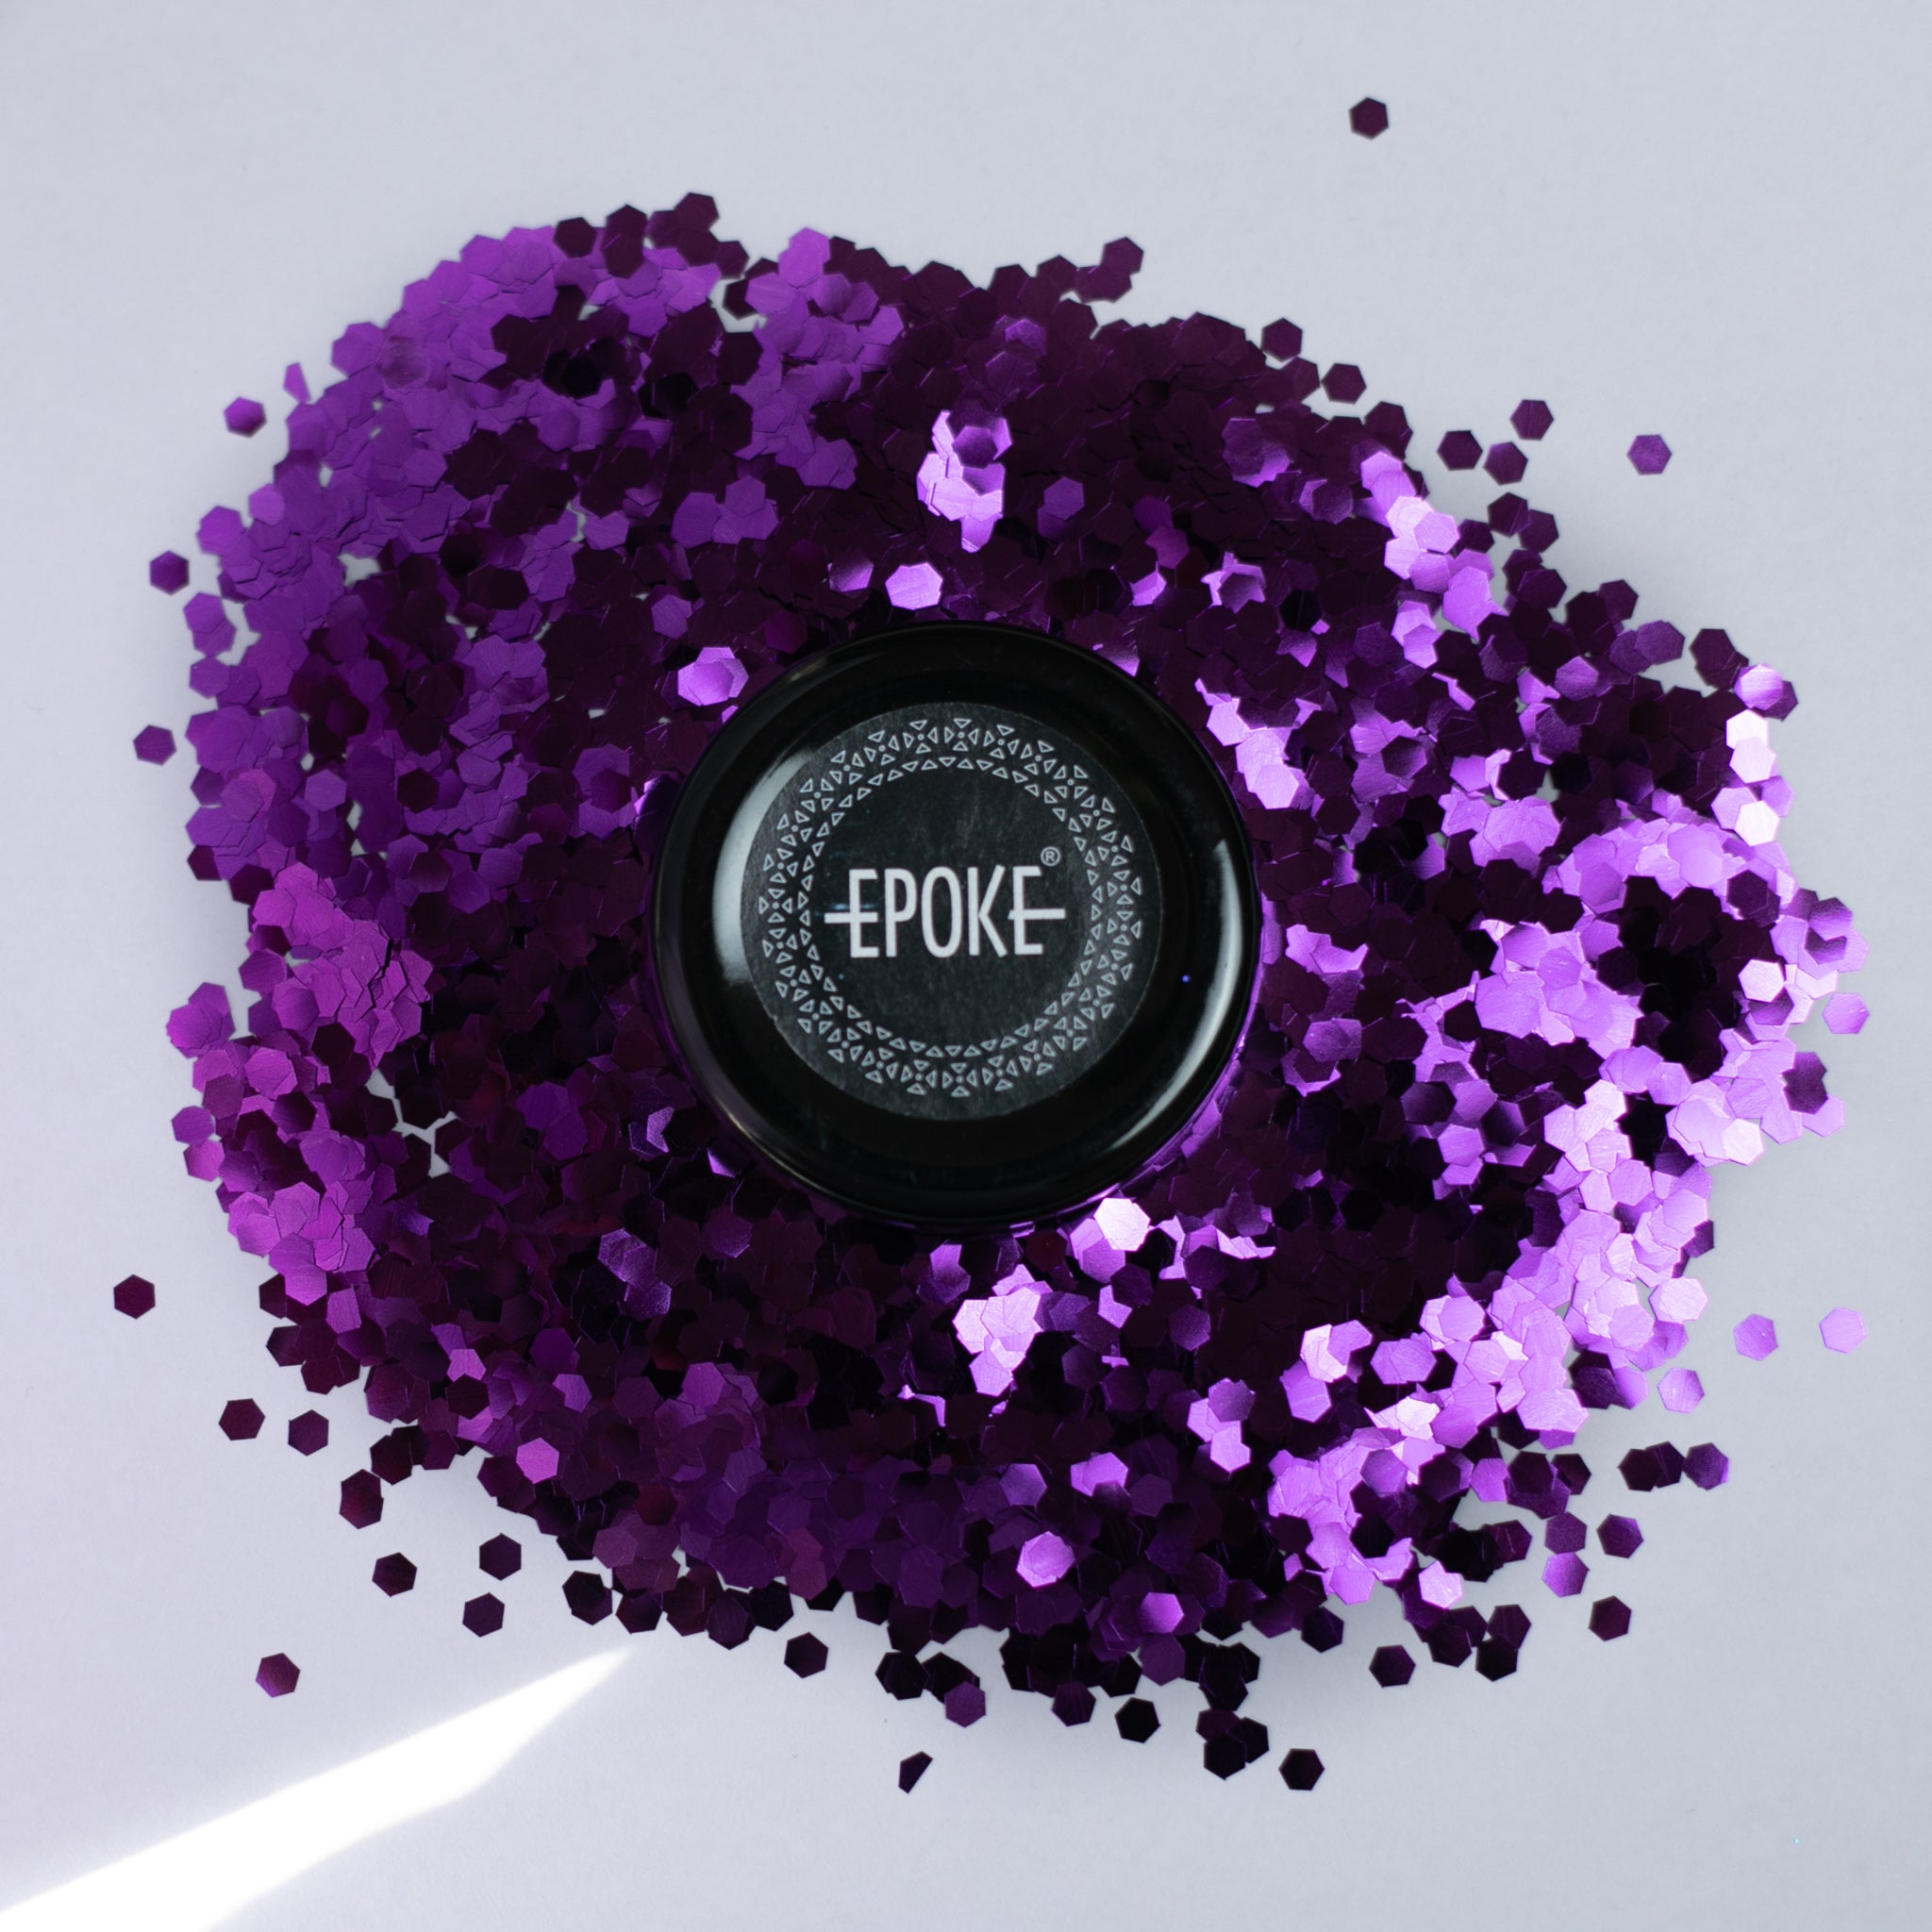
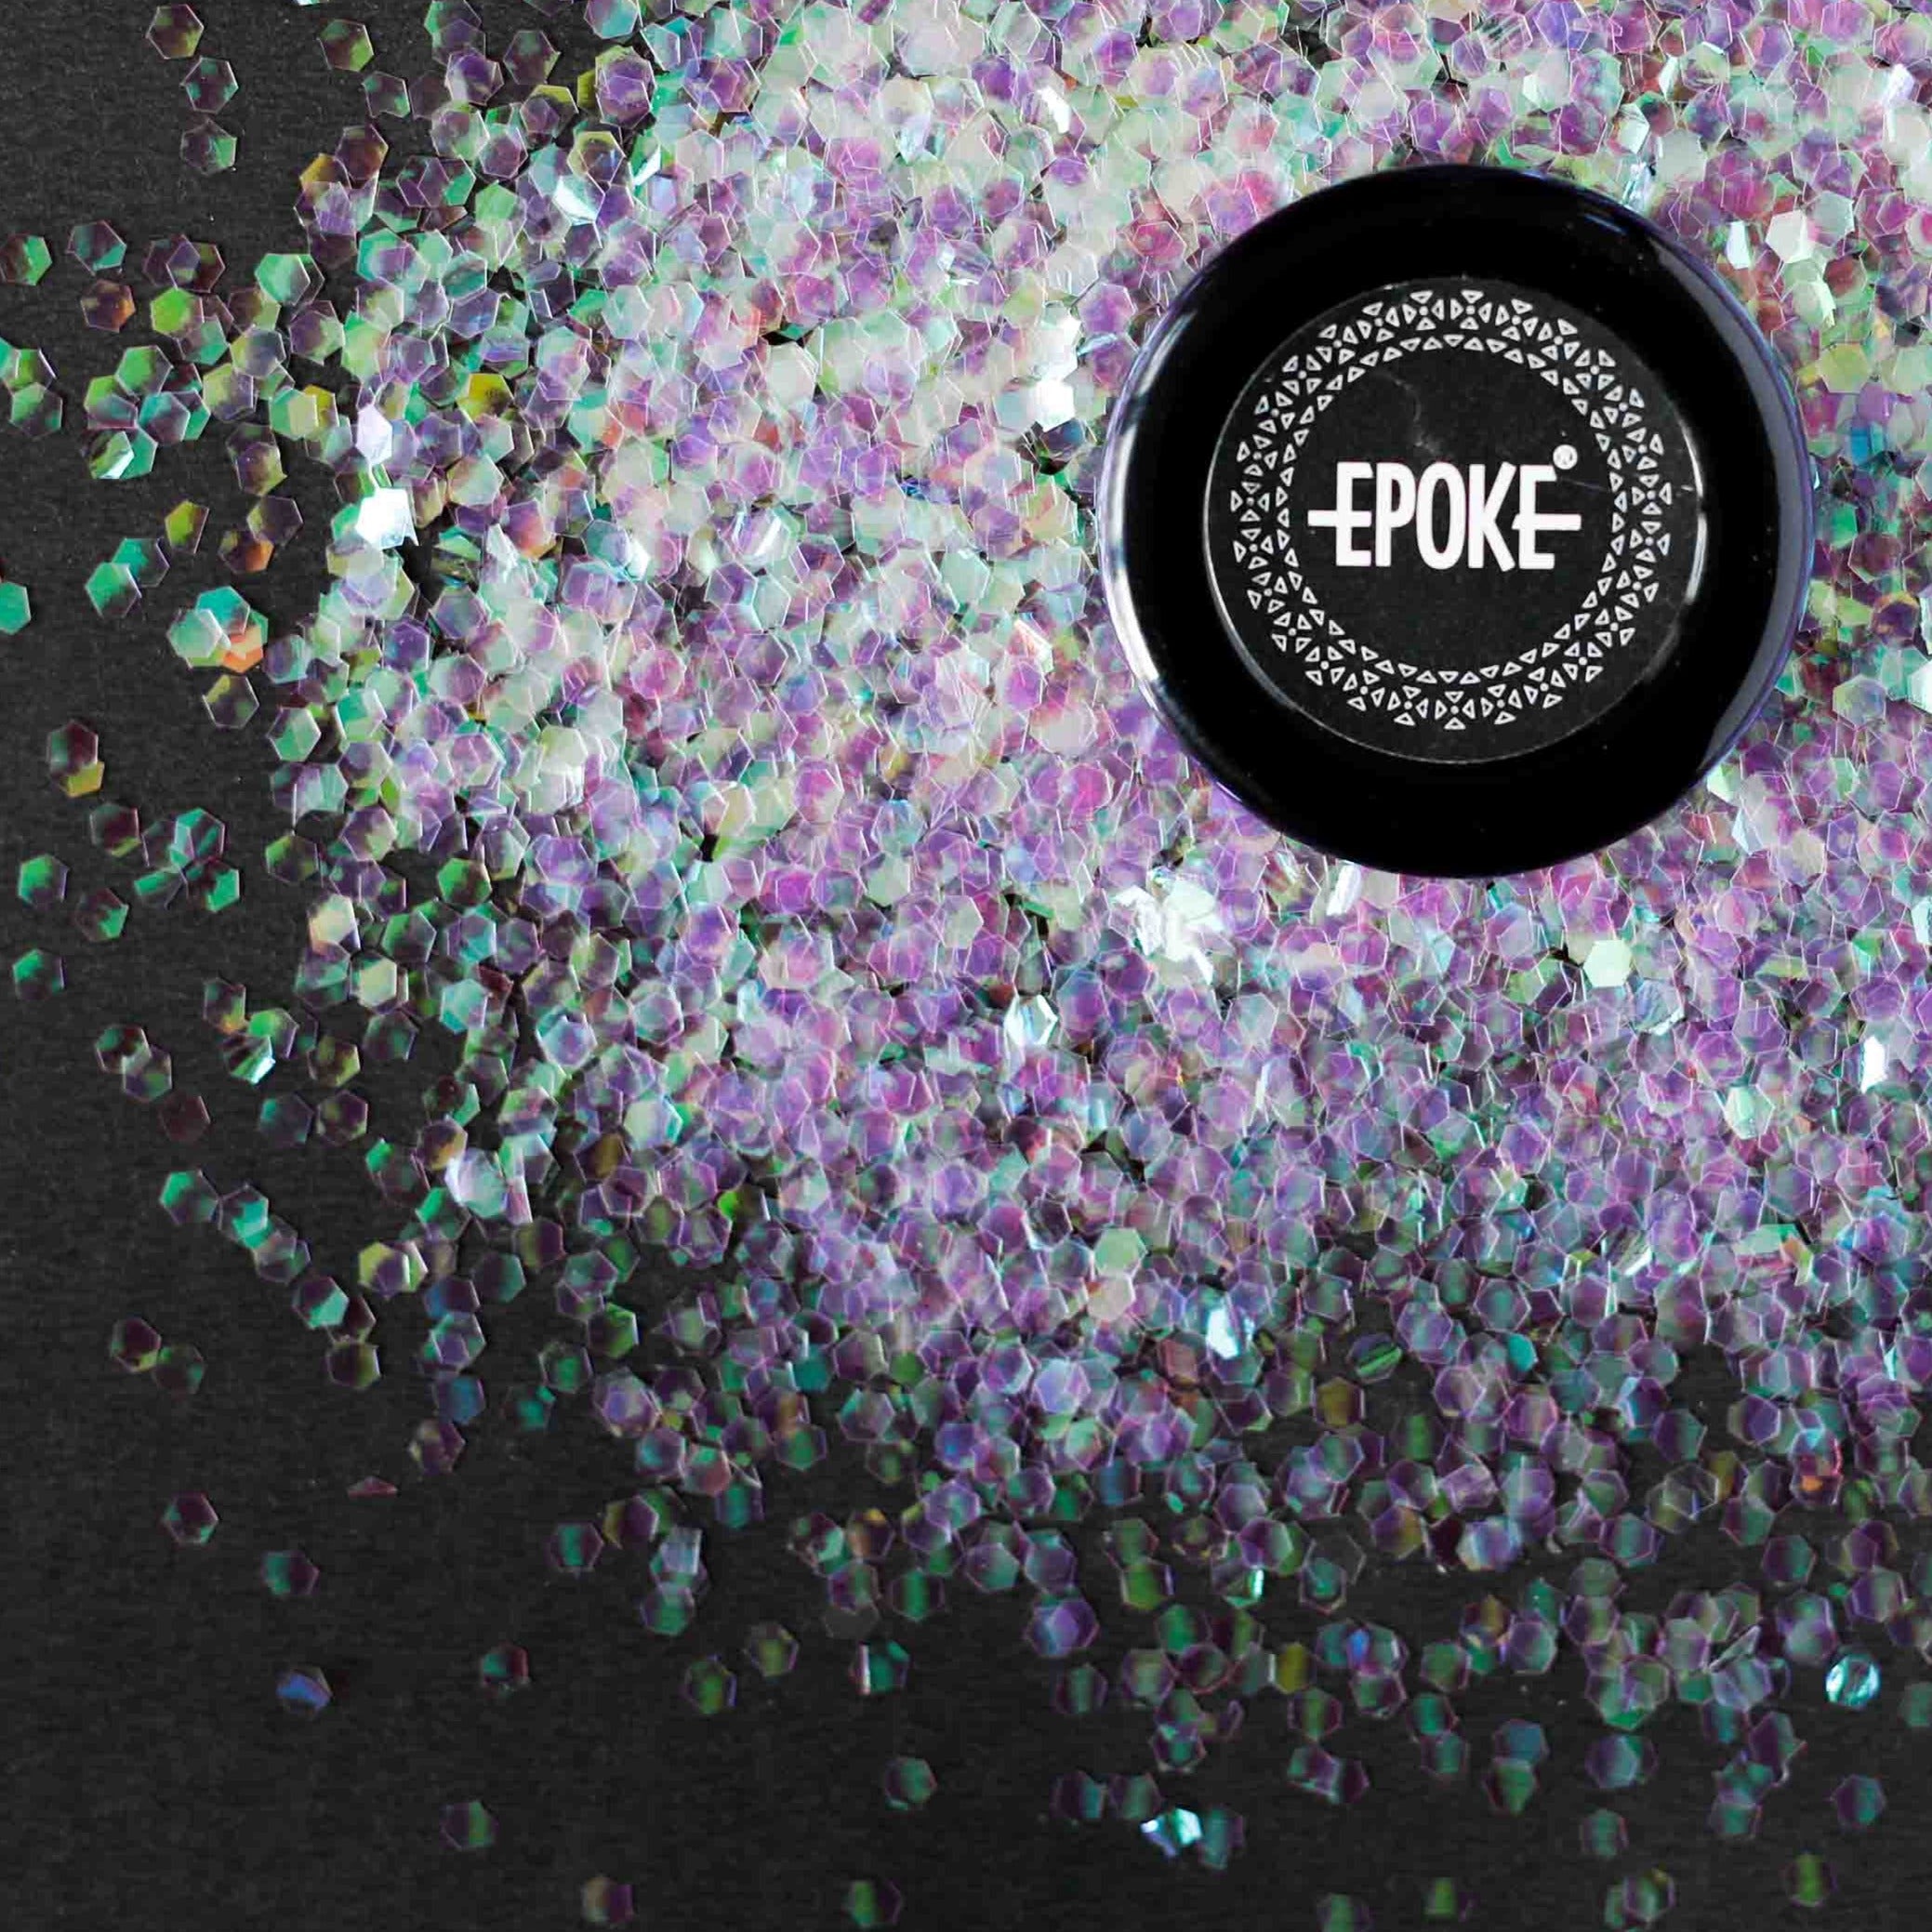
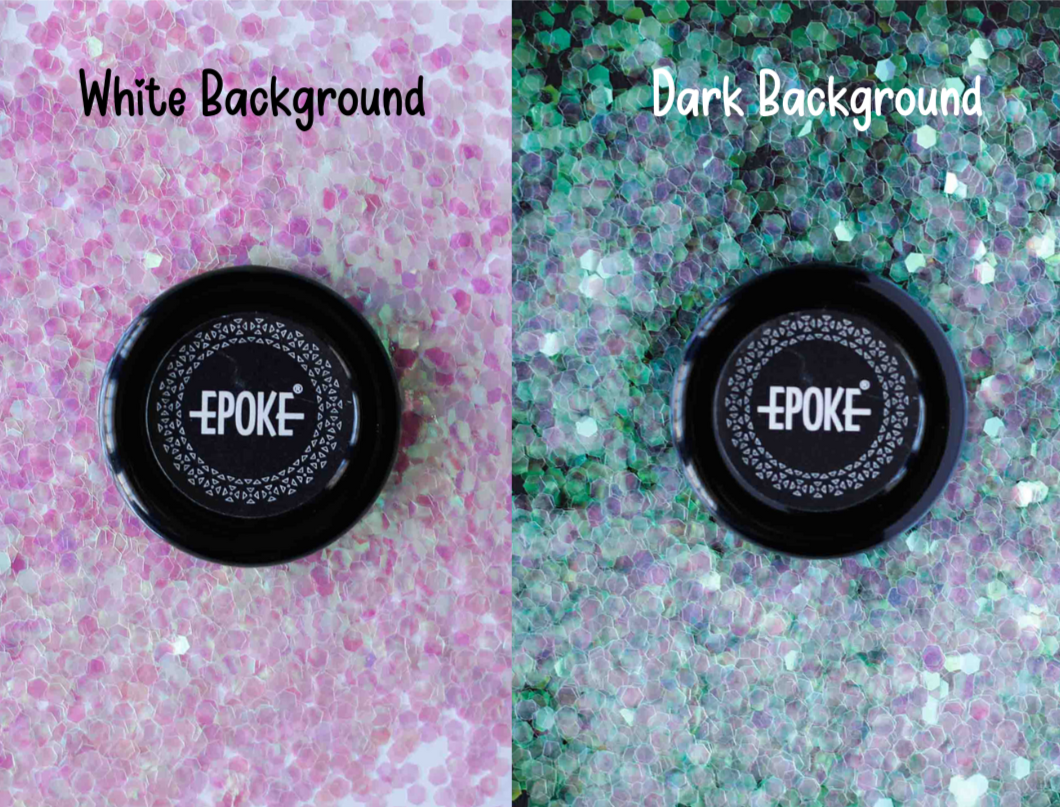
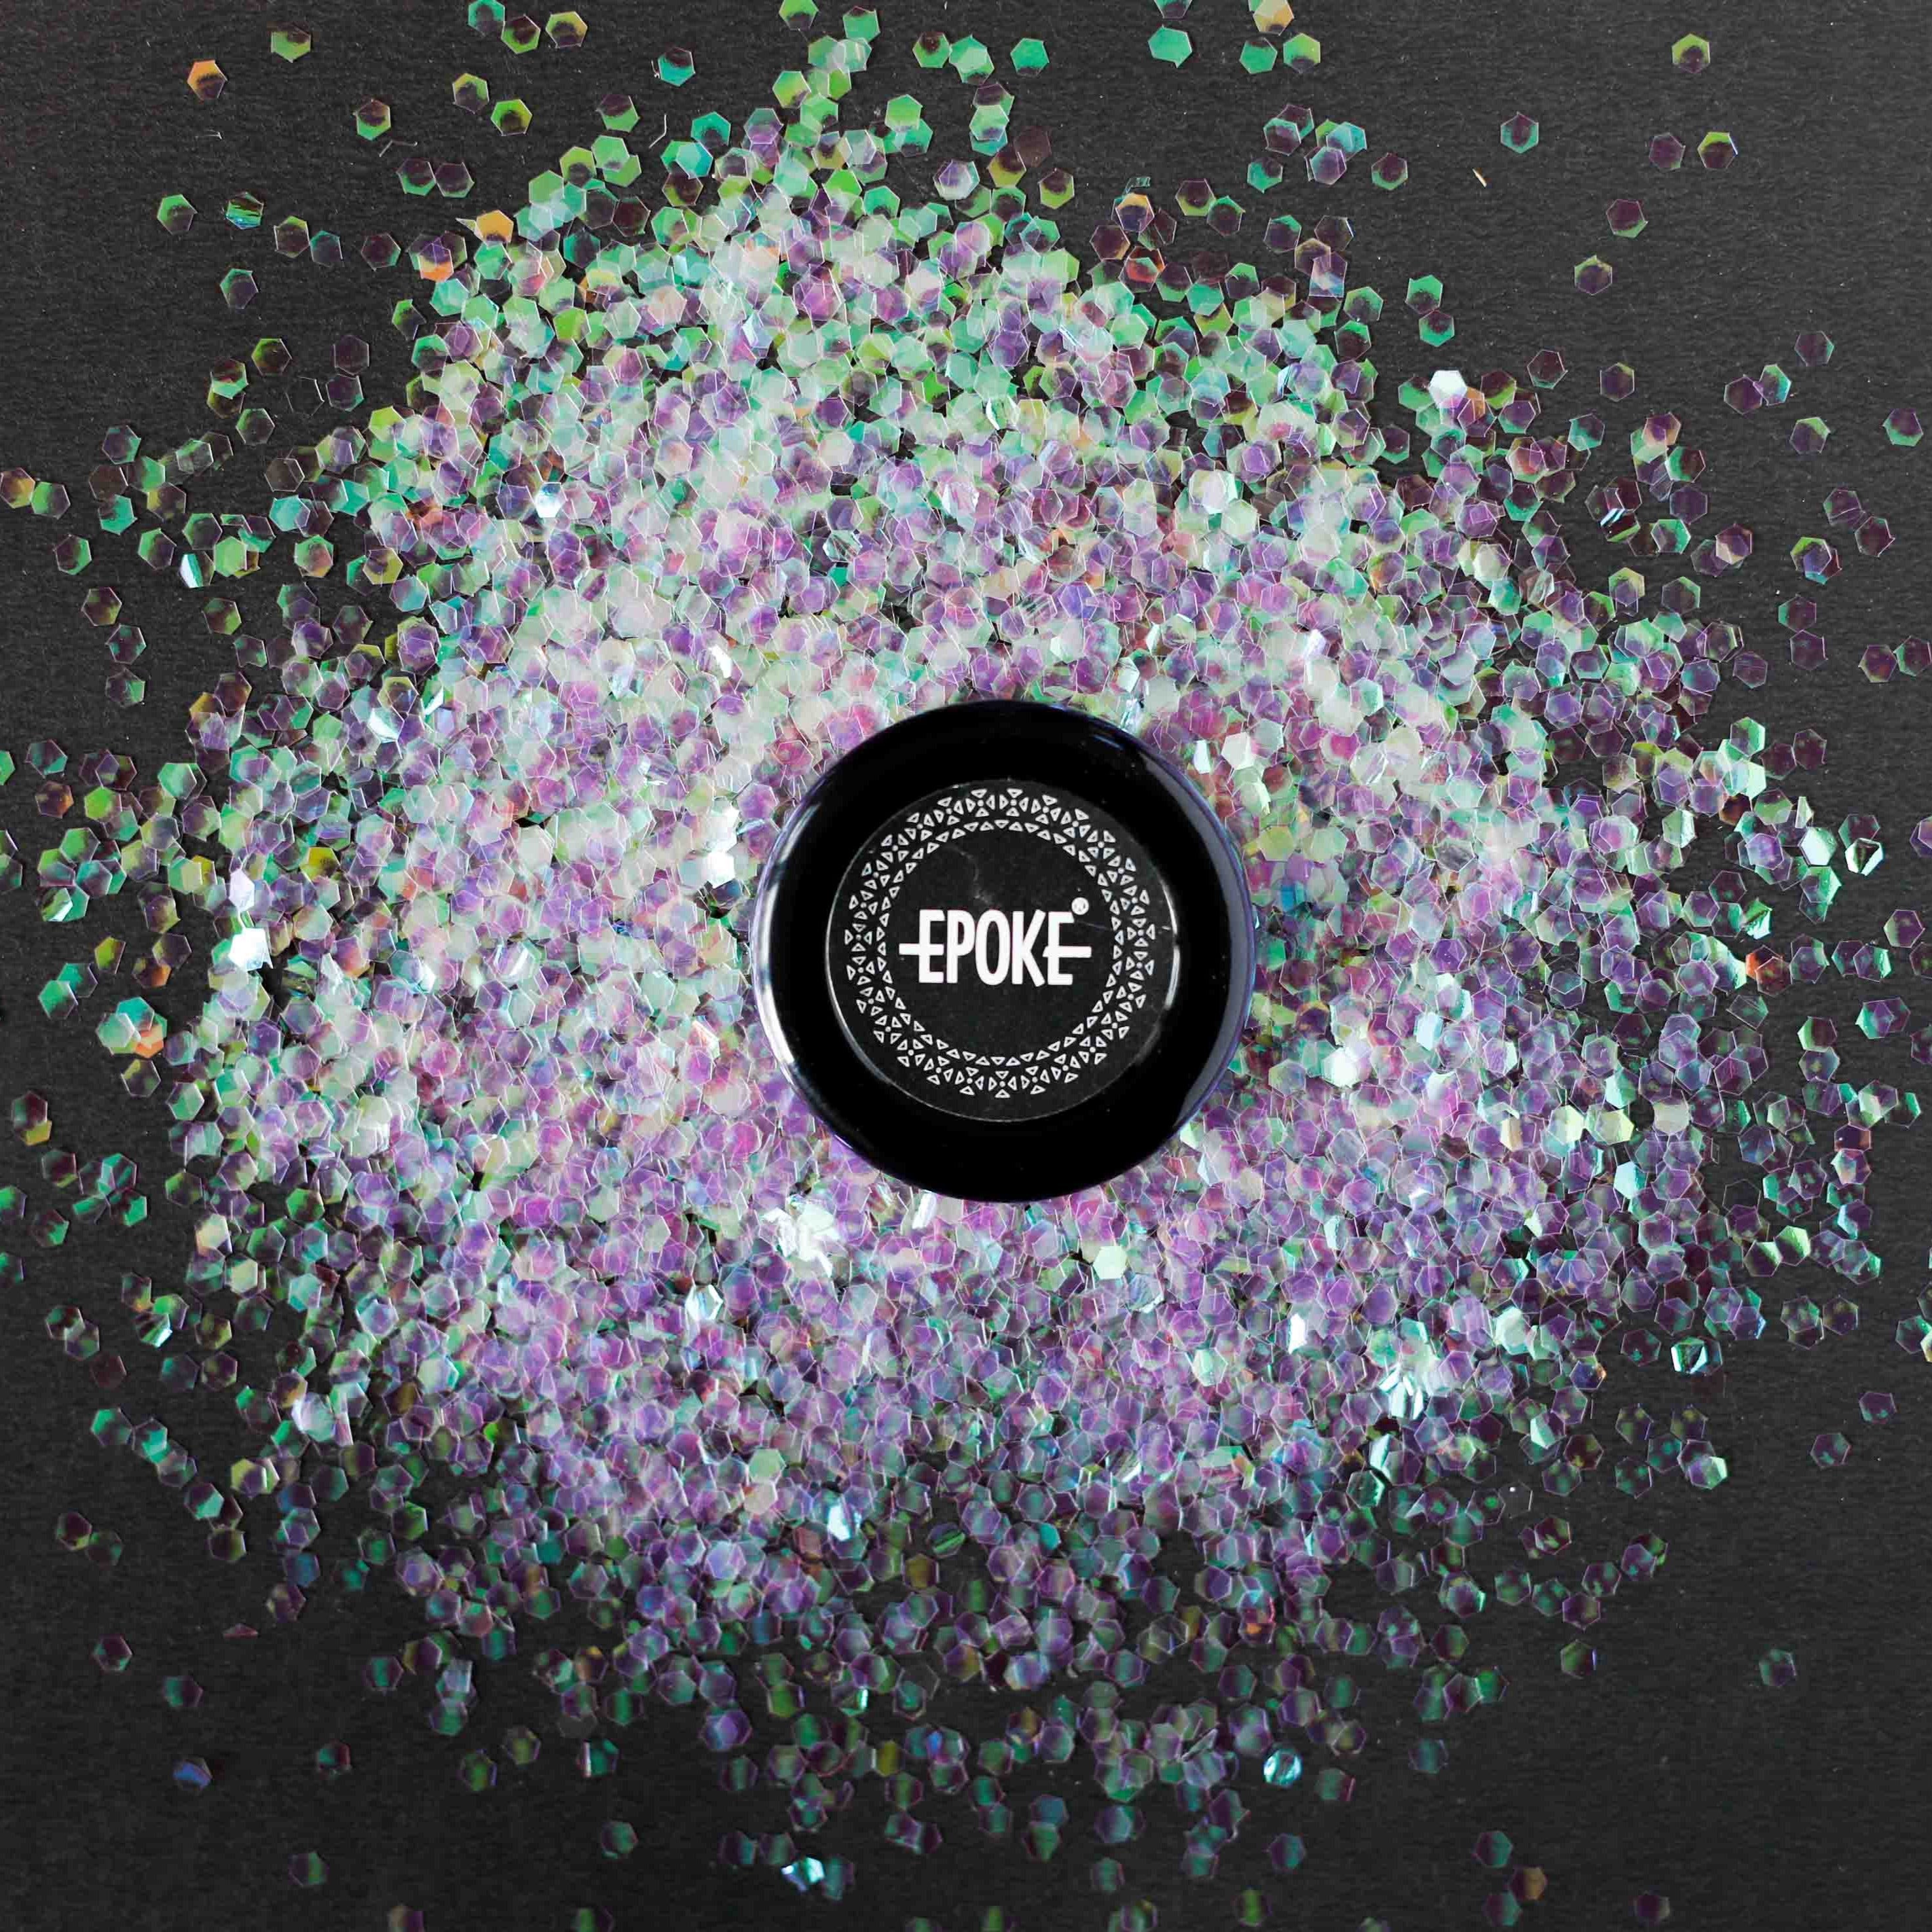
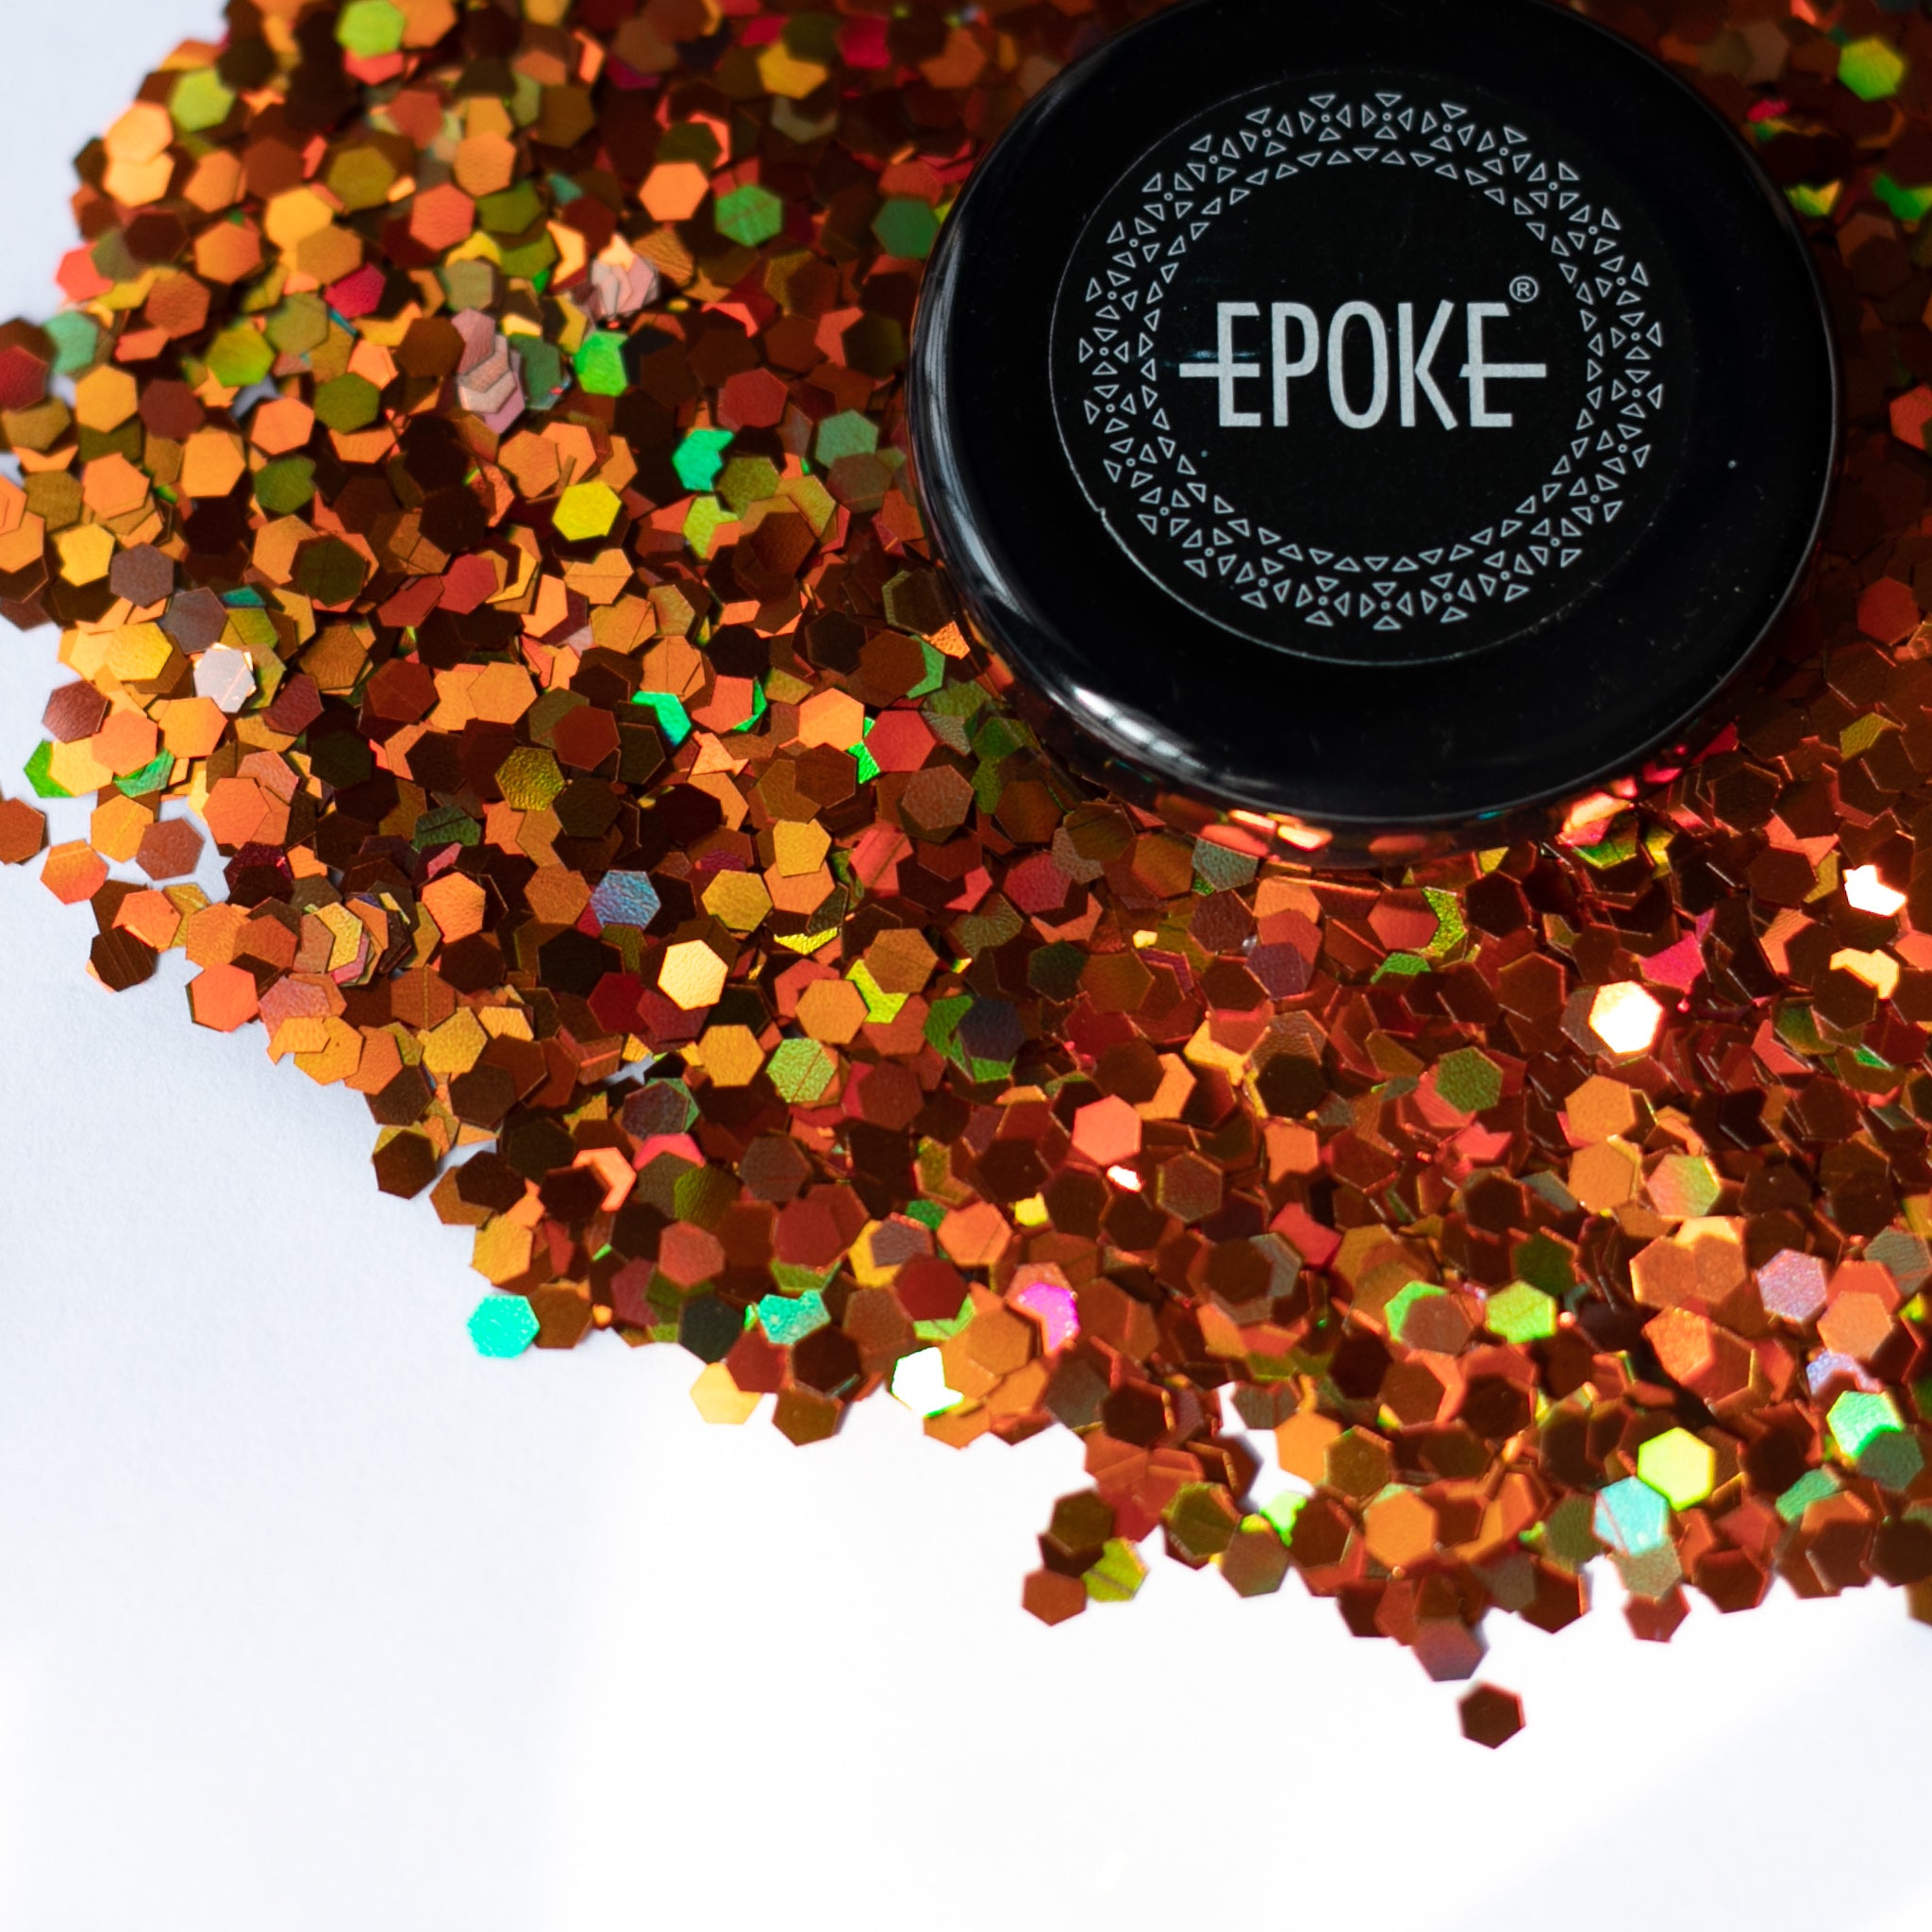
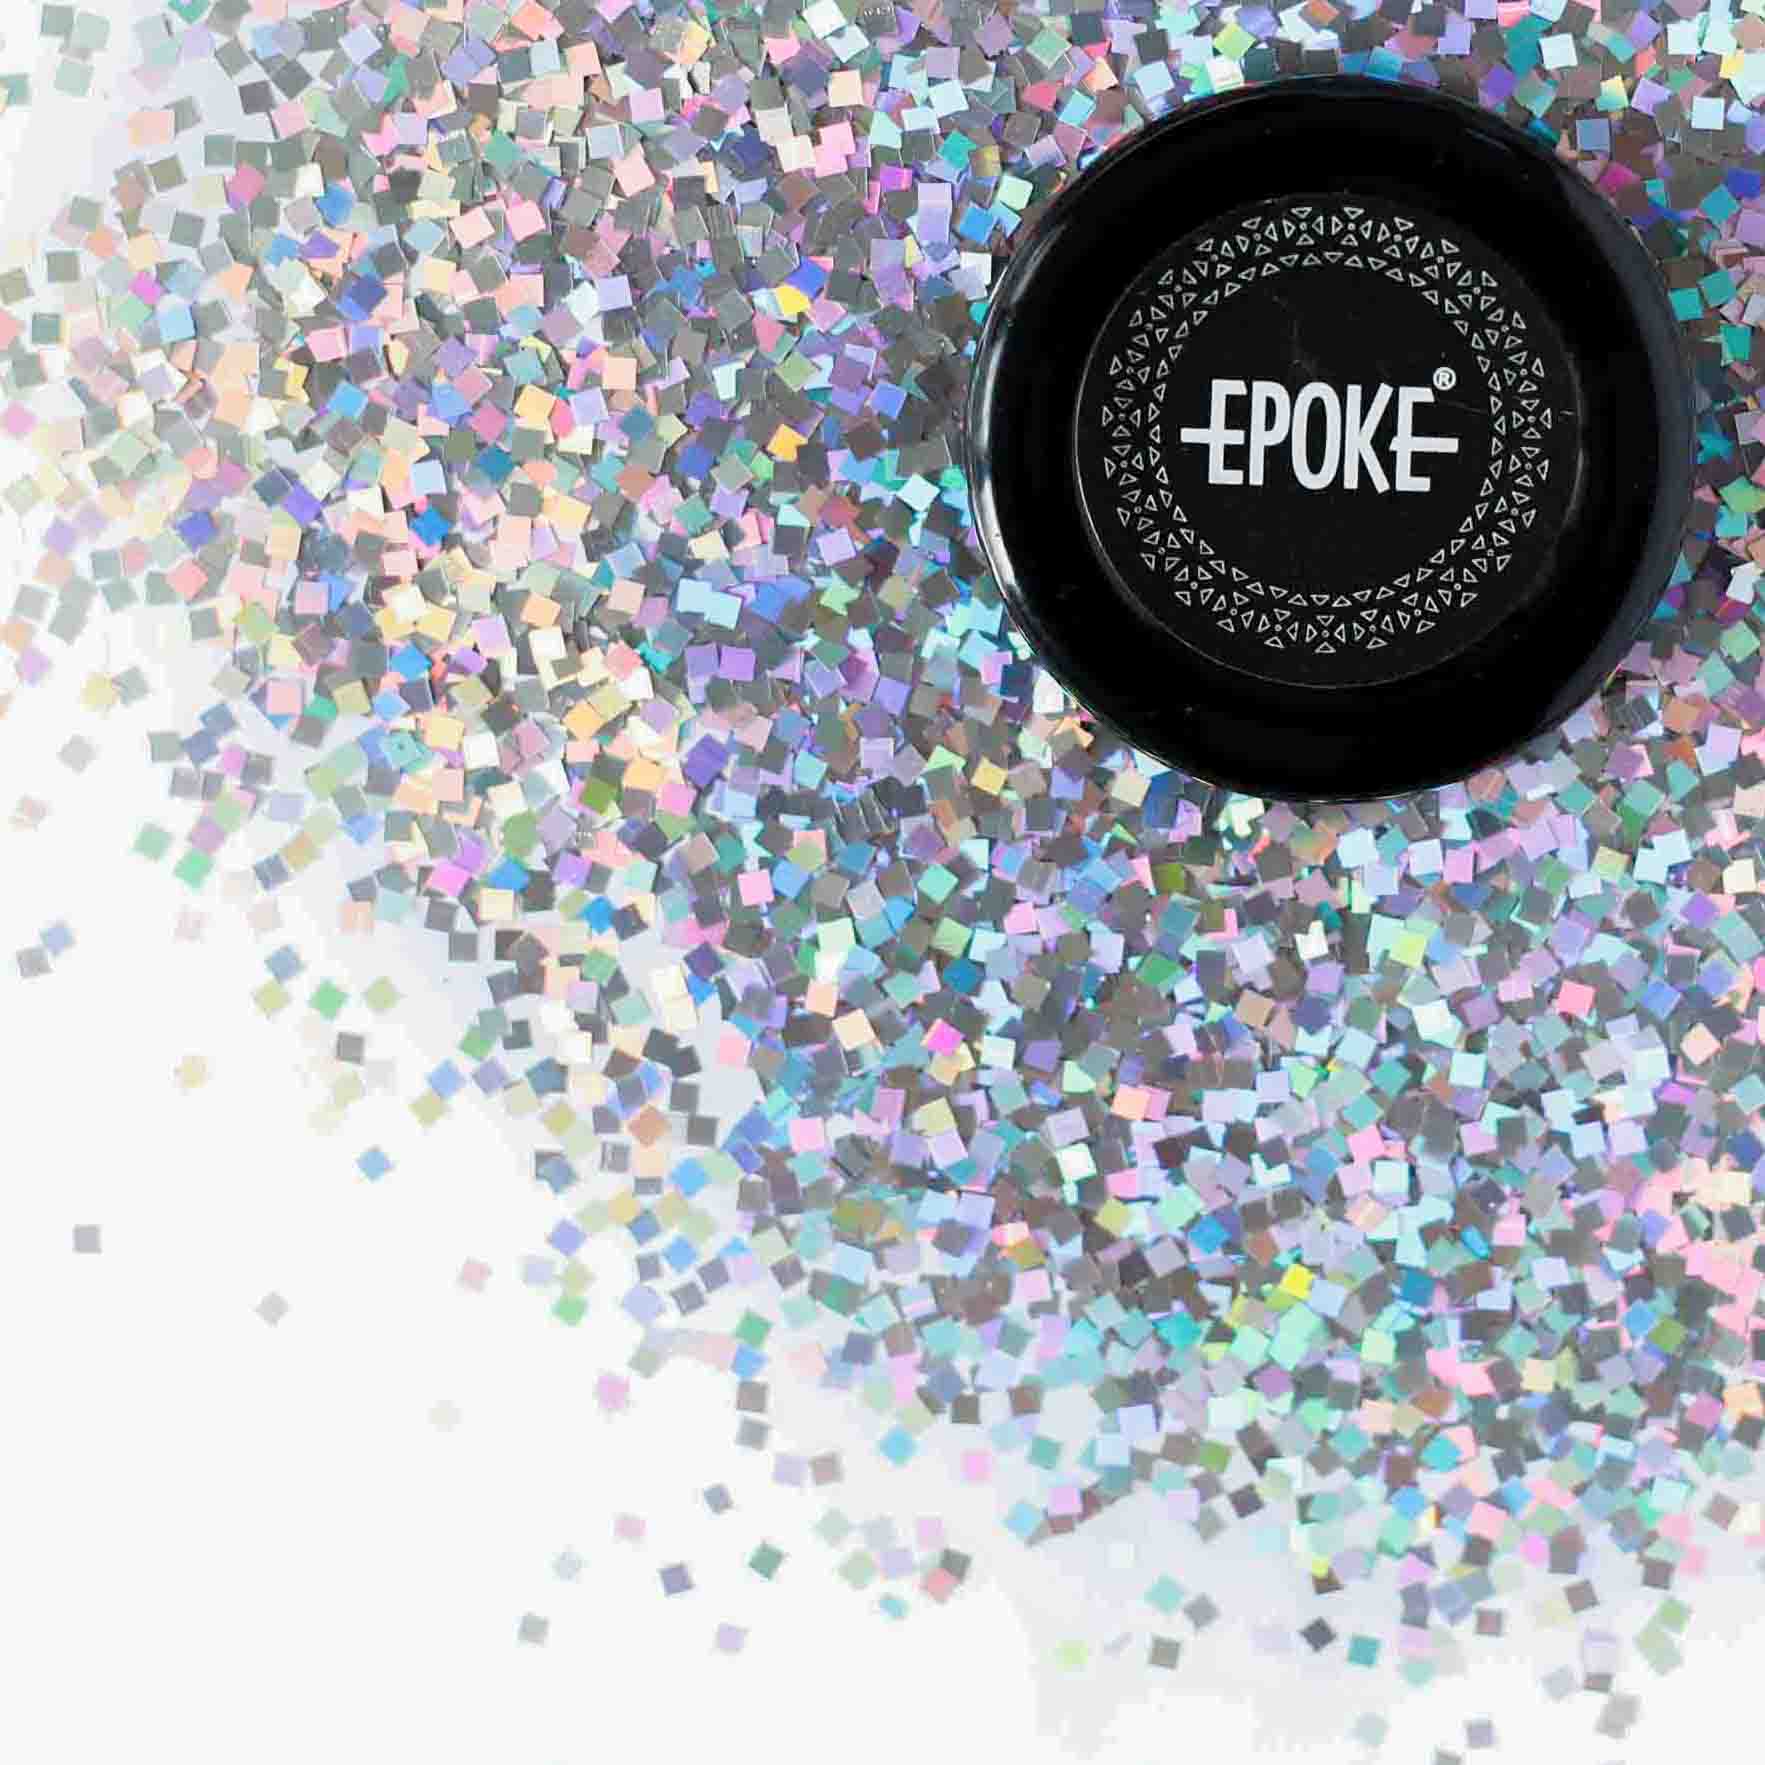
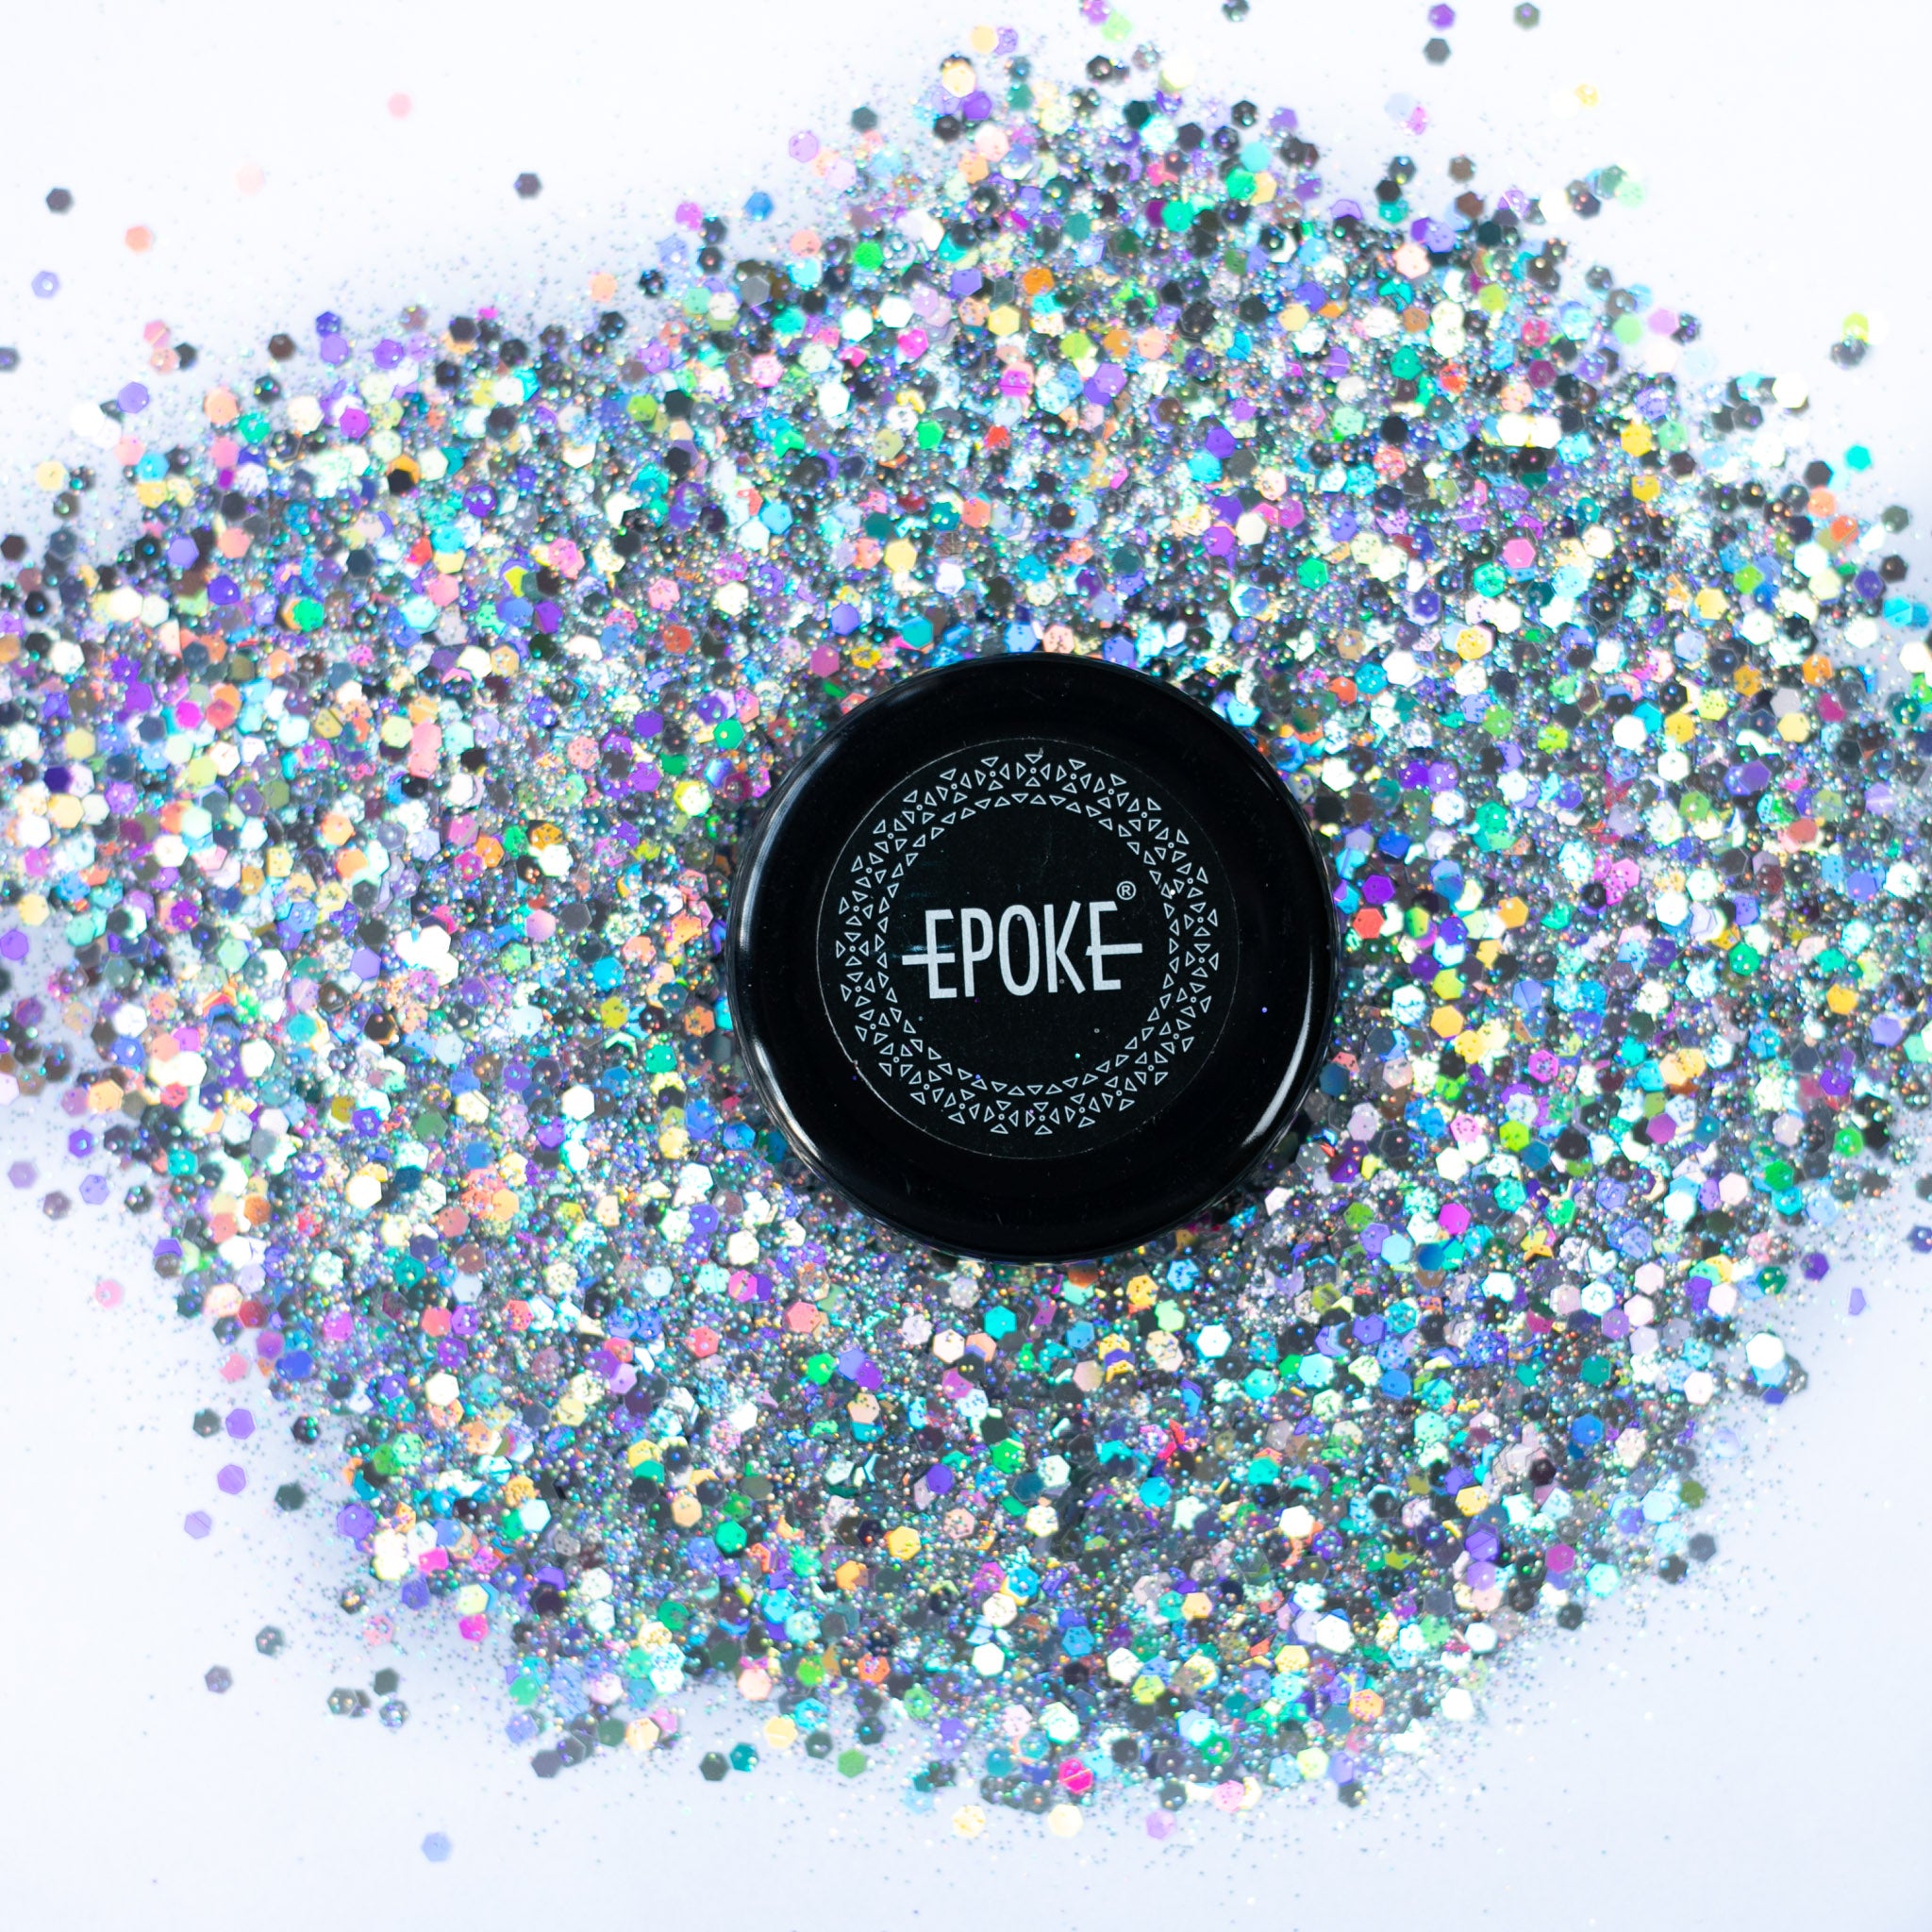
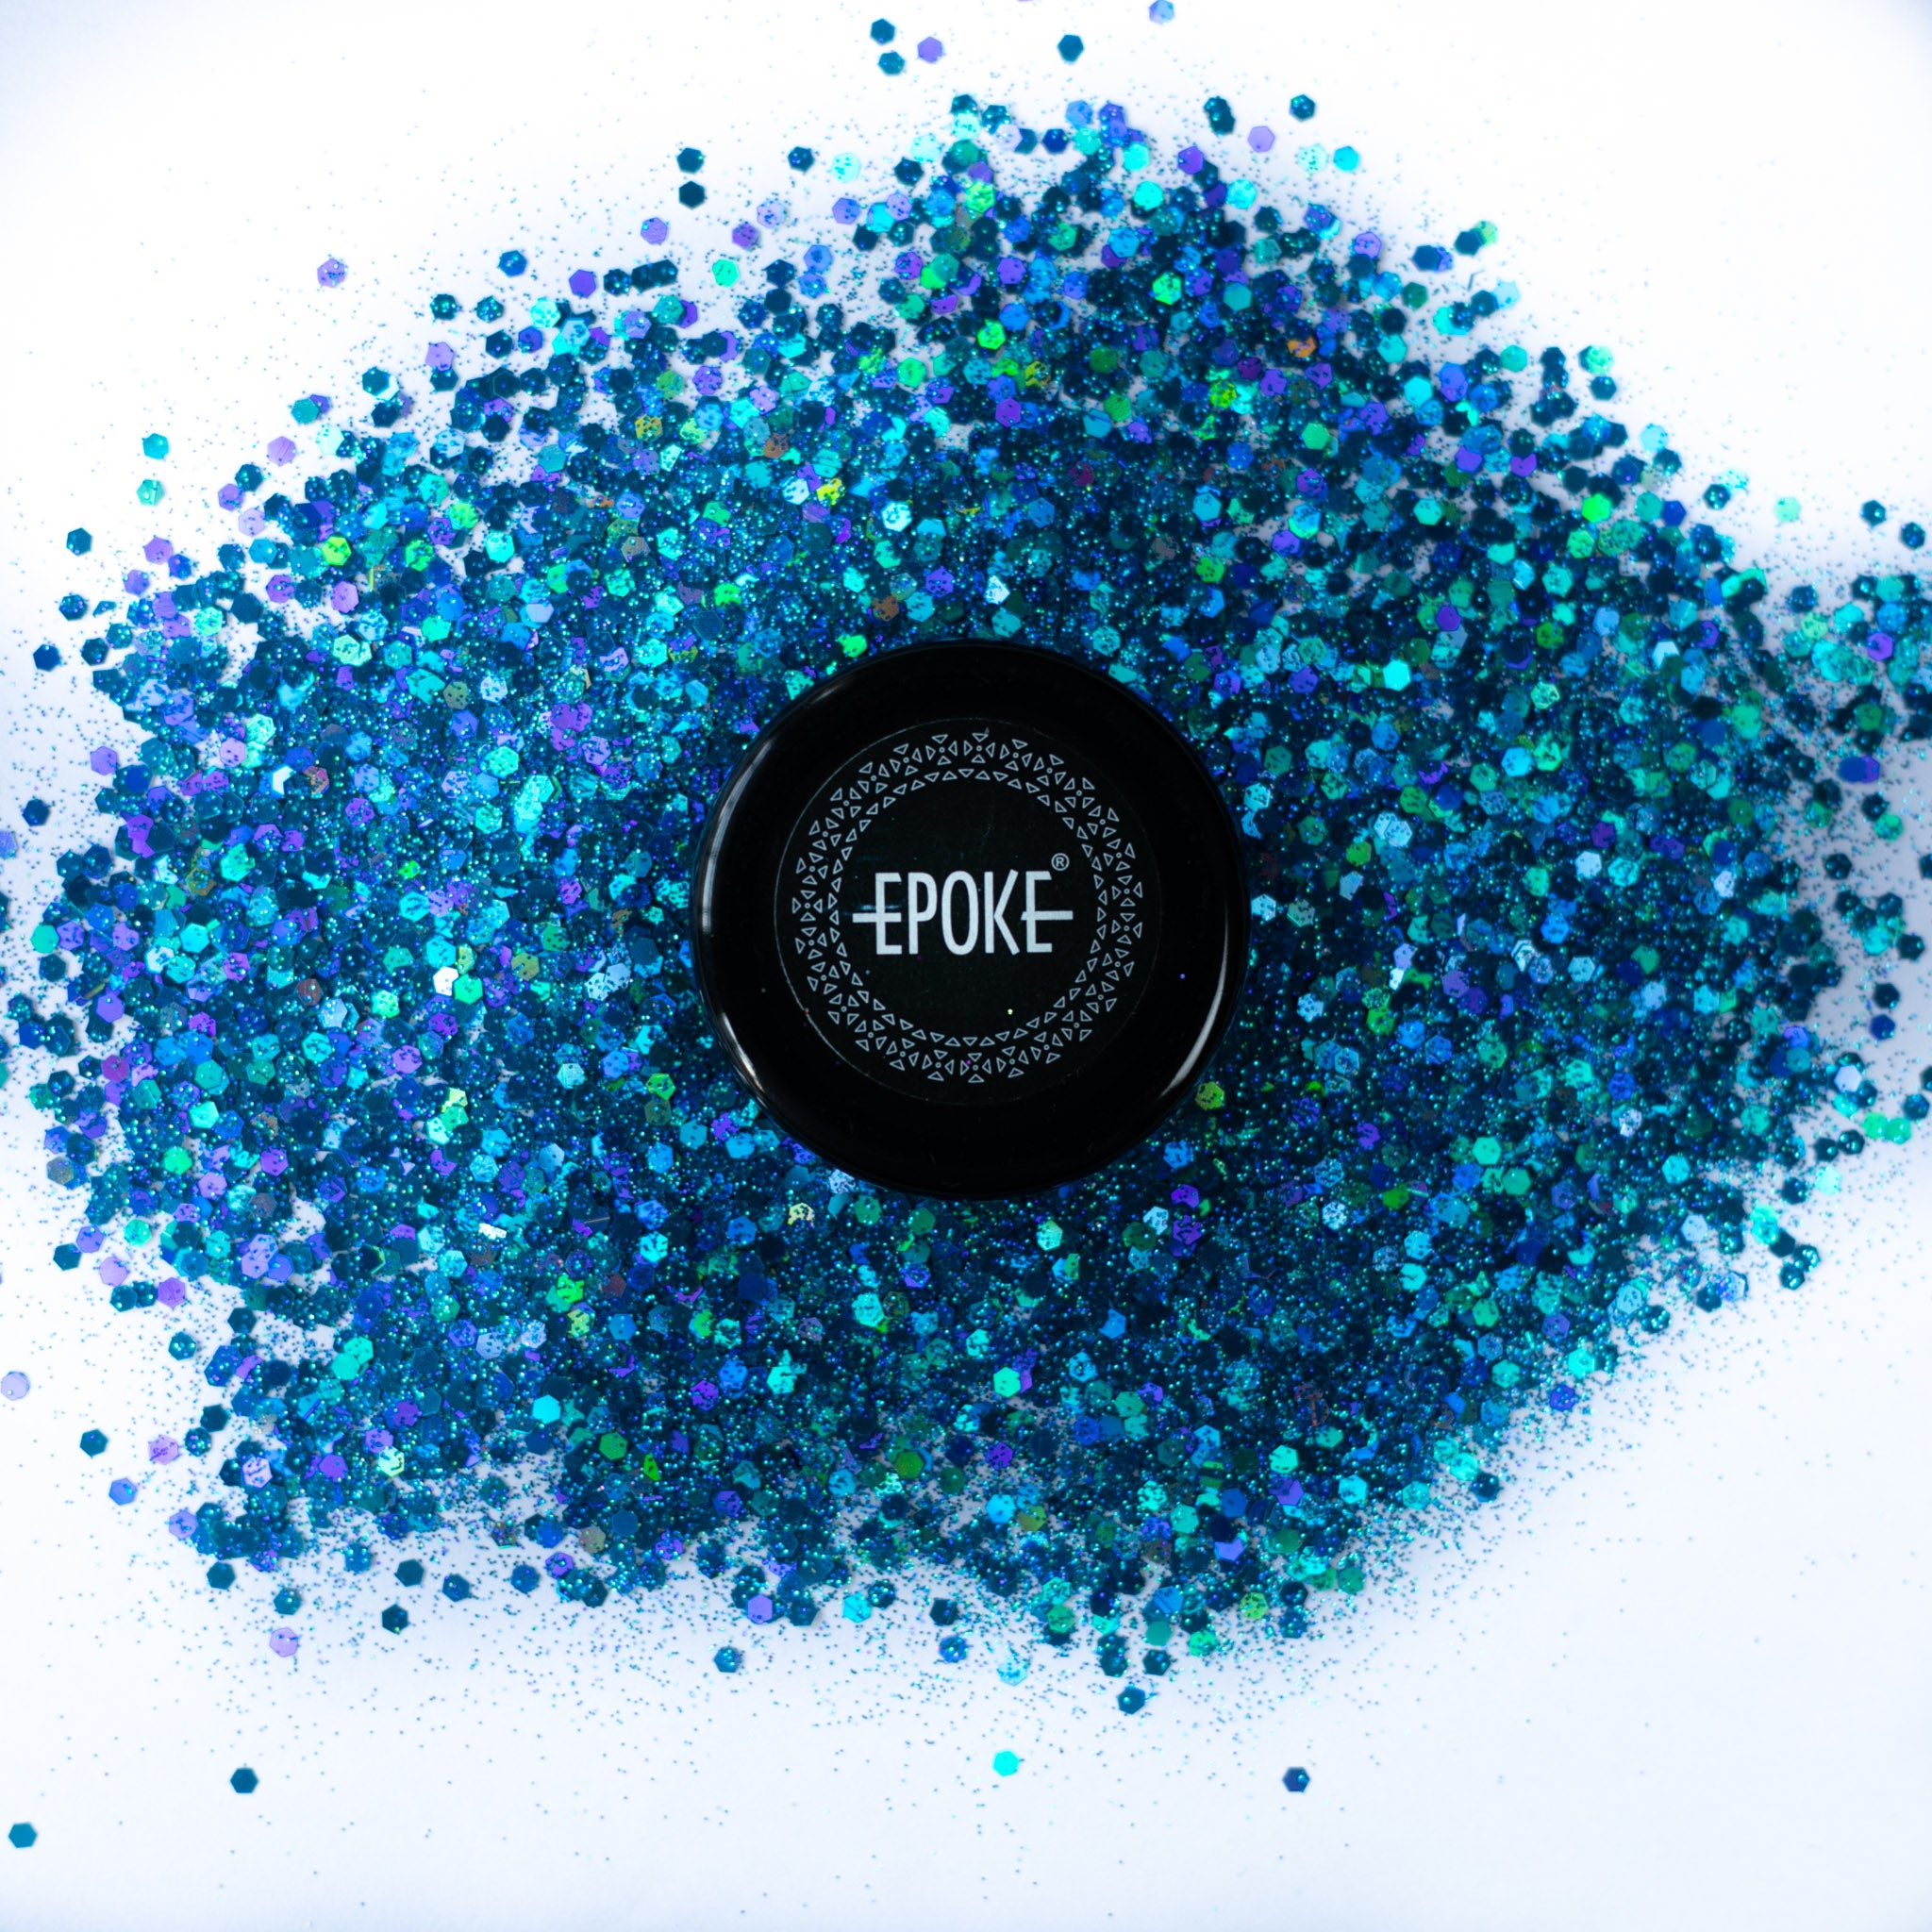
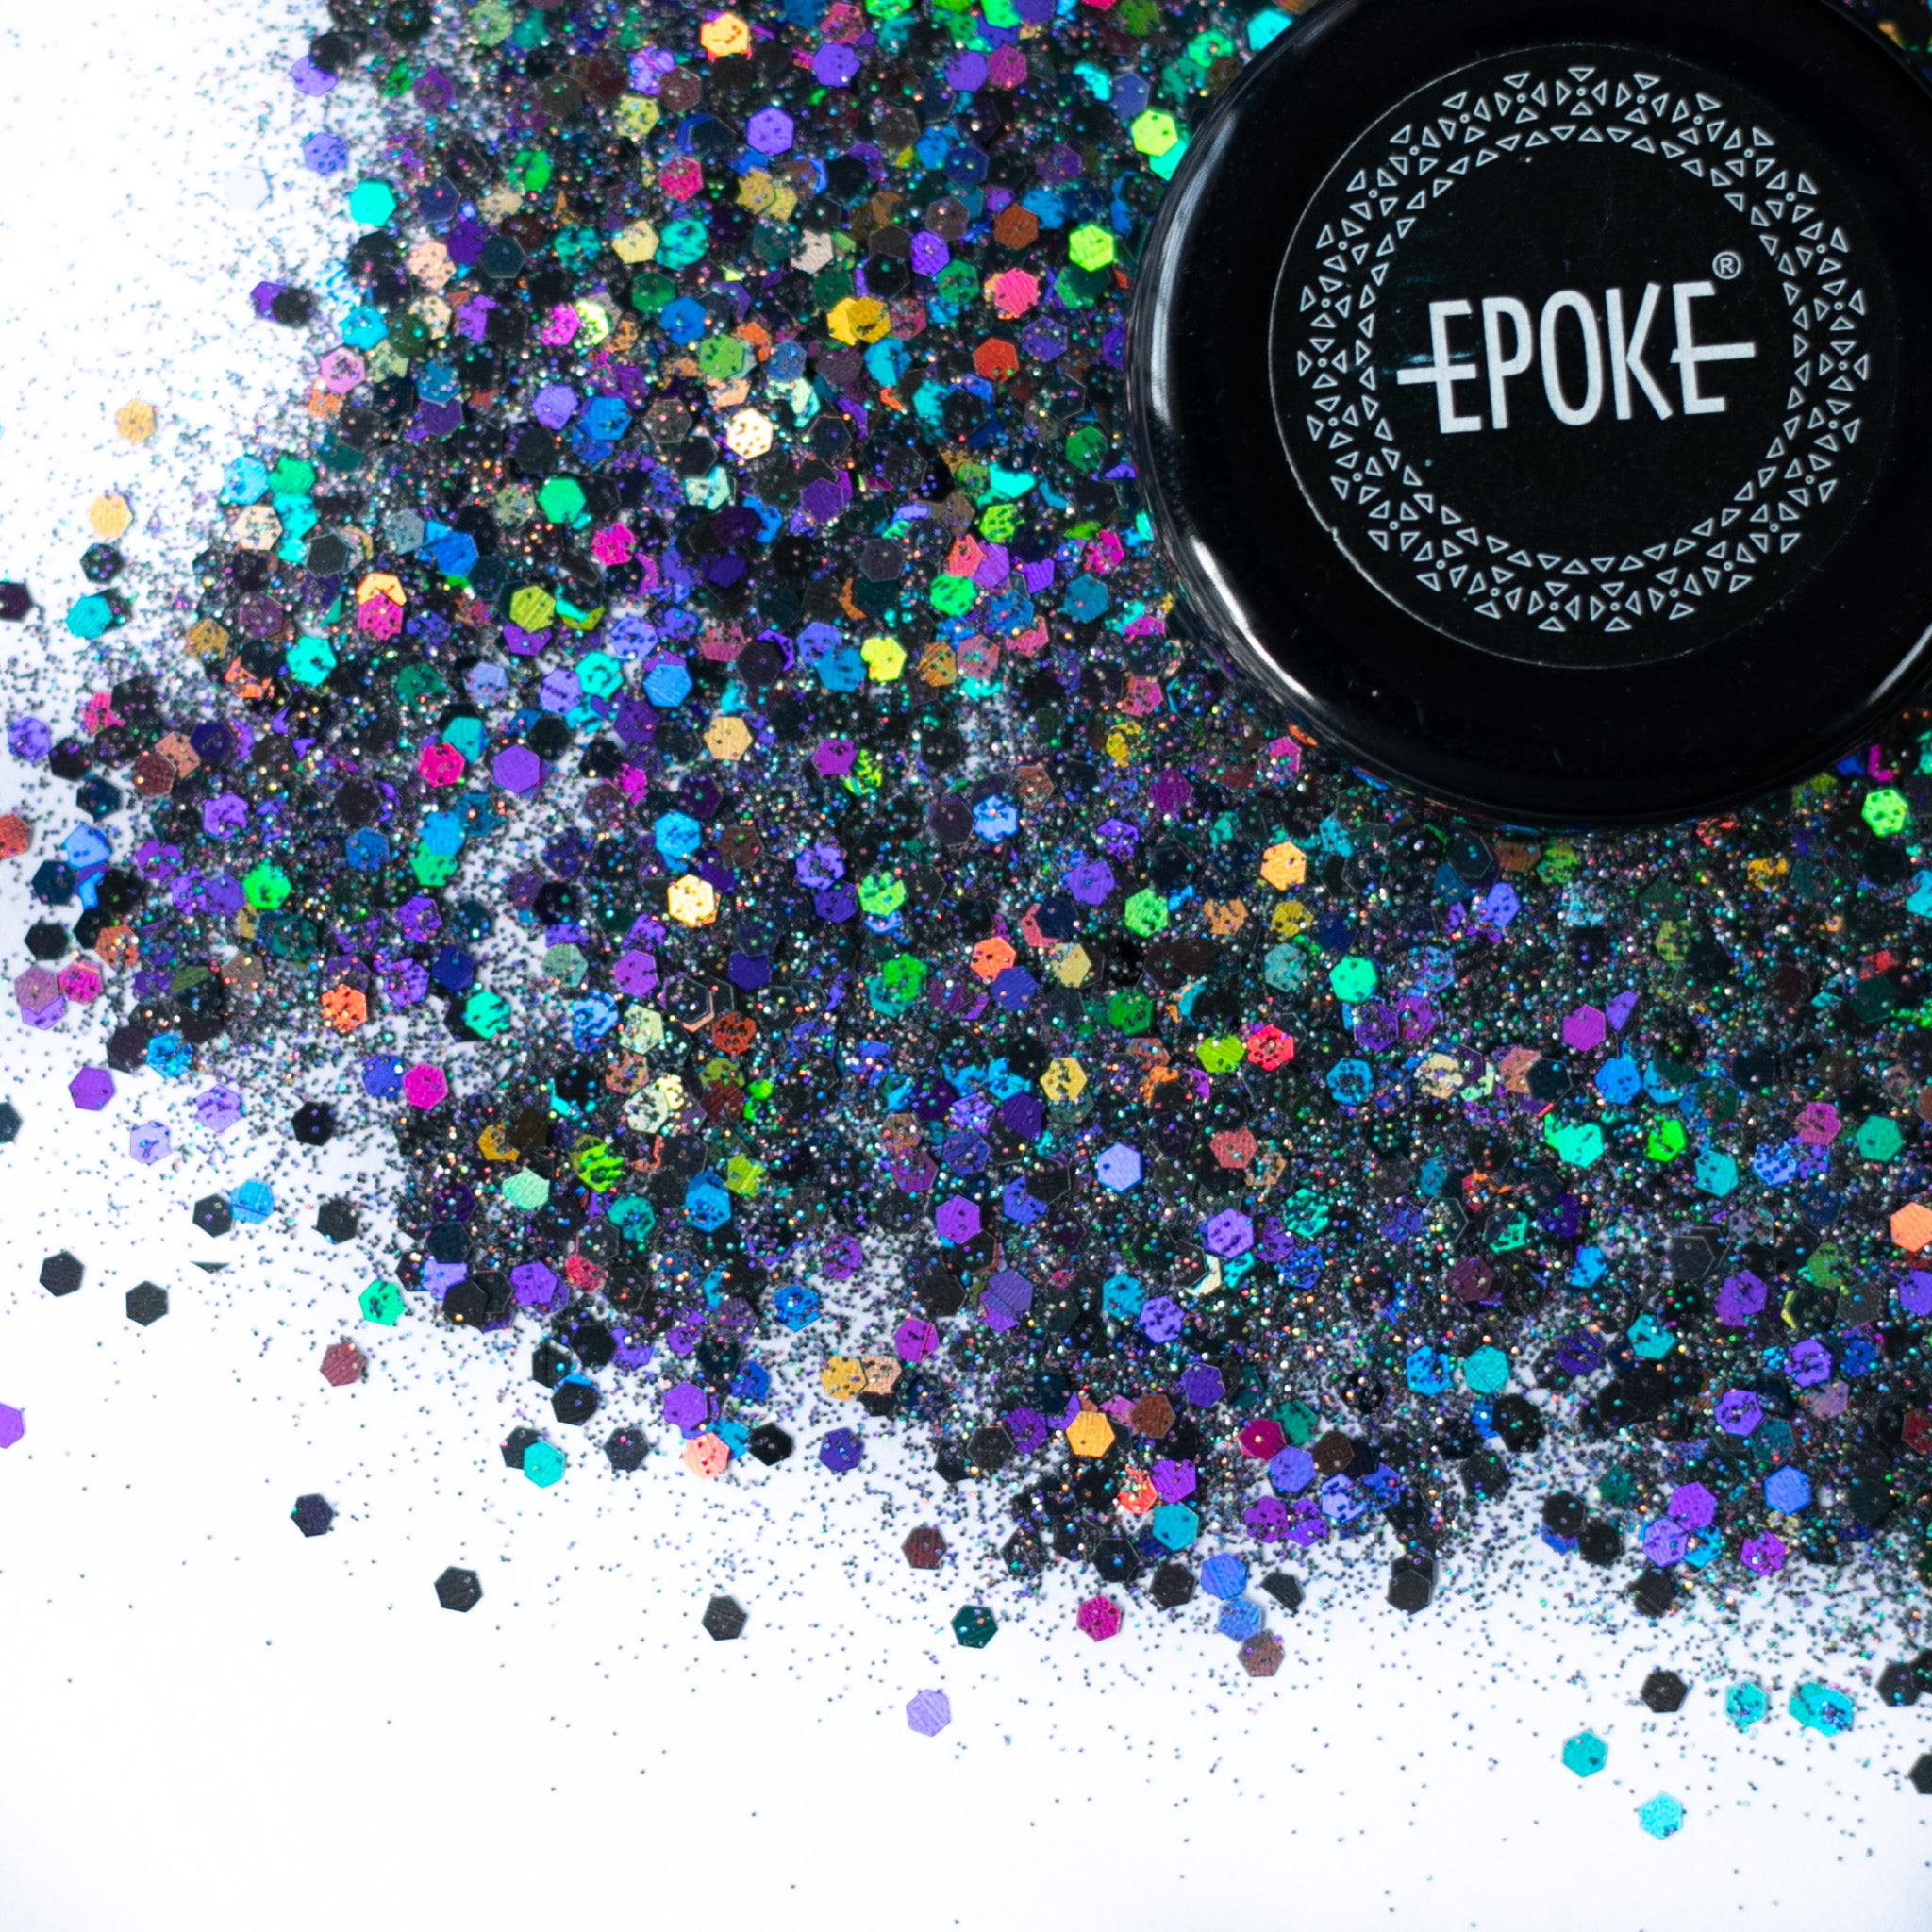
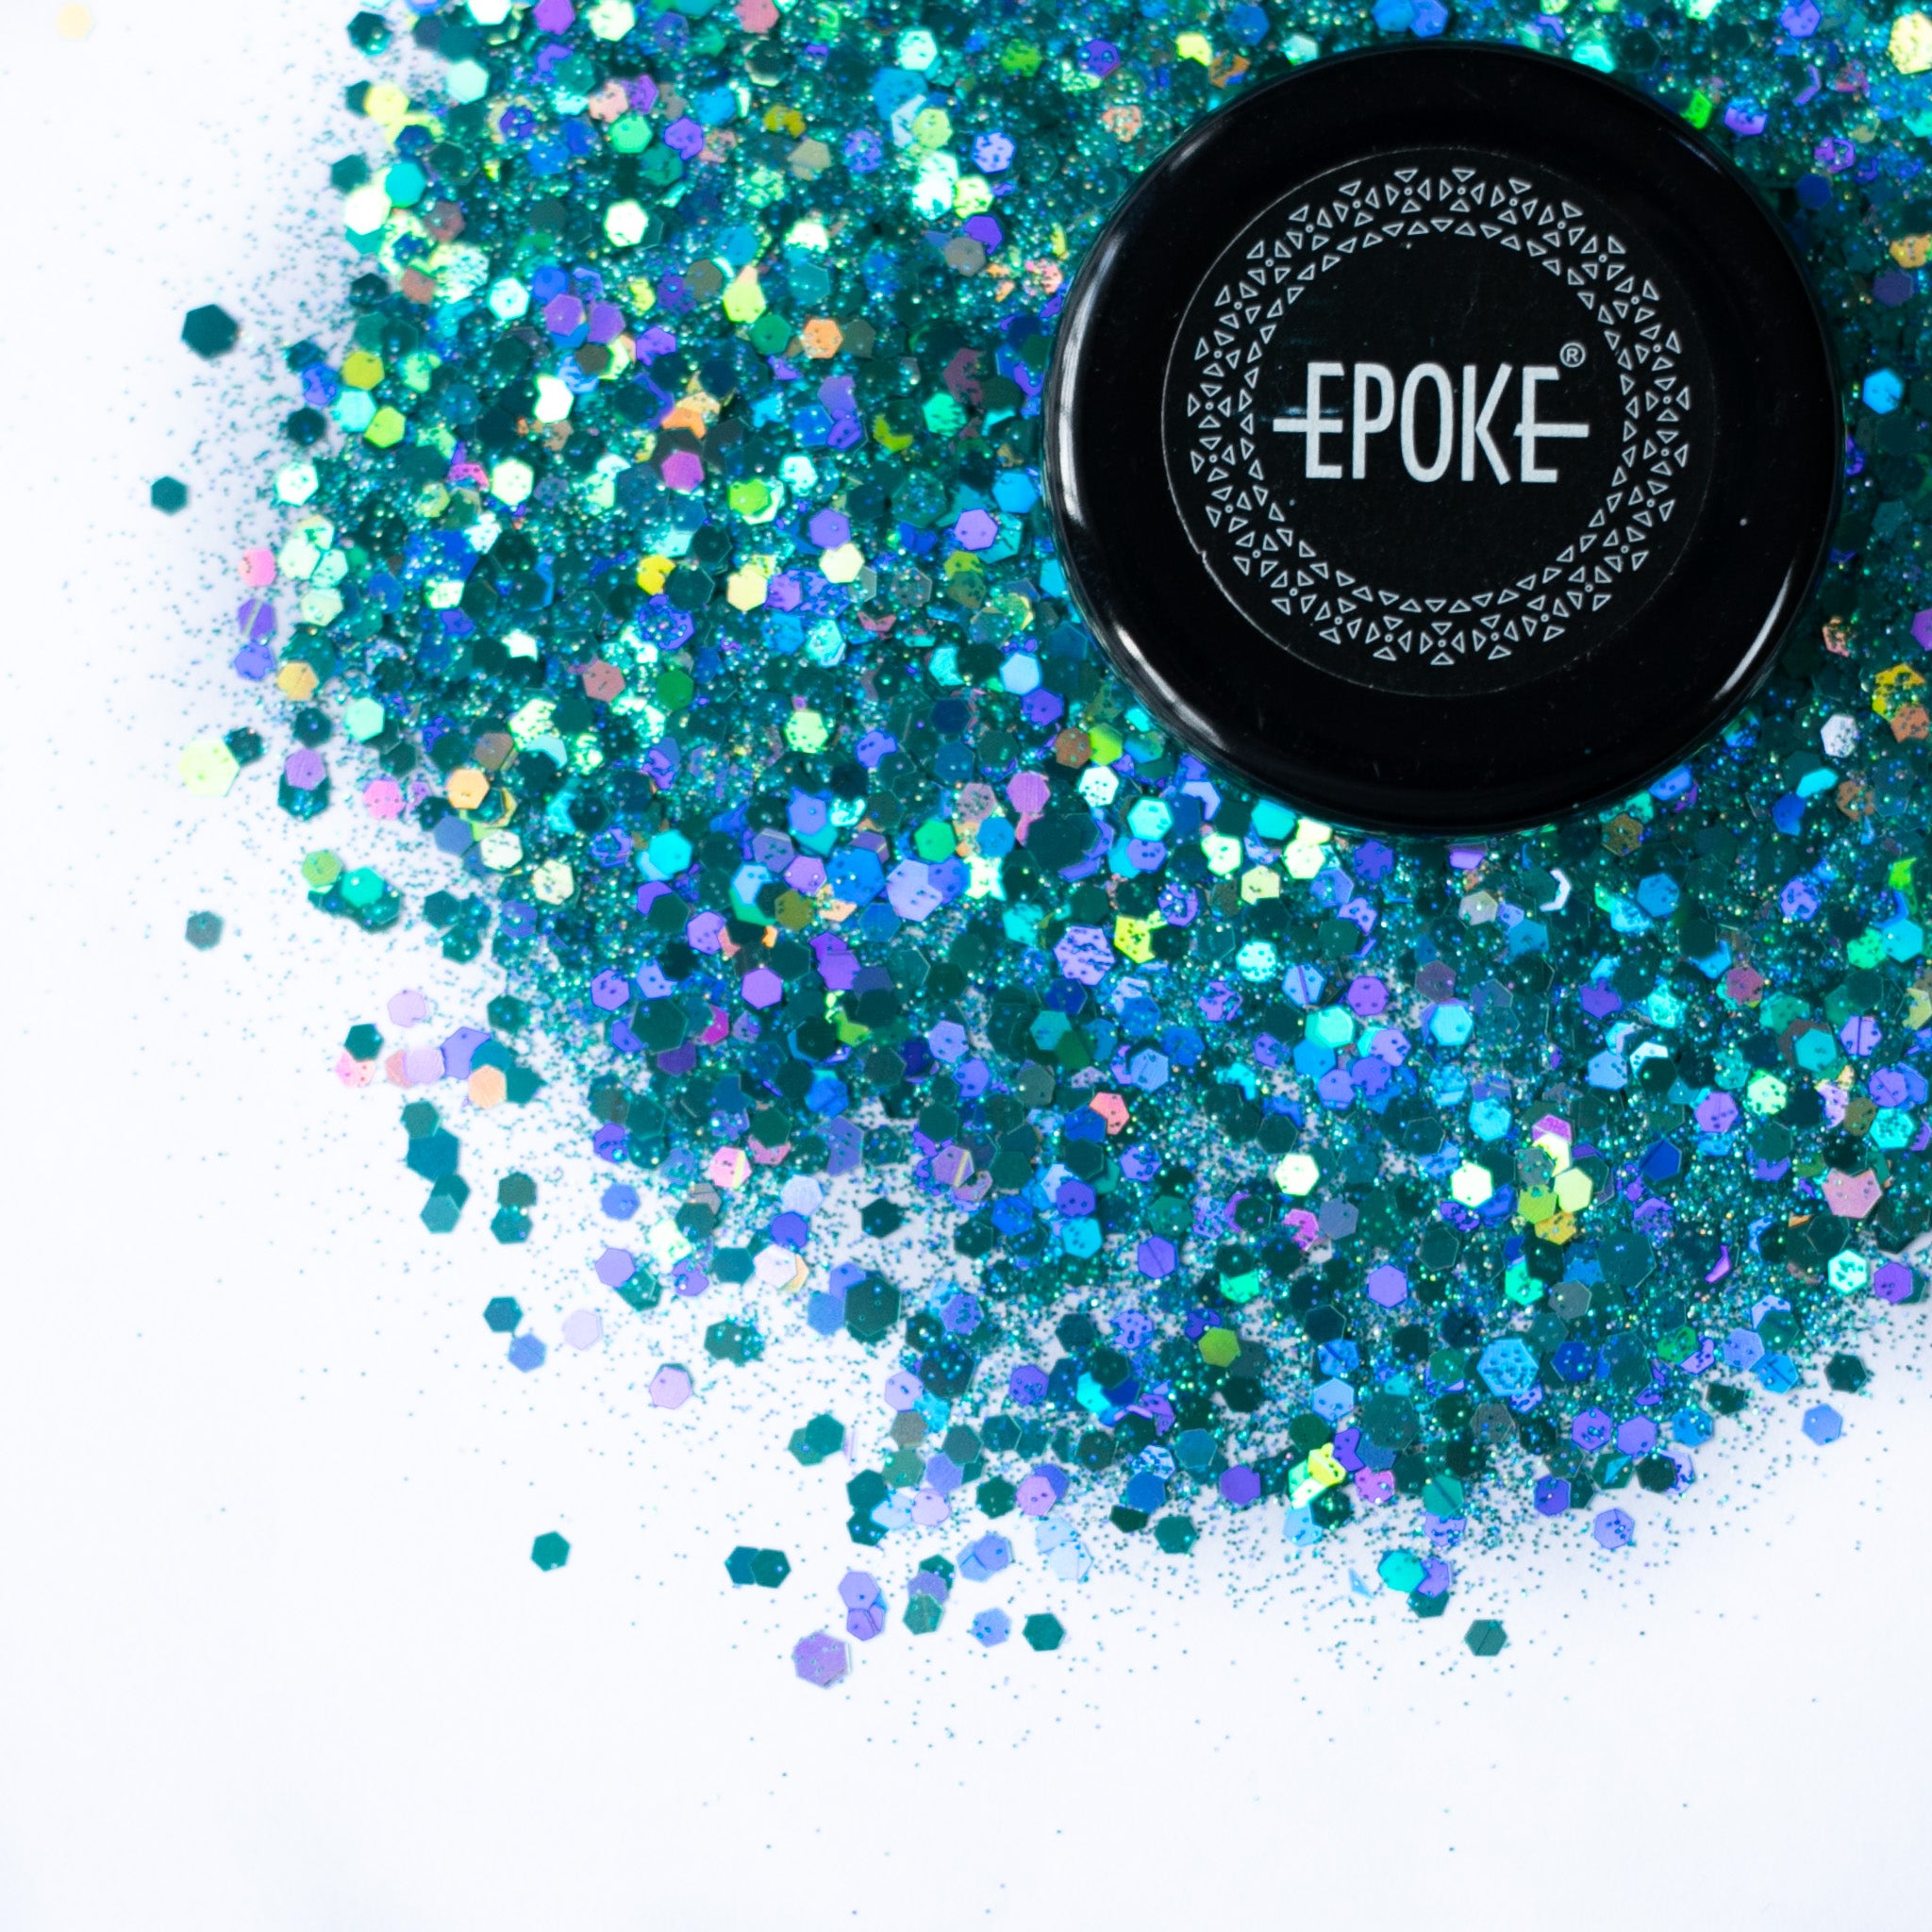
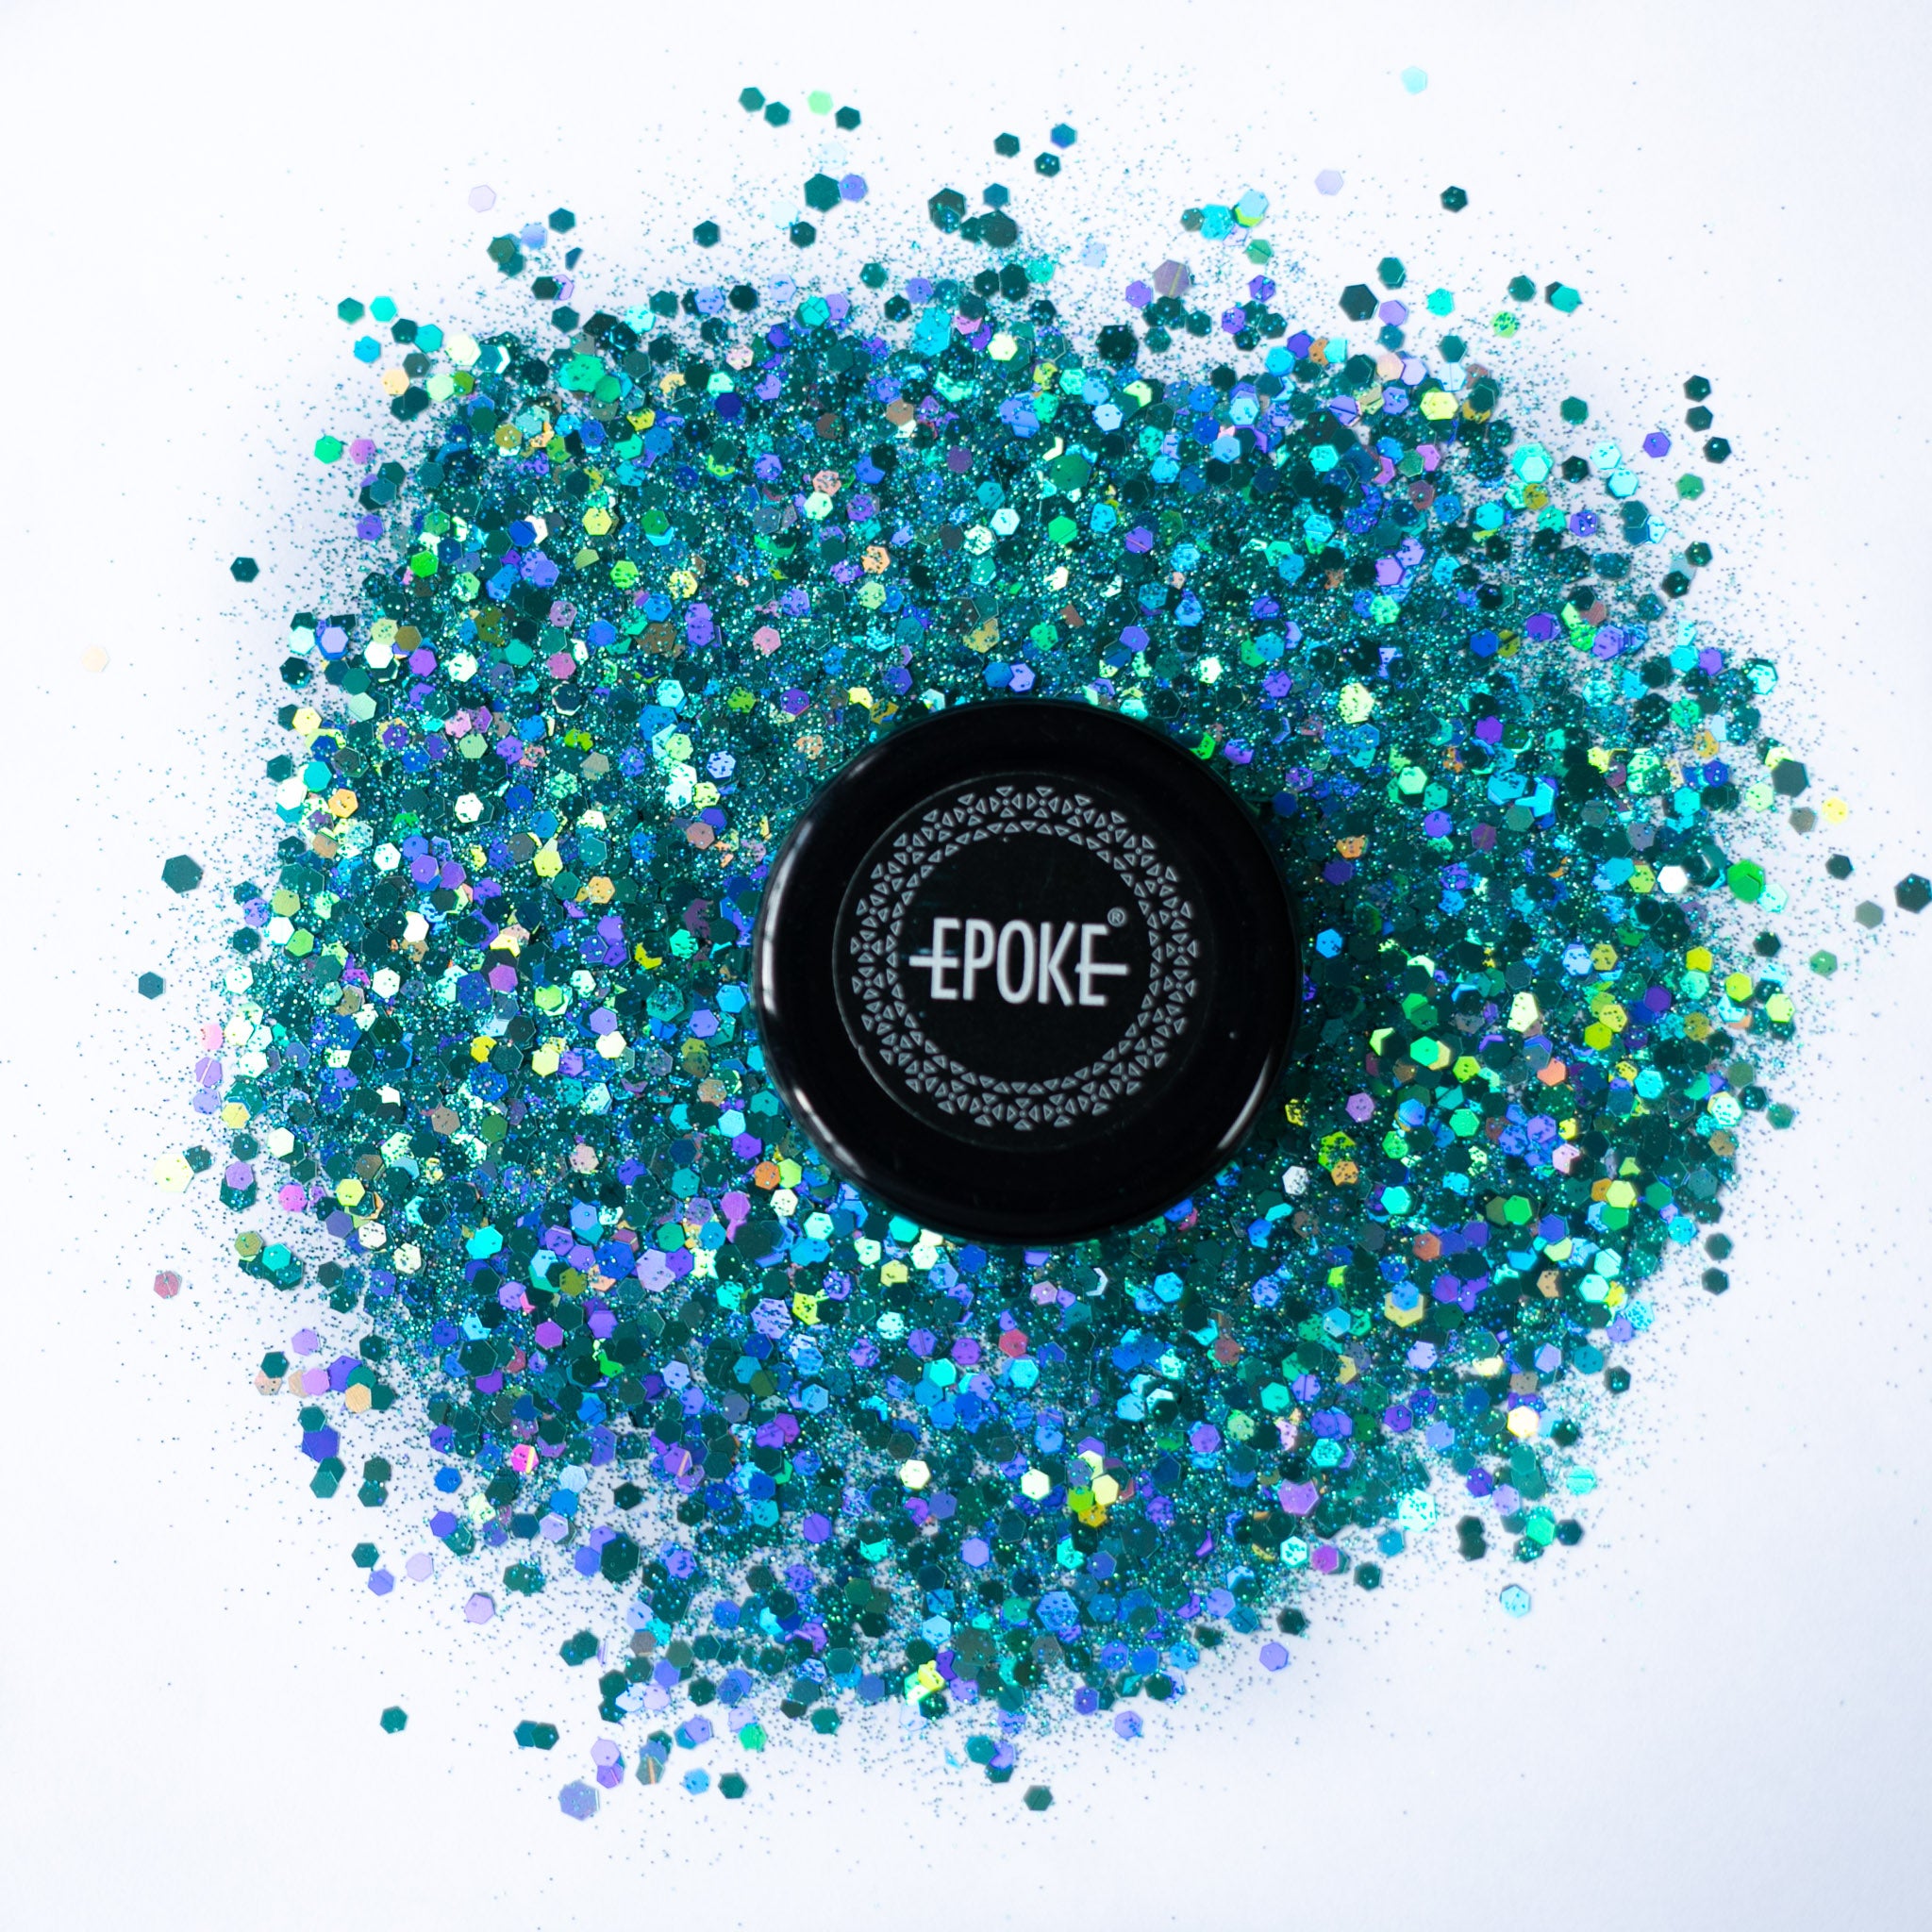
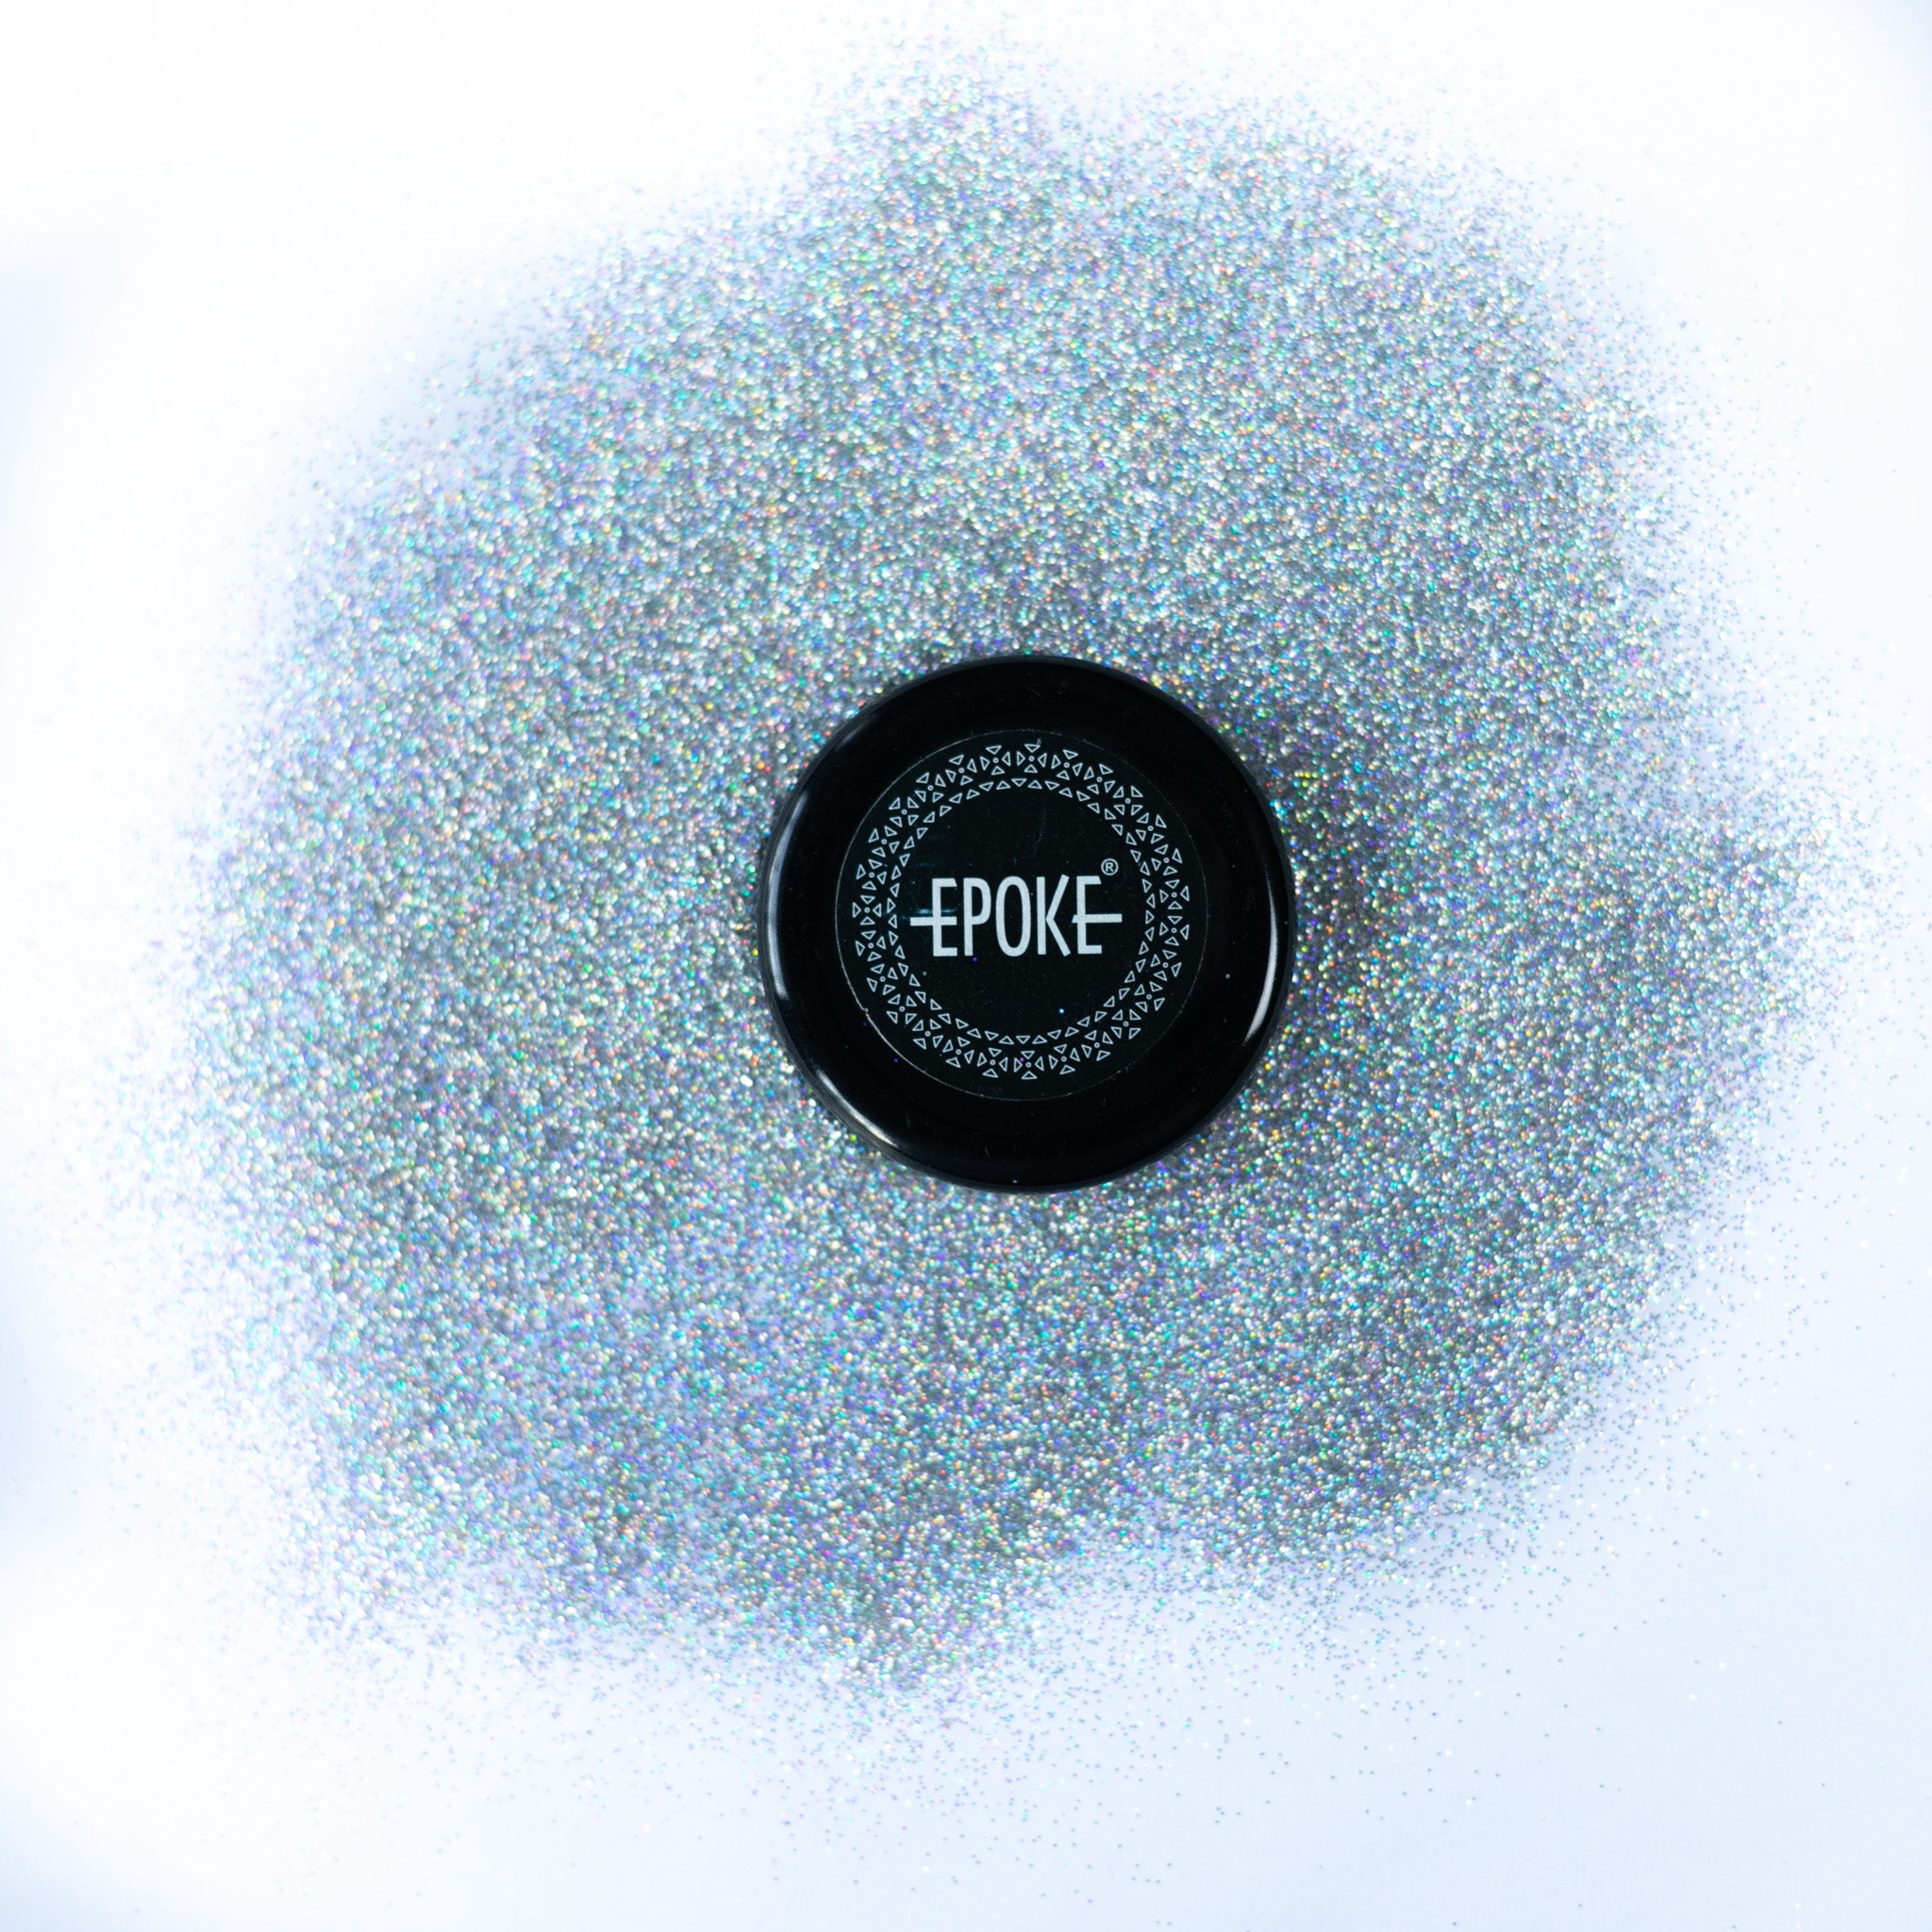
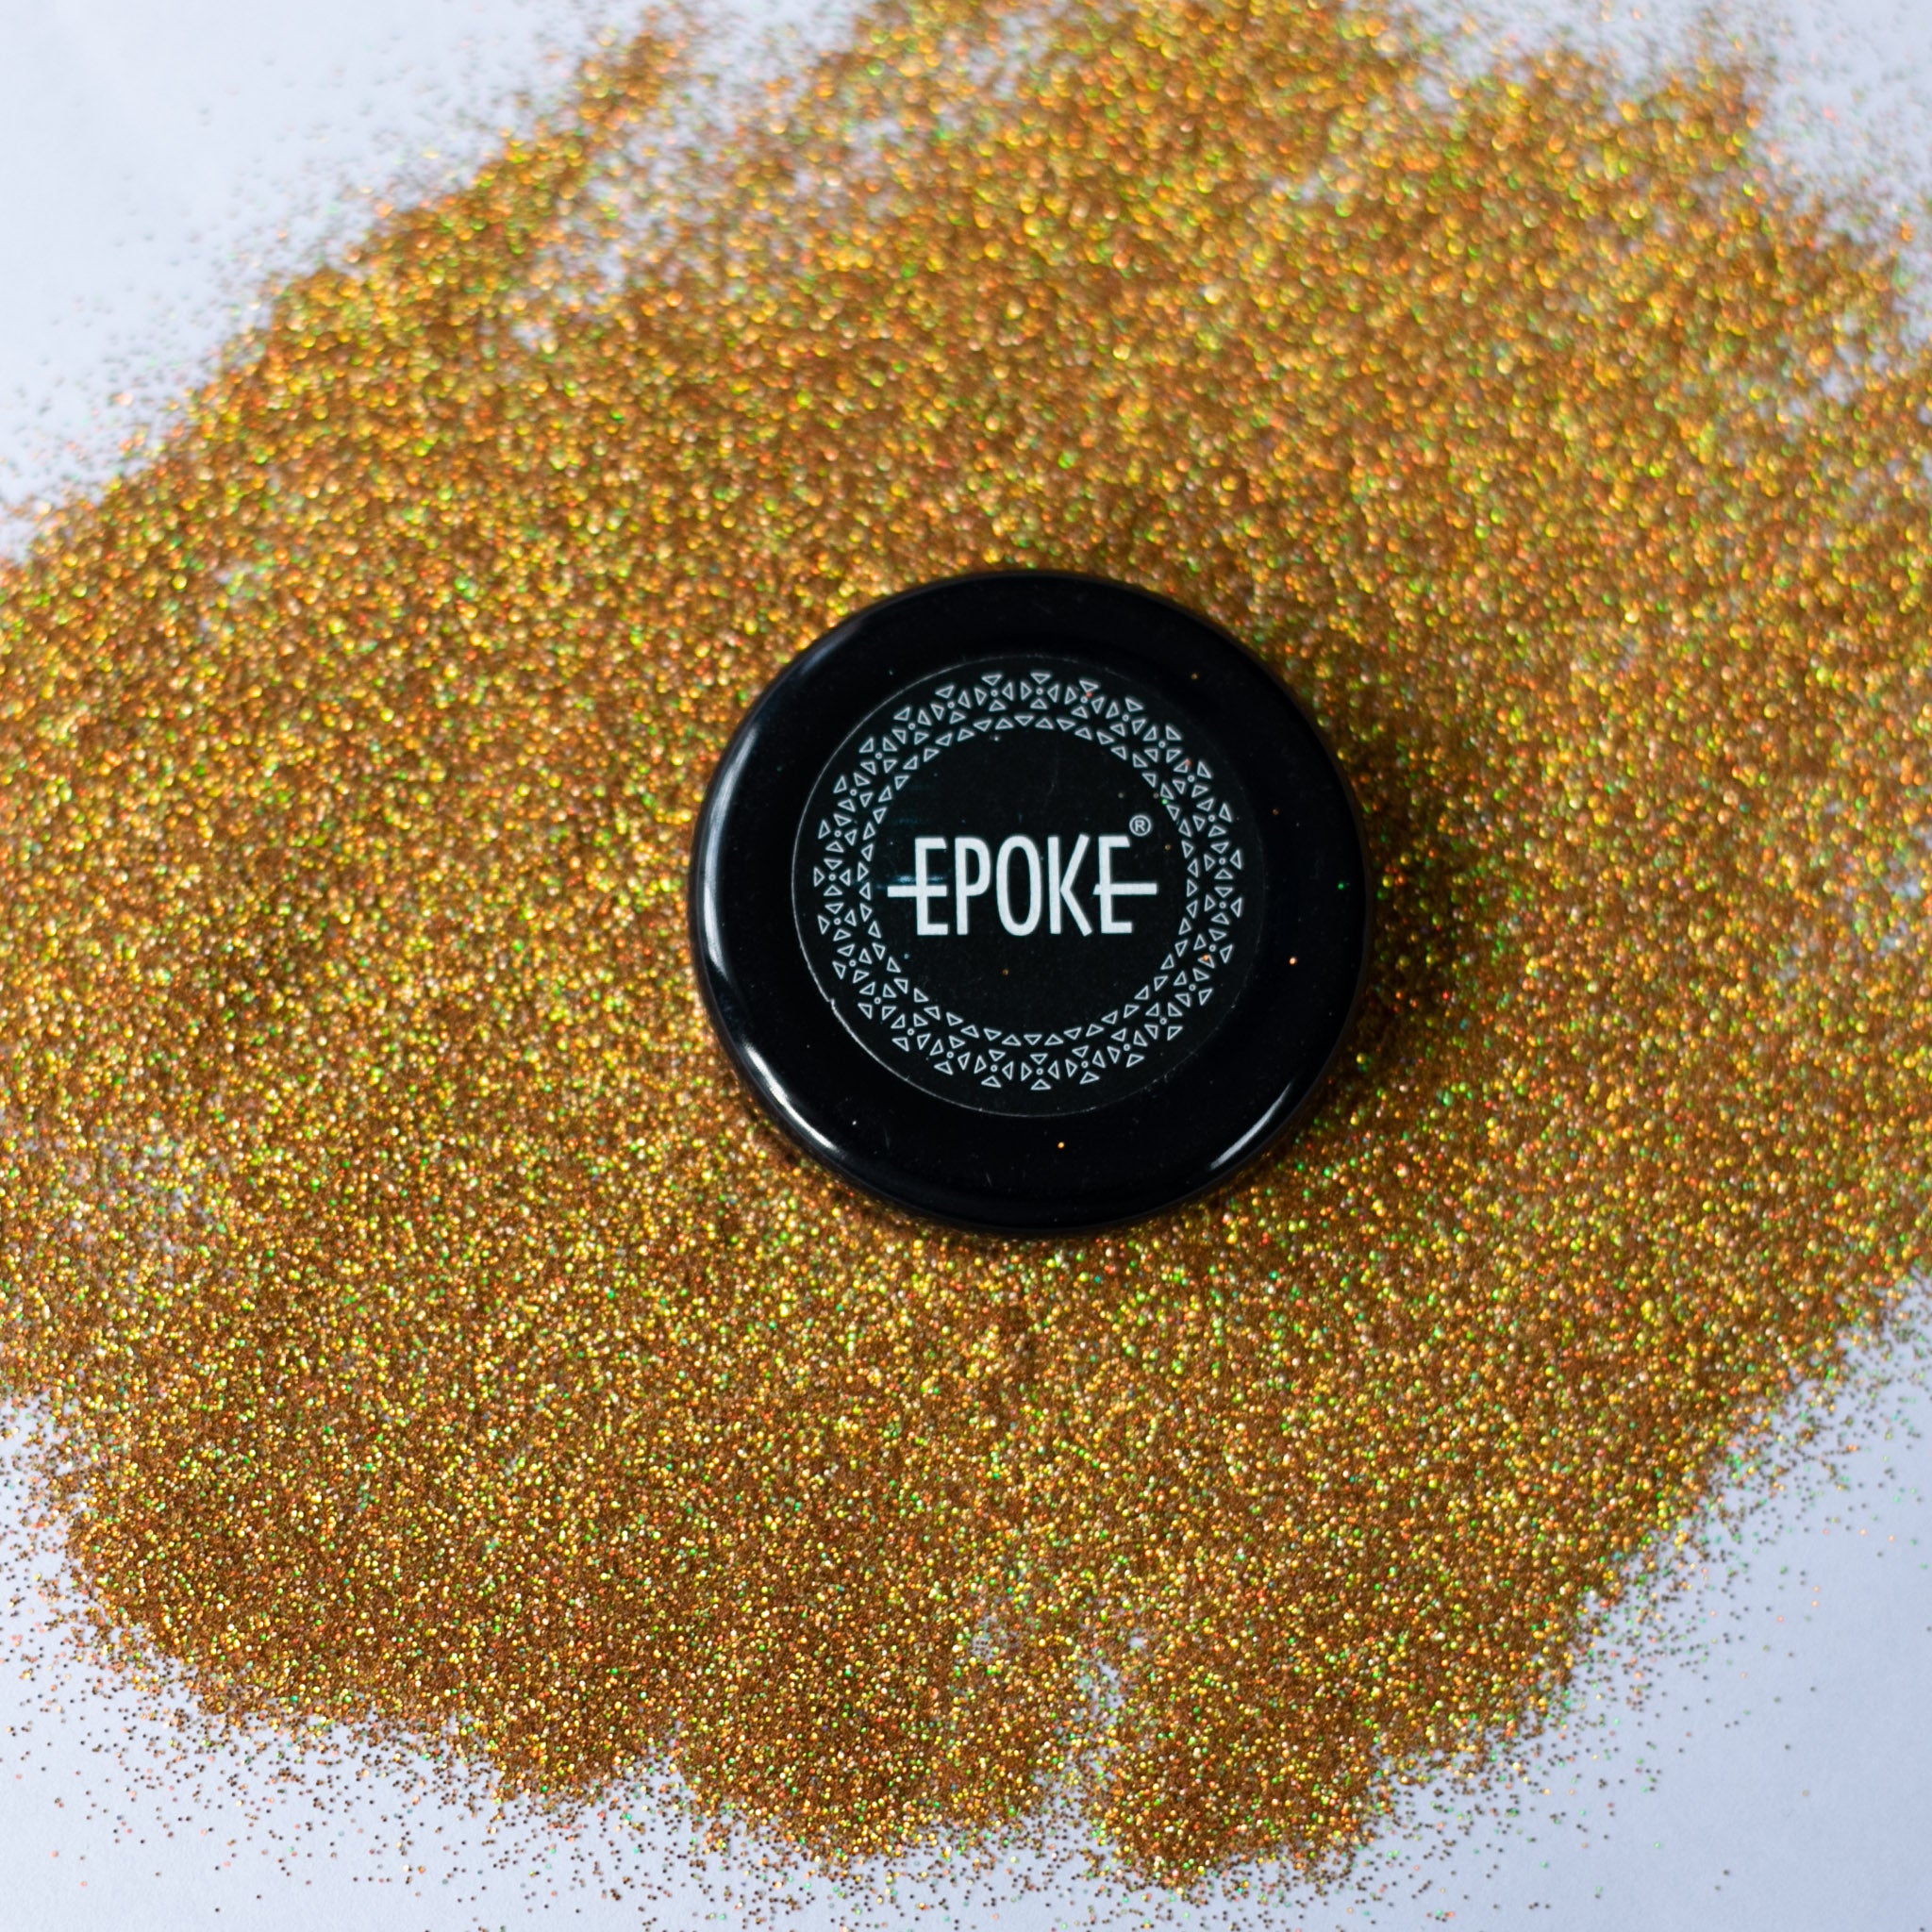
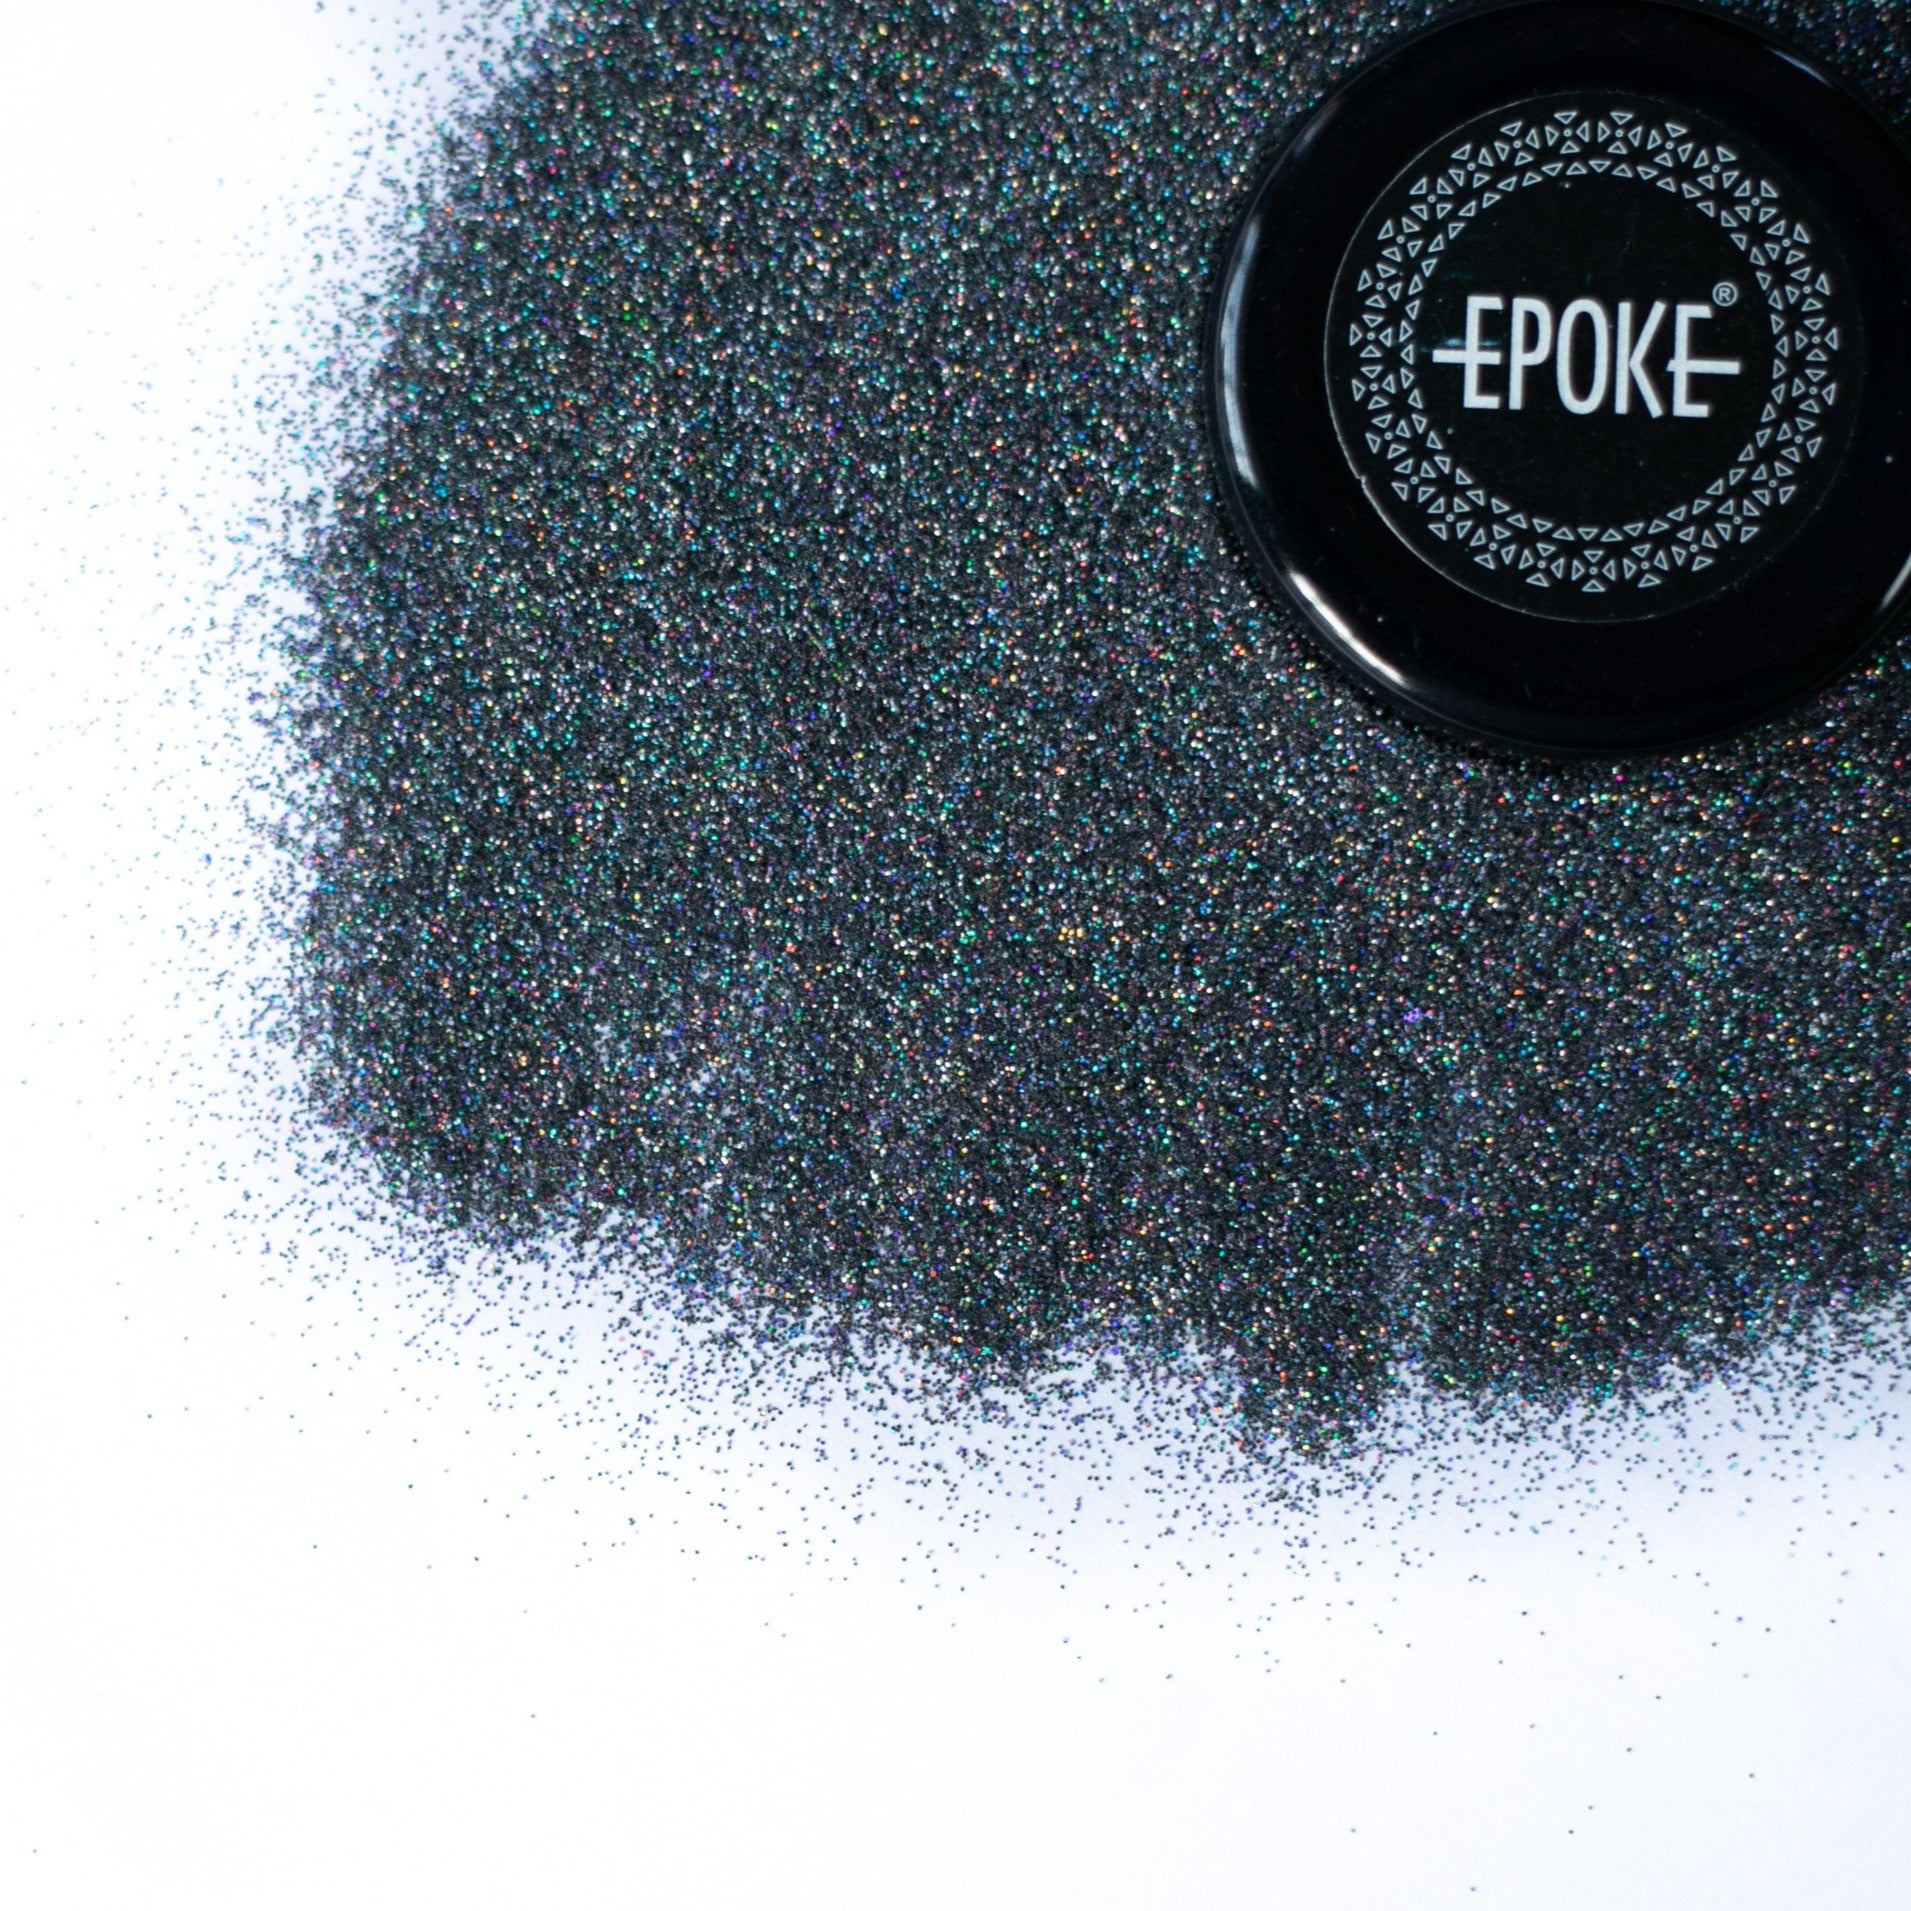
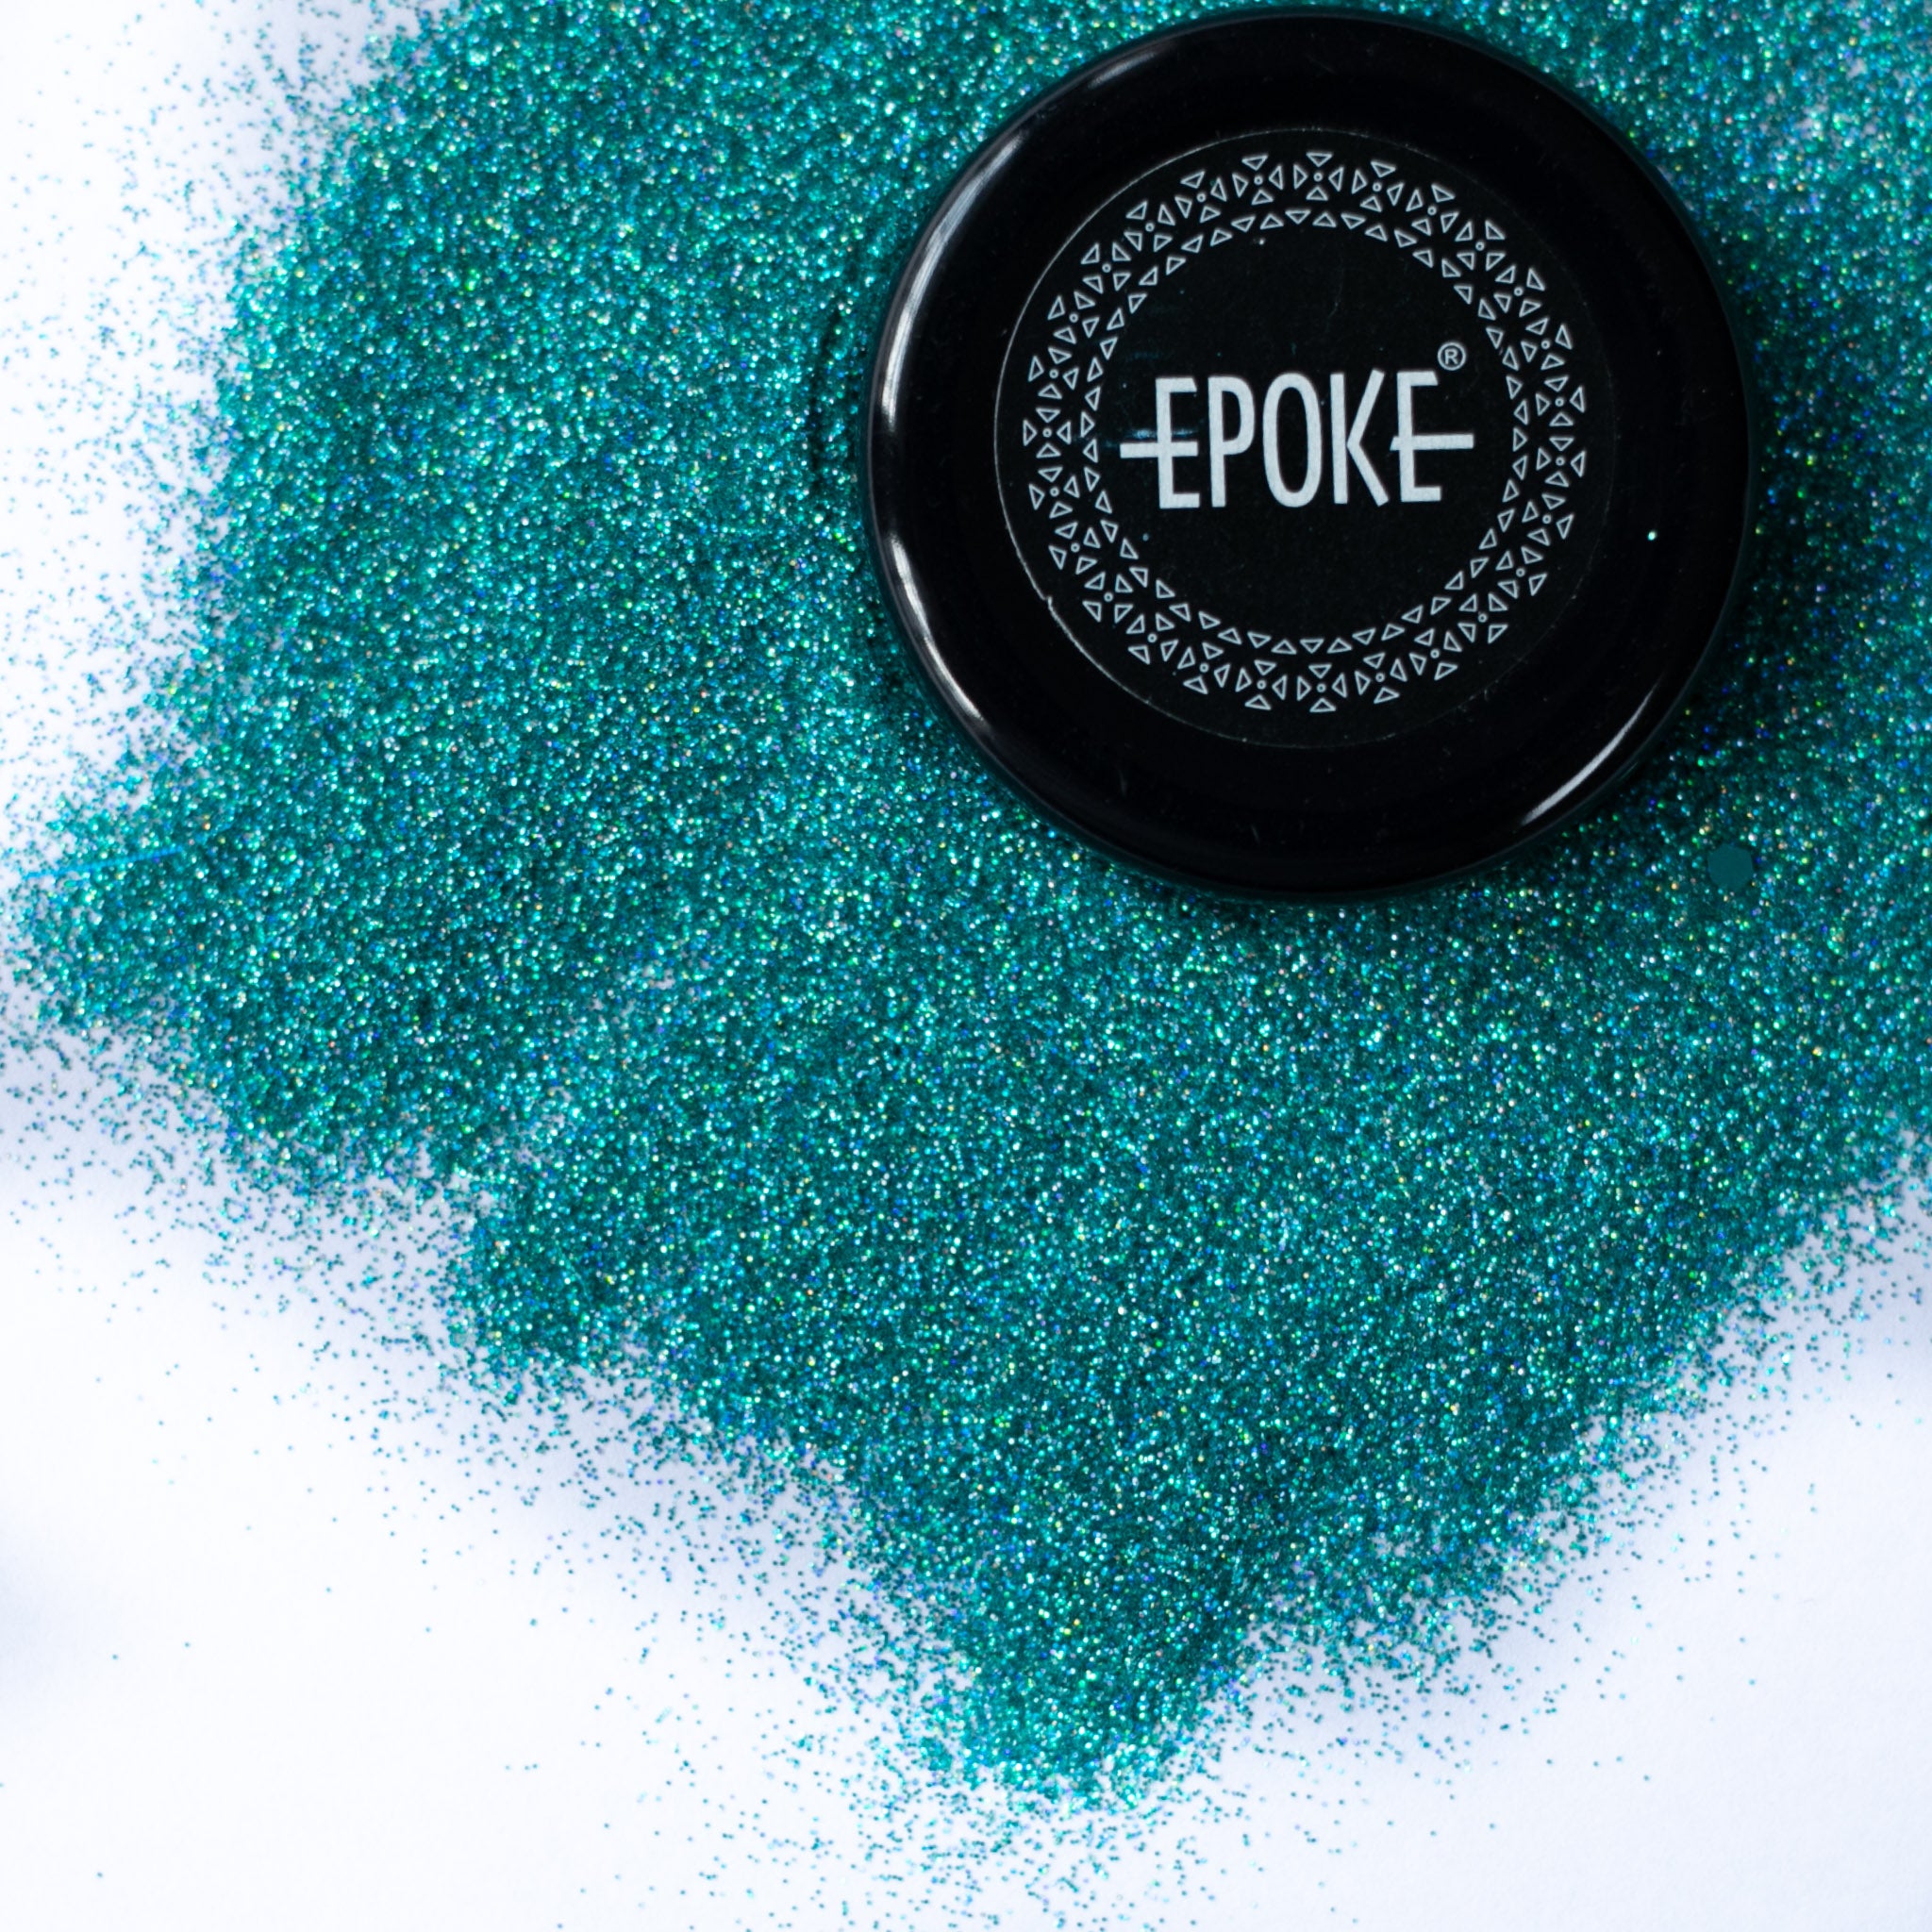
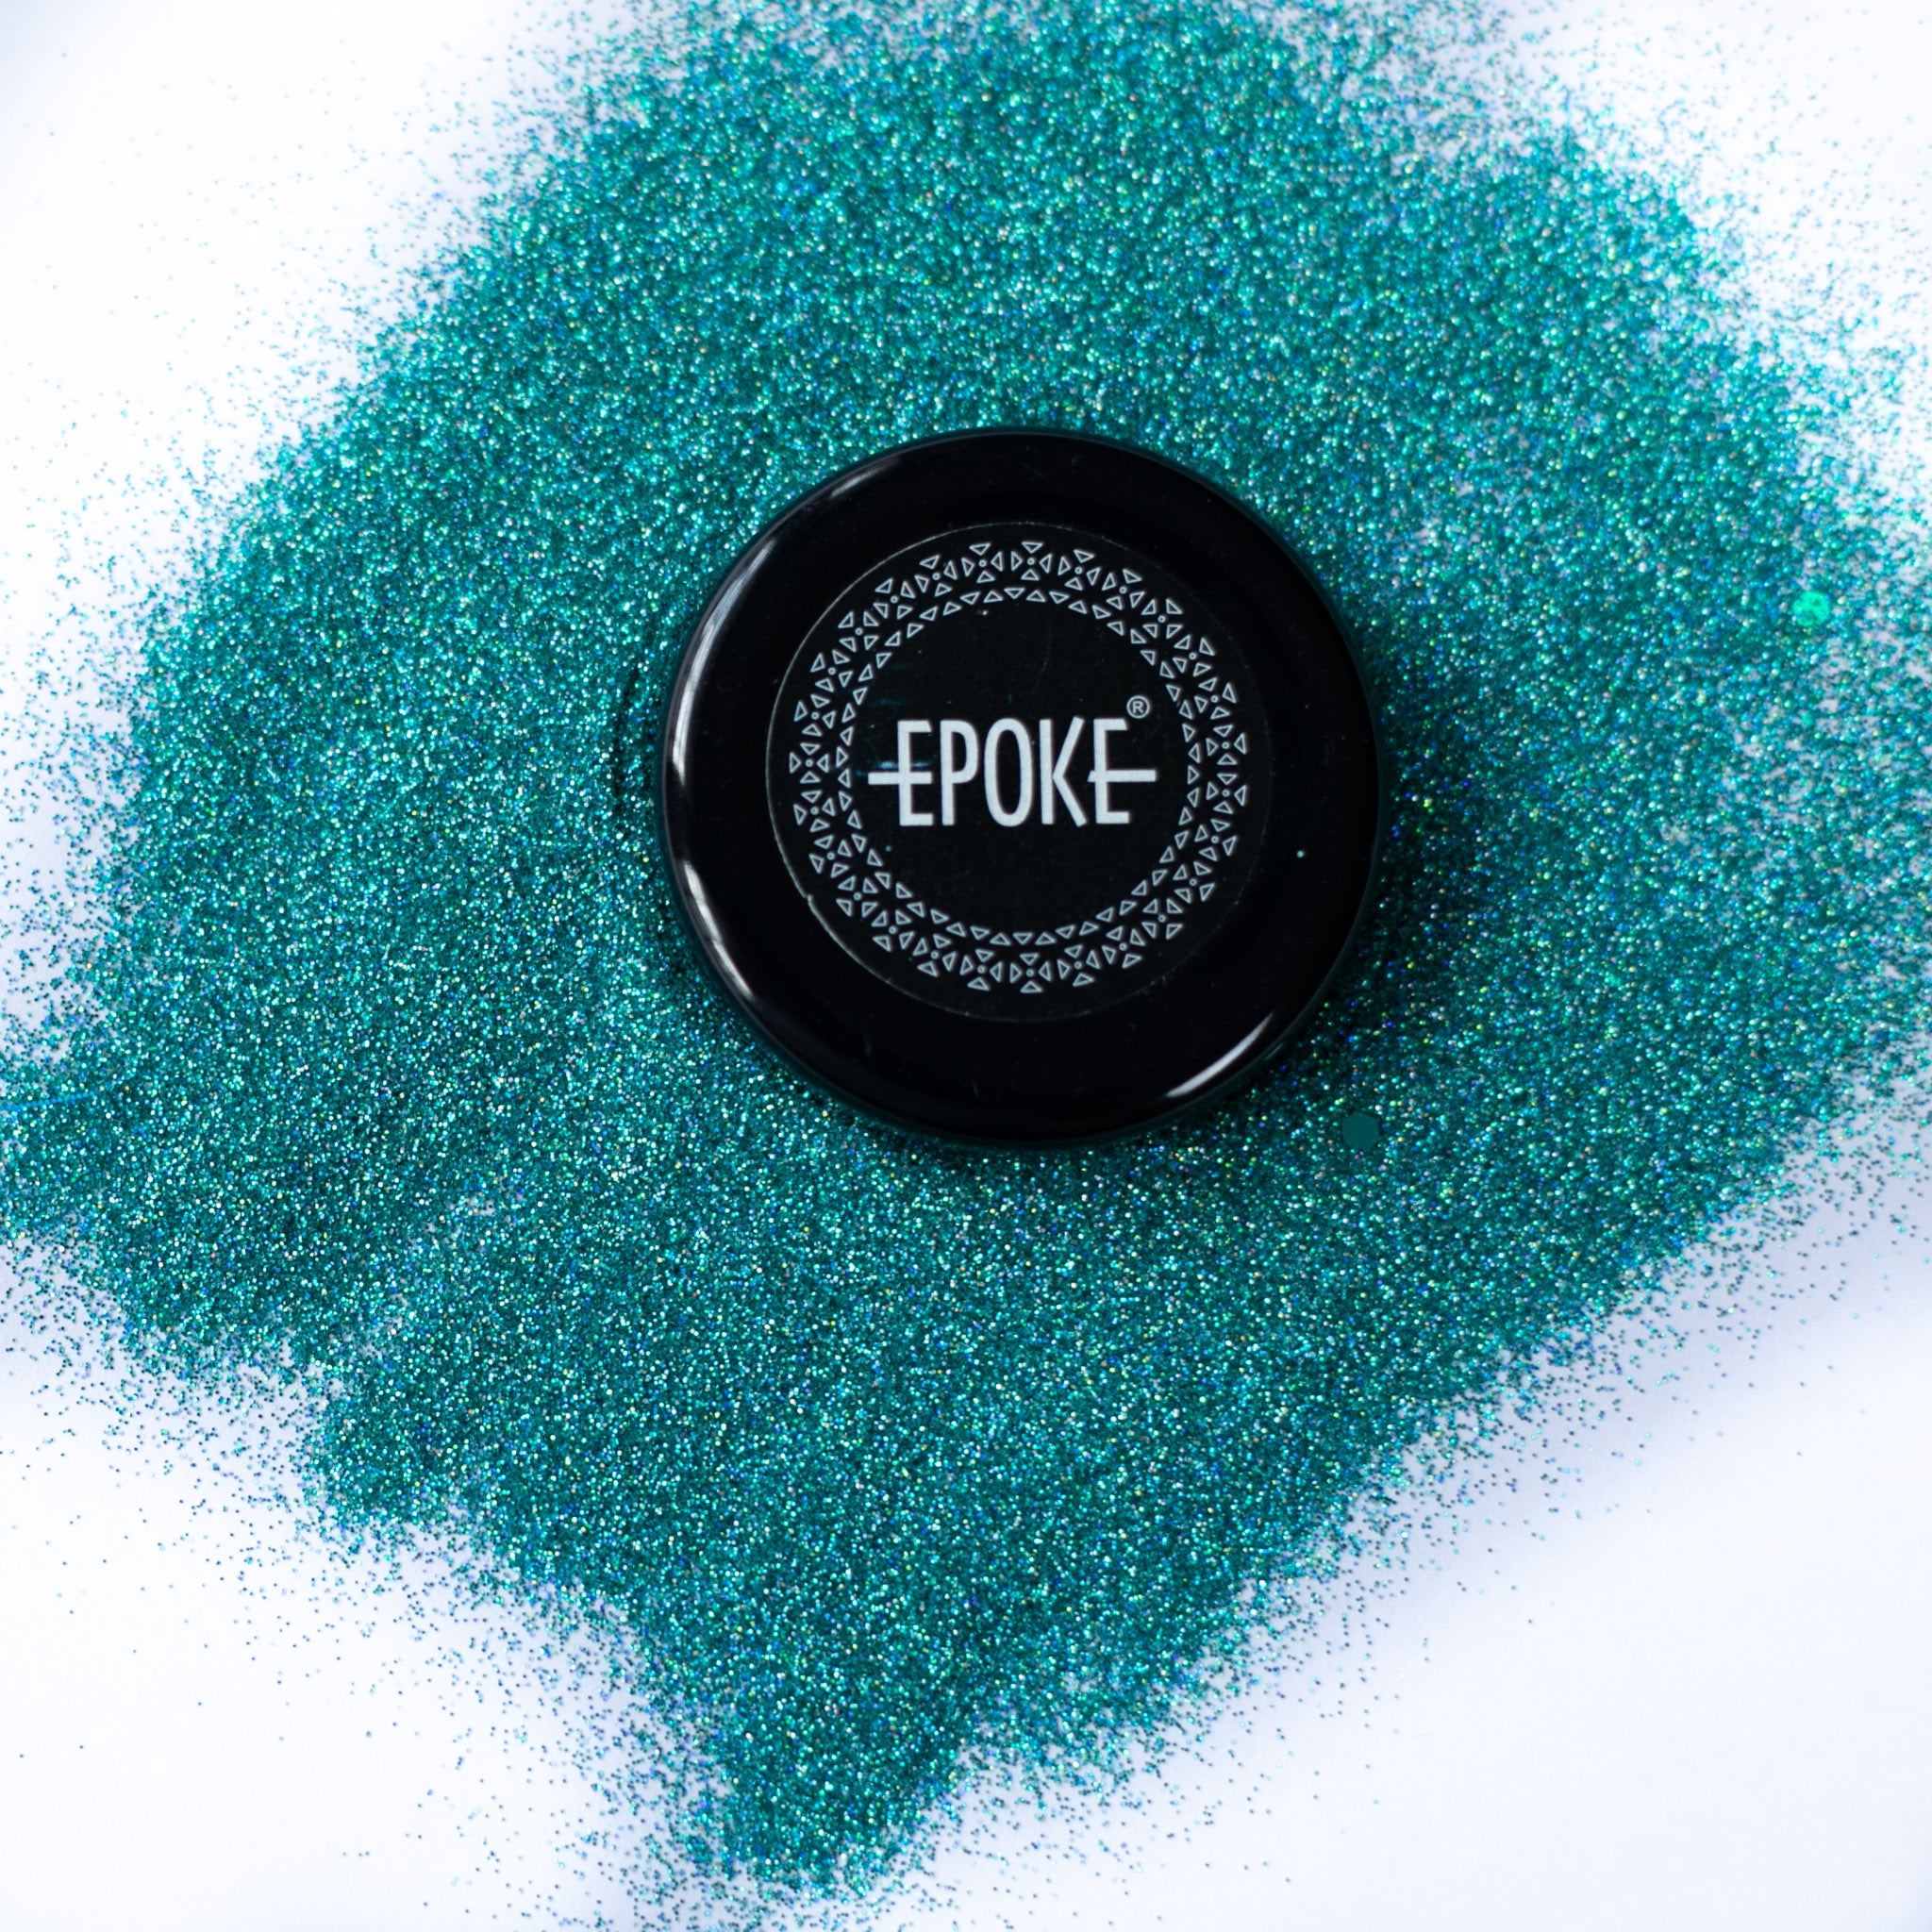
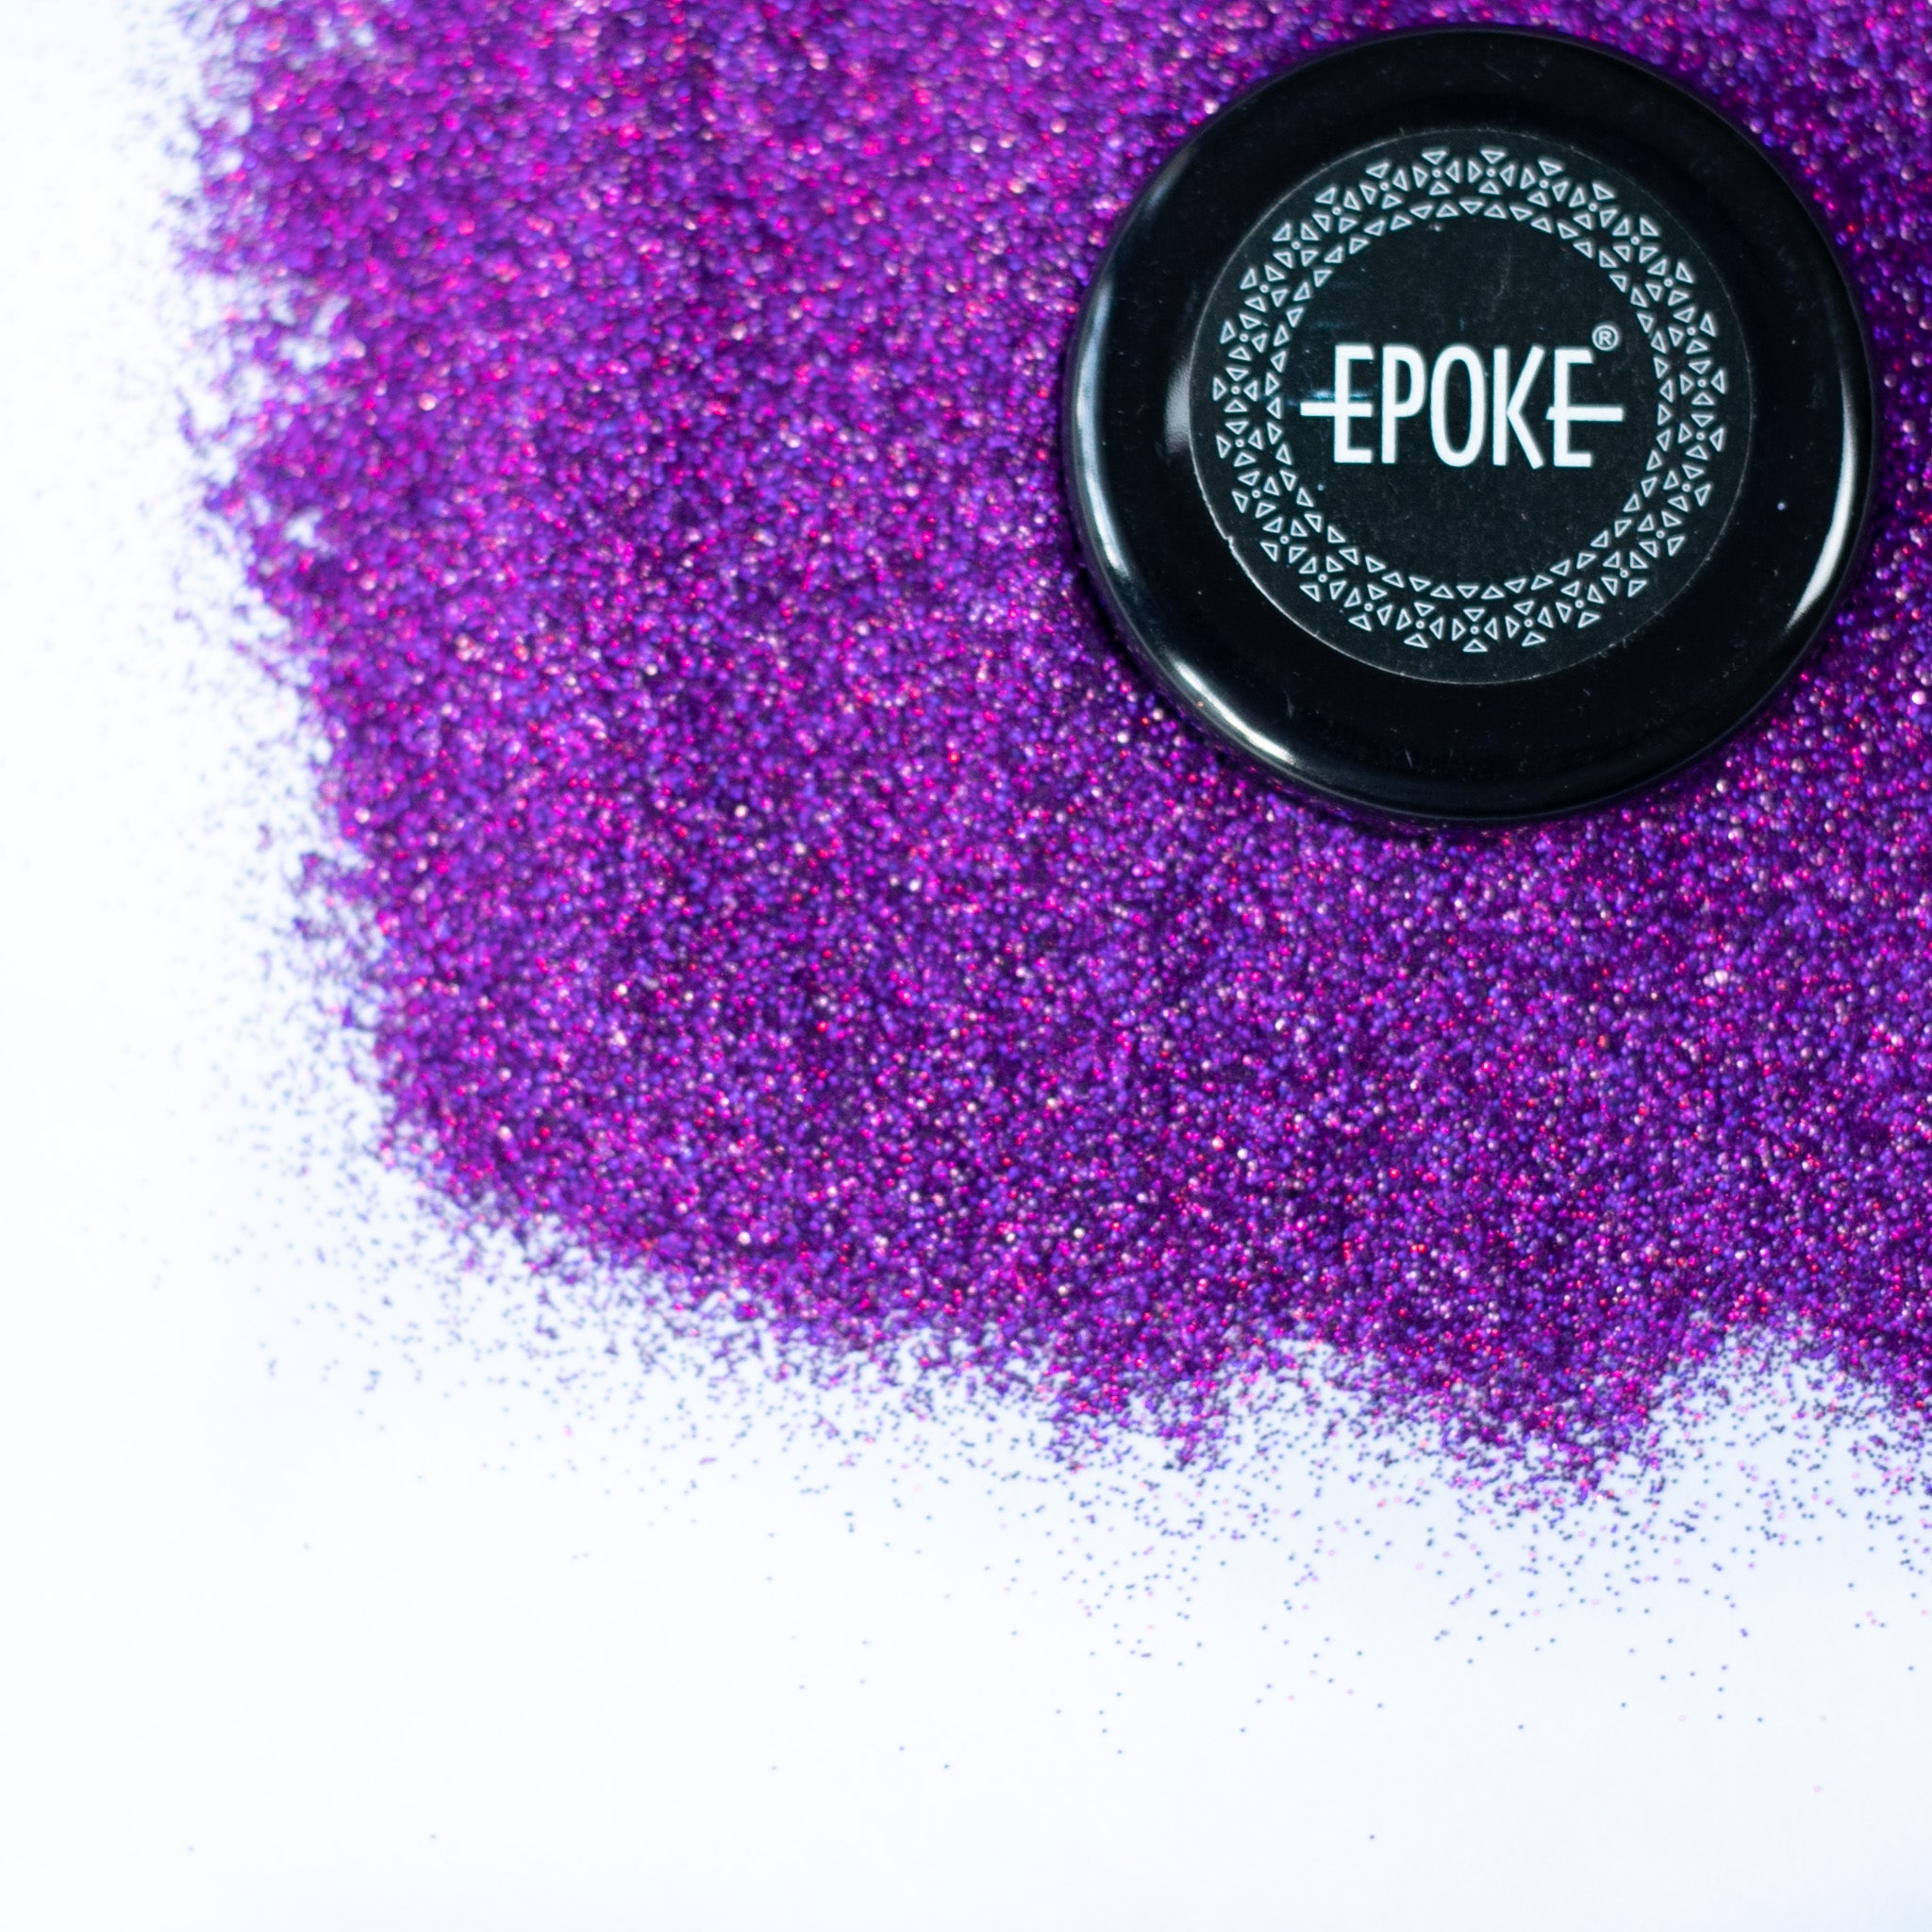
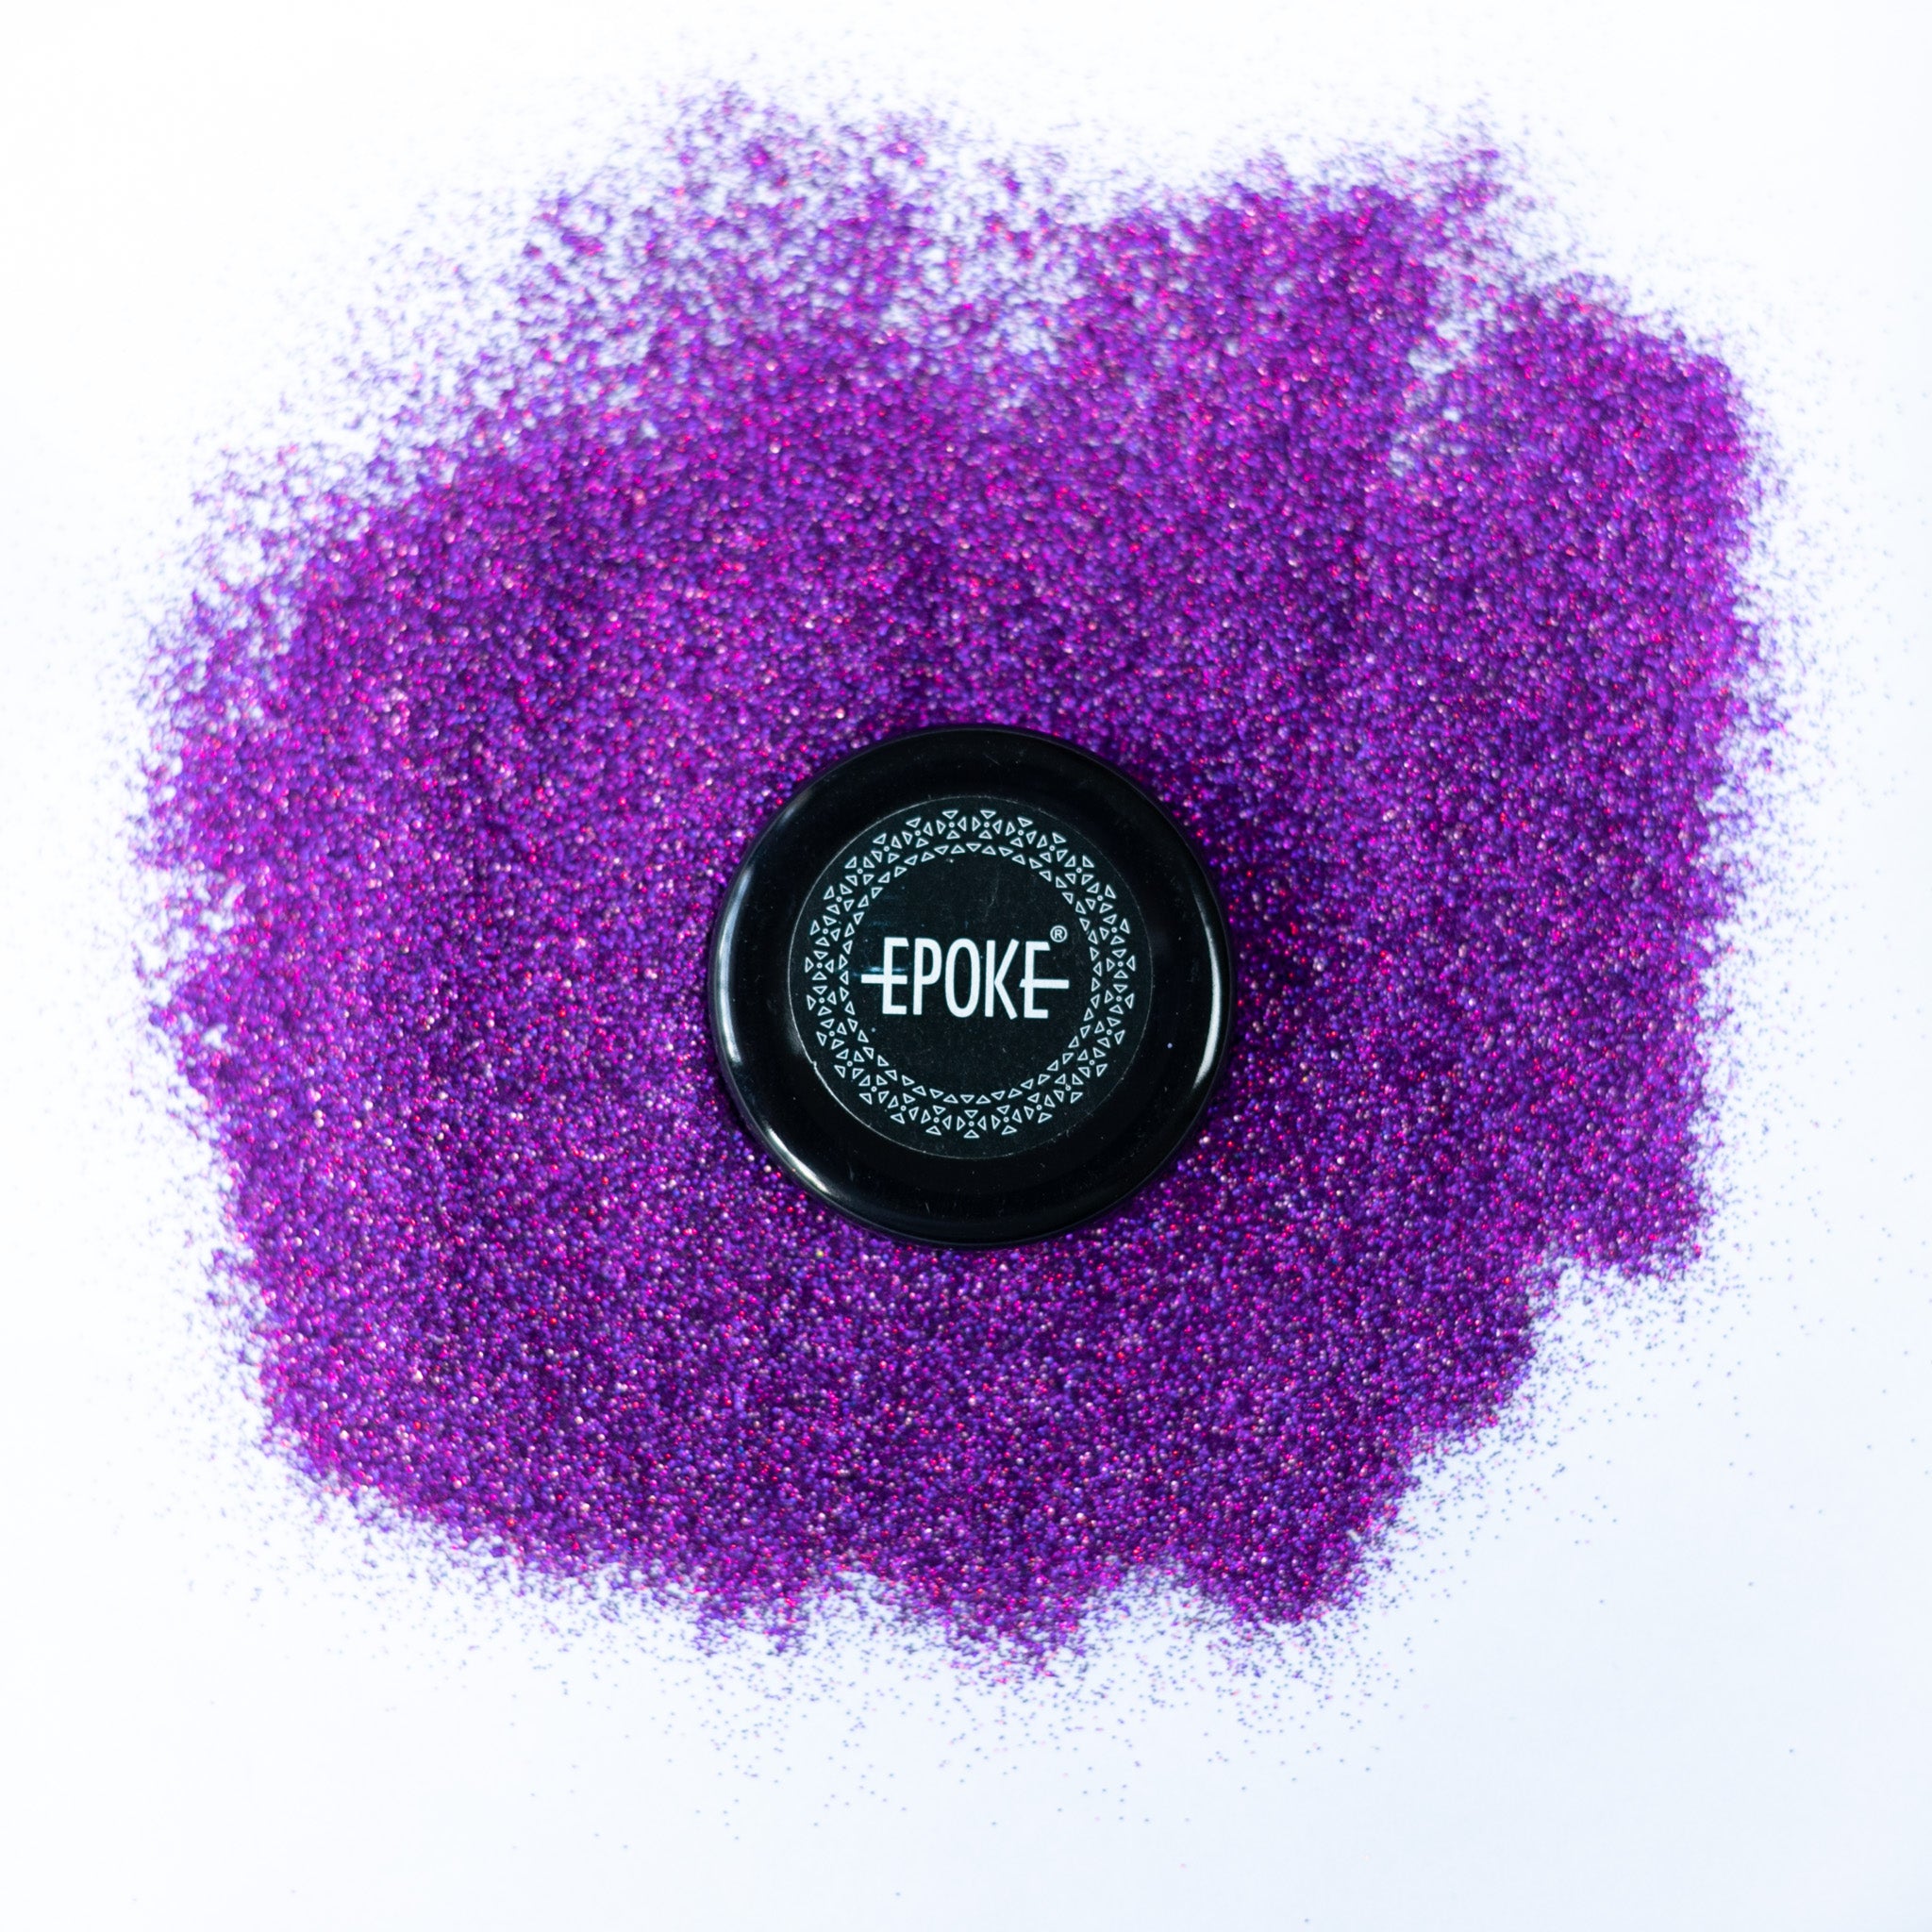
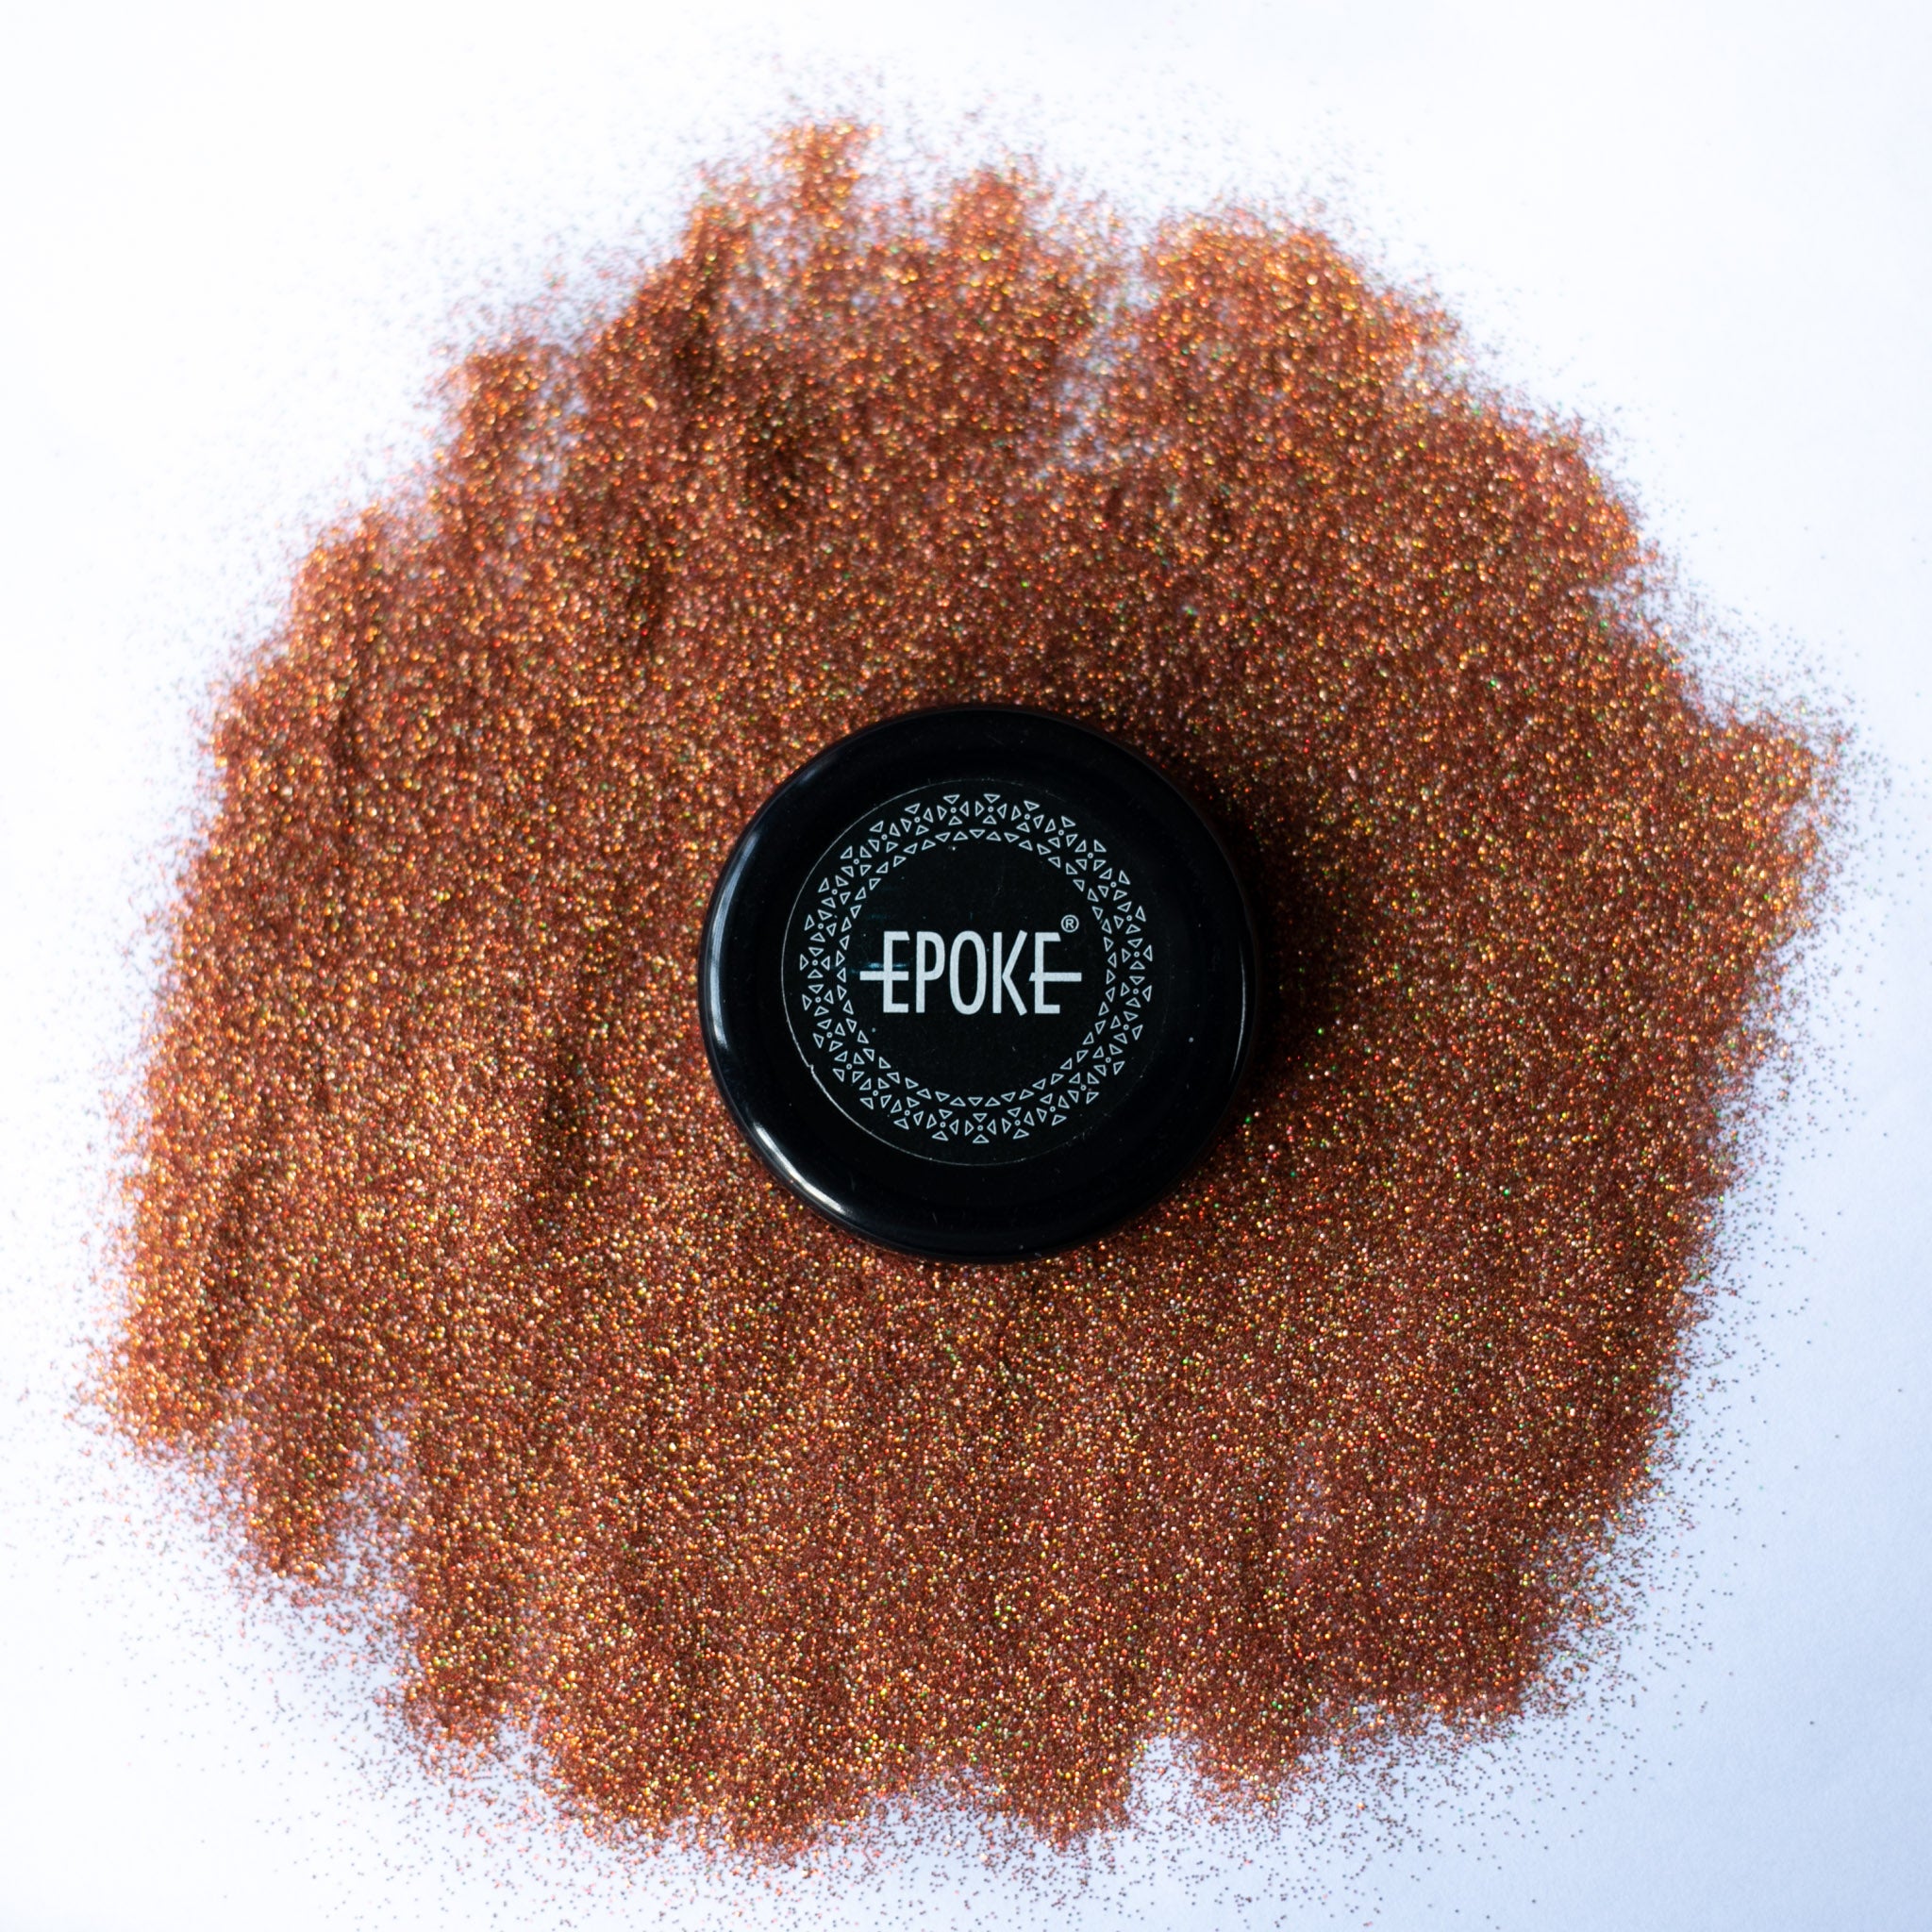
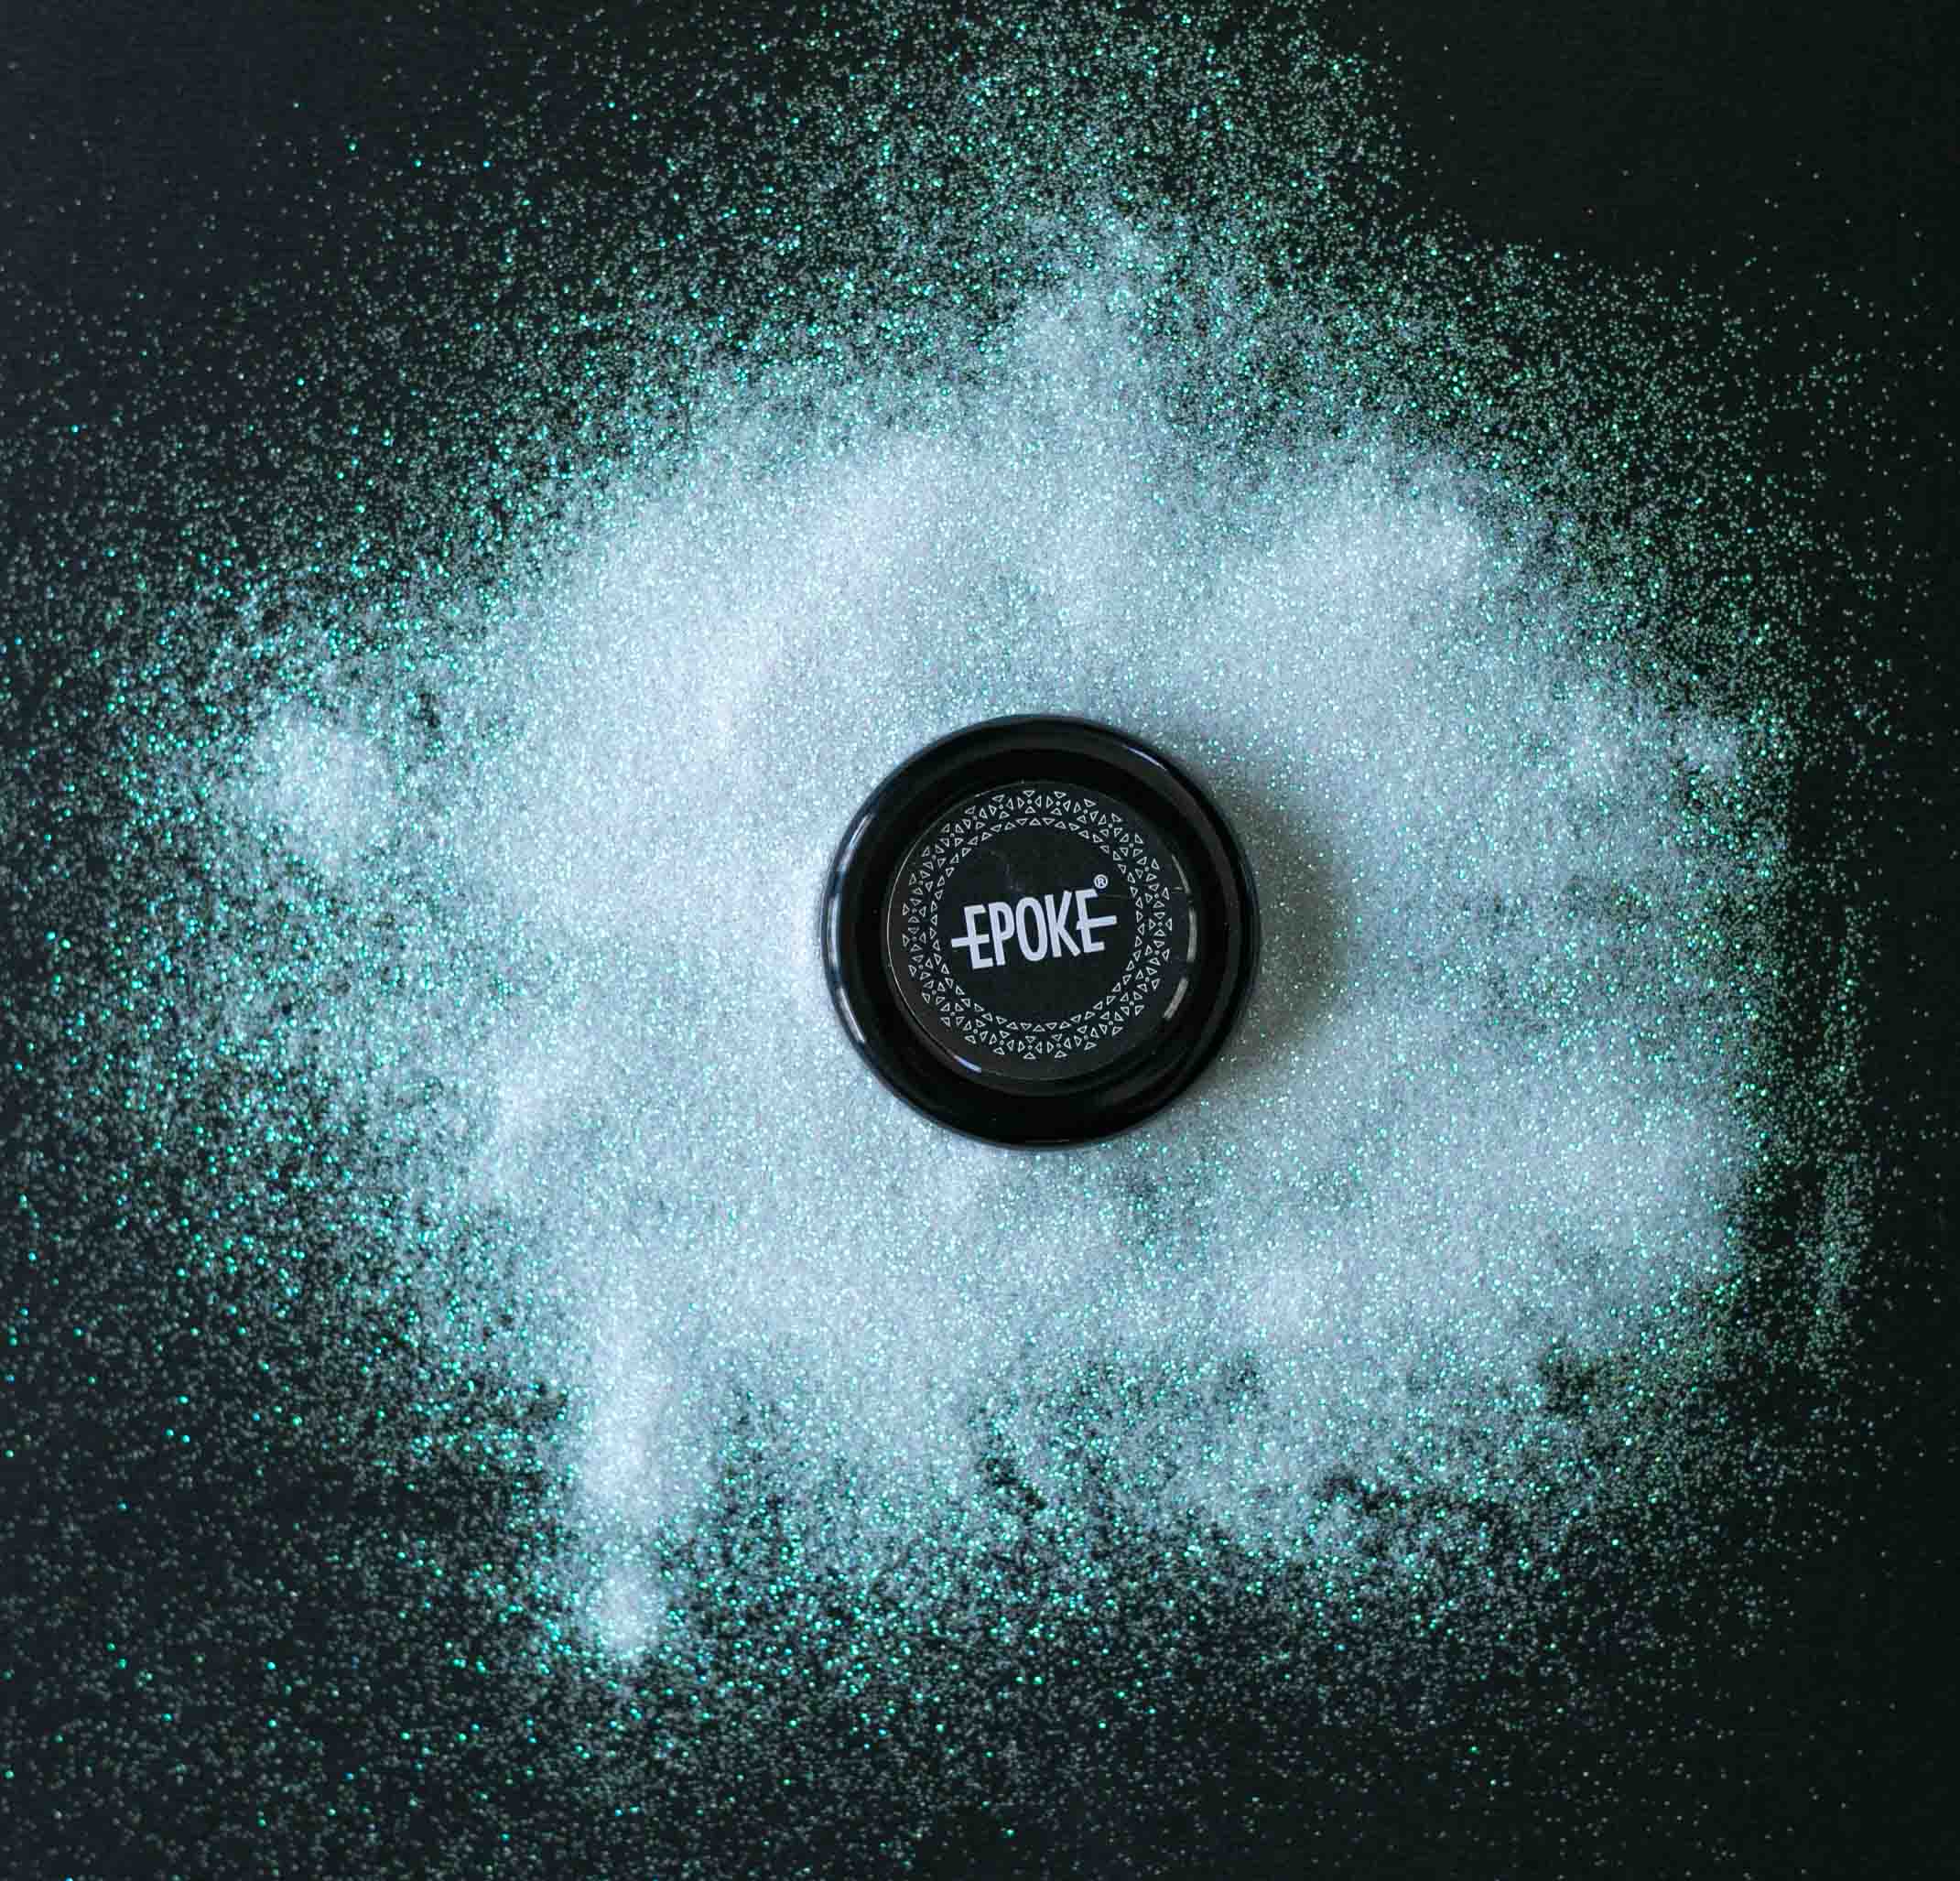
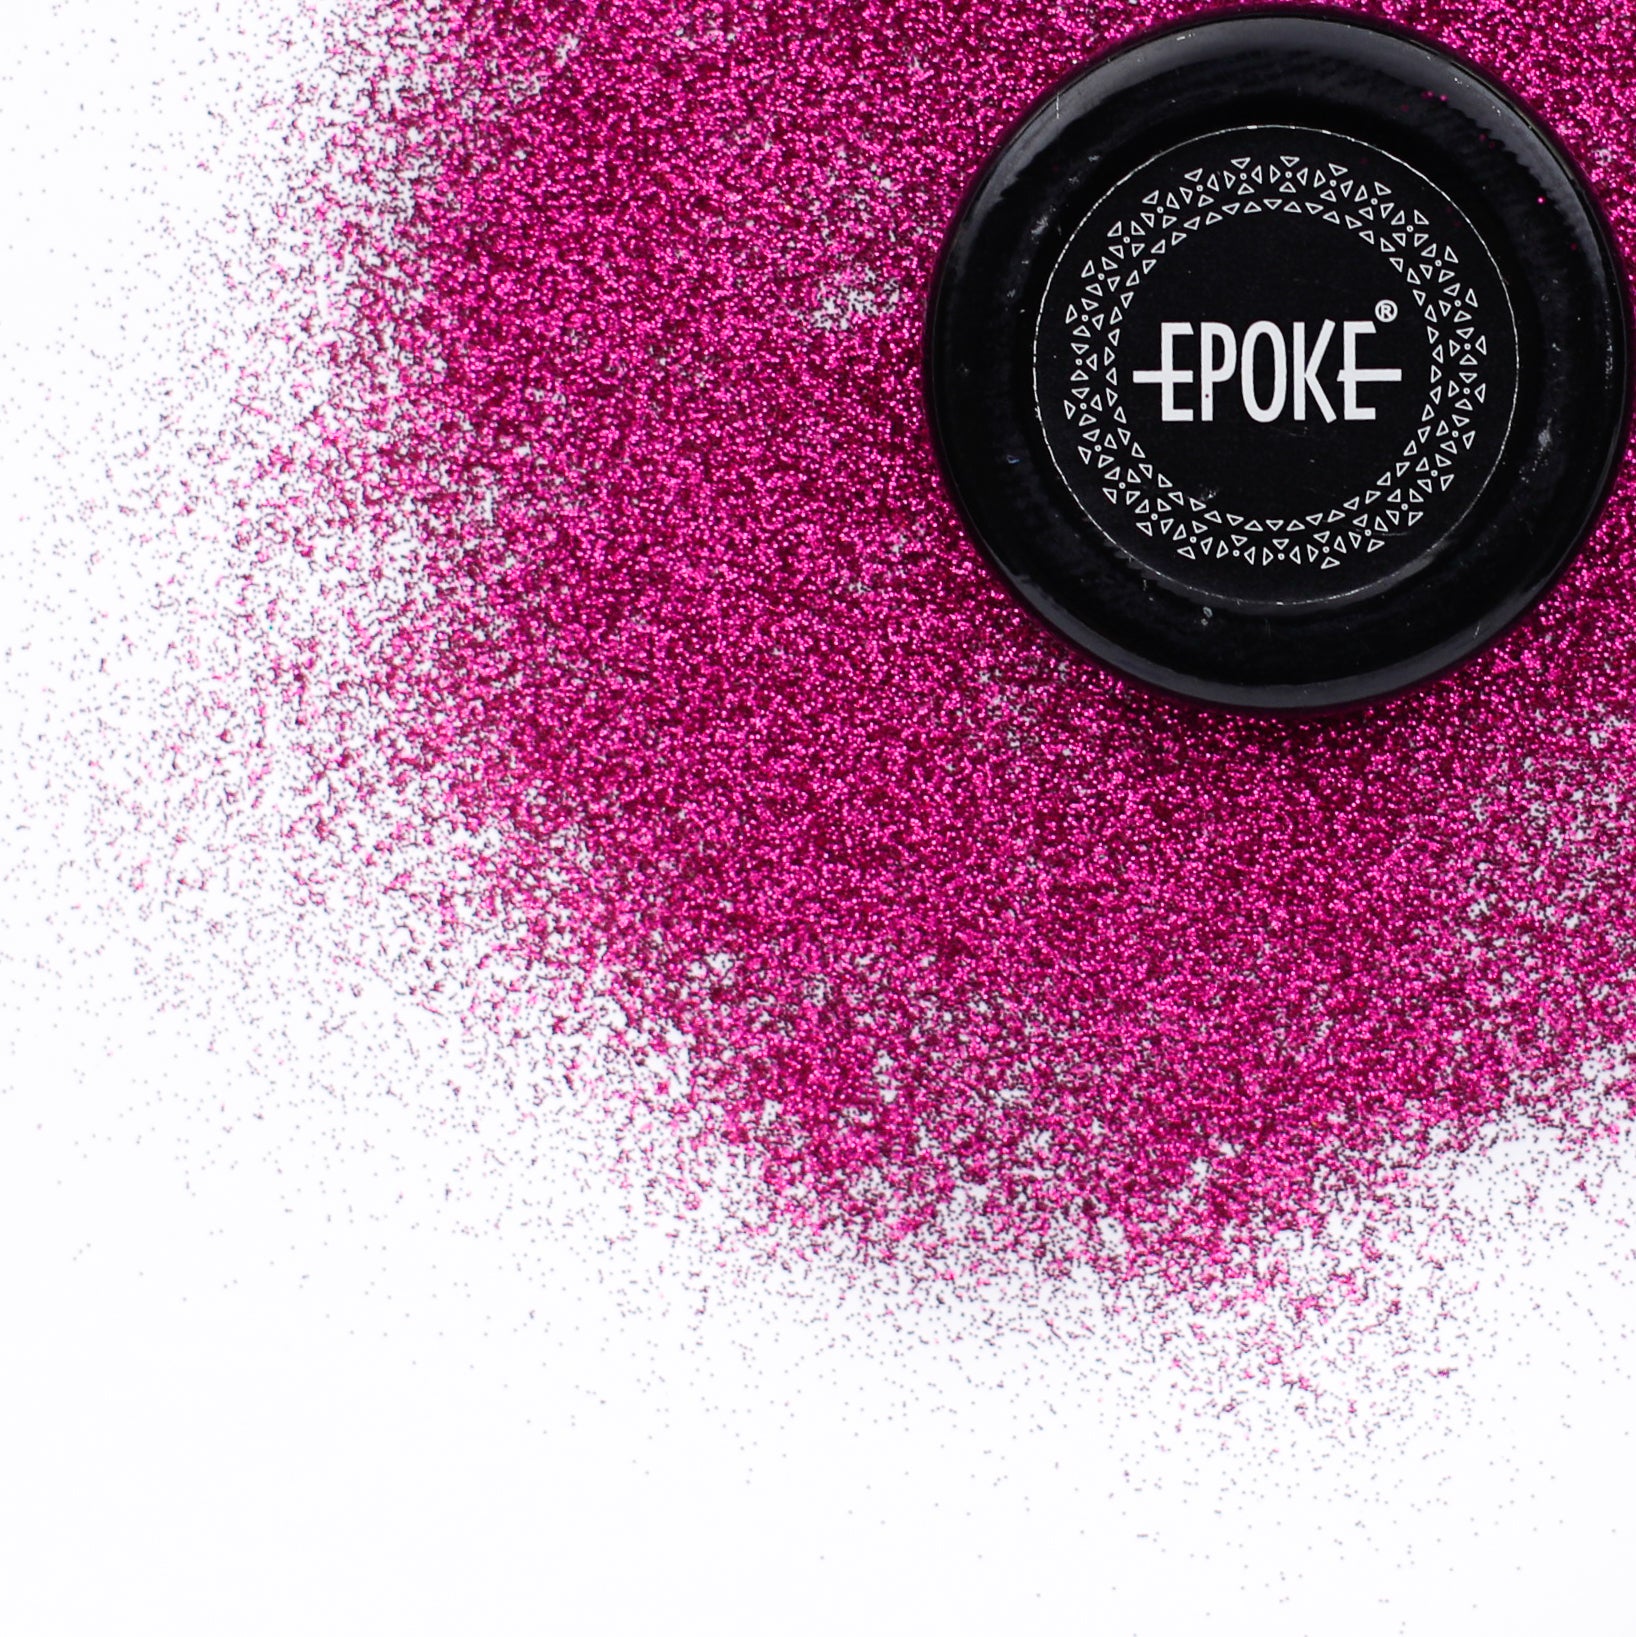
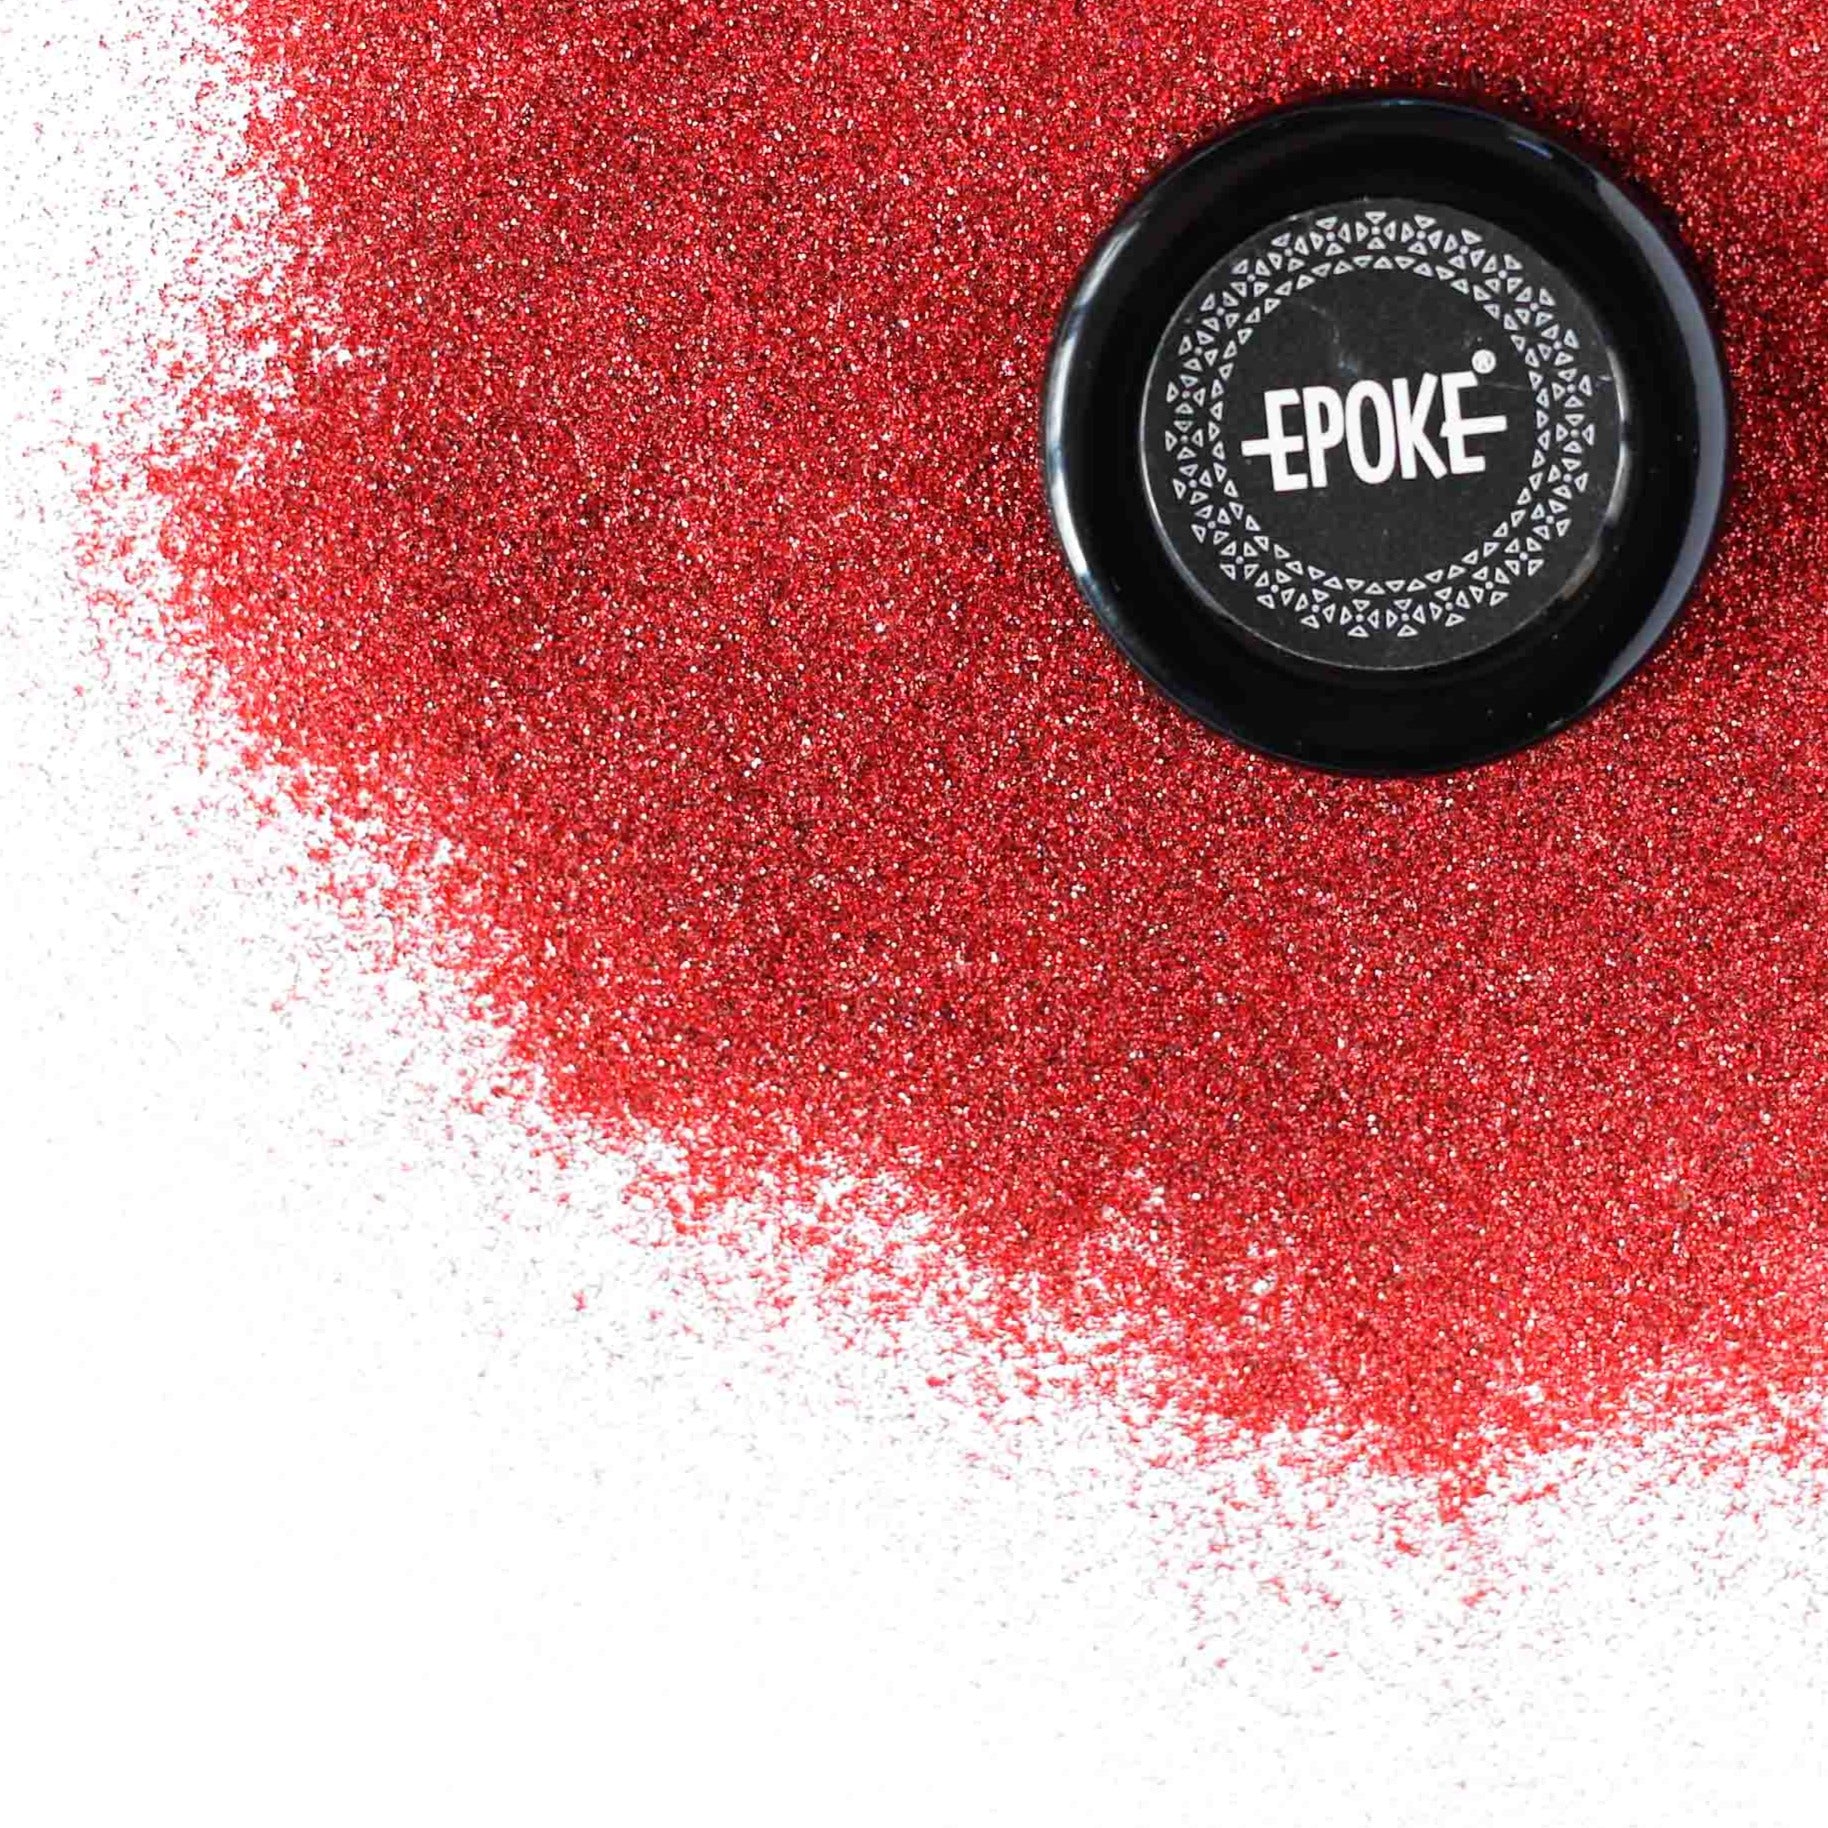
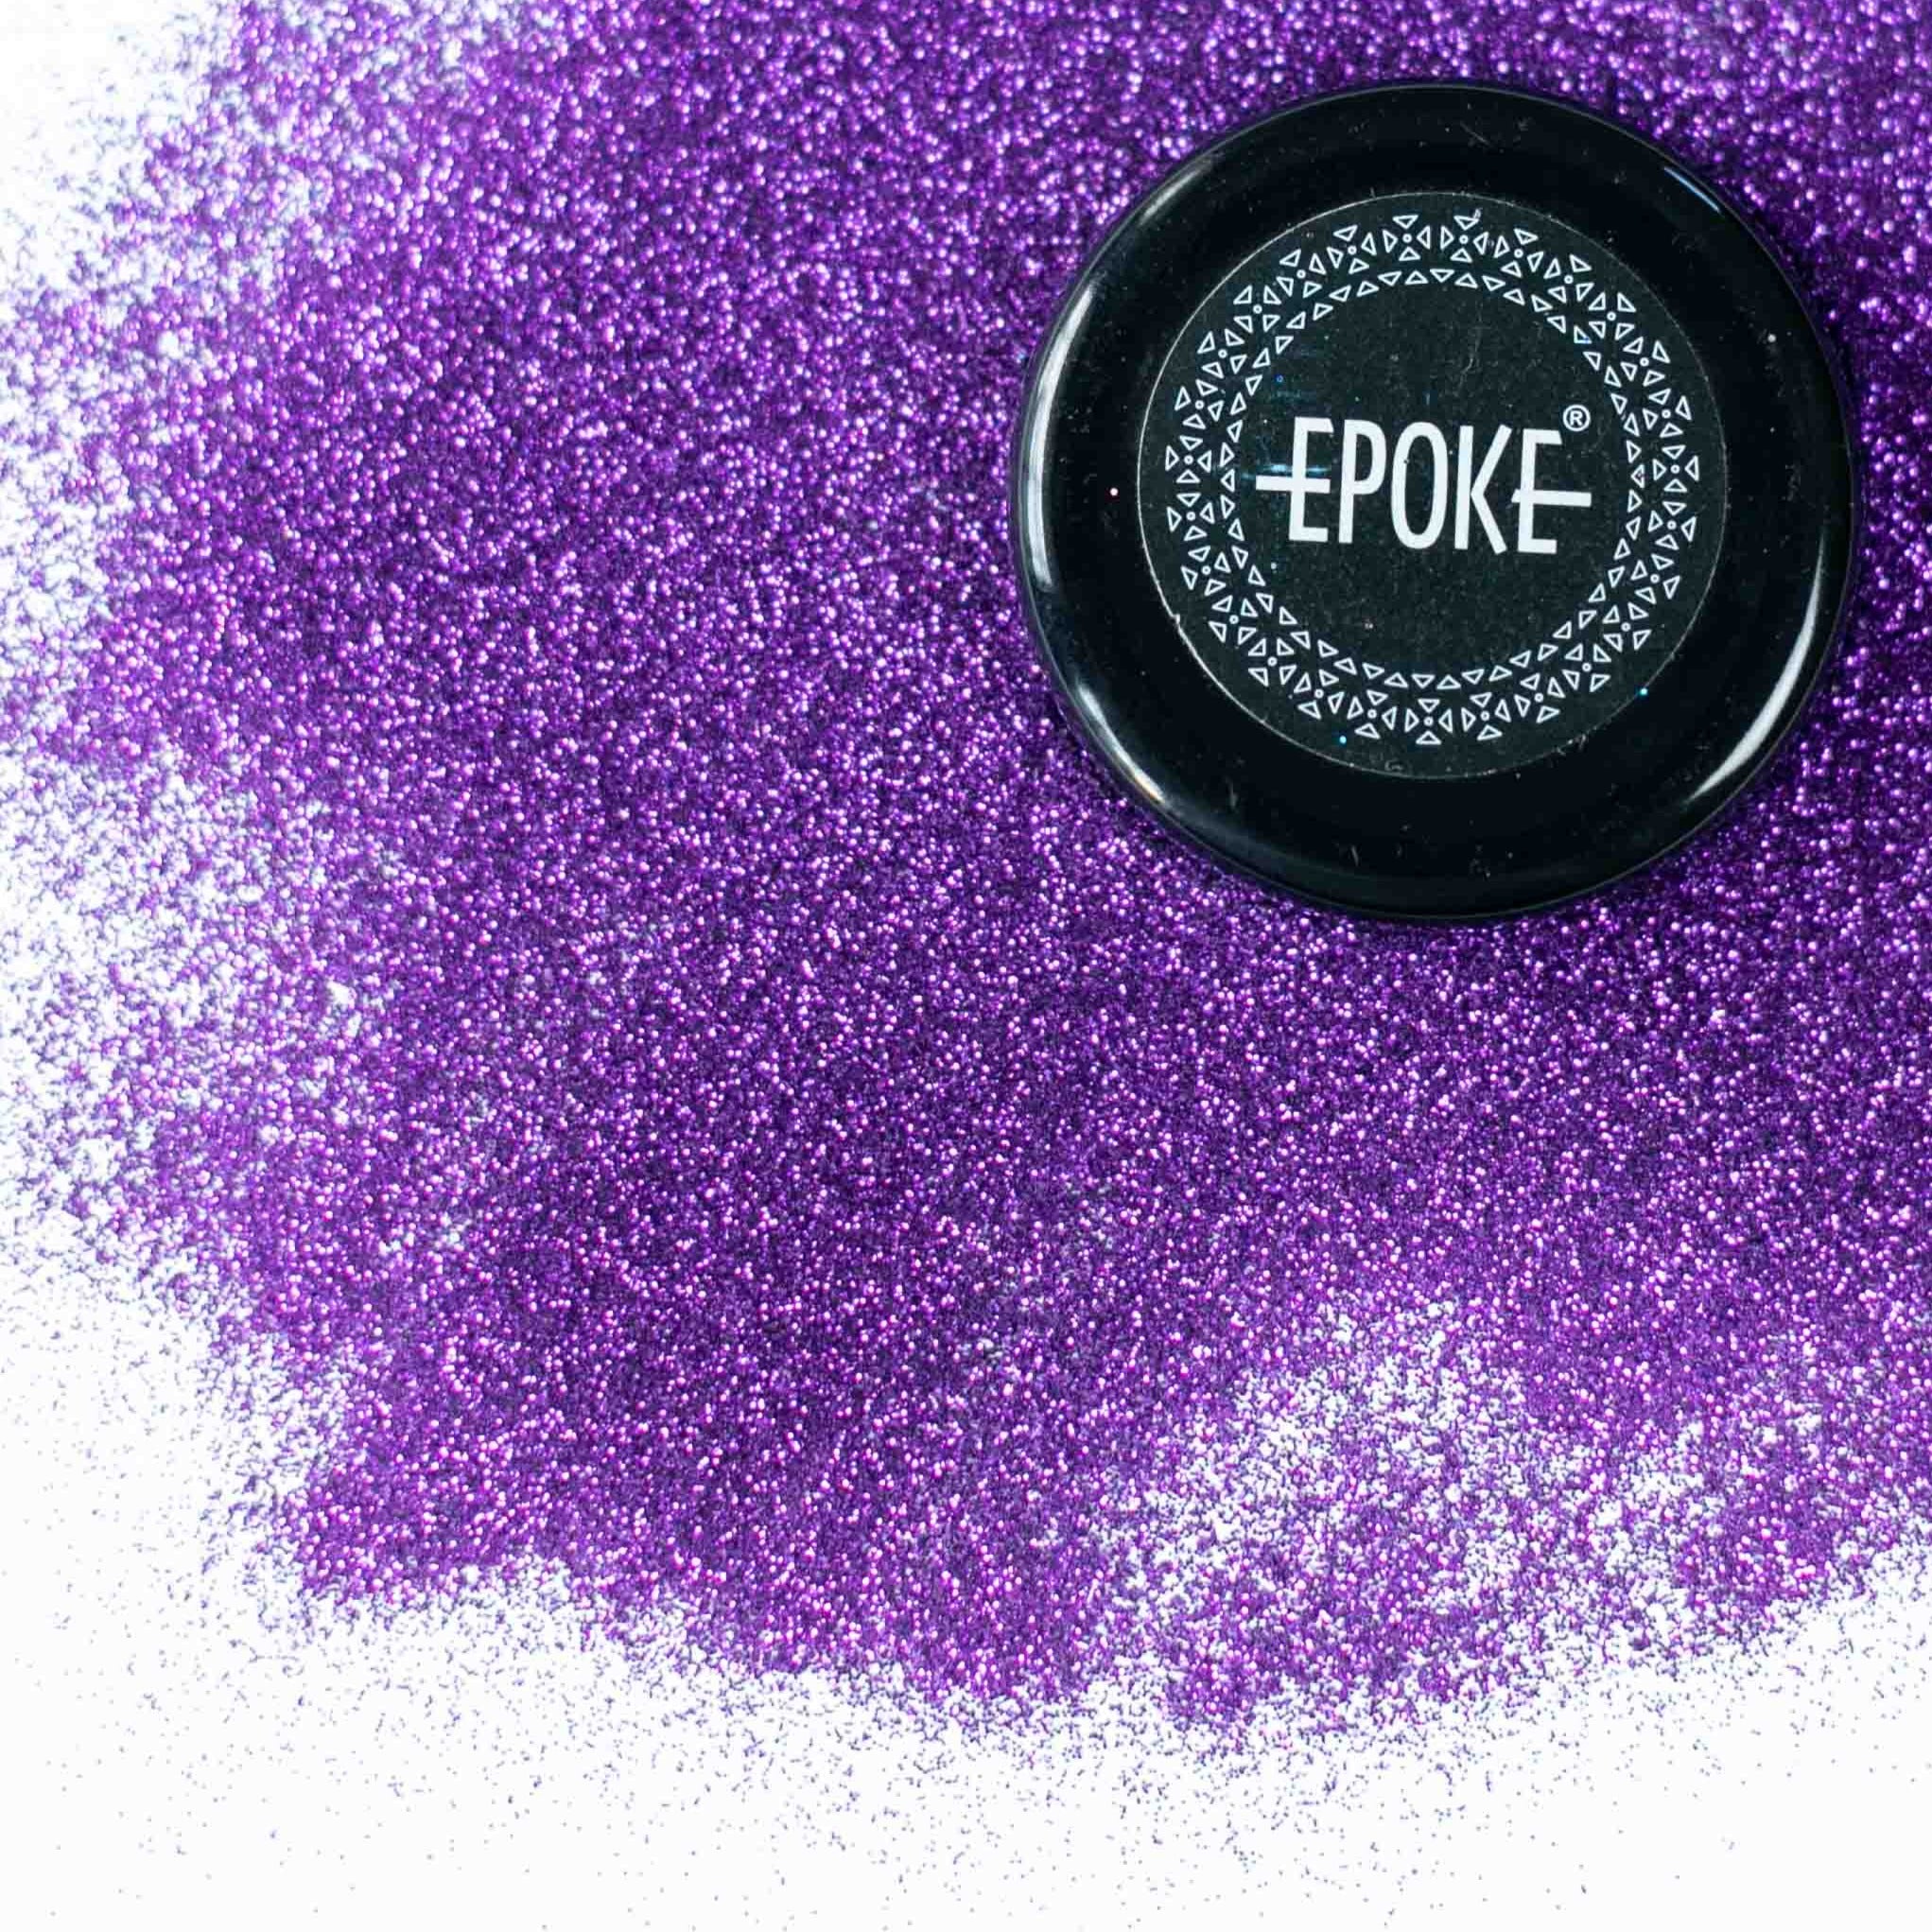
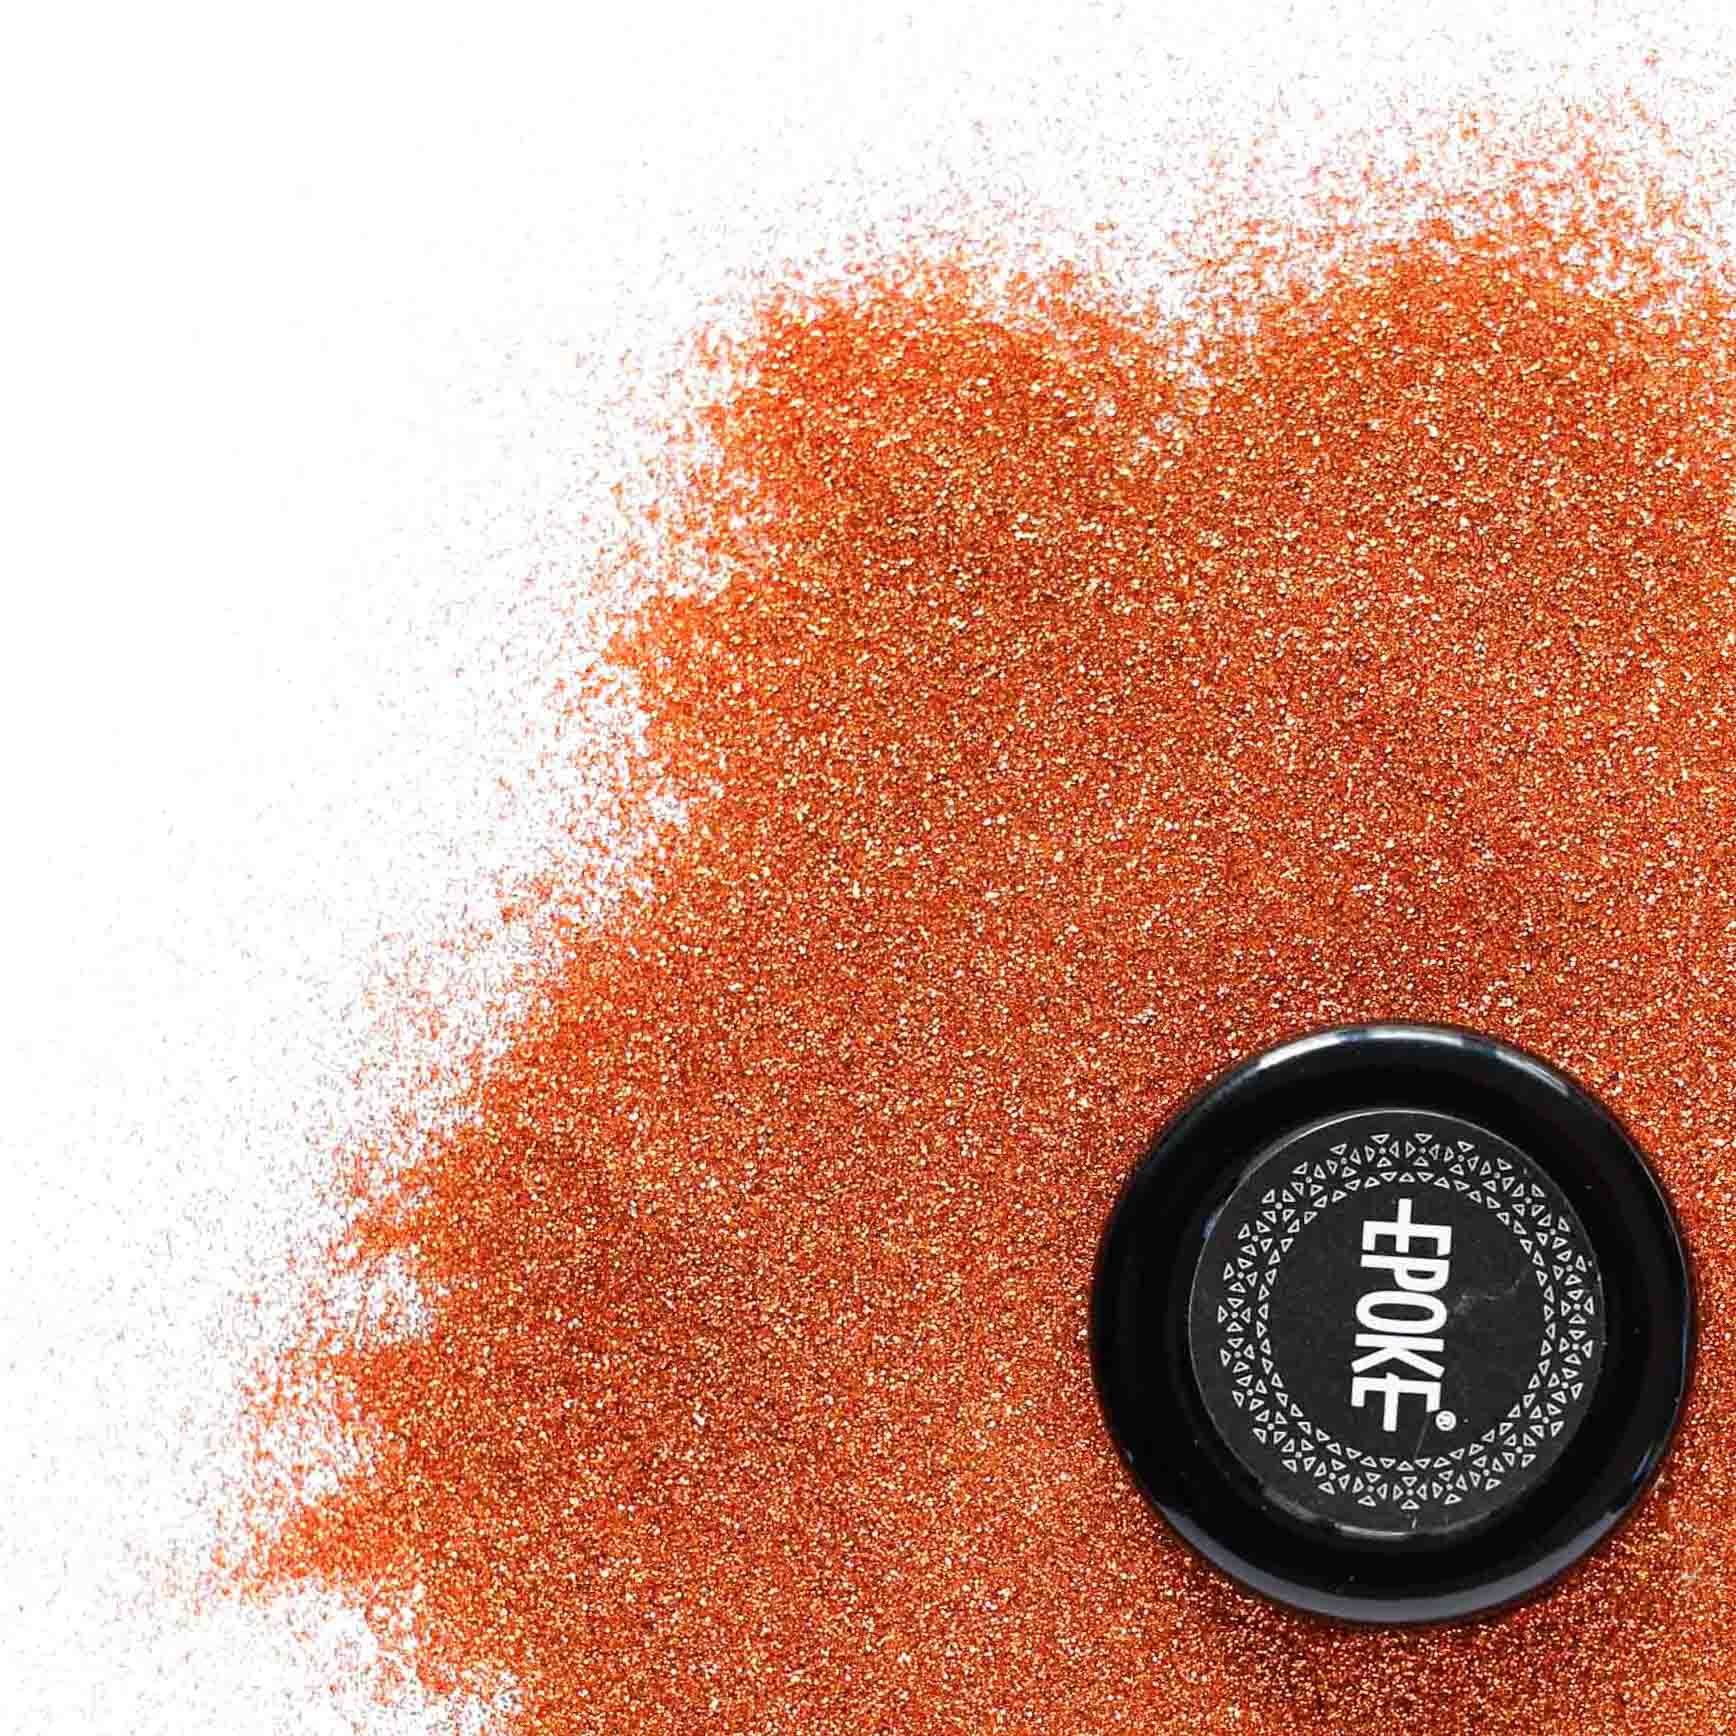
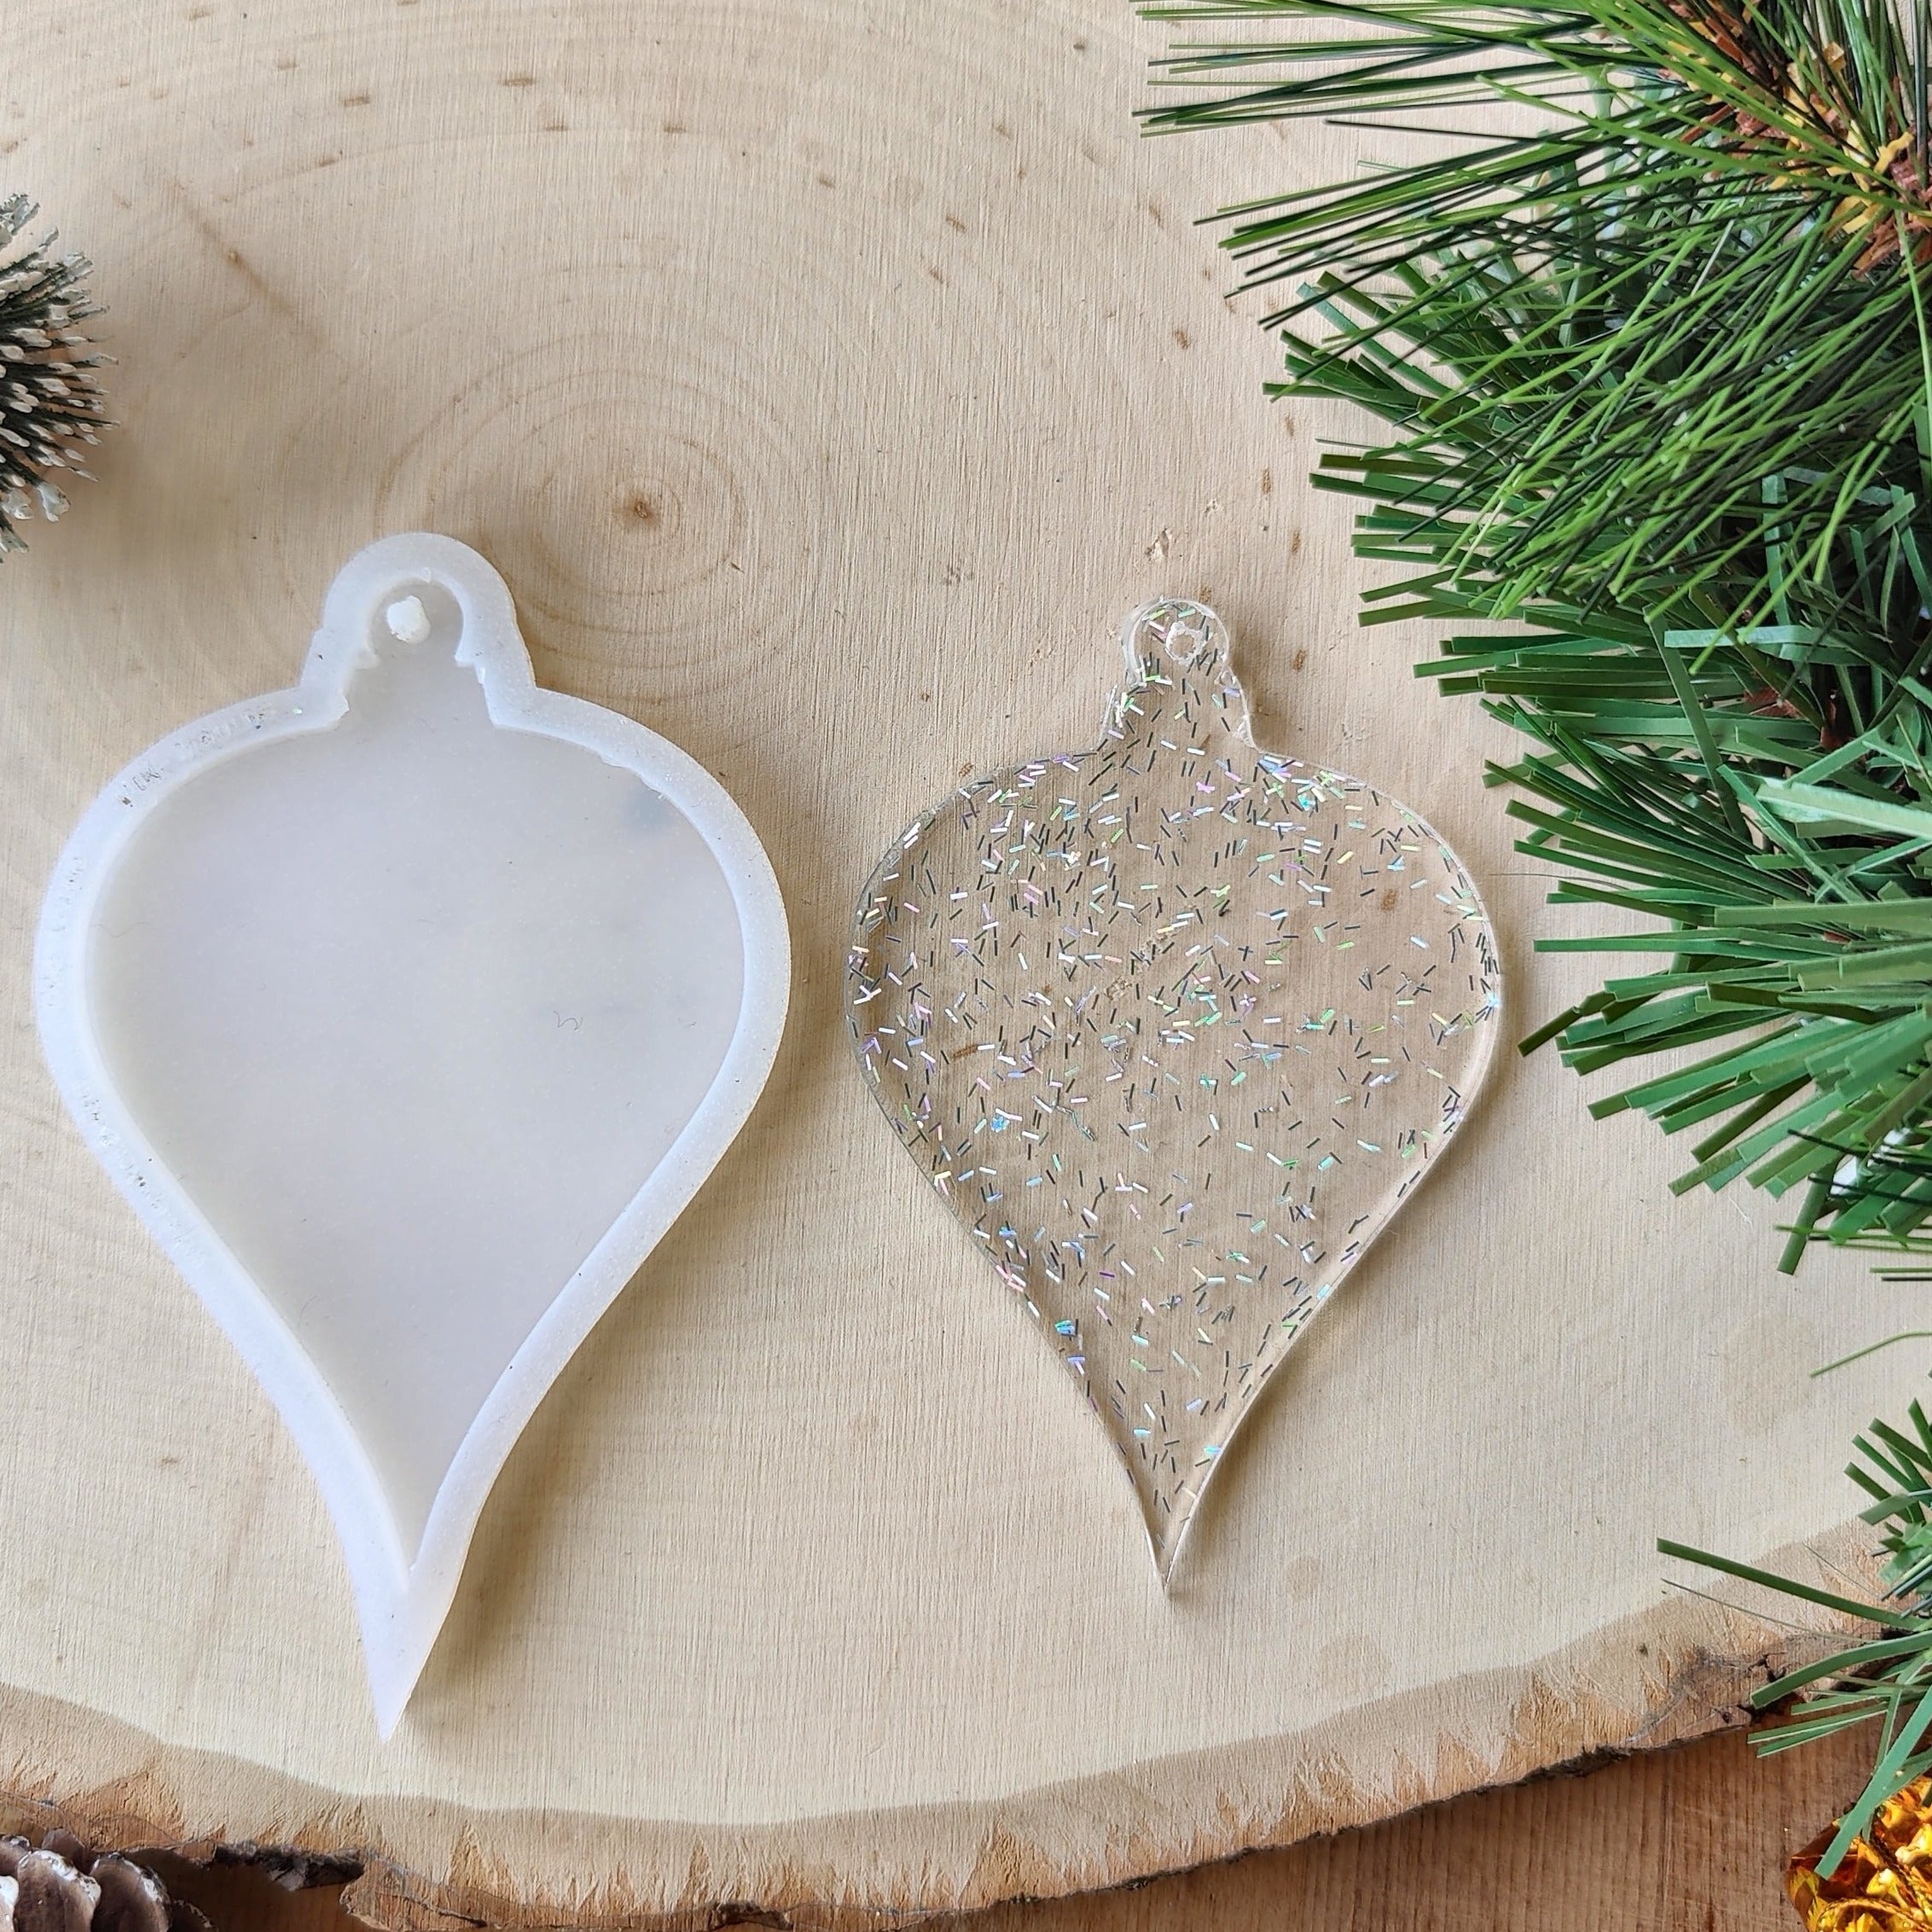
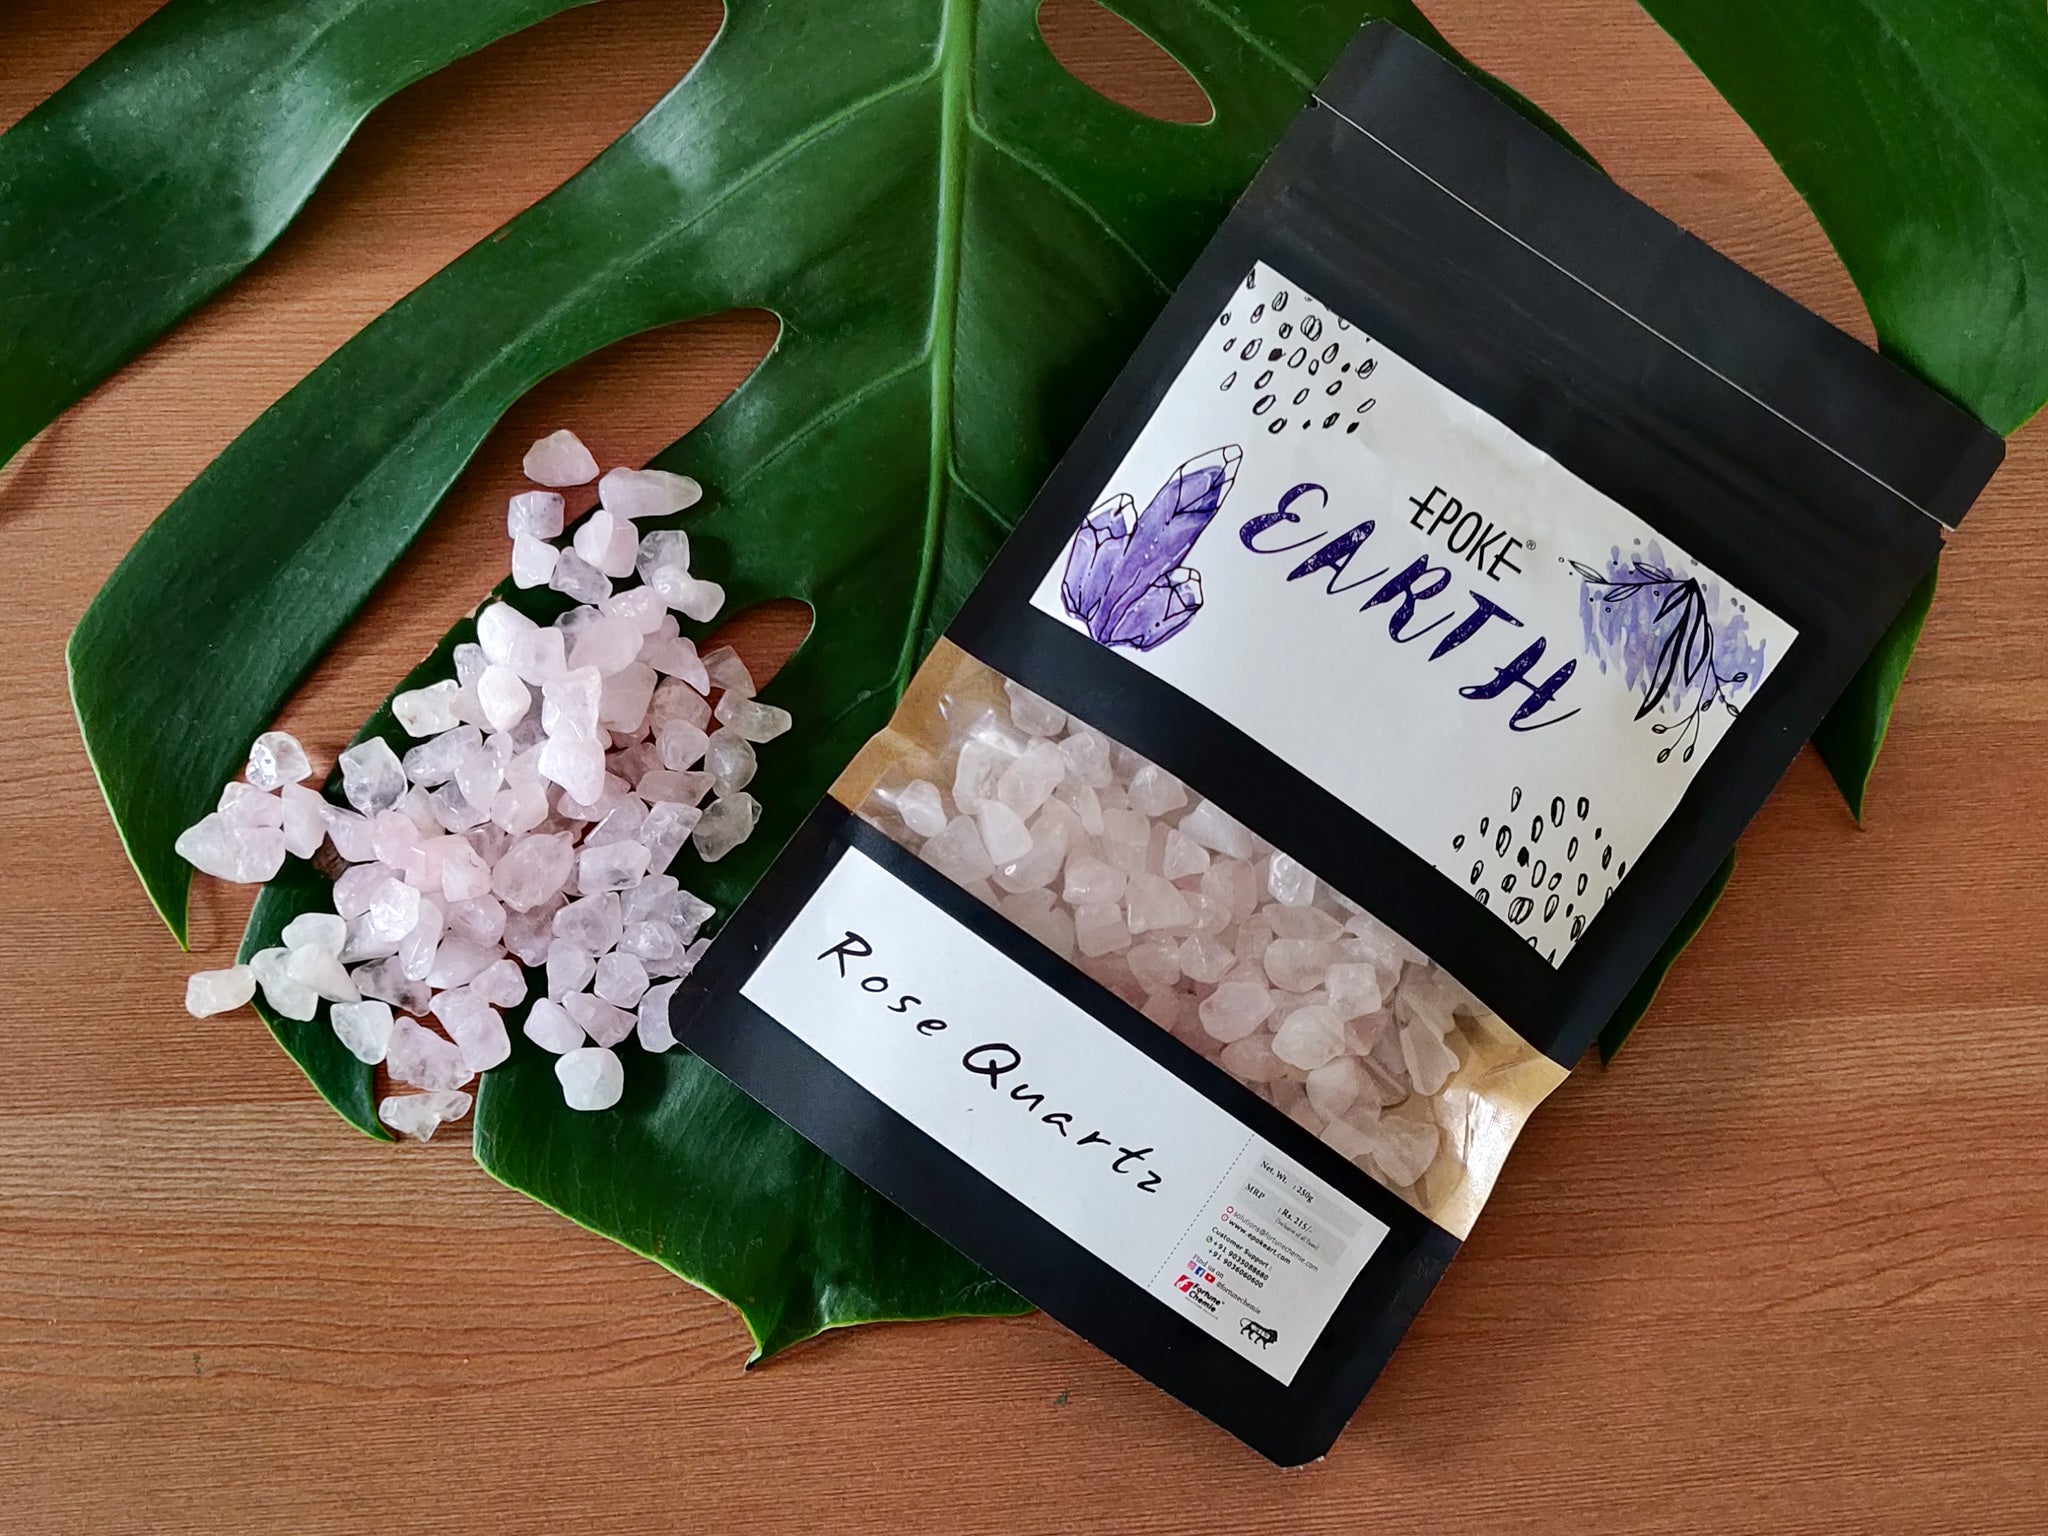
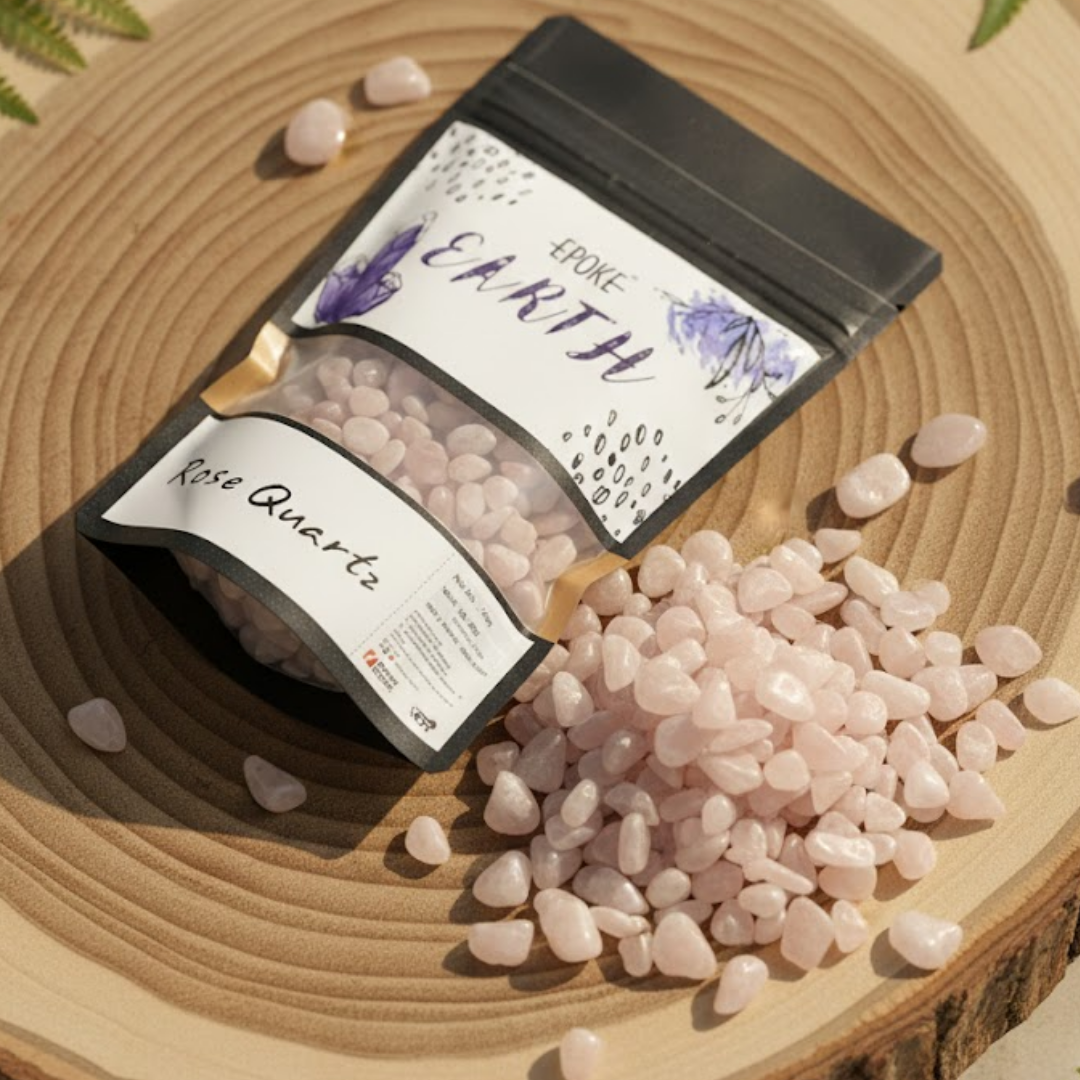
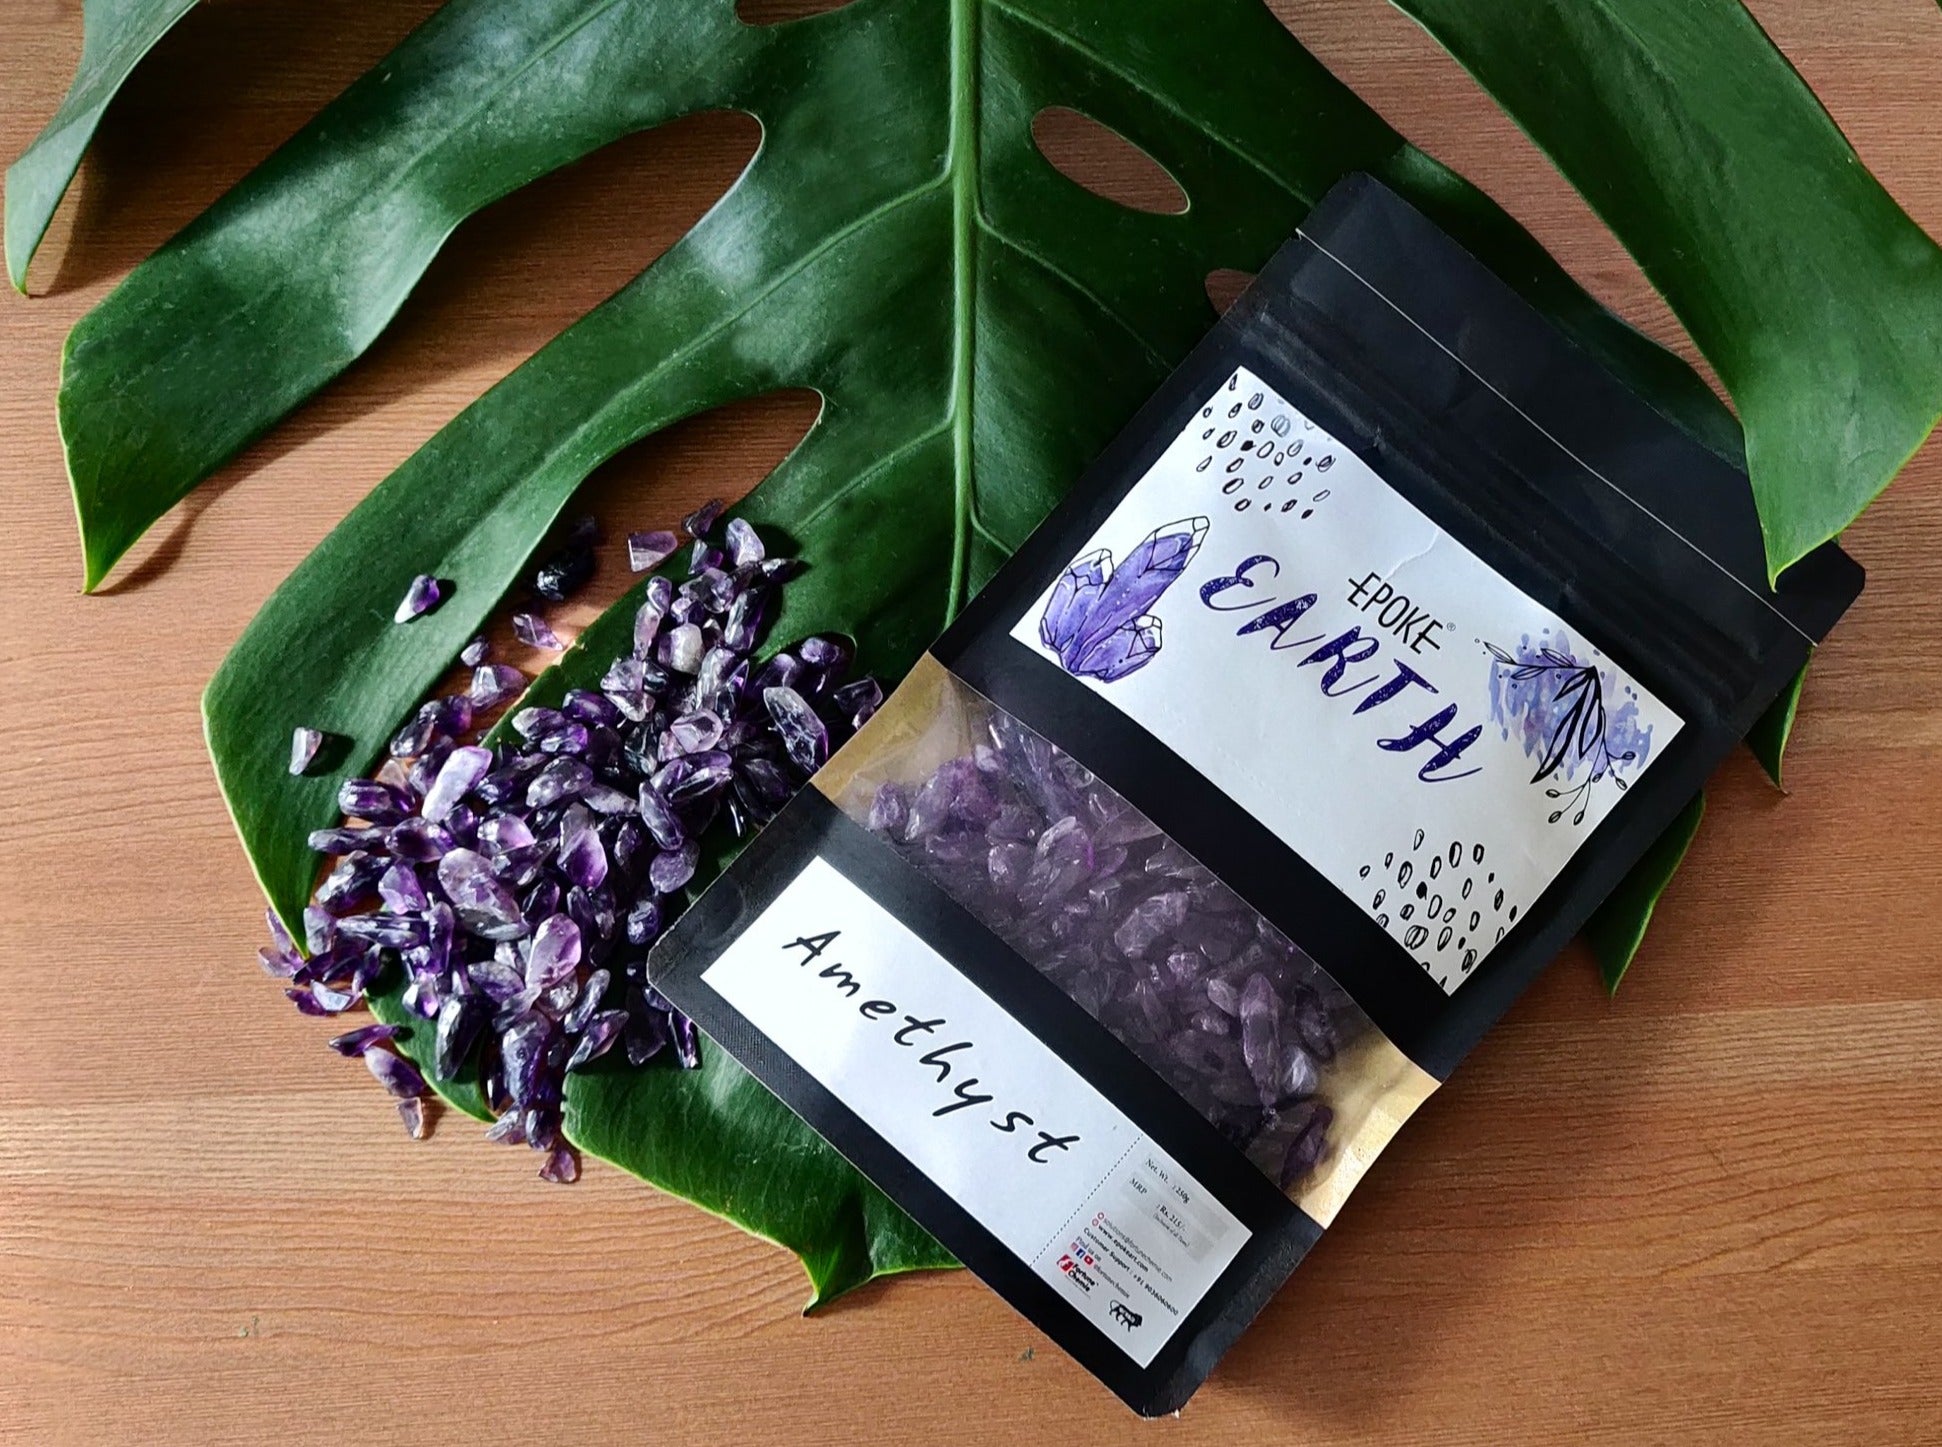
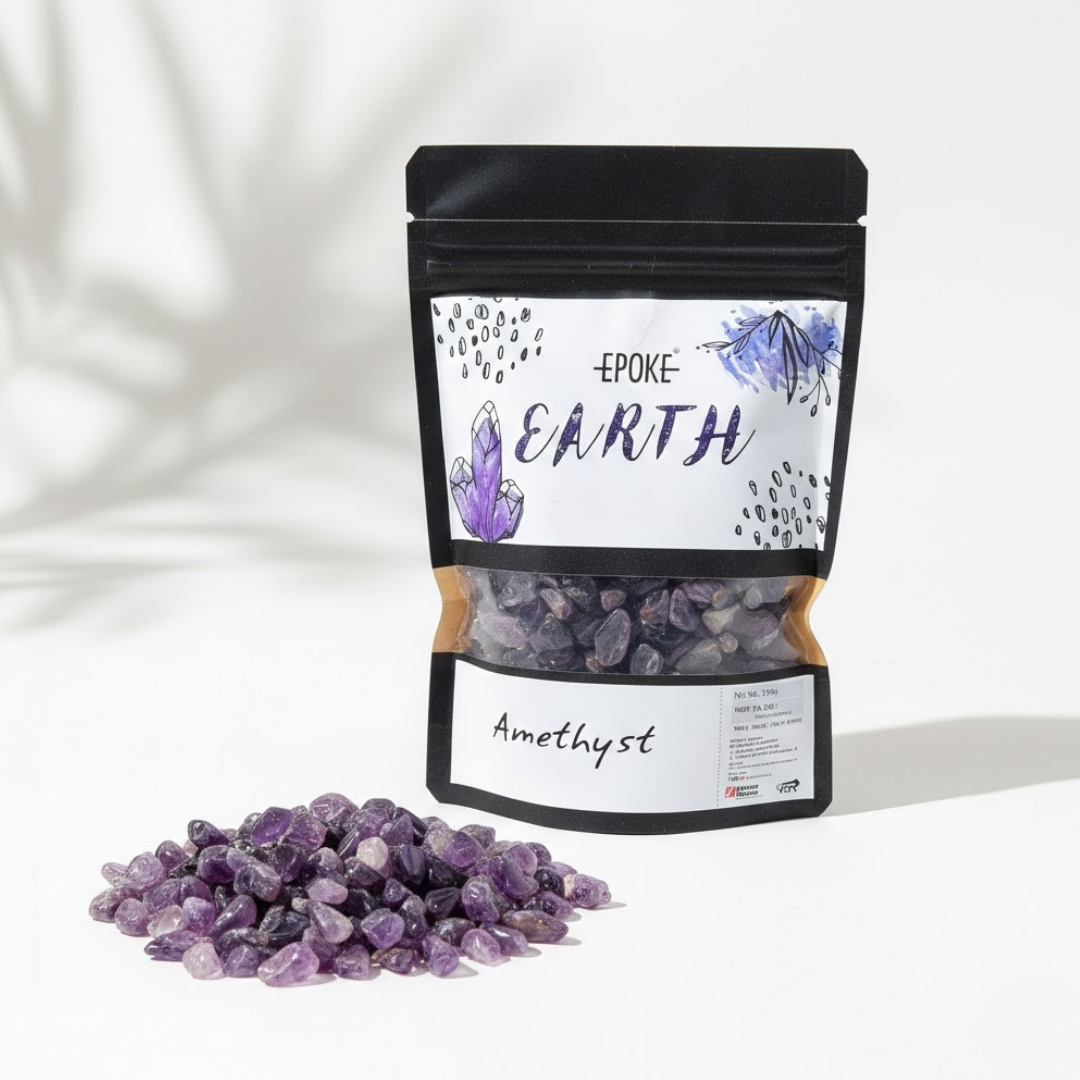
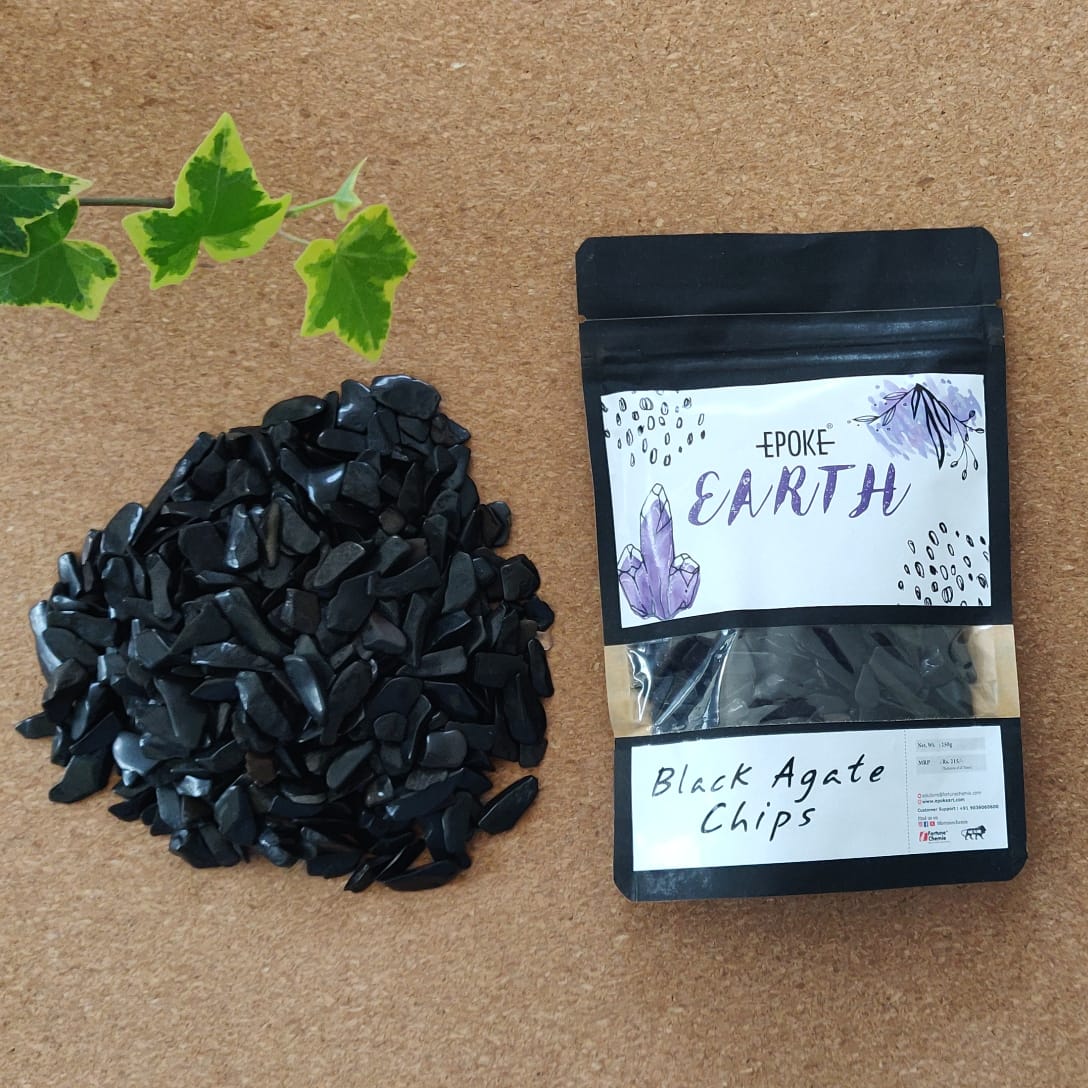
Resin-compatible glitter stays stable inside the resin without leaching colour. EPOKE Art glitters are built with three core properties: High Lustre, Non-Bleeding, and Resin Compatible. This is why artists looking for reliable glitter resin in India trust them for consistent, professional finishes.
Chunky vs Fine Glitter for Resin Art
This is the first decision every beginner faces. The right choice depends on the effect you want.
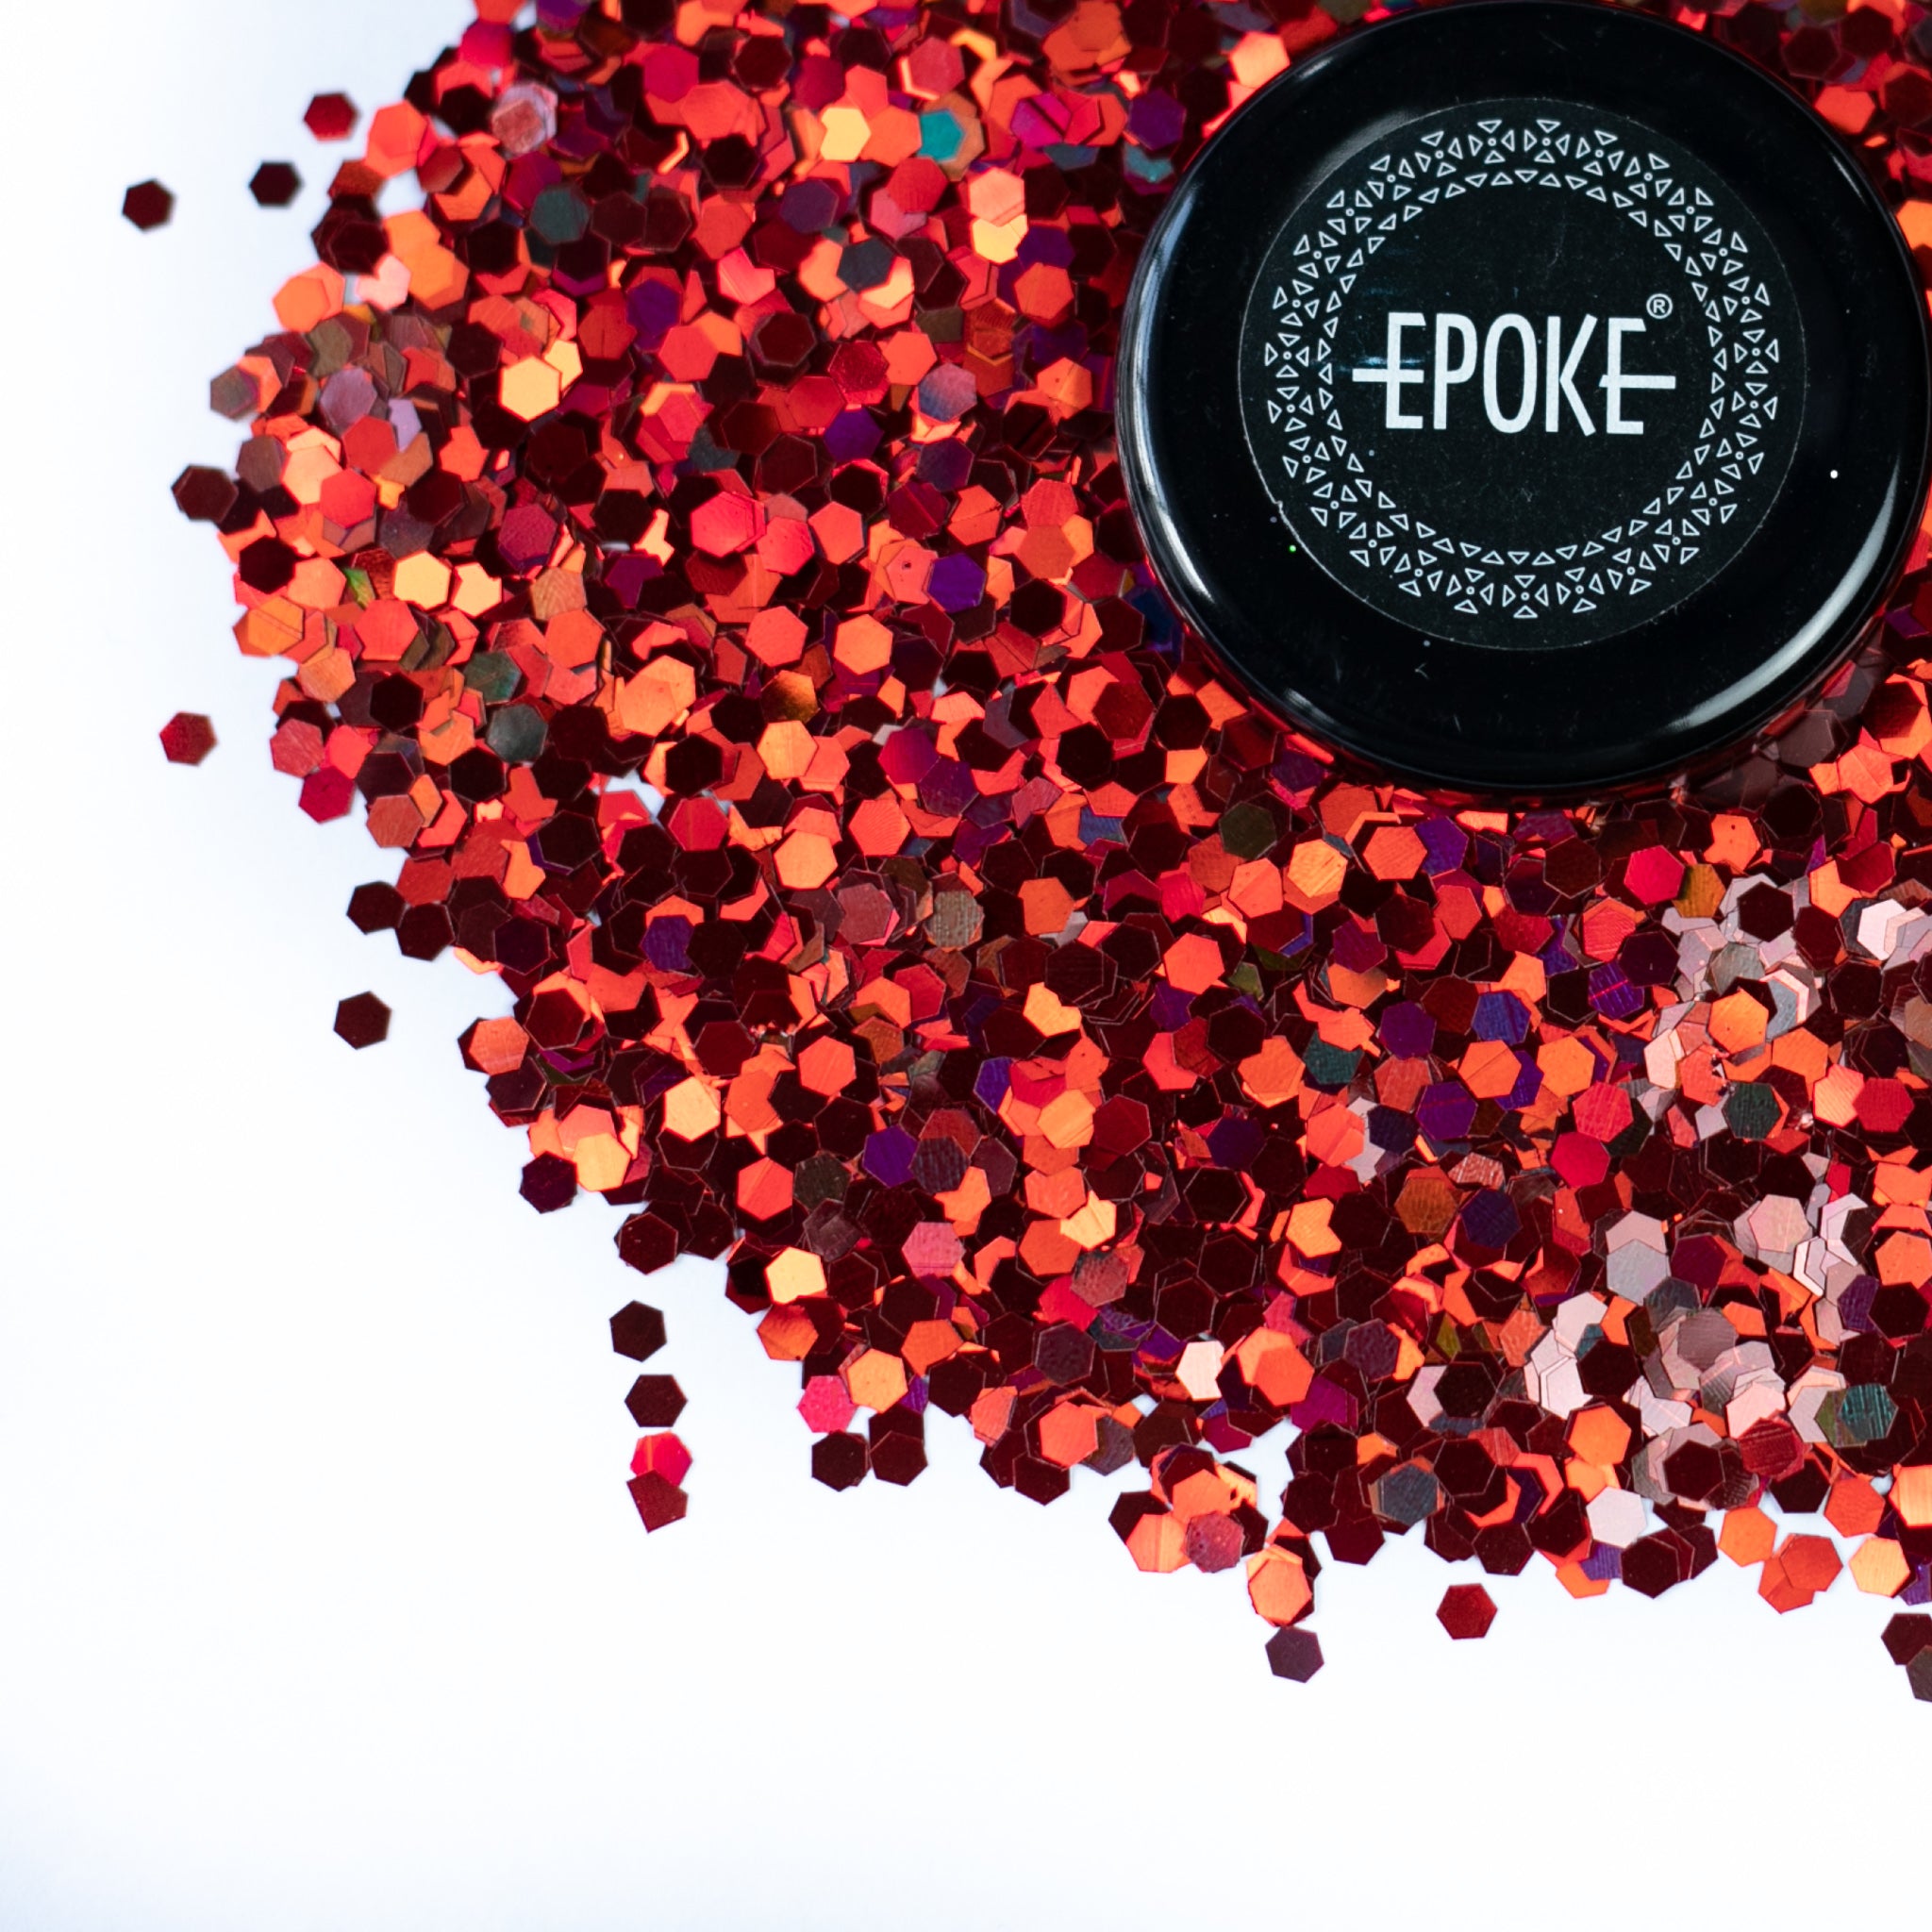
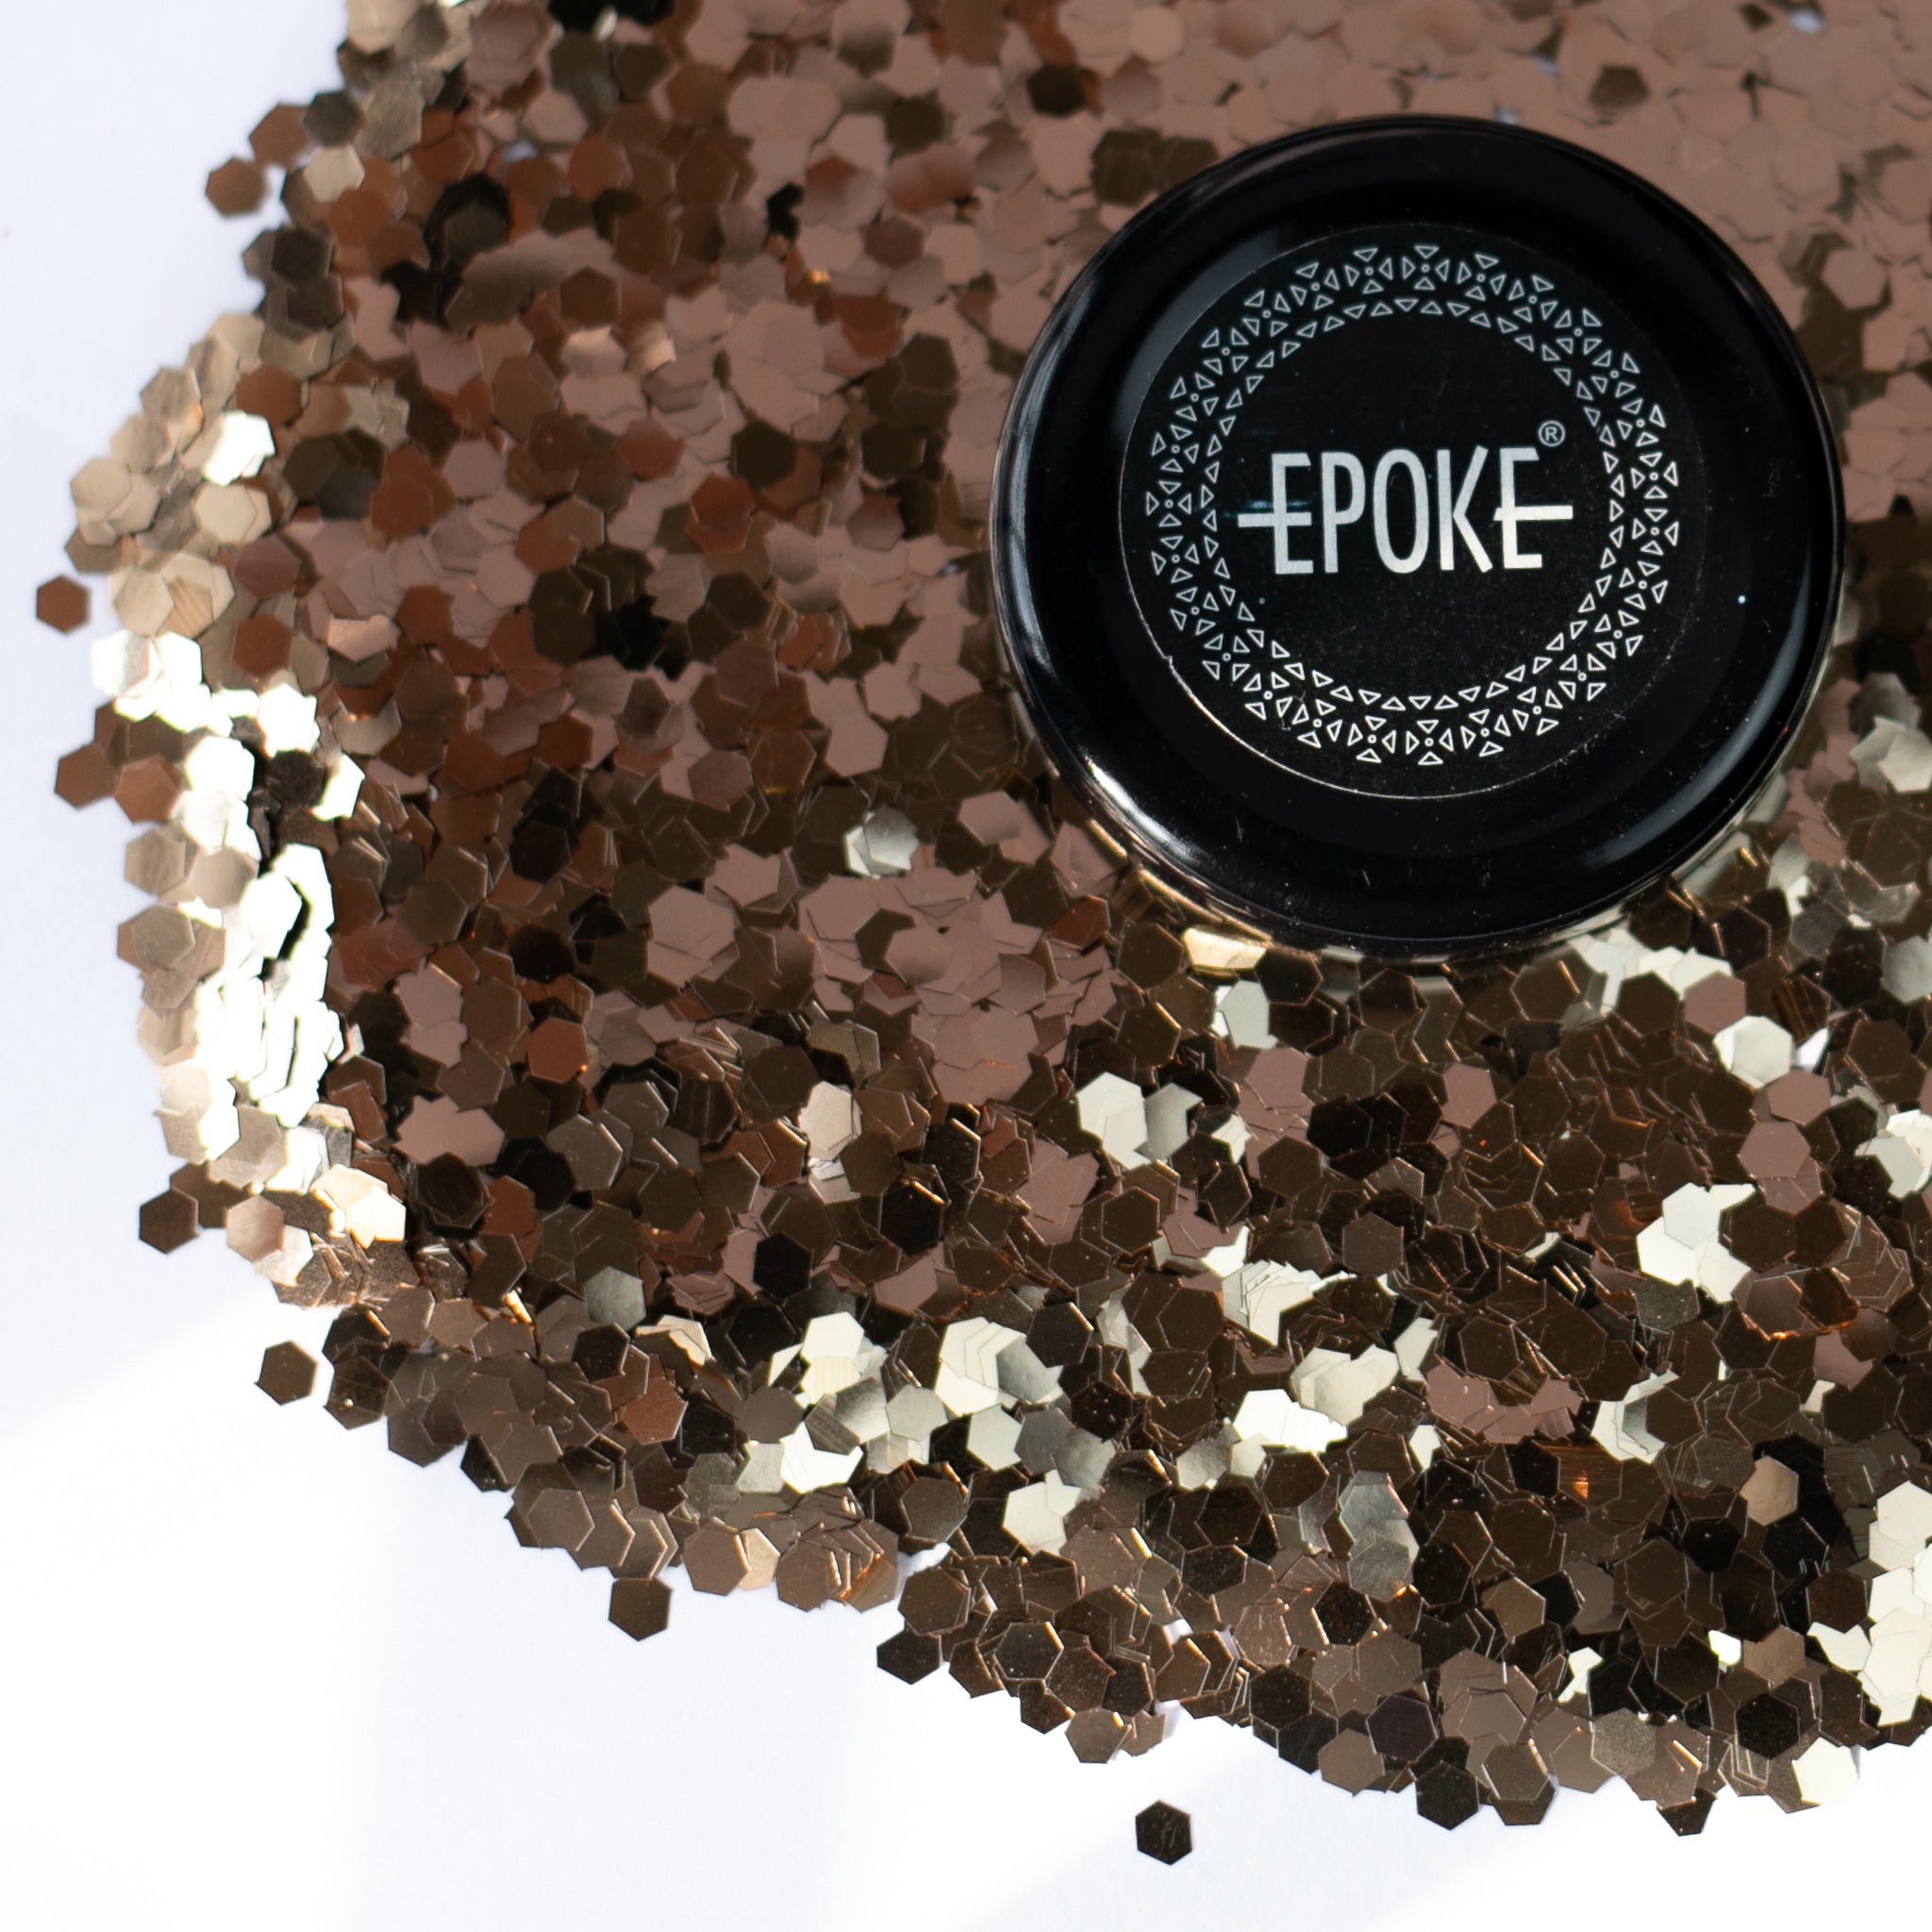
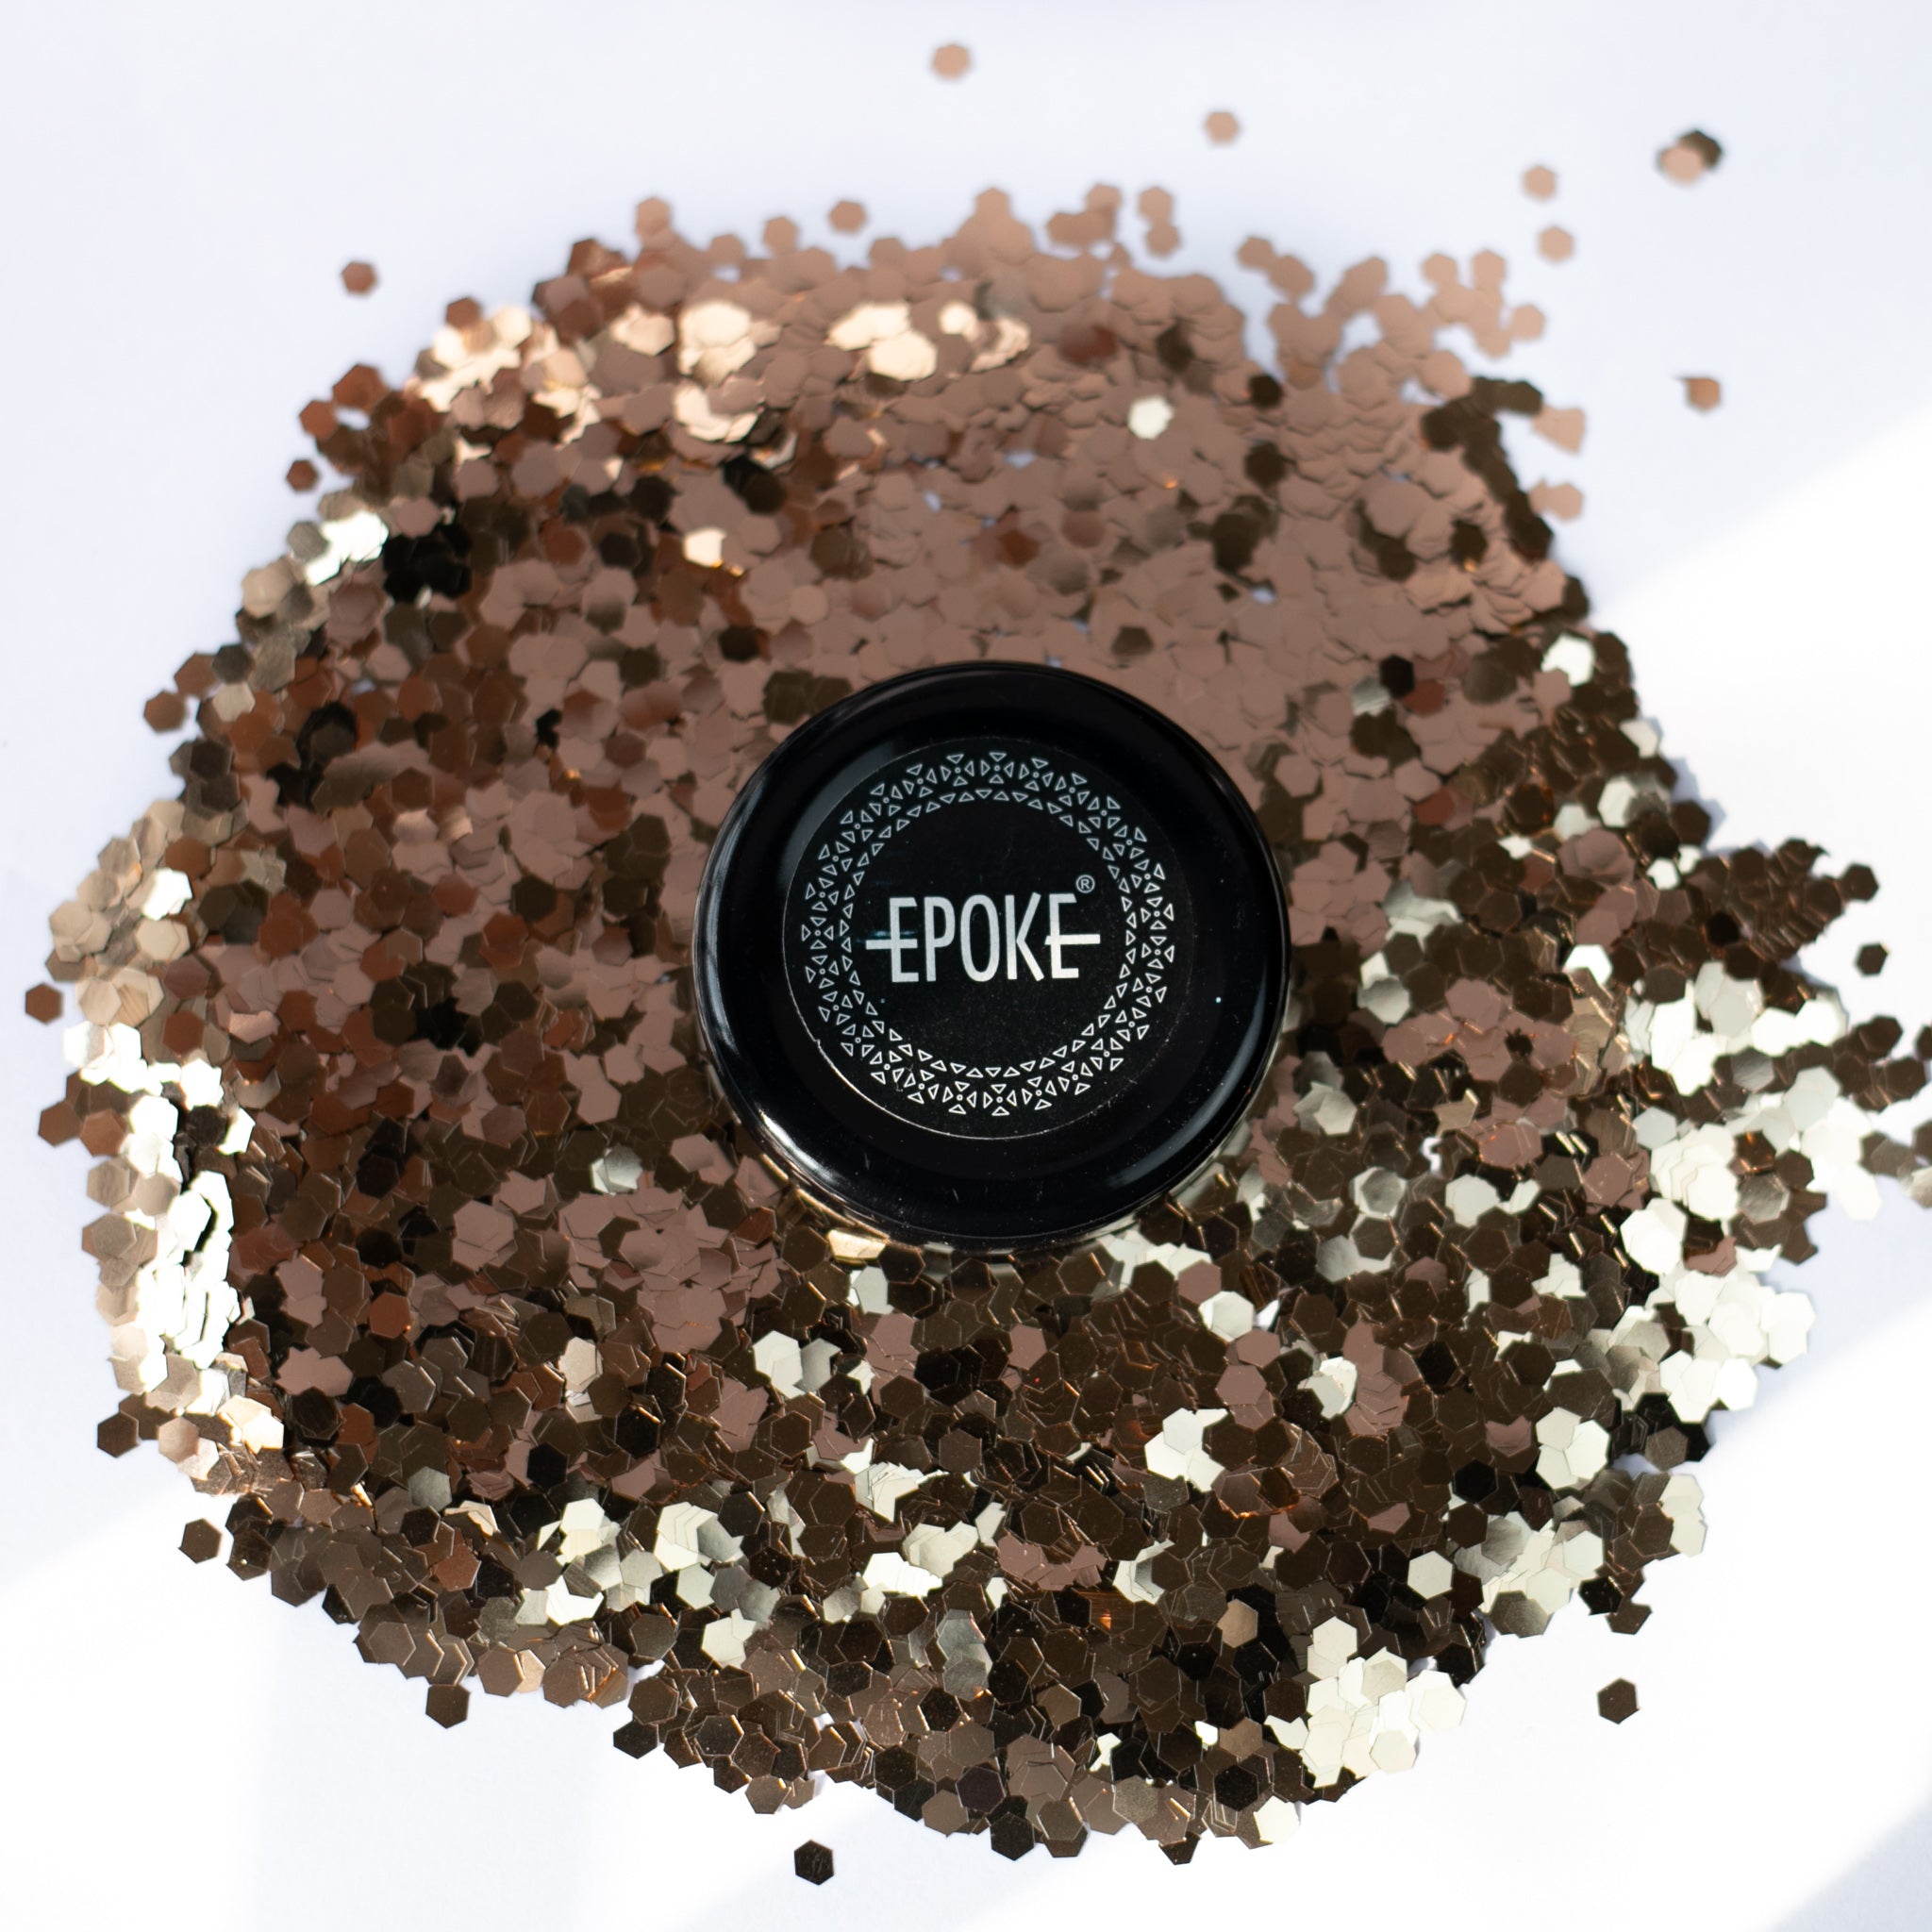
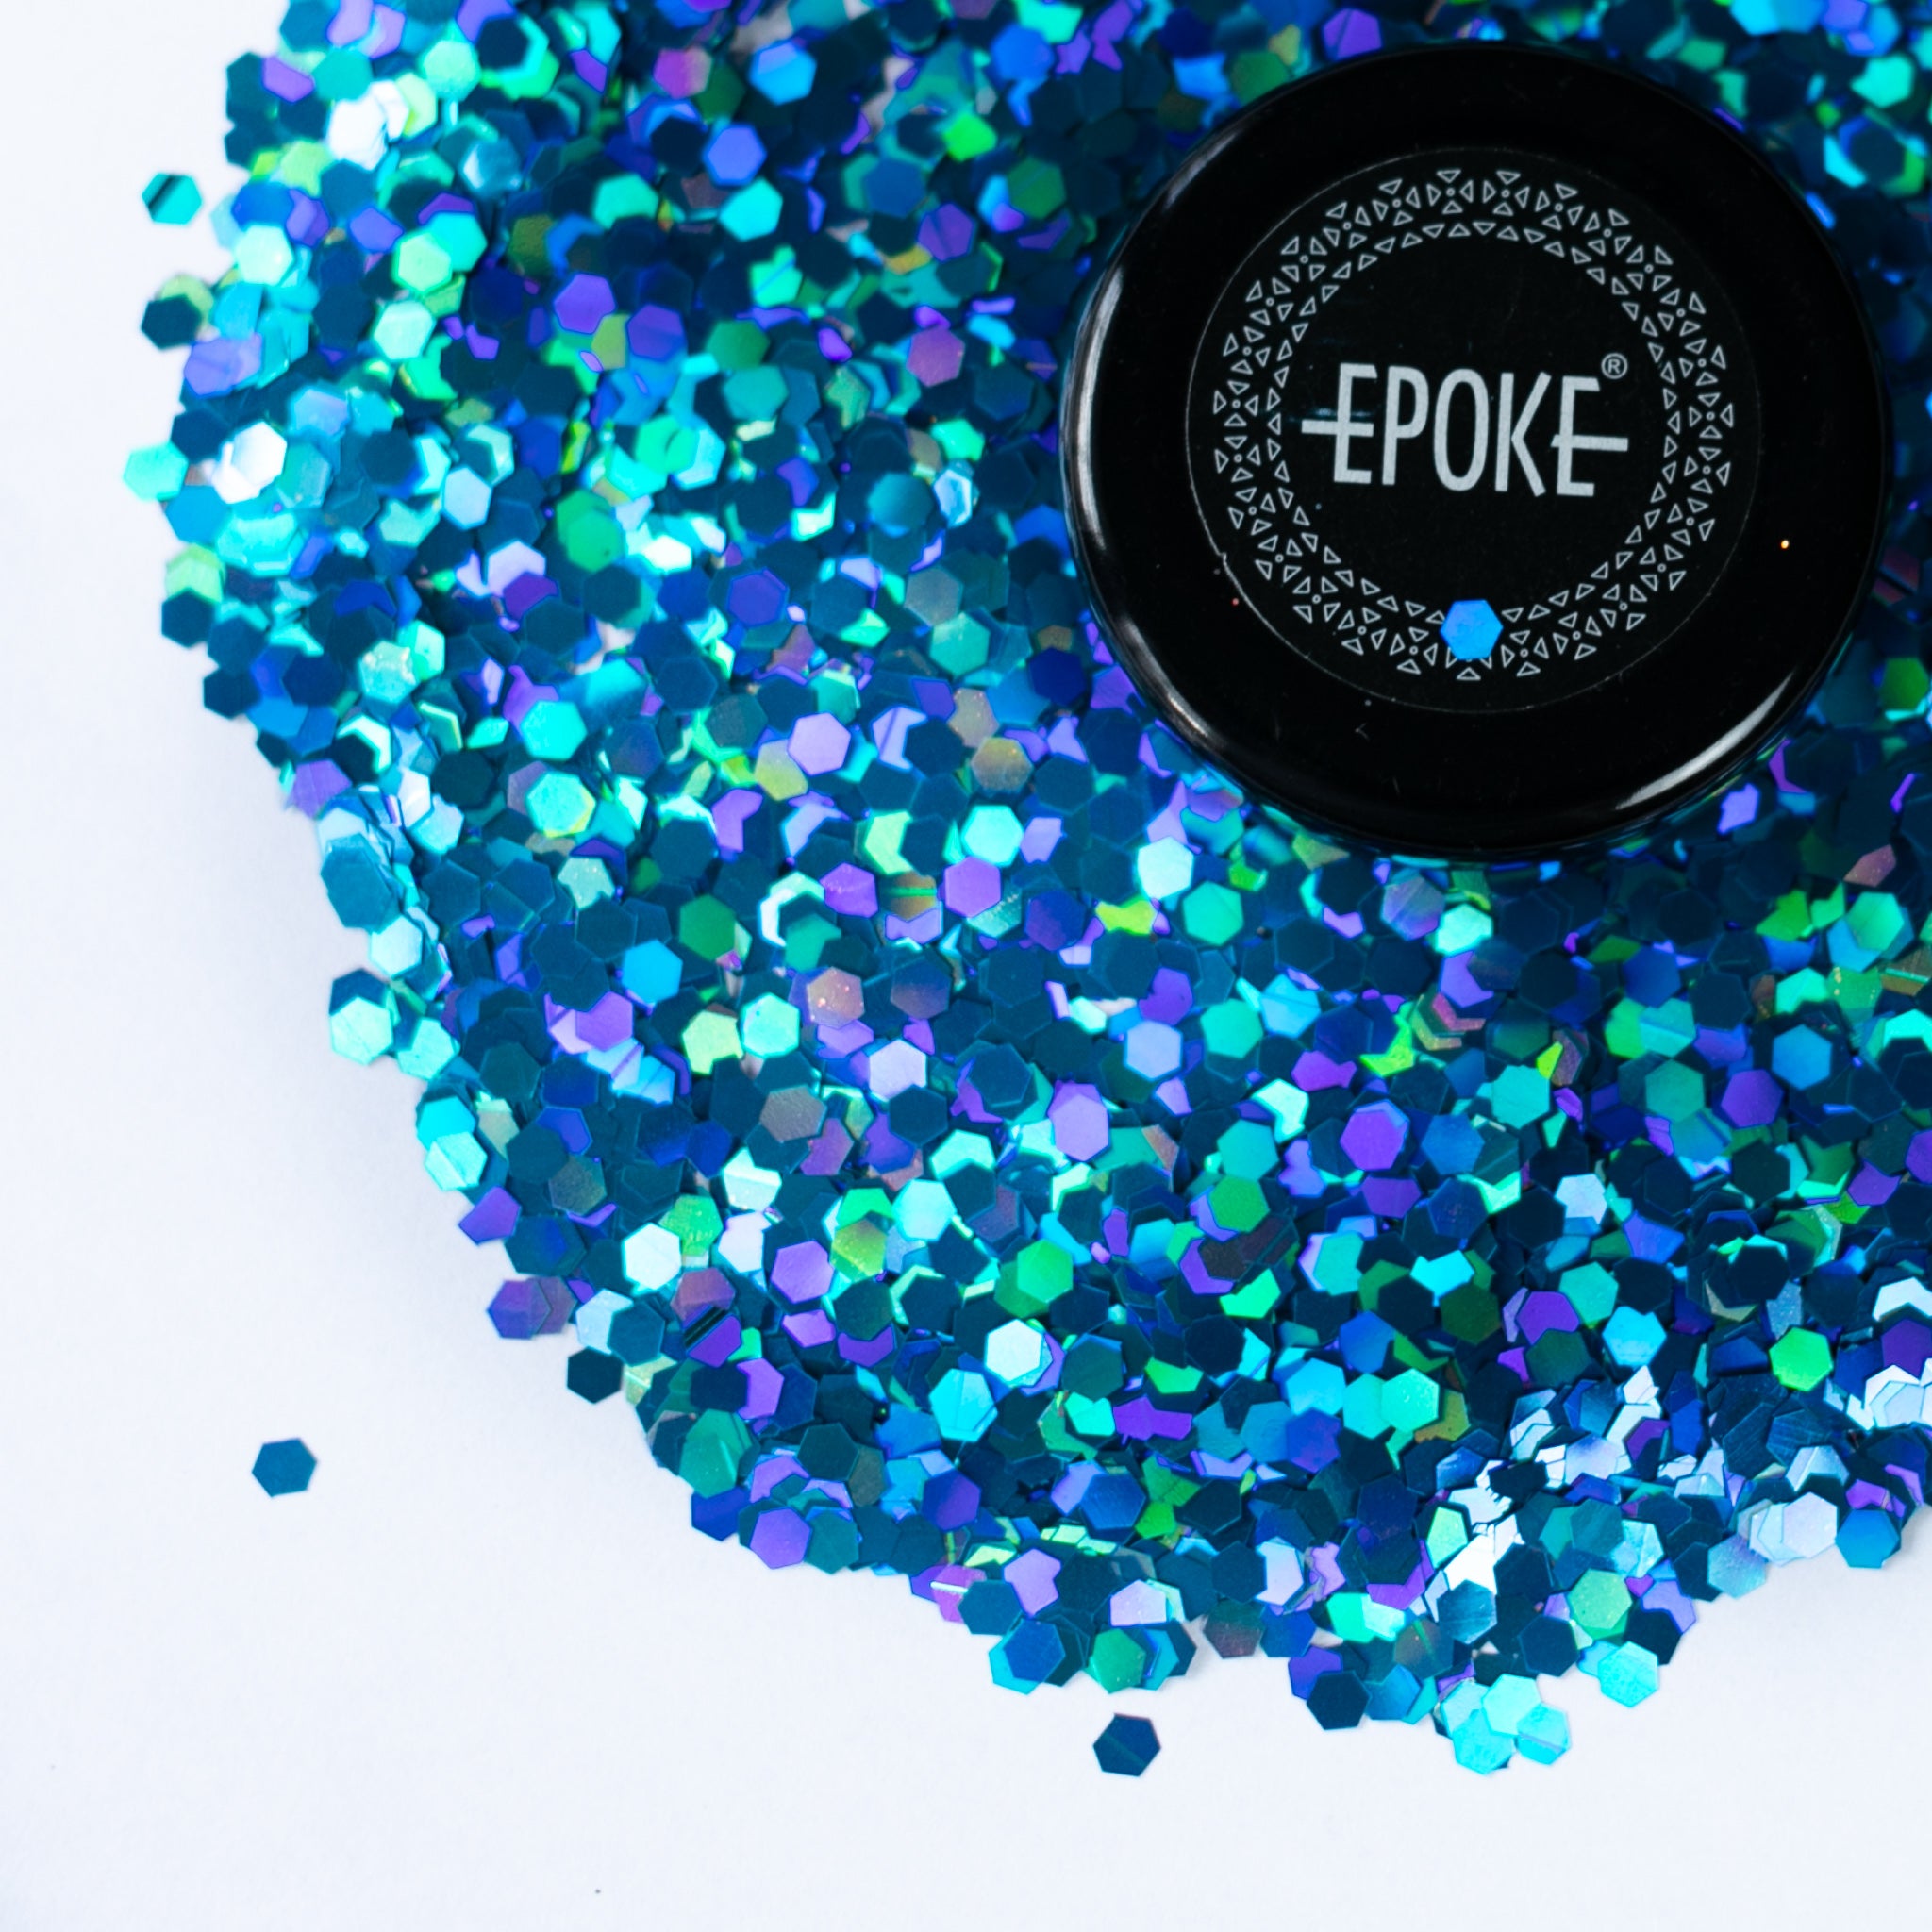
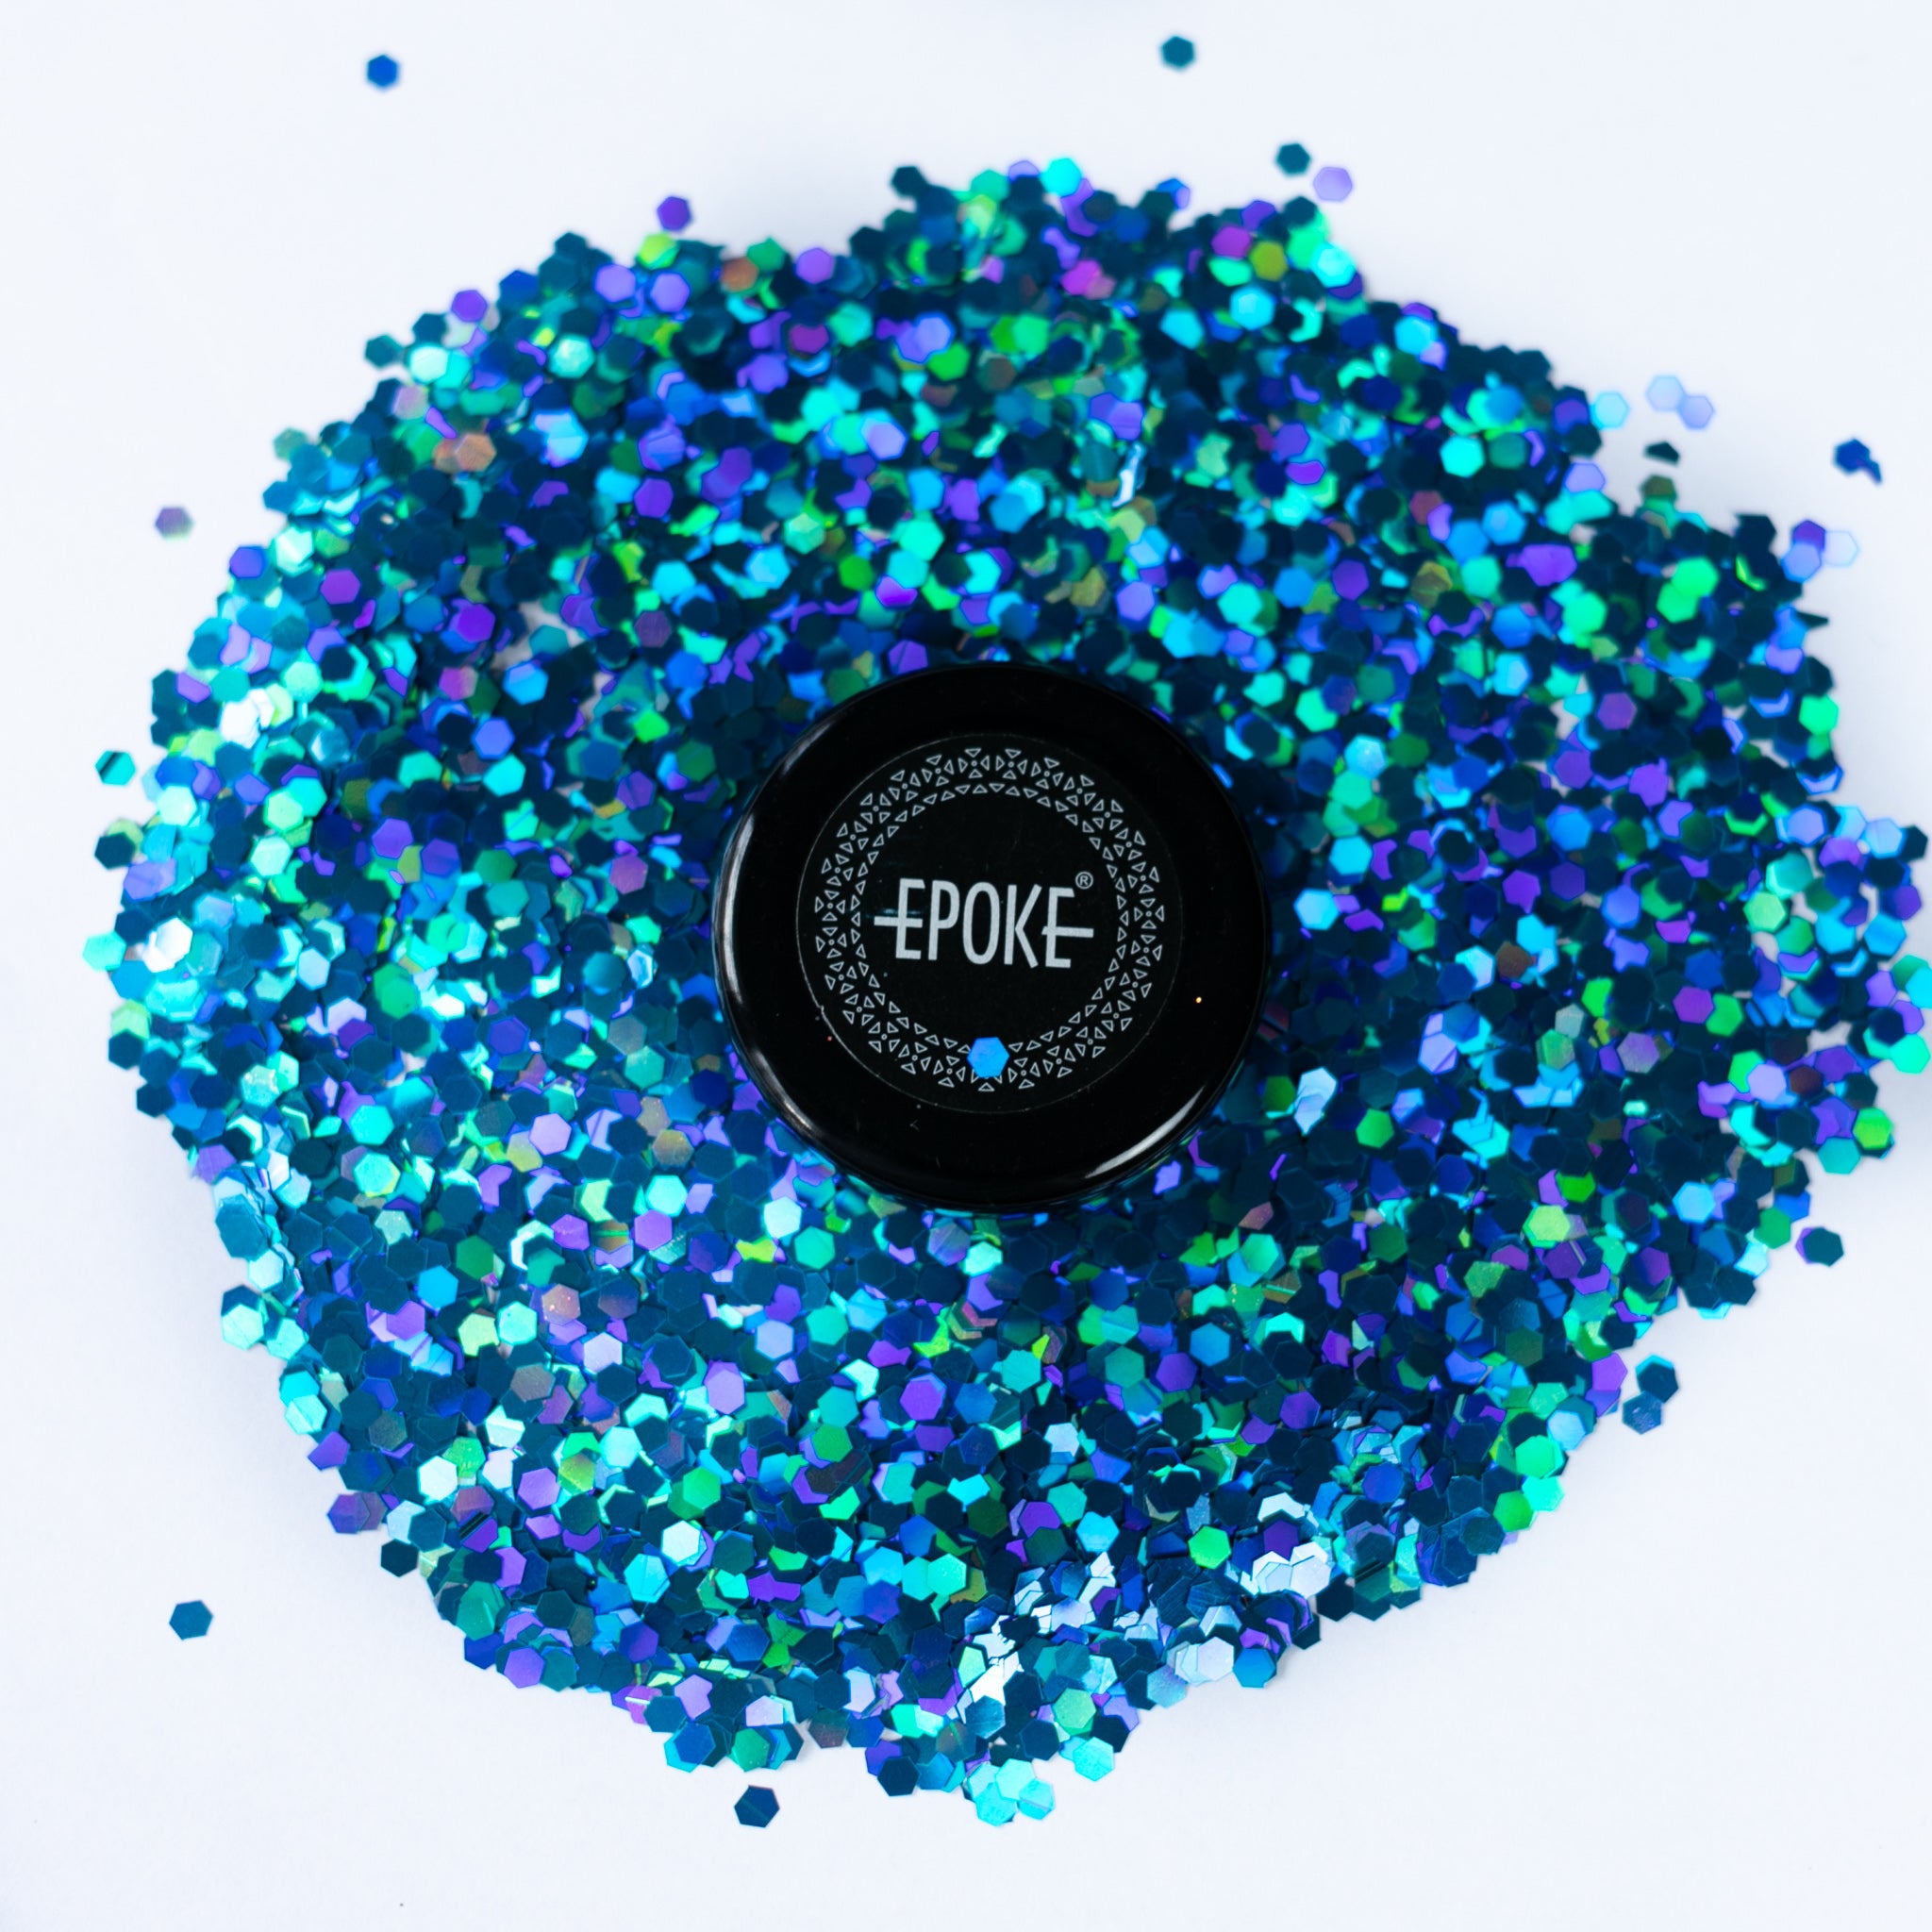
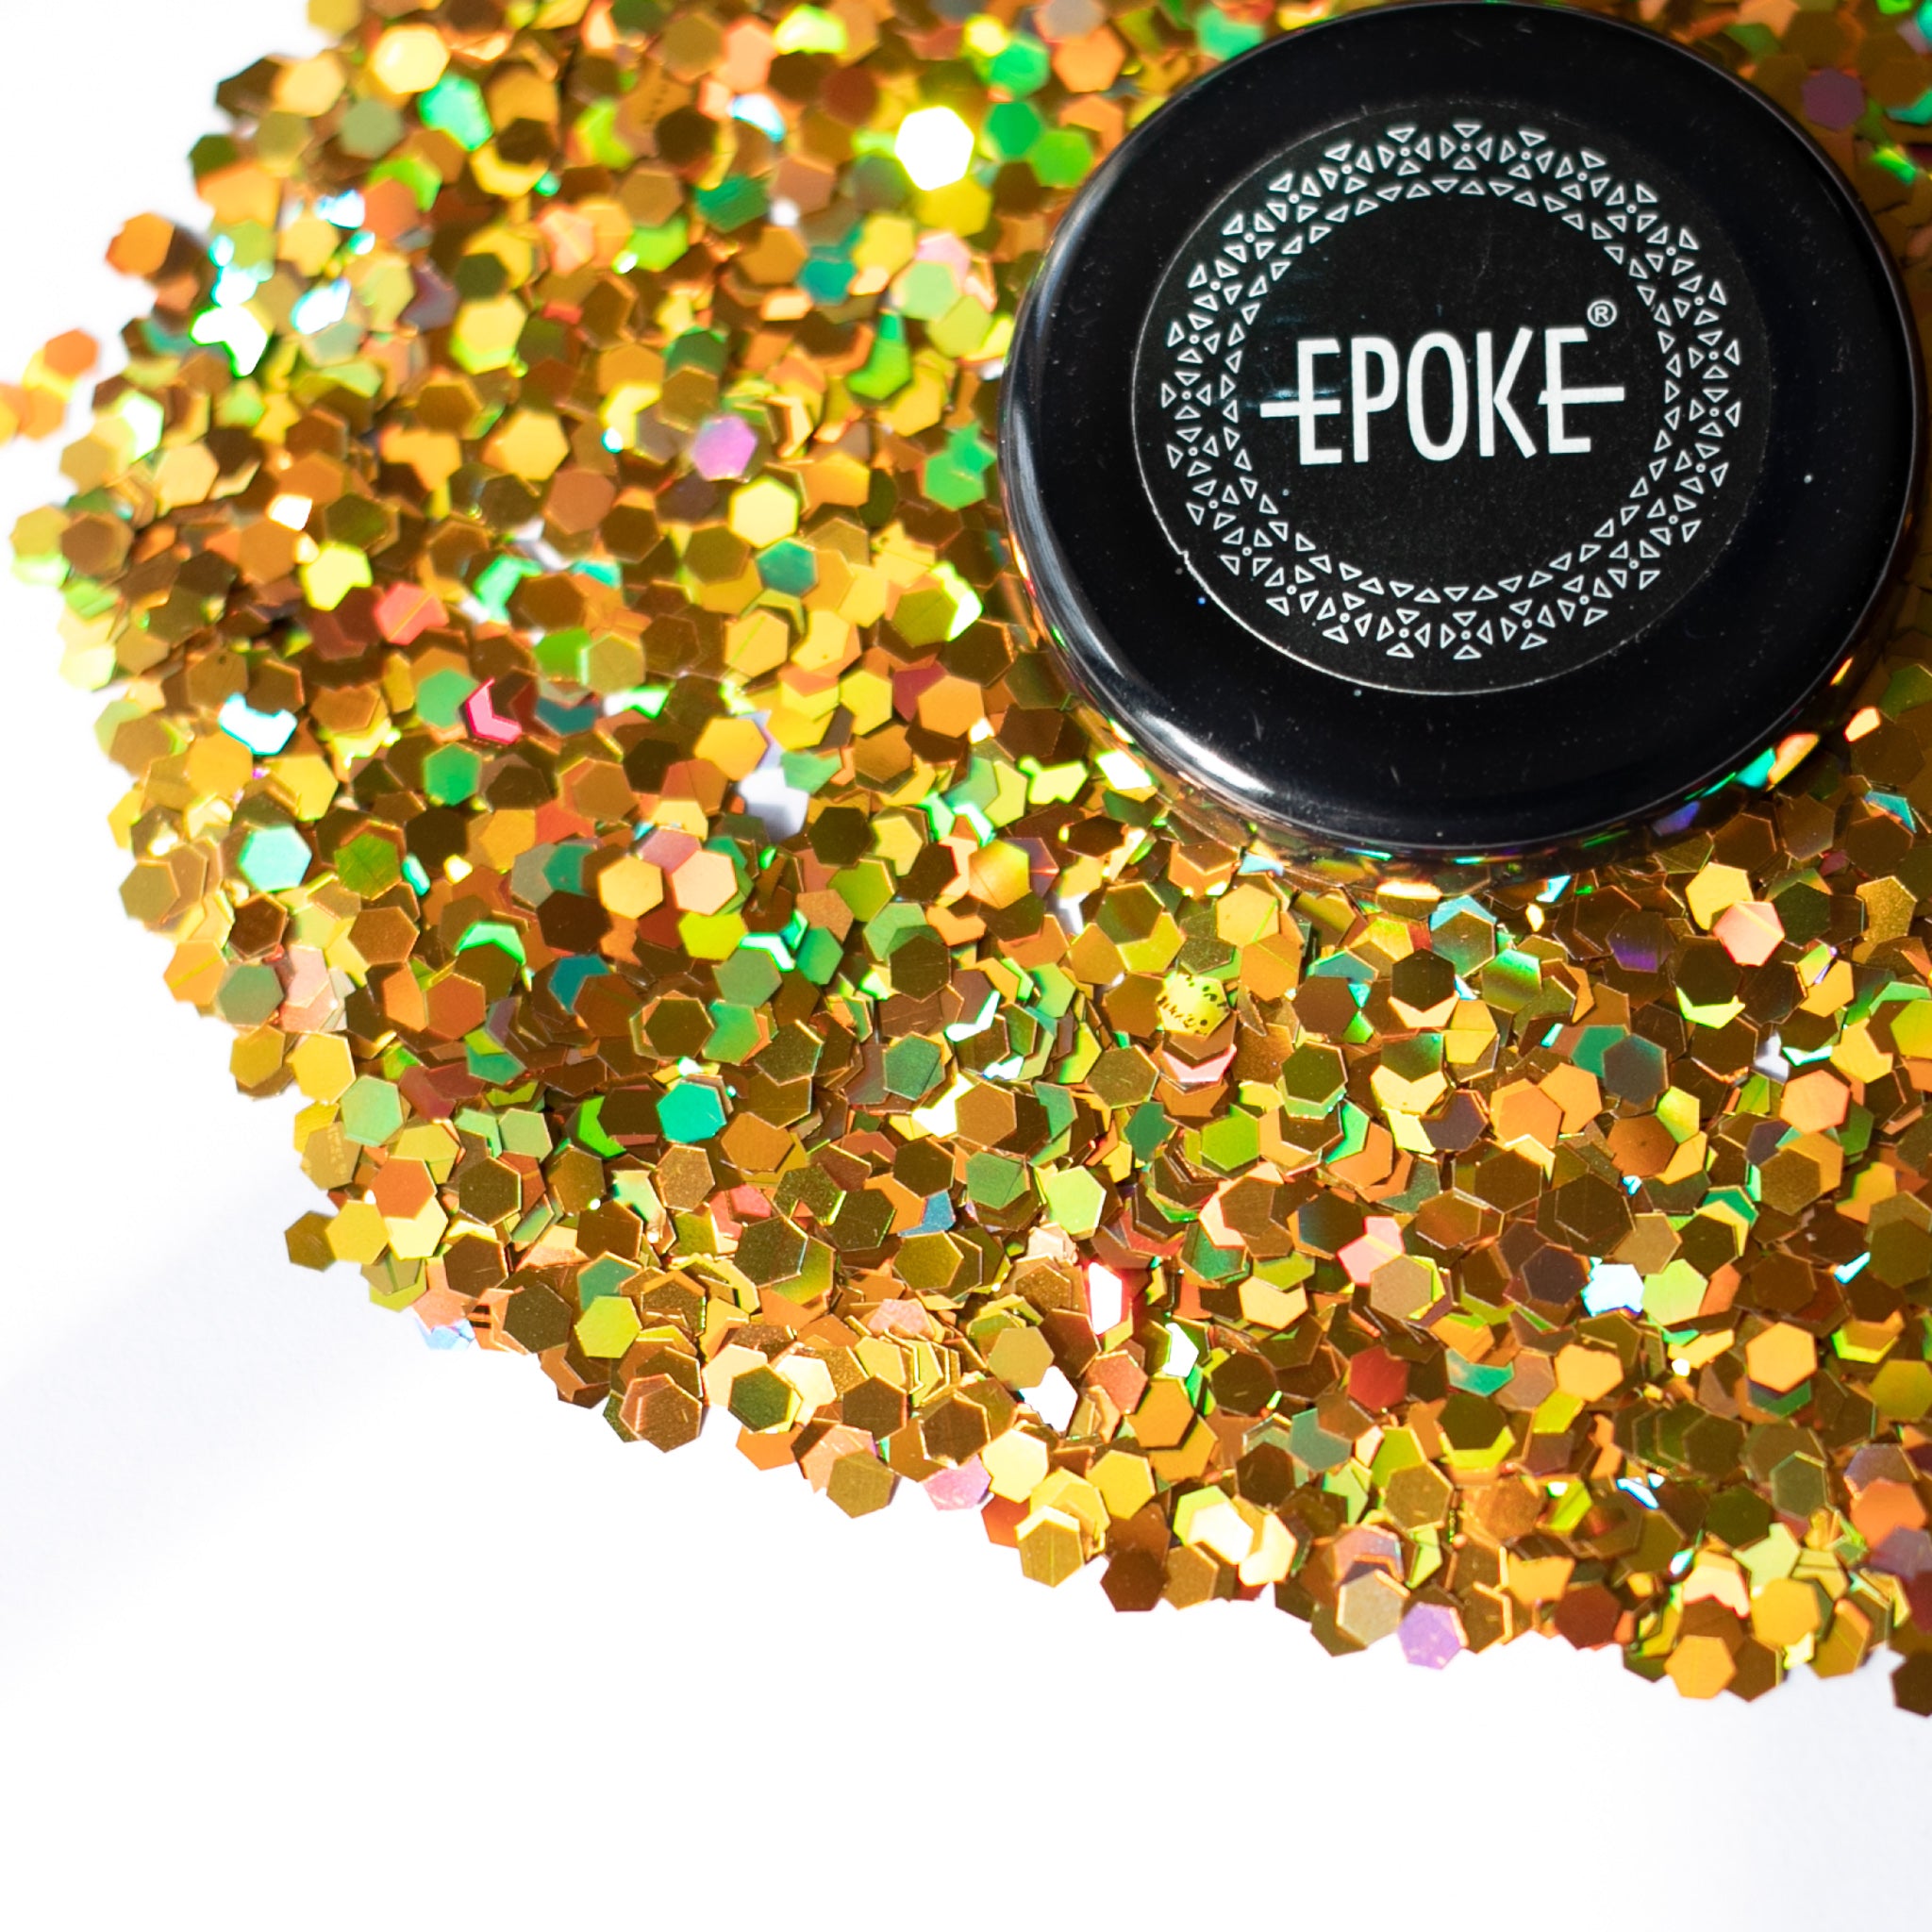
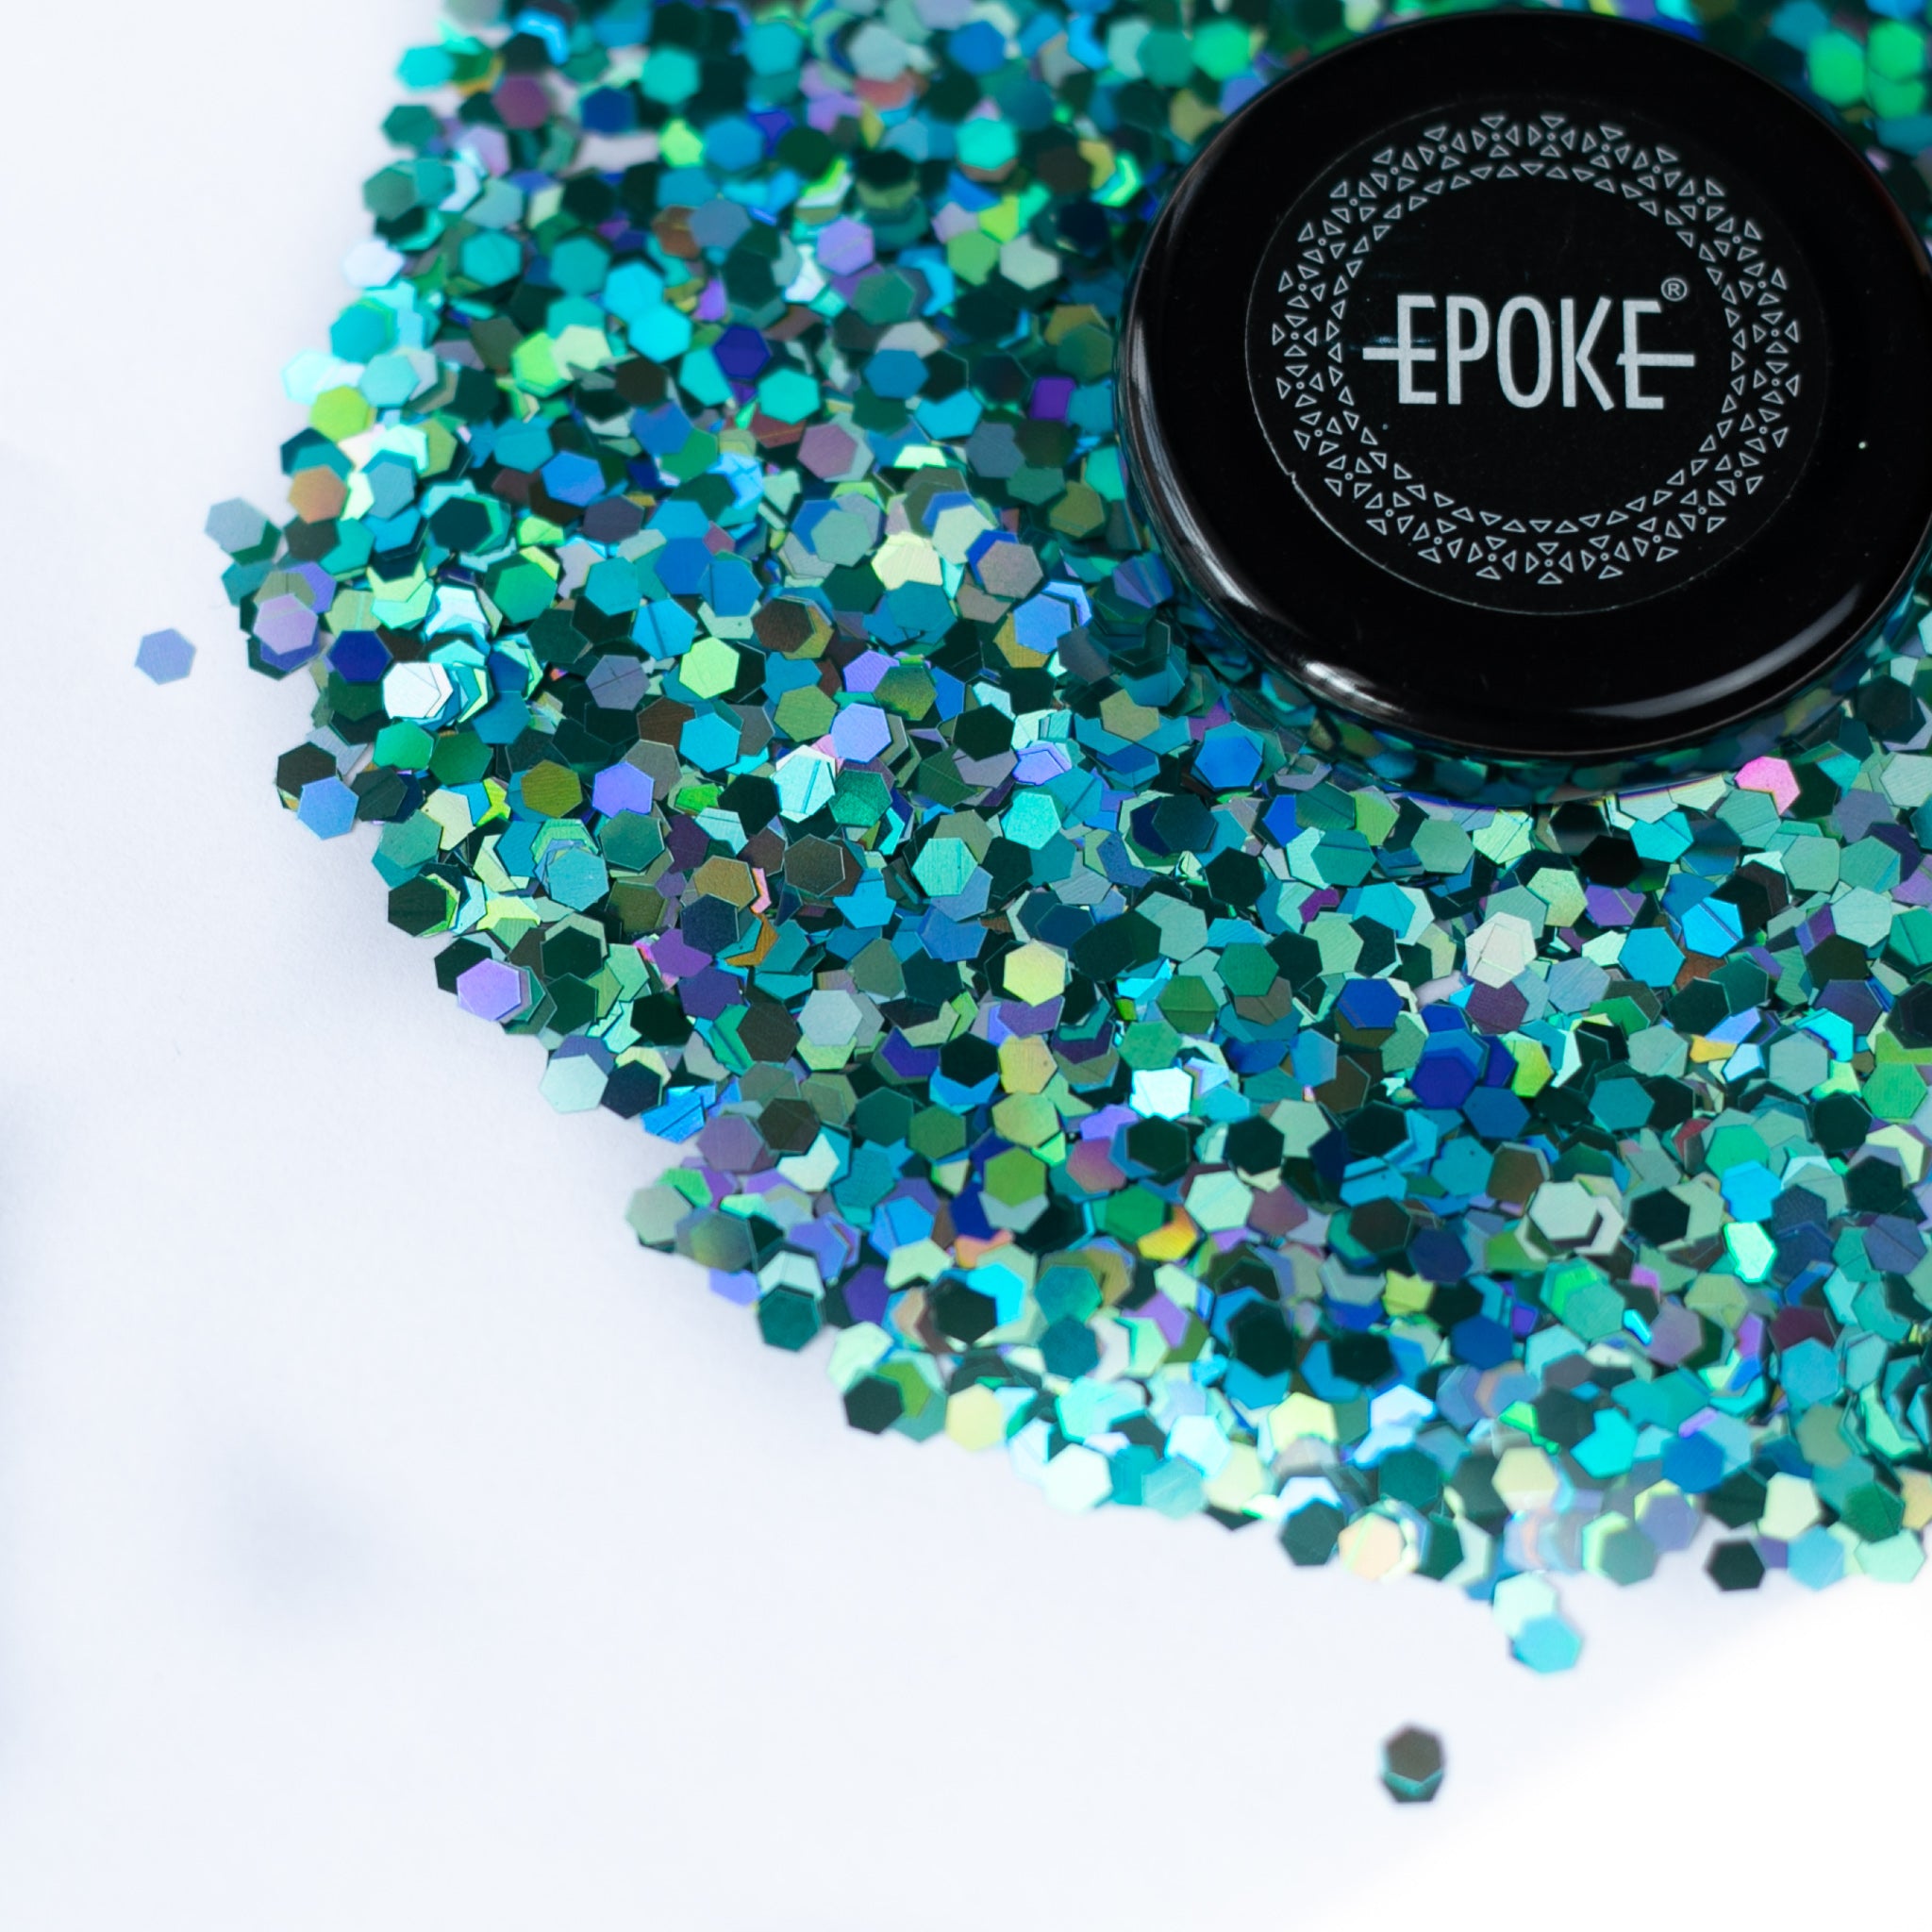
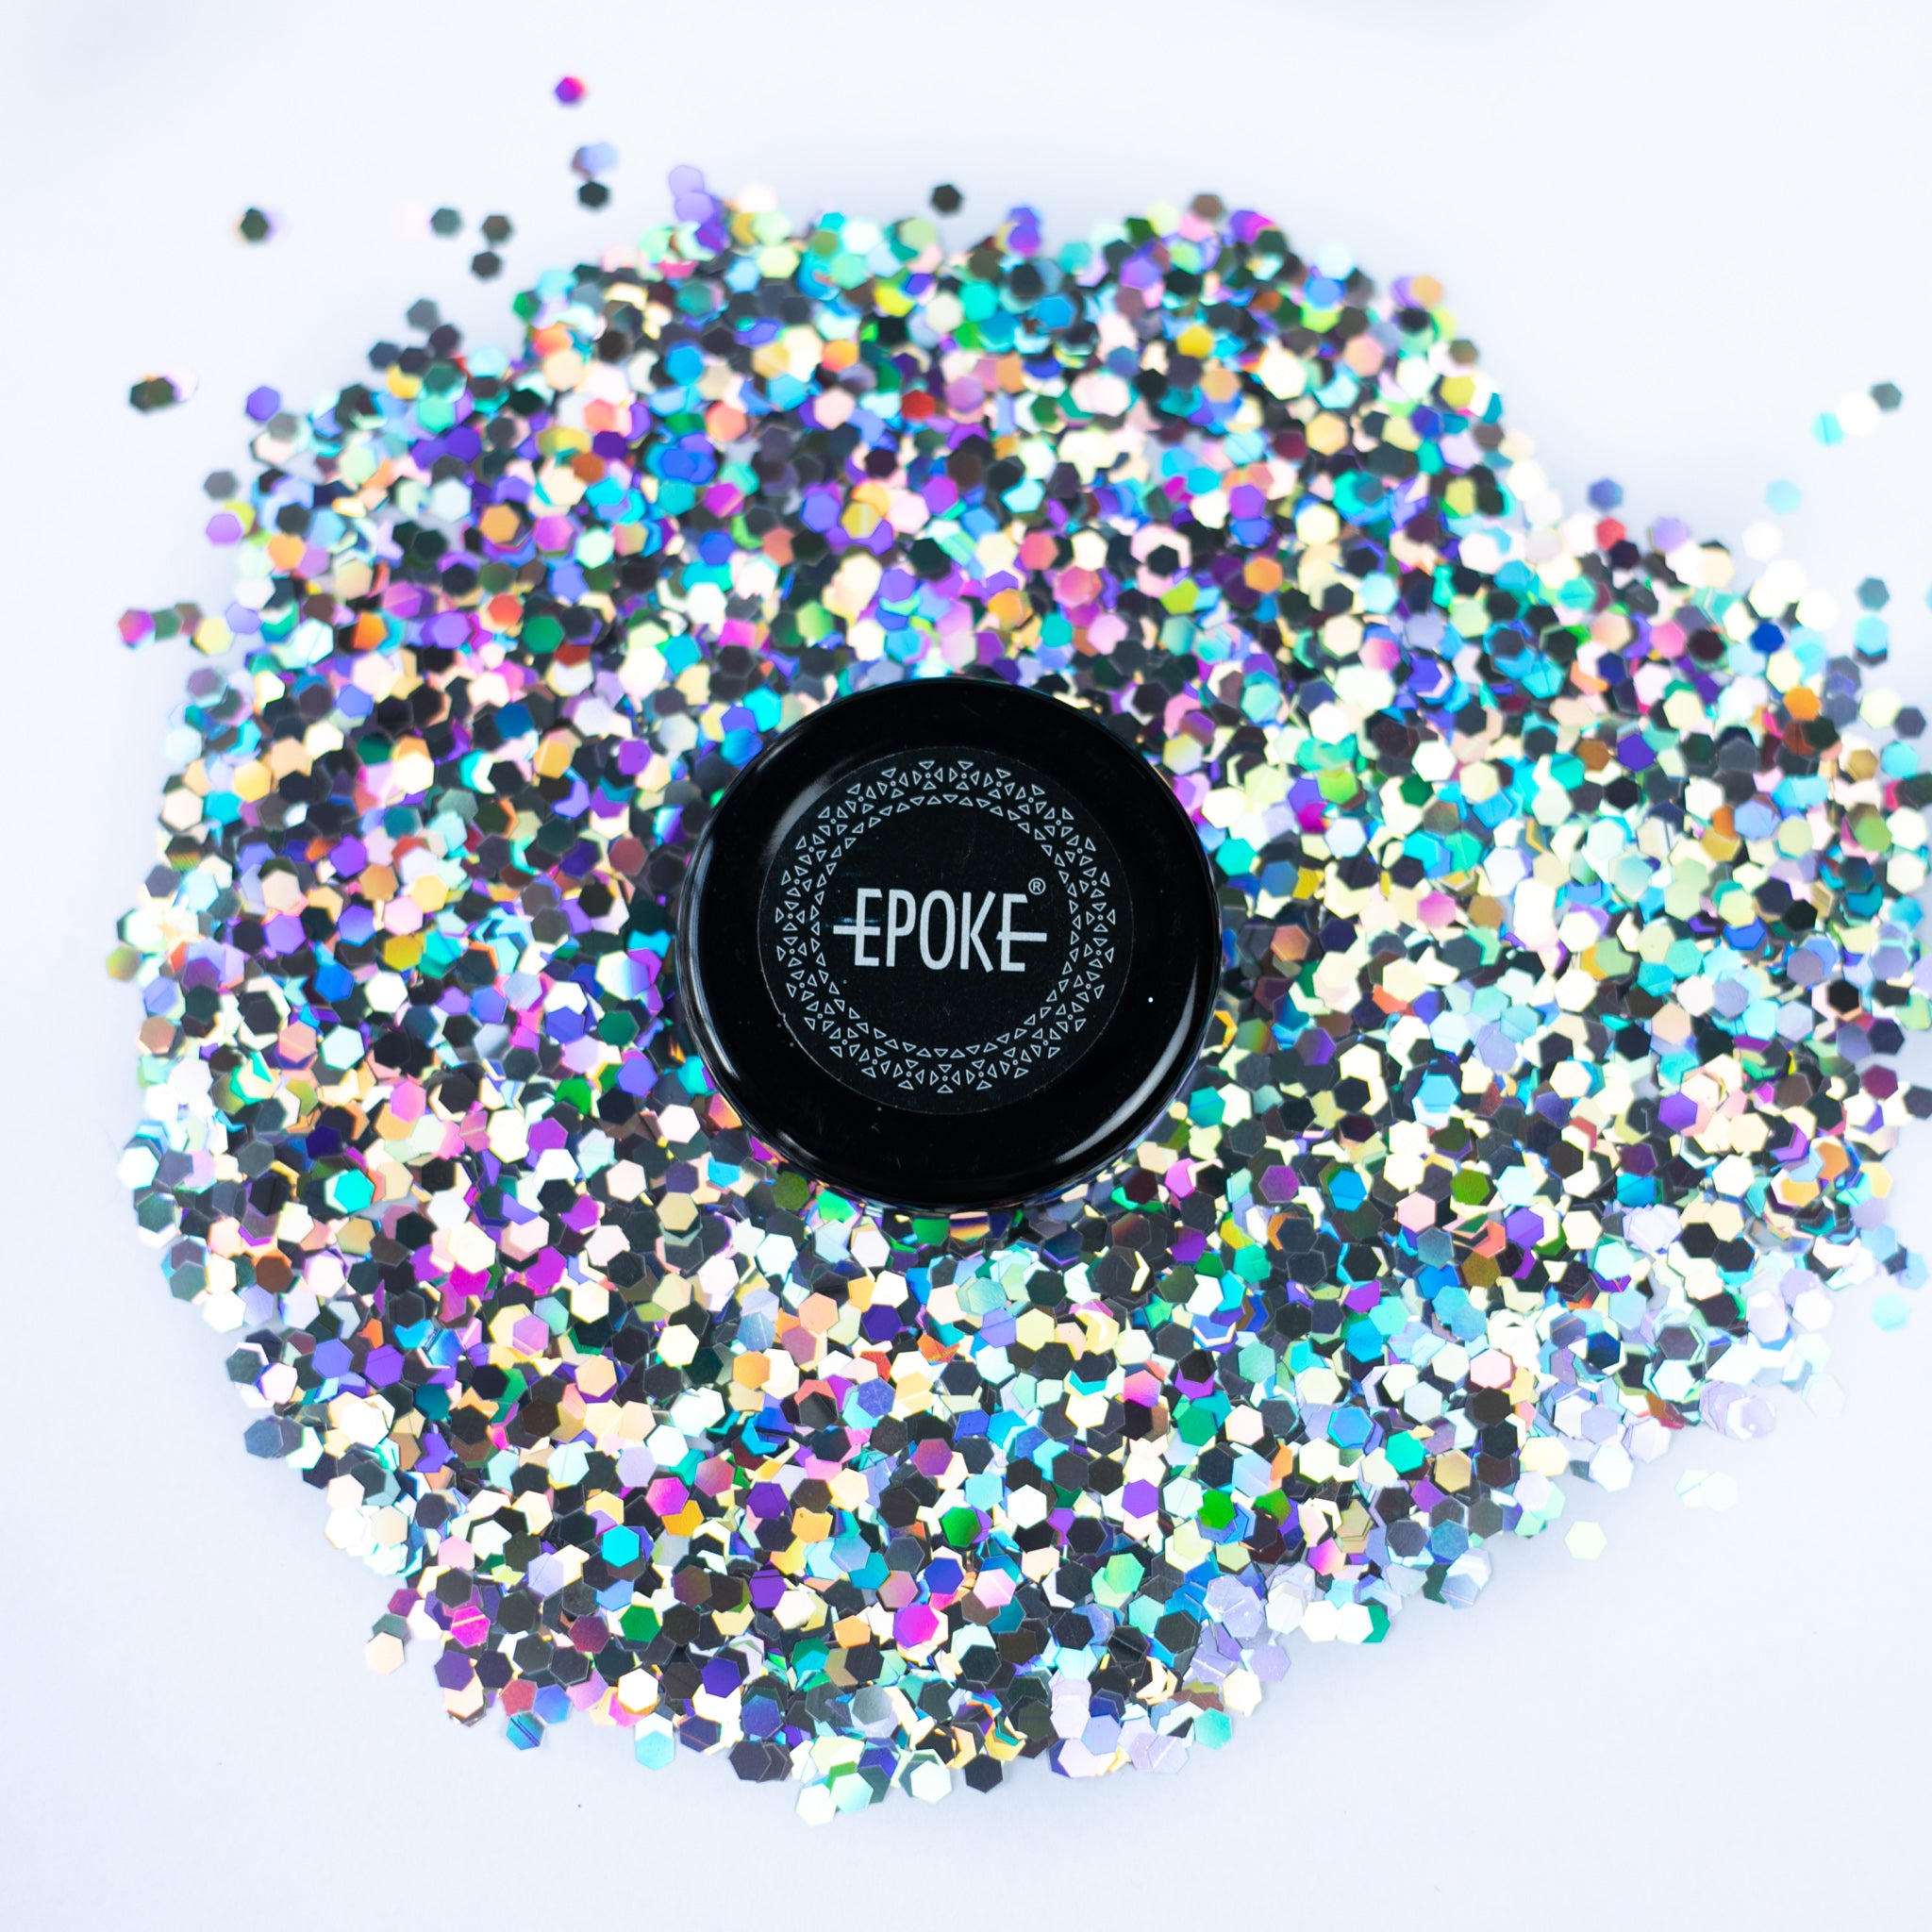
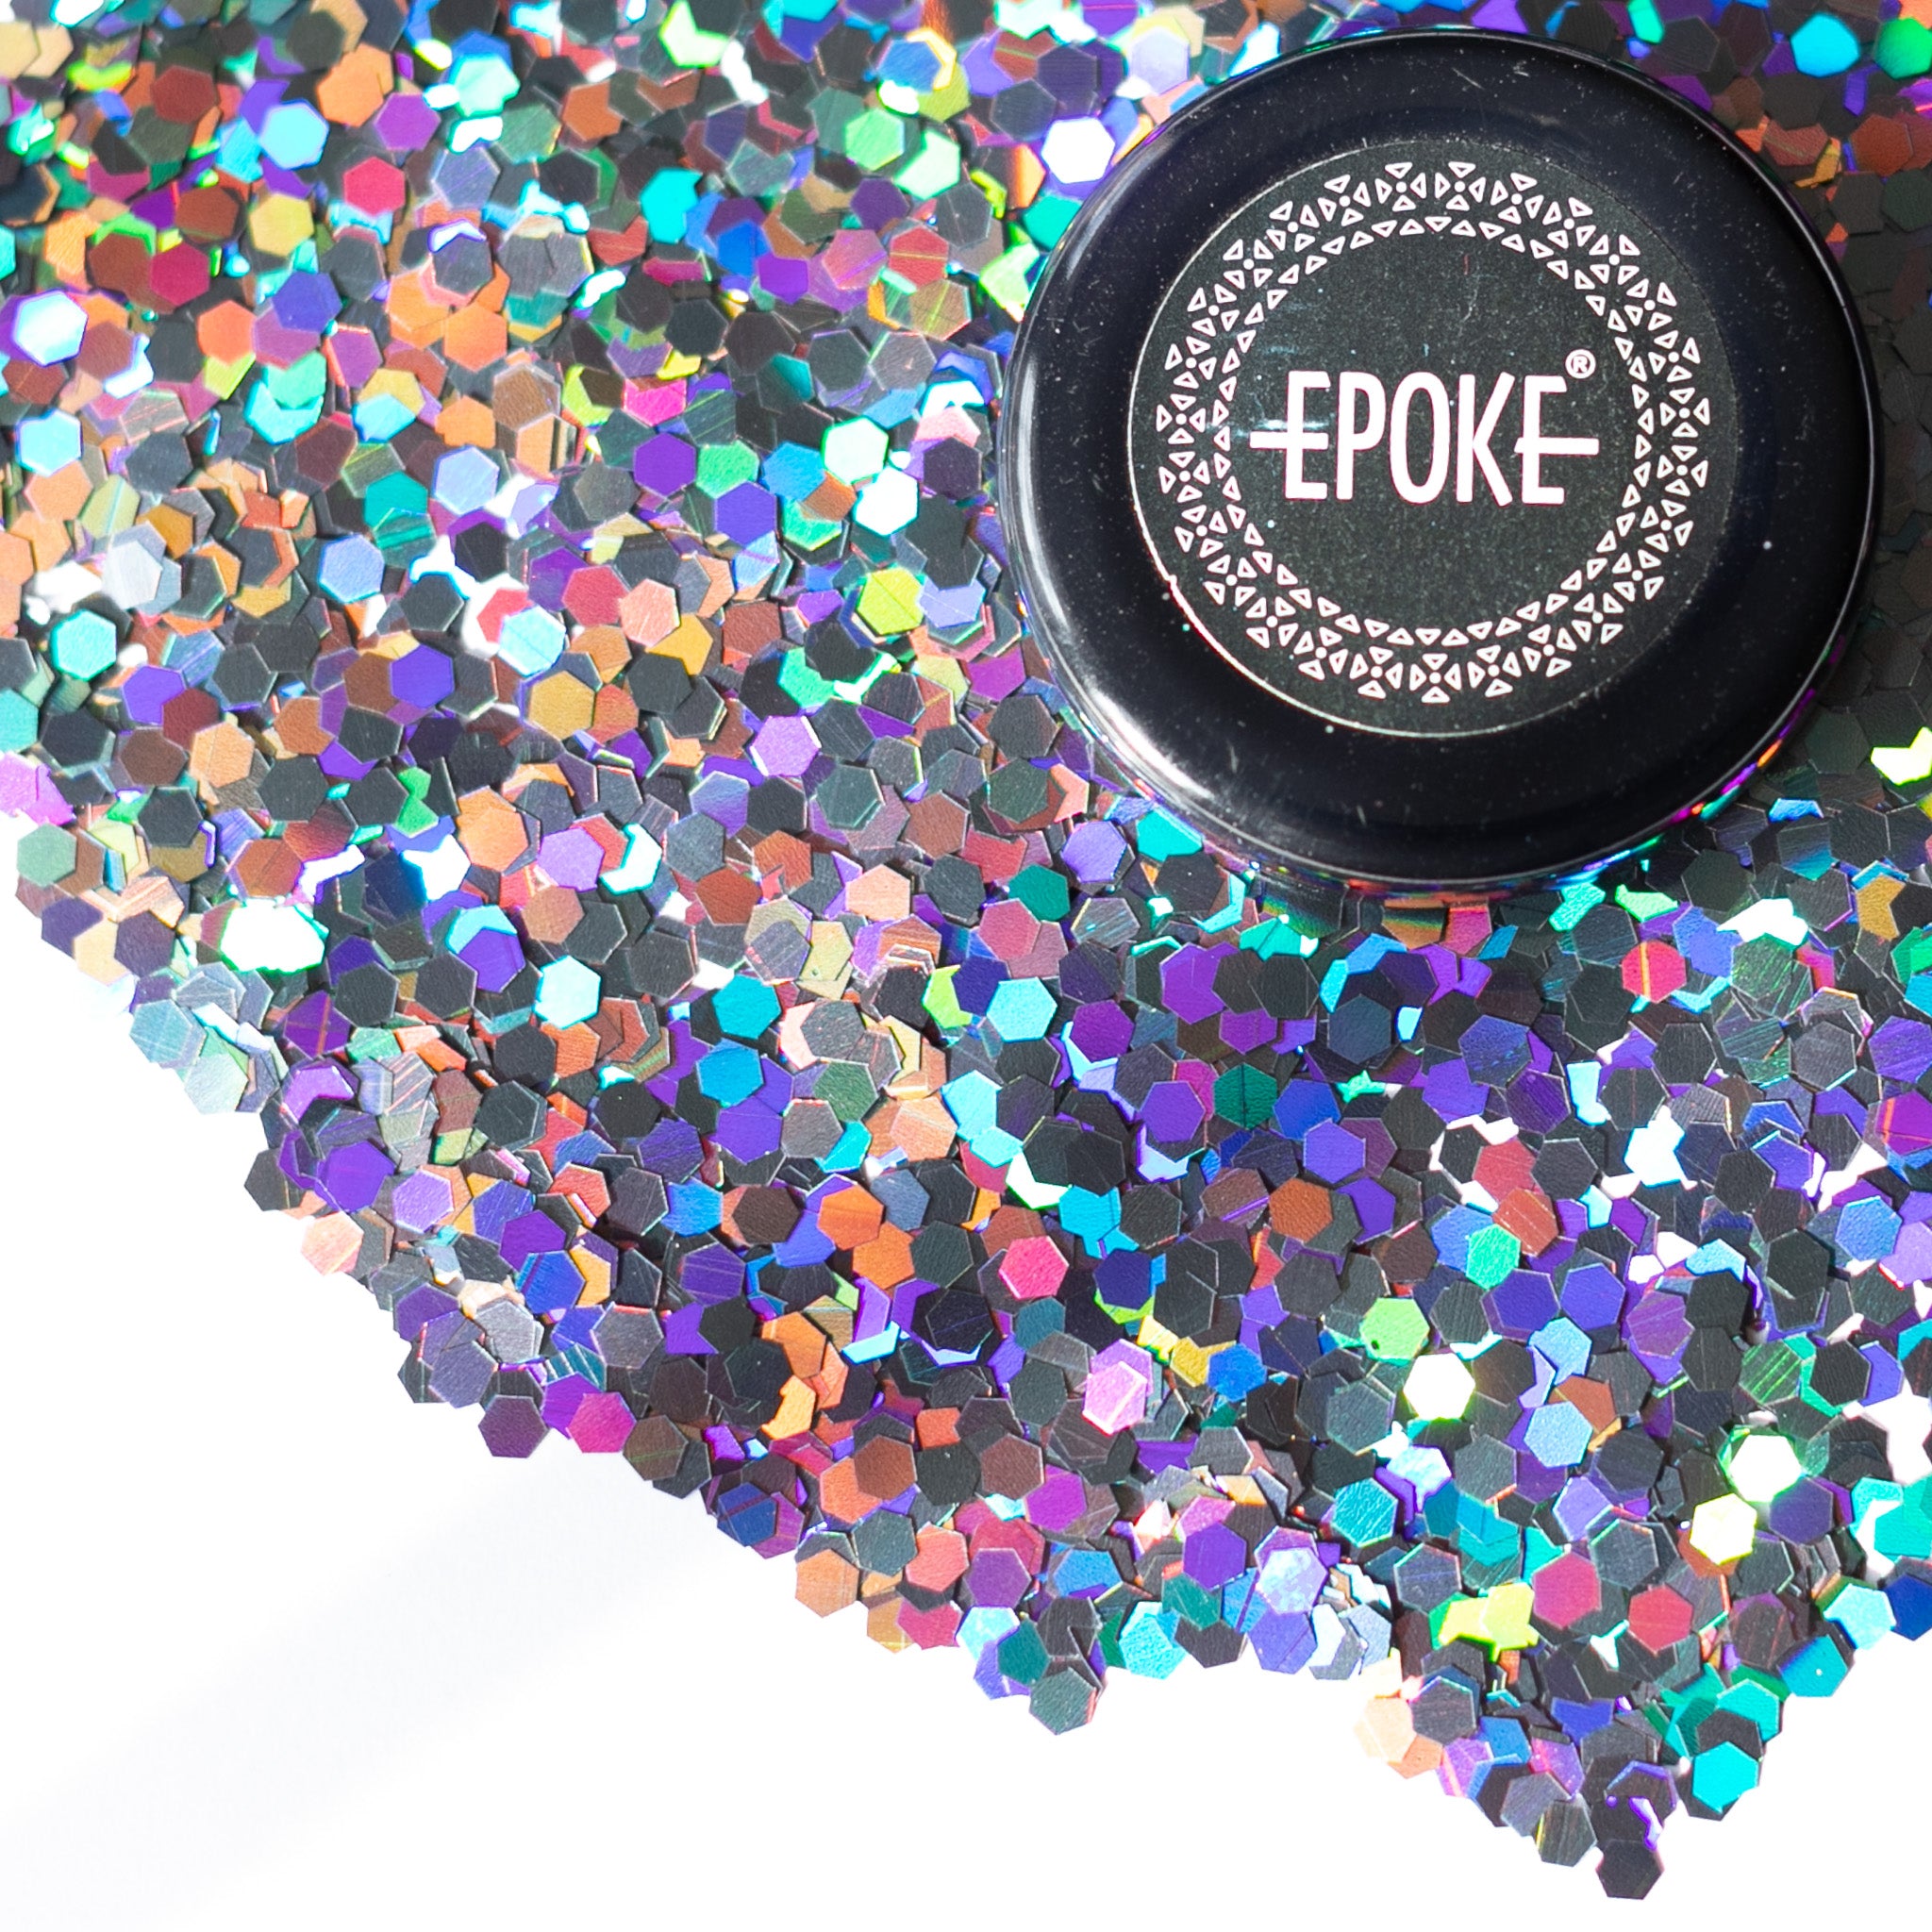
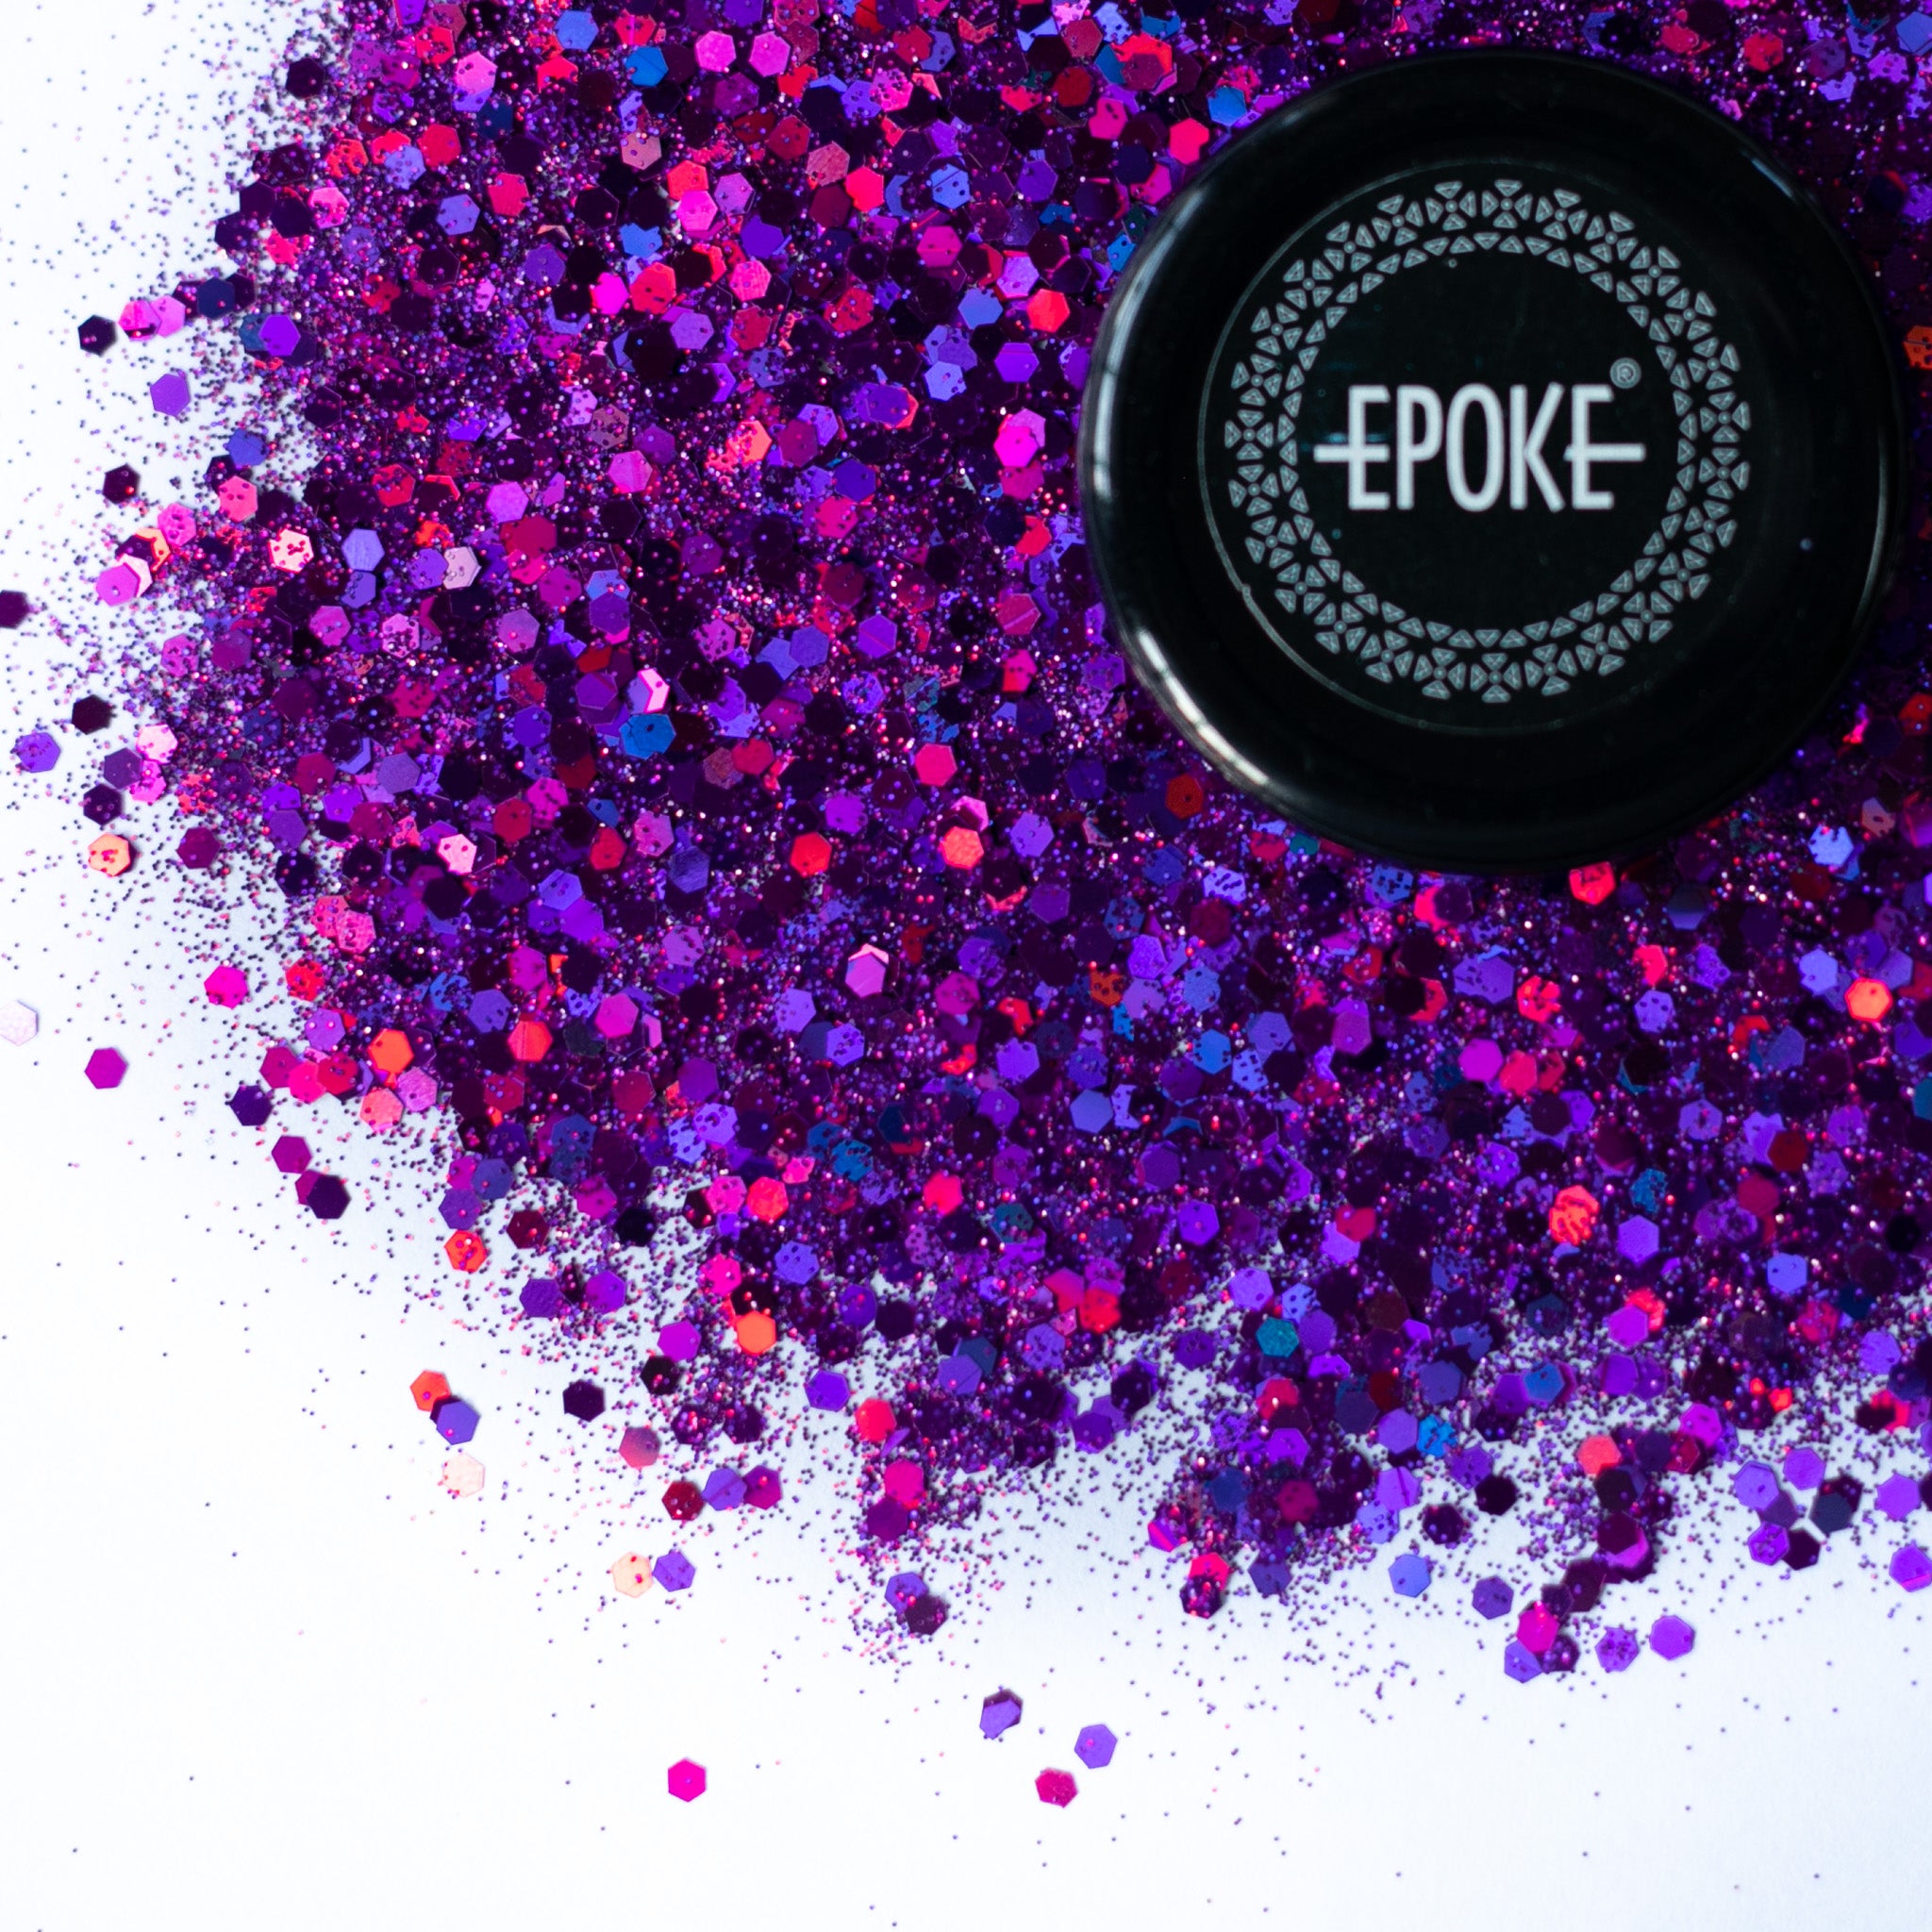
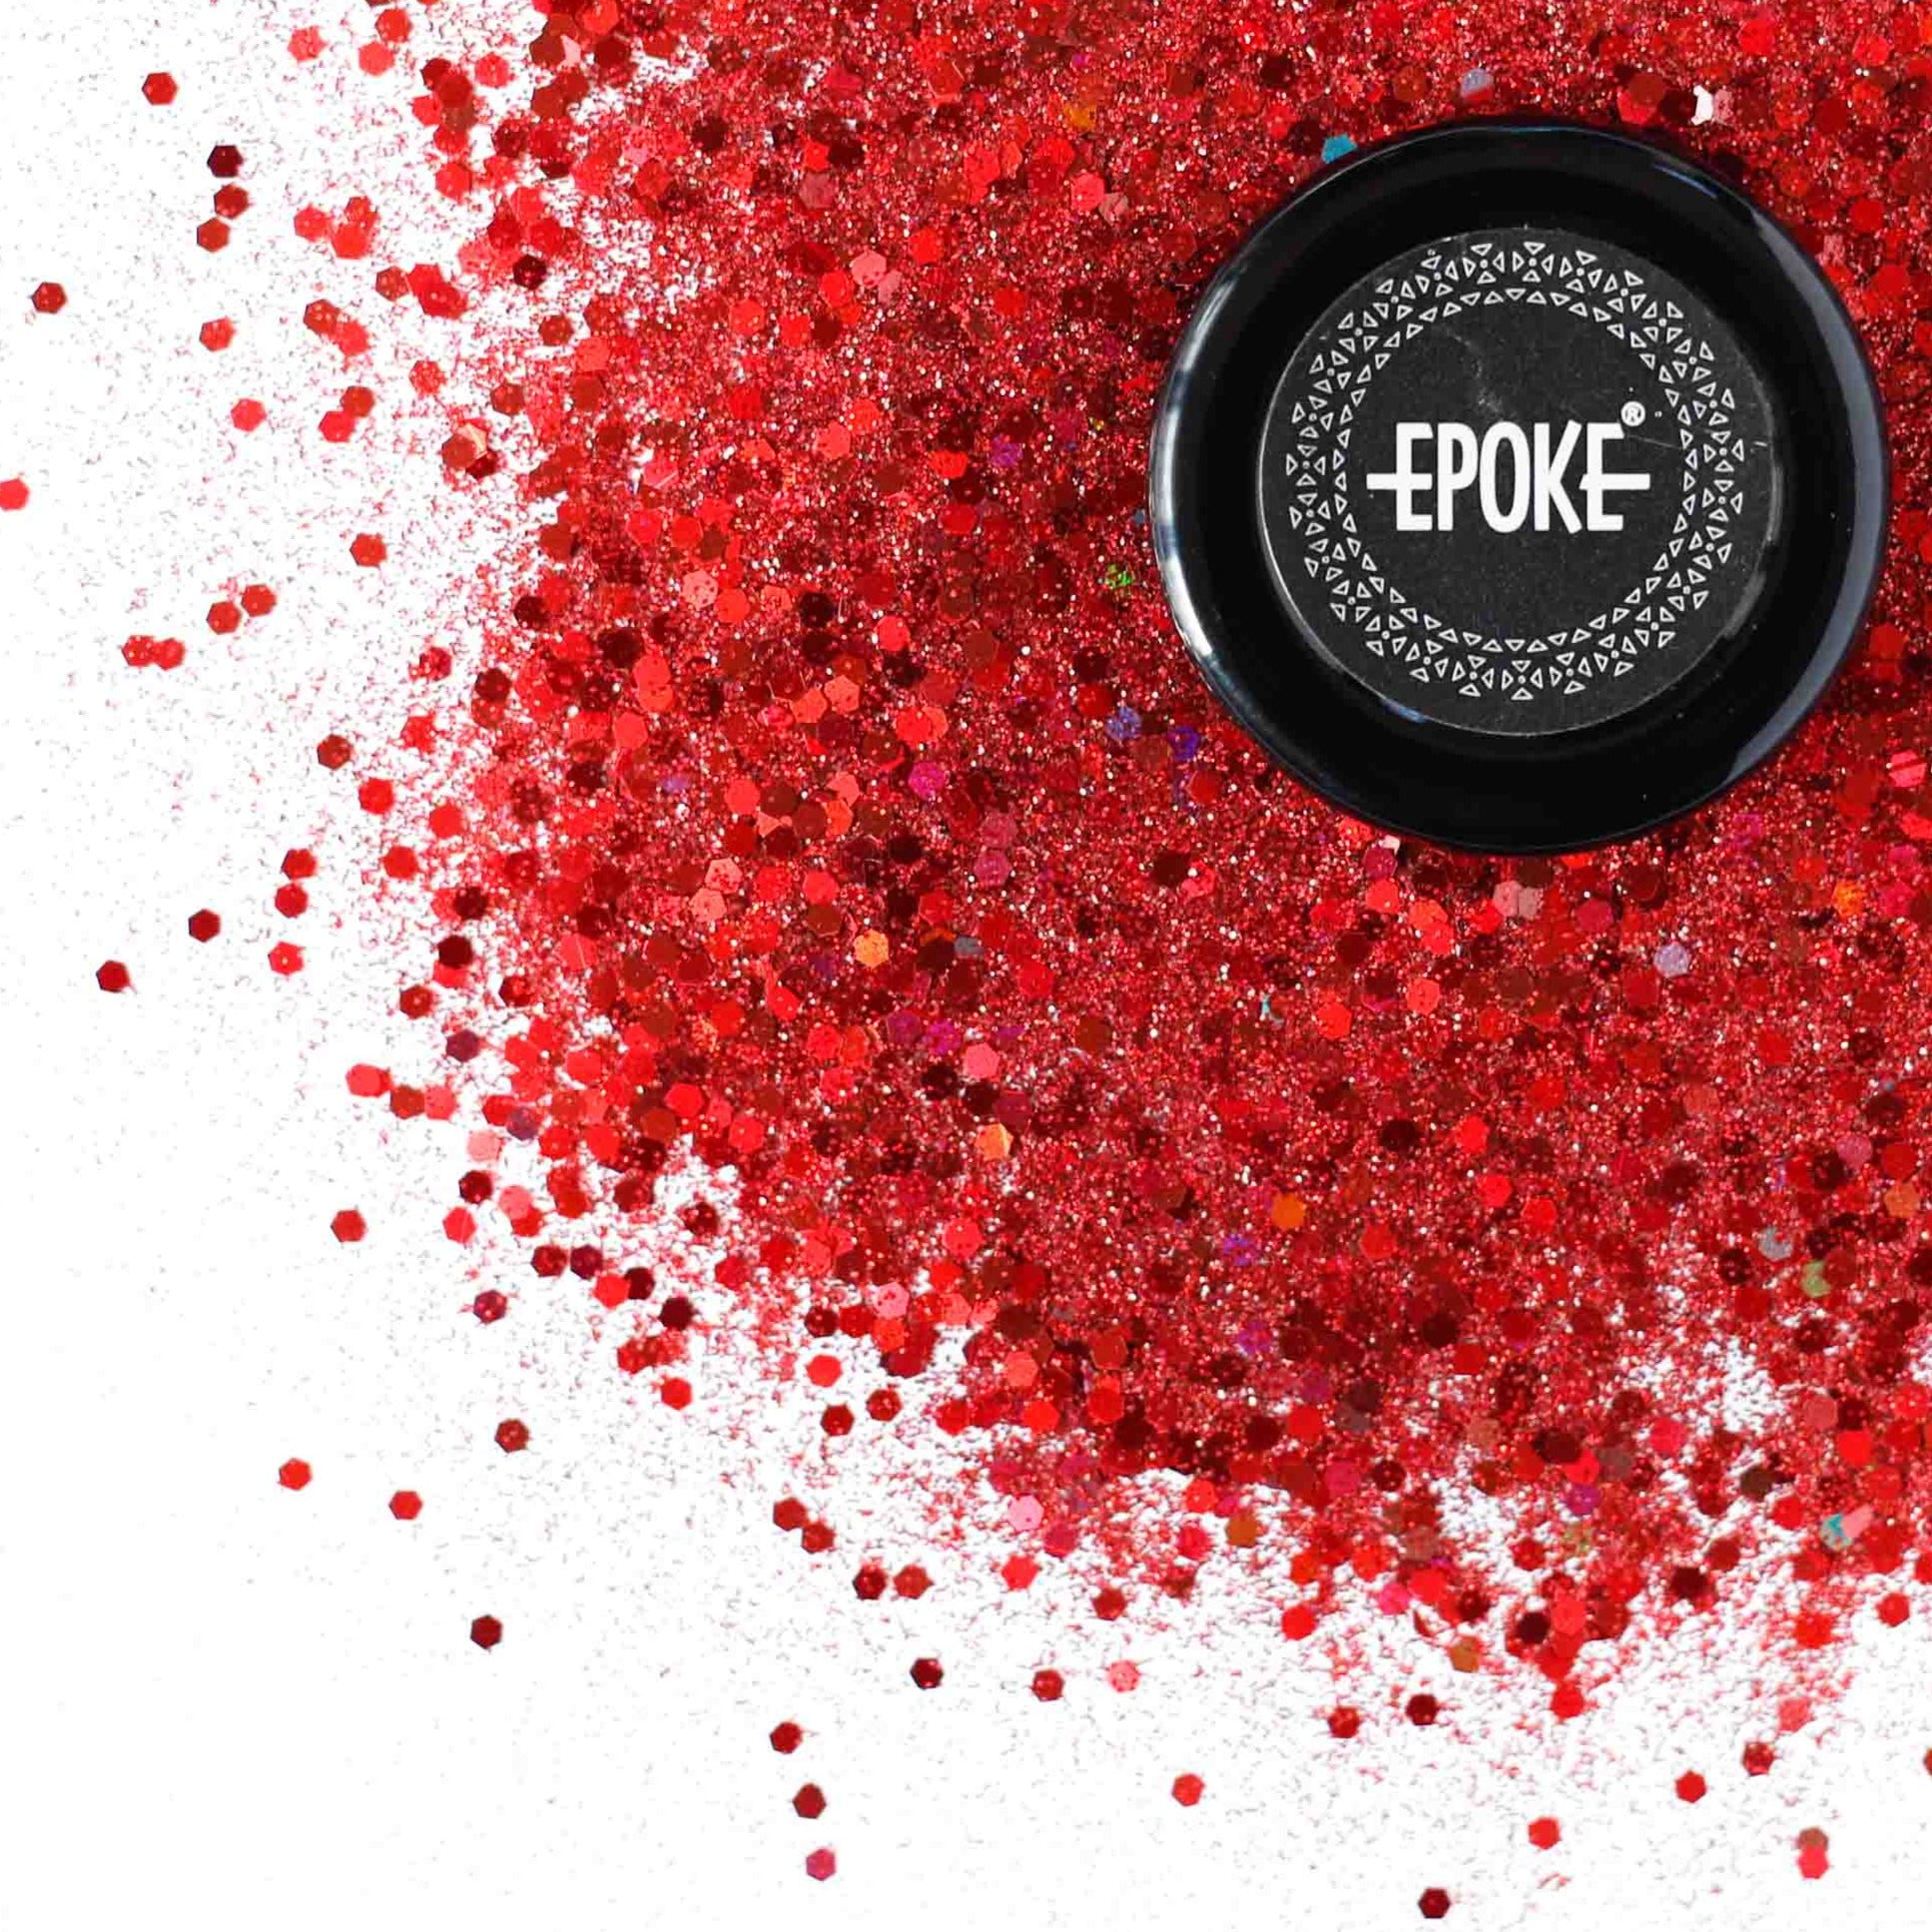
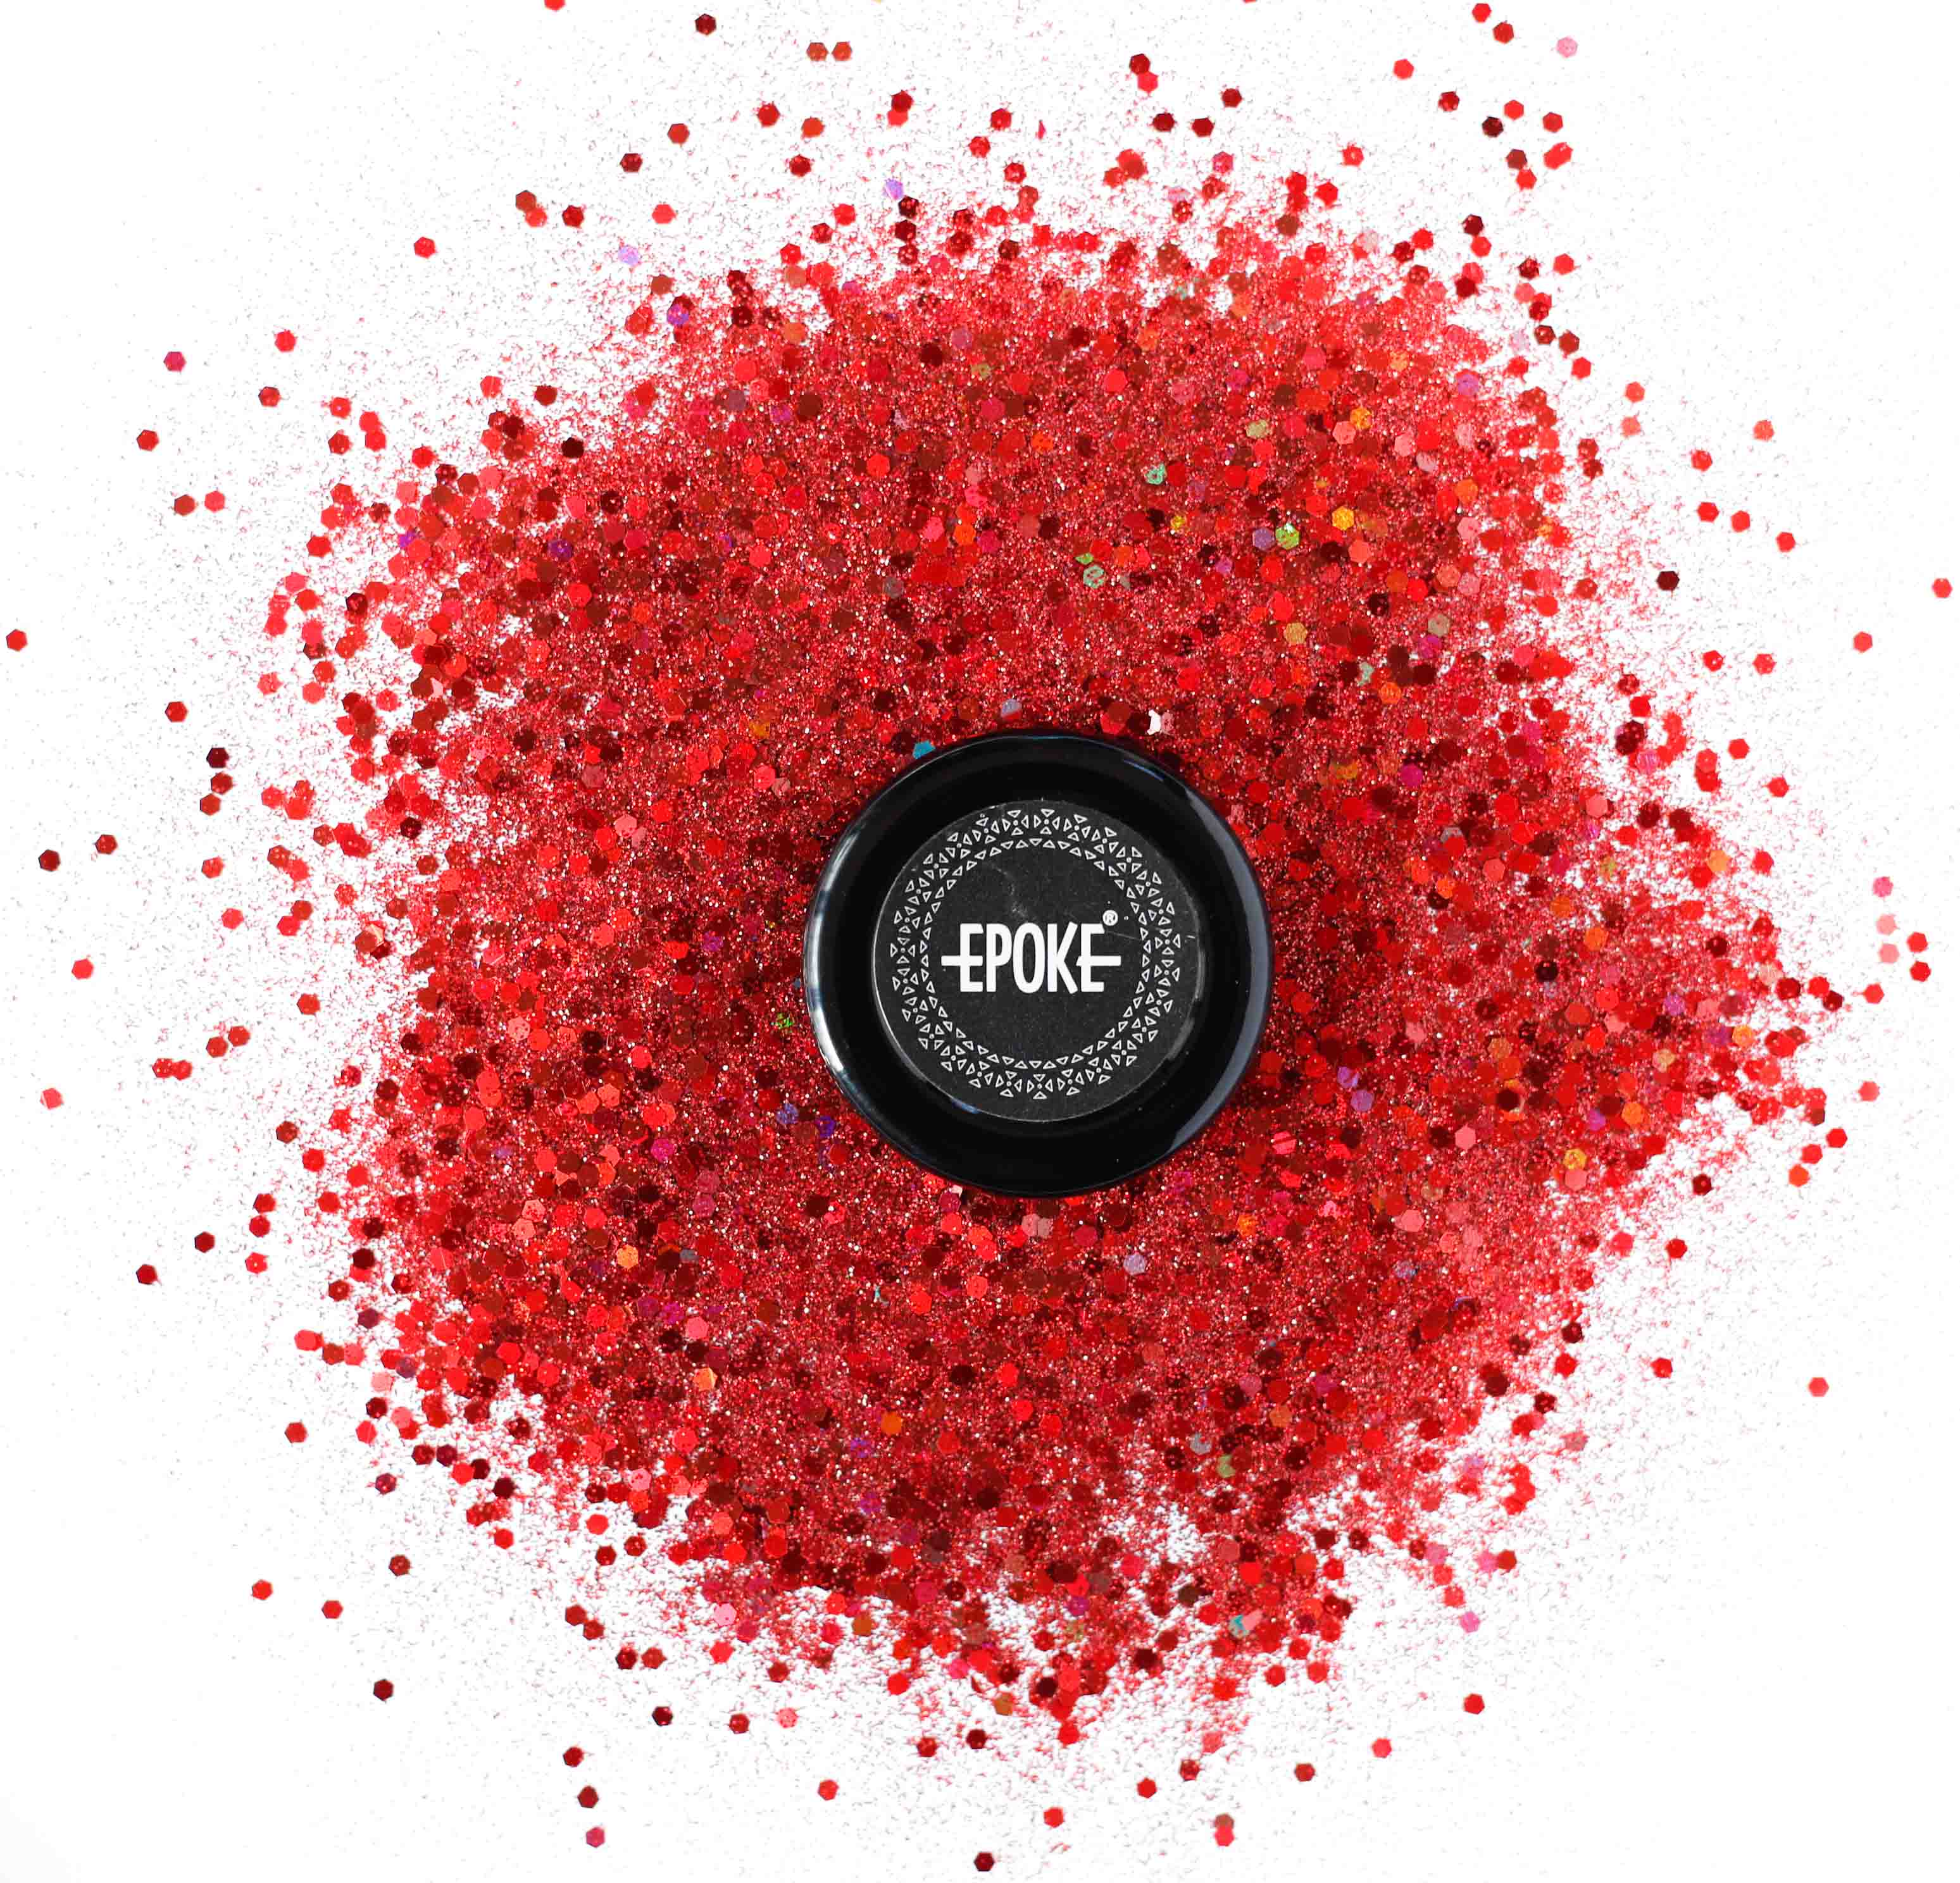
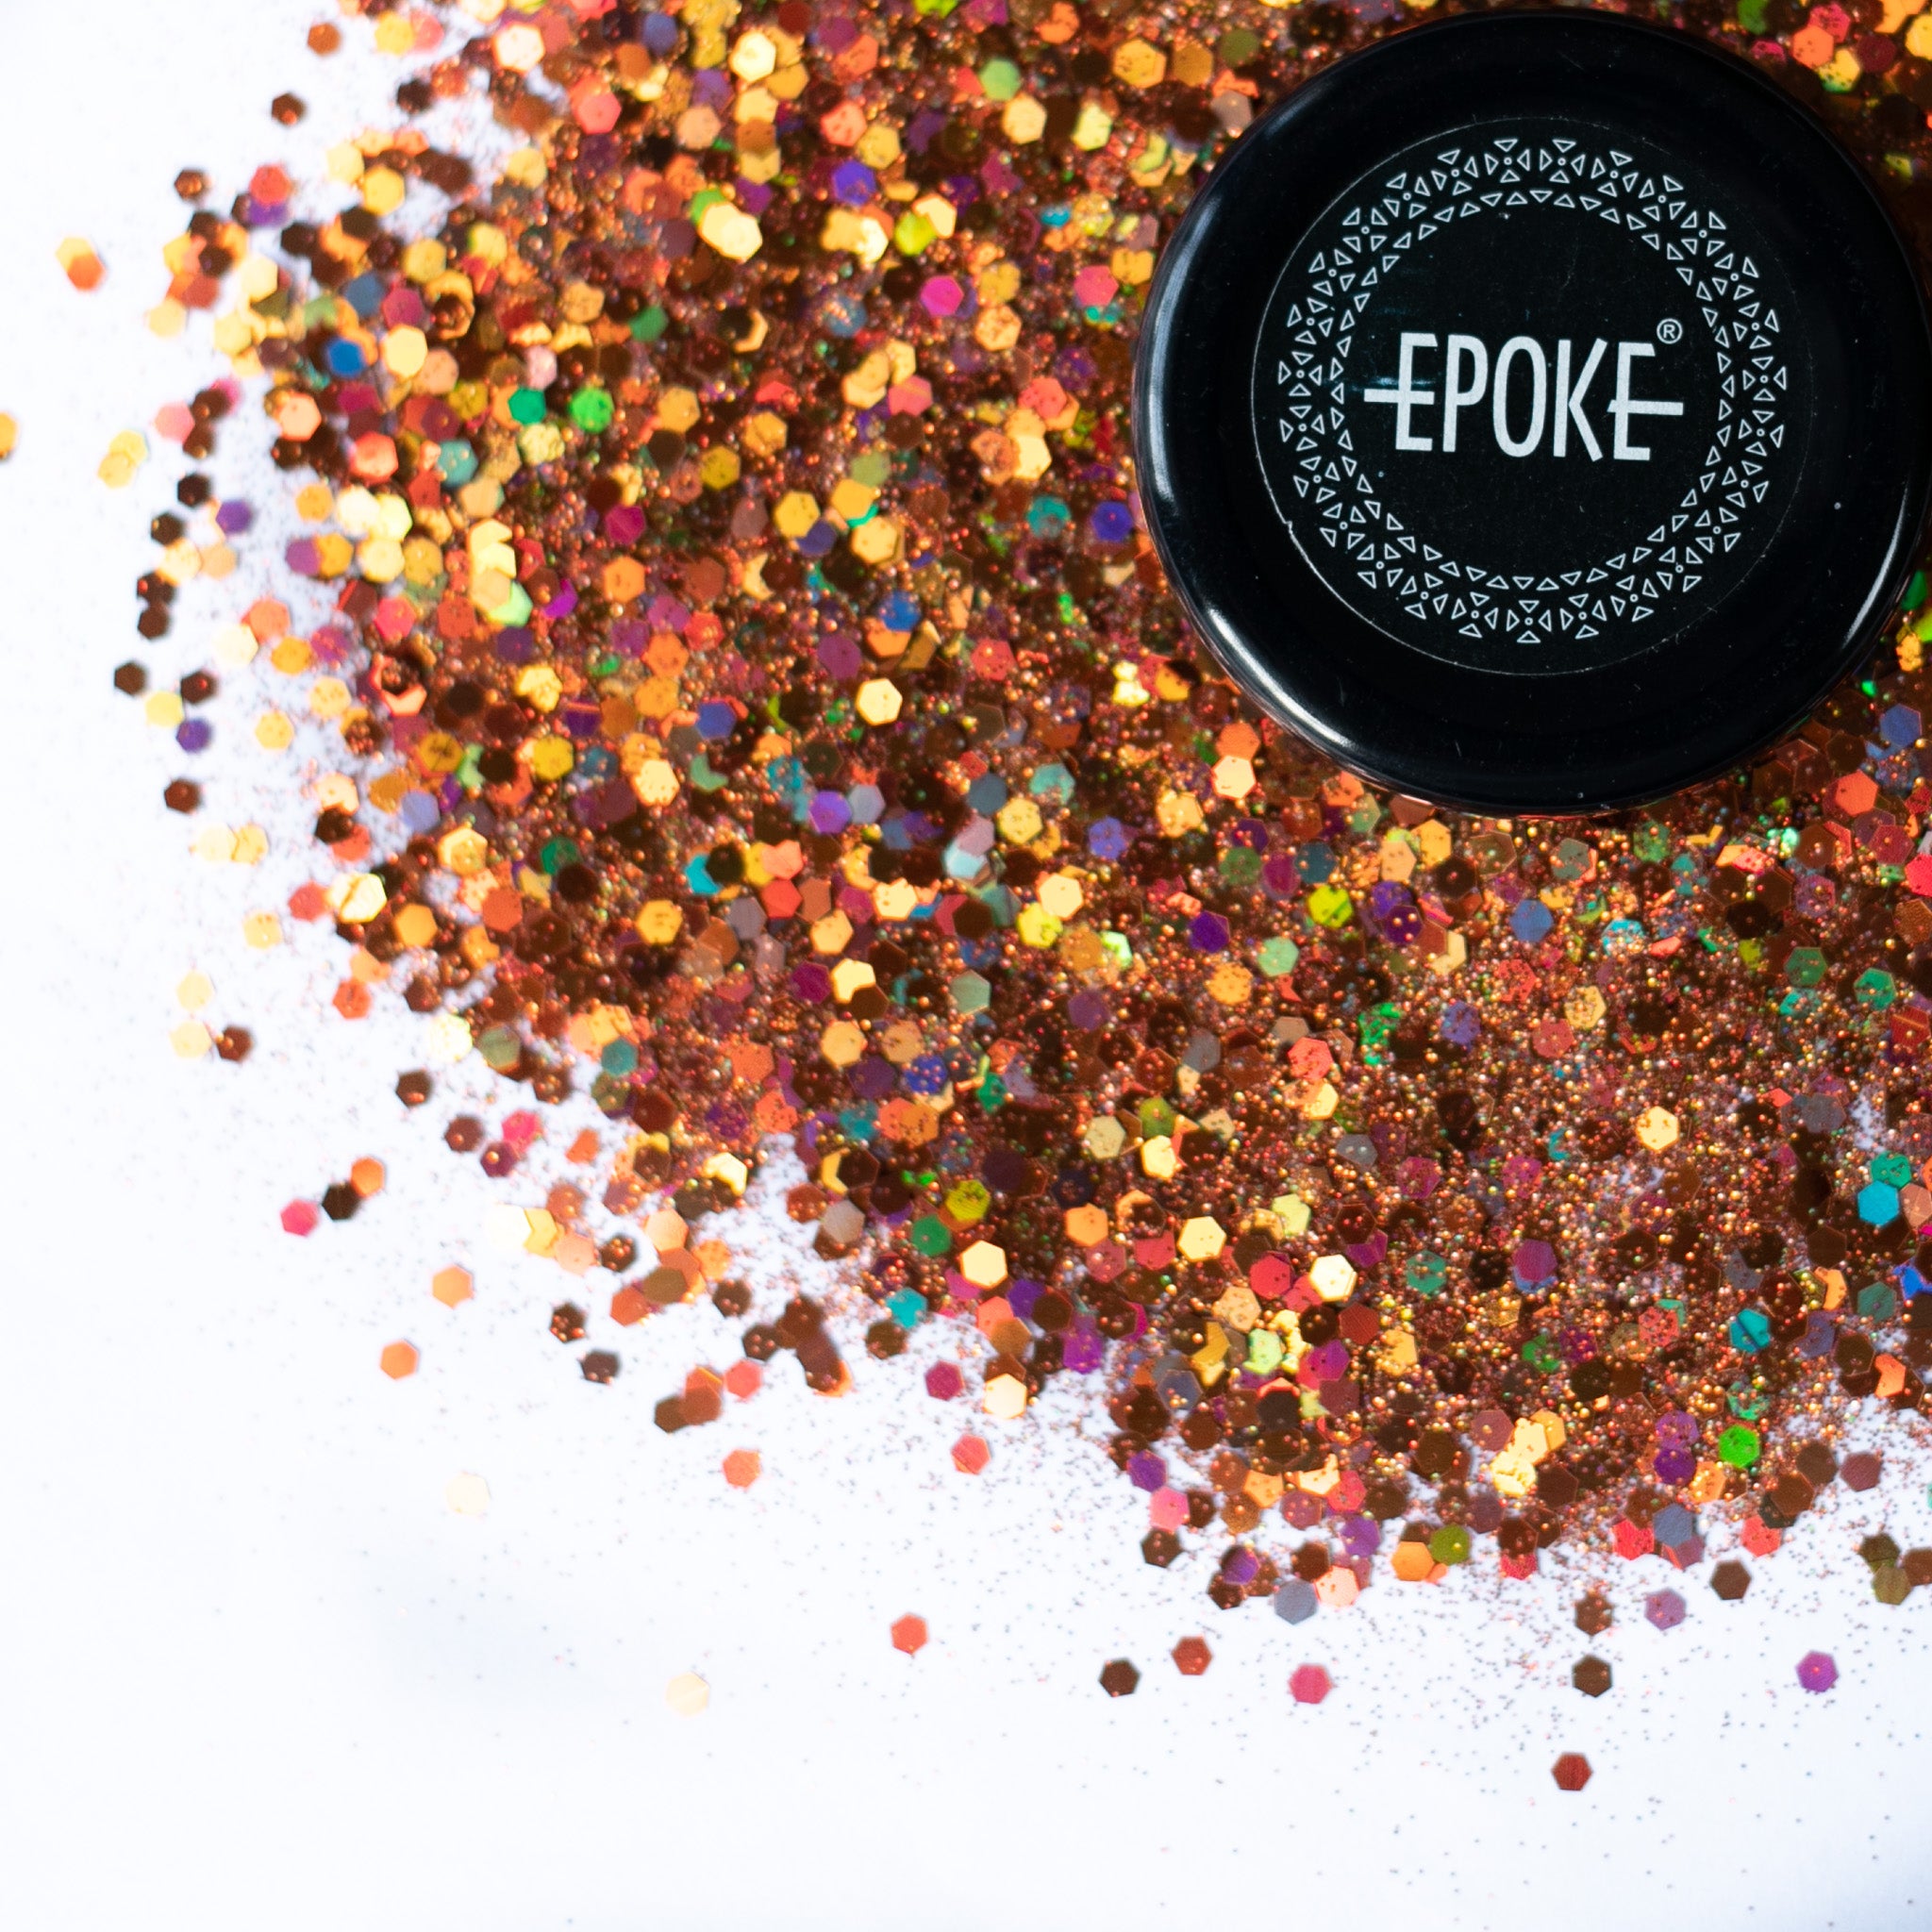
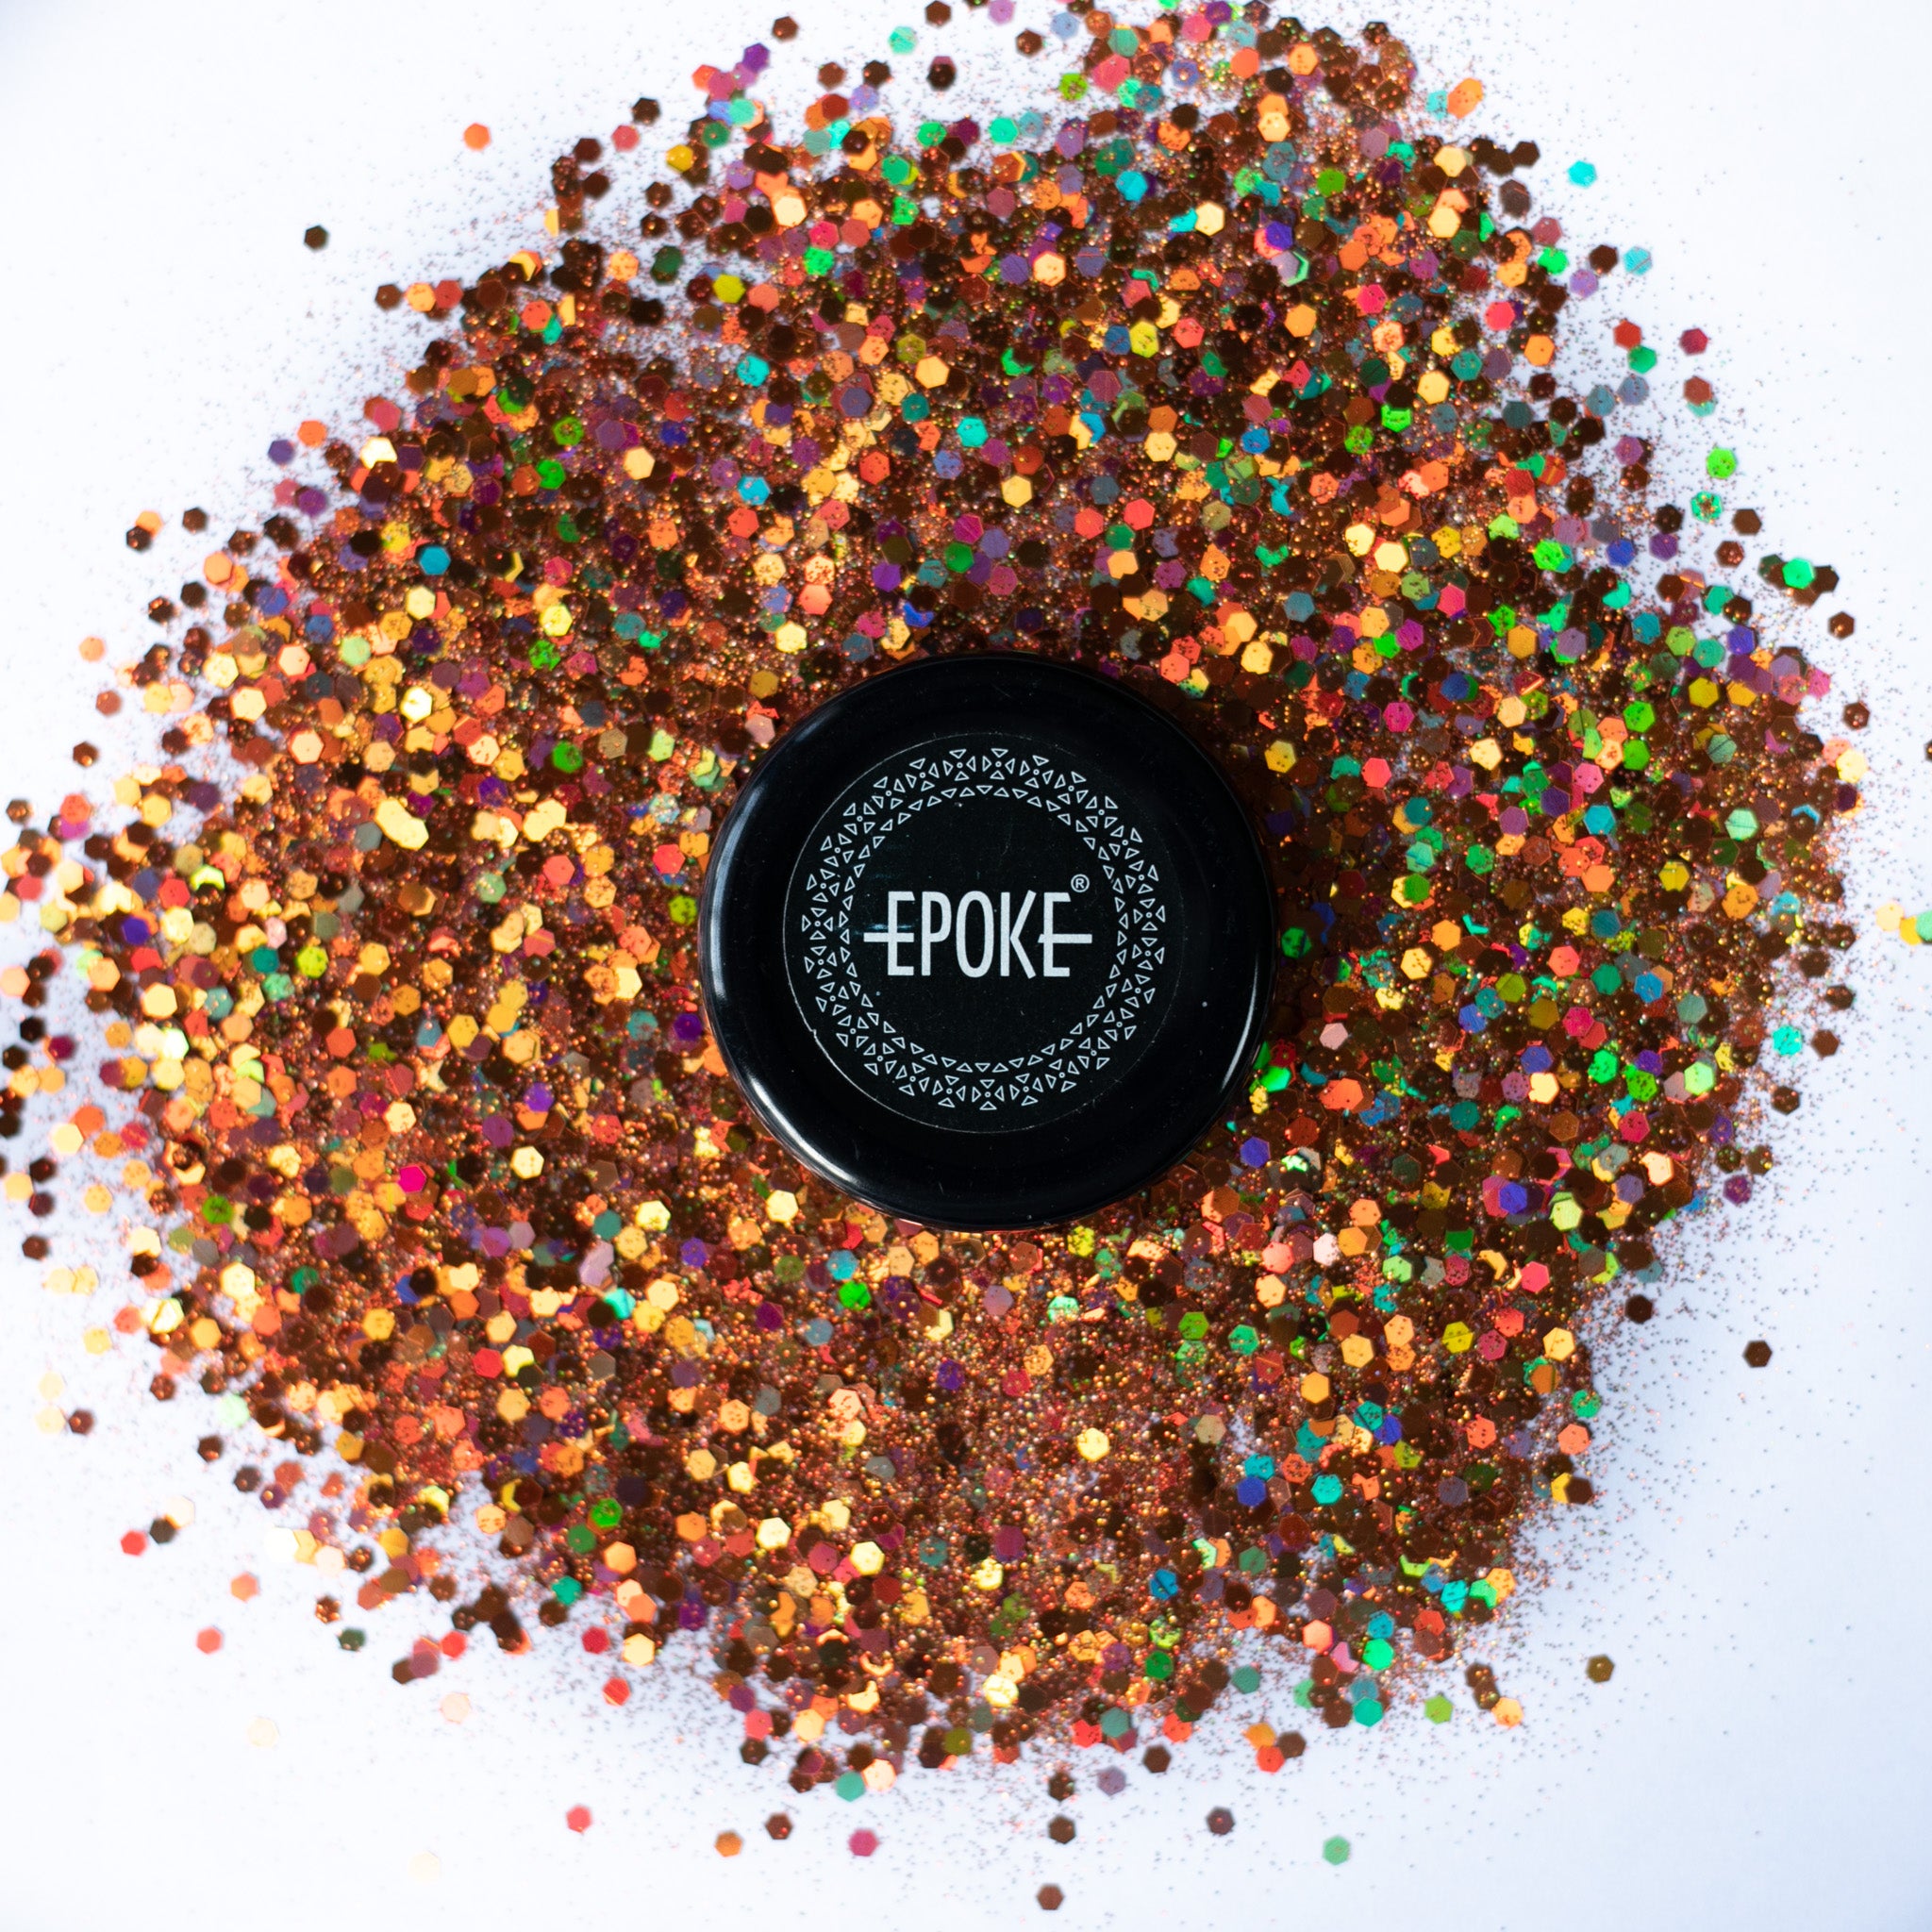
Chunky Glitter
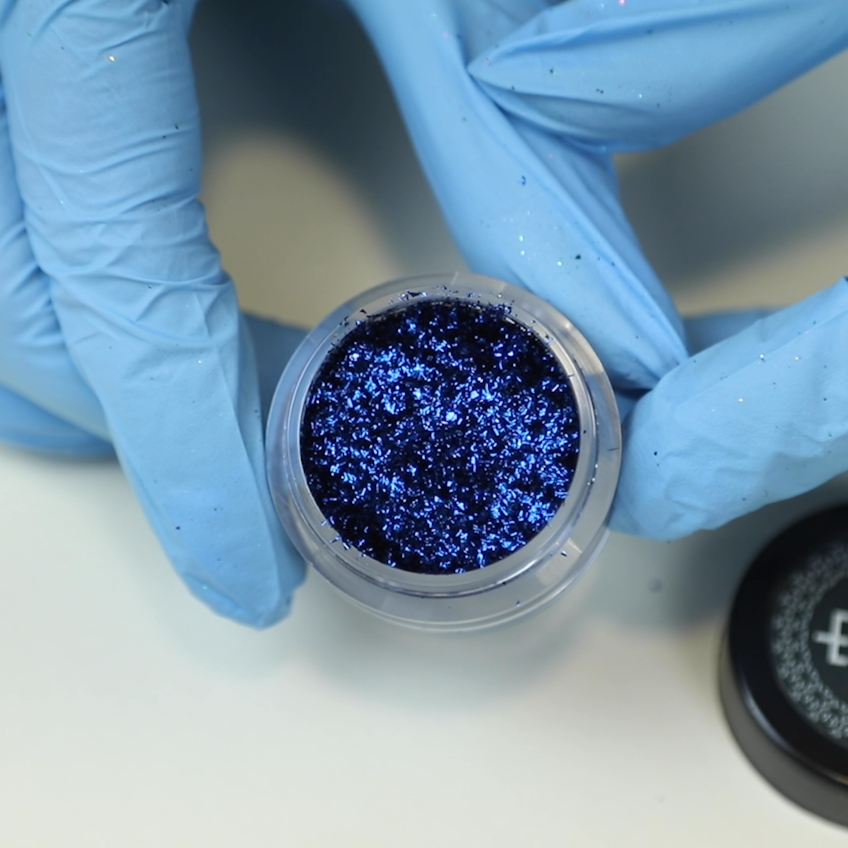
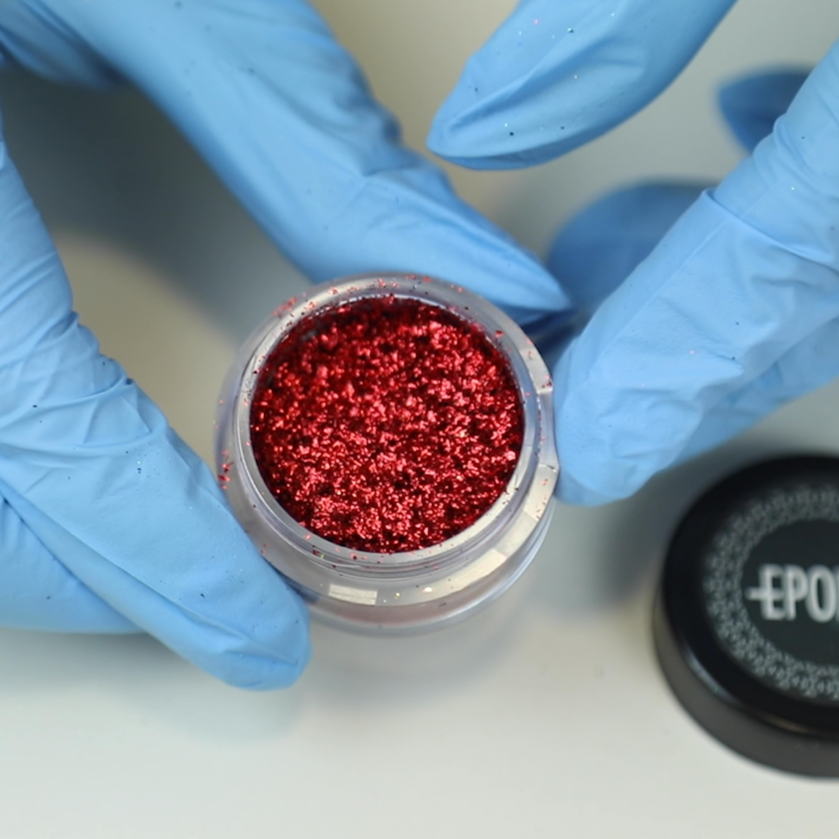
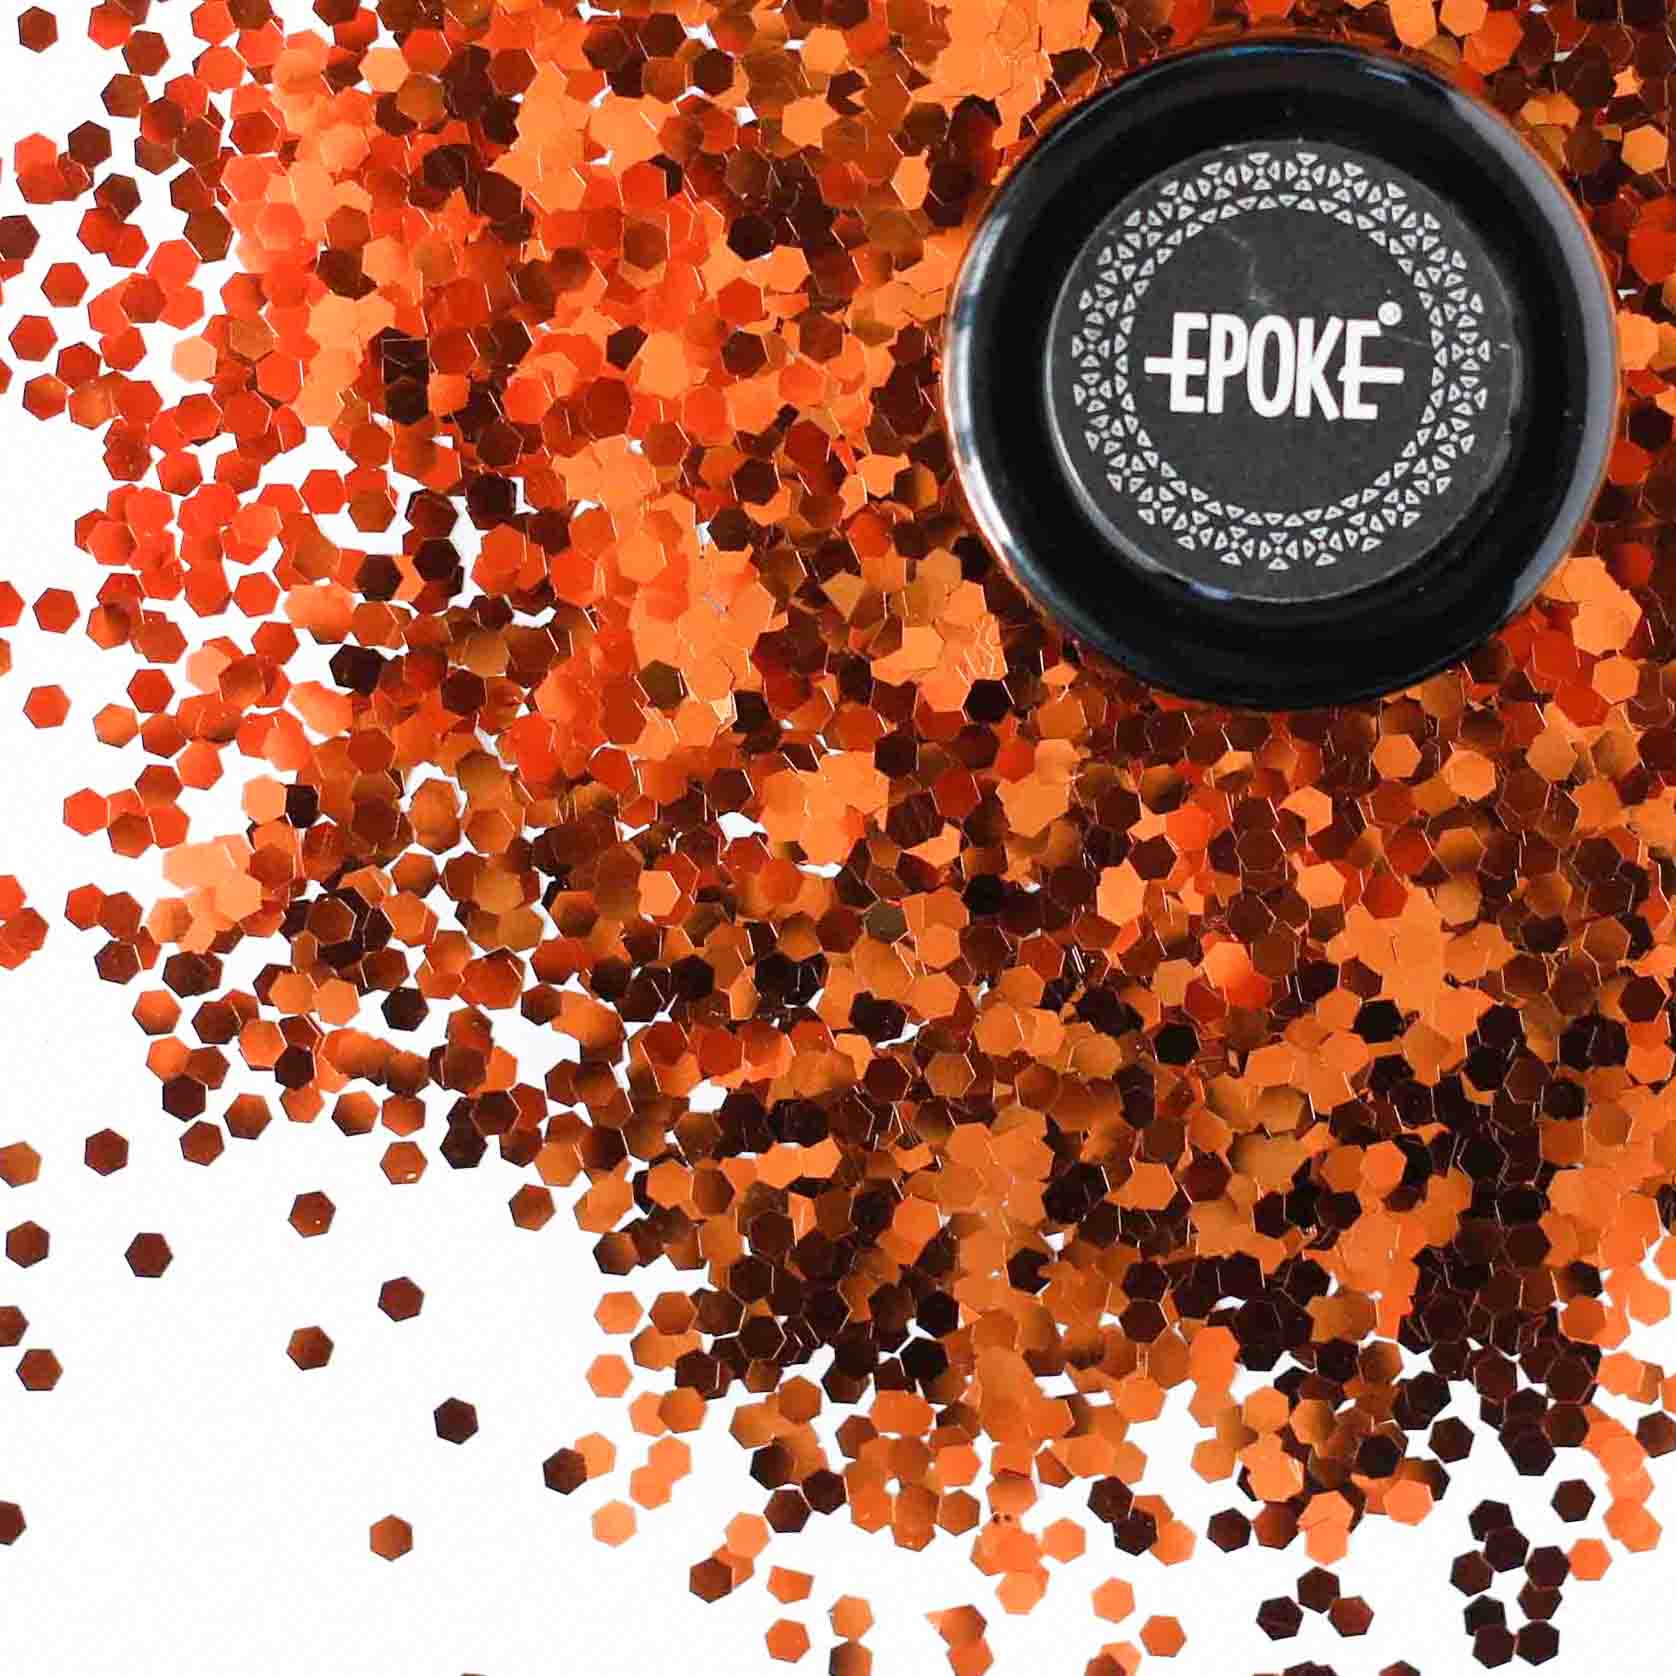
Chunky glitter has larger particles. It creates a bold, eye-catching sparkle with visible depth and texture.
Use it for:
-
Resin coasters and serving trays
-
Geode-style resin art
-
Statement jewellery pieces
-
Decorative objects where you want a strong visual impact
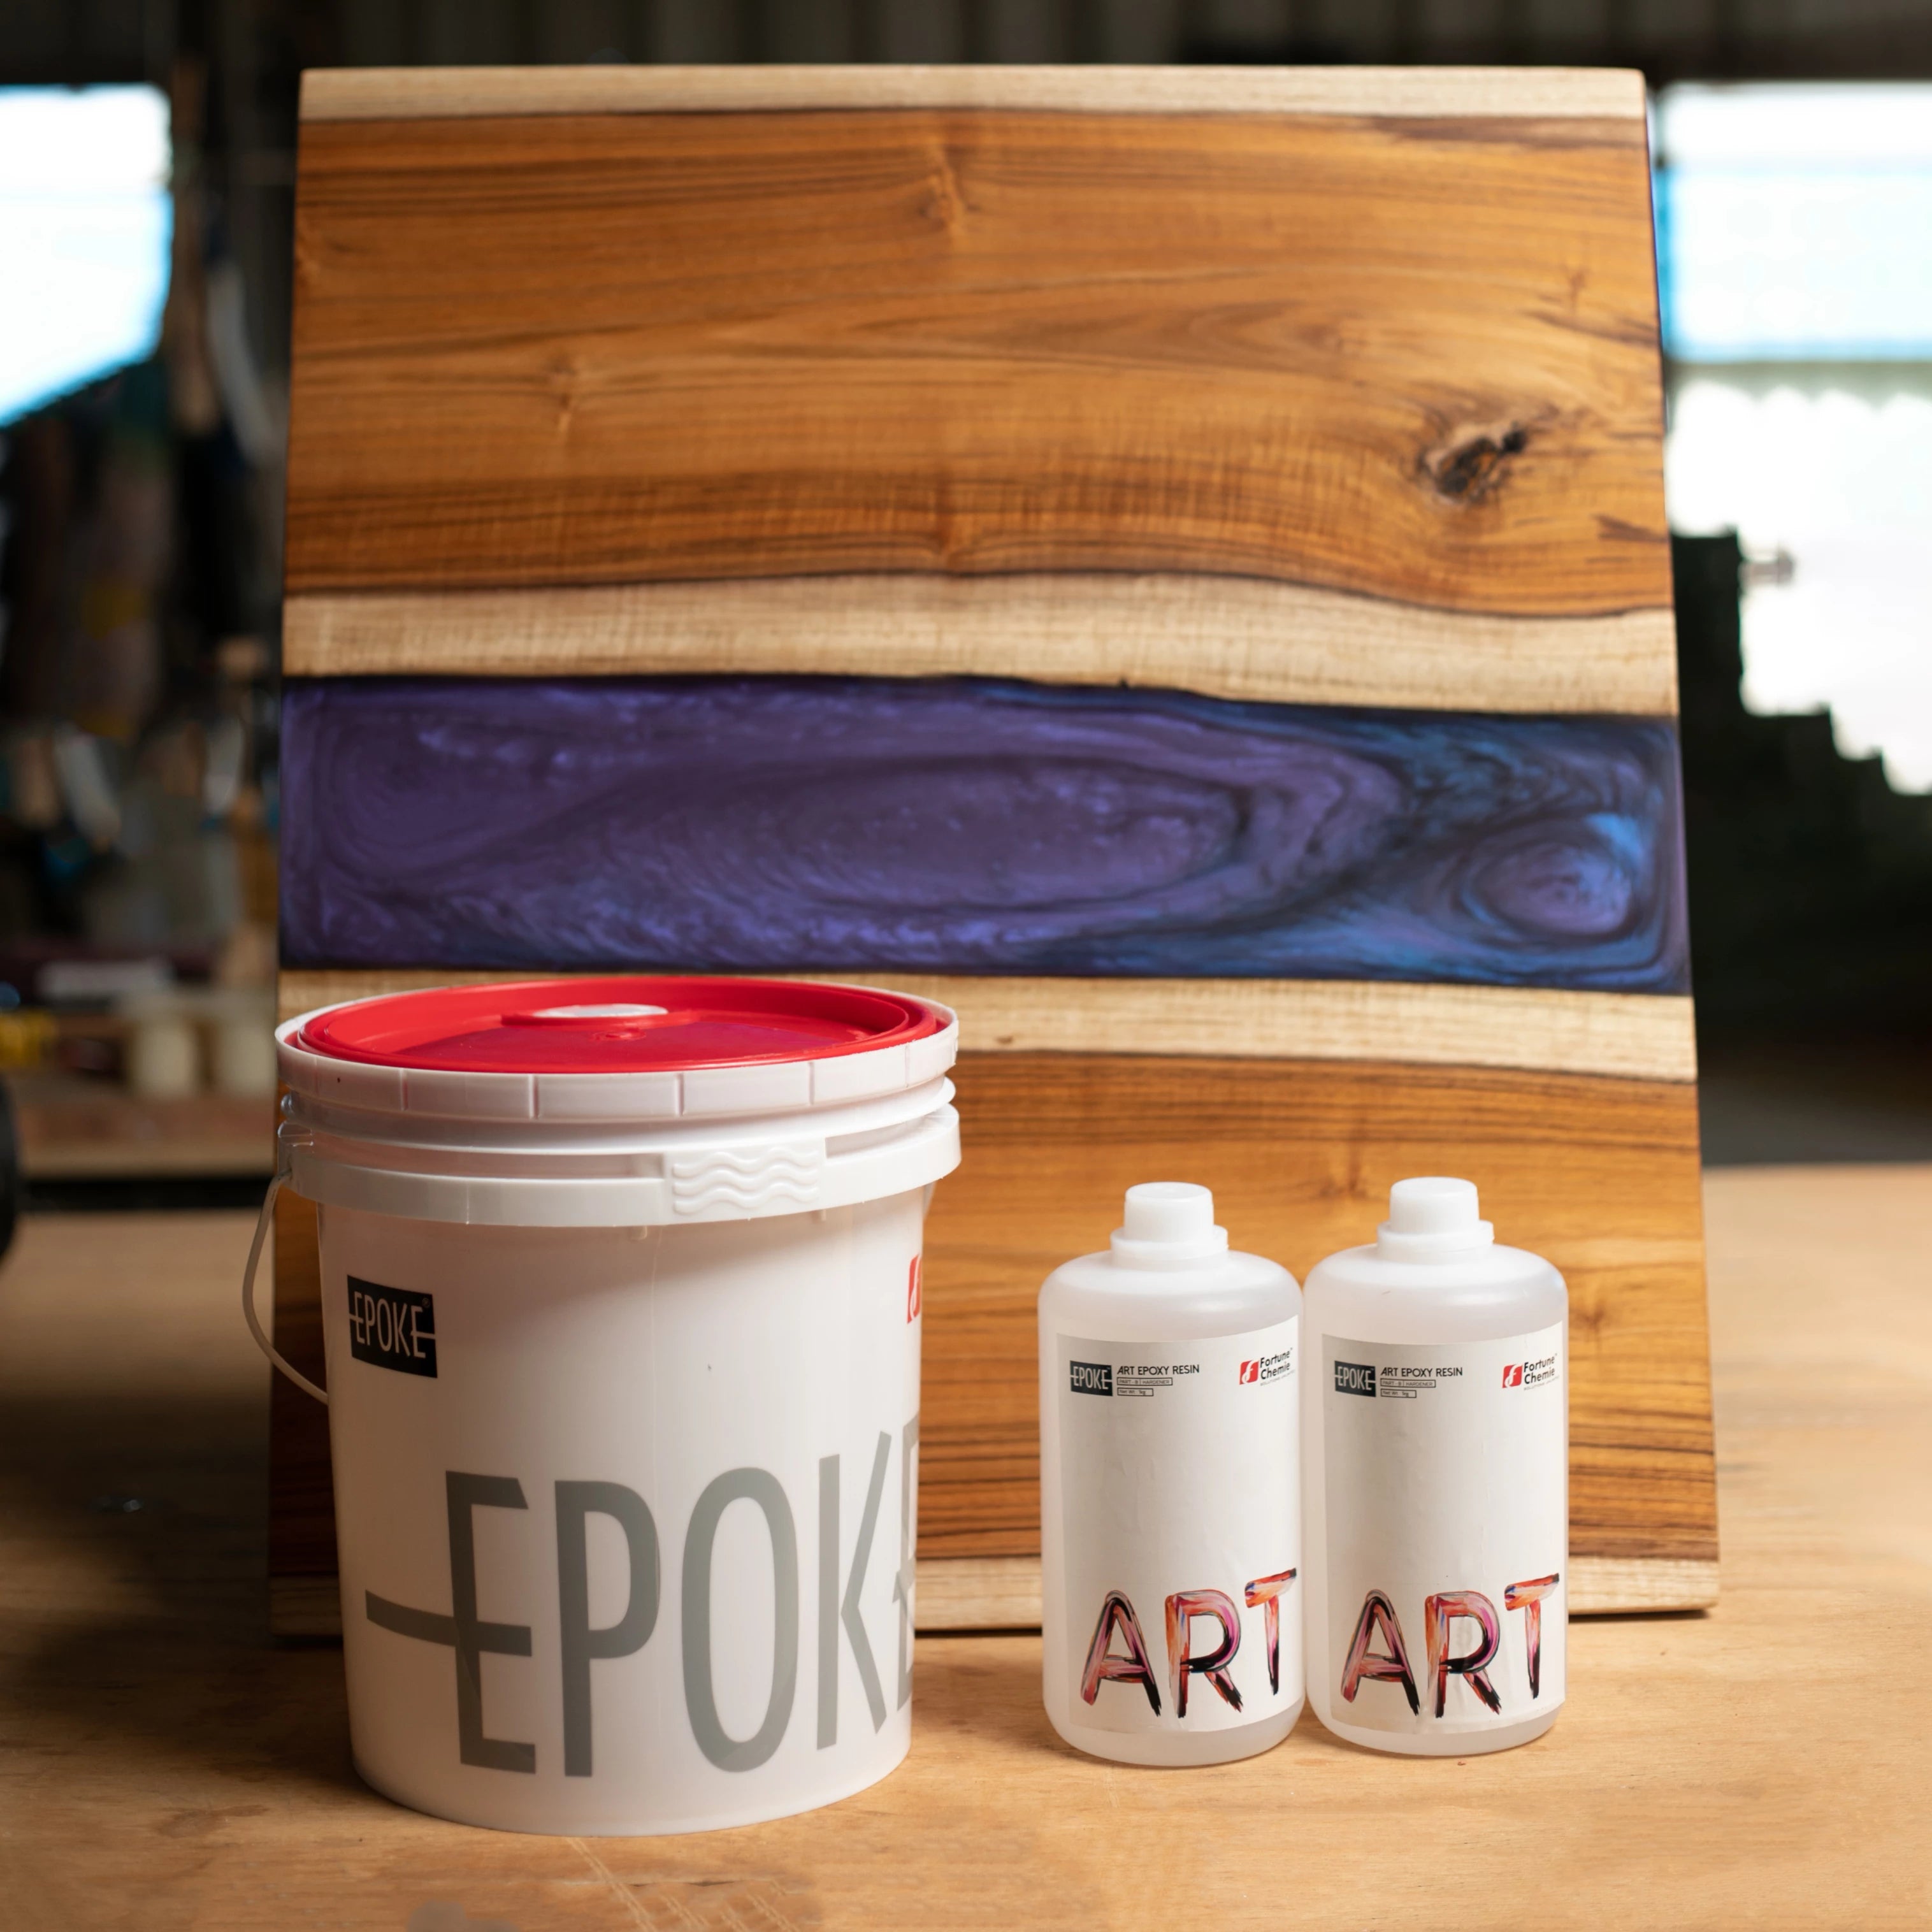
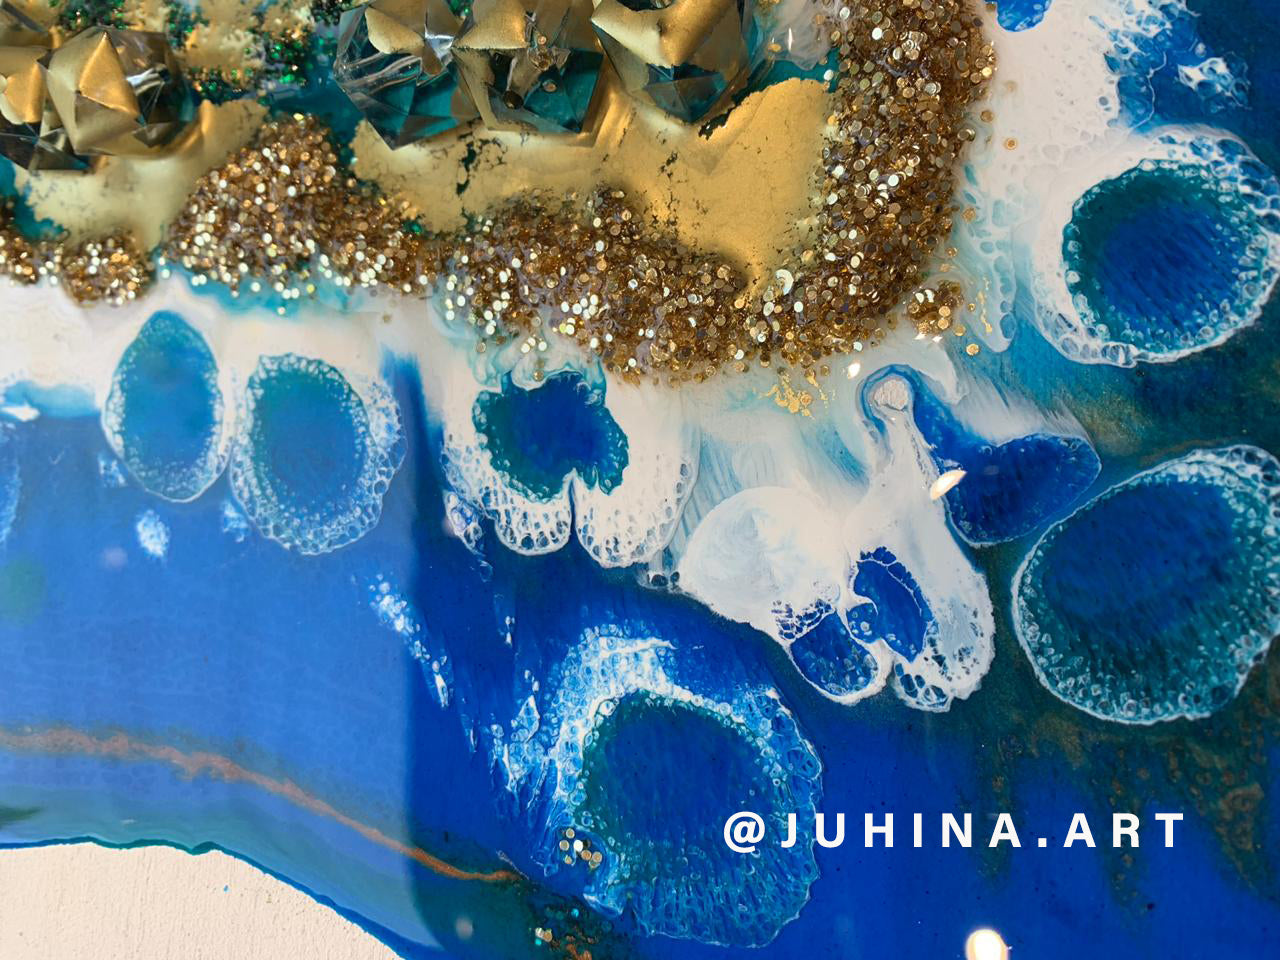
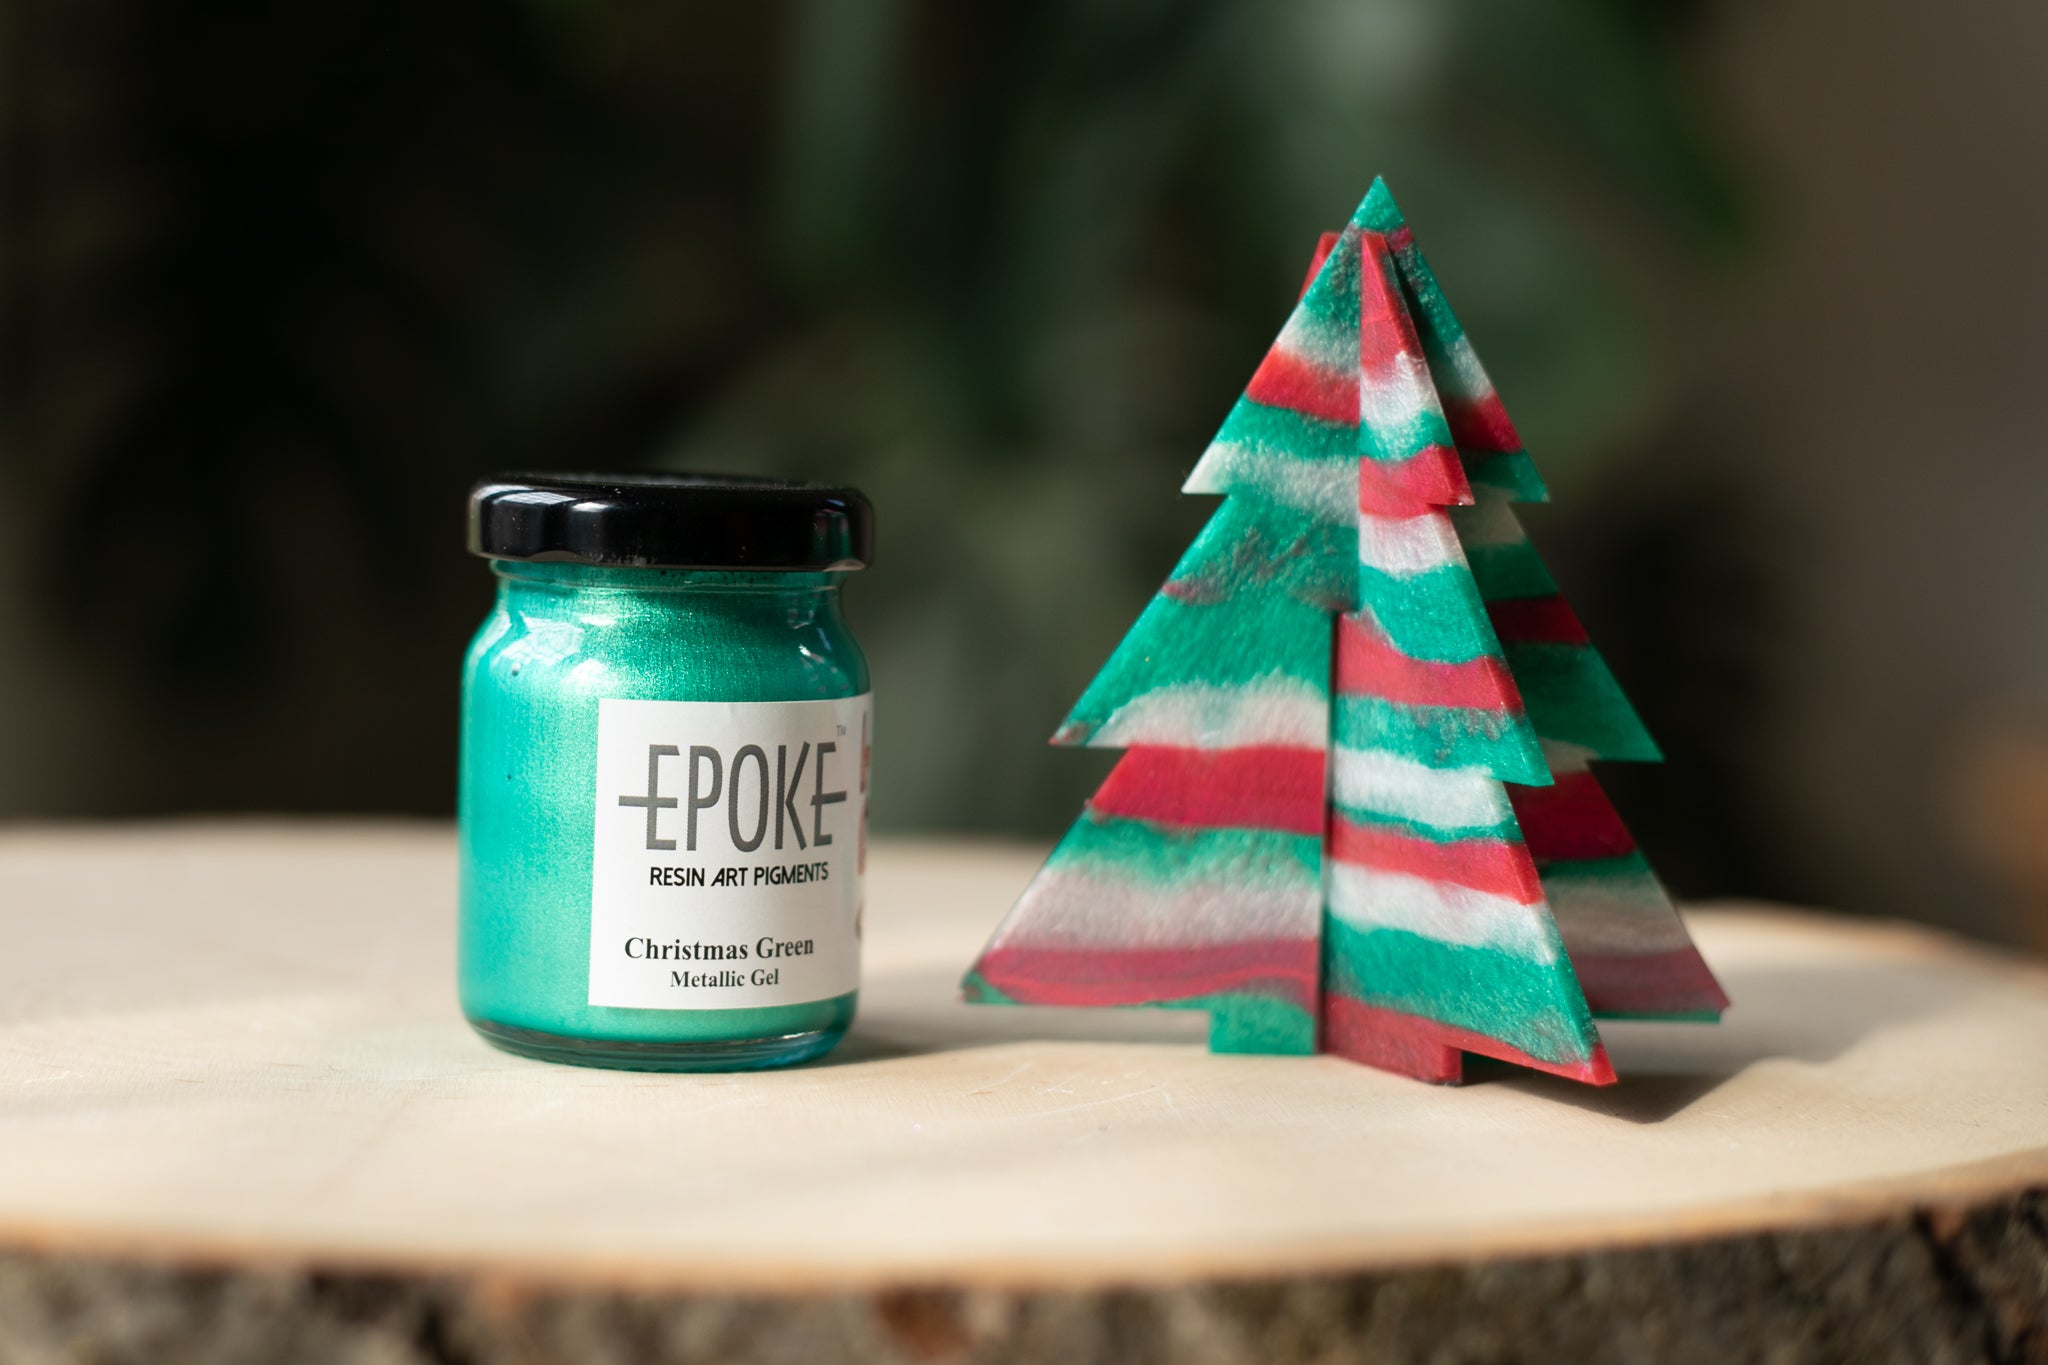
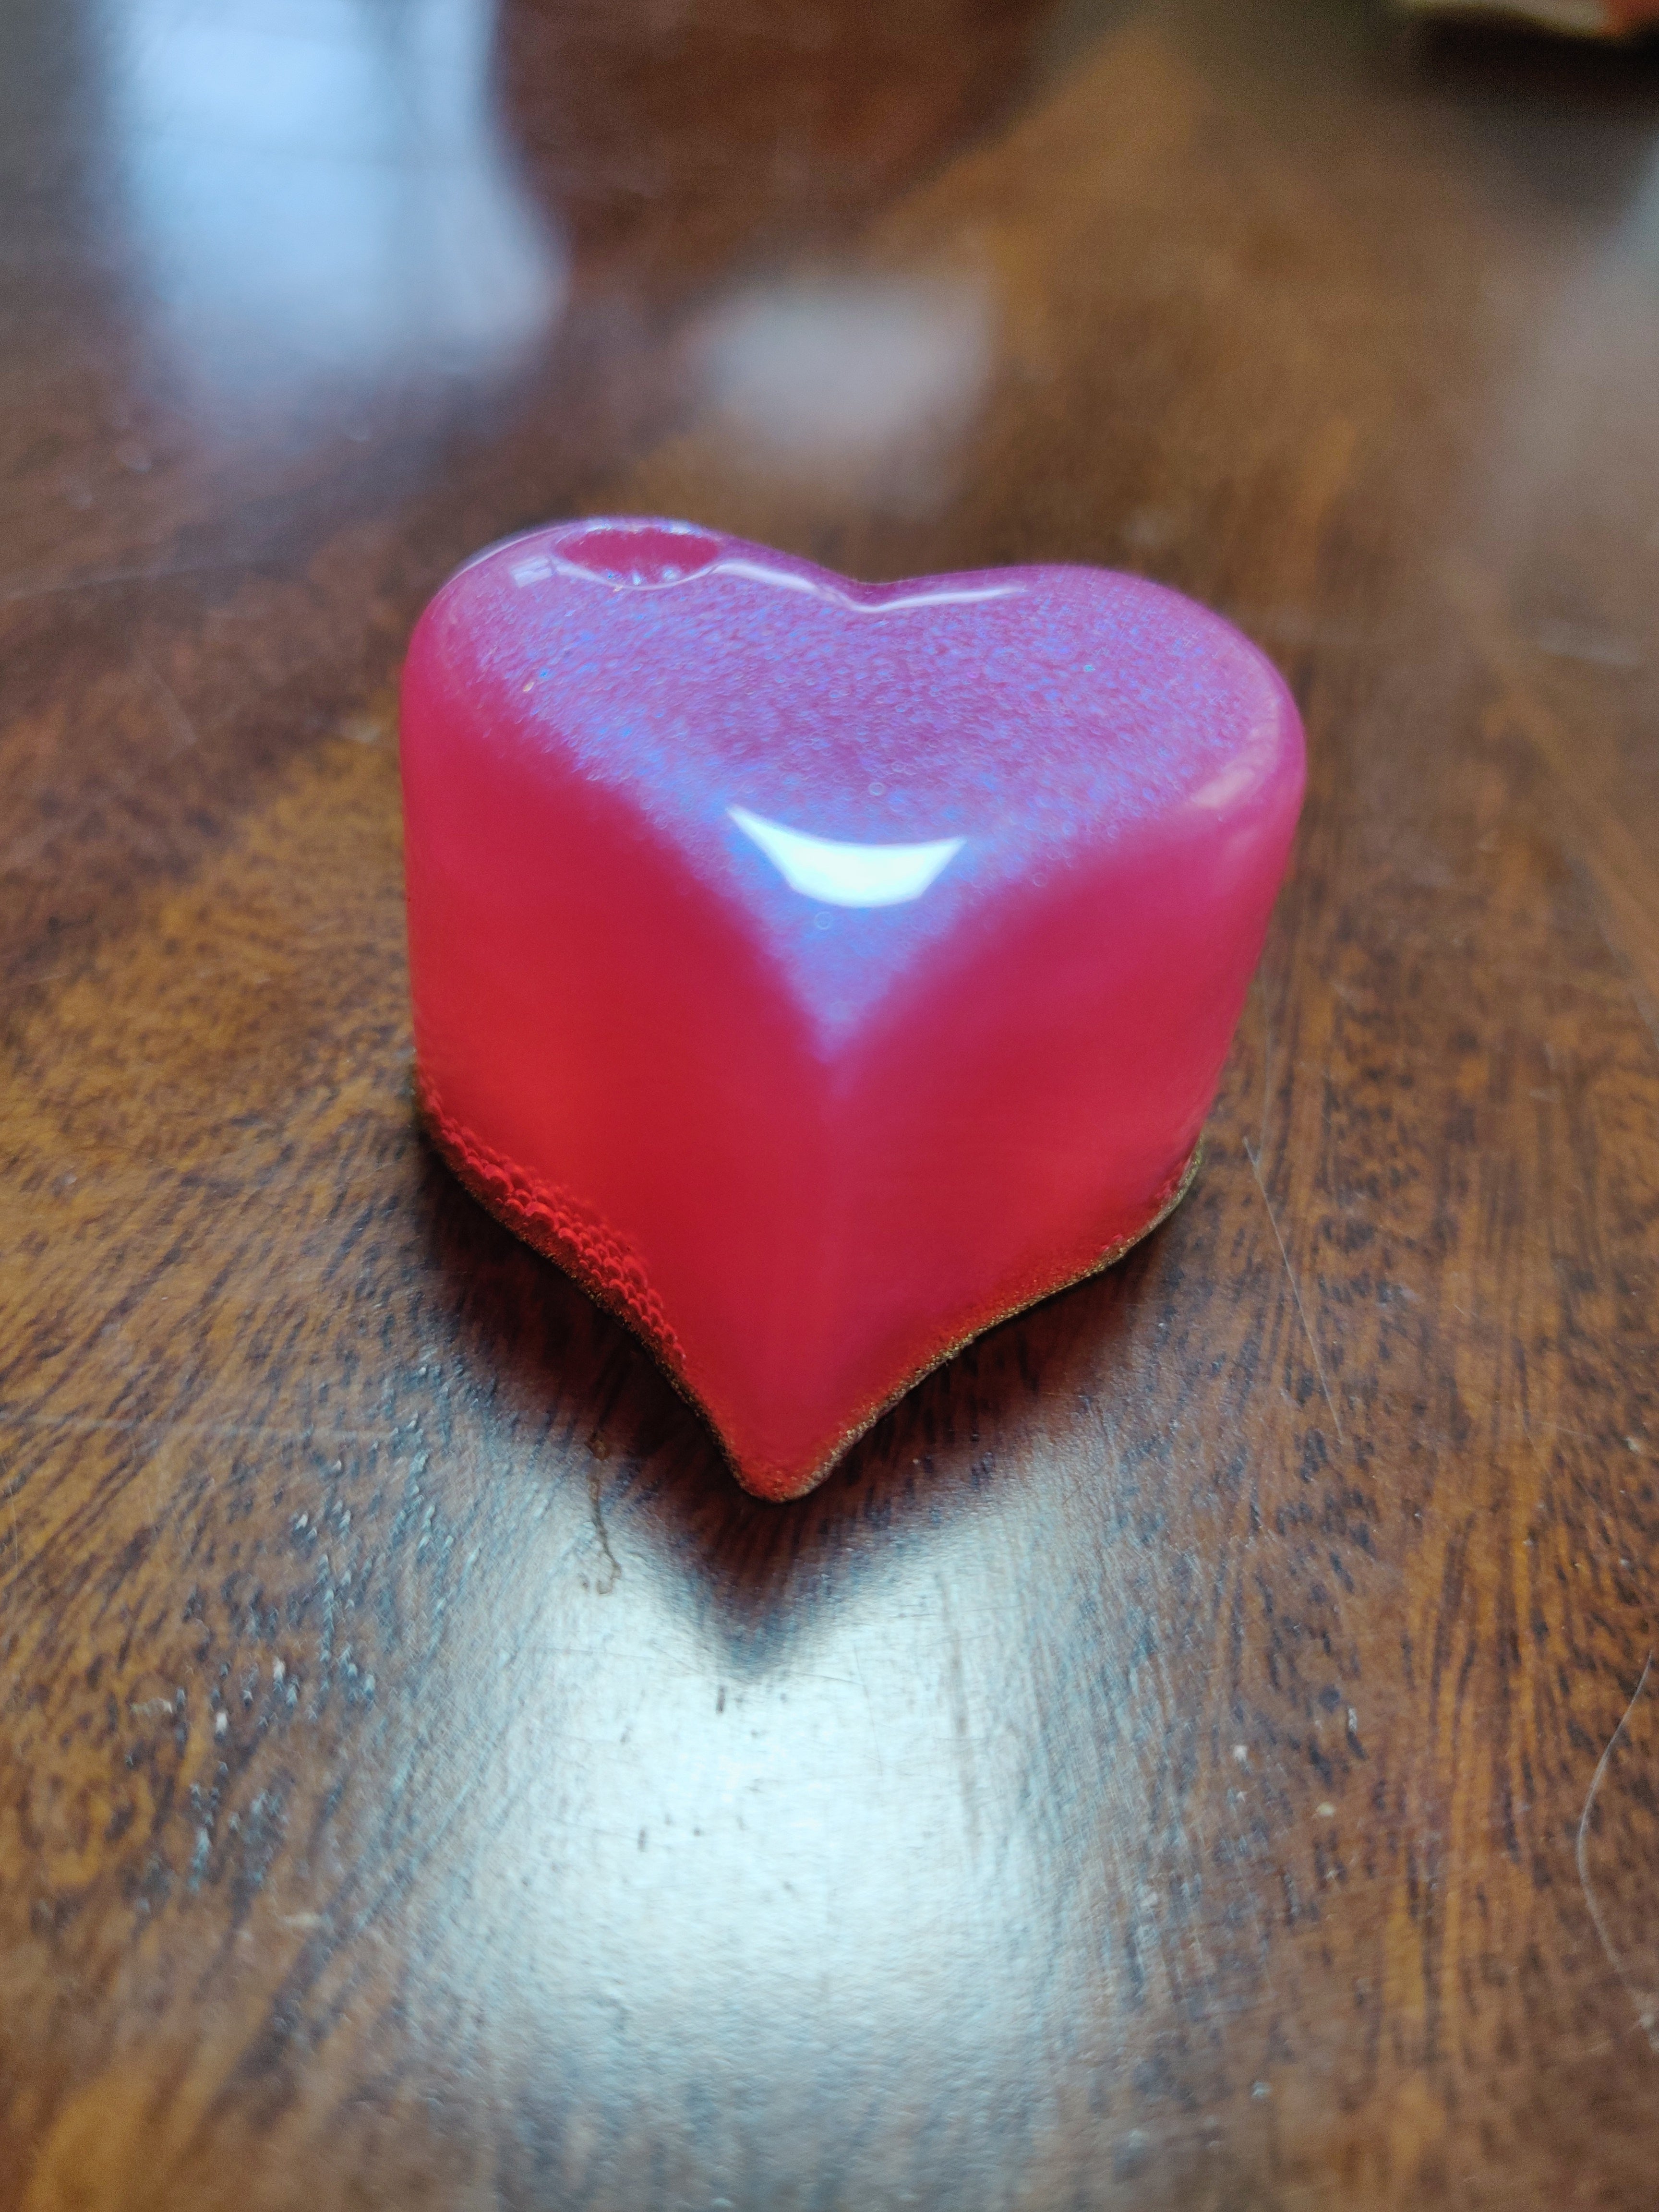
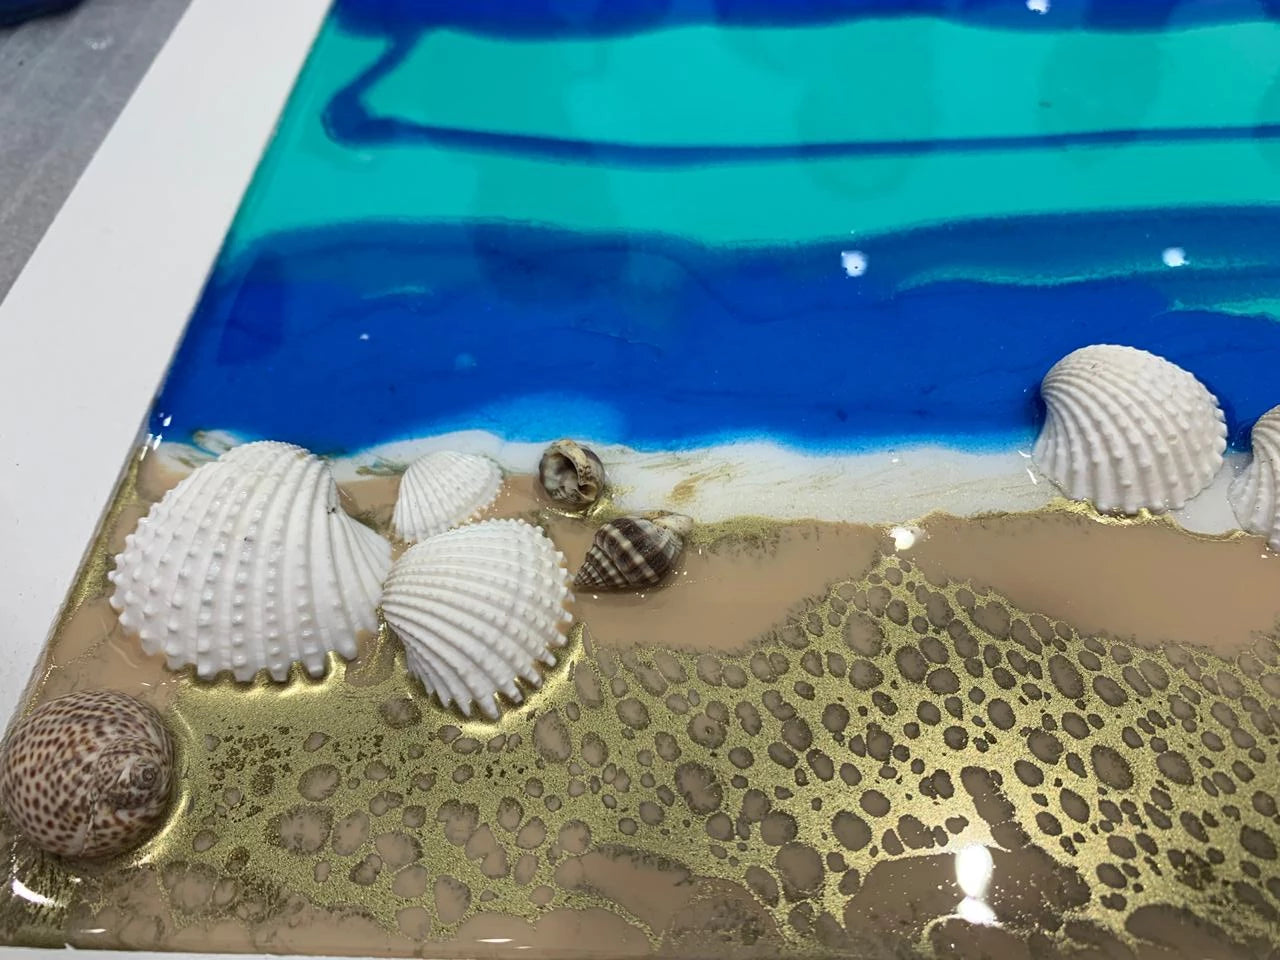
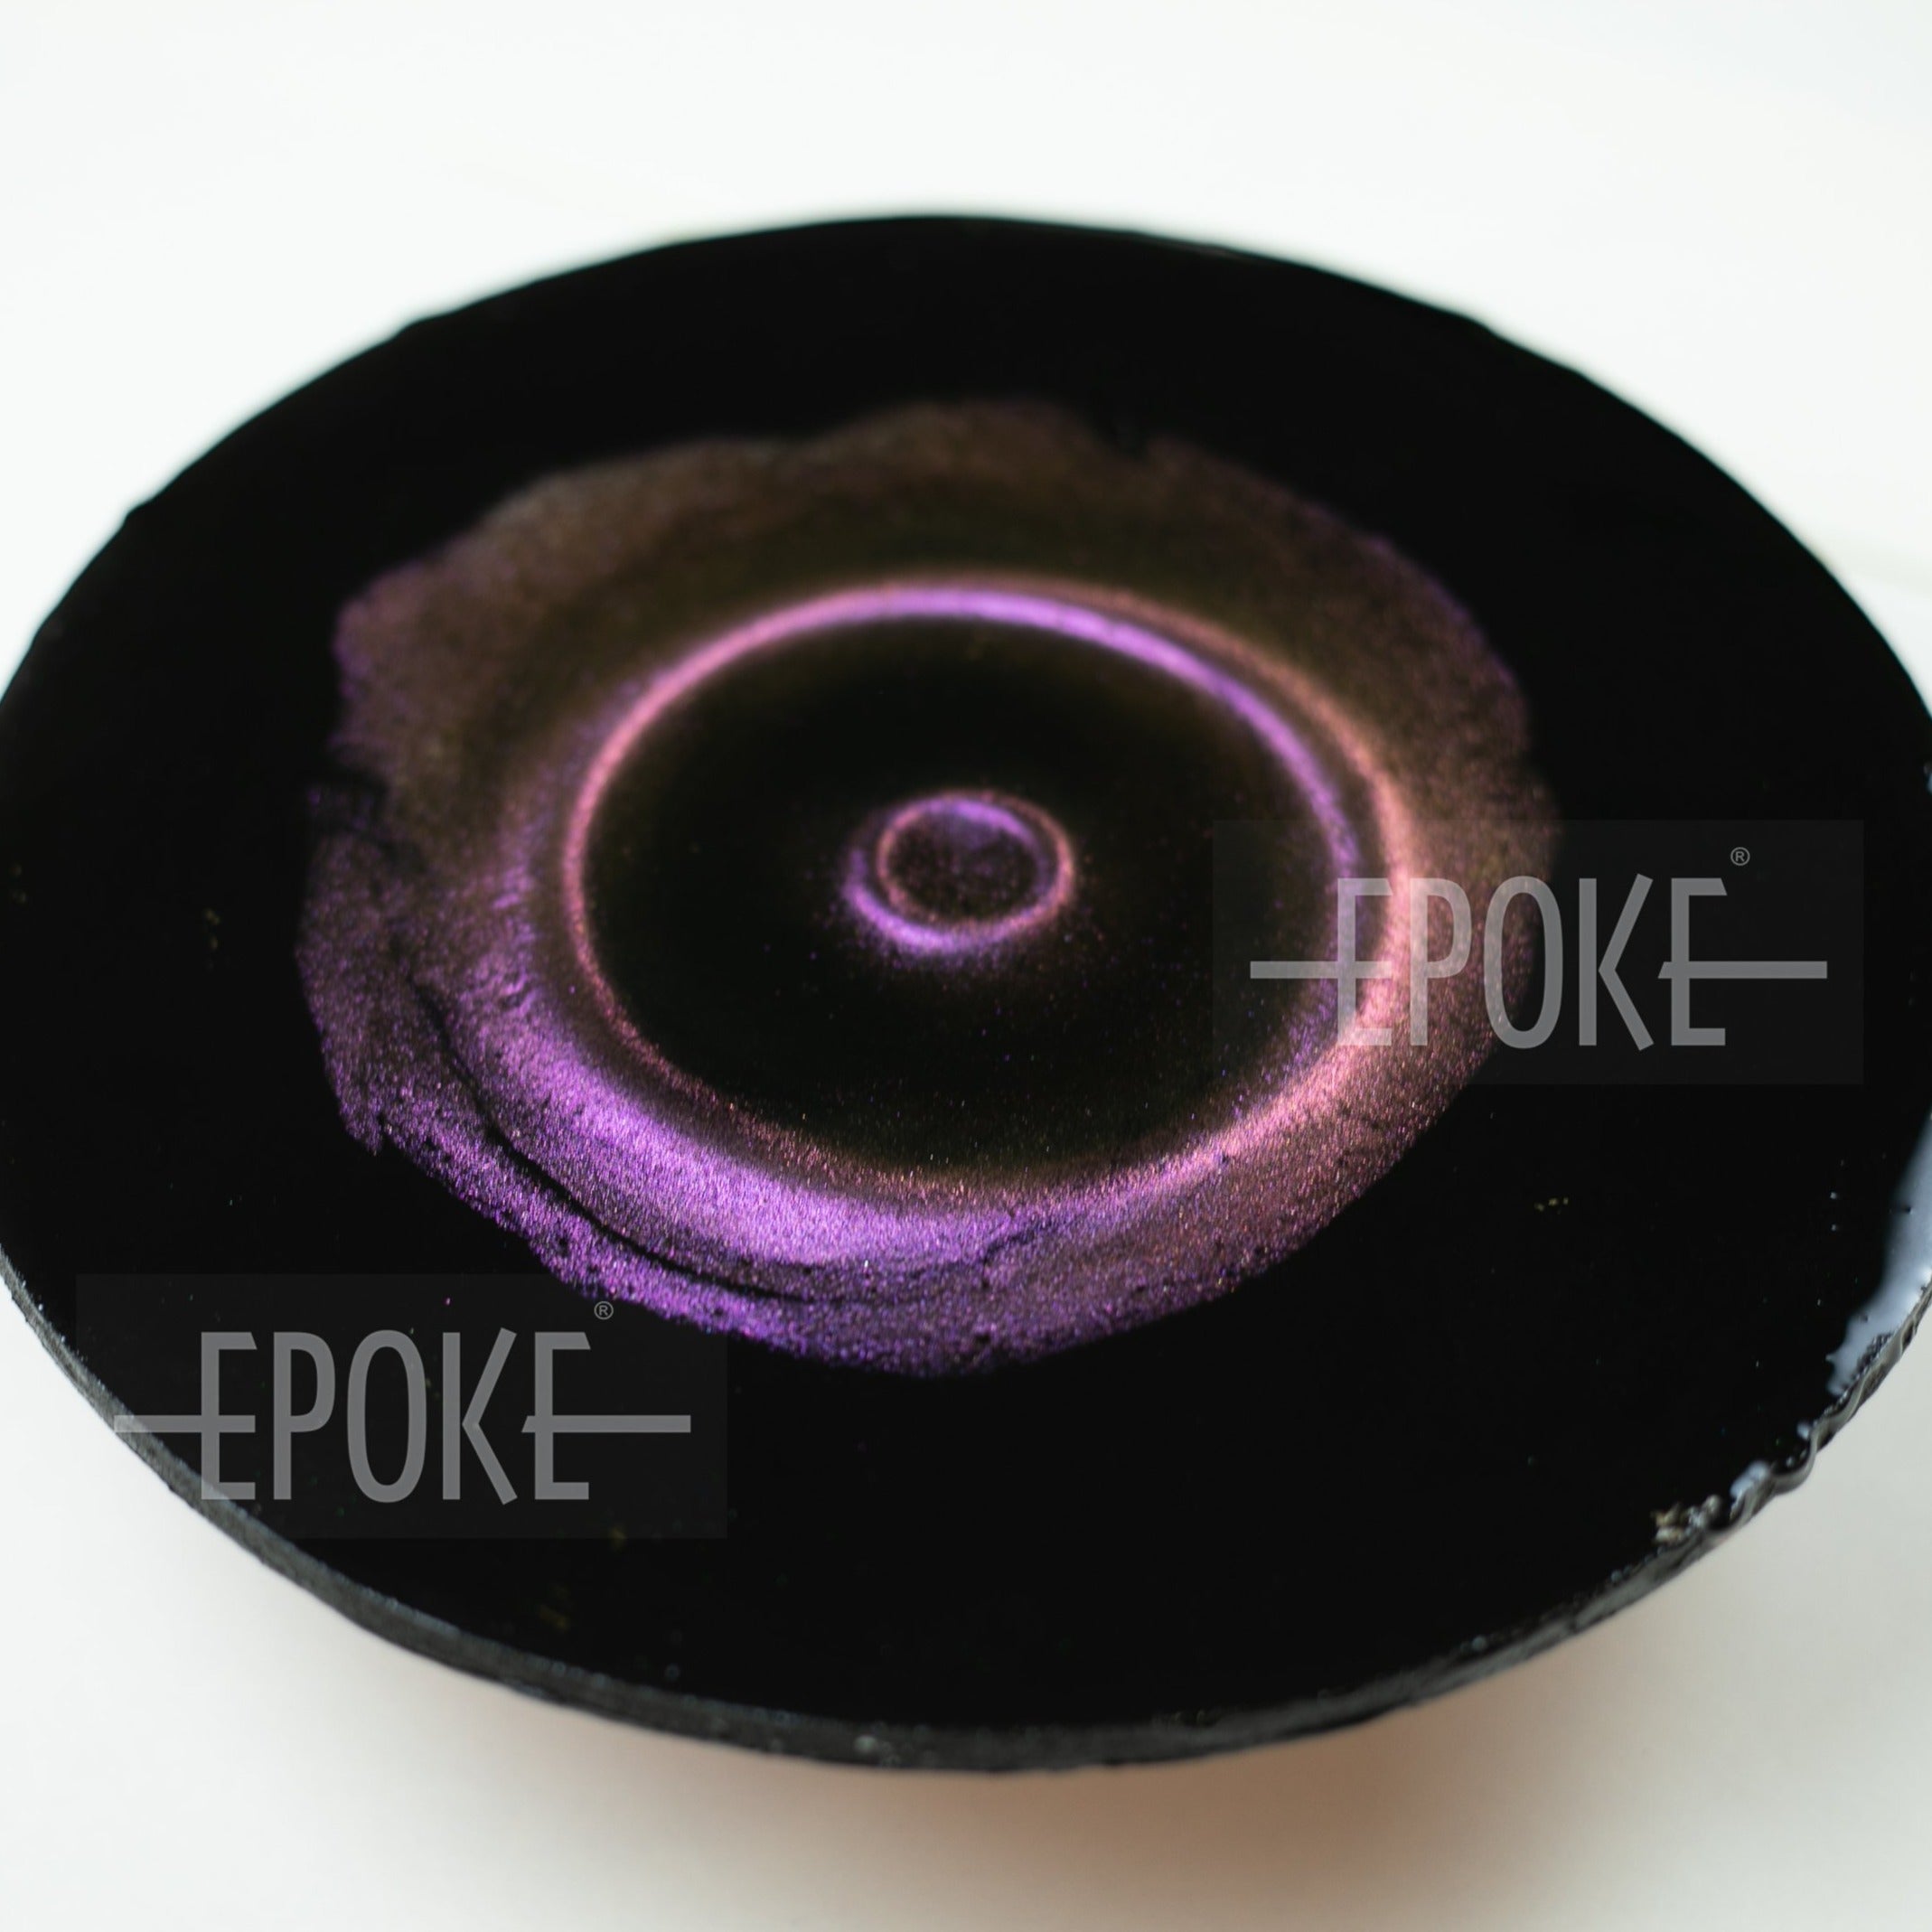
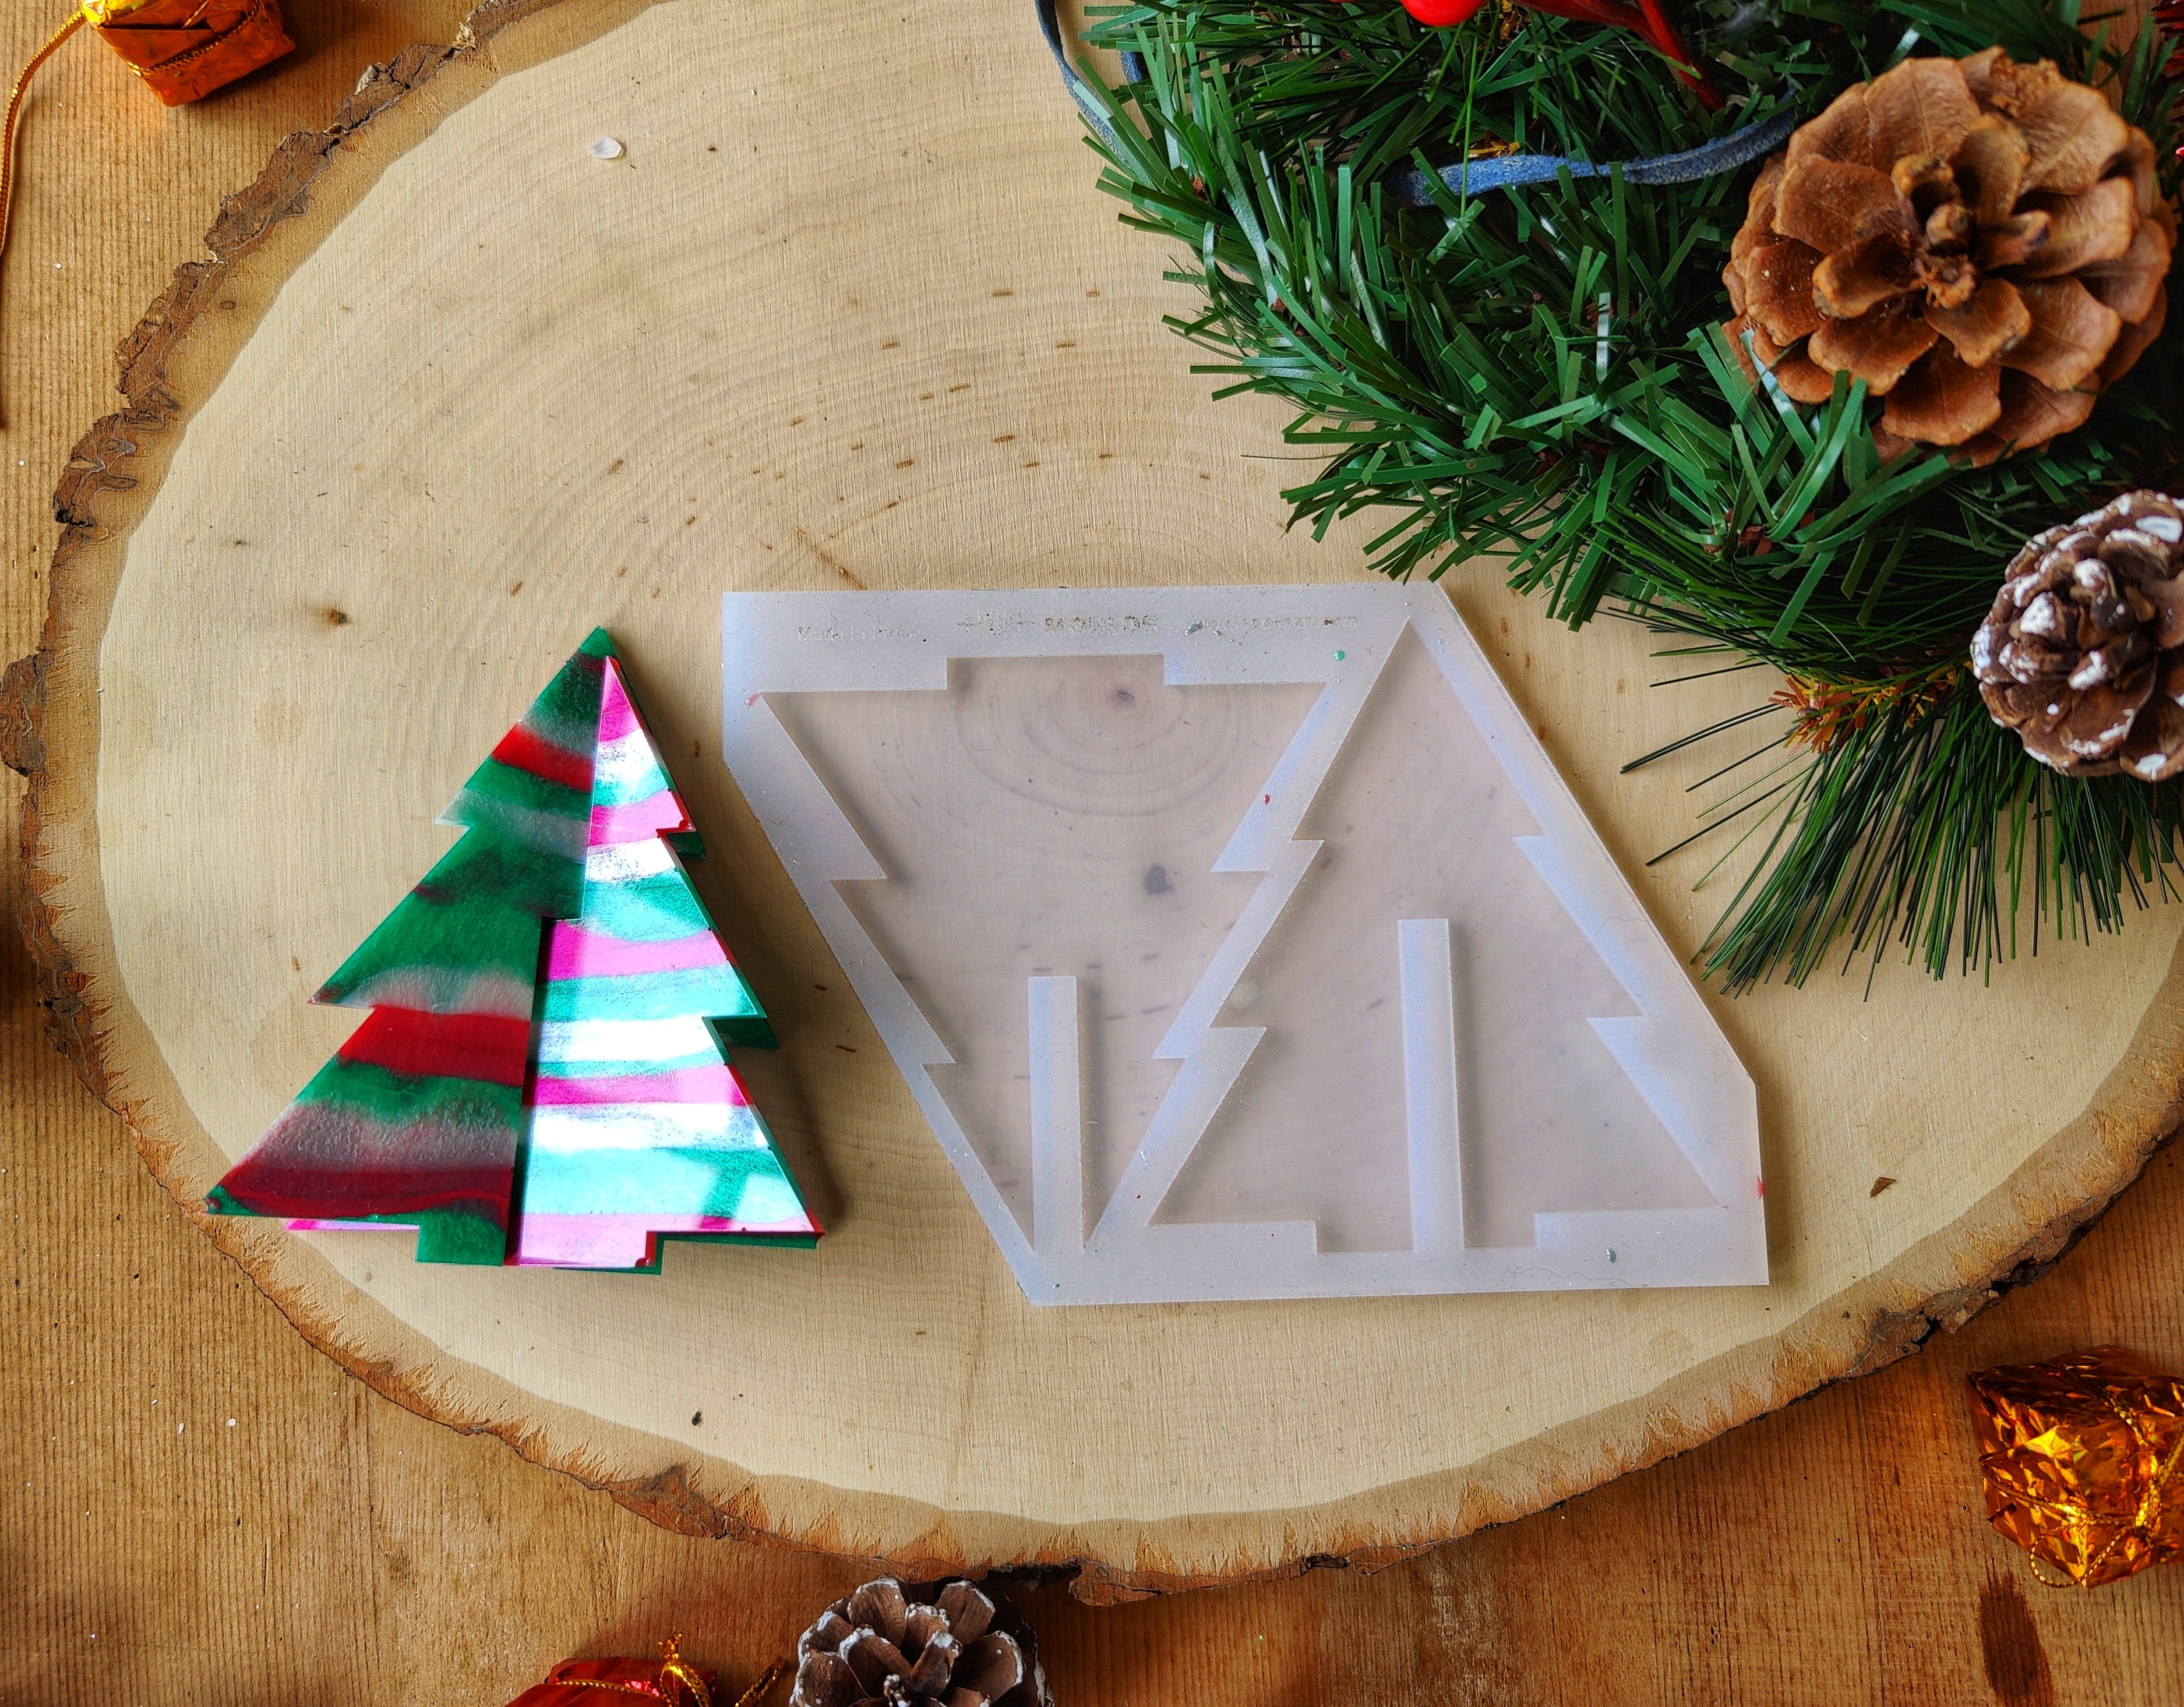
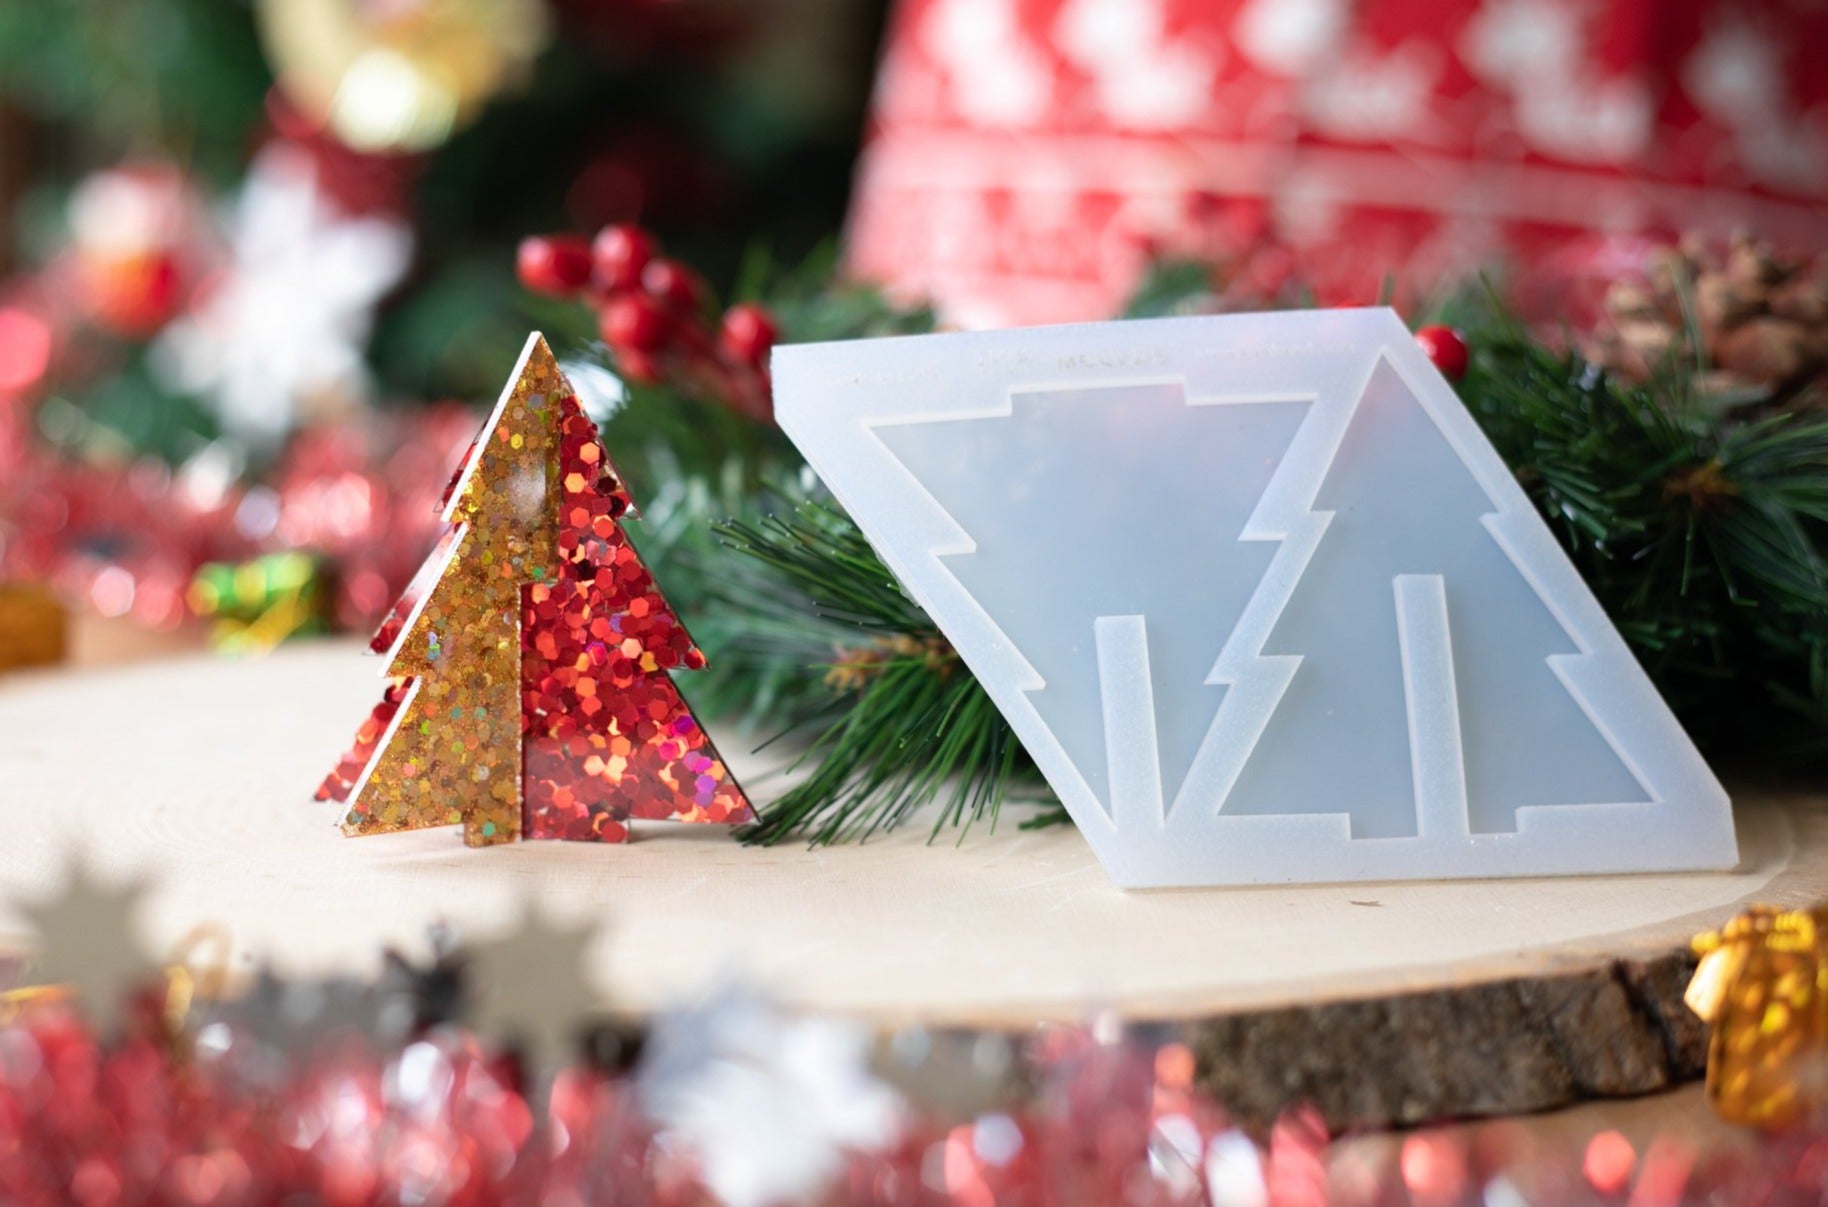
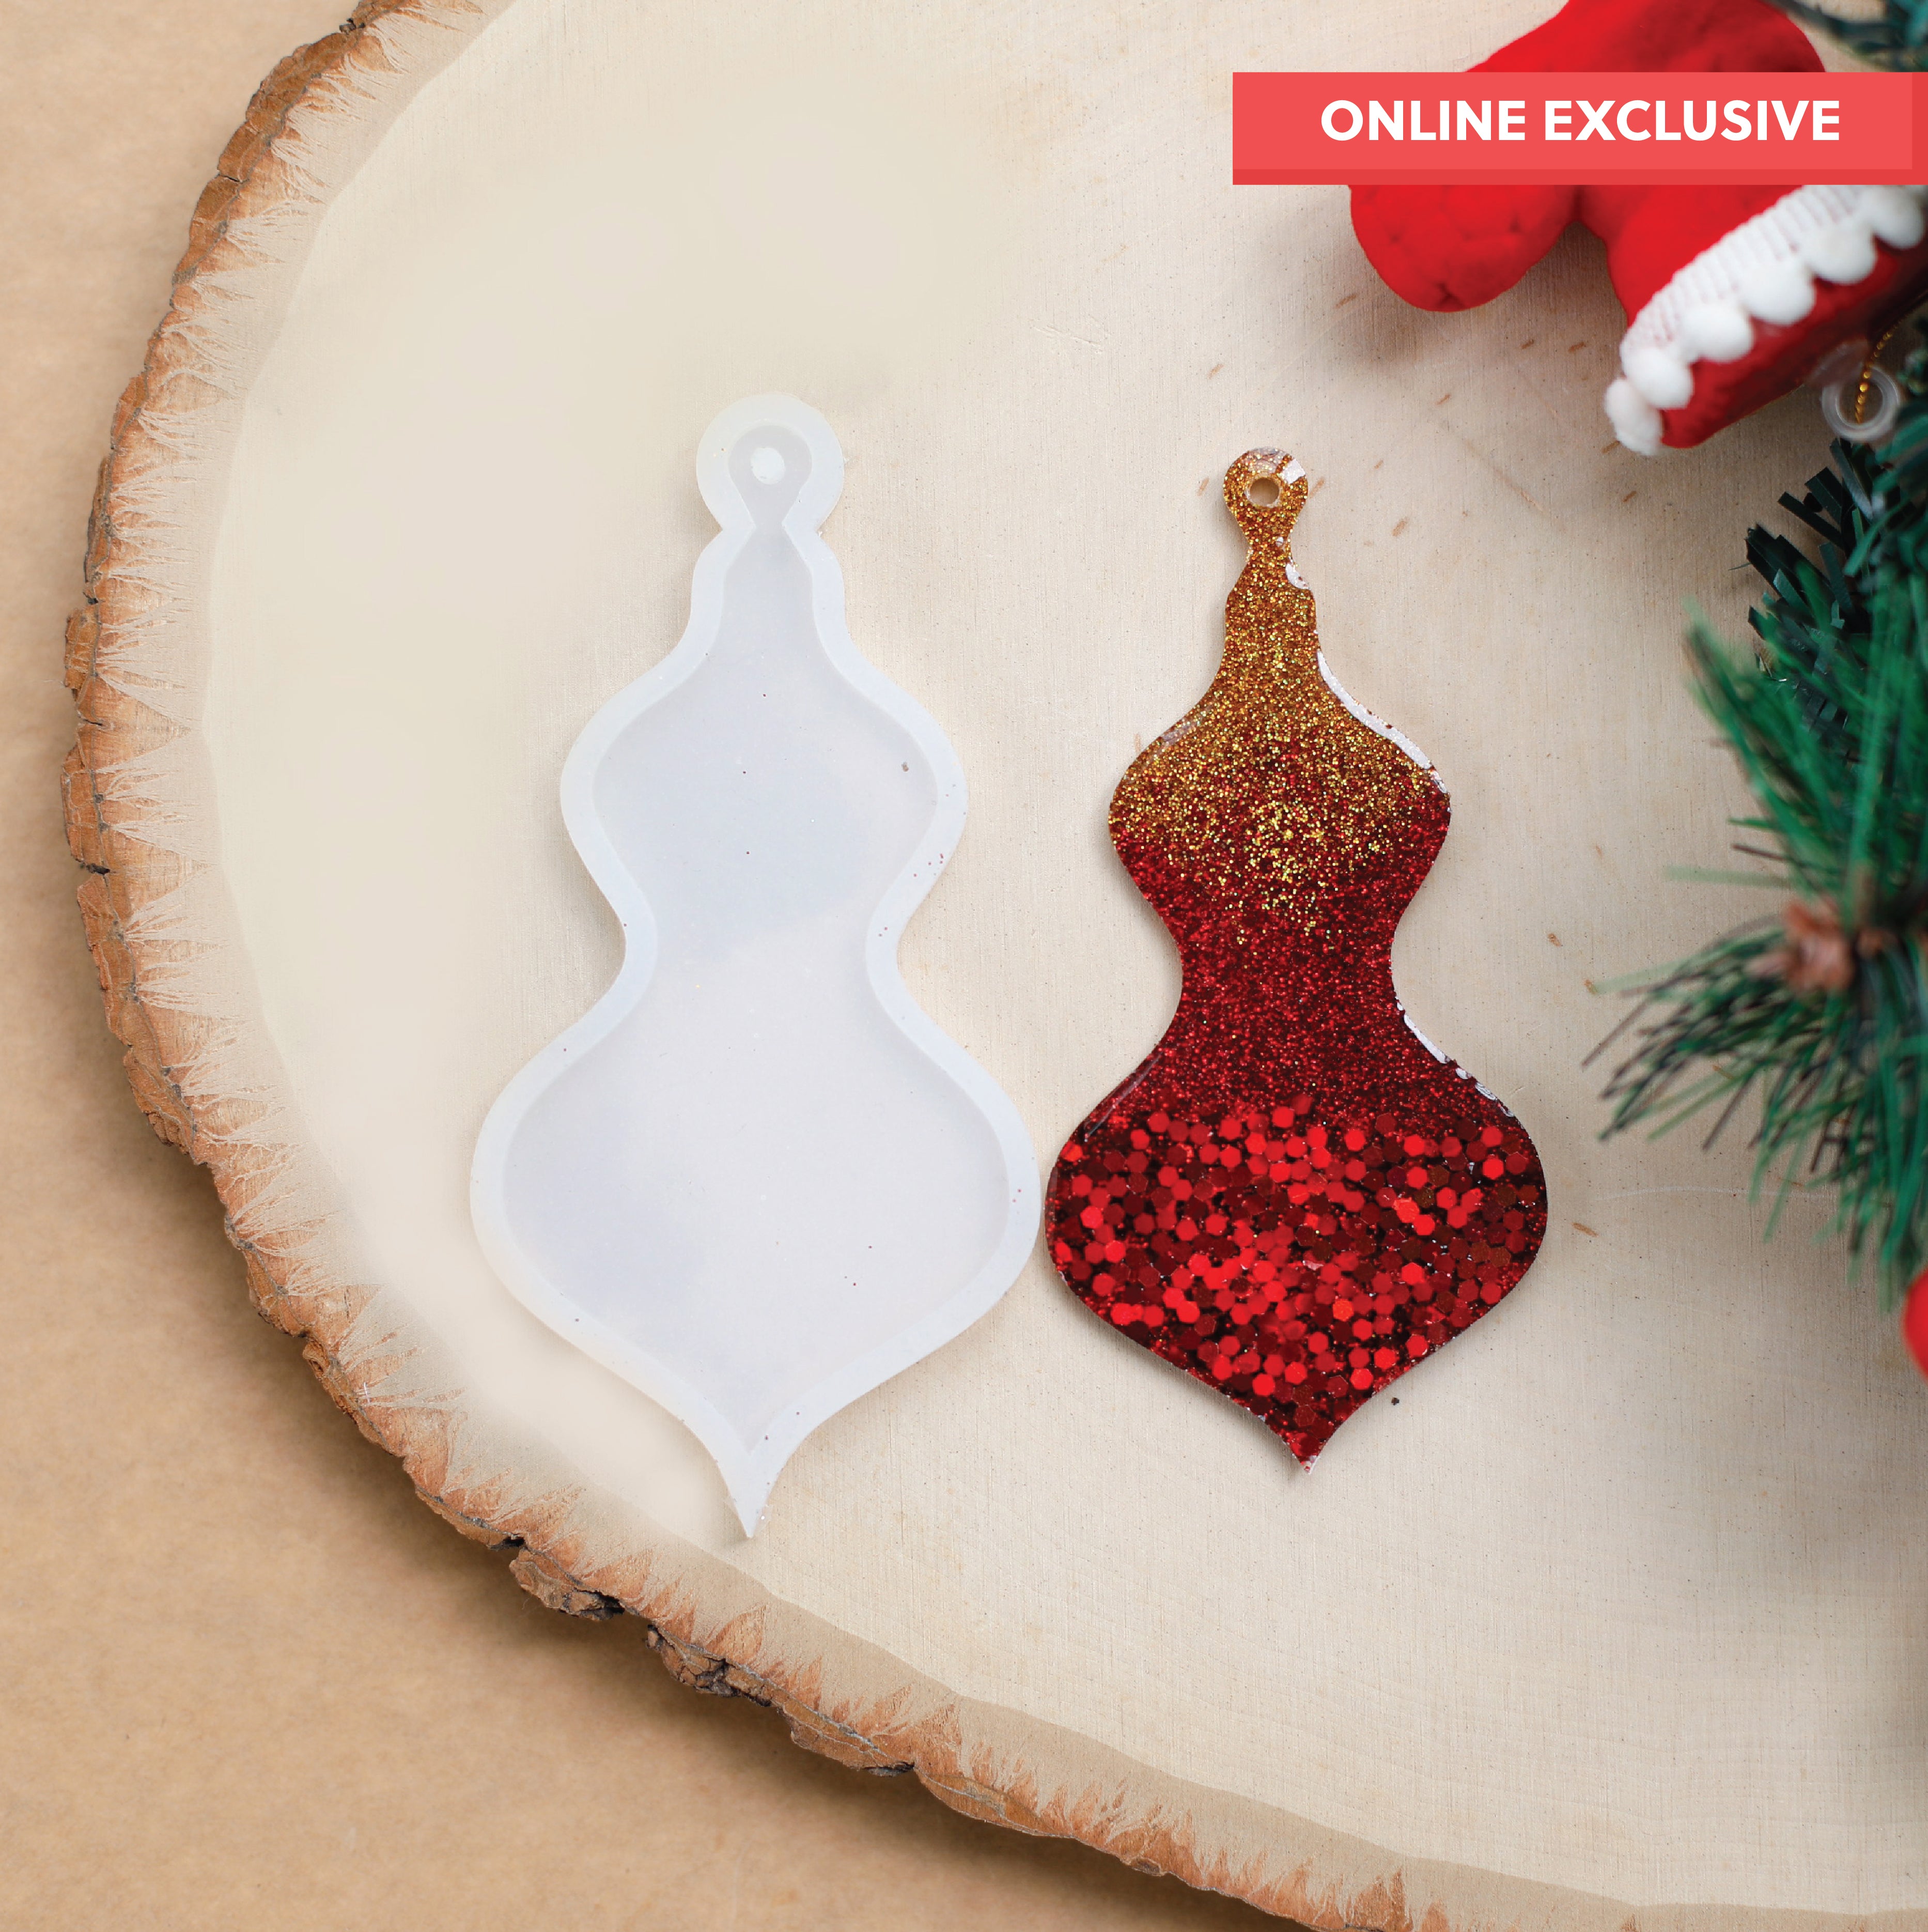
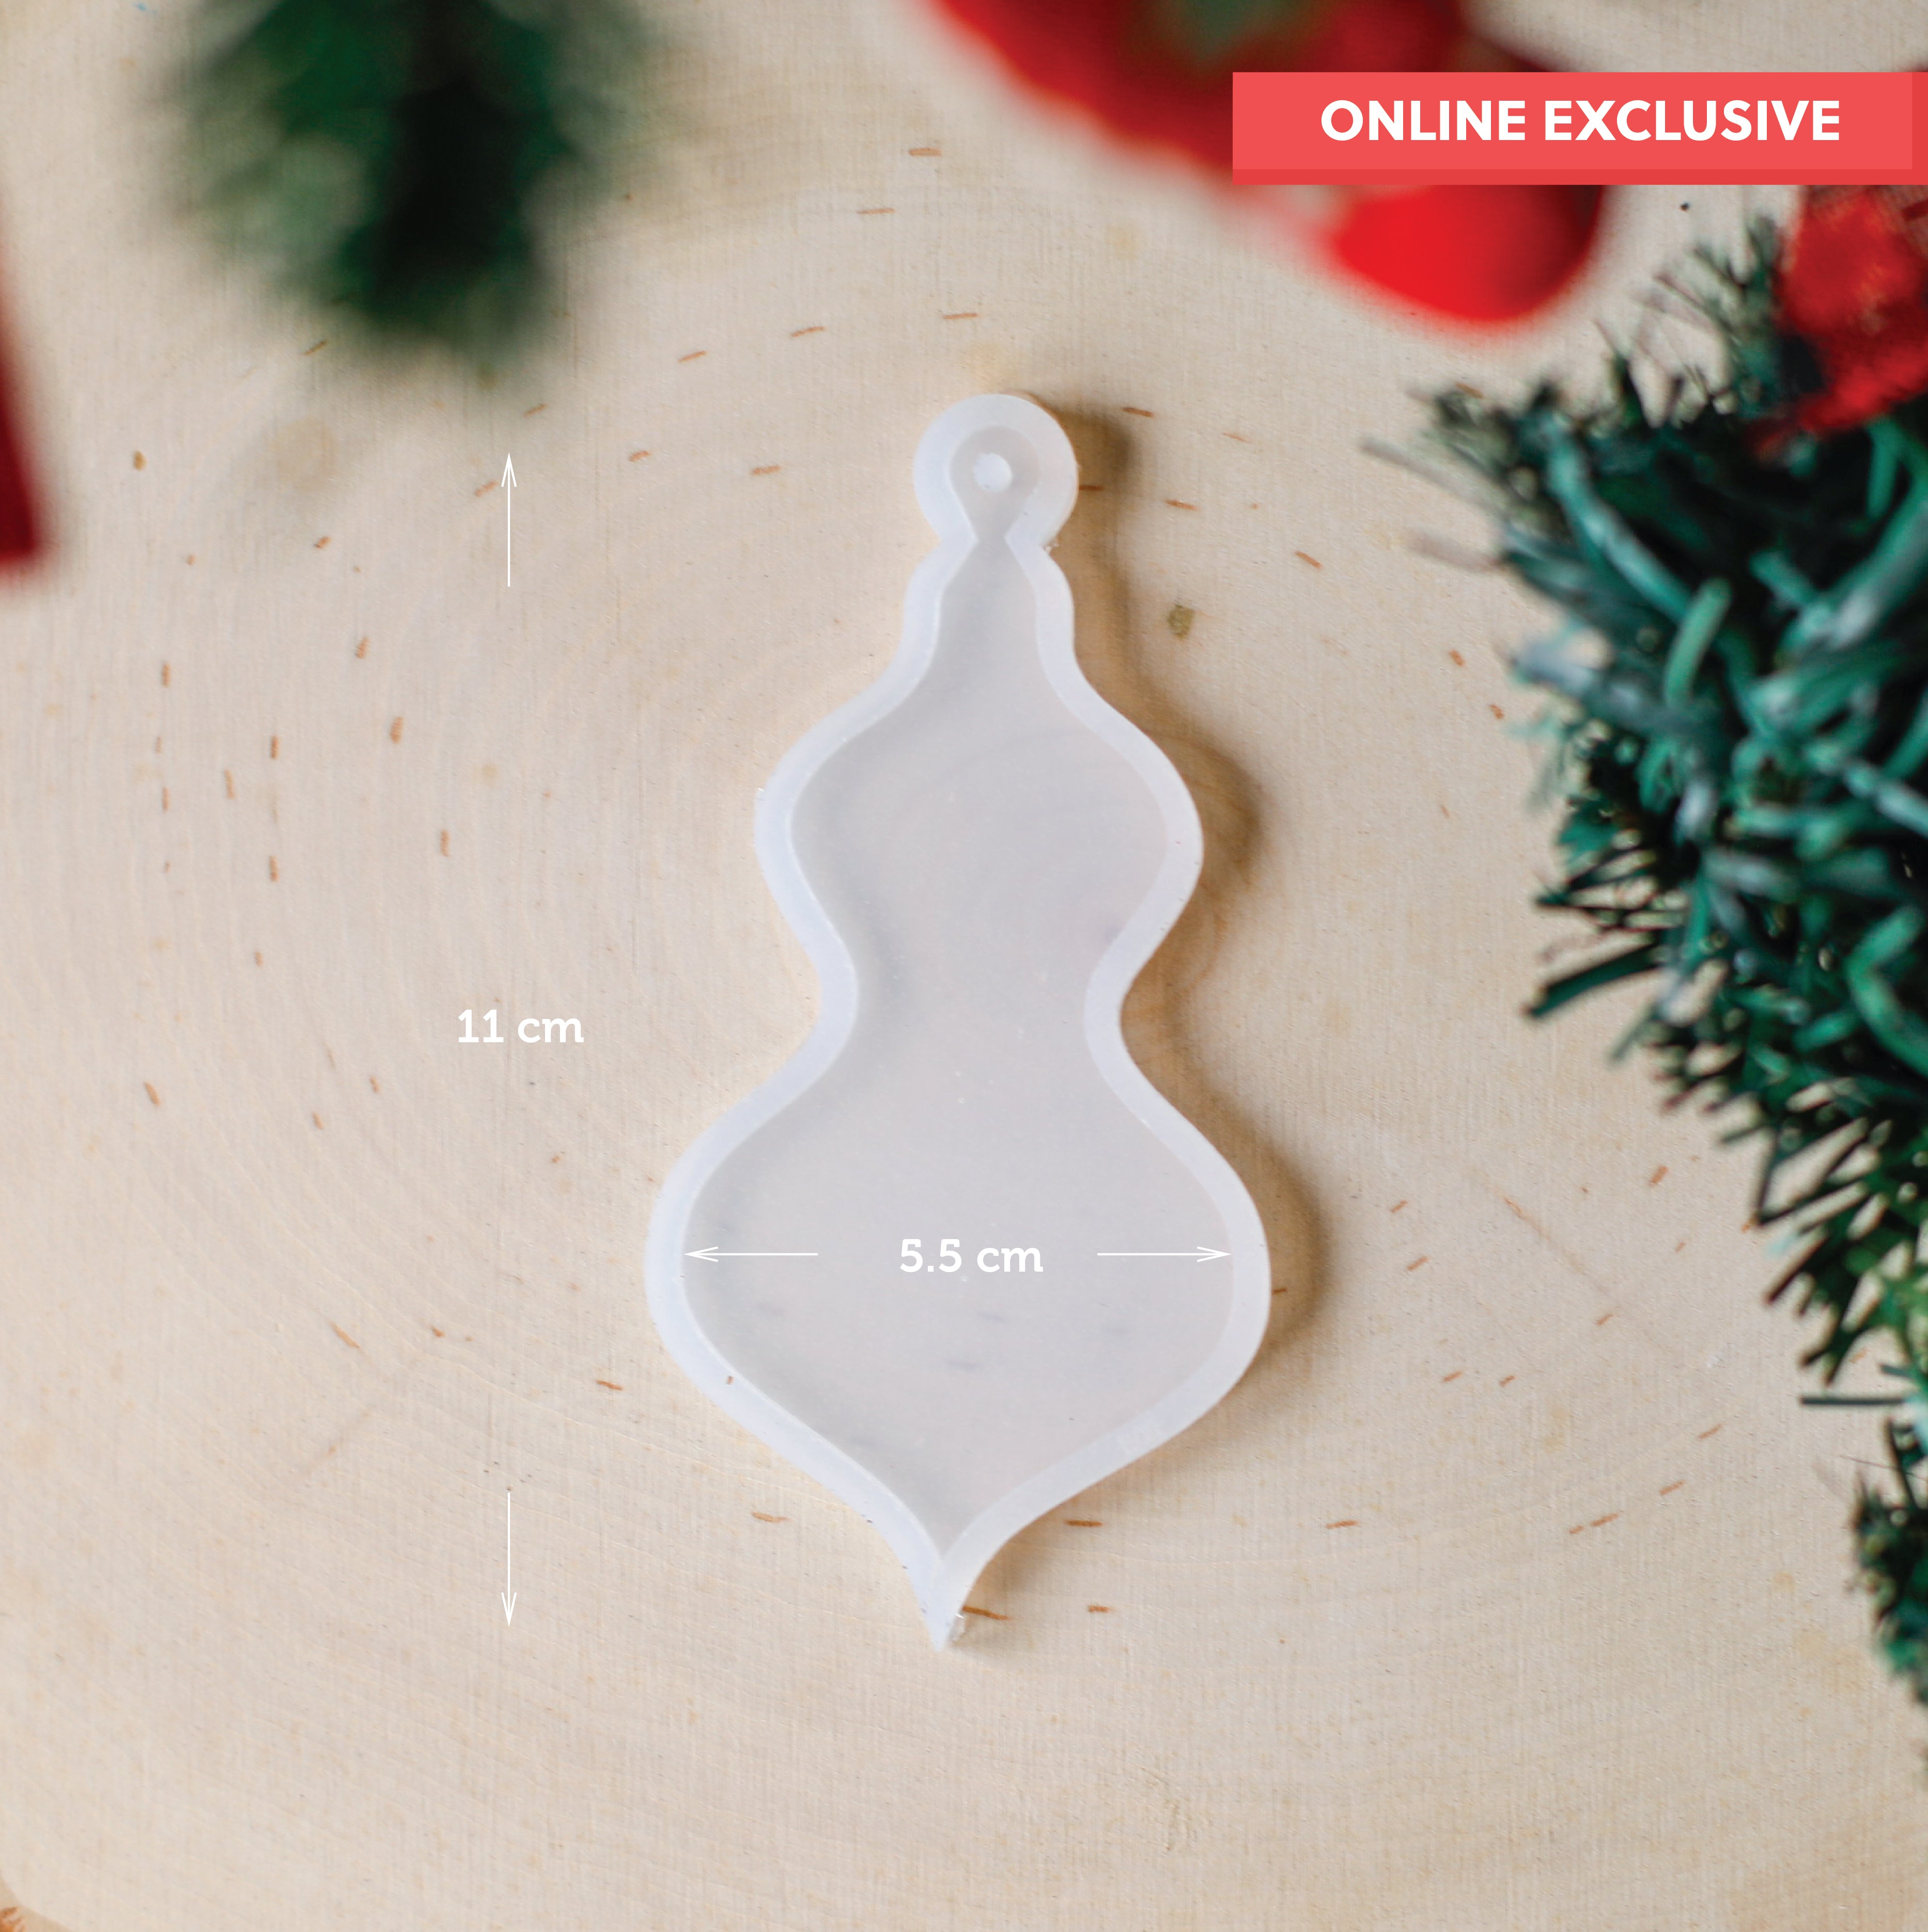
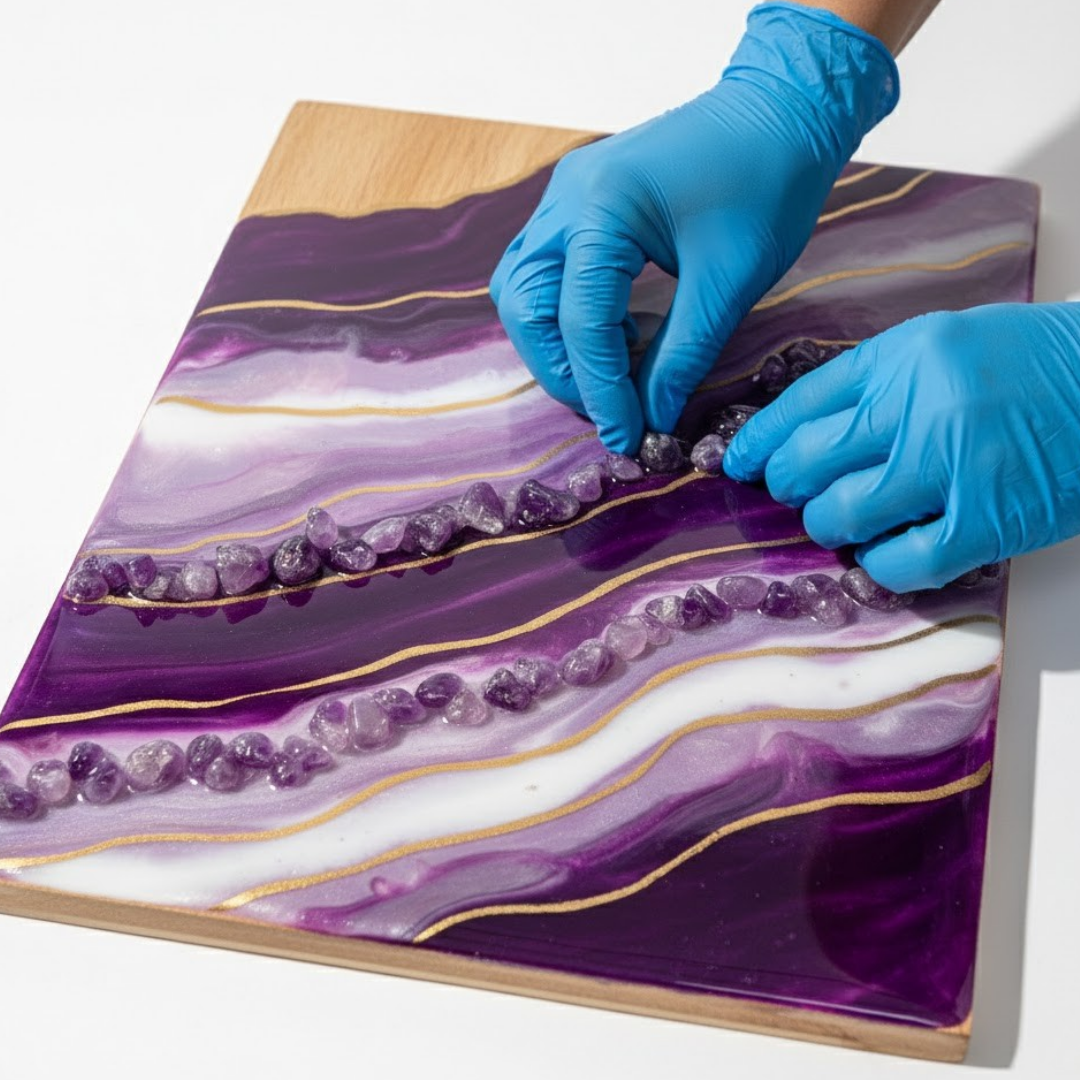
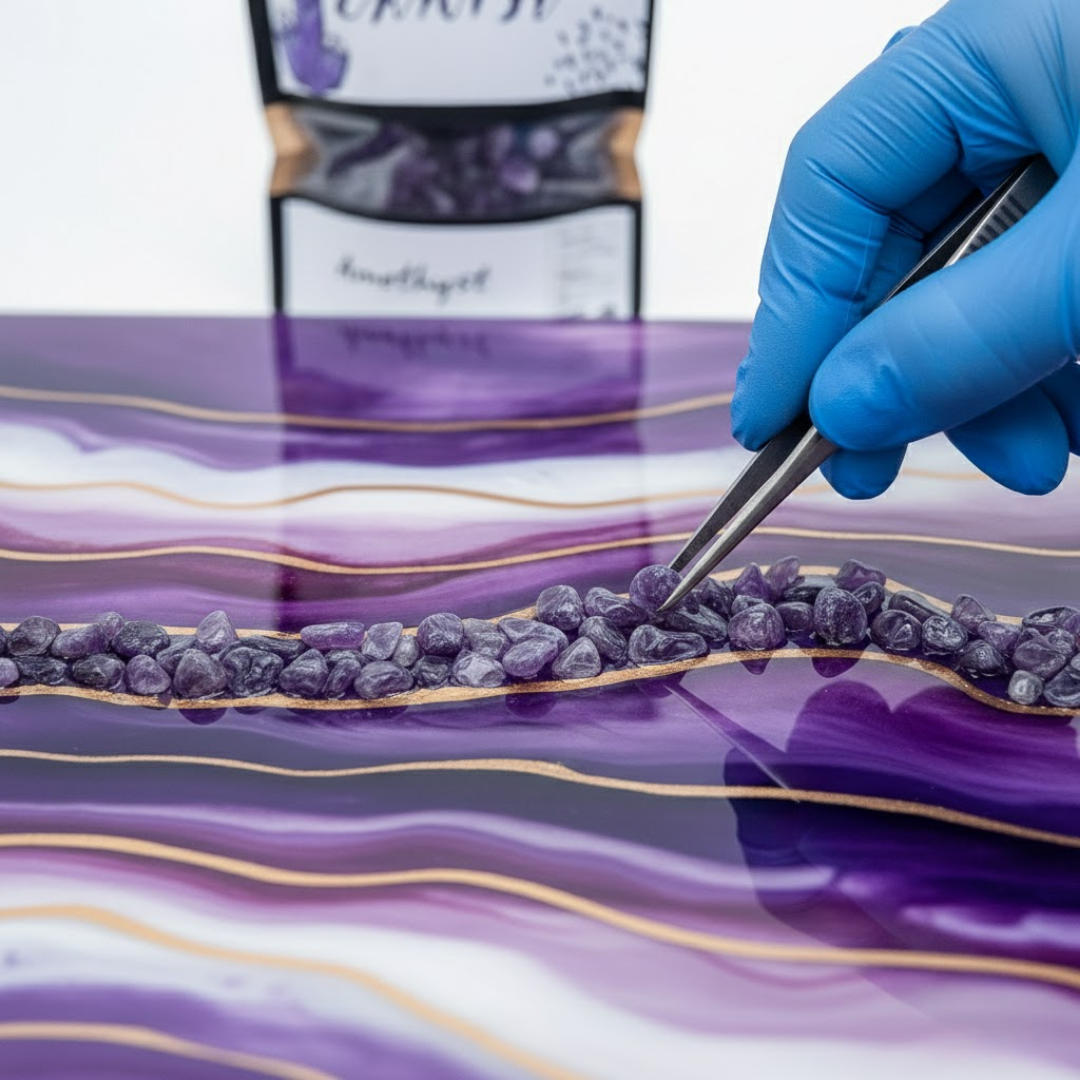
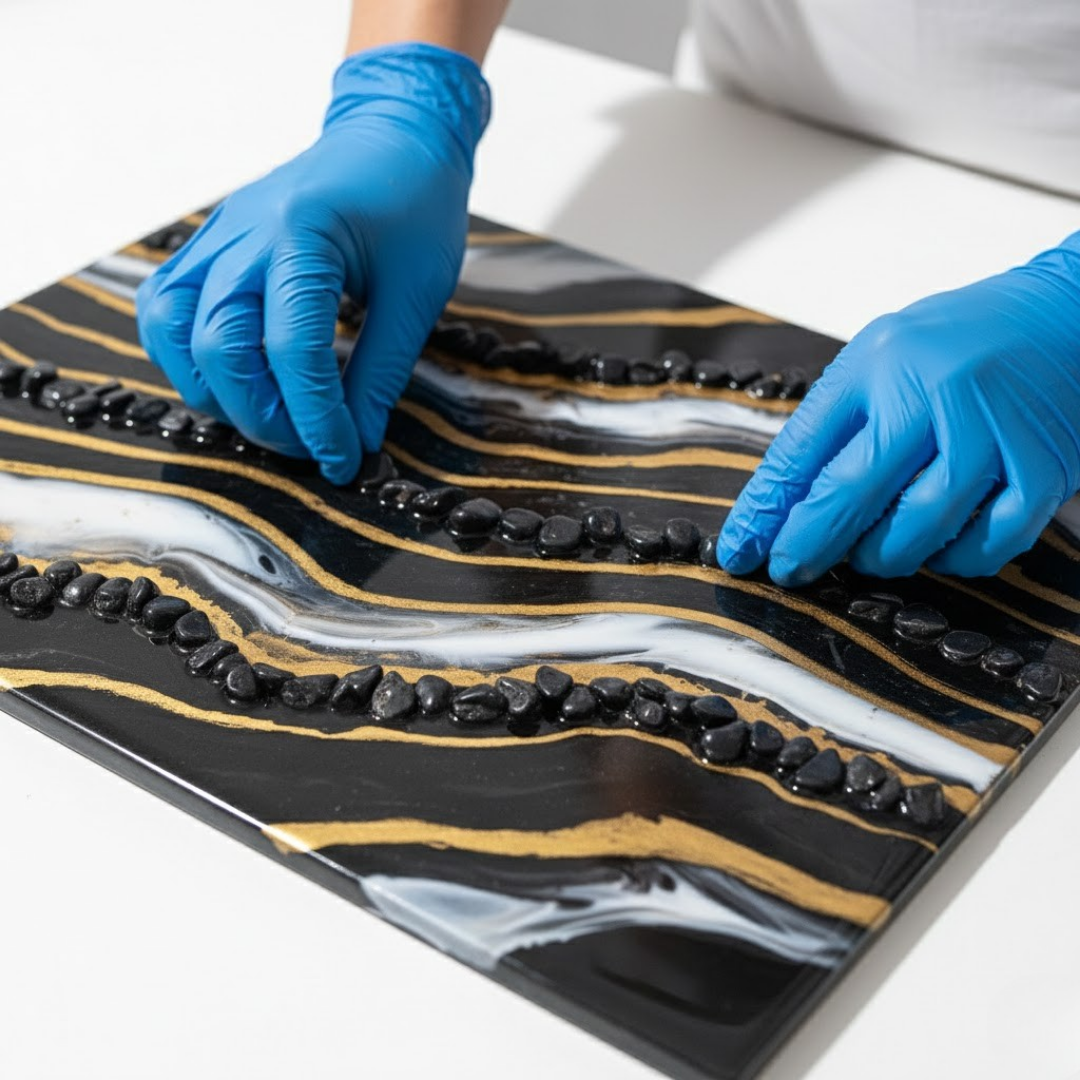
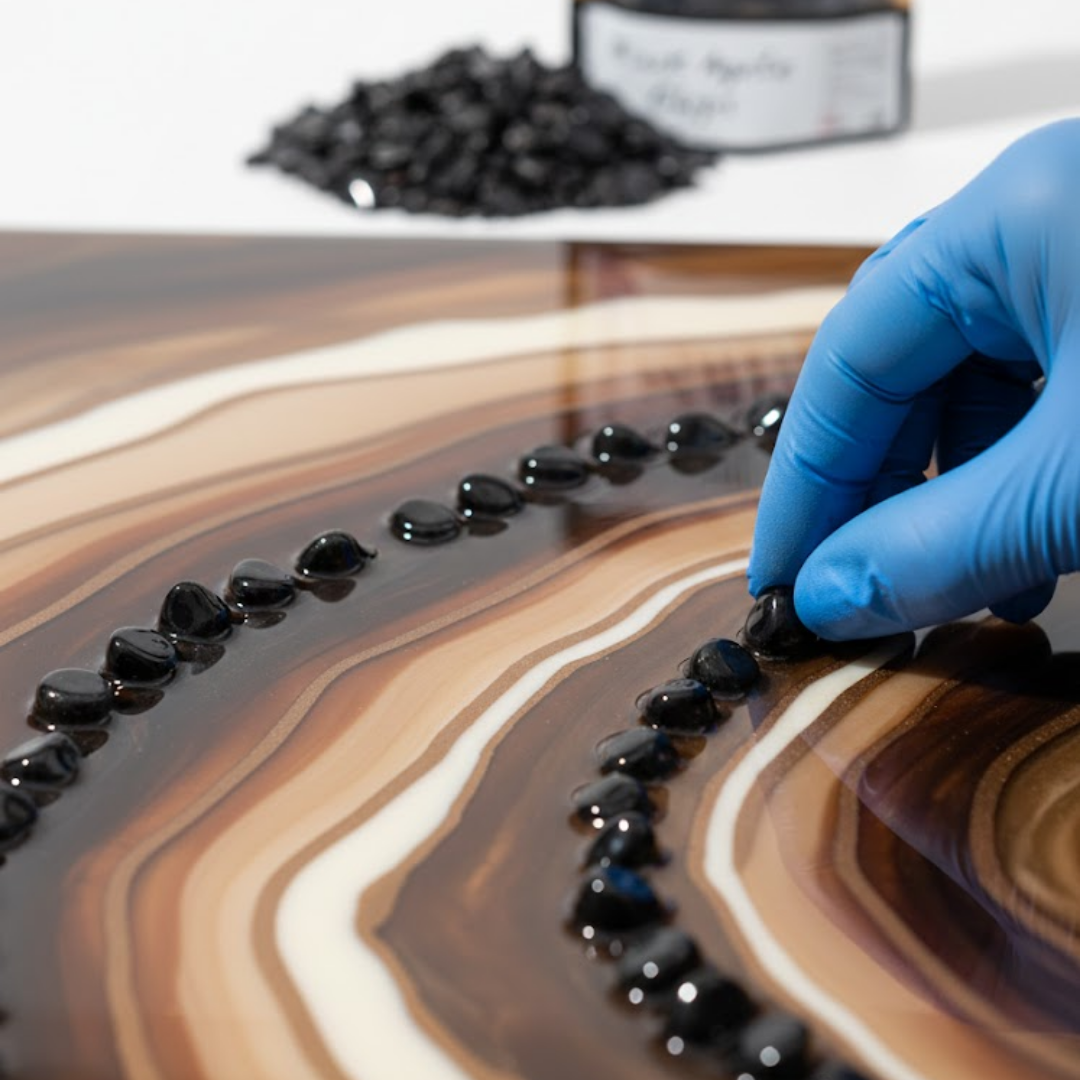
Because the particles are large, chunky glitter settles within the resin rather than floating uniformly. This creates a natural layered effect with real depth.
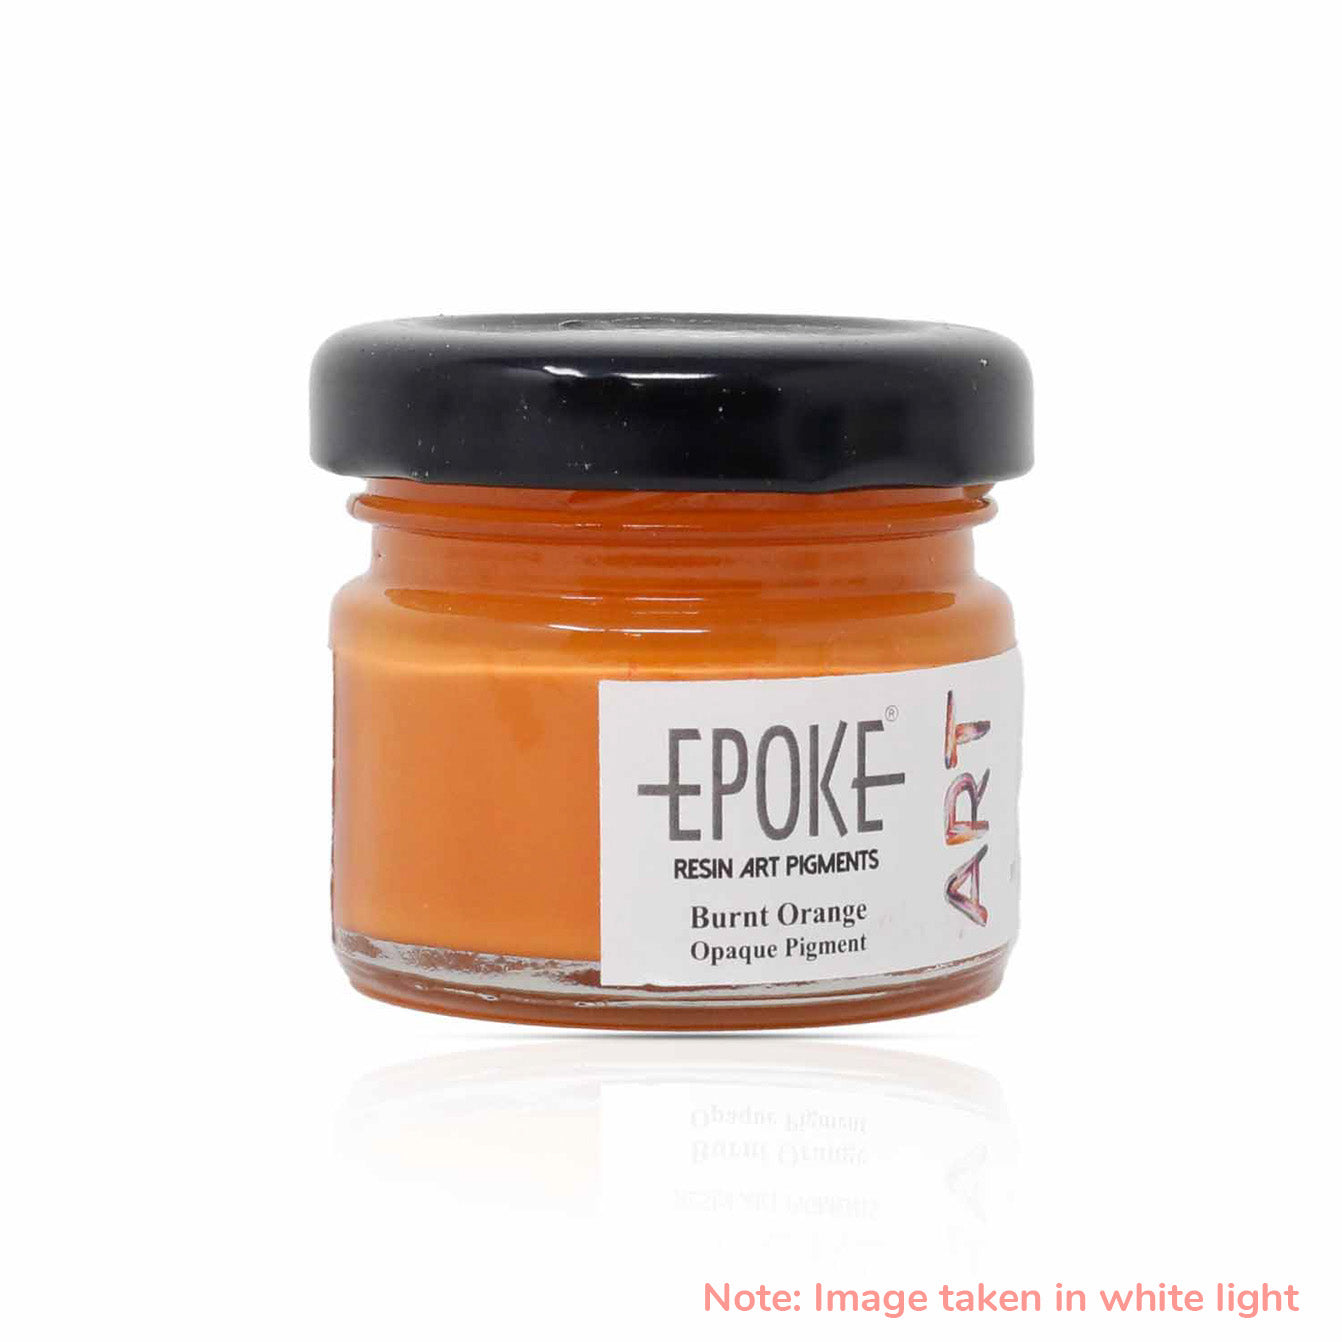
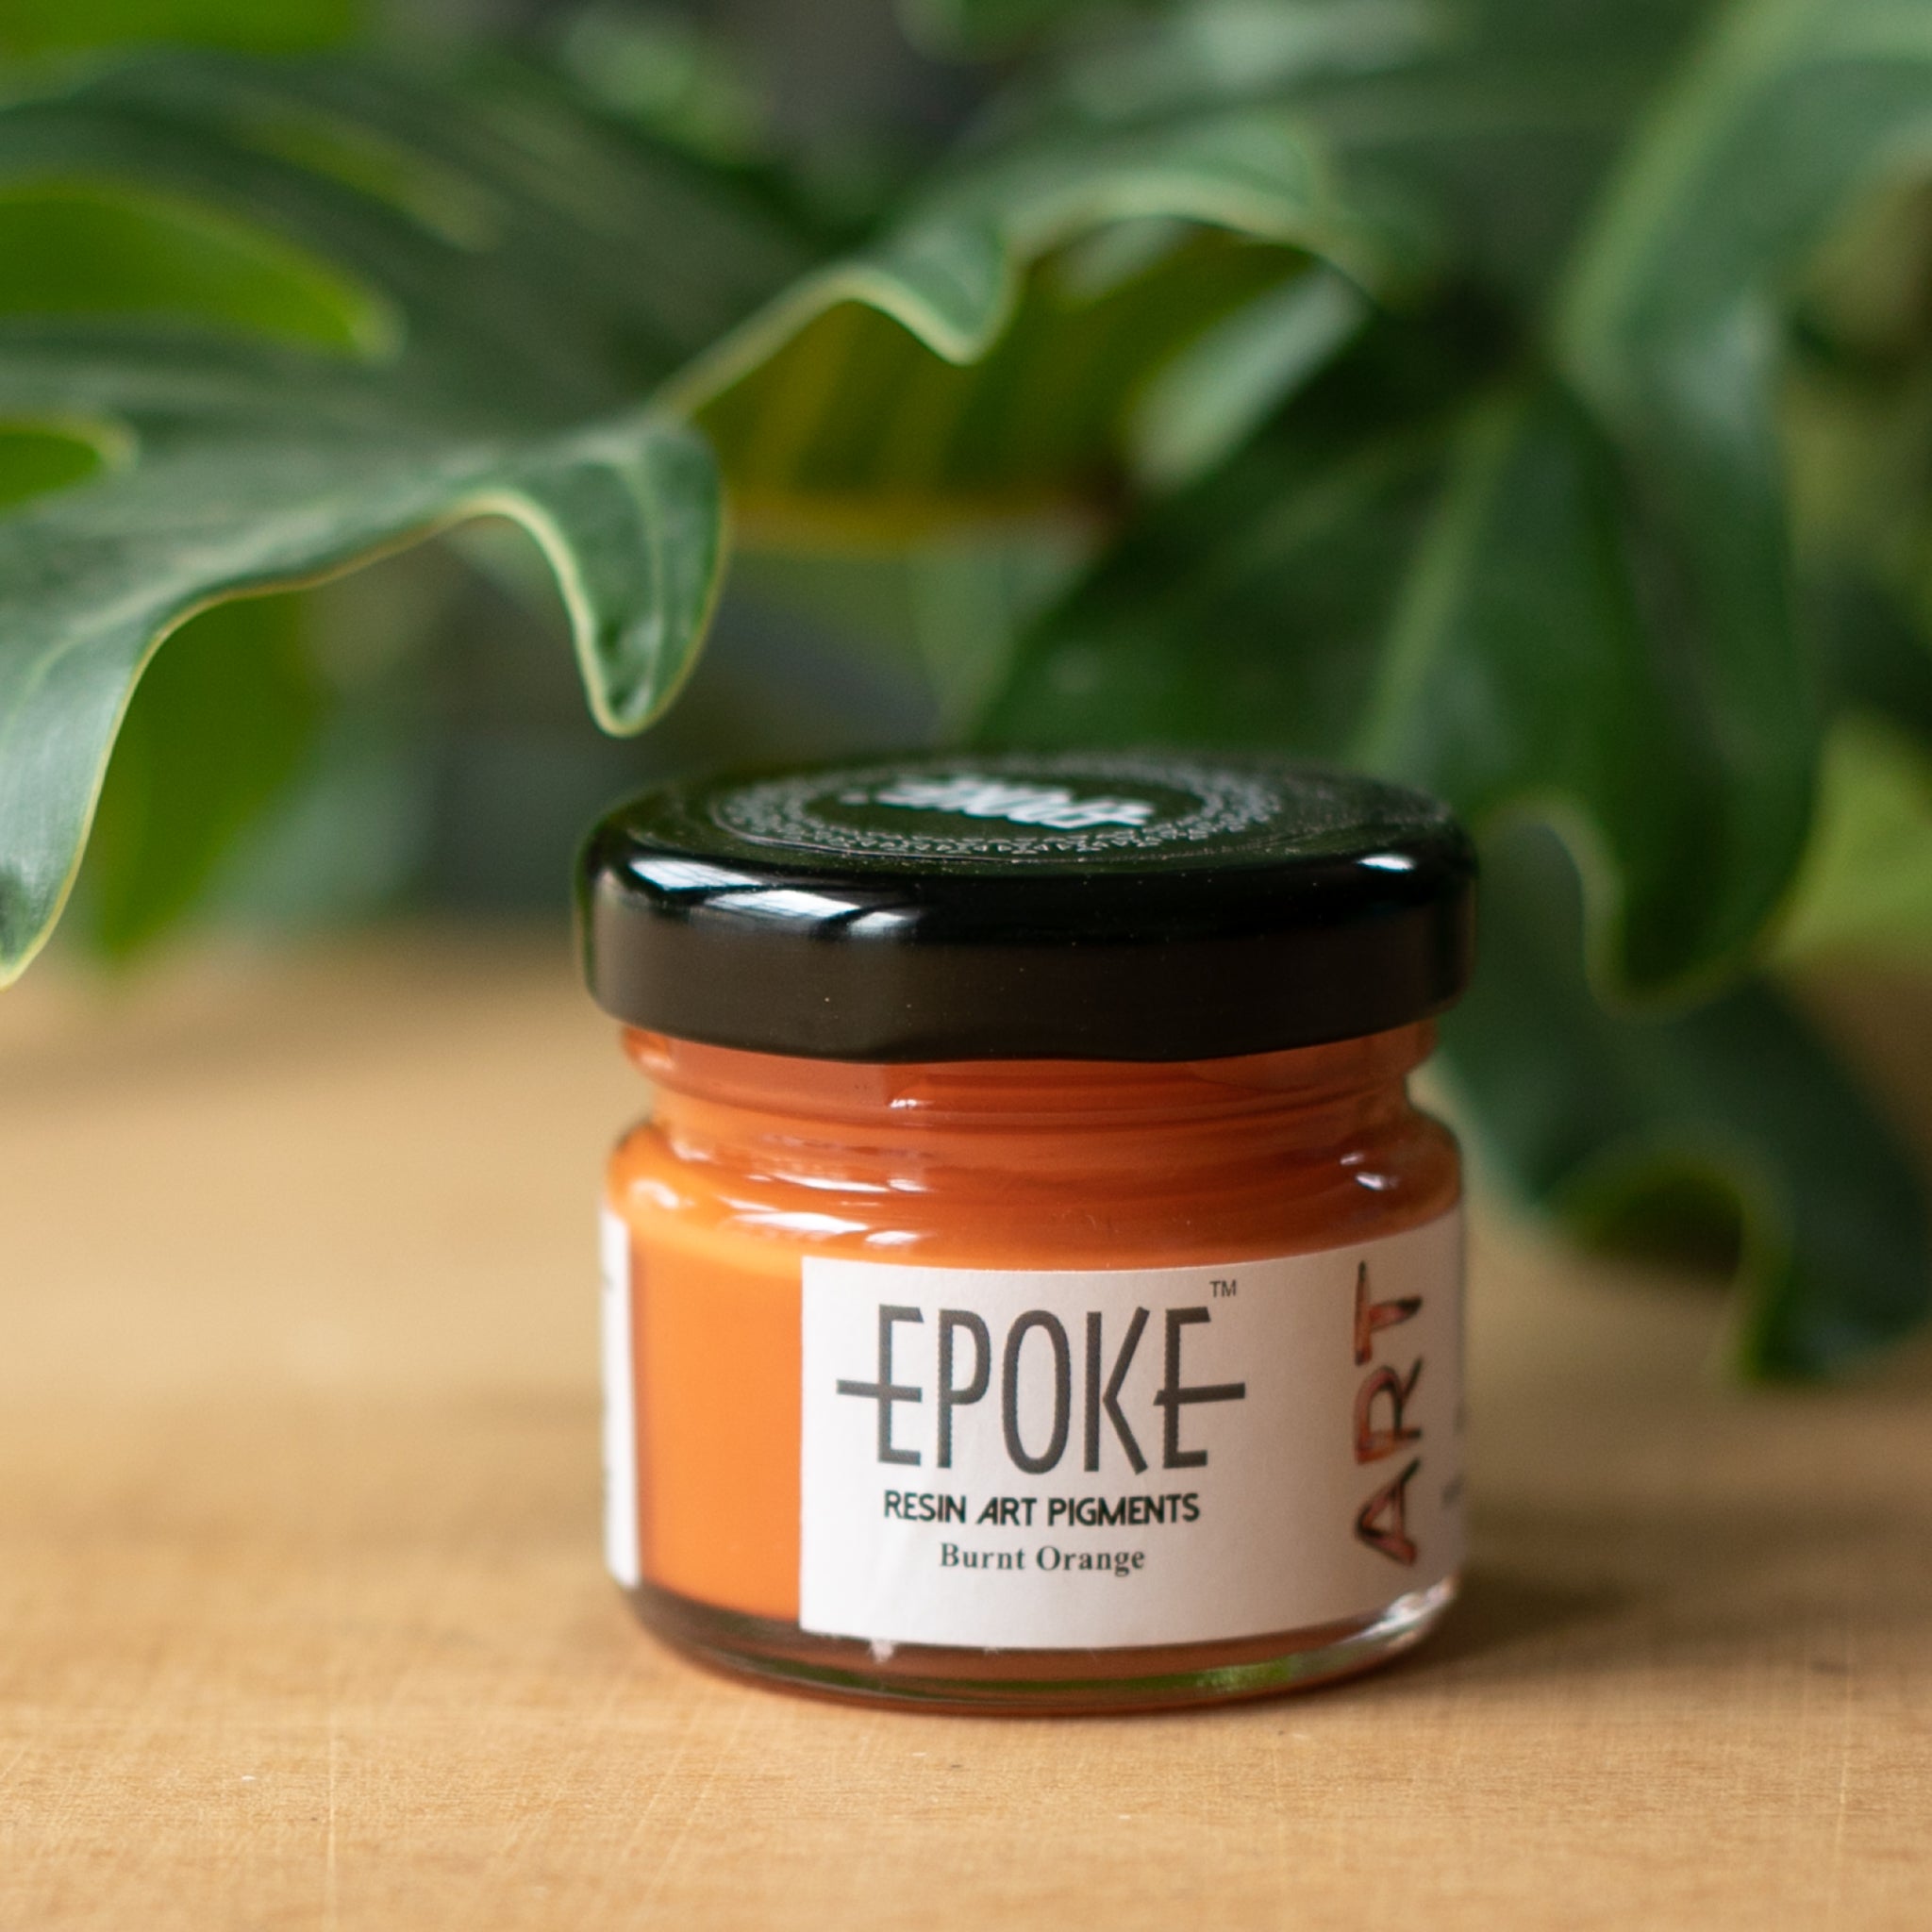
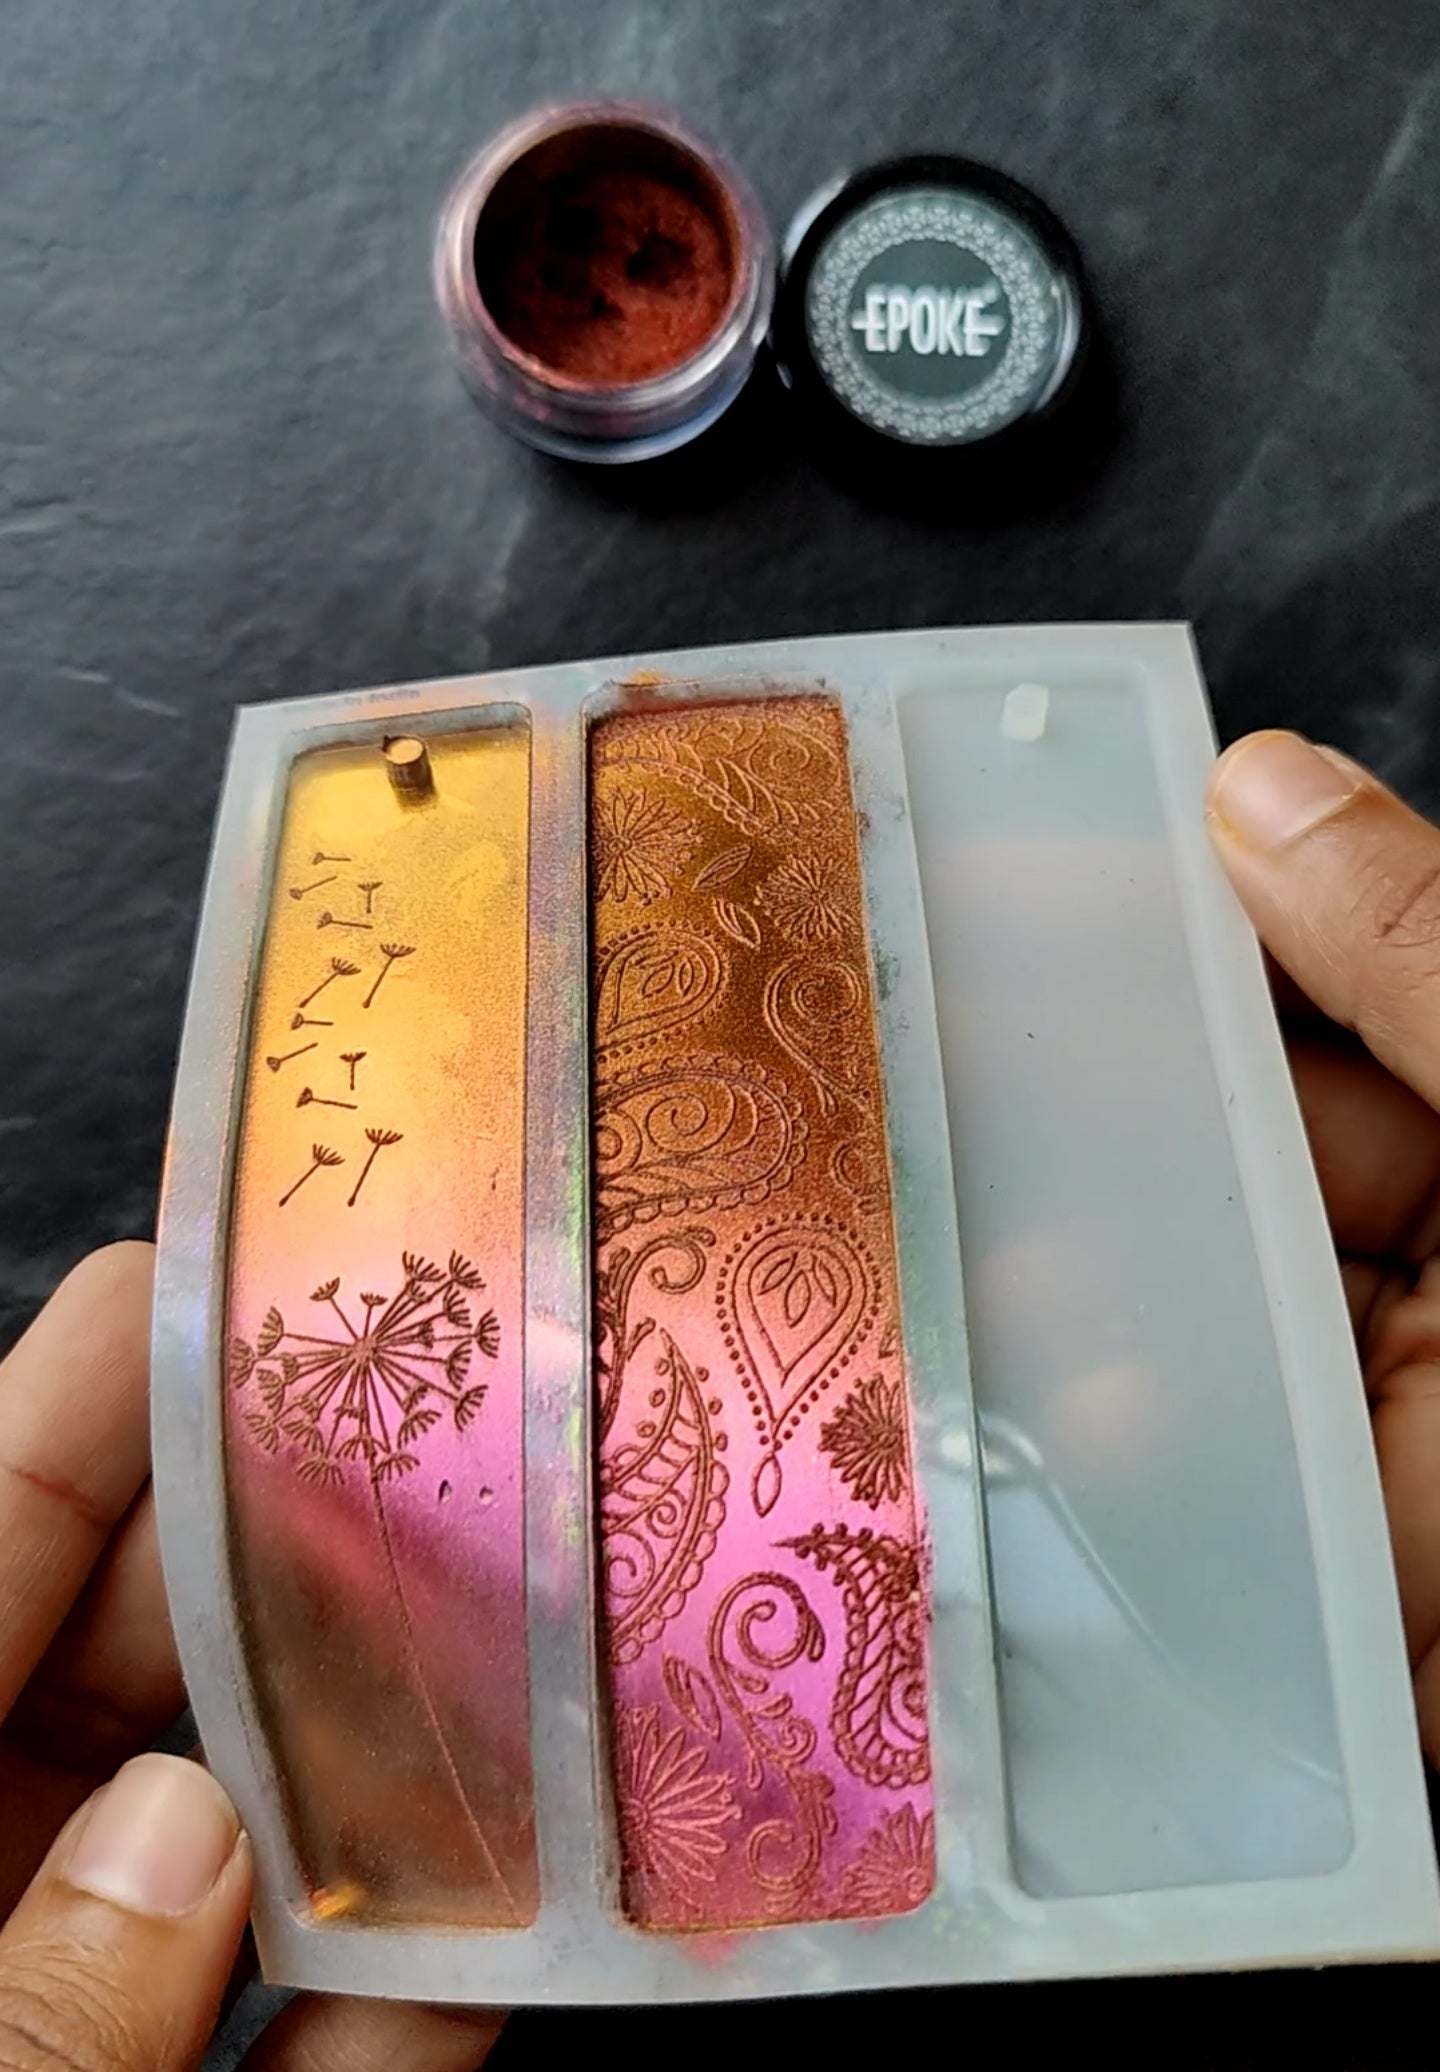
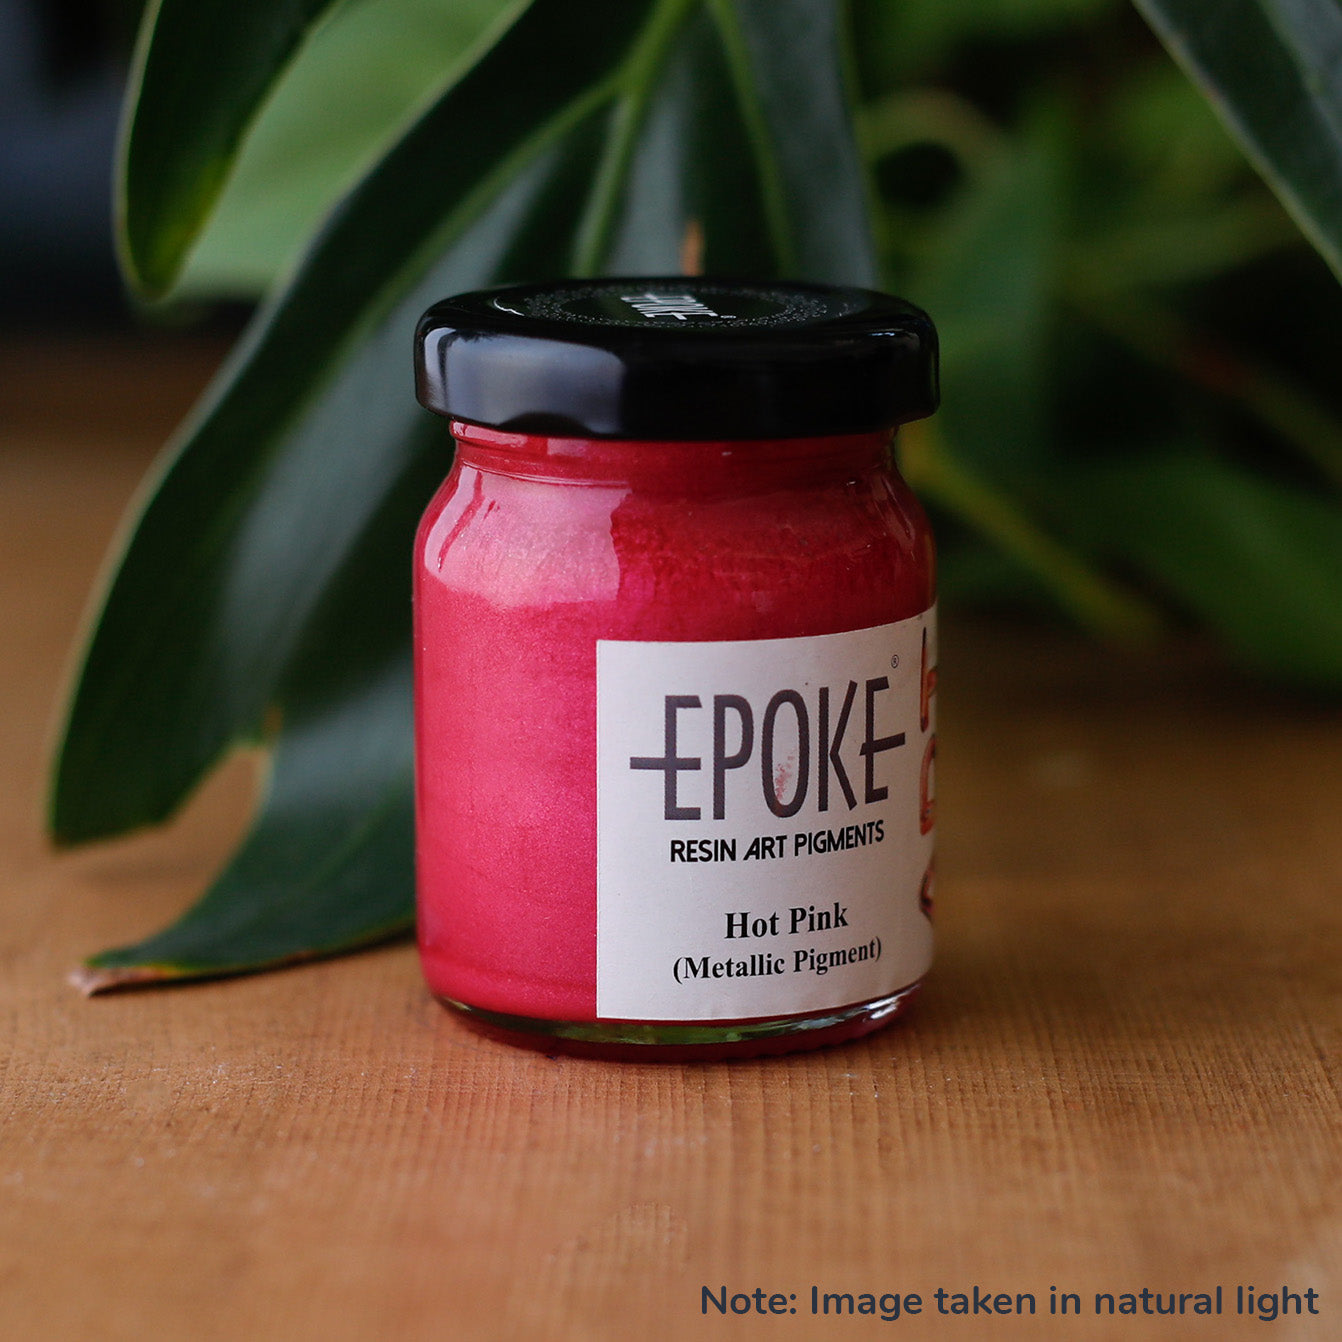
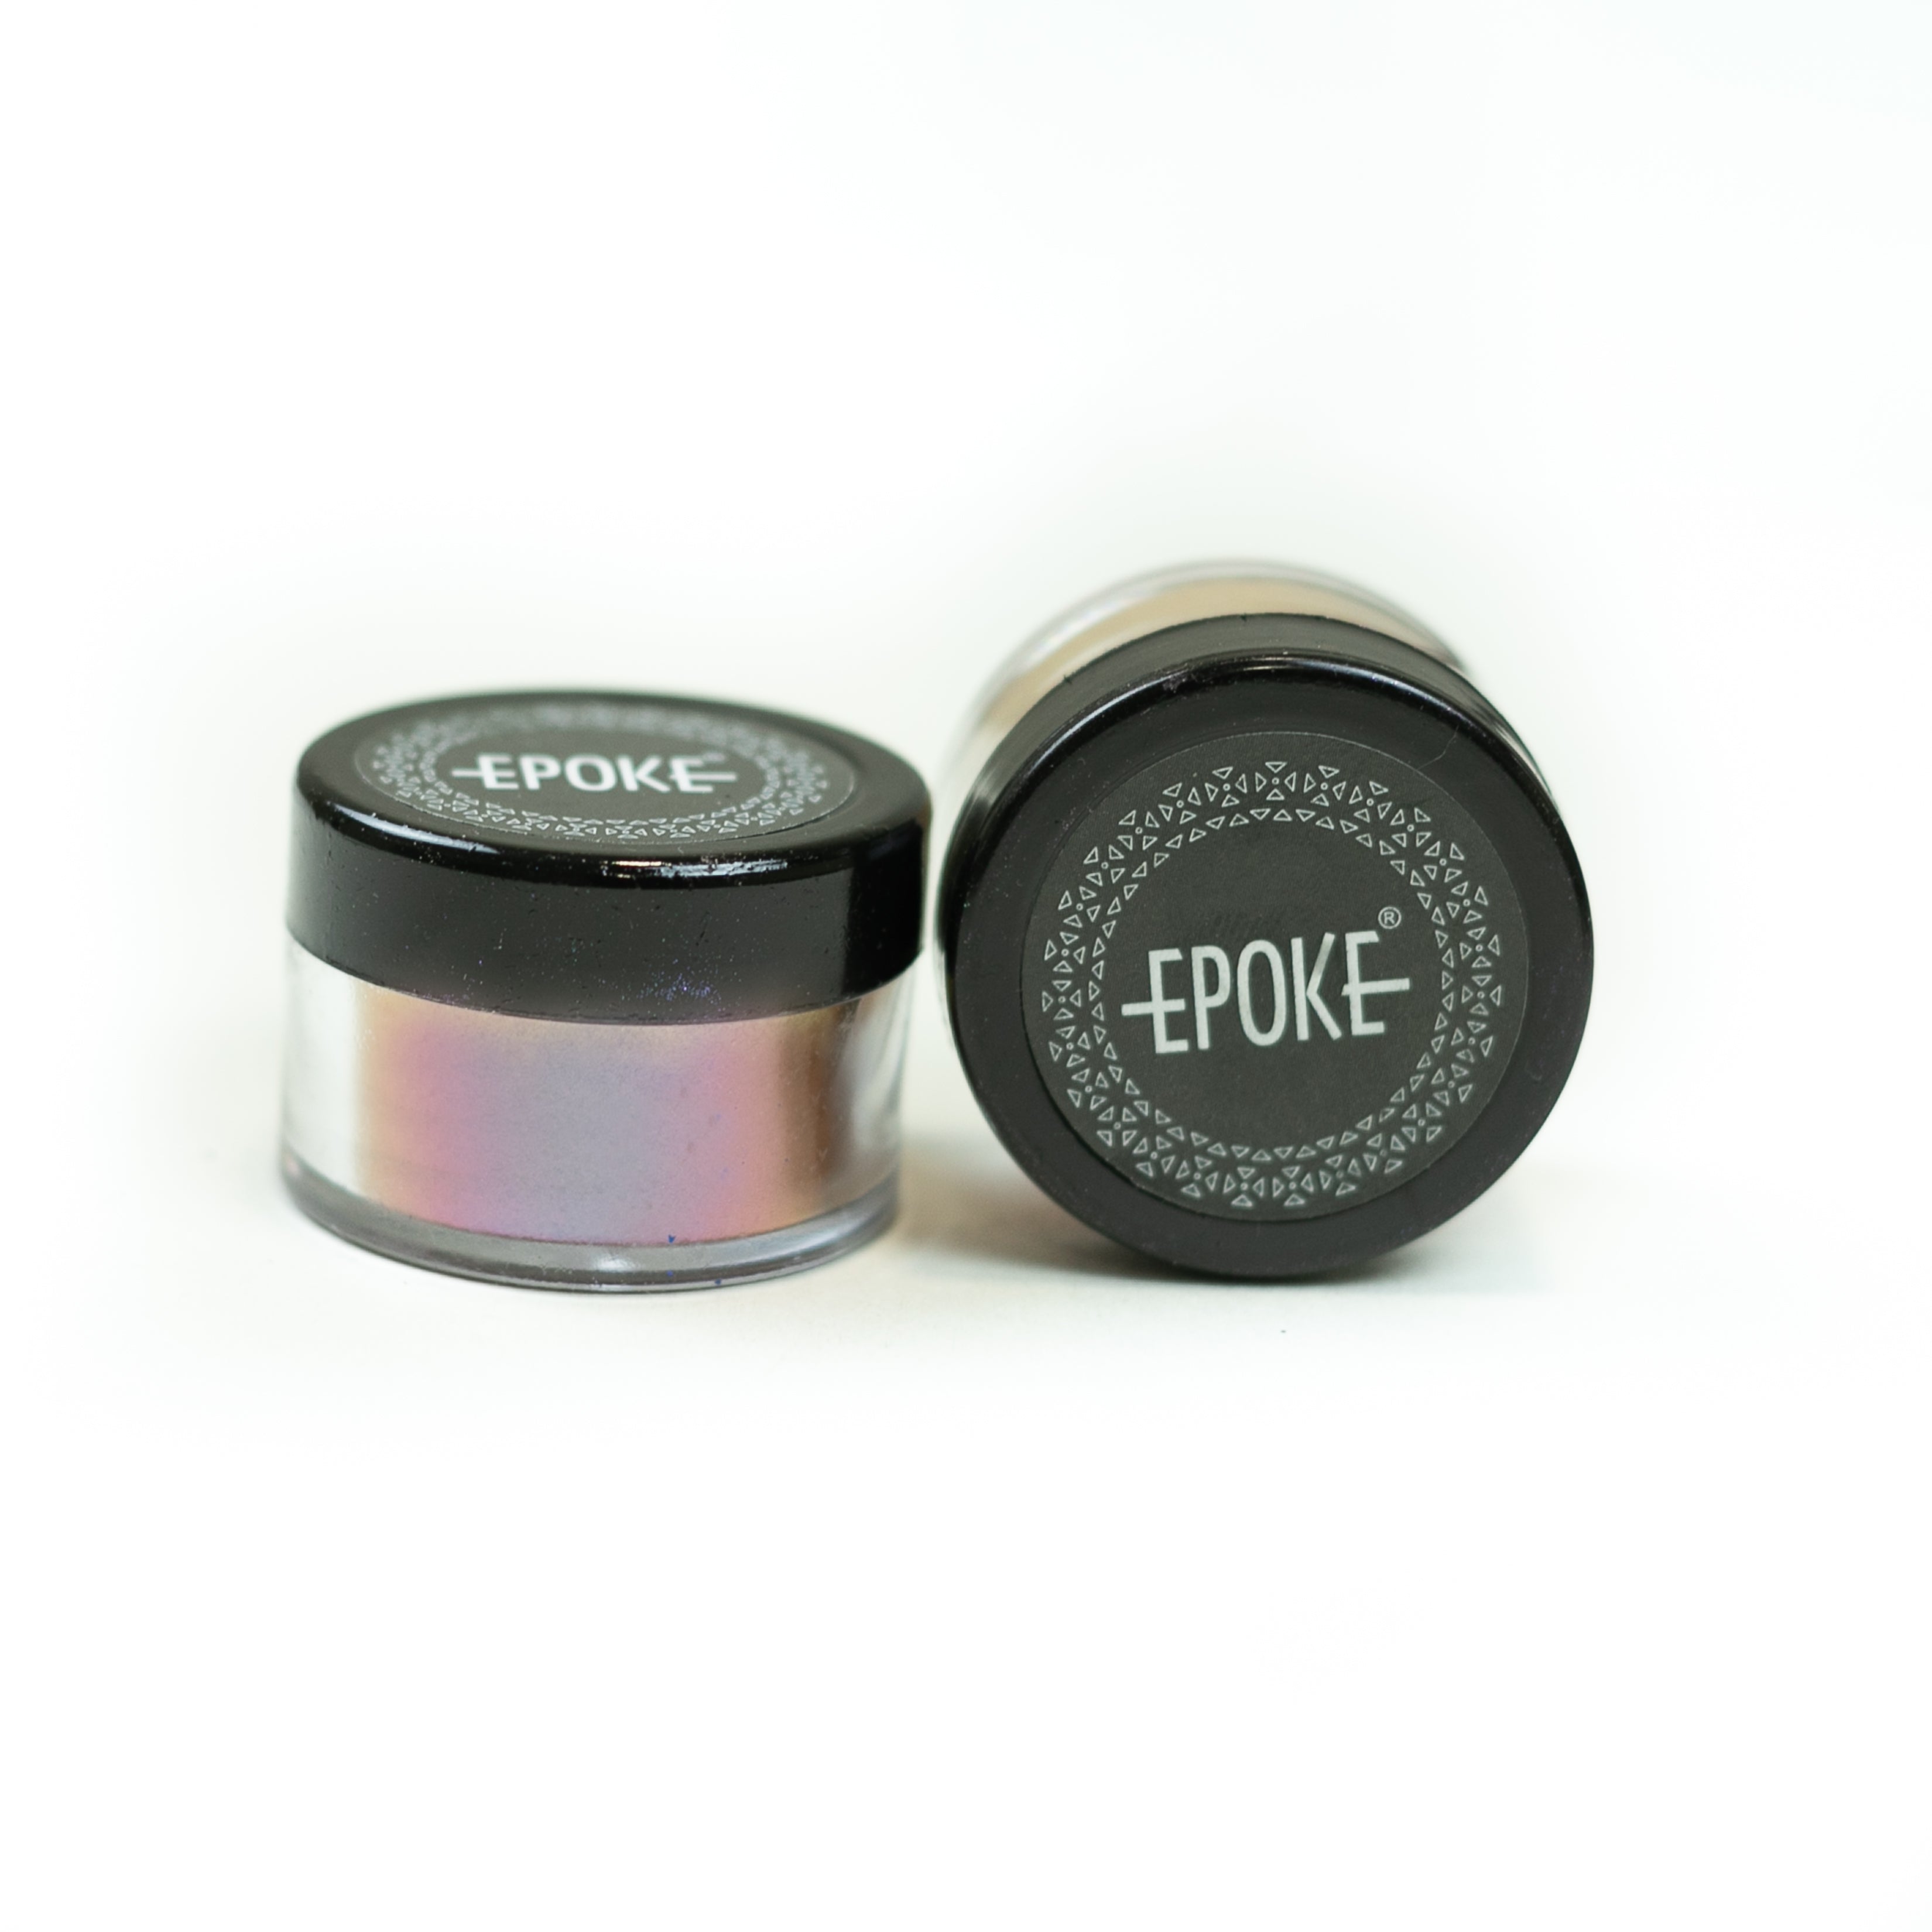
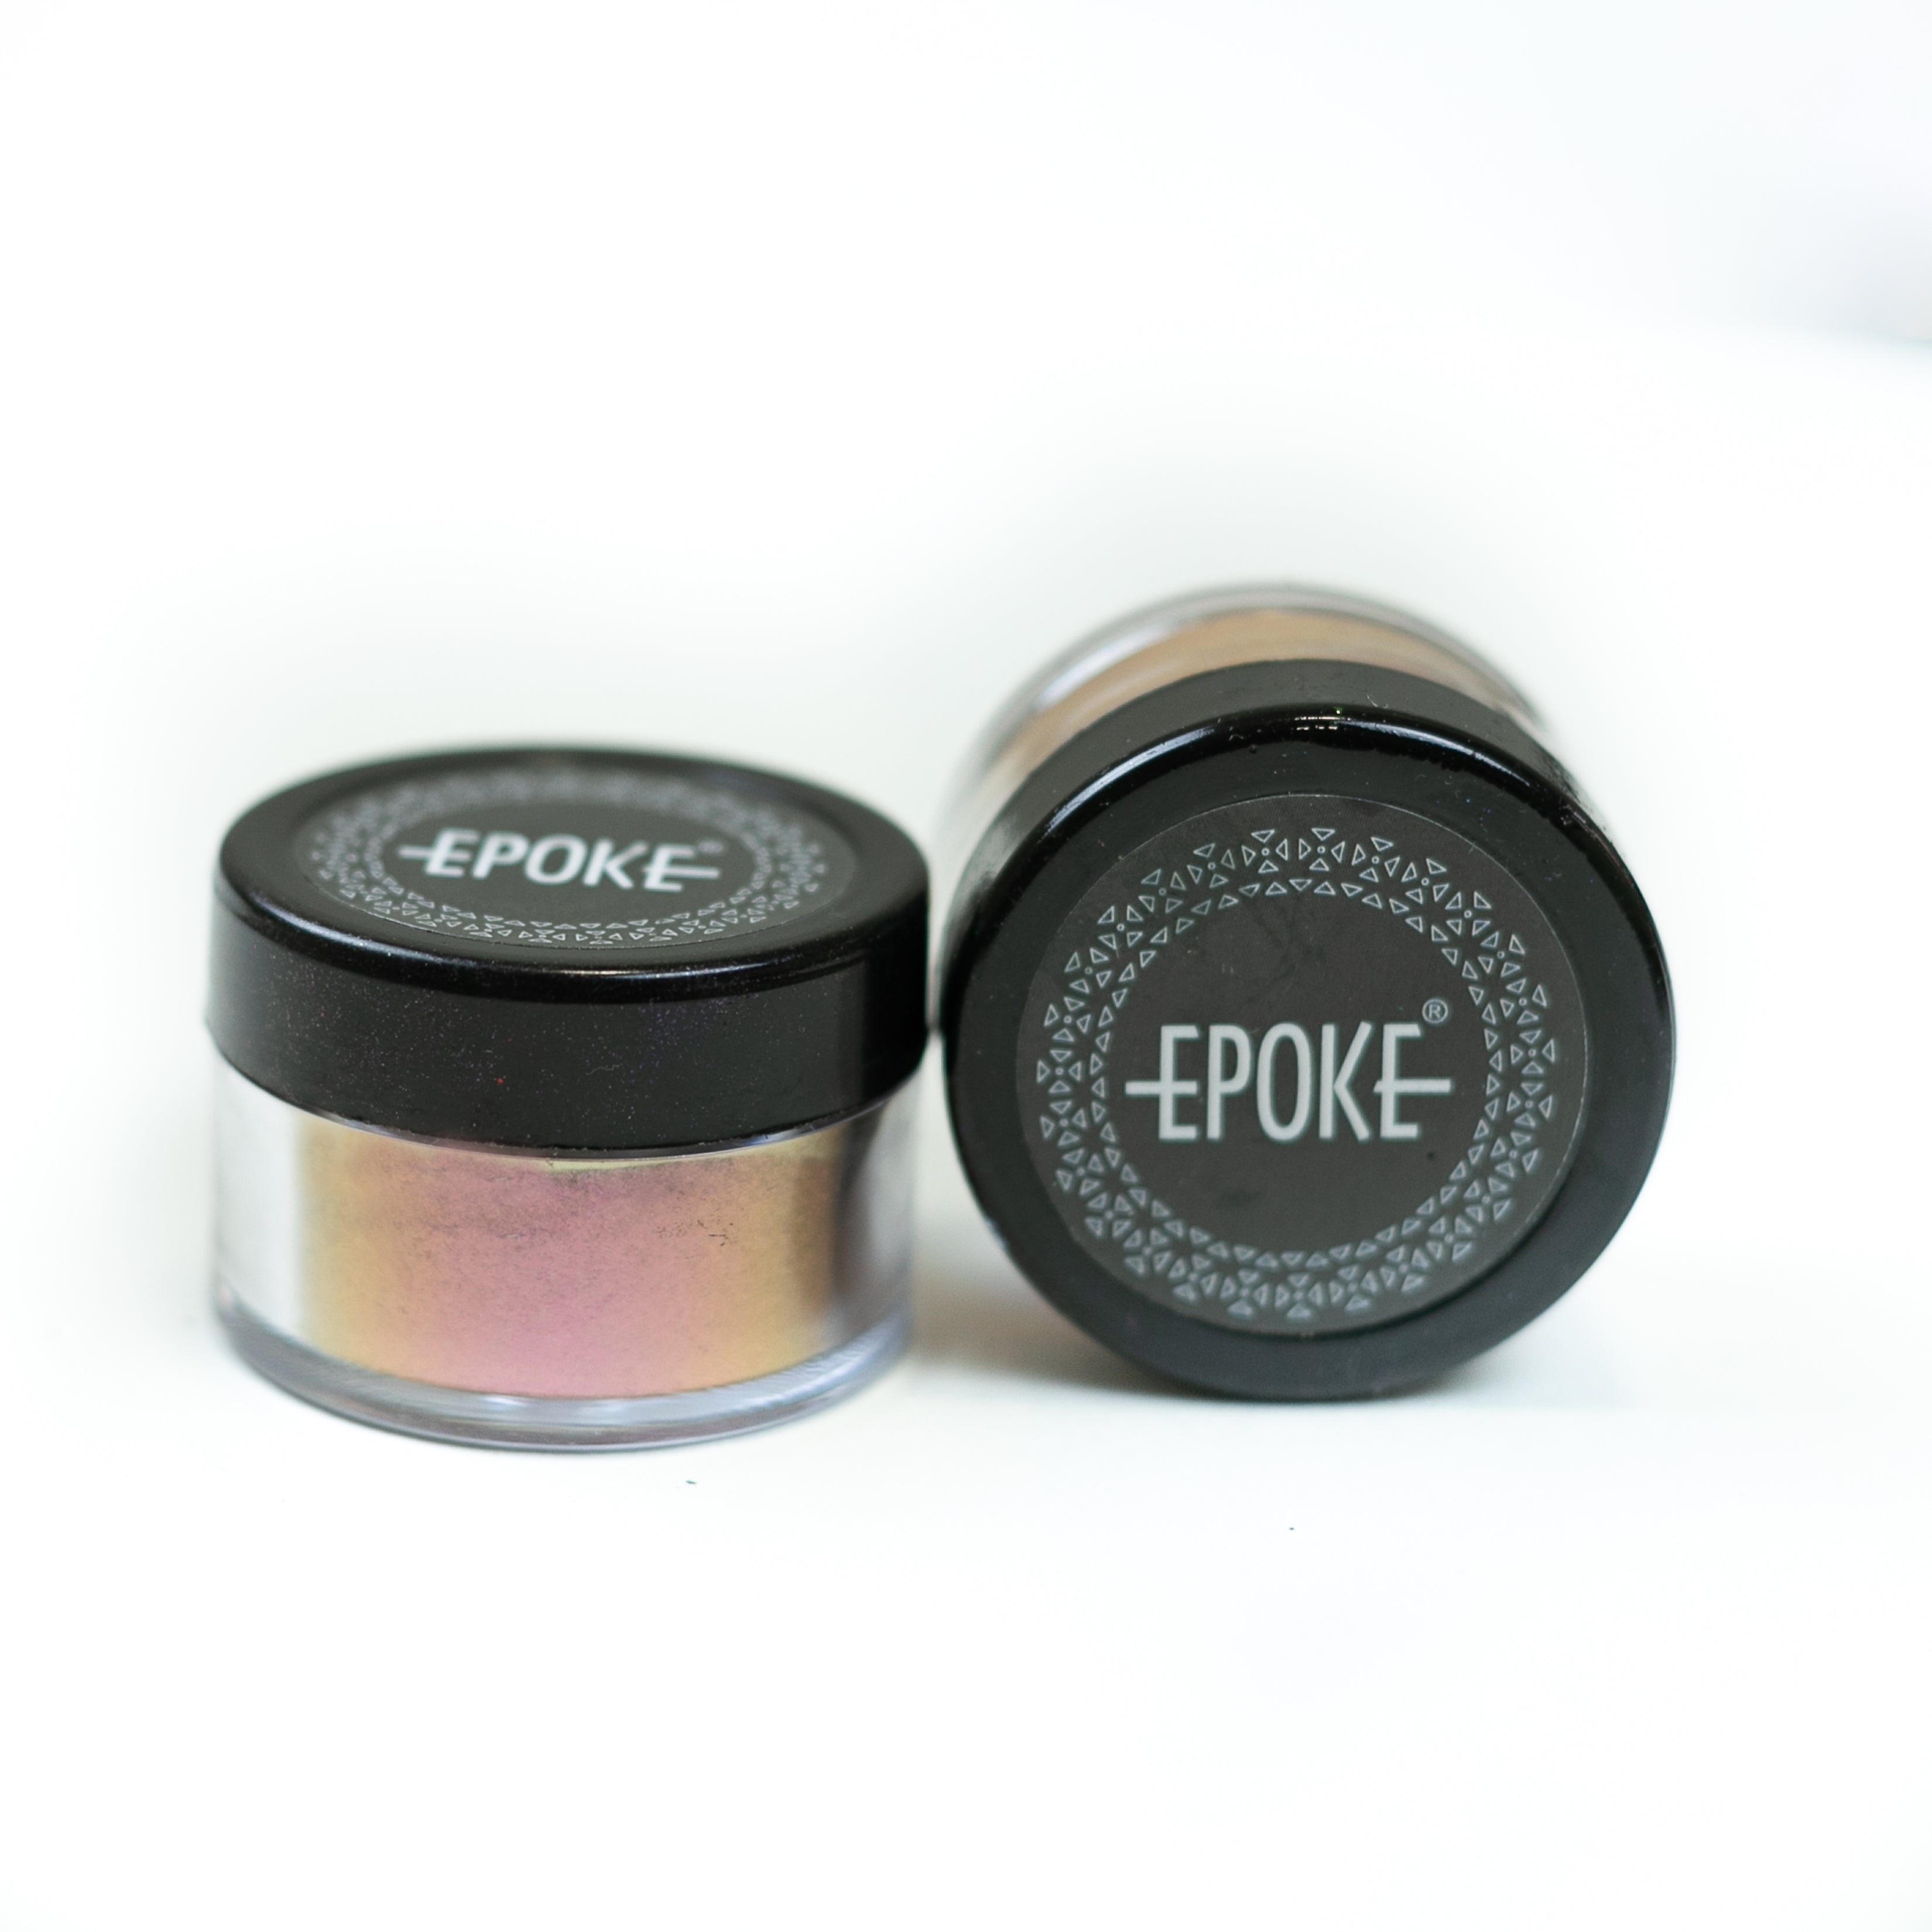
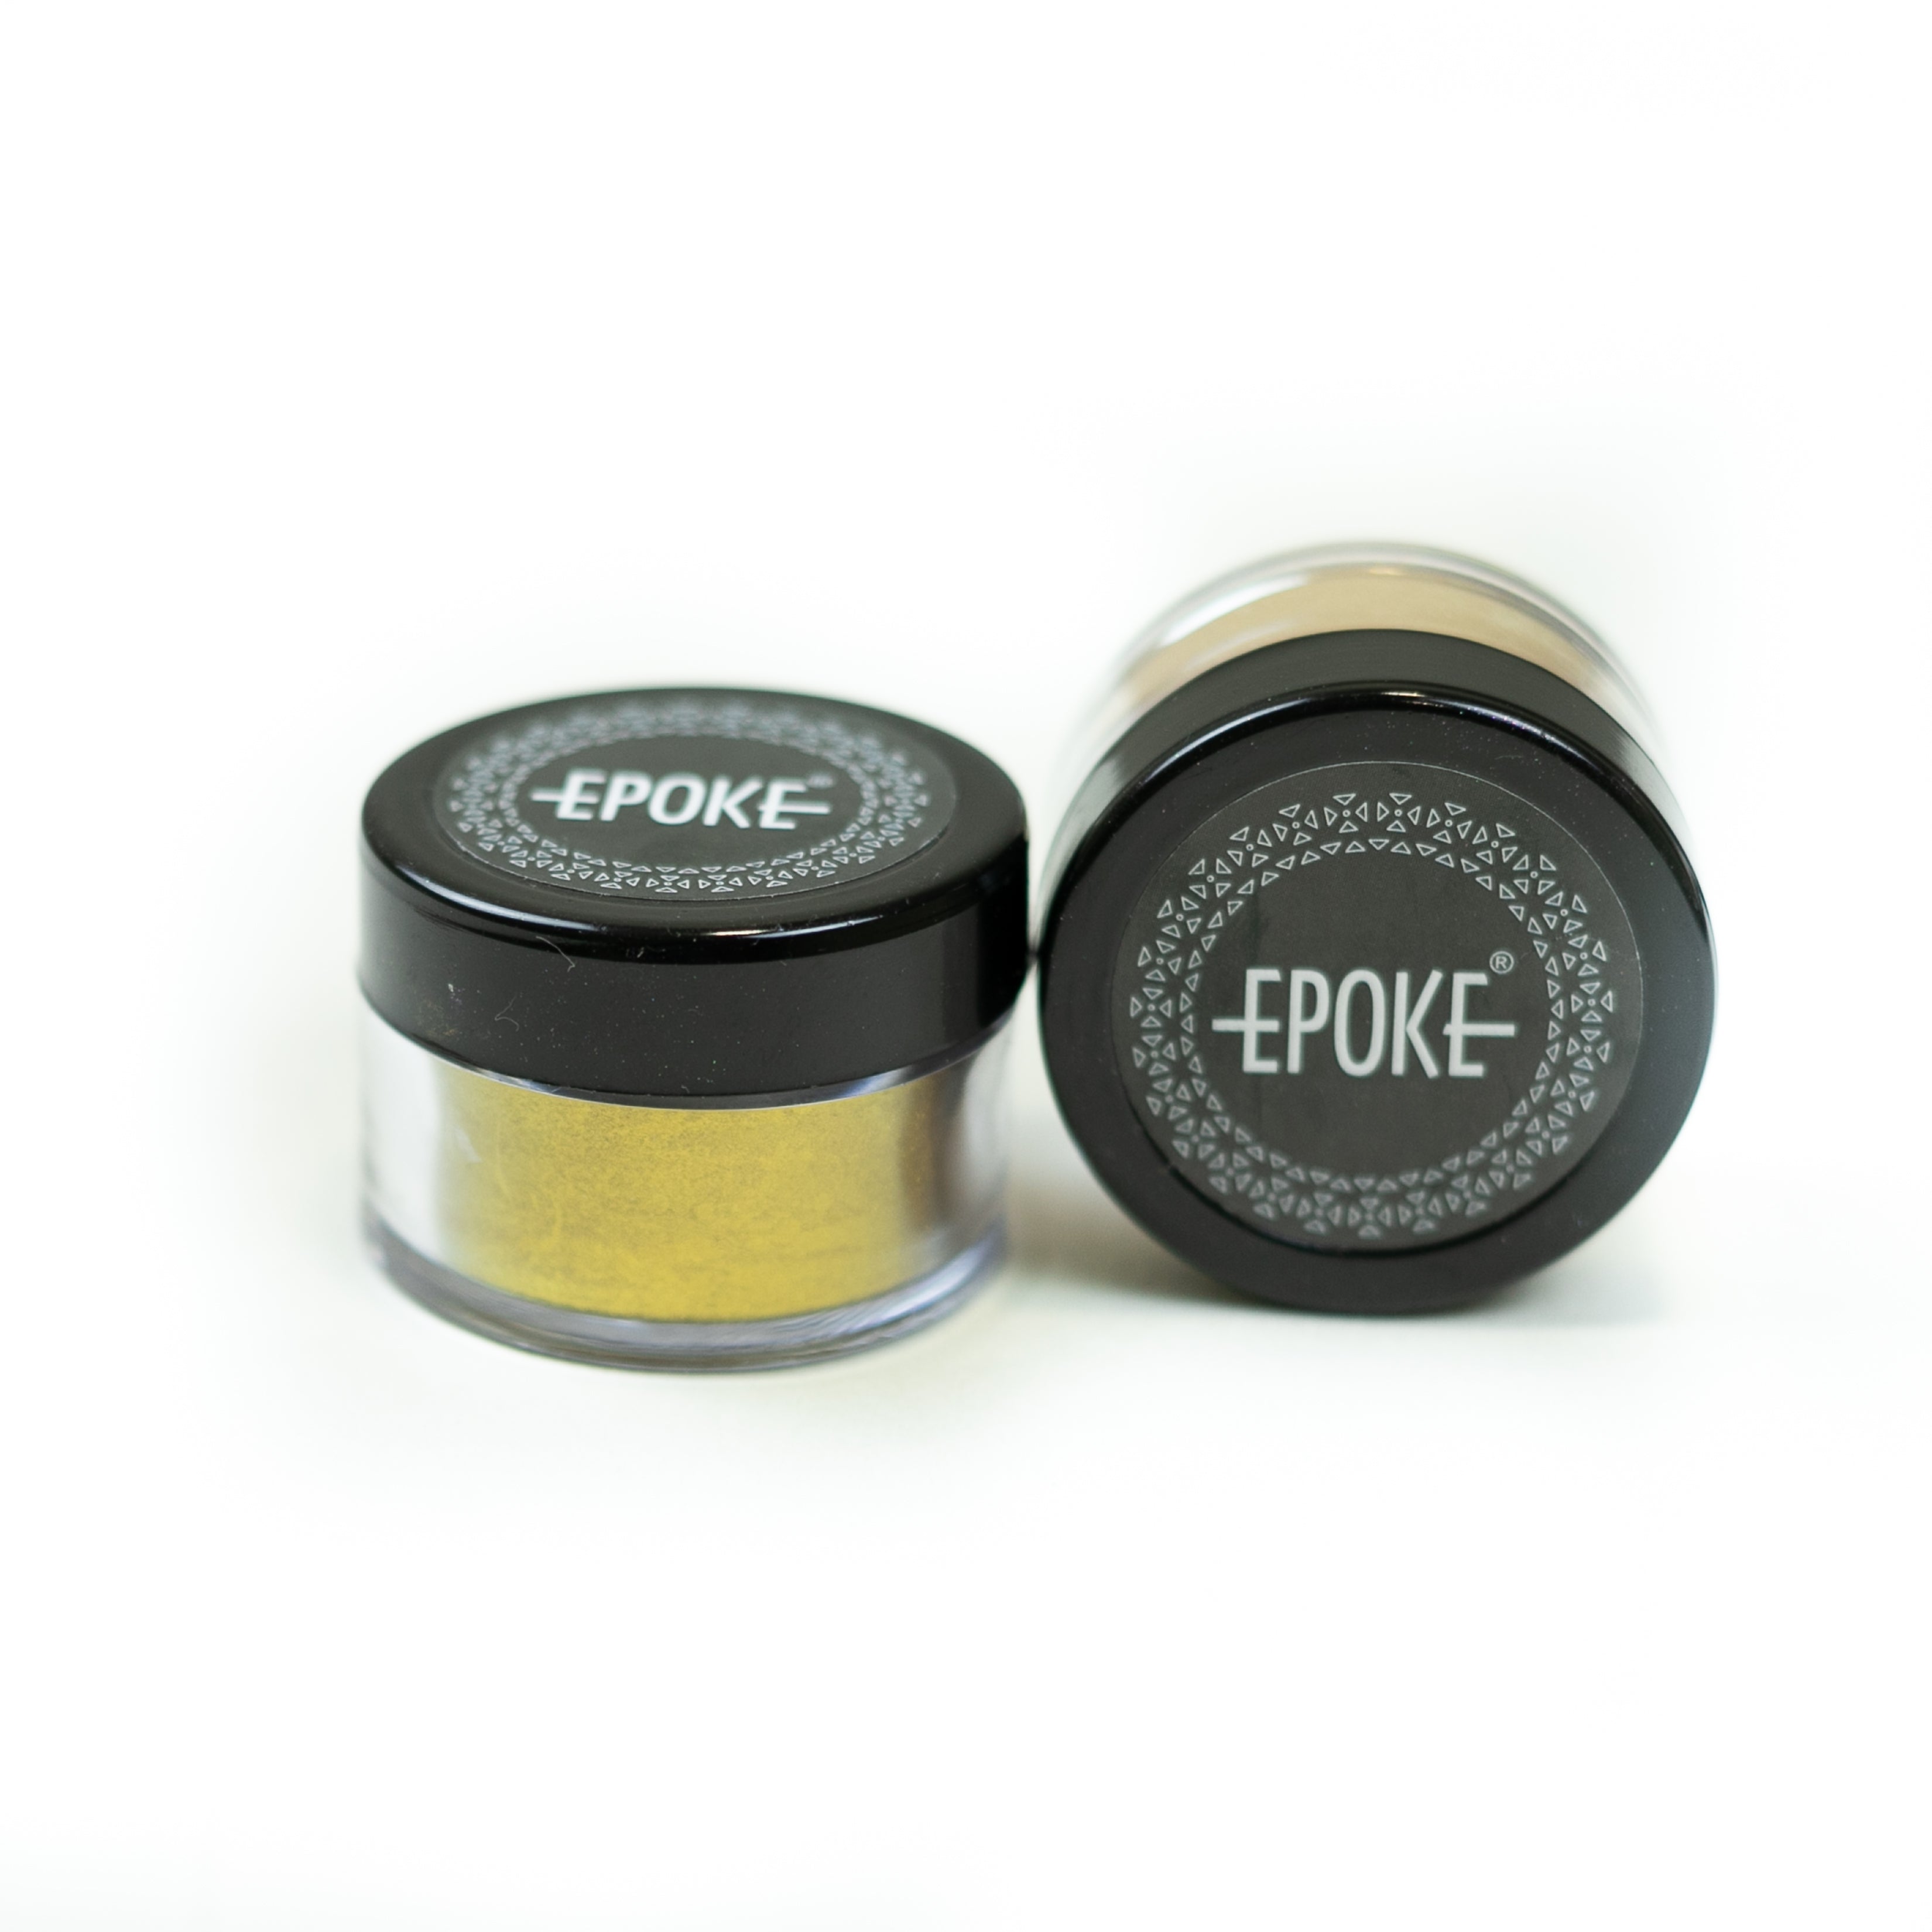
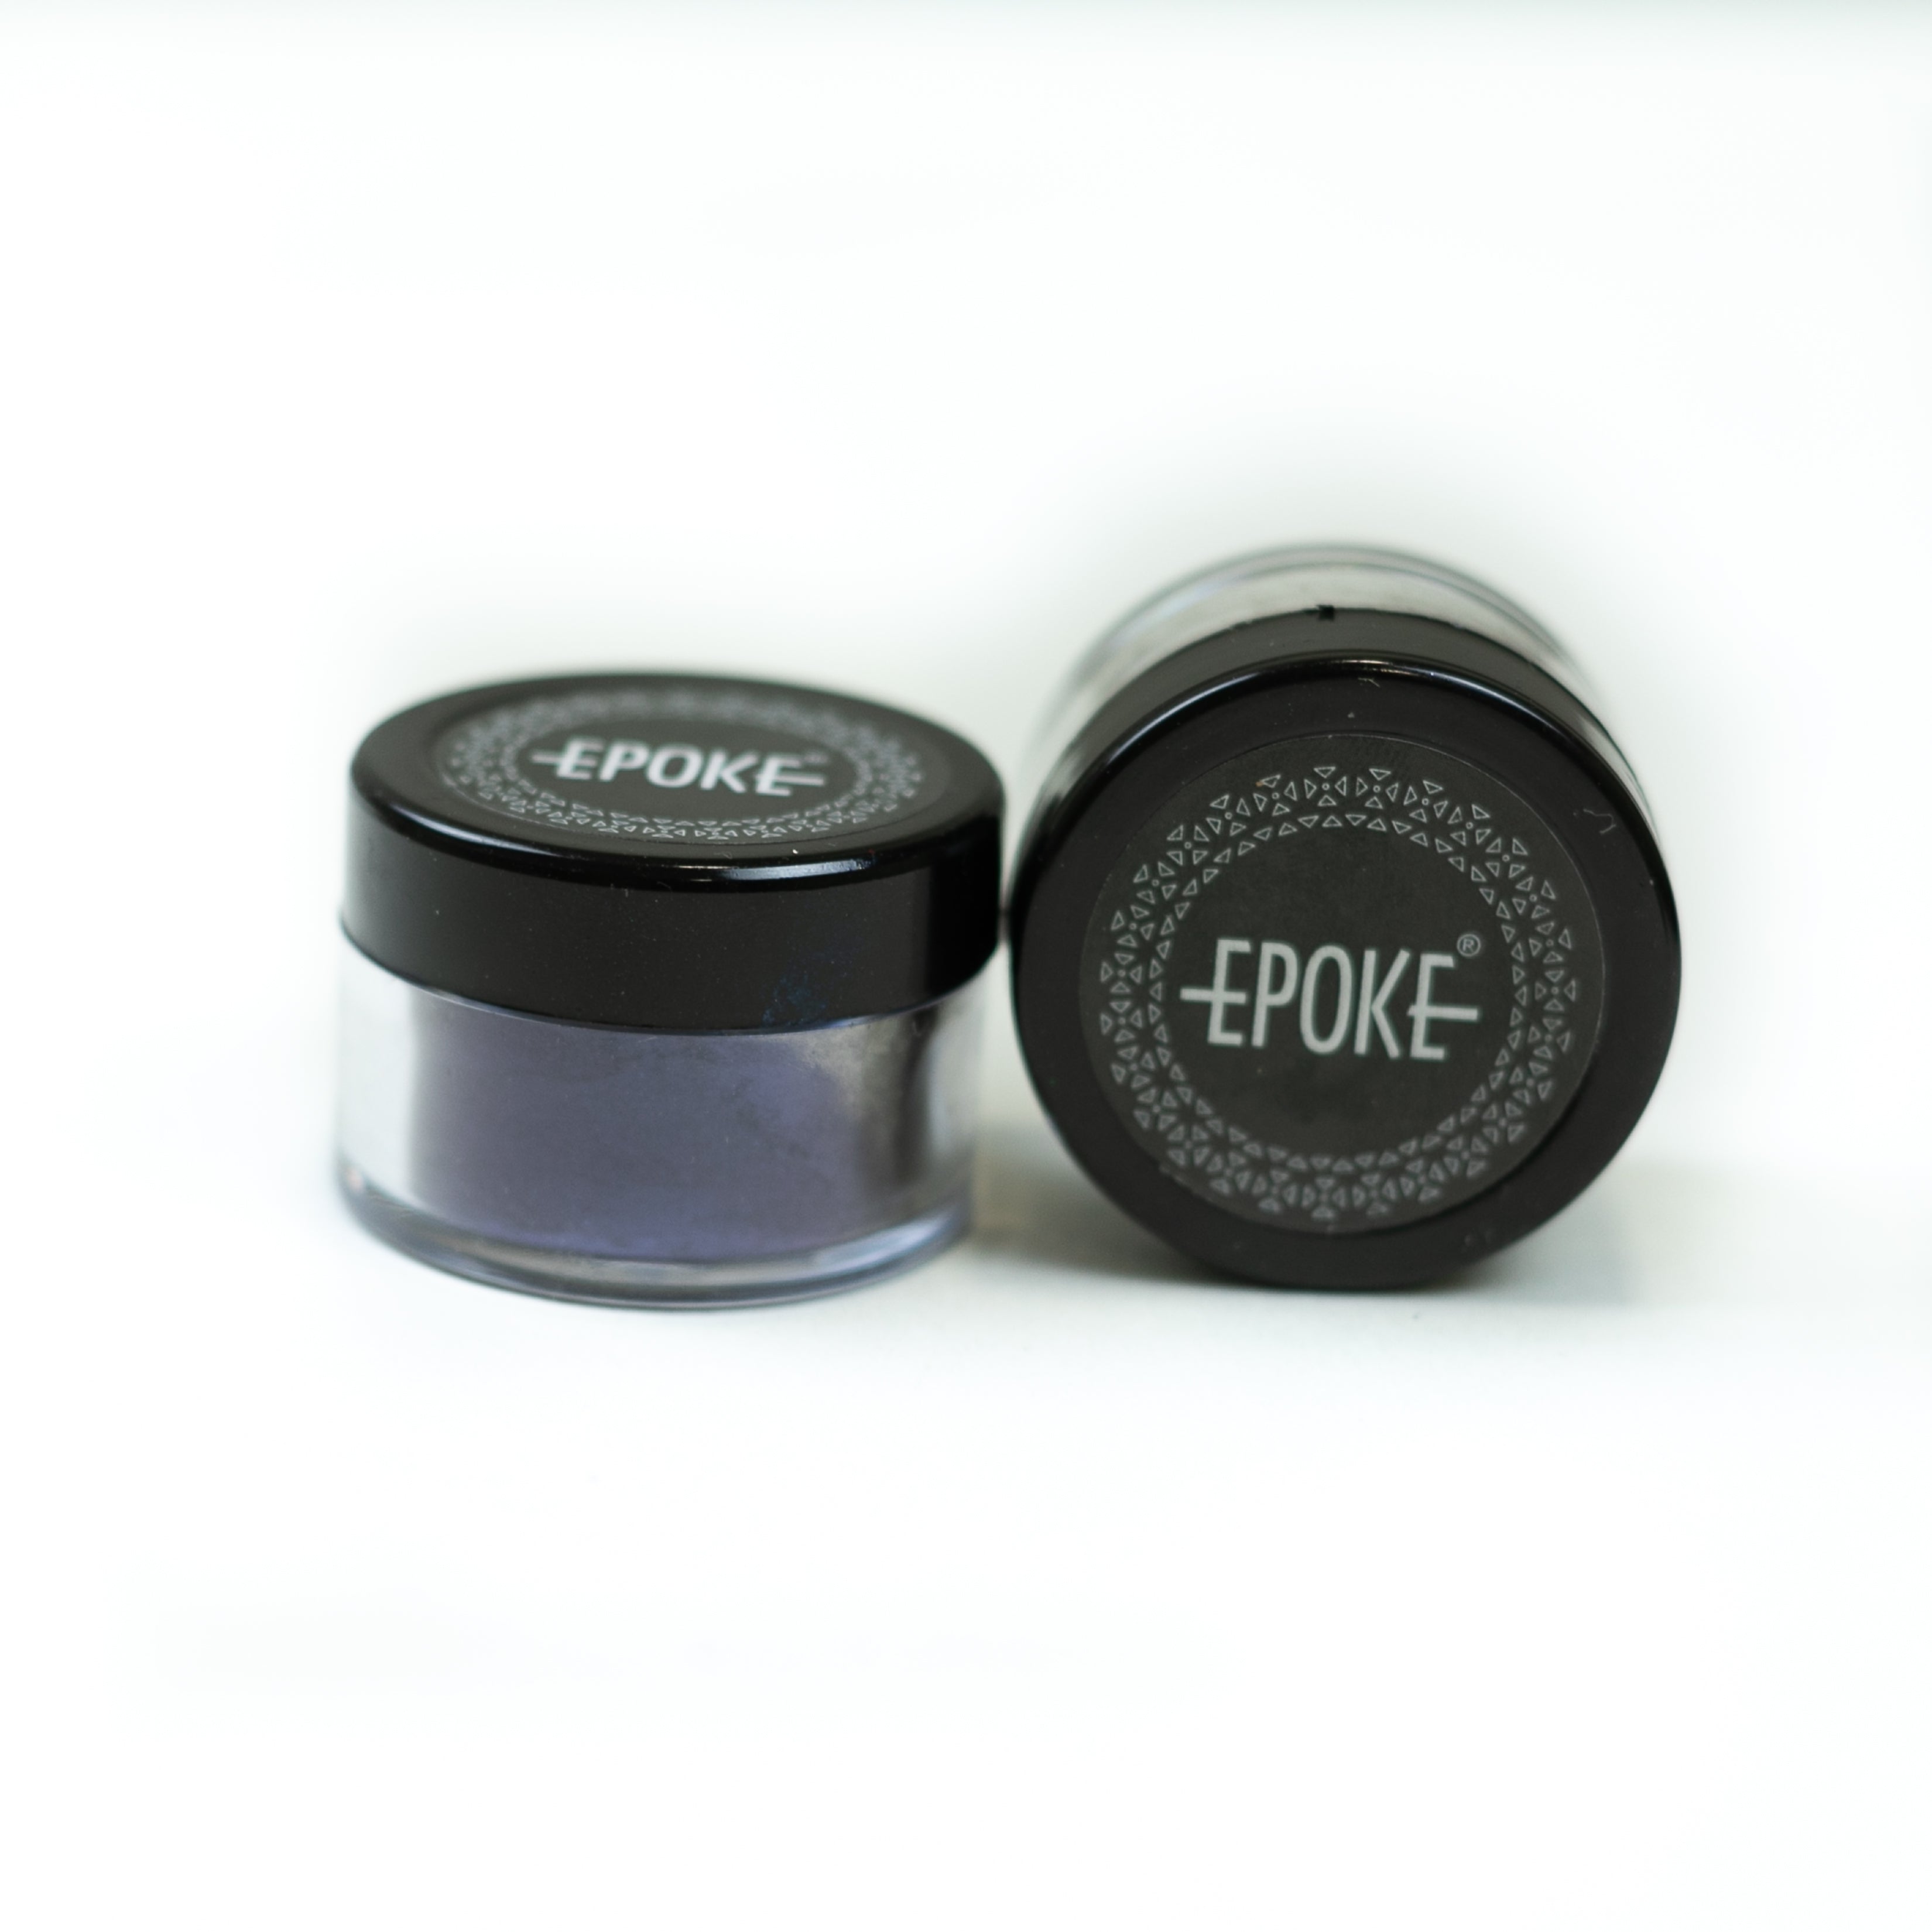
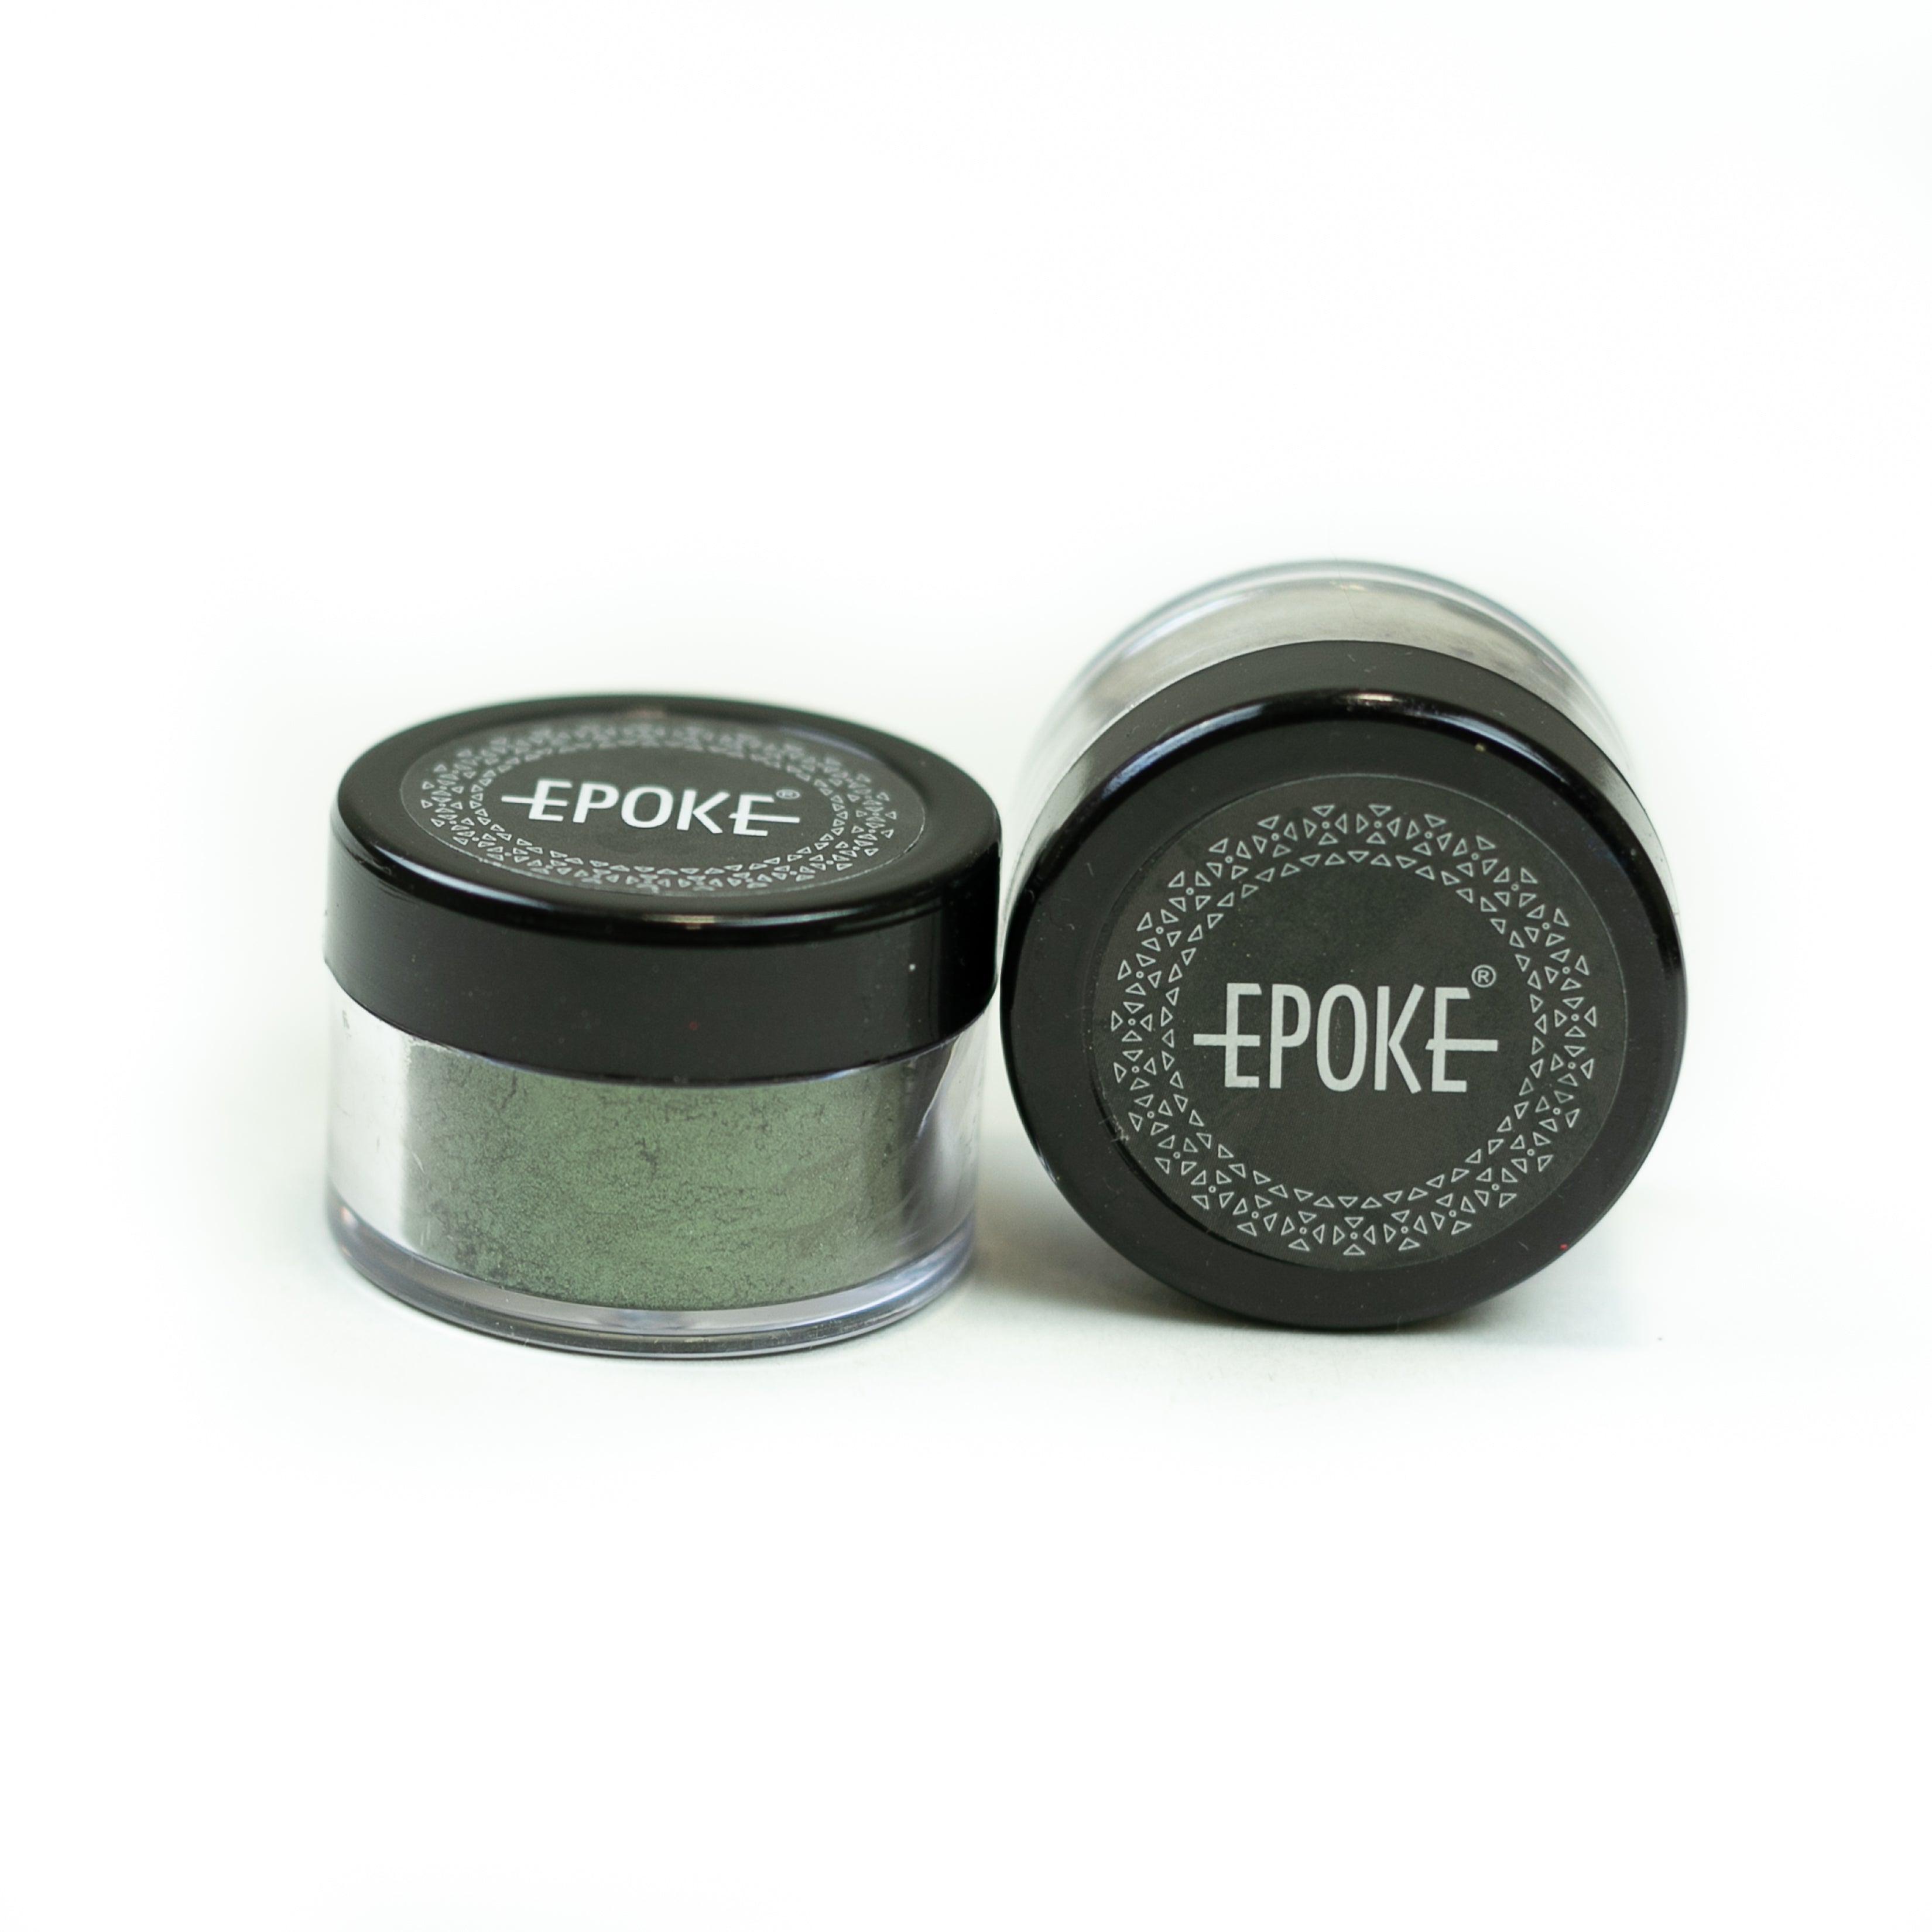
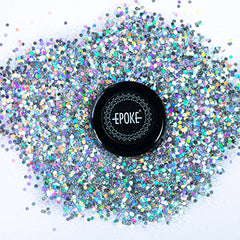
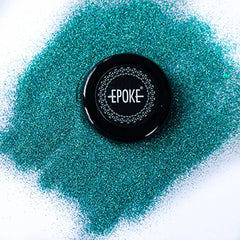
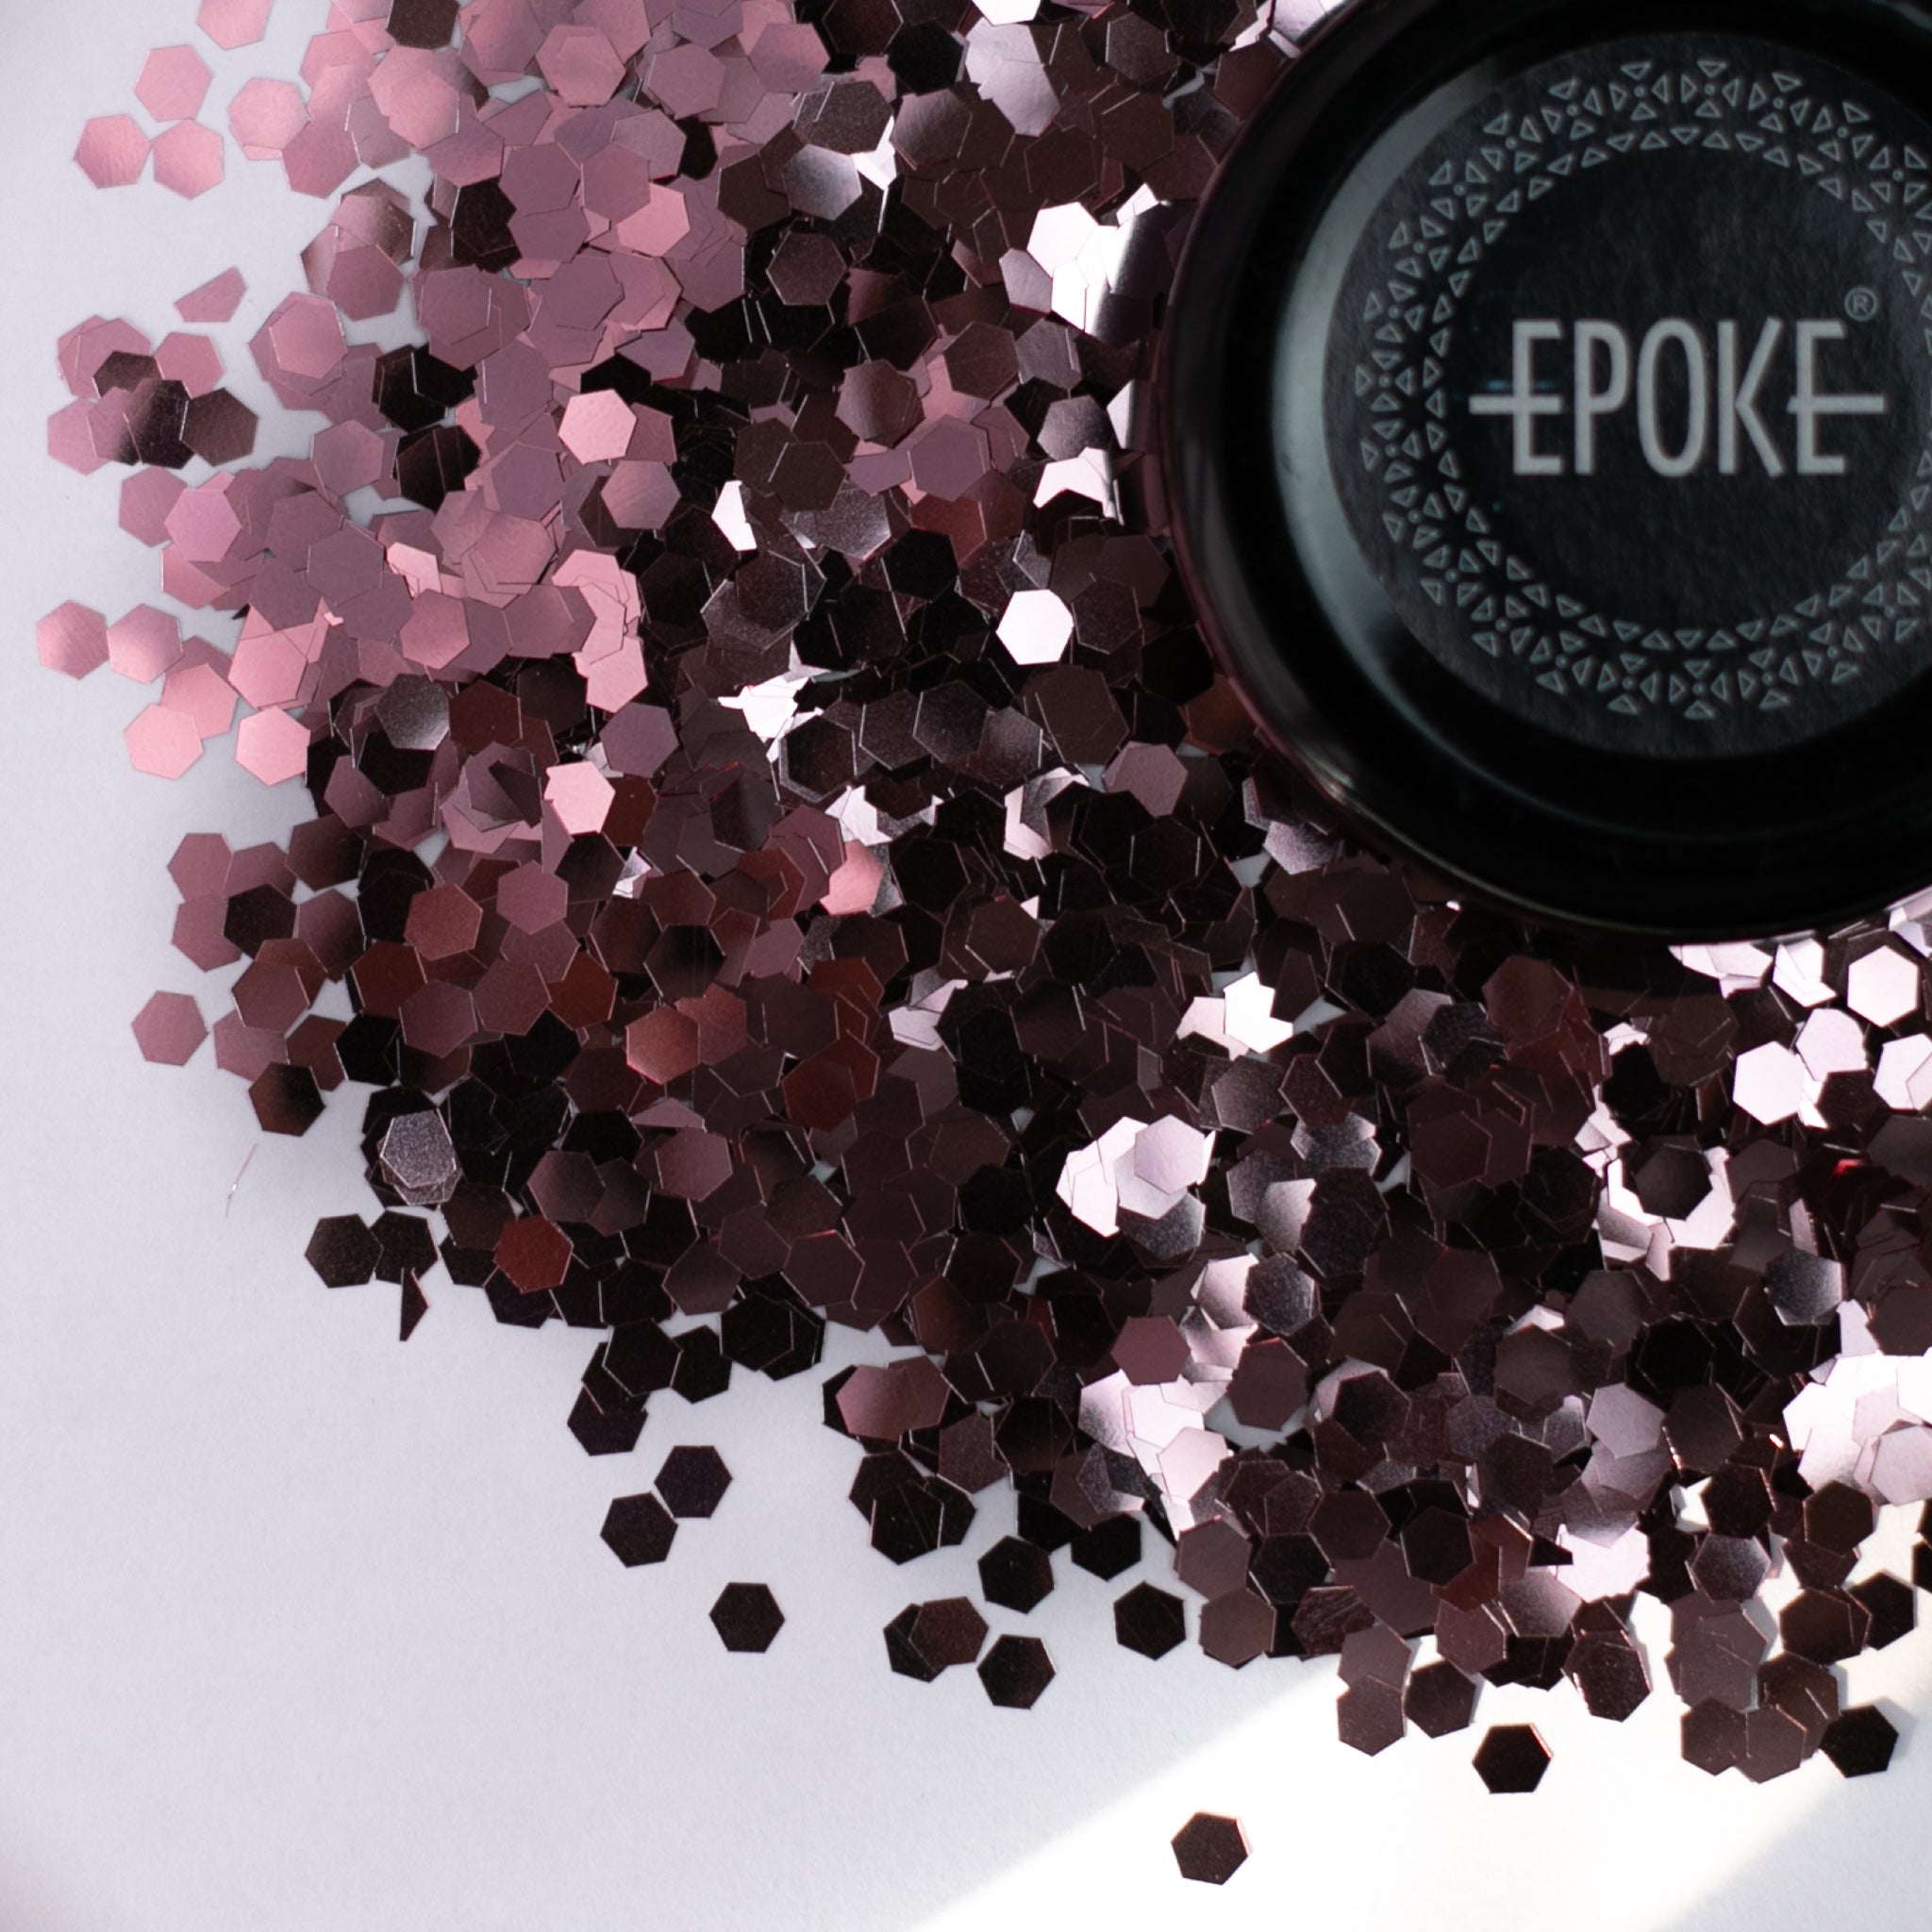
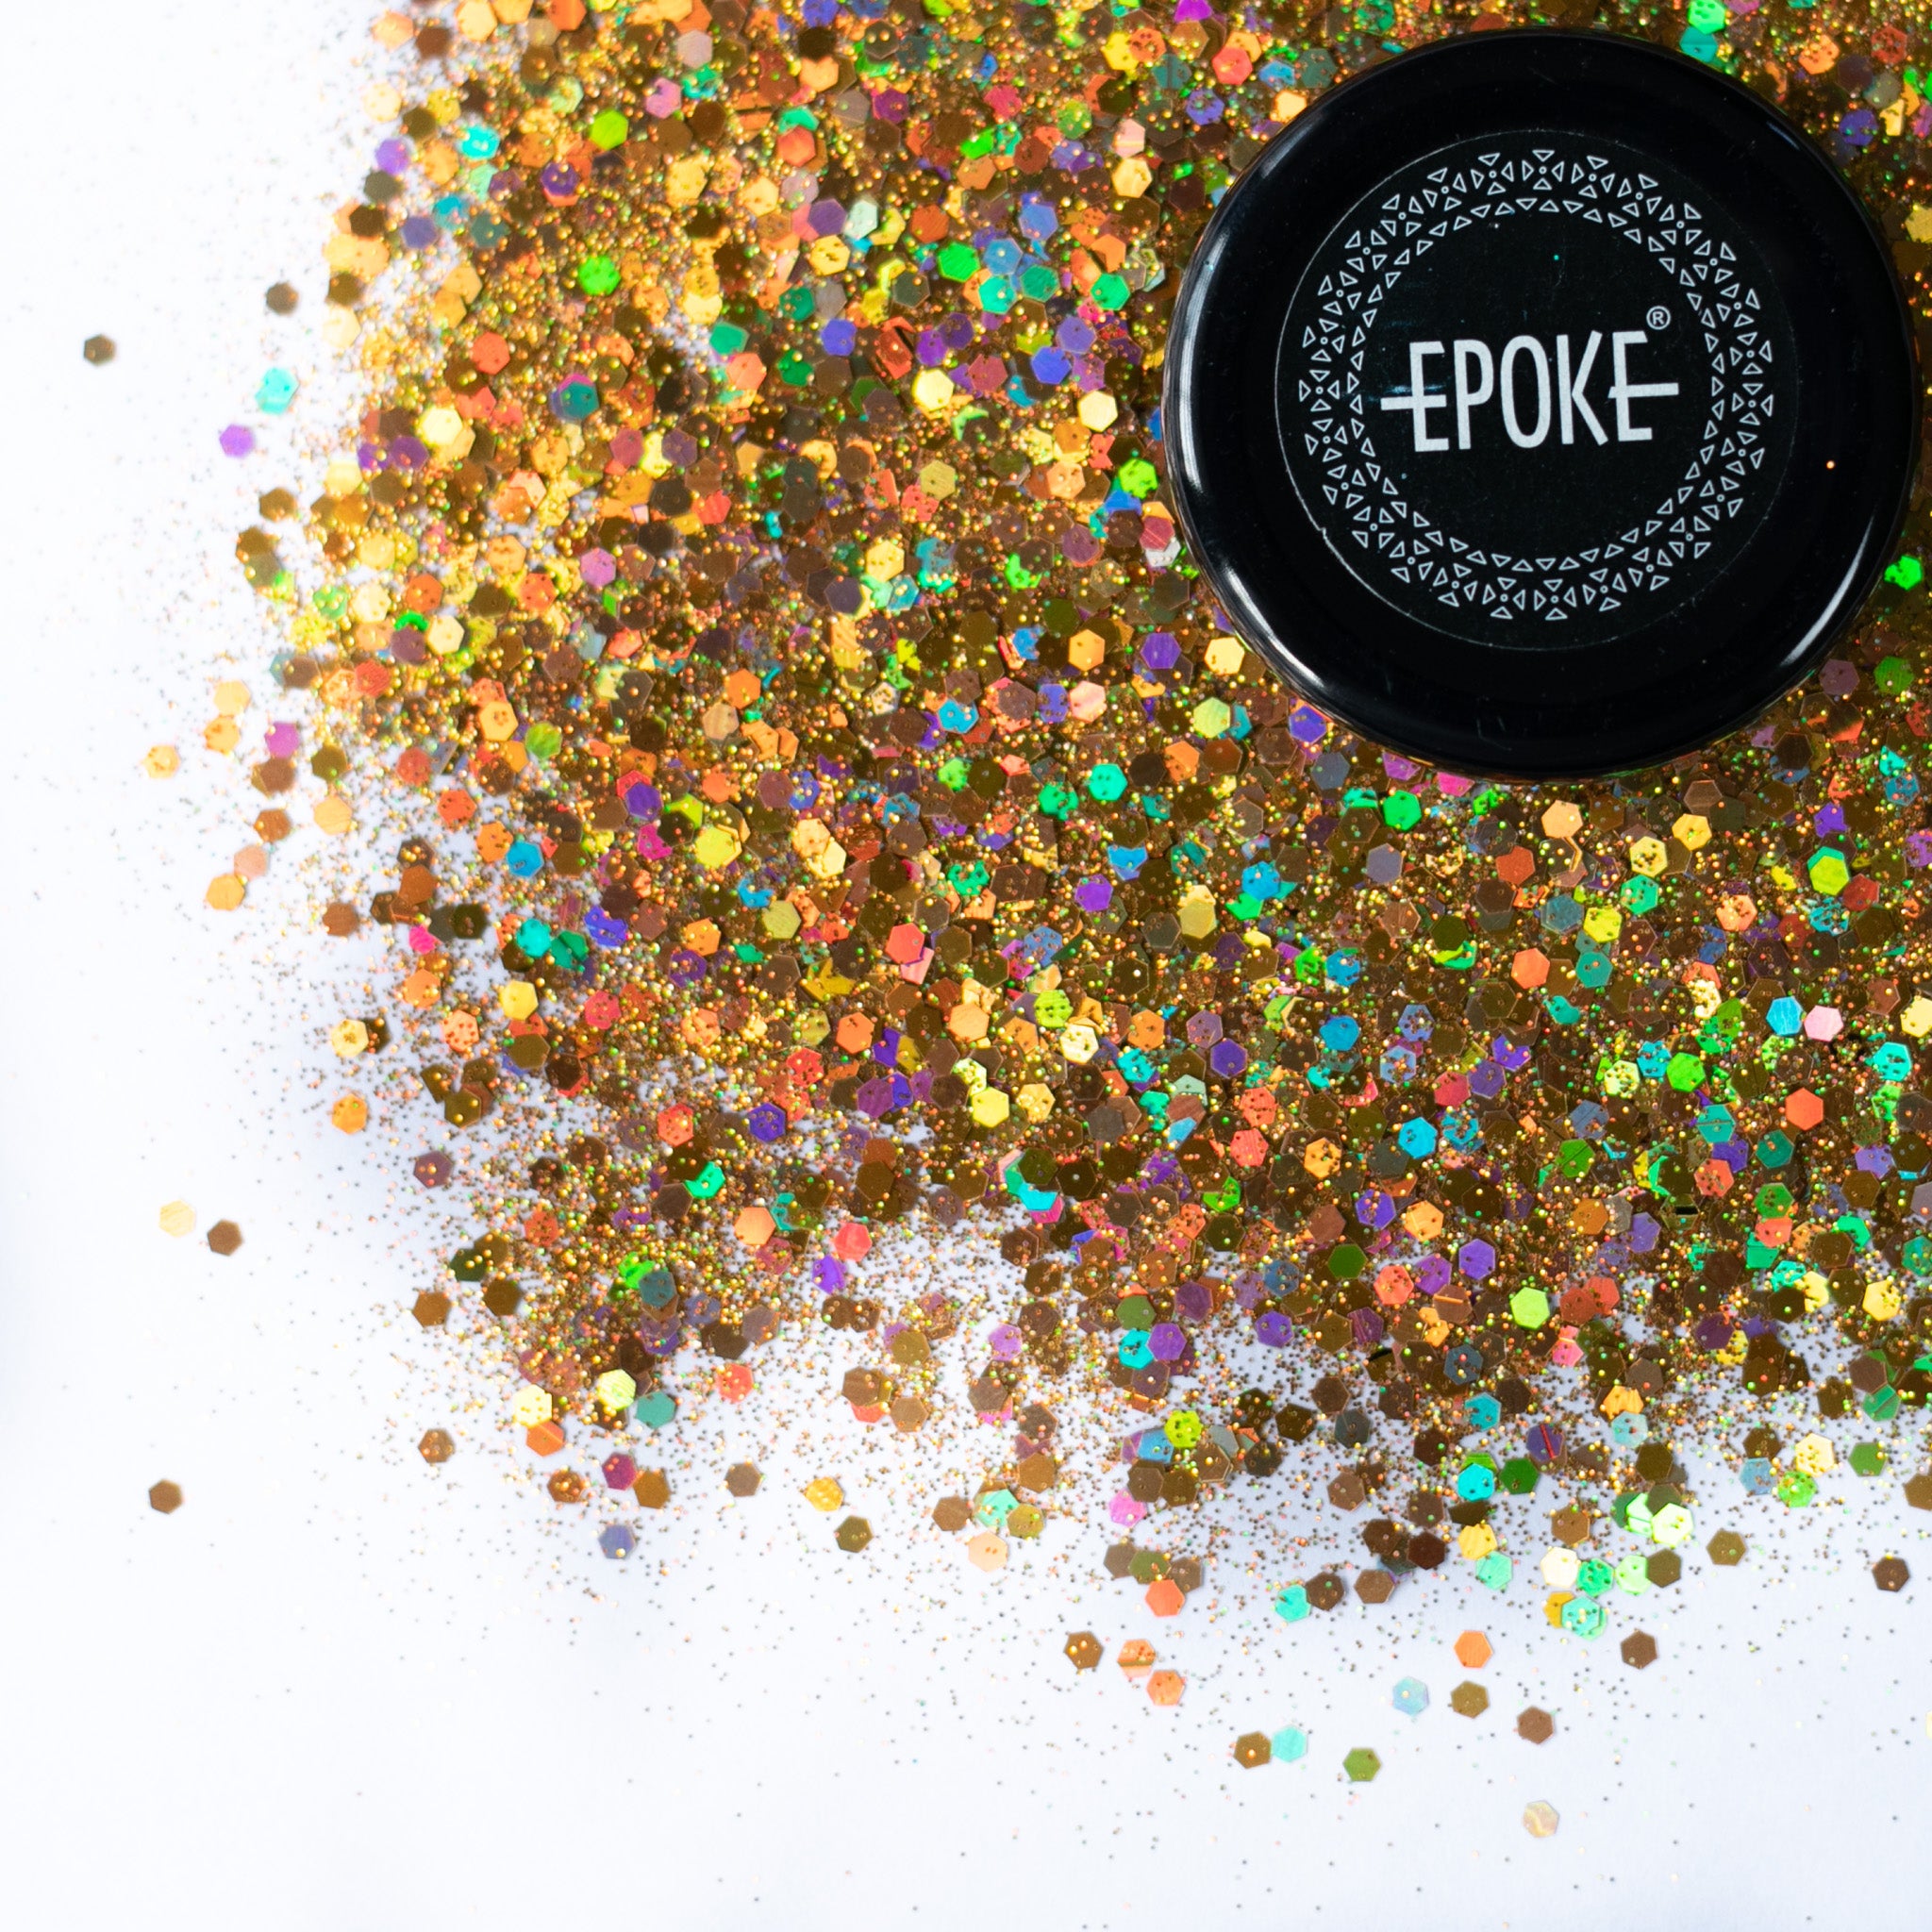
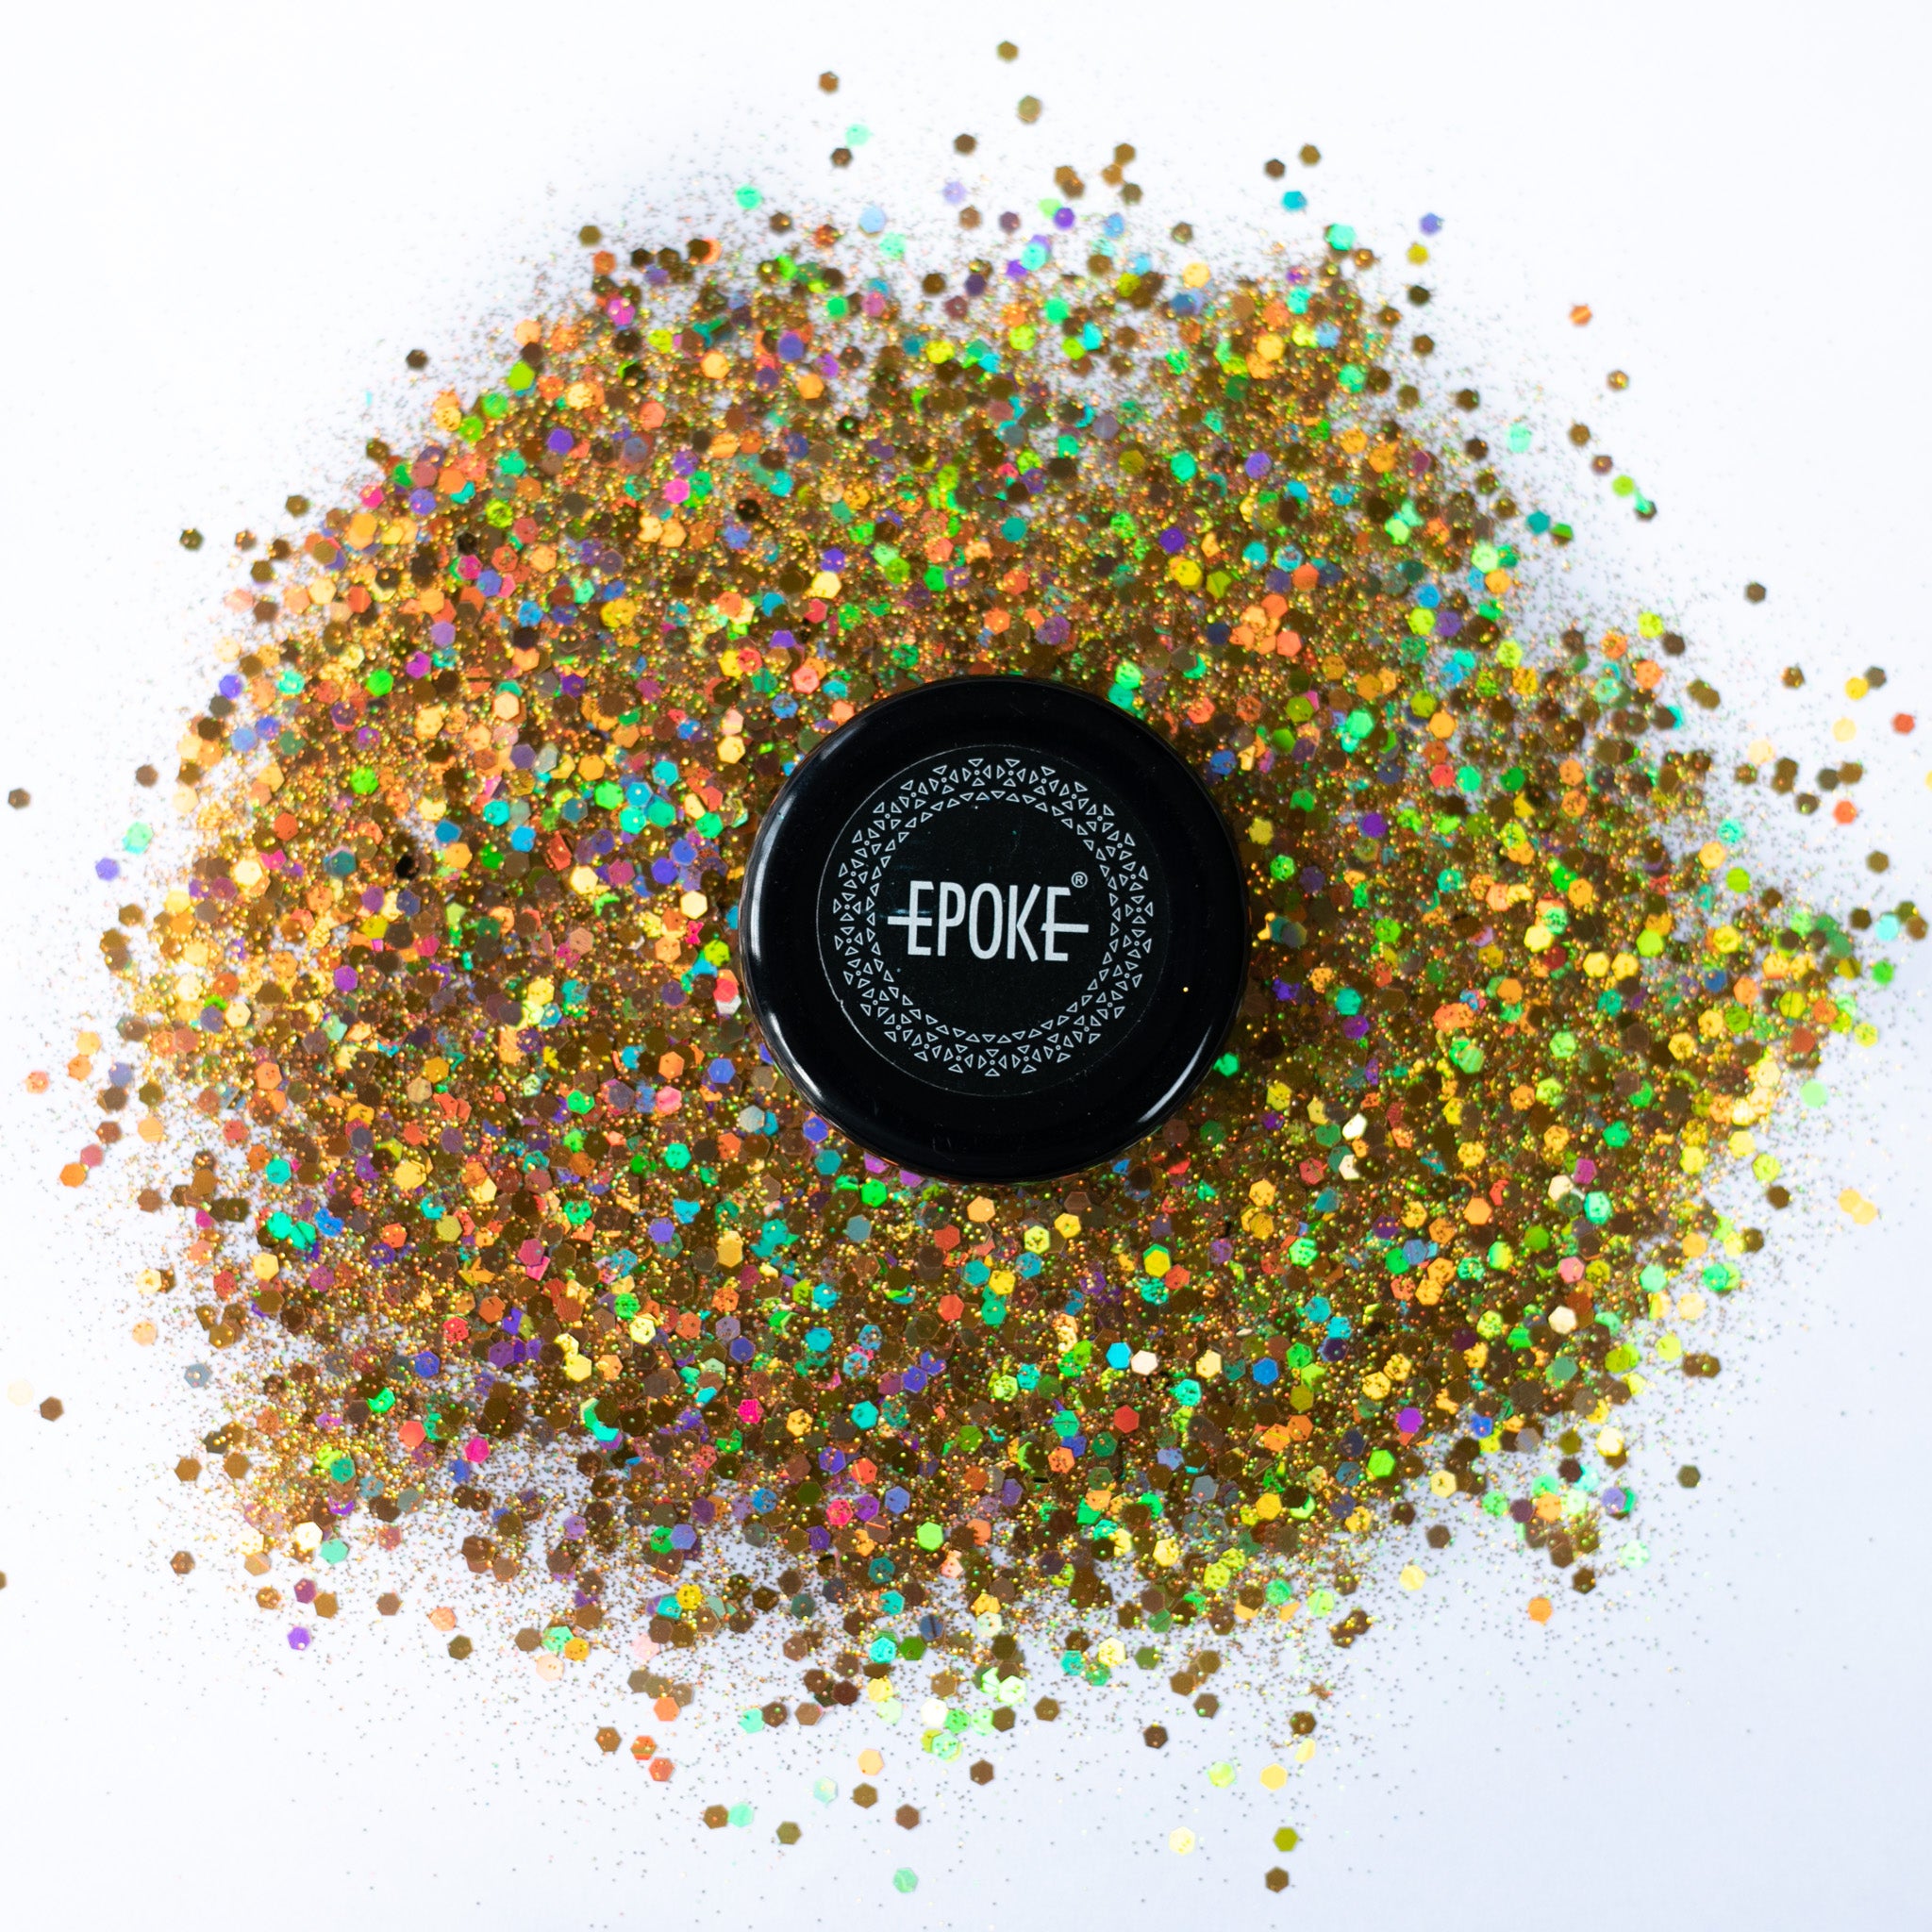
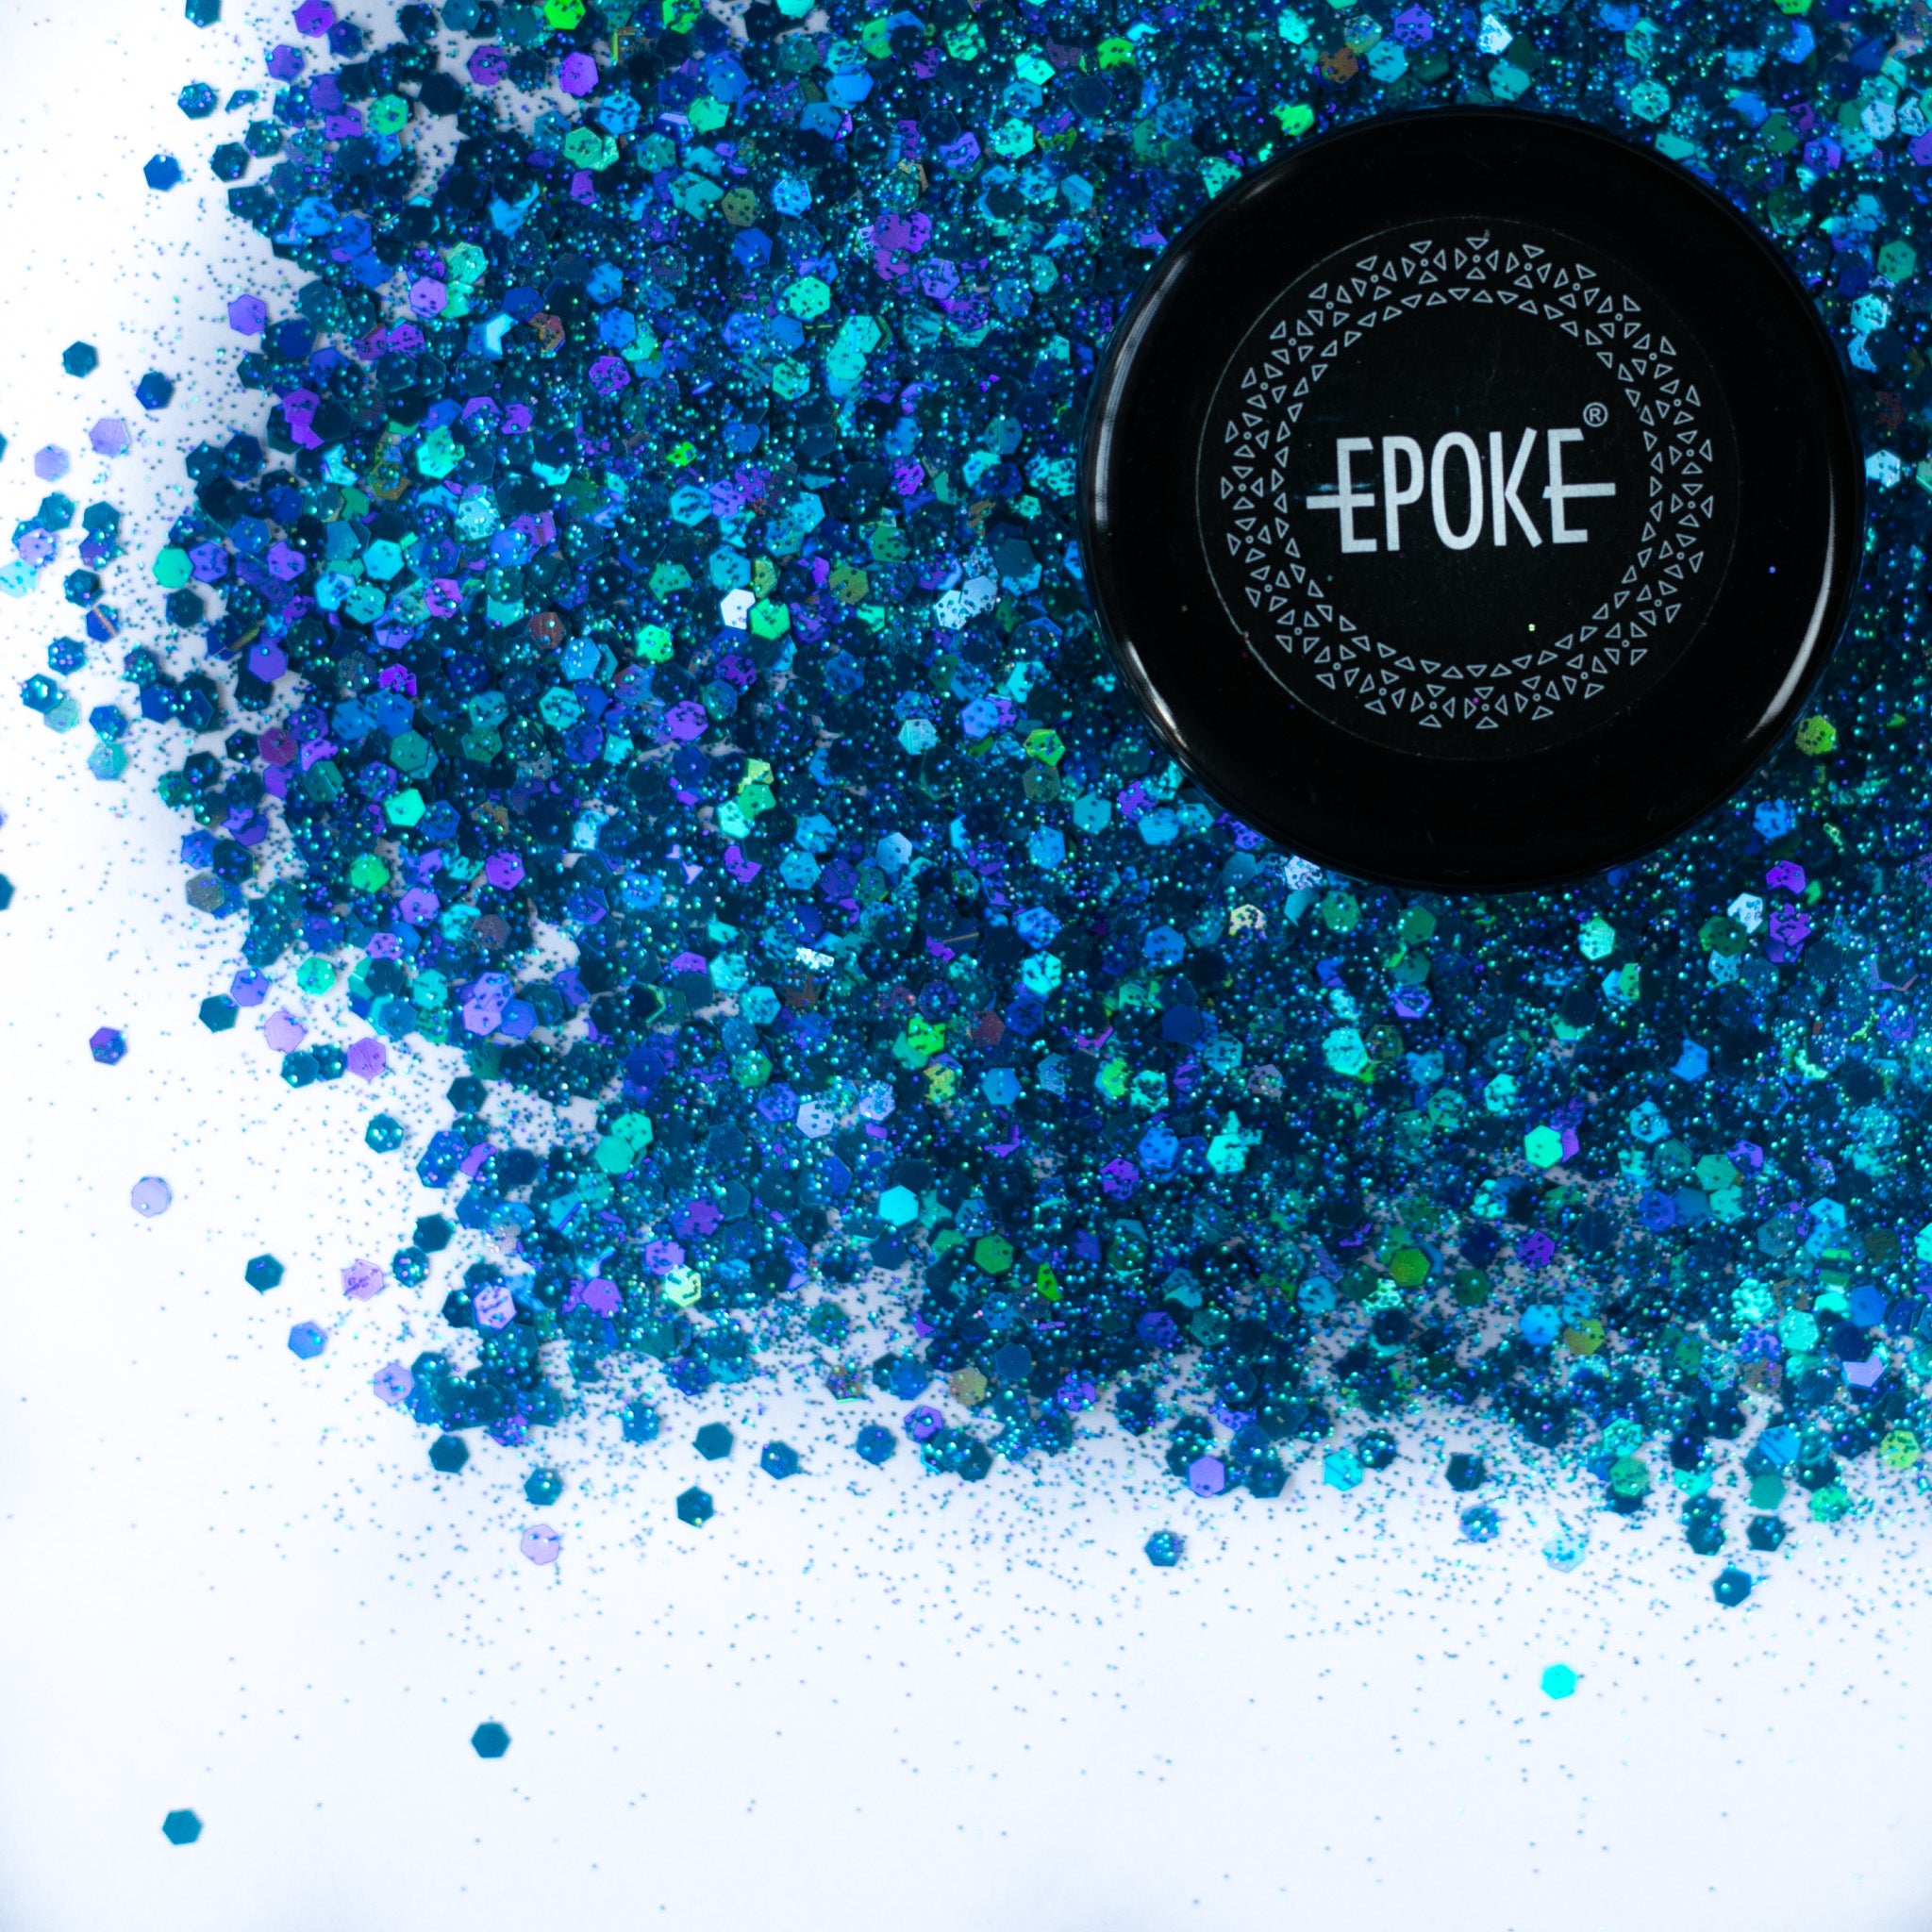
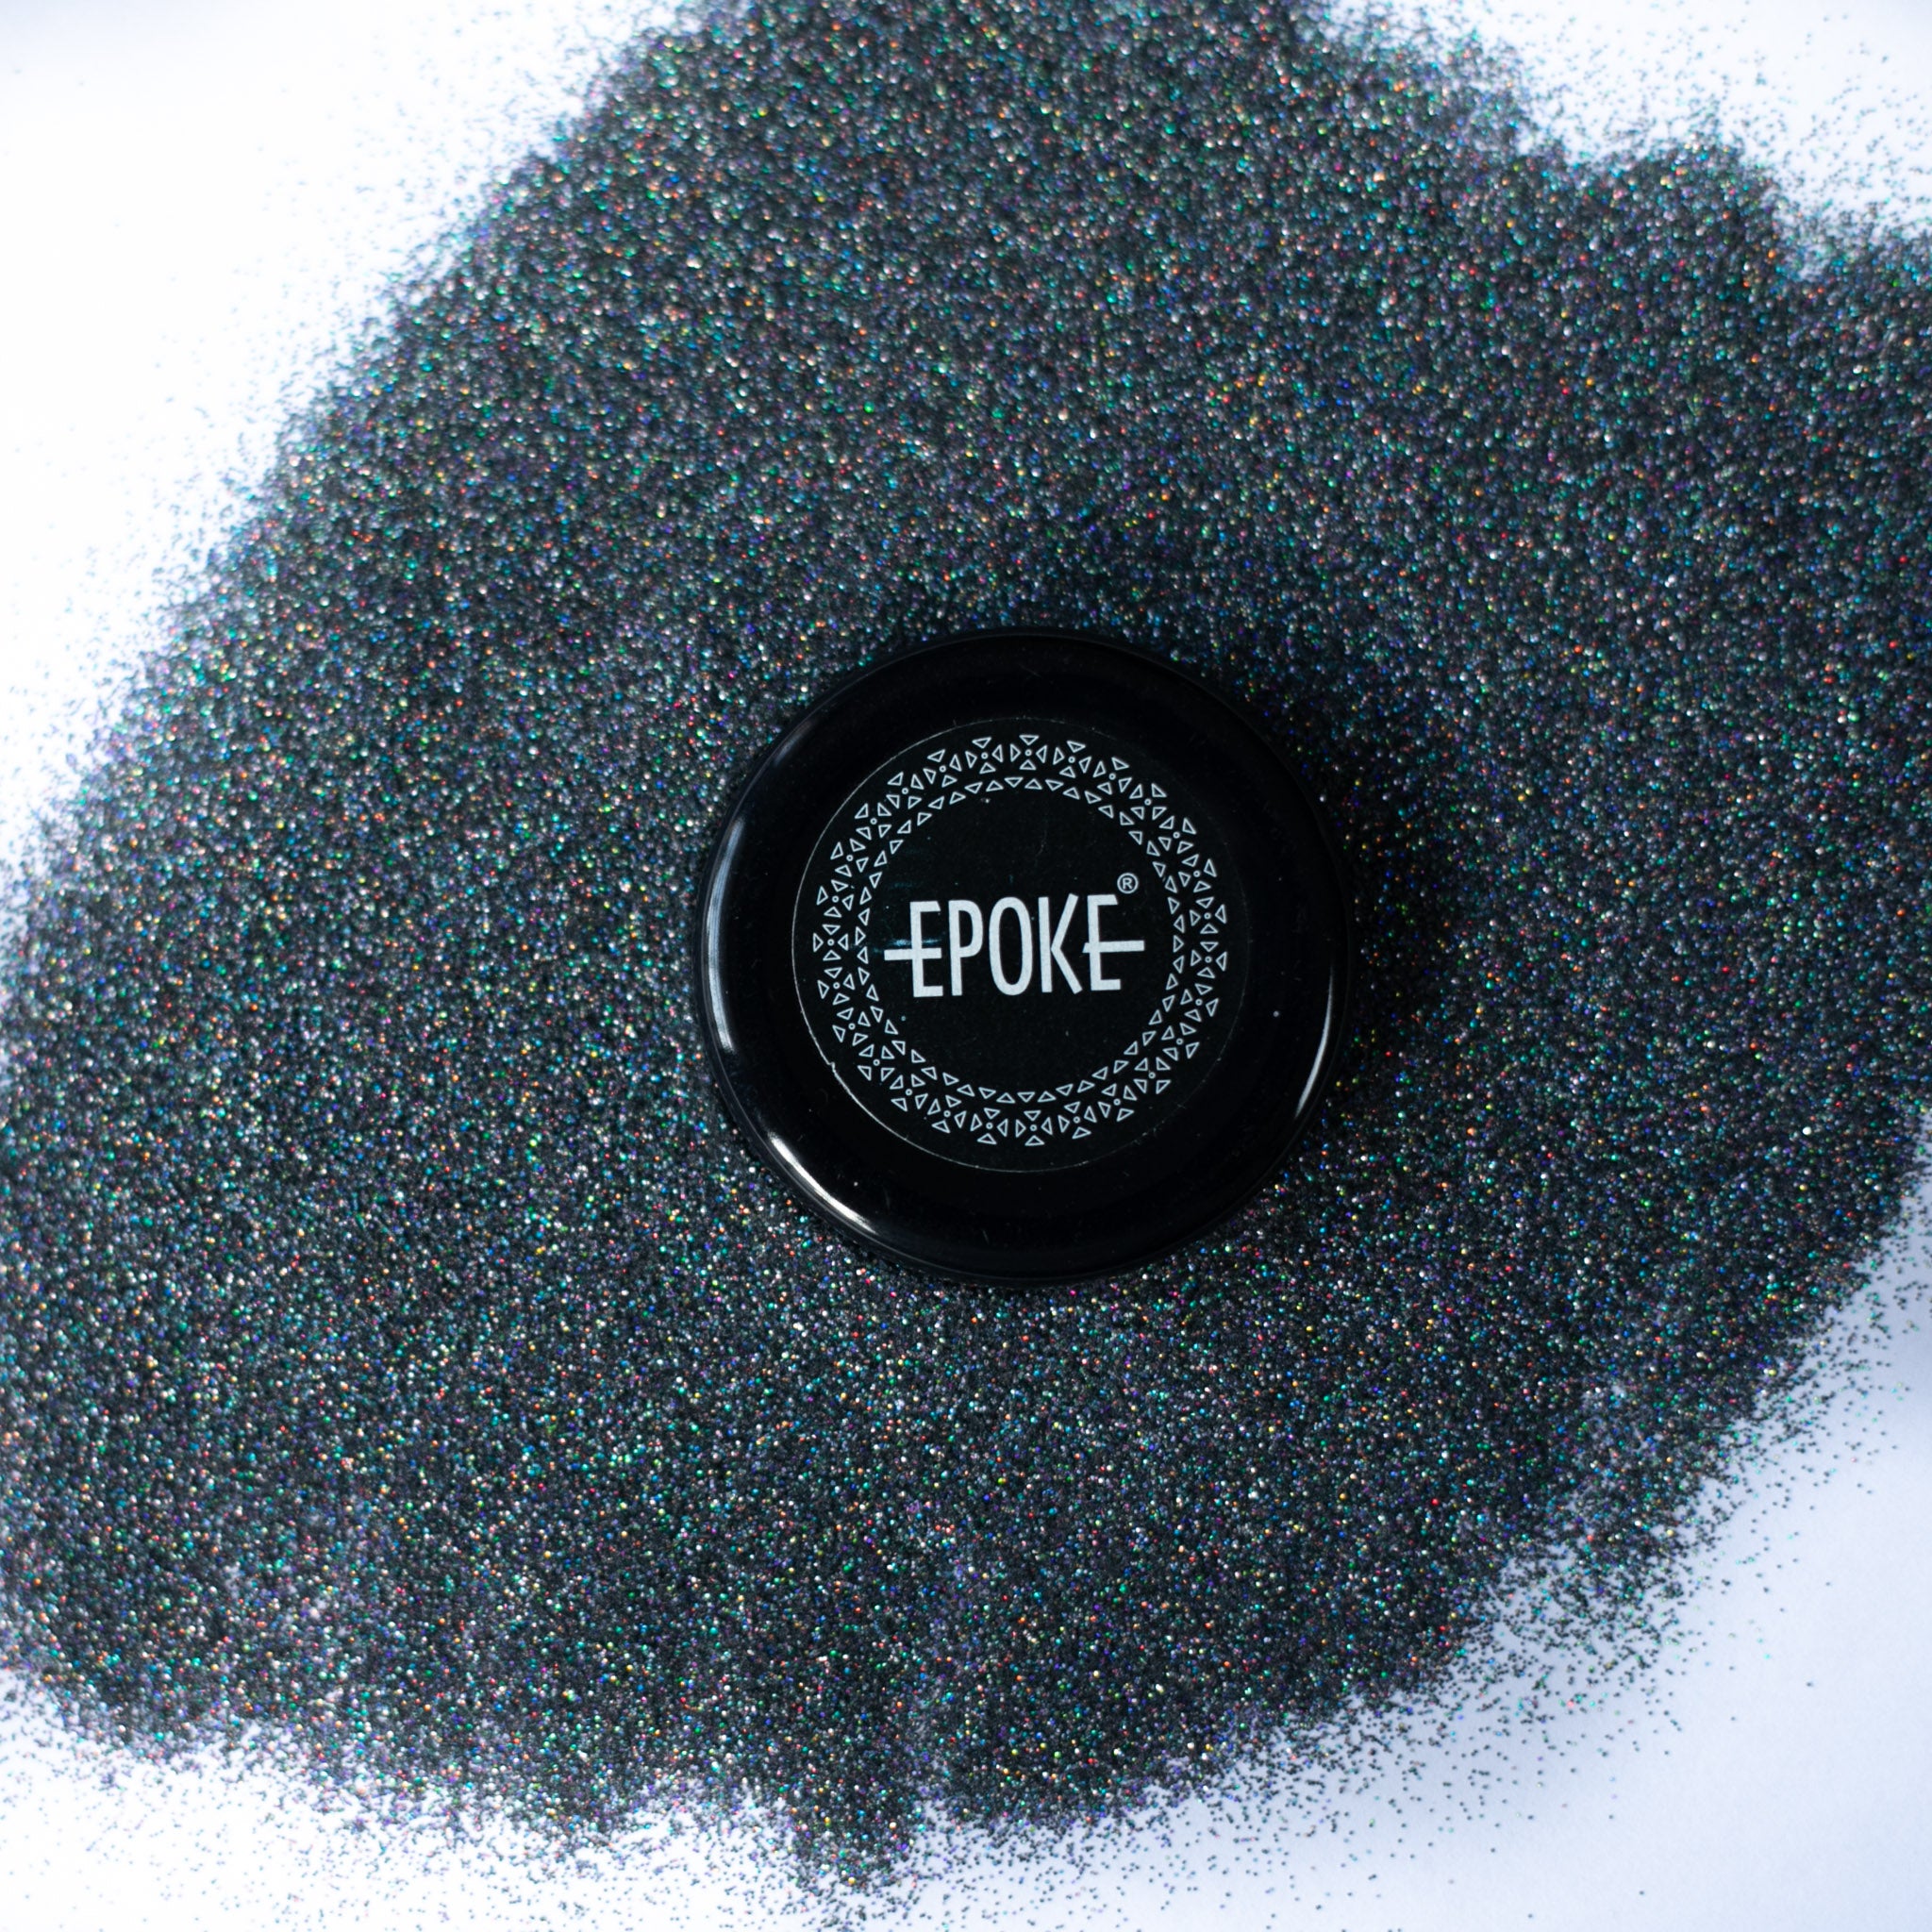
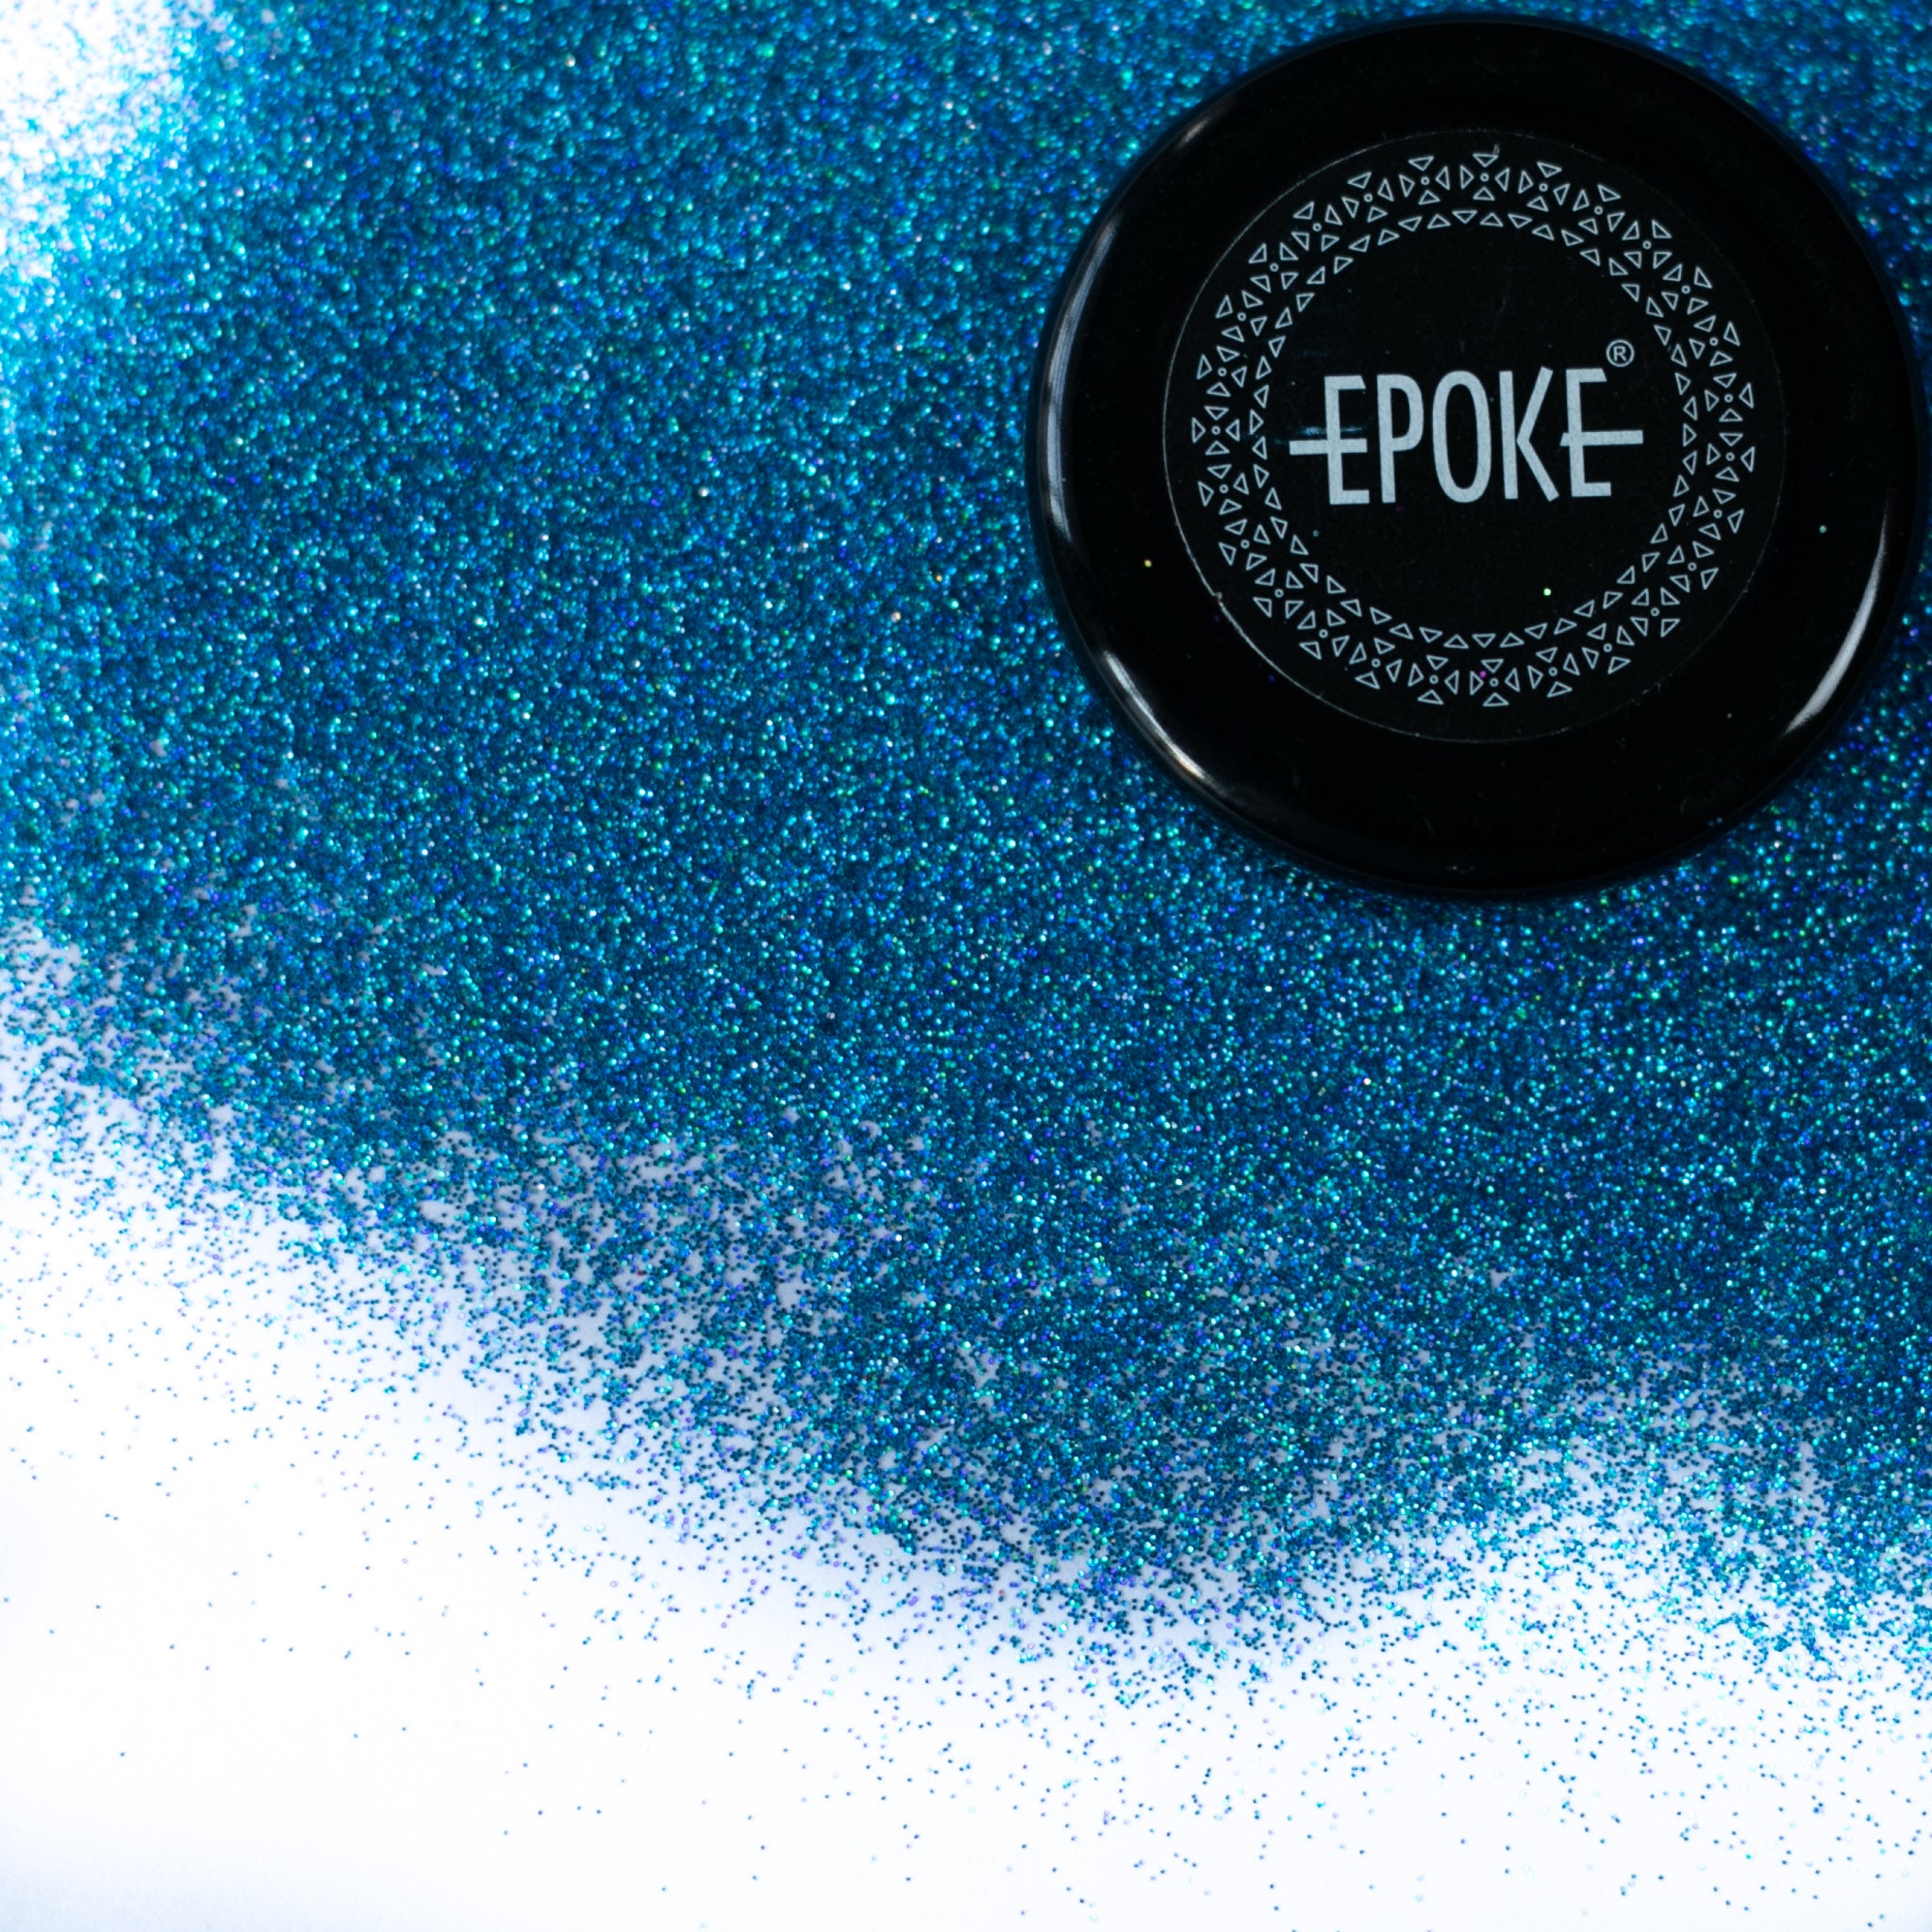
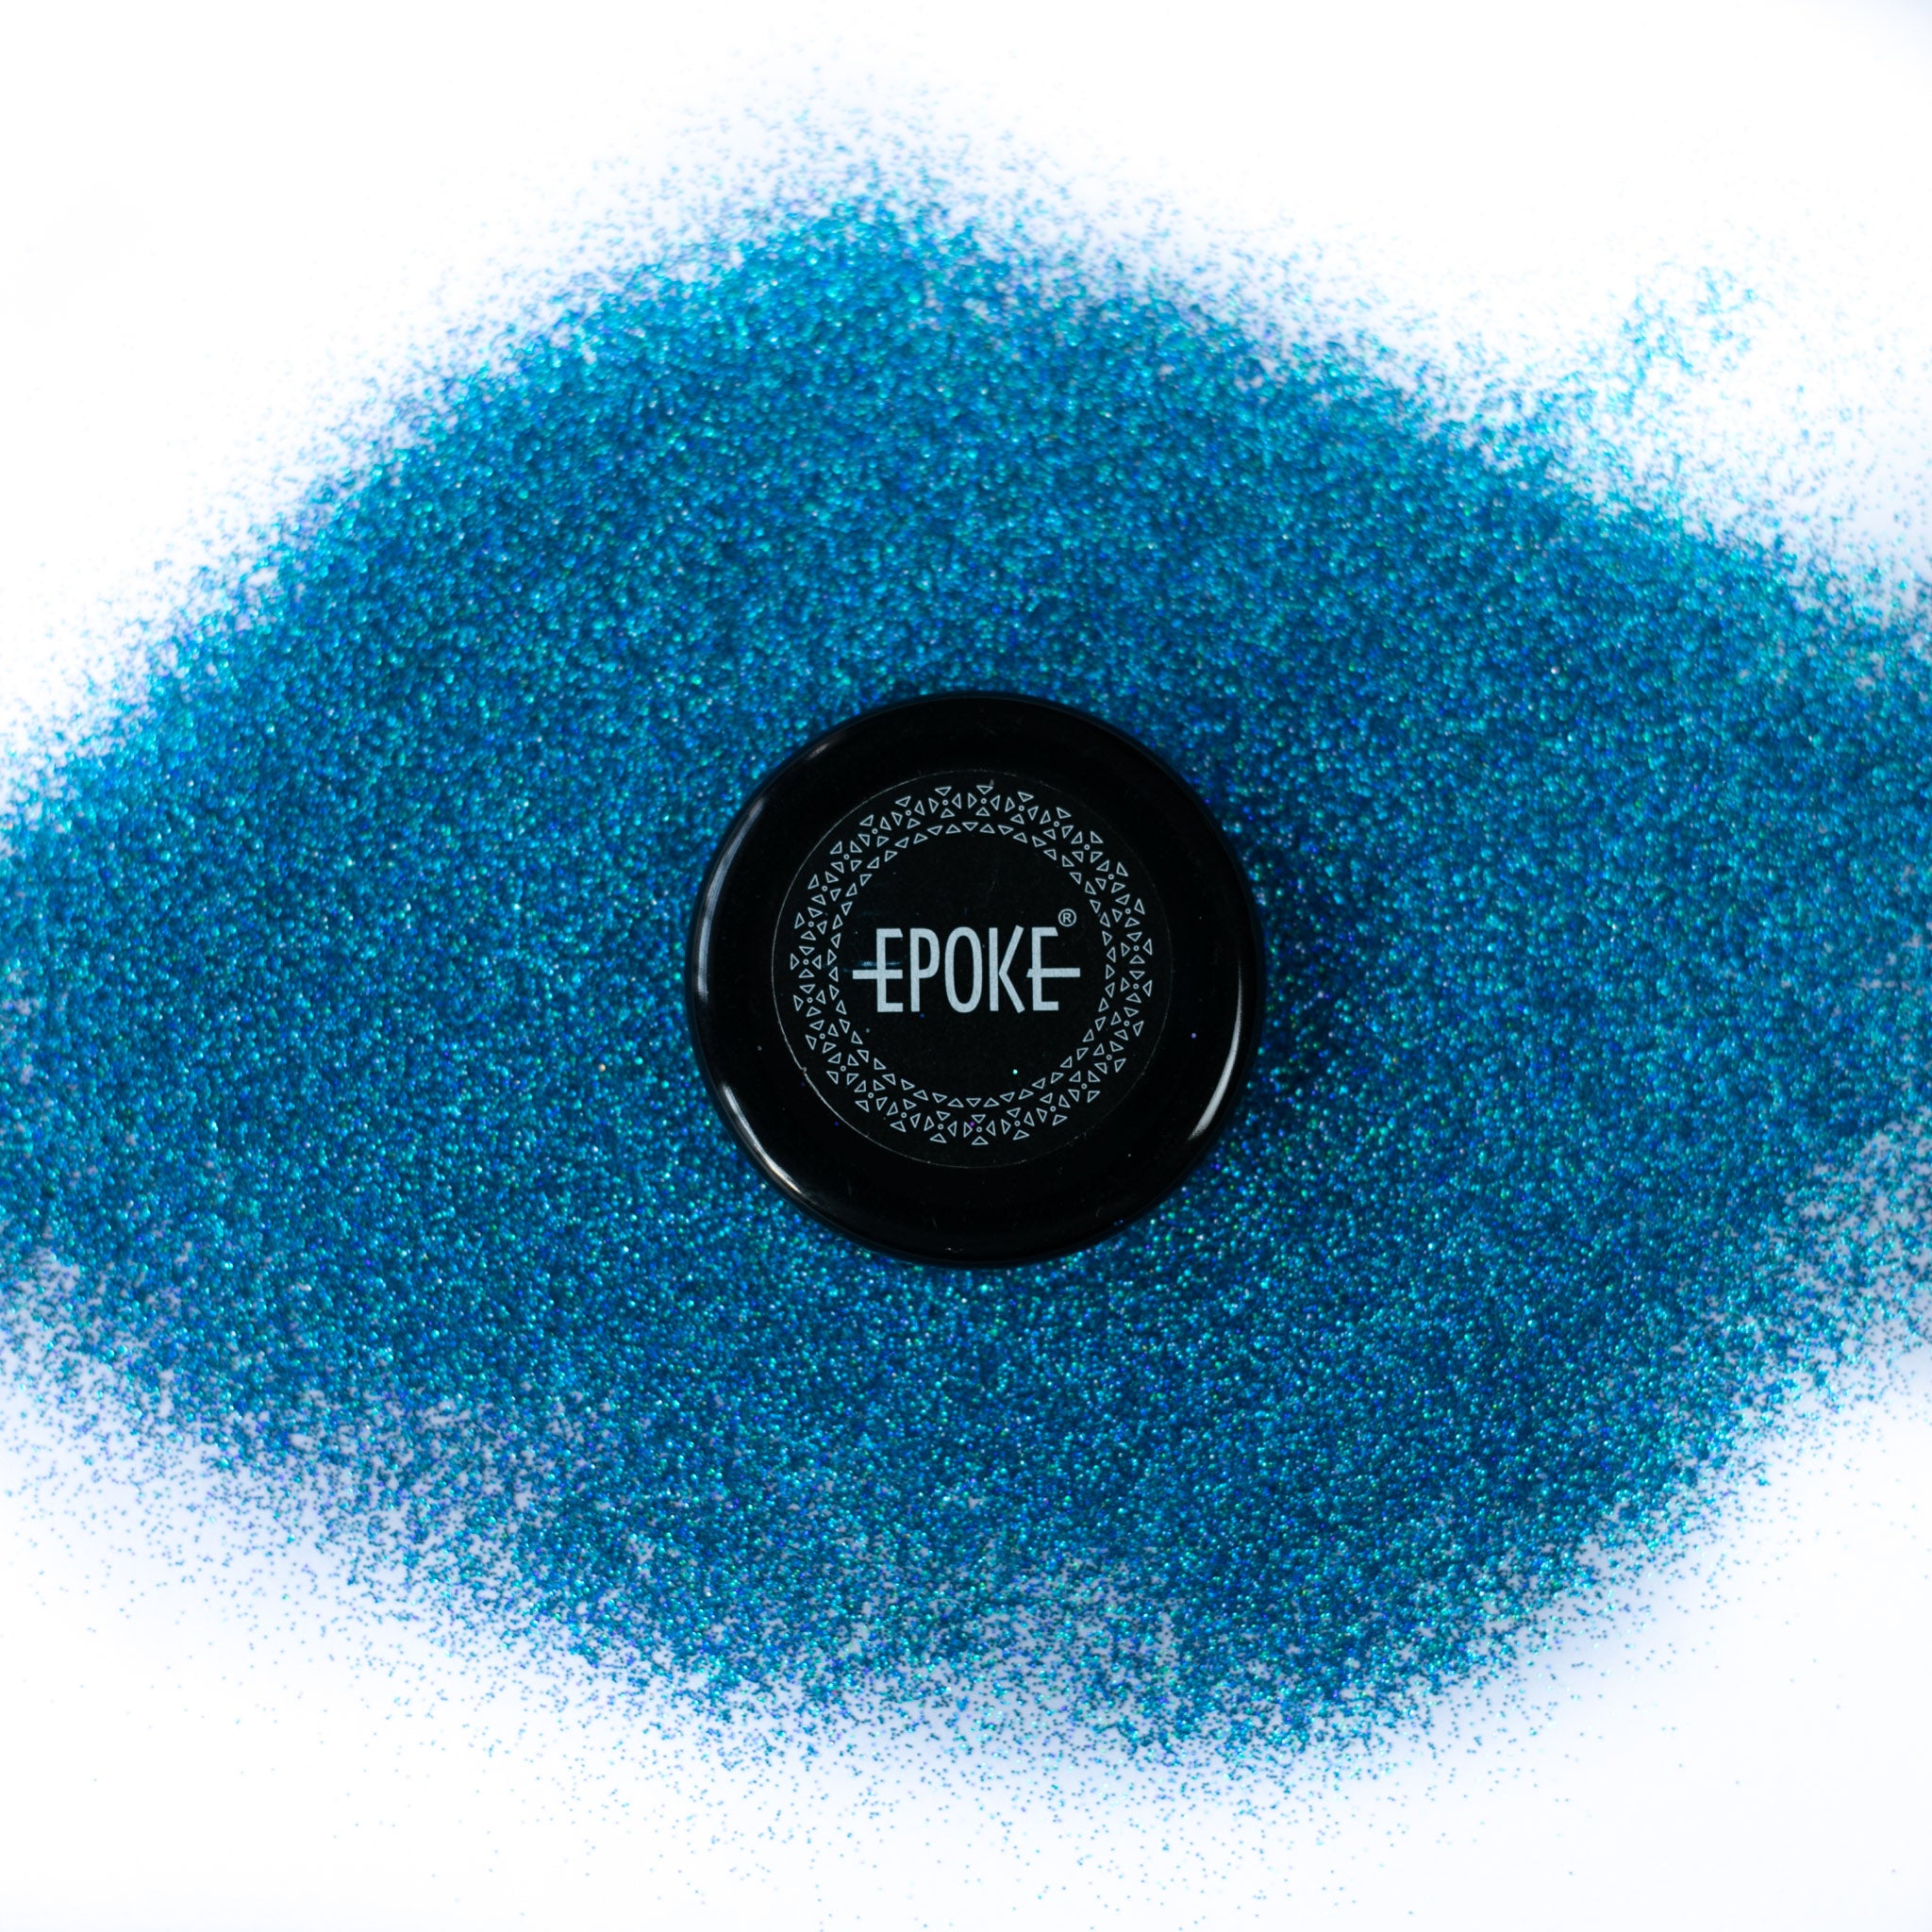
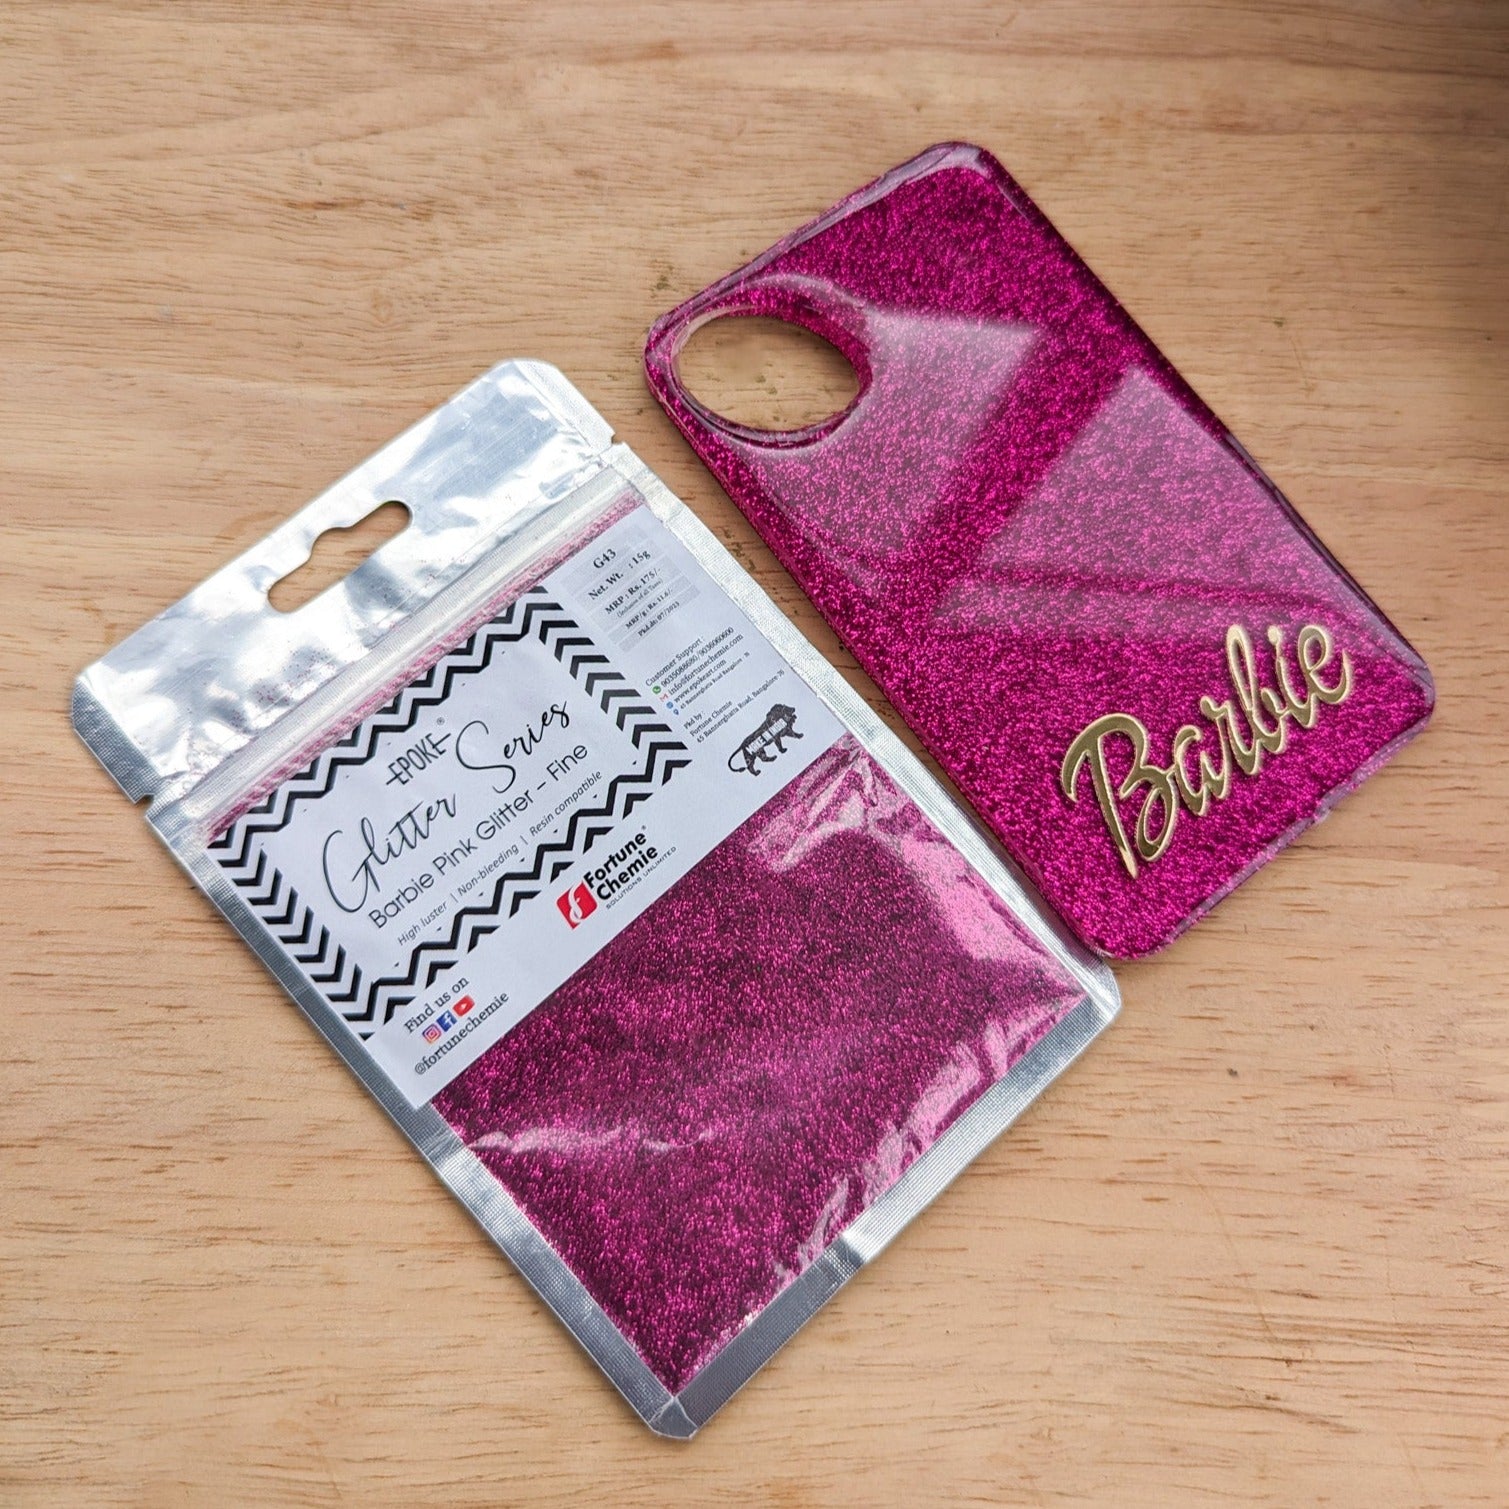
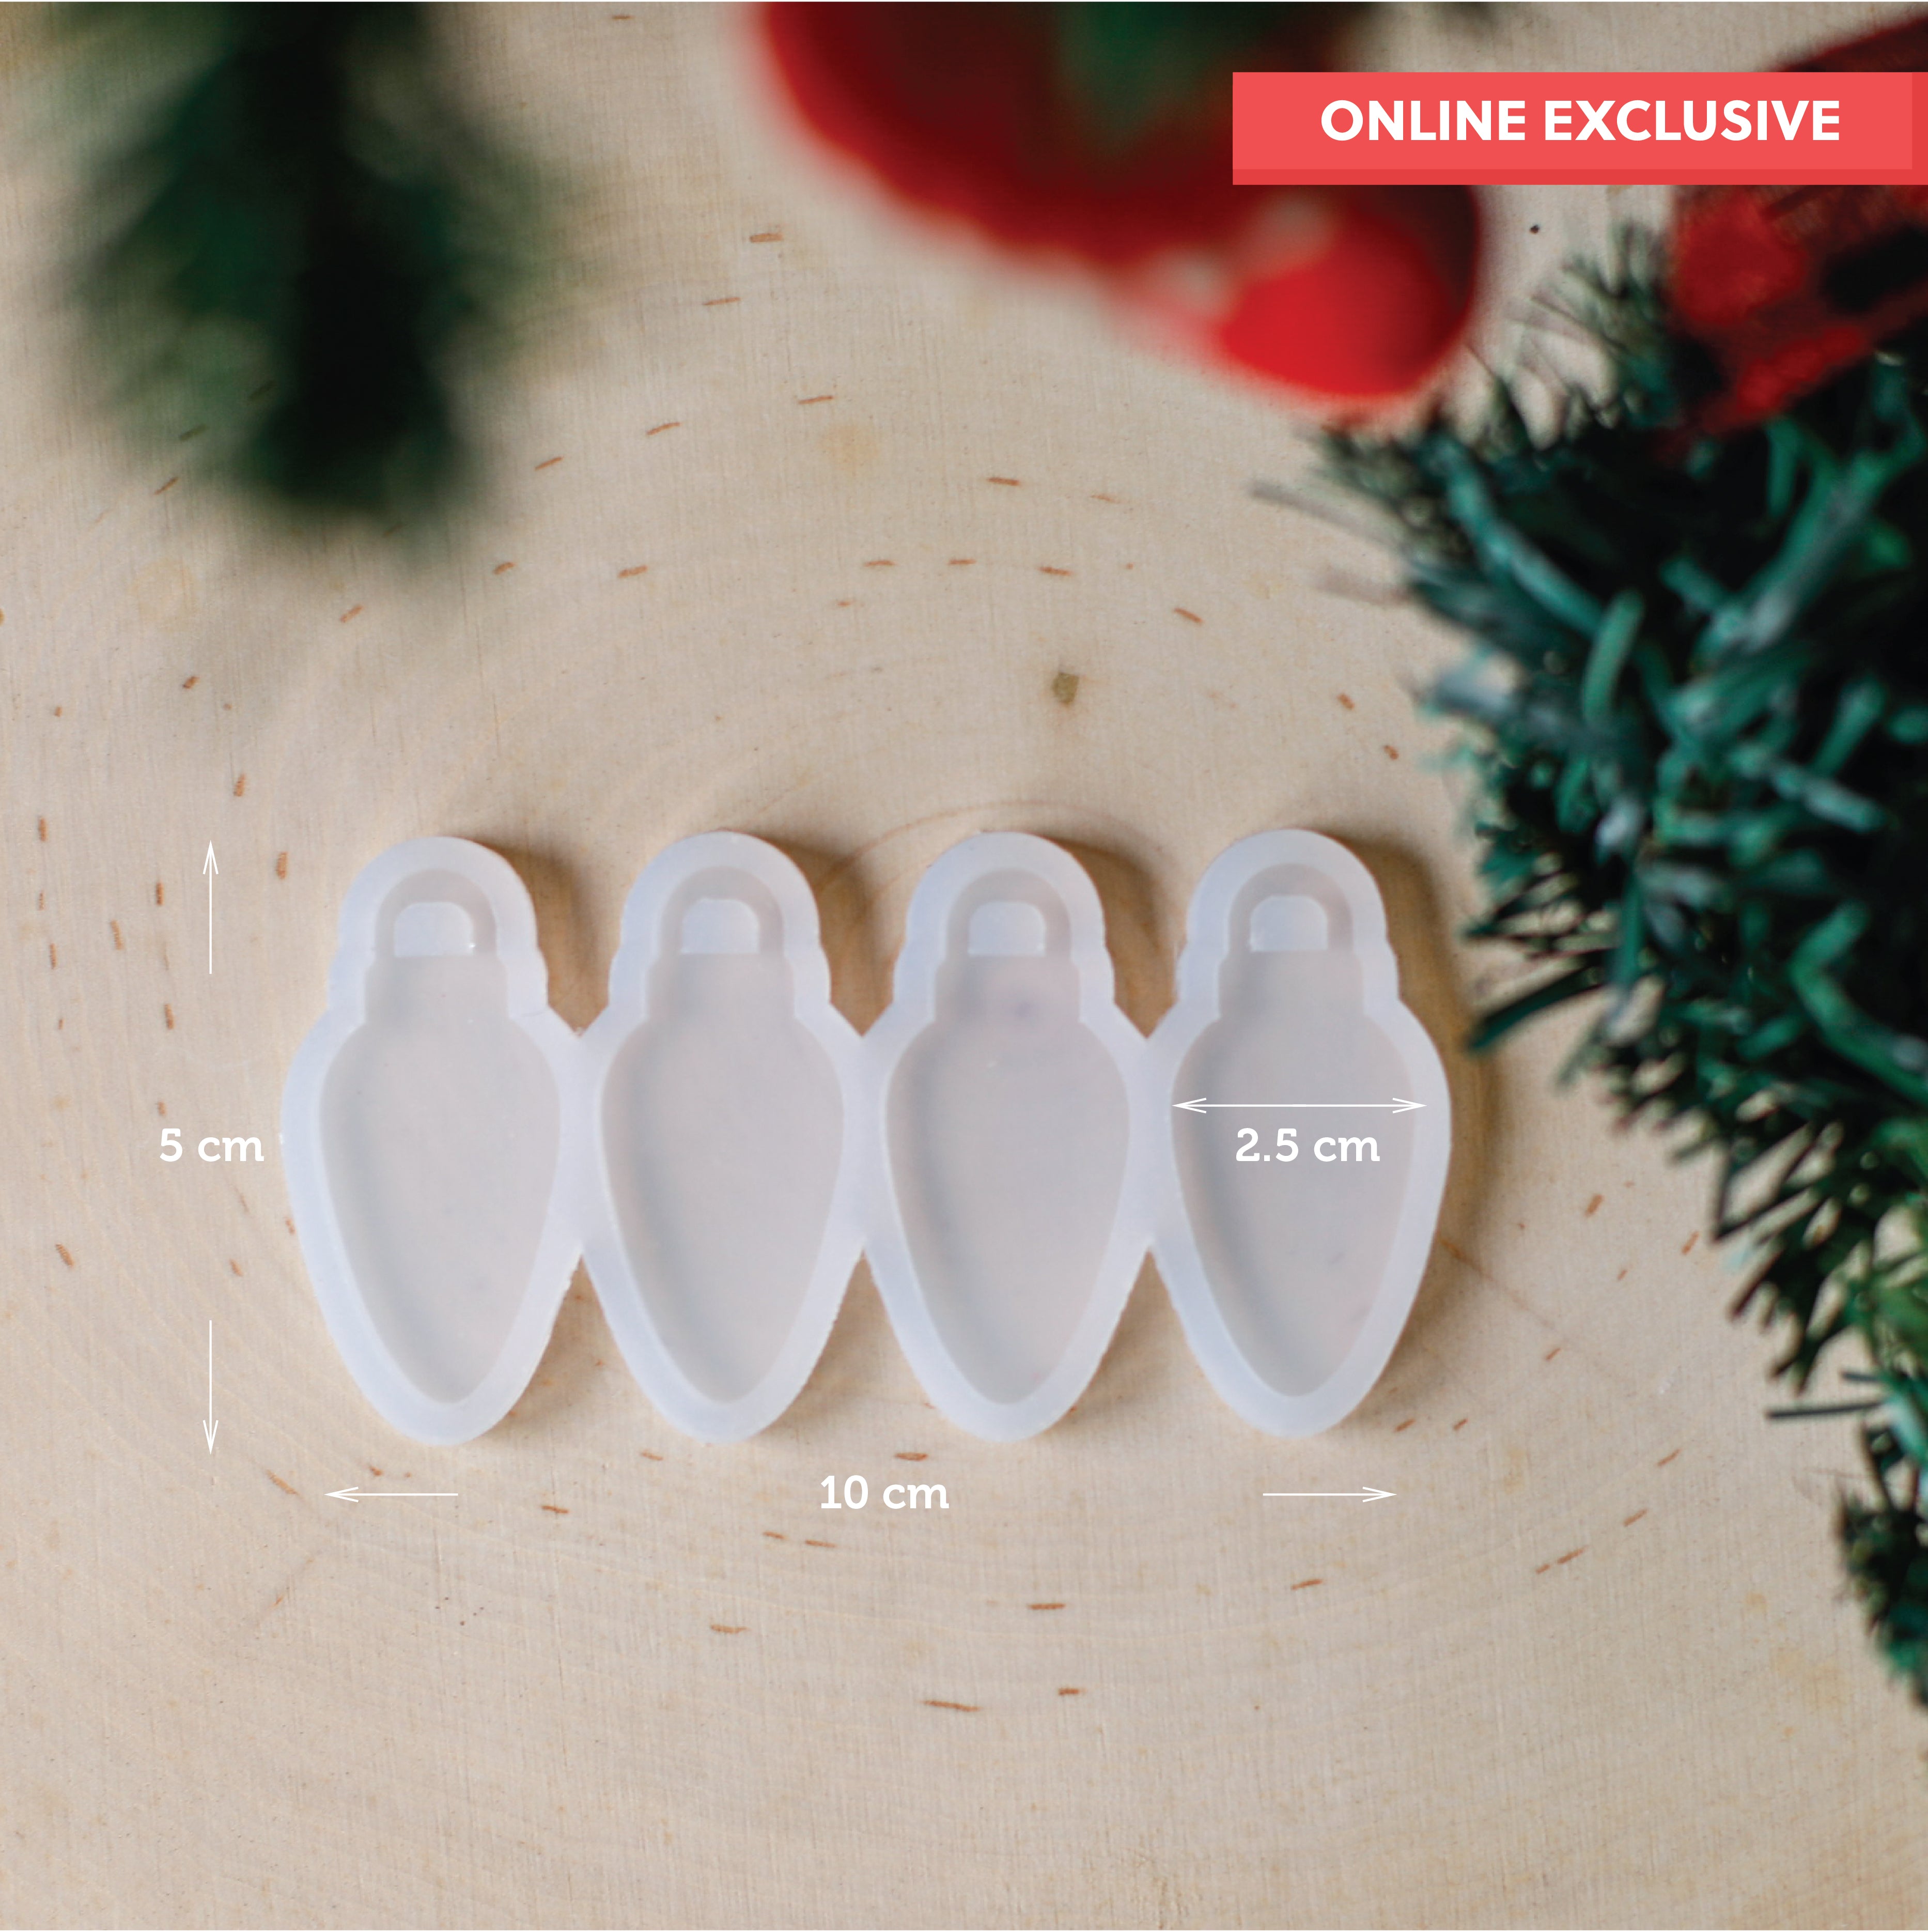
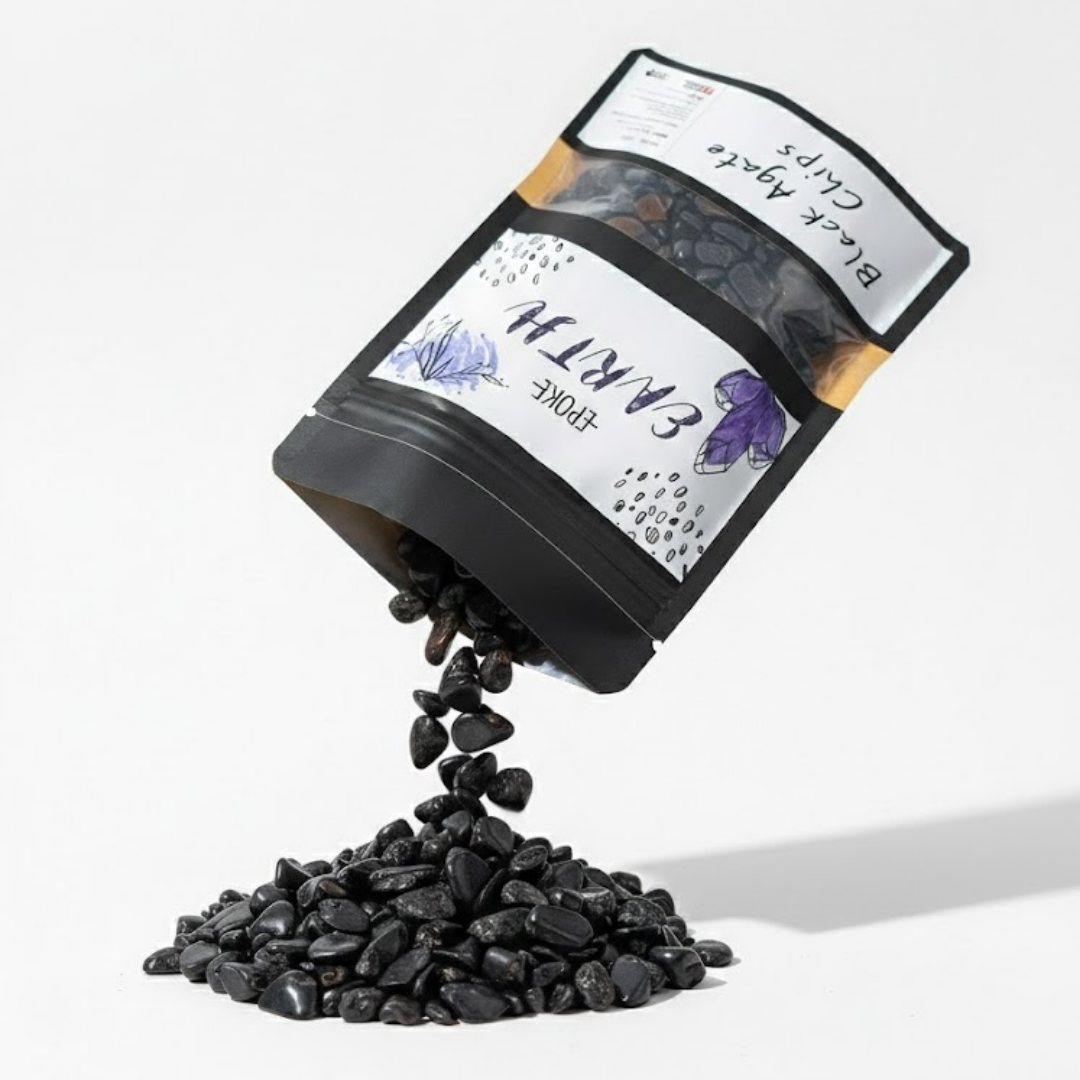
EPOKE Art's Chunky Glitter range comes in holographic finishes across multiple colours, including silver, gold, black, and orange. Each pack is 15g, sold by weight.
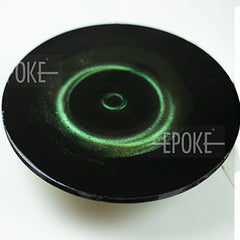
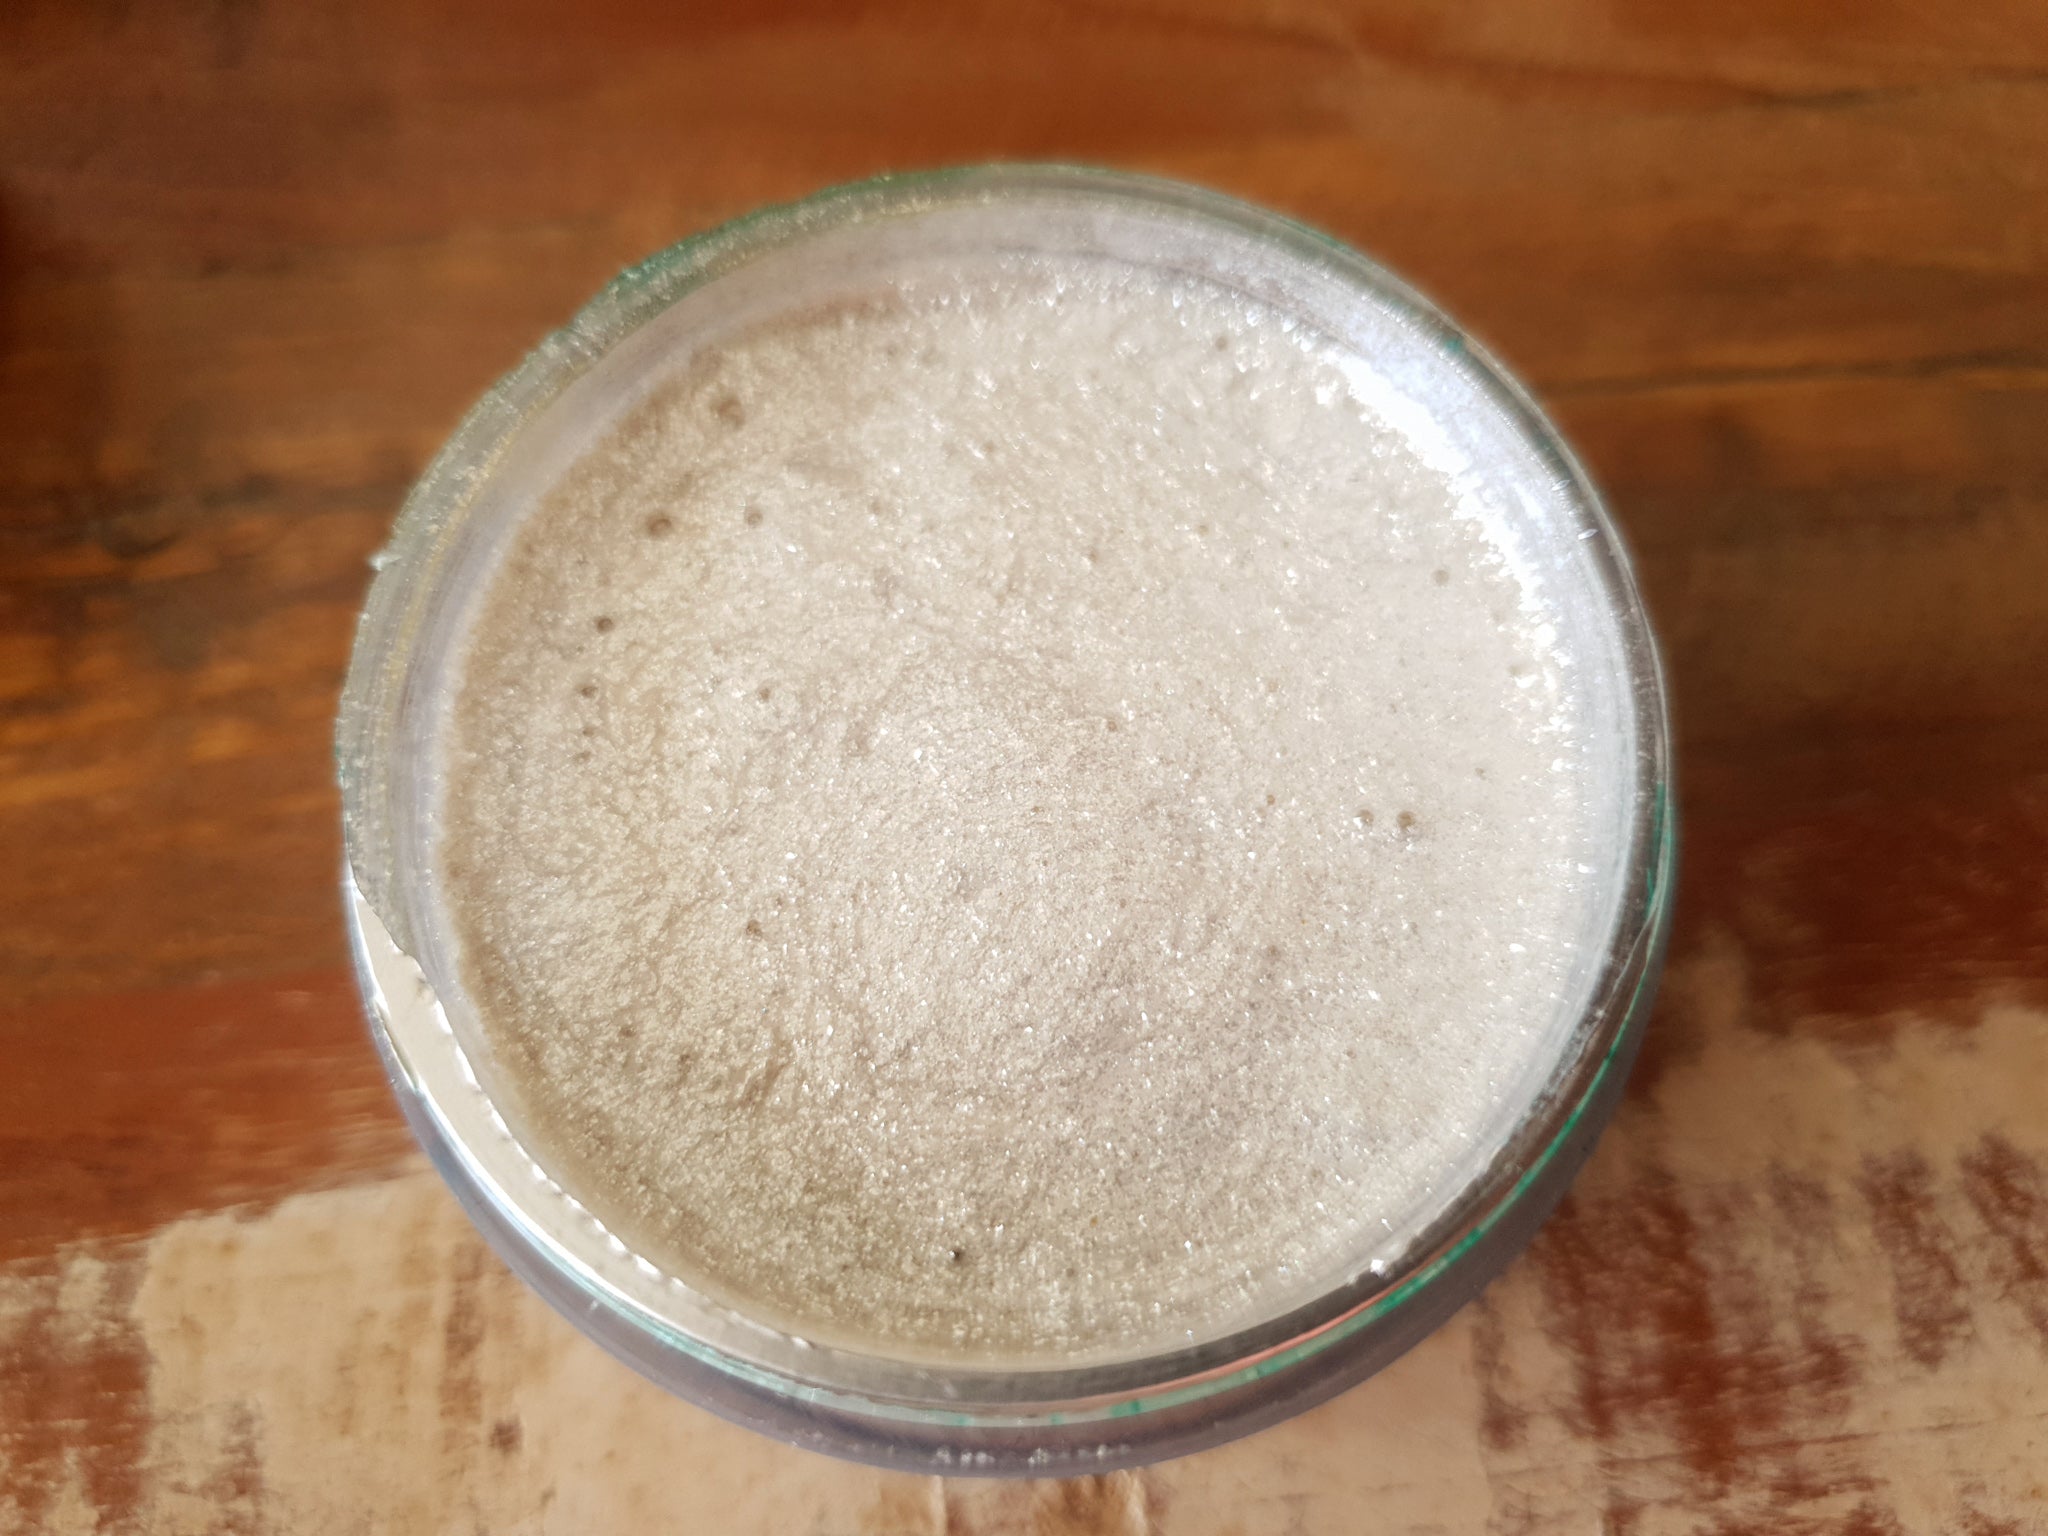
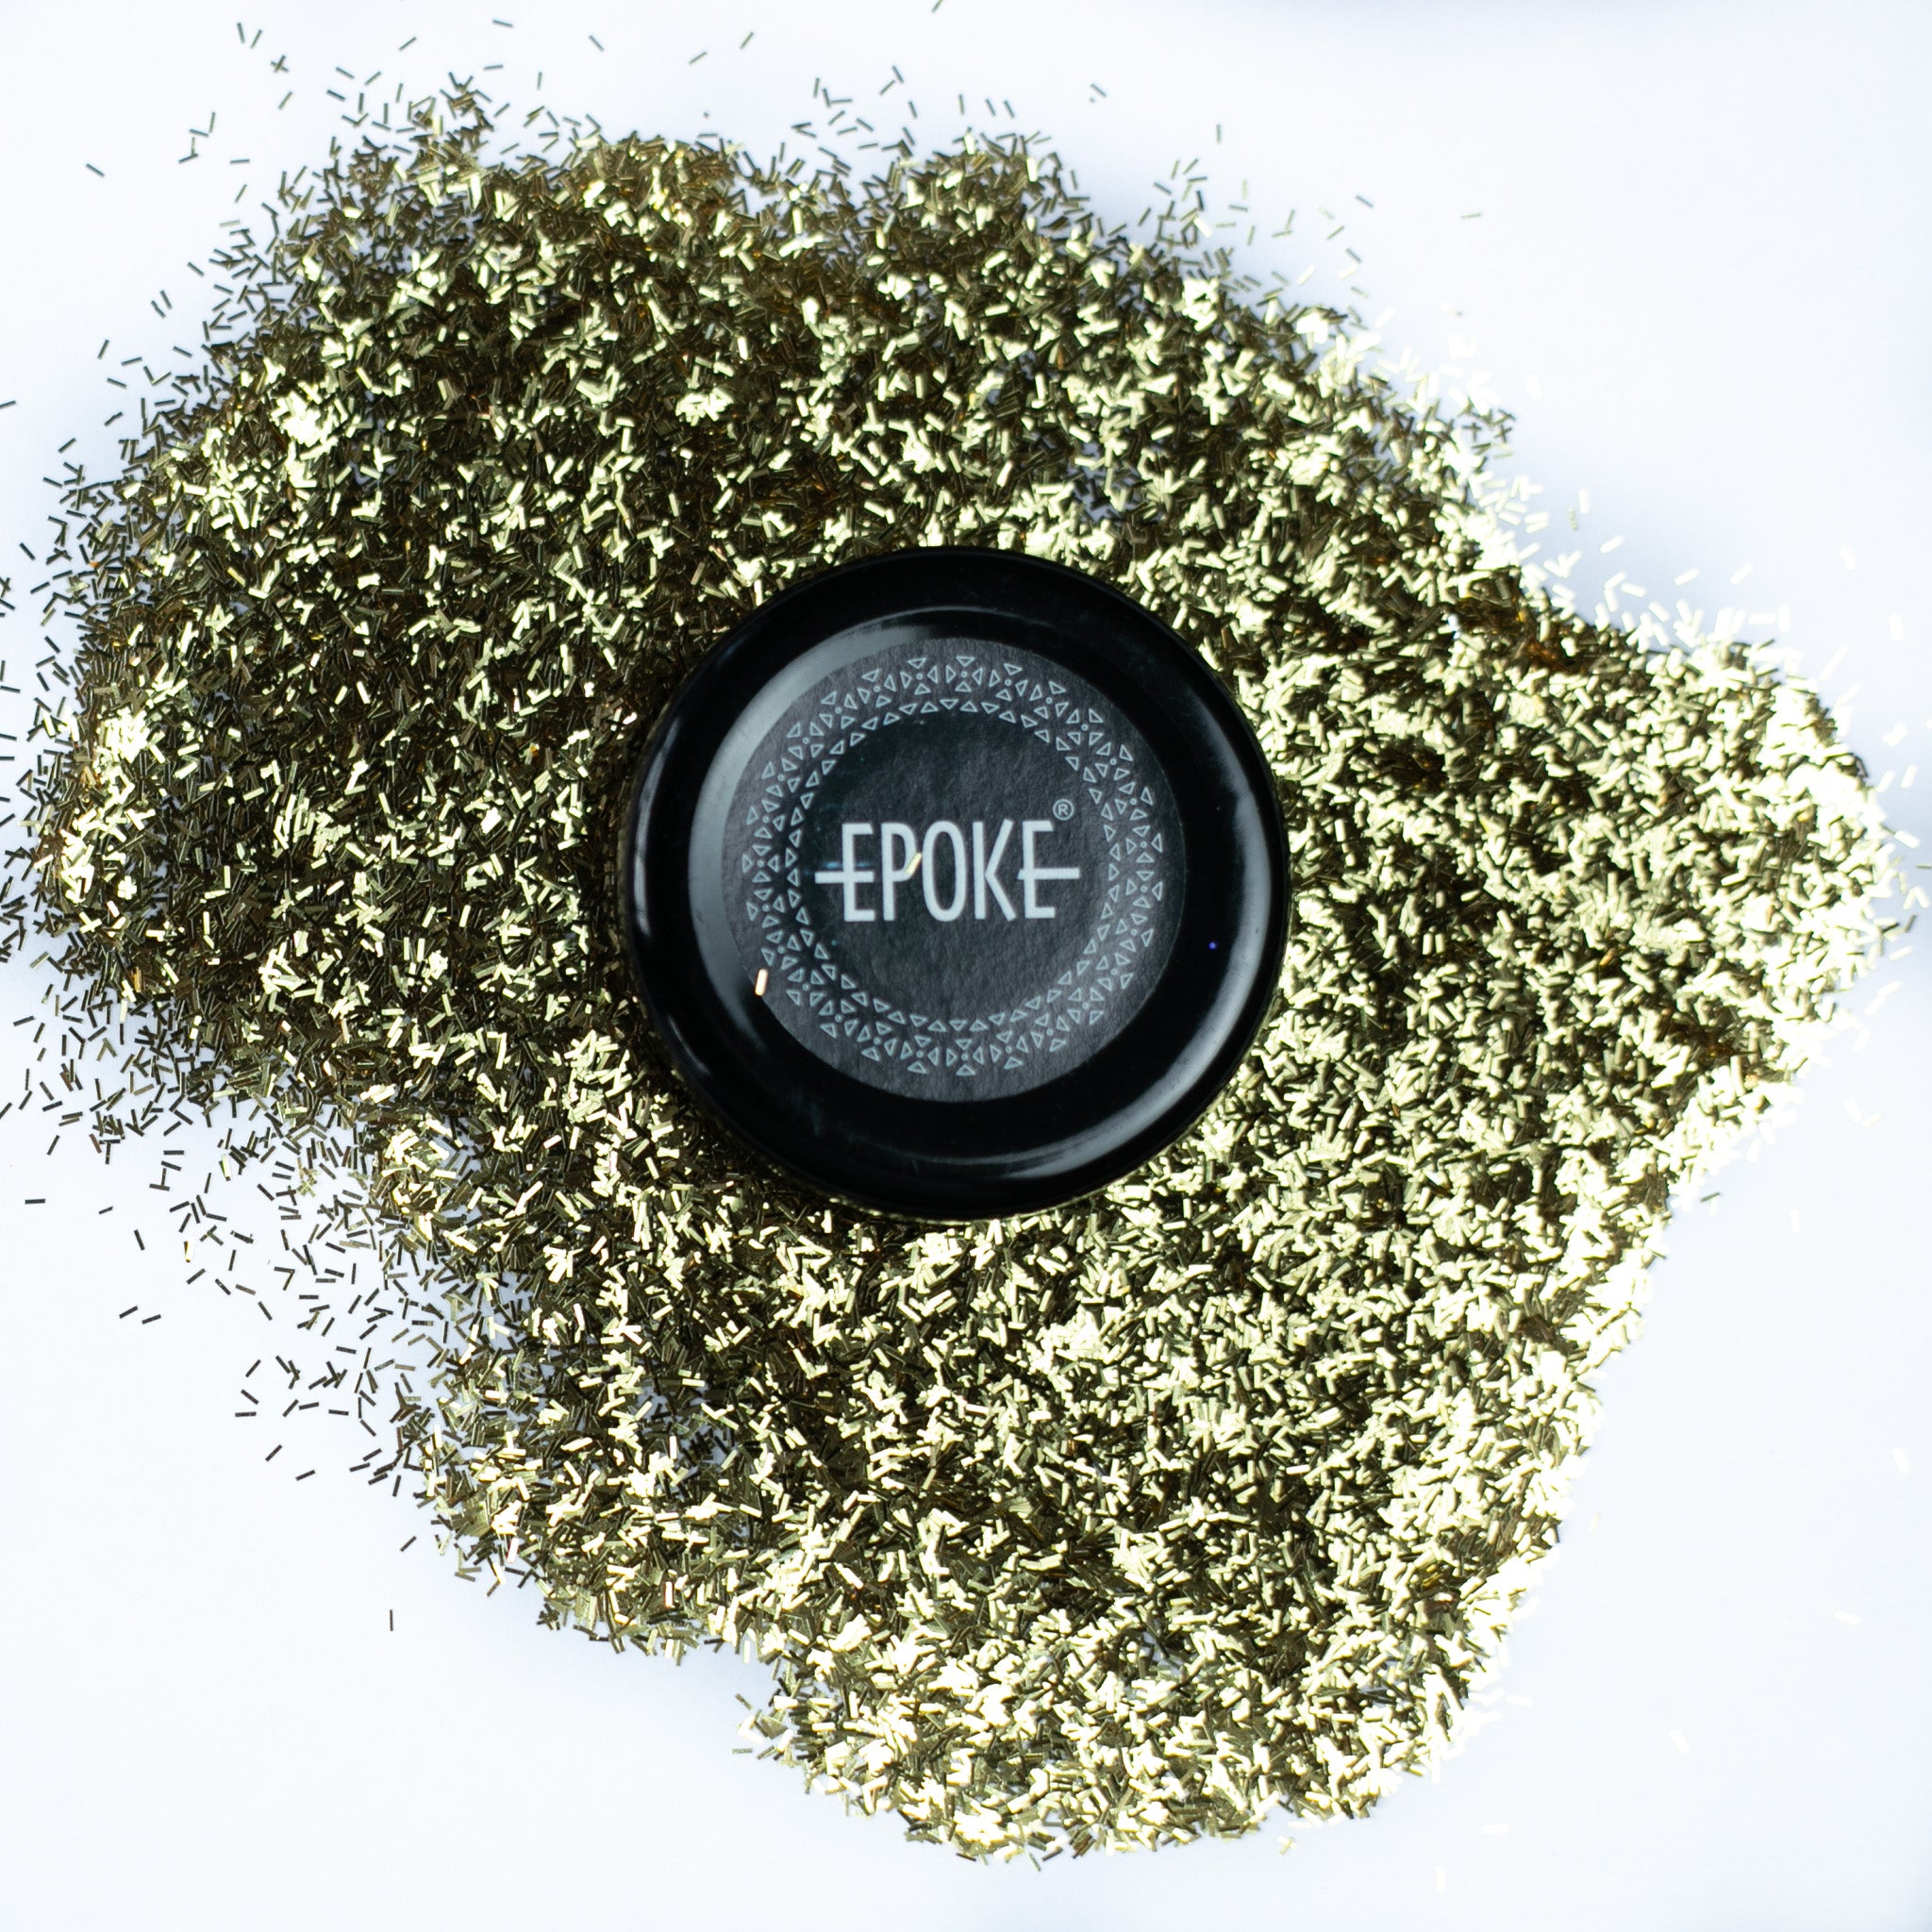
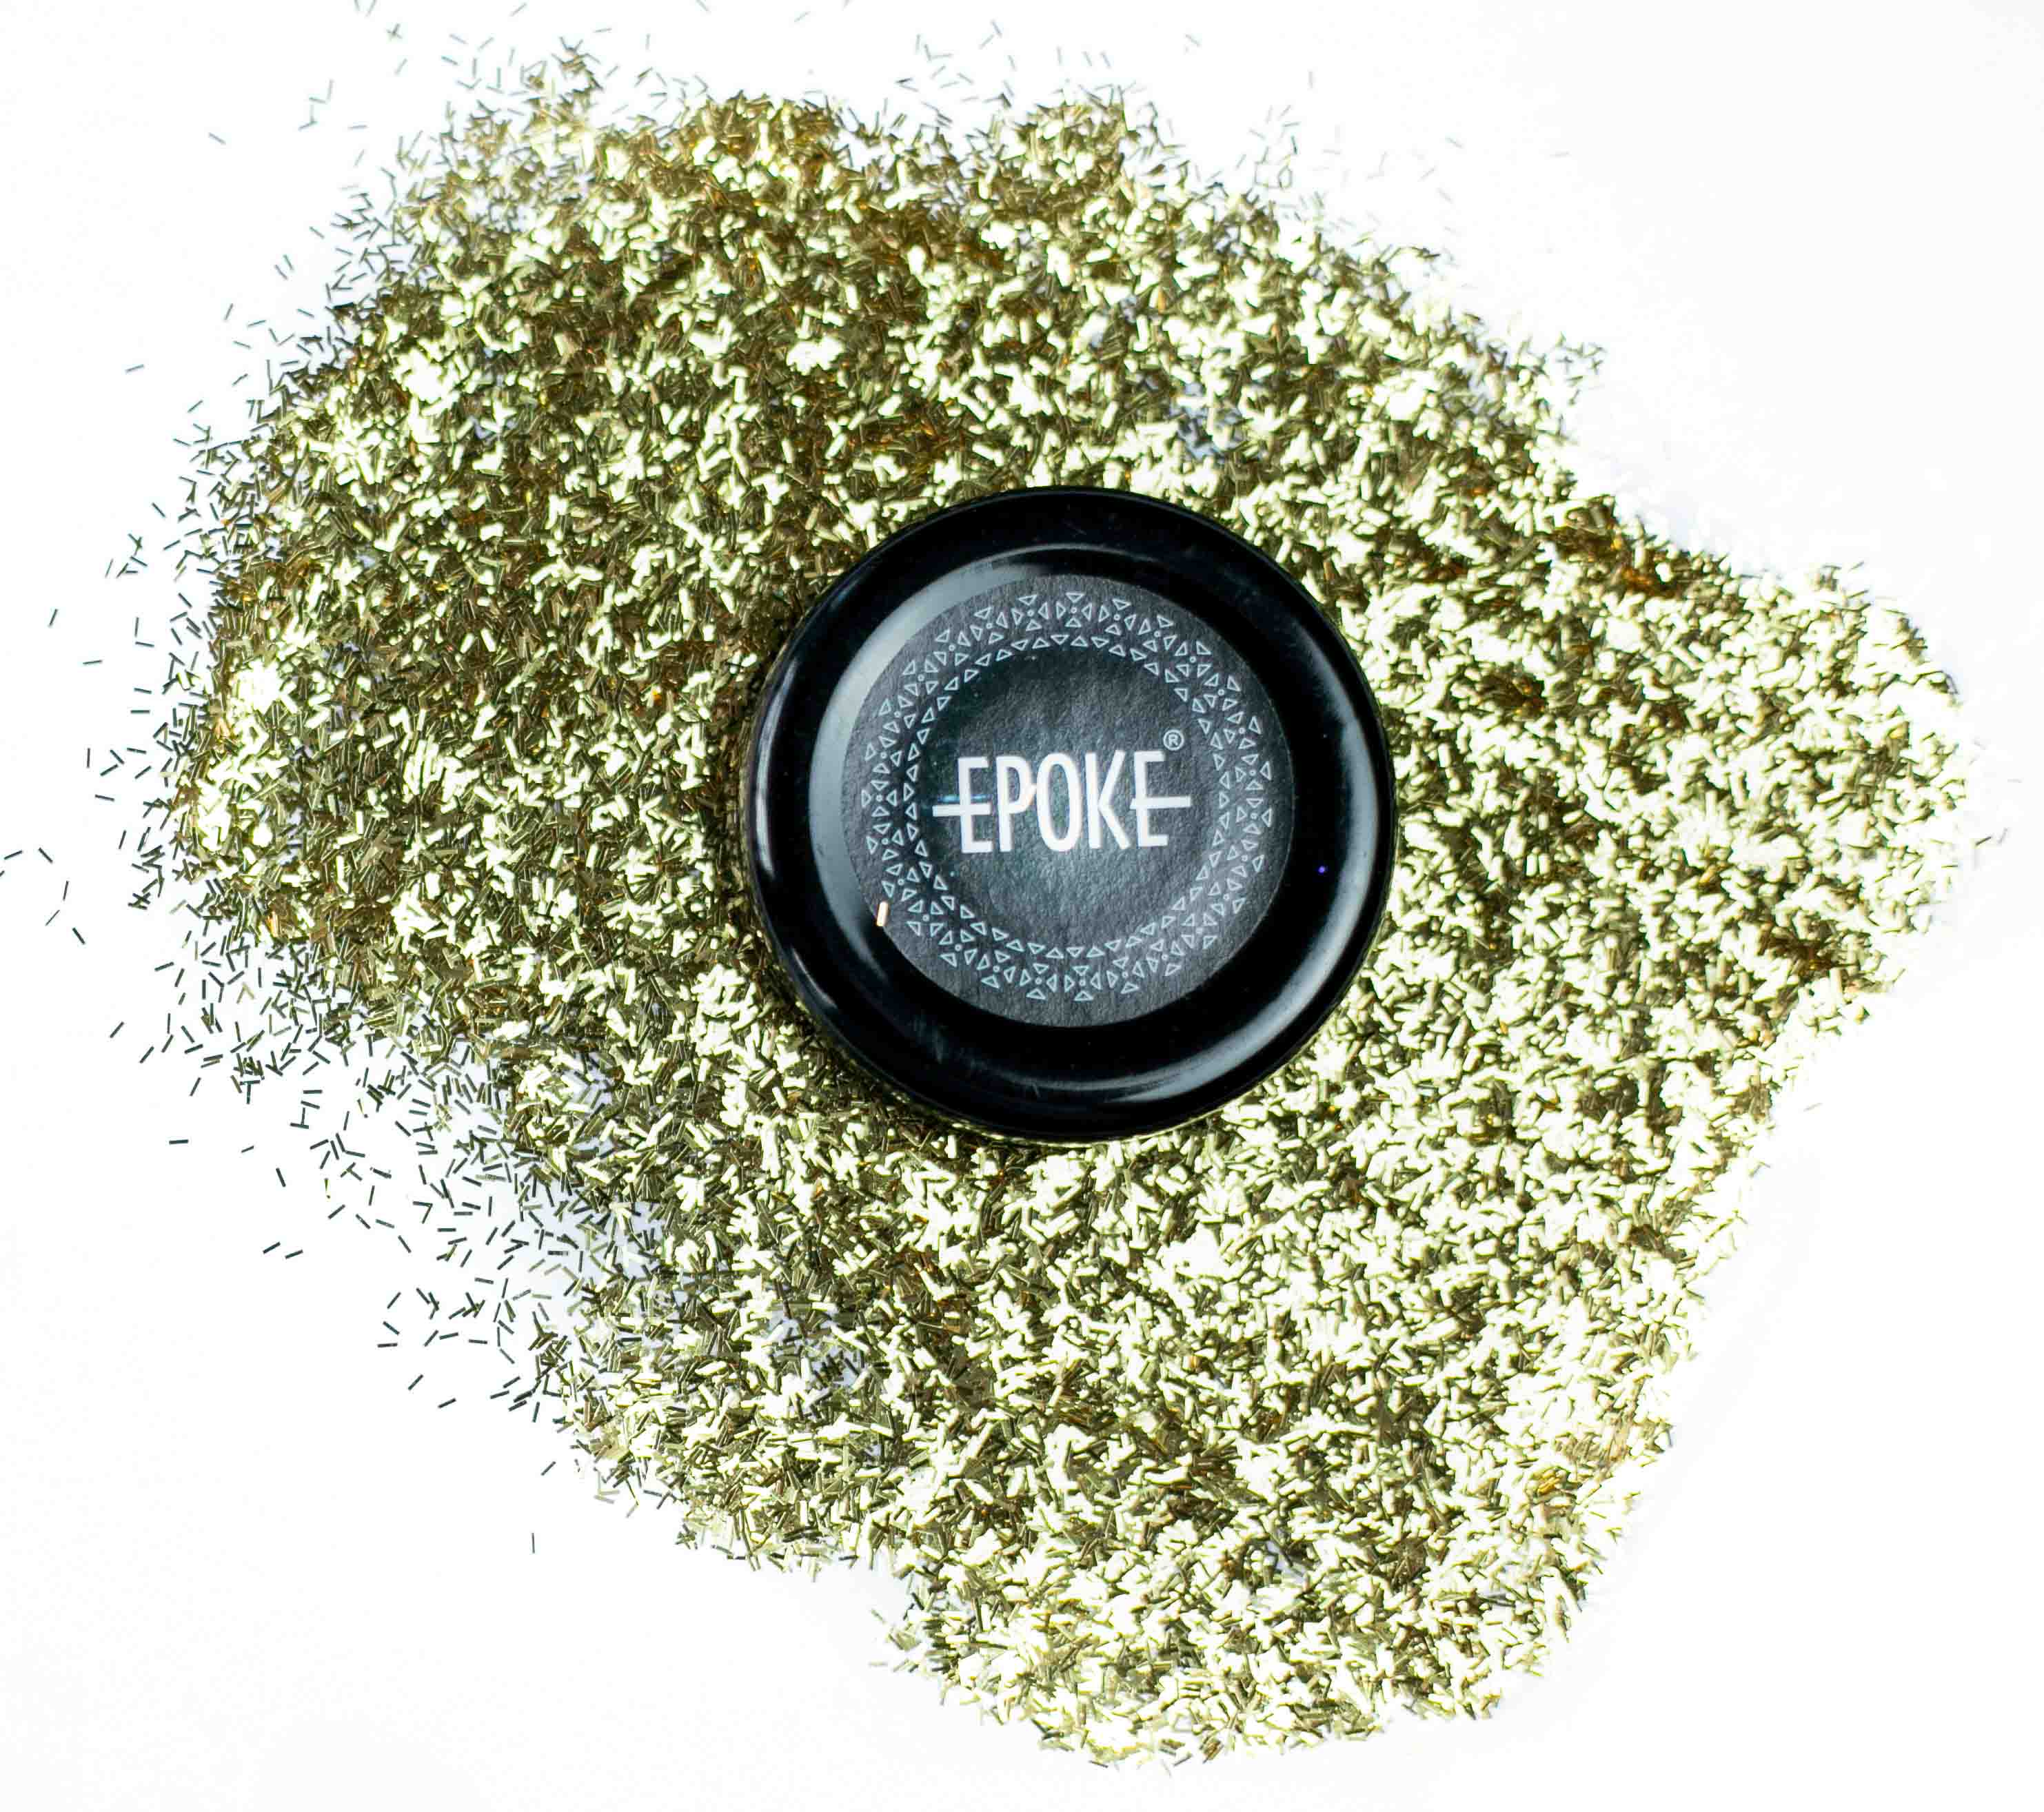
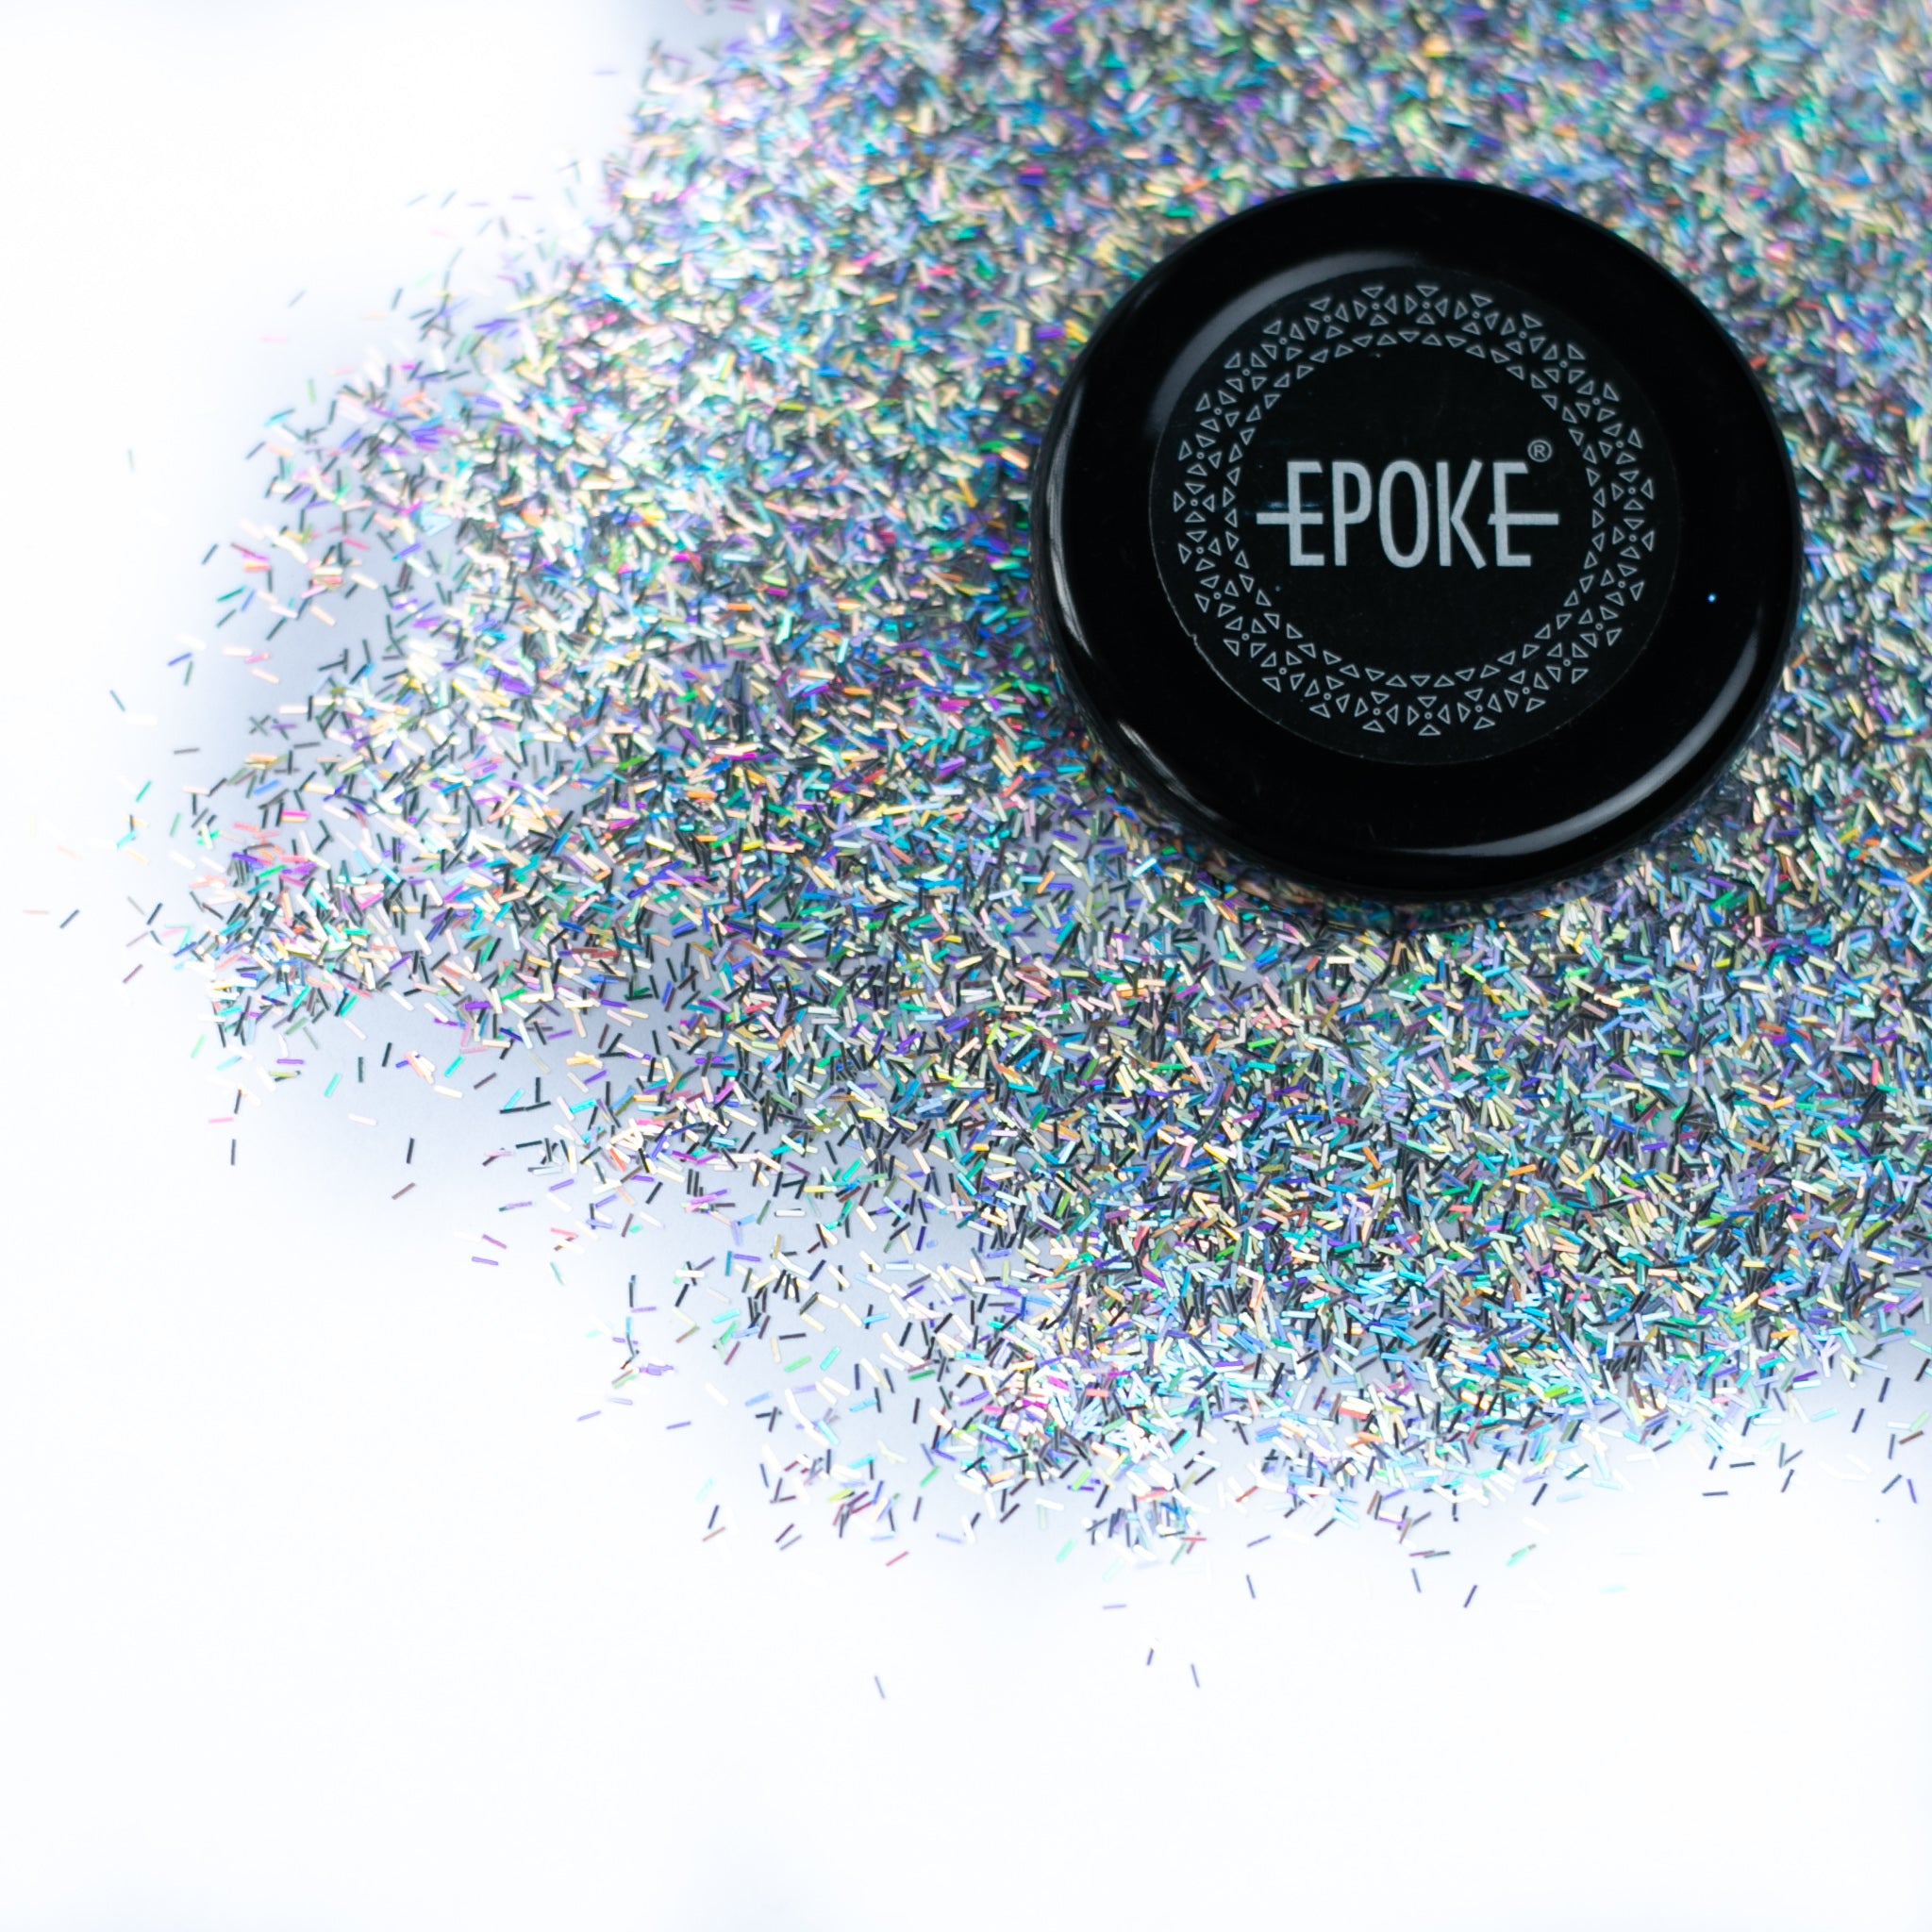
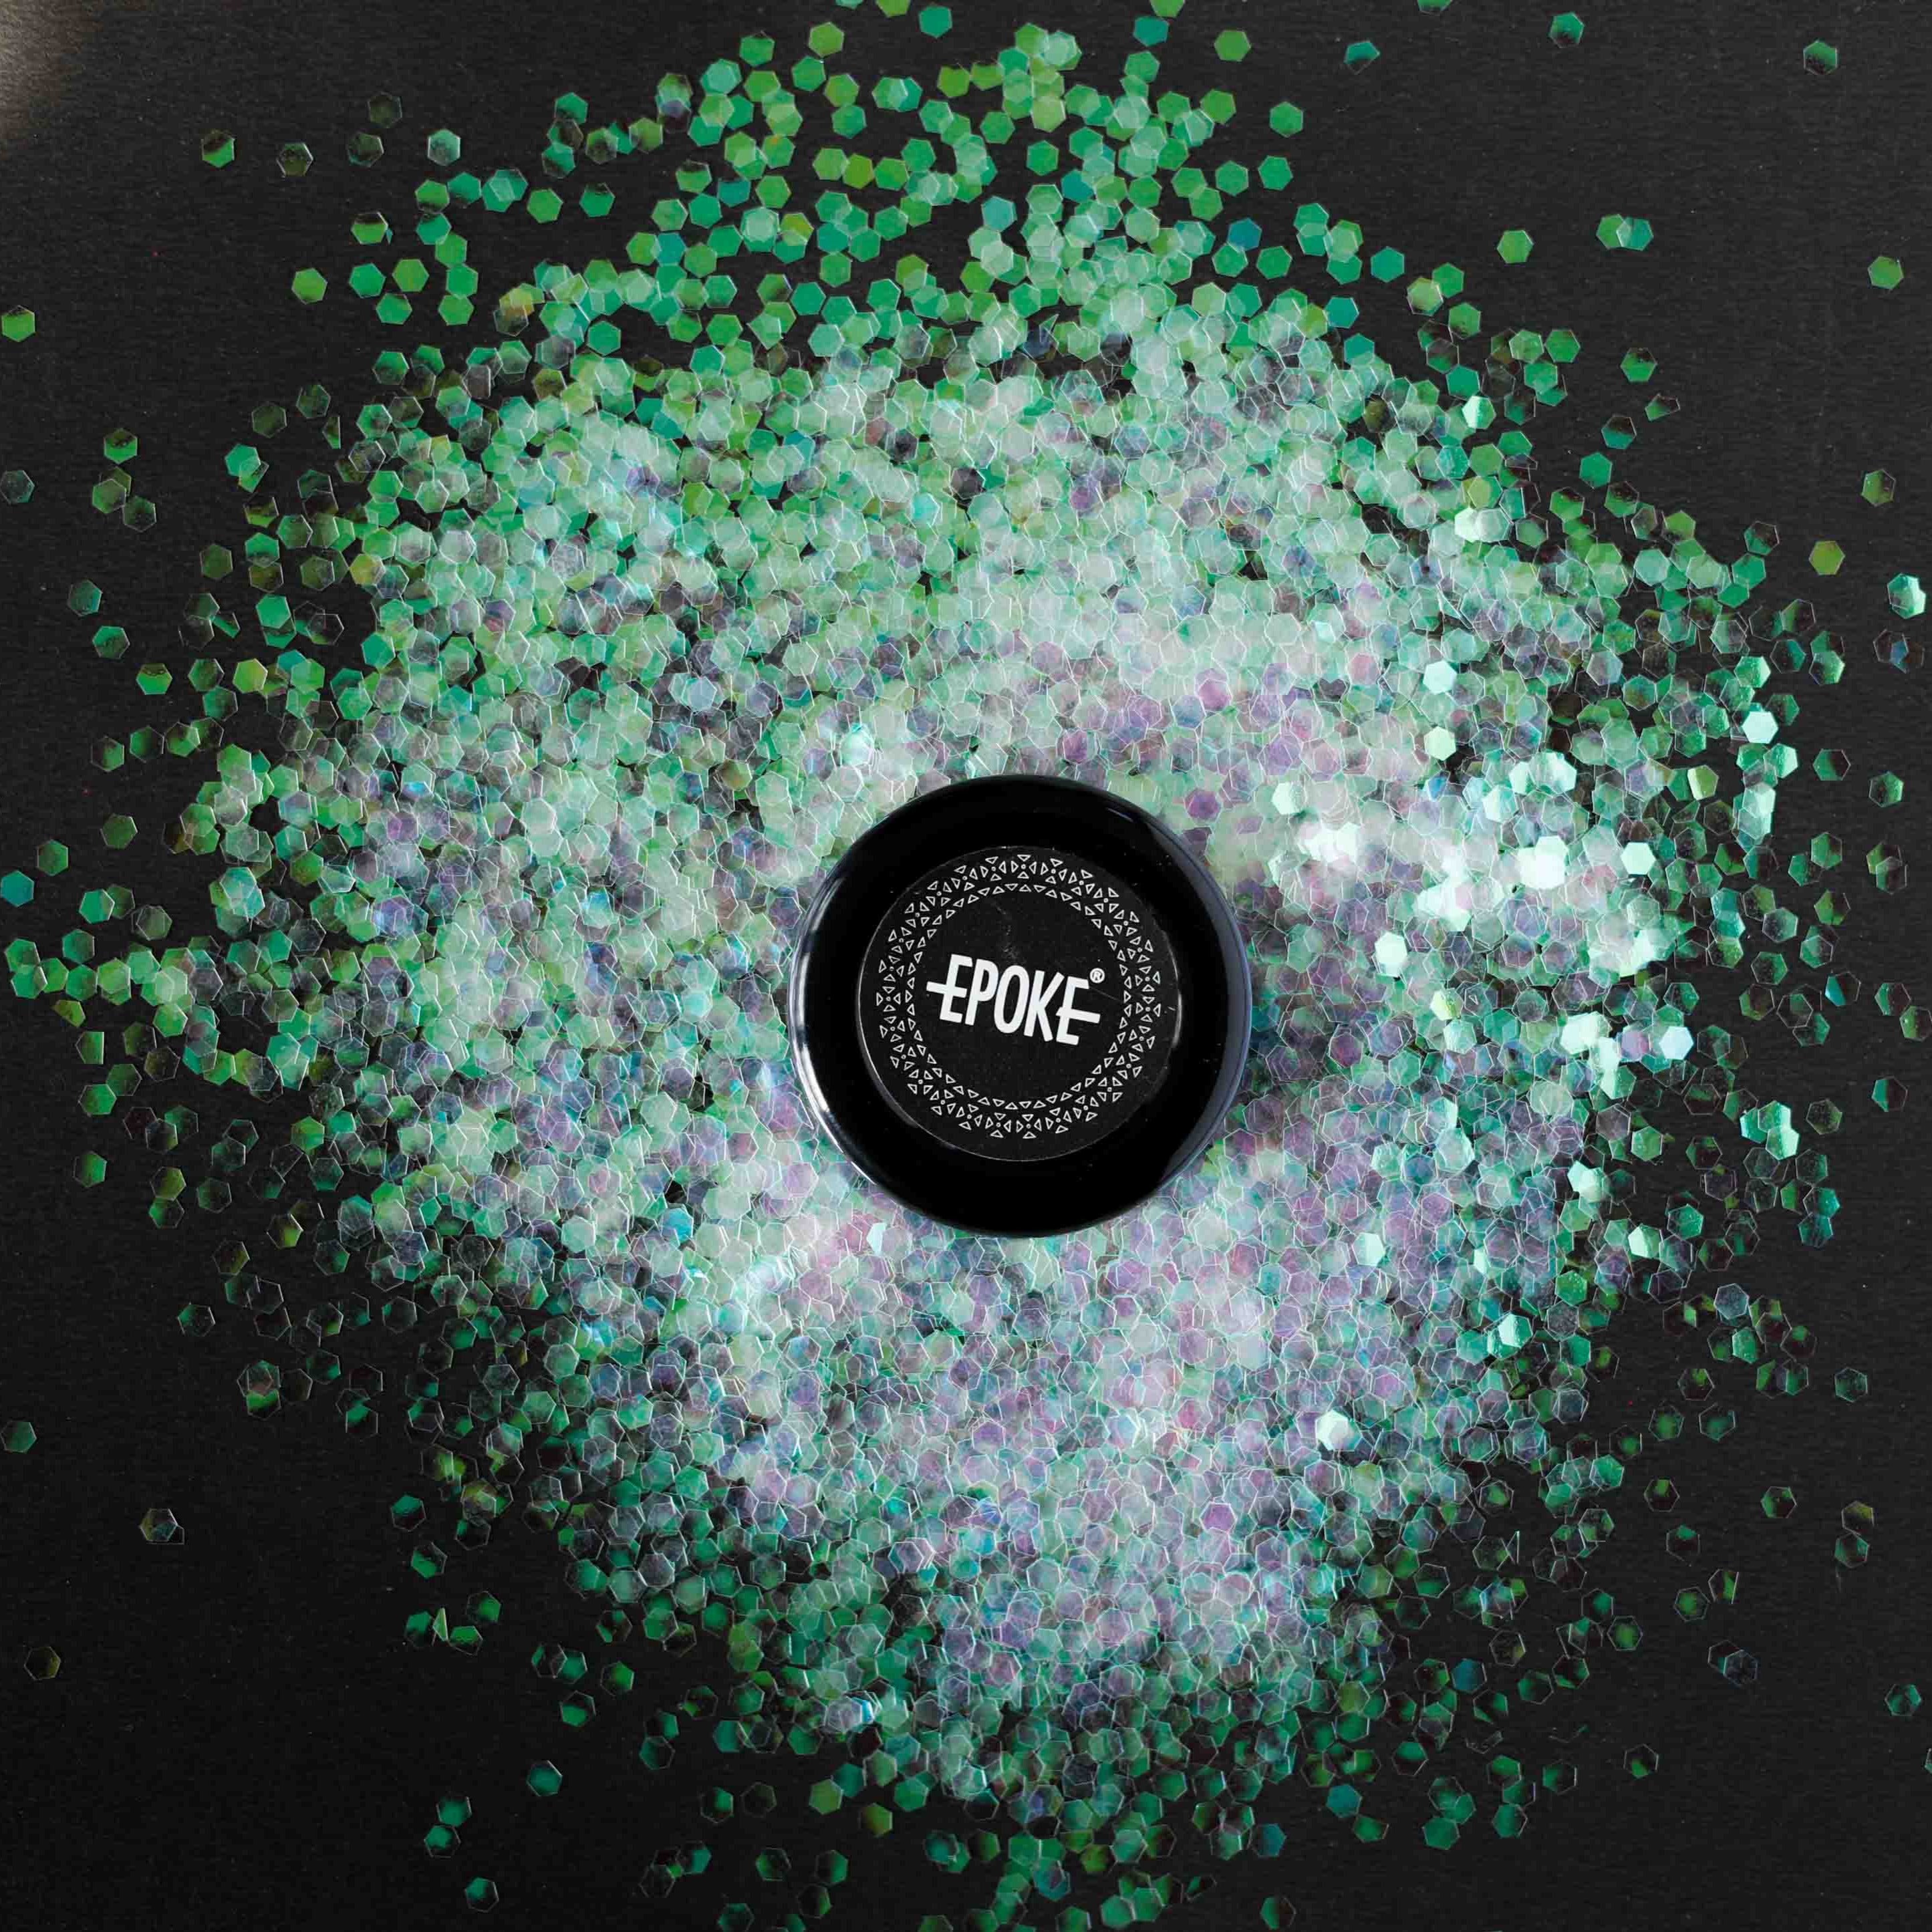
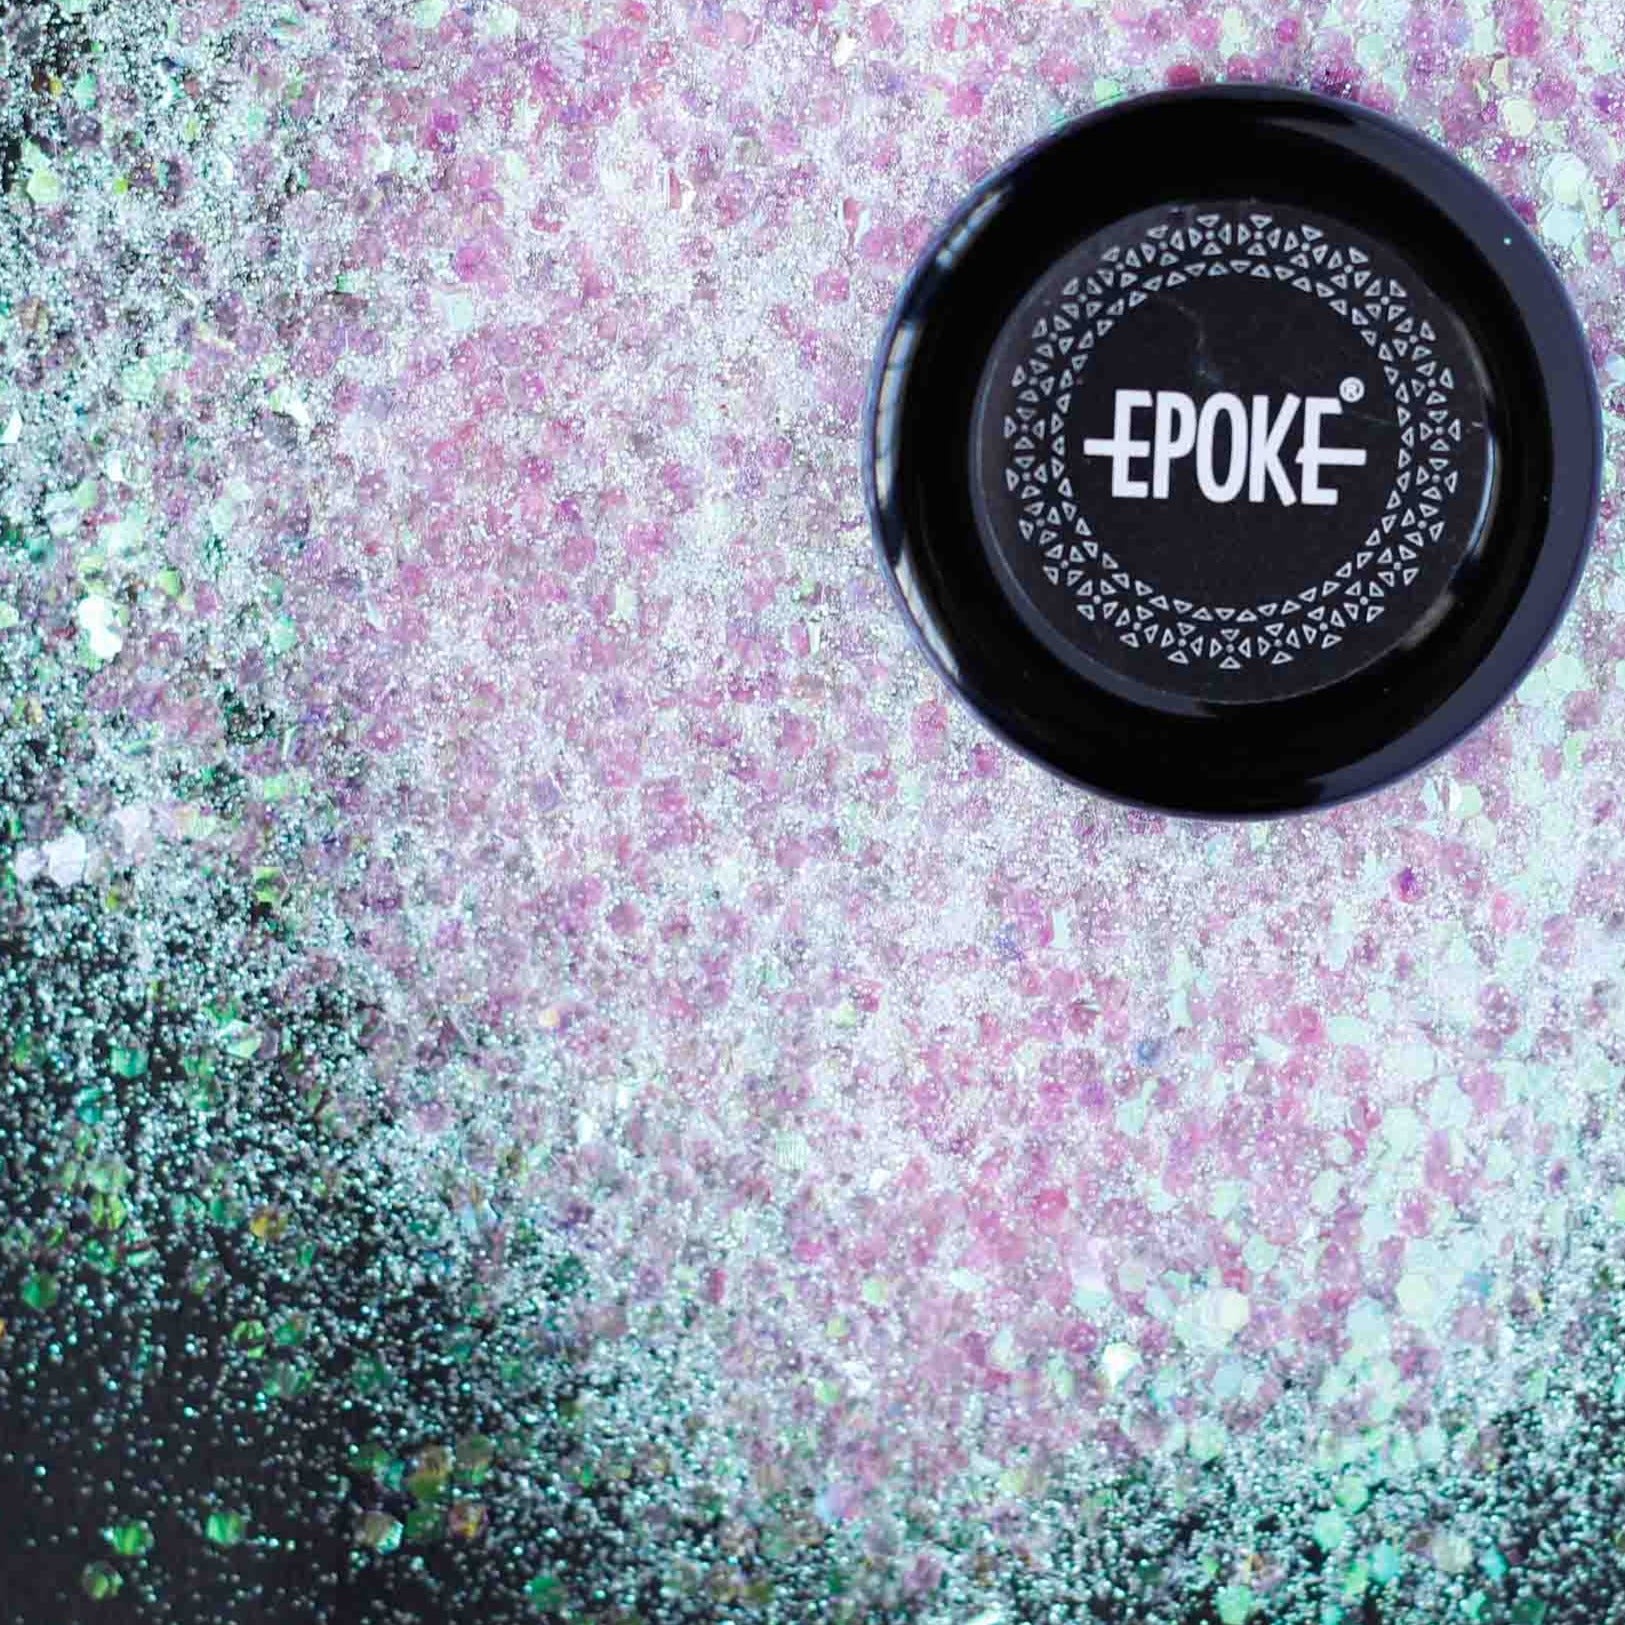
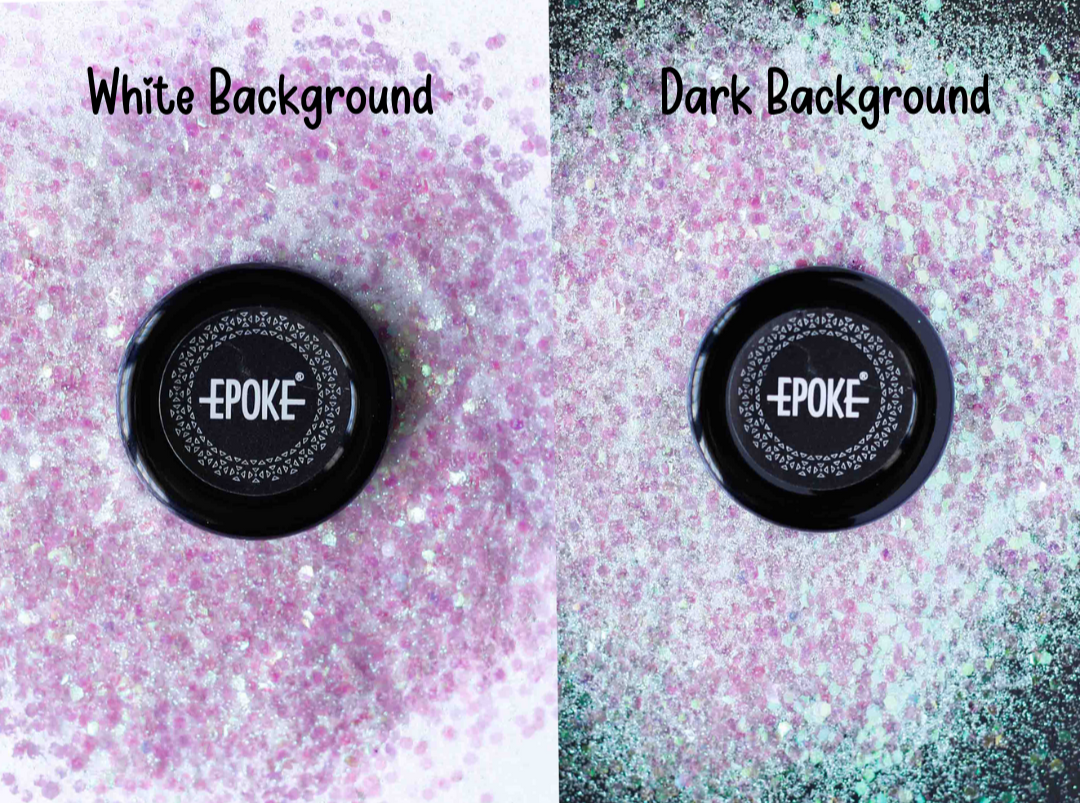
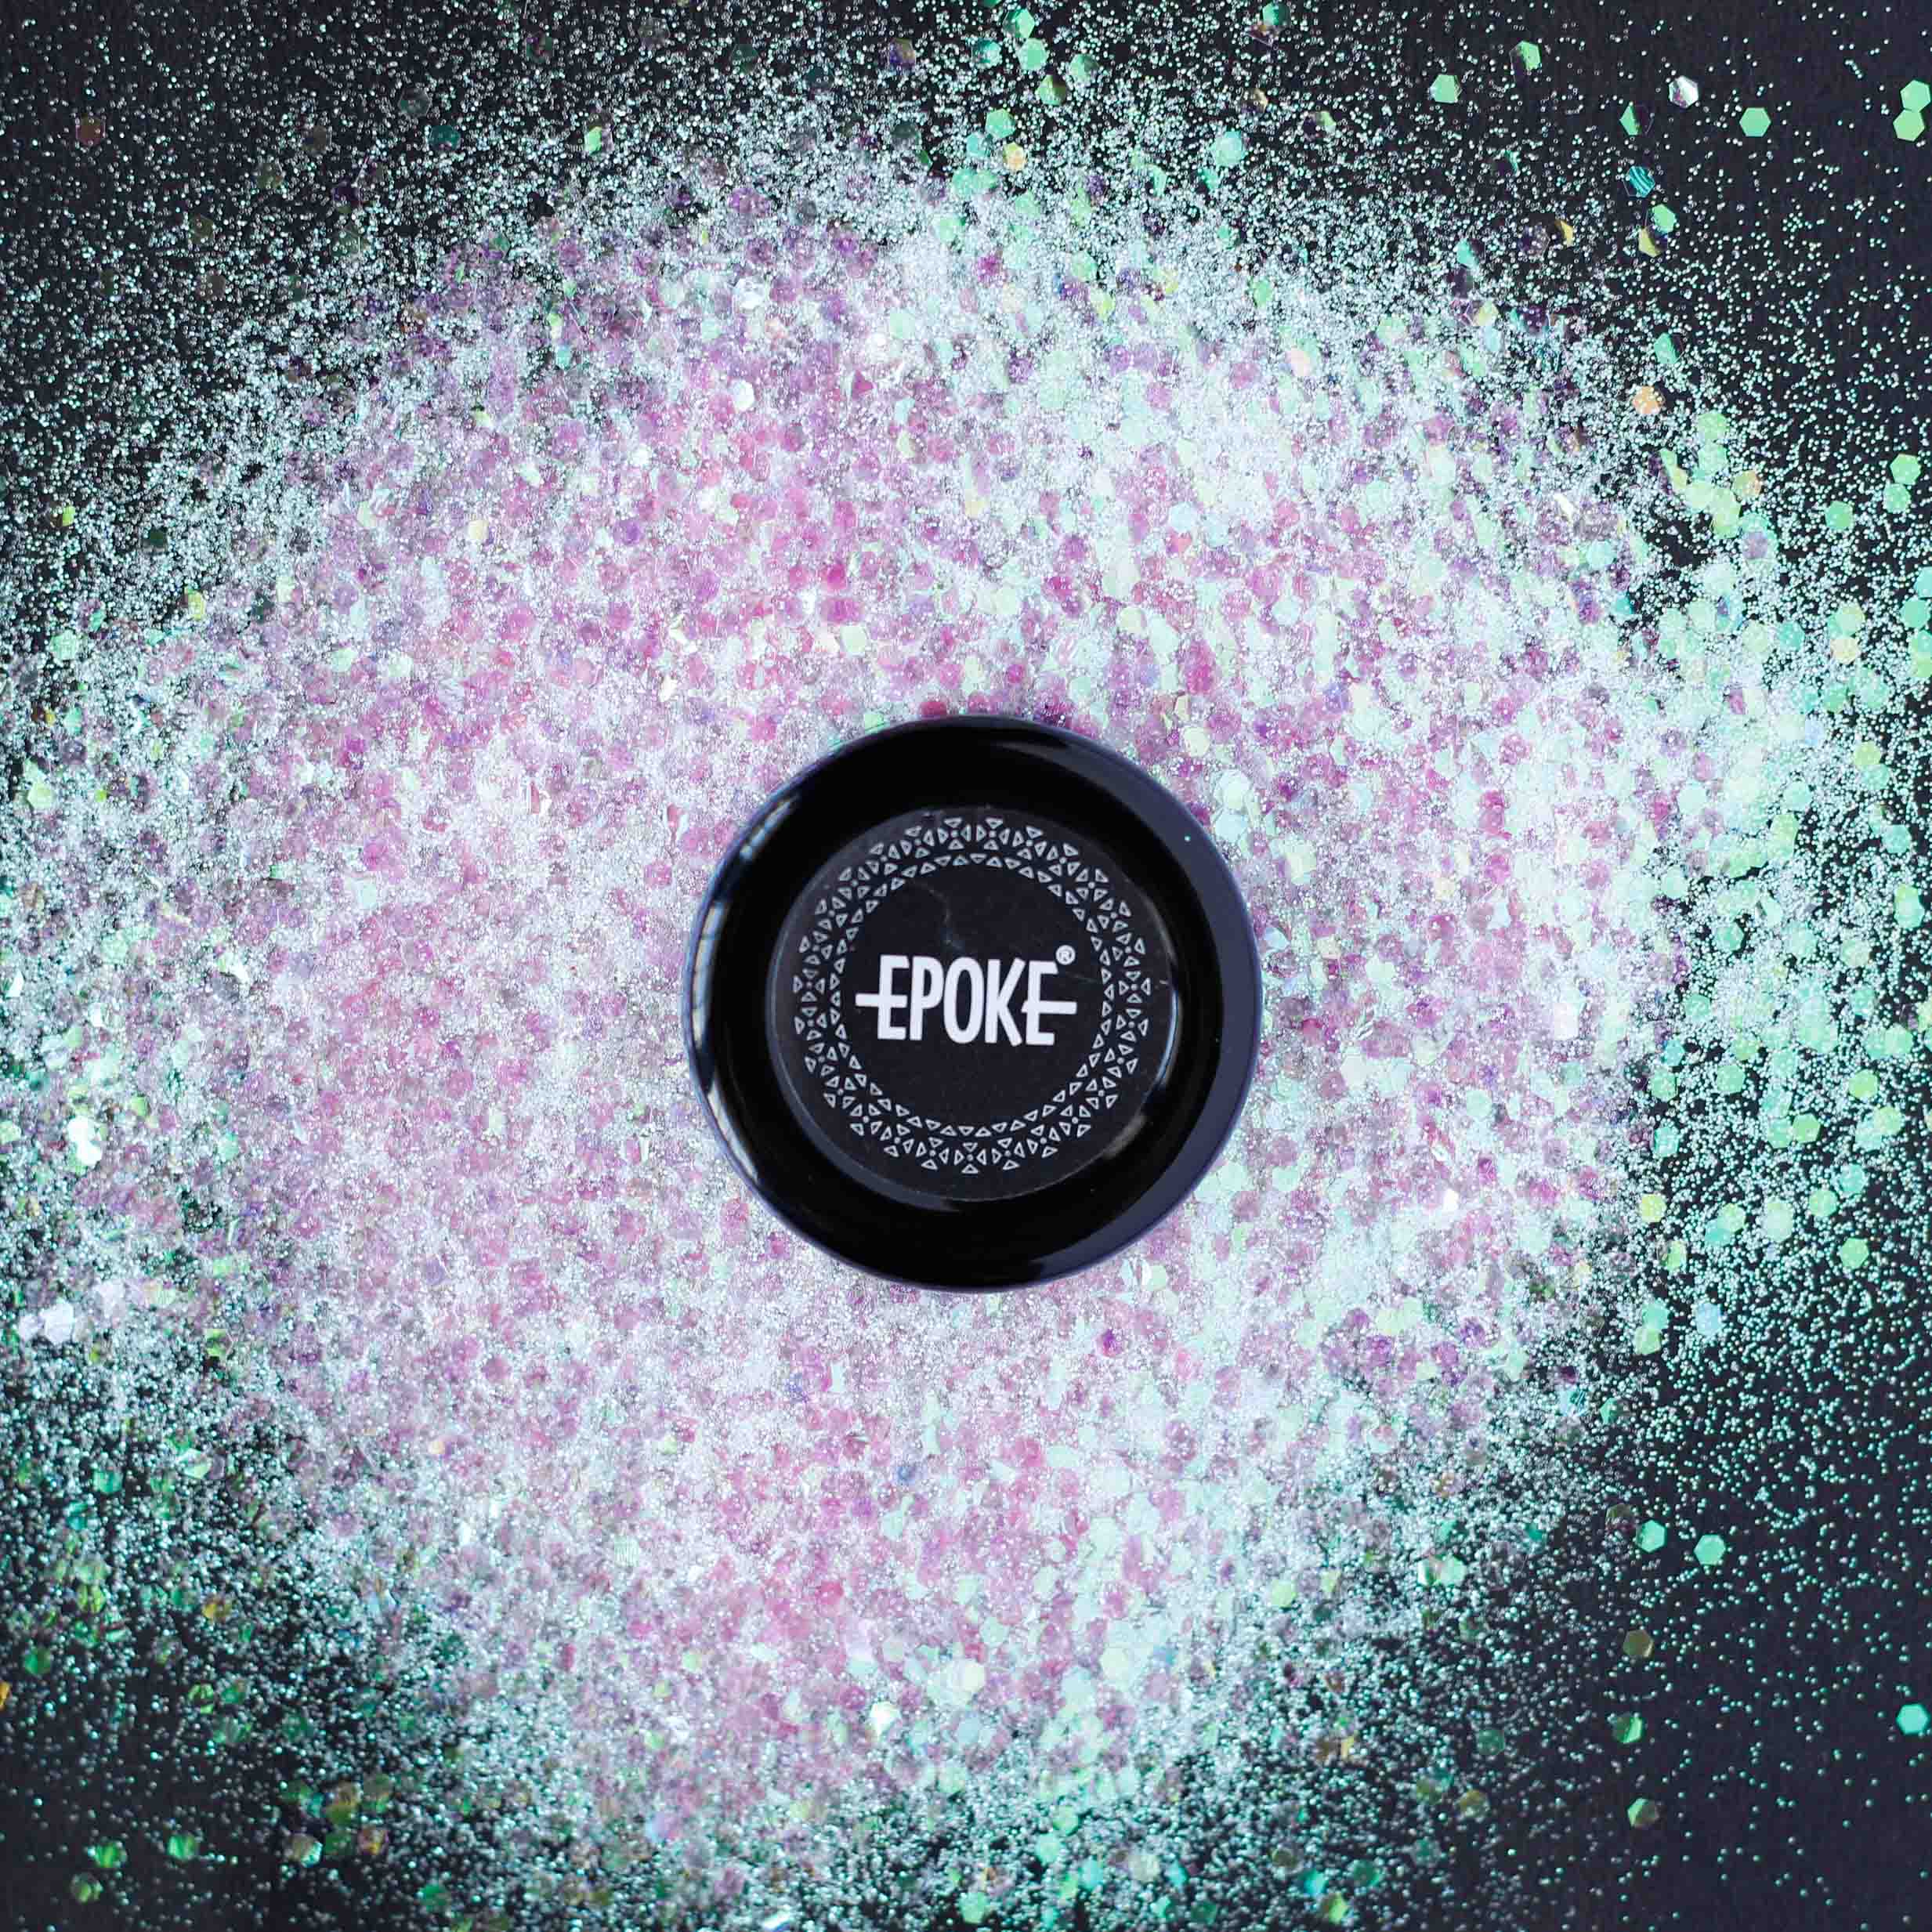
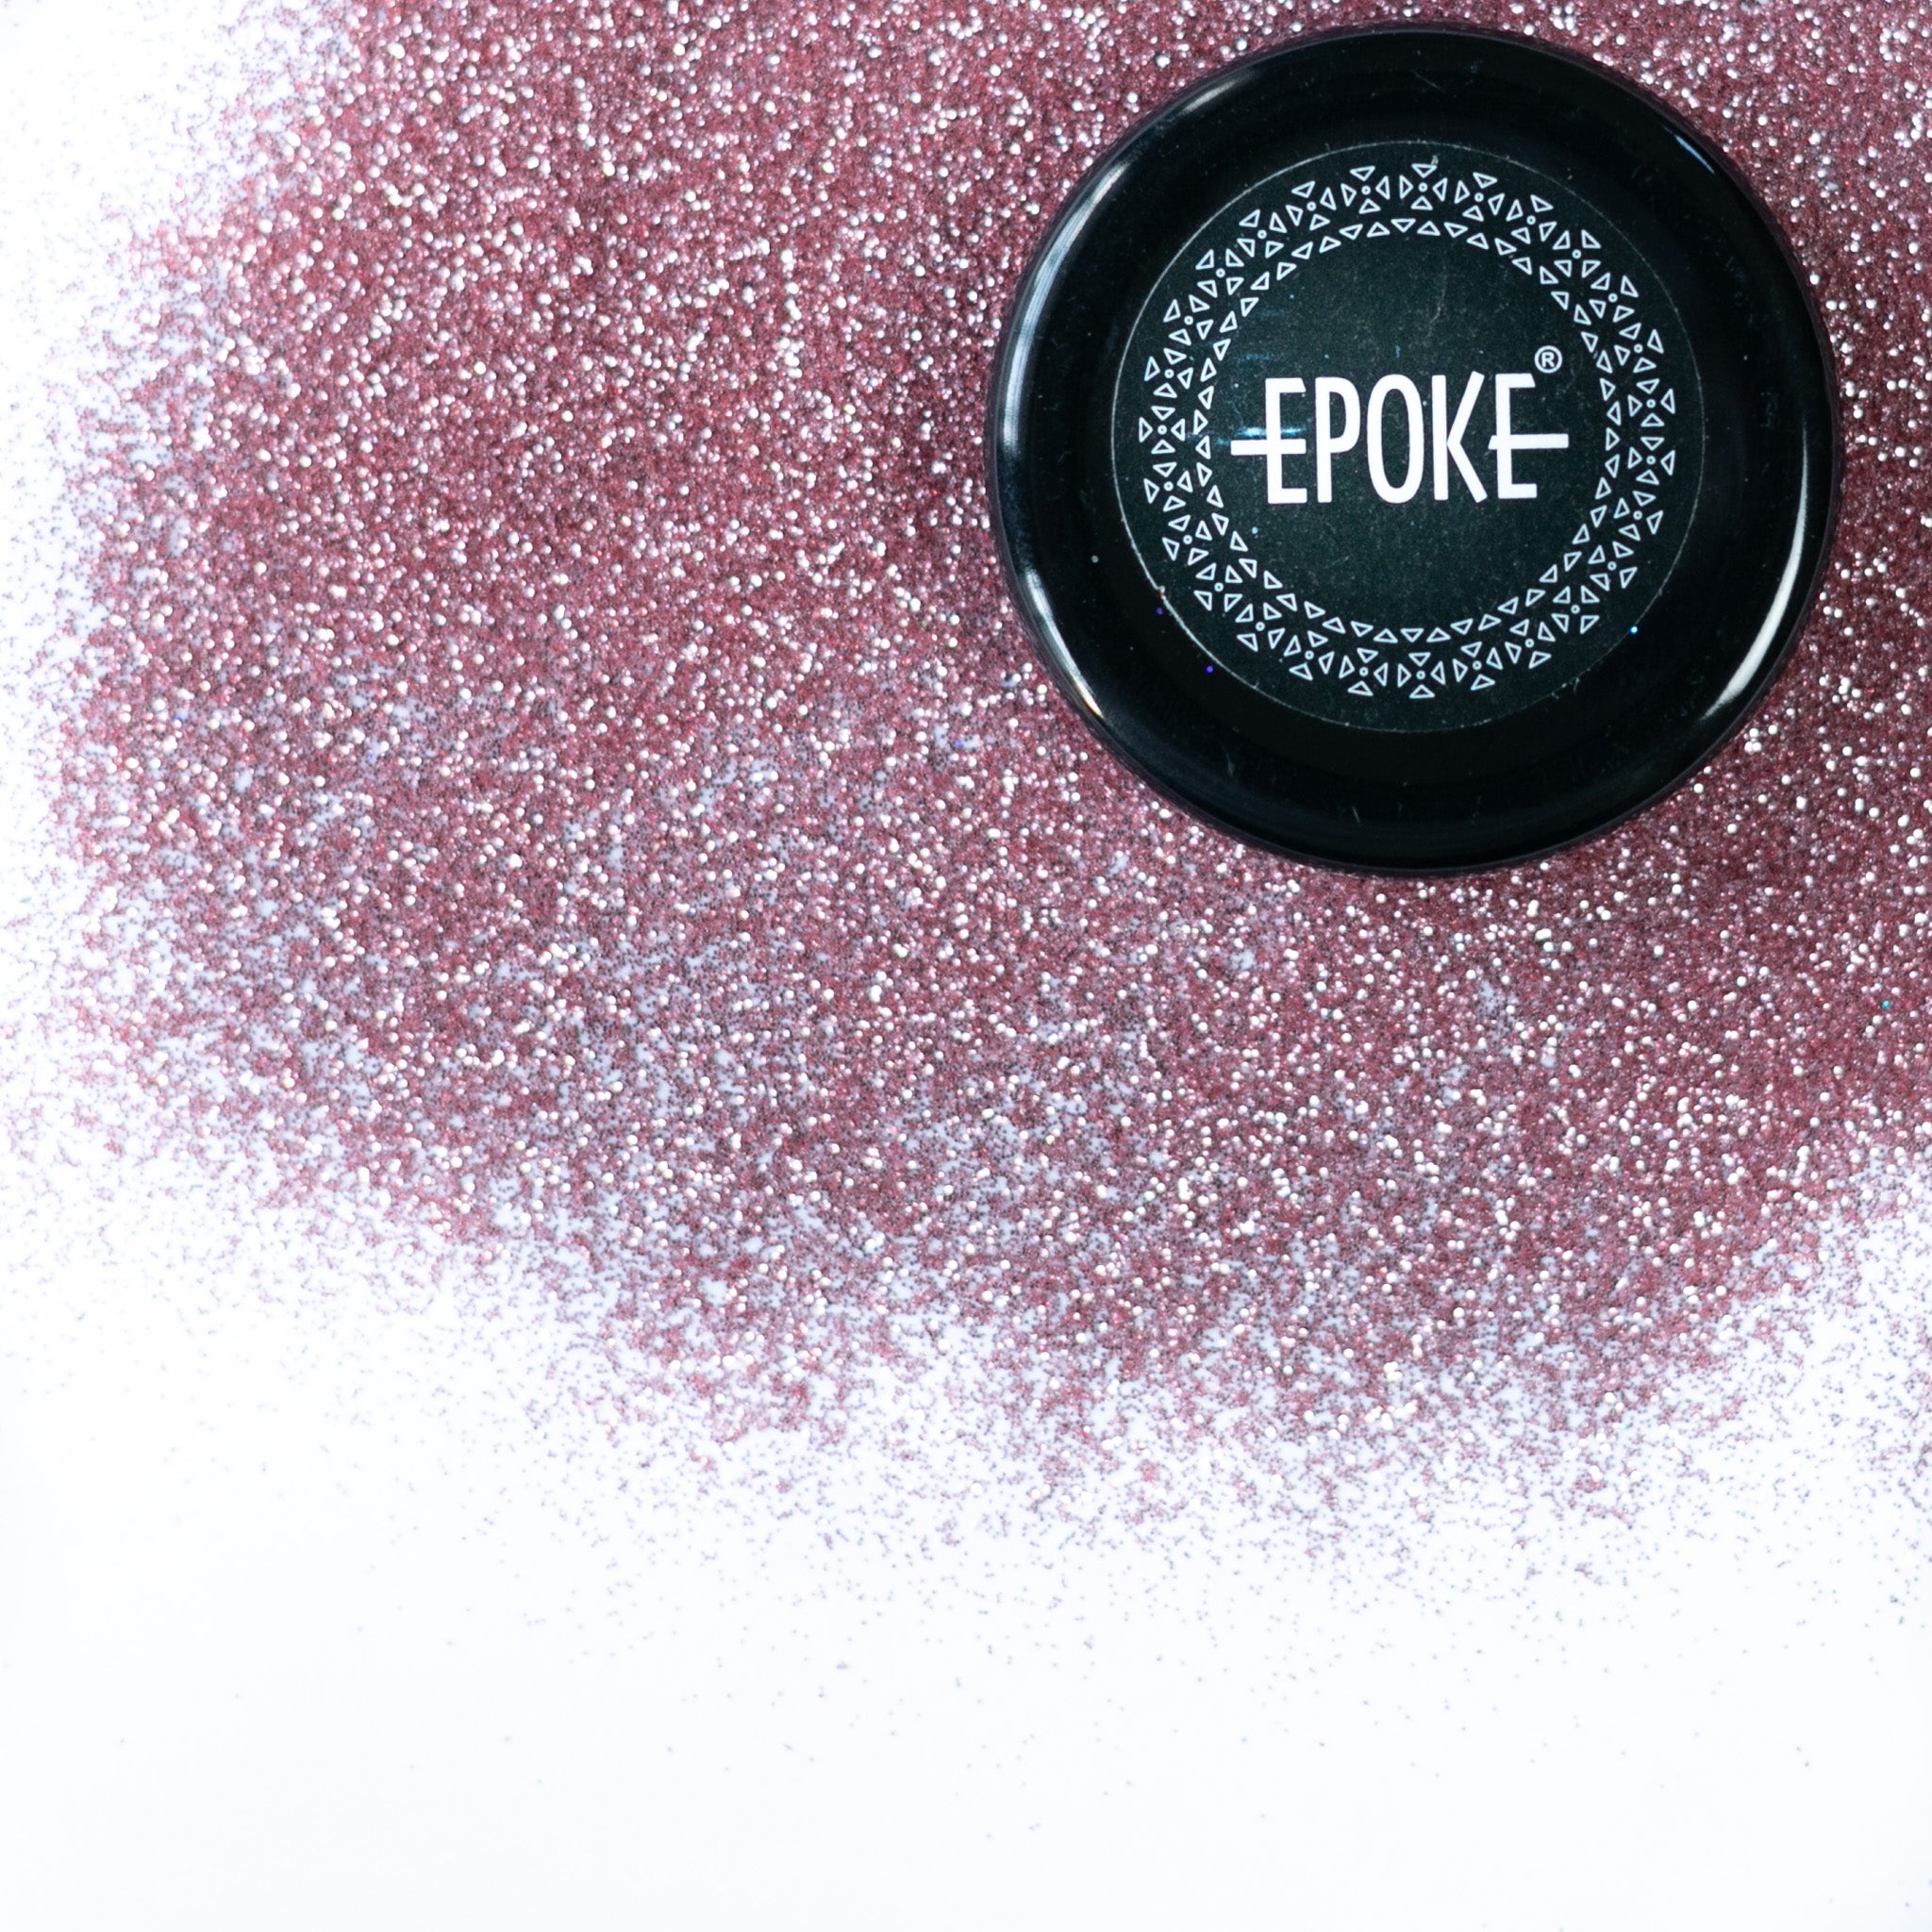
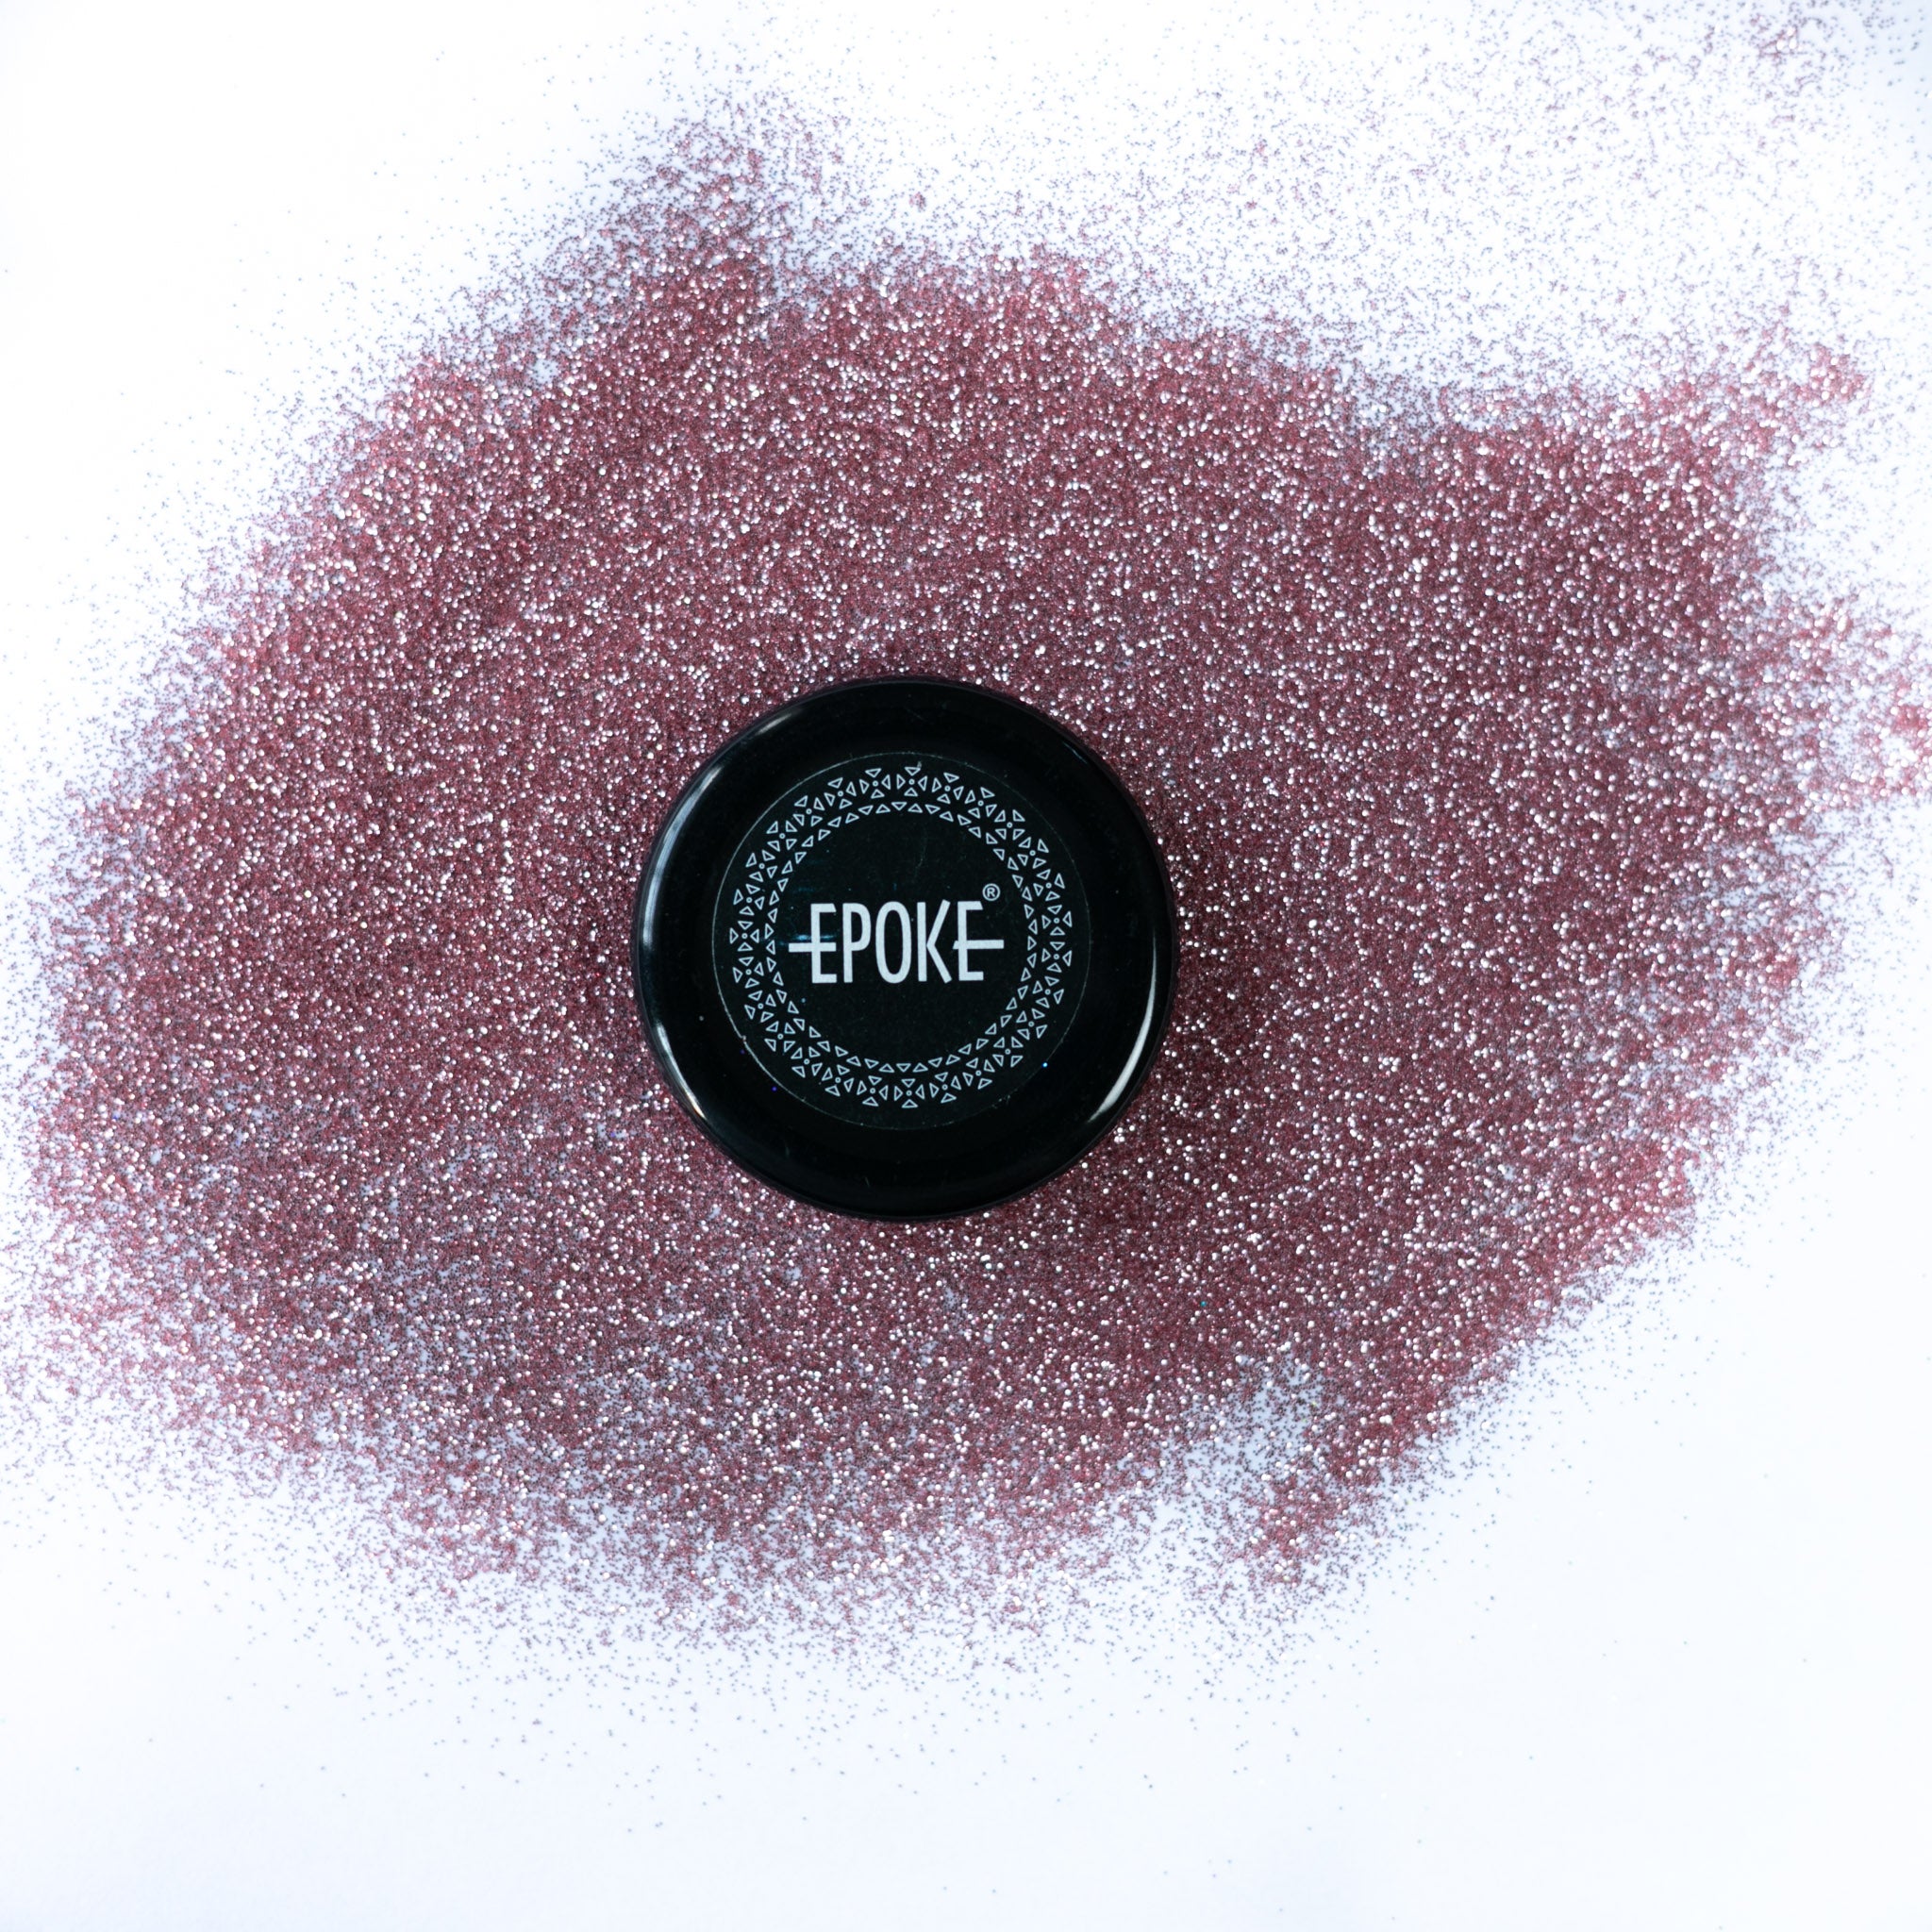
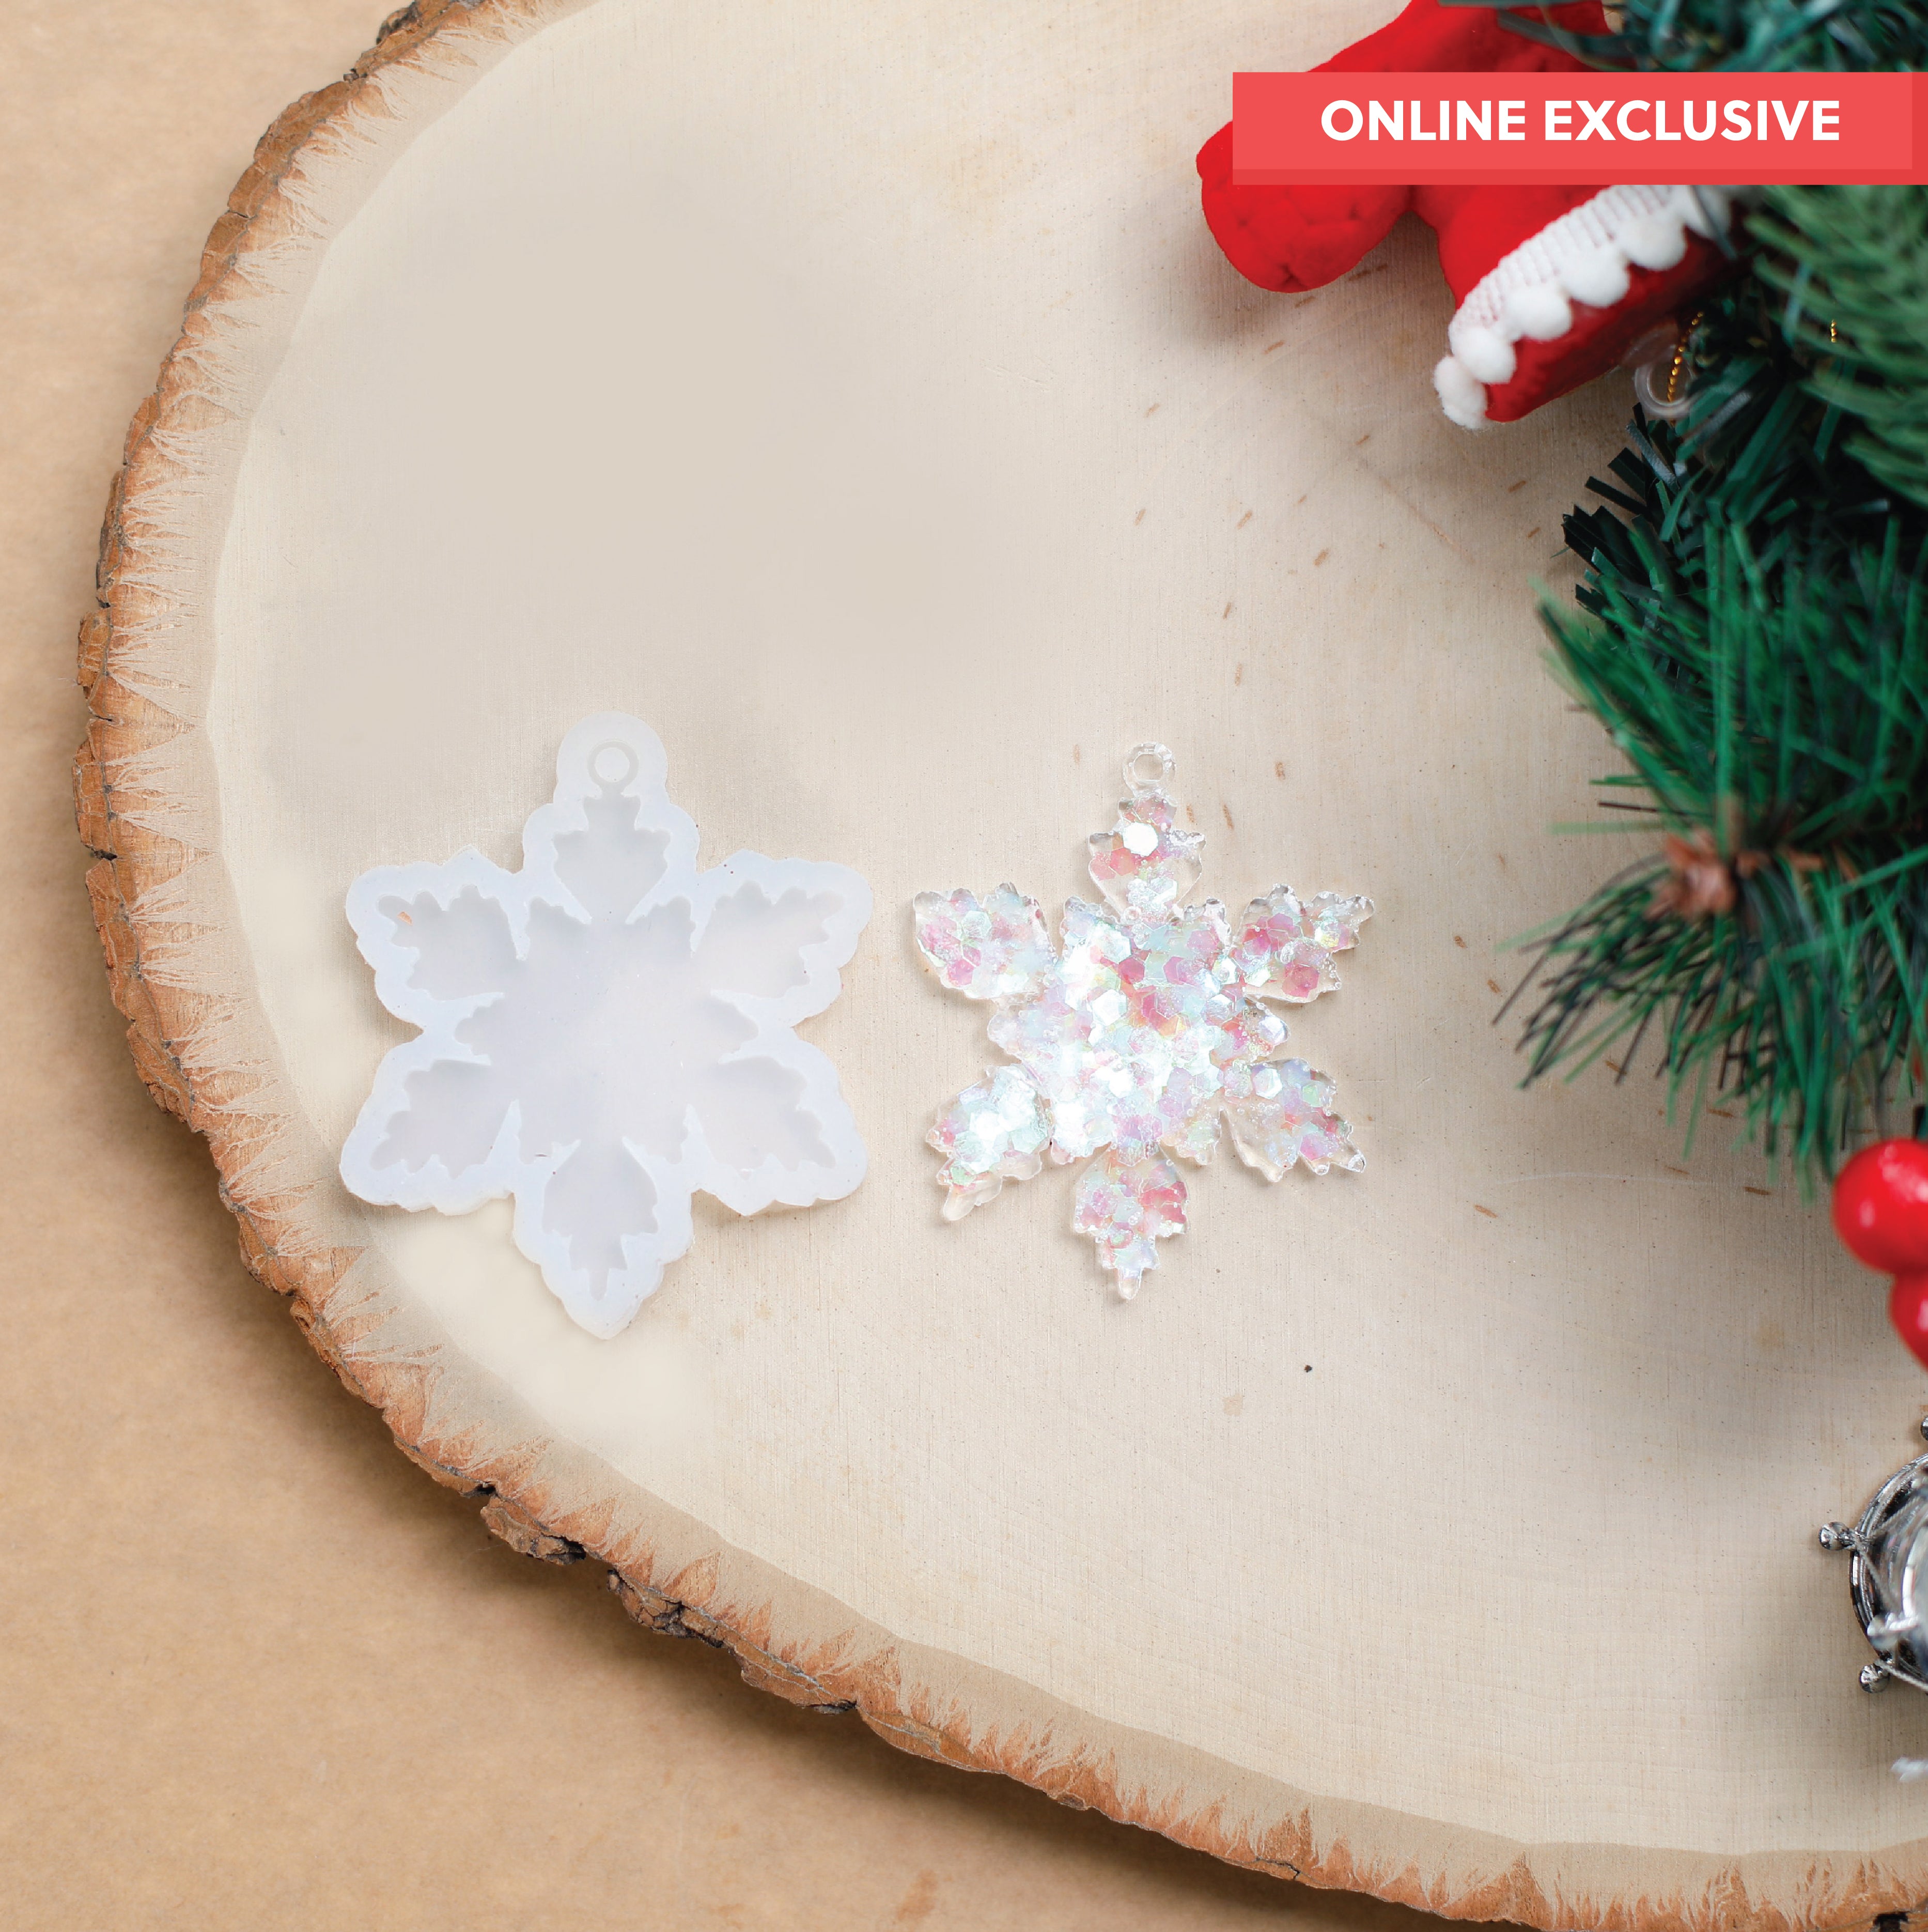
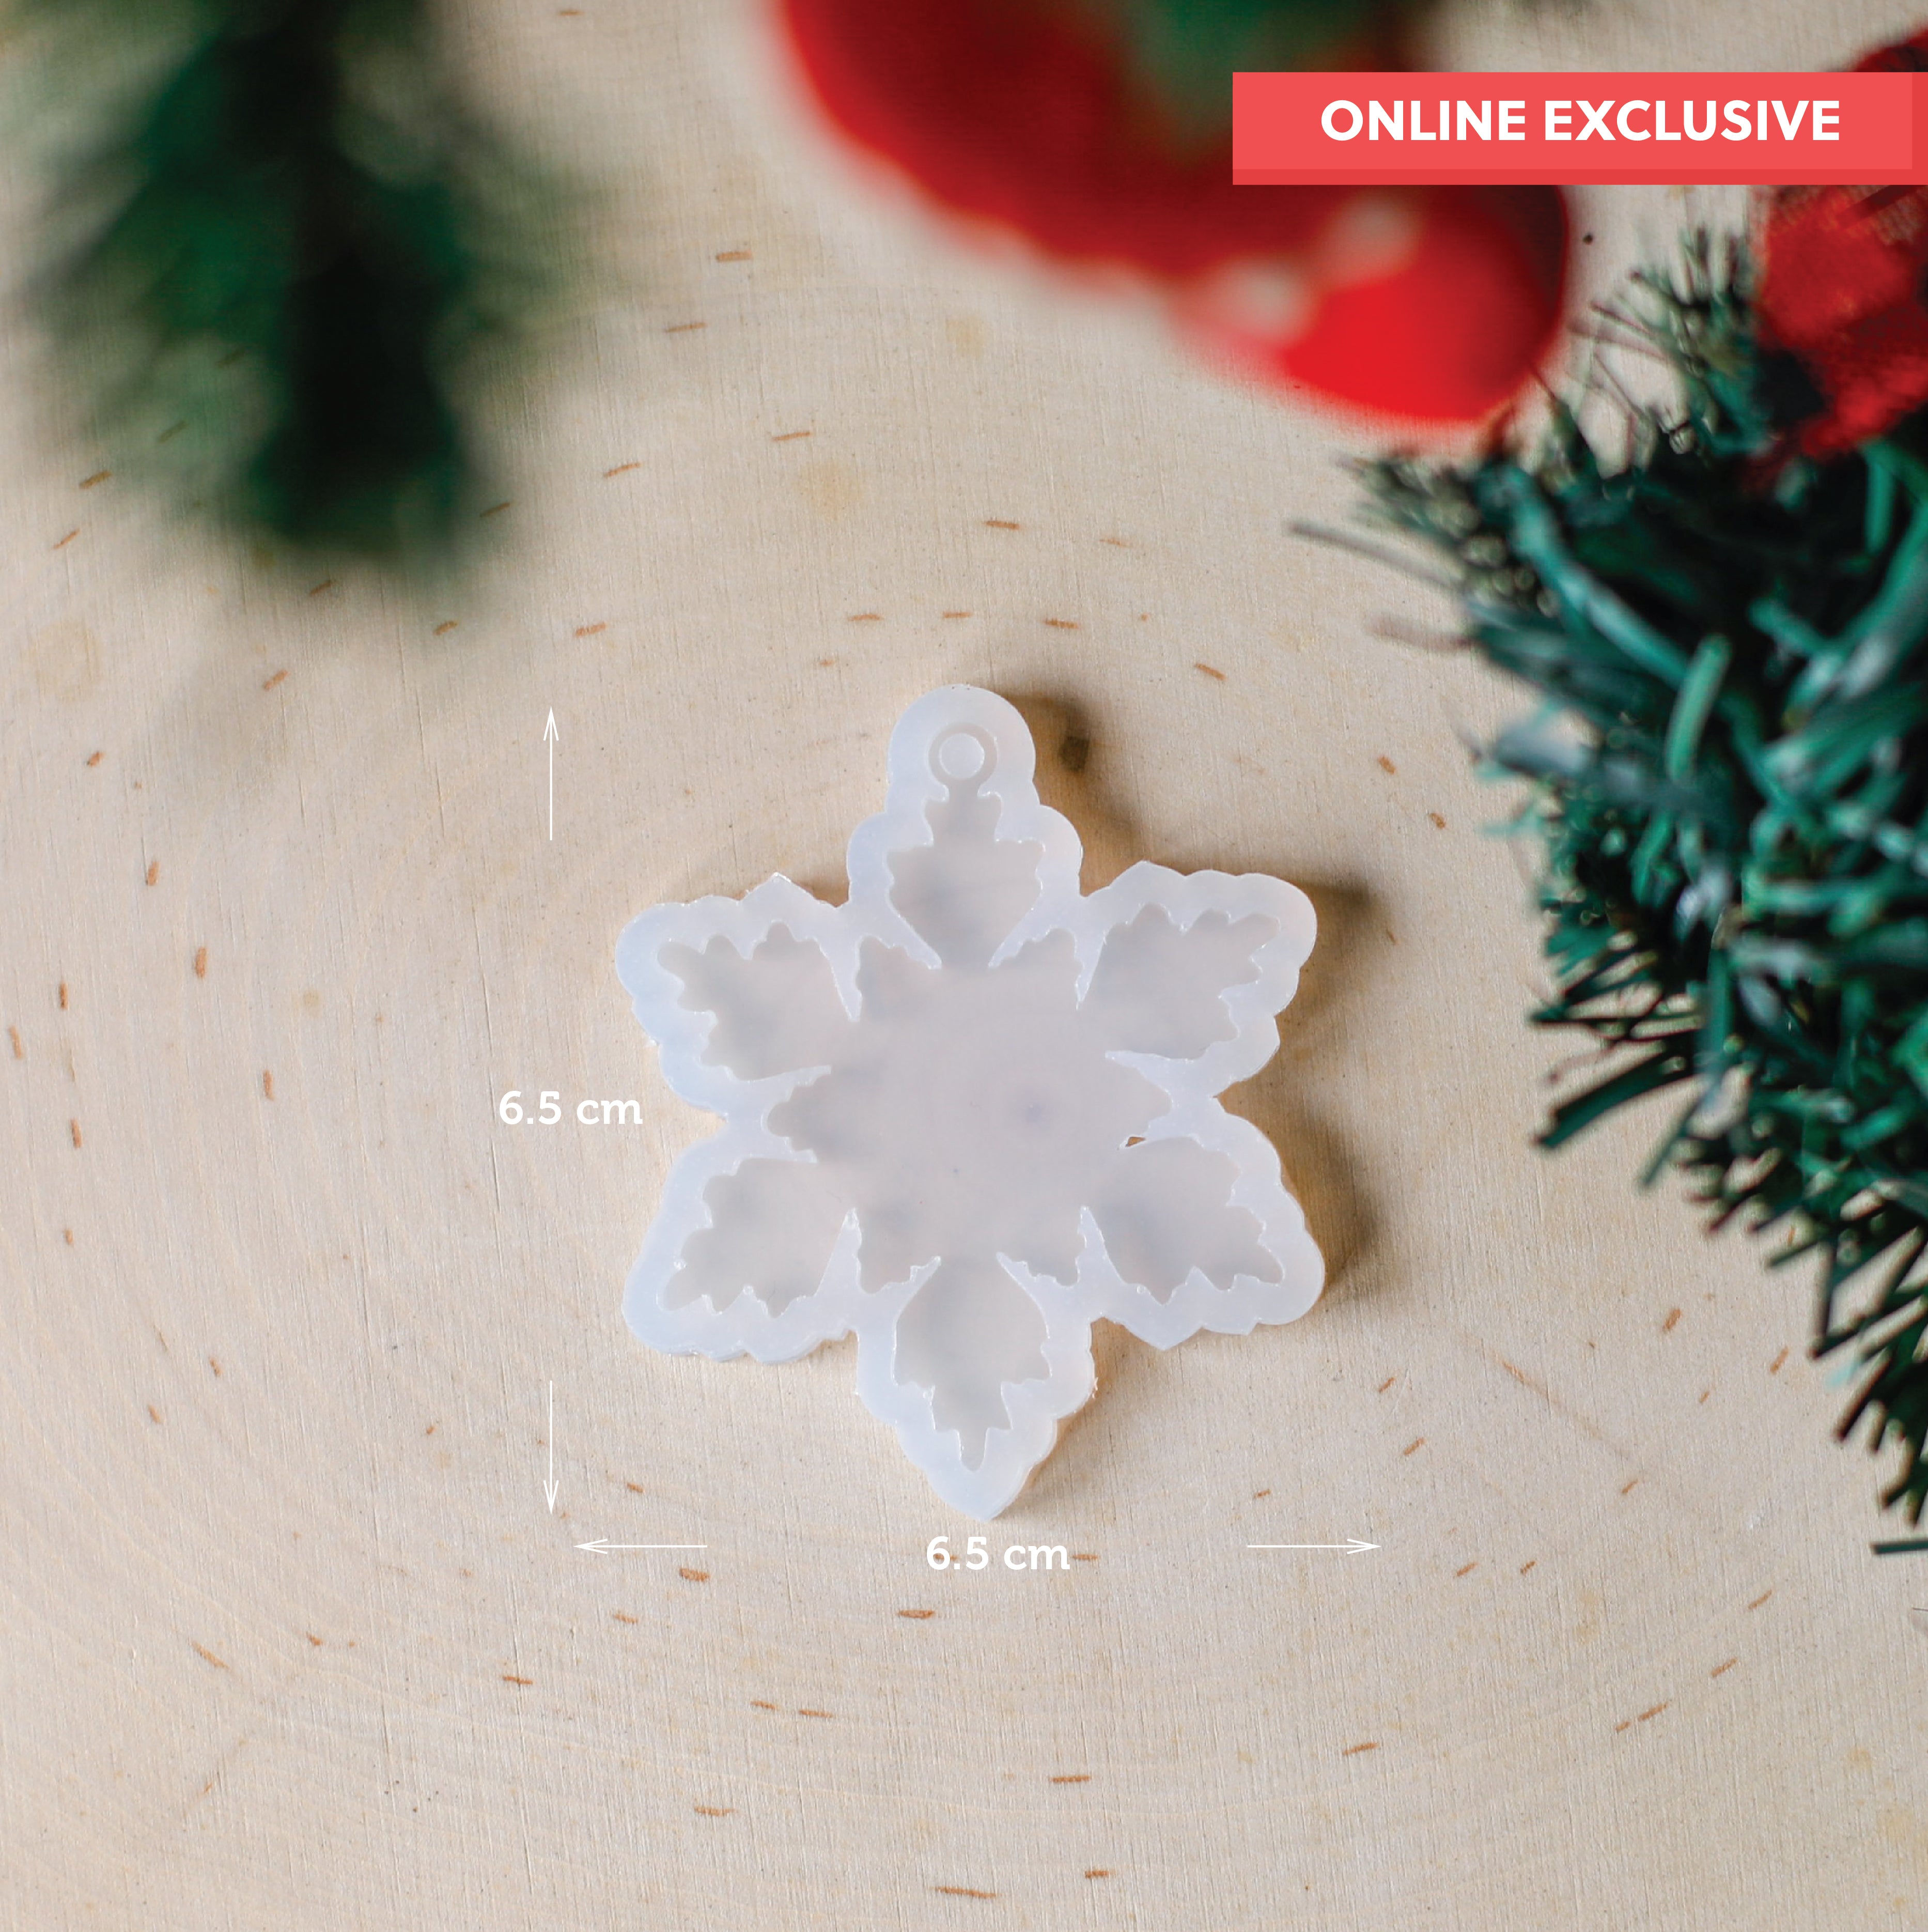
Fine Glitter
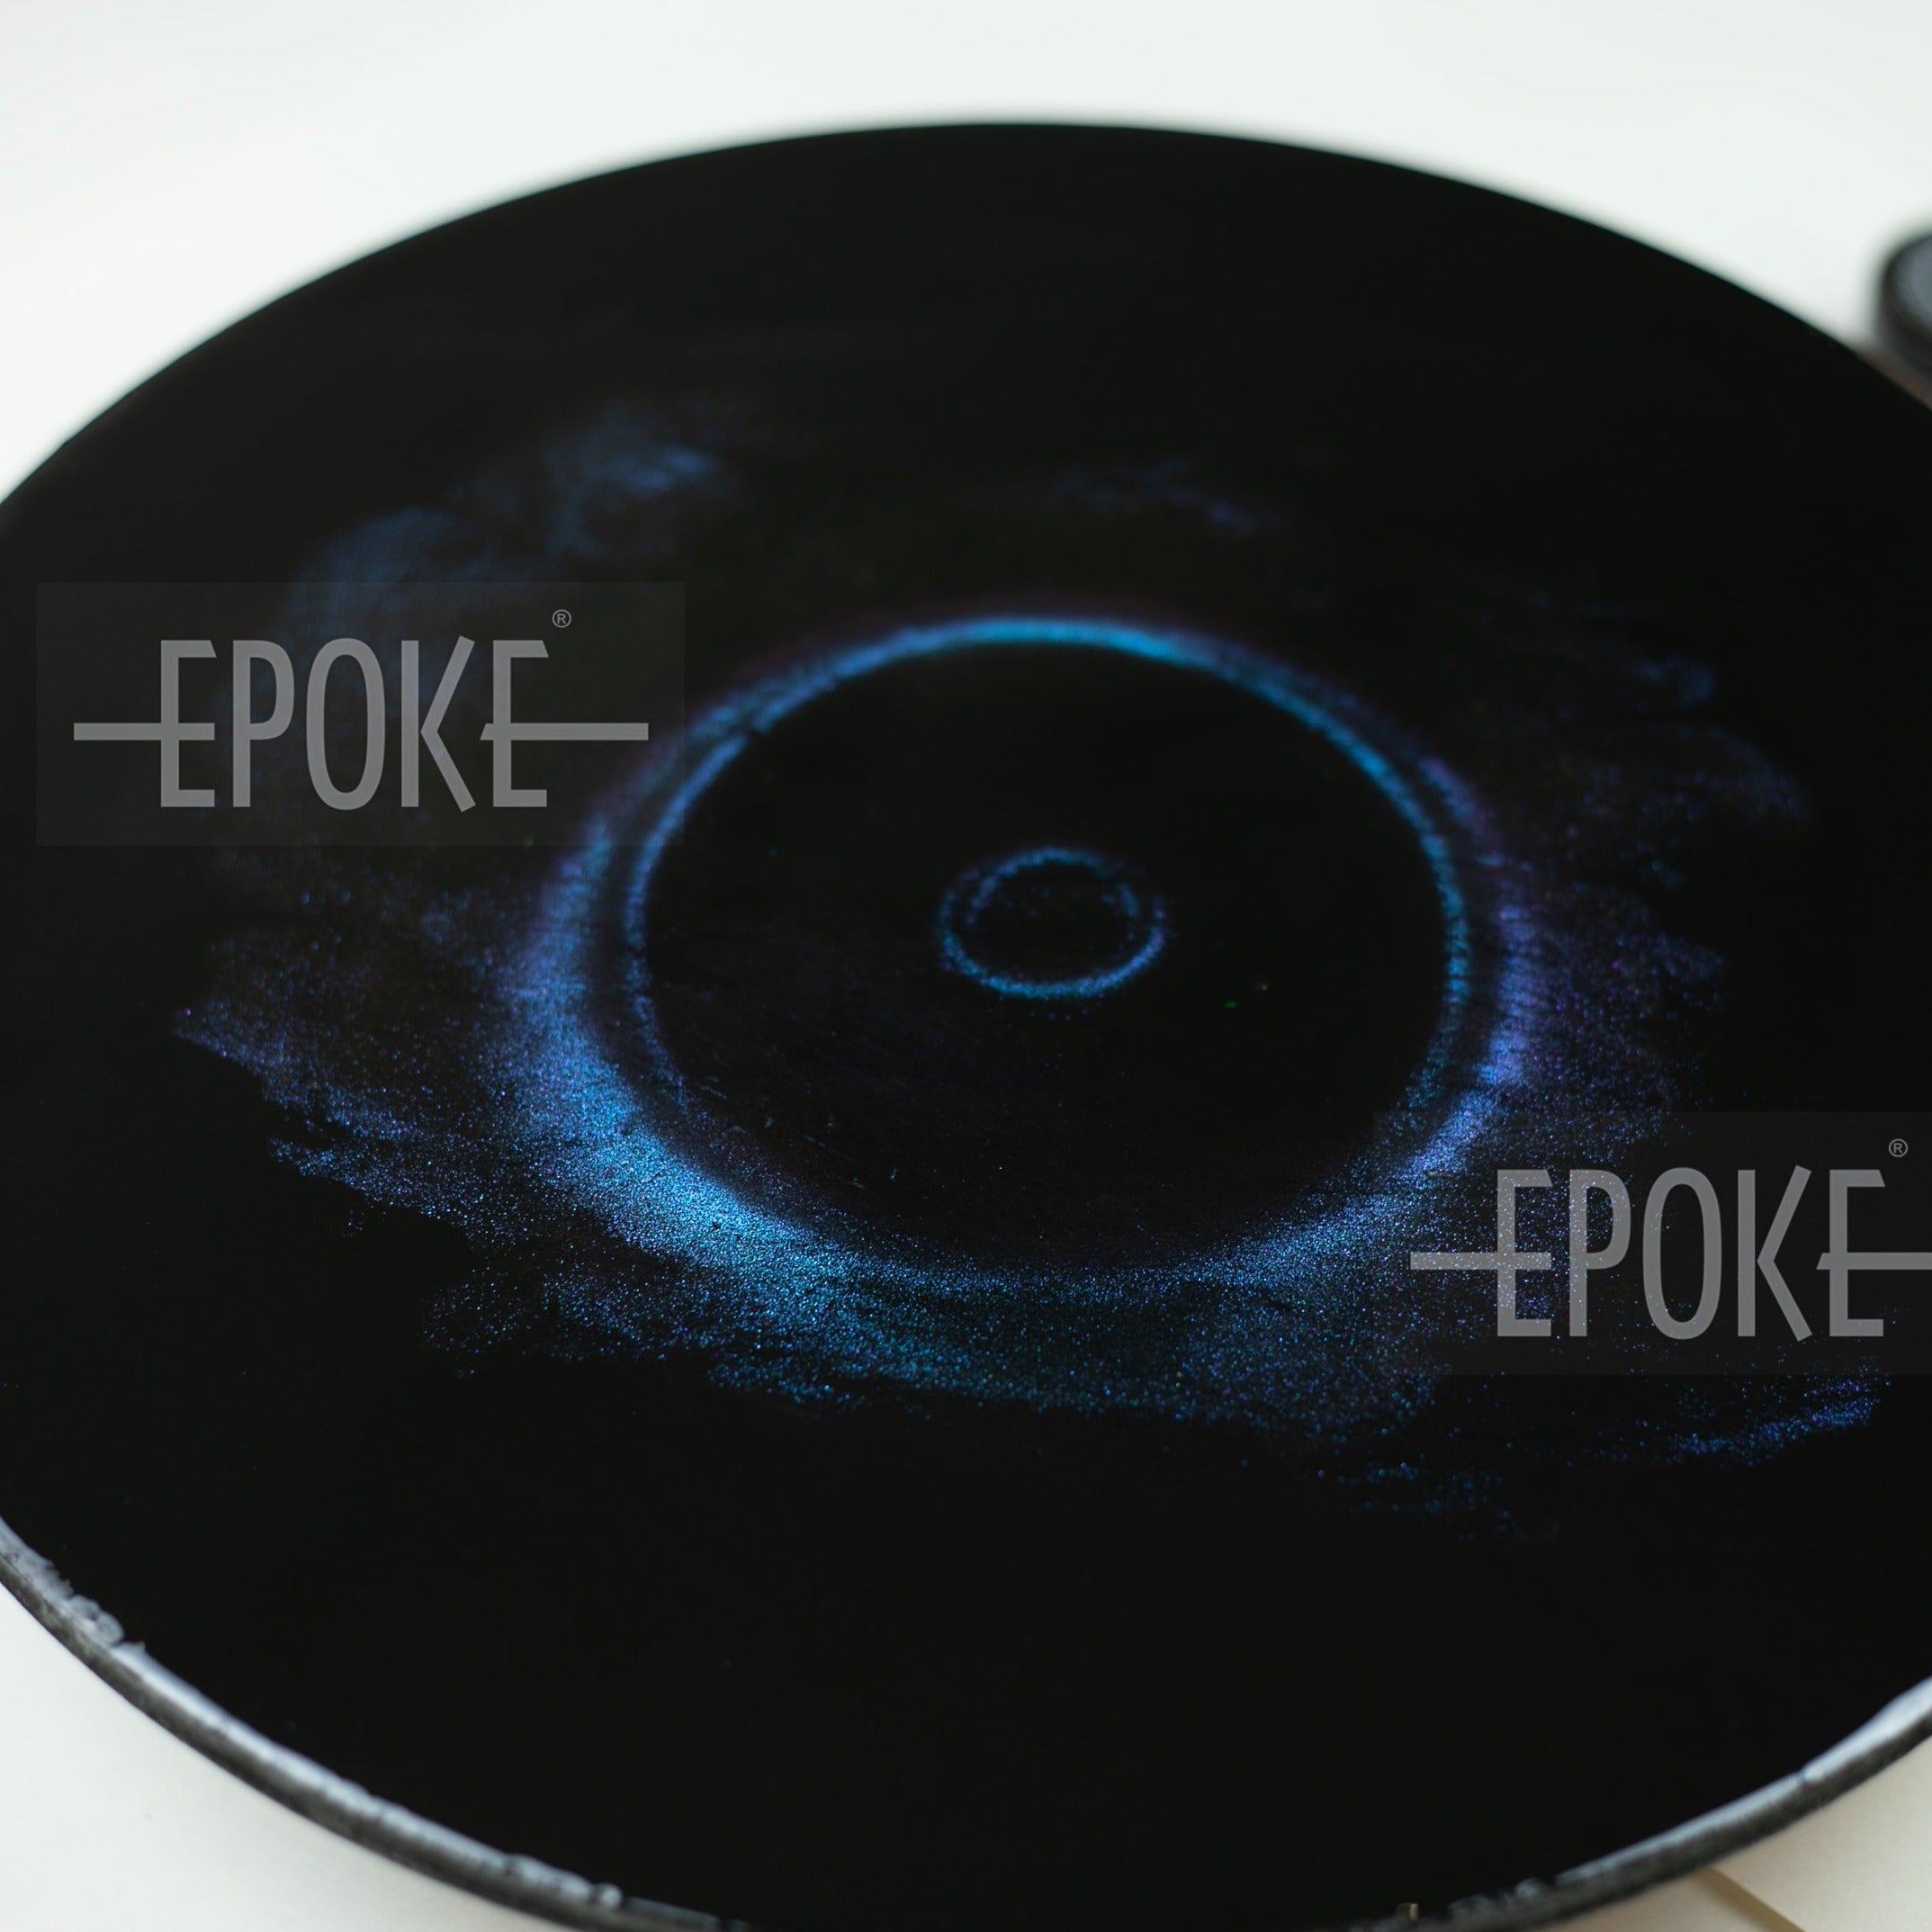
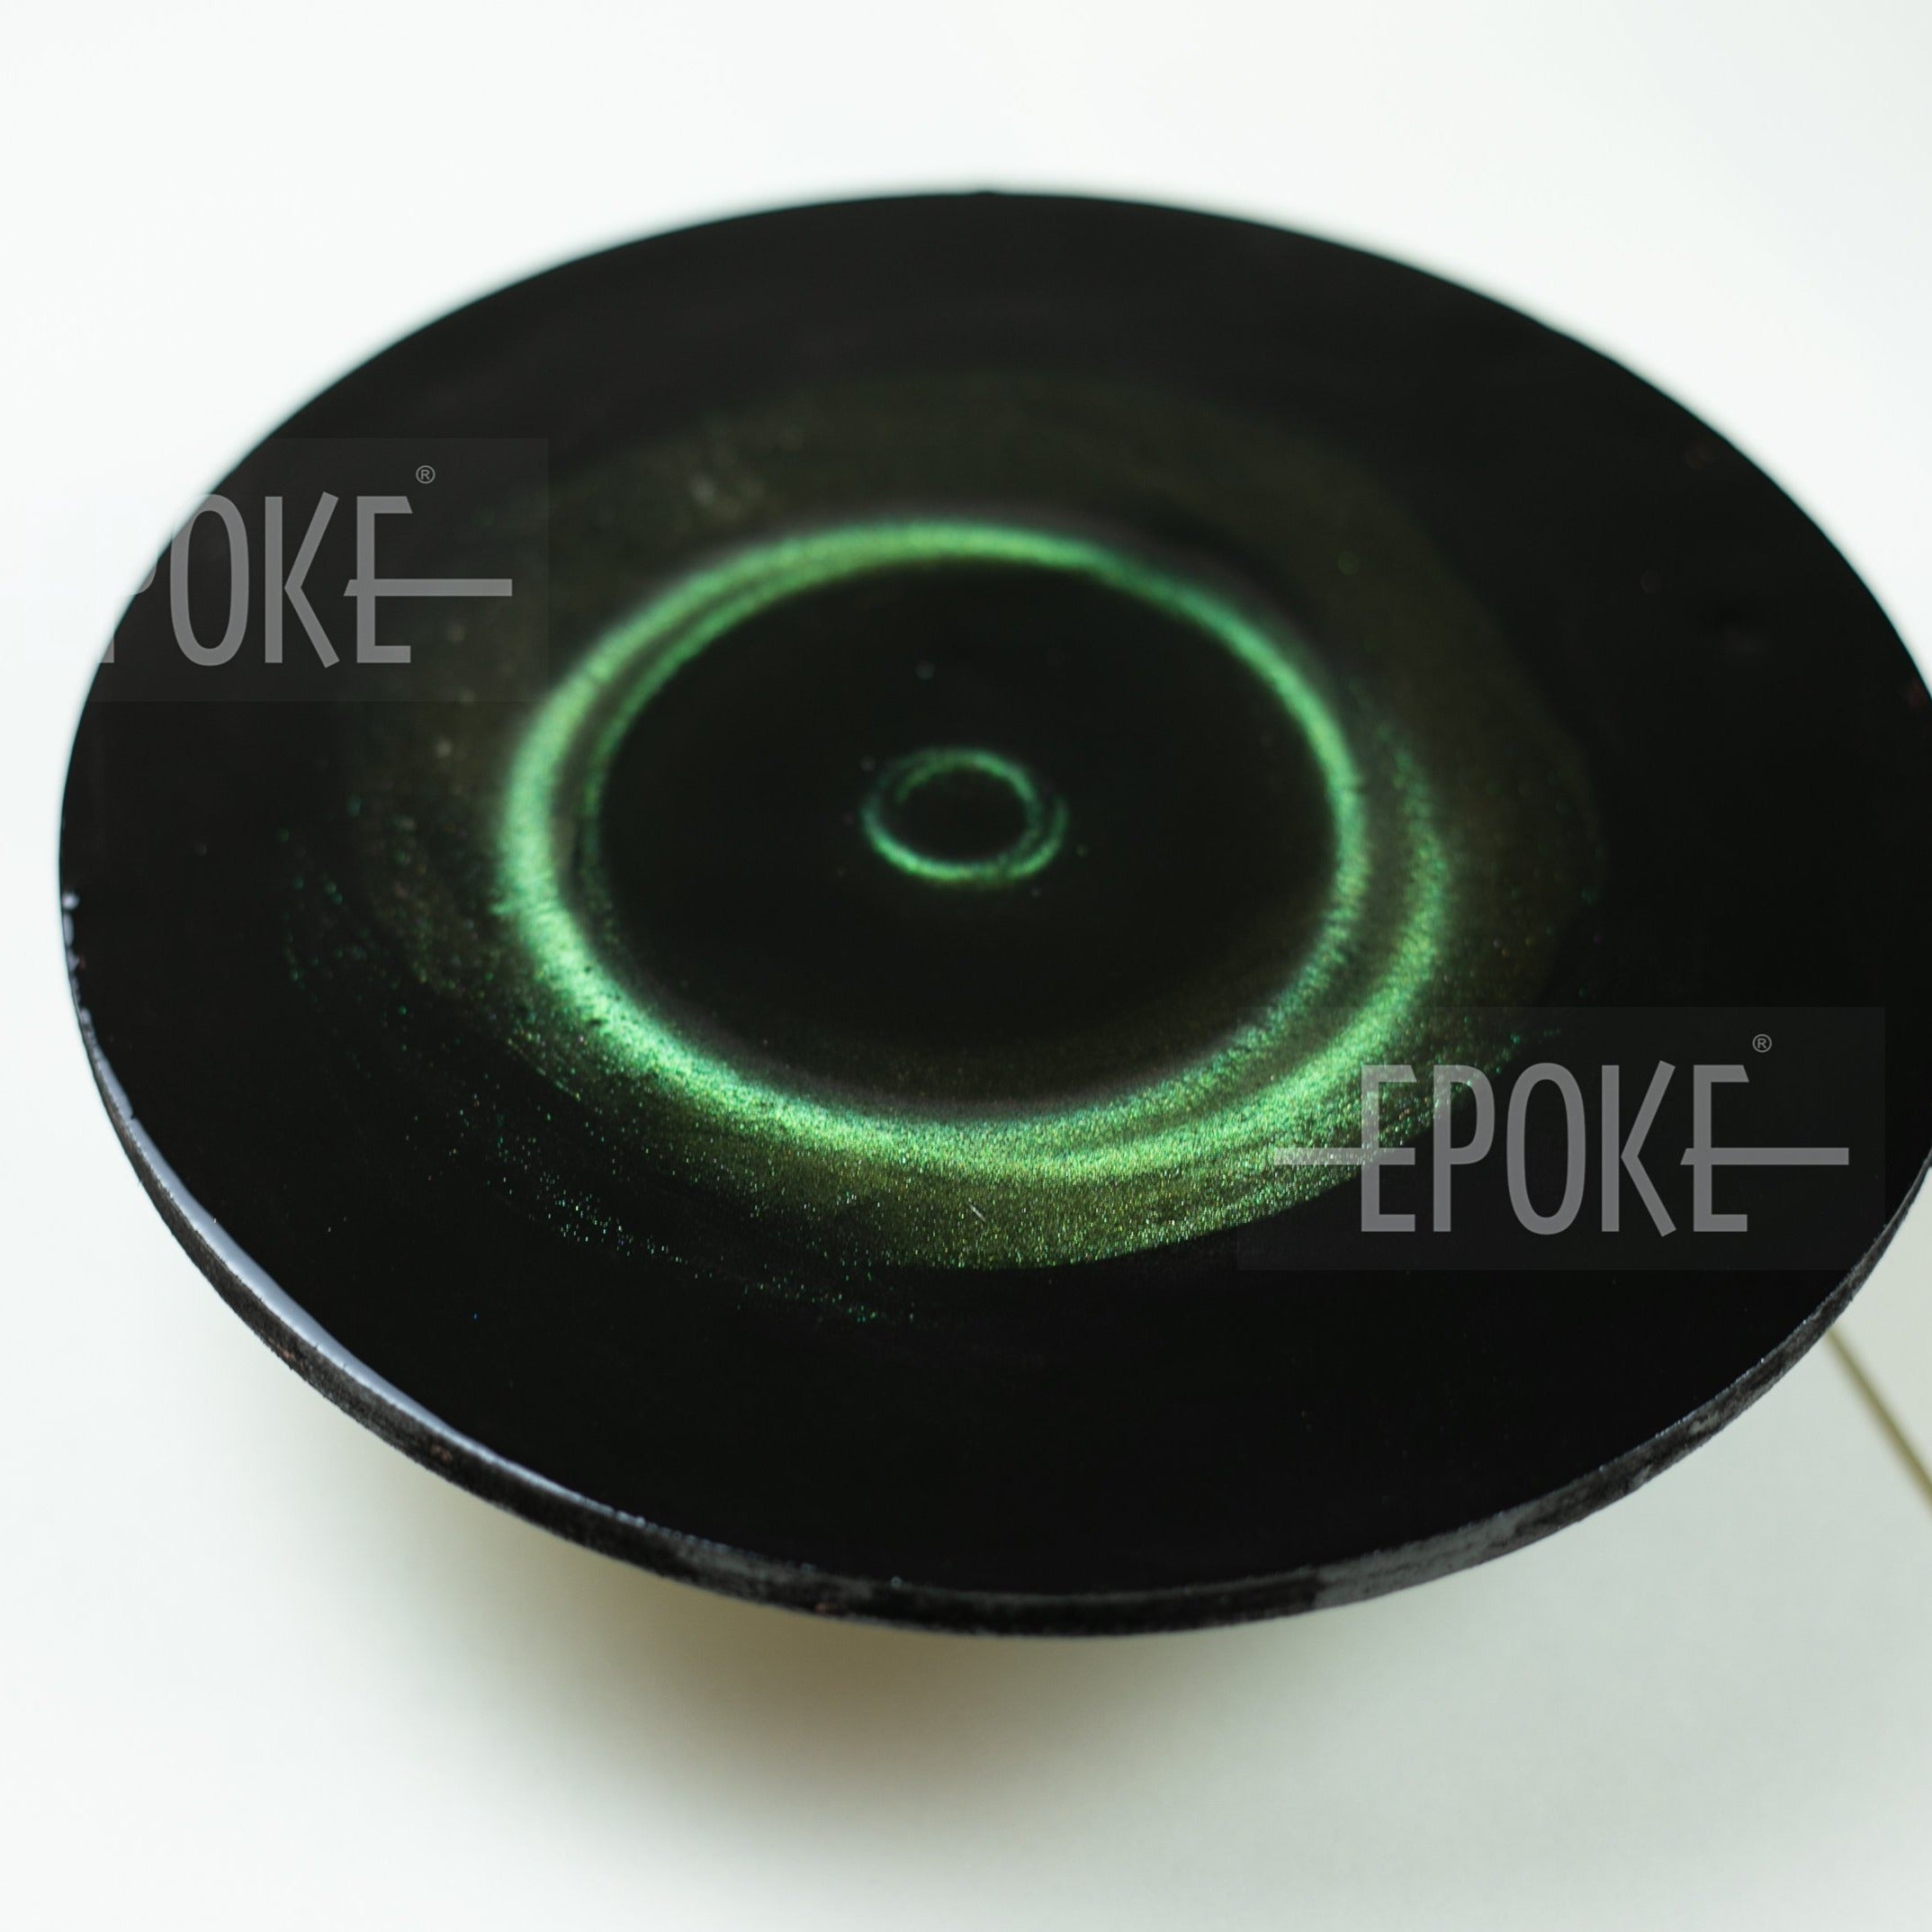
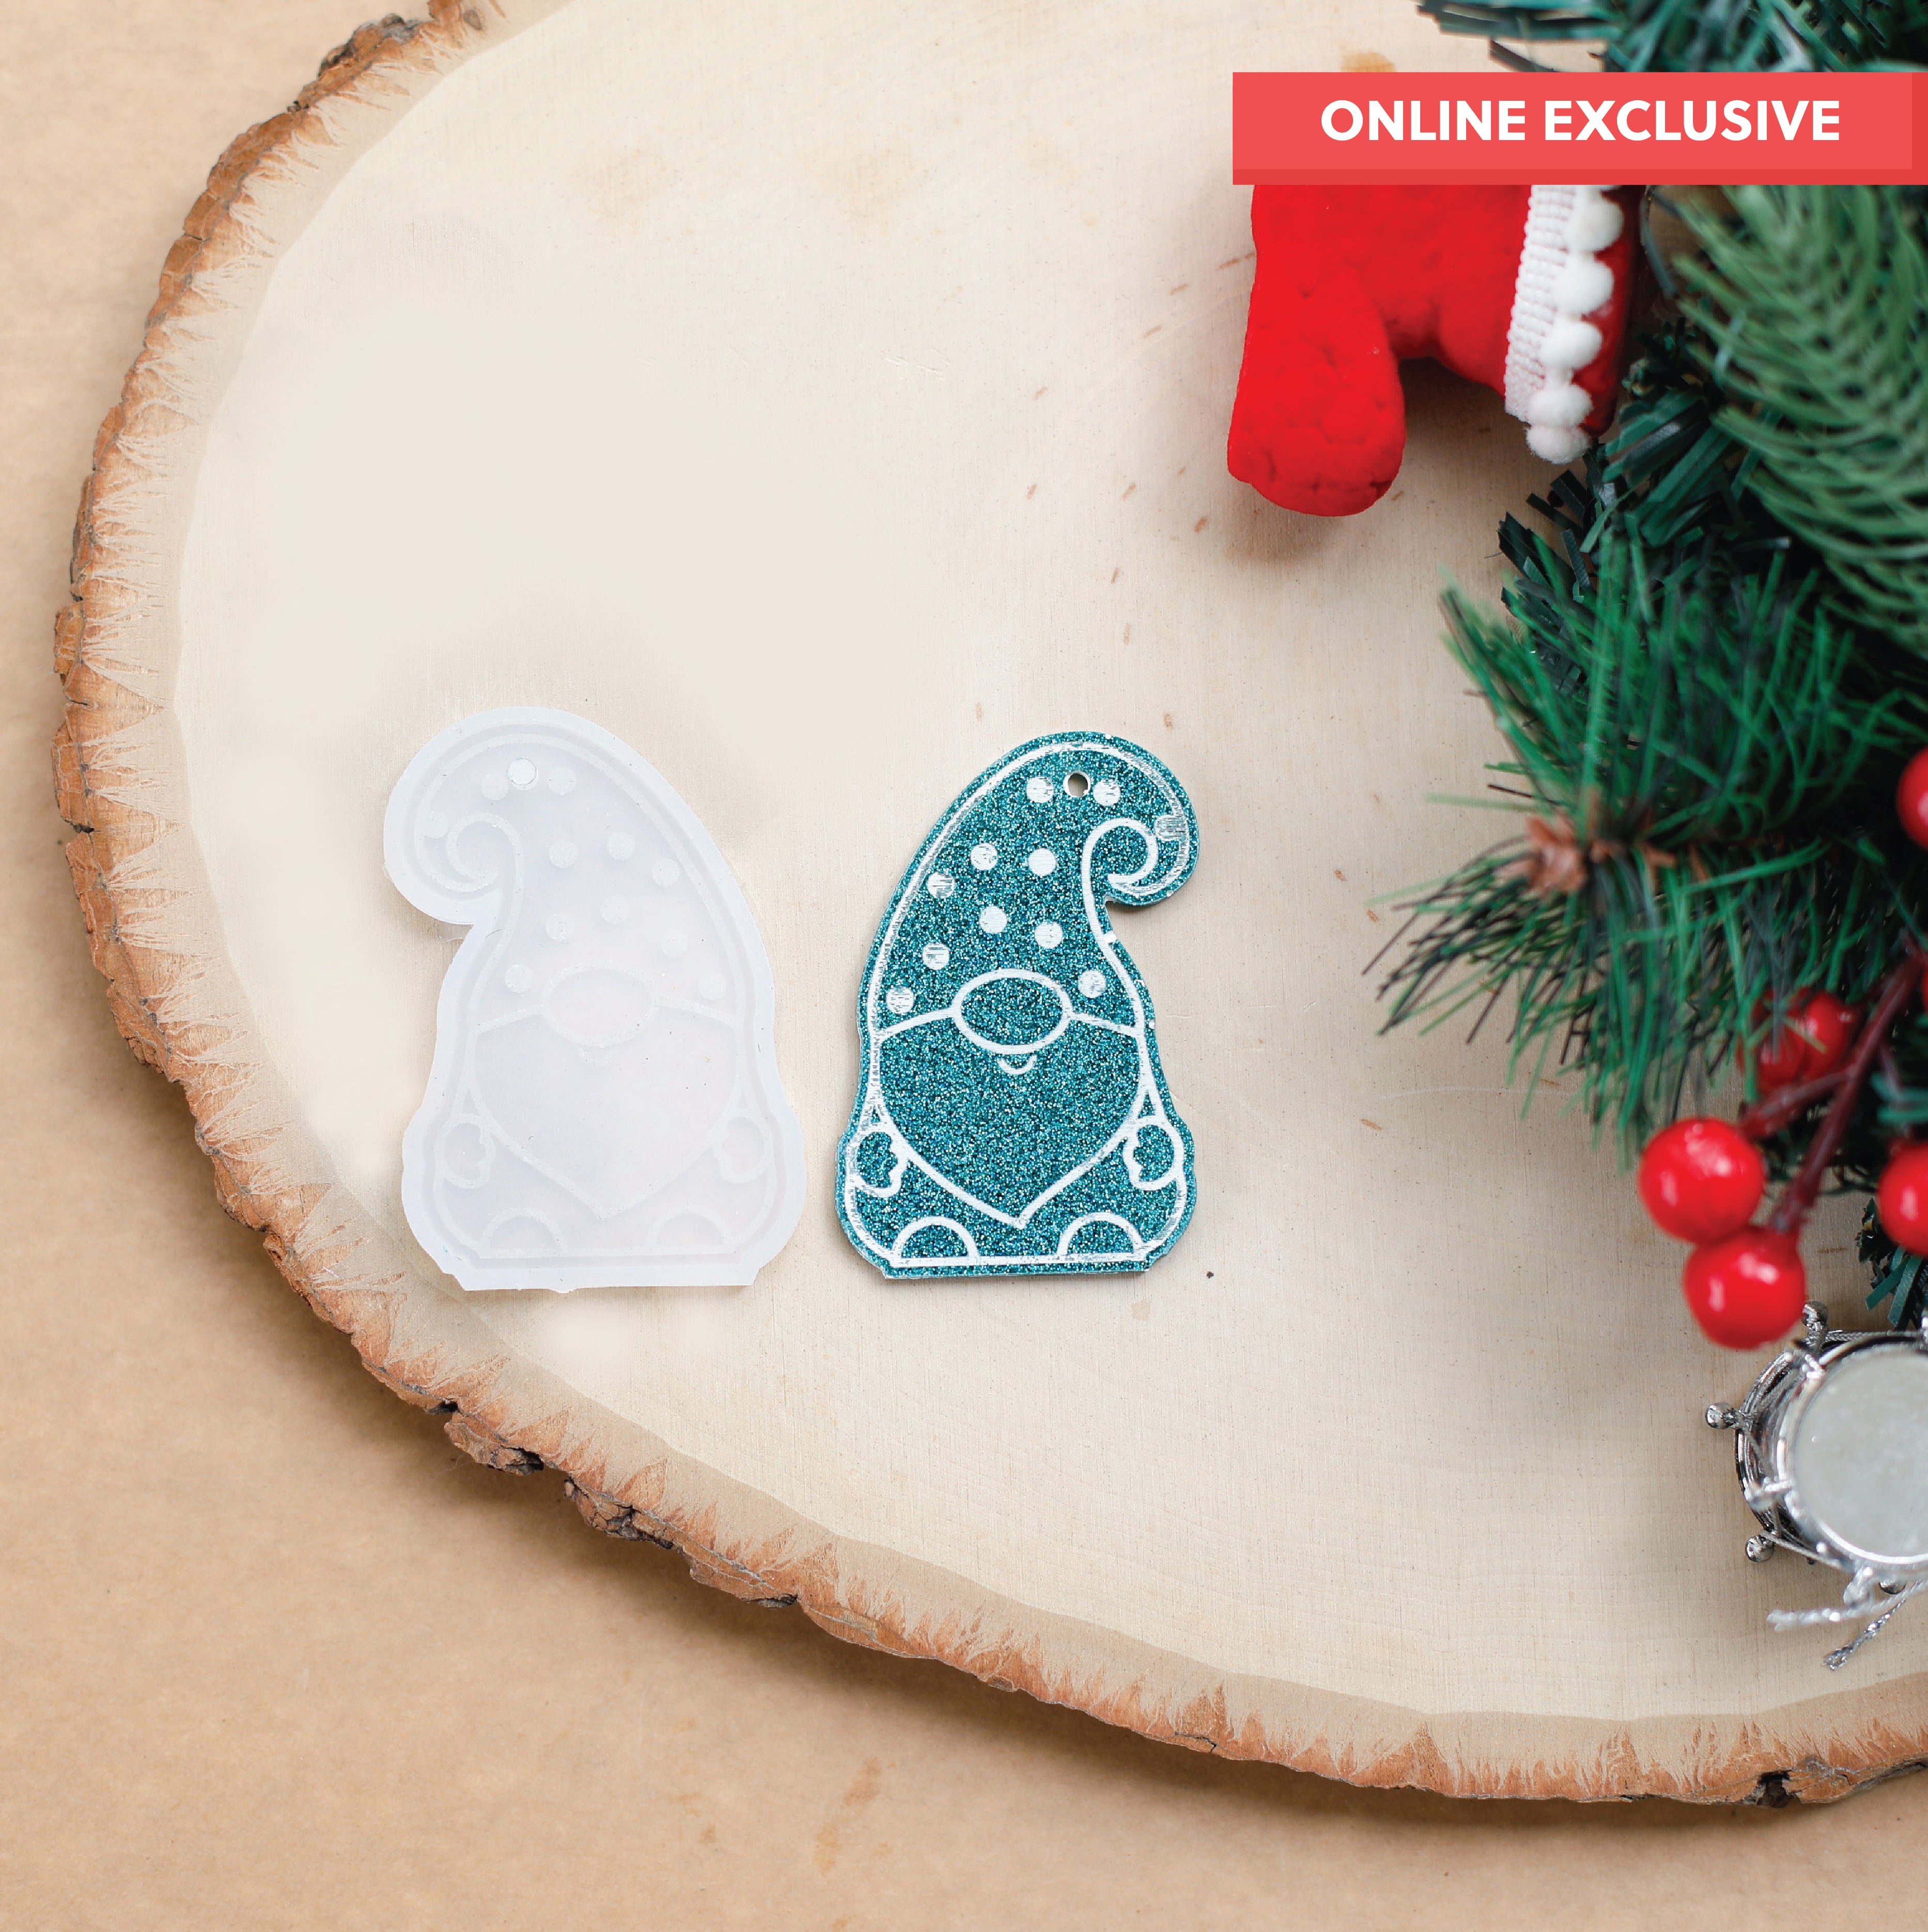
Fine glitter has much smaller particles. It disperses evenly through the resin and produces a smooth, glowing shimmer rather than visible sparkle points.
Use it for:
-
Resin jewellery with subtle shimmer
-
Small, detailed casts and nail art moulds
-
Base coats or backgrounds in layered resin art
-
Pieces where you want the sparkle to feel like it comes from within the resin
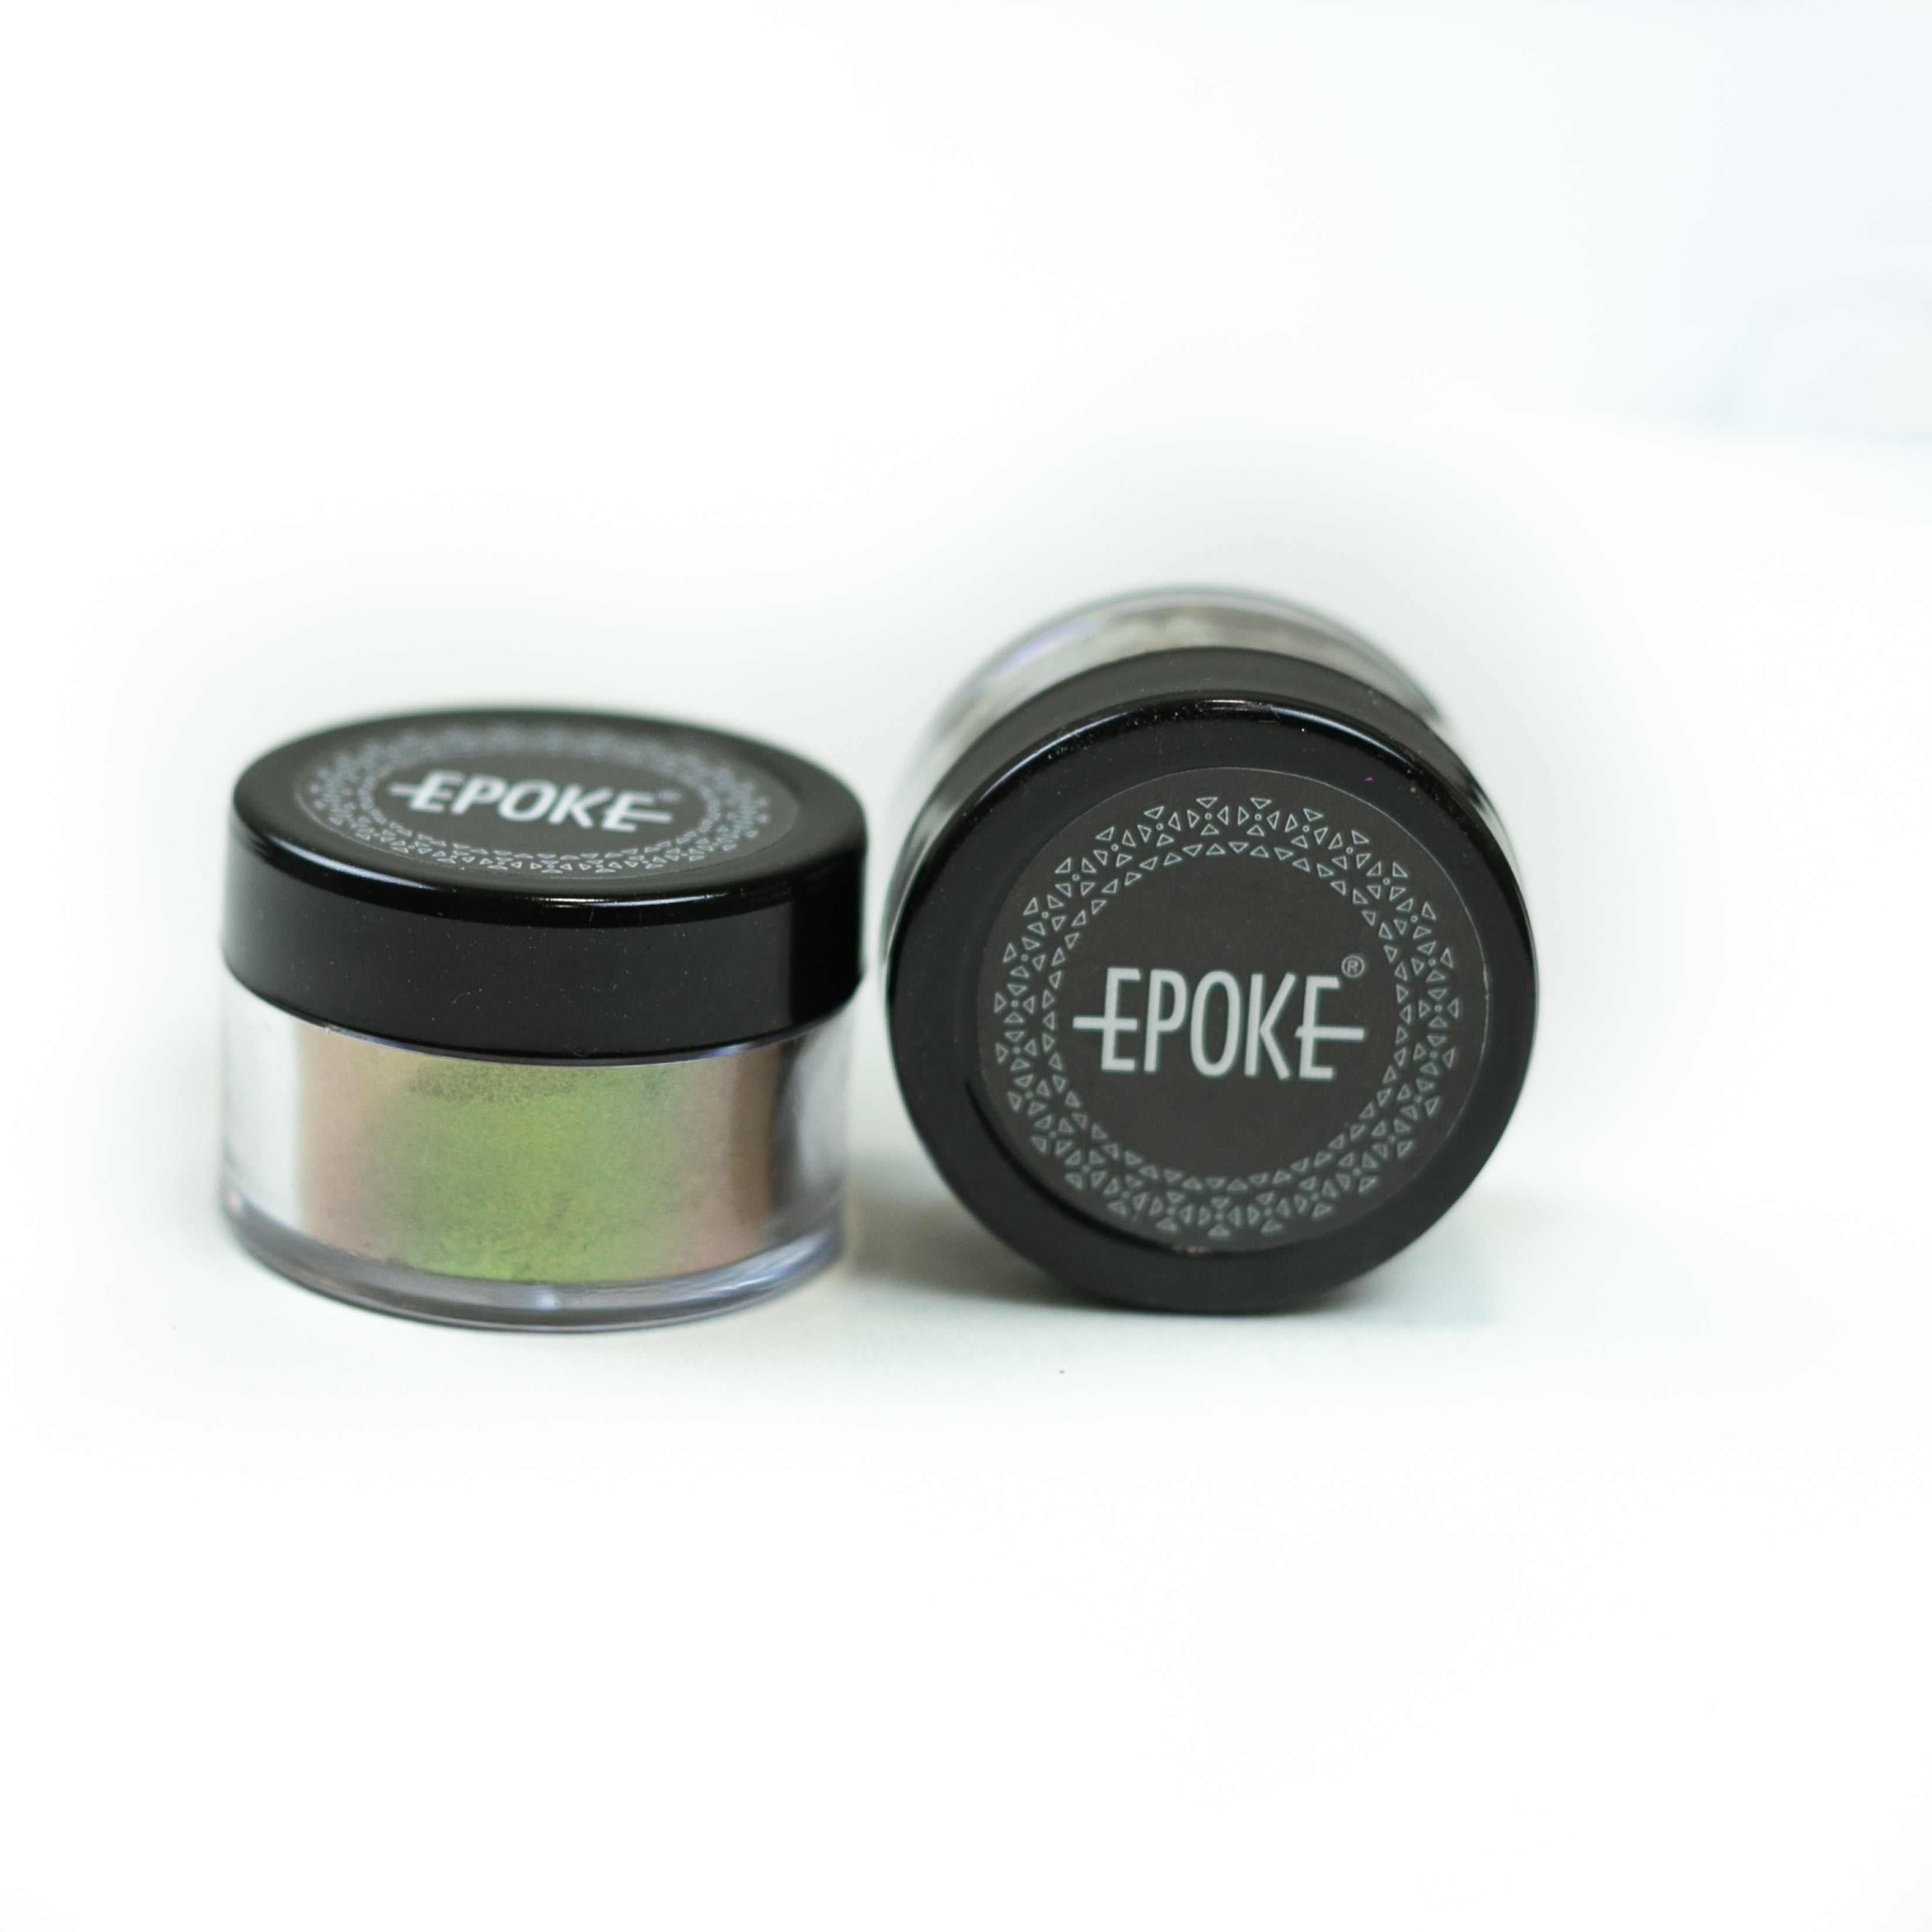
EPOKE Art's Fine Glitter range matches the Chunky range in colour options. Pick the same colour in both particle sizes and layer them for richer, more dimensional effects.
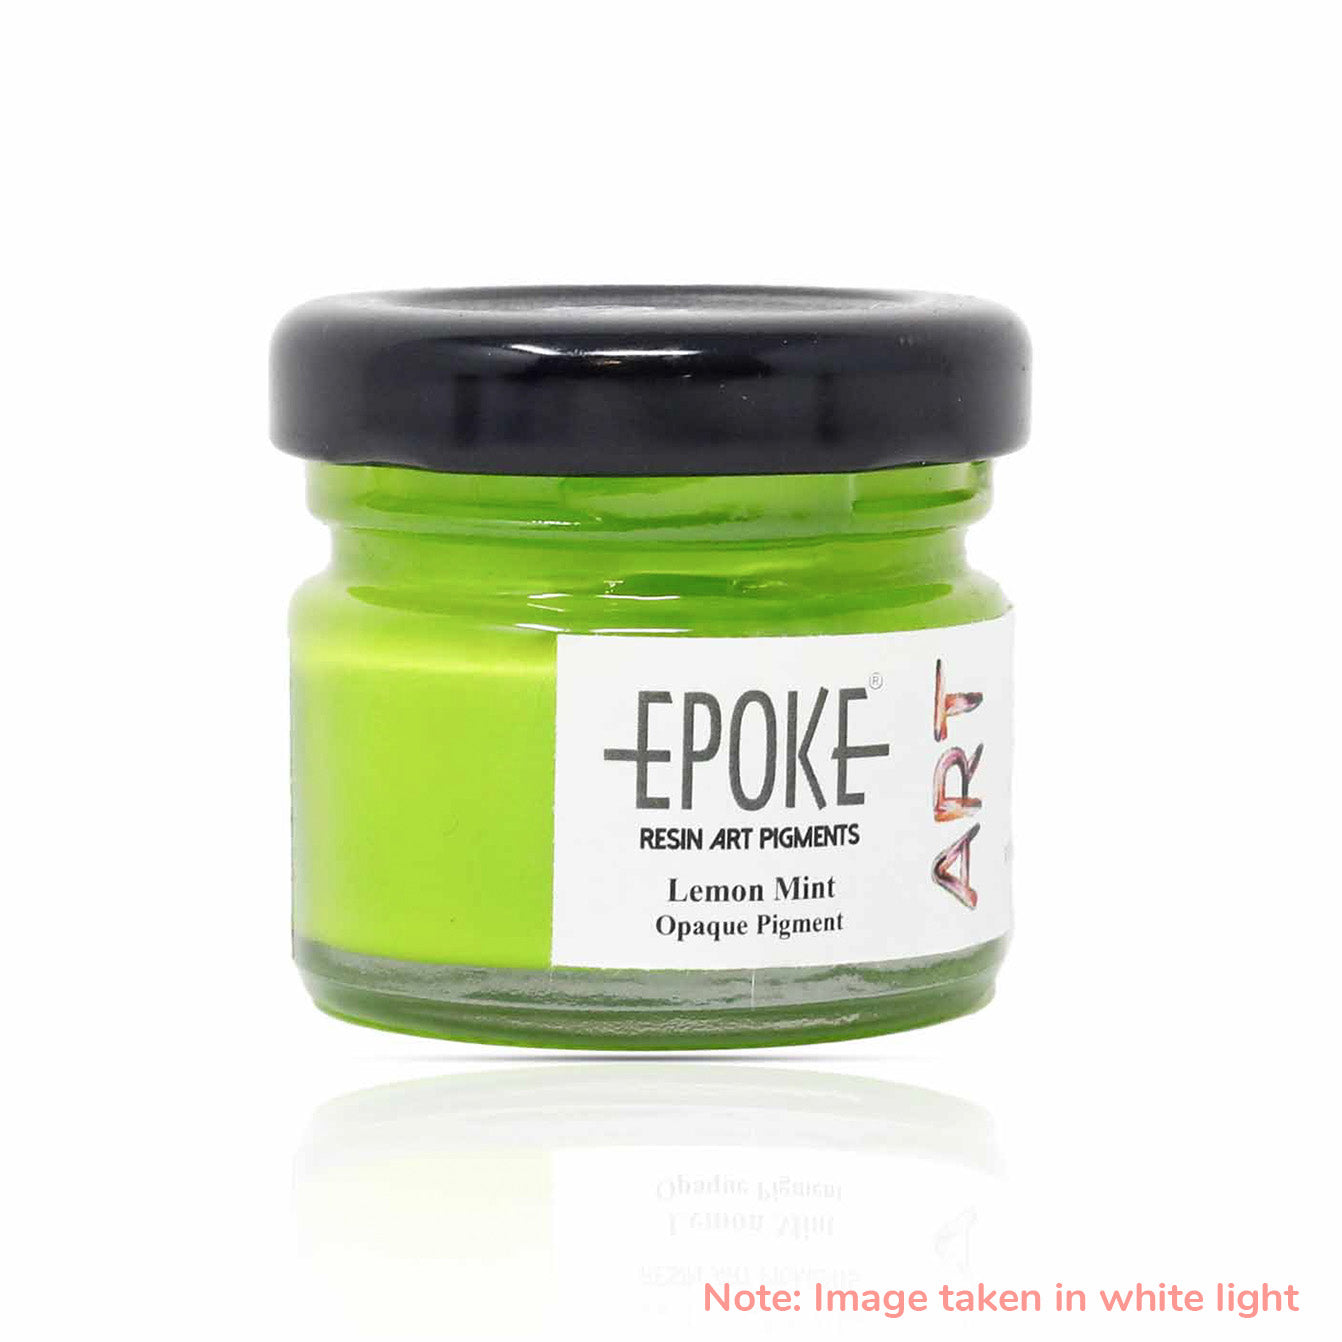
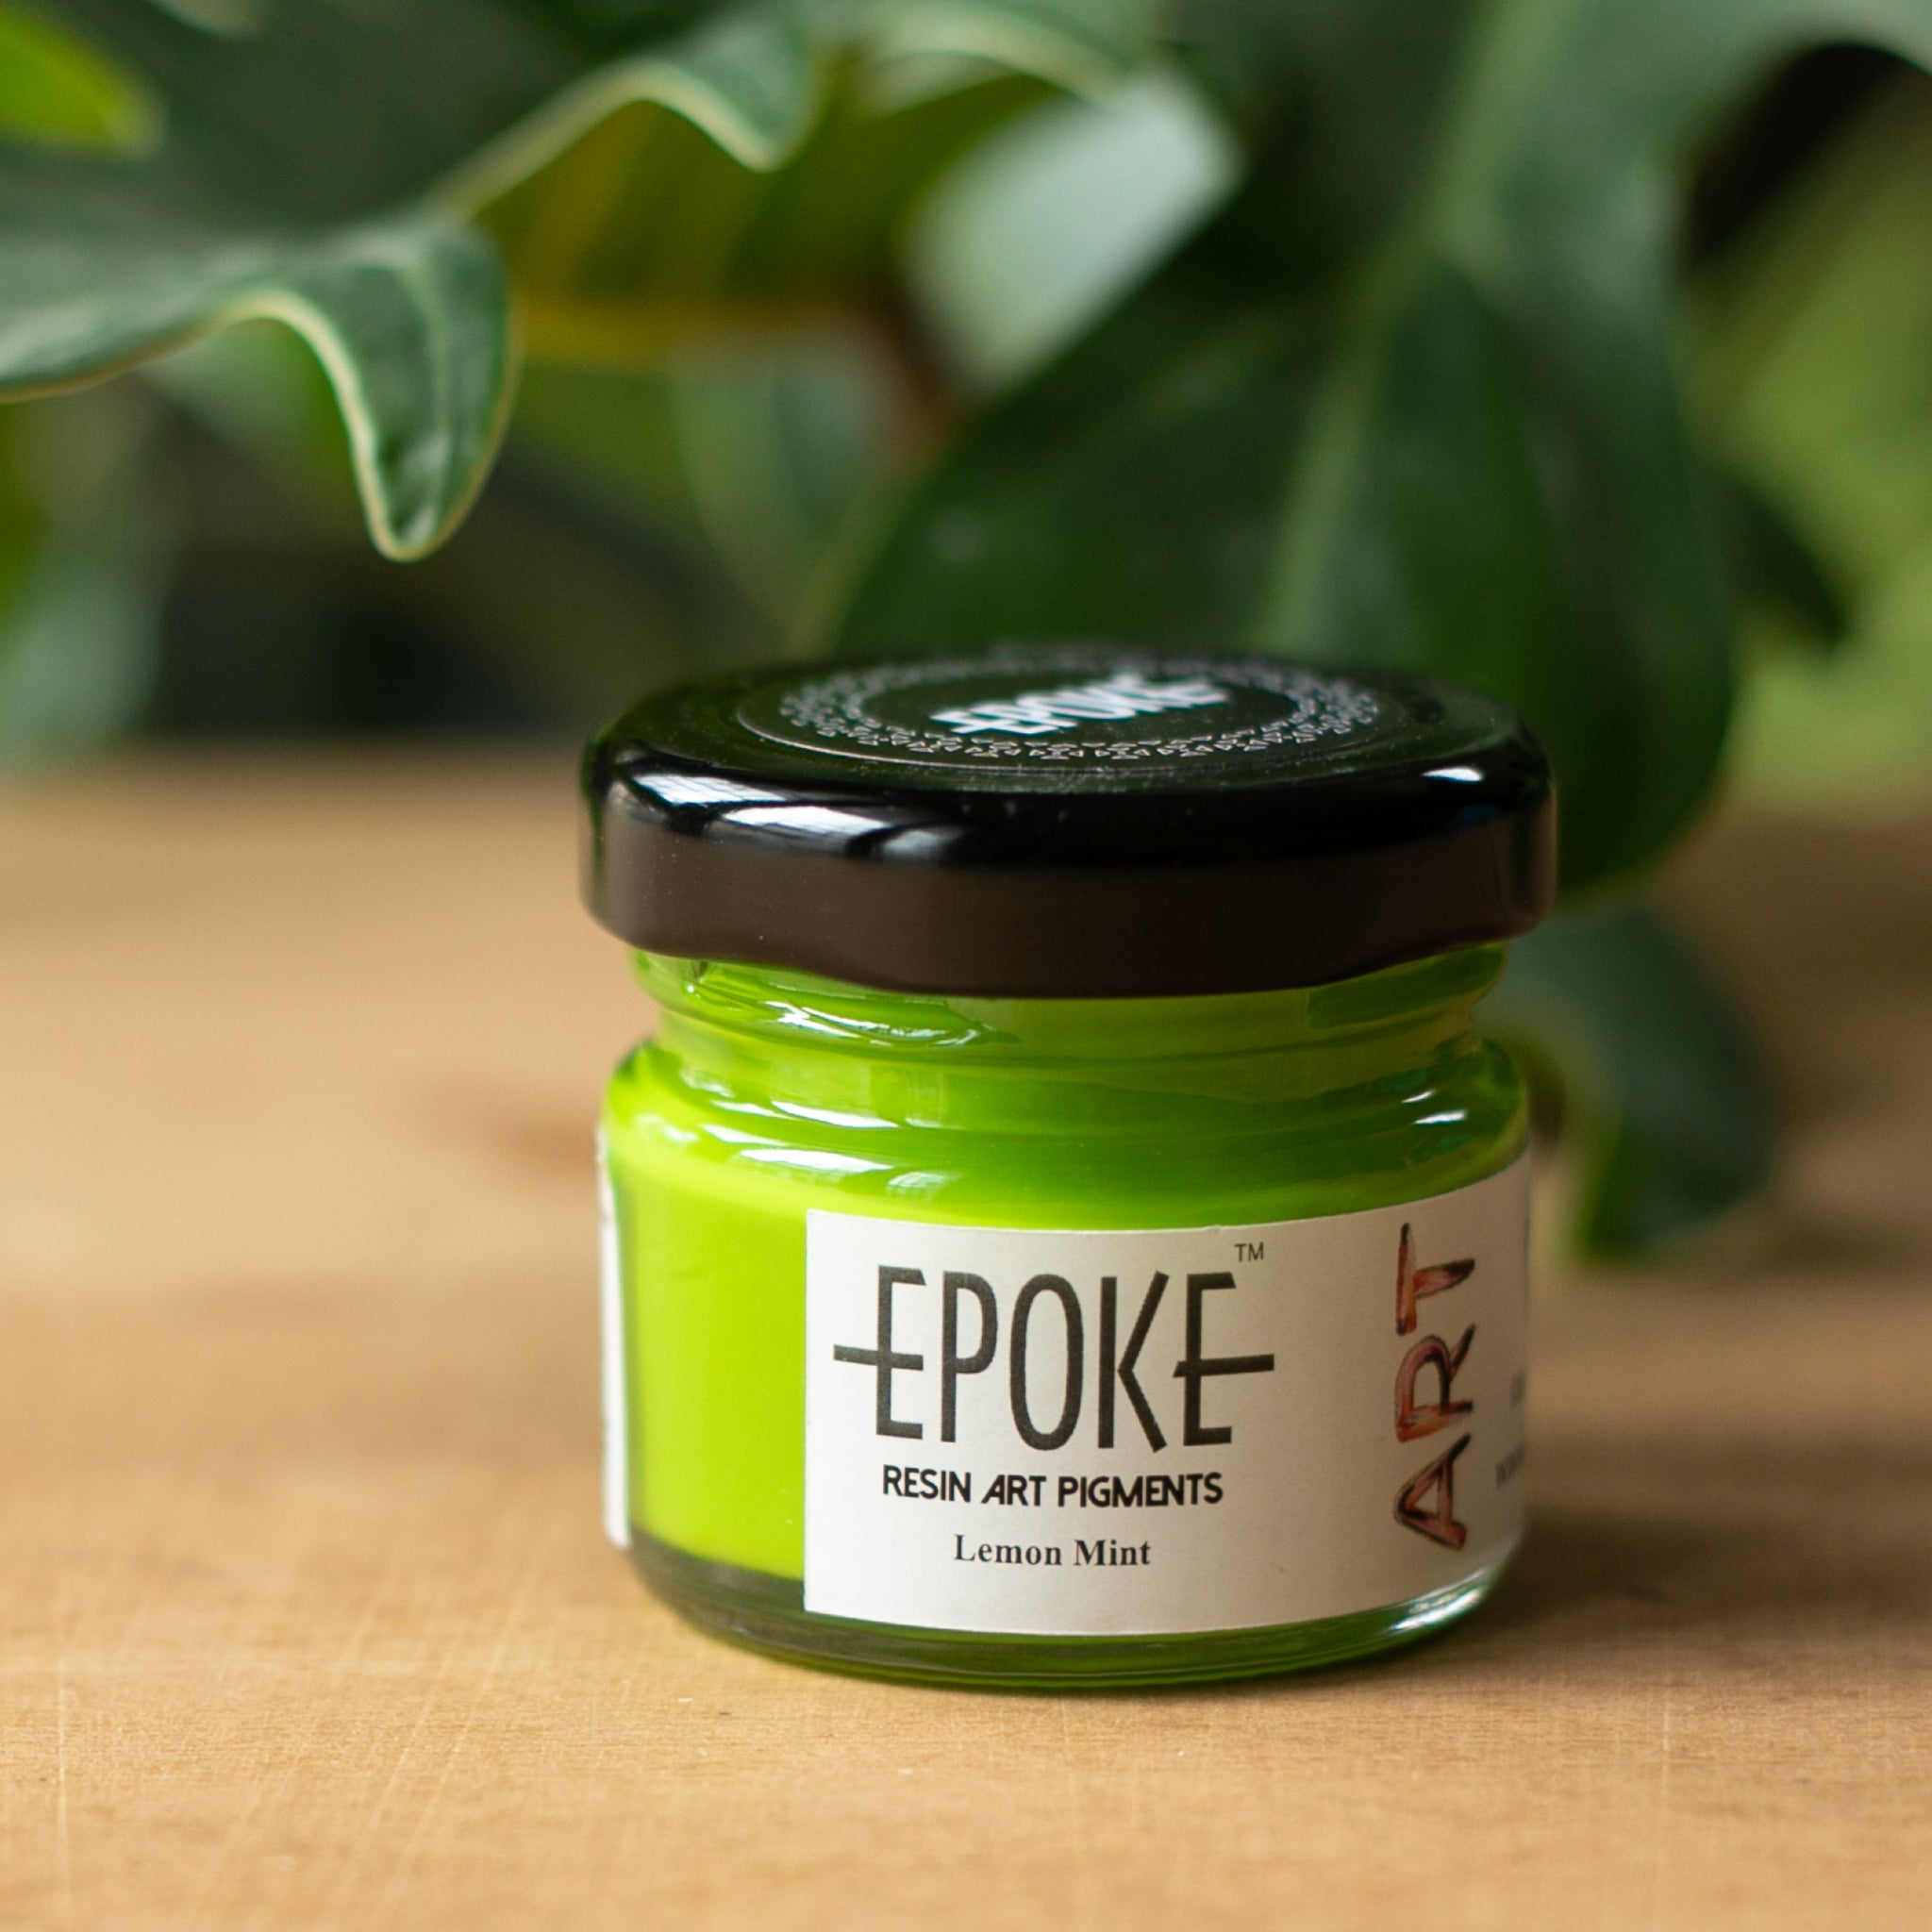
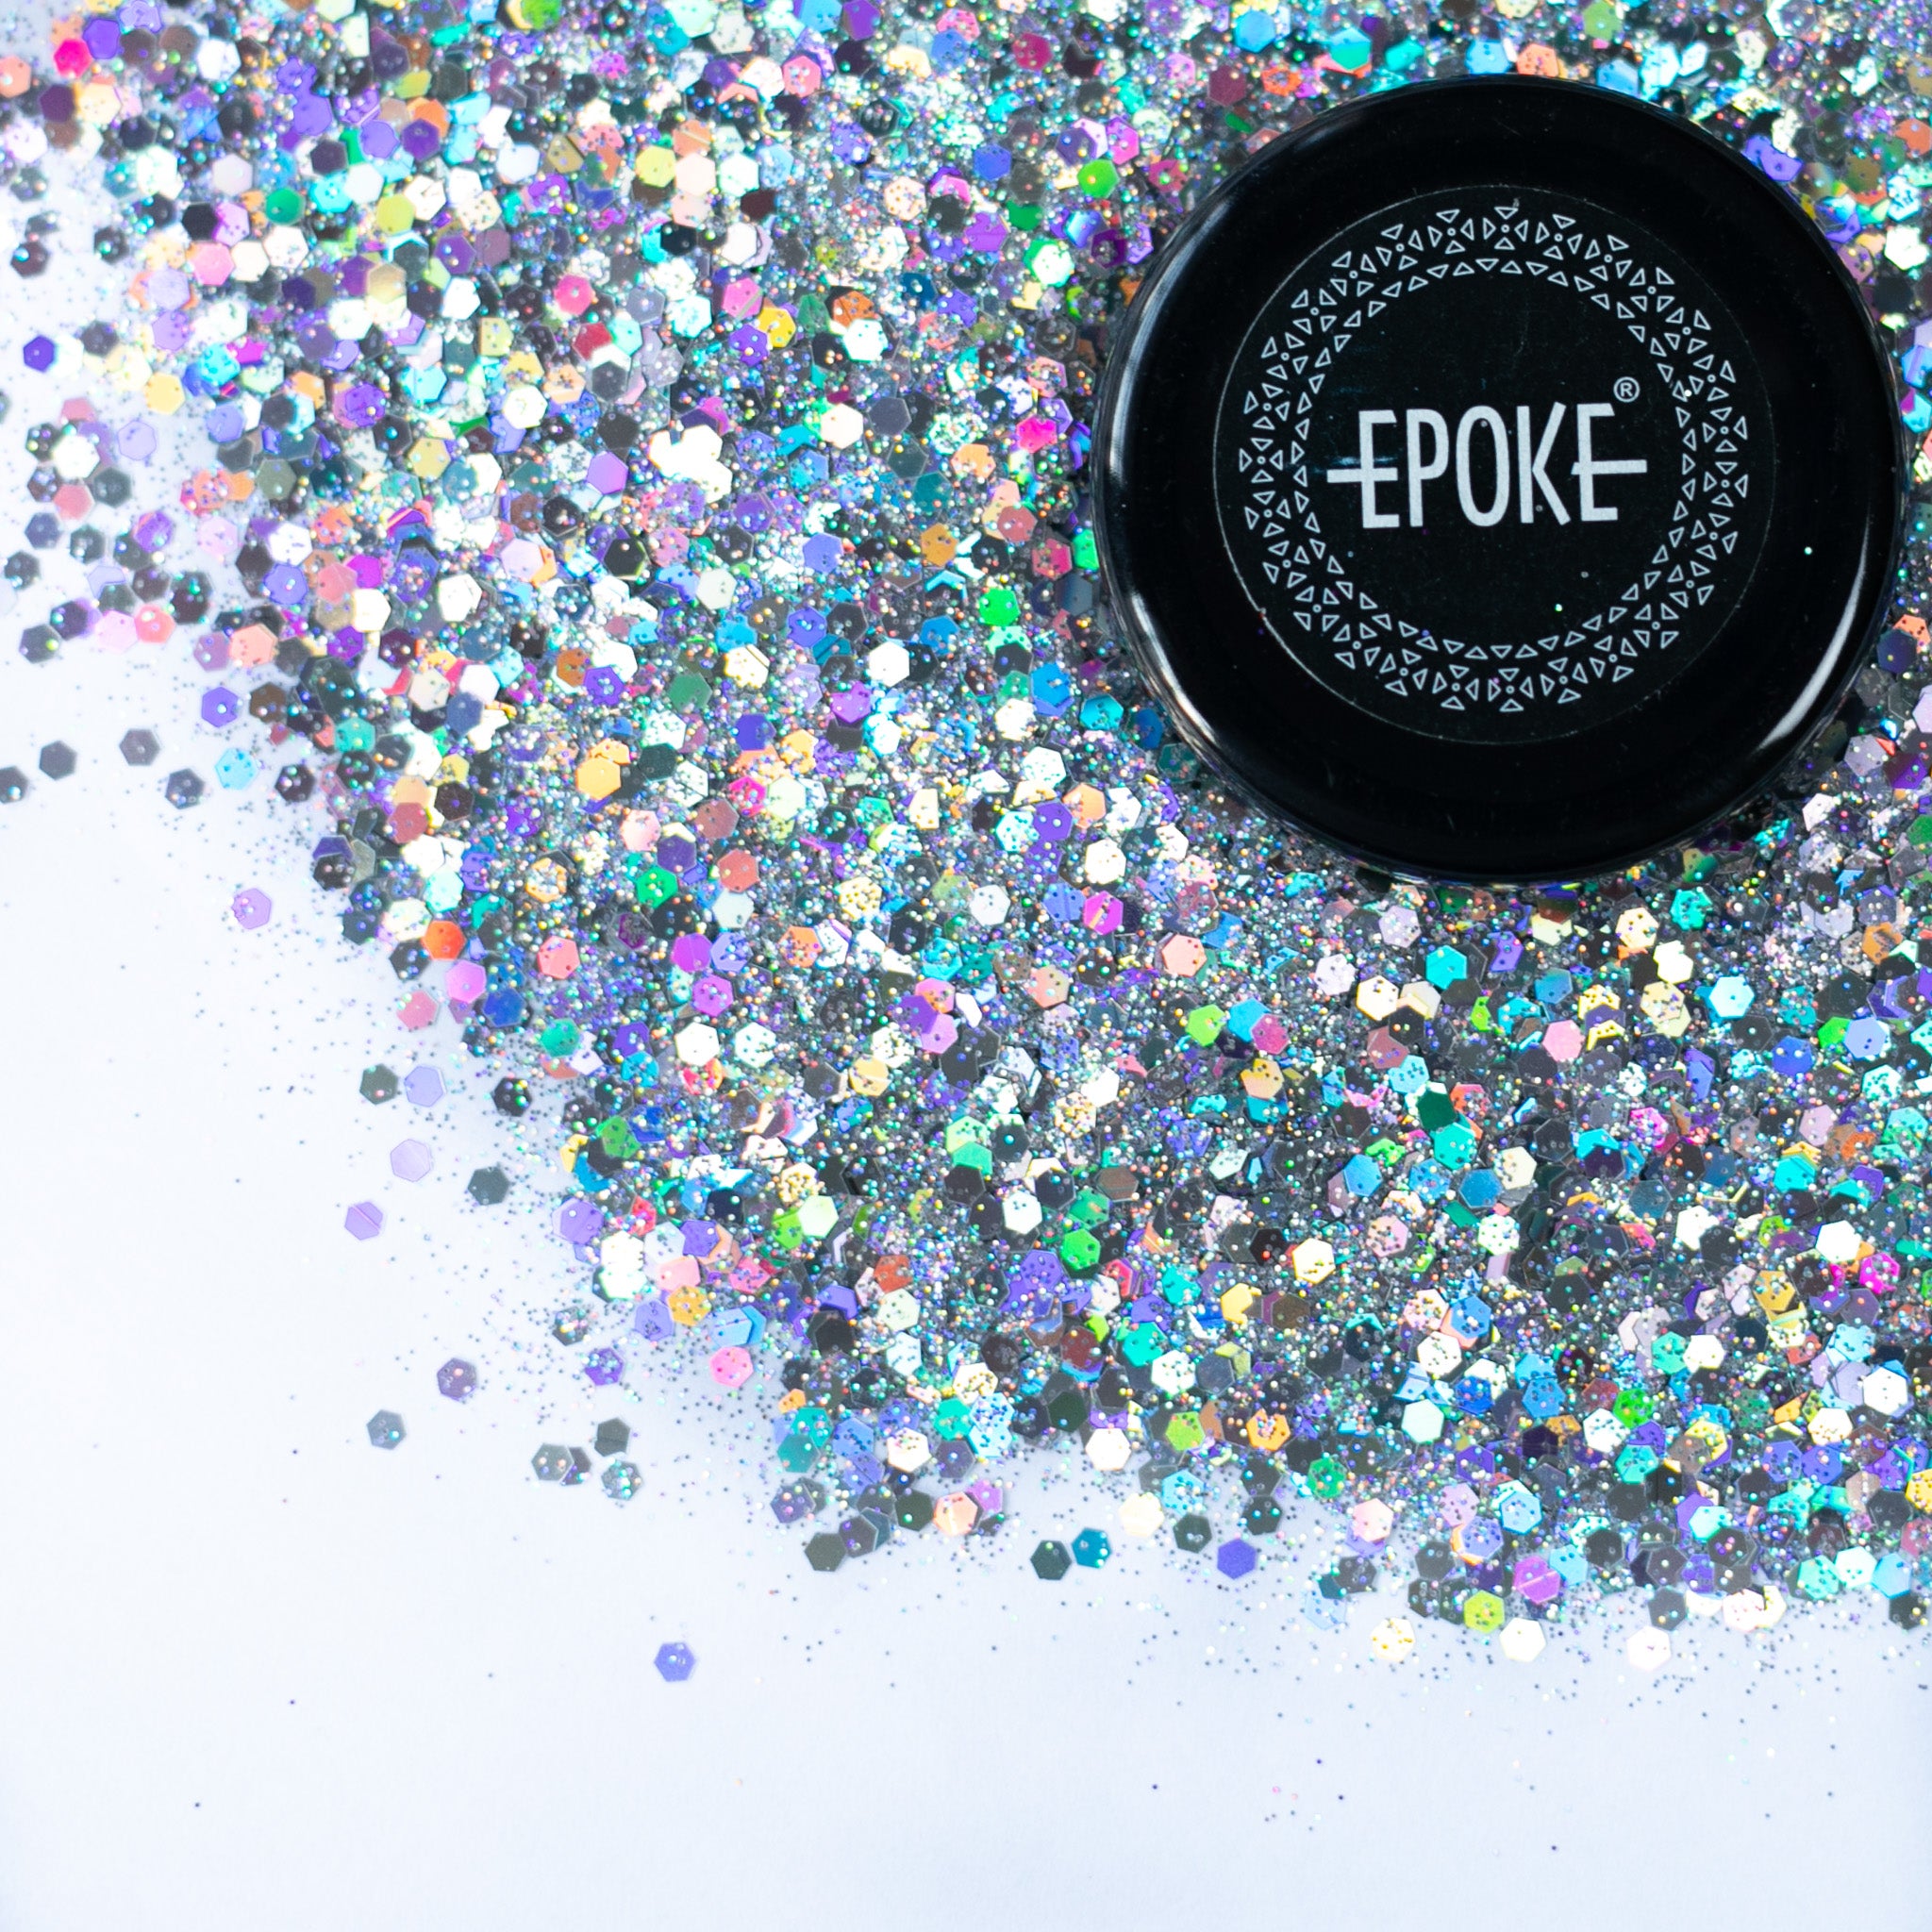
Mix Glitter
EPOKE Art also offers a Mix Glitter category. This blends particle sizes into one product, giving you both bold sparkle and smooth shimmer from a single pack. A good starting point for beginners who want flexibility without buying multiple options.
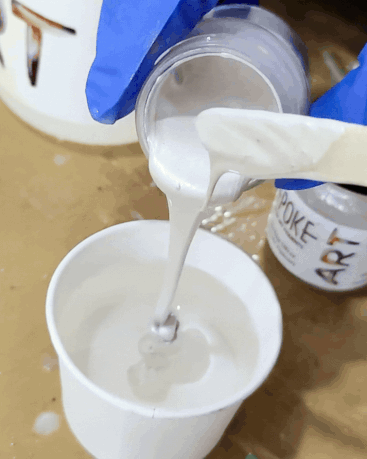
How to Add Glitter to Resin: Step by Step
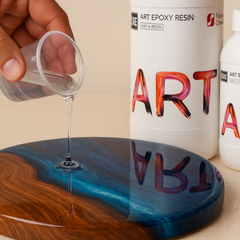
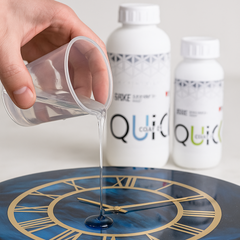
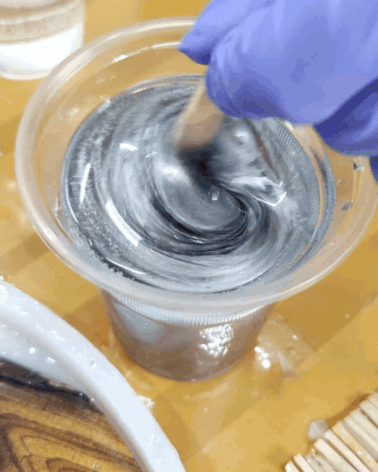
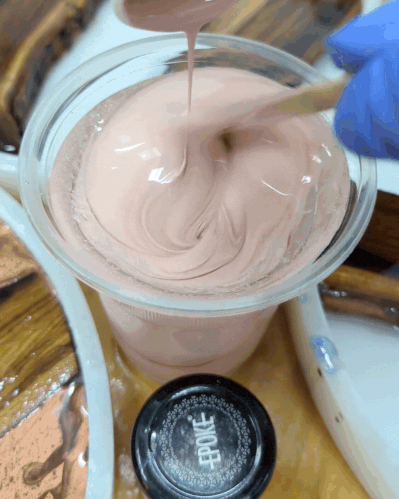
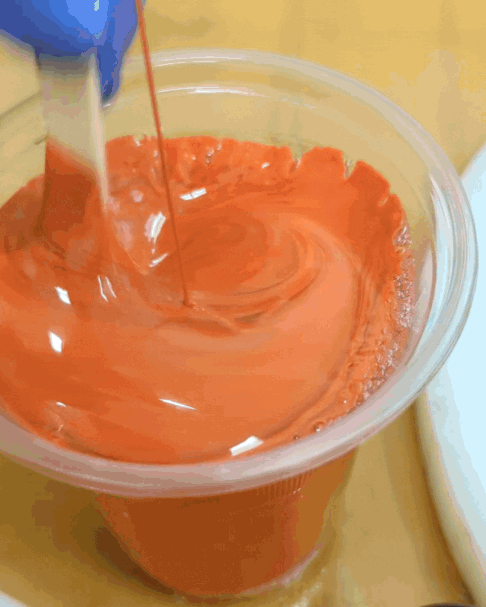
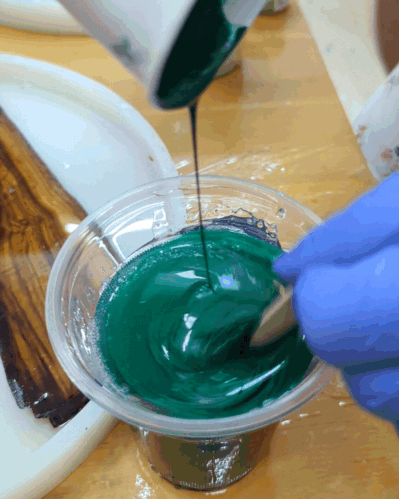
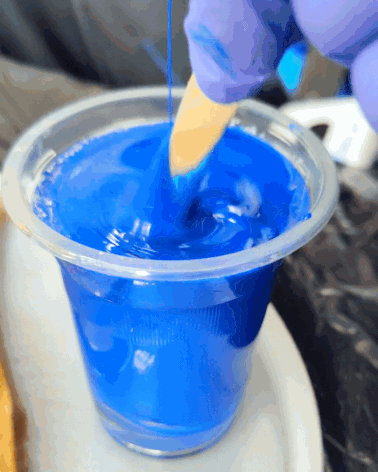
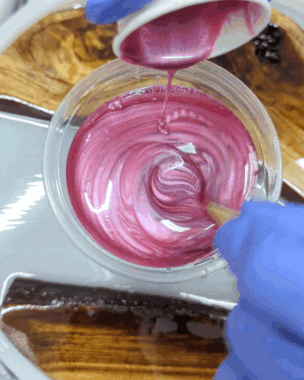
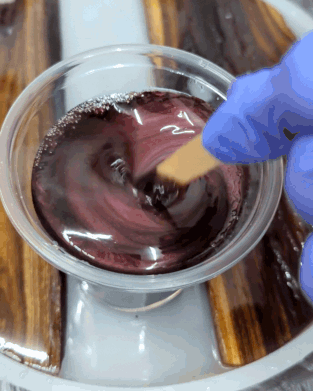
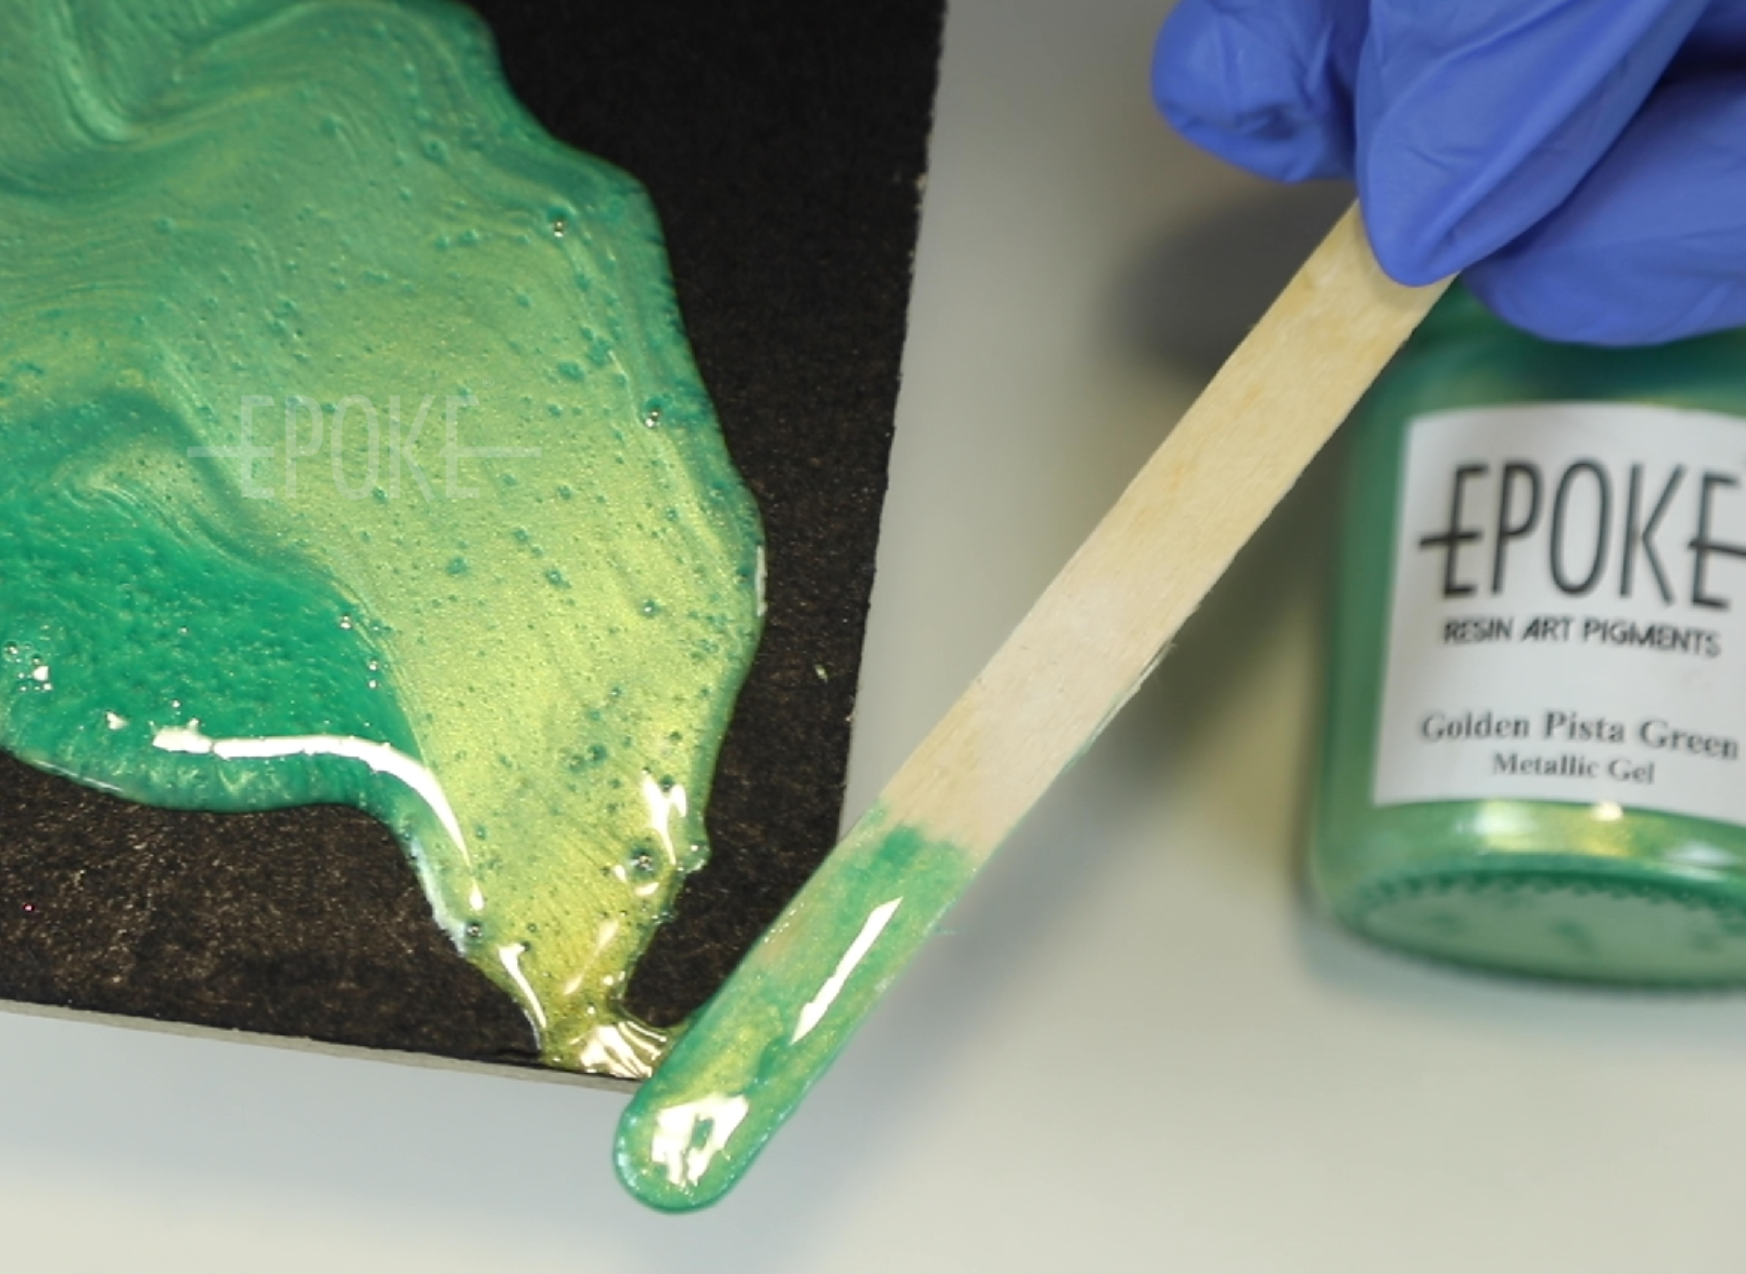
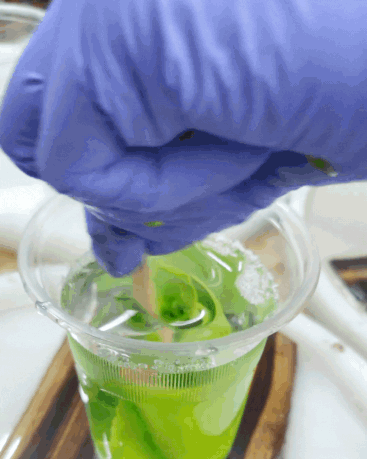
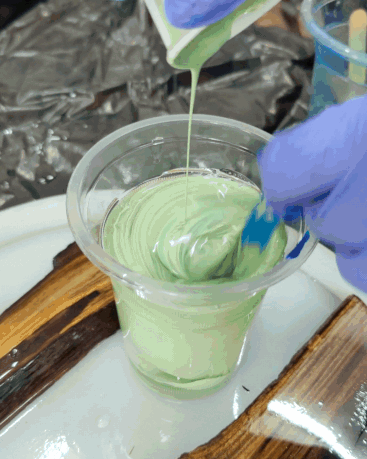
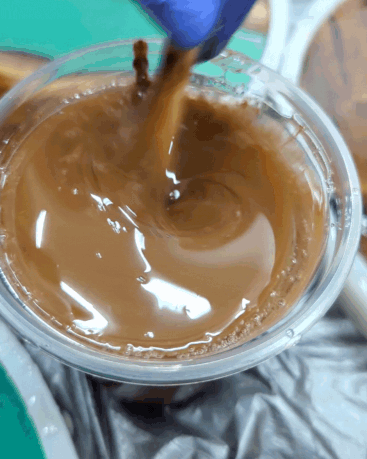
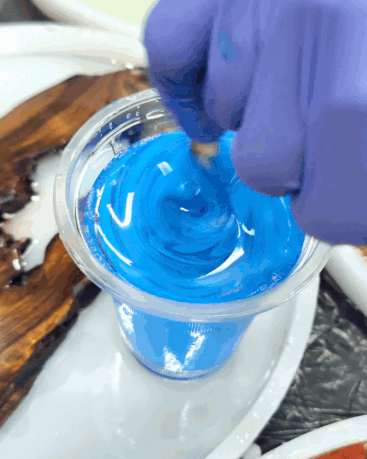
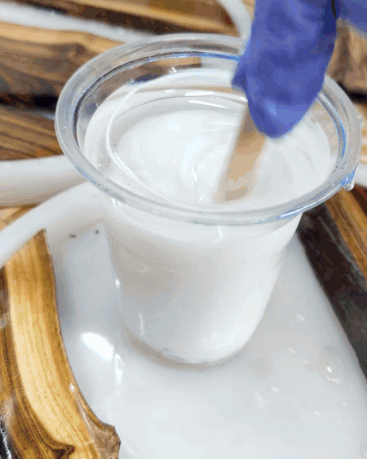
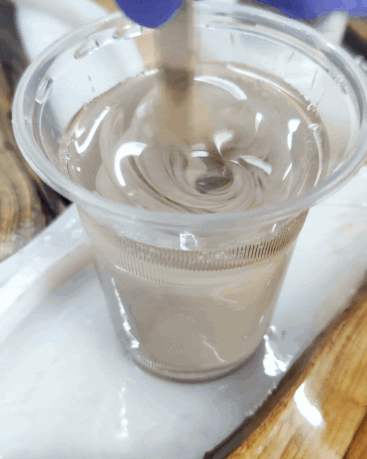
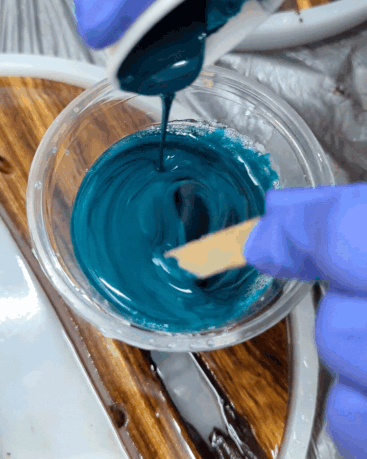
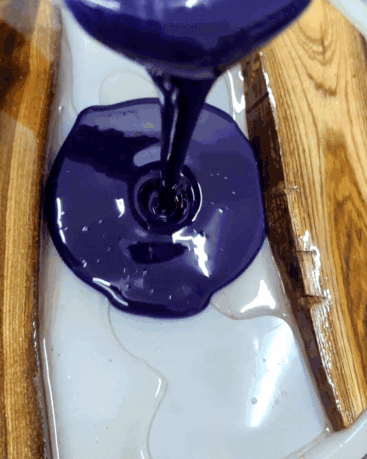
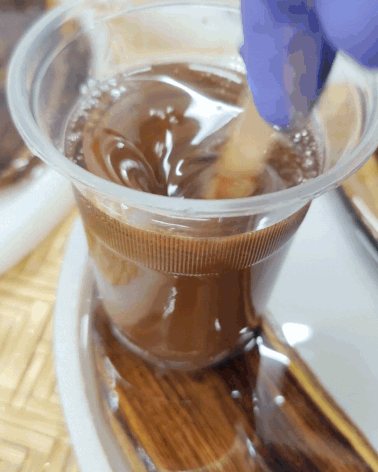
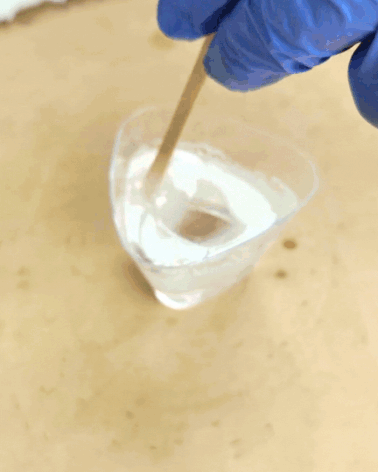
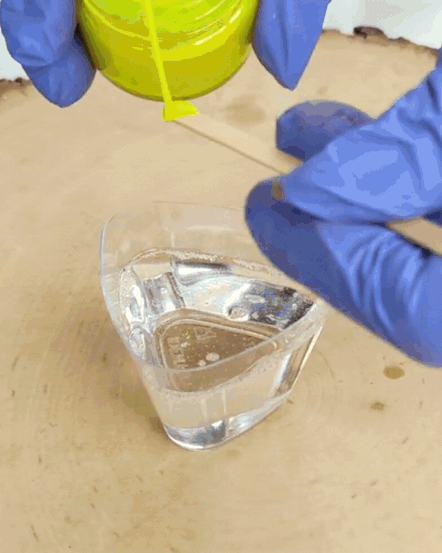
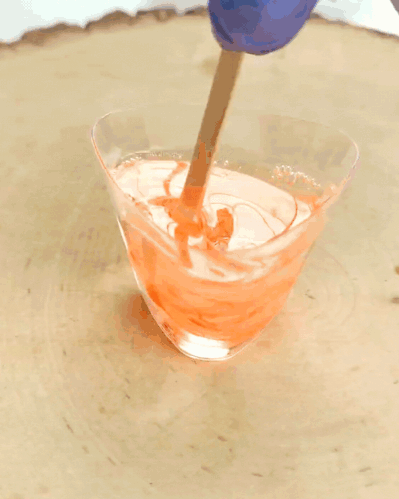
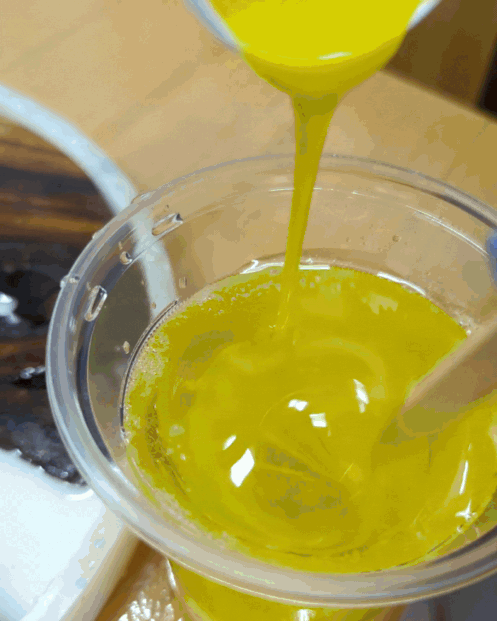
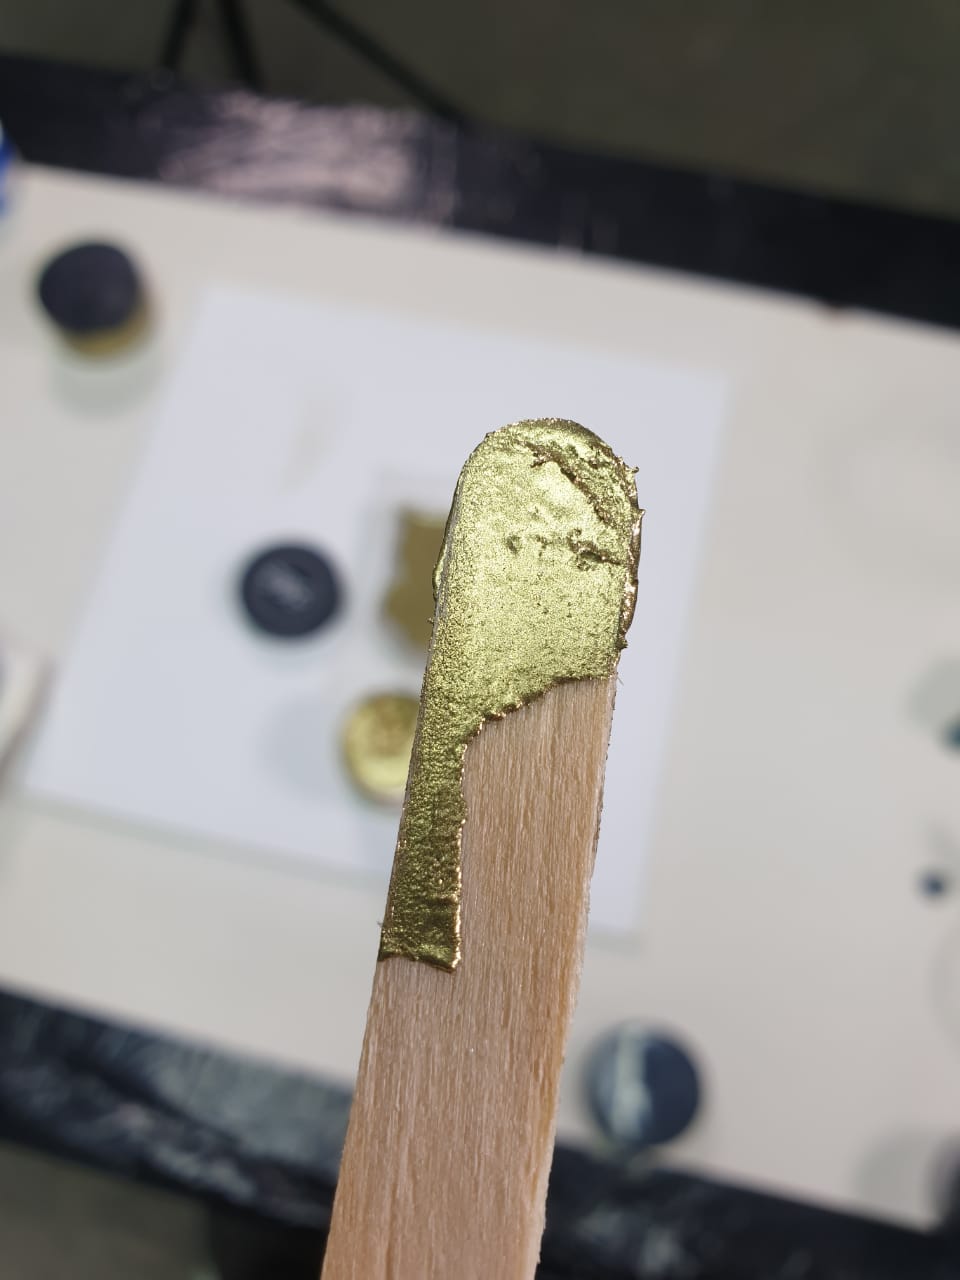
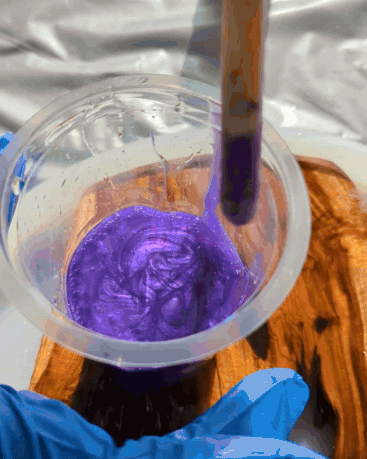
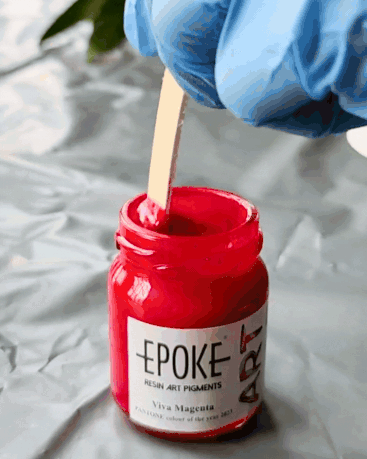
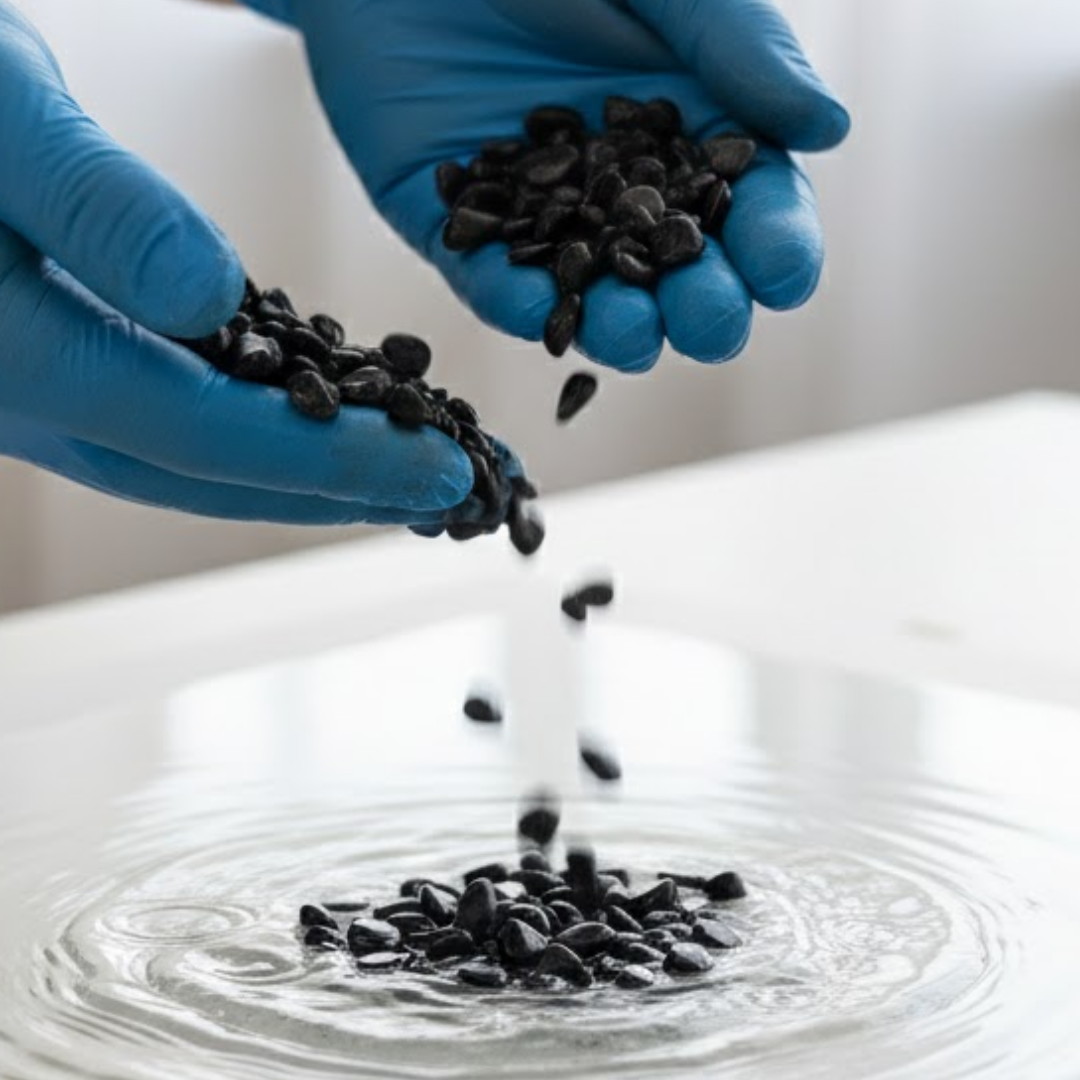
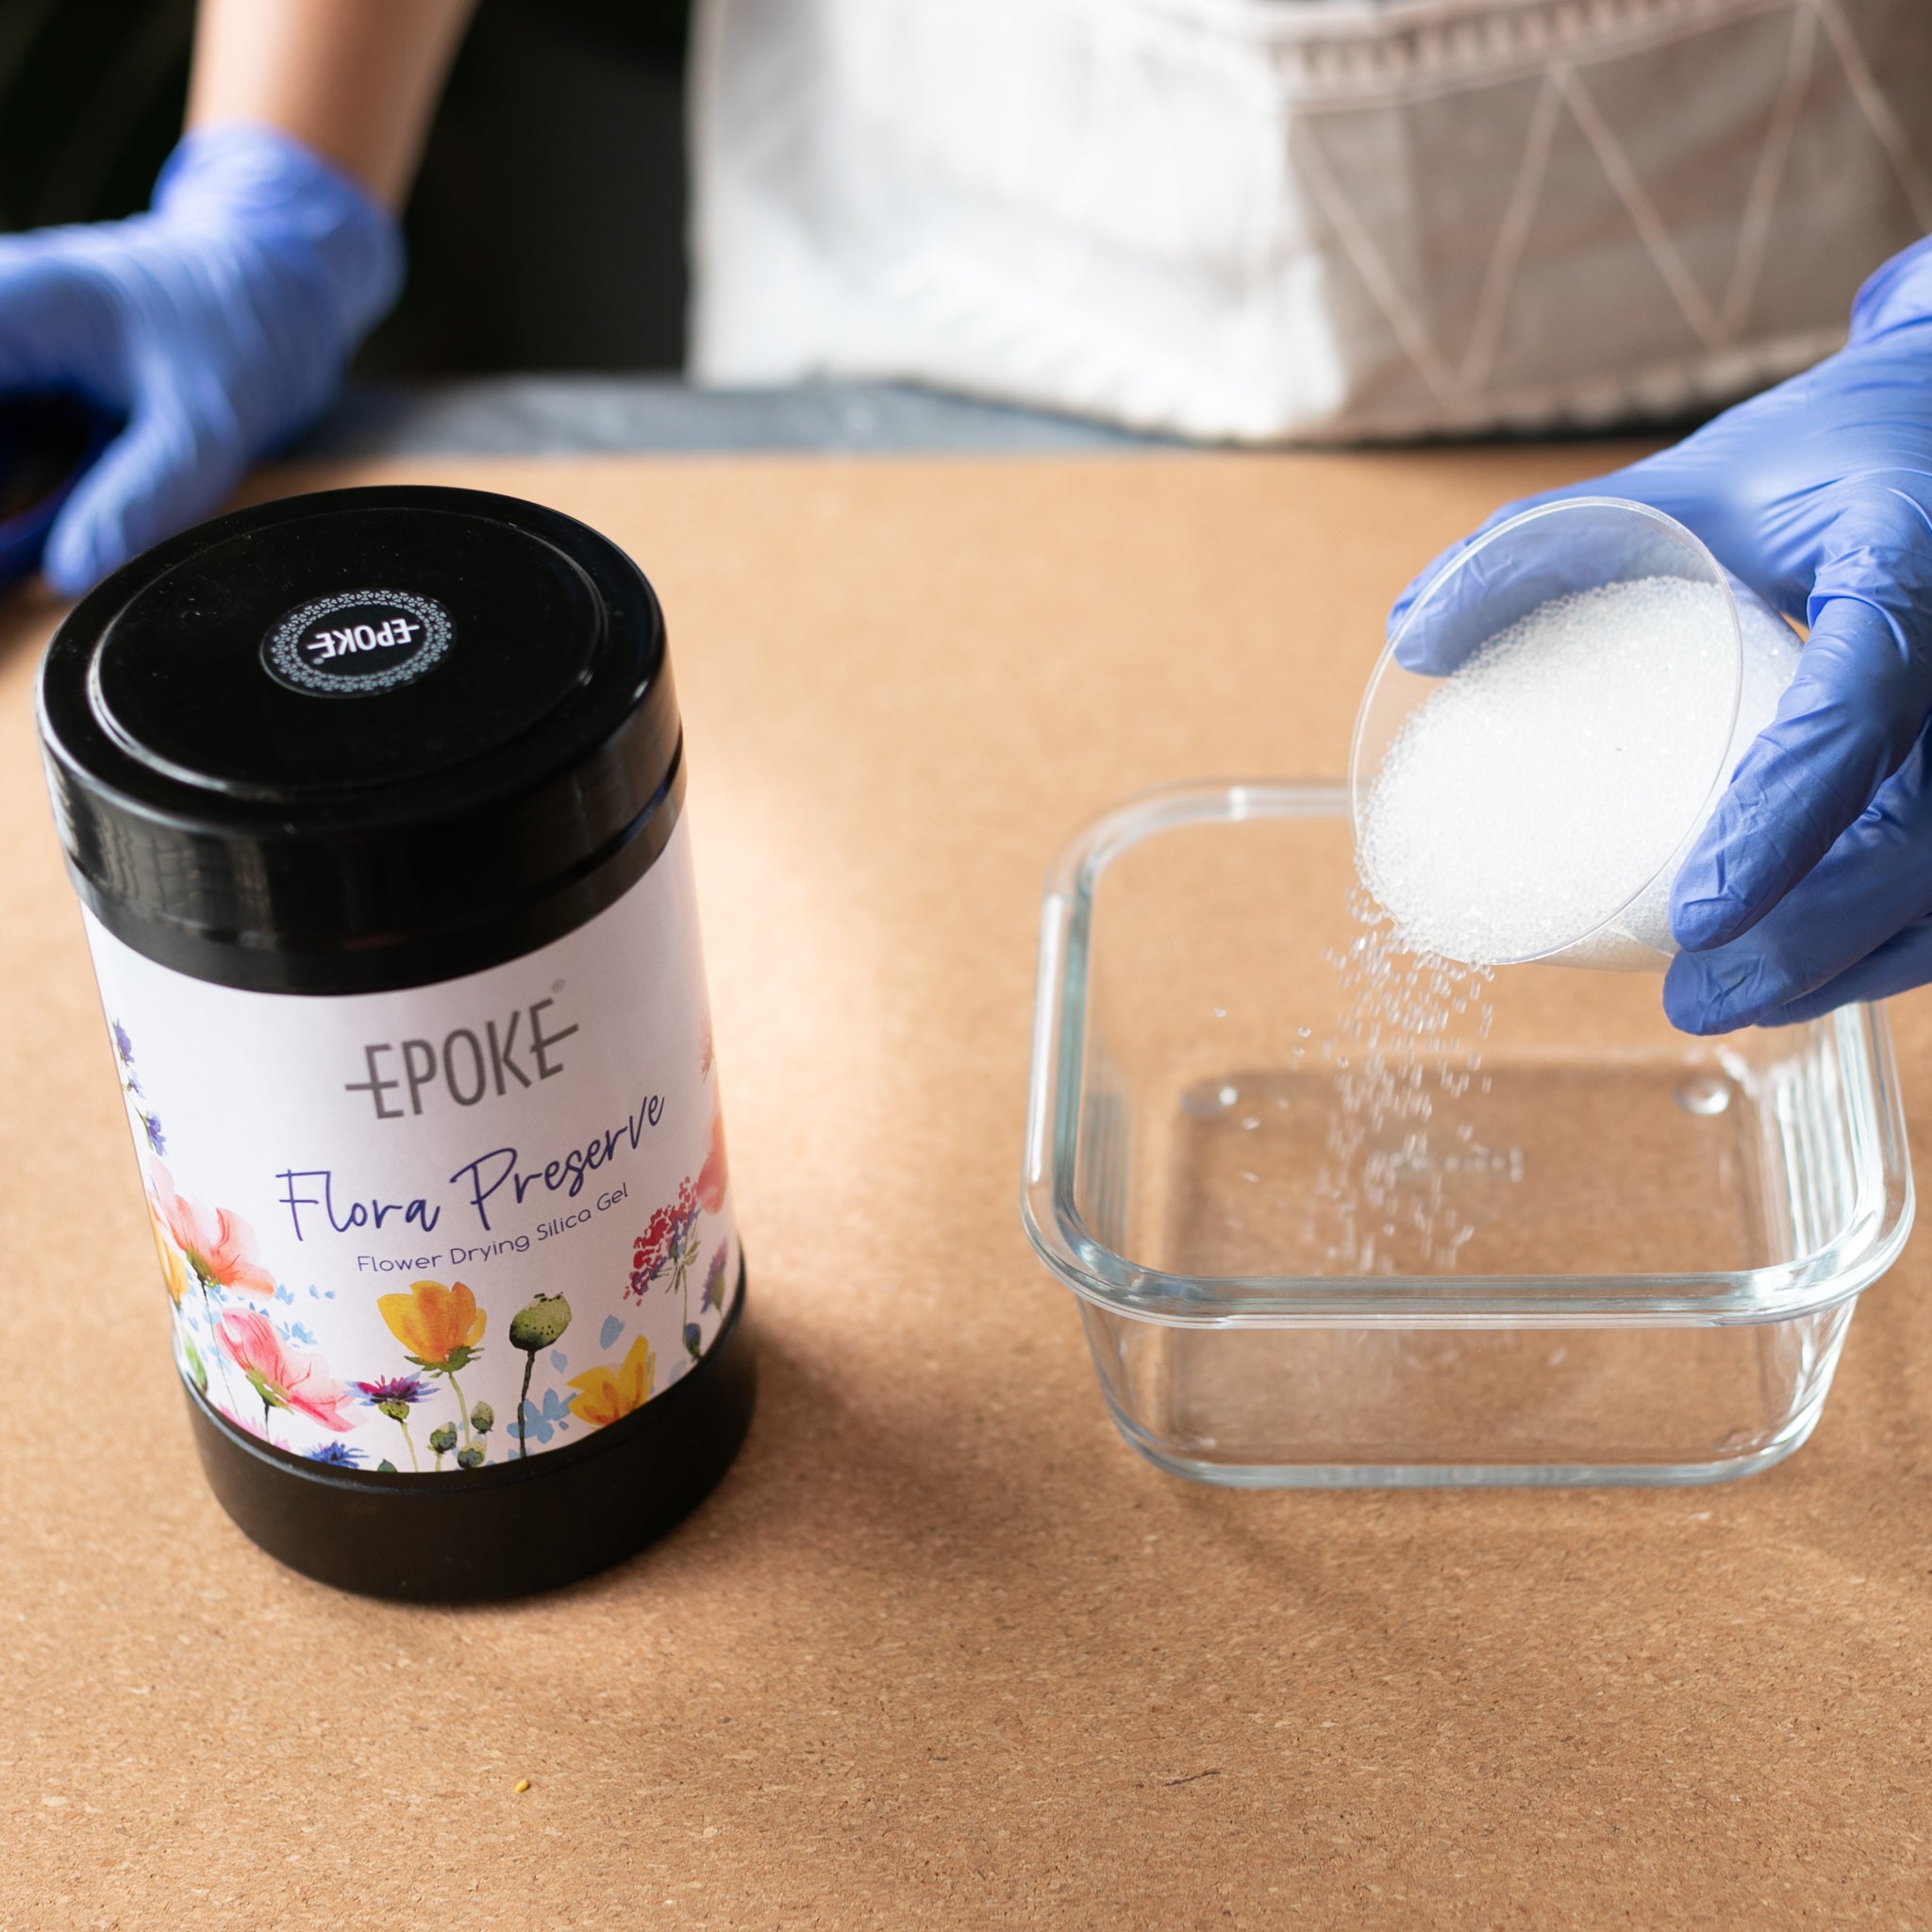
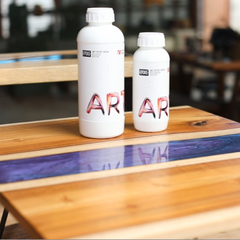
Step 1: Mix your resin first. Mix your epoxy resin and hardener thoroughly before adding anything else. Adding glitter to unmixed resin leads to uneven curing.
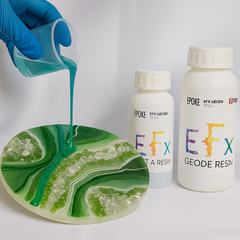
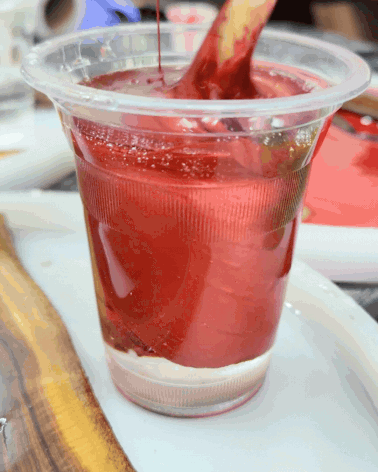
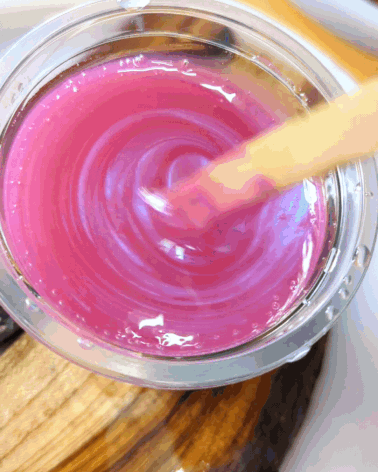
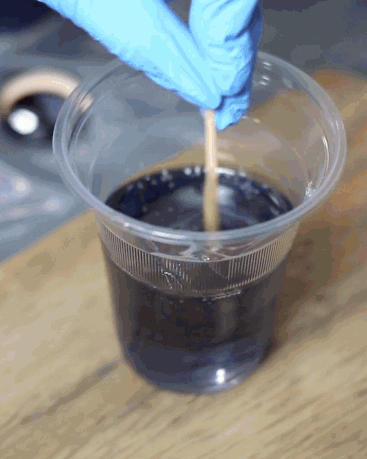
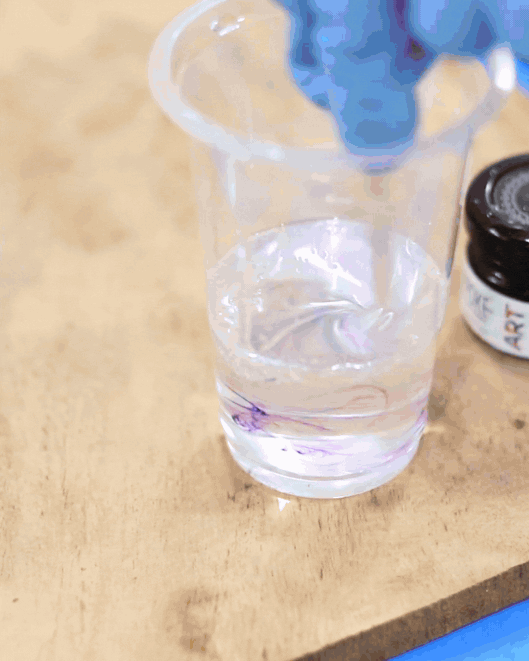
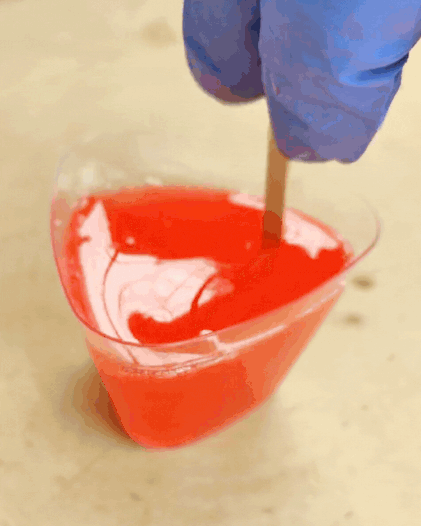
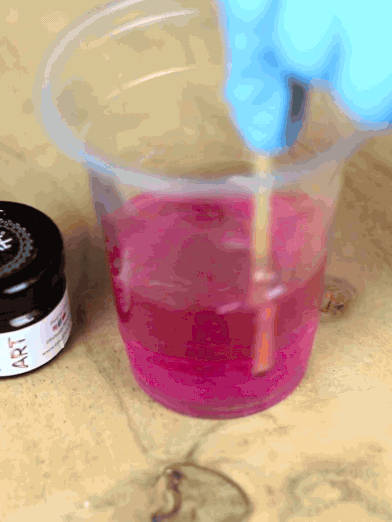
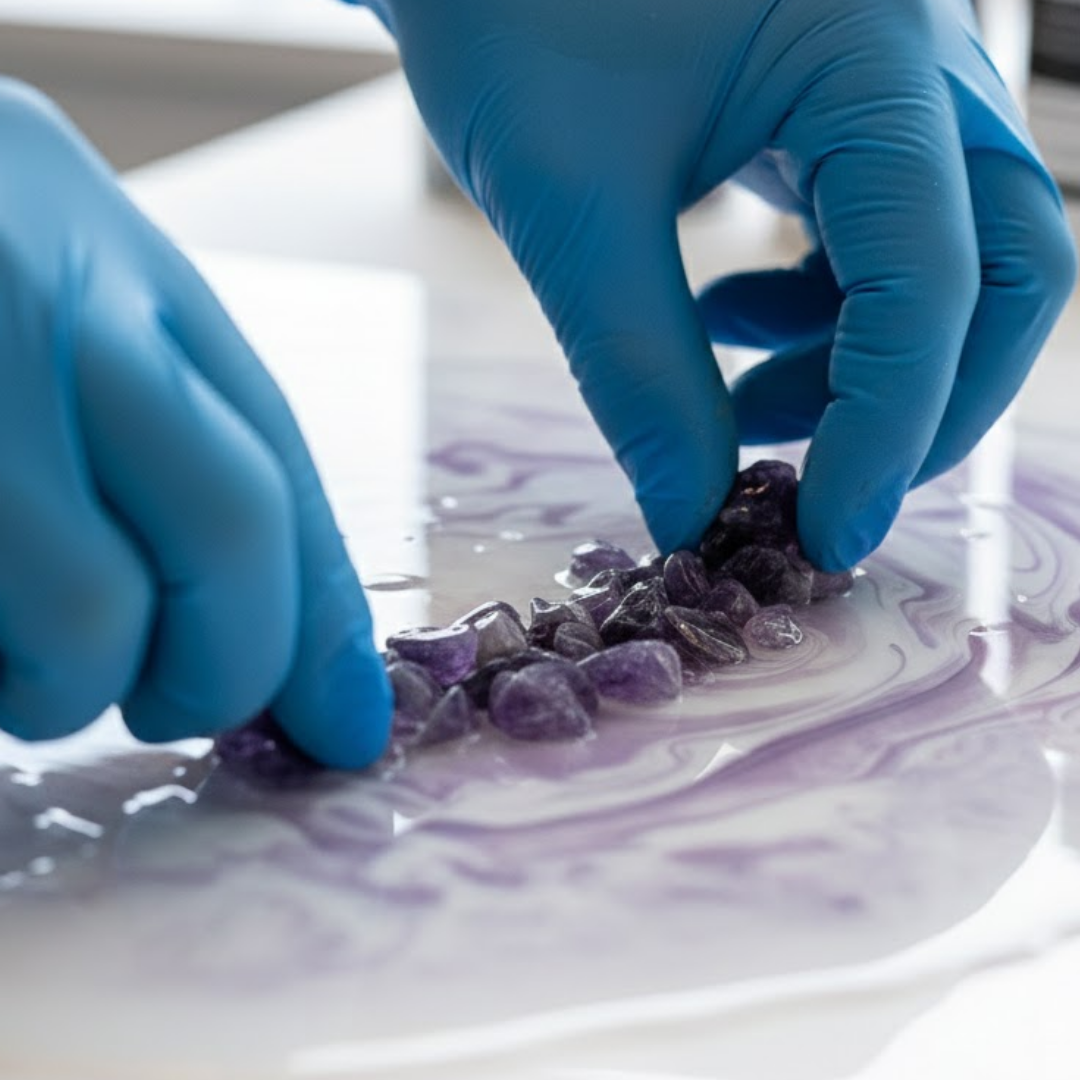
Step 2: Add glitter to the mixed resin. Pour your glitter into the mixed resin. Stir gently but fully to avoid introducing excess air bubbles.
Step 3: Pour promptly. Once glitter is mixed in, move with purpose. The longer glitter sits in mixed resin, the more it settles, especially chunky glitter.
Step 4: Use a heat gun after pouring. A quick pass with a heat gun pops surface bubbles and helps redistribute fine glitter slightly before it sets.
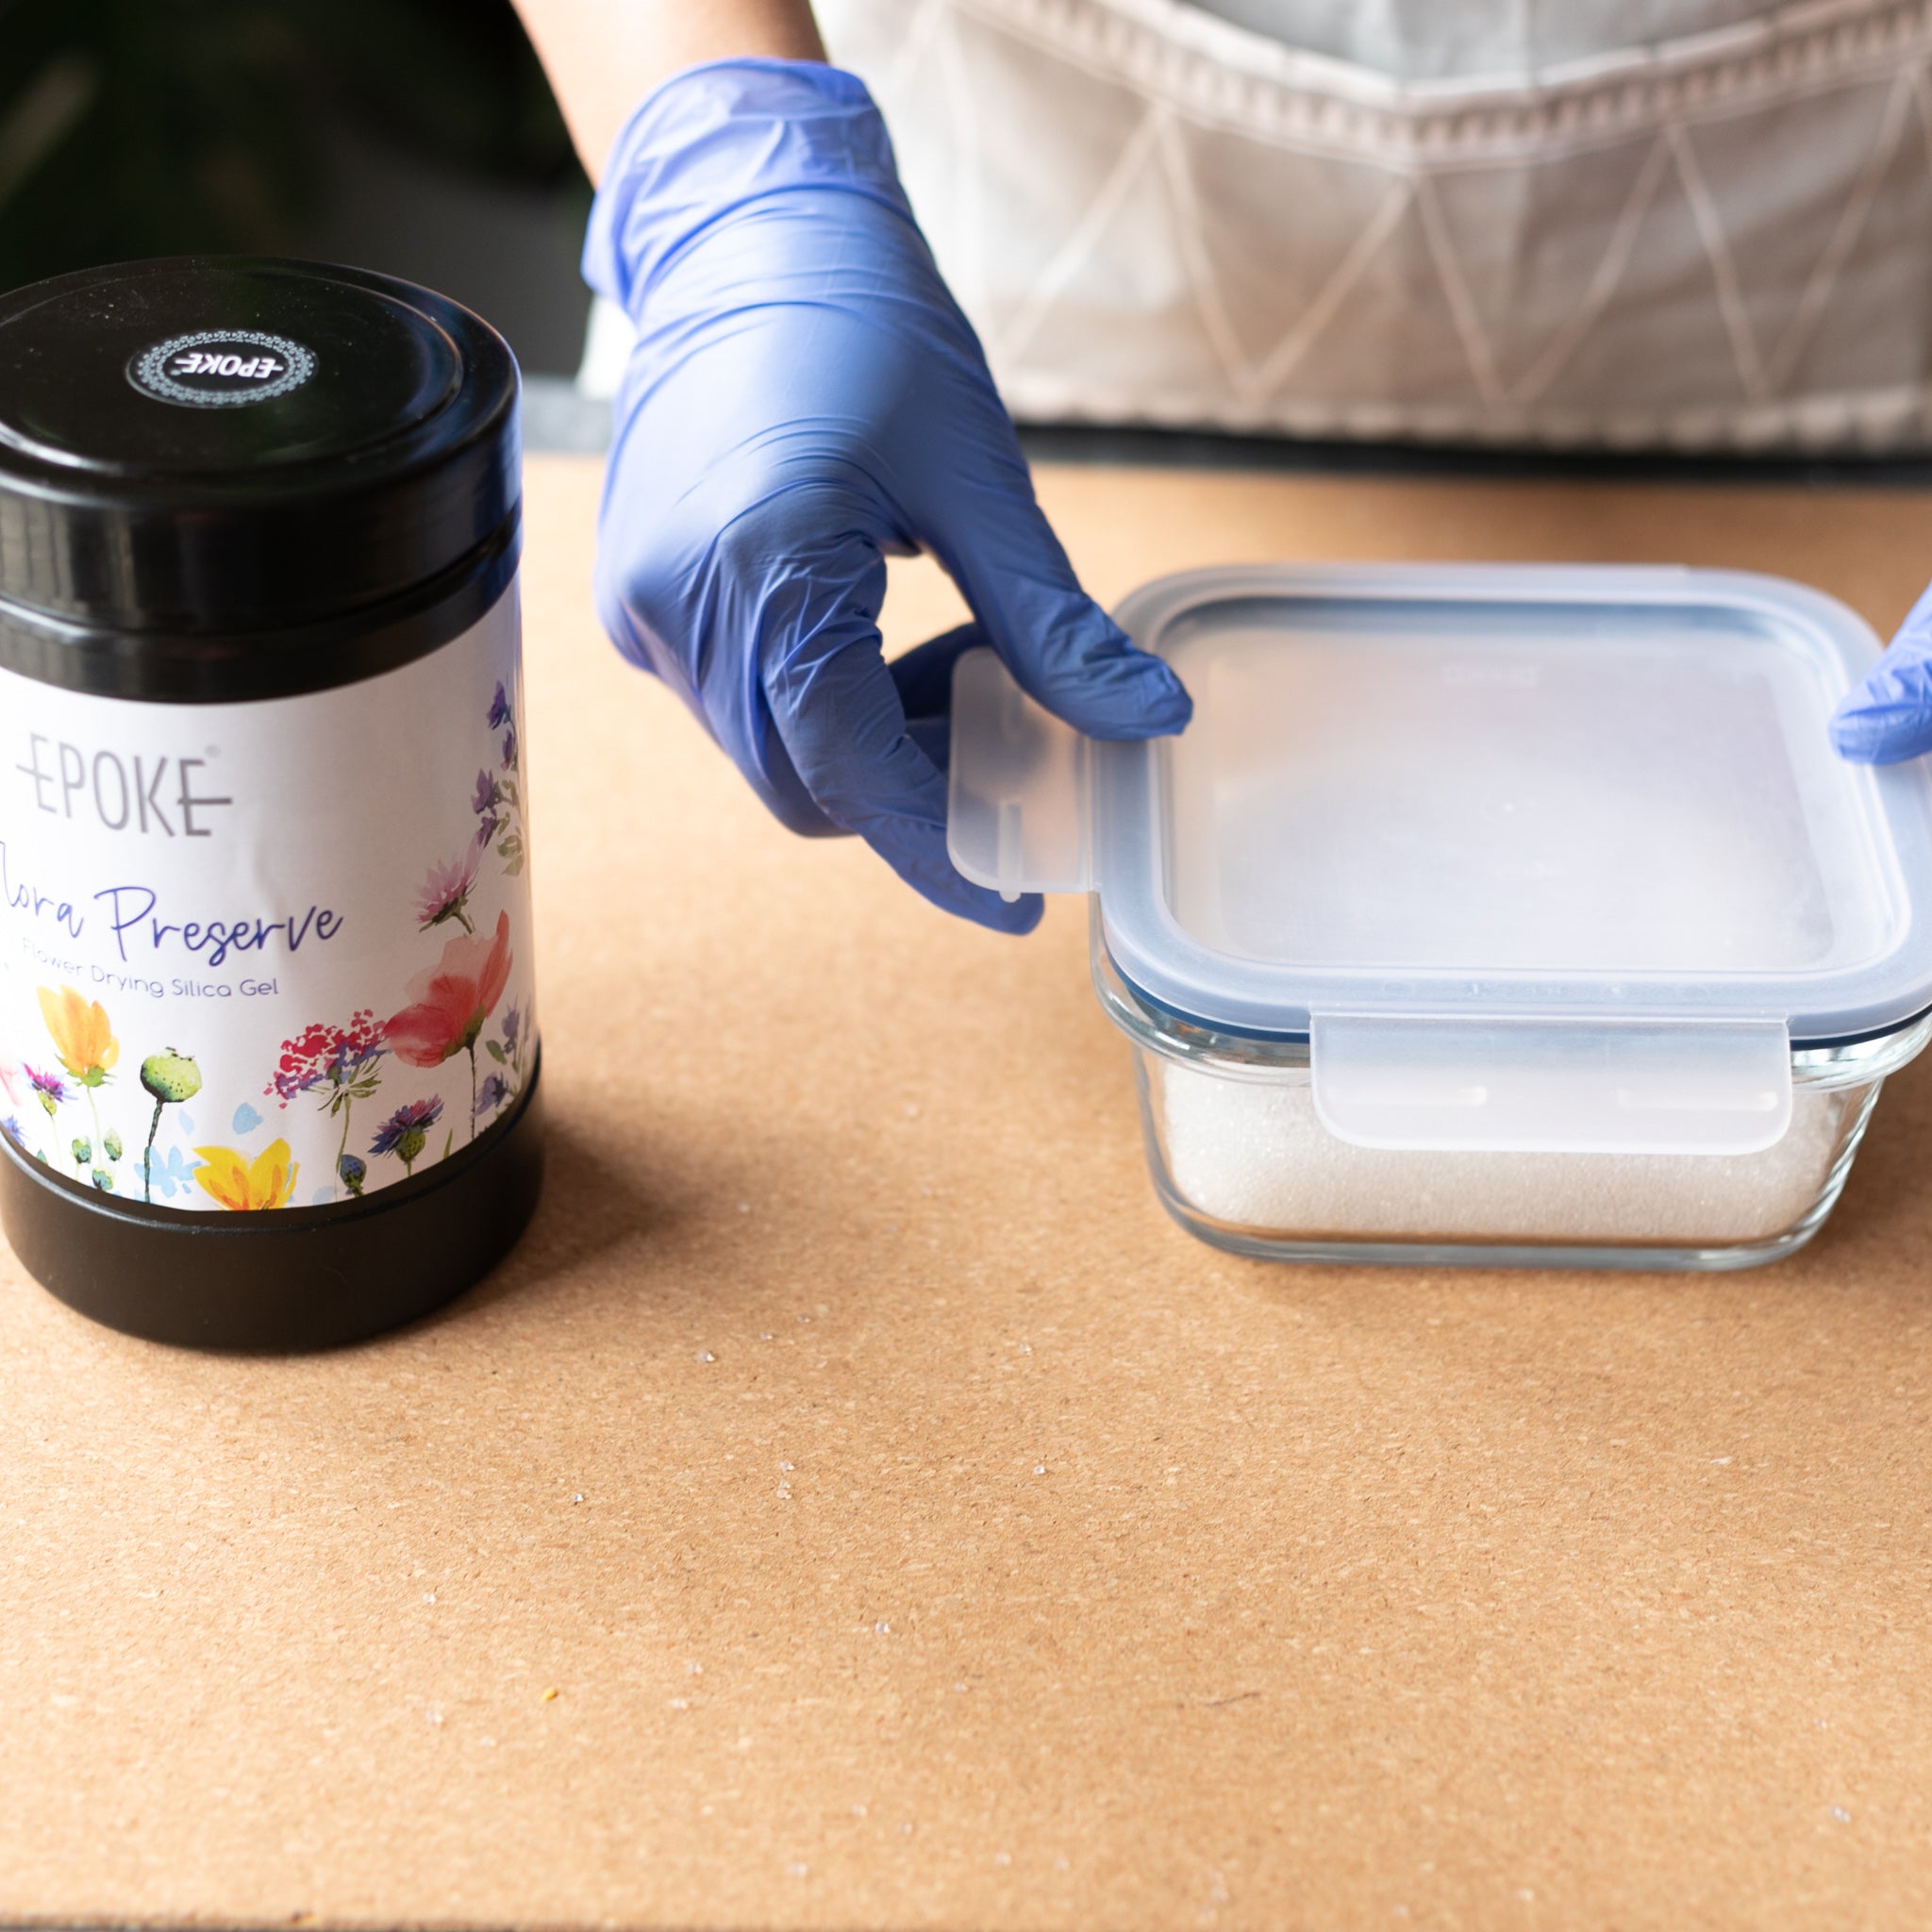
Step 5: Cure on a level surface. Keep your piece completely level while it cures. Tilting it shifts the glitter distribution before the resin hardens.
How Much Glitter to Add: Ratios
Start here:
-
Light sparkle: 1 to 3% glitter by weight of your total resin mix
-
Medium shimmer: 5 to 10% by weight
-
Heavy or opaque glitter effect: 10 to 20% by weight
For 100g of mixed resin, 5 to 10g of glitter gives solid, visible sparkle without affecting flow or cure.
Do not go above 20 to 25%. Too much glitter affects how the resin cures and leaves a tacky or uneven surface. Start low and adjust with each project.
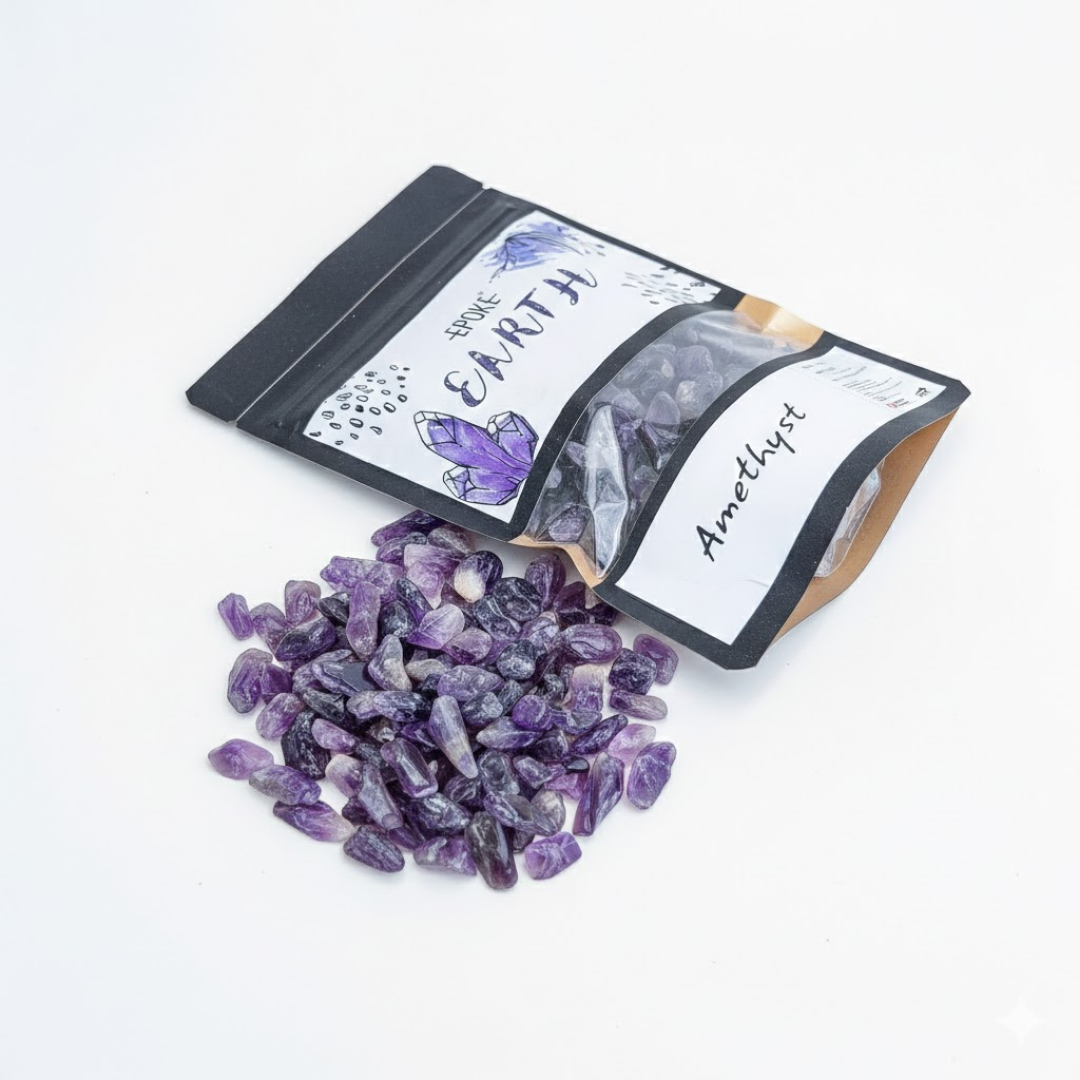
EPOKE Art glitters come in 15g packs, which is a practical size for testing ratios without overcommitting material.
Common Problems and How to Fix Them
Glitter Bleeding Colour Into the Resin
This happens when you use non-resin-grade glitter. The dyes and coatings on craft or nail glitter are not built for resin chemistry.
Fix: Use non-bleeding glitter for epoxy from the start. EPOKE Art glitters are formulated to stay colour-stable inside resin, removing this problem entirely.
Glitter Sinking to the Bottom
Glitter particles are denser than liquid resin. They sink naturally, especially chunky glitter in deep pours.
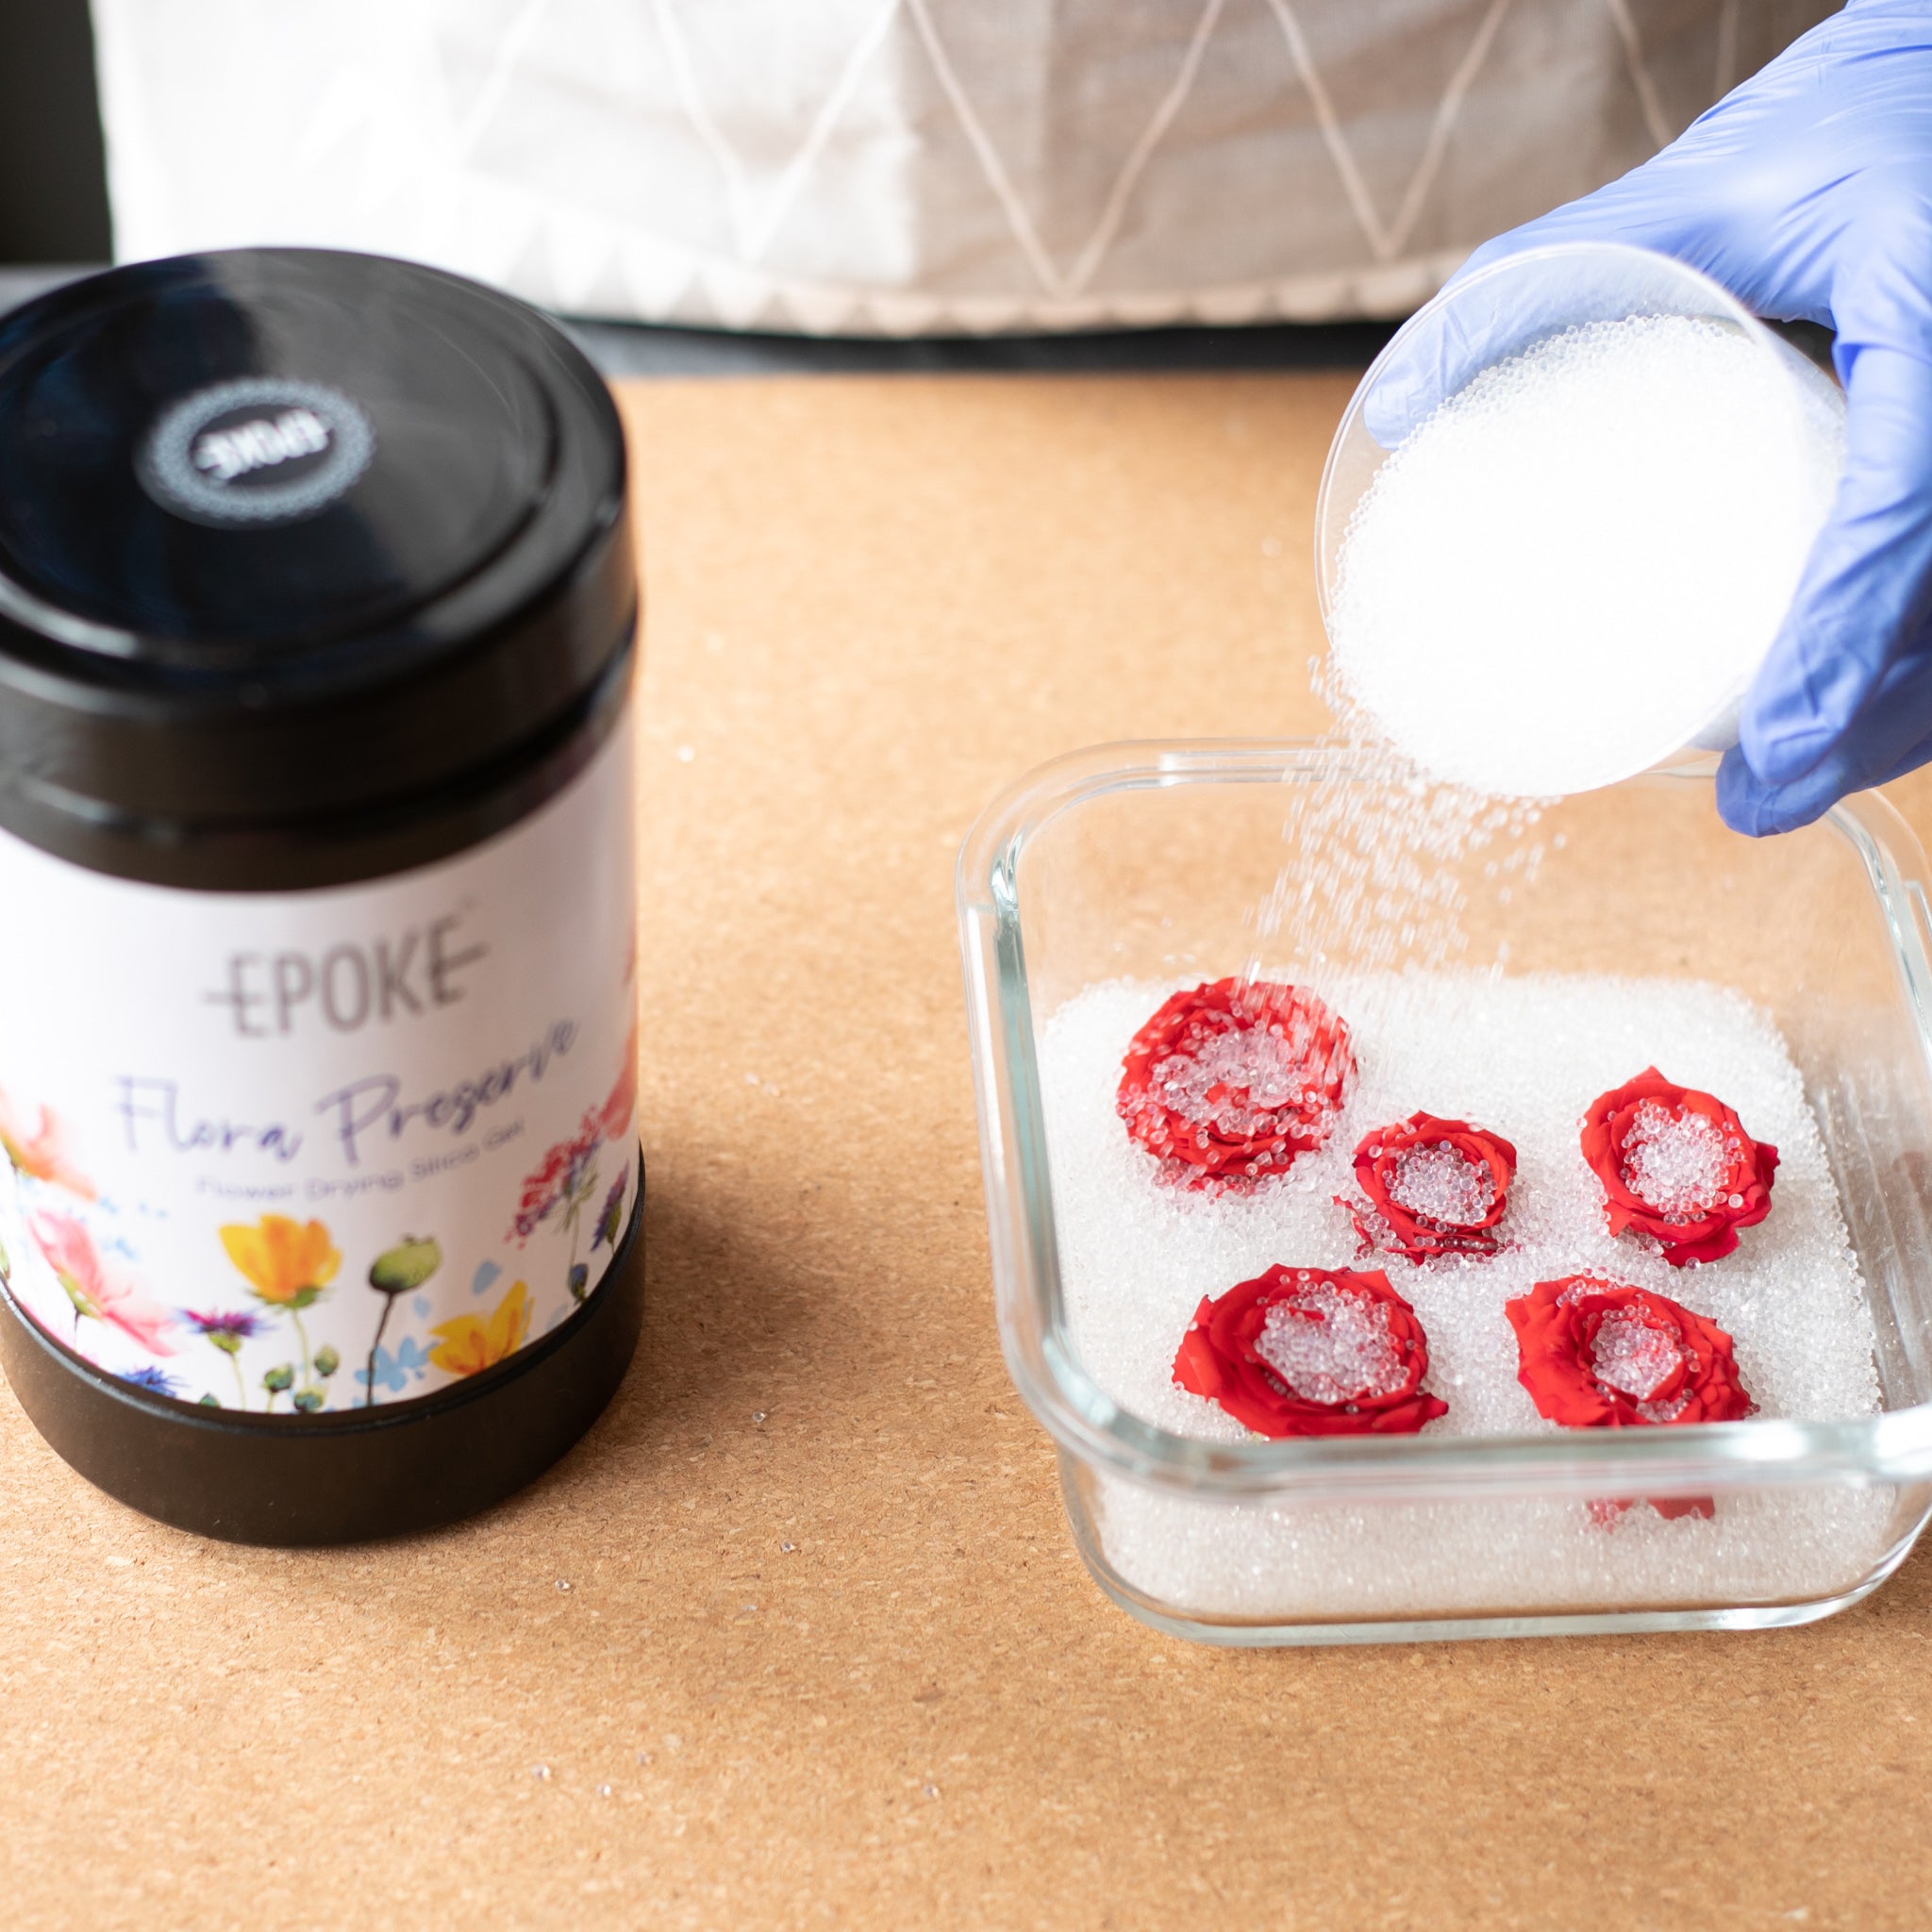
Fix: Pour in layers. Do a thin base pour, wait until it becomes tacky but not fully cured, then pour your glitter-mixed layer on top and seal with a final pour. For single-pour projects, use fine glitter since smaller particles stay suspended longer.
Glitter Clumping
This happens when glitter is added to resin with high viscosity, or when mixing is not thorough enough.
Fix: Add glitter in small amounts and stir in a slow folding motion. Slightly warming the resin before adding glitter reduces viscosity and helps particles distribute evenly.
Frequently Asked Questions
1. What type of glitter is best for resin art, chunky or fine glitter?
It depends on the look you want. Chunky glitter gives bold, visible sparkle with texture and depth, ideal for coasters, trays, and geode art. Fine glitter disperses evenly and produces a smooth, glowing shimmer, better for jewellery and detailed casts. EPOKE Art offers both types in matching colour options so you can layer them for richer results.
2. How do I add glitter to resin without it bleeding or clumping?
Use glitter made for resin. EPOKE Art glitters are non-bleeding and resin-compatible by design. For technique, add glitter only to fully mixed resin, stir gently in a folding motion, and pour promptly once incorporated.
3. Can I use regular craft glitter or nail glitter for resin art?
It is not recommended. Regular craft or nail glitter contains dyes and coatings that are not resin-stable. They bleed colour into your resin, cloud your project, or cause uneven curing. In India, where humidity affects resin performance, using purpose-made non-bleeding glitter for epoxy makes a real difference to your results.
4. Why does my glitter sink to the bottom of my resin pour and how do I fix it?
Glitter particles are denser than liquid resin, so sinking is expected, especially with chunky glitter in deep pours. The most reliable fix is pouring in layers: a thin base coat first, wait until tacky, then add your glitter-mixed layer on top. For single-pour projects, fine glitter stays suspended longer. A resin with a longer working time also gives you more control before the material gels.
Wrapping Up
Using resin glitter well comes down to three things: the right product, the right ratio, and the right technique. Get those three right, and your pieces will show it.
EPOKE Art's glitter range, with Chunky, Fine, and Mix options, is built for resin artists in India. All-glitter and find the right sparkle glitter resin for your next project.