













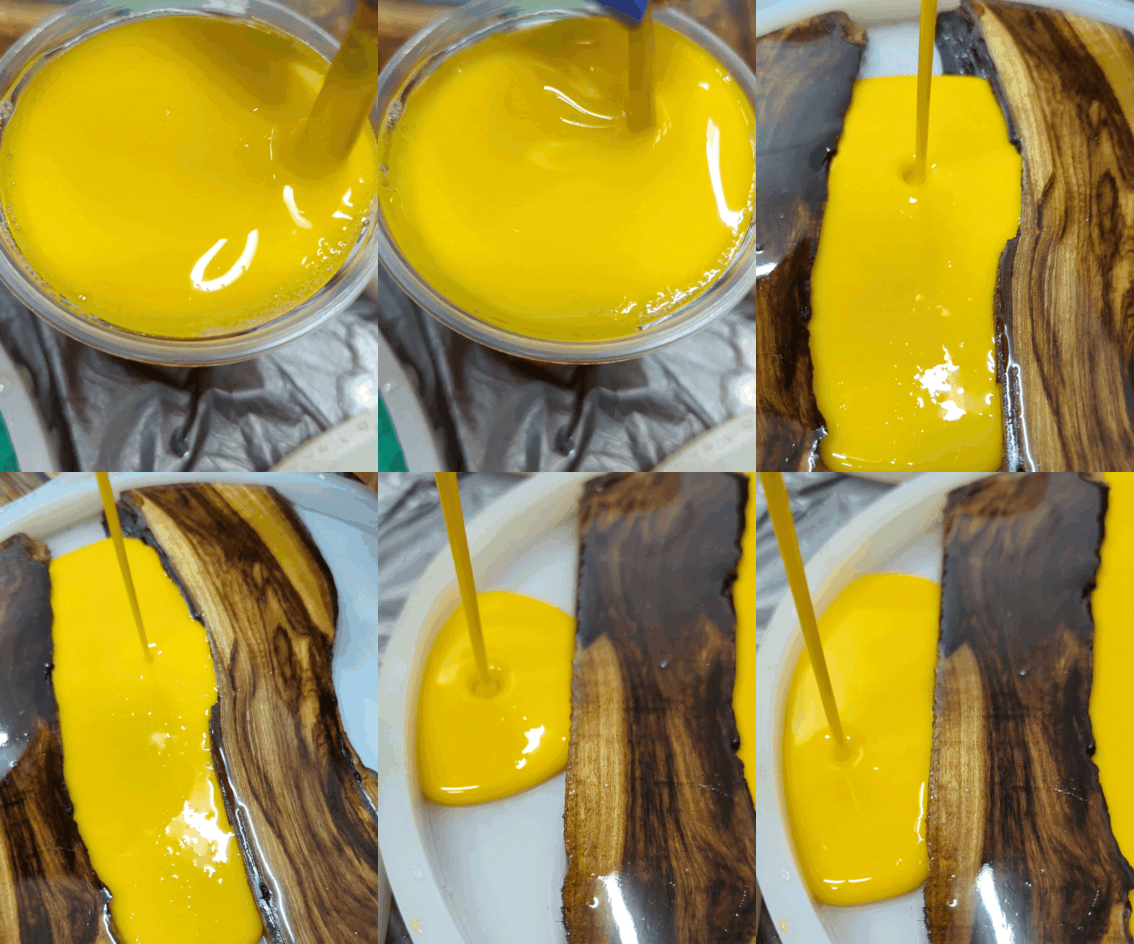














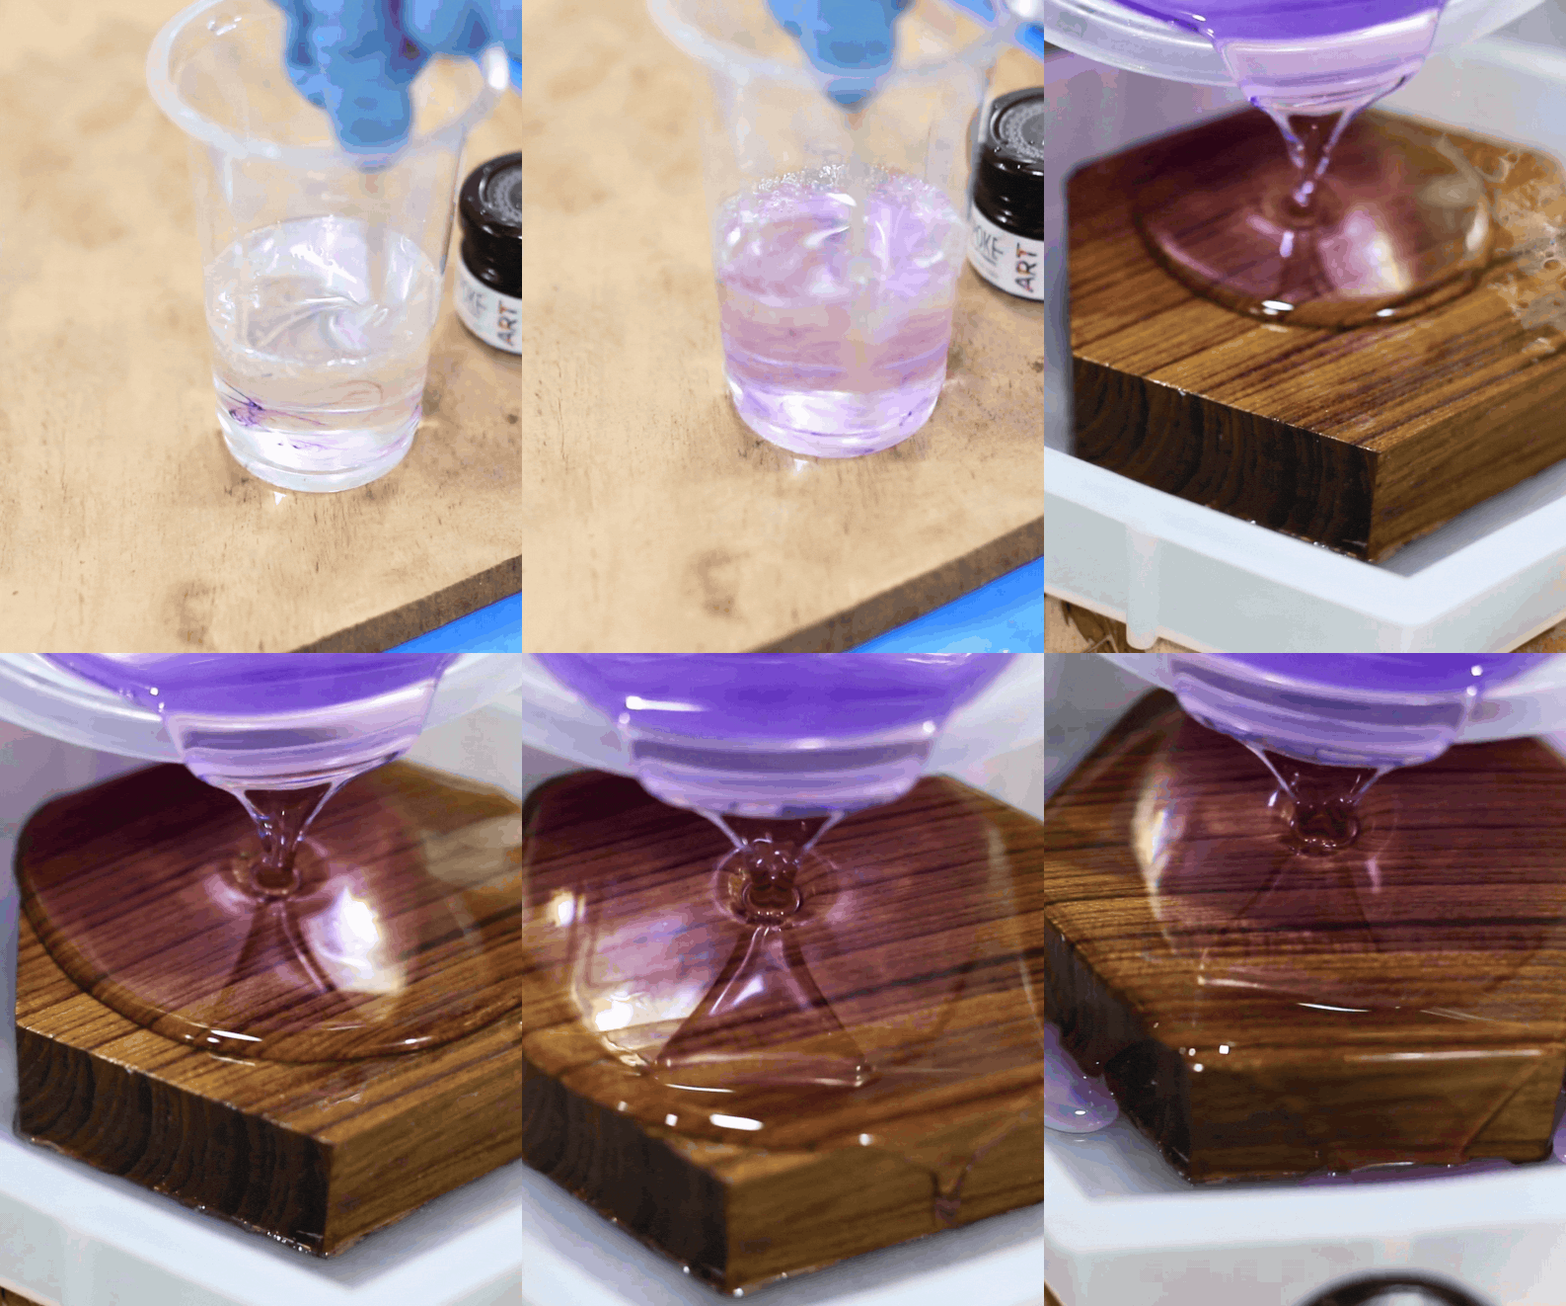

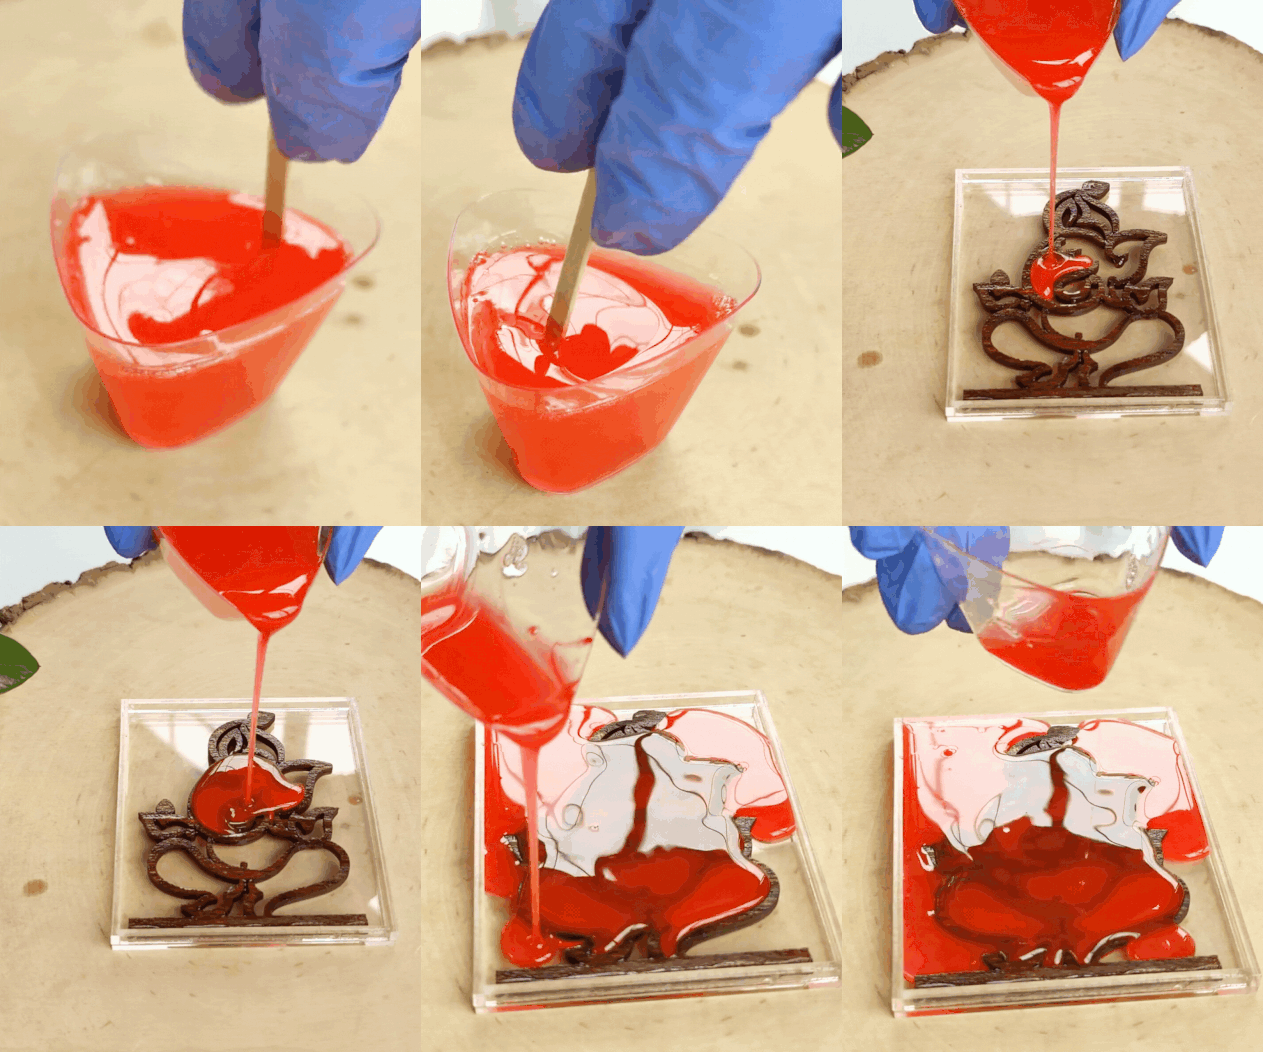














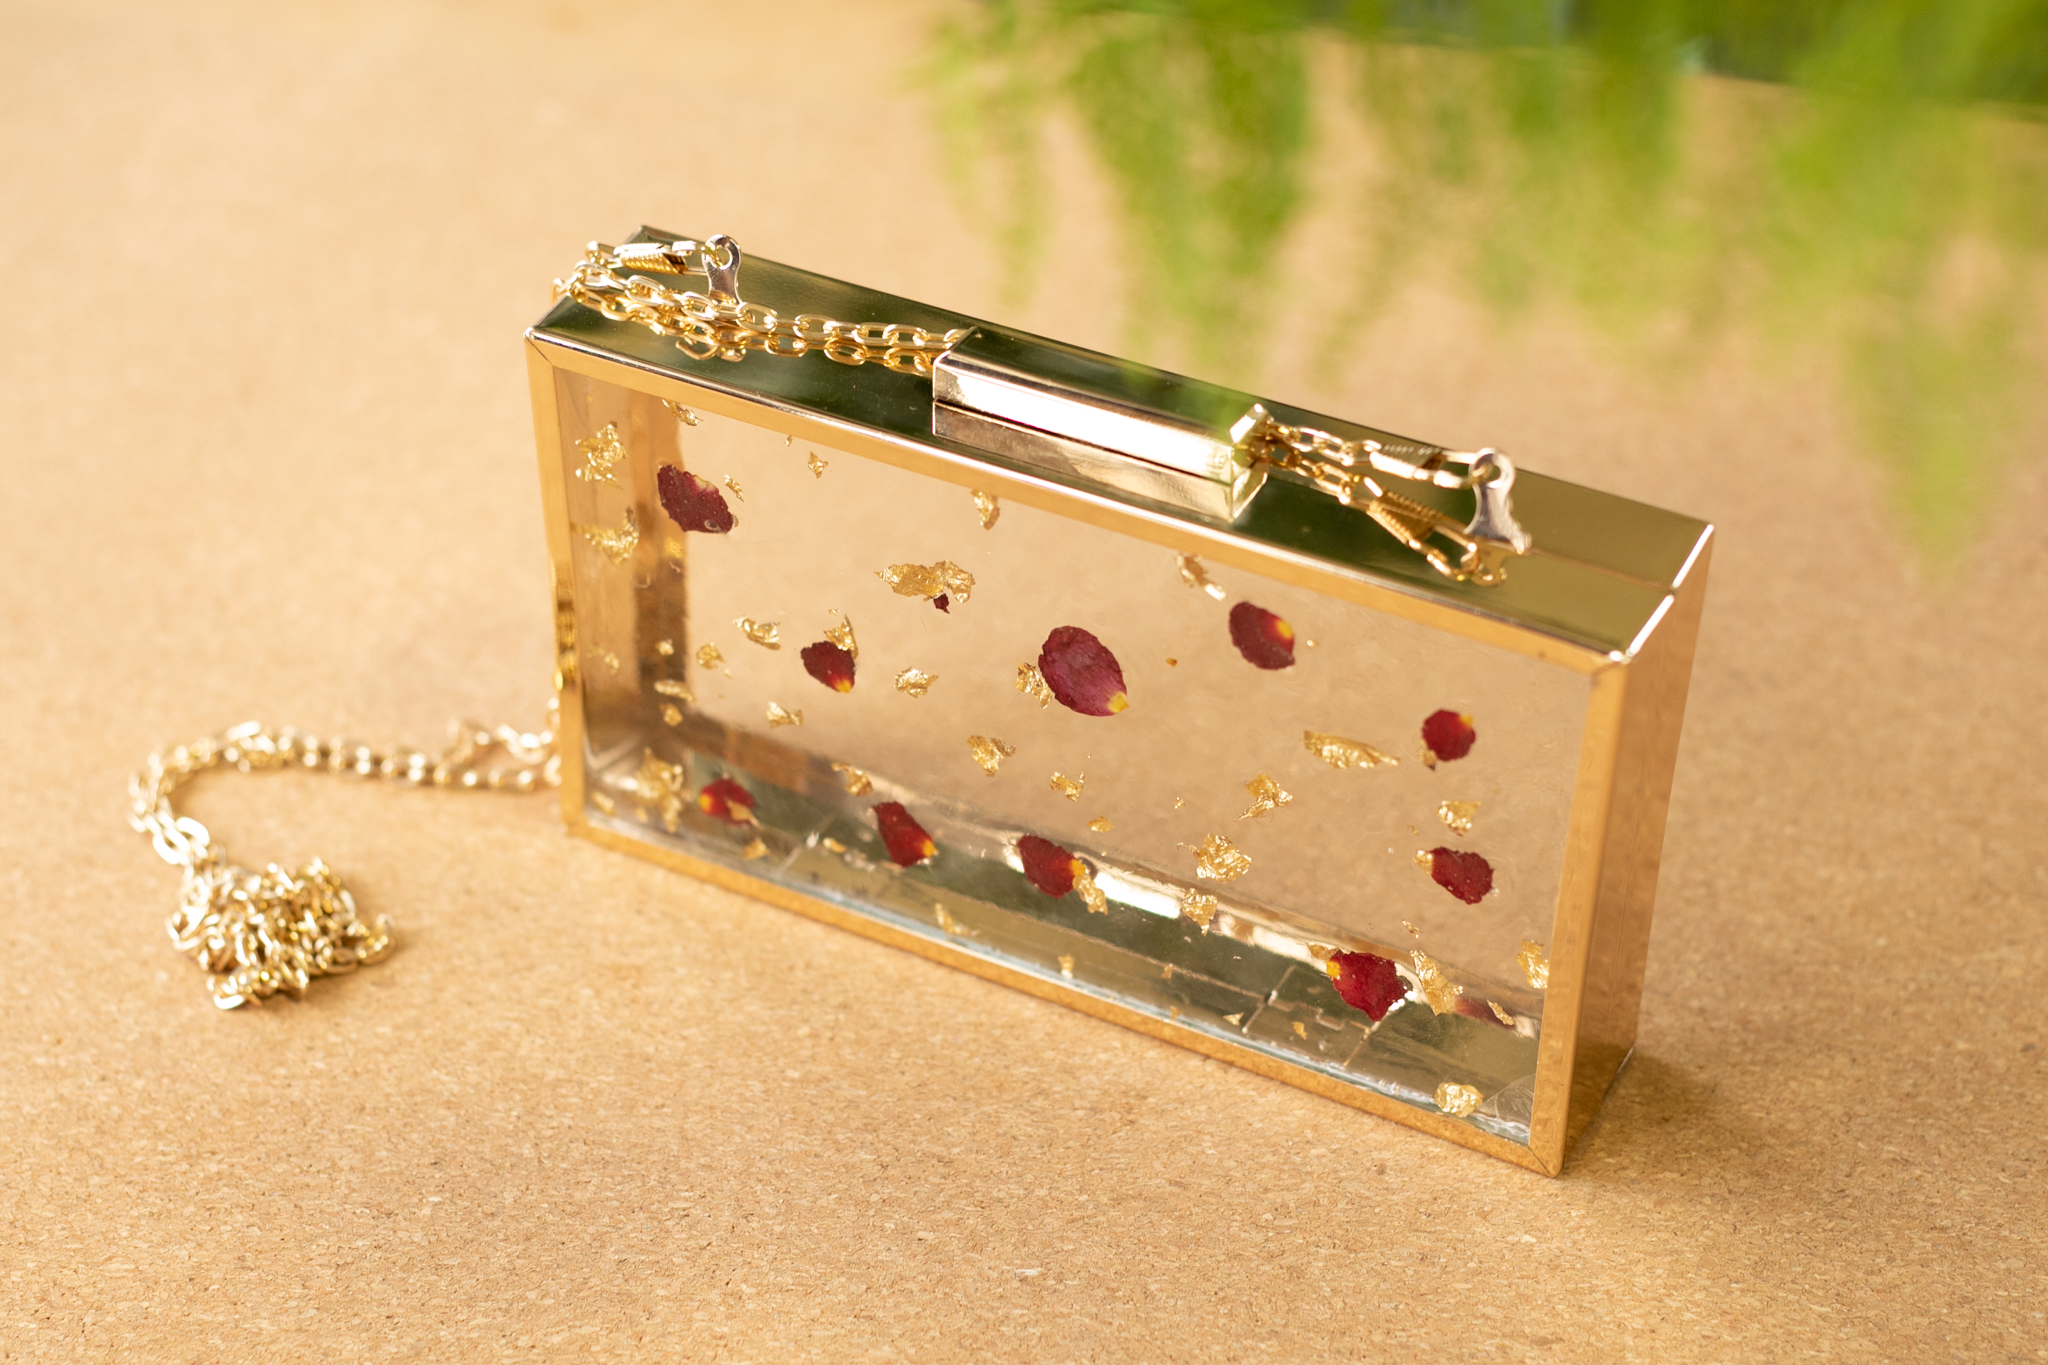
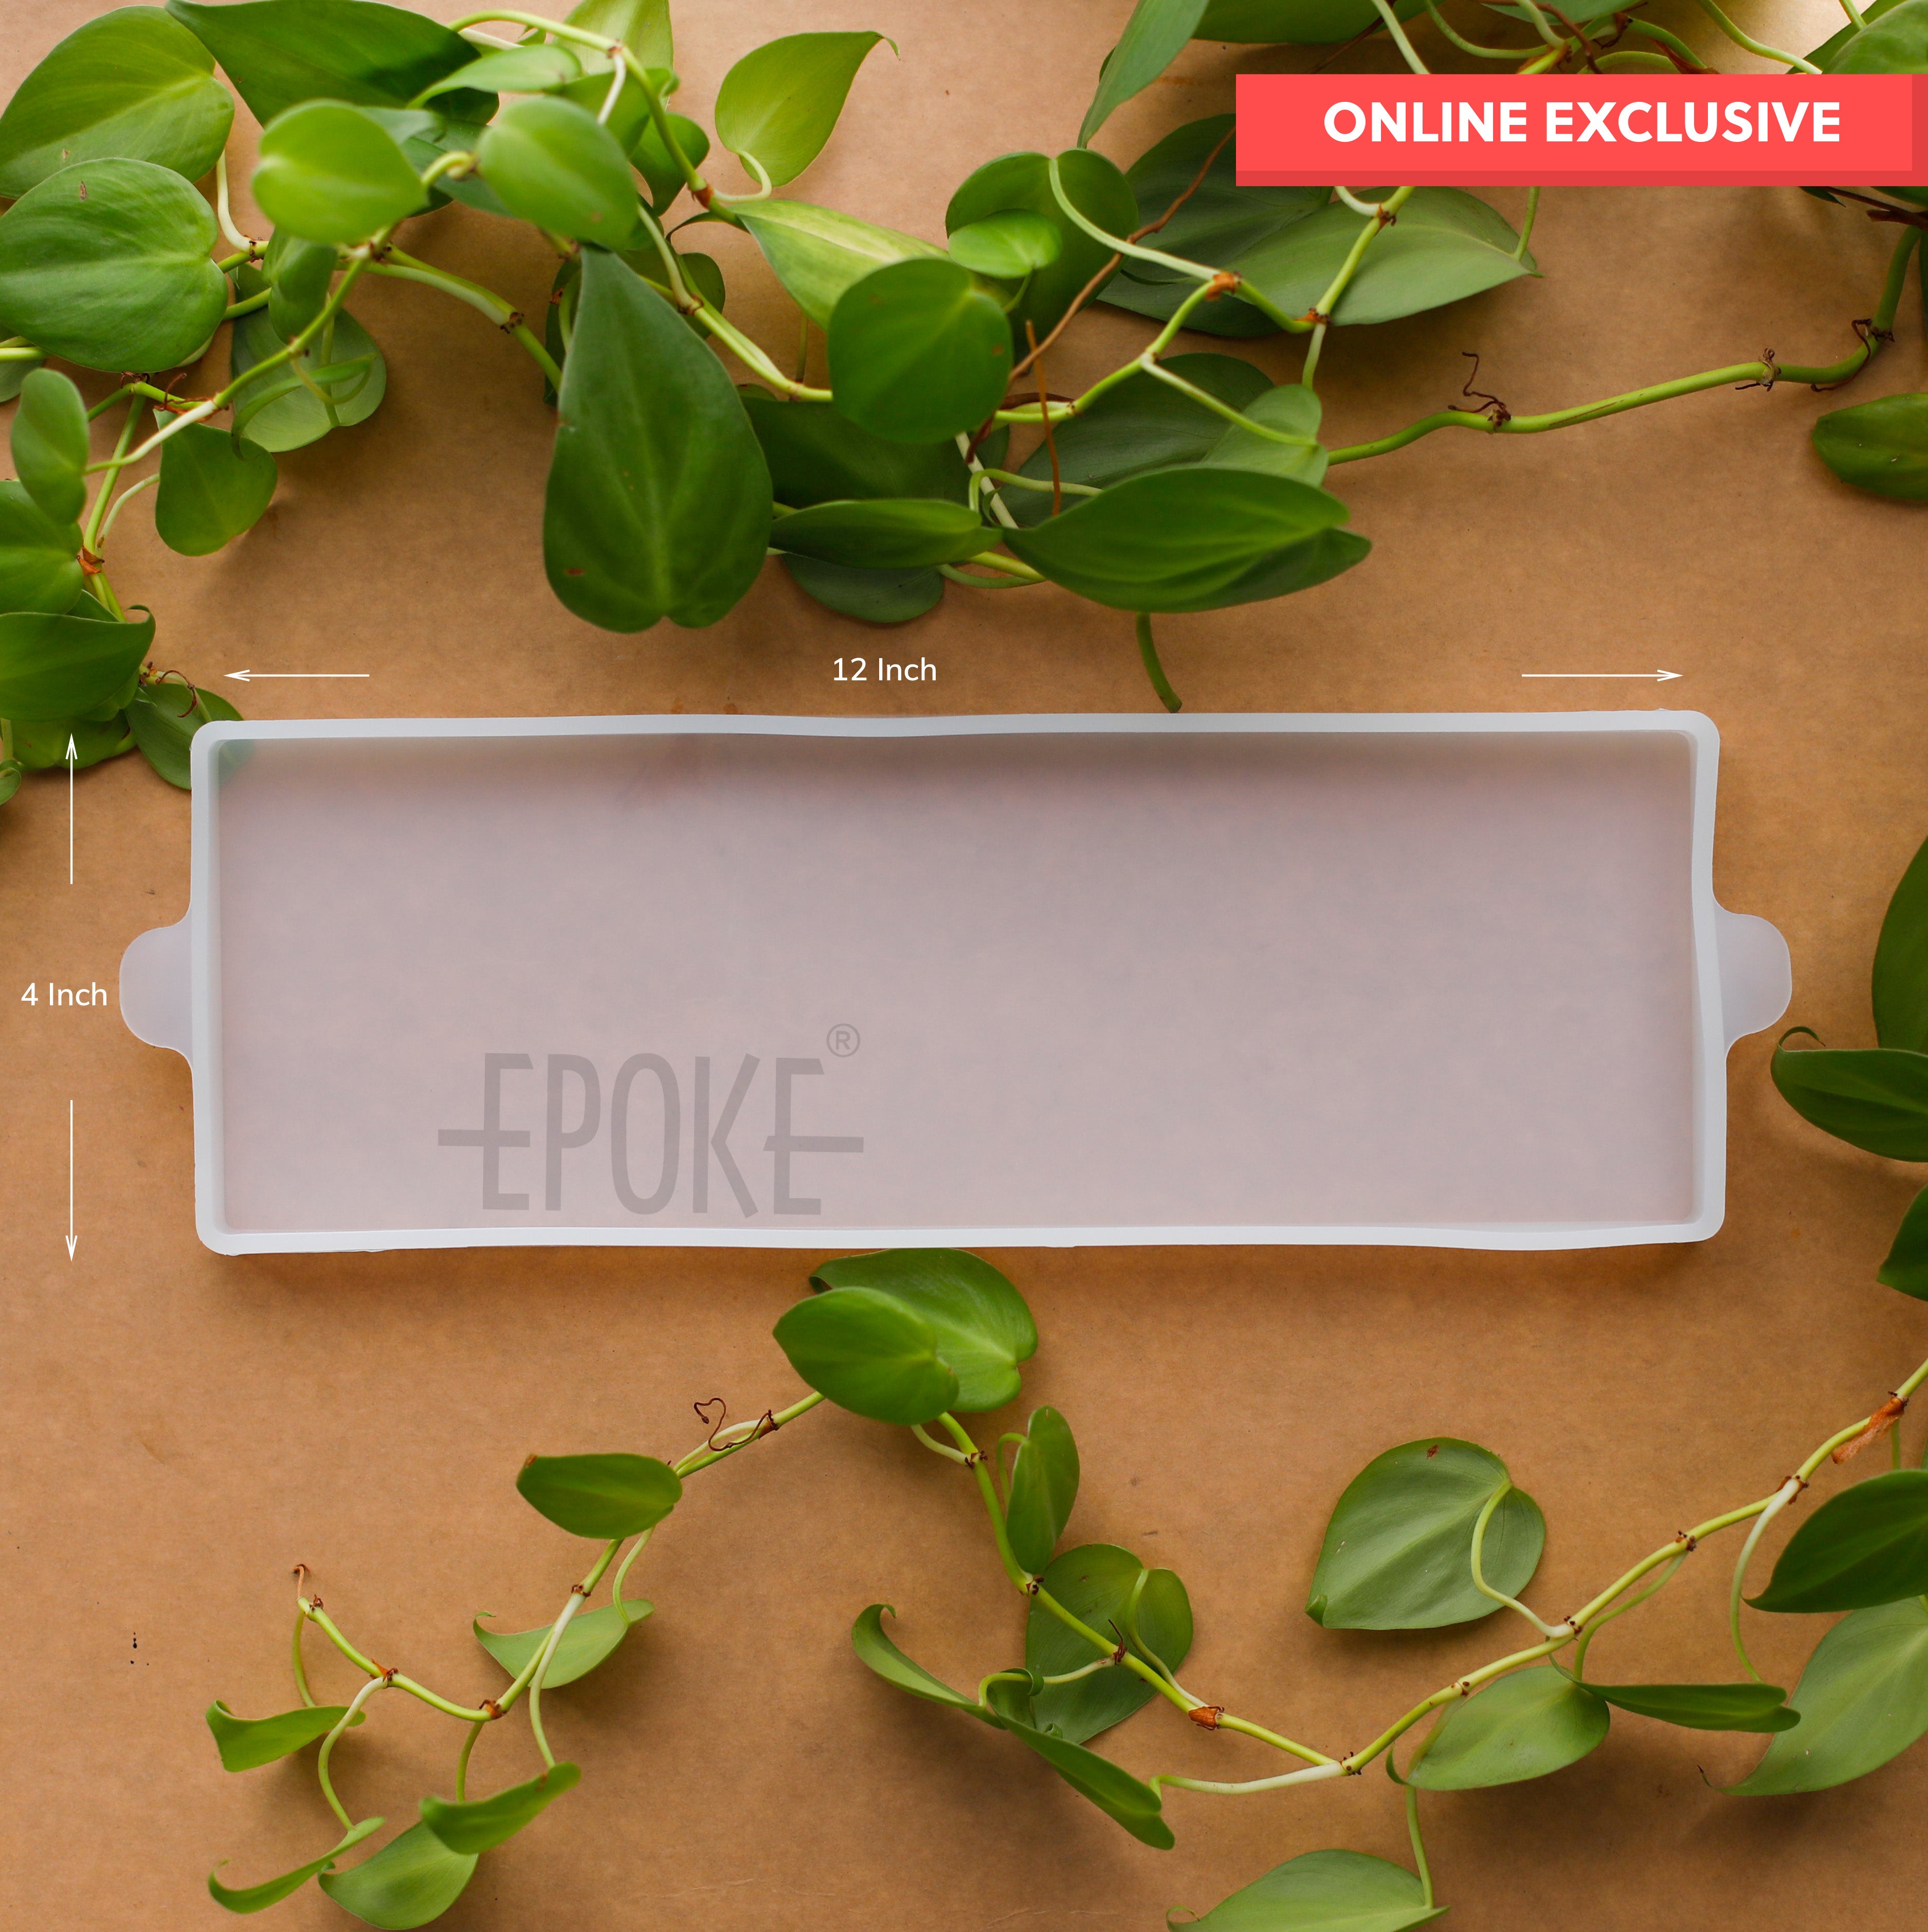
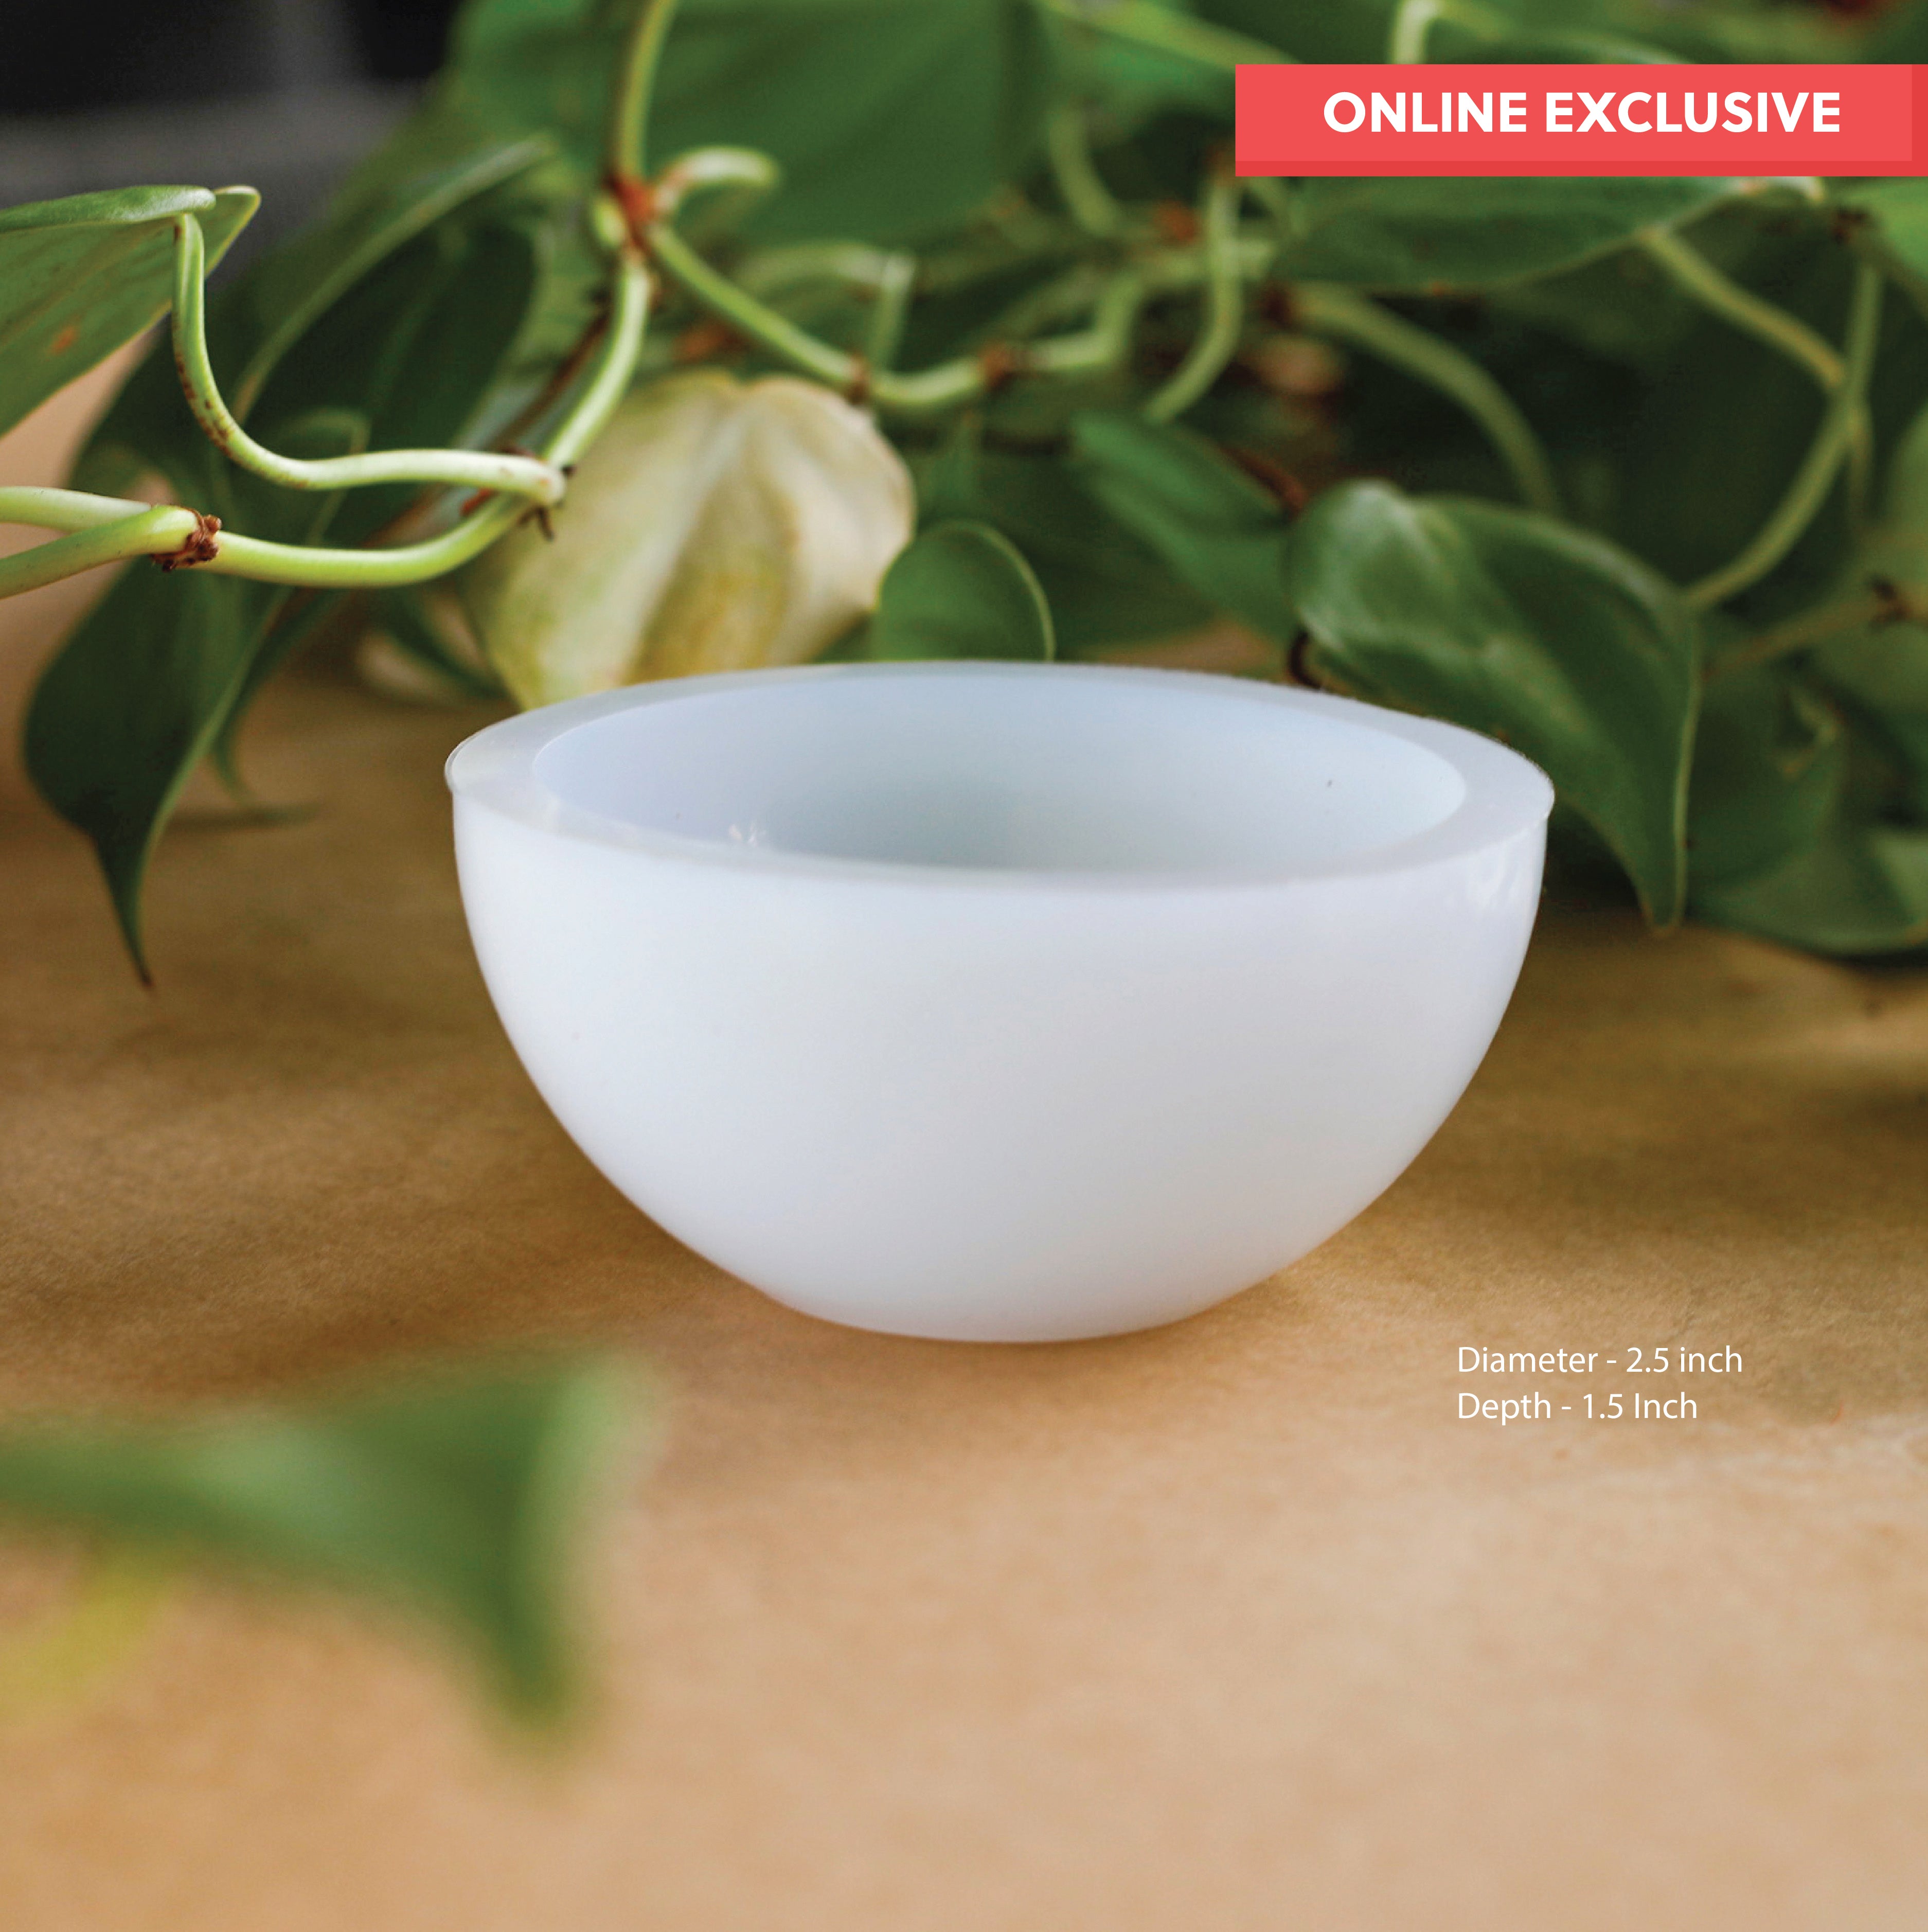

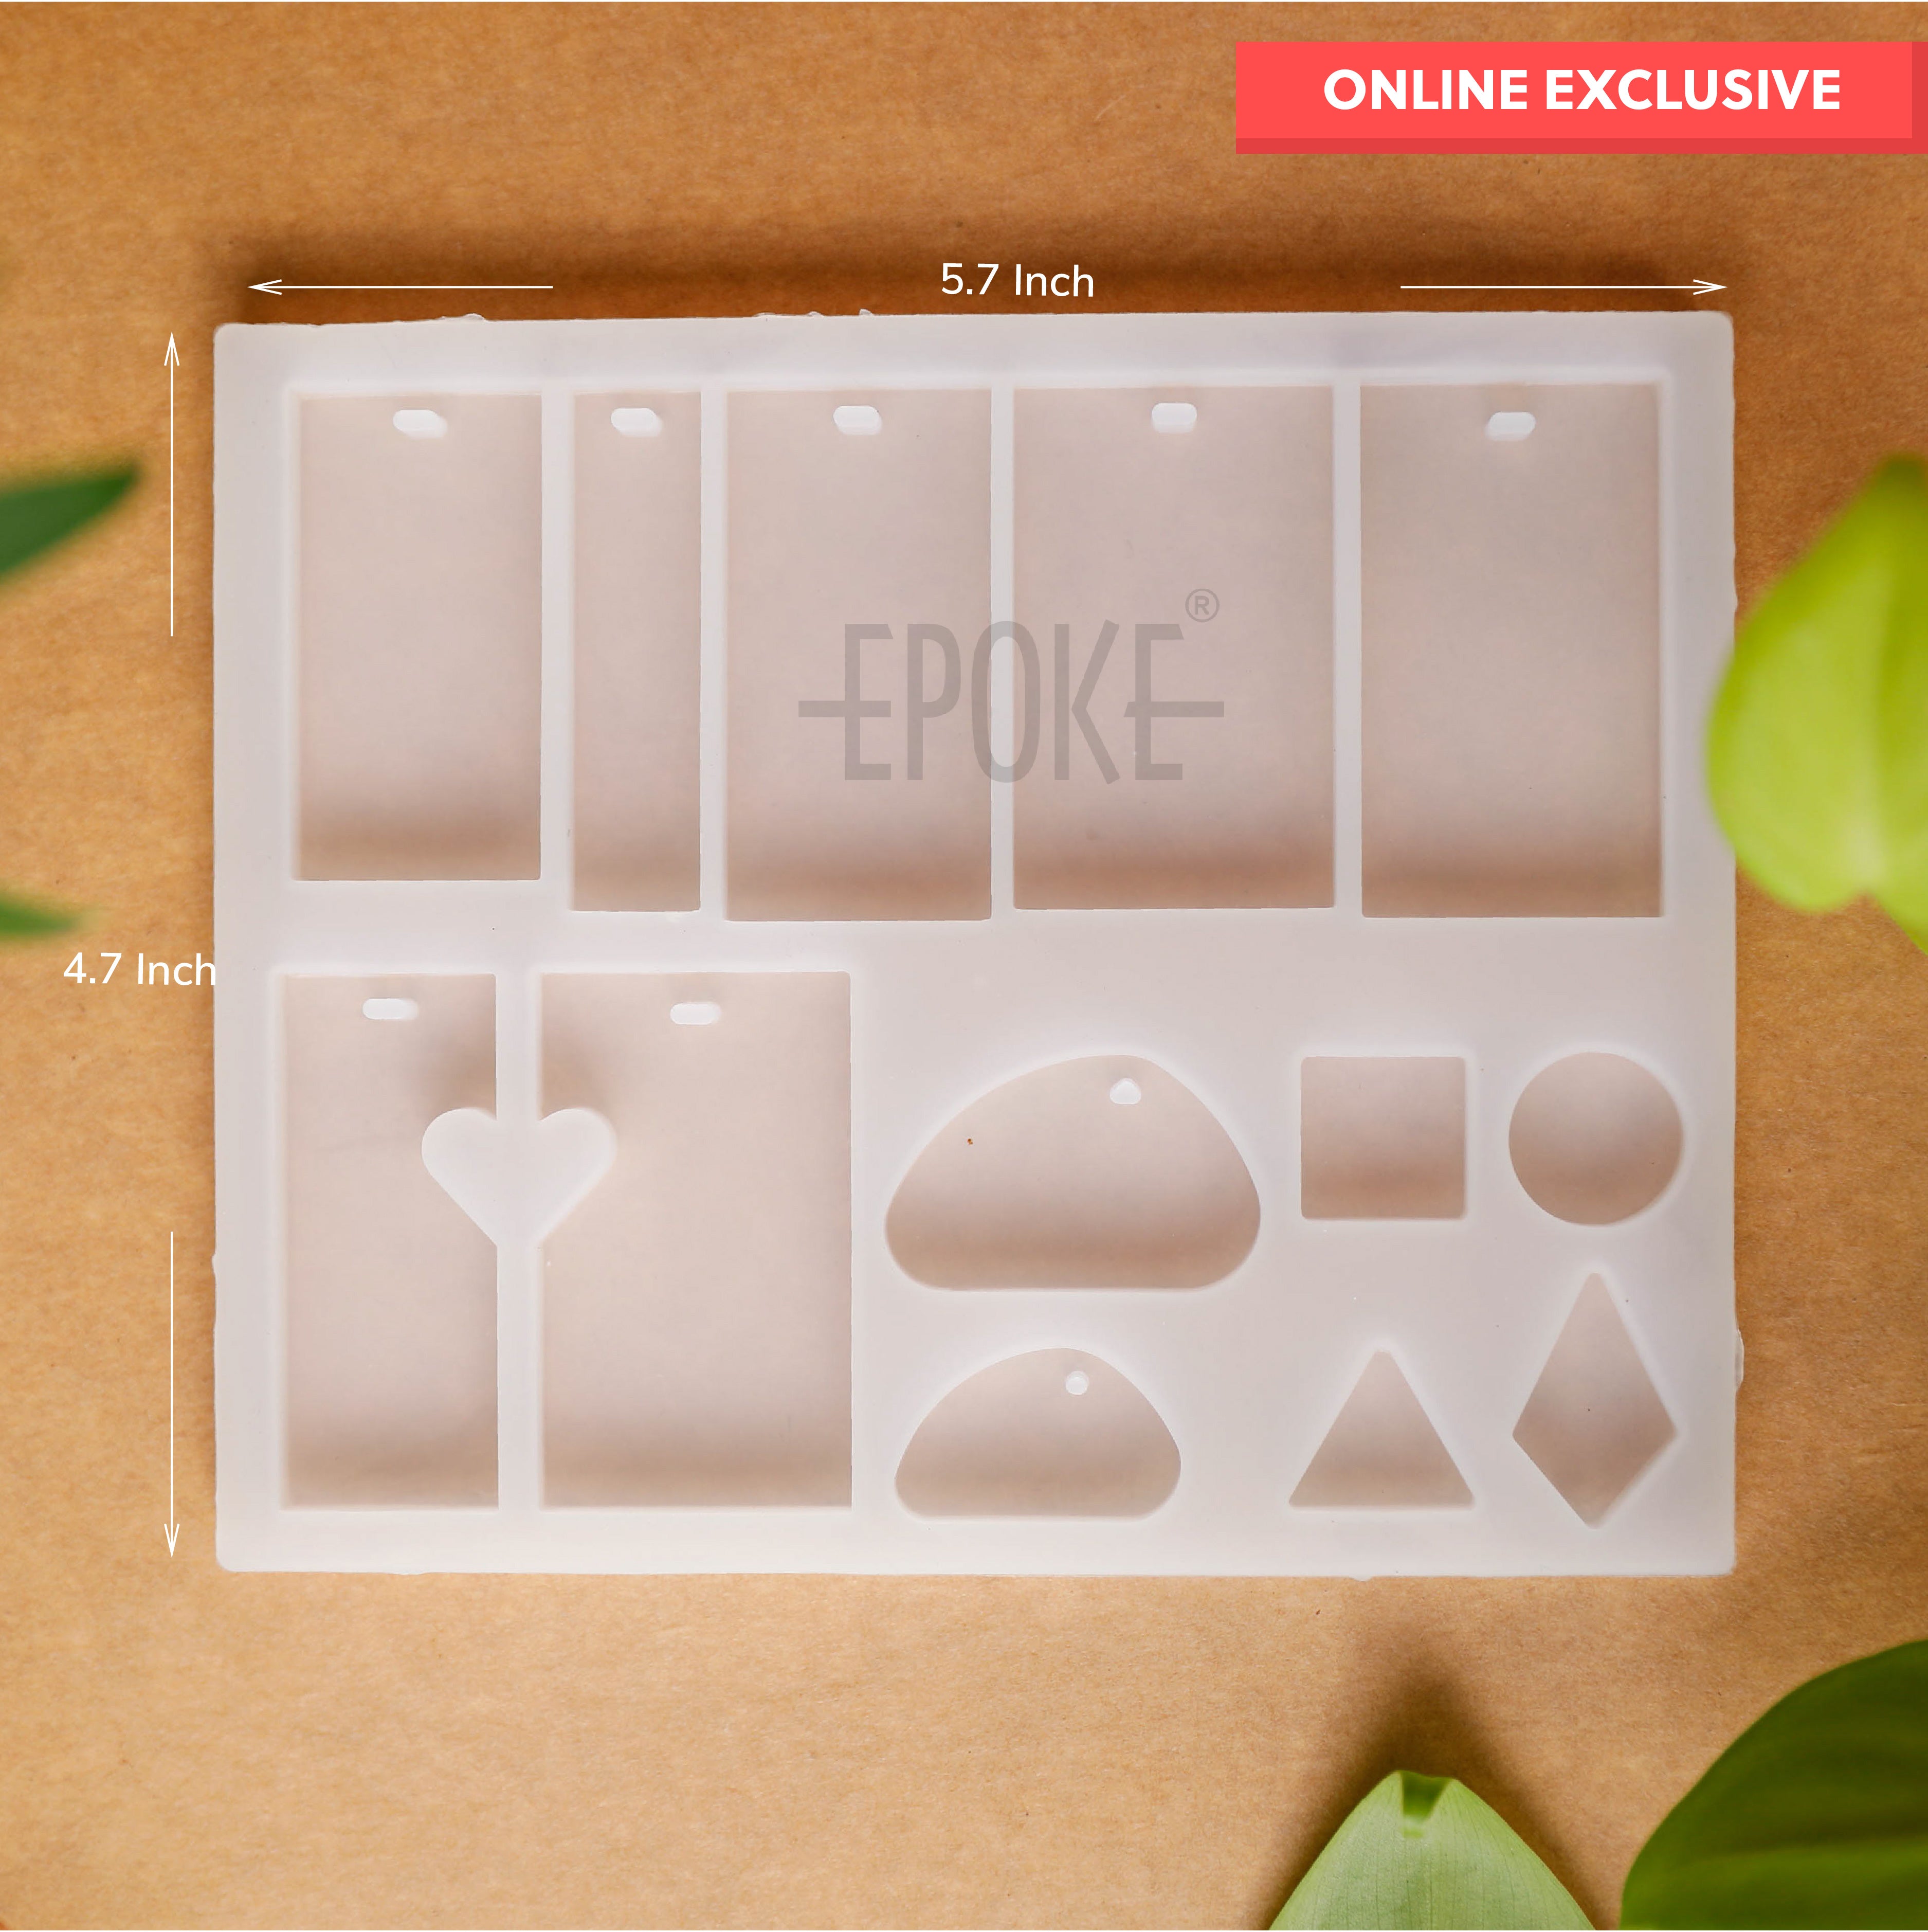






















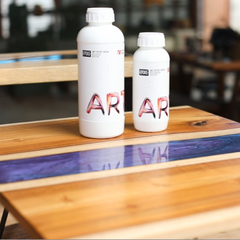



Resin art looks smooth and simple in photos. The reality is different. Even skilled artists run into resin art problems on a regular basis. Bubbles, sticky surfaces, cloudy finishes, uneven cures. These issues show up often, and most of them come from small mistakes in mixing, pouring, or curing.
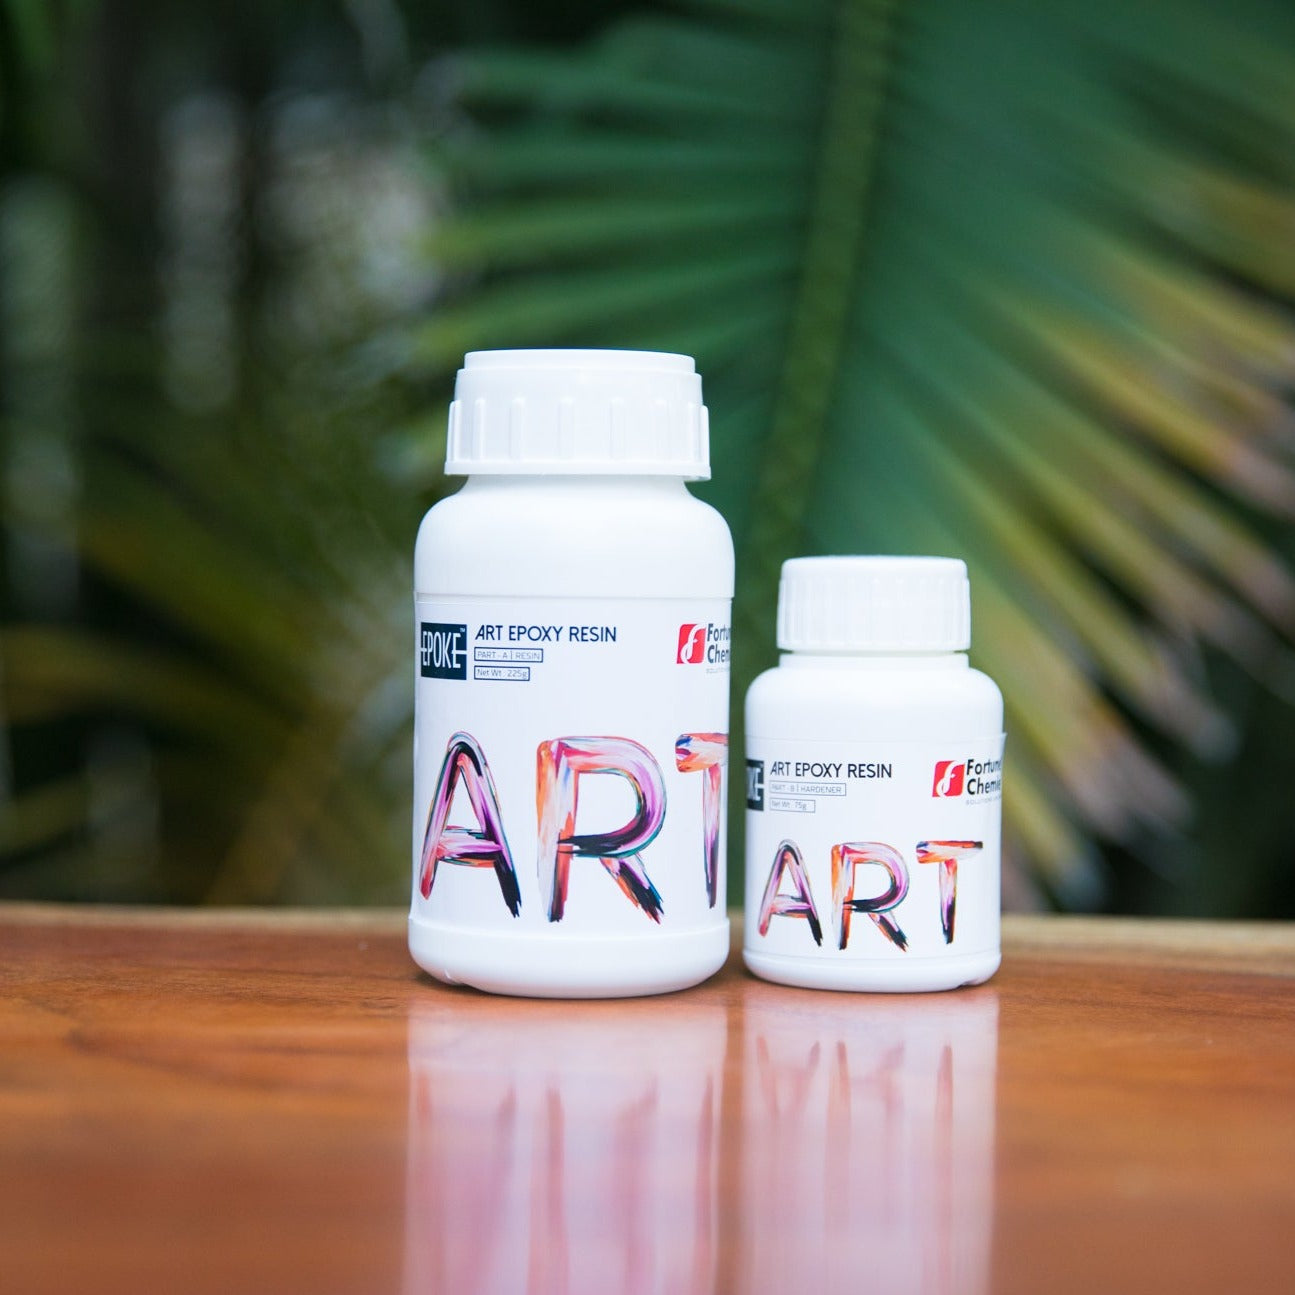
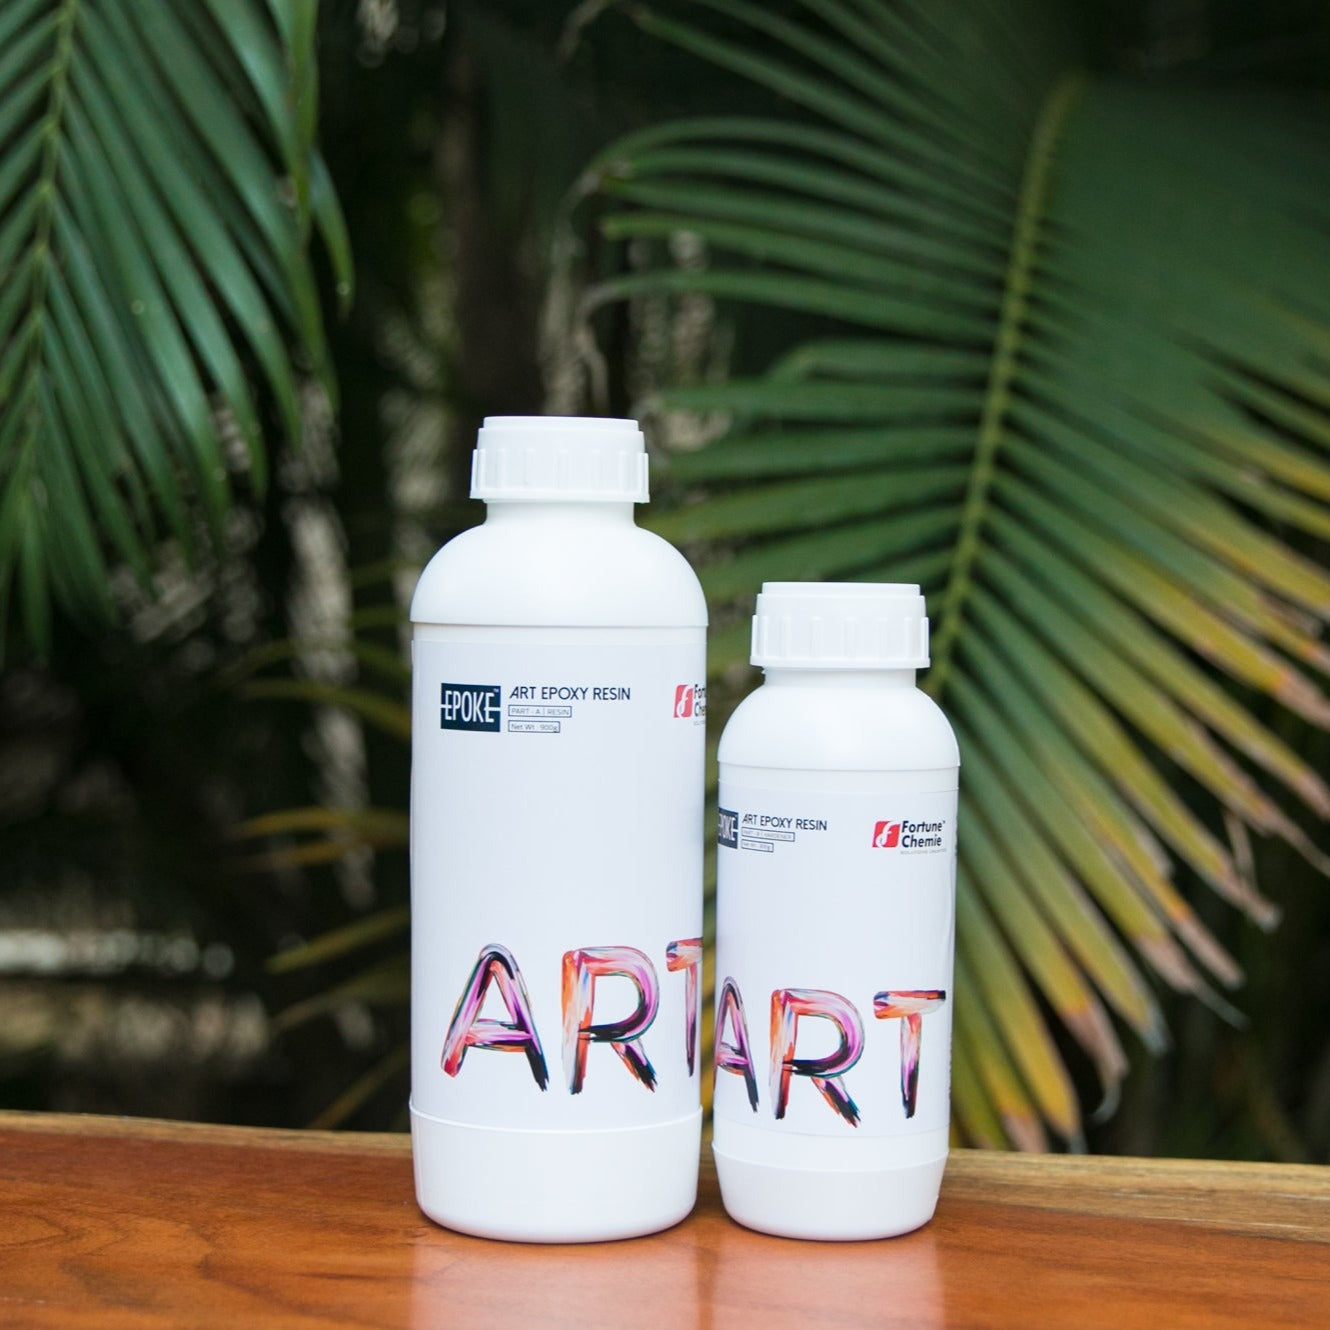
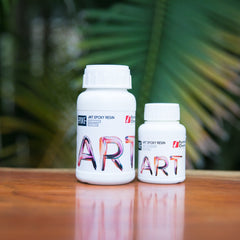
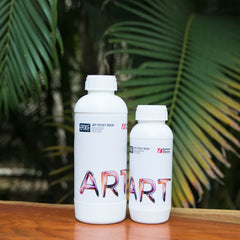
This guide walks you through the most common resin art mistakes and gives you clear, practical fixes for each one, based on how EPOKE Art Epoxy Resin actually behaves during mixing and curing. Whether you are new to epoxy resin or have poured dozens of pieces, this guide helps you spot the problem early and correct it fast.
At EPOKE Art, we work with resin artists across India every day. We hear the same questions again and again. So we put together this troubleshooting guide based on real problems and real solutions, so you spend less time fixing mistakes and more time creating.
Why Resin Art Problems Happen
Epoxy resin is a chemical reaction between resin and hardener. Get the ratio wrong, skip proper mixing, or pour in a cold or humid room, and the reaction does not complete the way it should. That is the root cause behind most resin art mistakes and fixes you will read about online.
Below, we break down the 20 most common epoxy resin problems by category: curing issues, surface issues, bubble issues, and colour issues. Each section gives you the cause and the fix, using the mix ratio and handling guidance published for EPOKE Art Epoxy Resin.
Curing Problems
1. Resin Stays Sticky After Curing
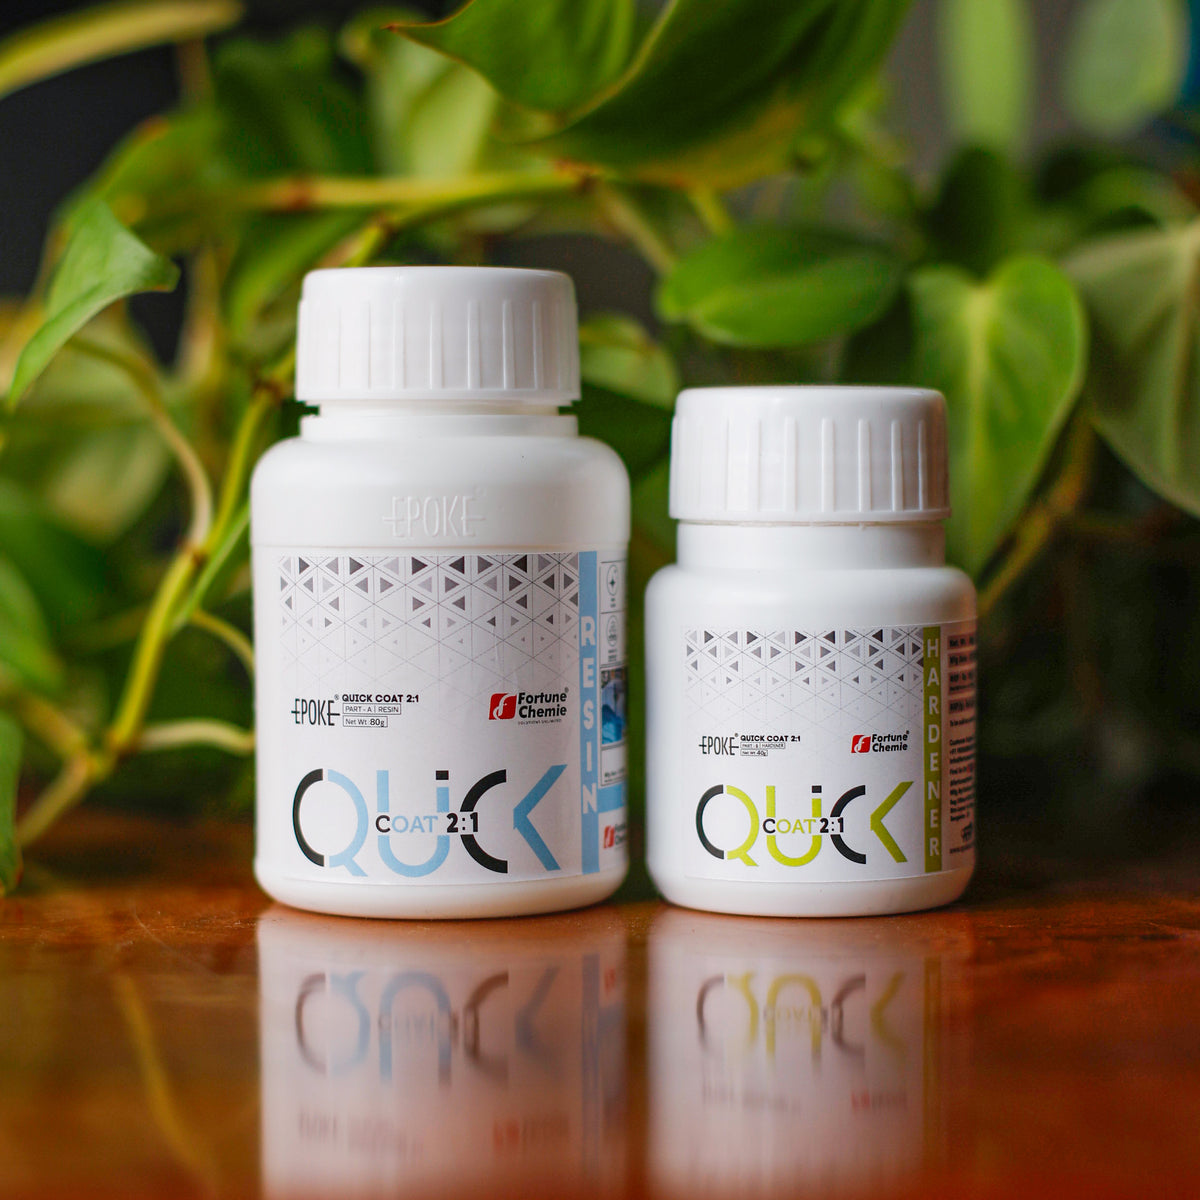
This happens when the resin-to-hardener ratio is off, even slightly. EPOKE Art Epoxy Resin mixes at an exact 3:1 ratio by weight, for example, 30g of resin with 10g of hardener. Eyeballing the amounts, or measuring by volume instead of weight, leads to a soft, tacky surface after curing.
Fix: Always measure both parts on a digital scale, never by volume. Stick to the 3:1 ratio by weight every time. If a section stays sticky, the mix for that batch is likely off ratio, and it needs a fresh, correctly weighed coat poured over it once sanded.
2. Resin Cures Unevenly or Has Soft Spots
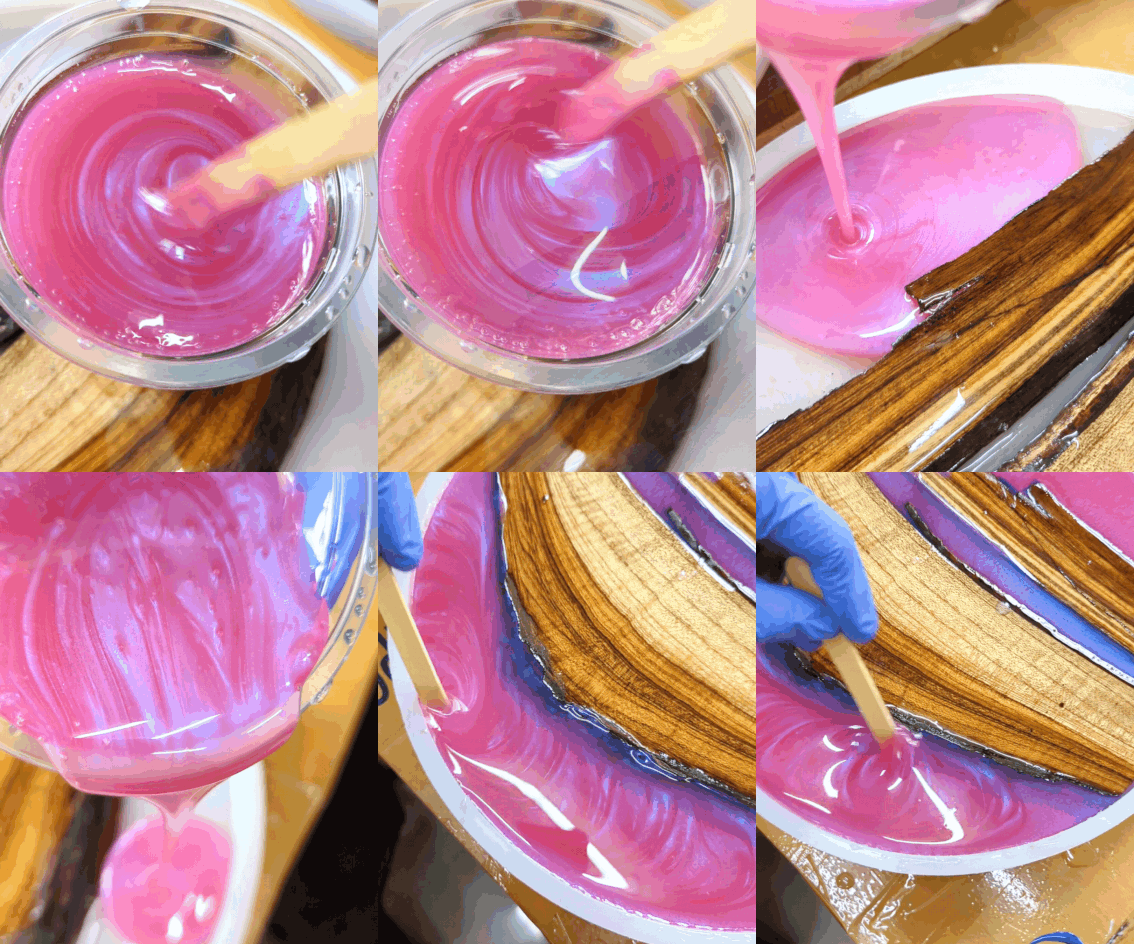
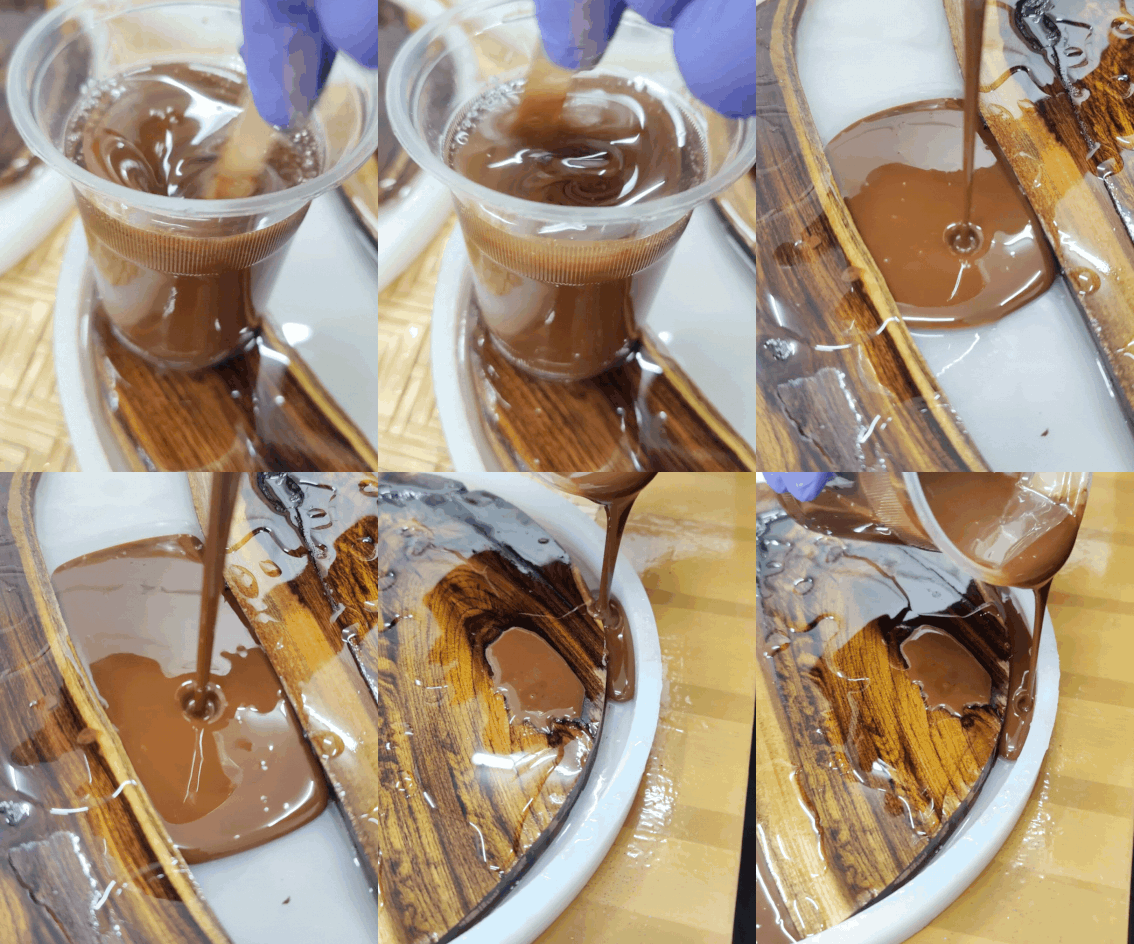
Soft spots form when Part A and Part B are not combined fully. Resin and hardener need complete contact throughout the mix, including the sides and bottom of the cup, or the reaction stays incomplete in patches.
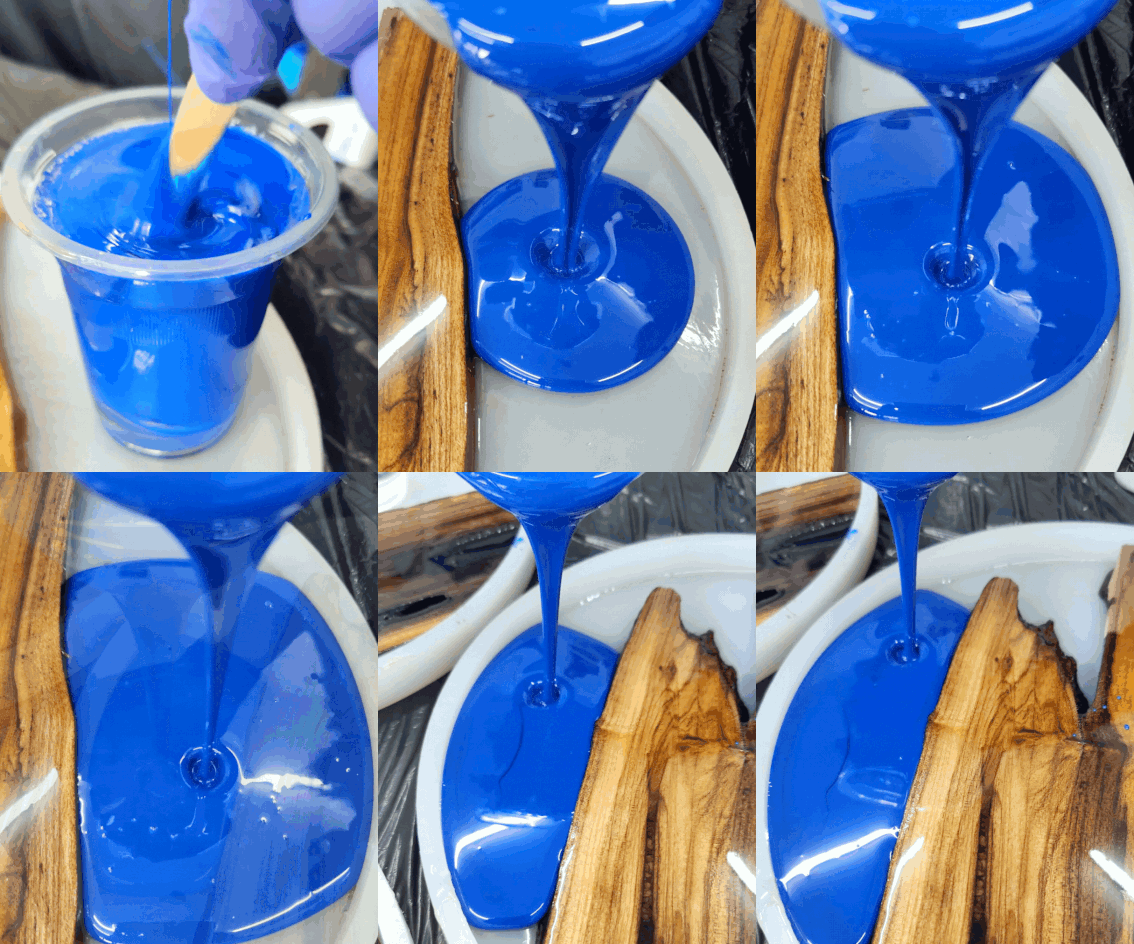
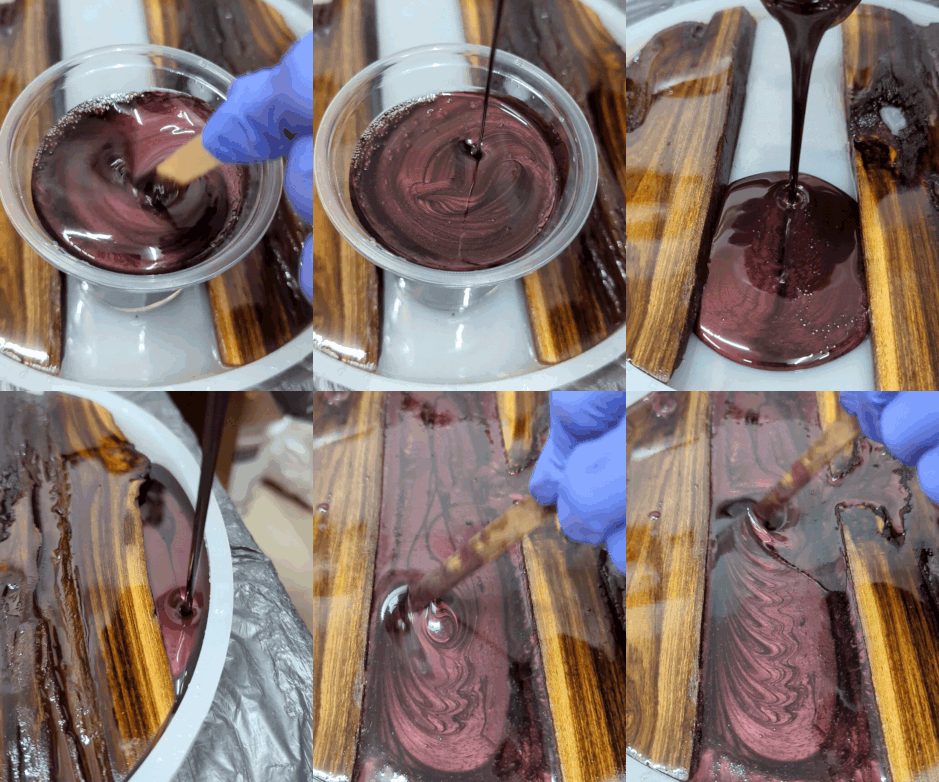
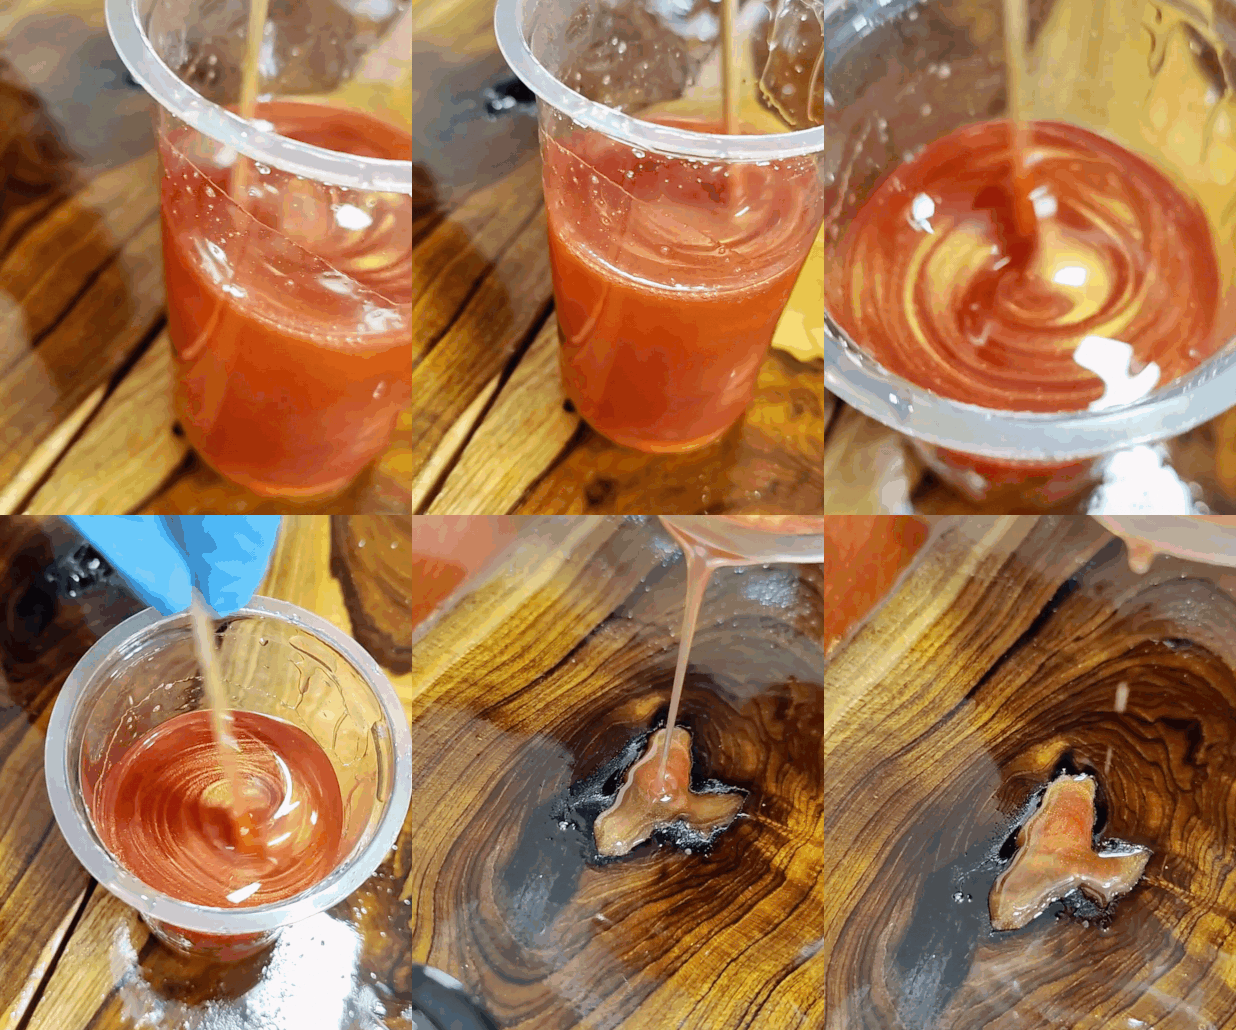
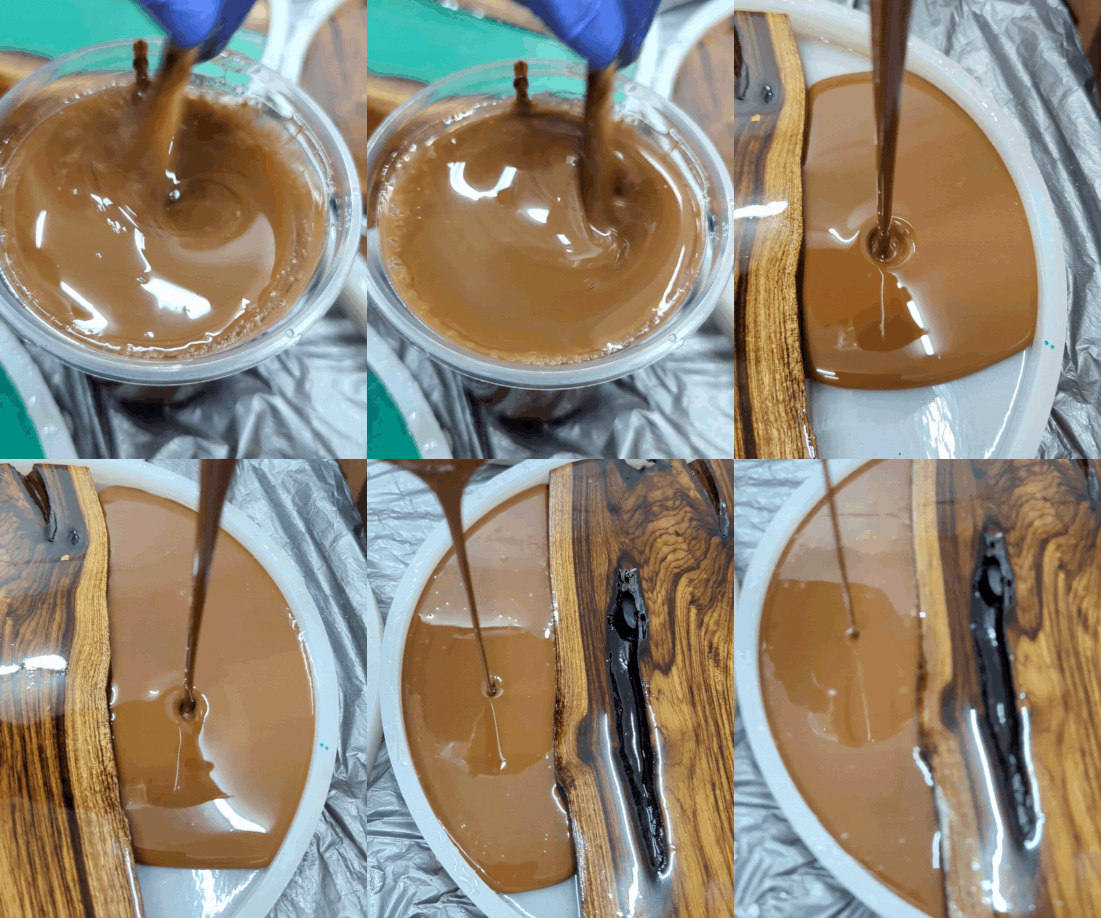
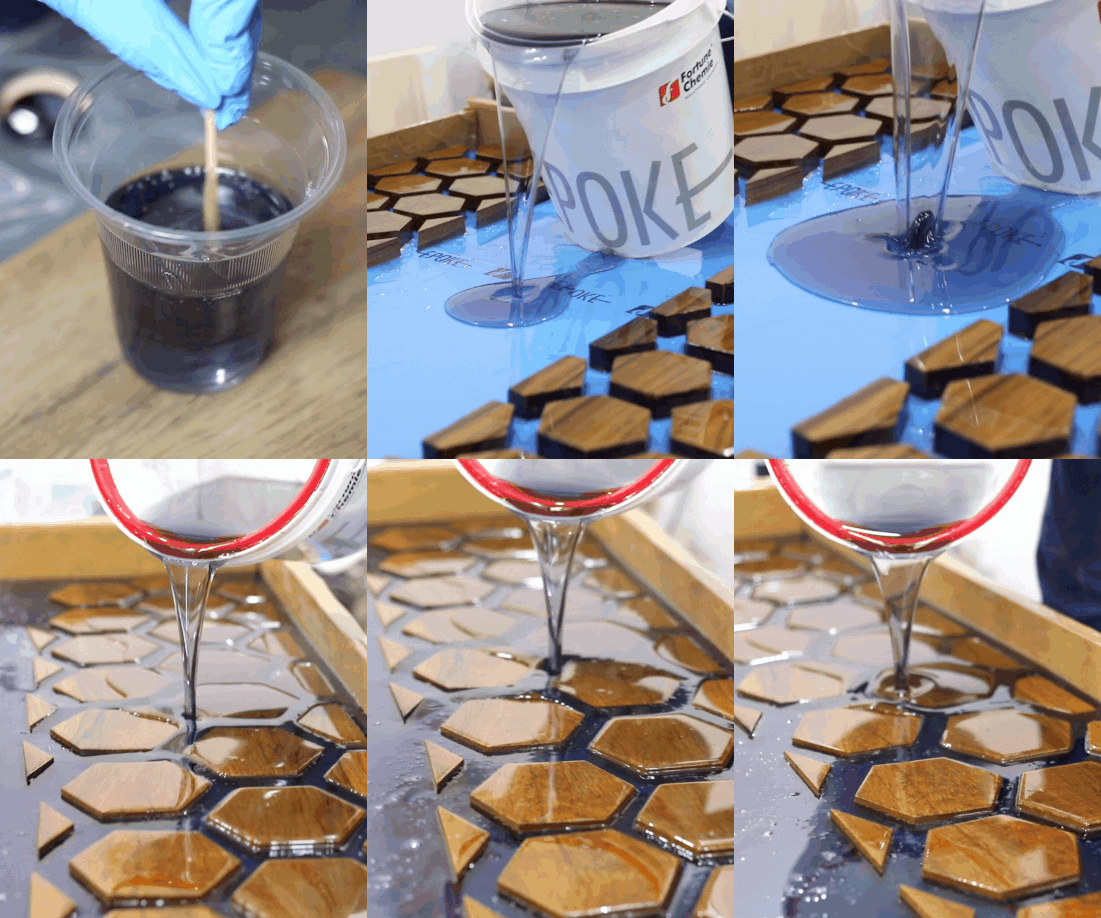
Fix: Mix Part A and Part B gently but thoroughly for 5 minutes, scraping the container walls and base as you go. Once mixed, let the batch sit undisturbed for 10 minutes before pouring. With EPOKE’s auto bubble Release feature all the mixing bubbles rise to the top of the mixing container and can be popped using a blow torch.
3. Resin Takes Too Long to Cure
Cold rooms slow the chemical reaction down. At an ambient temperature of 28 to 30°C, EPOKE Art Epoxy Resin has a working time of 45 to 60 minutes. Lower the room temperature, and the working time stretches out further, which can feel like the resin is taking too long to set.
Fix: Work in a warm, dry room rather than a cold one. If your workspace runs cool, raise the ambient temperature slightly with a heater rather than heating the resin itself, and give the piece more time before checking on it.
4. Resin Cures Too Fast
Warm rooms shorten the working time. At temperatures above 30°C, EPOKE Art Epoxy Resin sets faster than its 45 to 60 minute range at 28 to 30°C, which can catch you off guard mid-pour.
Fix: Work in a cooler room during hot months, and mix only what you can pour within the working time for that day's temperature. For deep or large pours, keep individual pour thickness within the limits your resin is rated for rather than pouring one thick layer in one go.
Surface Problems
5. Cloudy or Foggy Finish
A cloudy finish happens due to moisture in the resin, incomplete mixing, or resin and hardener bottles that were not stored correctly. Resin absorbs moisture from humid air over time, and that moisture shows up as cloudiness once cured.
Fix: Store resin and hardener bottles tightly capped in a dry place. If bottles have been opened before, recap them fully after each use, since a well sealed bottle keeps its usable life for up to a year. Mix Part A and B for the full 5 minutes so the reaction completes evenly.
6. Fish Eyes or Craters on the Surface
Dust, oil residue, or contact with materials the resin does not bond well with, such as silicone or certain plastics, can leave small craters as resin cures.
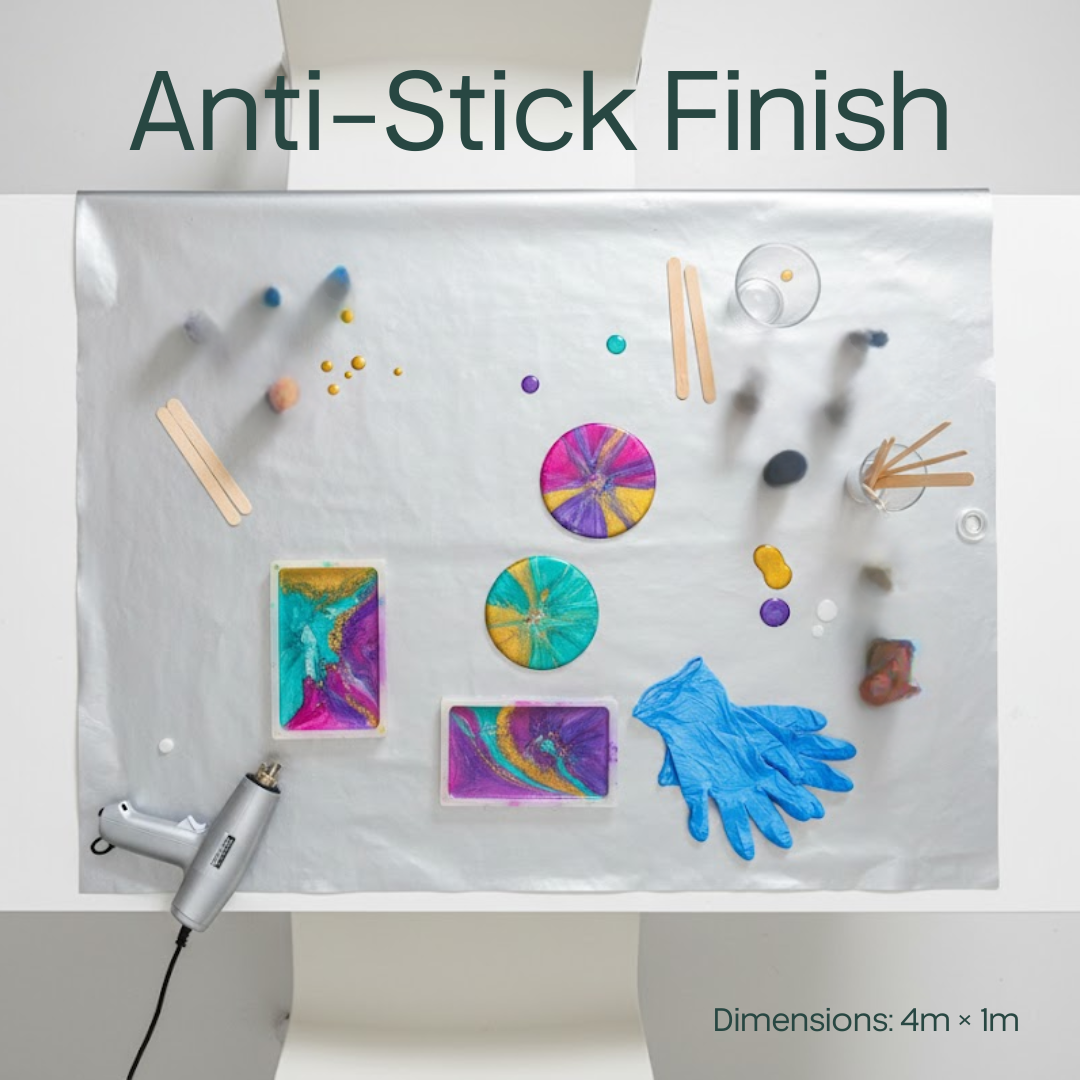
Fix: Clean your work surface with isopropyl alcohol before pouring, and keep your workspace covered to reduce dust. If you are using a mold, choose one made for resin casting, since resin releases cleanly from silicone rather than bonding to it.
7. Fingerprints or Dents After Demolding
Removing a piece before it has fully cured leaves marks, since the surface is still soft. EPOKE Art Epoxy Resin reaches full cure within about 24hours when kept above 25°C, the touch dry time is 12hours .
Fix: Wait until the surface is no longer tacky to the touch before demolding. If your workspace runs cool, give the piece extra time rather than rushing the release.
8. Resin Sticks to the Mold
EPOKE Art Epoxy Resin bonds poorly with rubber, silicone, EPOKE Mould release tape, and certain plastics, which is actually useful information when it works against you instead of for you, such as with a worn or damaged mold surface.
Fix: Use silicone molds made for resin casting, since resin naturally releases from silicone rather than sticking to it. If a piece still sticks, check the mold for scratches, buildup, or coating wear.
9. Warped or Bent Resin Pieces
Thin resin pieces can warp if removed from a mold too early or left to cure on an uneven surface.
Fix: Cure on a completely flat surface and leave pieces in the mold until they are firm enough to hold their shape without support.
10. Cracks Forming After Curing
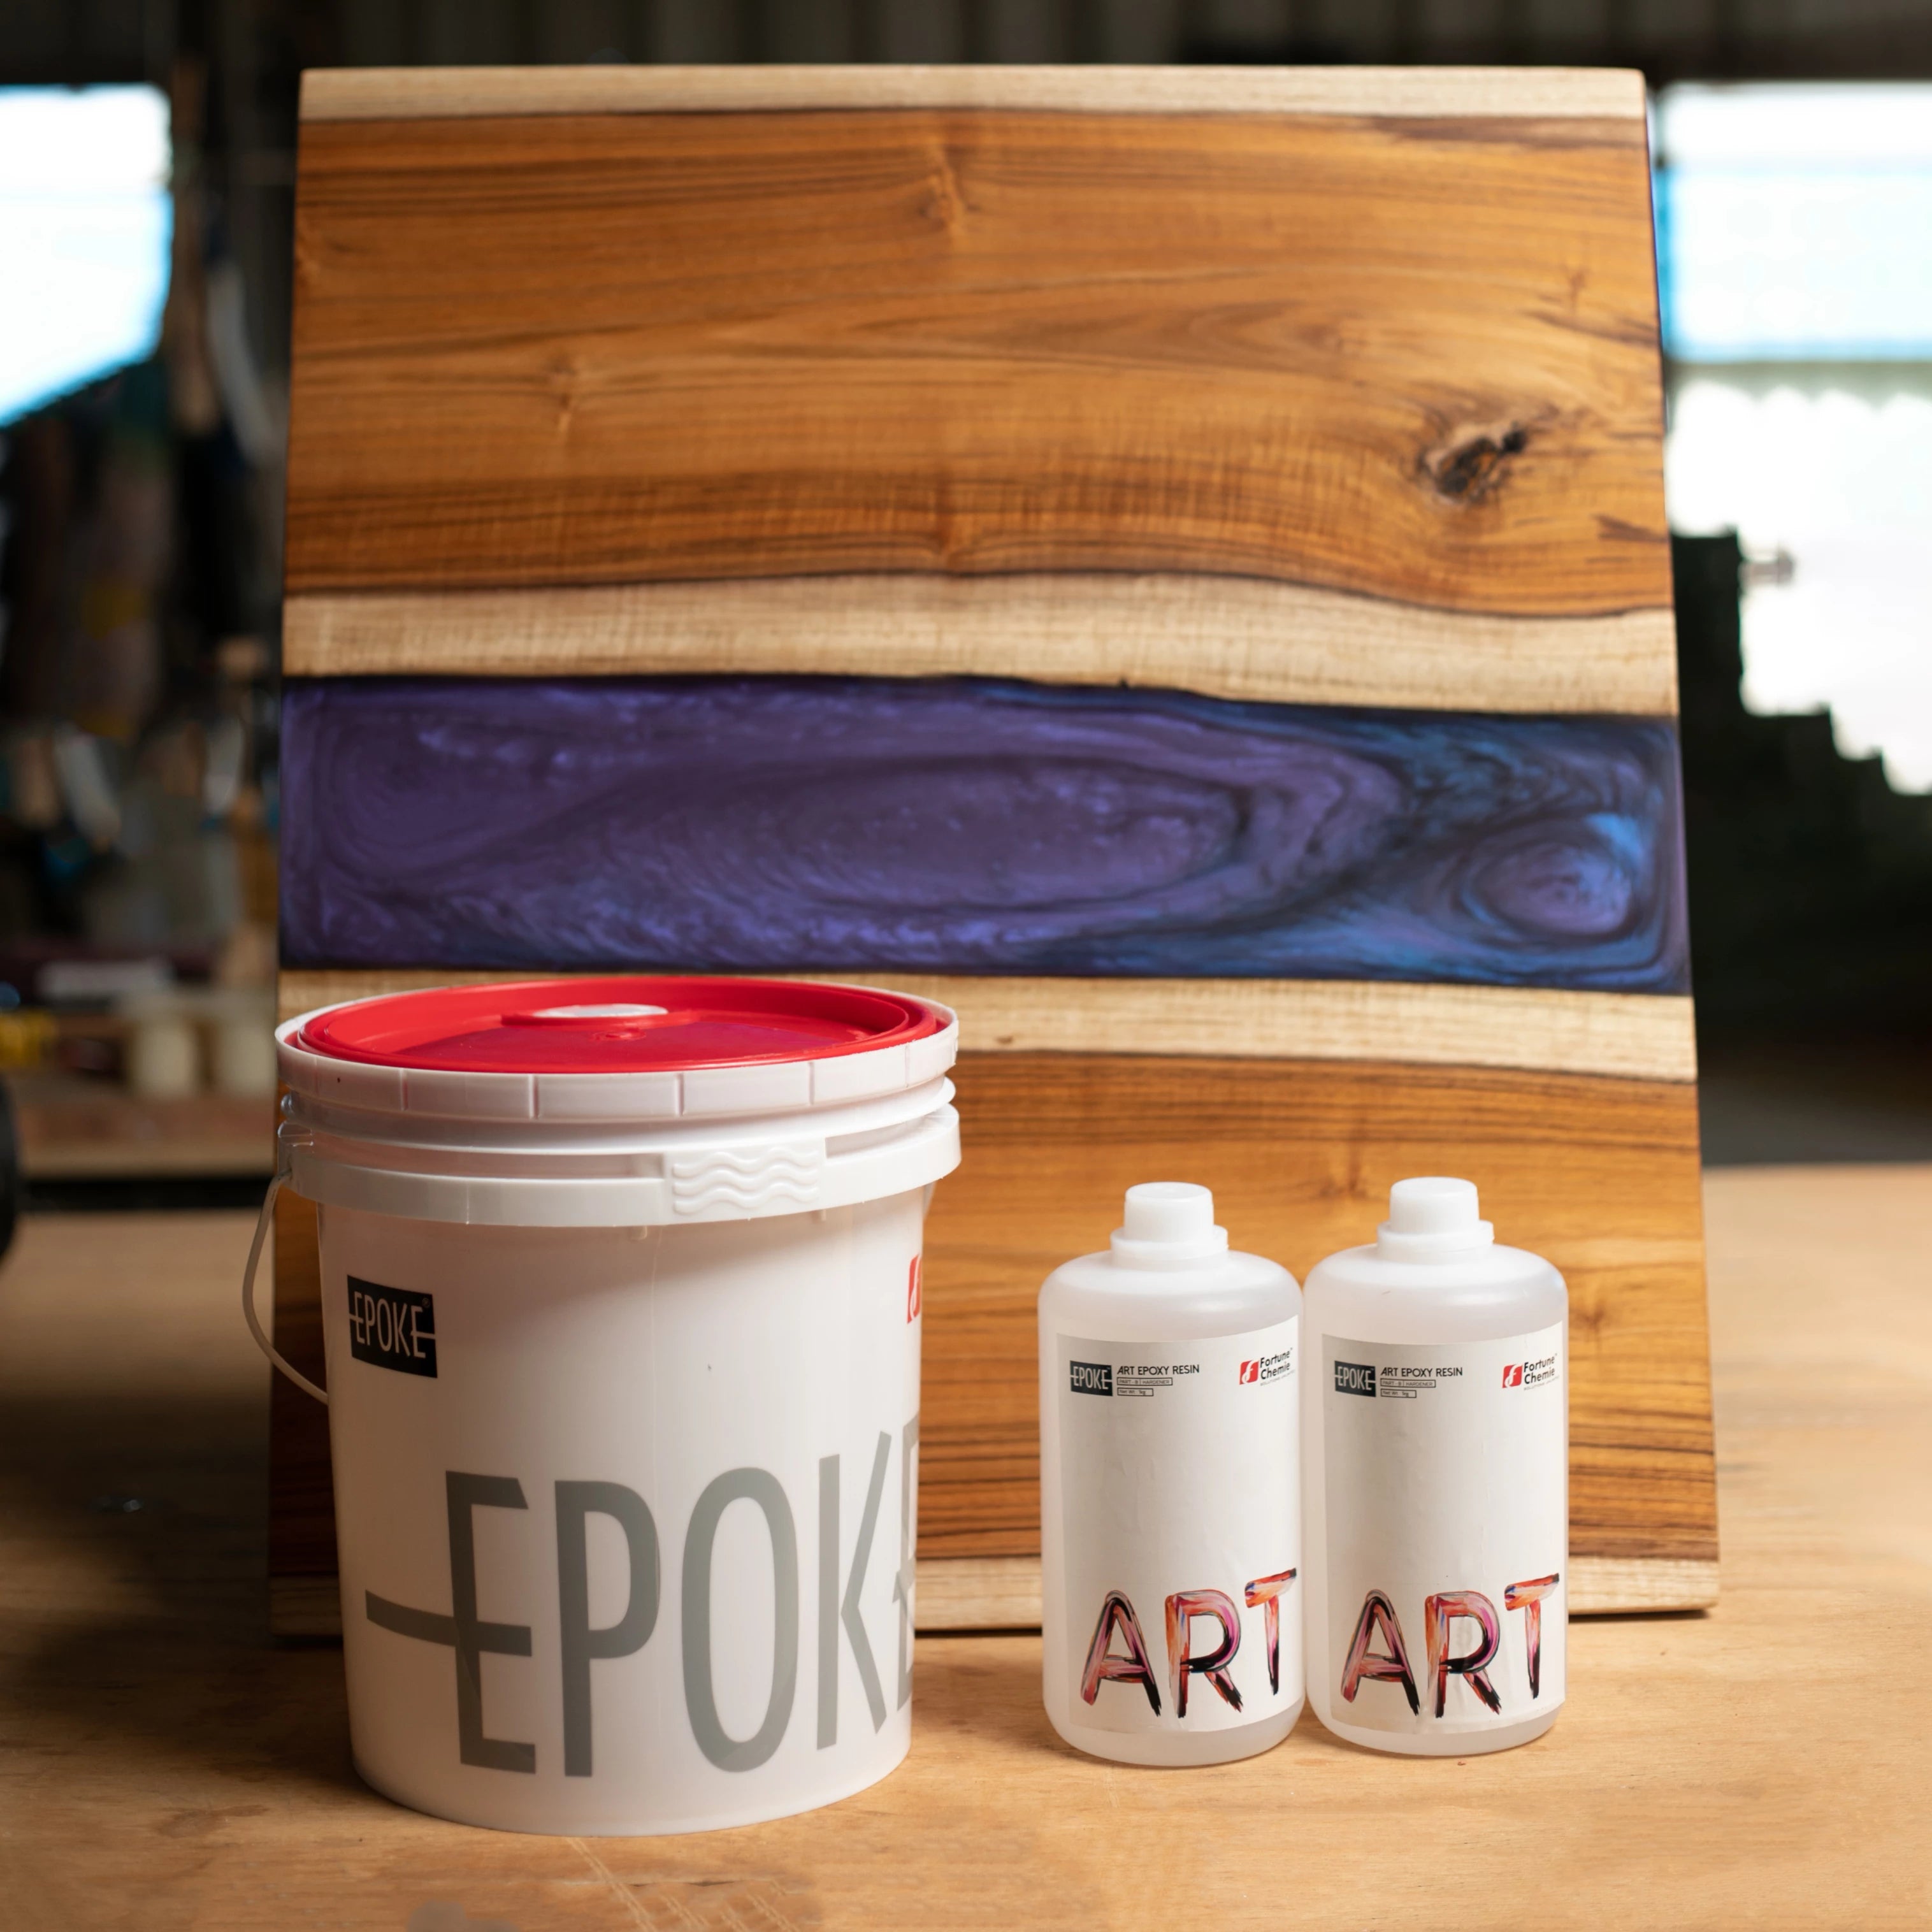
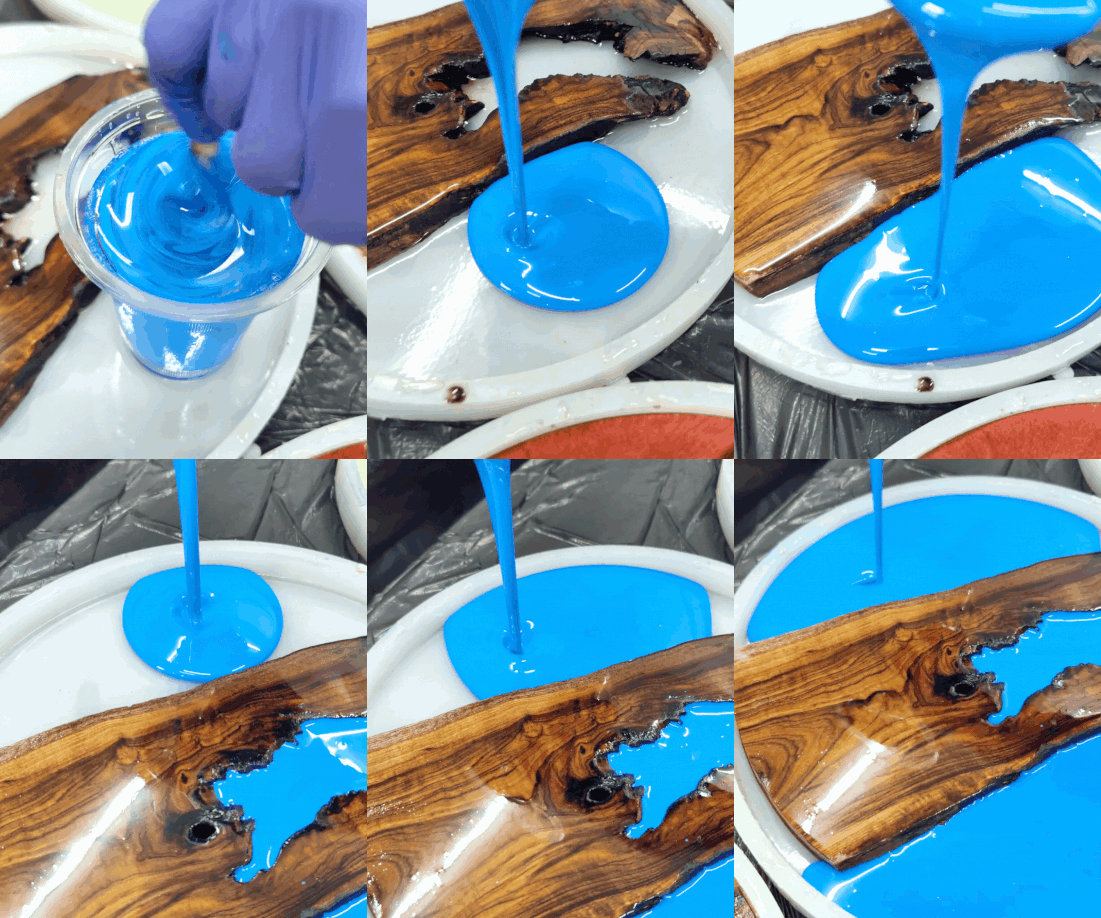
Cracks usually form from rapid temperature changes, or from pouring a single layer thicker than the resin is rated for. On projects like river tables, EPOKE Art Epoxy Resin can be poured up to 20mm thick in a single pour at around 25°C, provided the wood is well primed and sealed. Higher room temperature calls for a thinner pour per layer.
Fix: Keep single pours within the recommended thickness for your ambient temperature, and prime porous surfaces like wood before pouring. For deep pieces, pour in stages, allowing about 12 hours between coats.
Bubble Problems
11. Bubbles Trapped in Resin
Bubbles get trapped during mixing, especially if Part A and B are stirred too fast or too aggressively.
Fix: Mix gently but thoroughly for the full 5 minutes, then let the mixed resin sit undisturbed for 5 minutes before pouring. This rest period allows the majority of trapped bubbles to rise to the surface and pop on their own due to the auto-bubble release feature in EPOKE Art Resin
12. Bubbles Rising from the Bottom
Porous surfaces such as wood release trapped air into the resin as it settles, since the pores in untreated wood fill with air.
Fix: Prime and seal porous surfaces with a thin coat of resin first, brushed on evenly, and let this primer coat cure for at least 12 hours before pouring your final layer. This step also helps the top layer bond to the surface below it.
13. Bubbles Still Visible After Resting the Mix
Even after the 10 minute rest, some surface bubbles may remain, since not every bubble rises and pops during that window.
Fix: Pass a heat gun gently over the surface to pop the remaining bubbles. If bubbles are still visible after that, repeat the rest and heat gun step once more before the resin starts to thicken.
Color and Pigment Problems
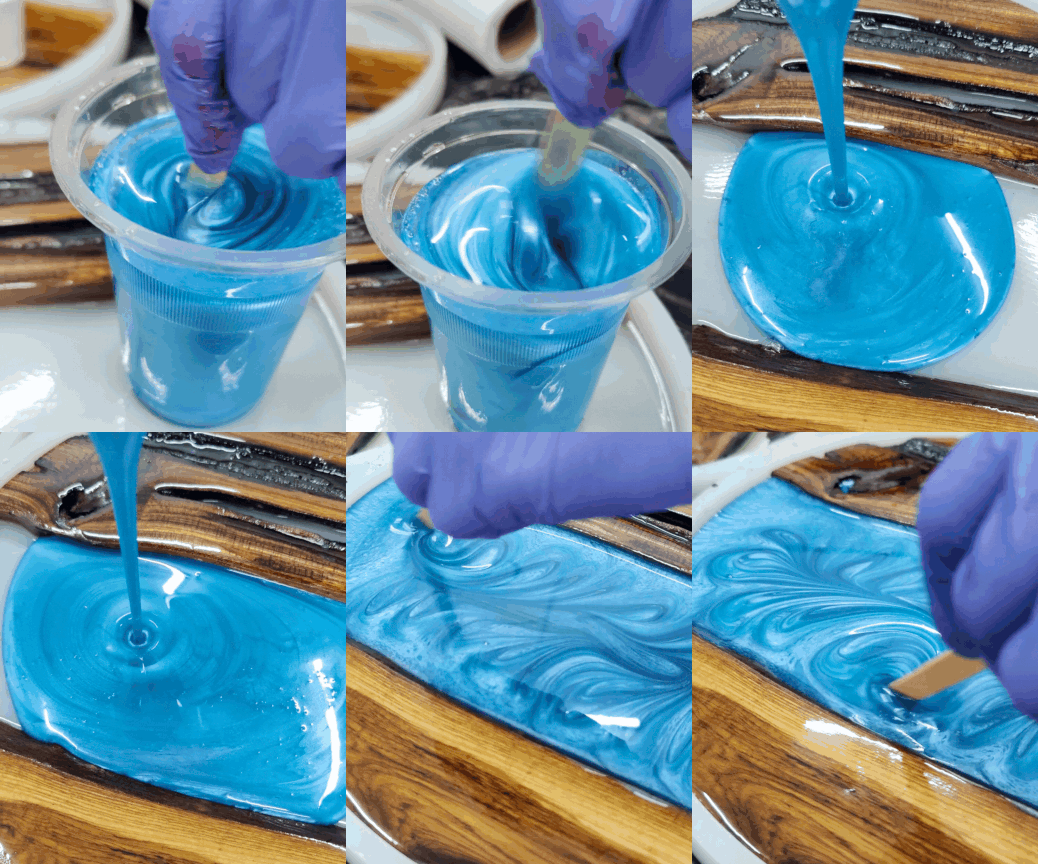
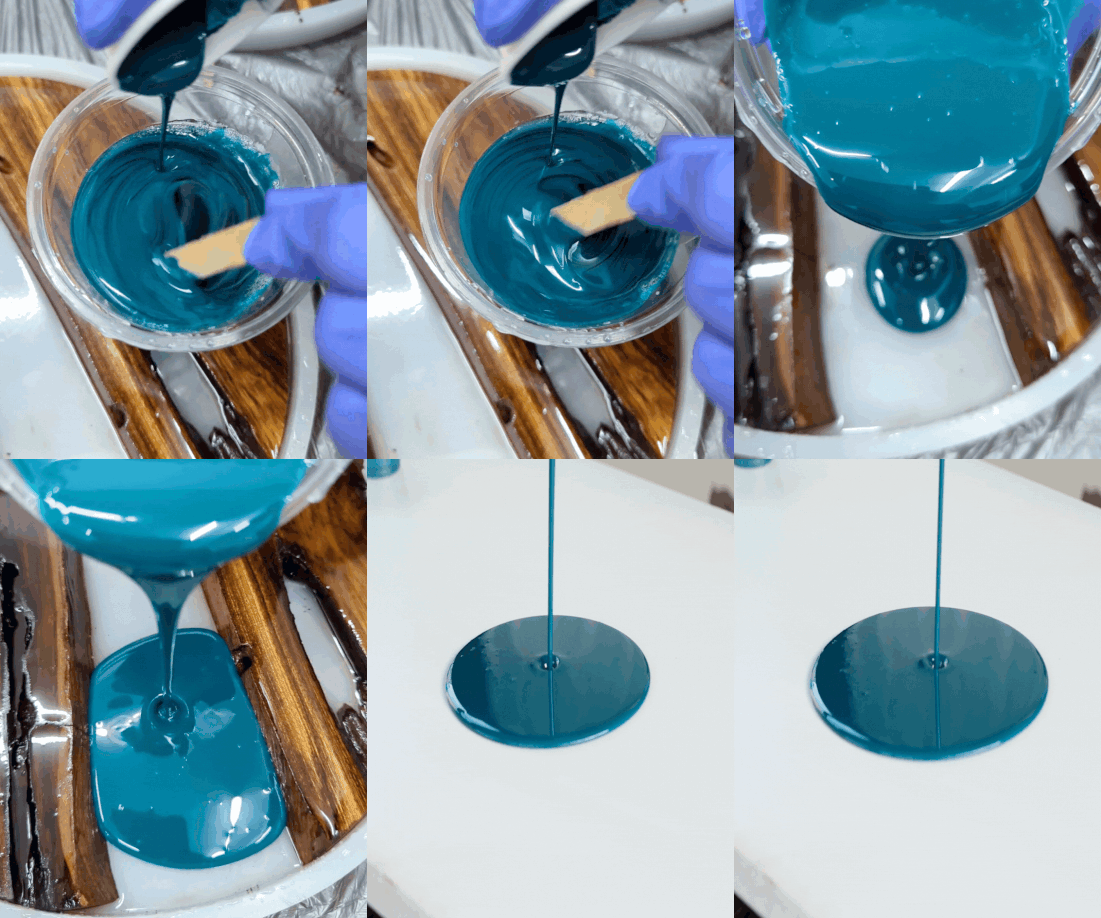
14. Colors Turning Muddy When Mixed
Mixing too many pigment shades together, or combining colorants that were not designed for epoxy resin, leads to muddy or unpredictable results.
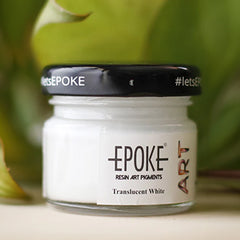
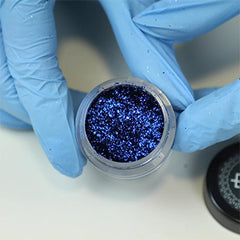
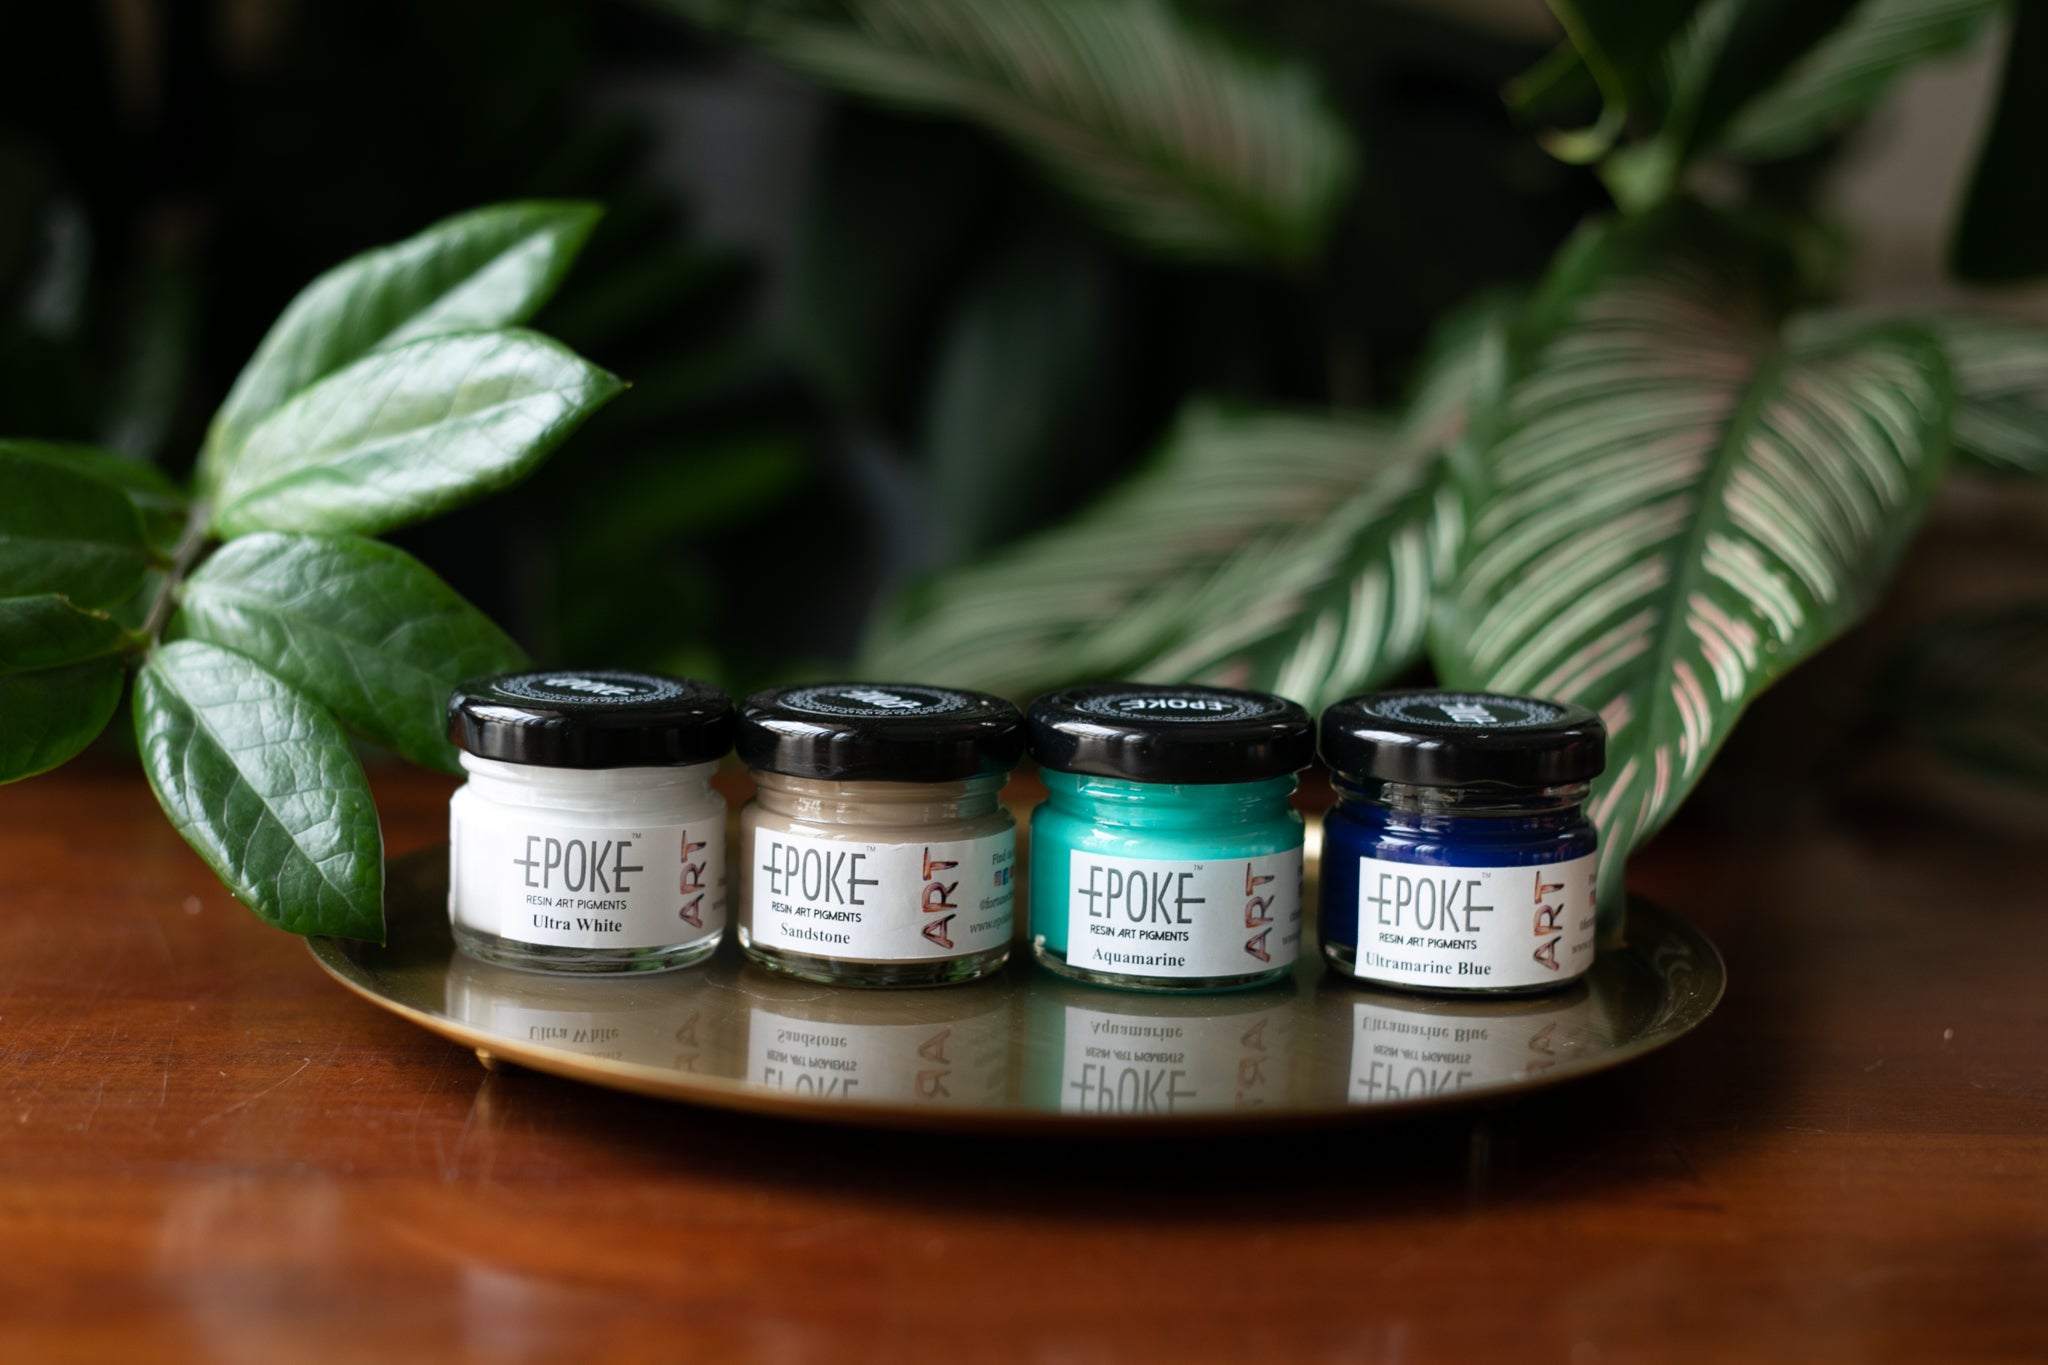
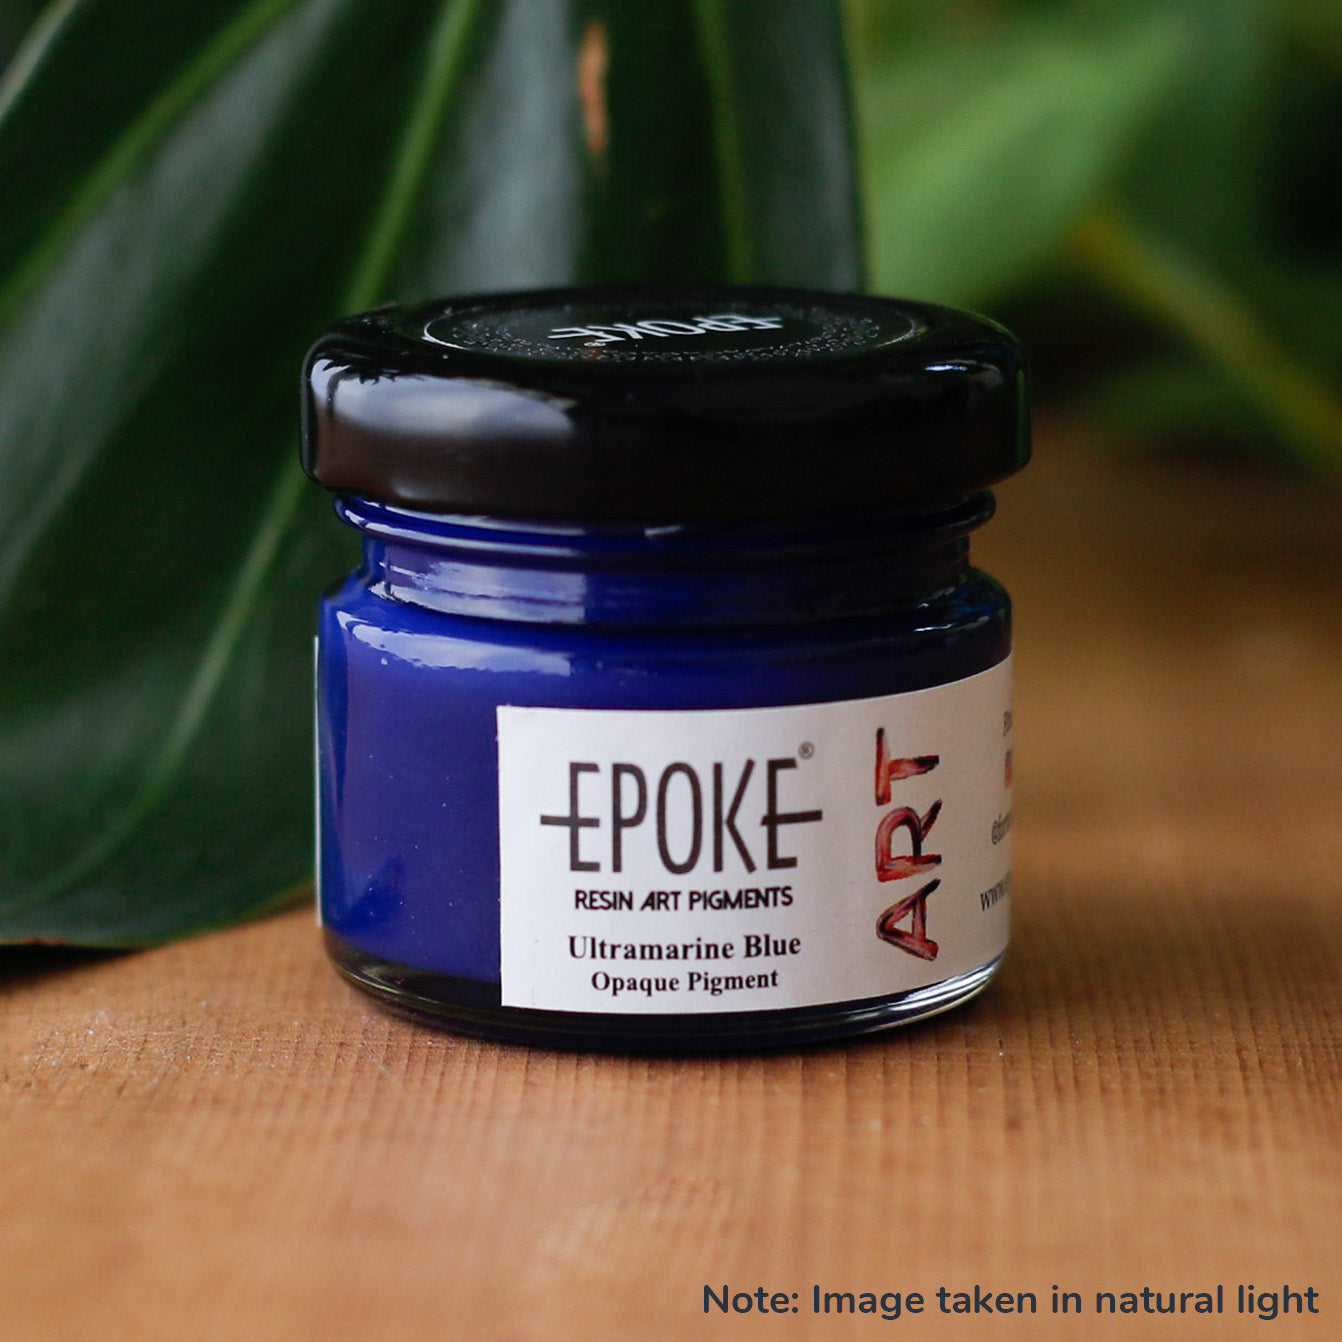
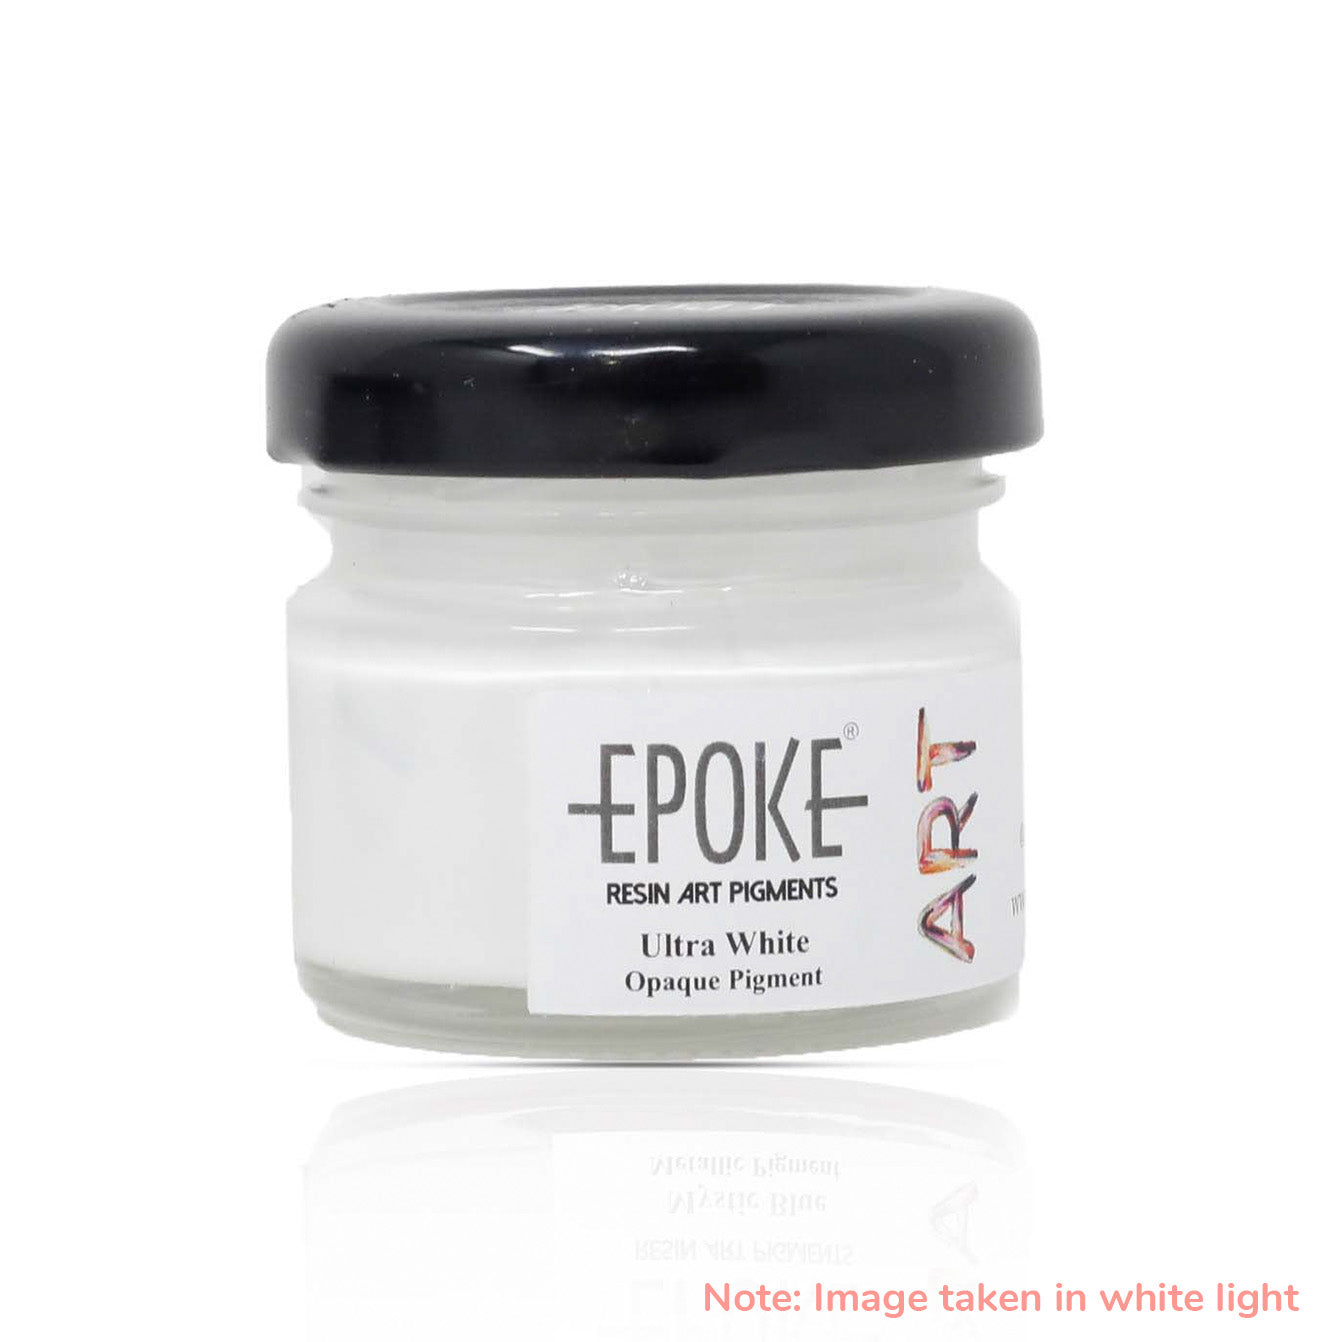
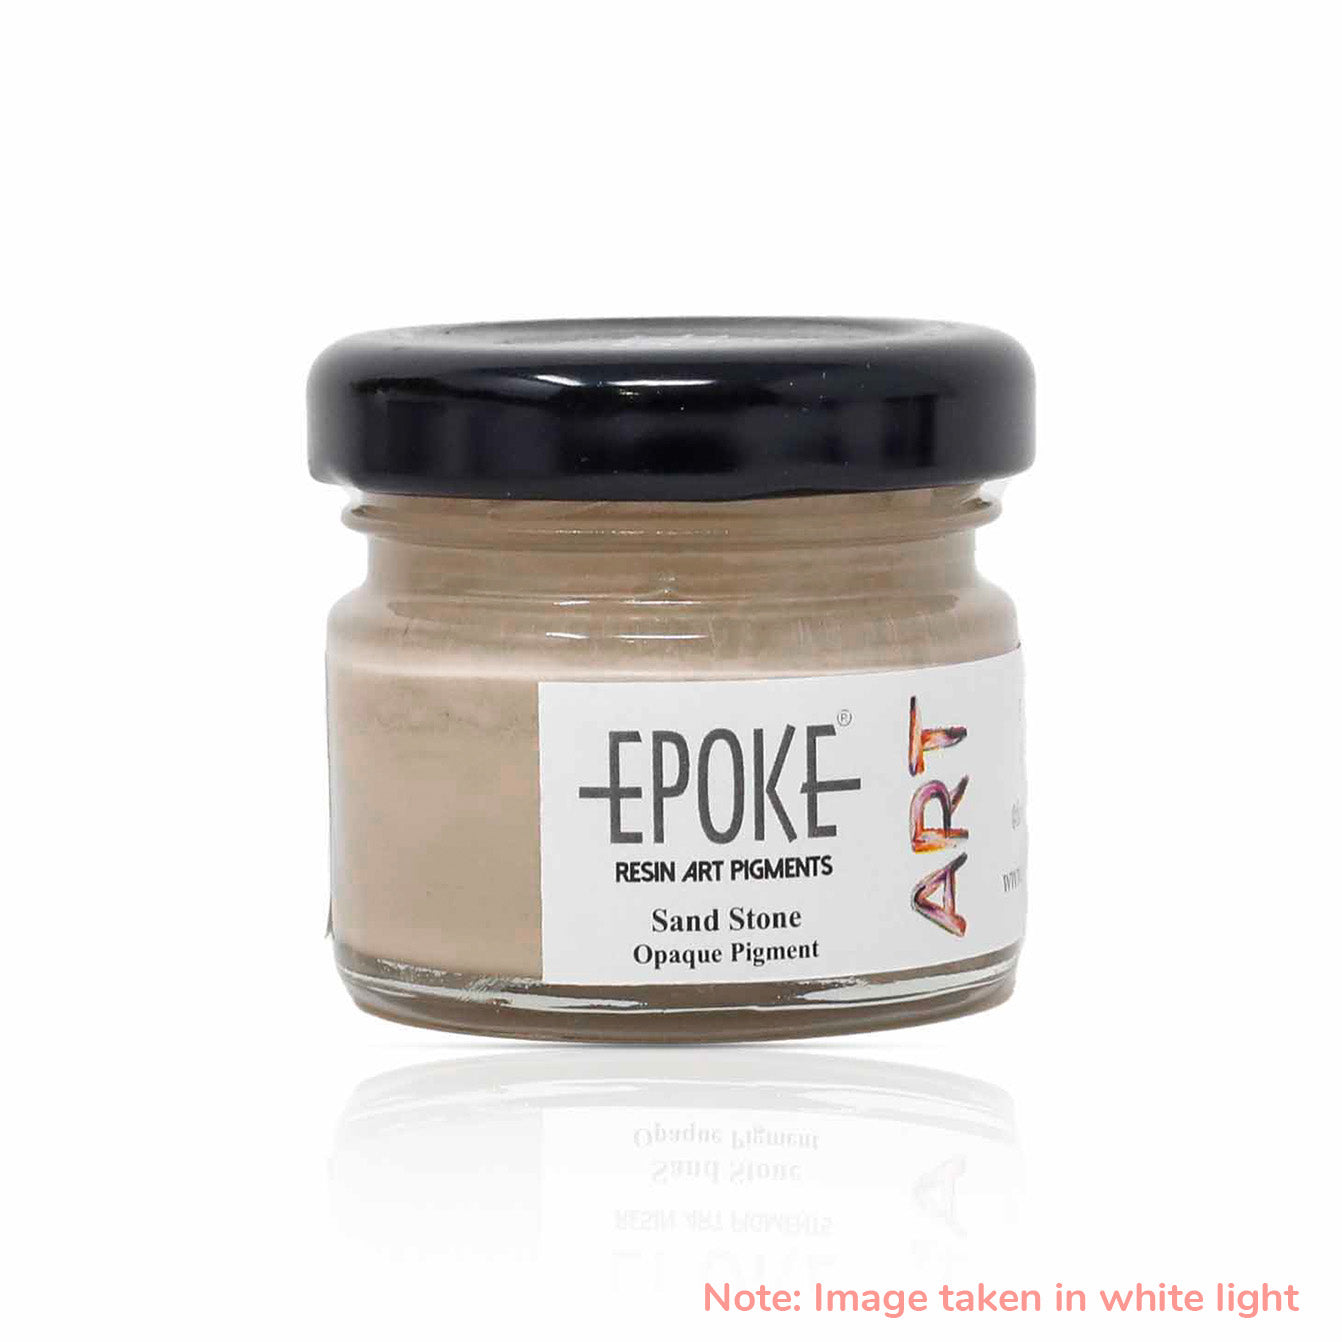
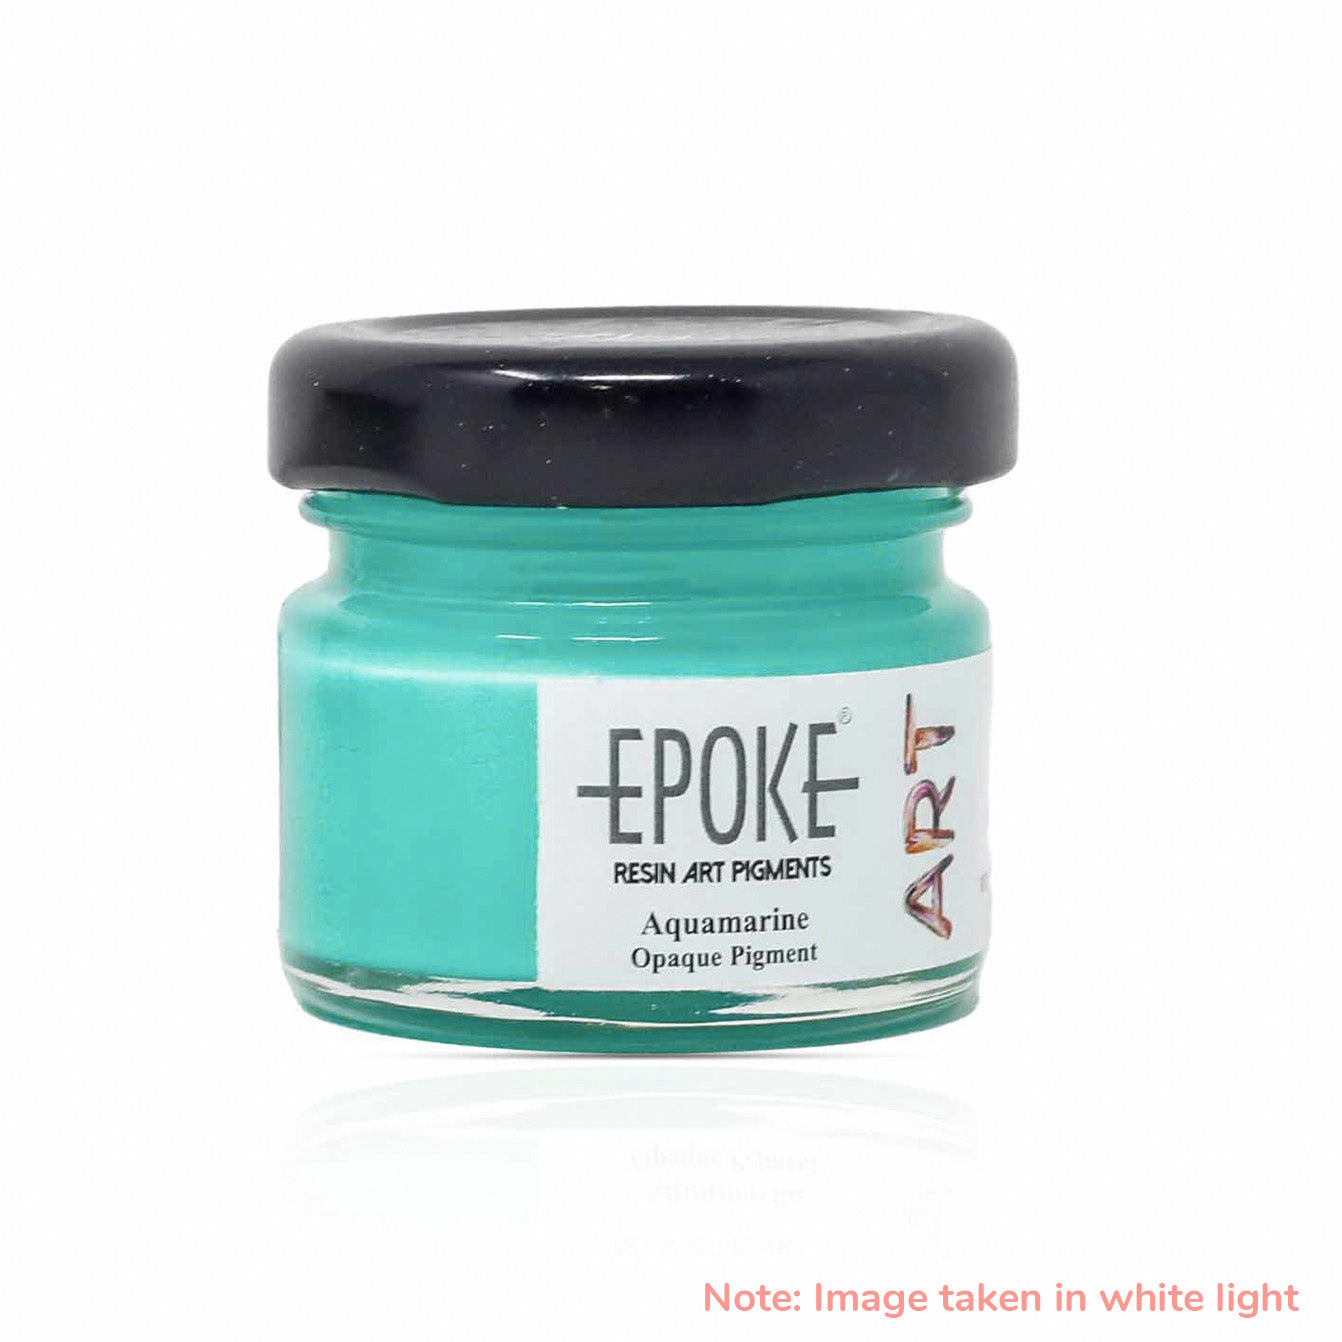
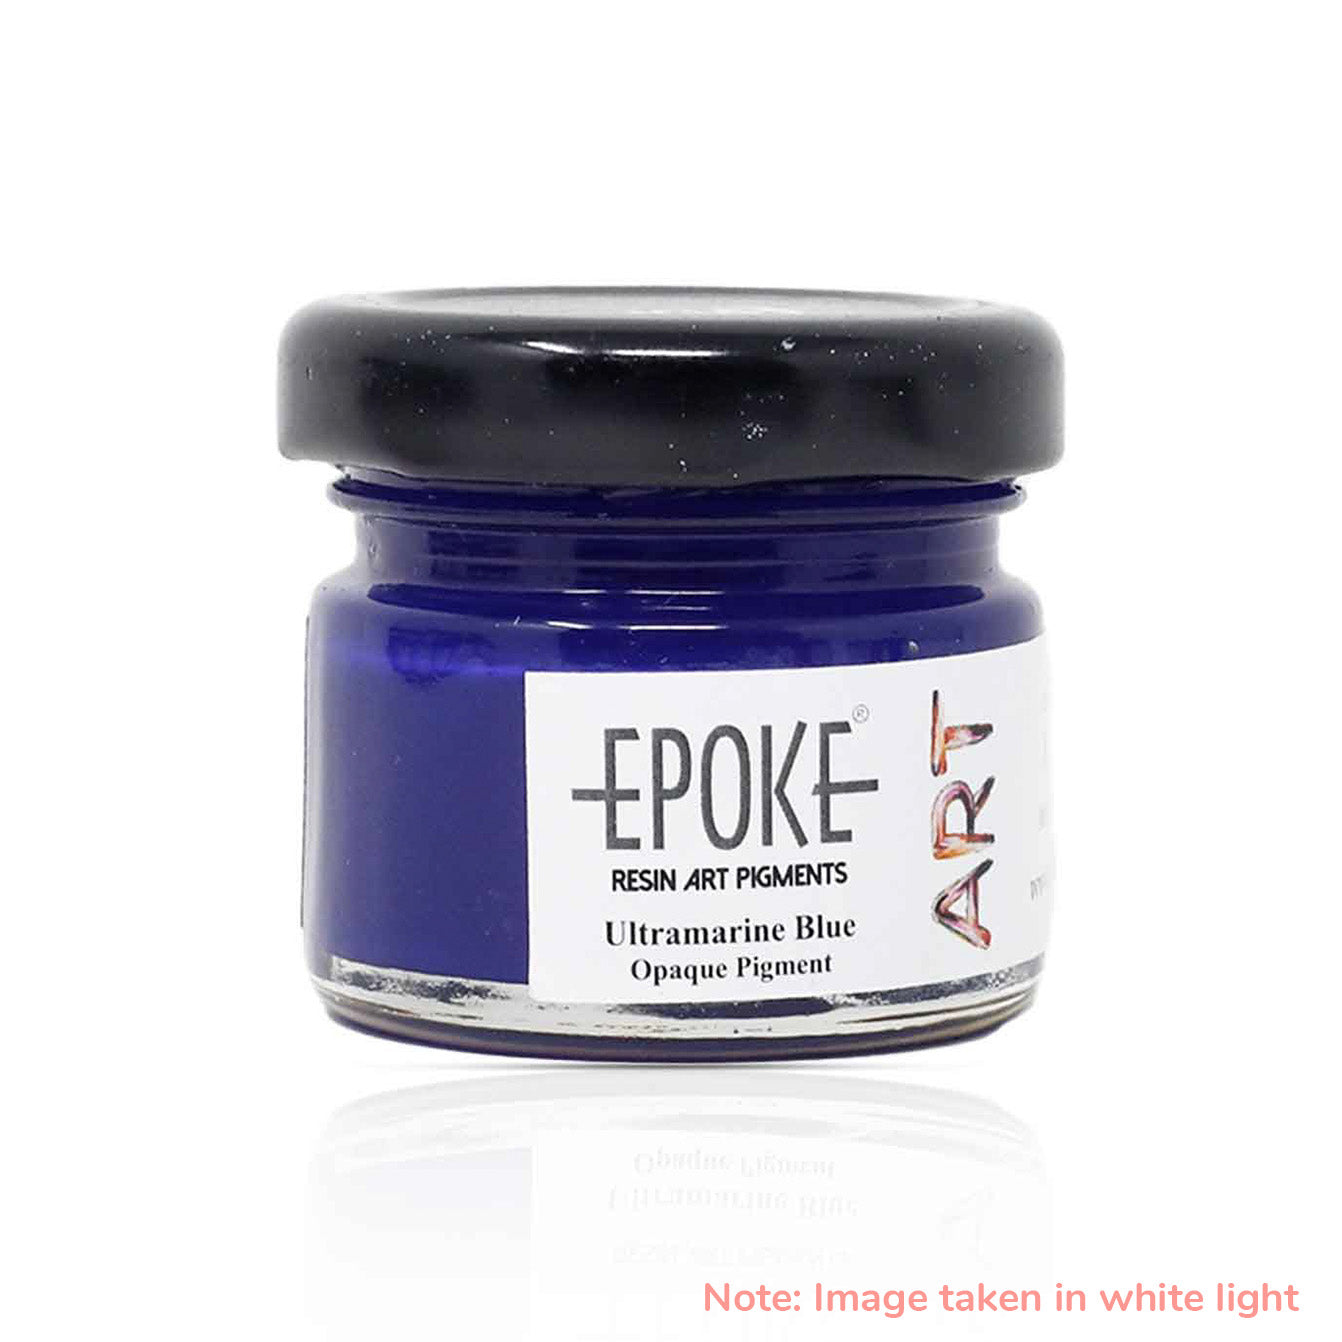
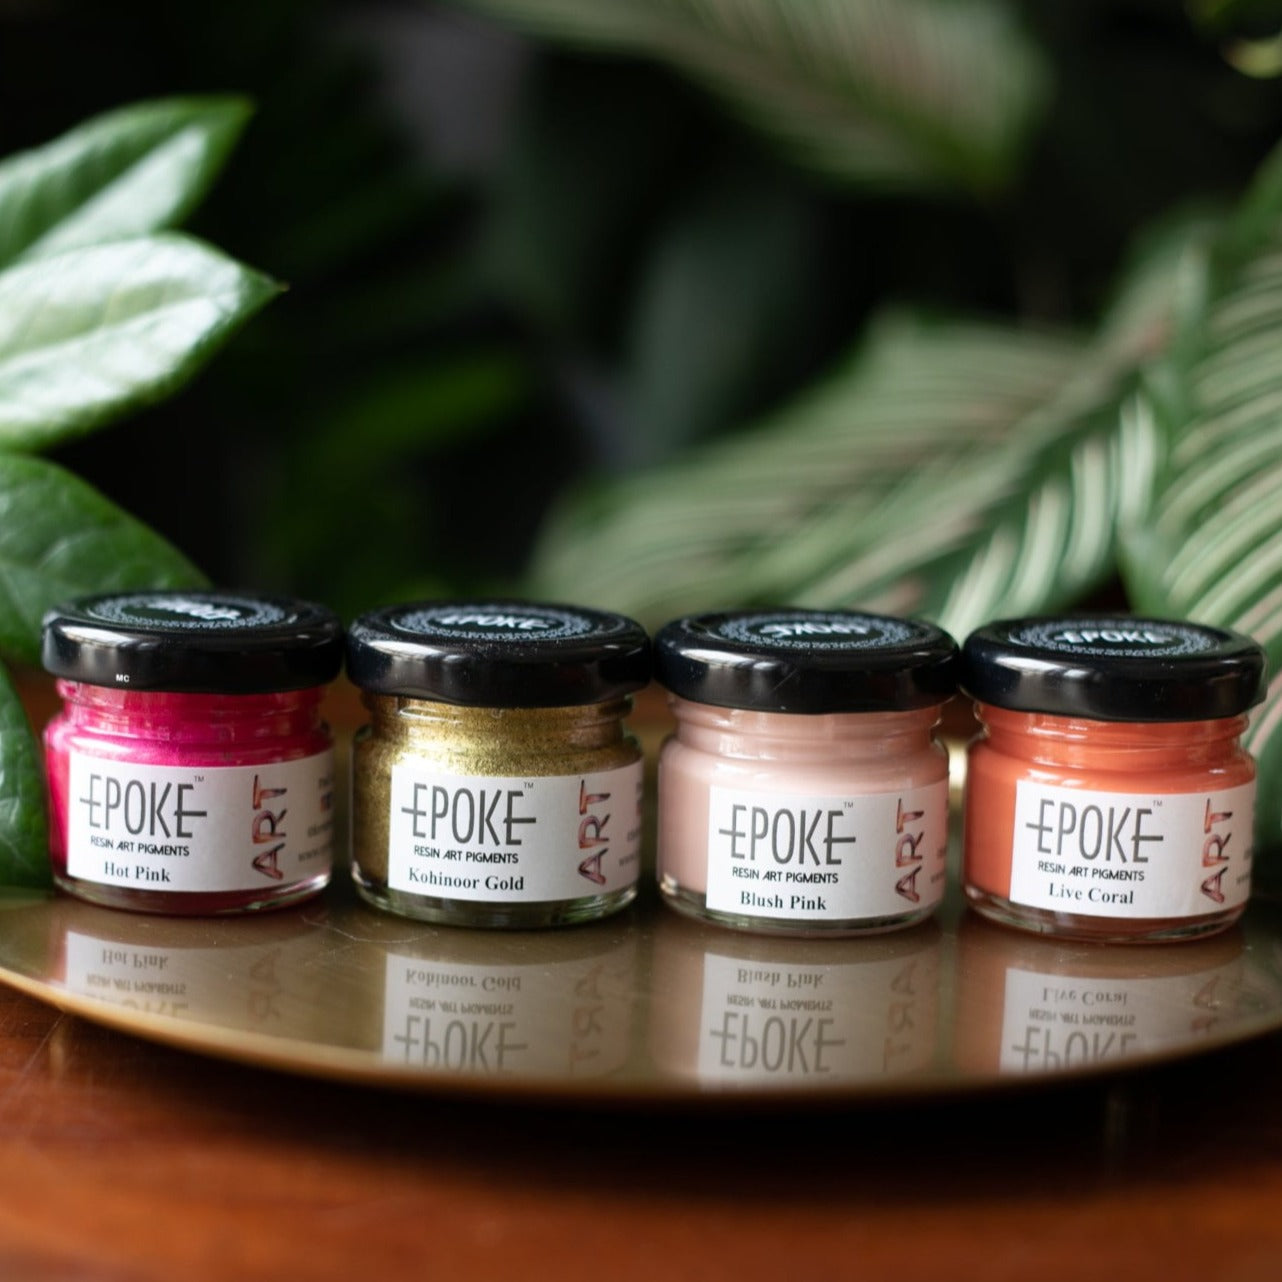
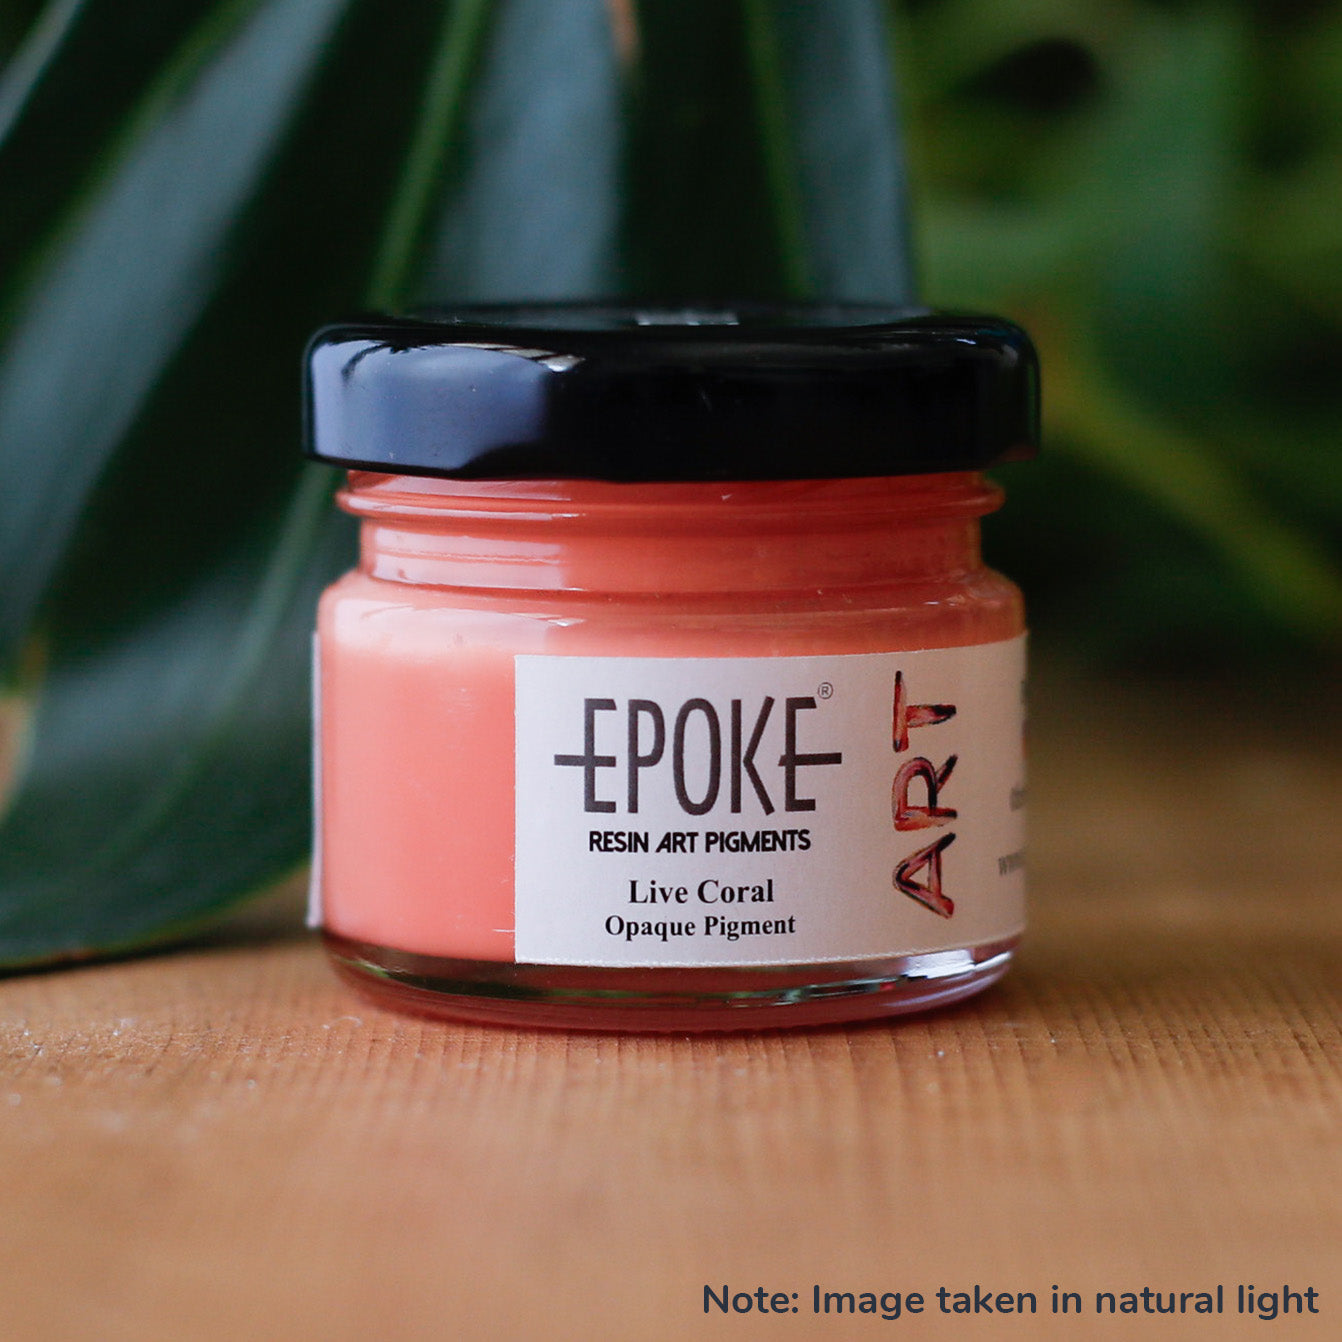
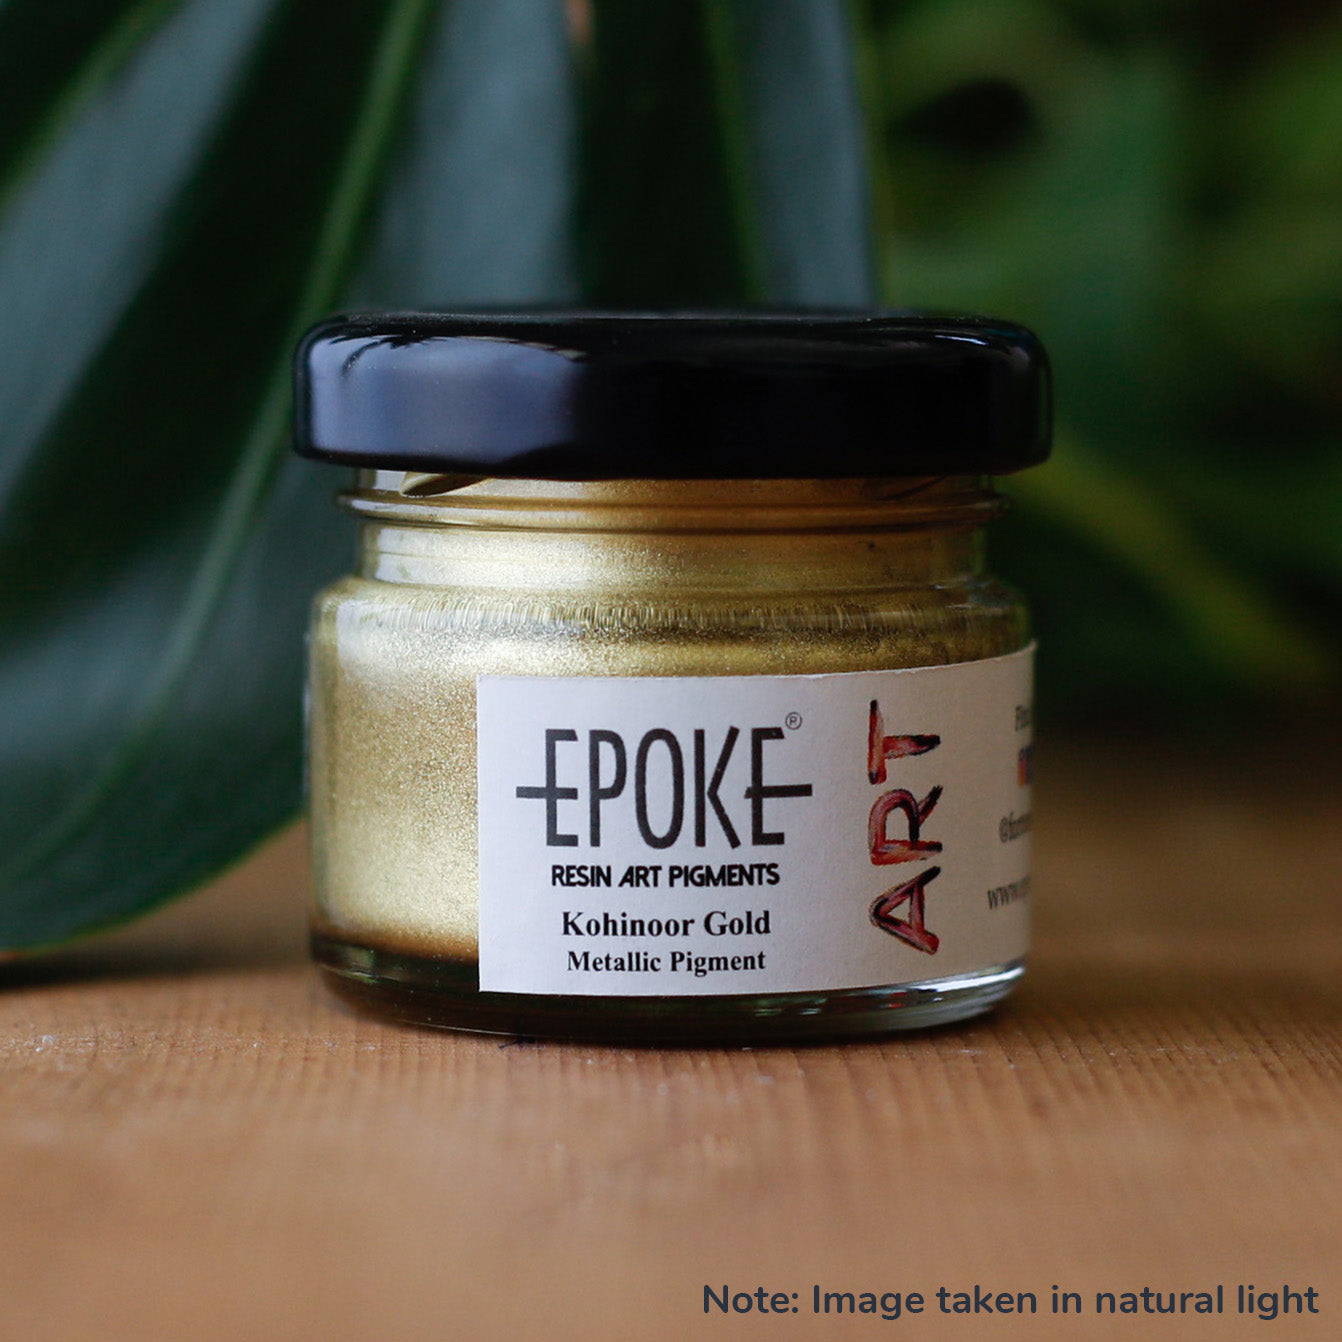
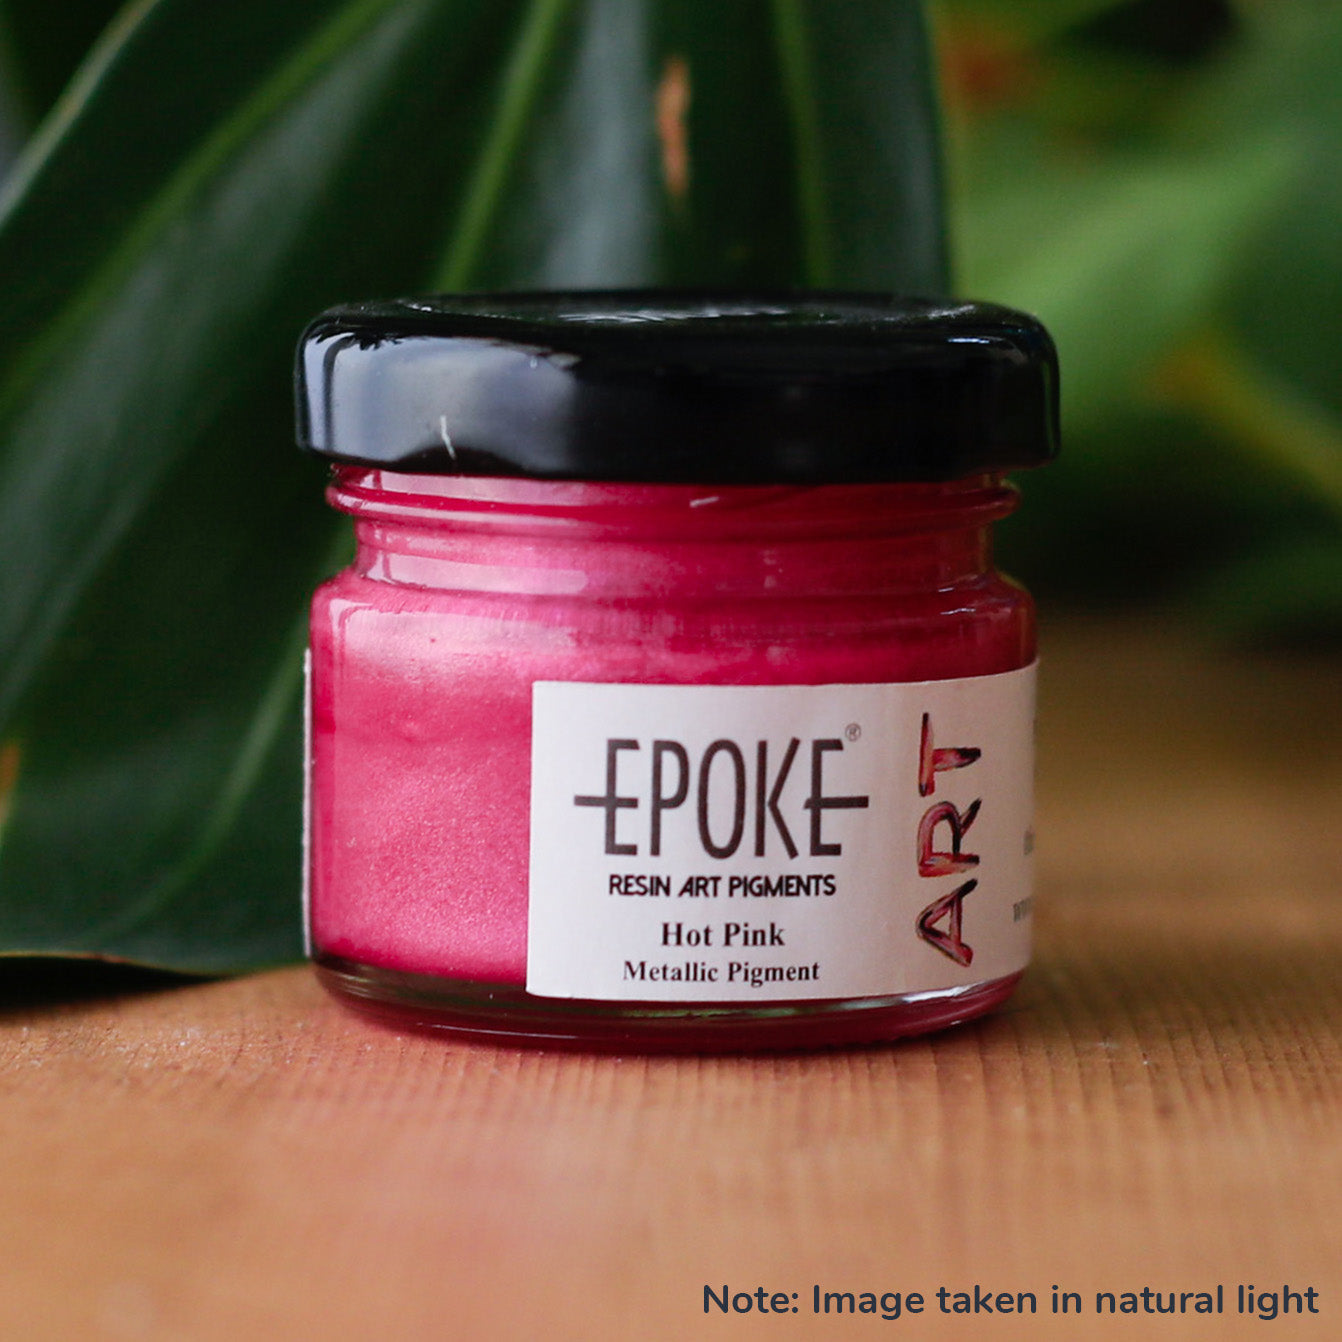
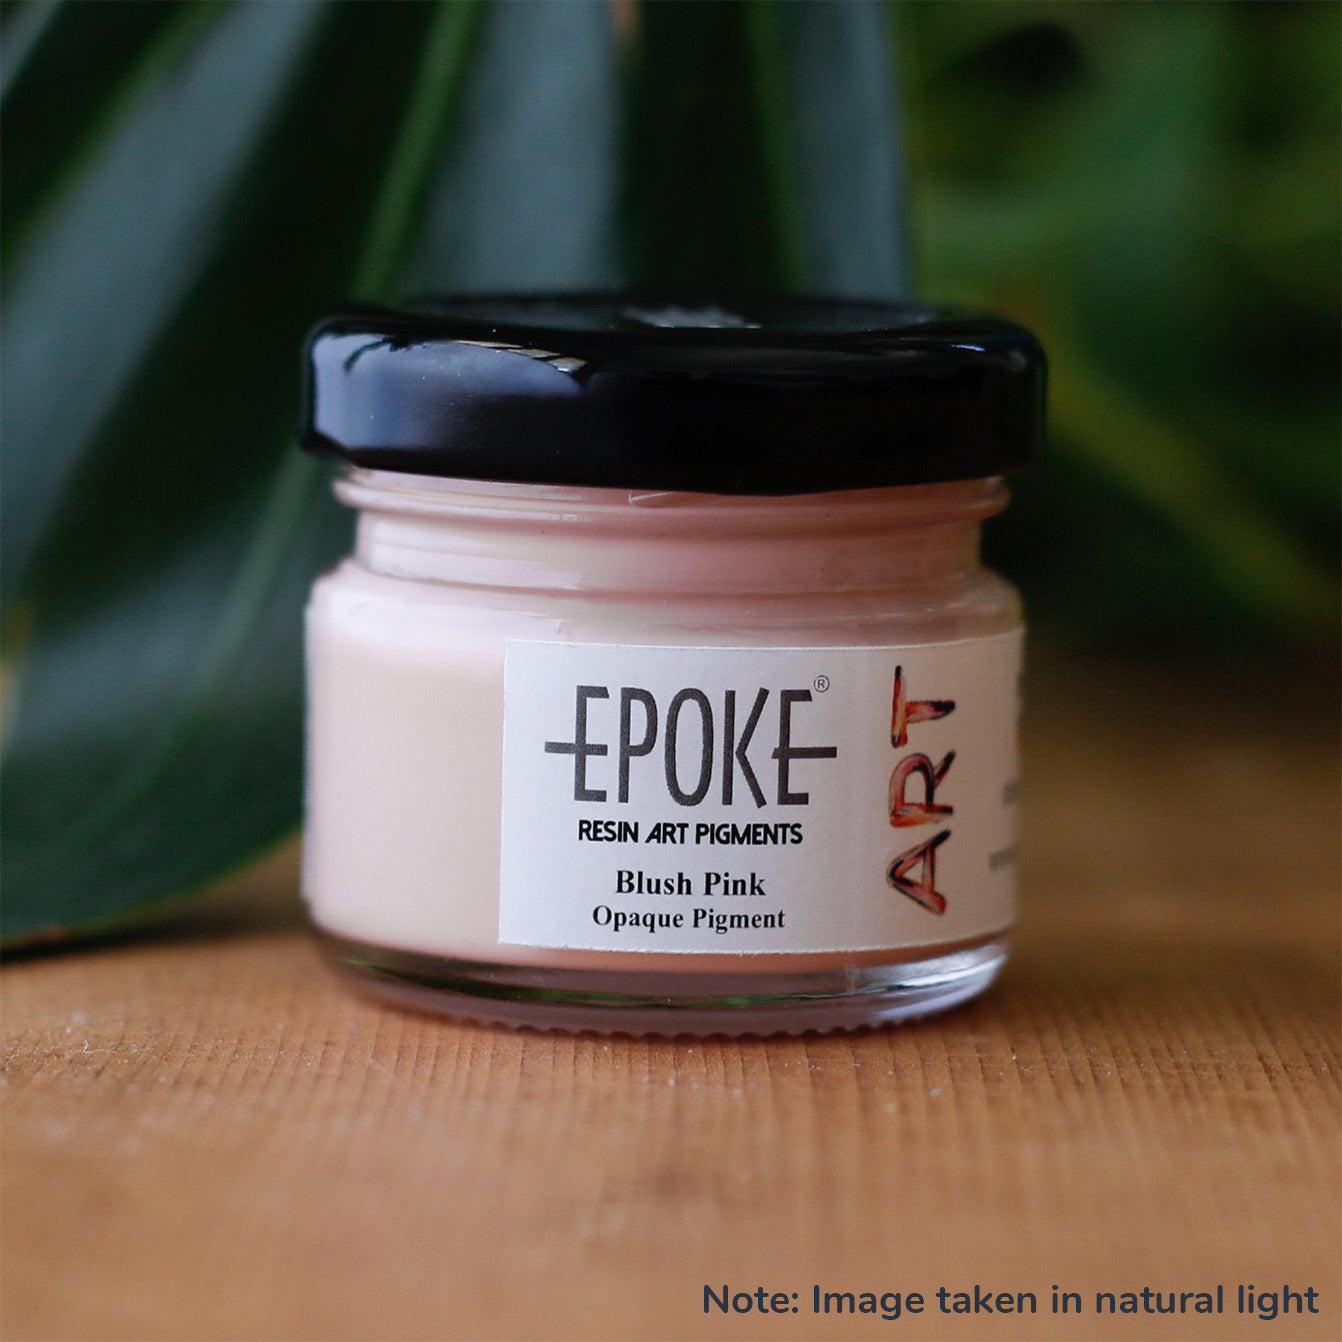
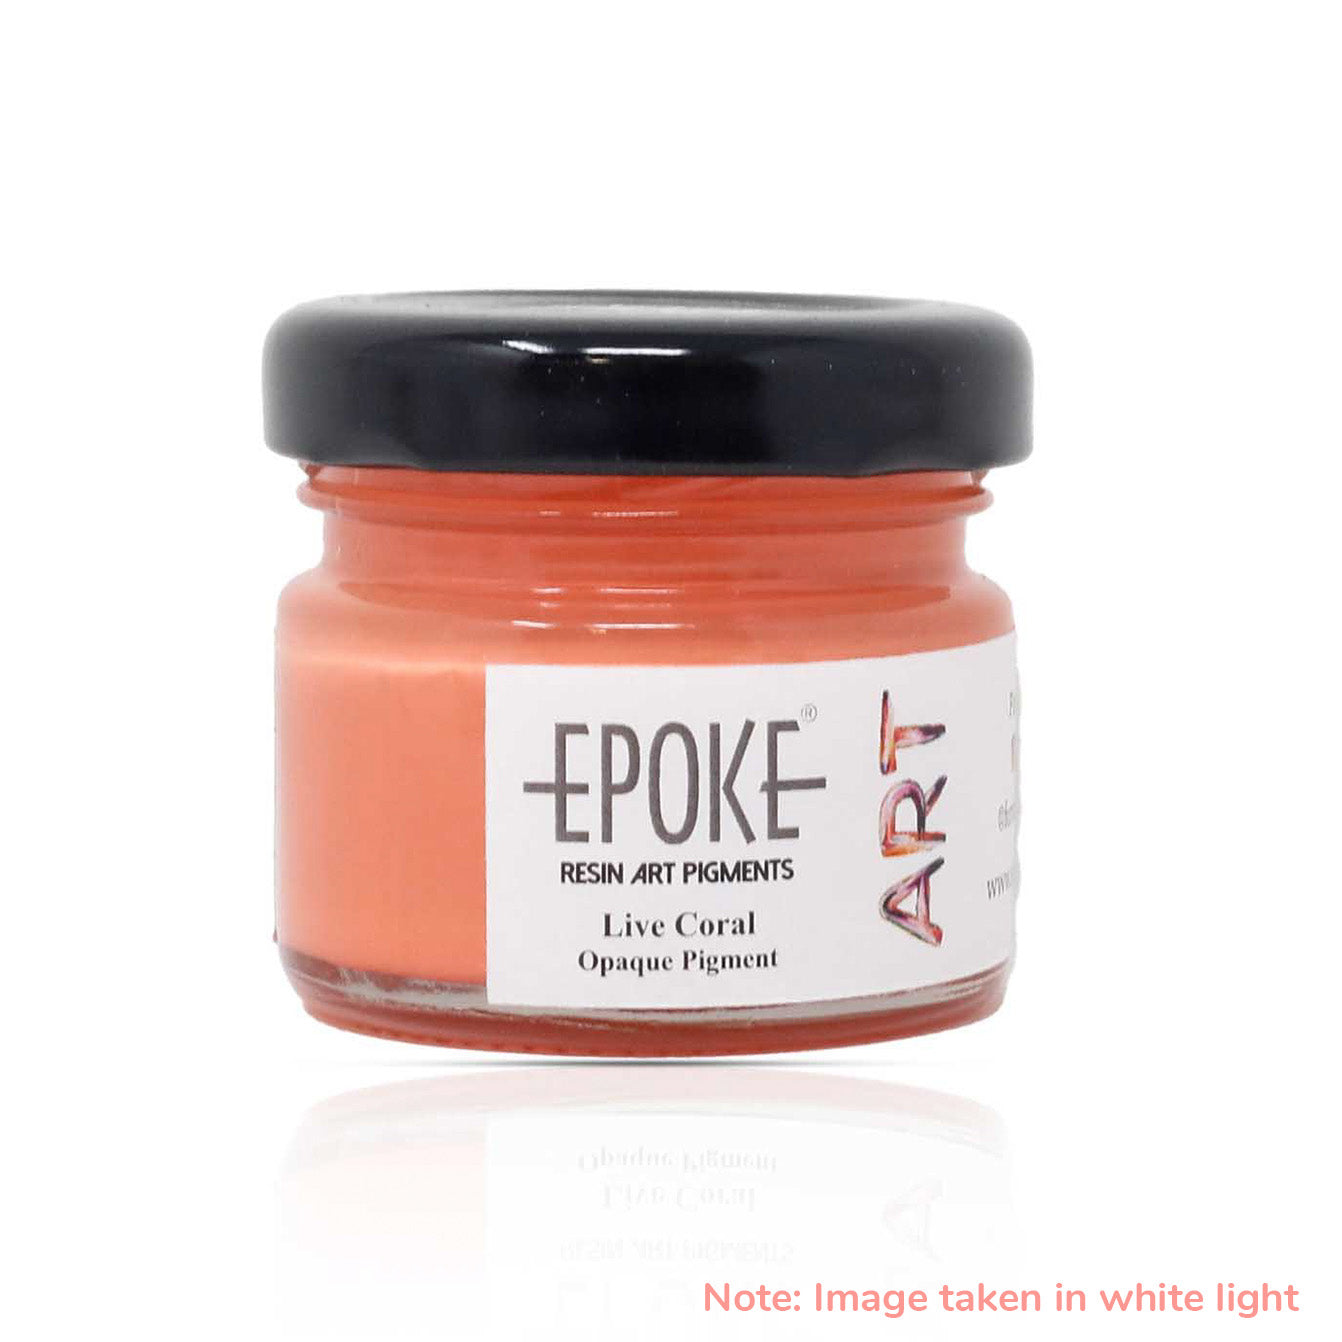
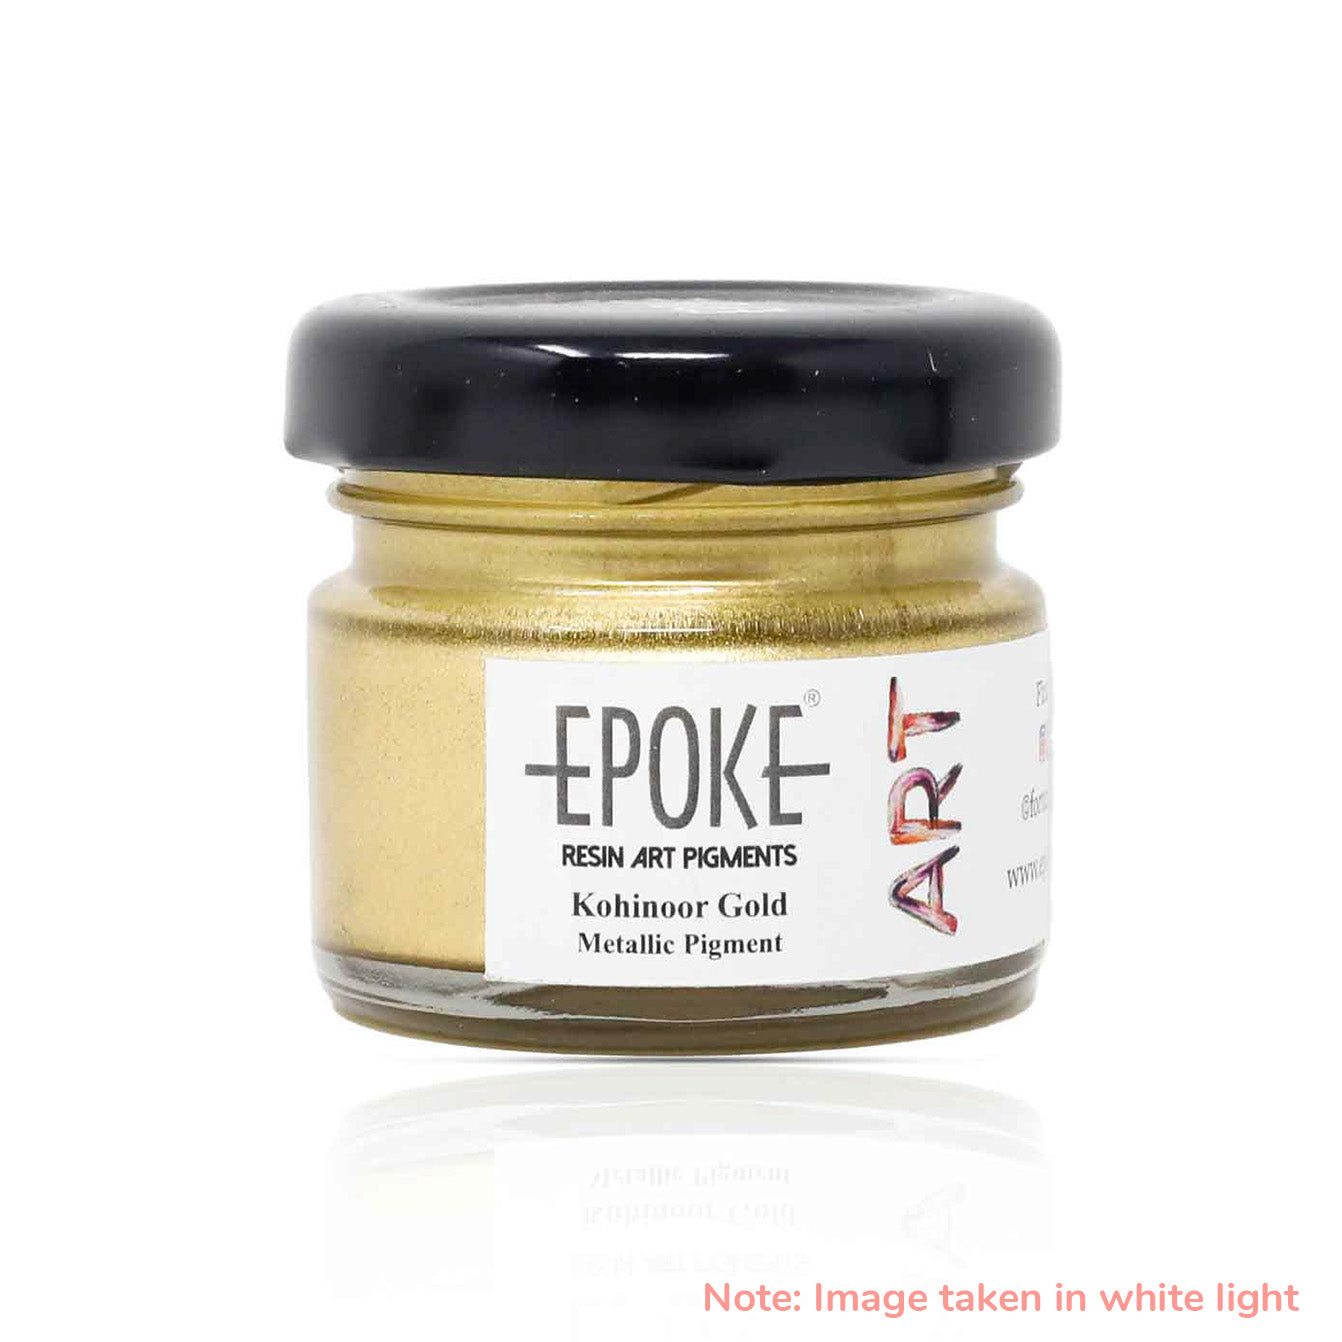
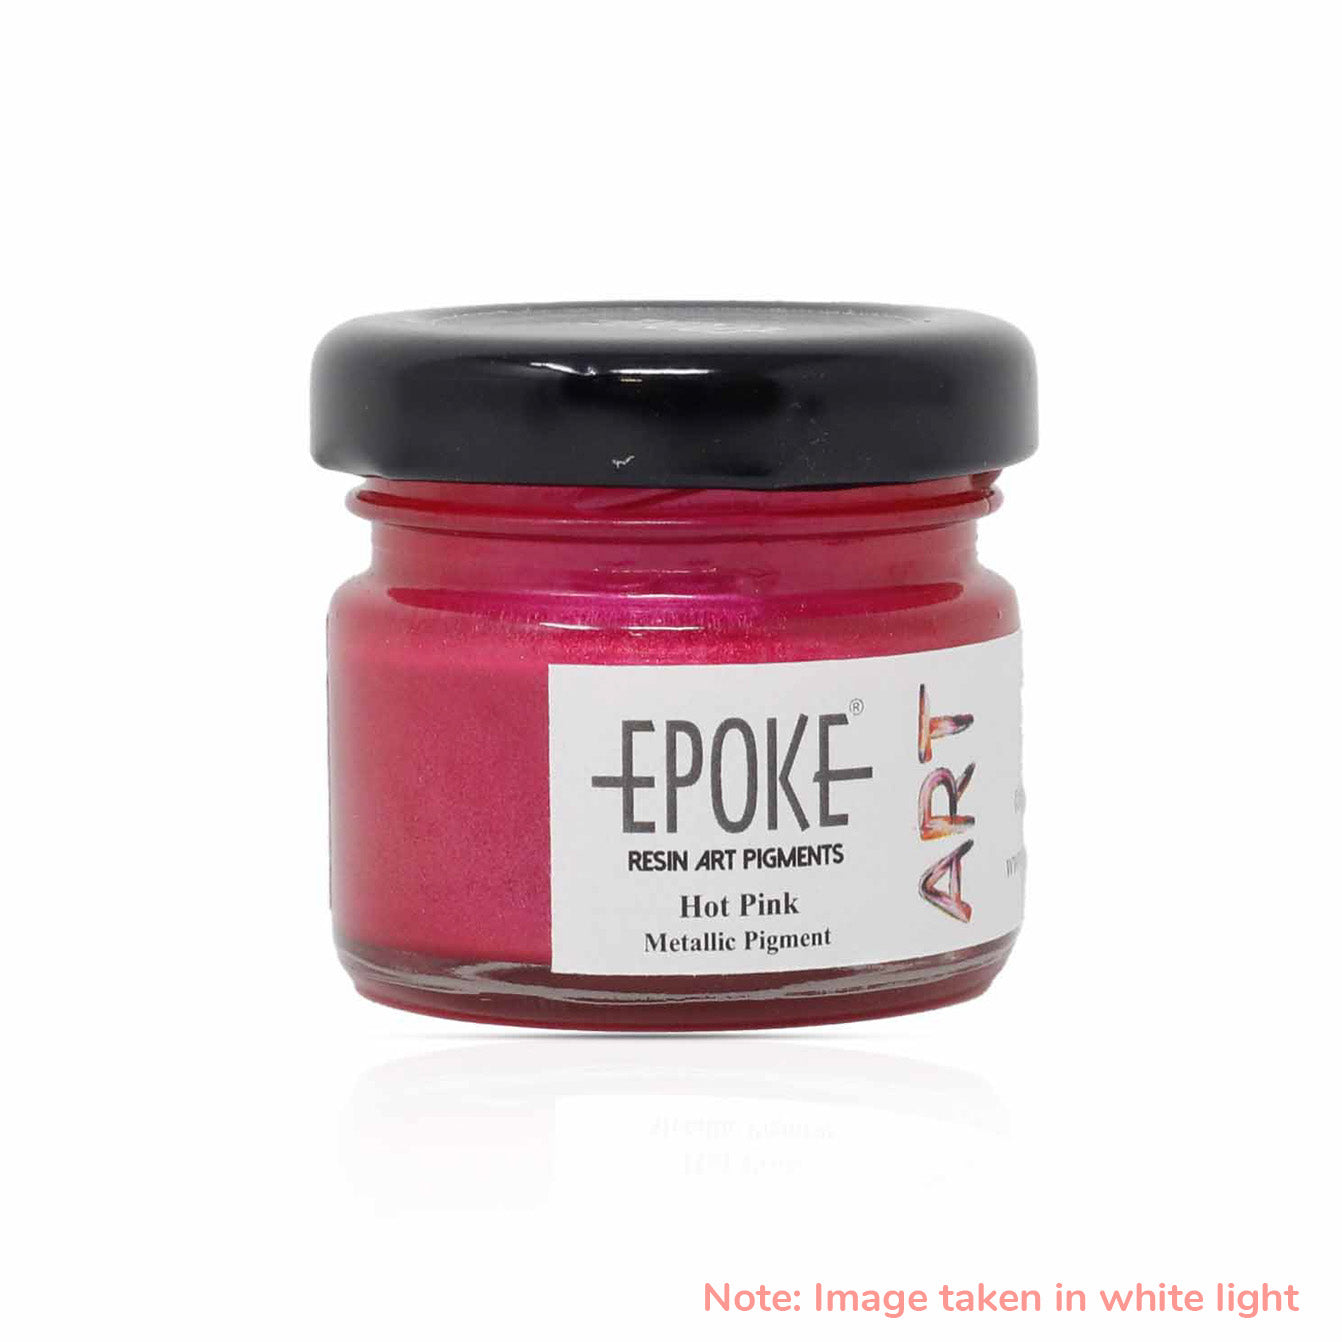
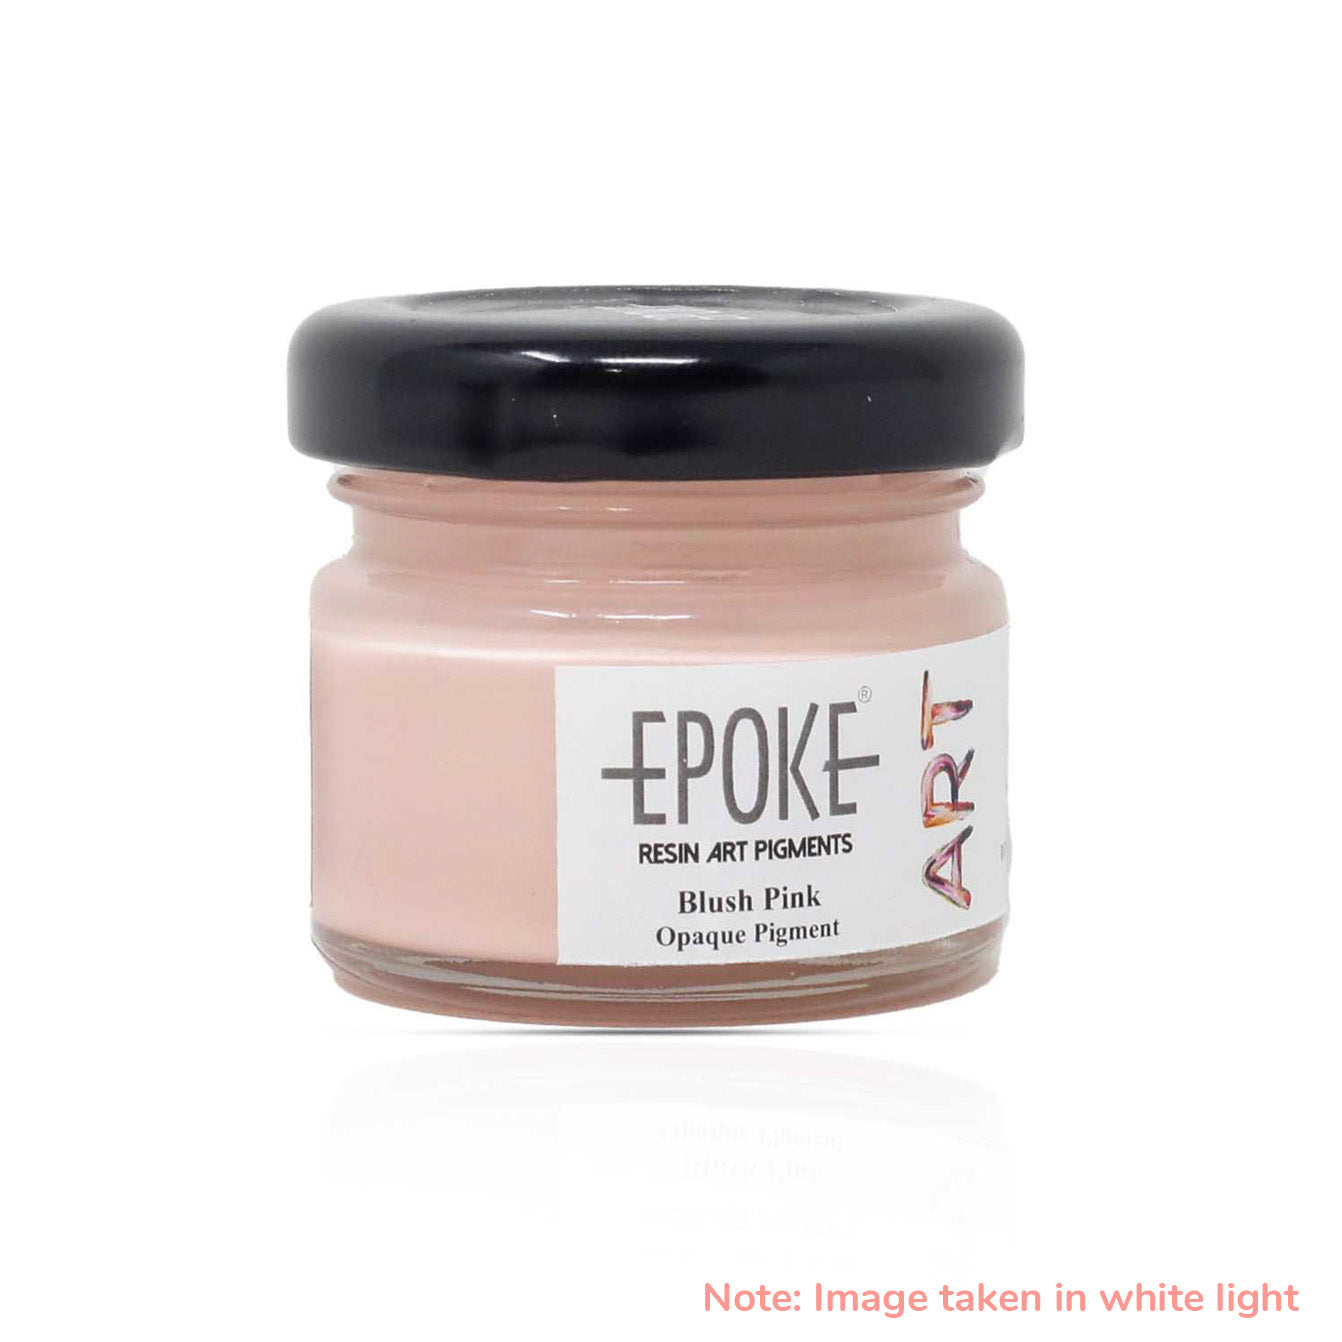
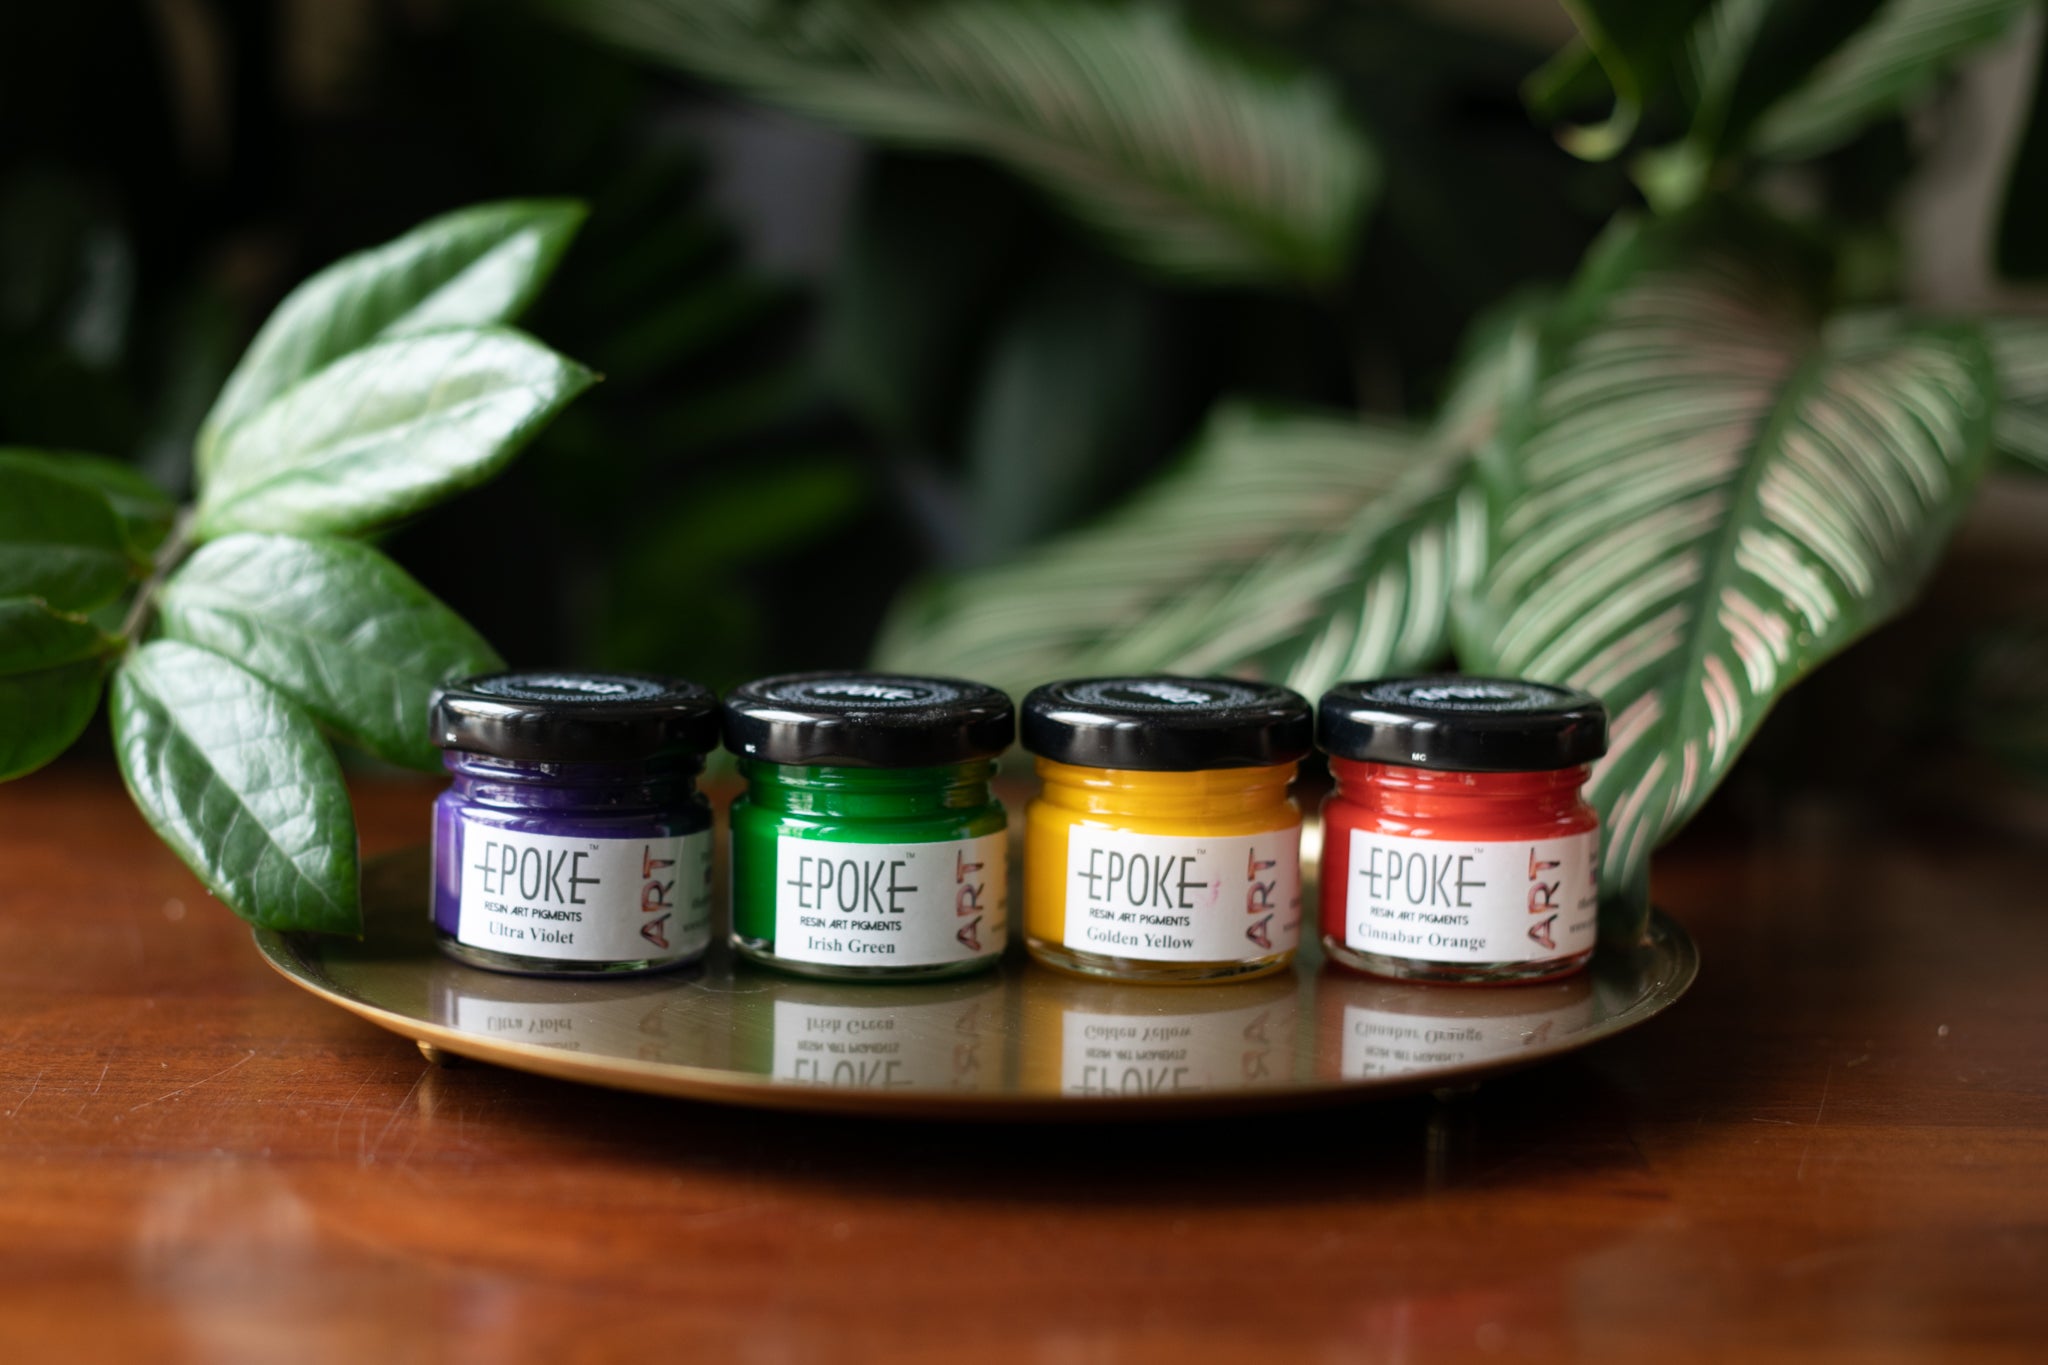
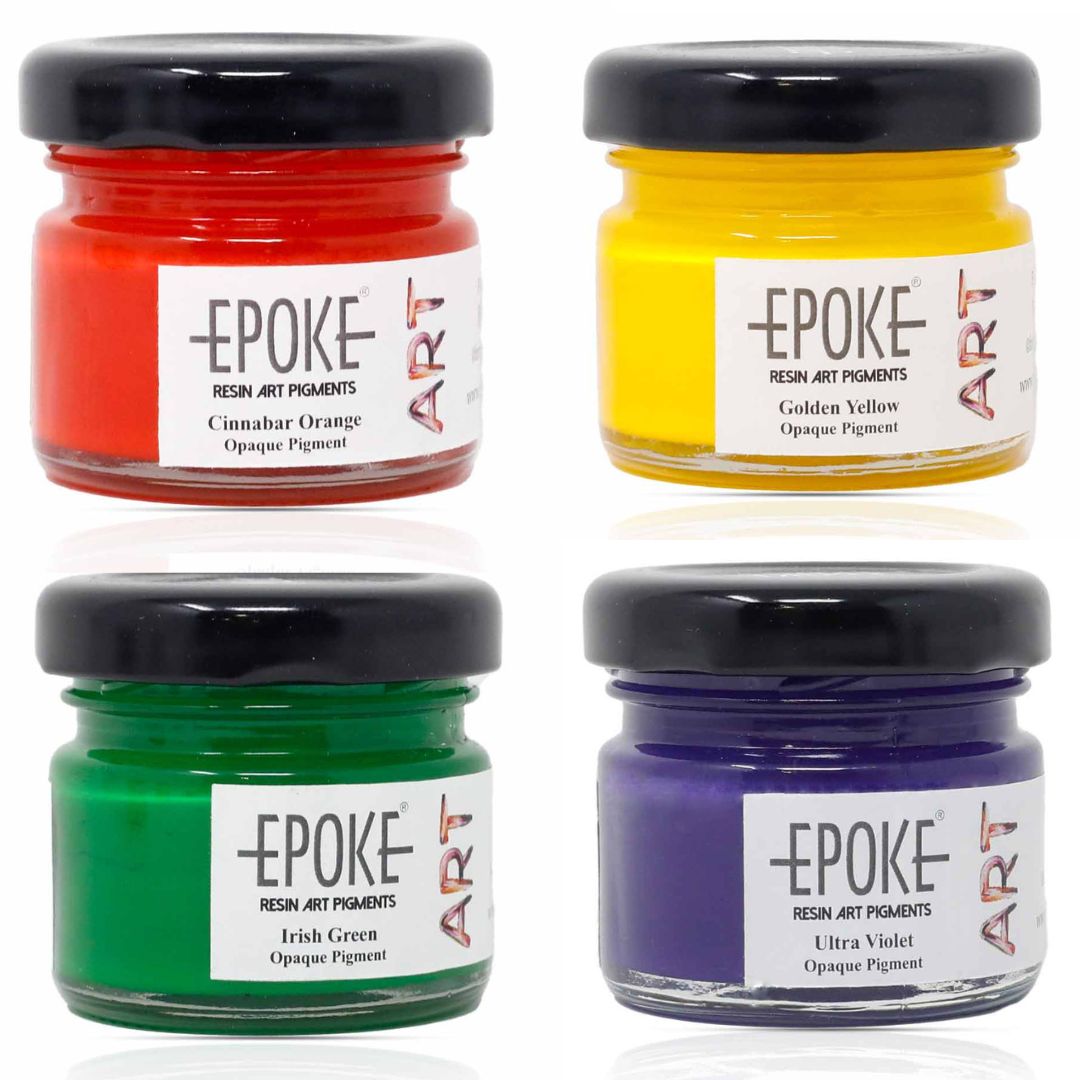
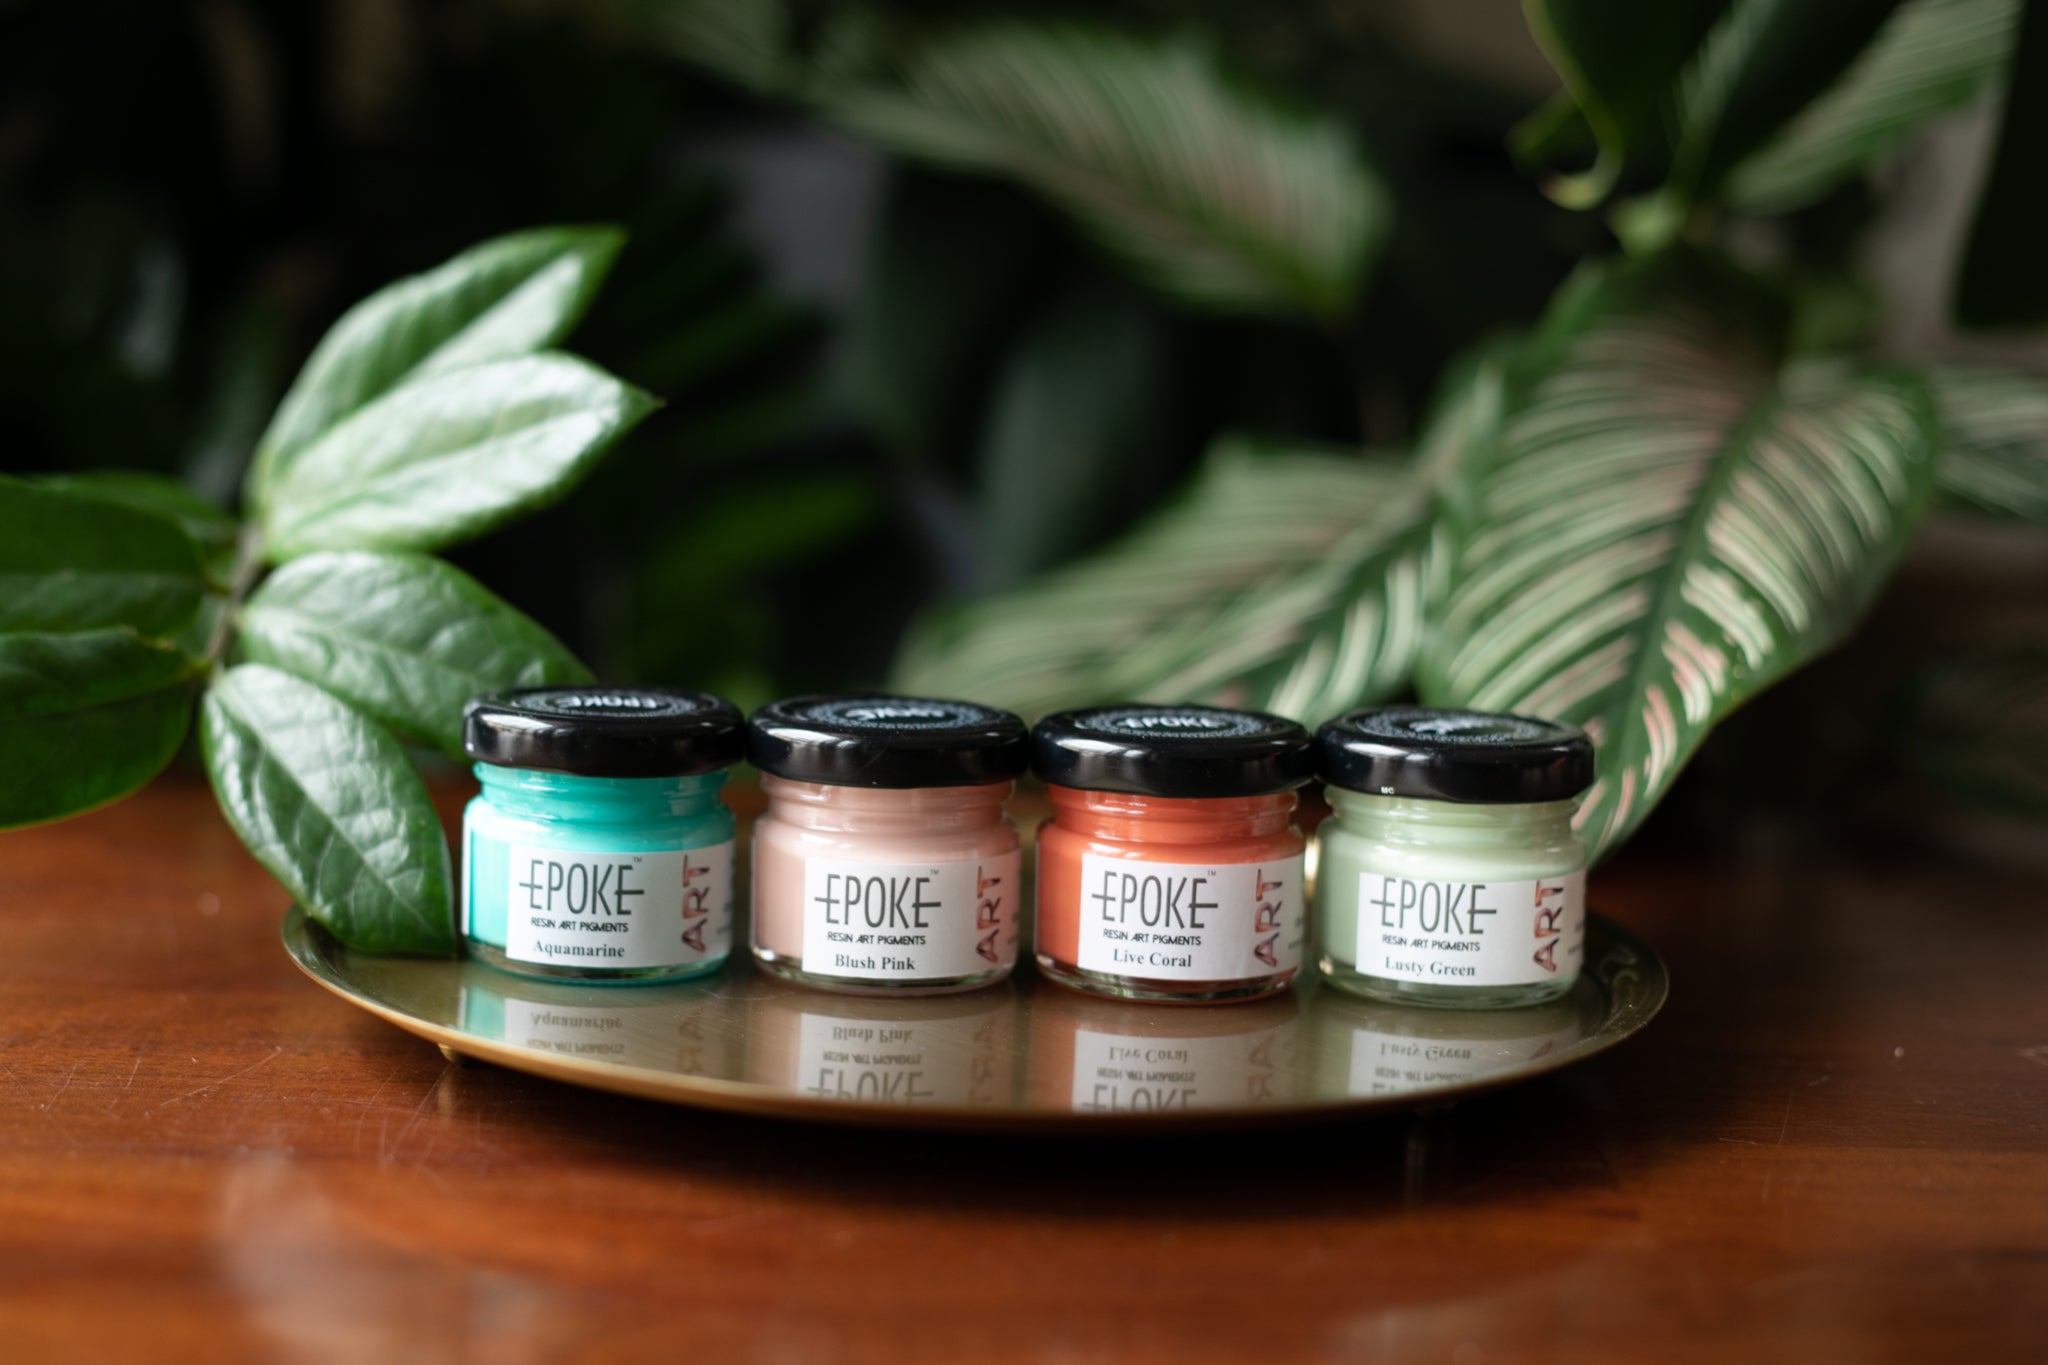
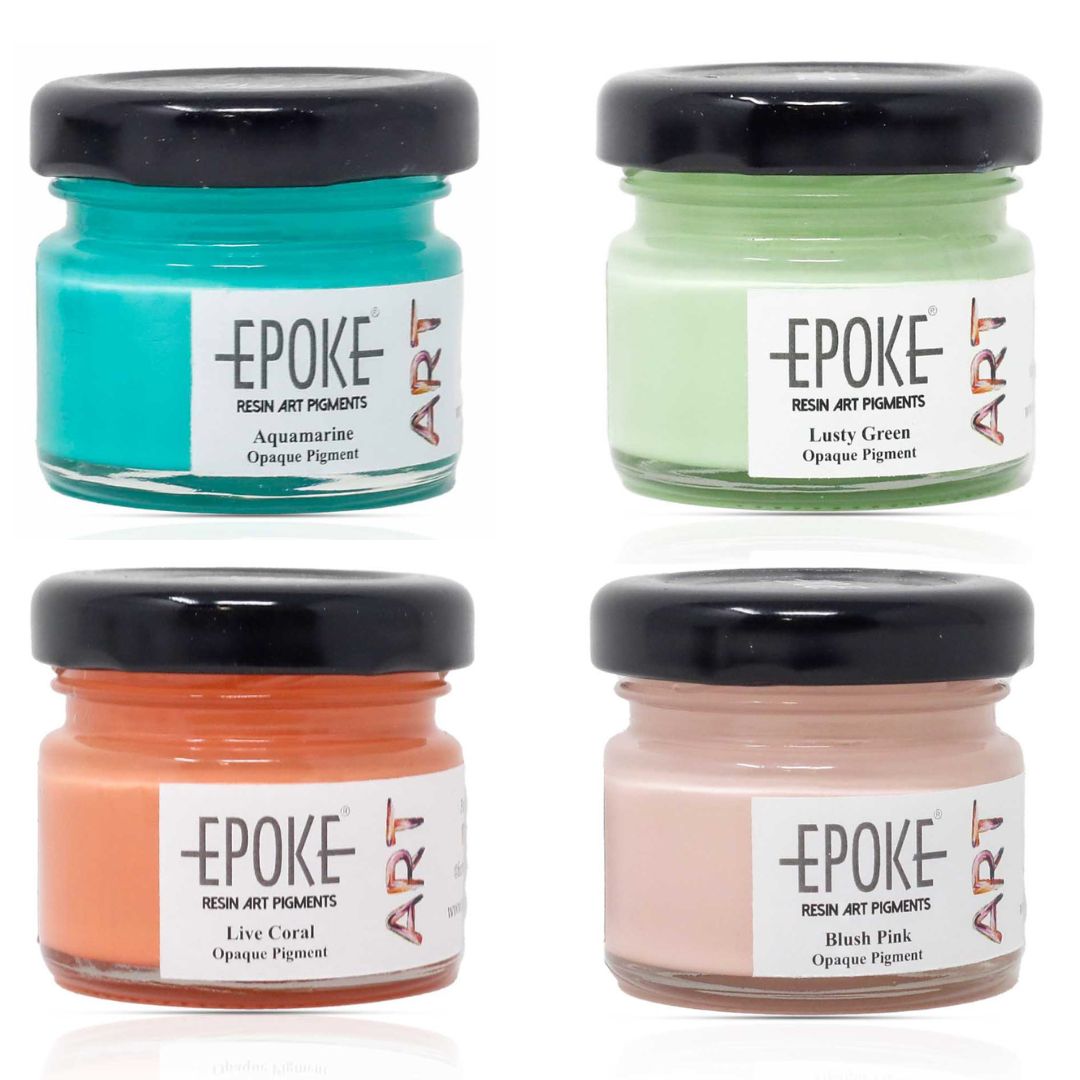
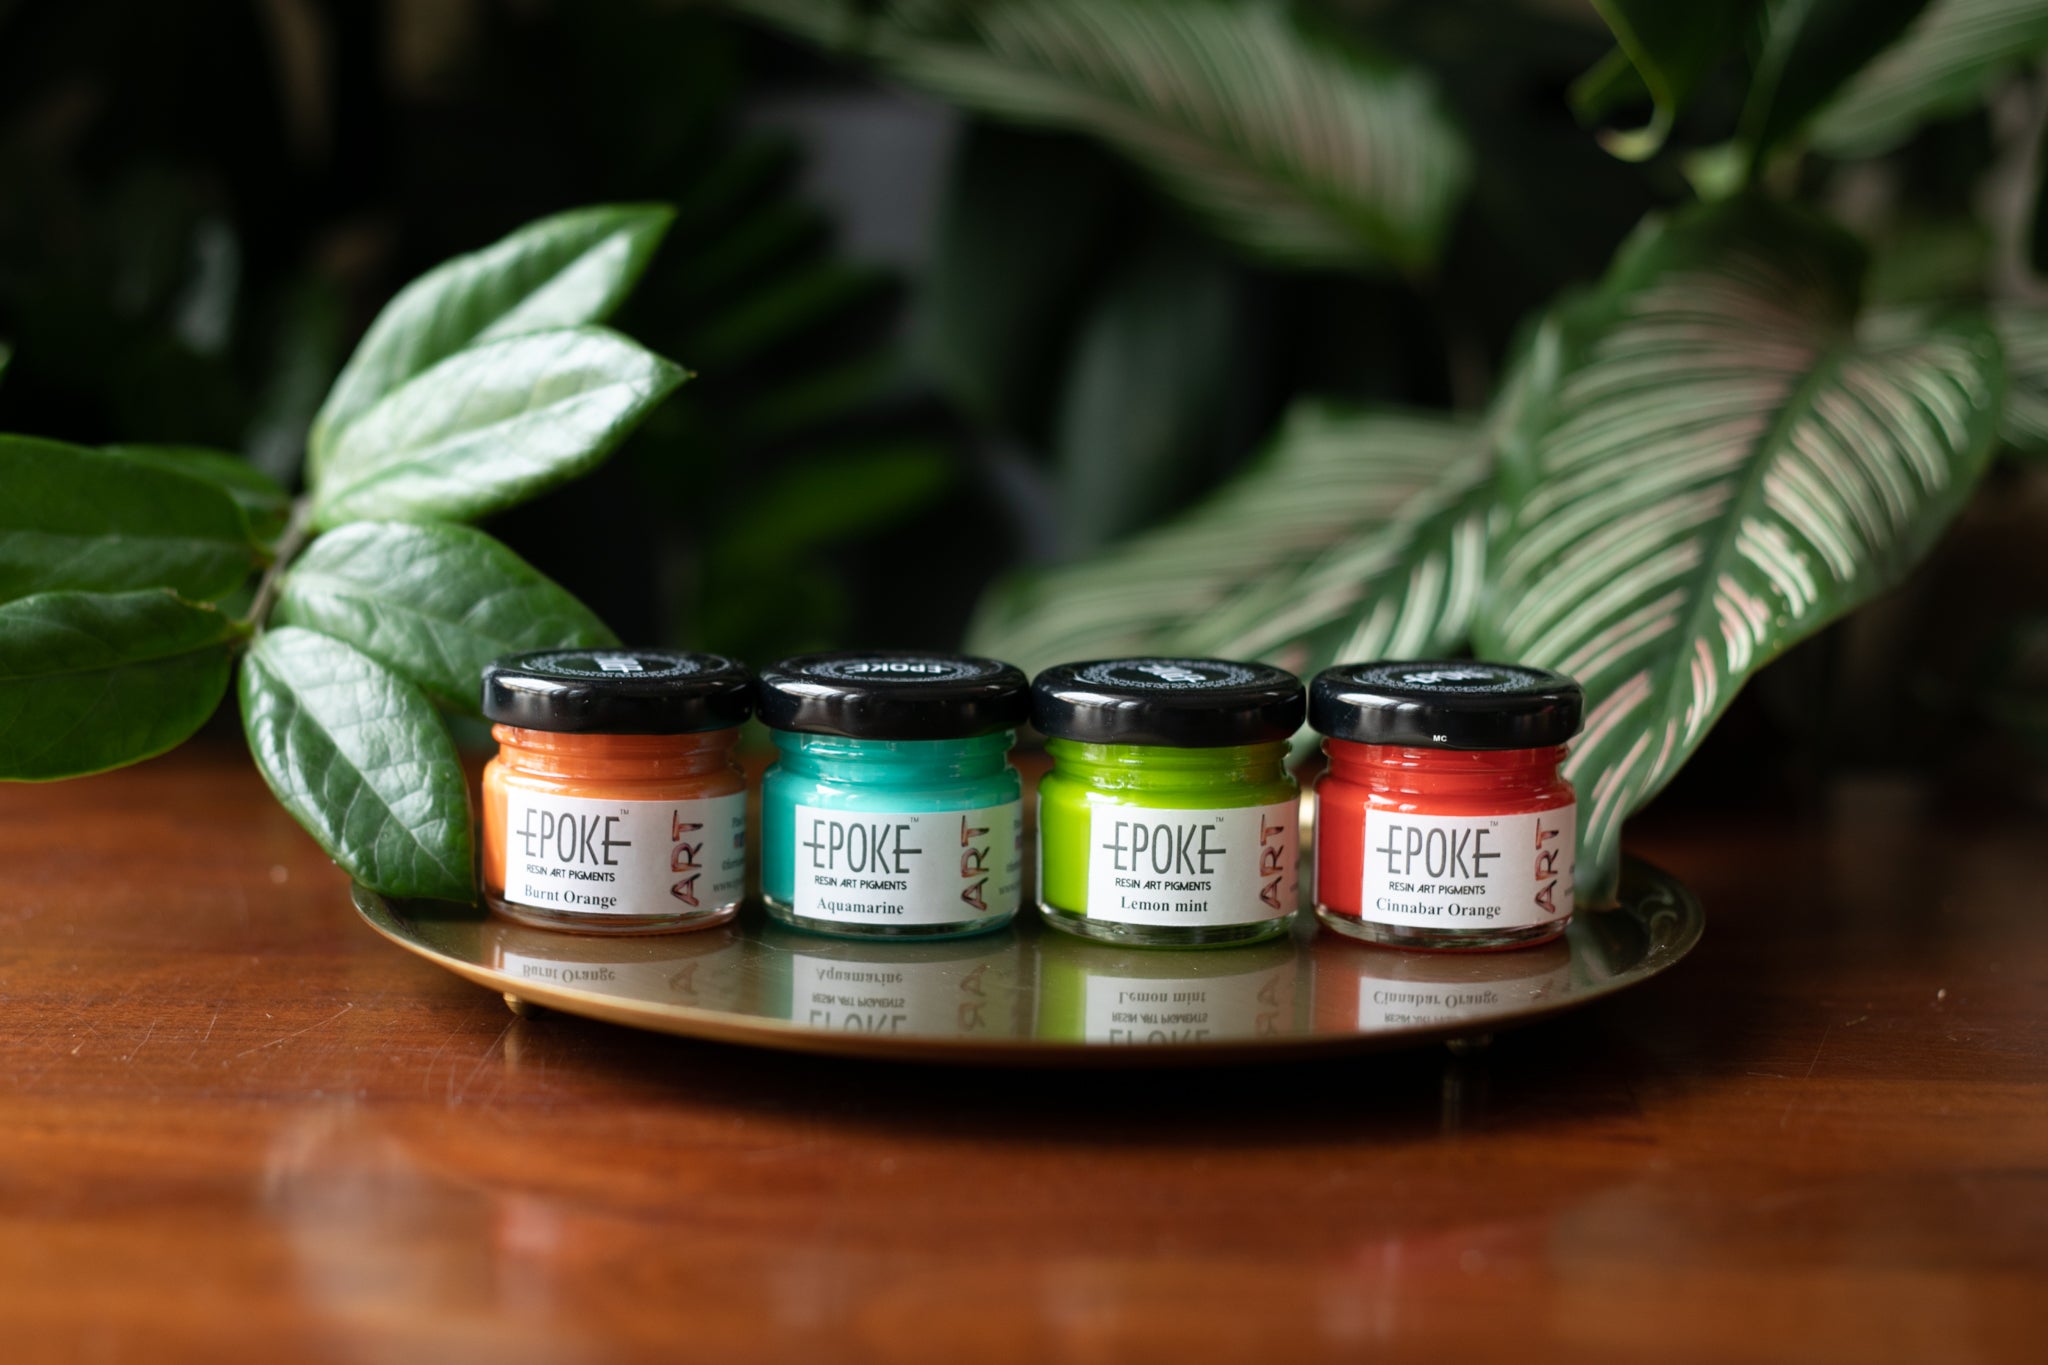
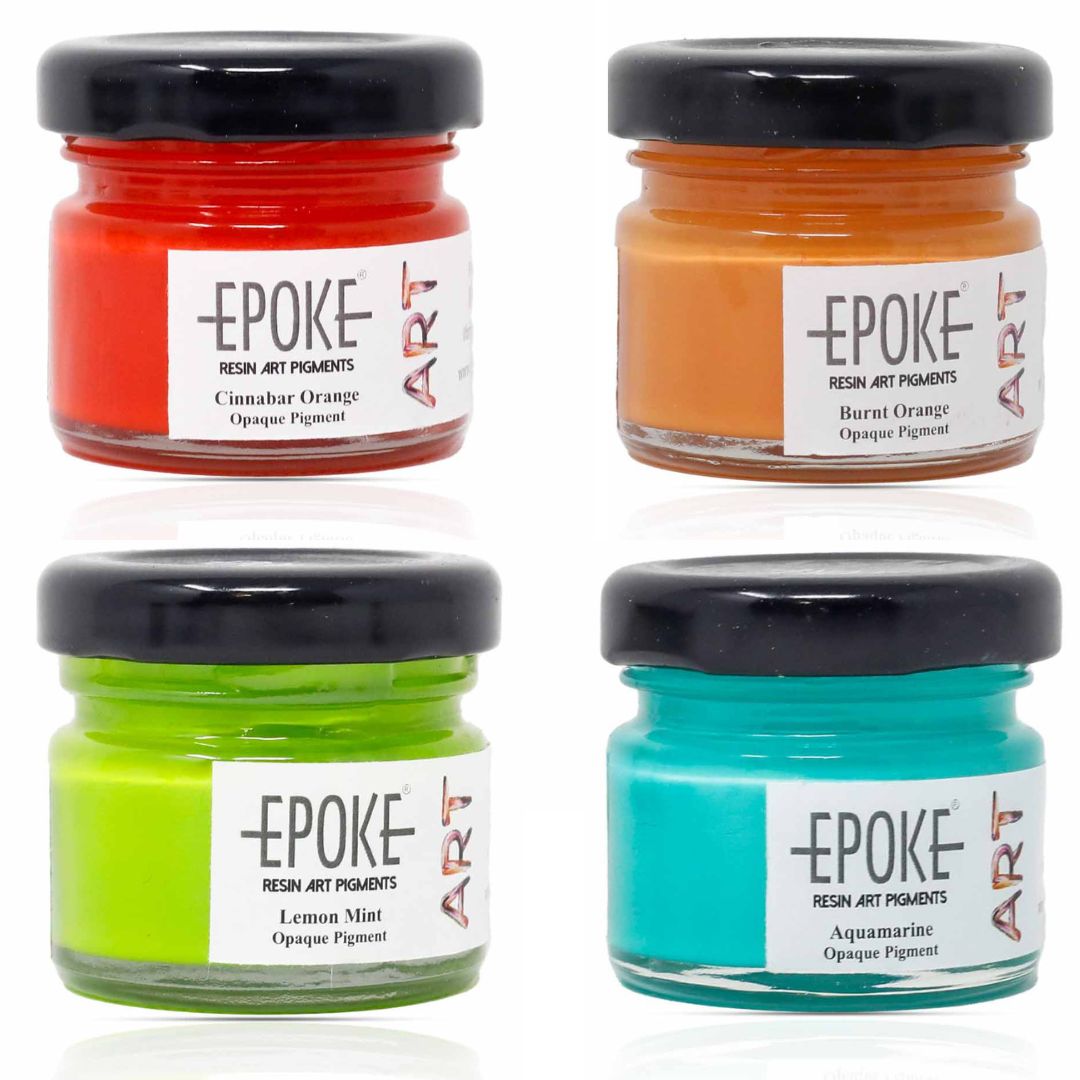
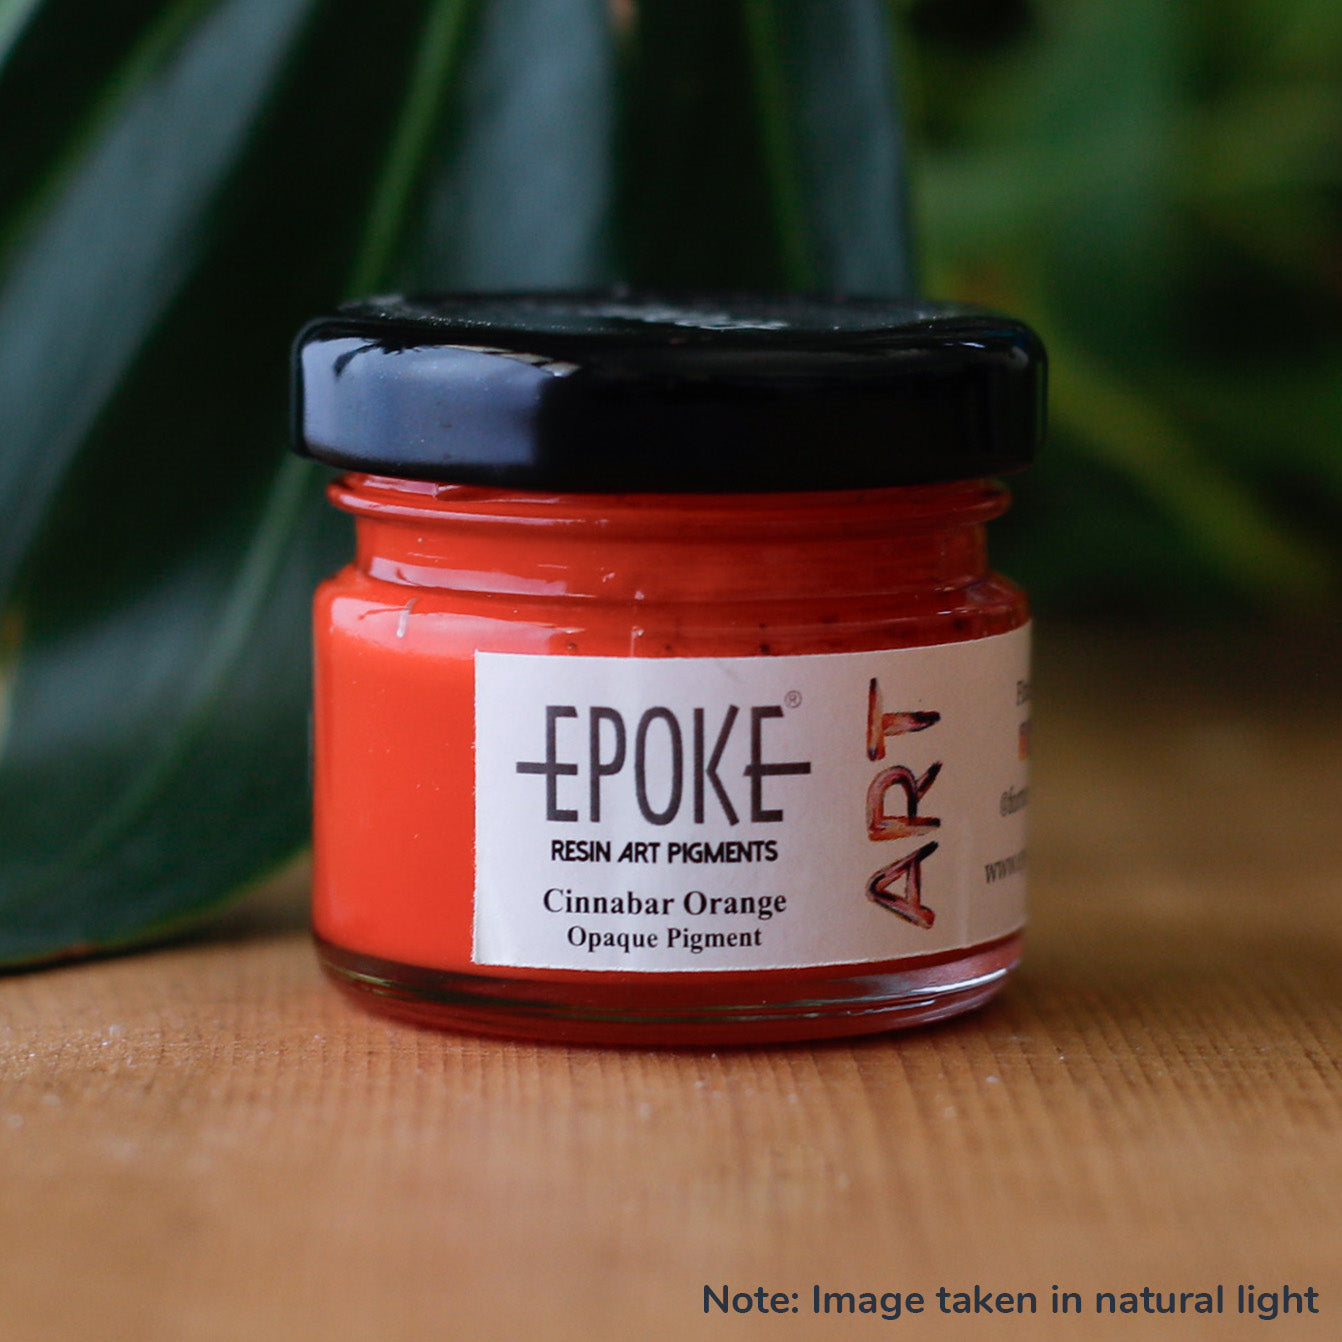
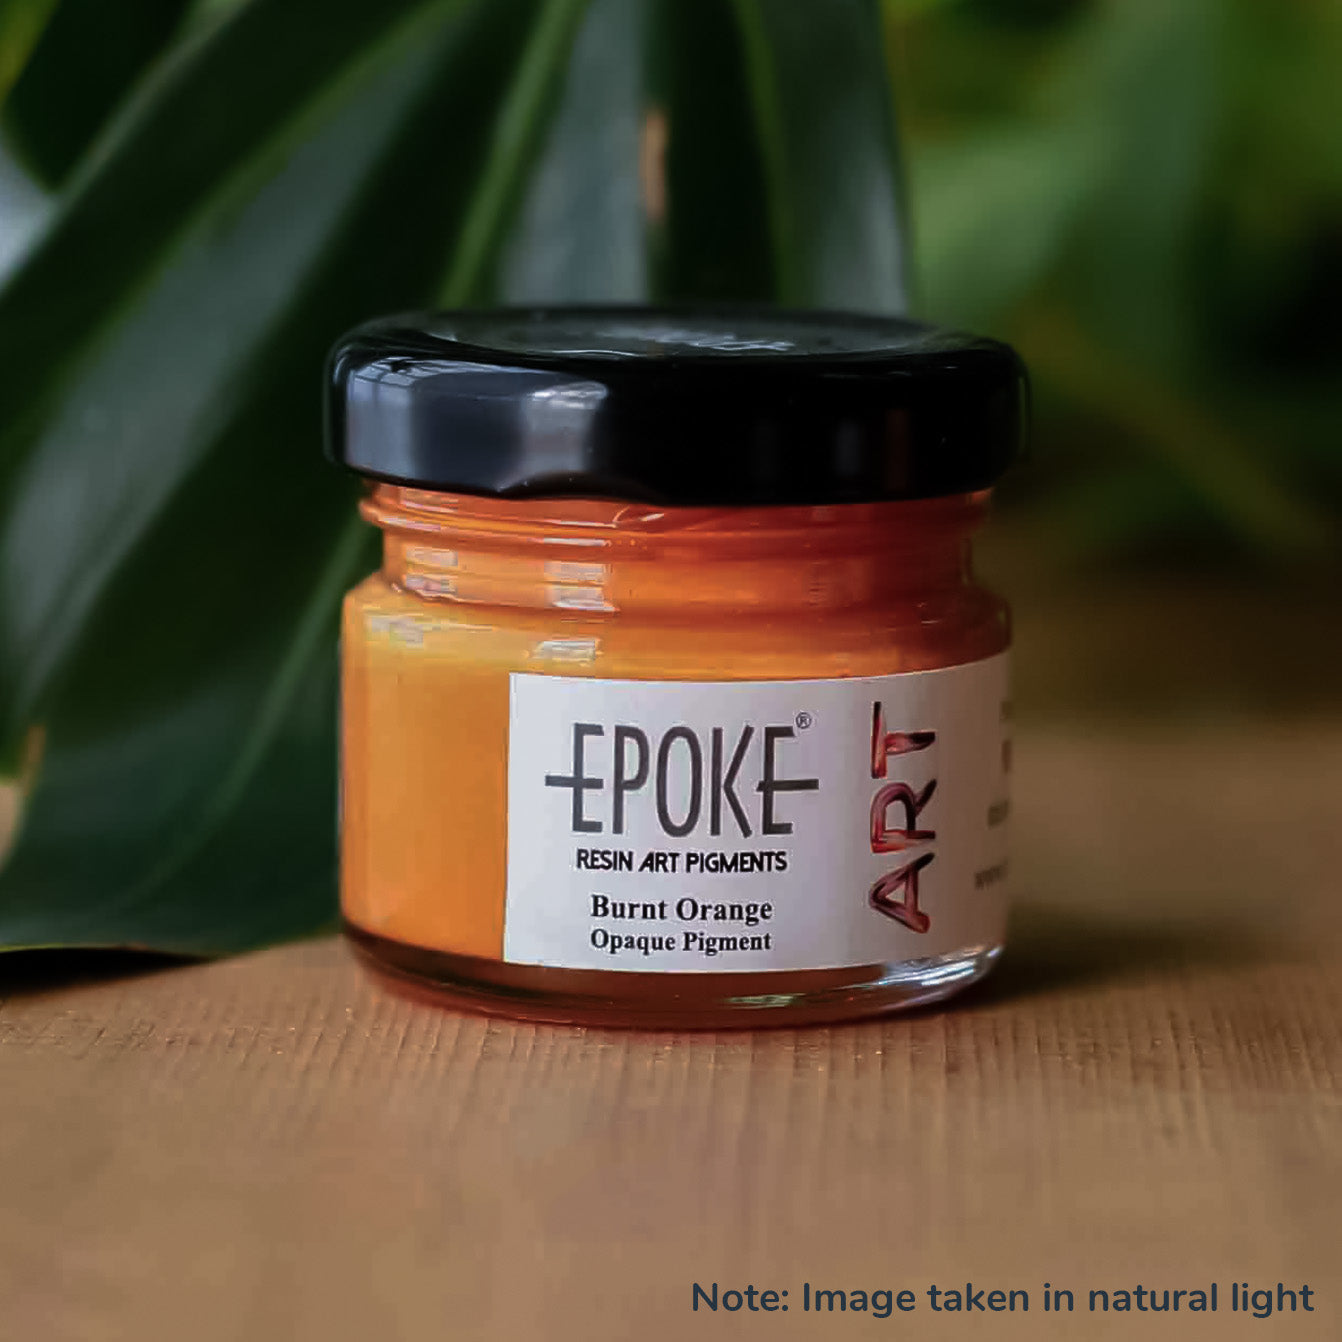
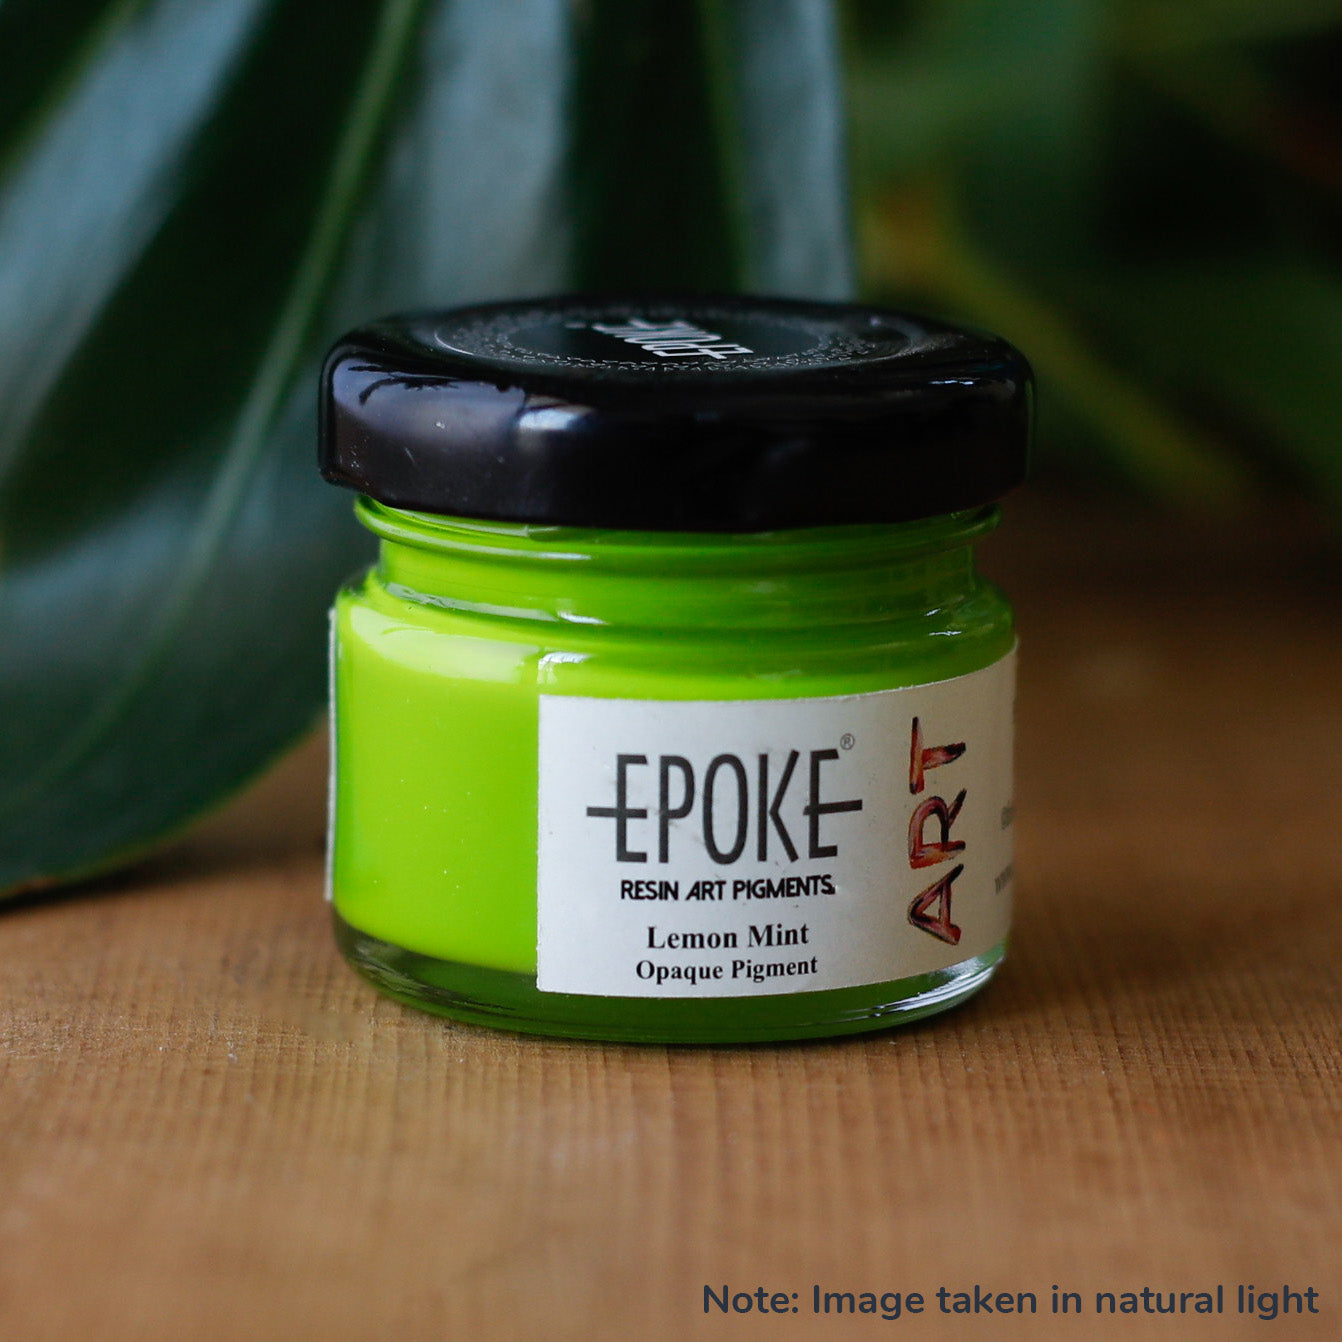
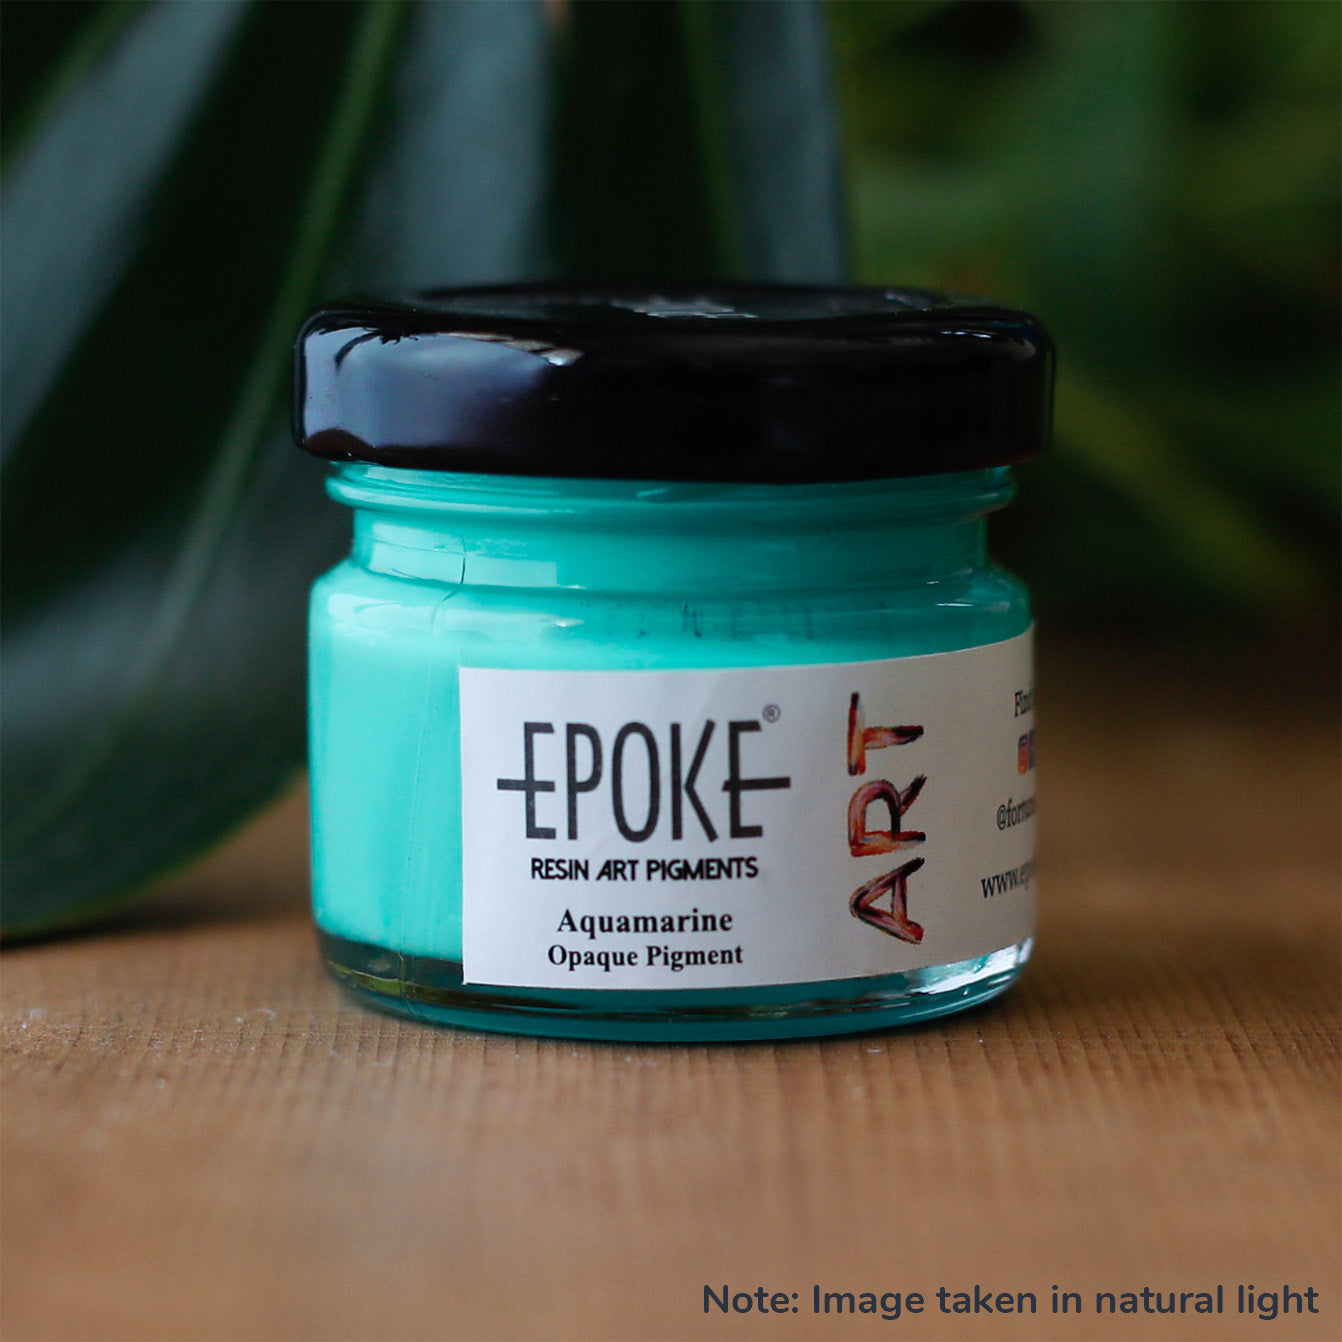
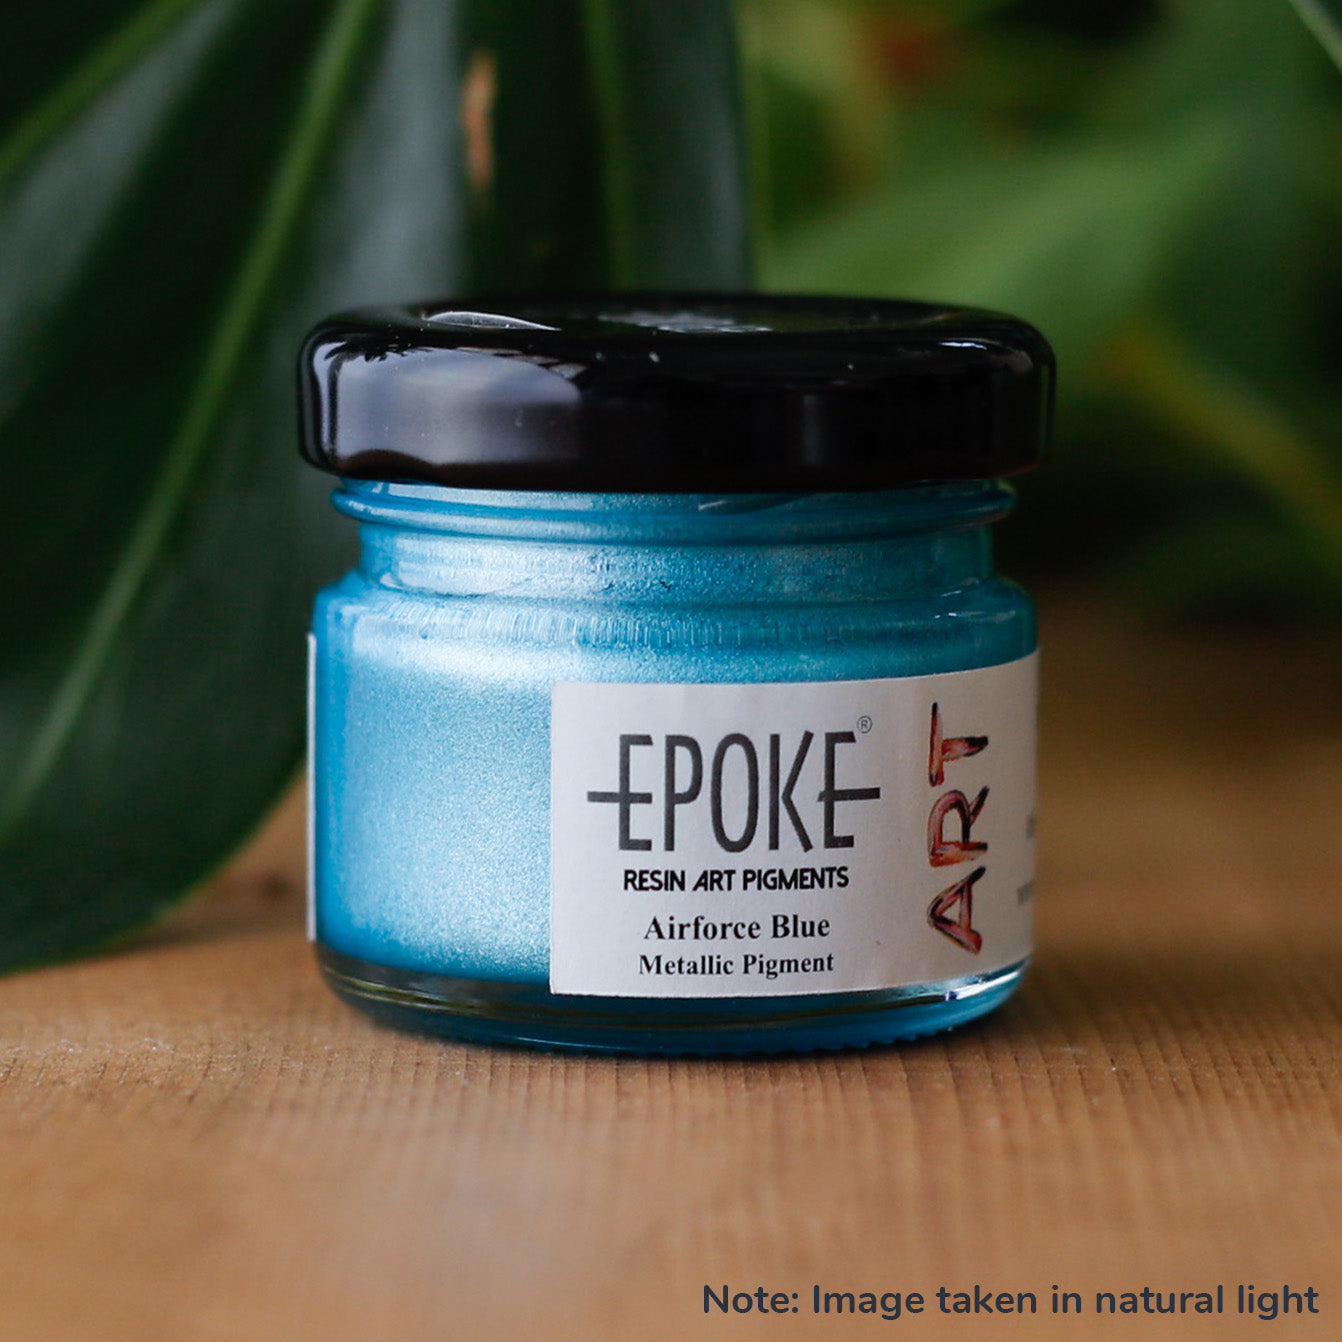
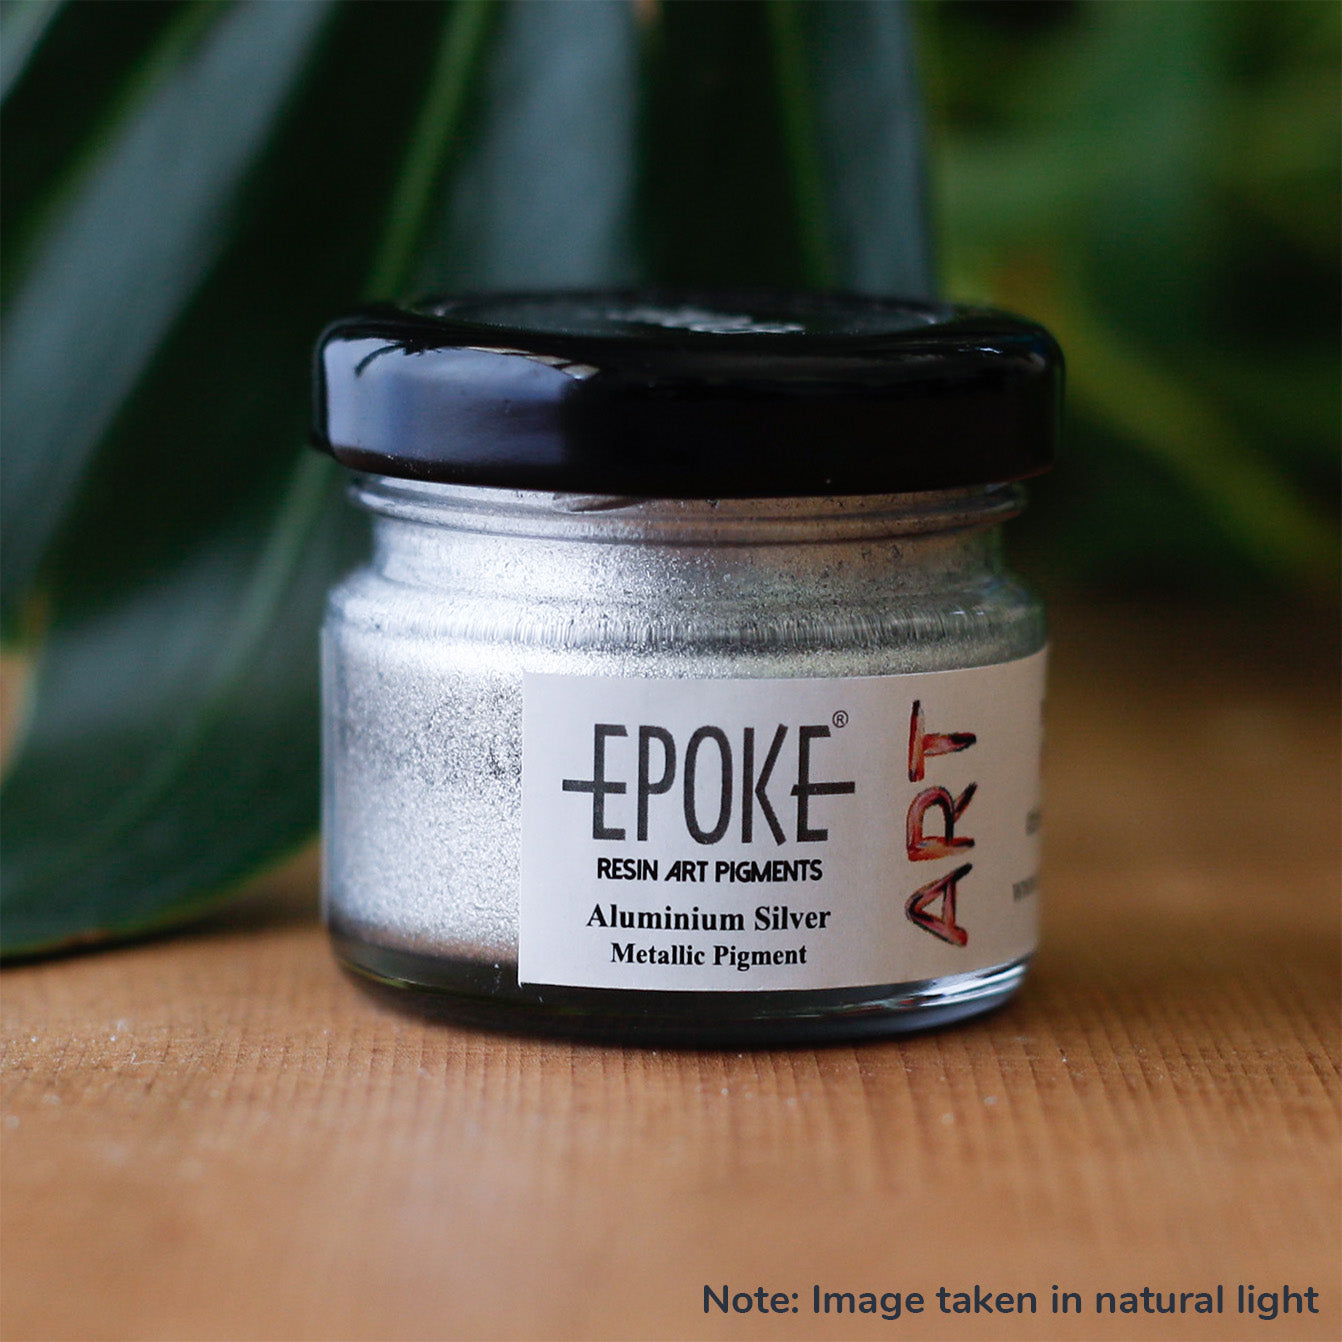
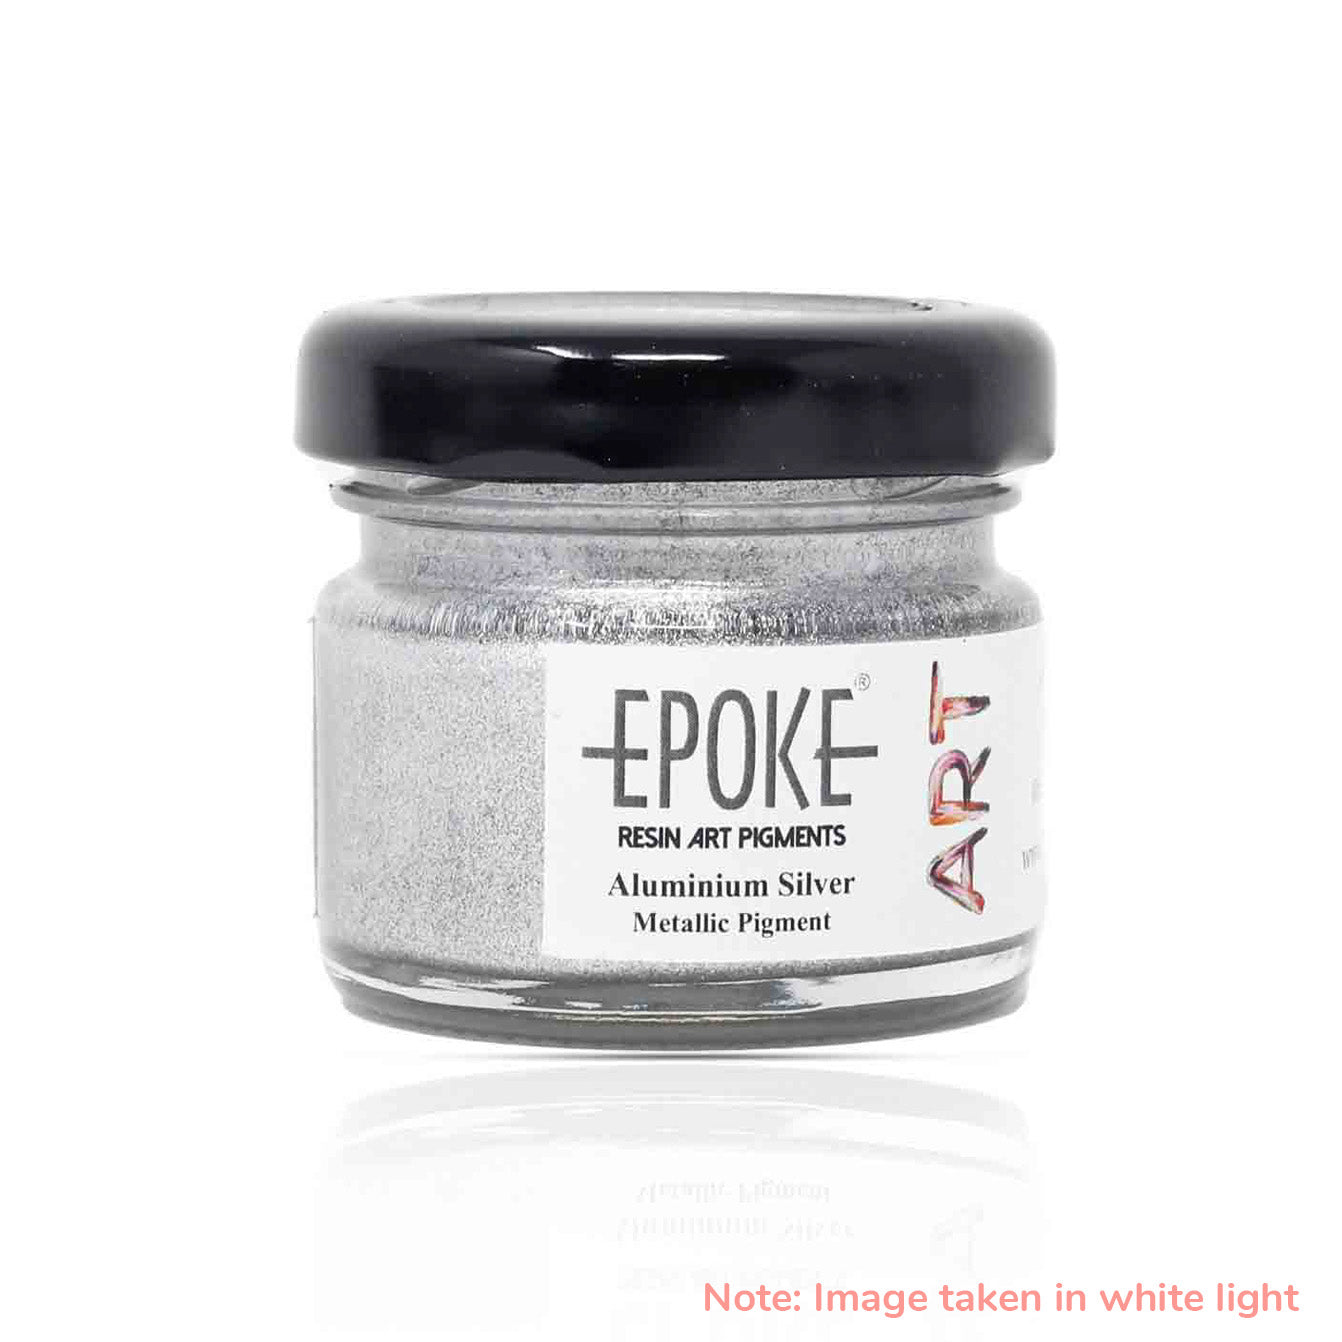
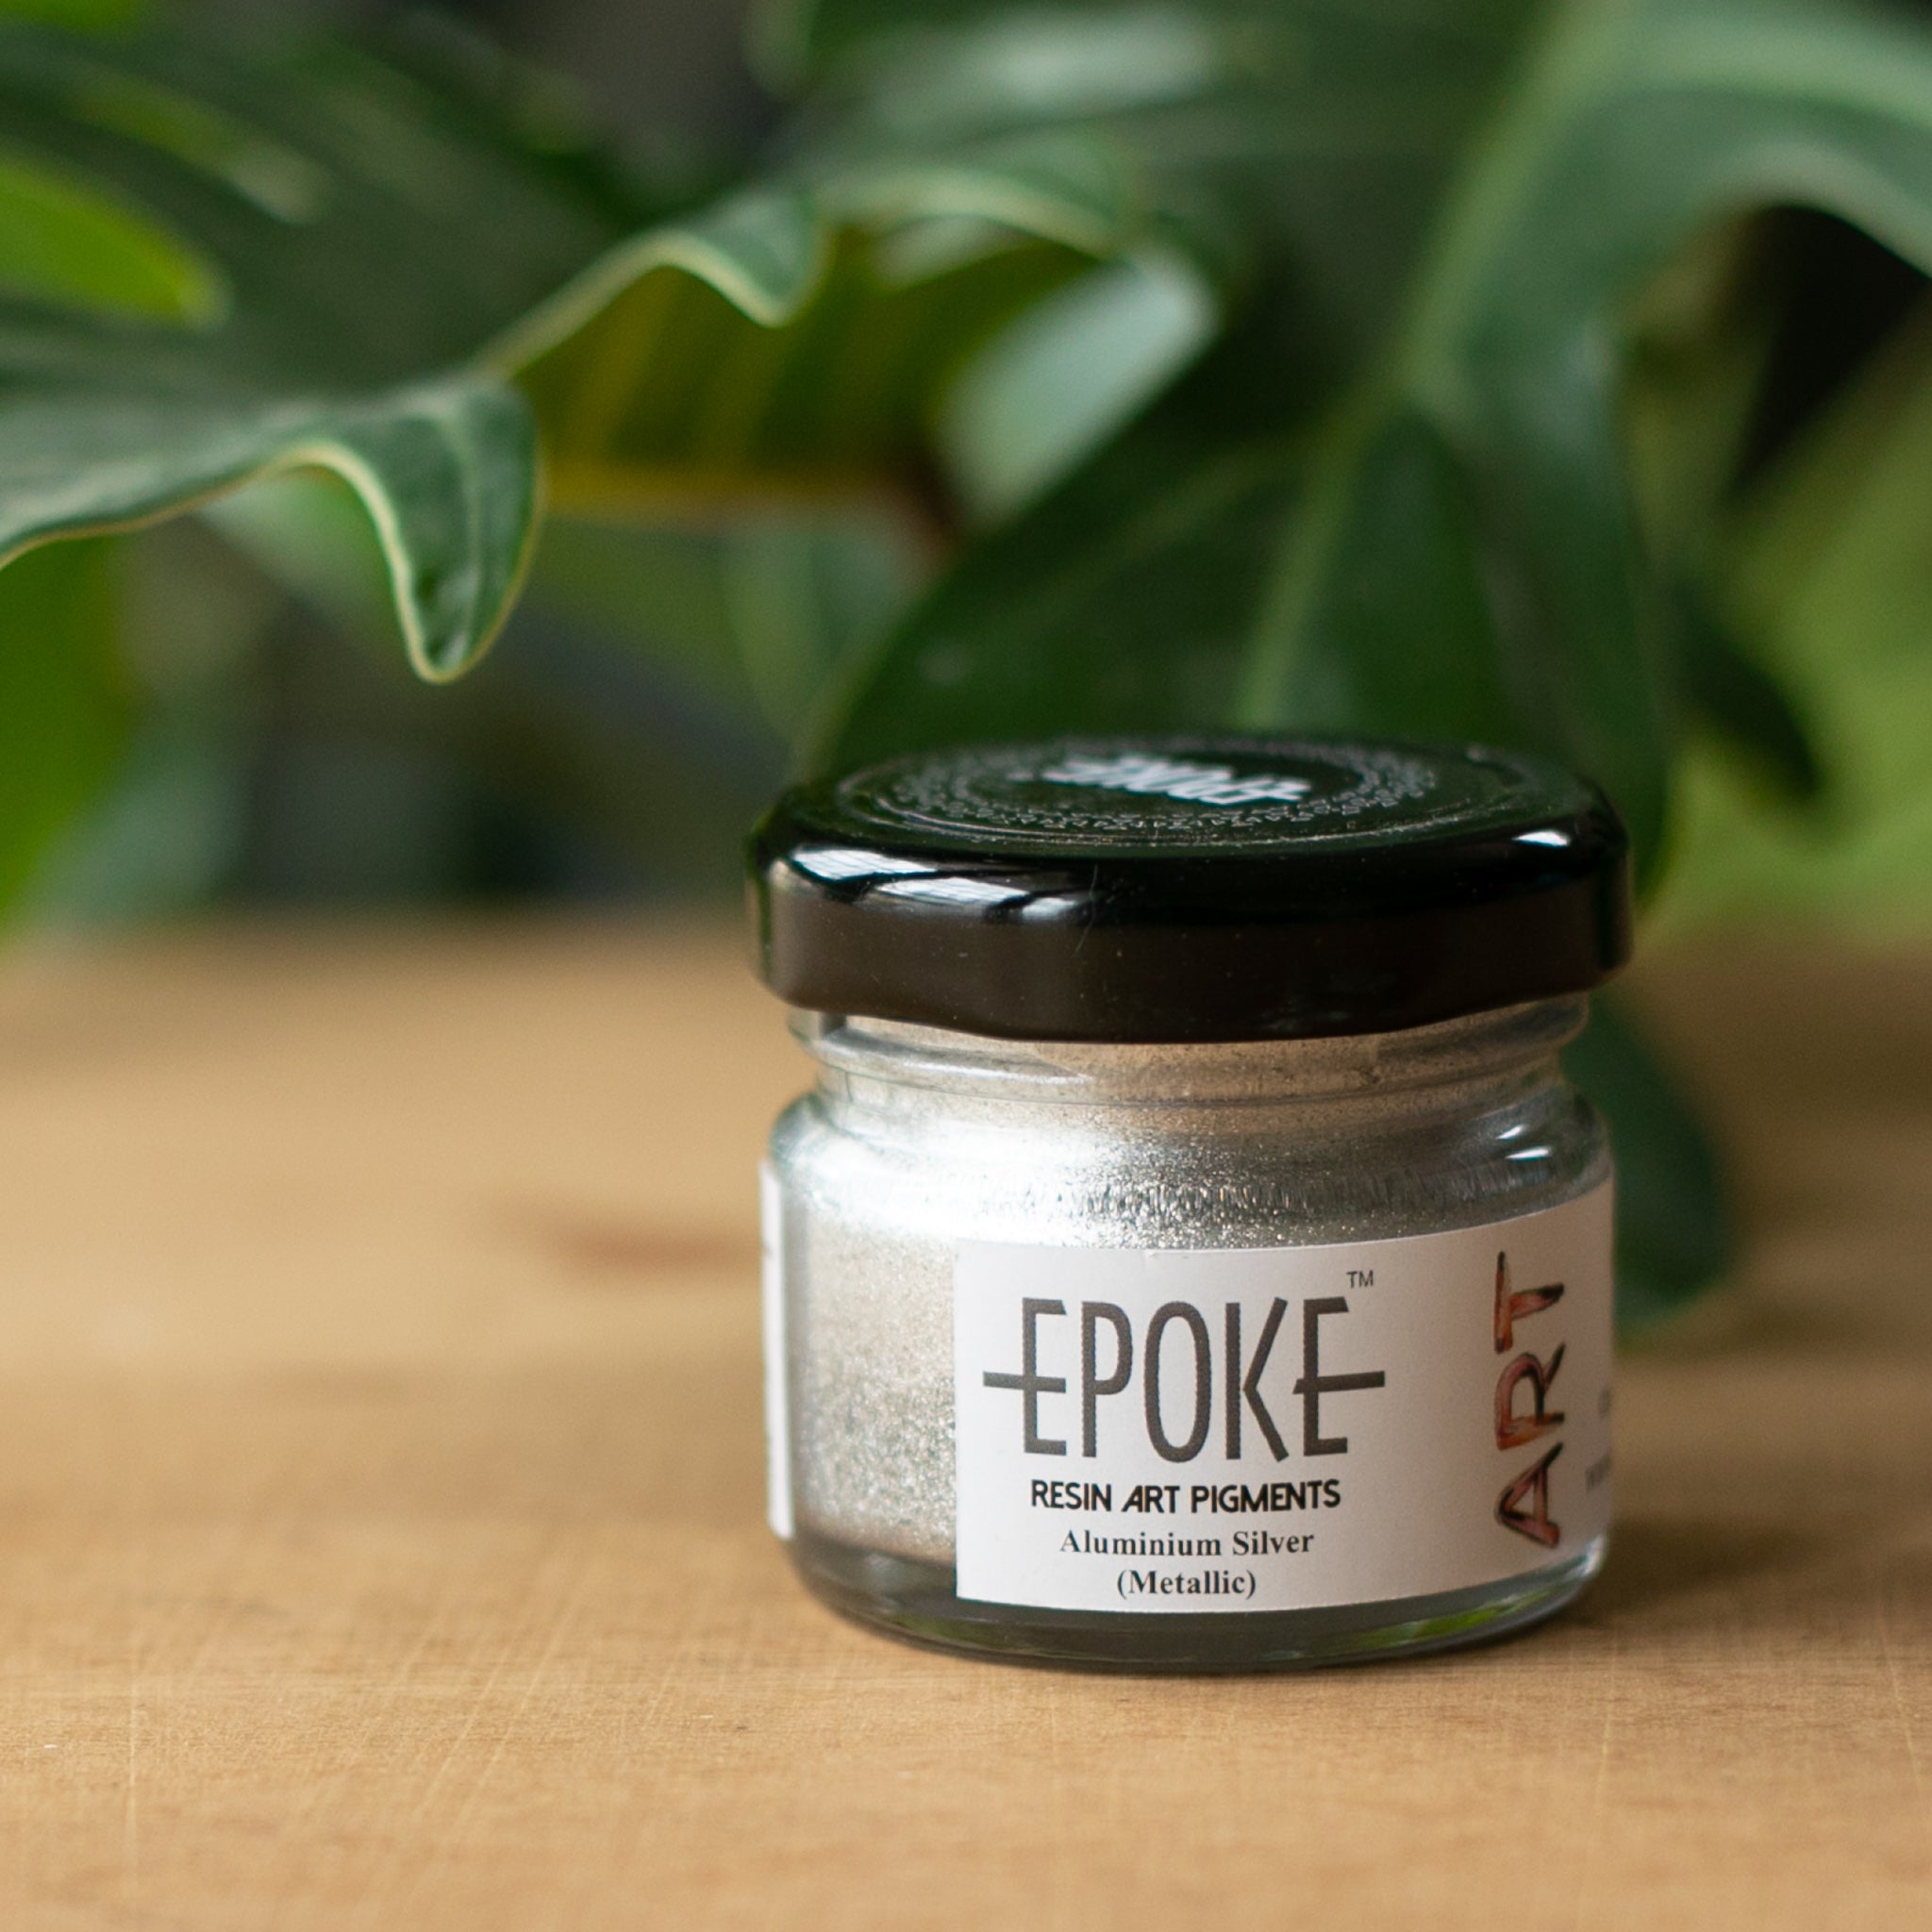
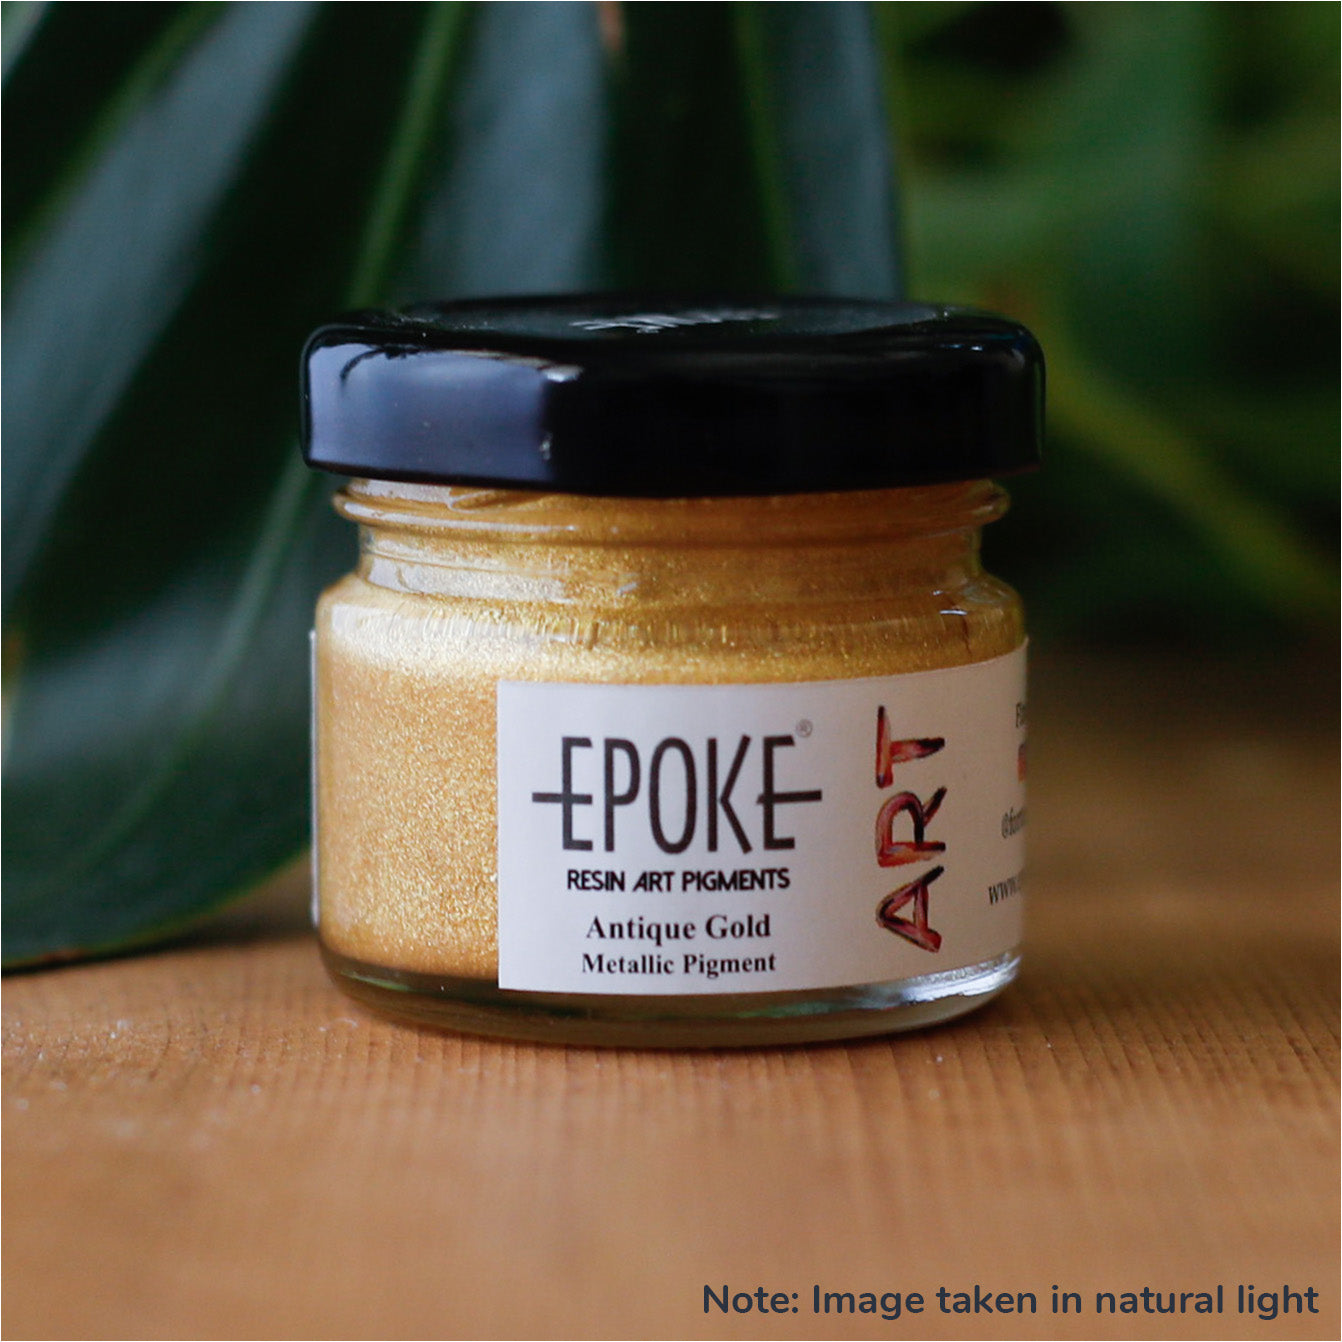
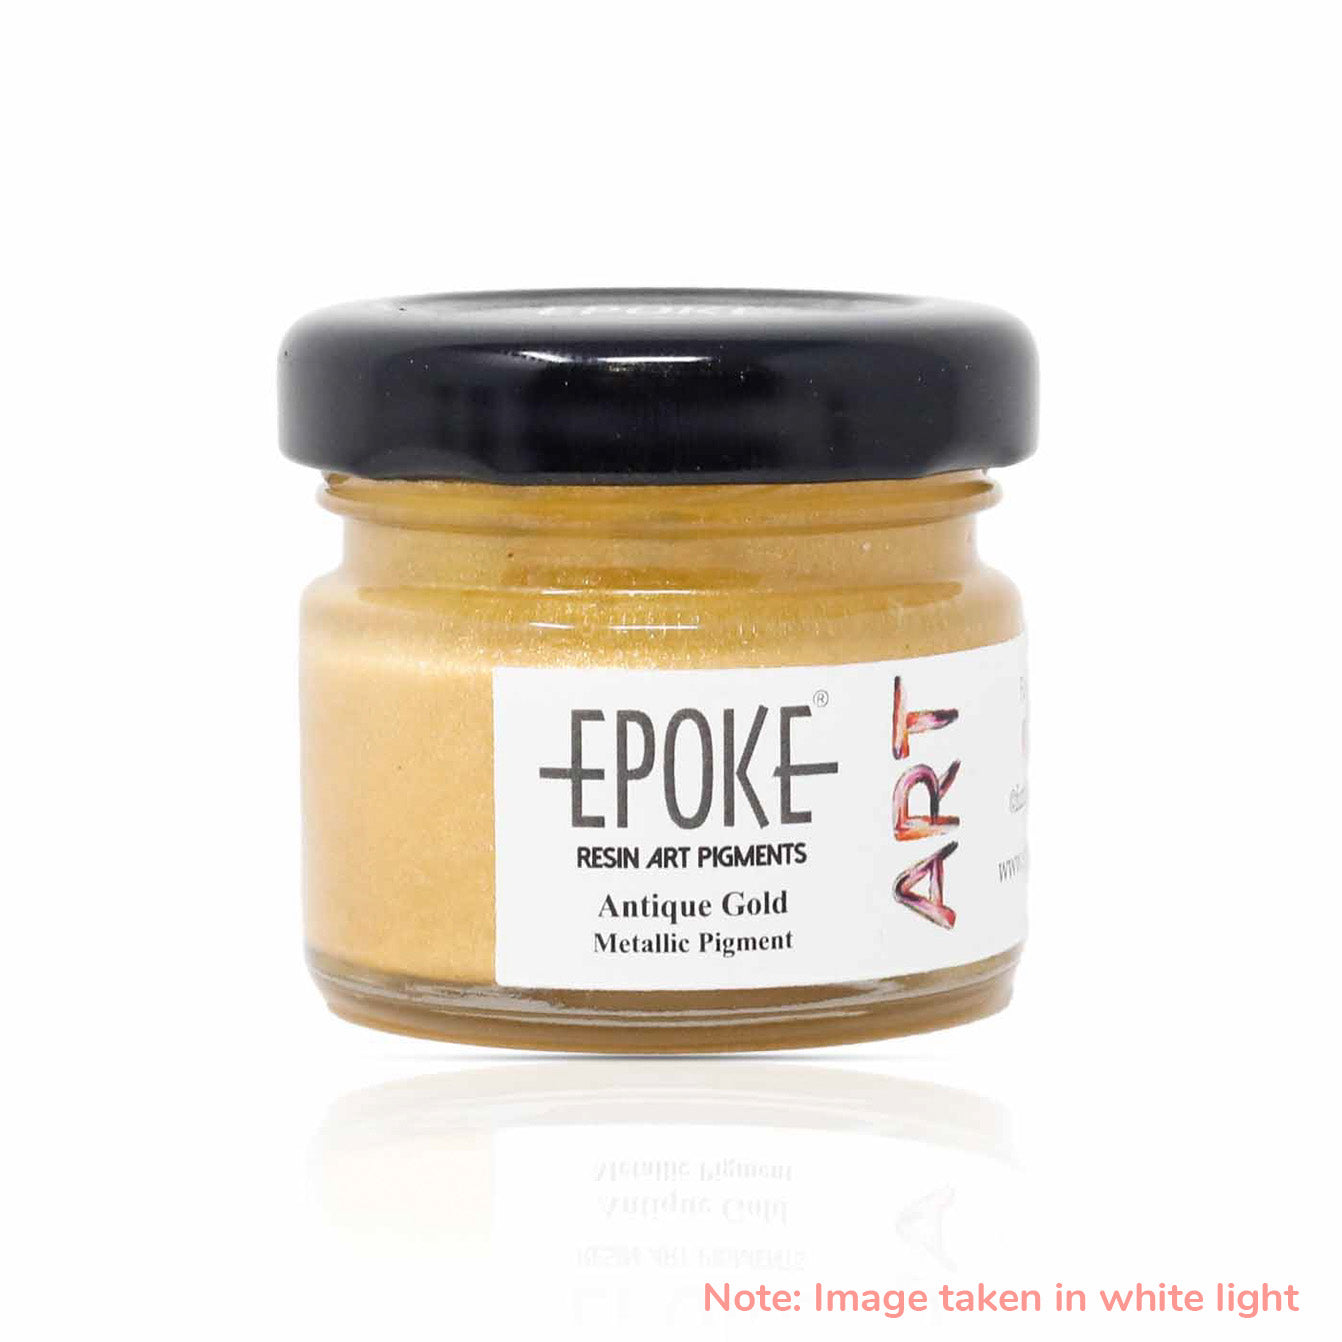
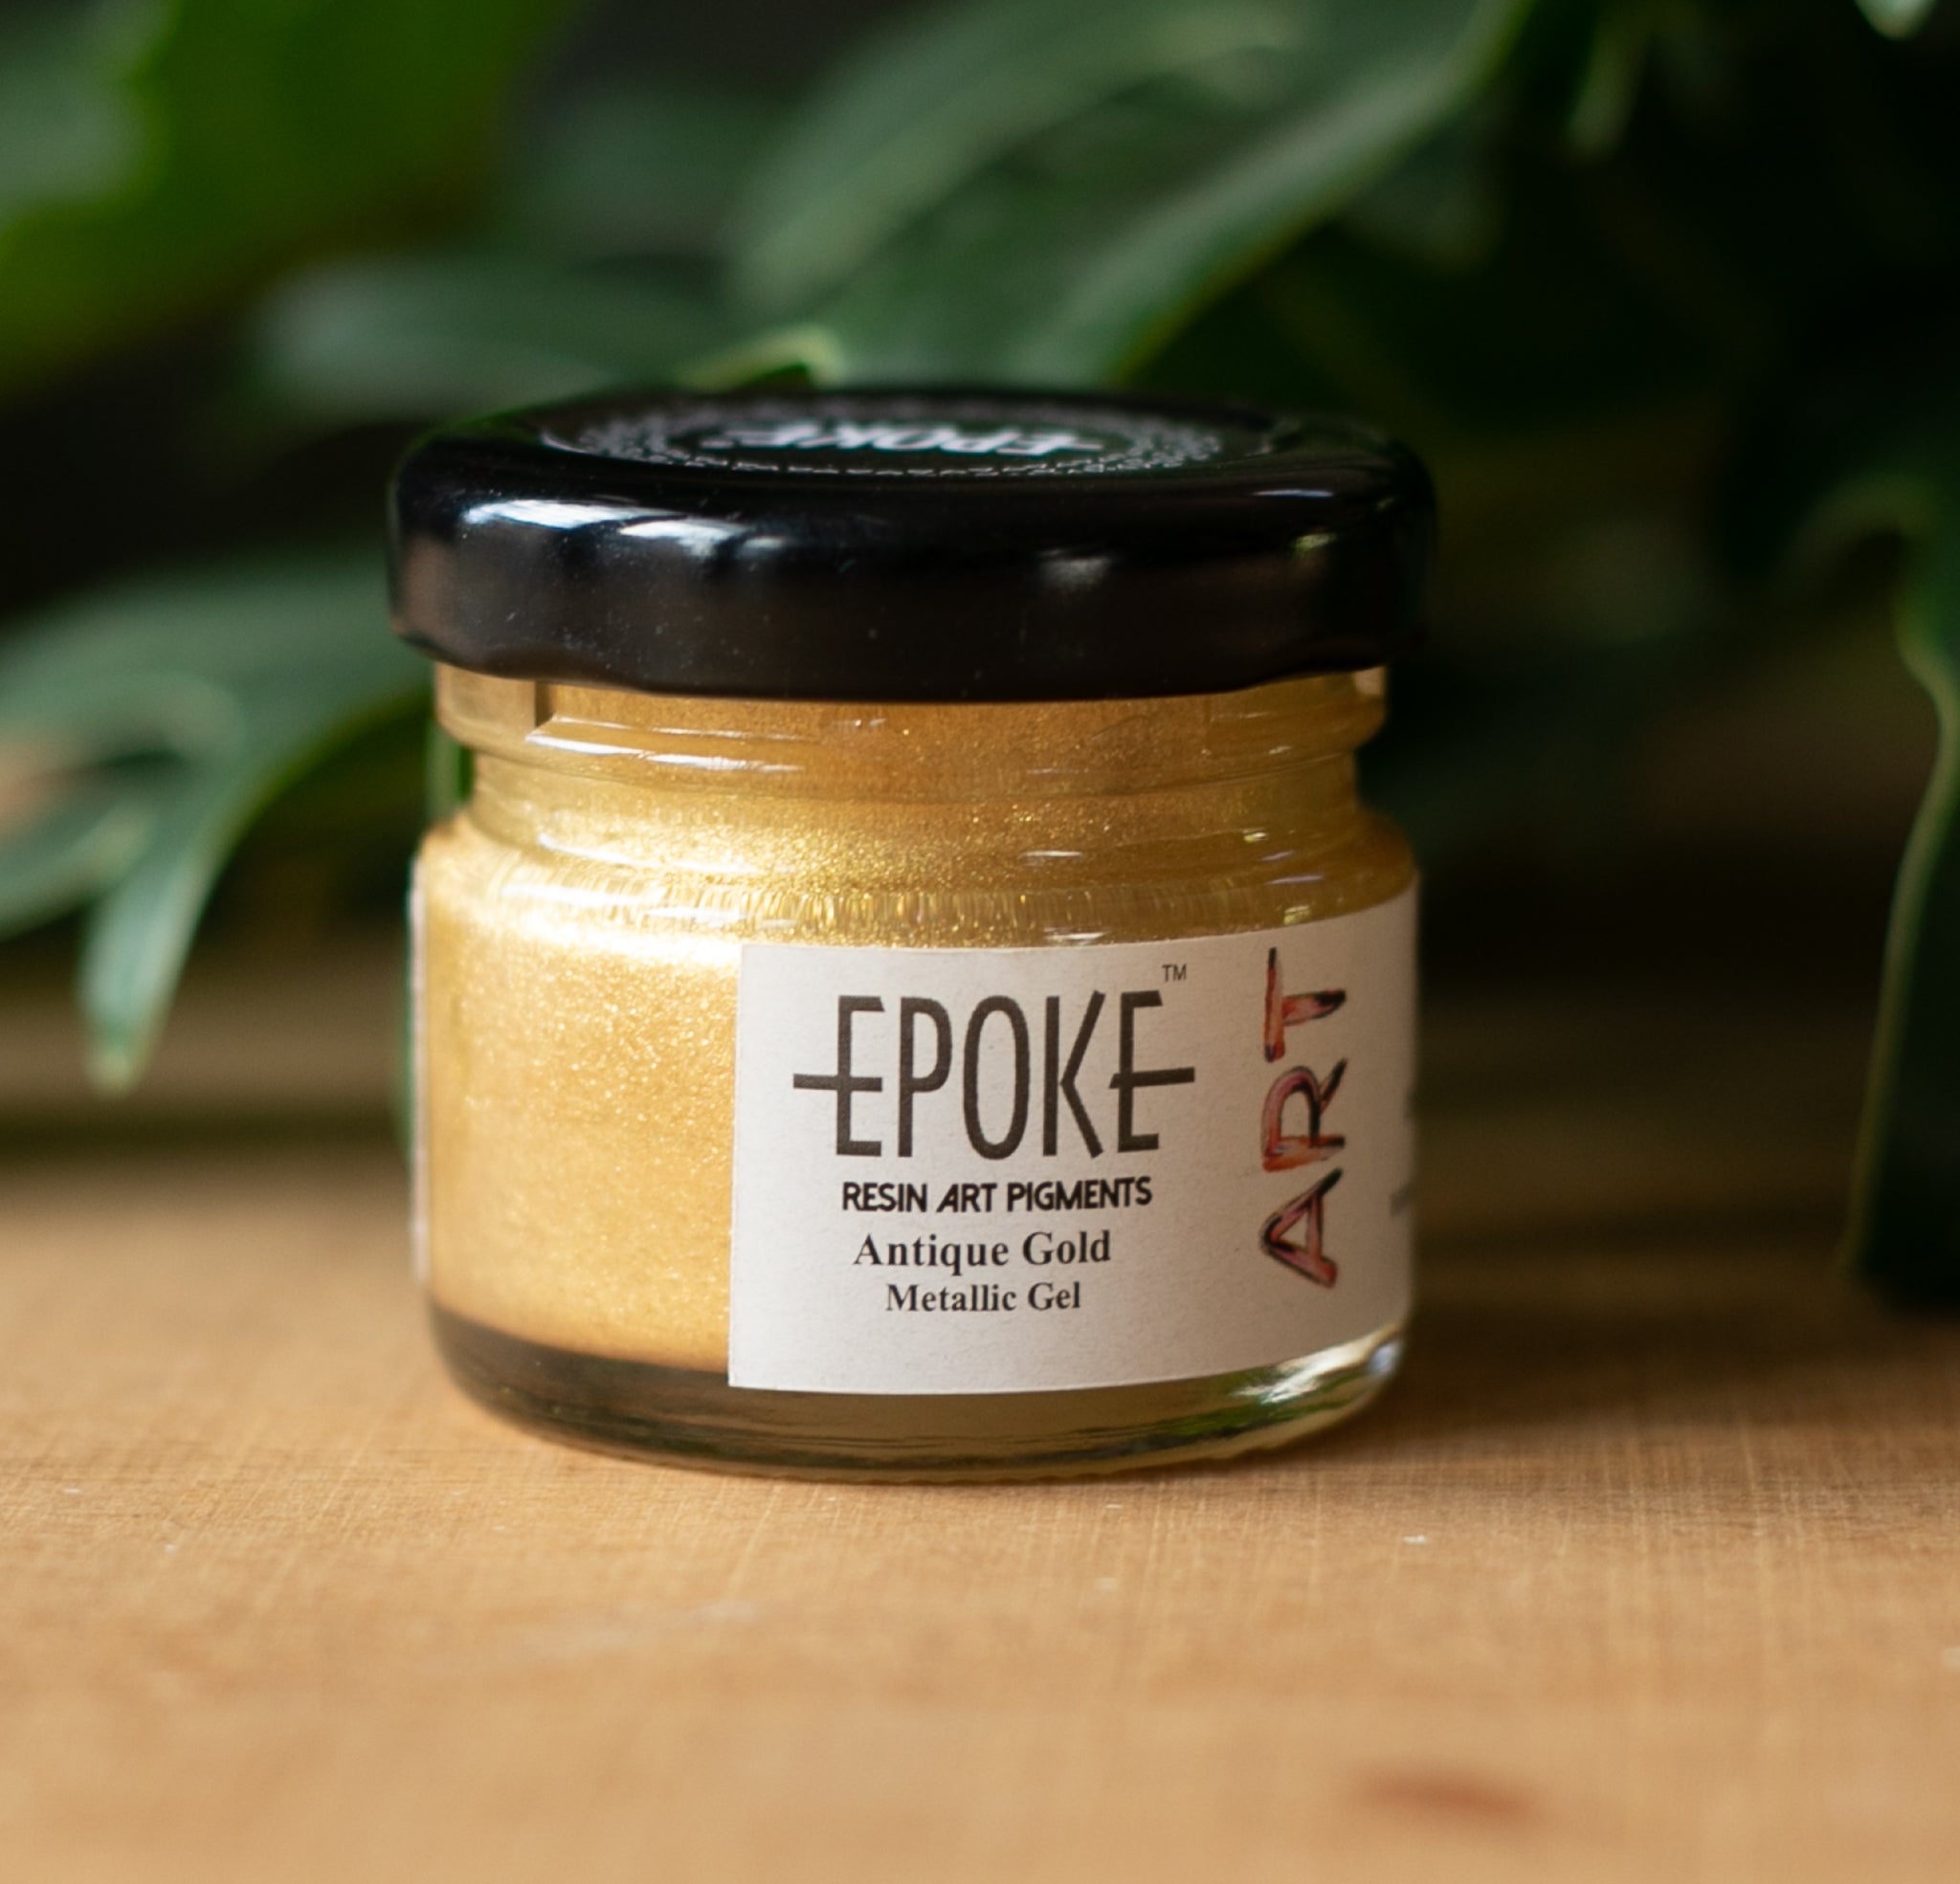
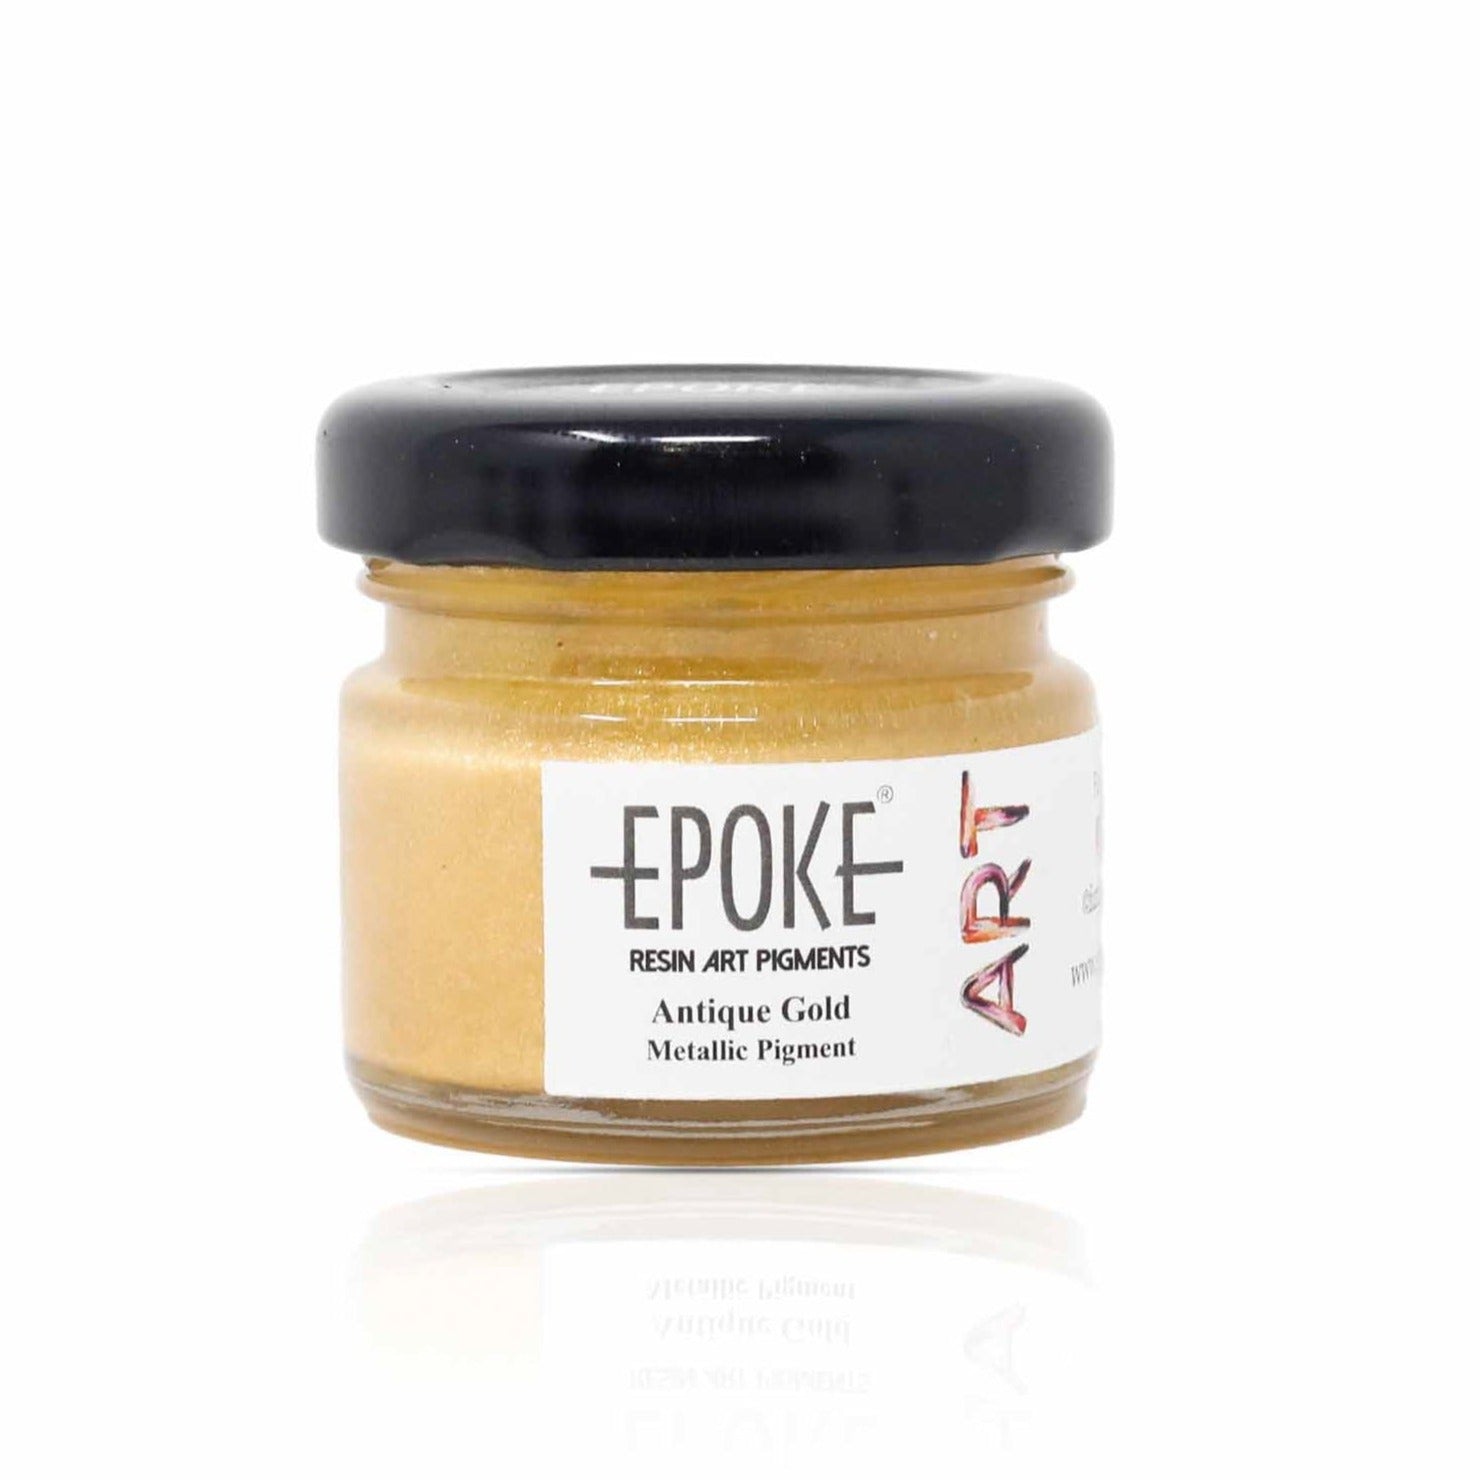
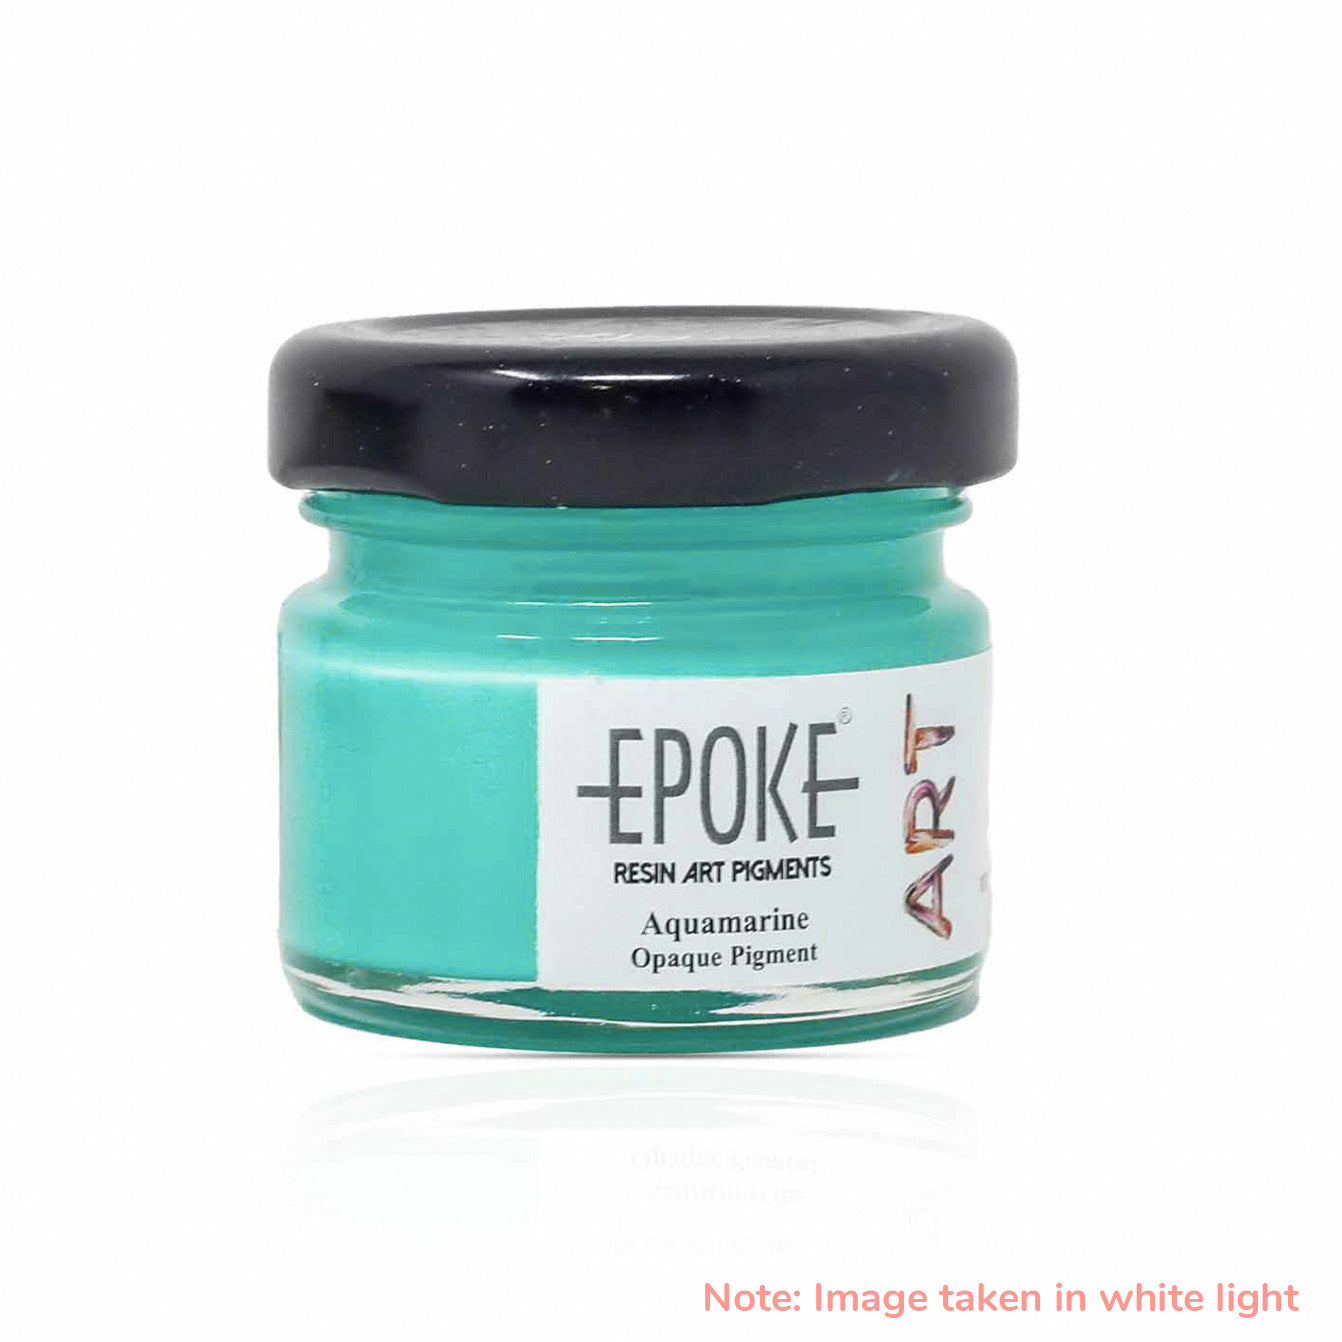
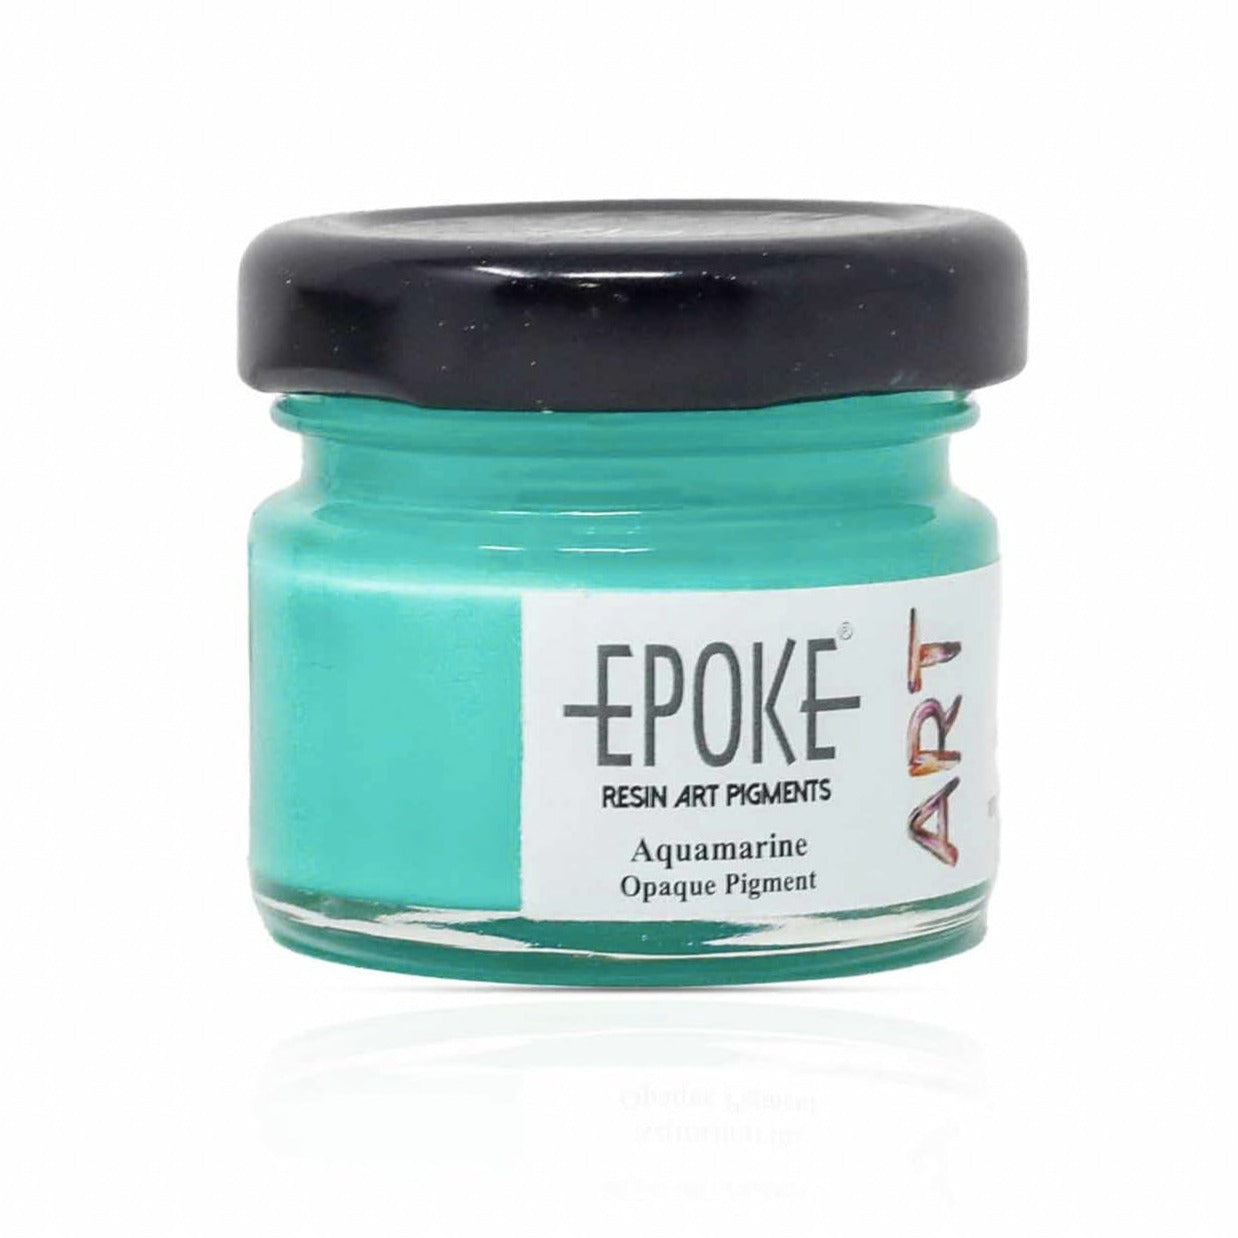
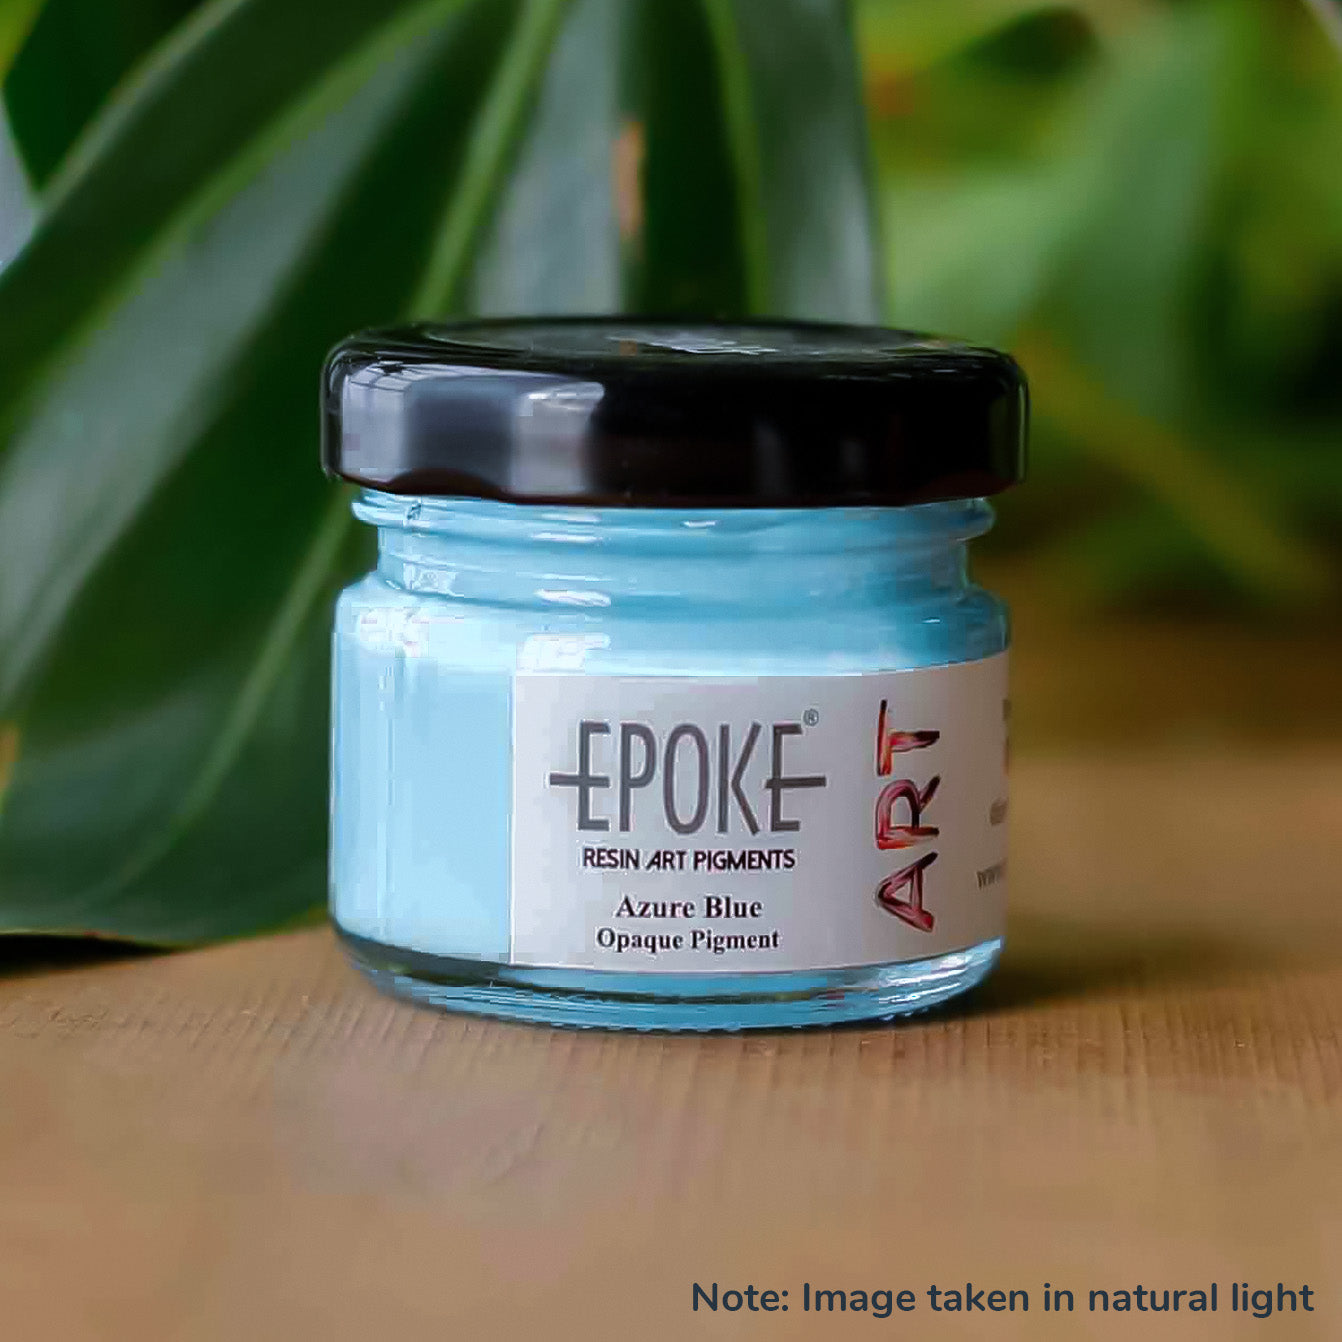
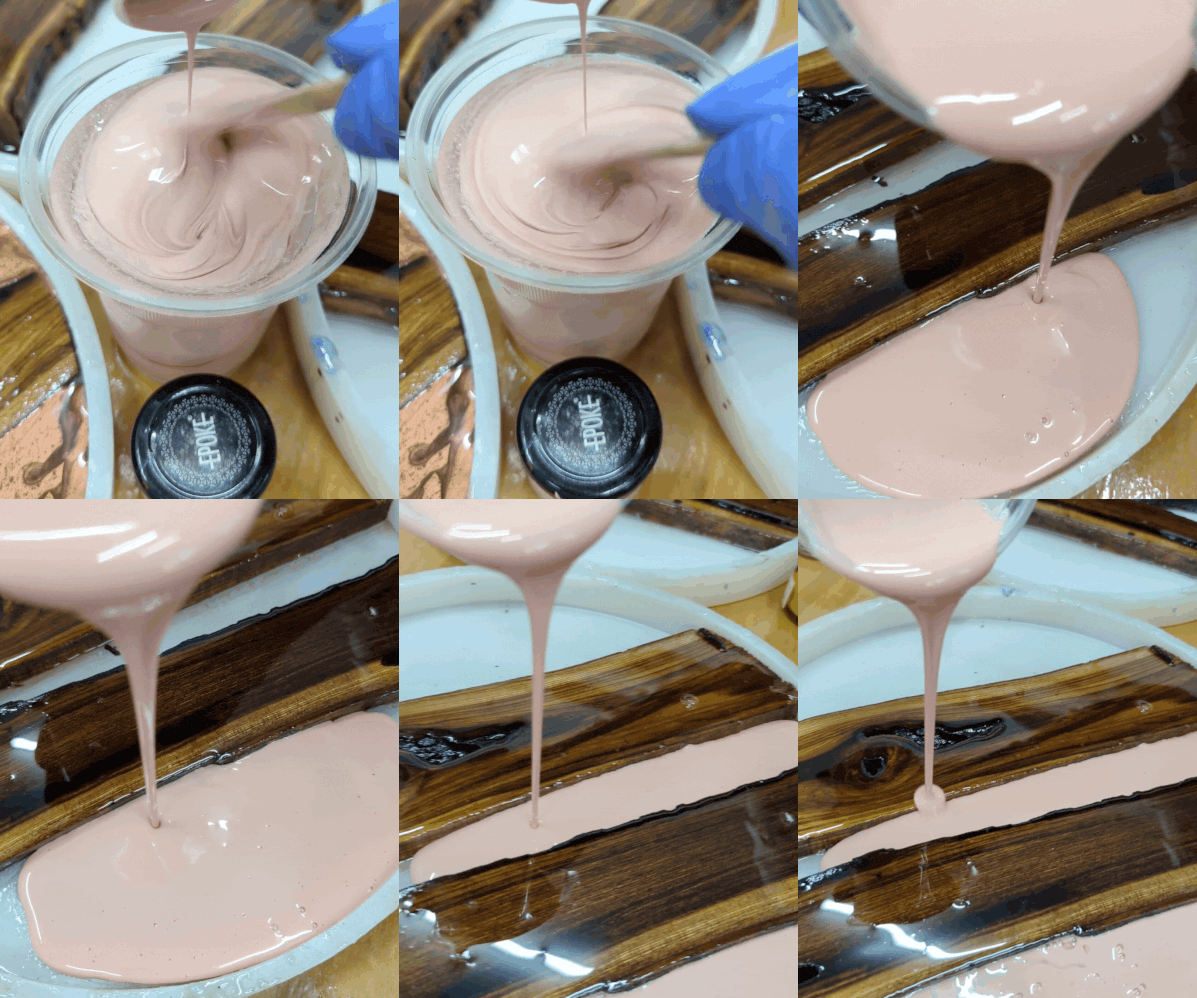
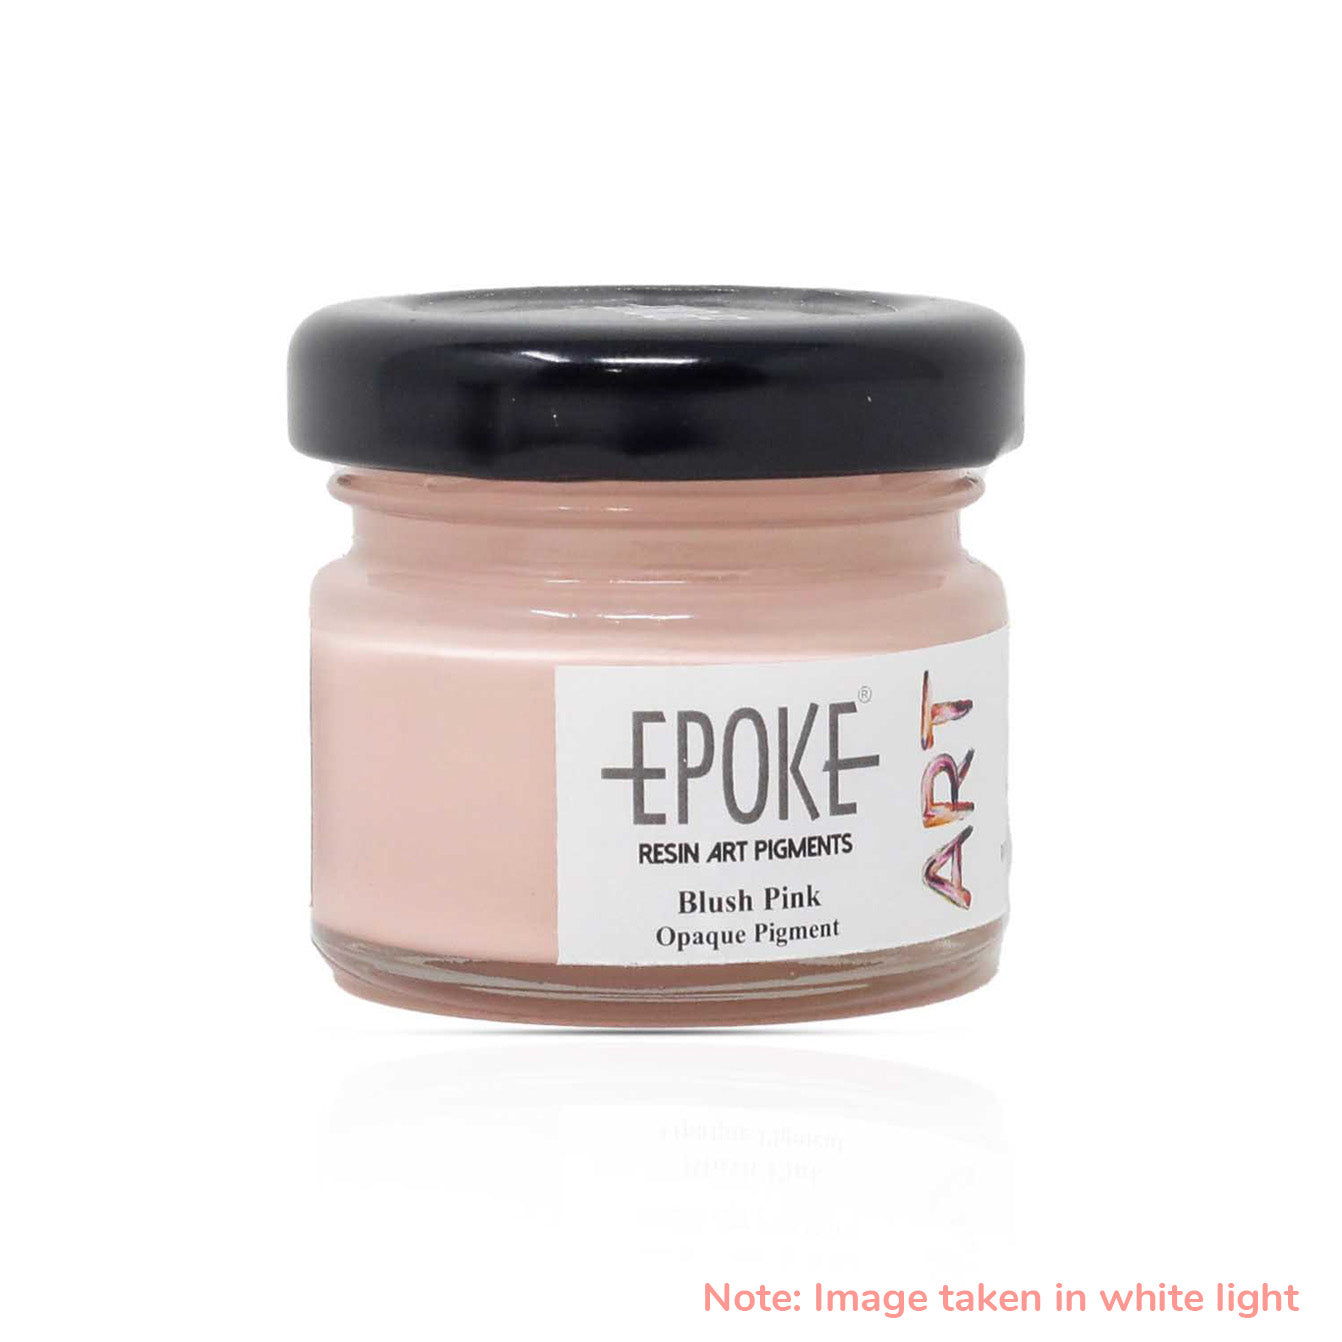
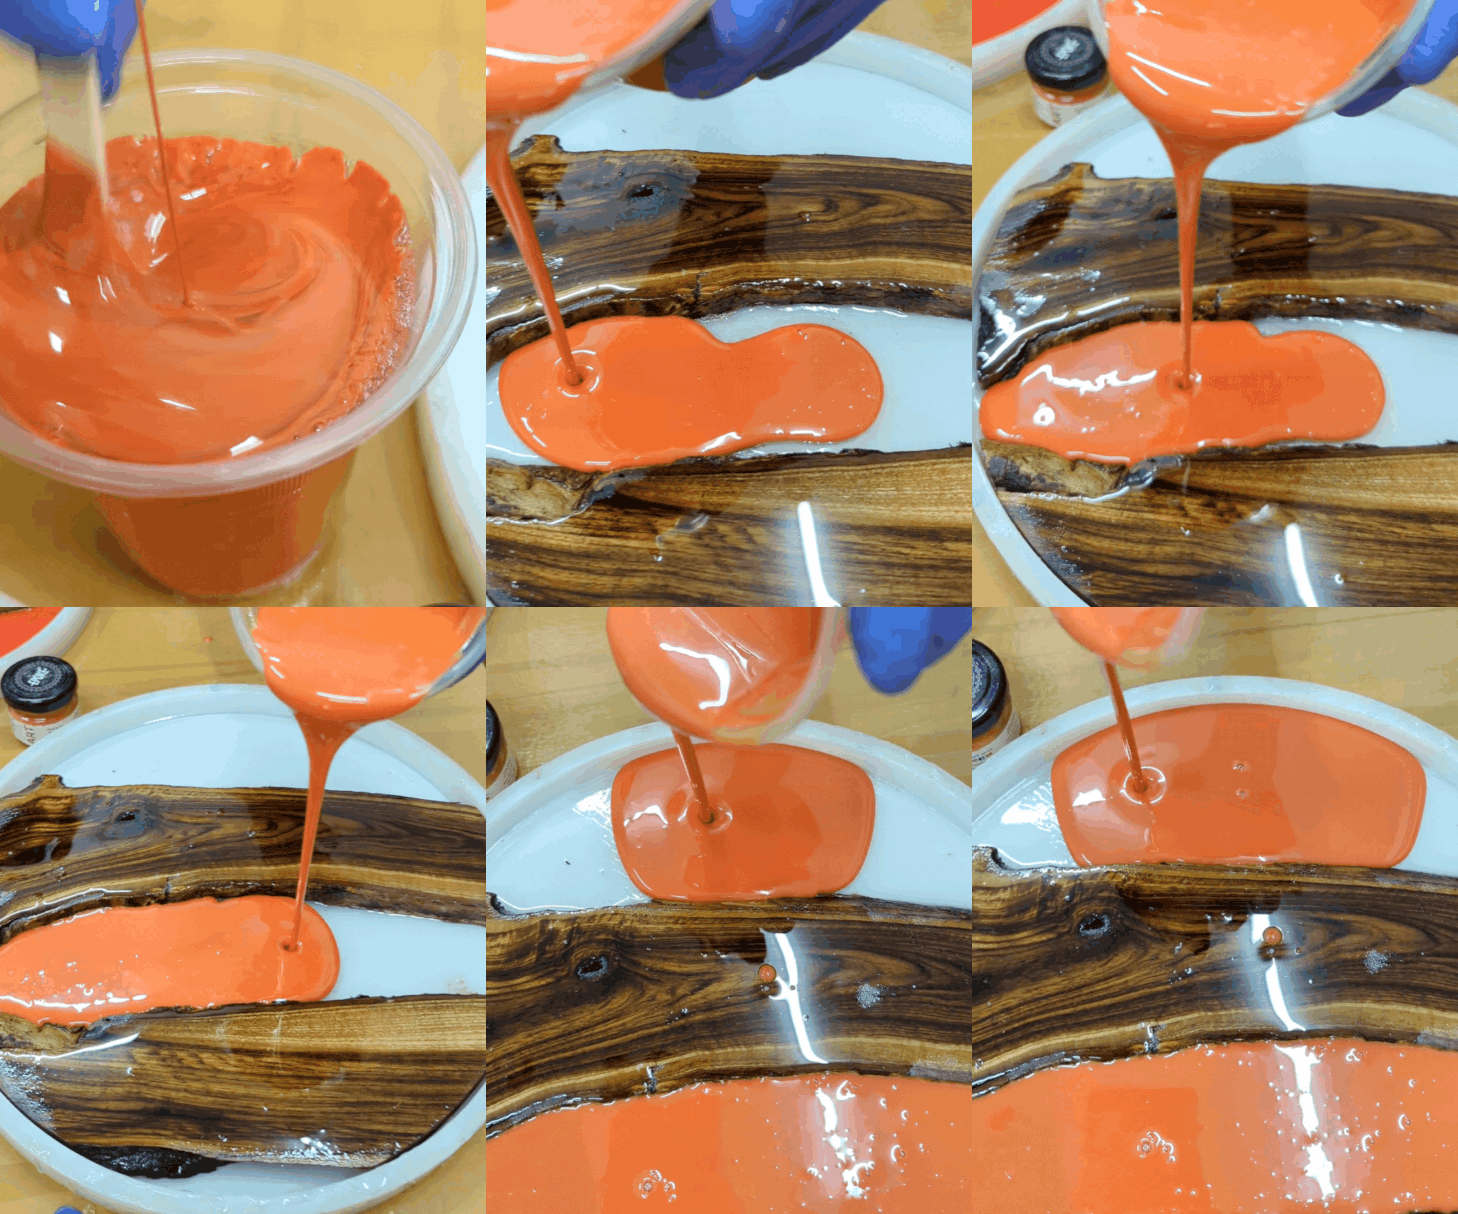
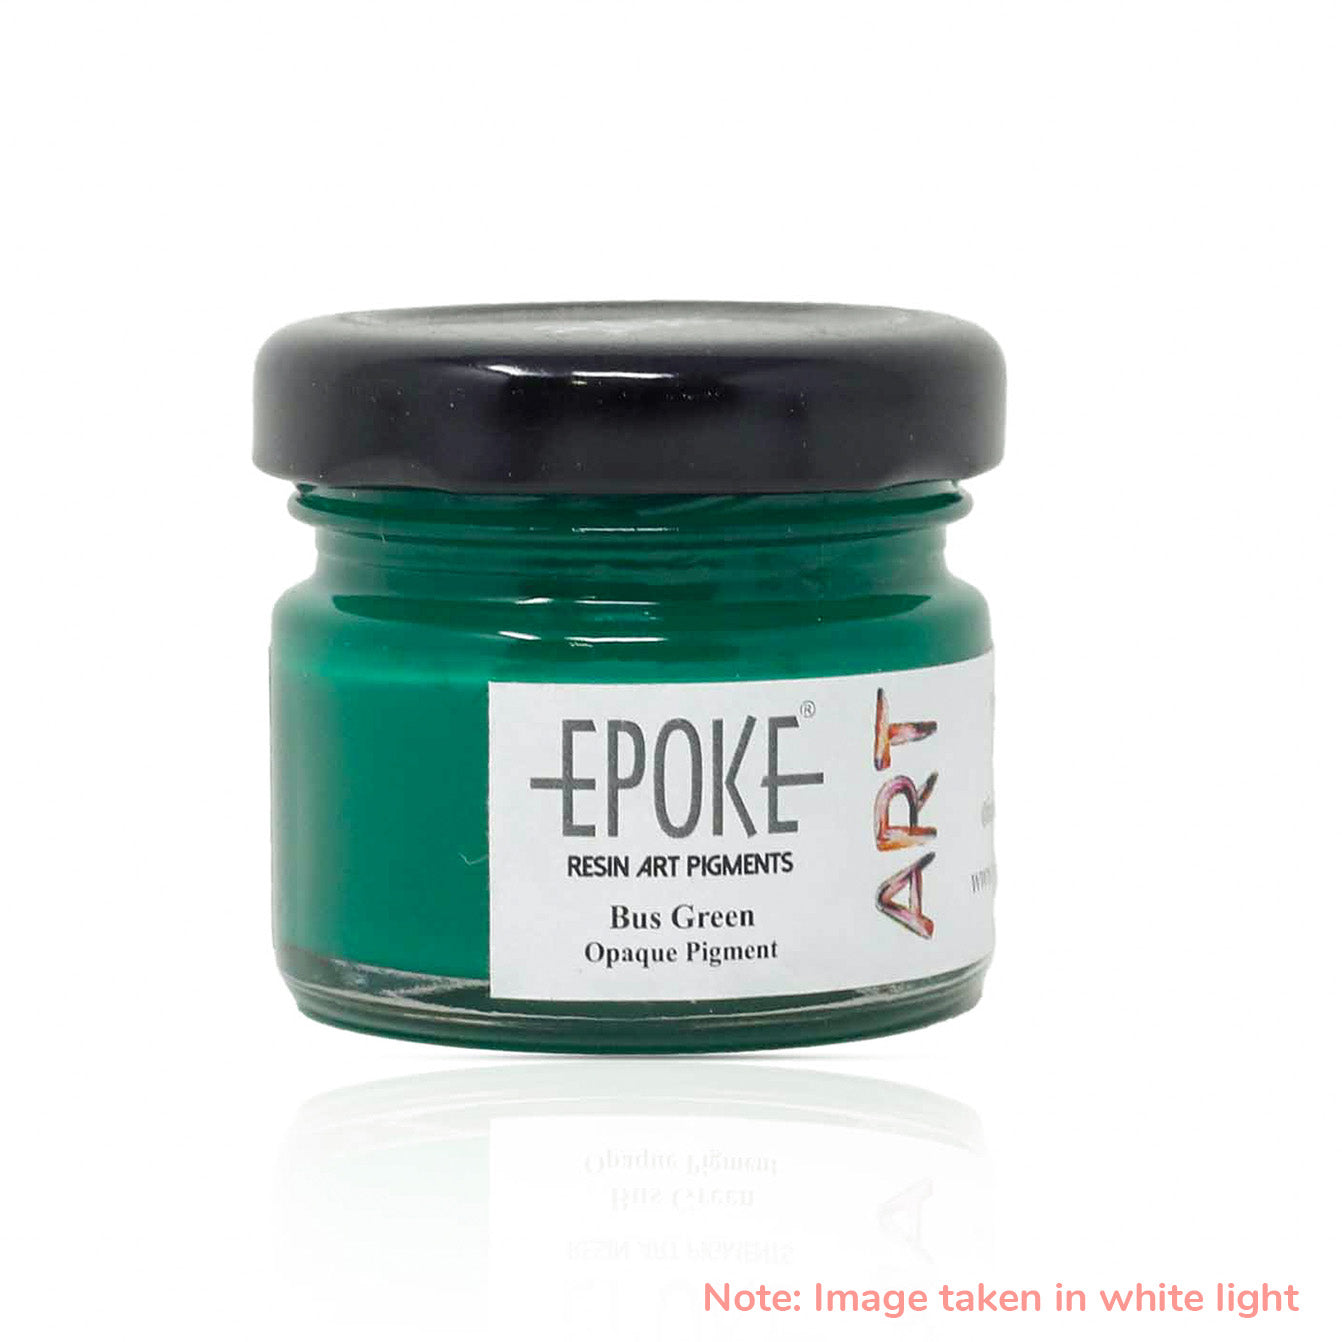
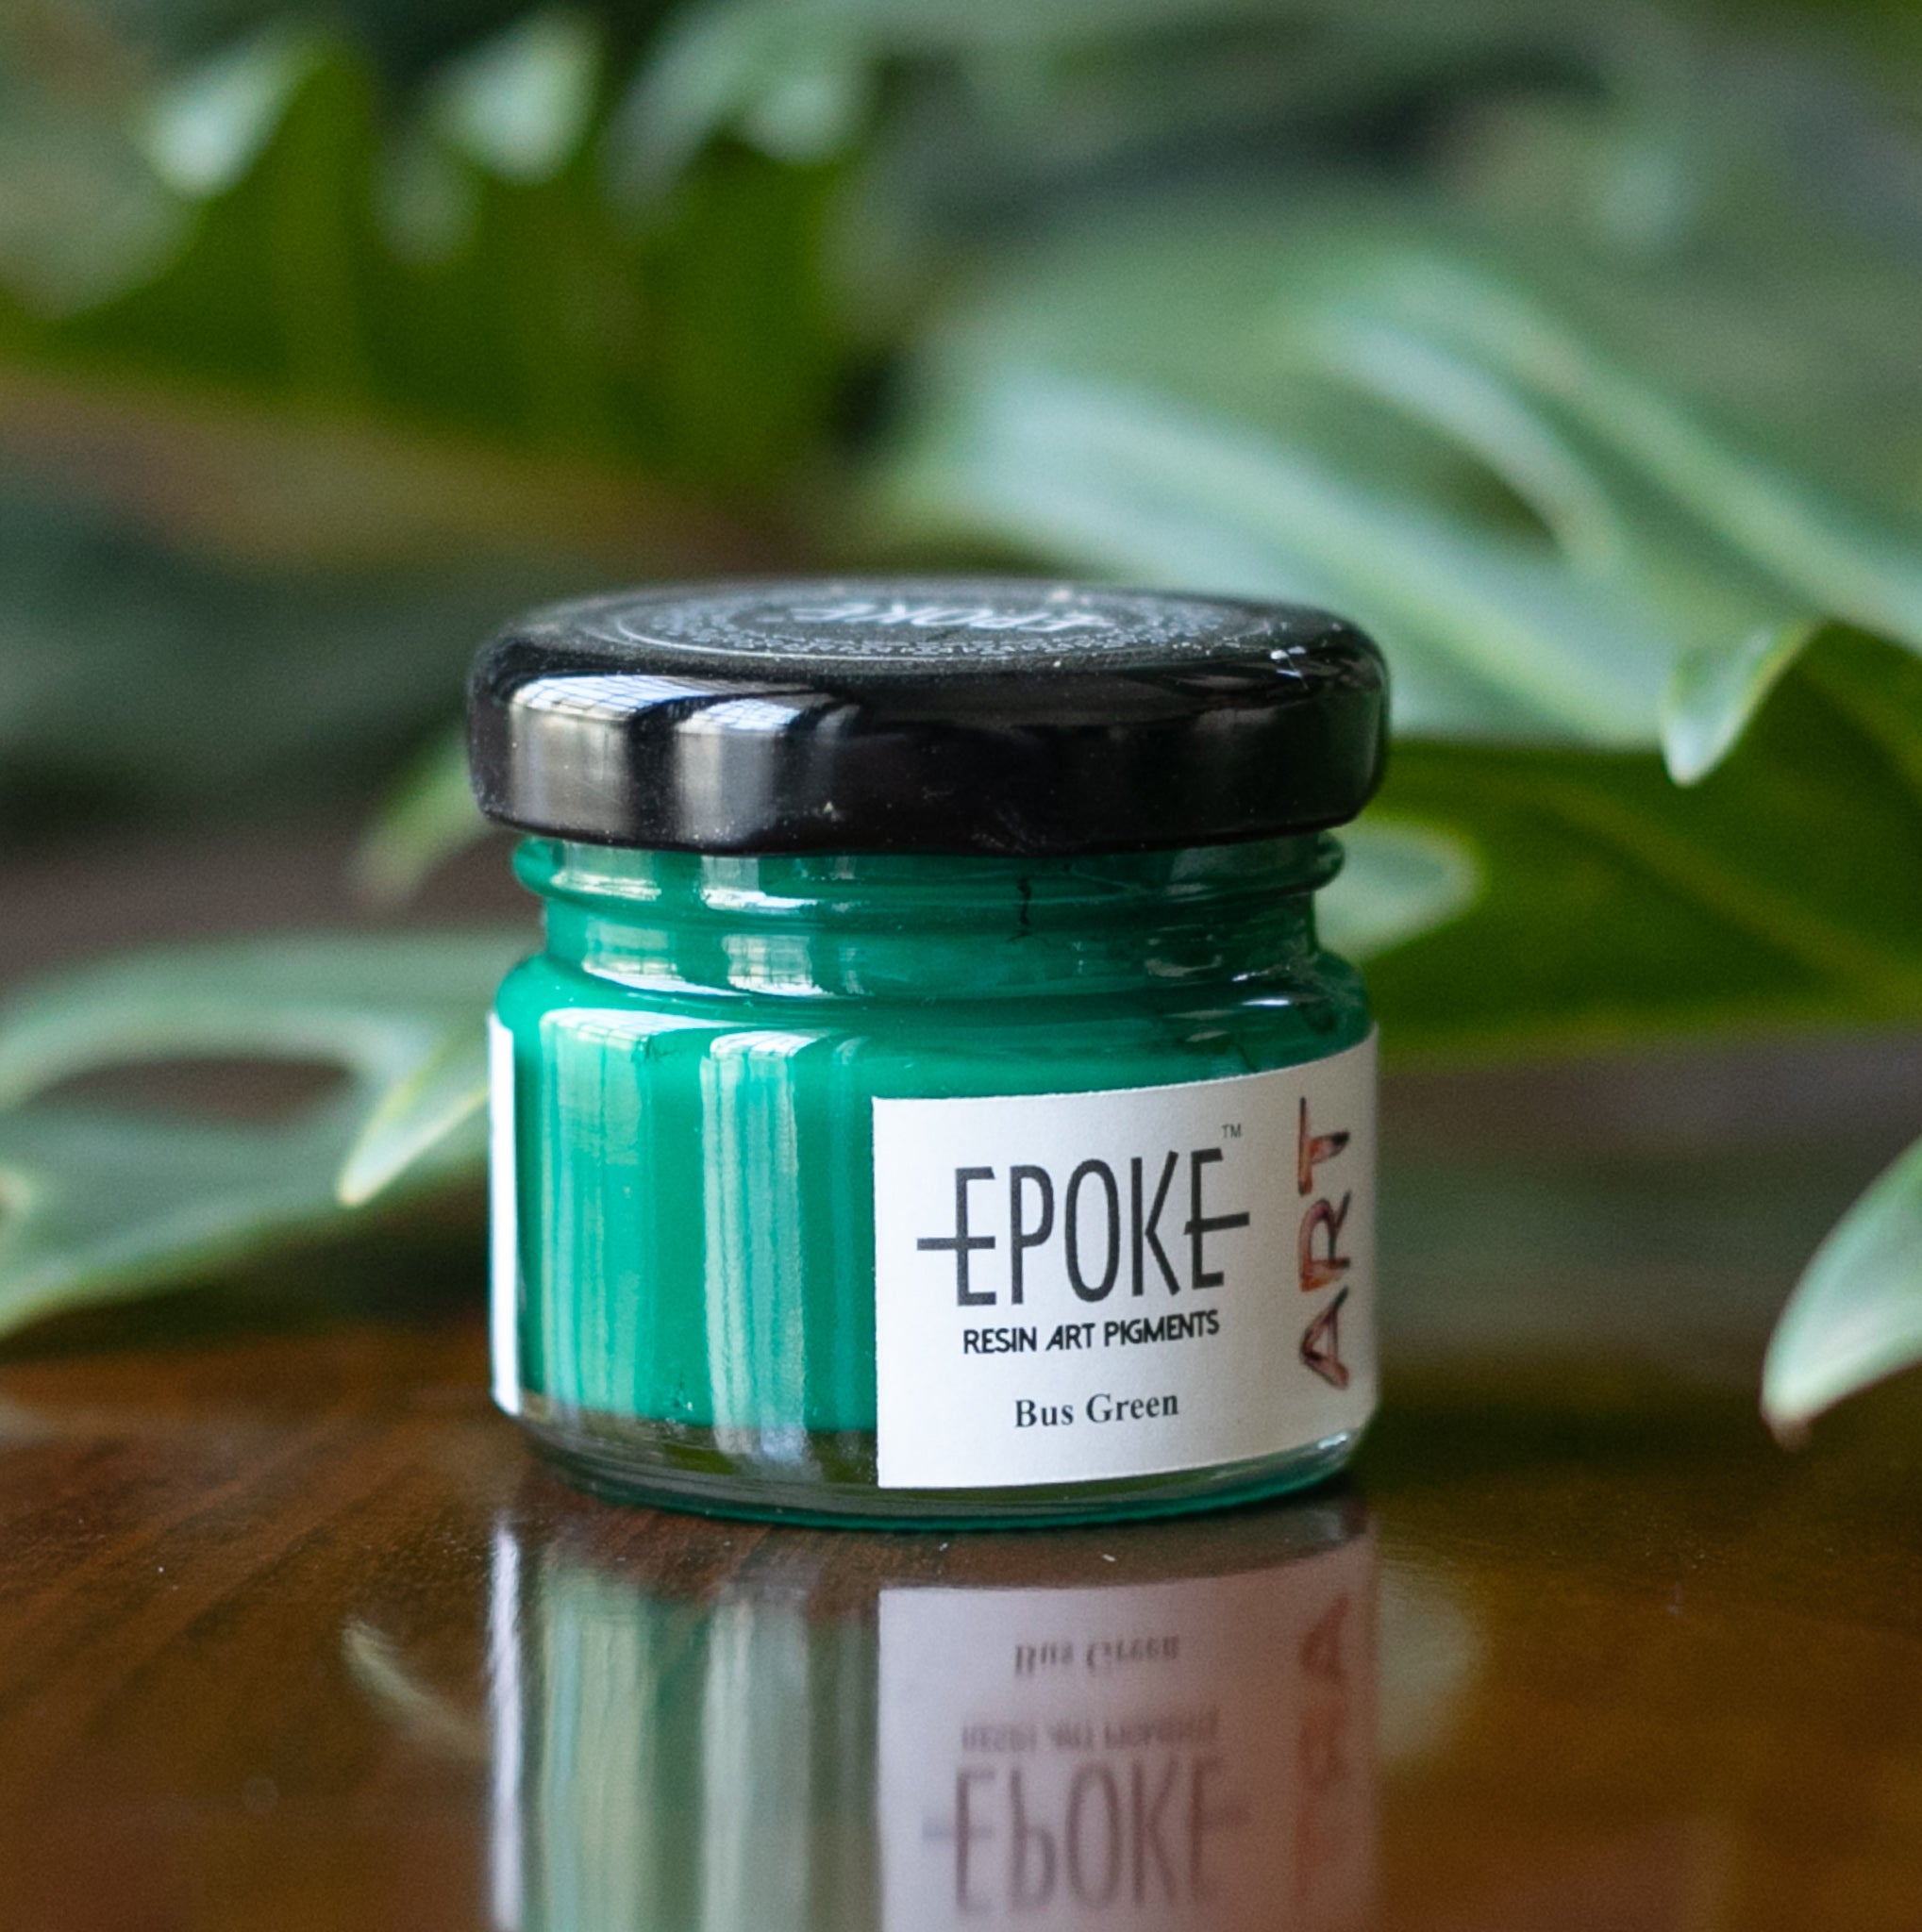
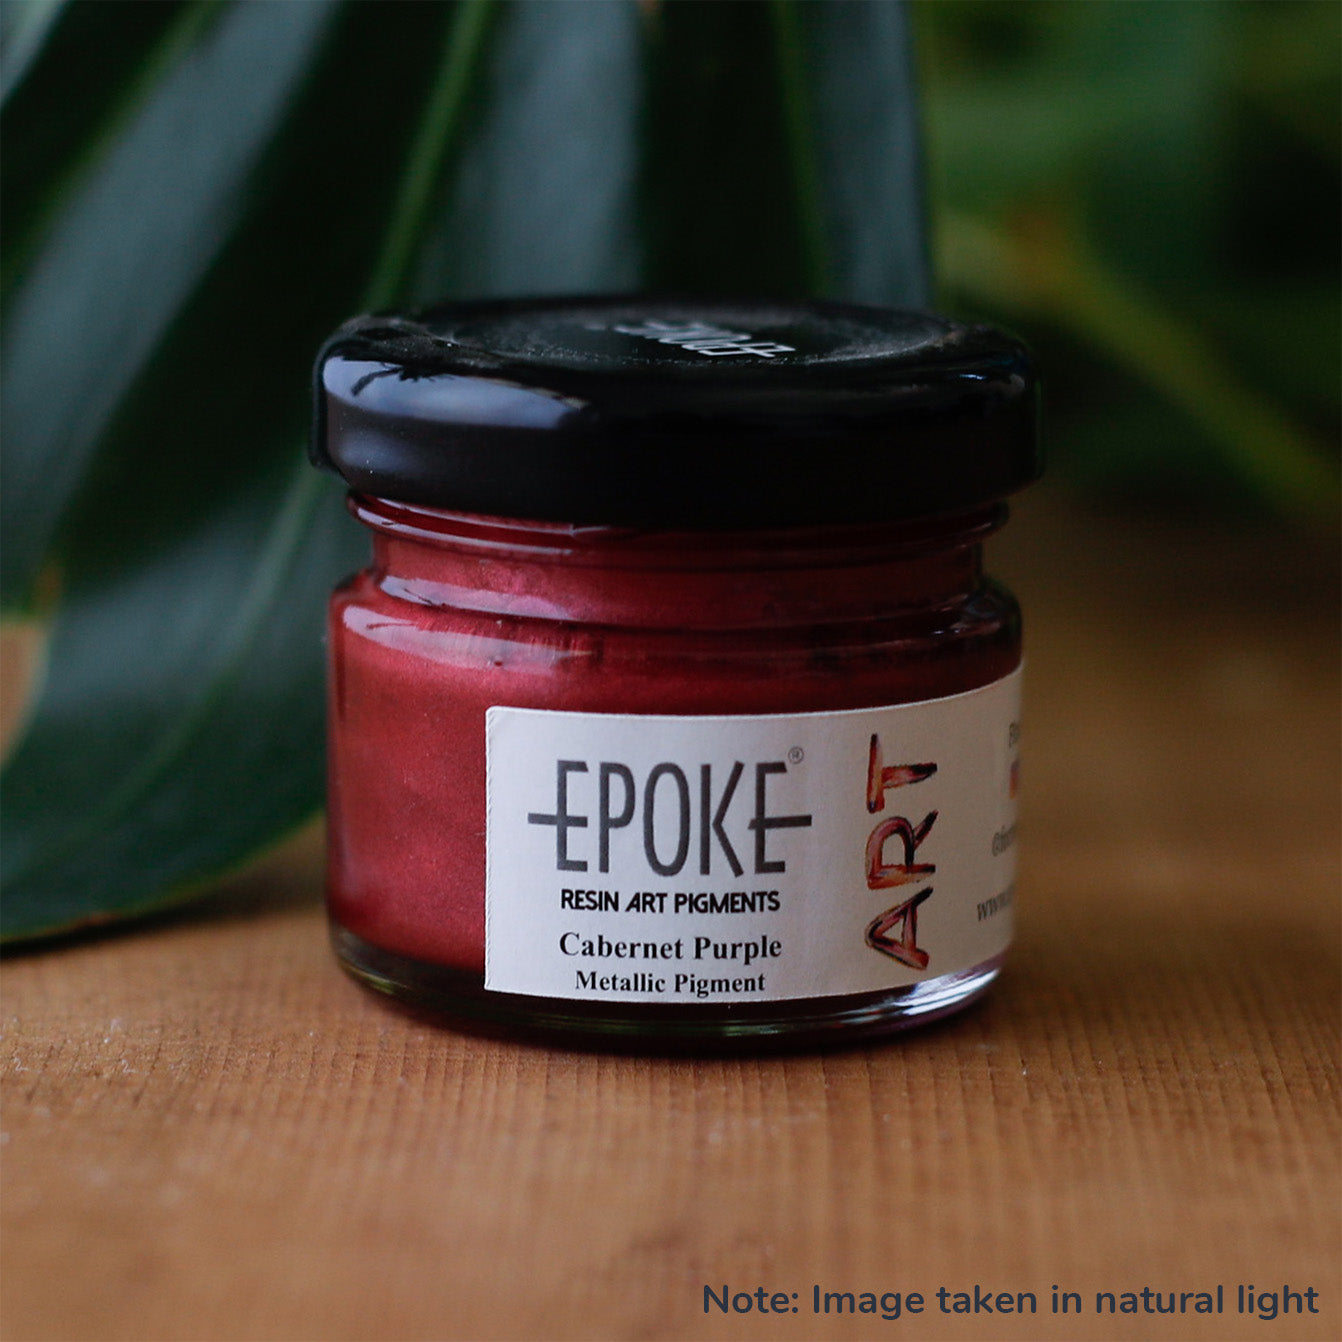
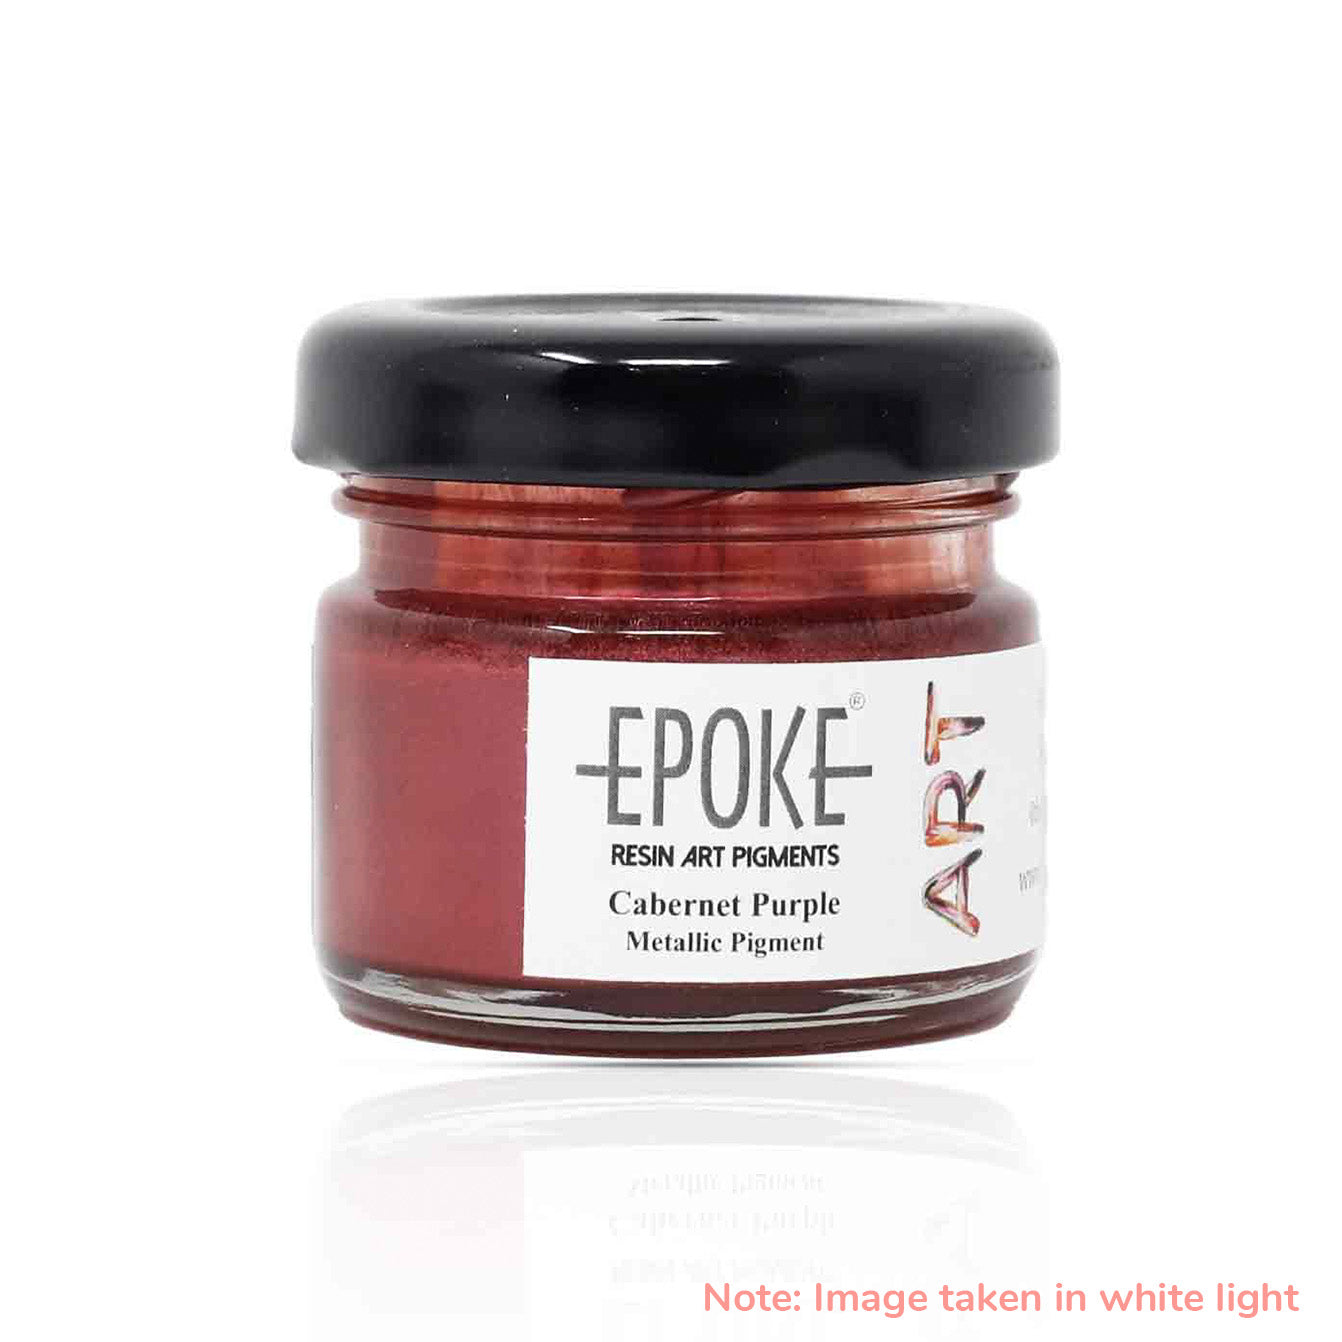
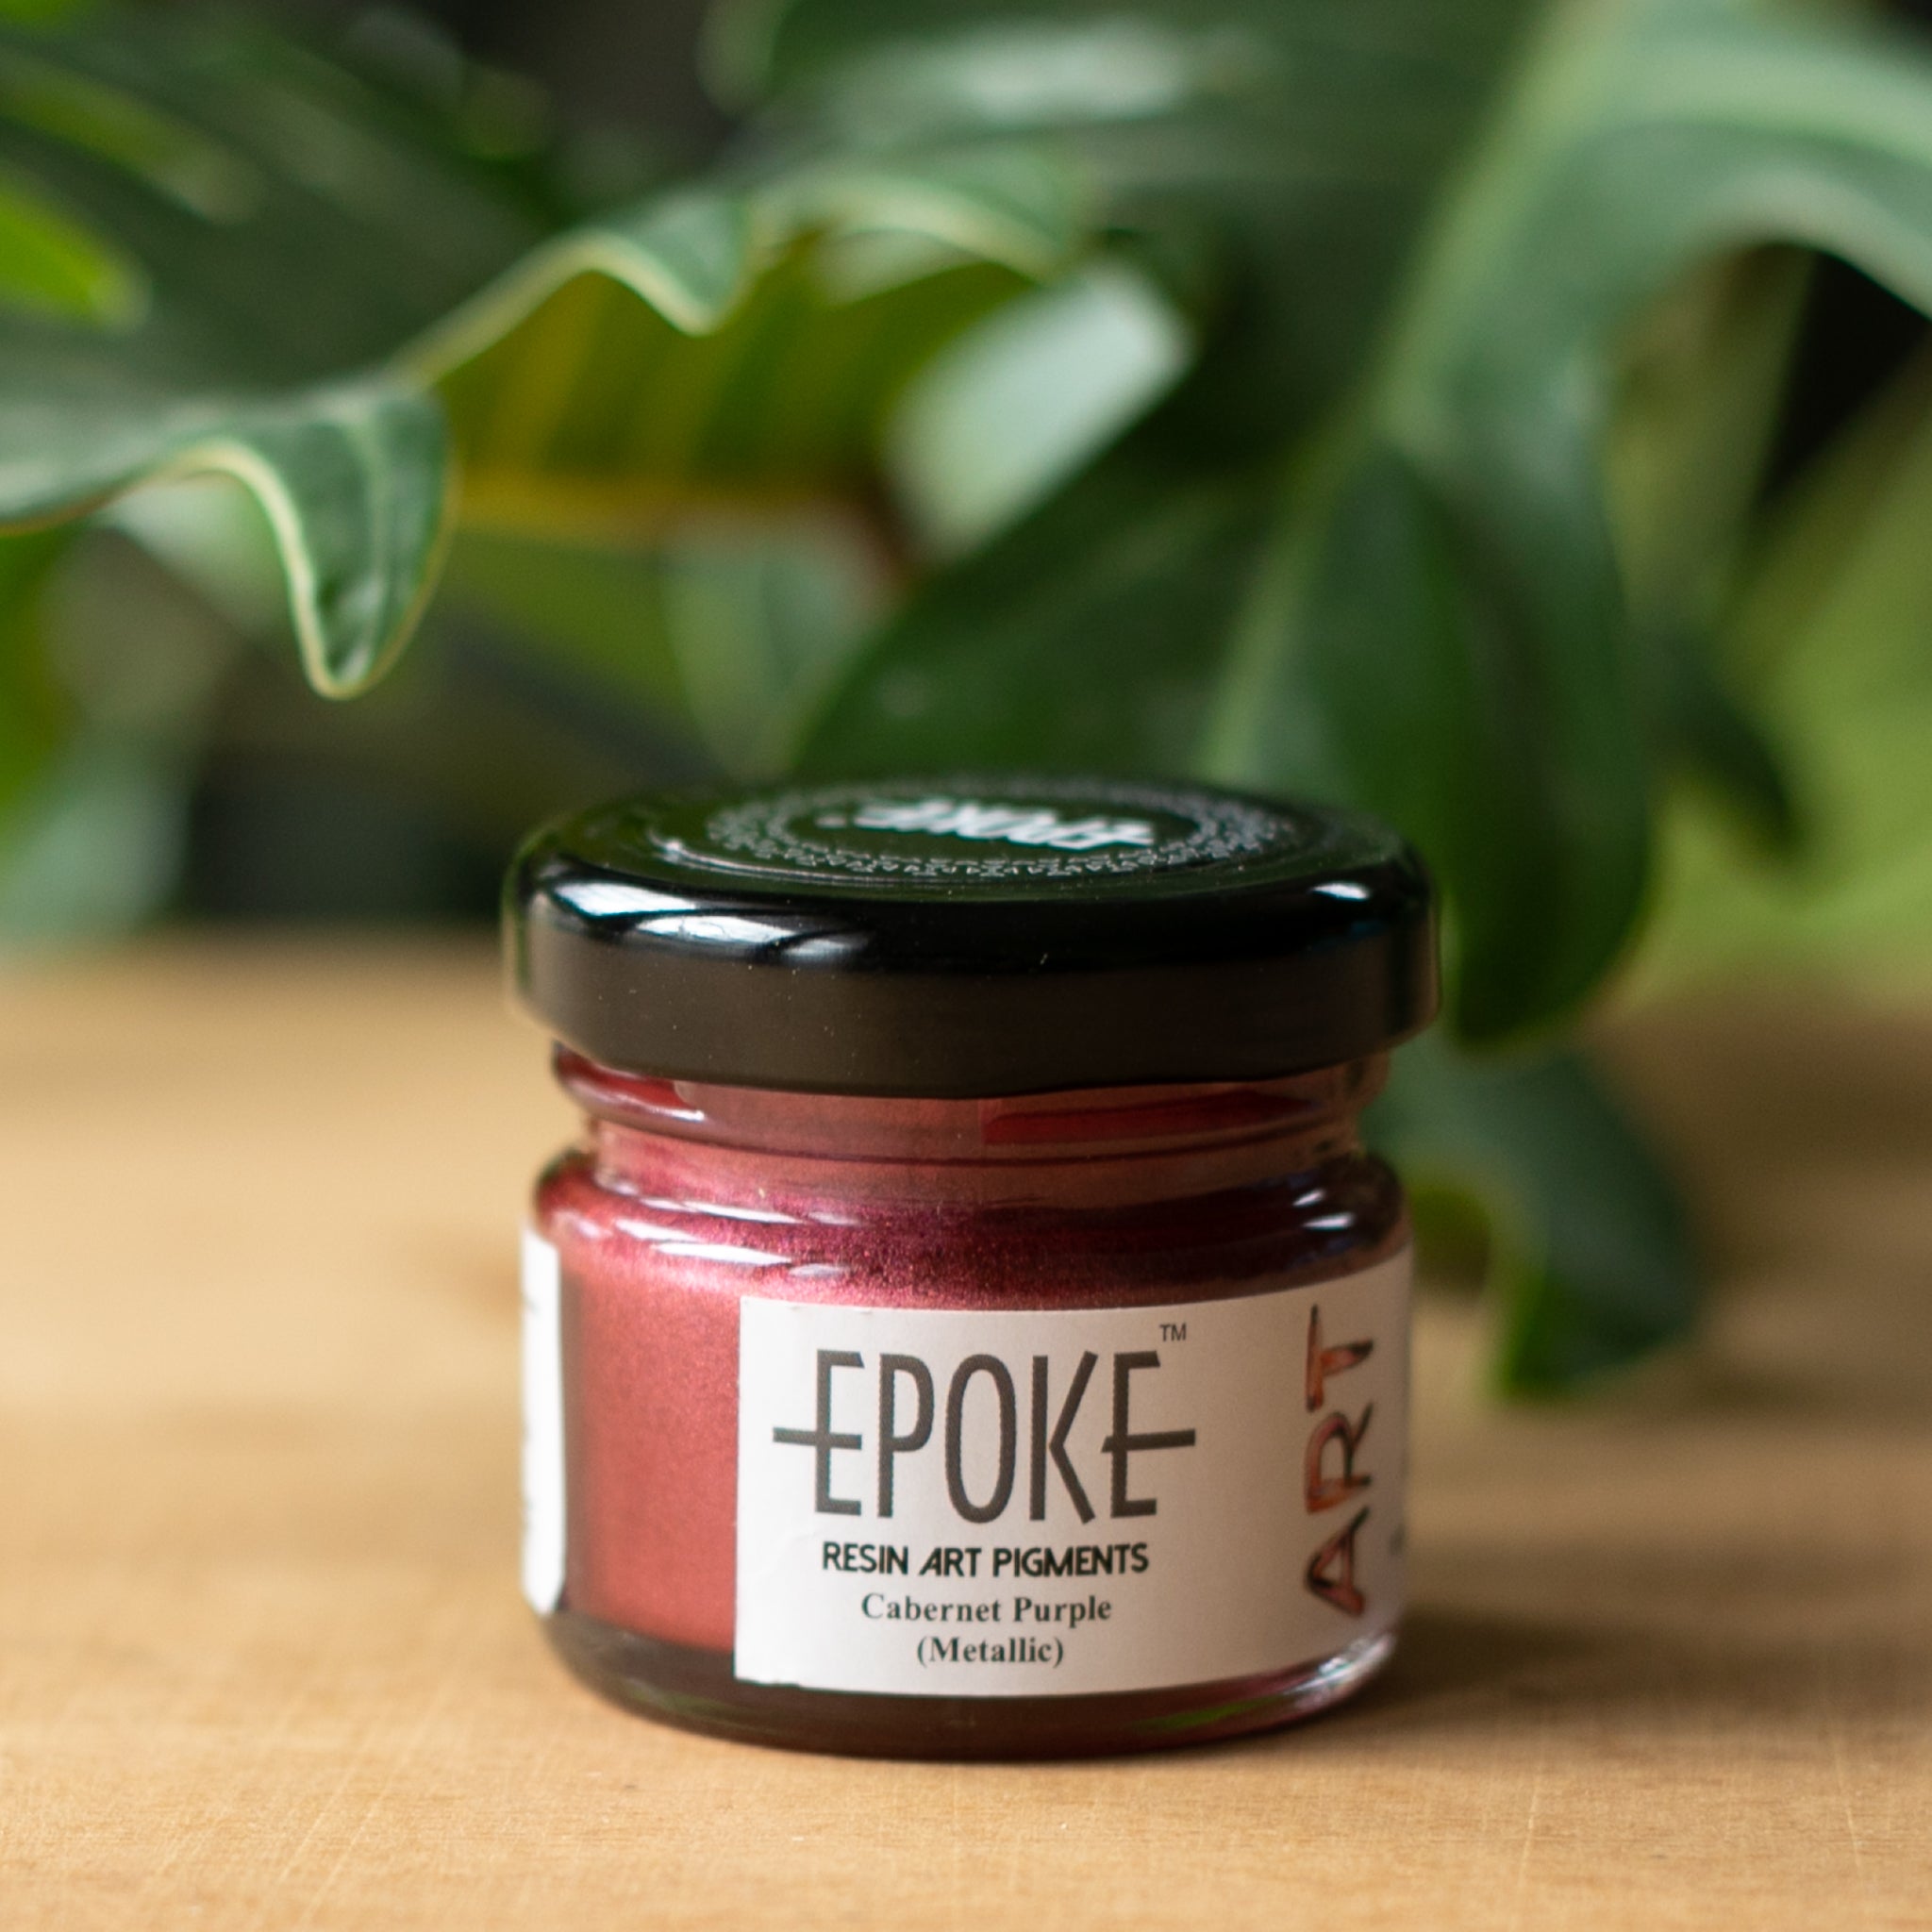
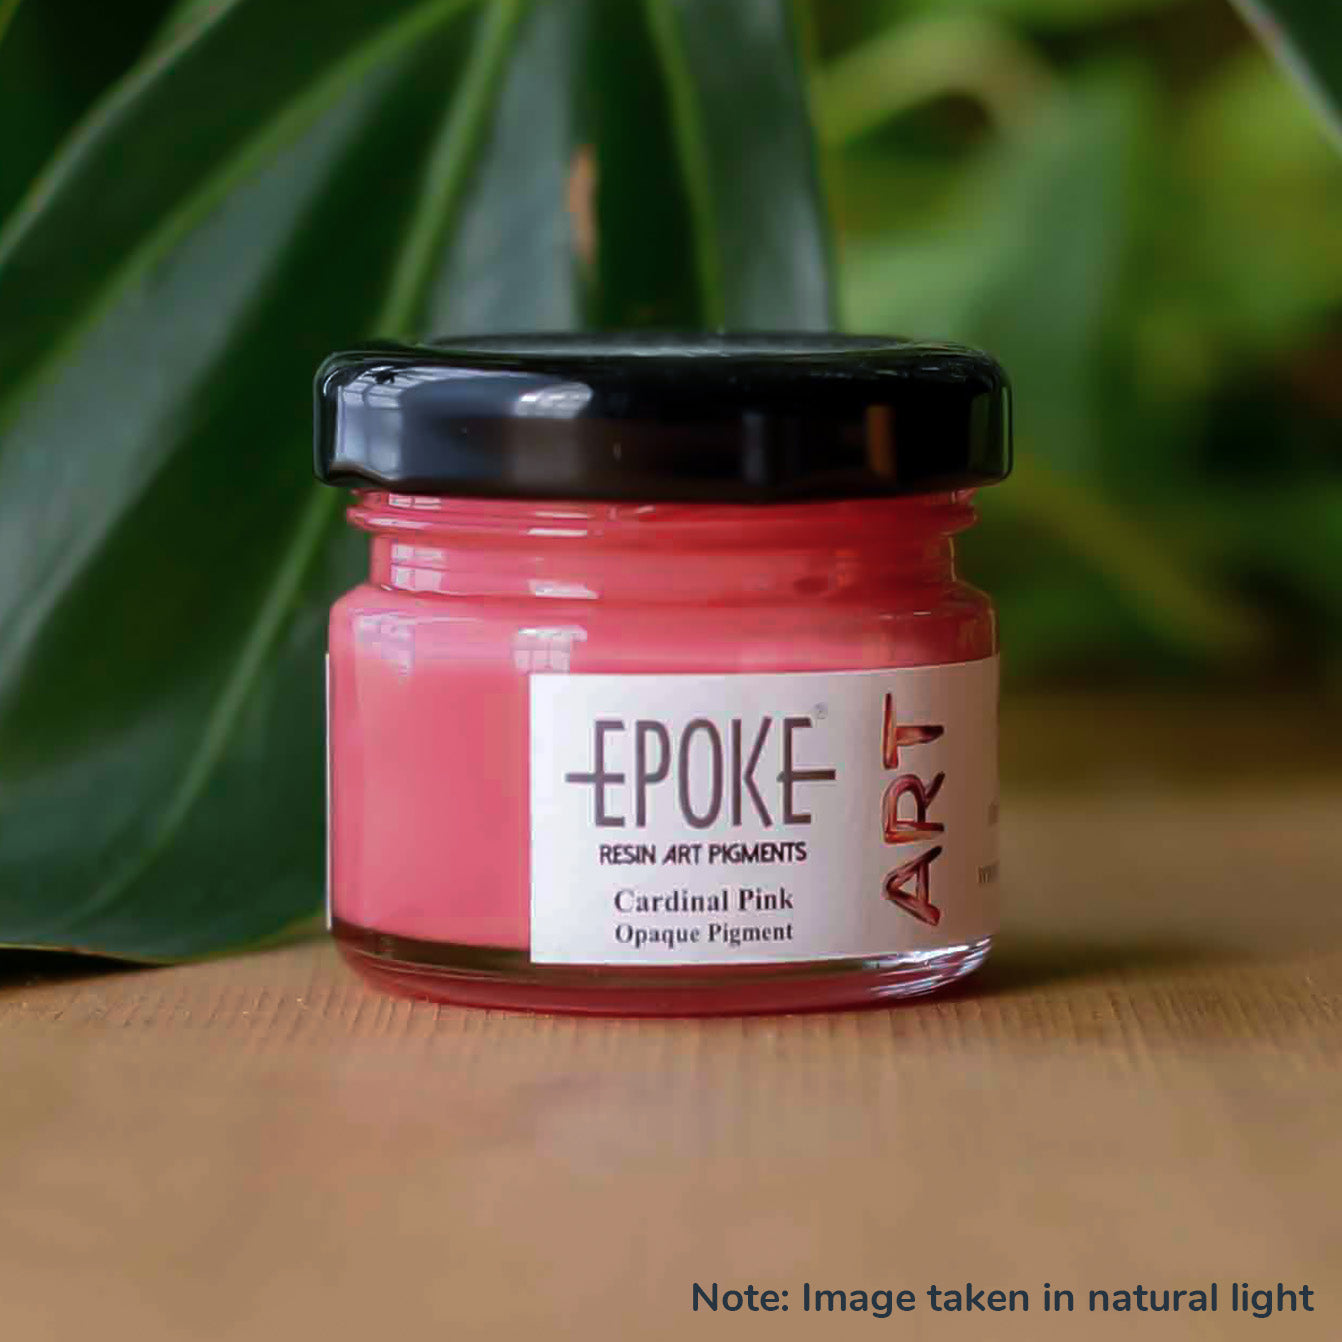
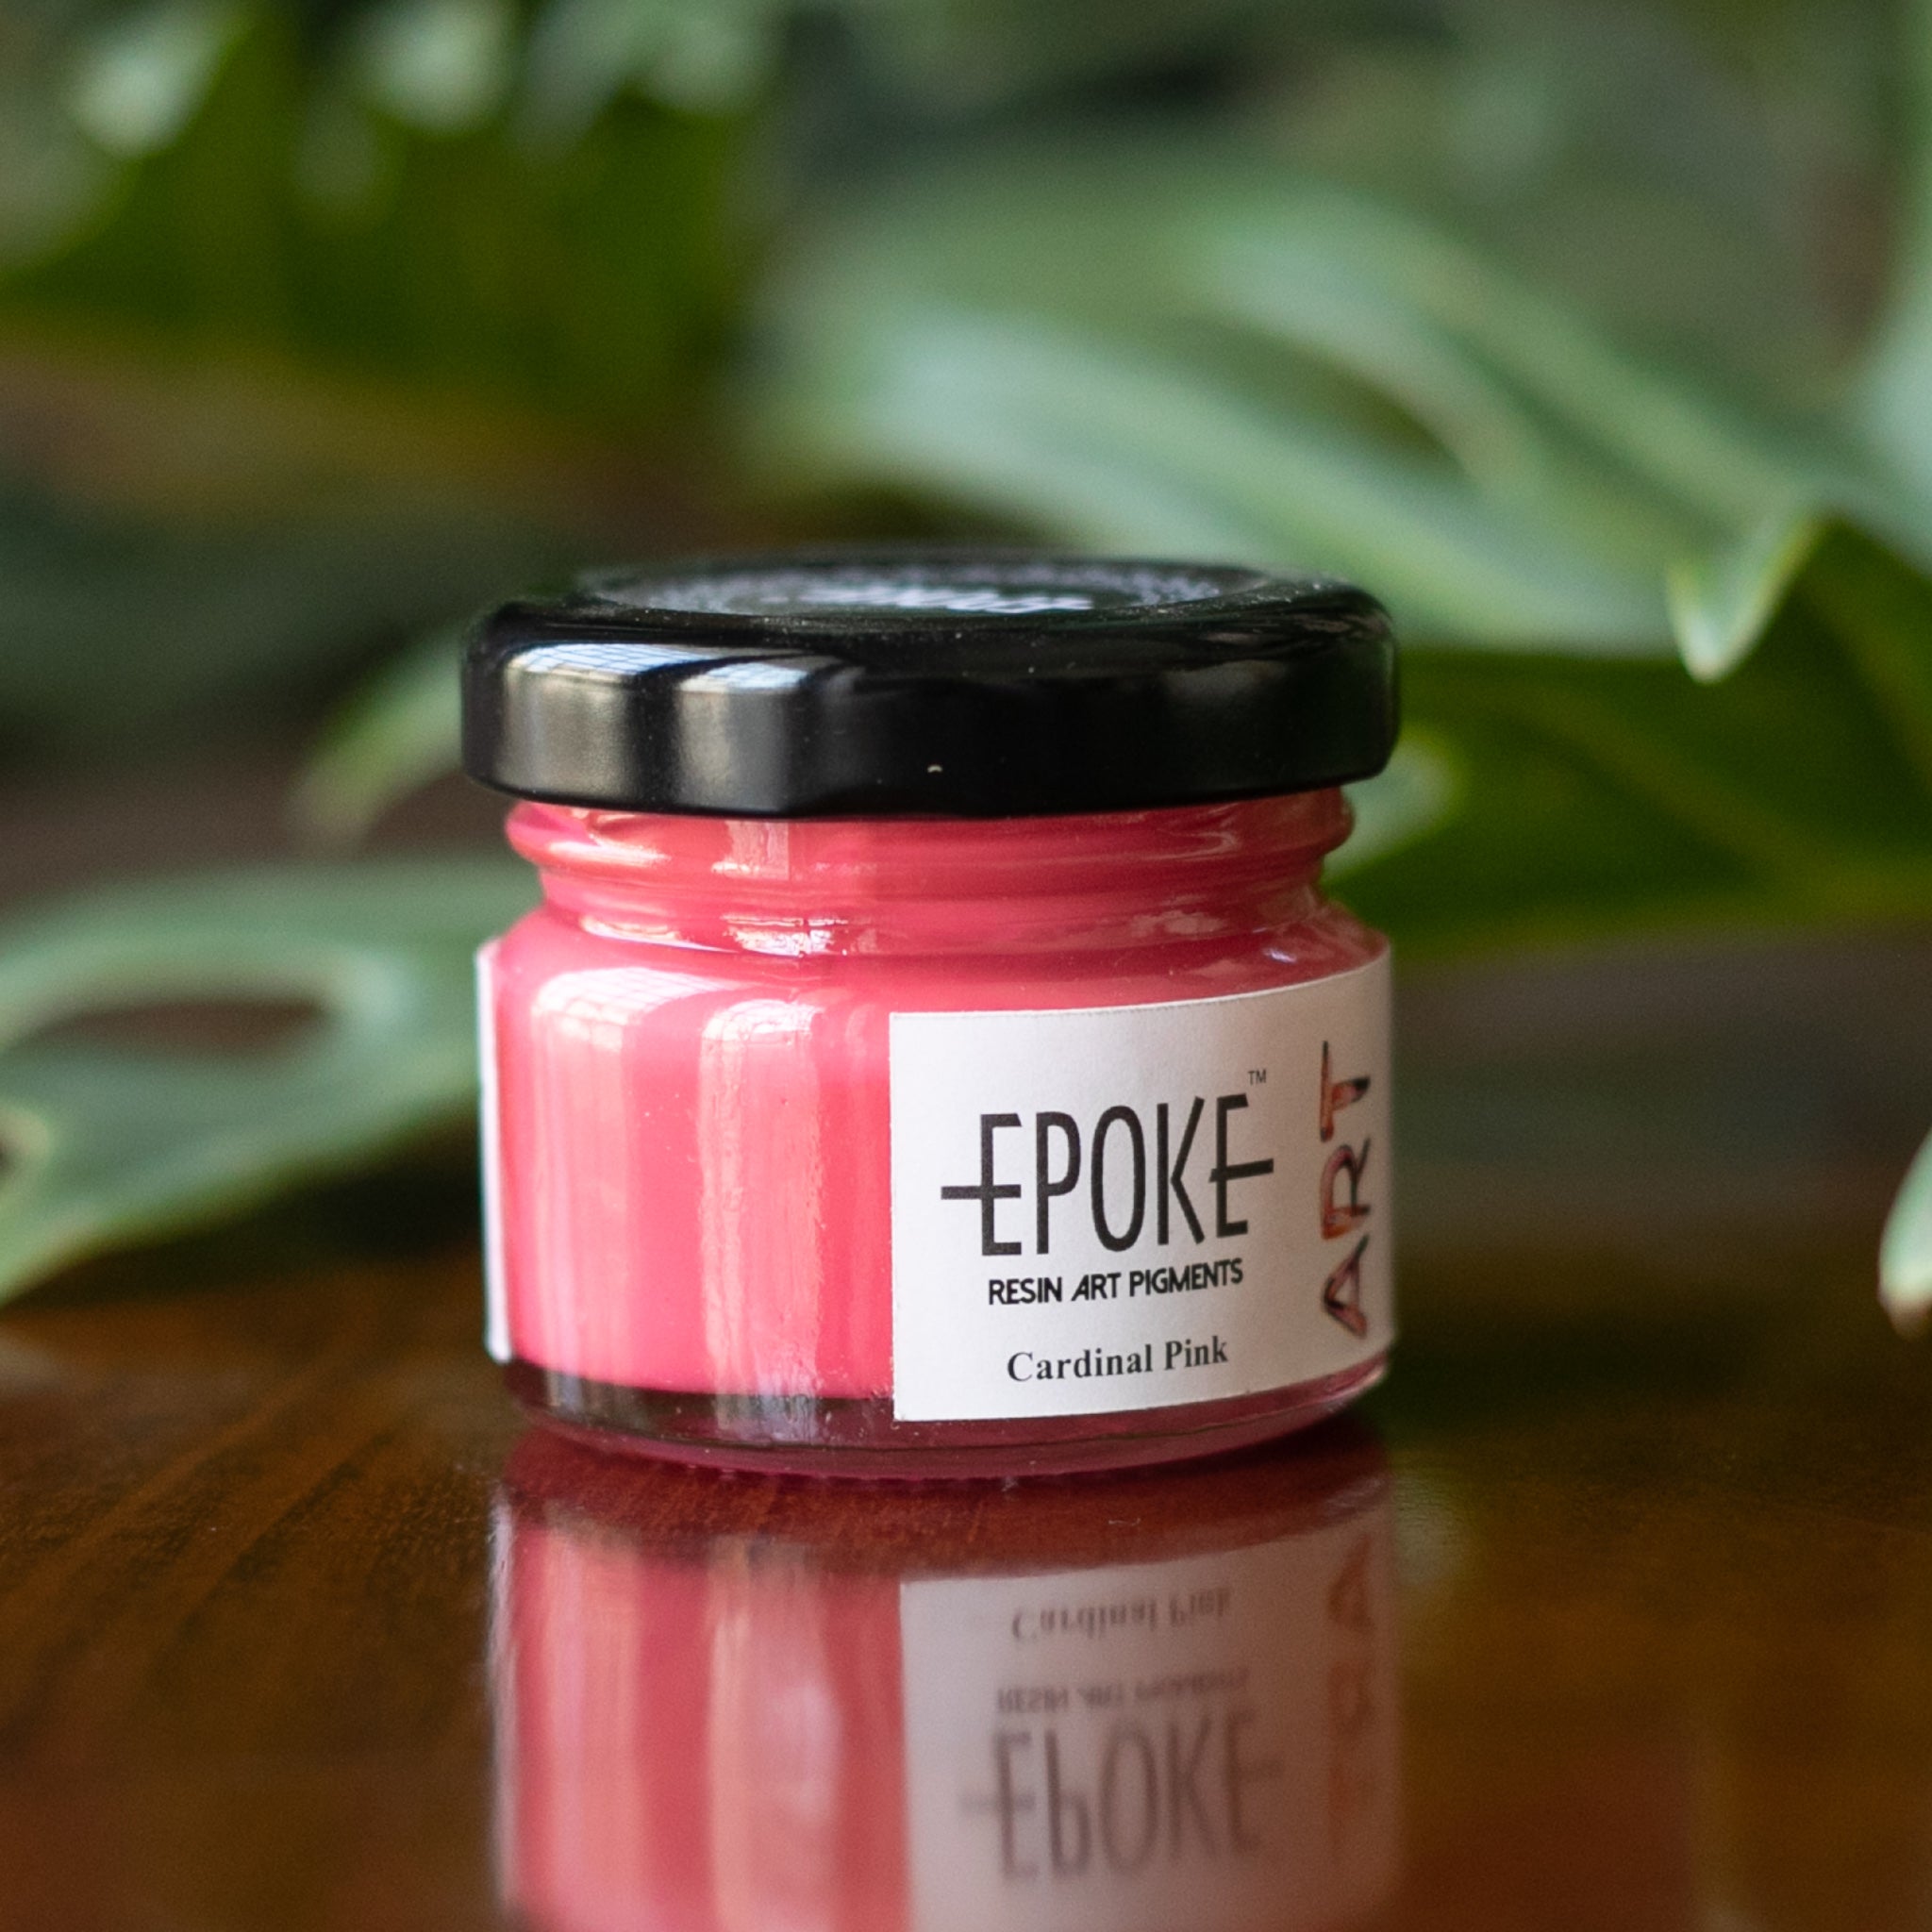
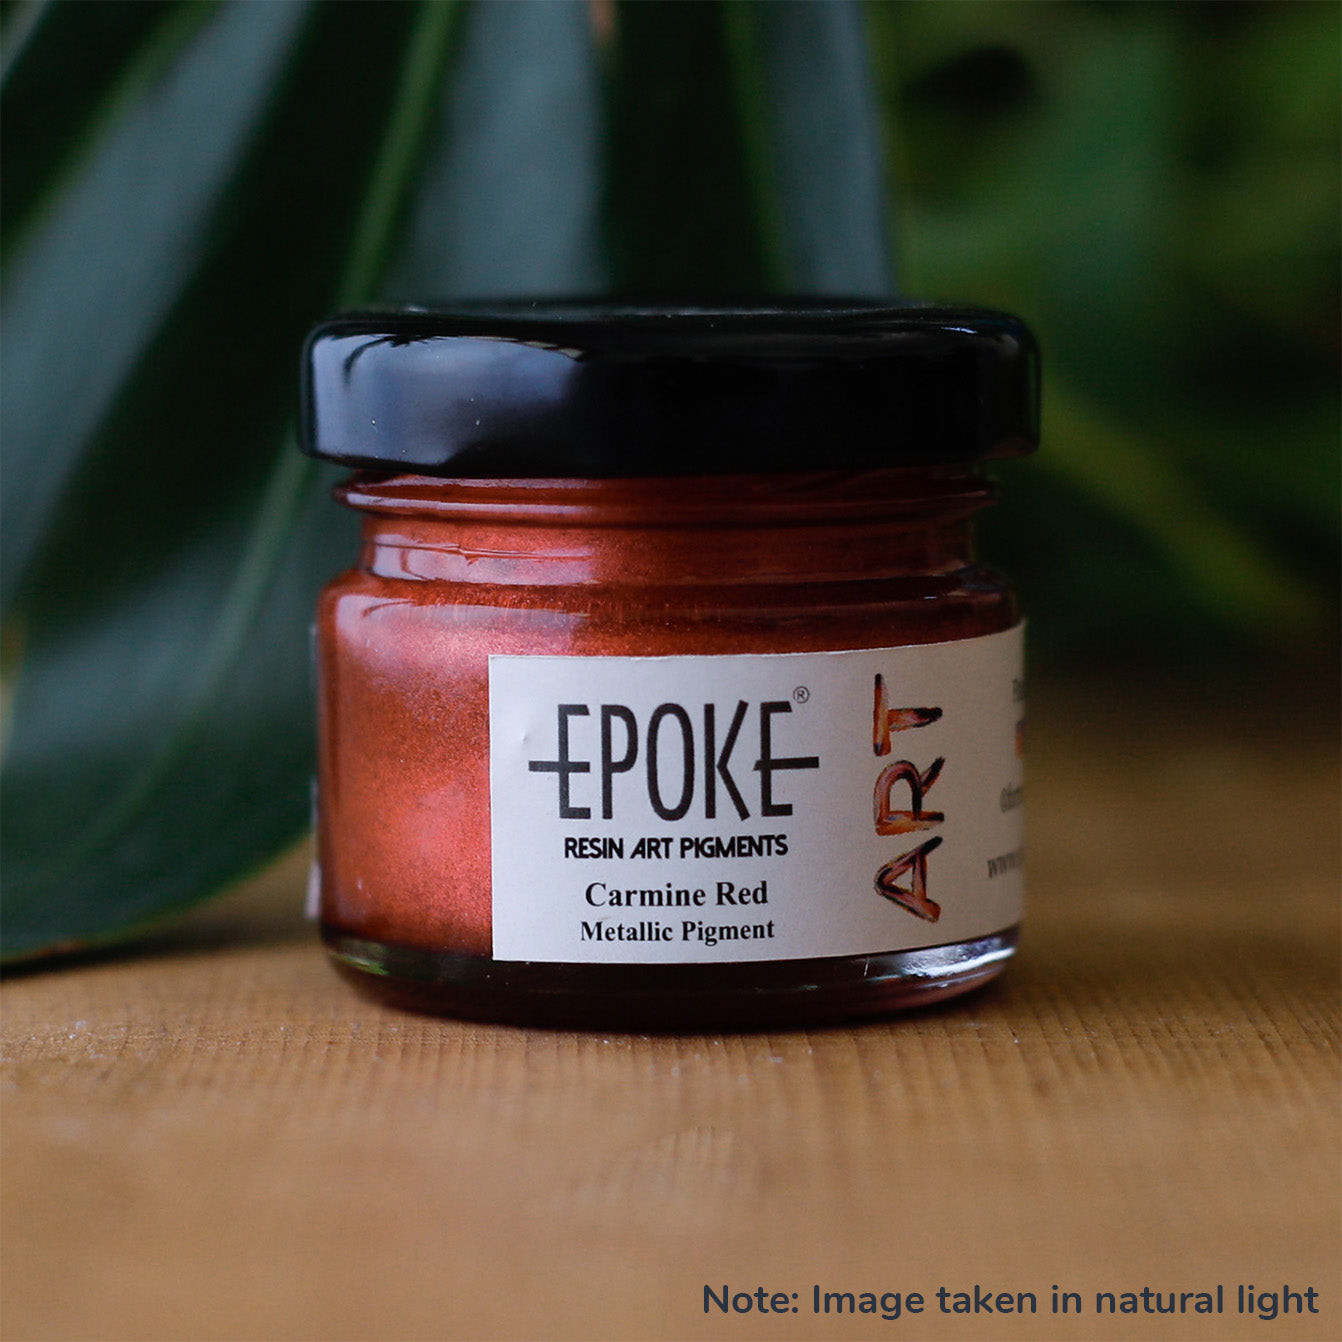
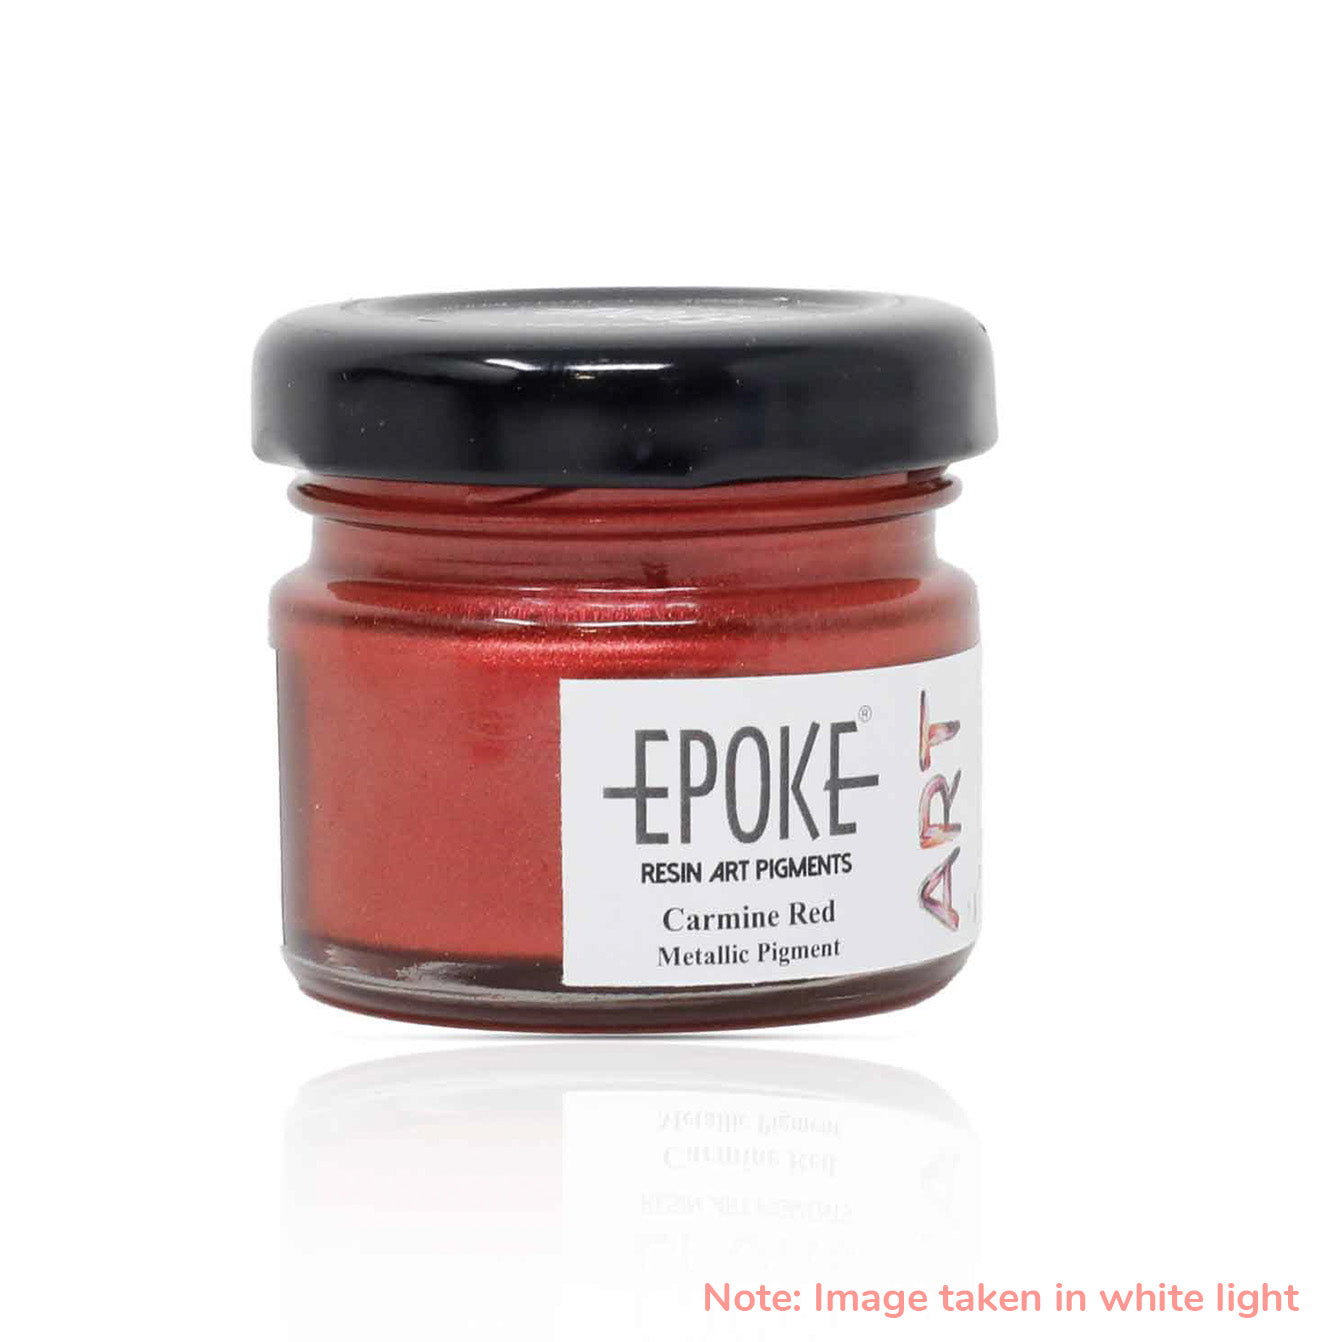
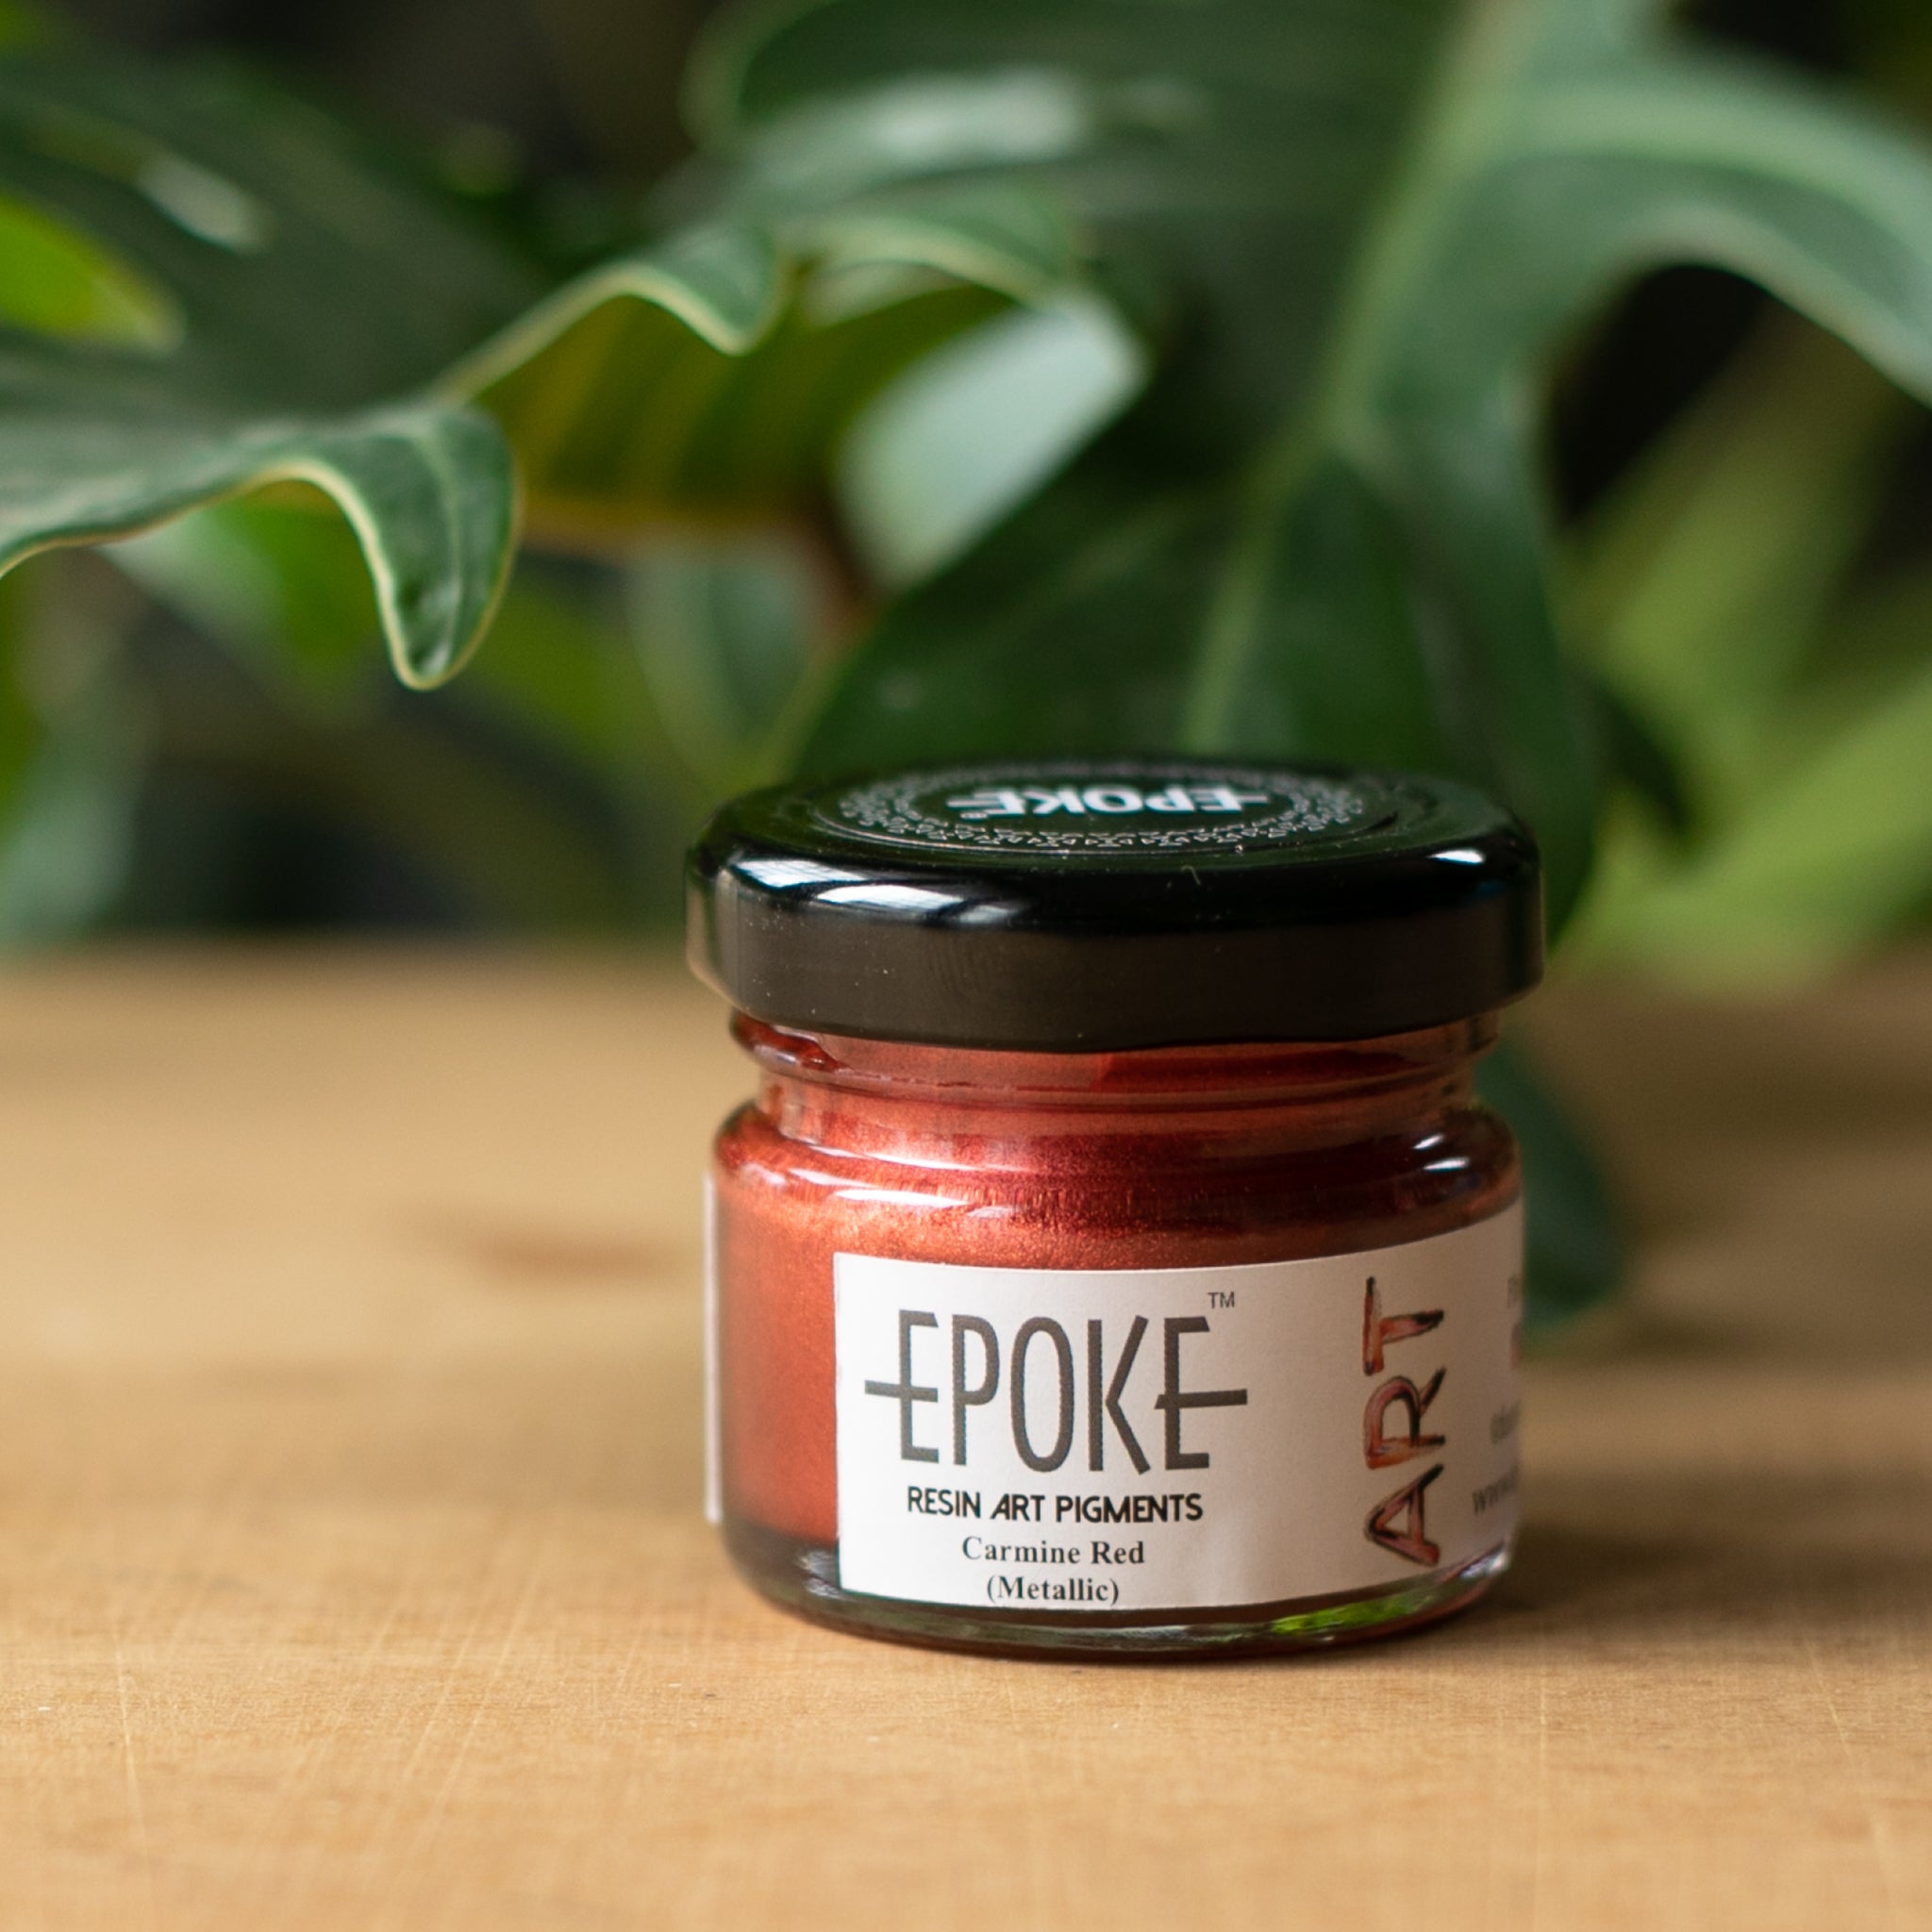
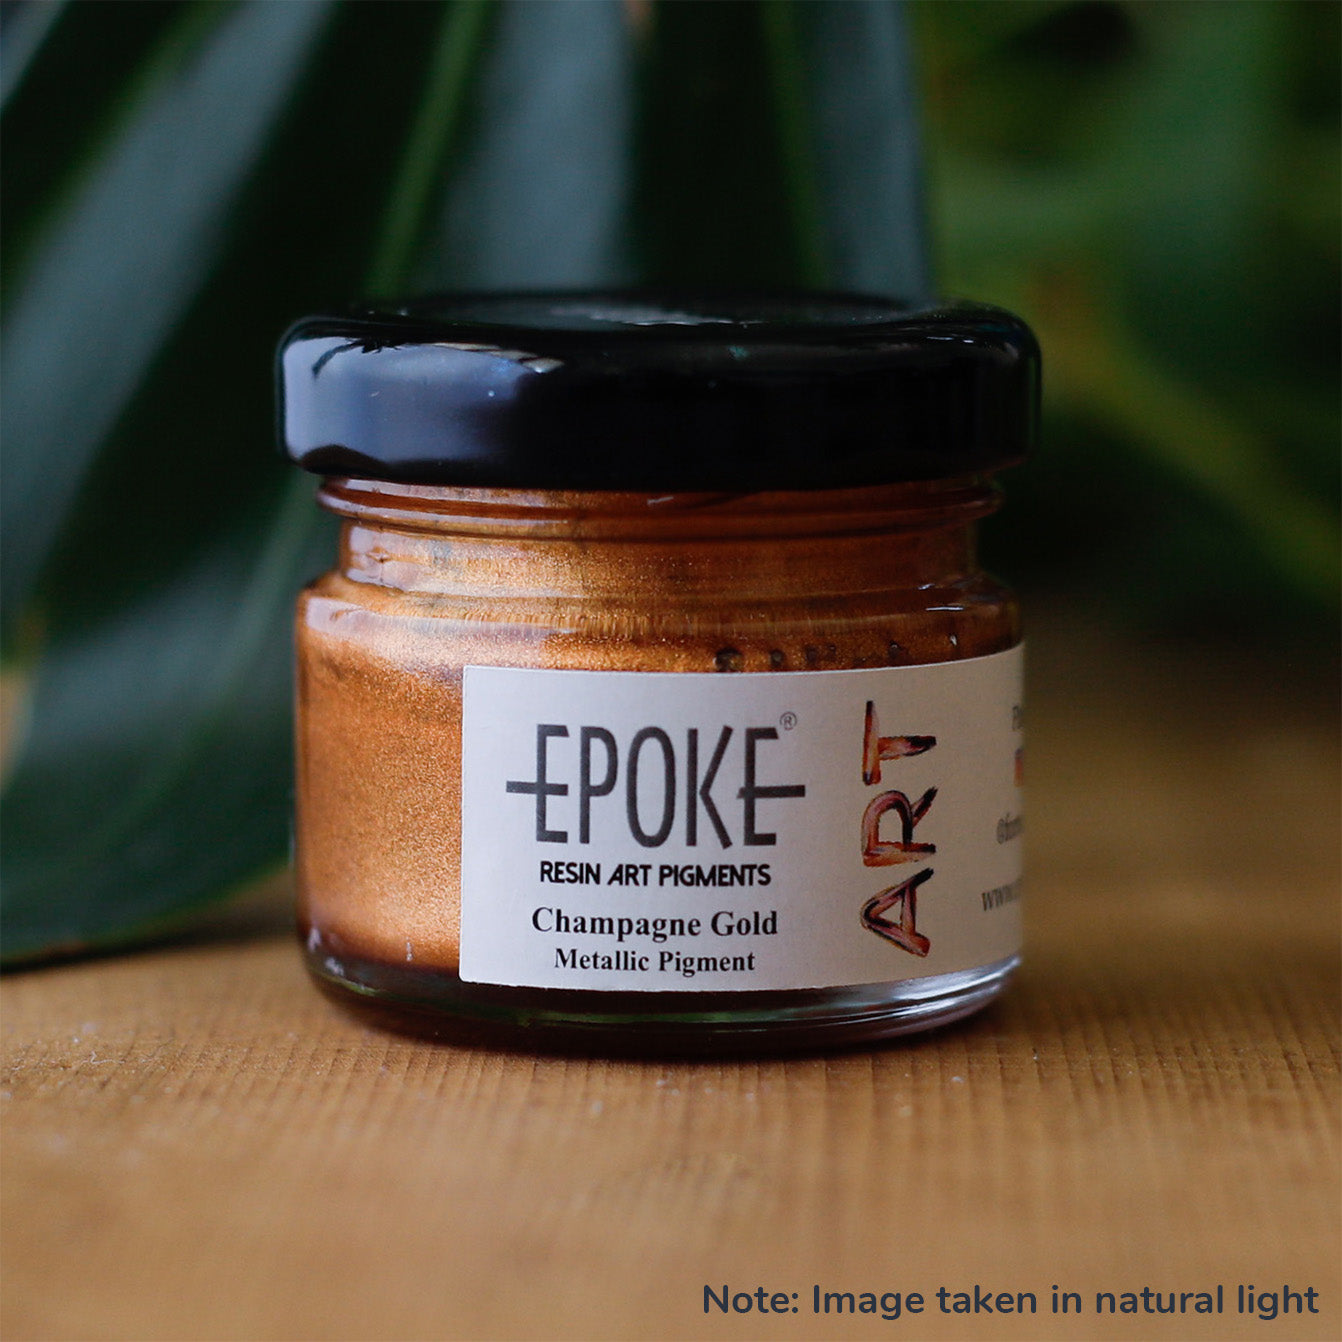
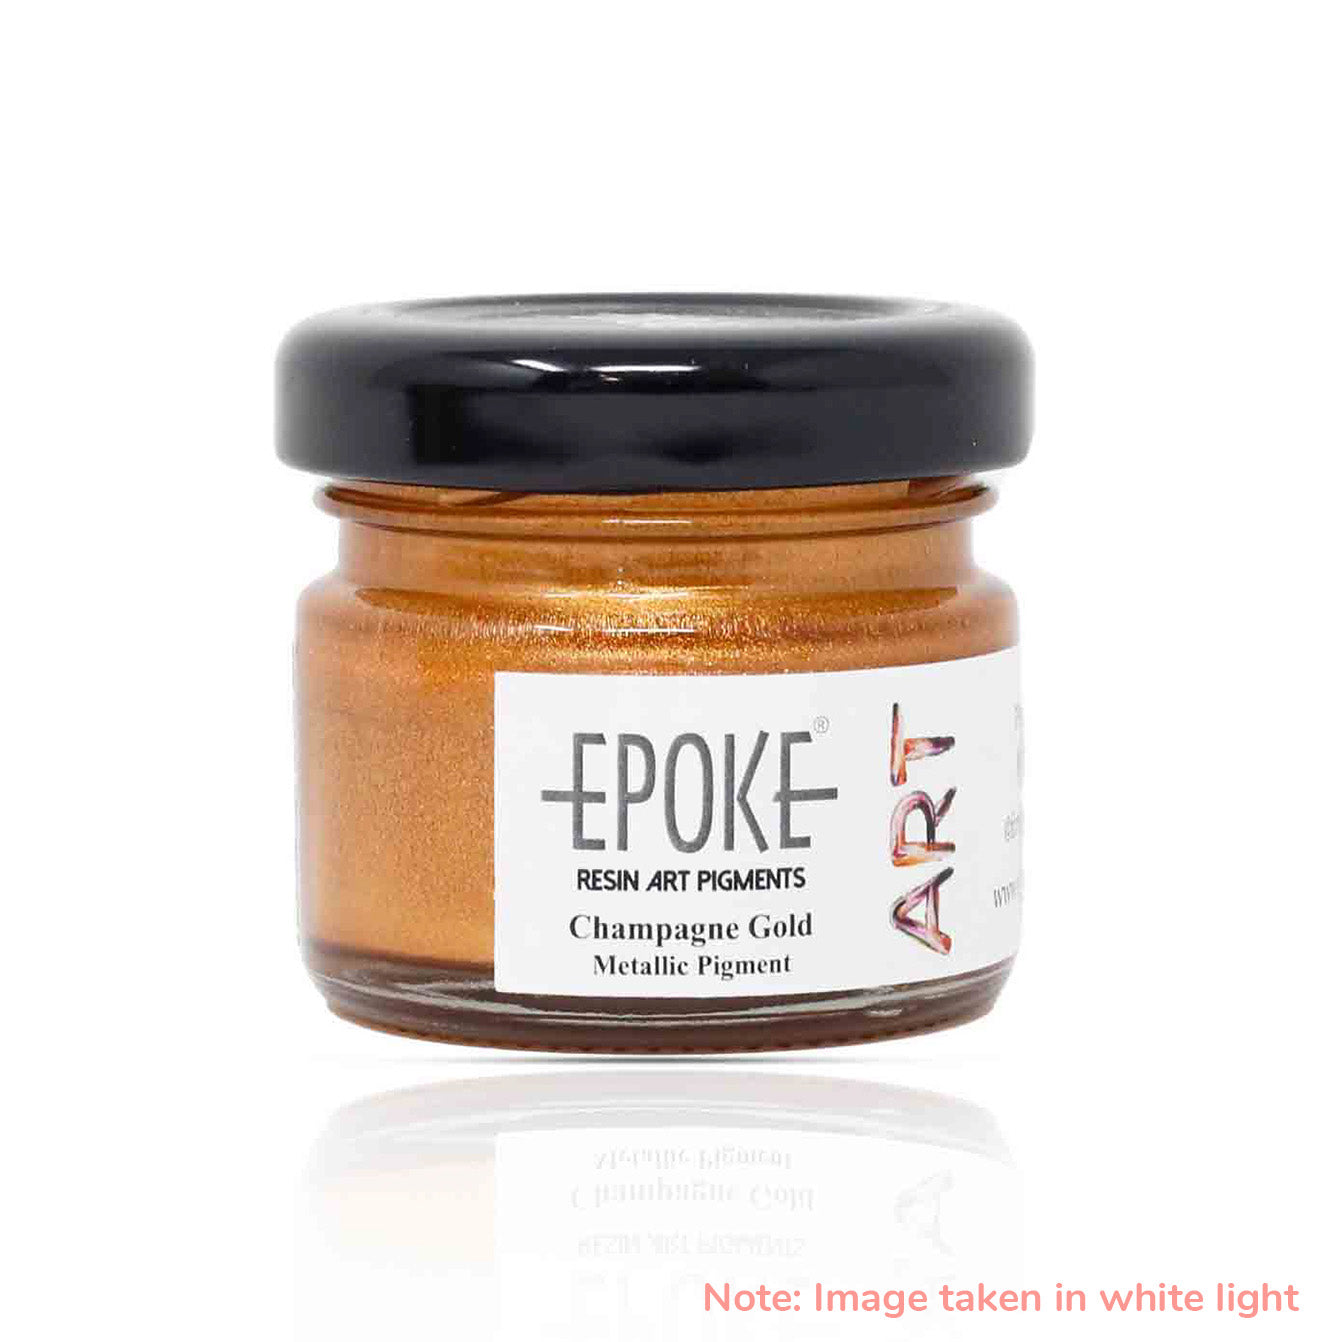
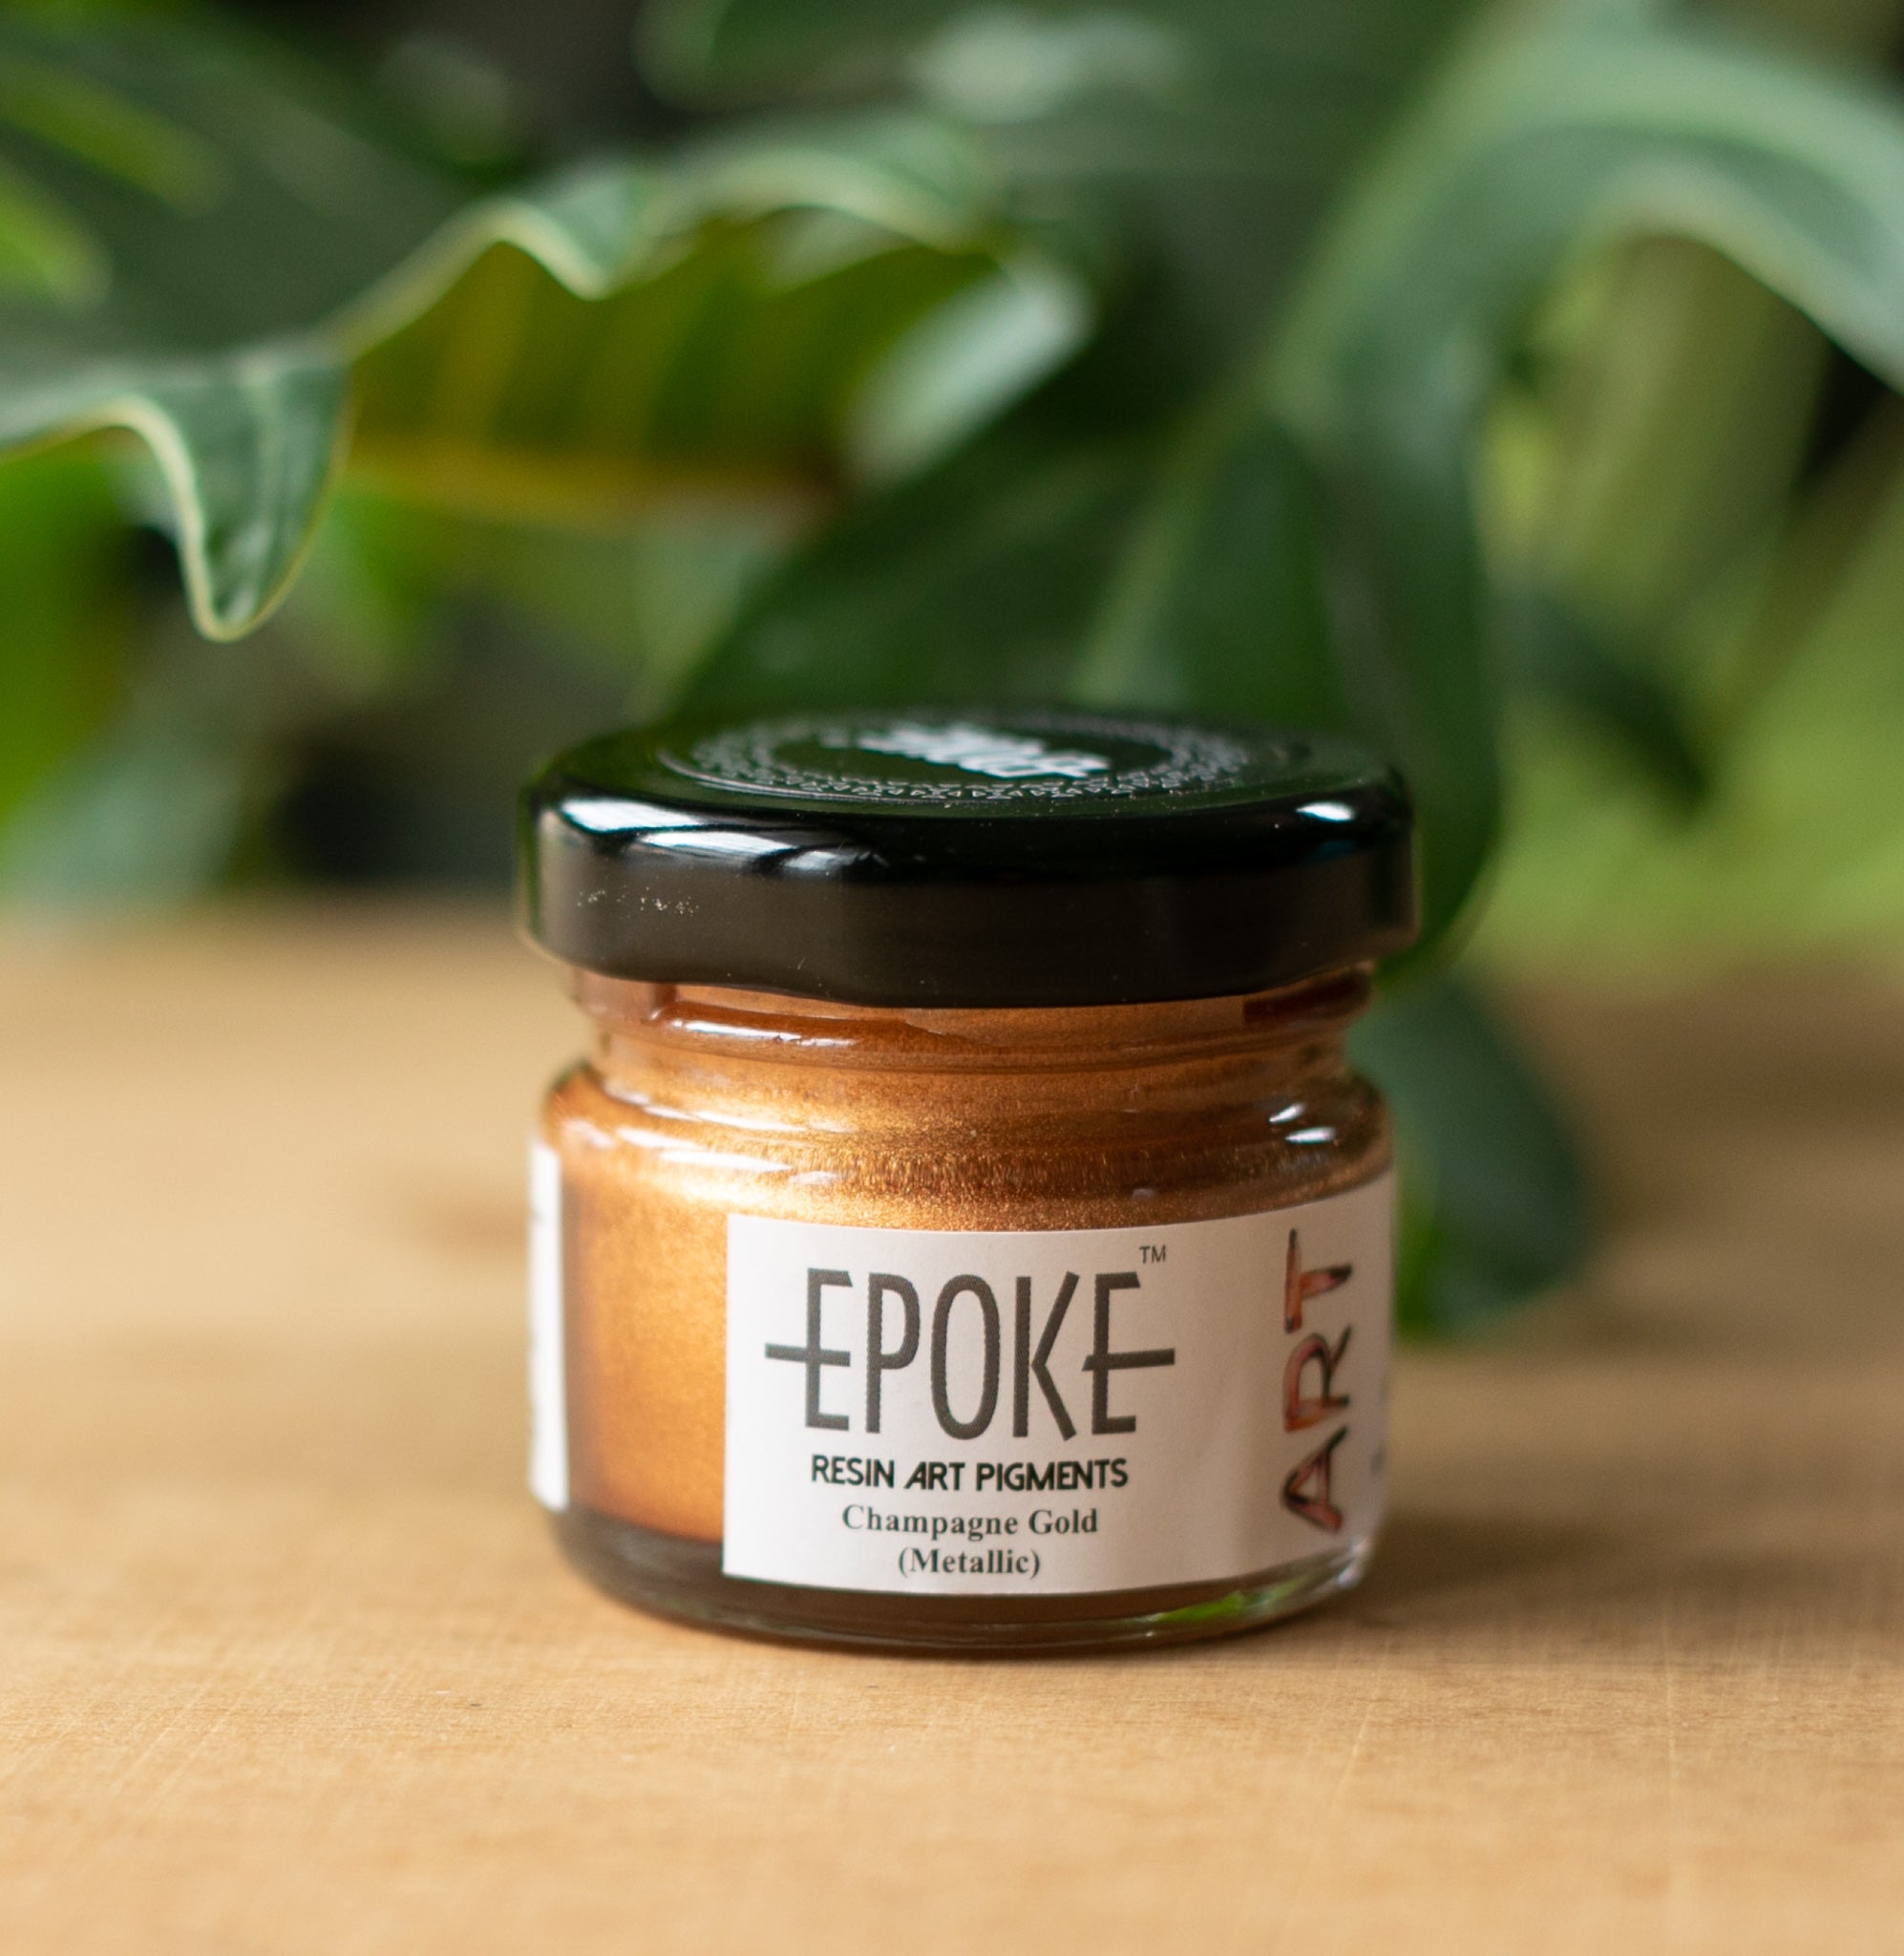
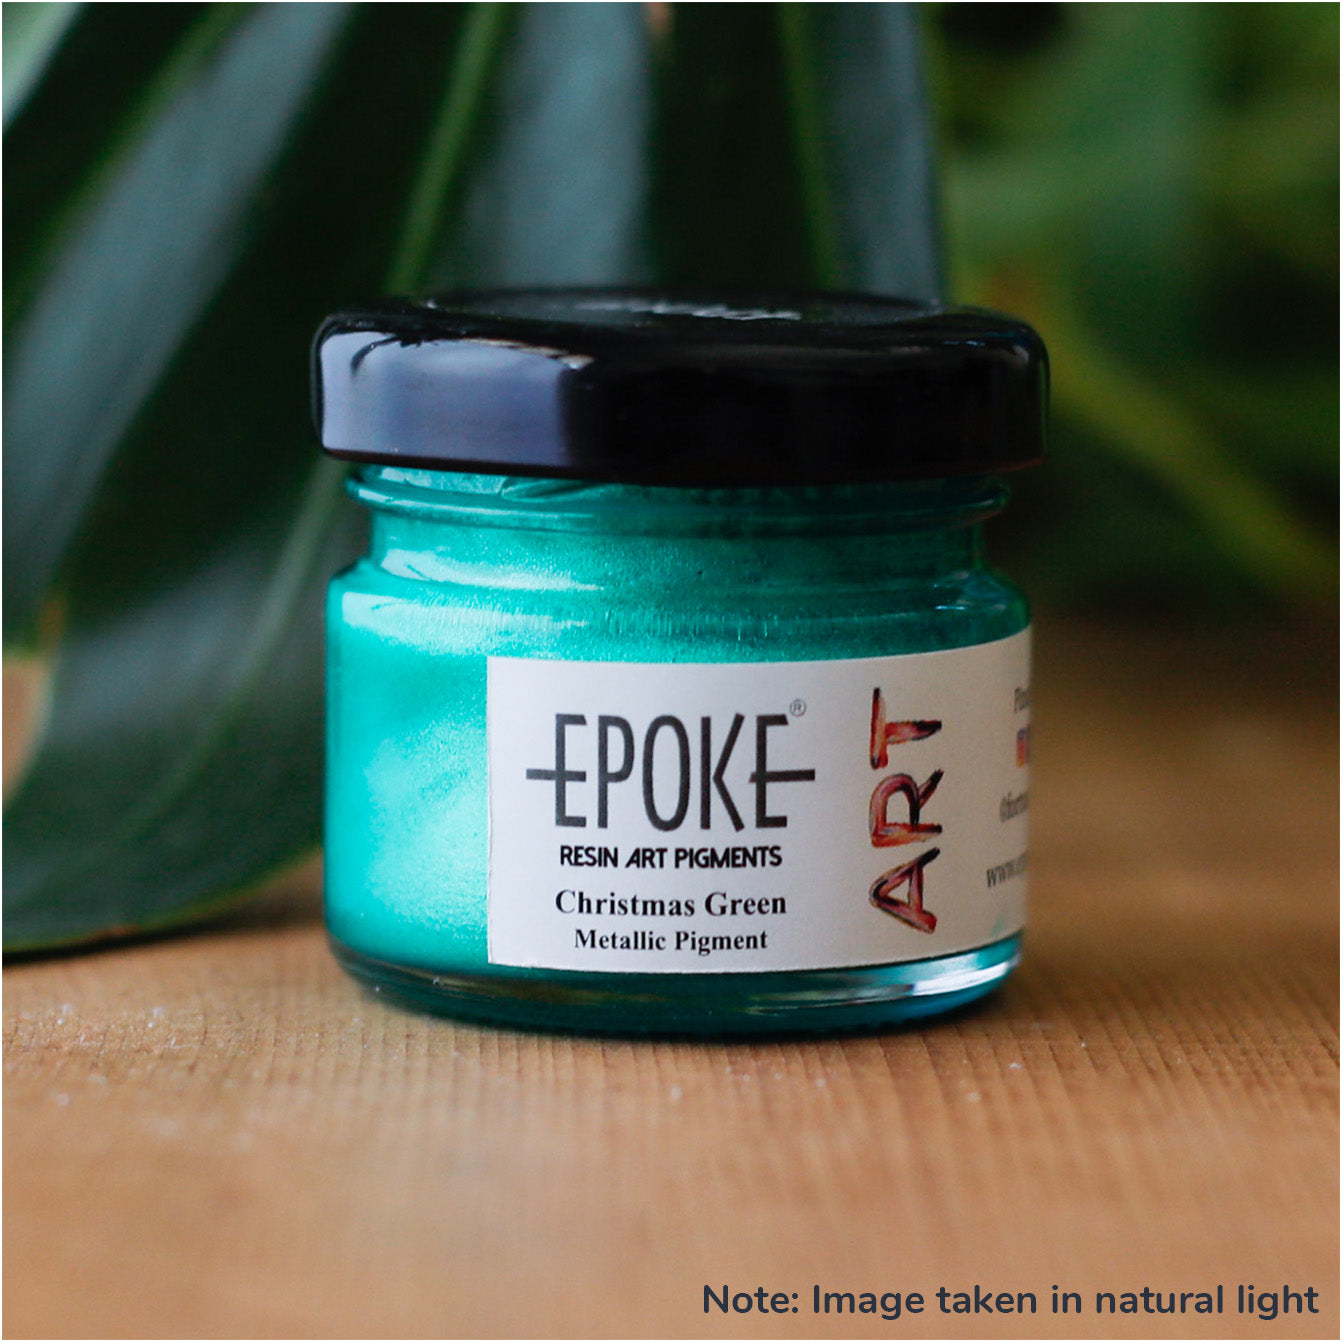
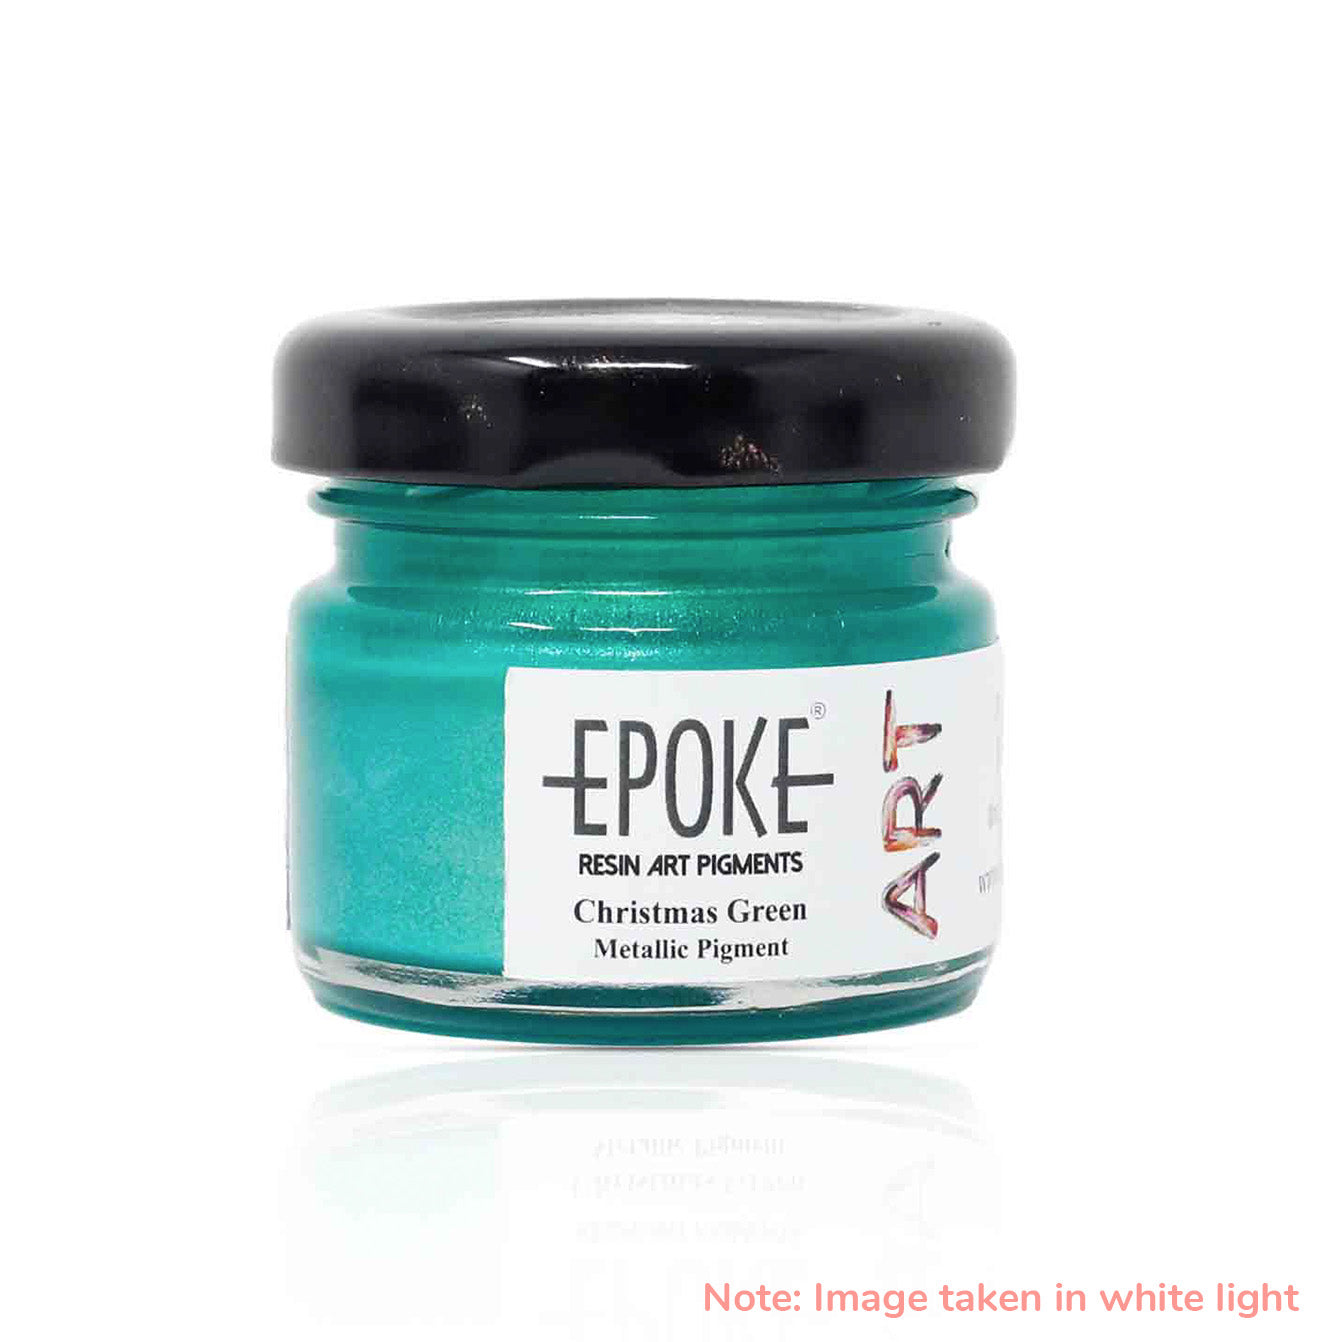
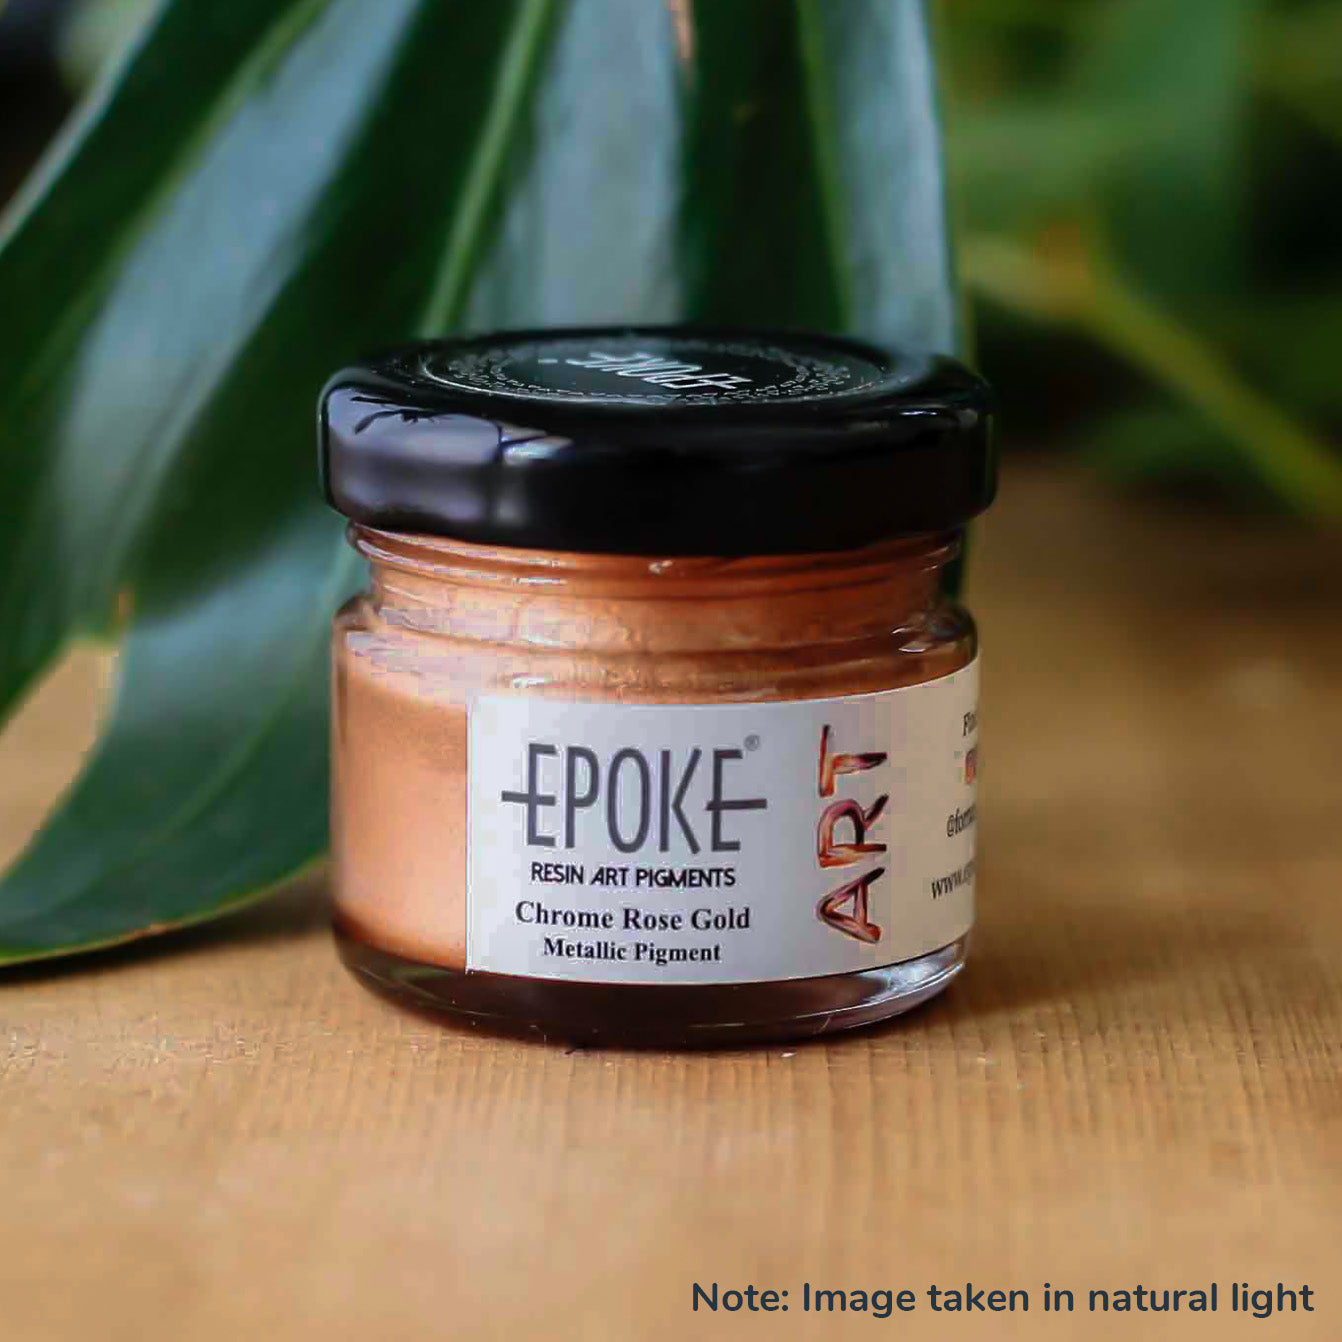
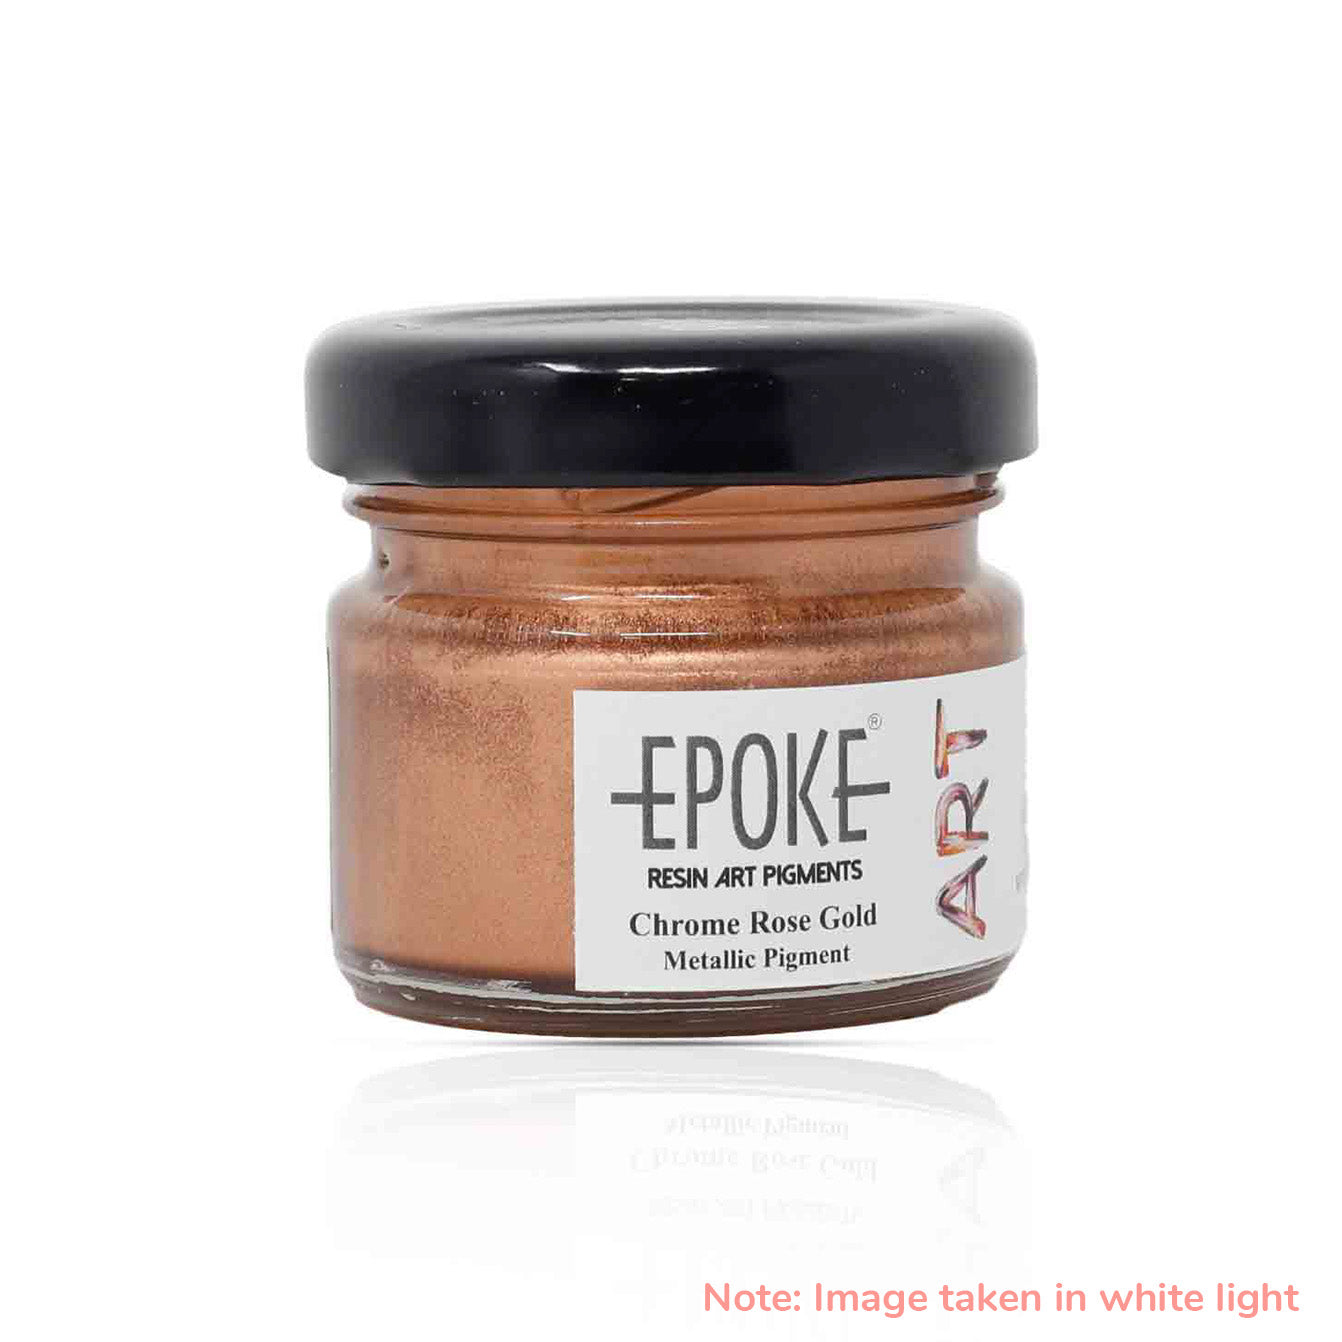
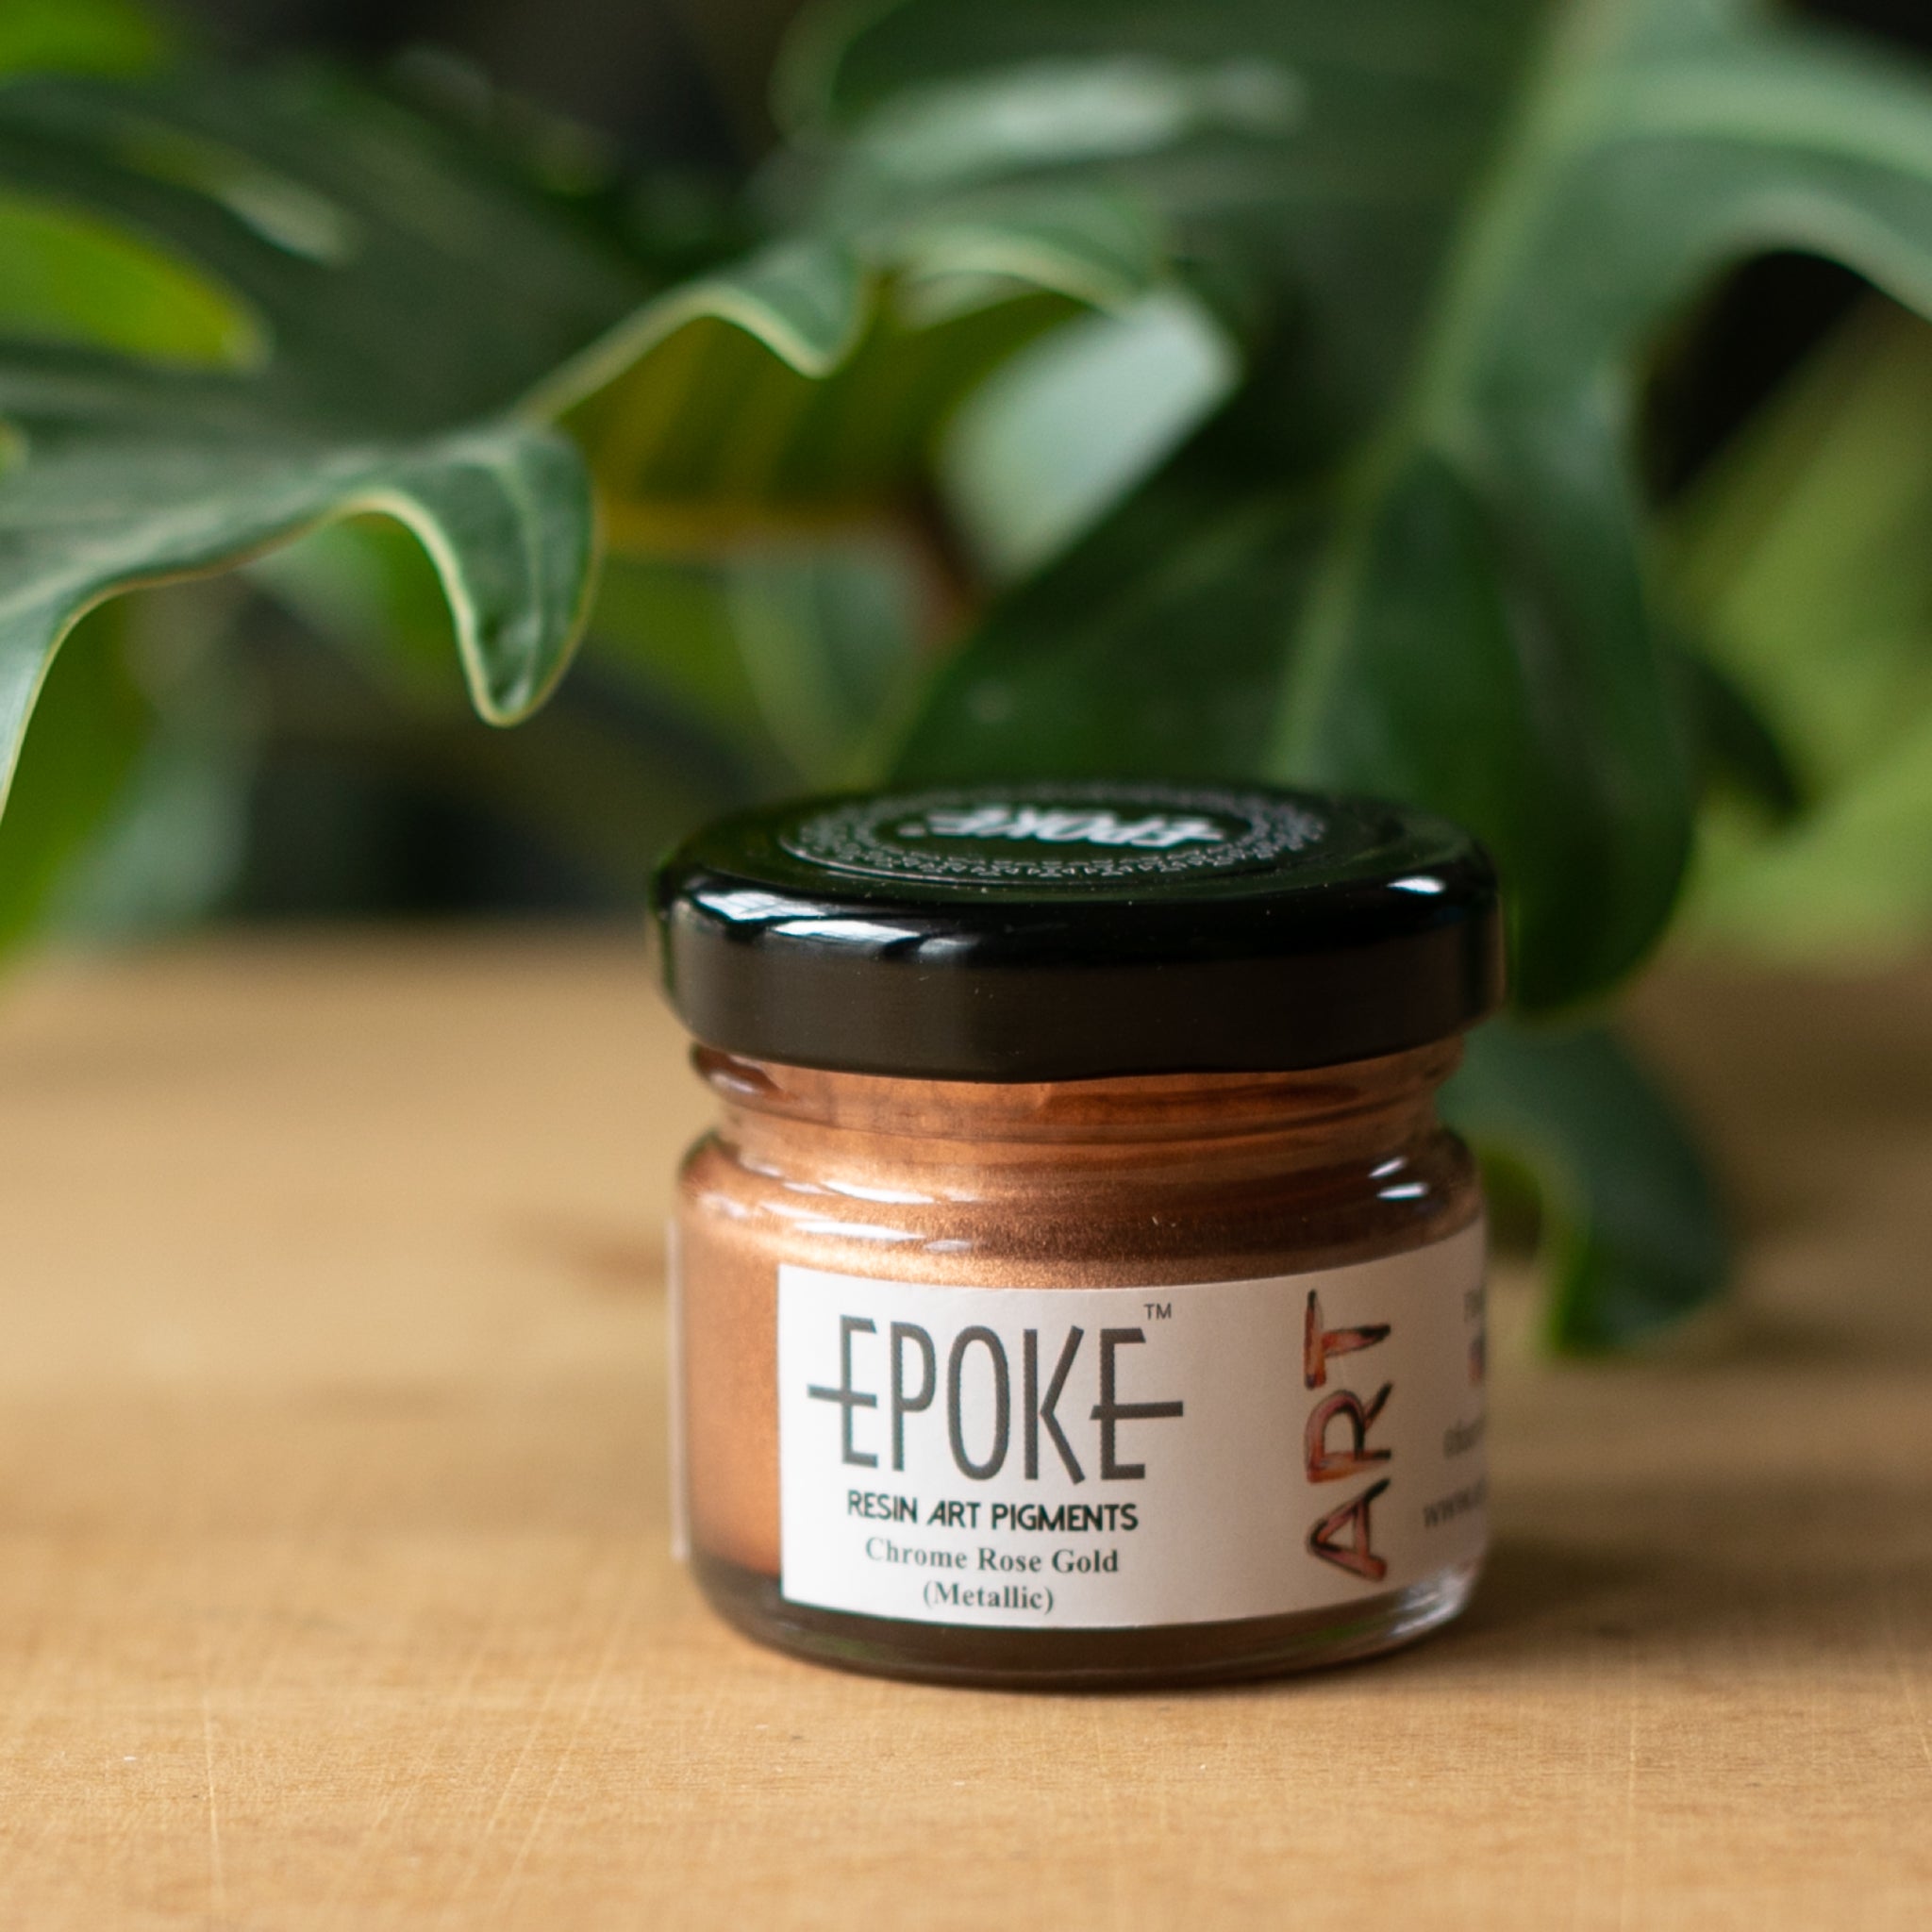
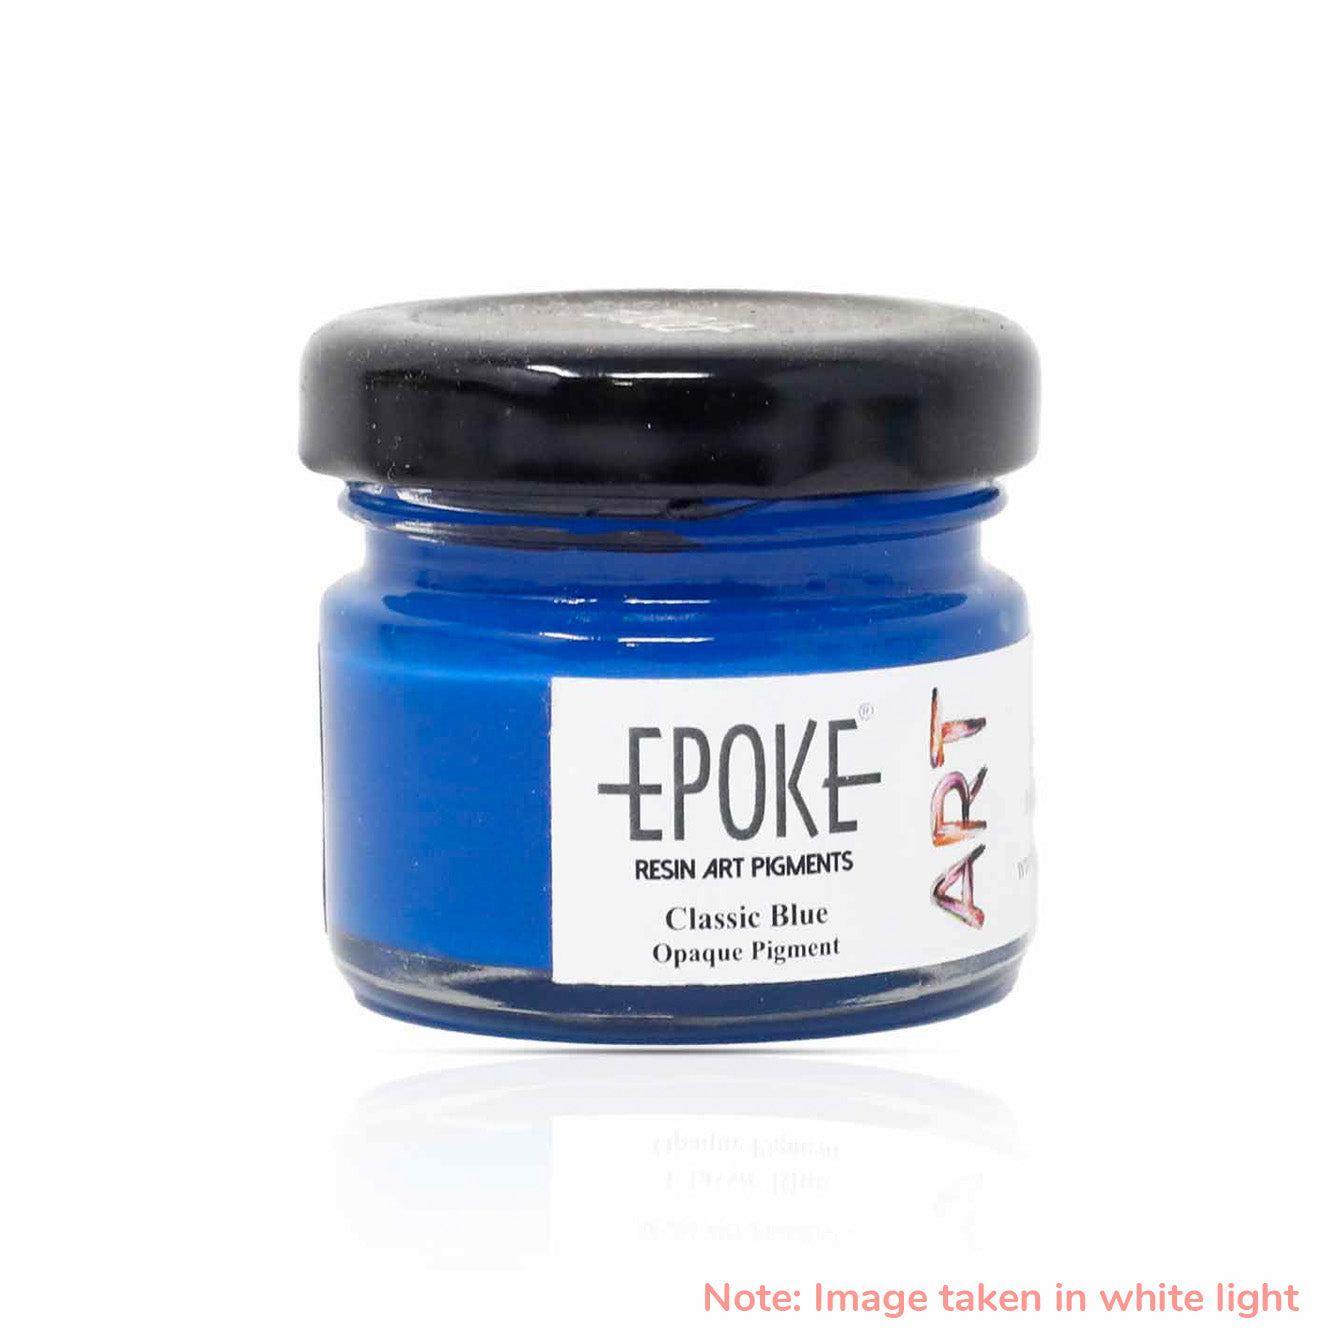
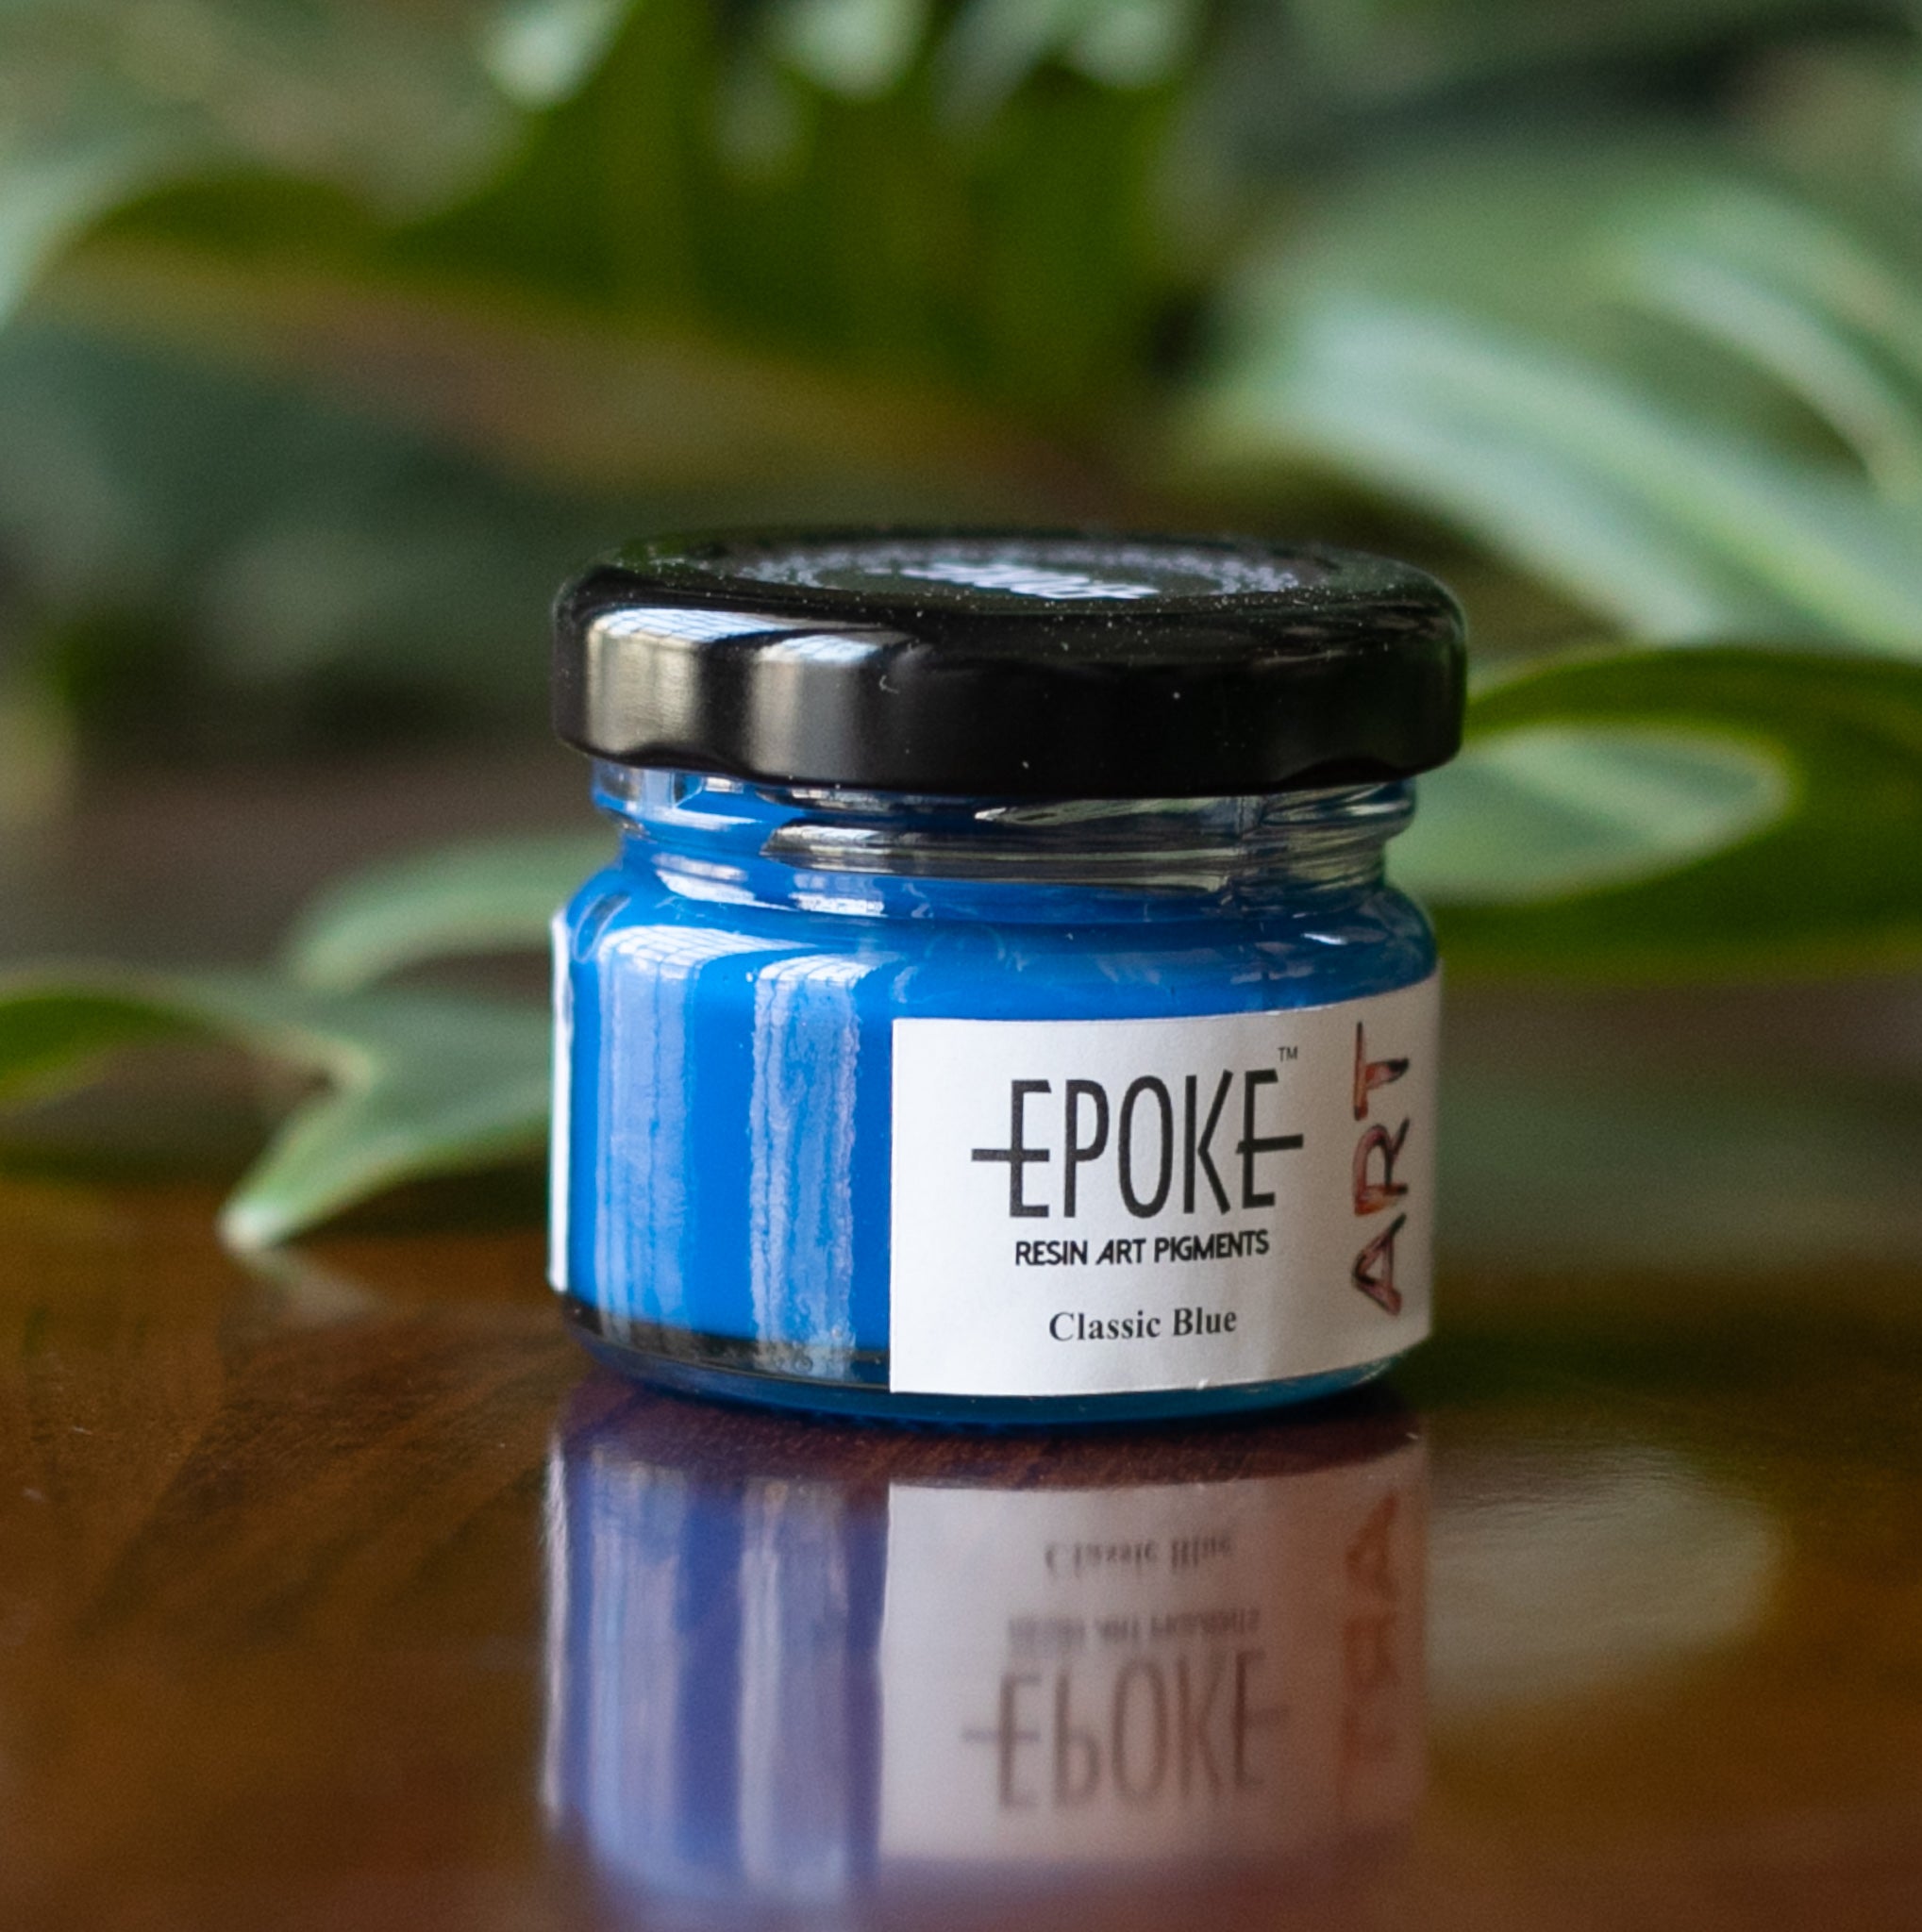
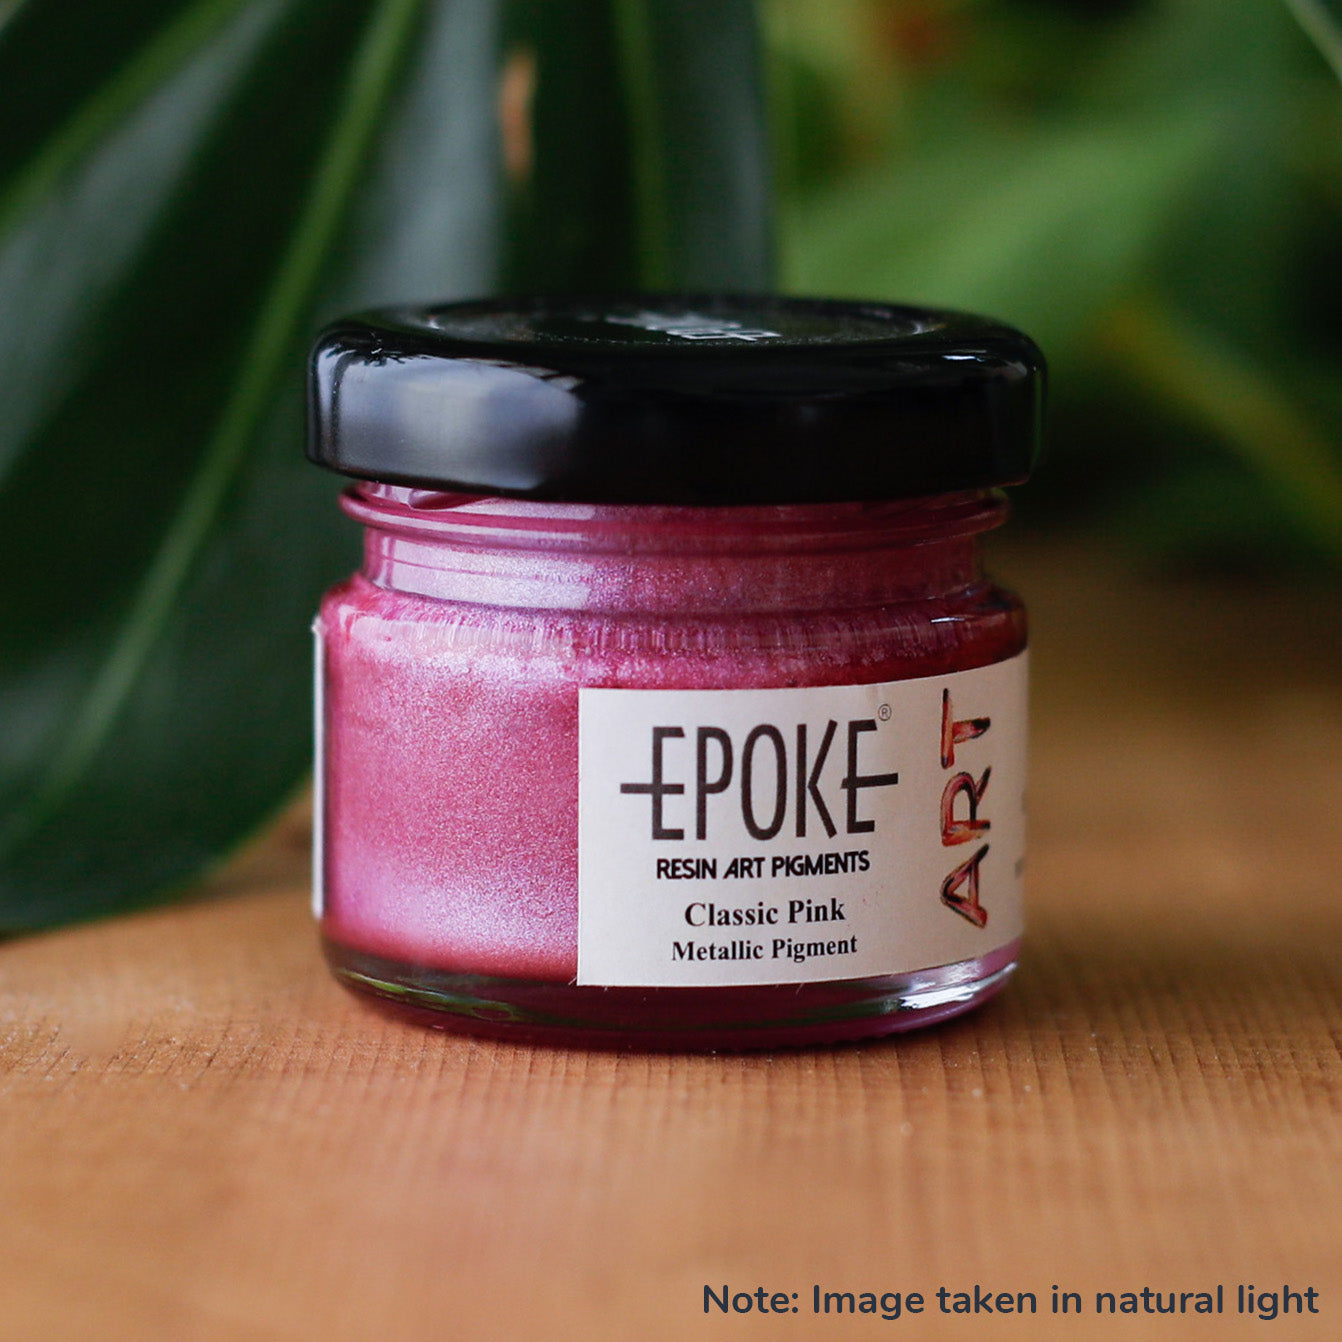
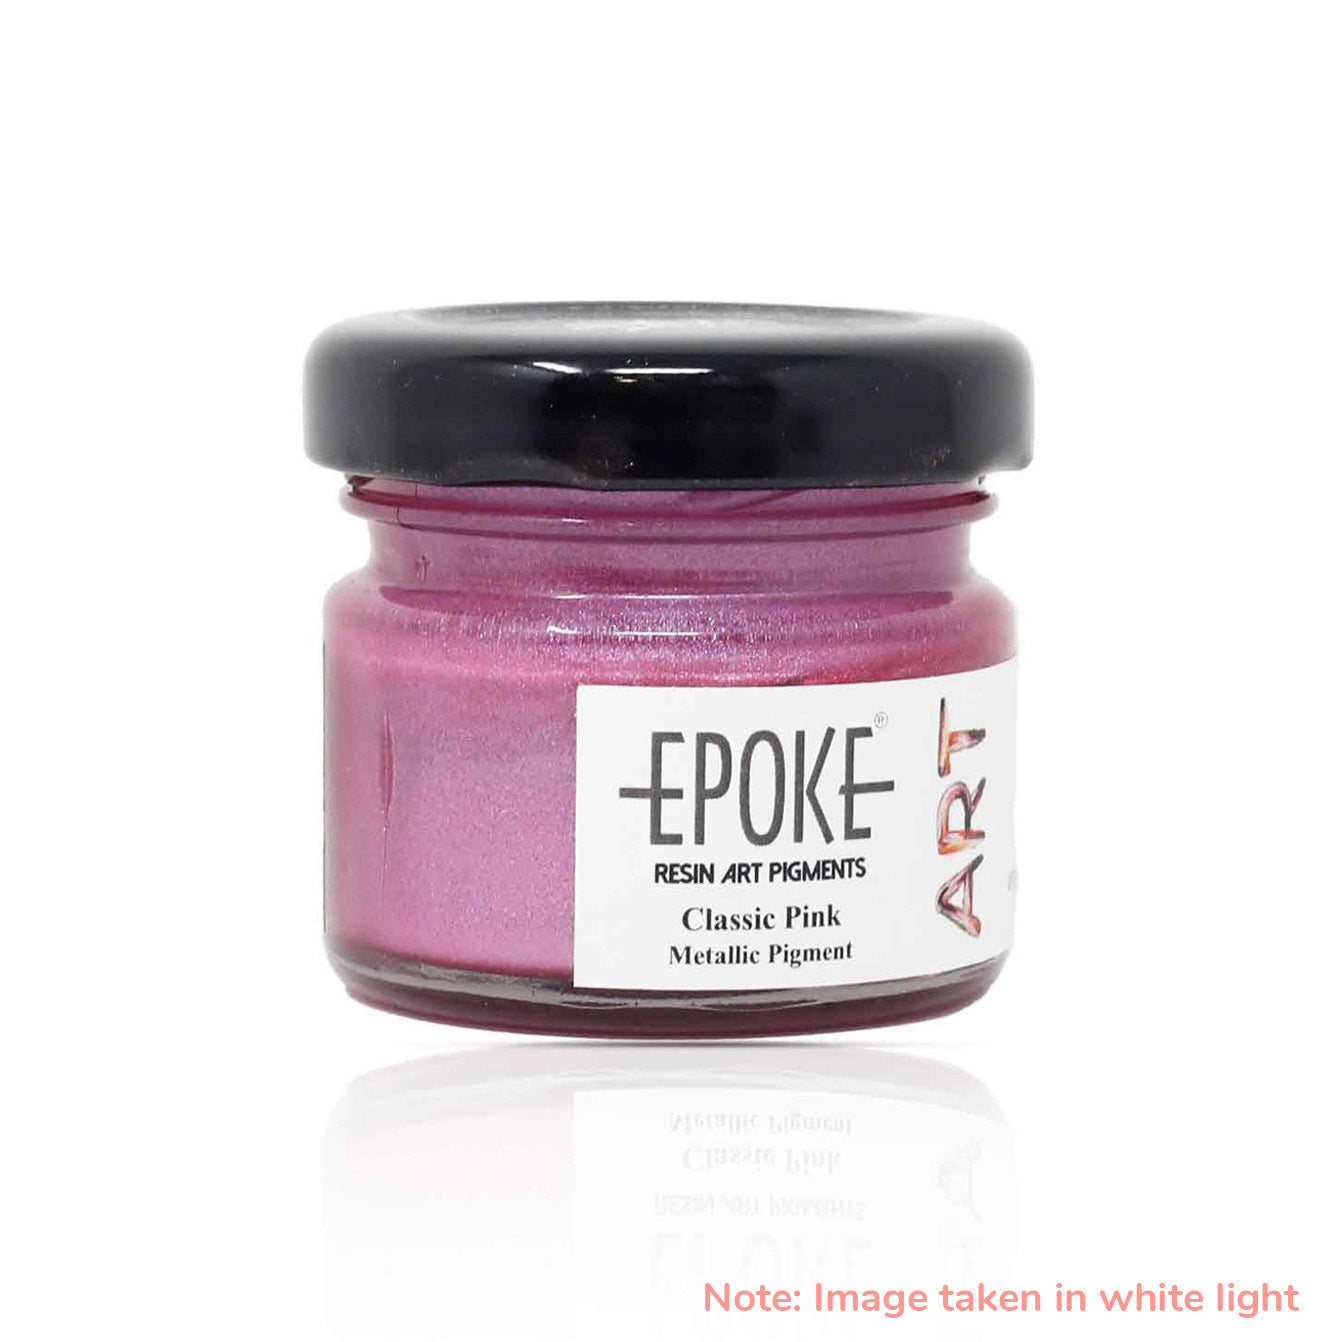
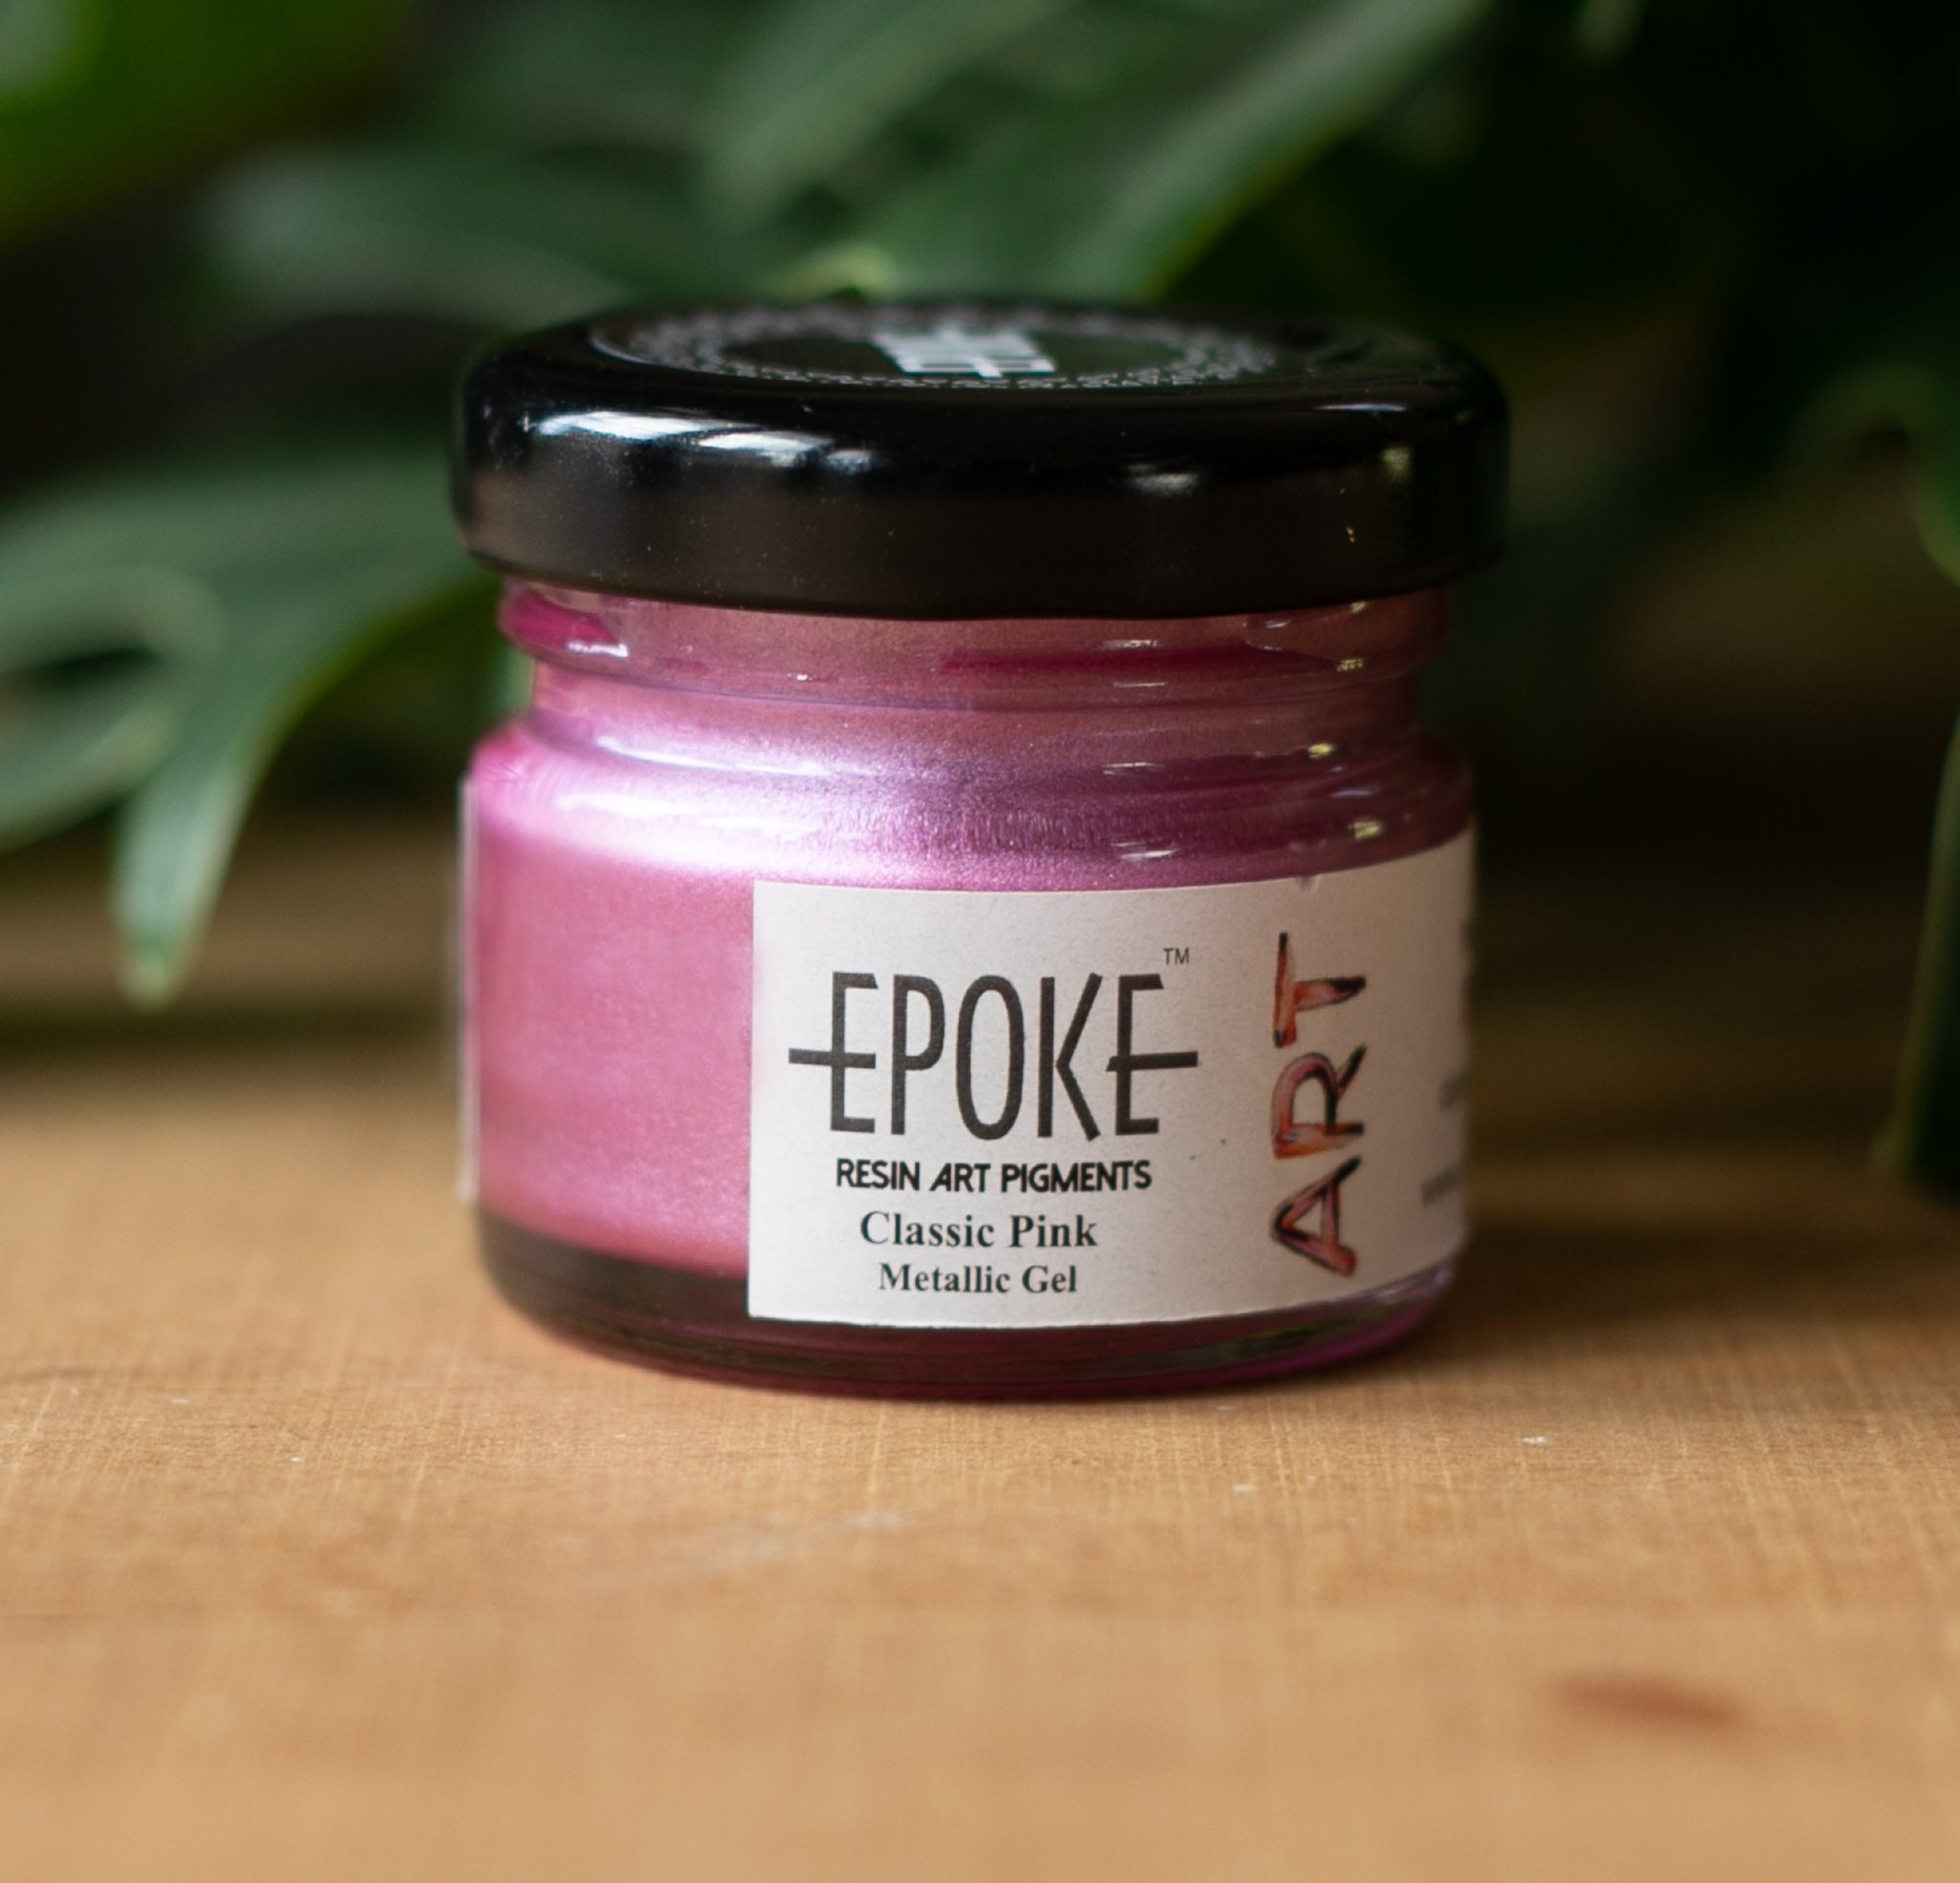
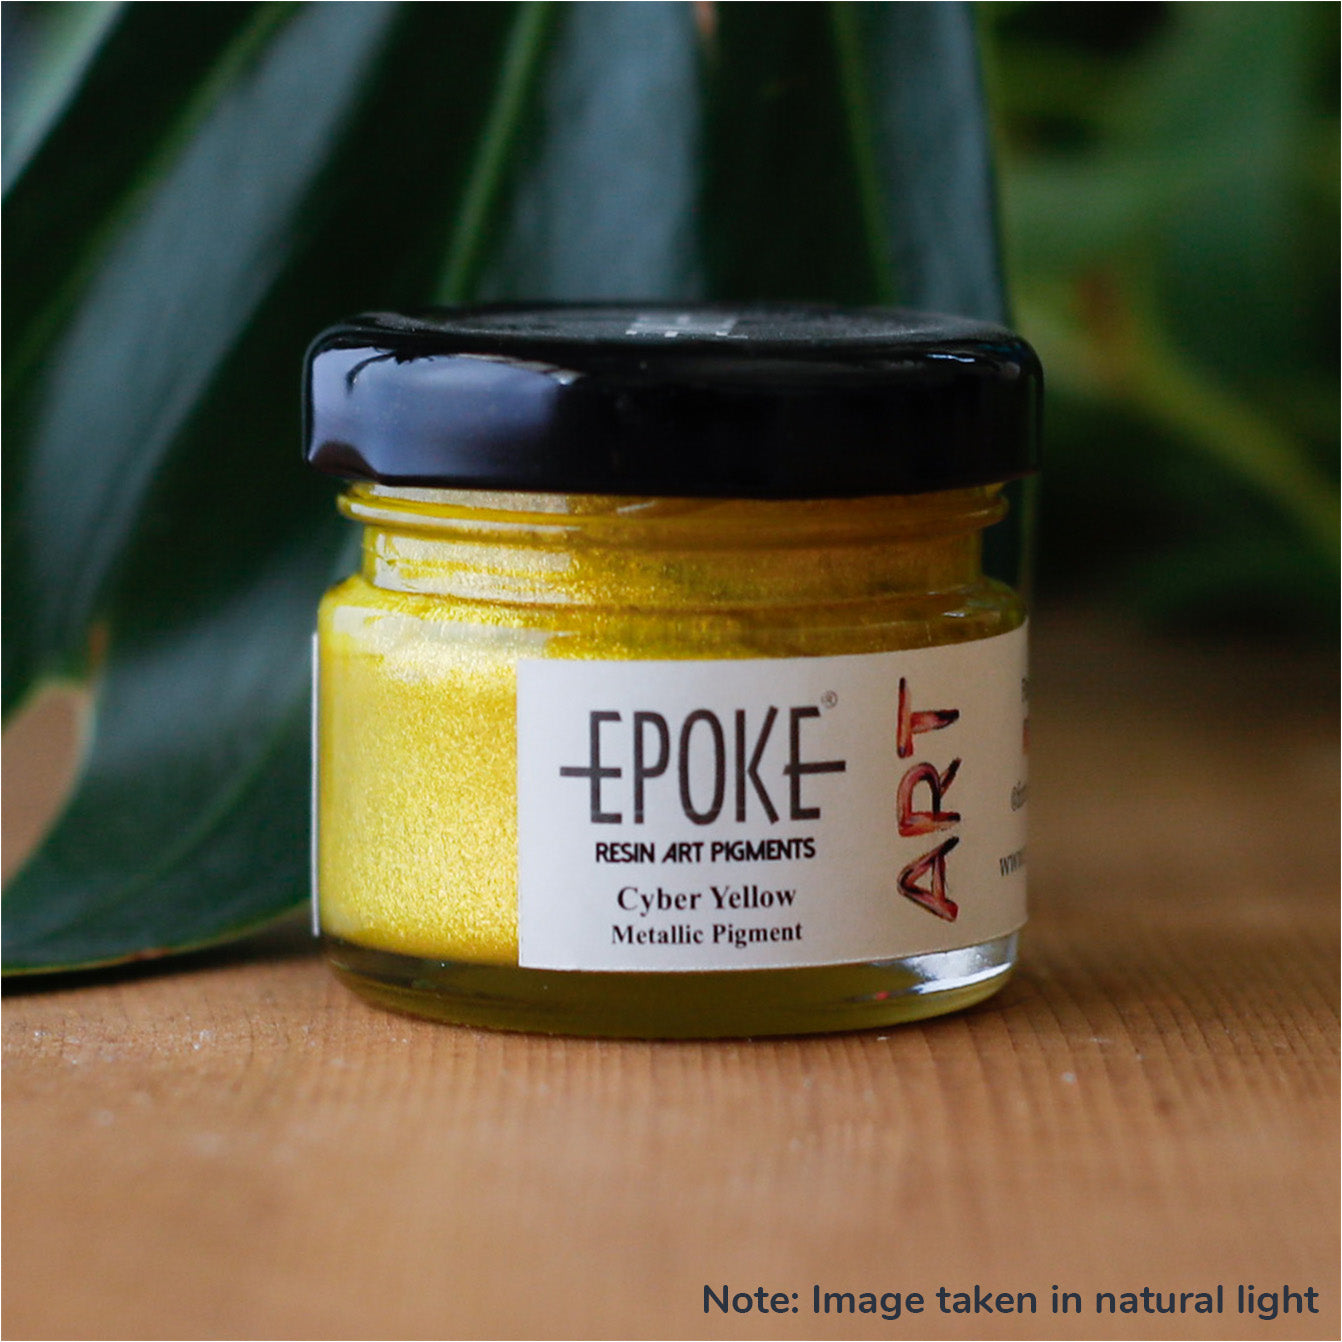
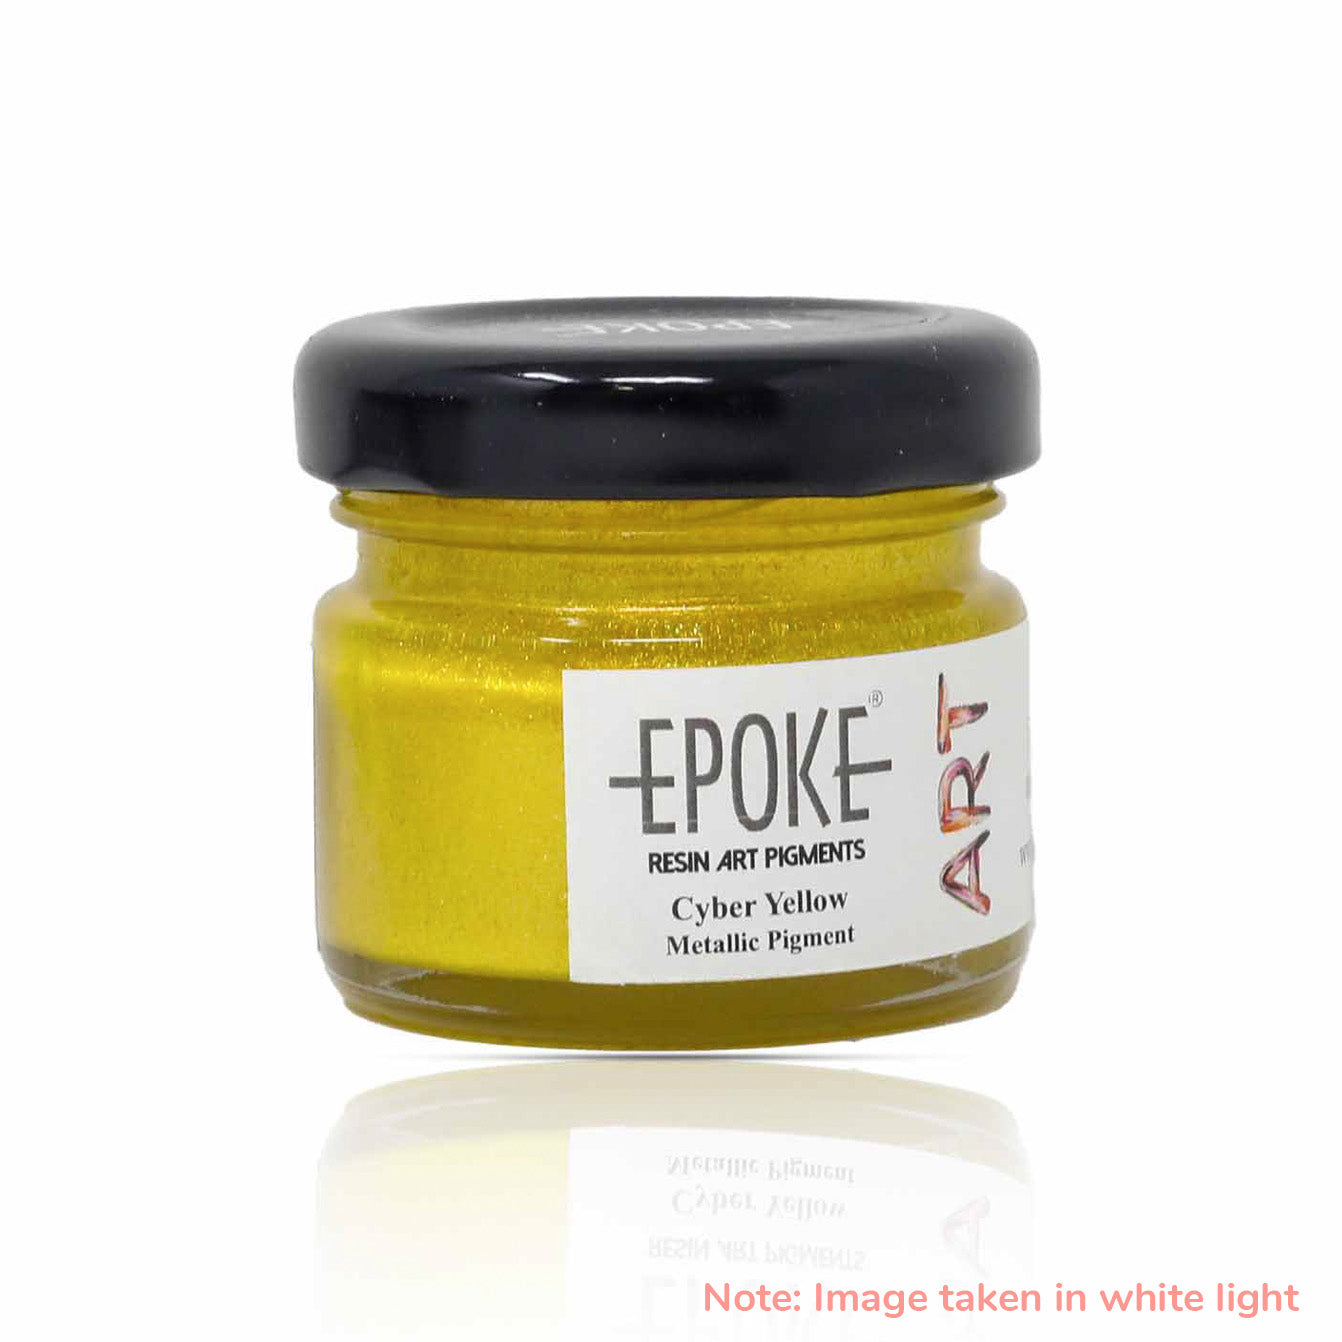
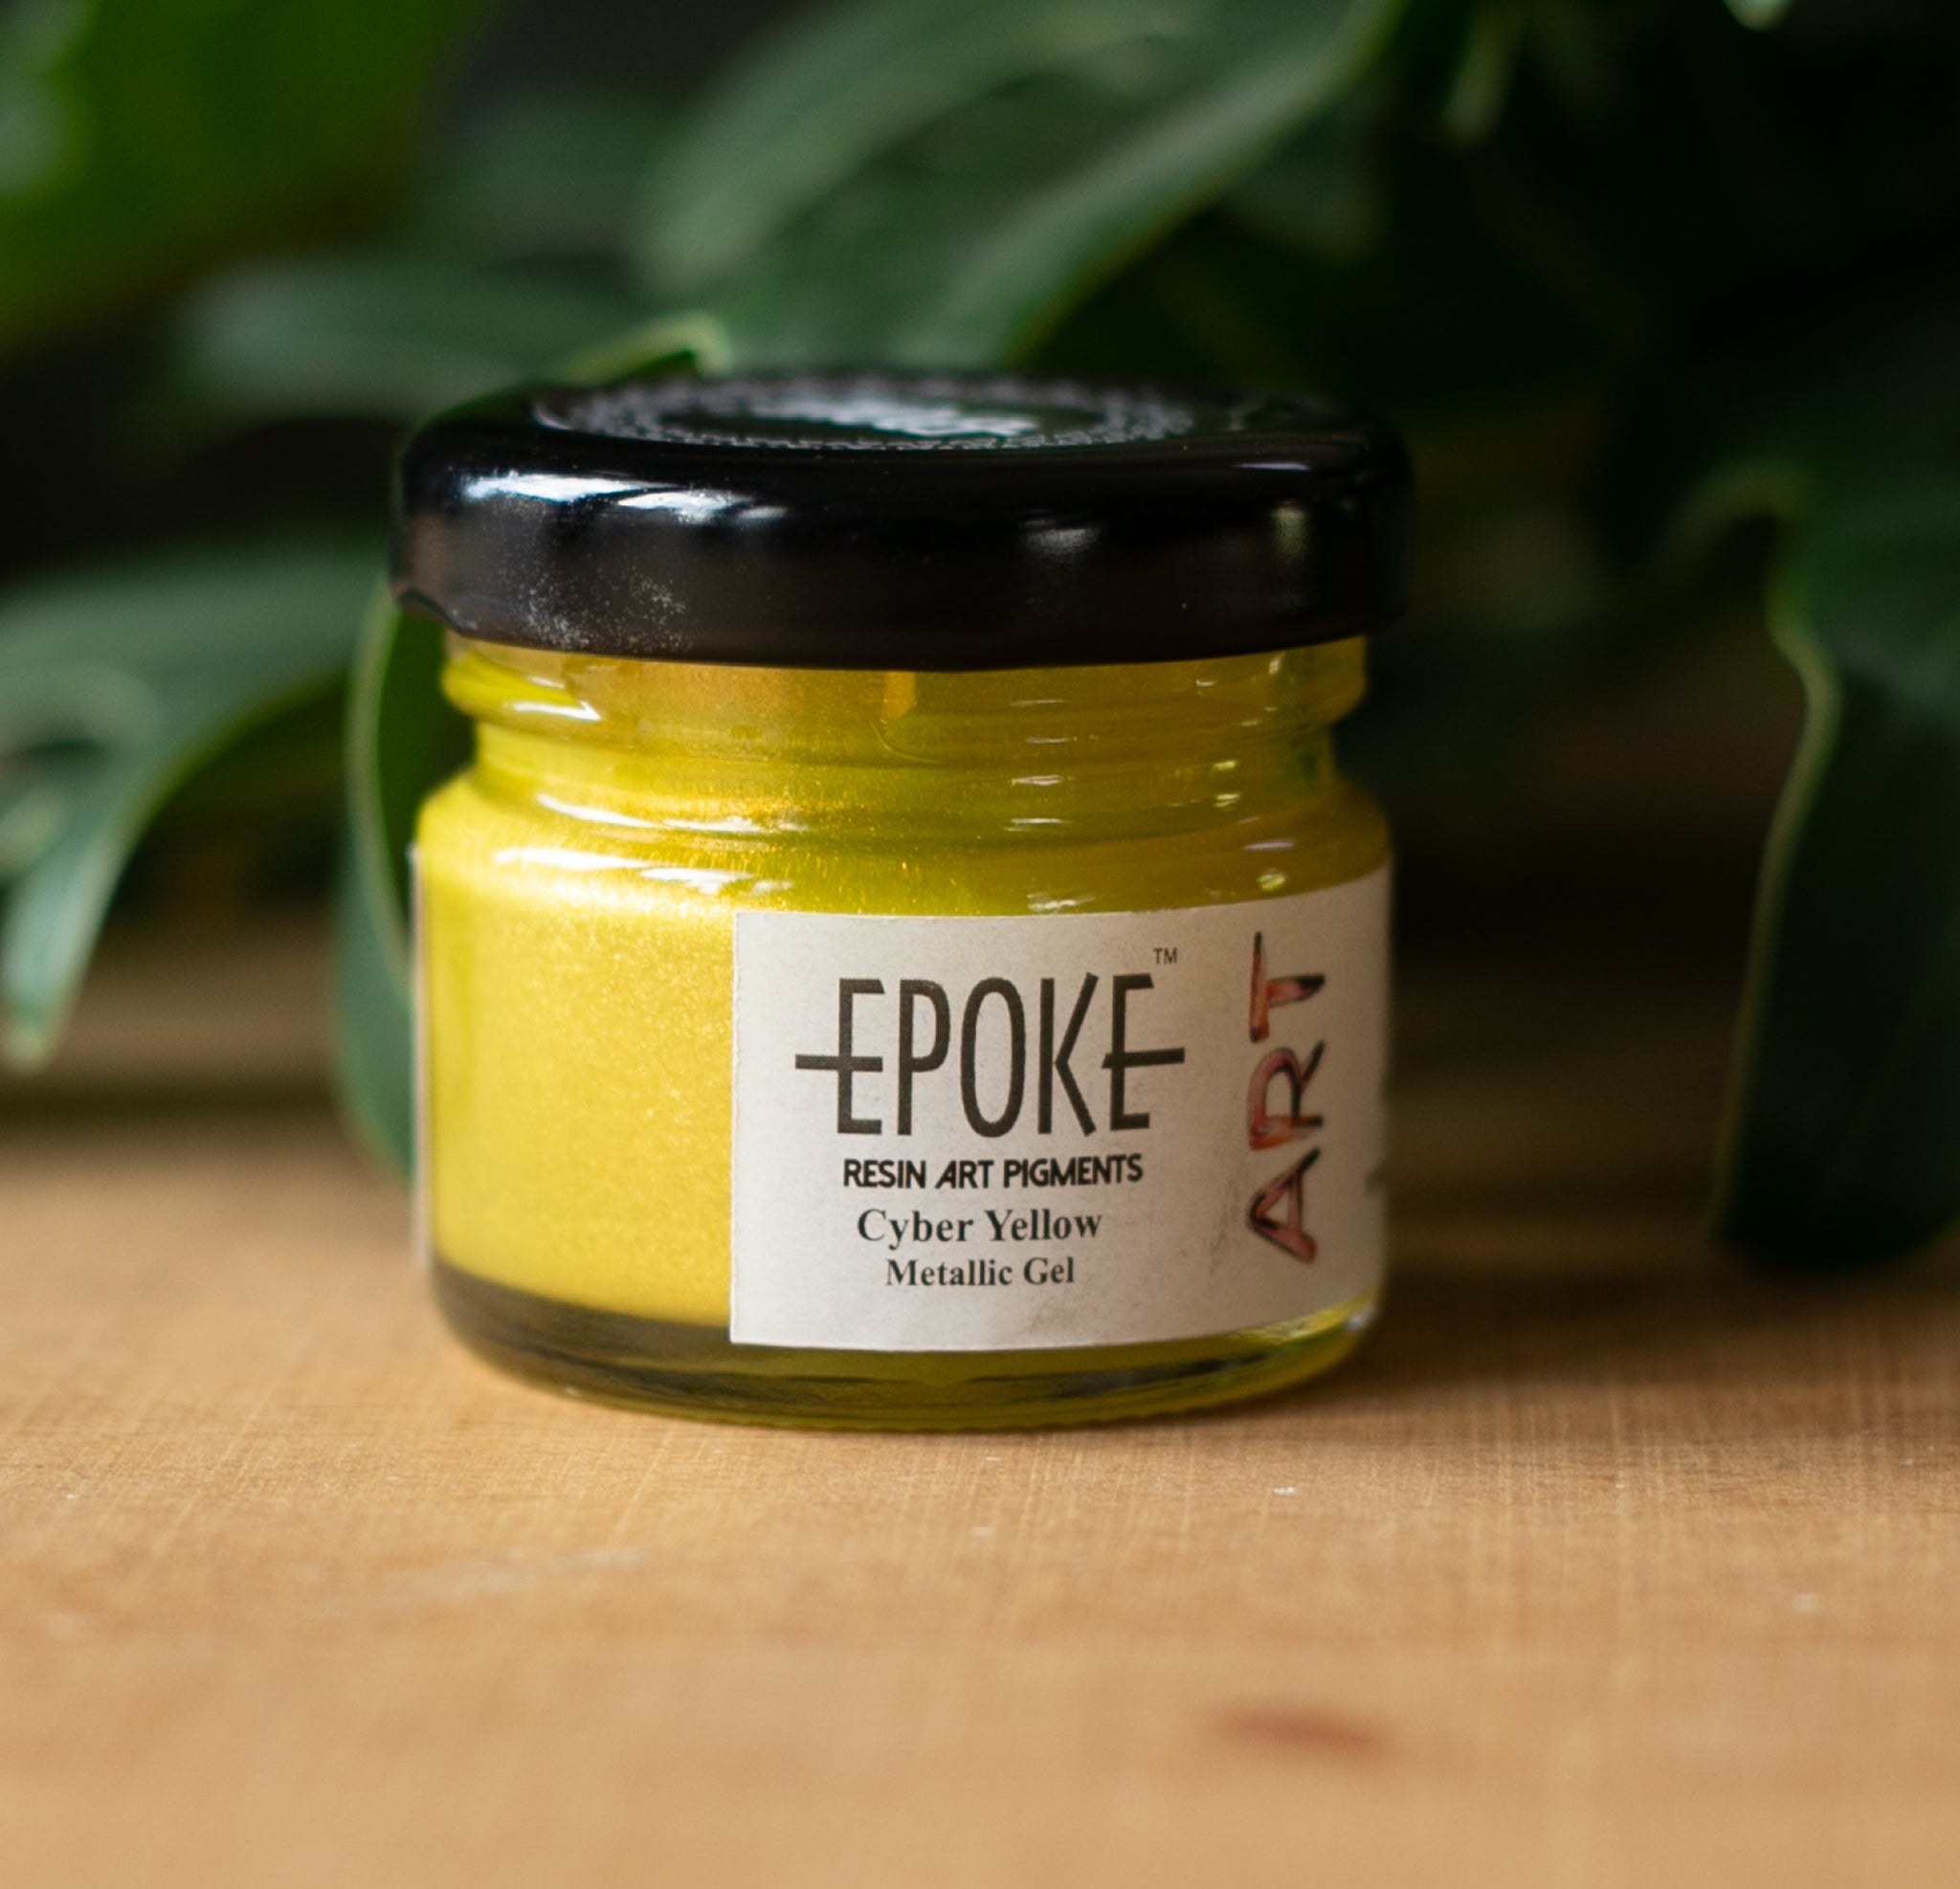
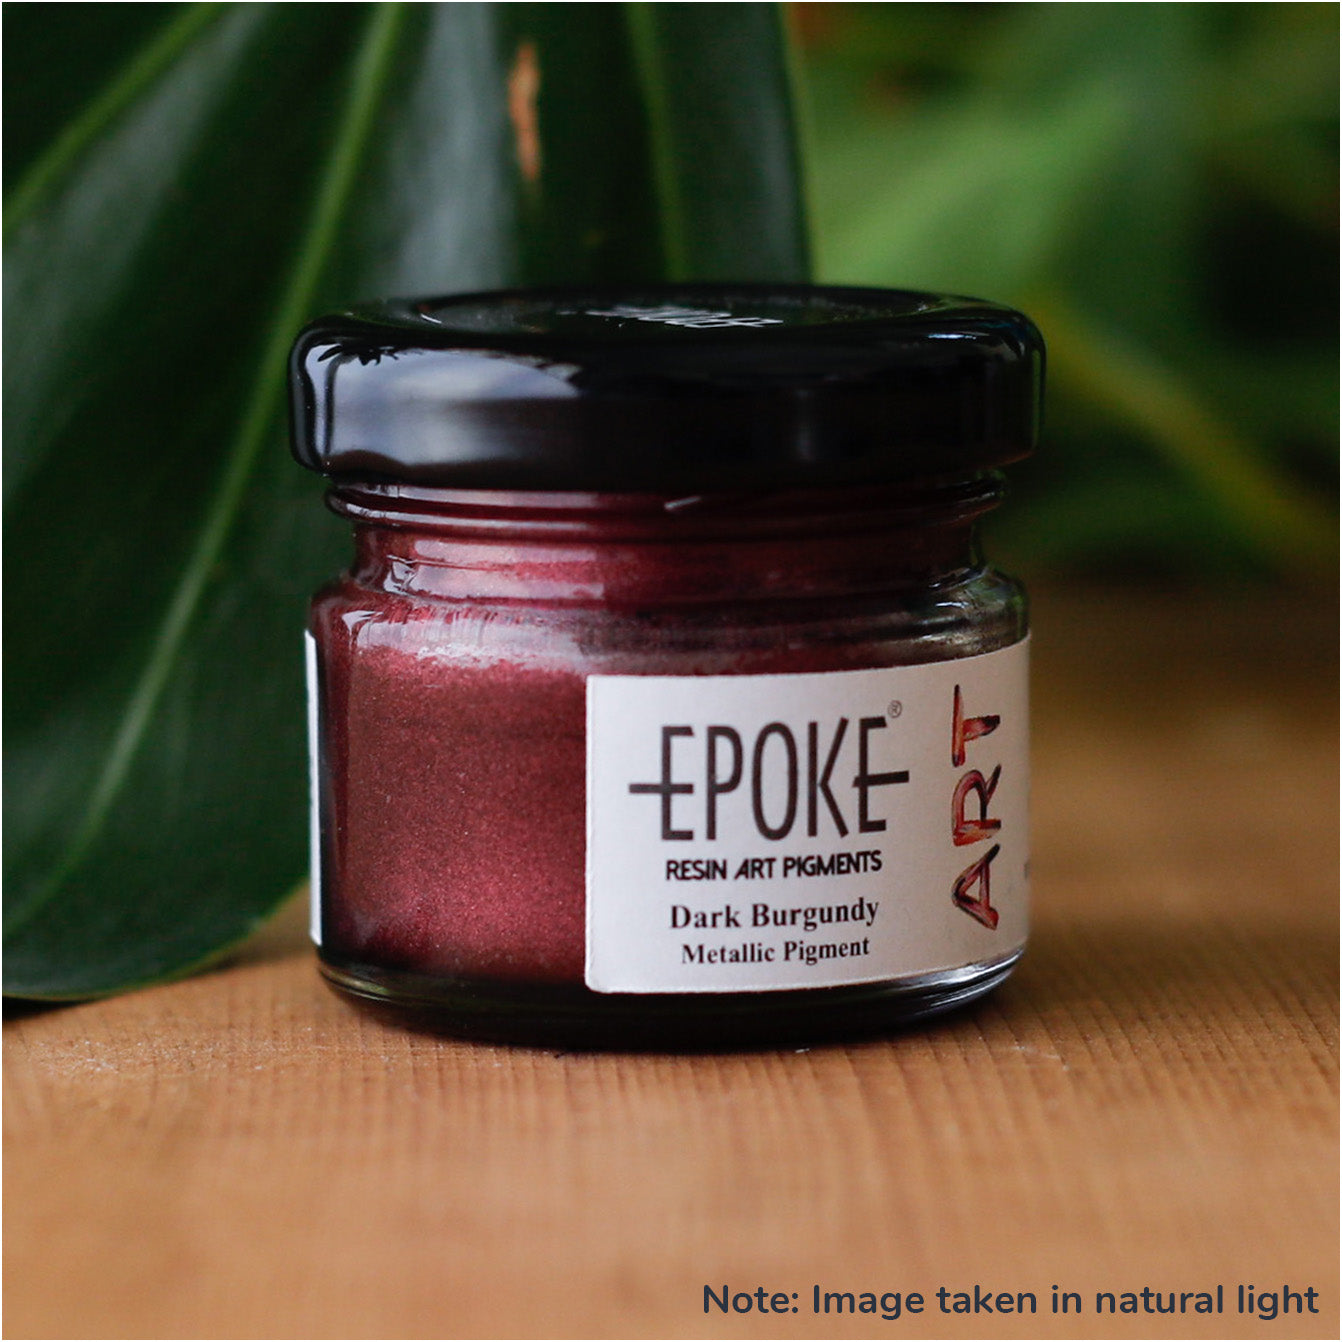
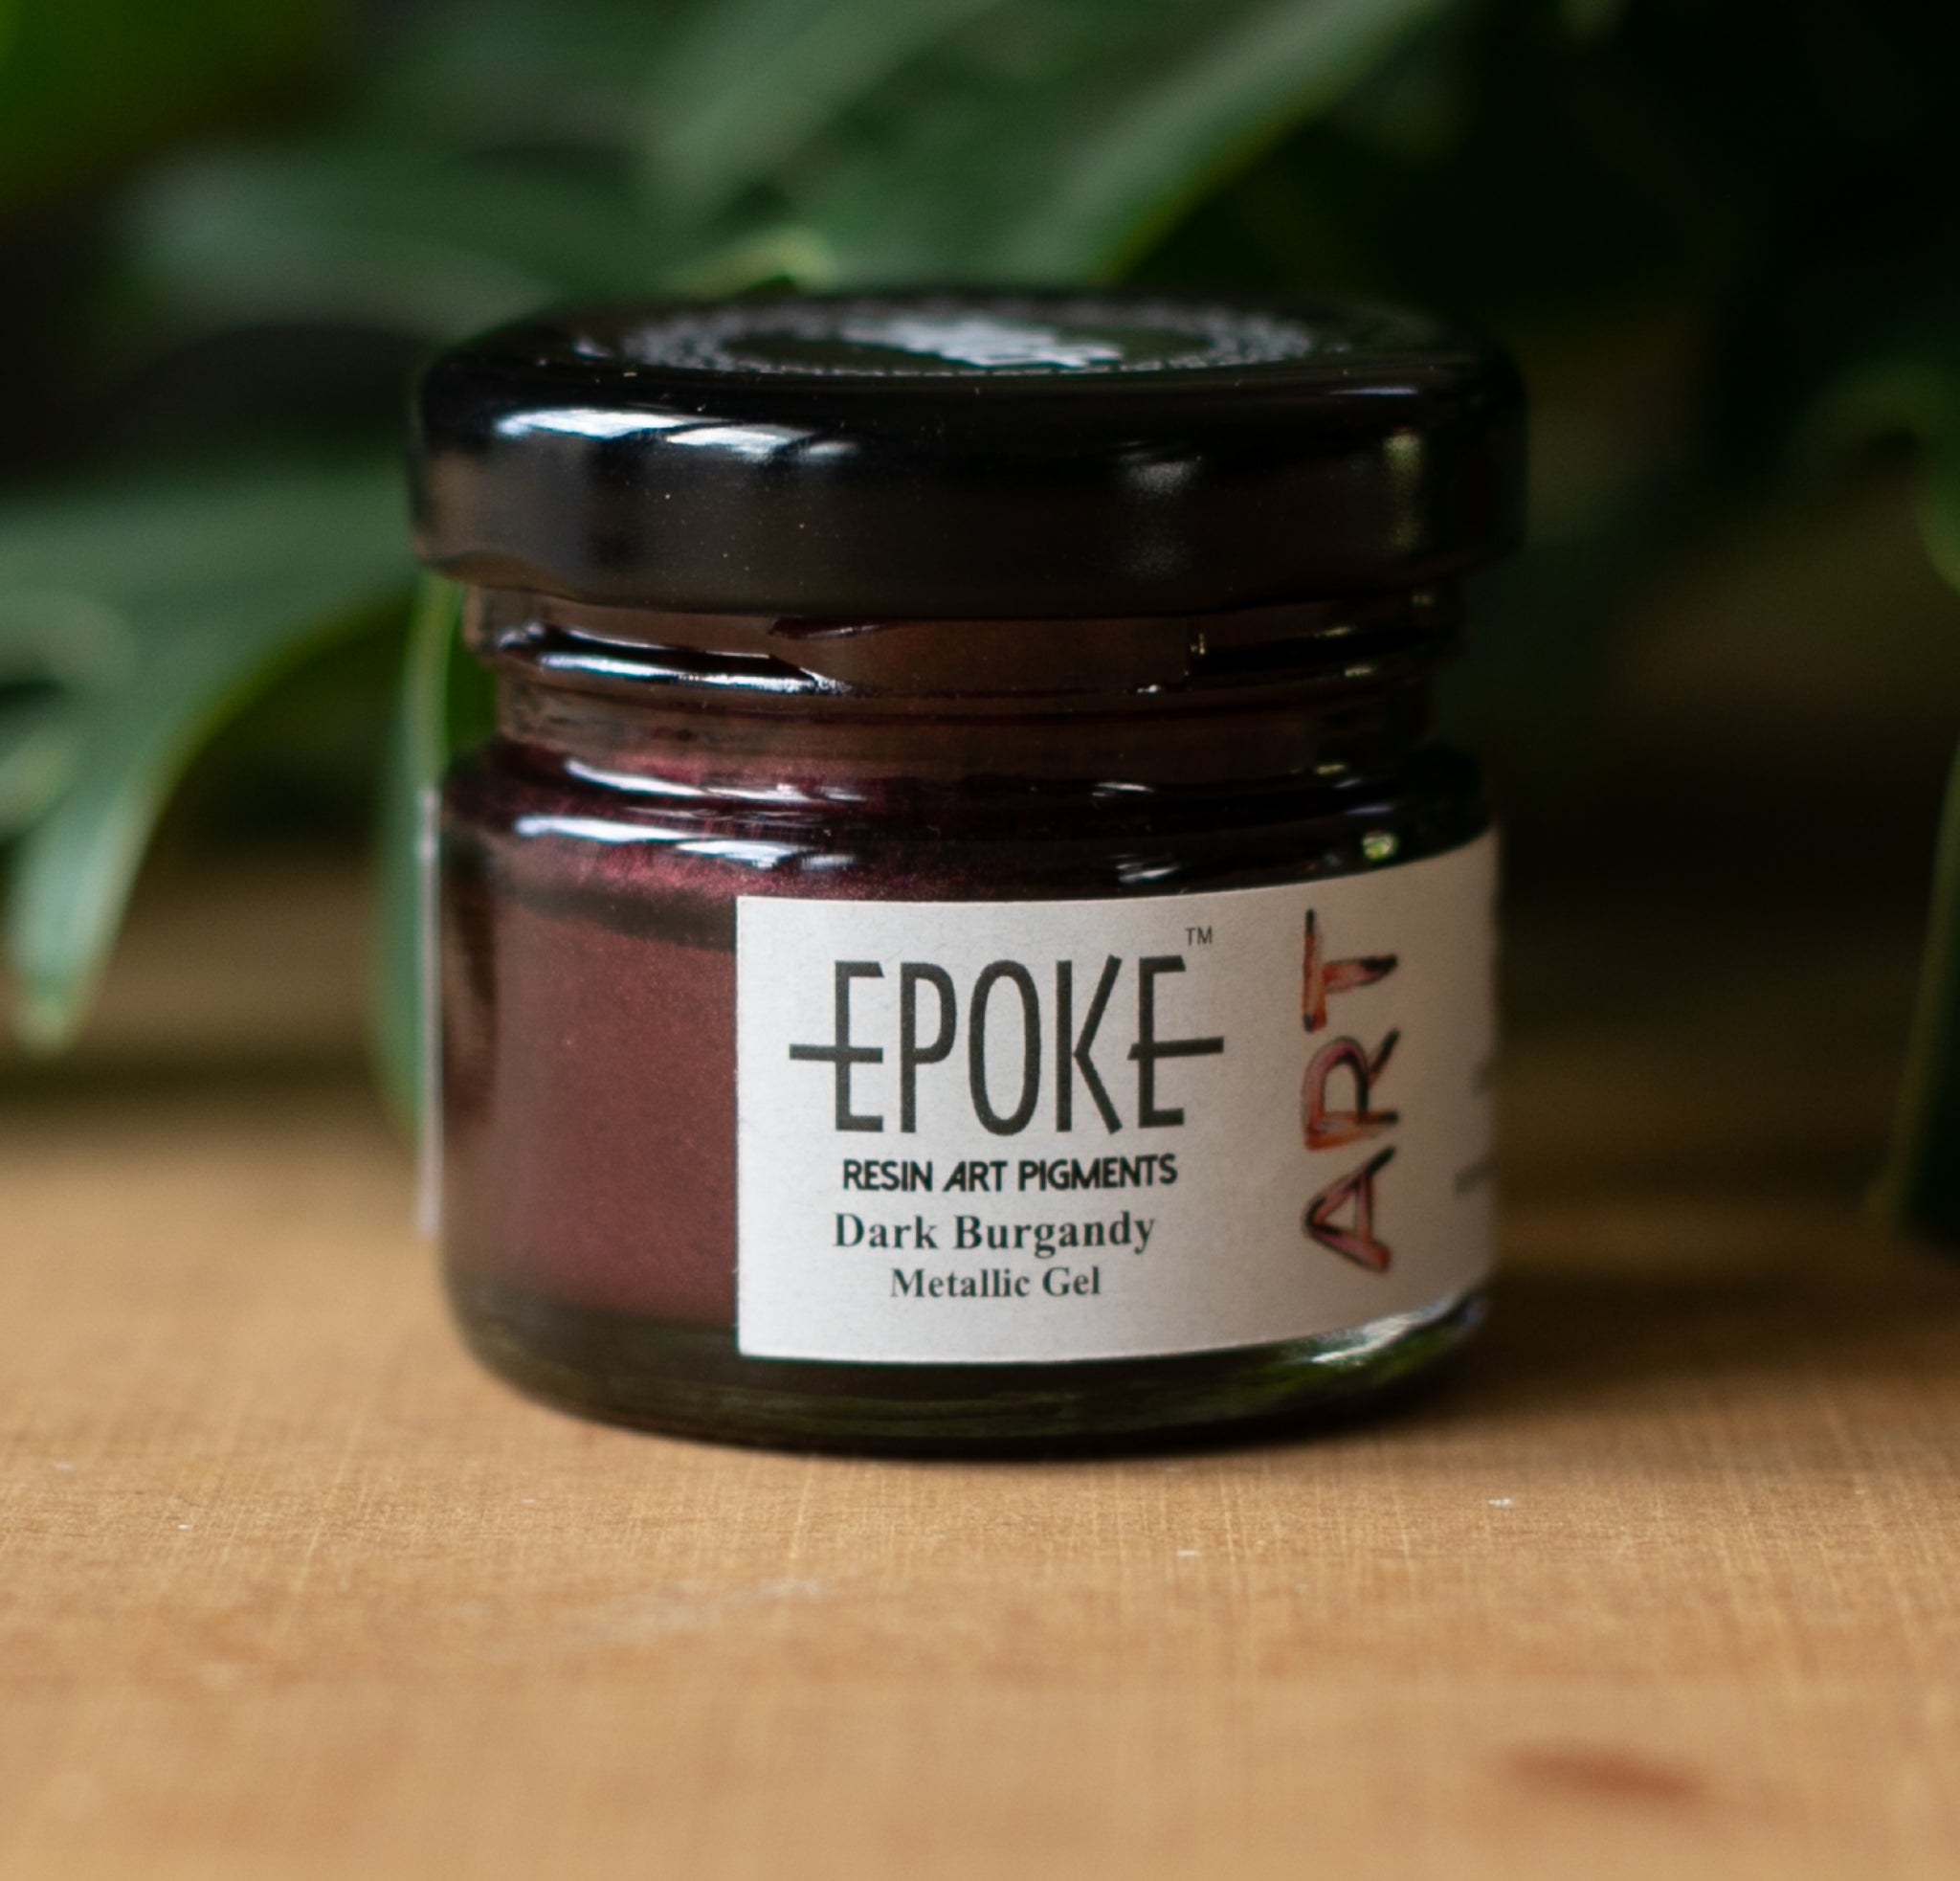
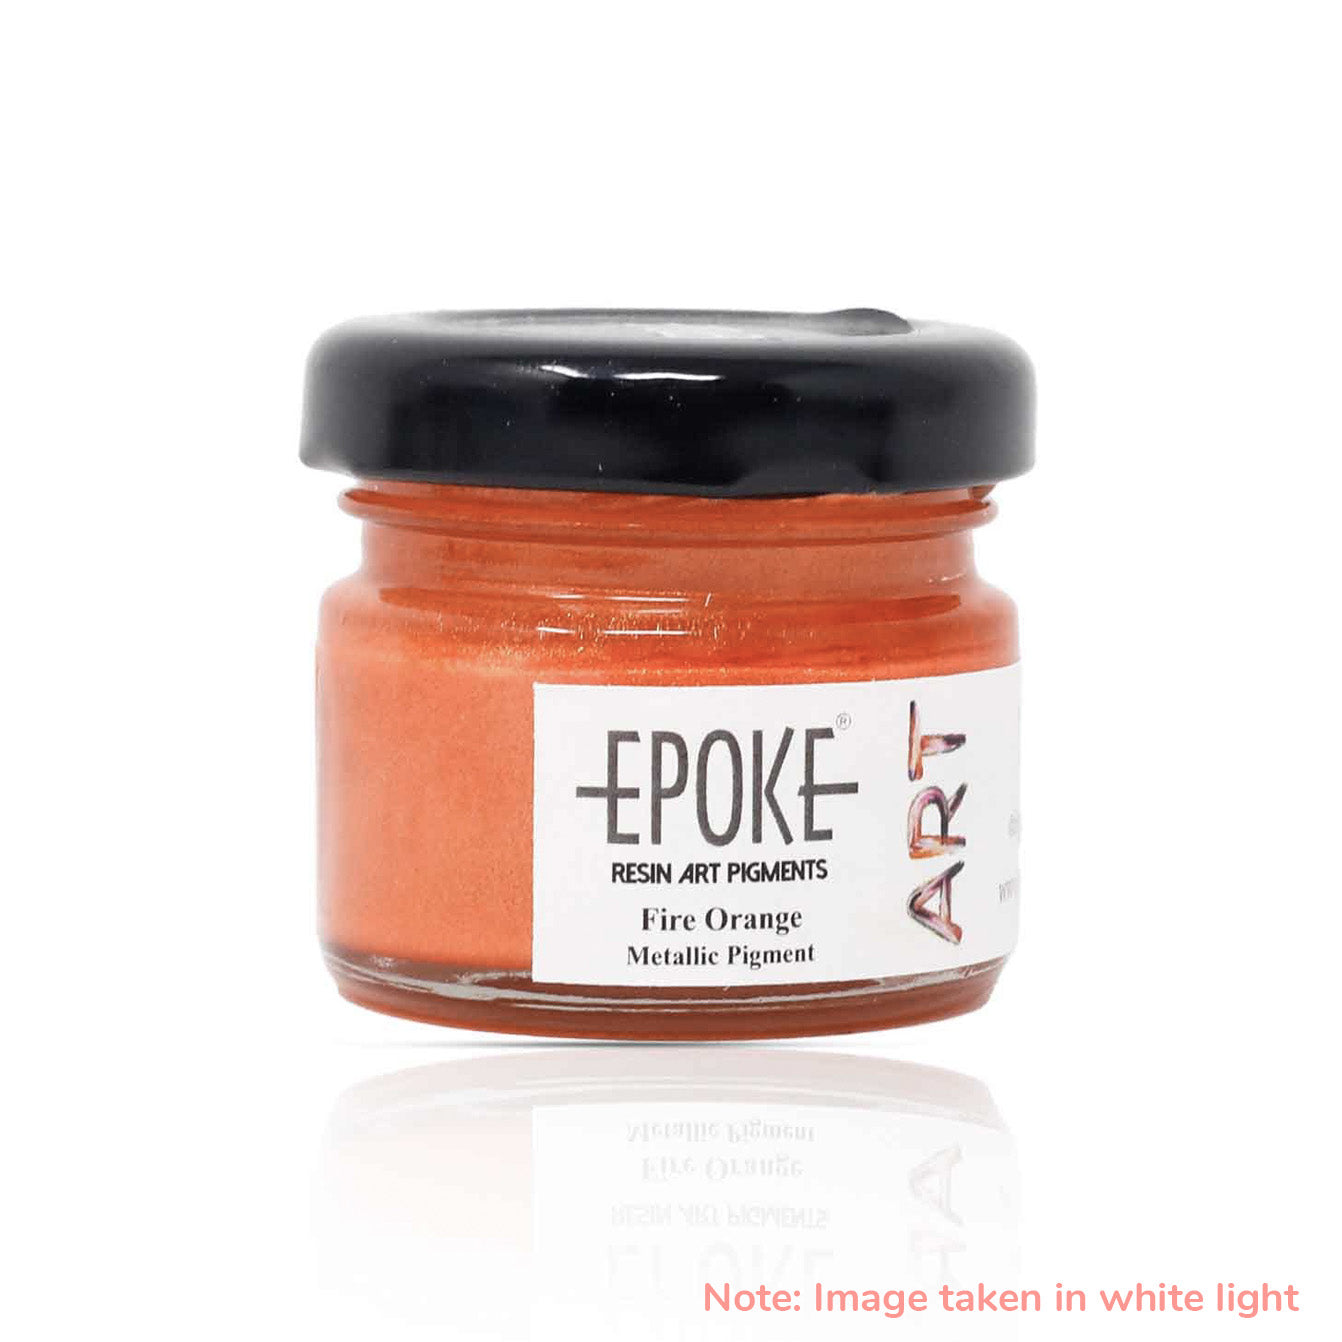
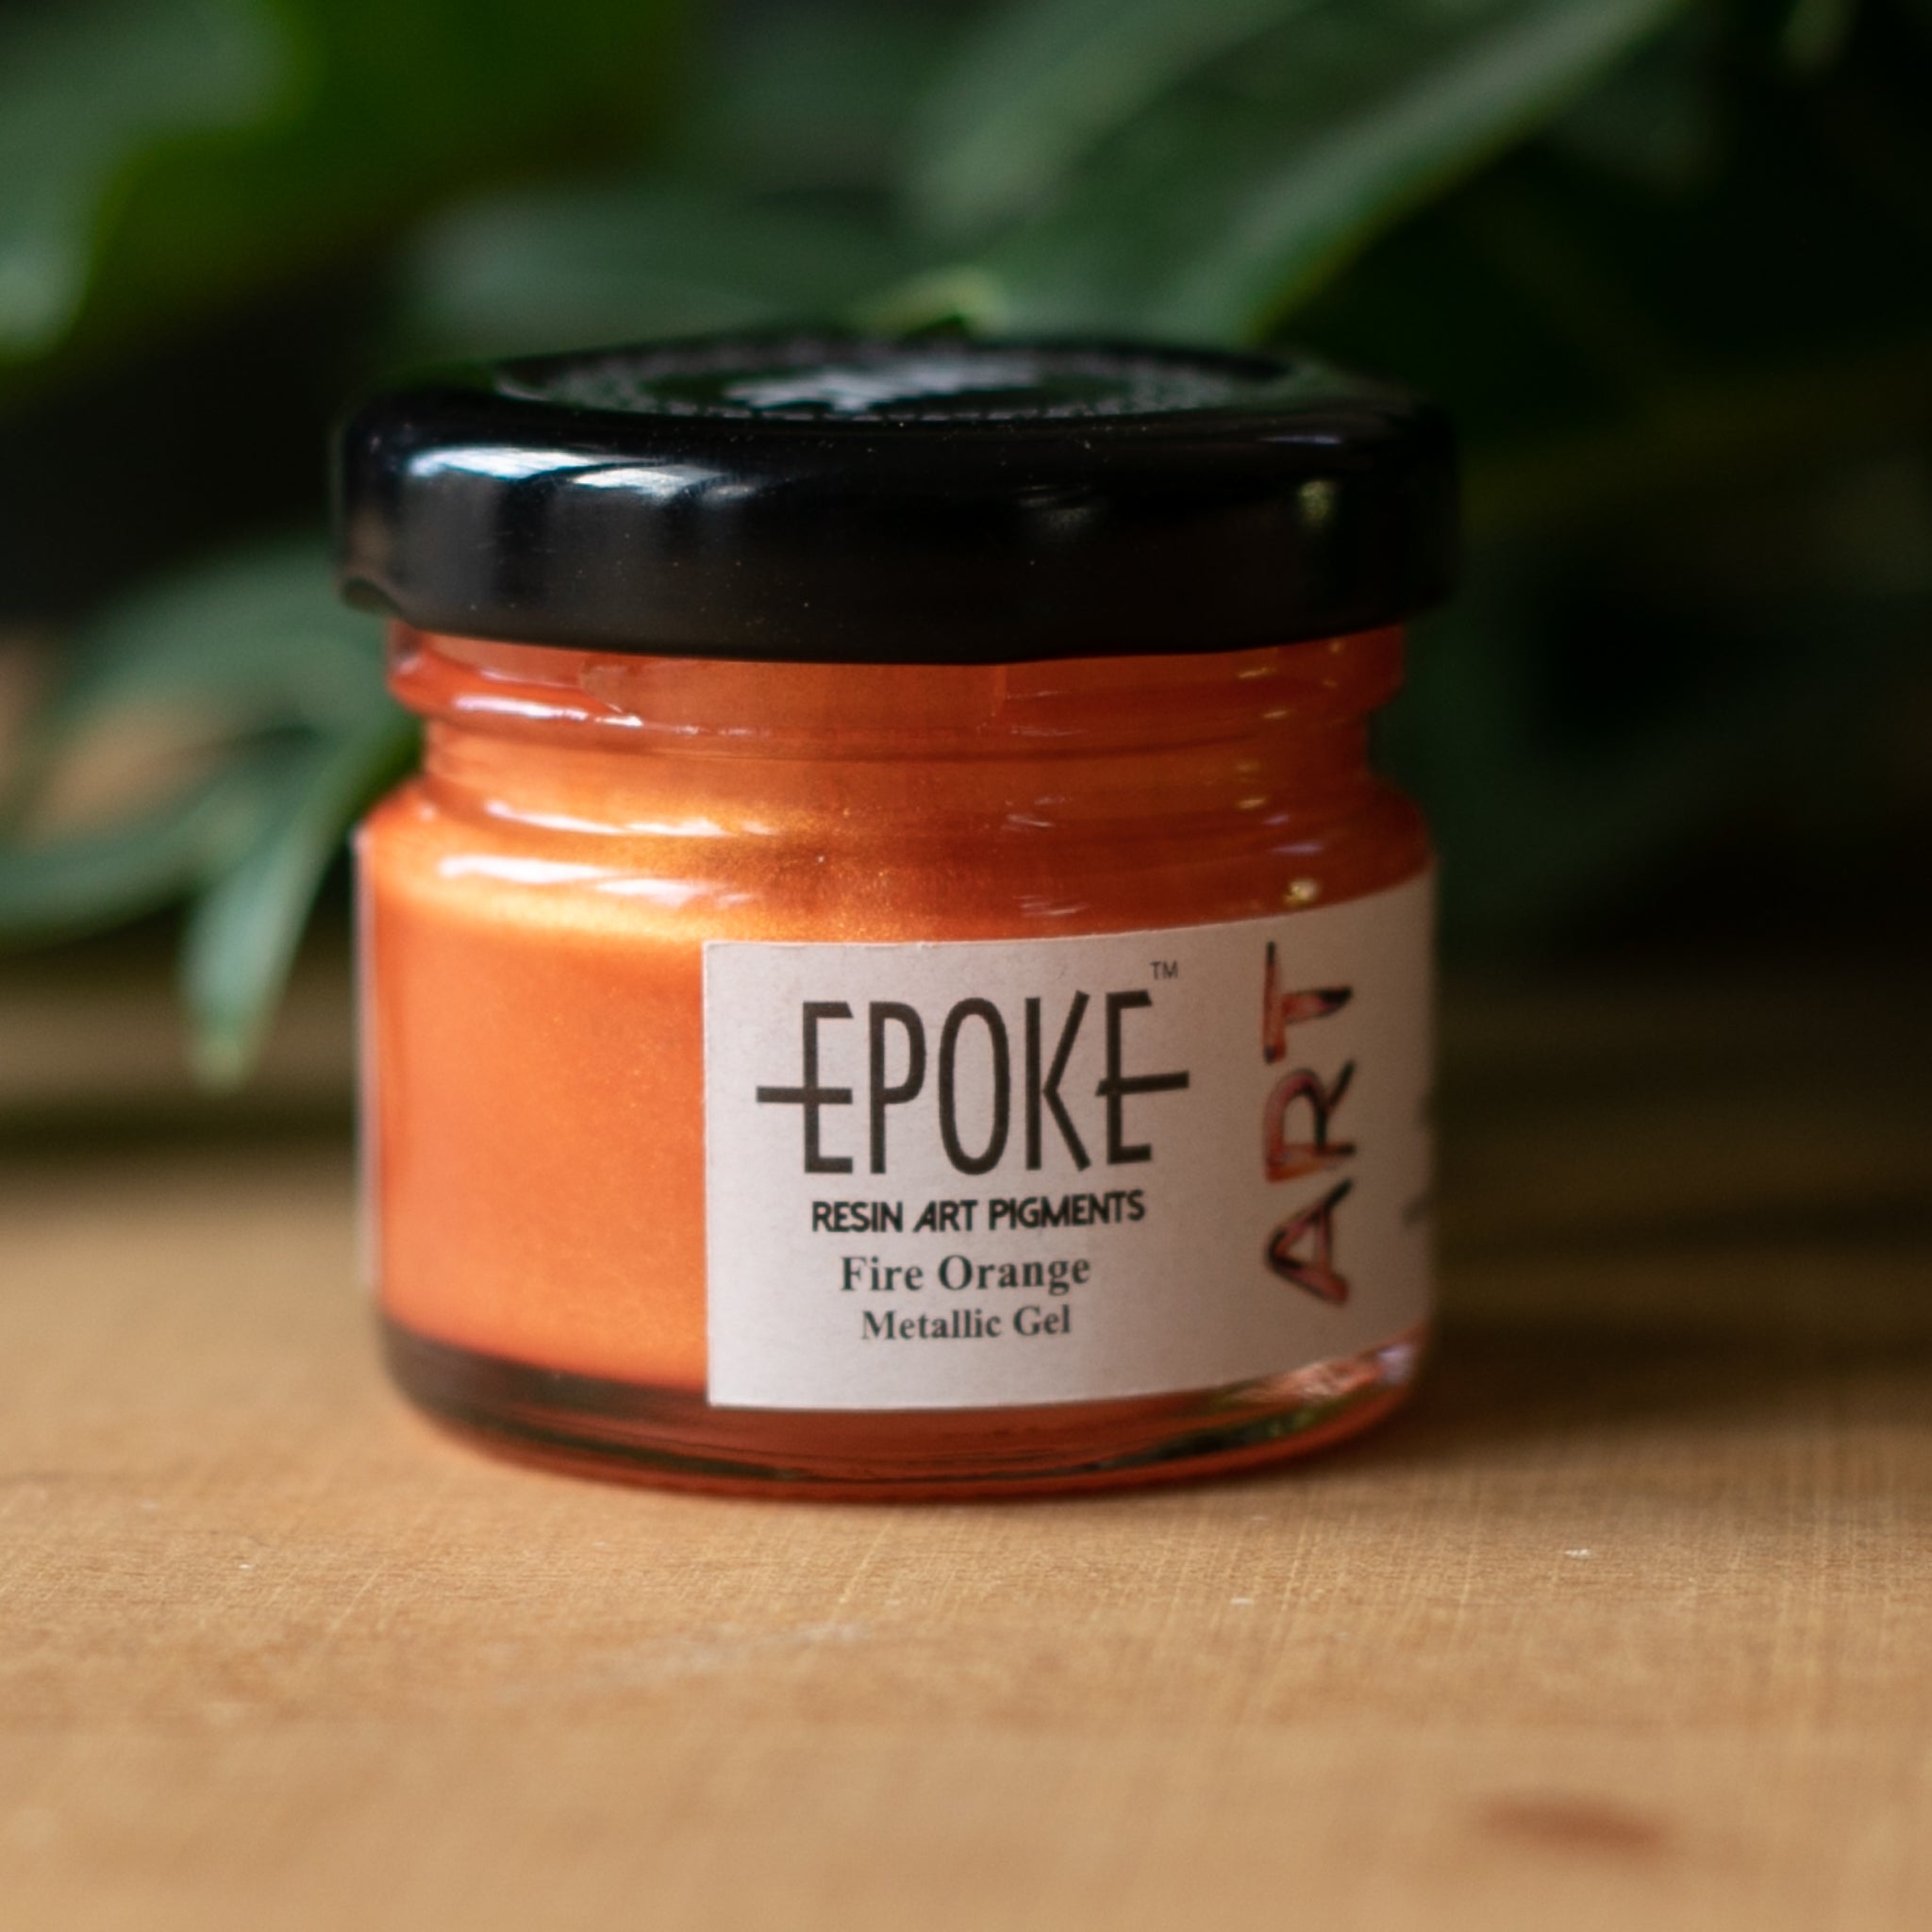
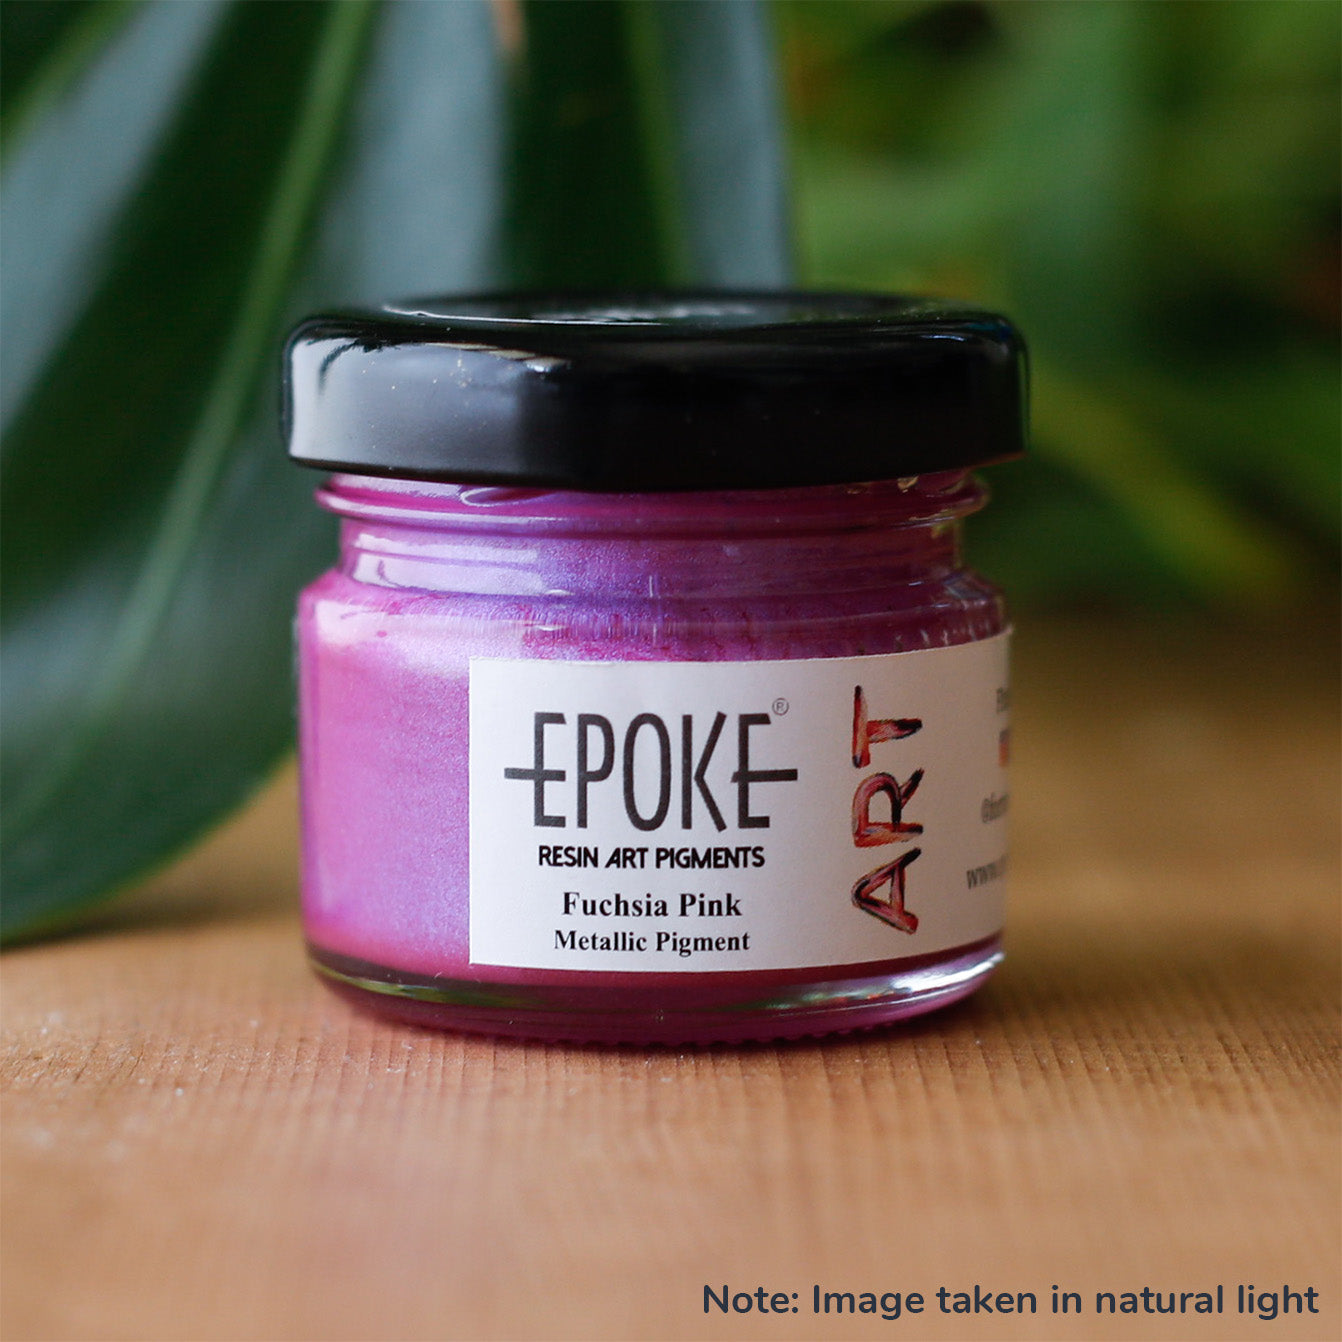
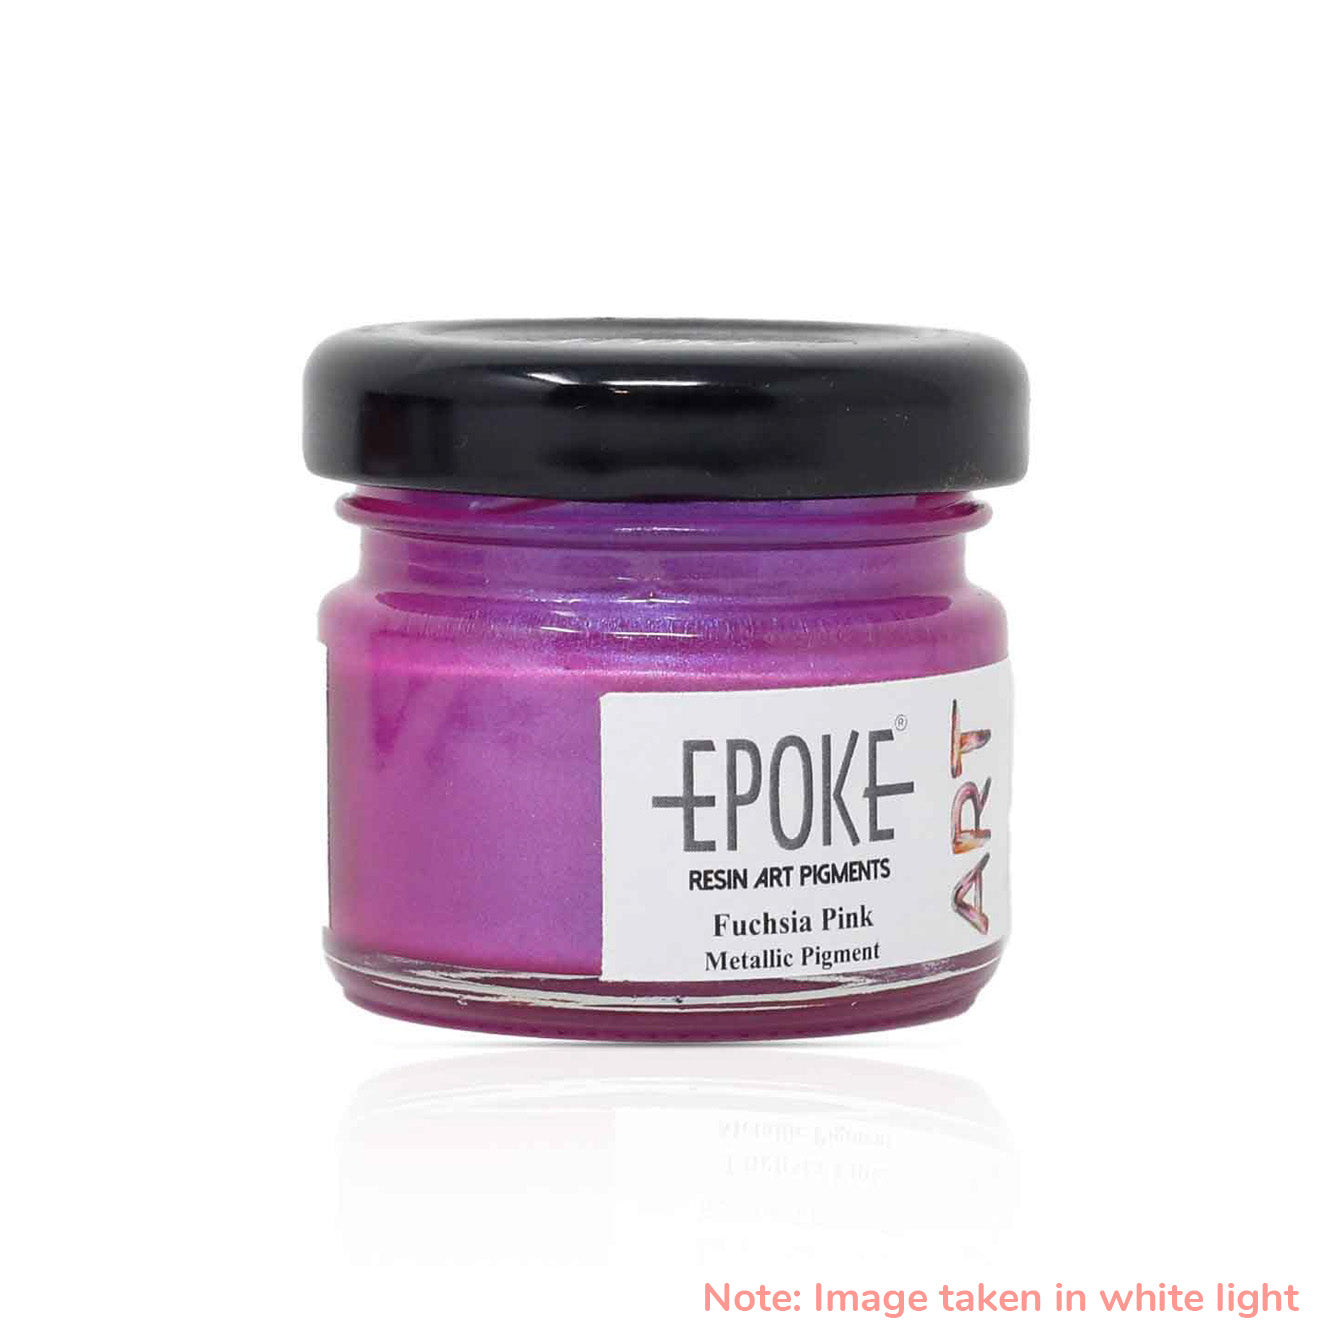
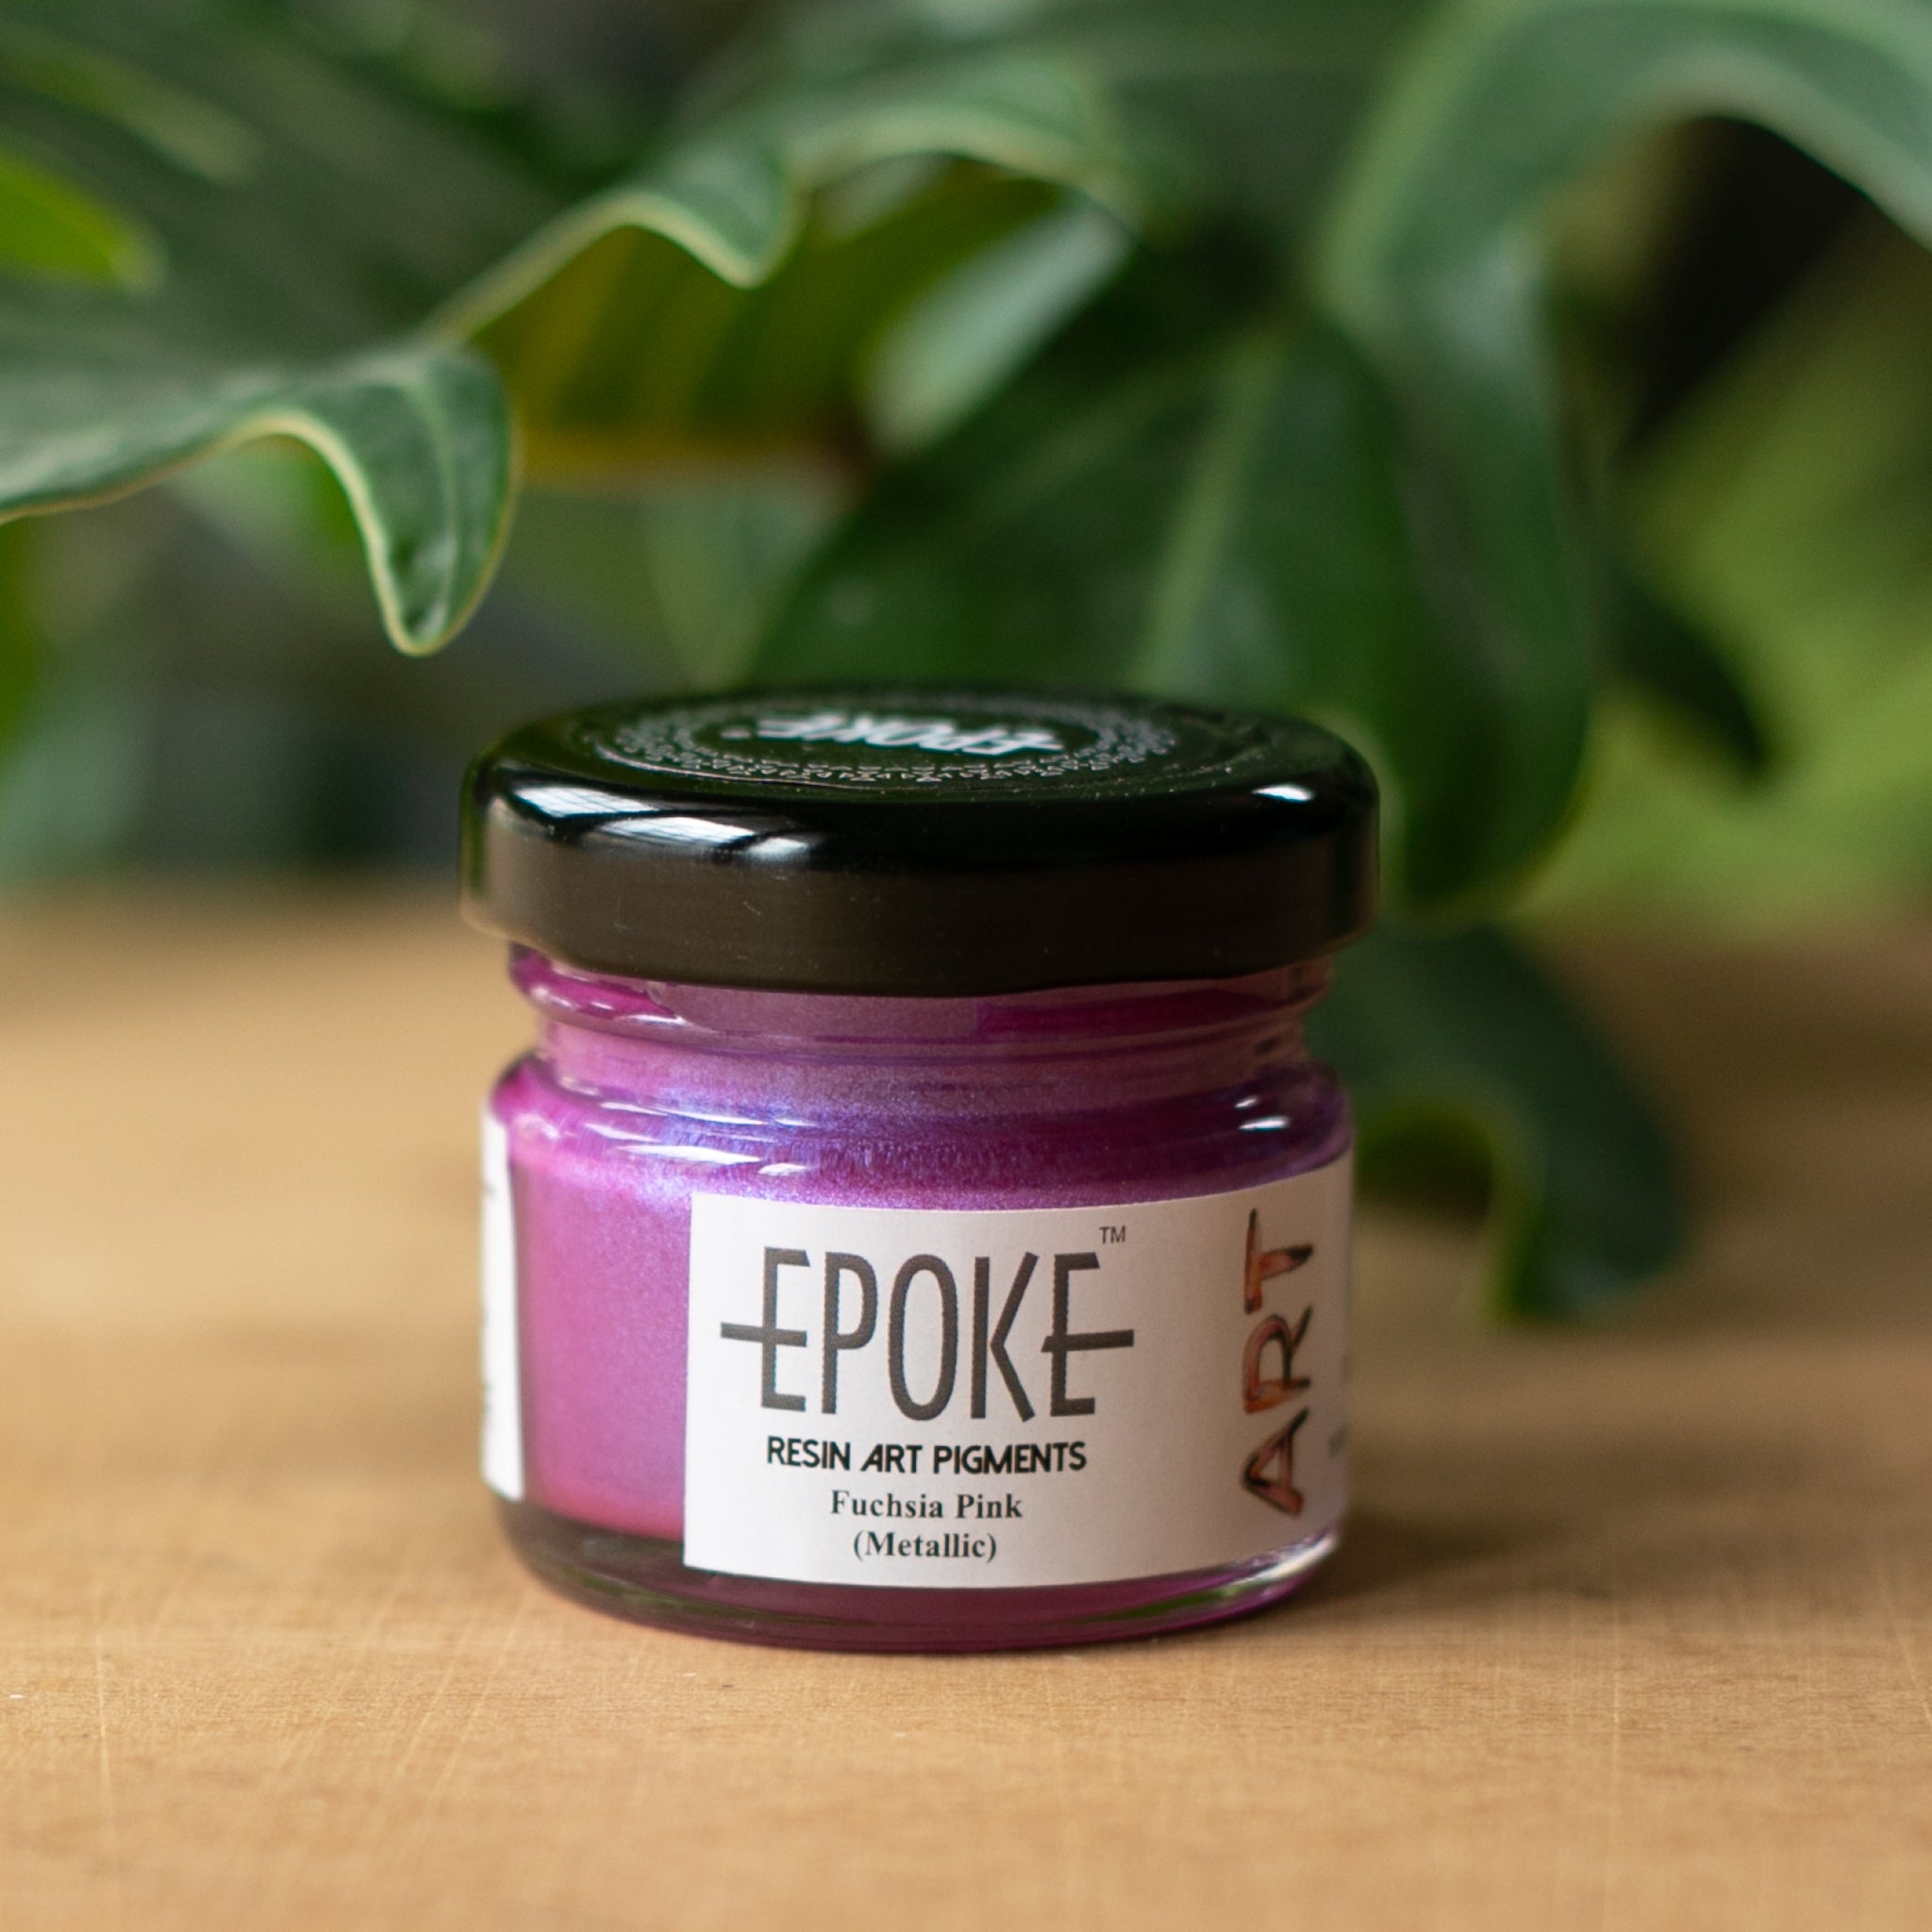
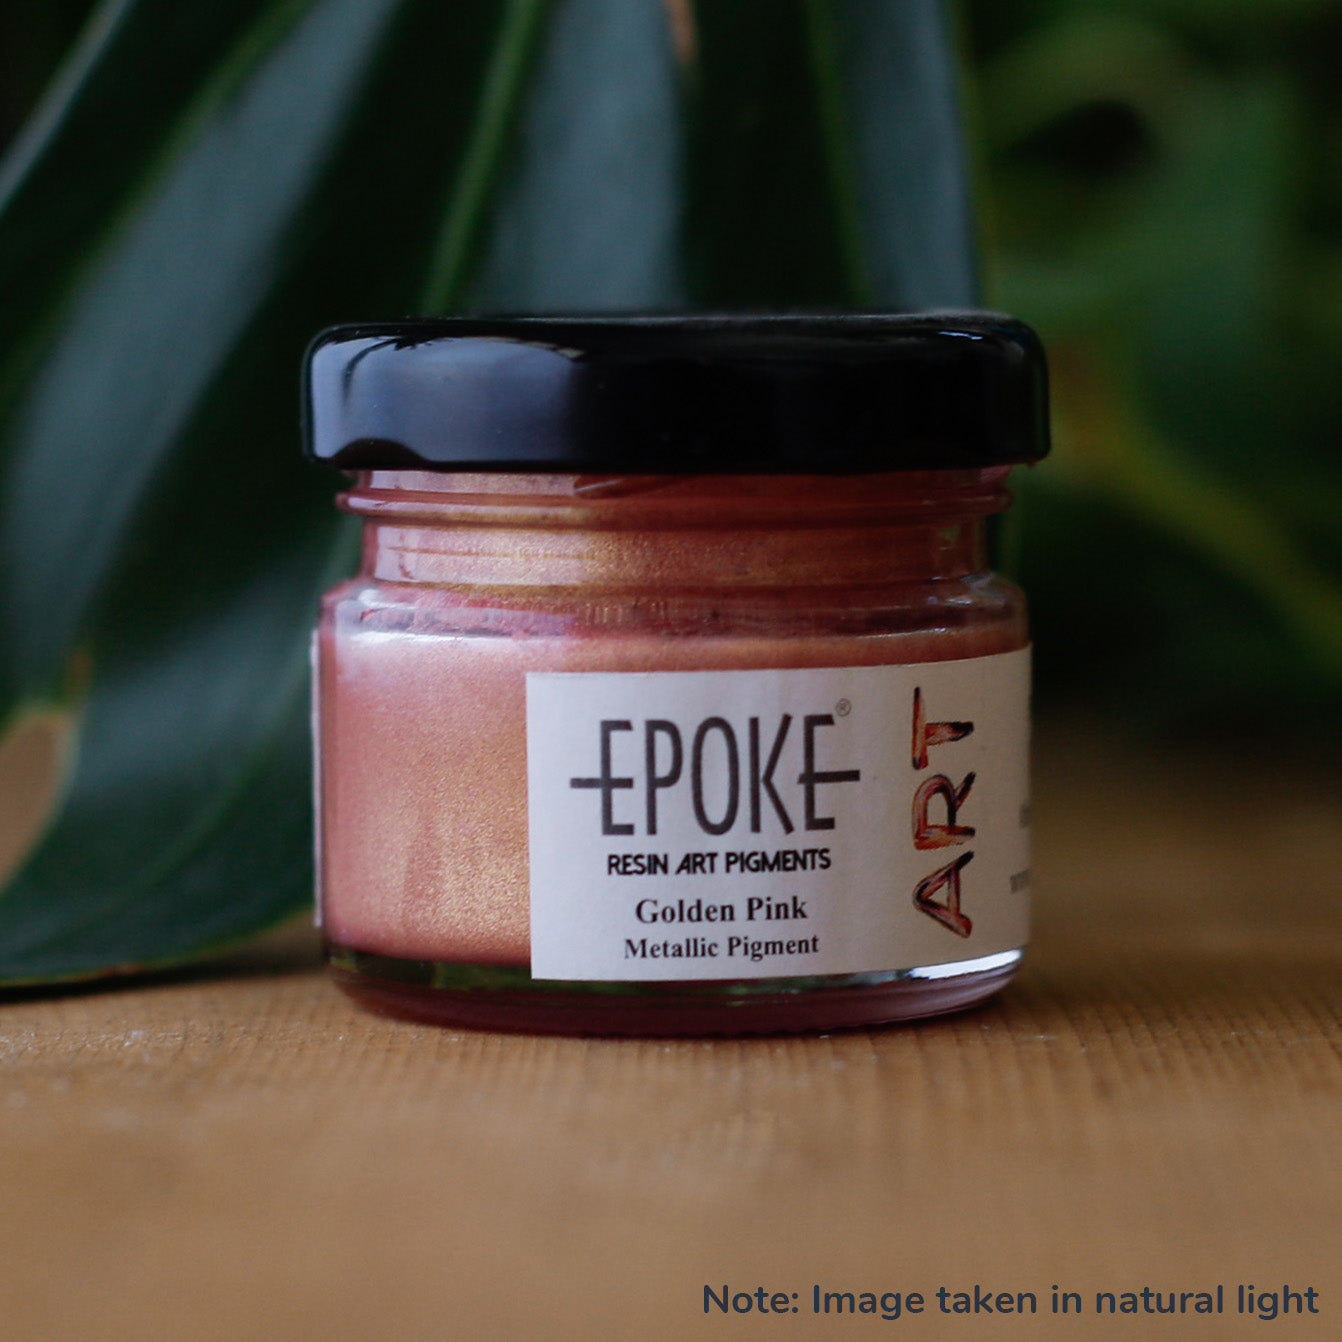
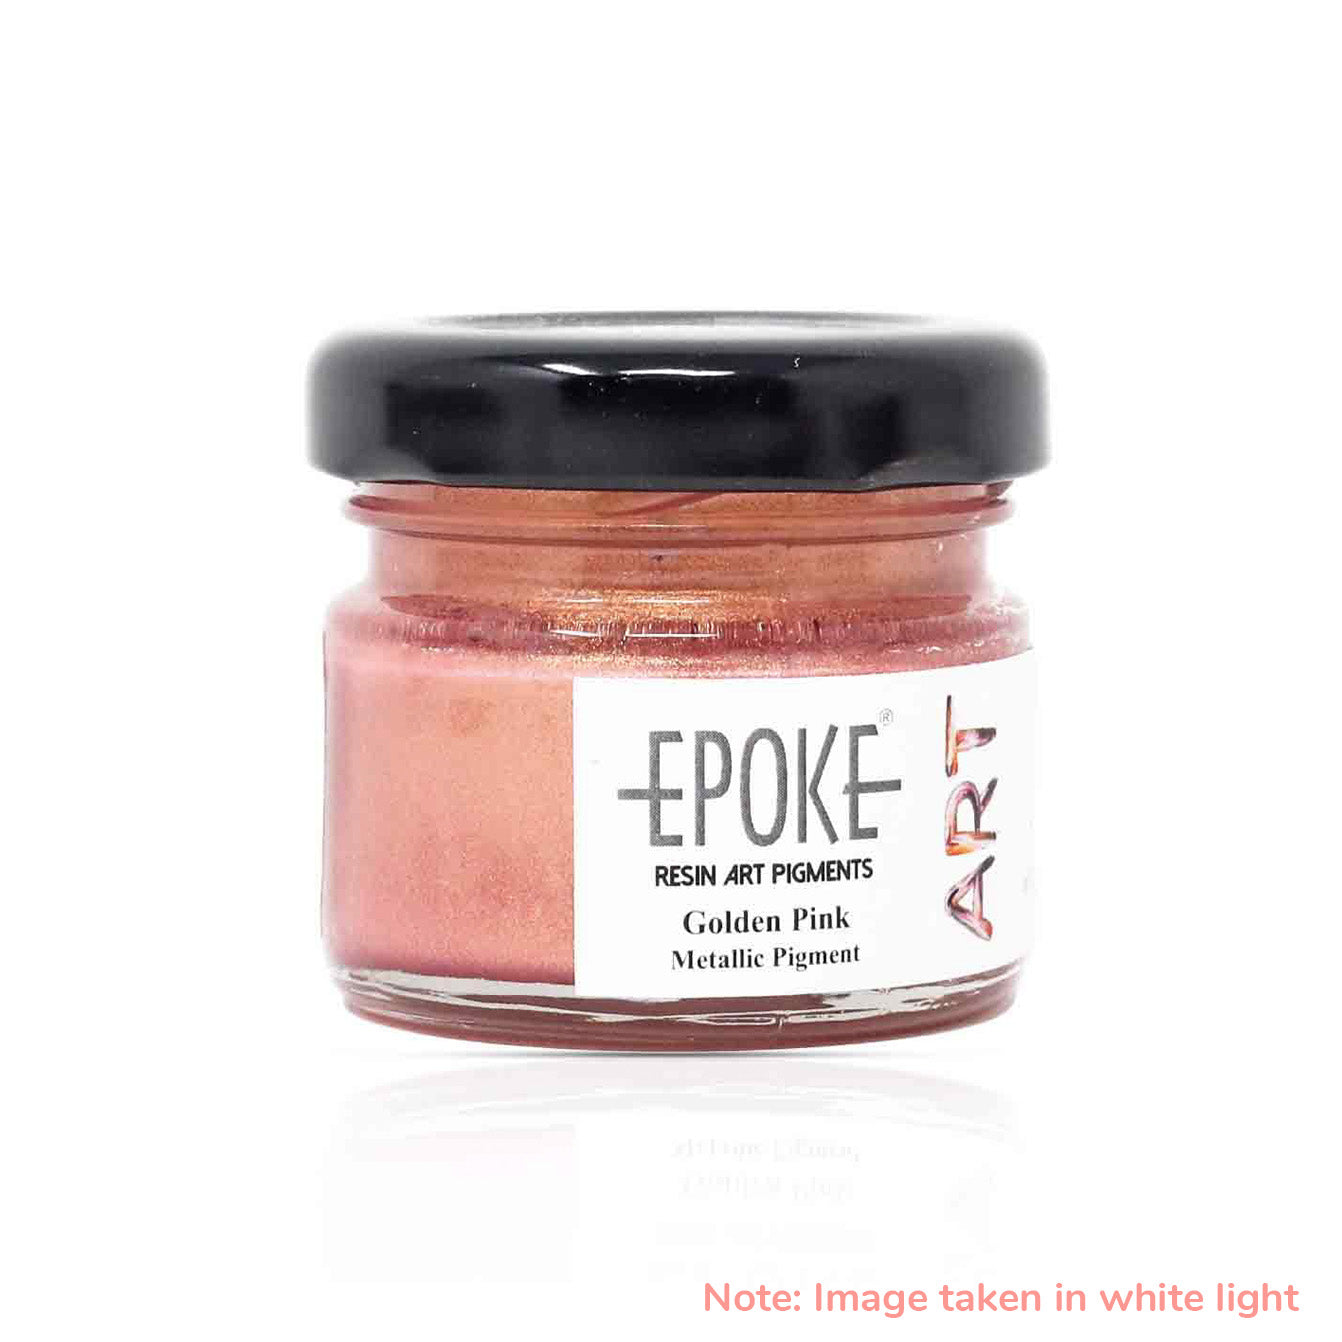
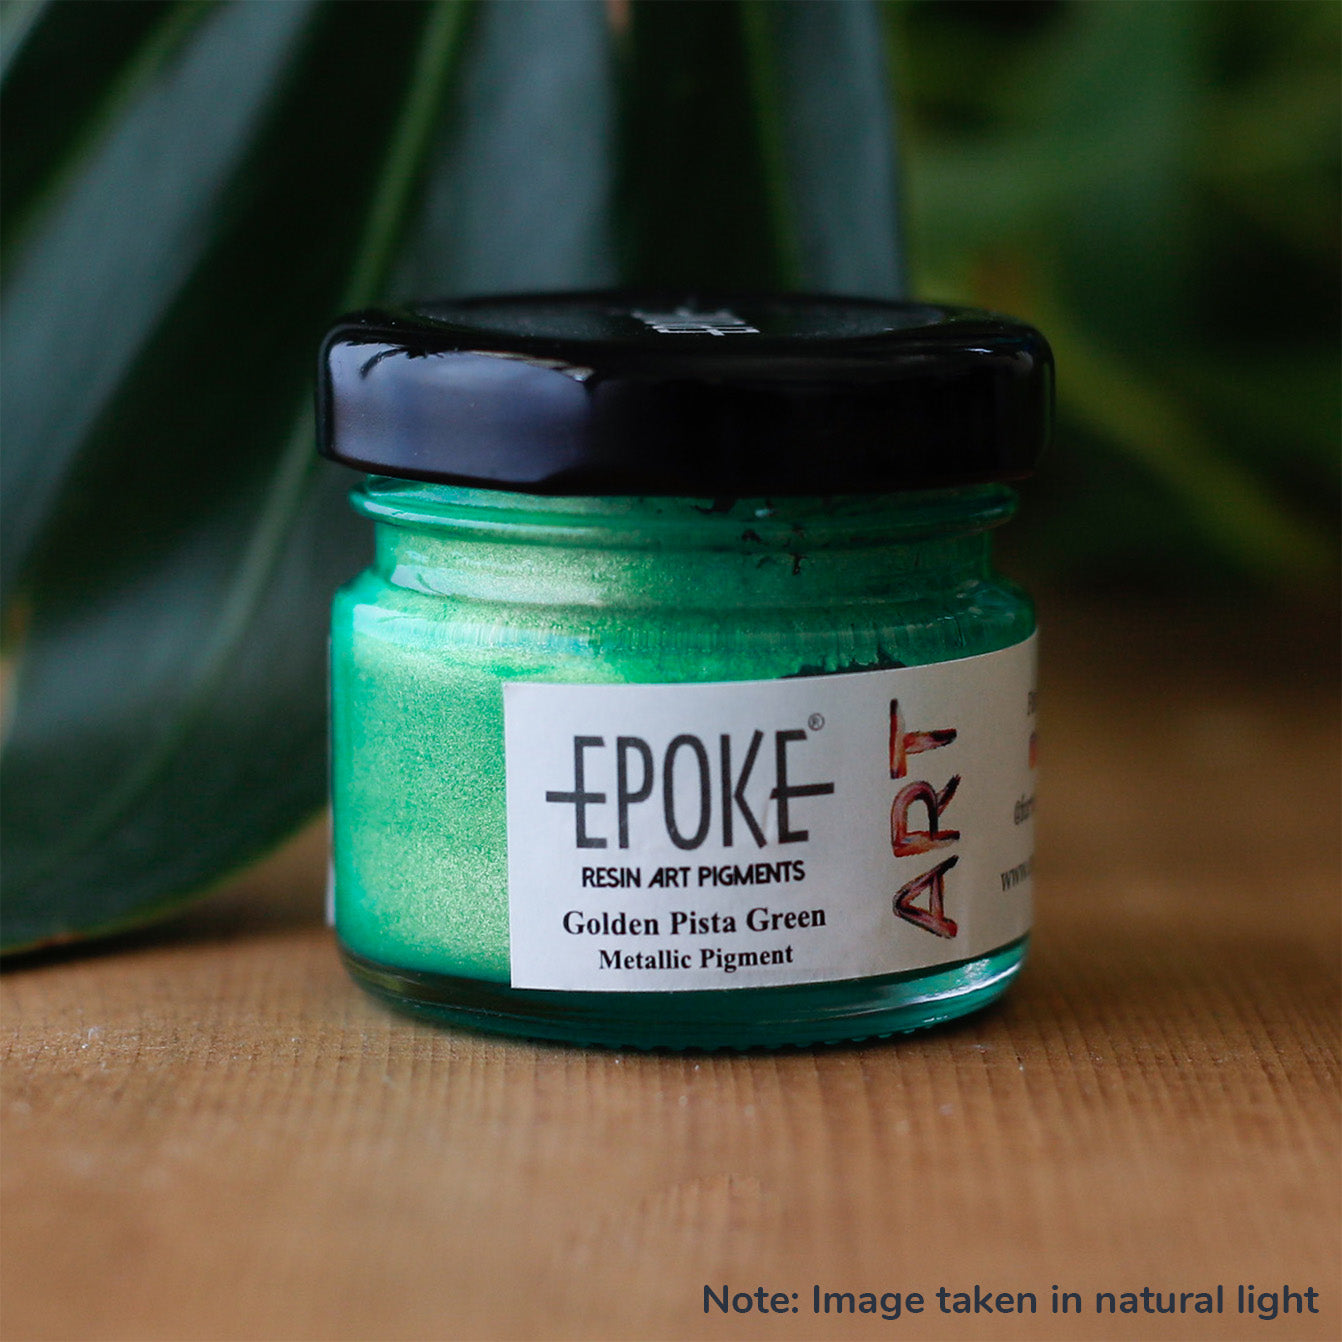
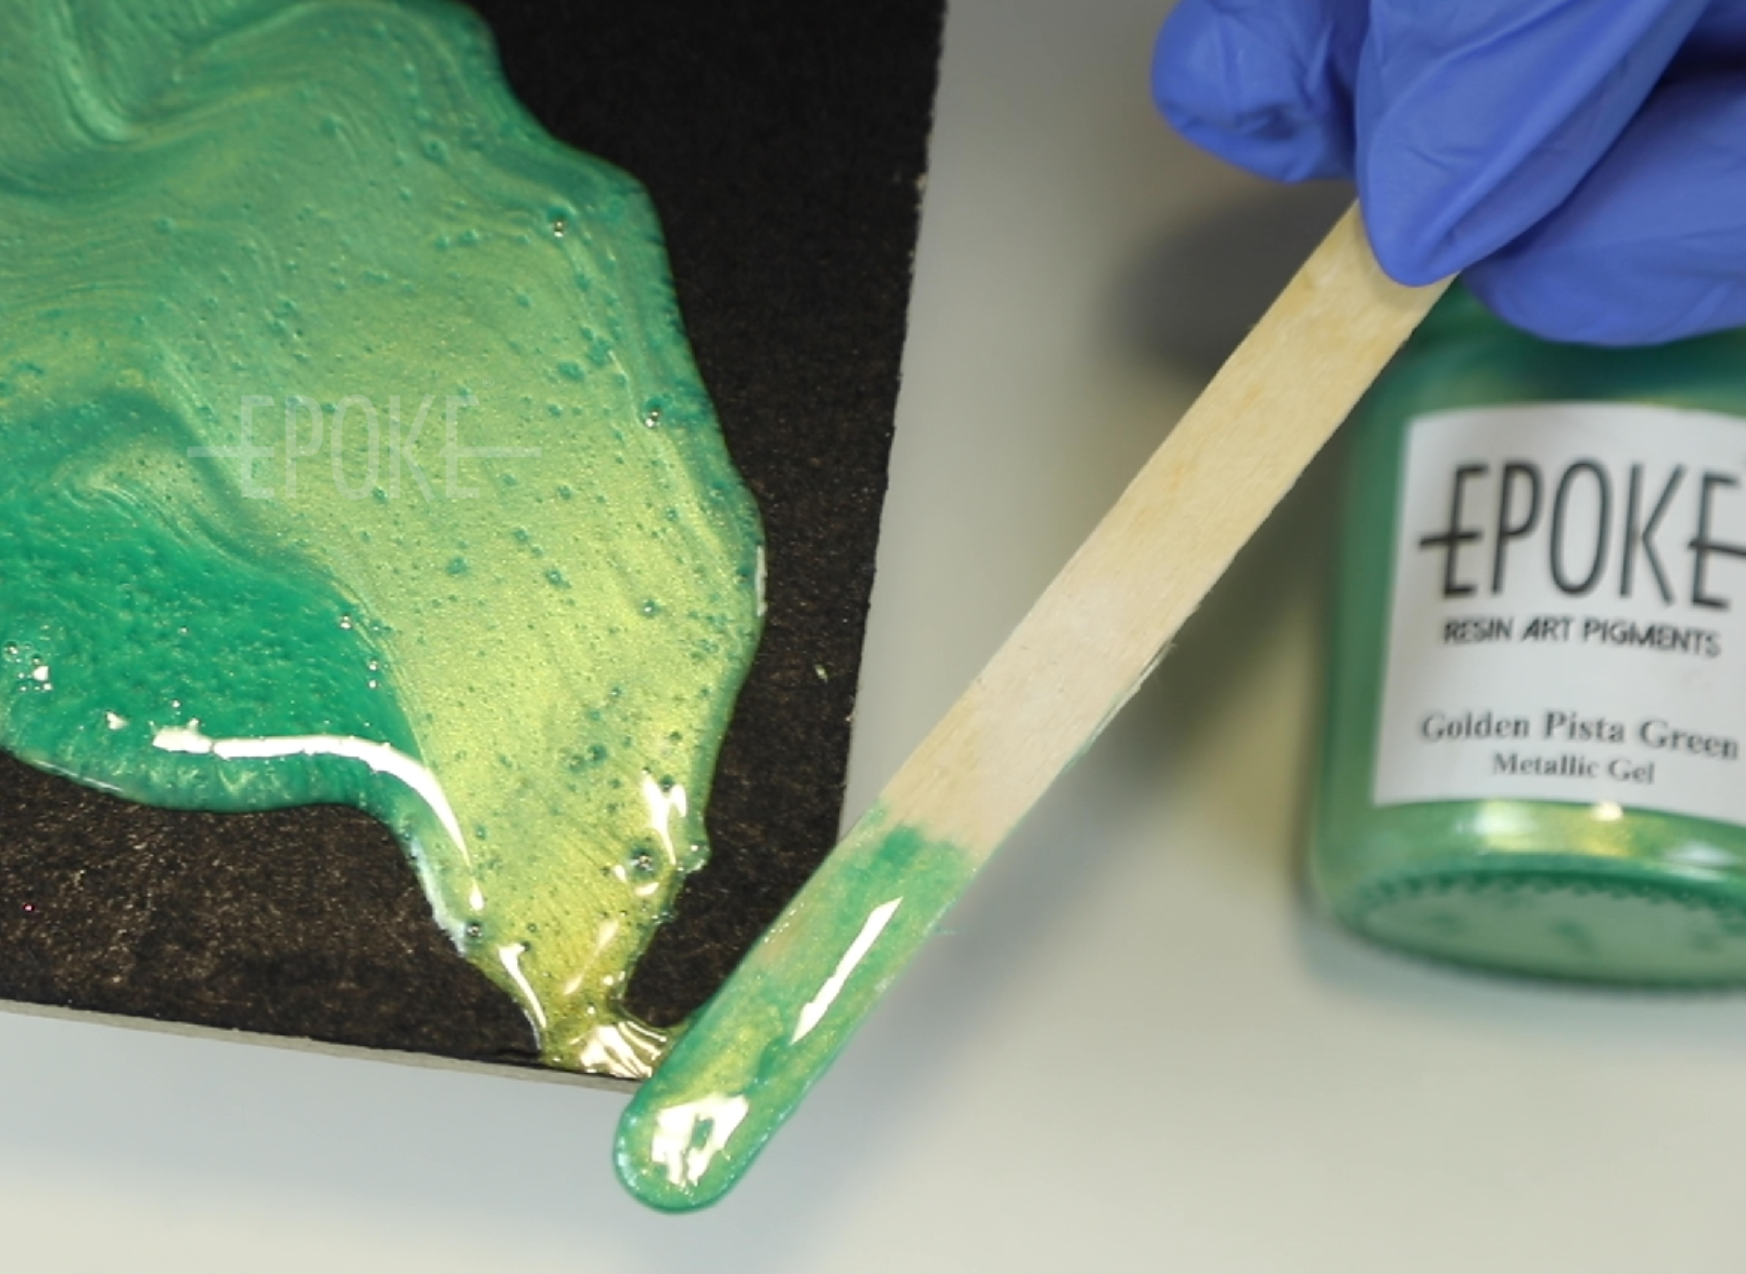
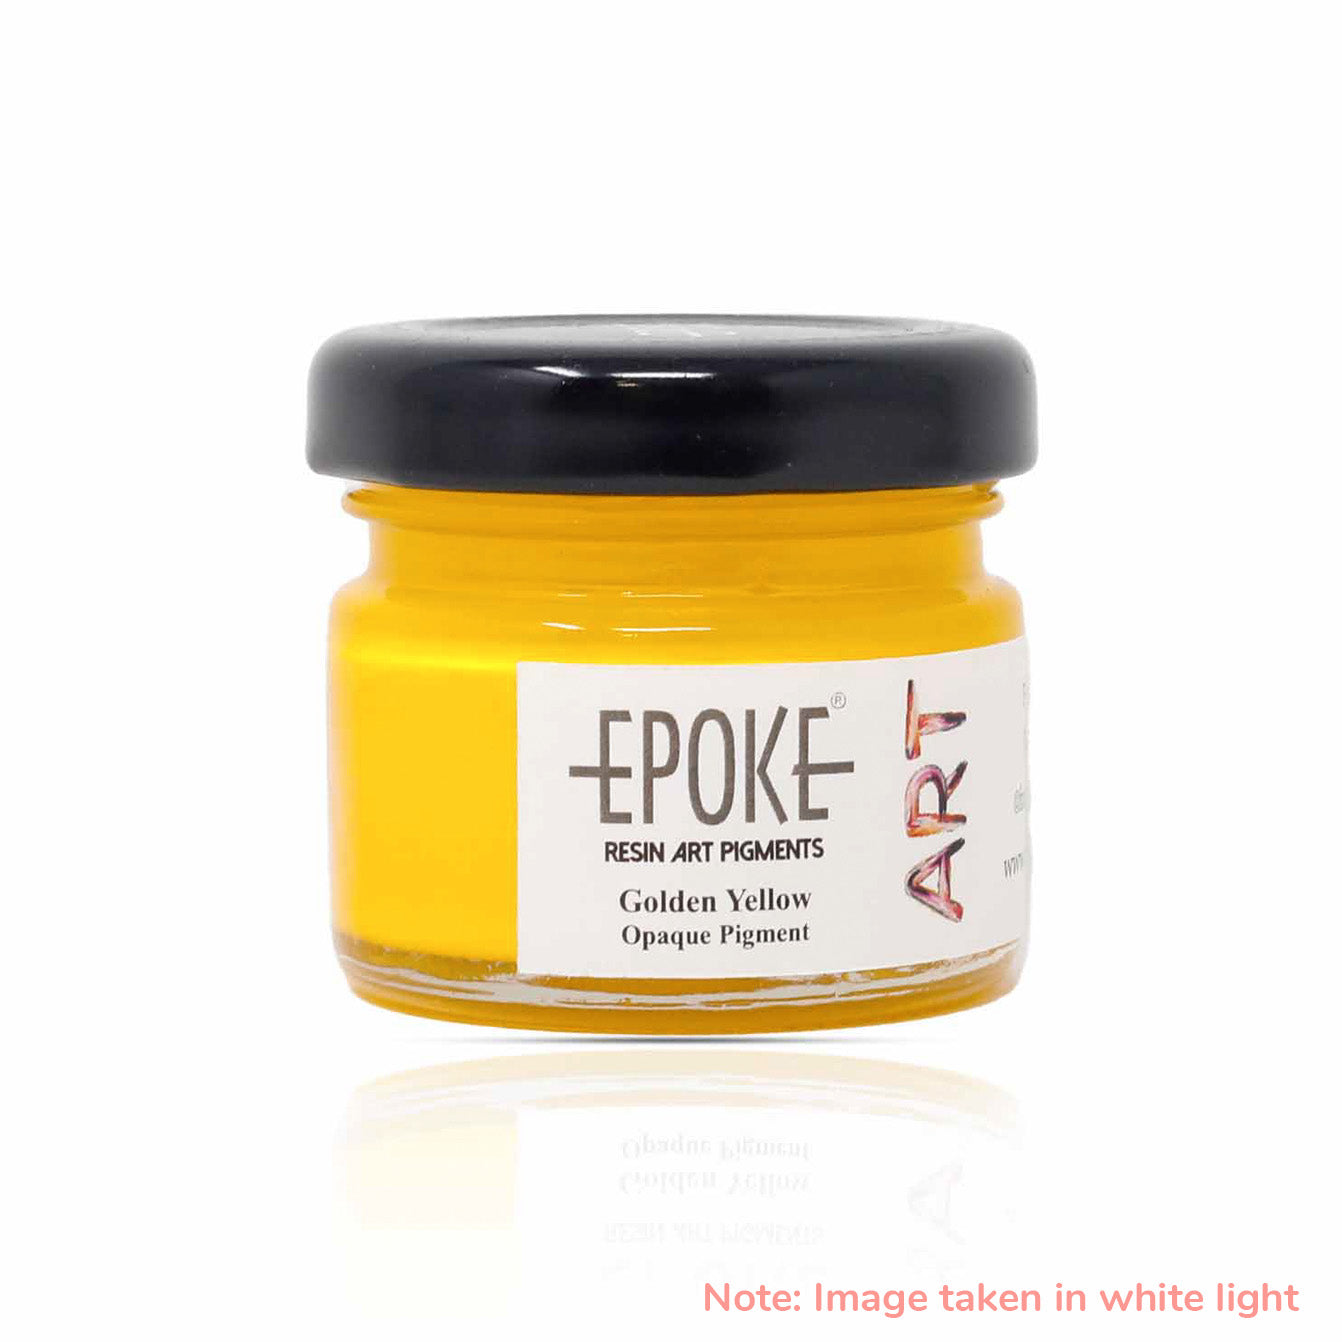
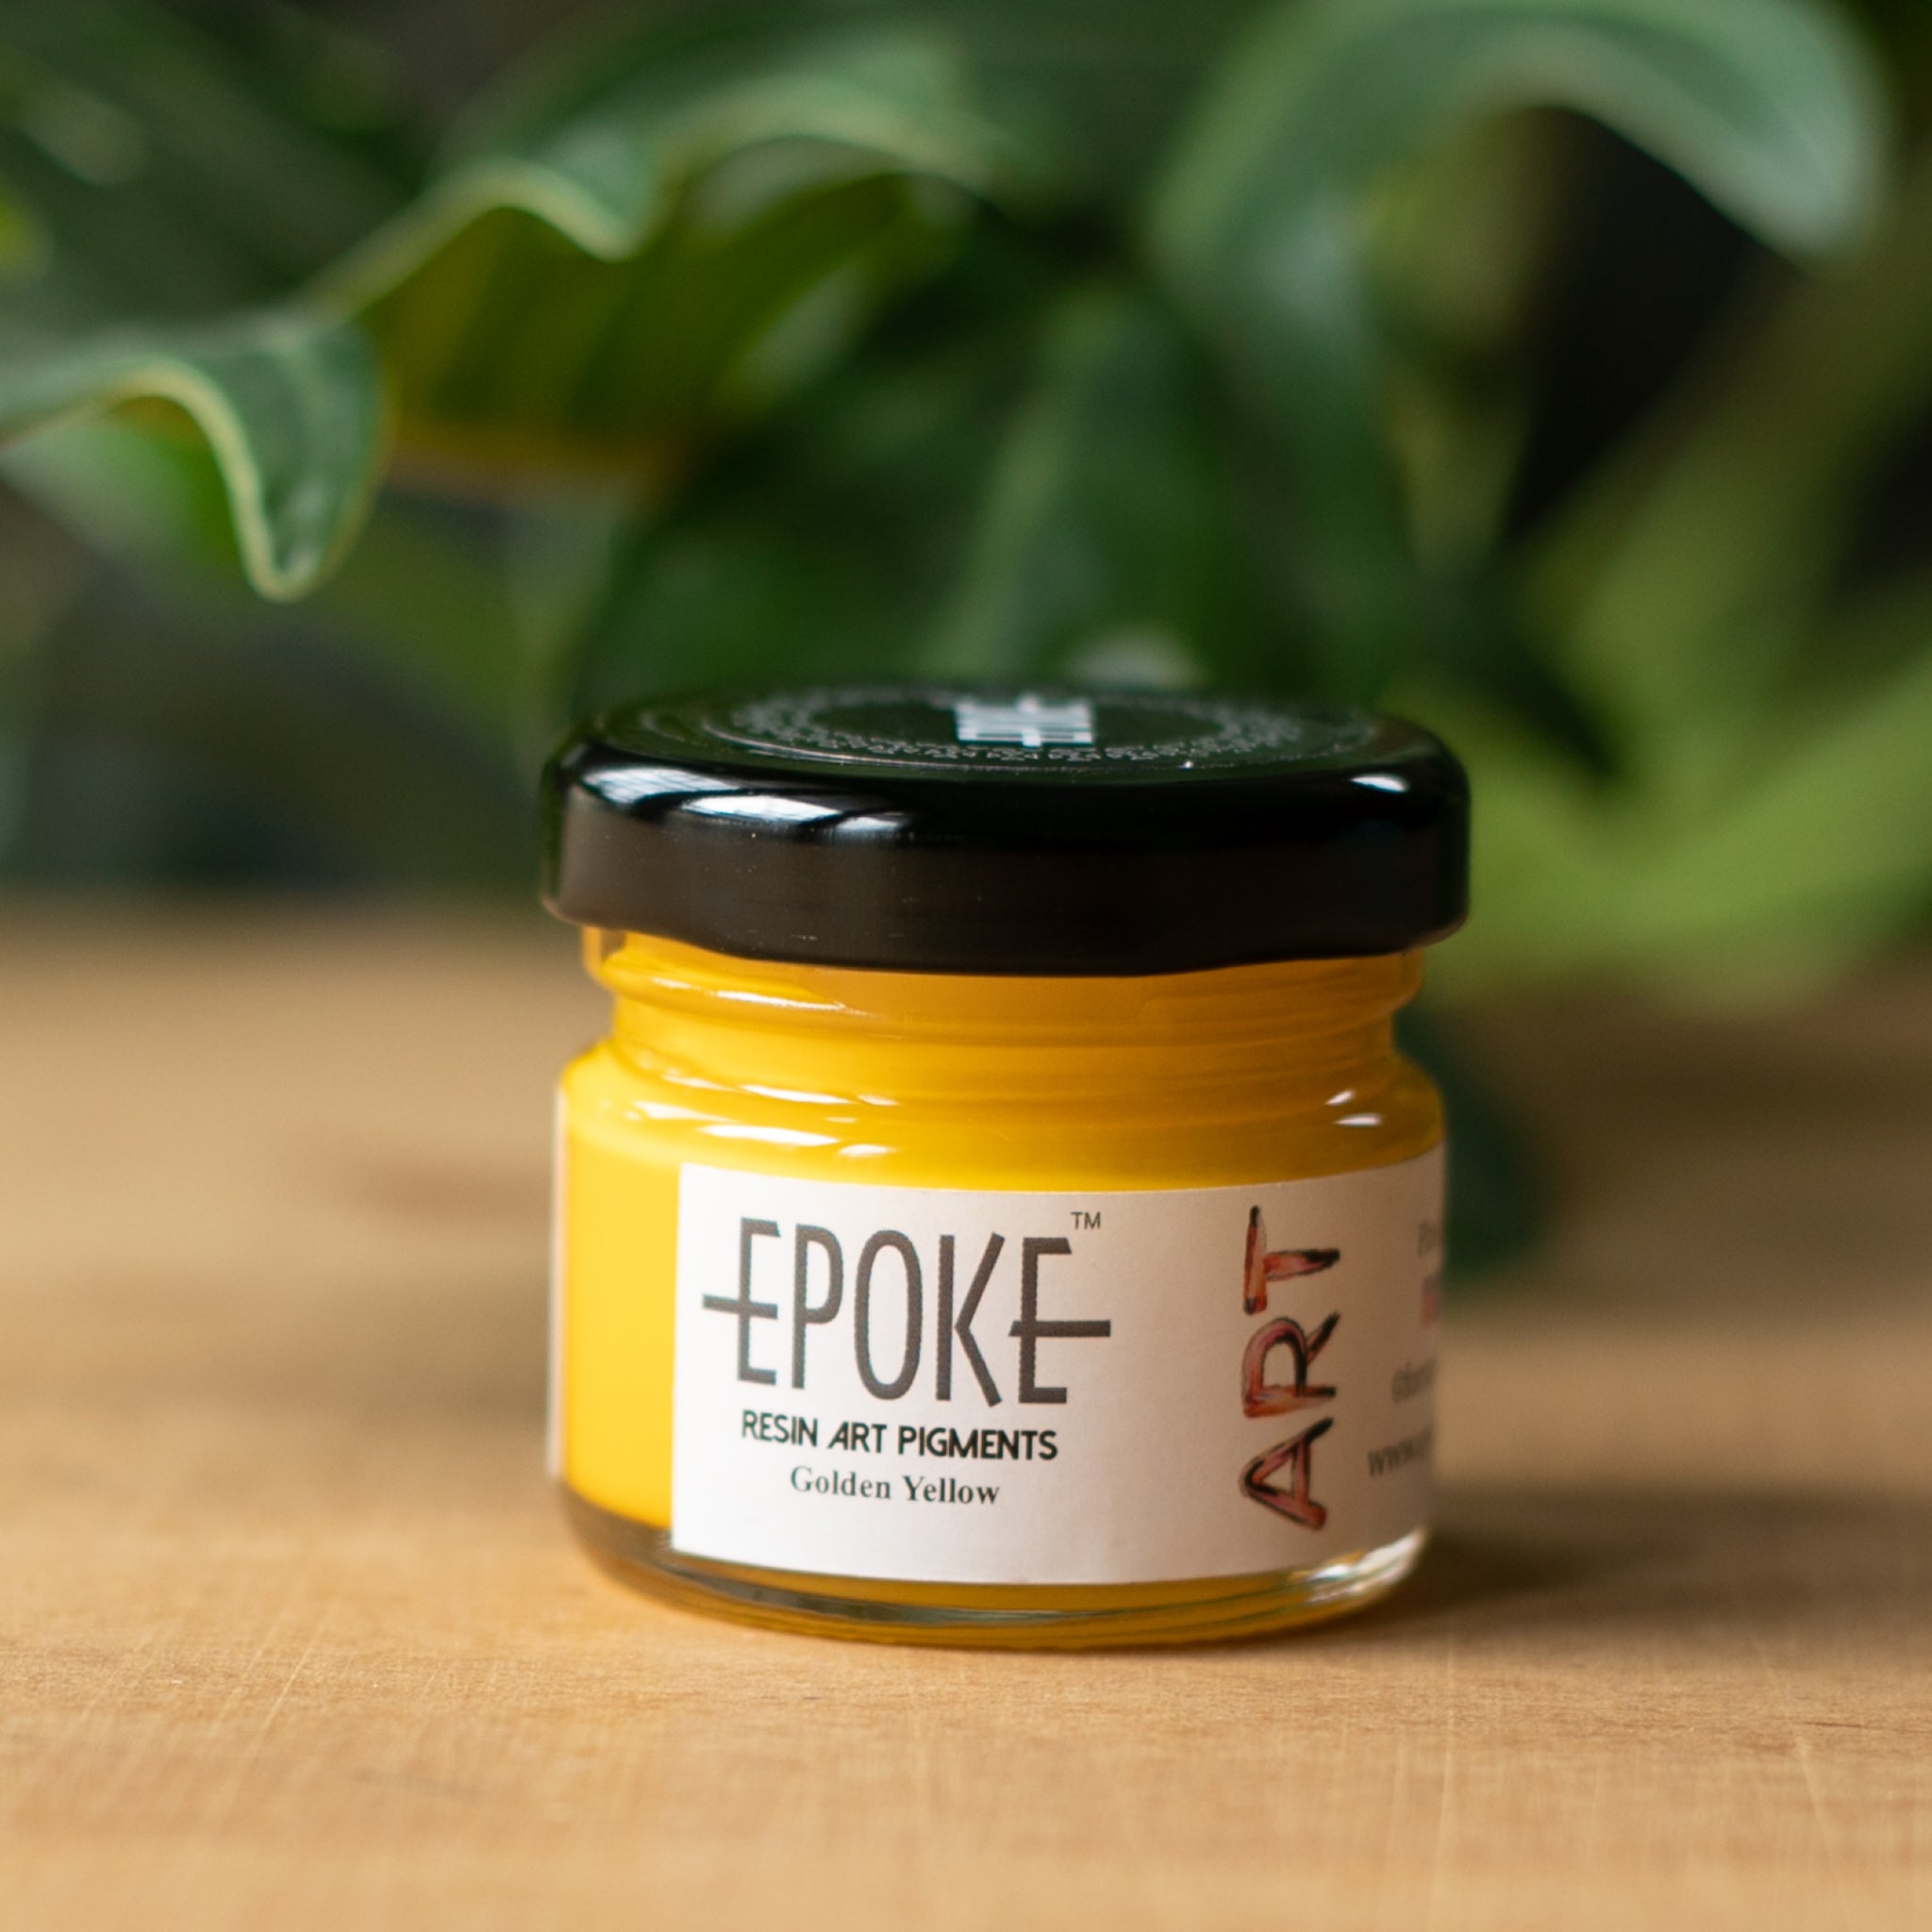
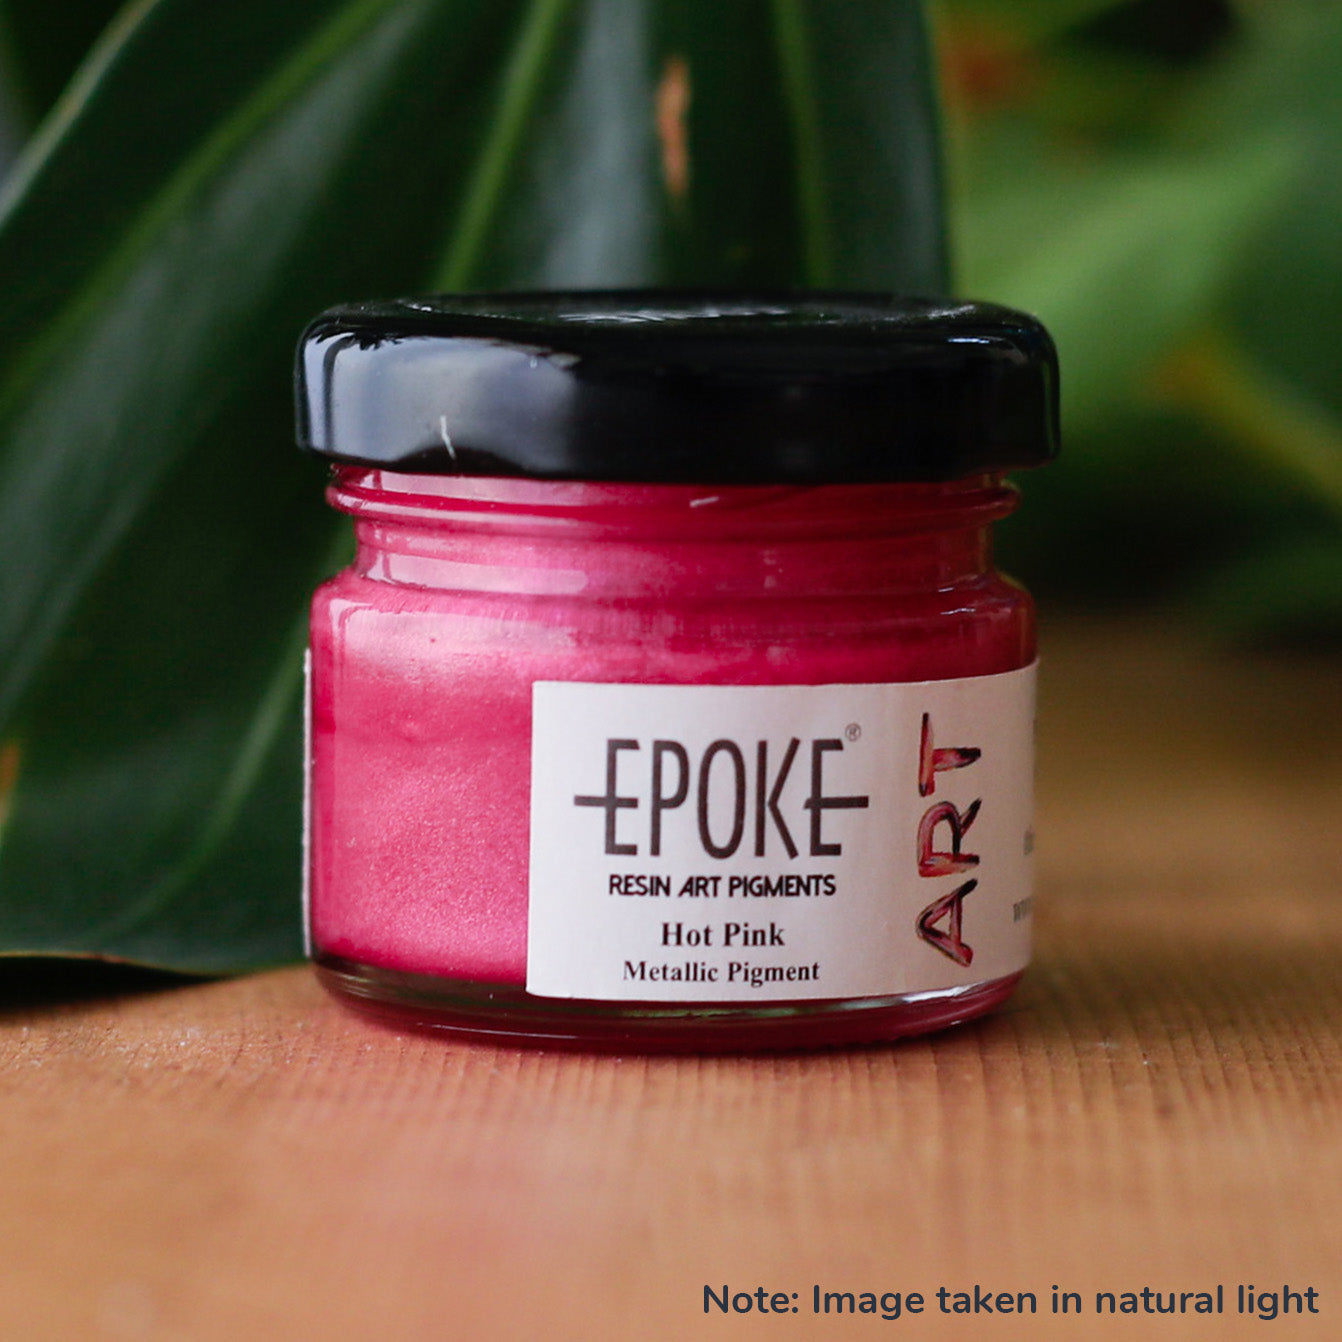
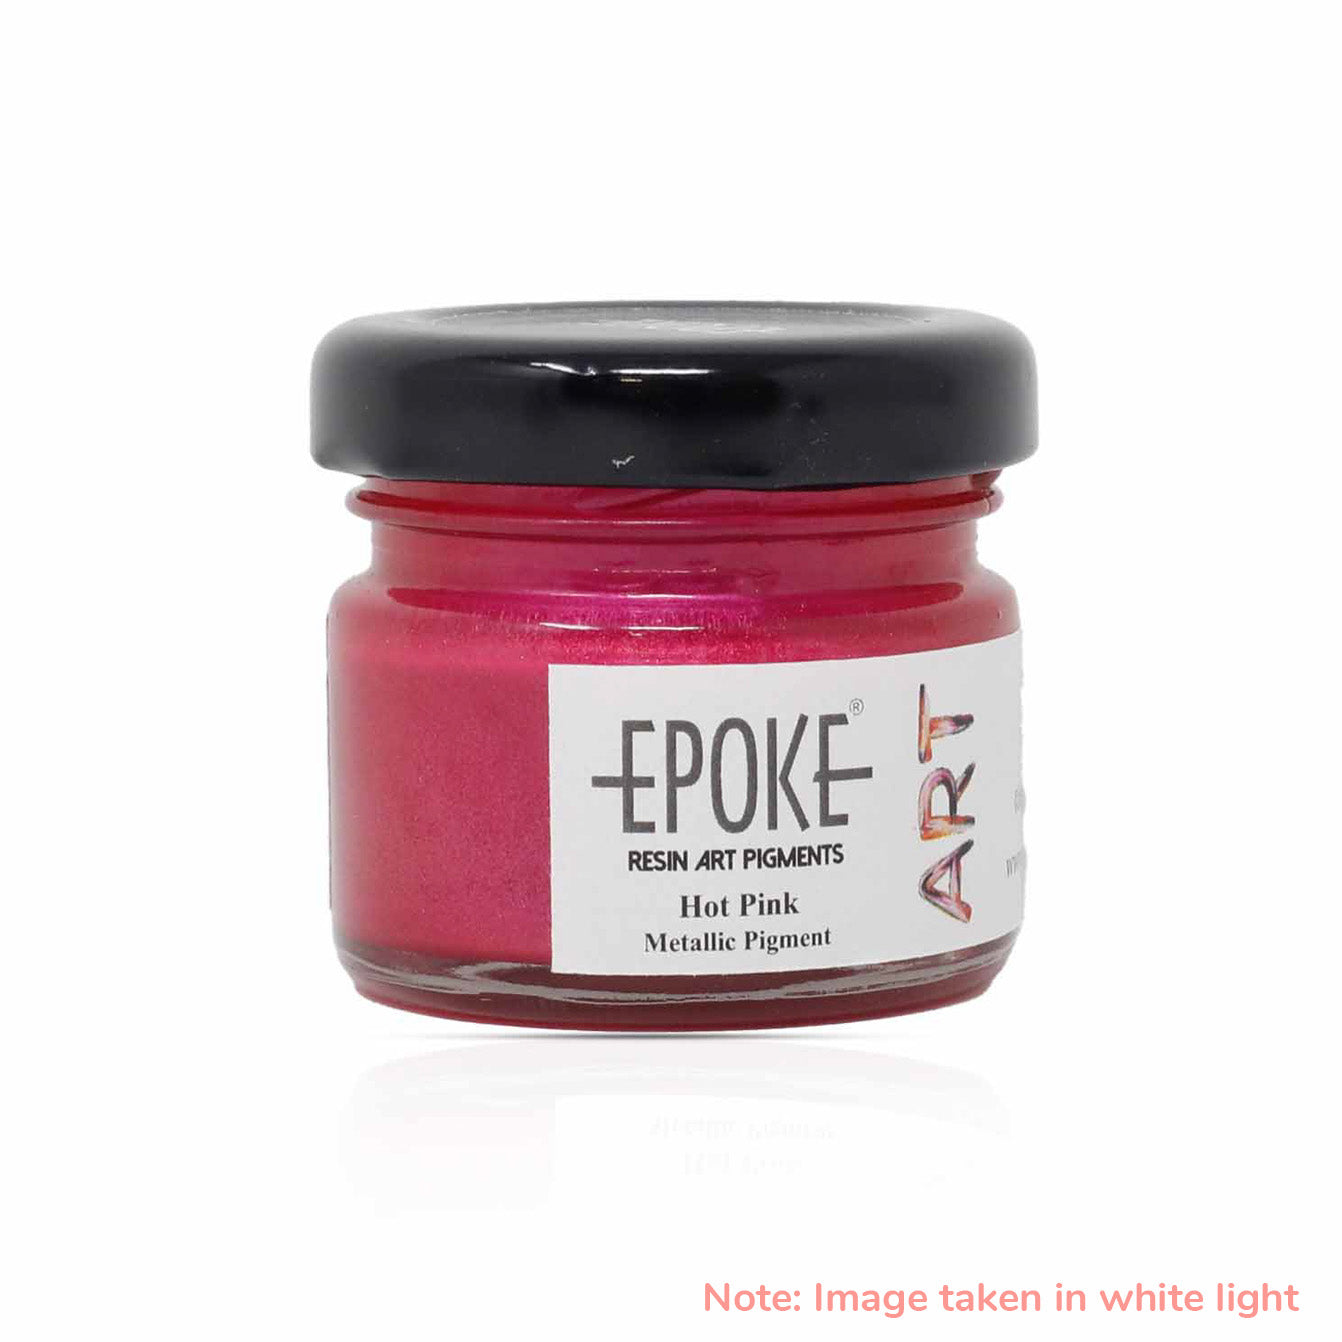
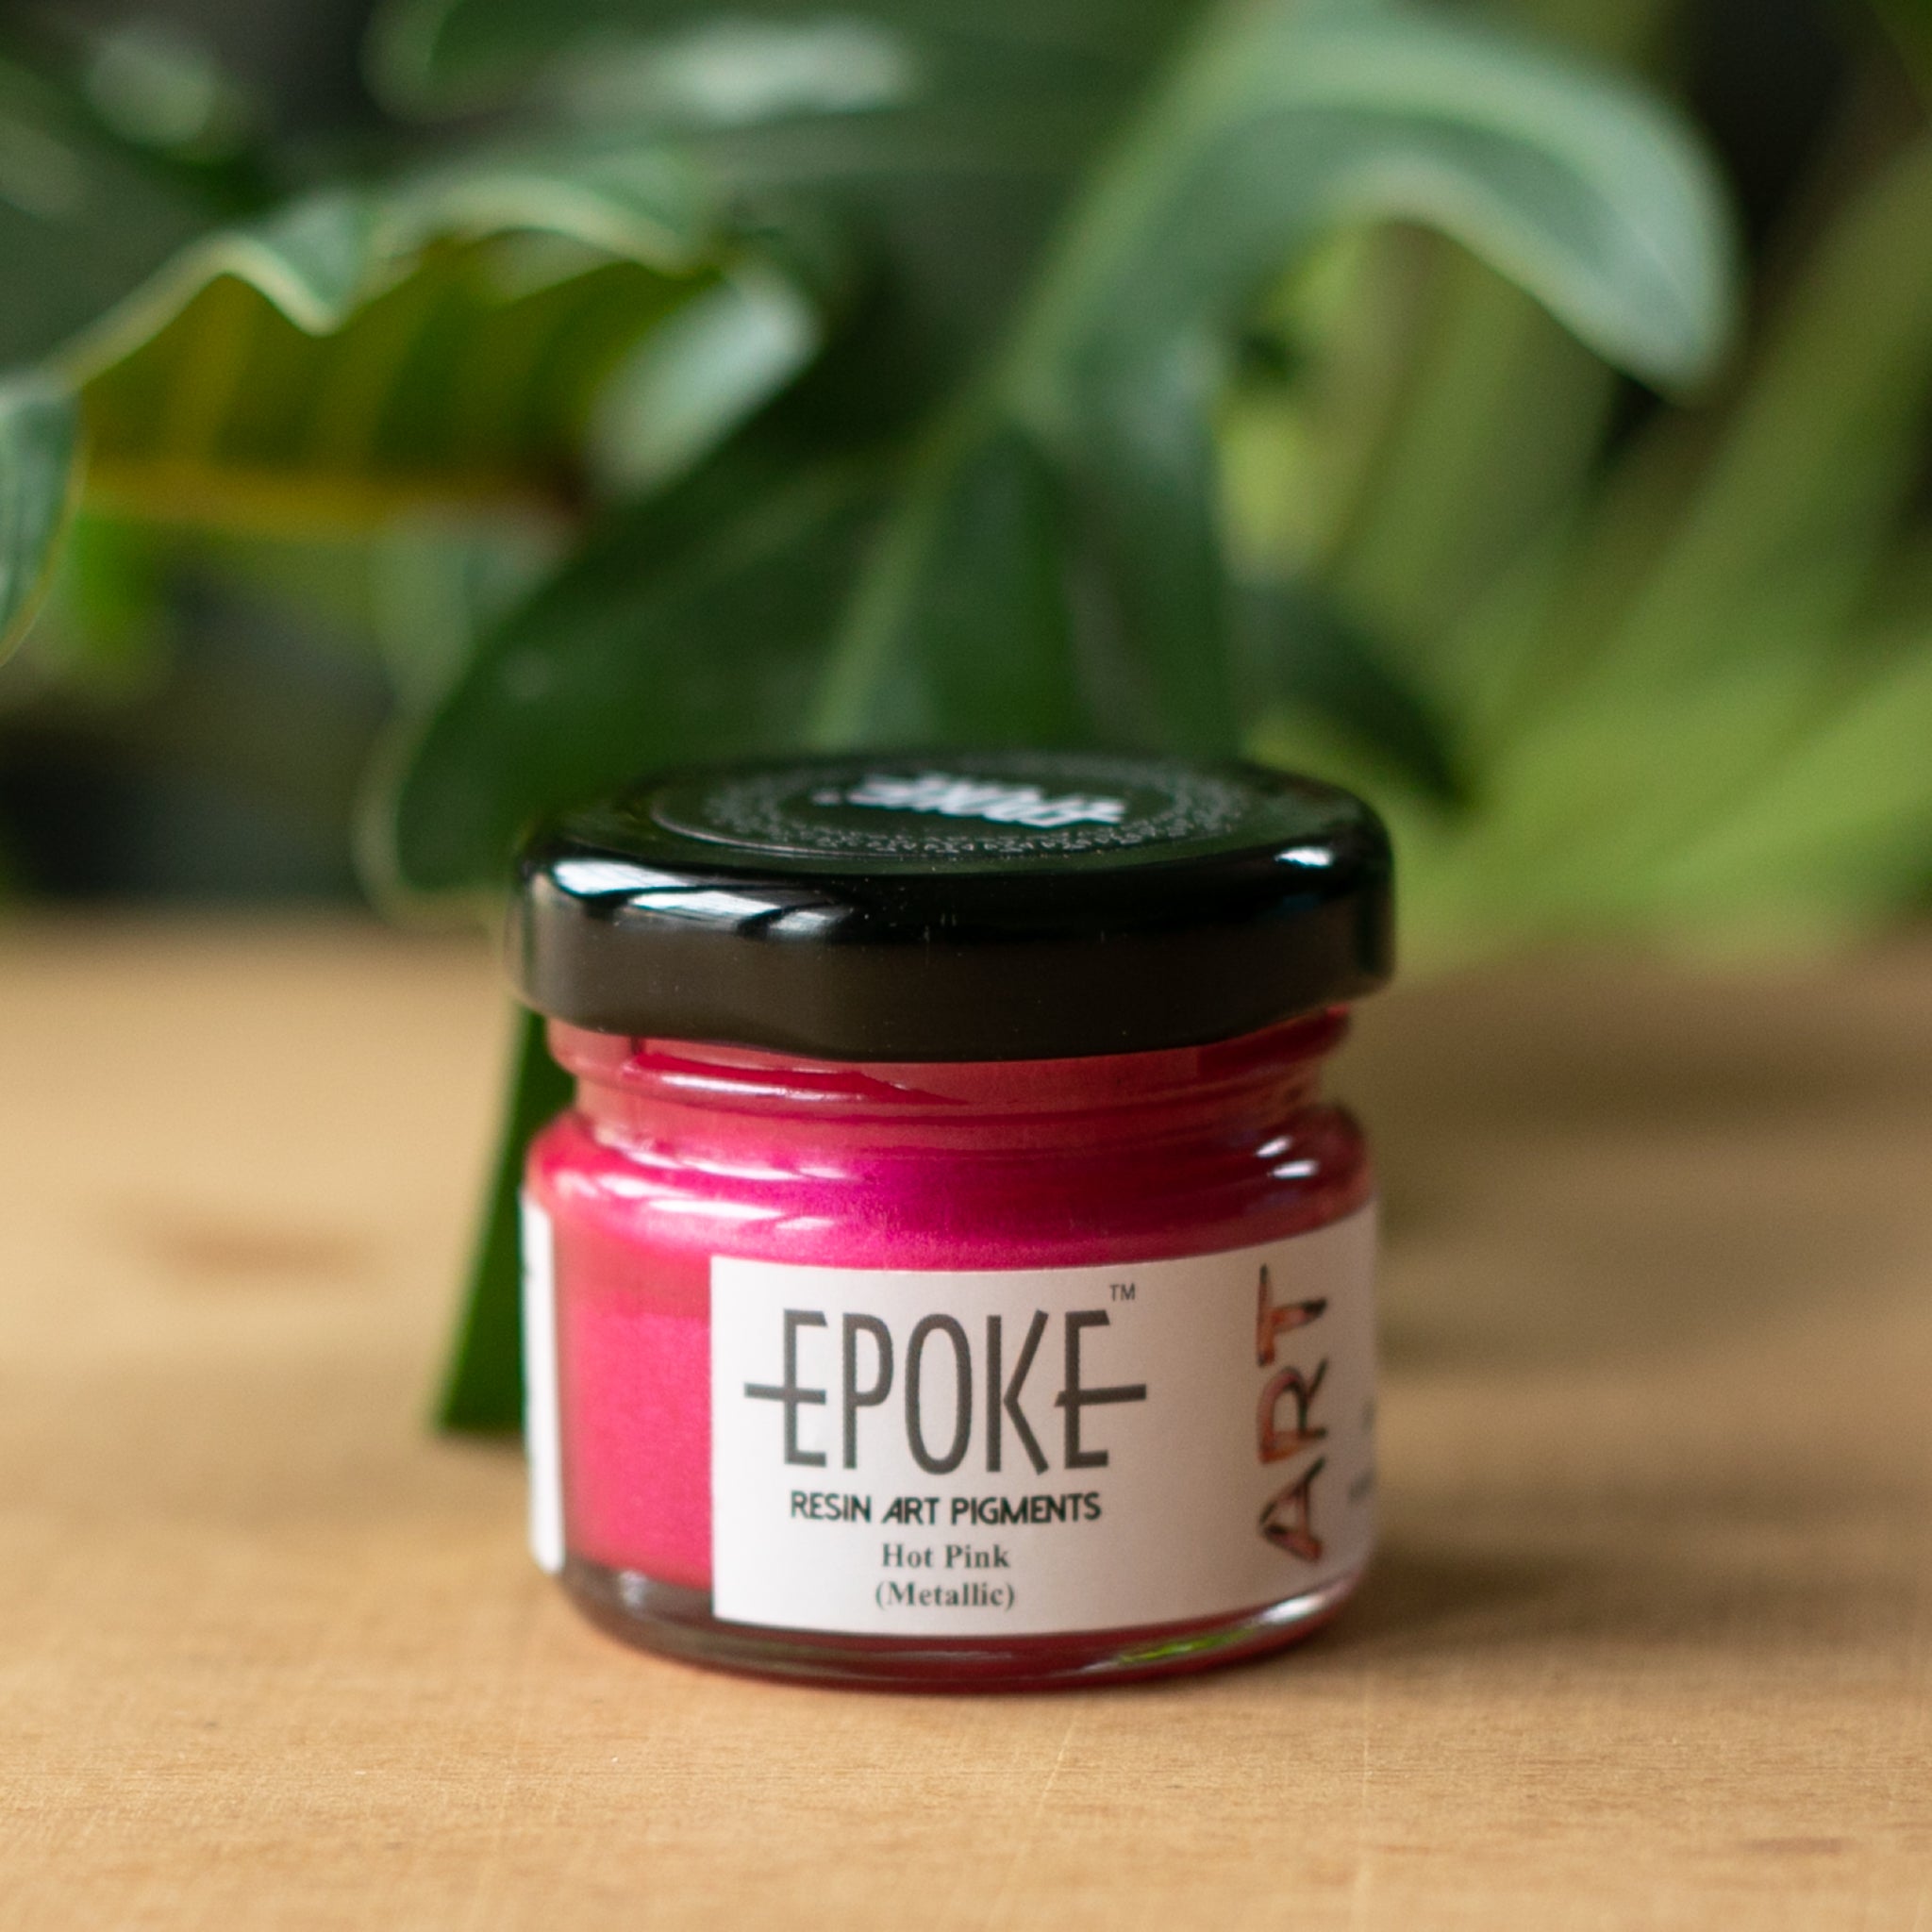
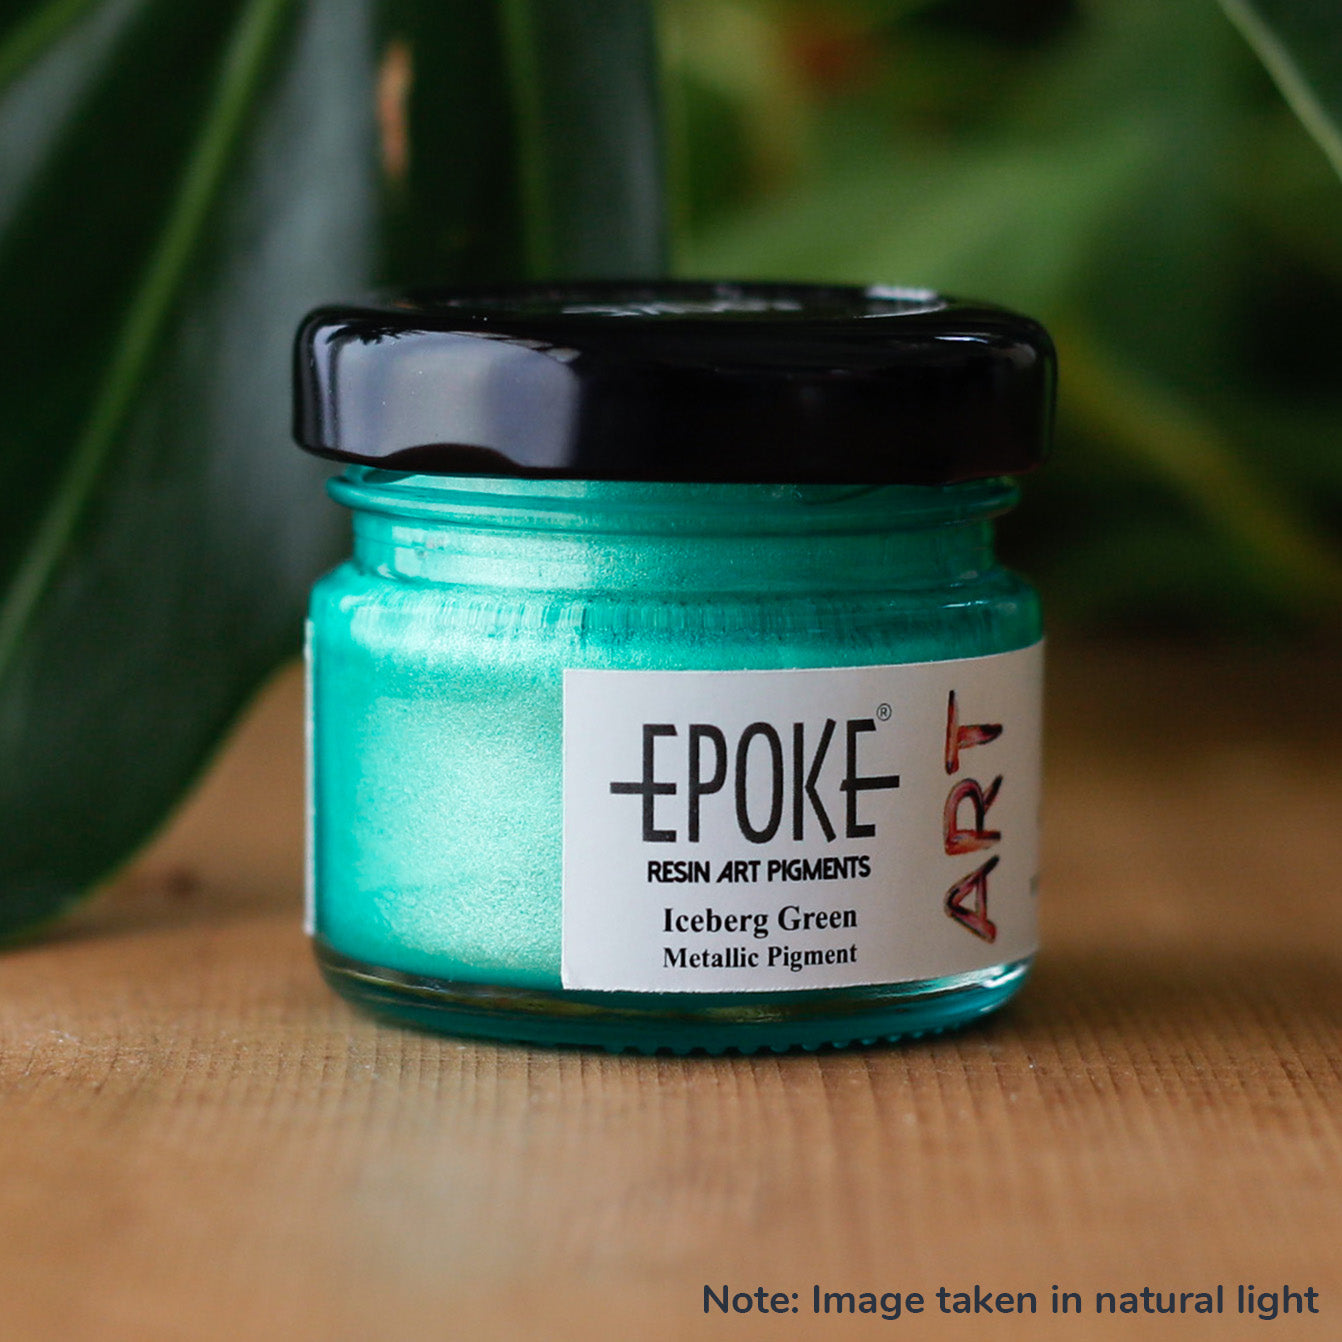
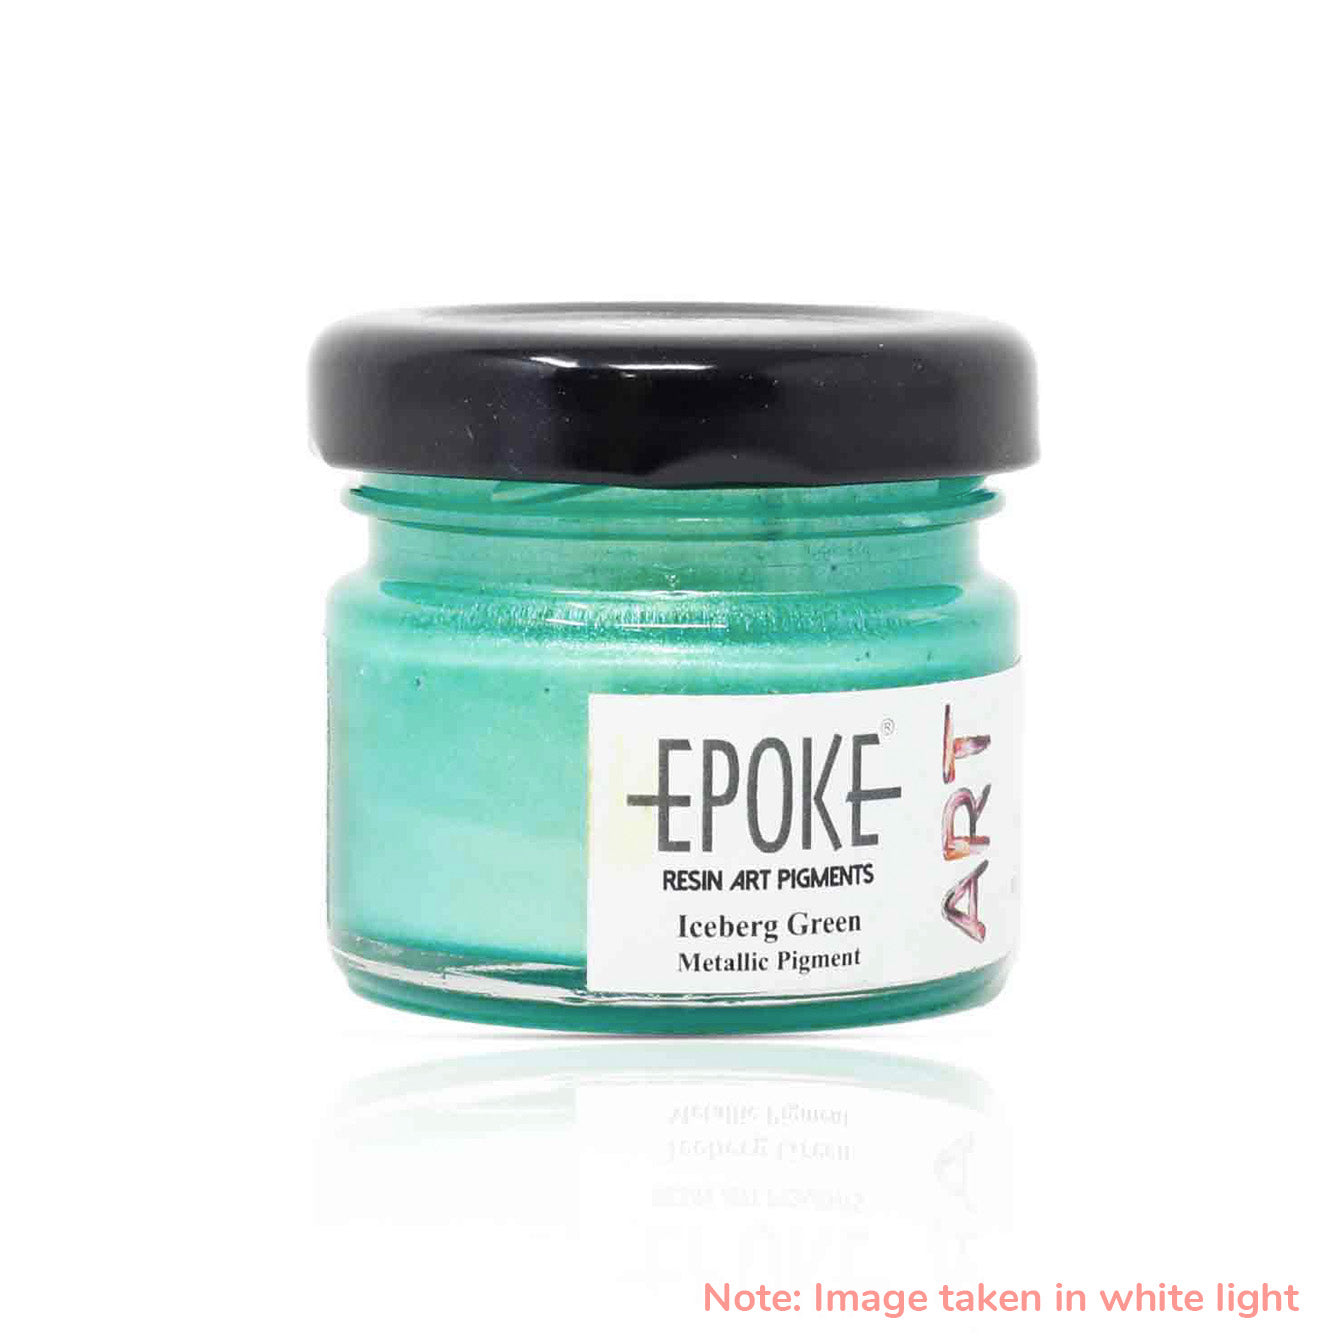
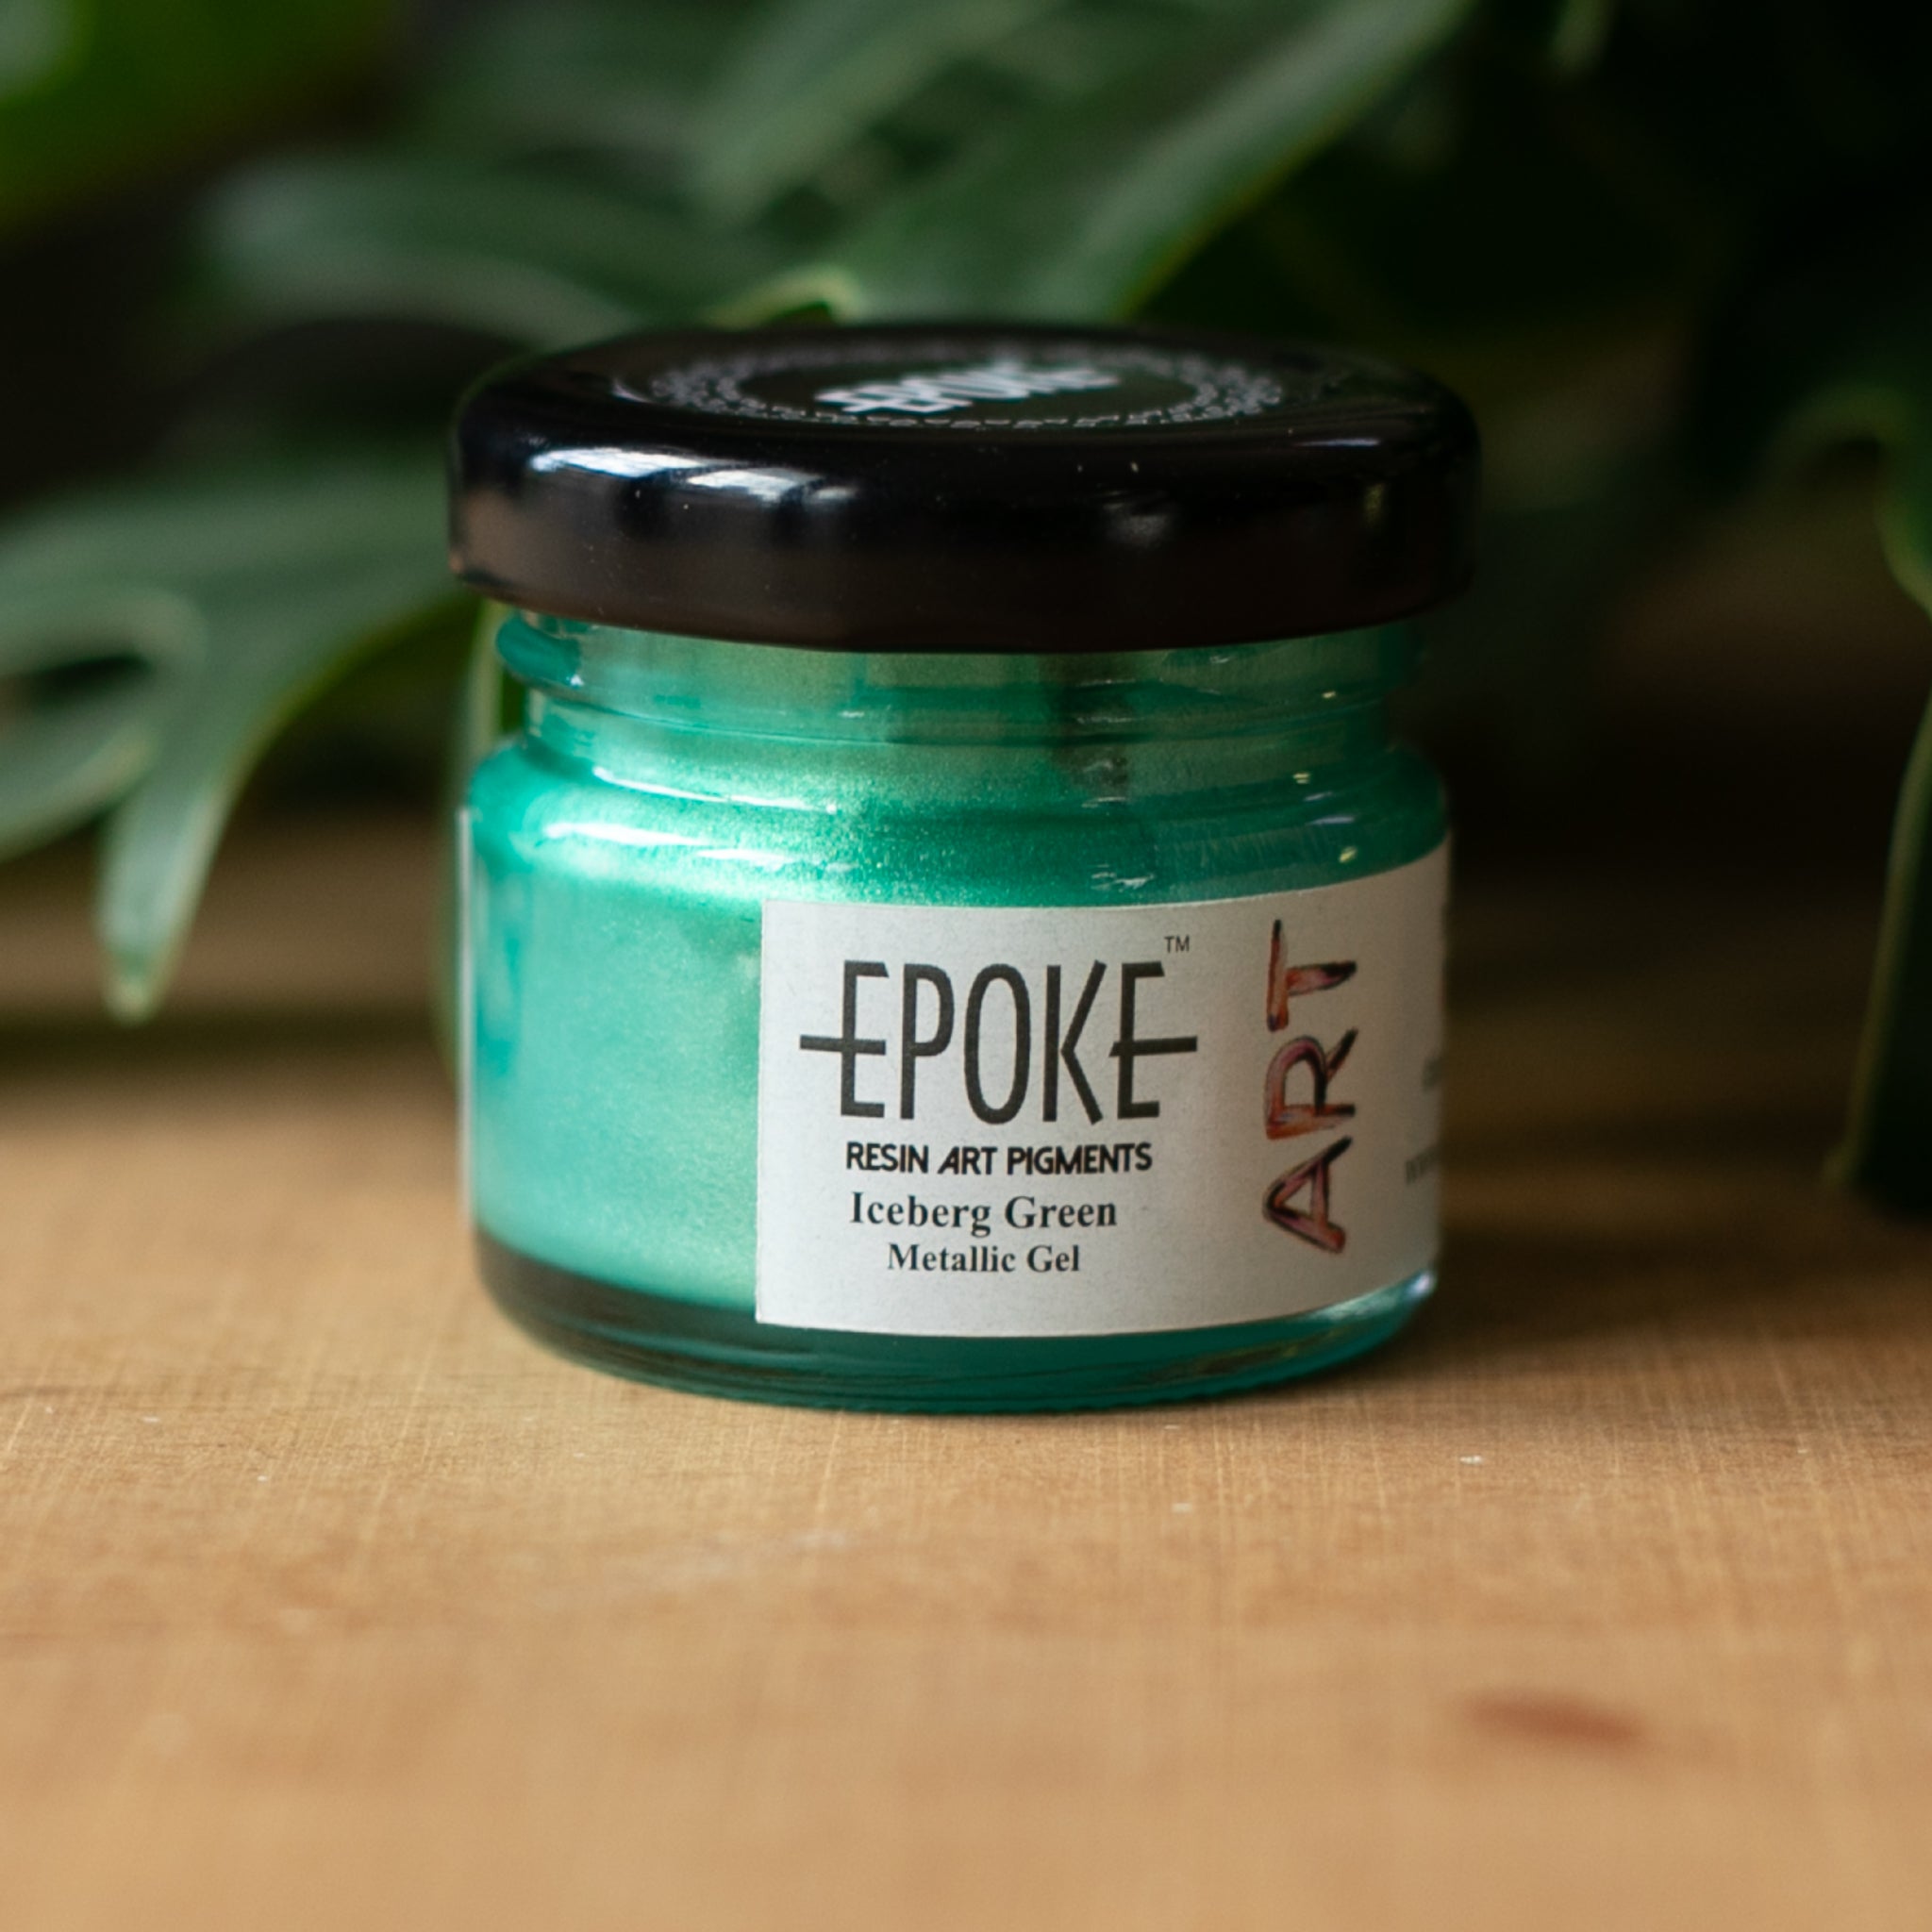
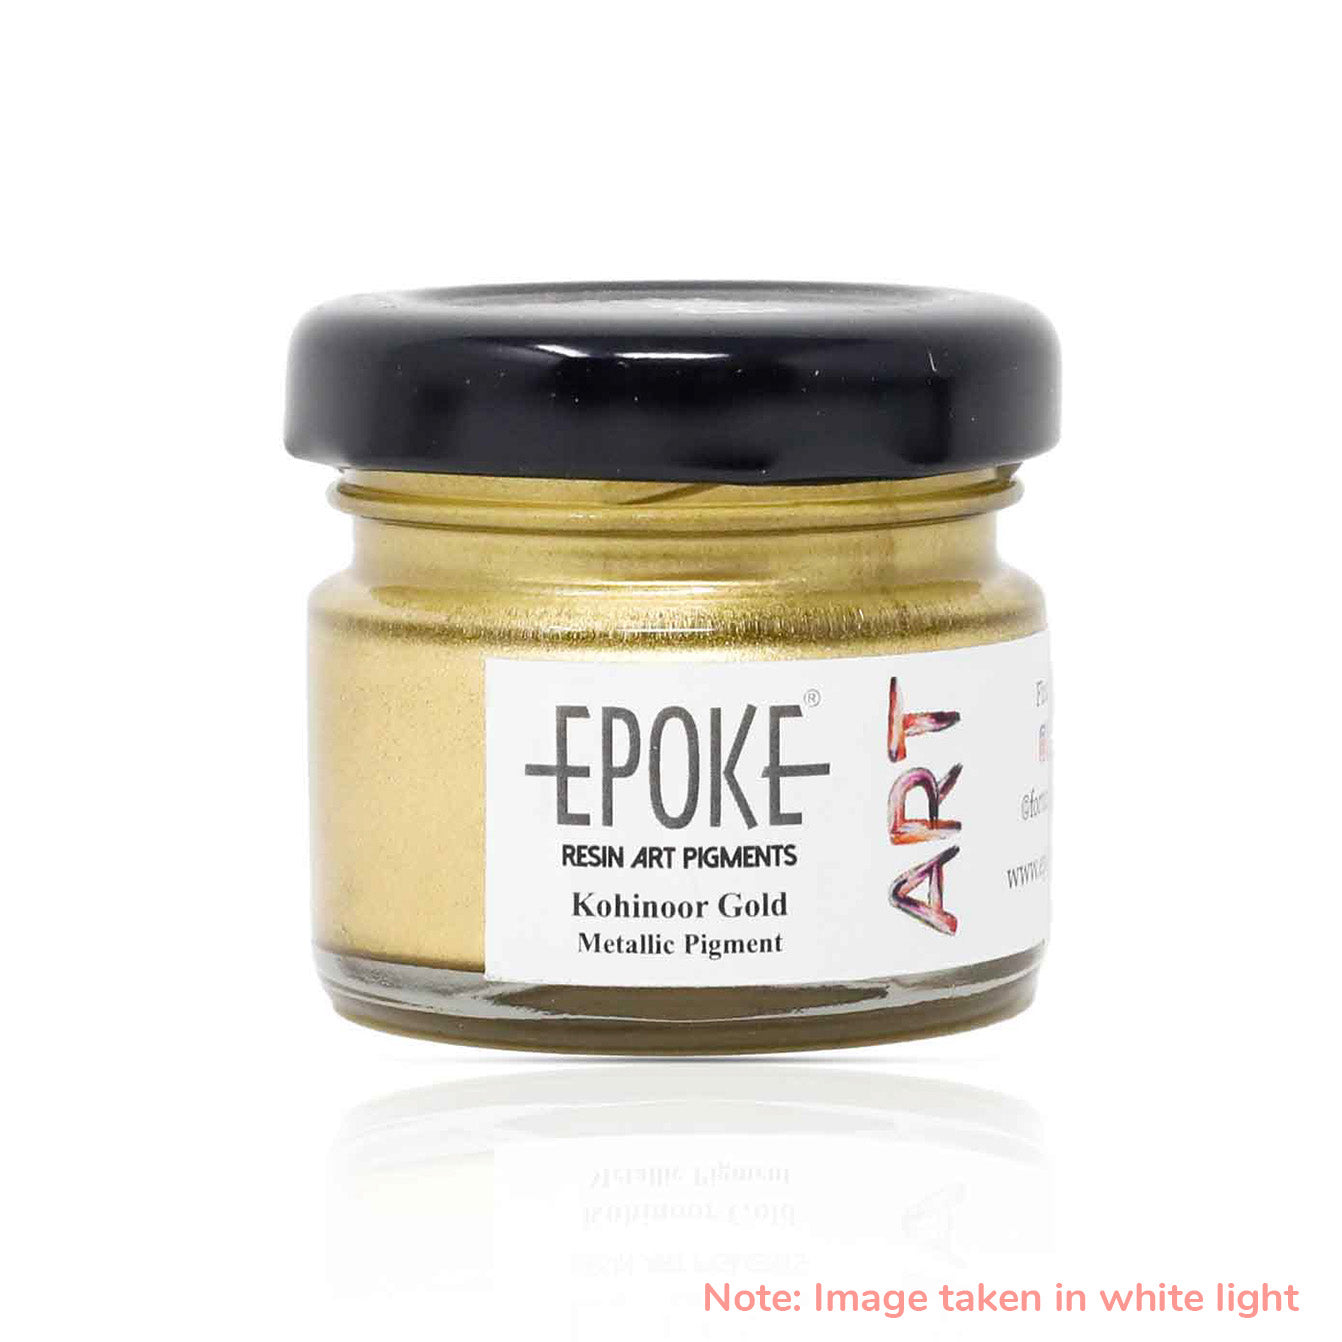
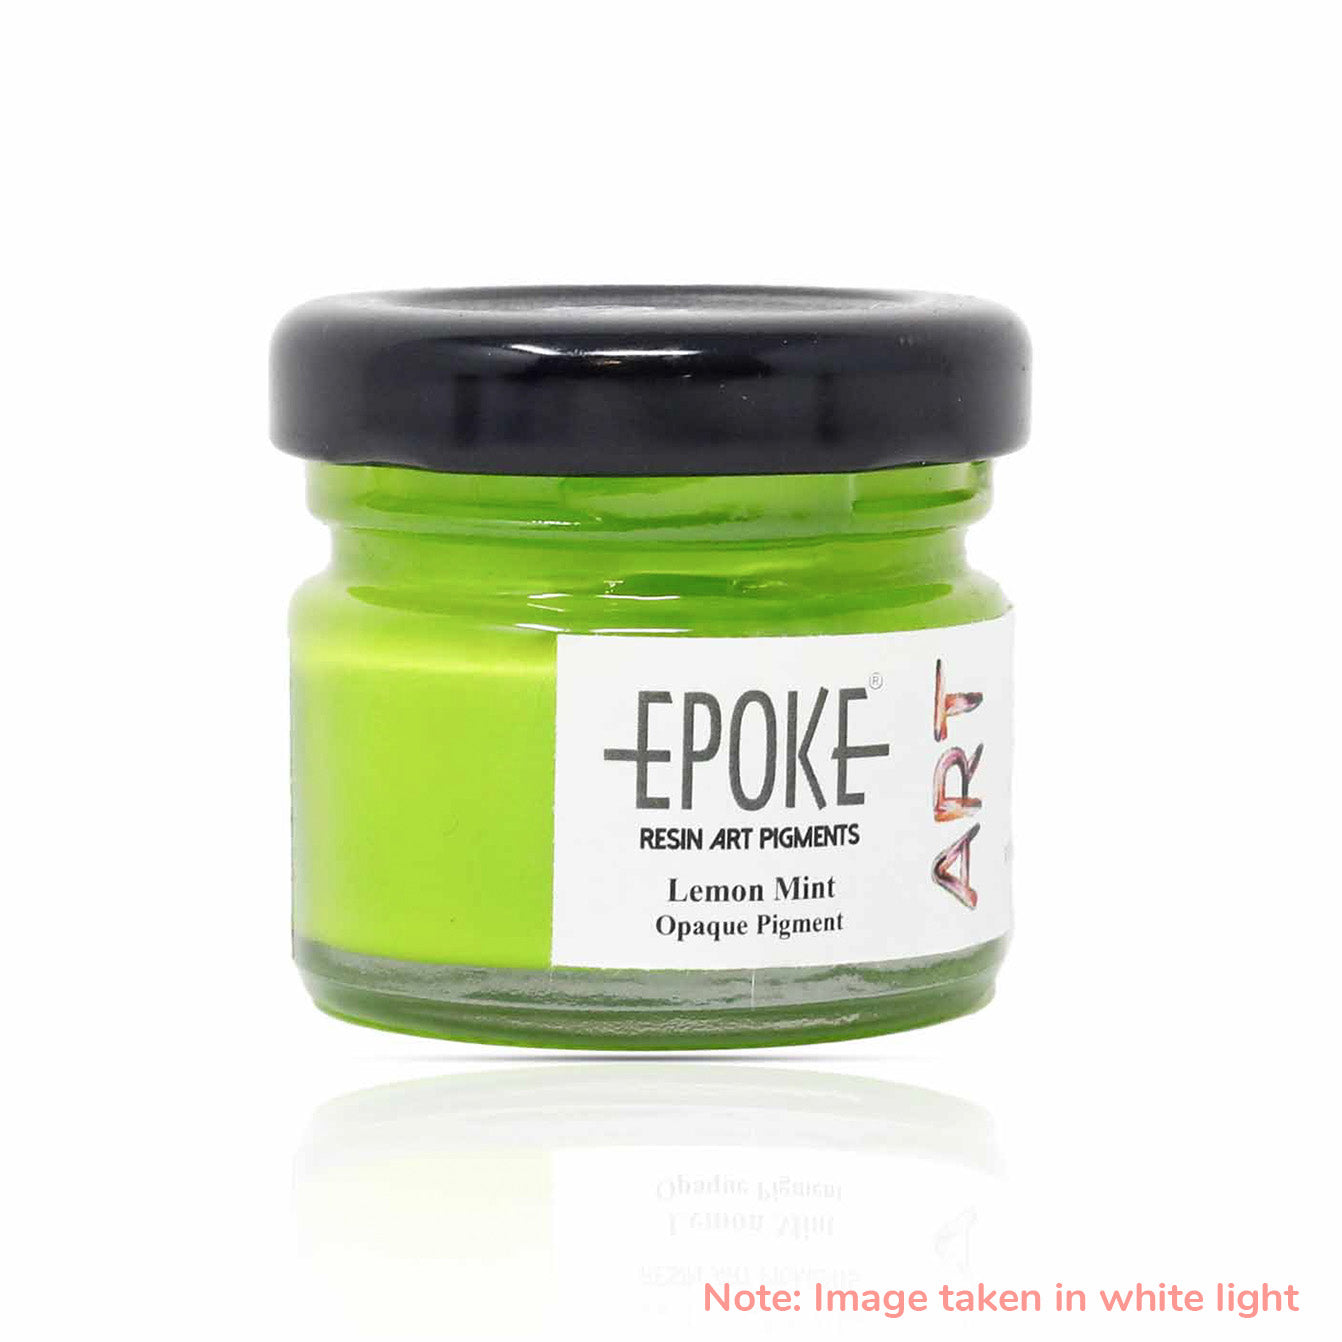
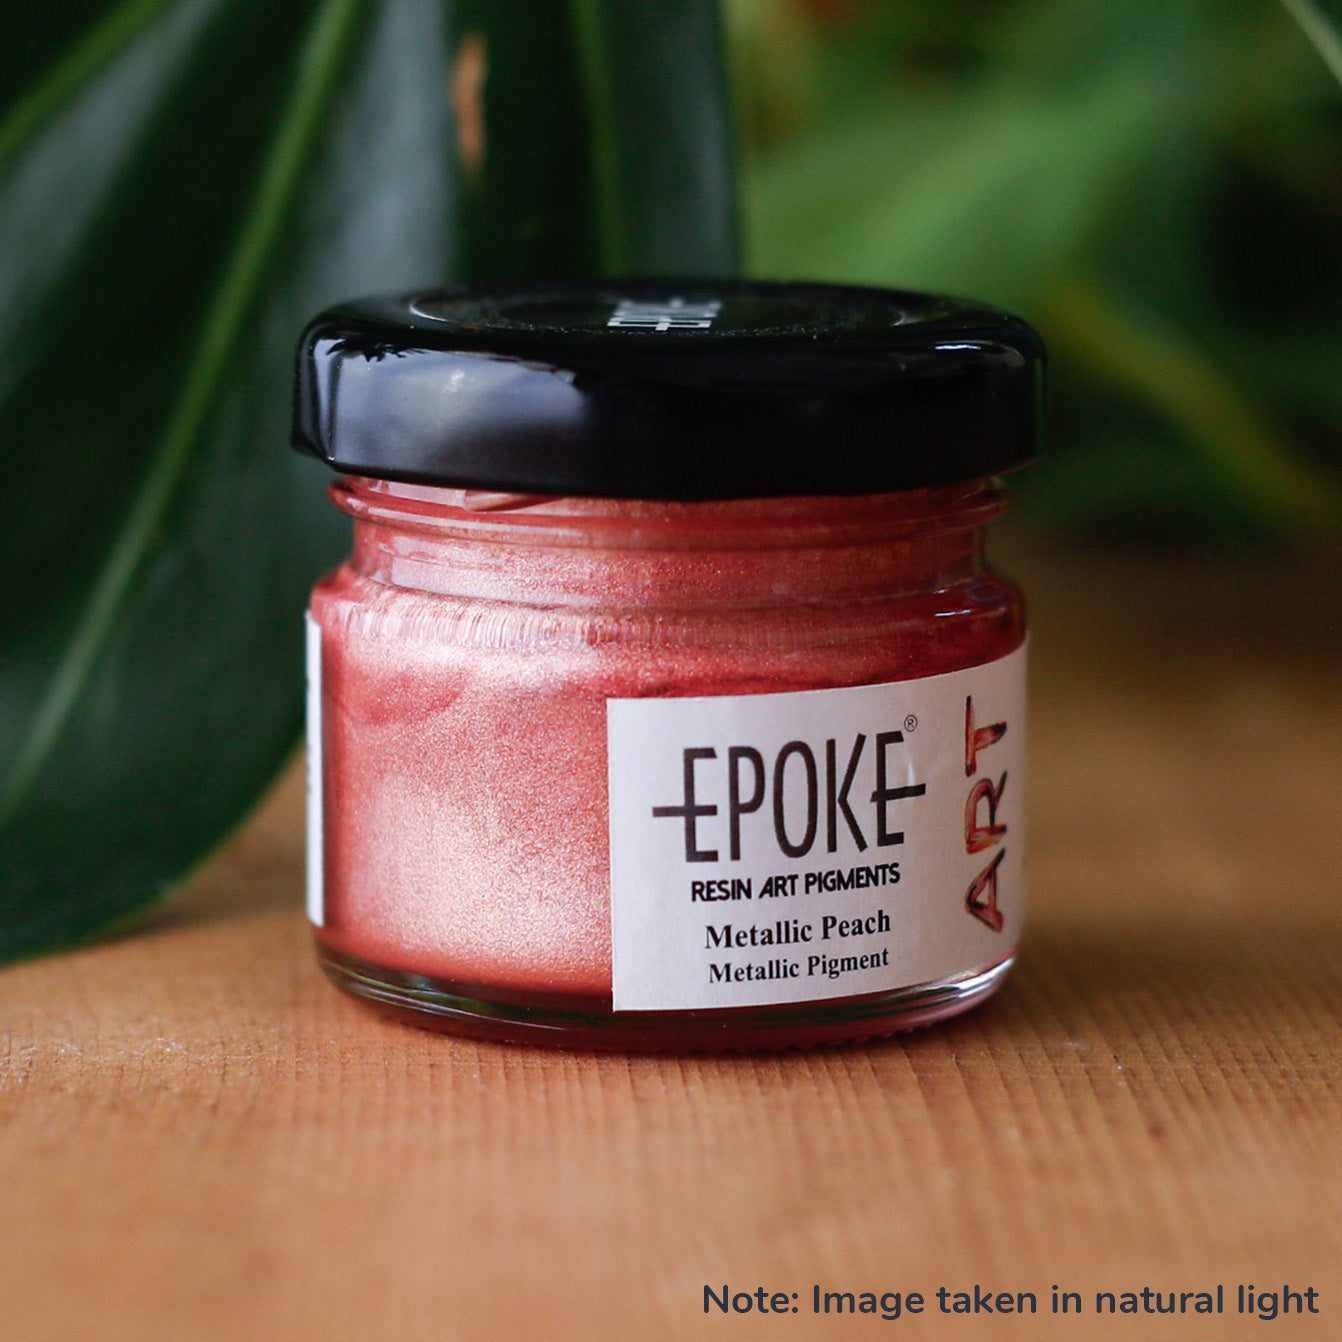
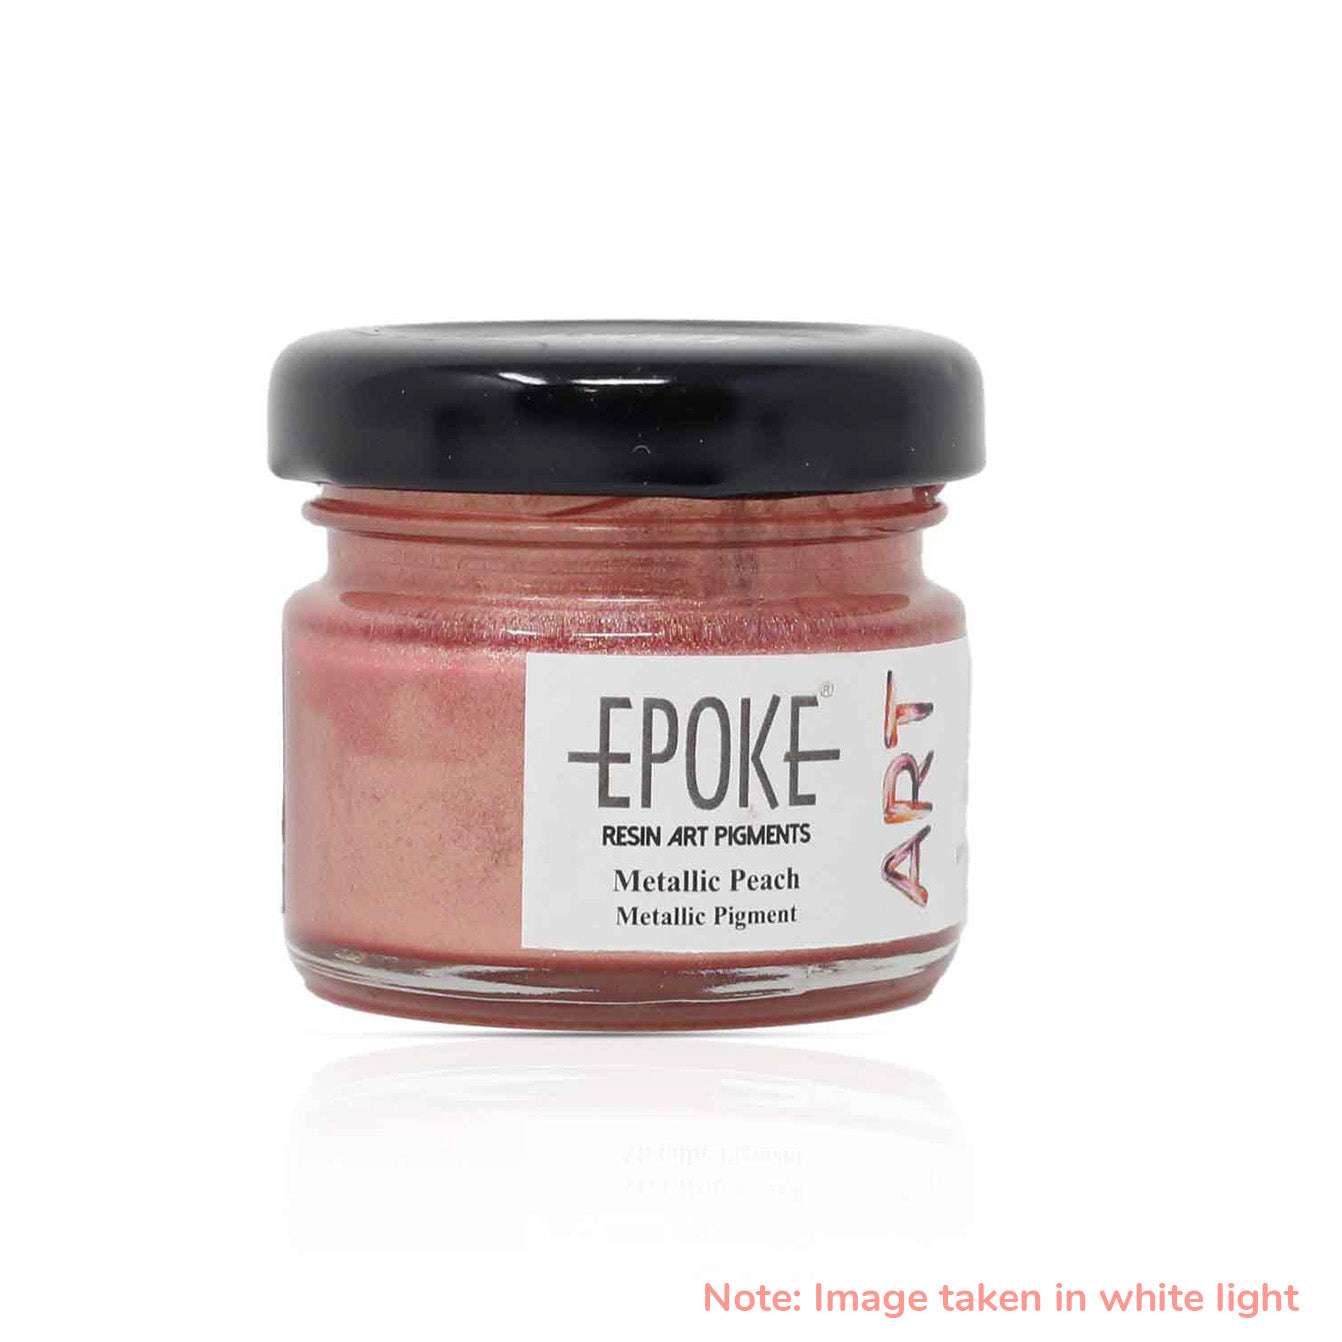
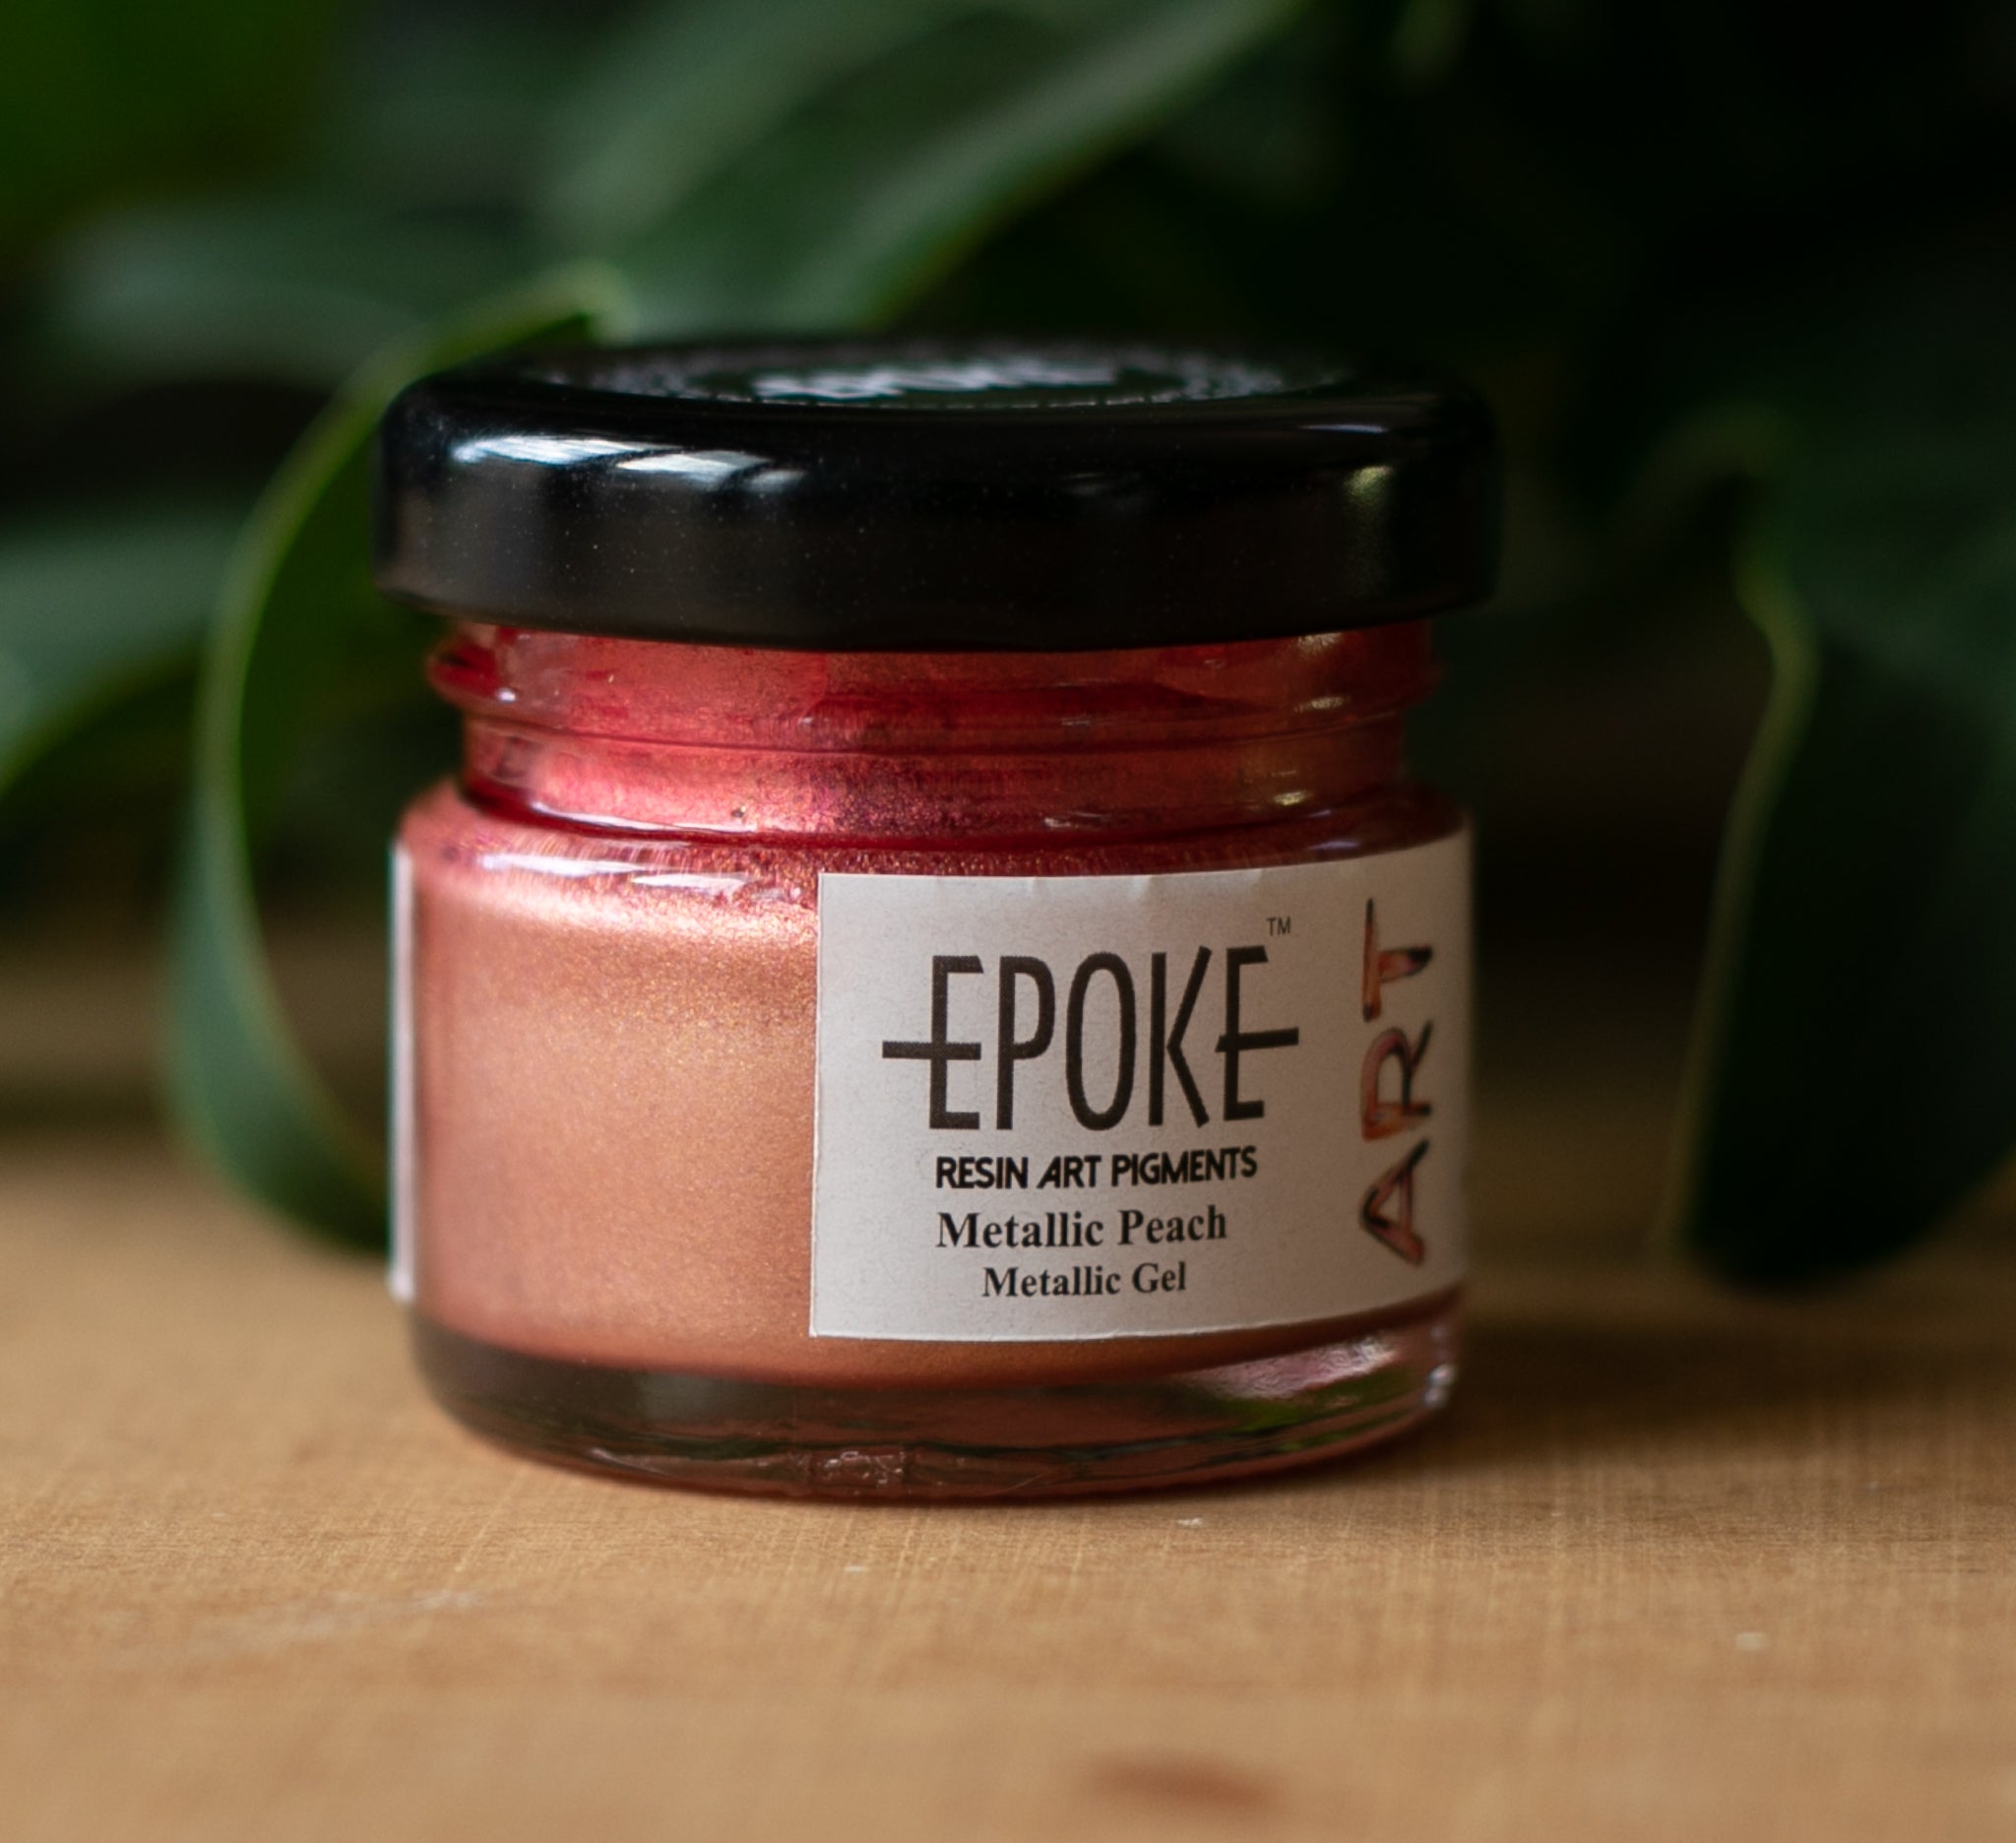
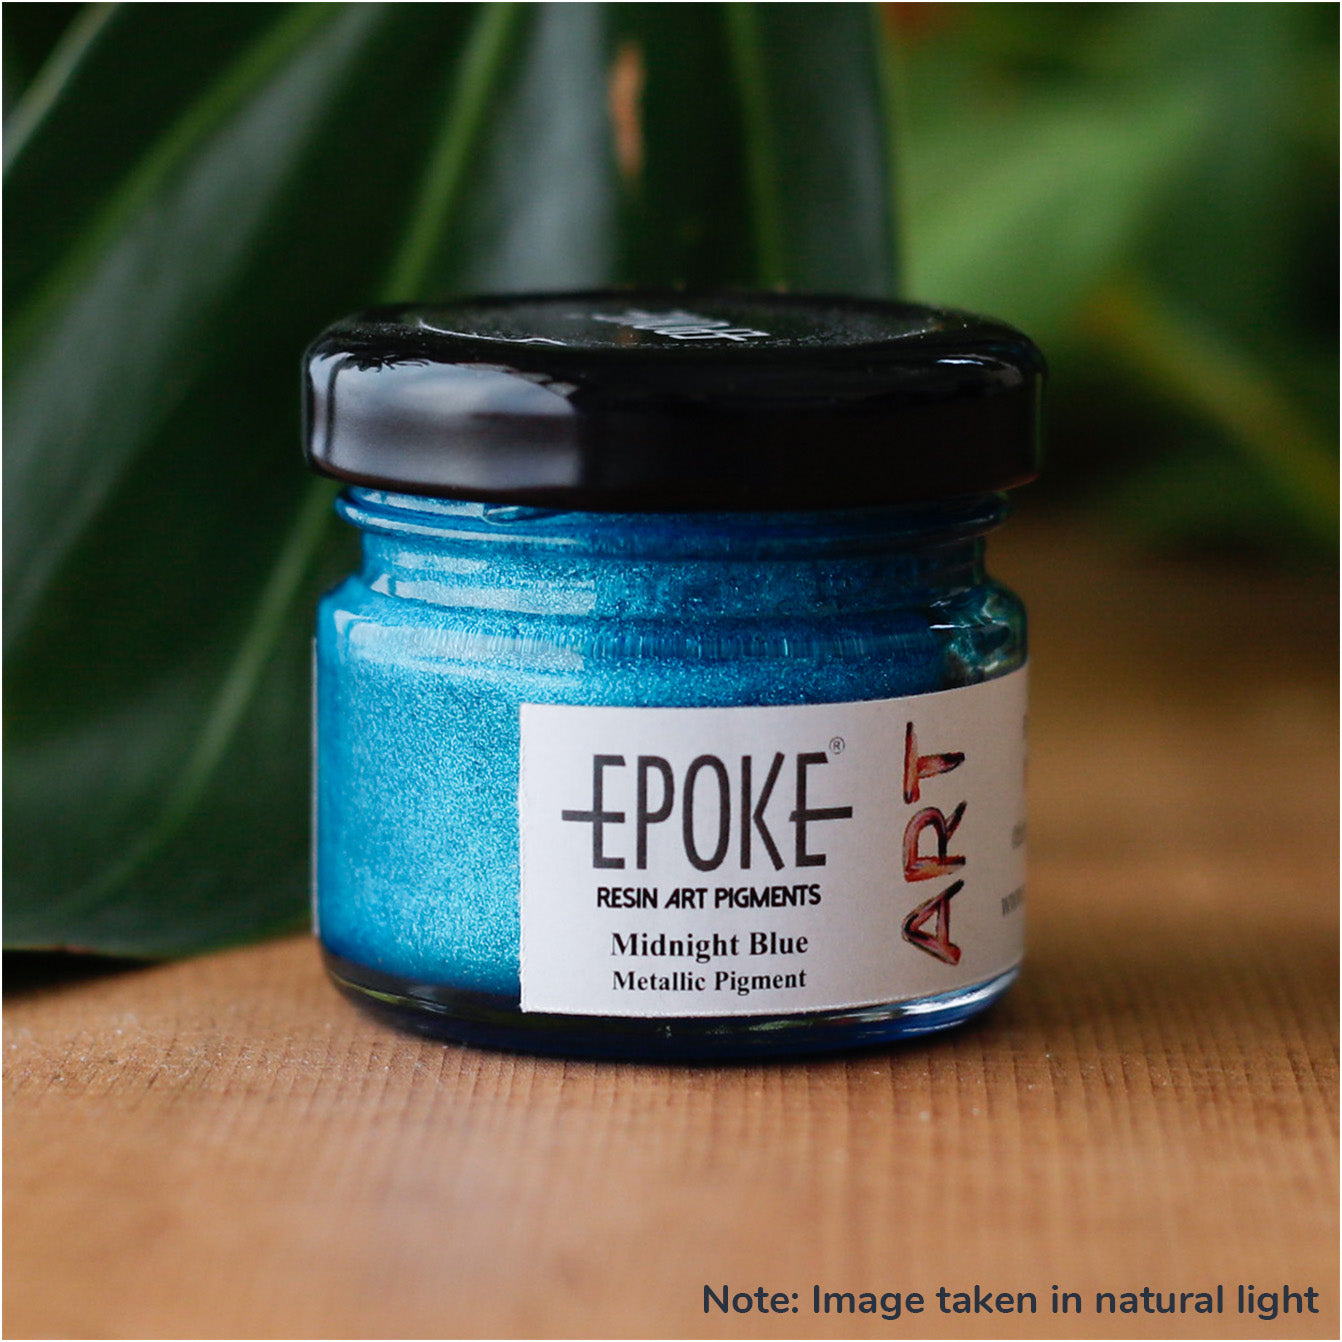
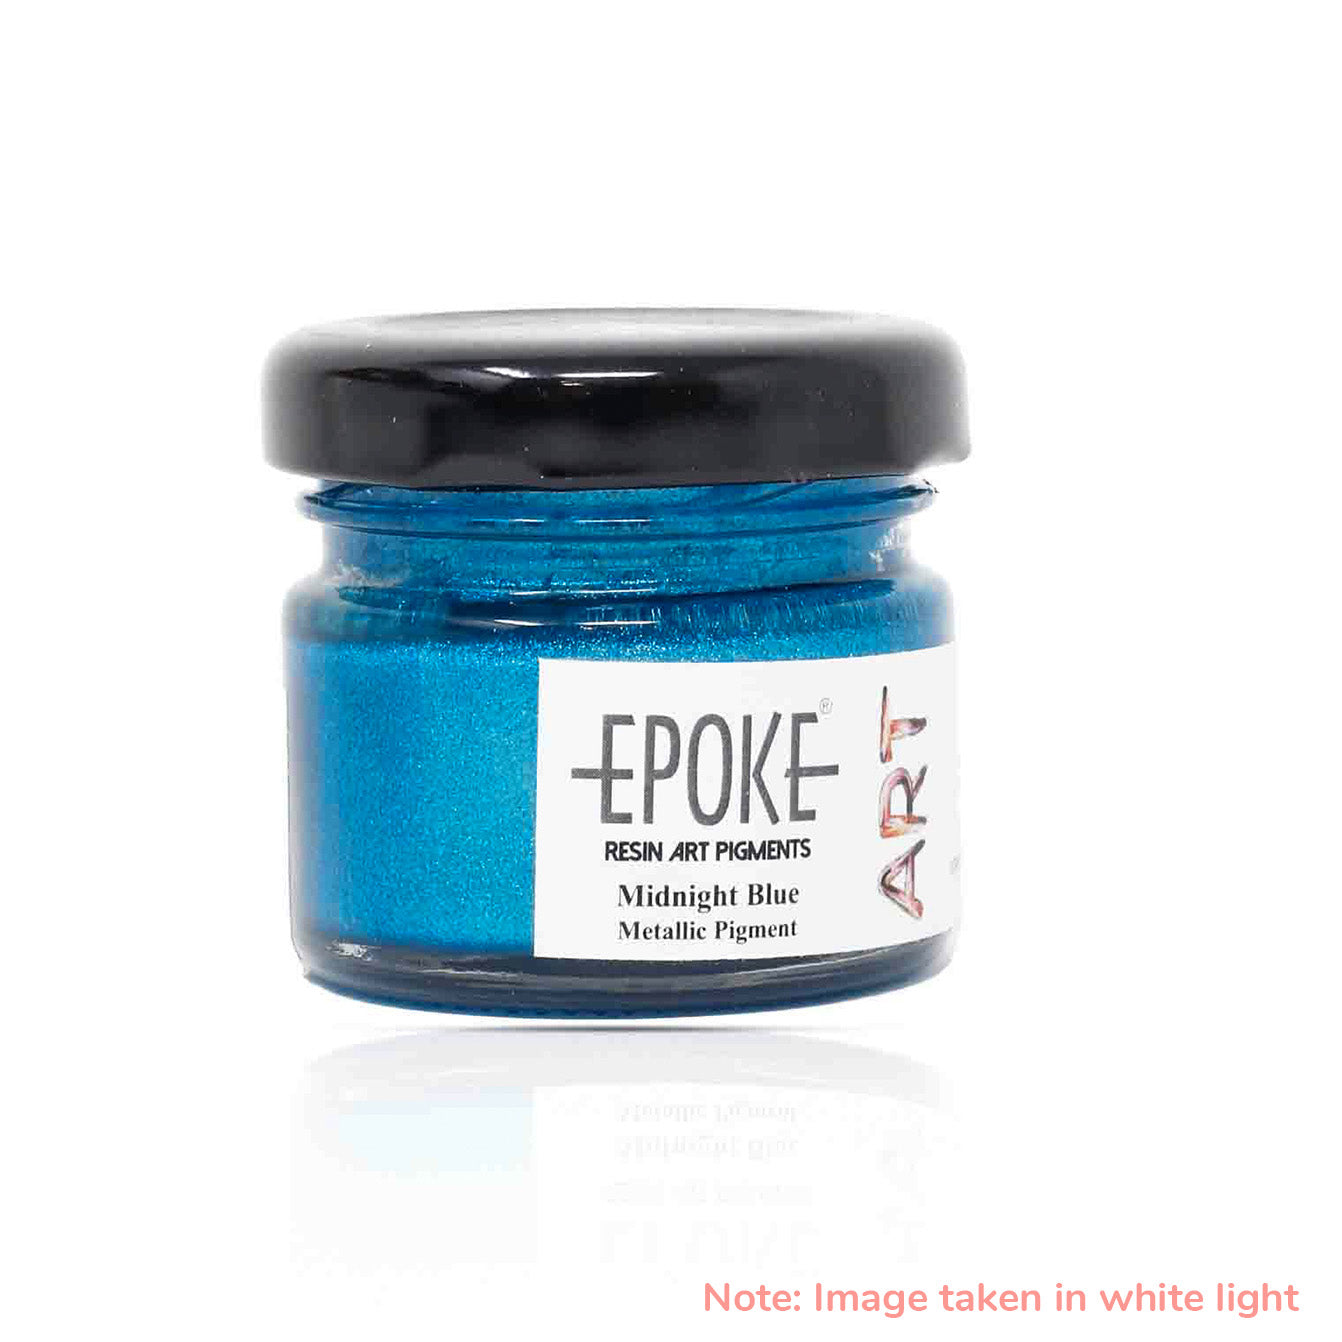
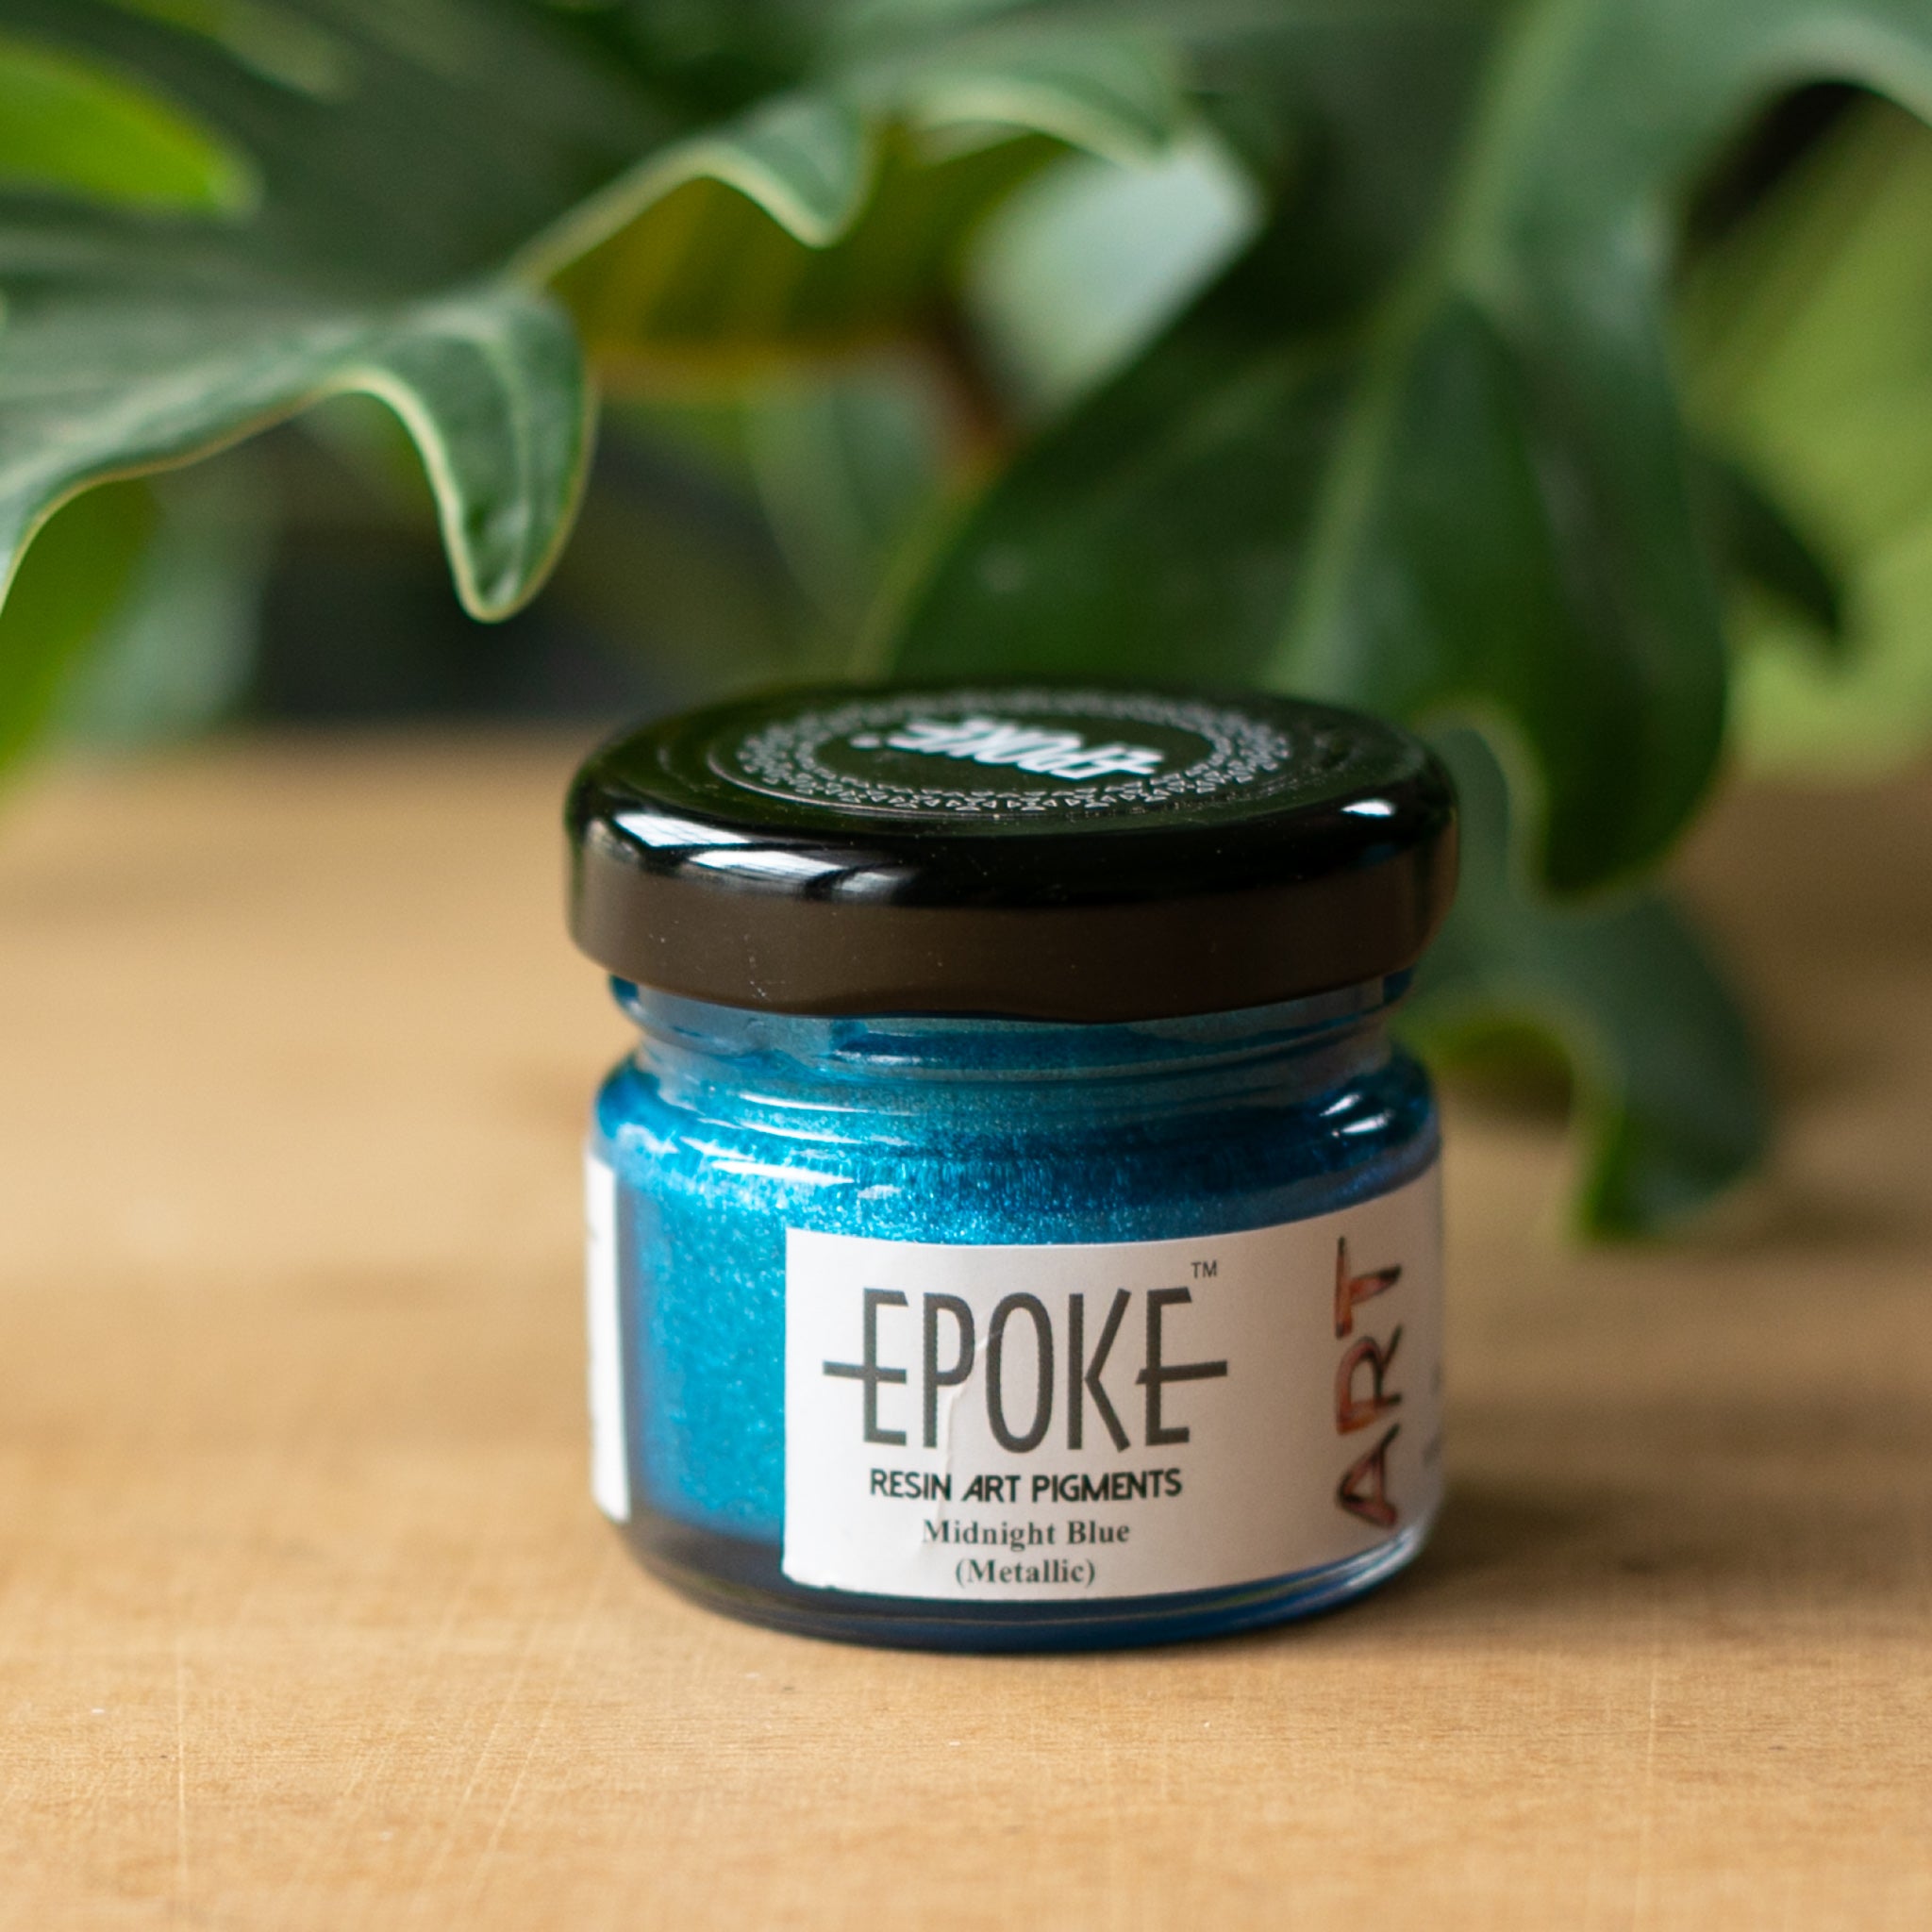
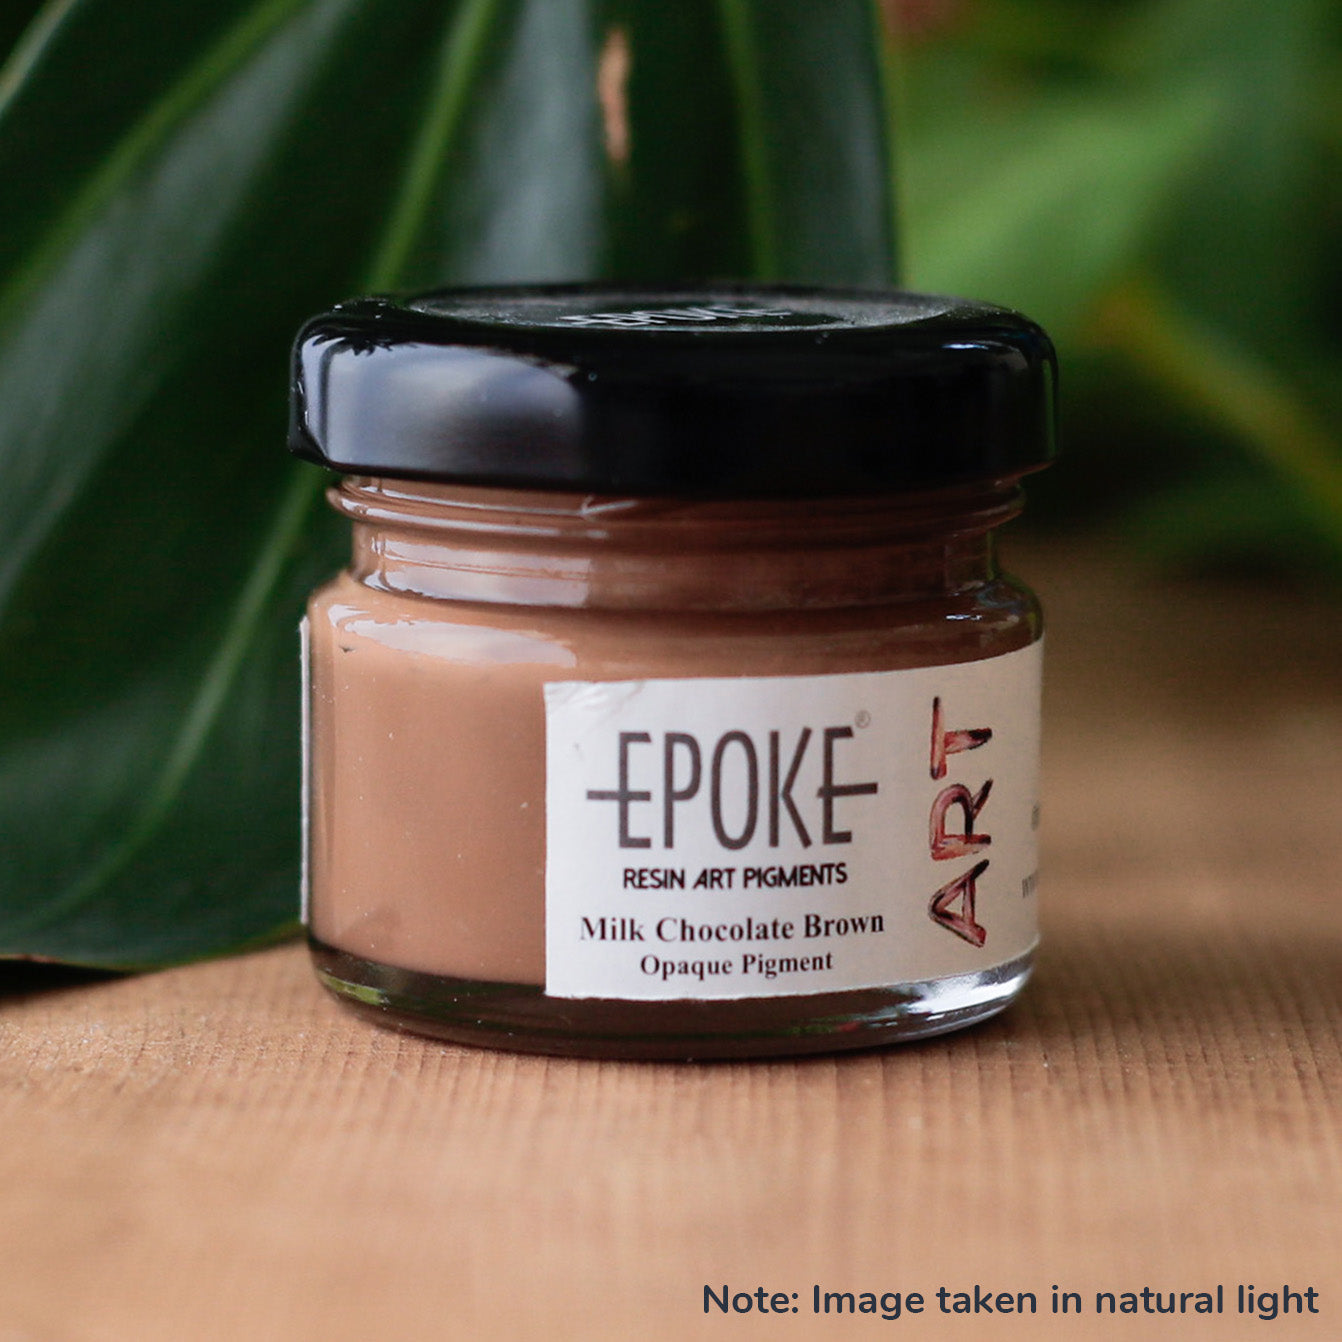
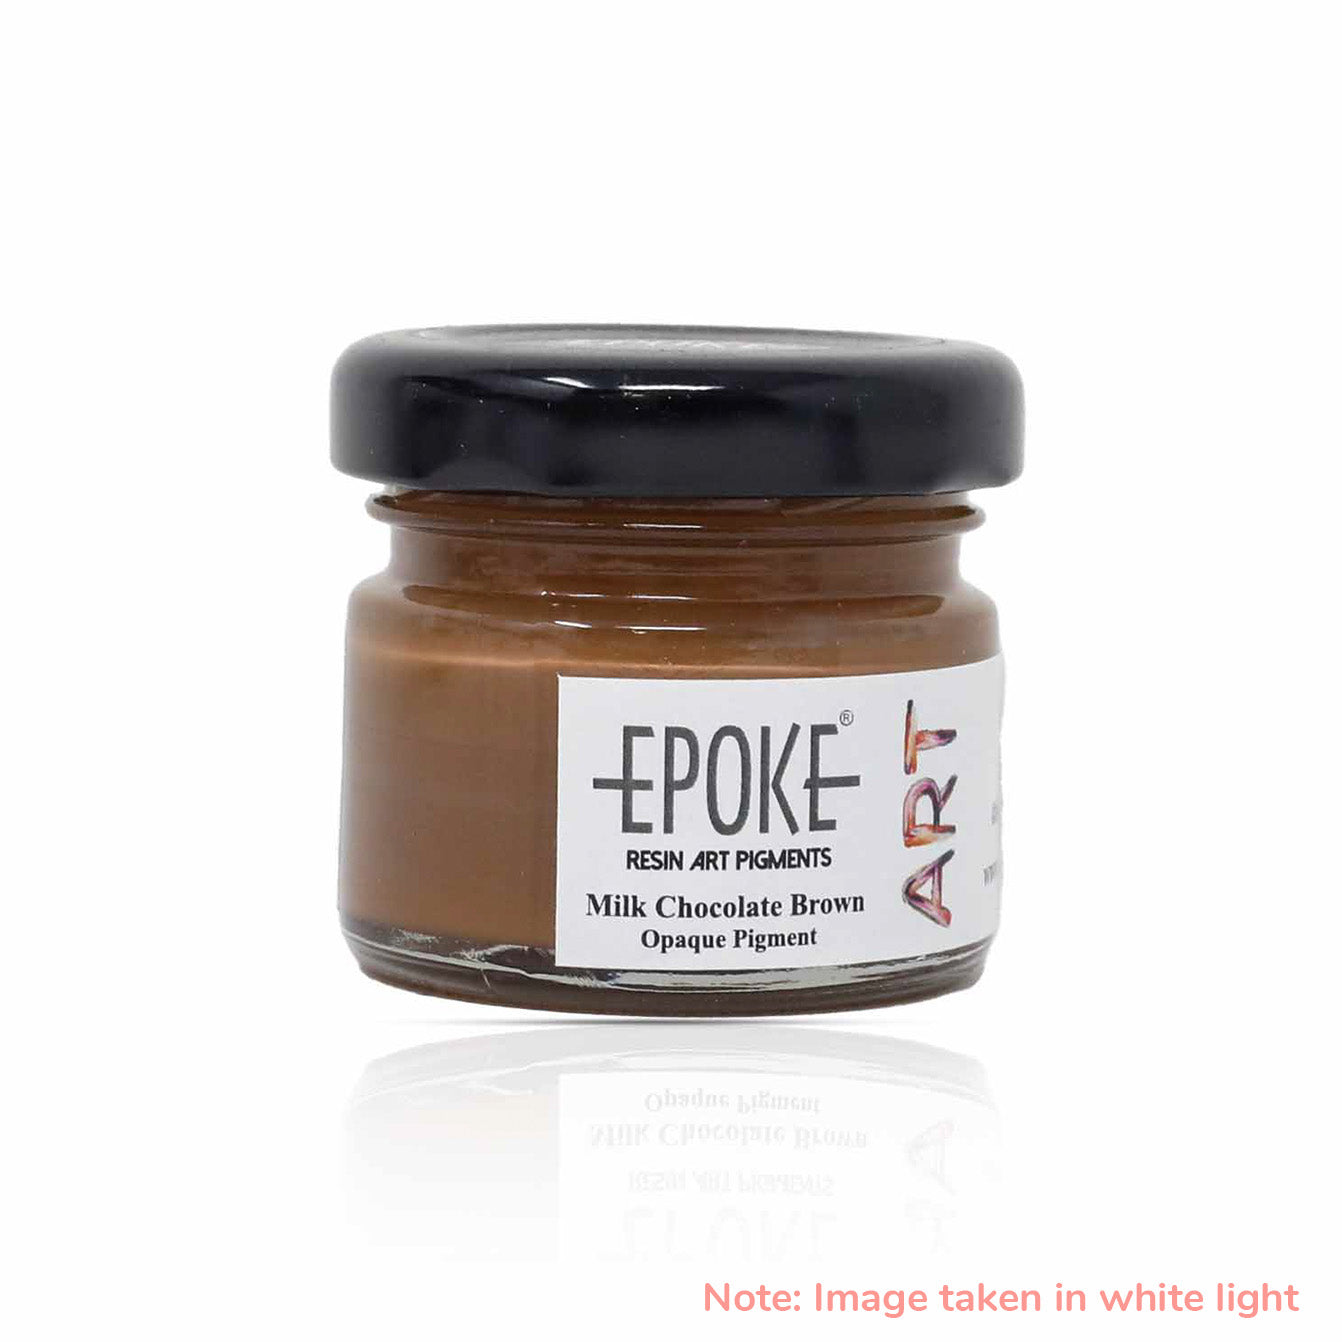
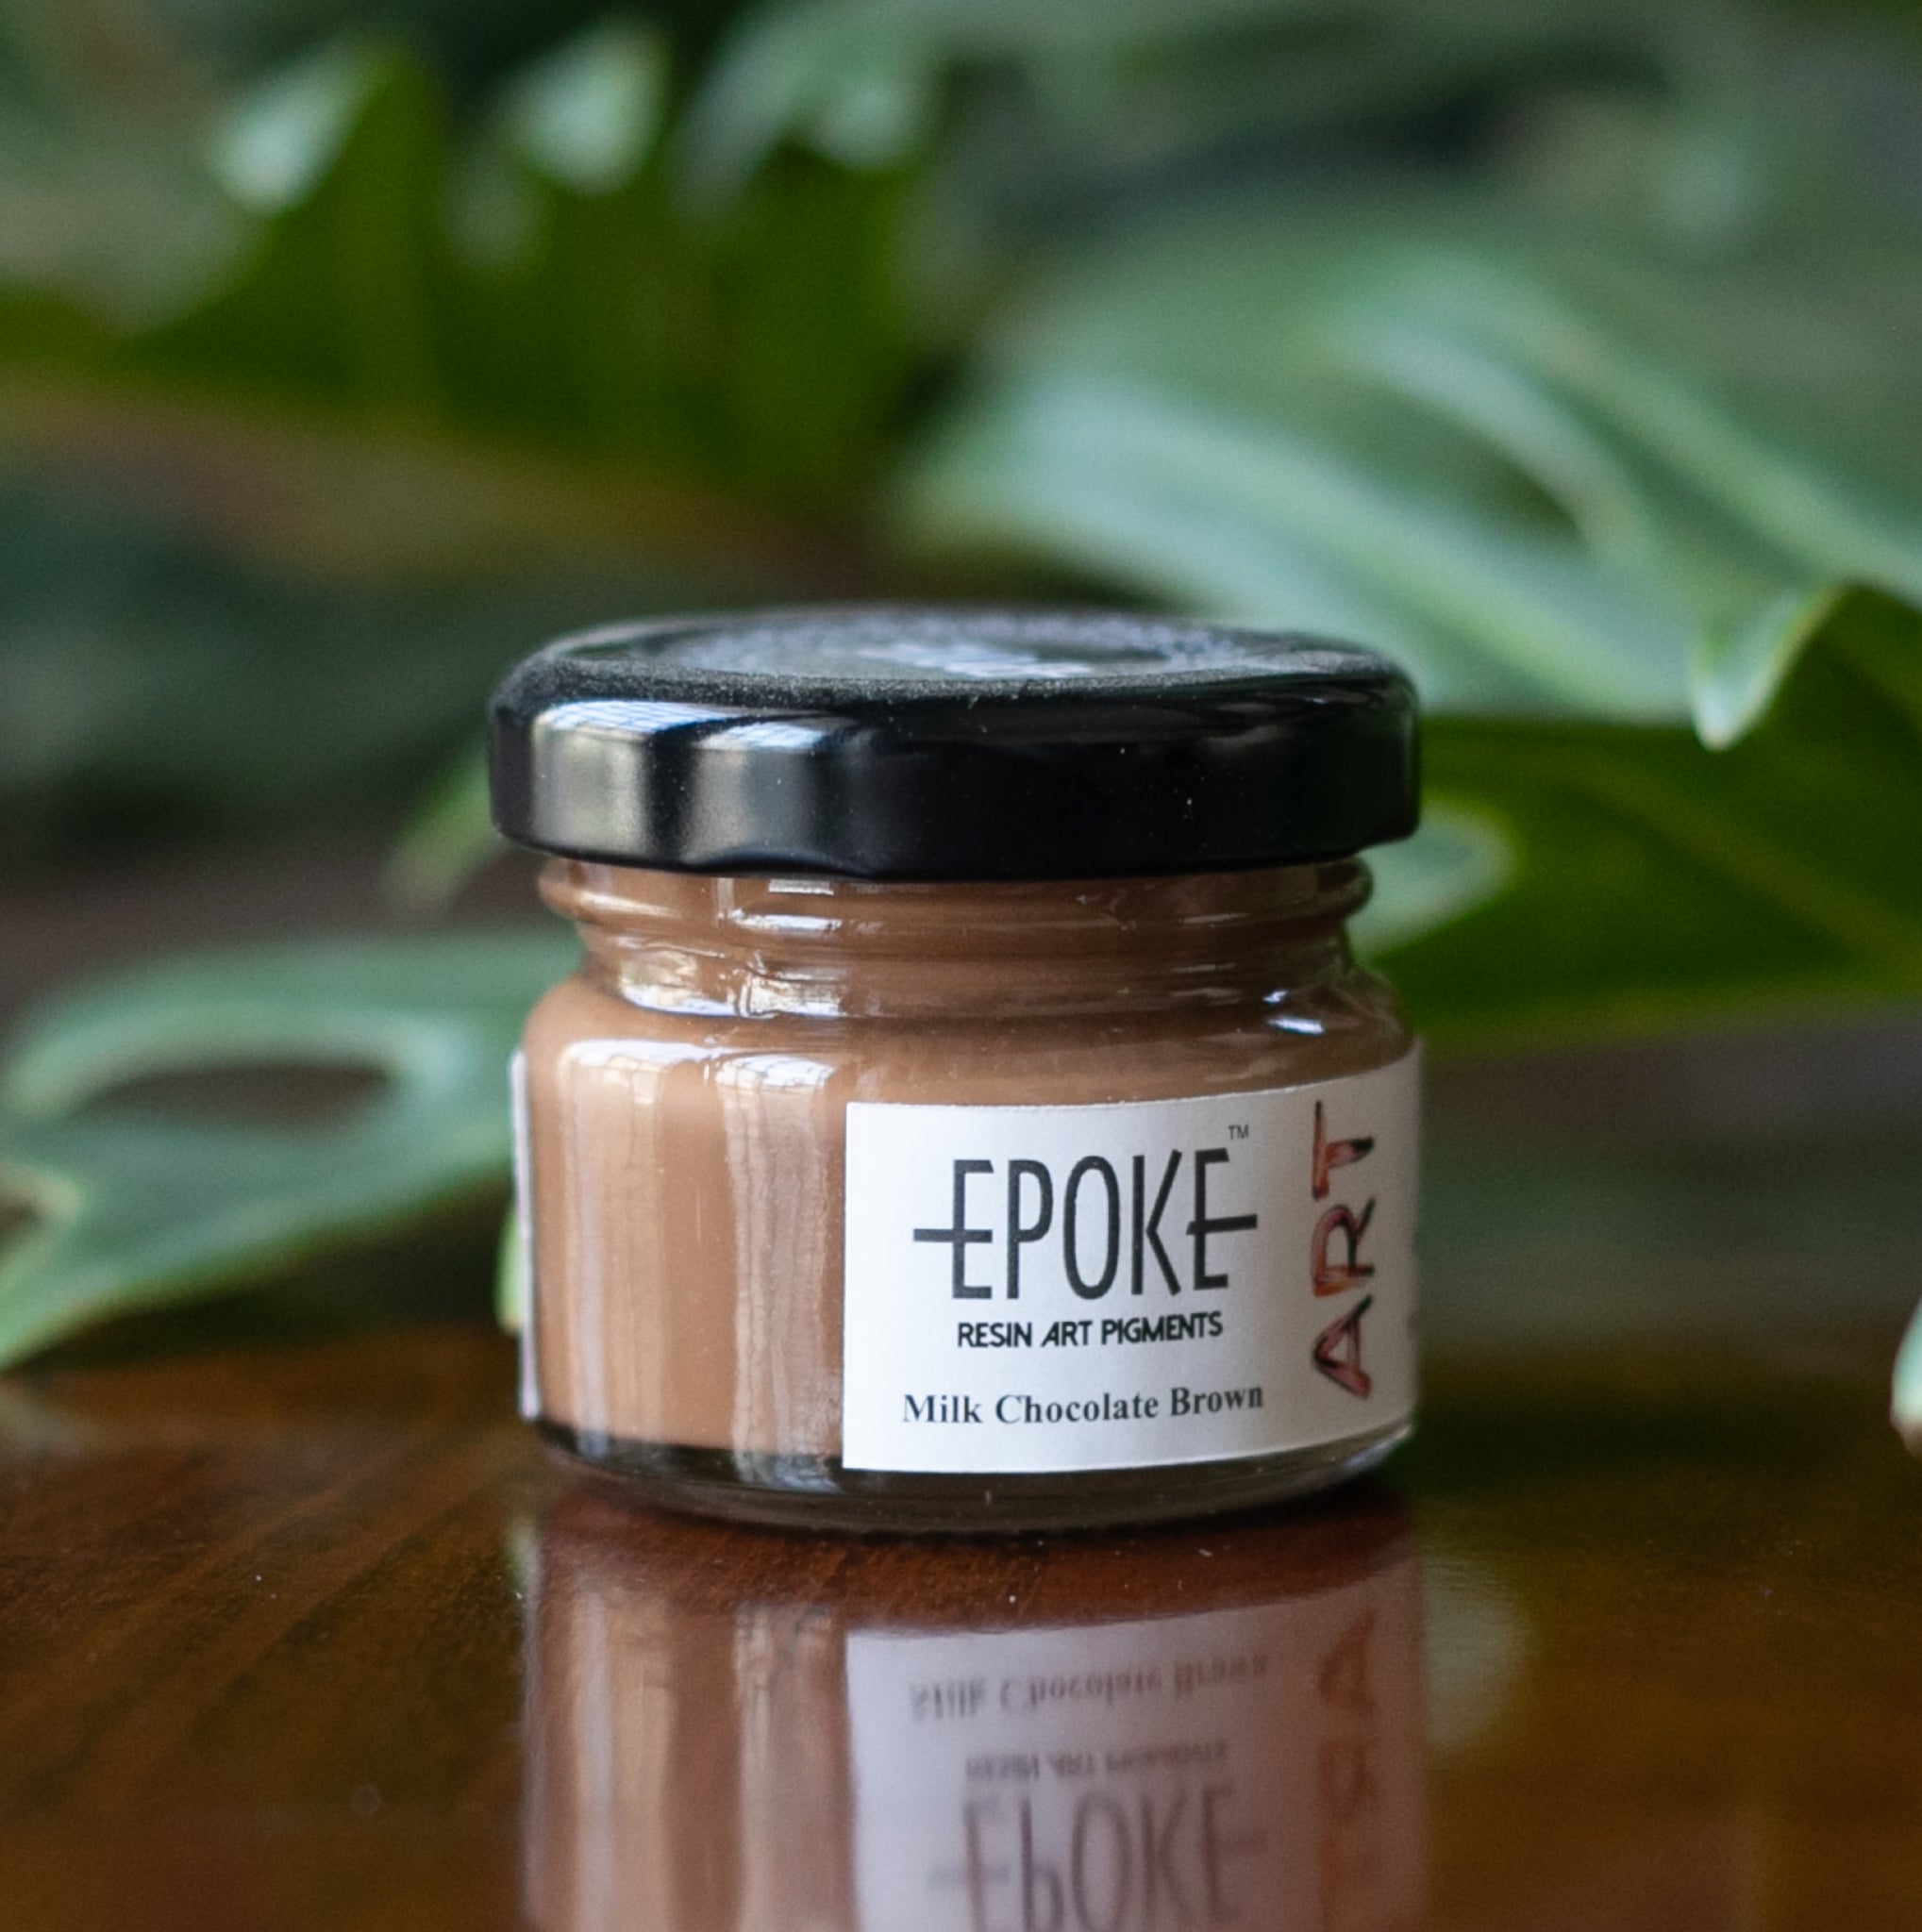
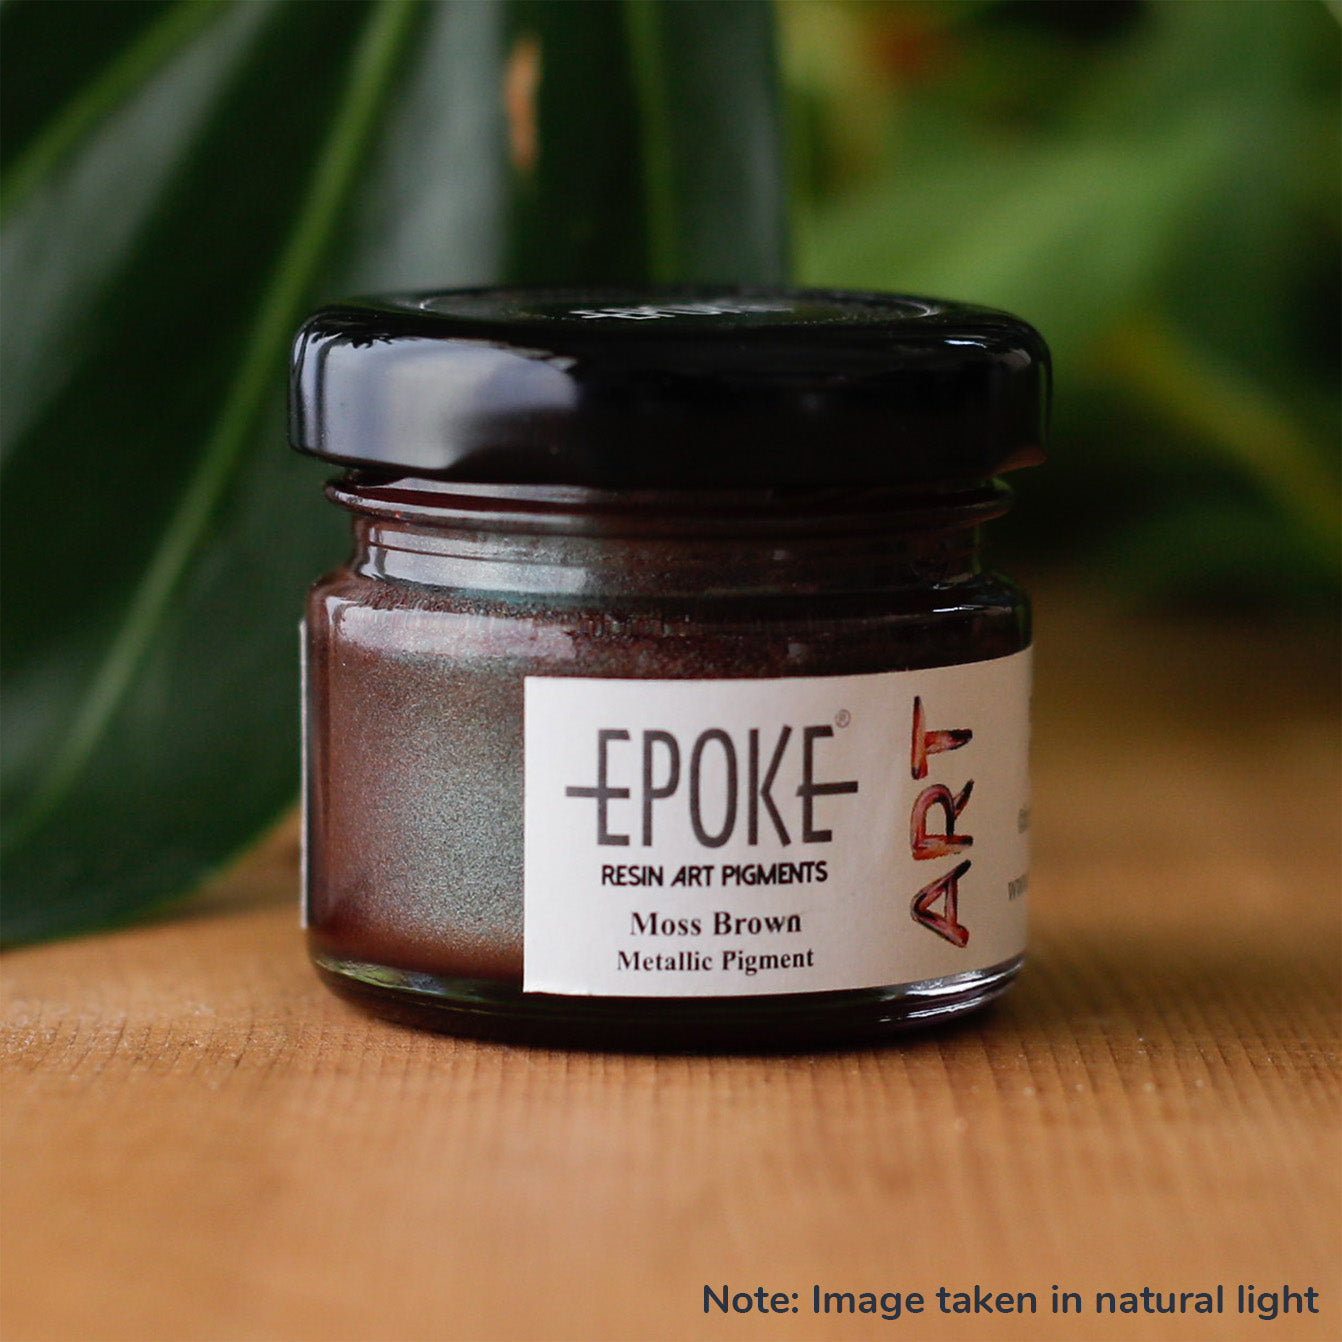
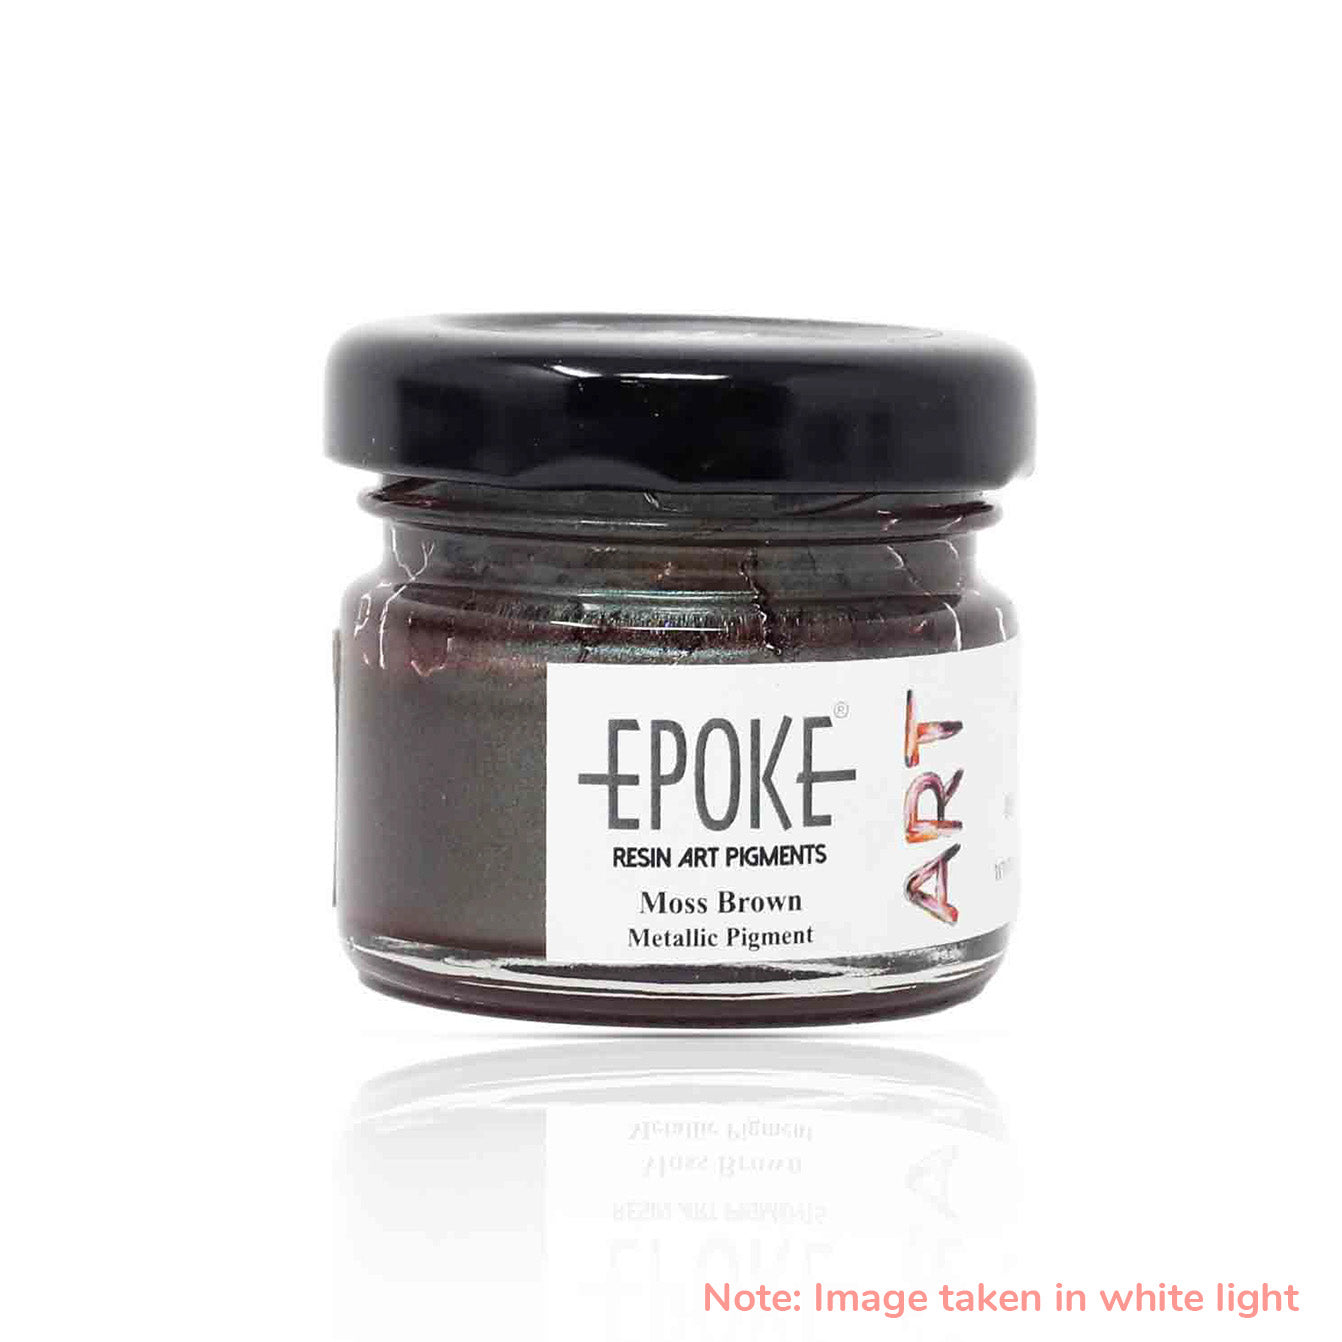
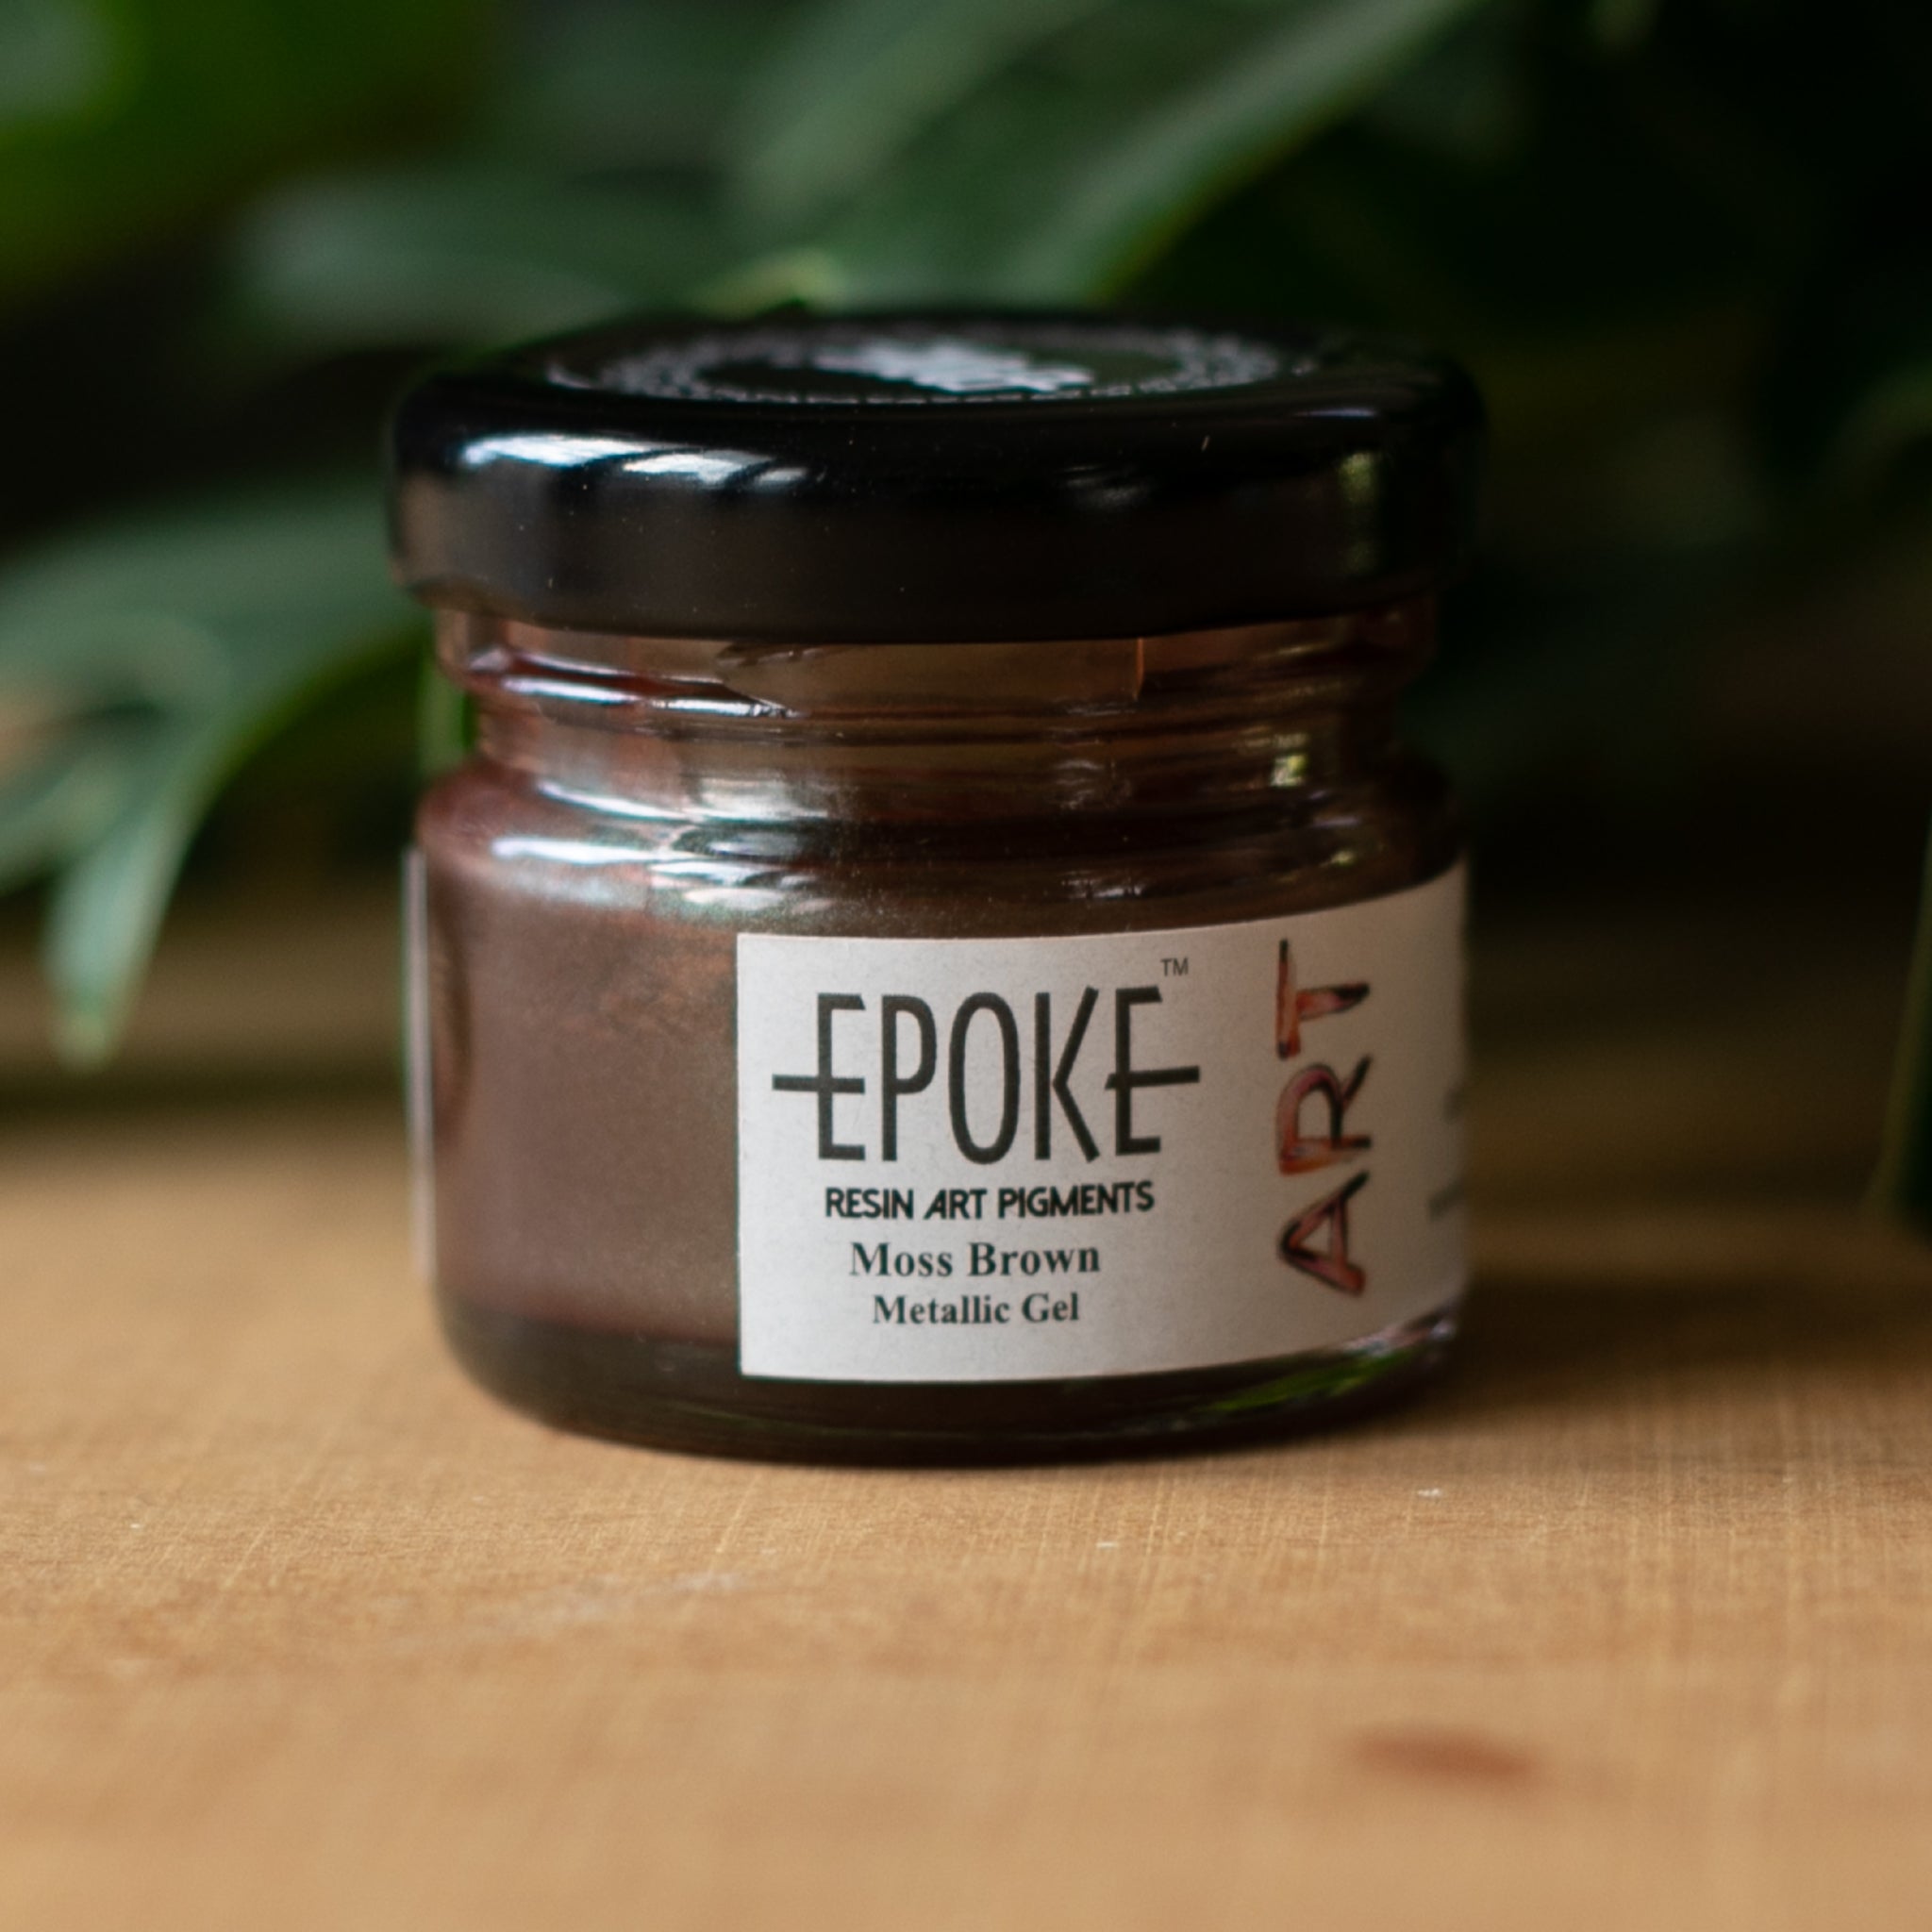
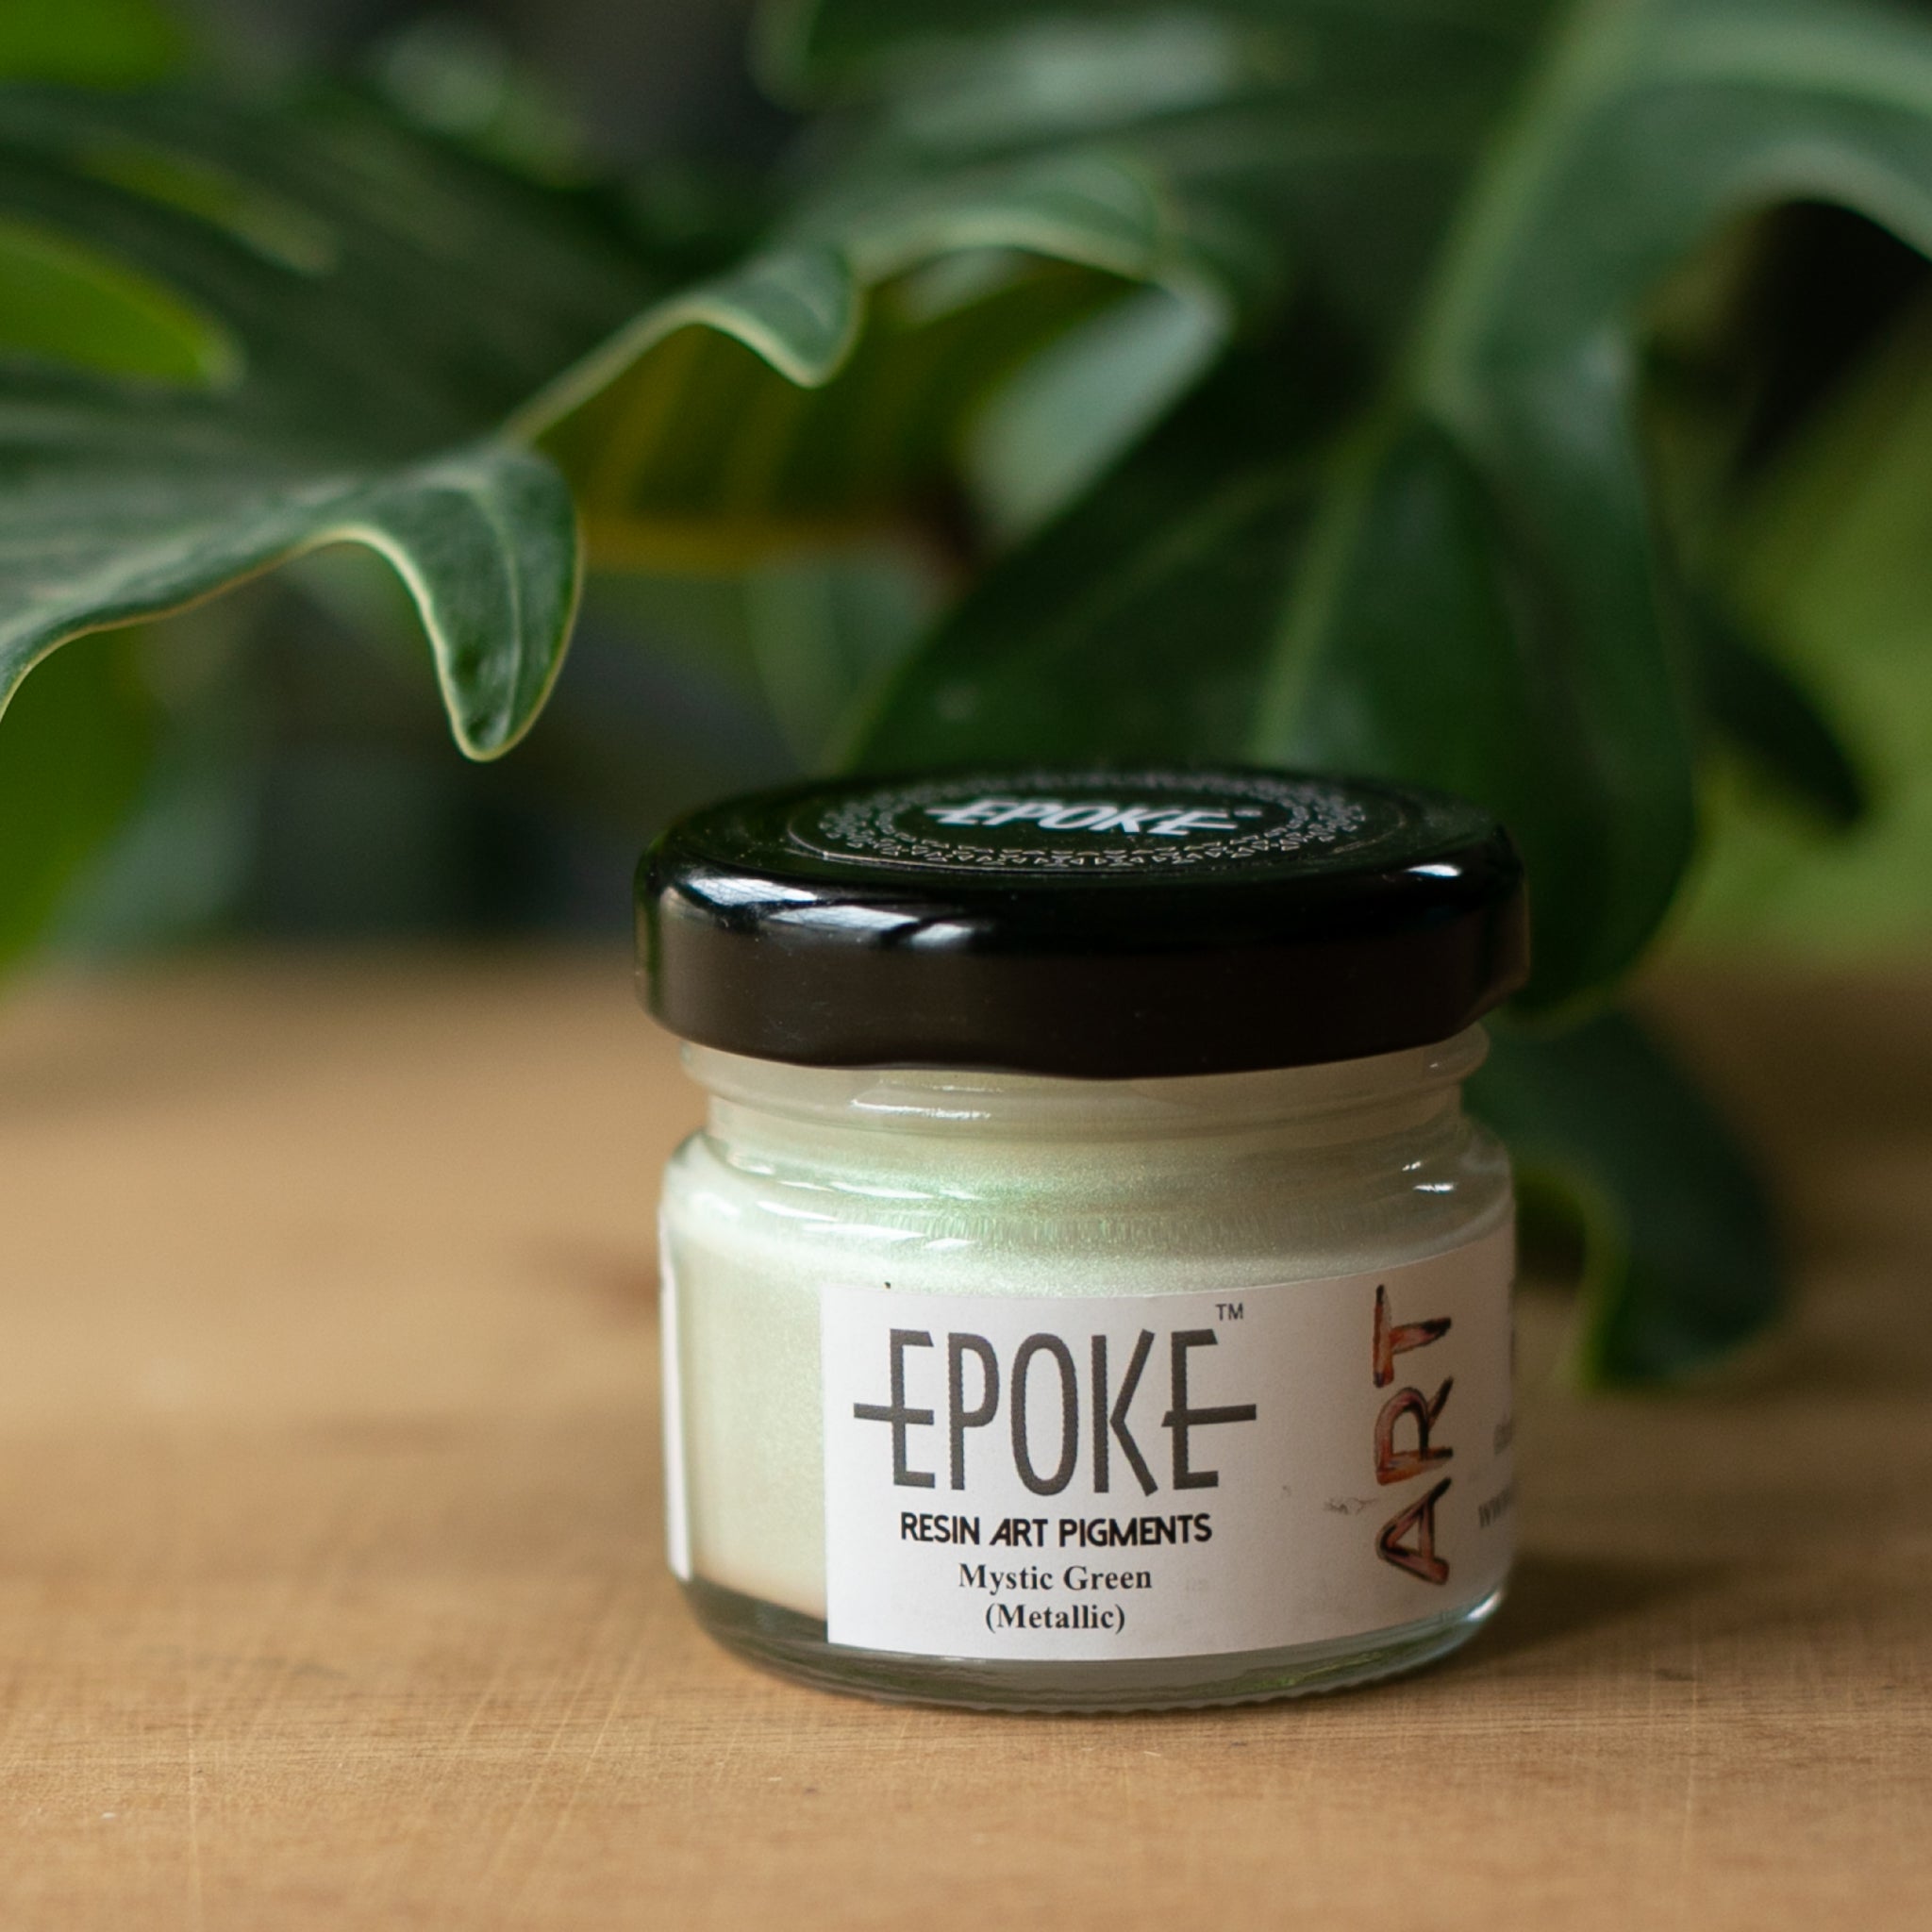
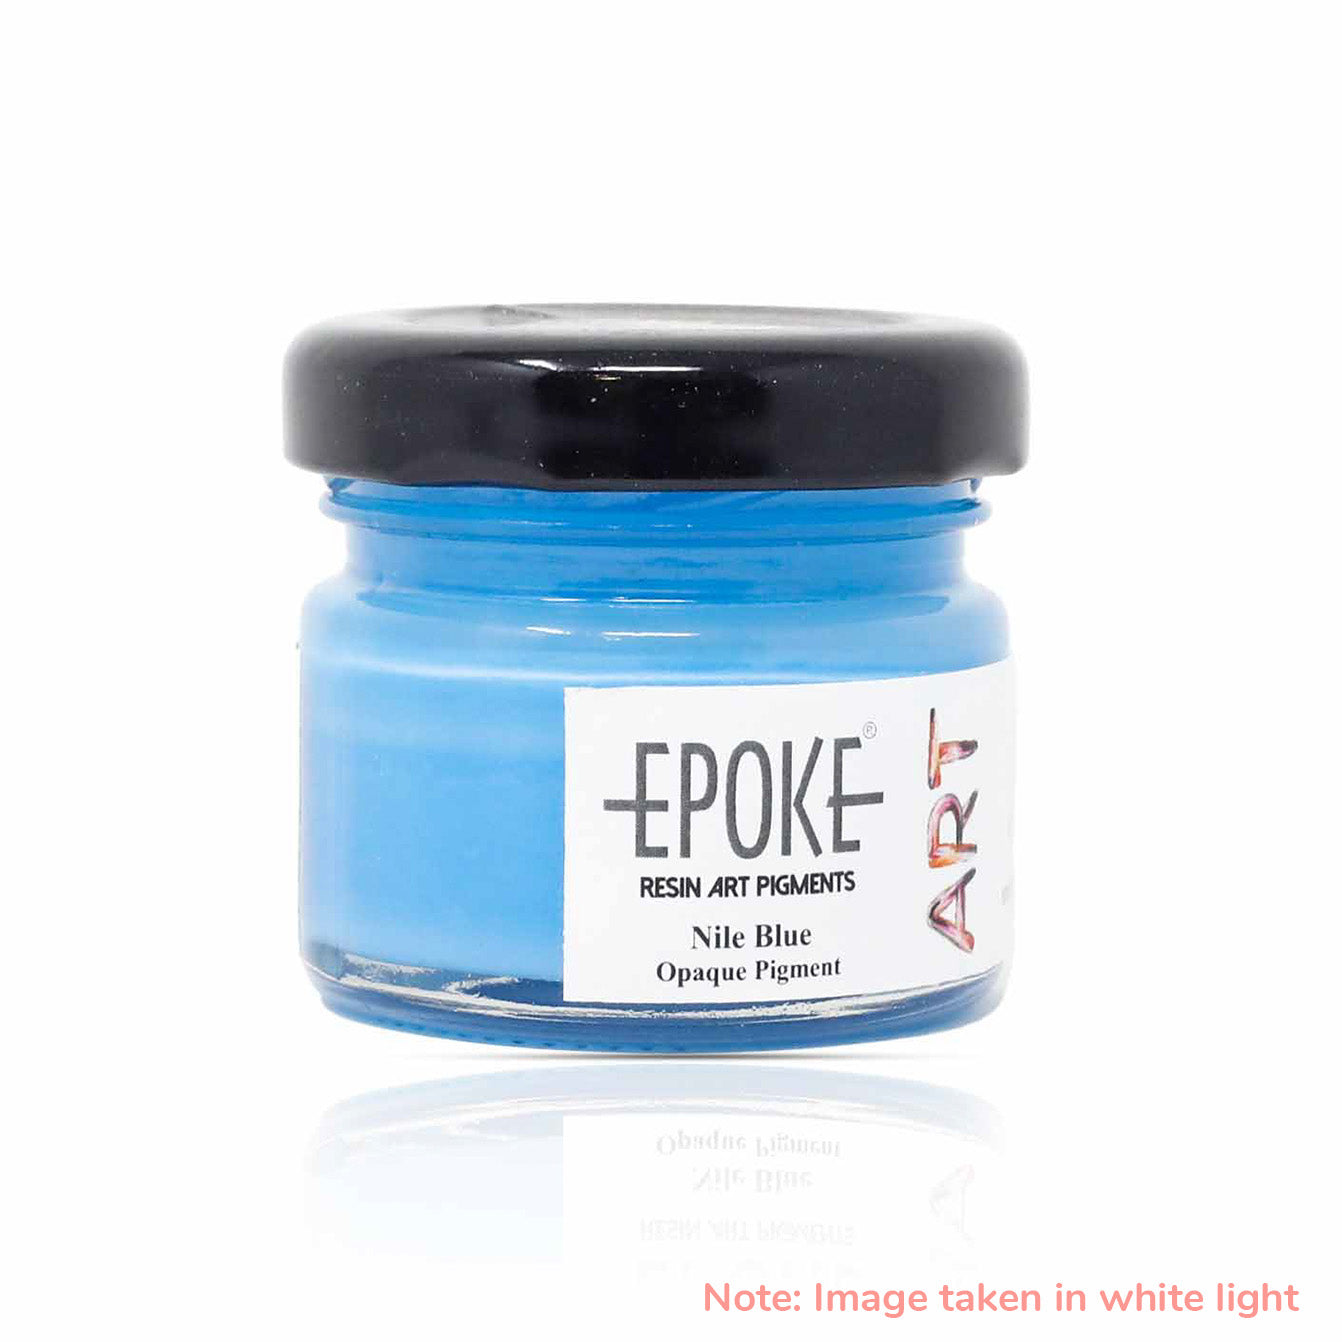
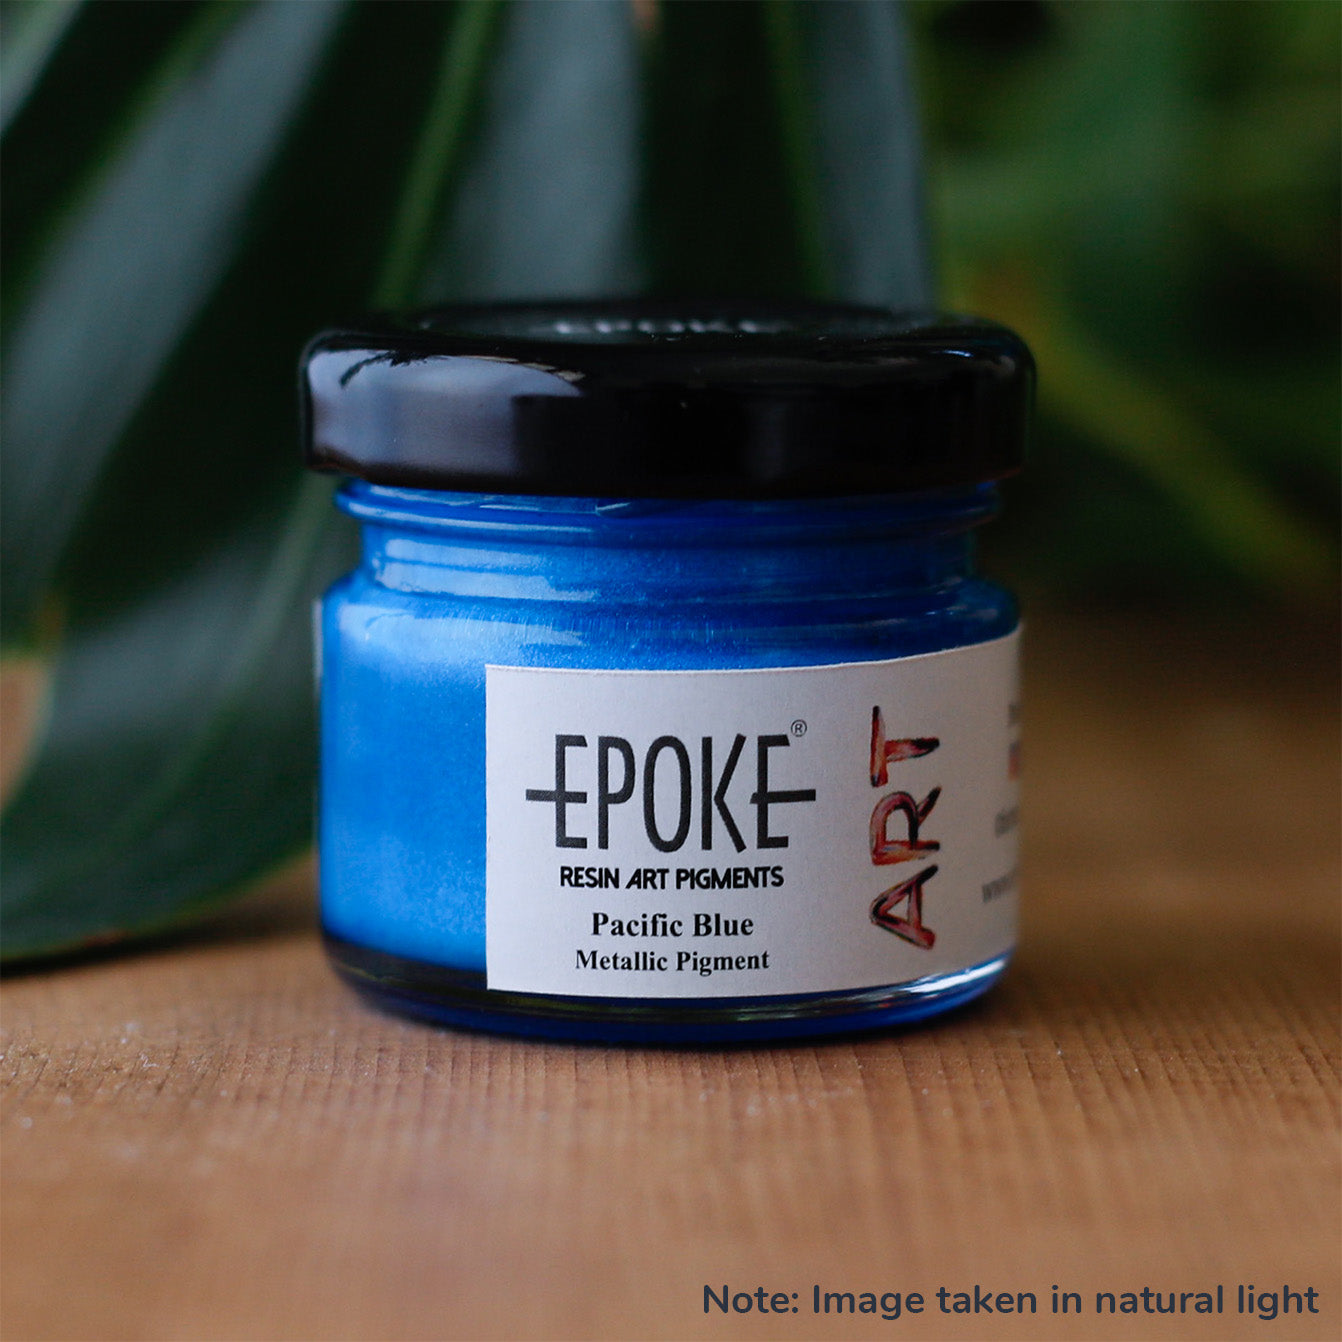
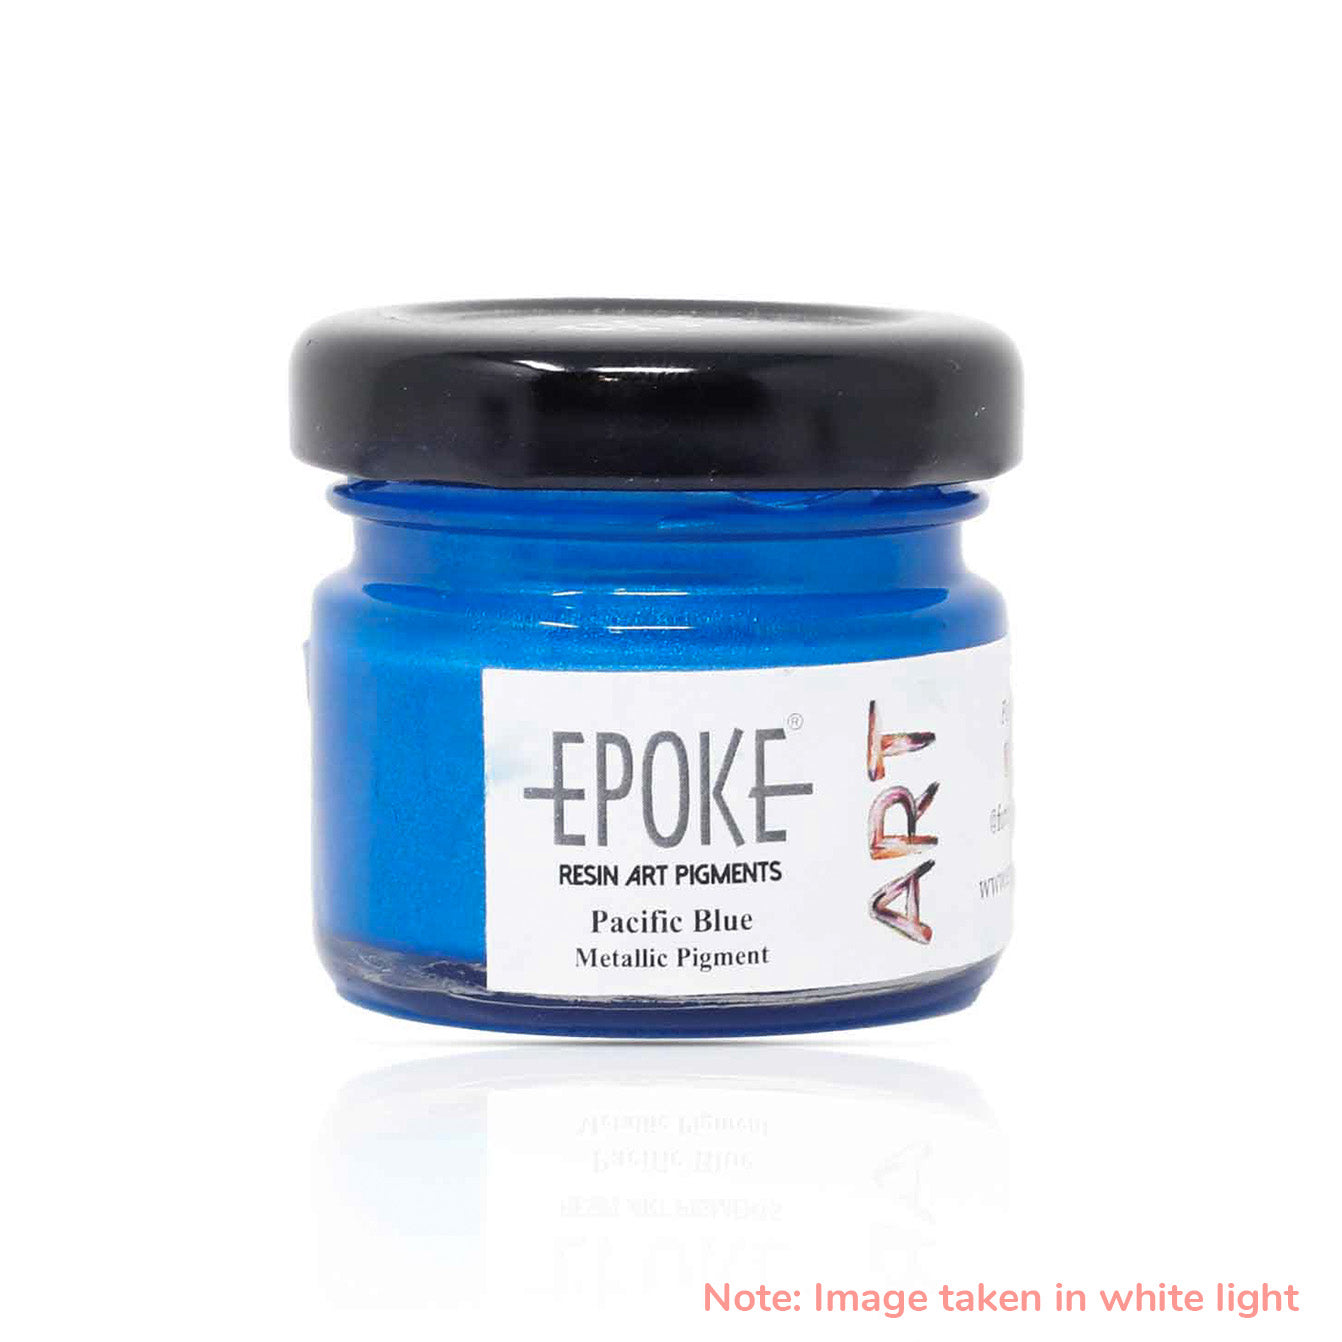
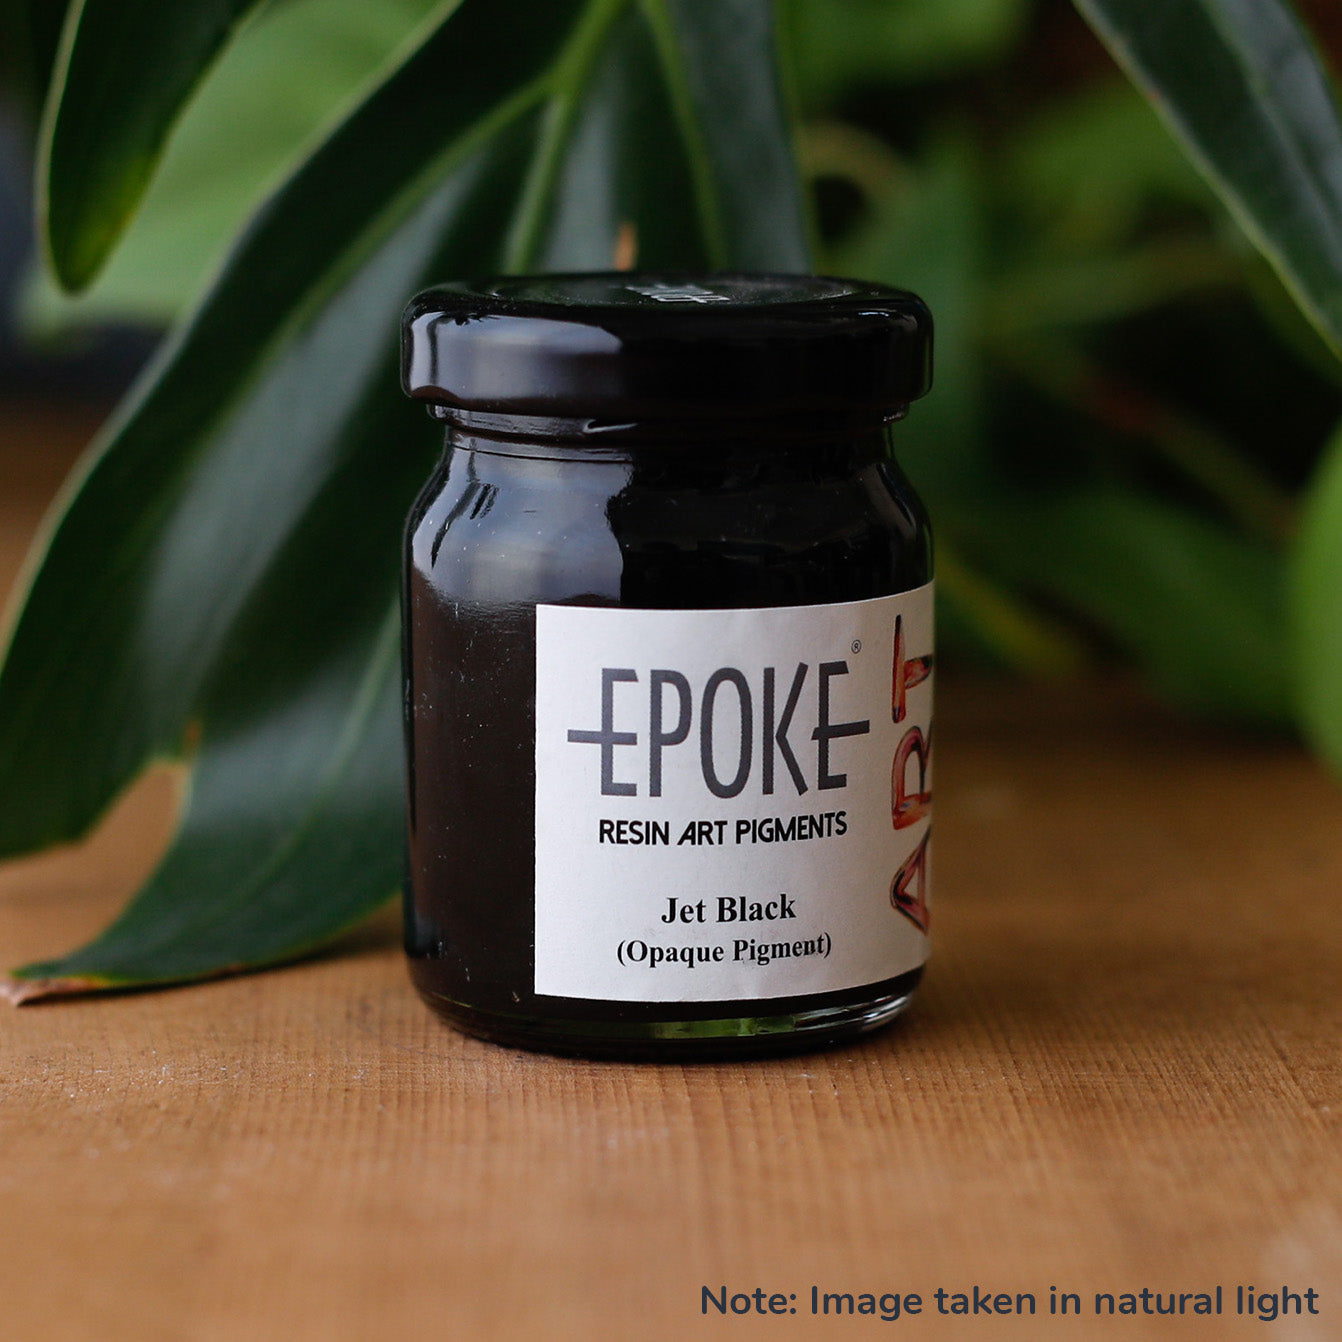
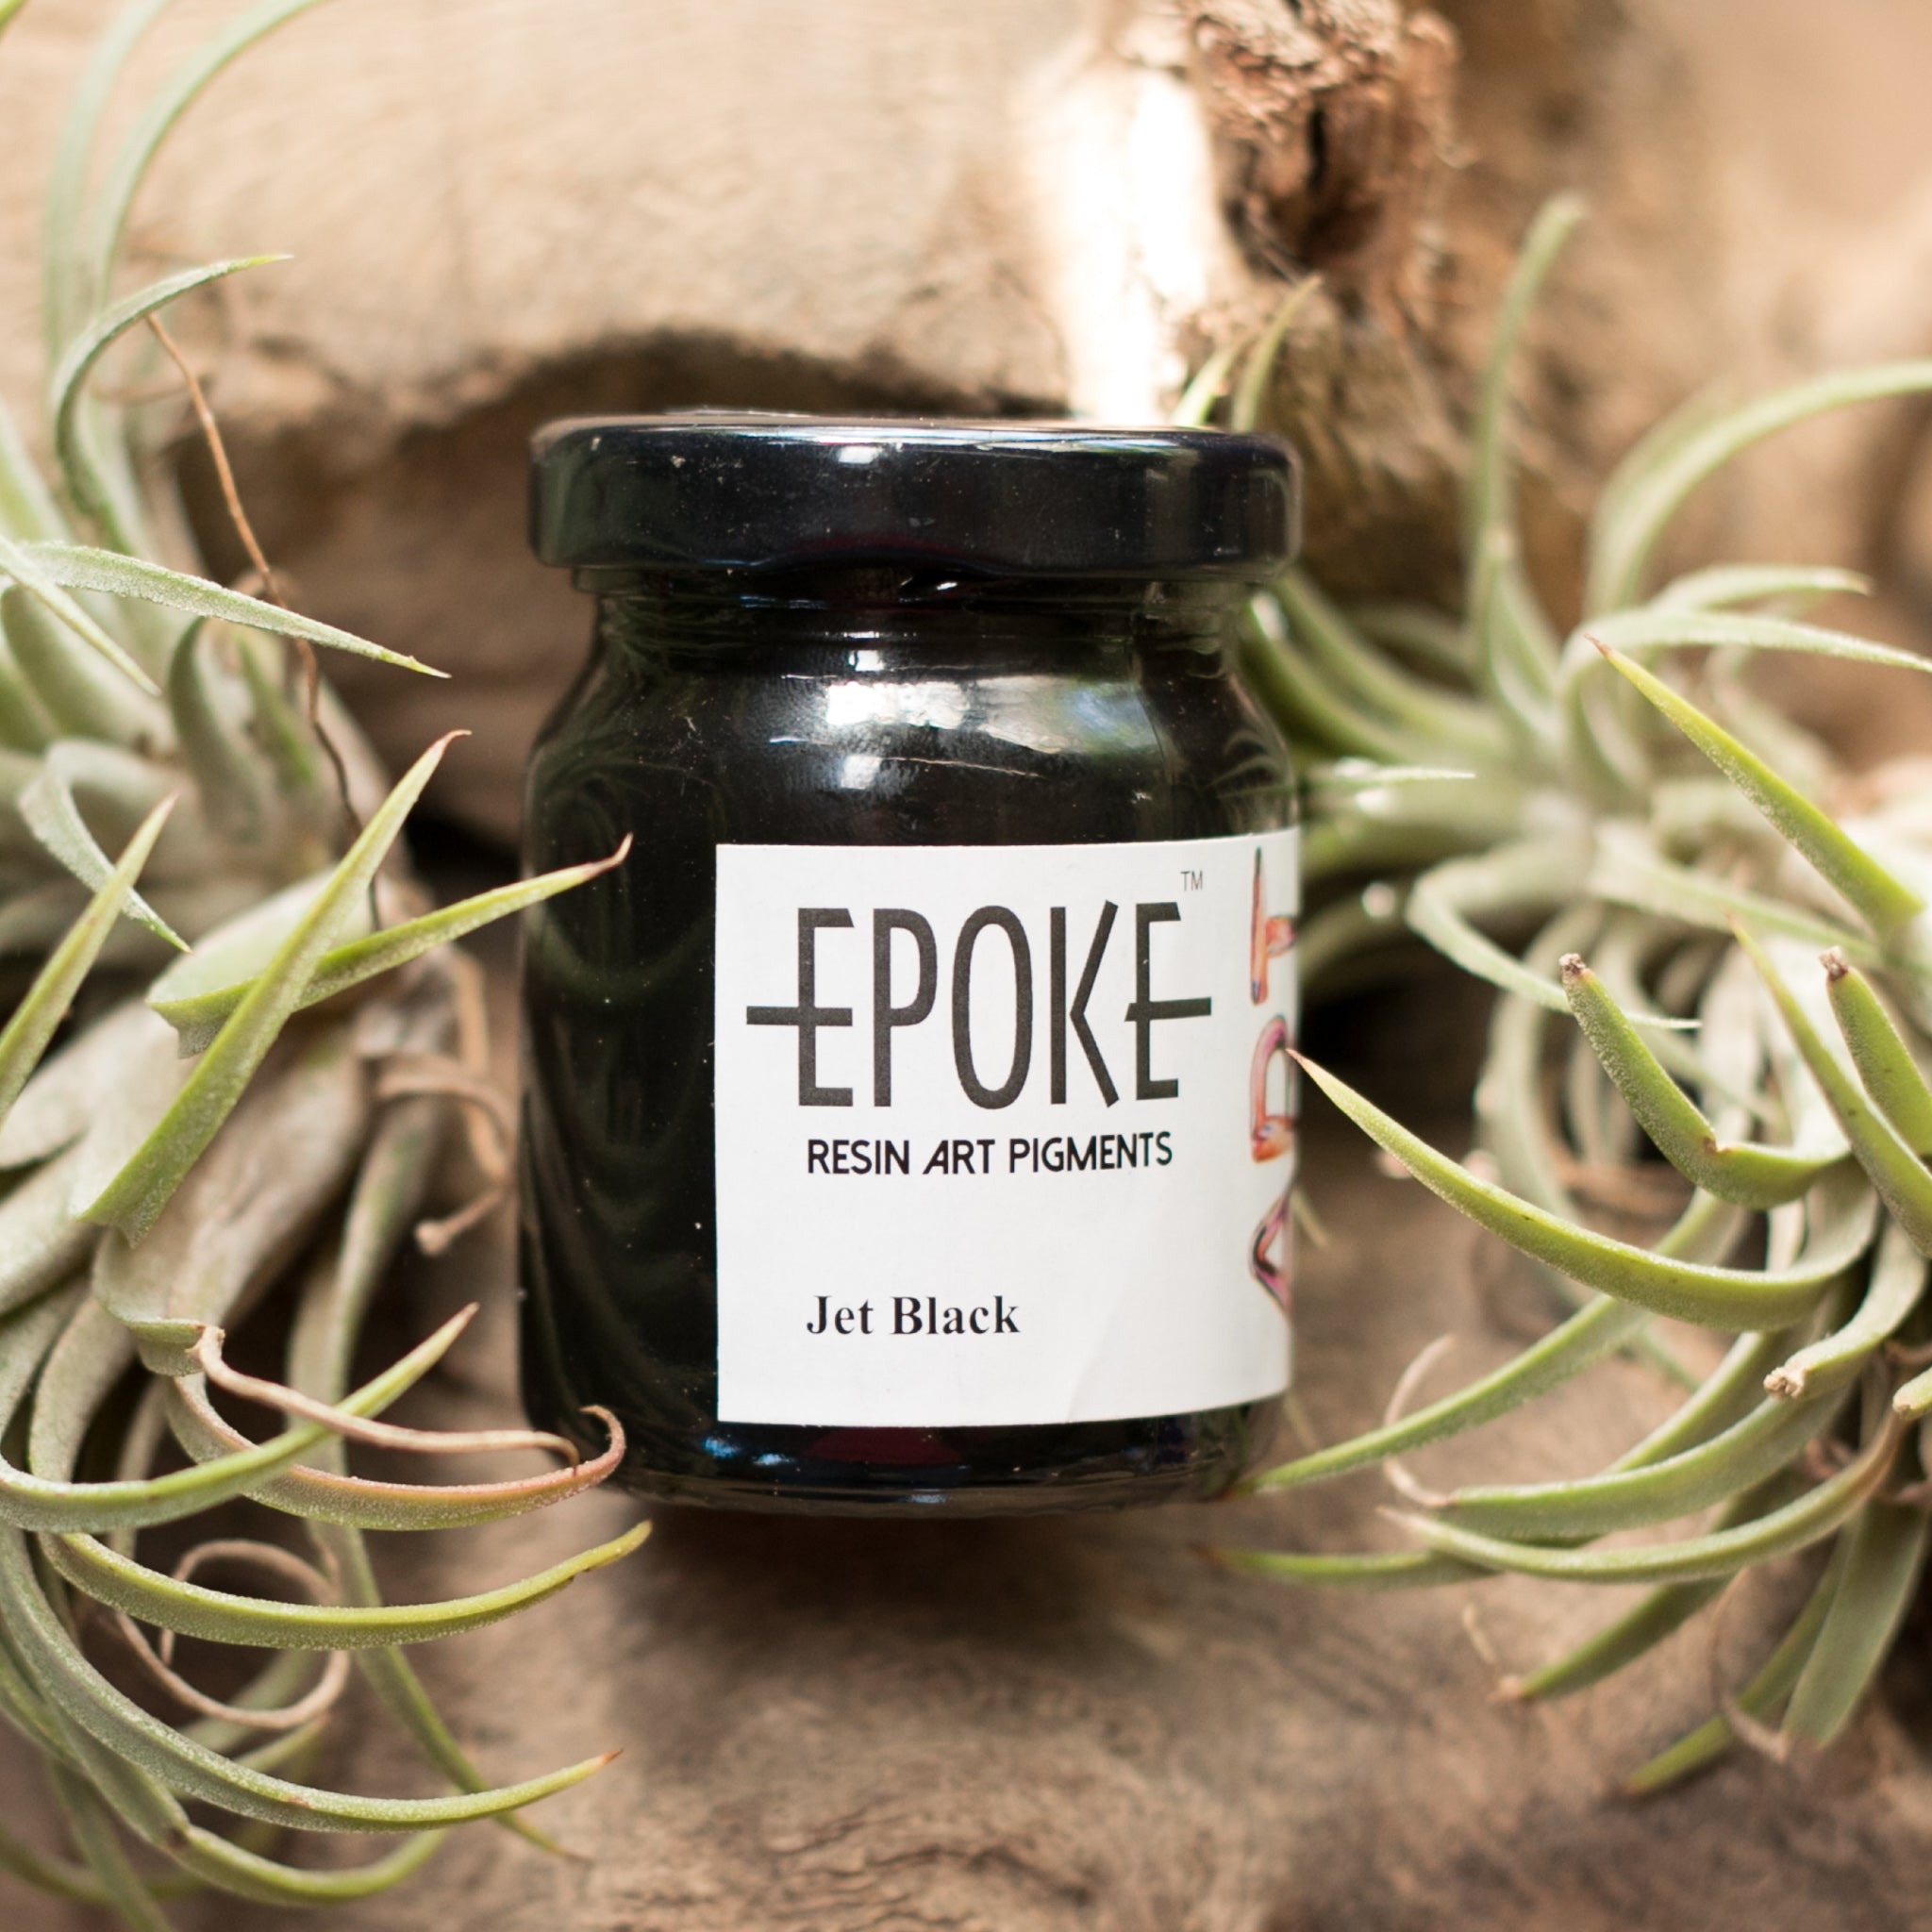
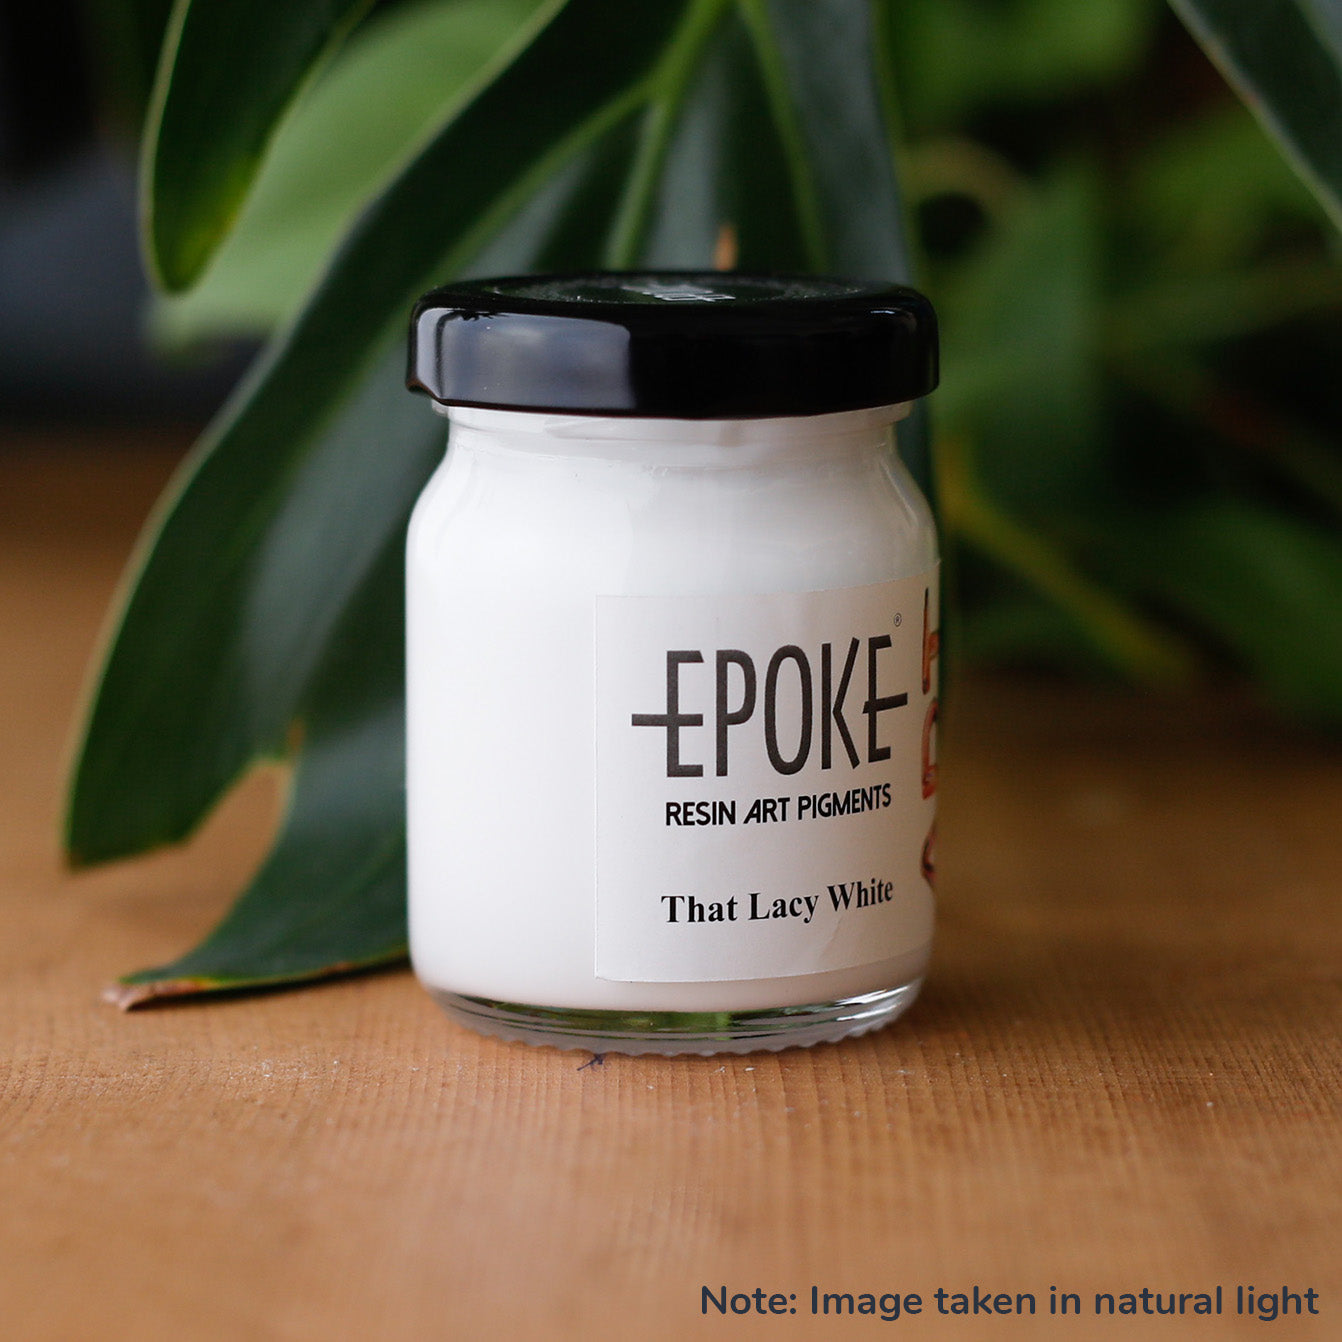
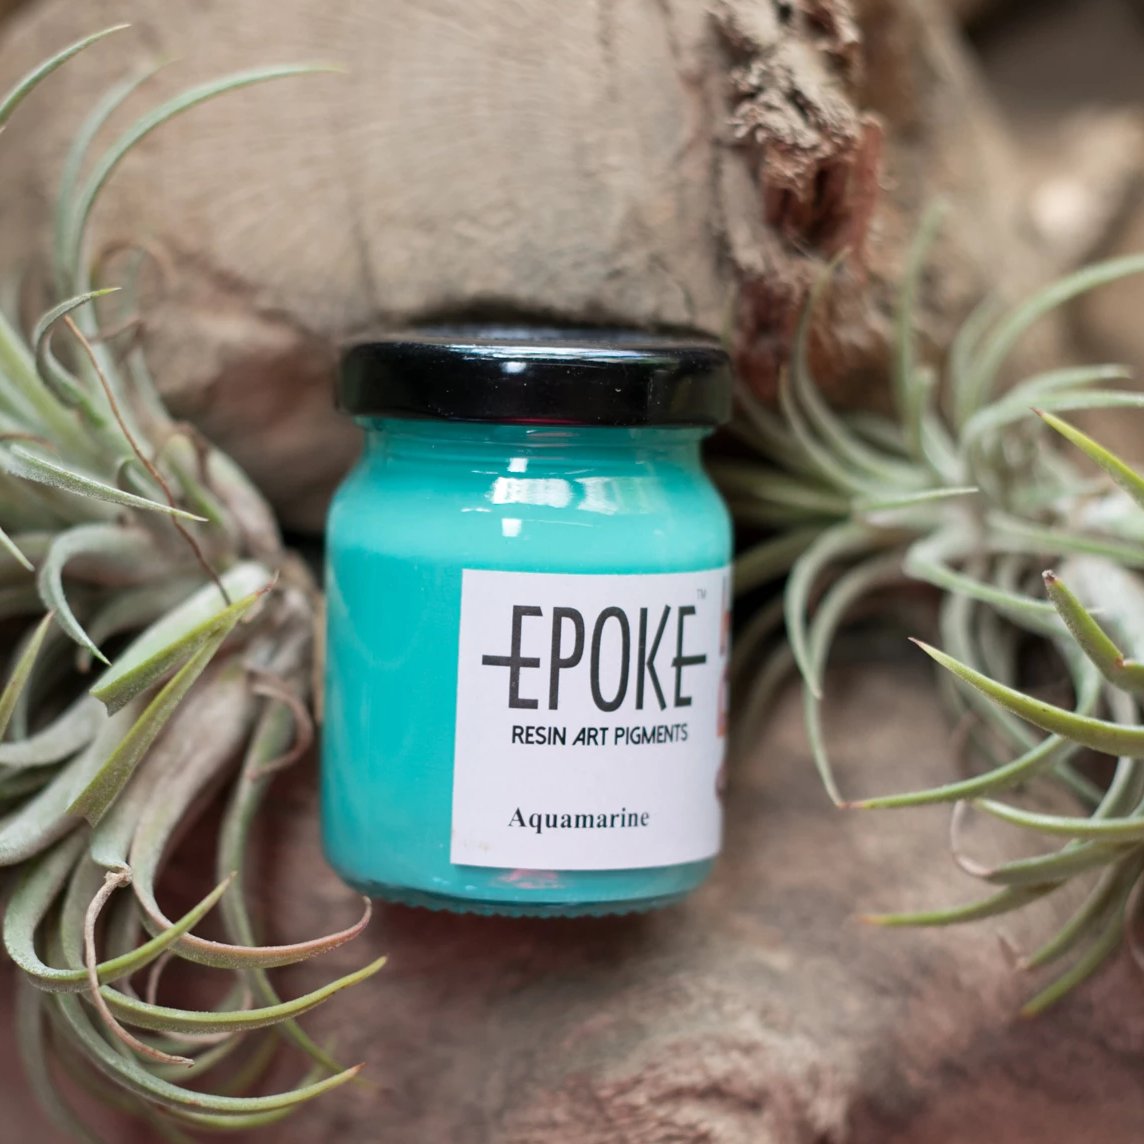
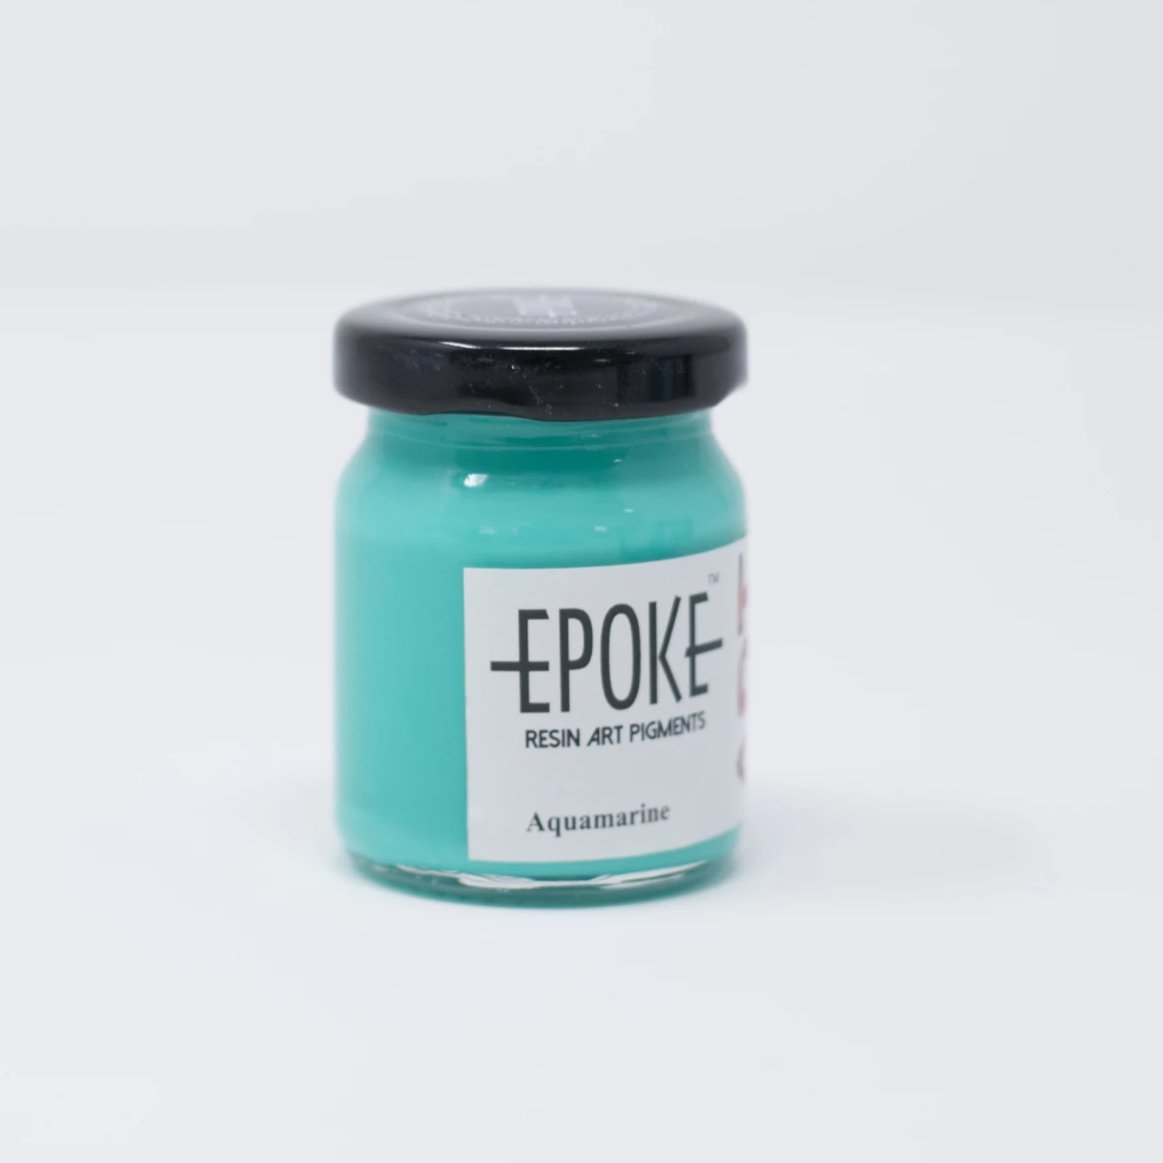
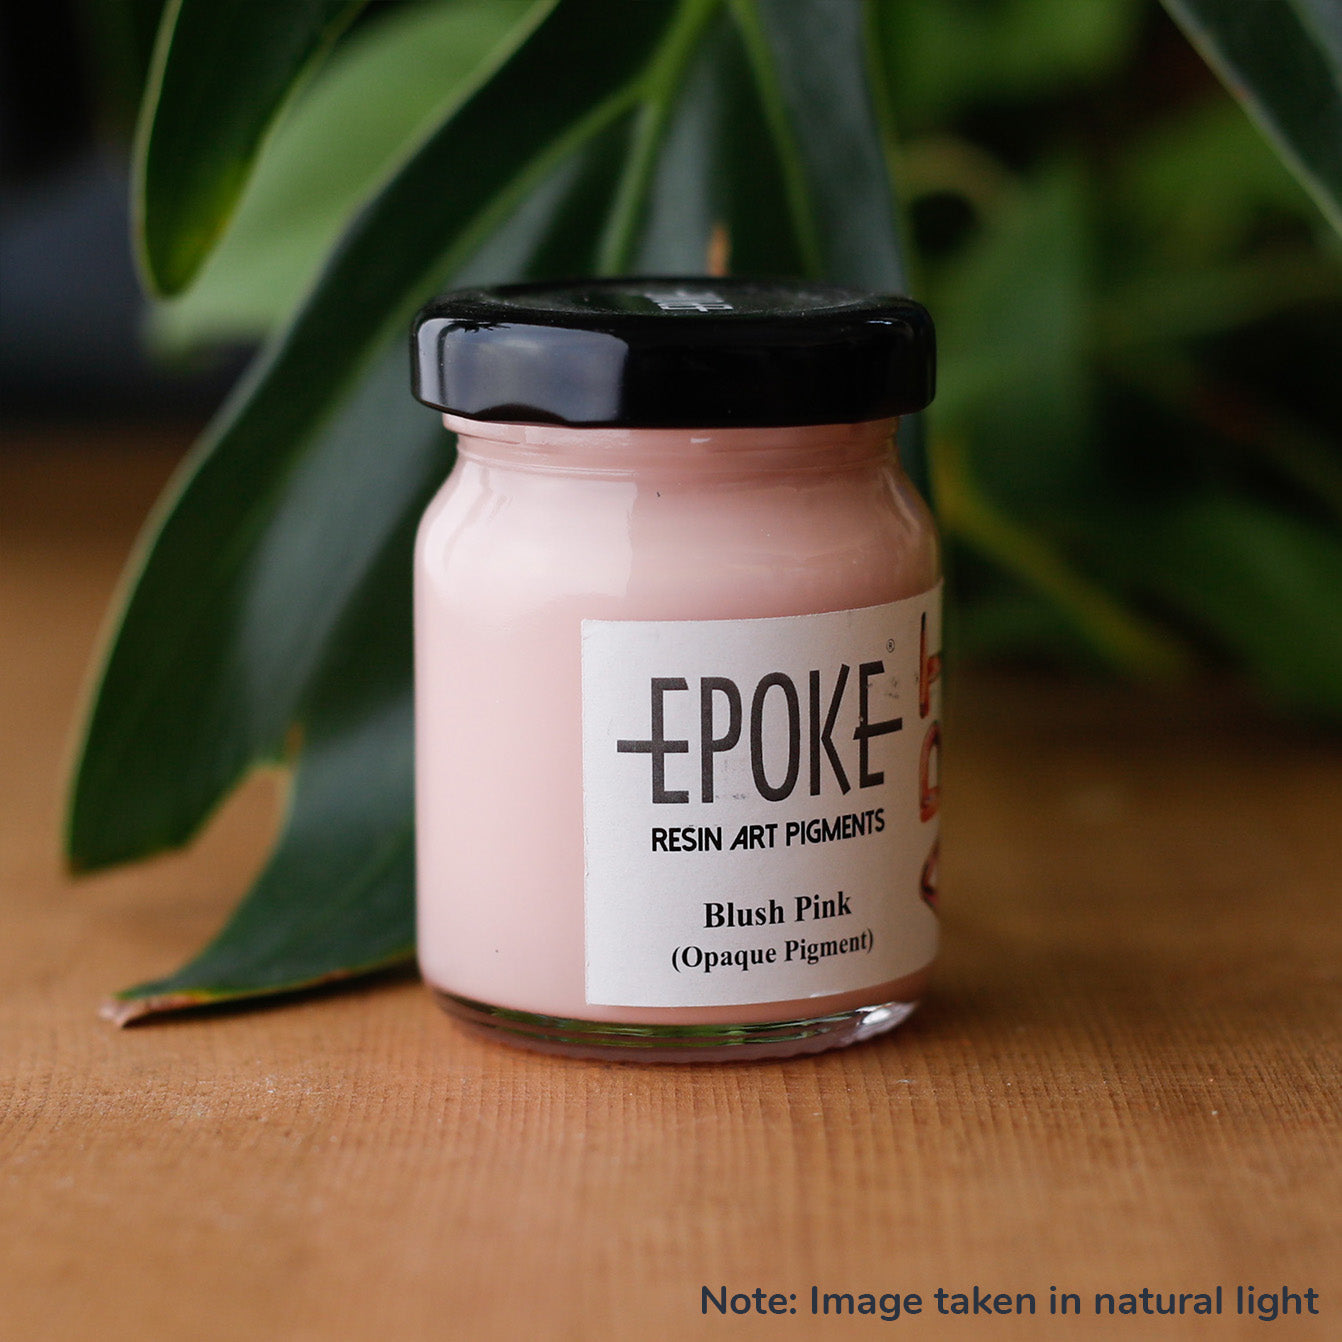
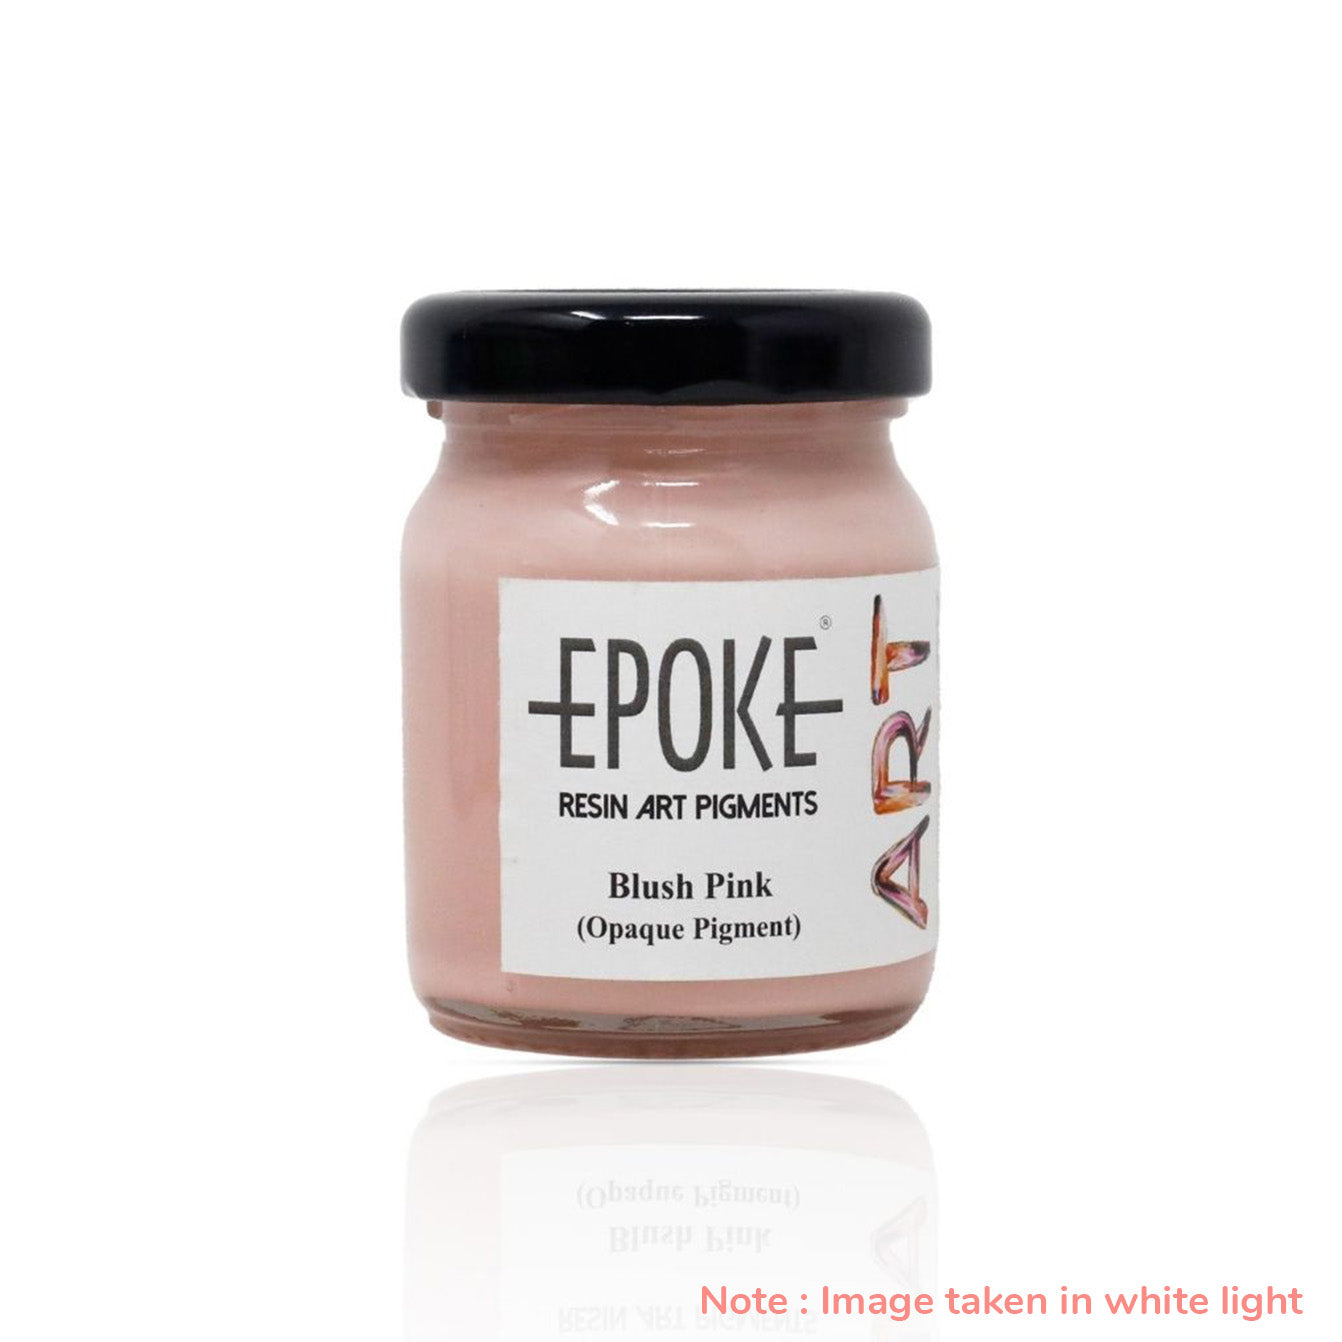
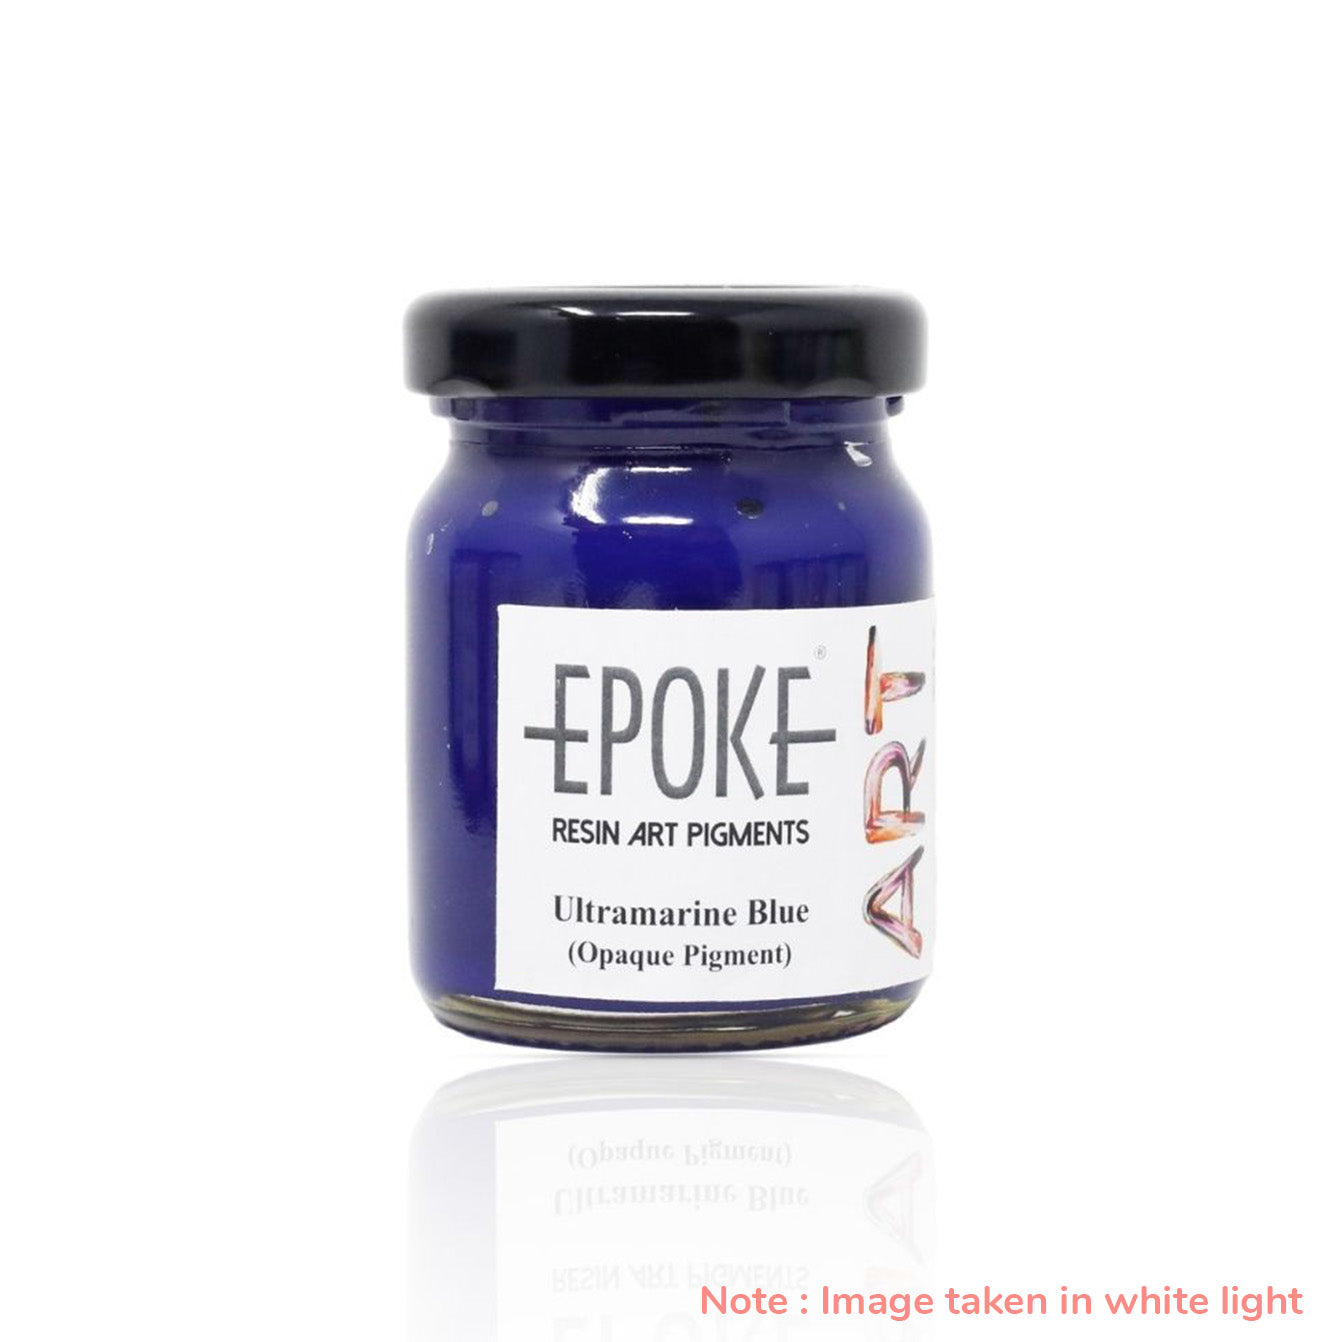
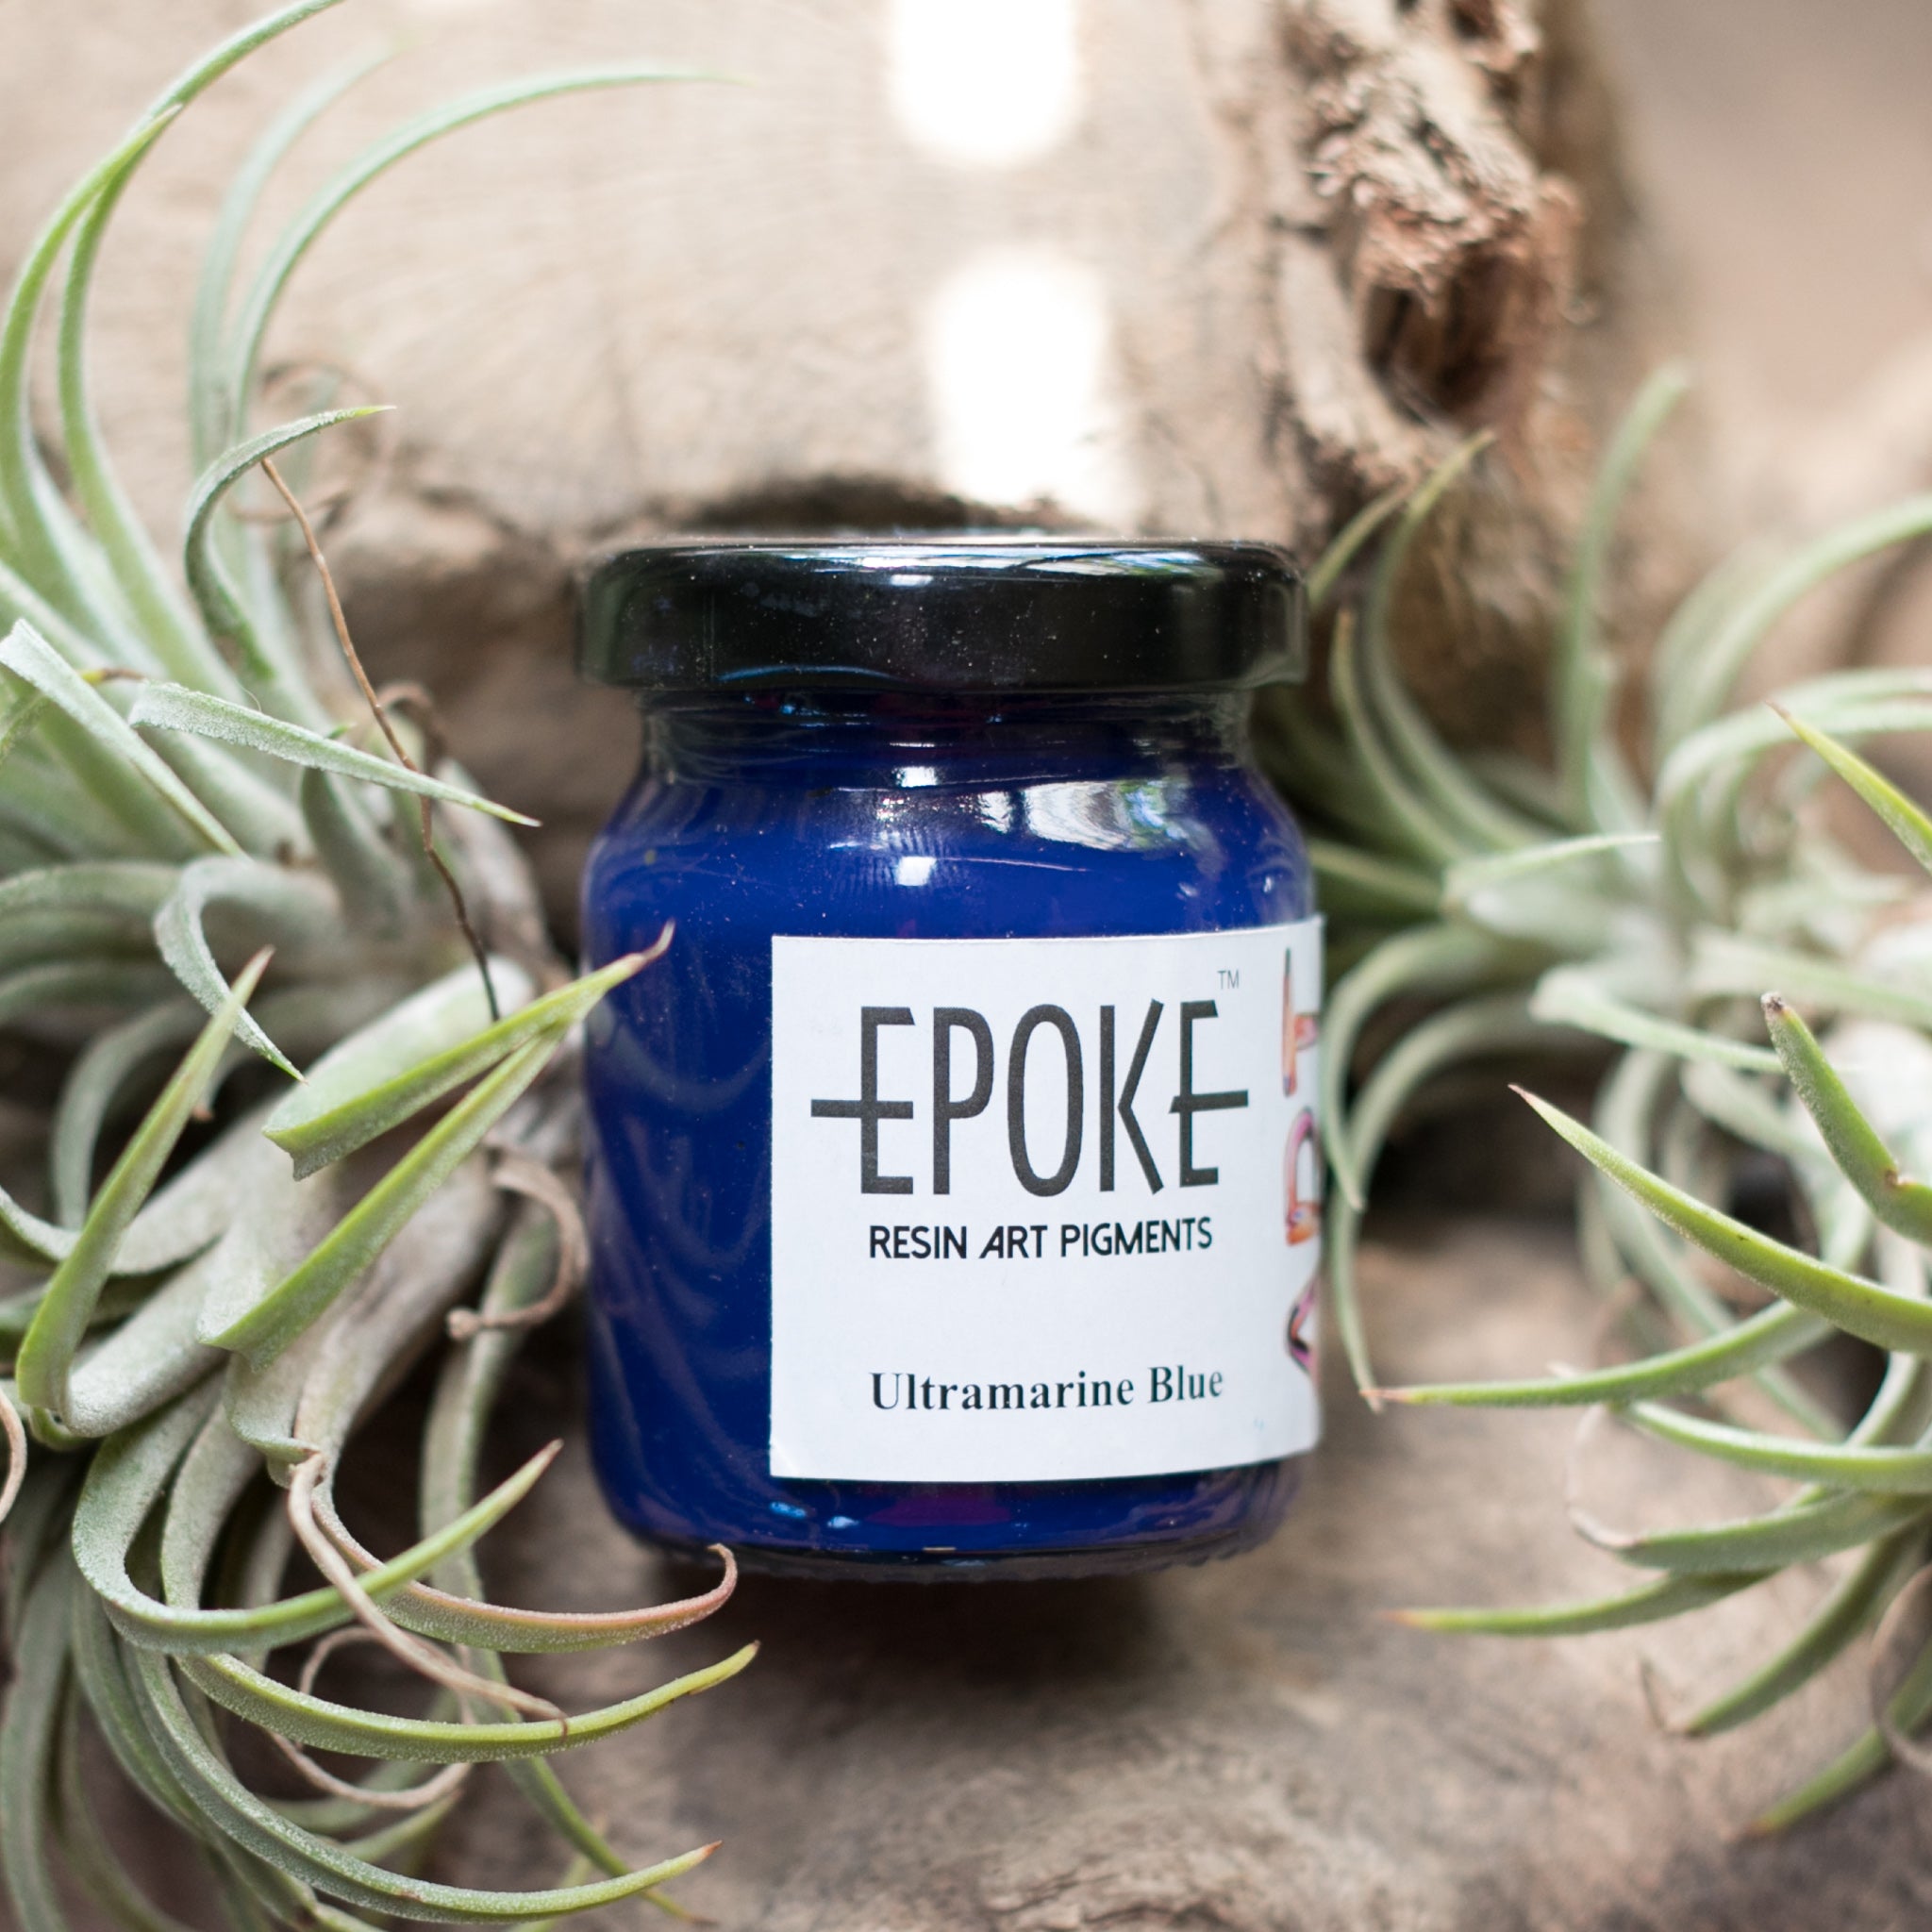
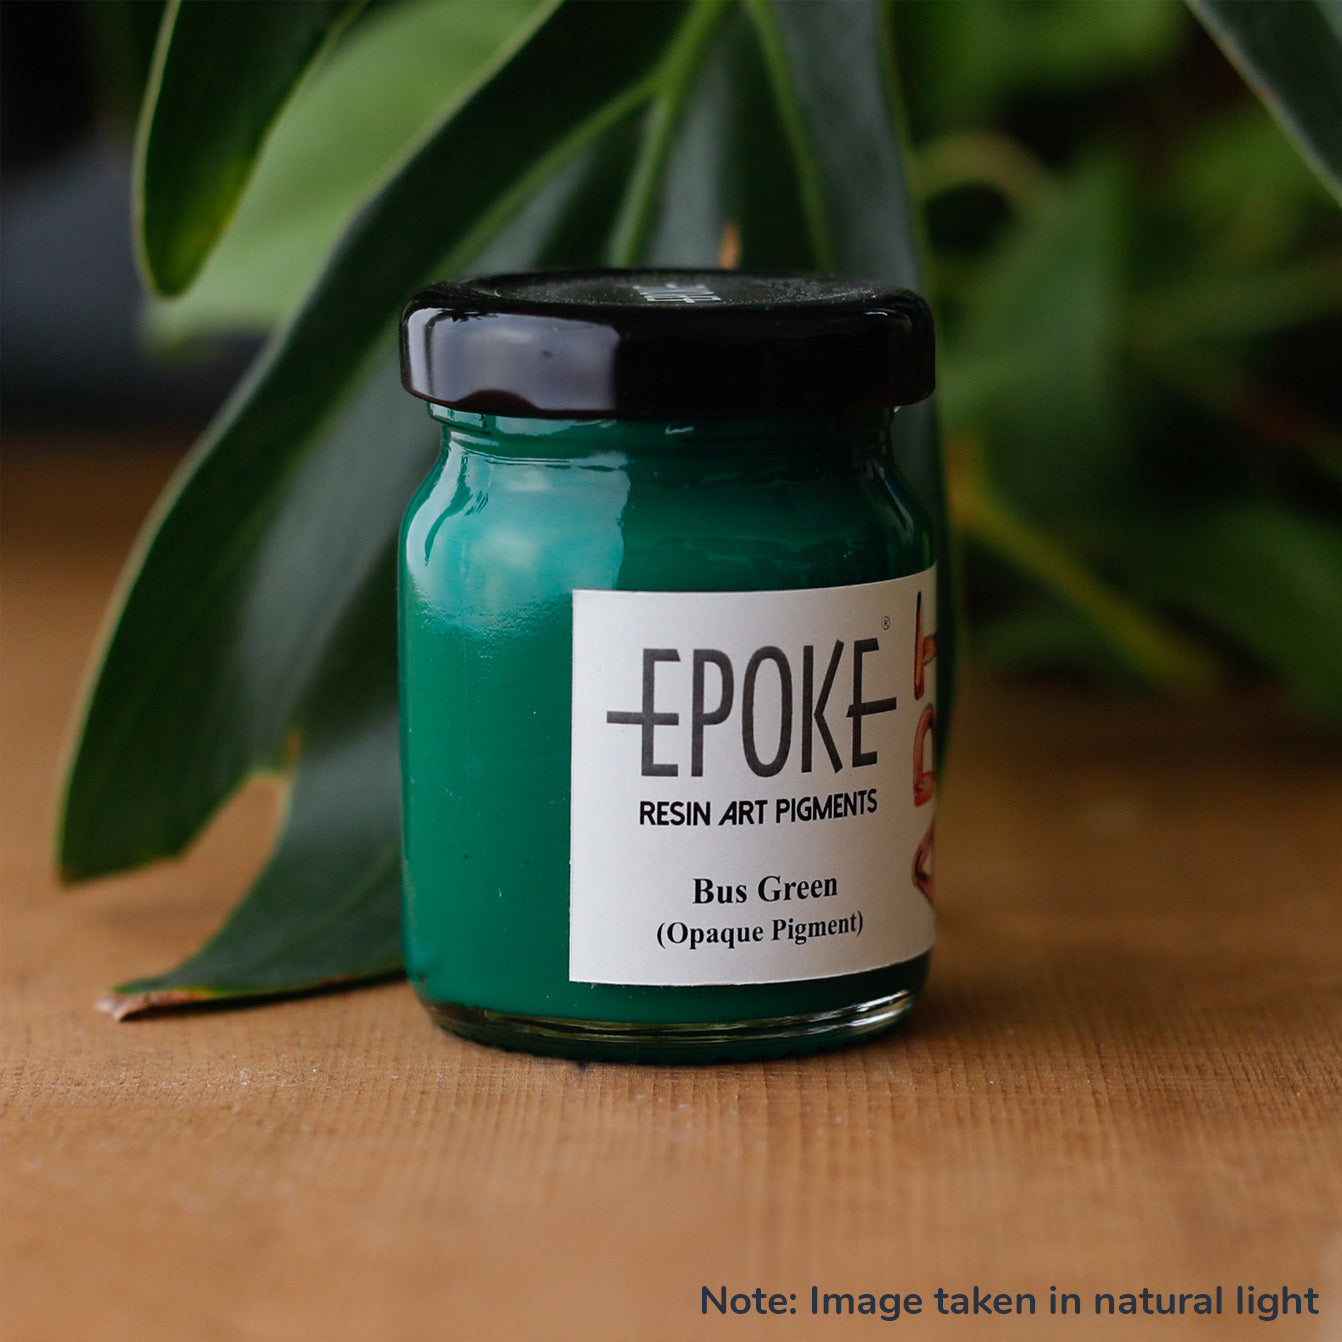
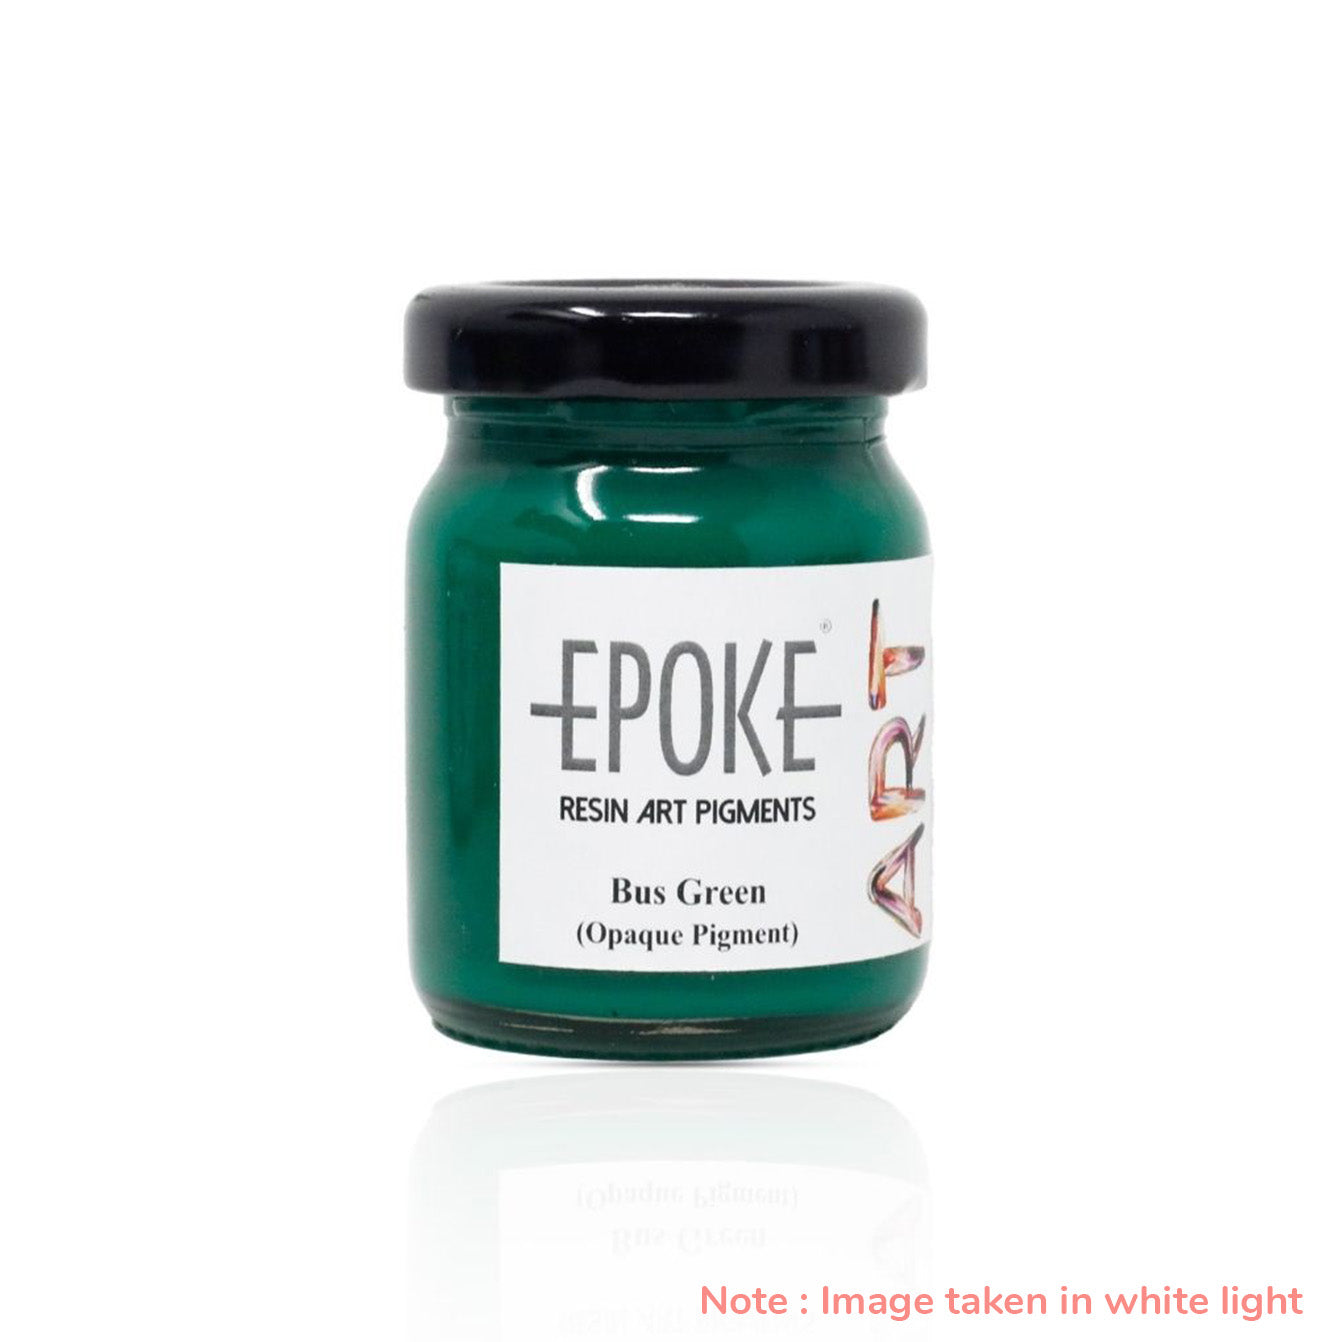
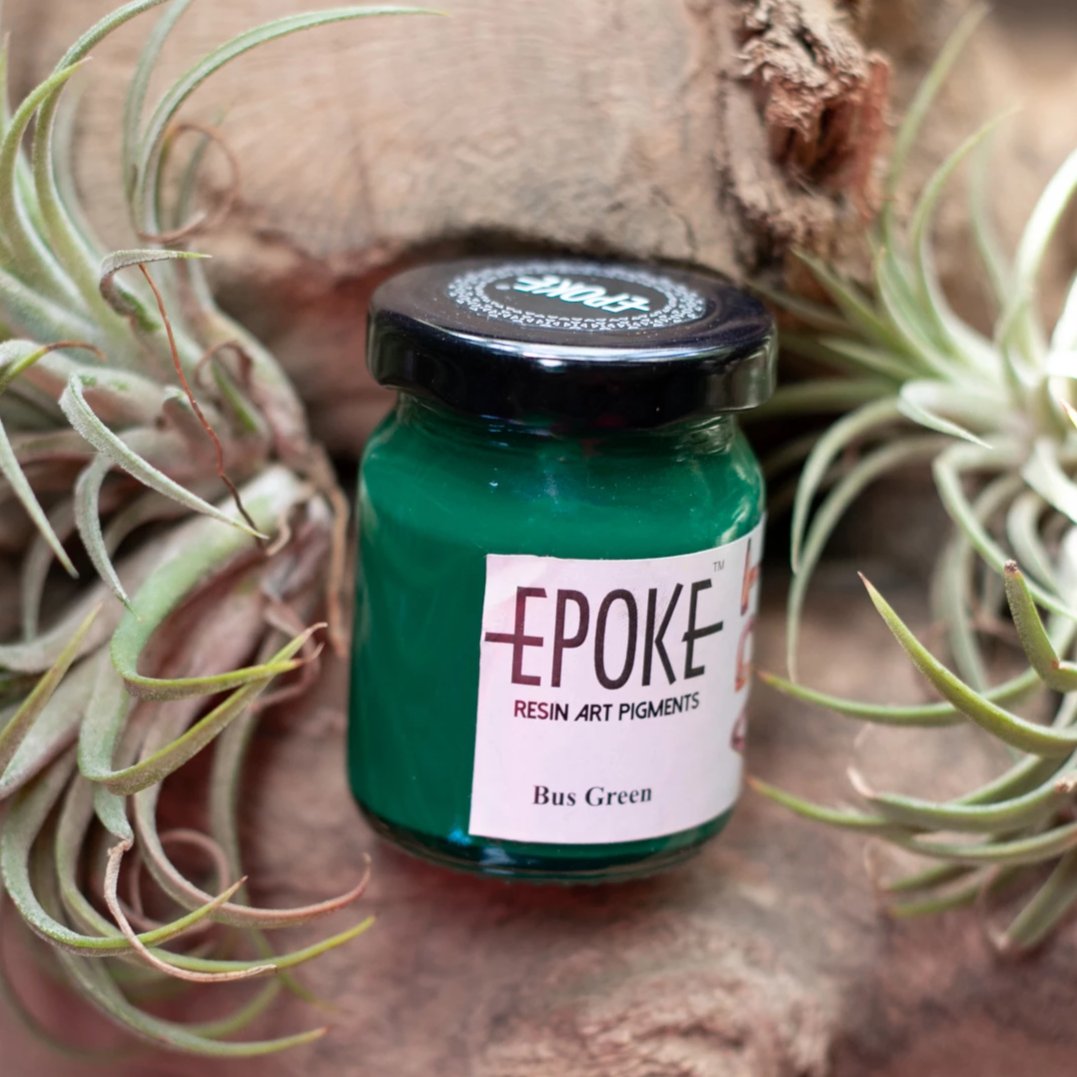
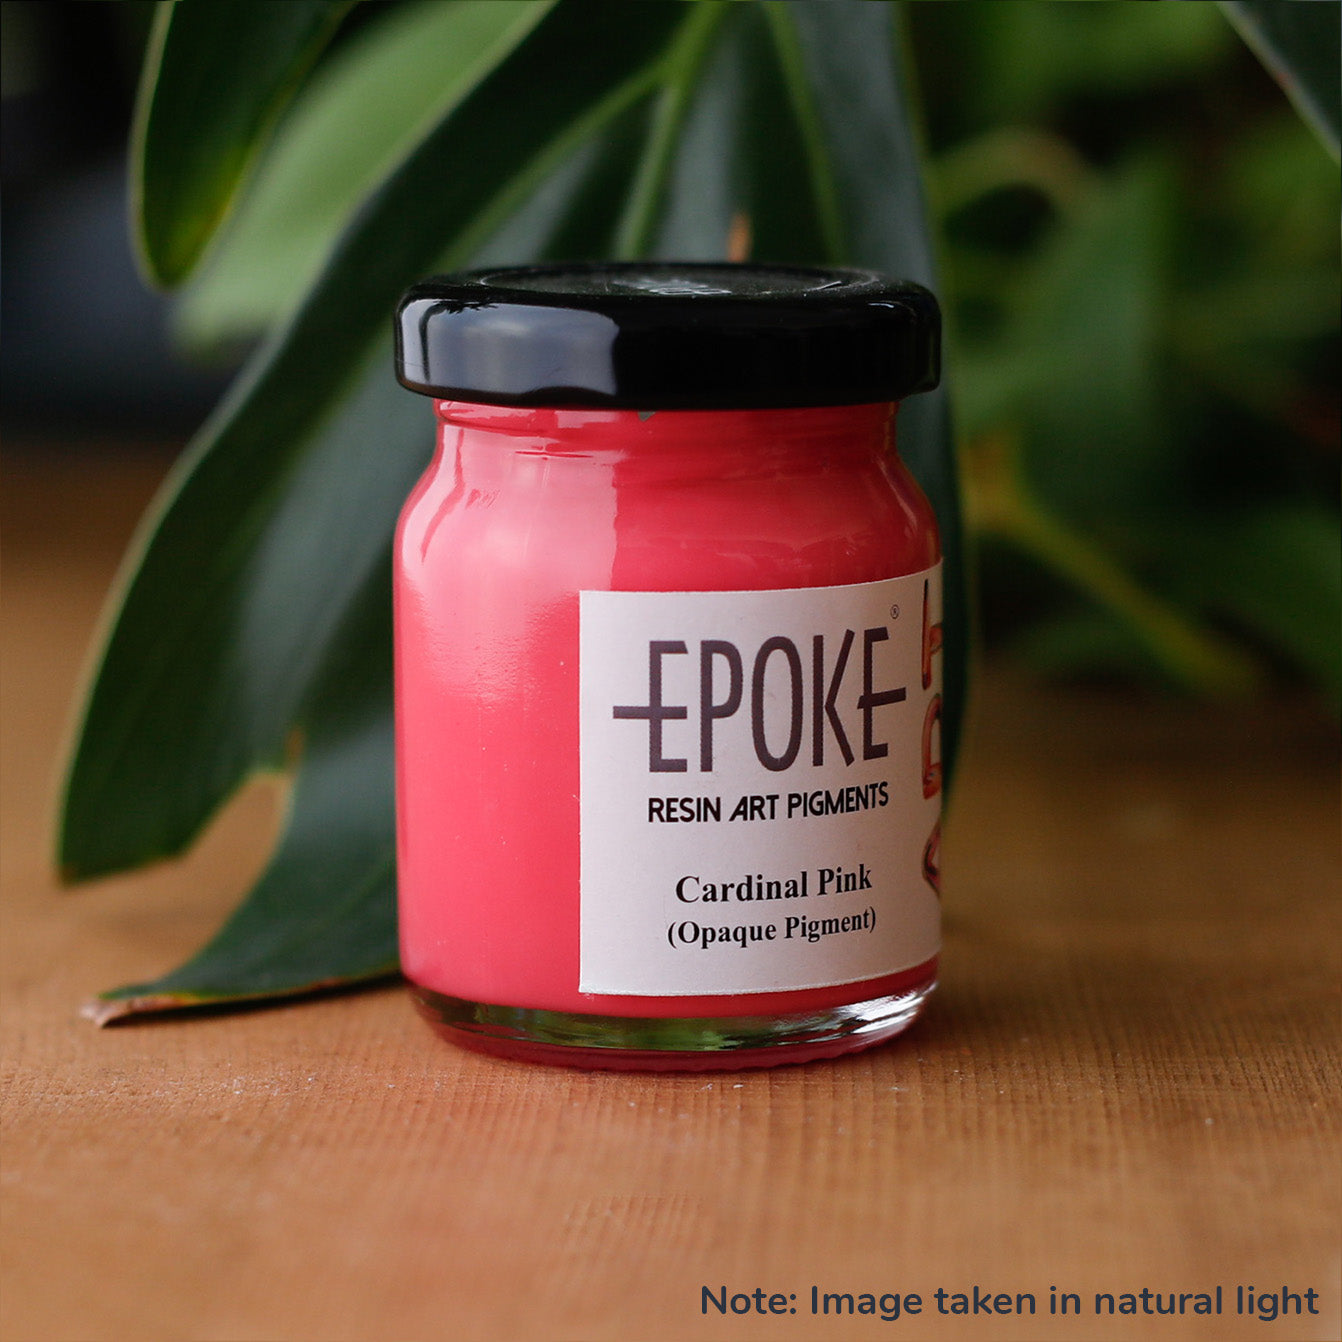
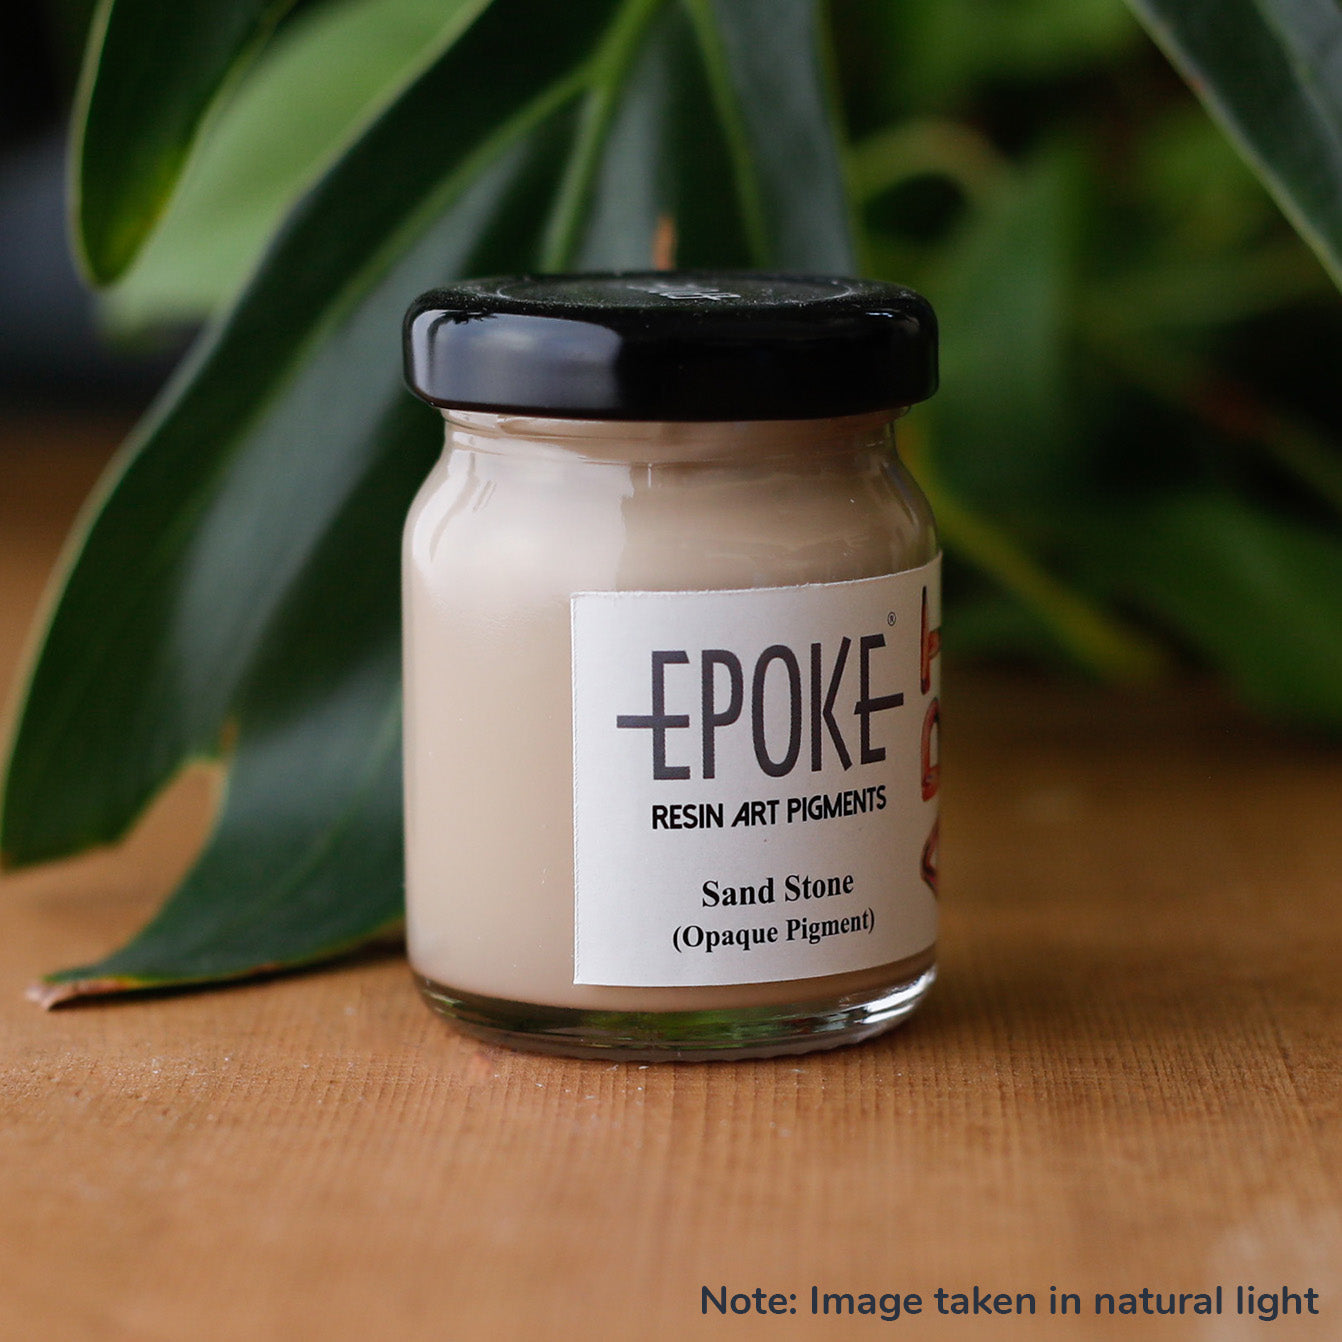
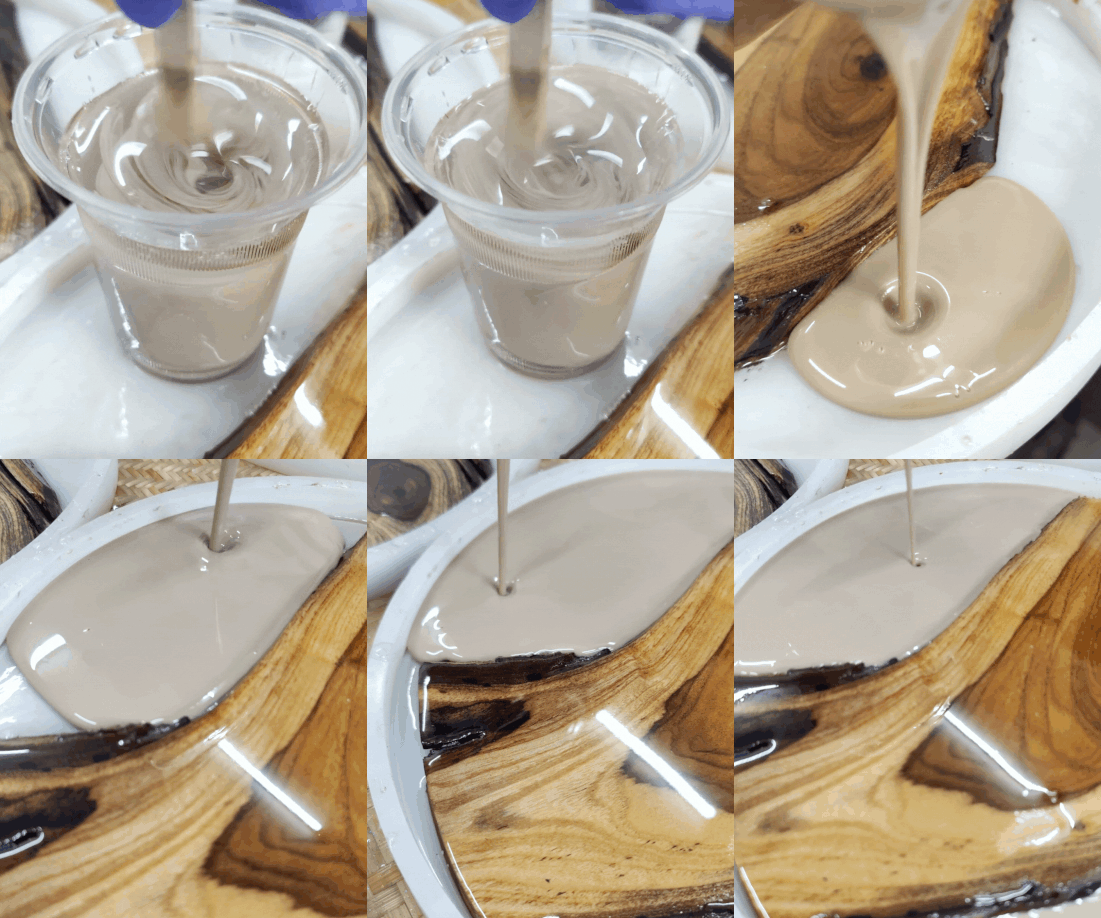
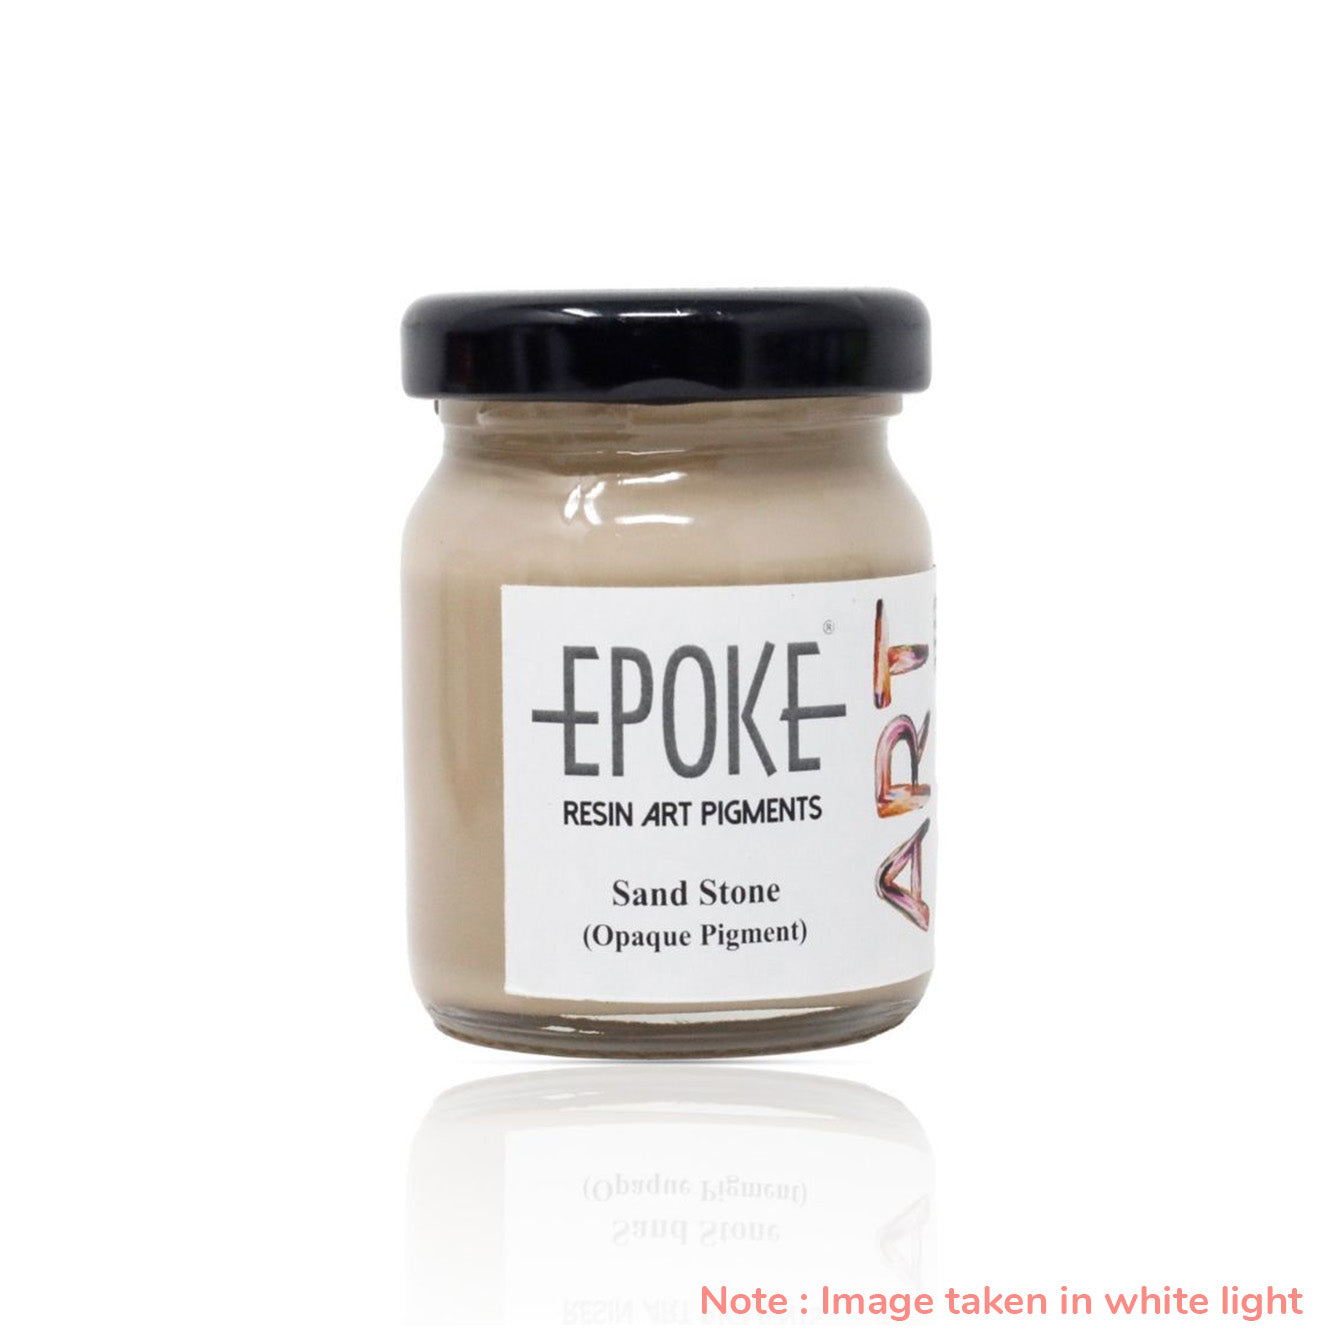
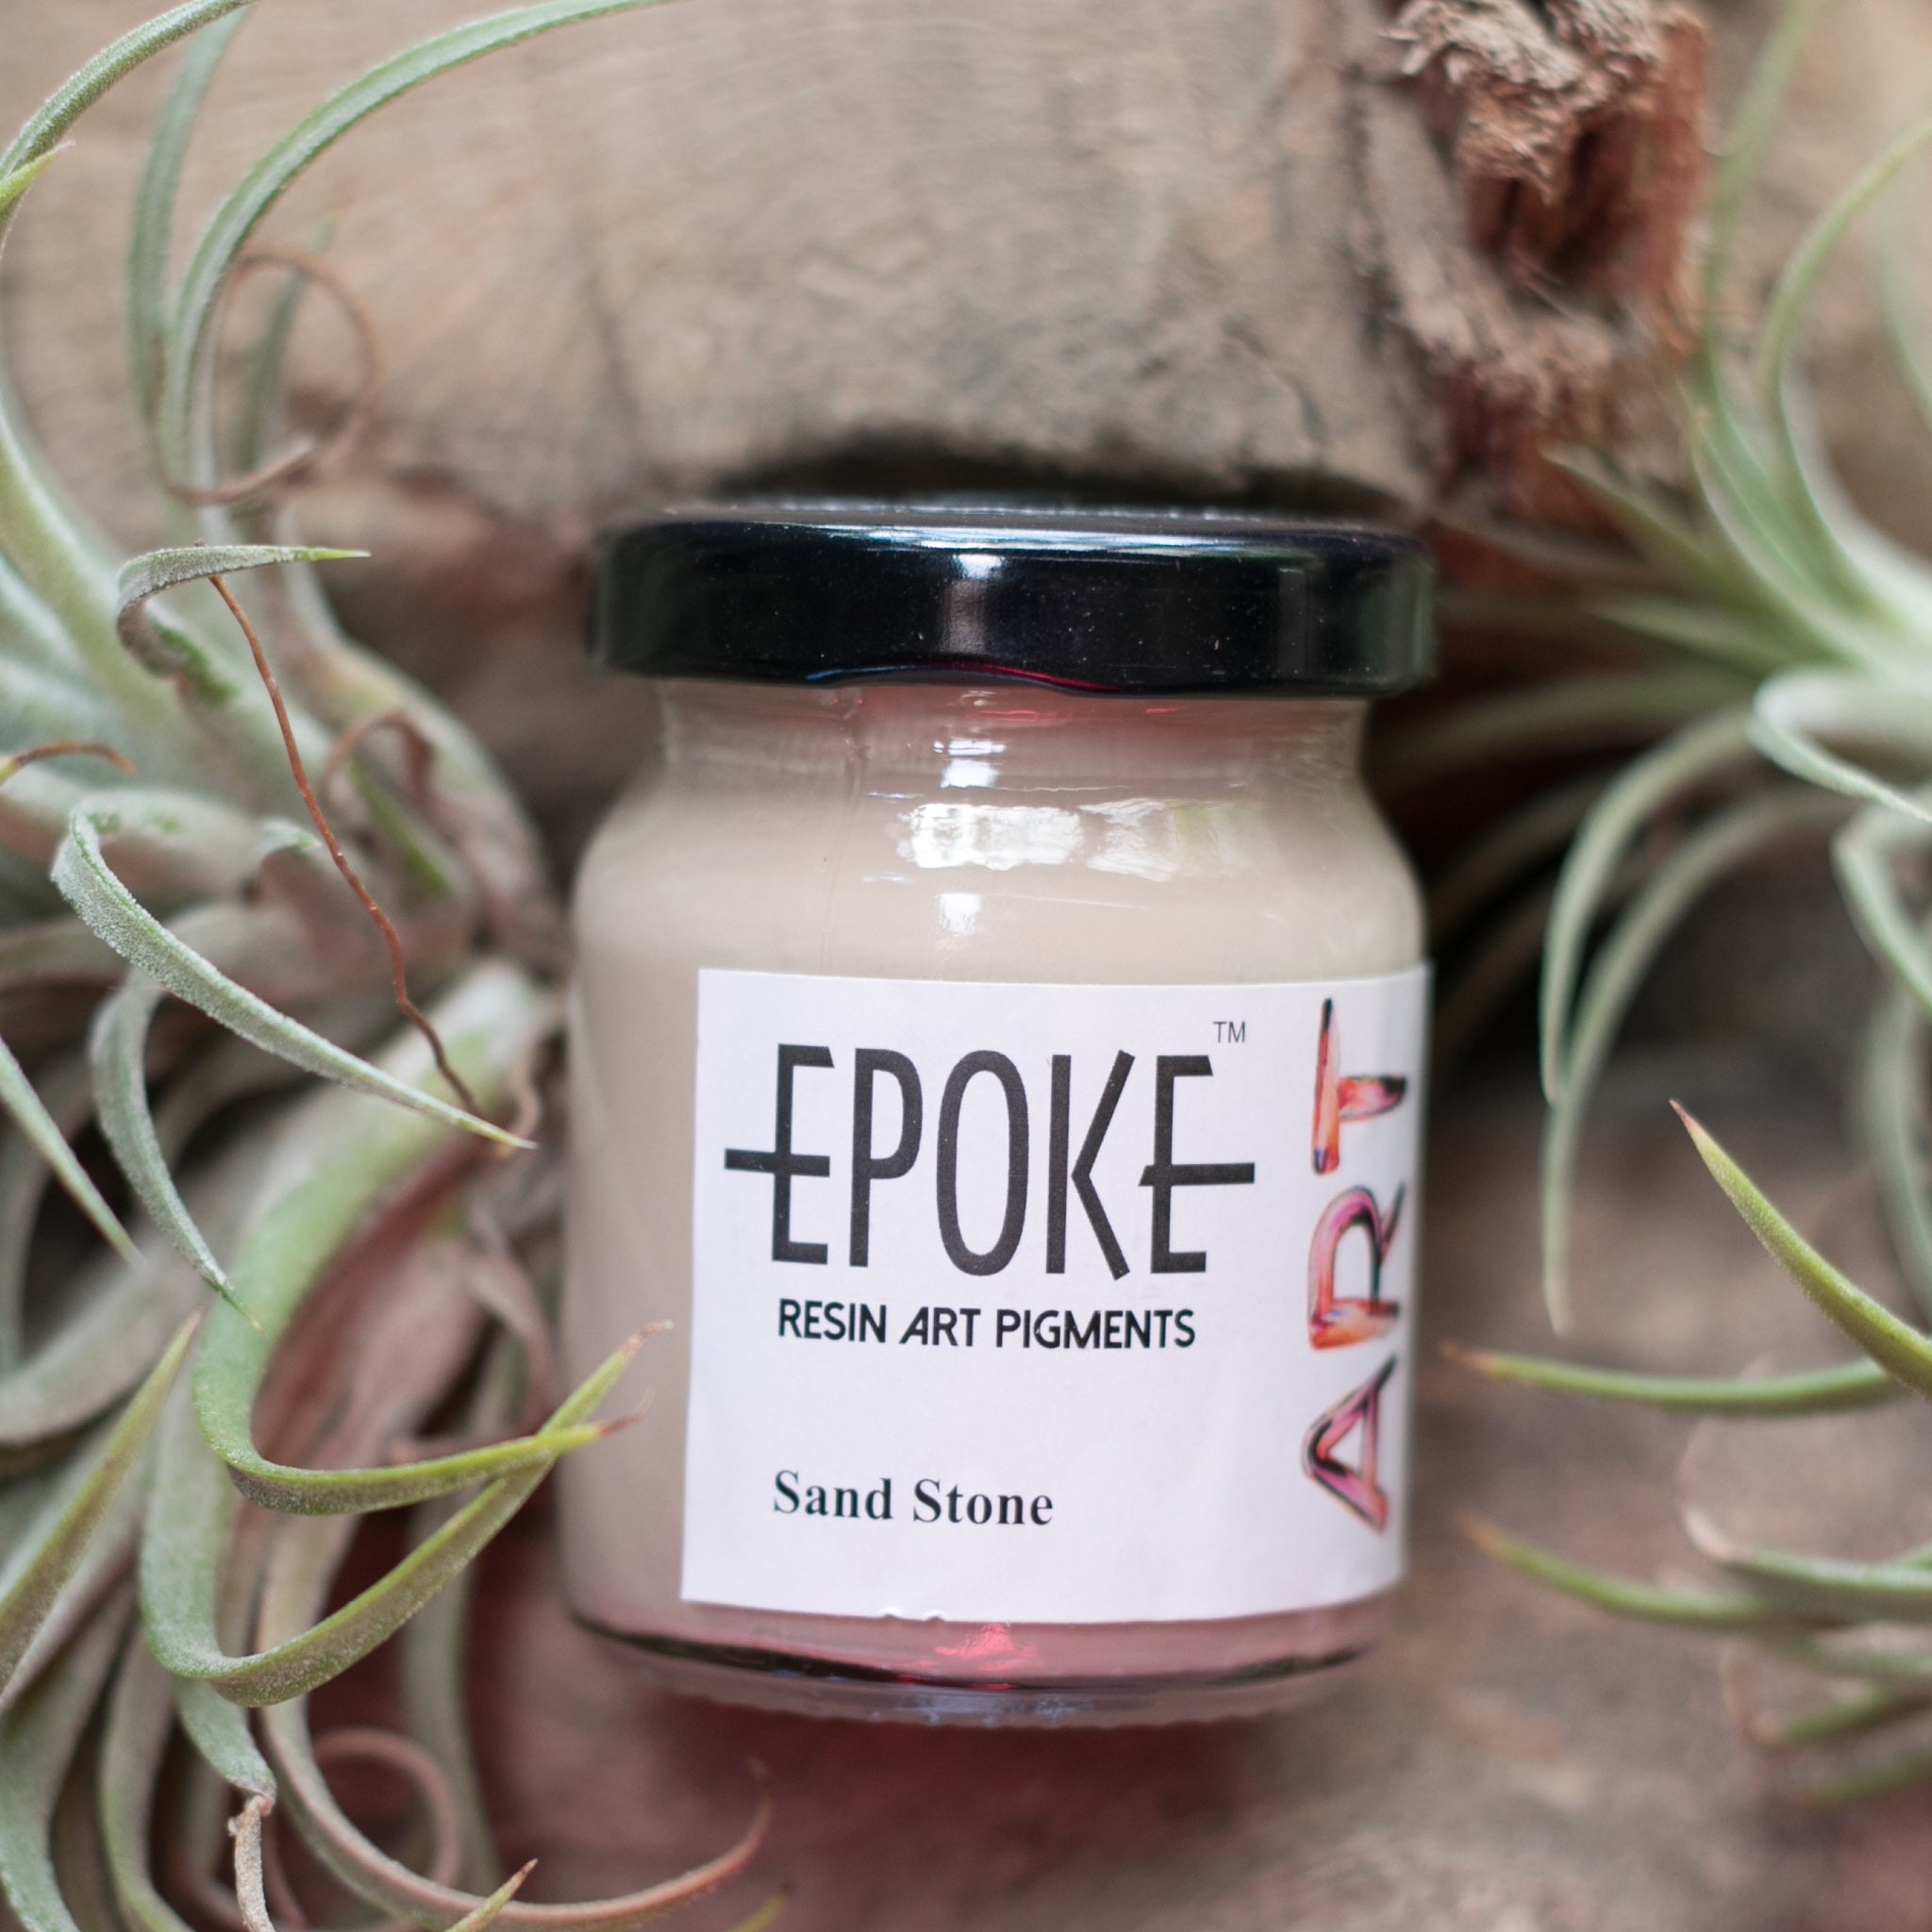
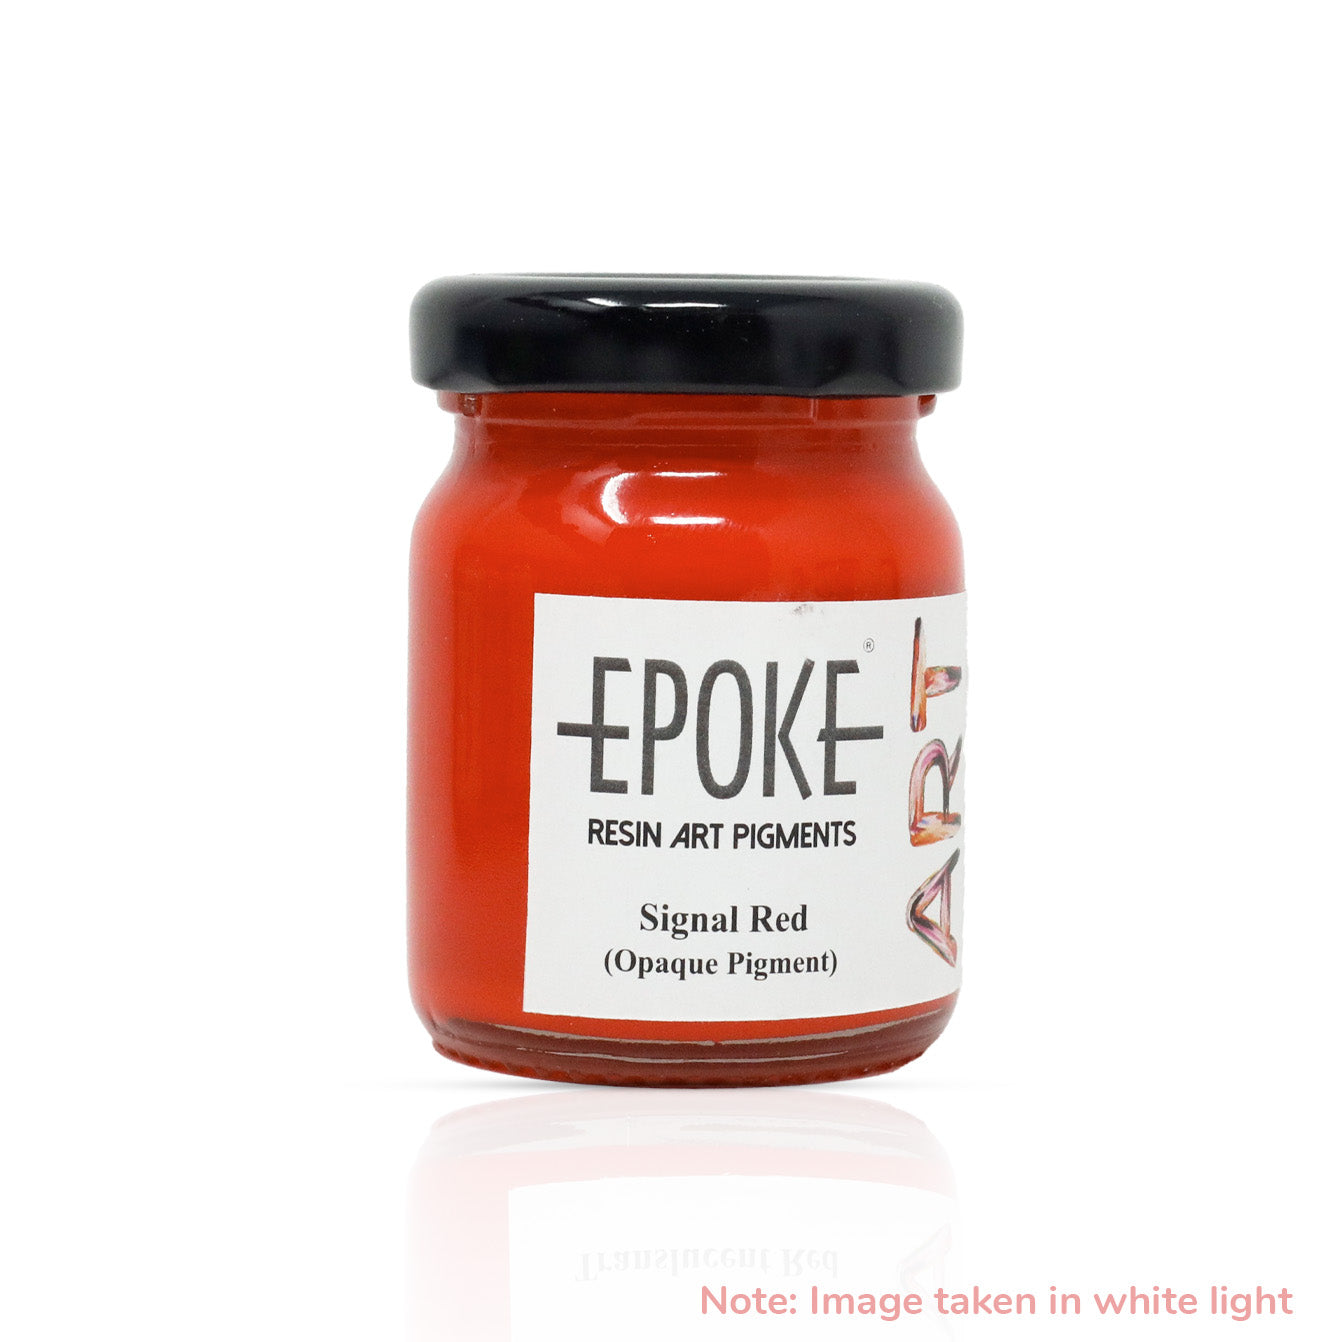
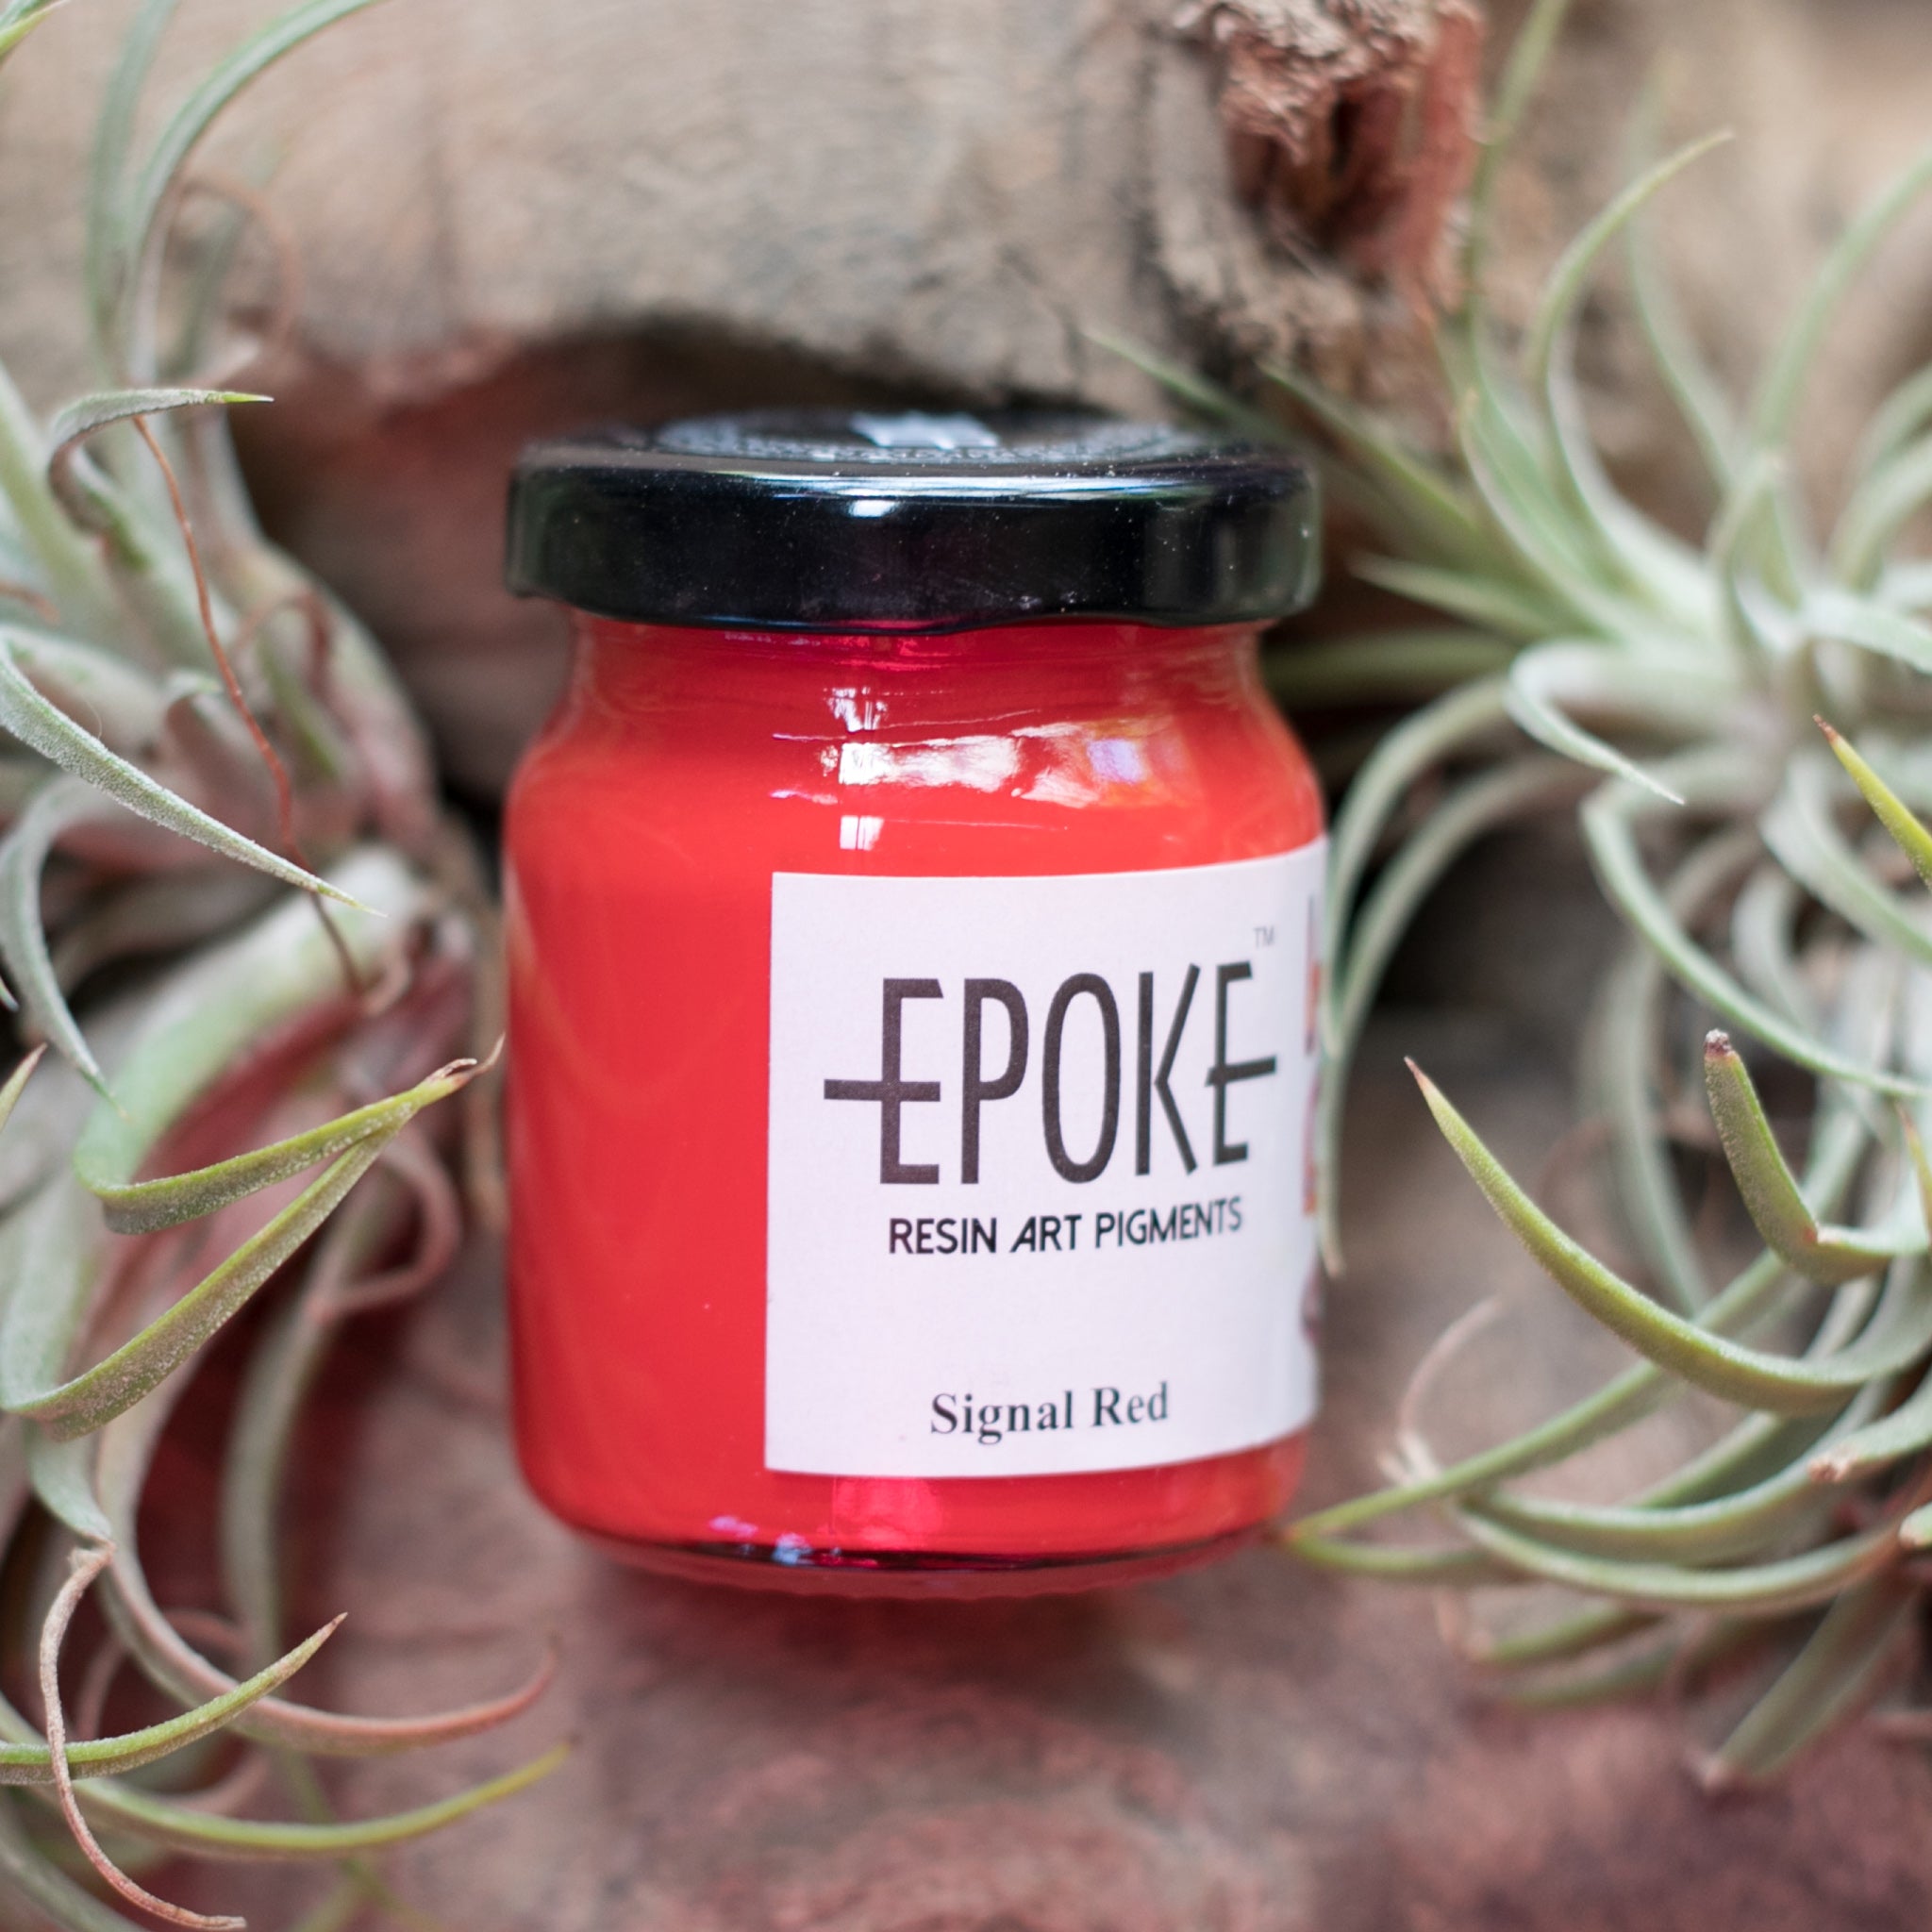
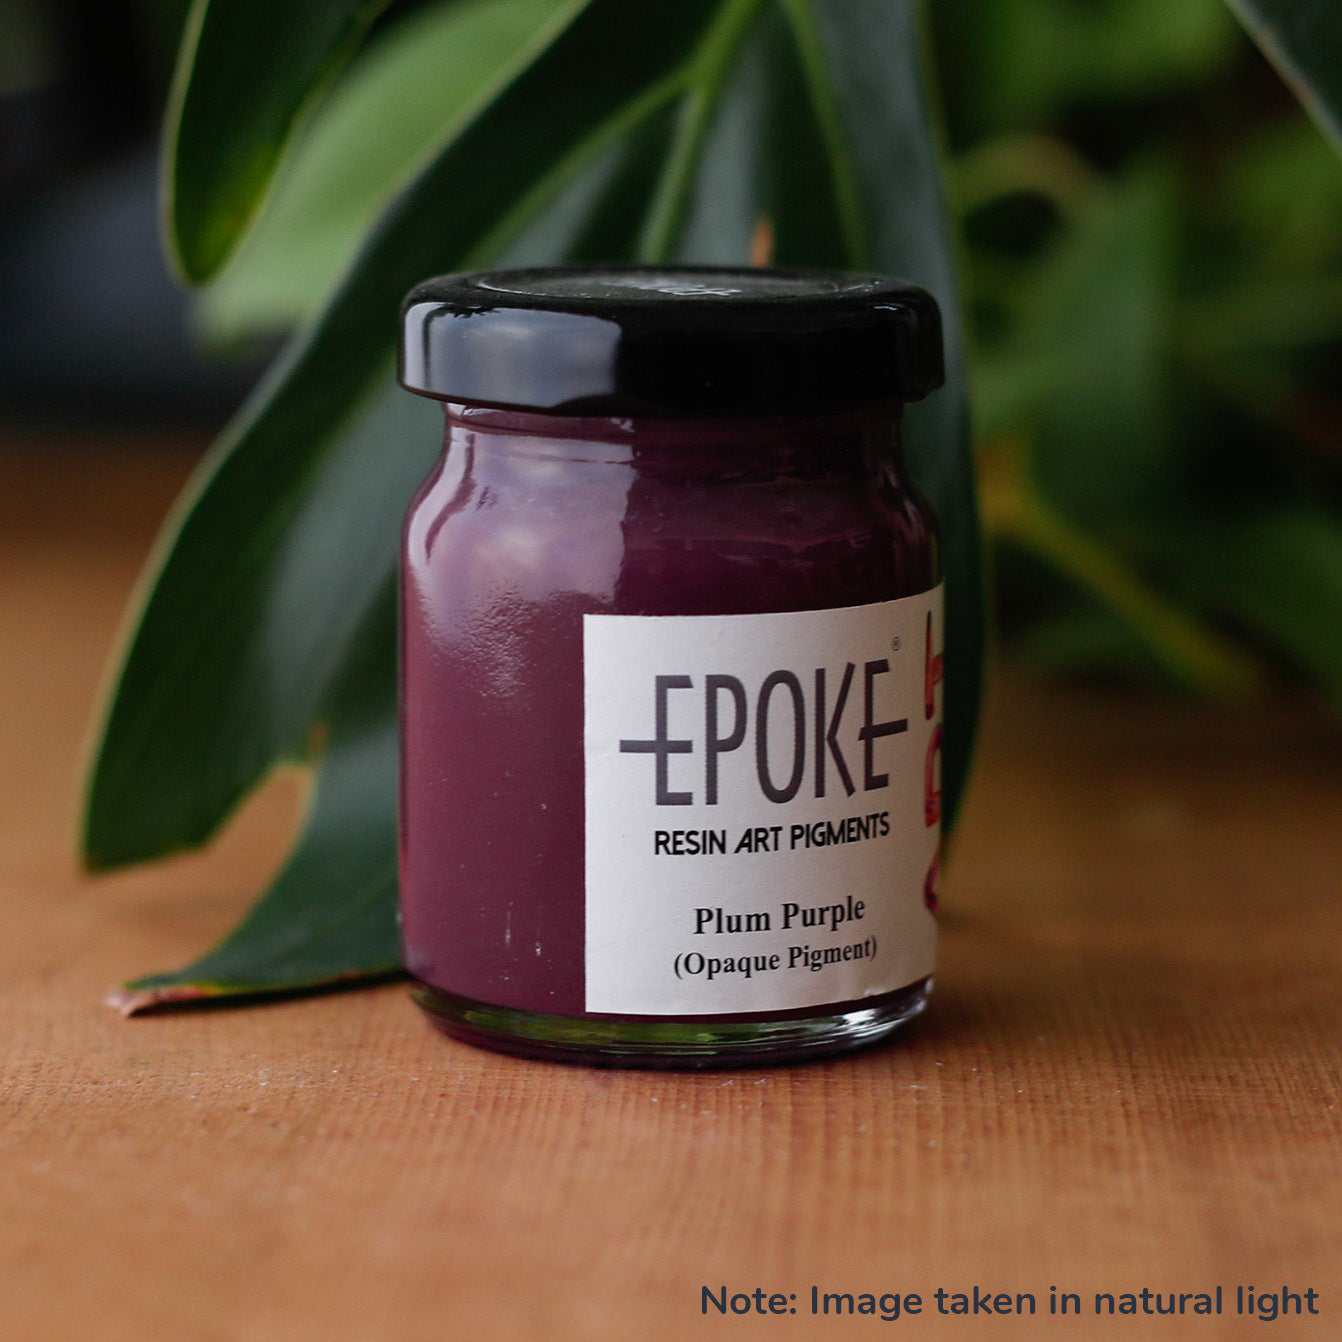
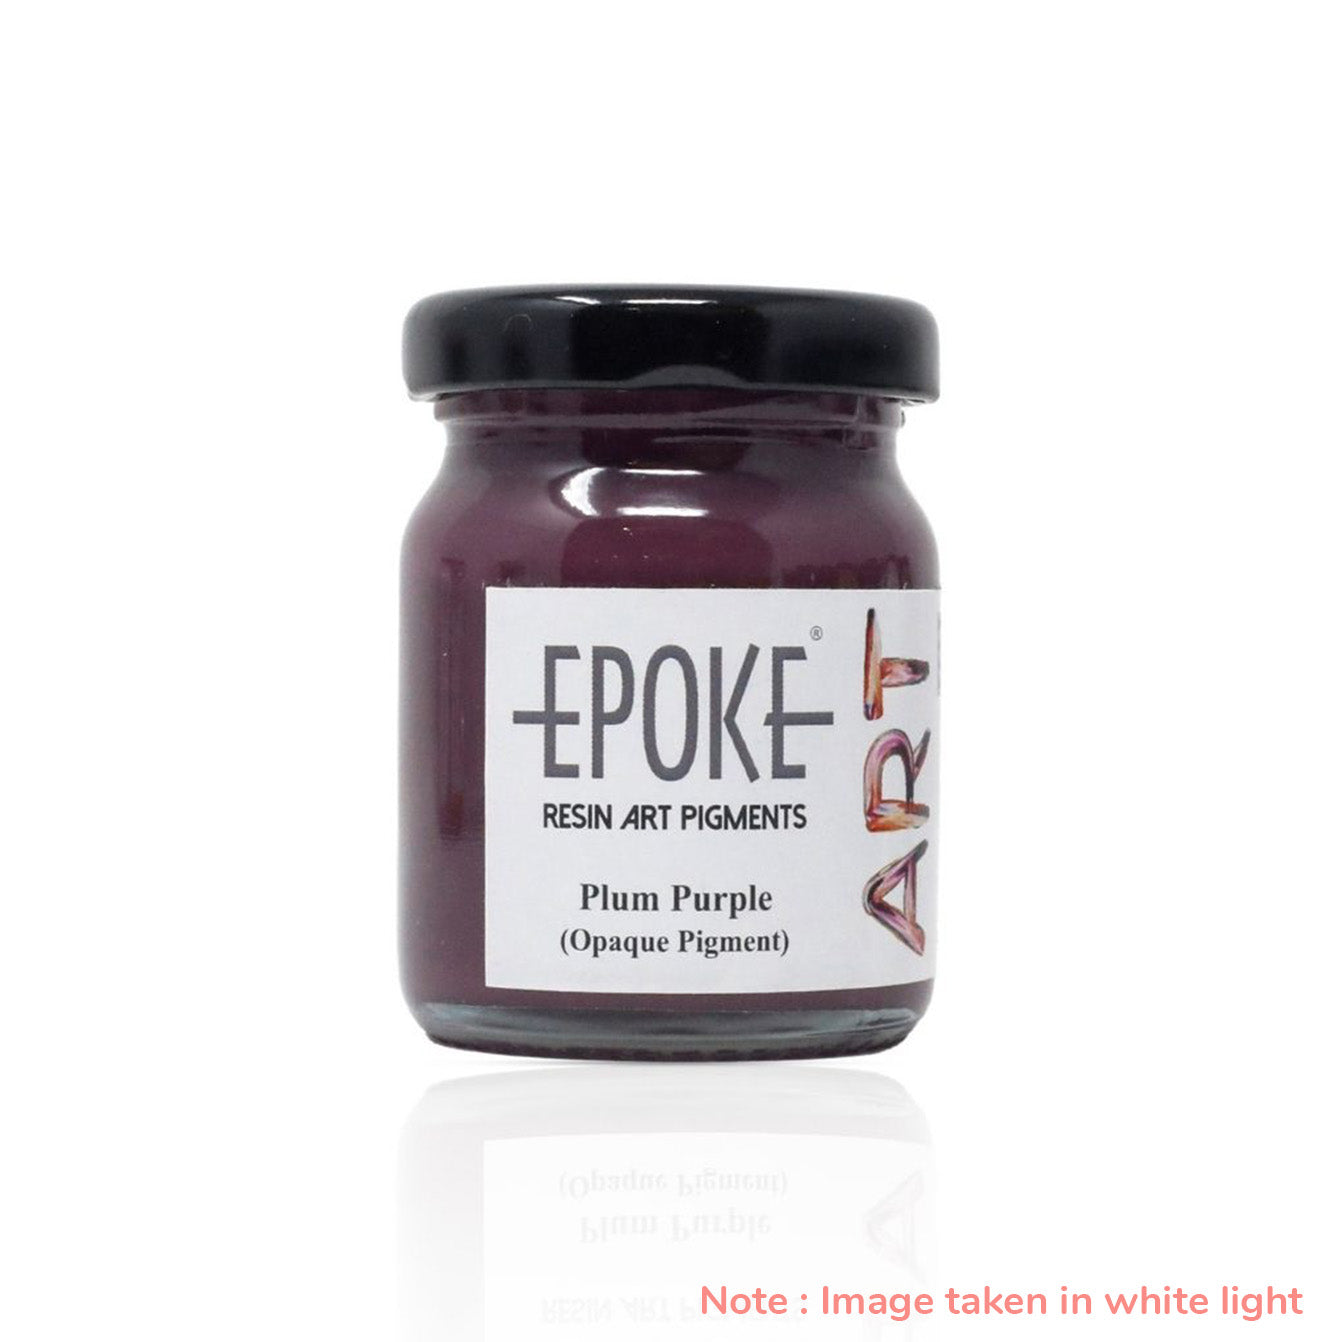
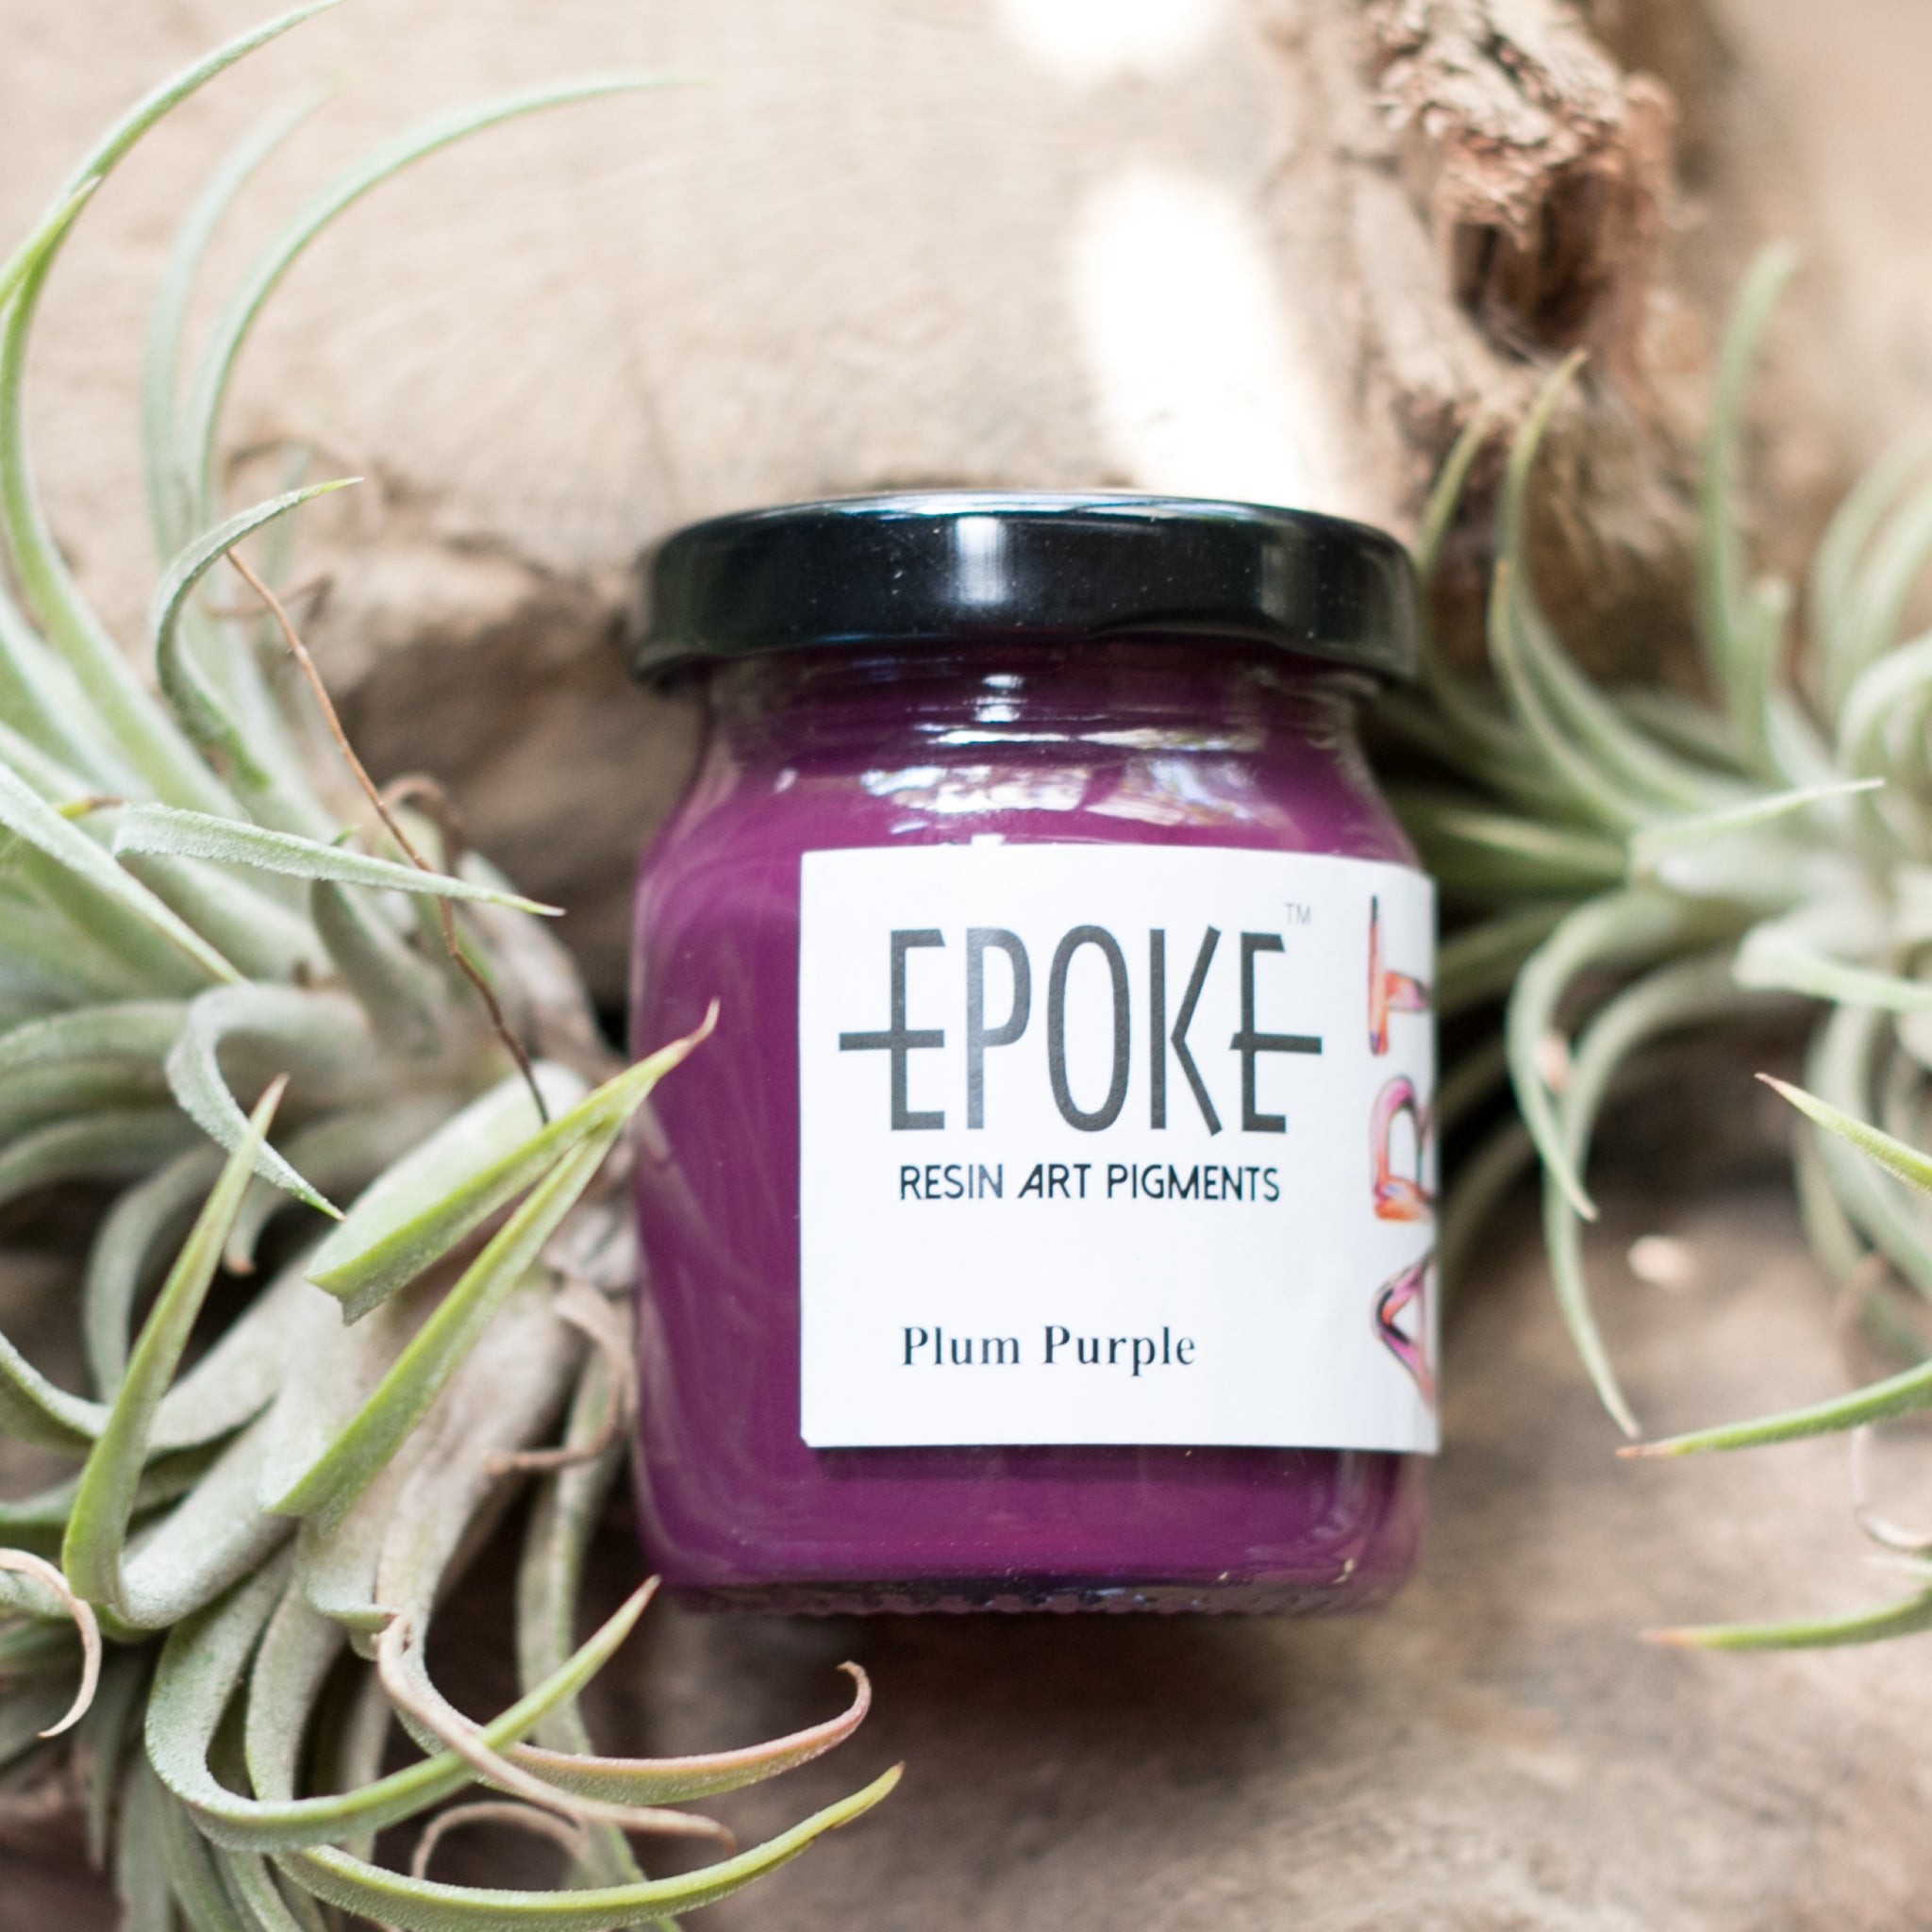
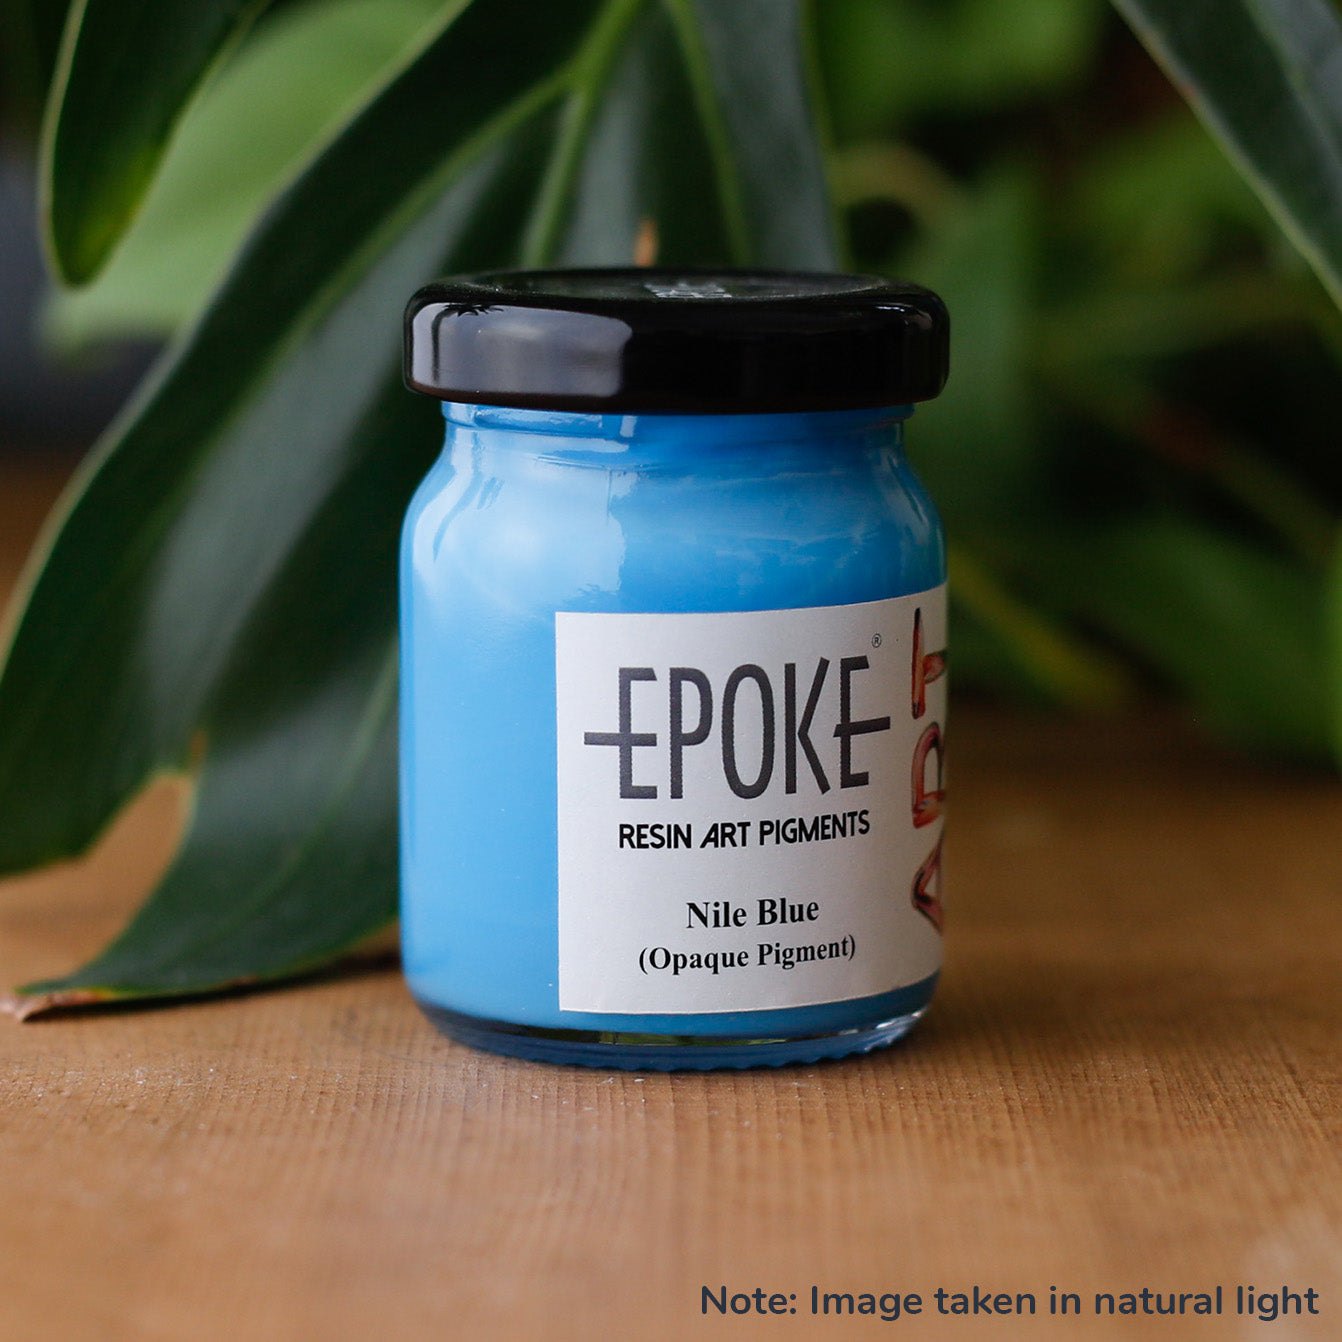
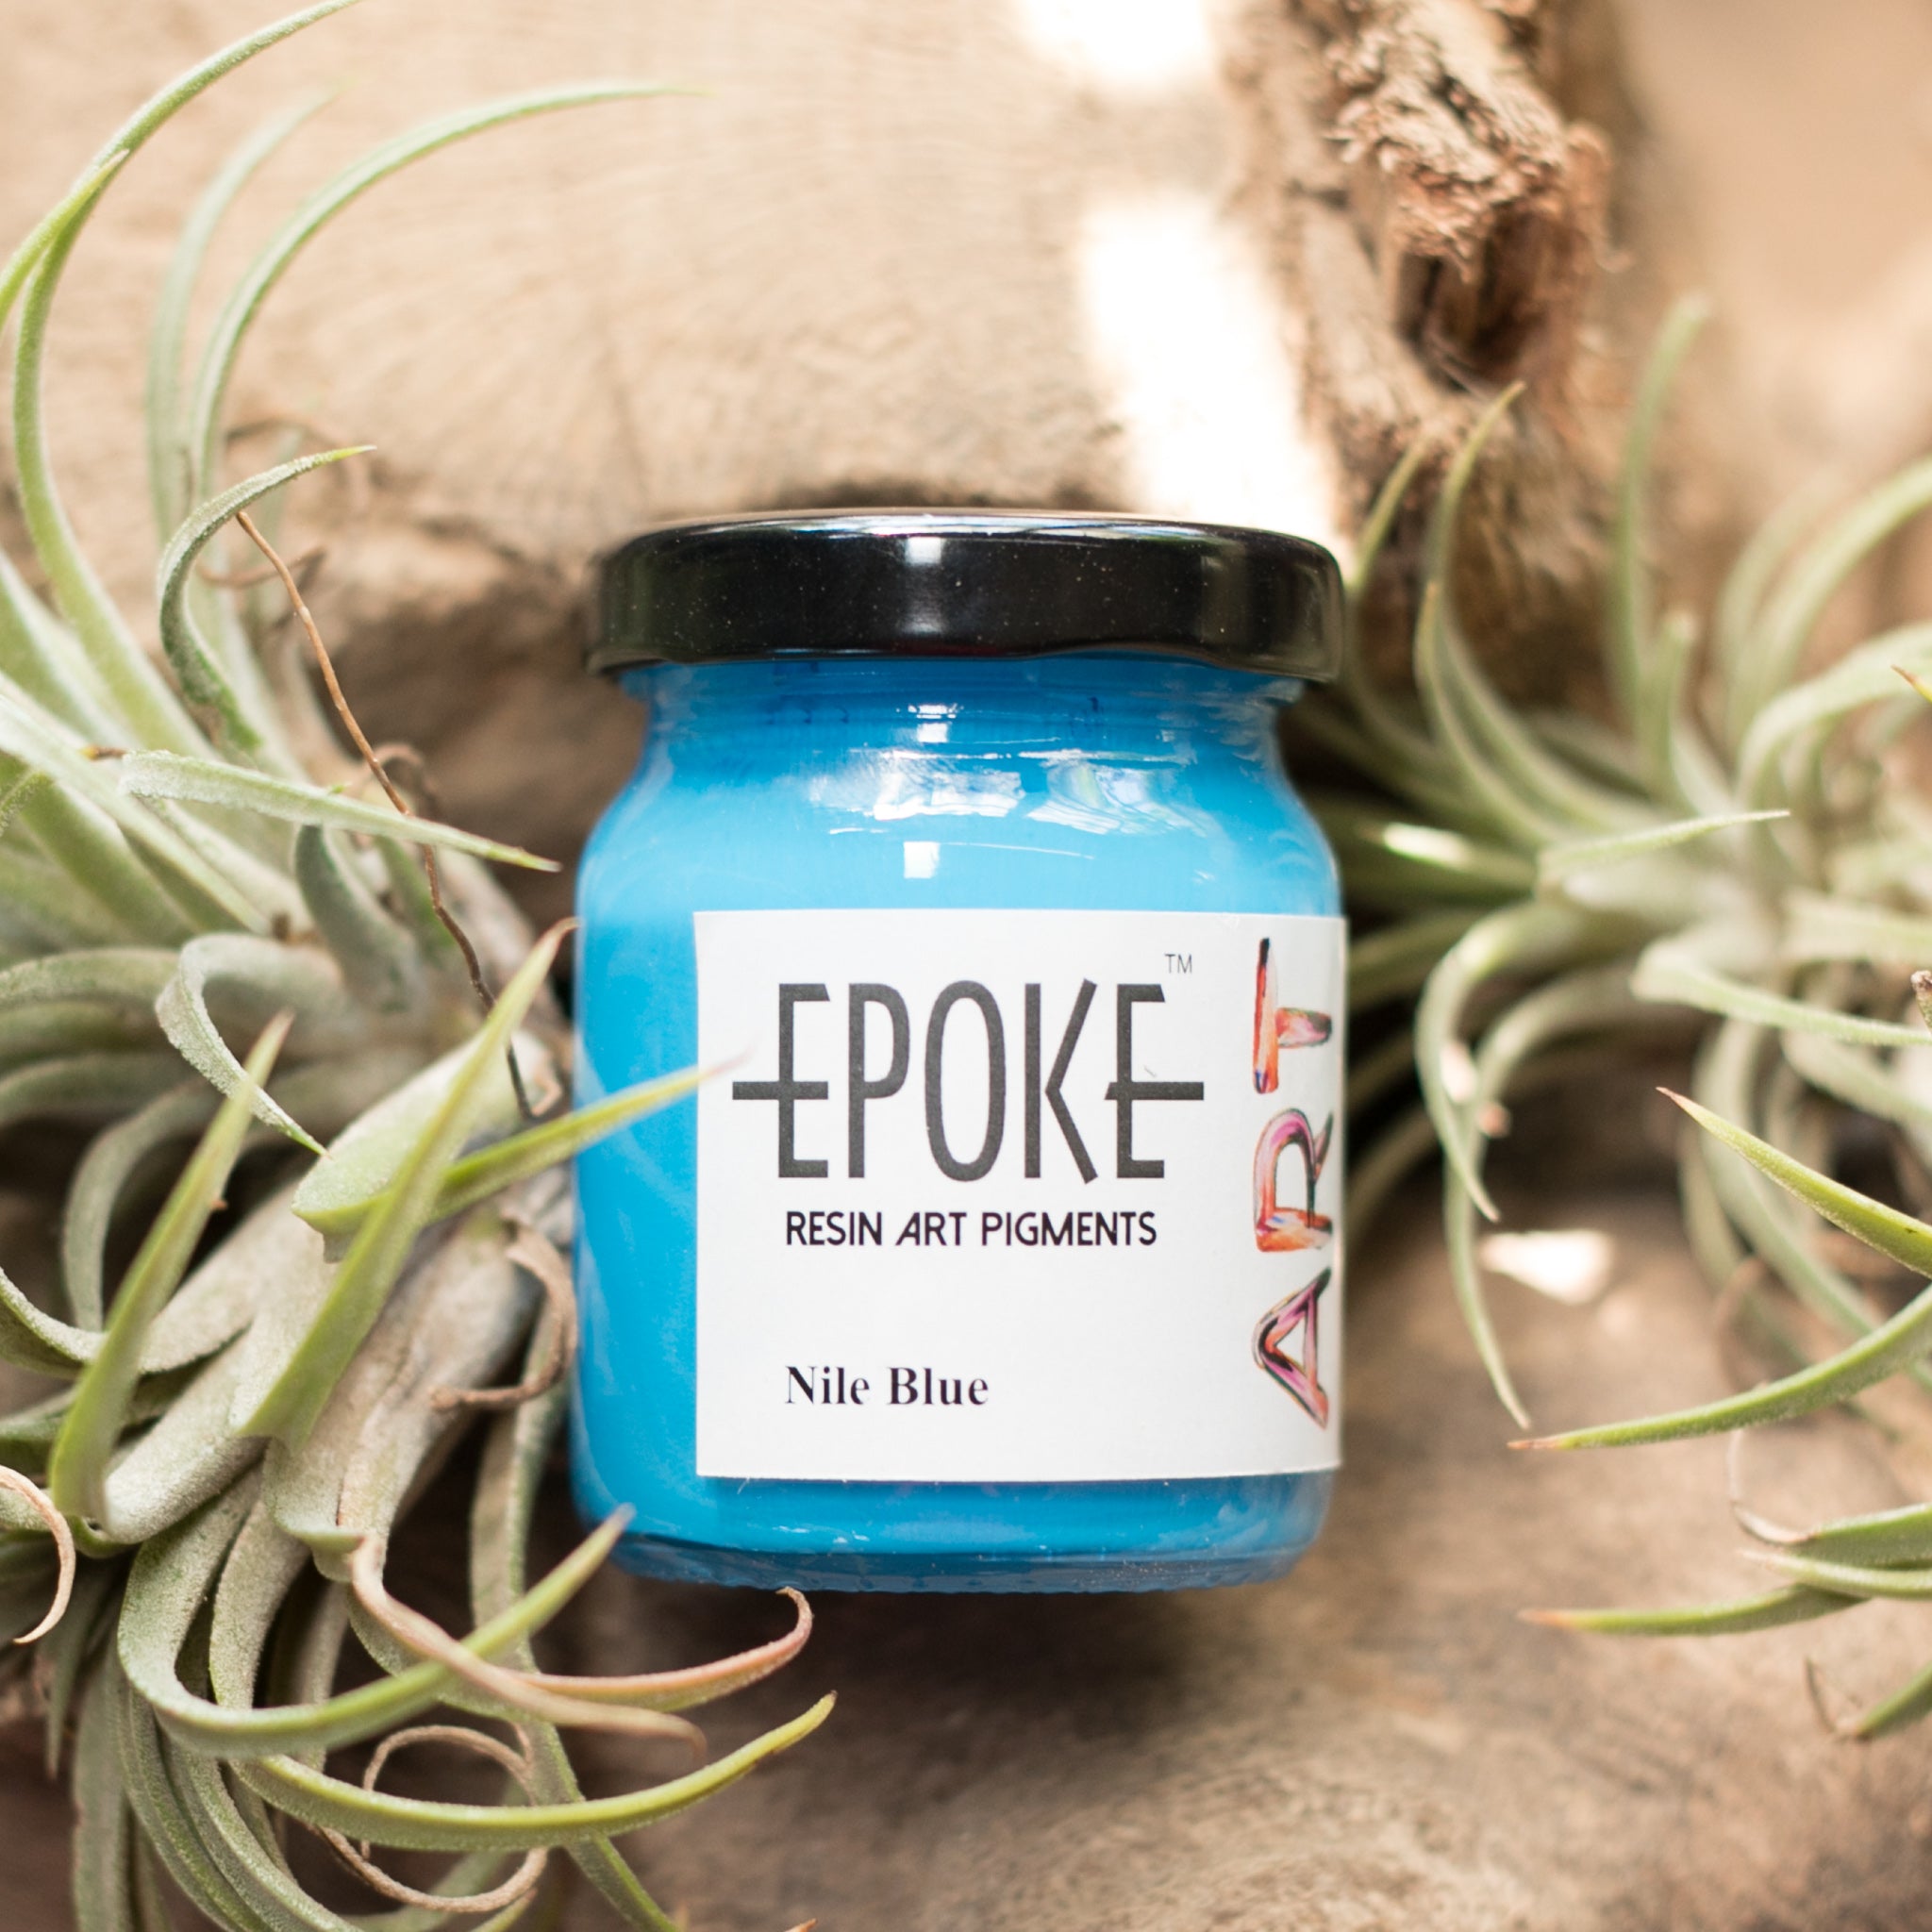
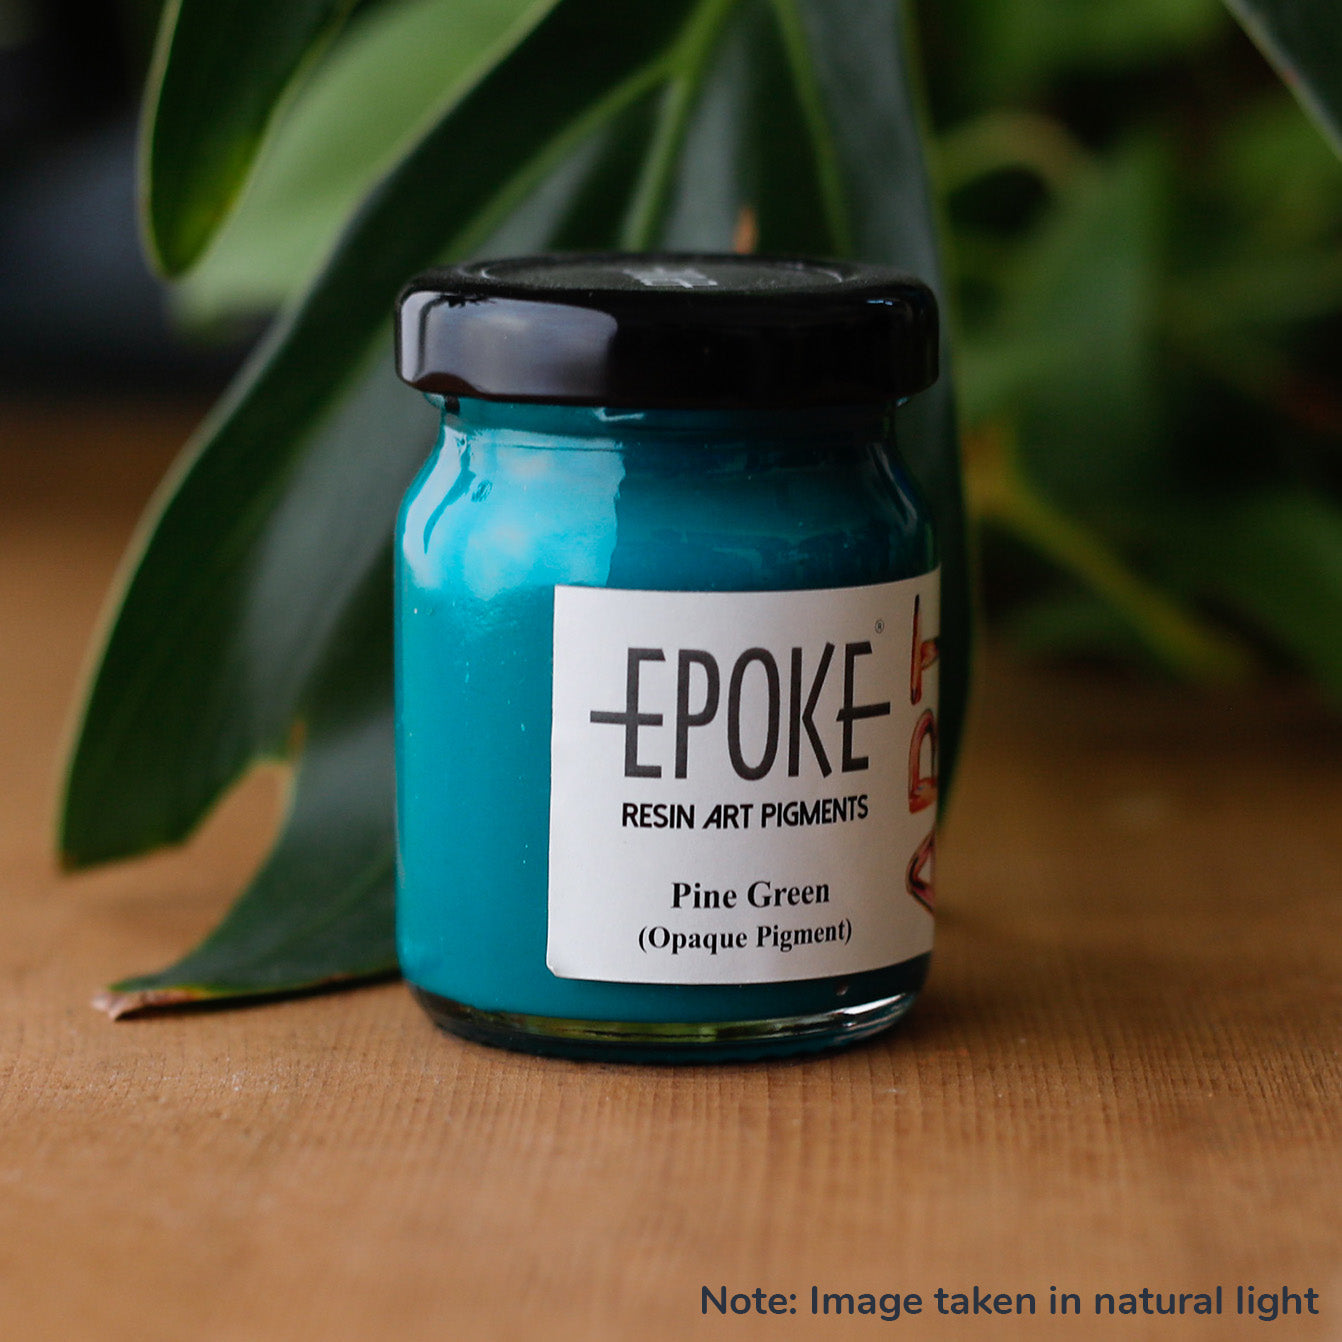
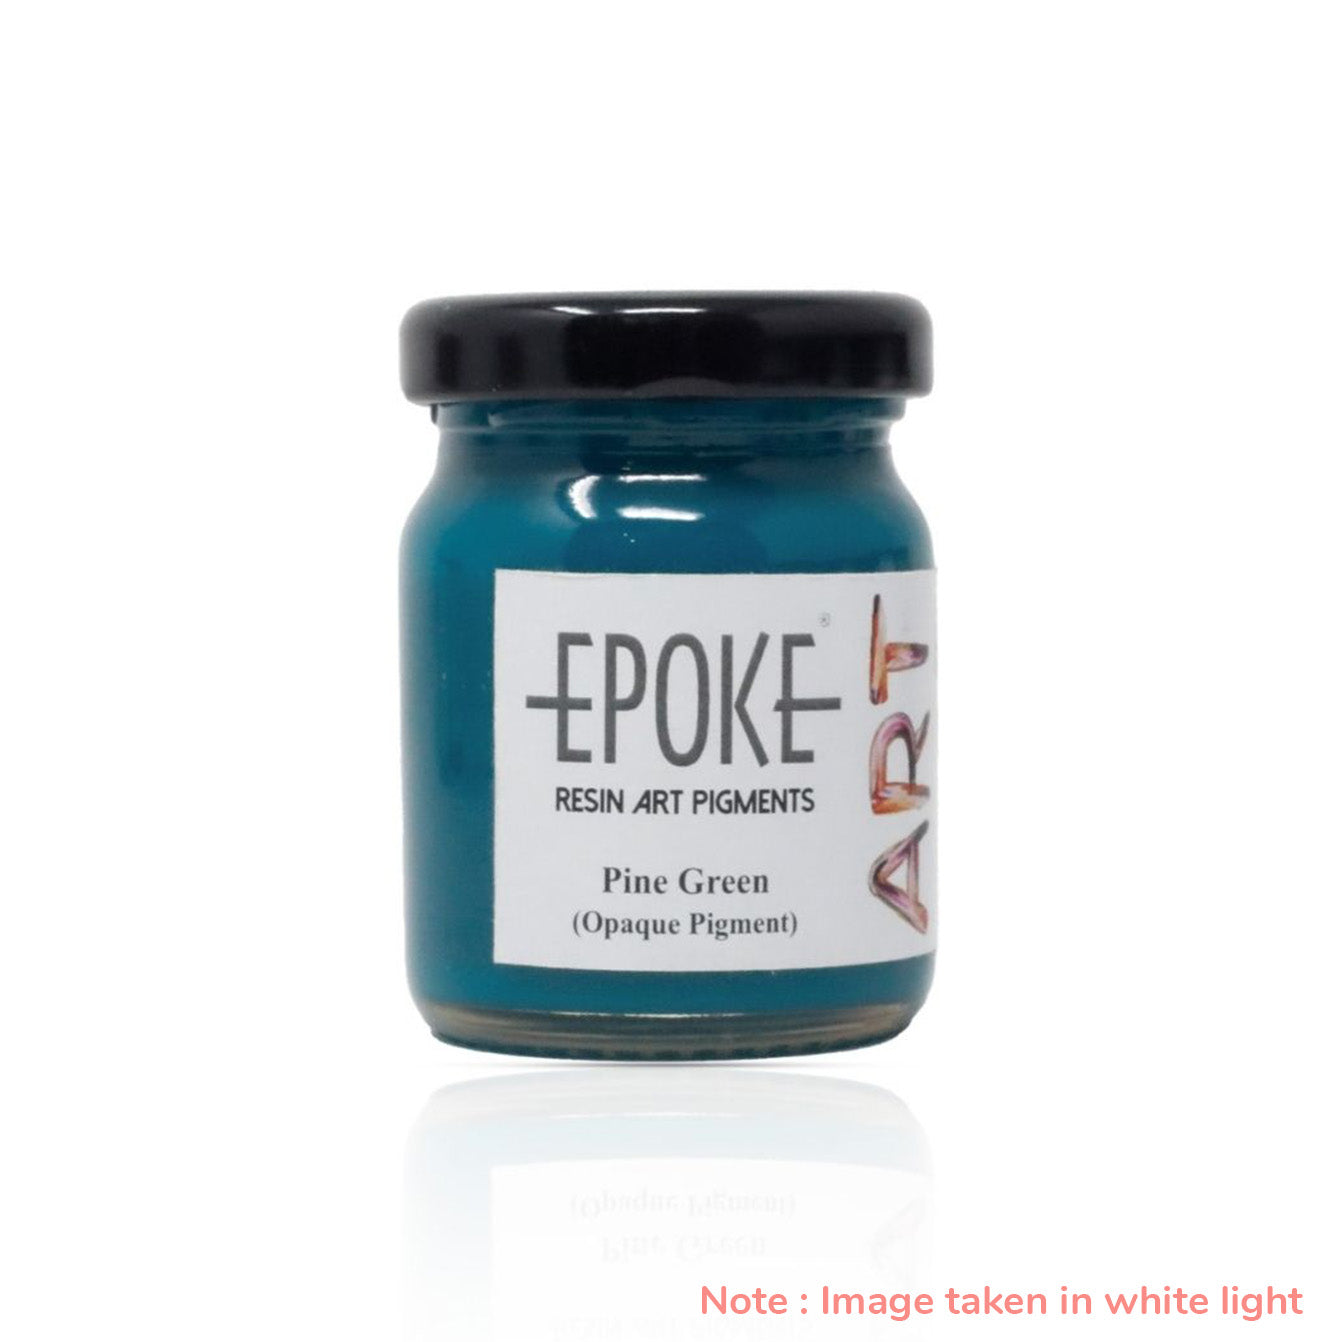
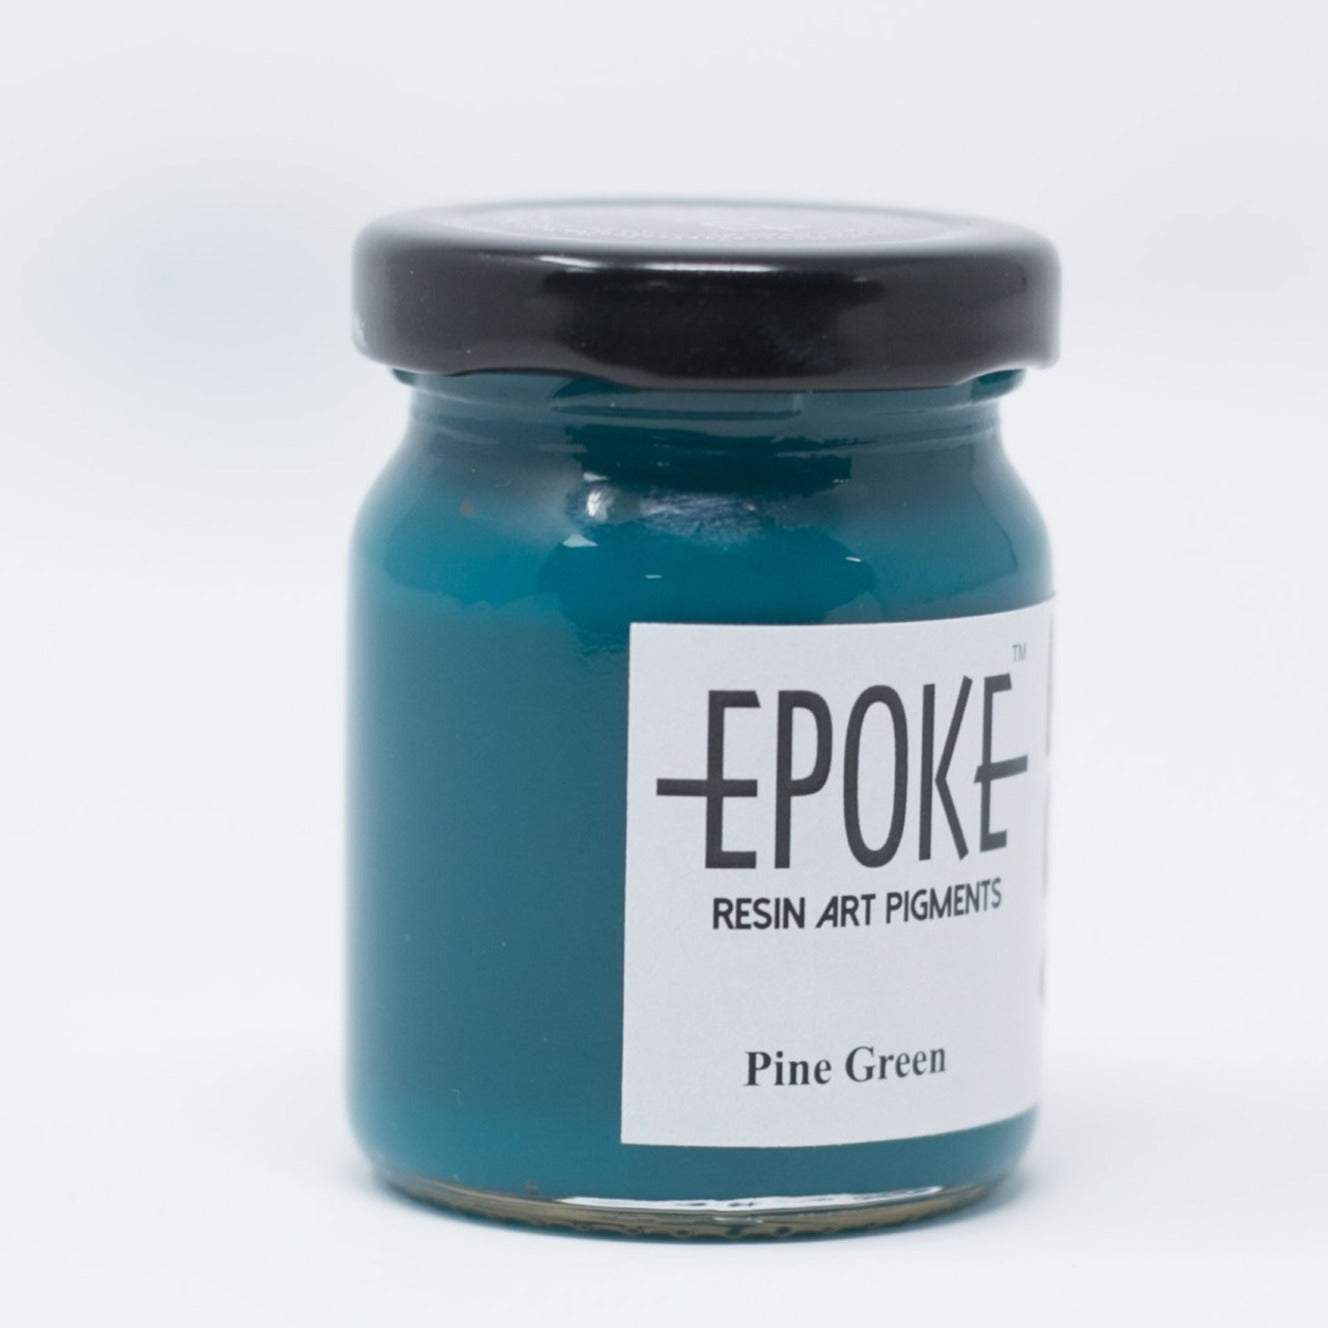
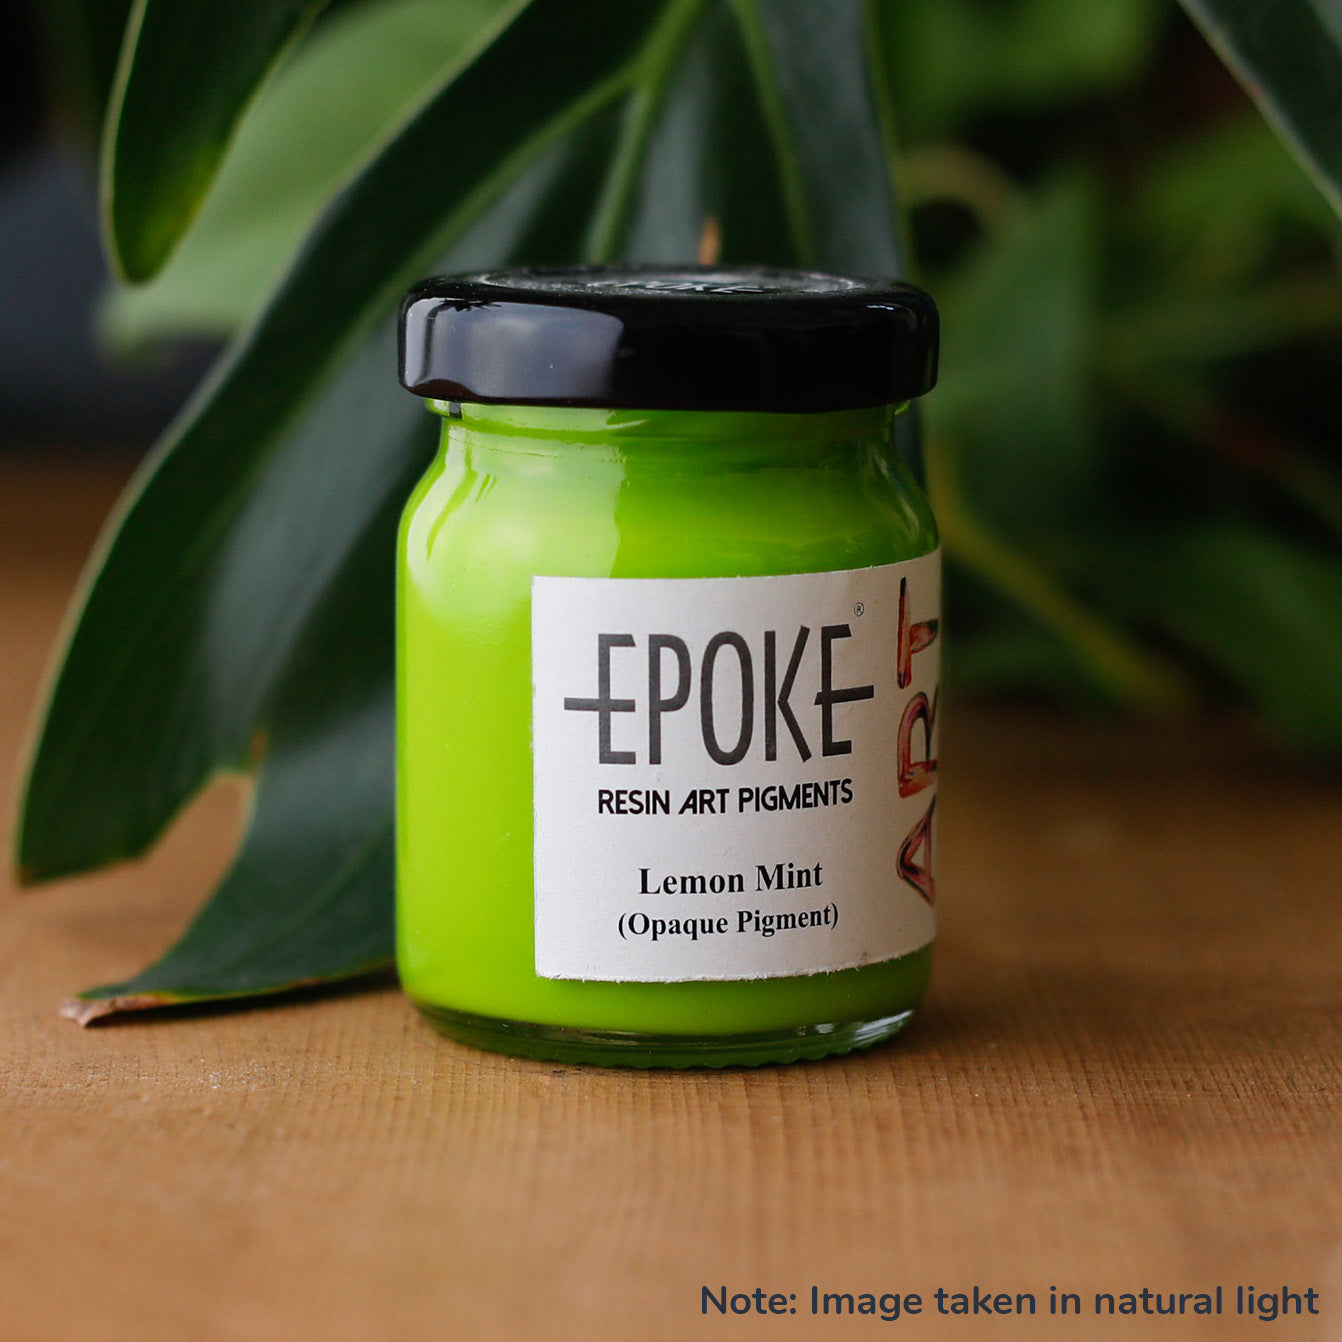
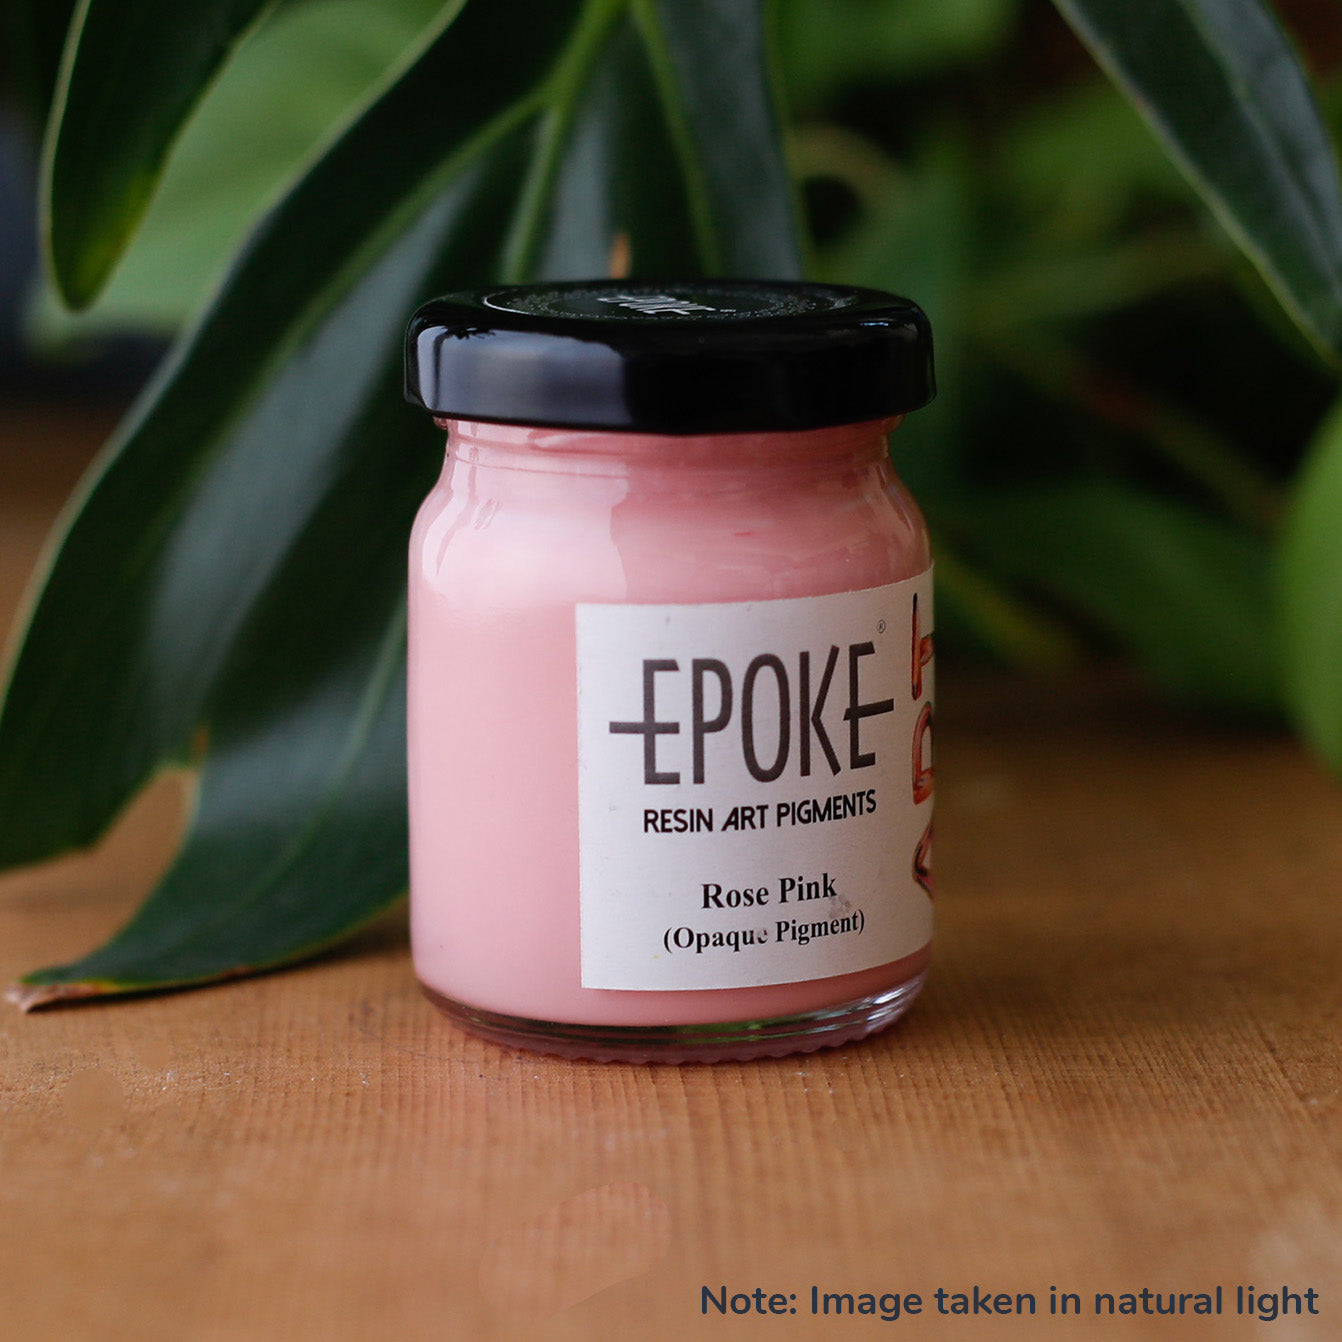
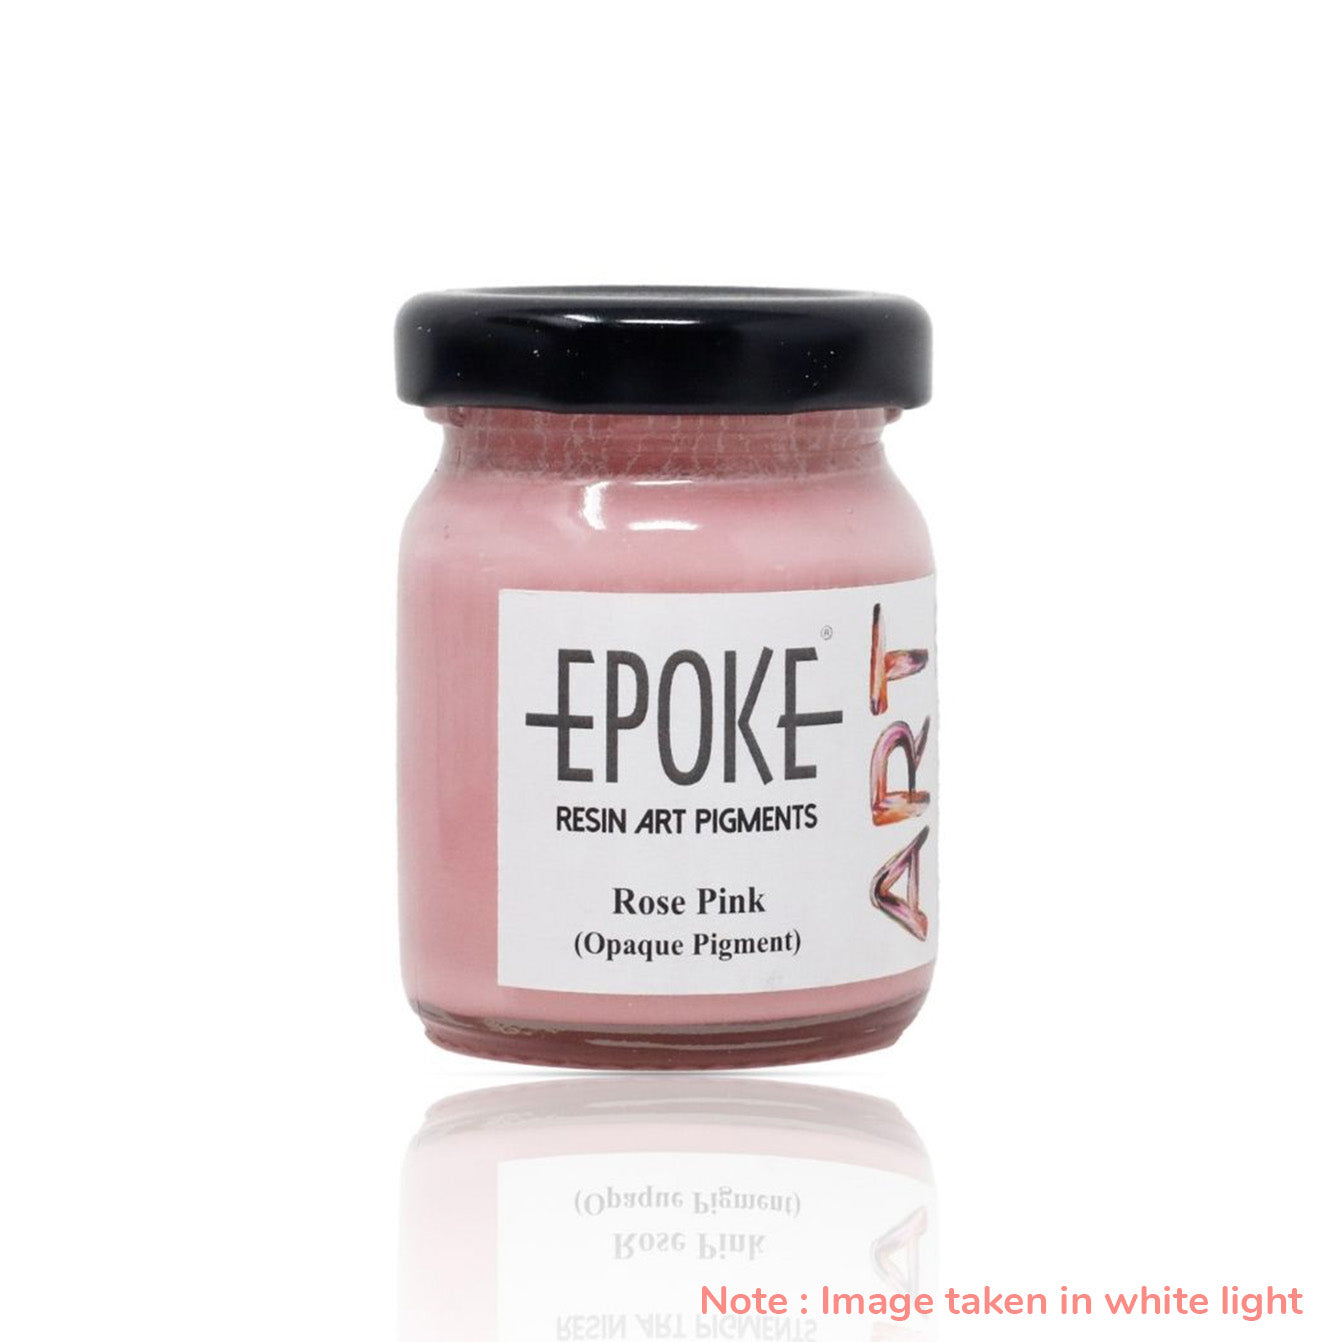
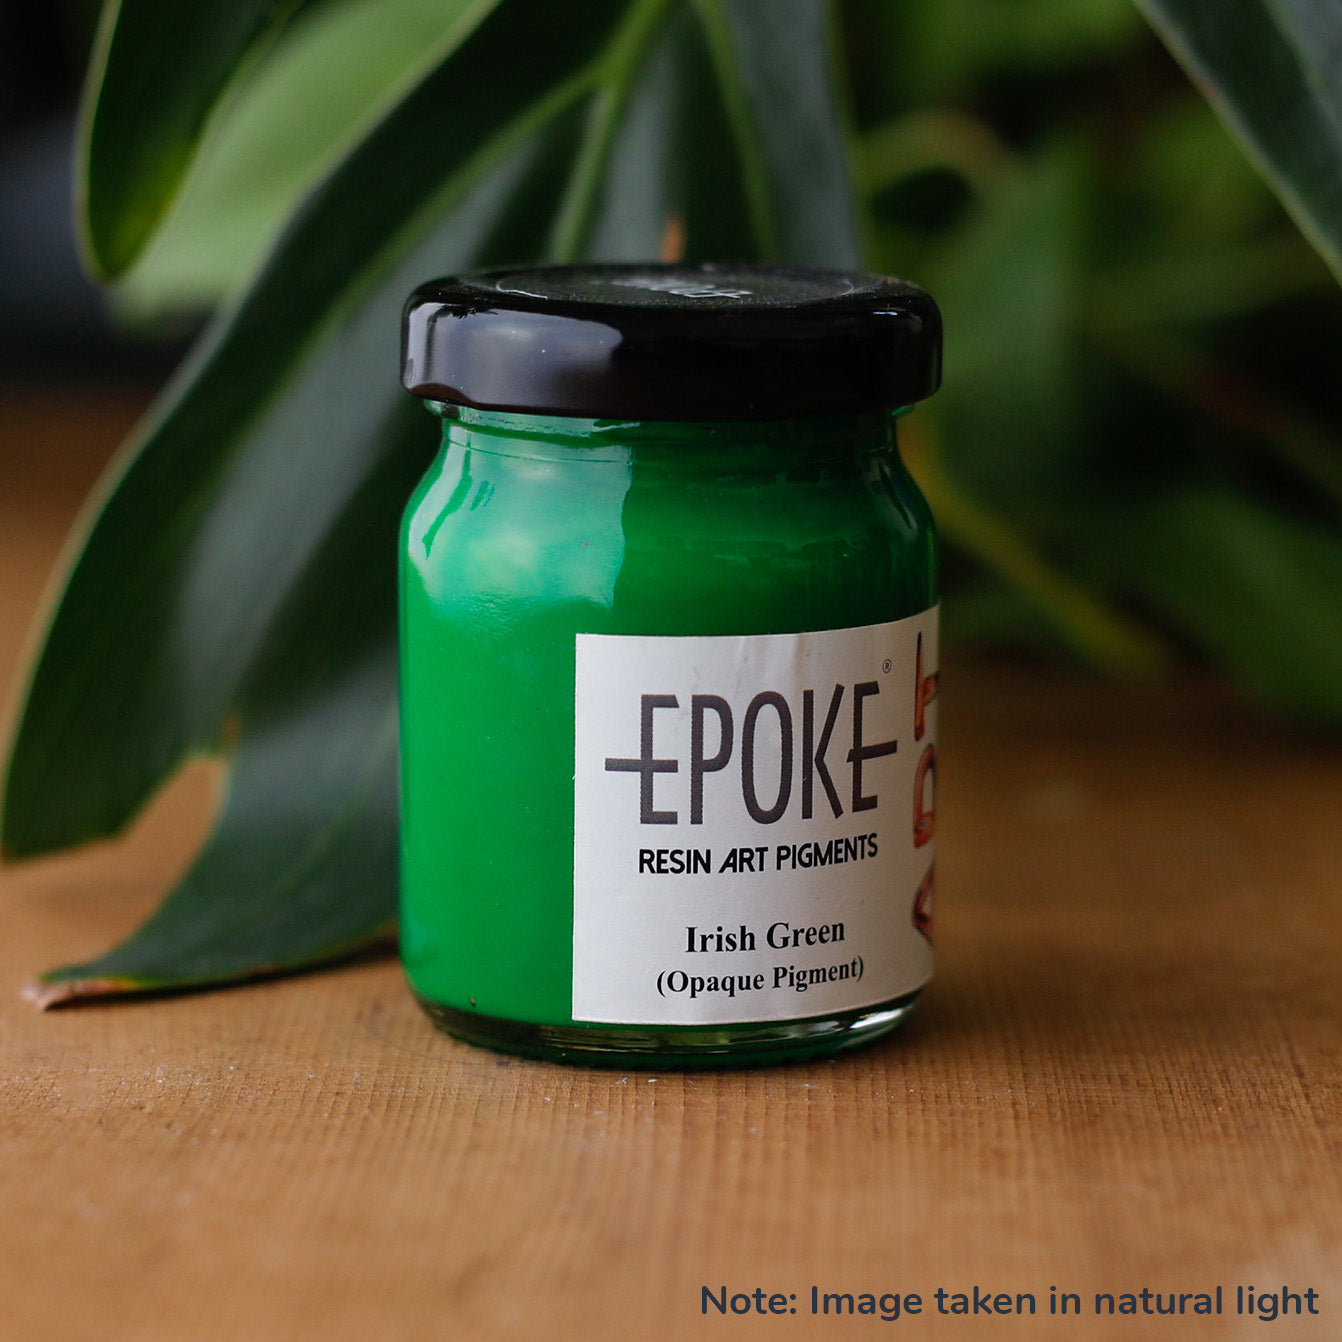
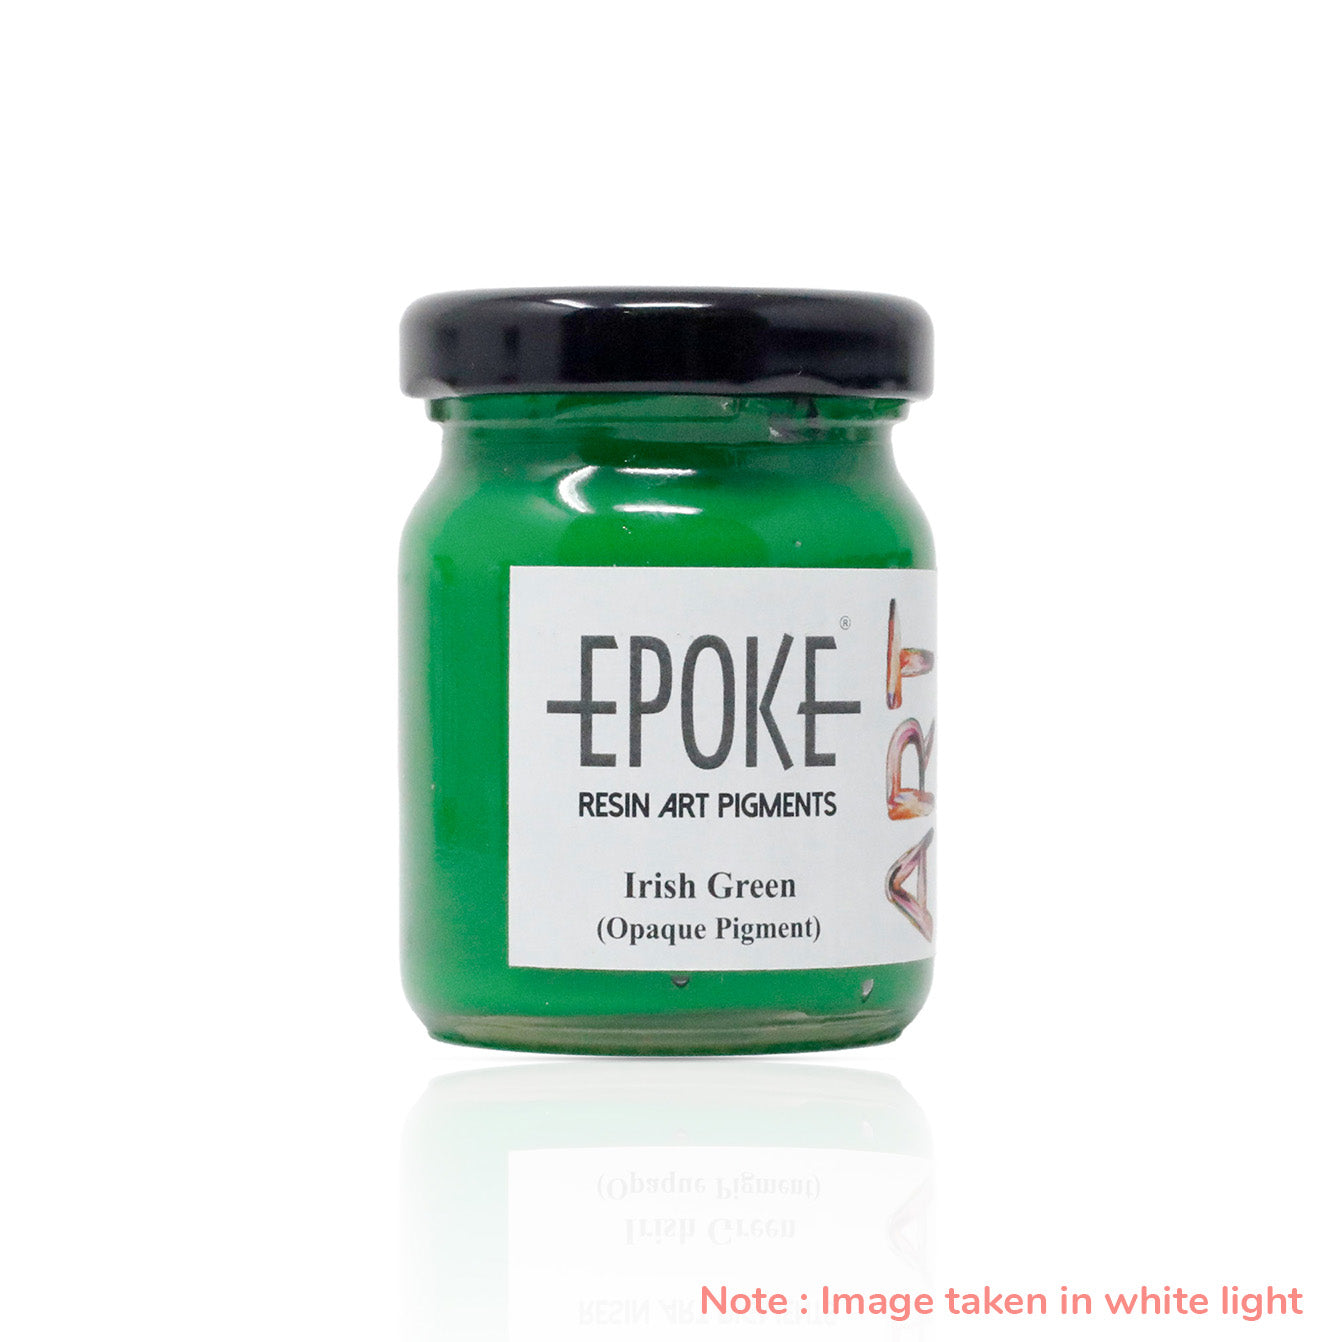
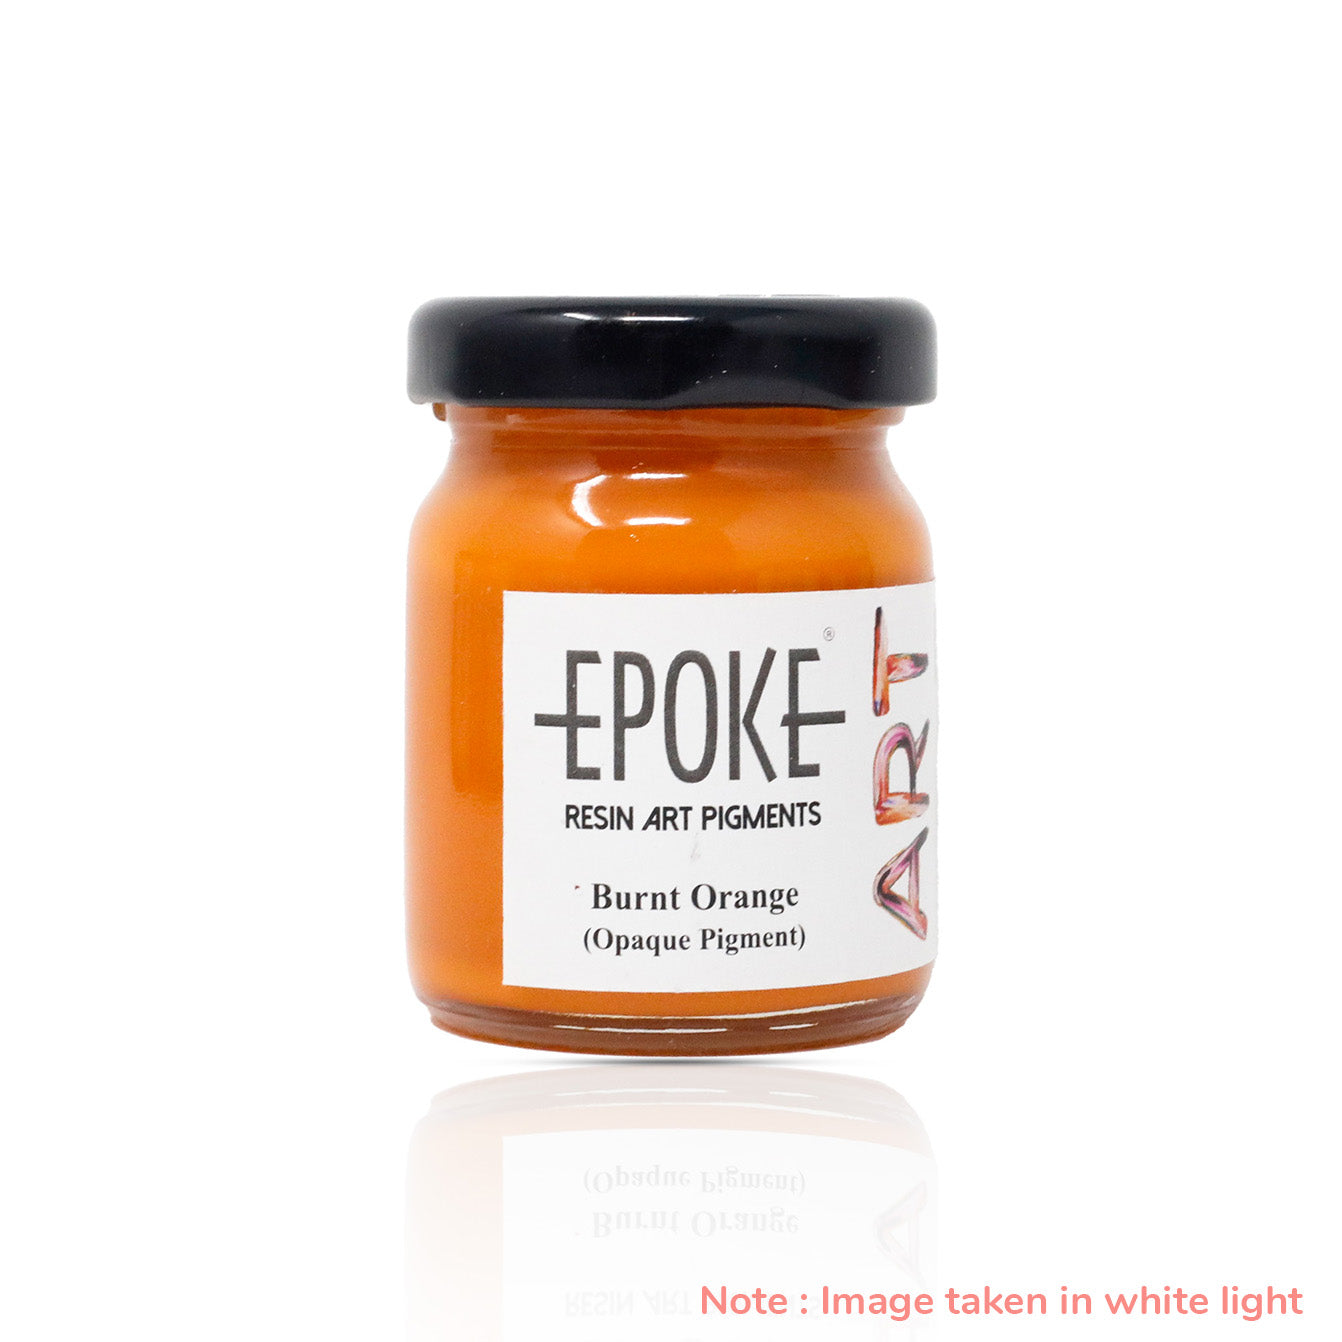
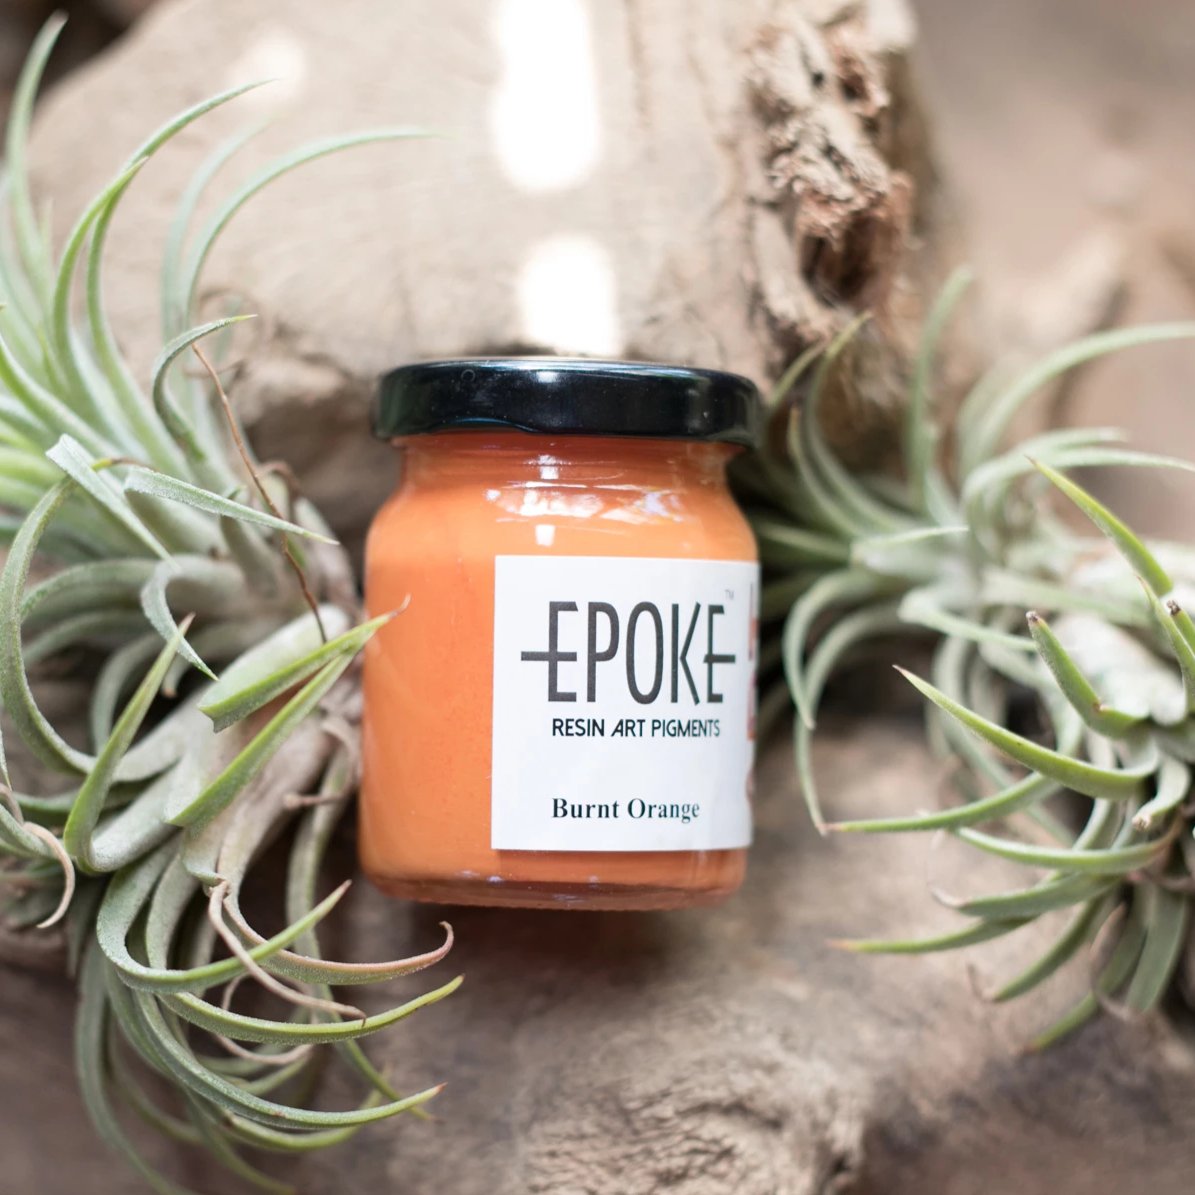
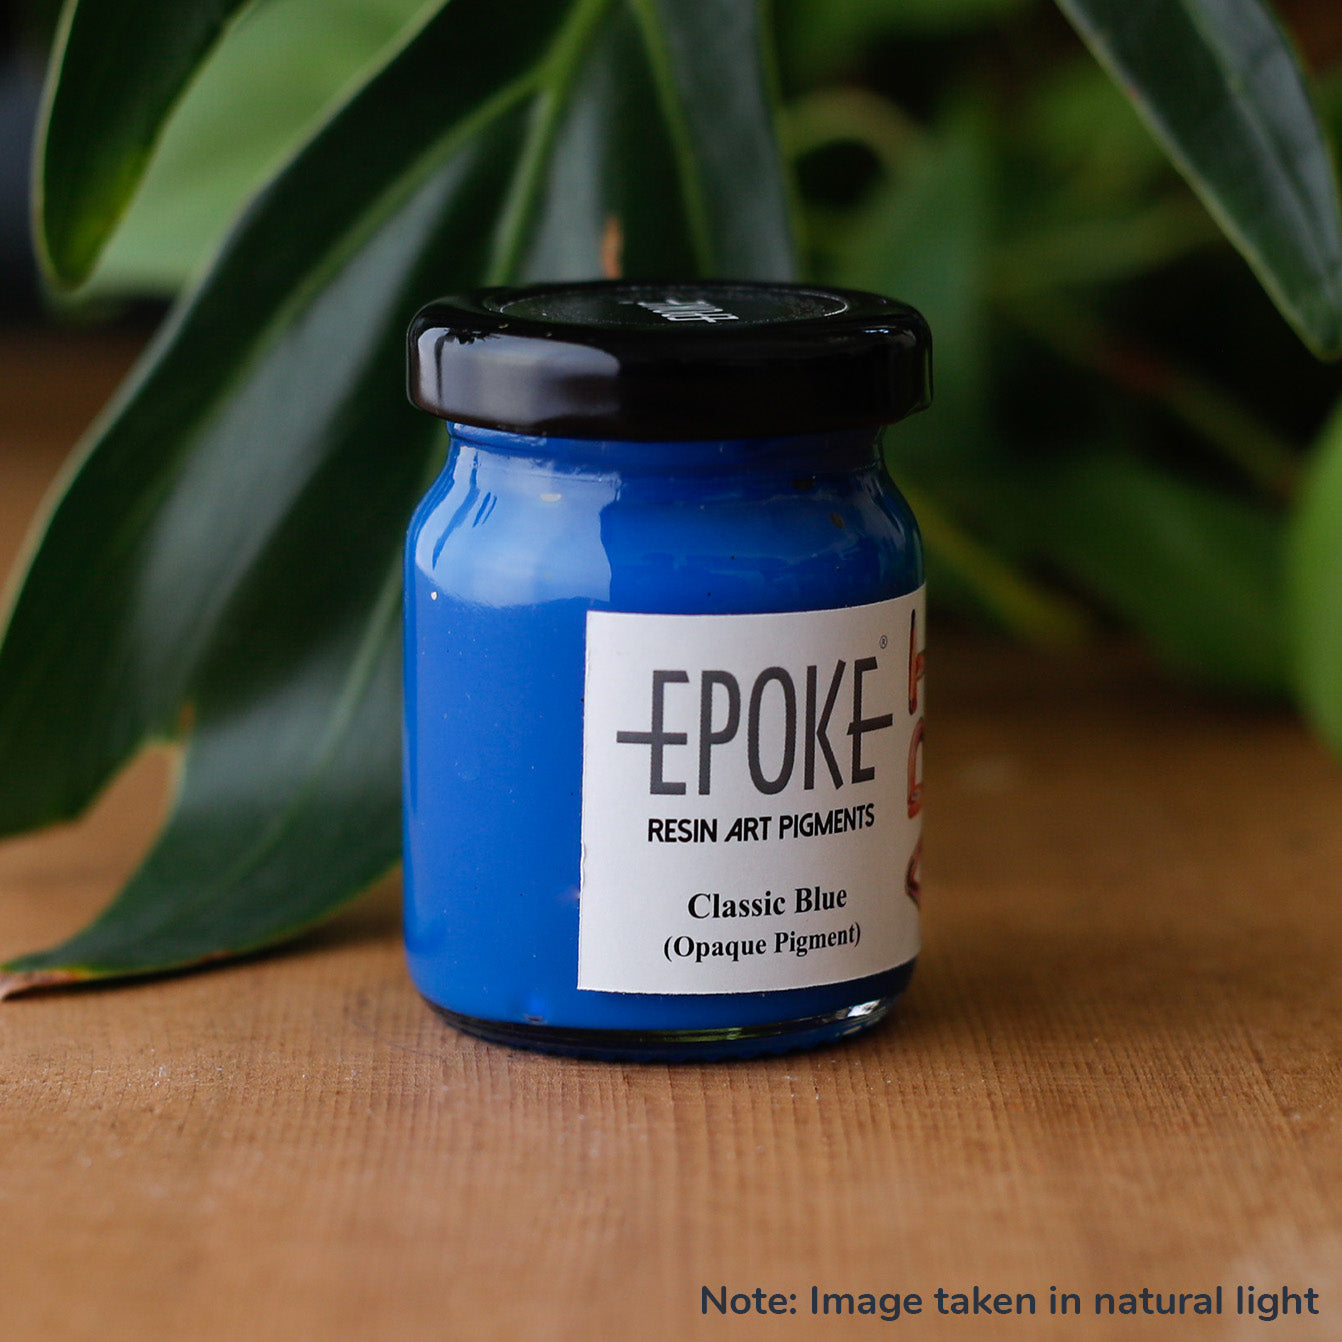
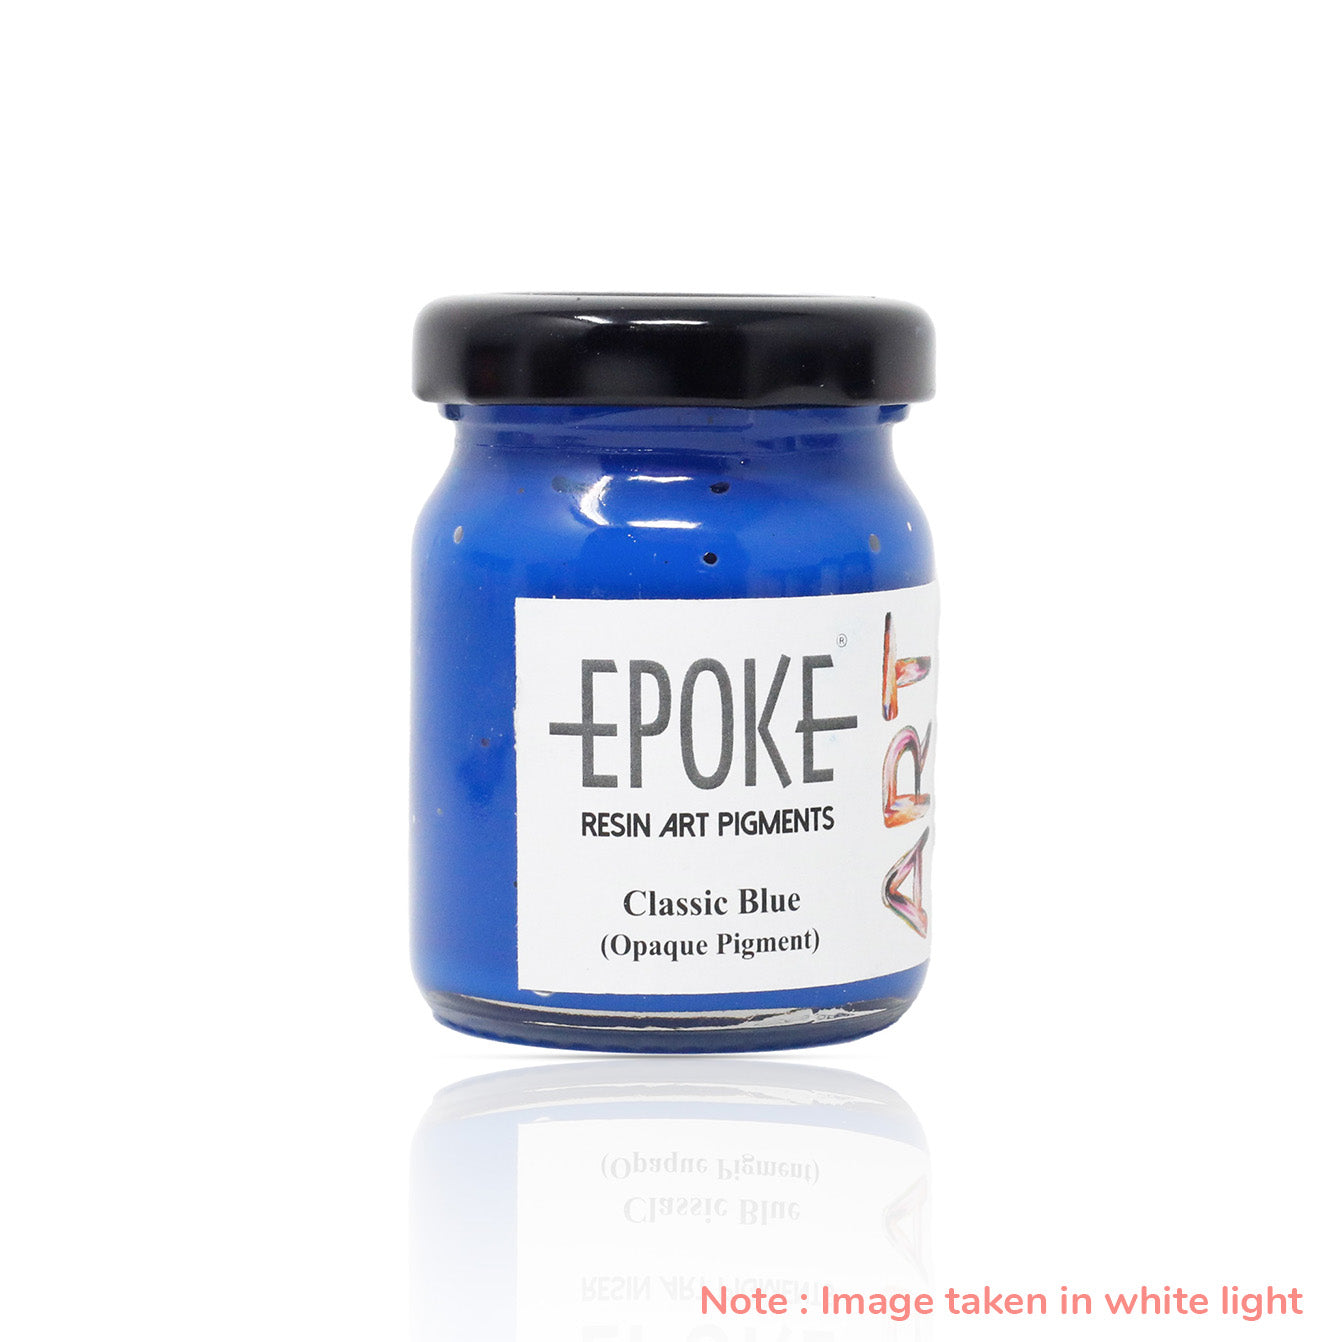
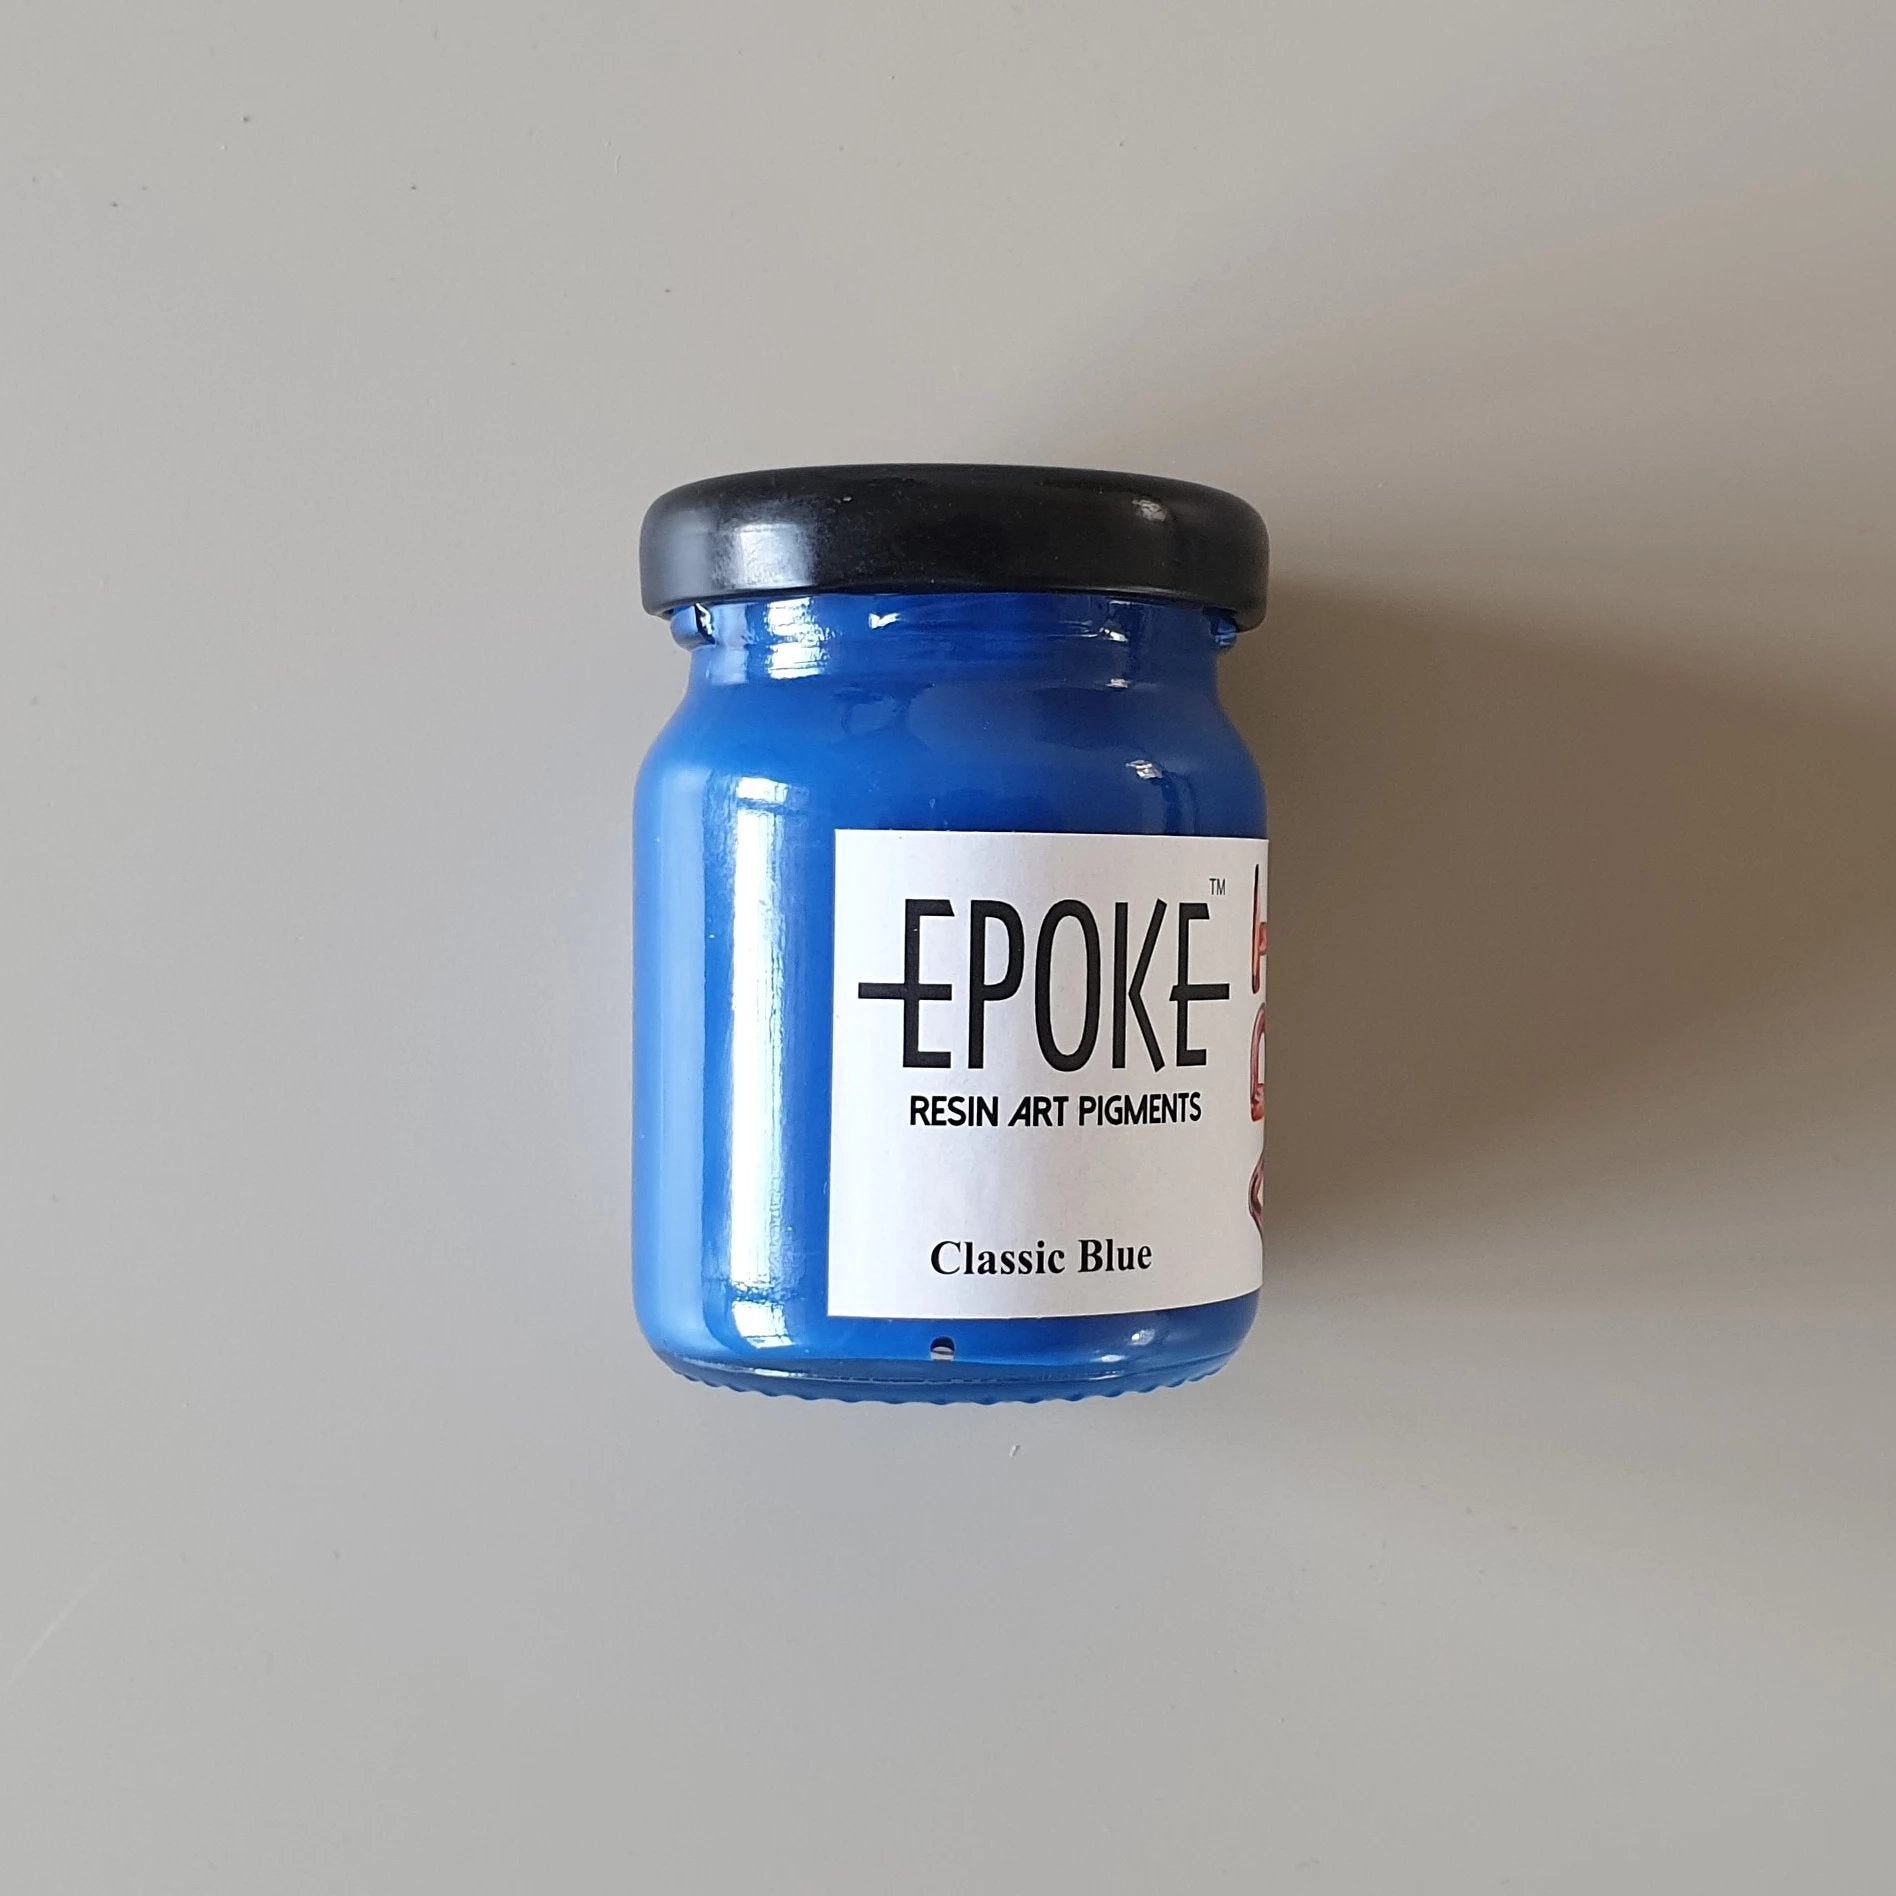
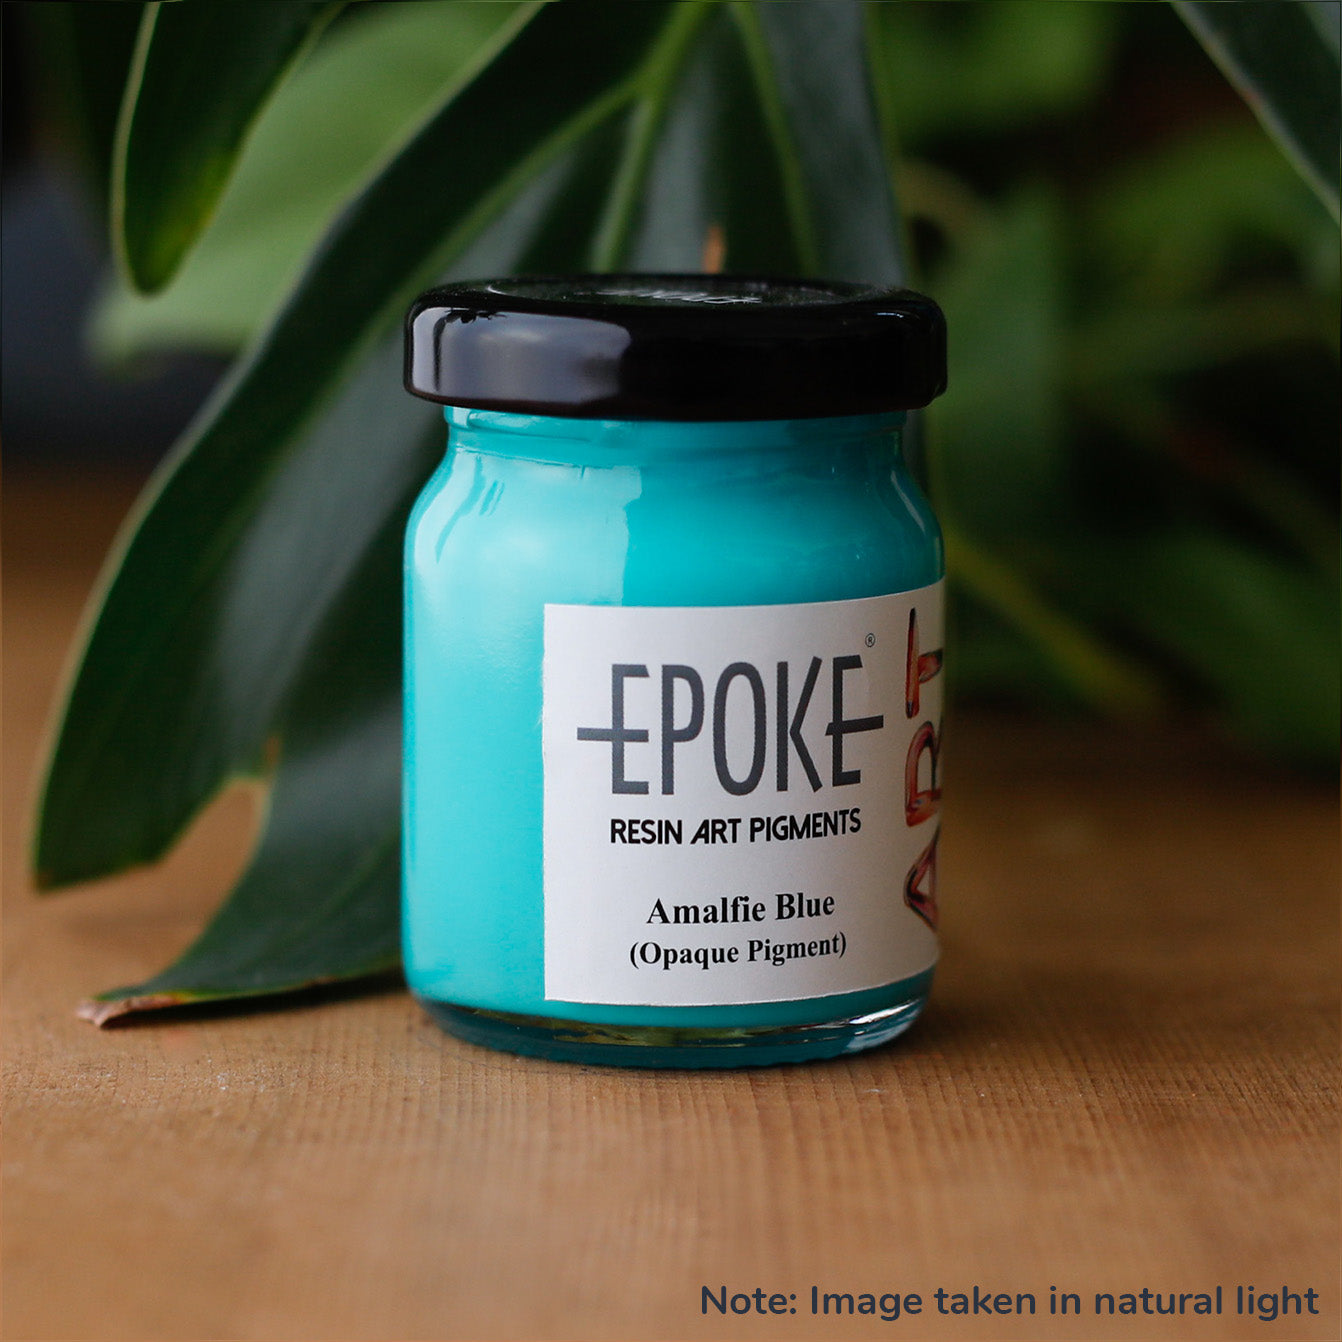
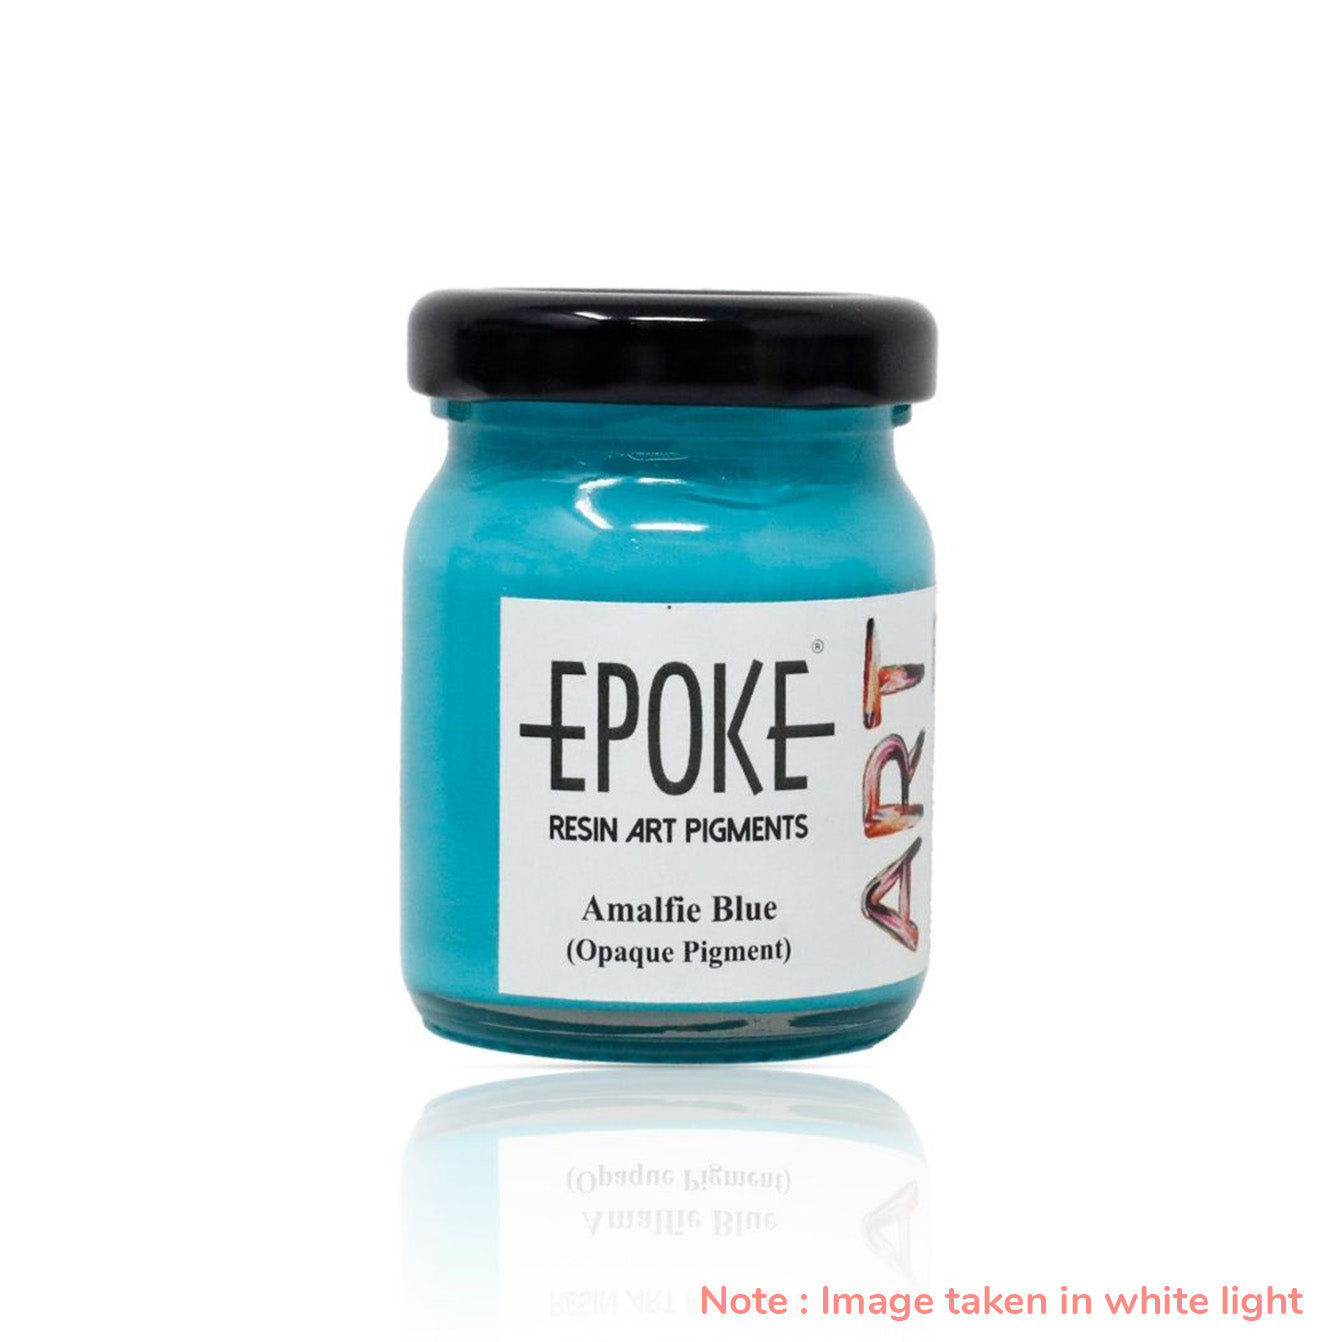
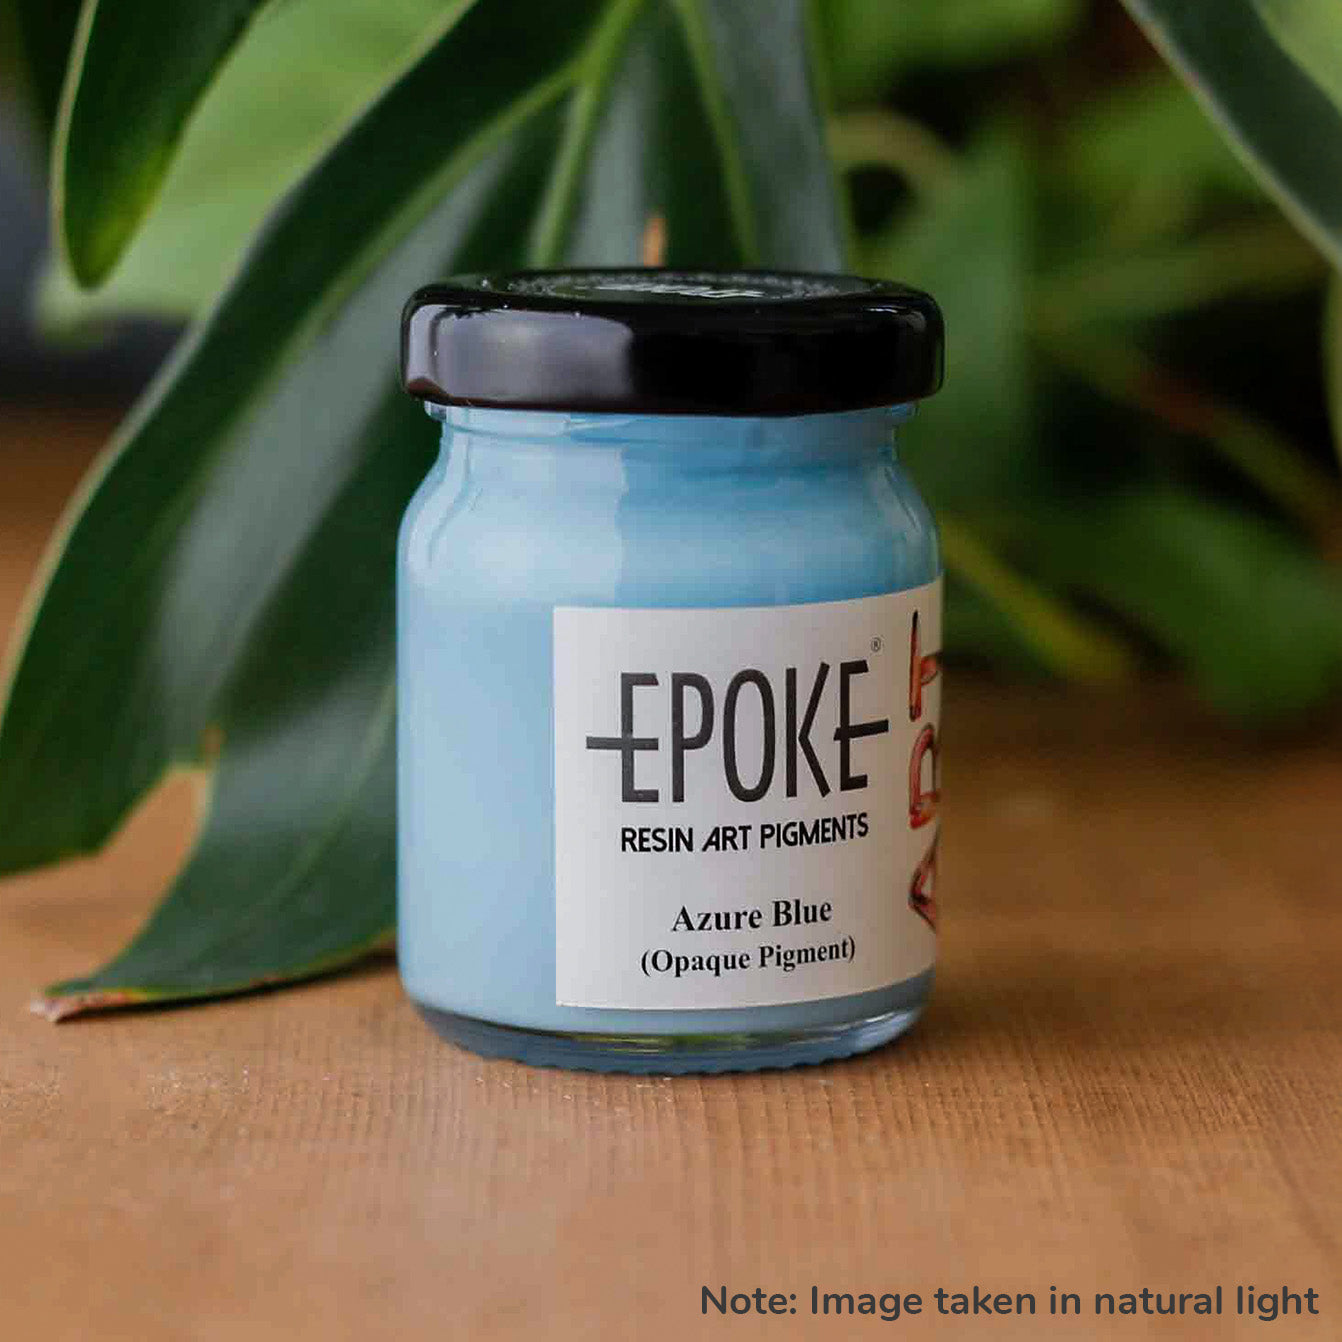
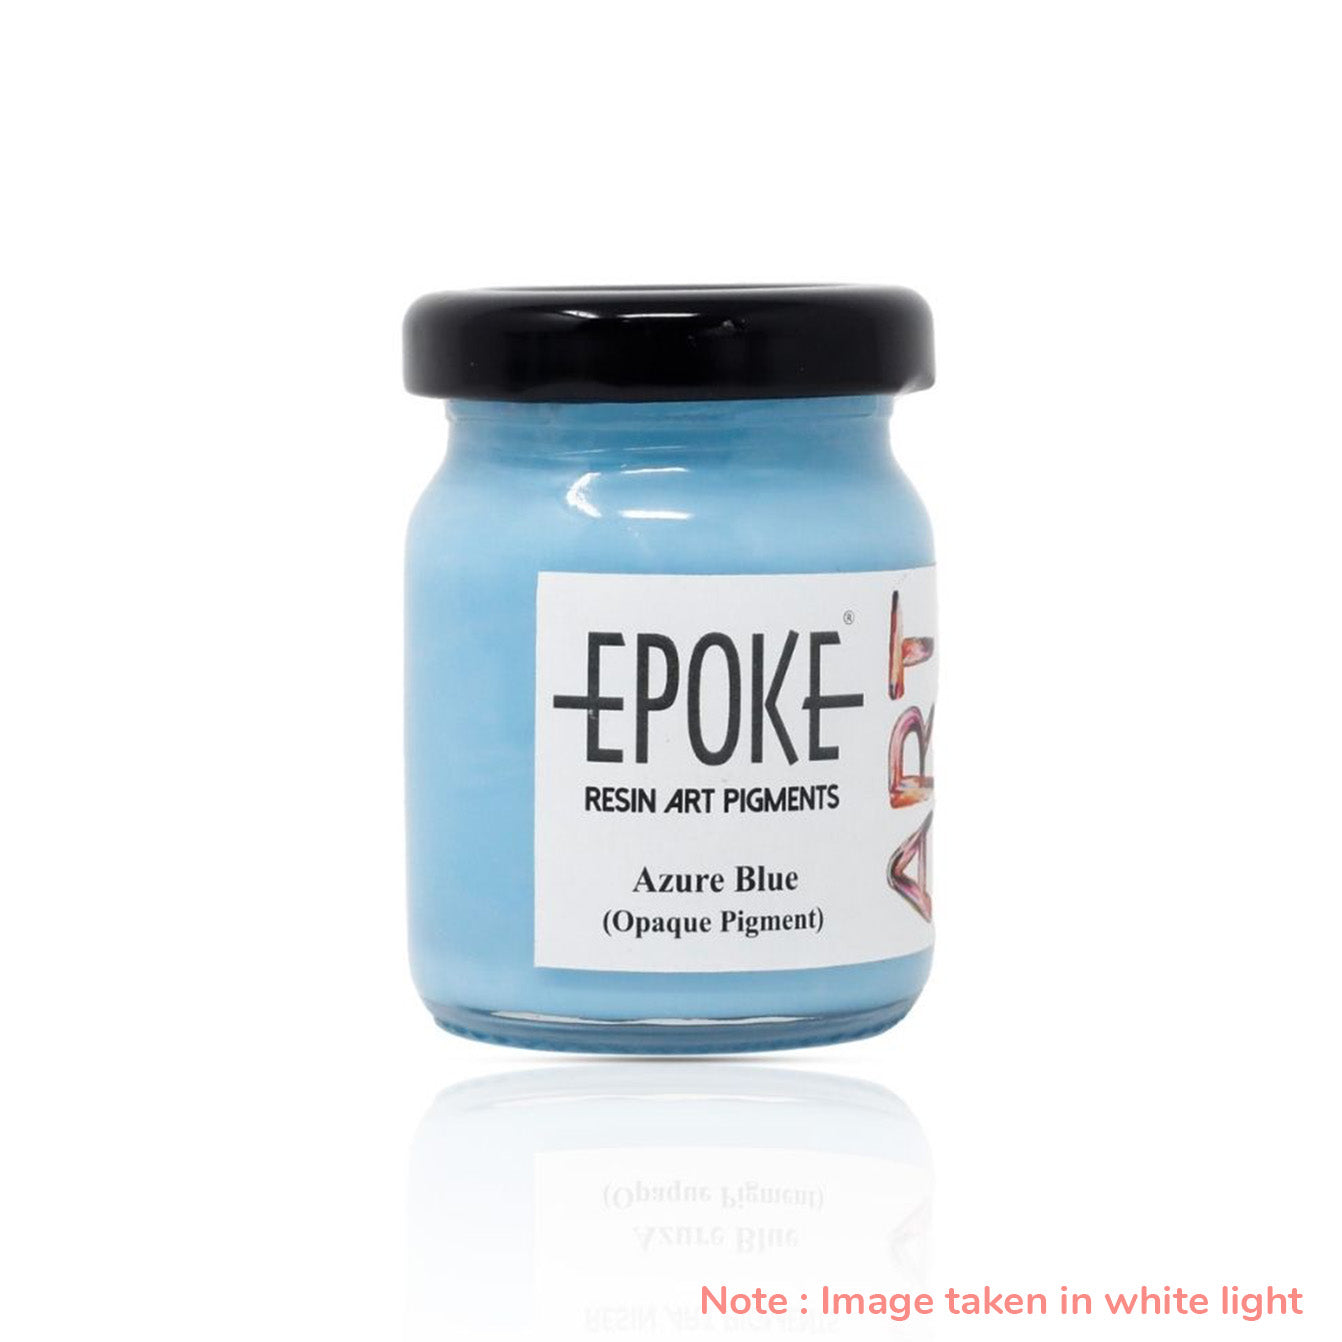
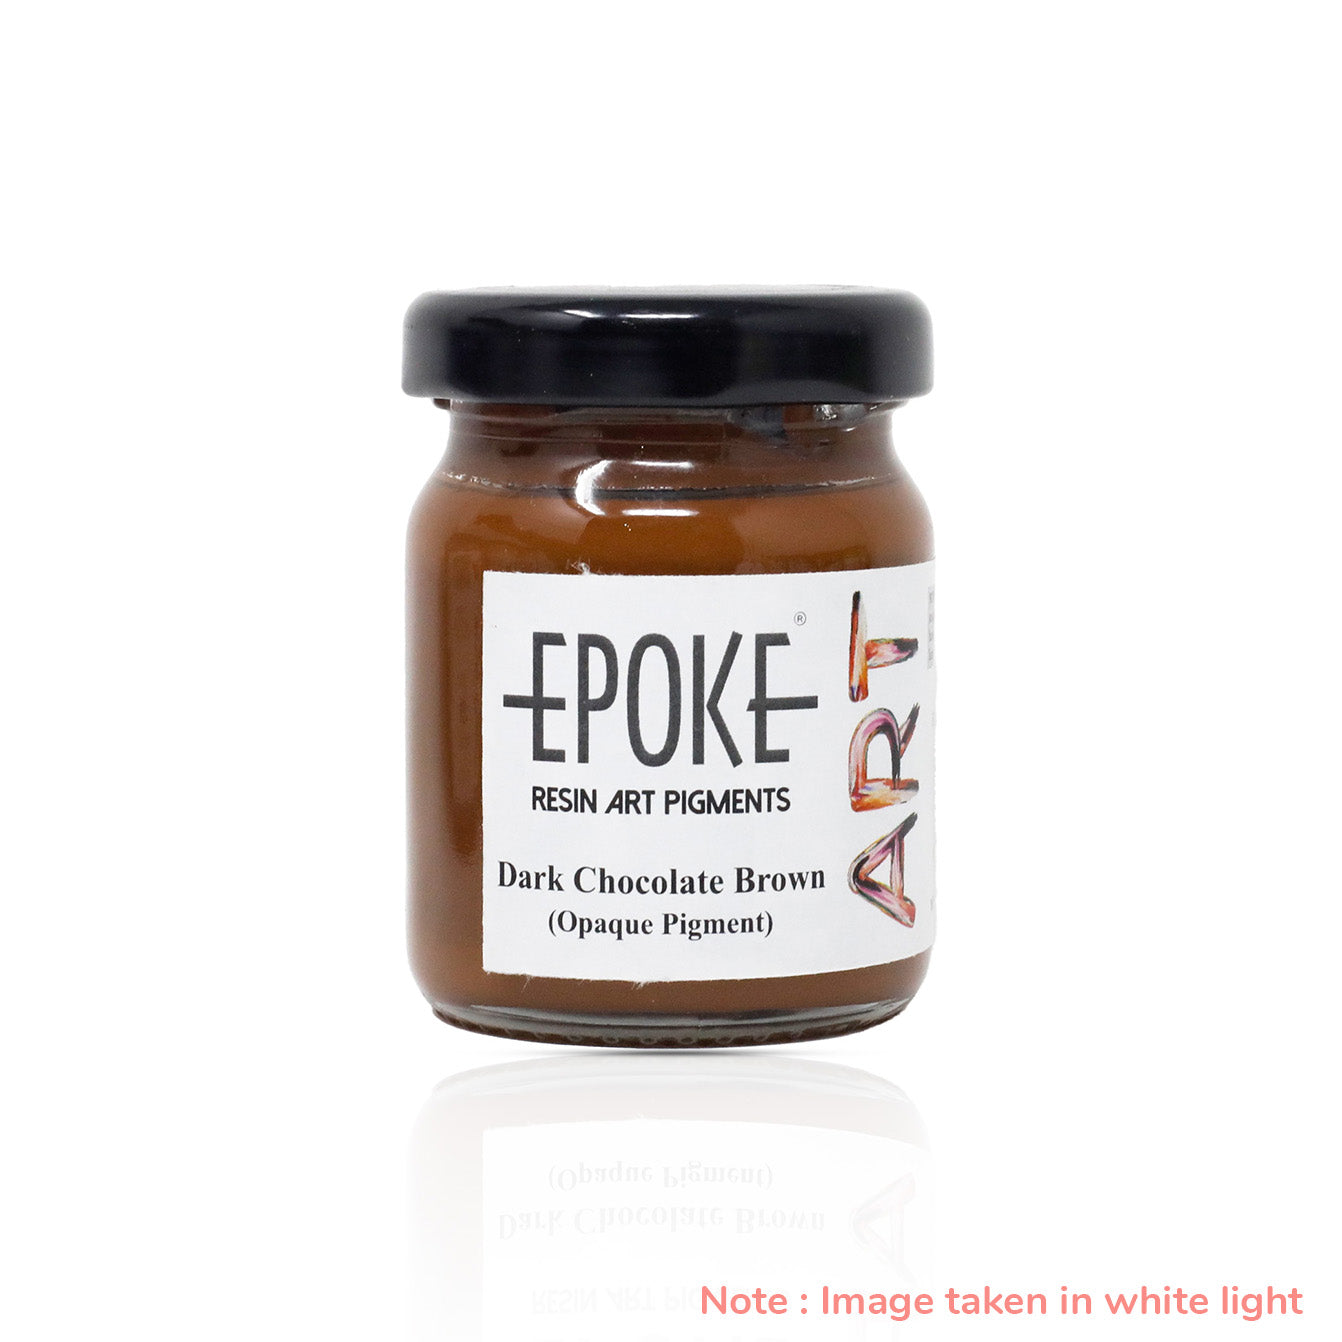
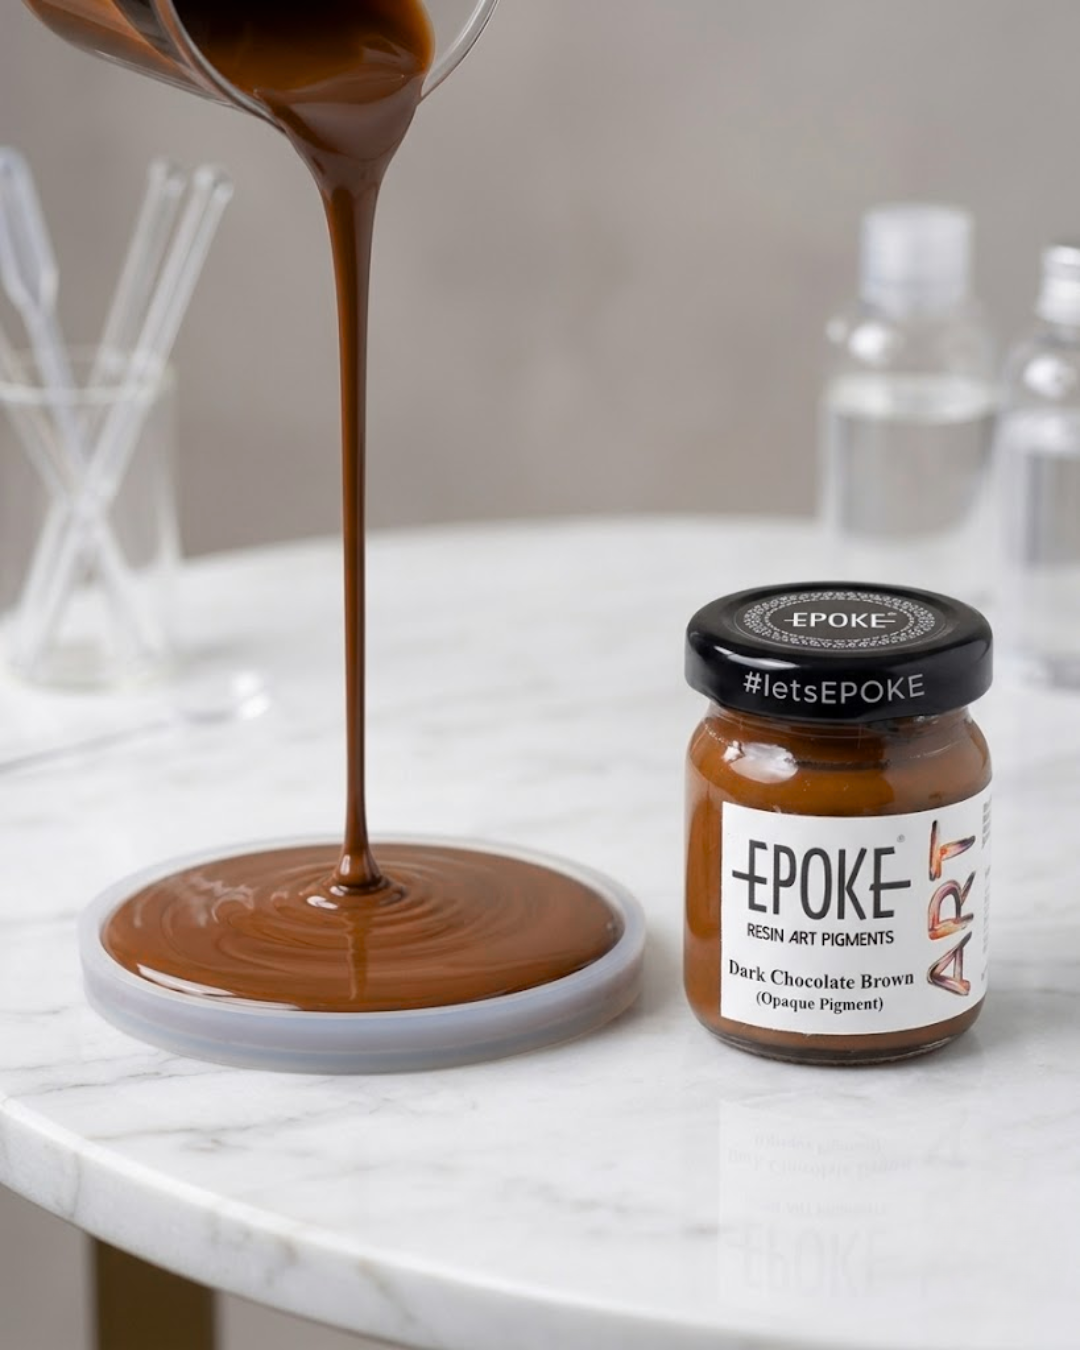
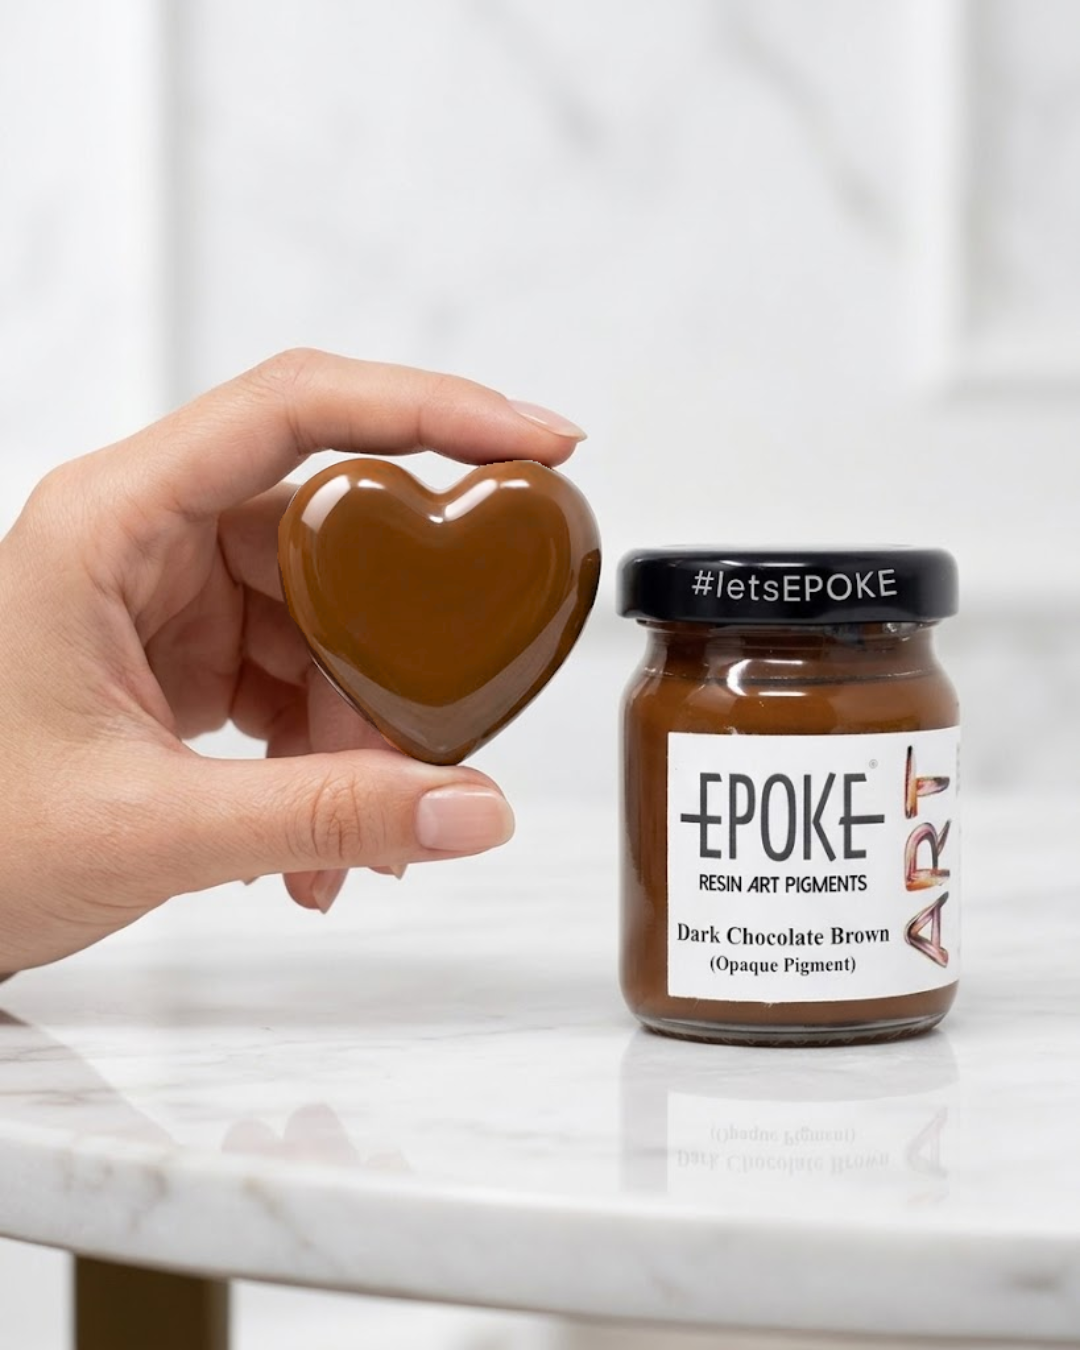
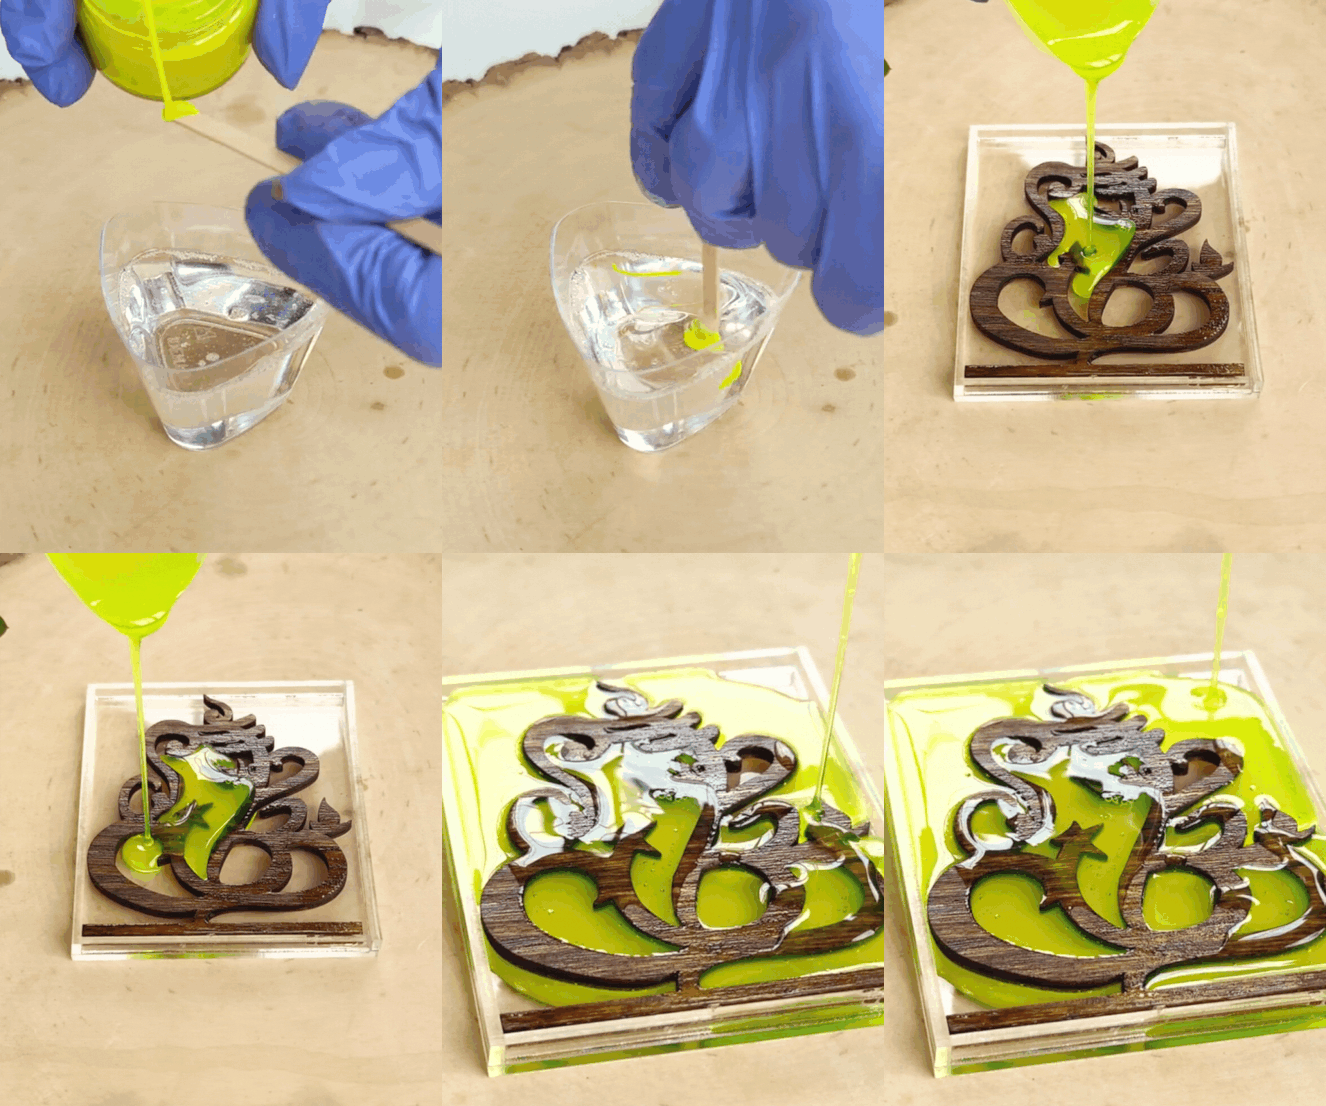
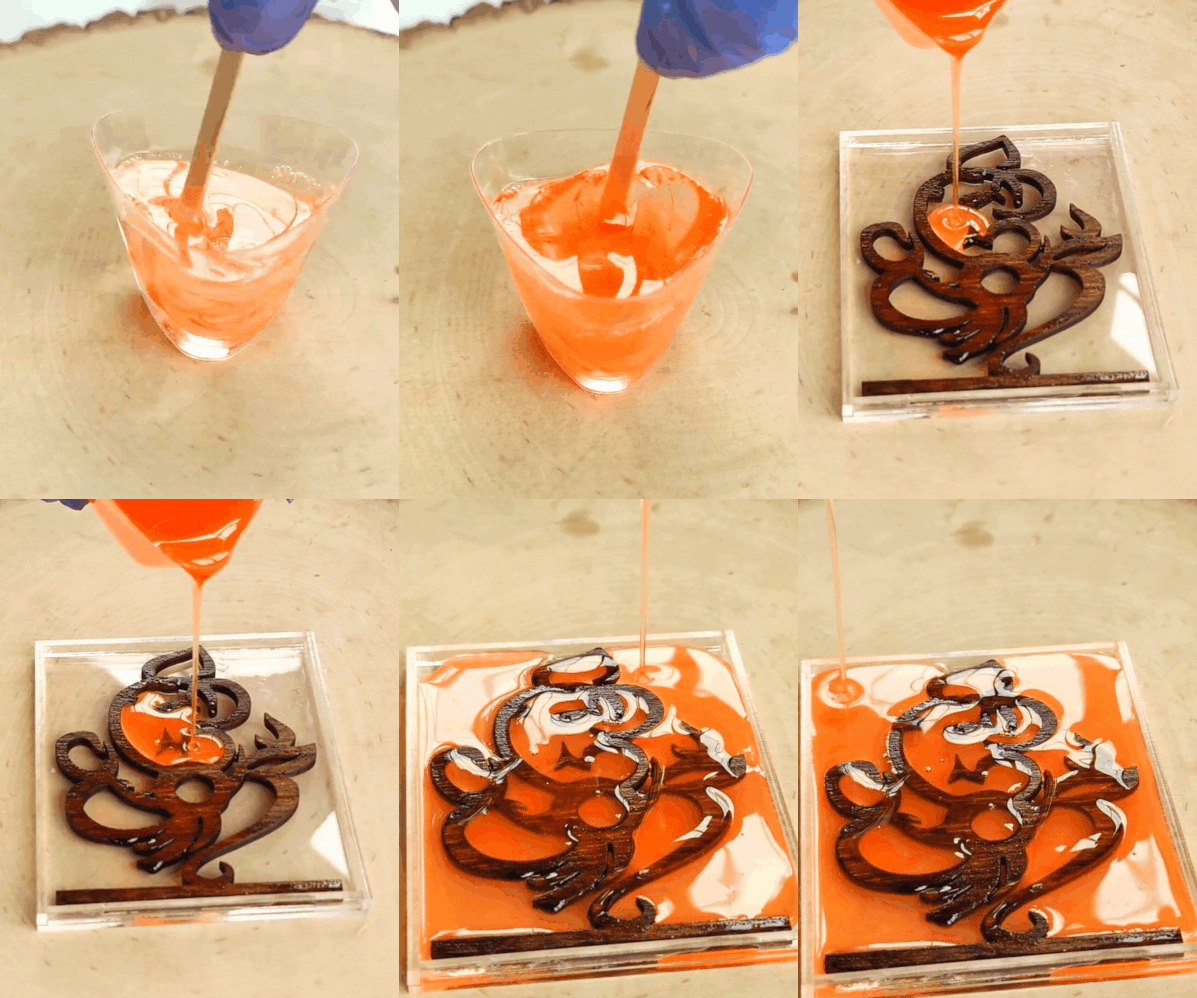
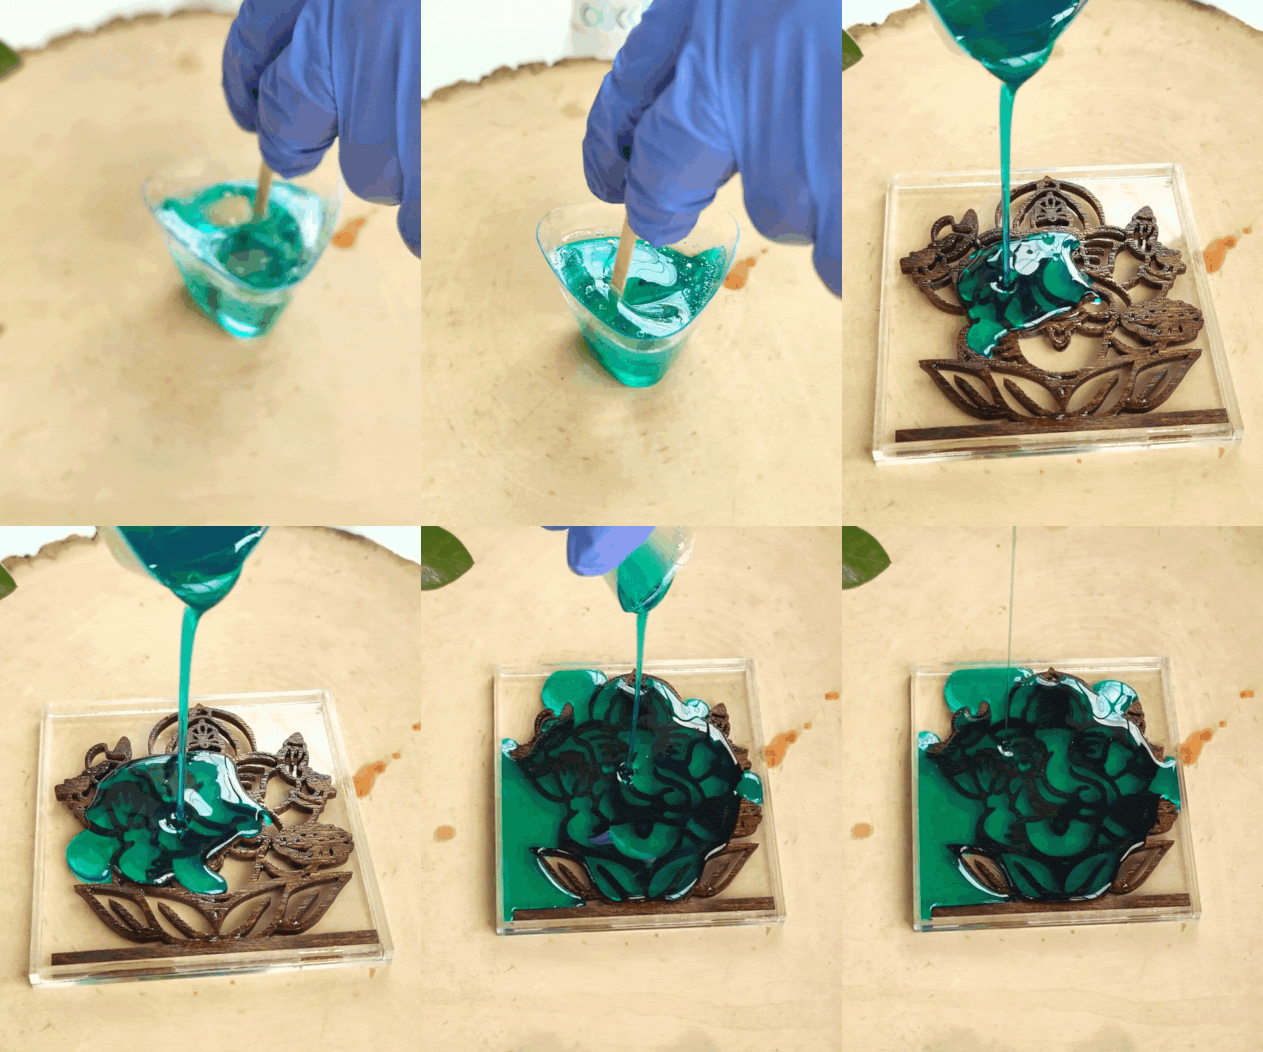
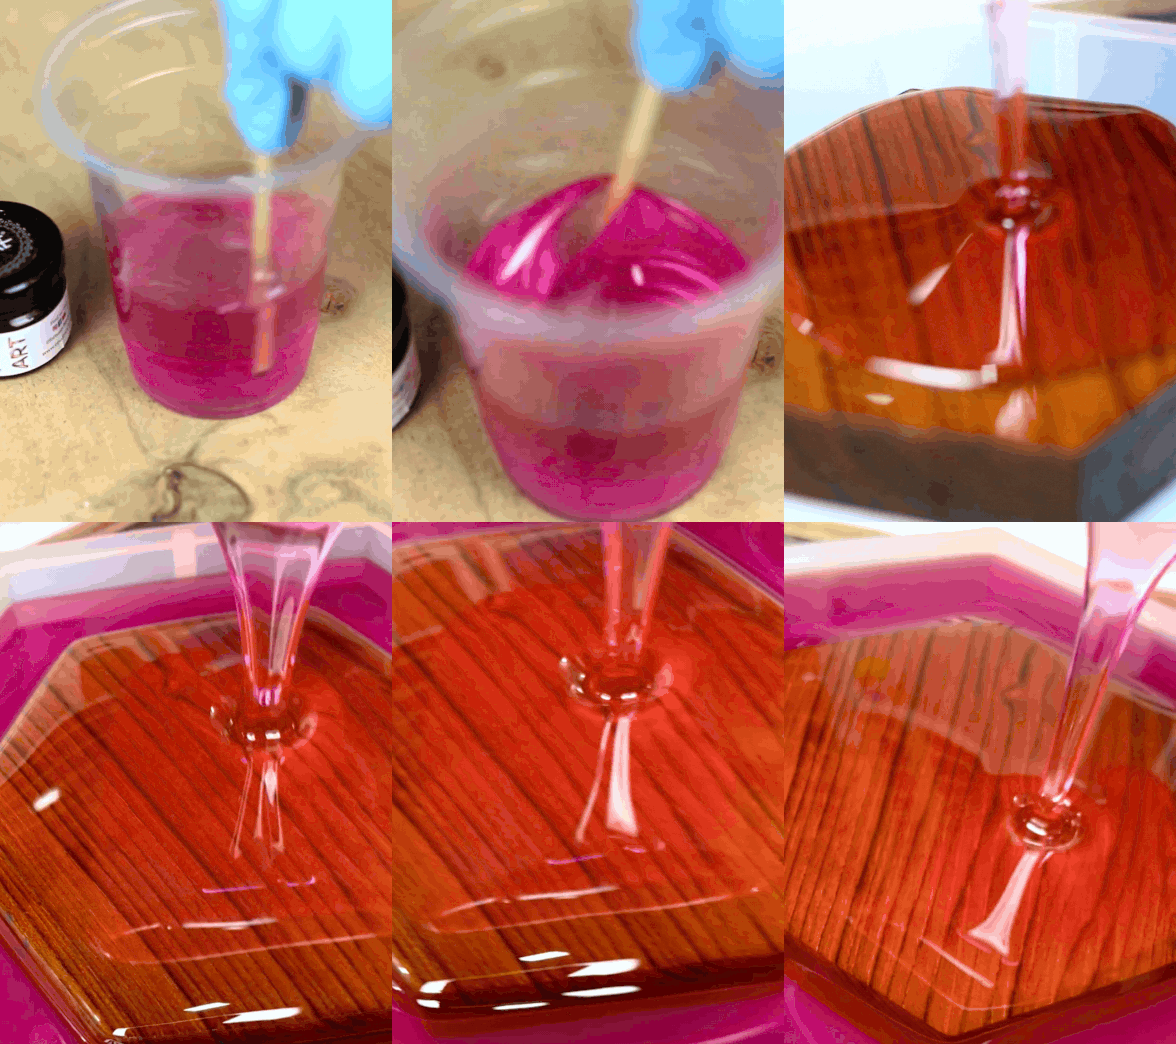
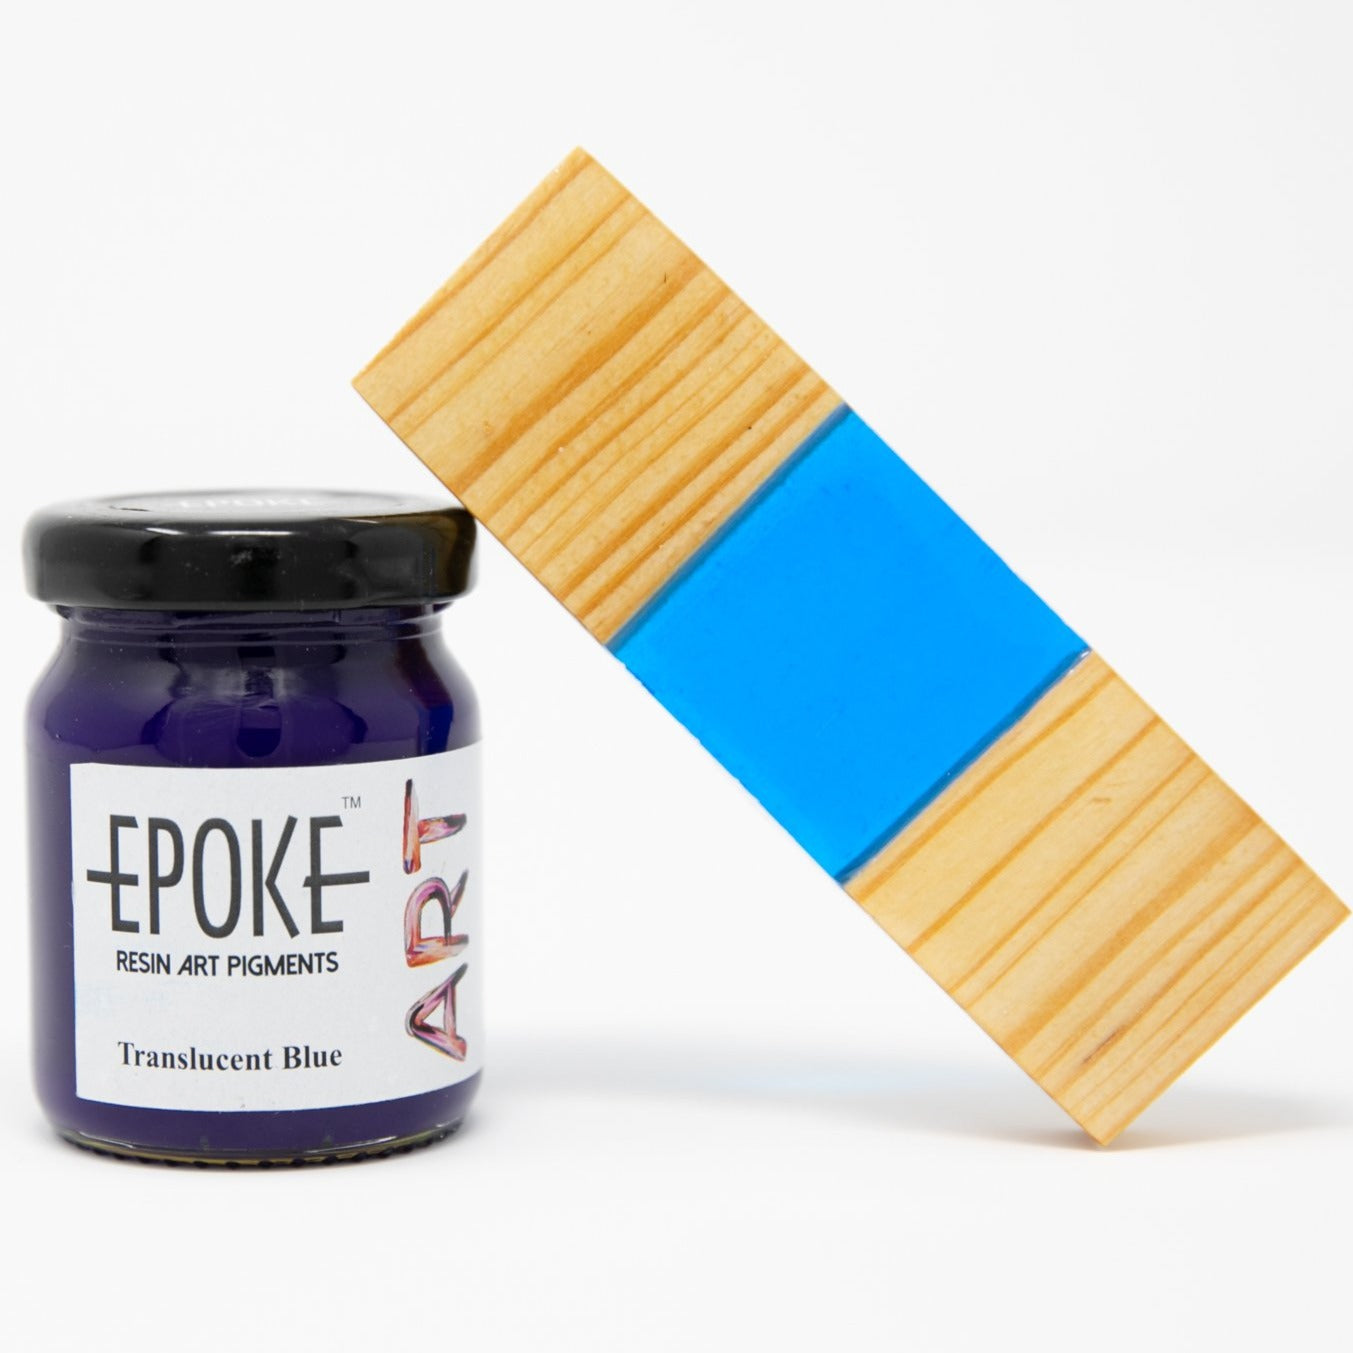
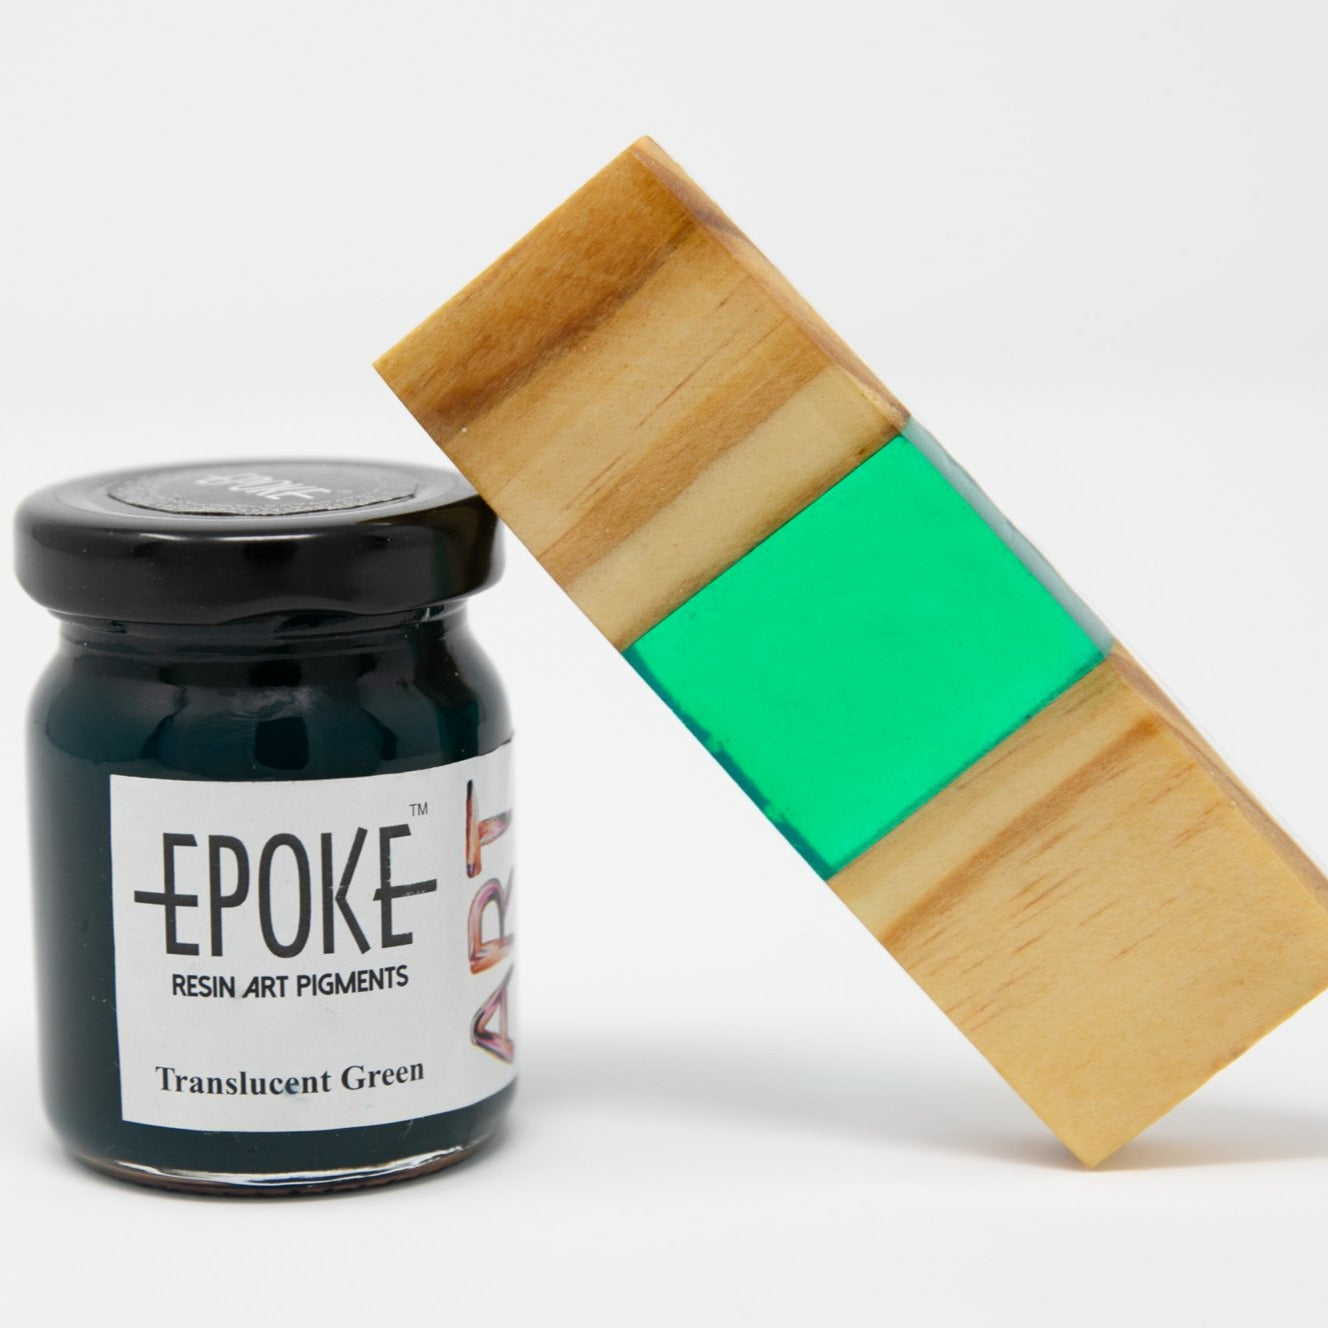
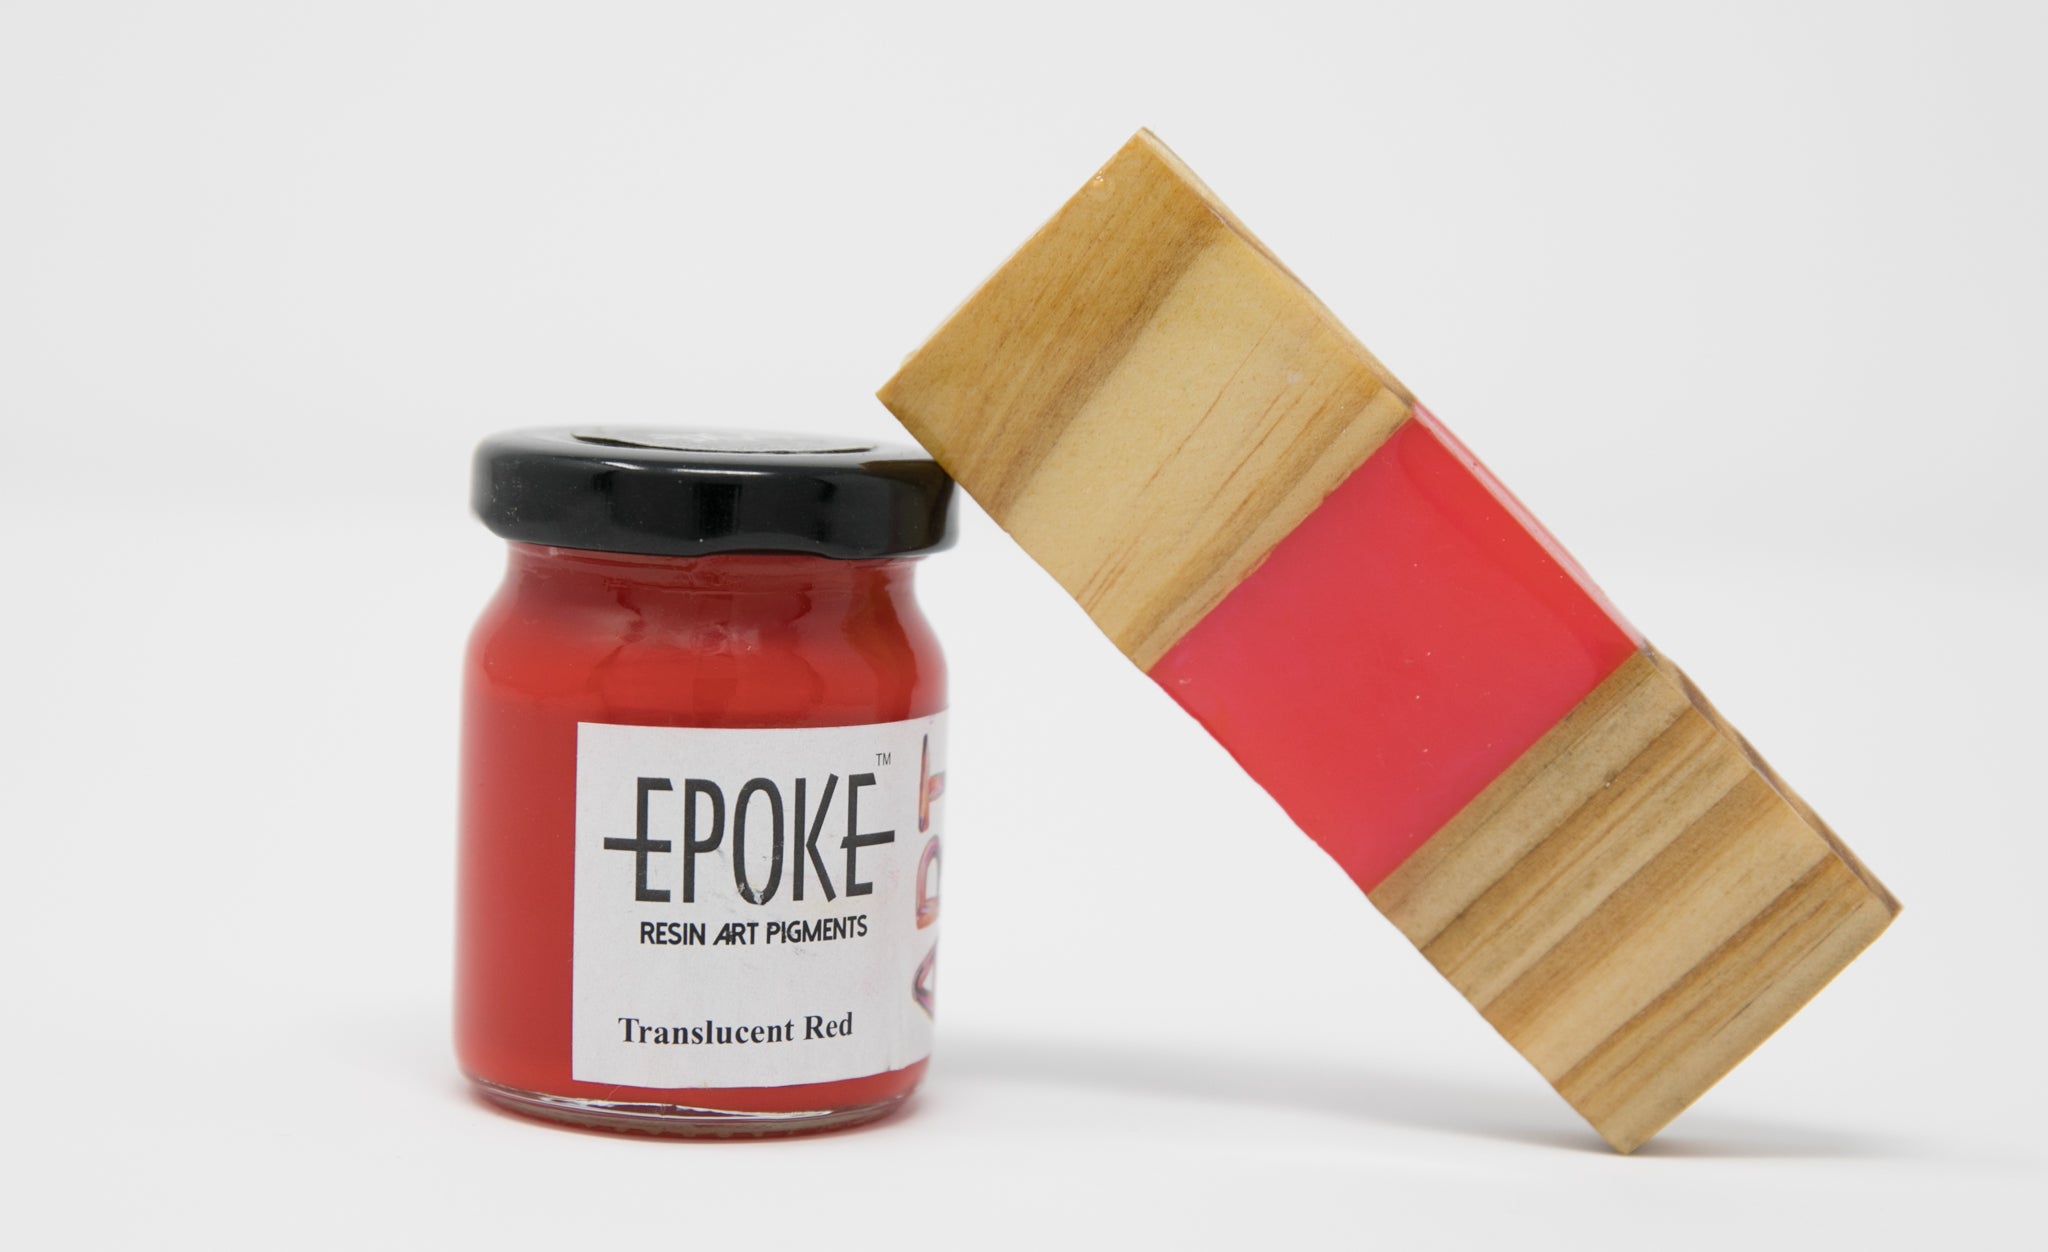
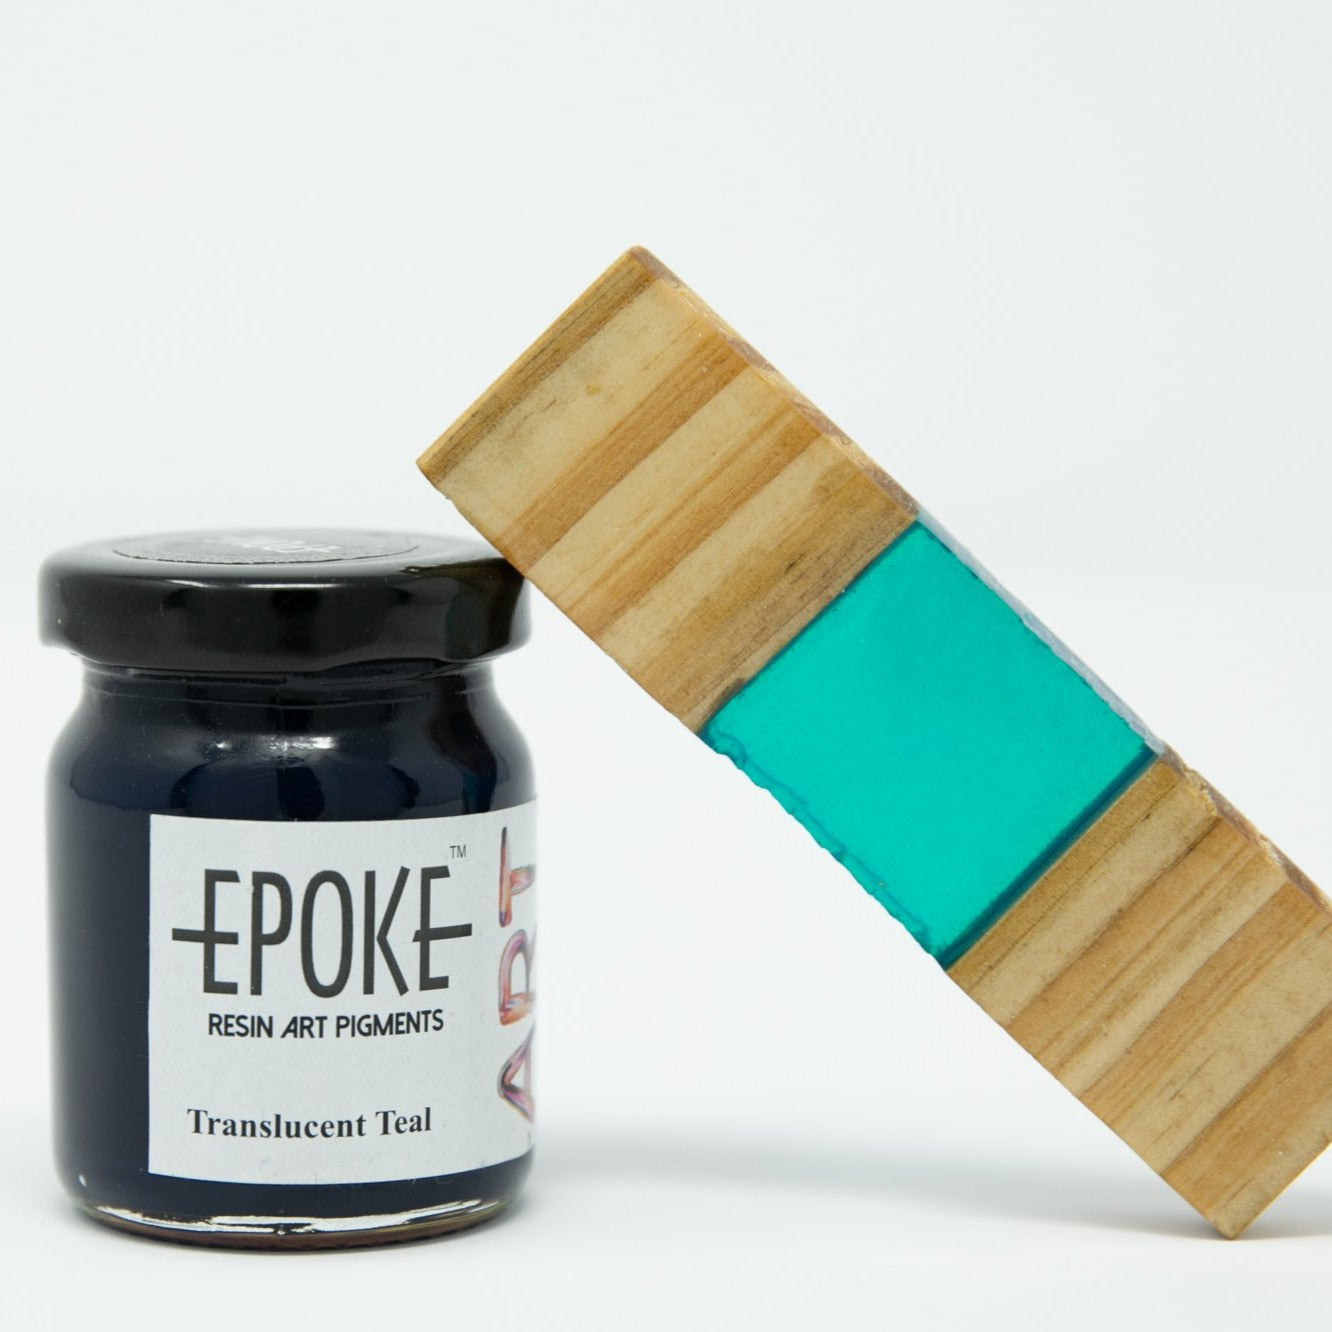
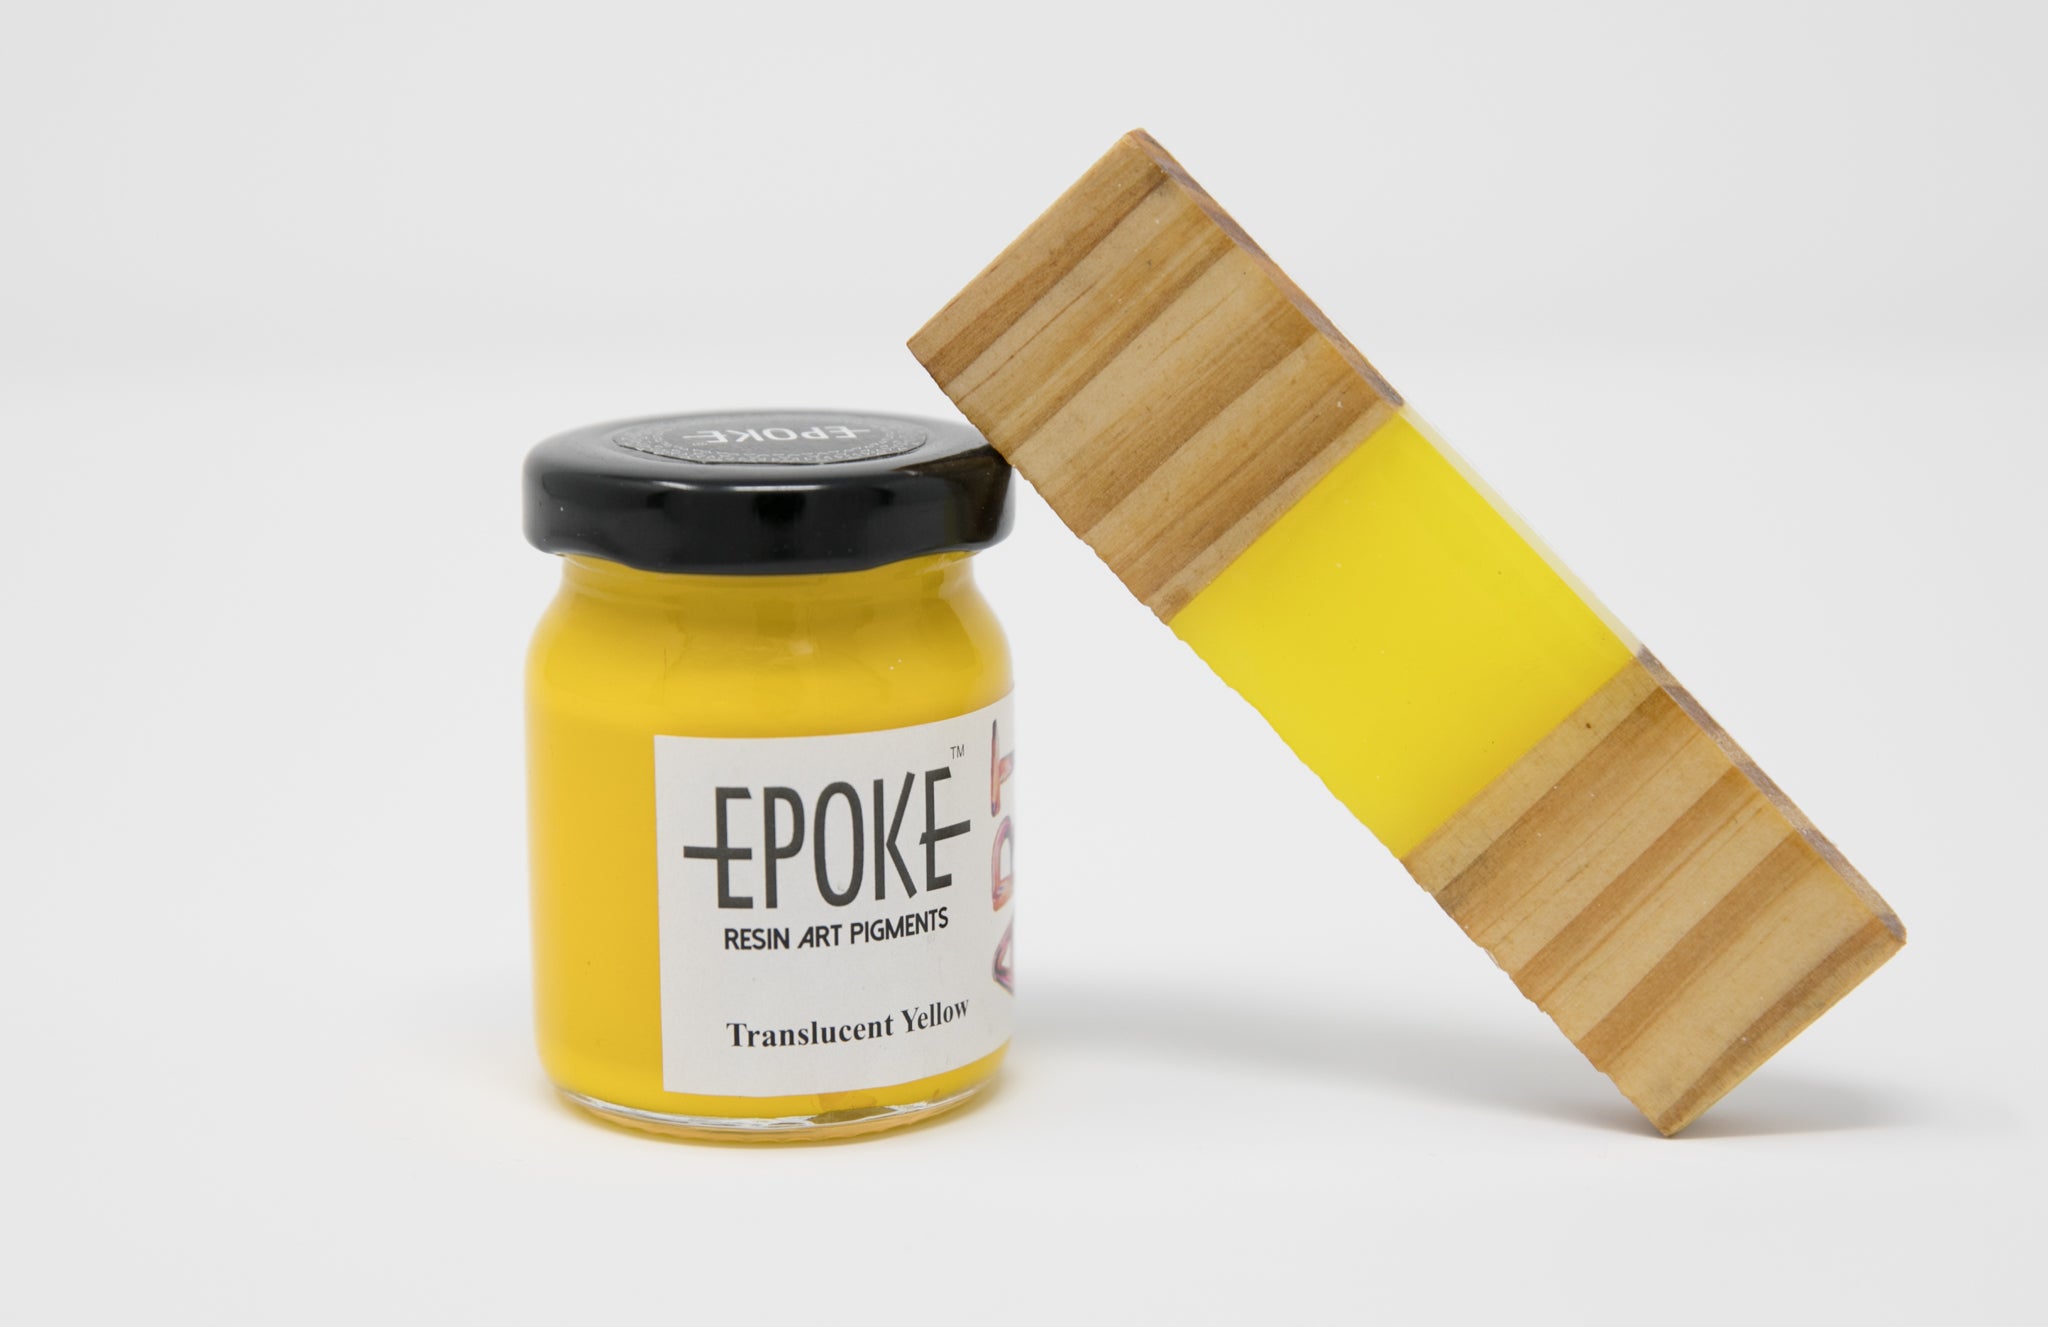
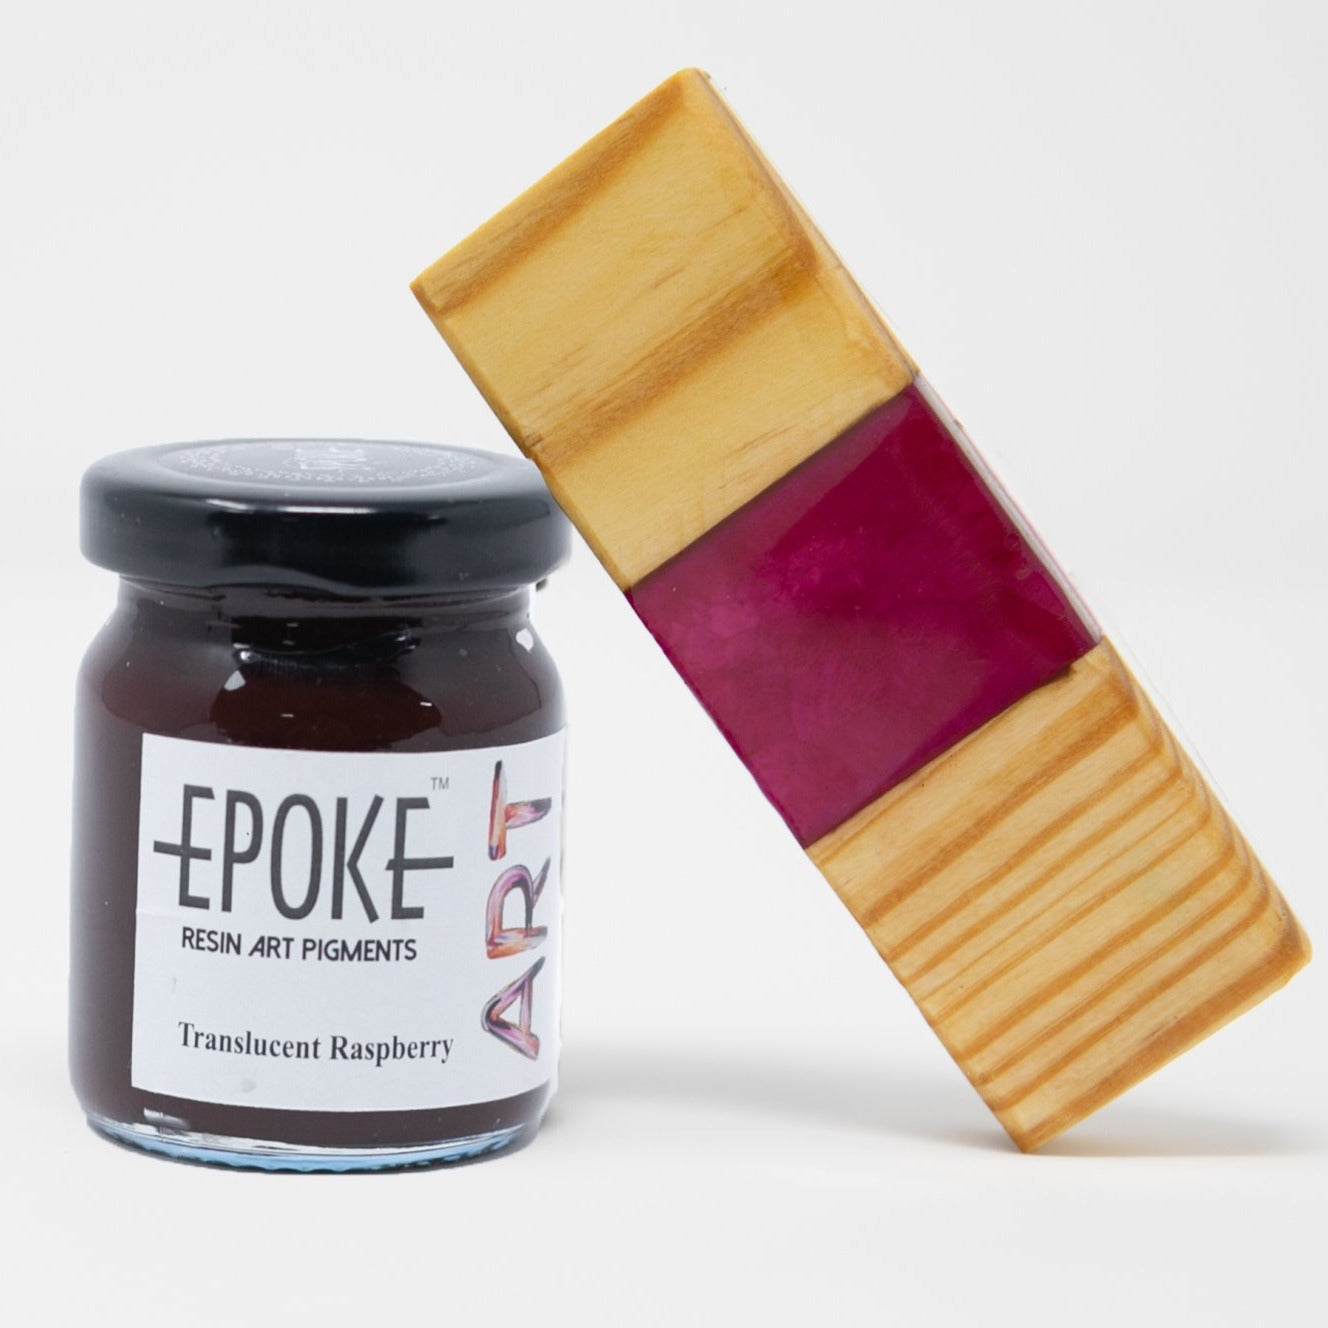
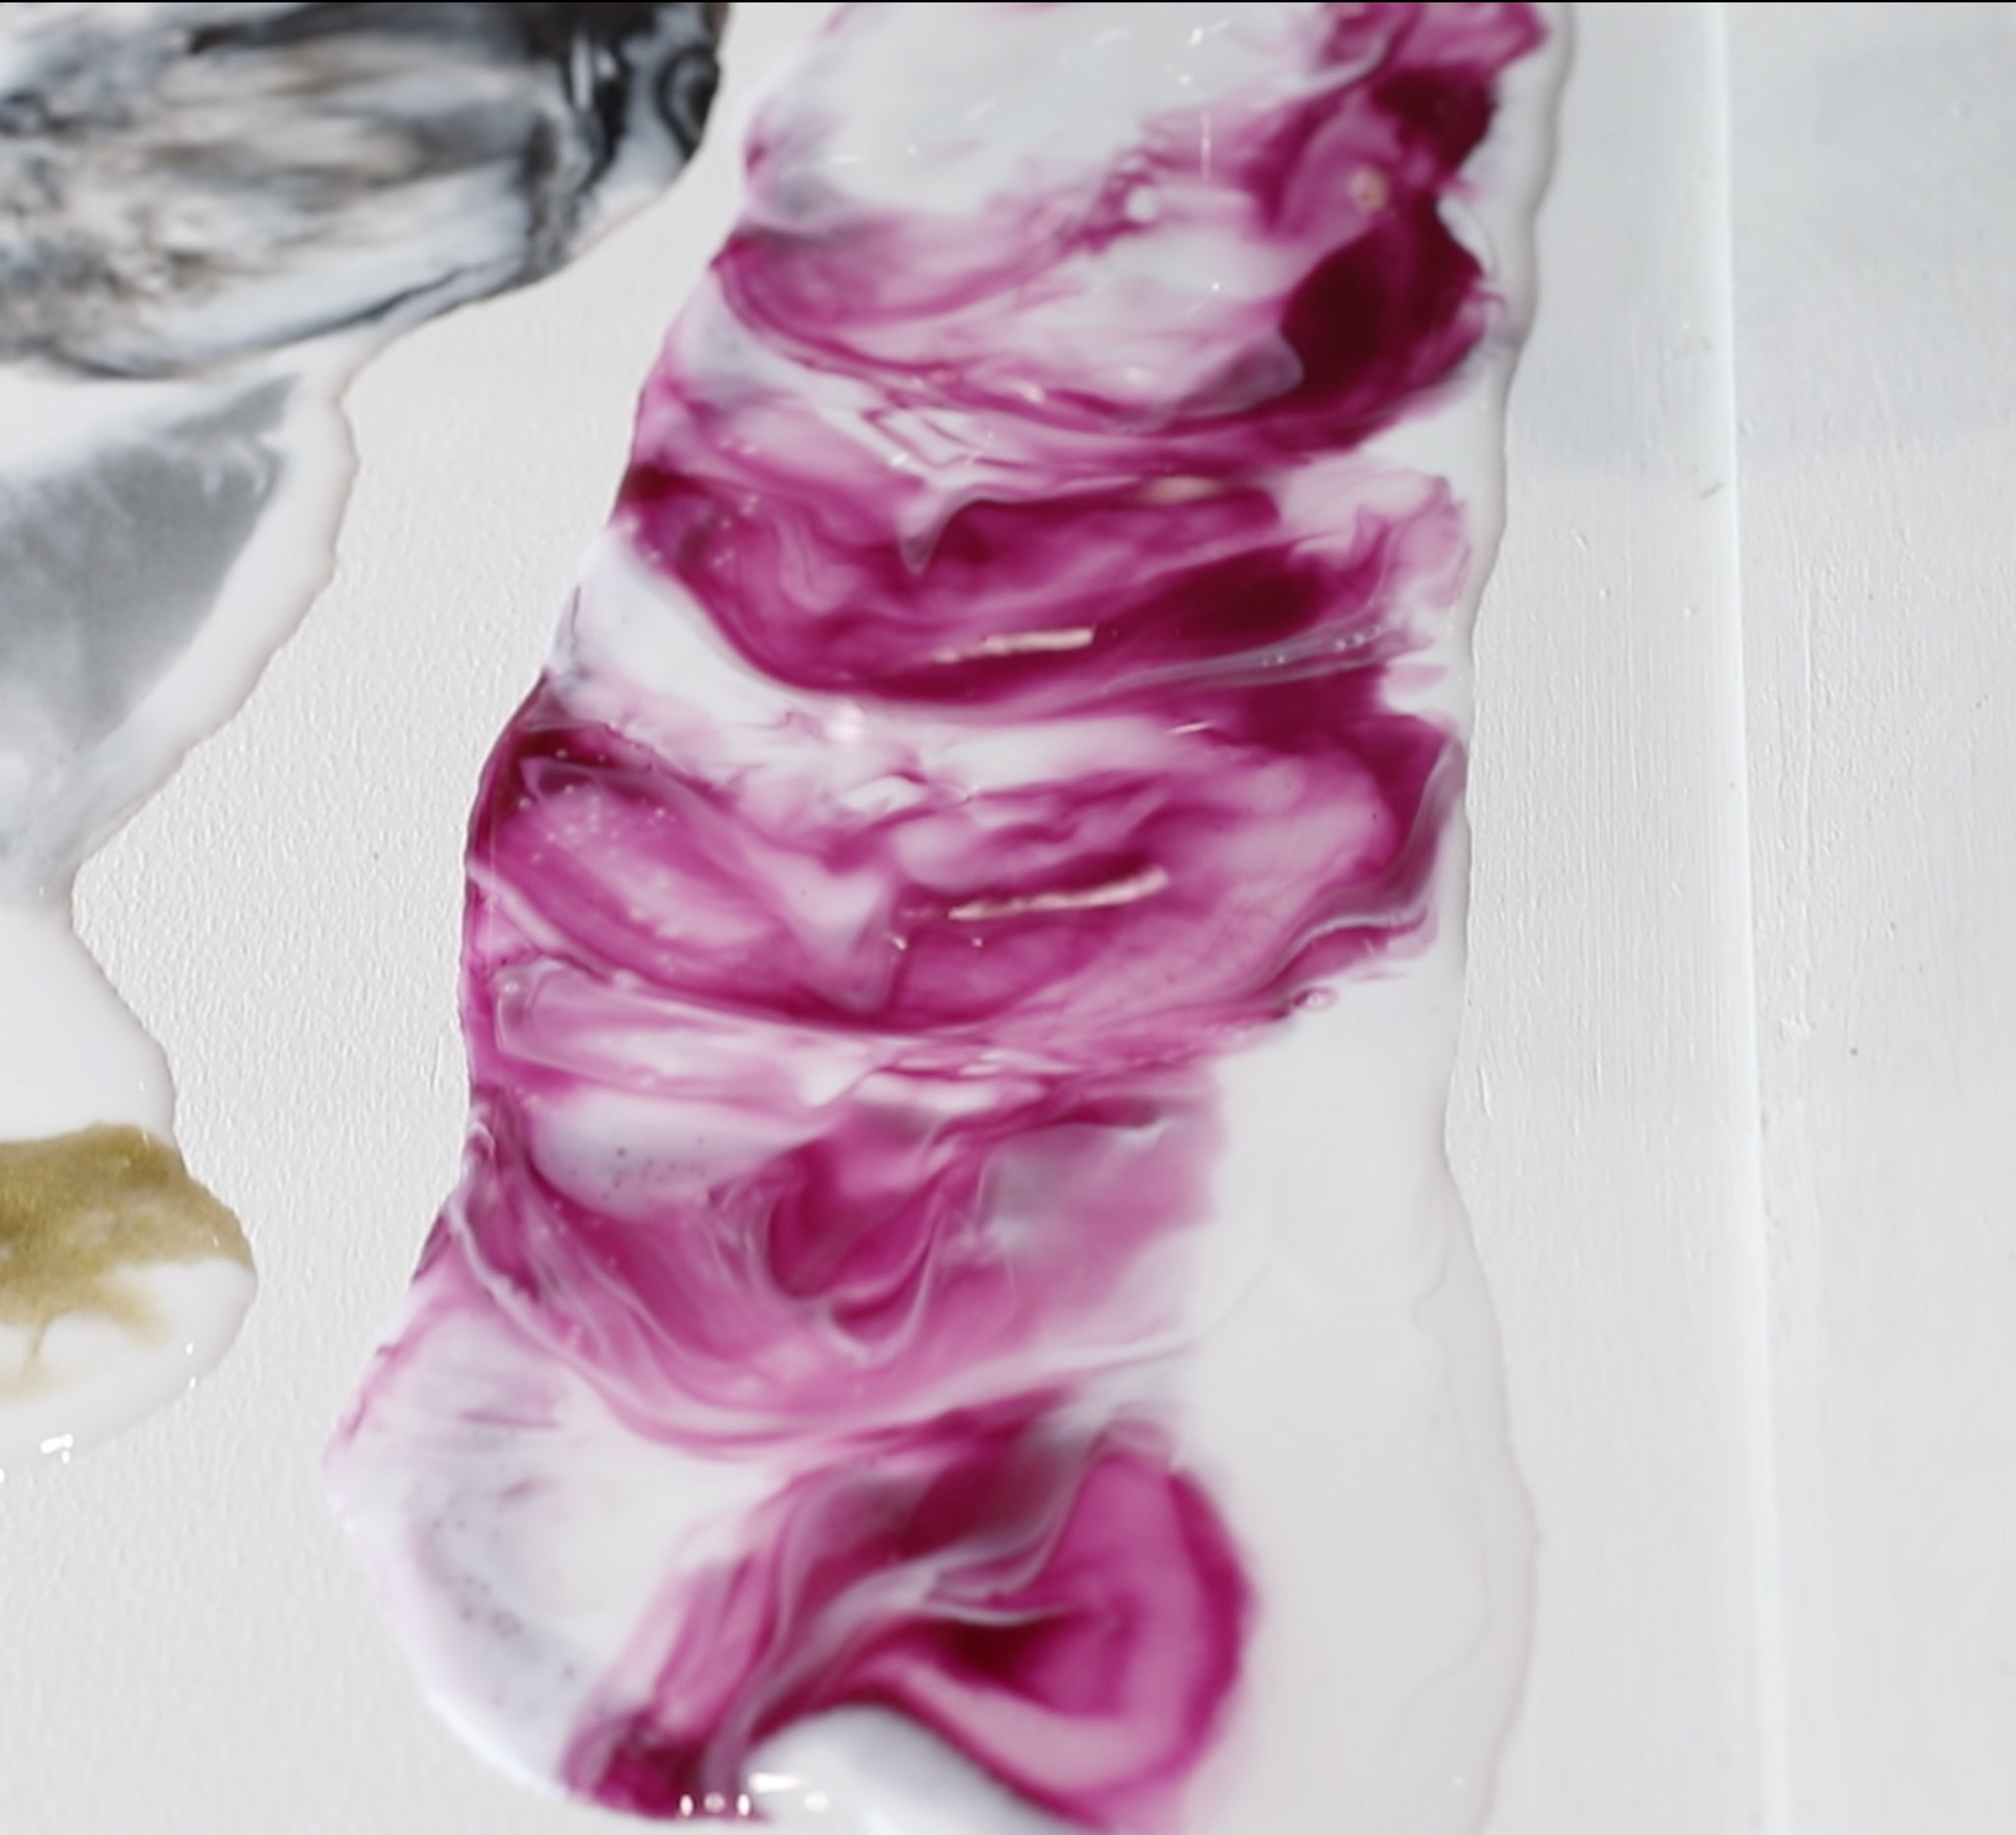
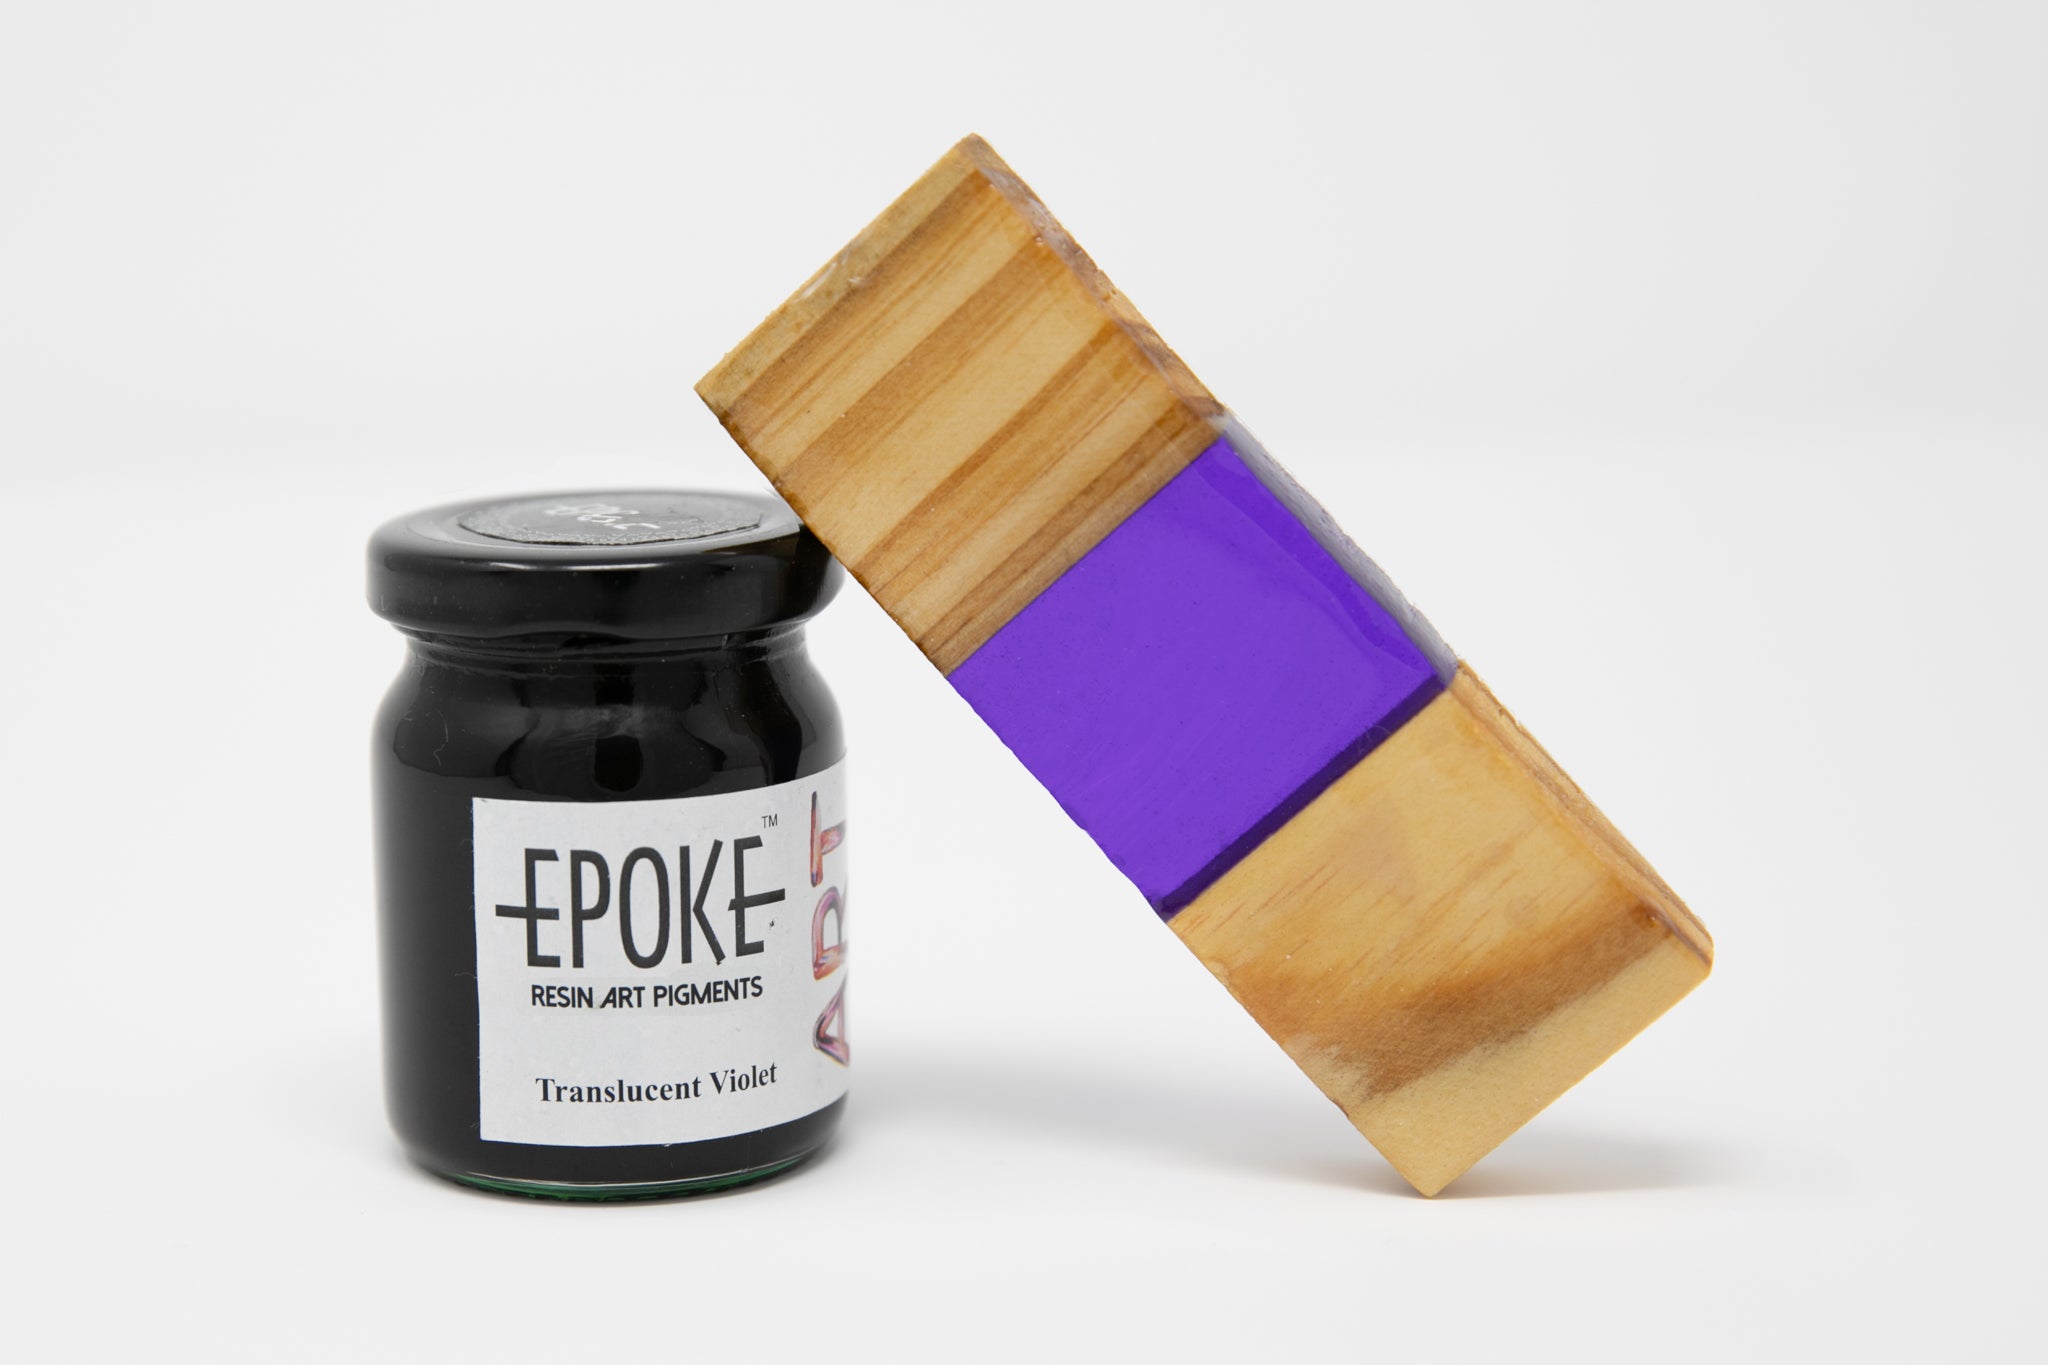
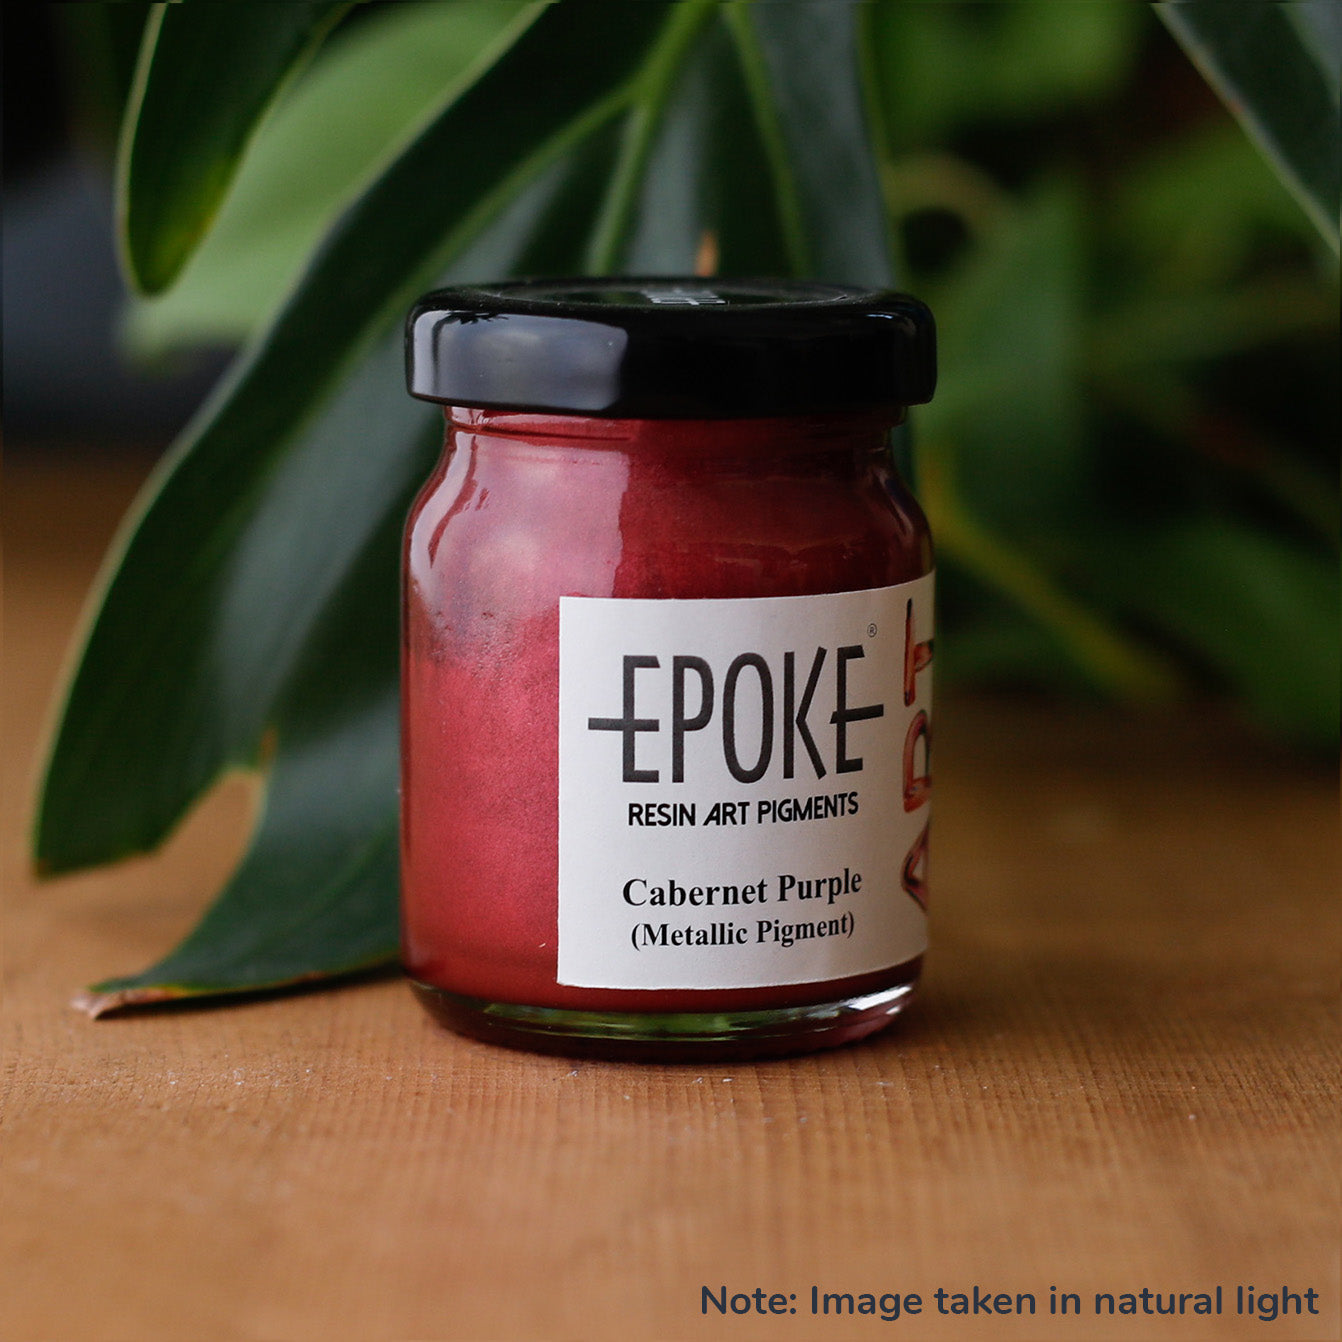
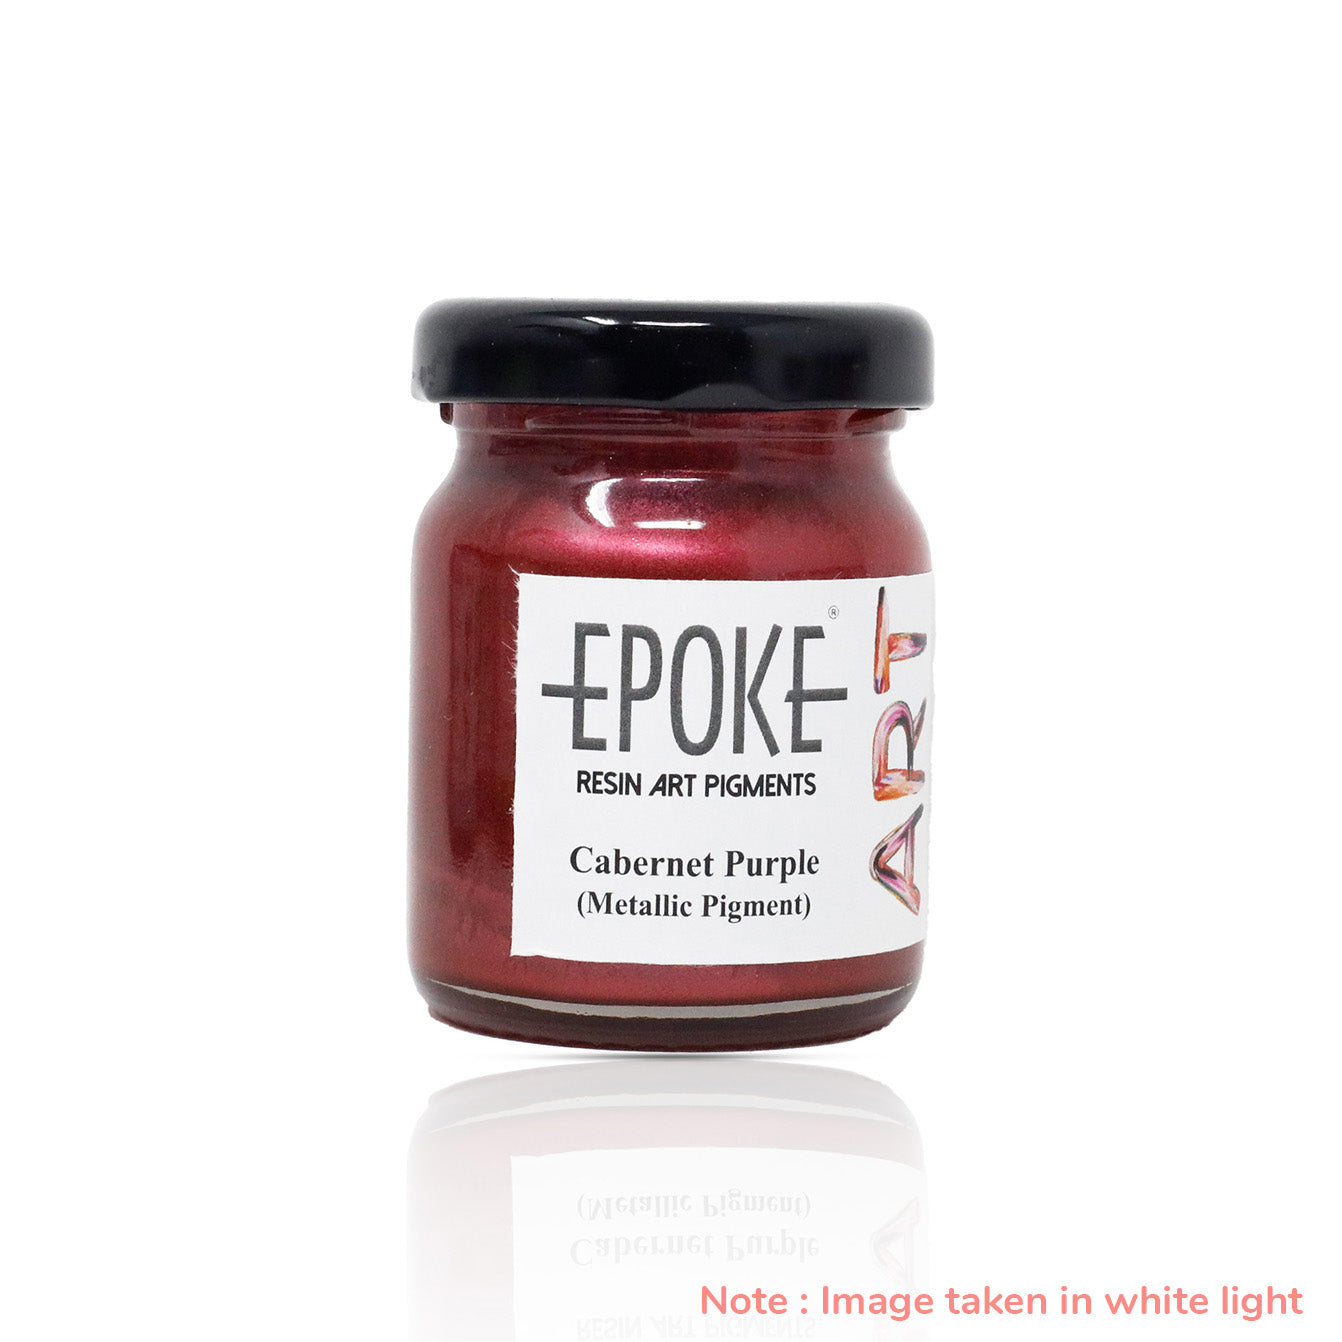
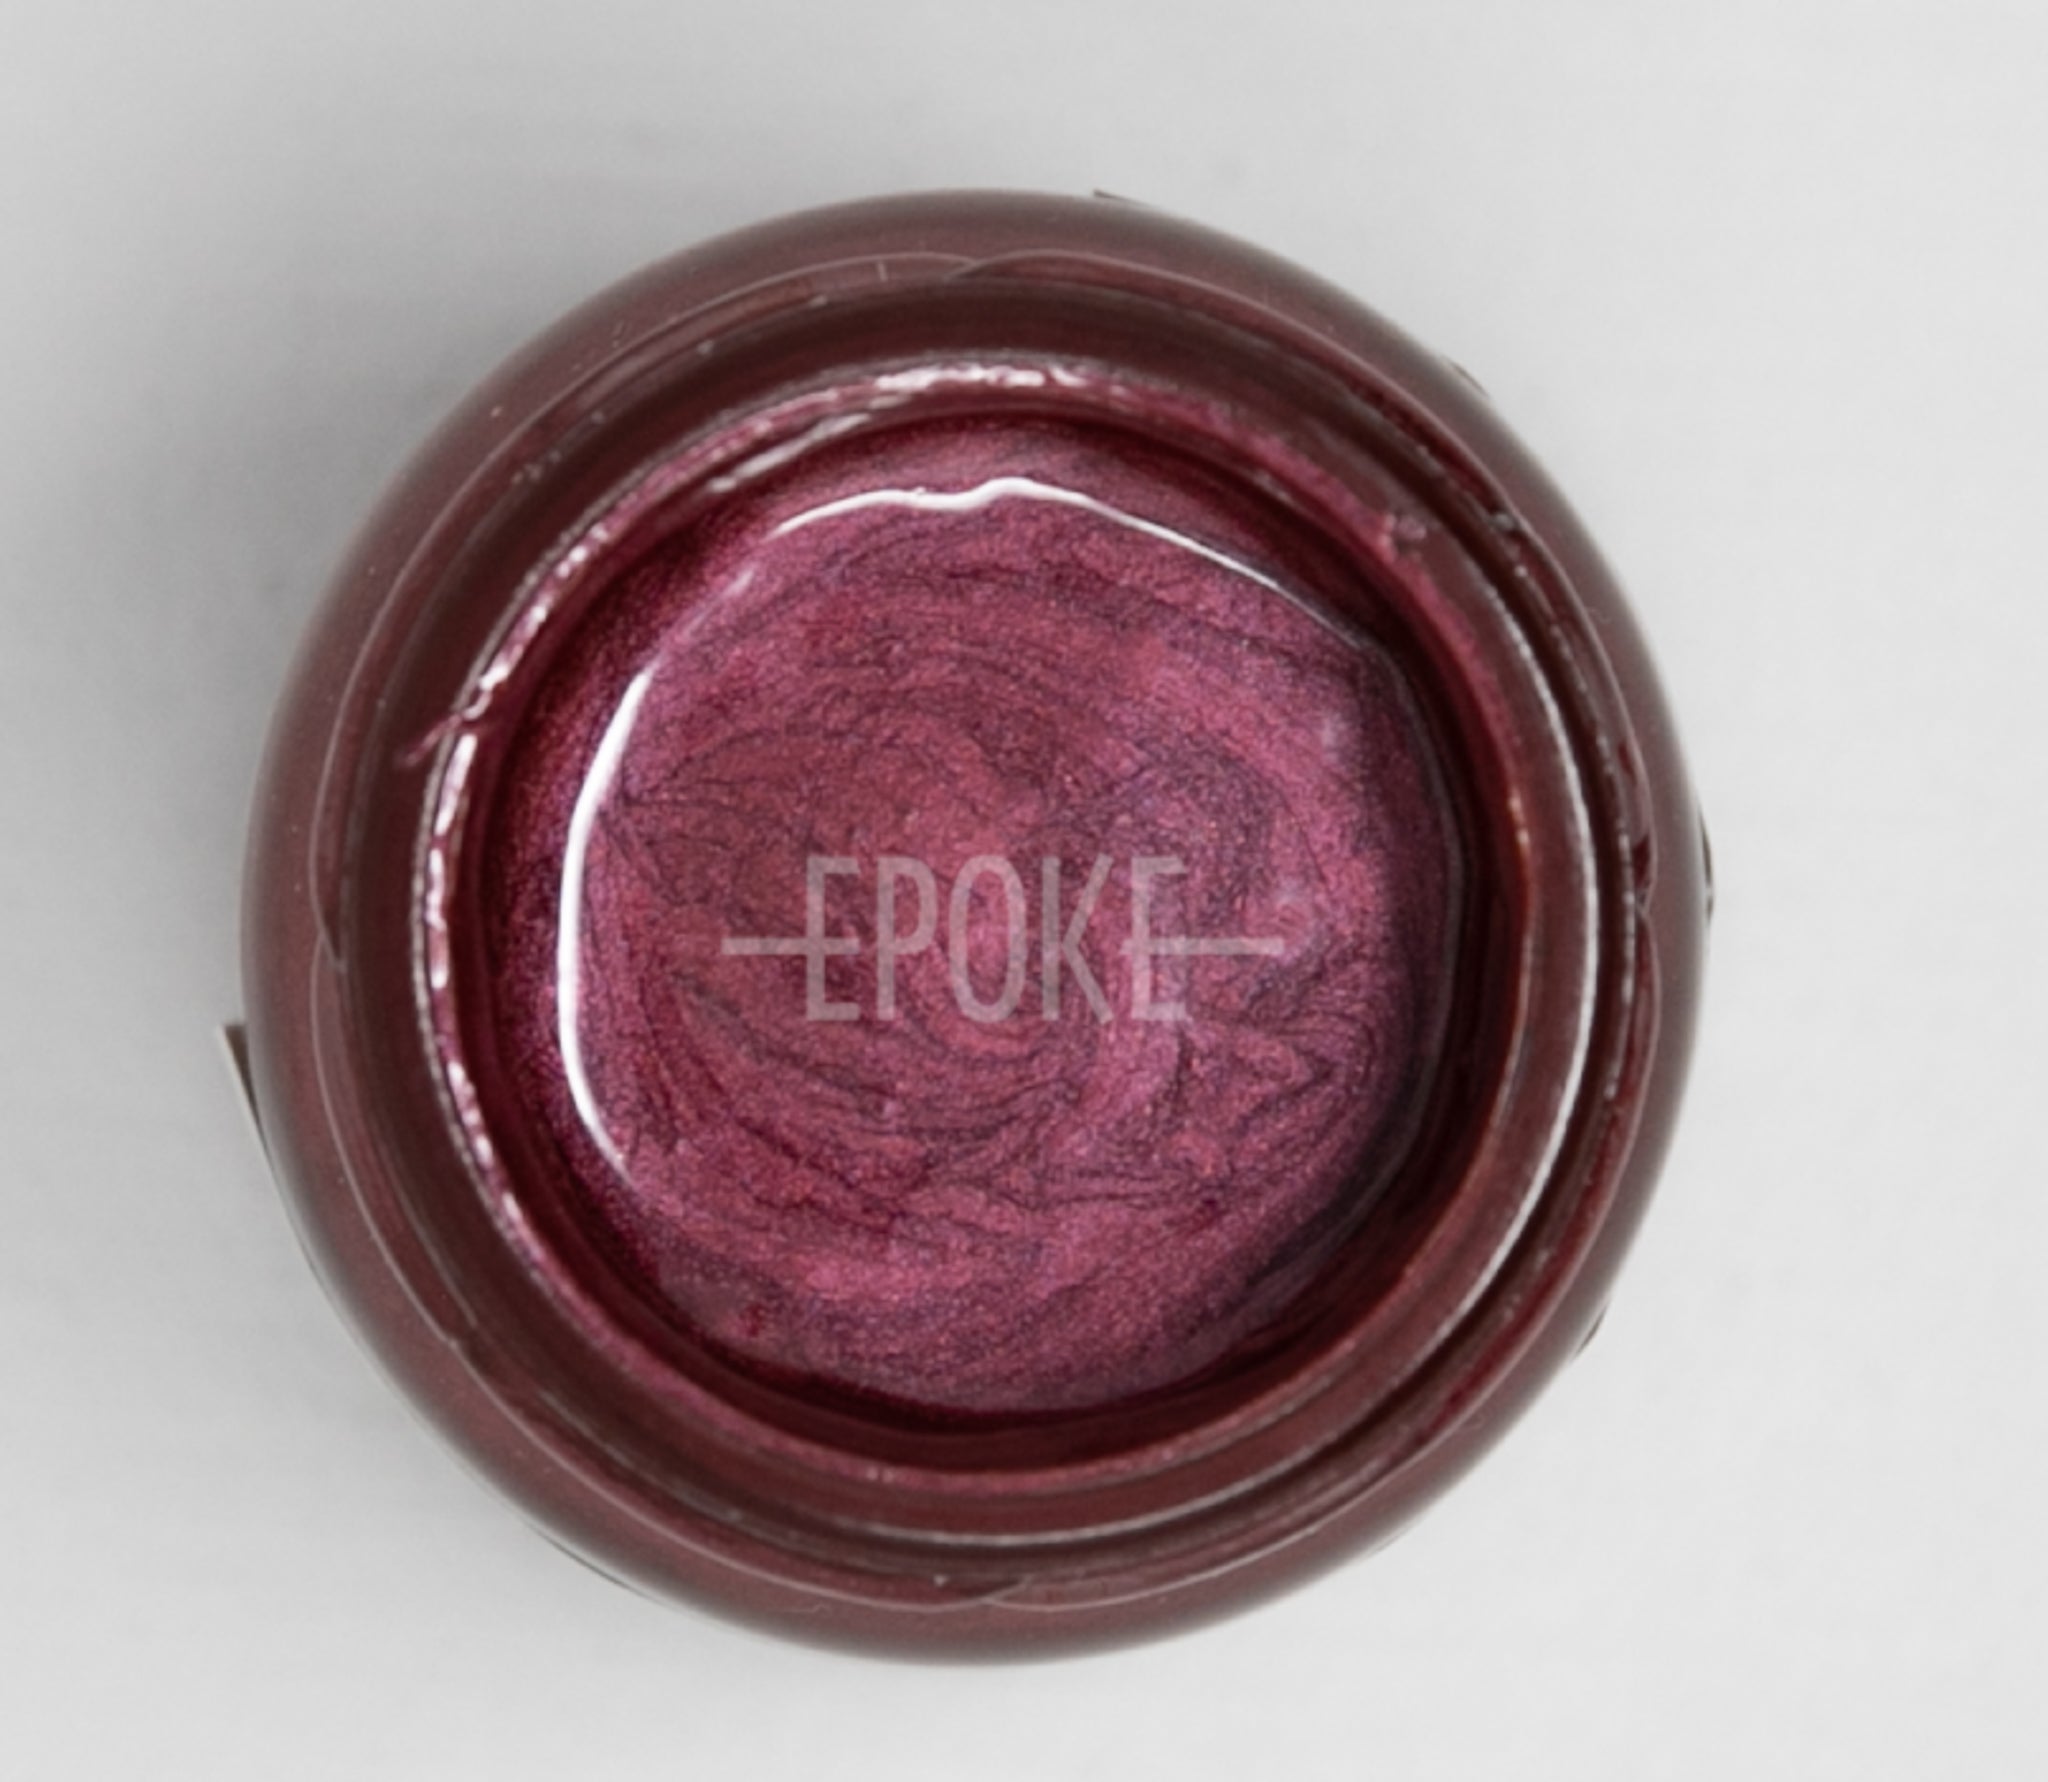
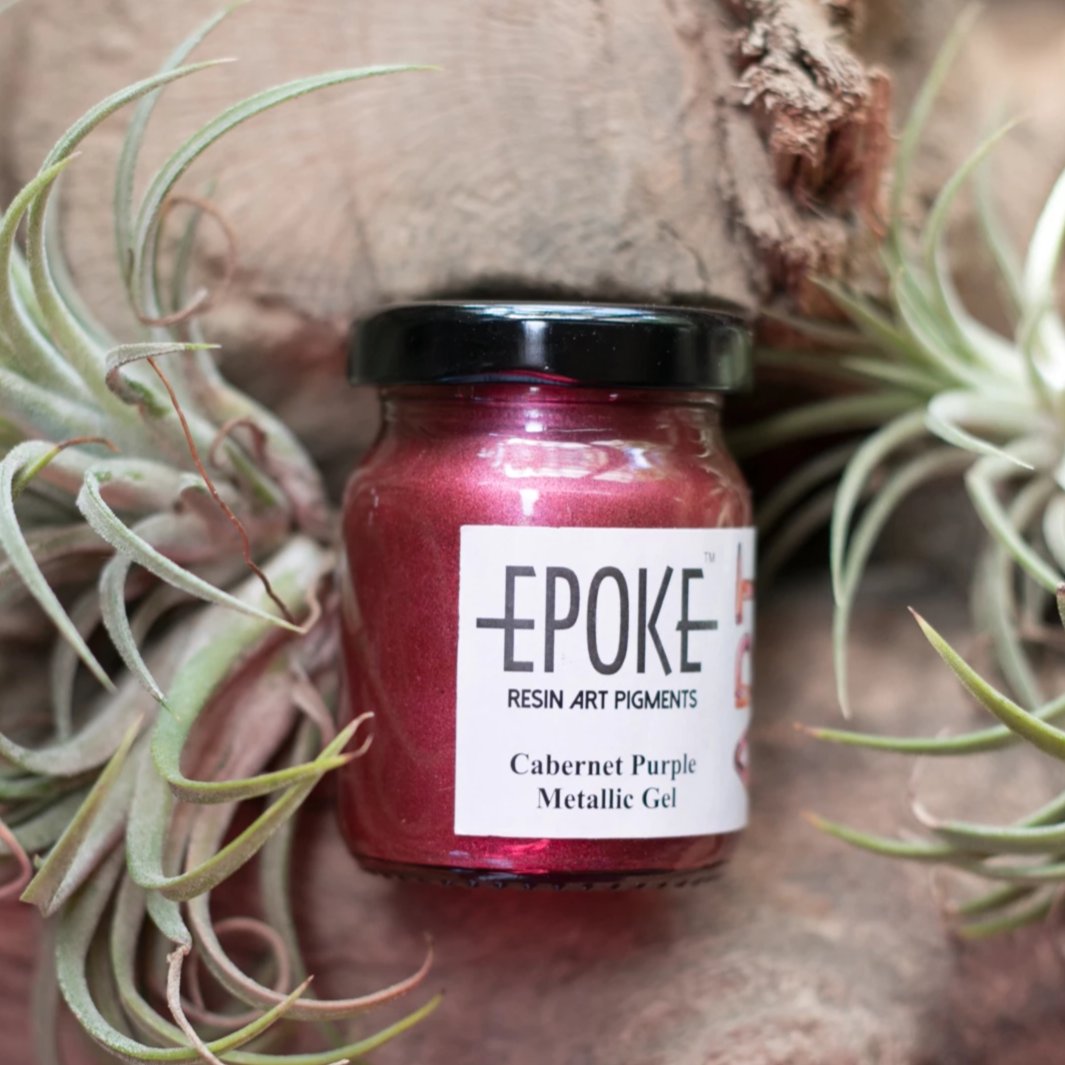
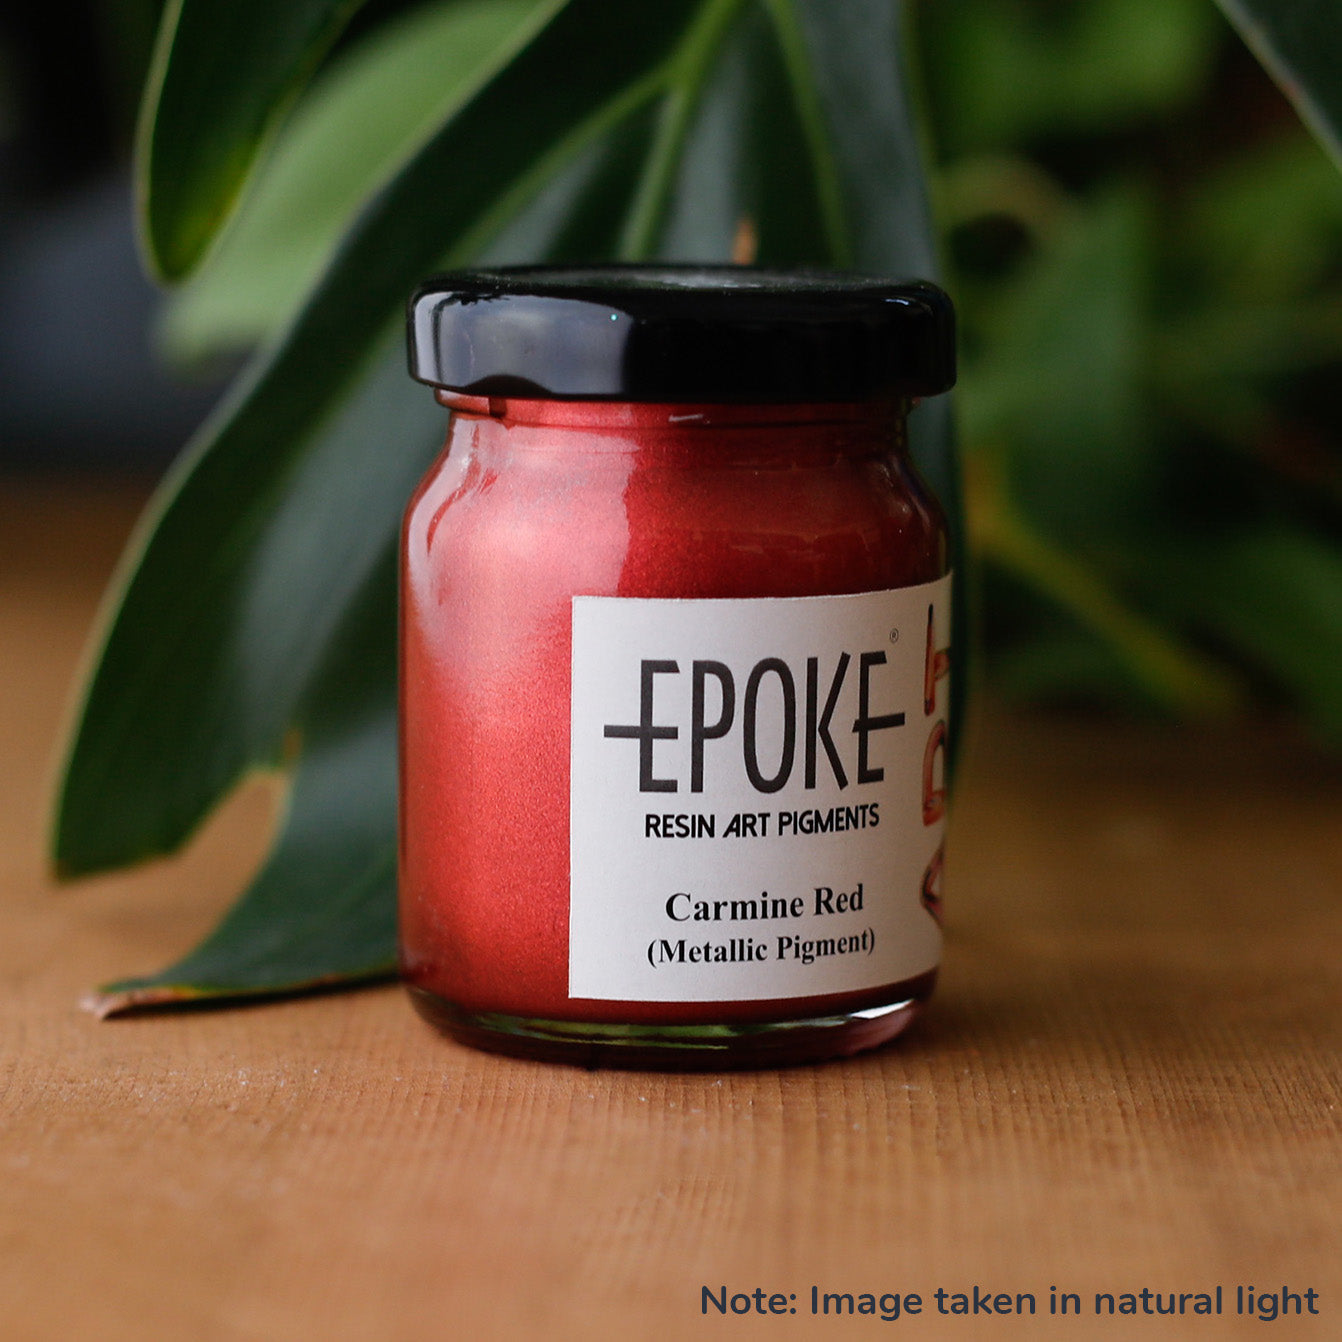
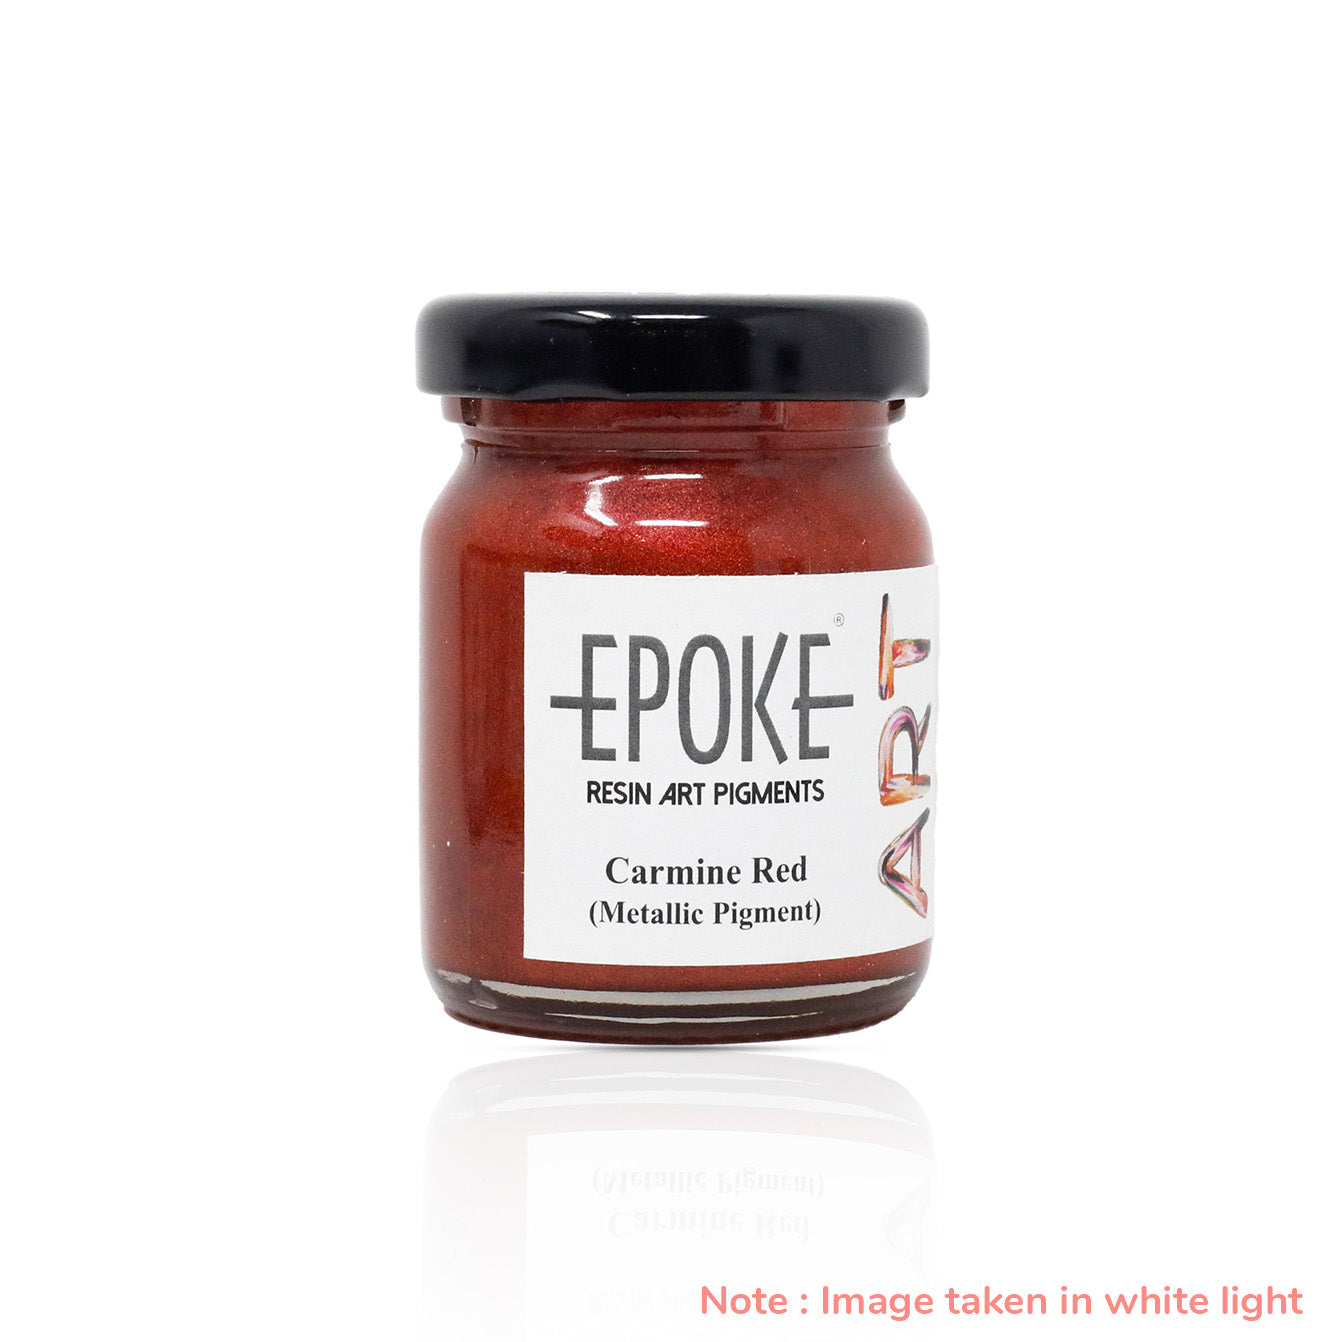
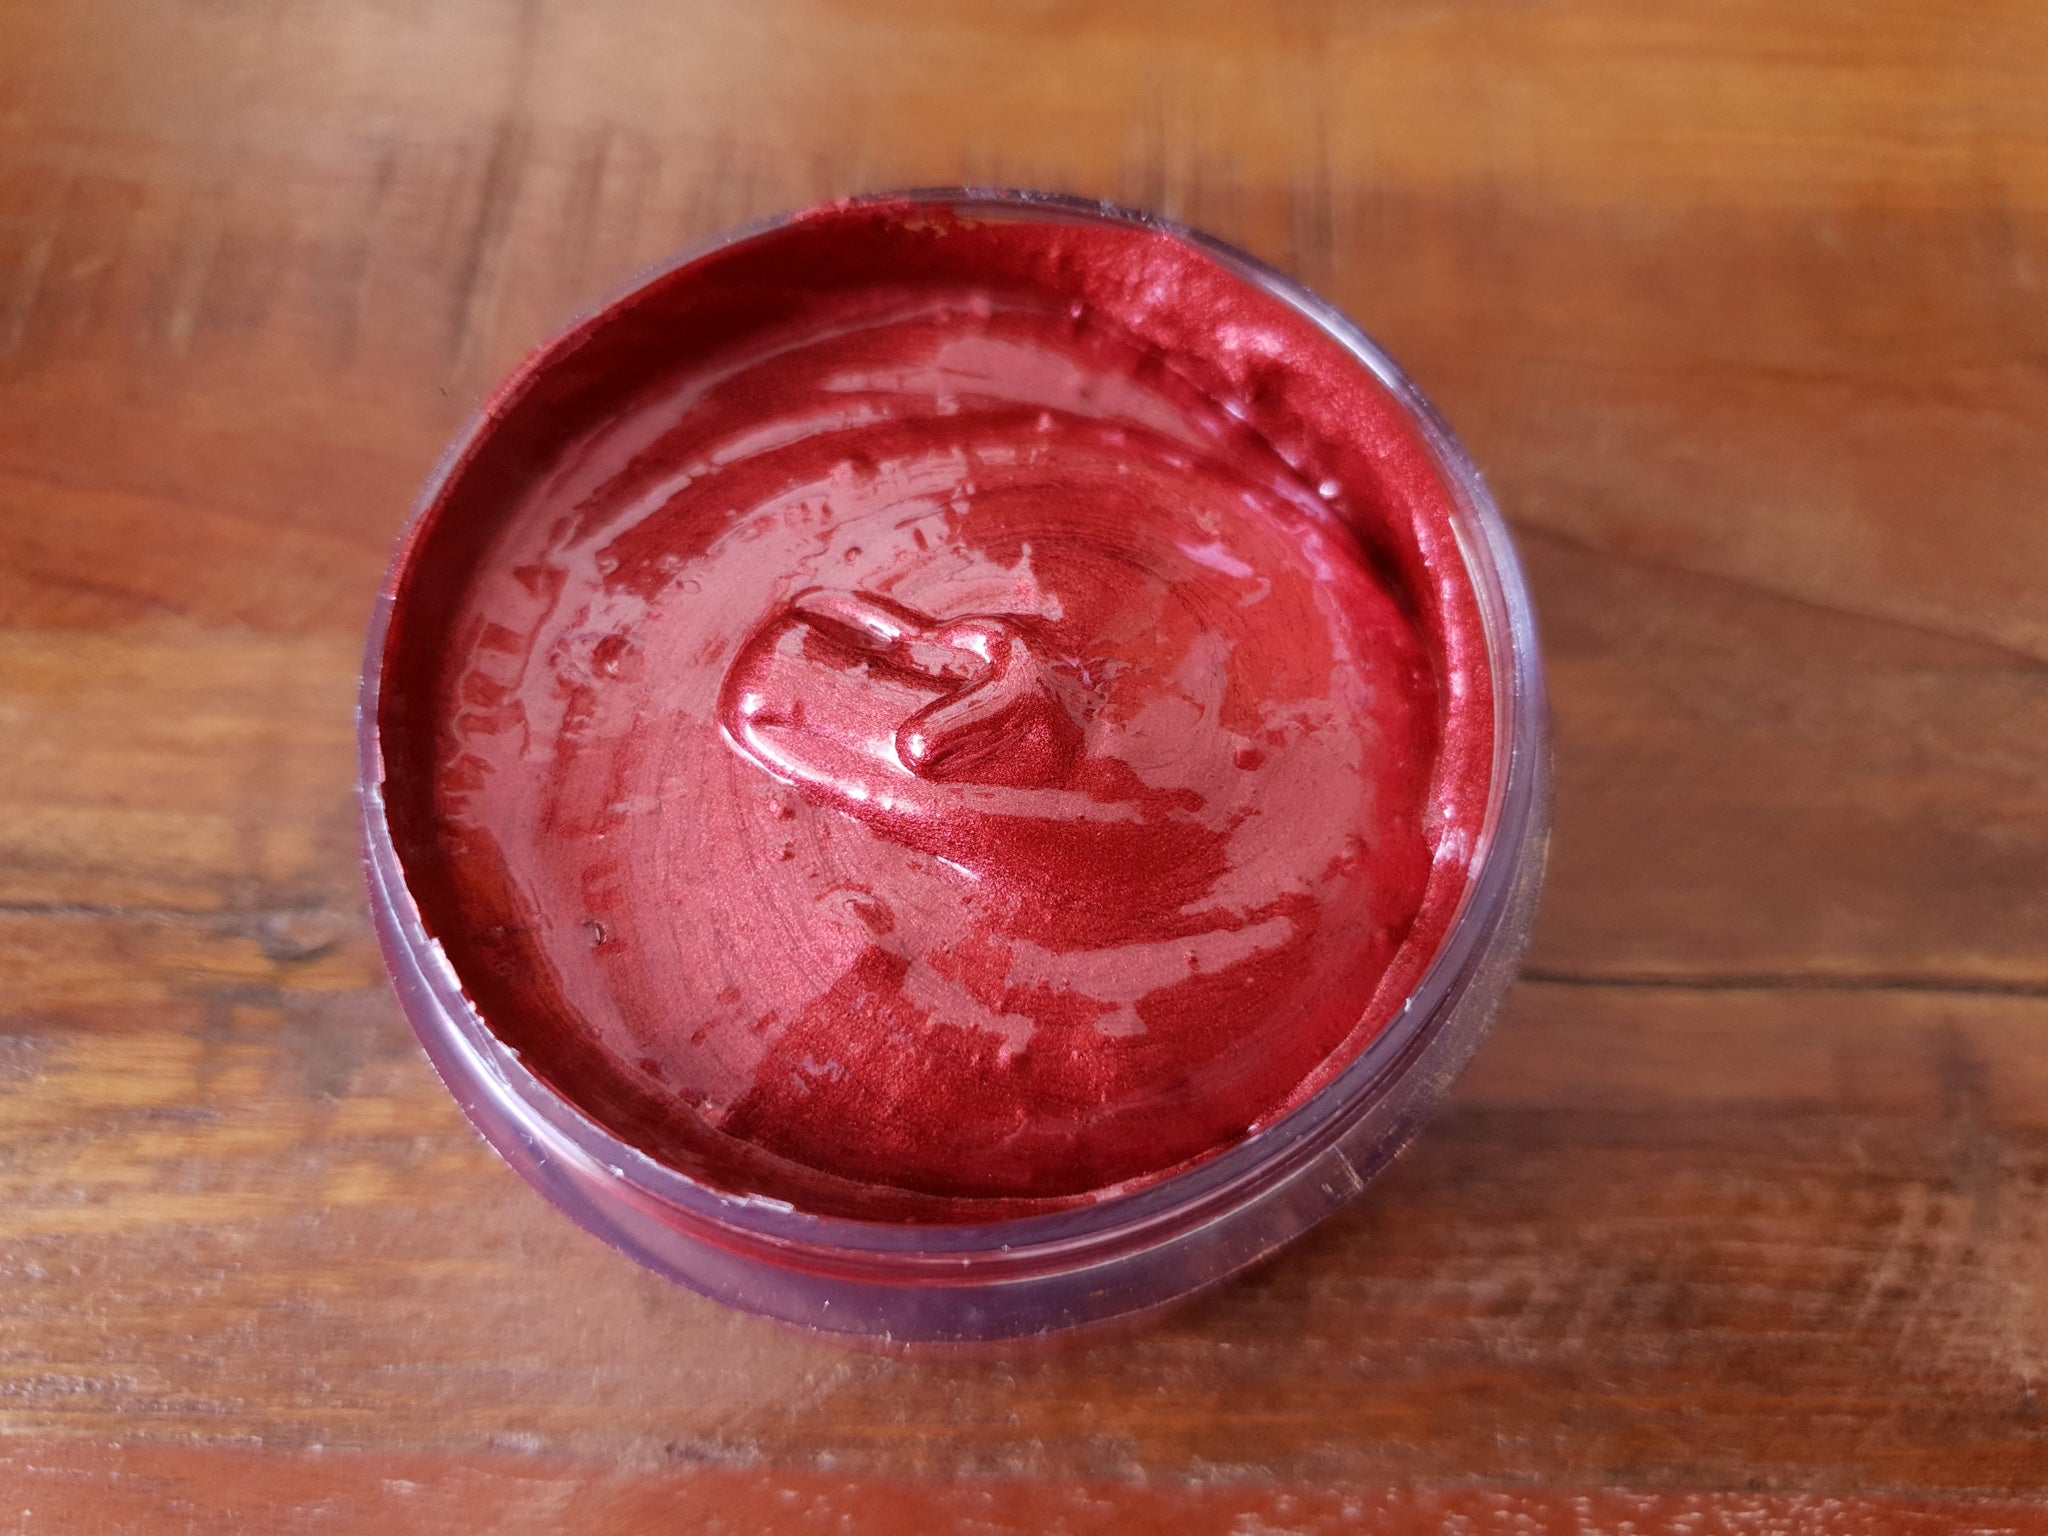
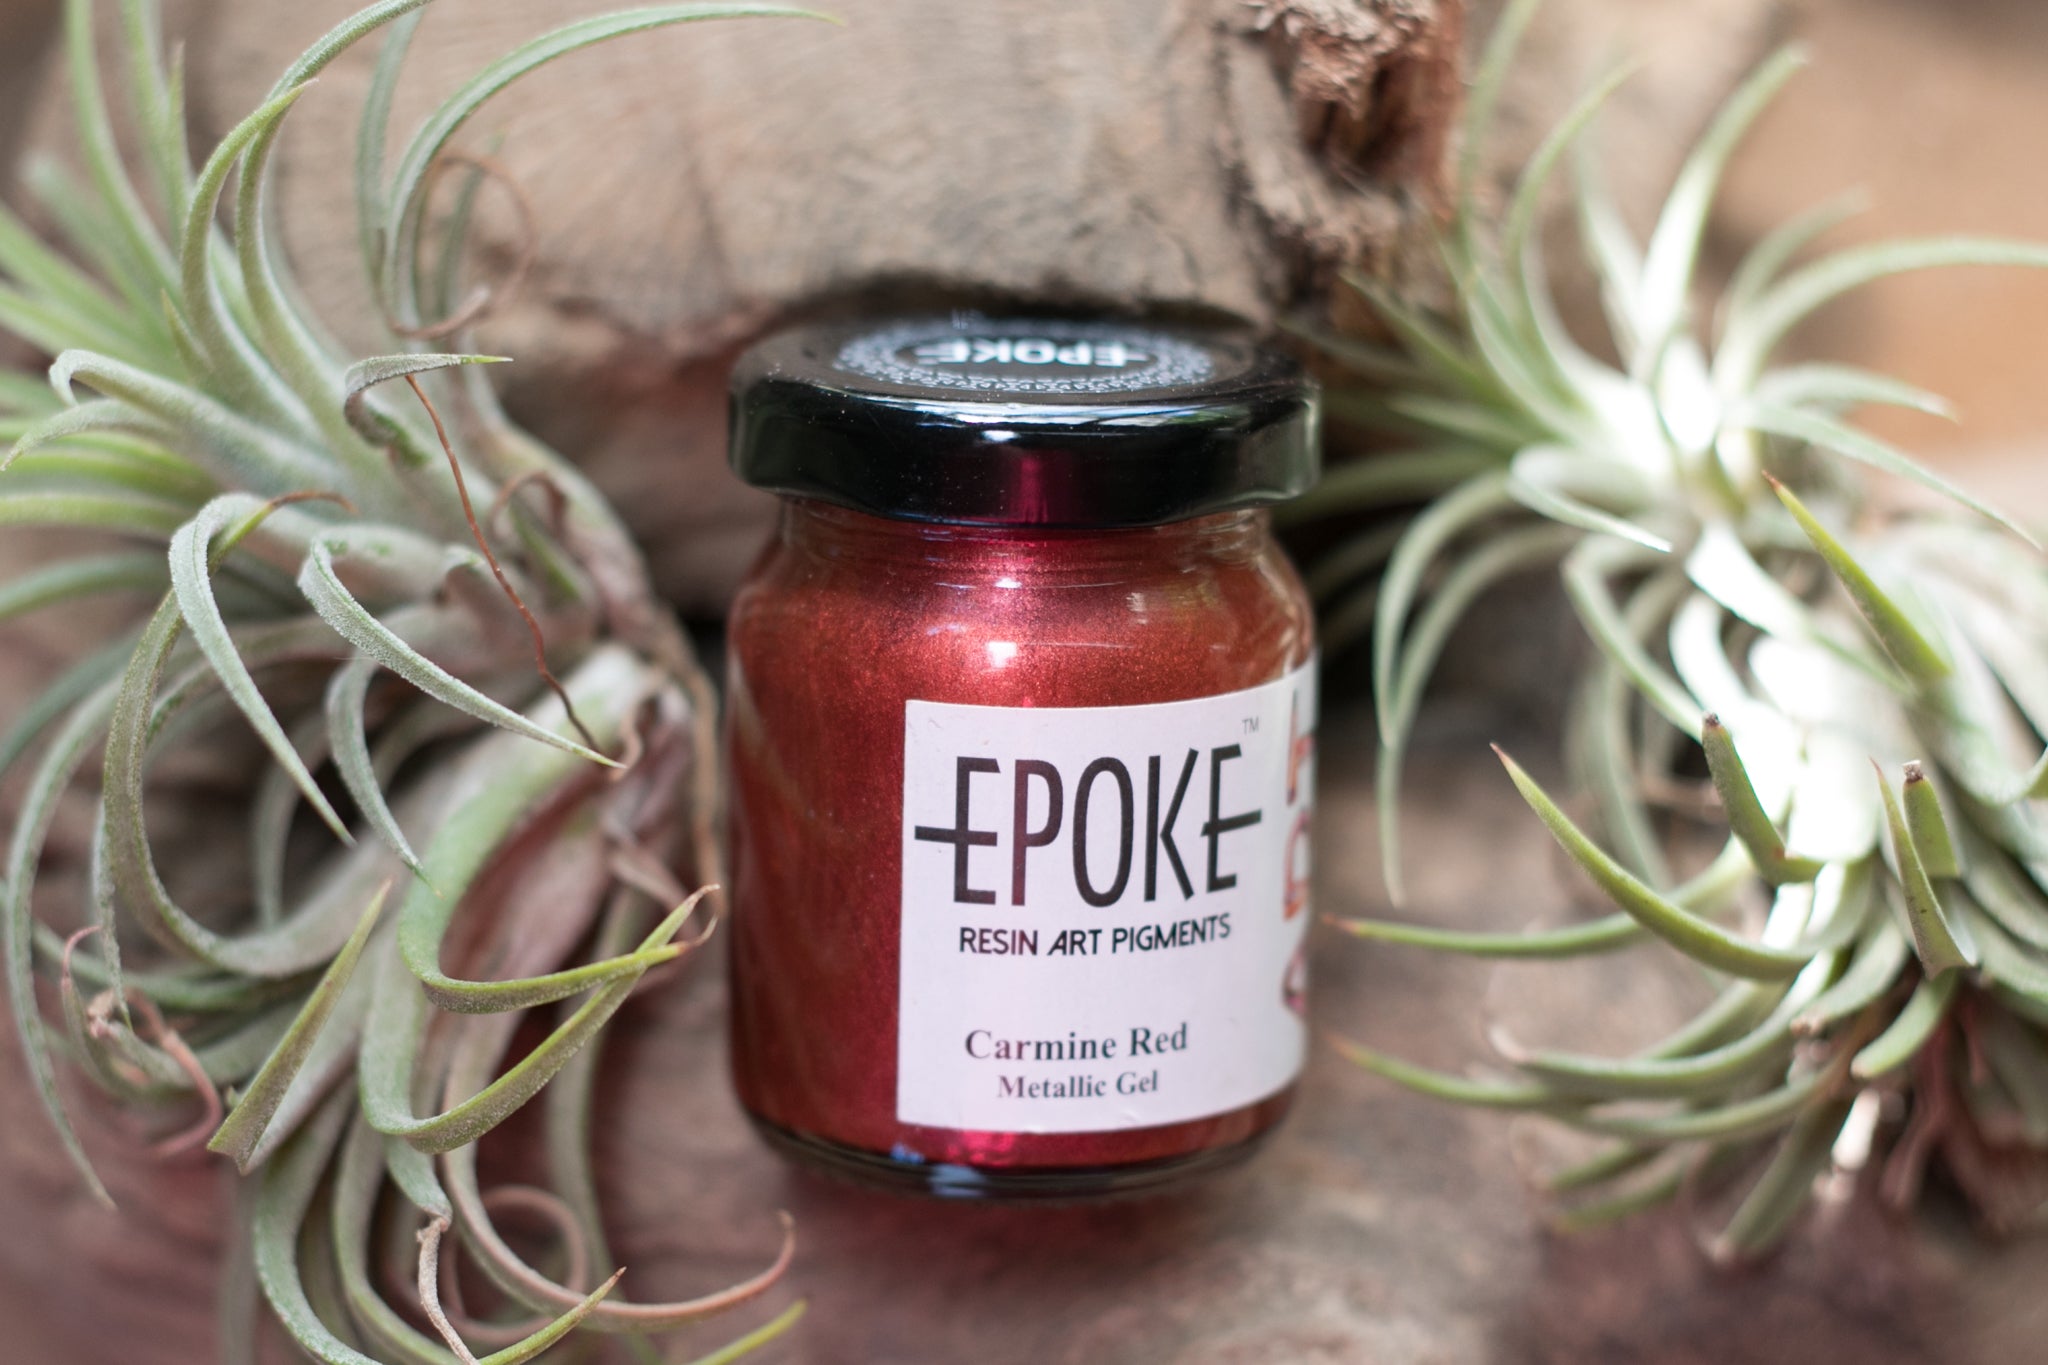
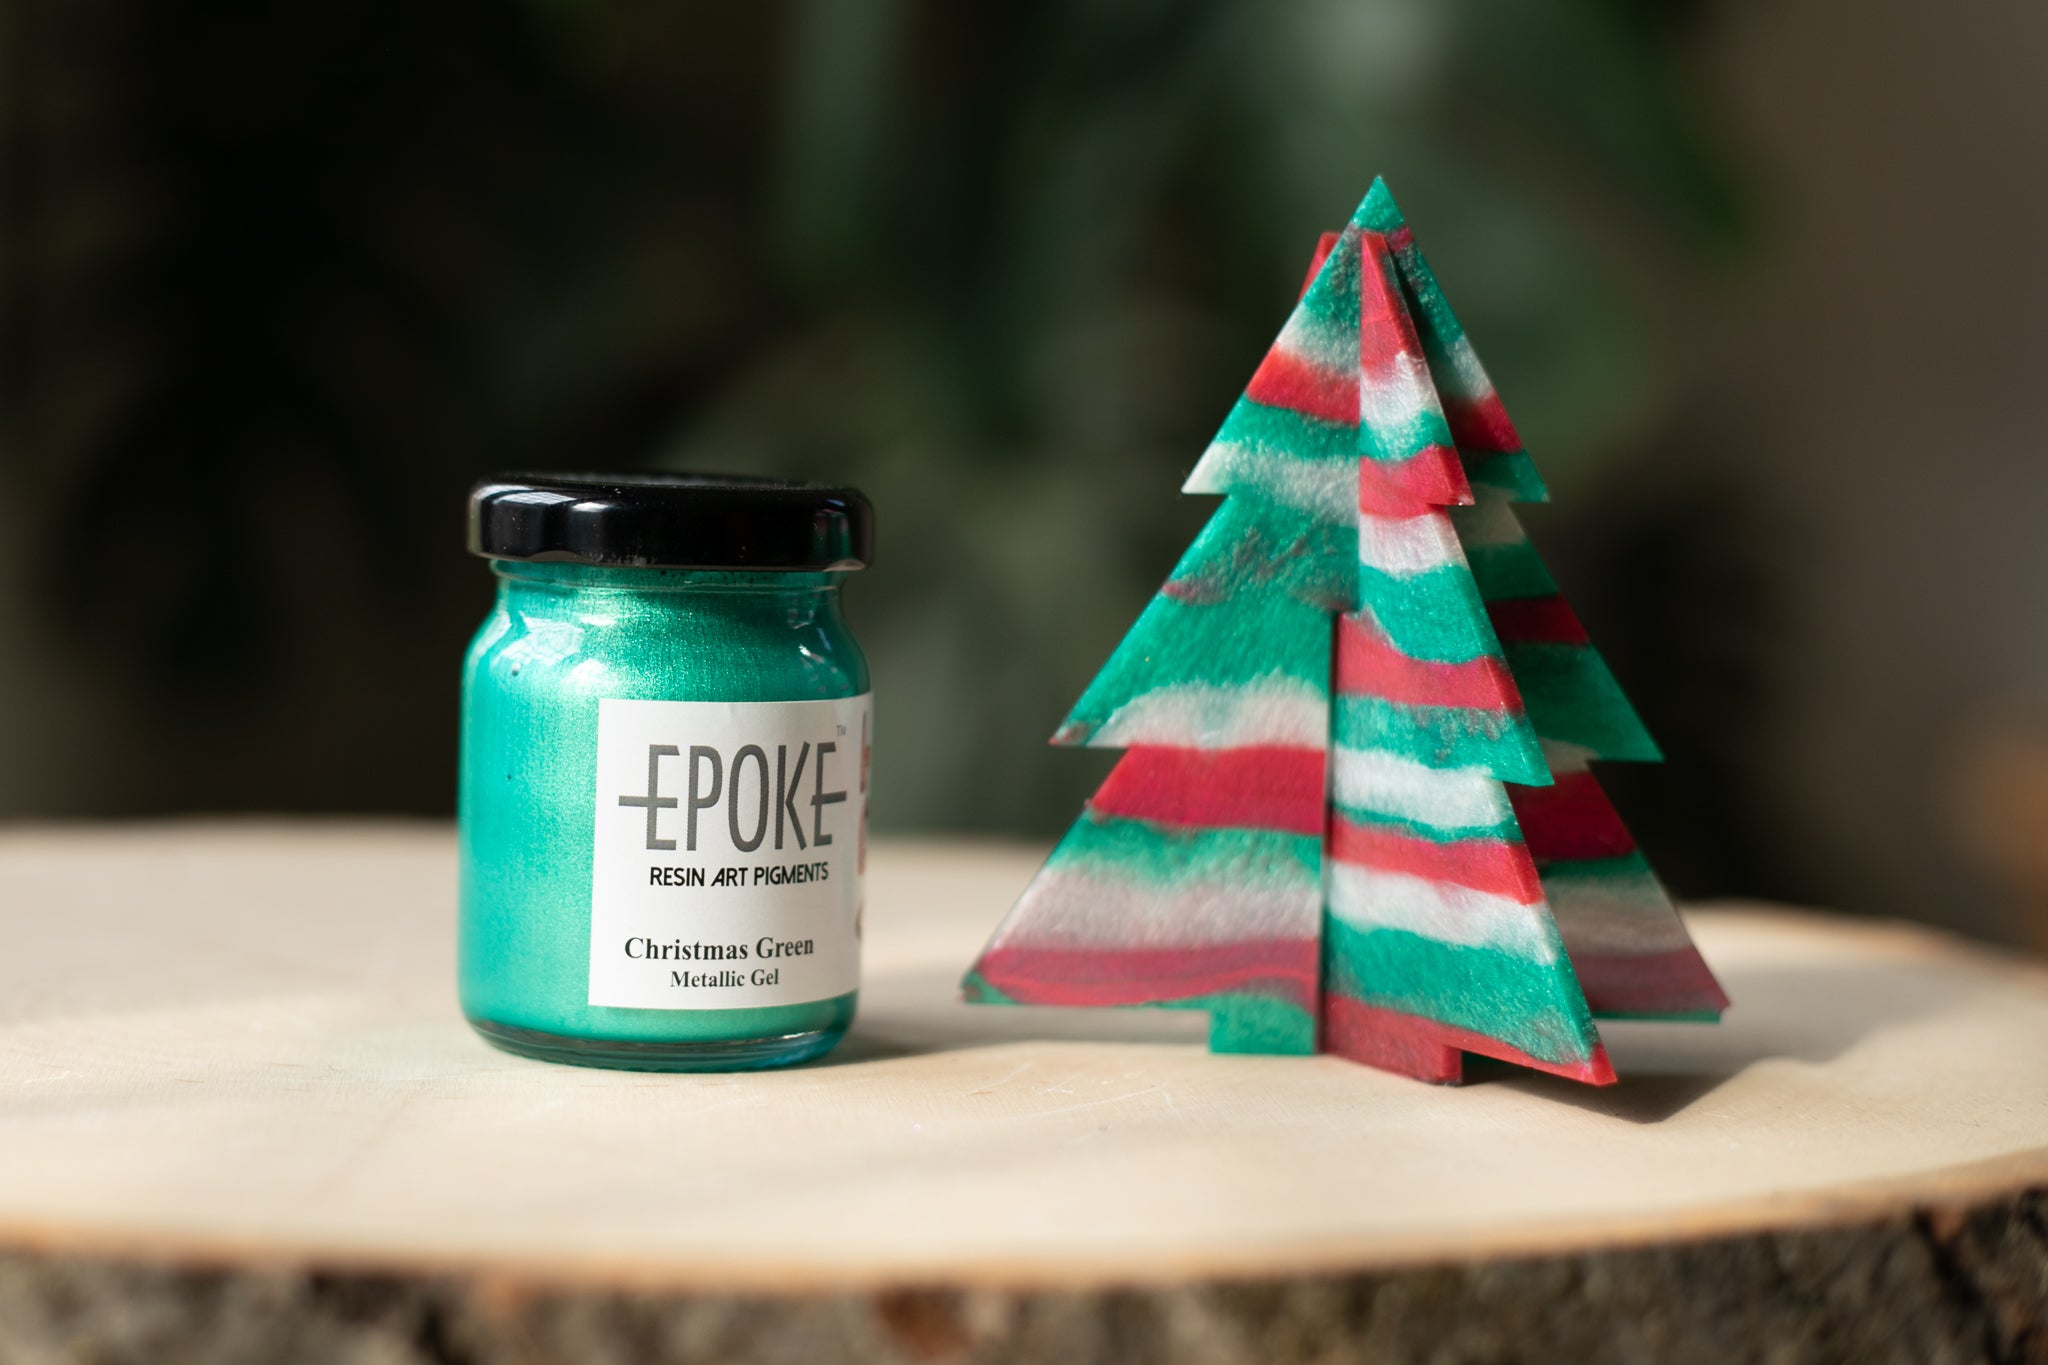
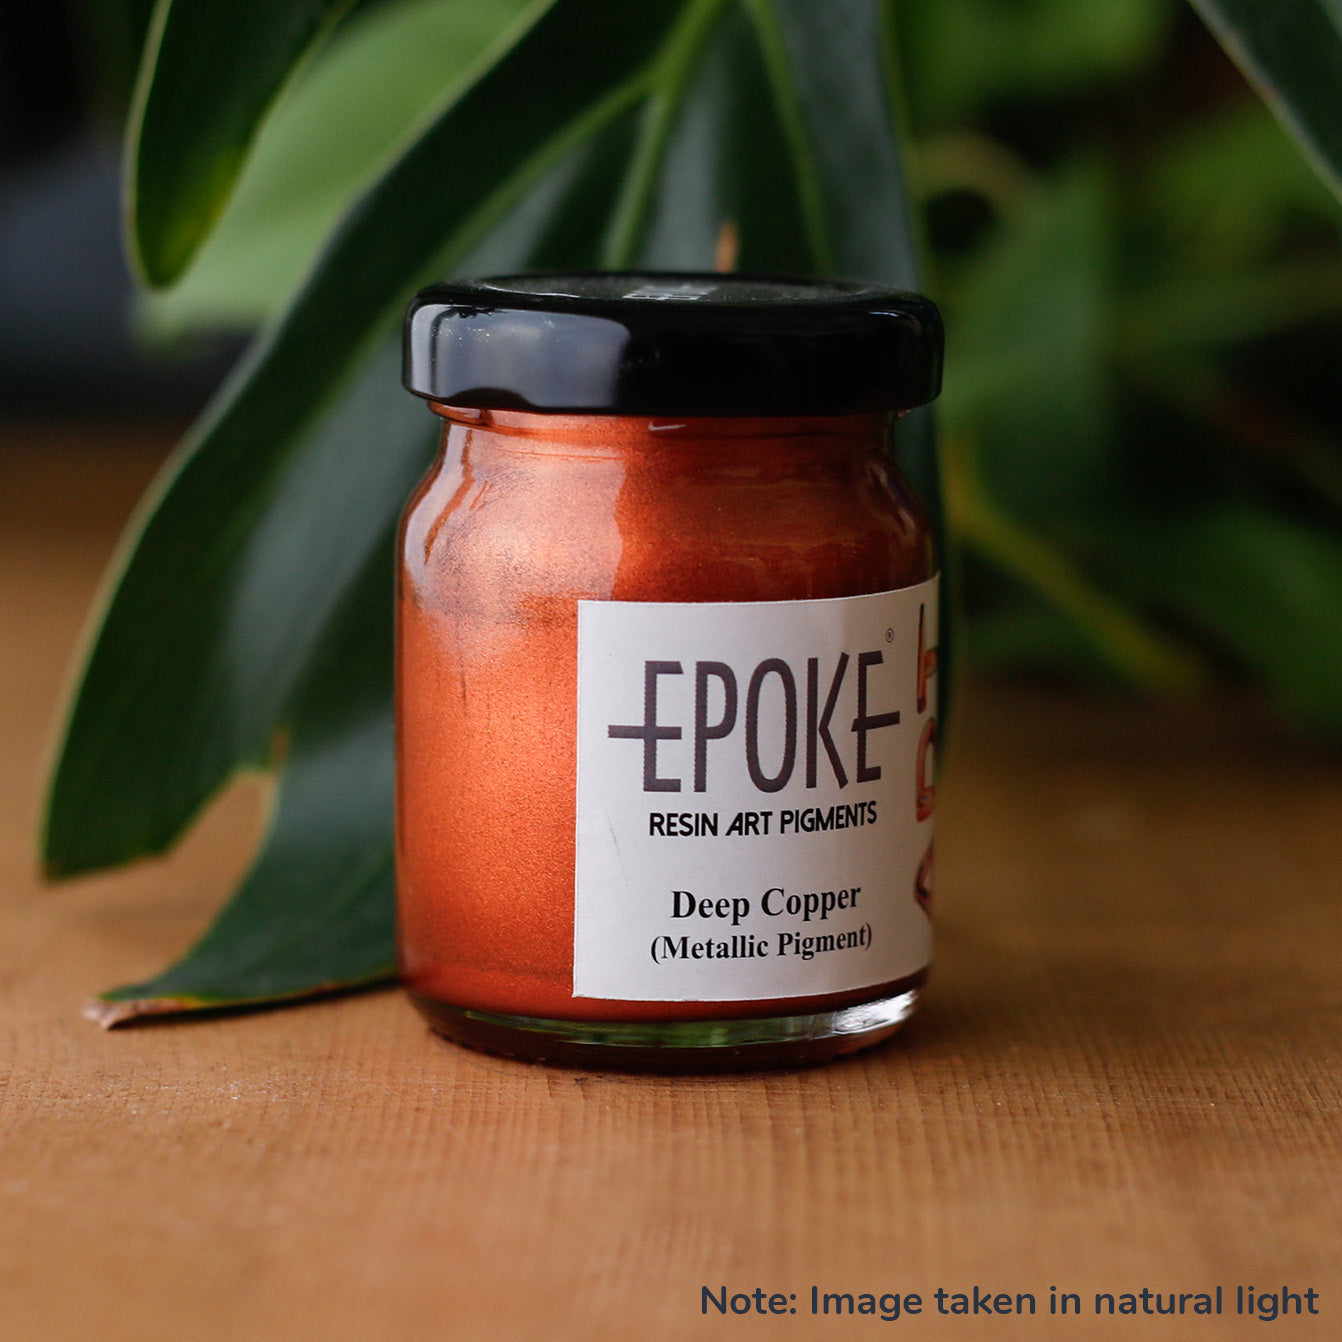
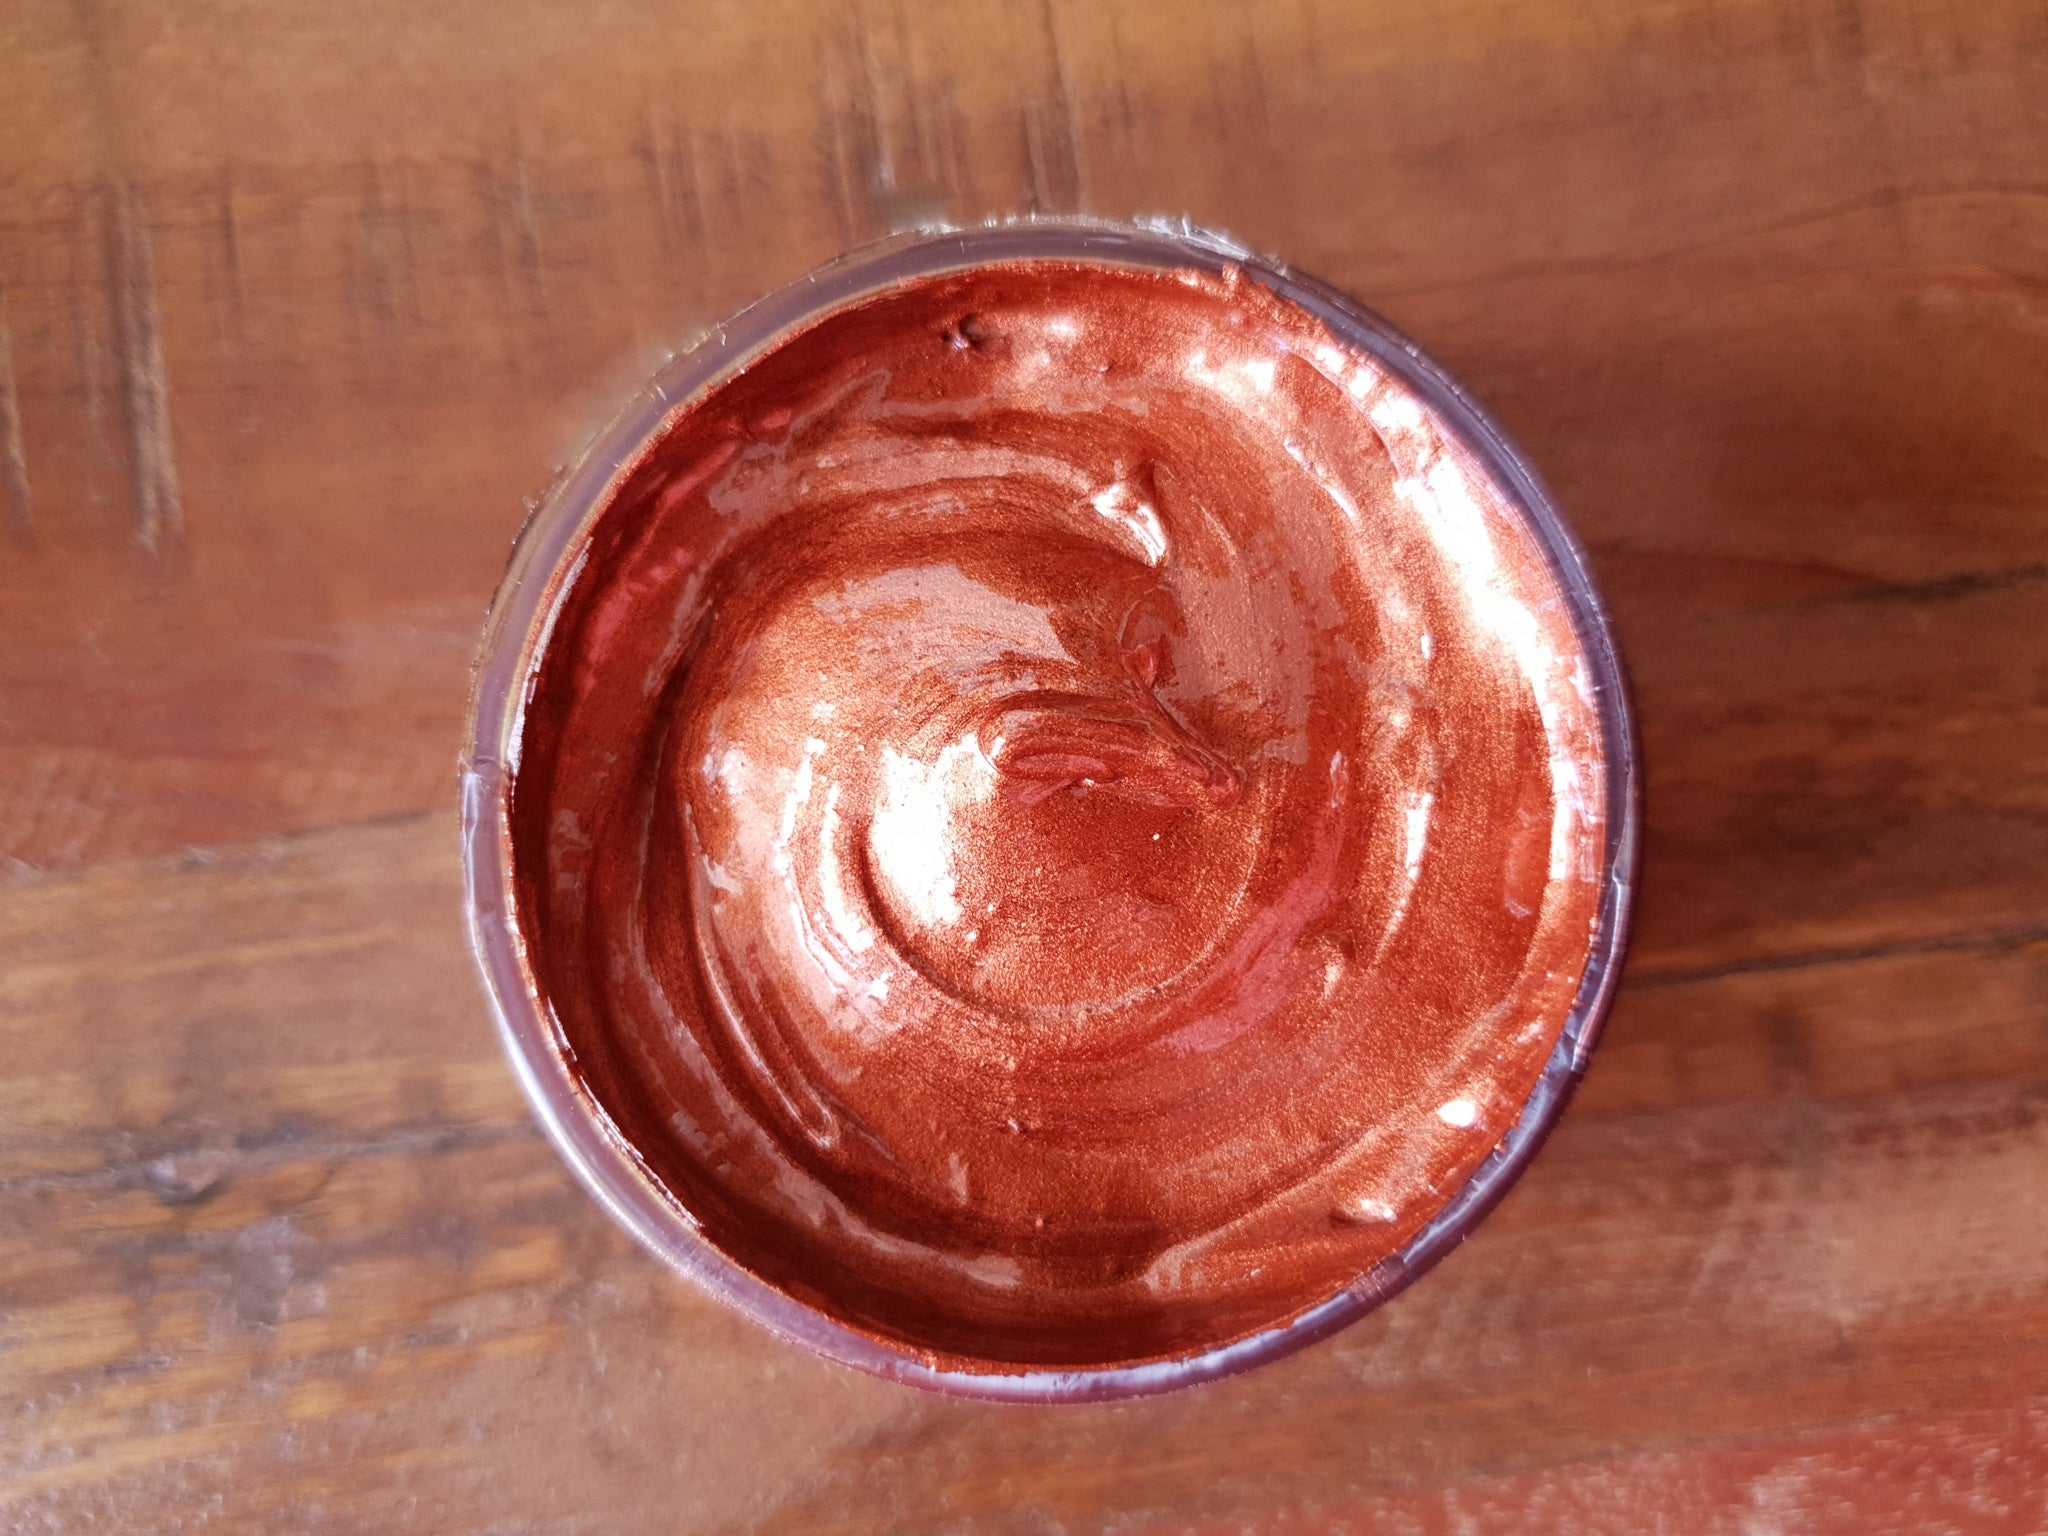
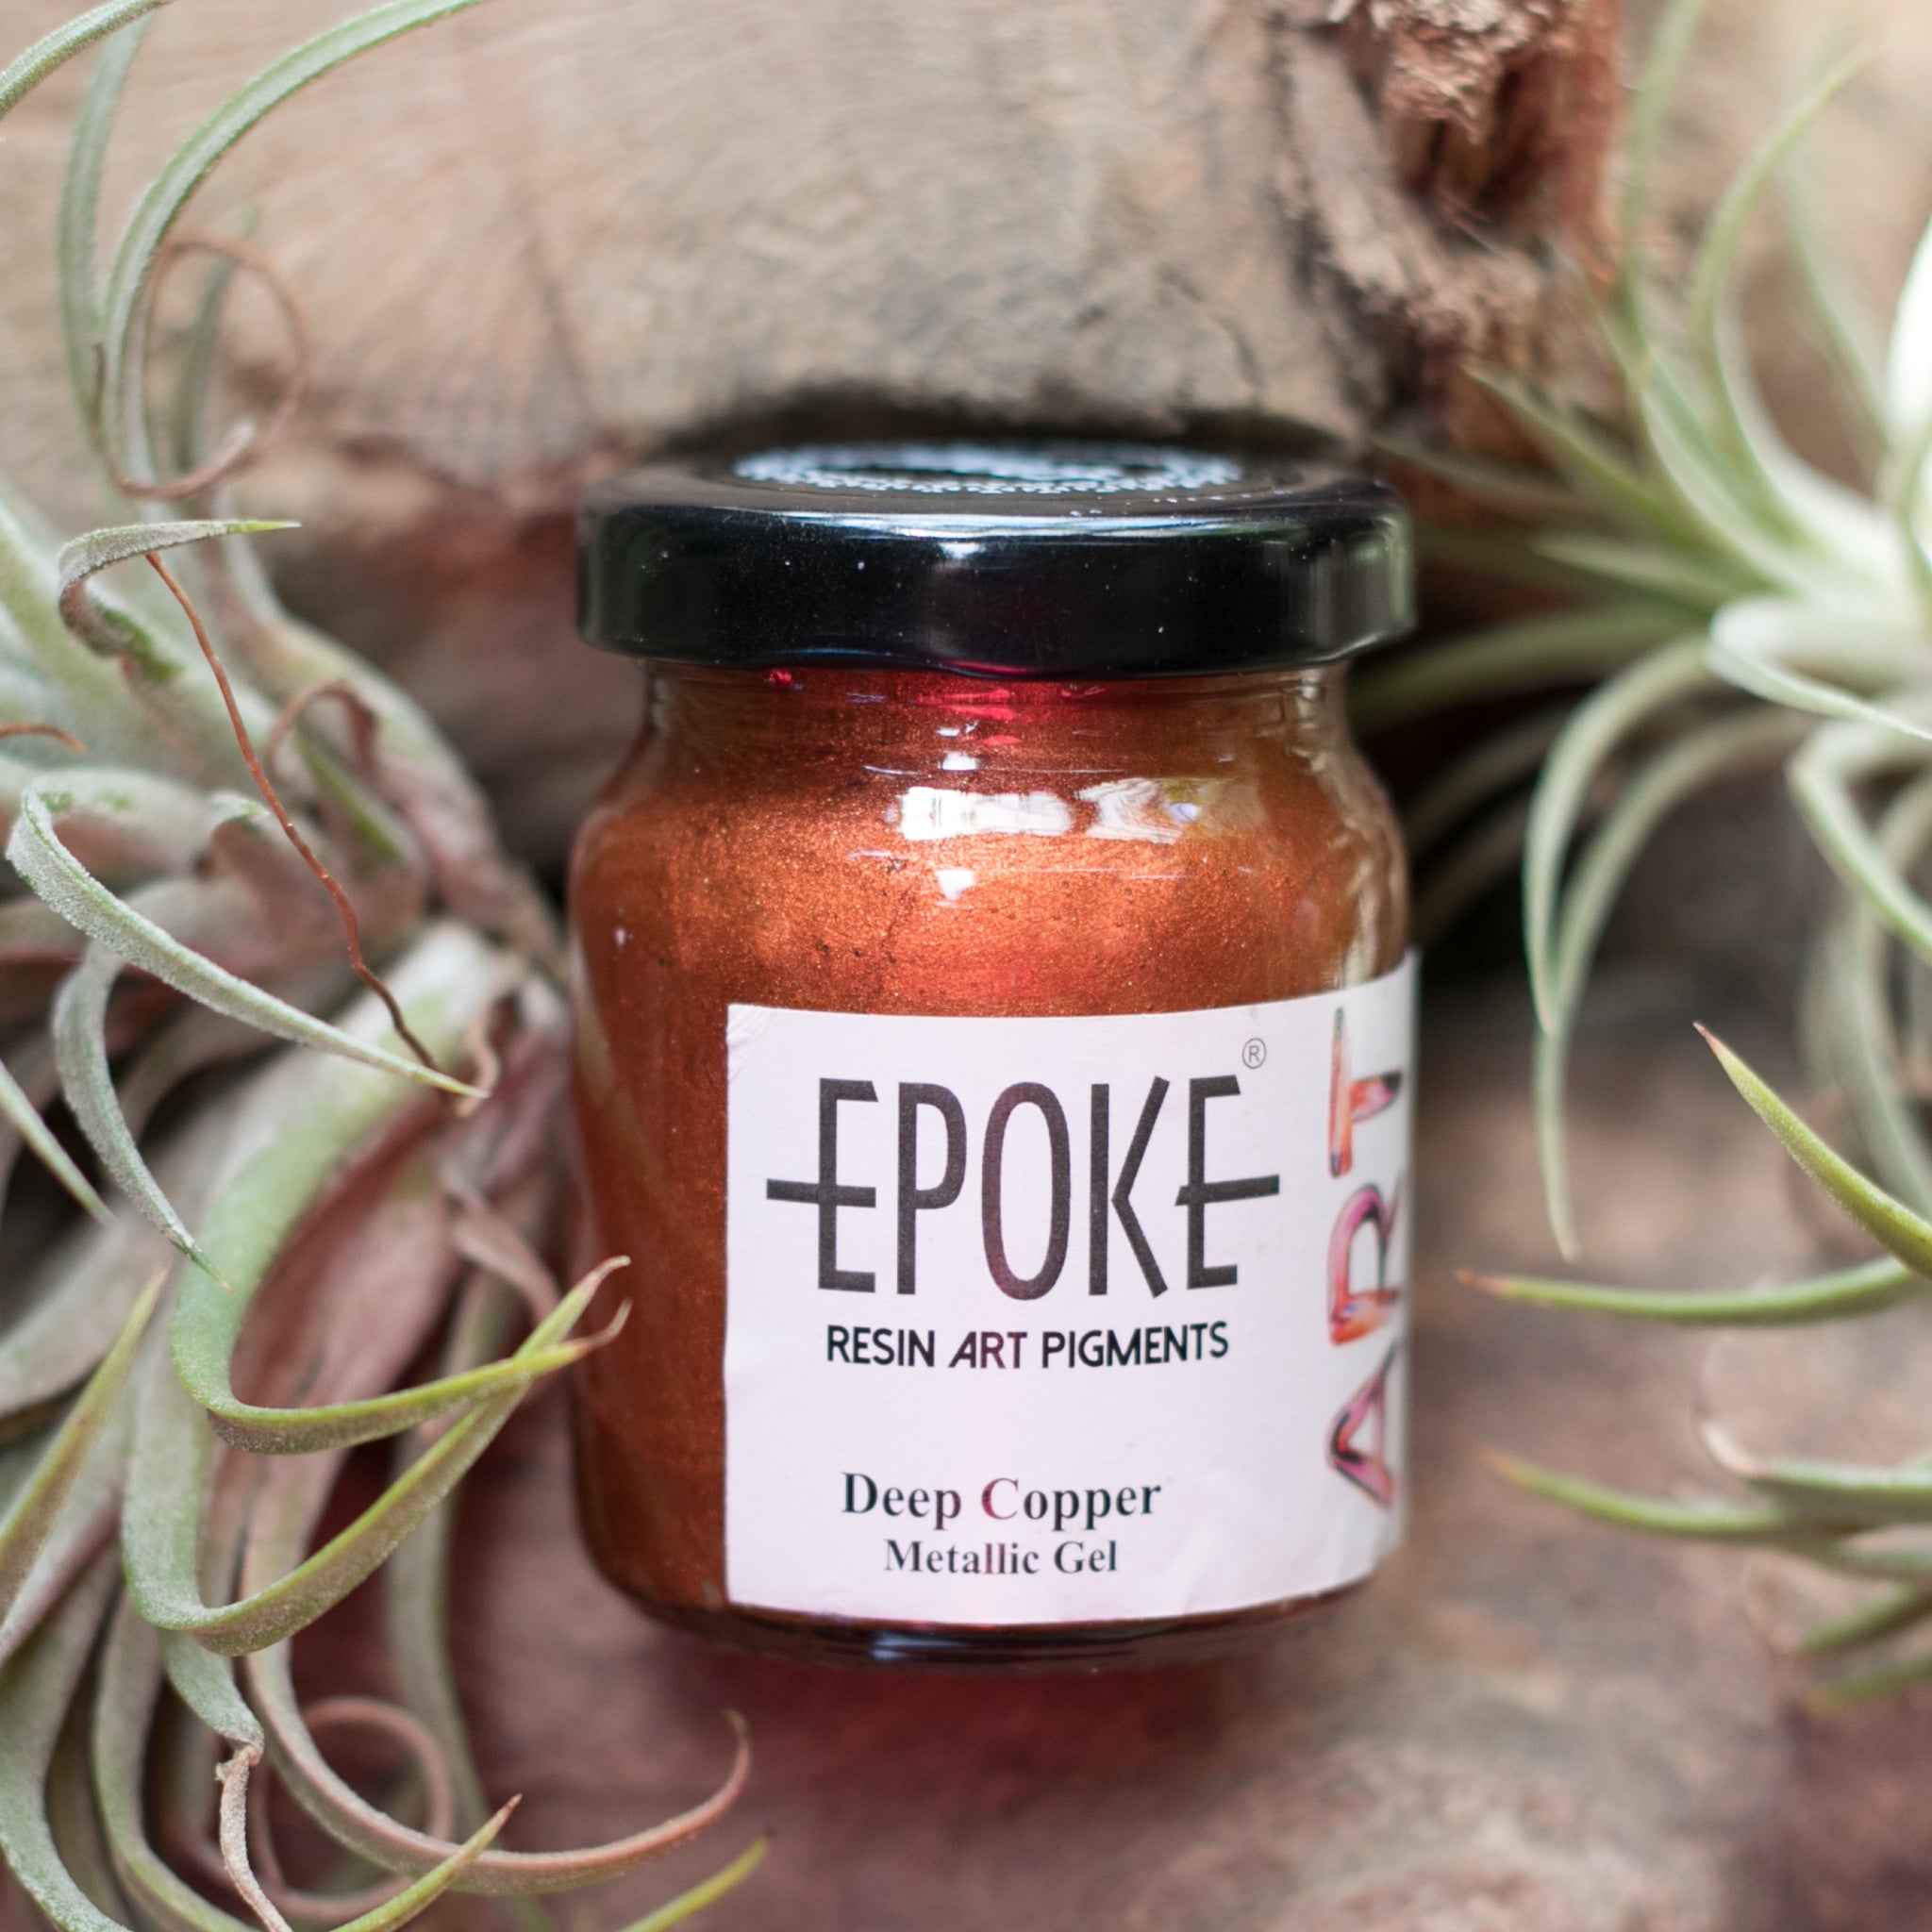
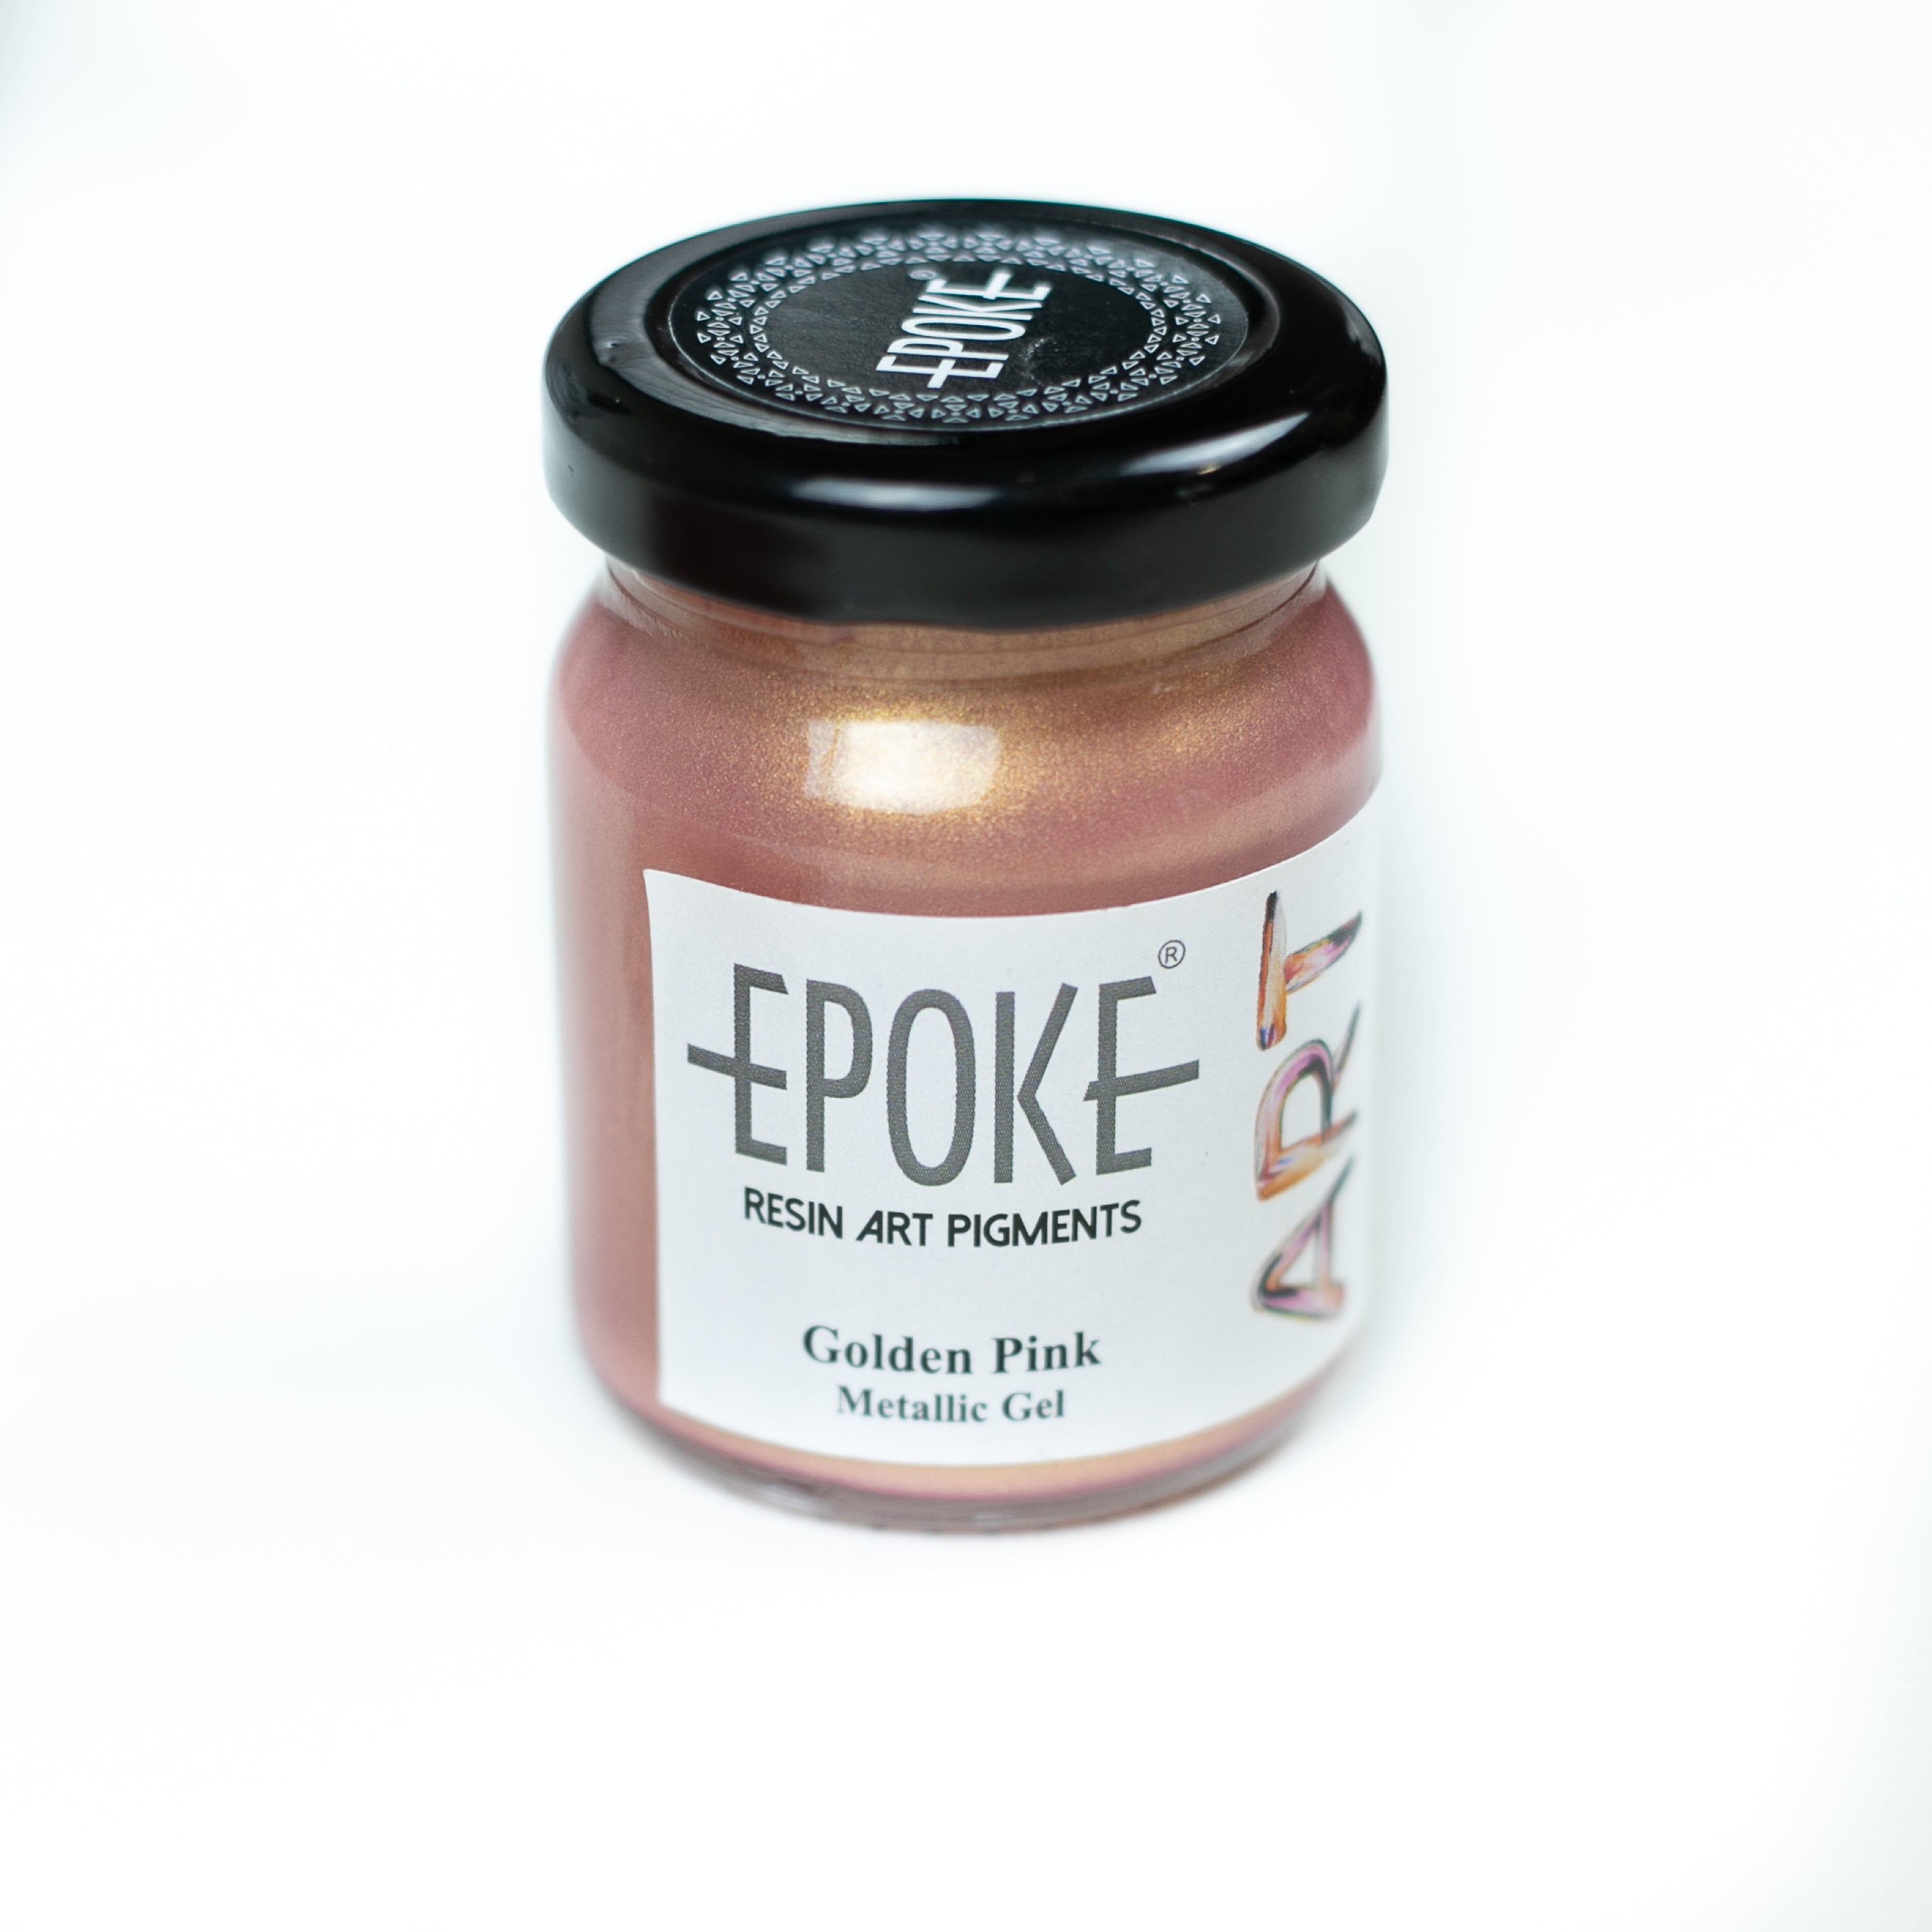
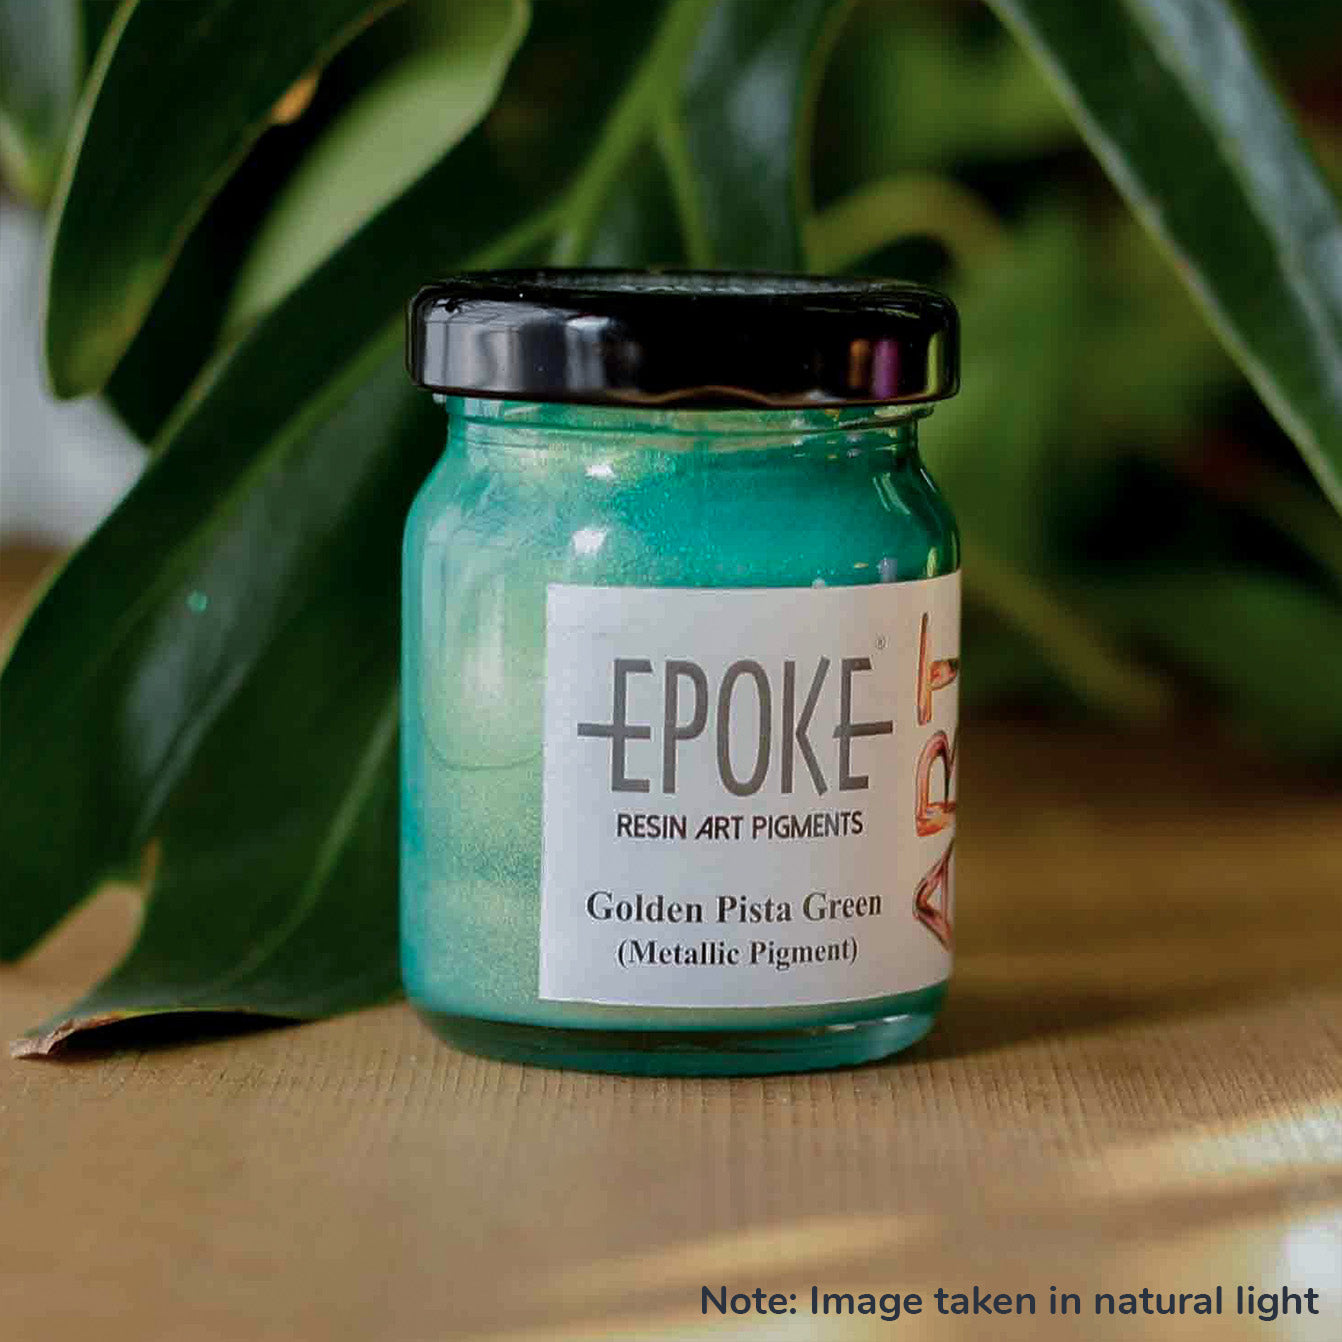
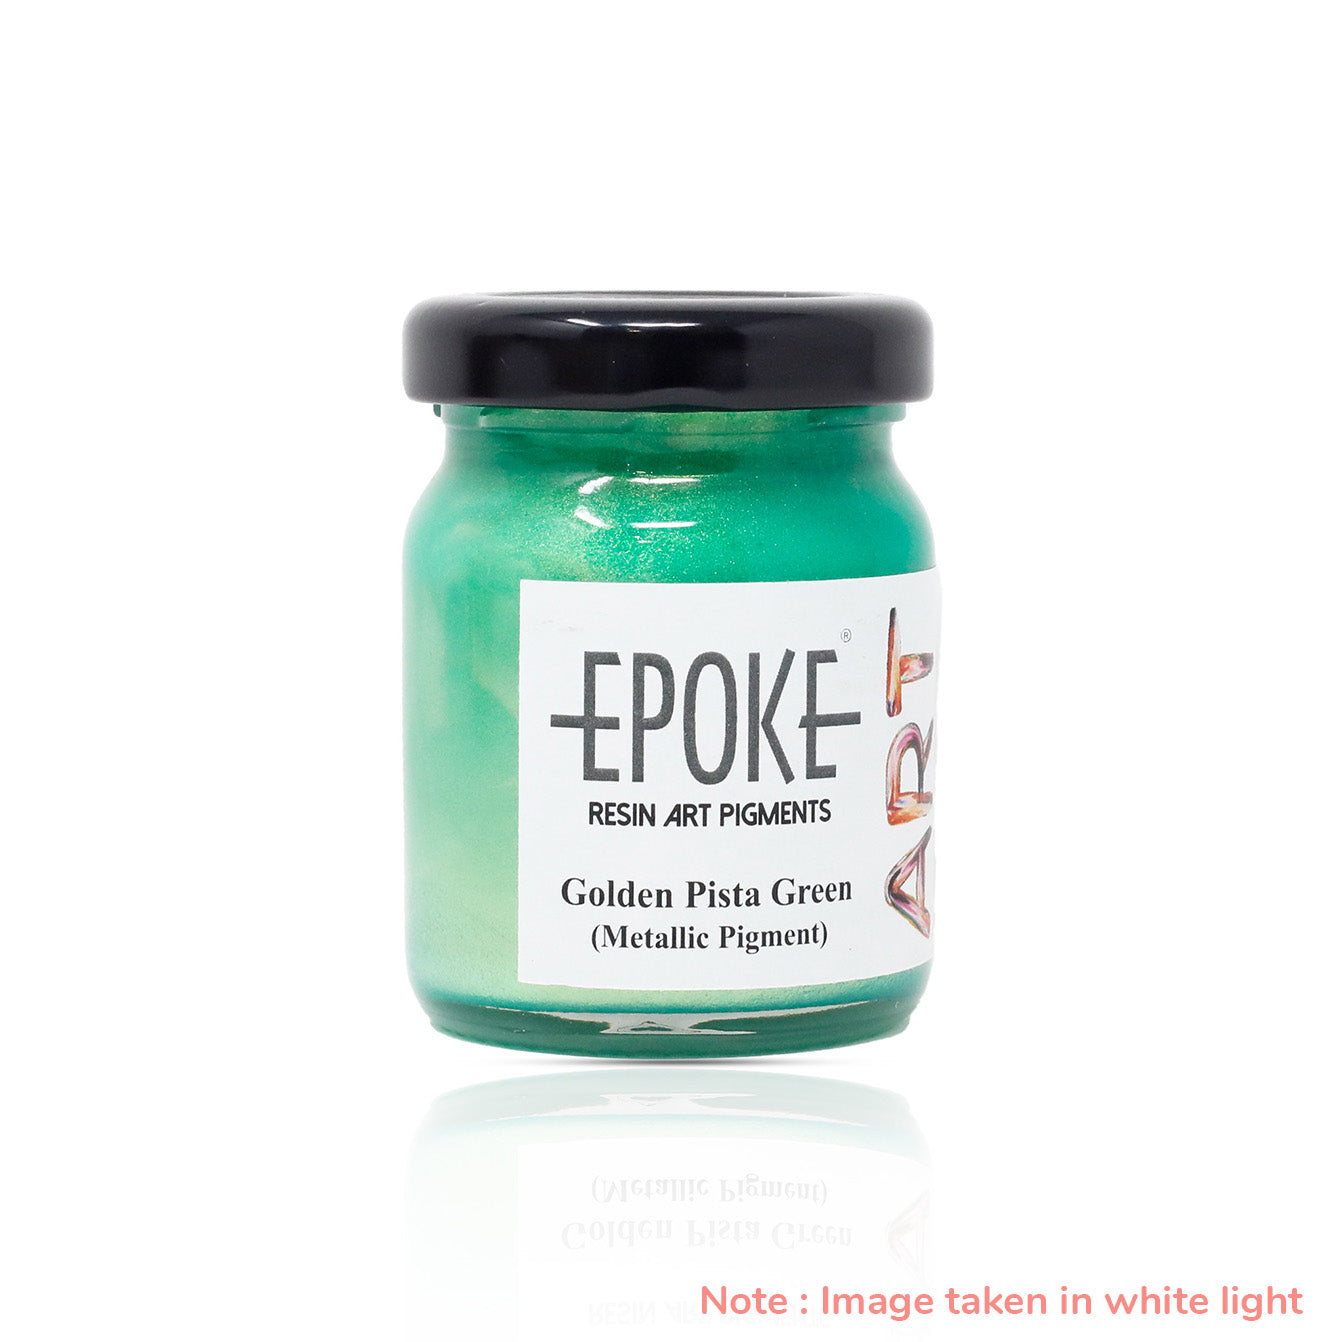
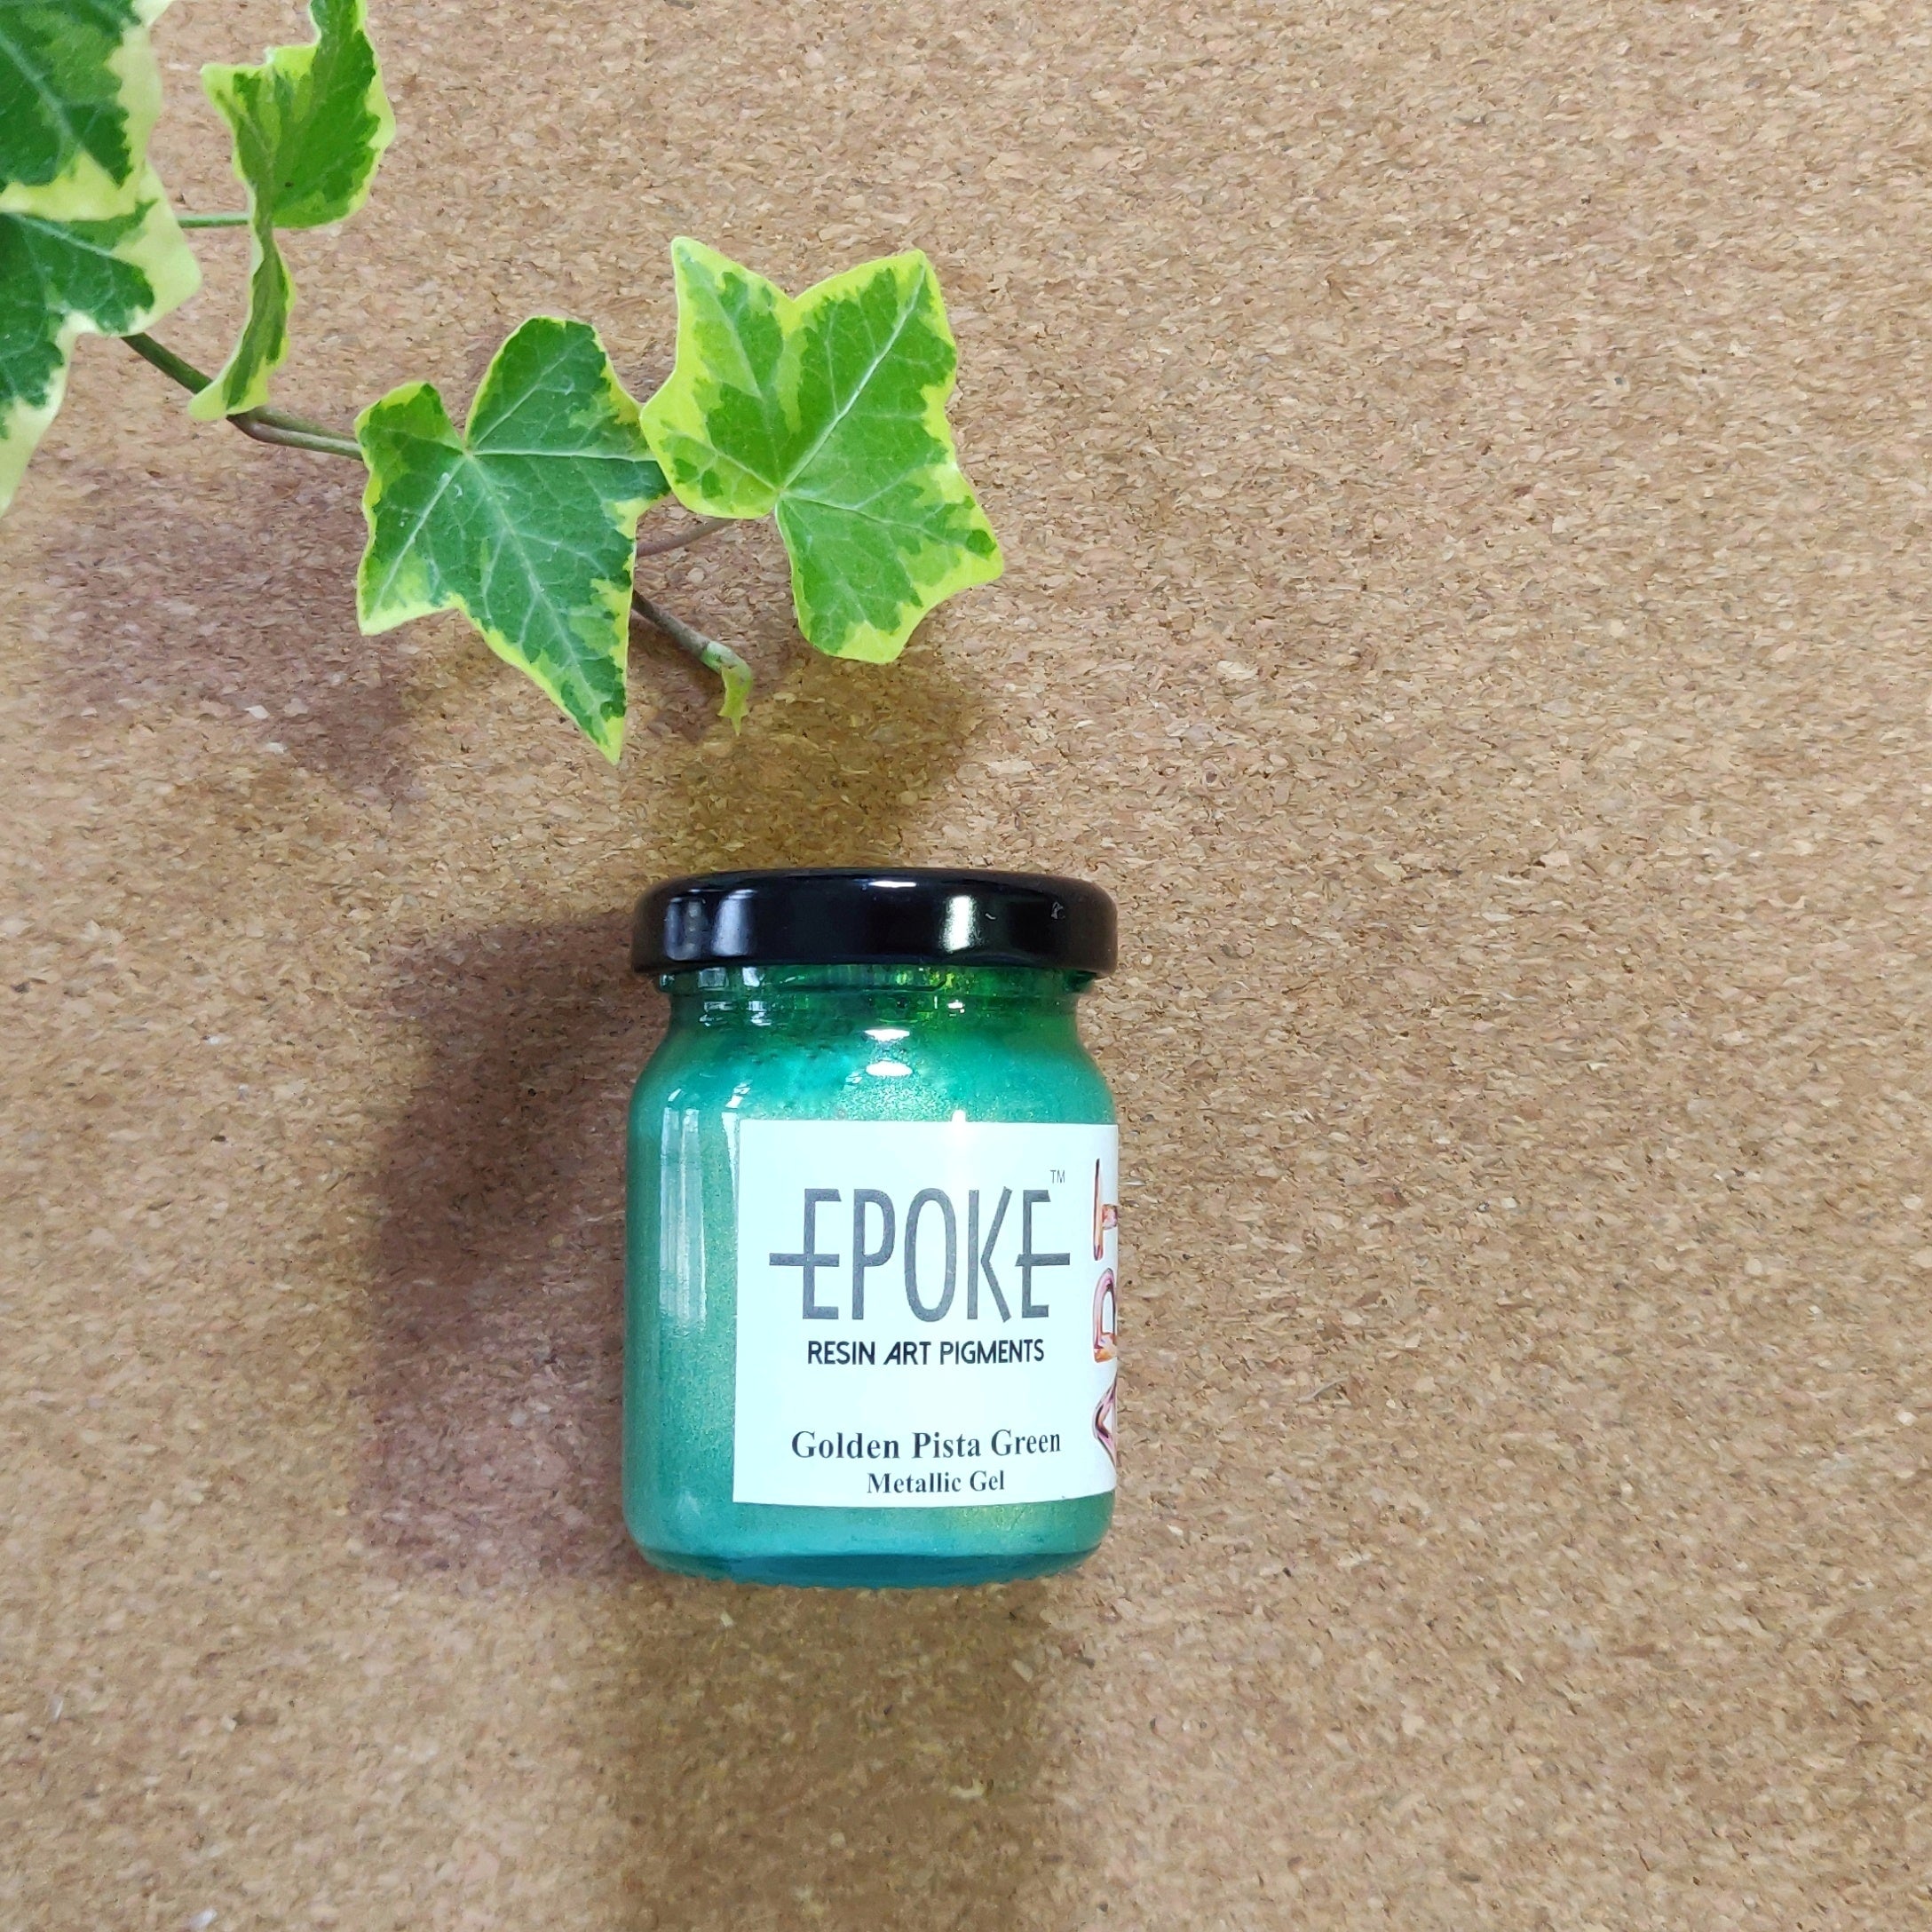
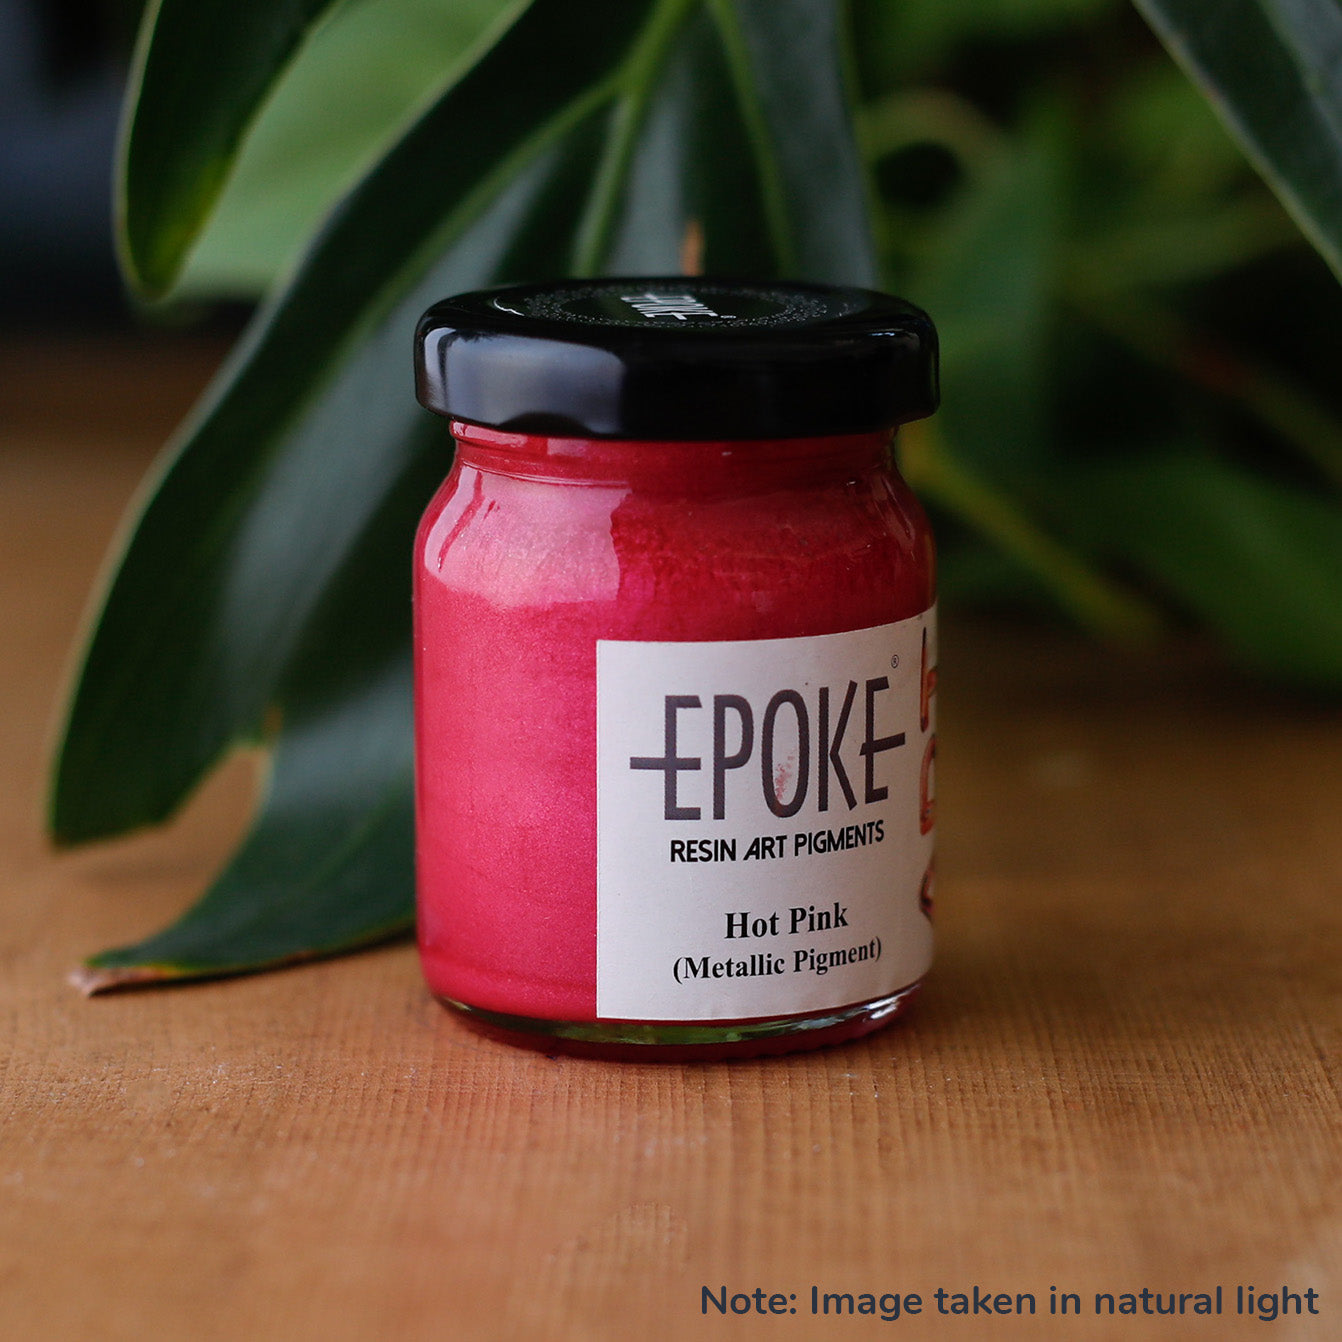
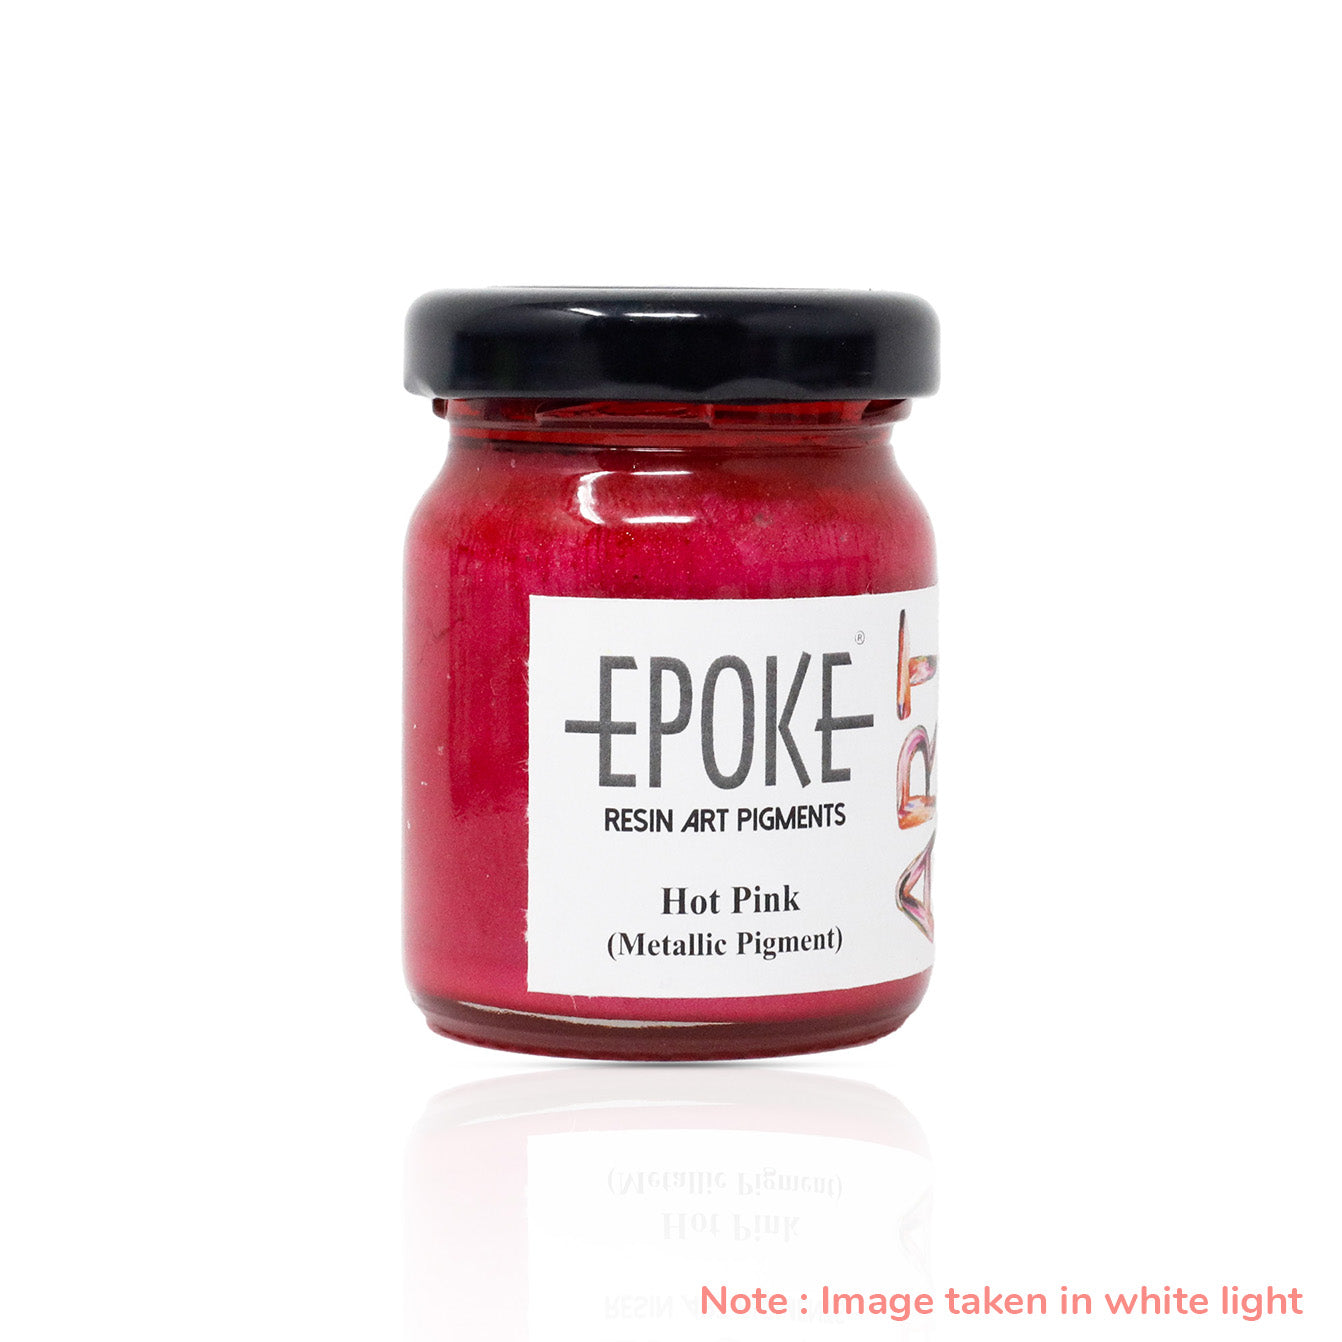
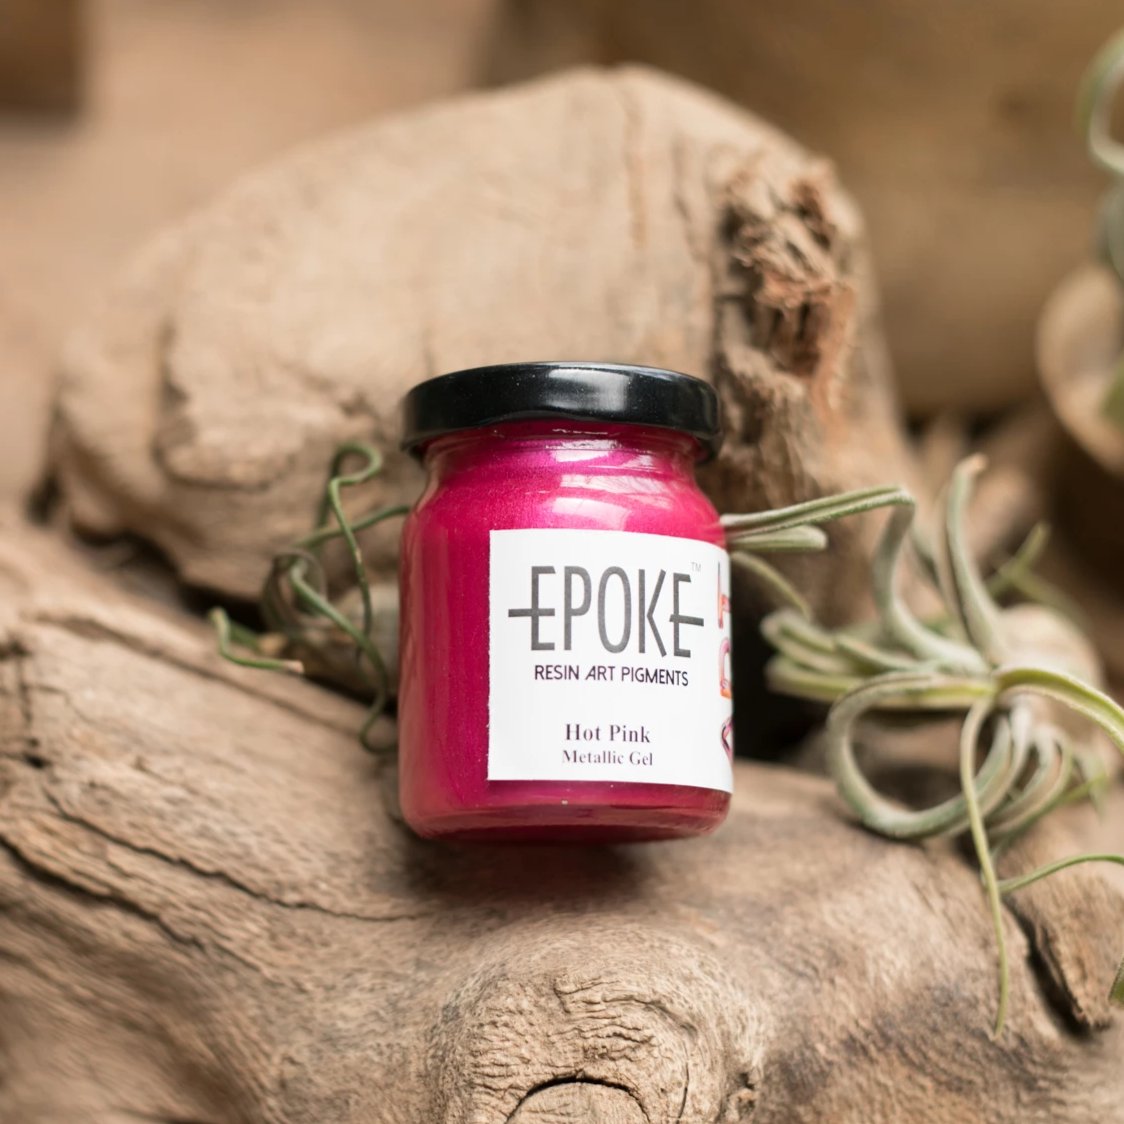
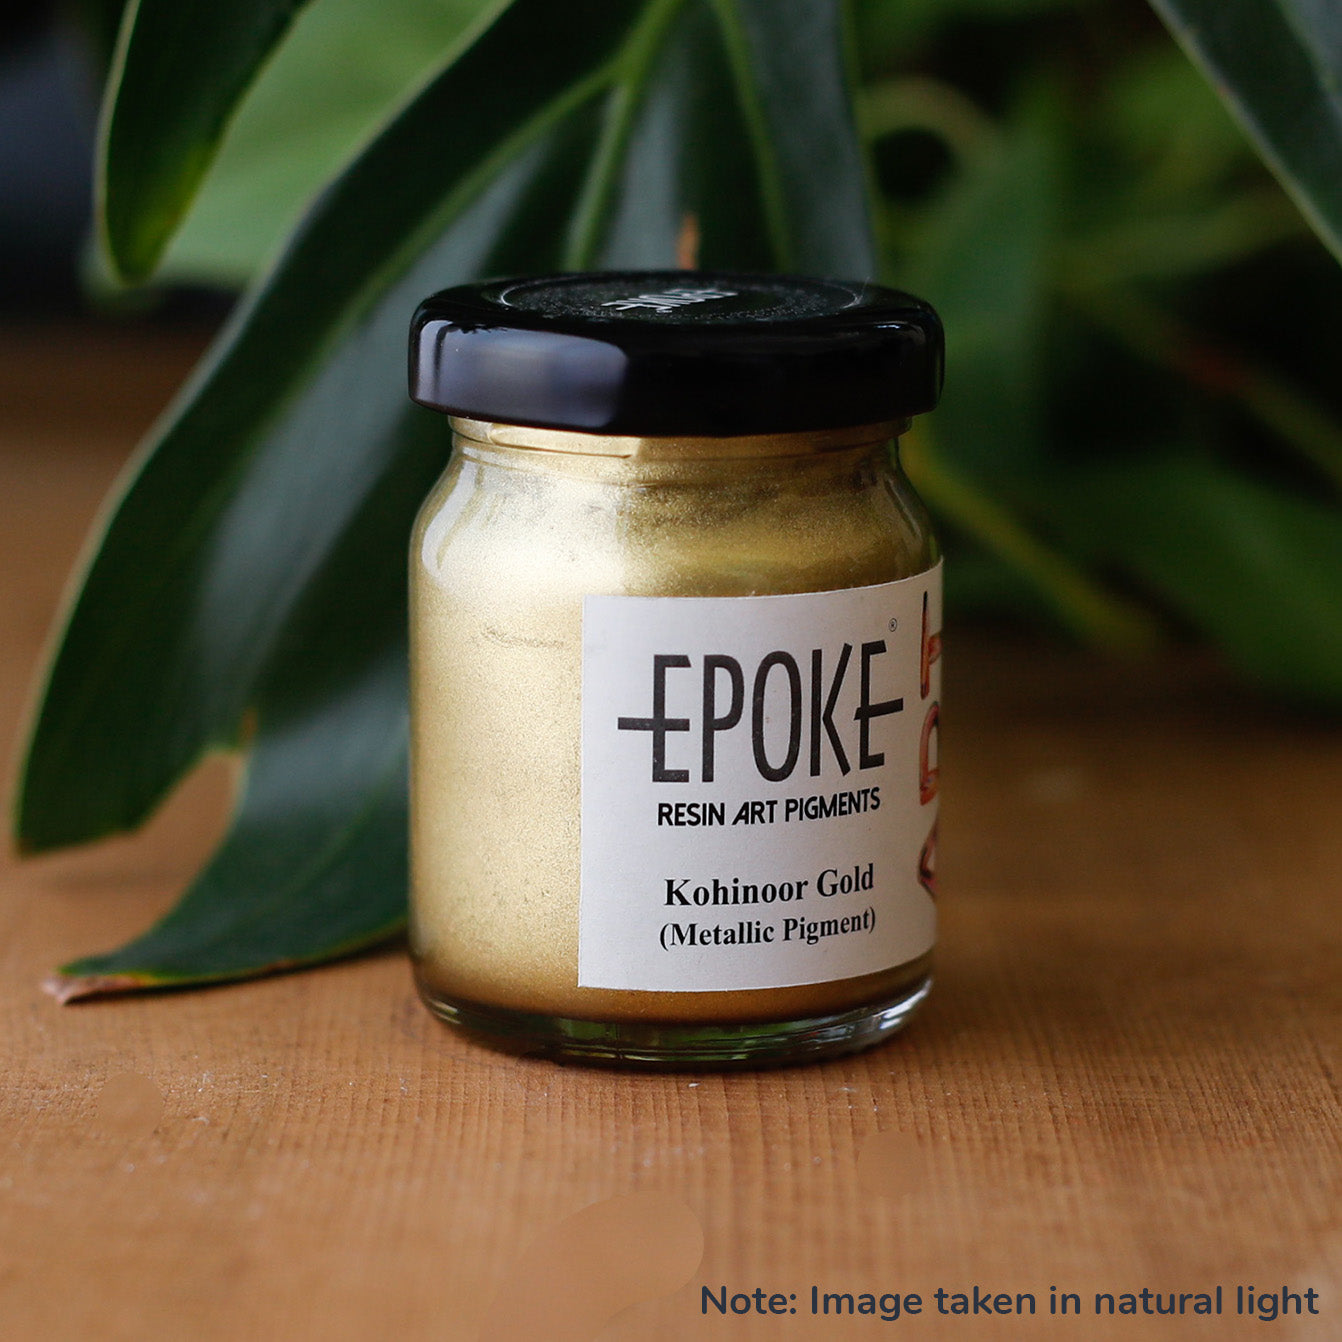
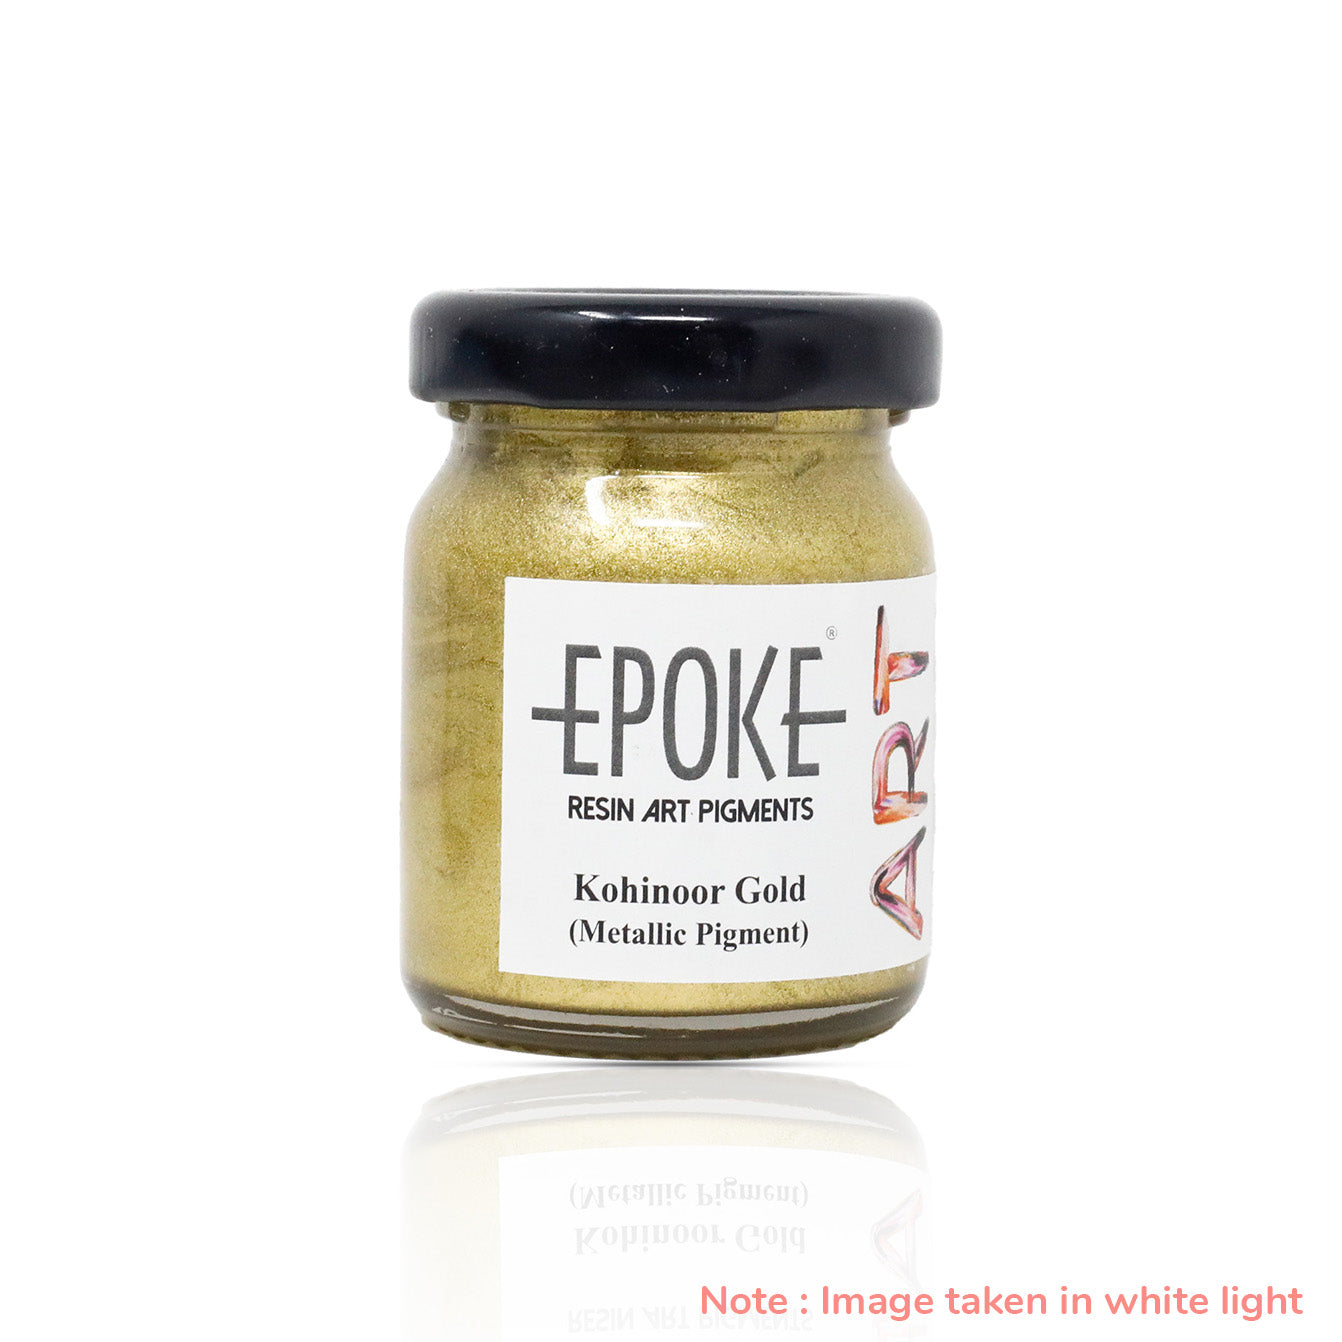
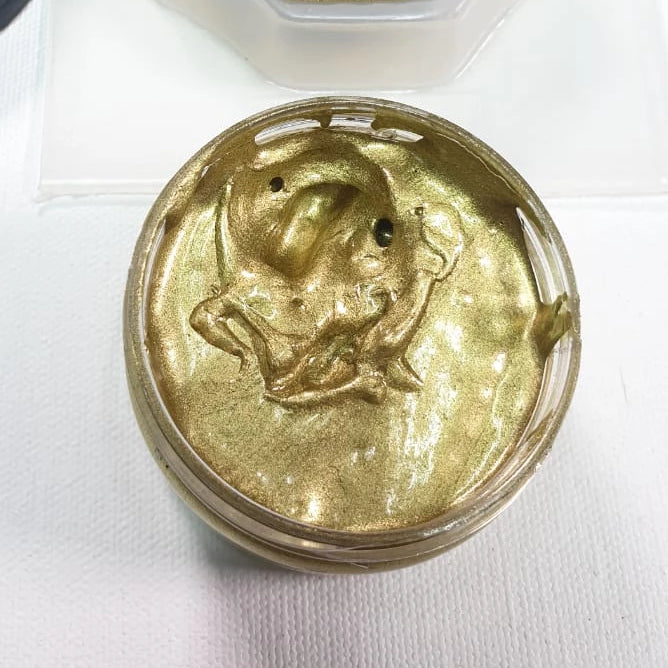
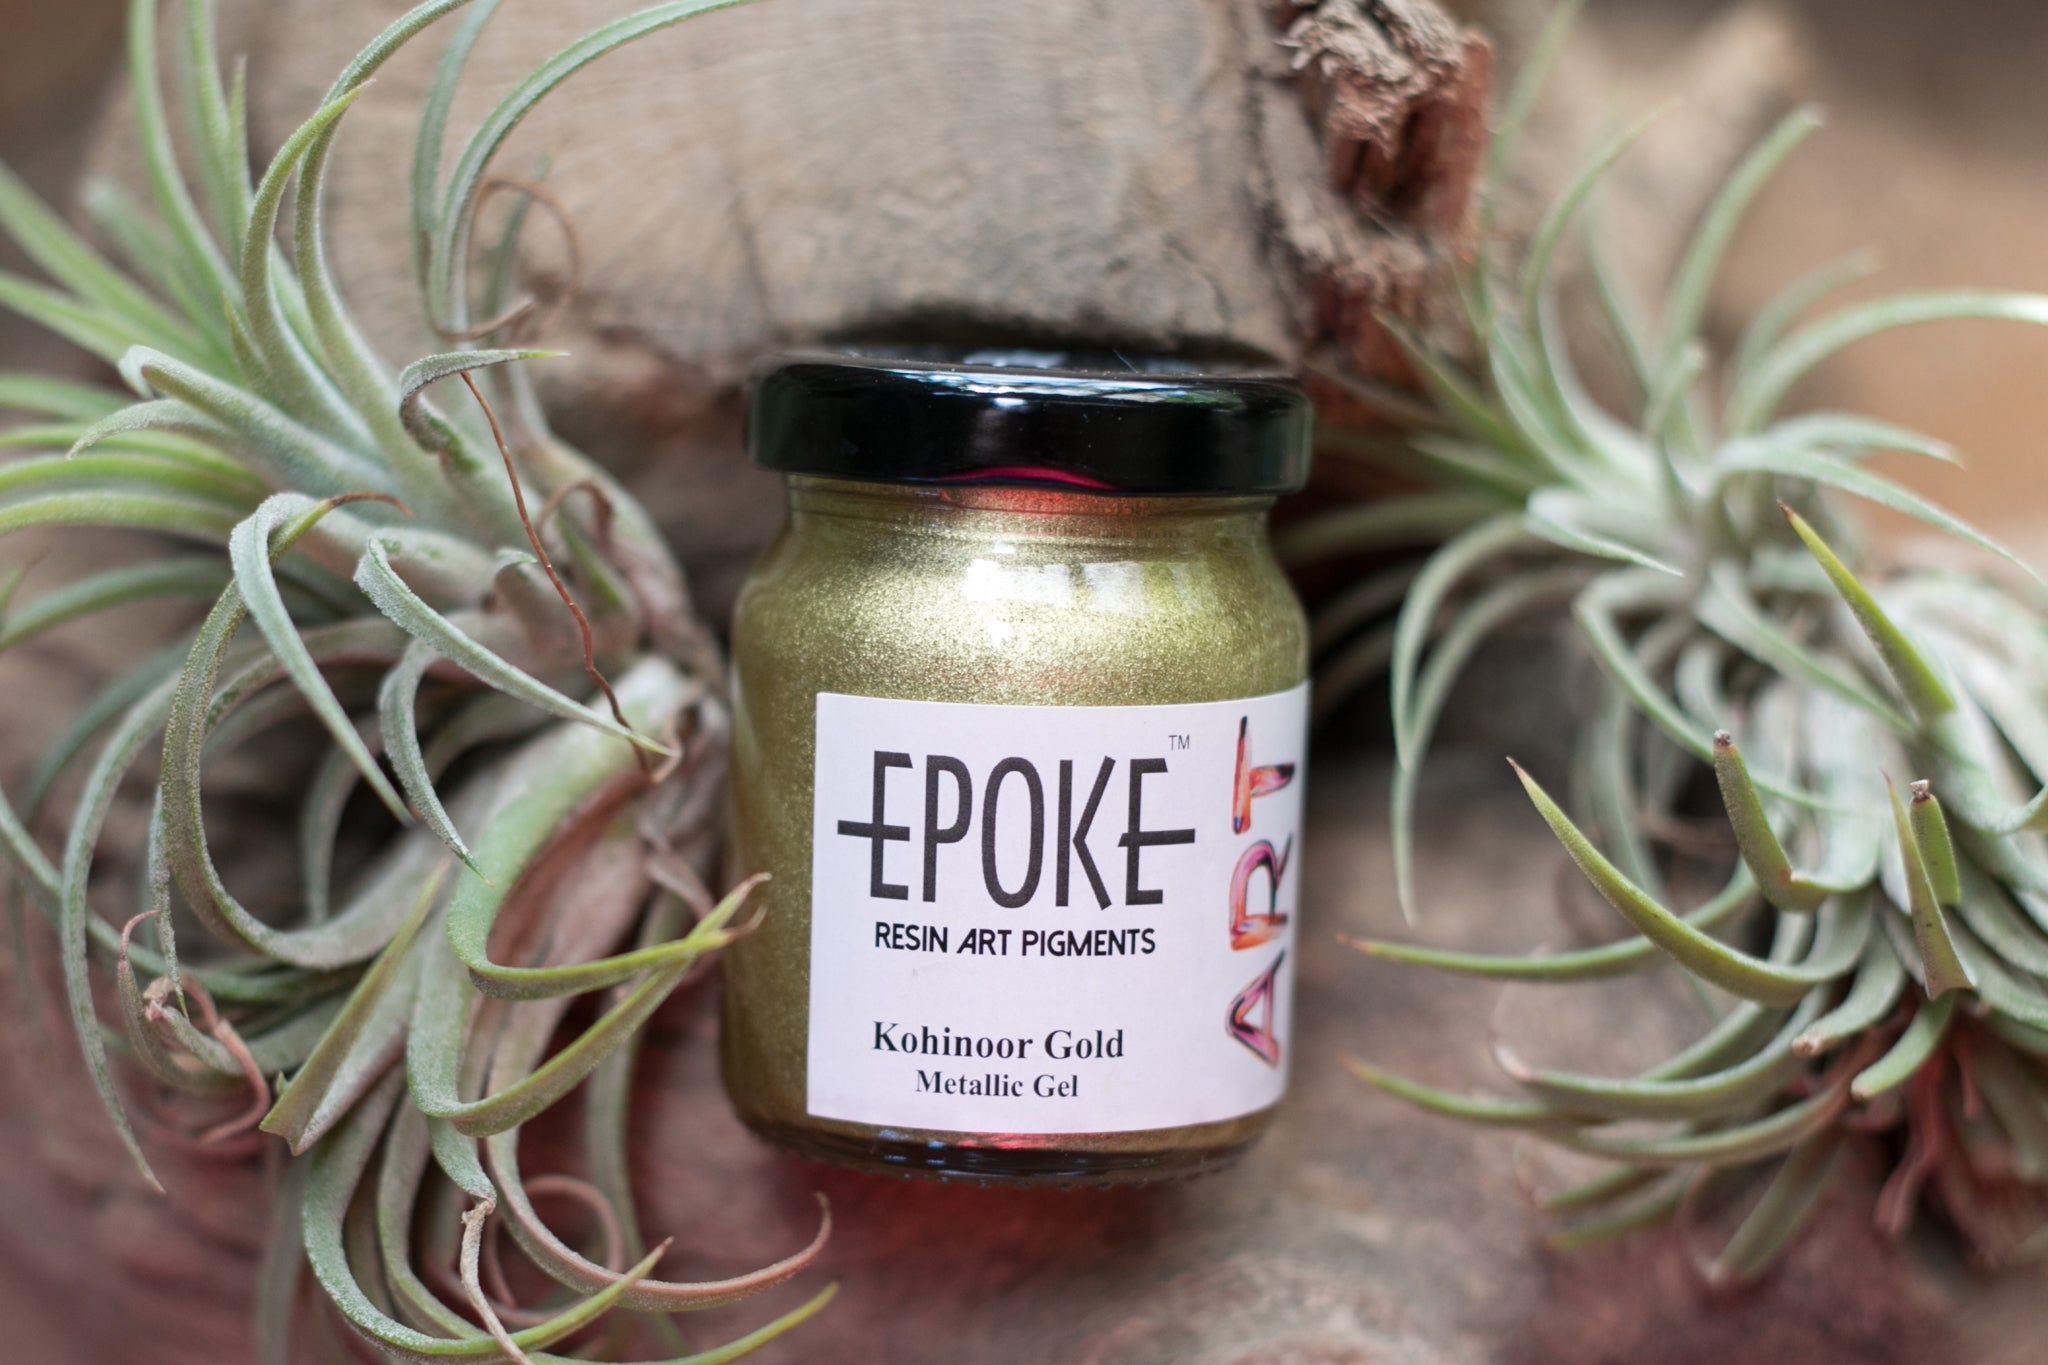
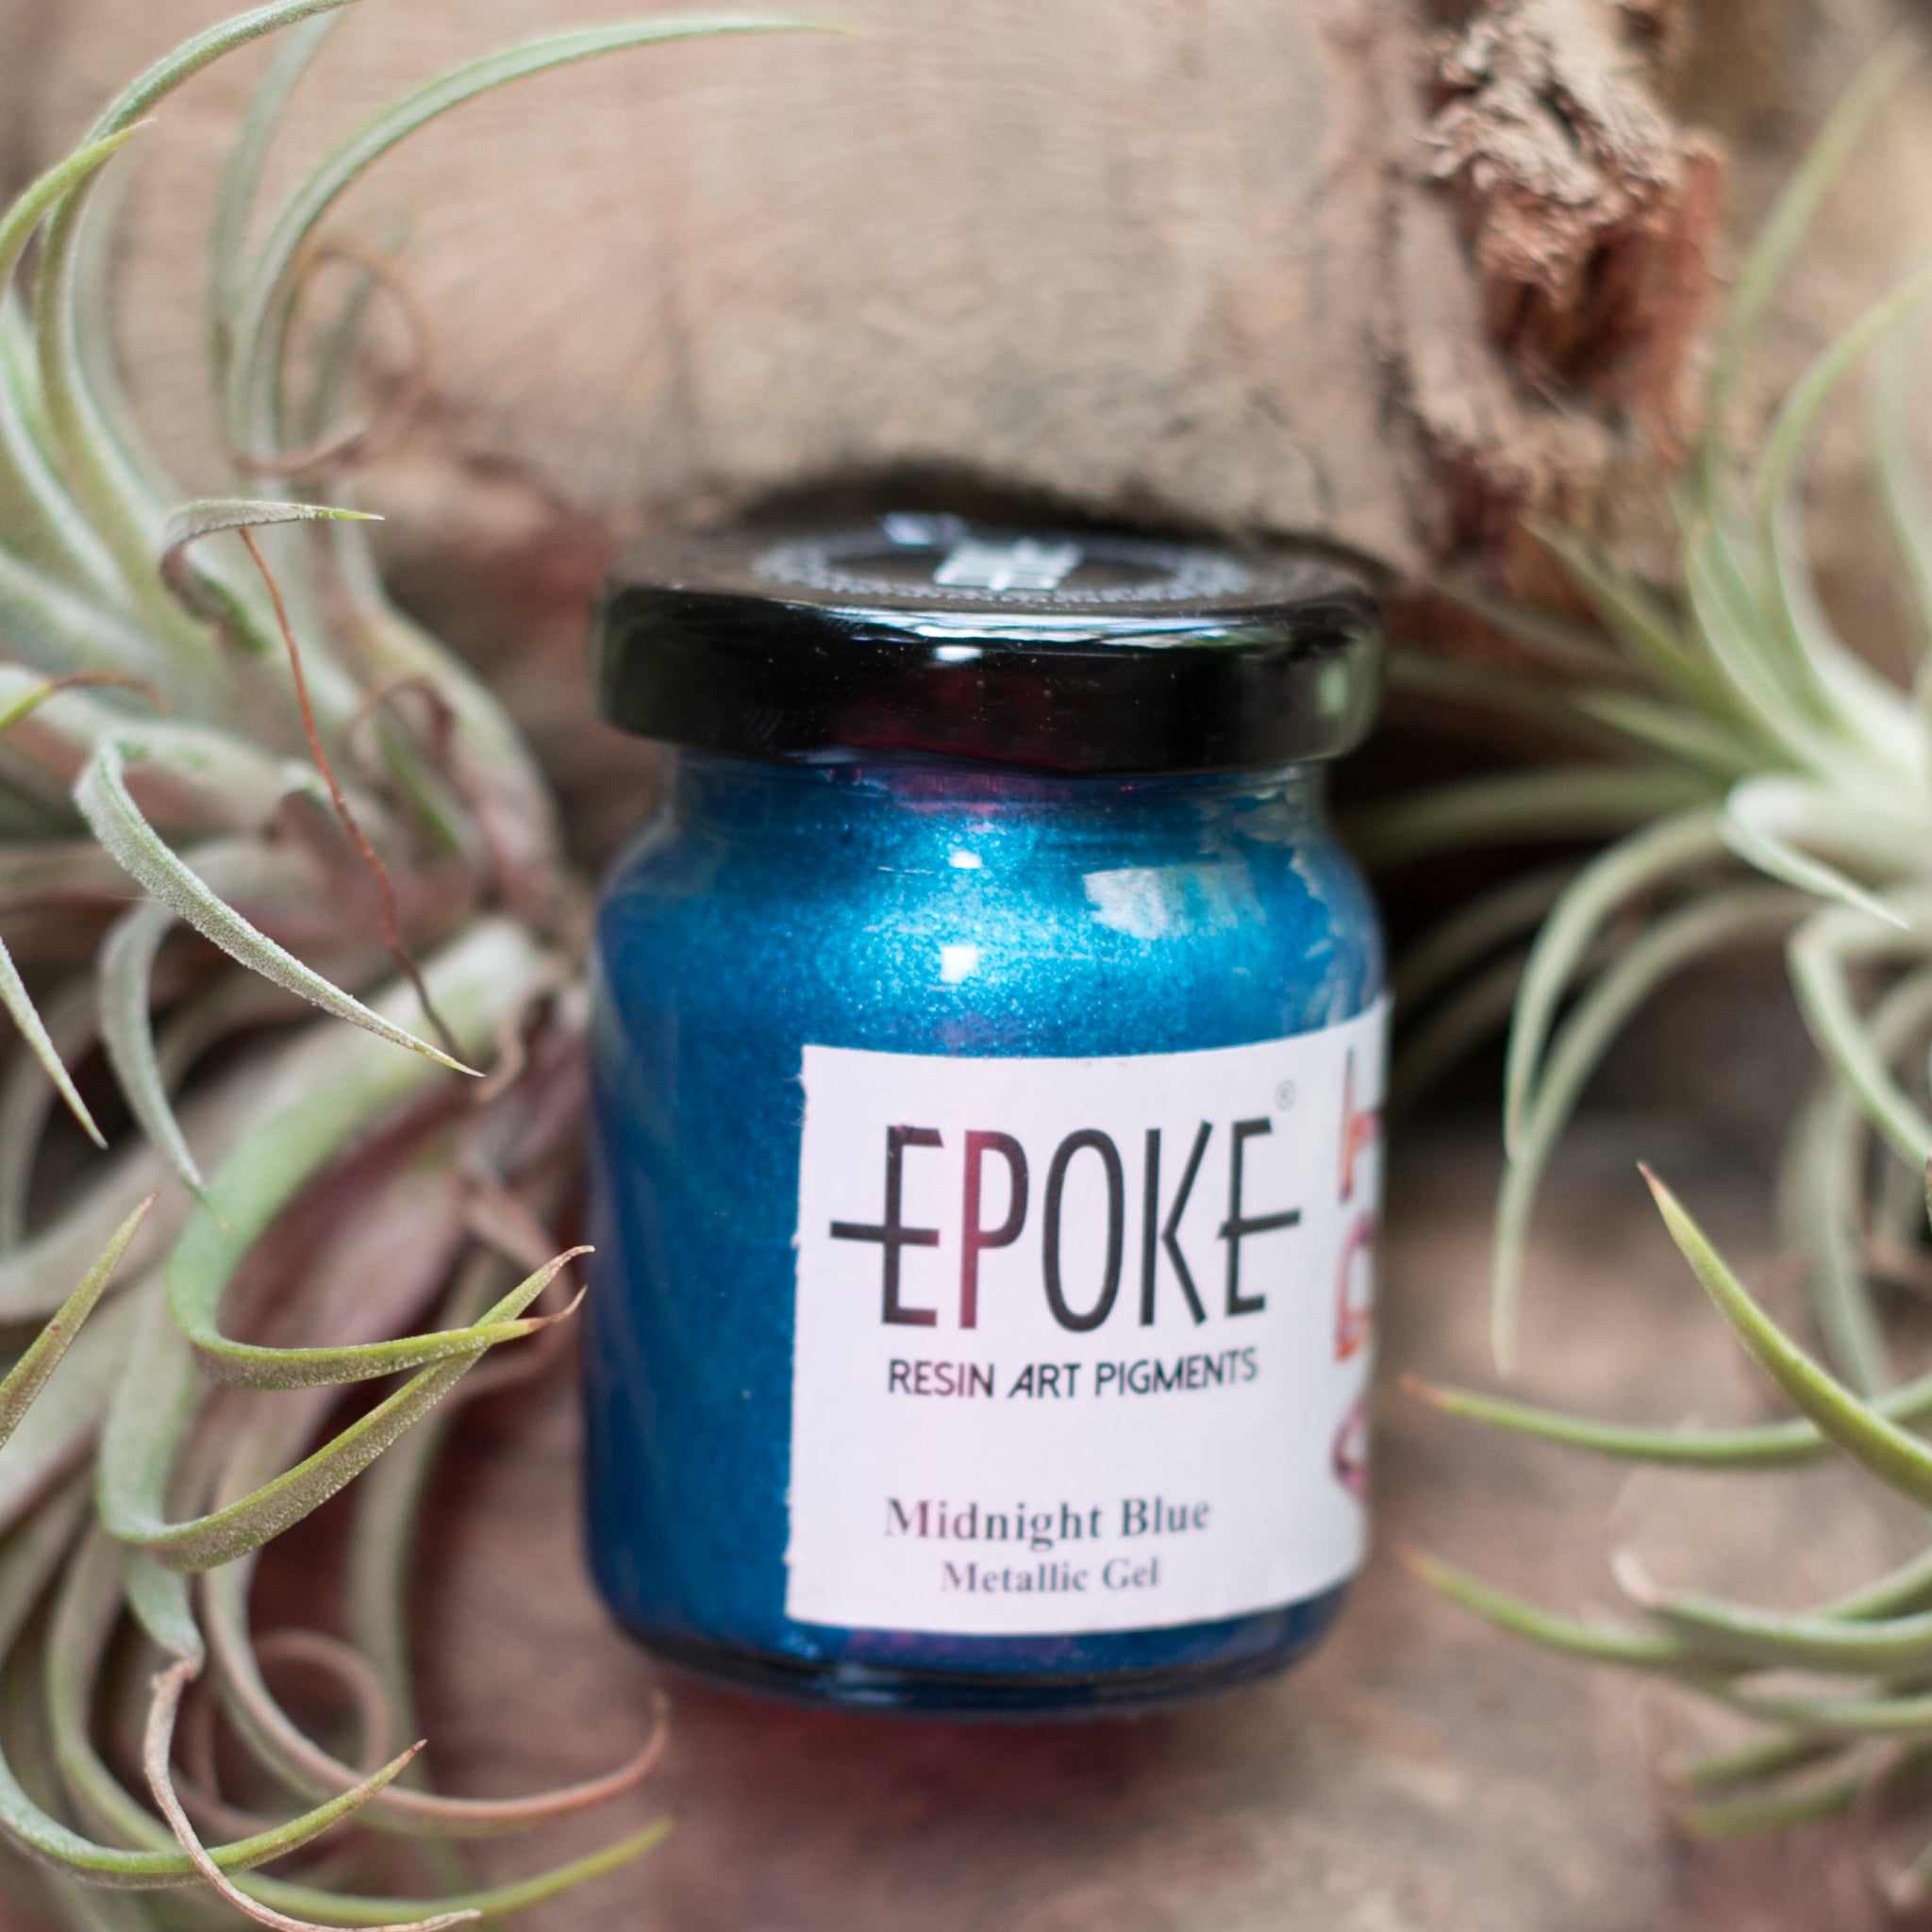
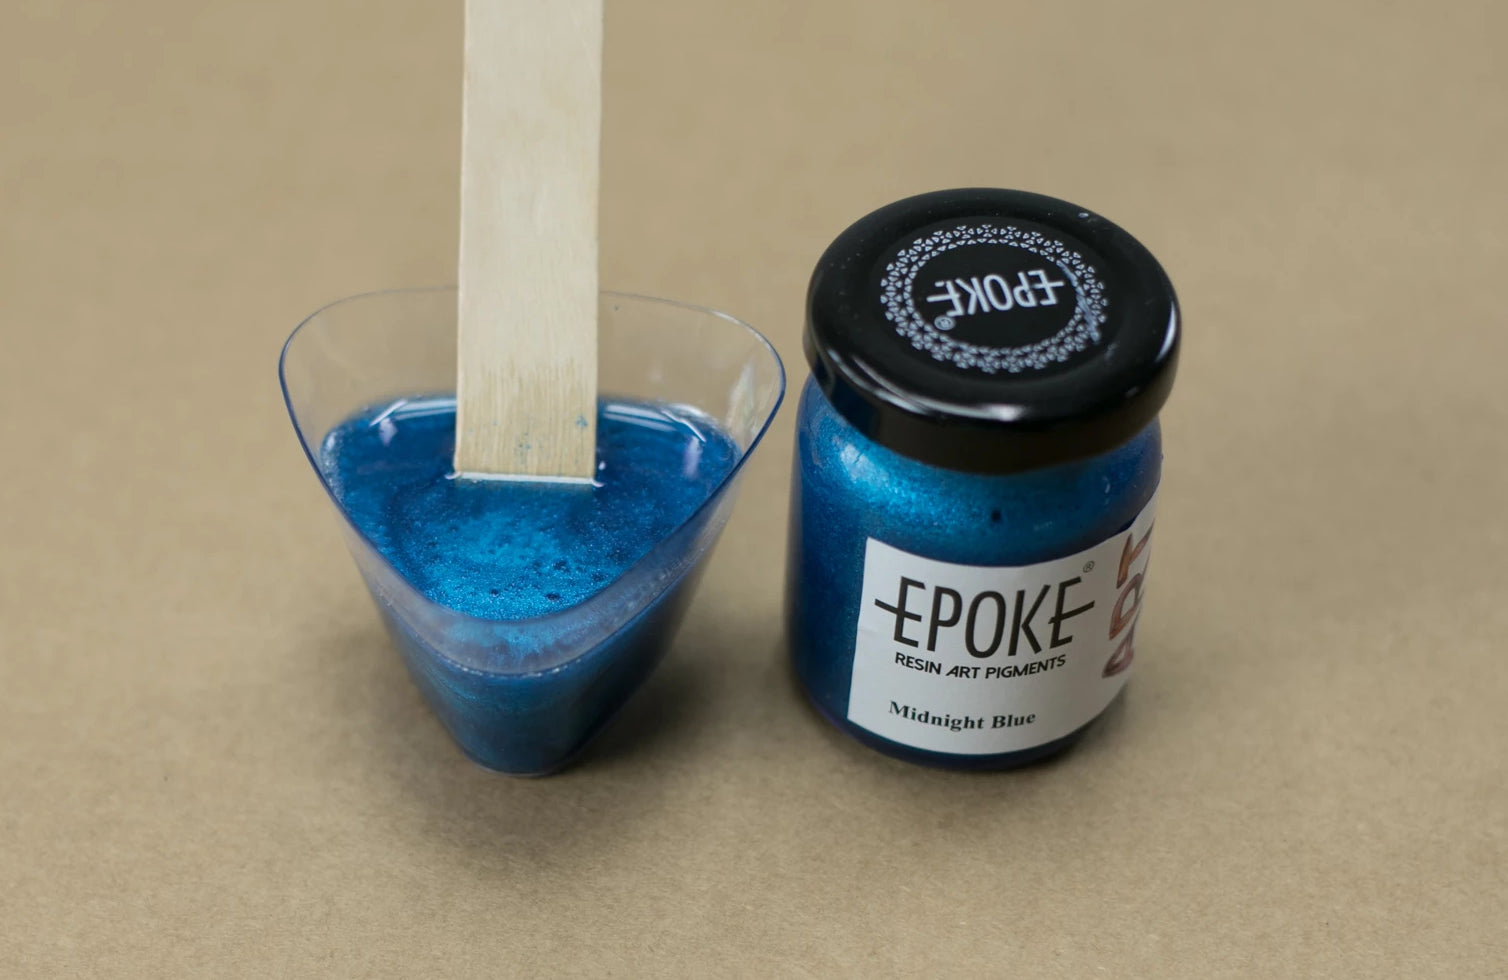
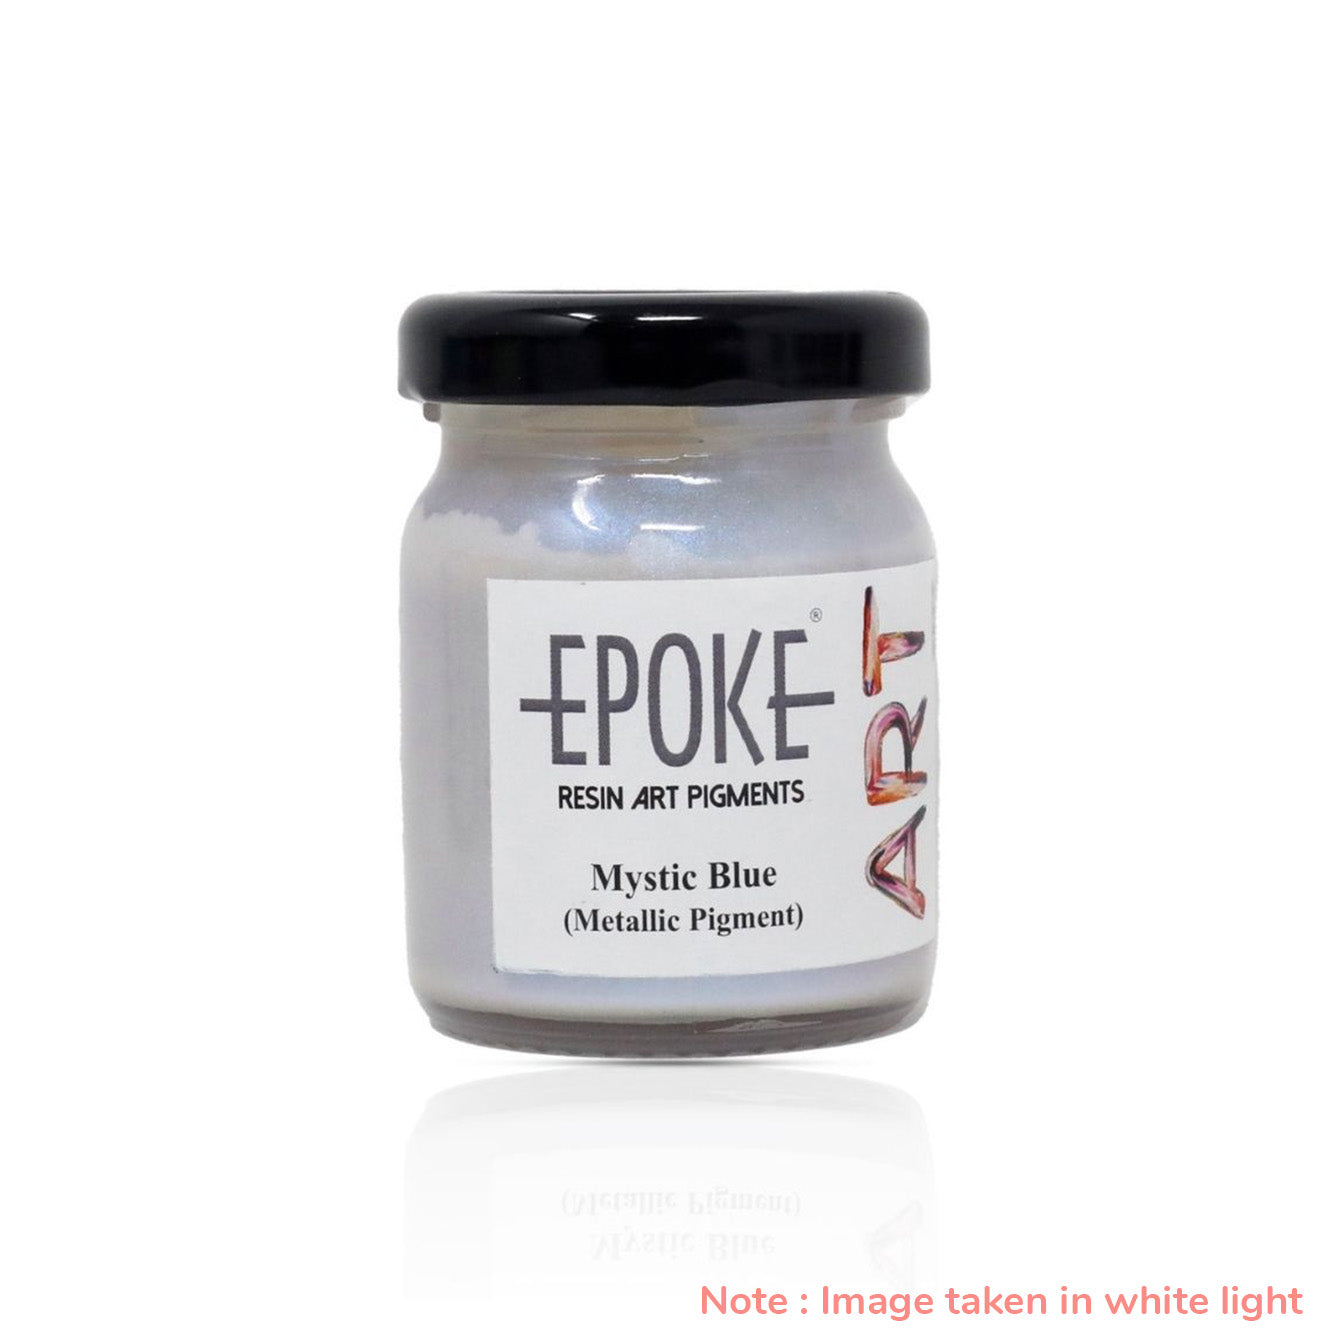
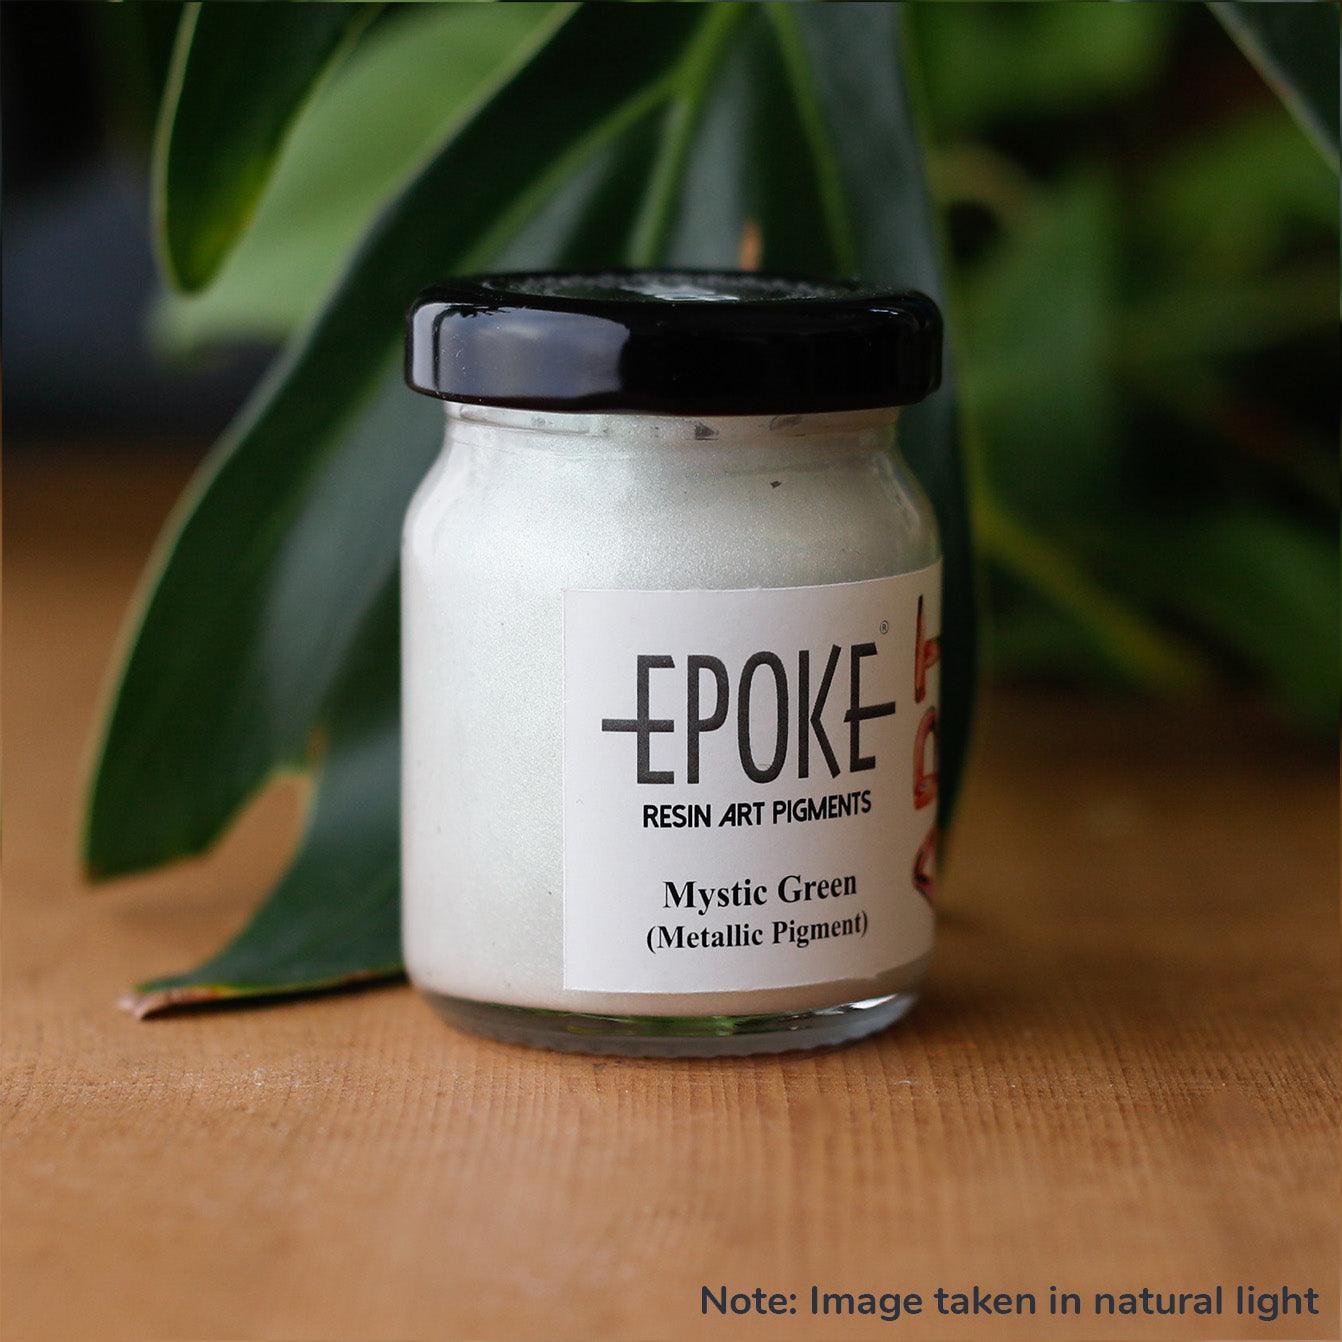
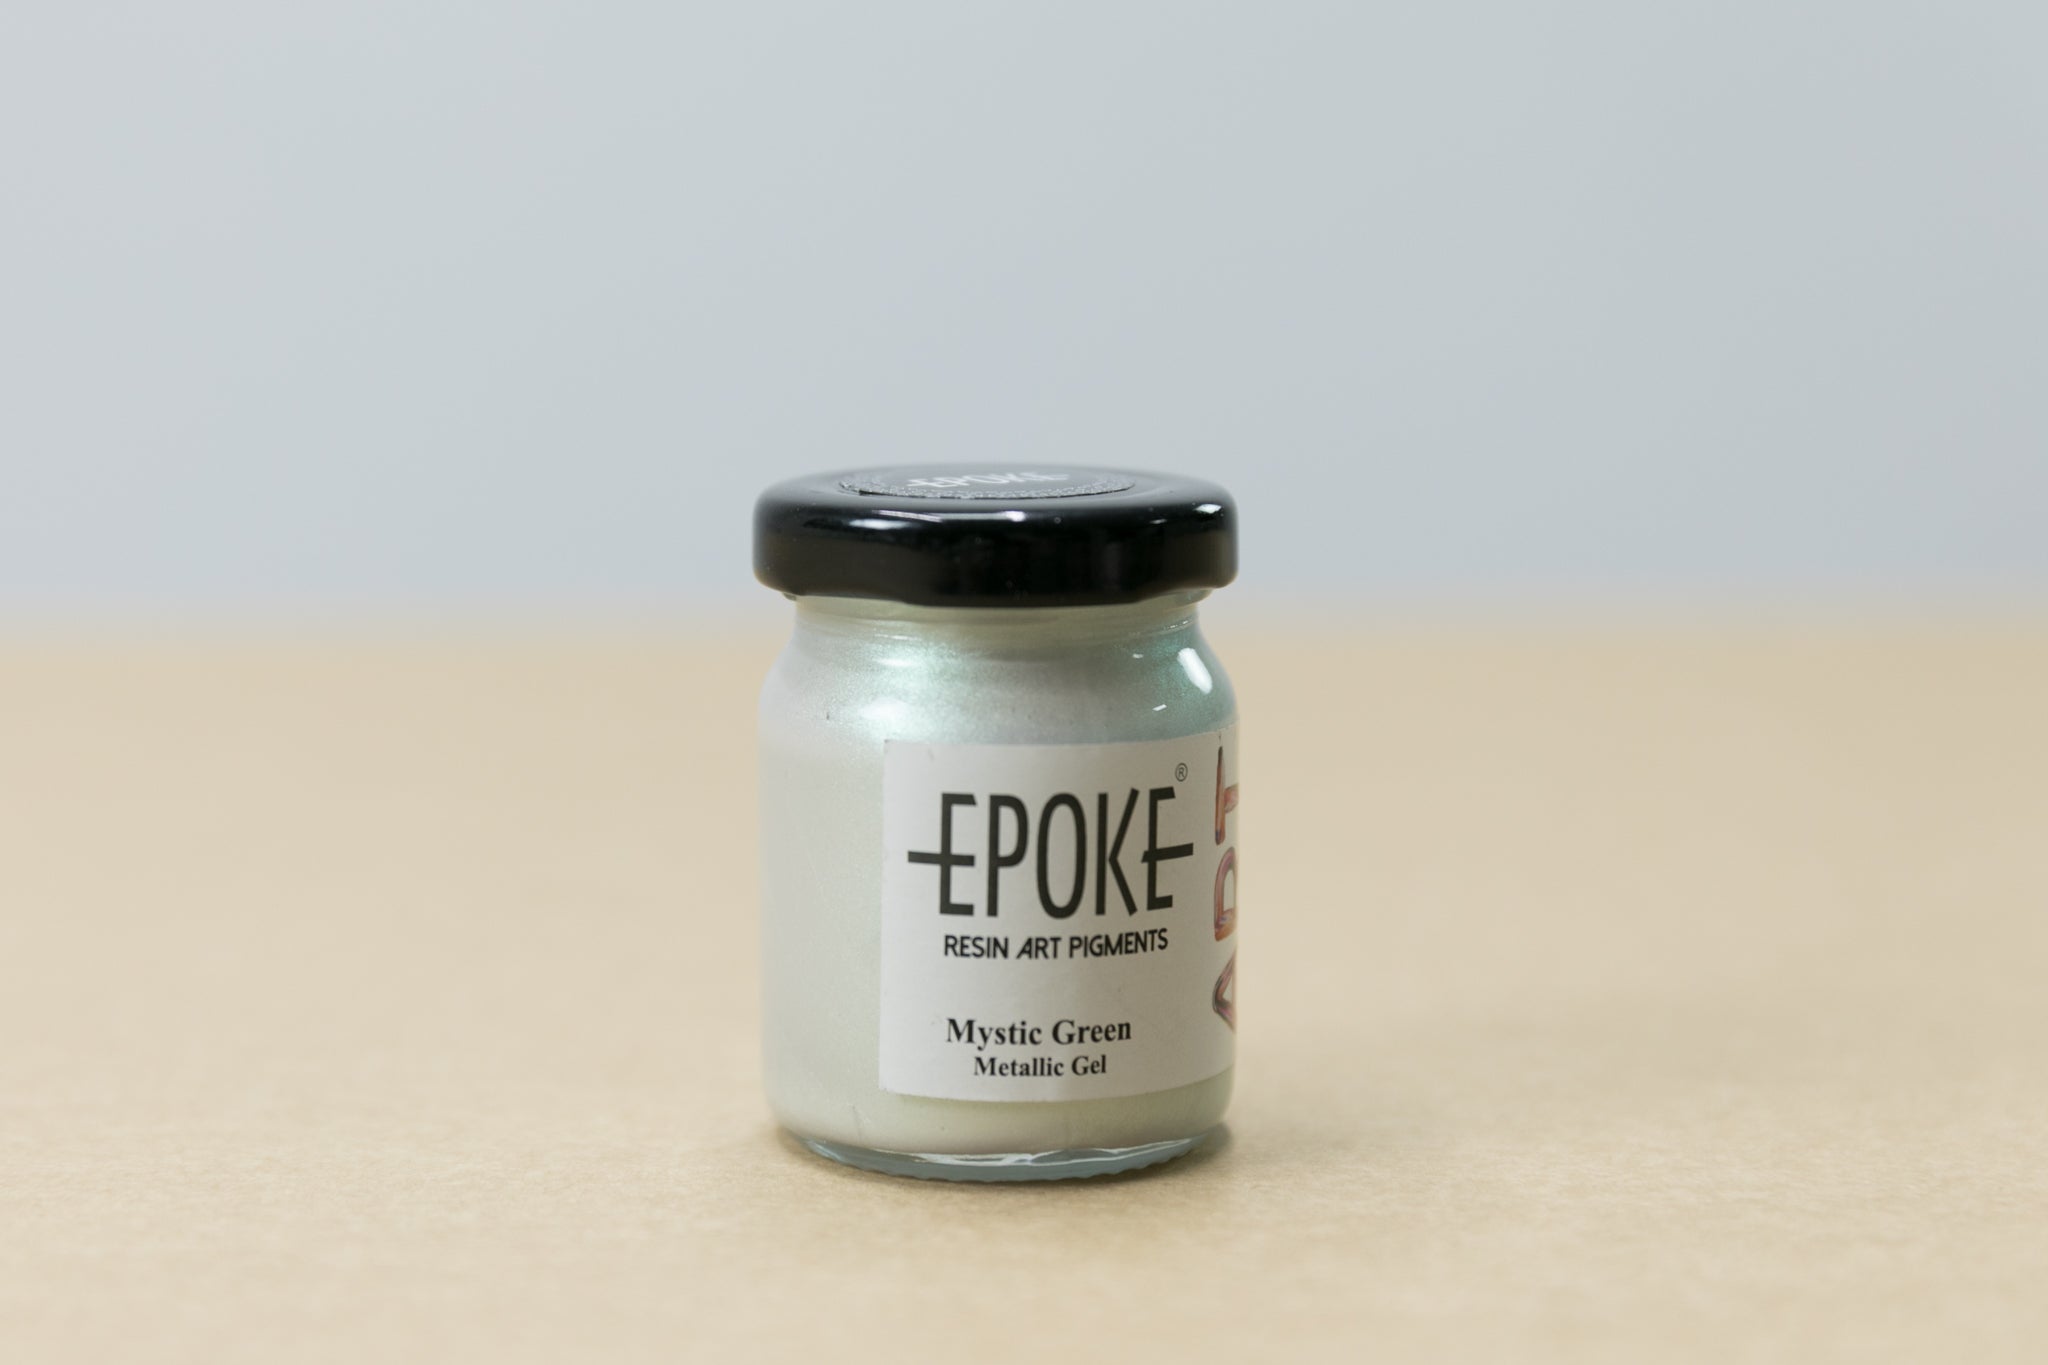
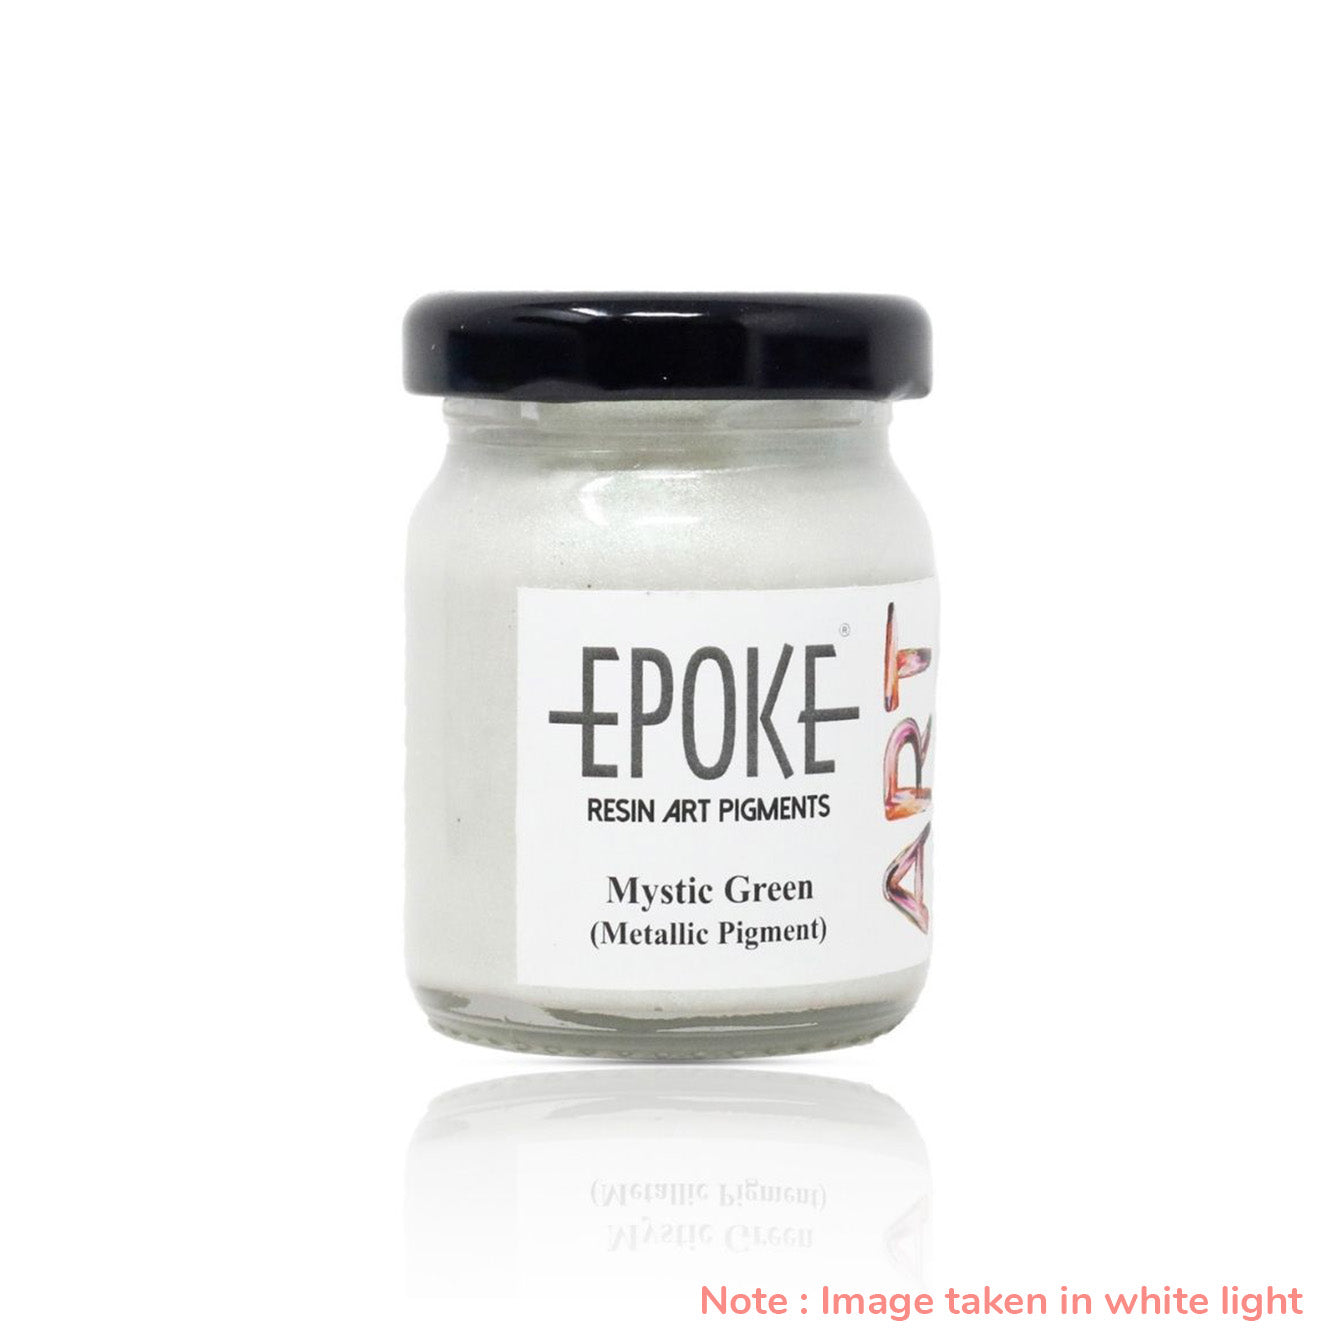
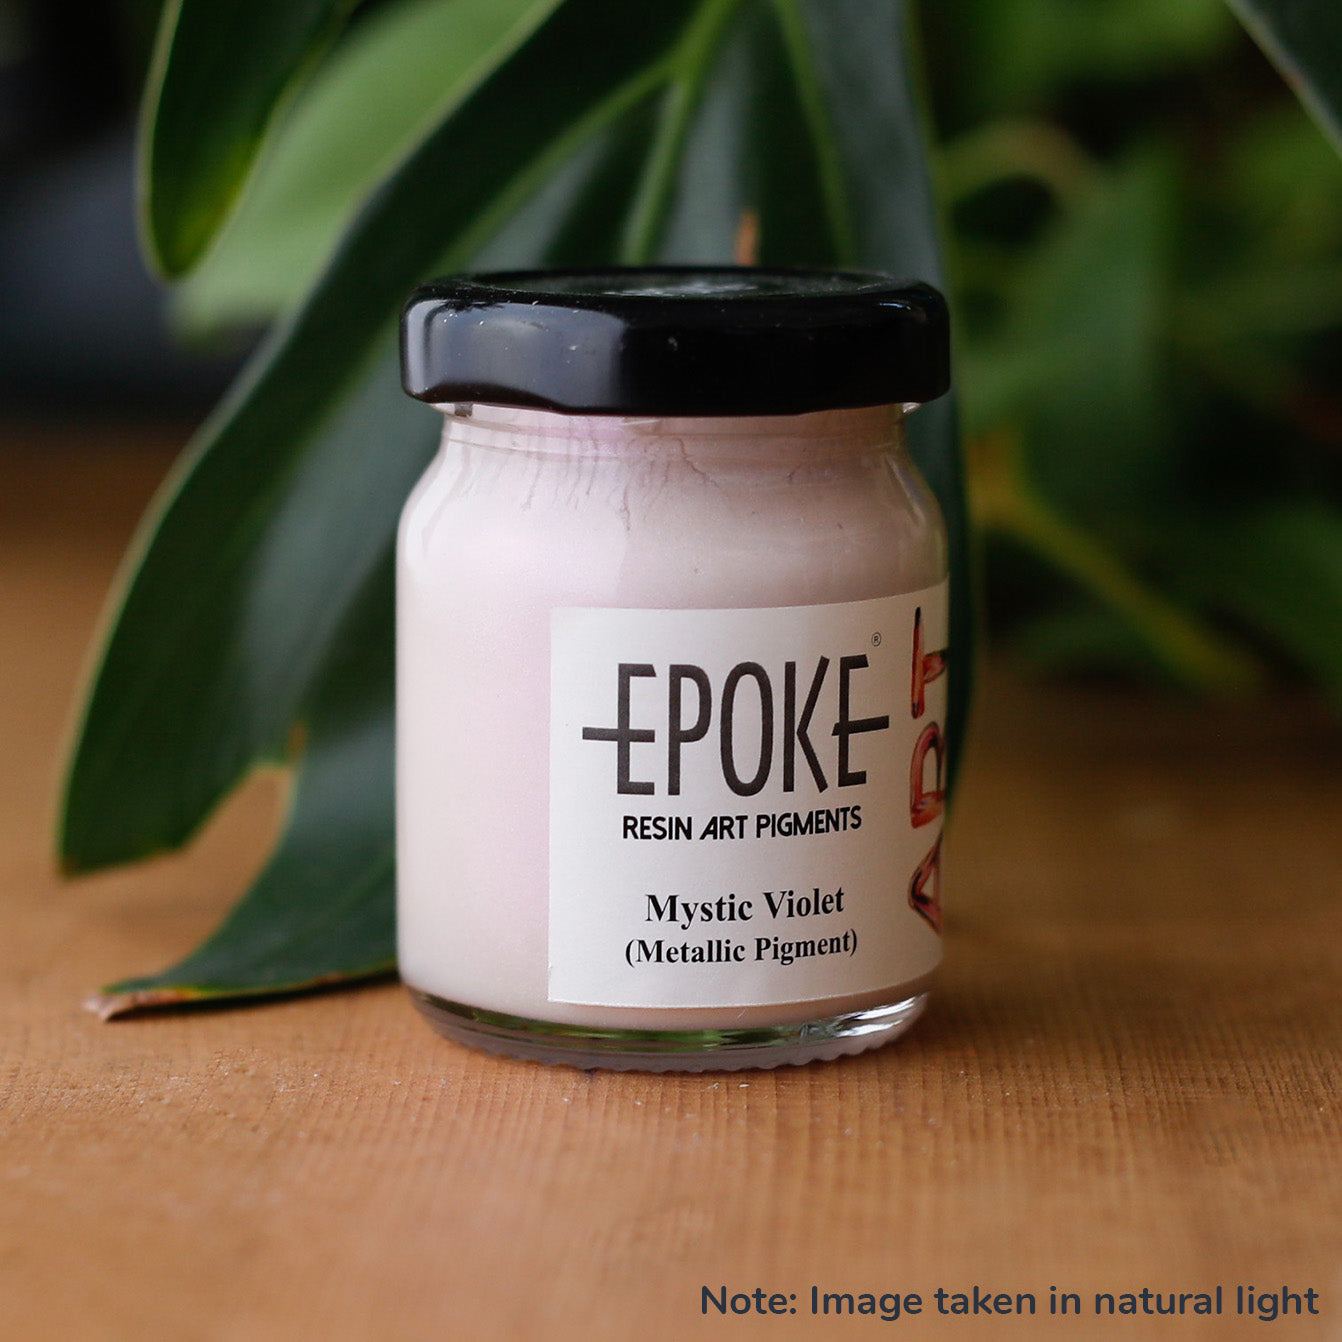
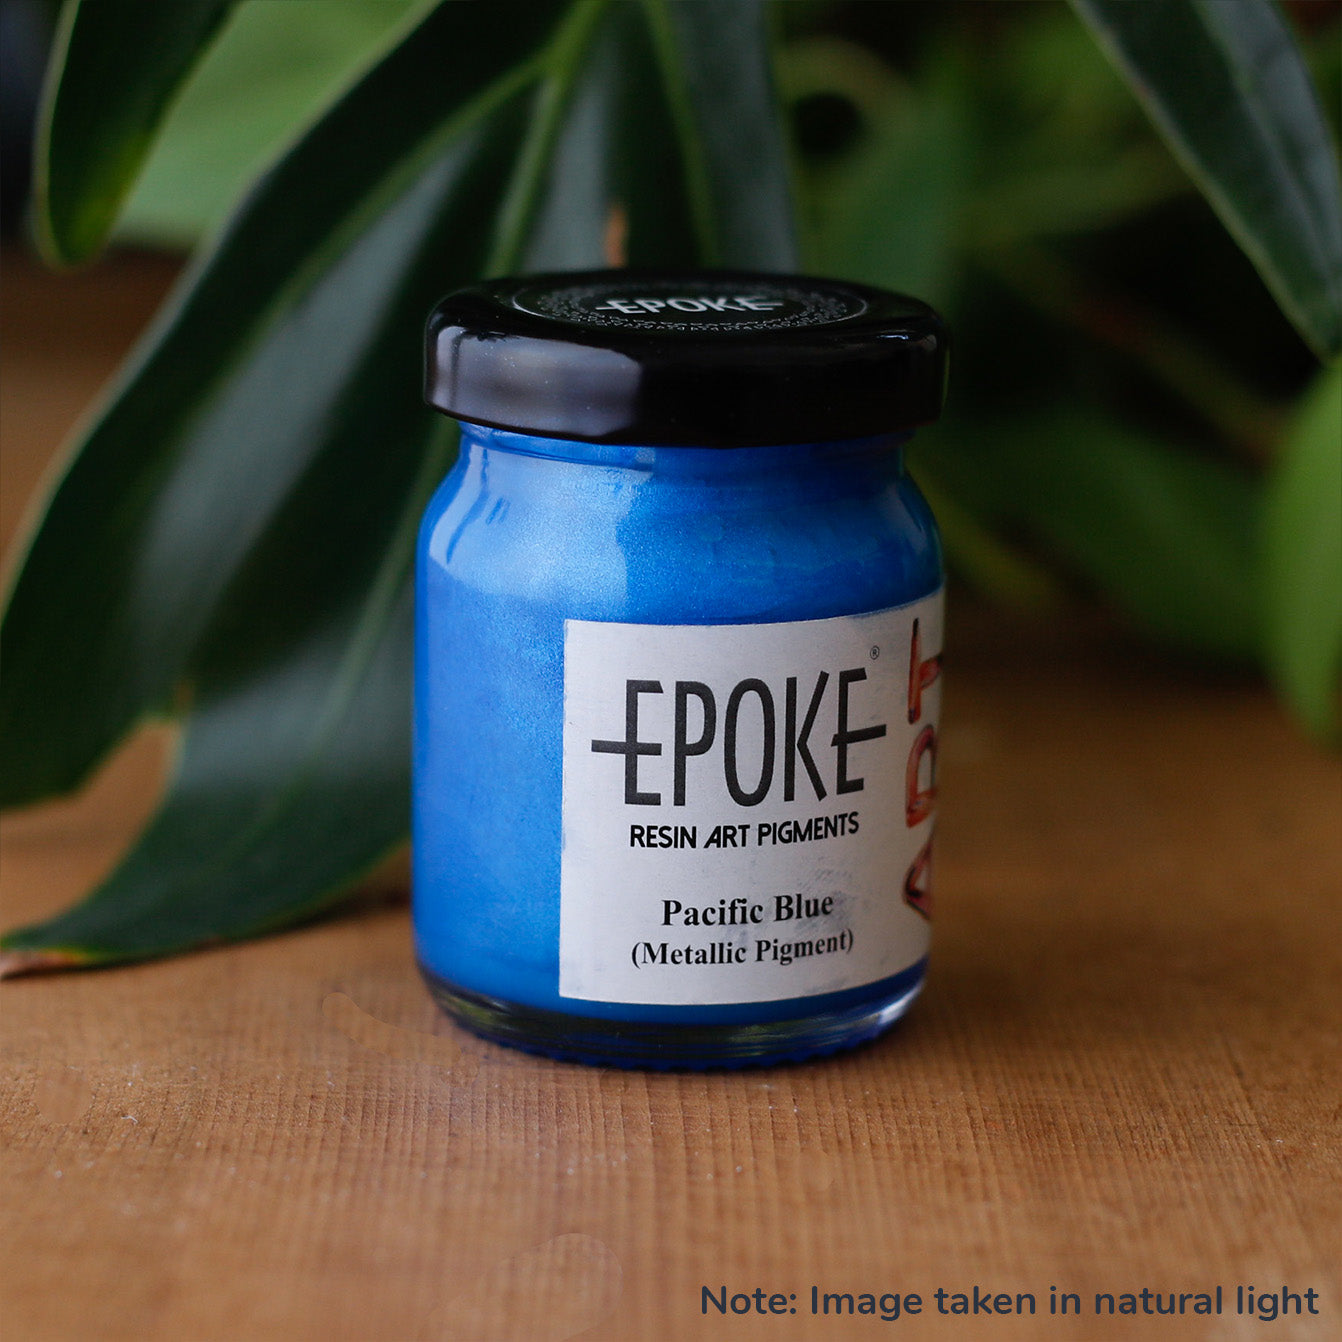
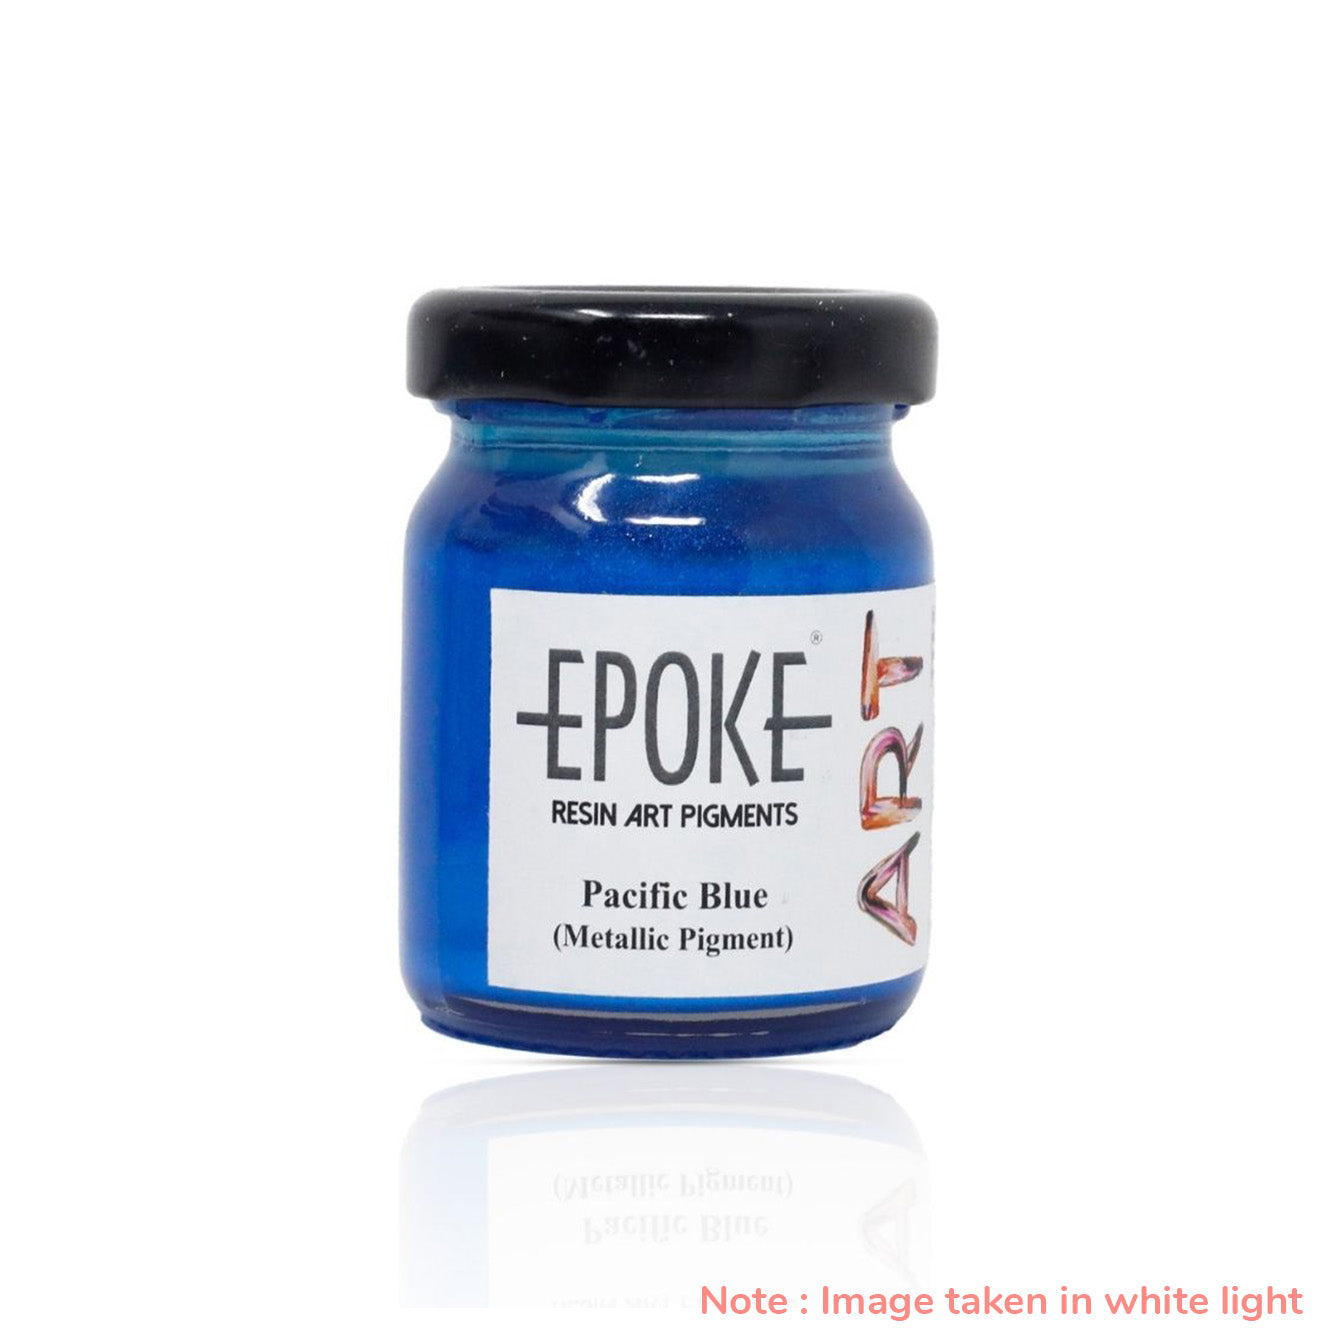
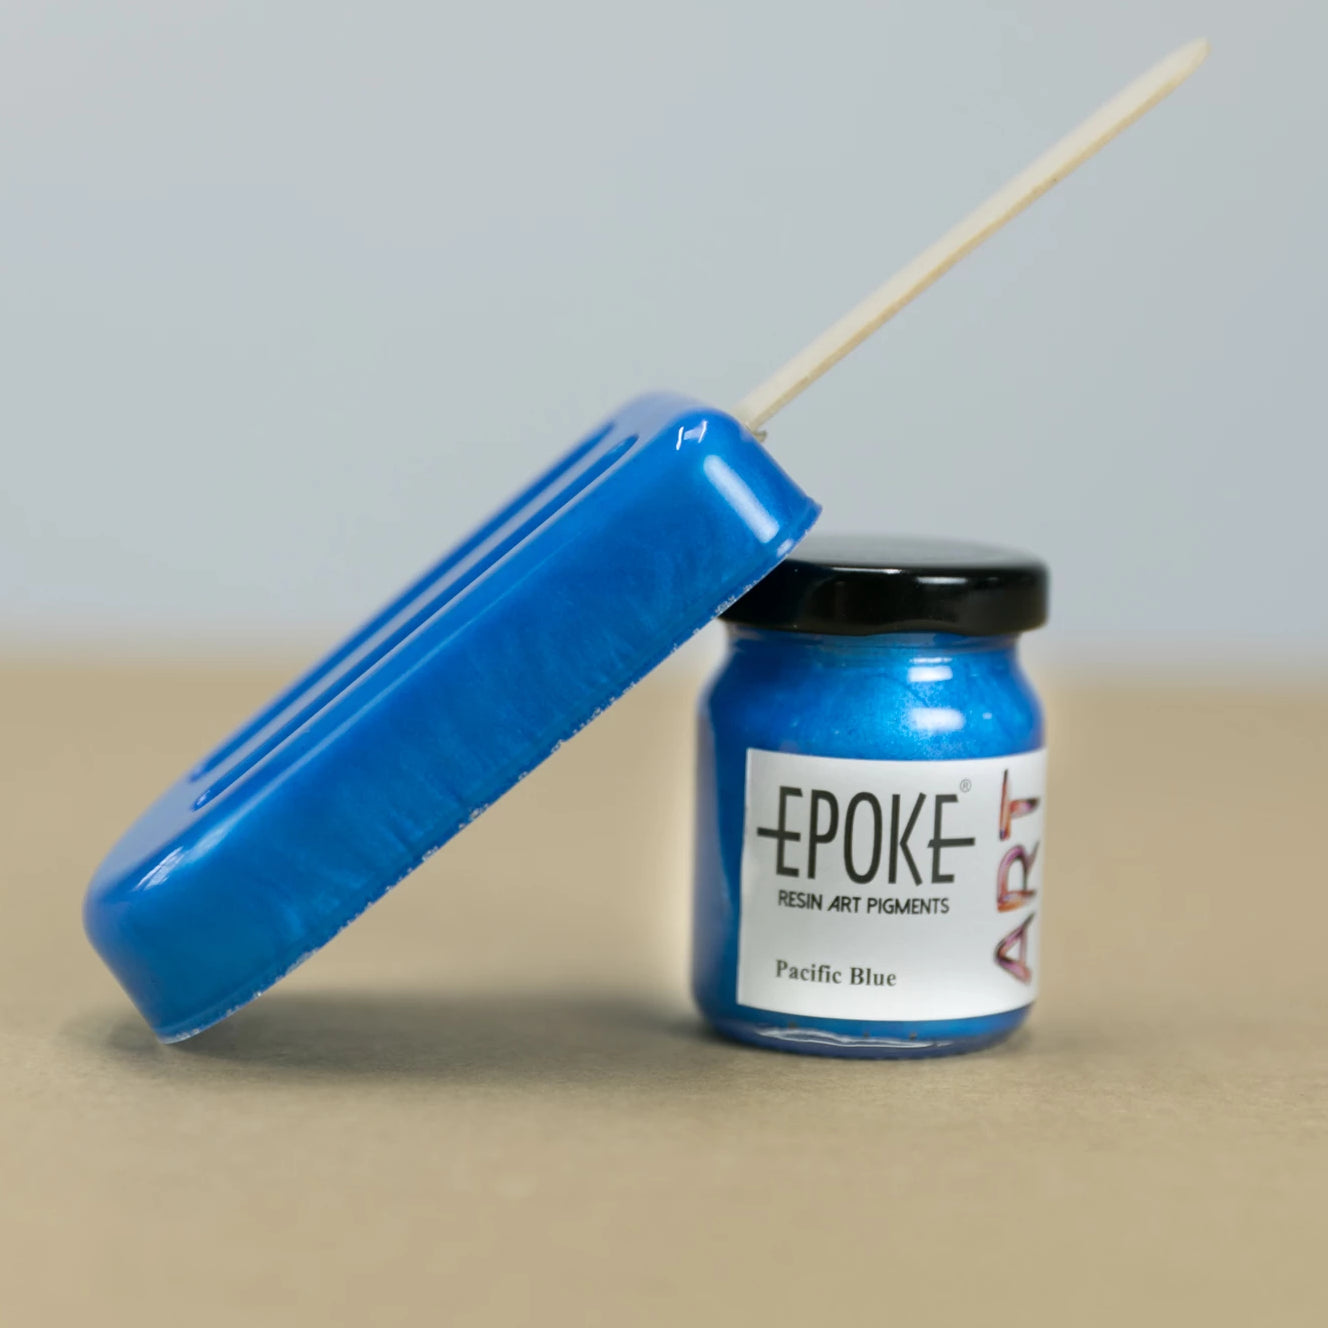
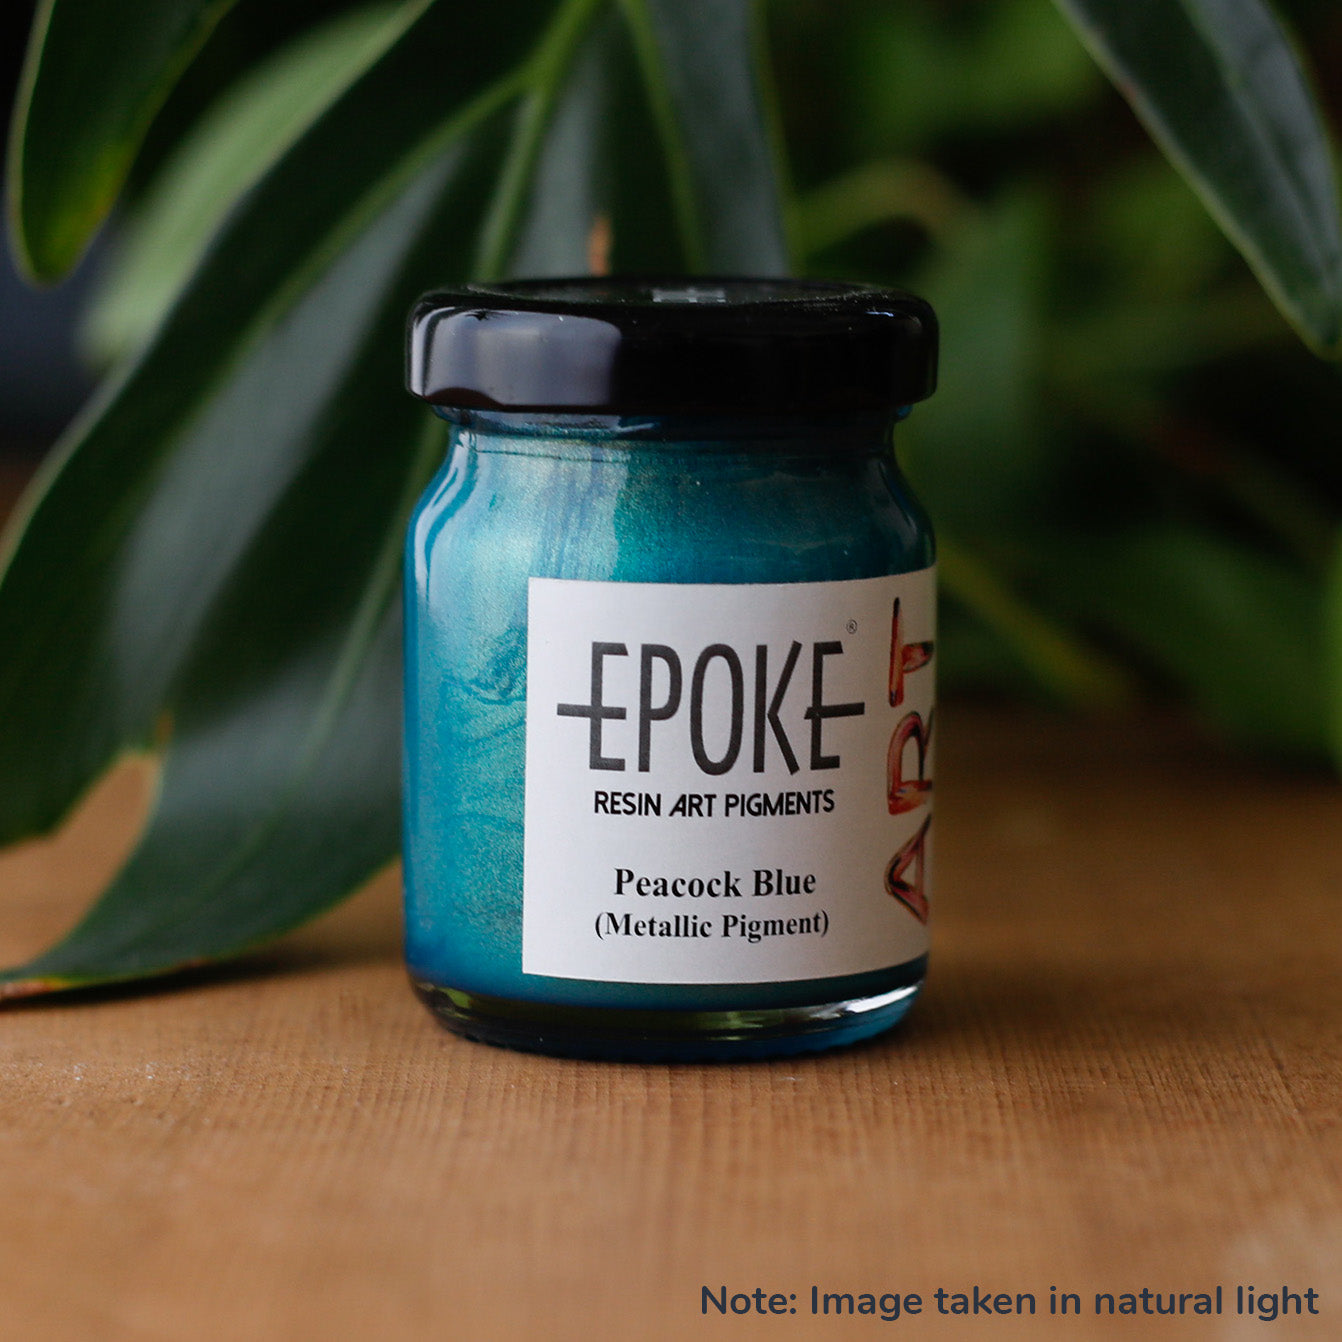
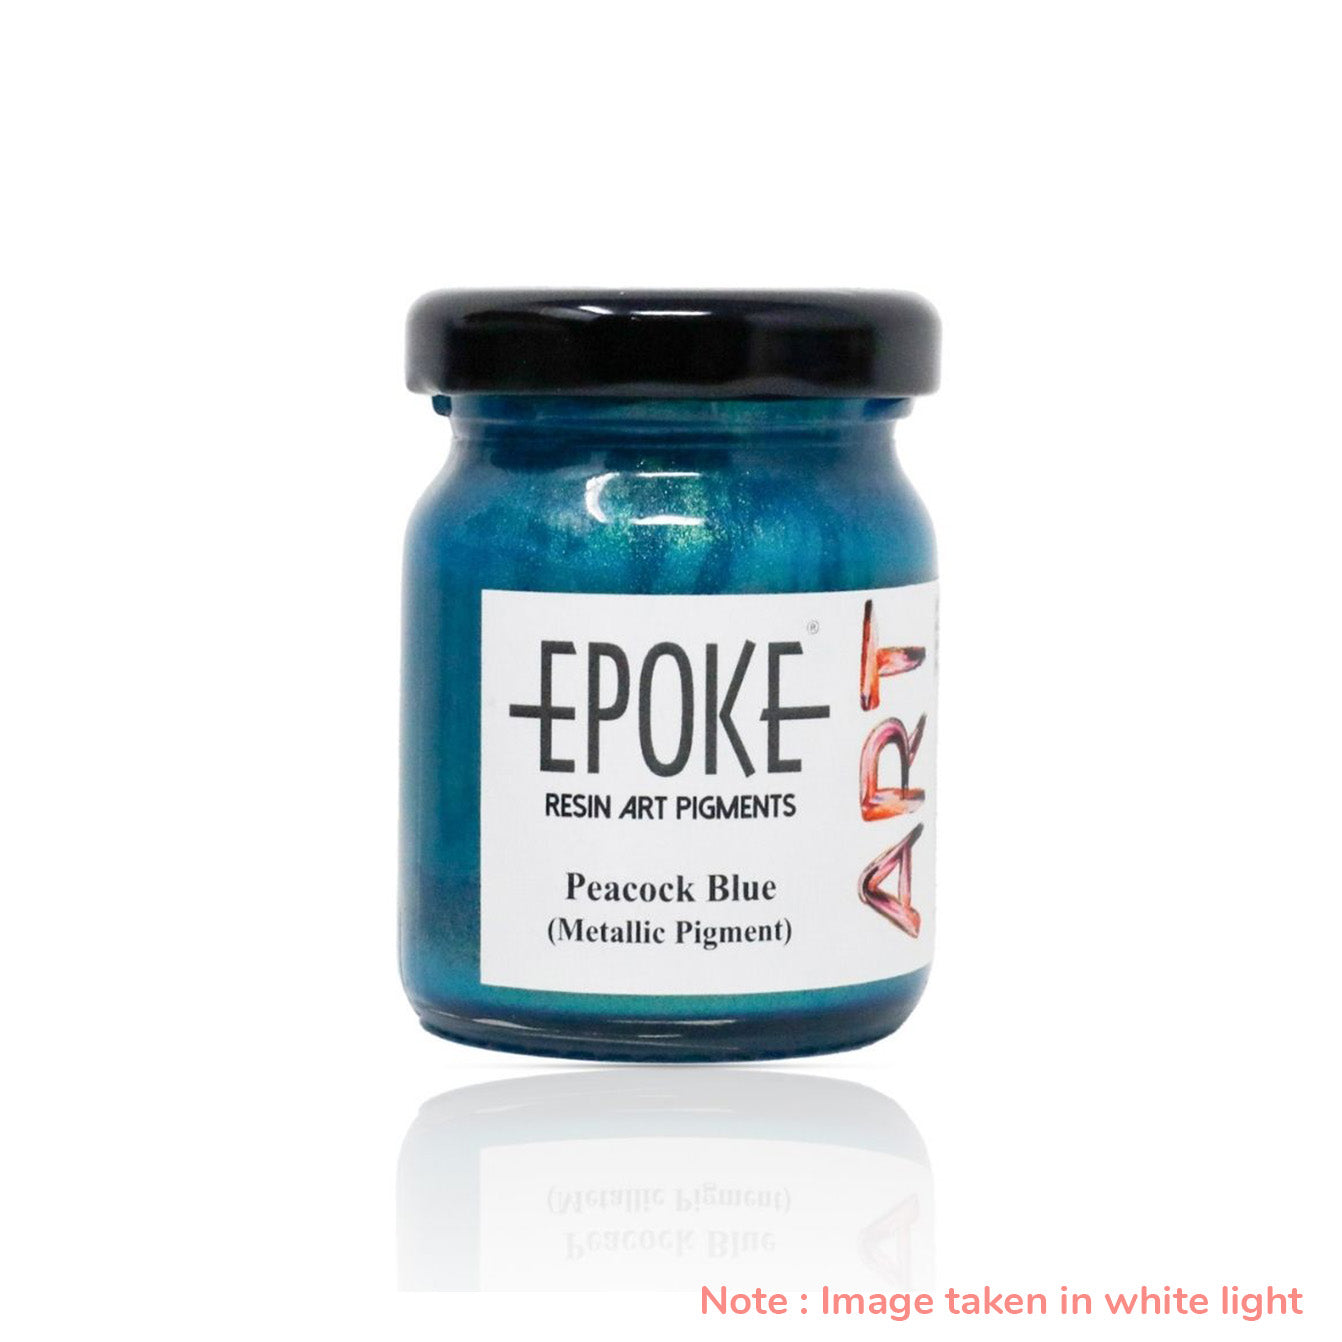
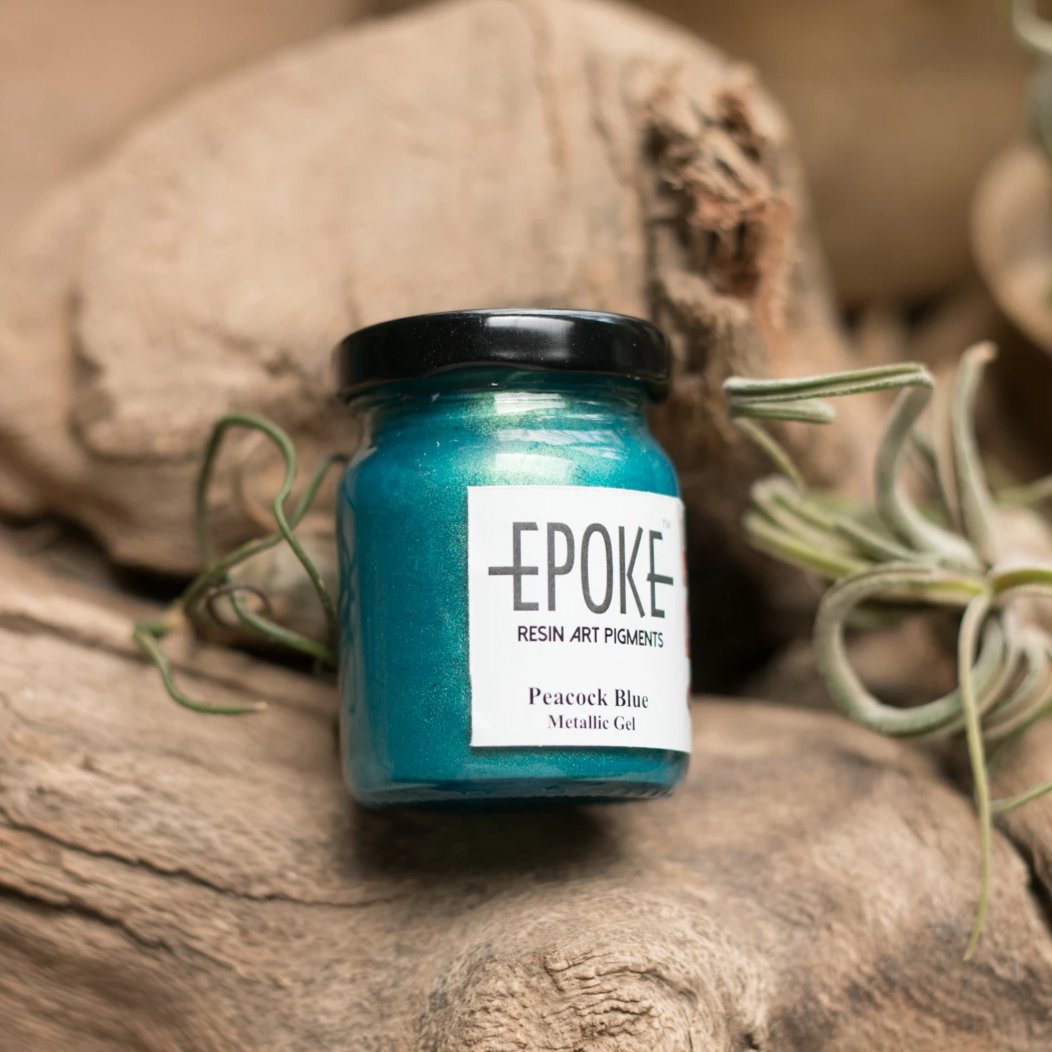
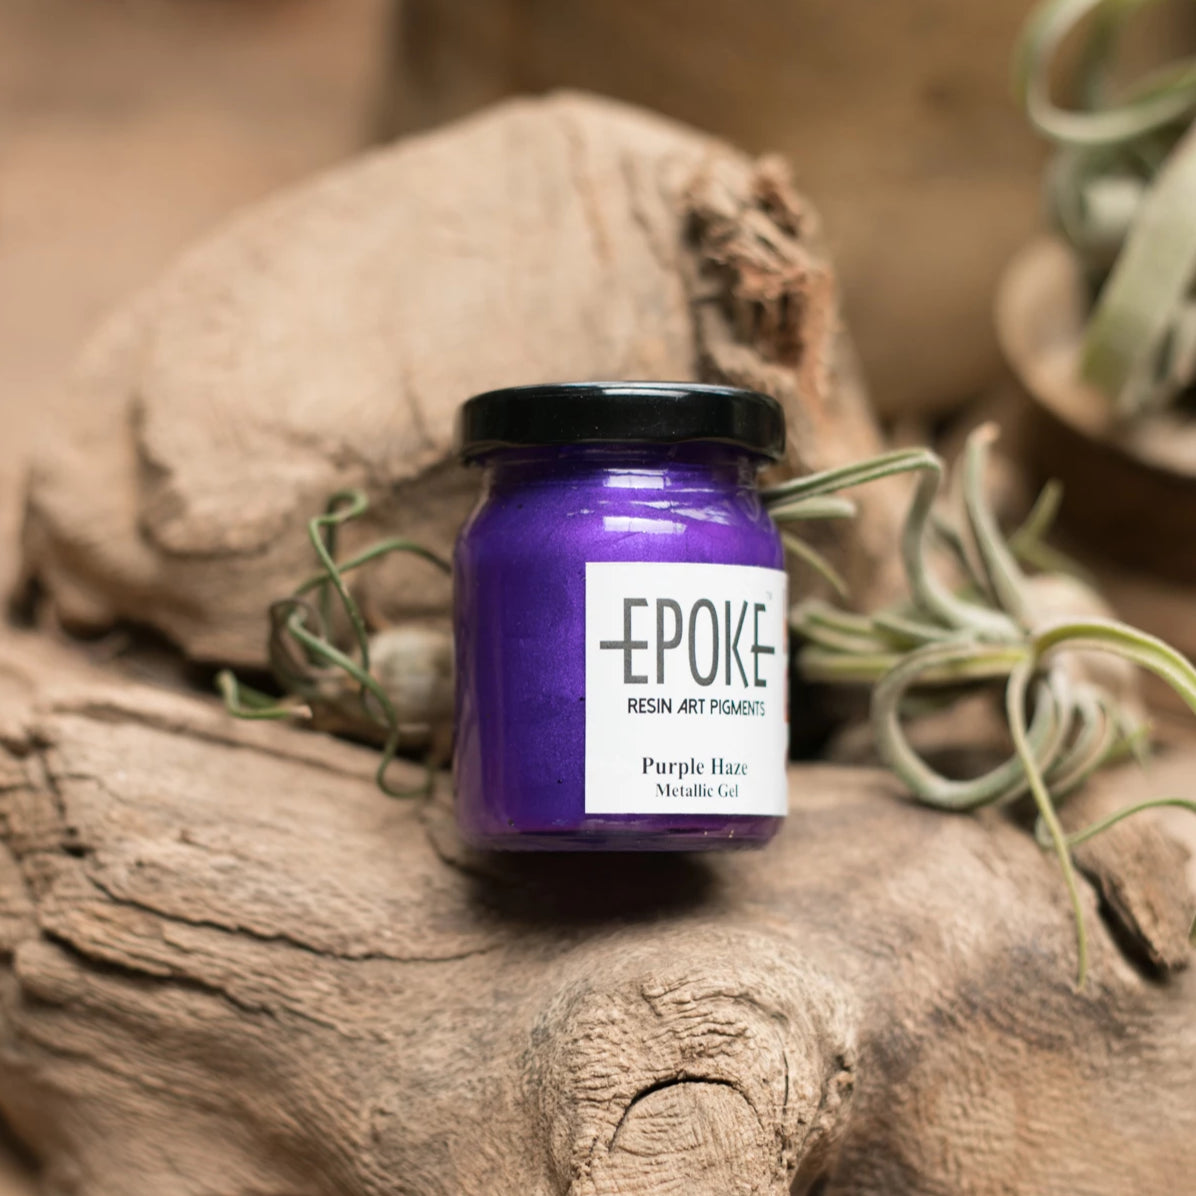
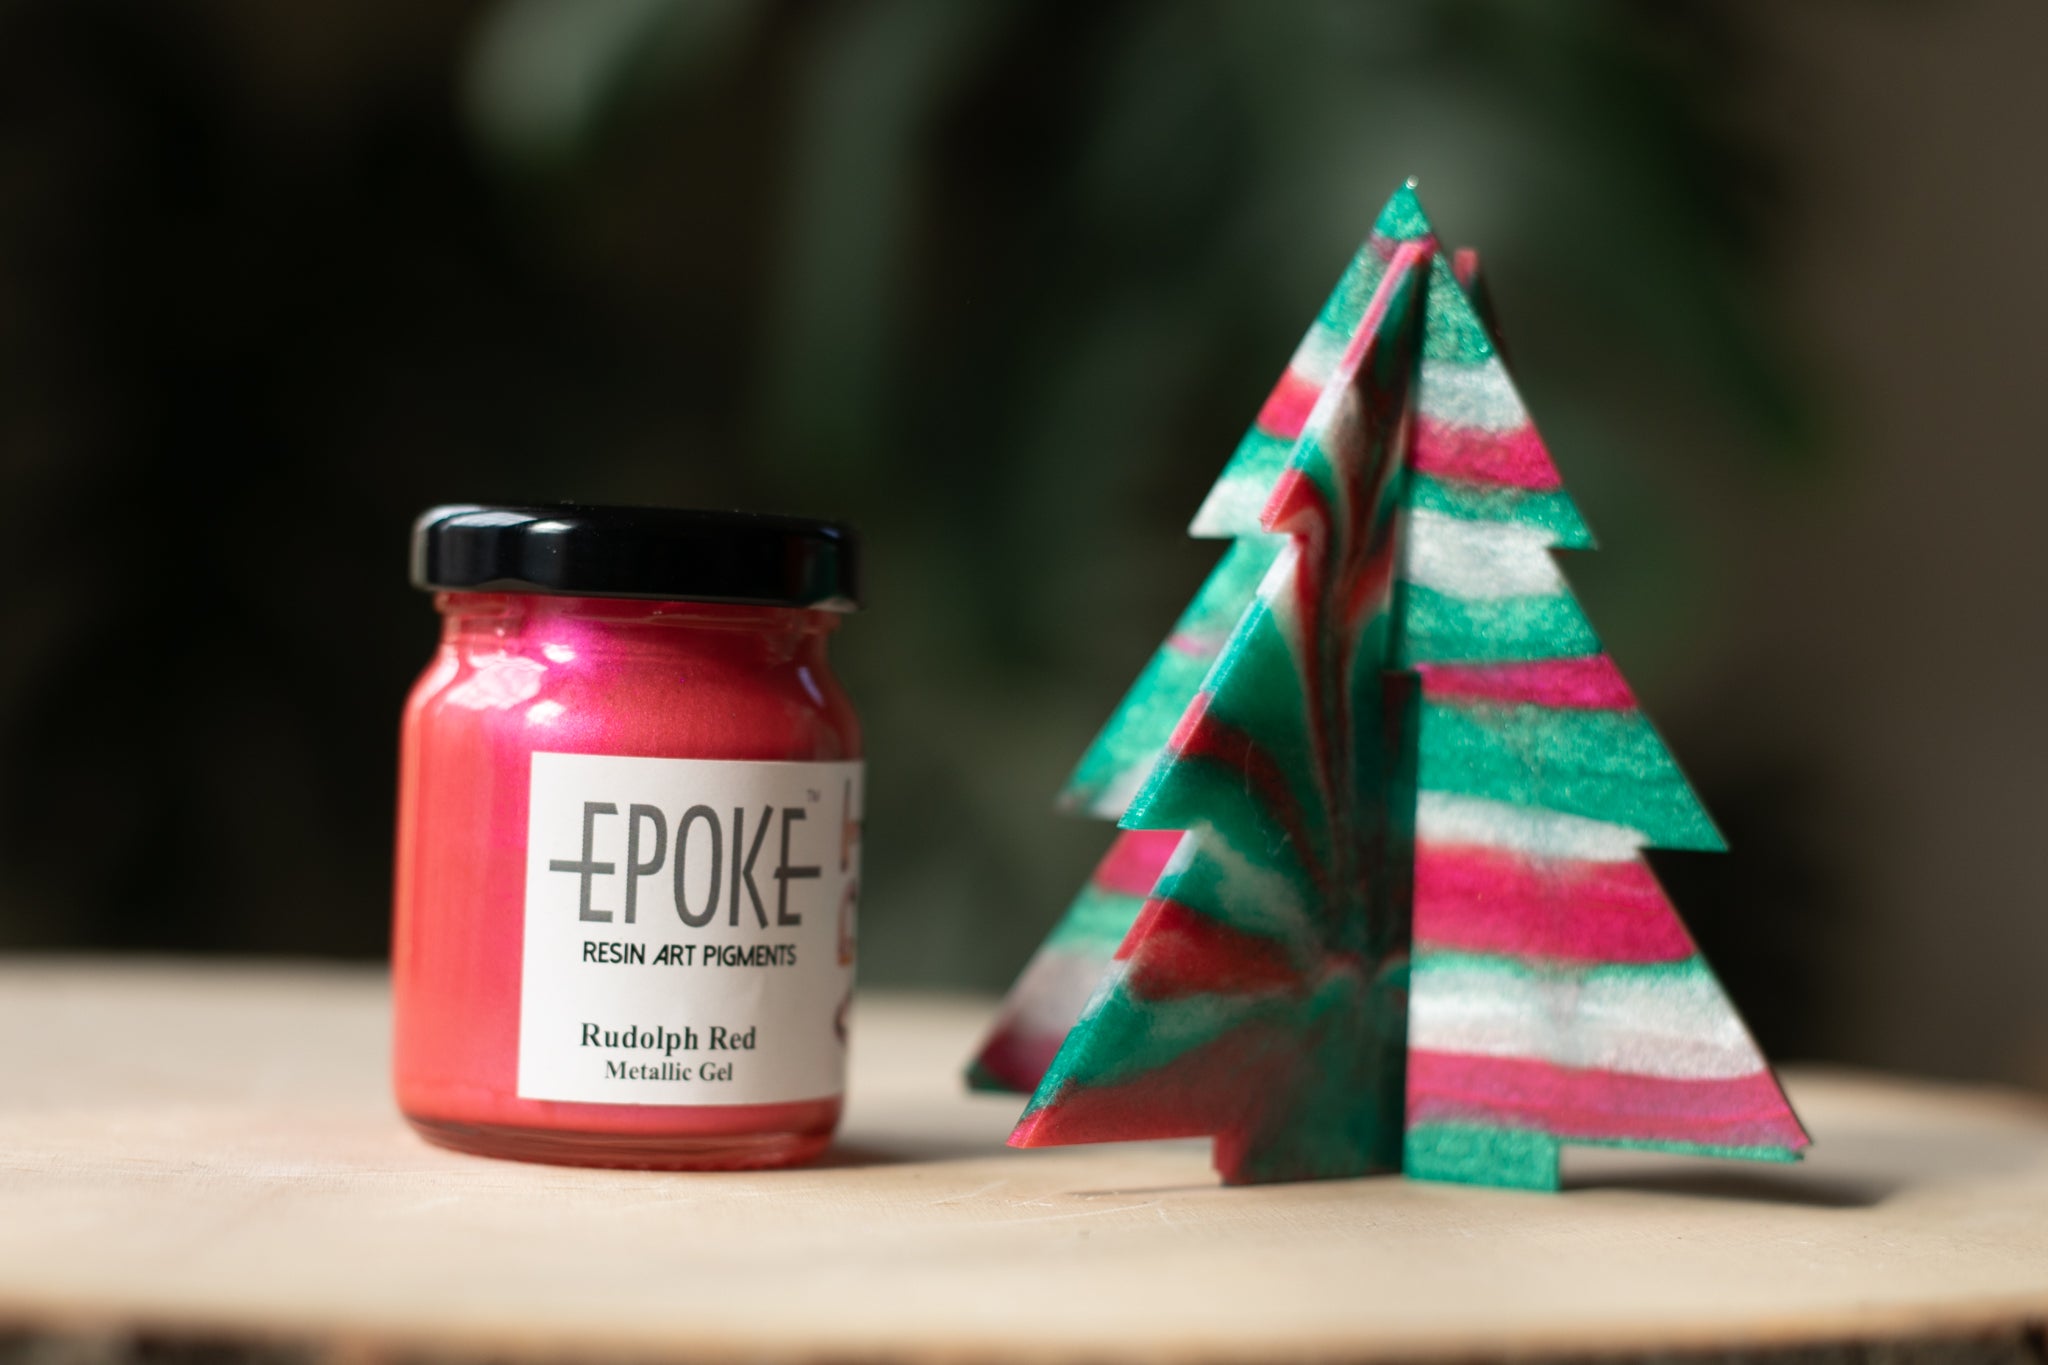
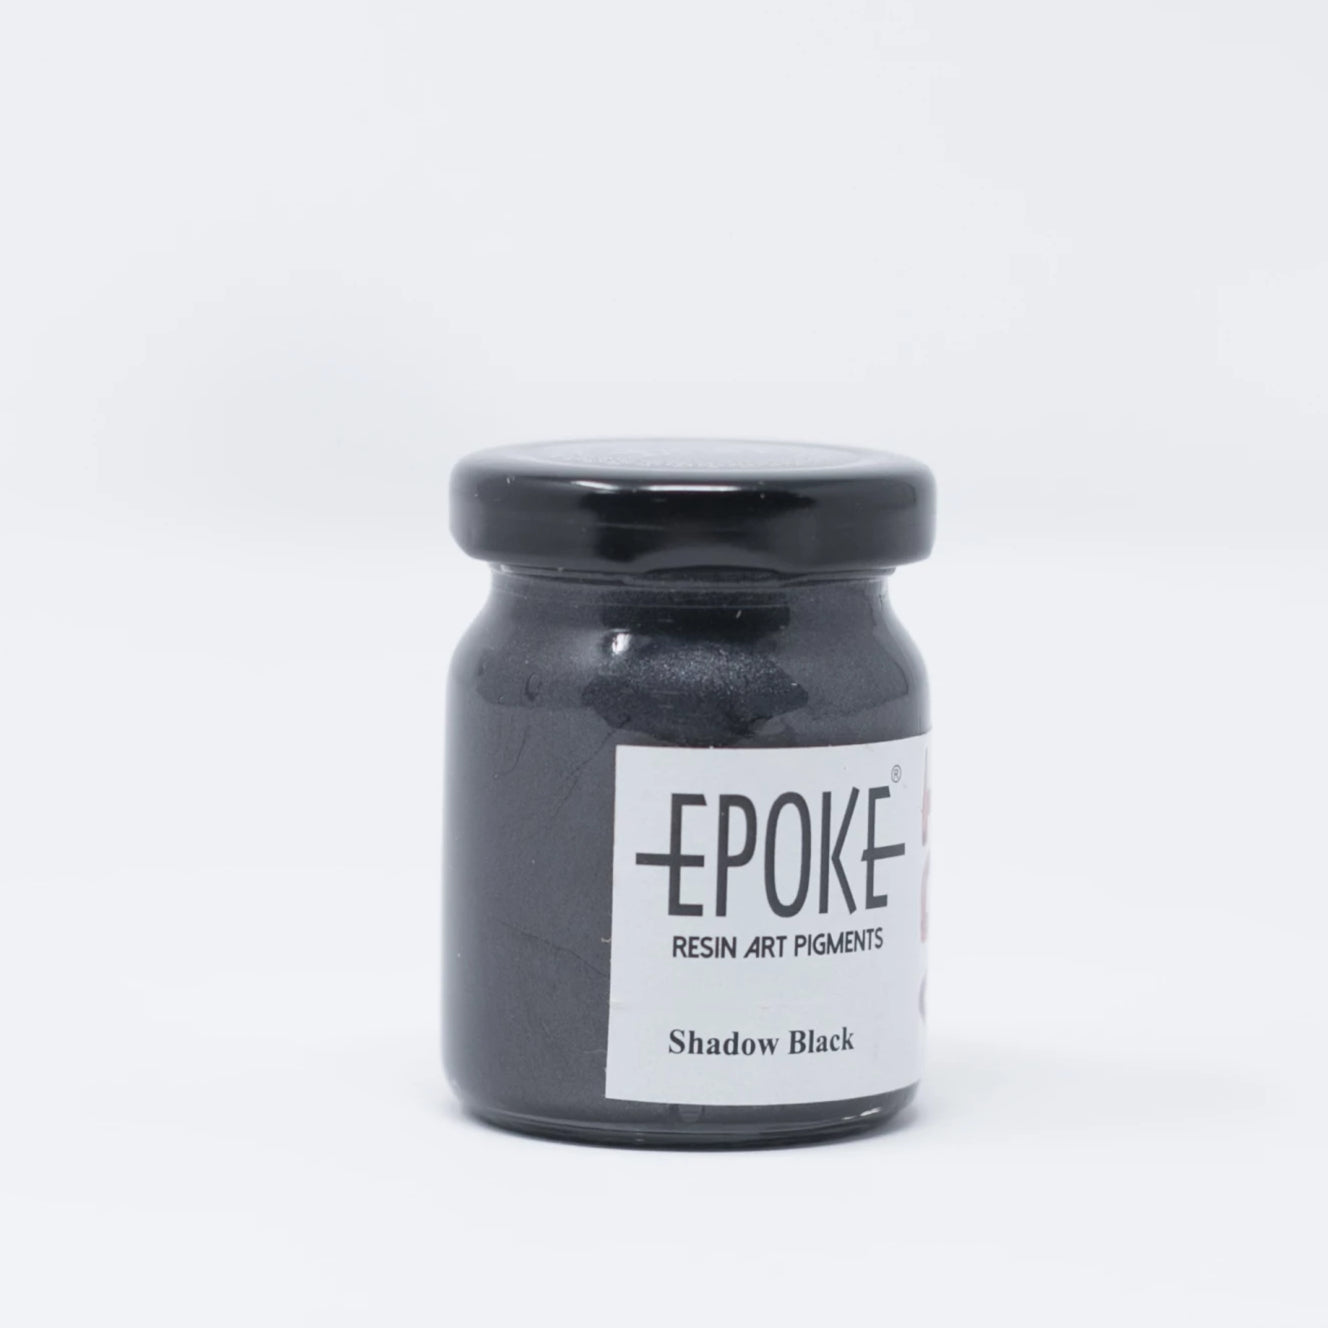
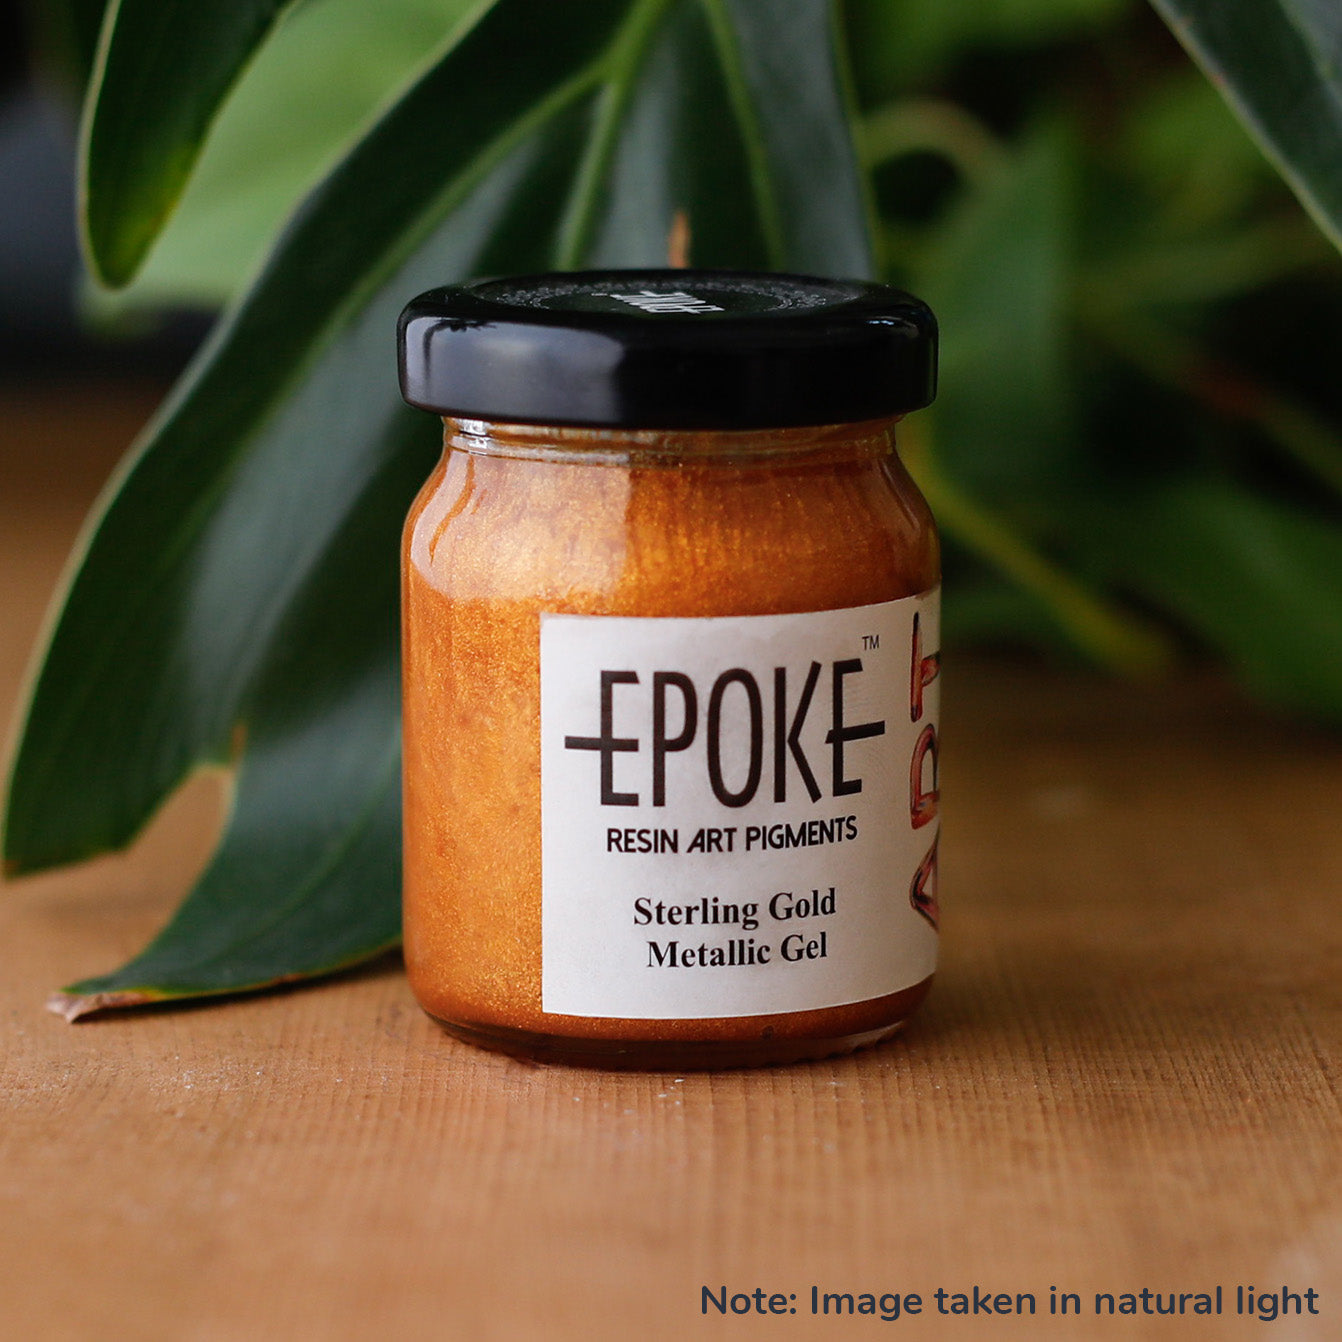
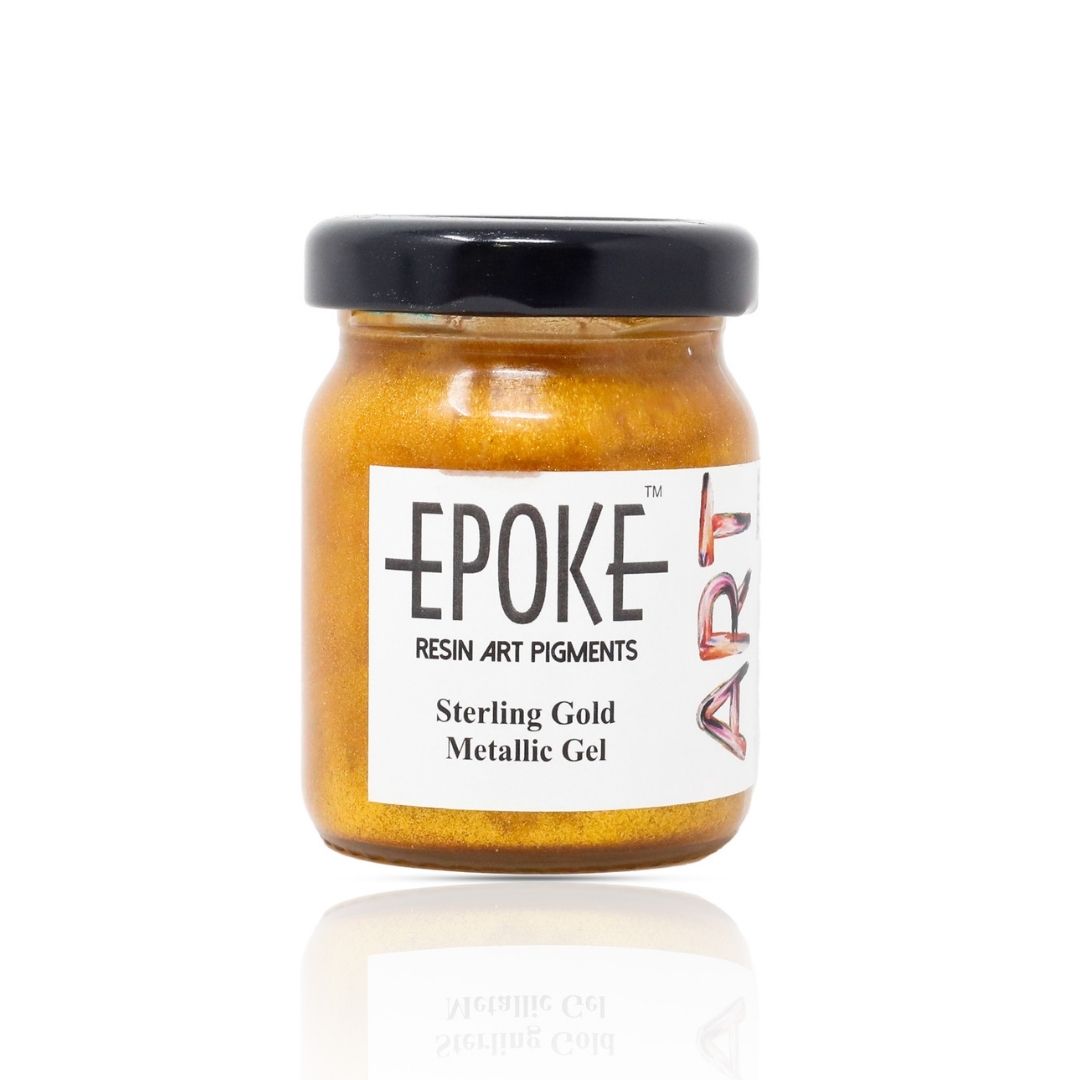
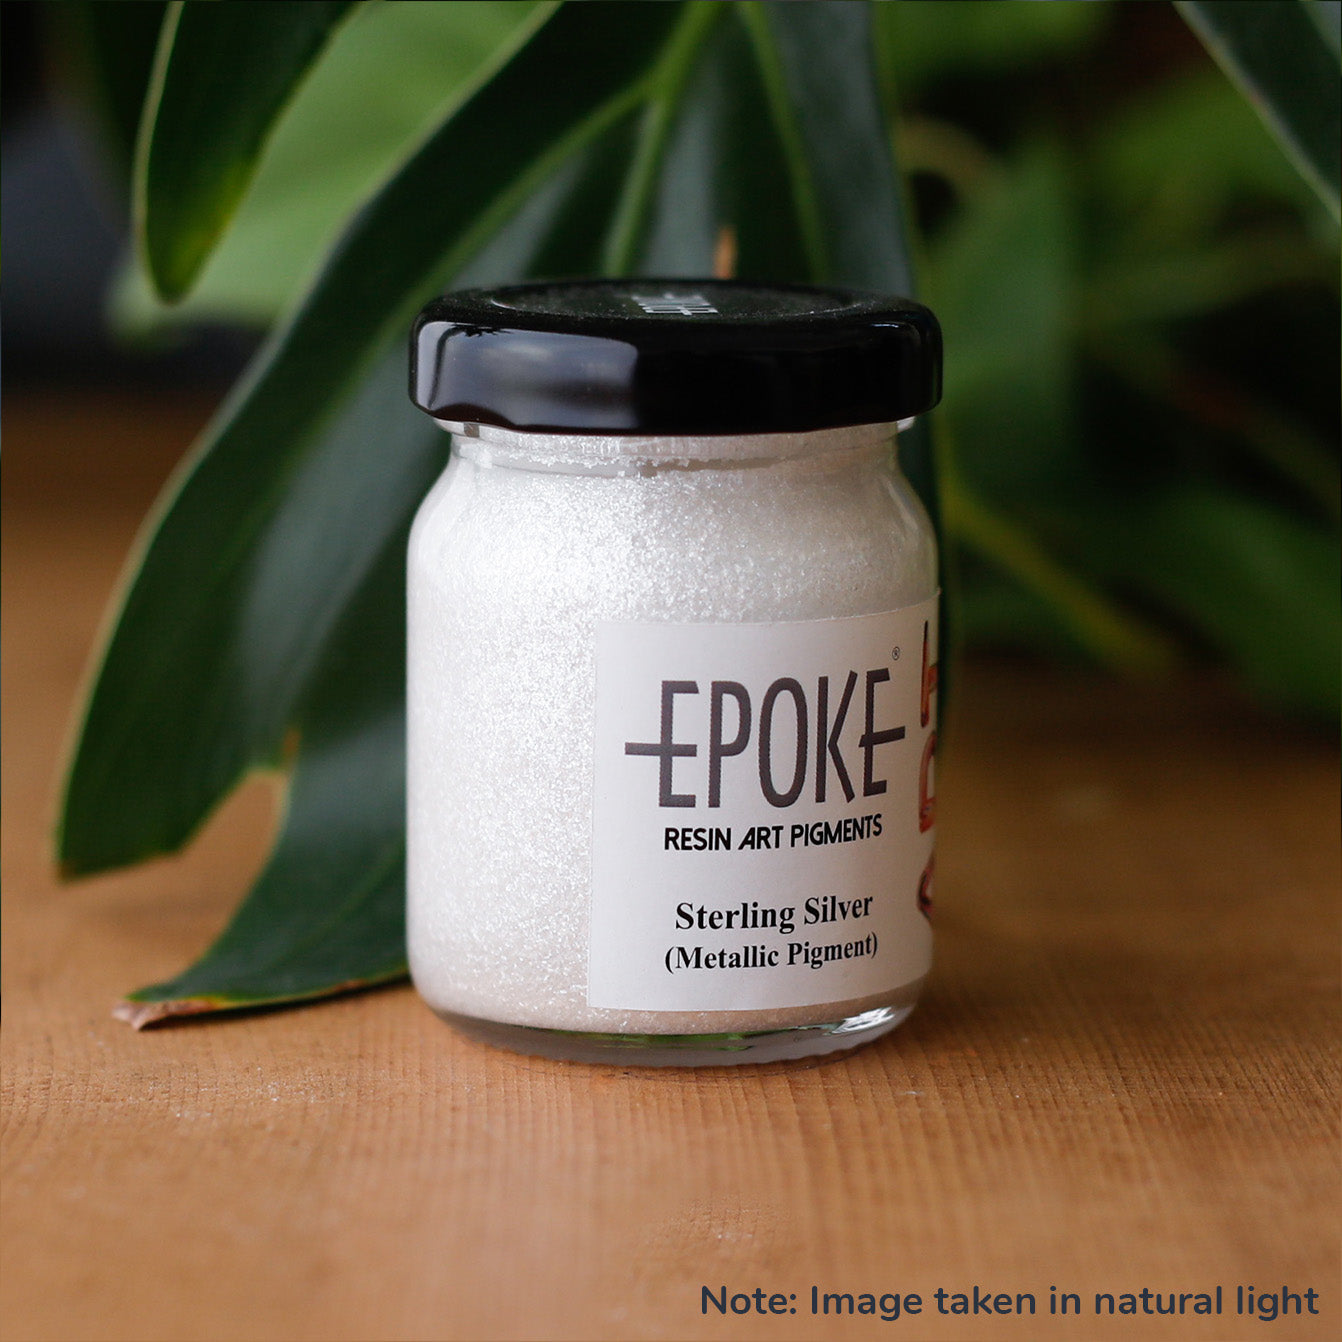
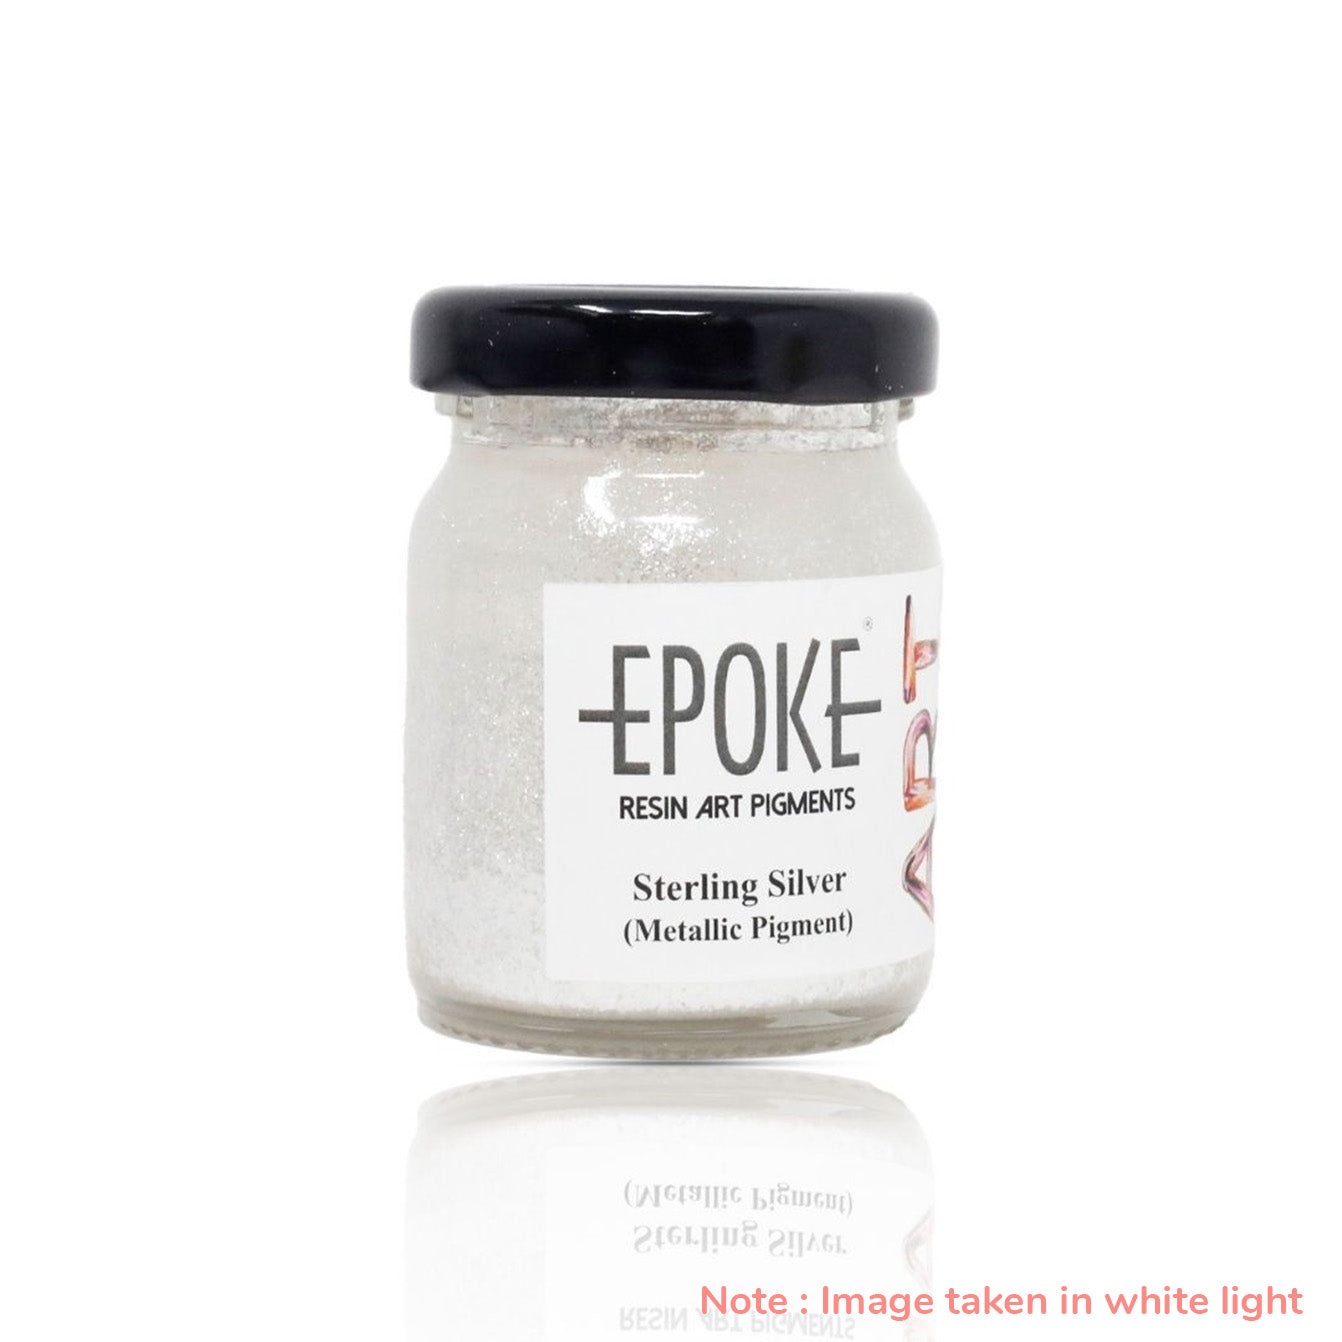
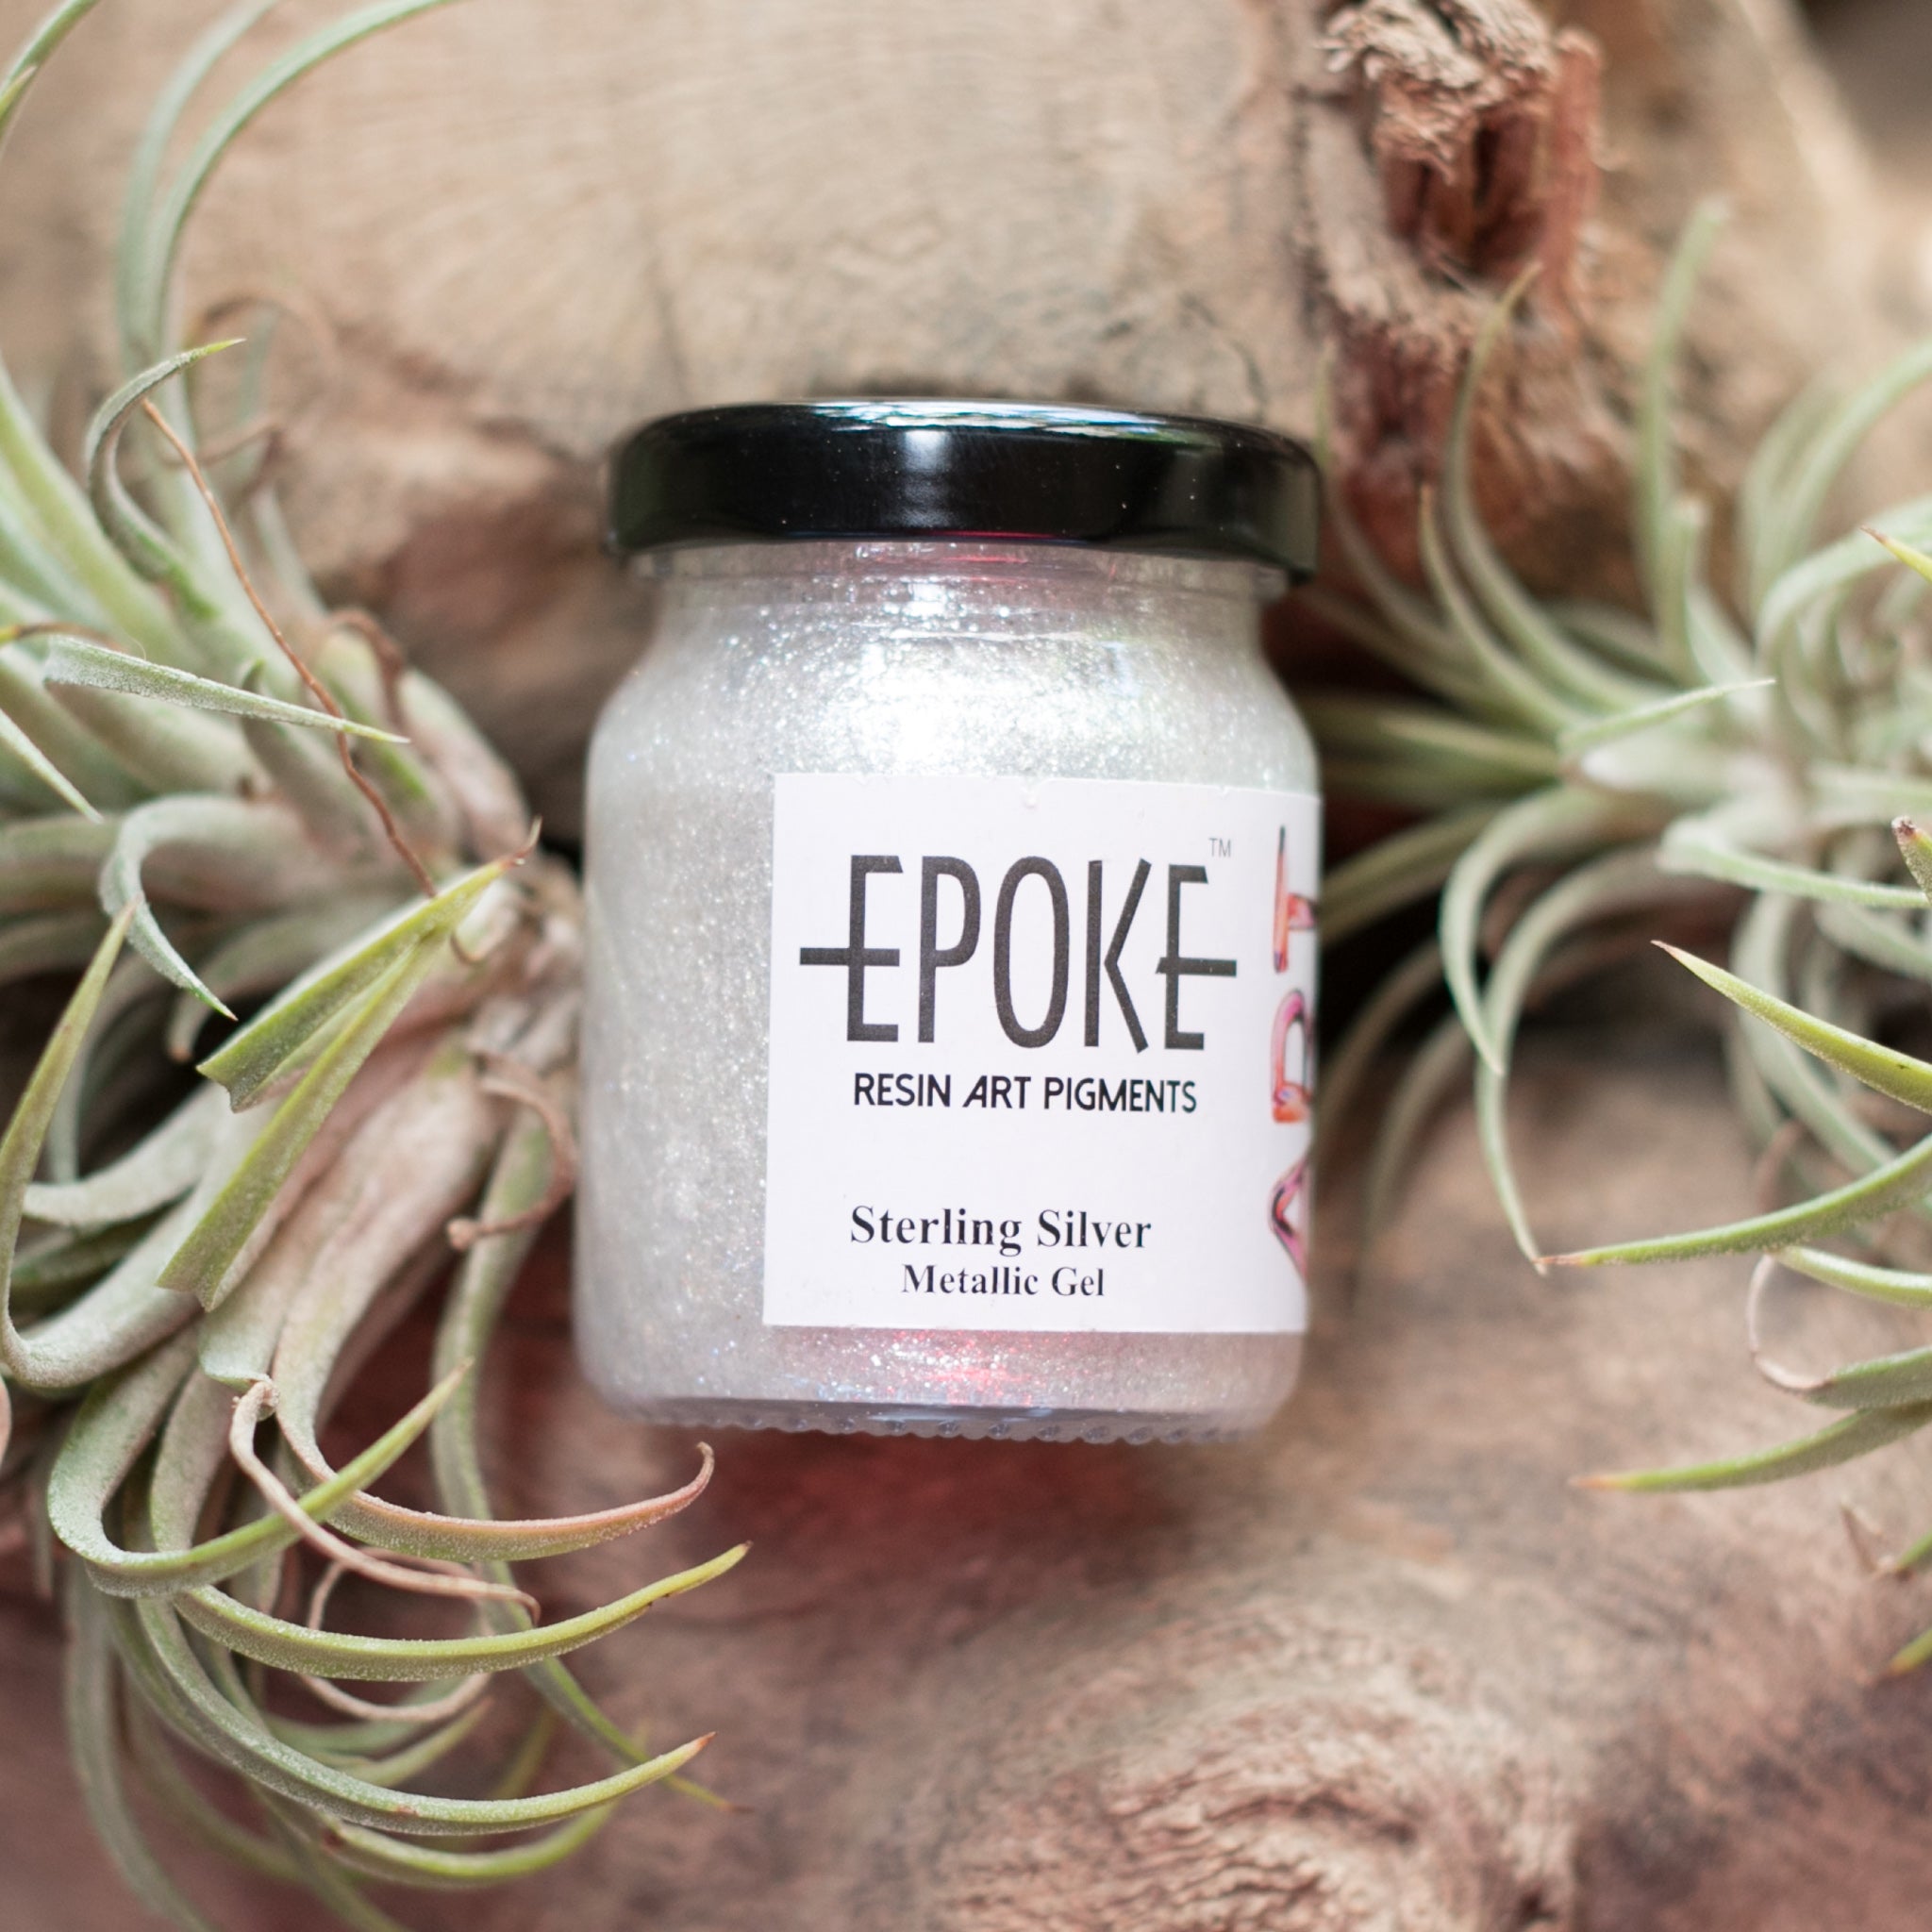
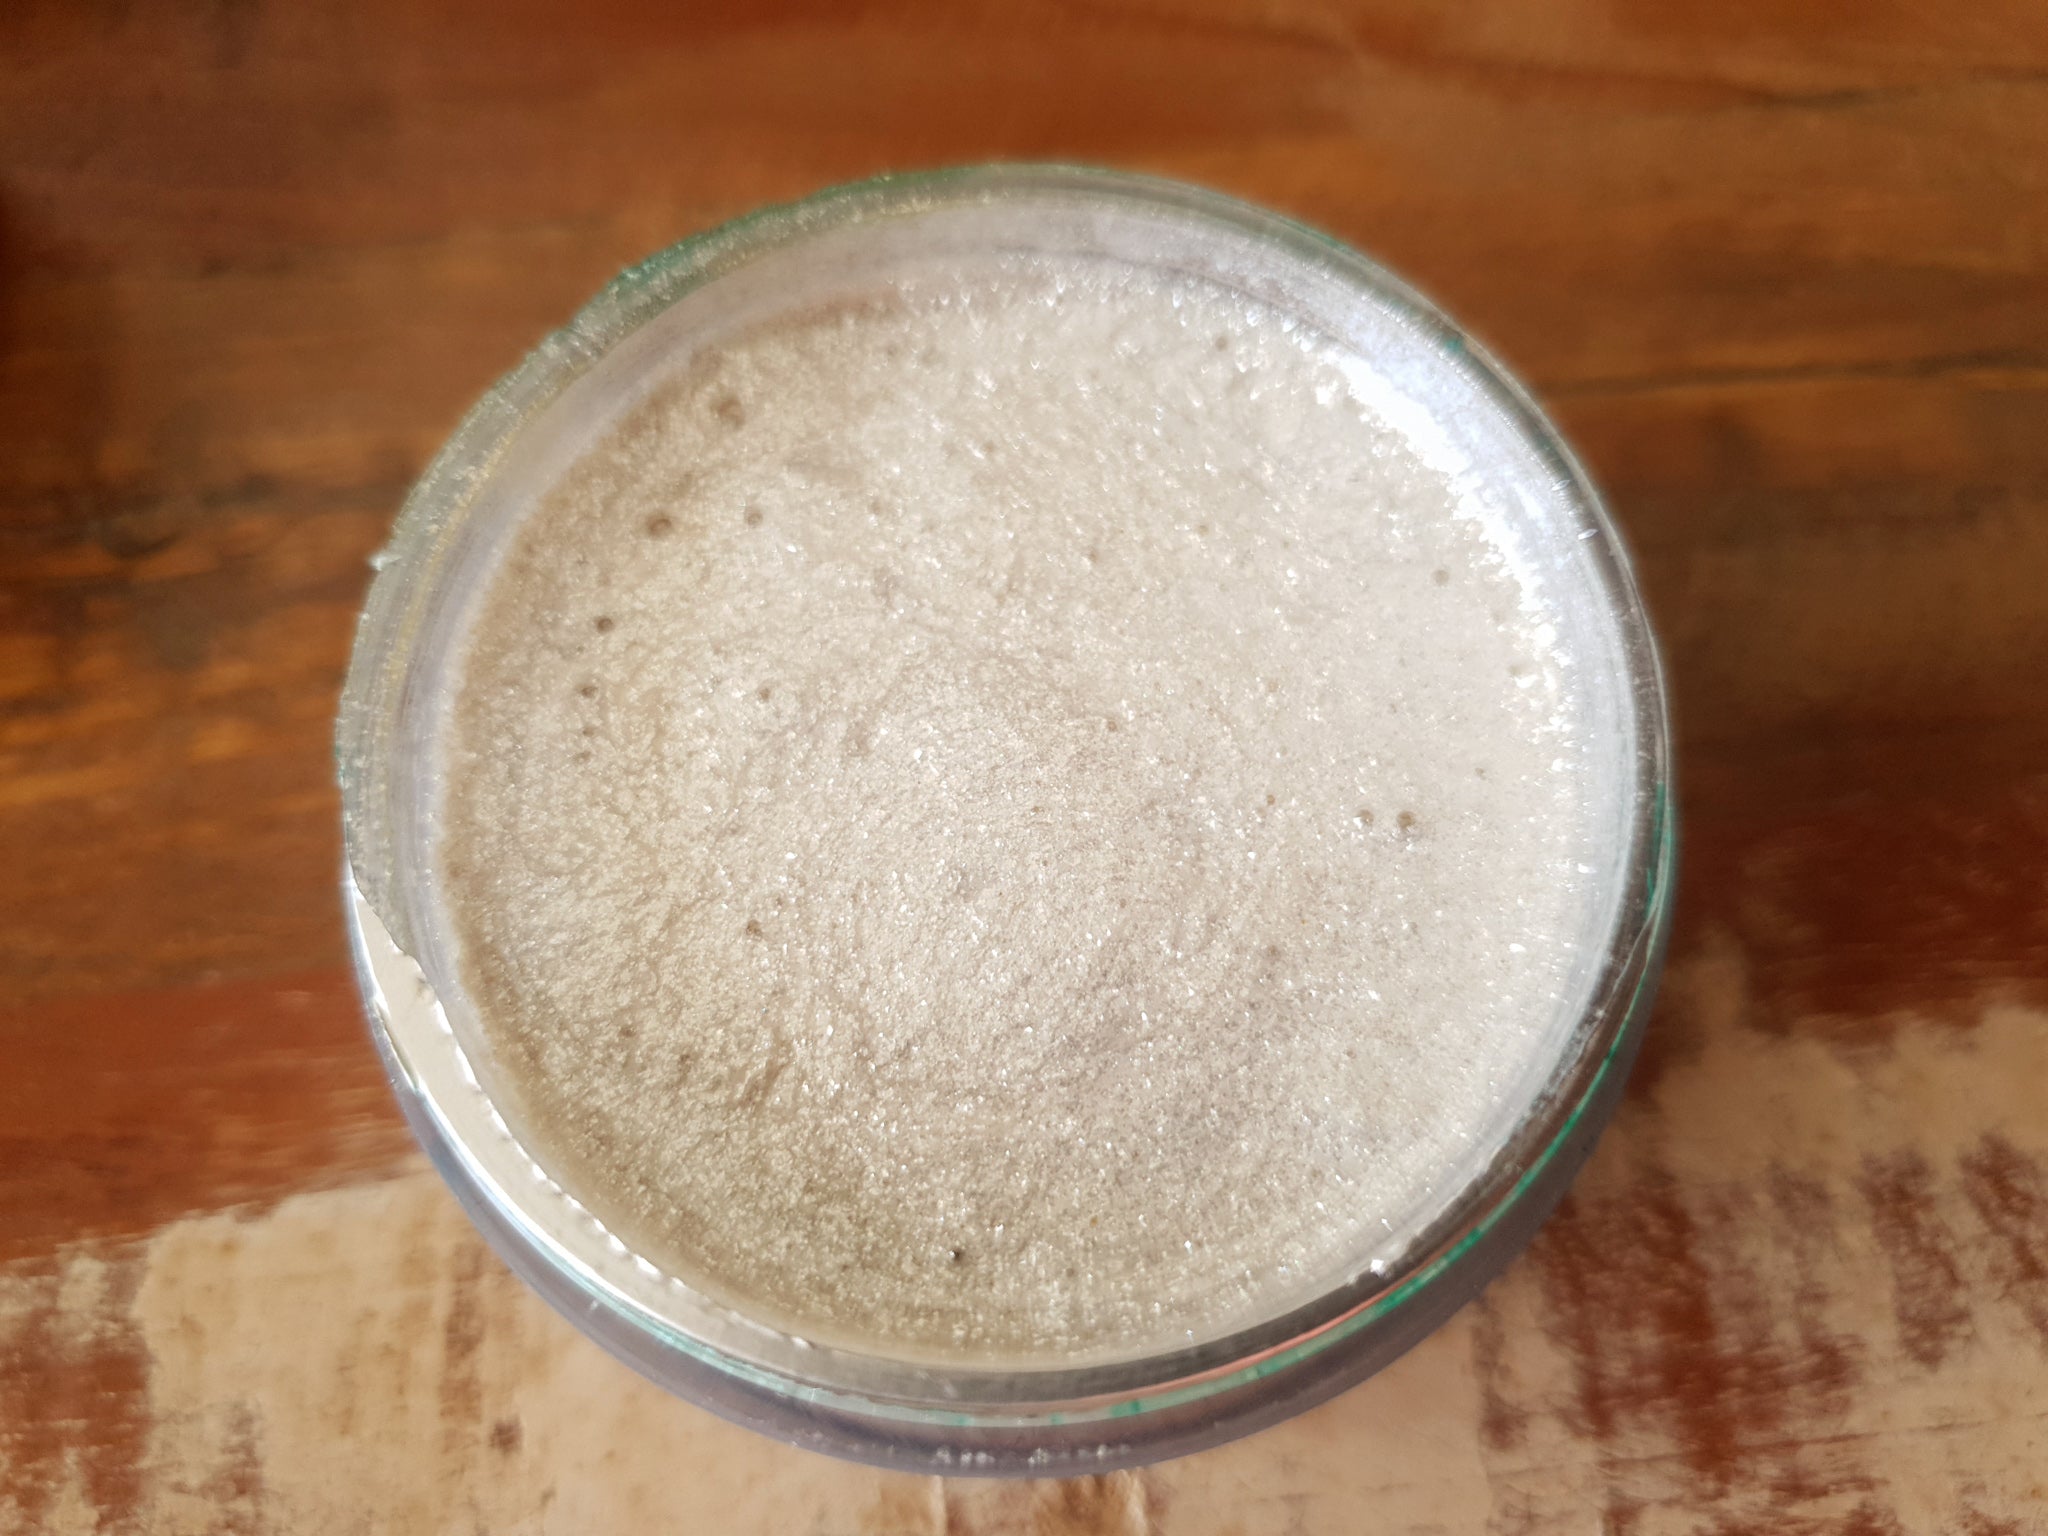
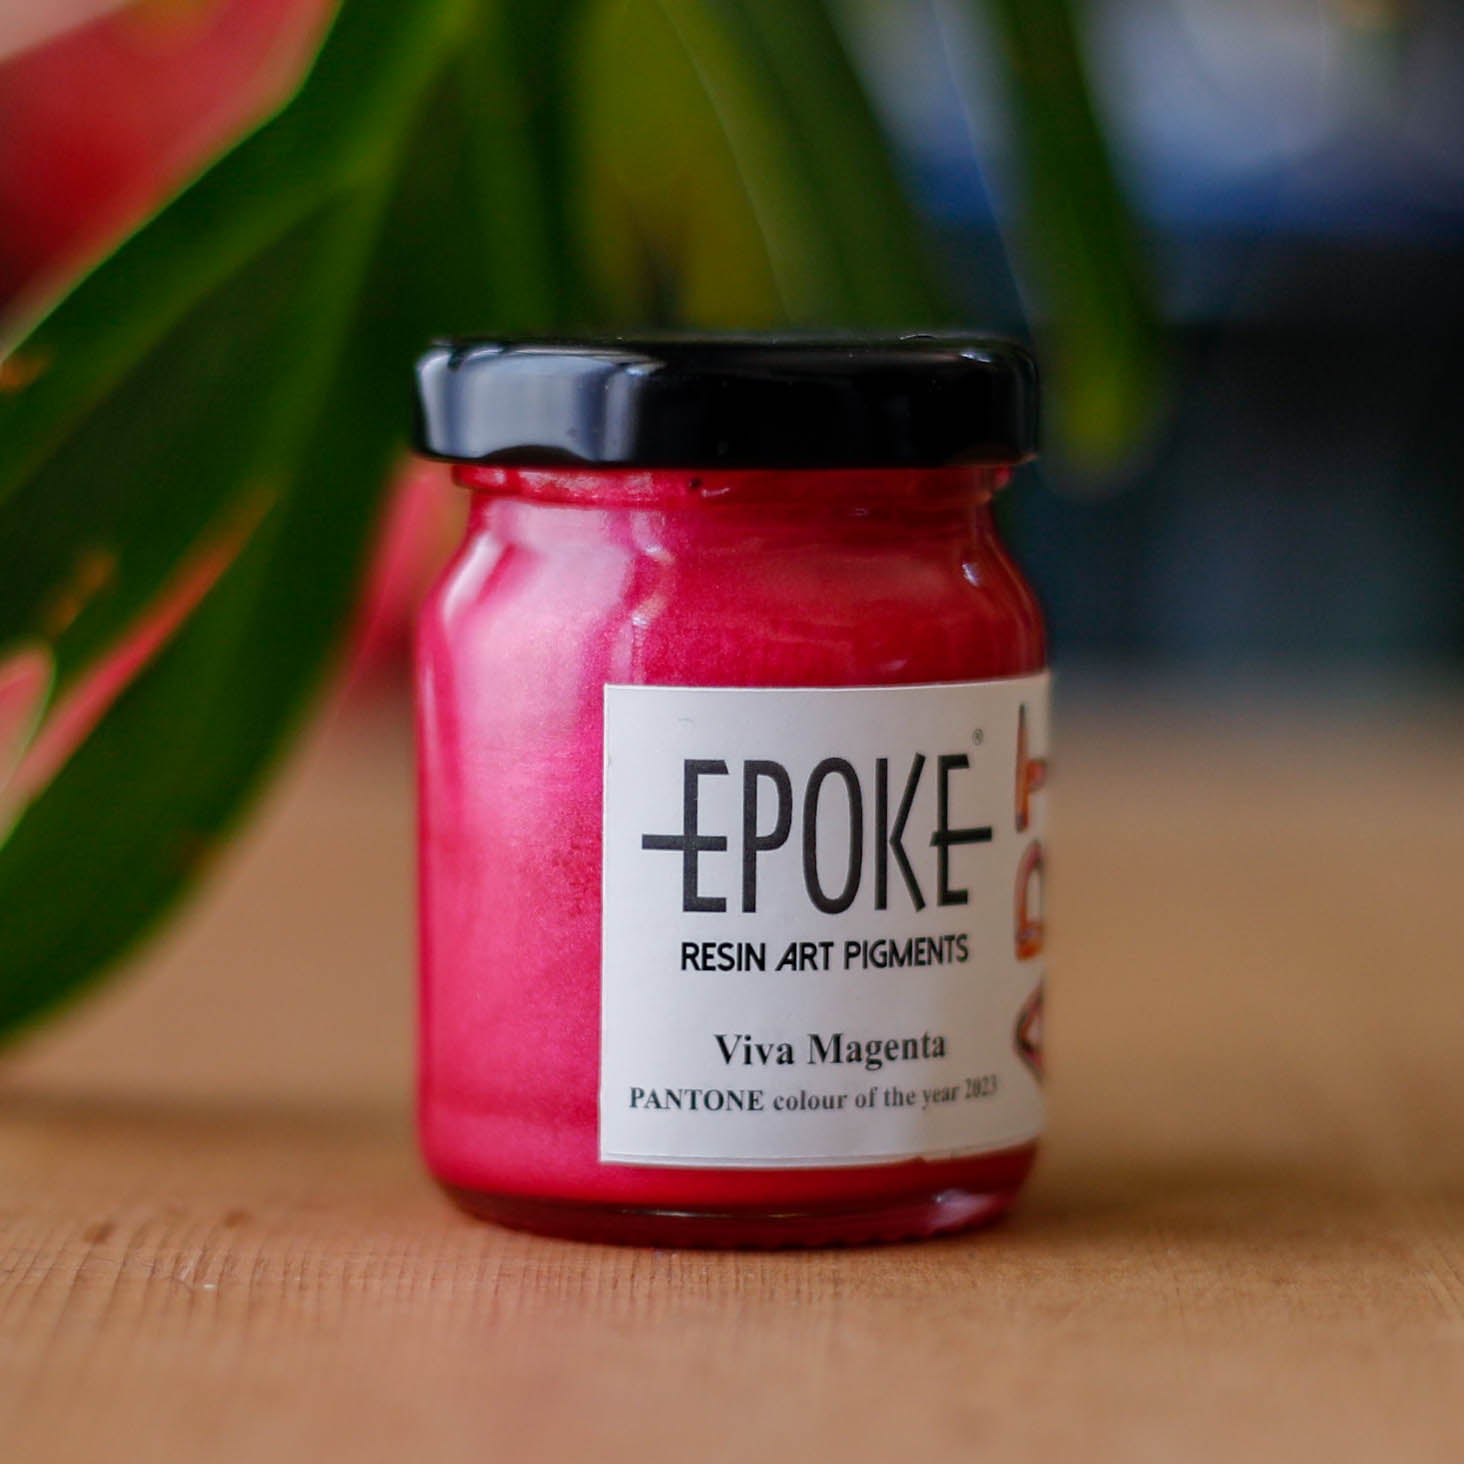
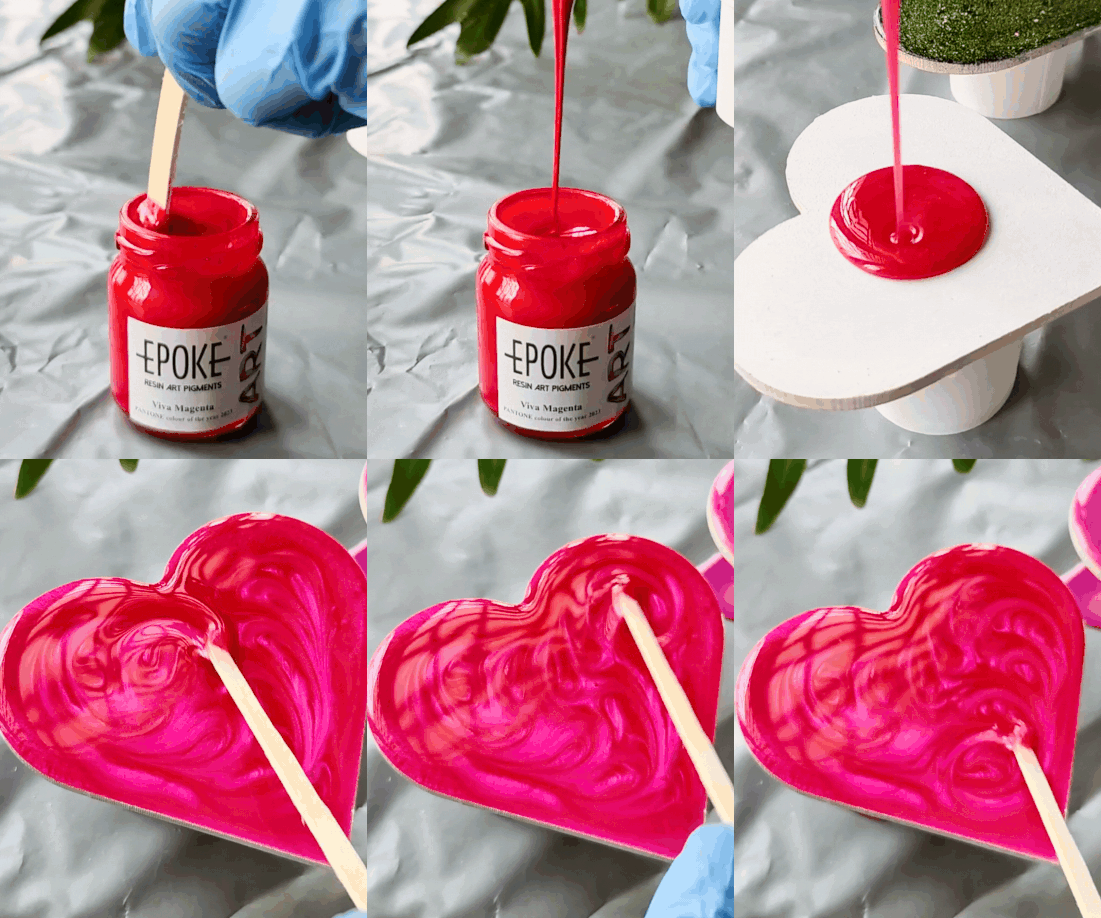
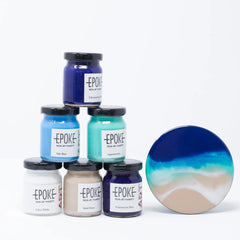
Fix: Test pigment combinations on a scrap piece first, and stick to two or three colors per pour for cleaner results. Pigments built specifically for resin, such as EPOKE Art Epoxy Pigment Paste and Metallic Gel, are designed to disperse evenly and hold their tone once mixed.
15. Pigment Sinking or Settling Unevenly
Heavier pigments settle if the resin sits too long before pouring, or if pigment is not stirred in fully.
Fix: Stir pigment into the resin thoroughly before pouring, and pour soon after mixing rather than letting the batch sit.
16. Resin Yellowing Over Time
UV exposure is the leading cause of yellowing in cured resin over months or years, since sunlight breaks down the resin's chemical structure at the surface. But with EPOKE Art Resin we have worked on slowing down this process considerably. instead of yellowing in a few months , EPOKE art resin will yellow very slightly after 5 years .
Fix: Keep finished pieces out of direct sunlight where possible, and consider a UV protective topcoat for pieces that will sit near windows or outdoors.
17. Pigment Fading After Curing
Colorants that were not made for epoxy resin, such as solvent based paints, water based stainers, or standard acrylics, can fade and also weaken the cured resin's adhesion, gloss, and heat resistance. Alcohol inks can be used with caution, but they carry a fire risk during torching and tend to fade faster than pigments made for resin.
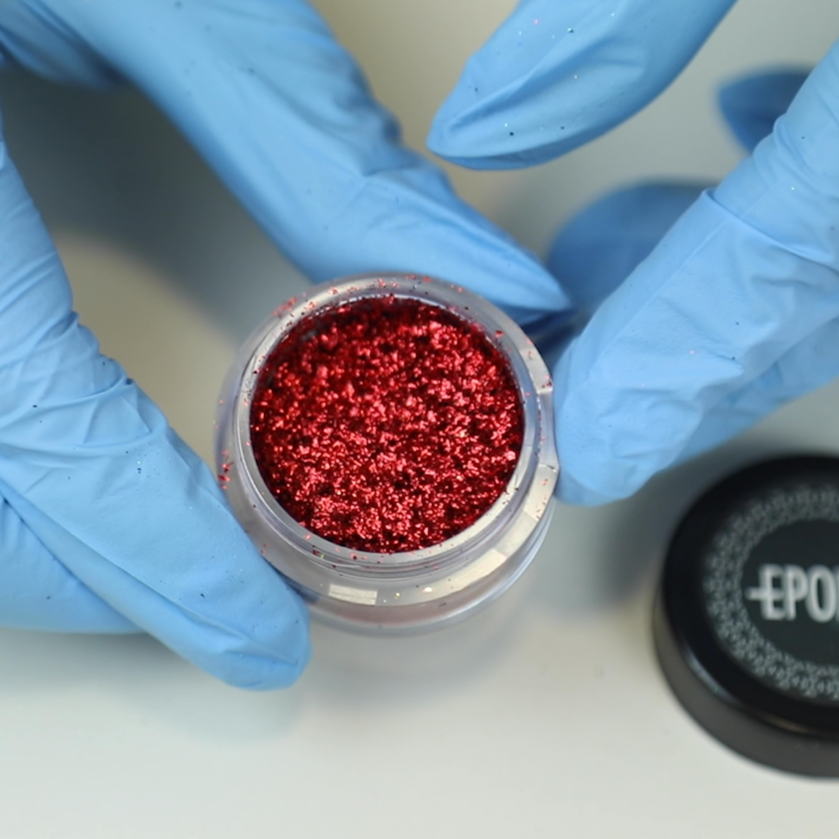
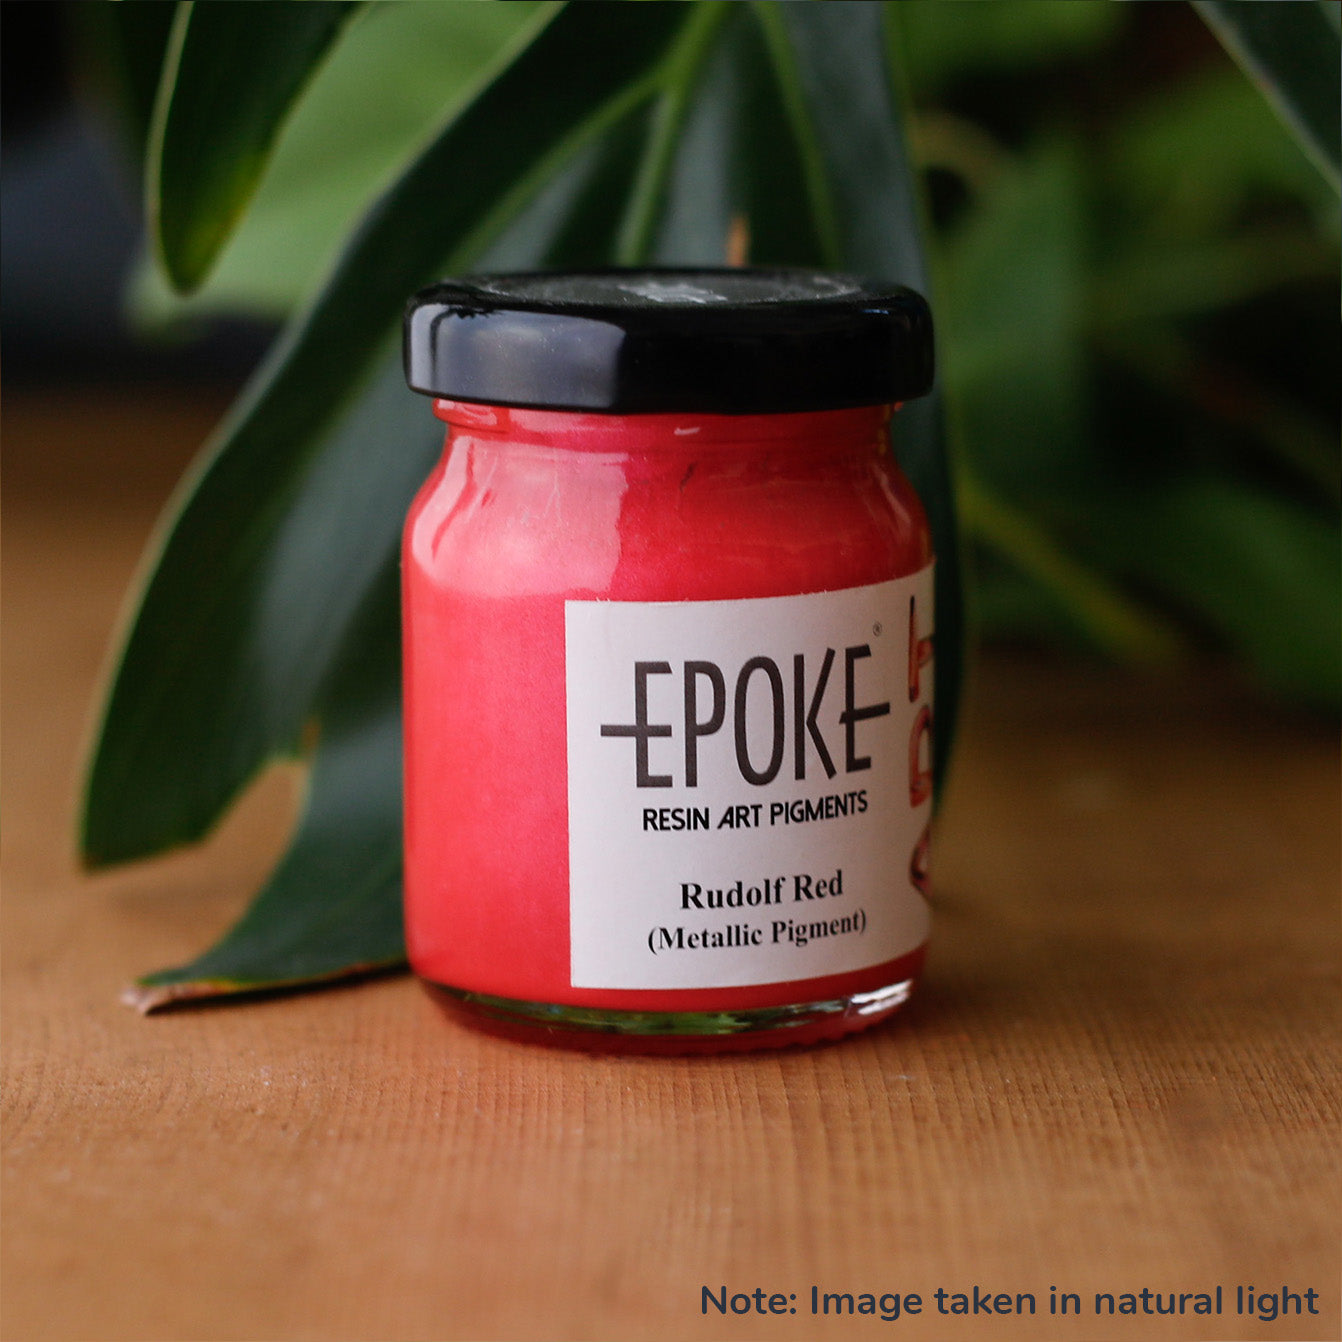
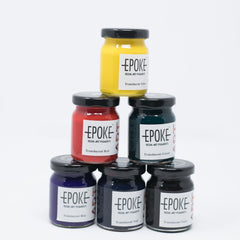
Fix: Use pigments made specifically for epoxy resin, such as EPOKE Art Epoxy Pigments, which are formulated to work with the resin's chemical structure and hold color over time.
18. Streaky or Uneven Color Distribution
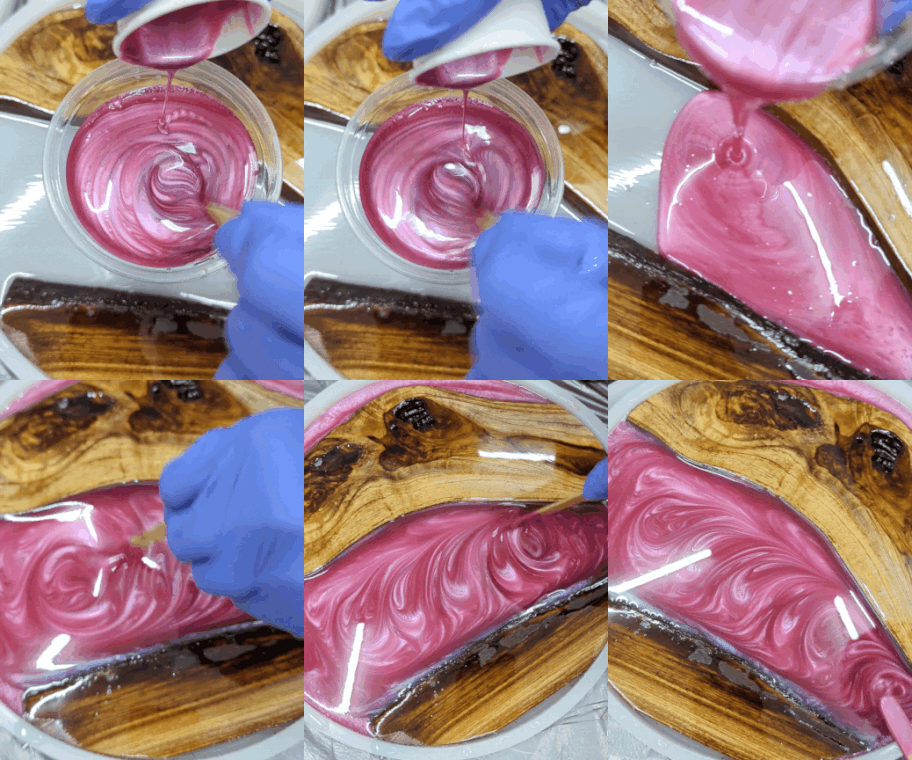
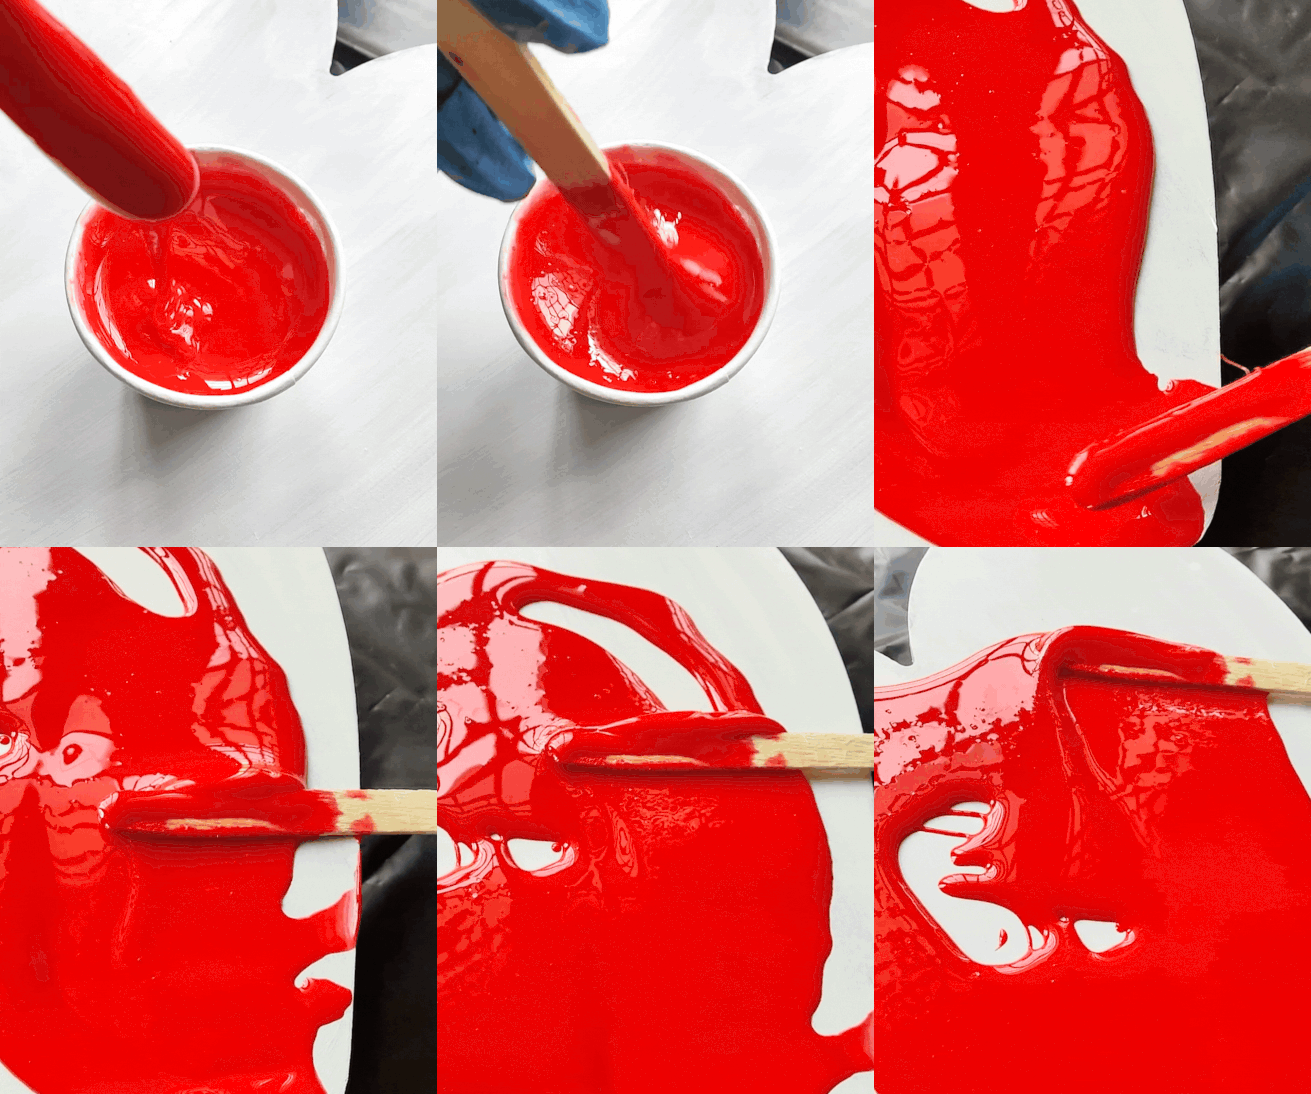
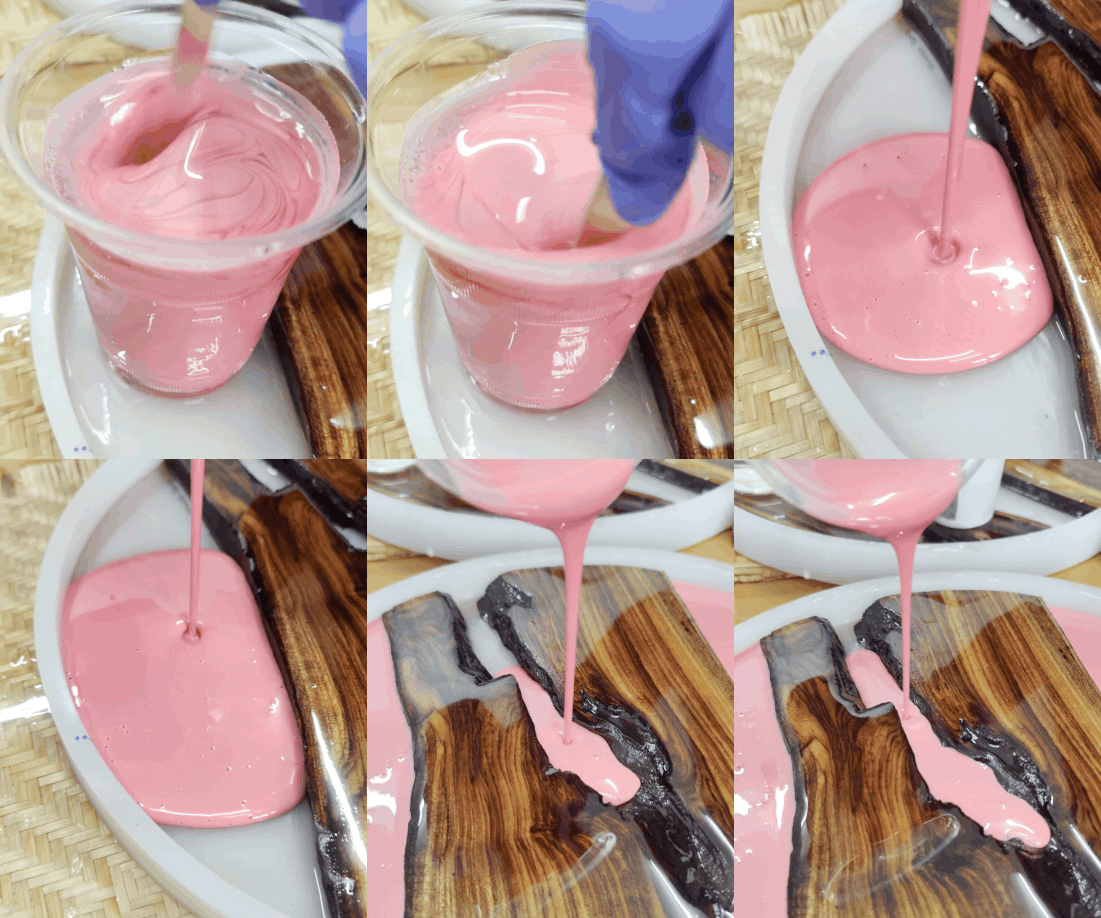
Under mixing pigment into resin leaves streaks instead of an even tone.
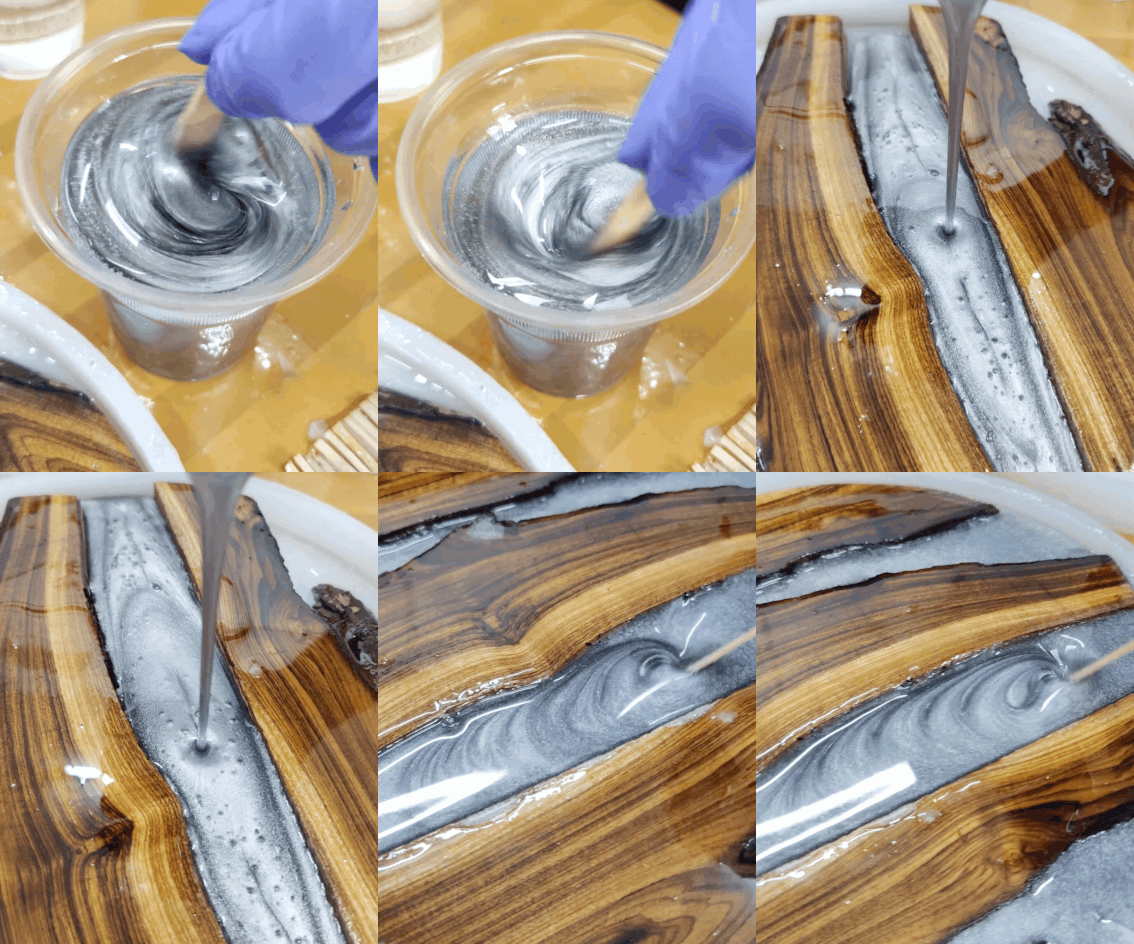
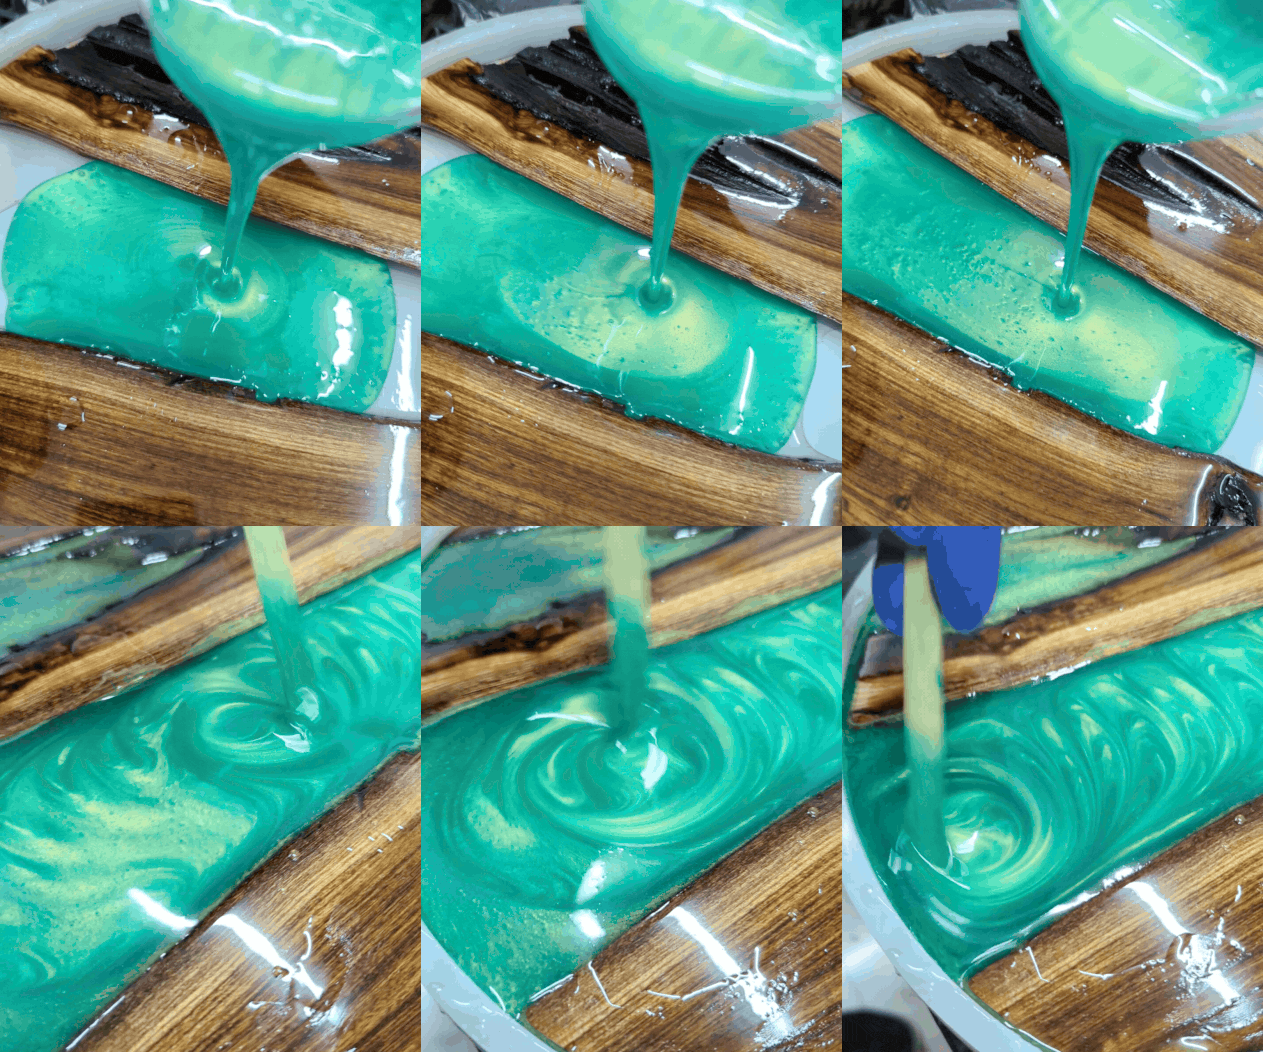
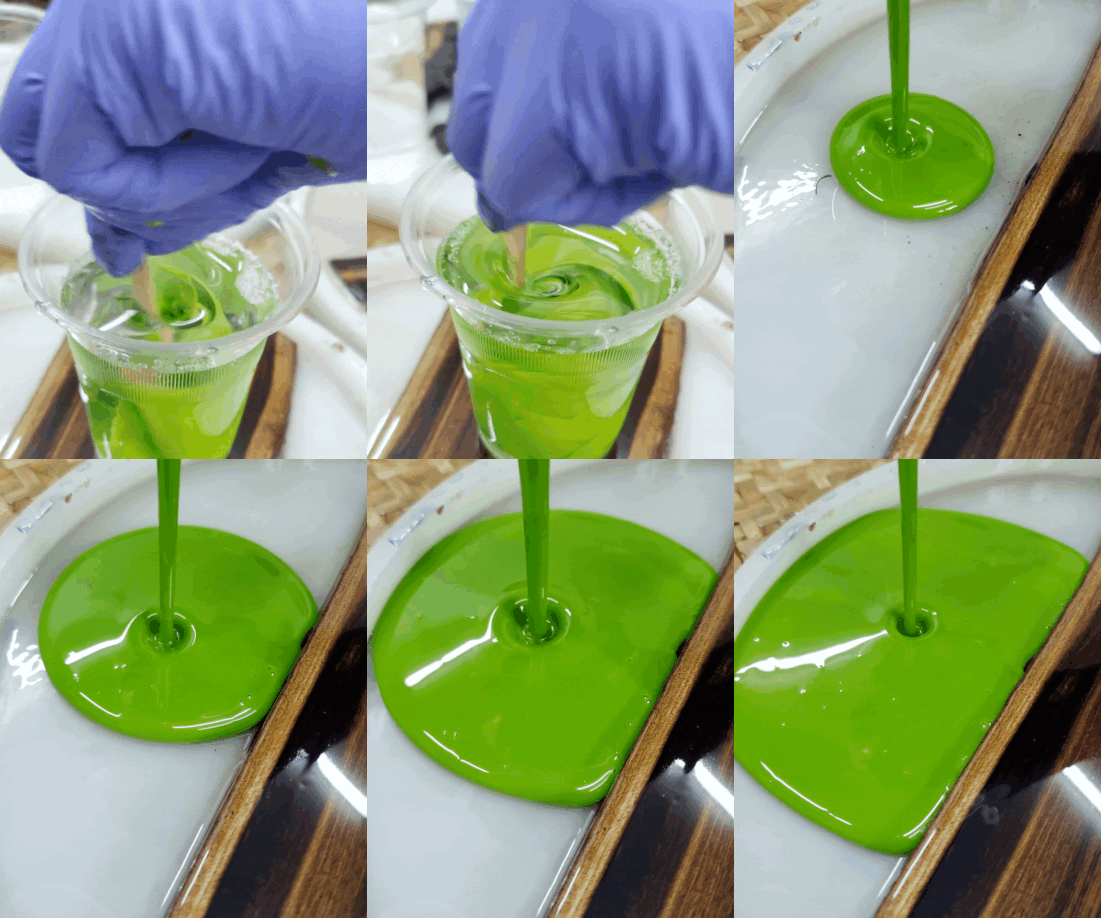
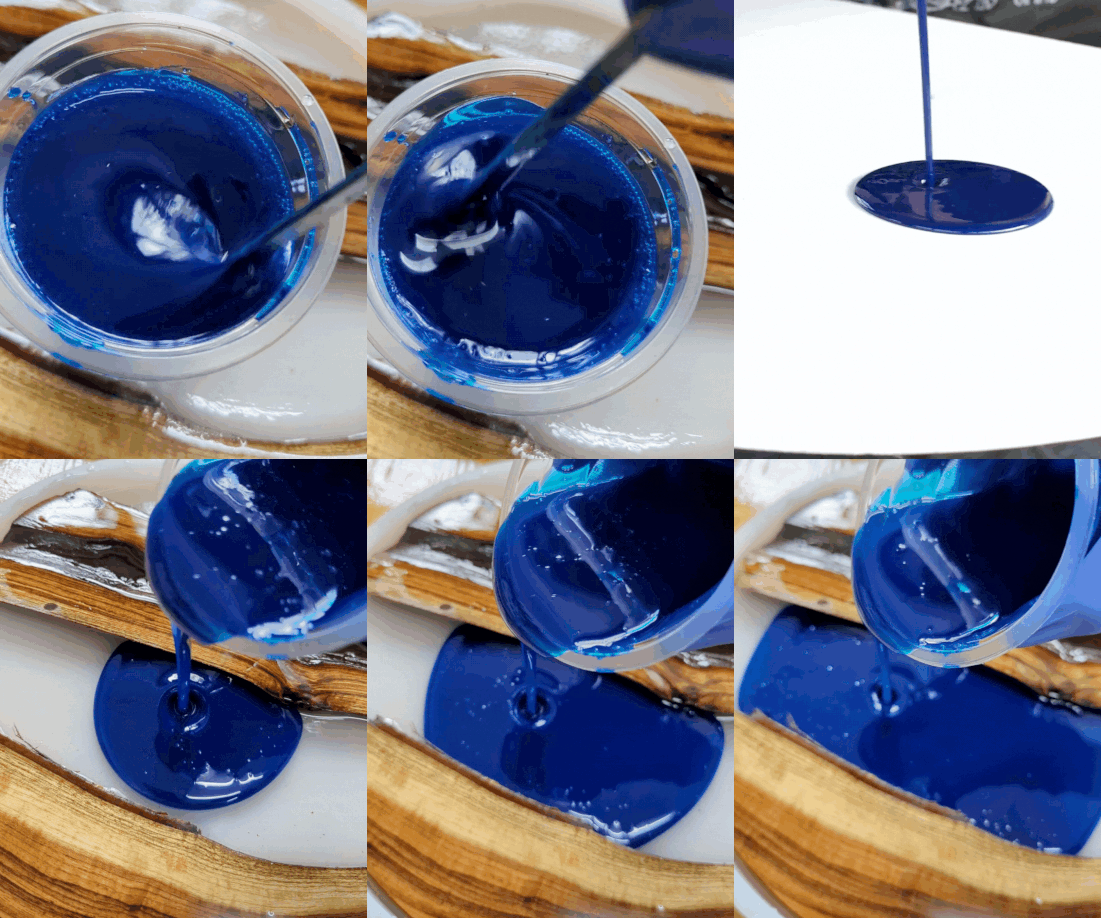
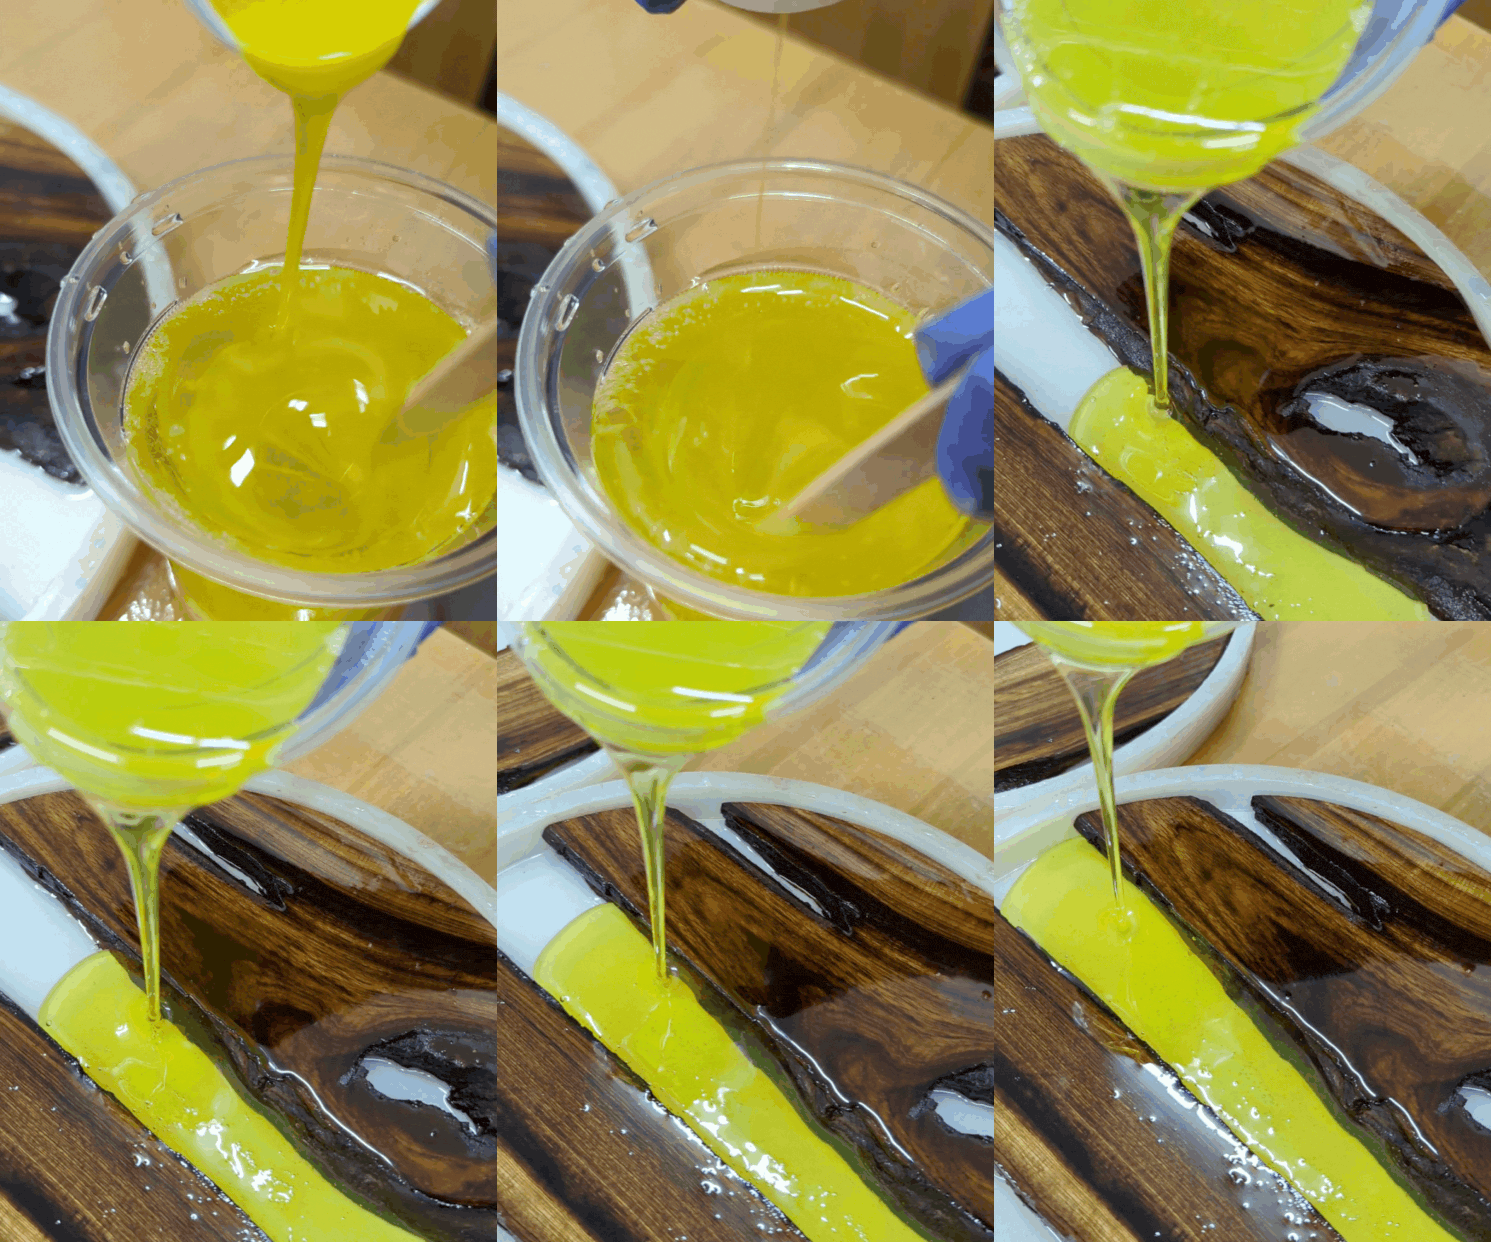
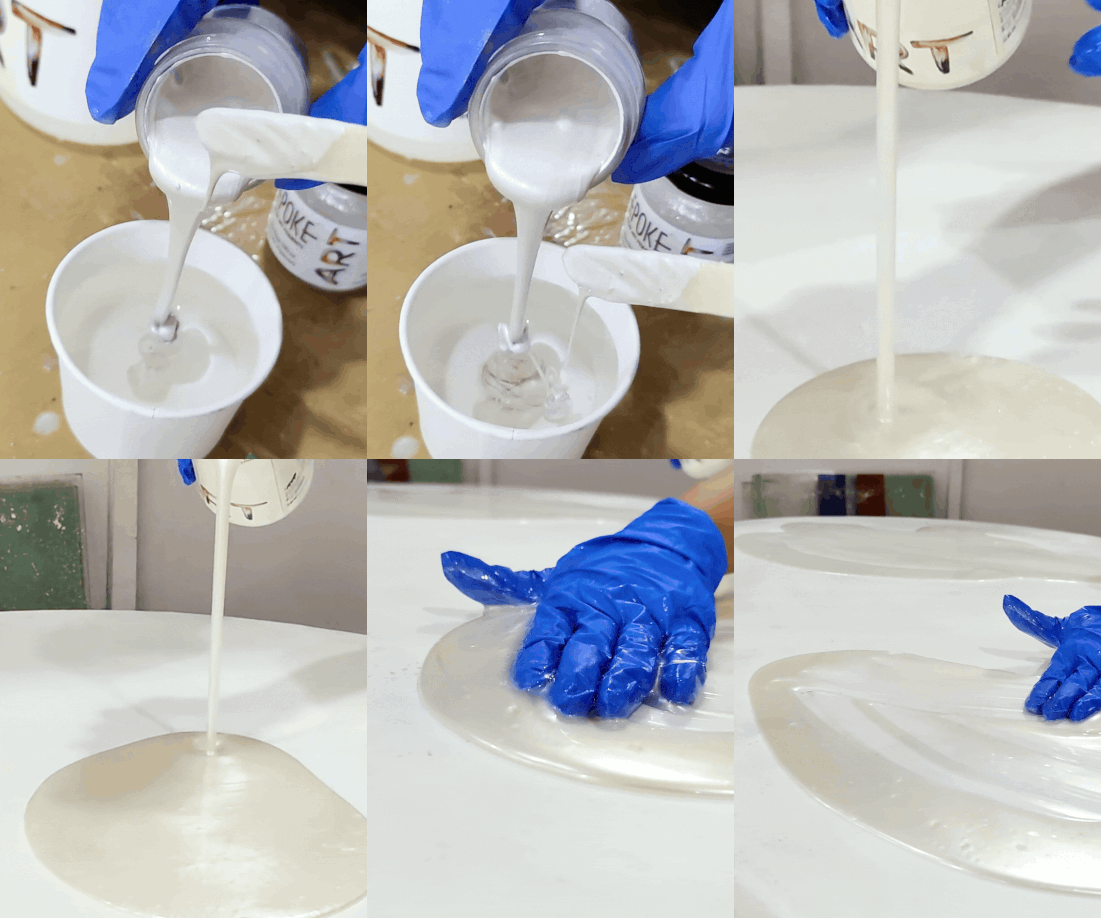
Fix: Mix pigment thoroughly into the resin base before combining Part A and Part B, checking for a consistent, uniform color before you move on to the full mix.
Fixing Cured Resin
19. Can You Fix Resin Art After It Is Fully Cured?
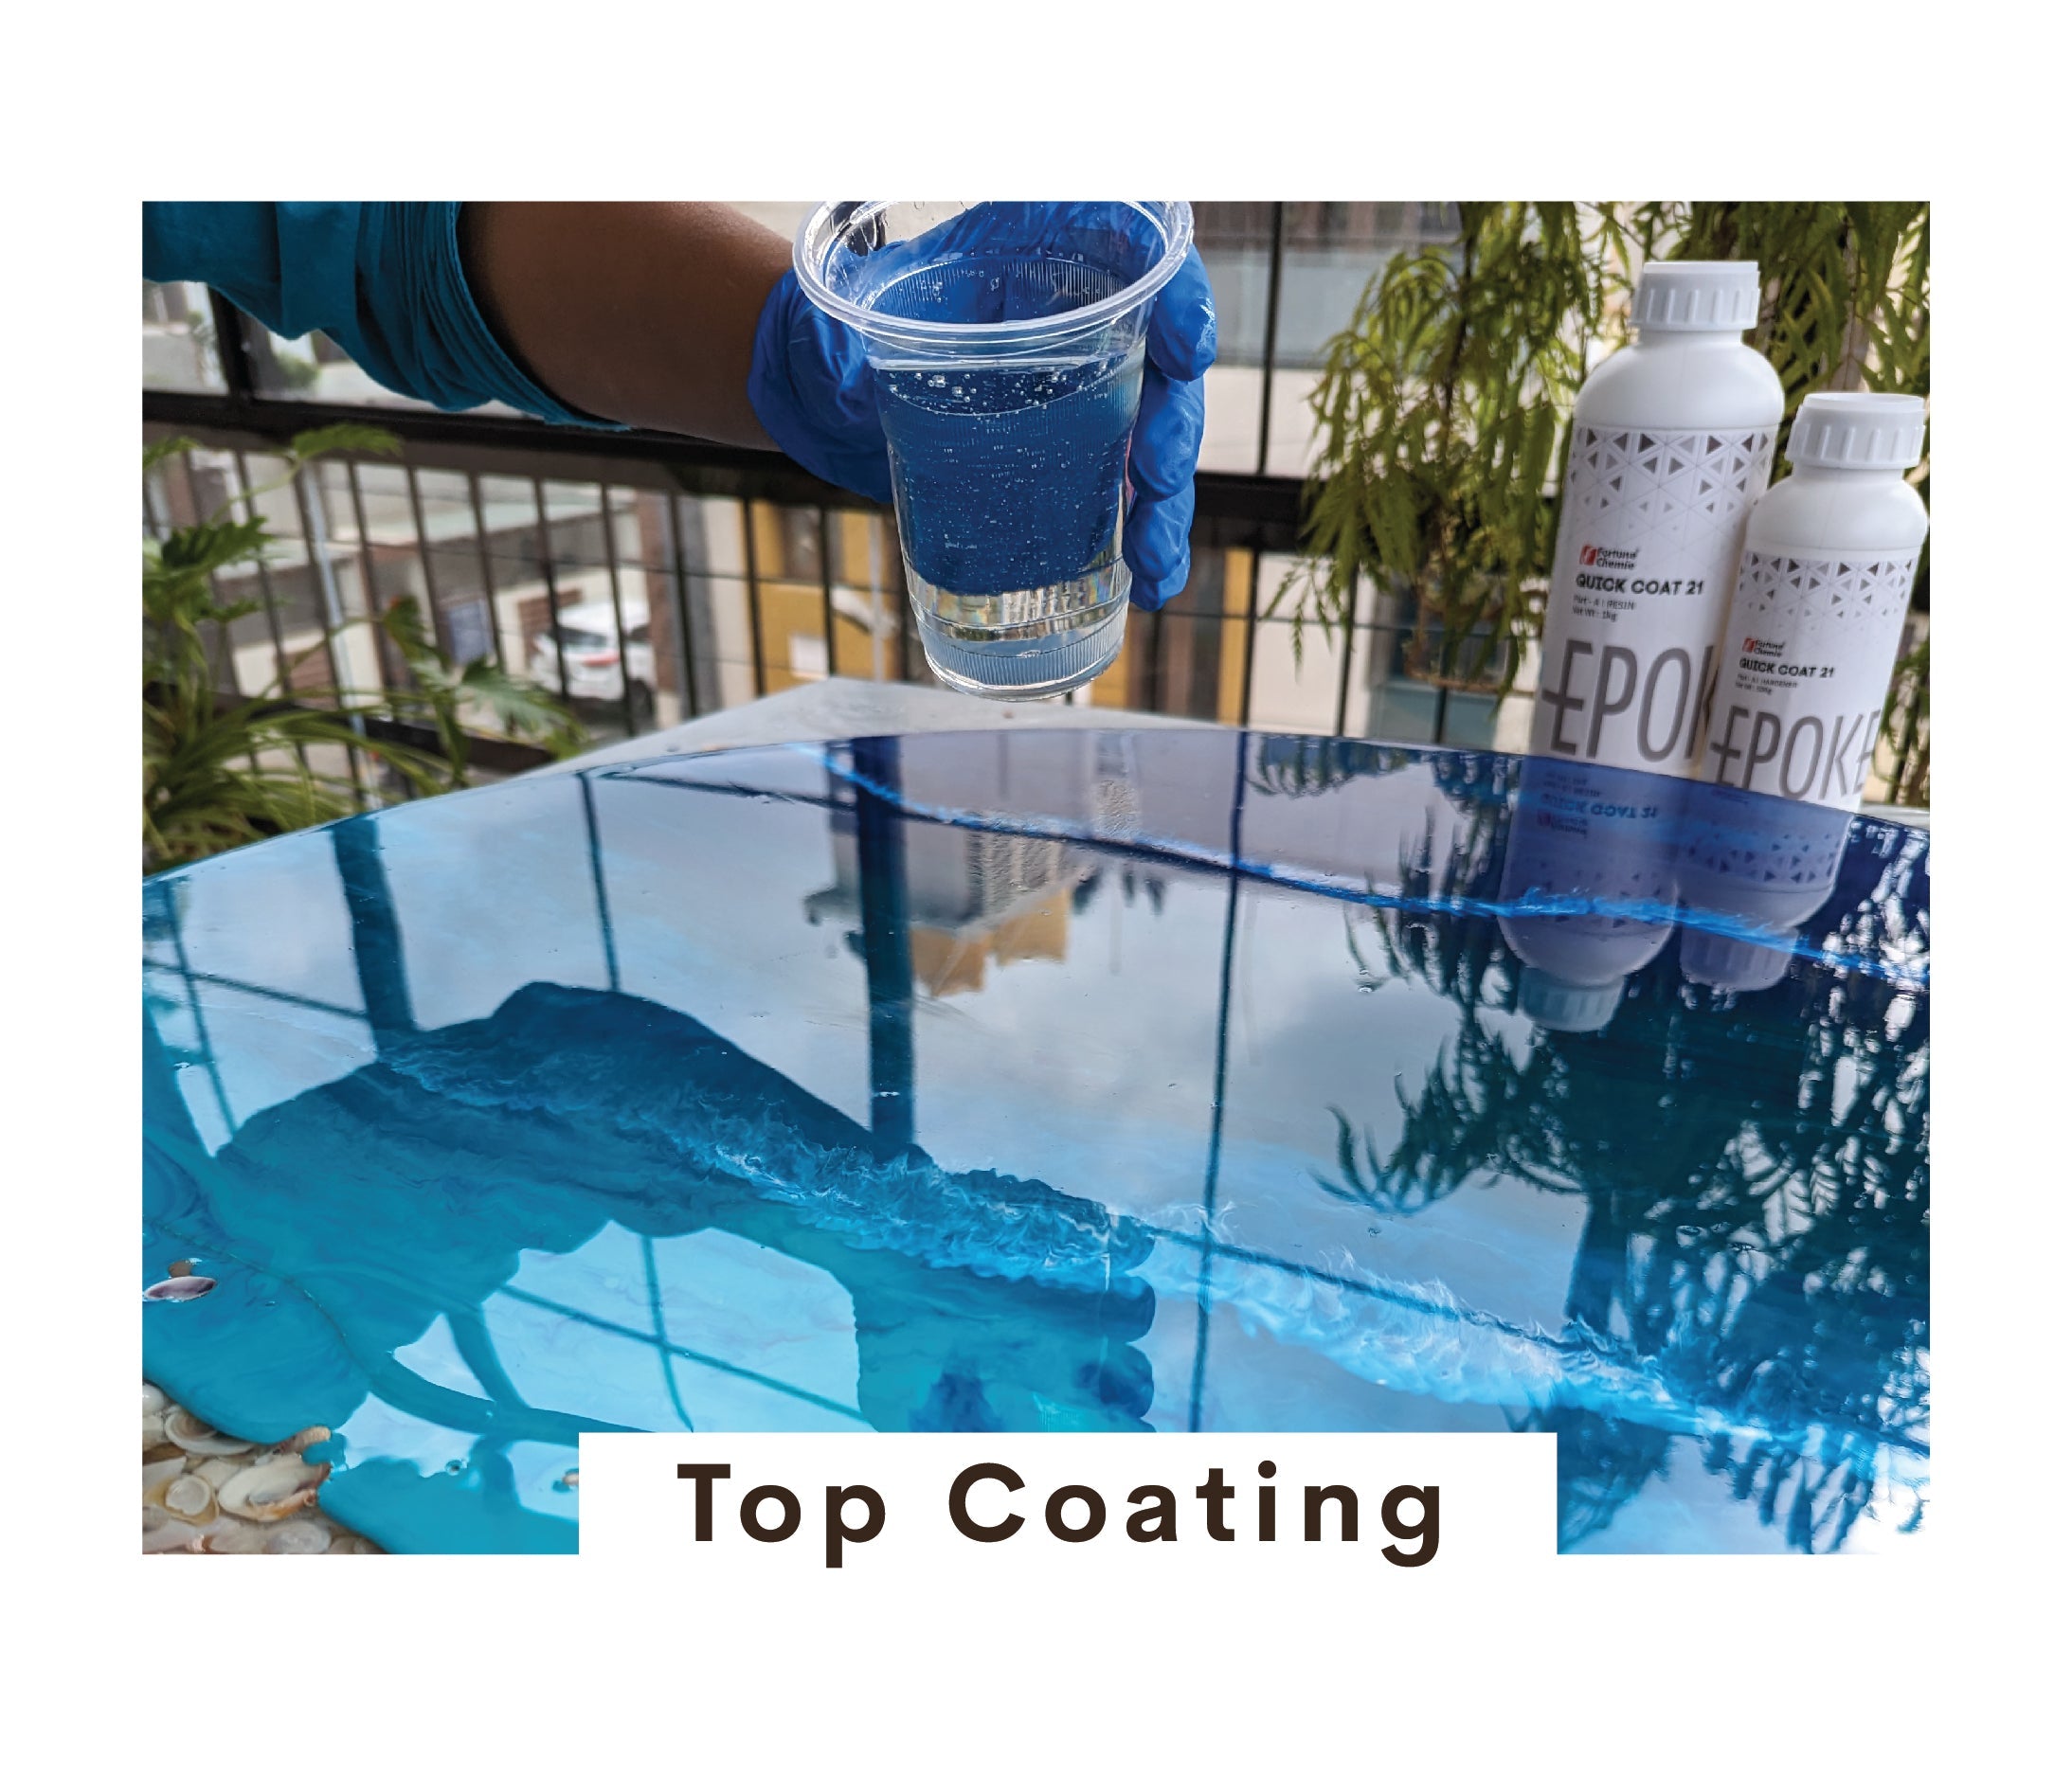
Yes, in many cases. Surface issues like scratches, dullness, or minor bubbles at the top layer can be corrected with a fresh resin topcoat poured over the sanded surface.
Fix: Sand the cured piece lightly with fine grit sandp aper, clean off dust, then pour a thin new layer of resin over the top. Deeper problems like soft spots or major cloudiness usually need the piece redone from the base layer.
20. Resin Peeling or Separating in Layers
EPOKE Art Epoxy Resin has strong intercoat adhesion, so a new layer poured within about 12 hours of the last one does not need sanding in between. Peeling shows up mainly when a fresh layer is poured over a piece that fully cured days or weeks earlier, since that older surface has hardened completely and needs a rougher texture to bond to.
Fix: If you are recoating soon after the previous layer, pour directly without sanding. If you are reworking an older, fully cured piece, sand the surface first so the new layer has something to grip.
How to Prevent Most Resin Art Mistakes
Most epoxy resin troubleshooting comes down to three habits: measuring the 3:1 ratio by weight, mixing for the full 5 minutes, and working within the right temperature range for your resin. Add the right pigments to that list, and you remove most of the guesswork. Starting with EPOKE Art Epoxy Pigments, built to work with the resin's chemical structure, gives you one less variable to manage on every pour.
Browse our full range of resin pigments at EPOKE Art, formulated for Indian resin artists working across climates and humidity levels.
Final Thoughts
Every resin artist runs into problems at some point. What separates a frustrating pour from a smooth one is knowing the cause behind each issue and having a clear fix ready. Keep this guide close for your next project, and you will spend less time troubleshooting and more time finishing pieces you are proud of.