


EPOKE University
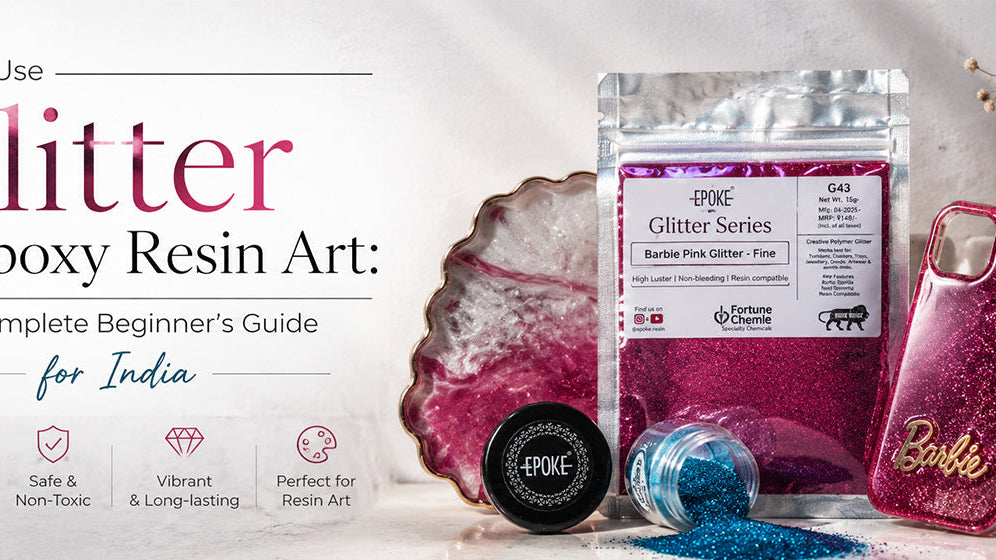
How to Use Glitter in Epoxy Resin Art: A Complete Beginner's Guide for India
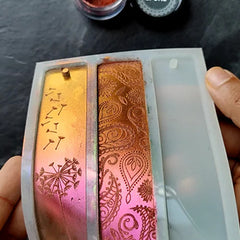
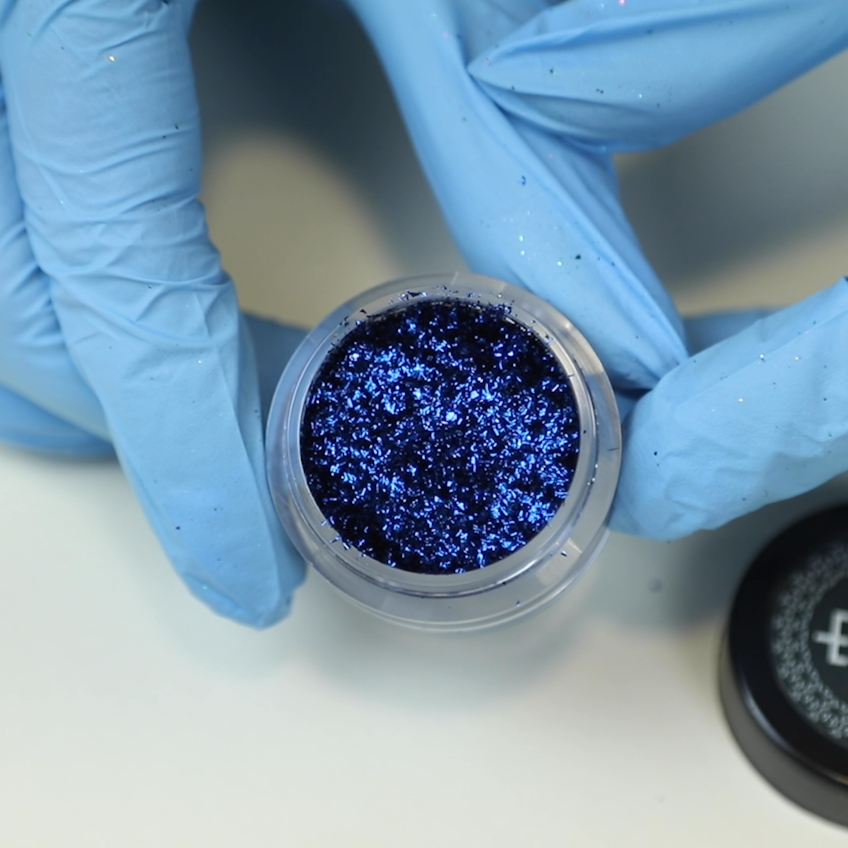
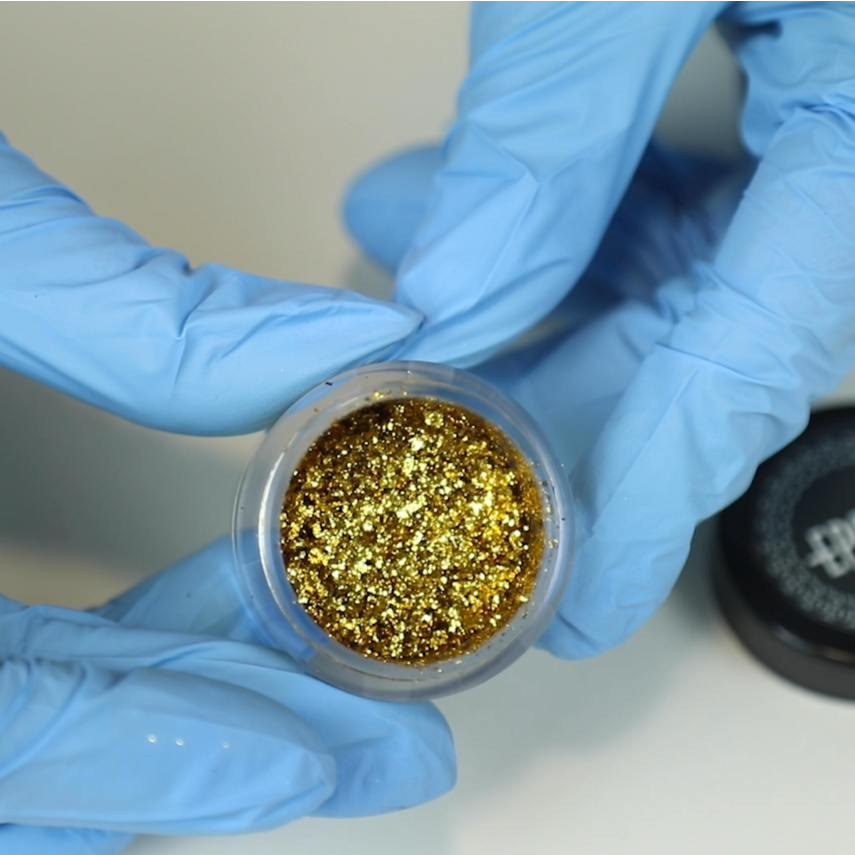
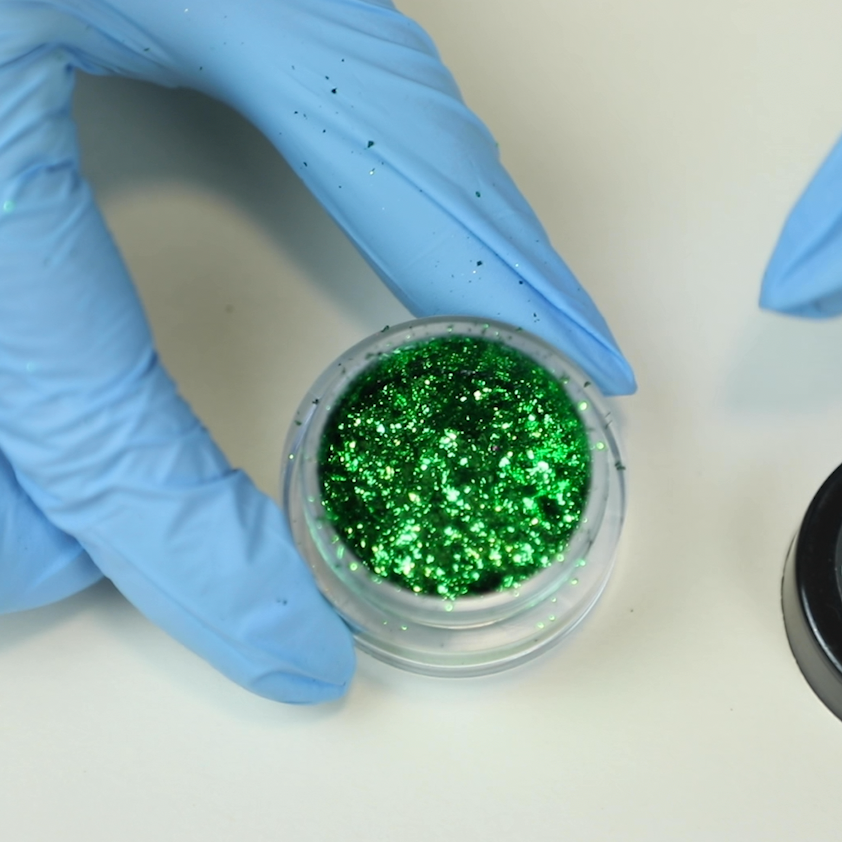
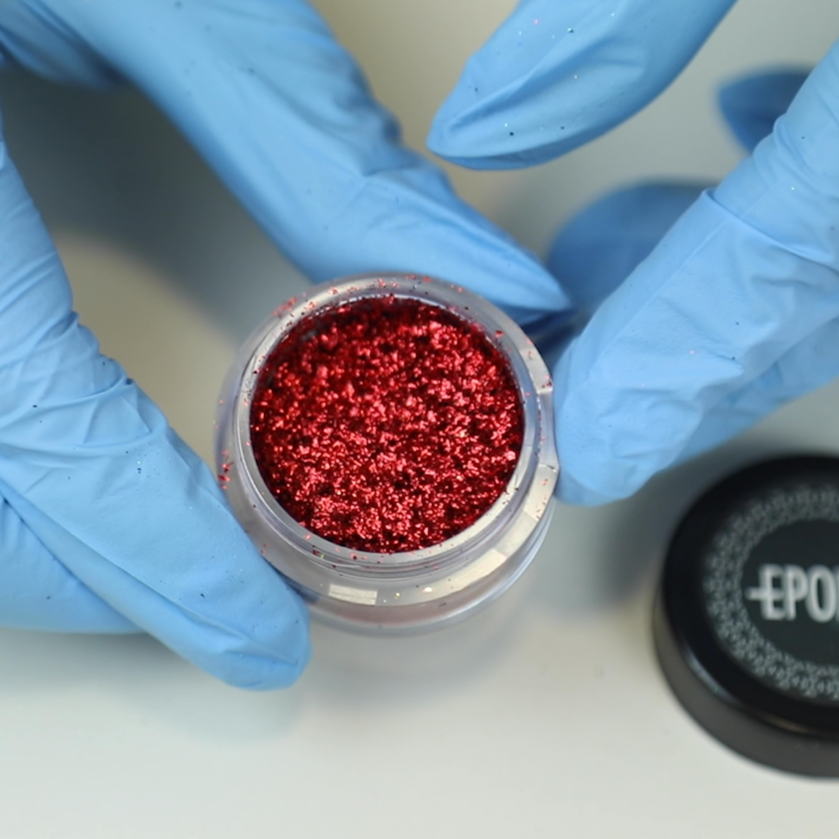
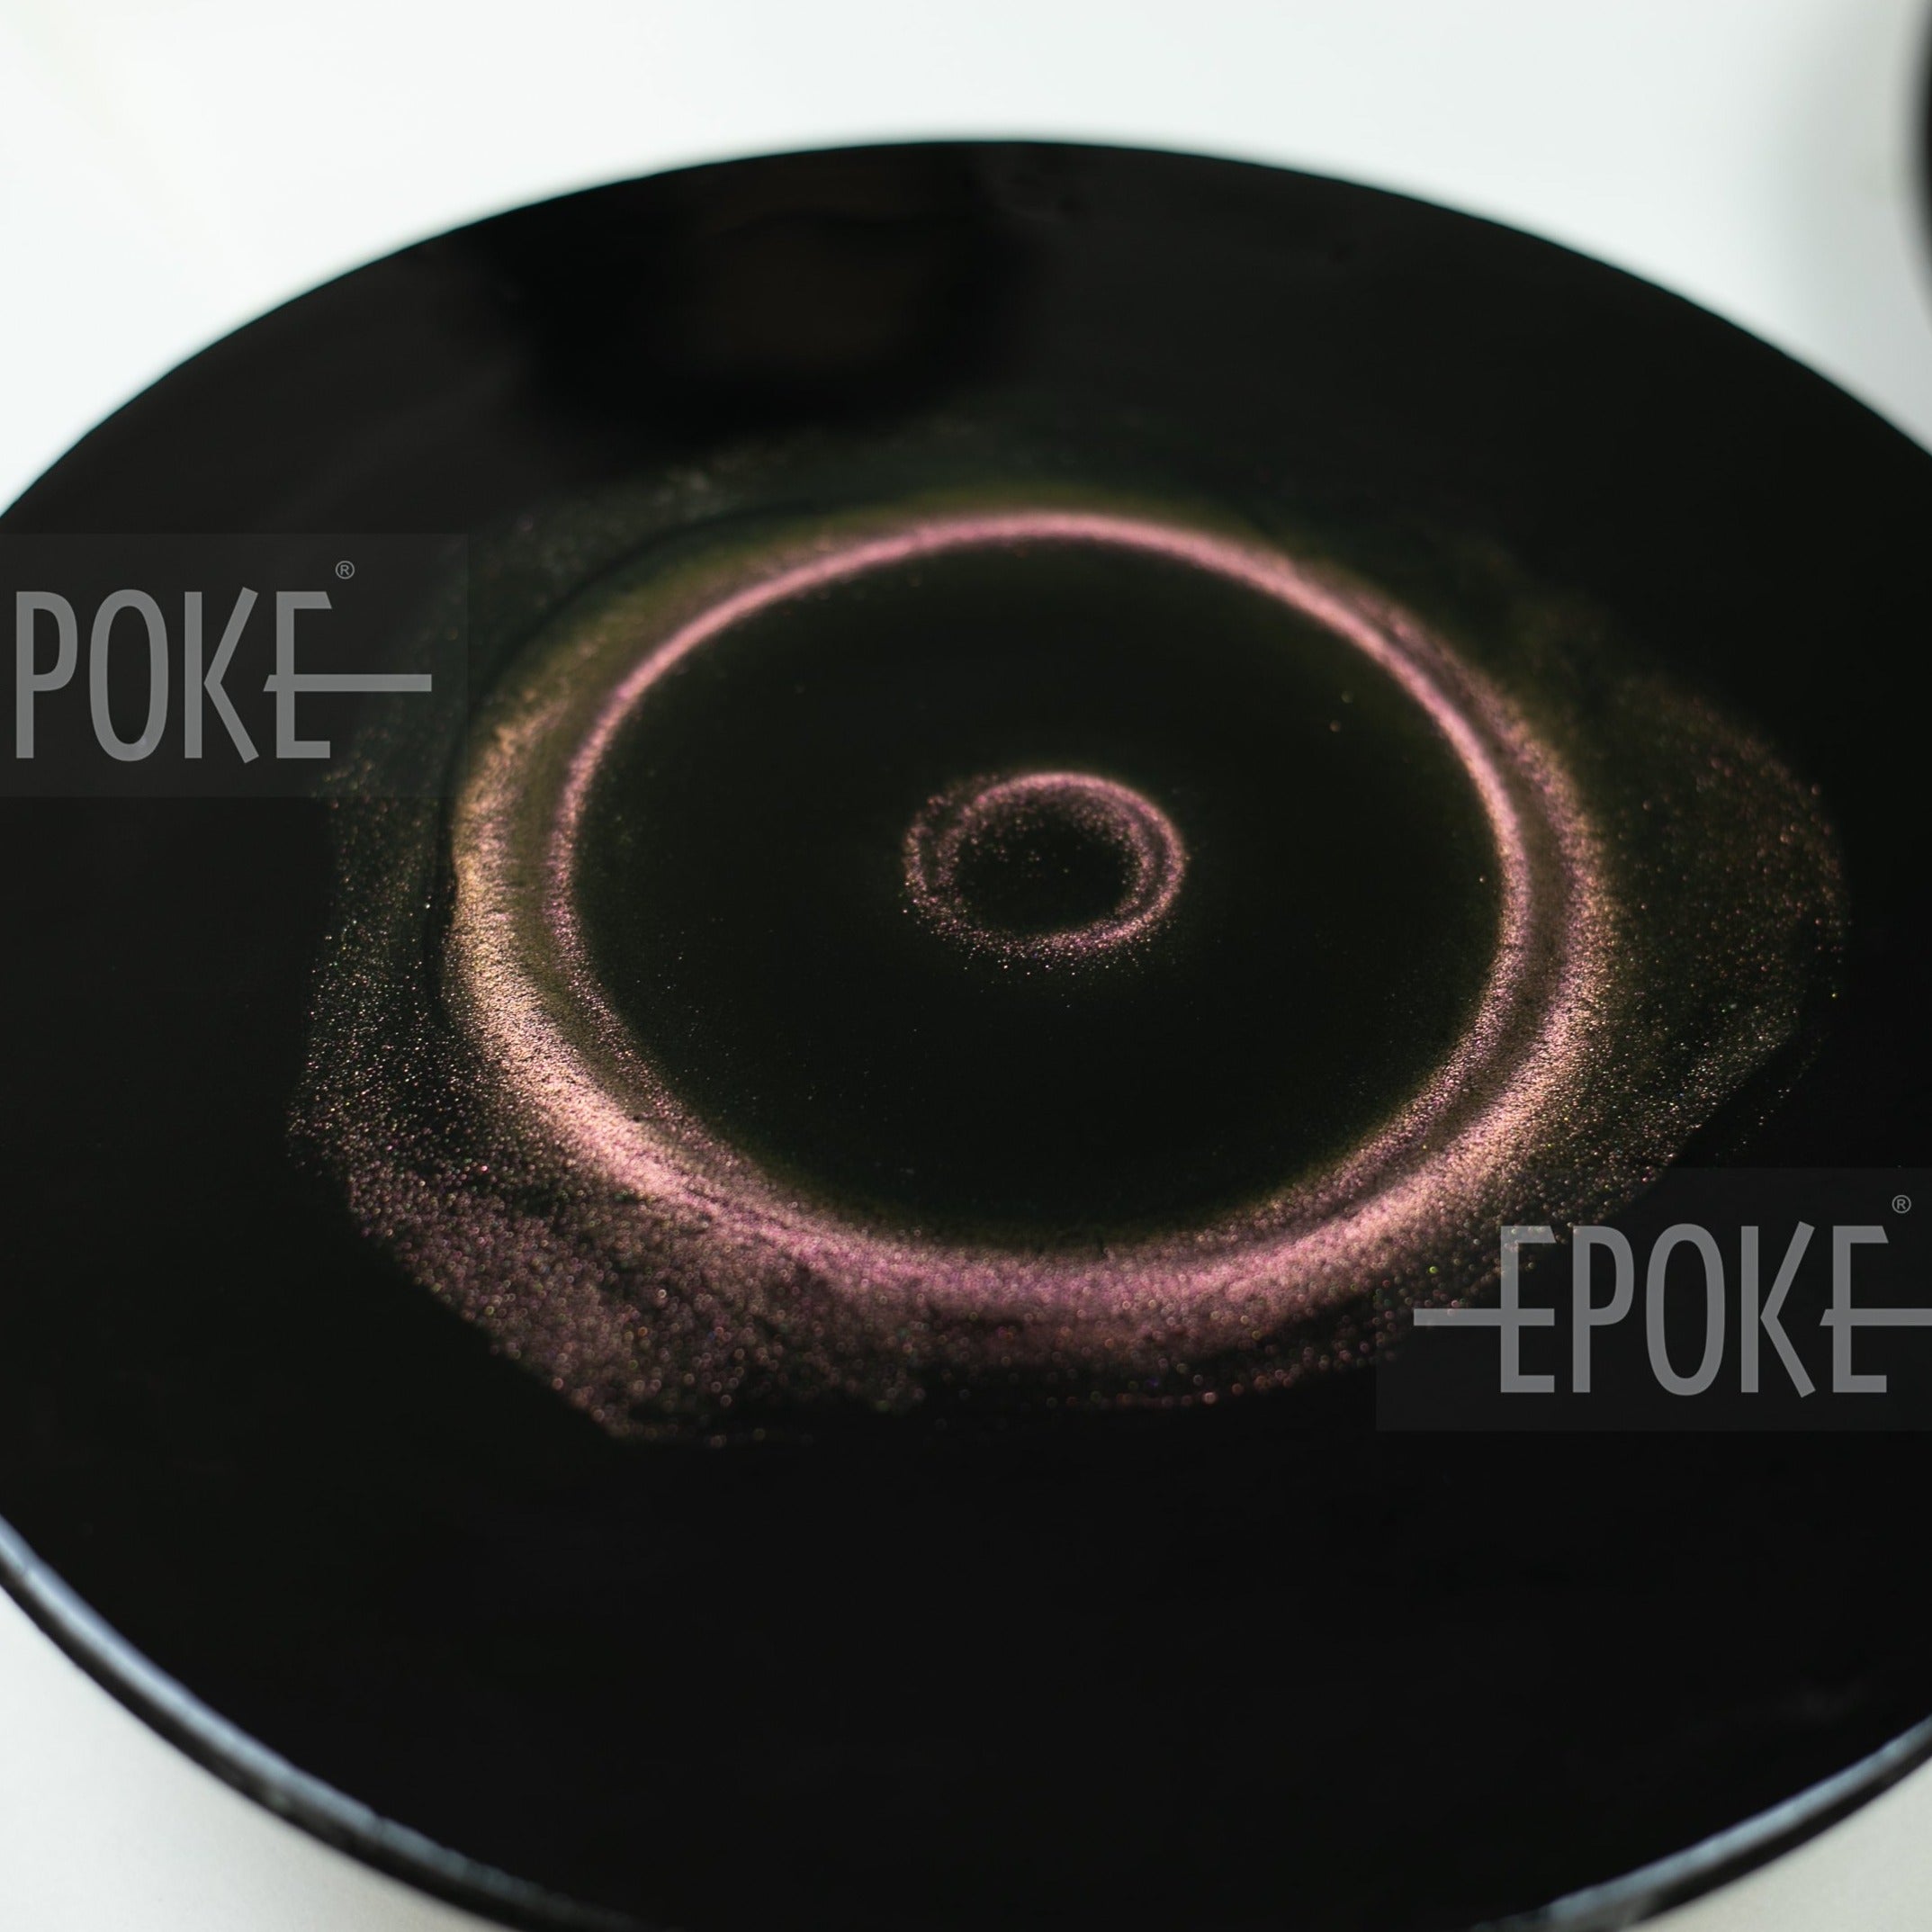
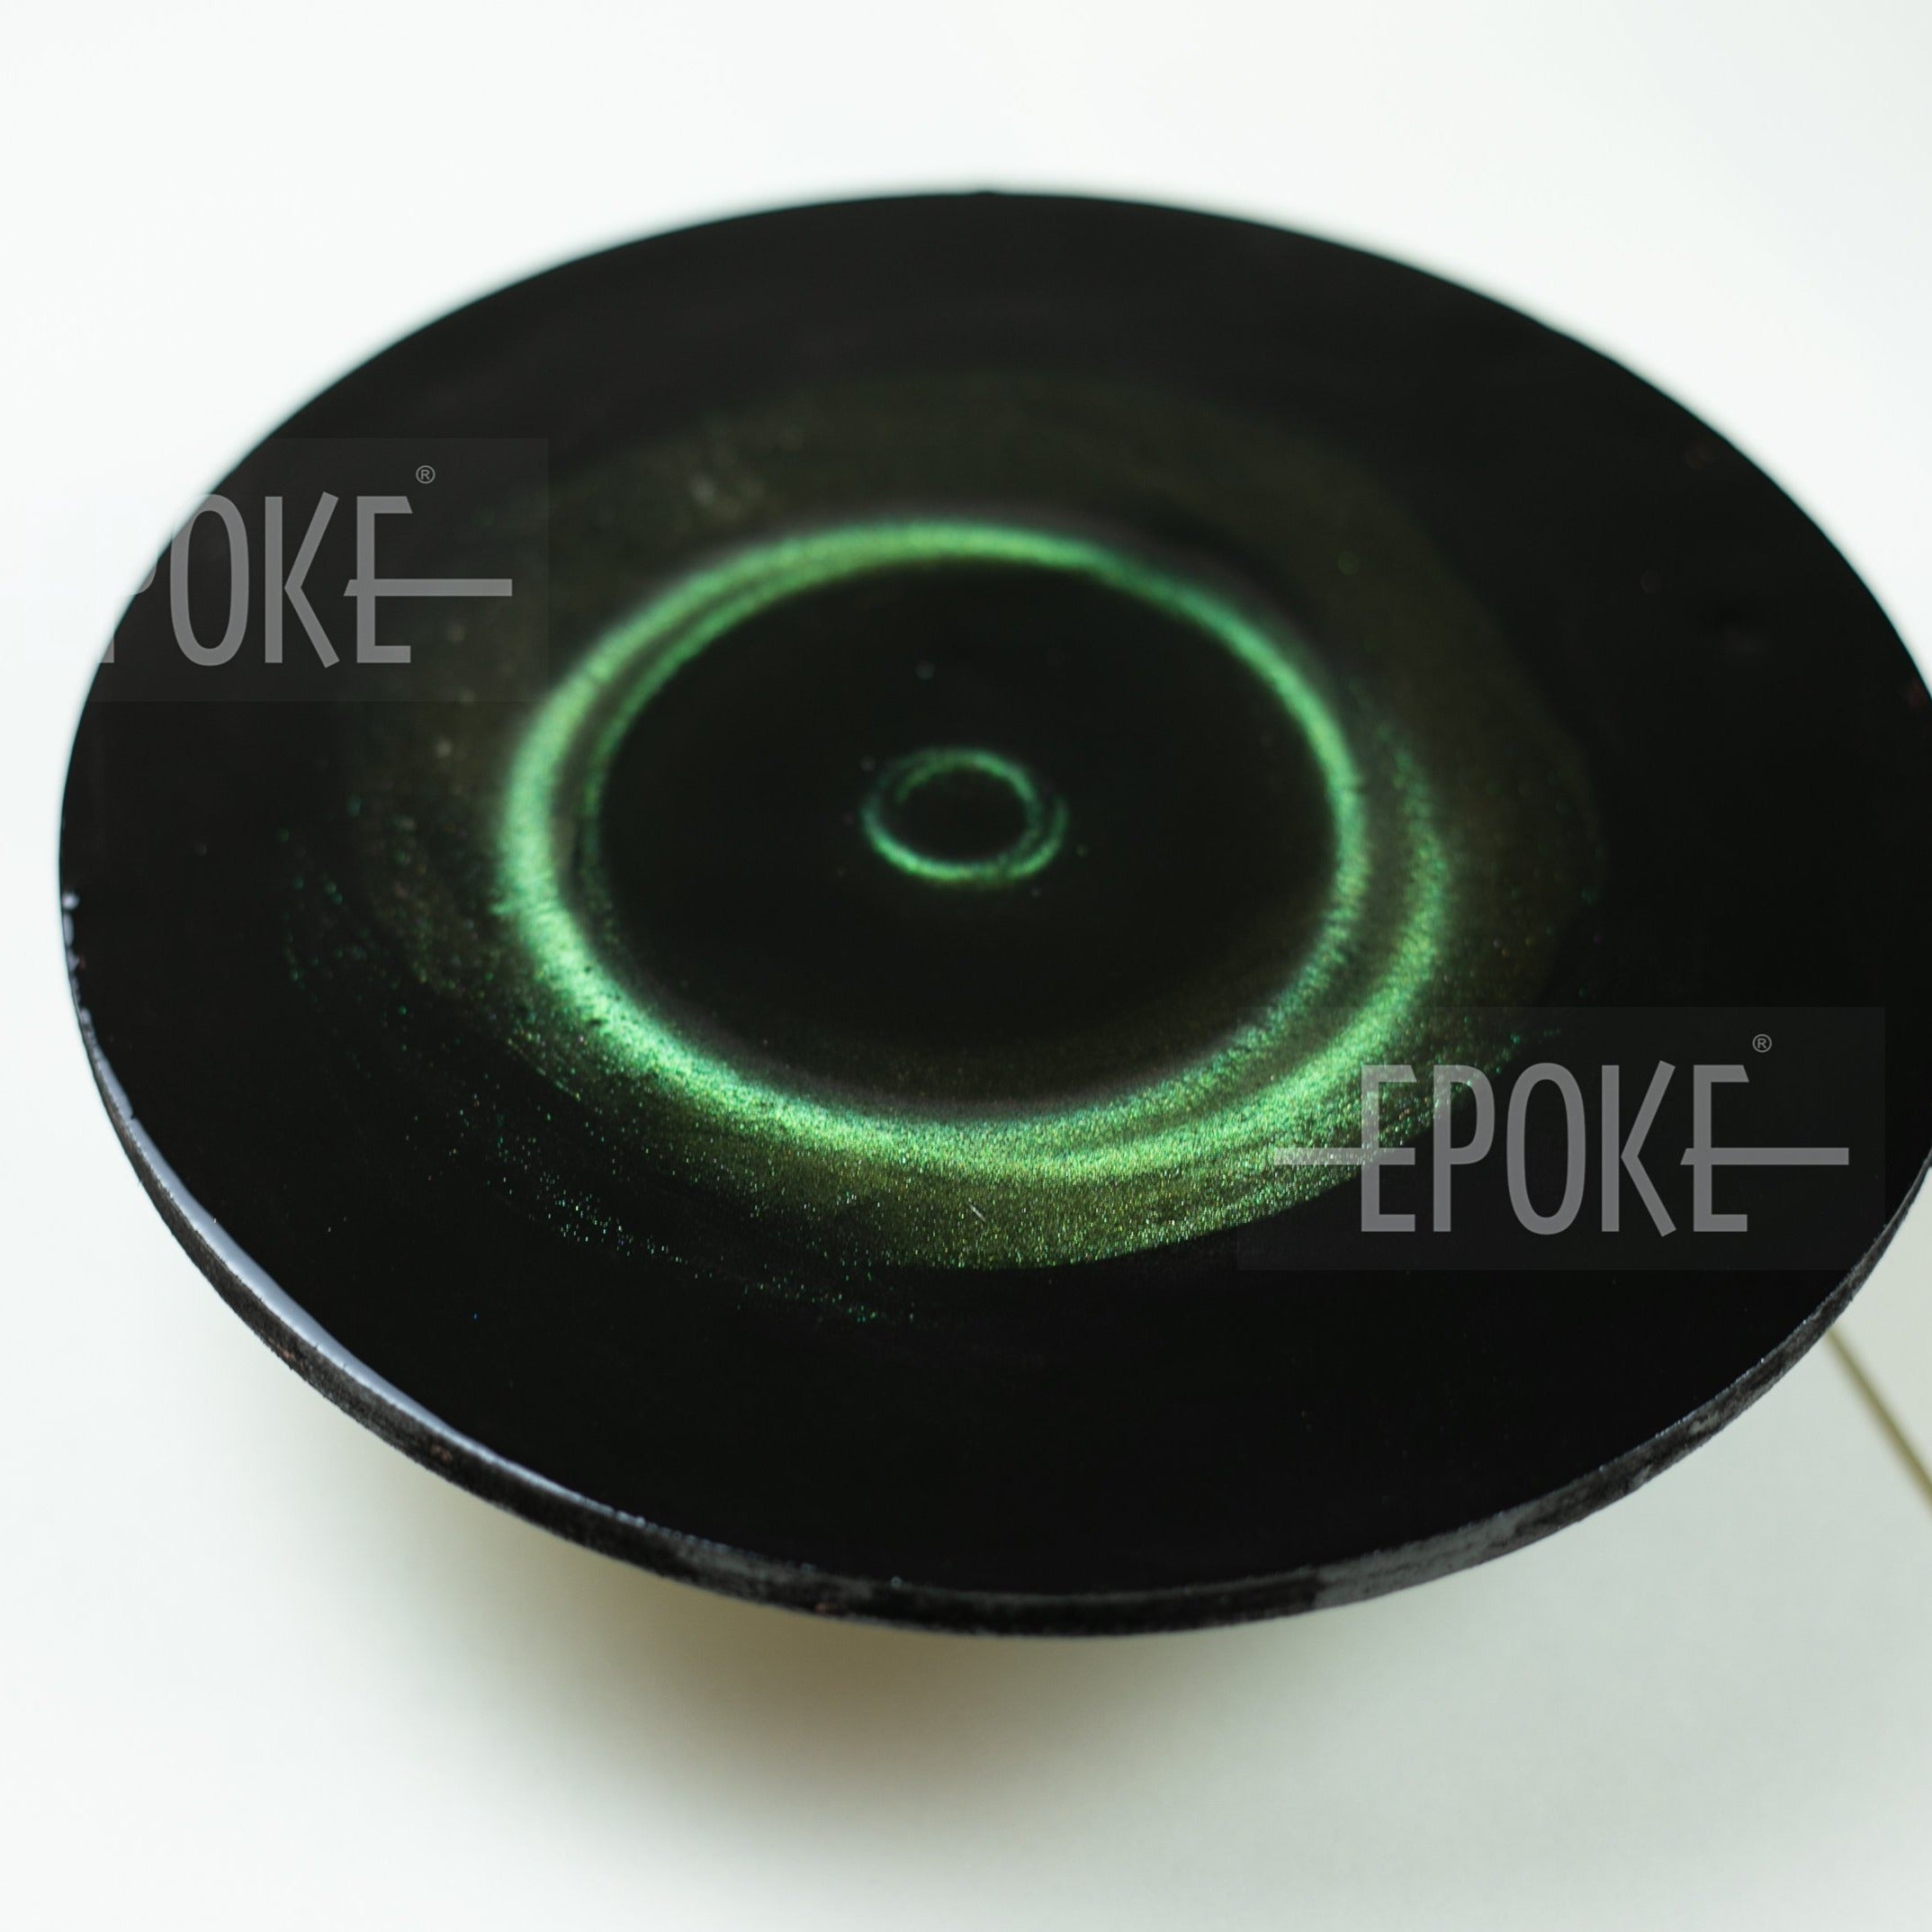
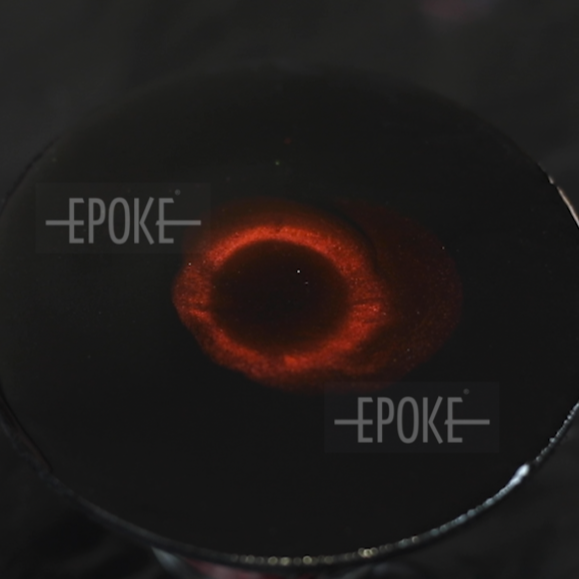
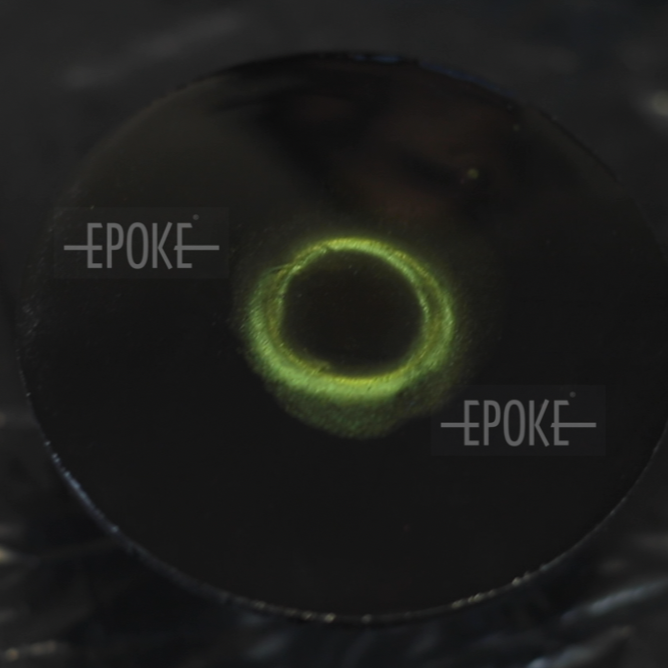
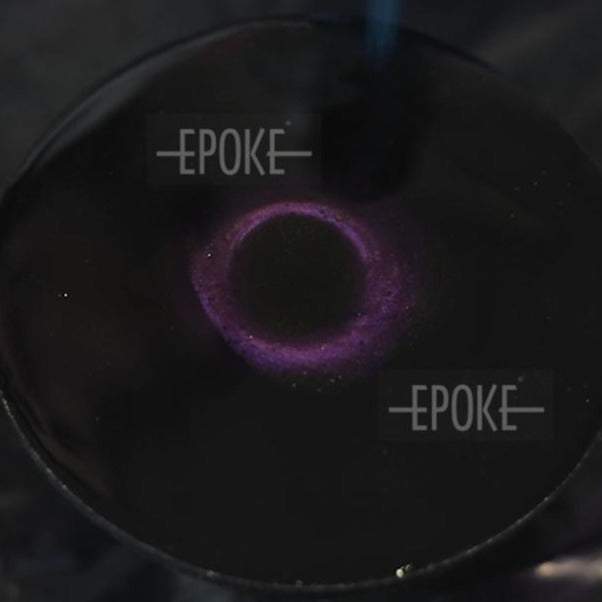
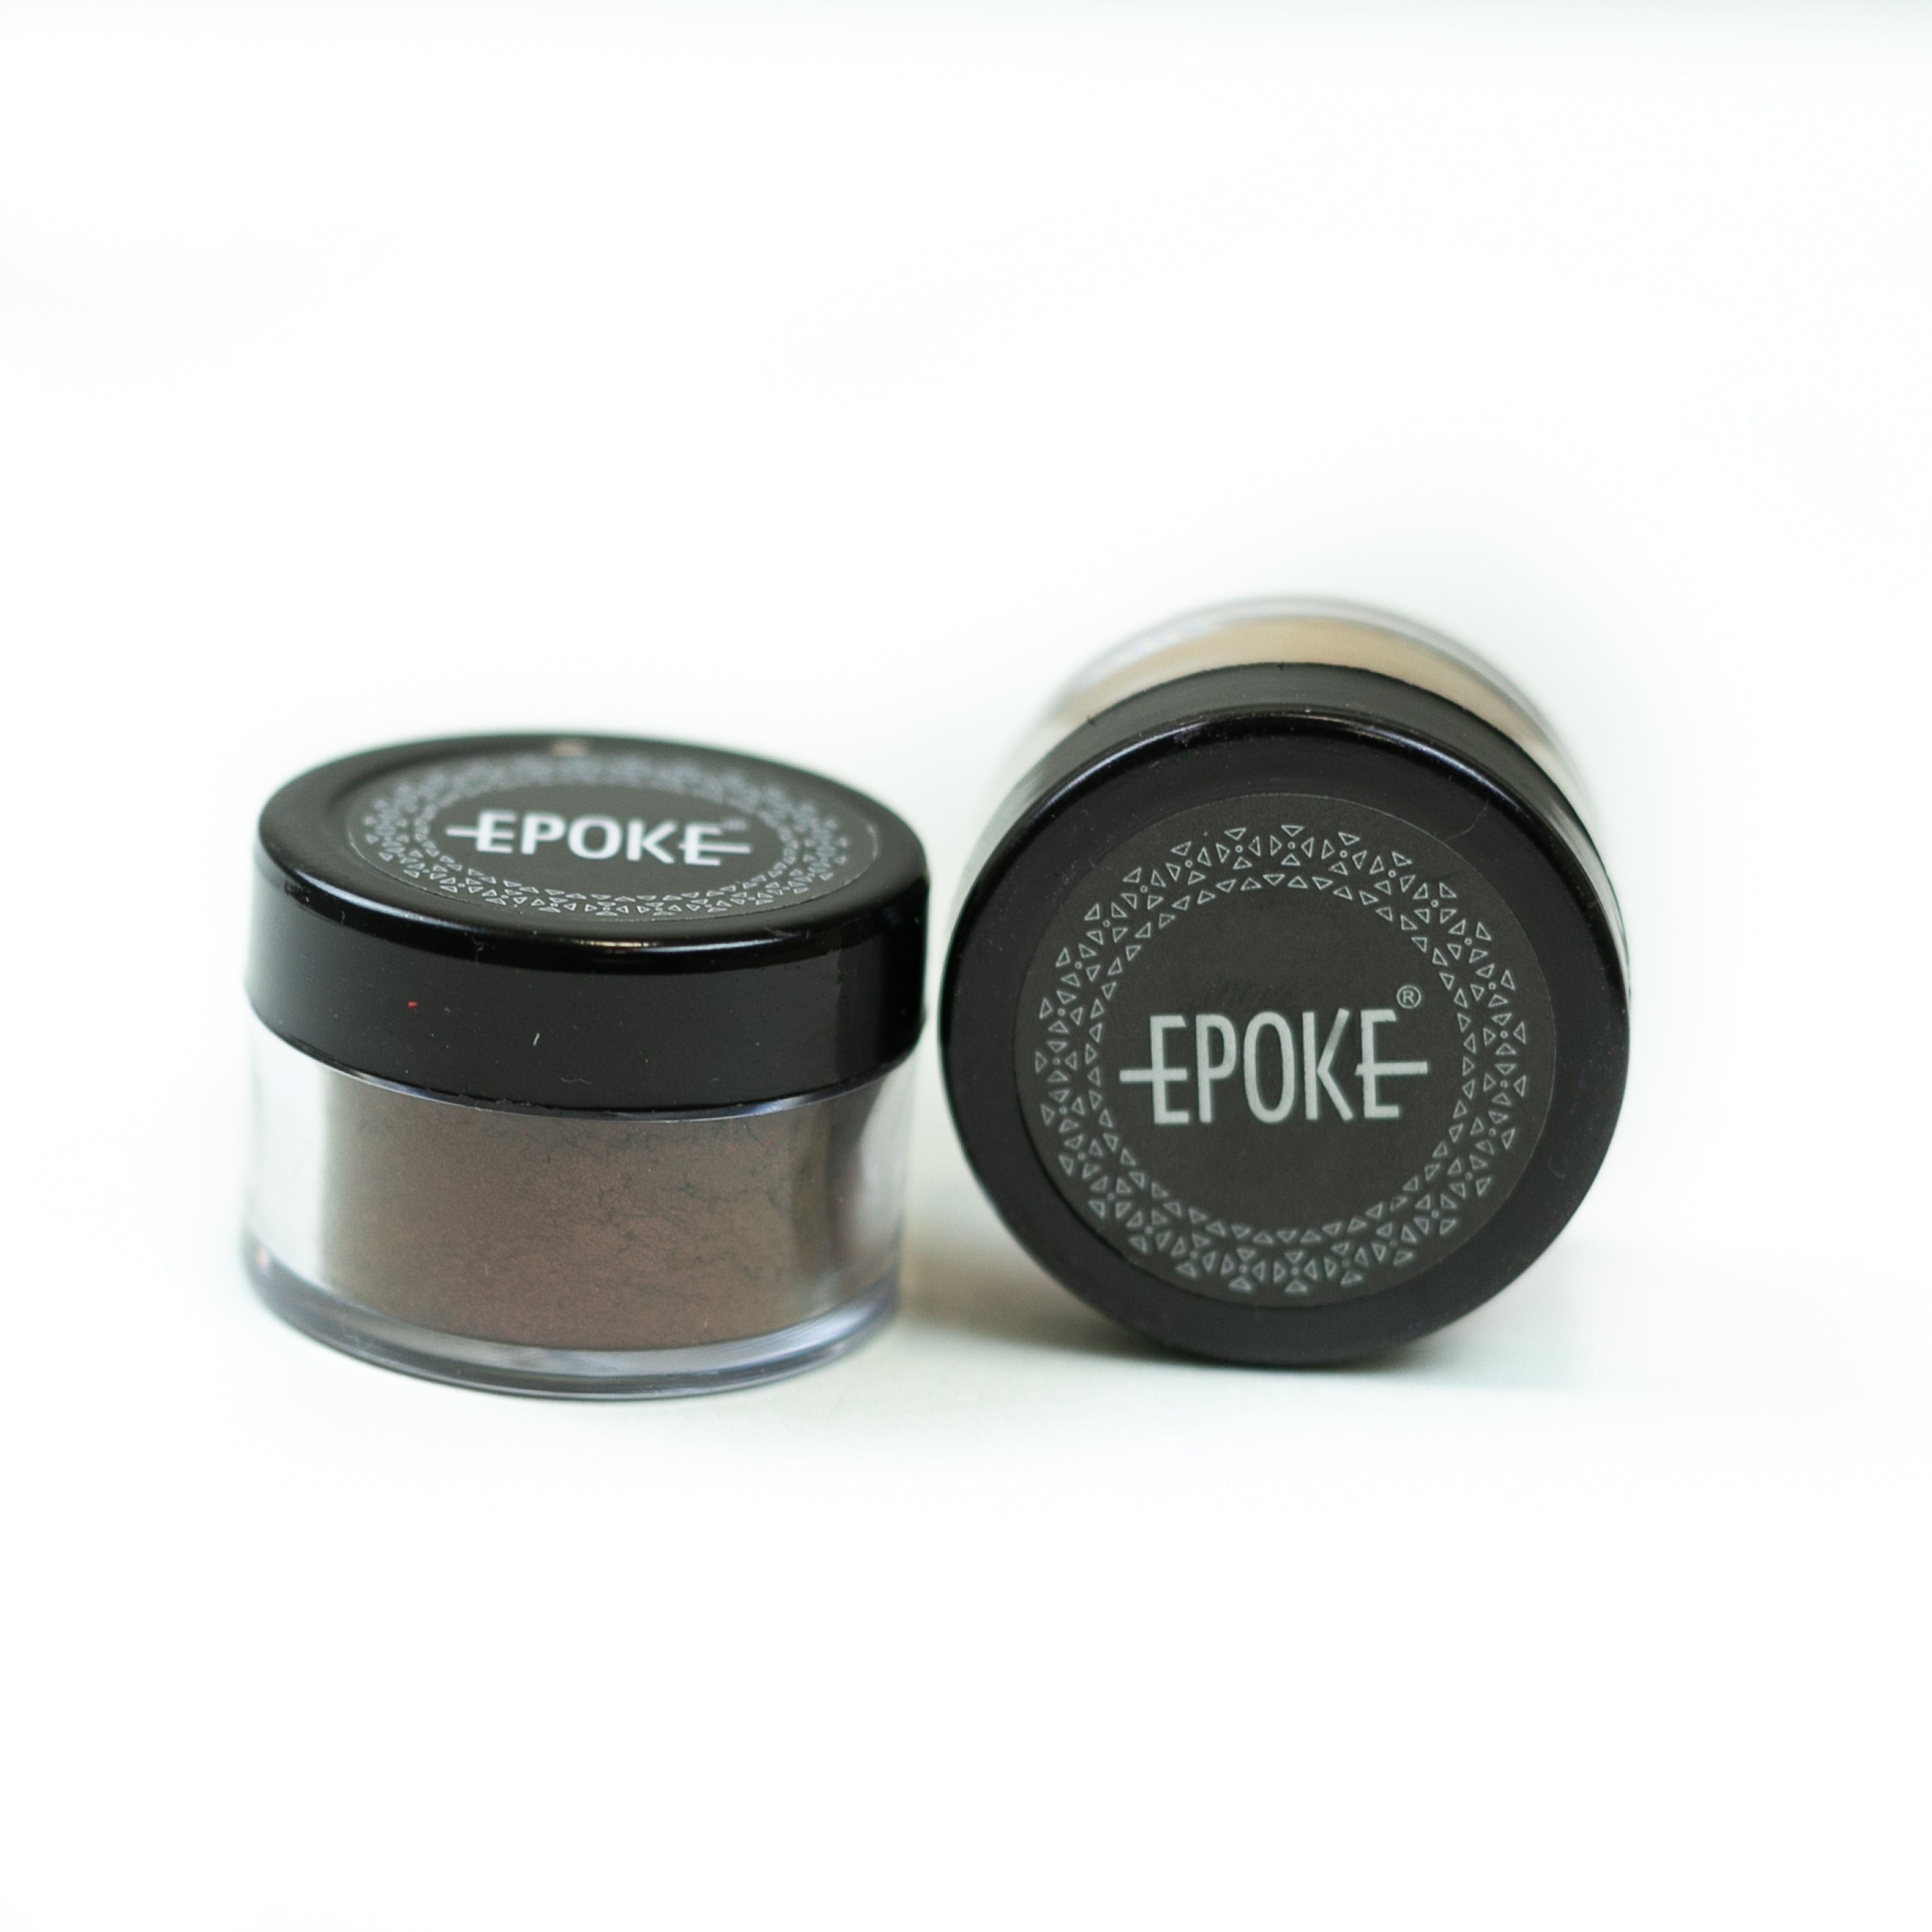
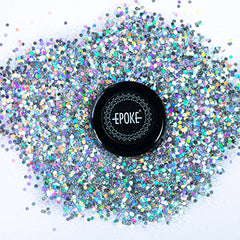
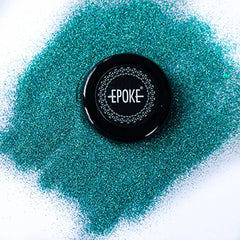
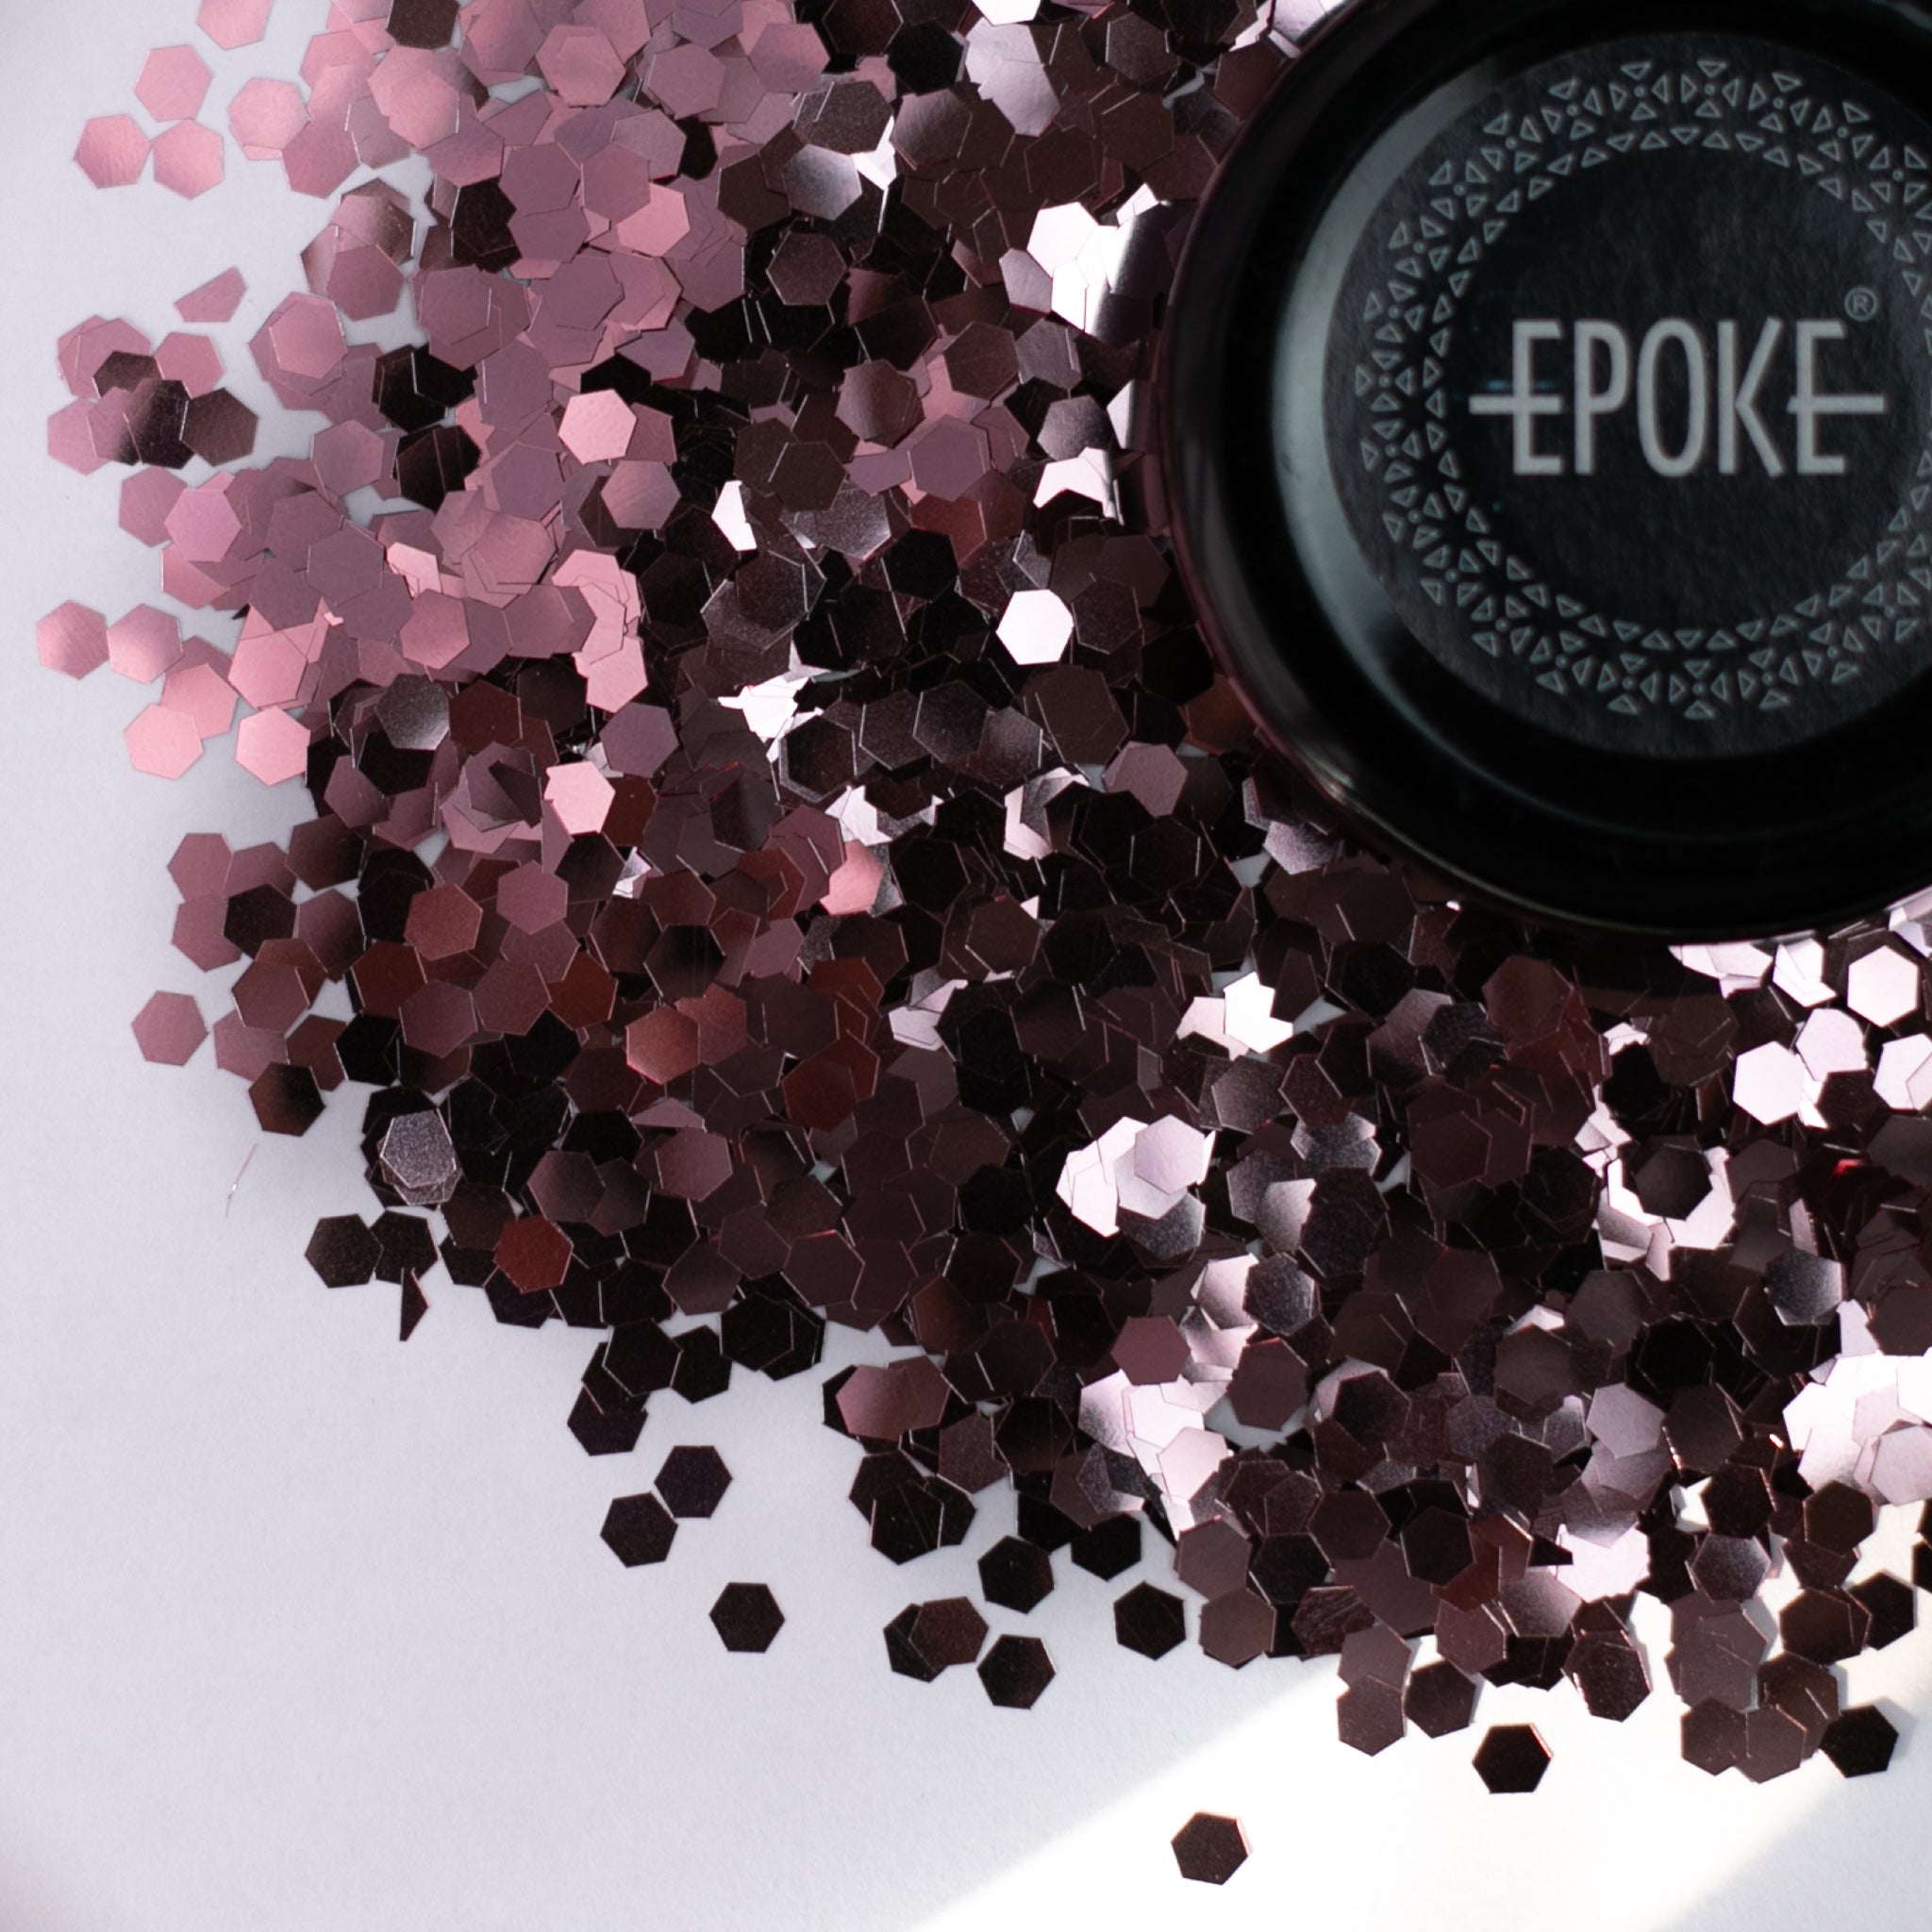
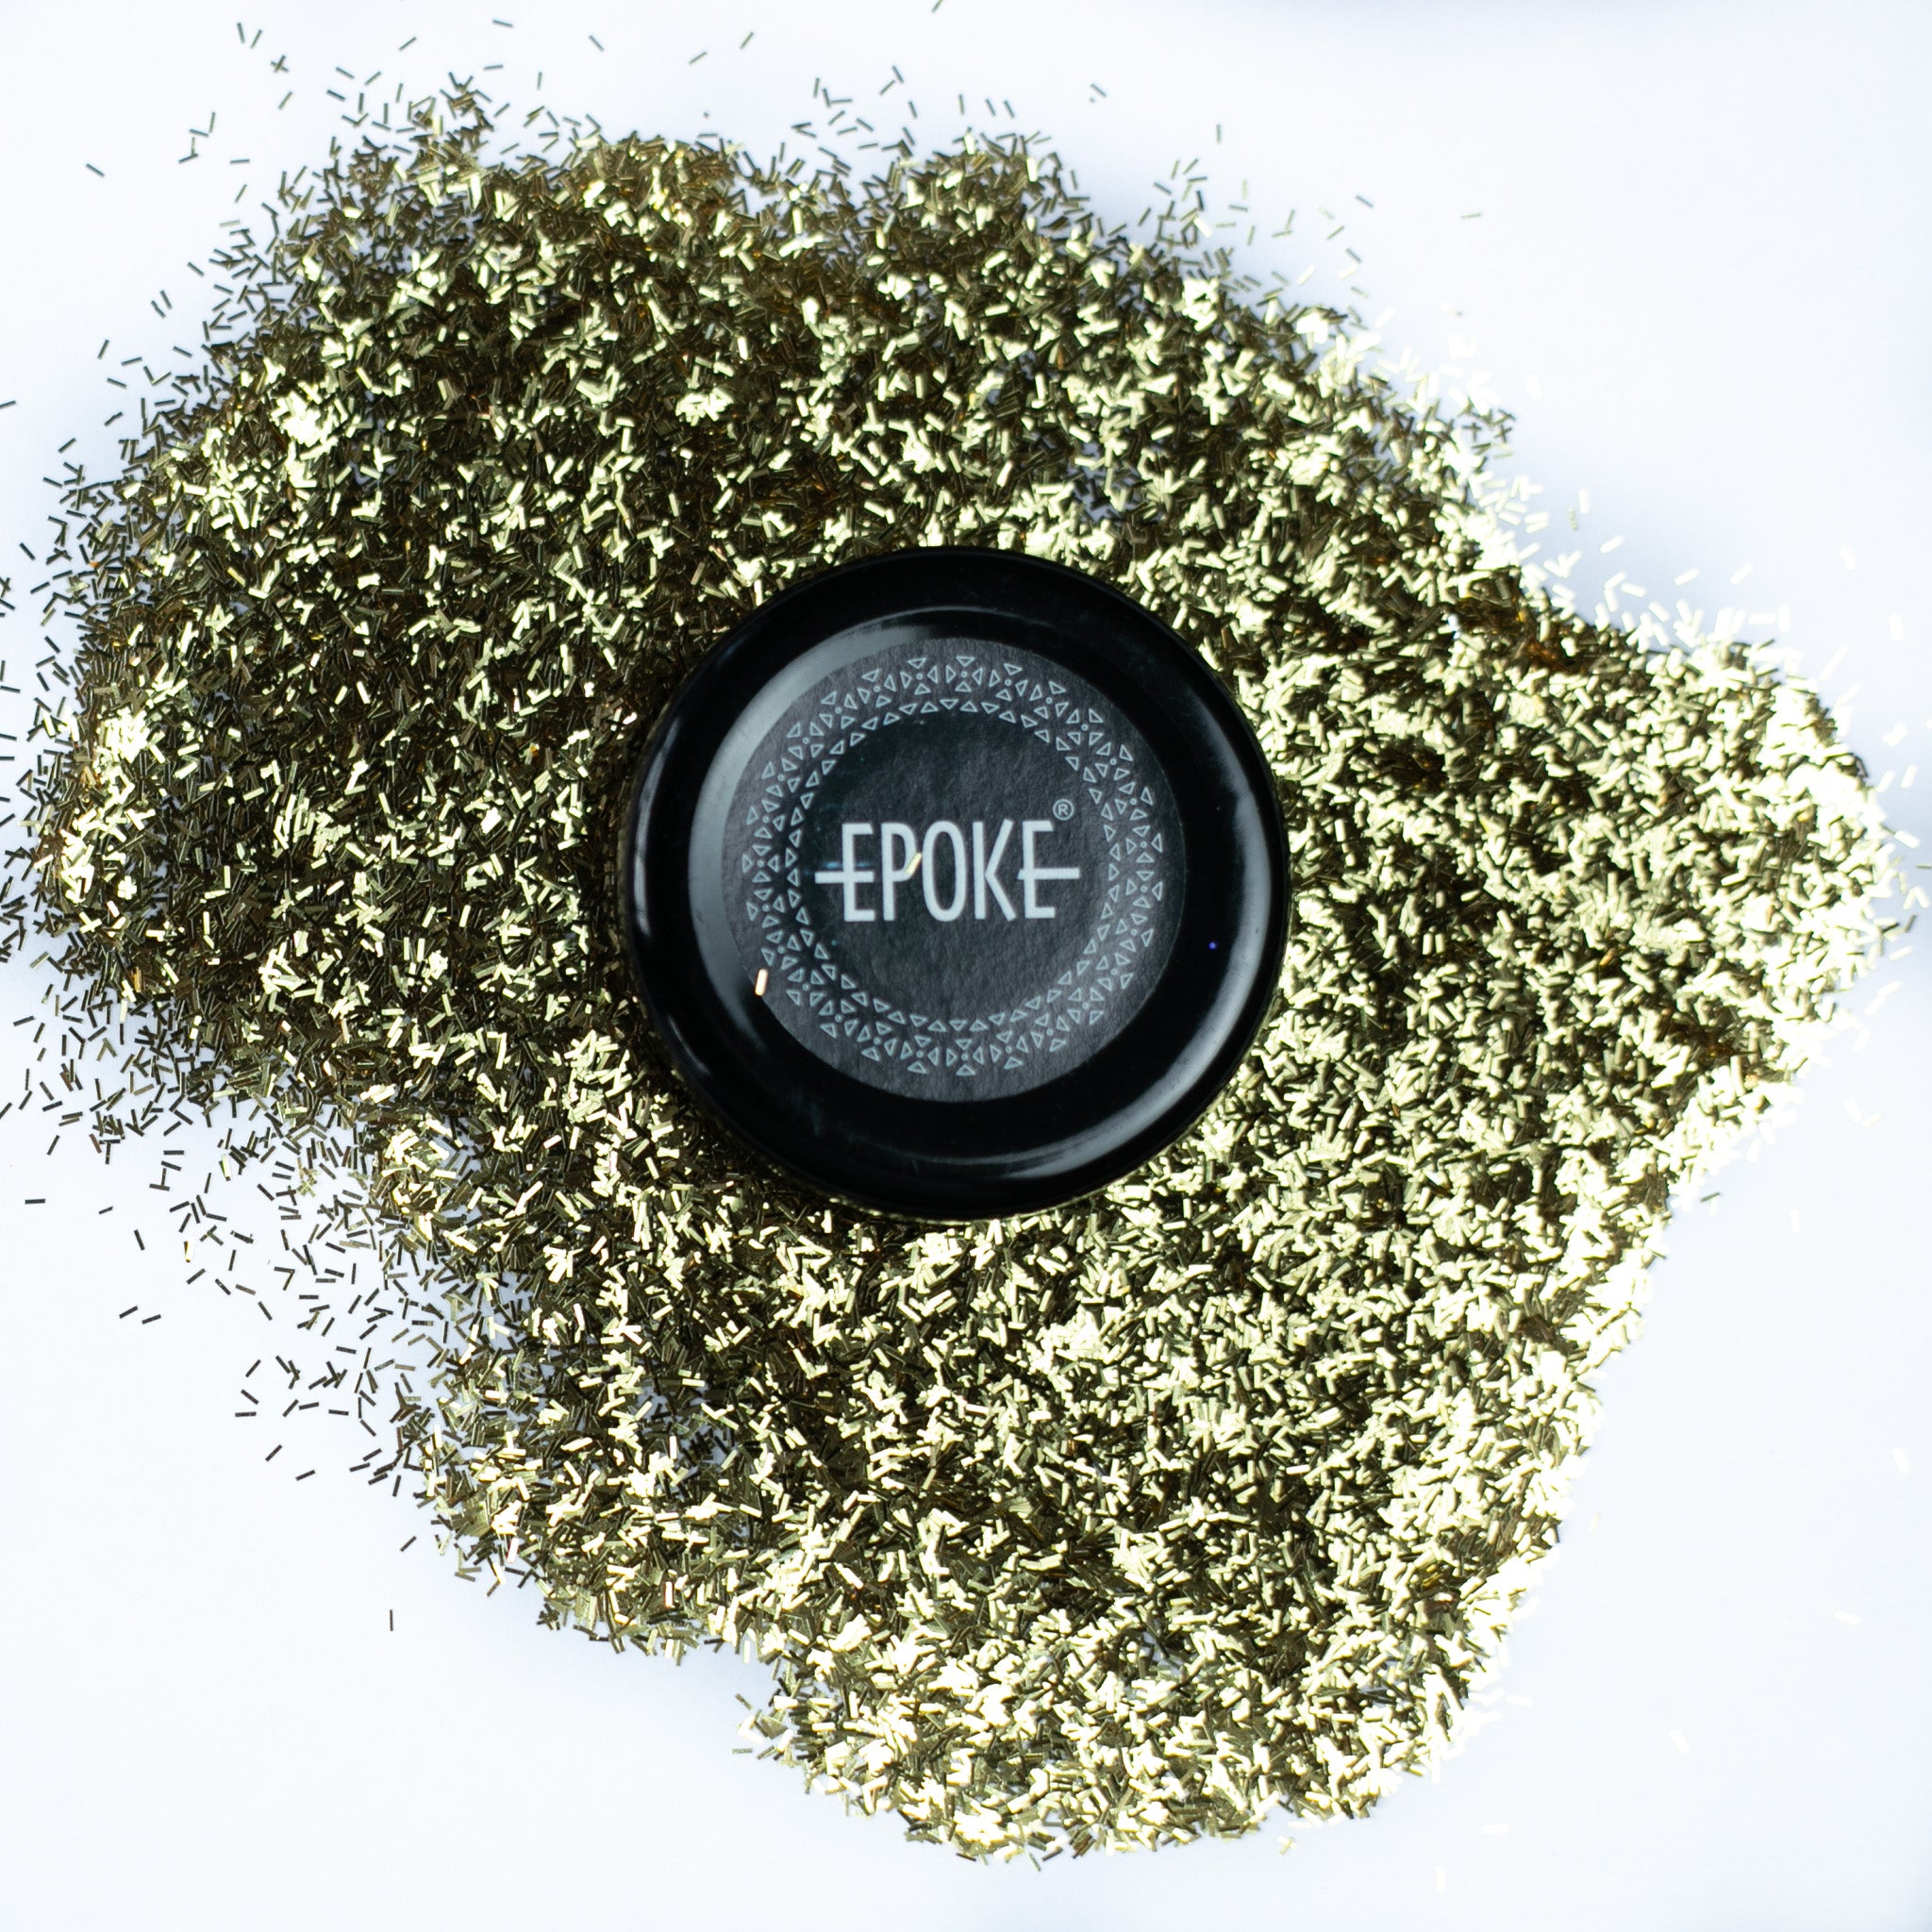
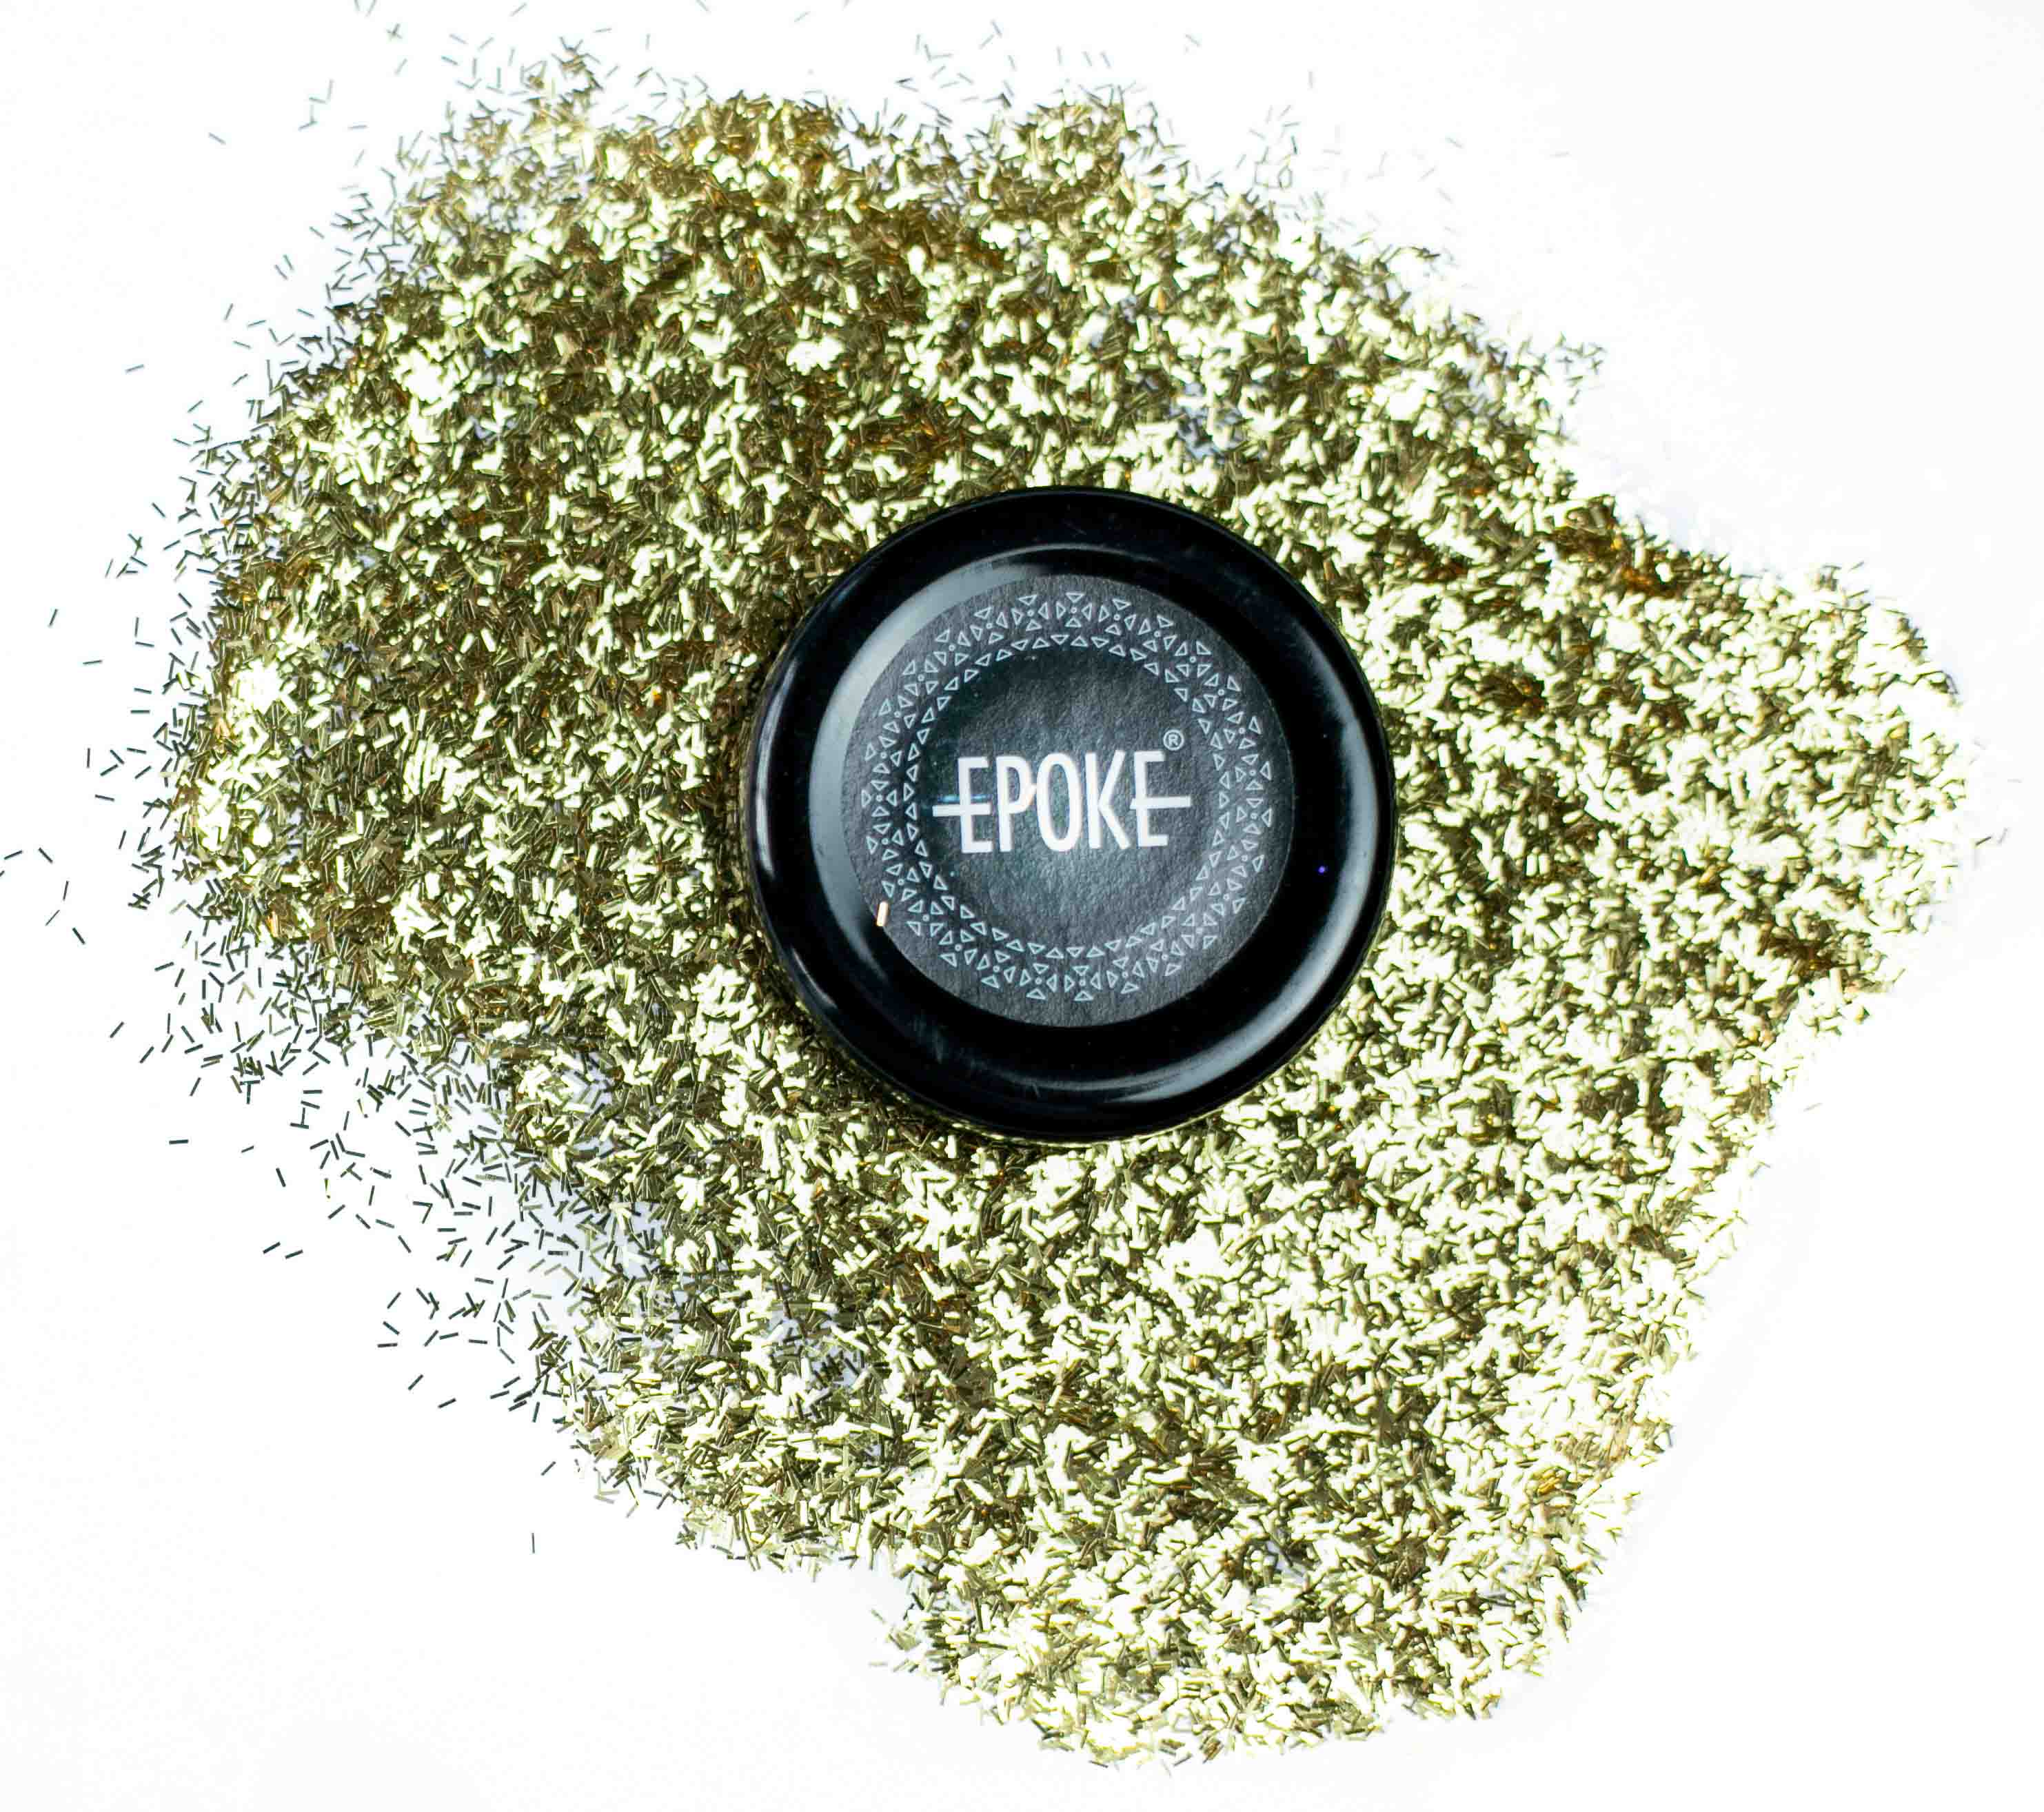
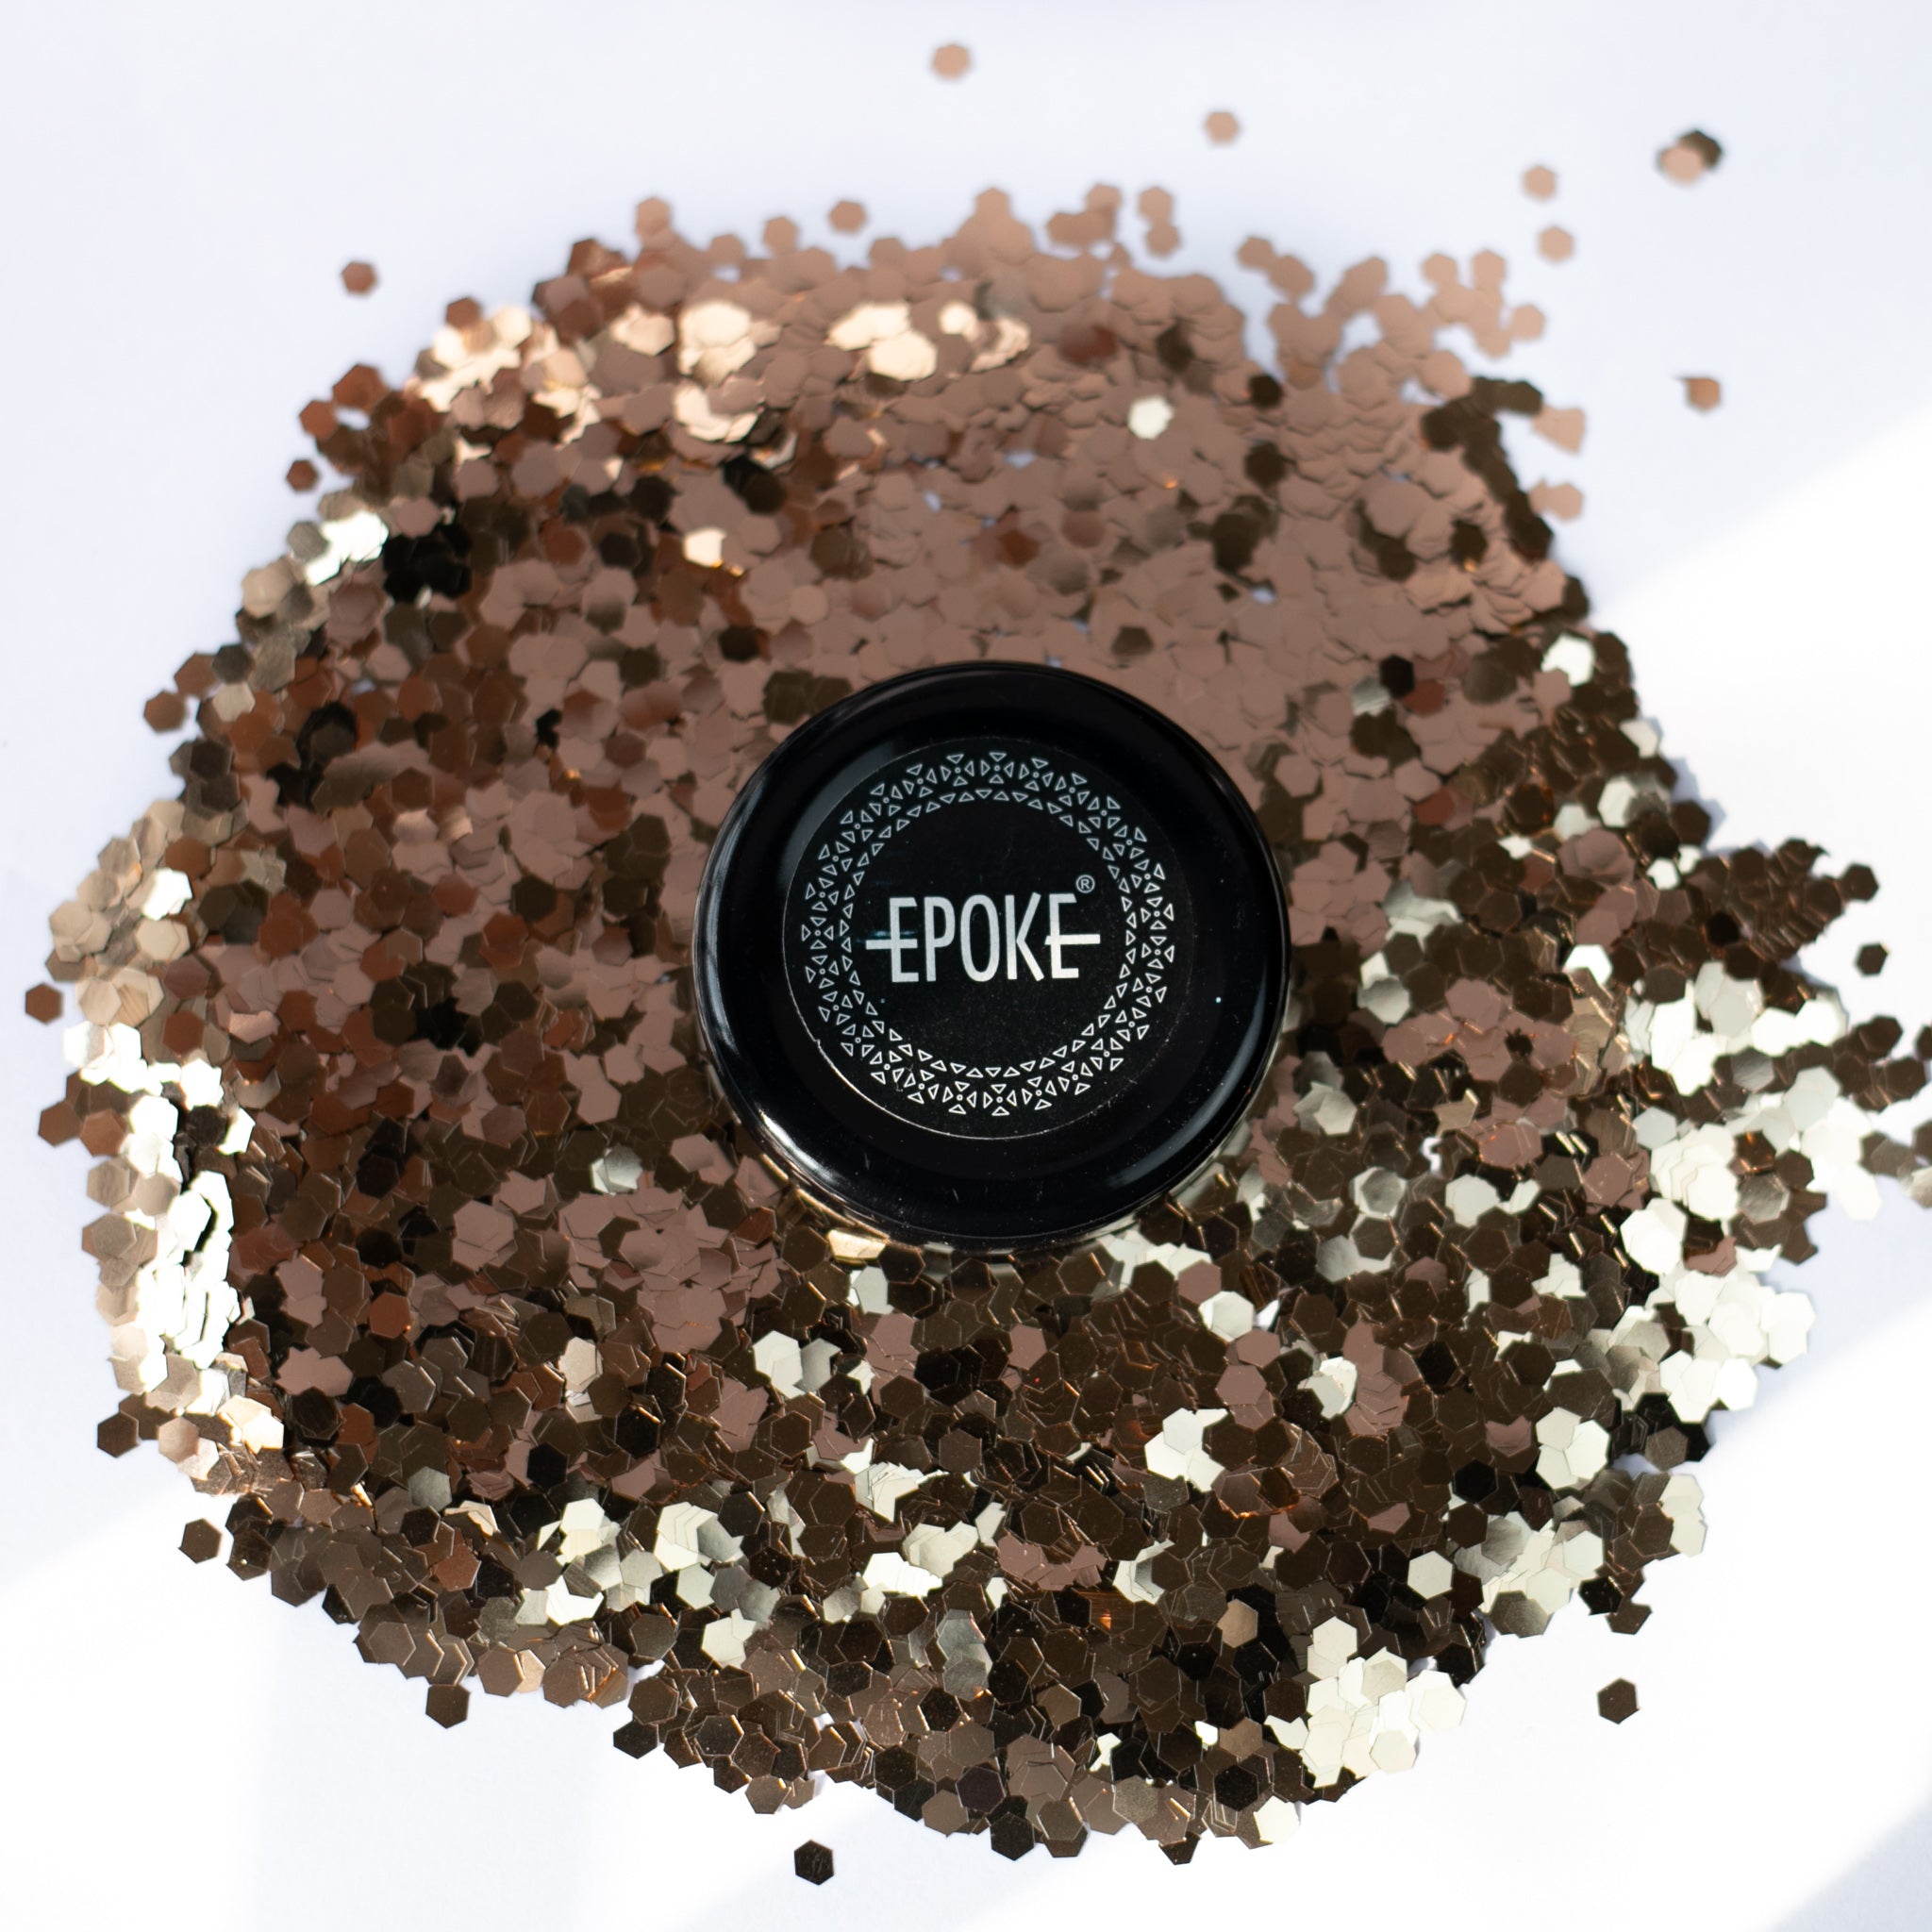
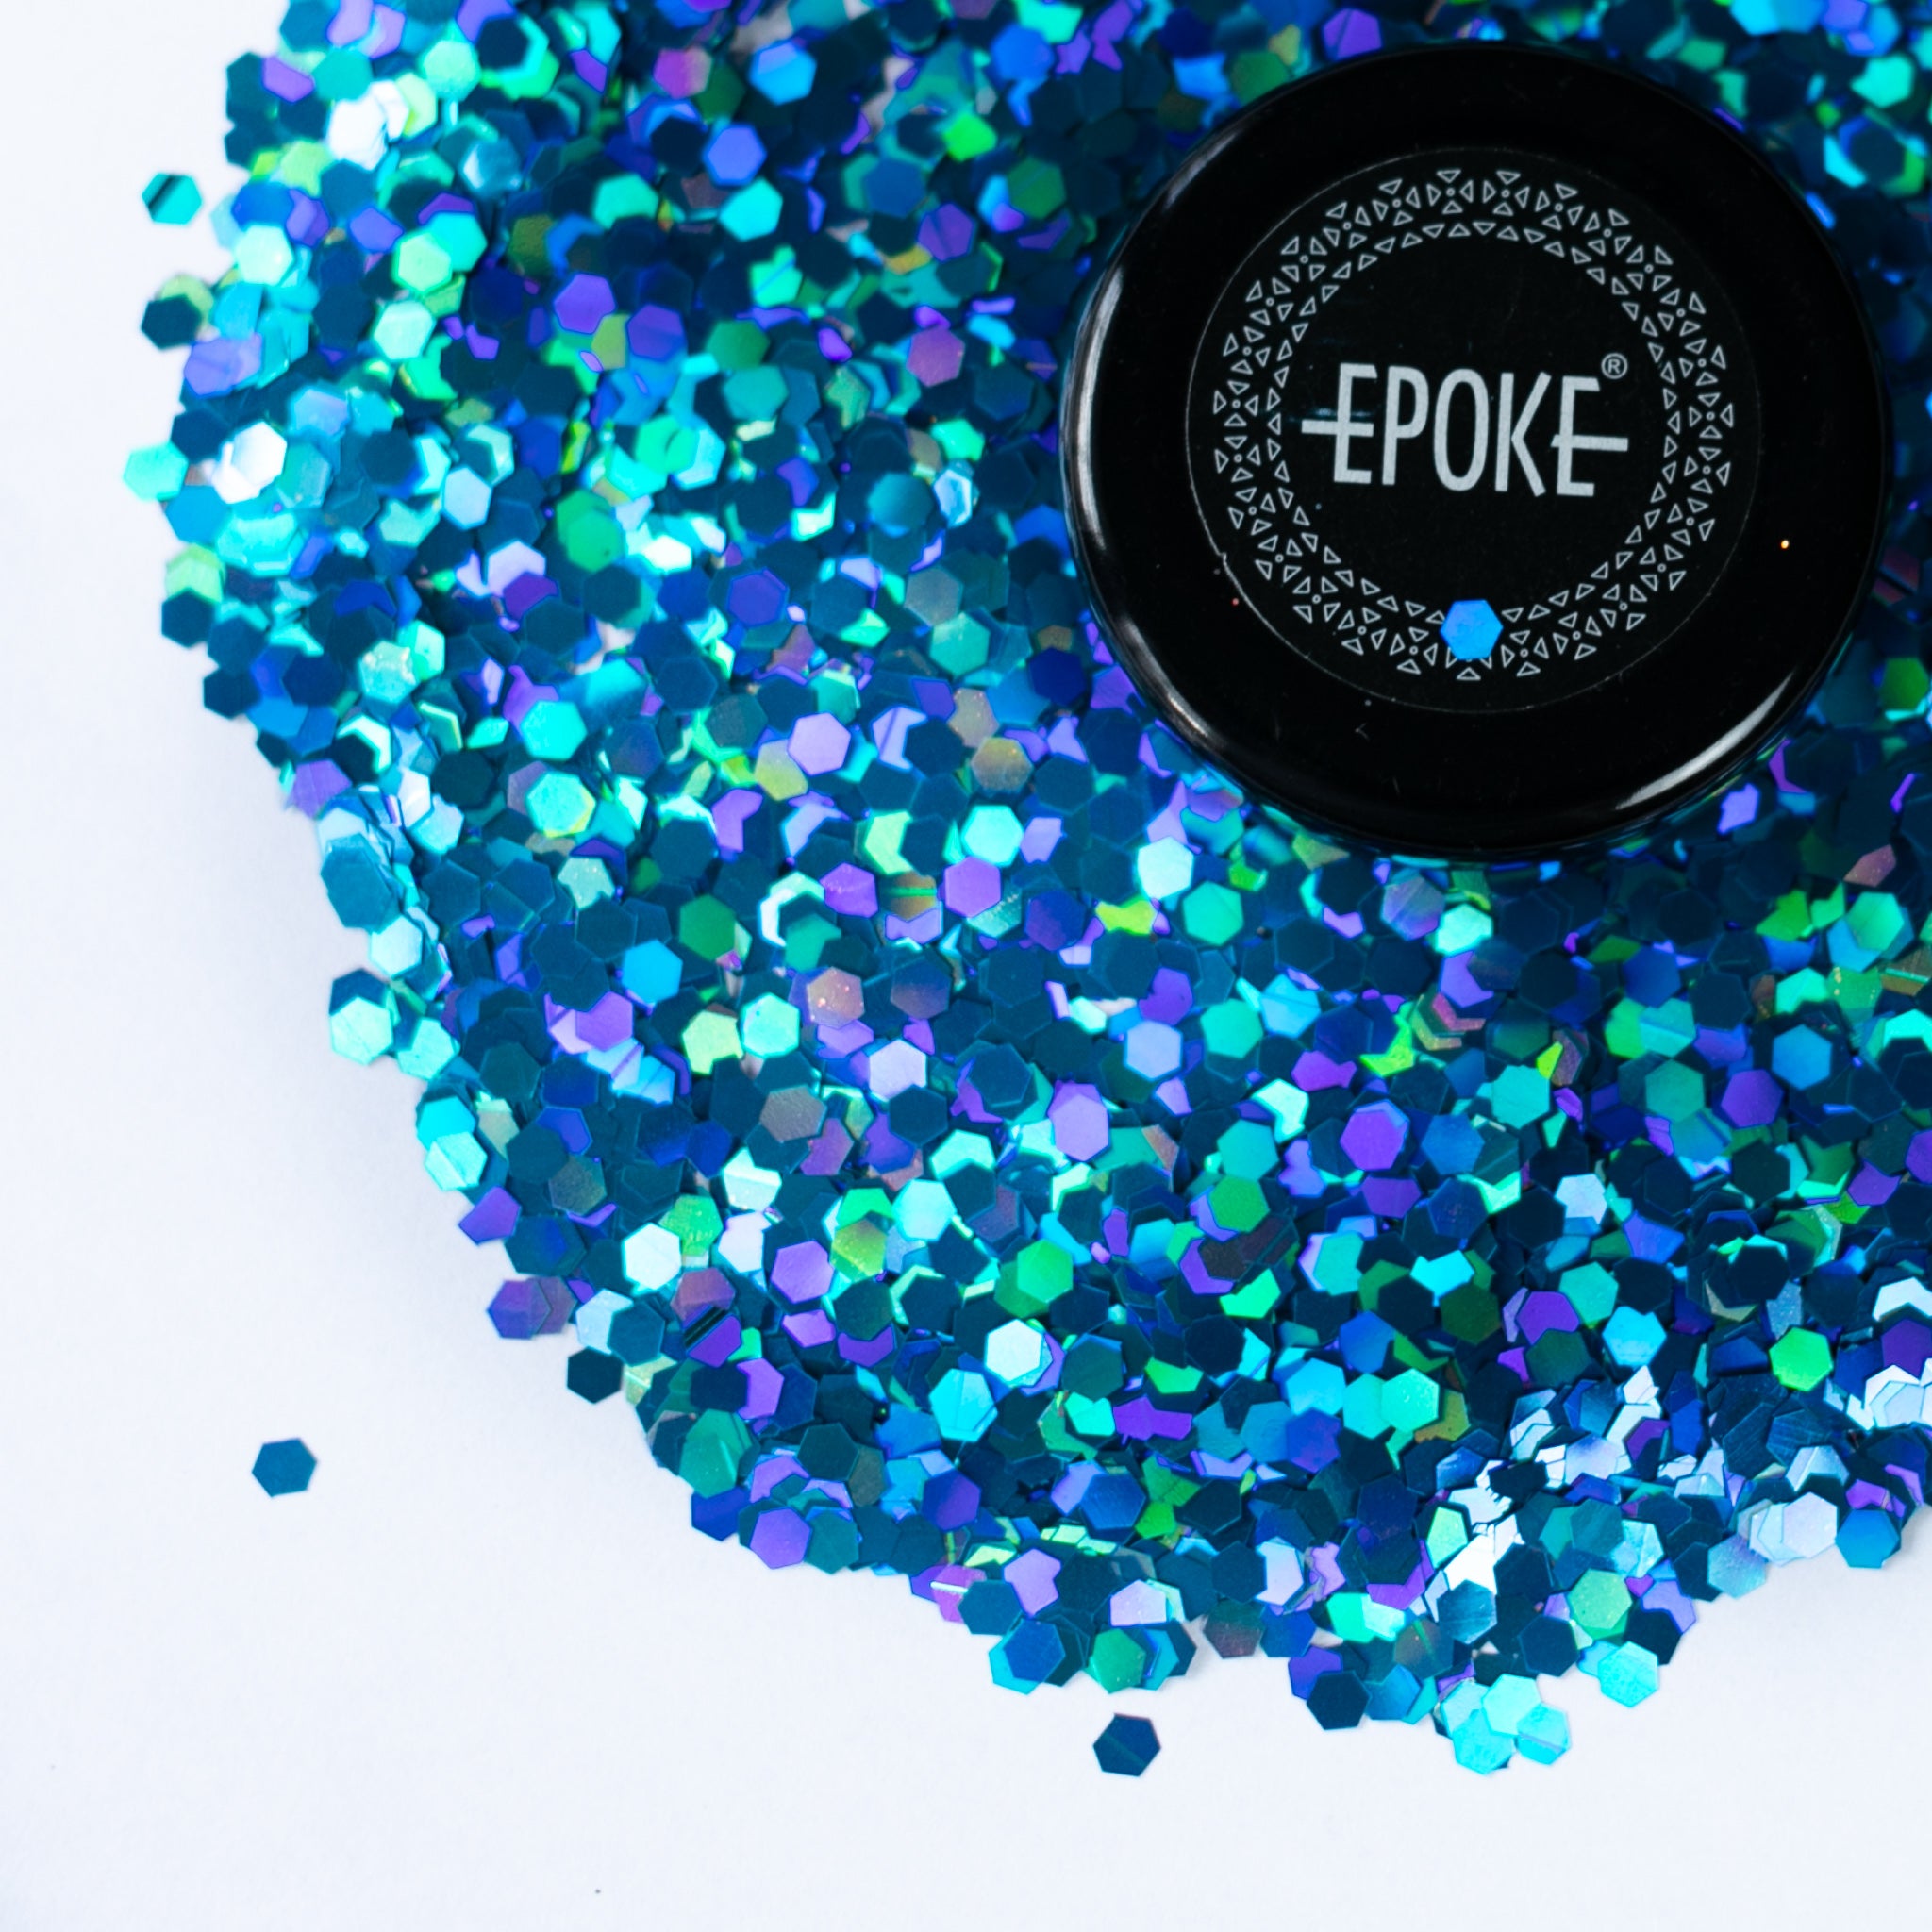
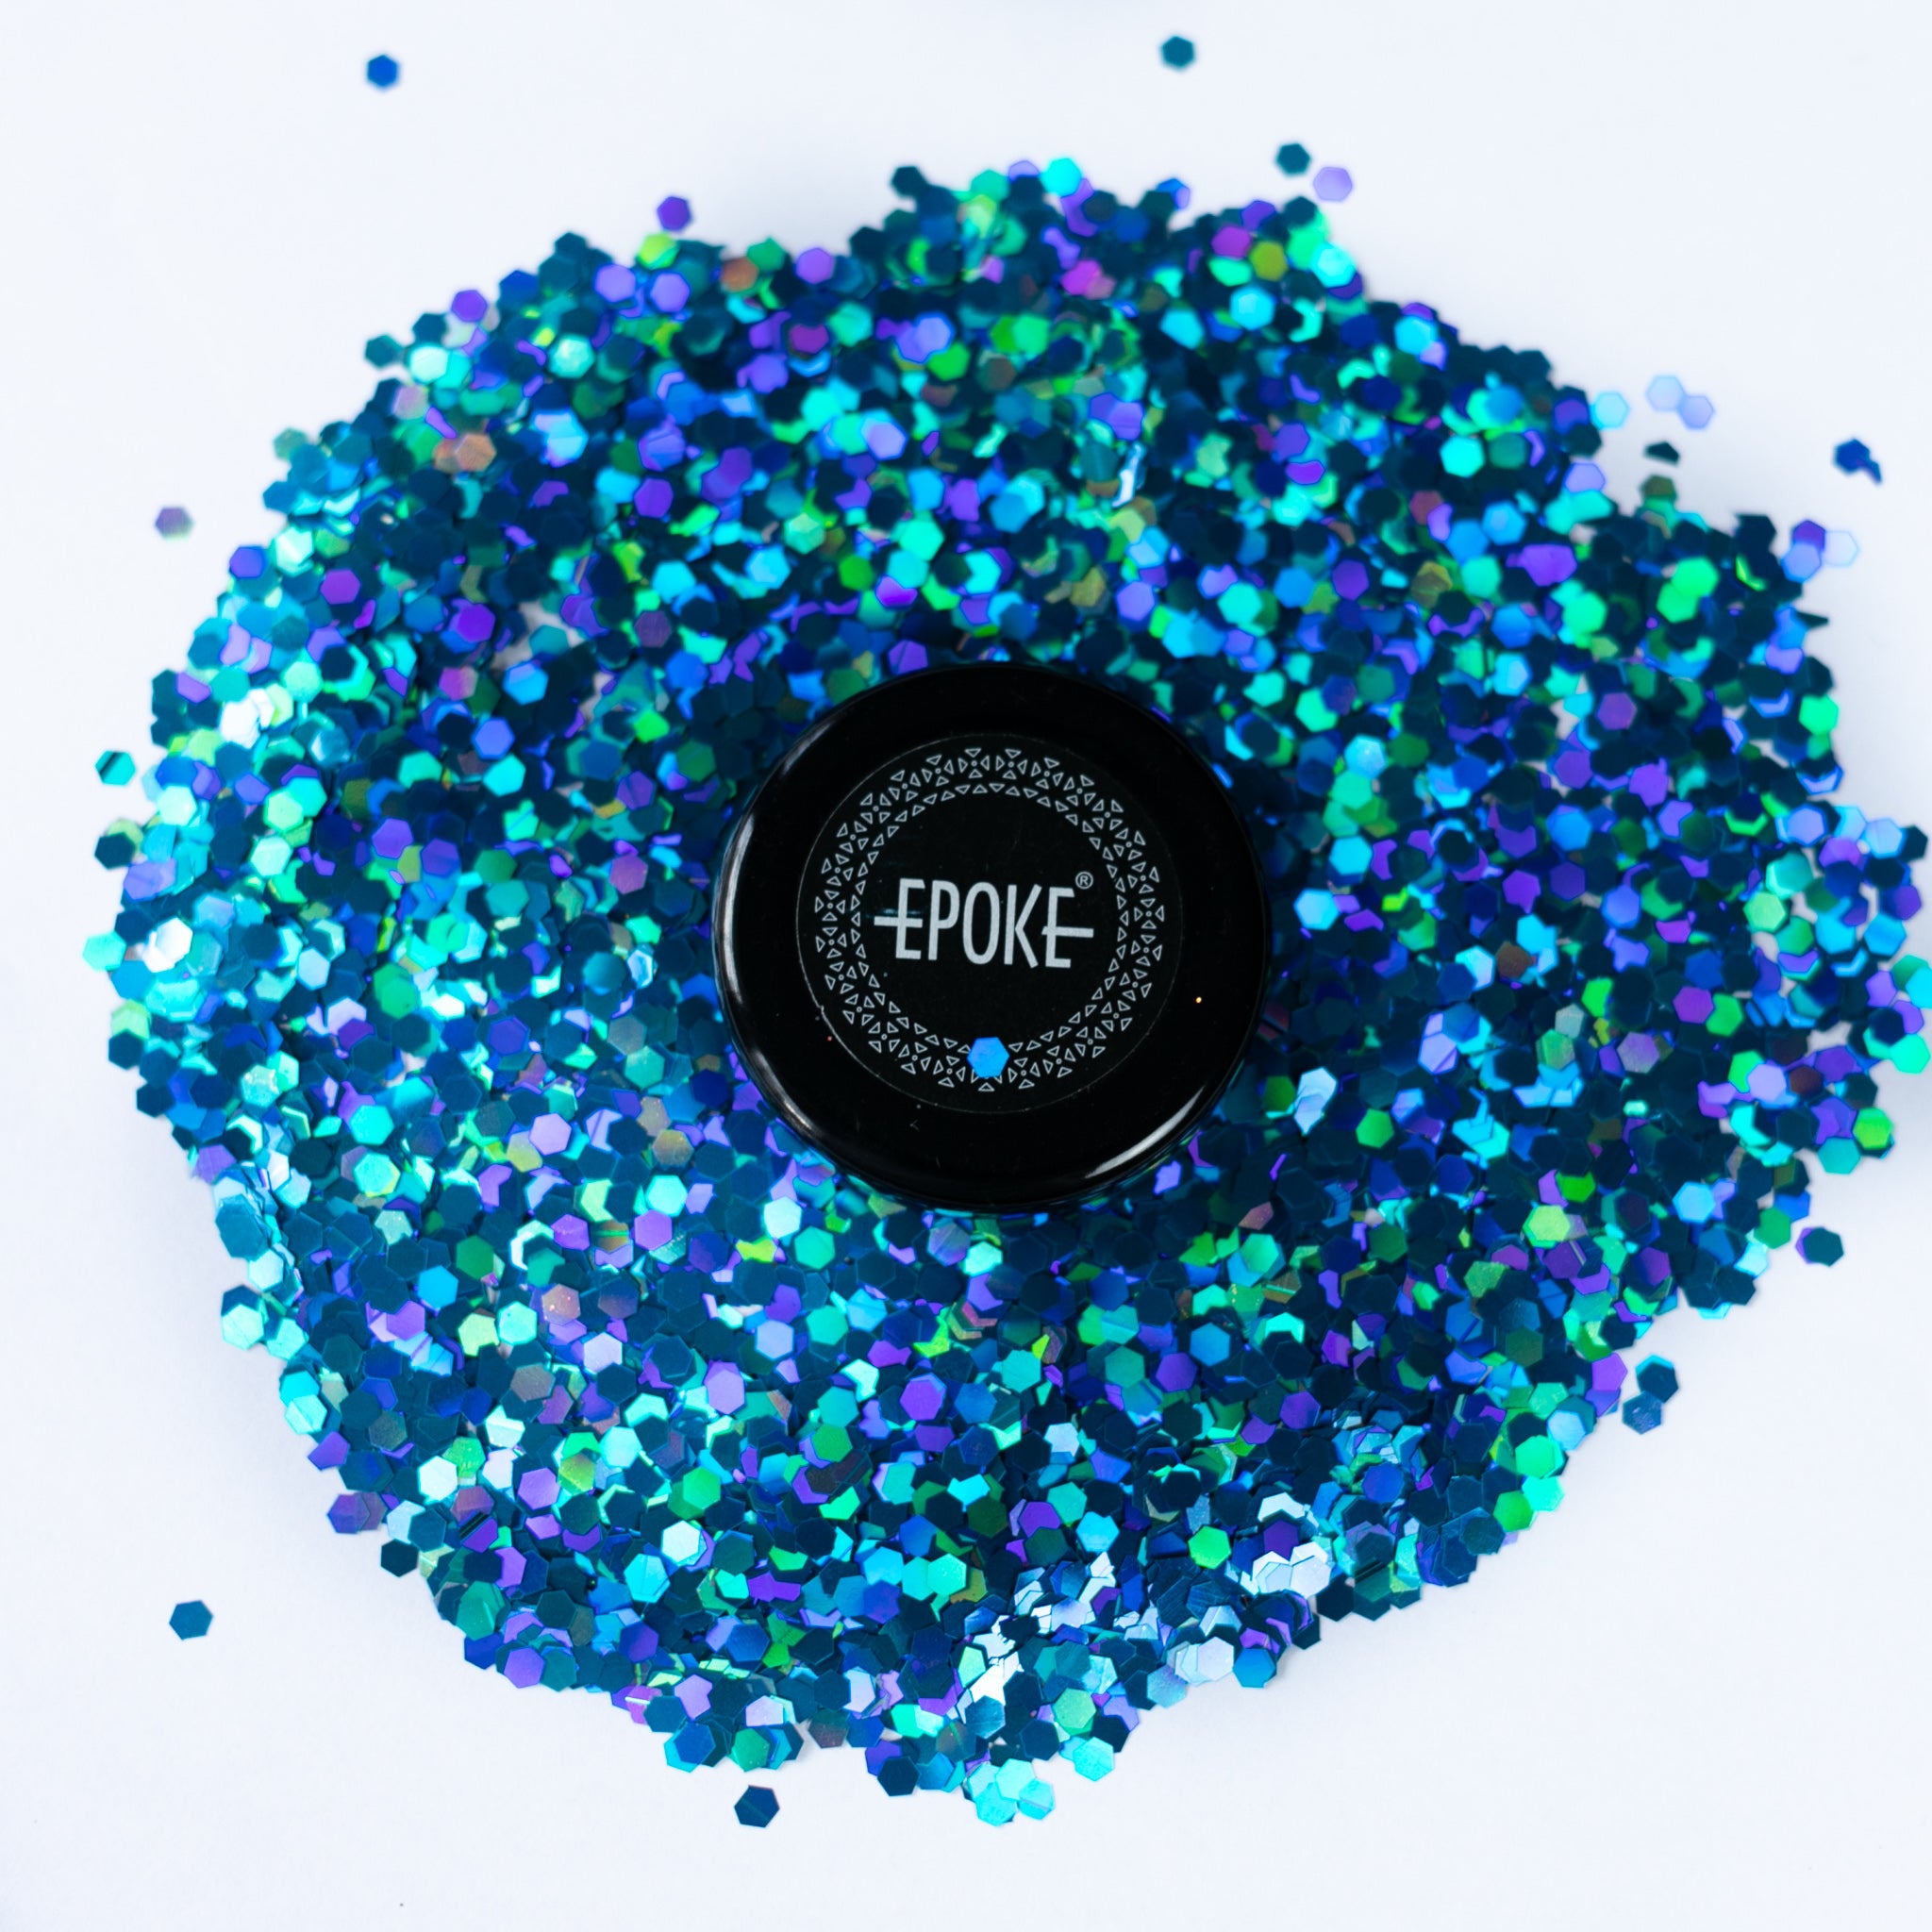
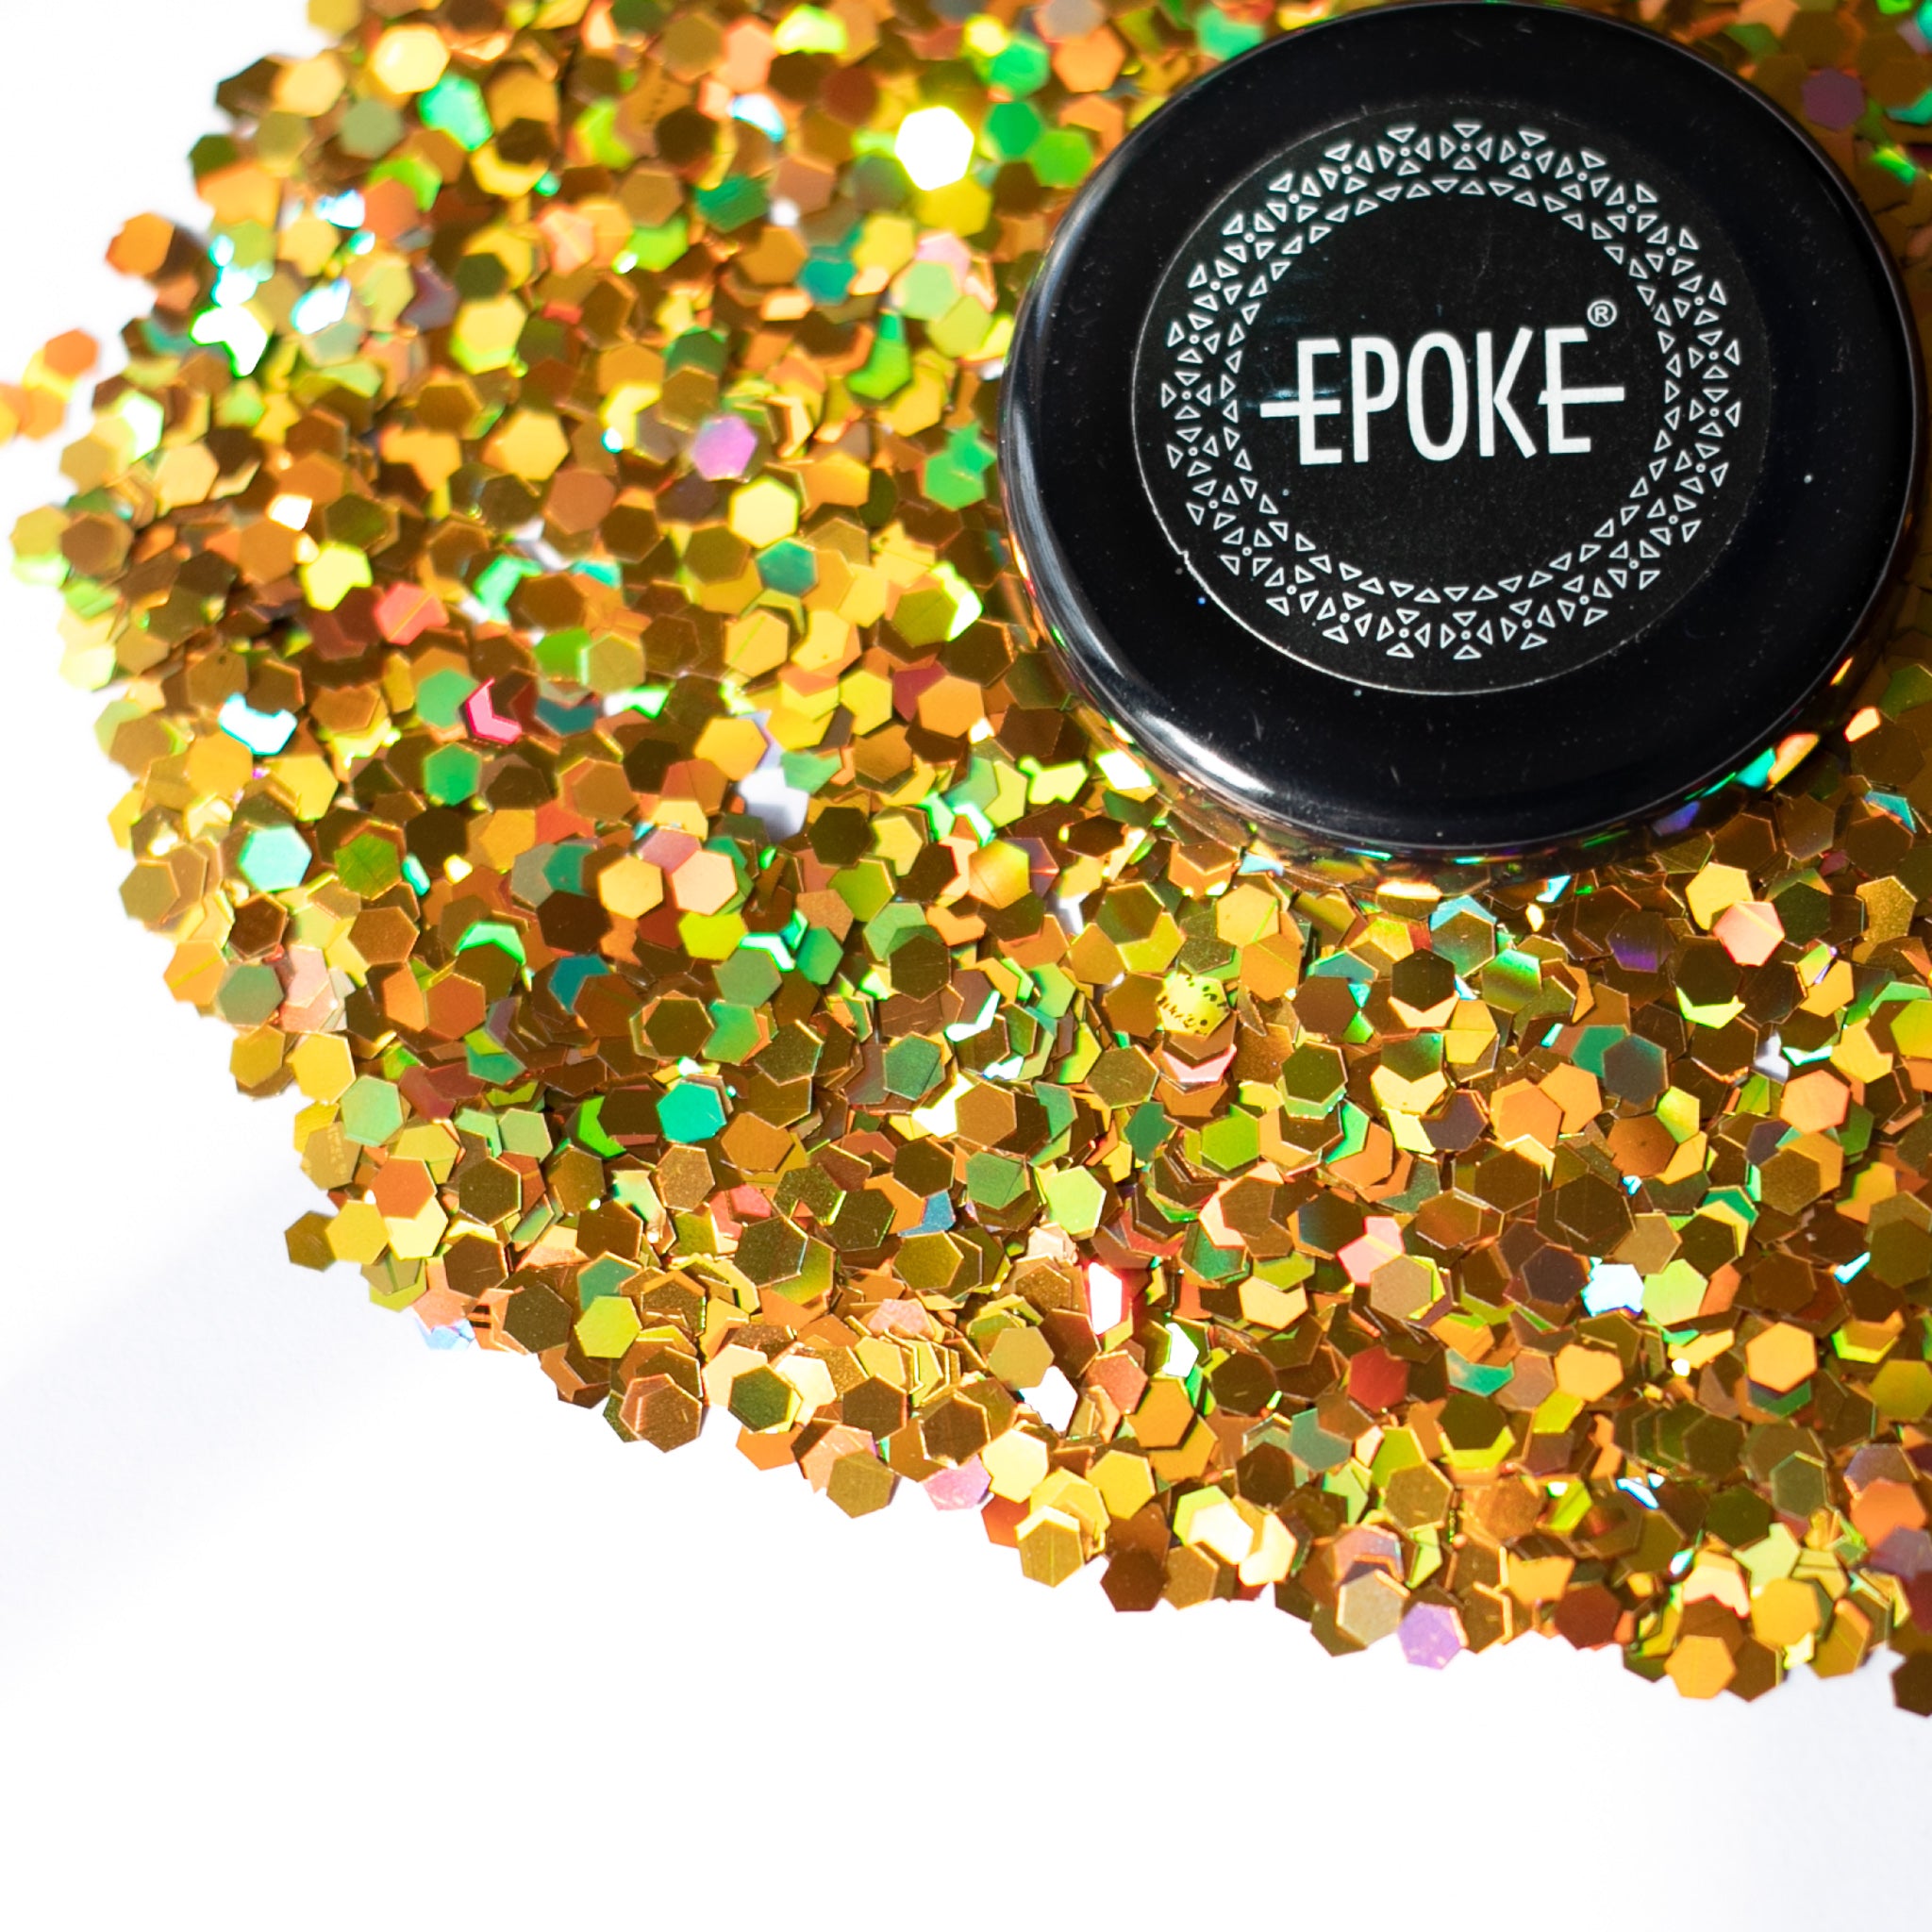
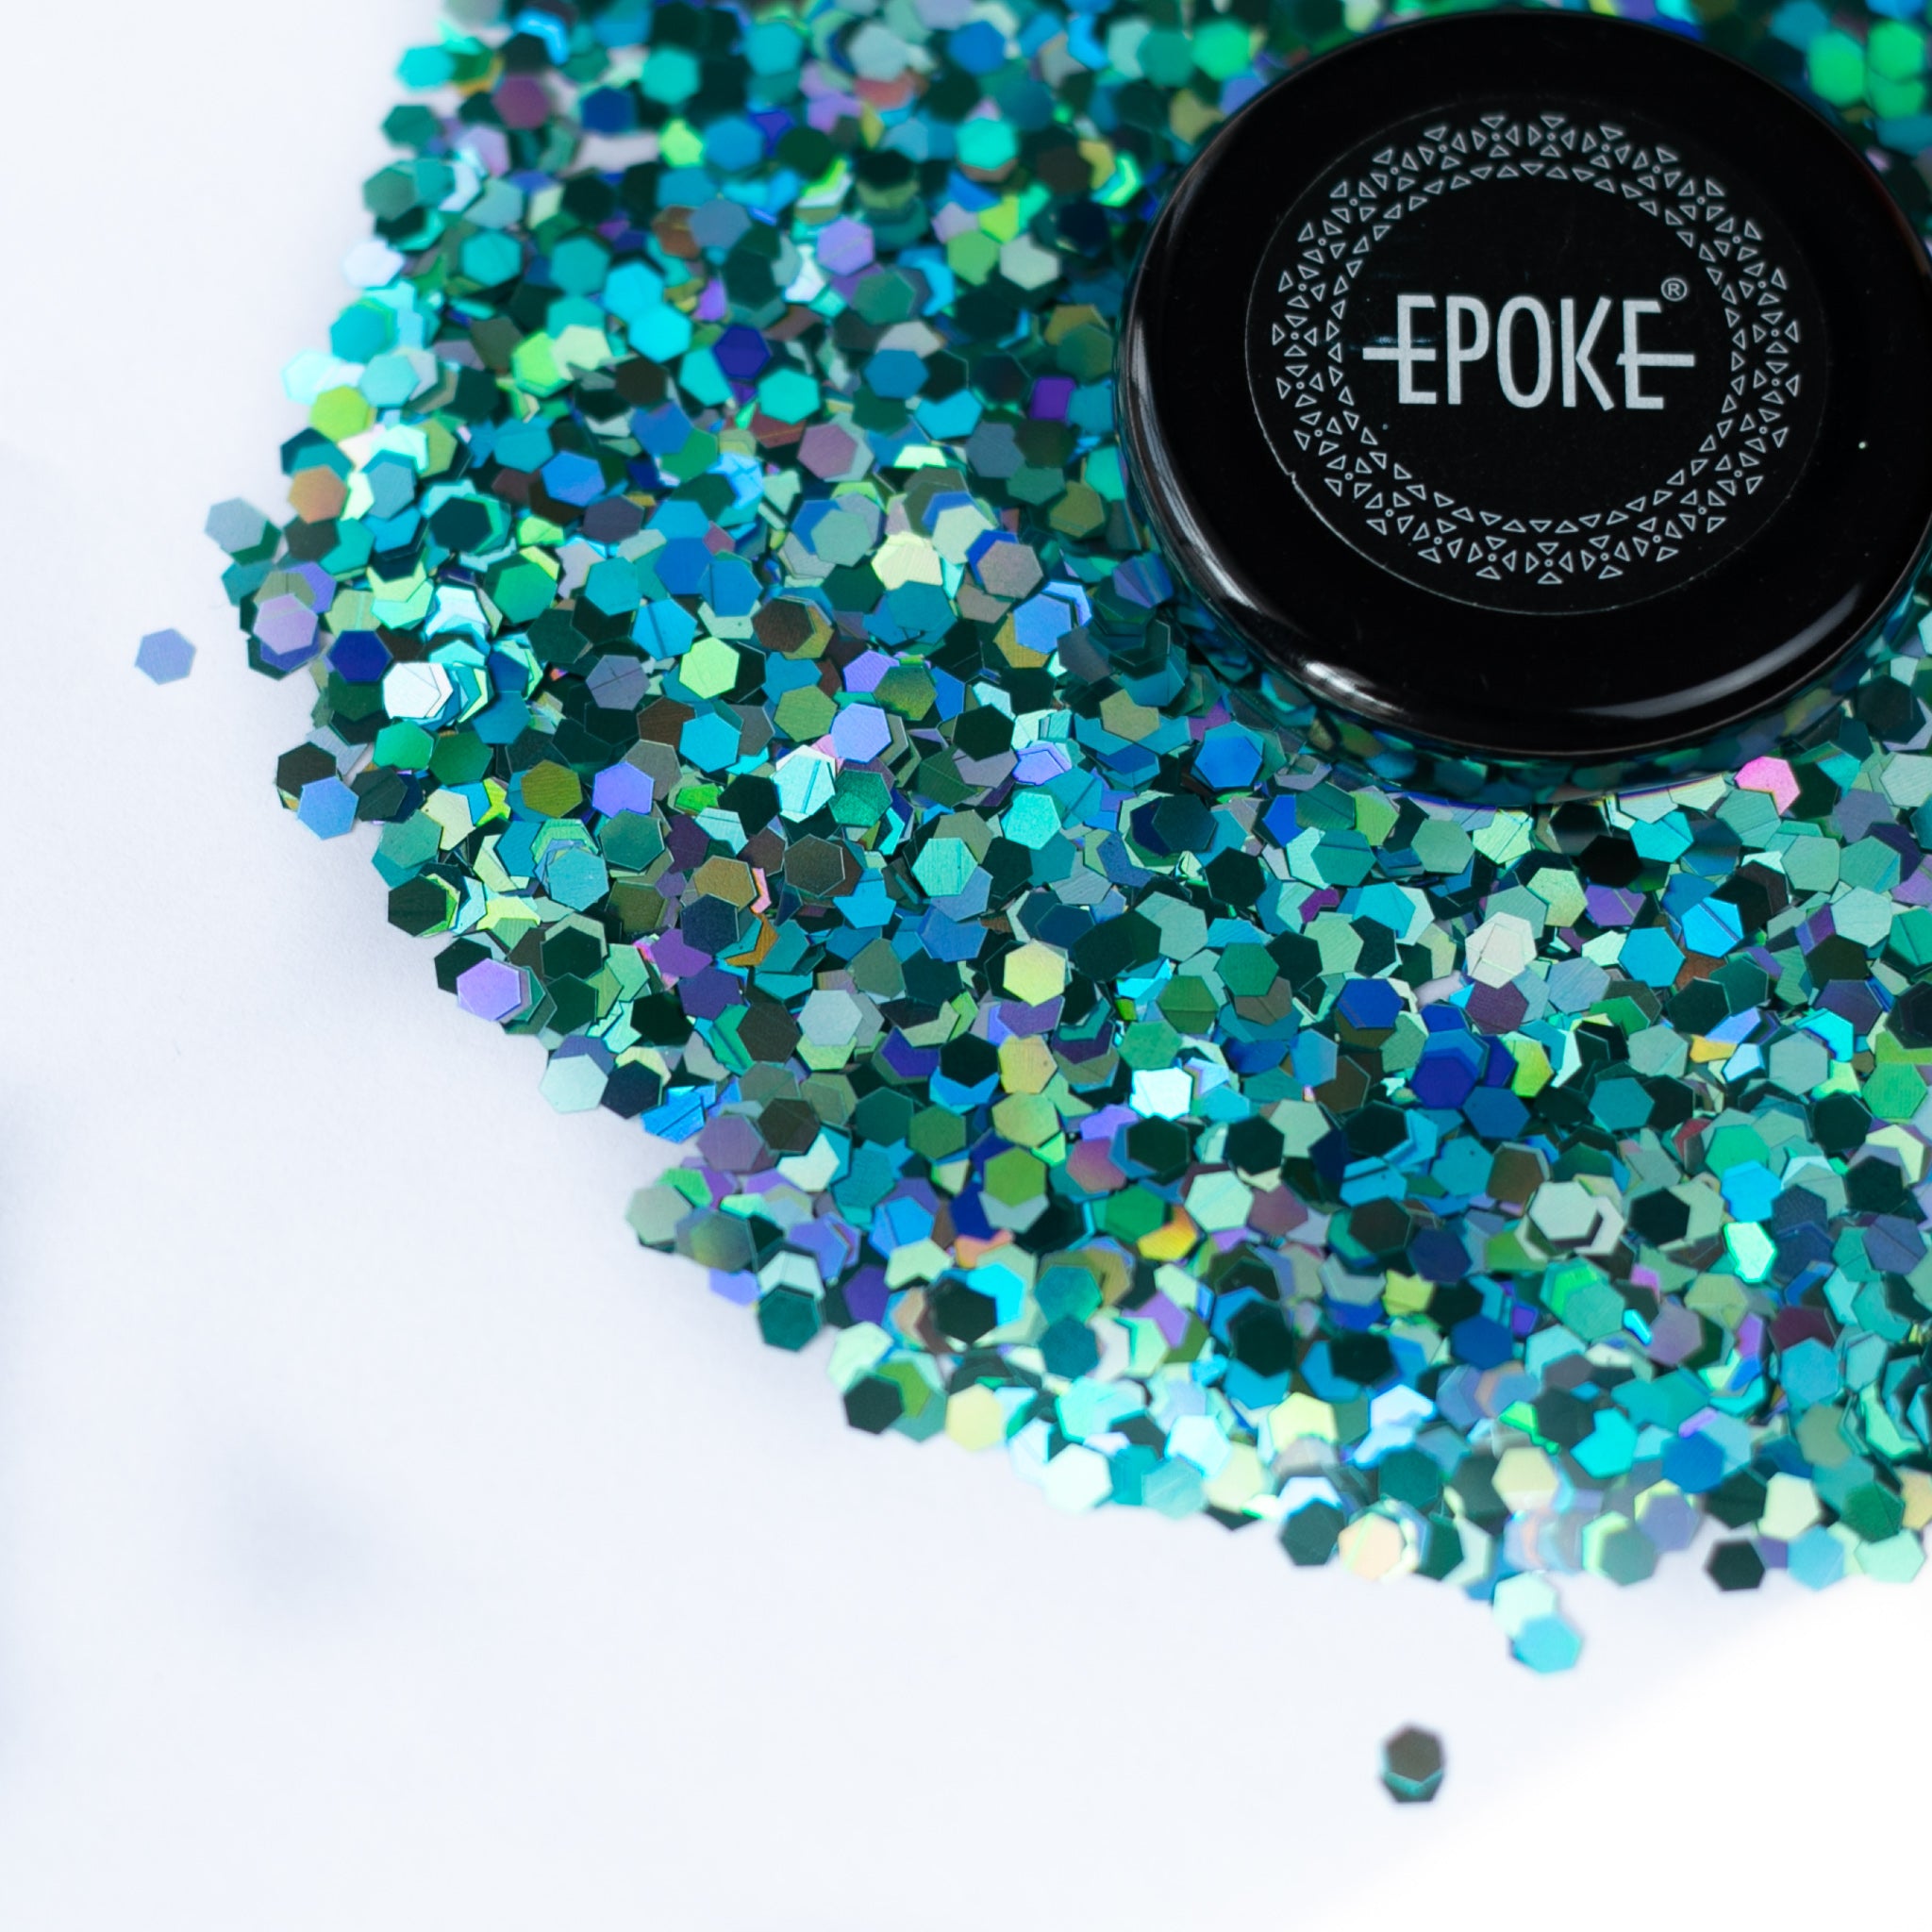
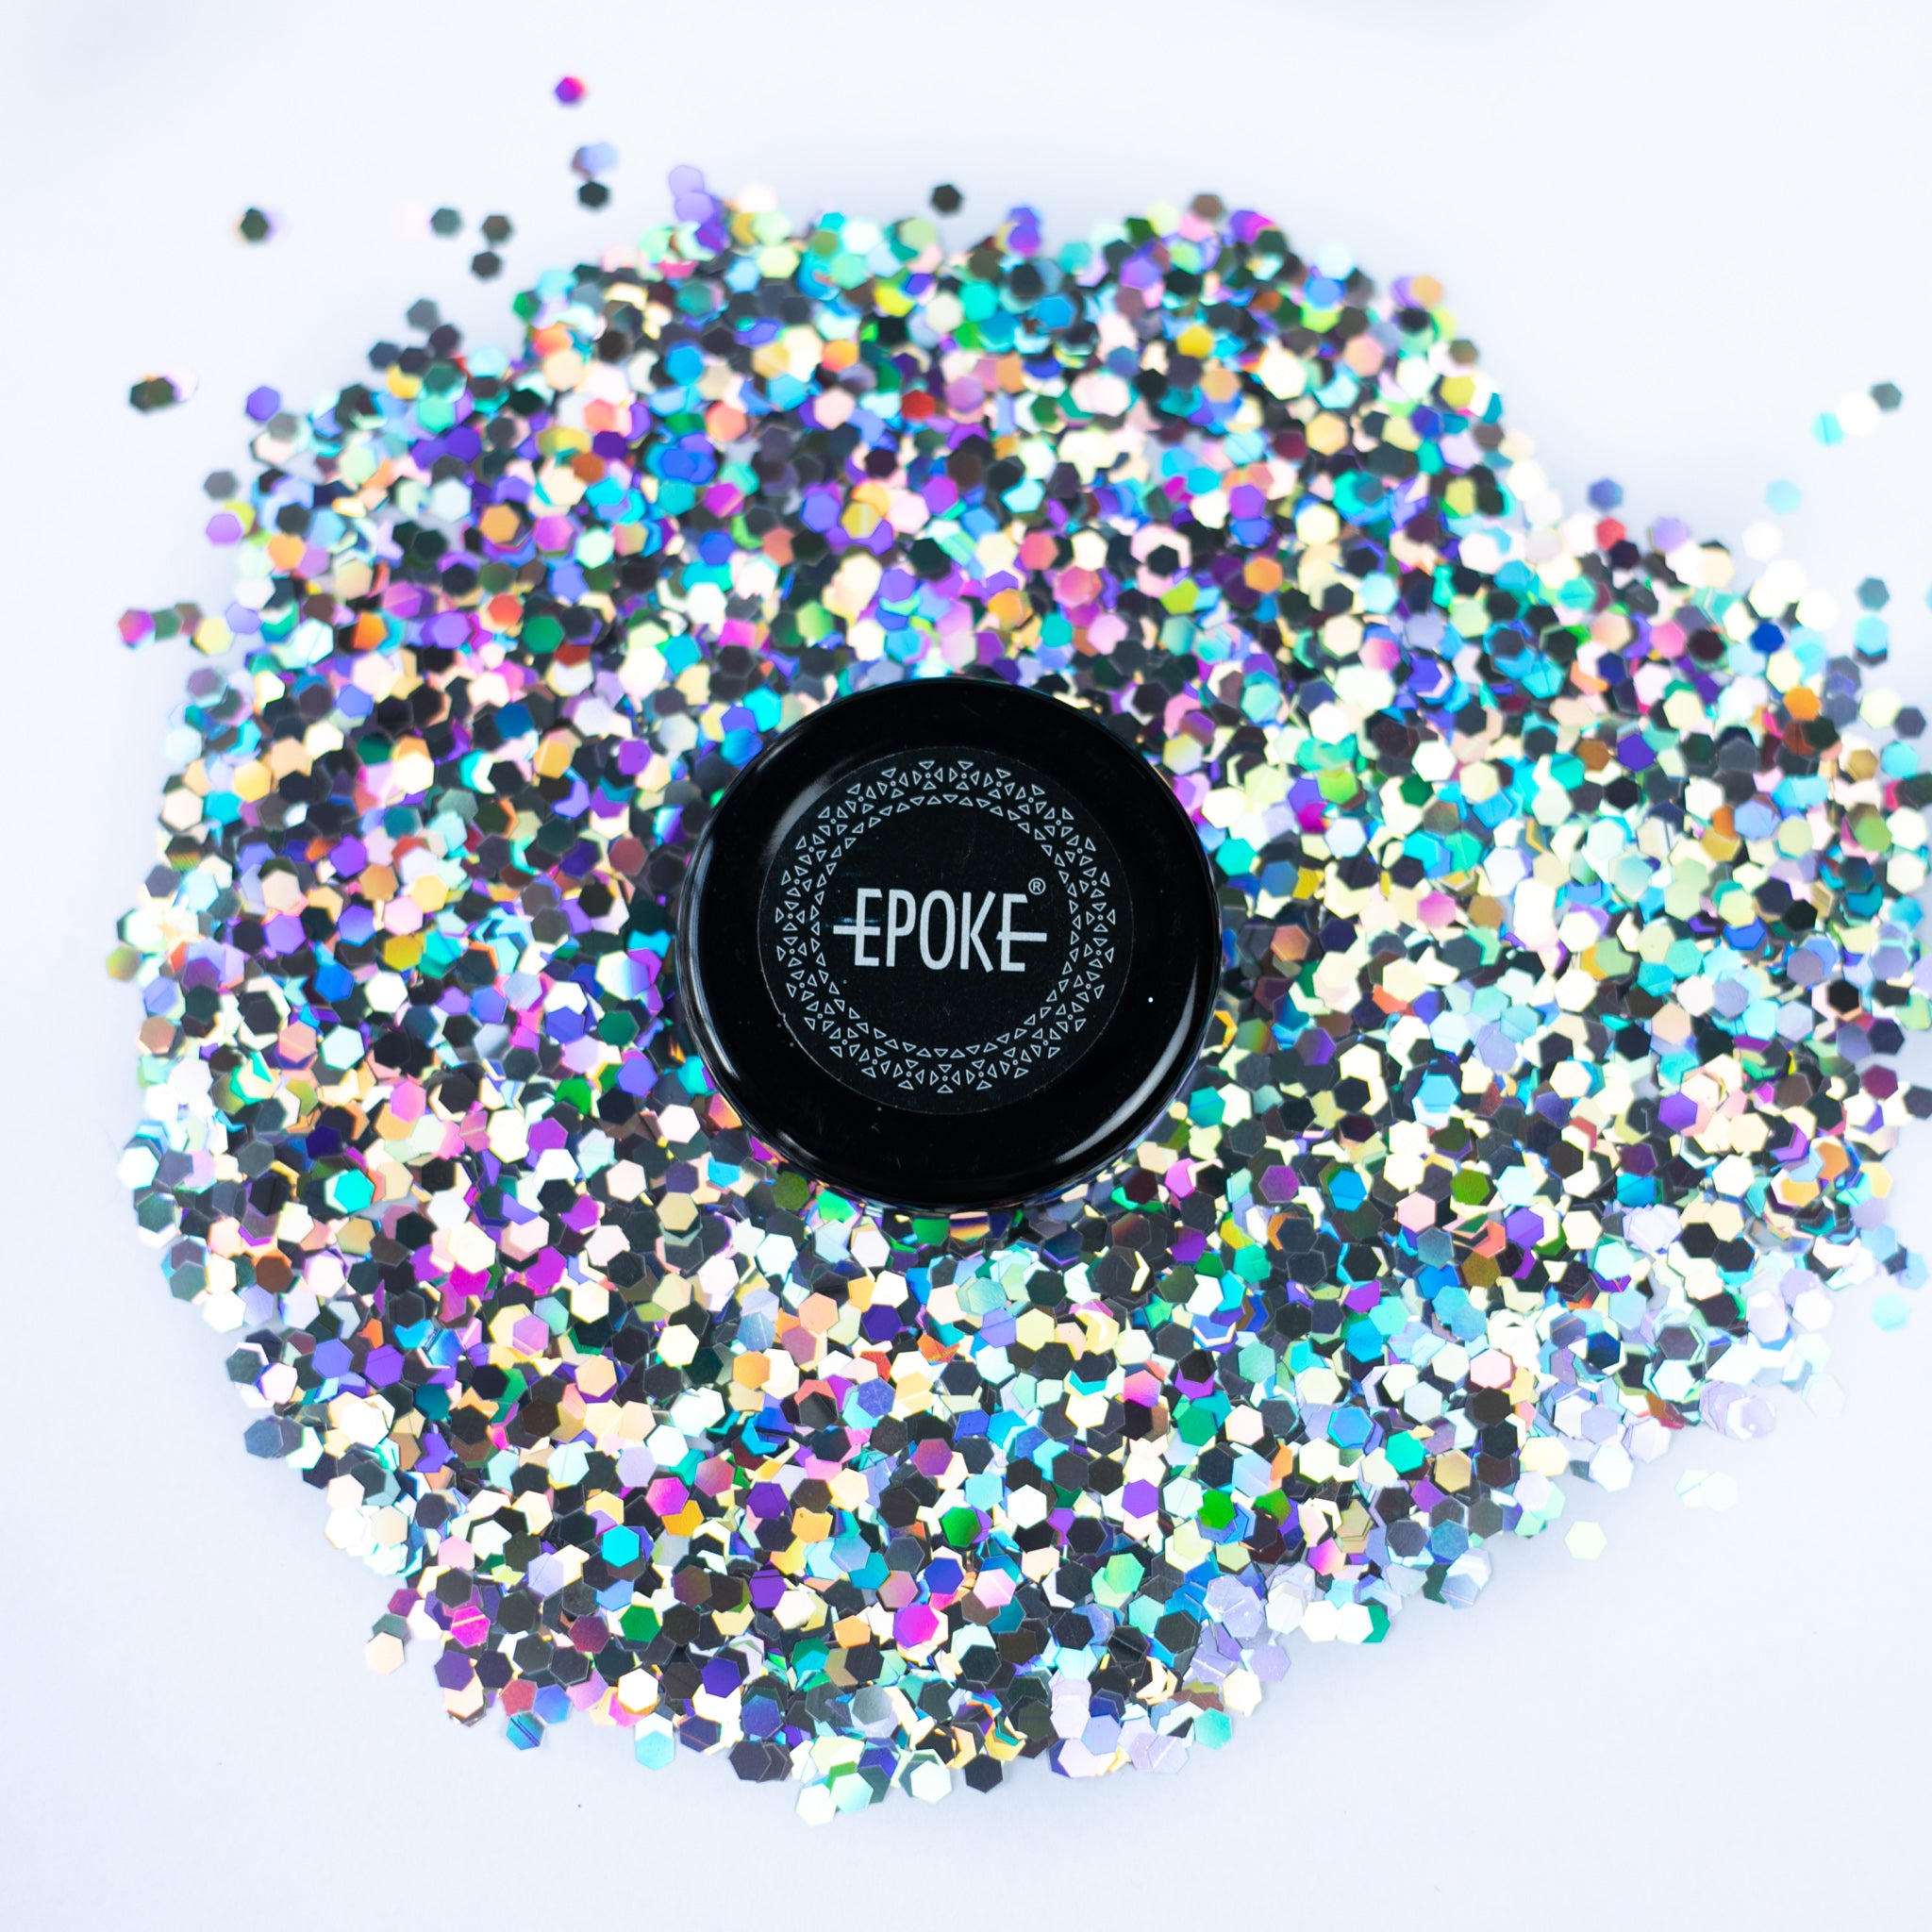
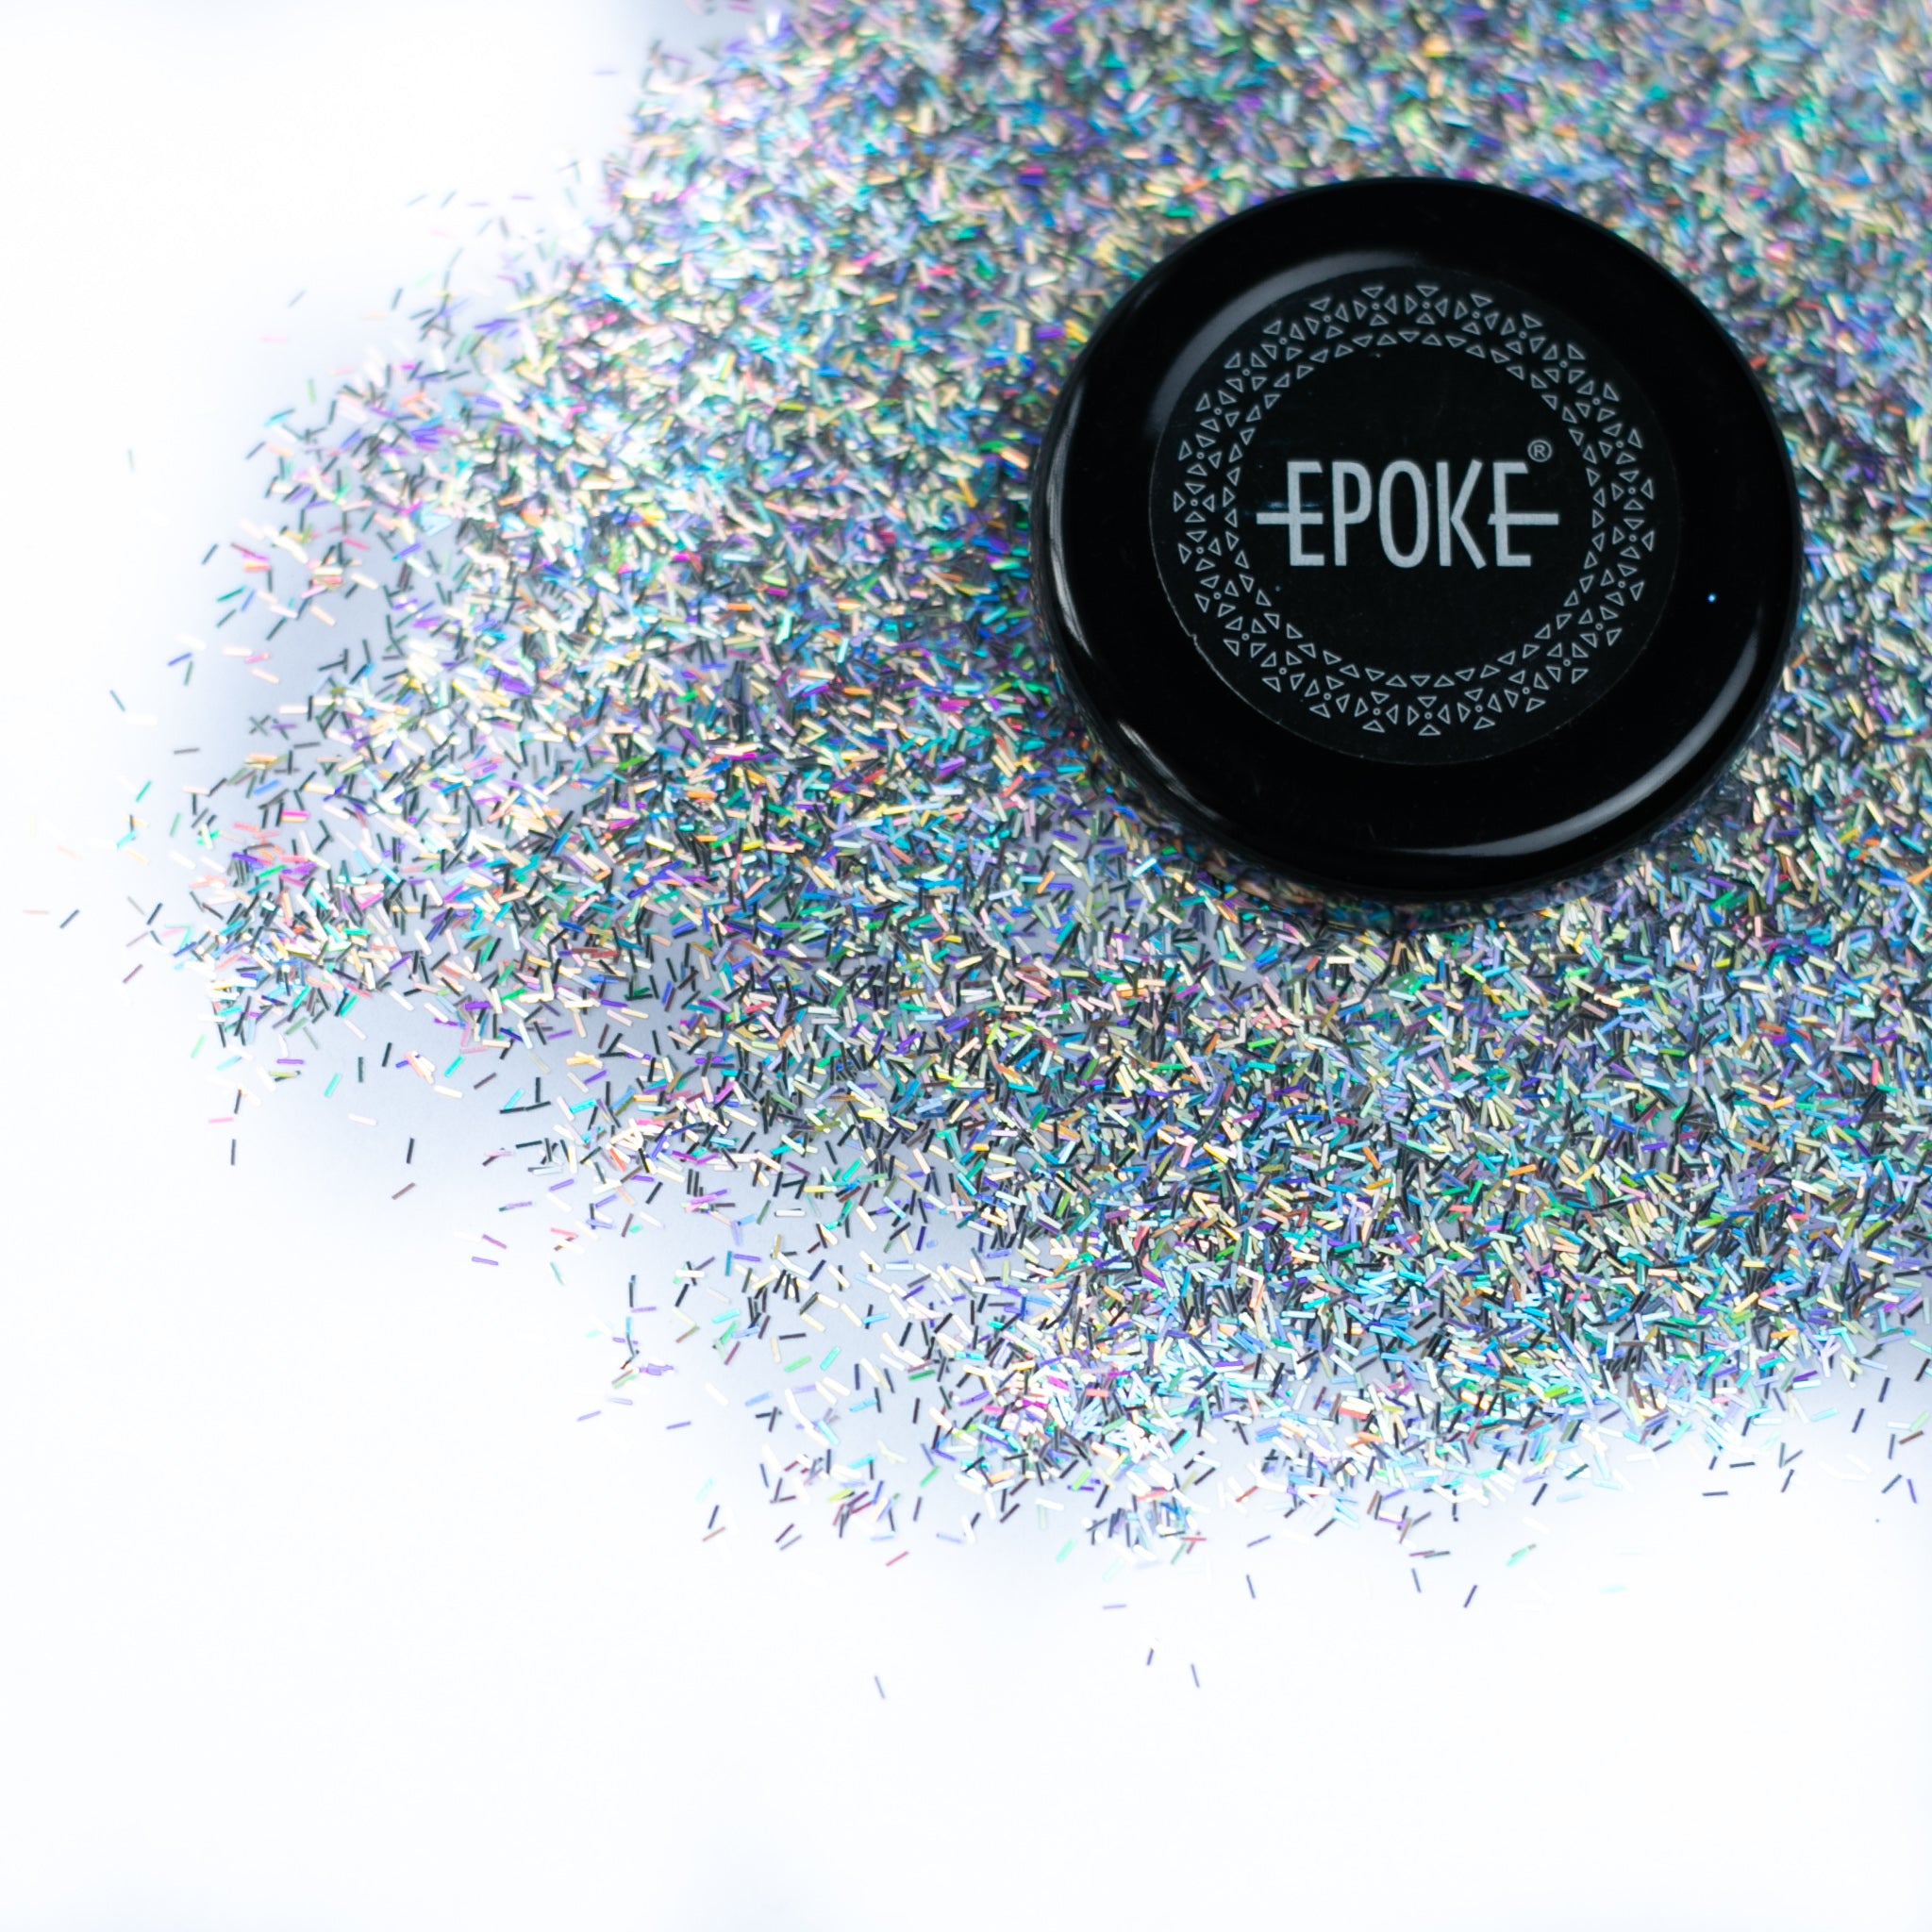
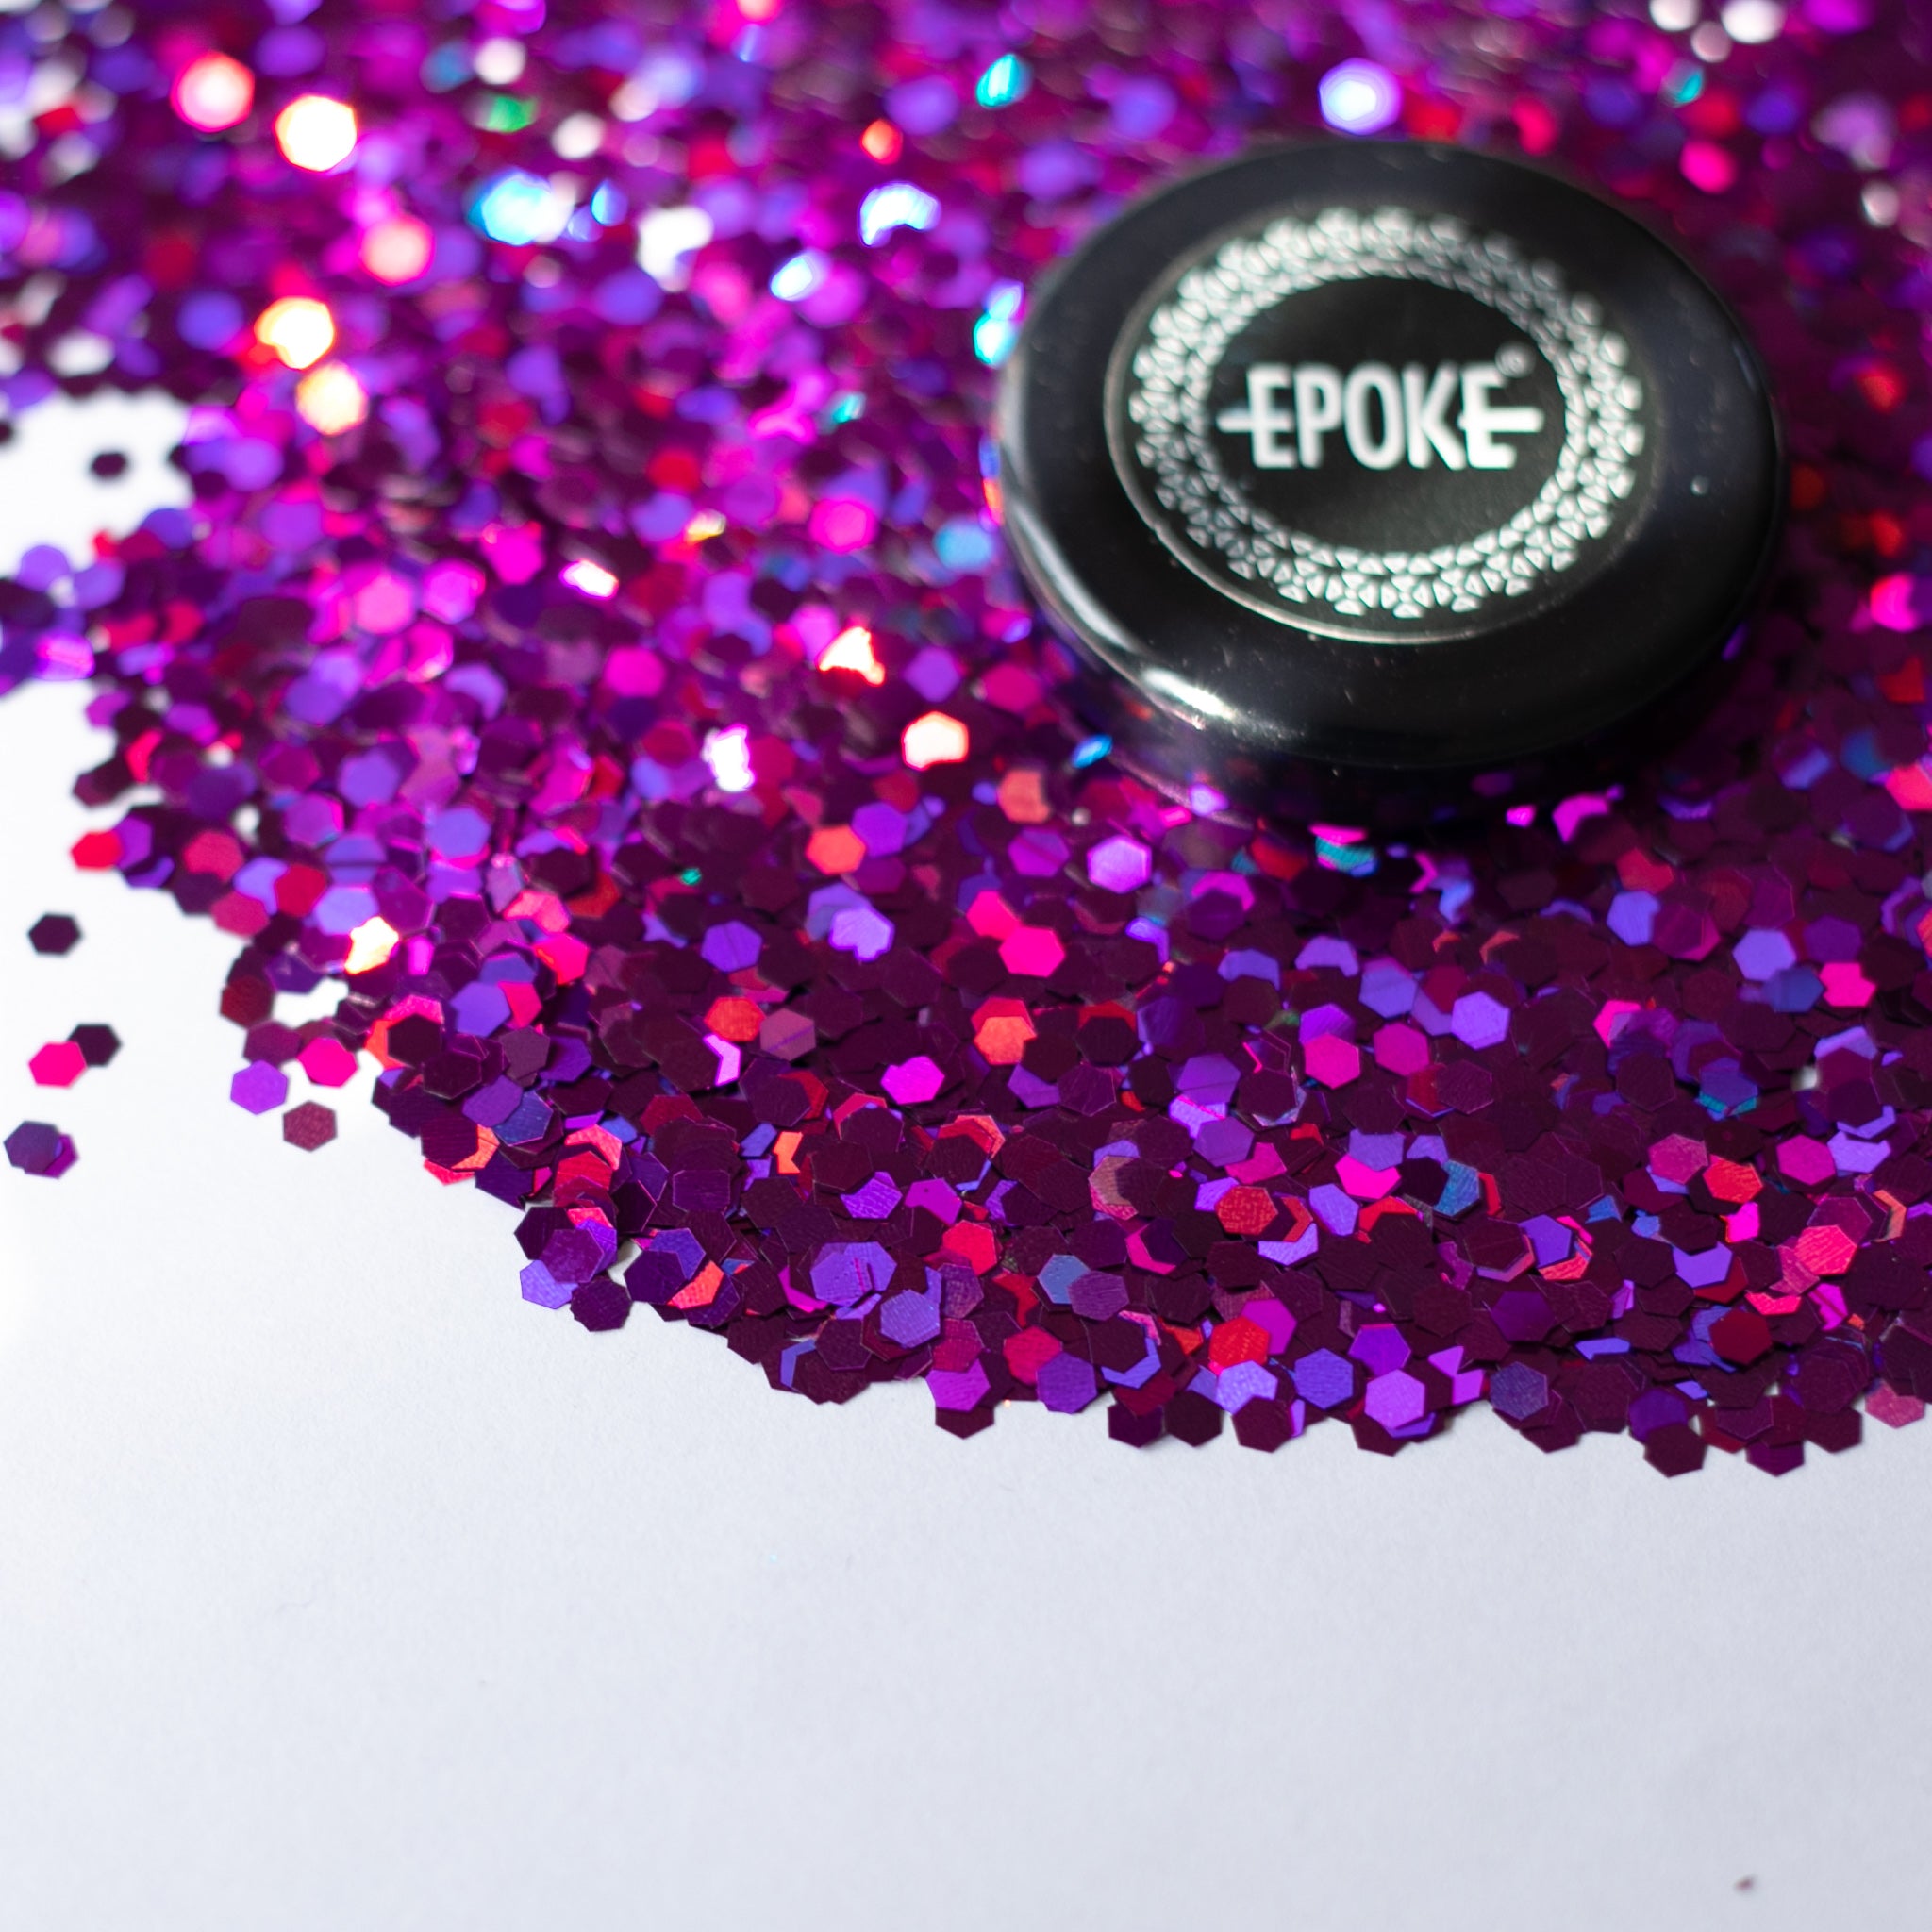
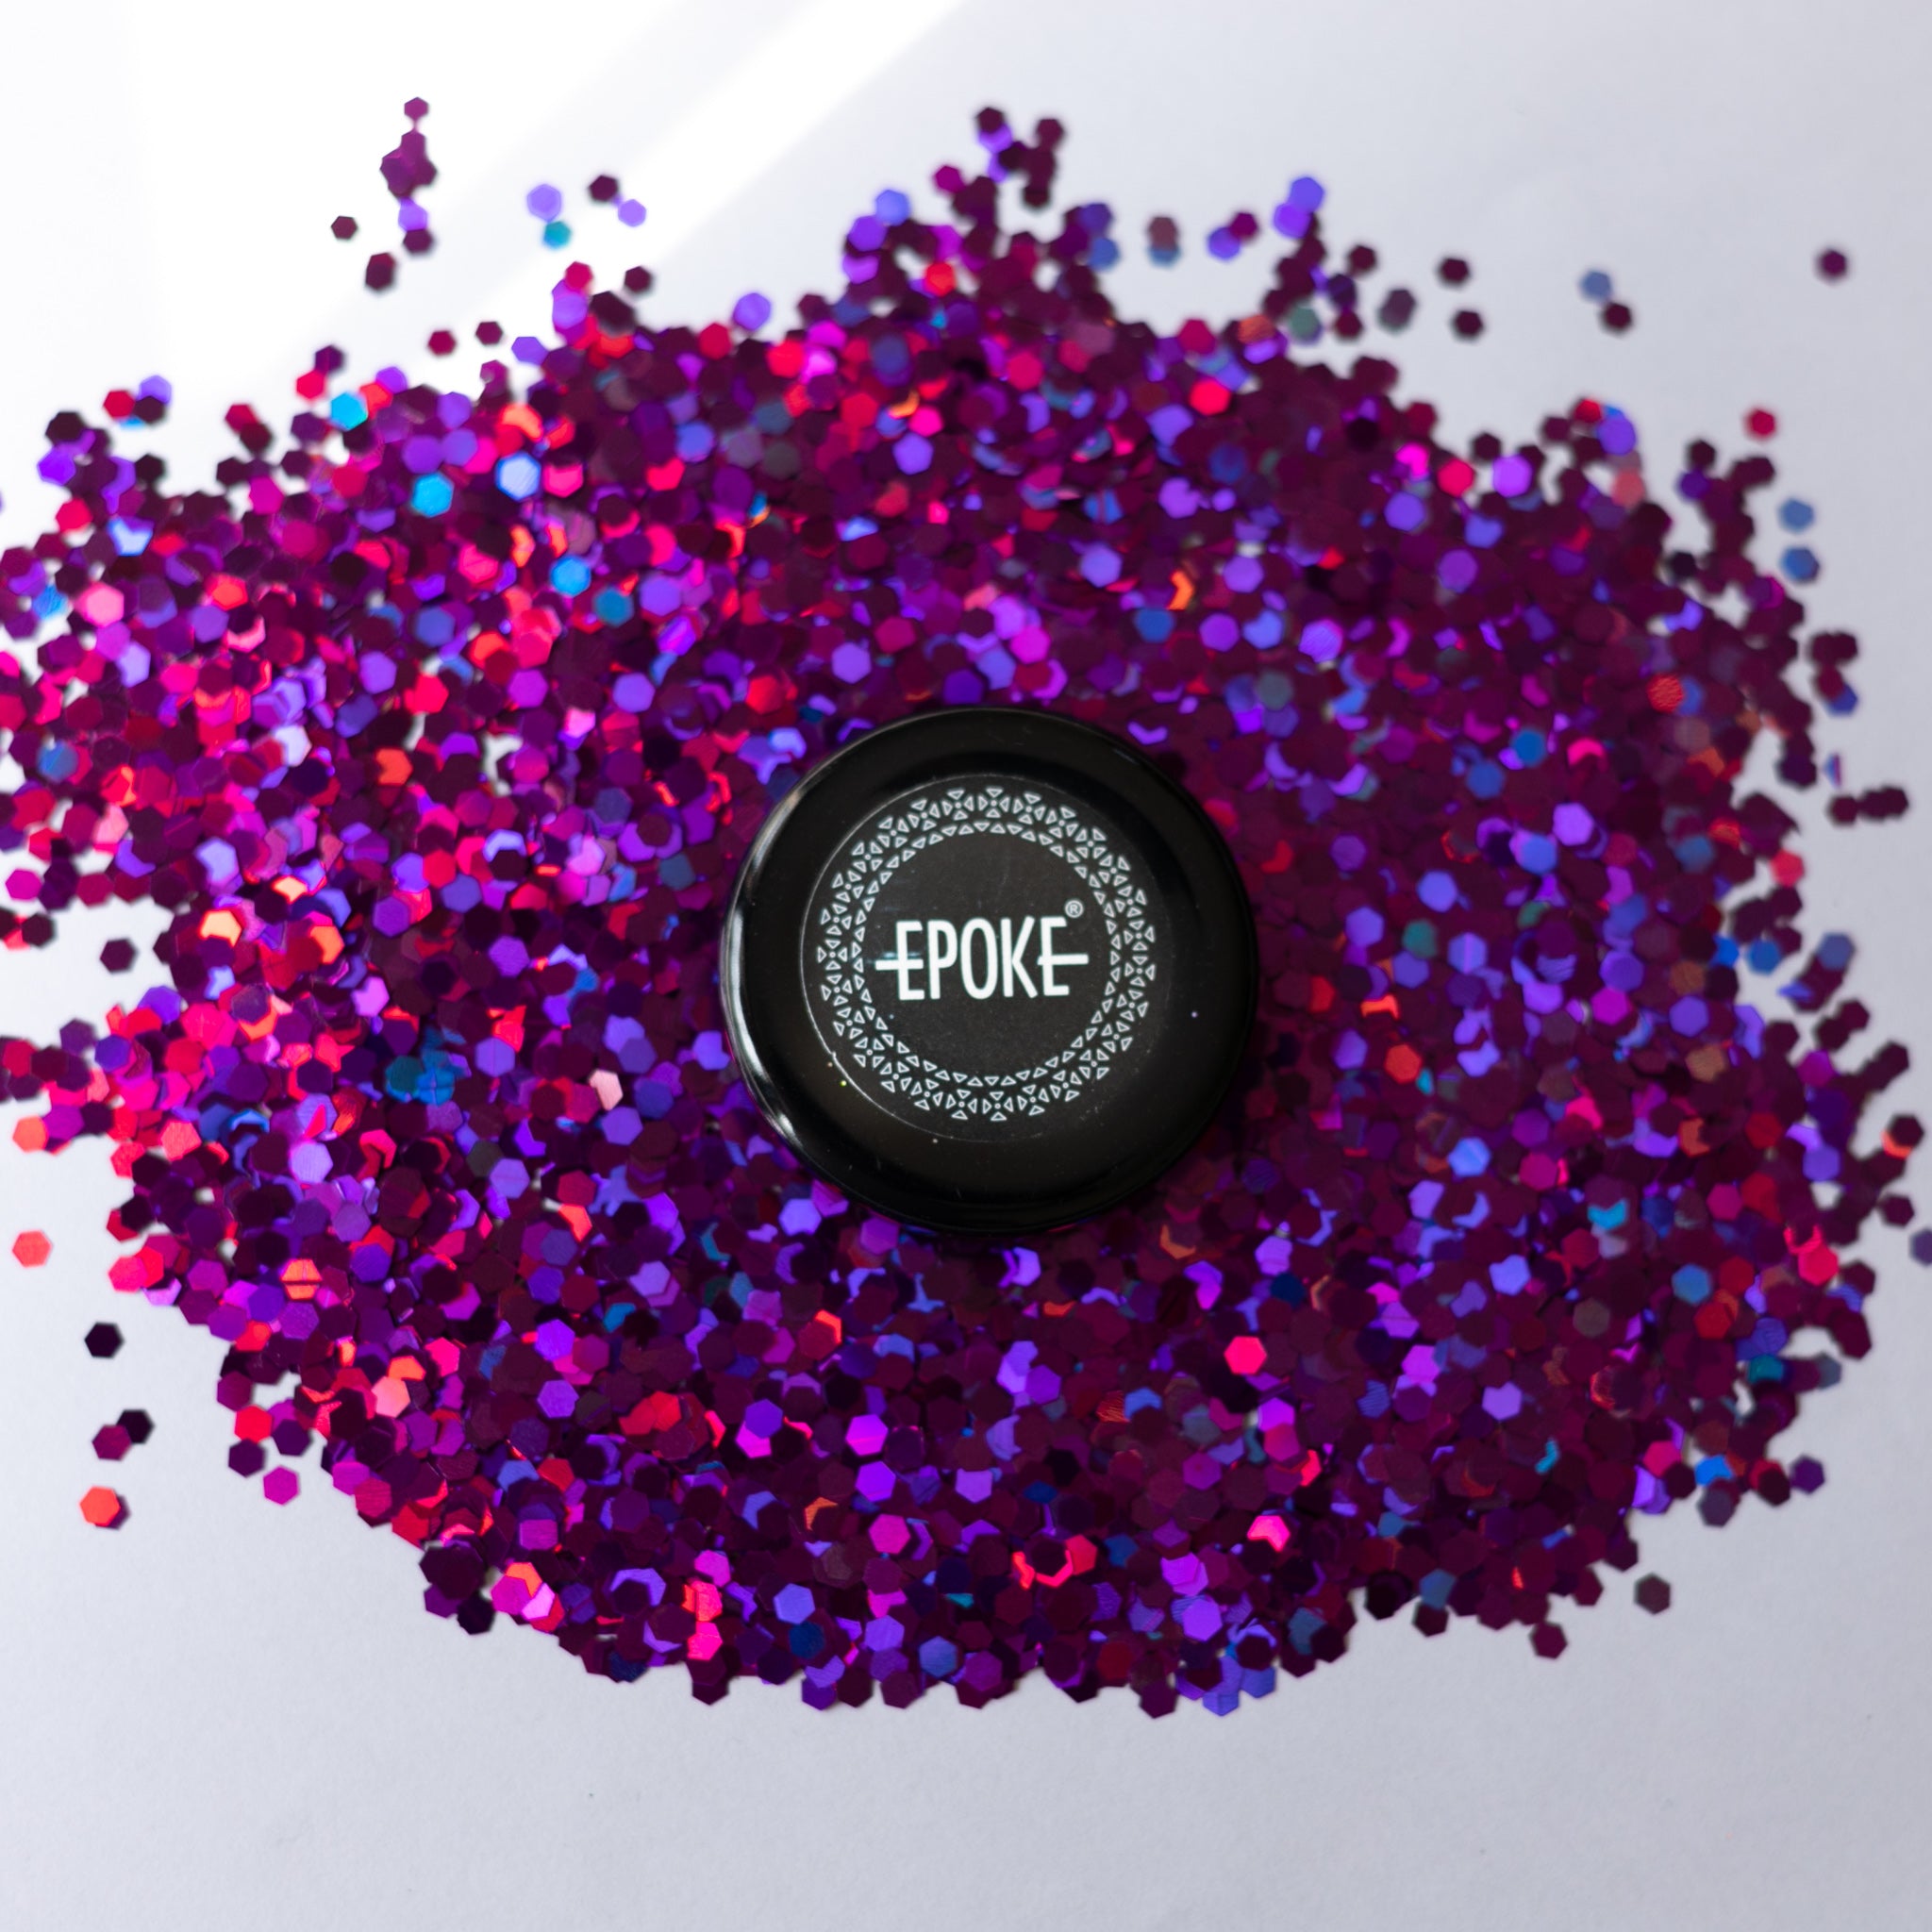
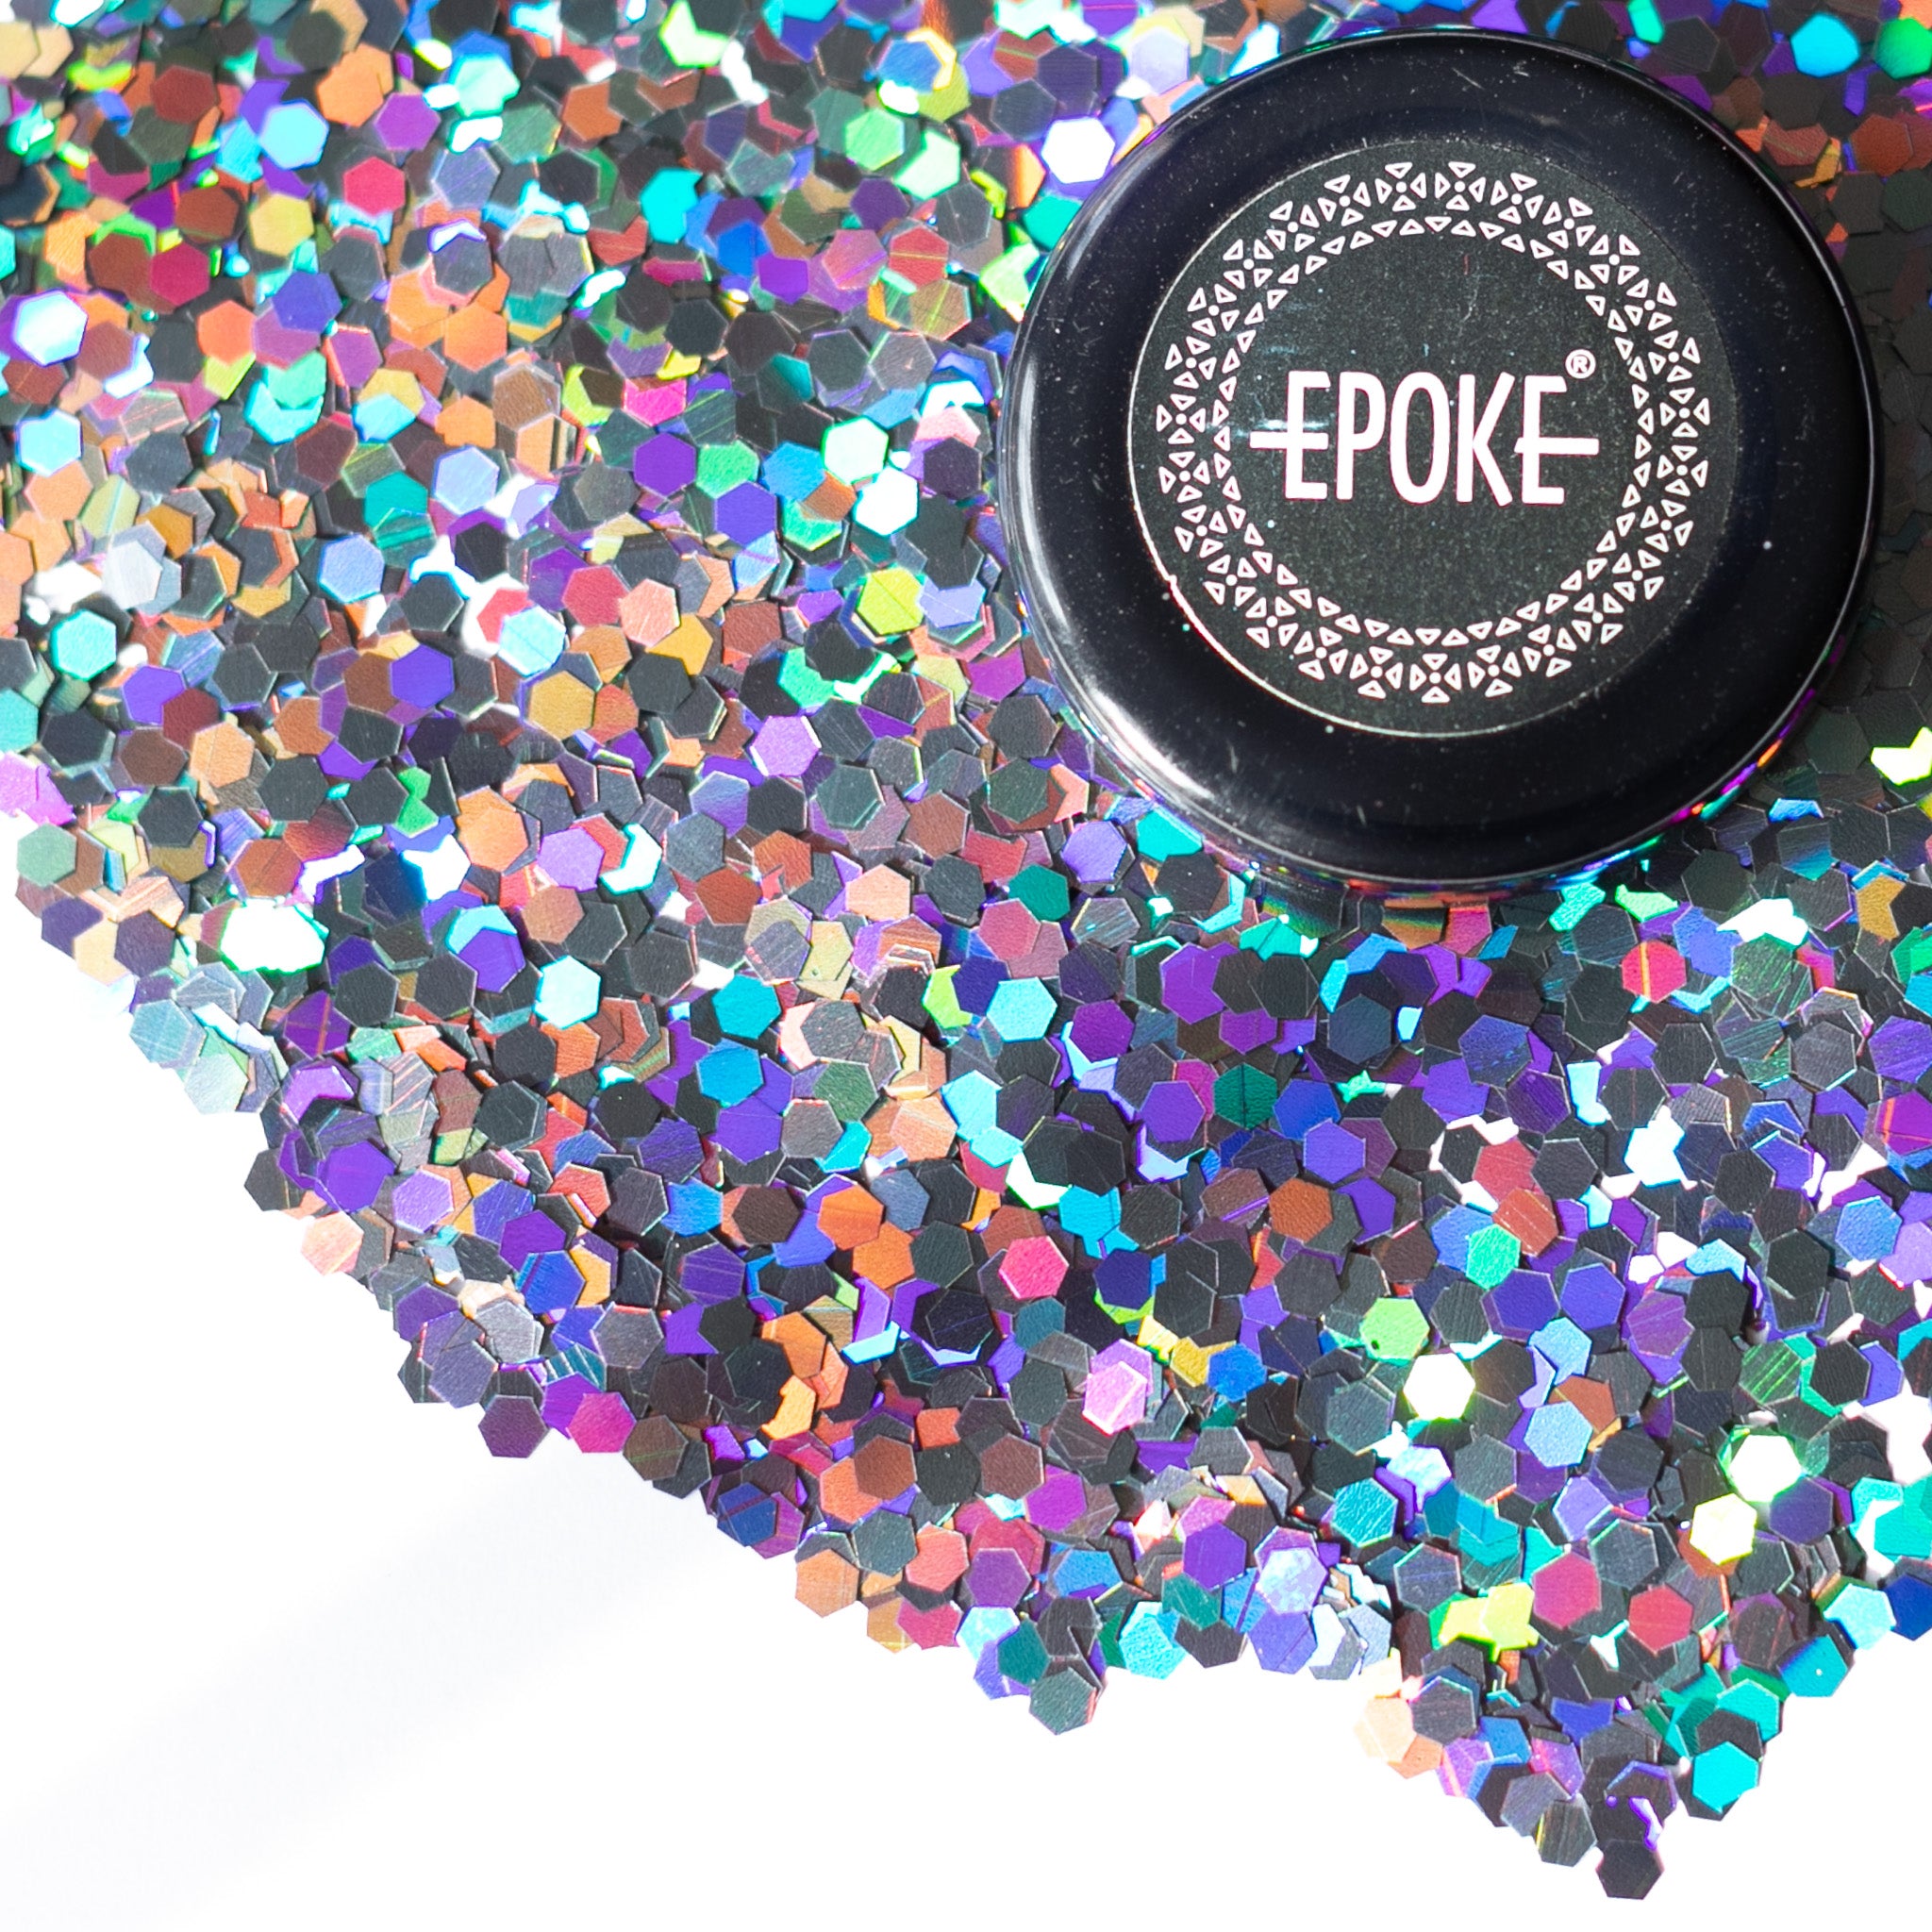
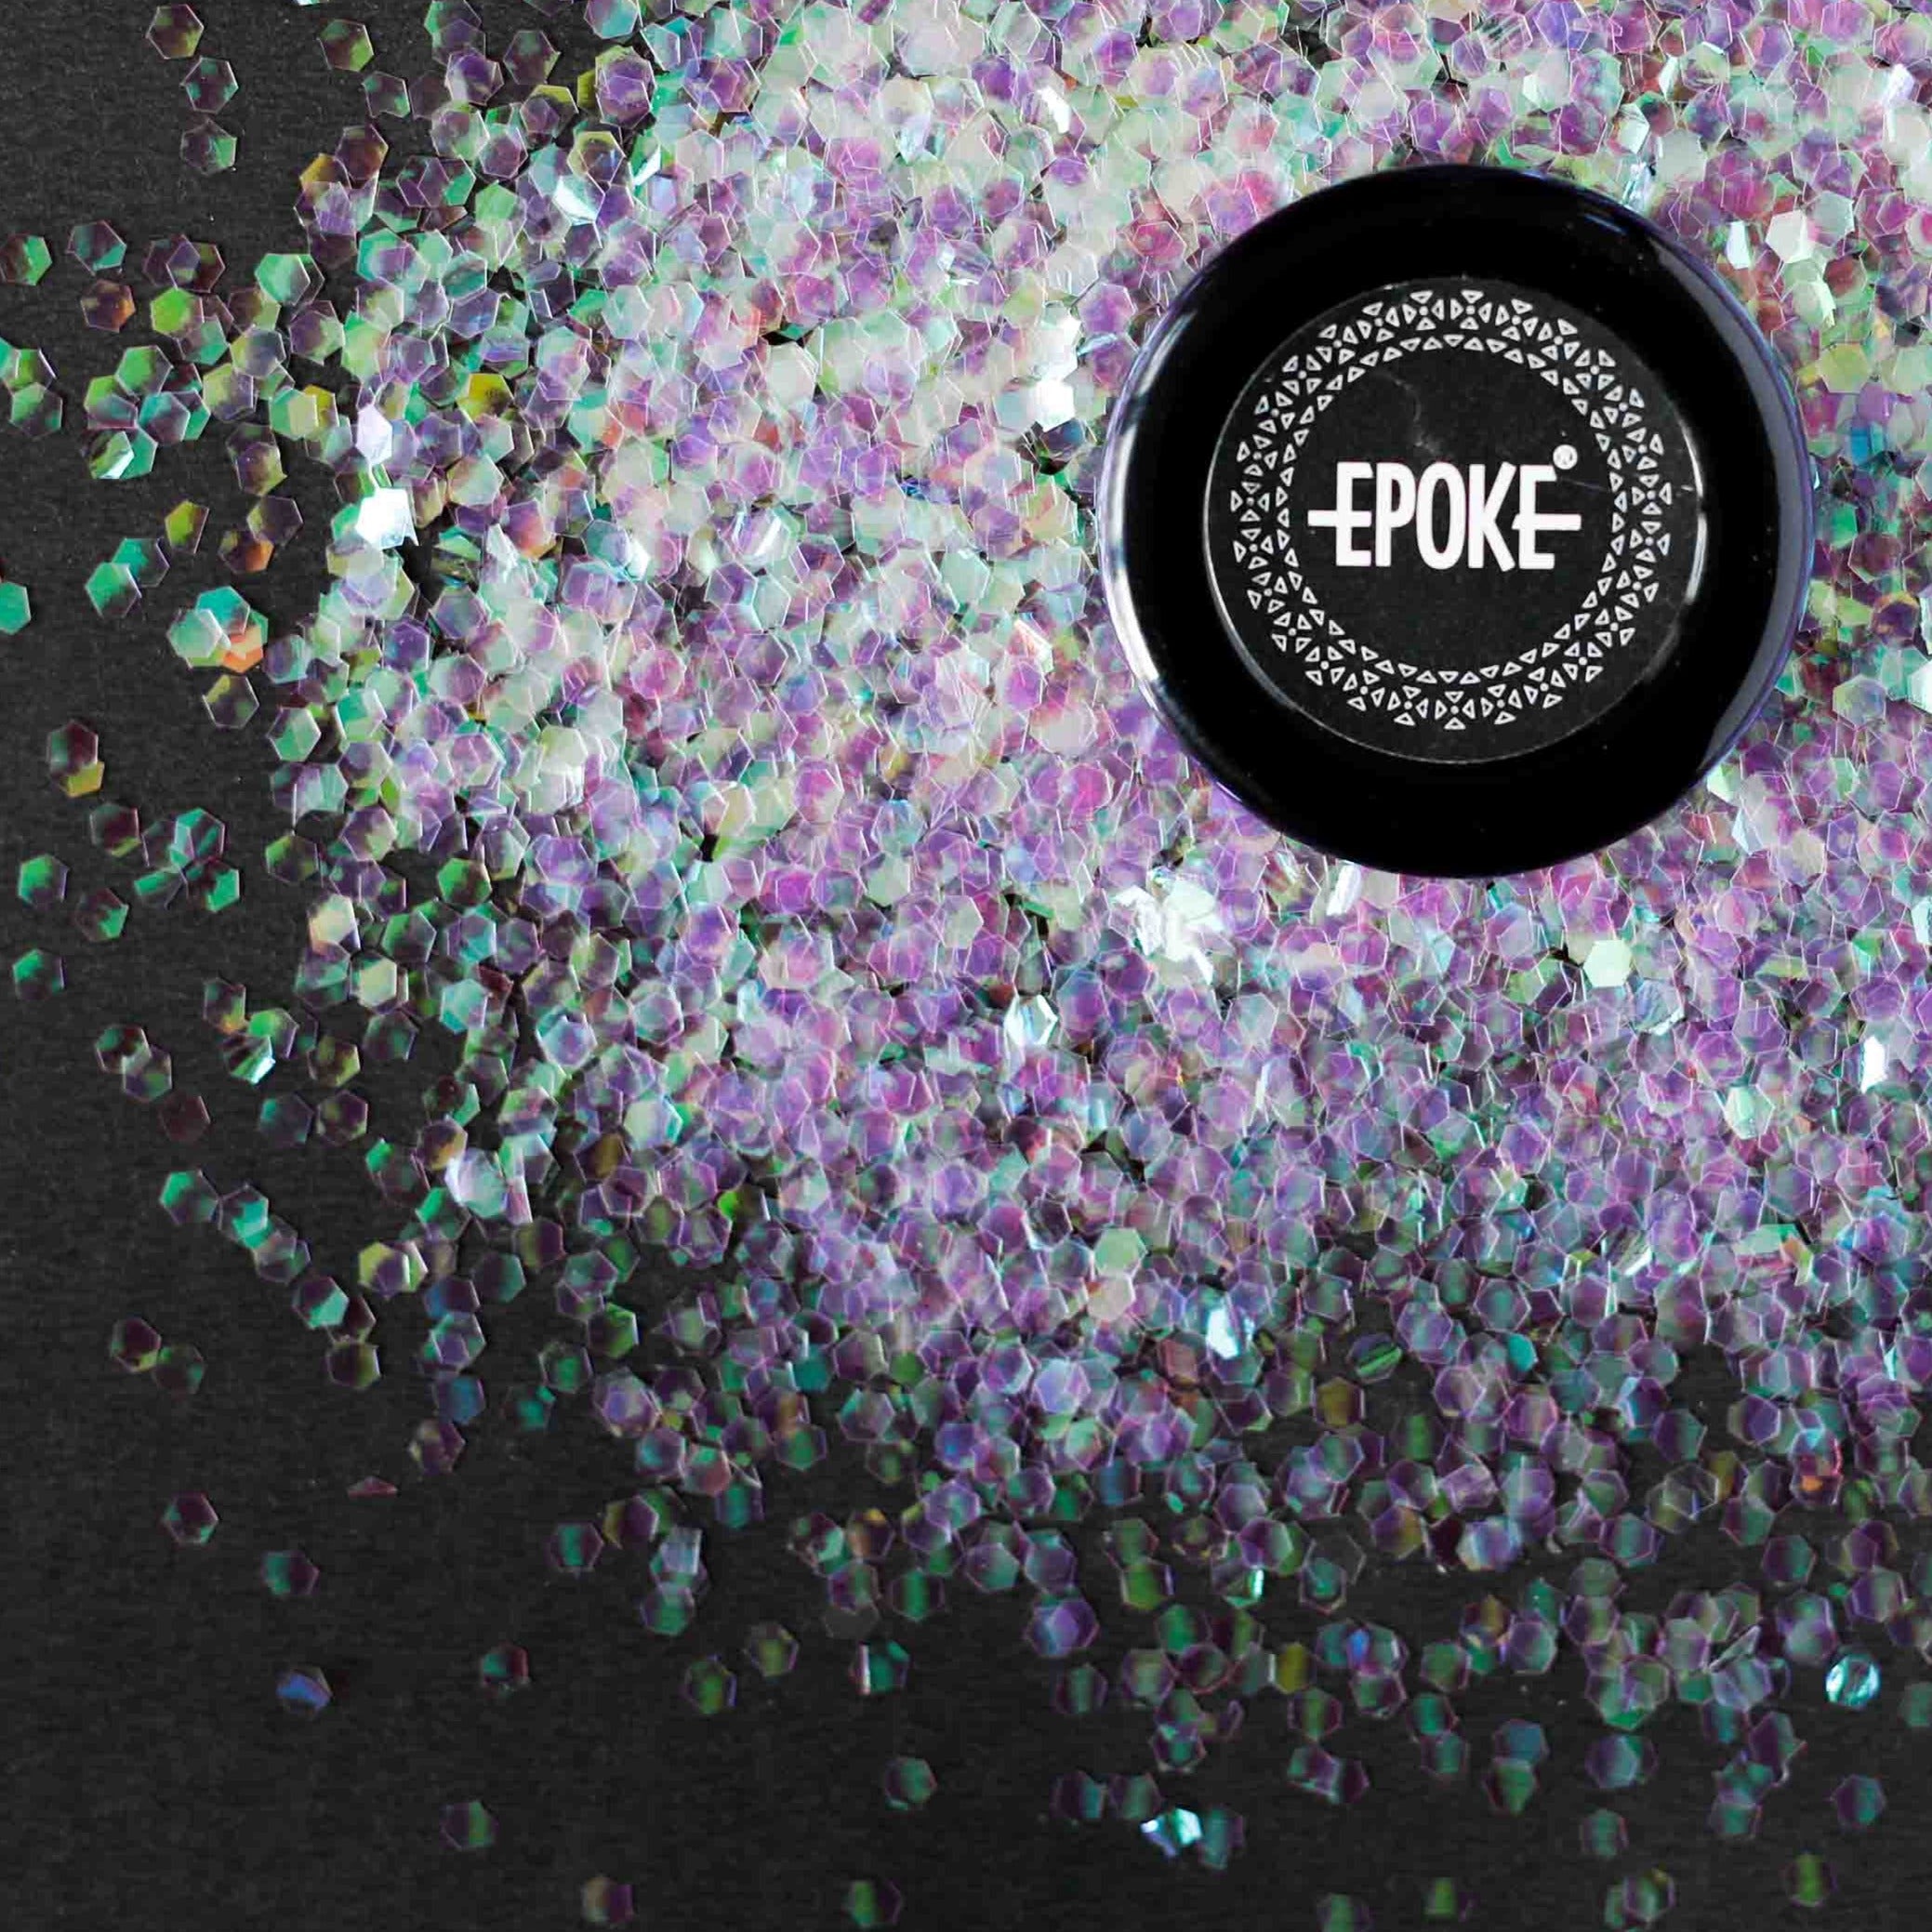
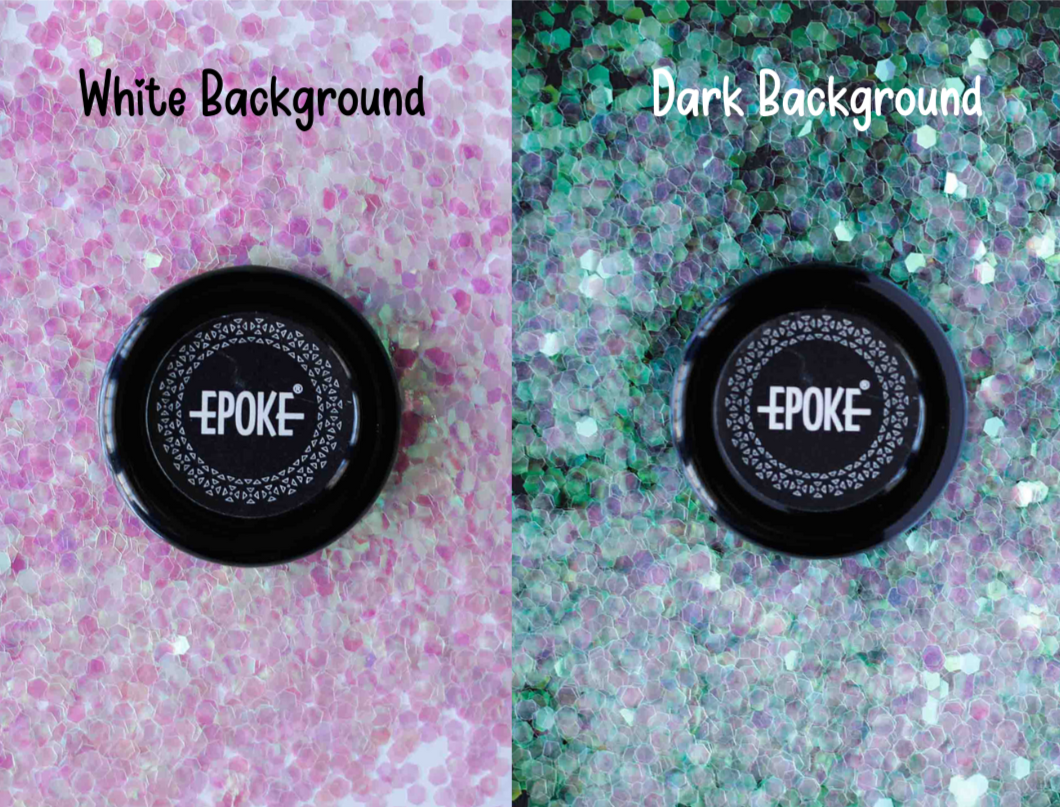
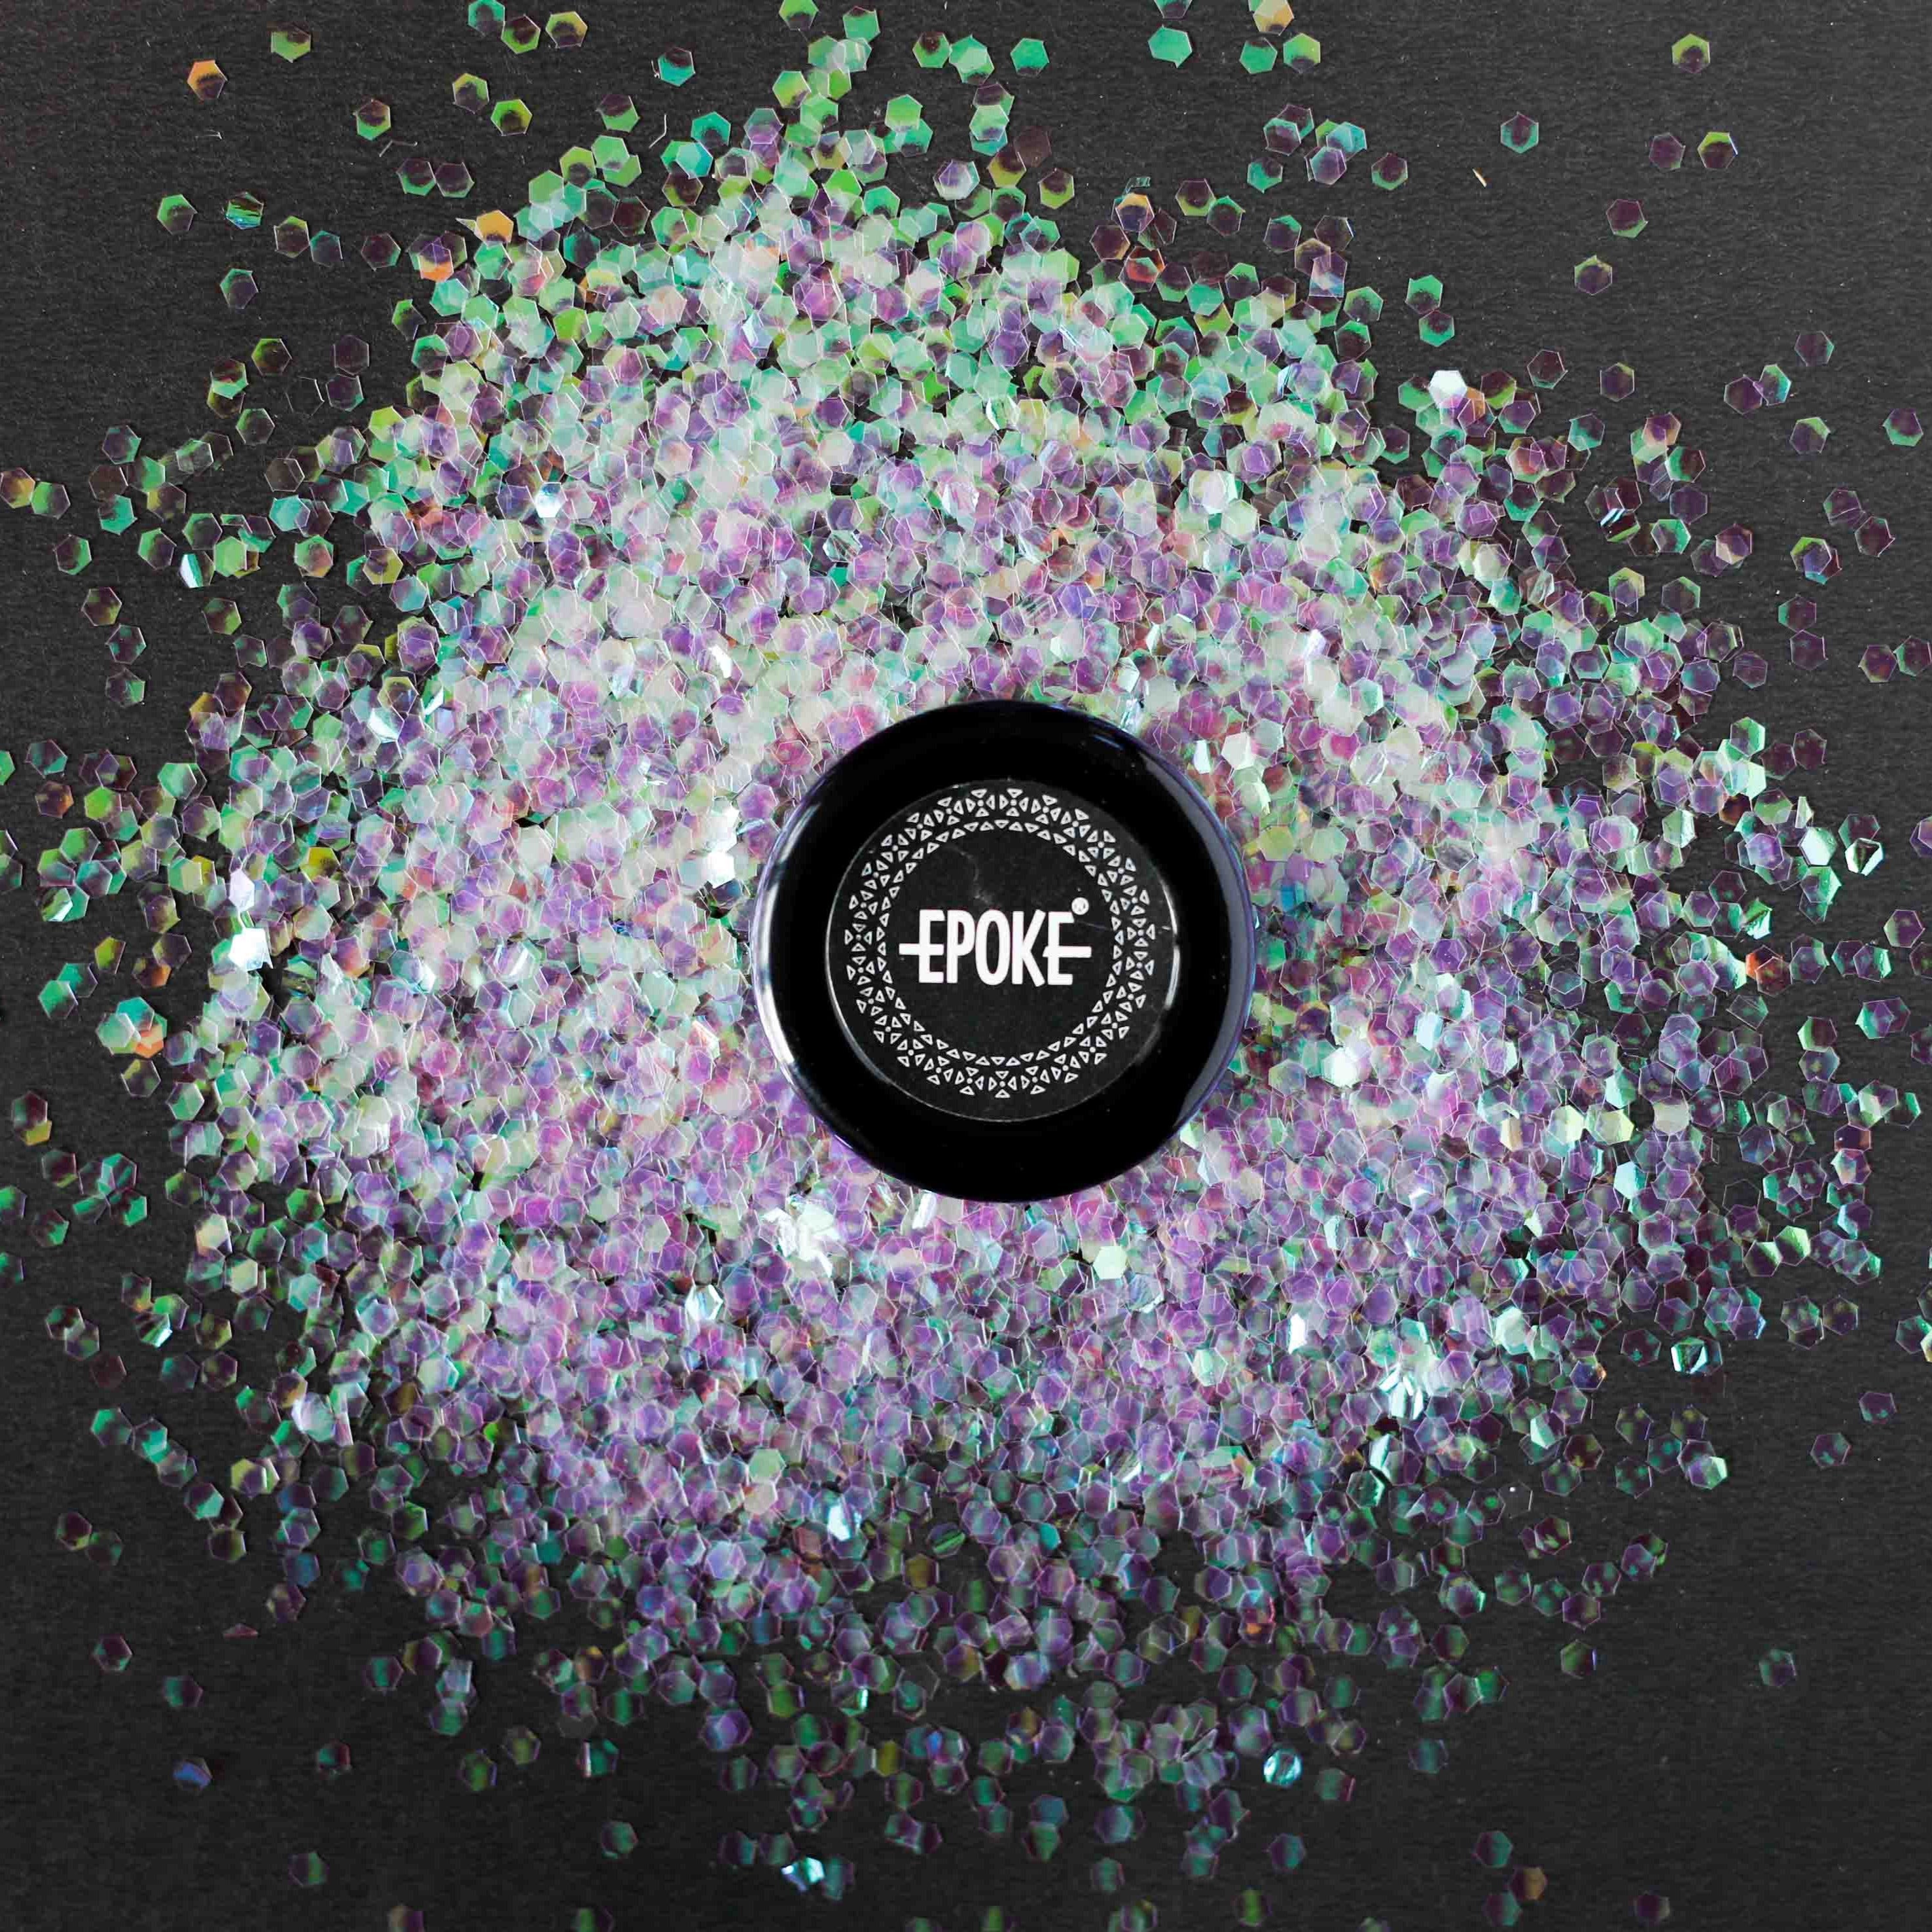
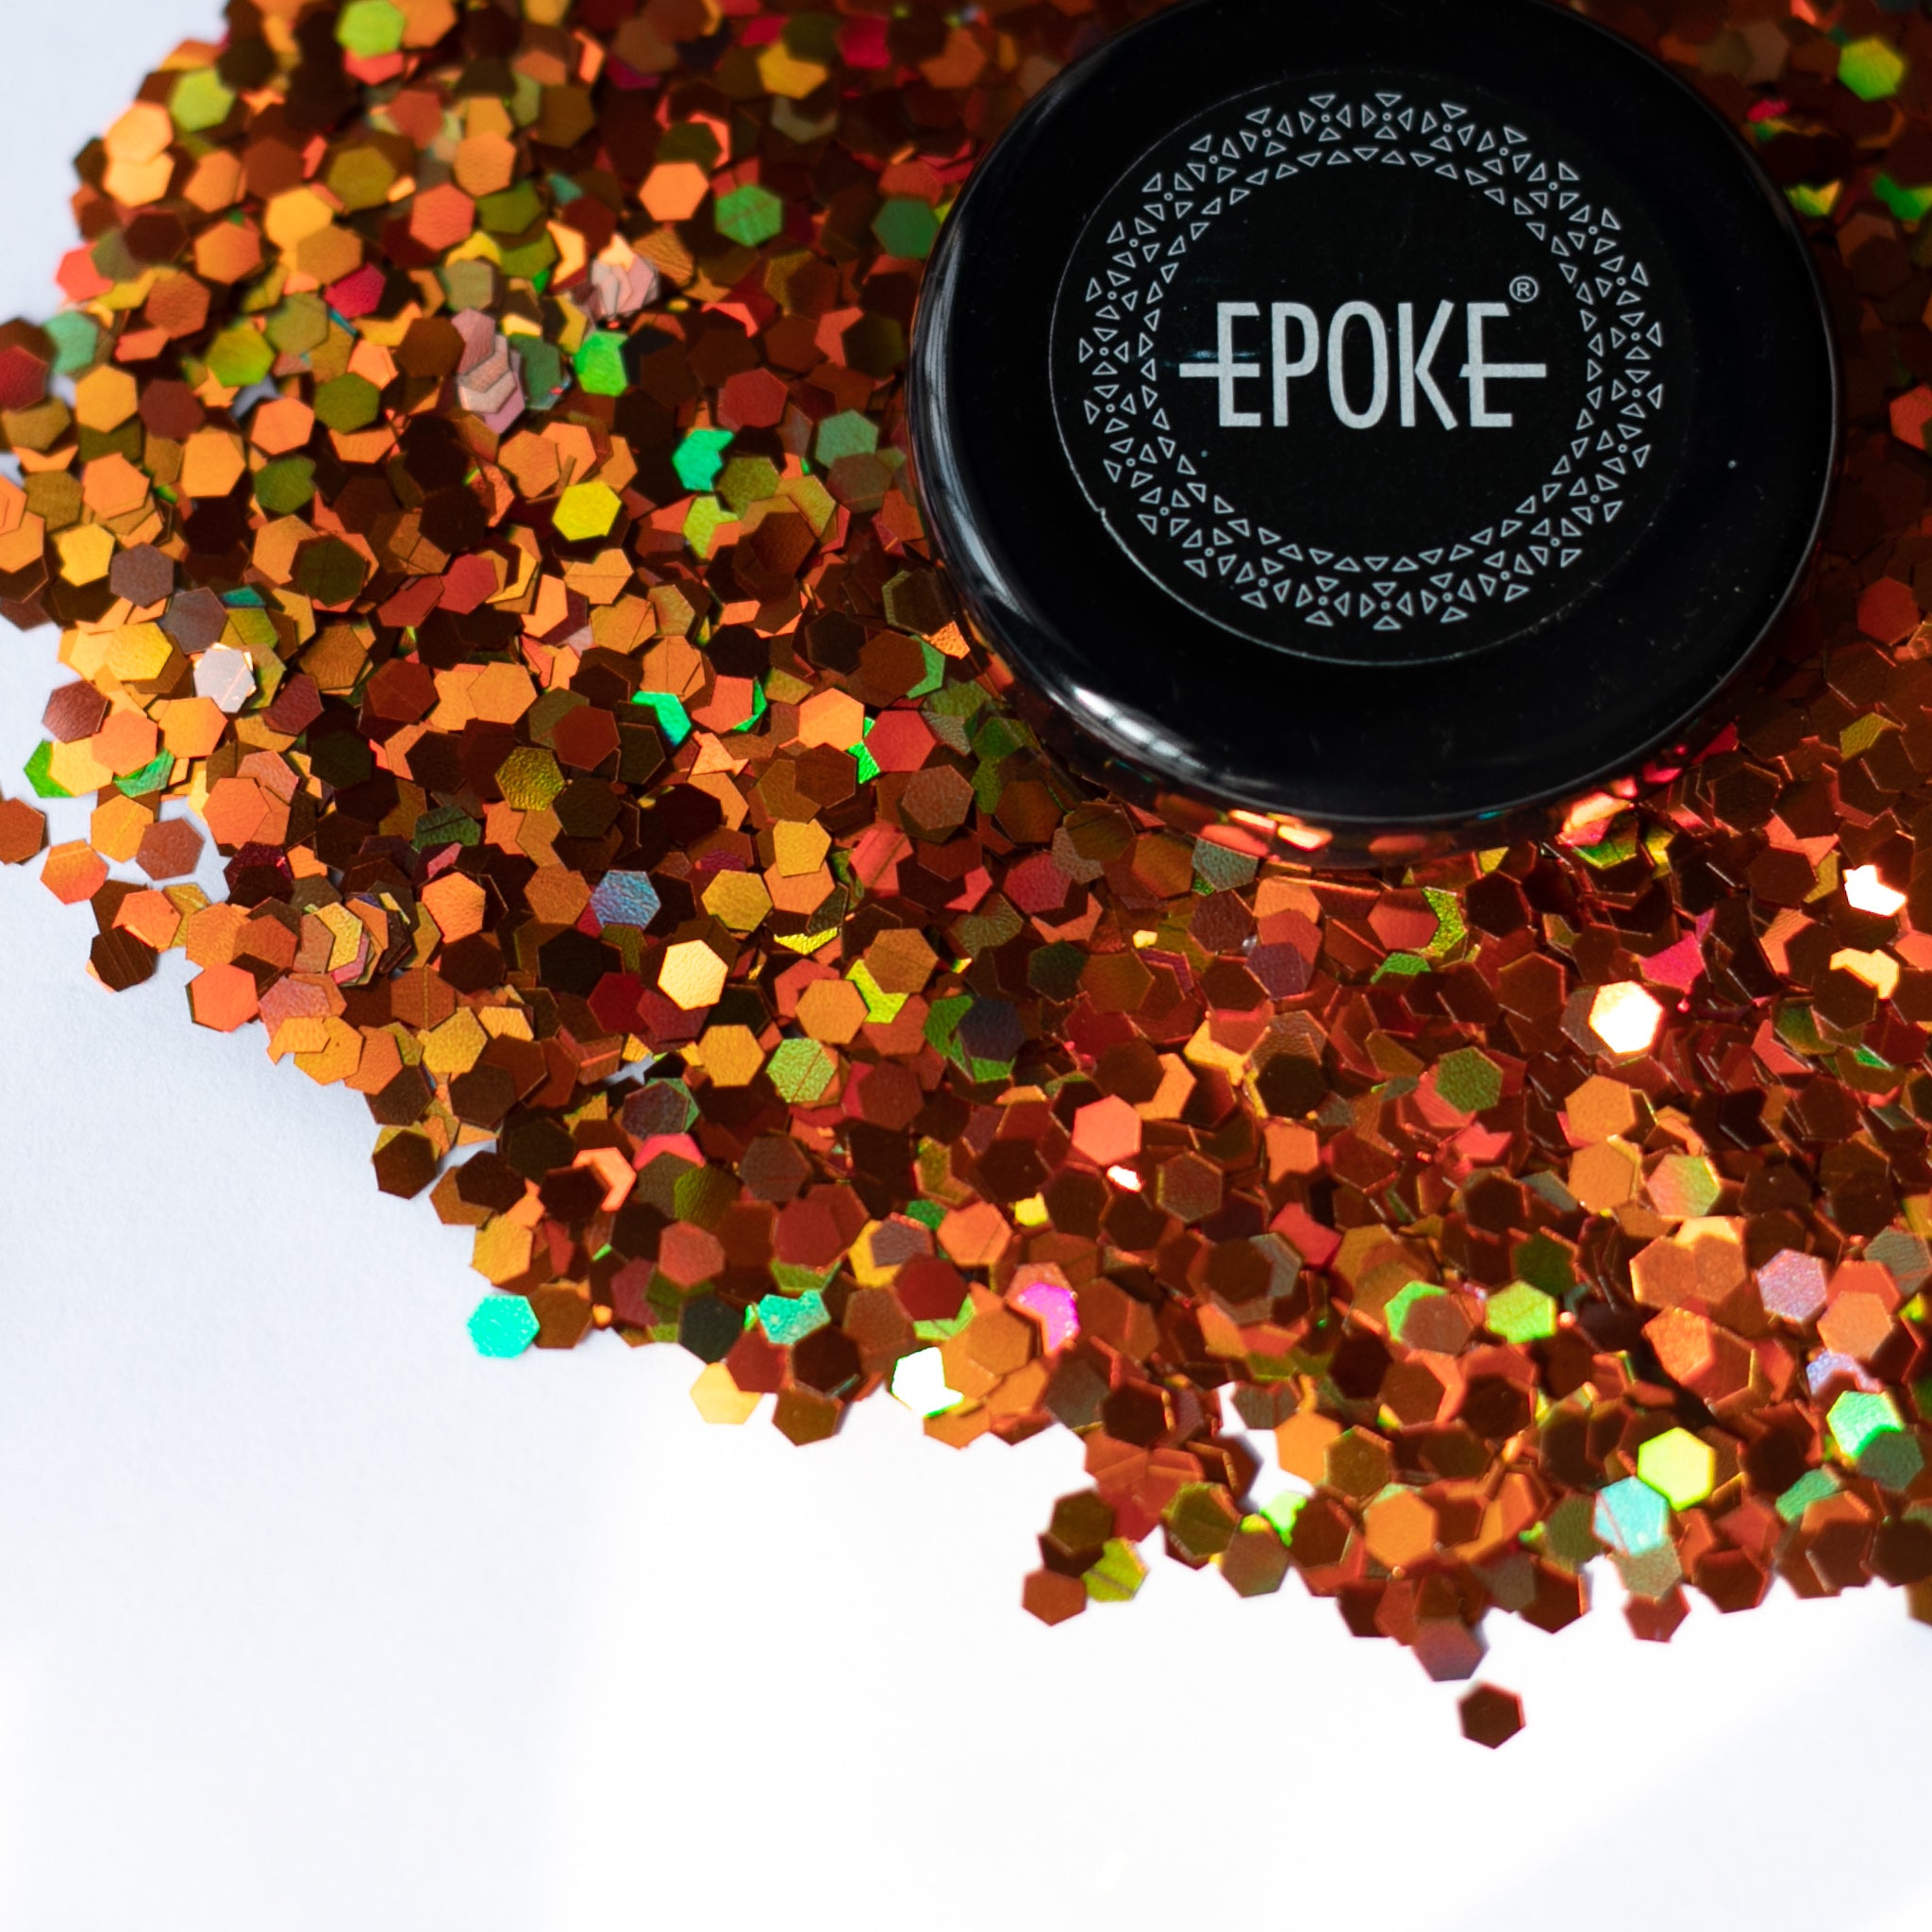
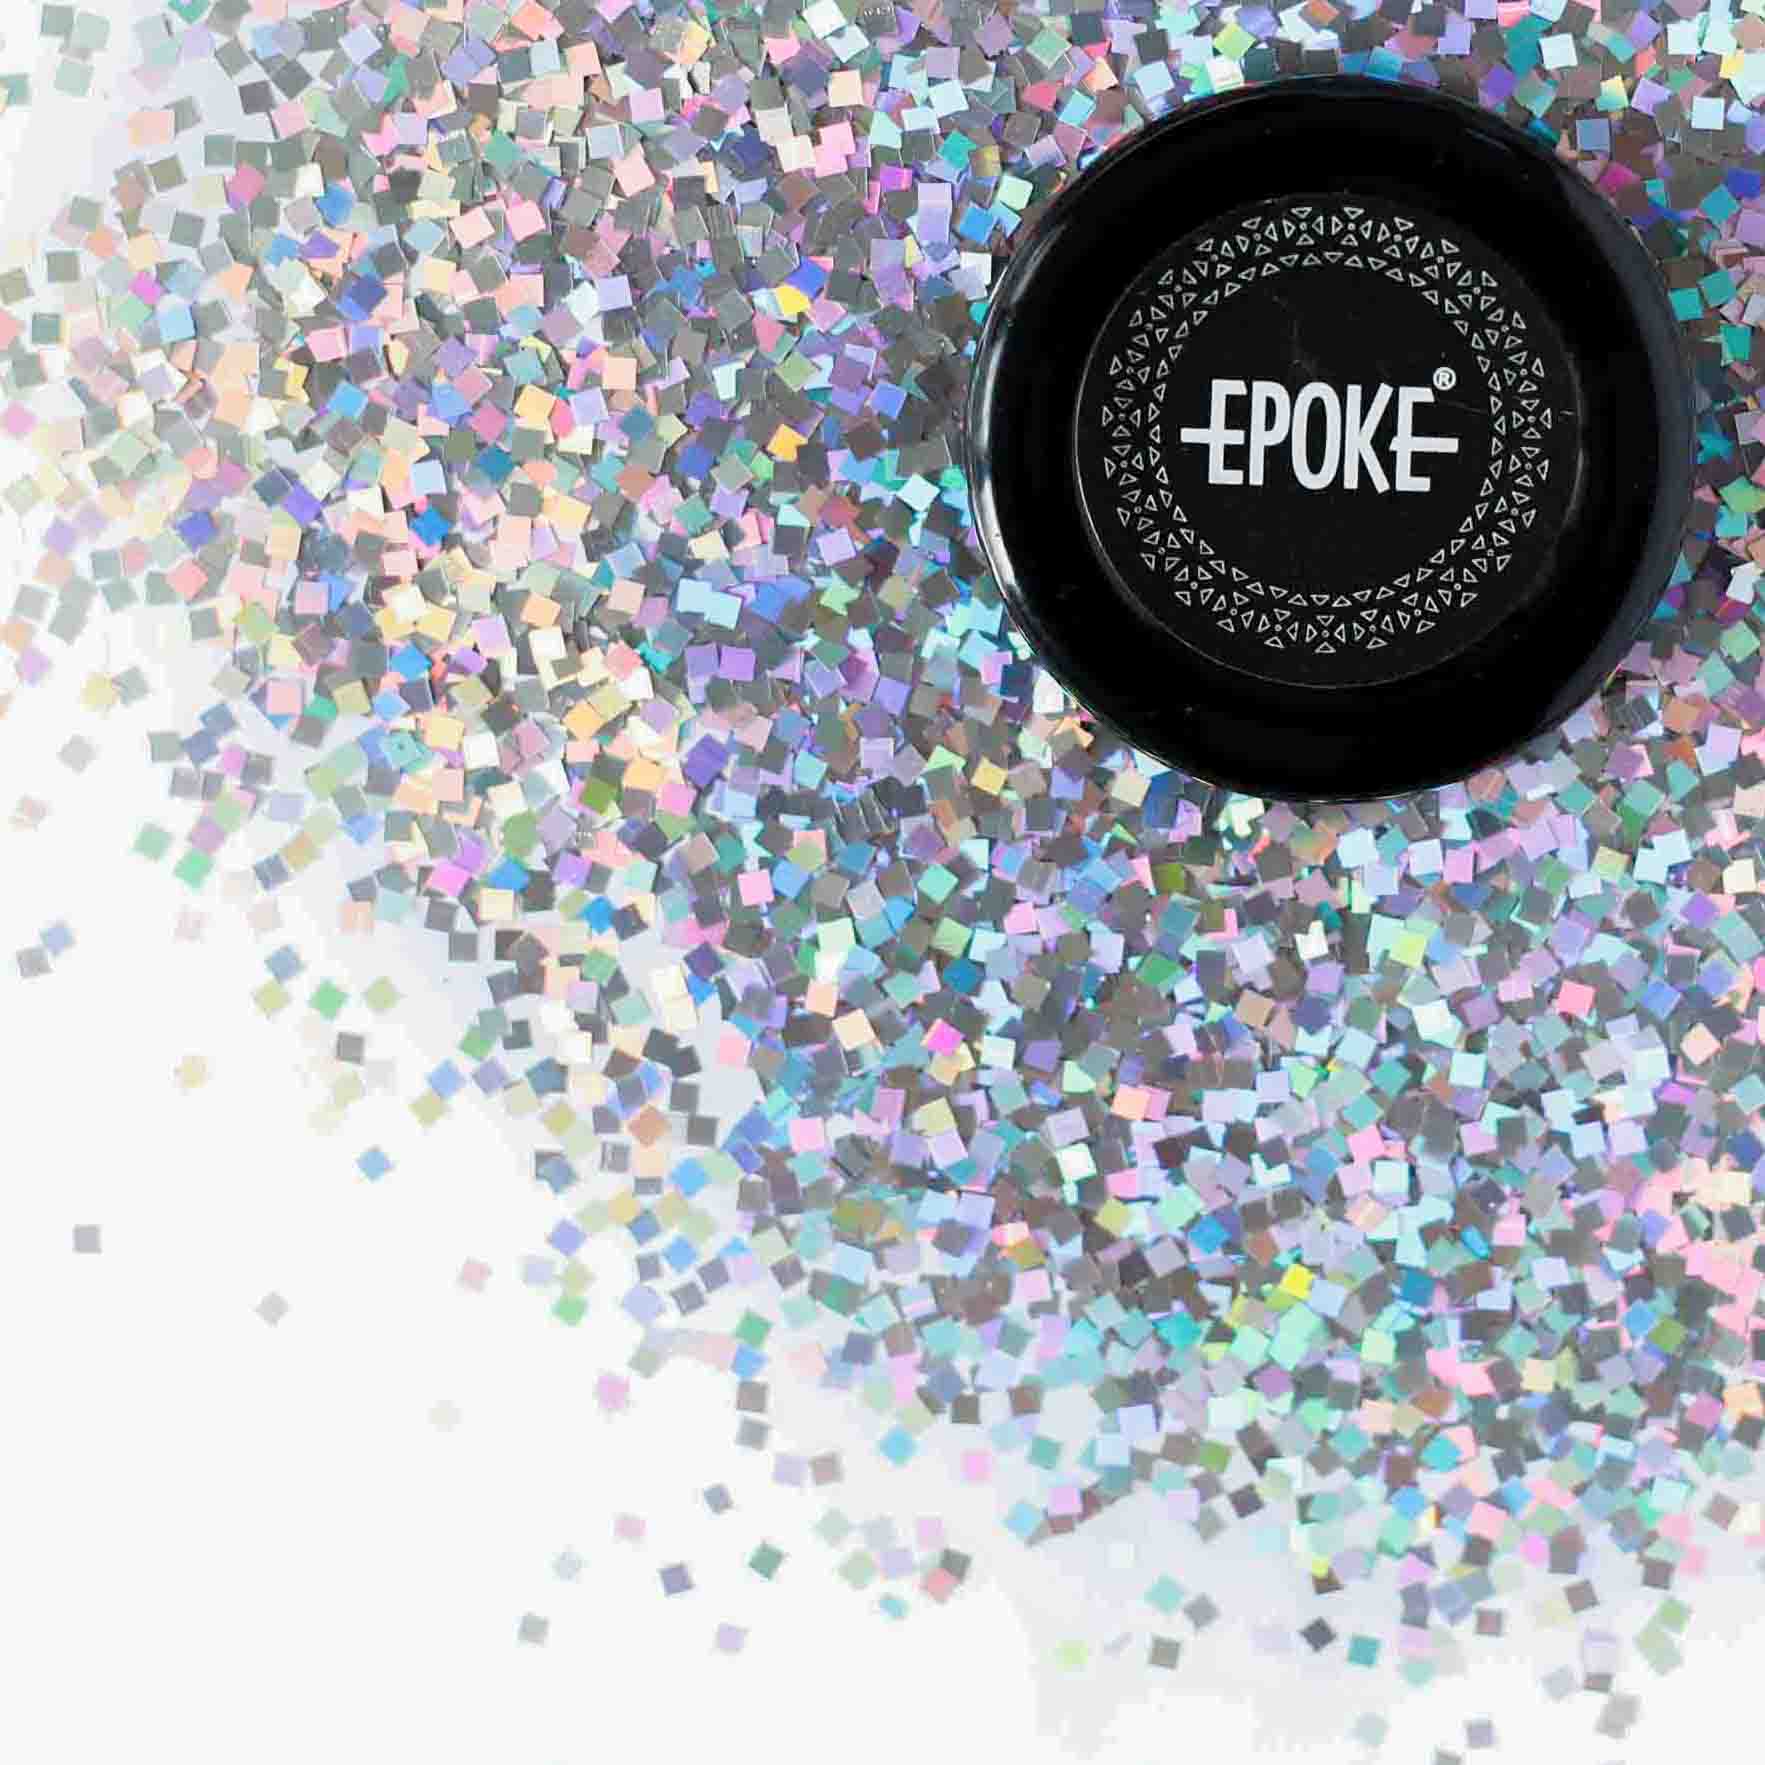
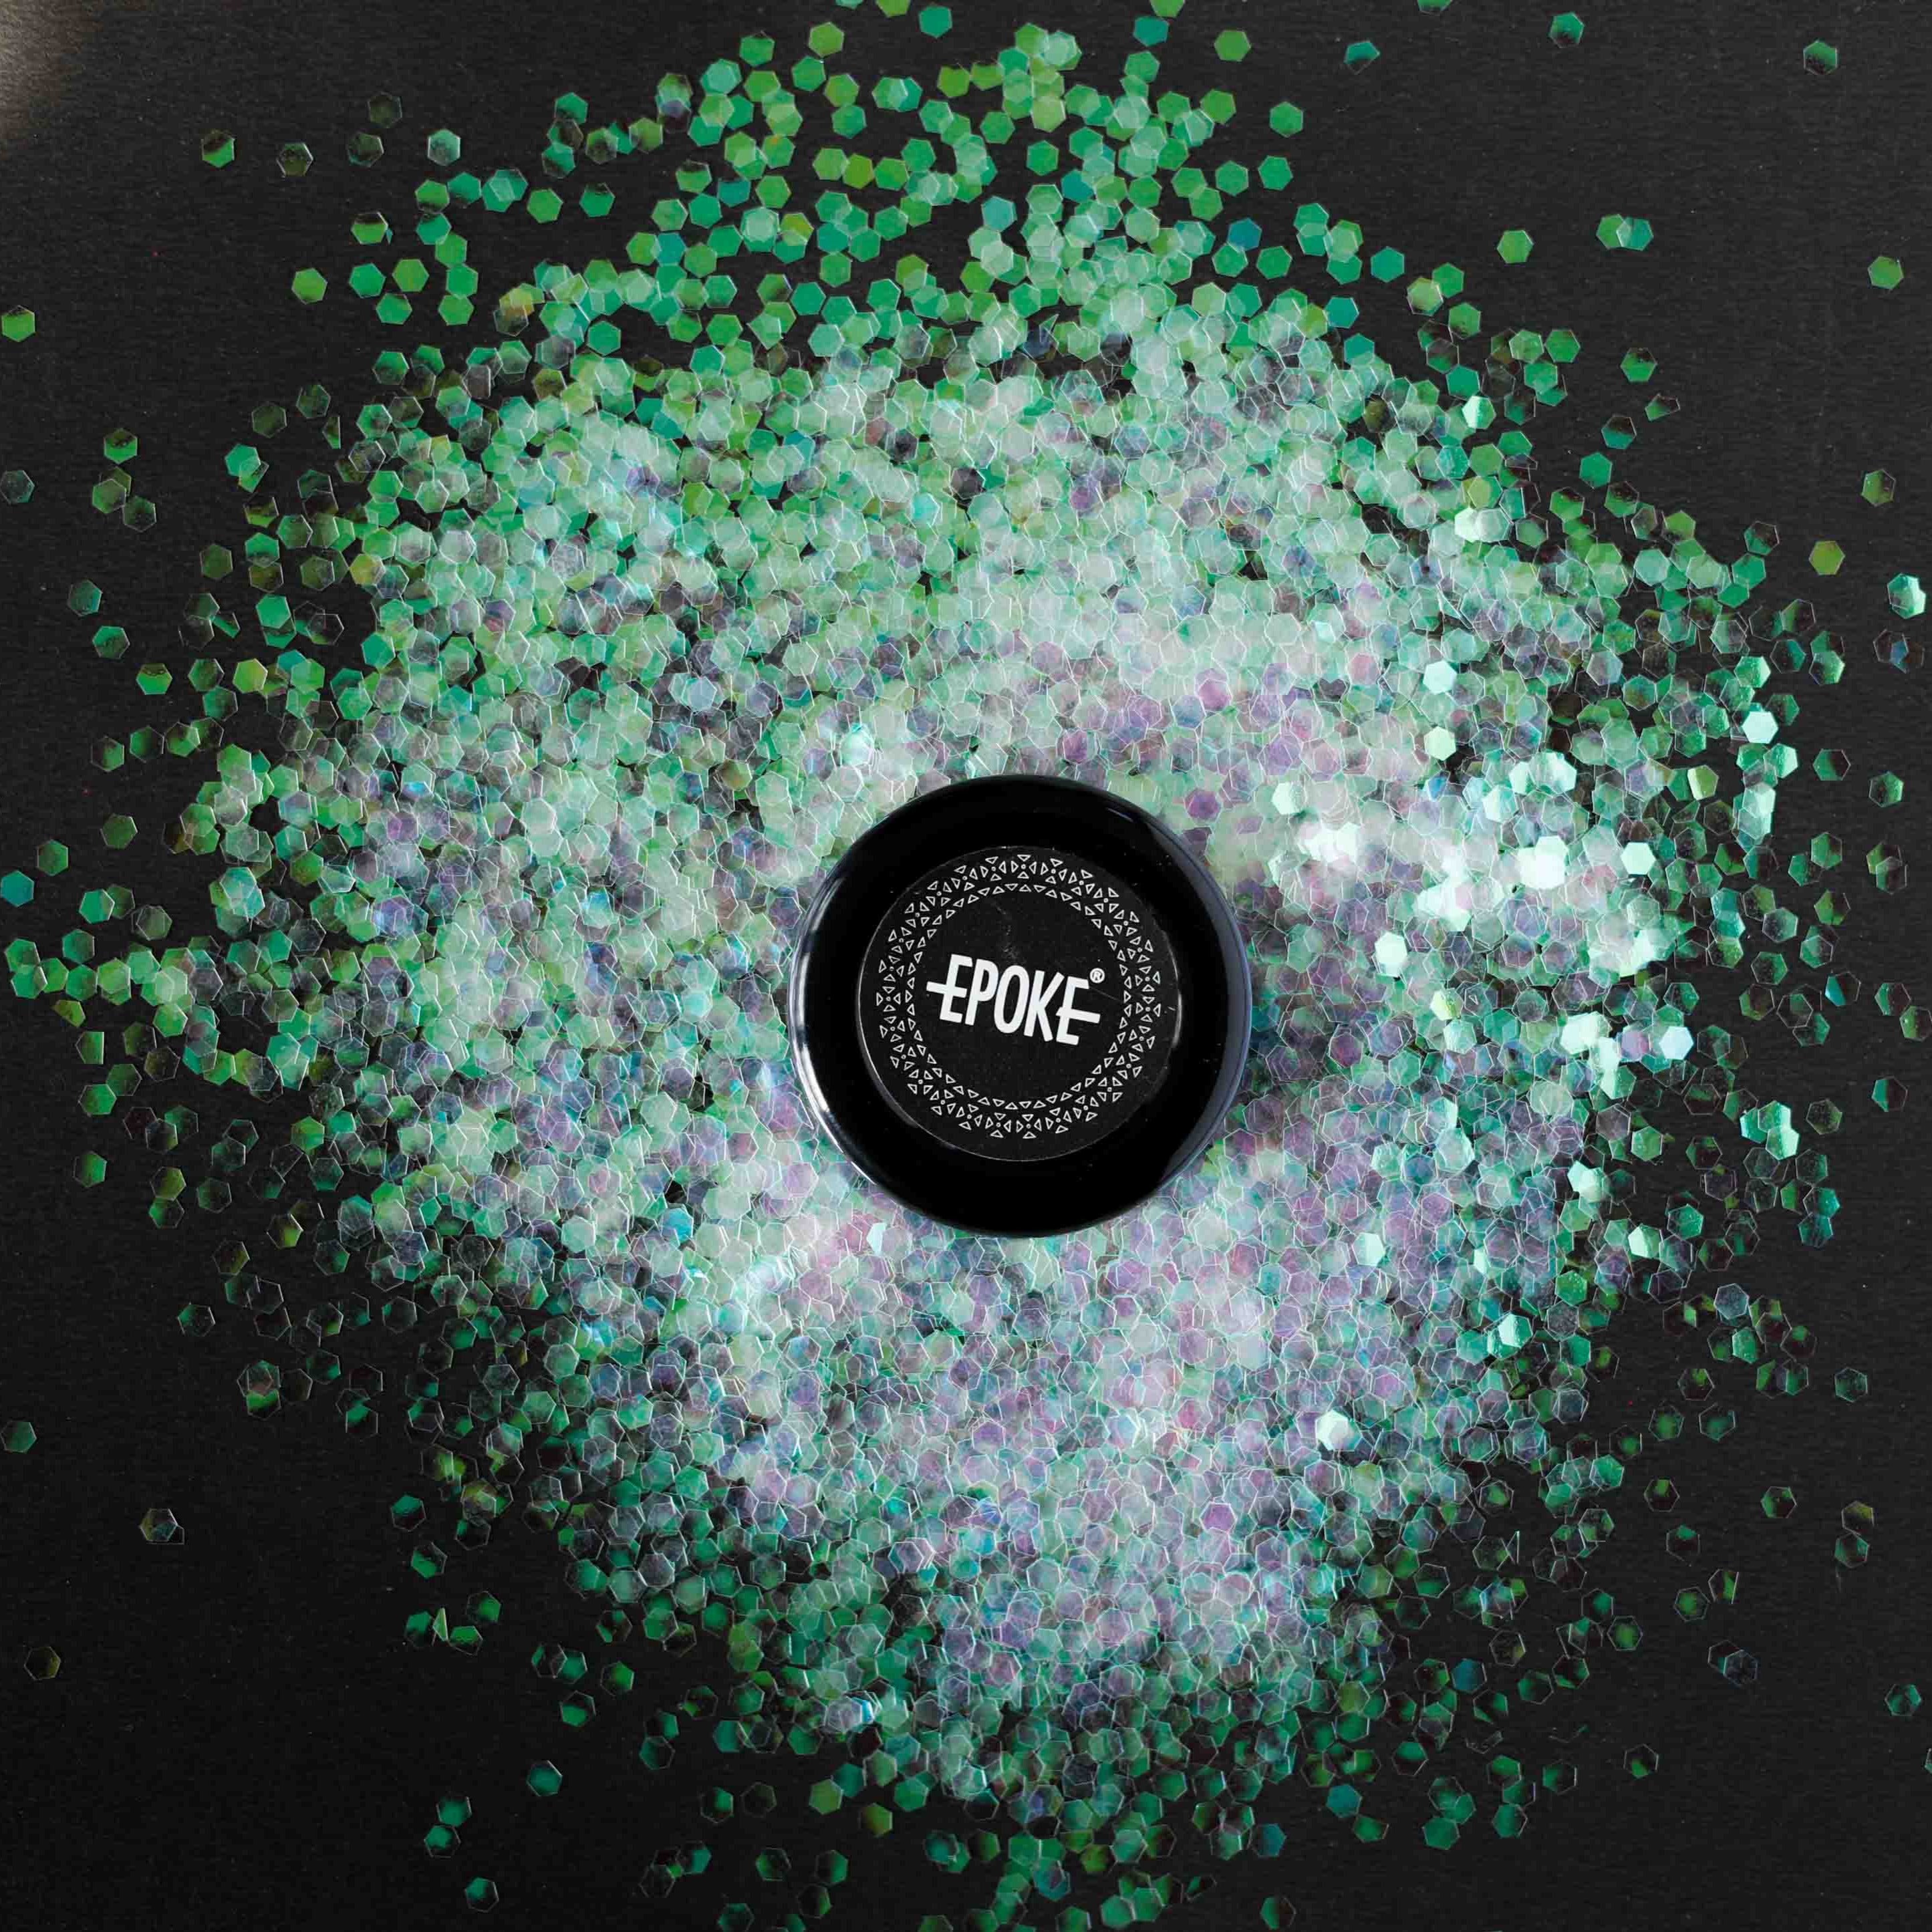
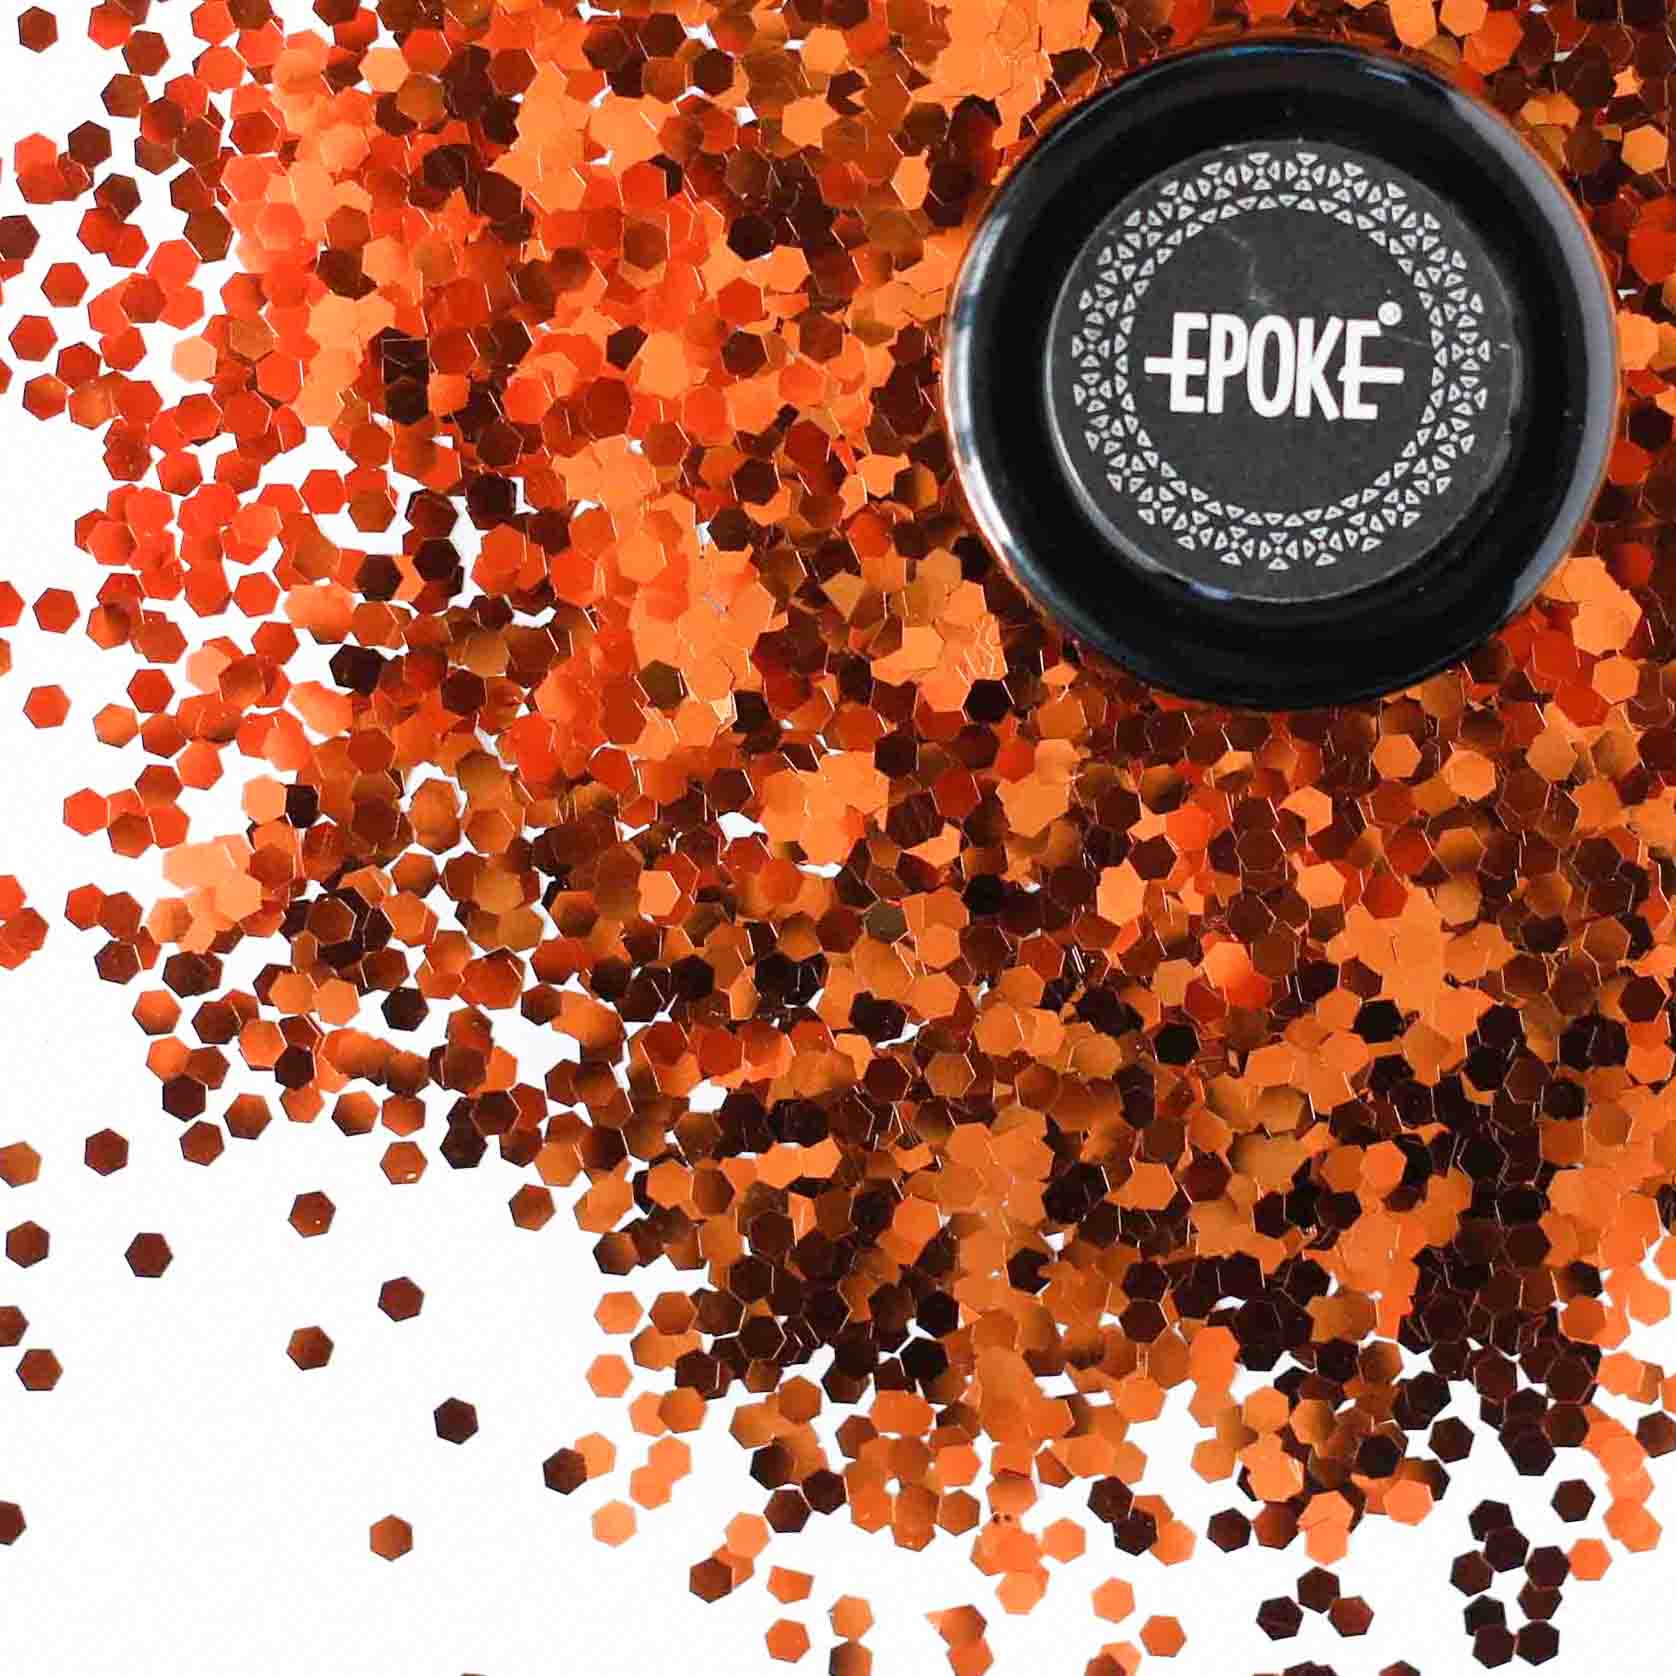
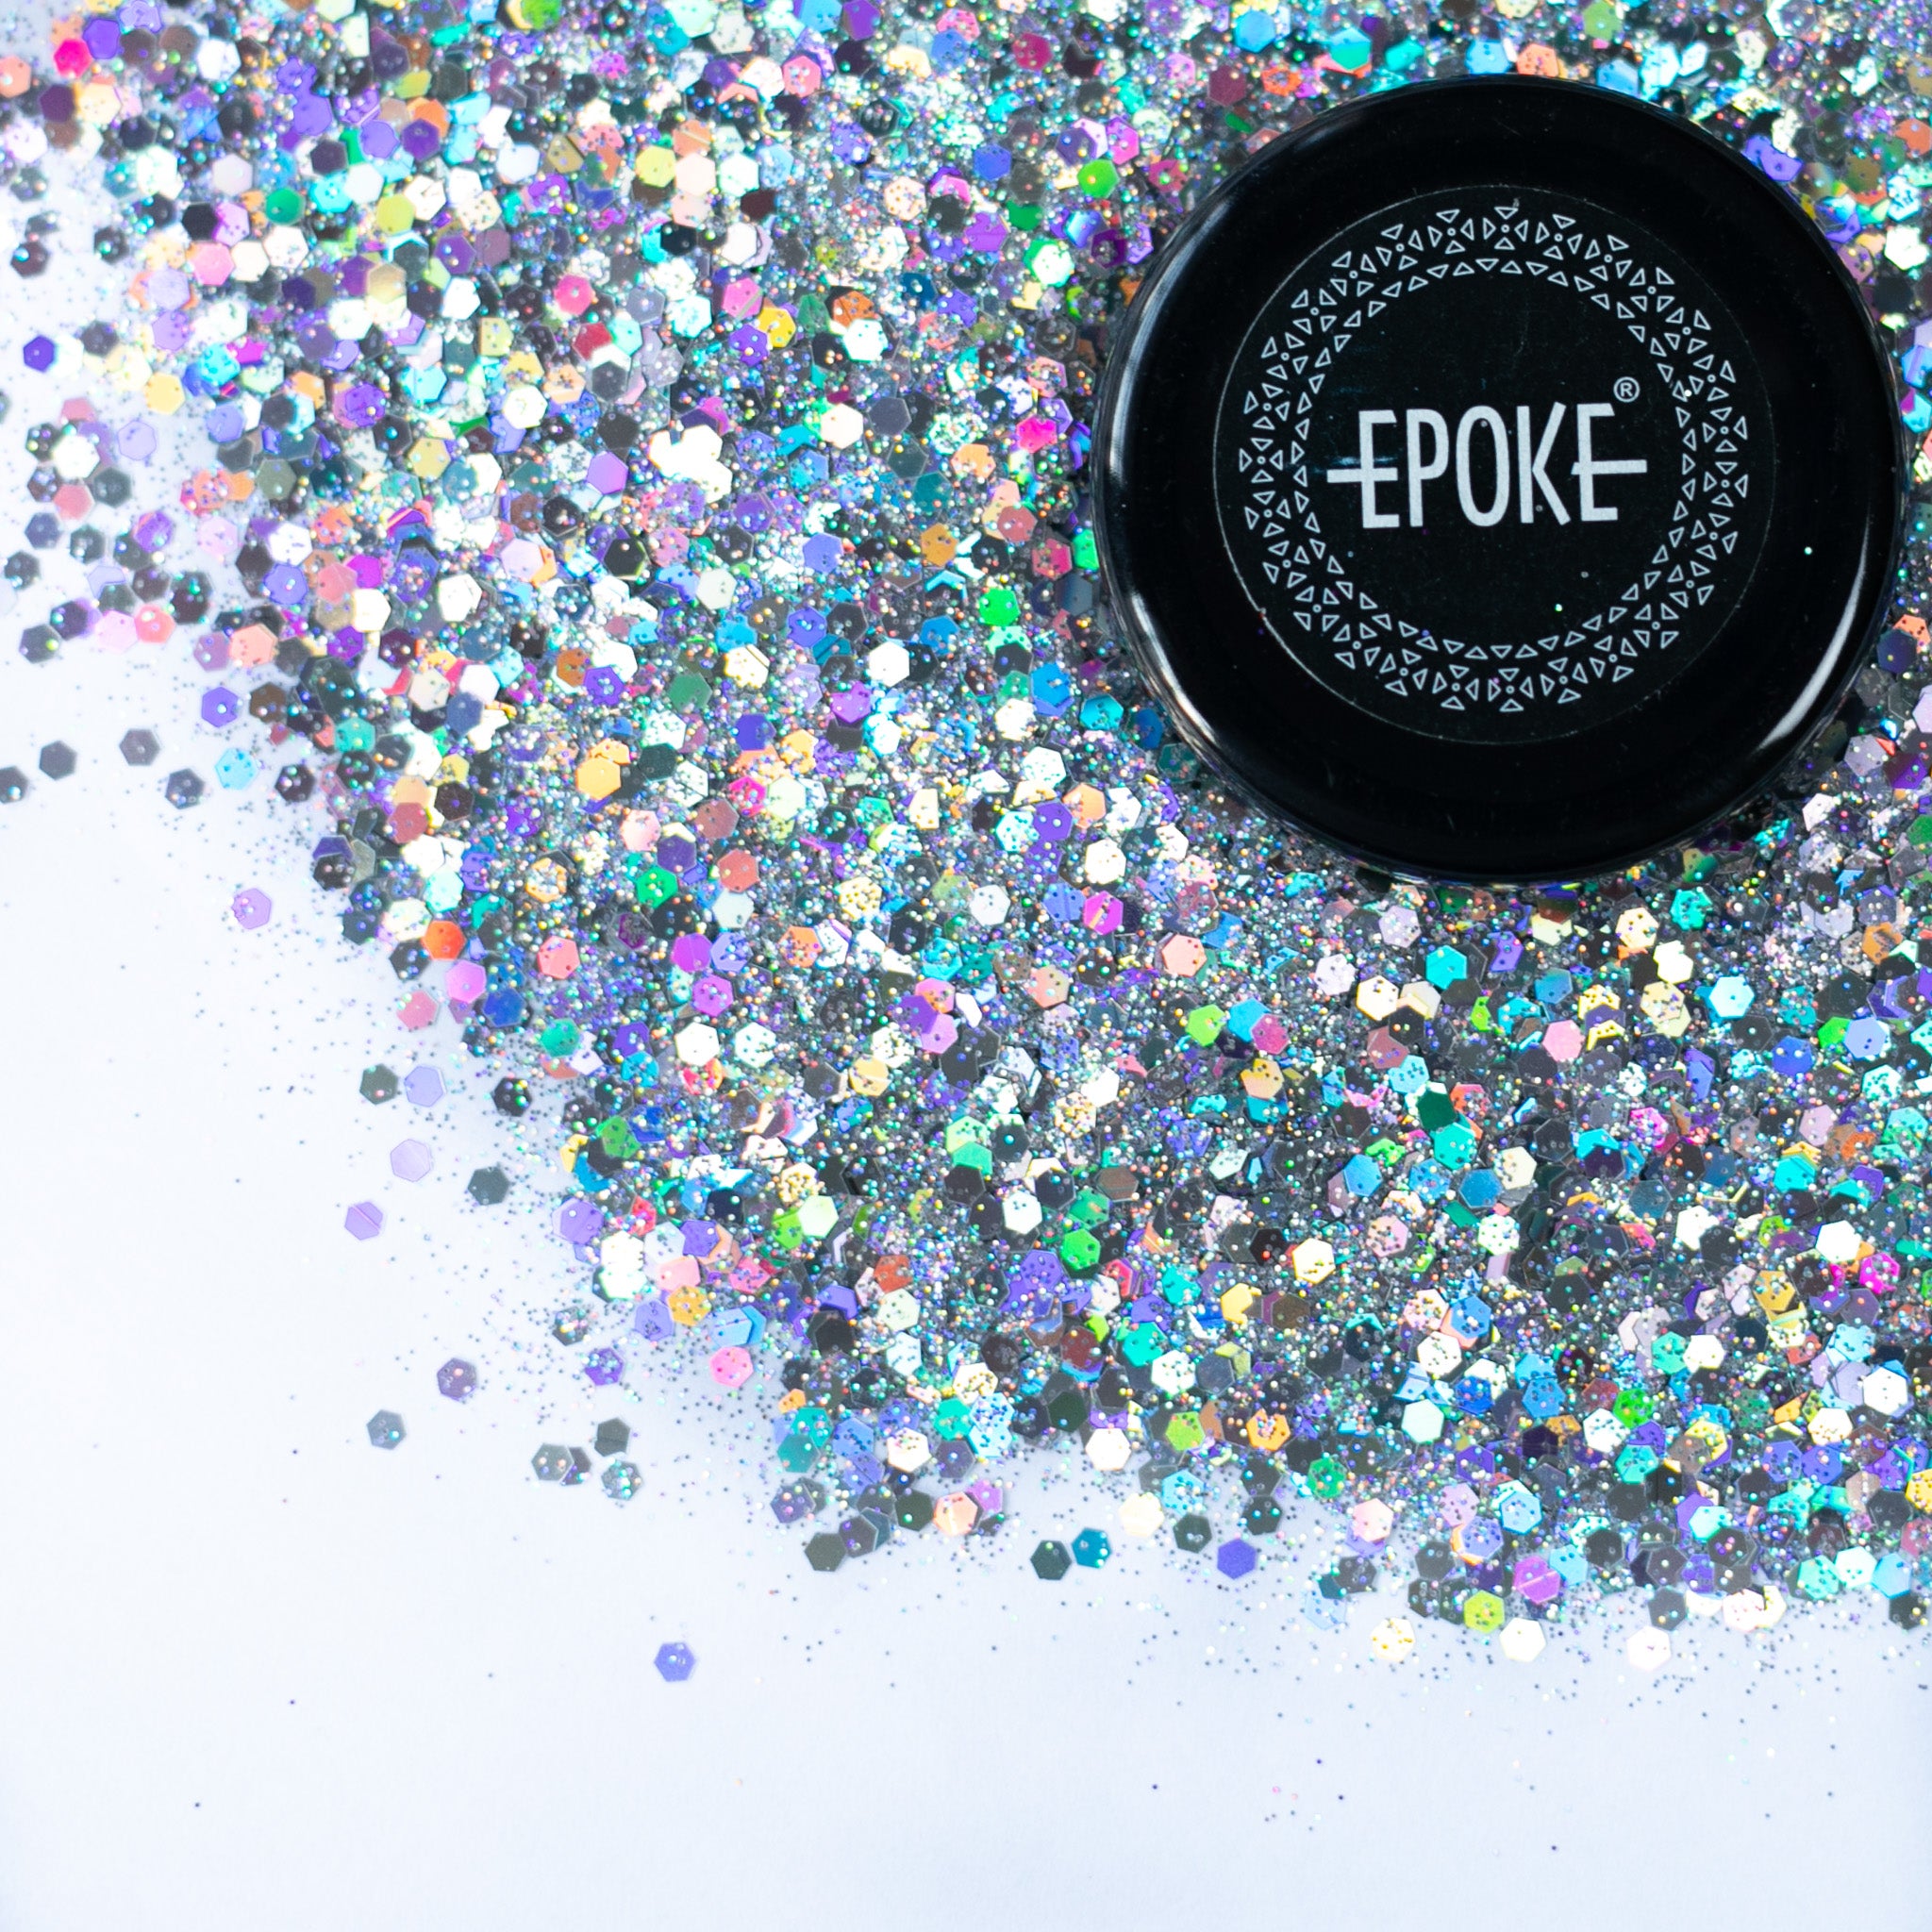
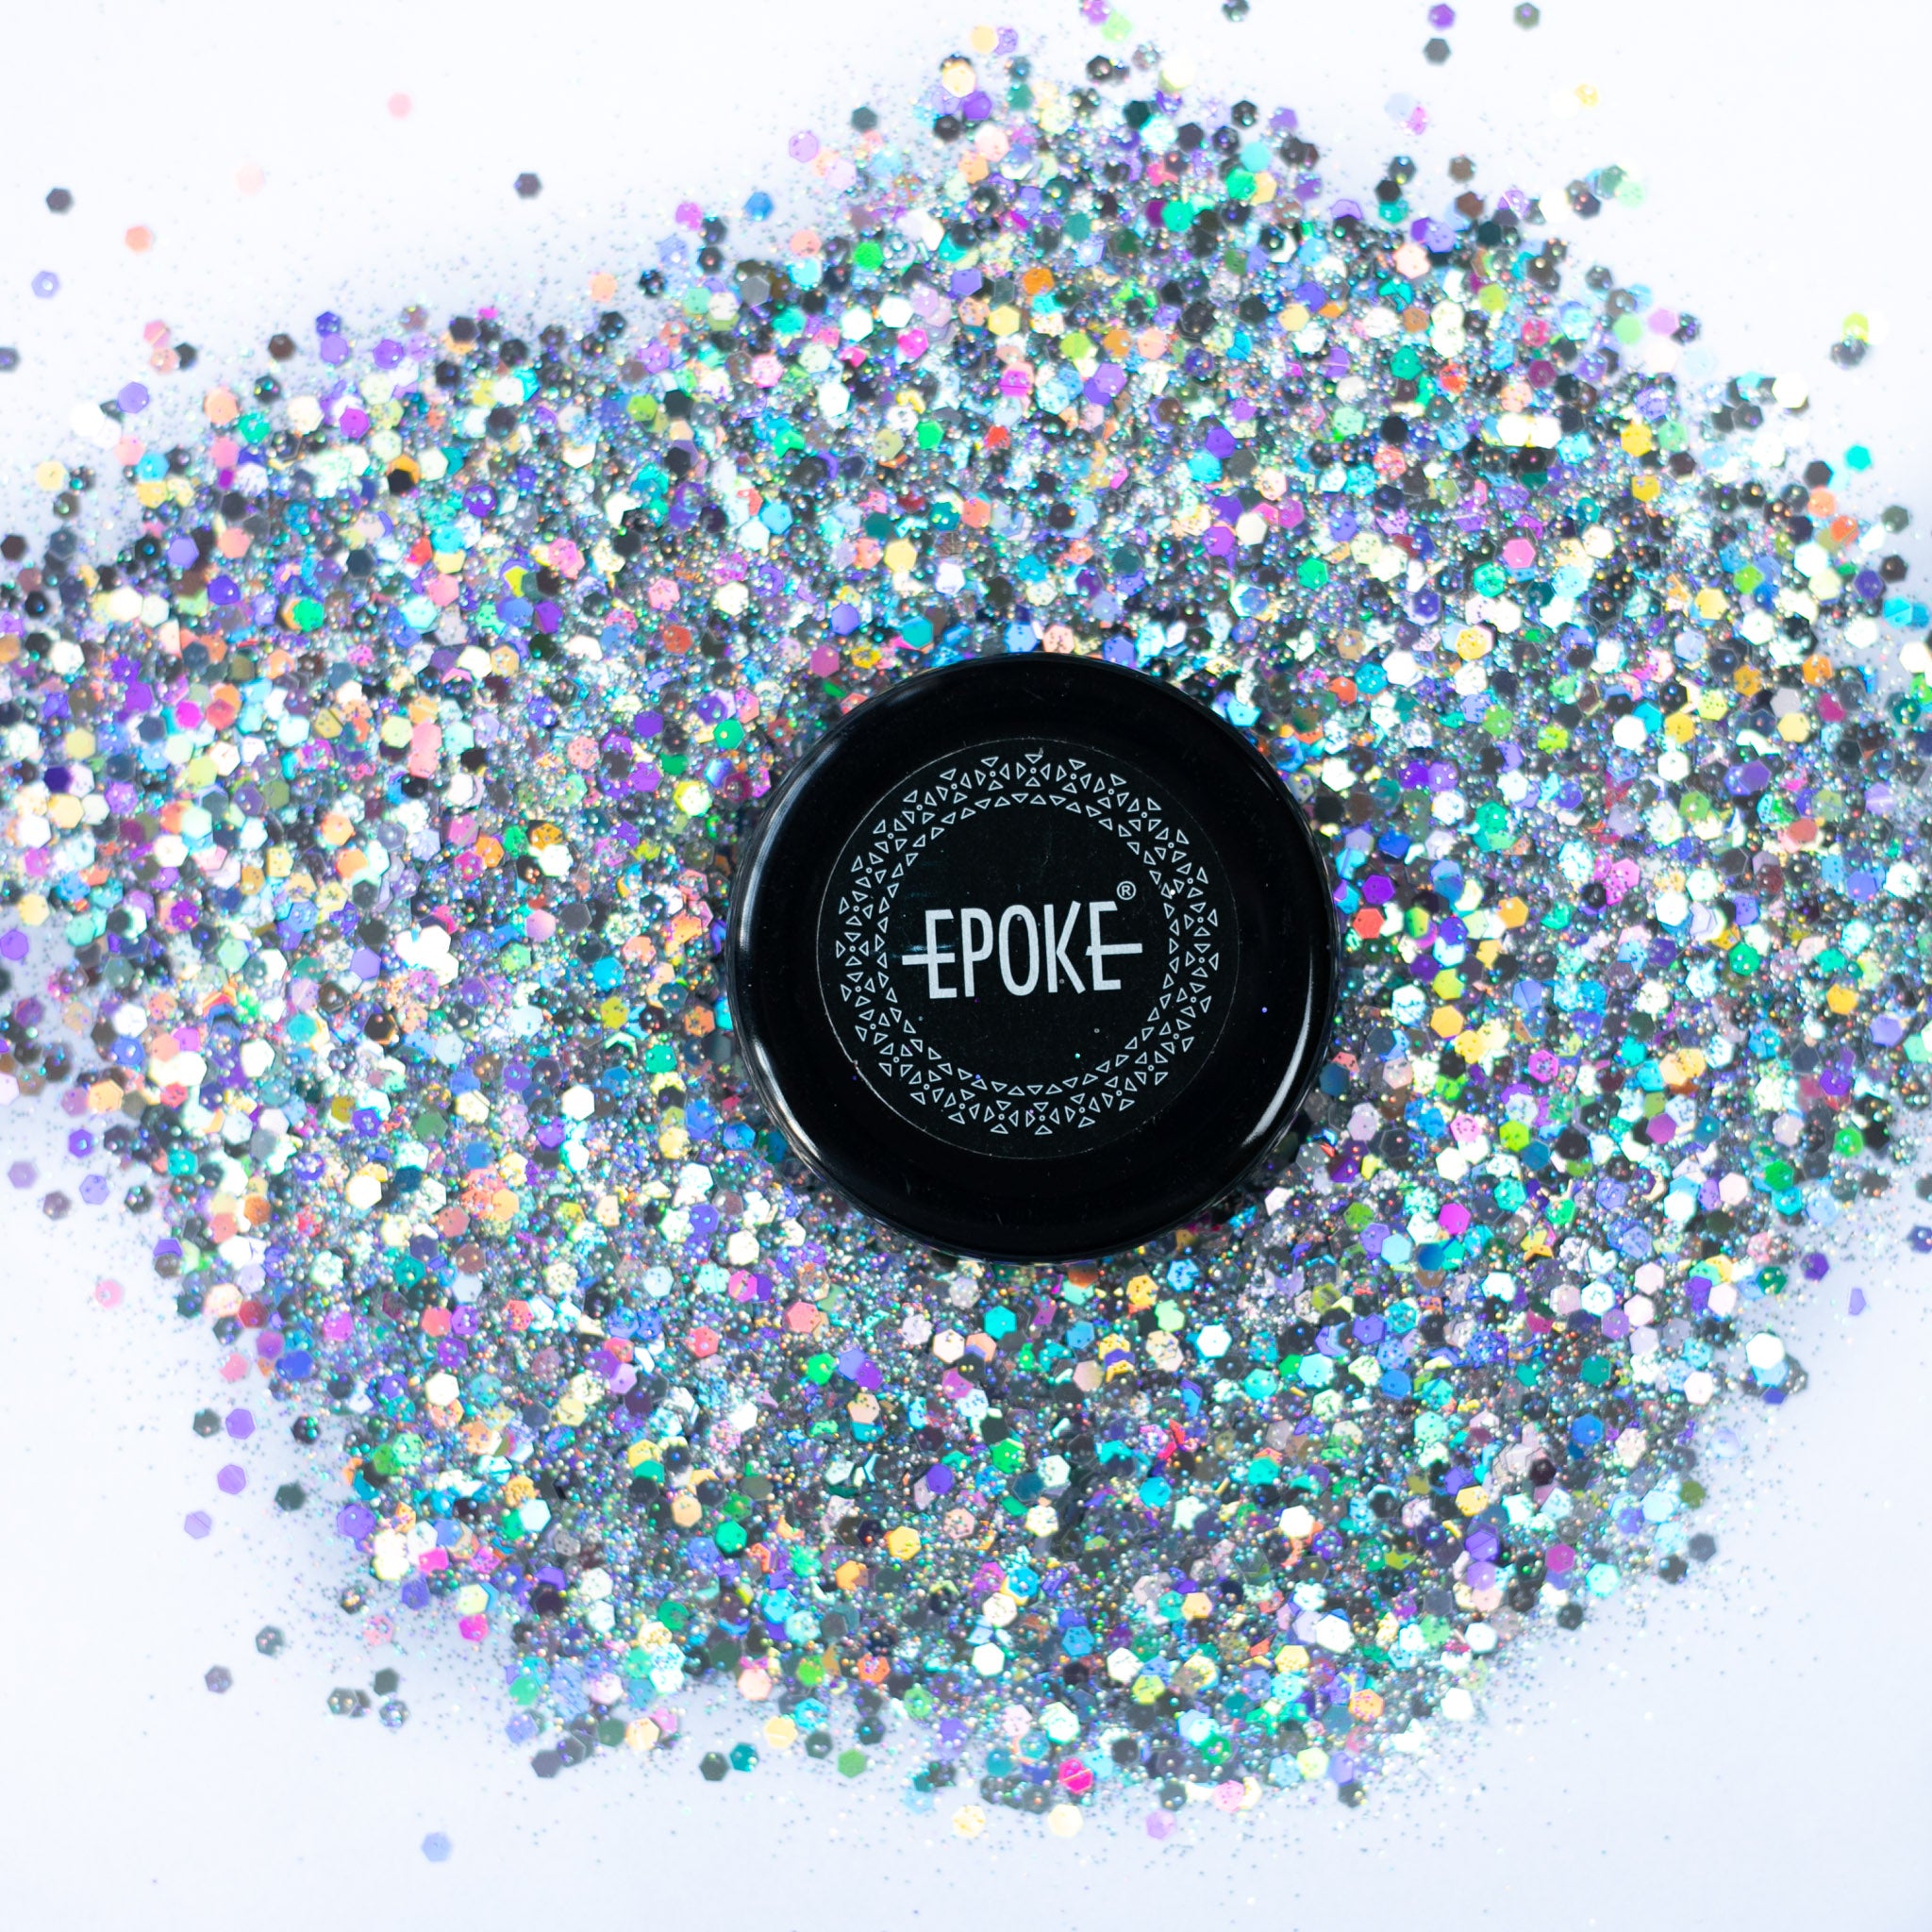
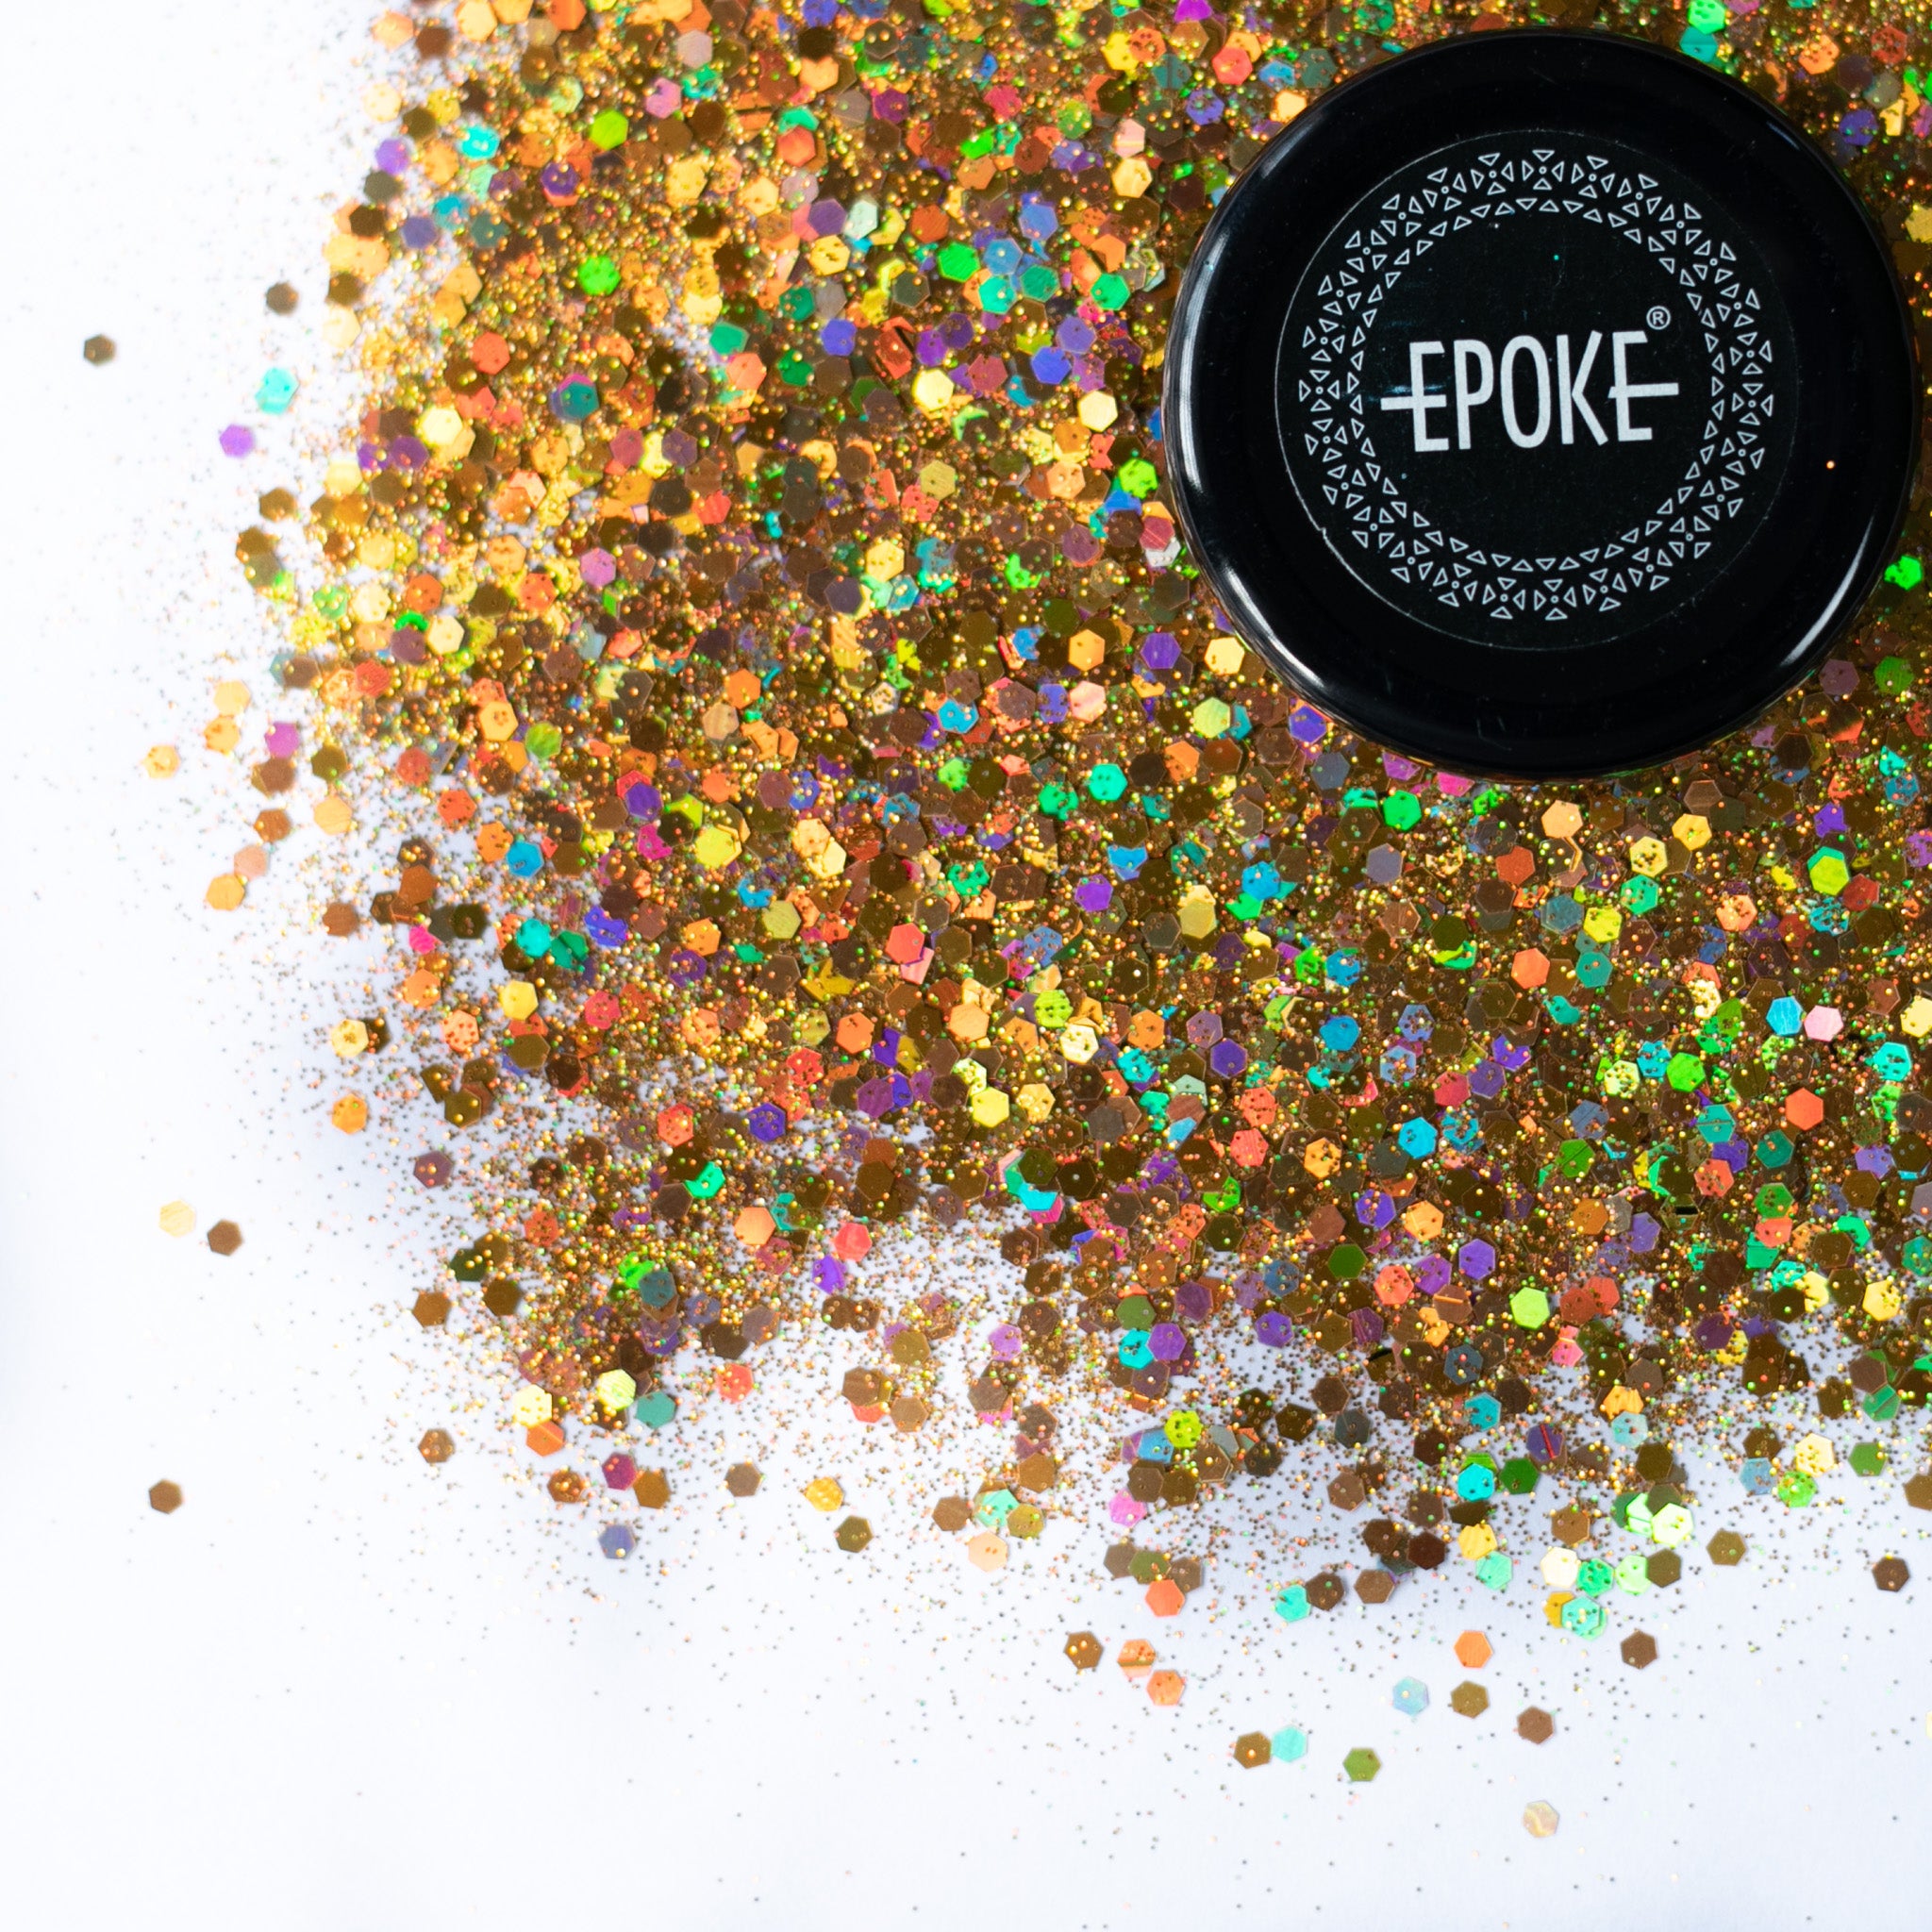
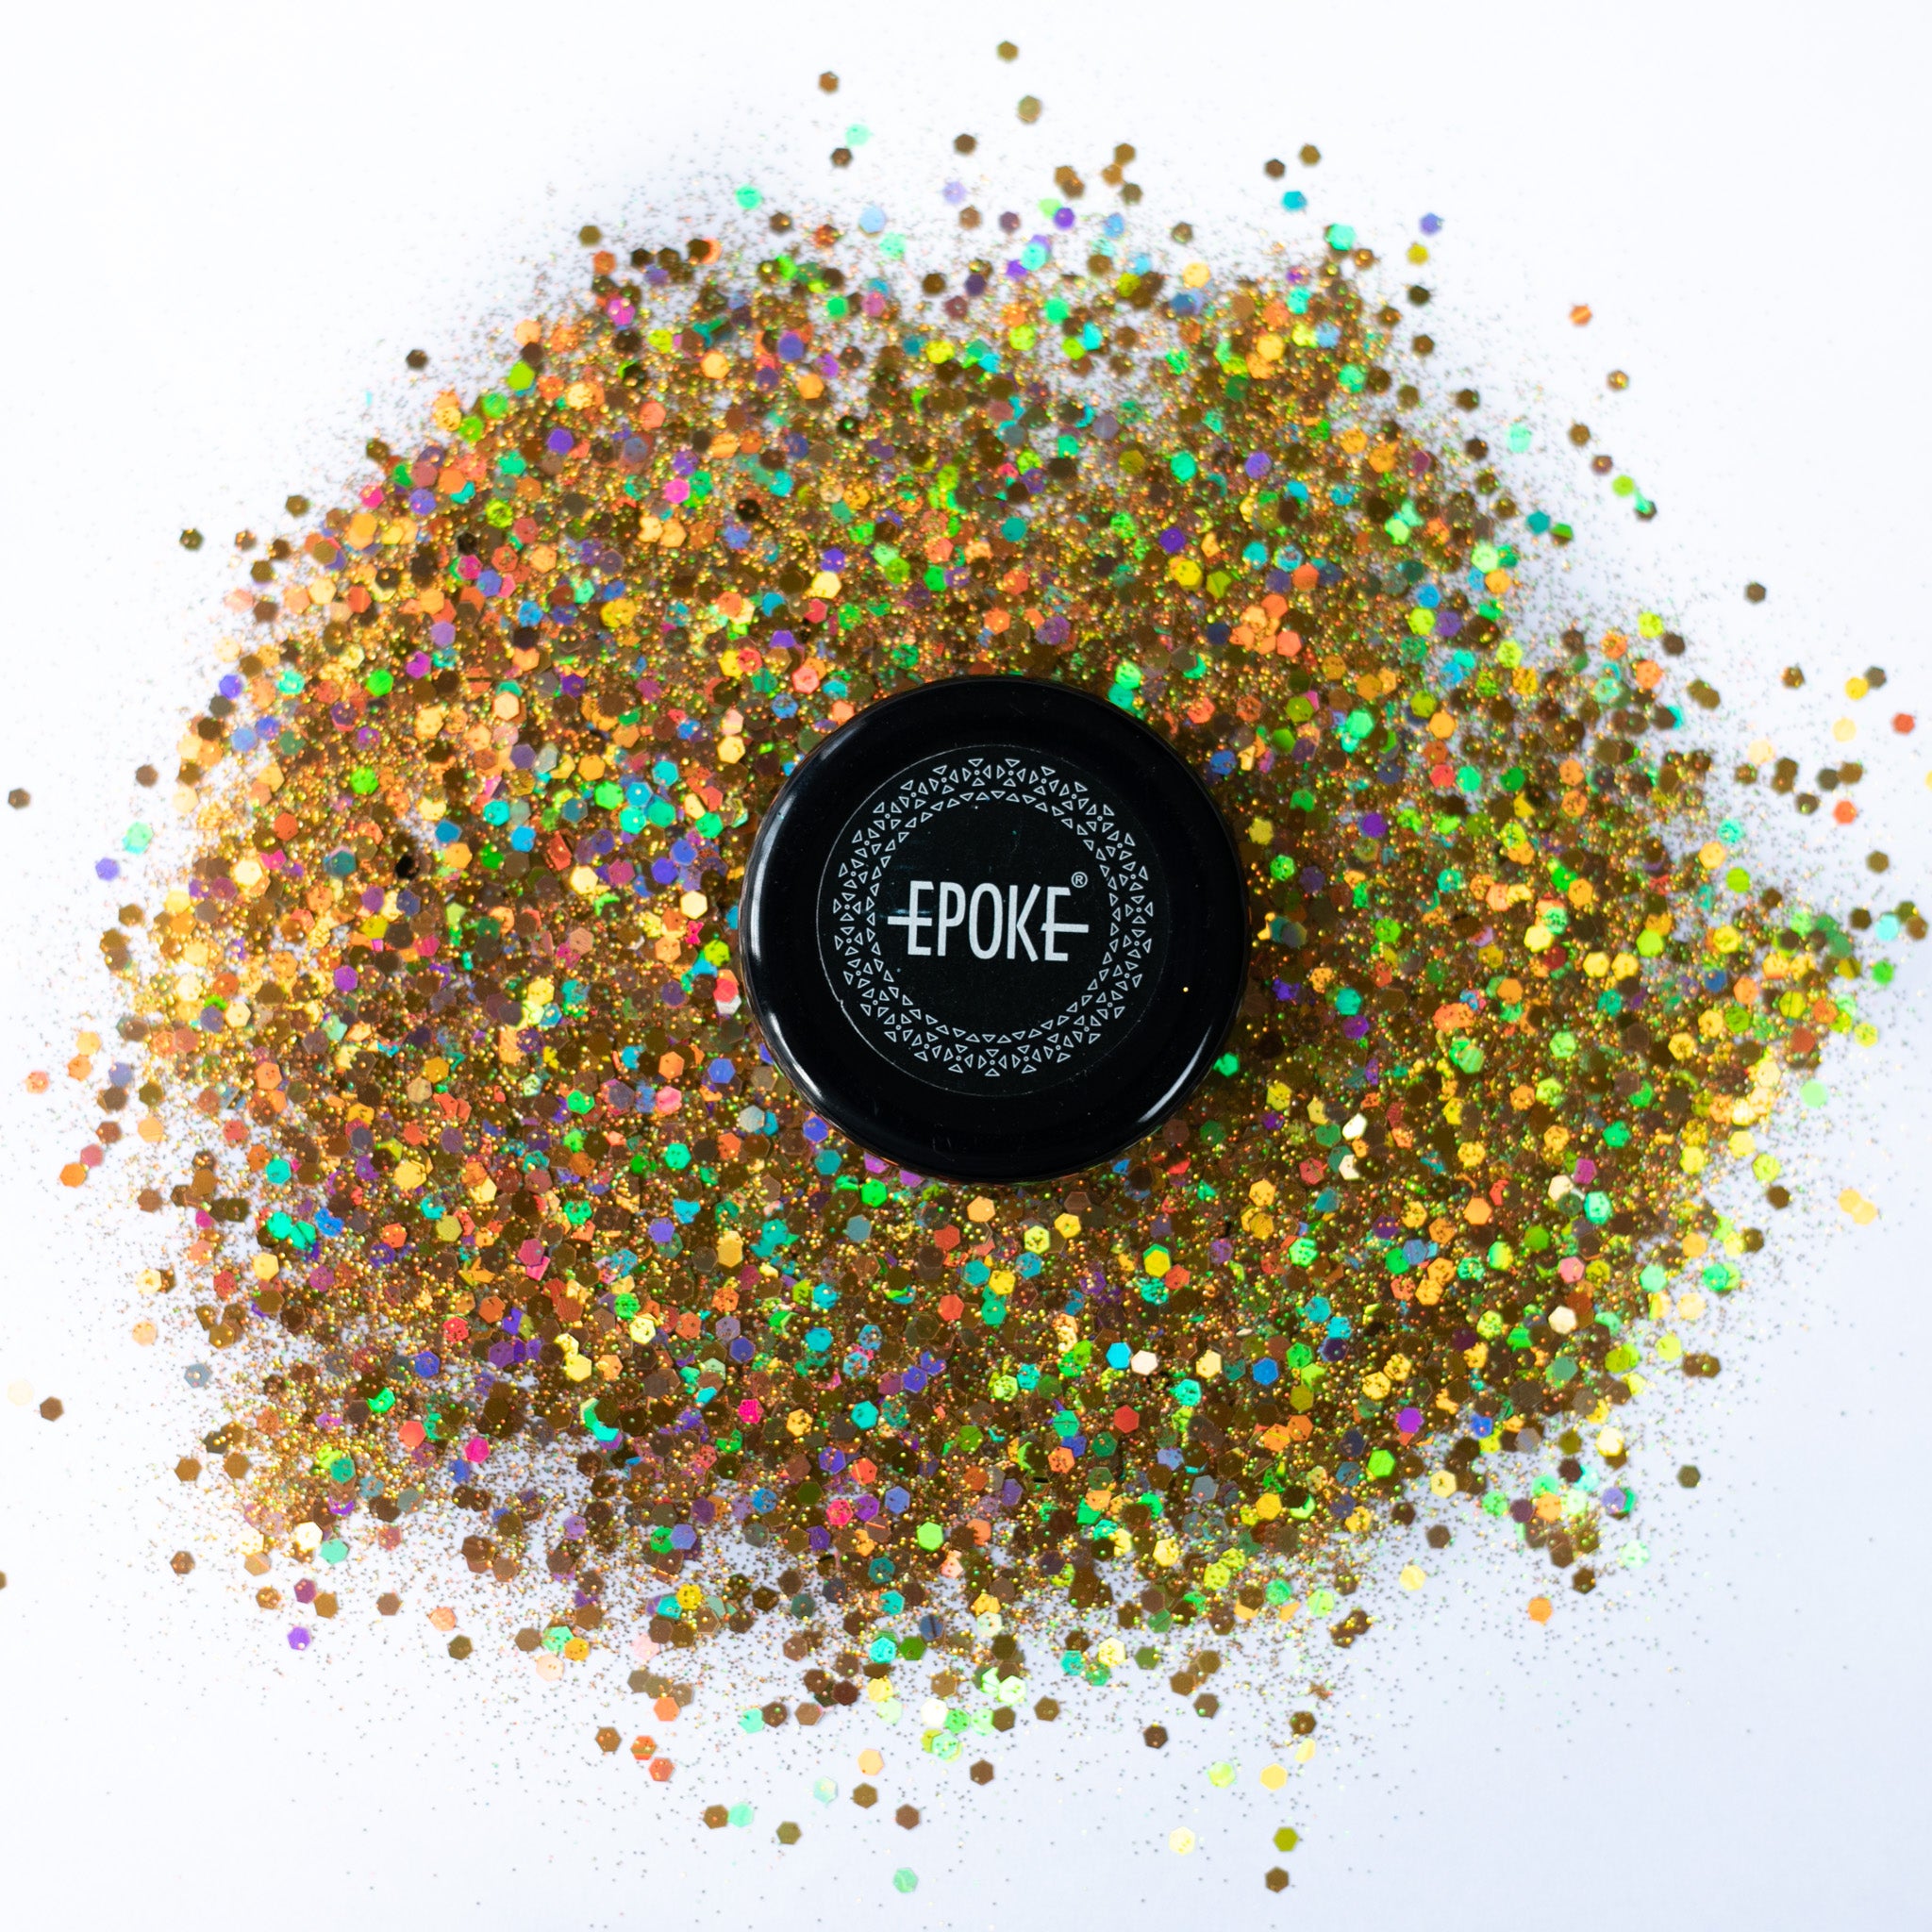
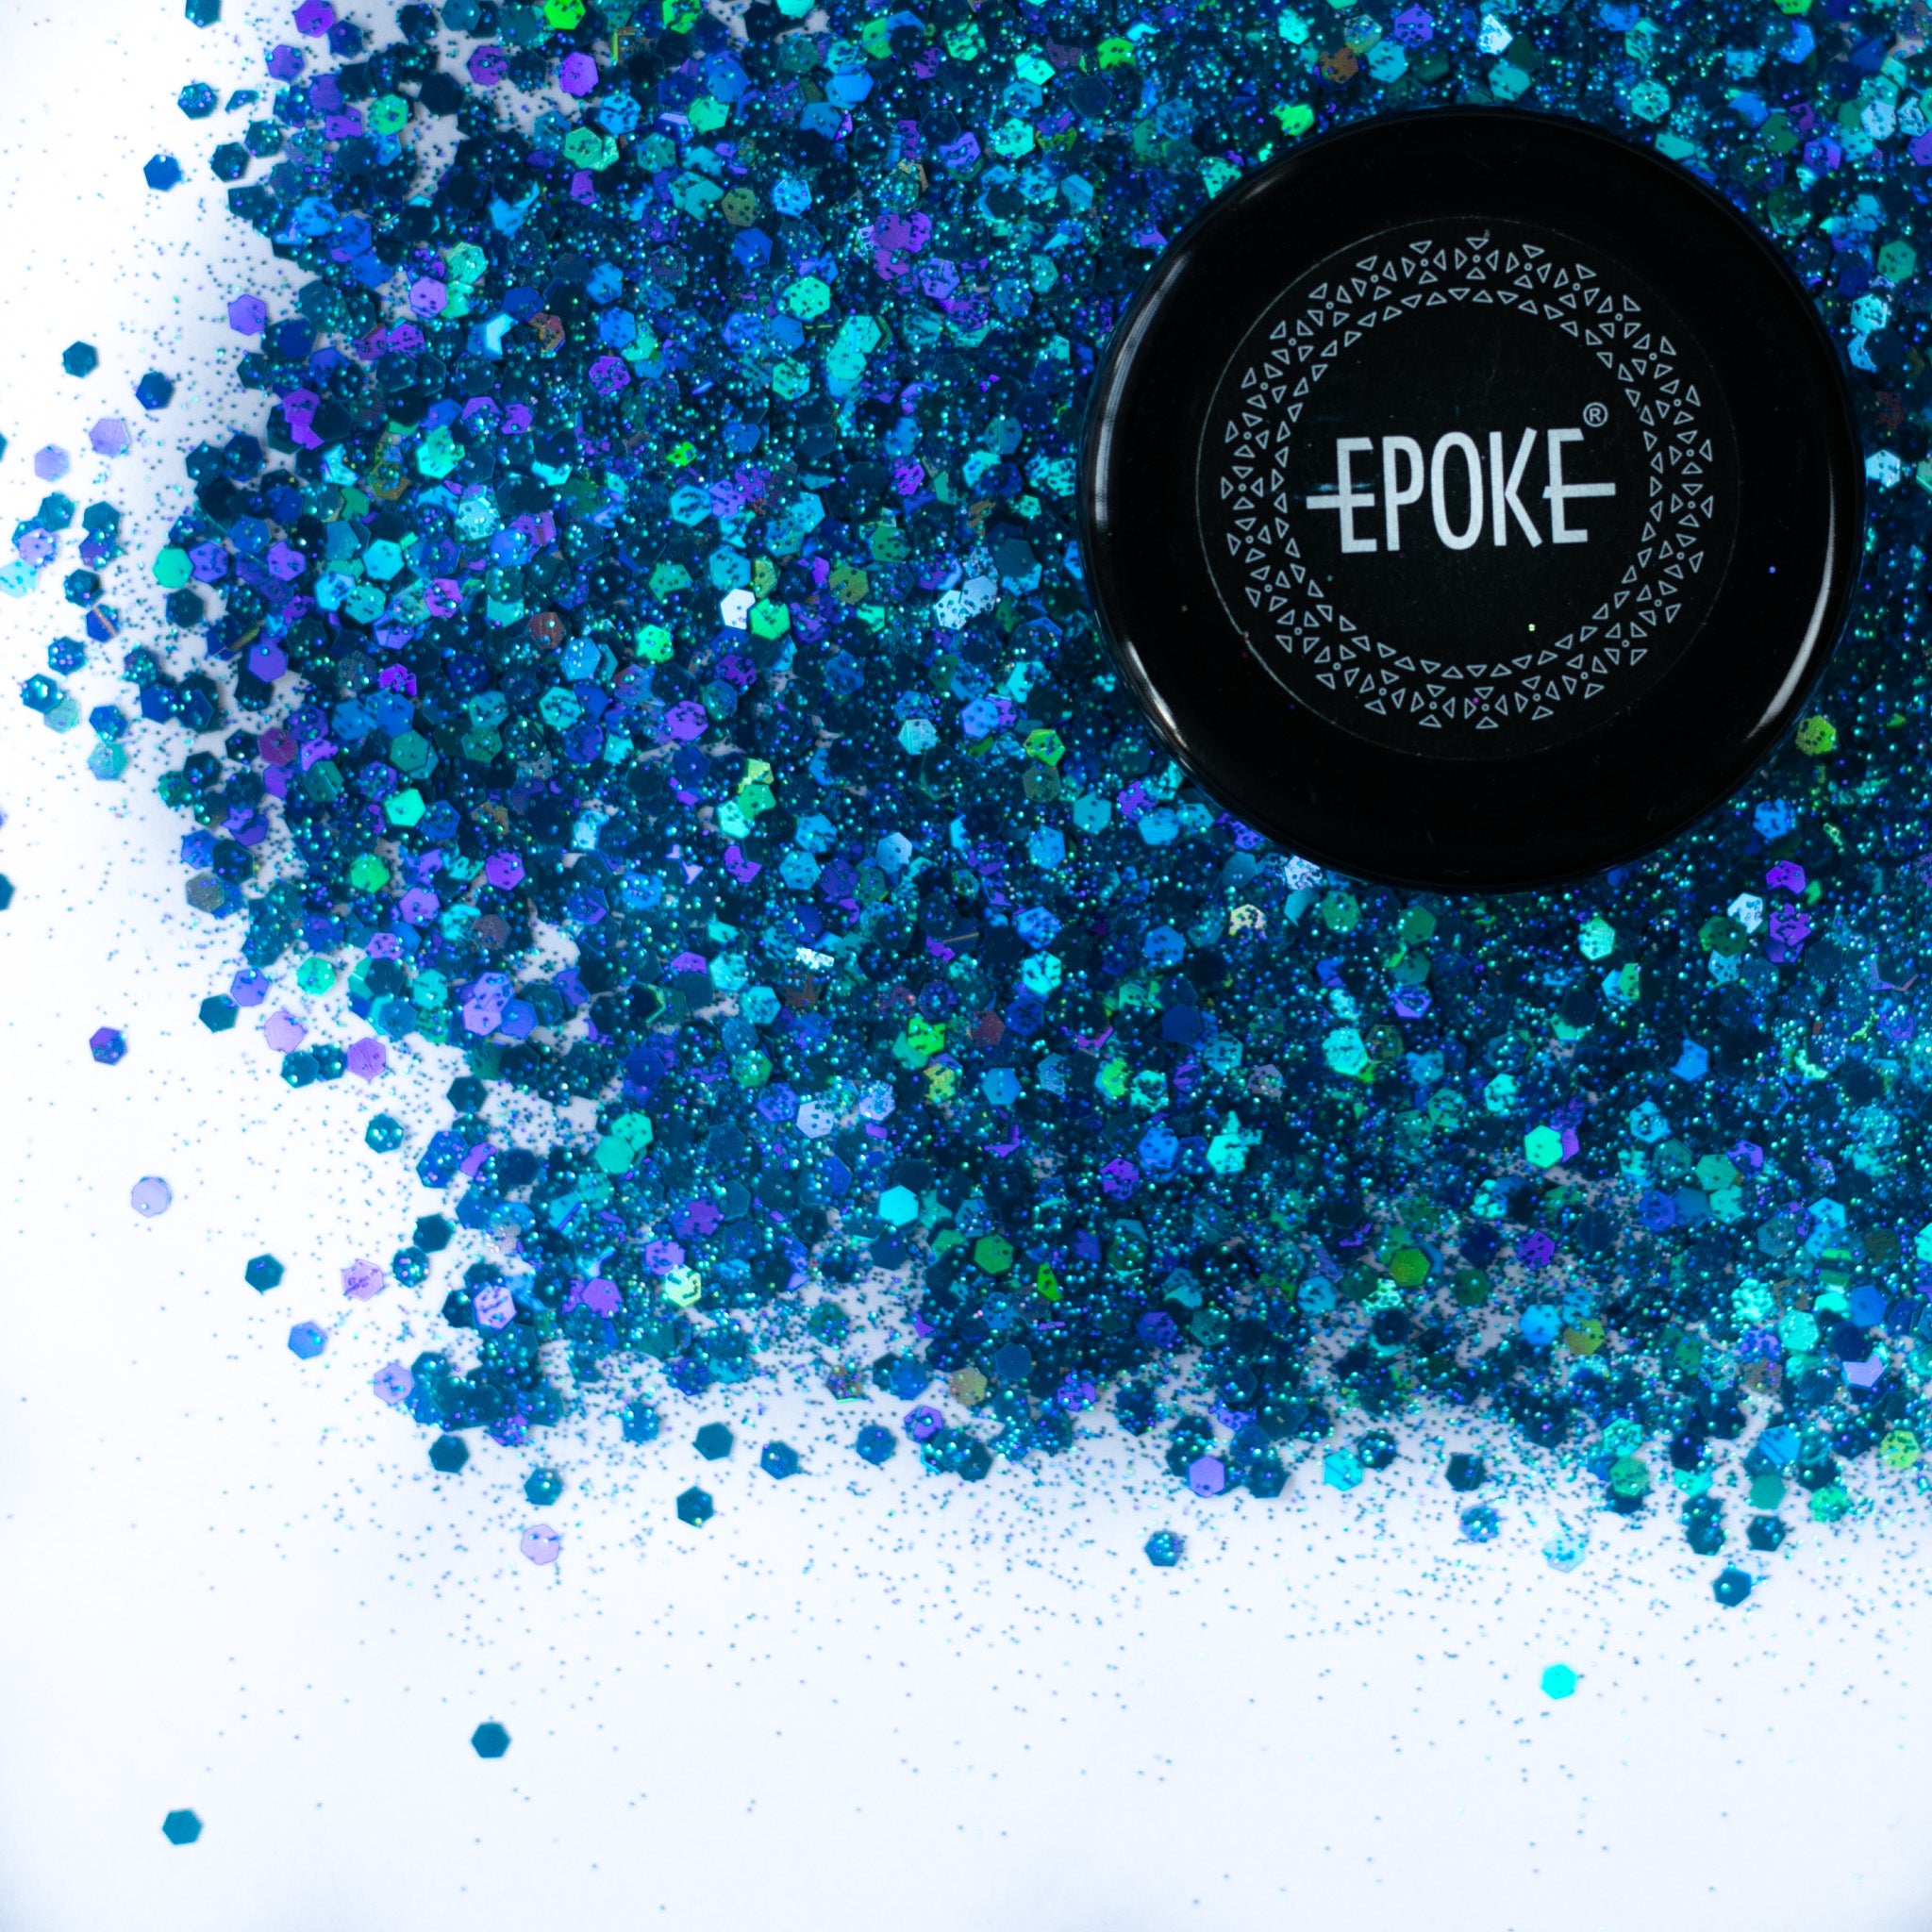
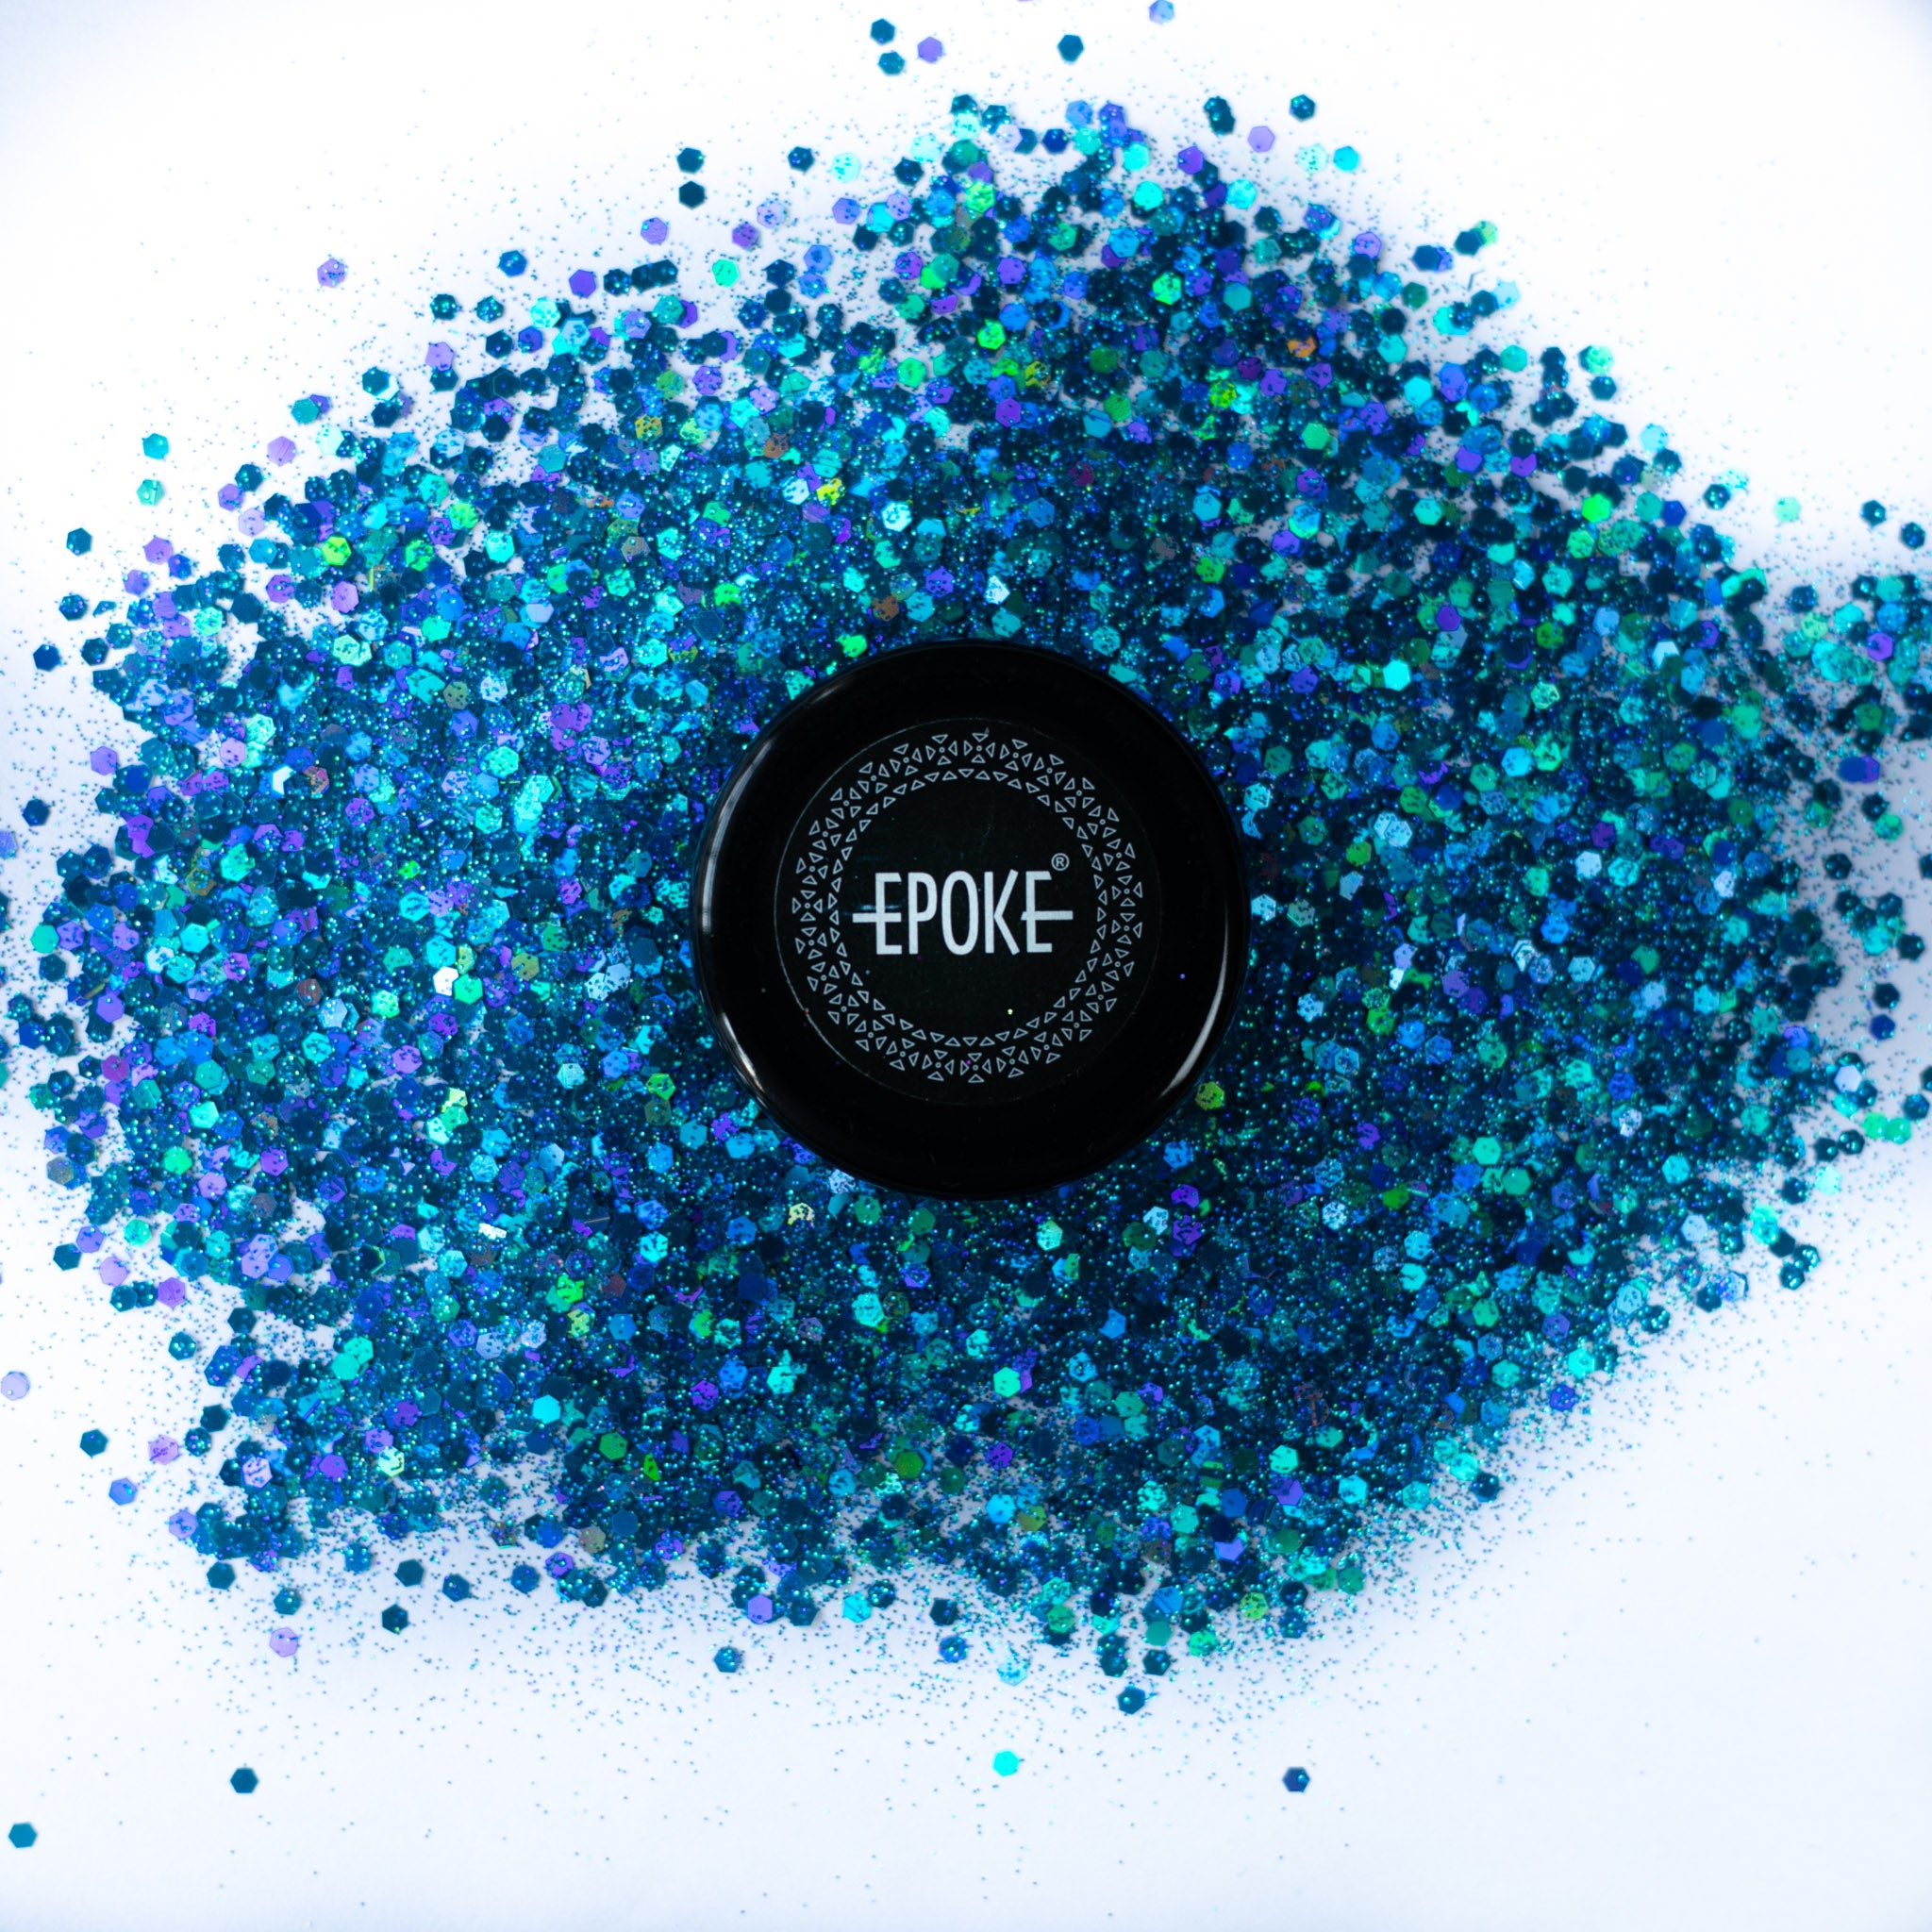
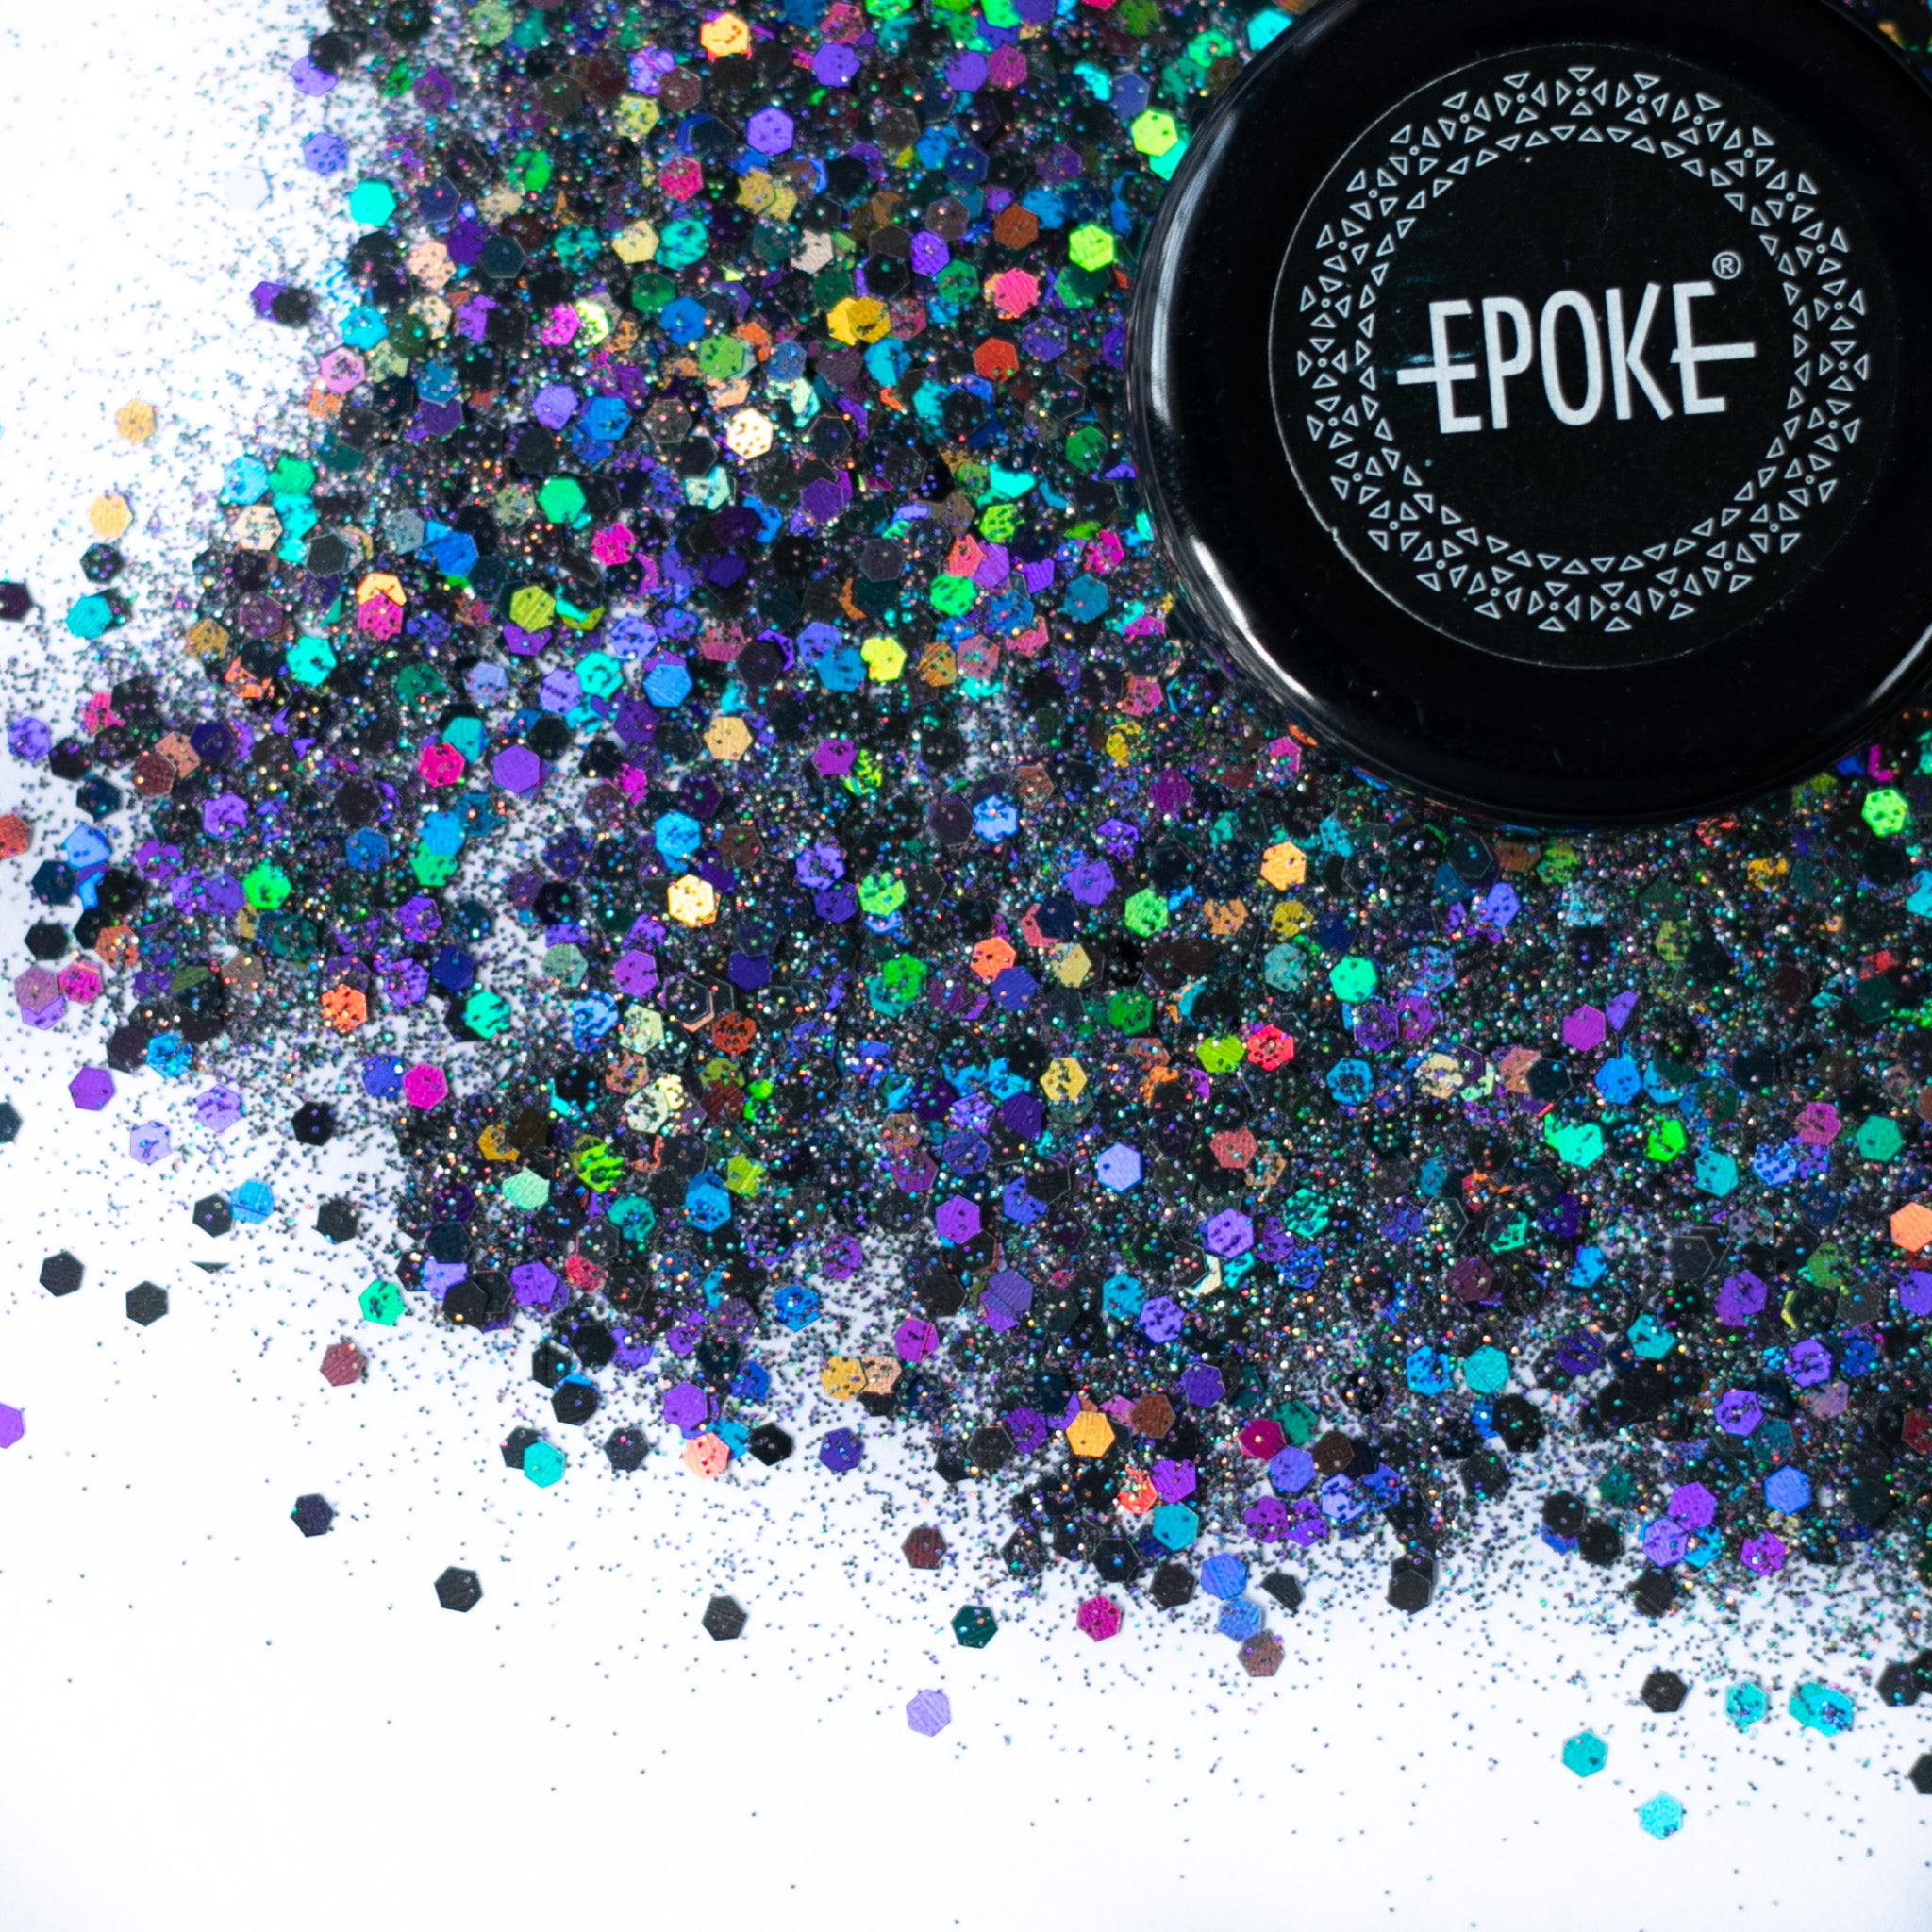
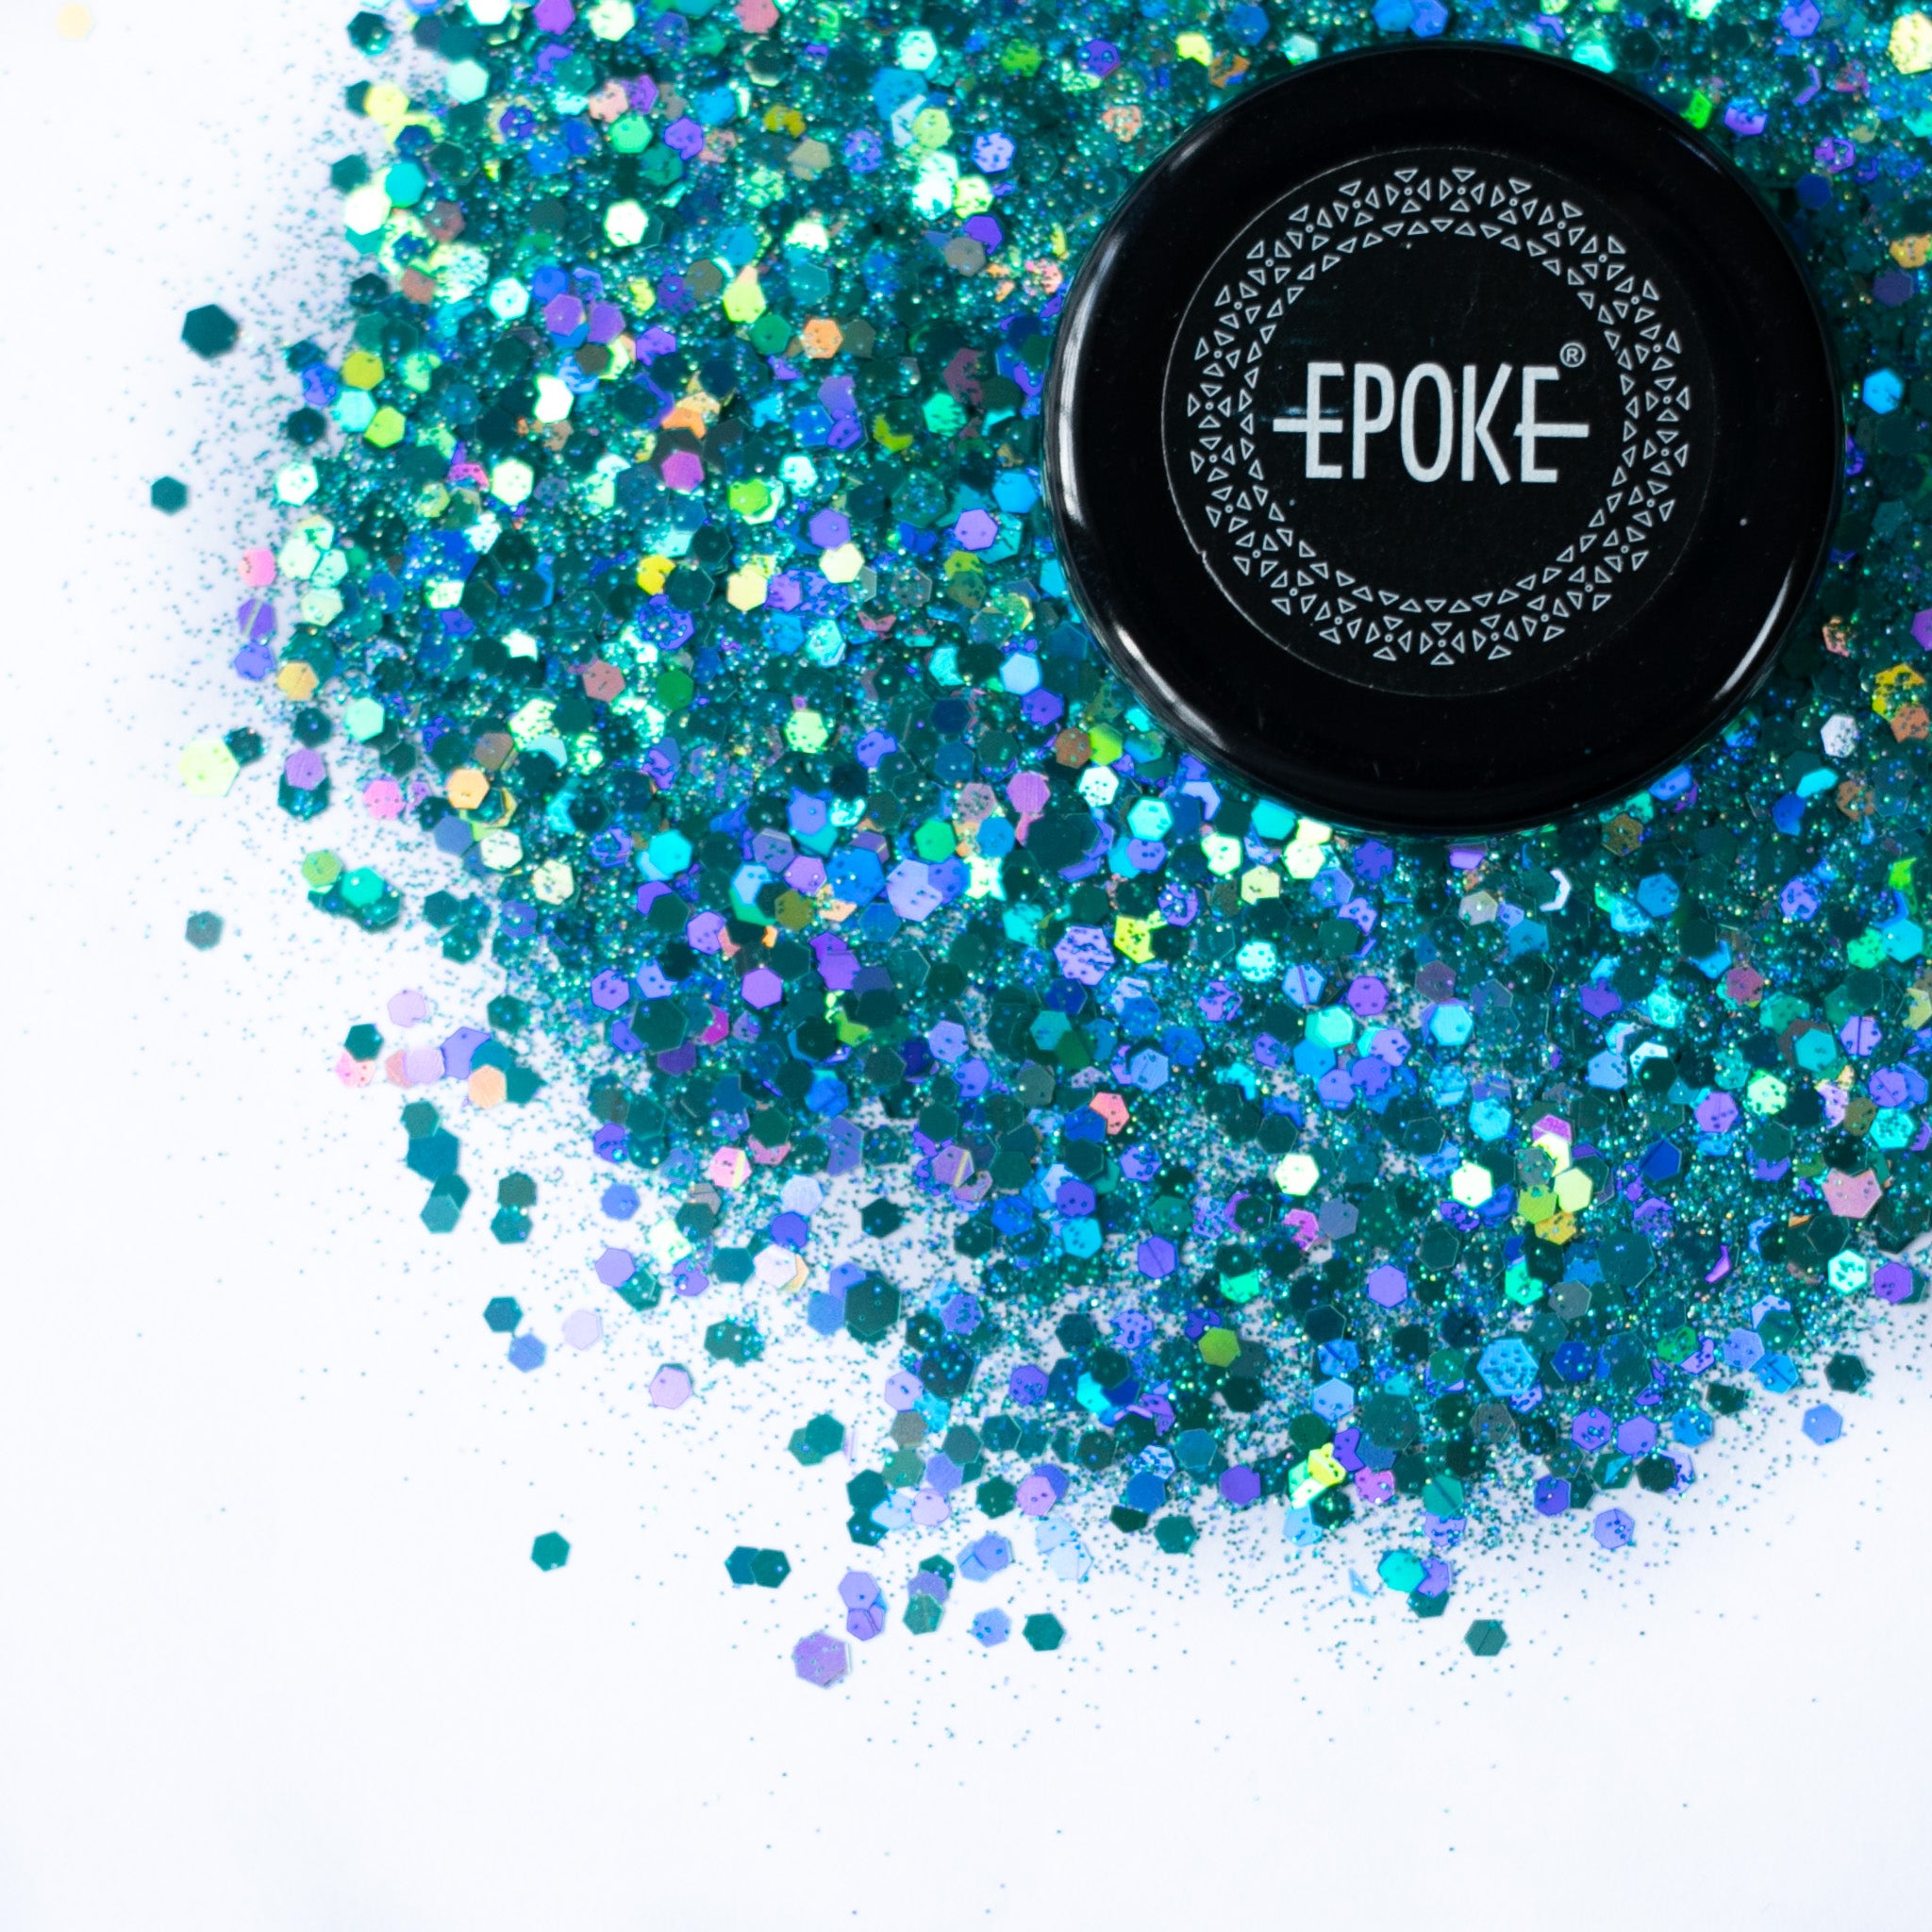
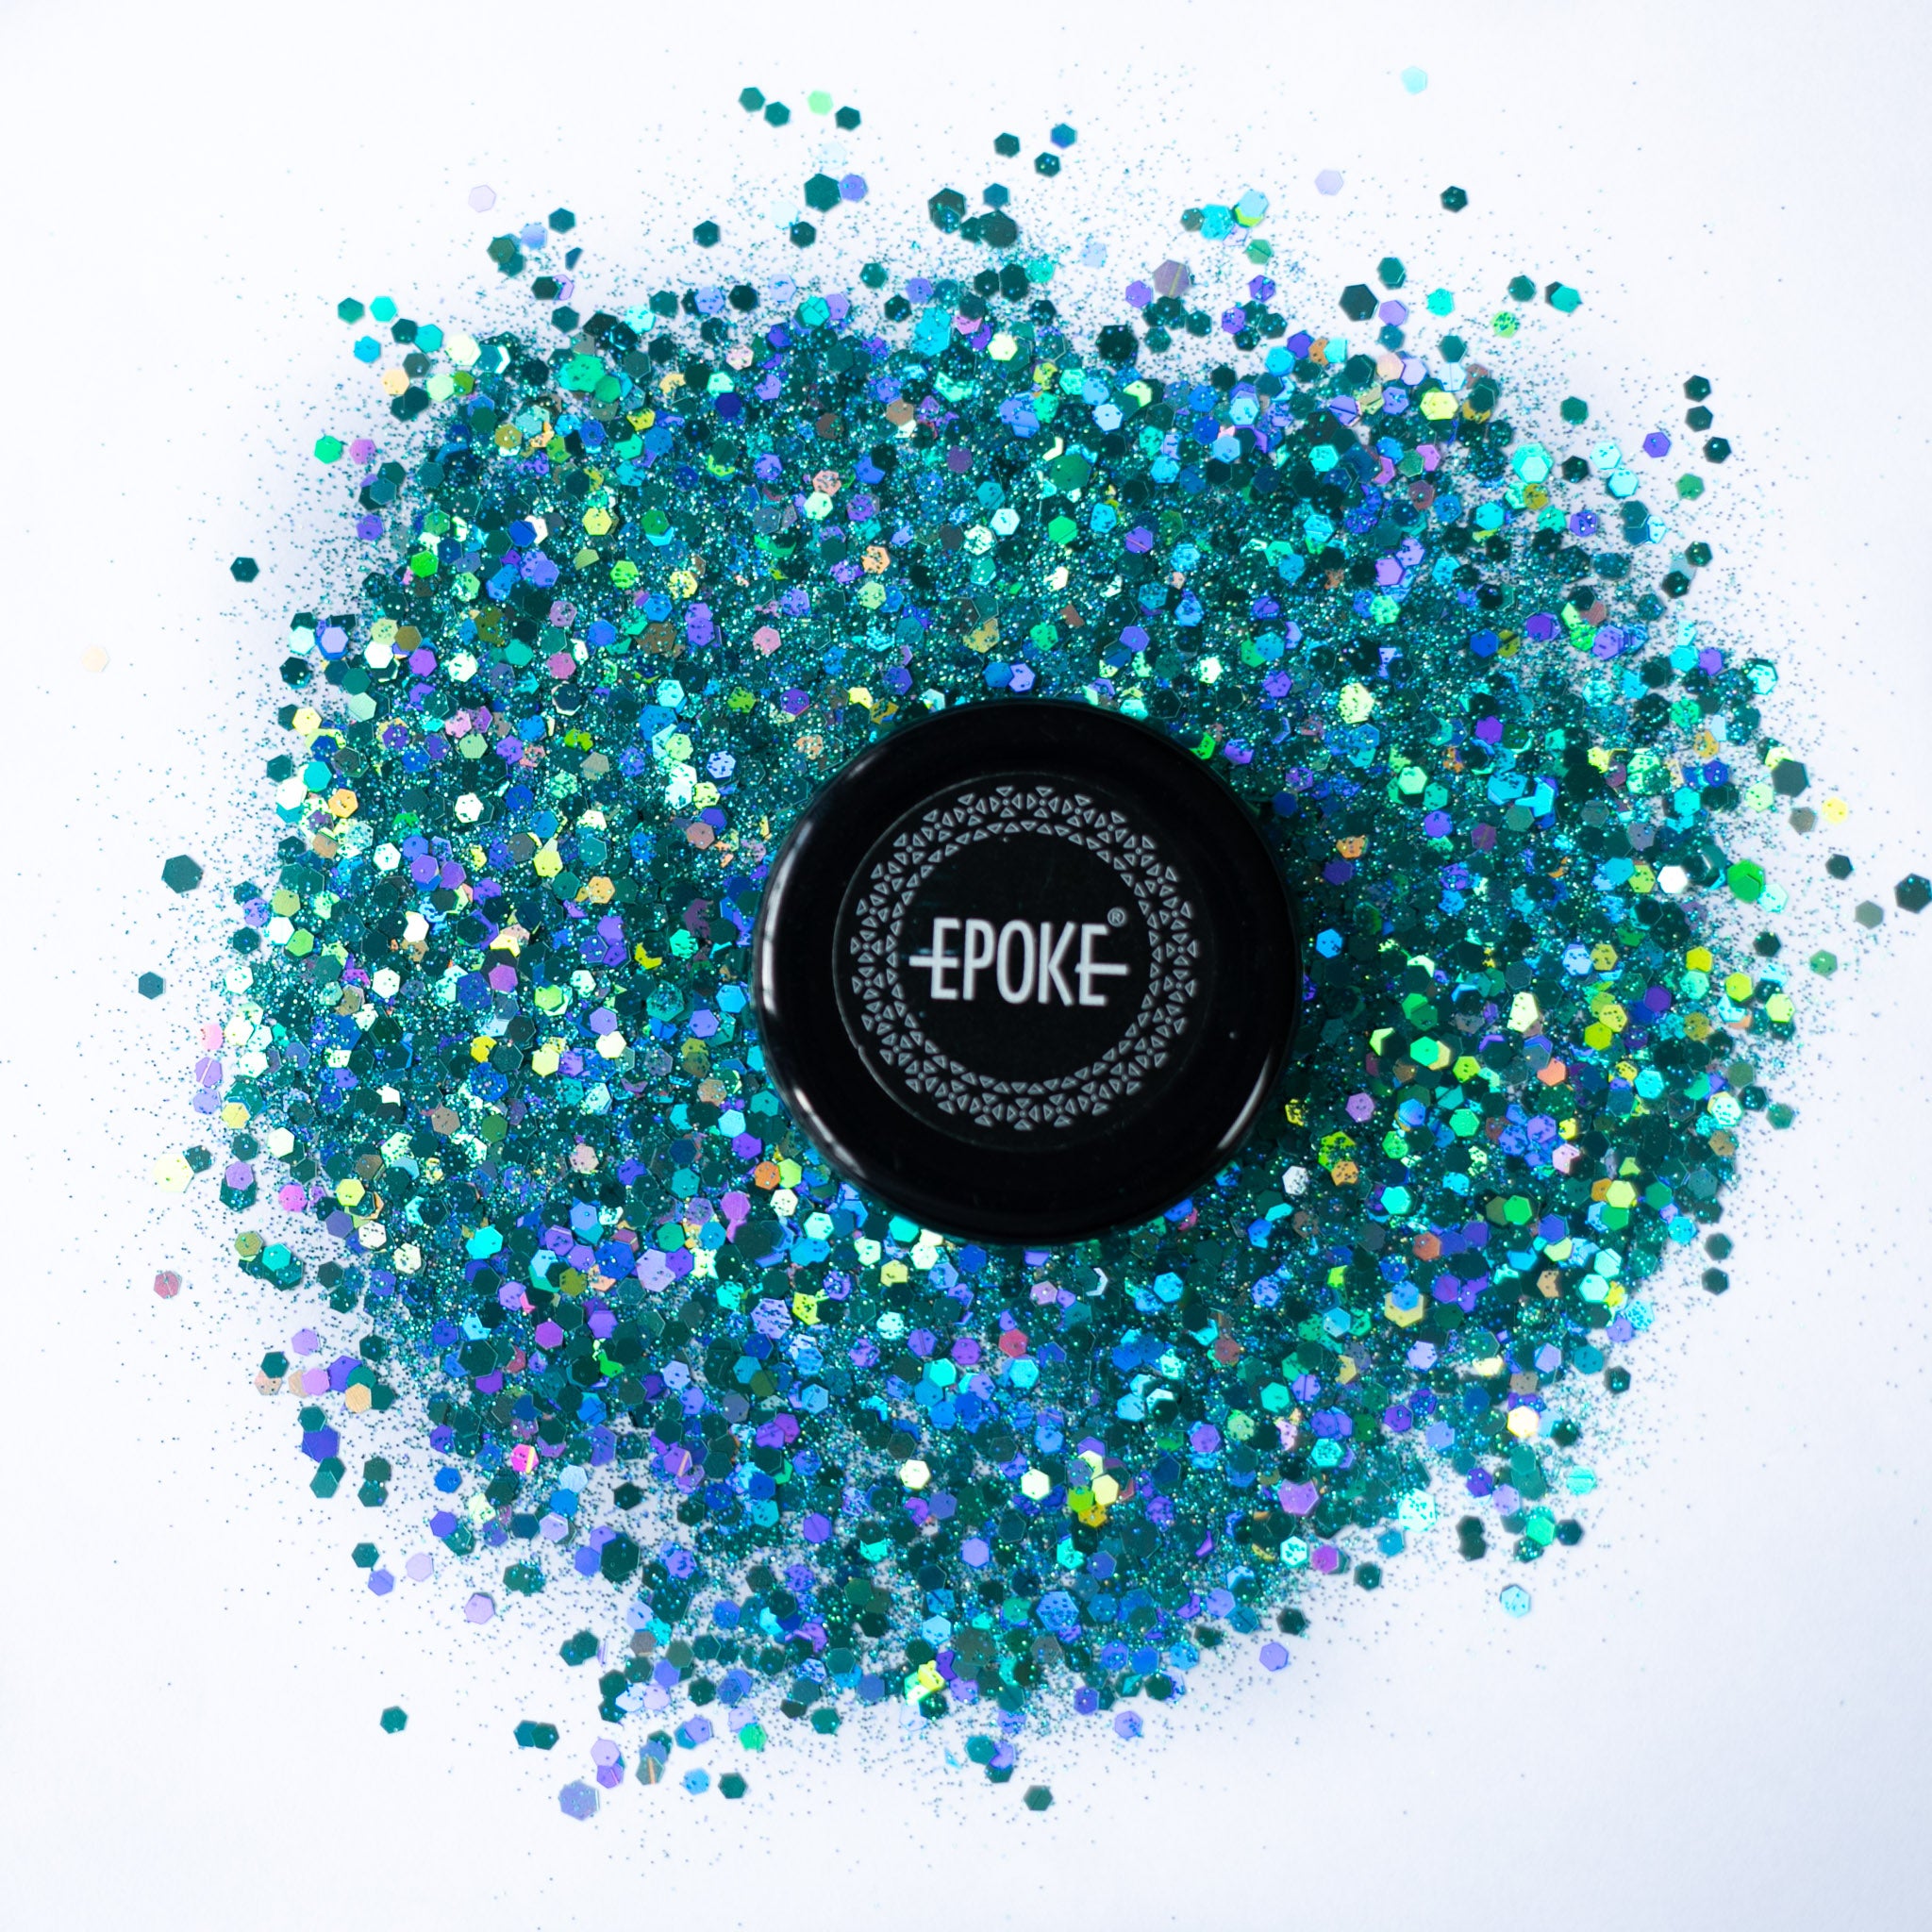
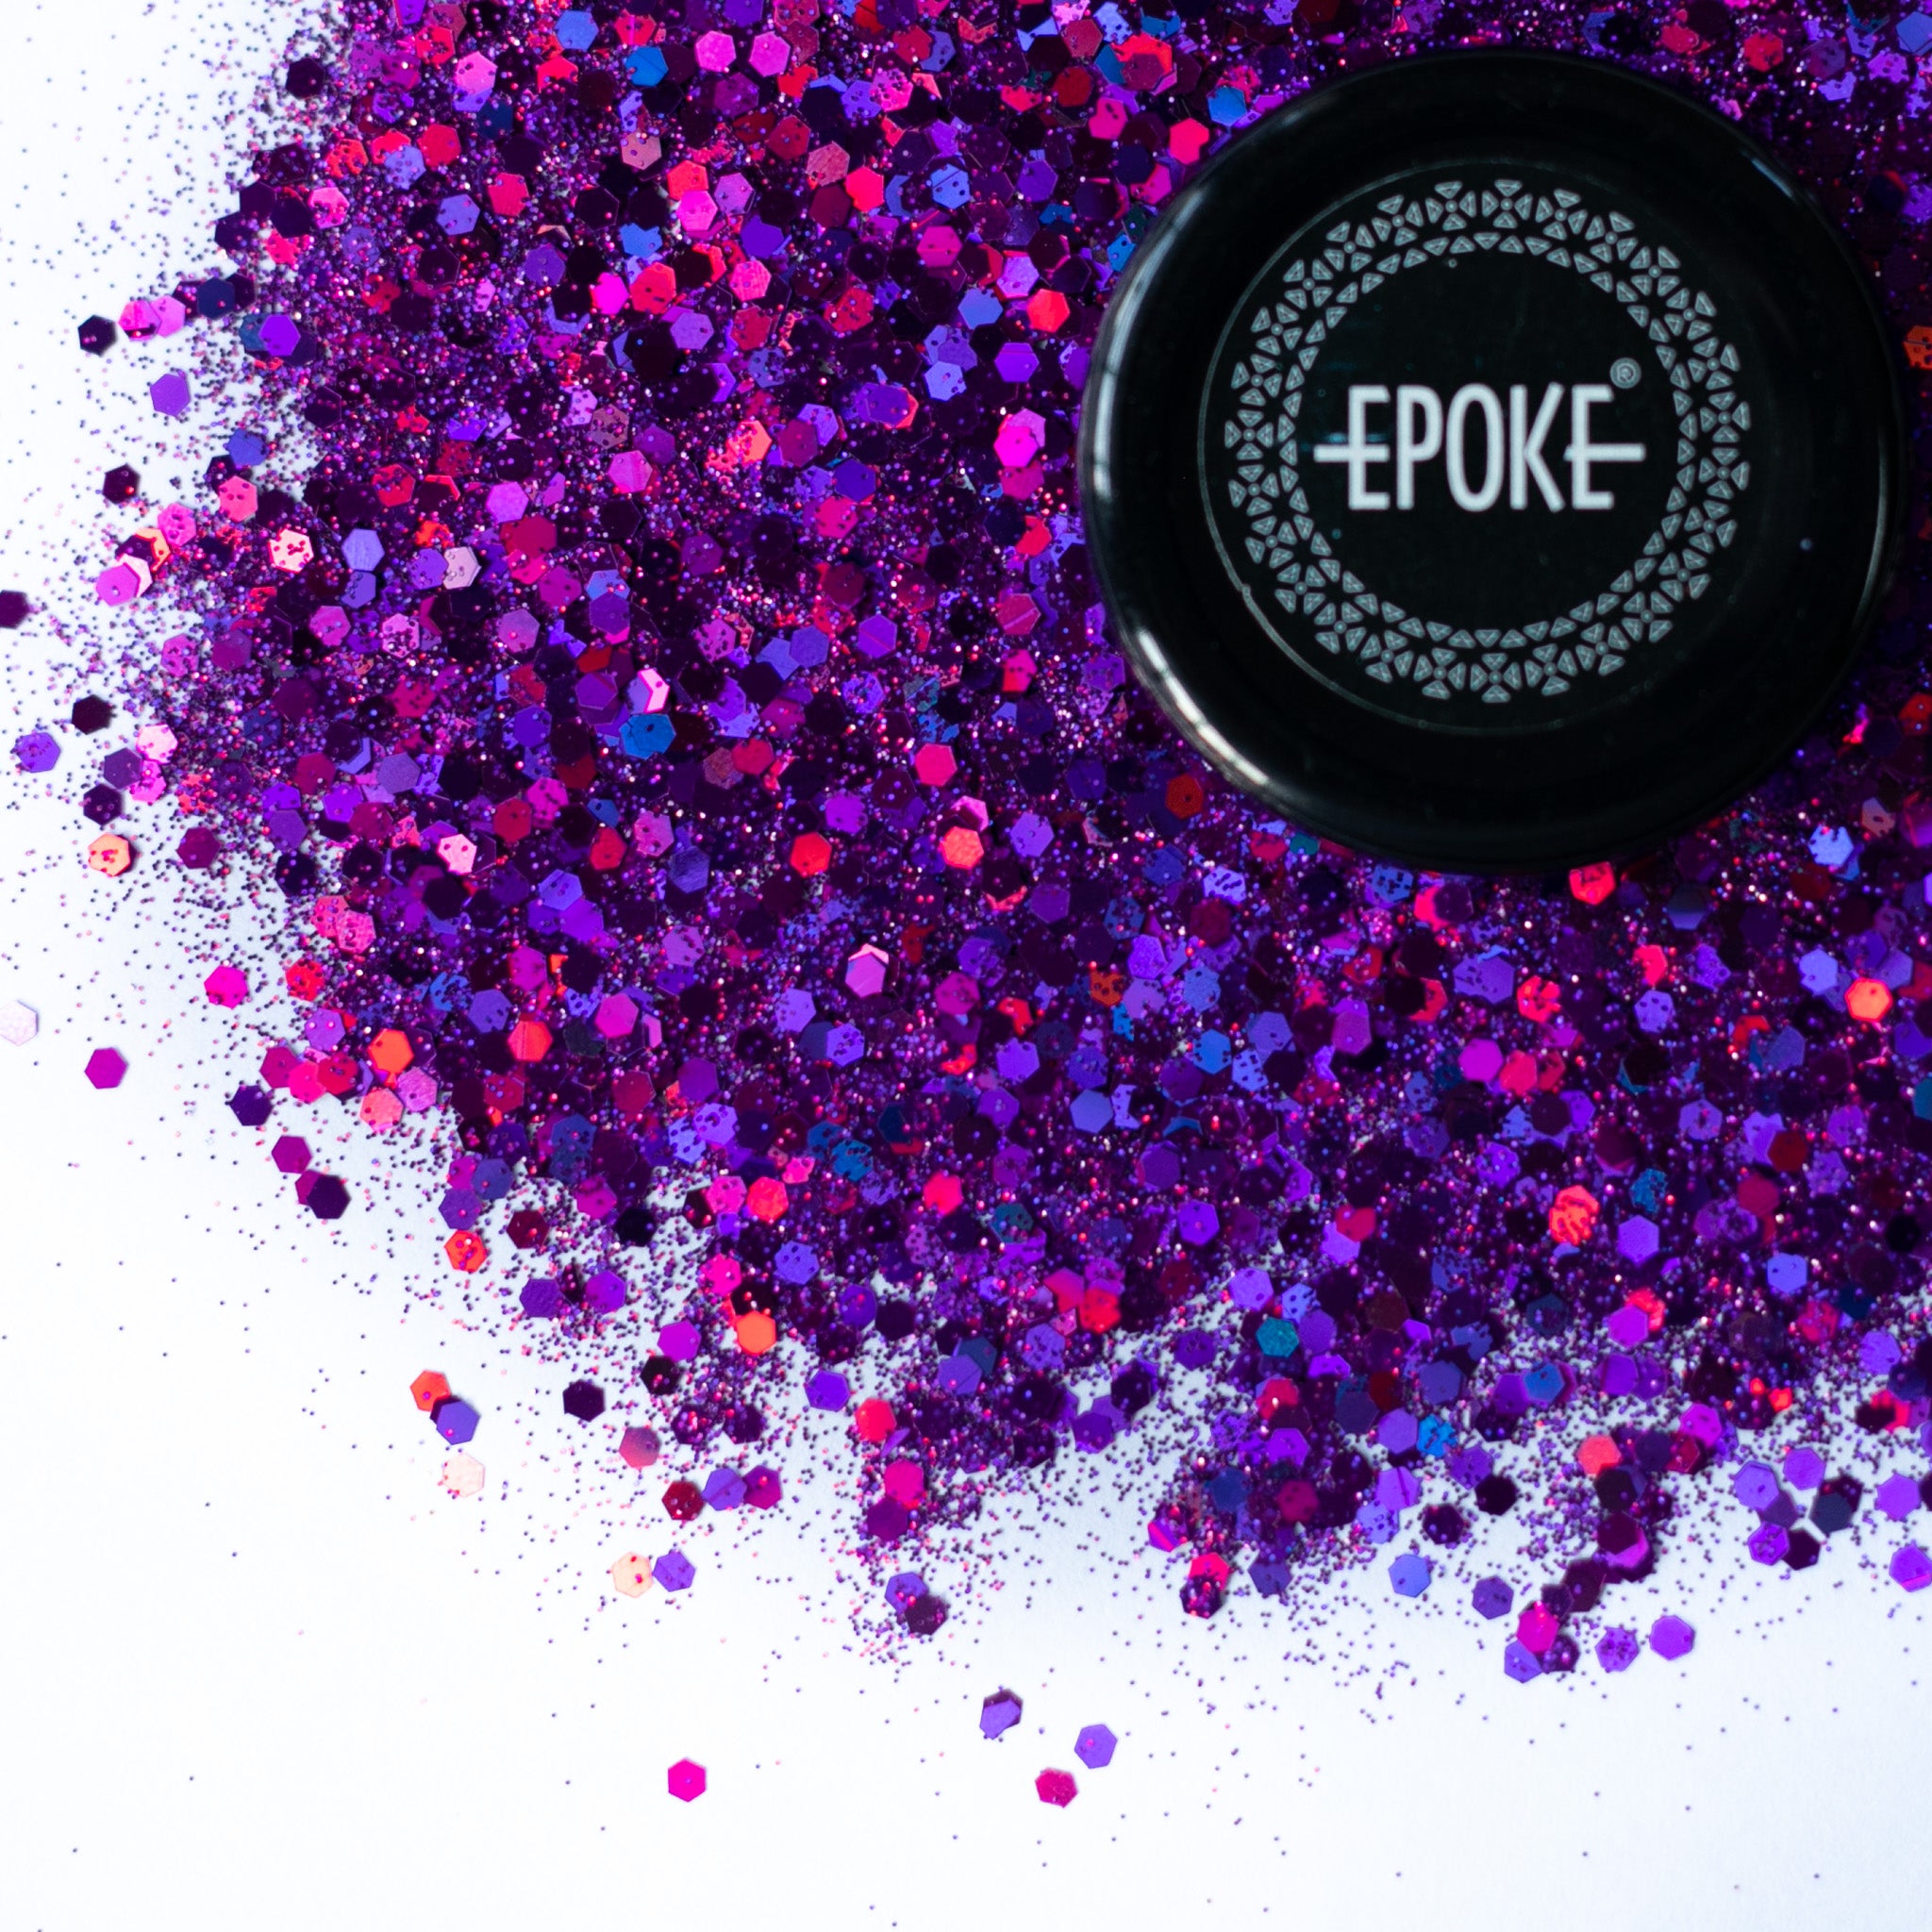
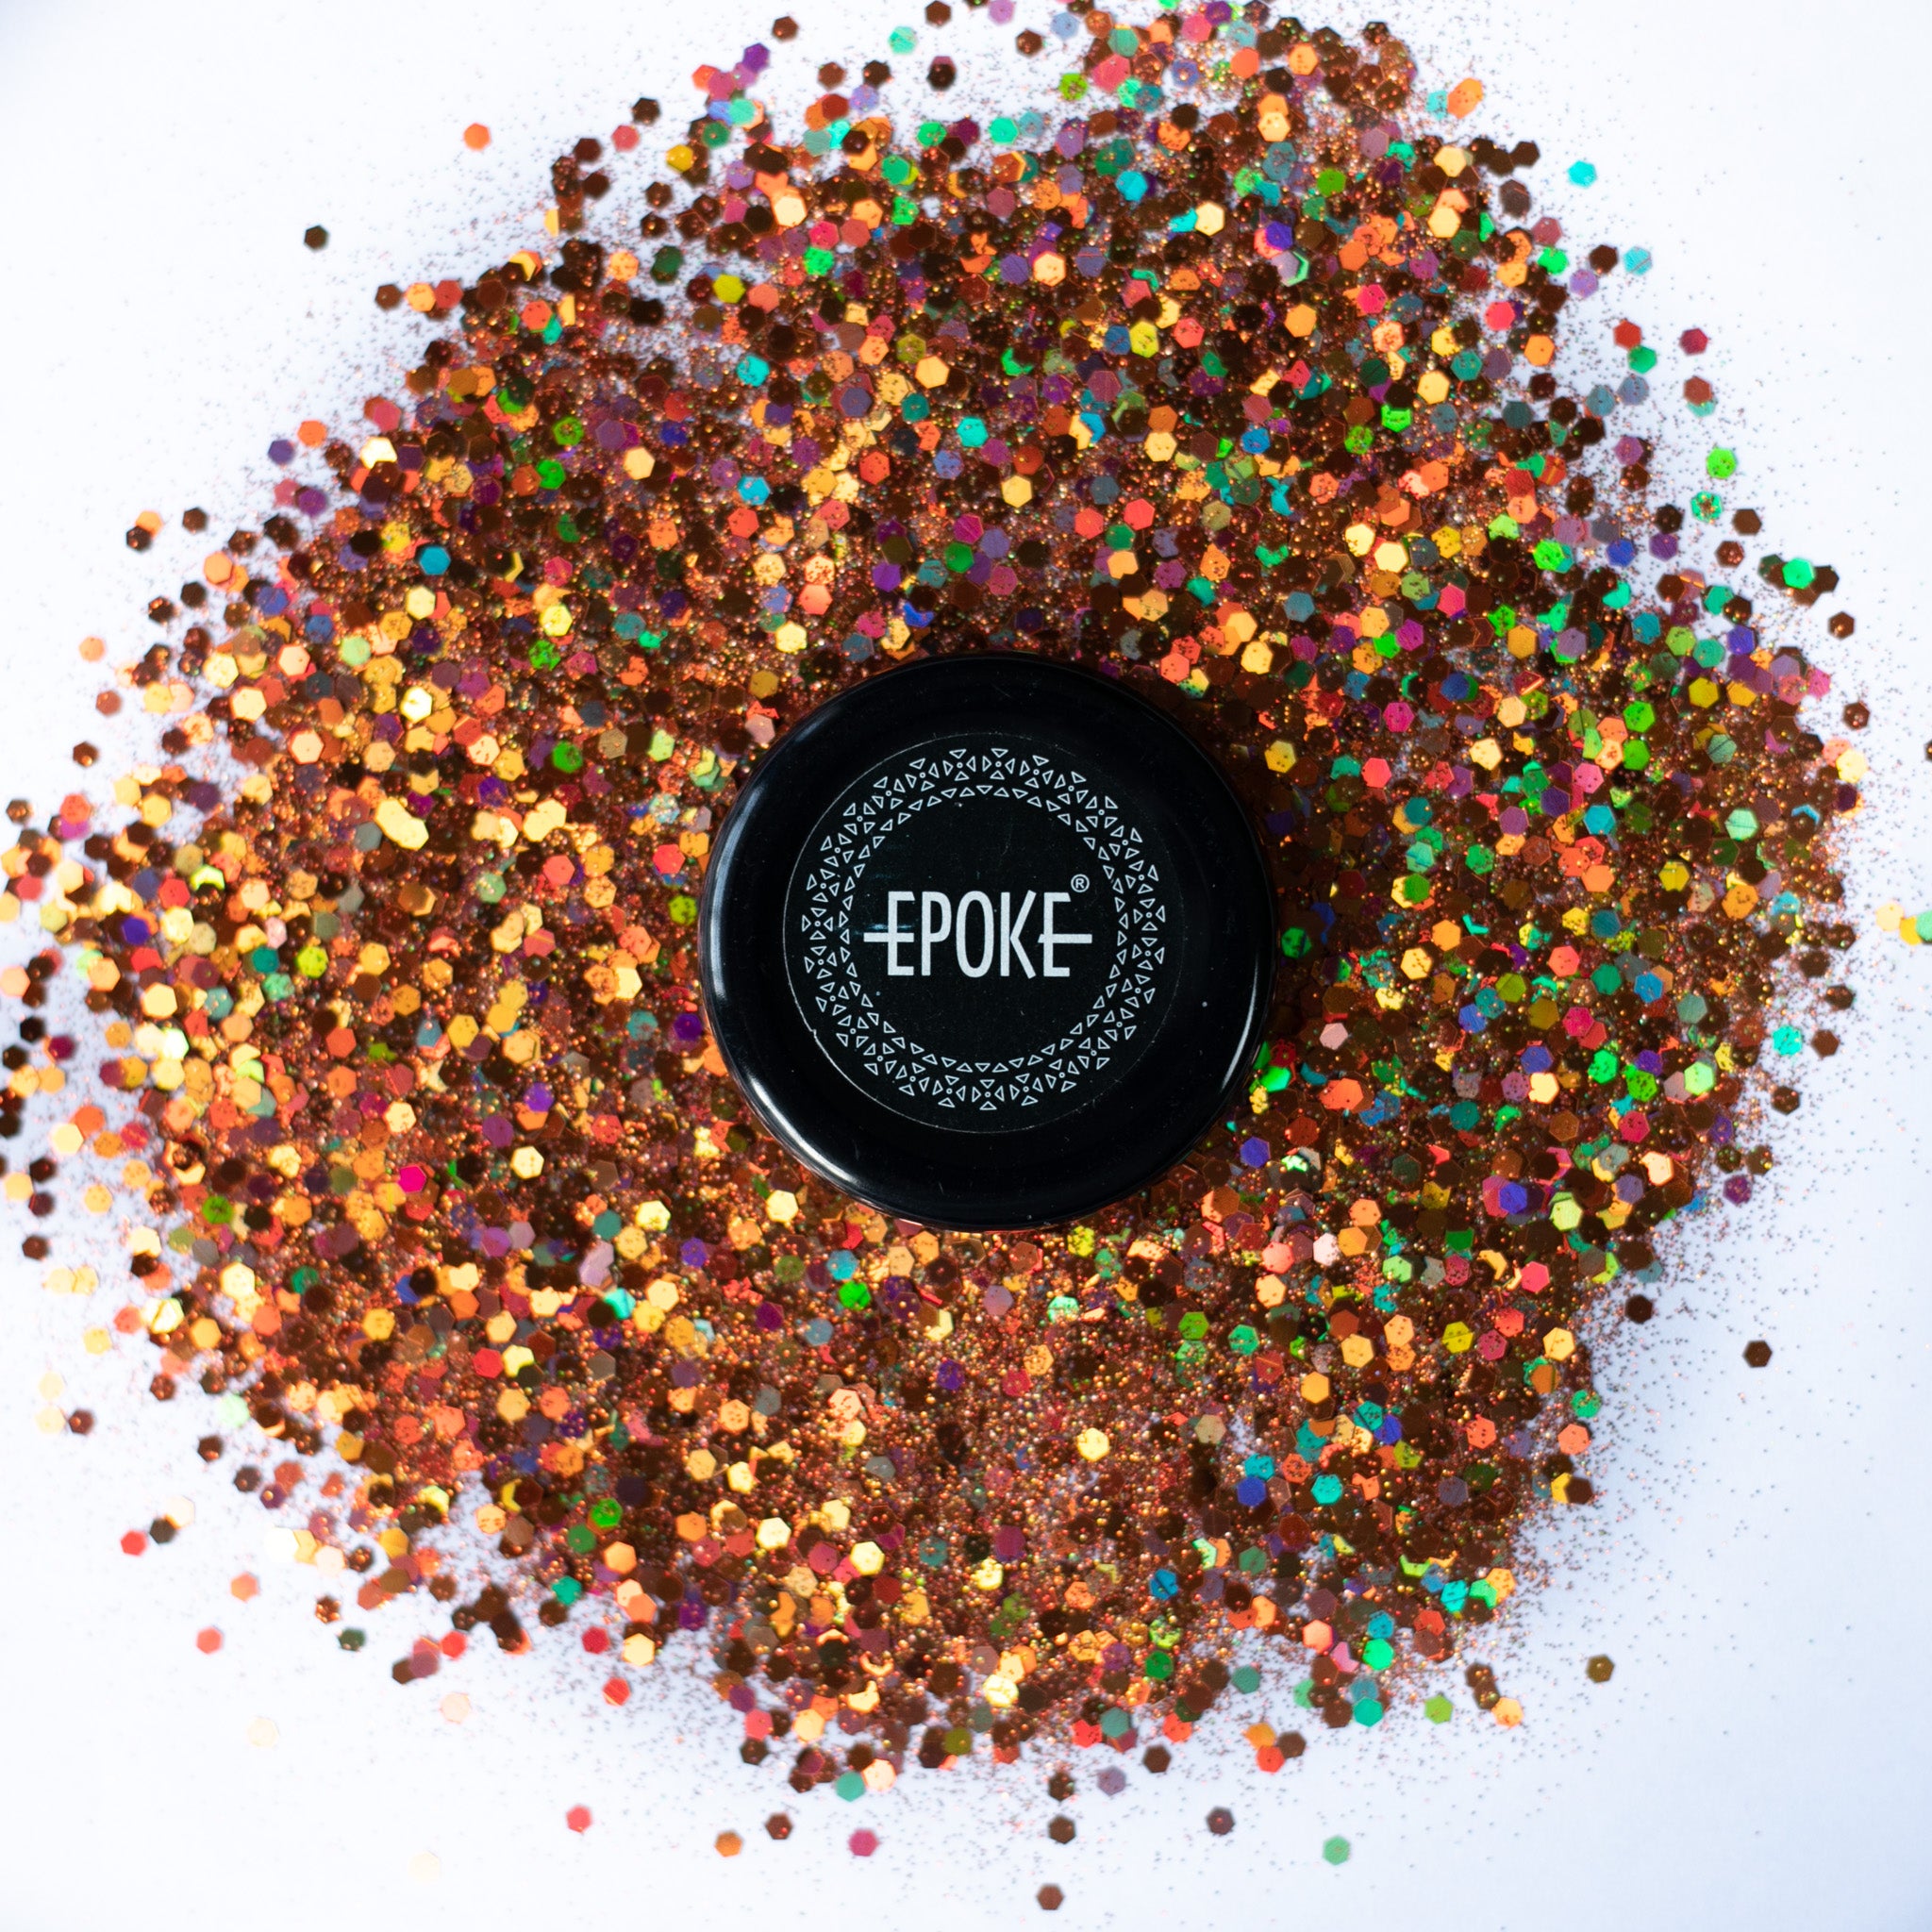
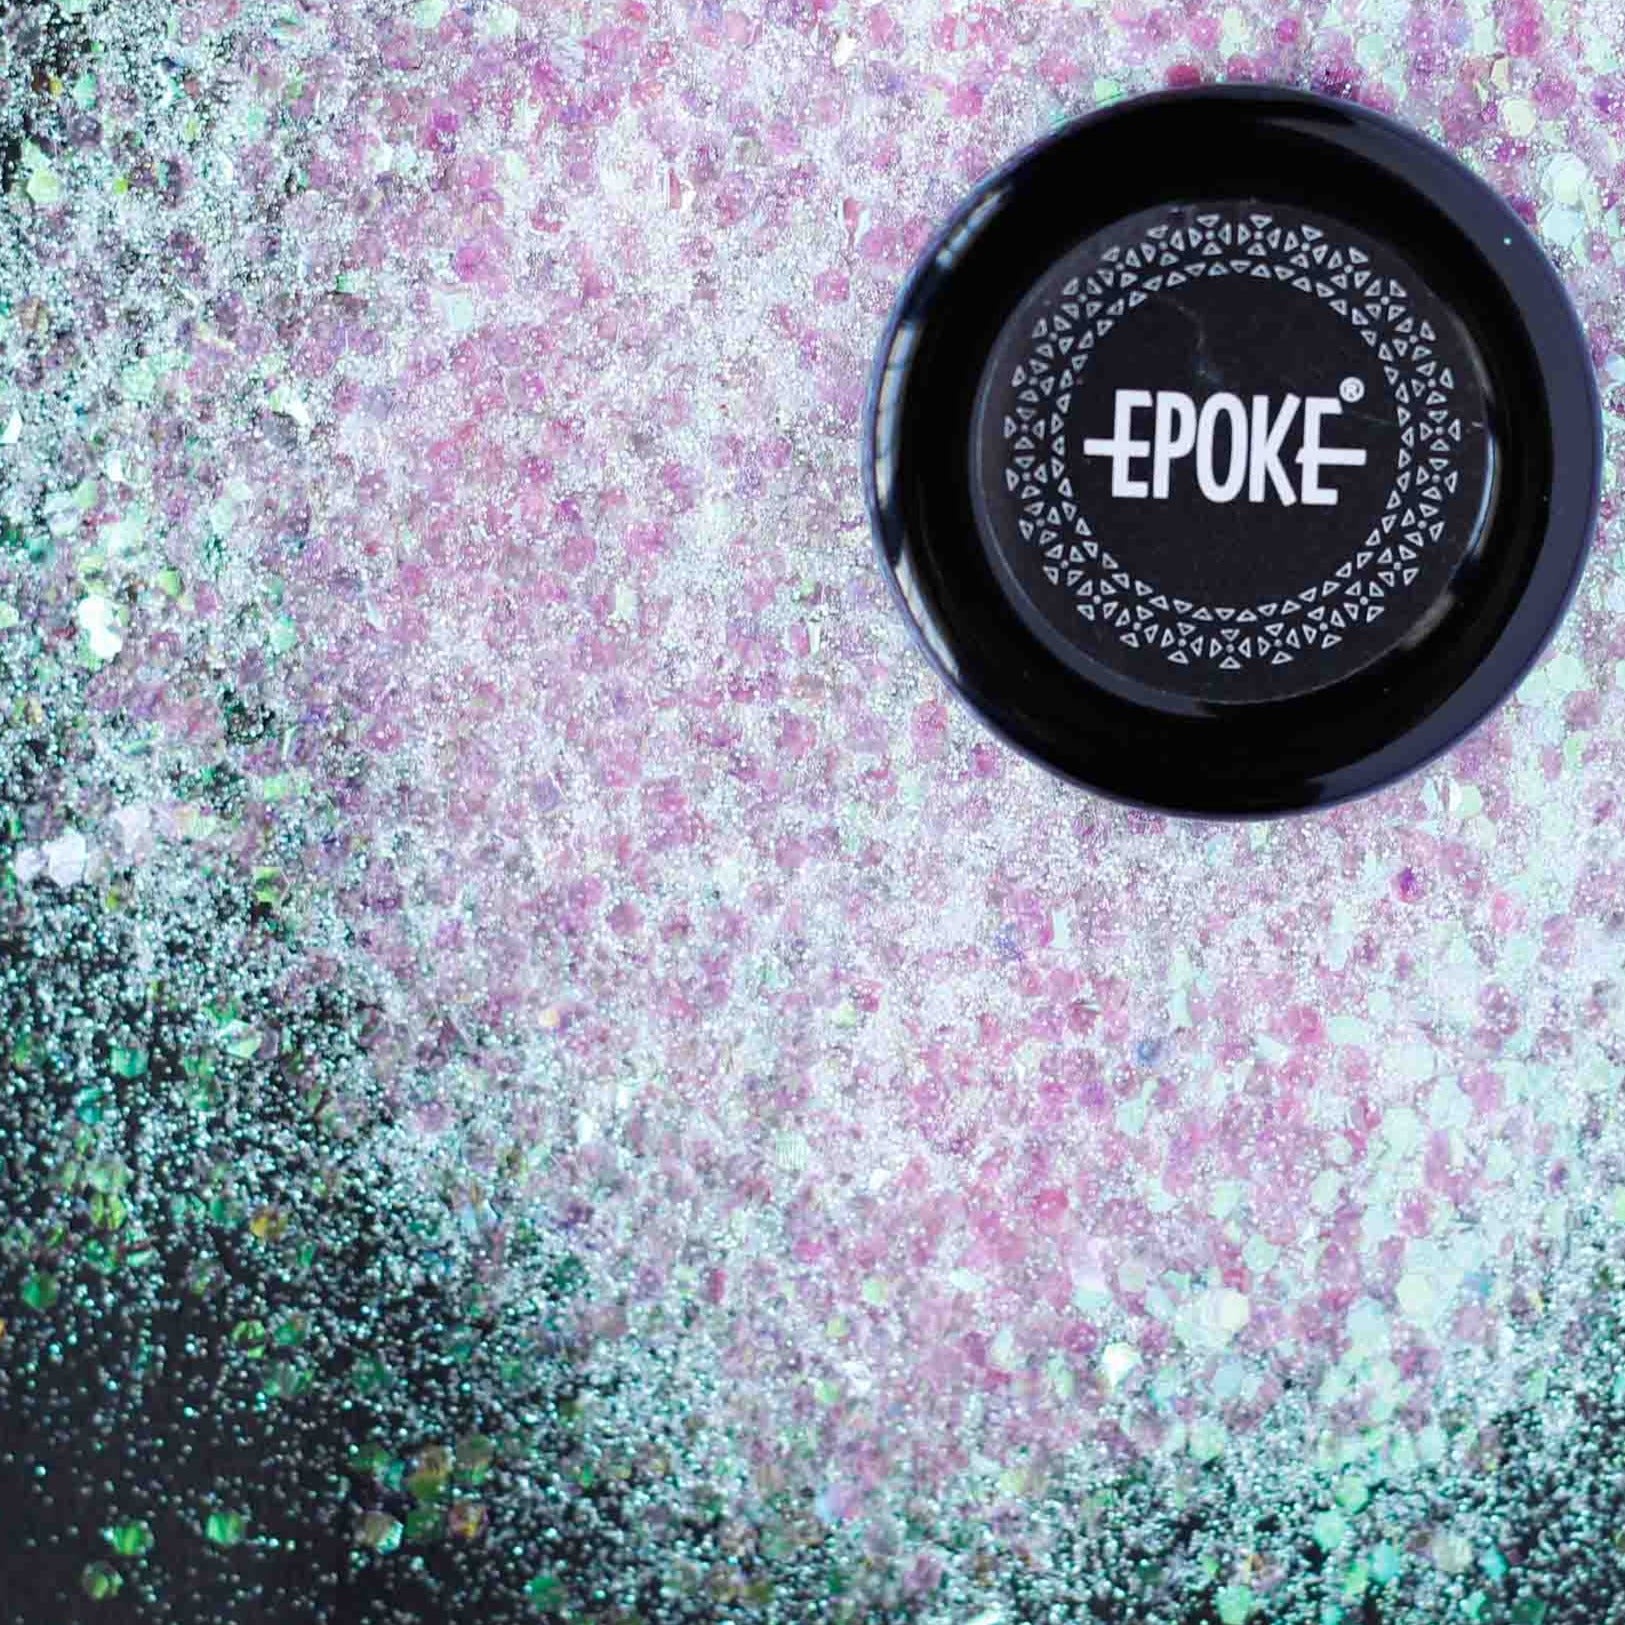
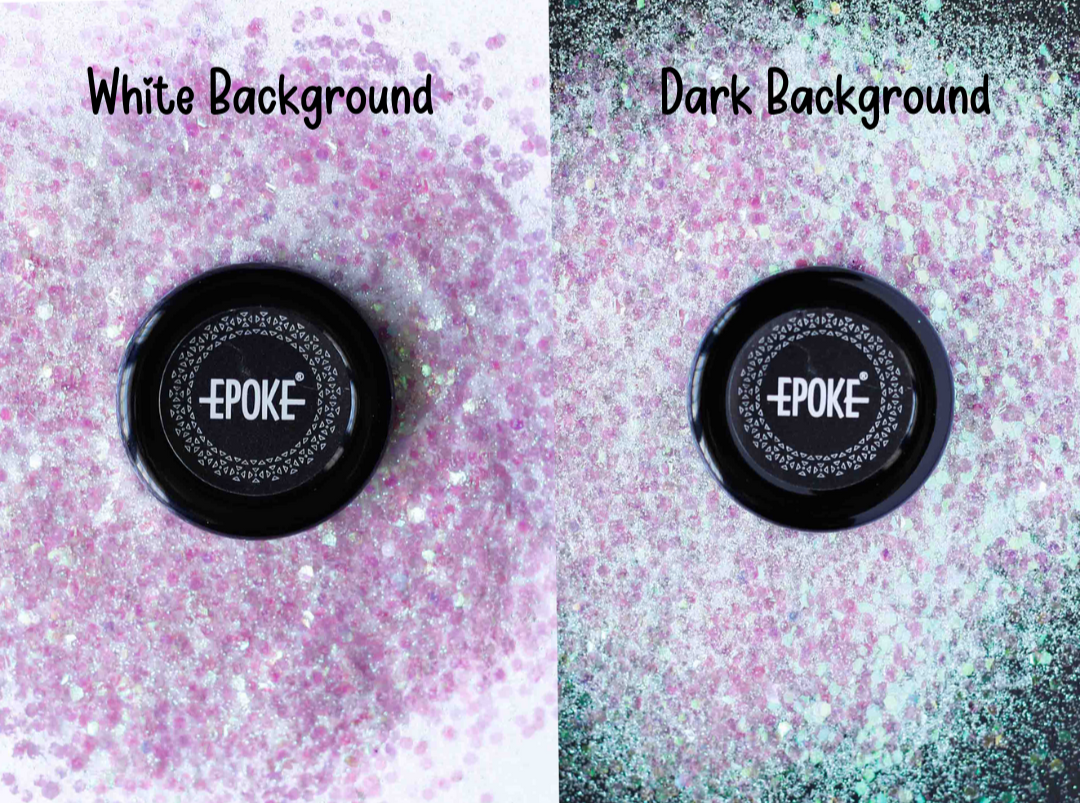
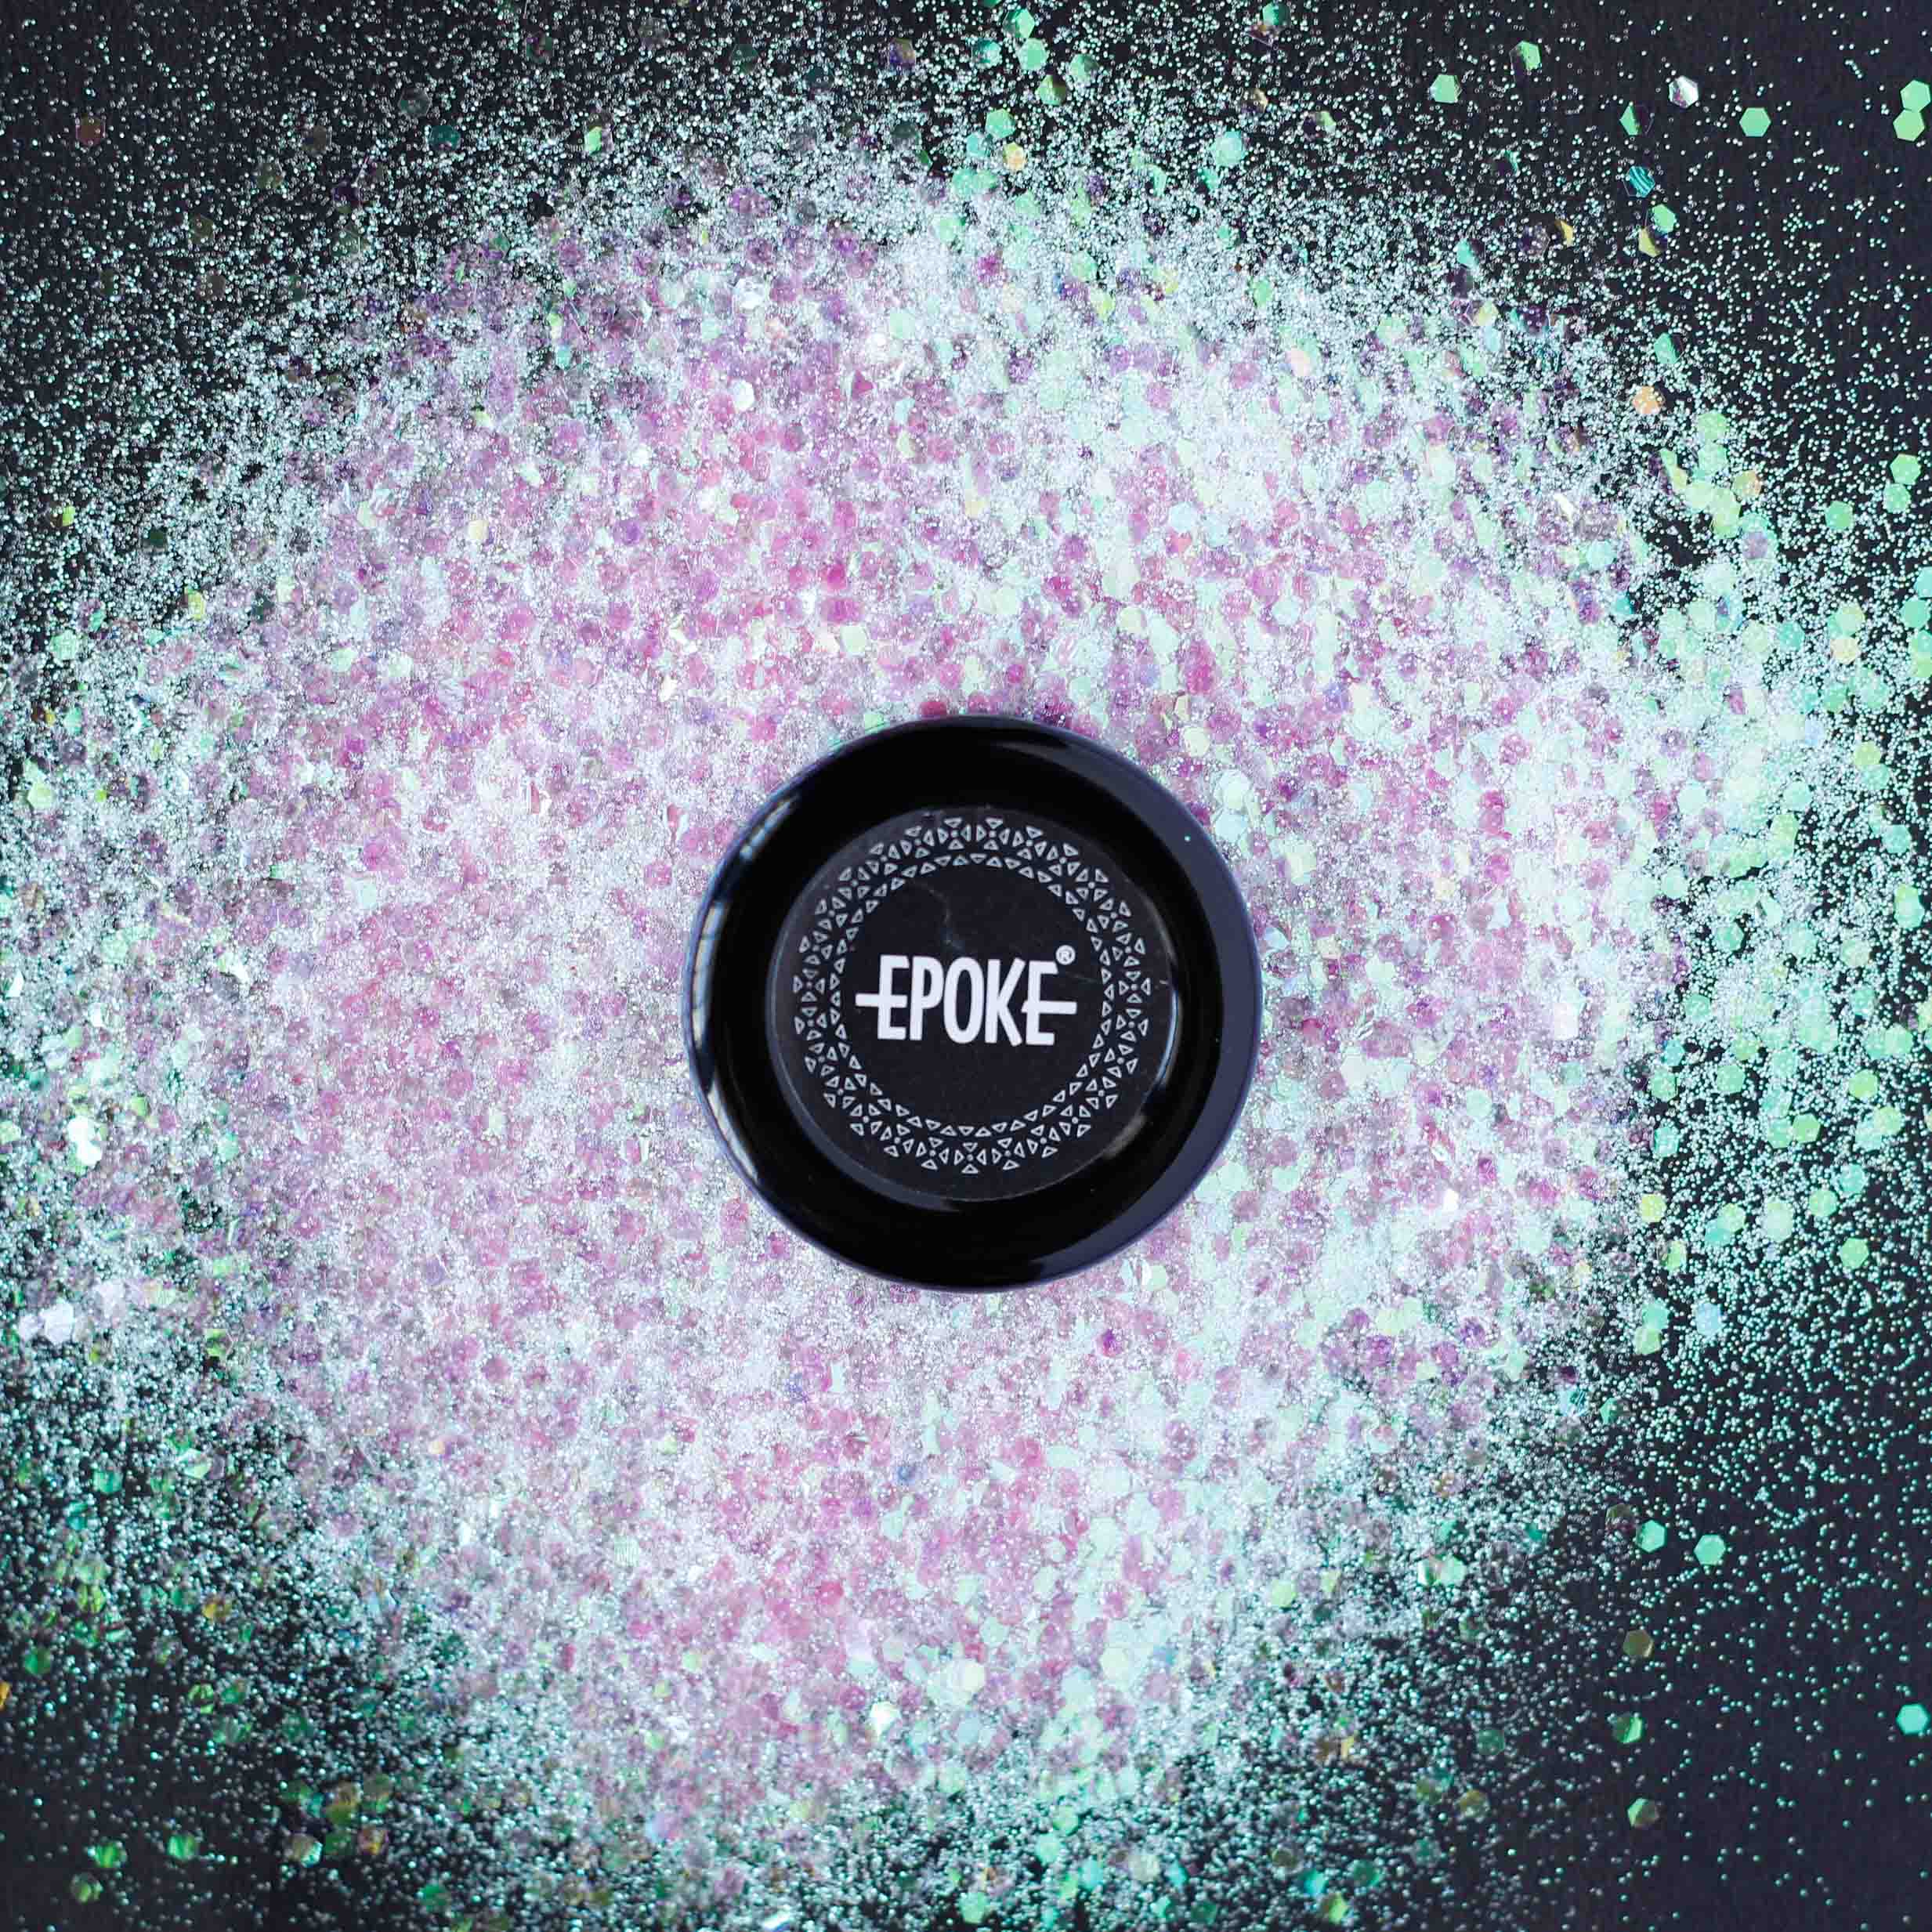
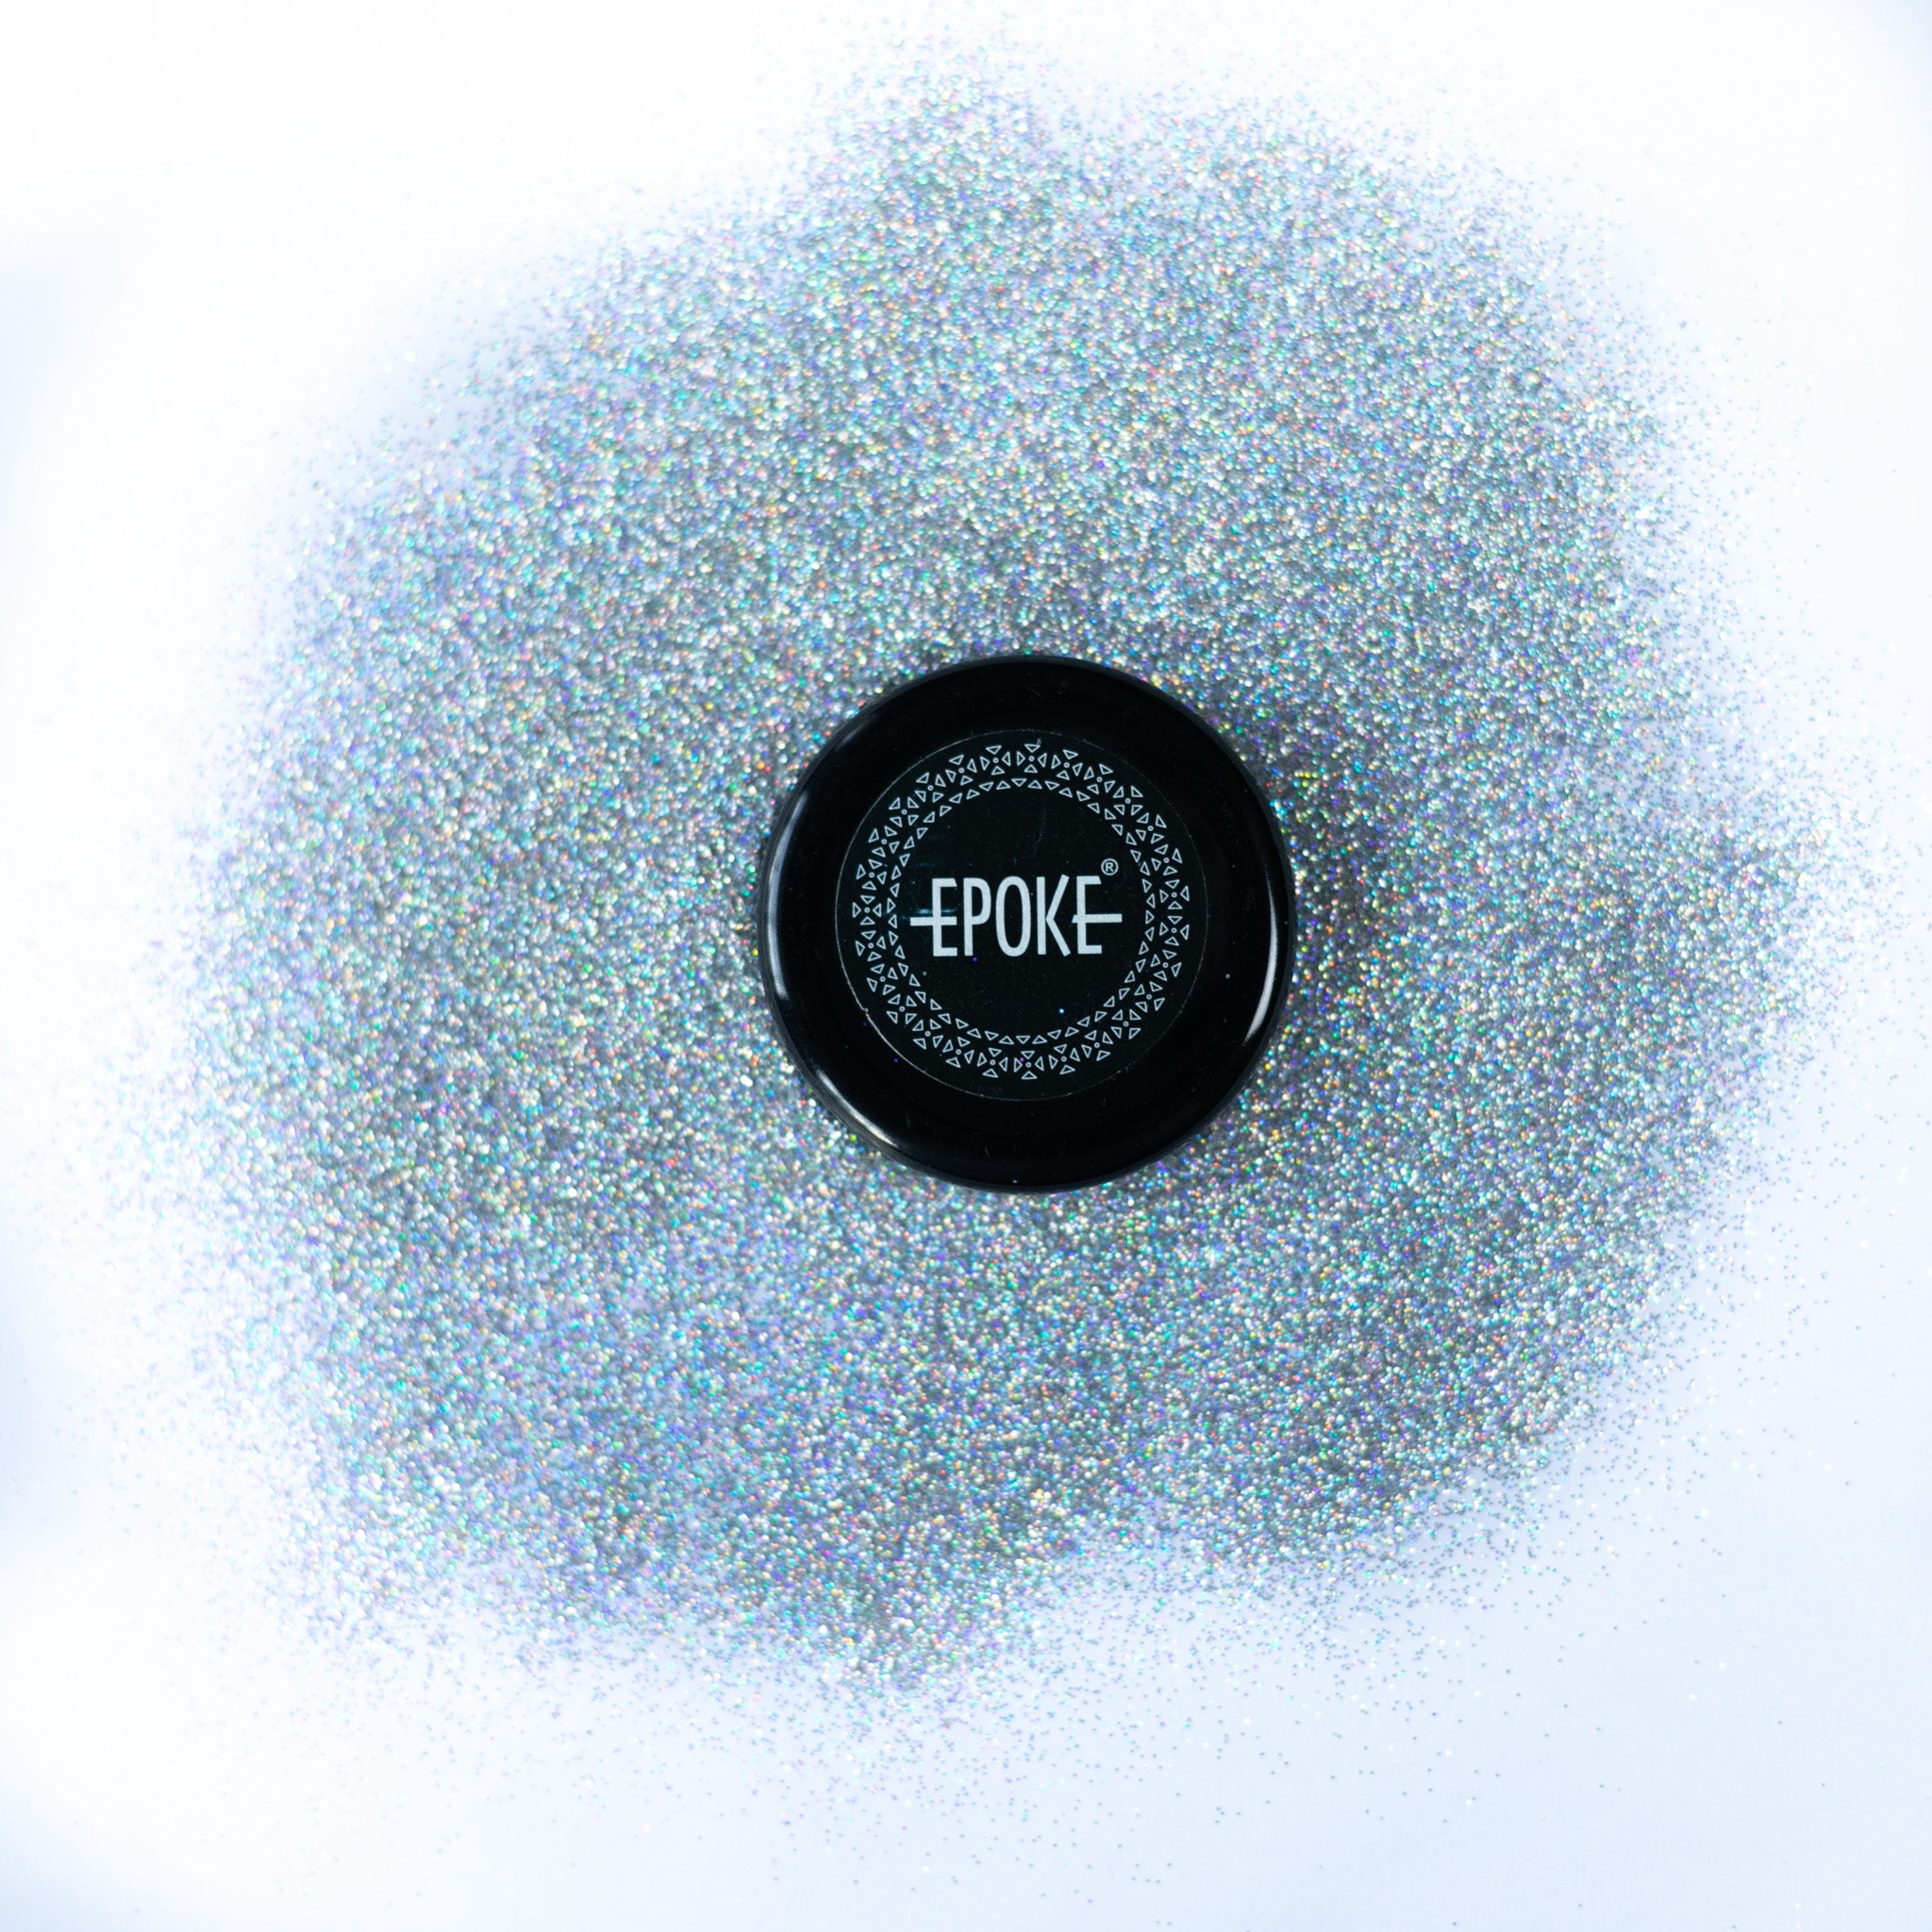
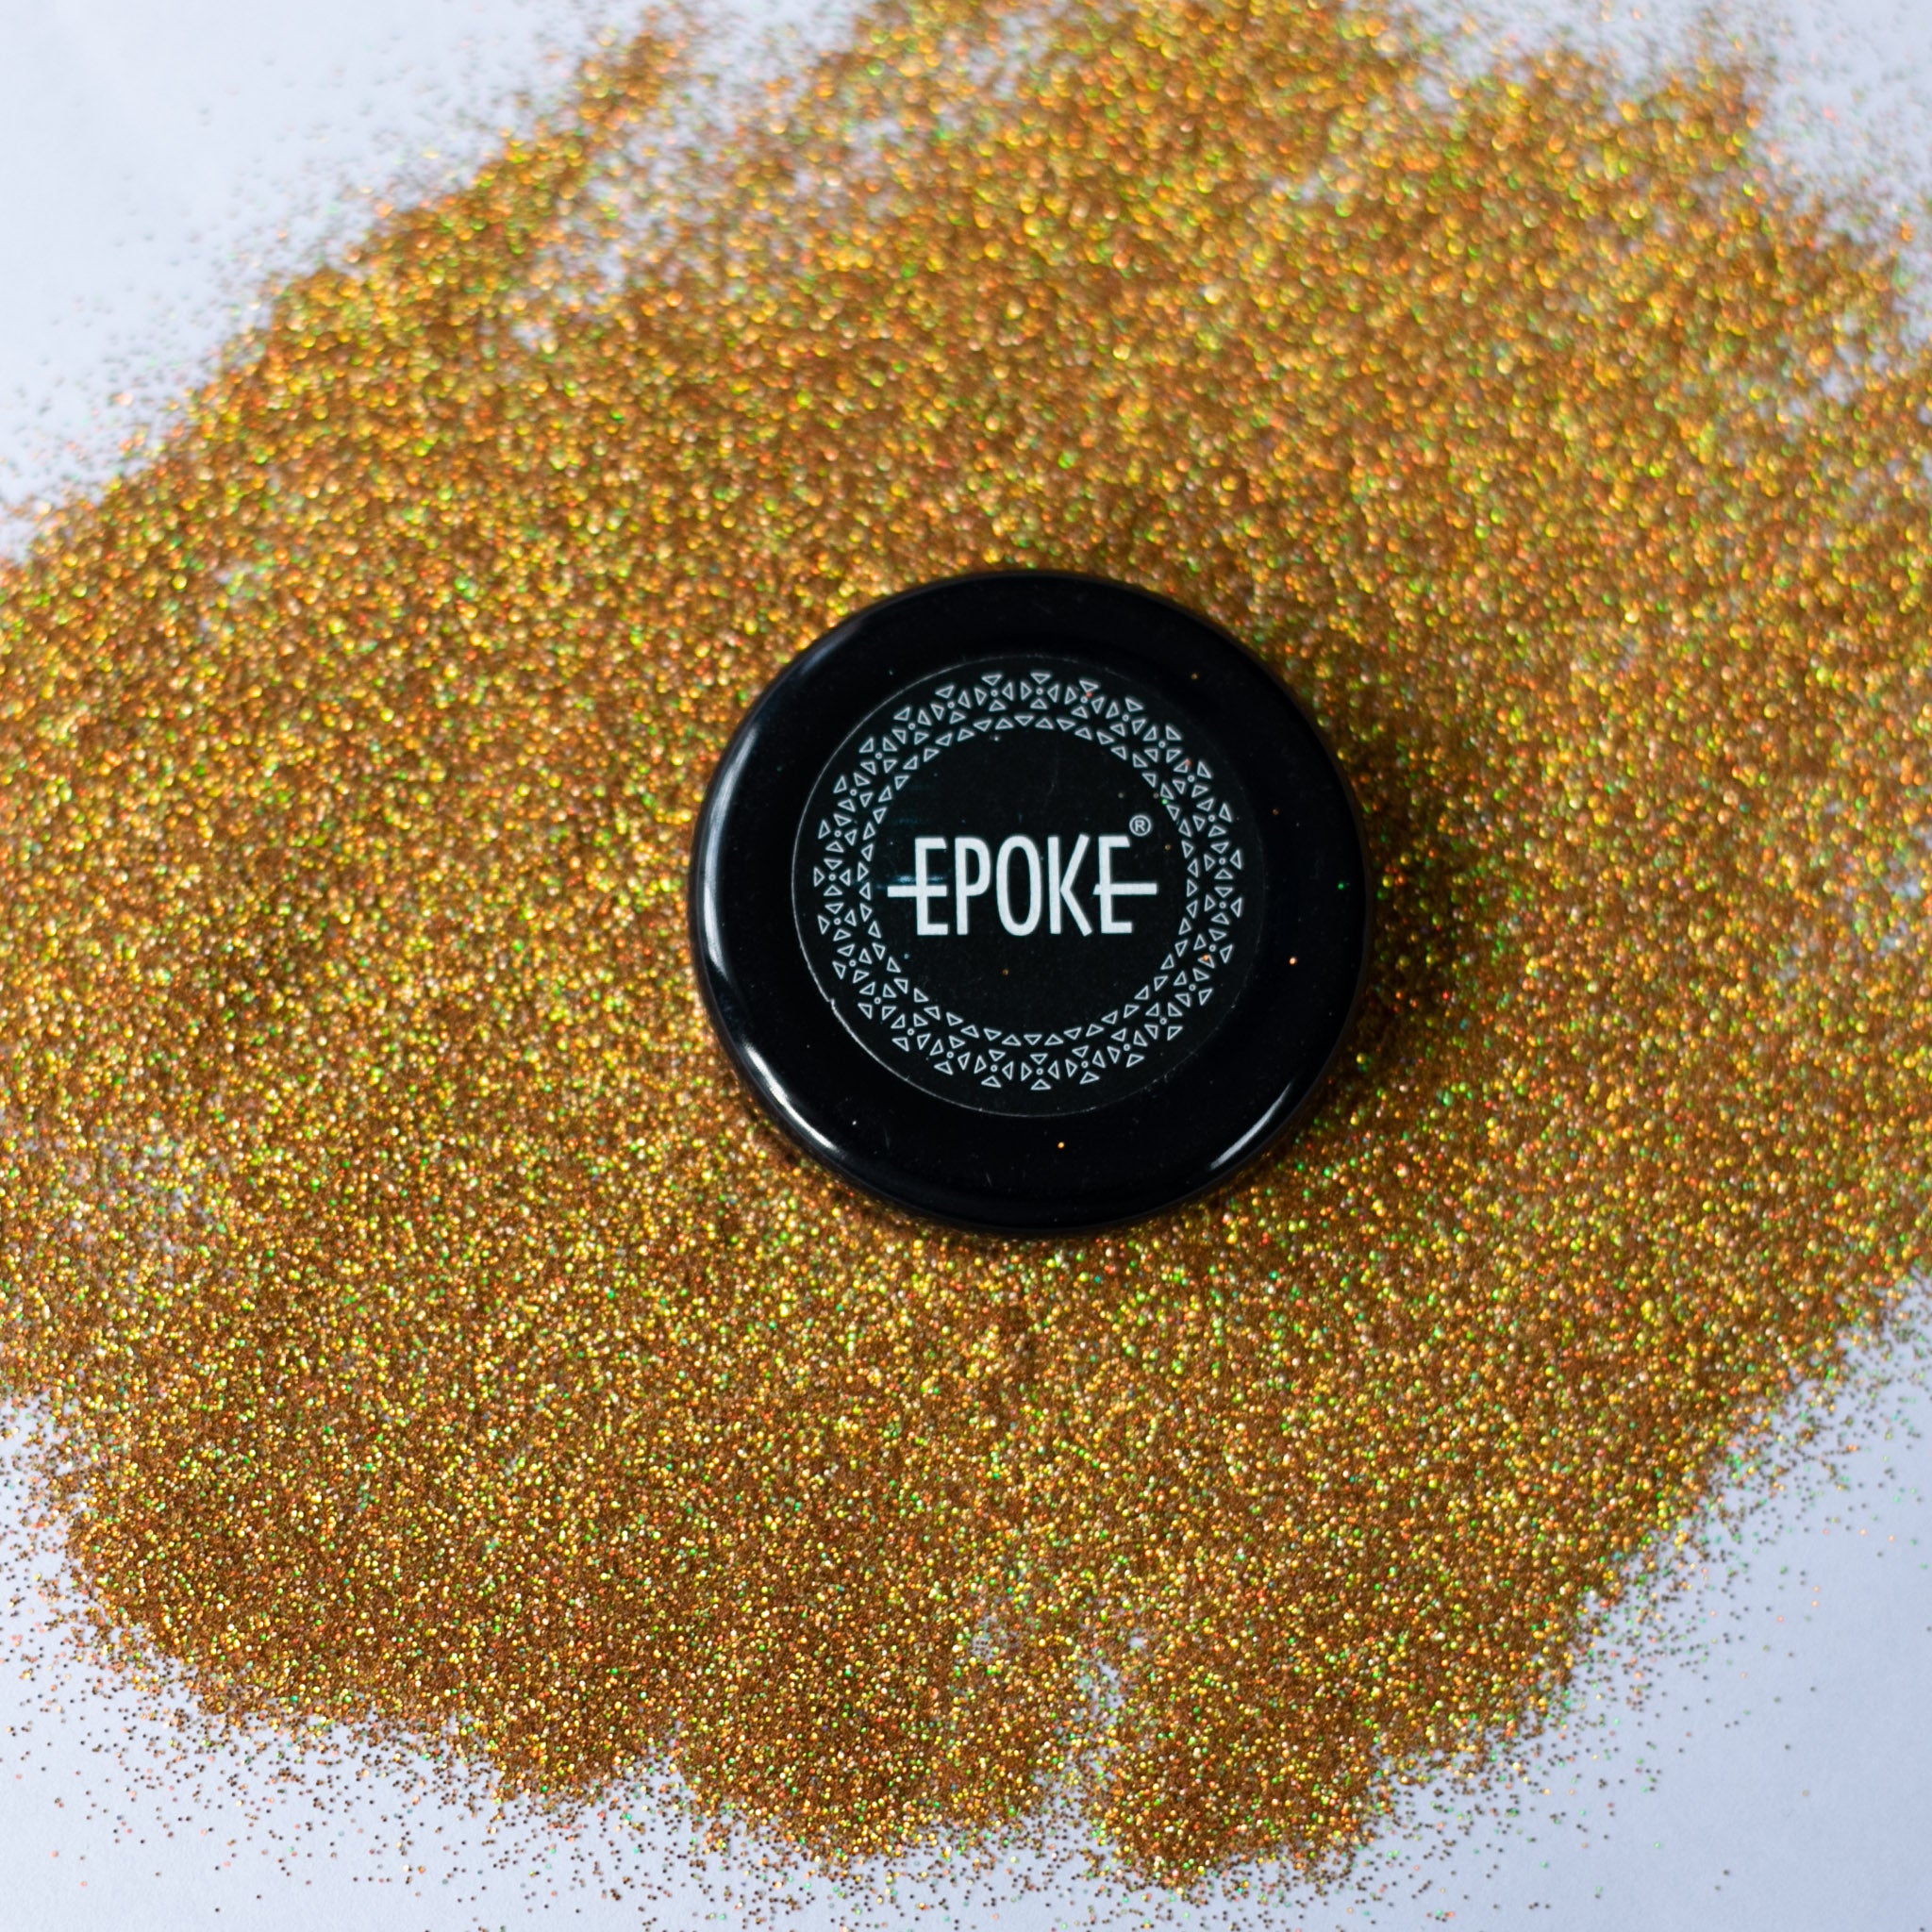
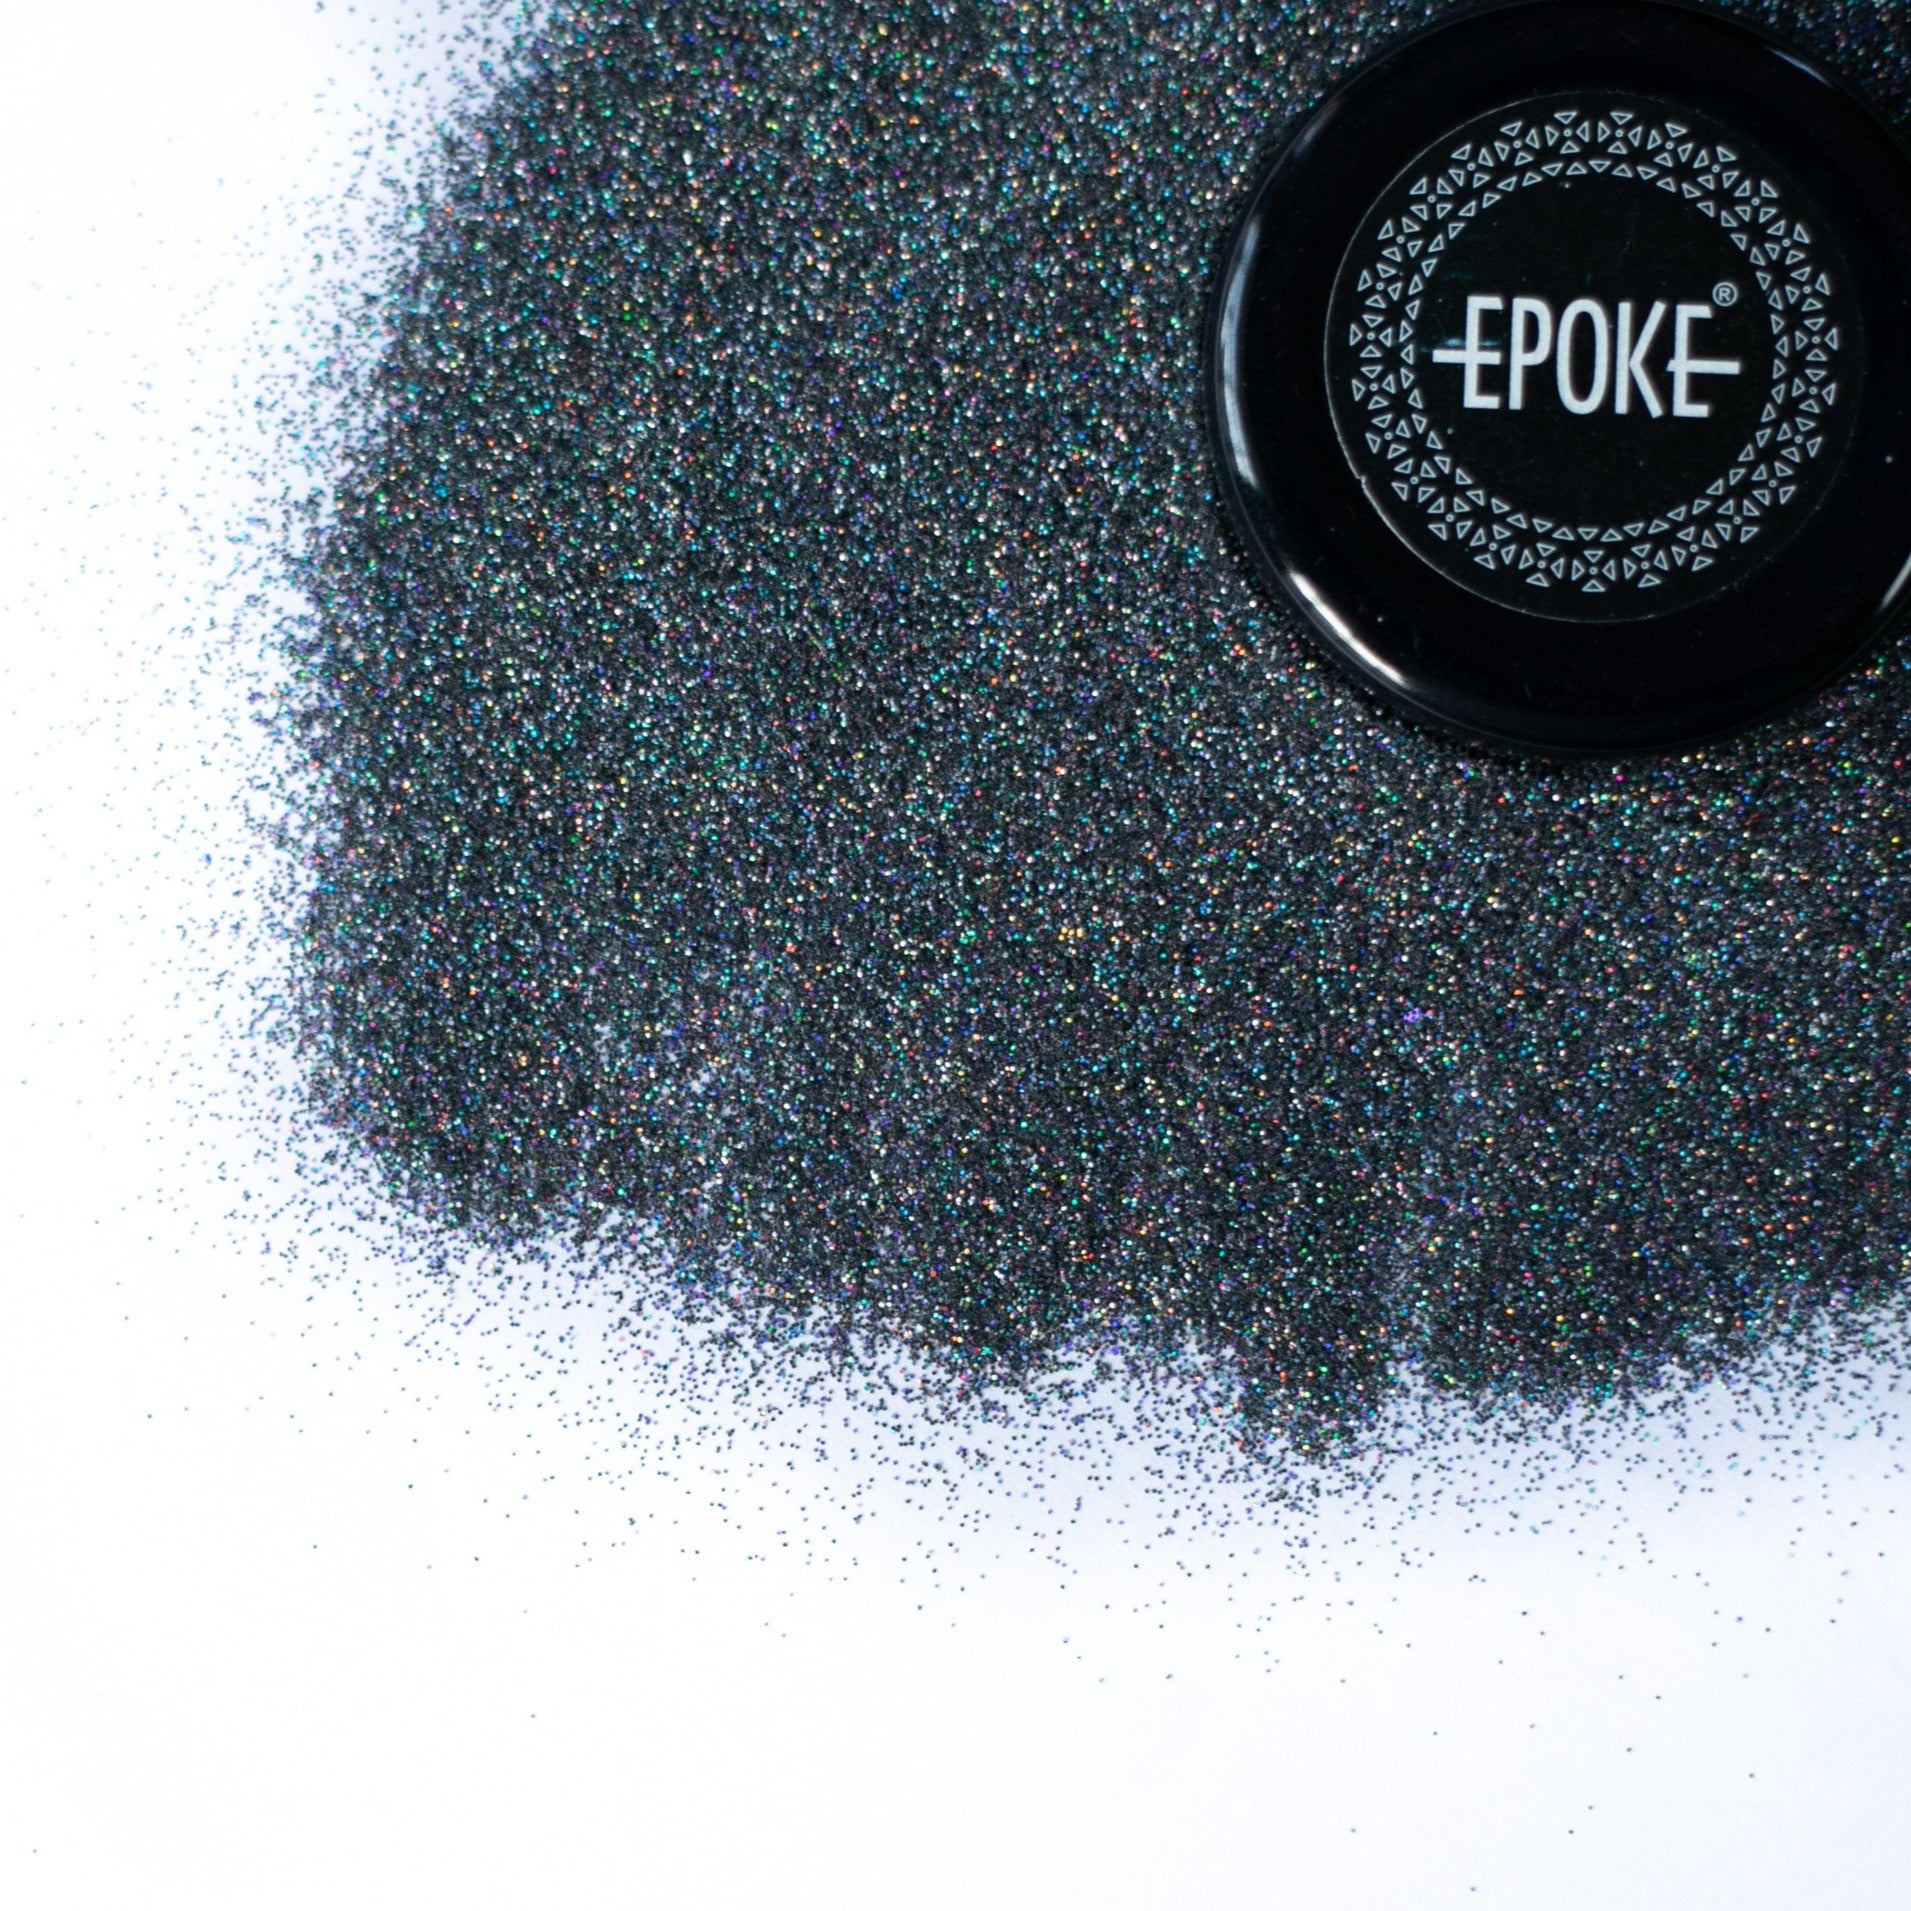
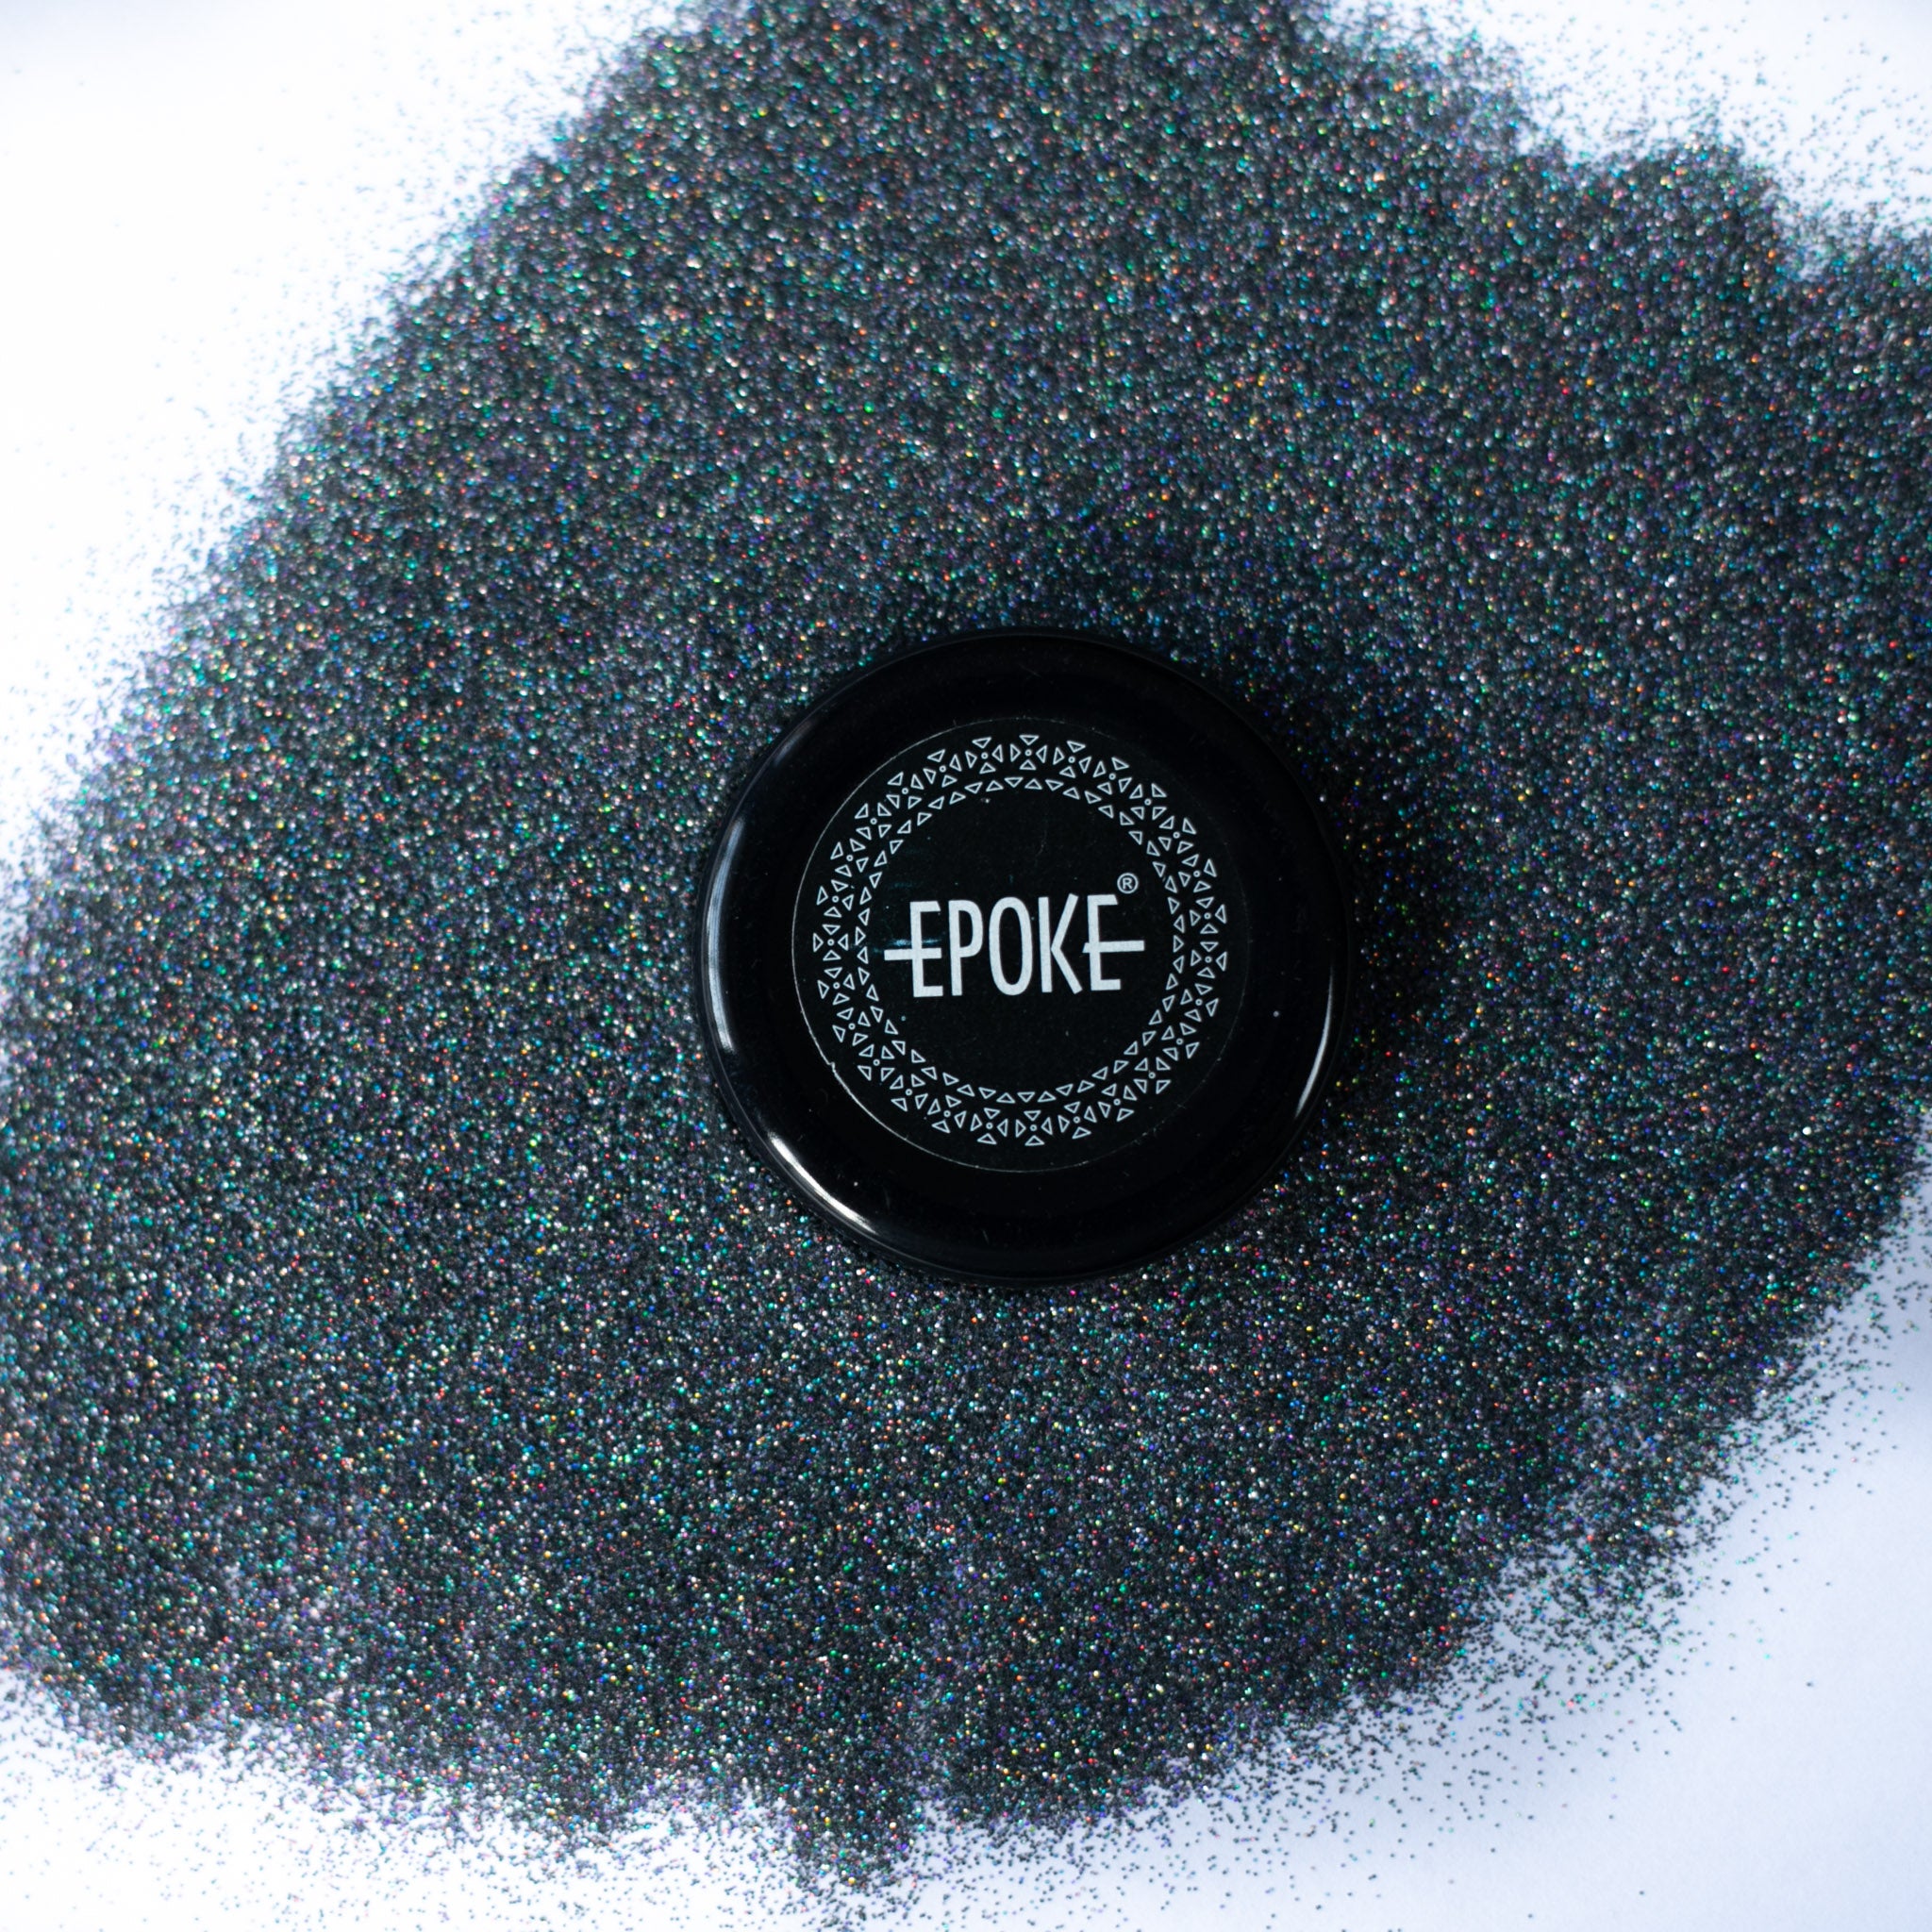
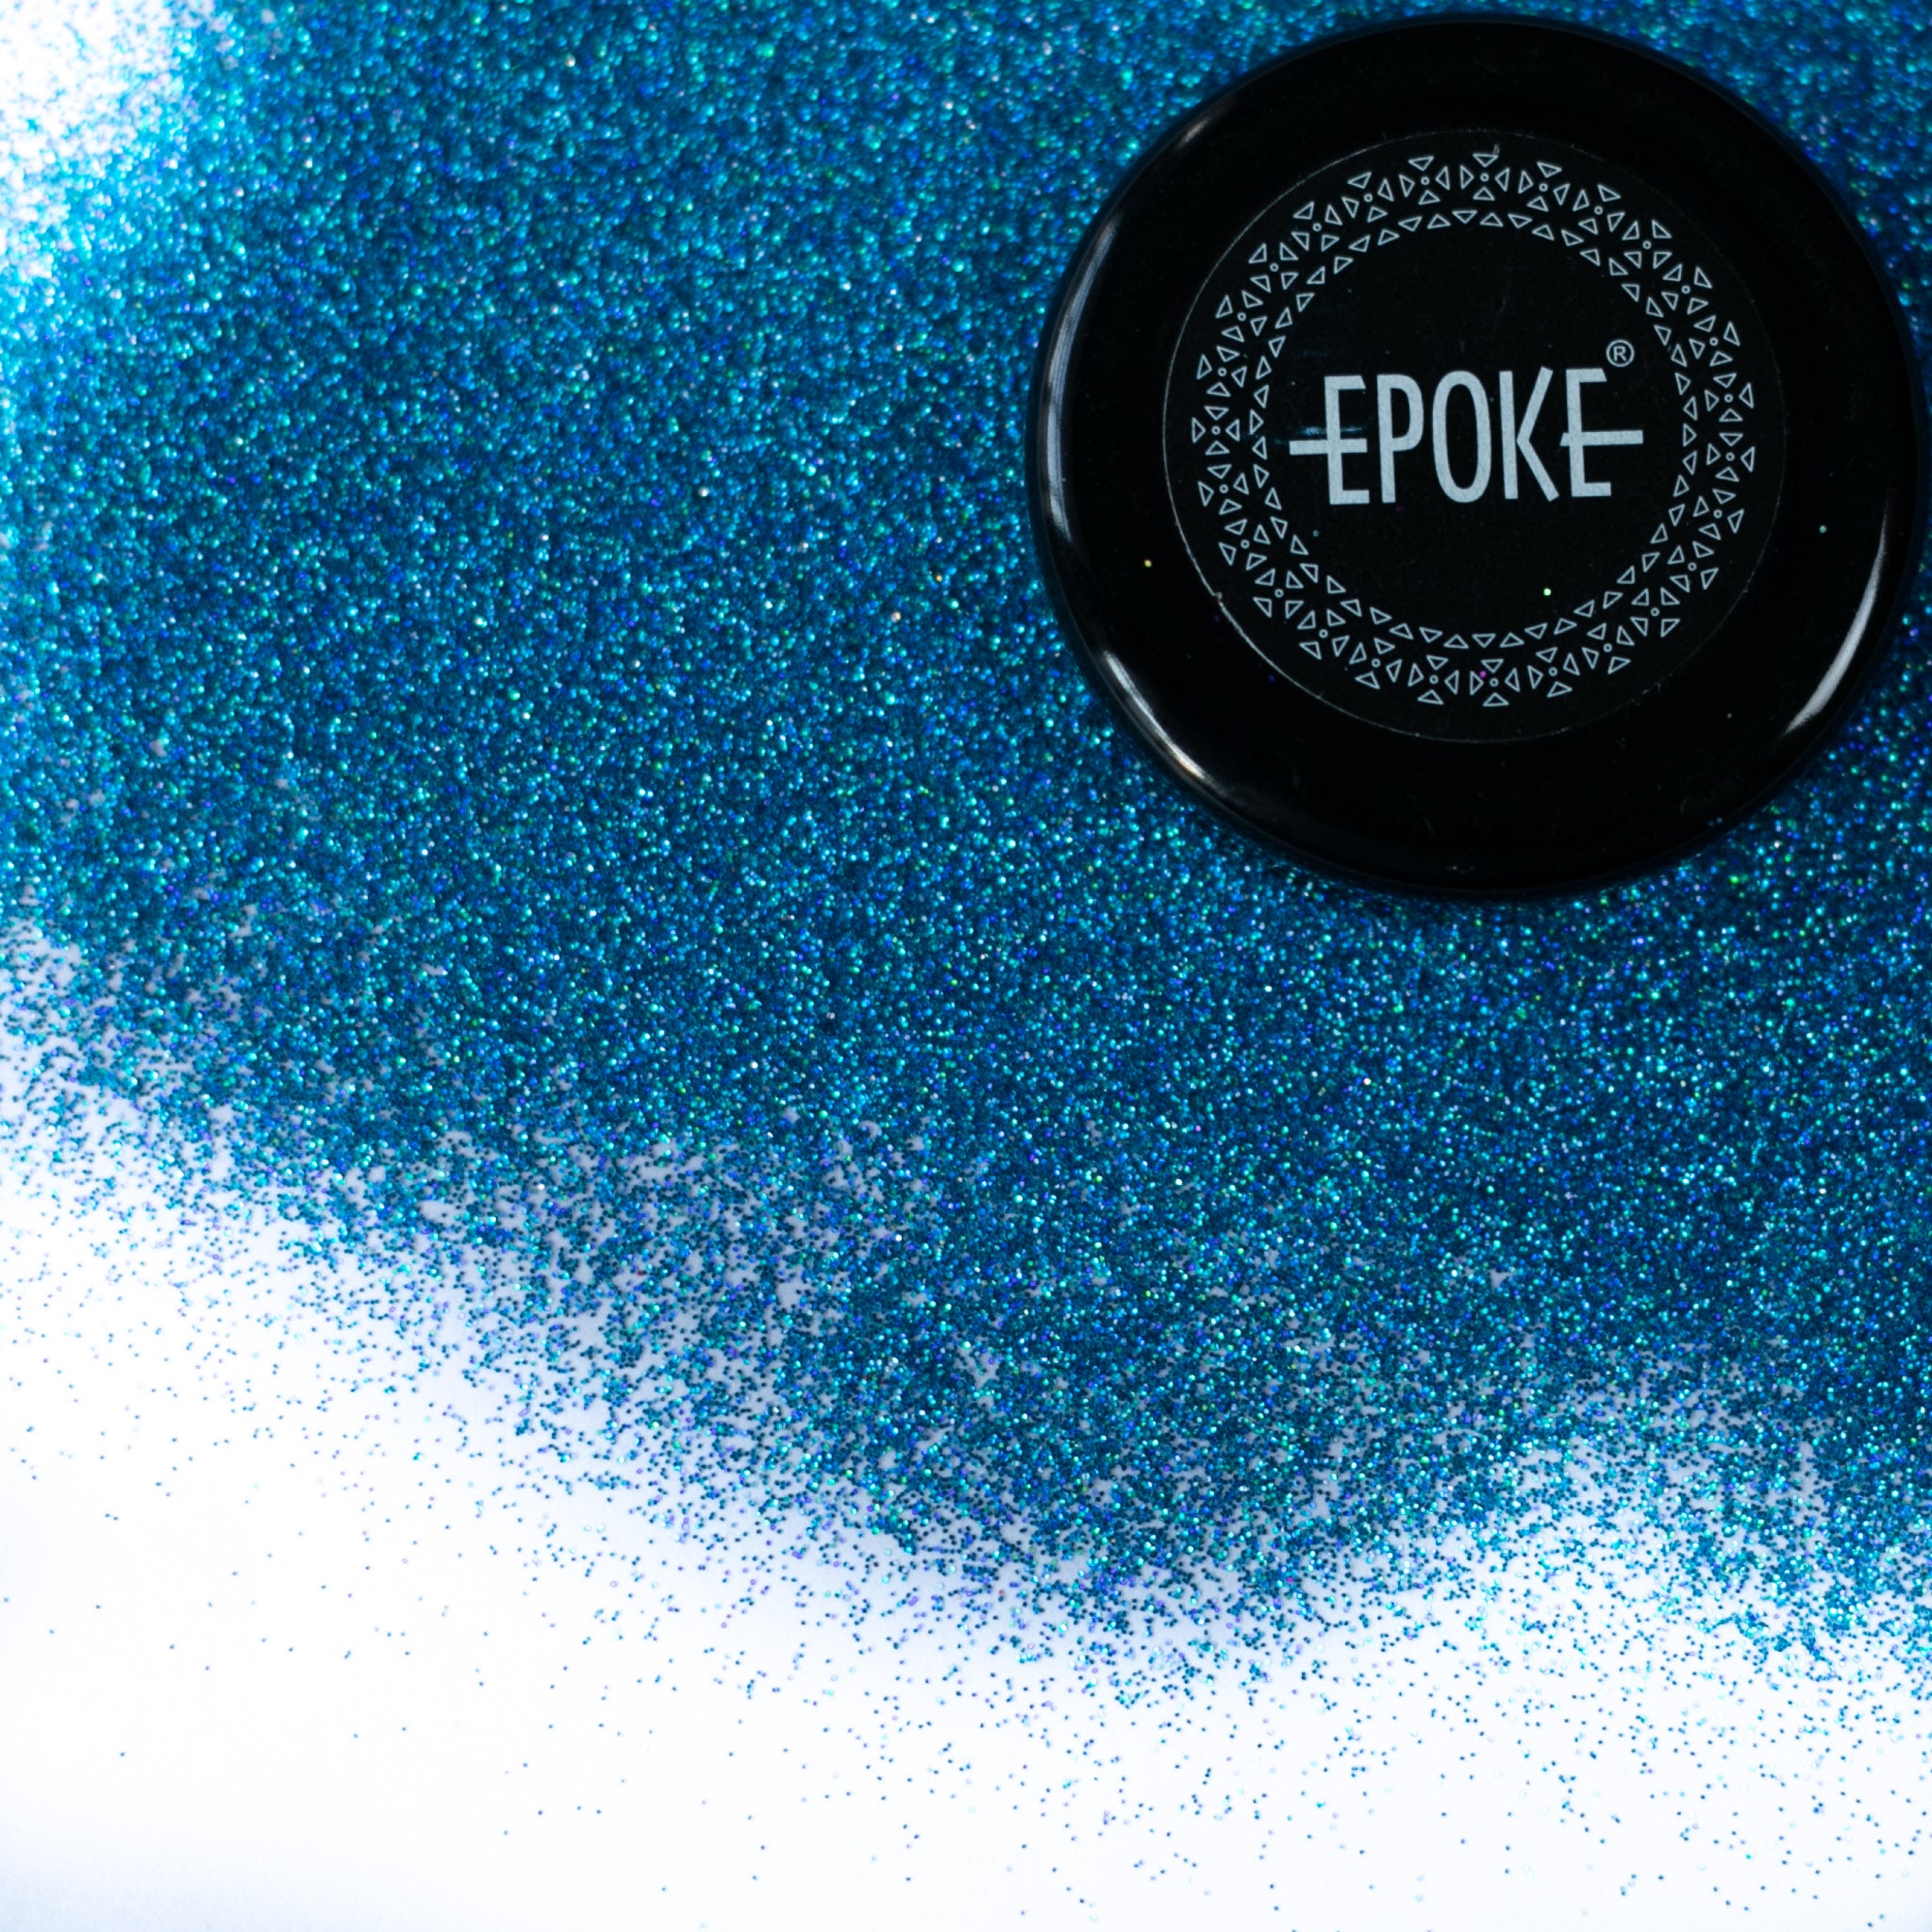
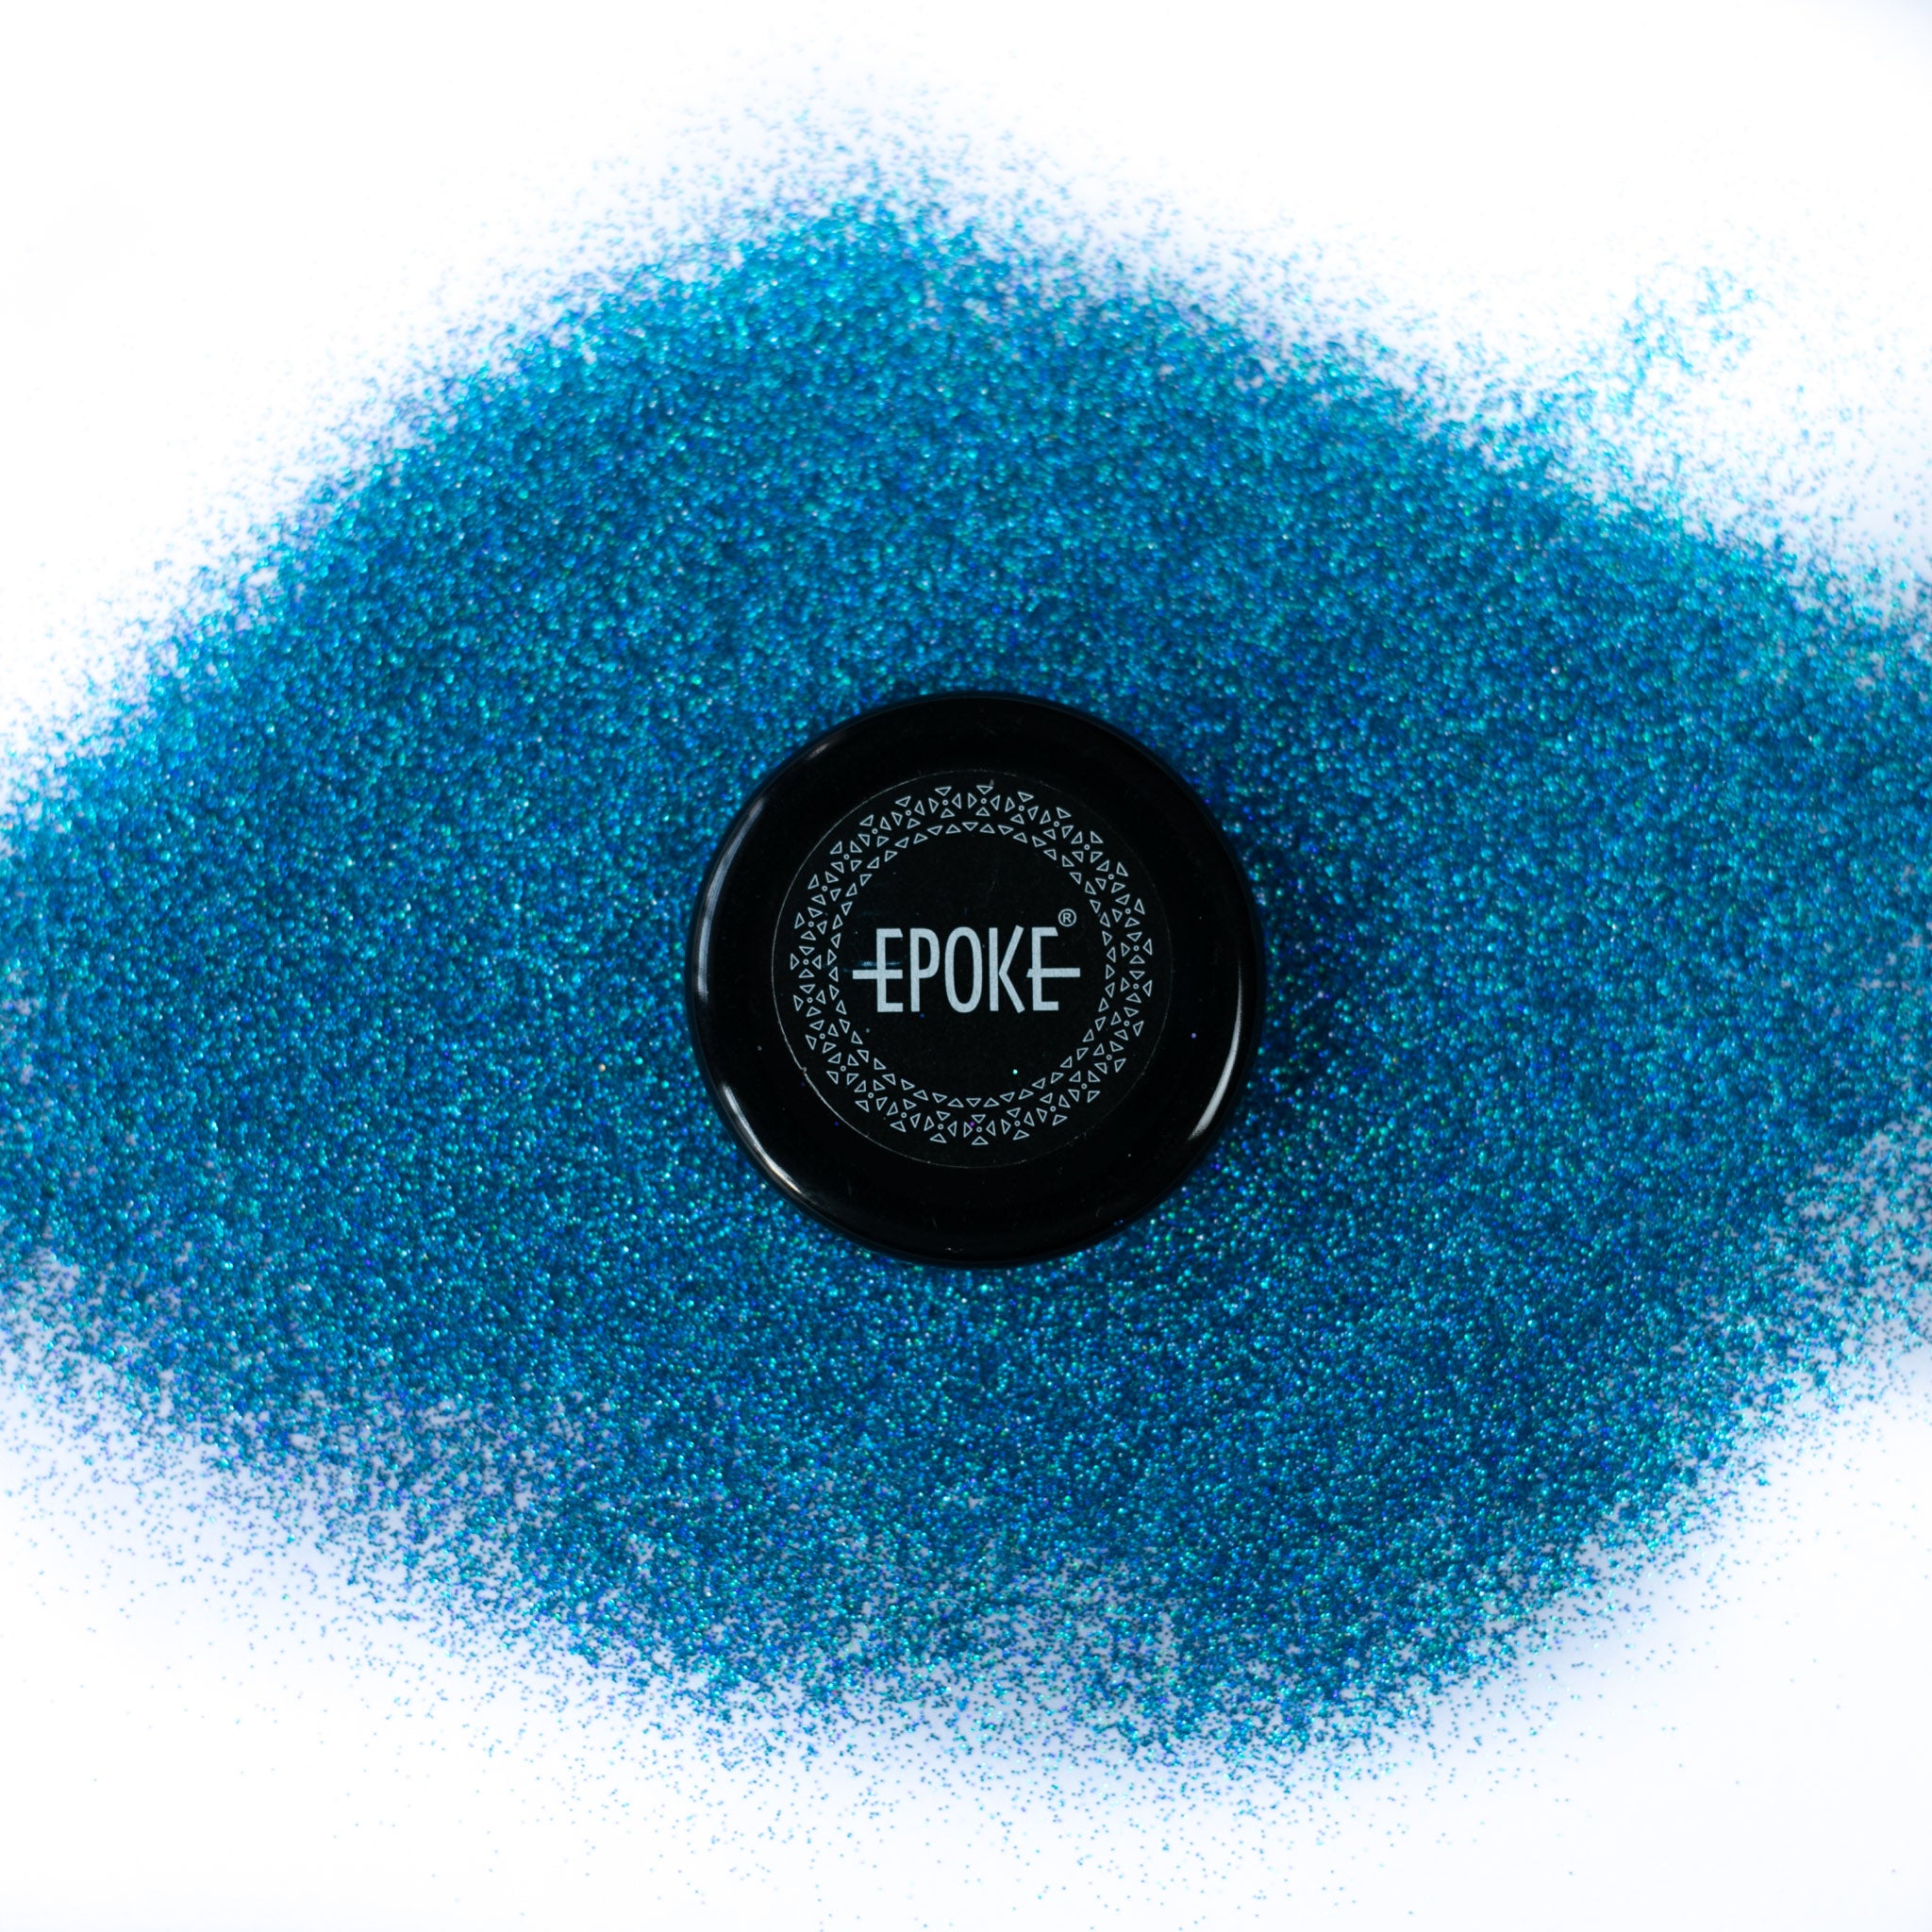
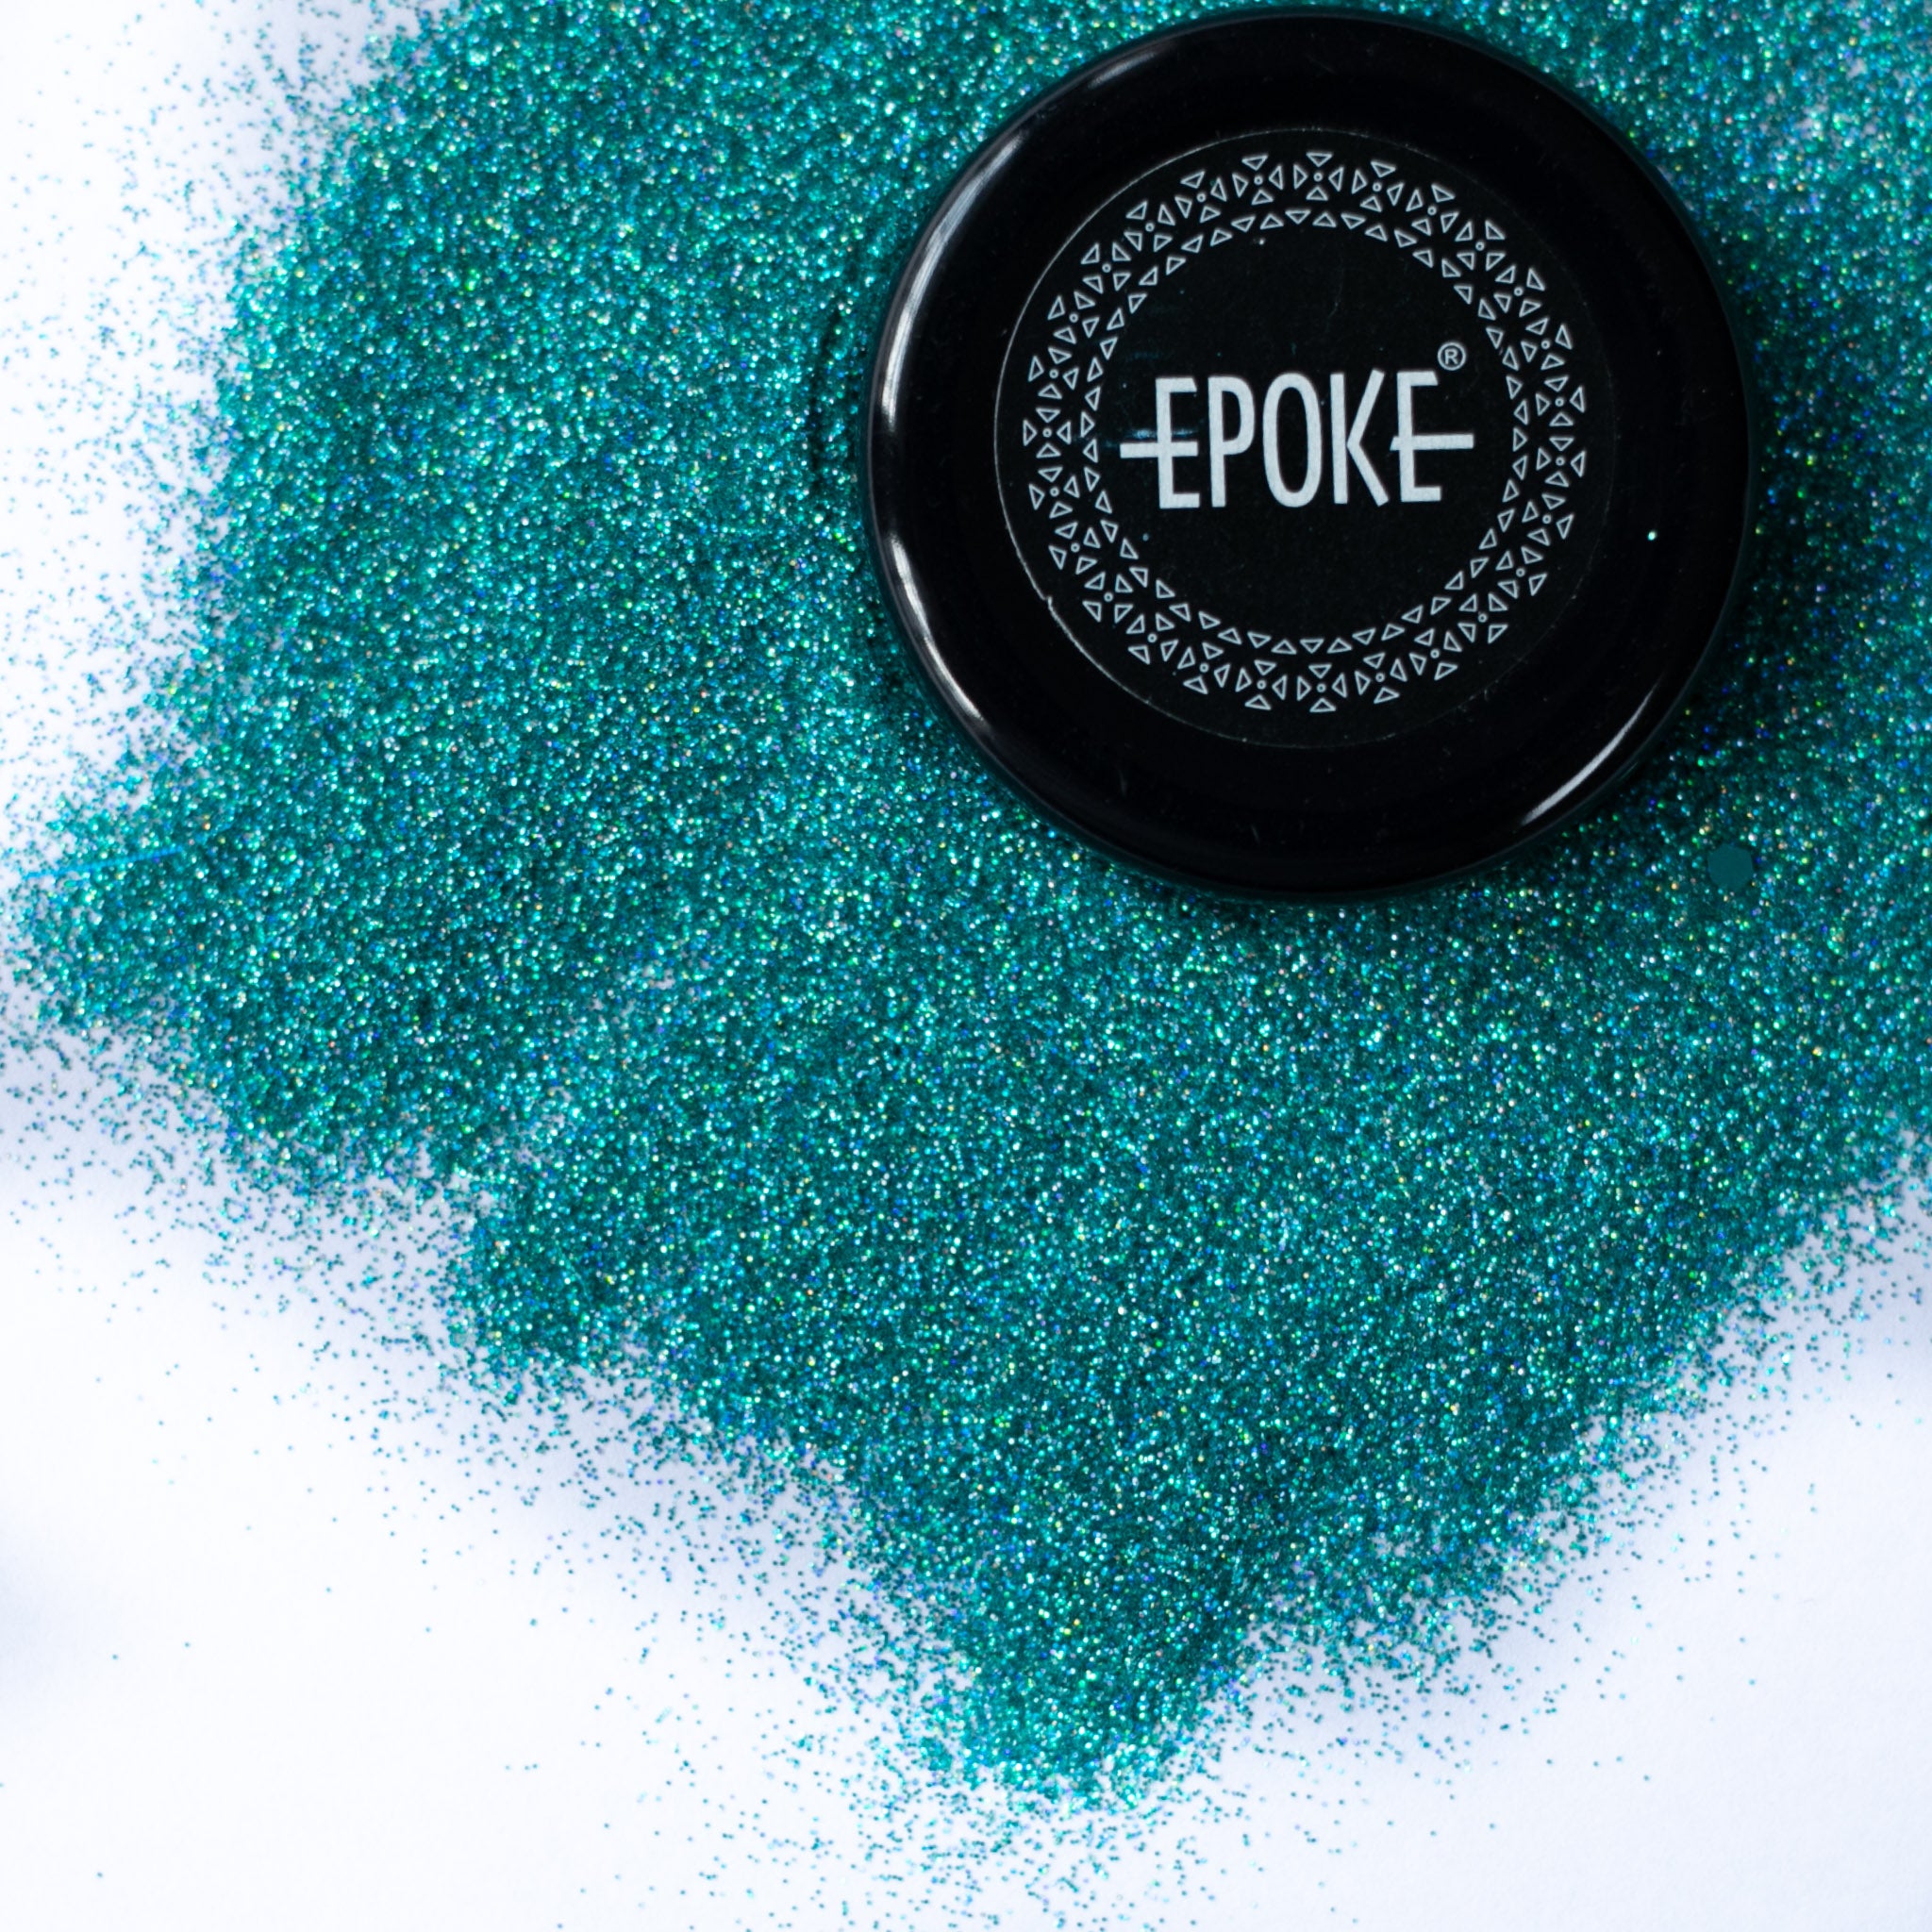
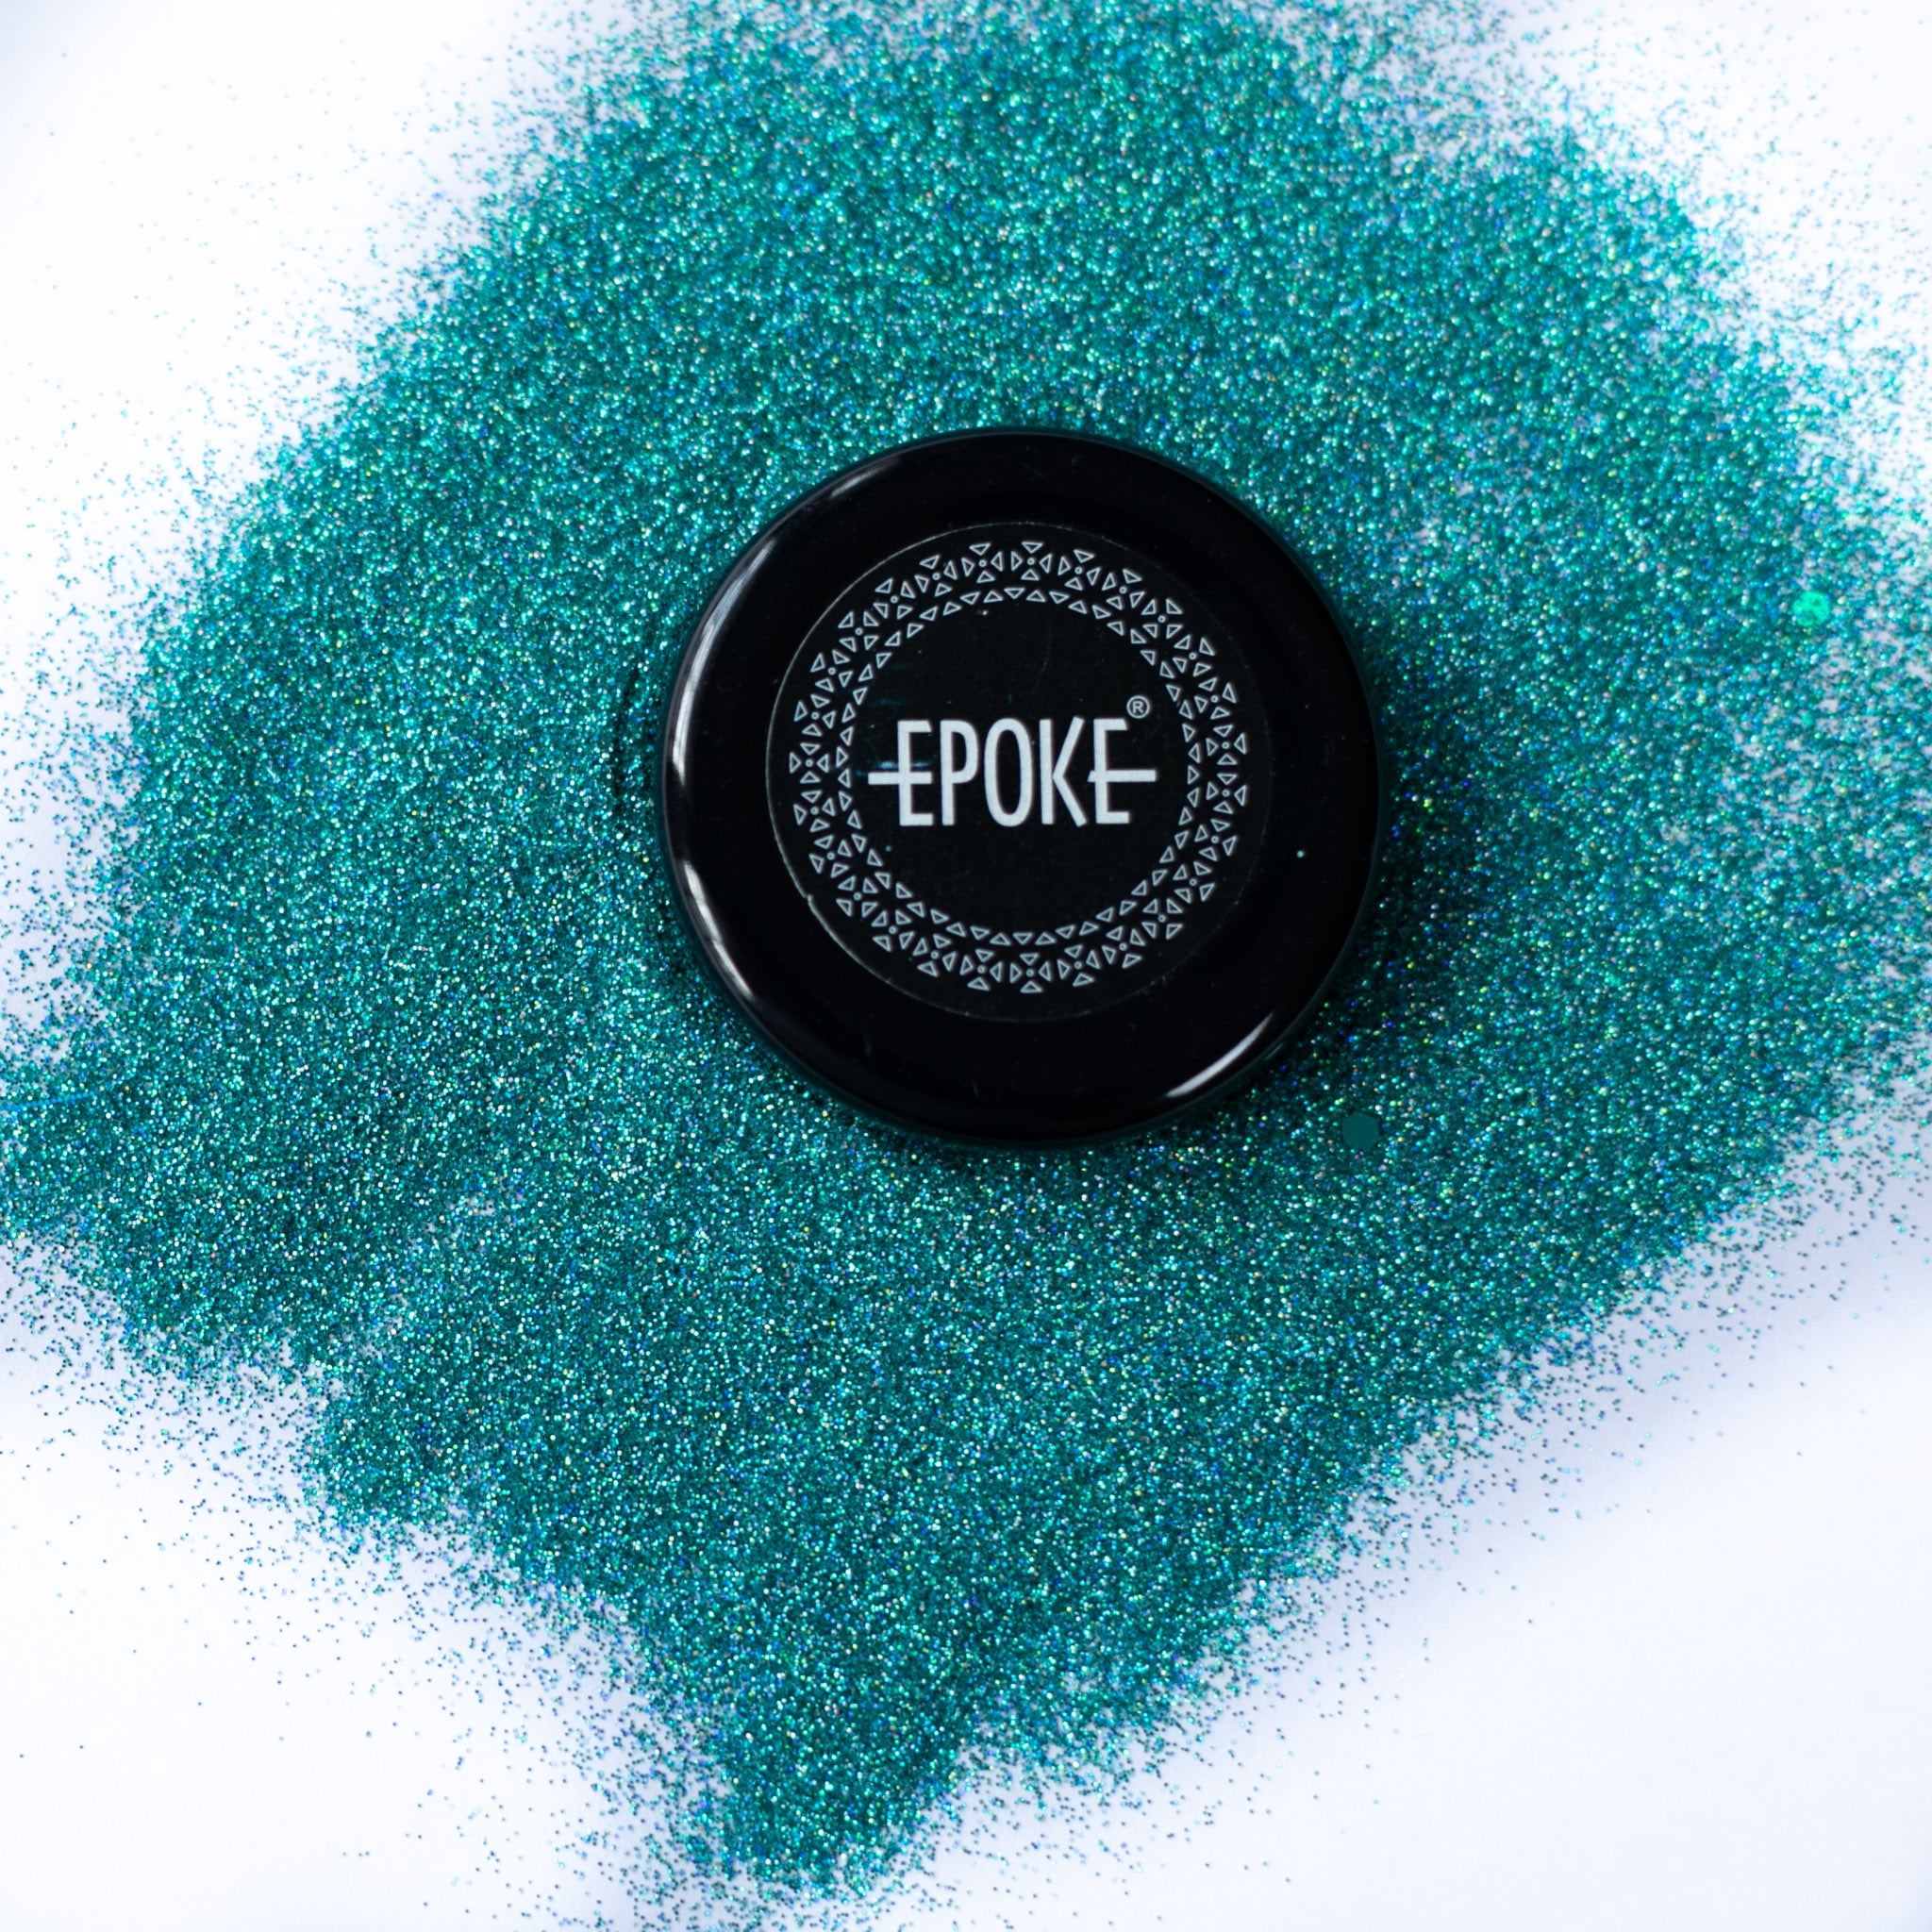
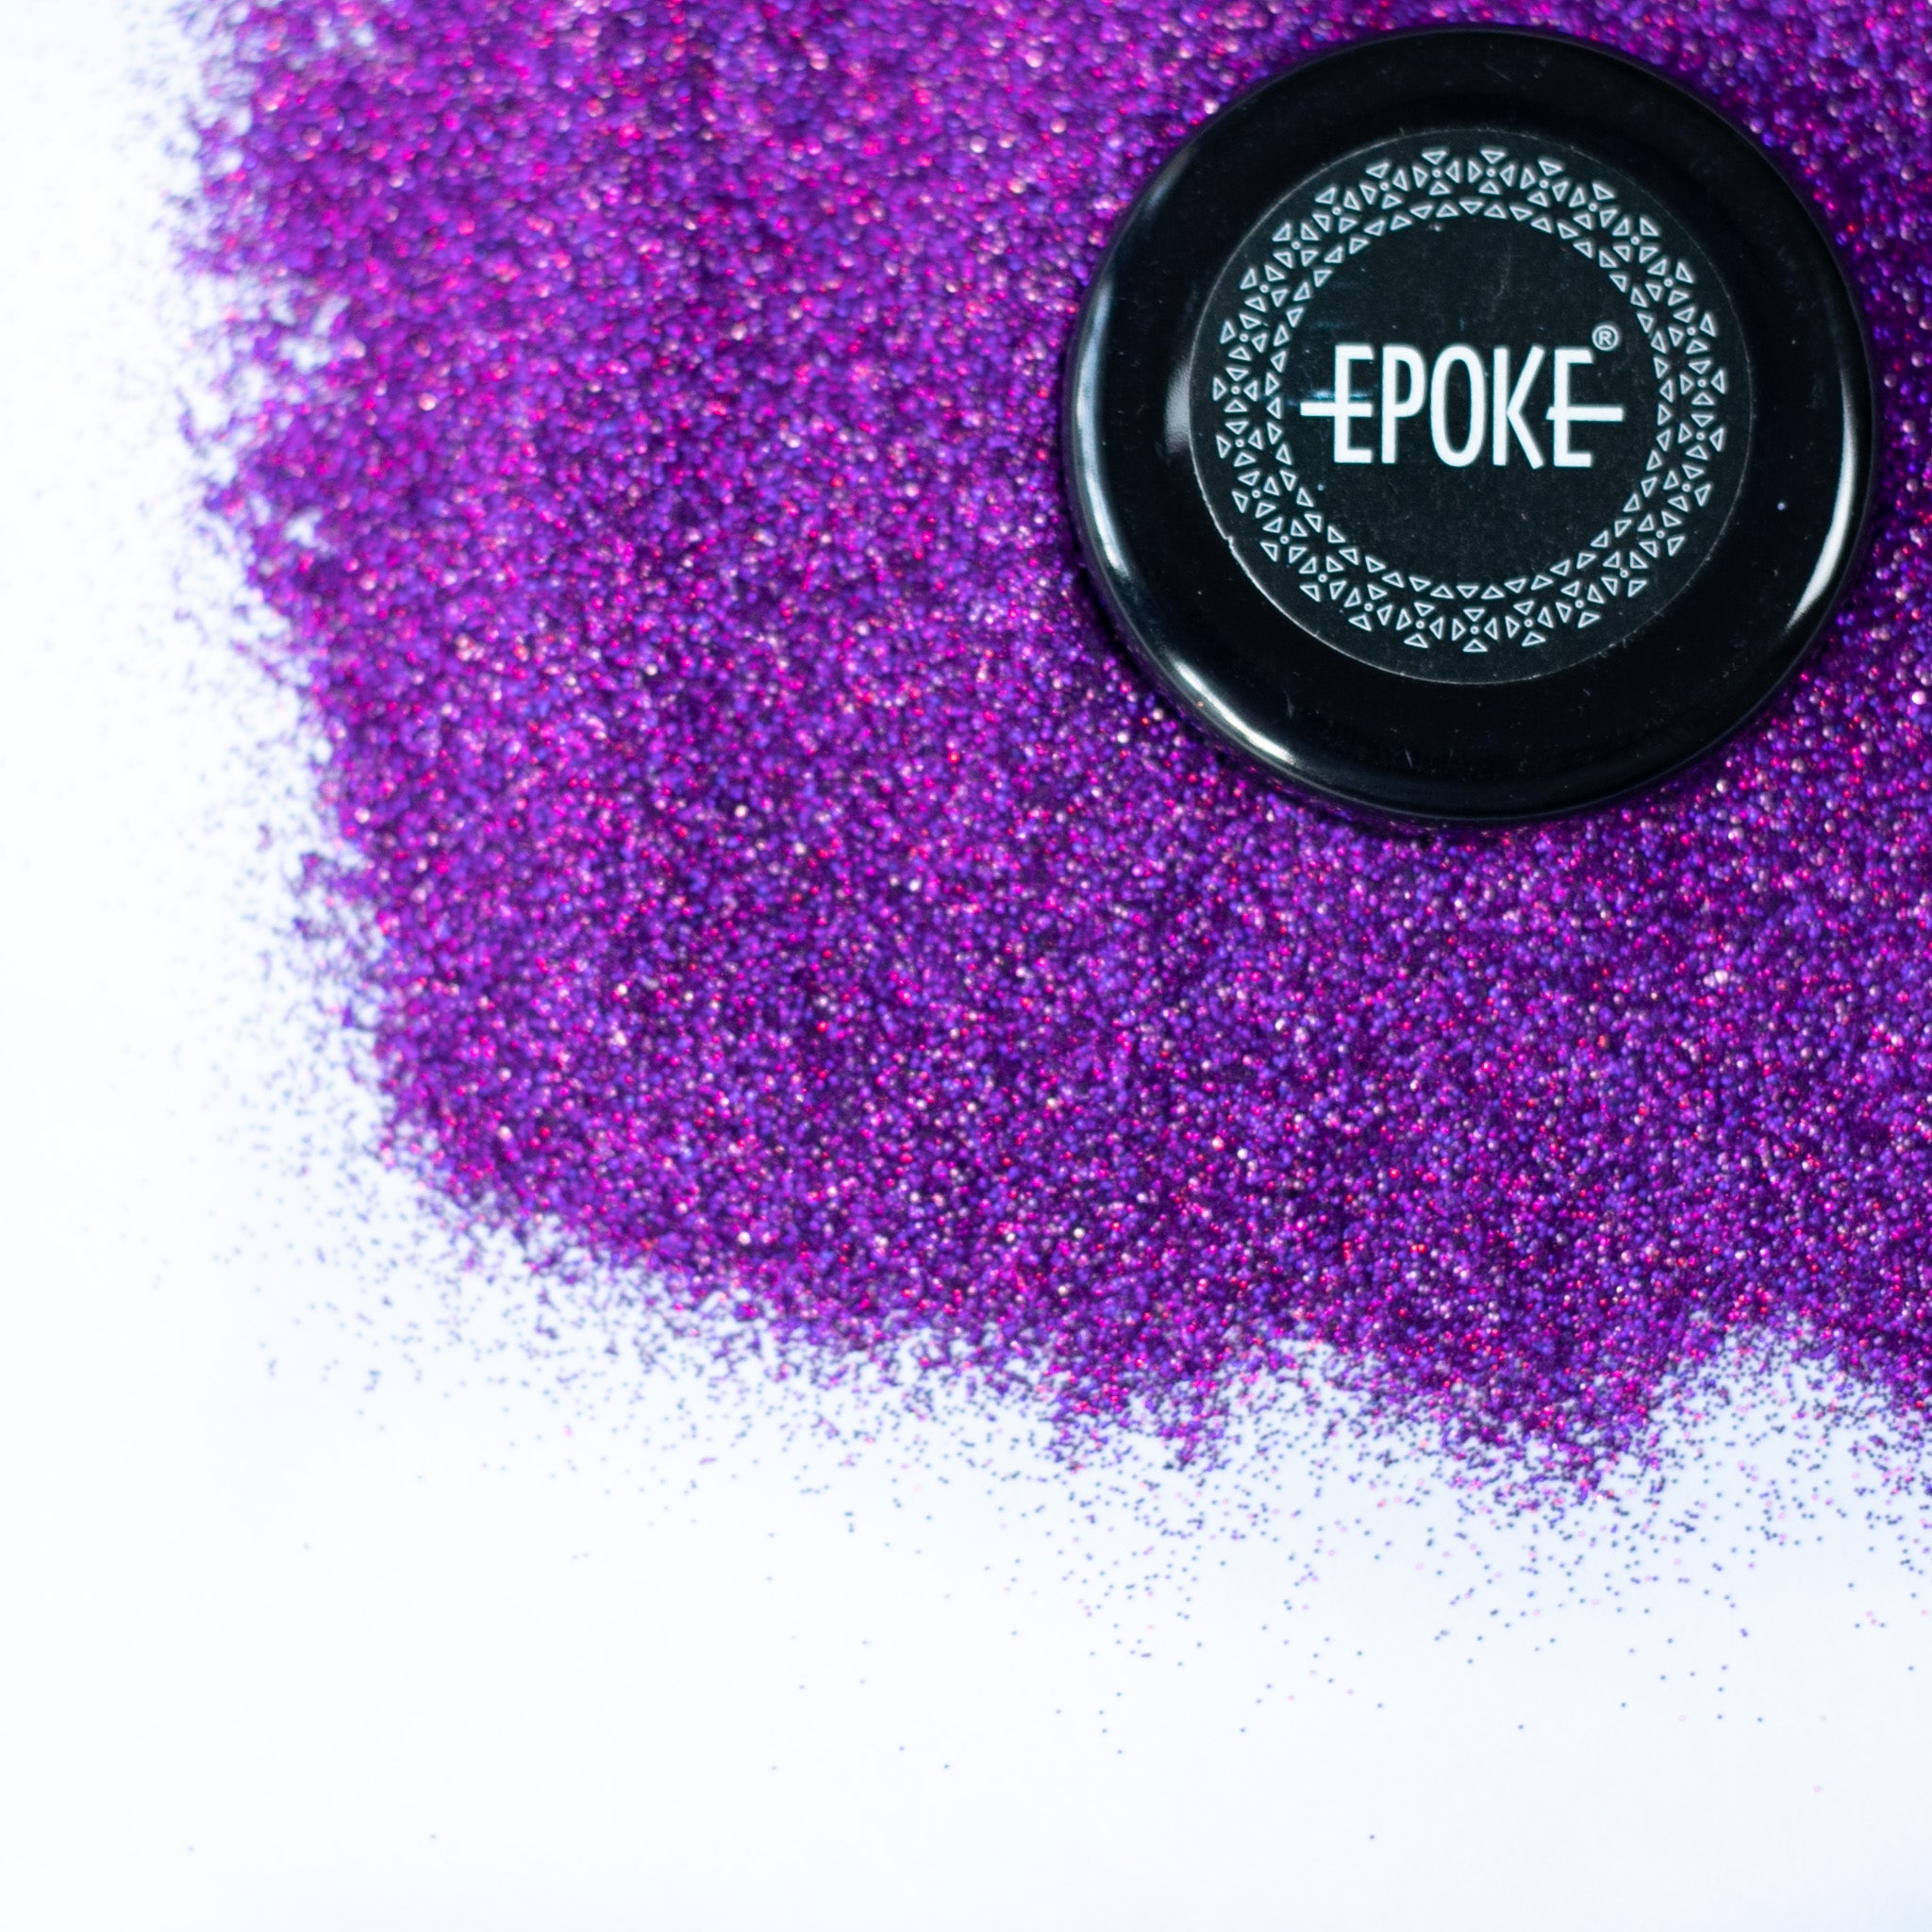
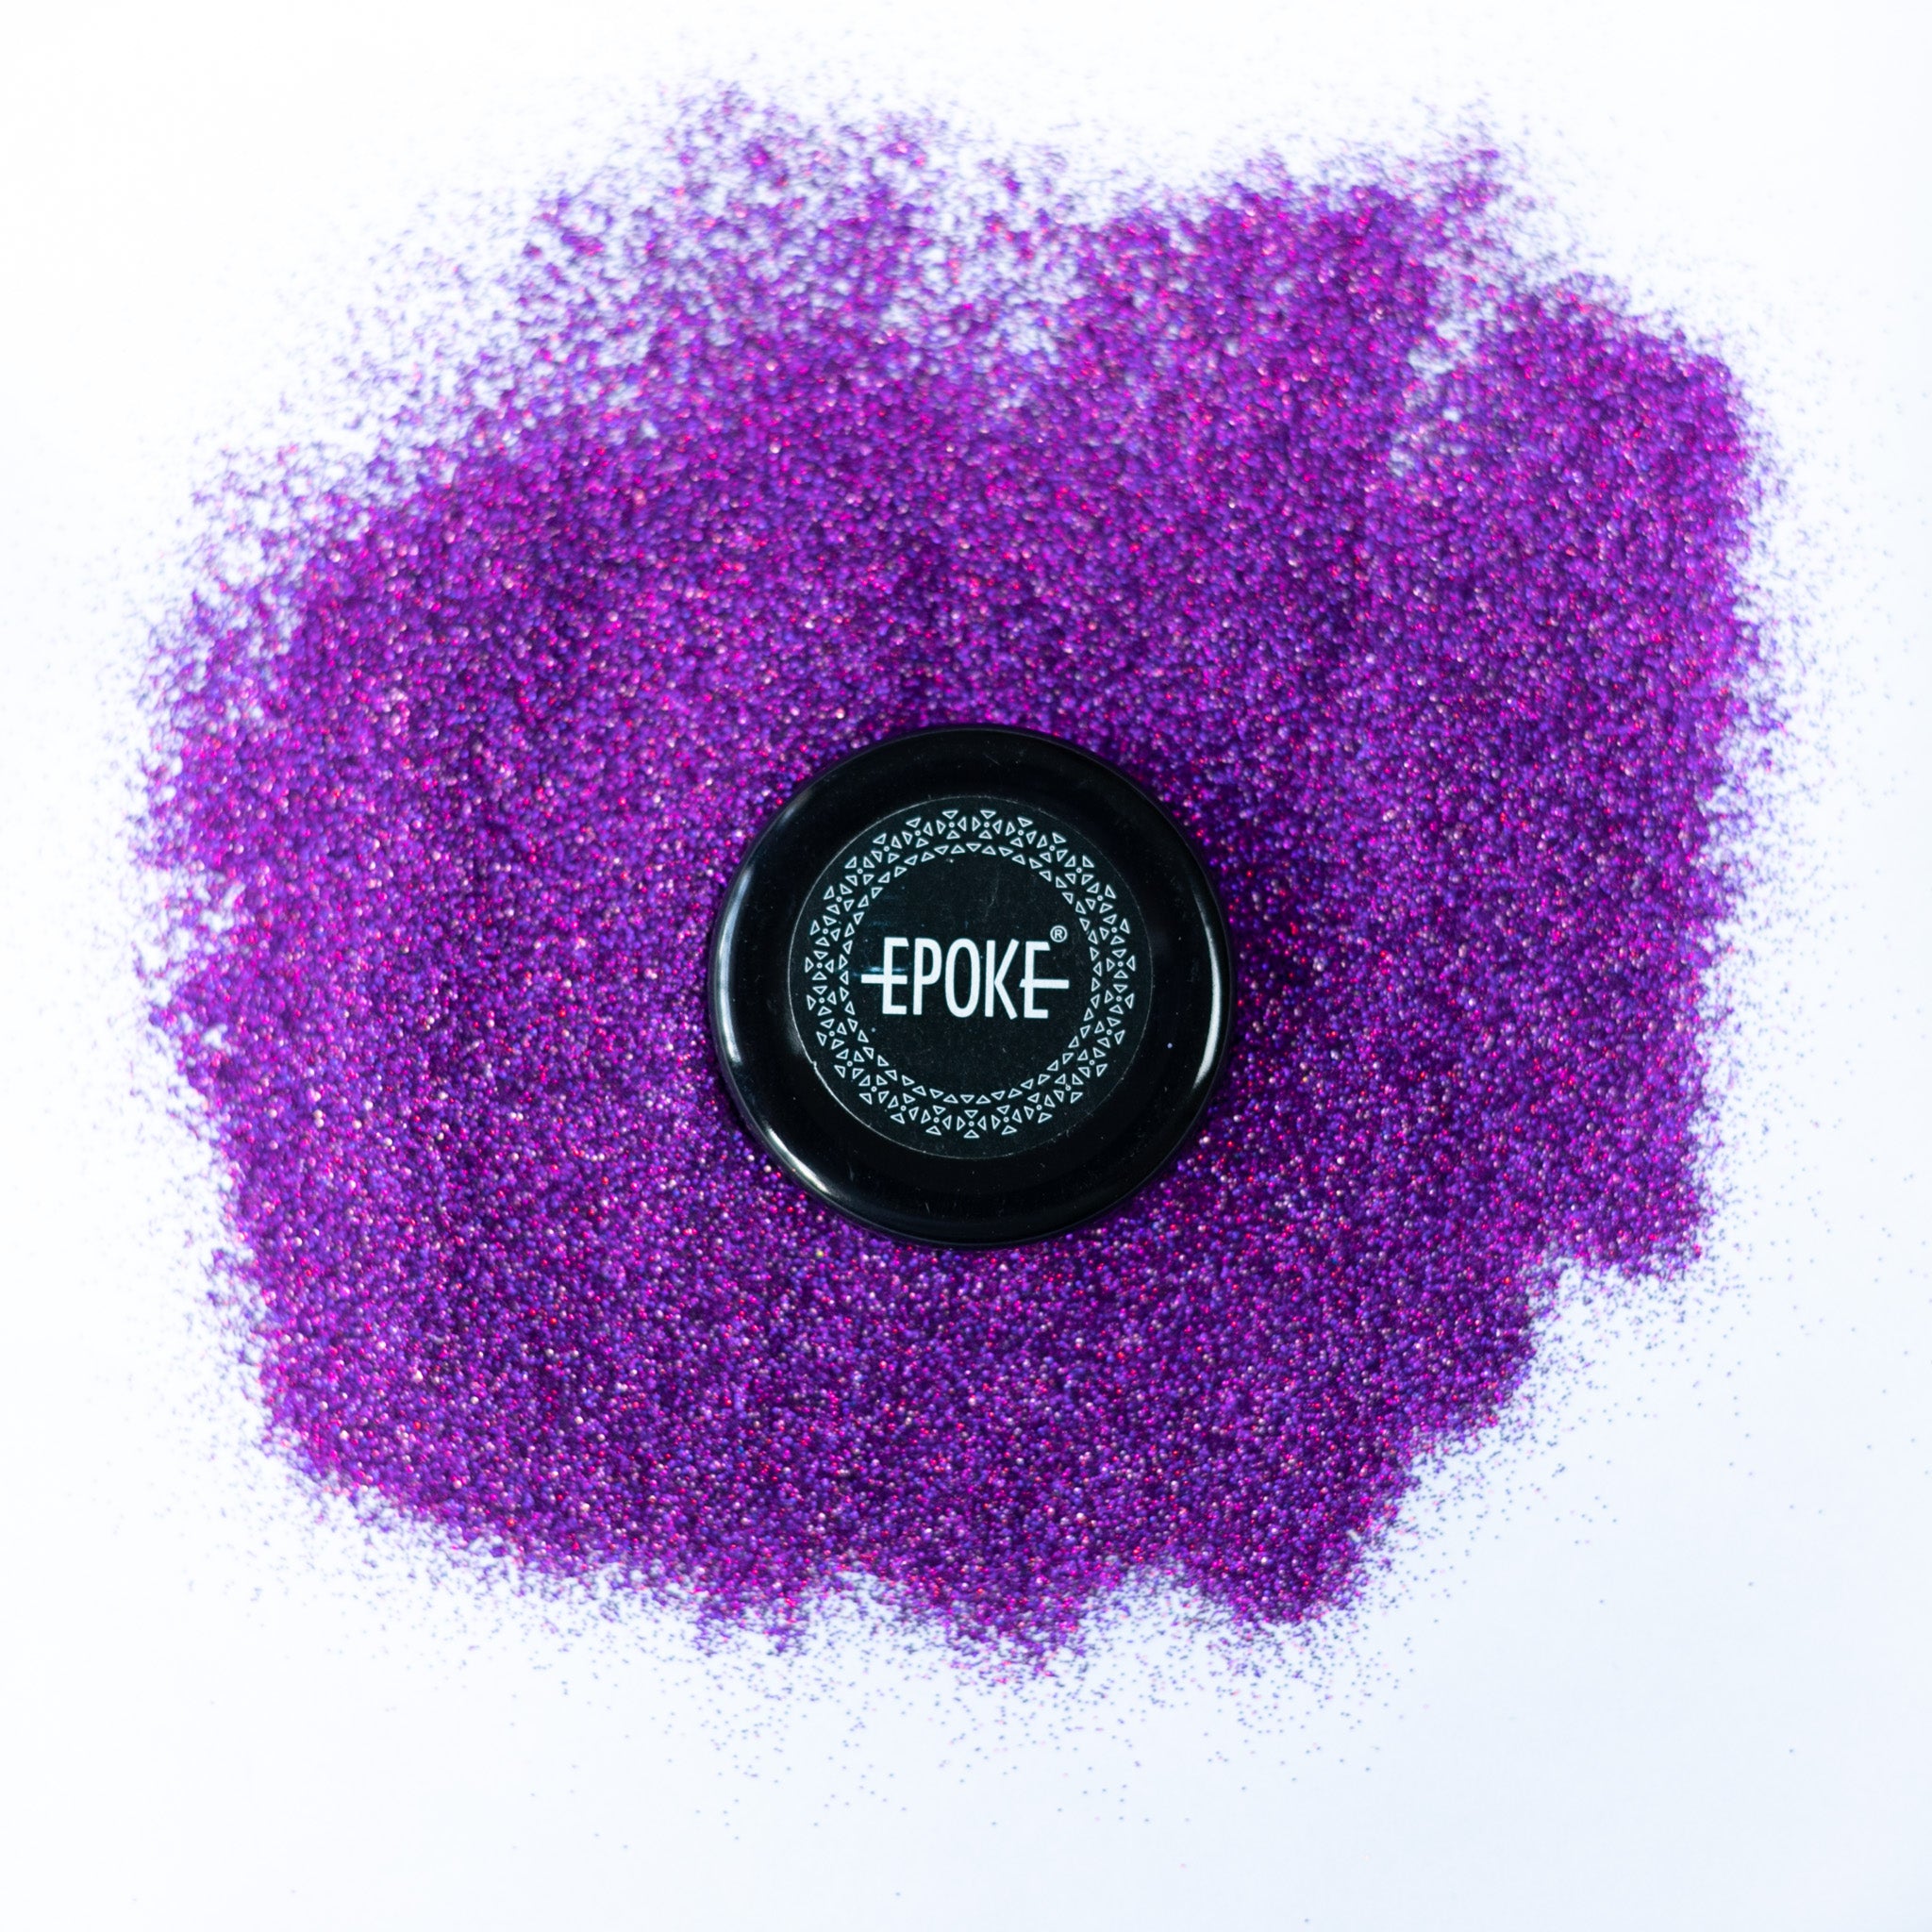
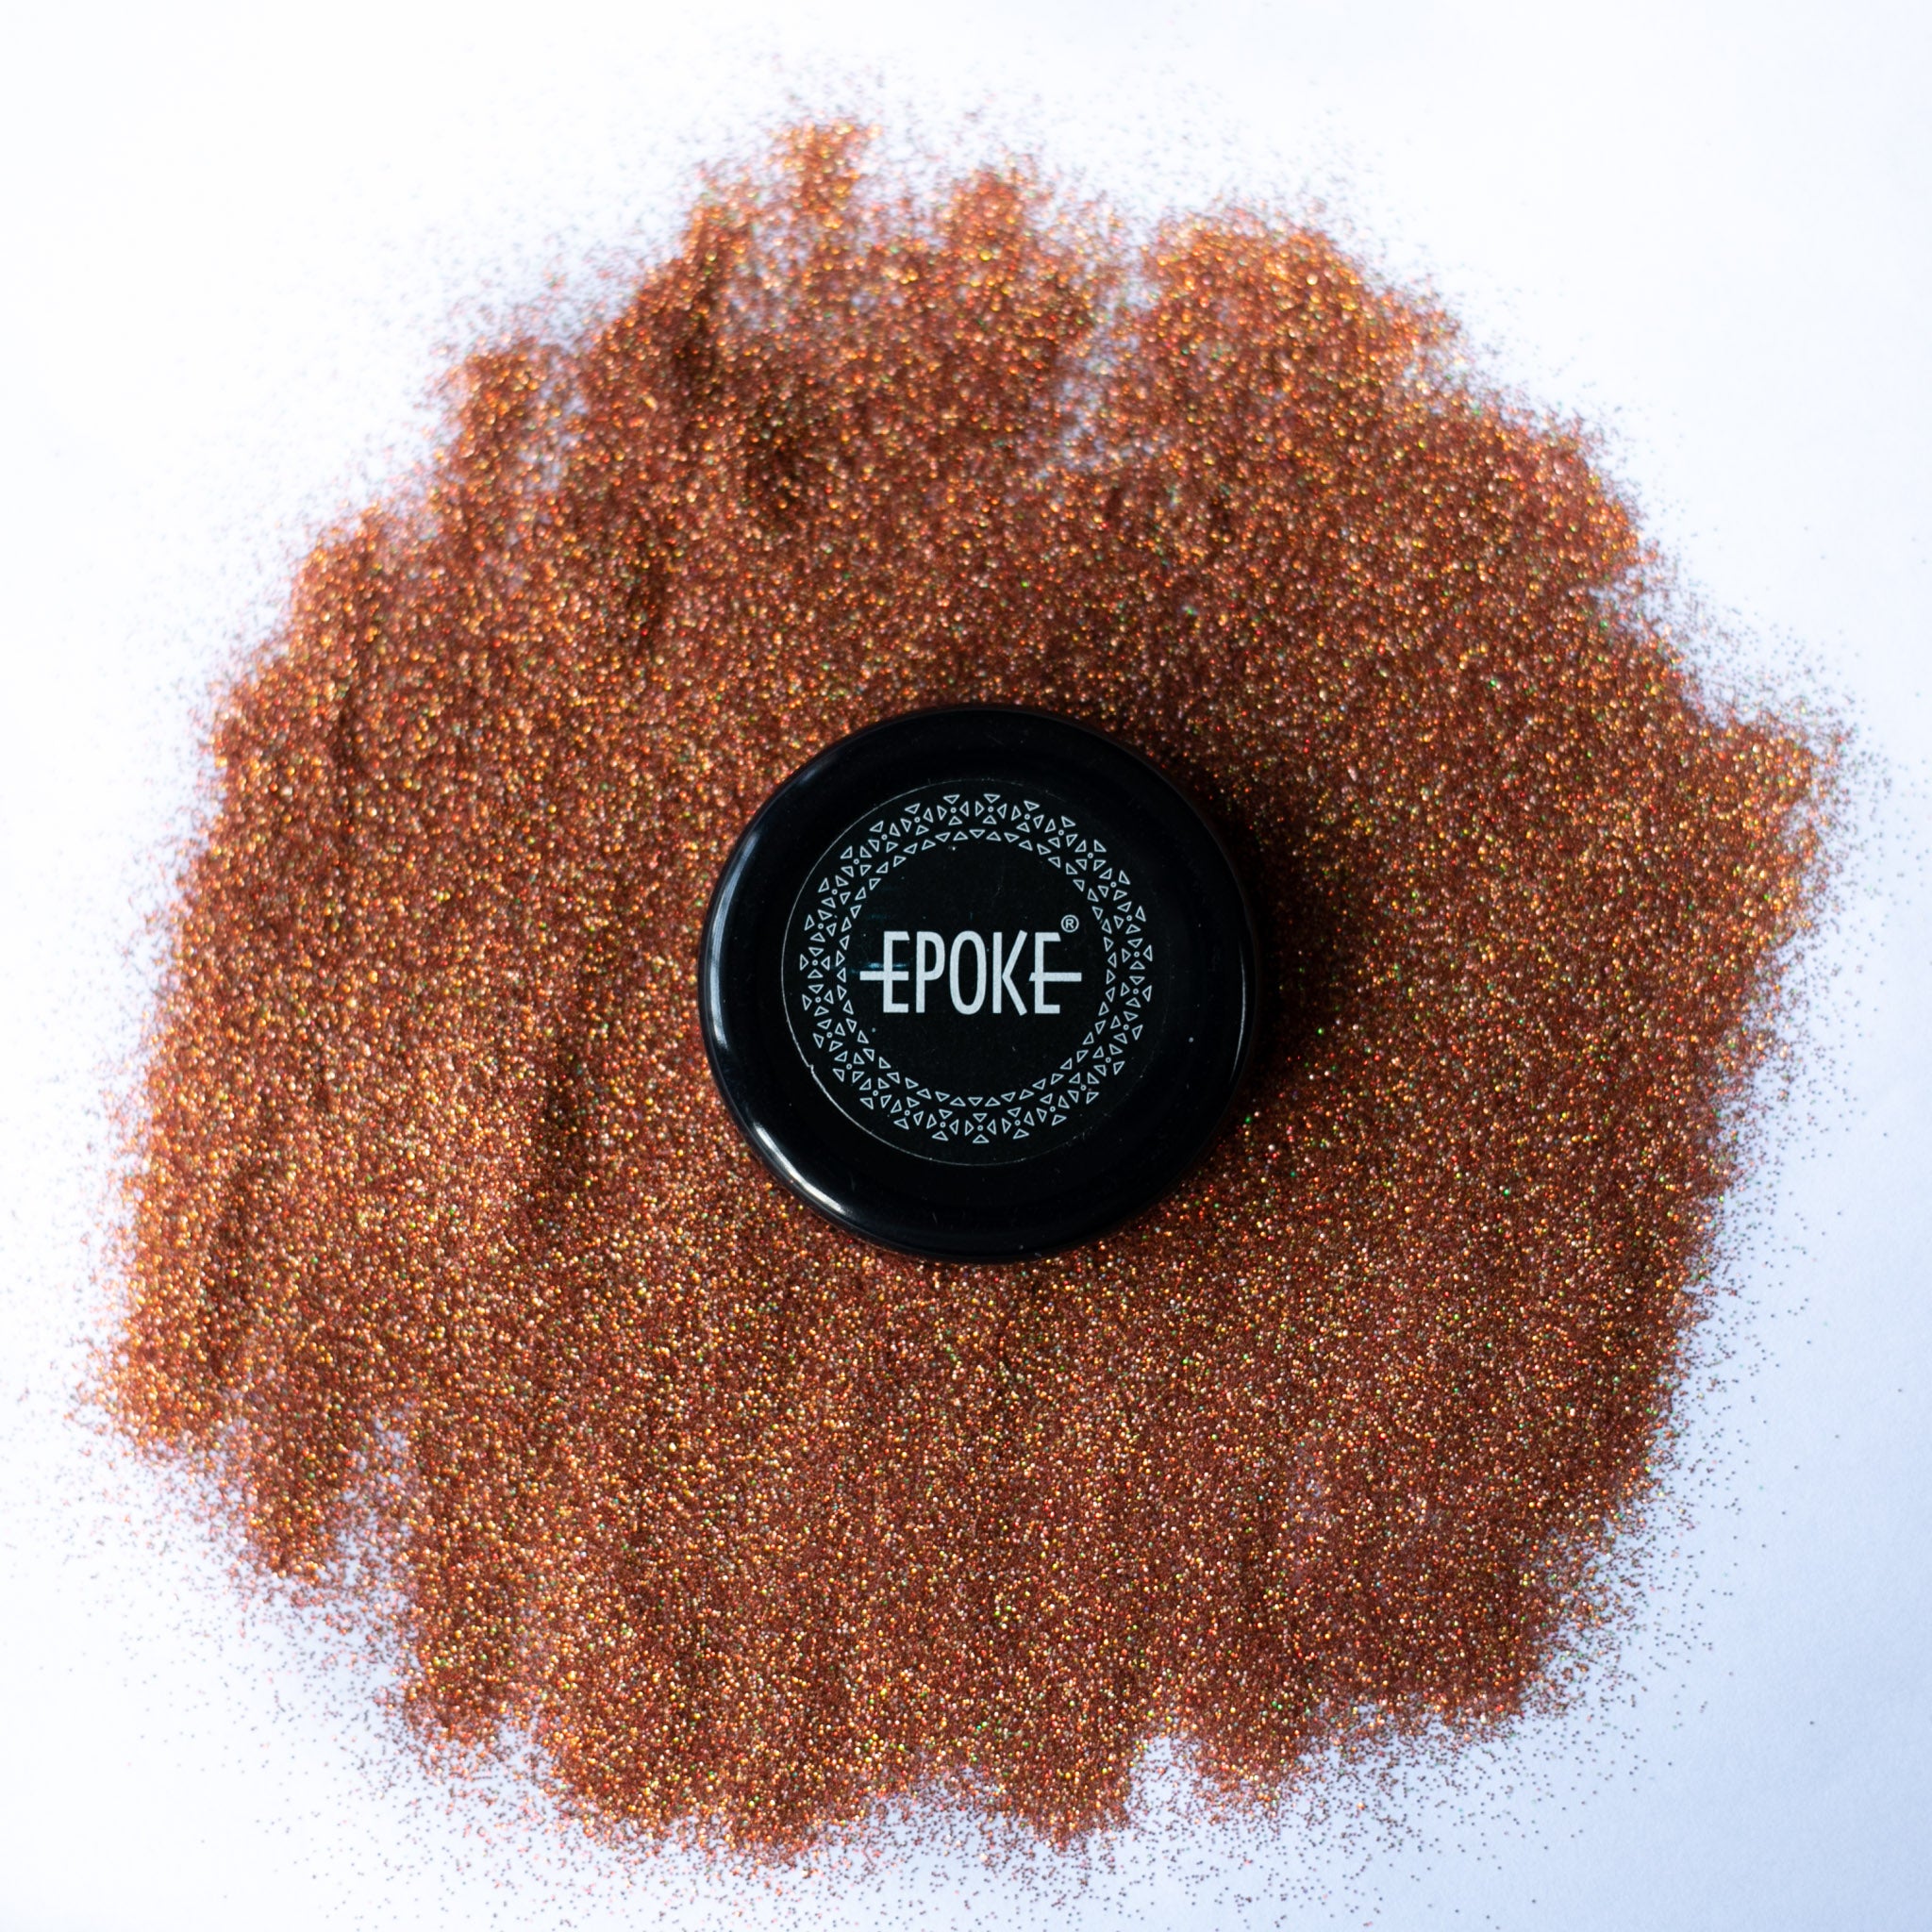
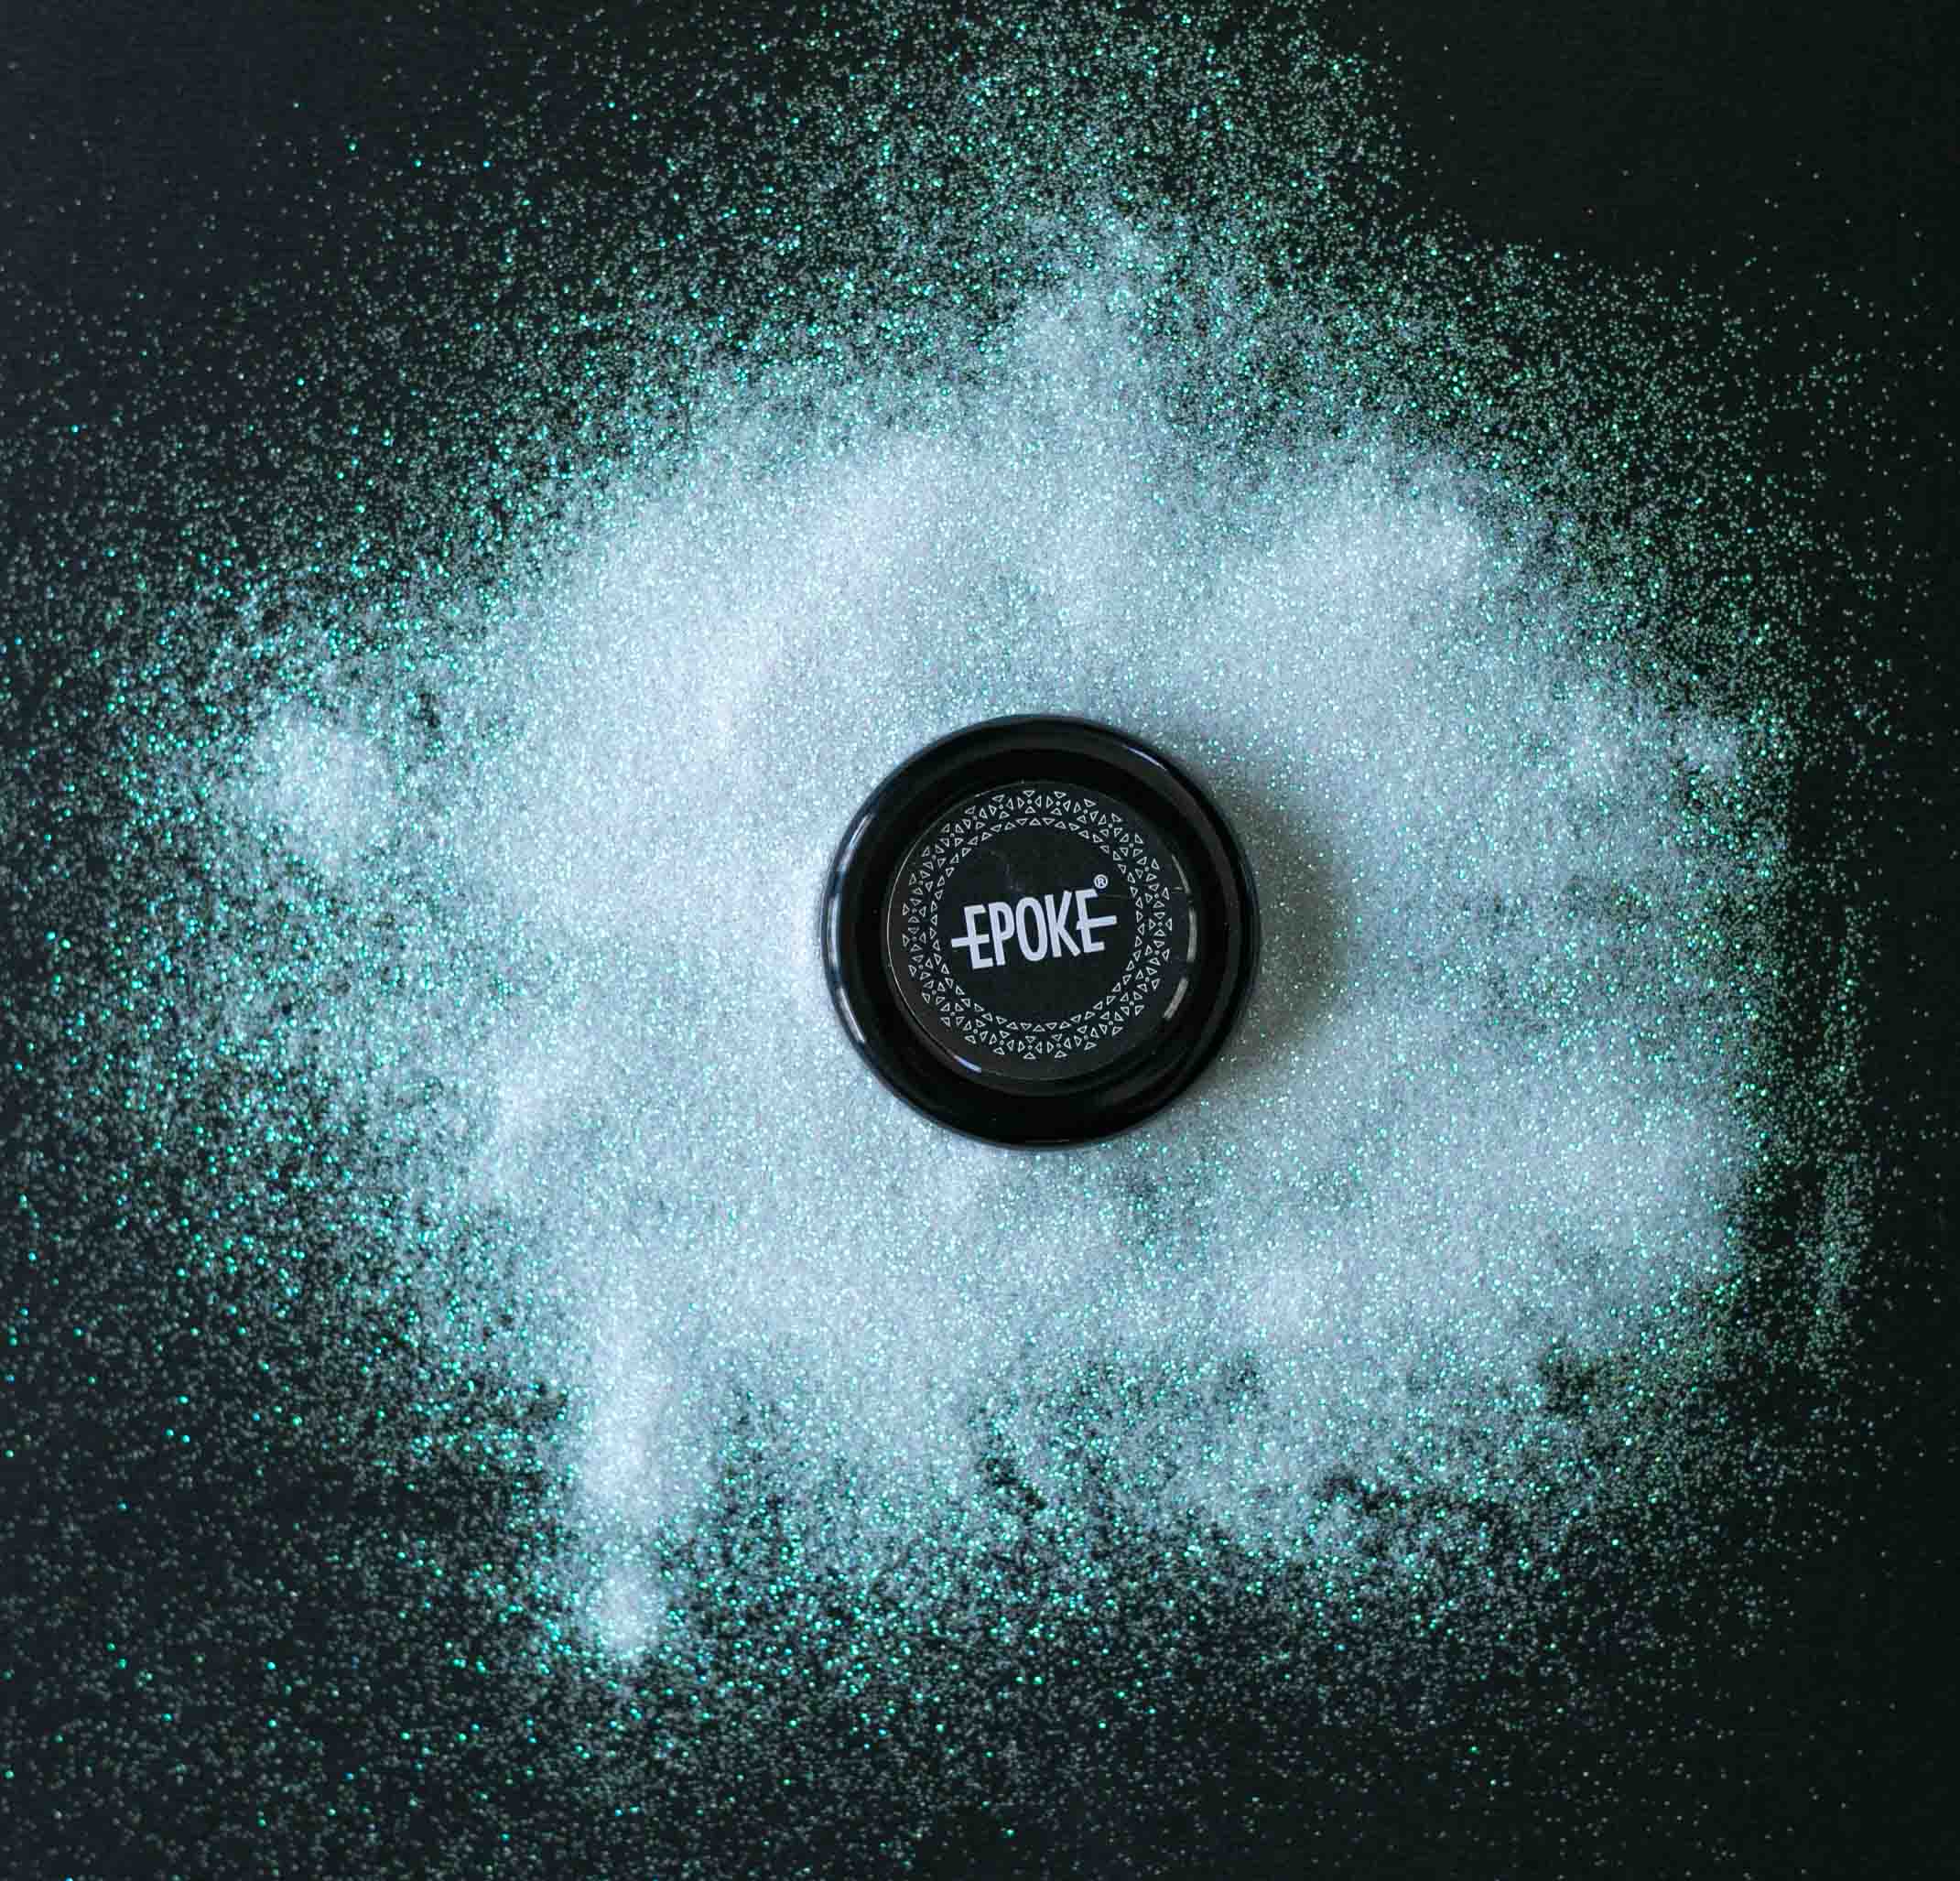
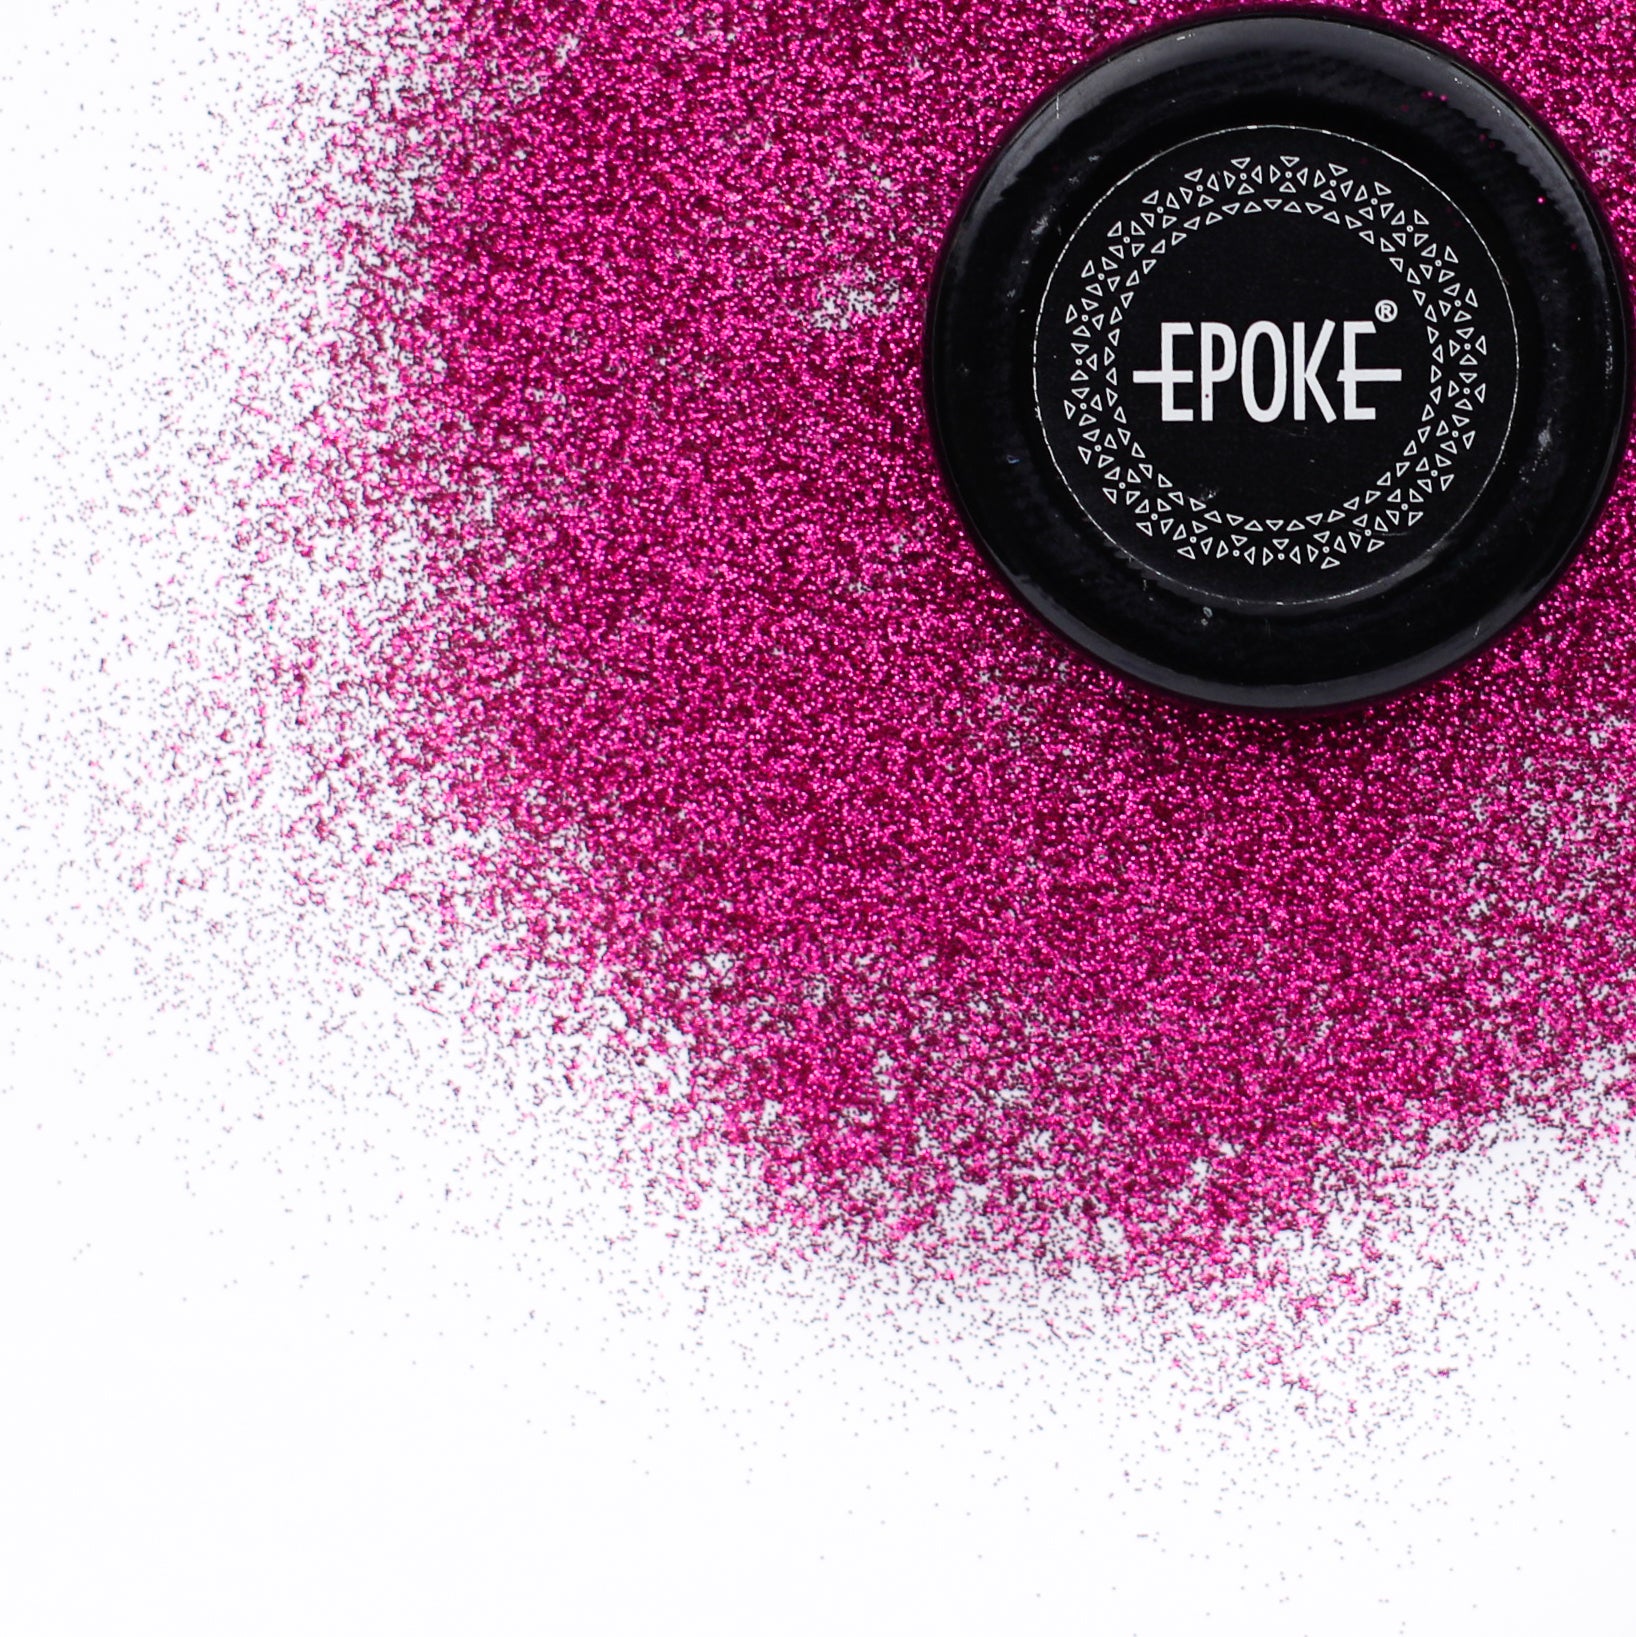
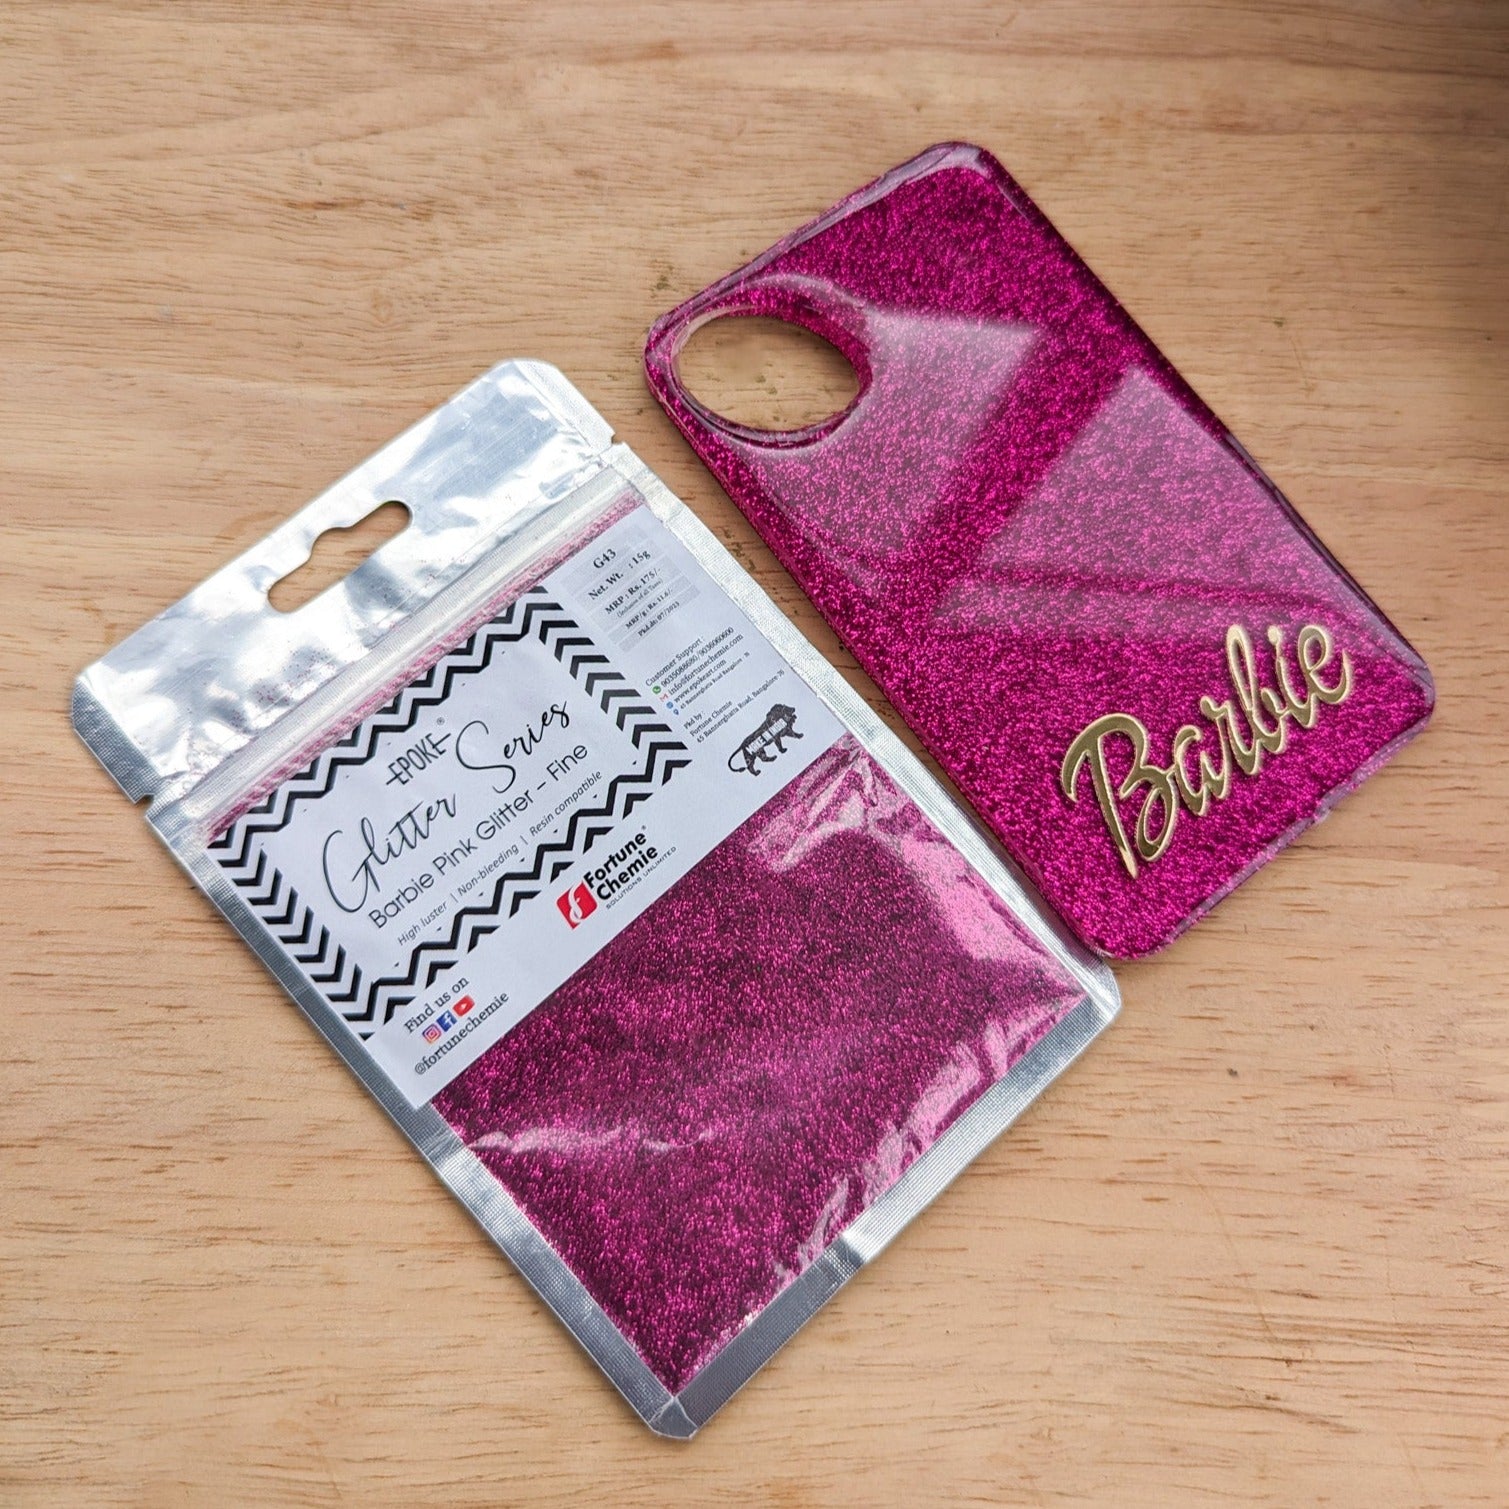
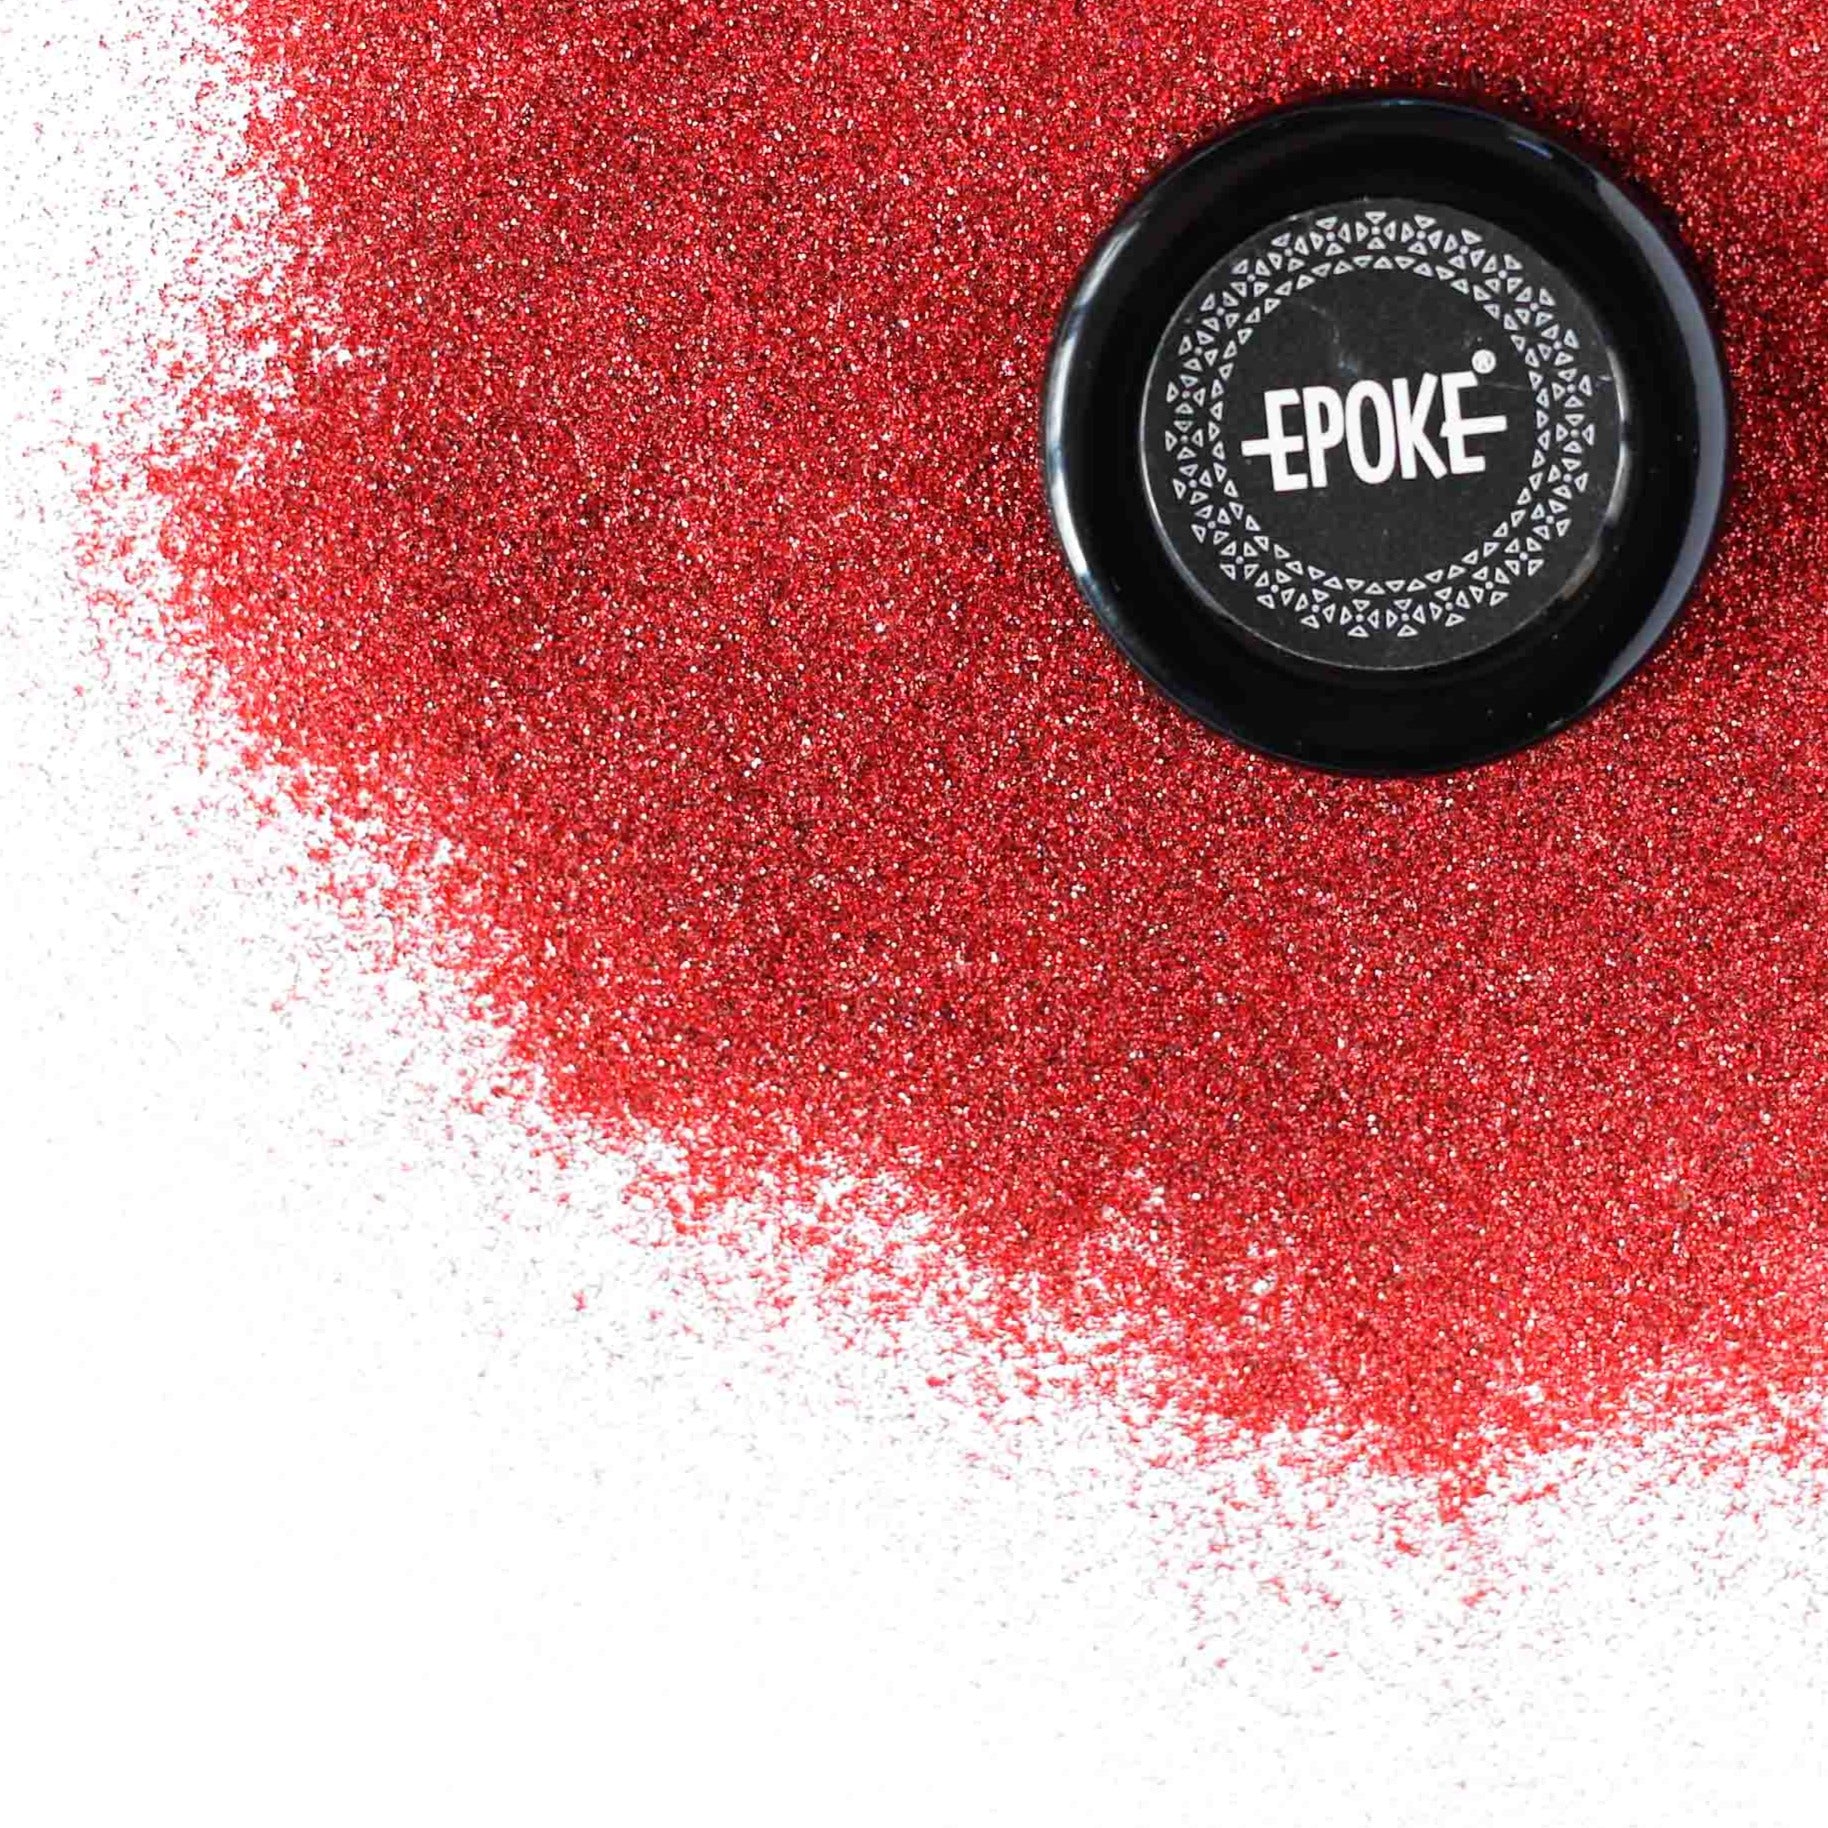
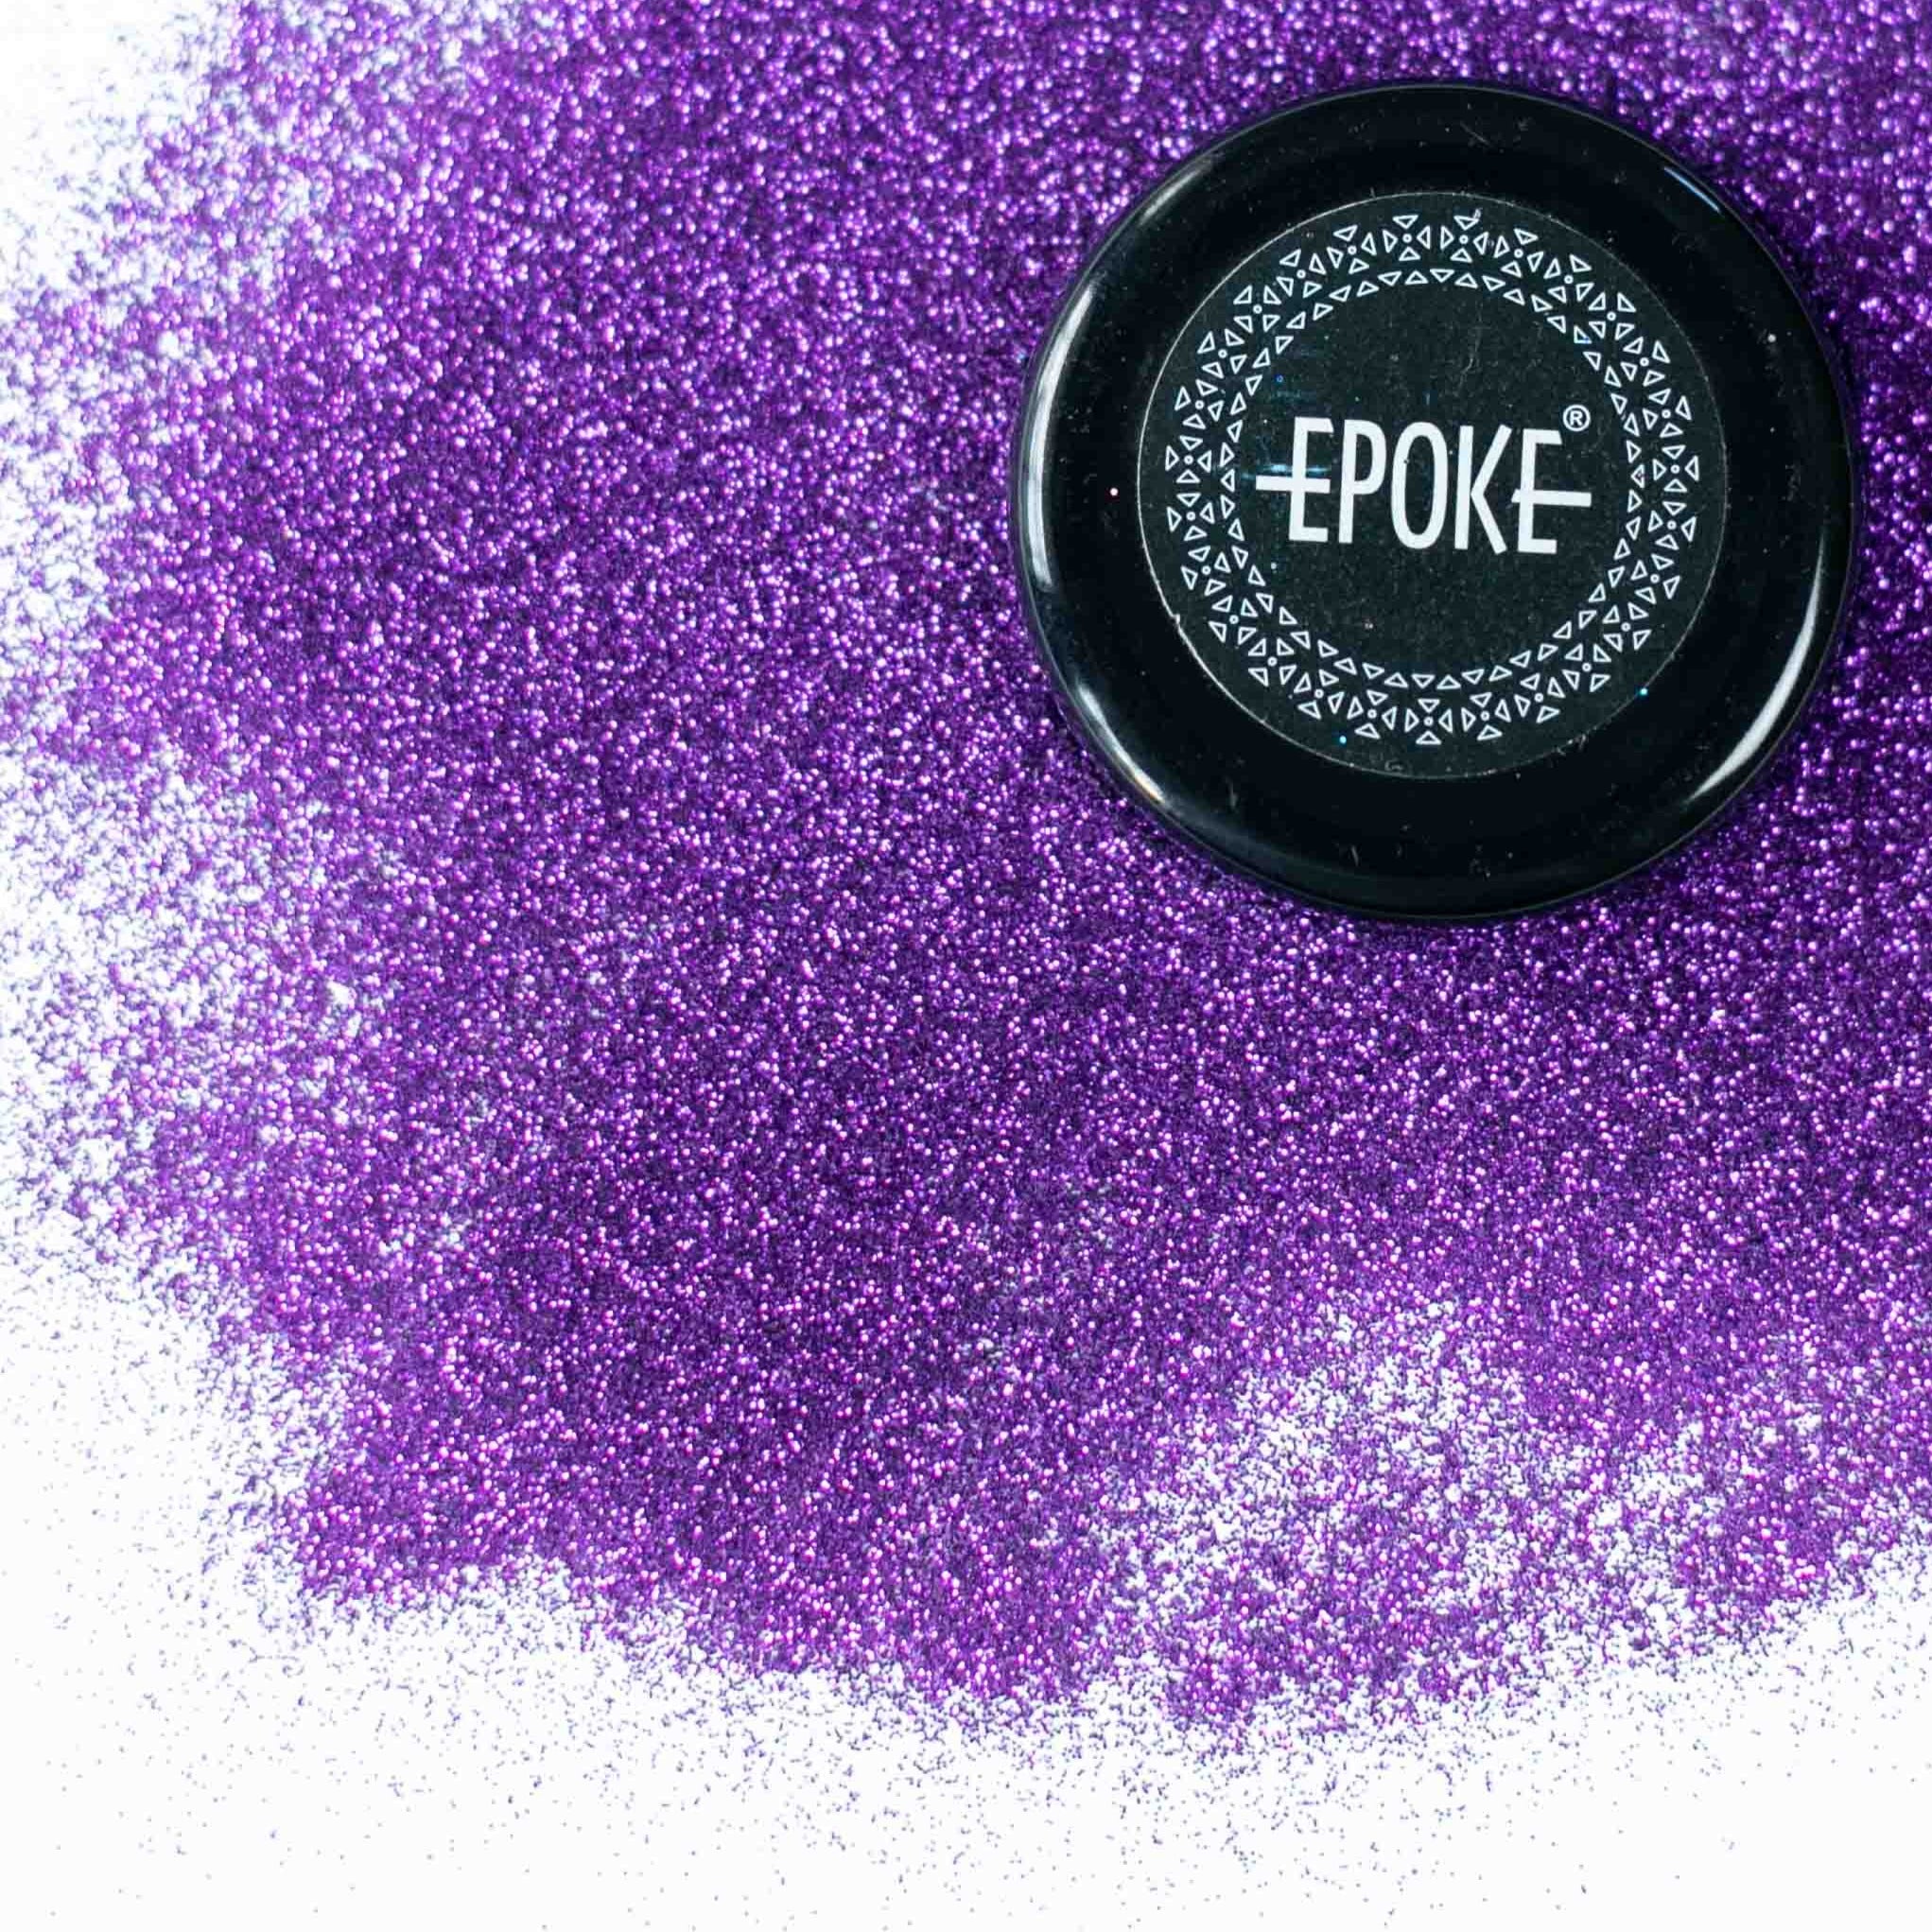
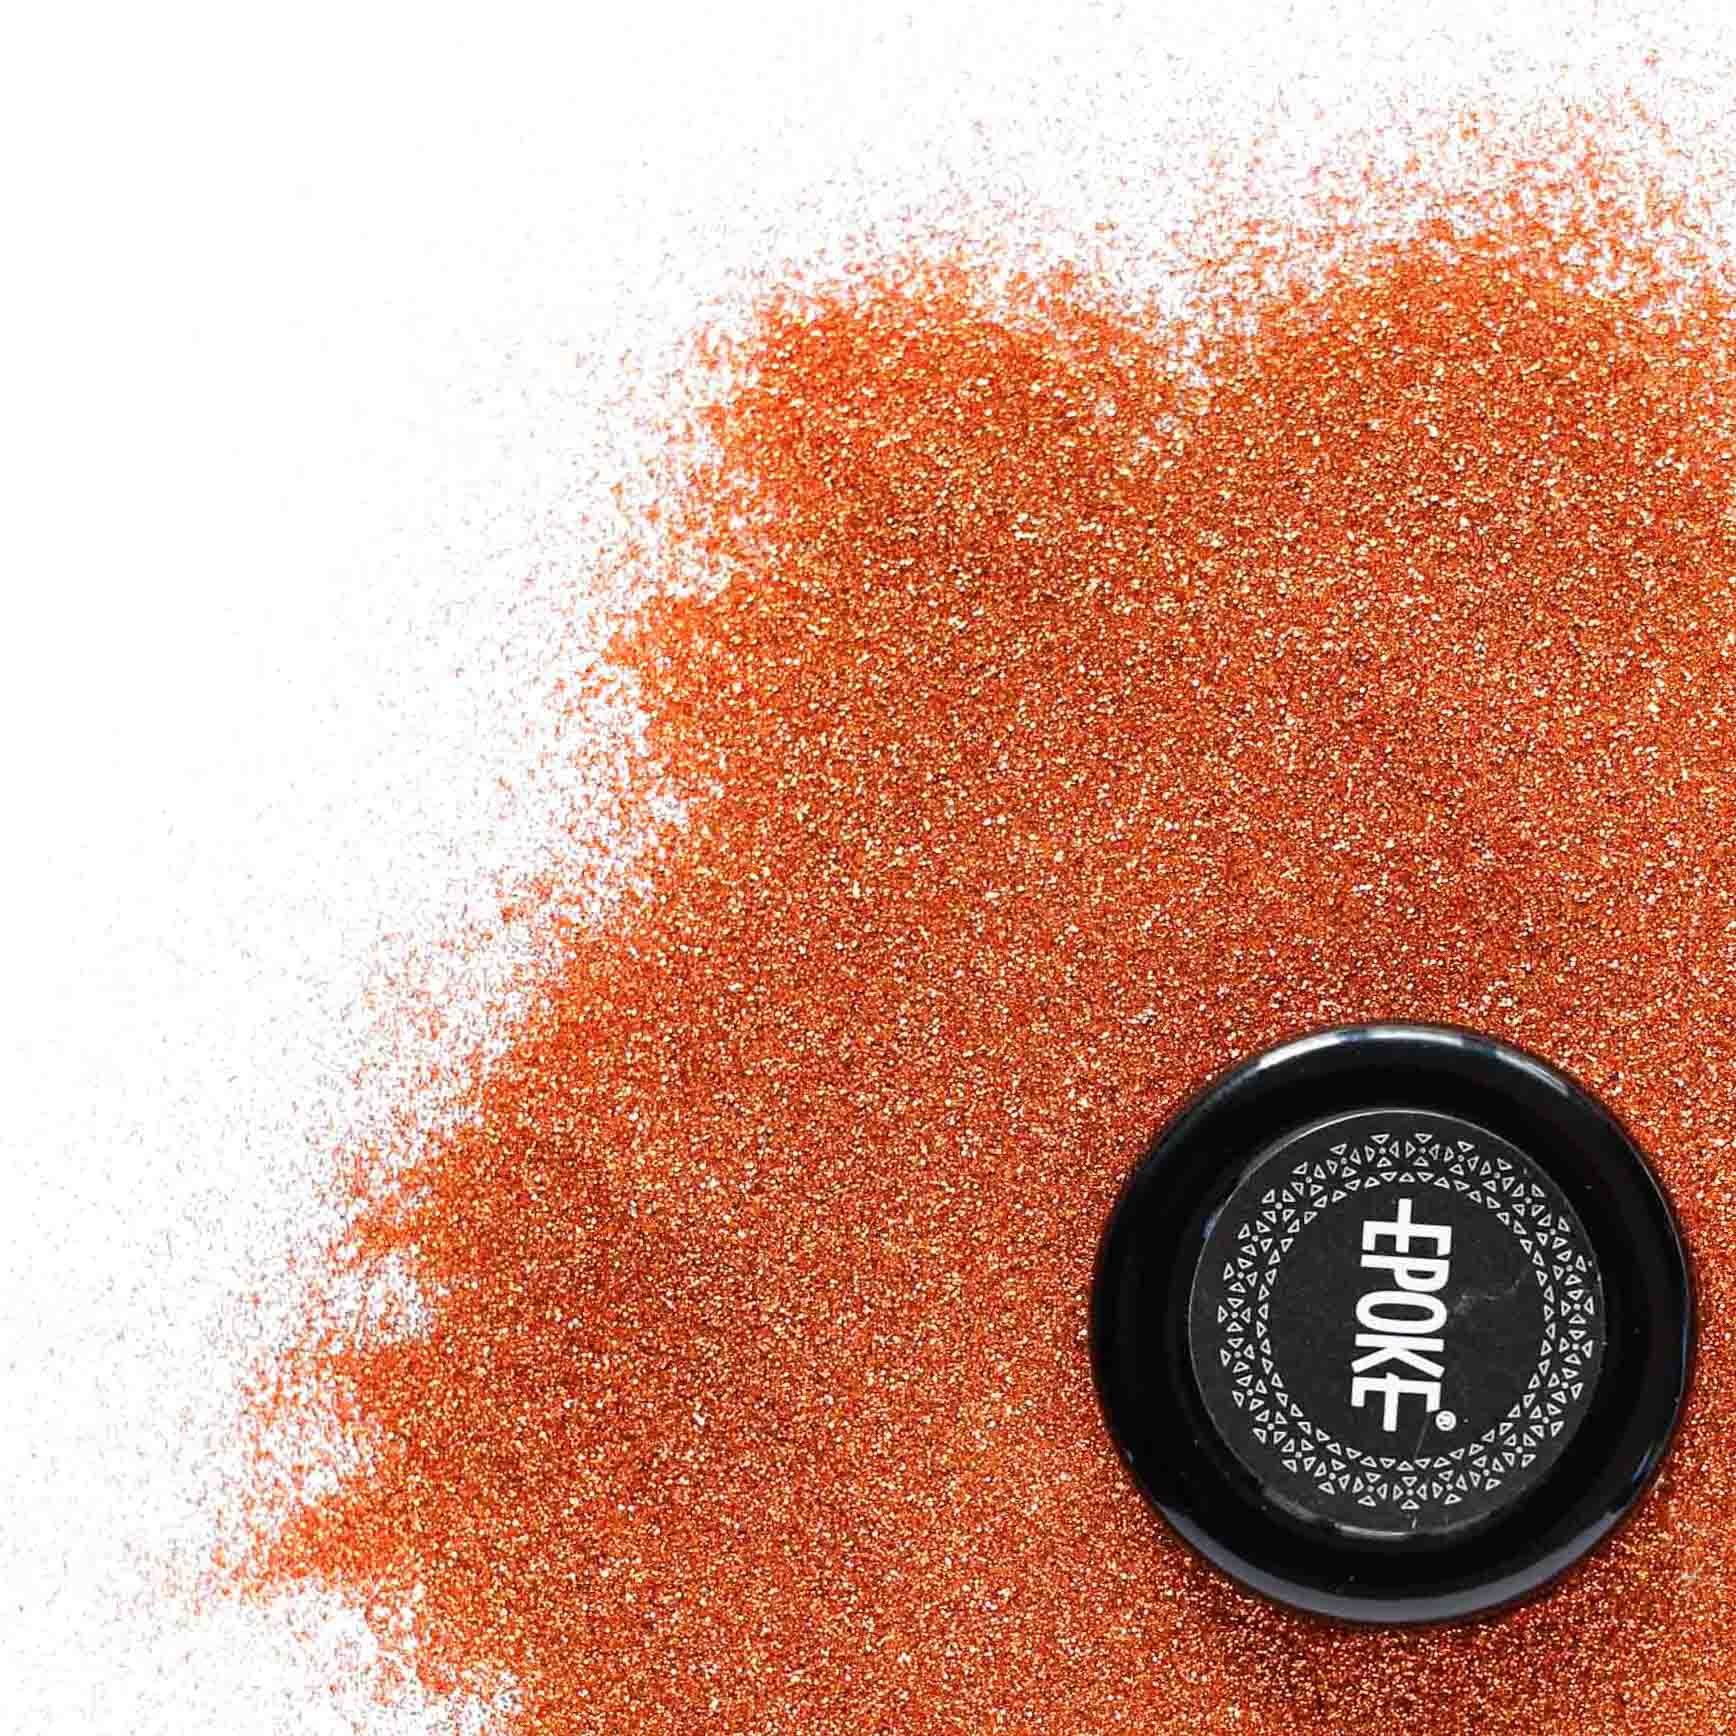
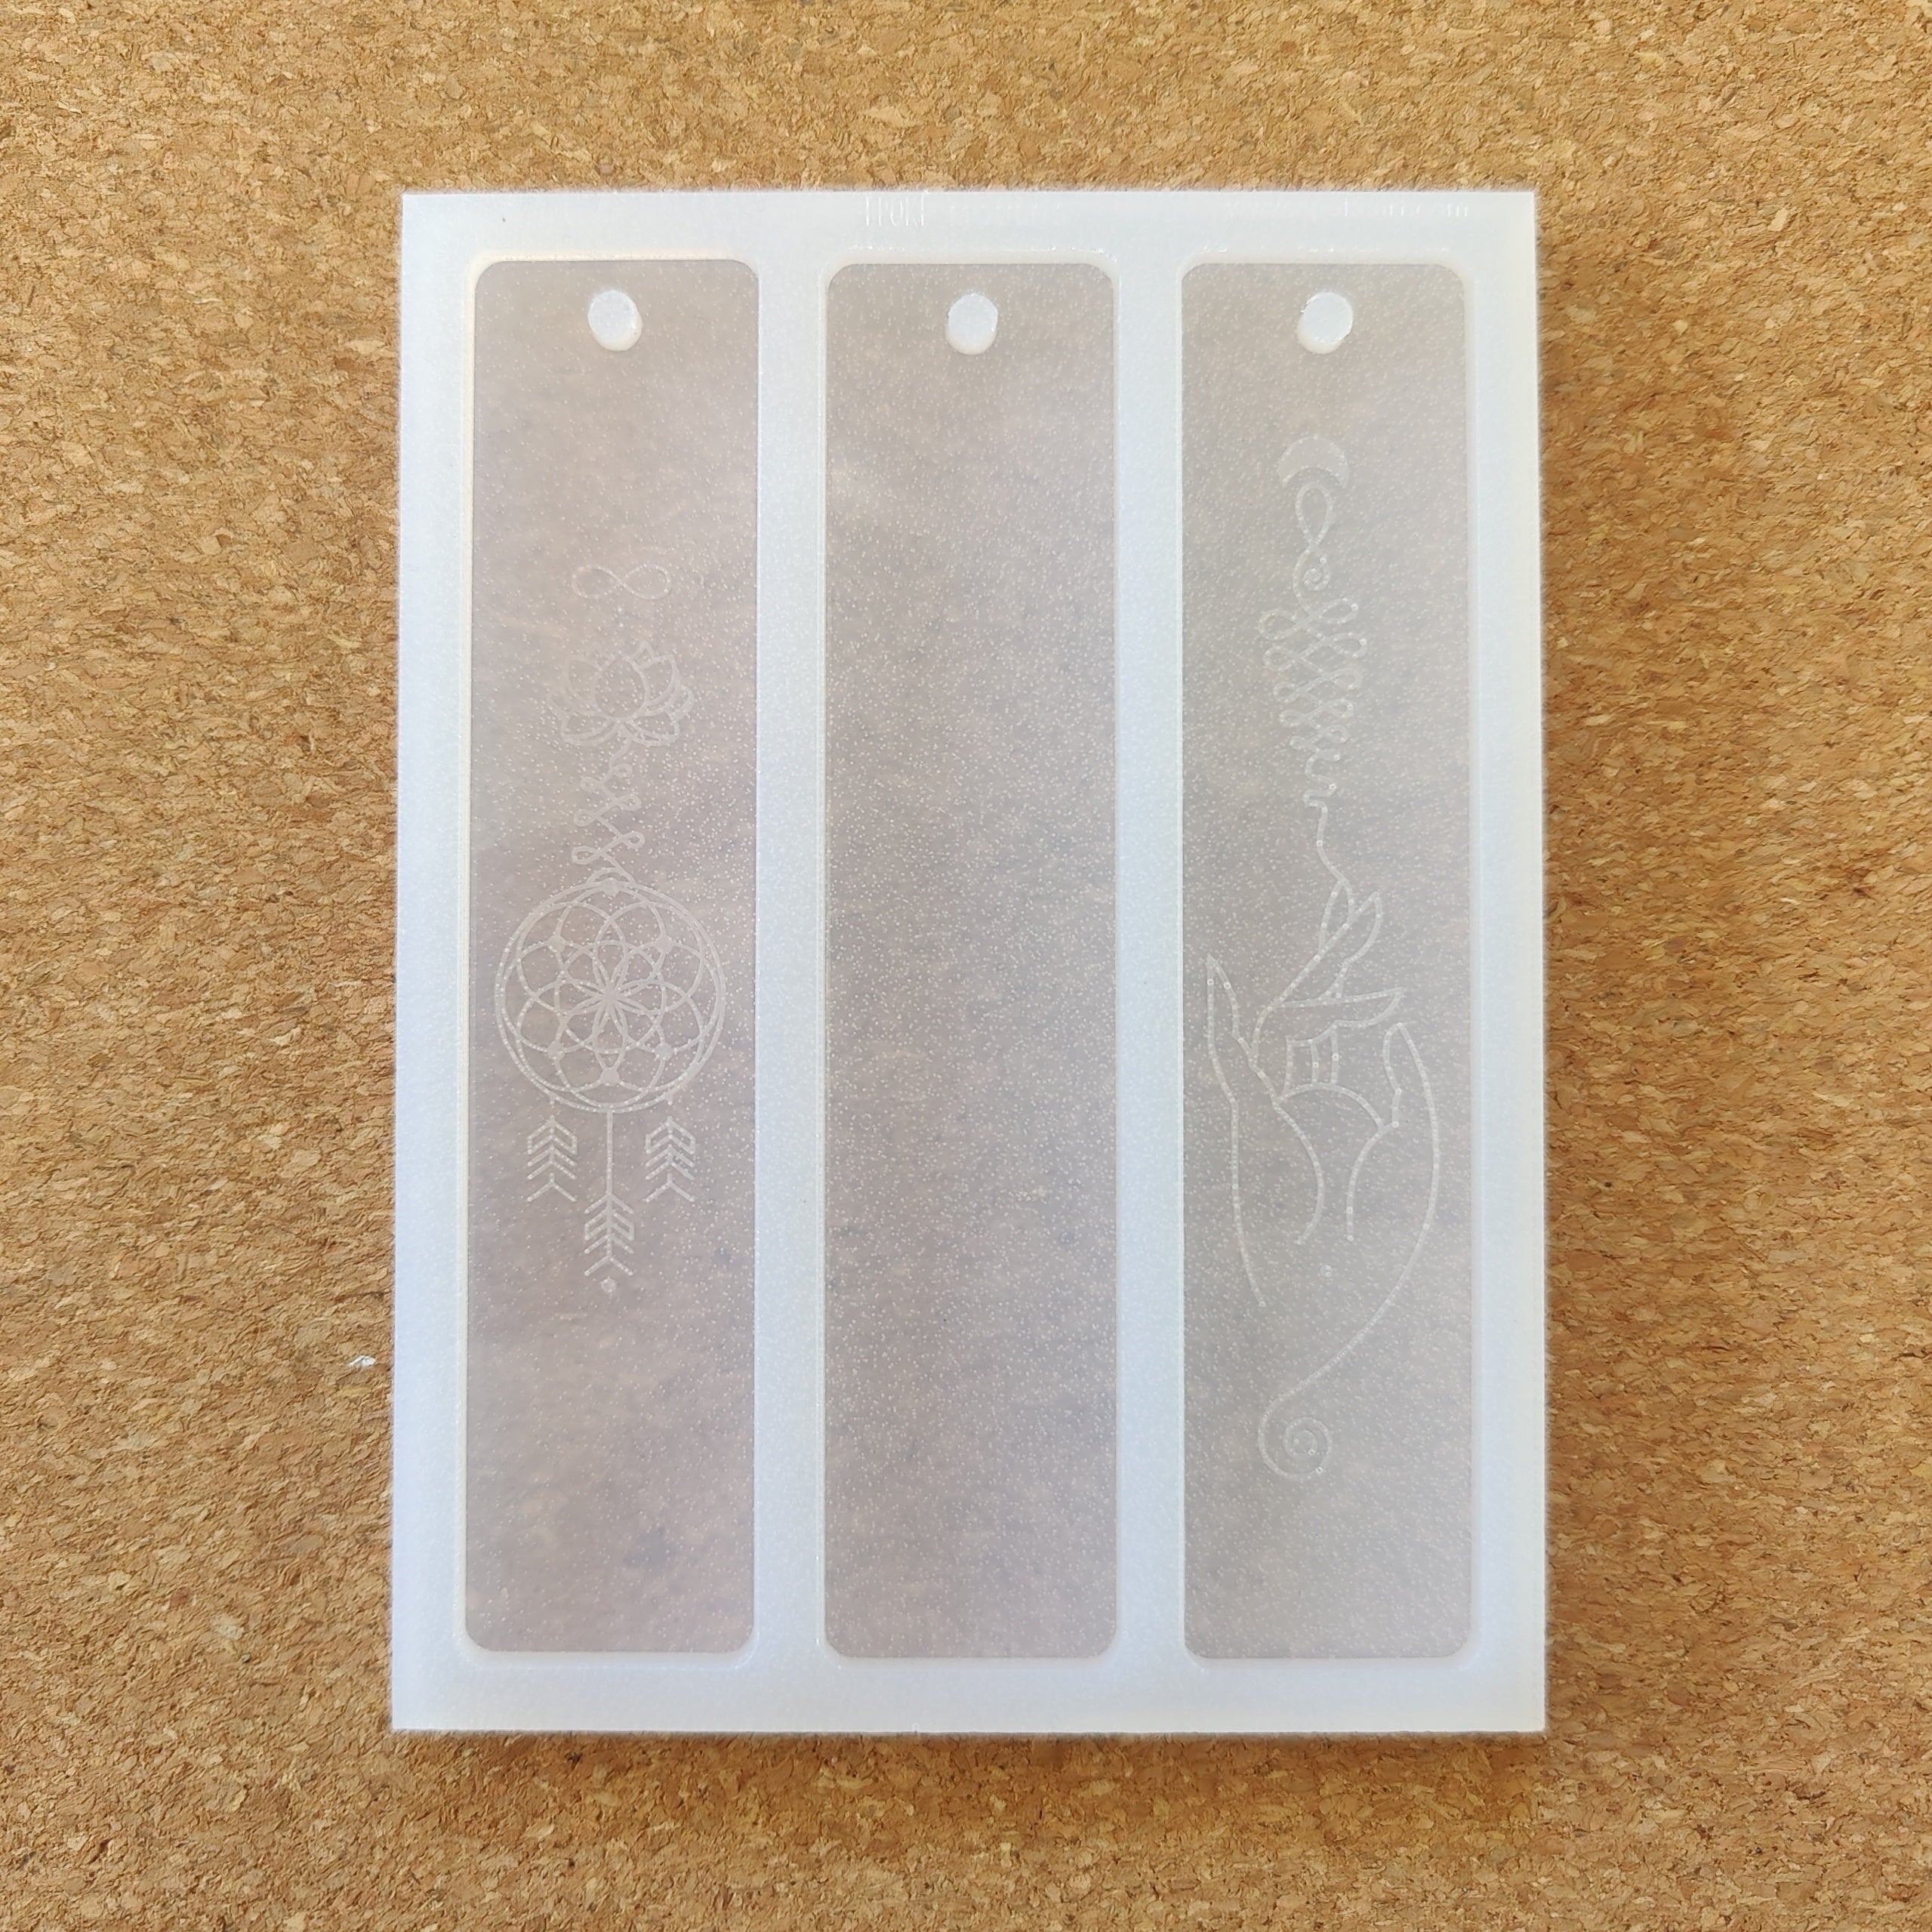
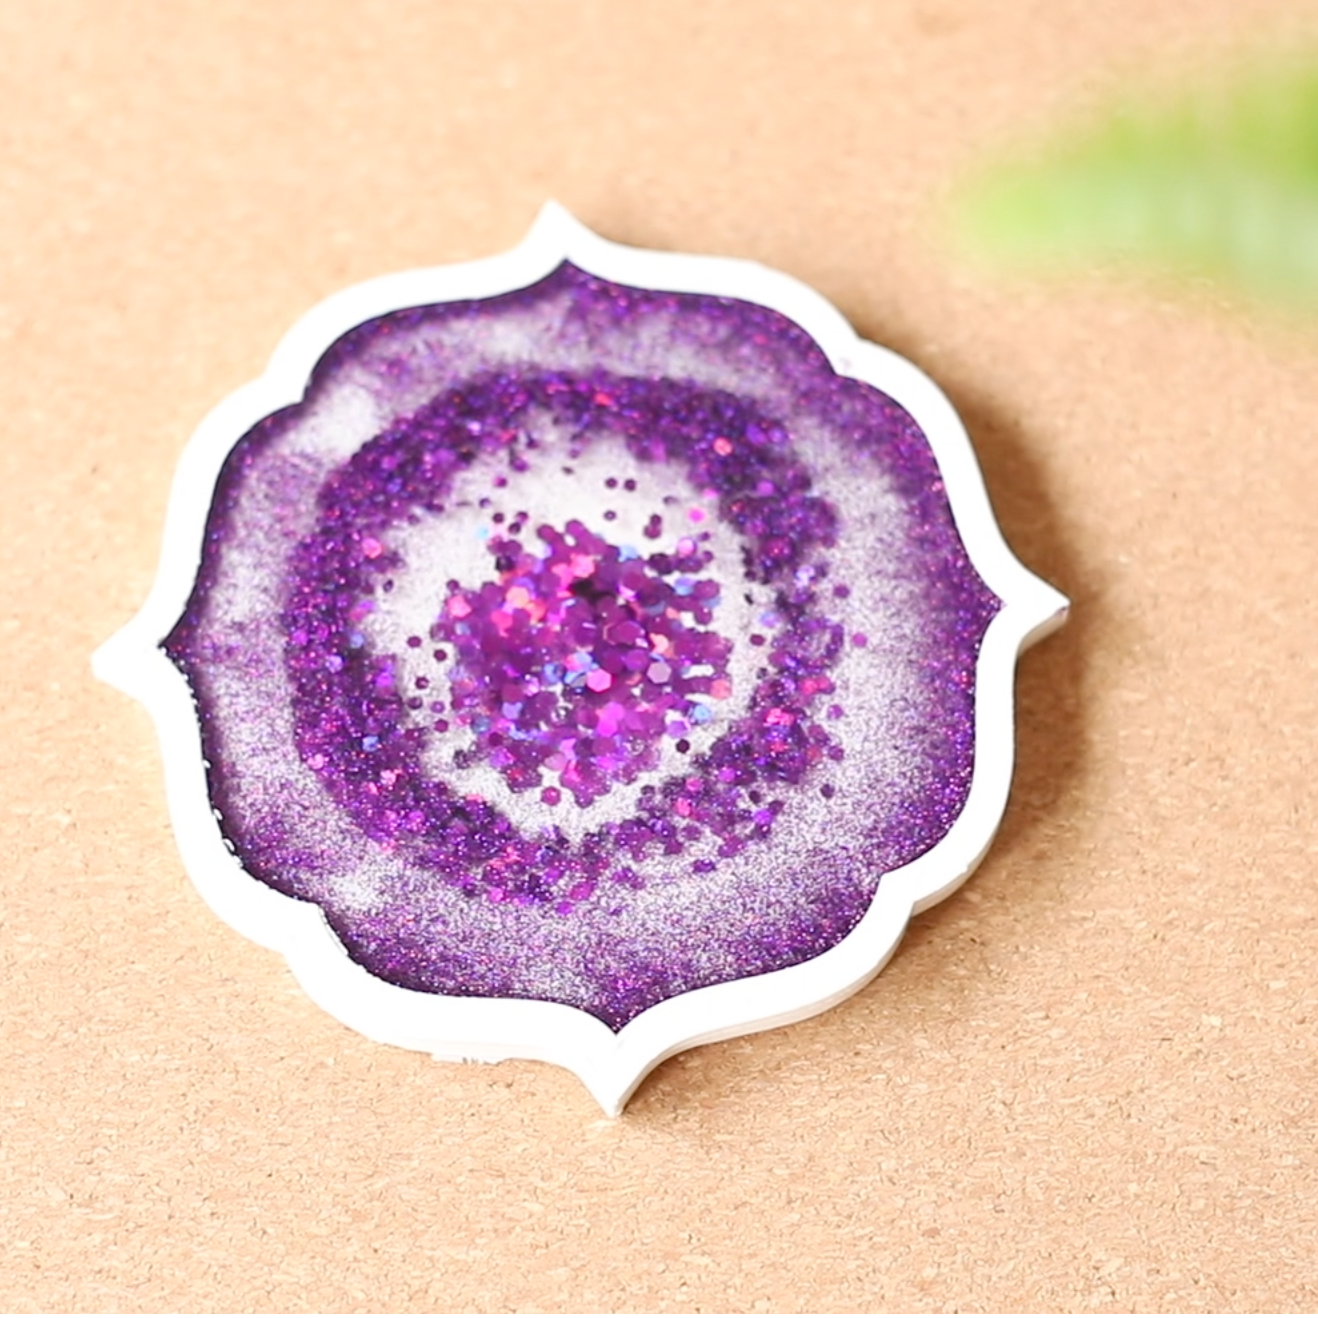
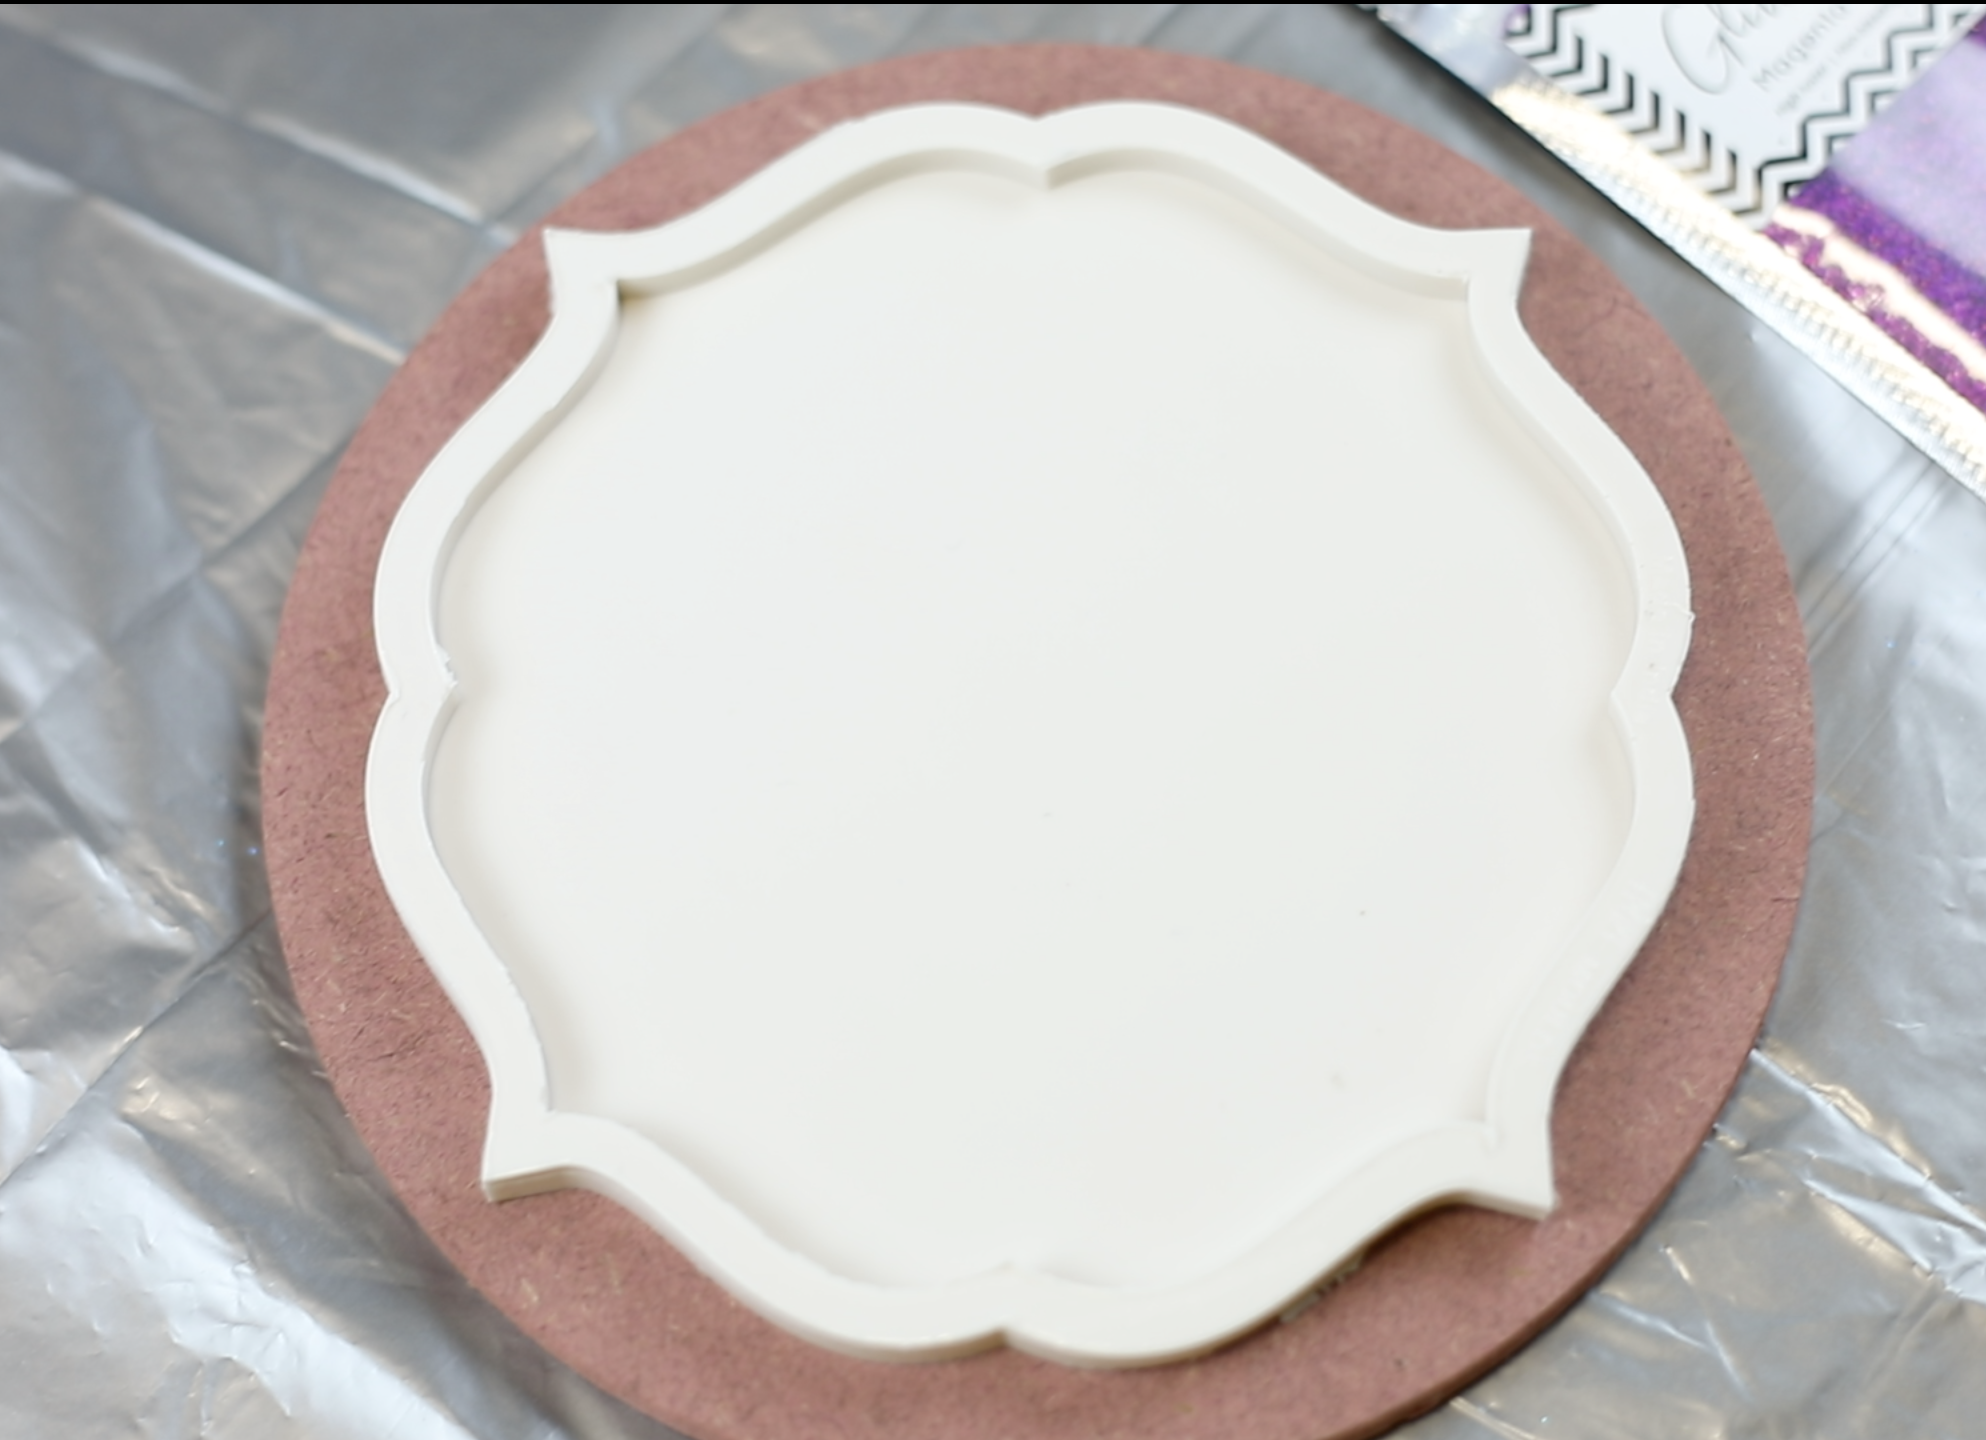
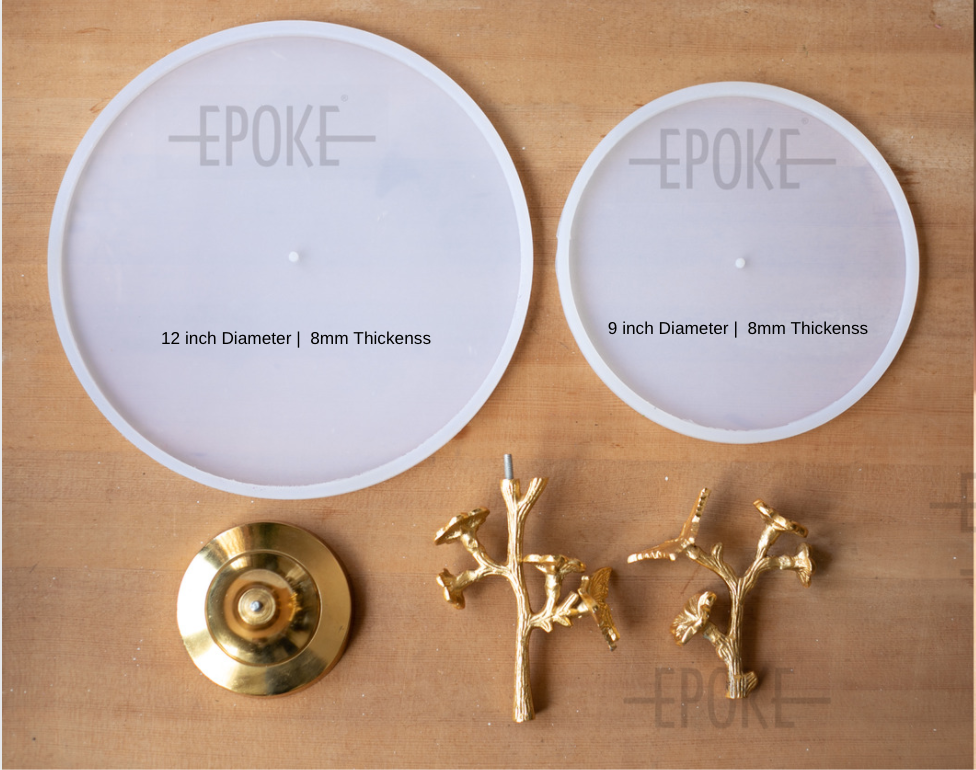
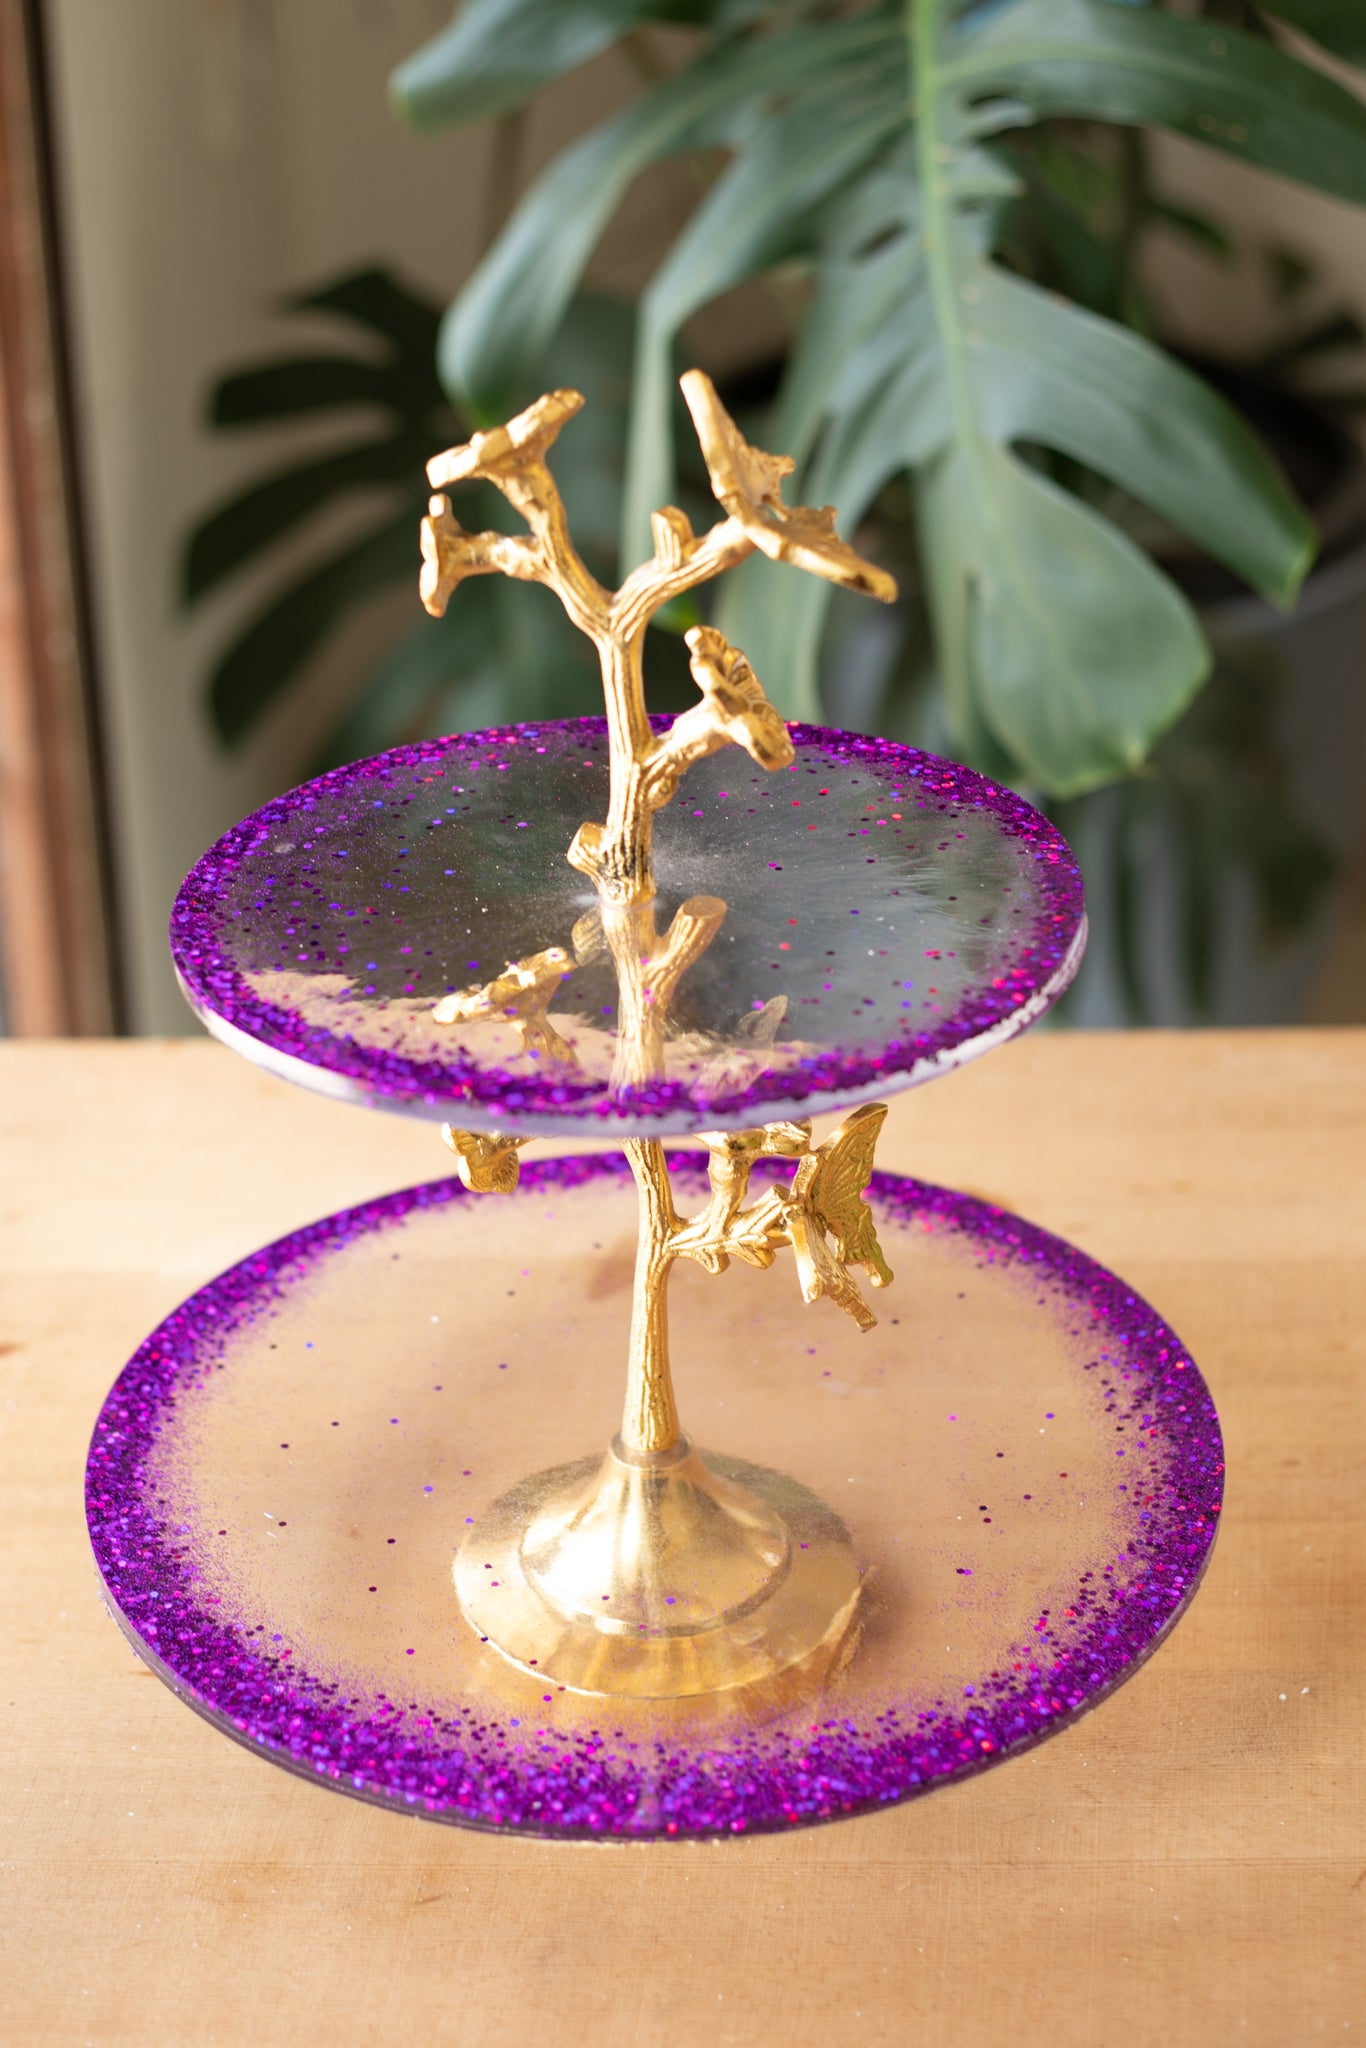
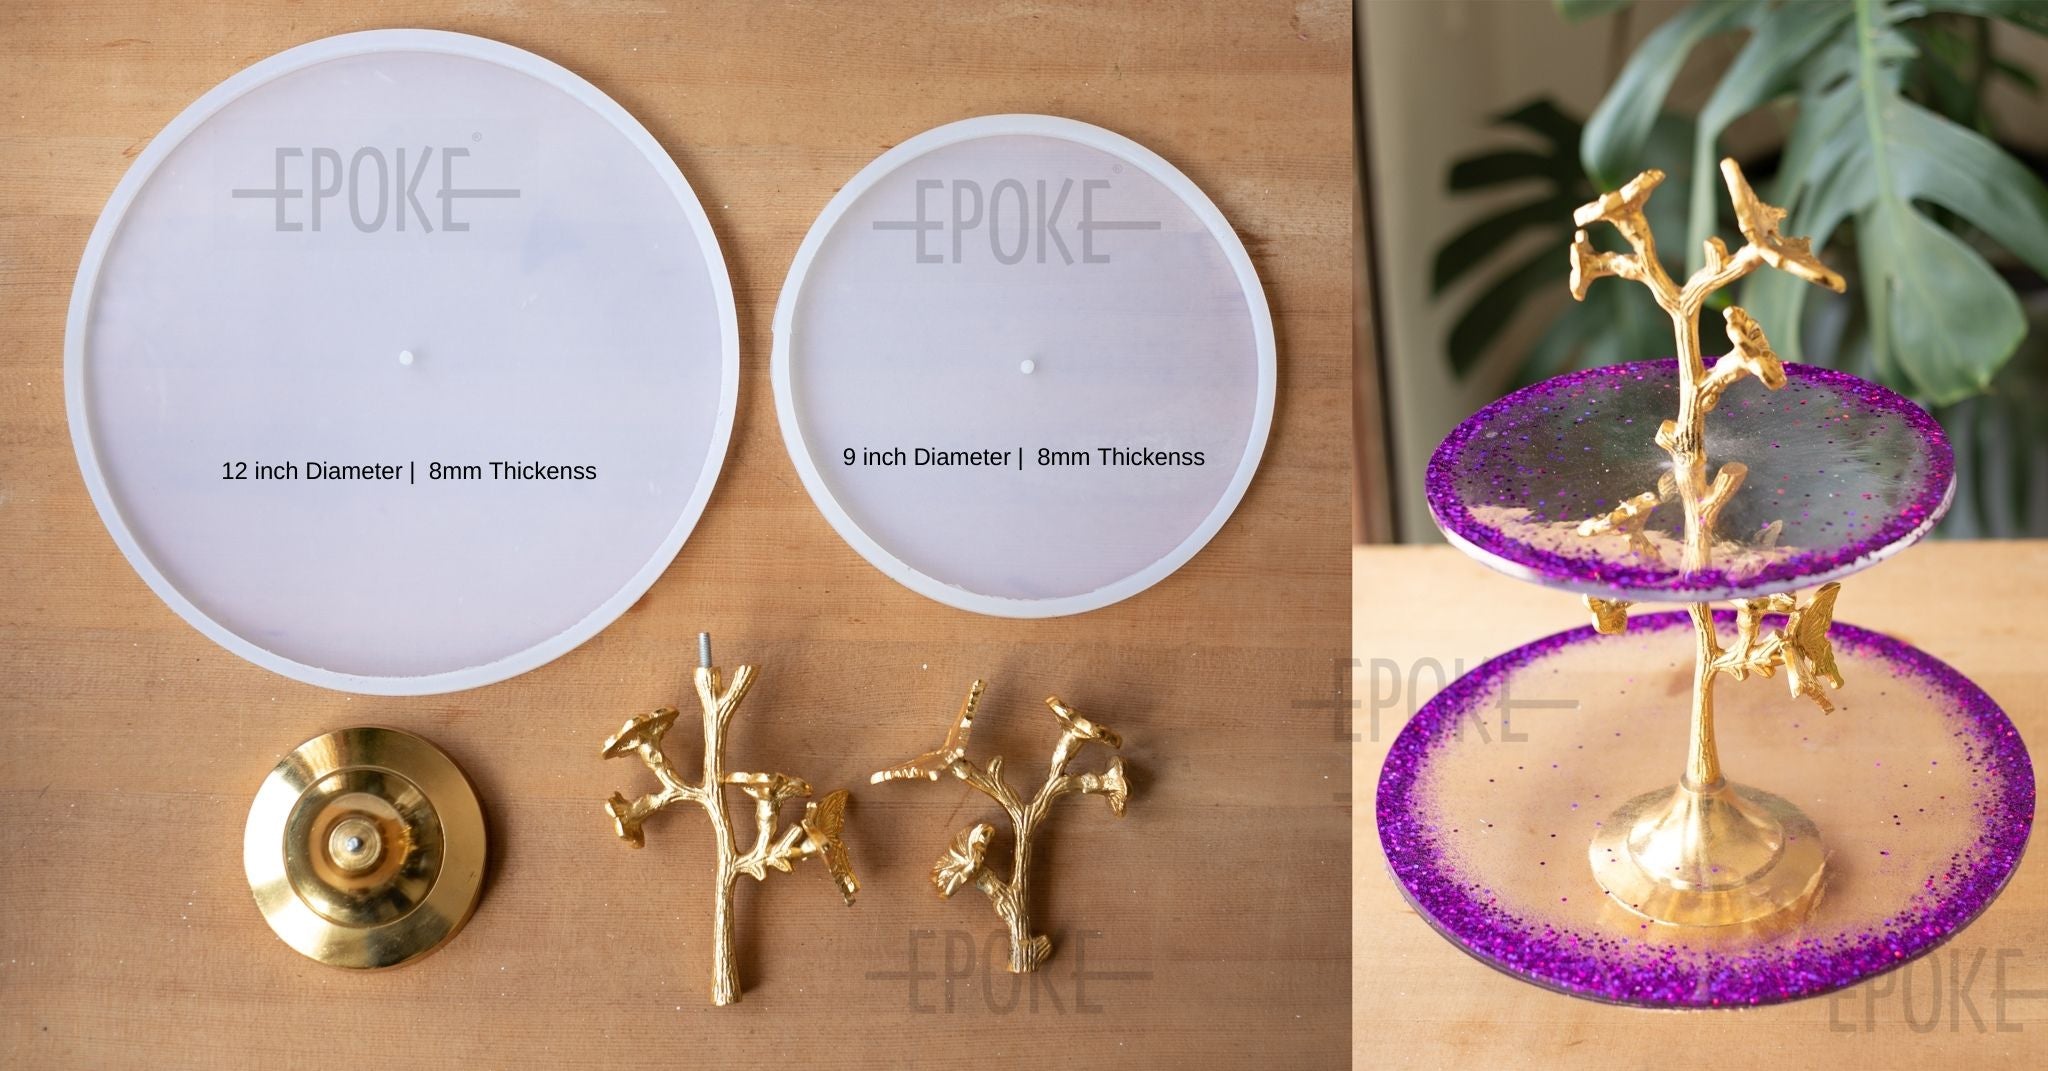
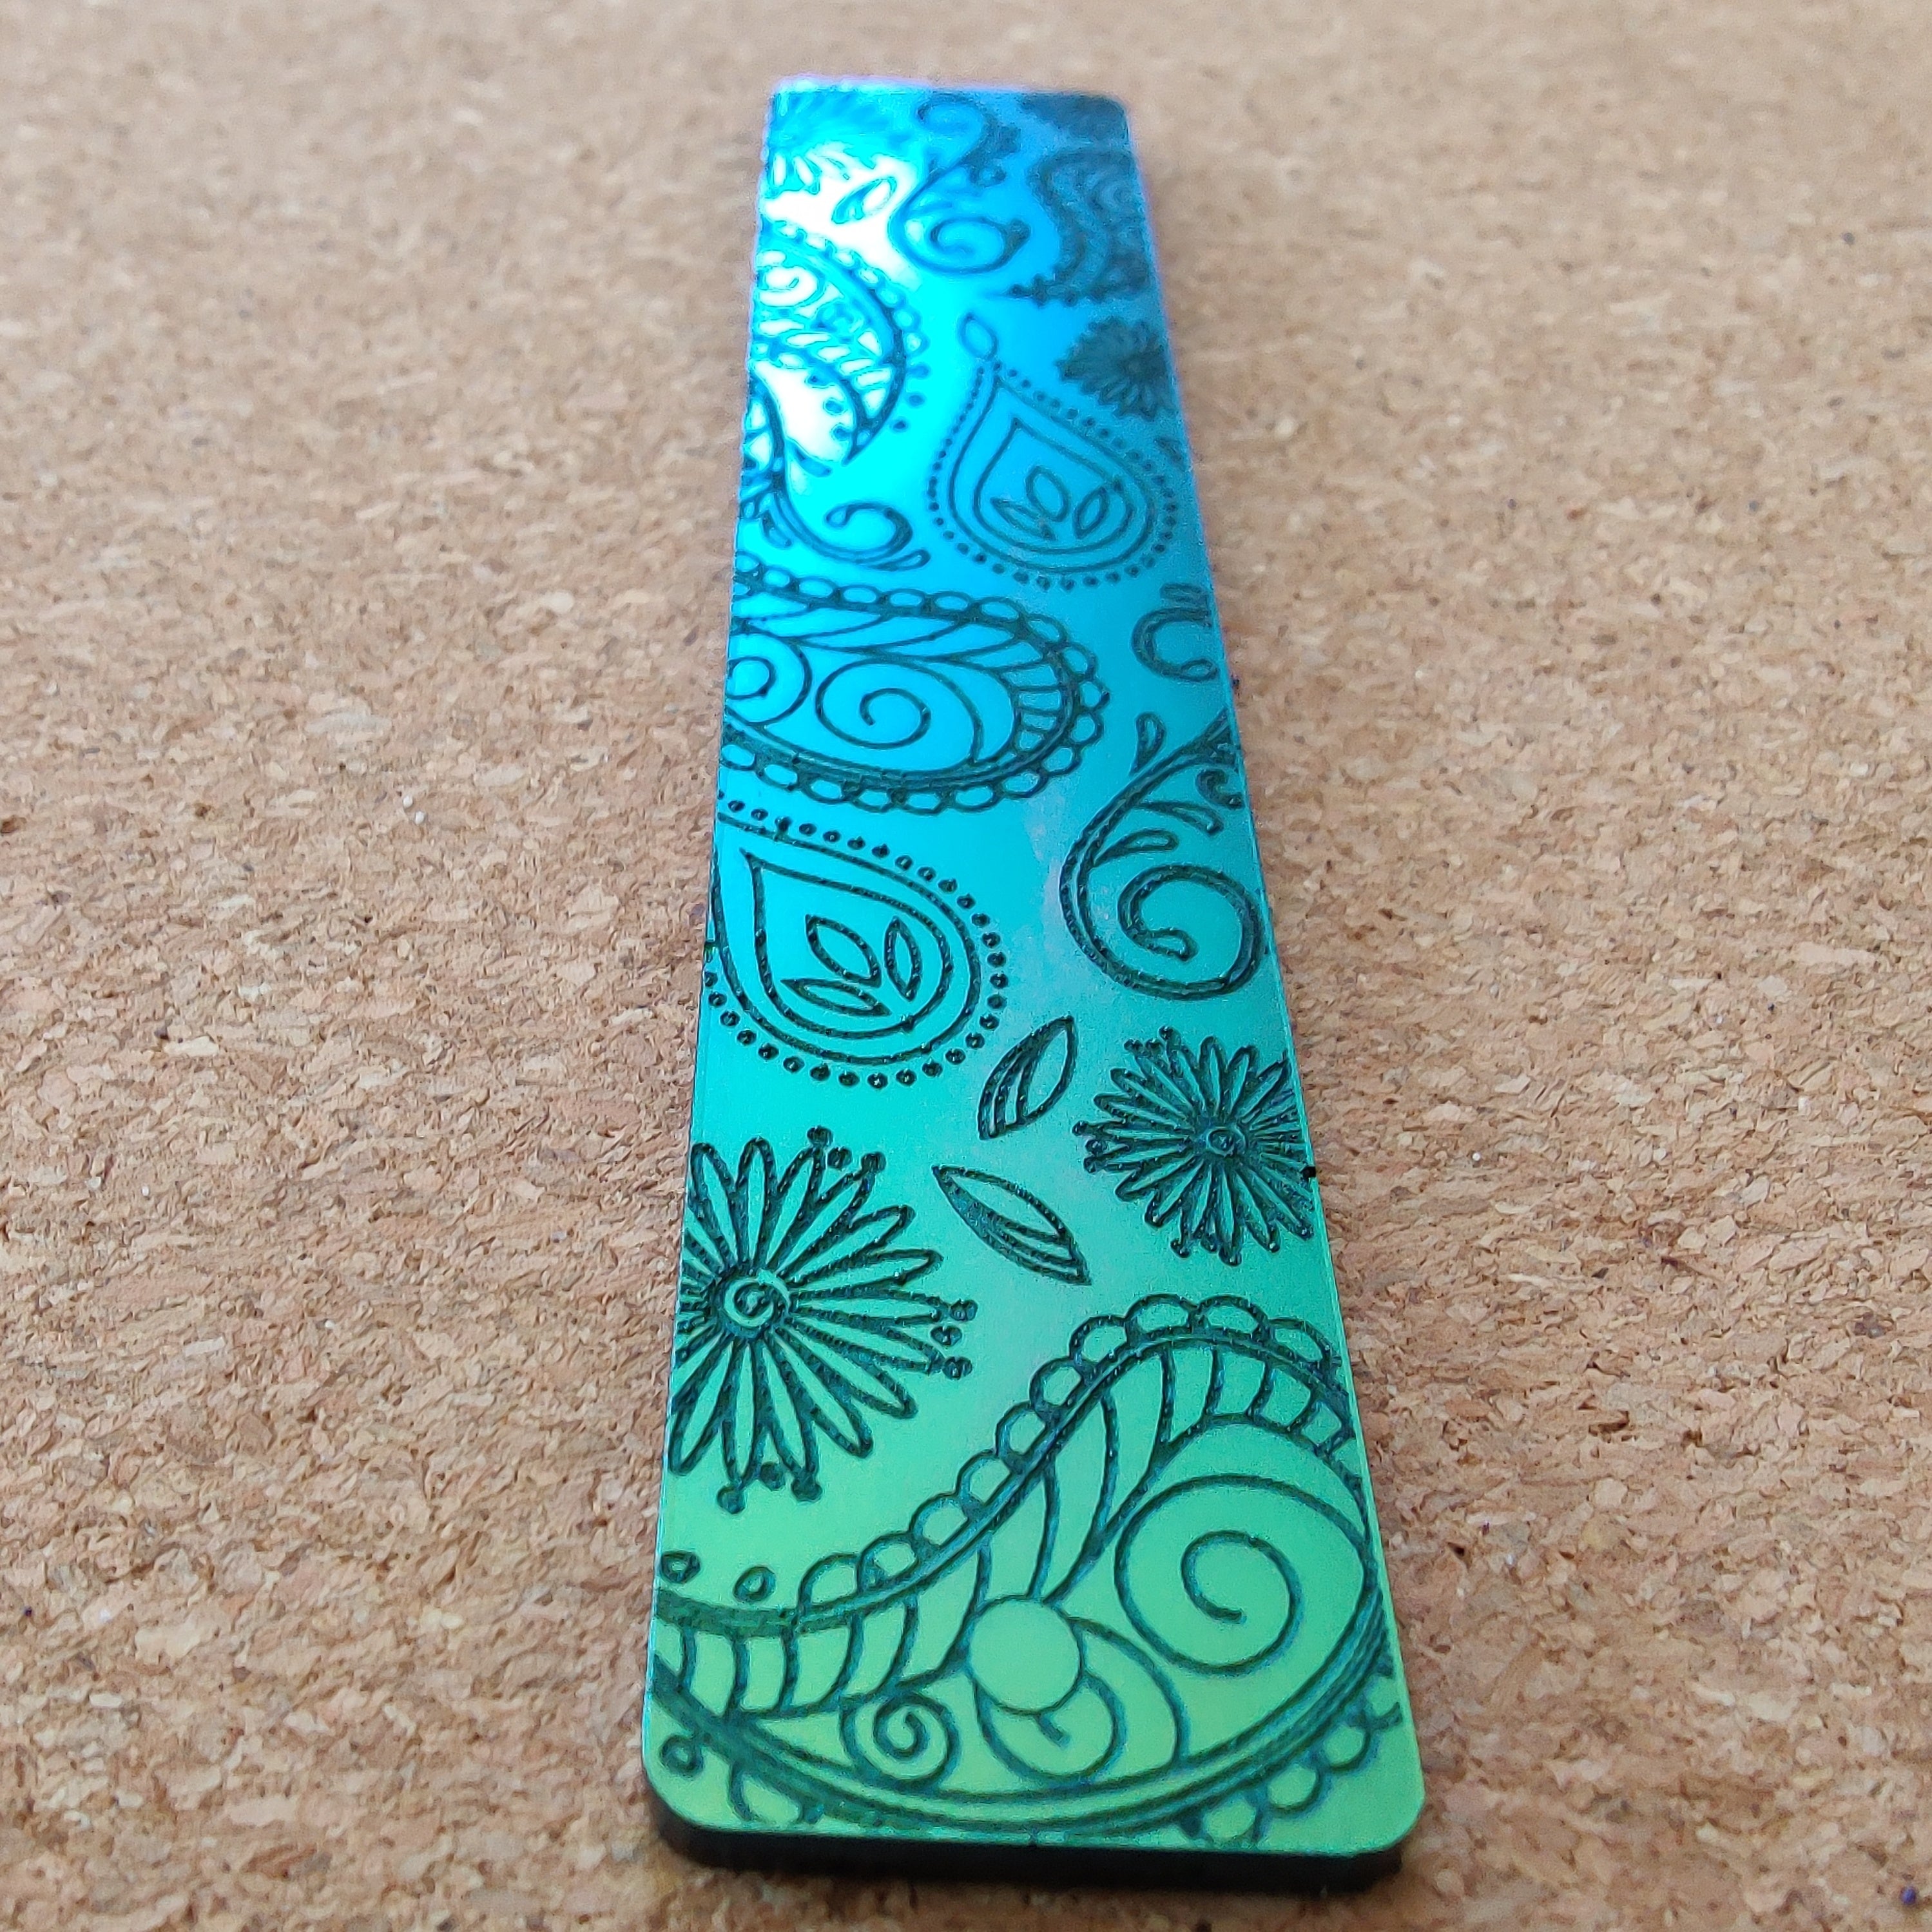
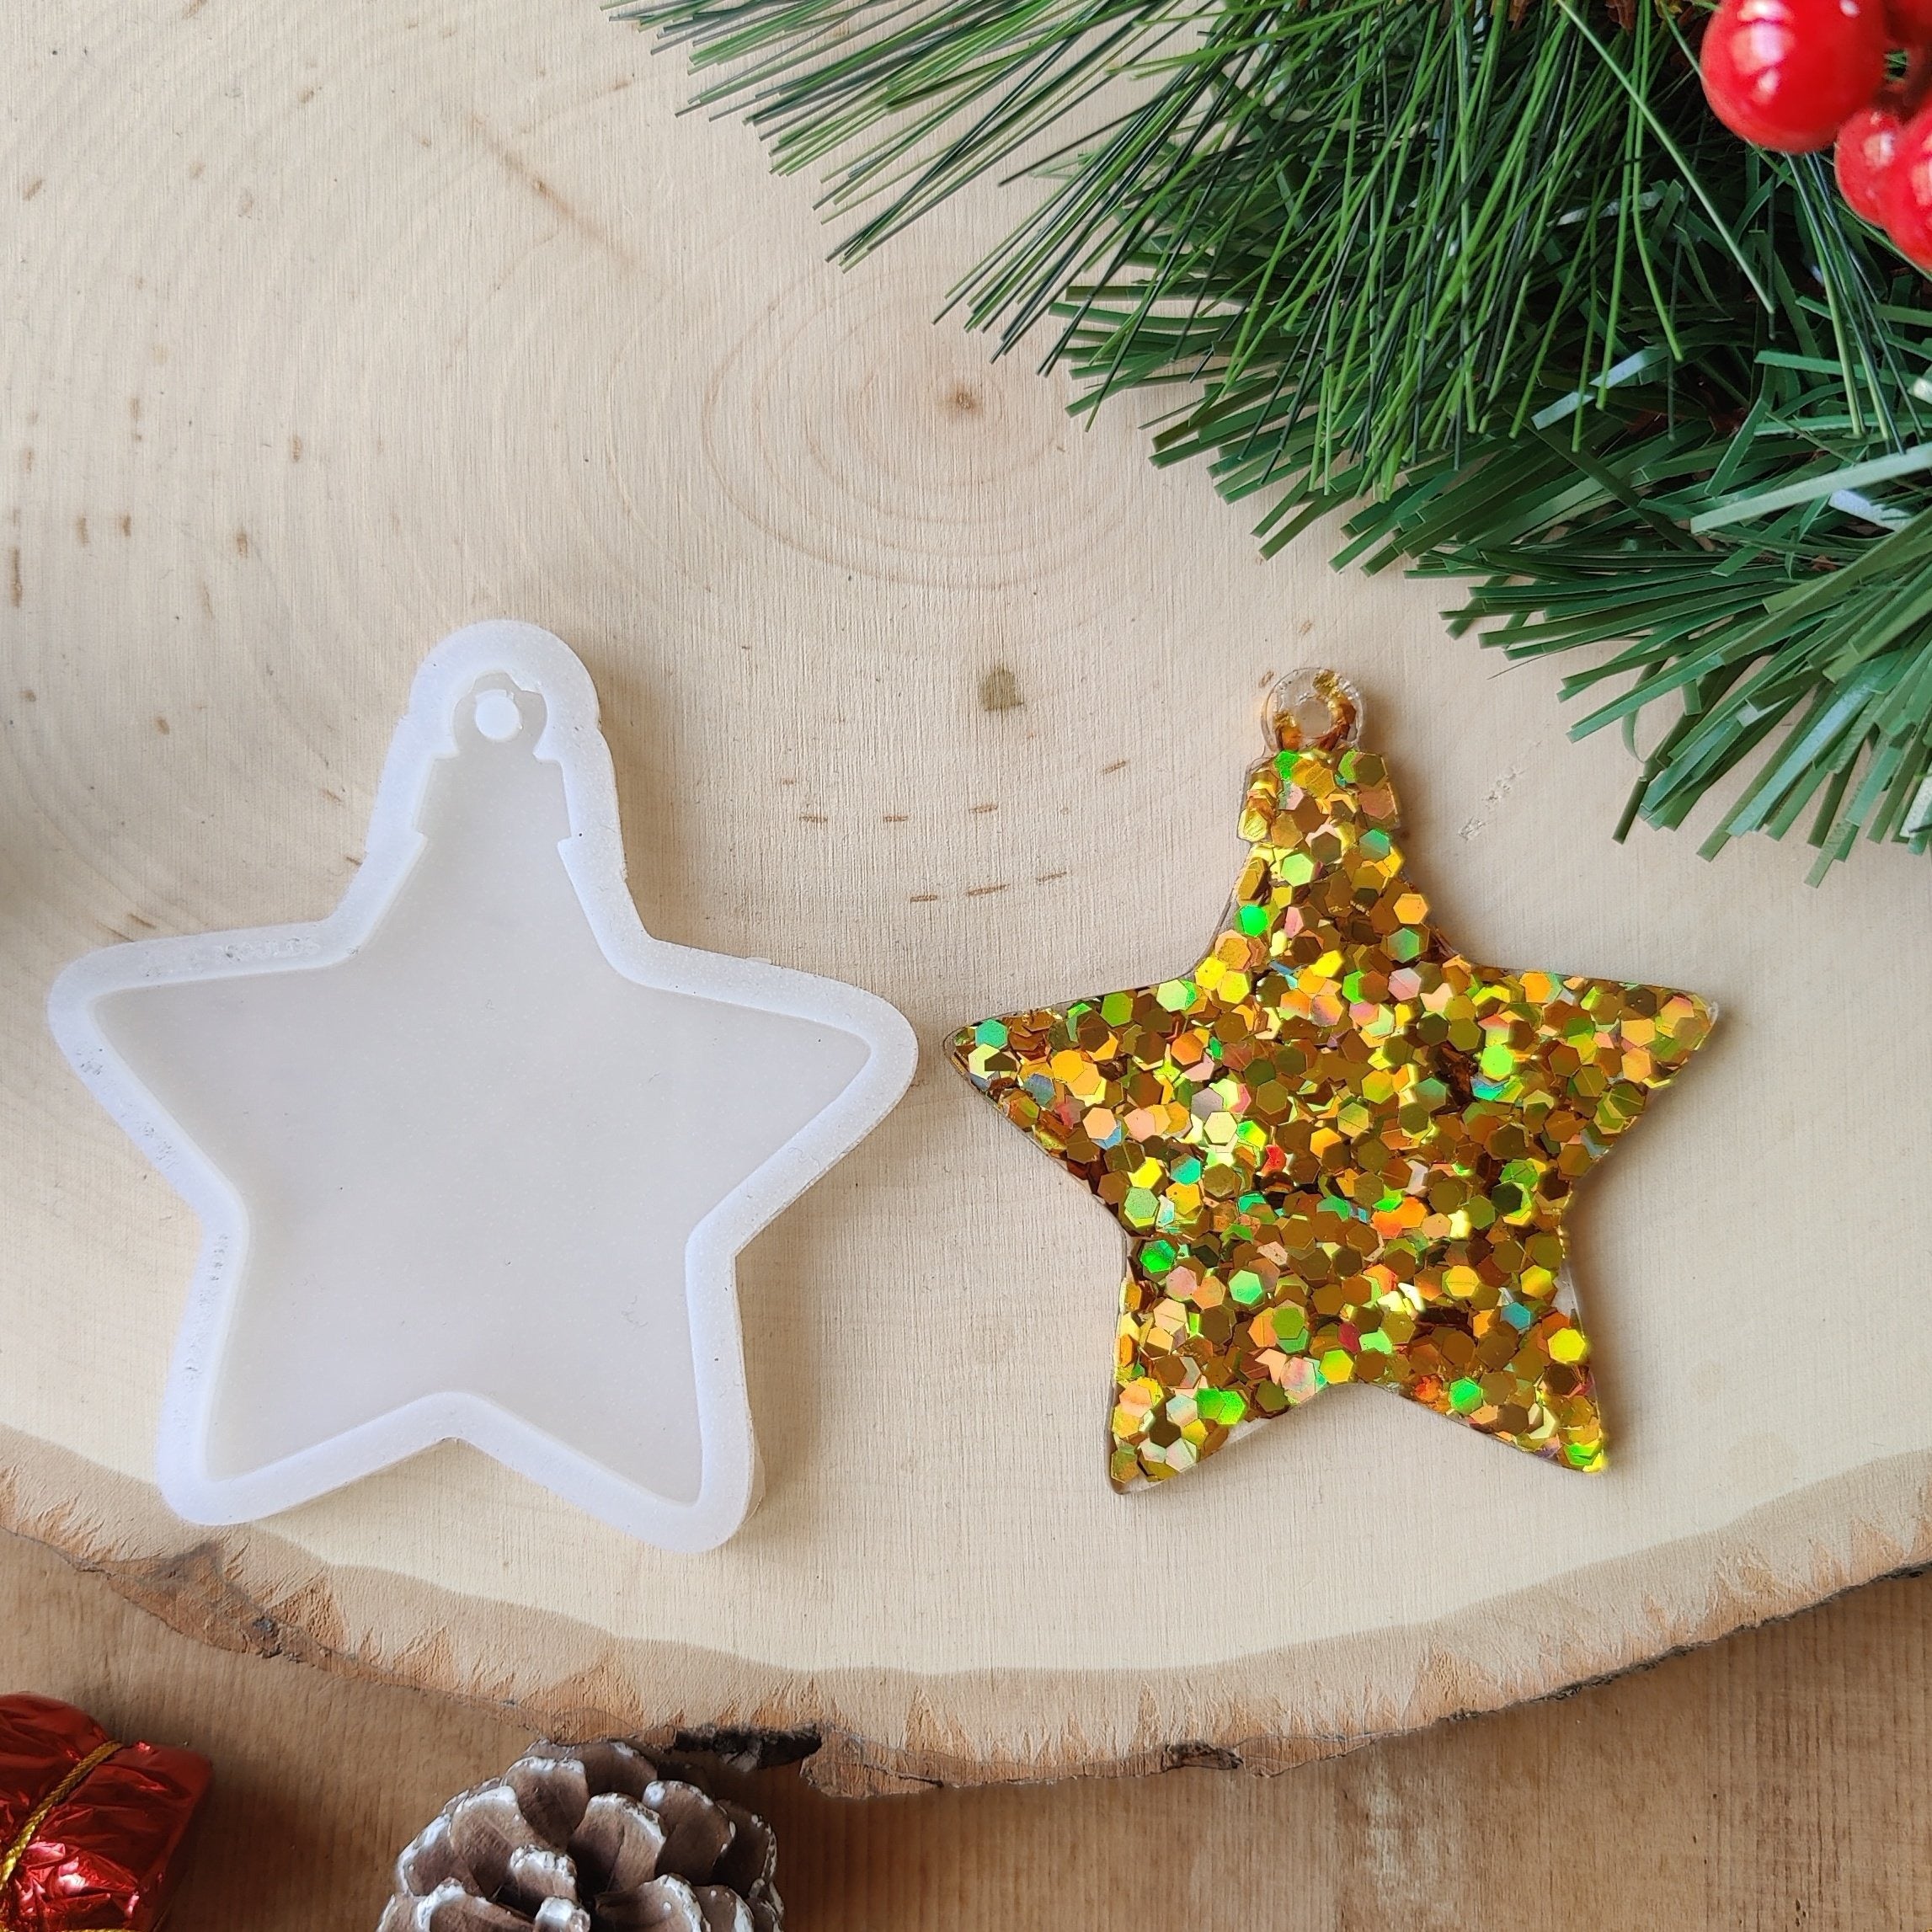
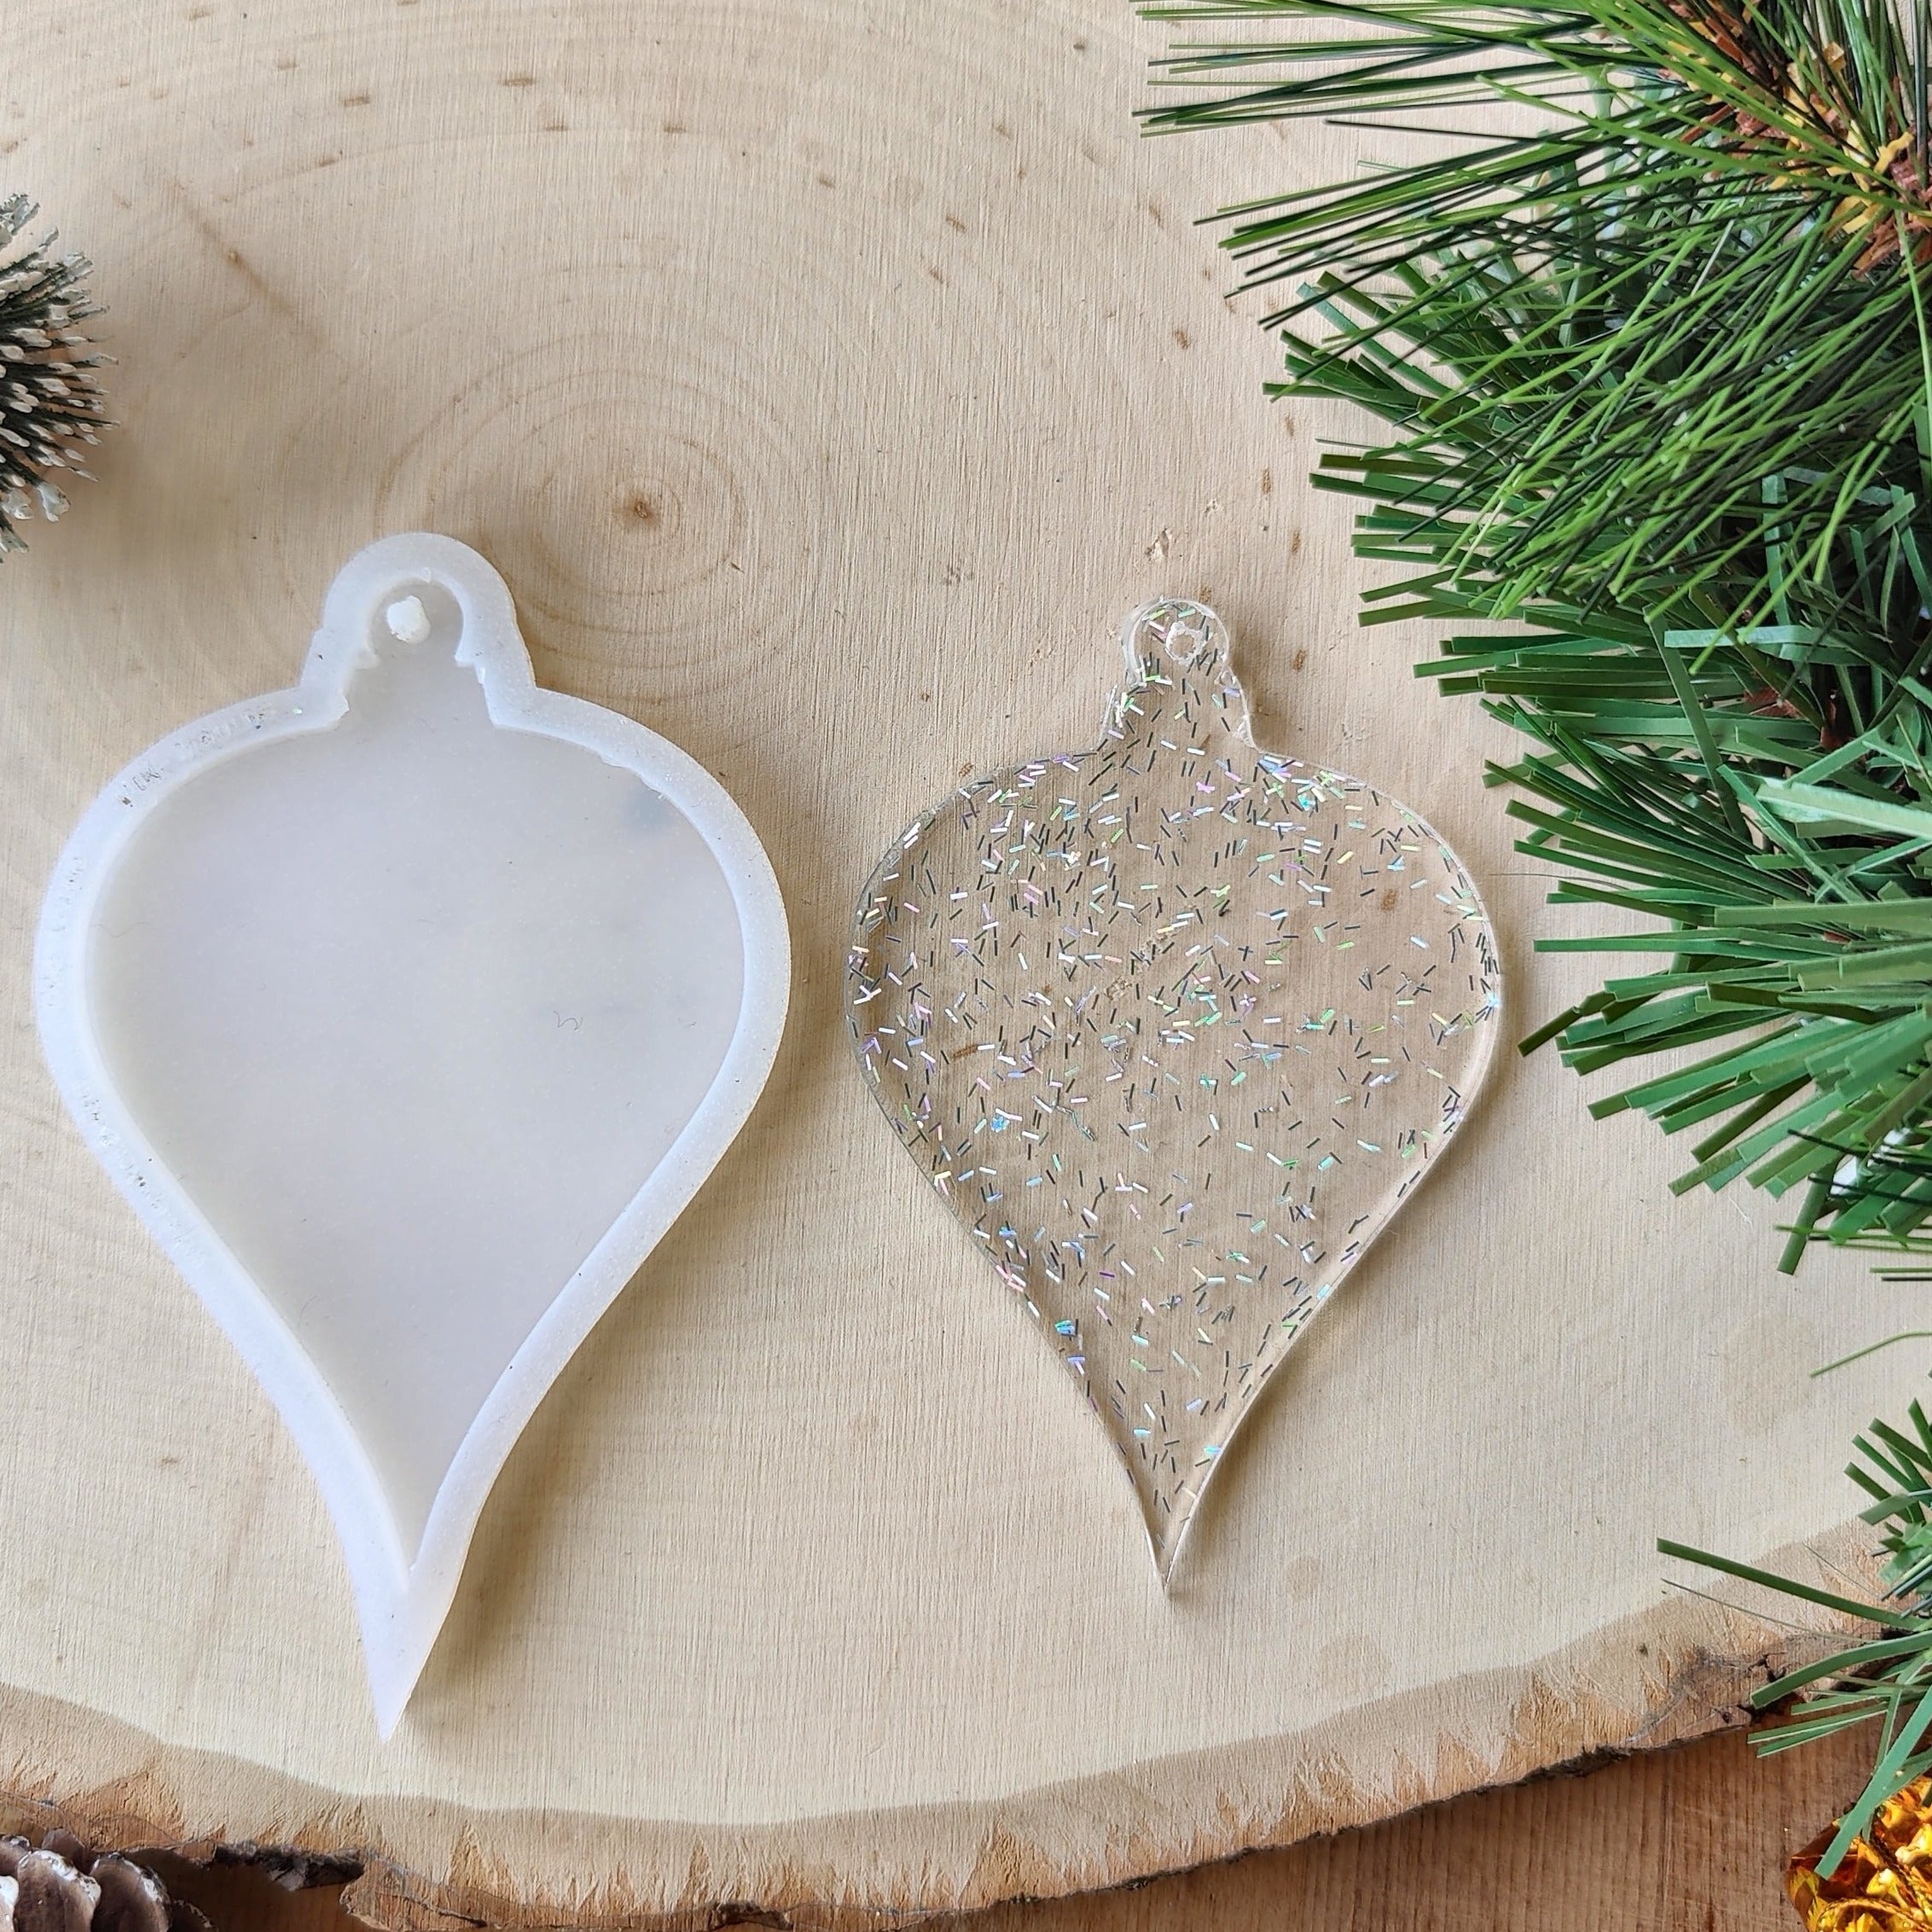
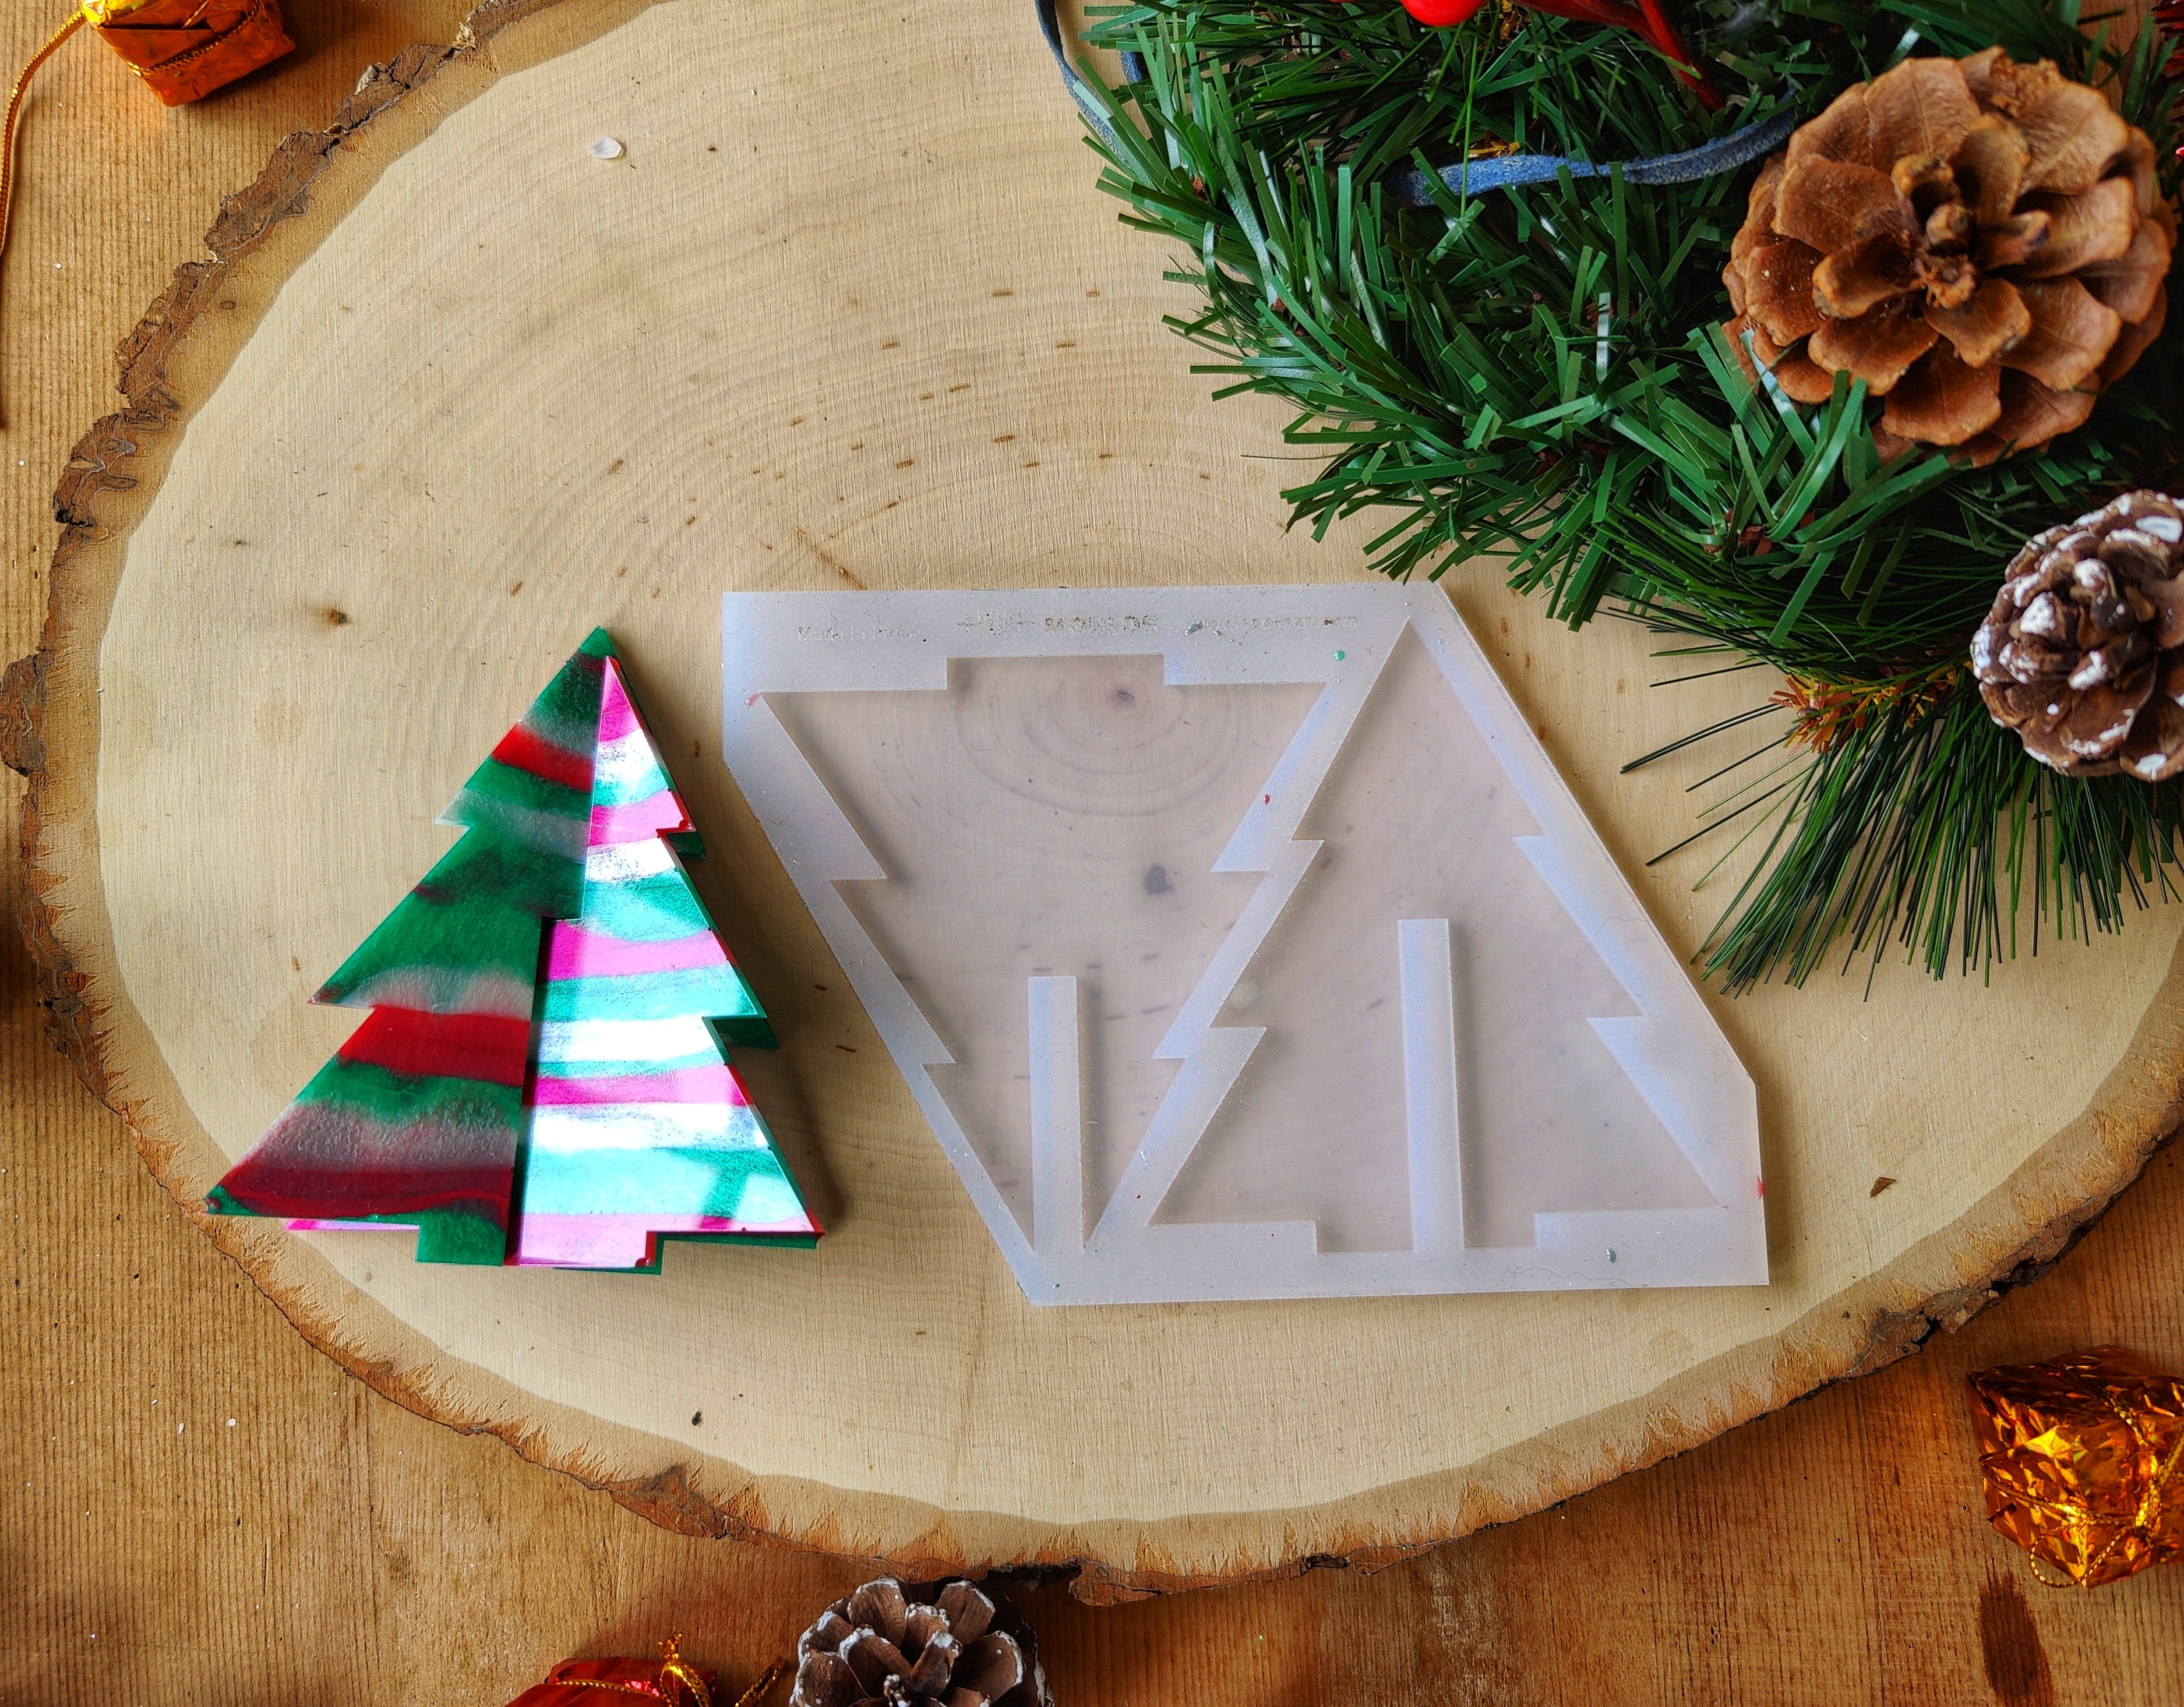
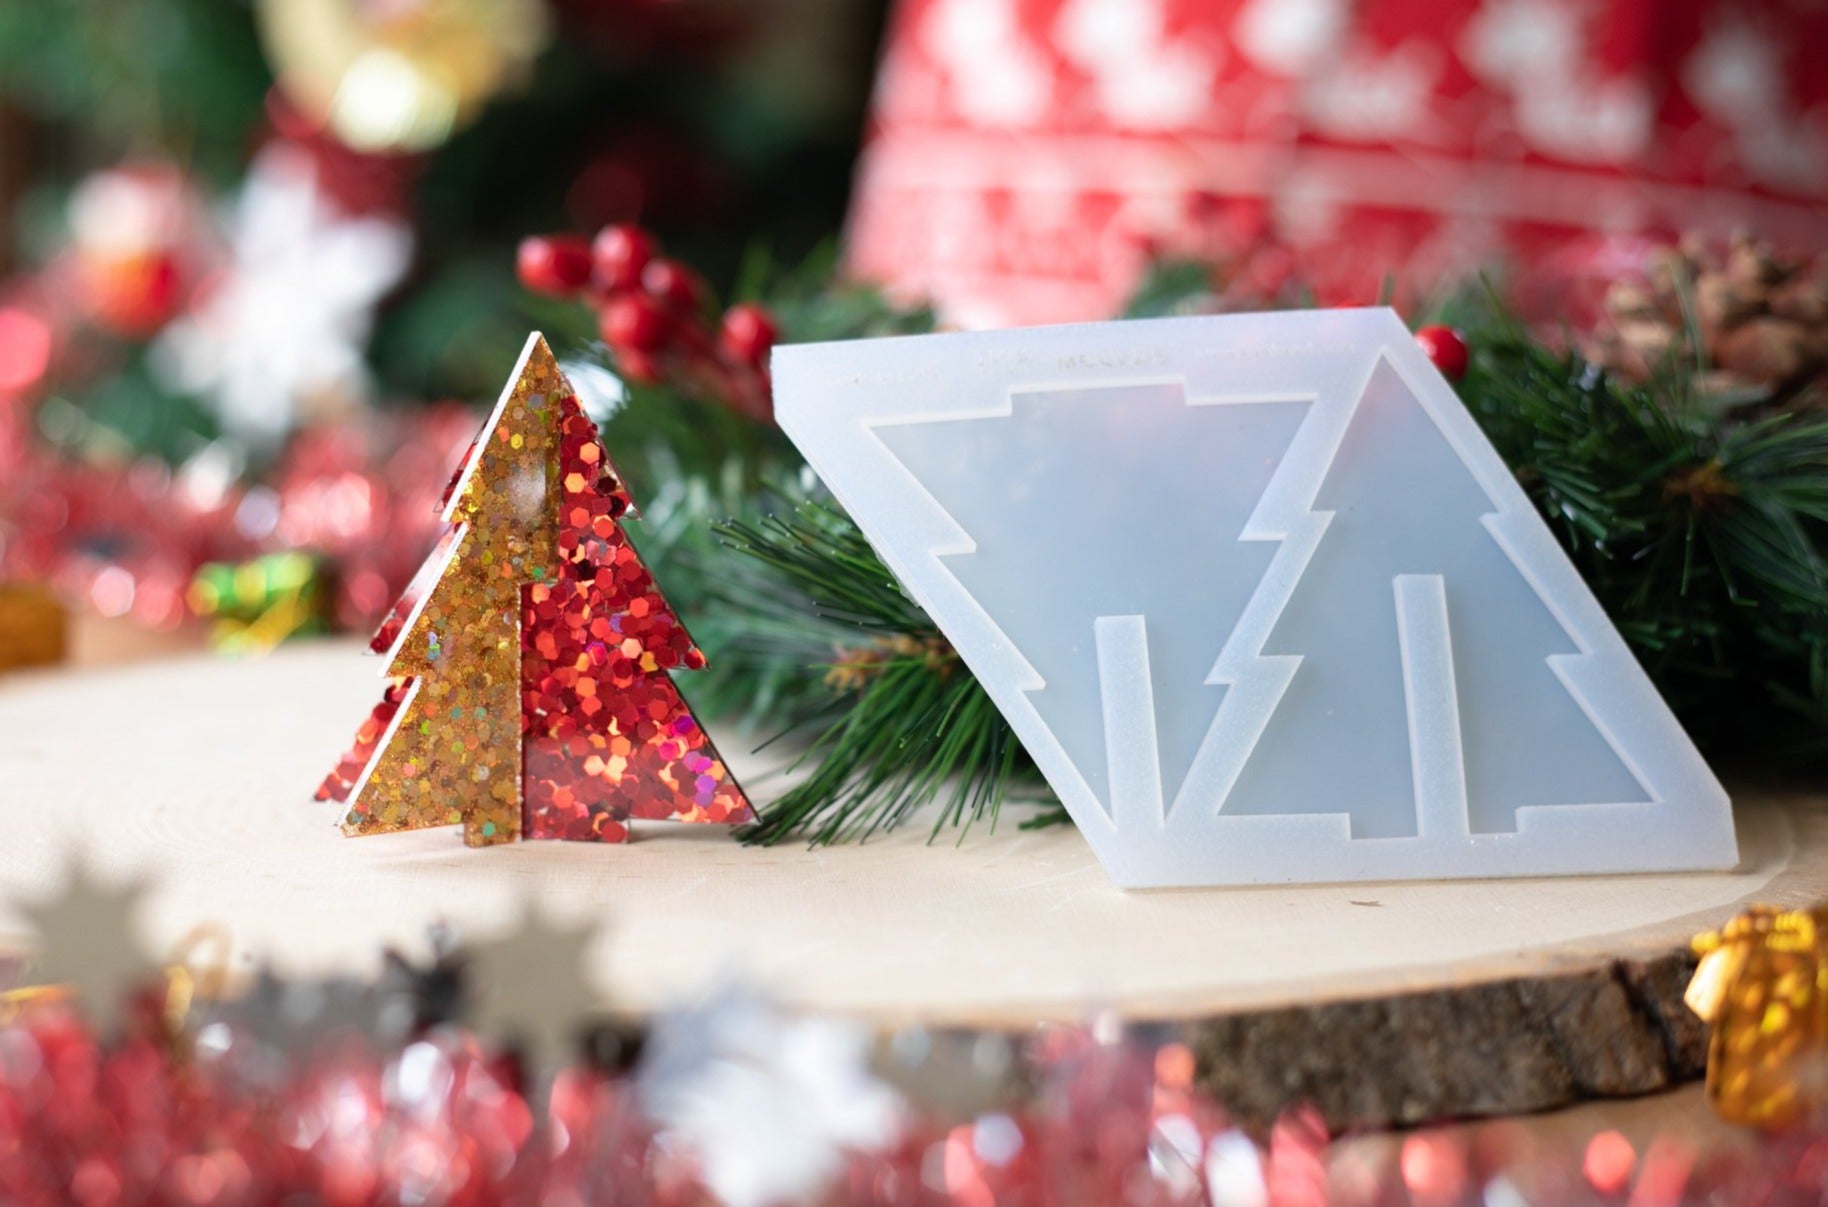
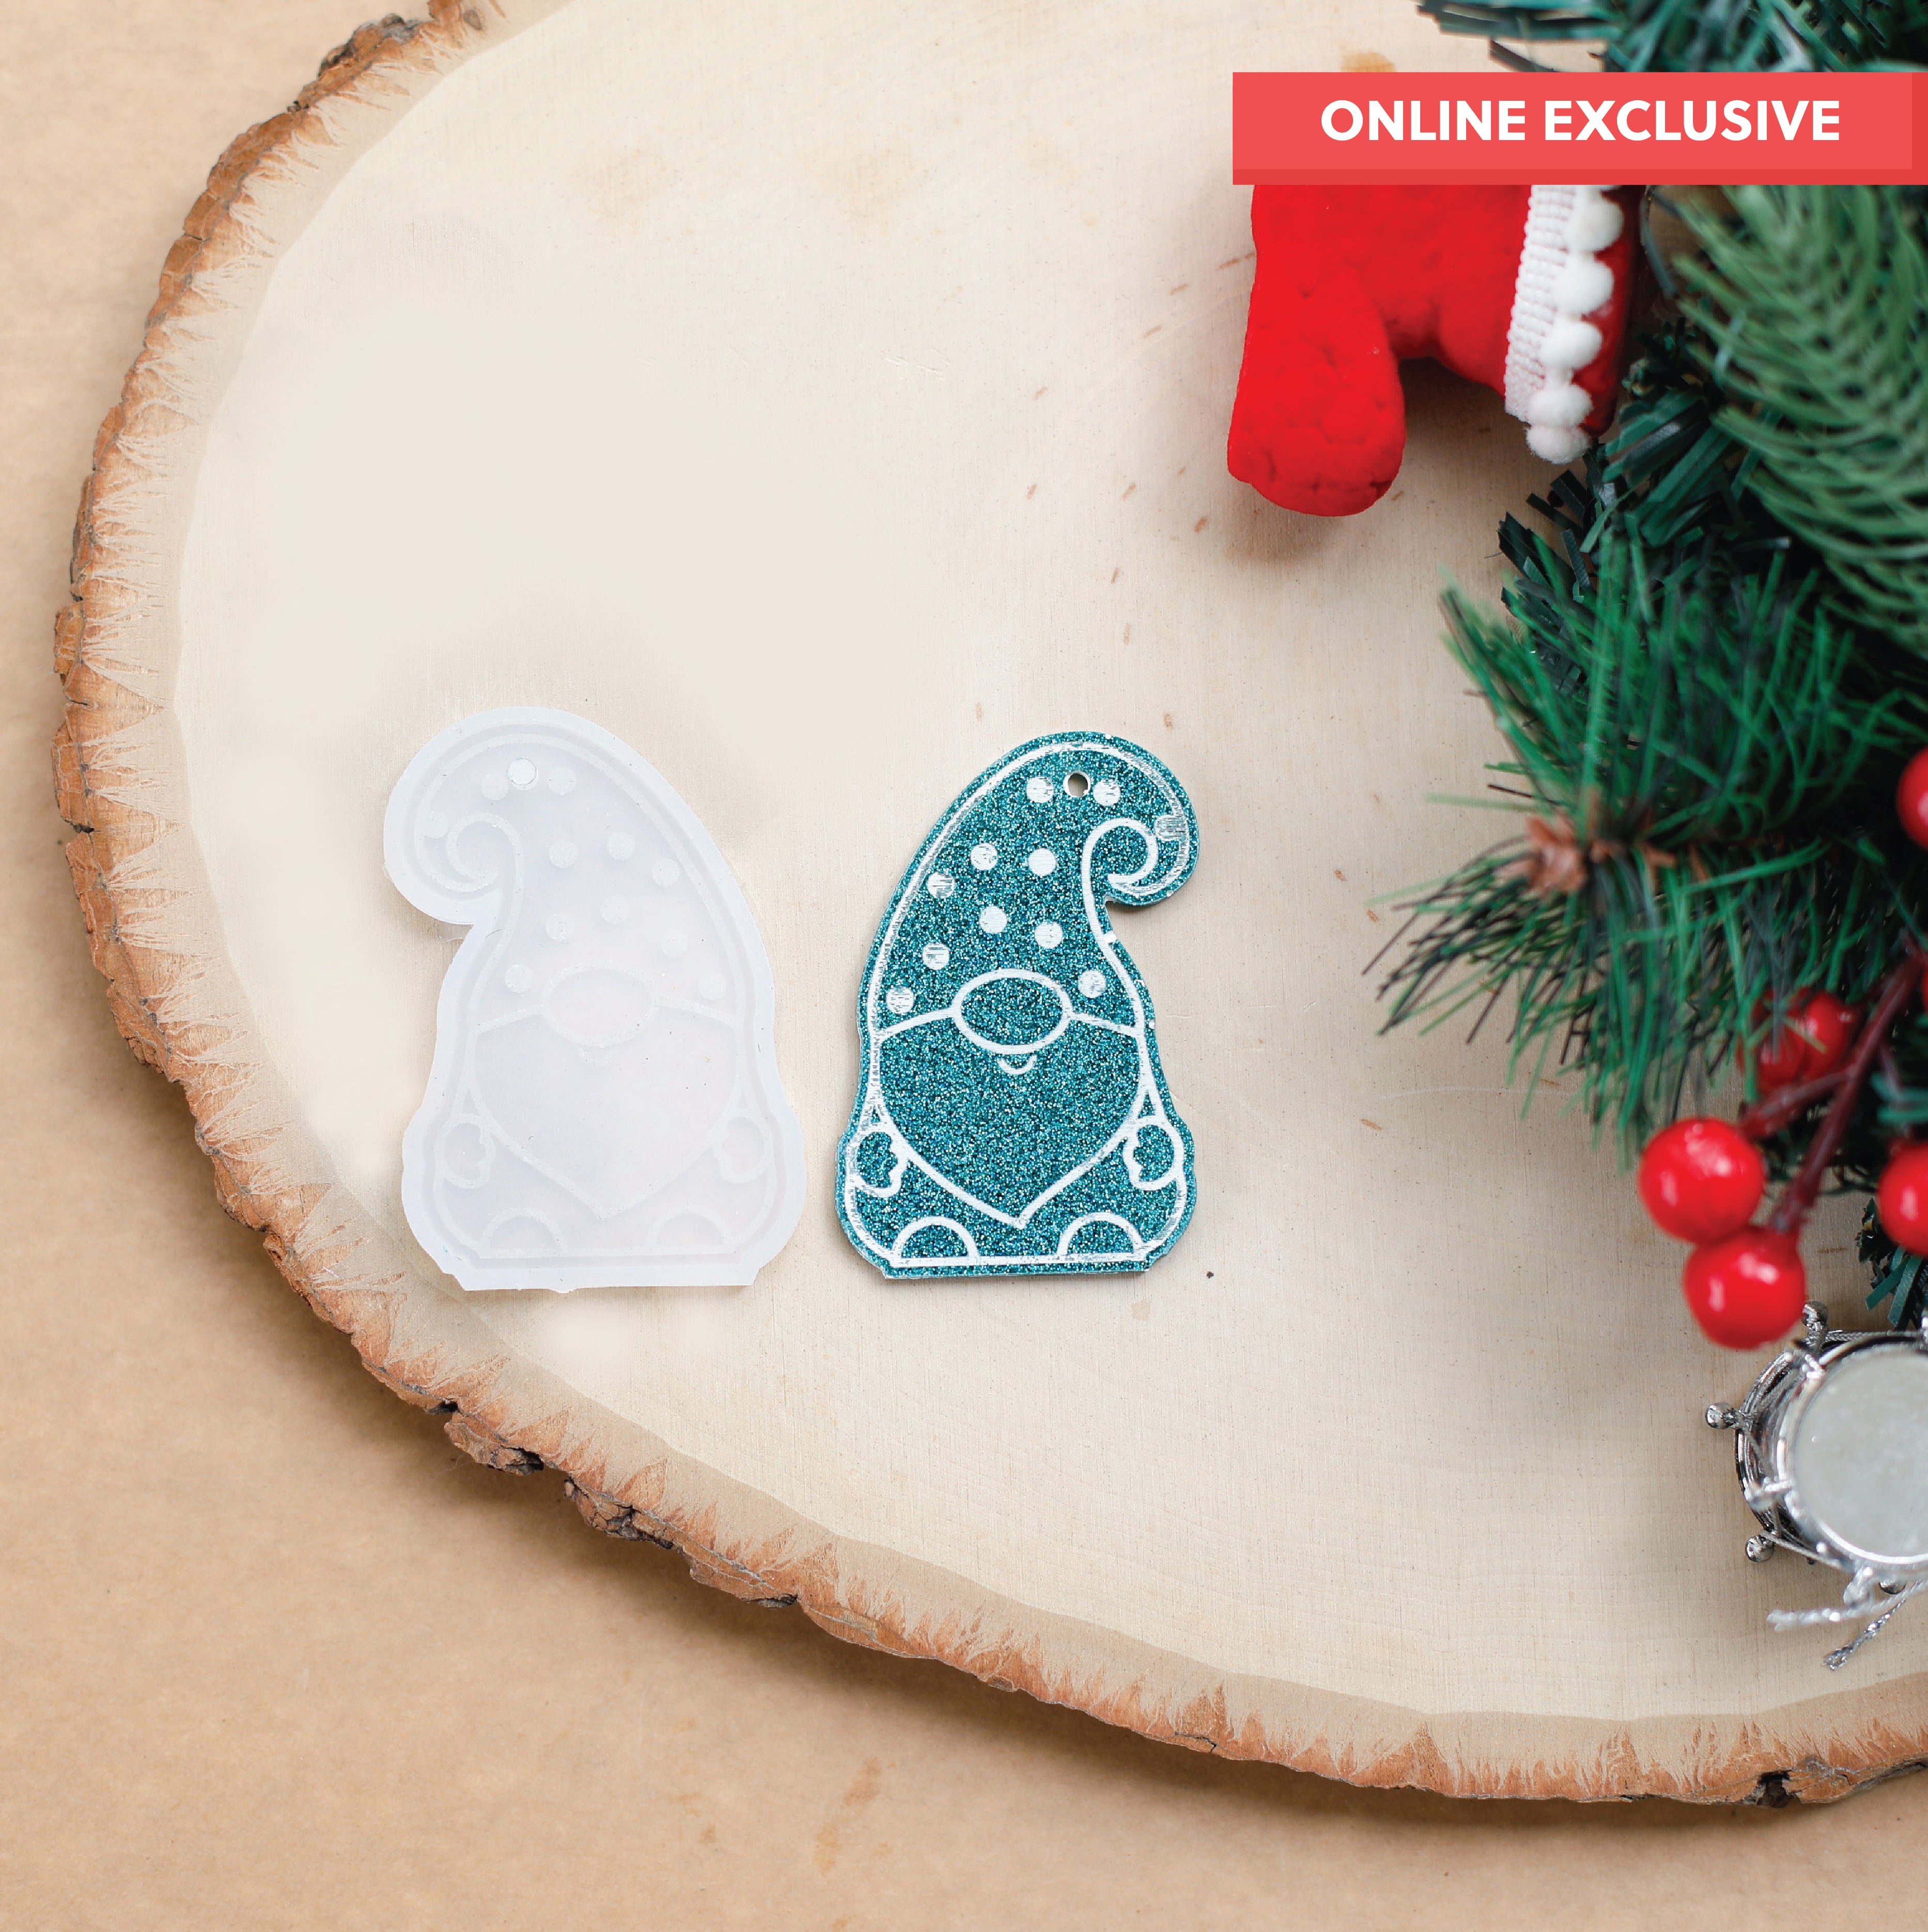
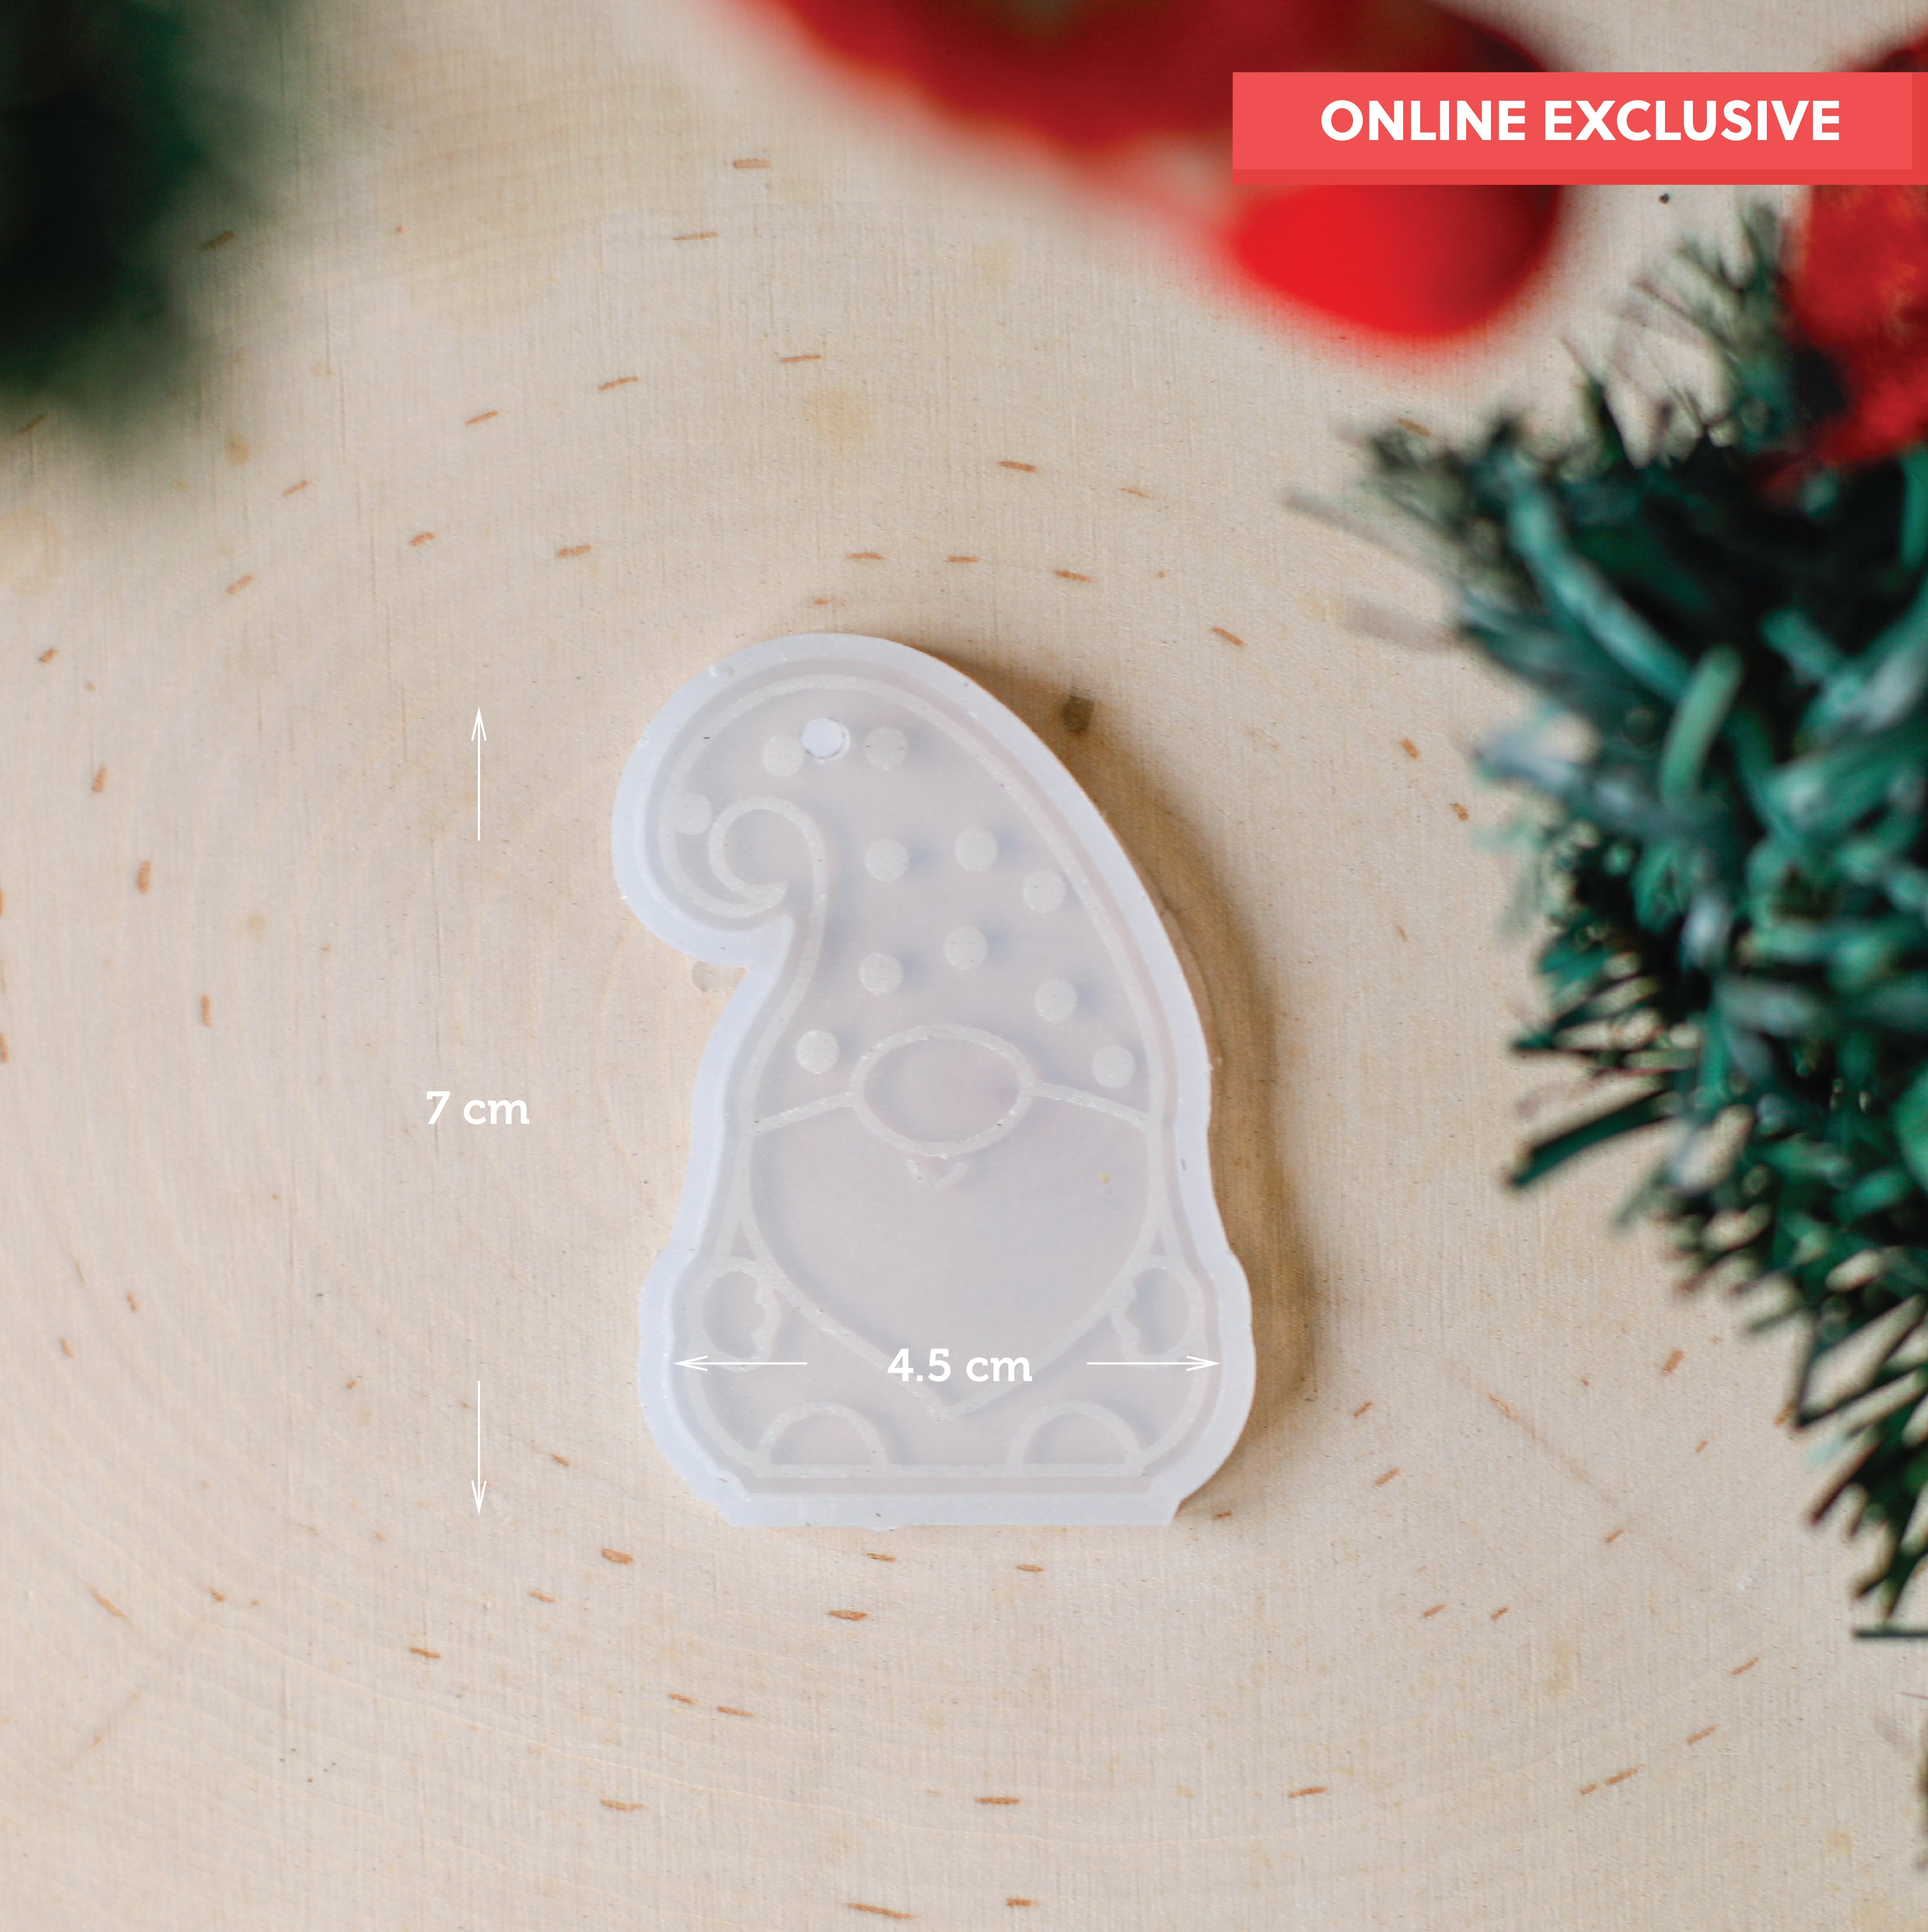
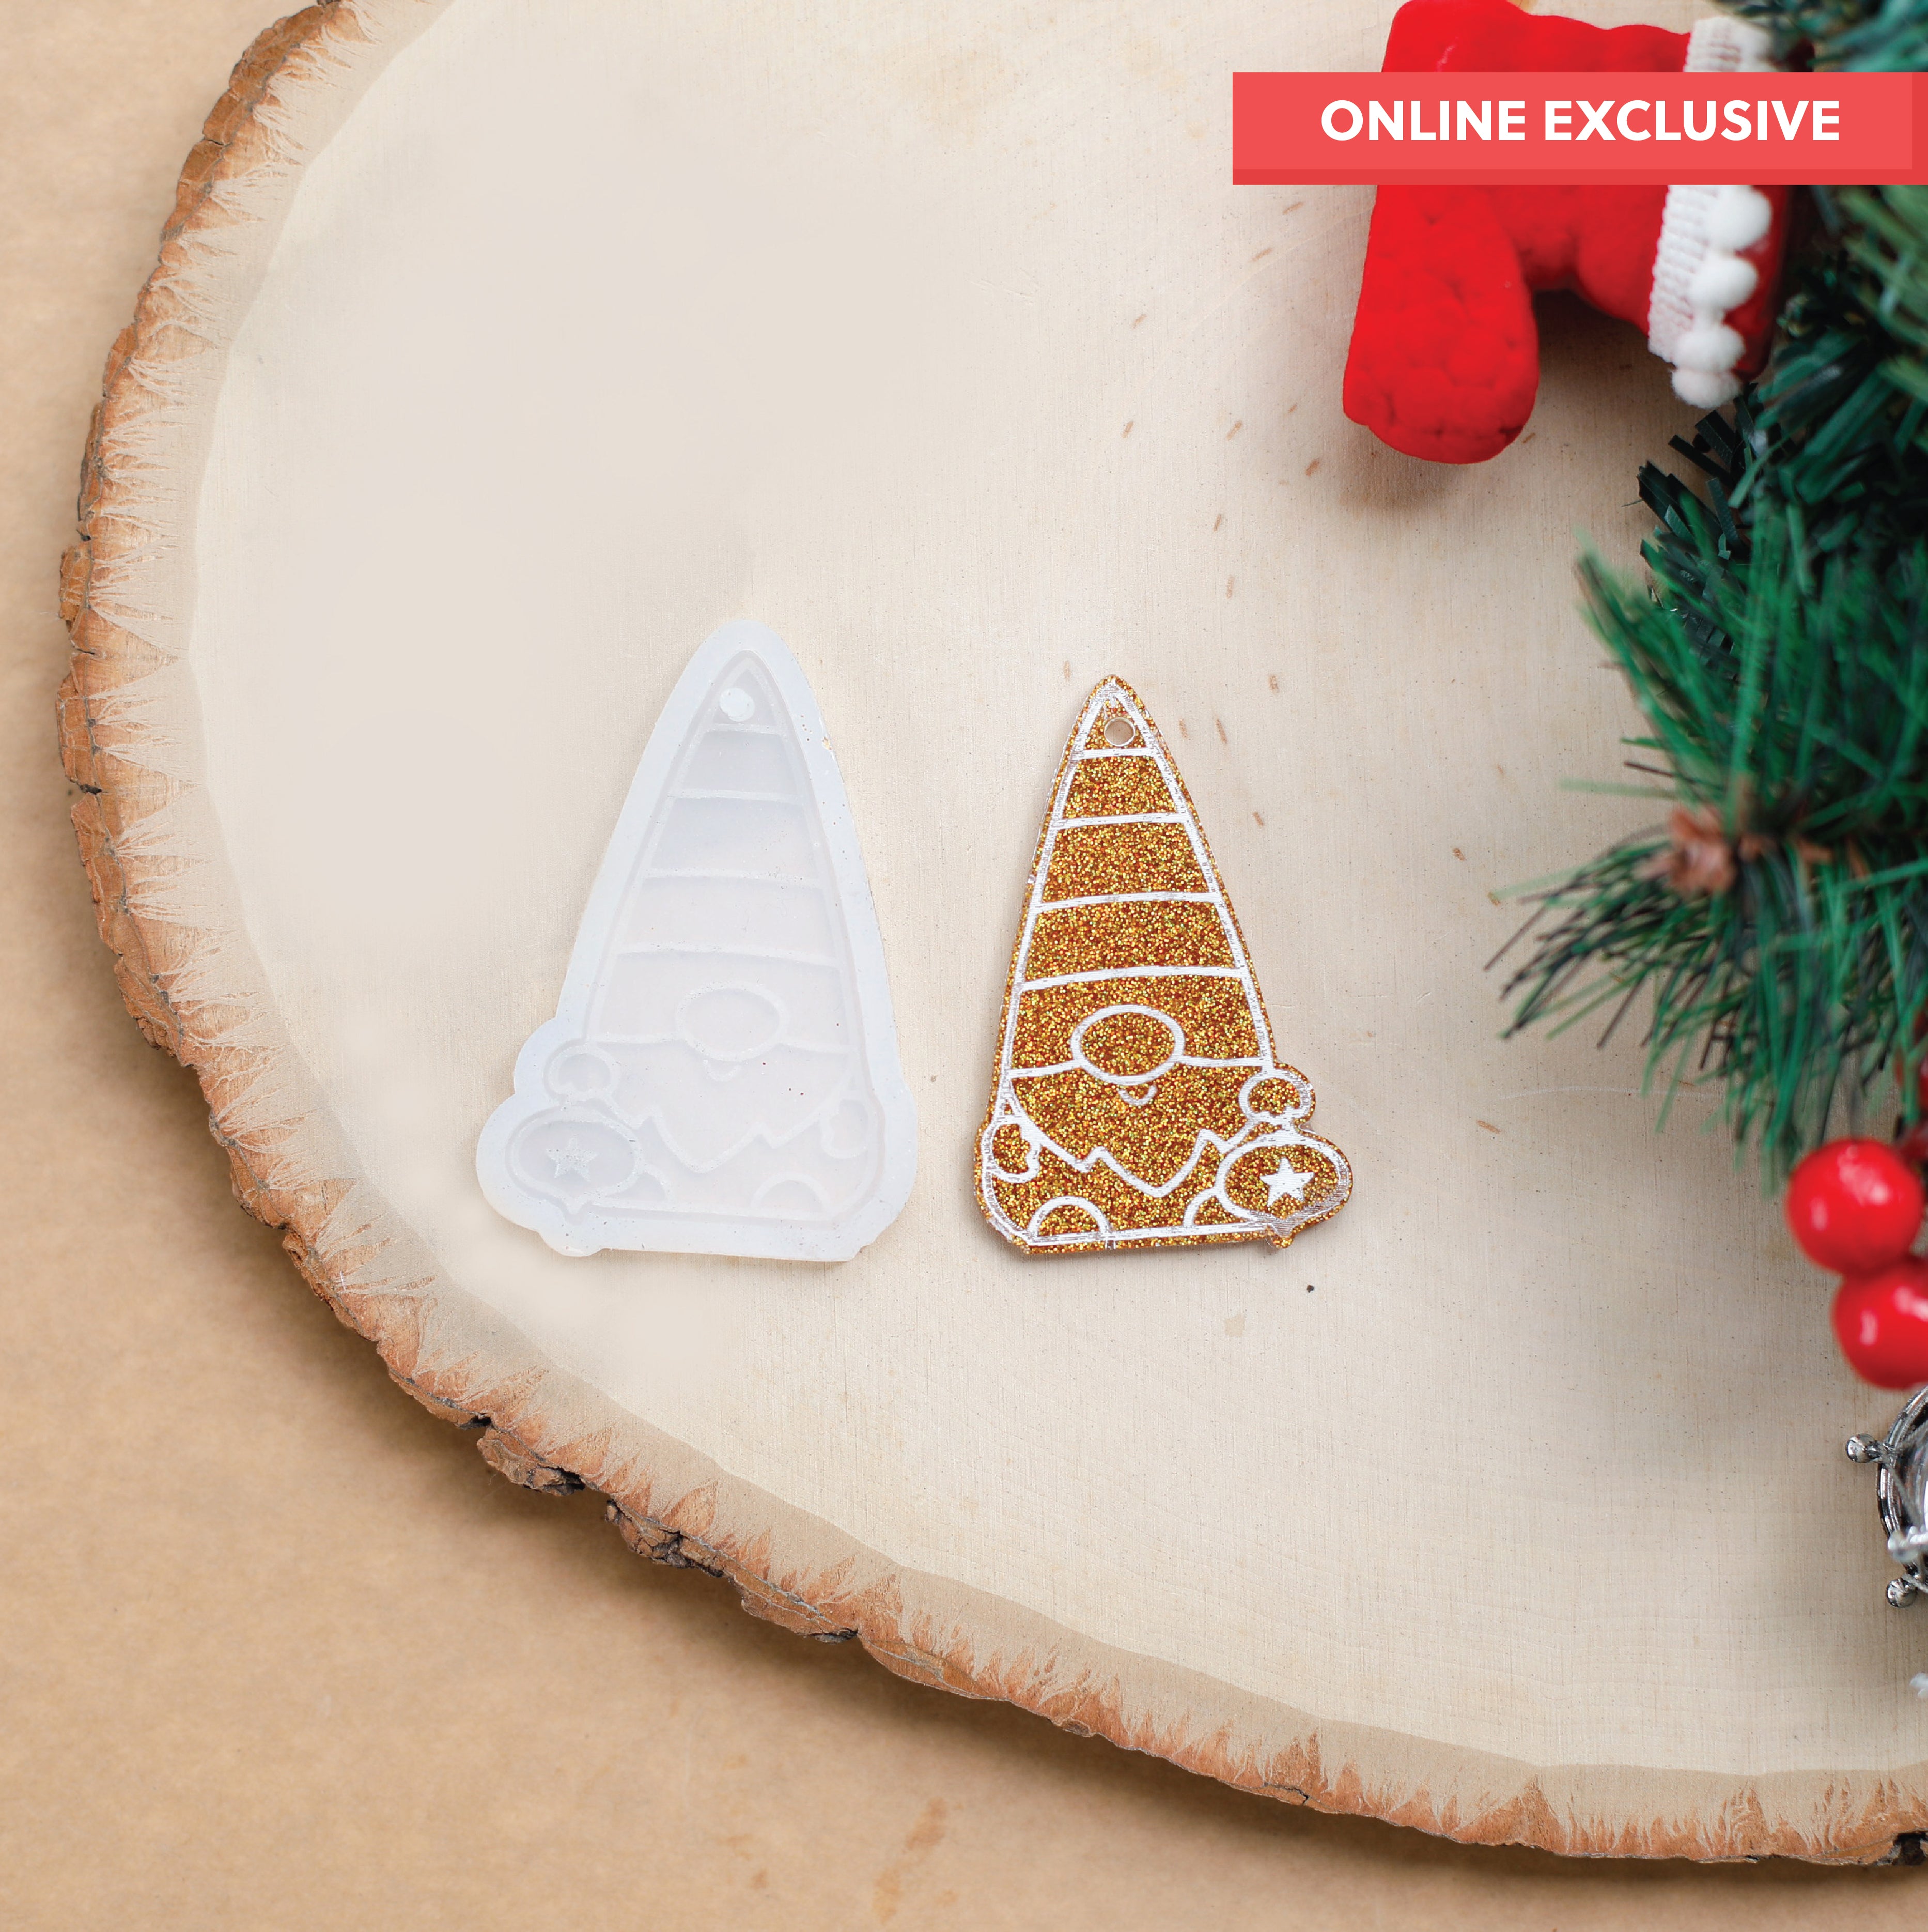
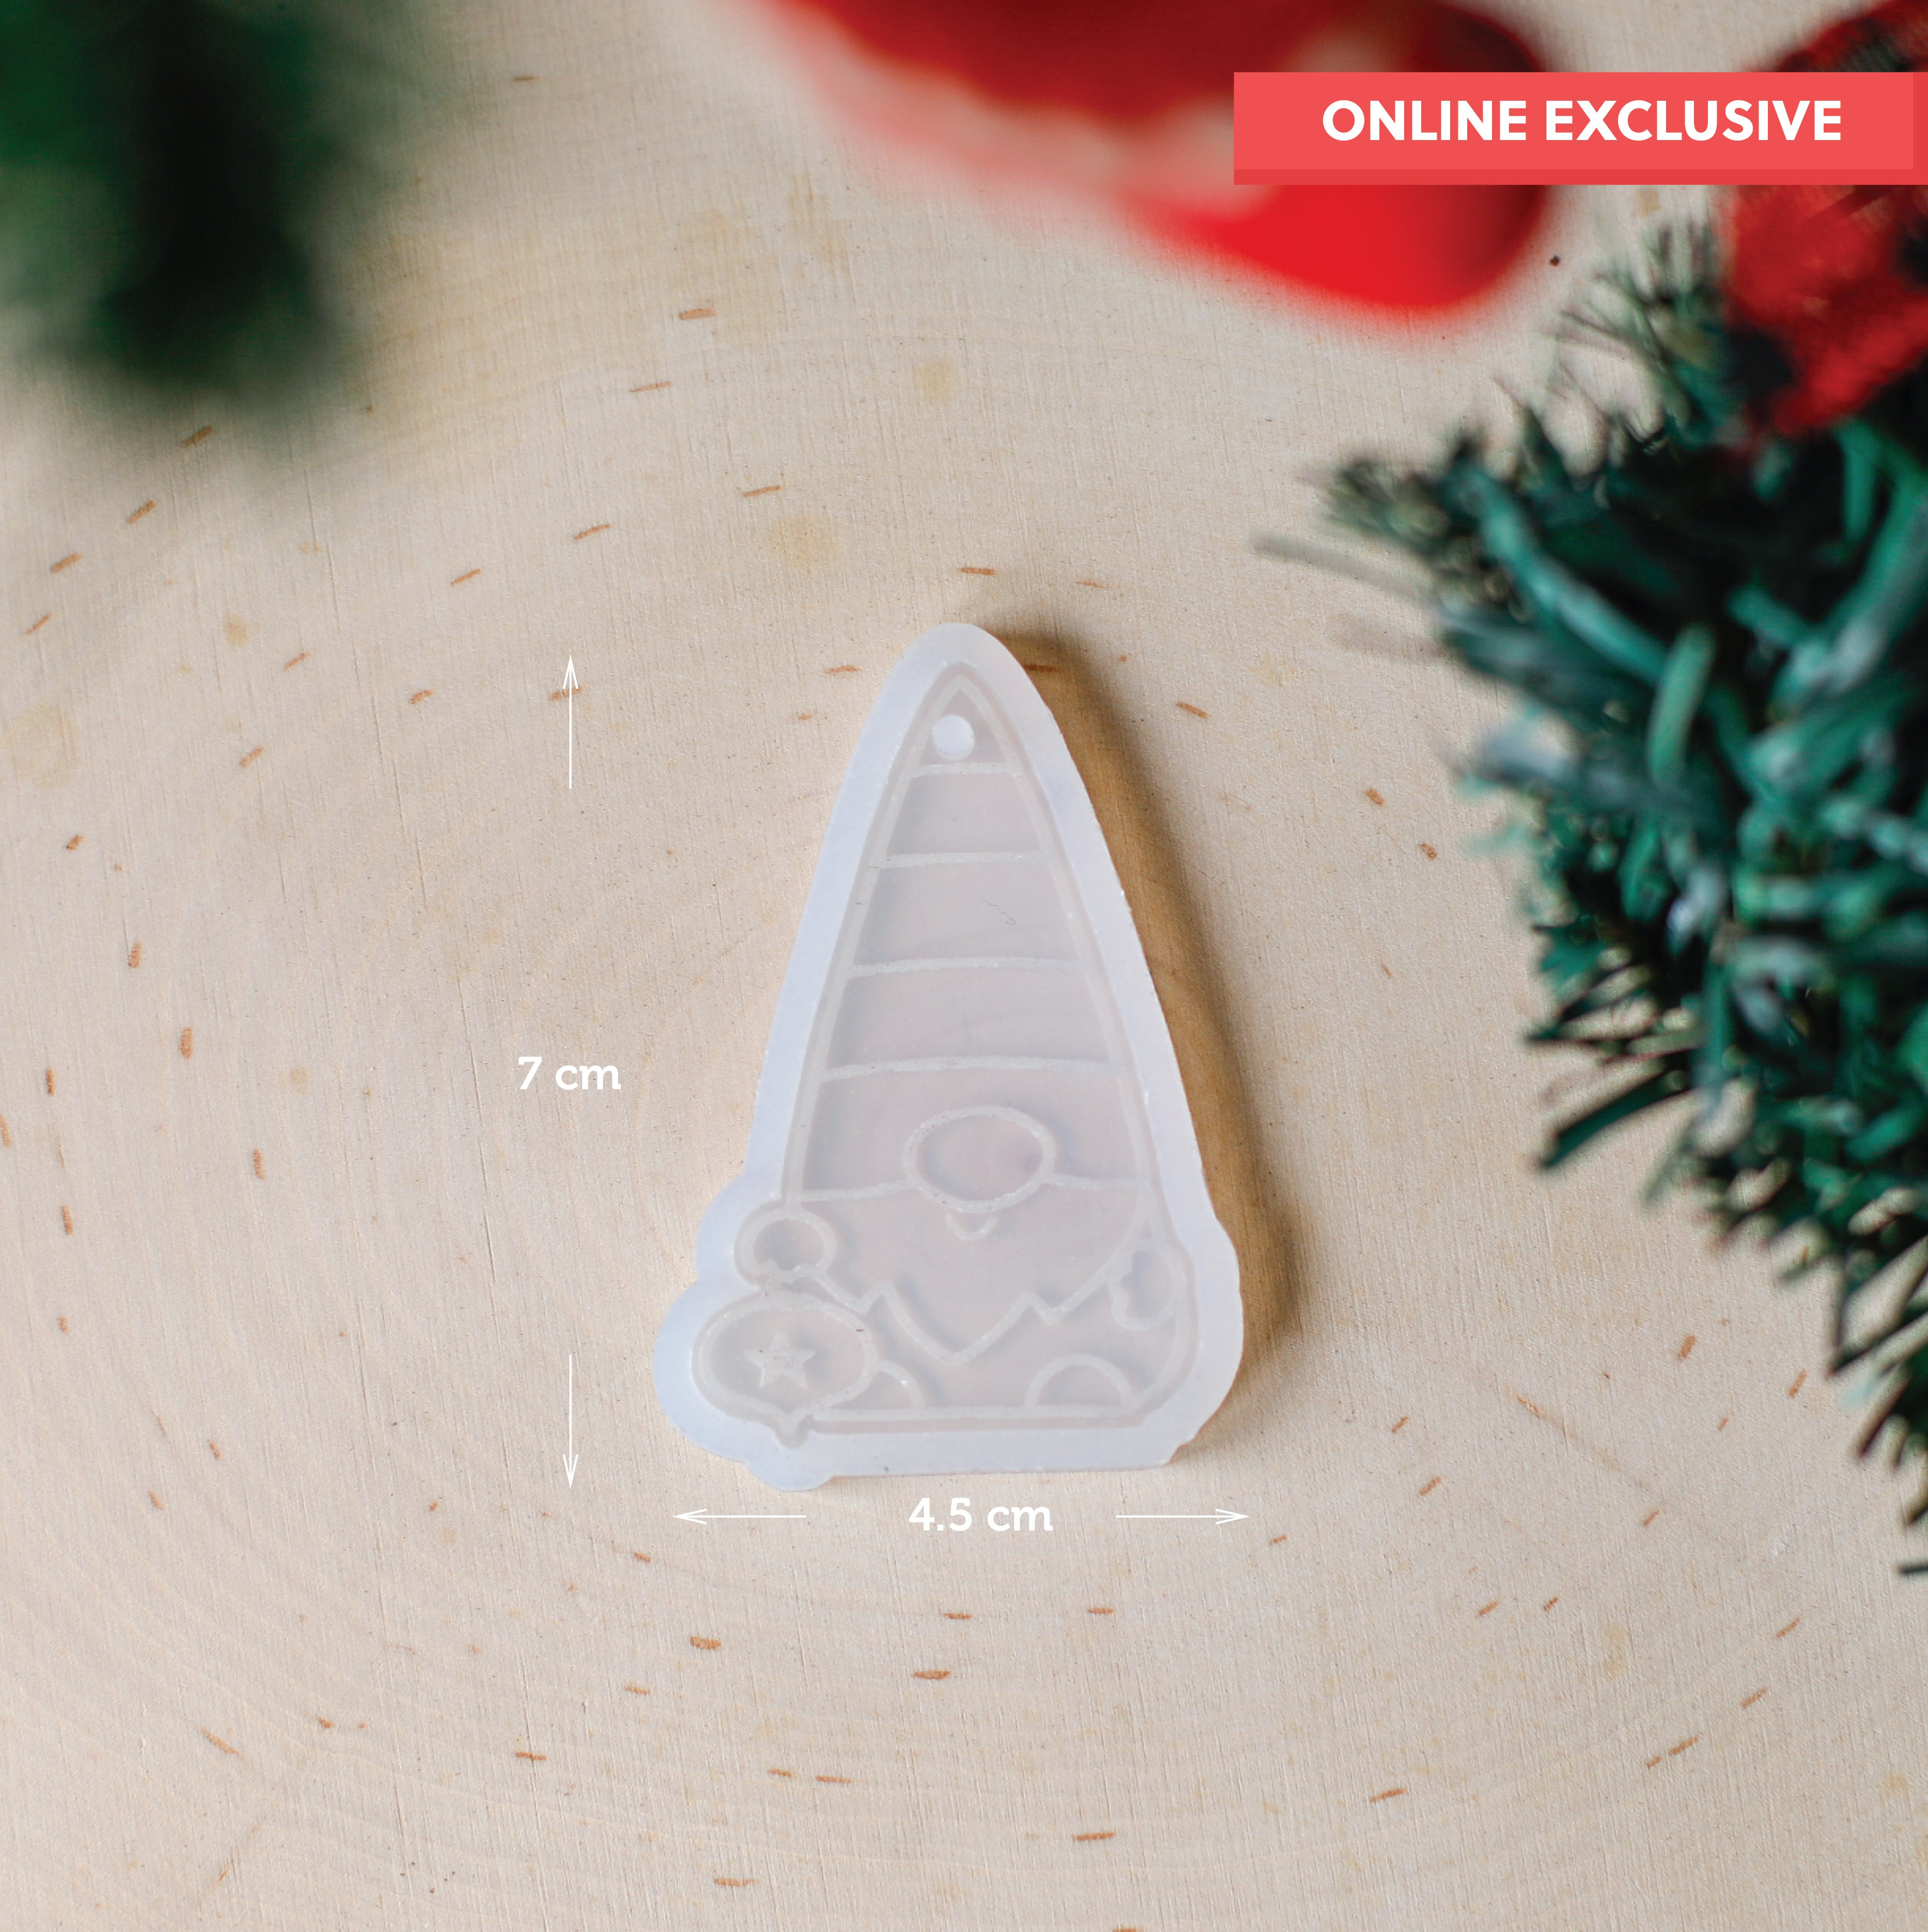
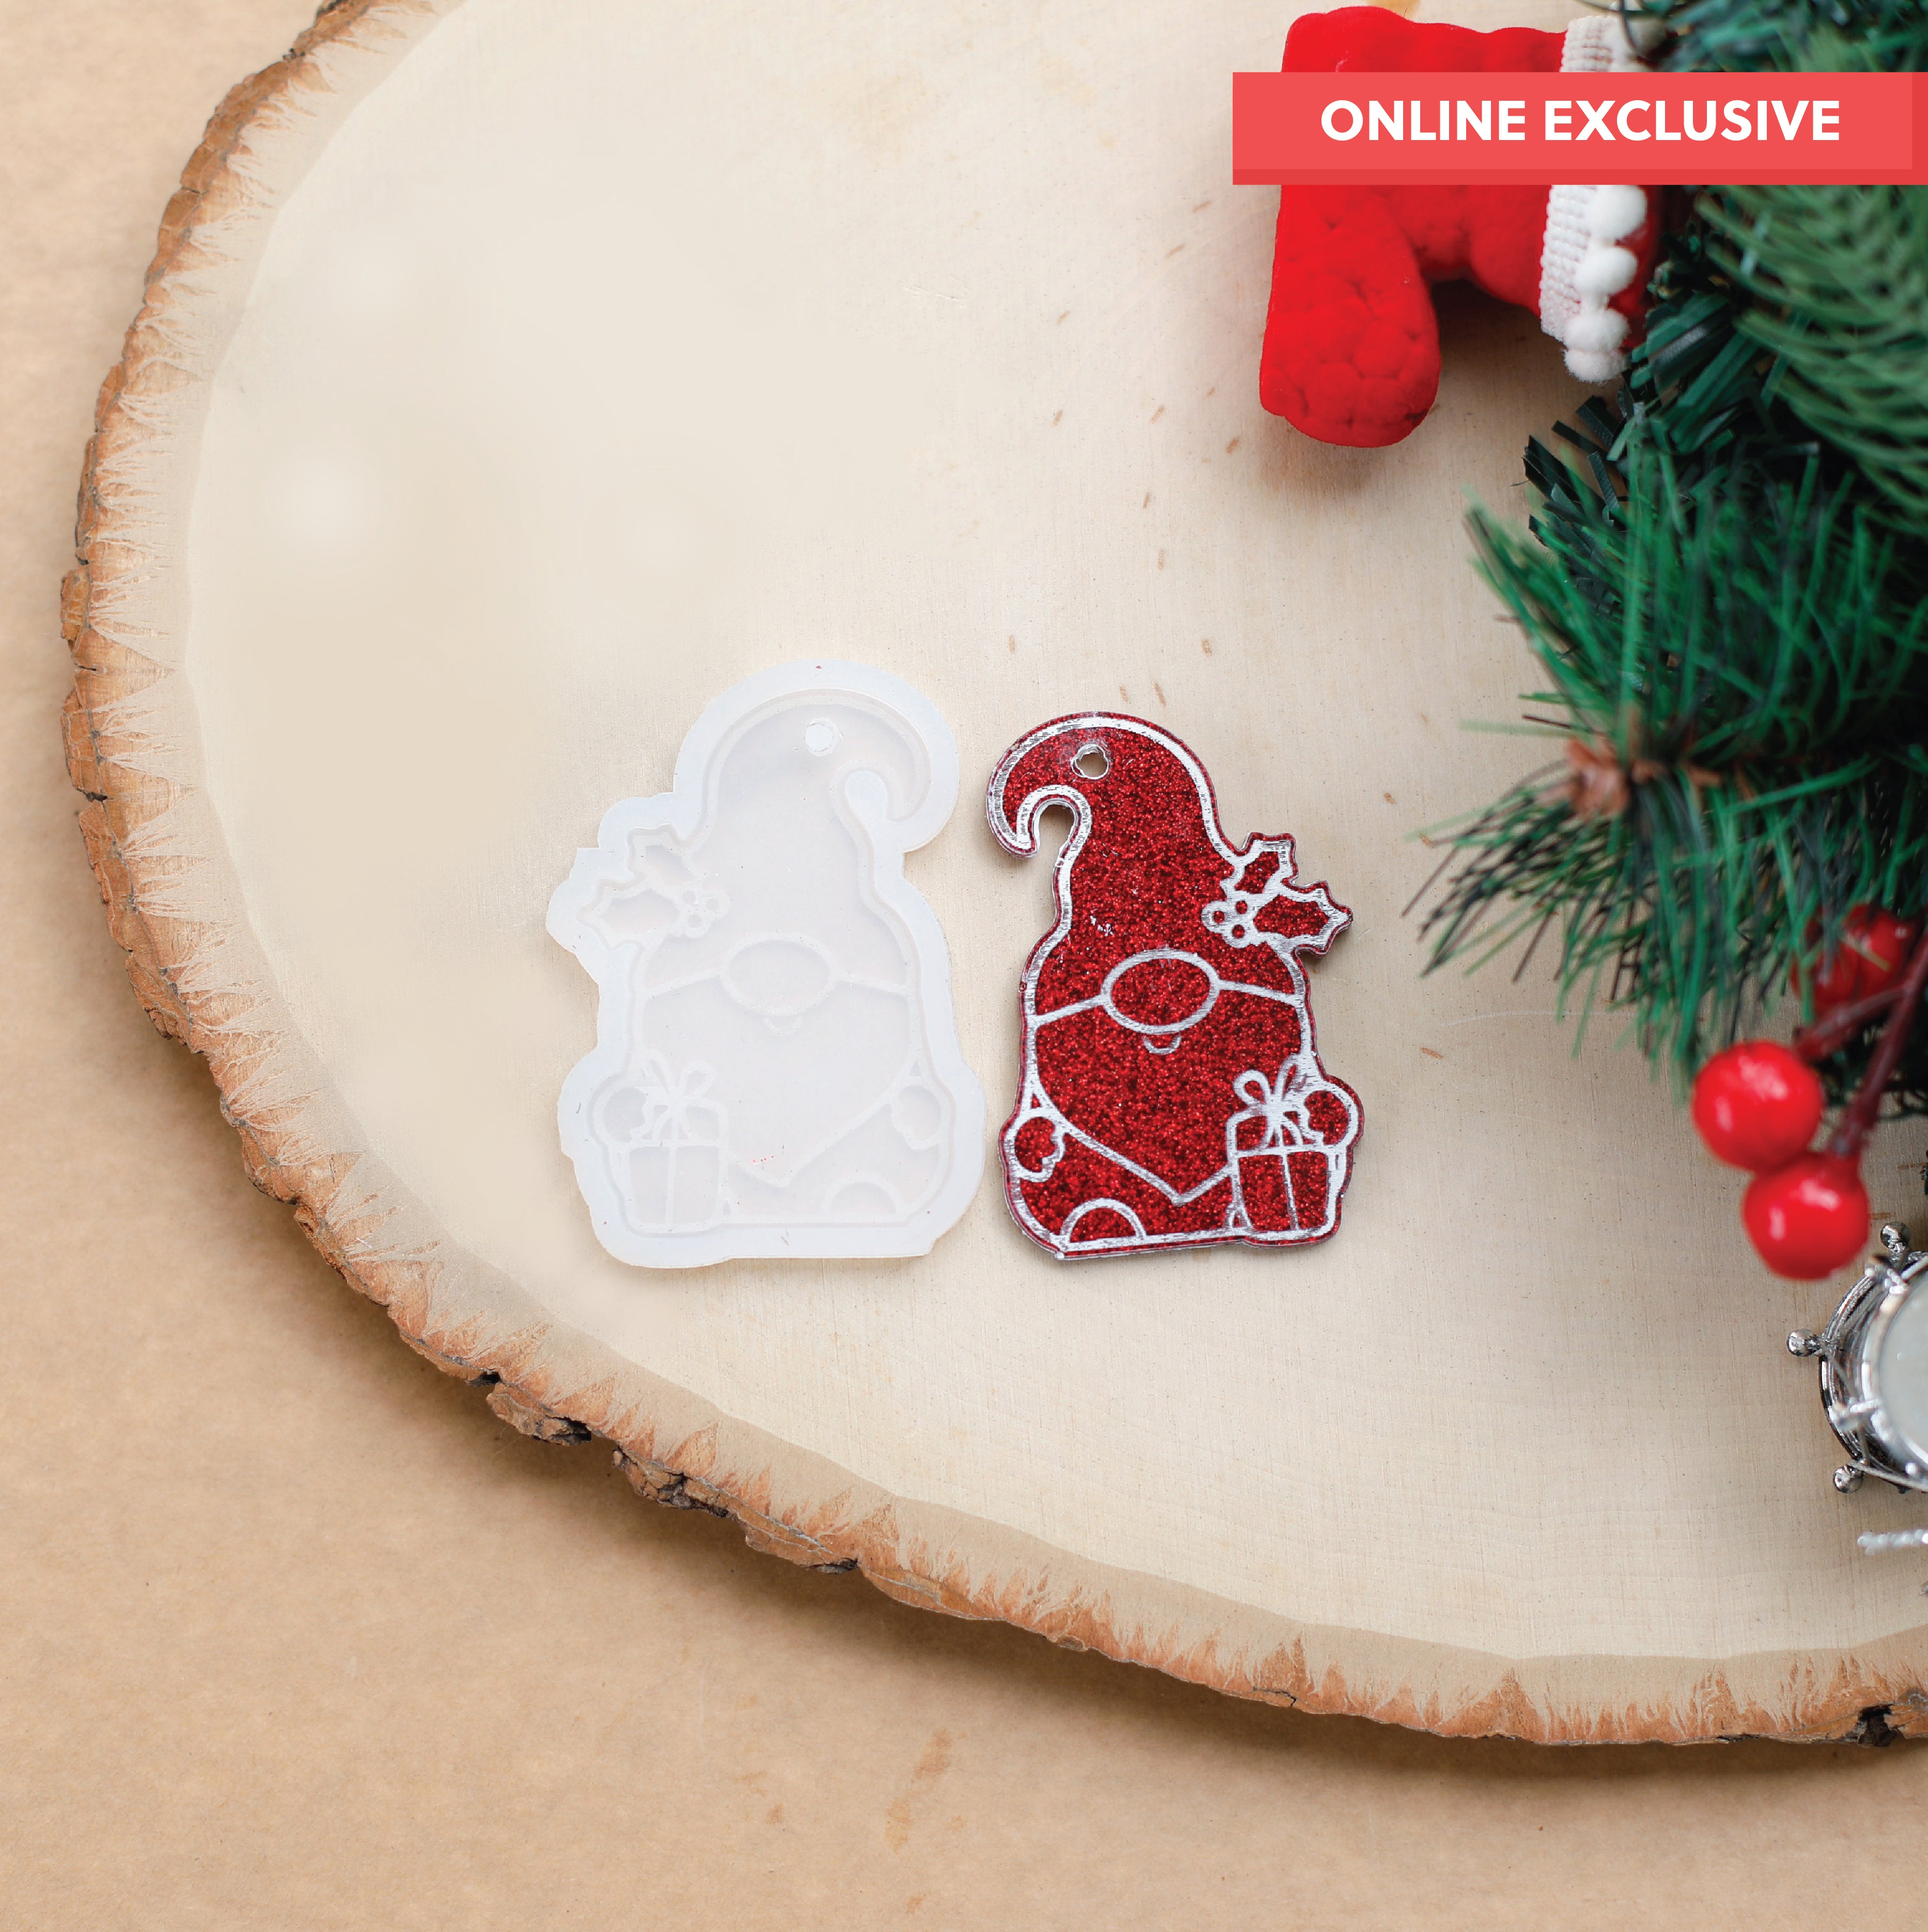
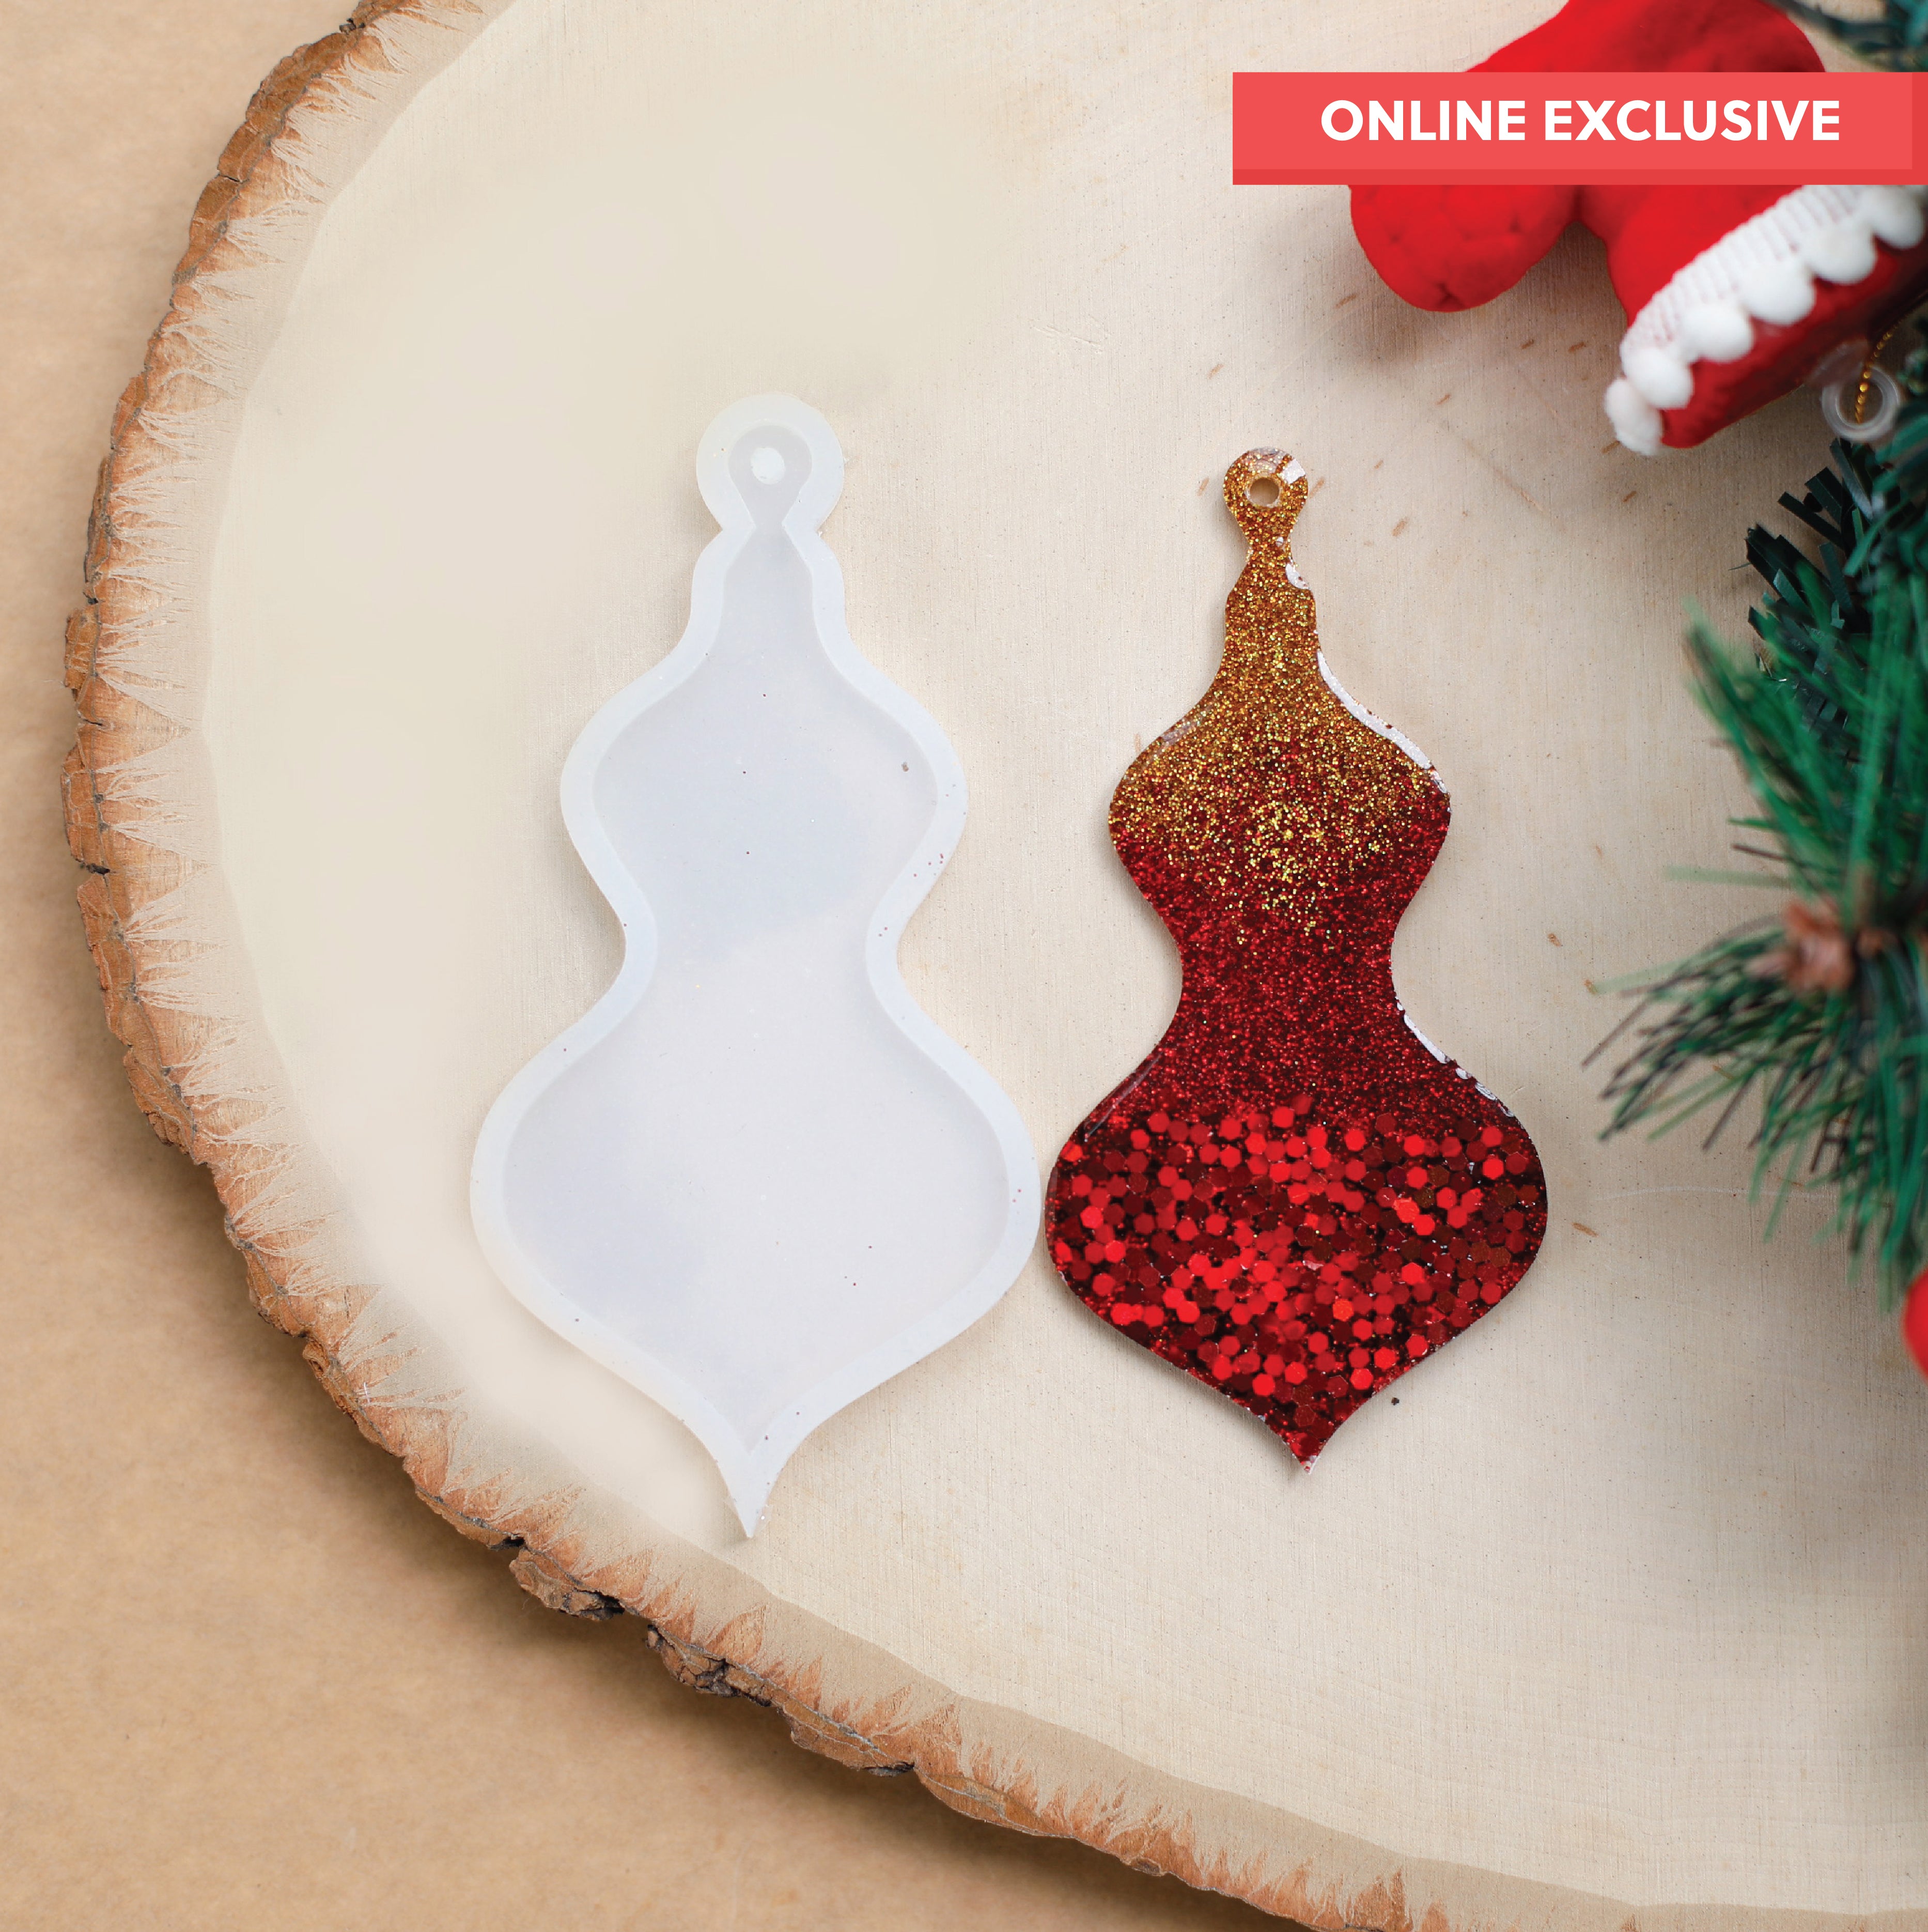
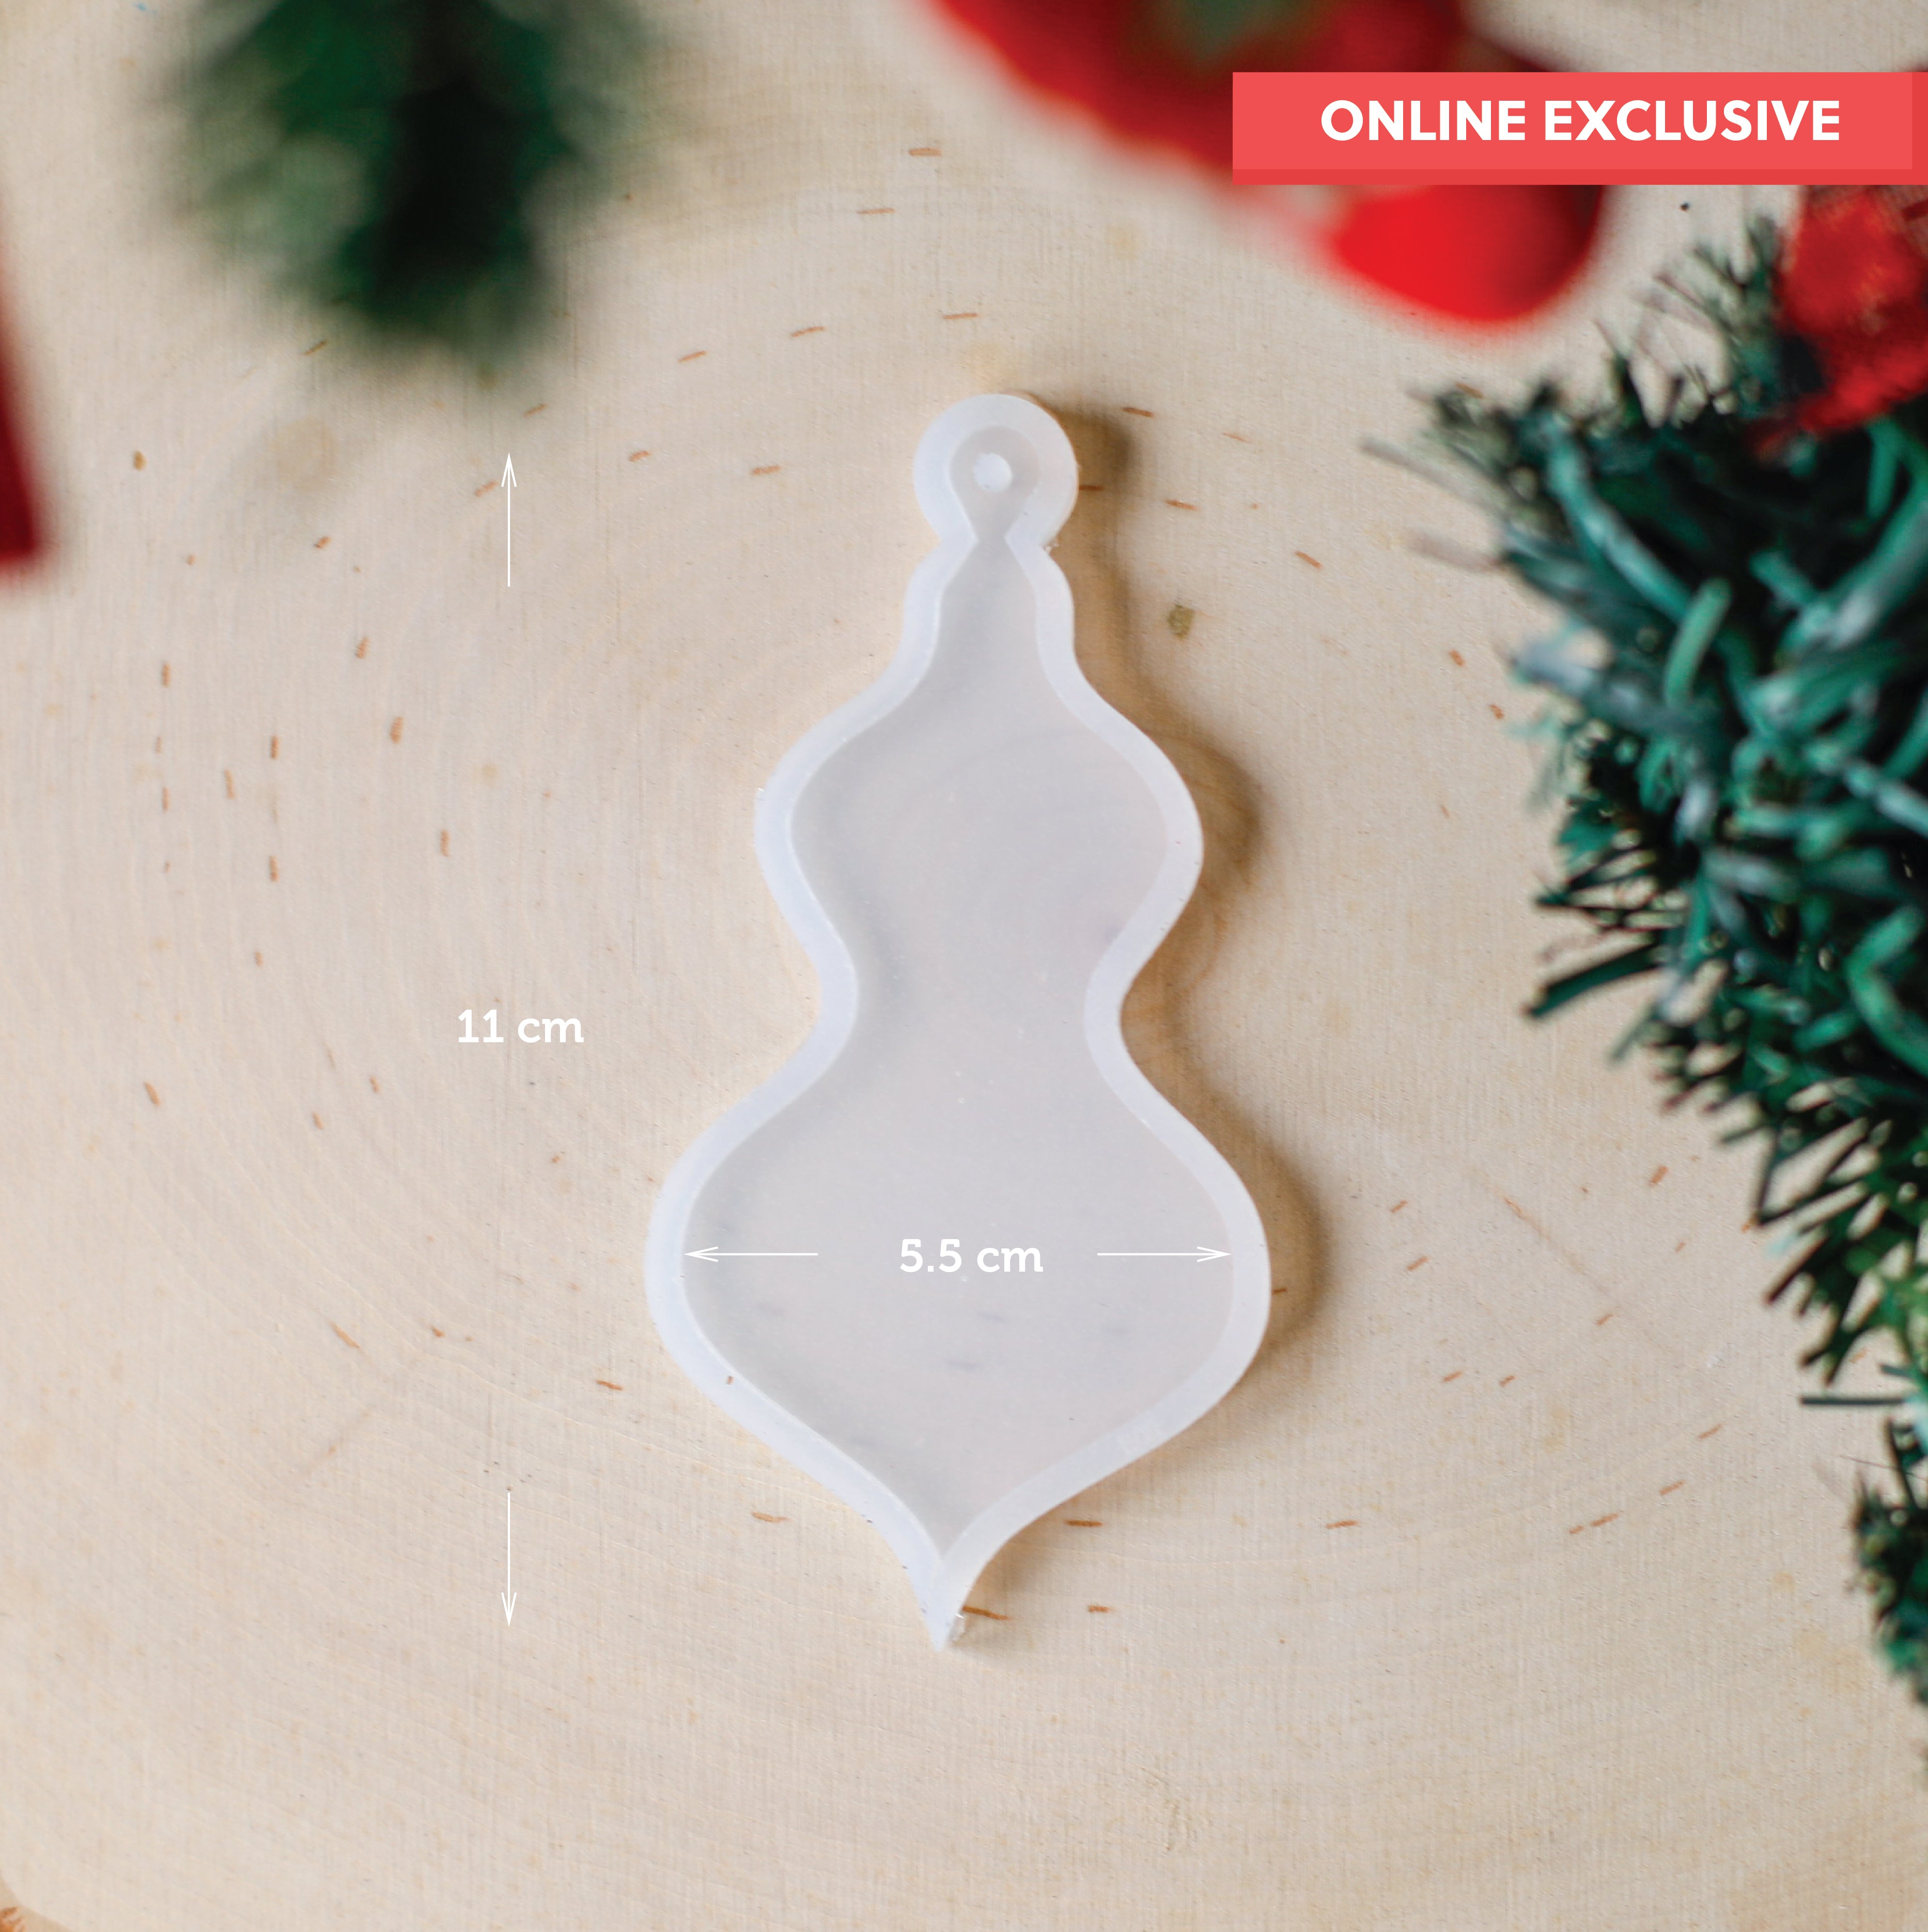
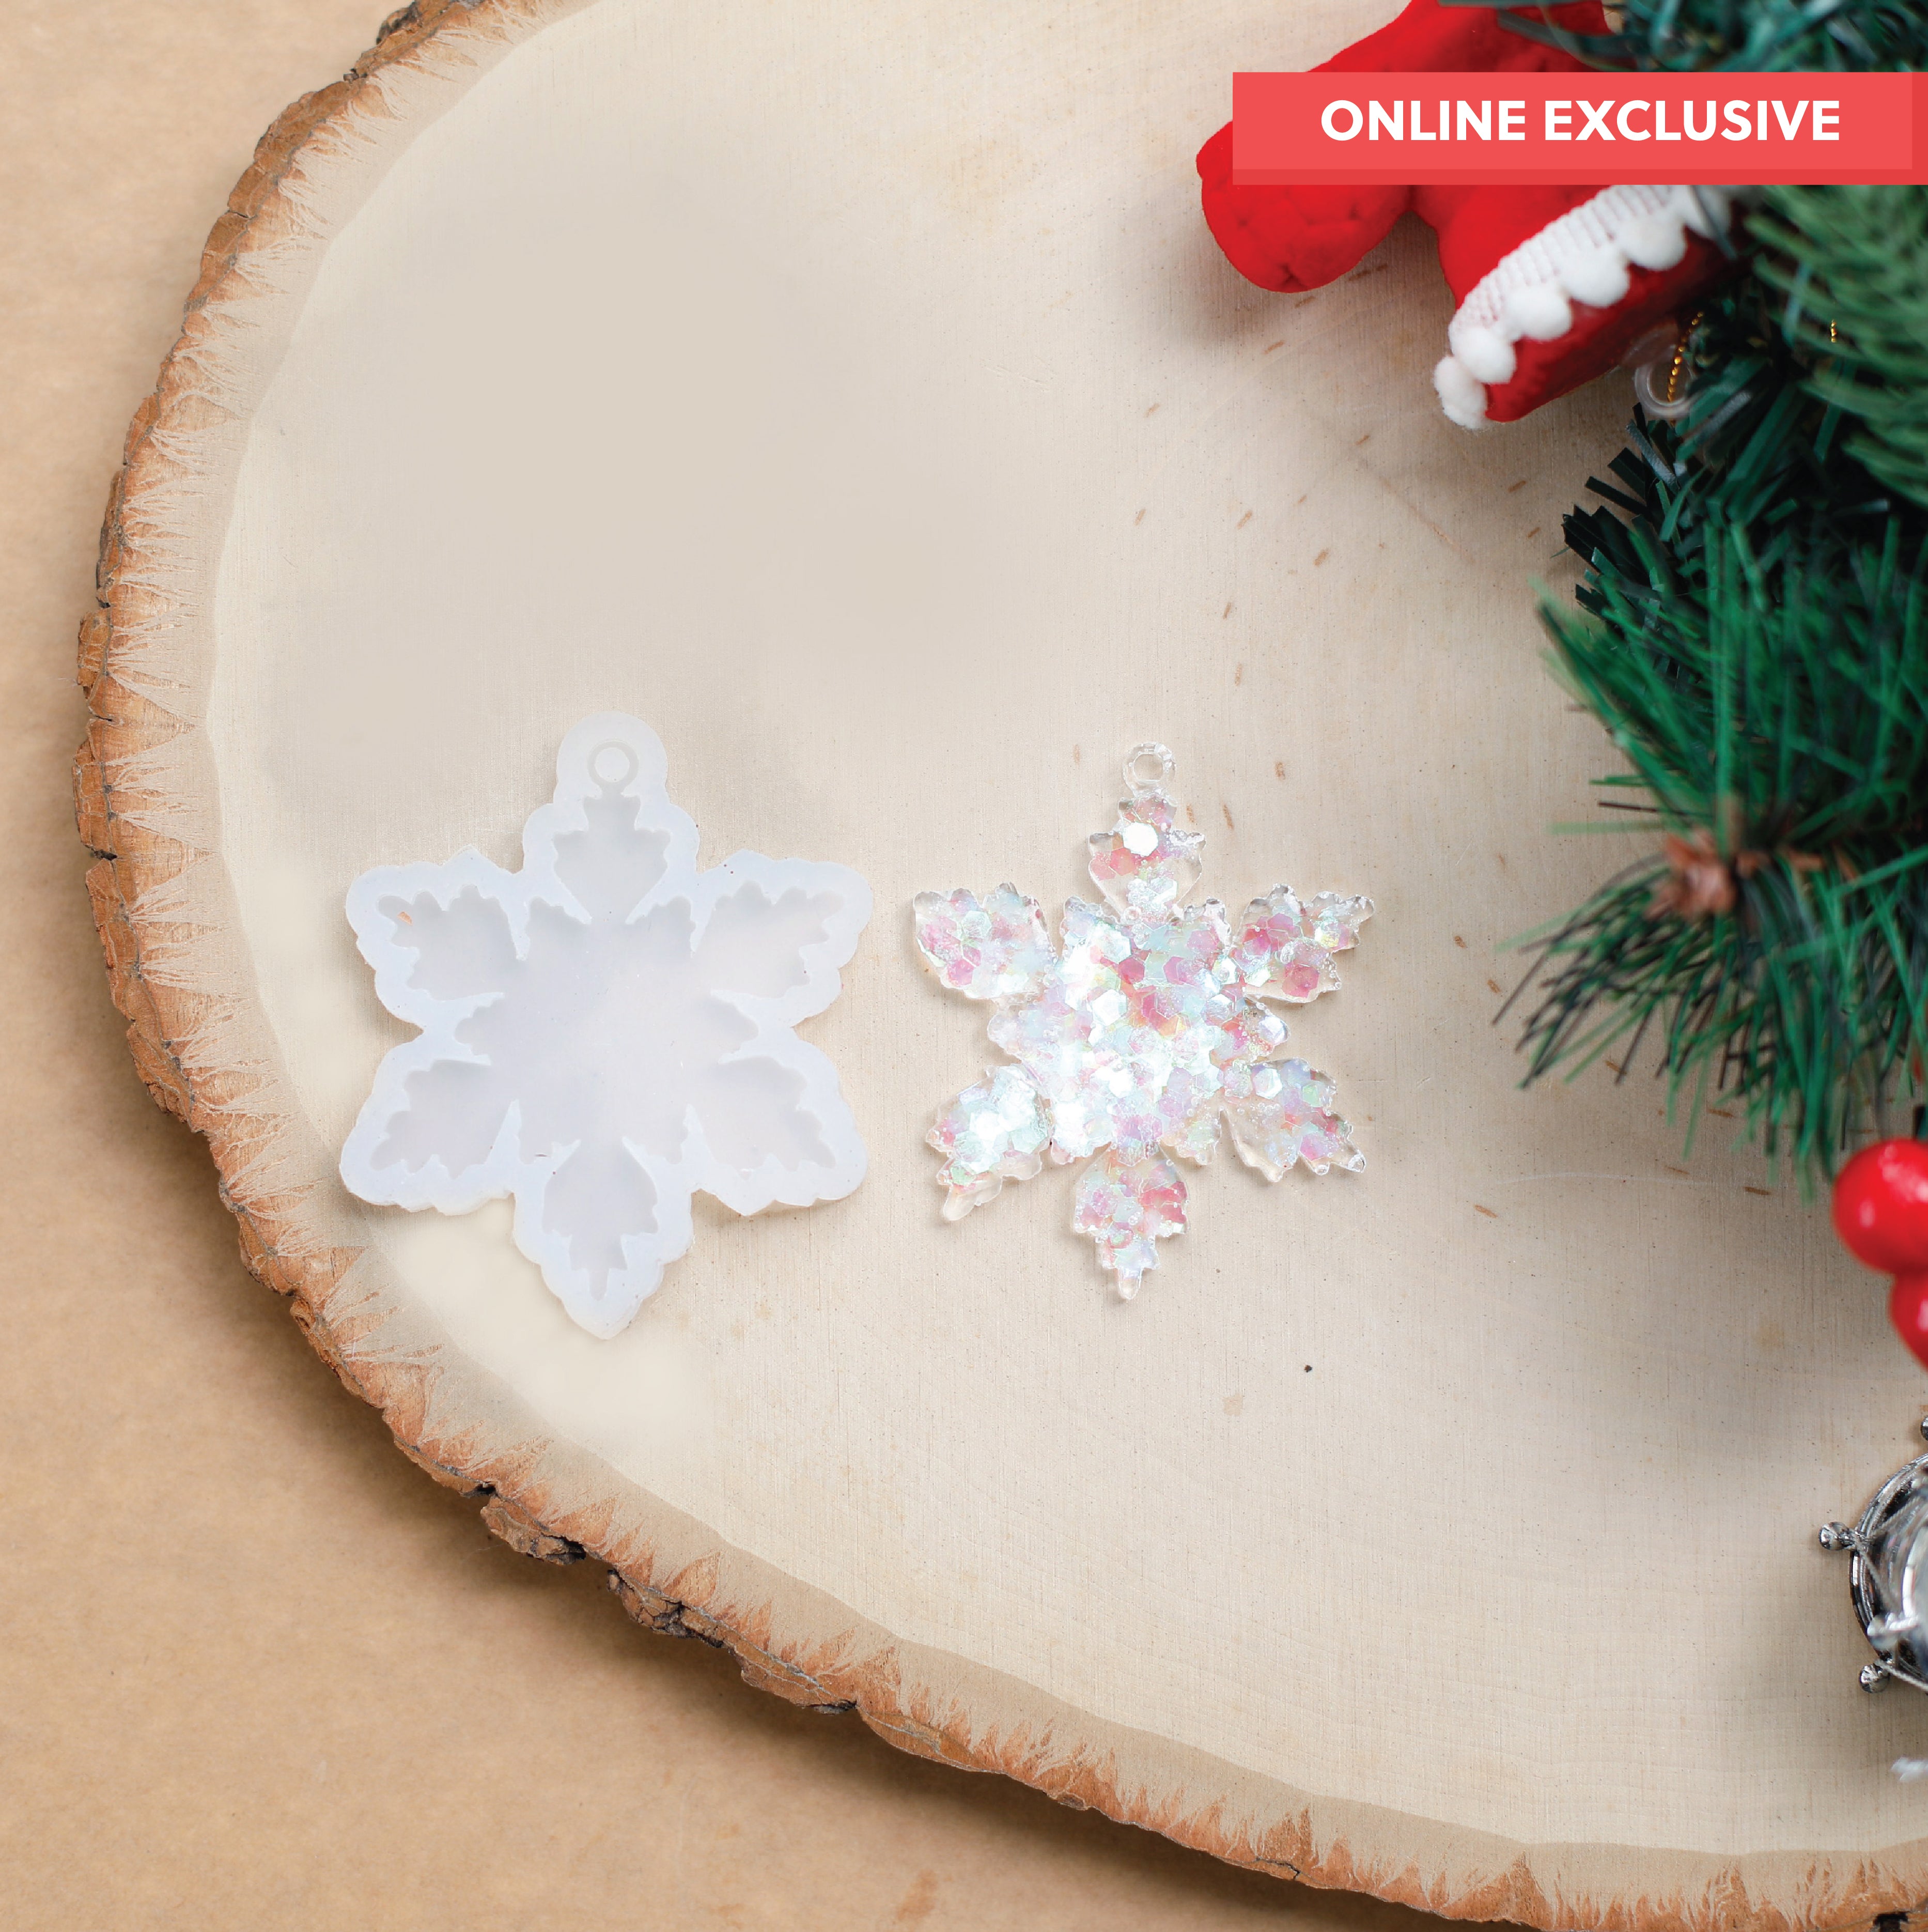
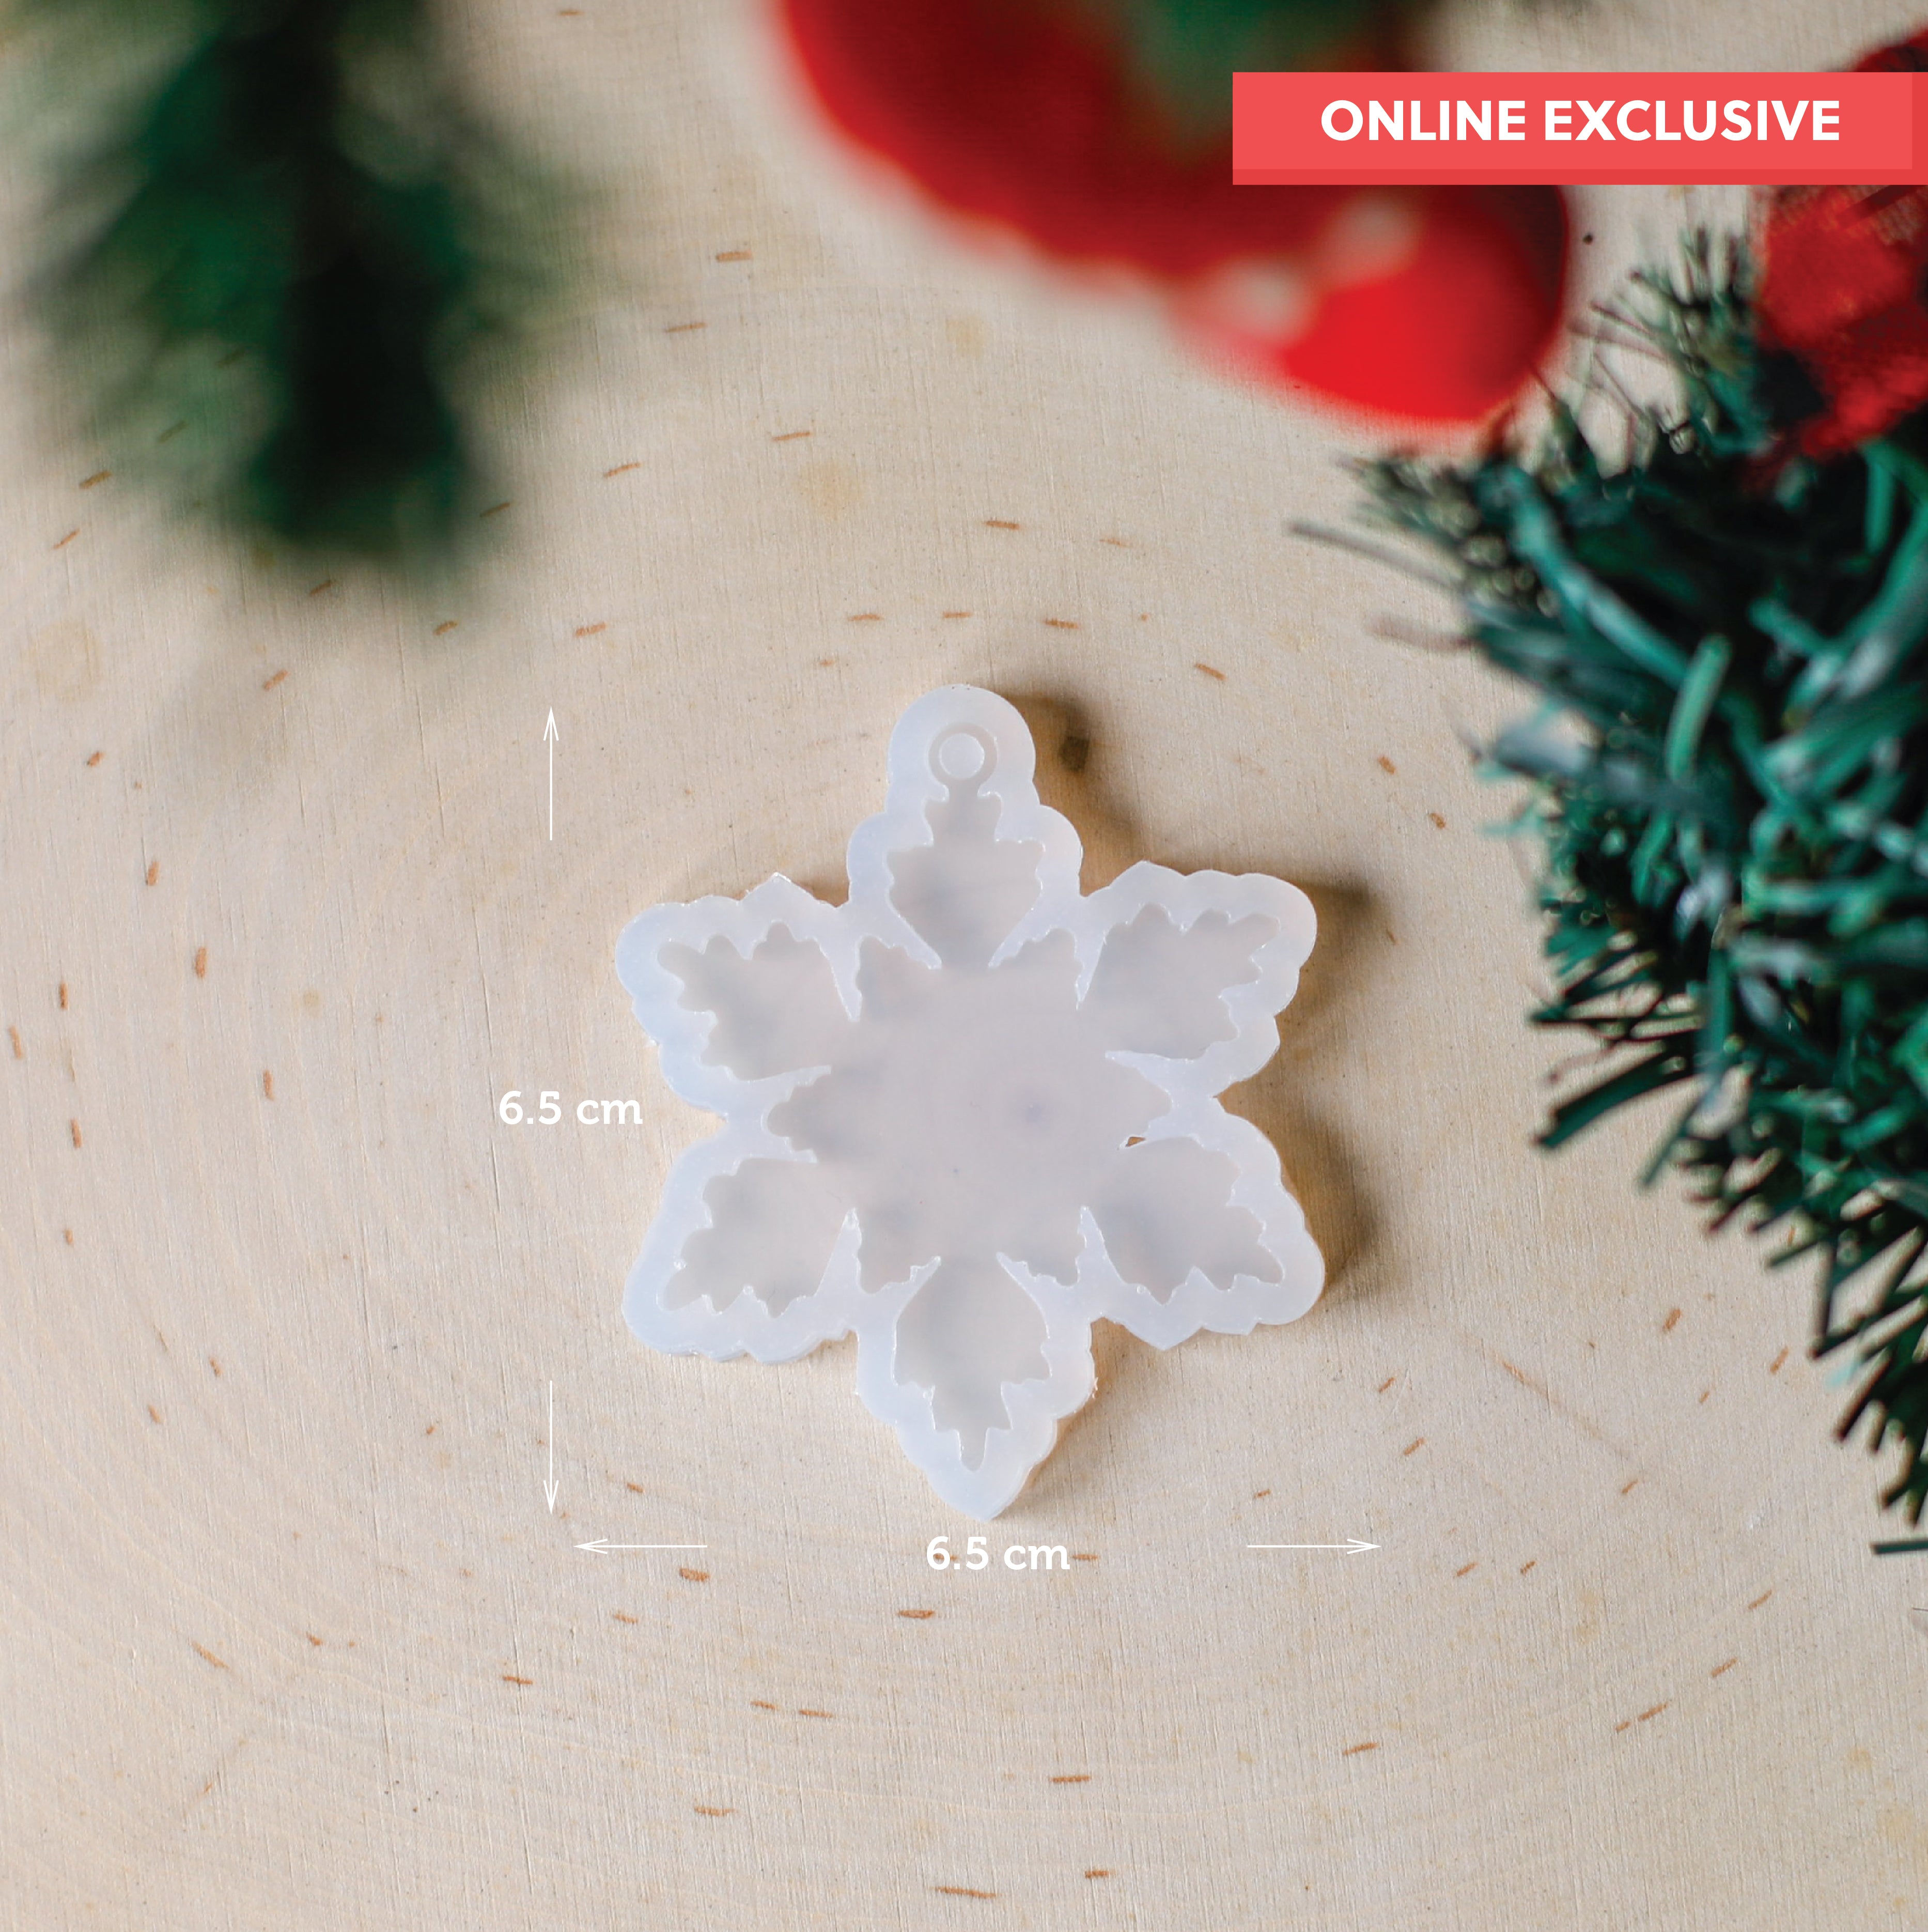
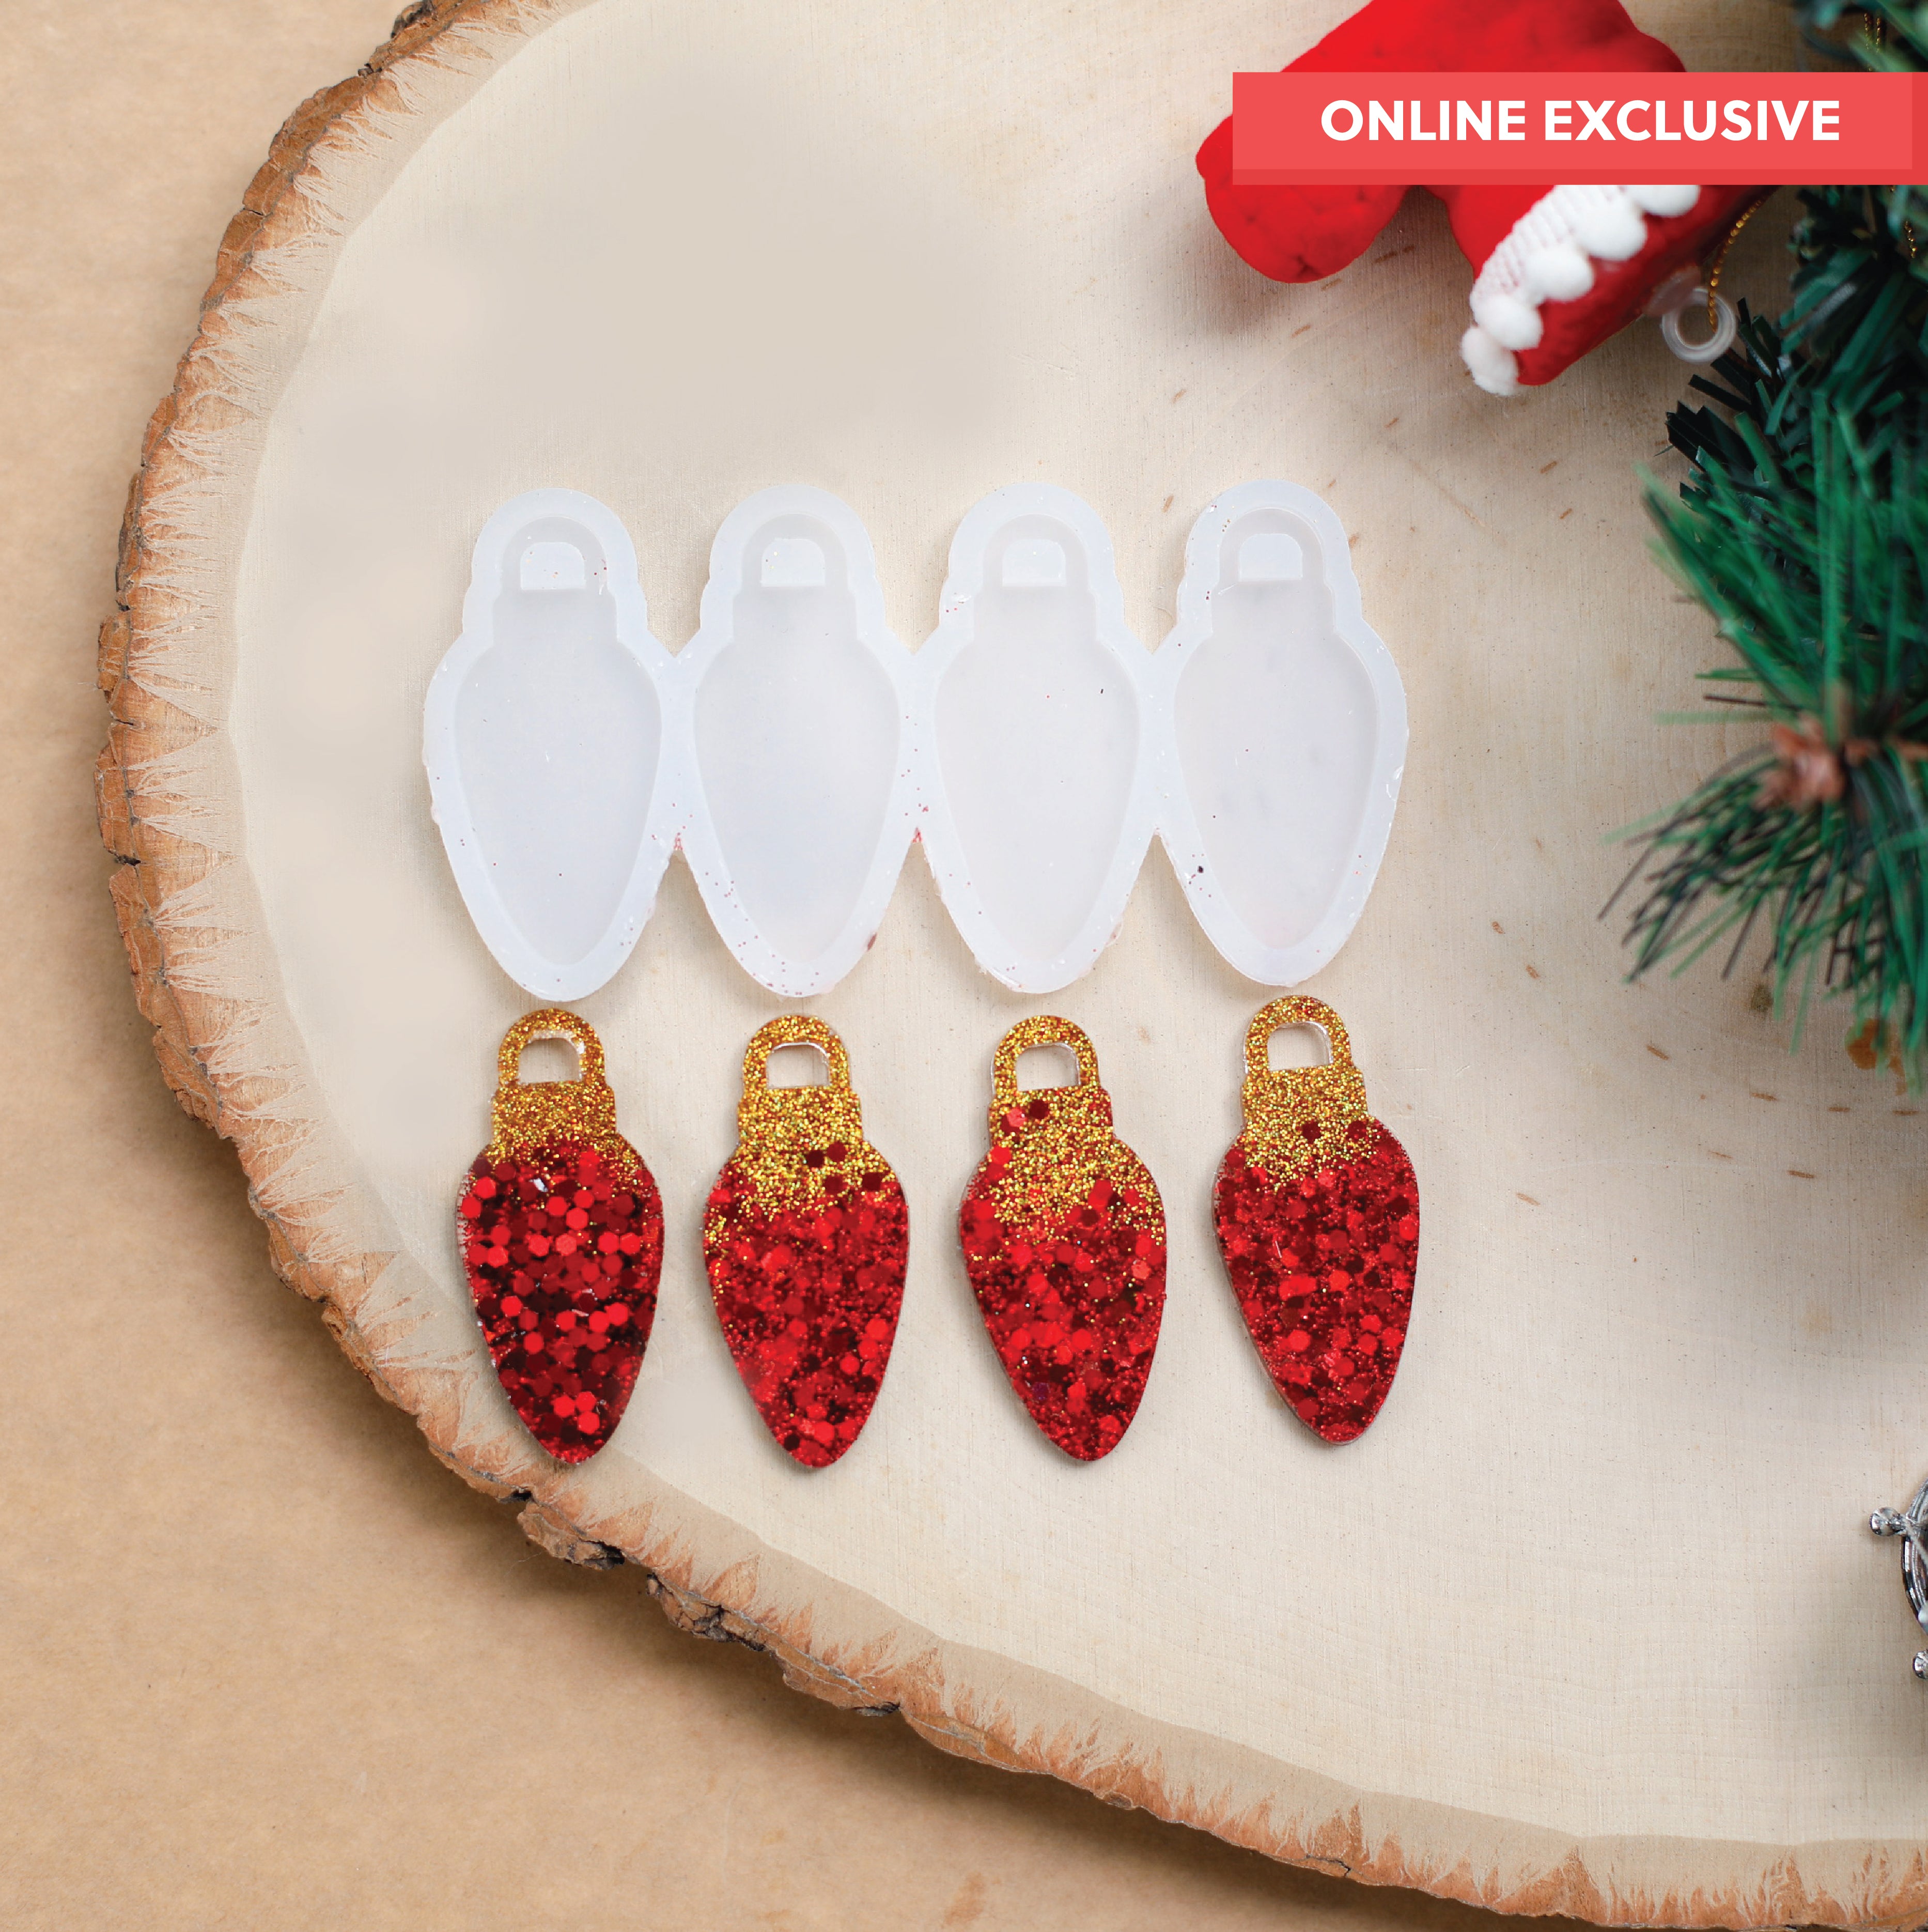
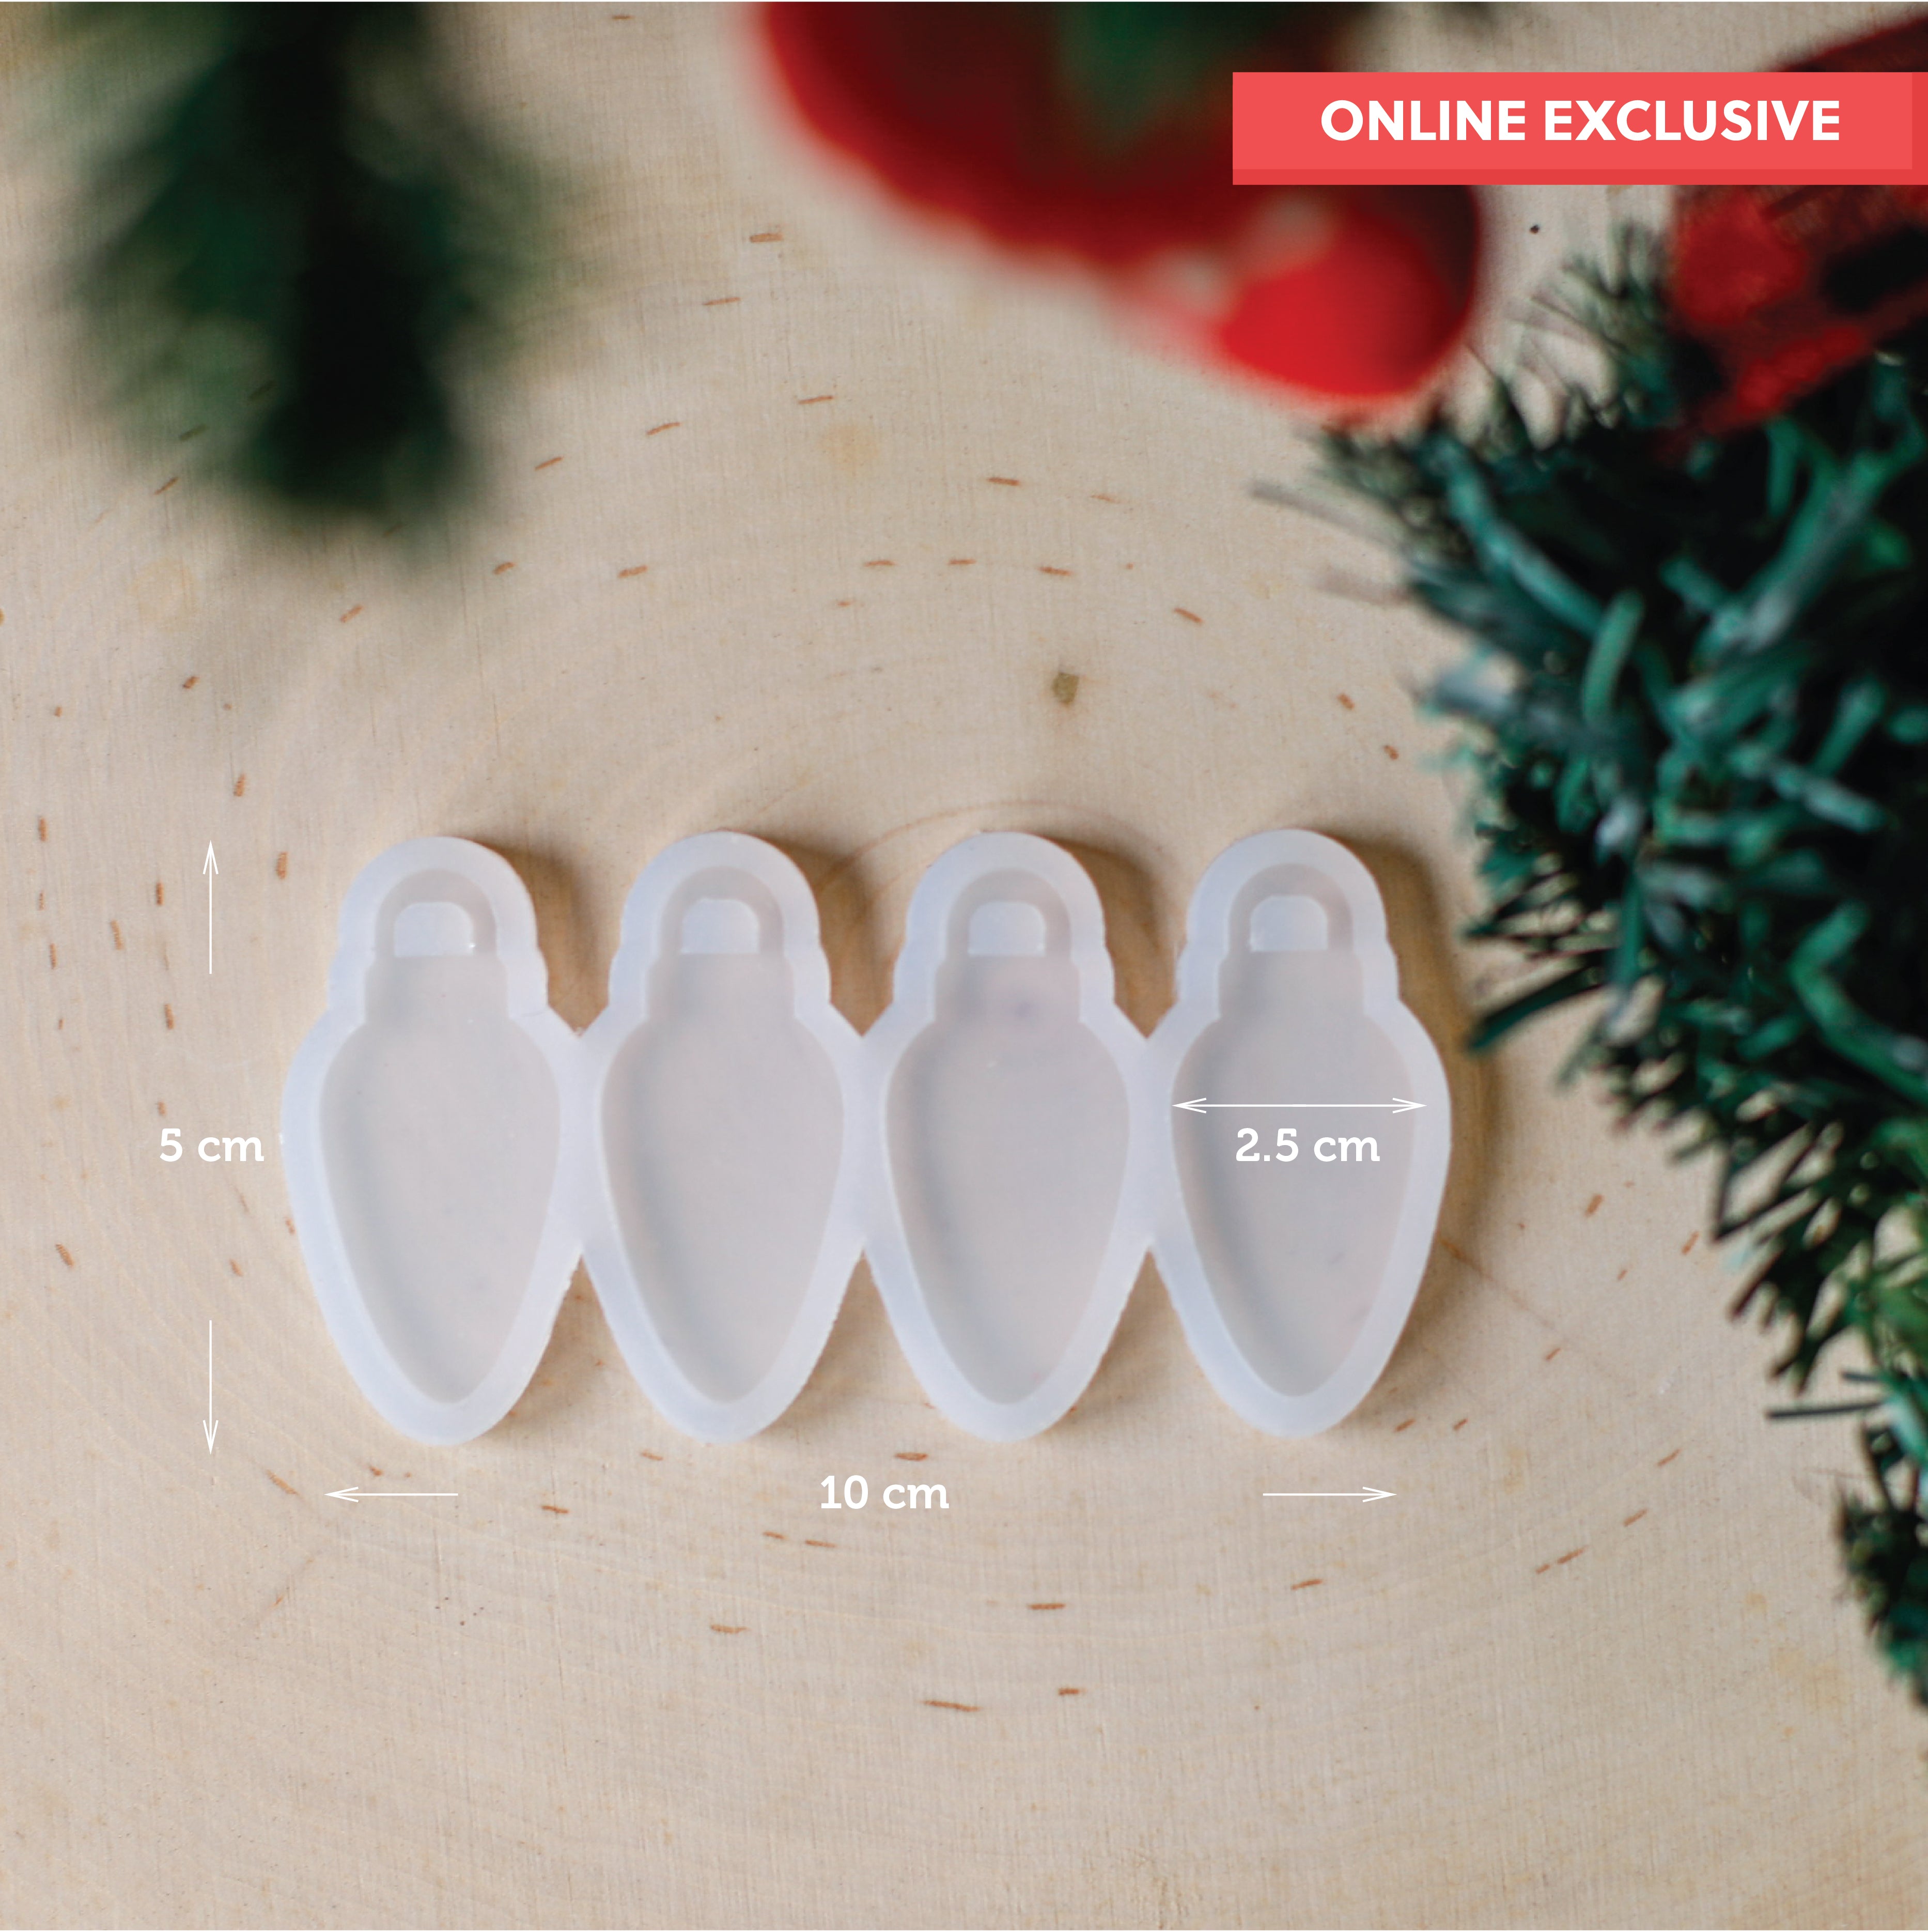
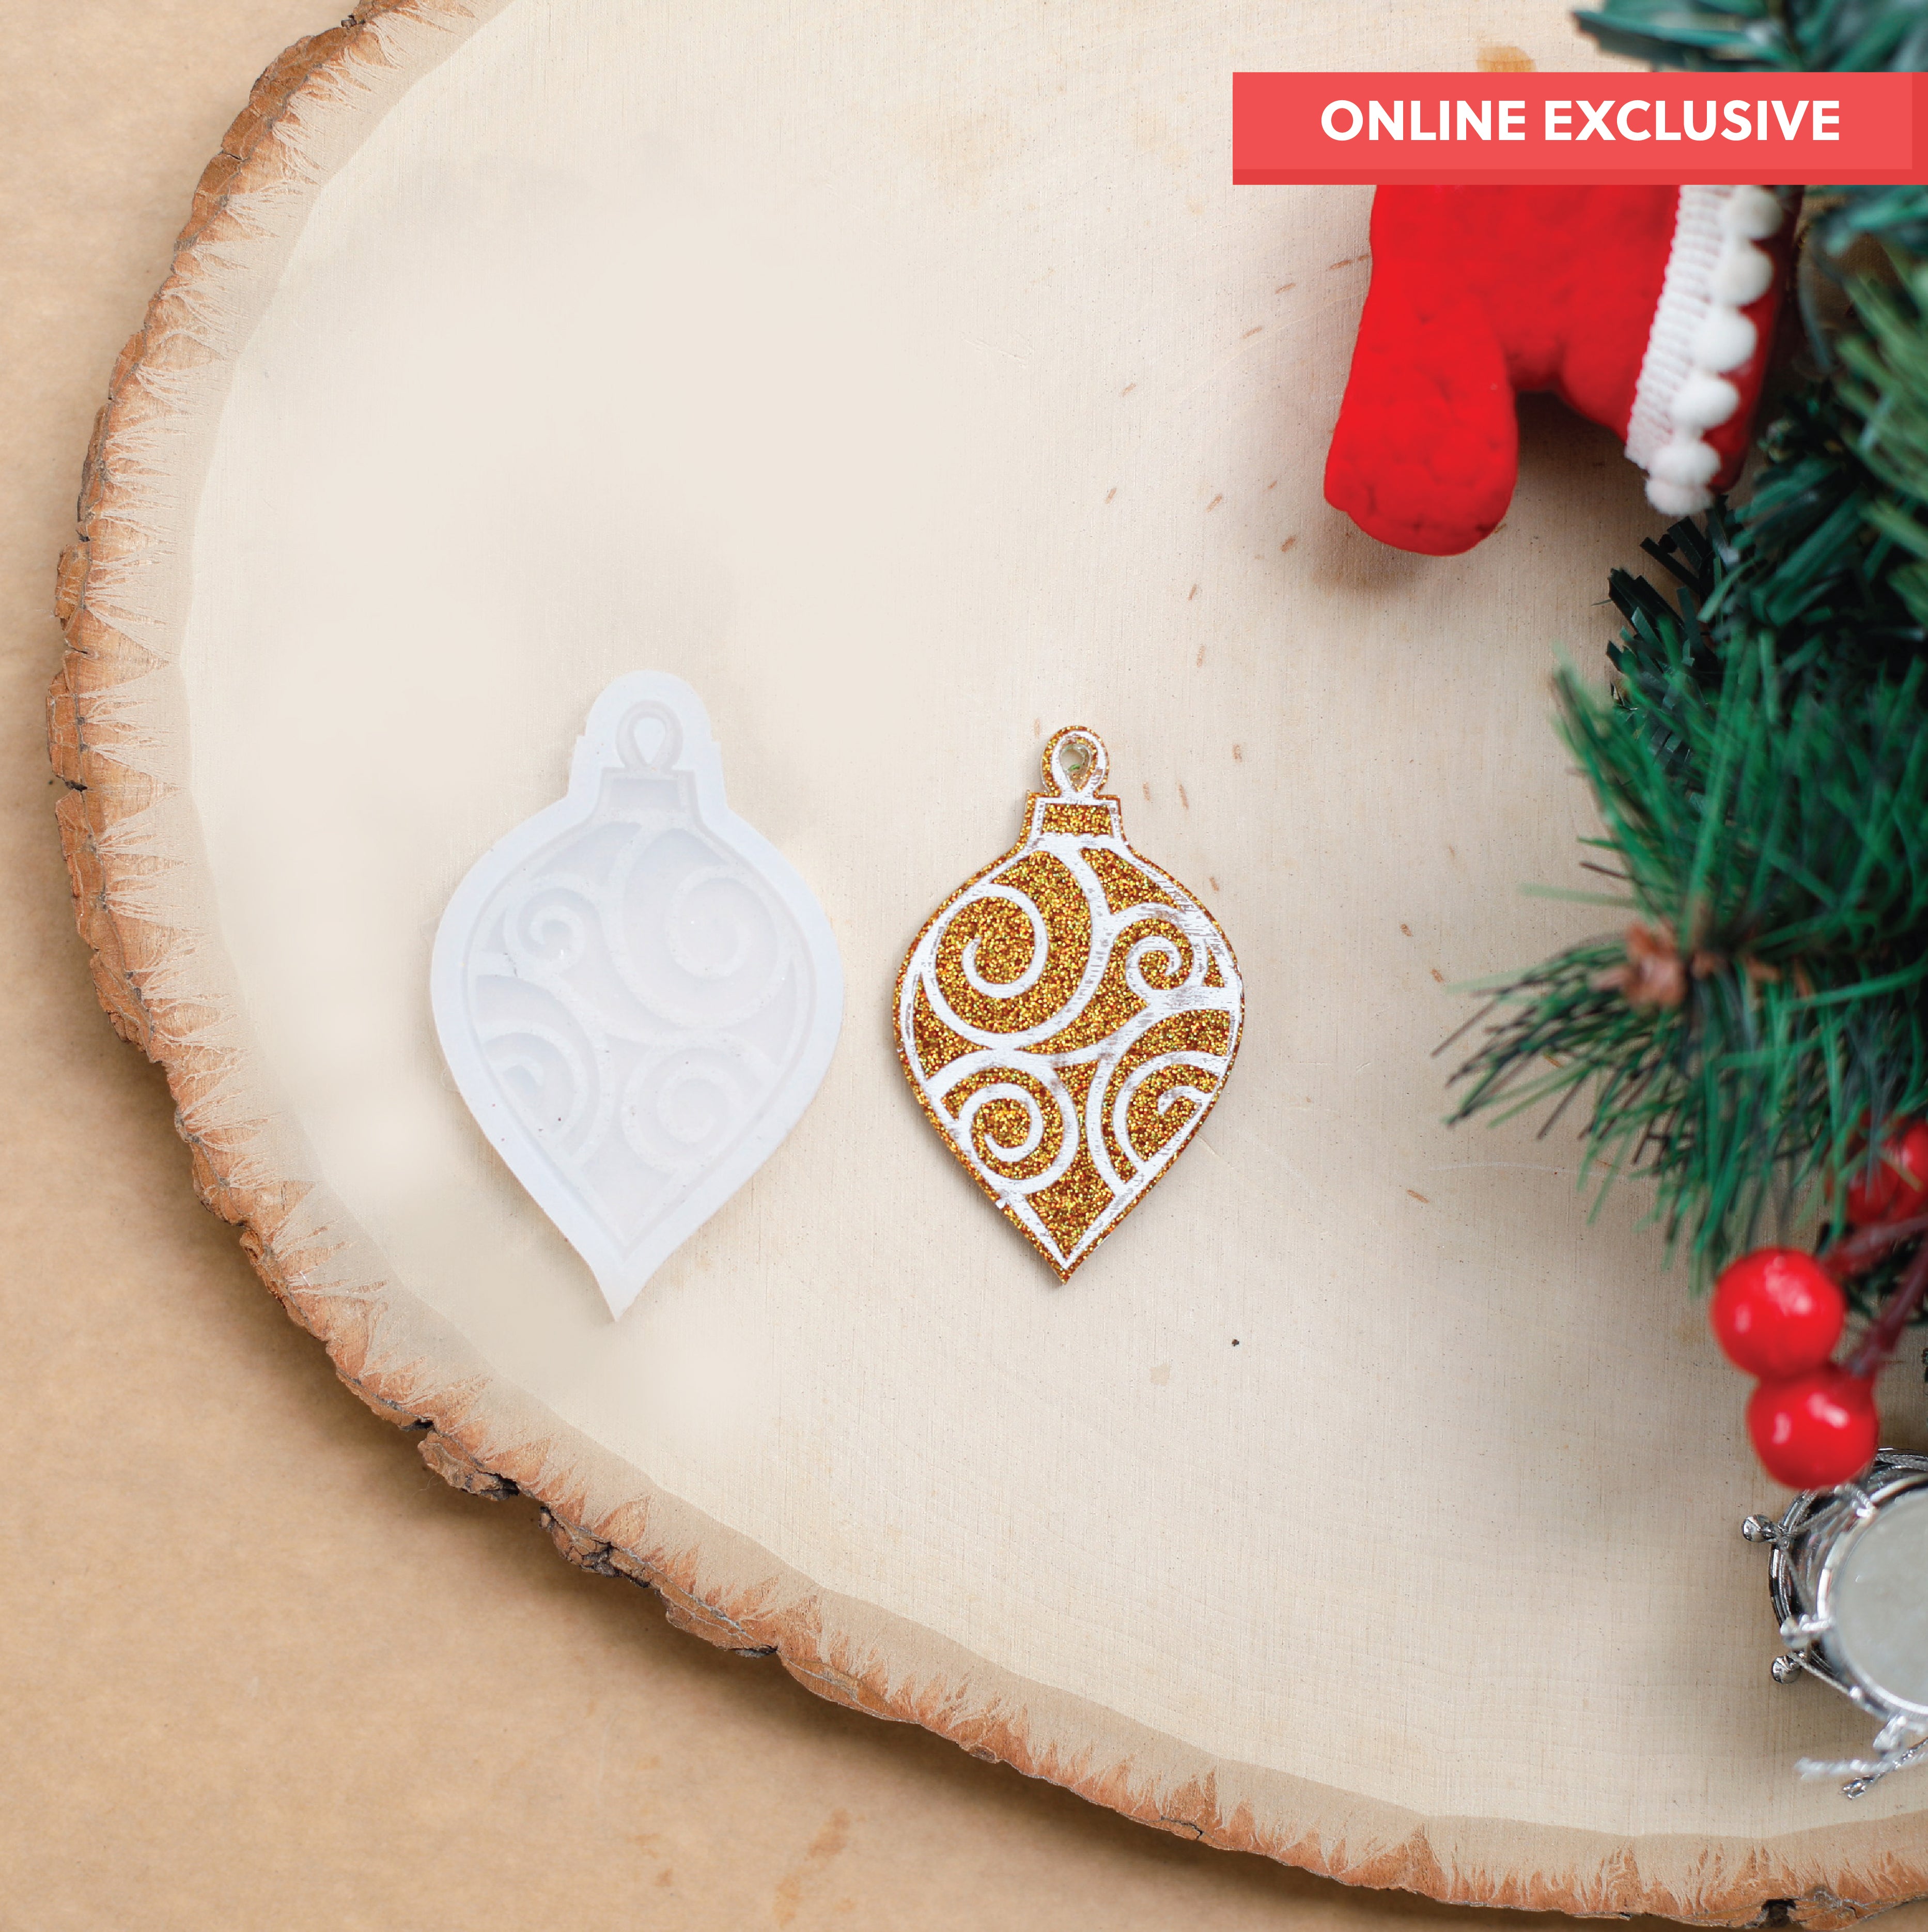
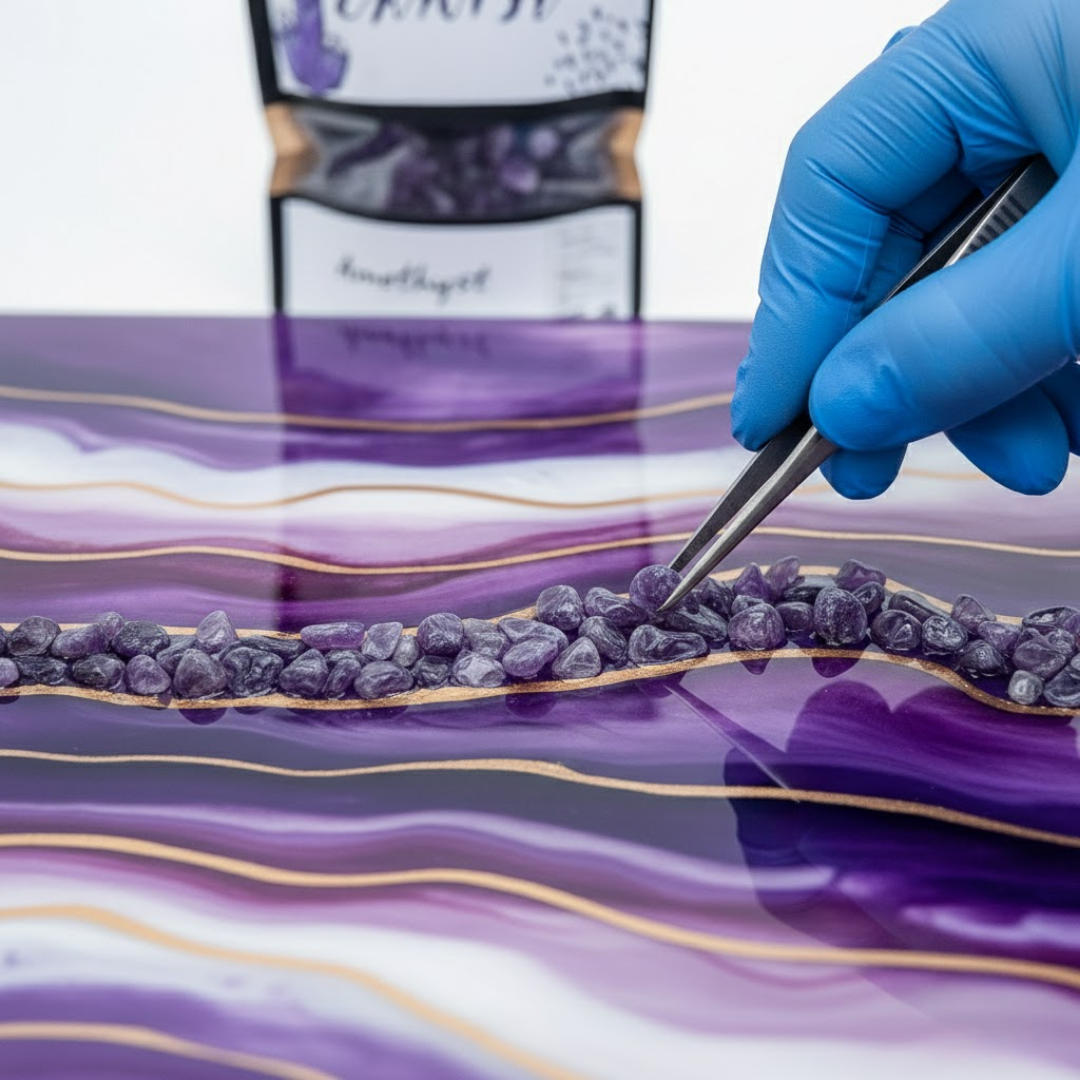
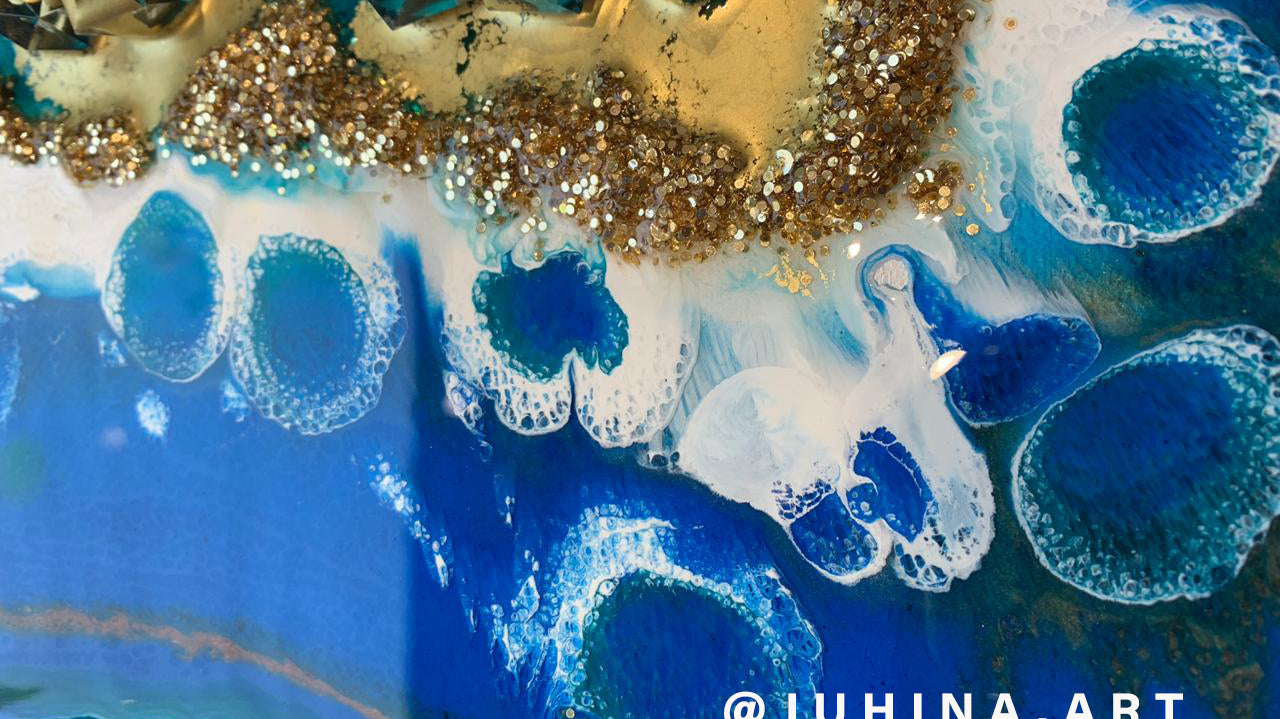
The glitter inside the cured resin looks incredible. Whether you are making coasters, jewellery, trays, or wall art, adding glitter for resin art turns a good piece into a great...
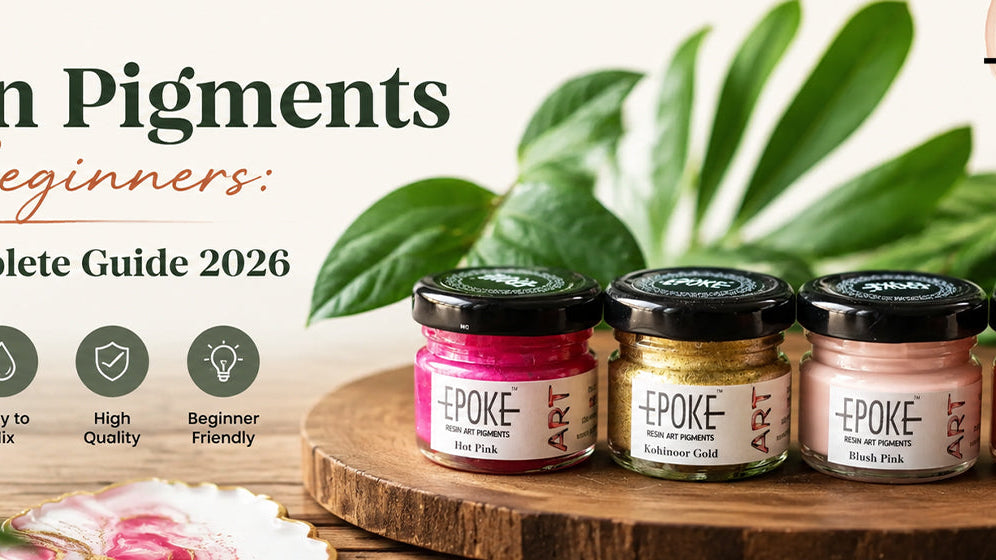
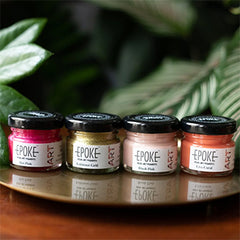
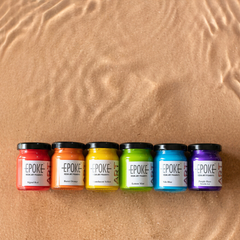
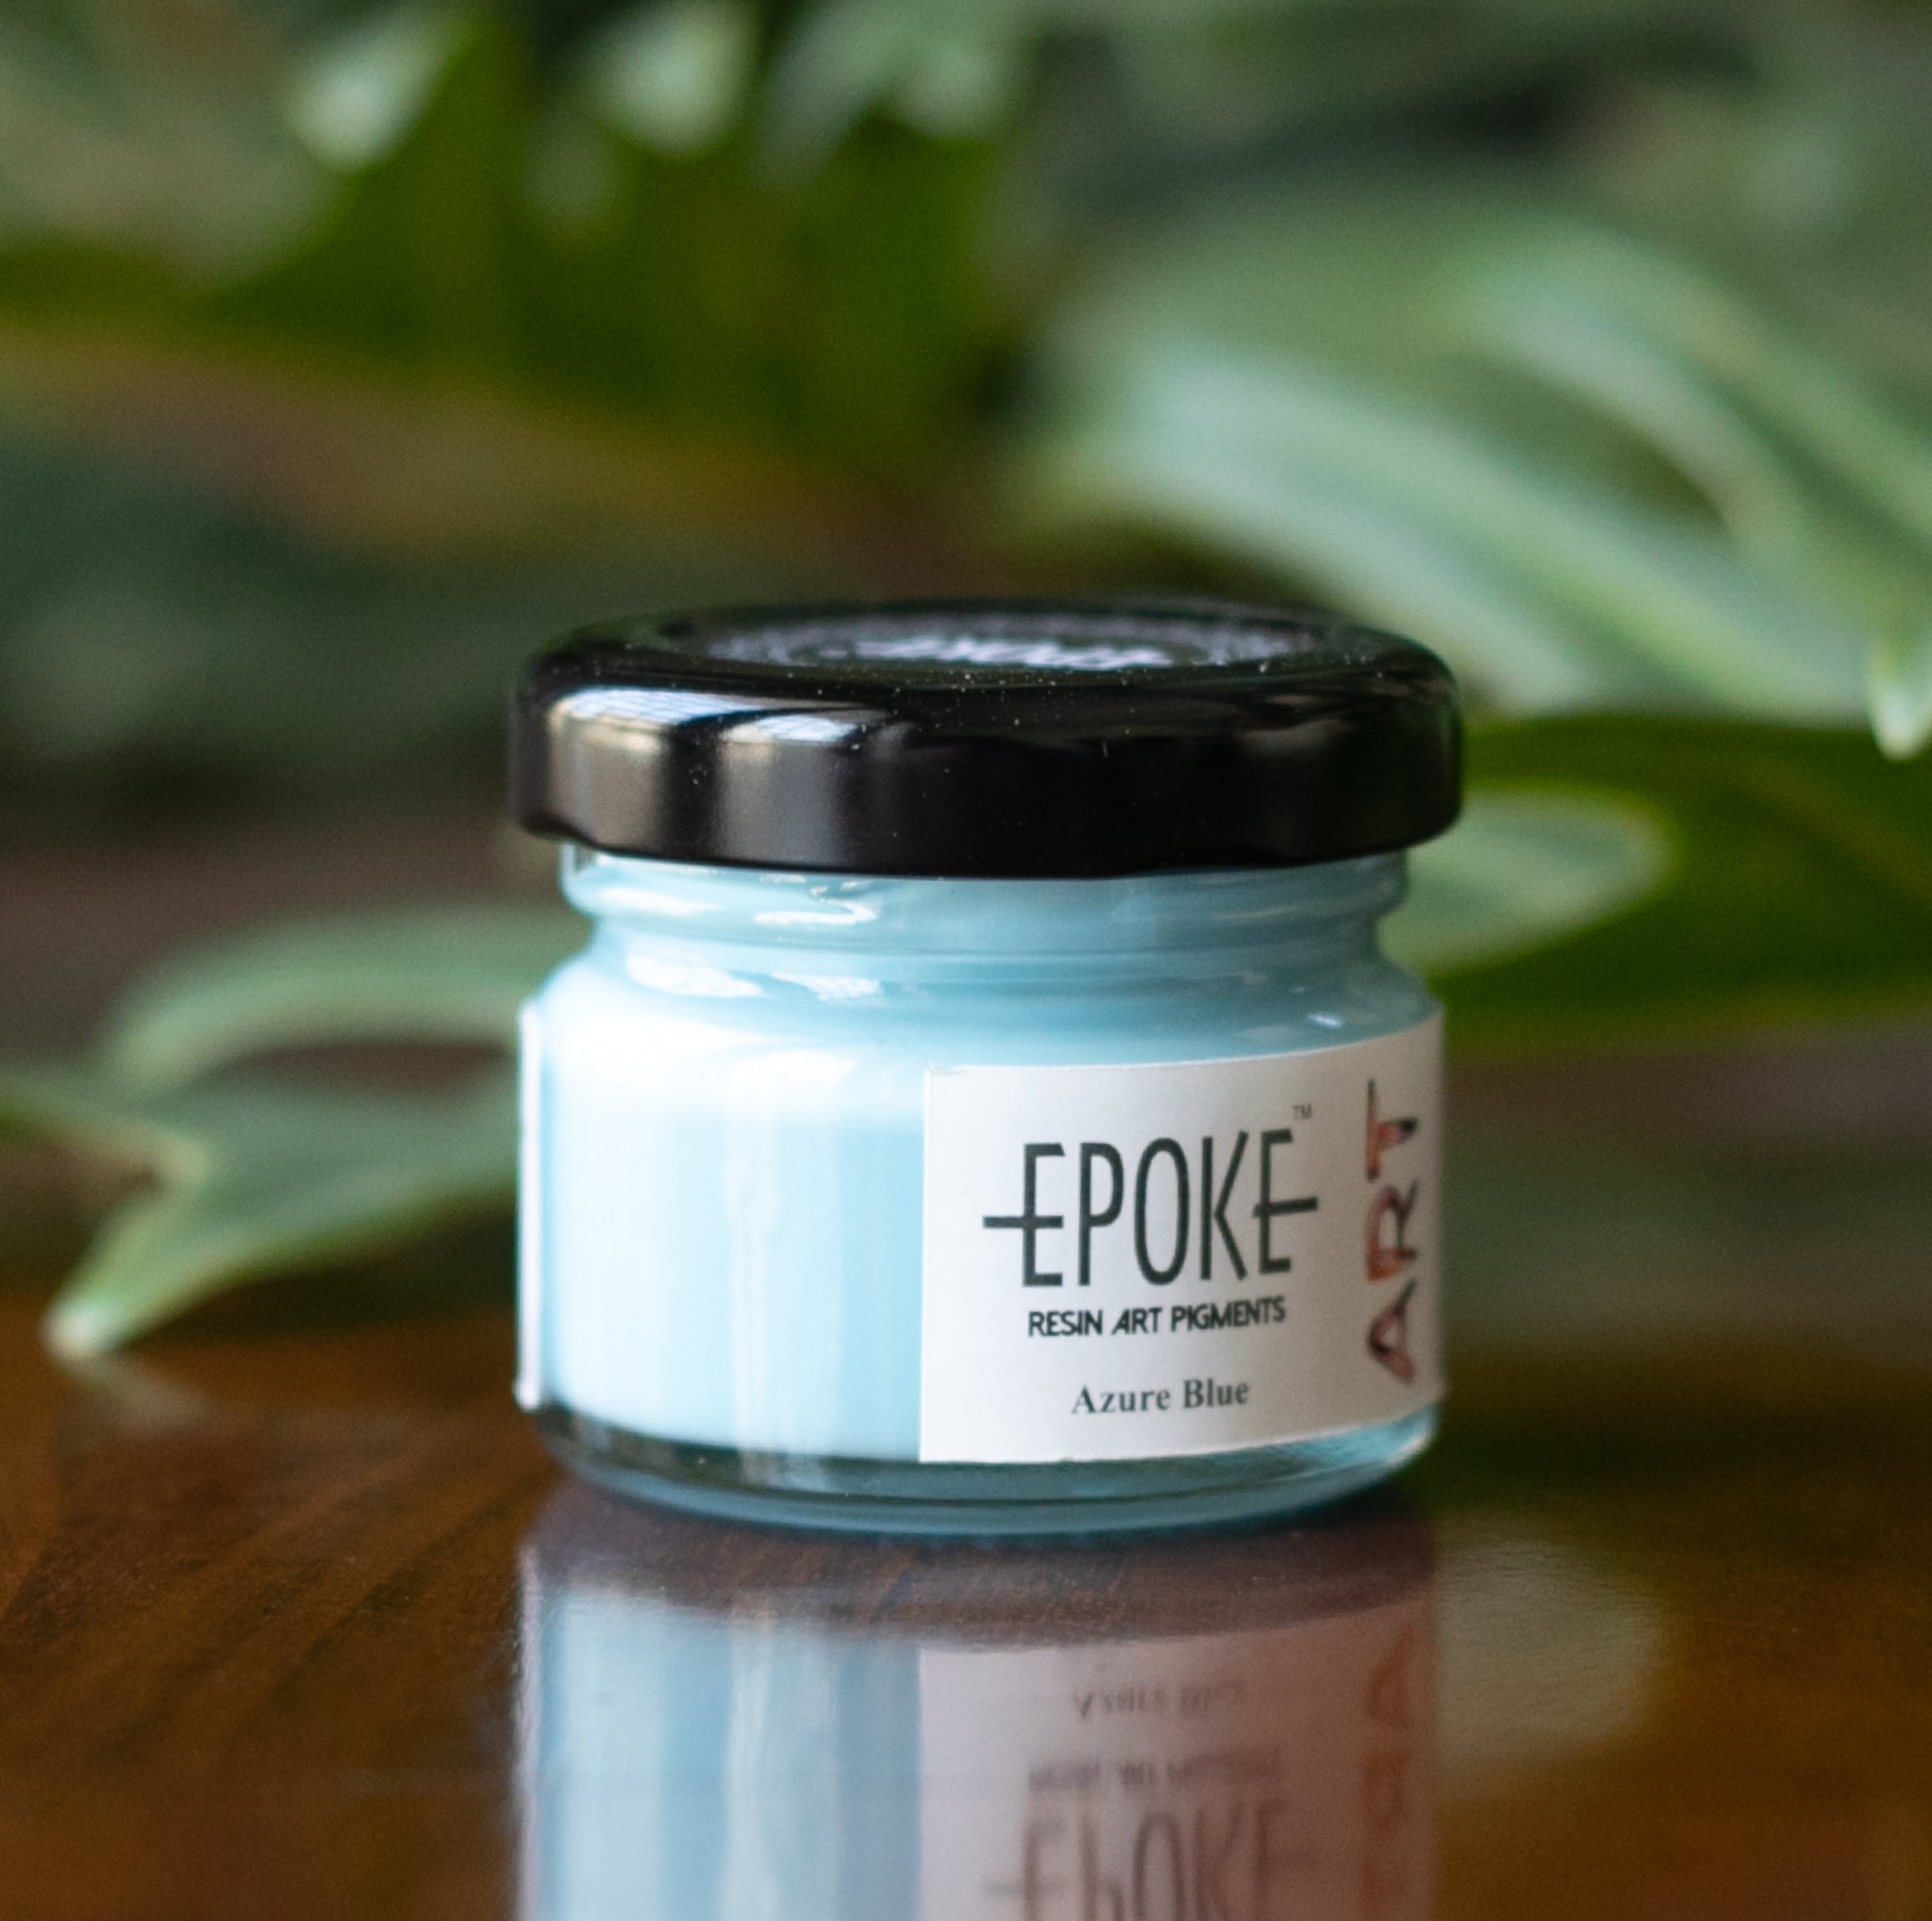
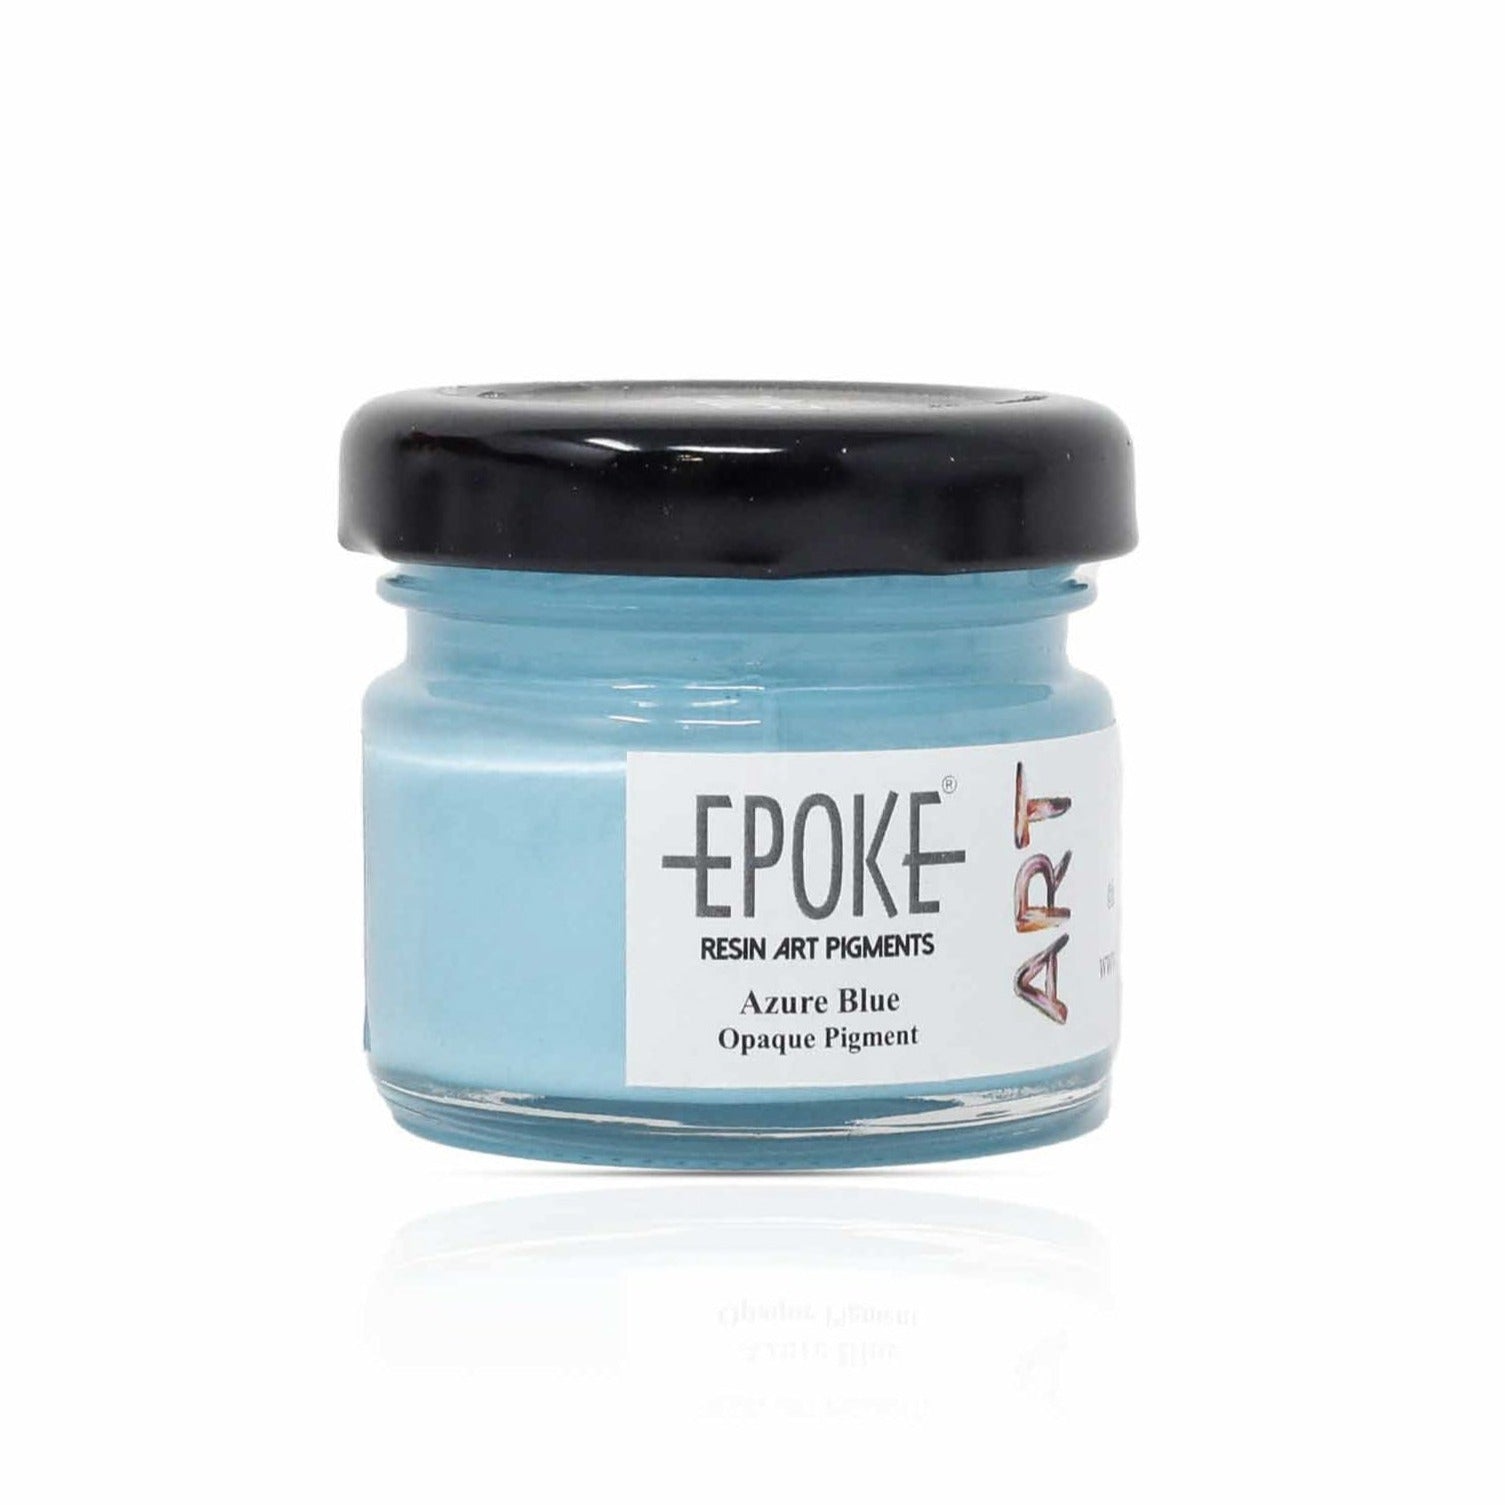
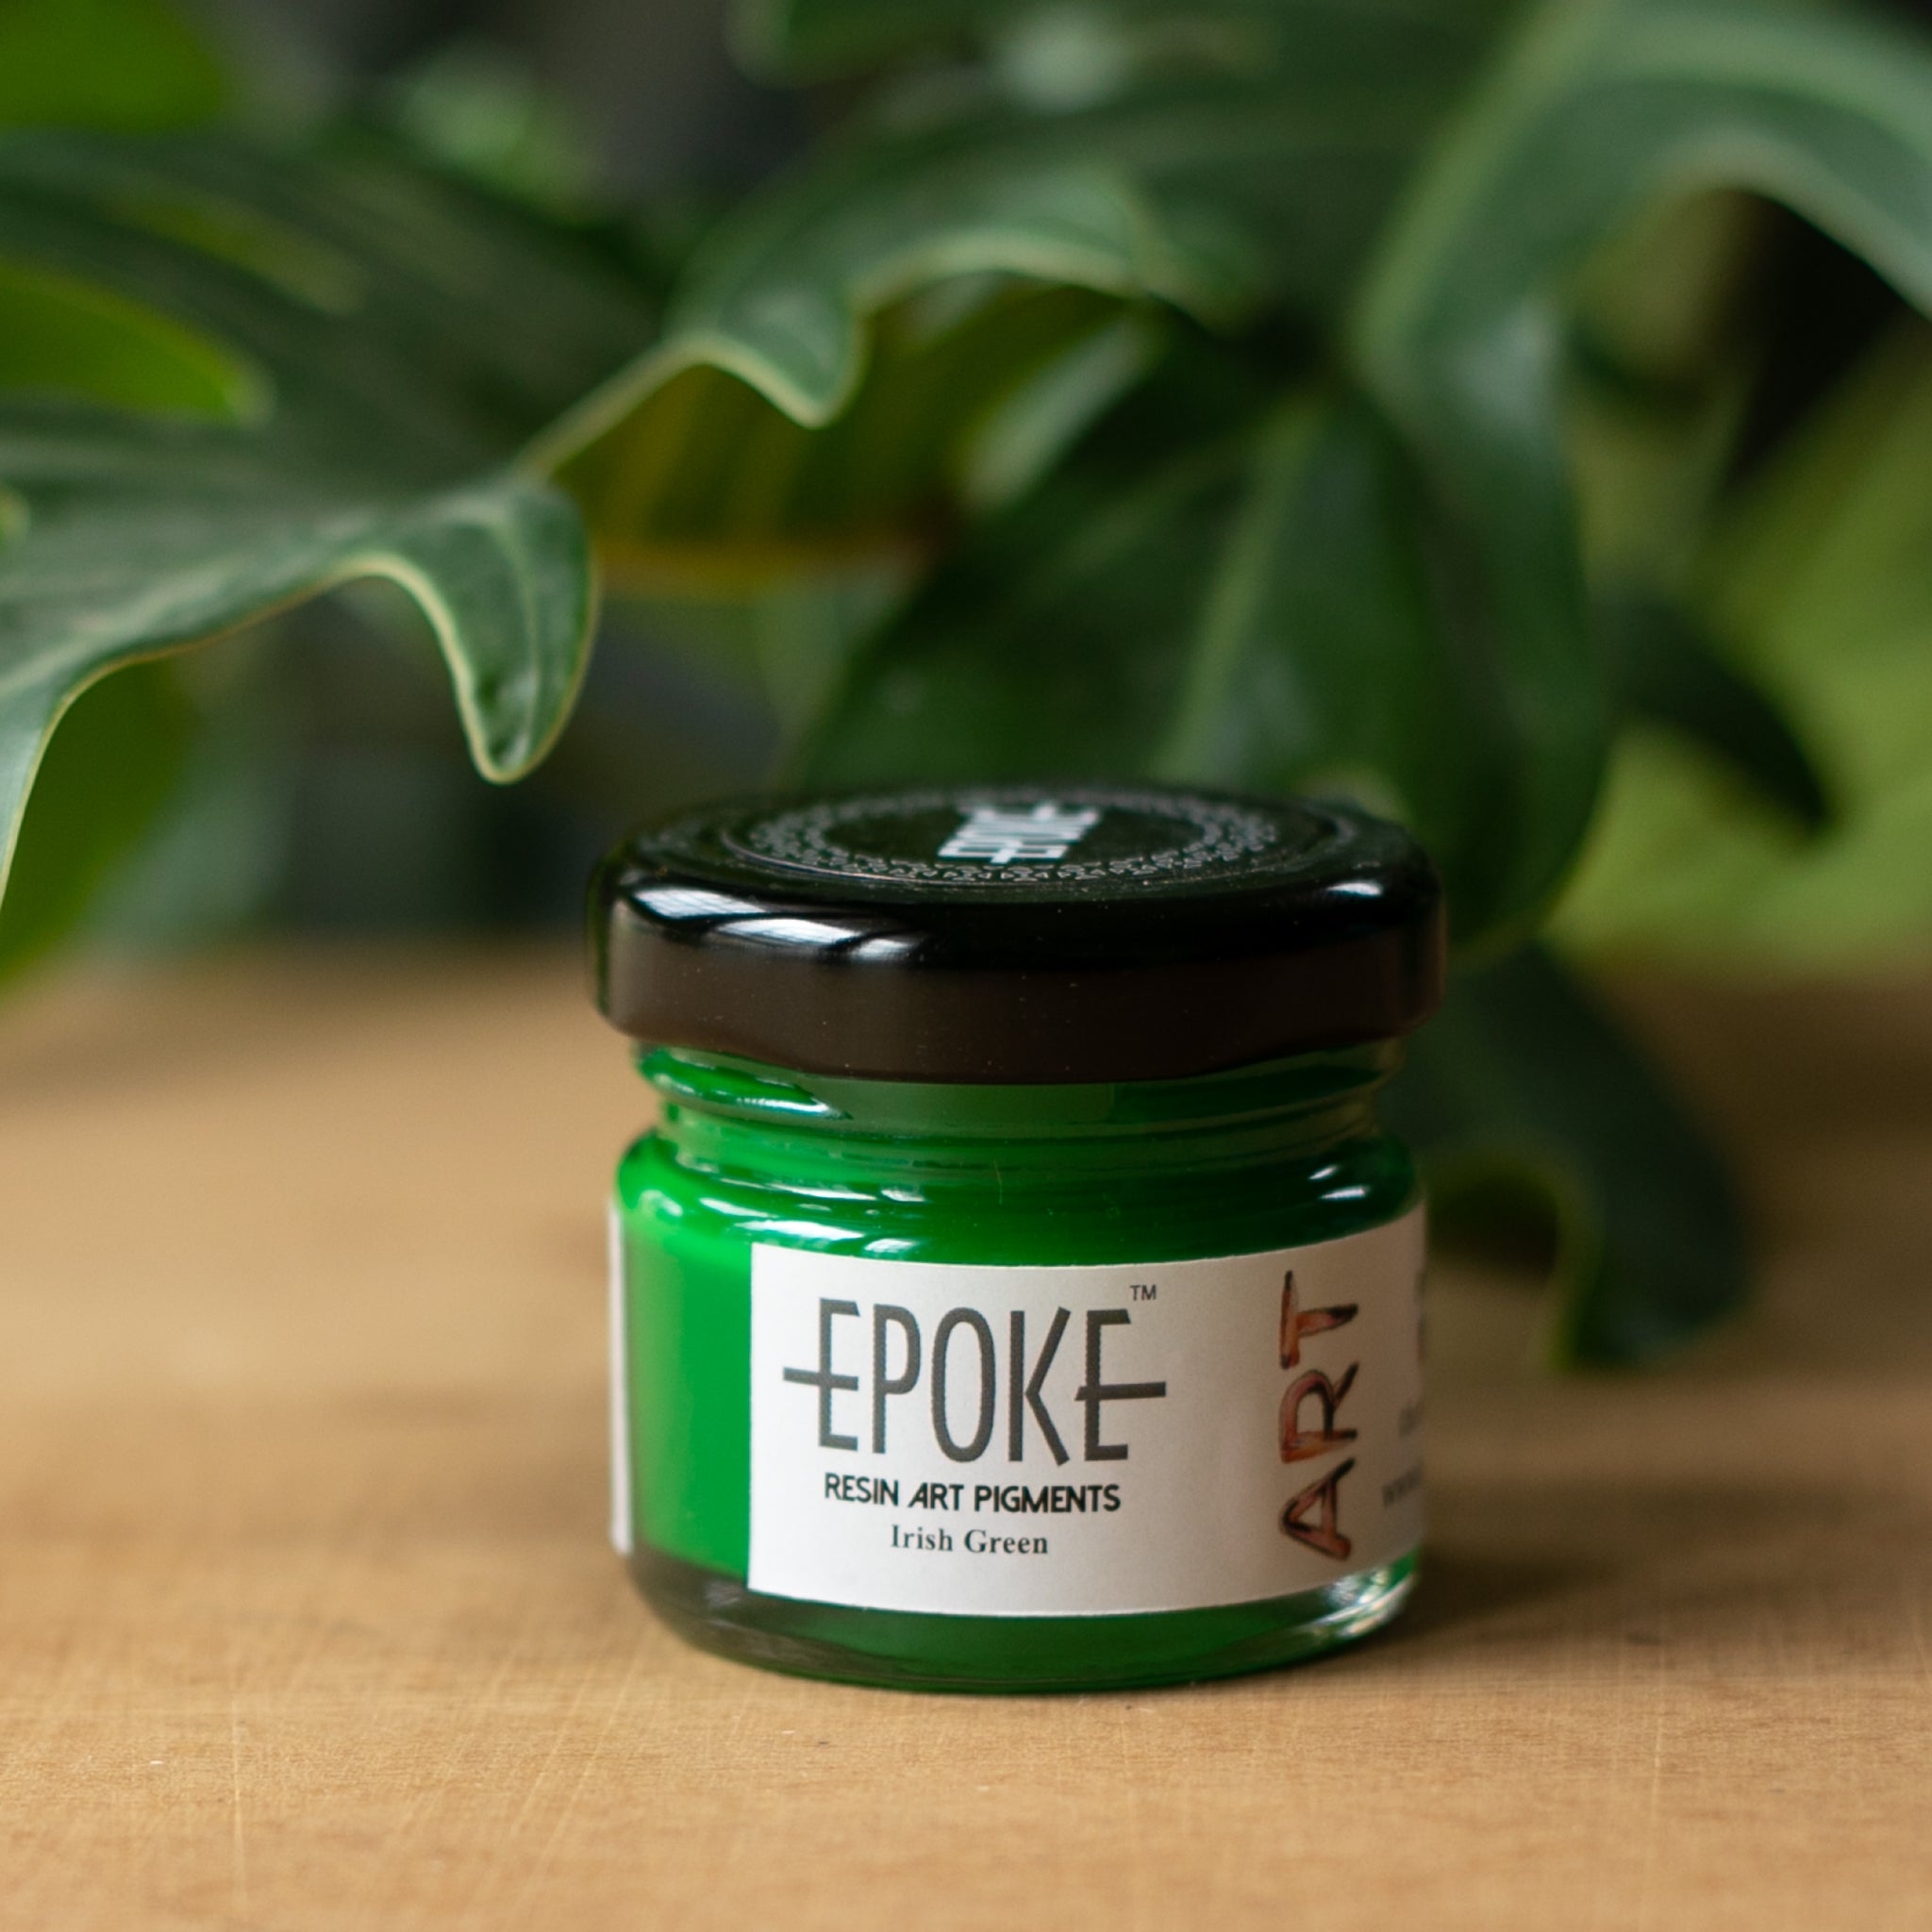
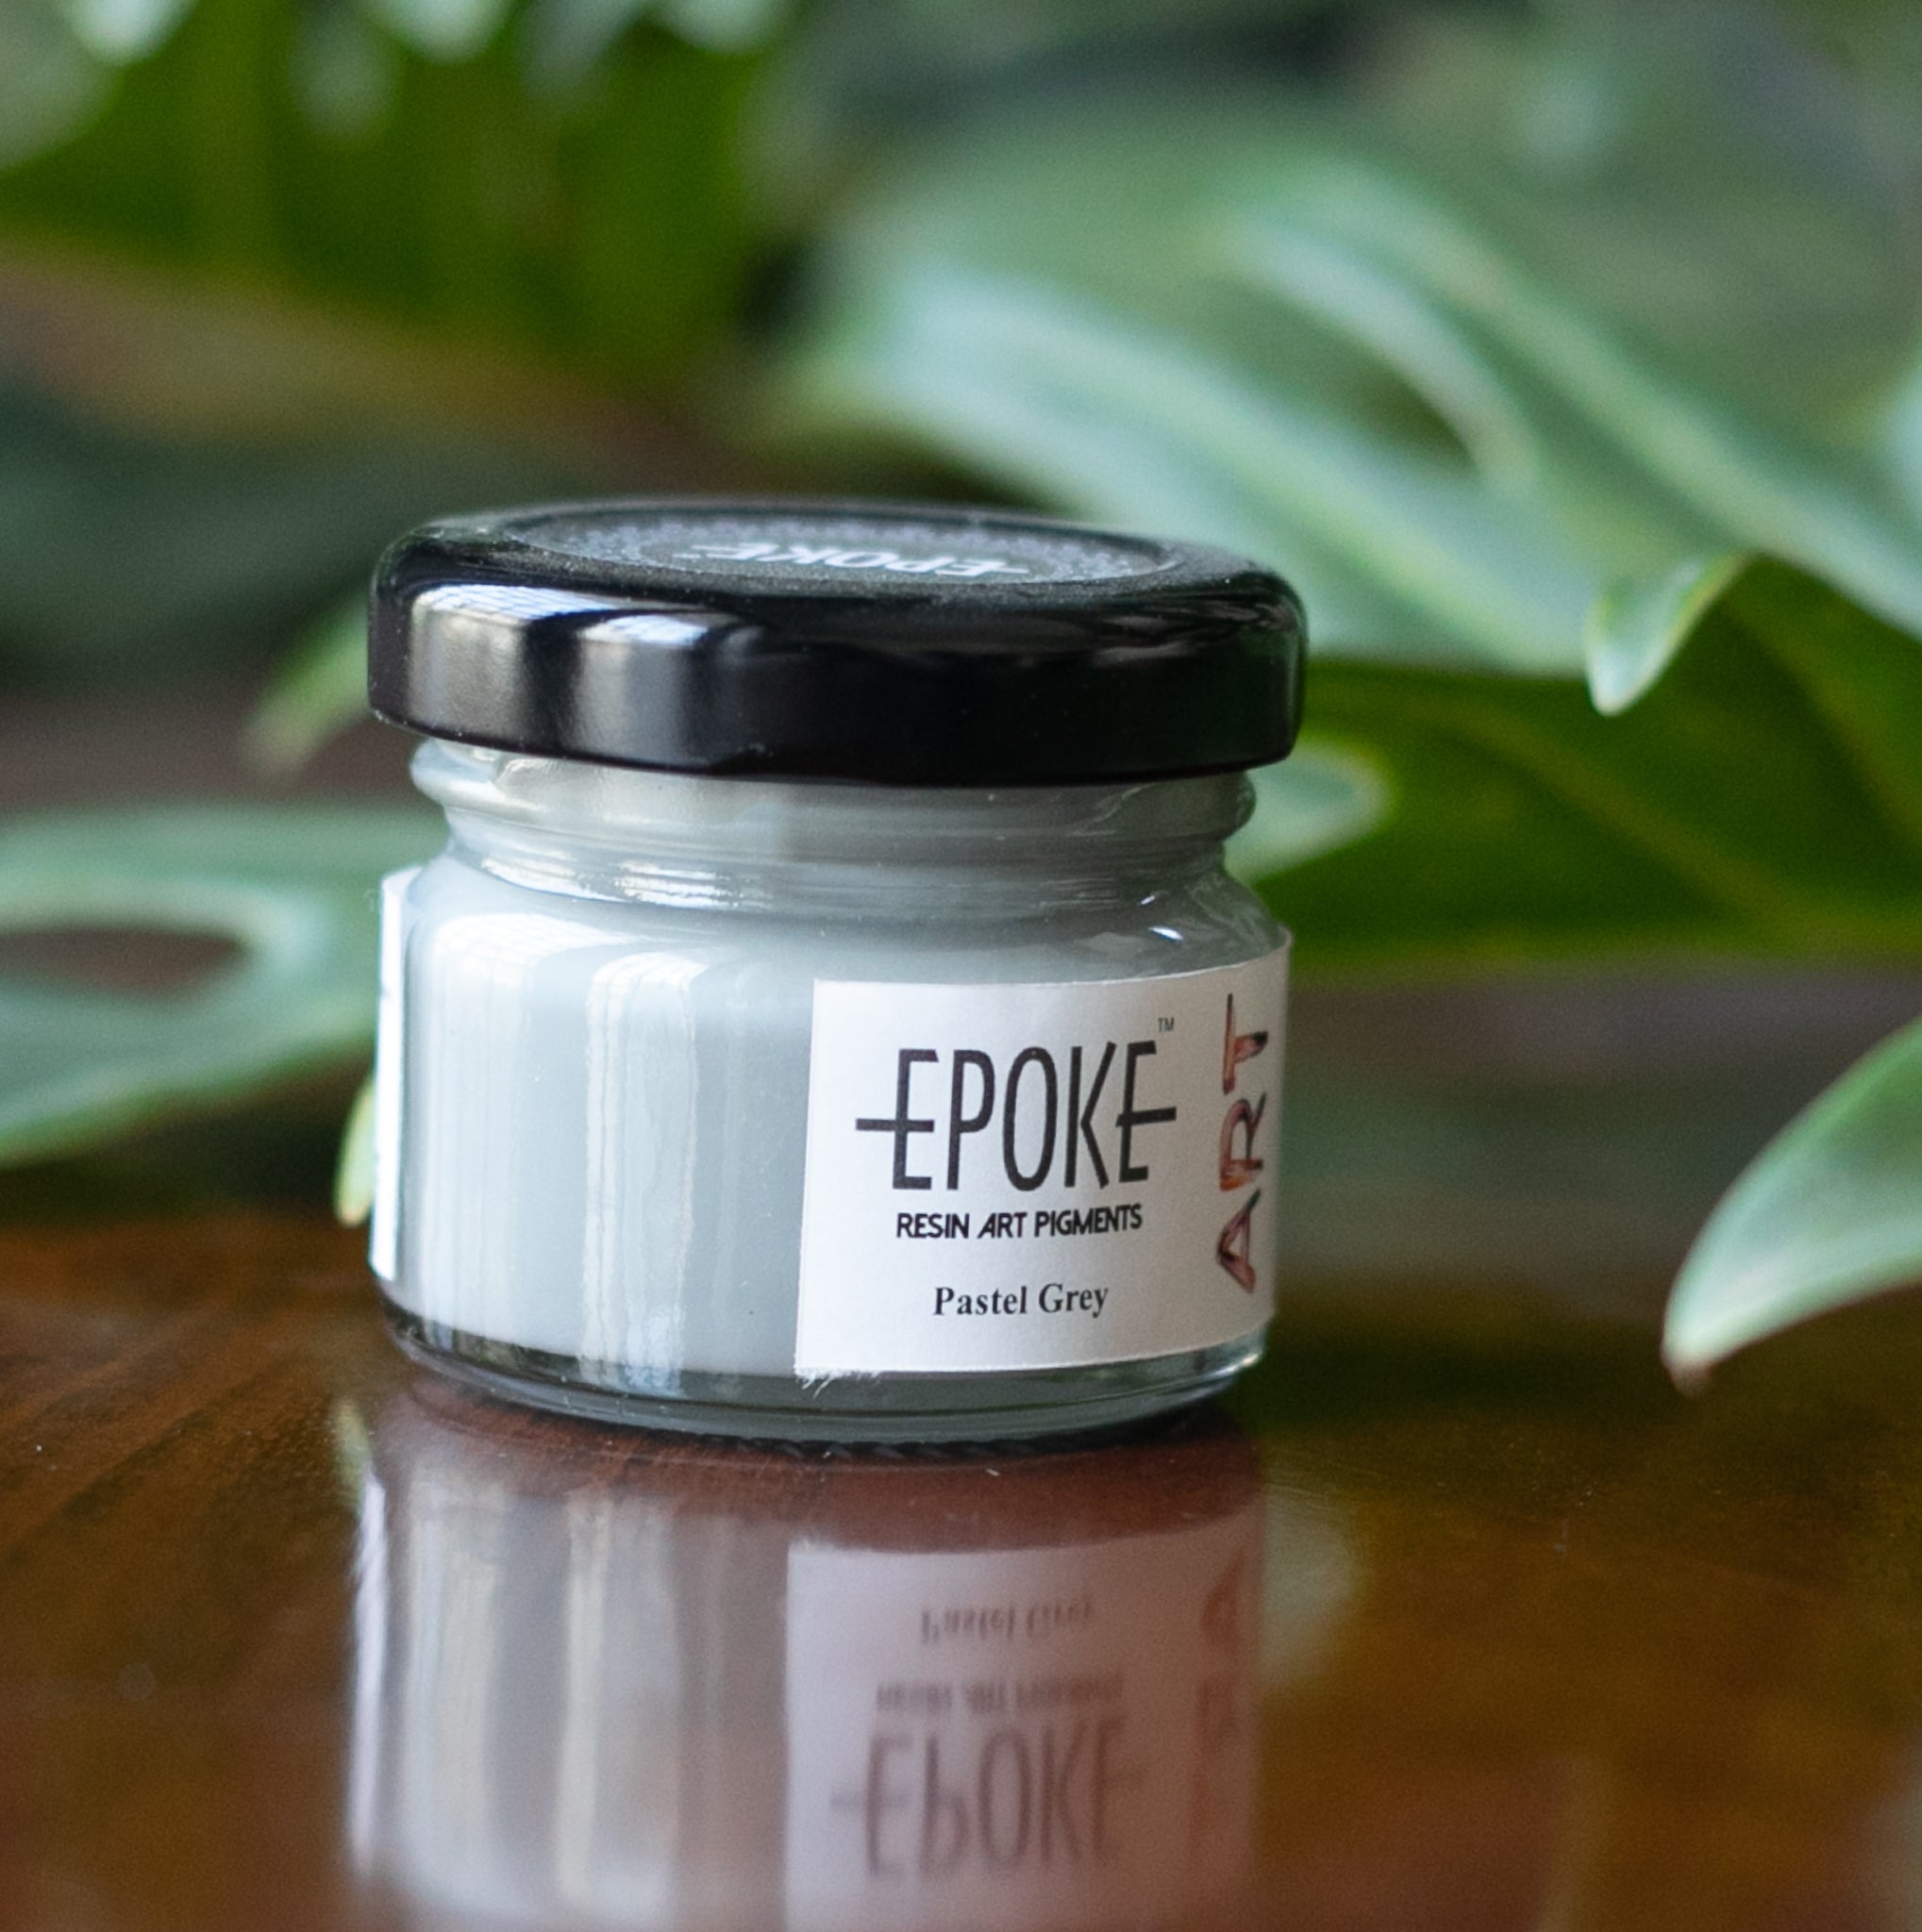
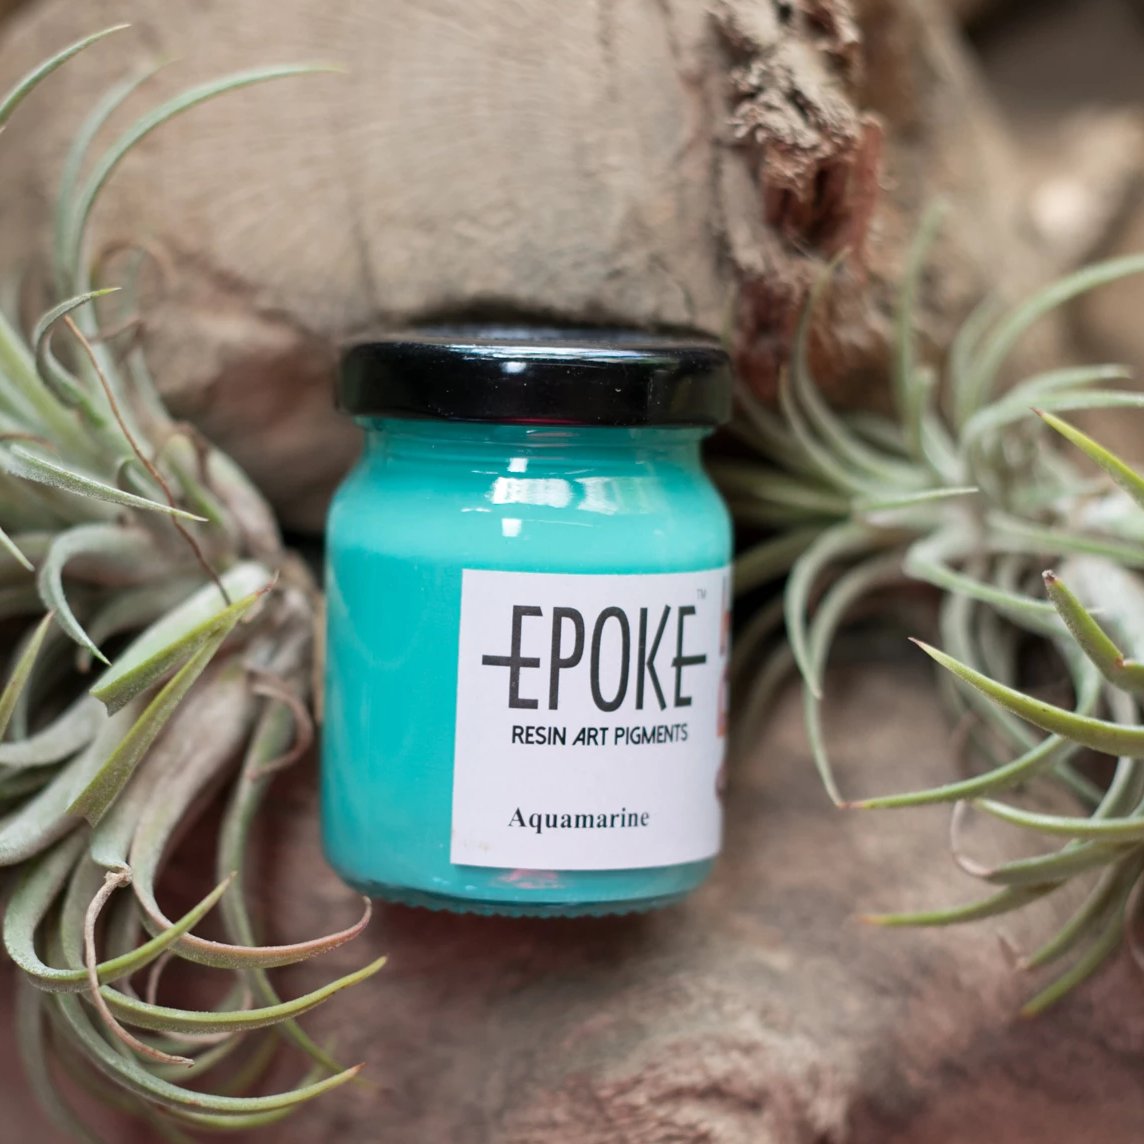
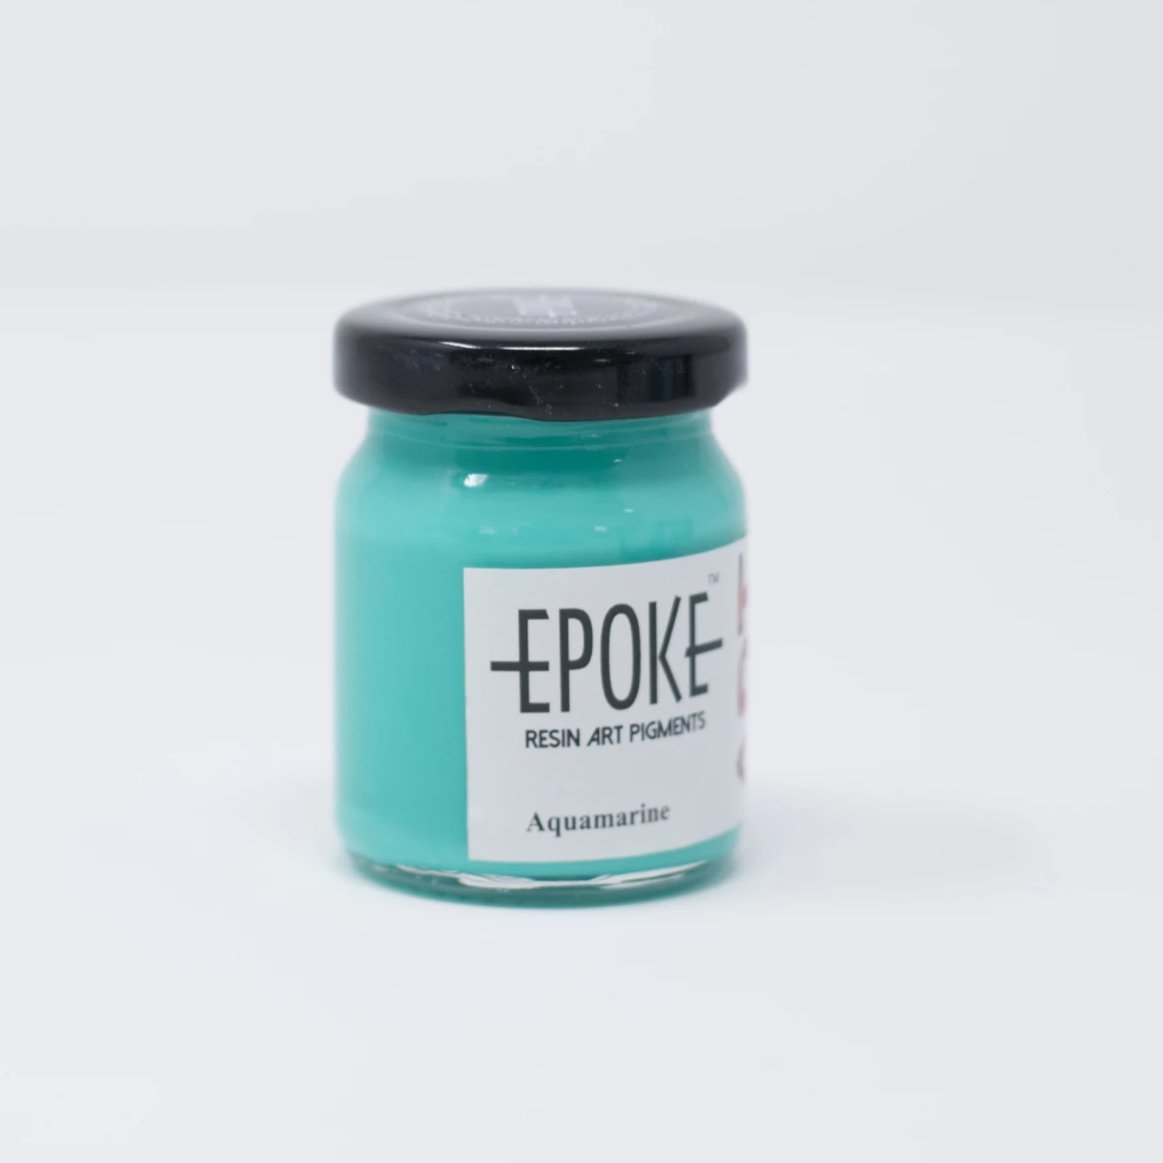
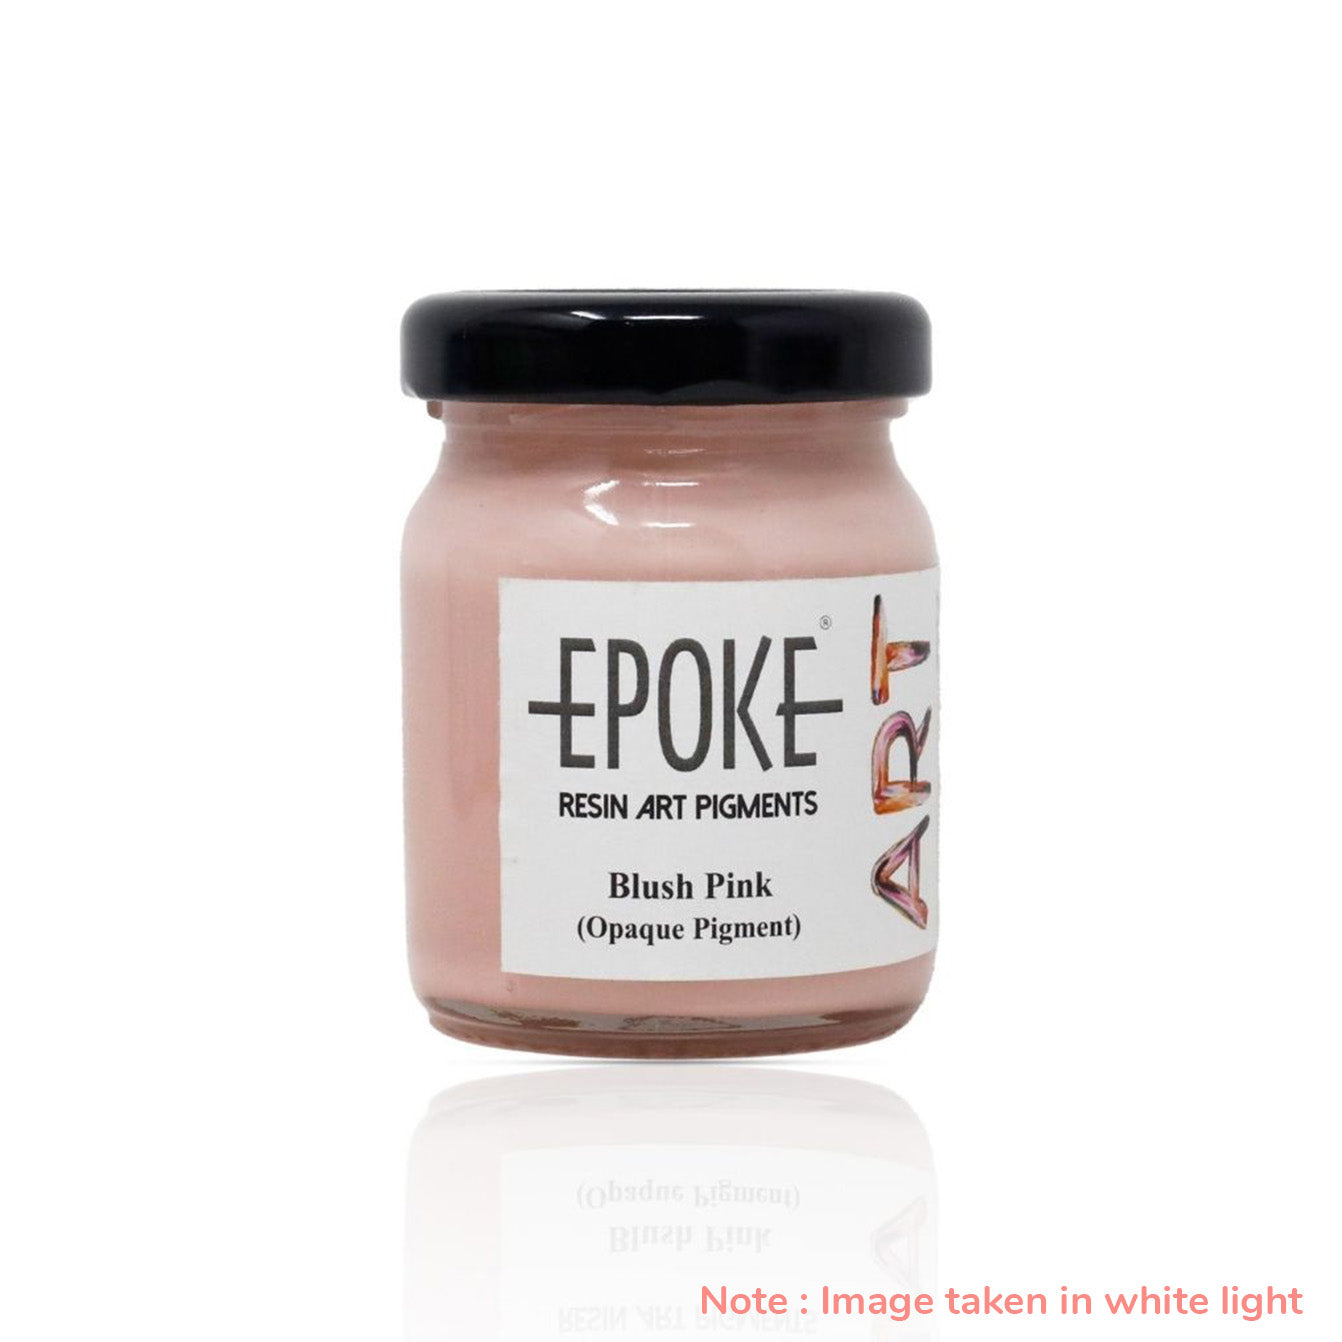
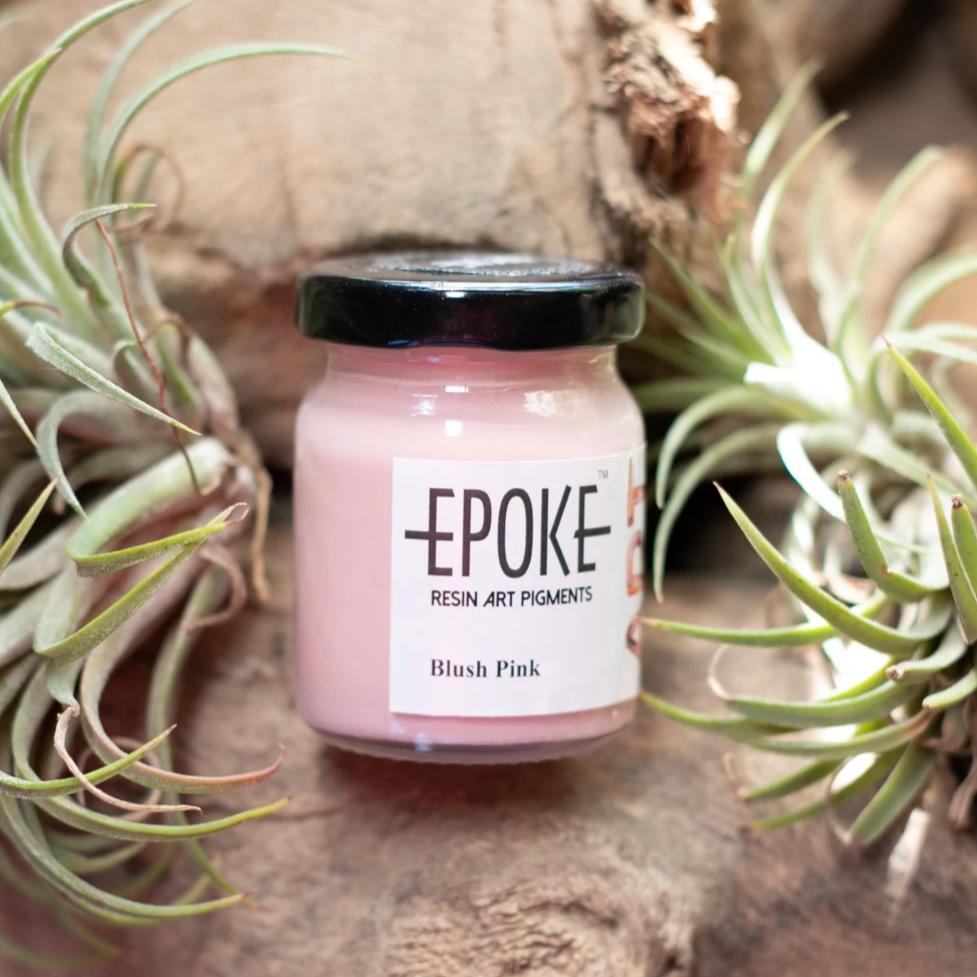
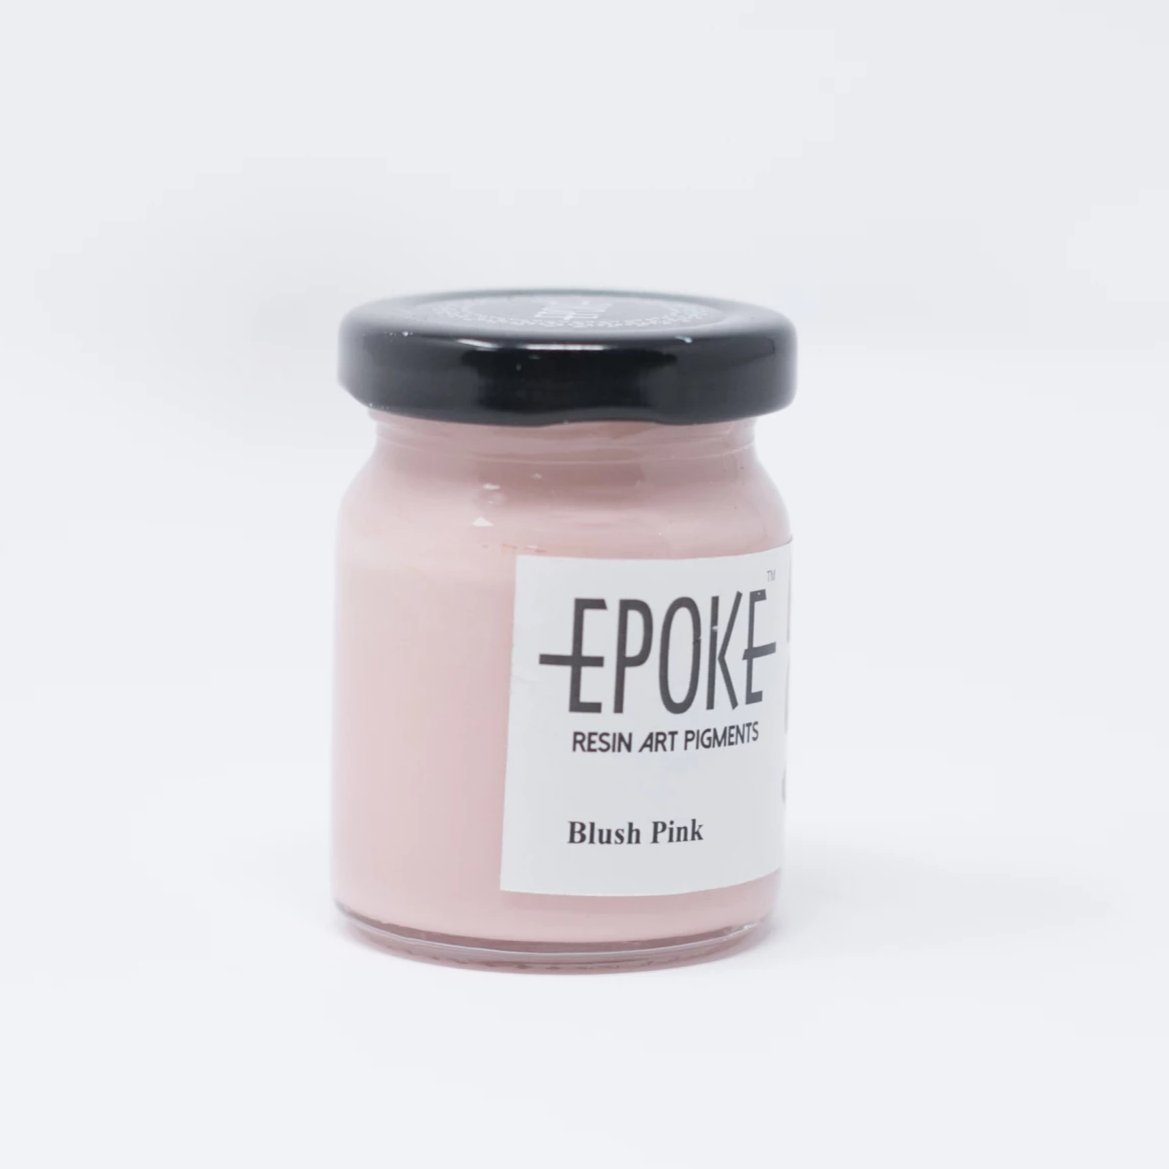
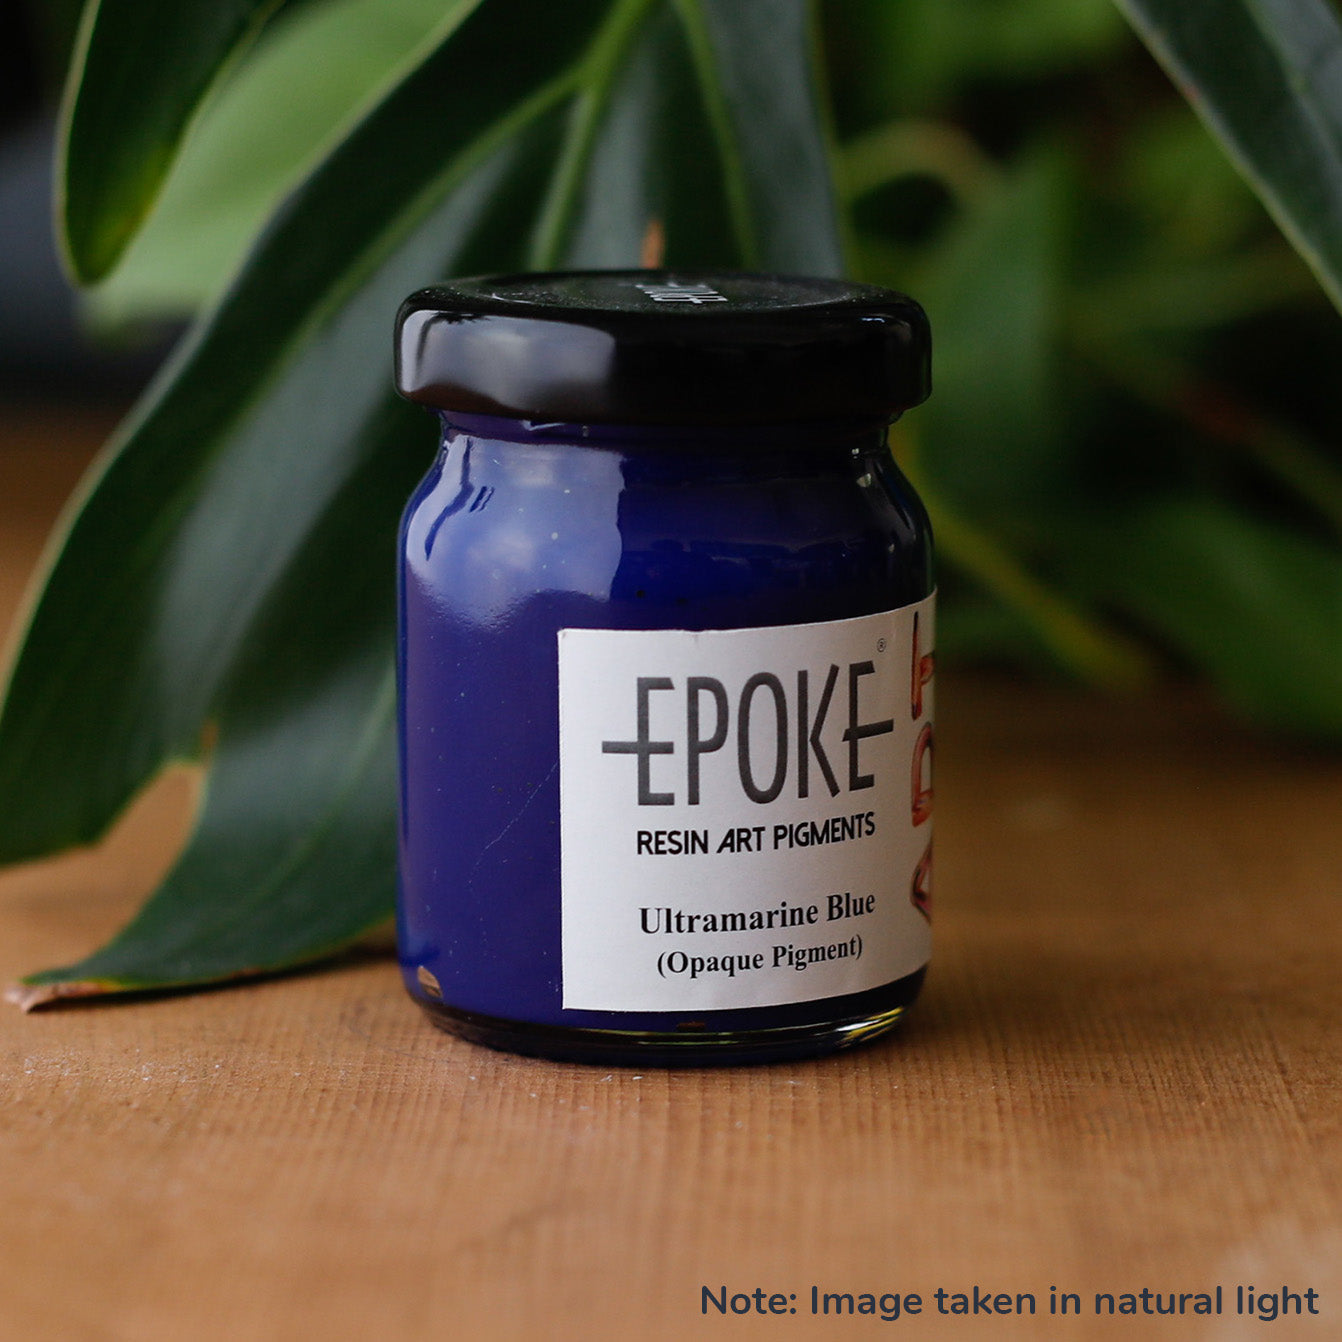
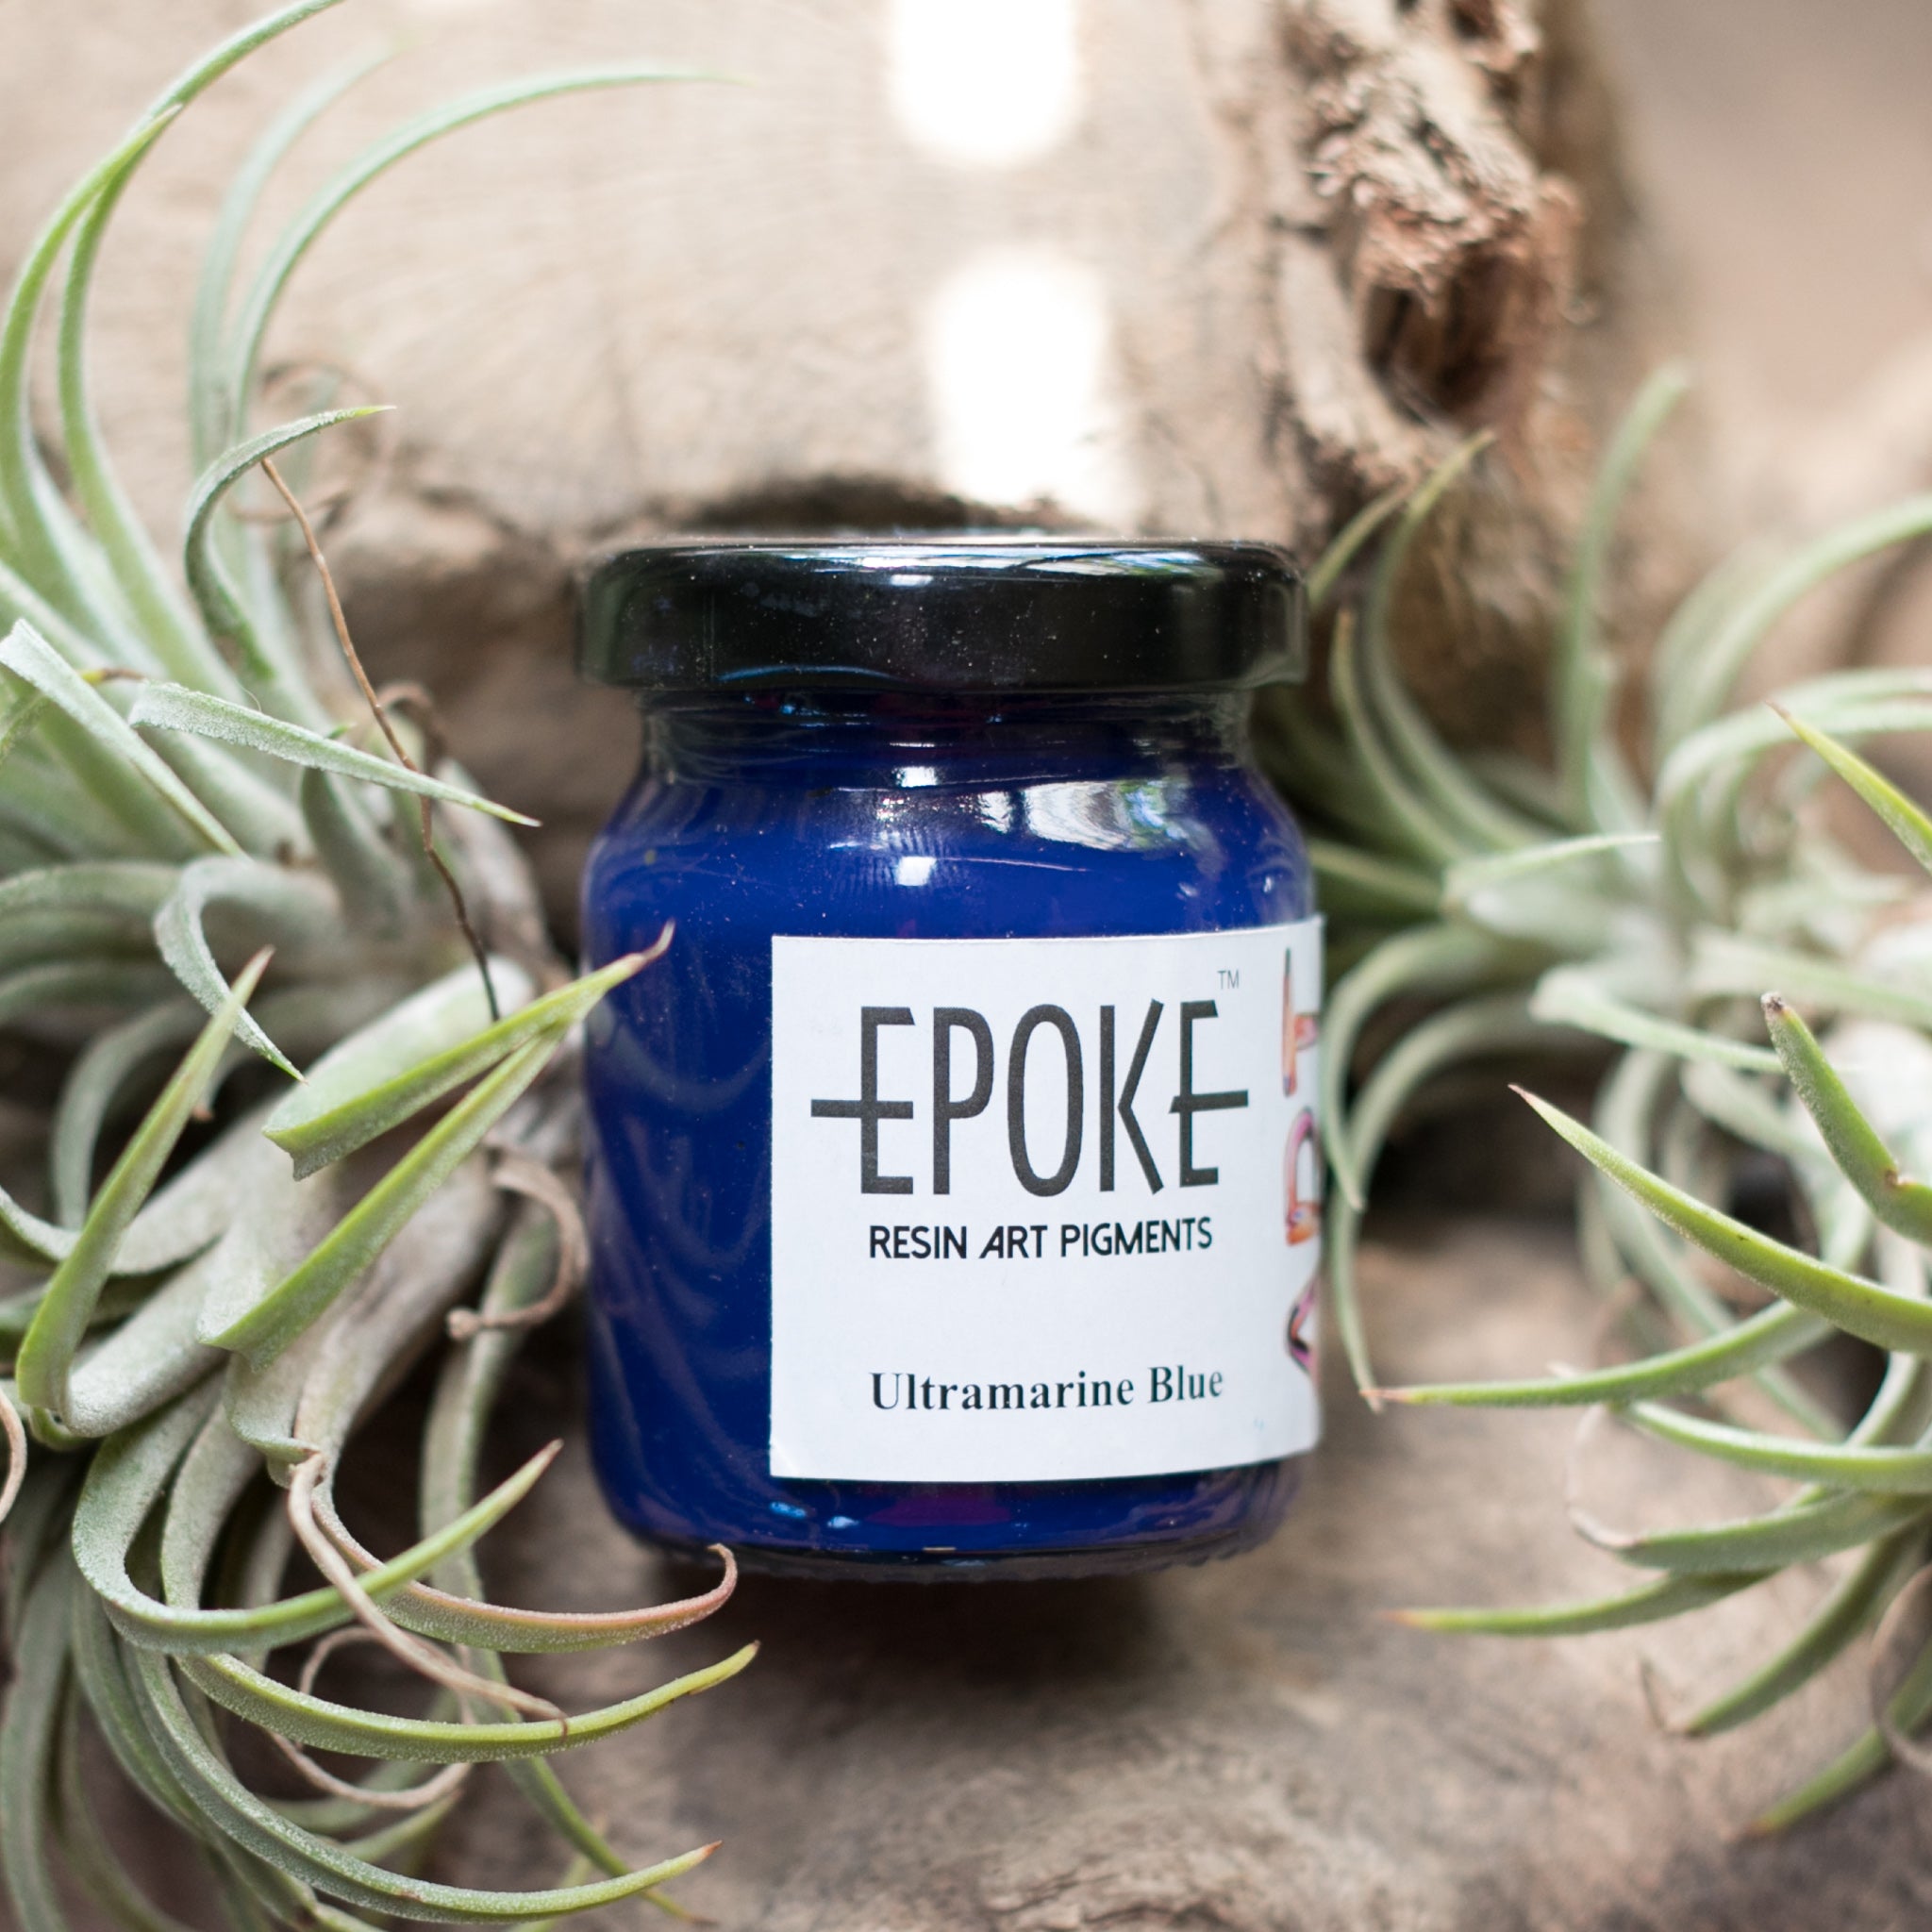
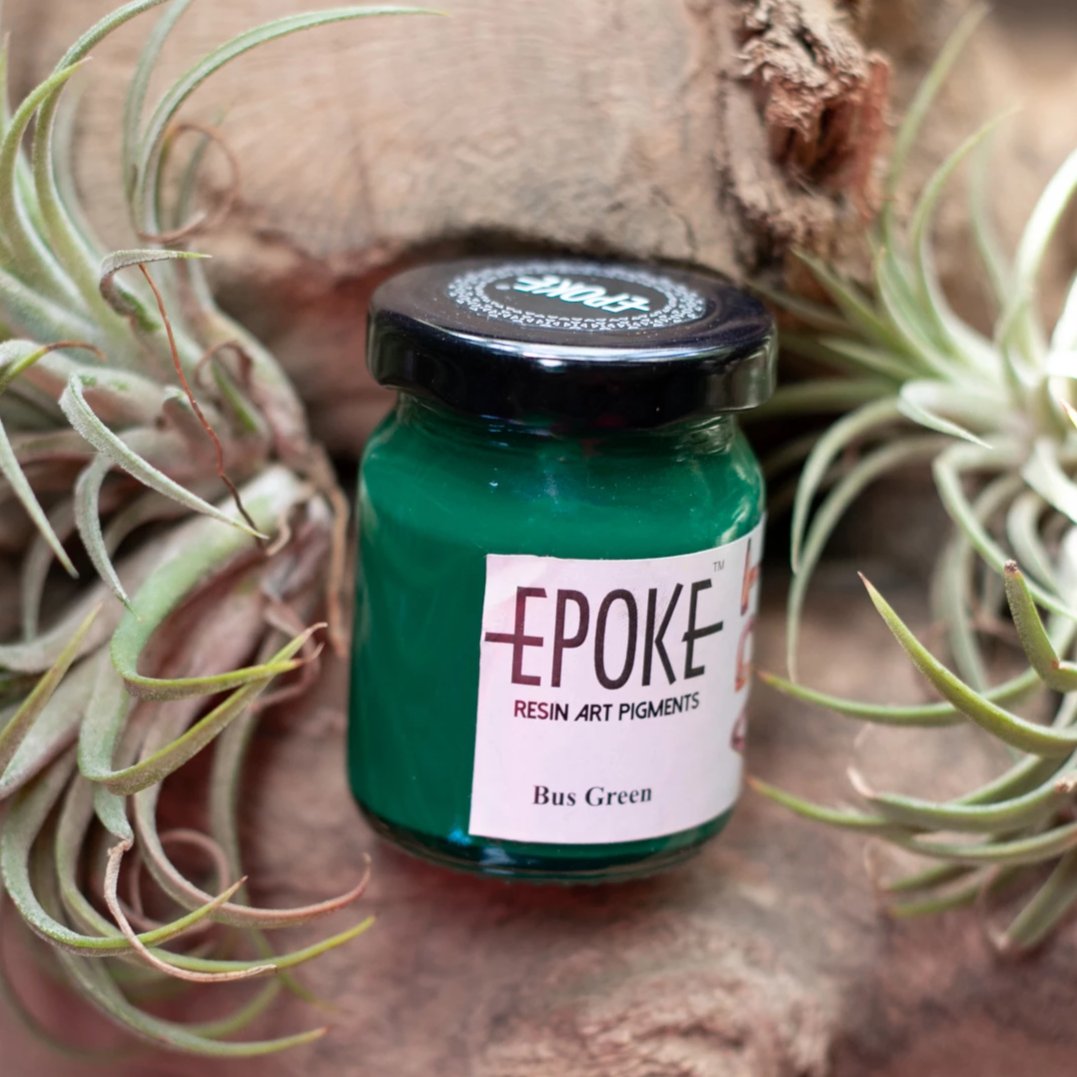
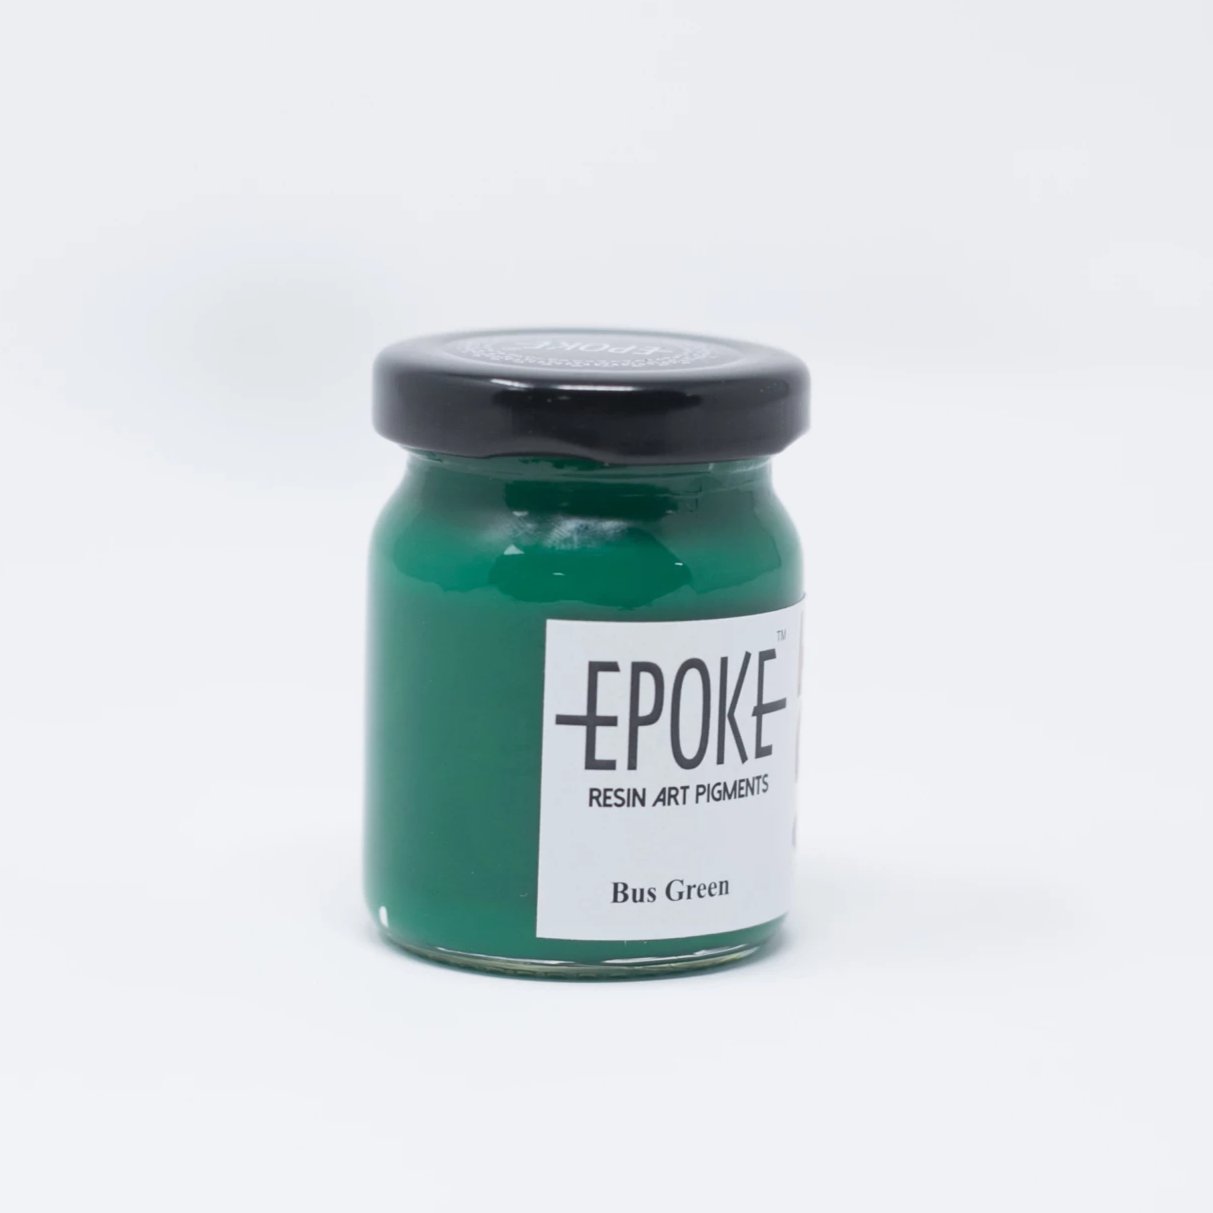
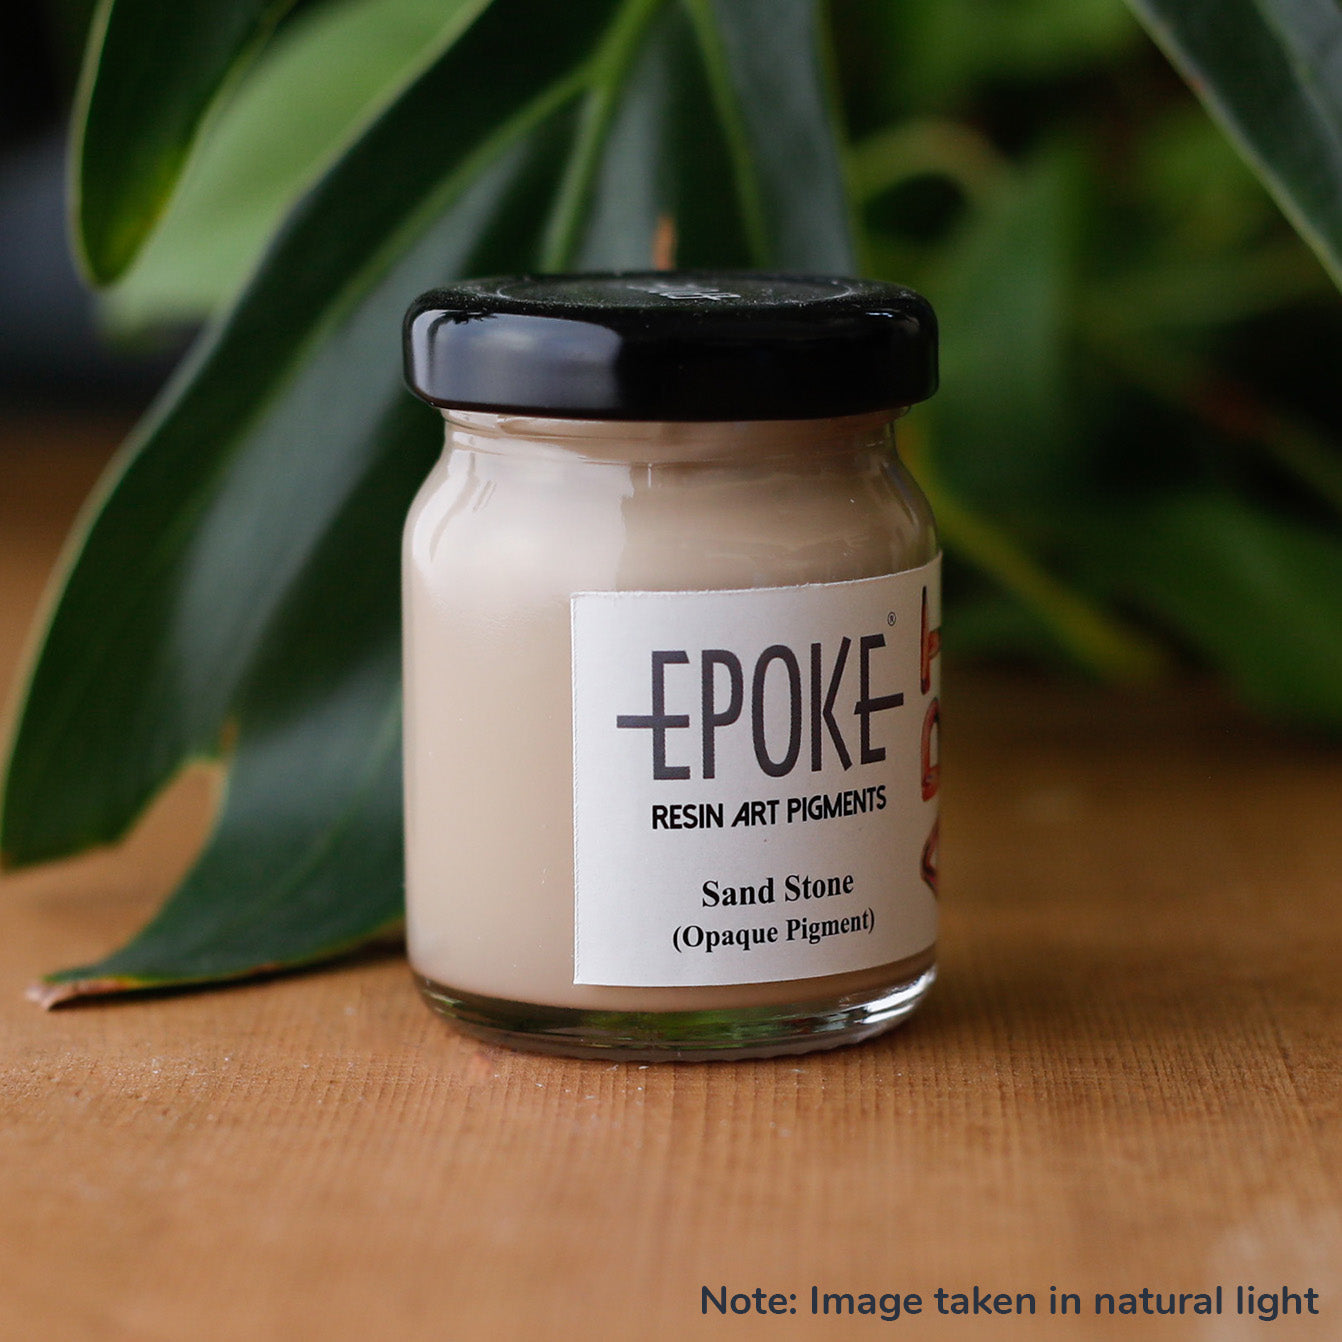
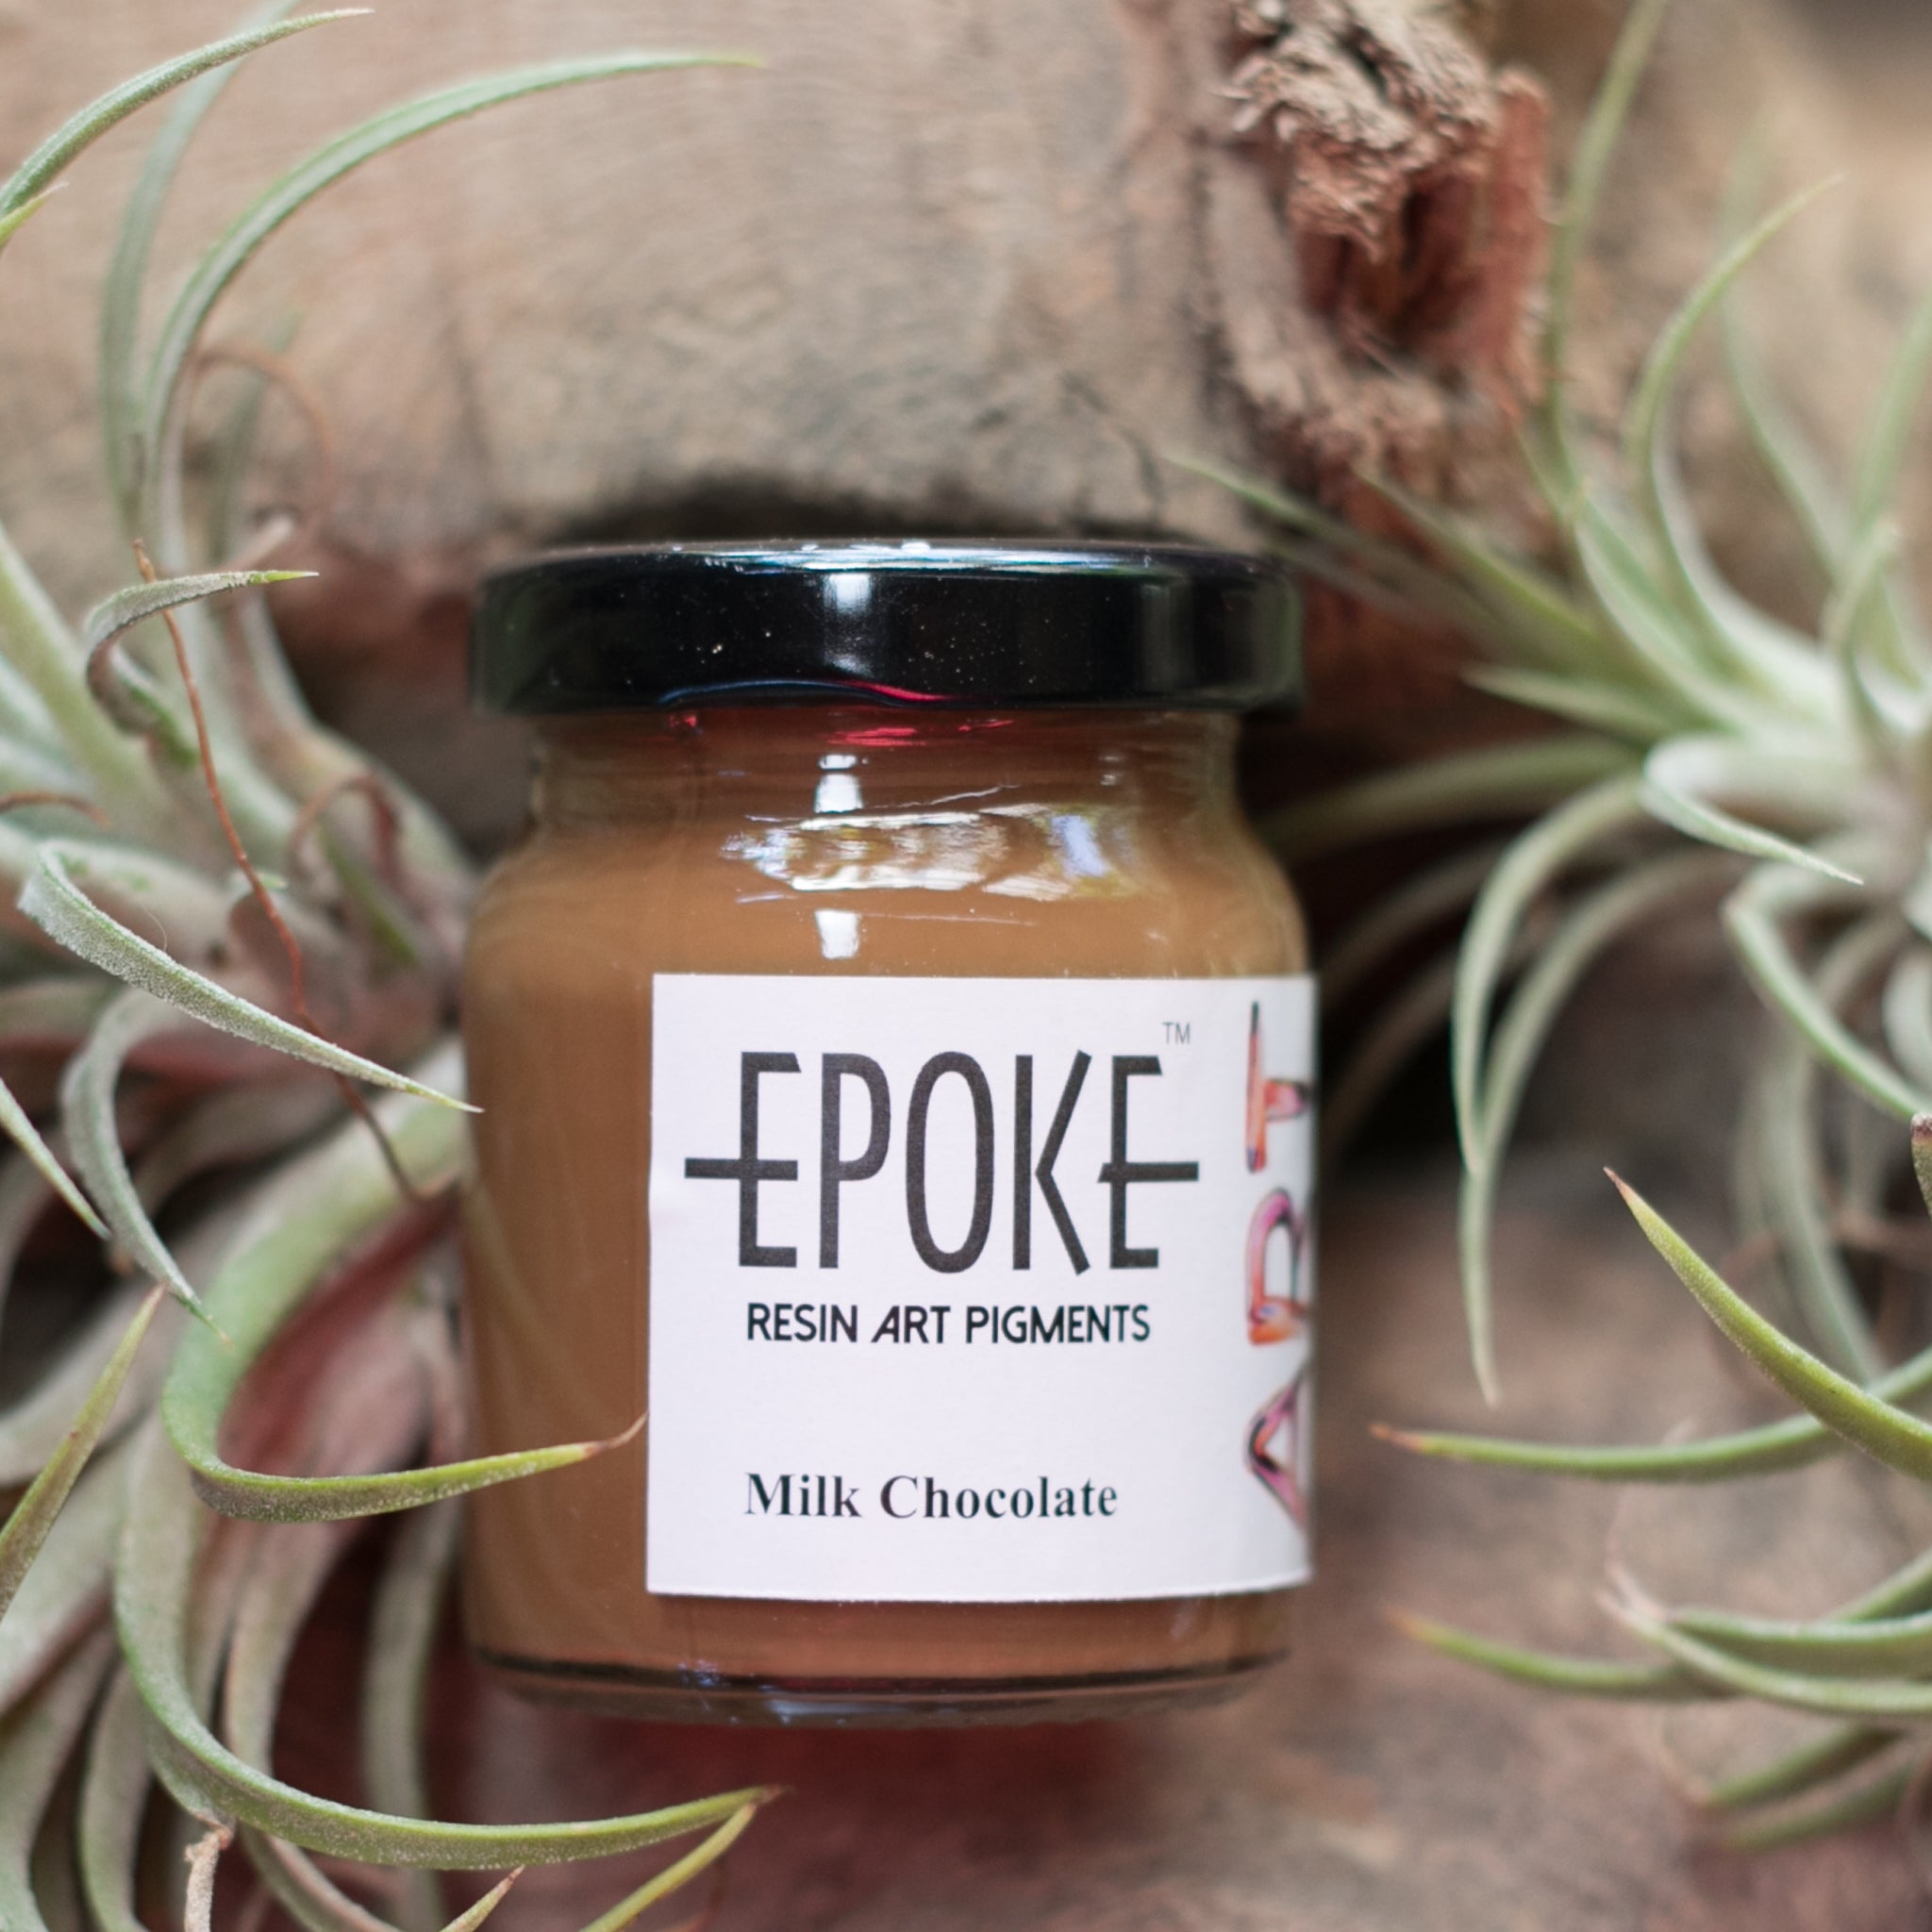
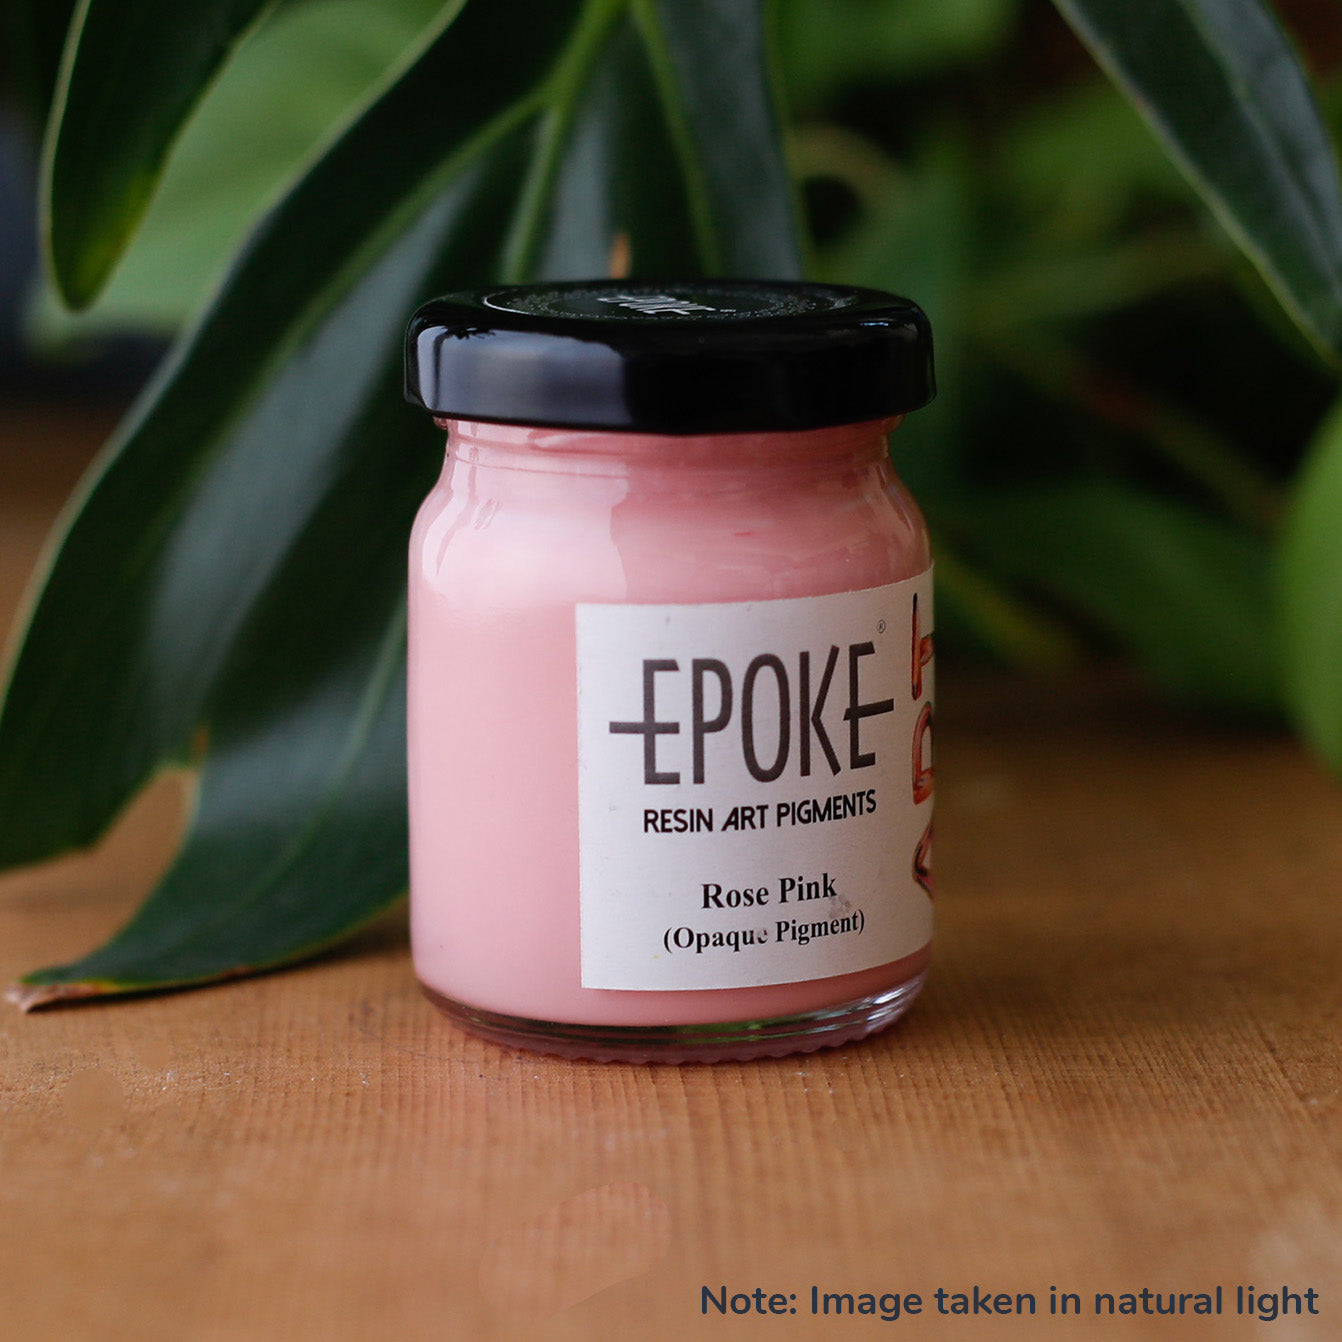
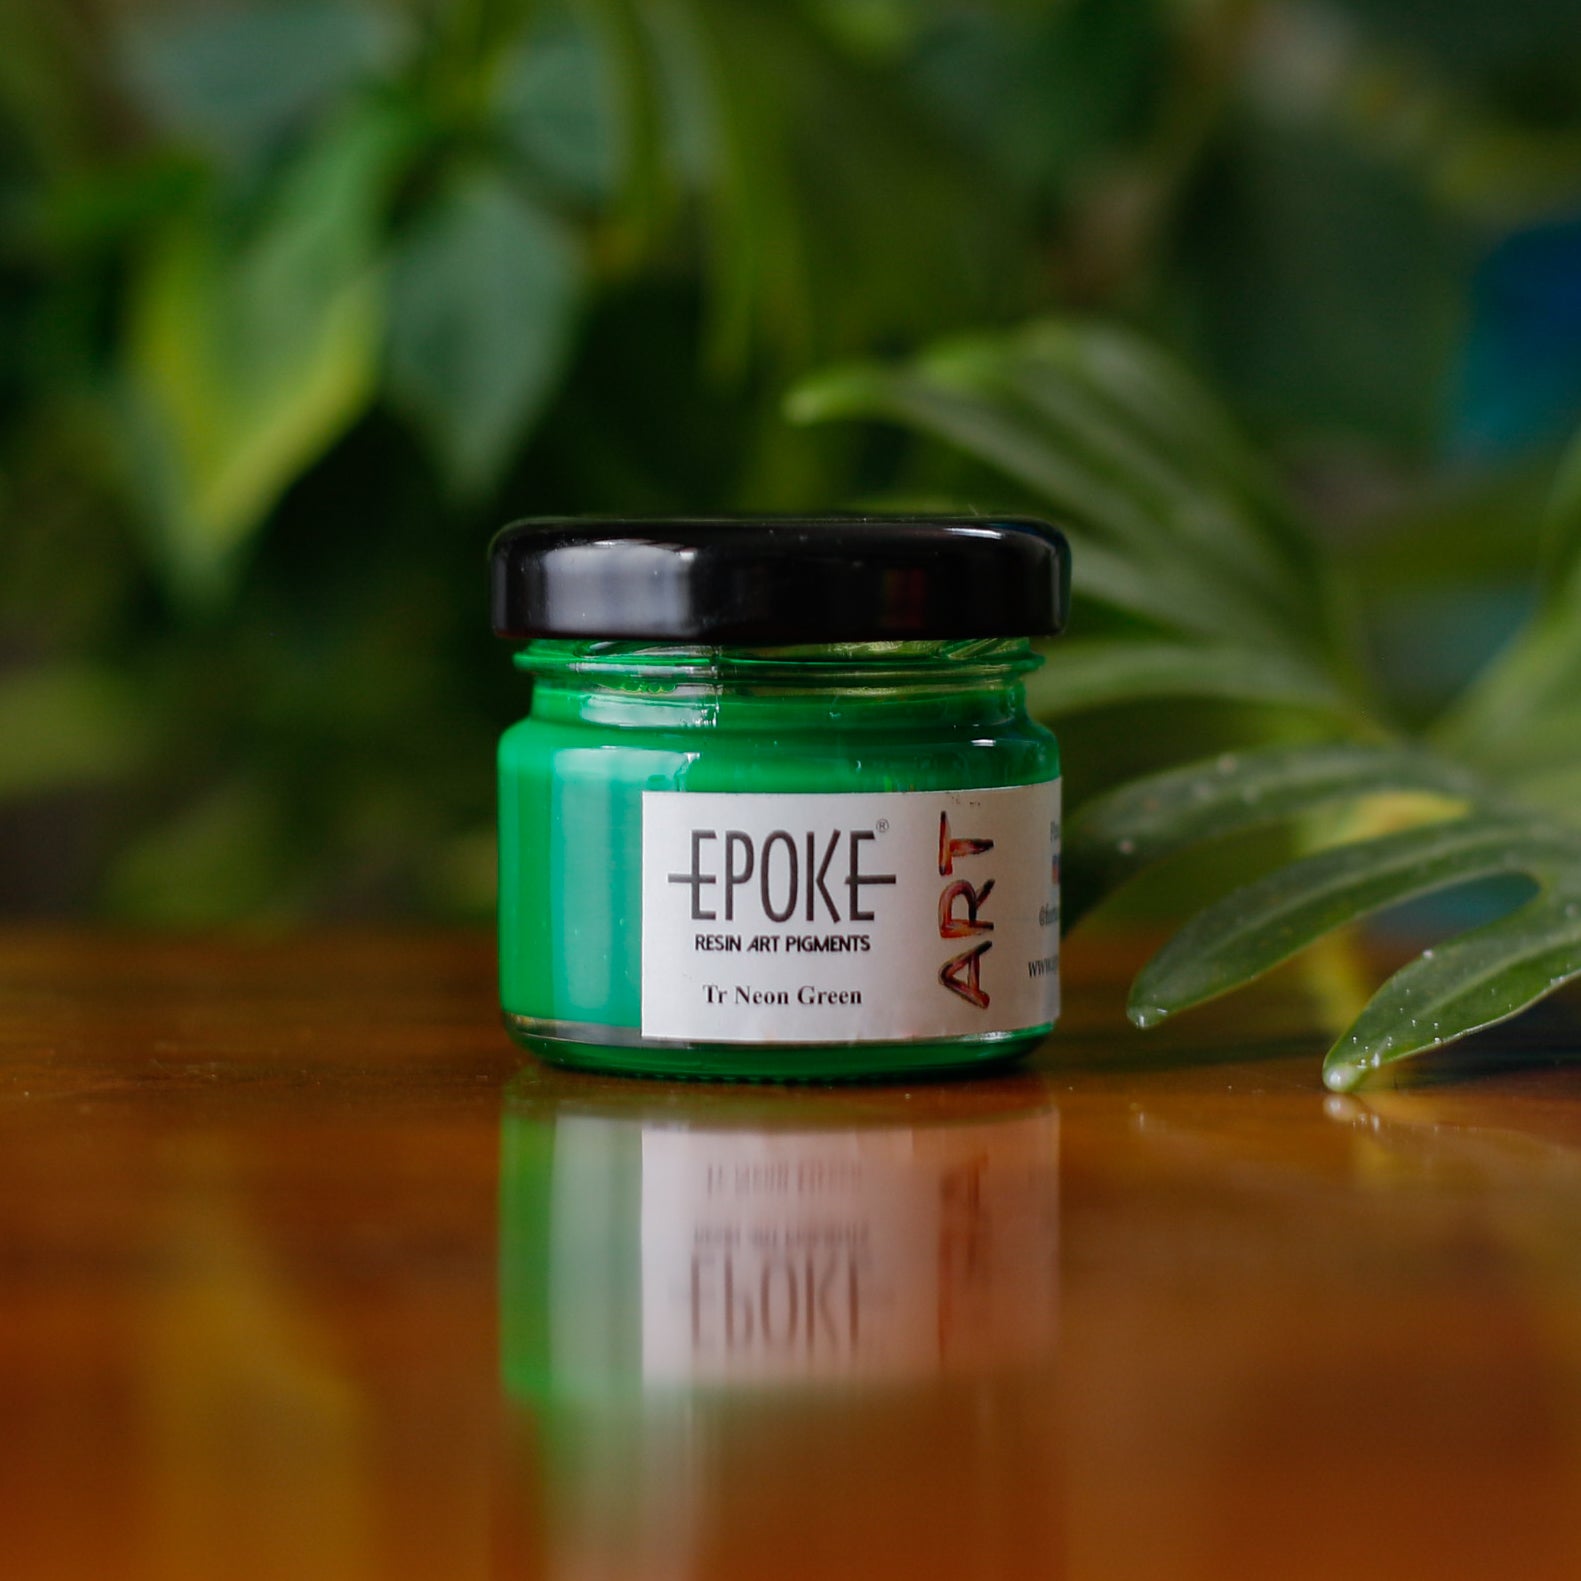
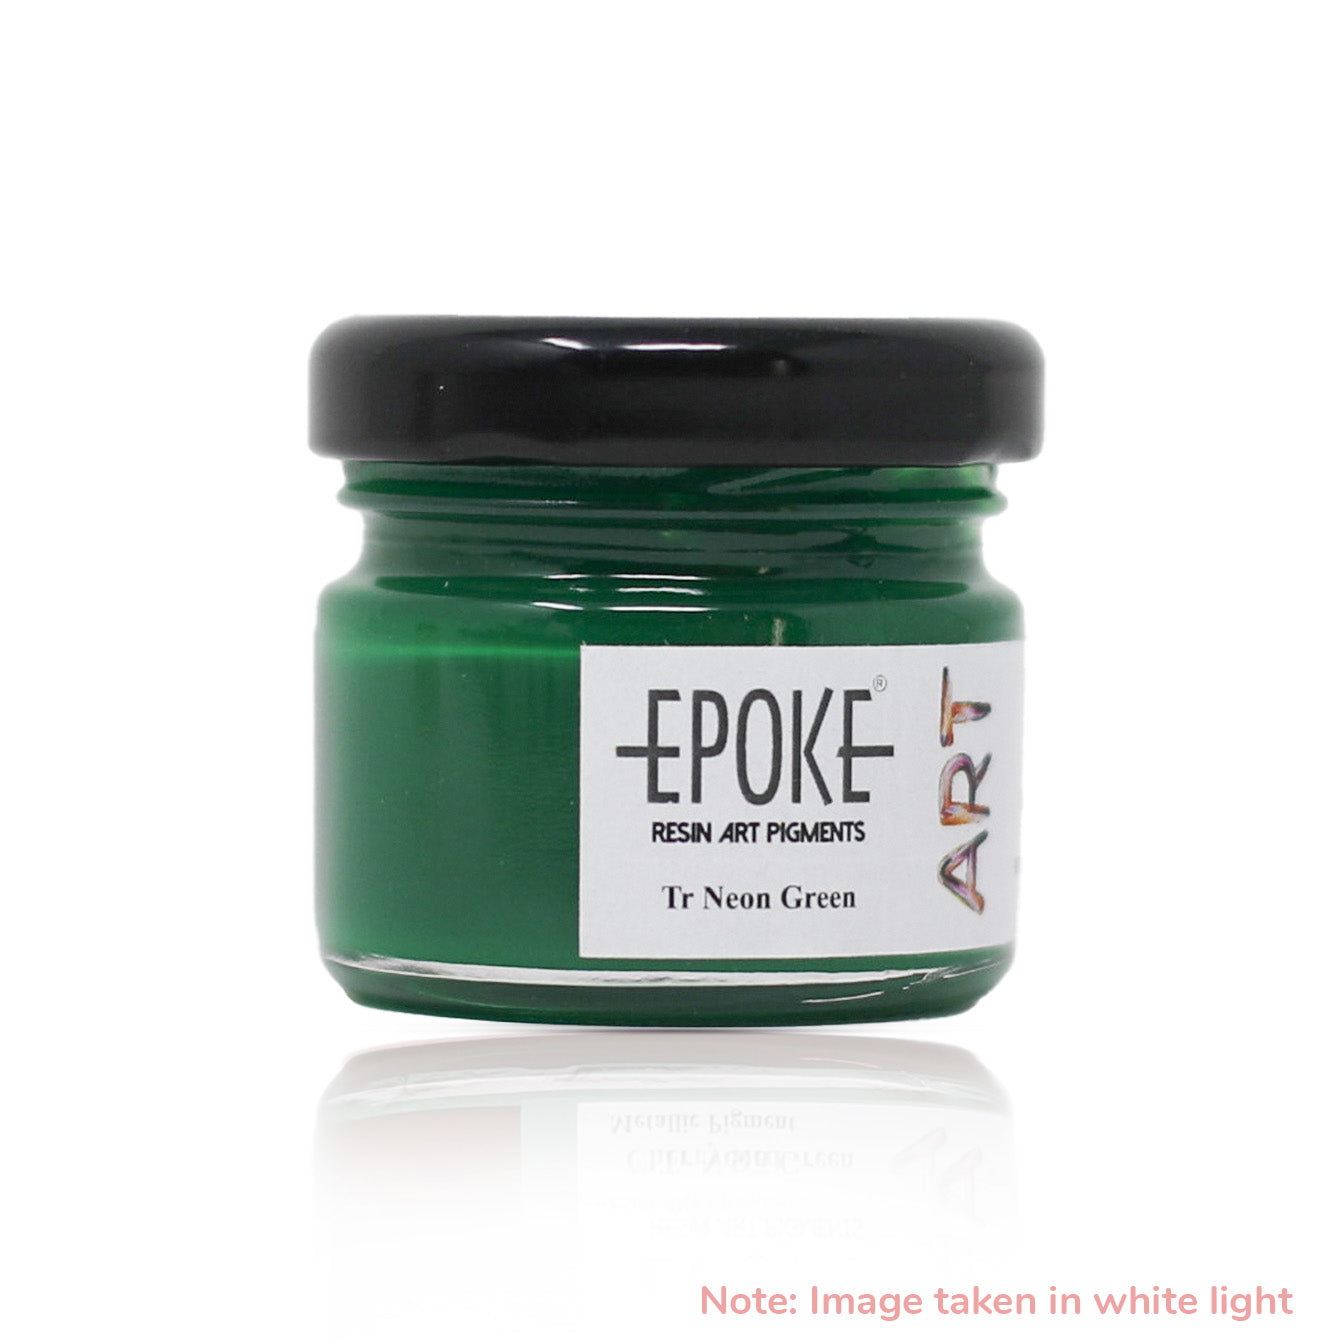
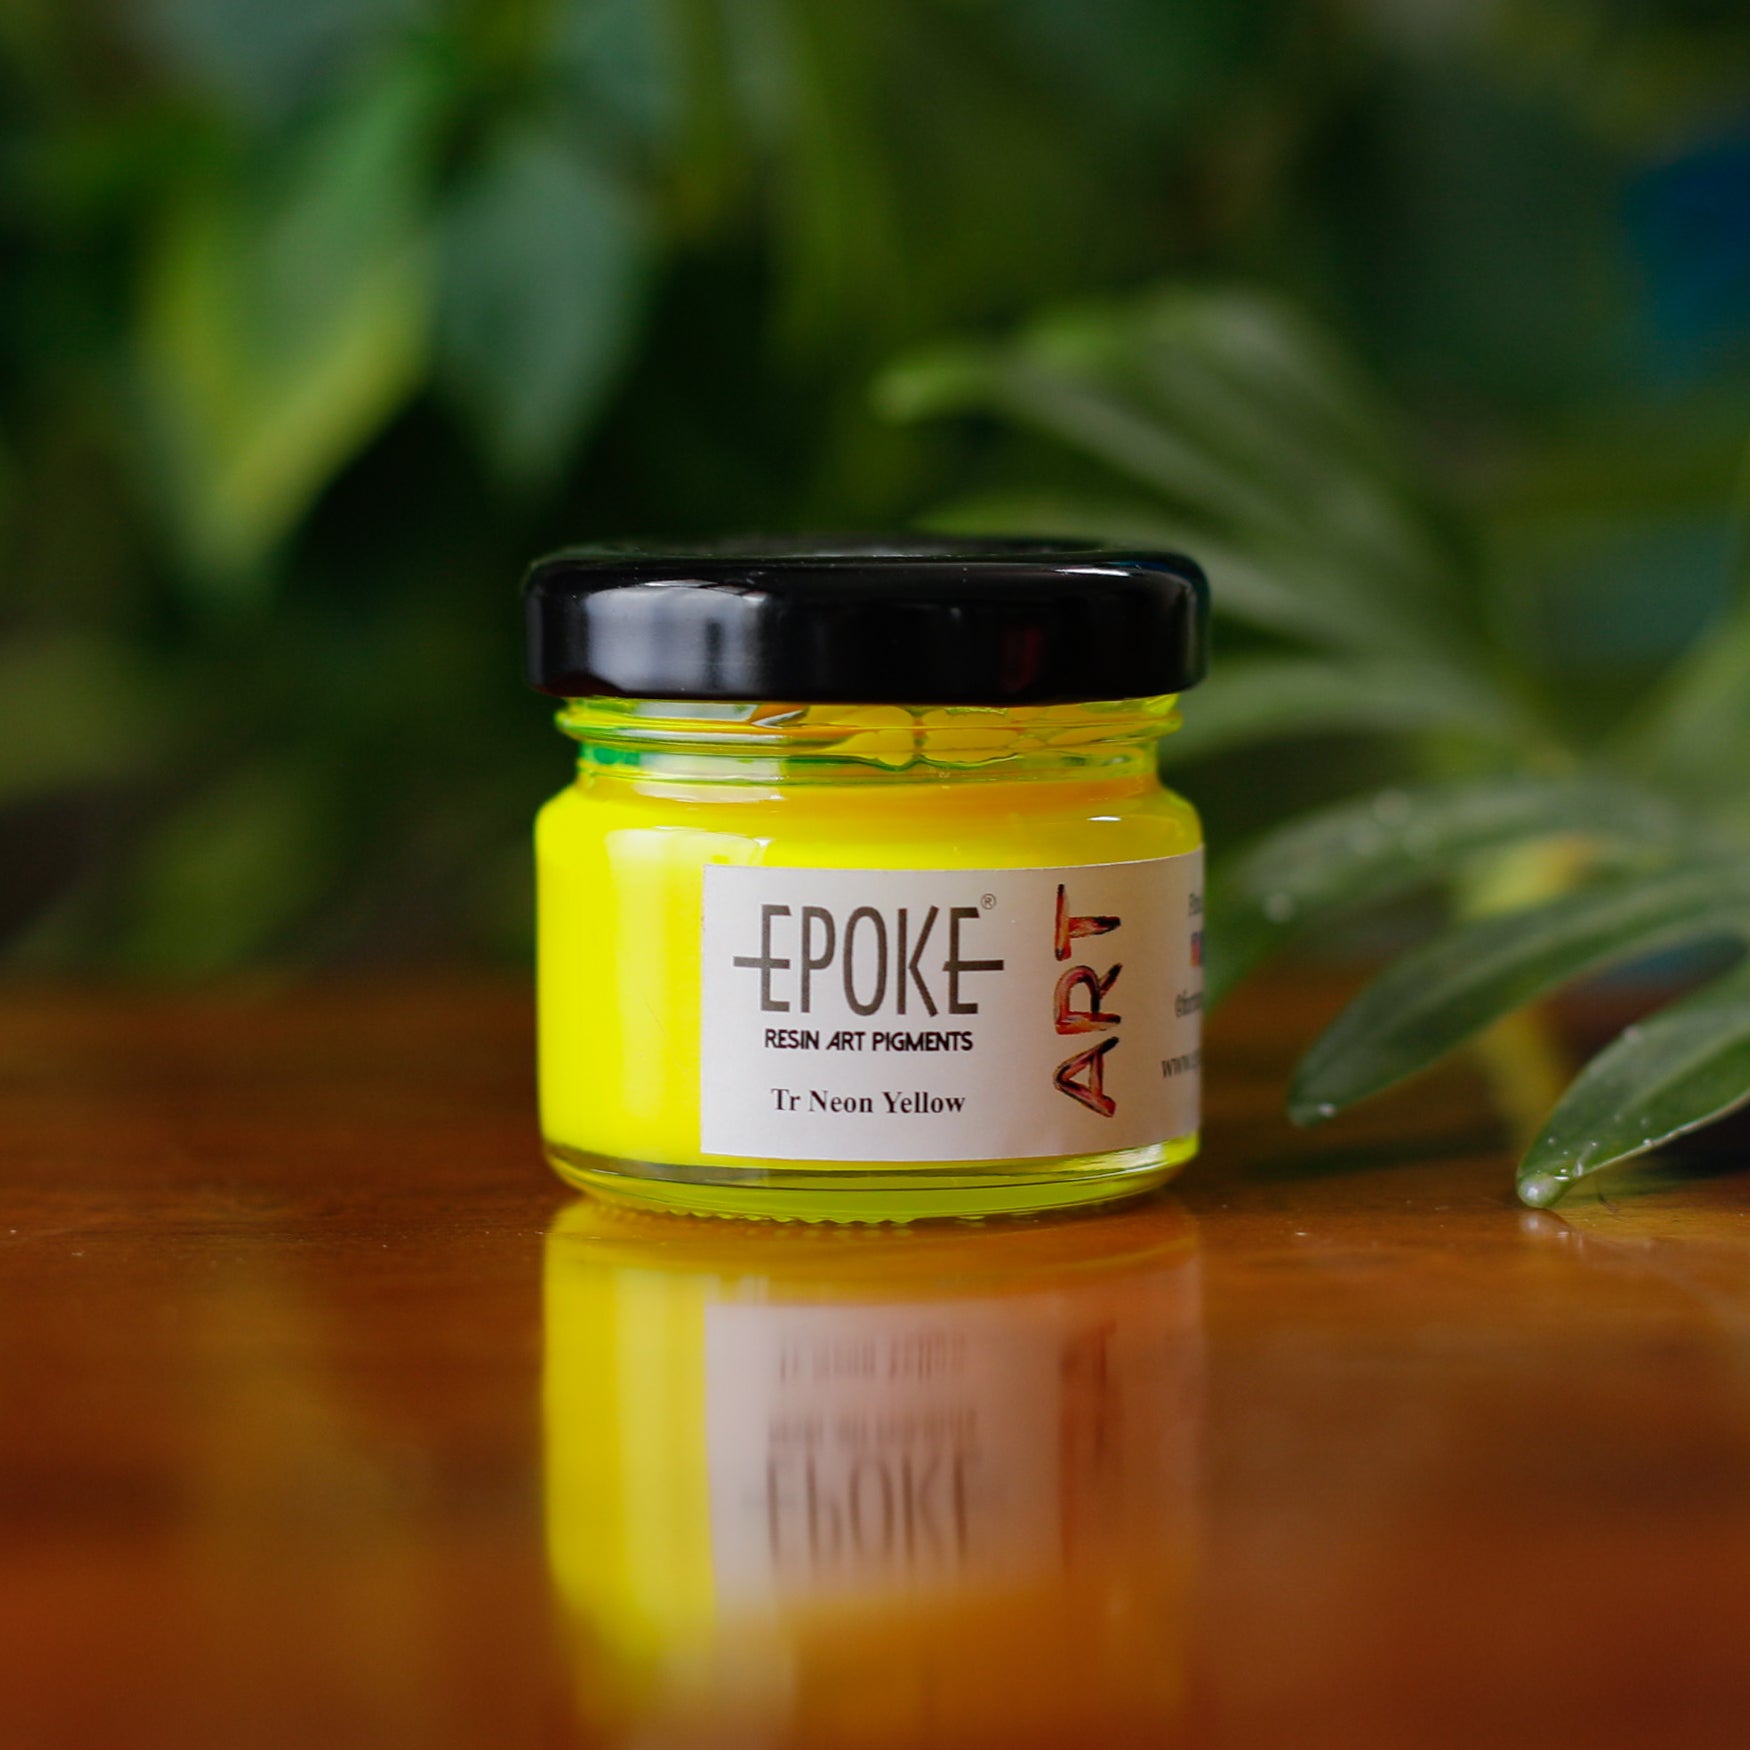
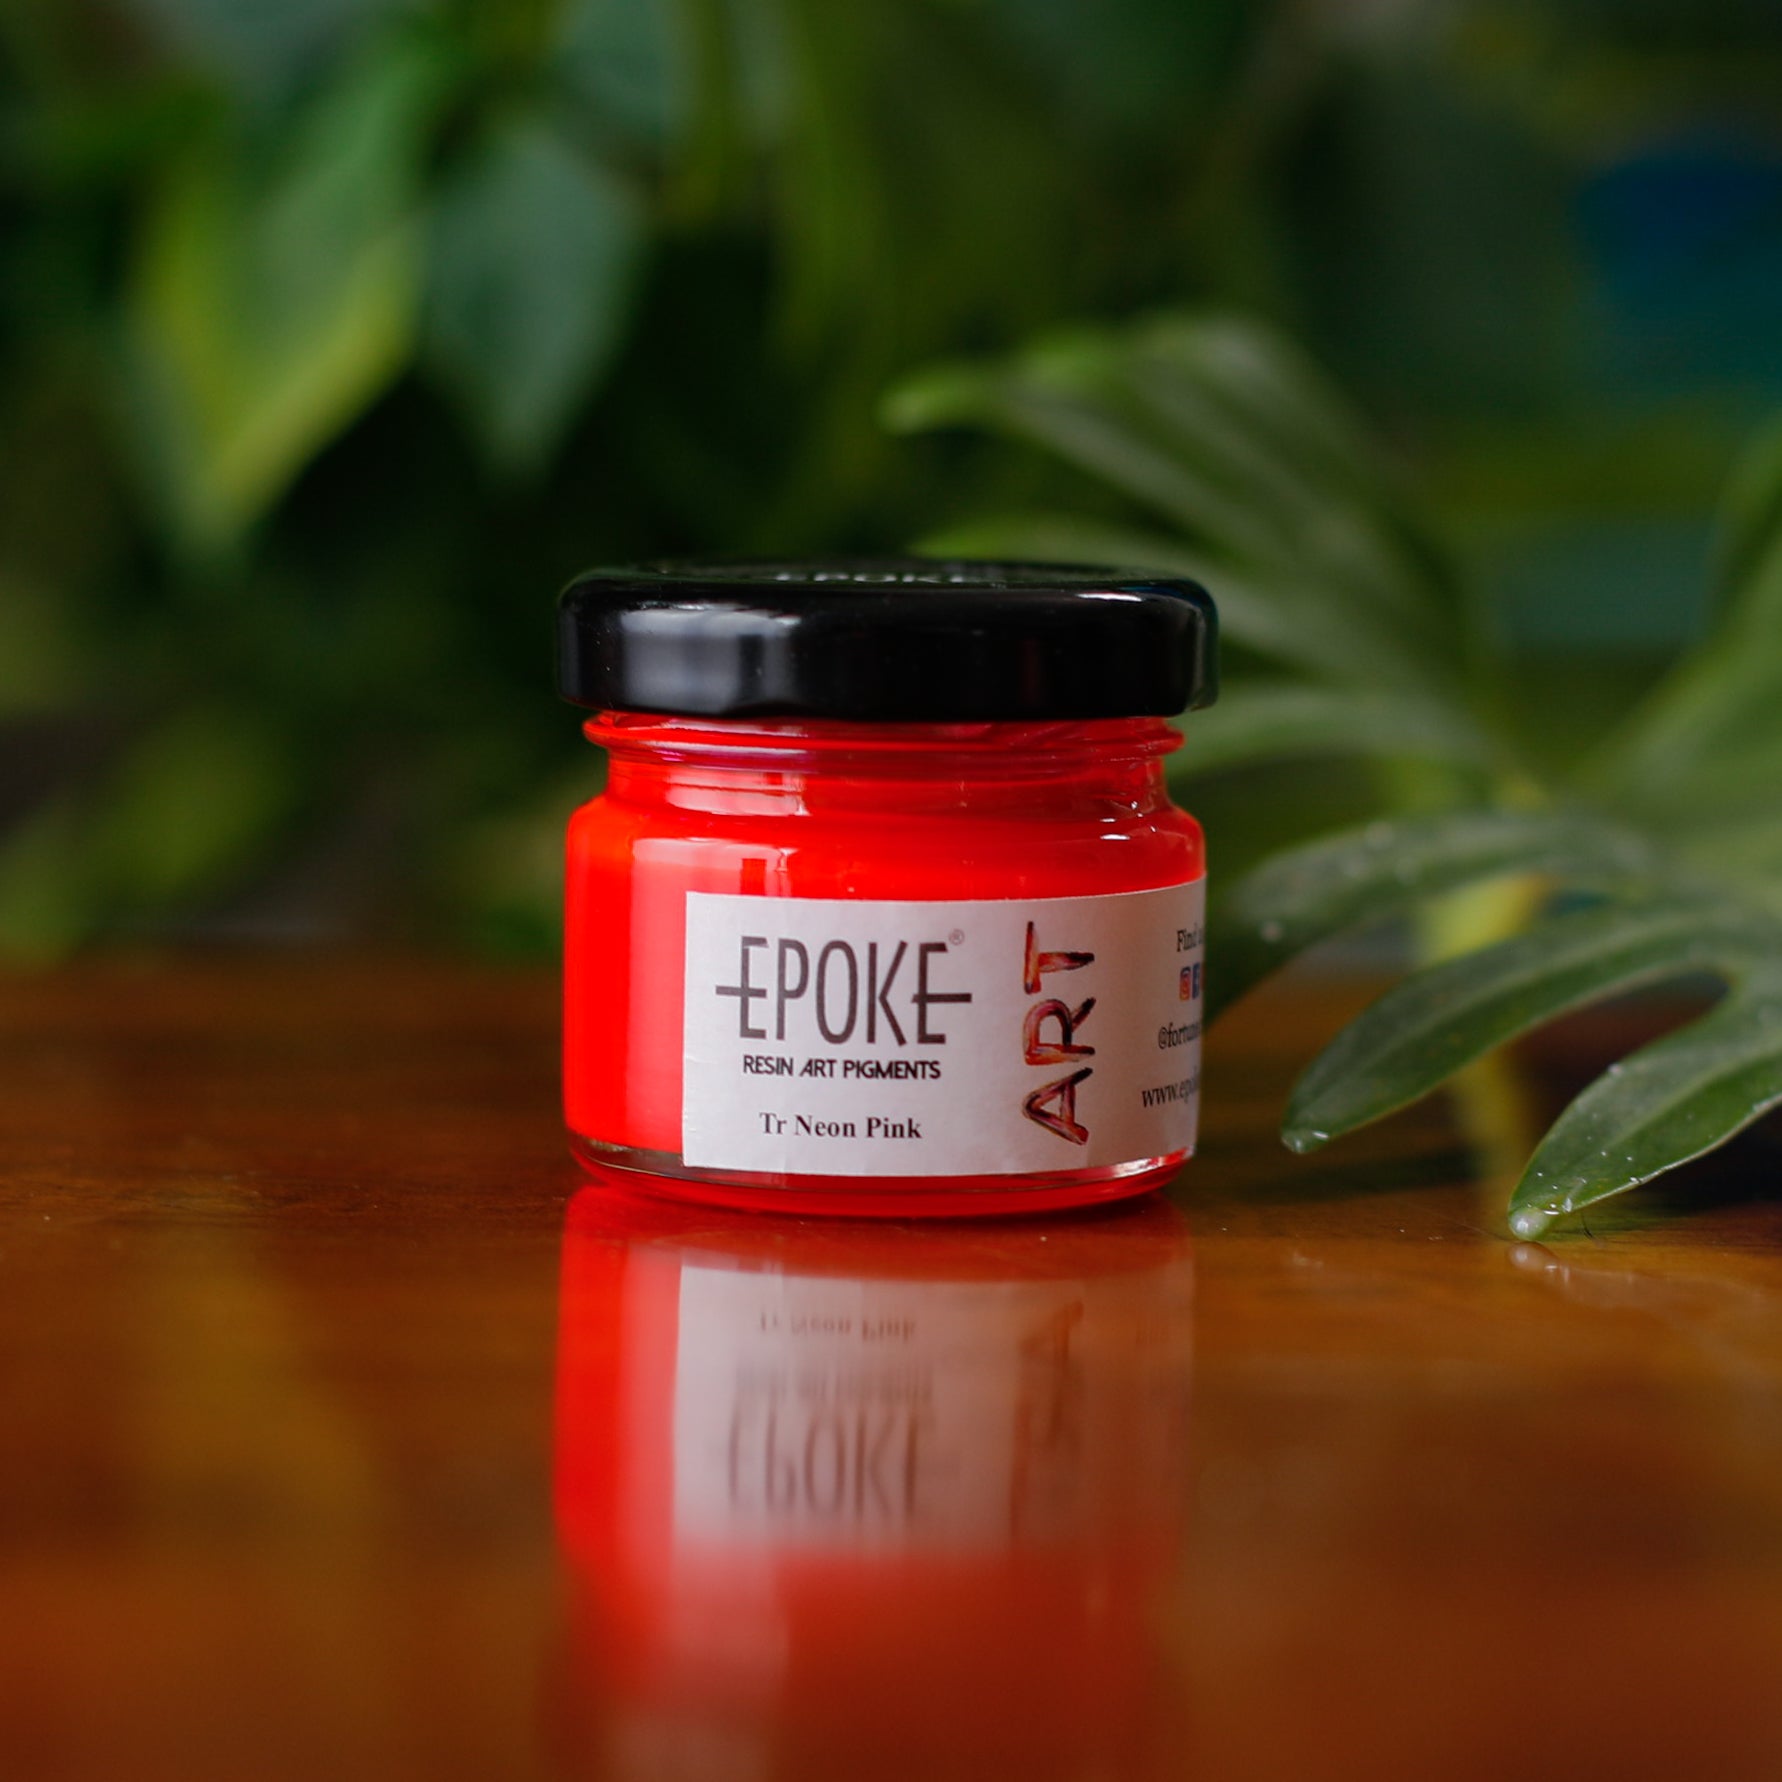
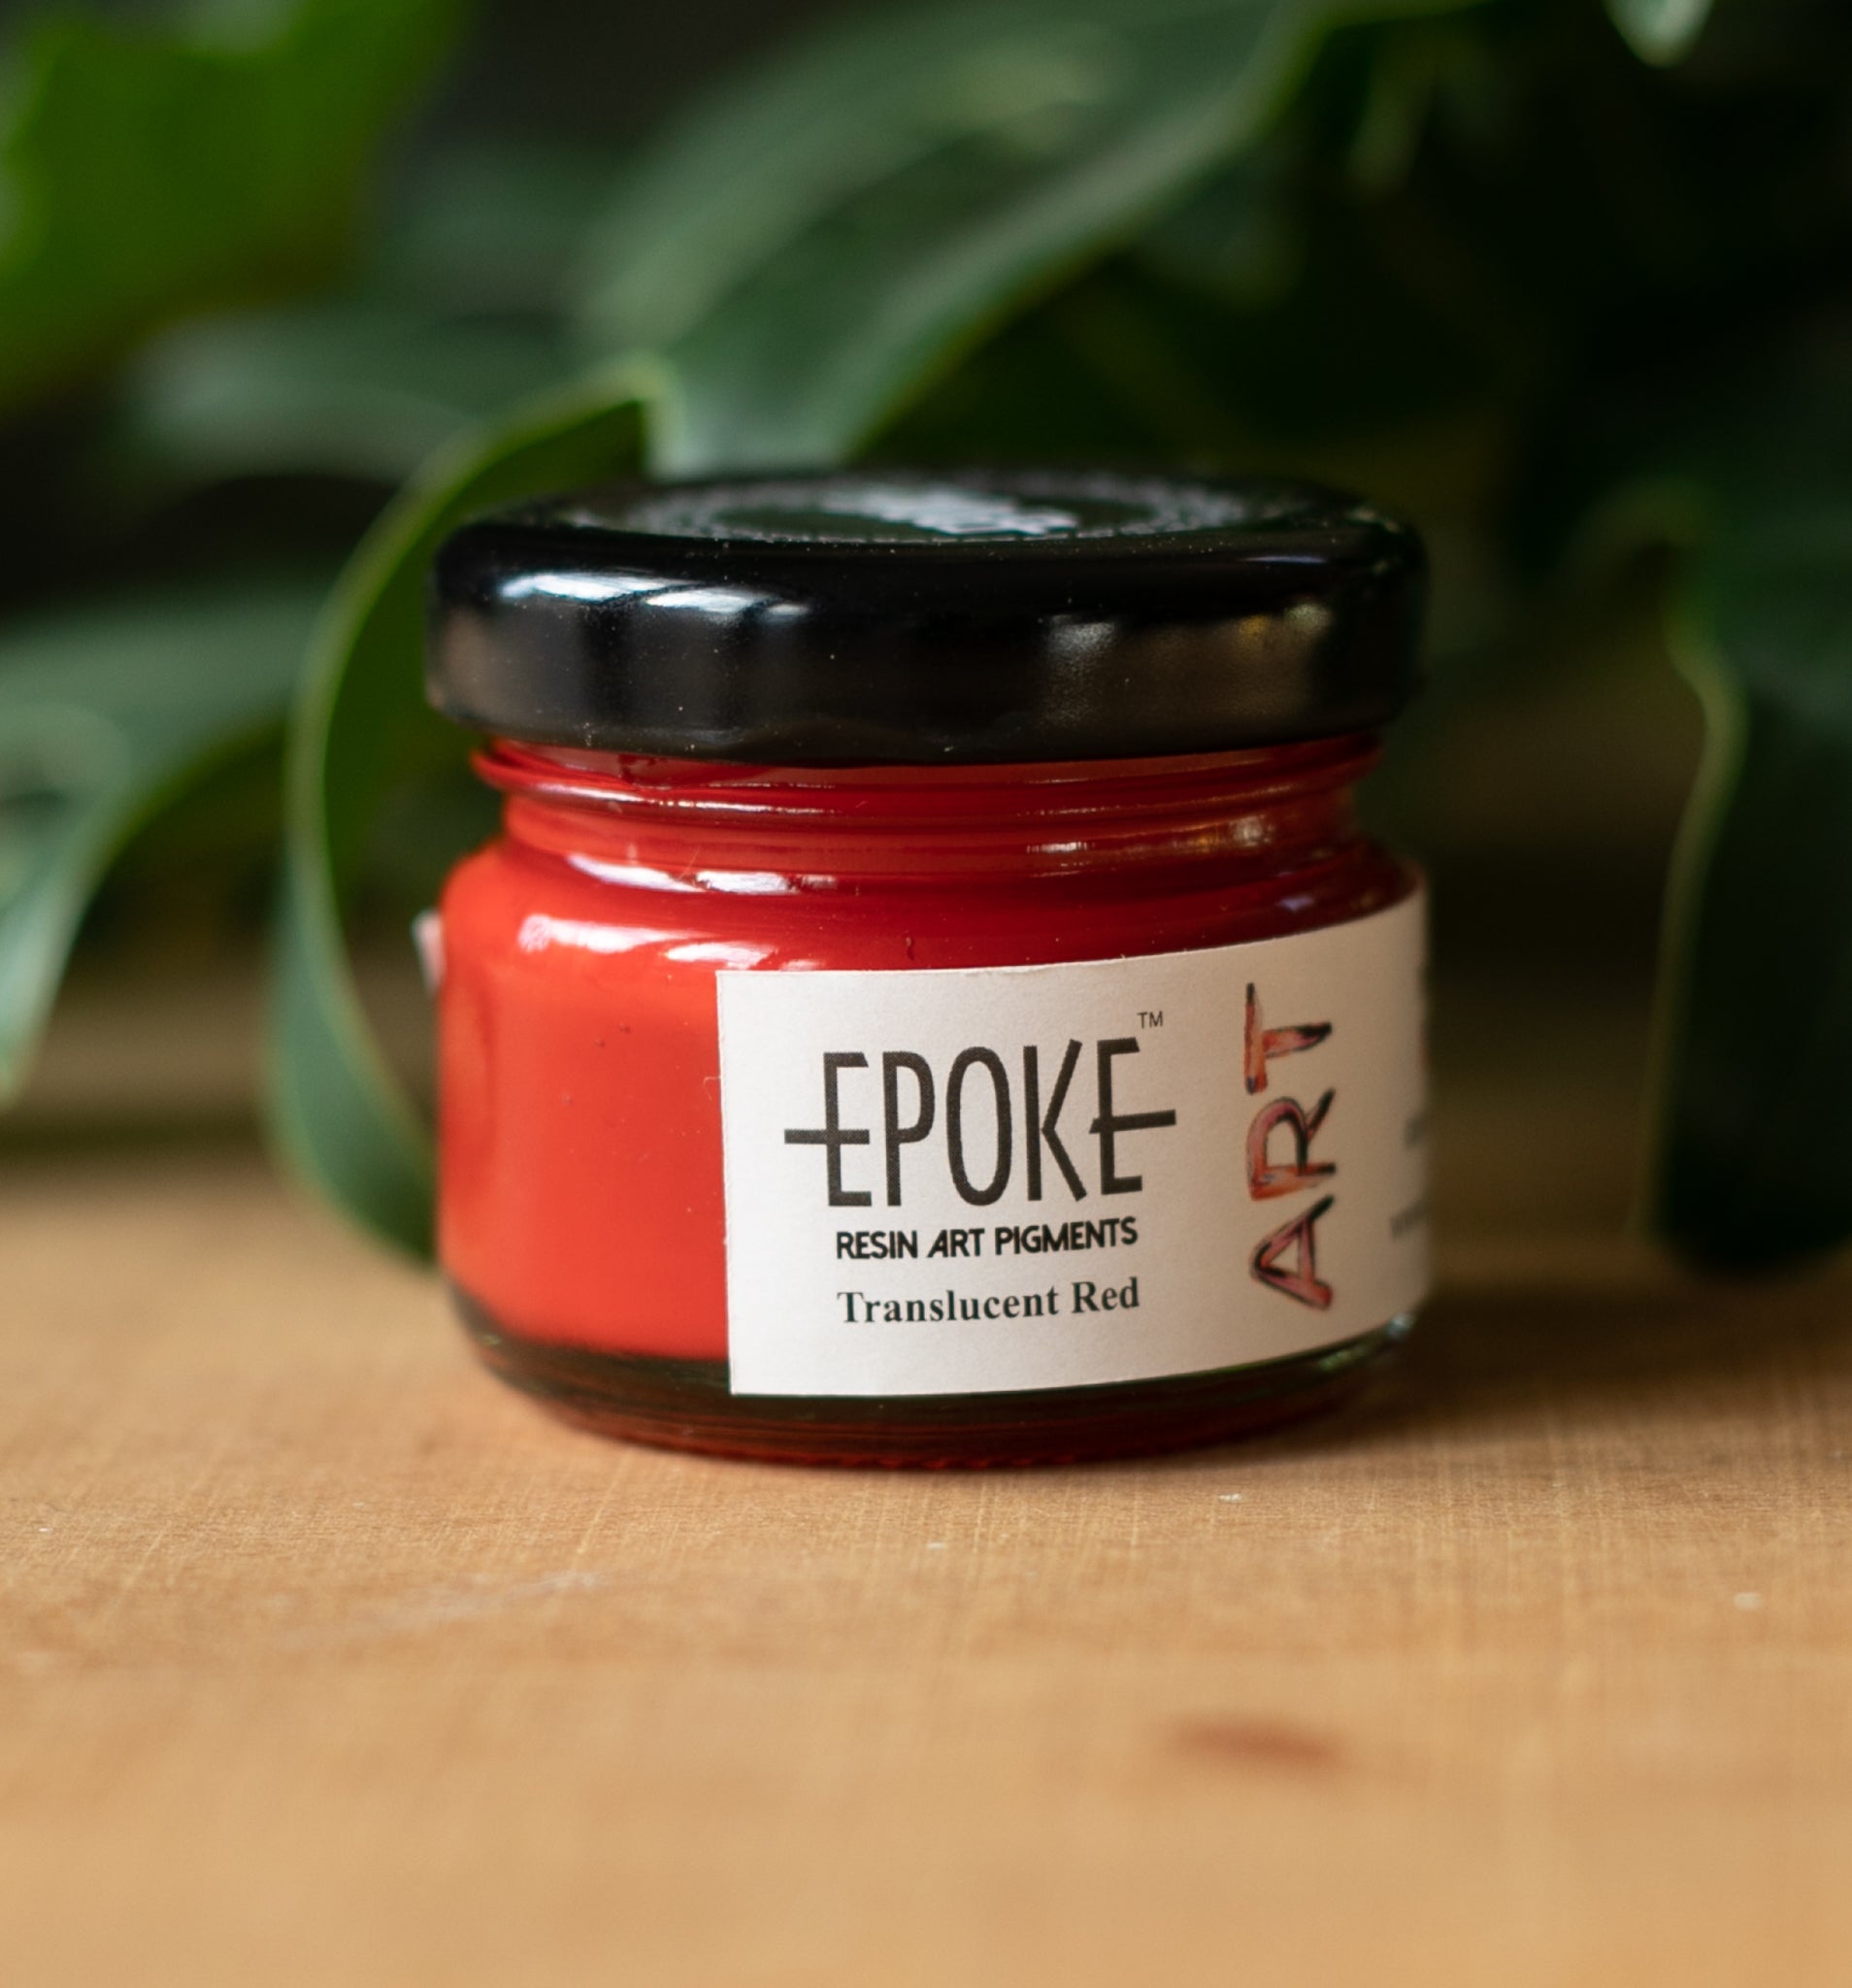
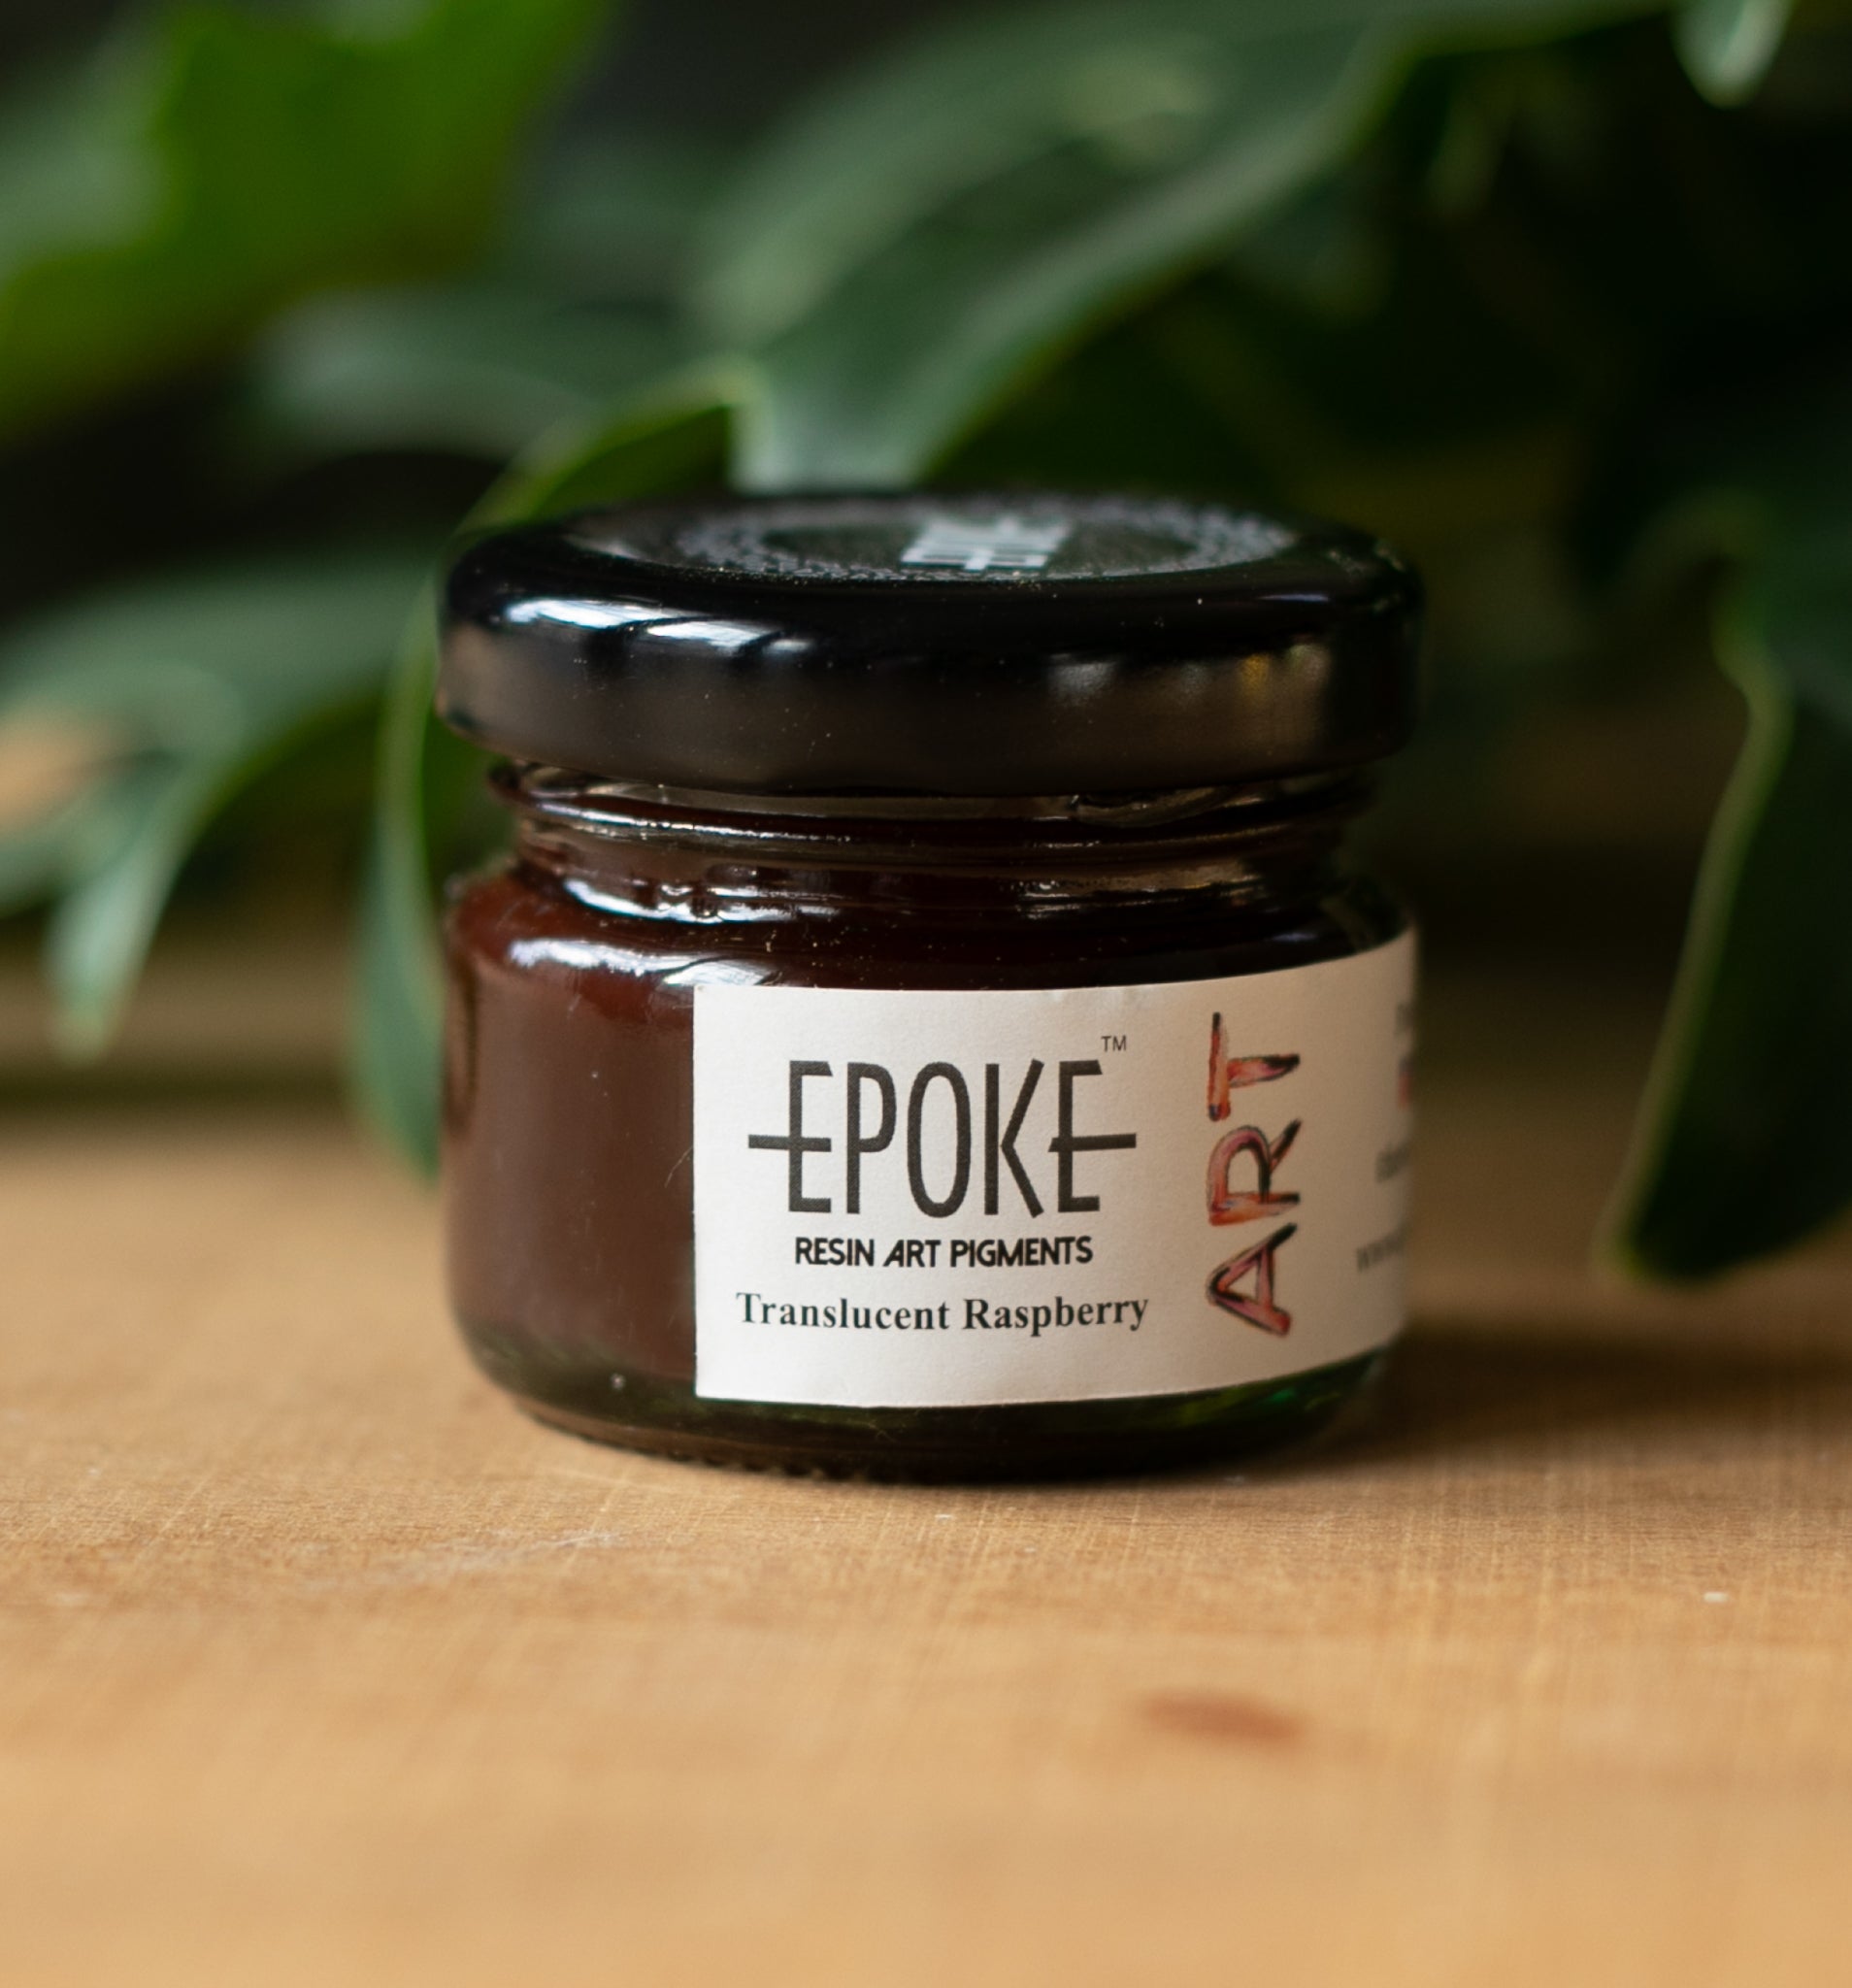
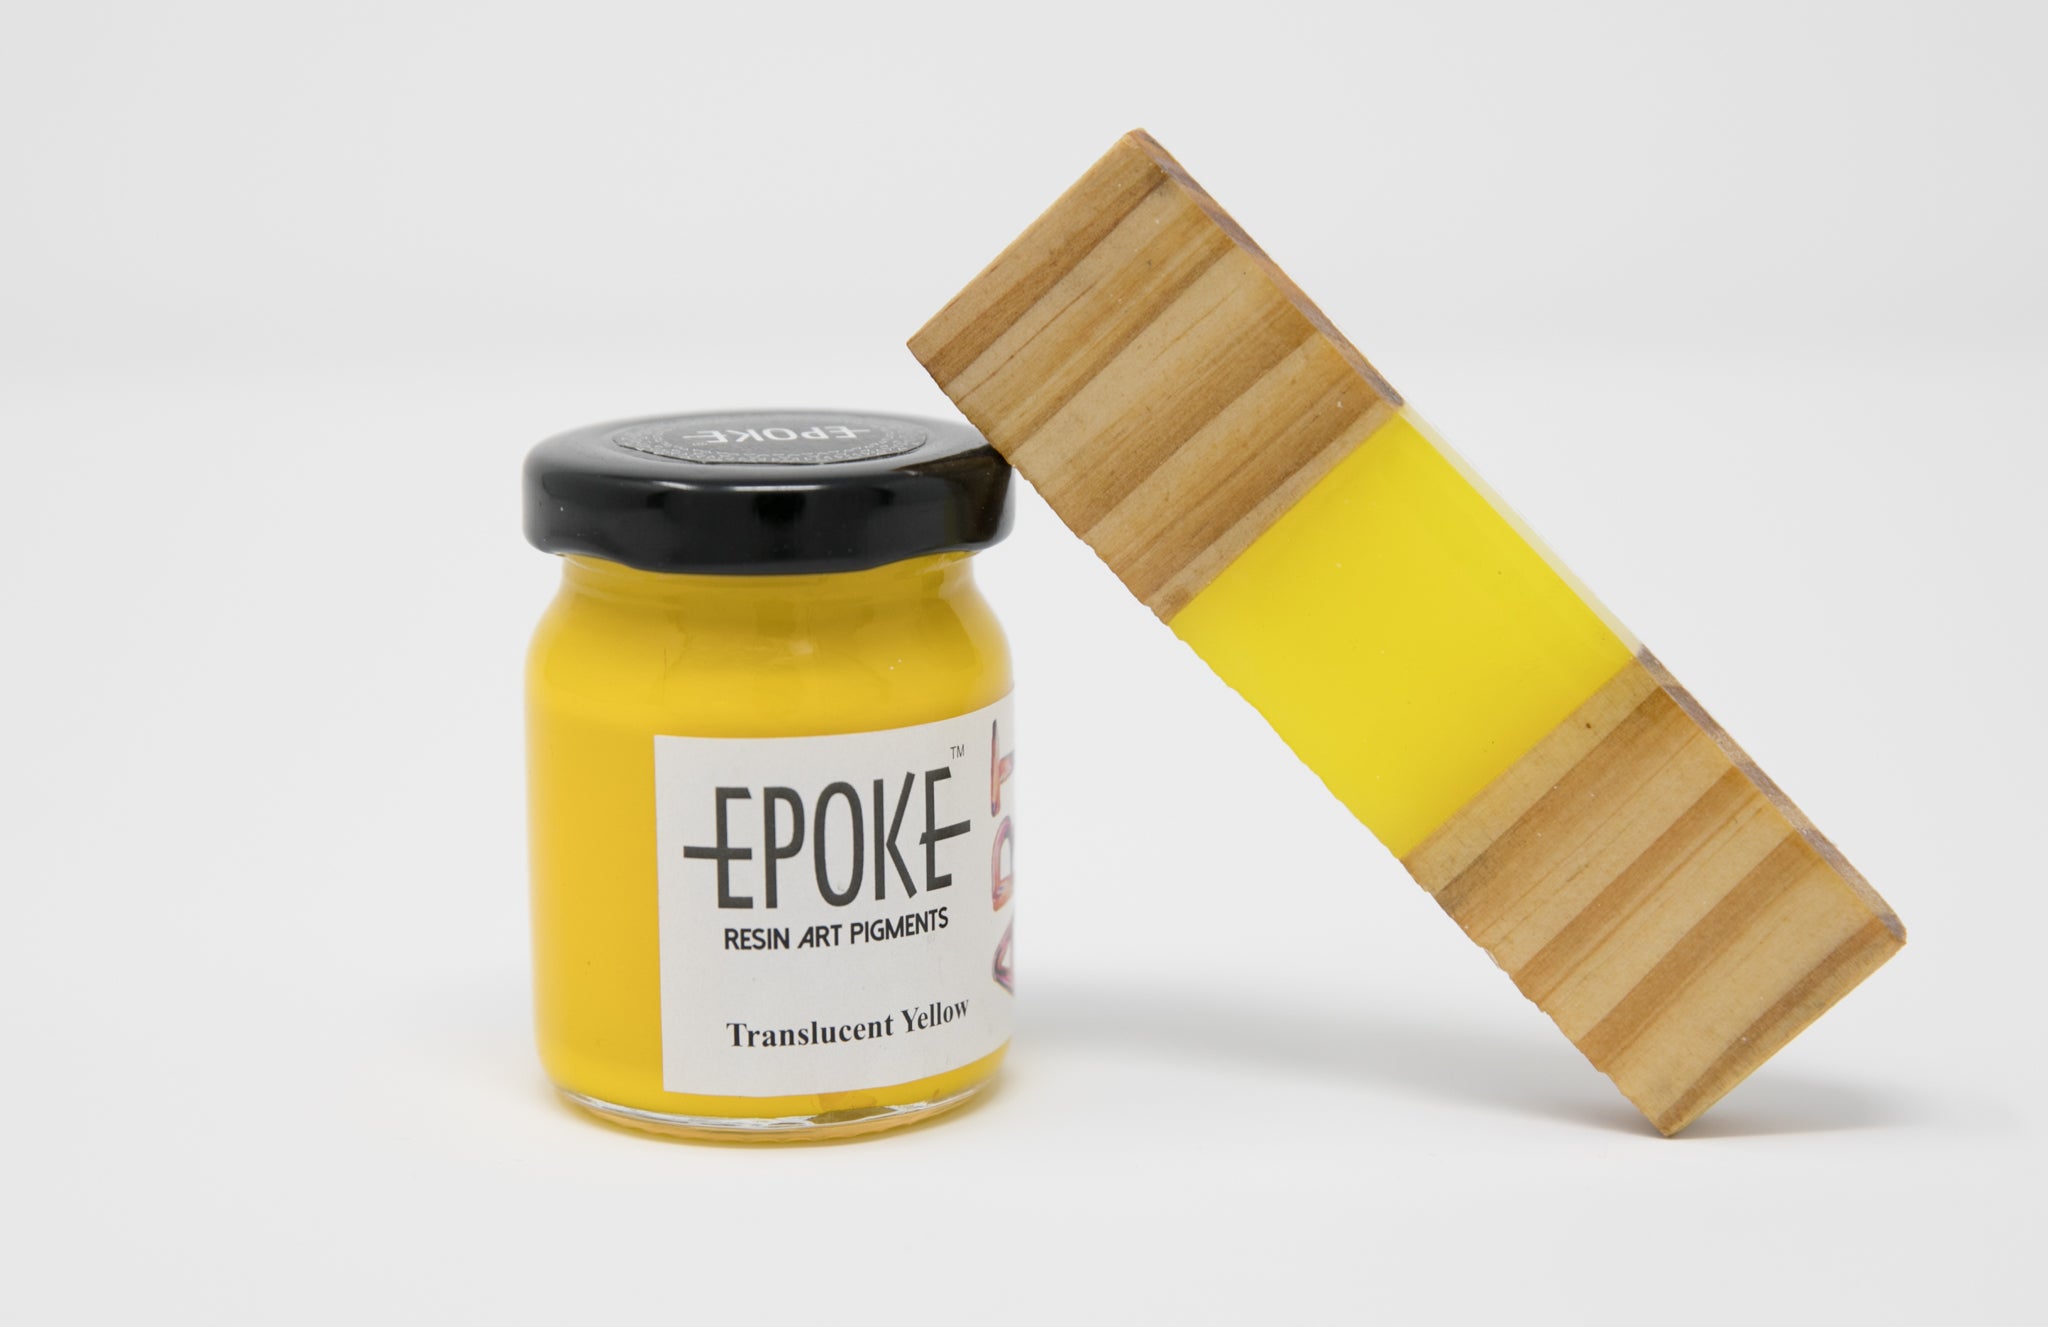
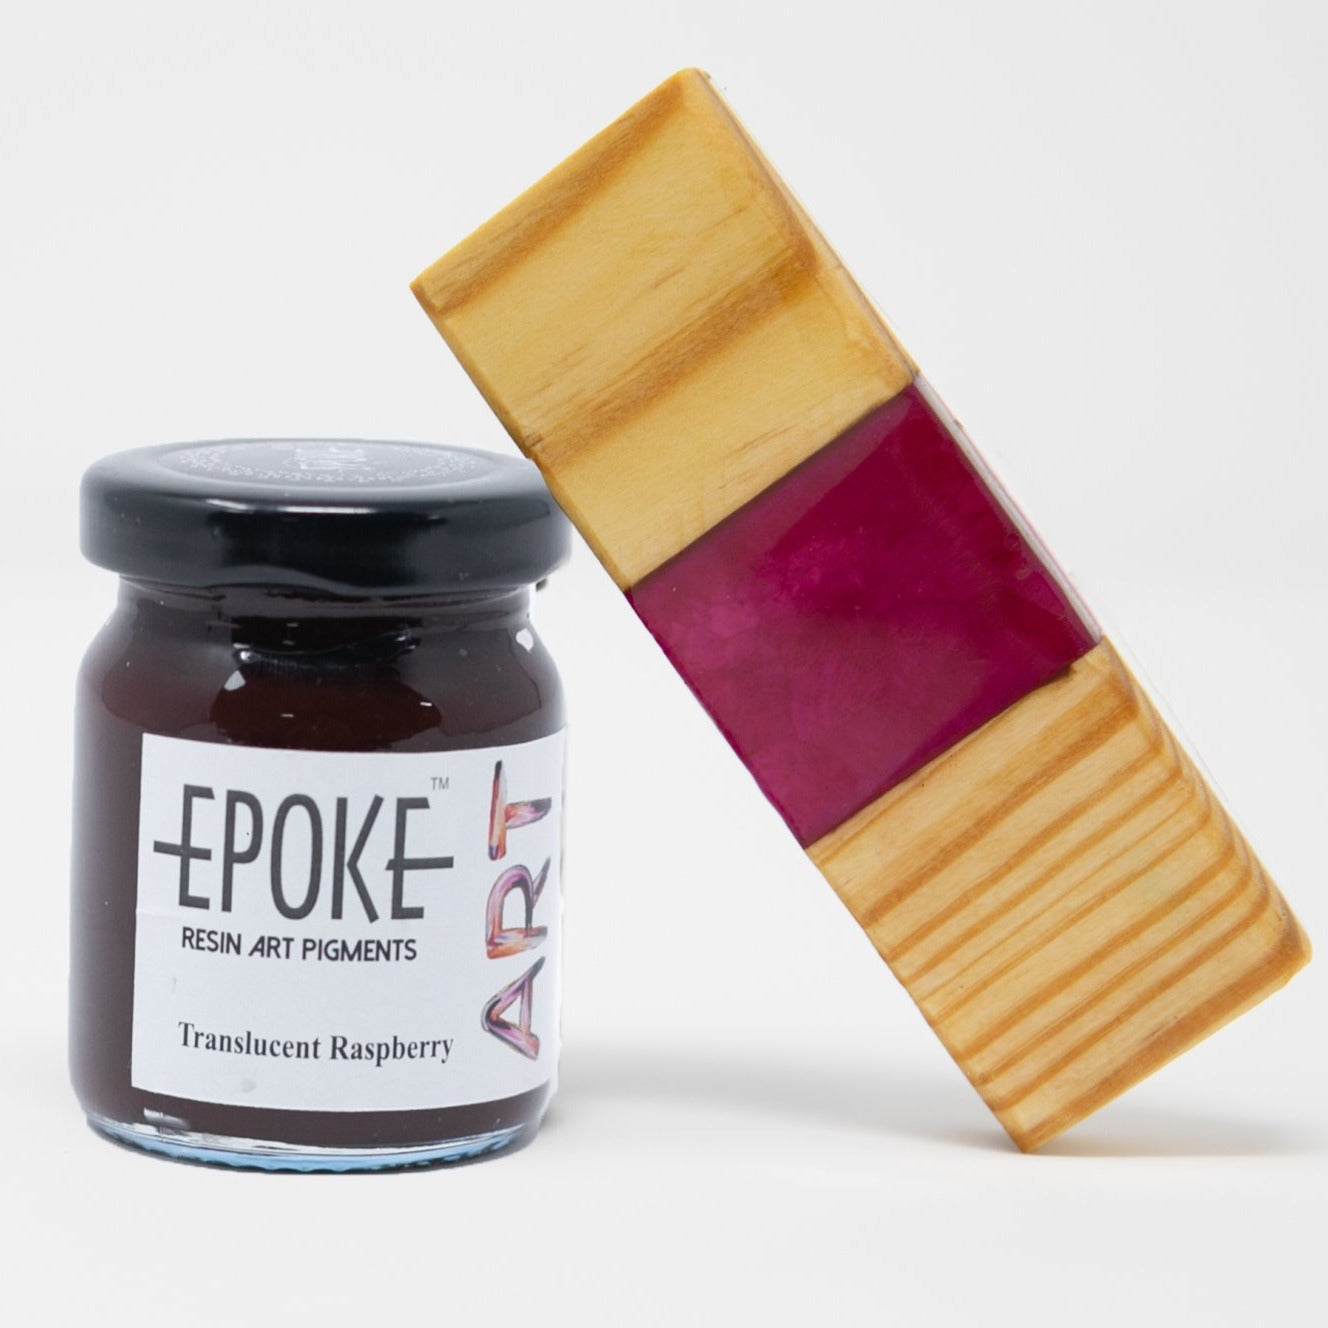
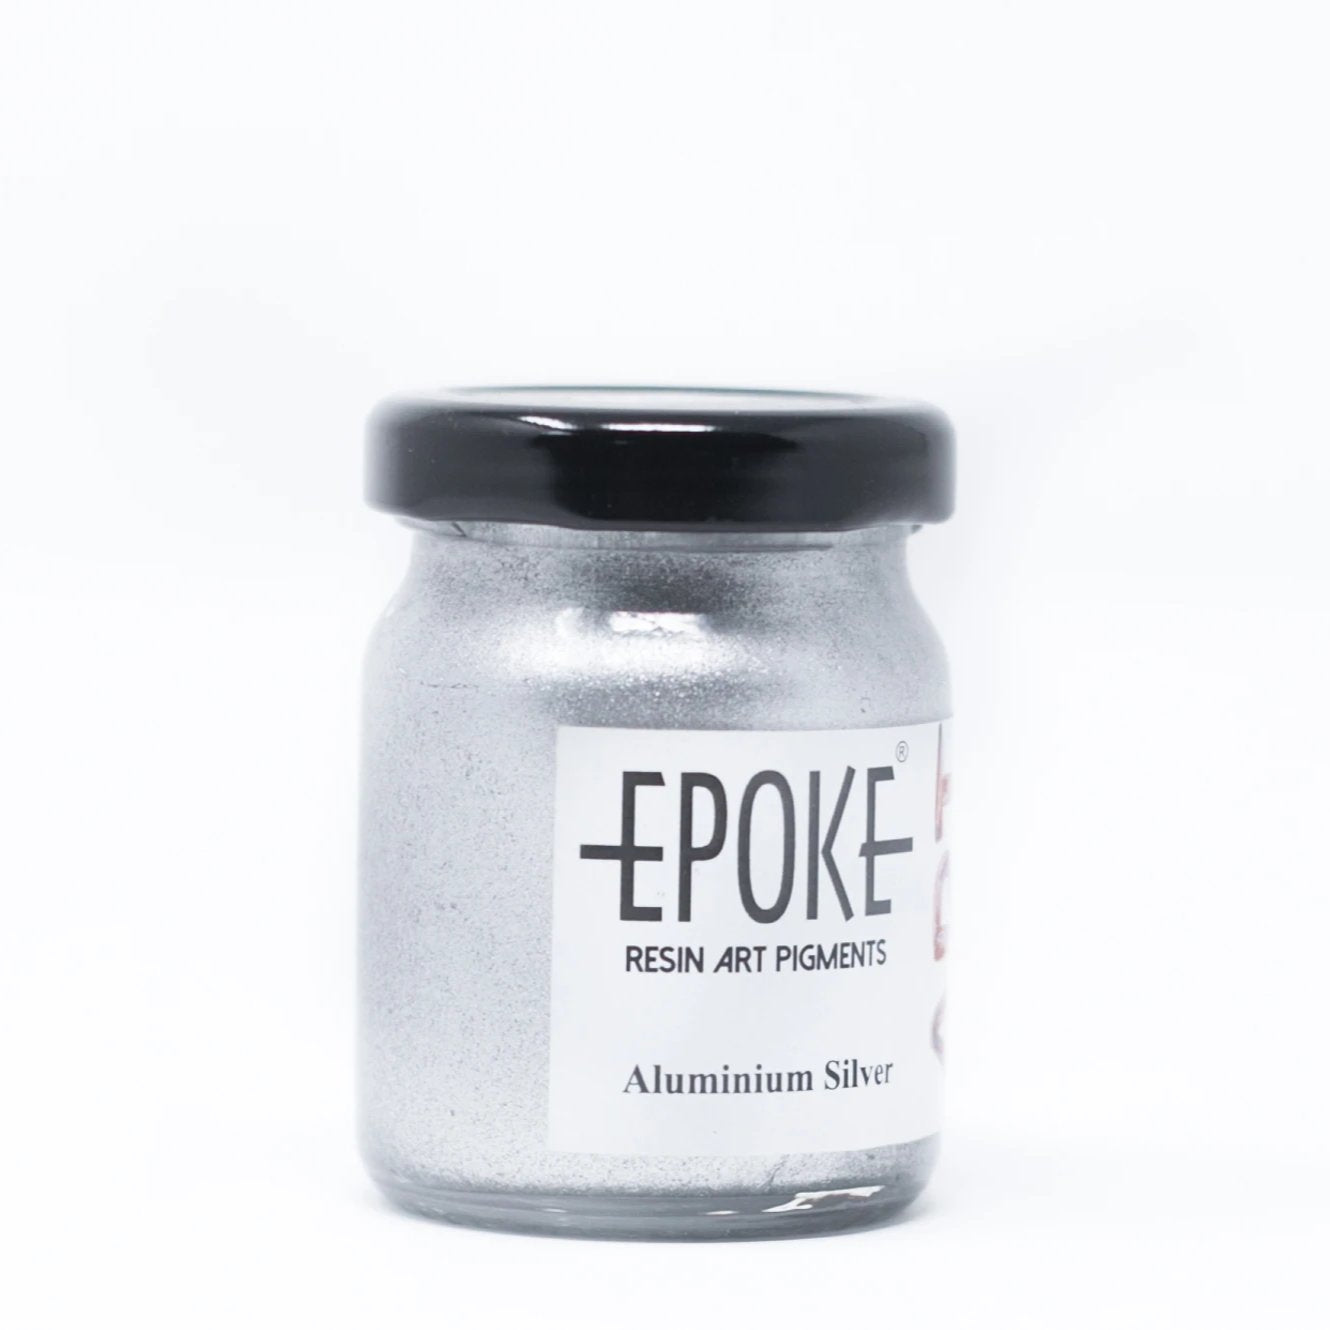
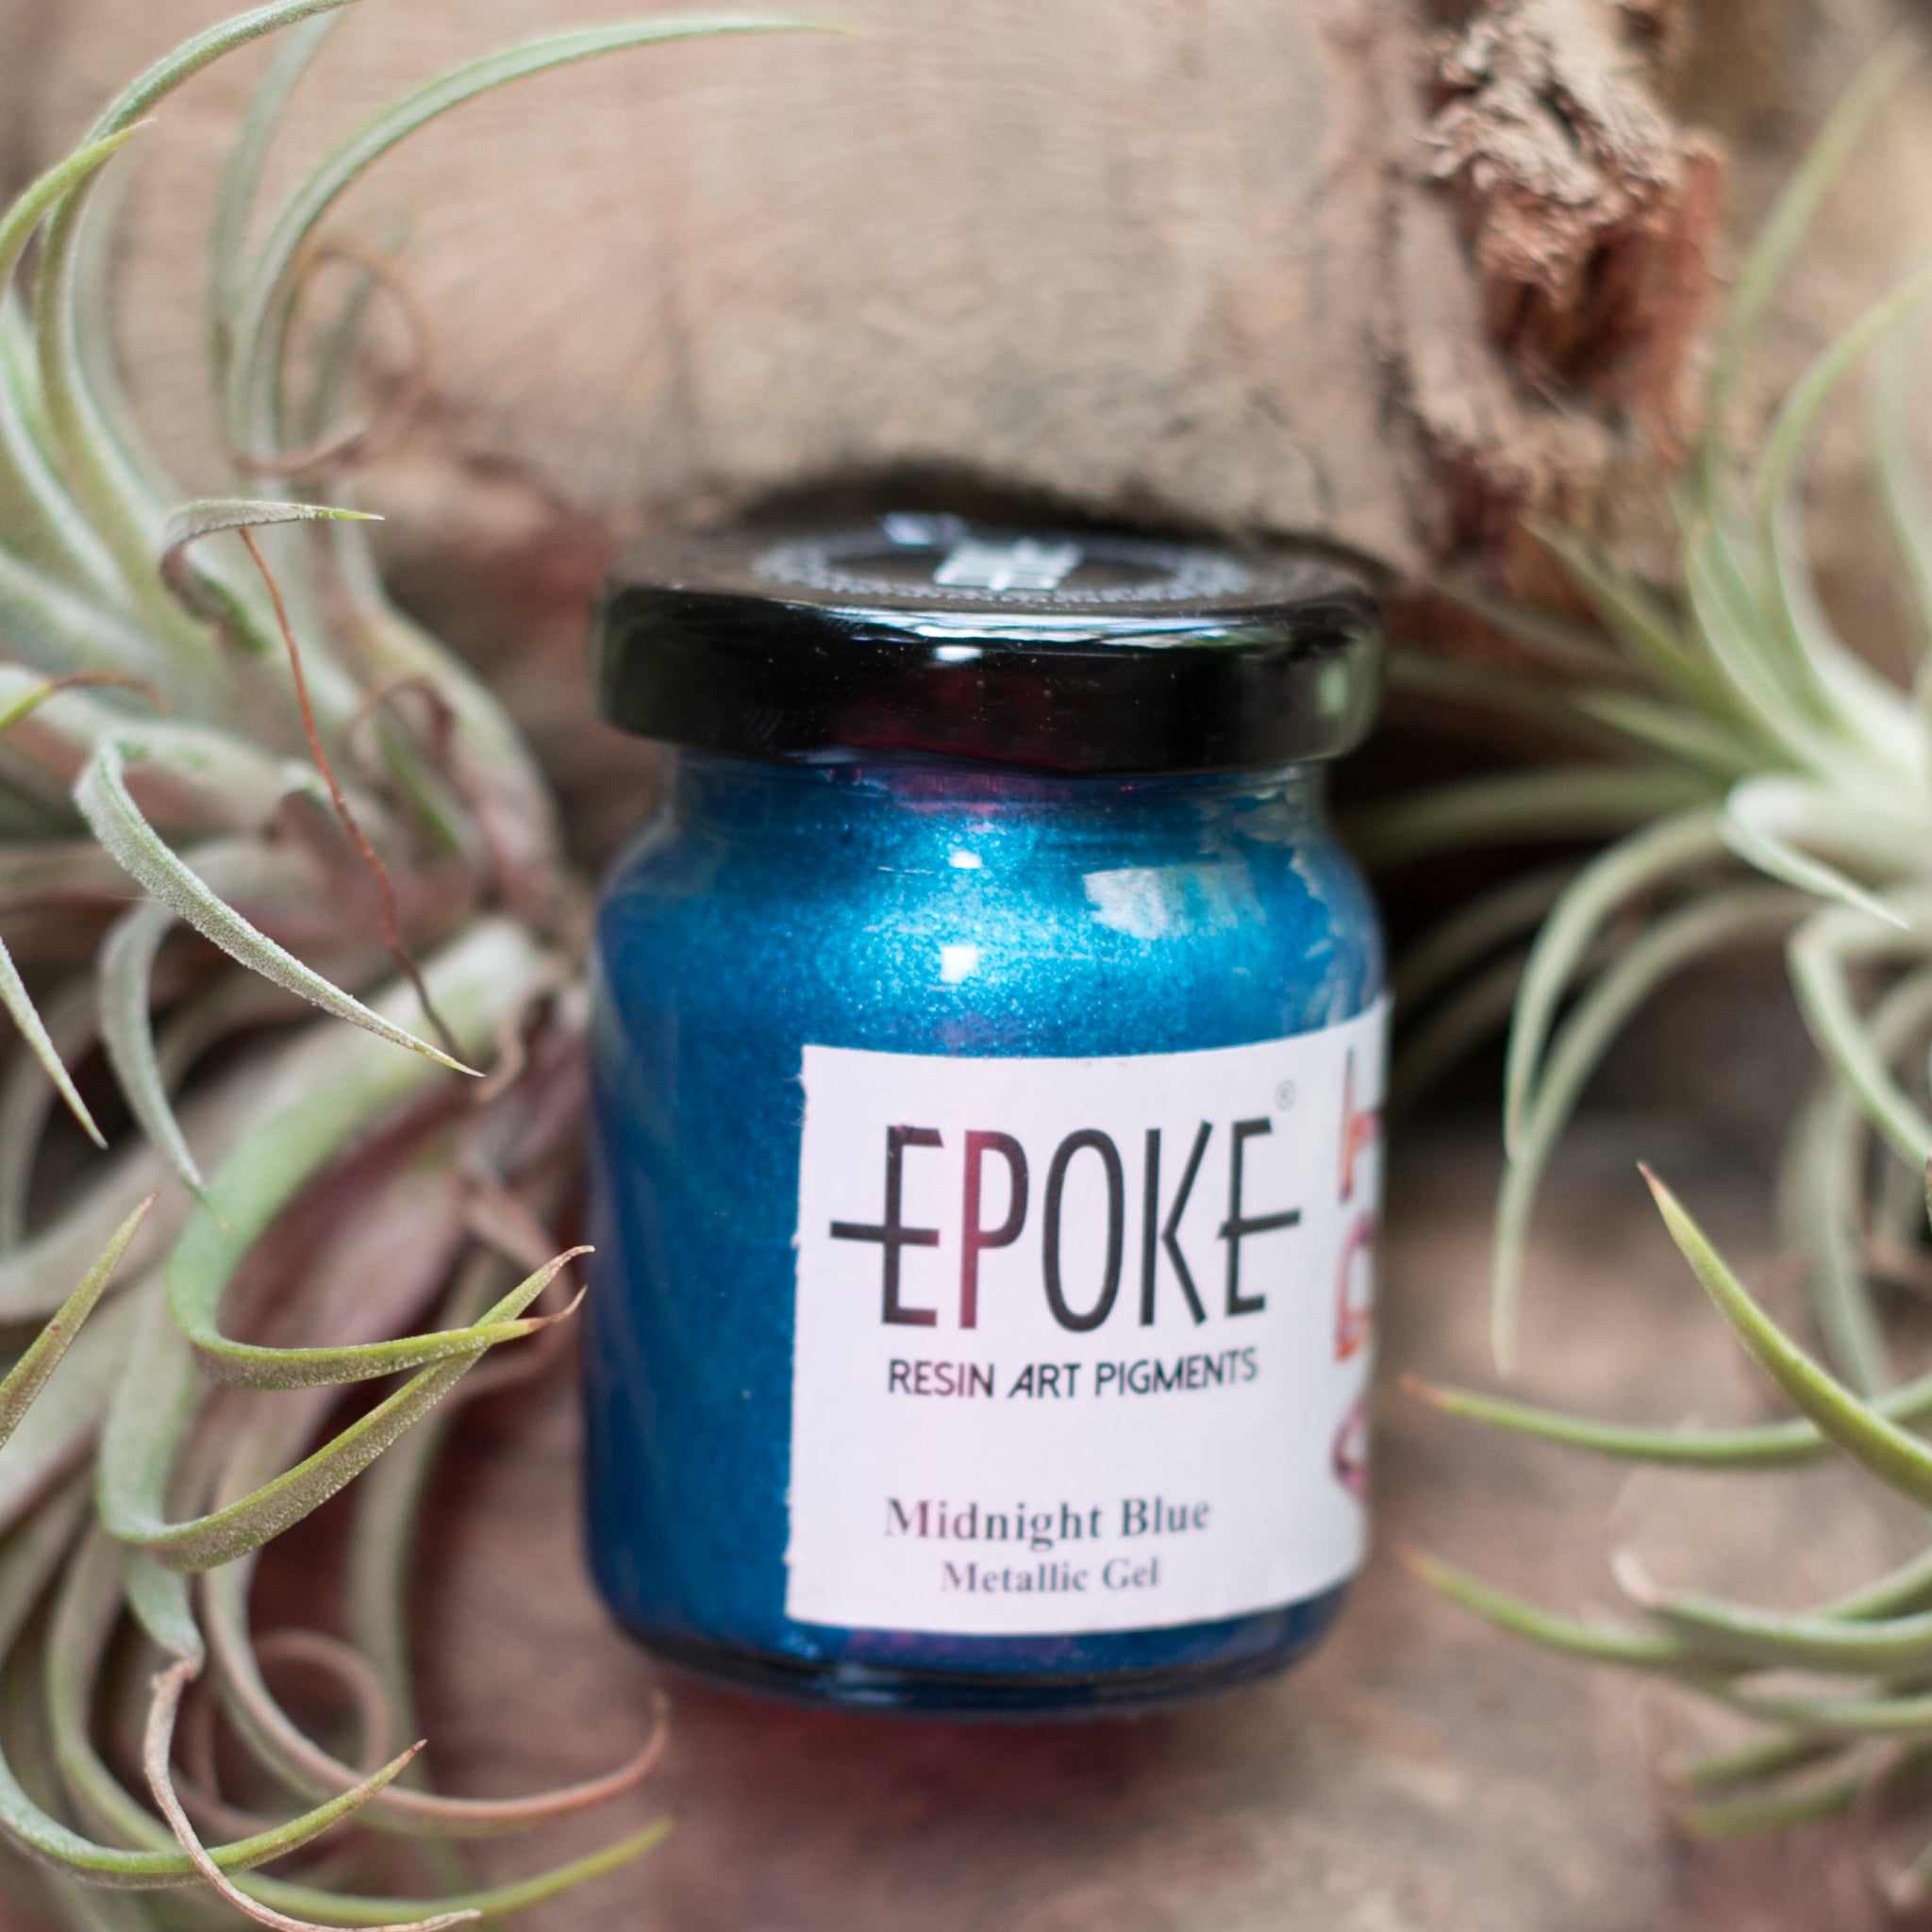
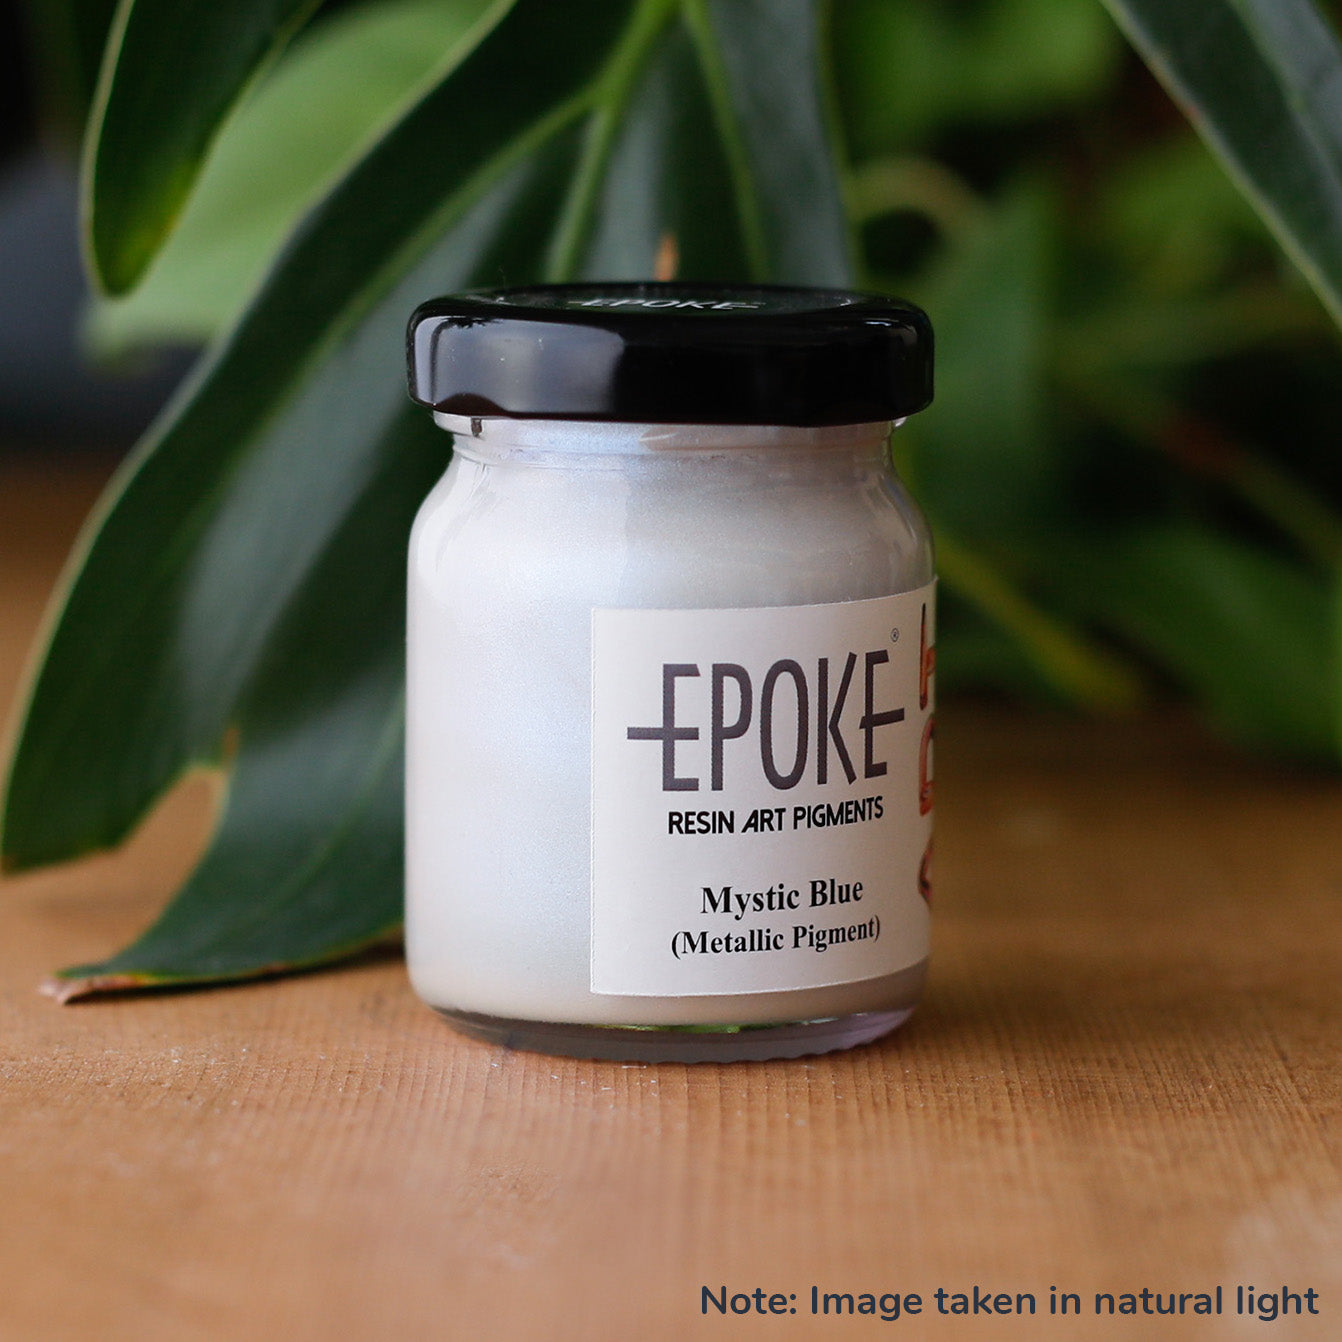
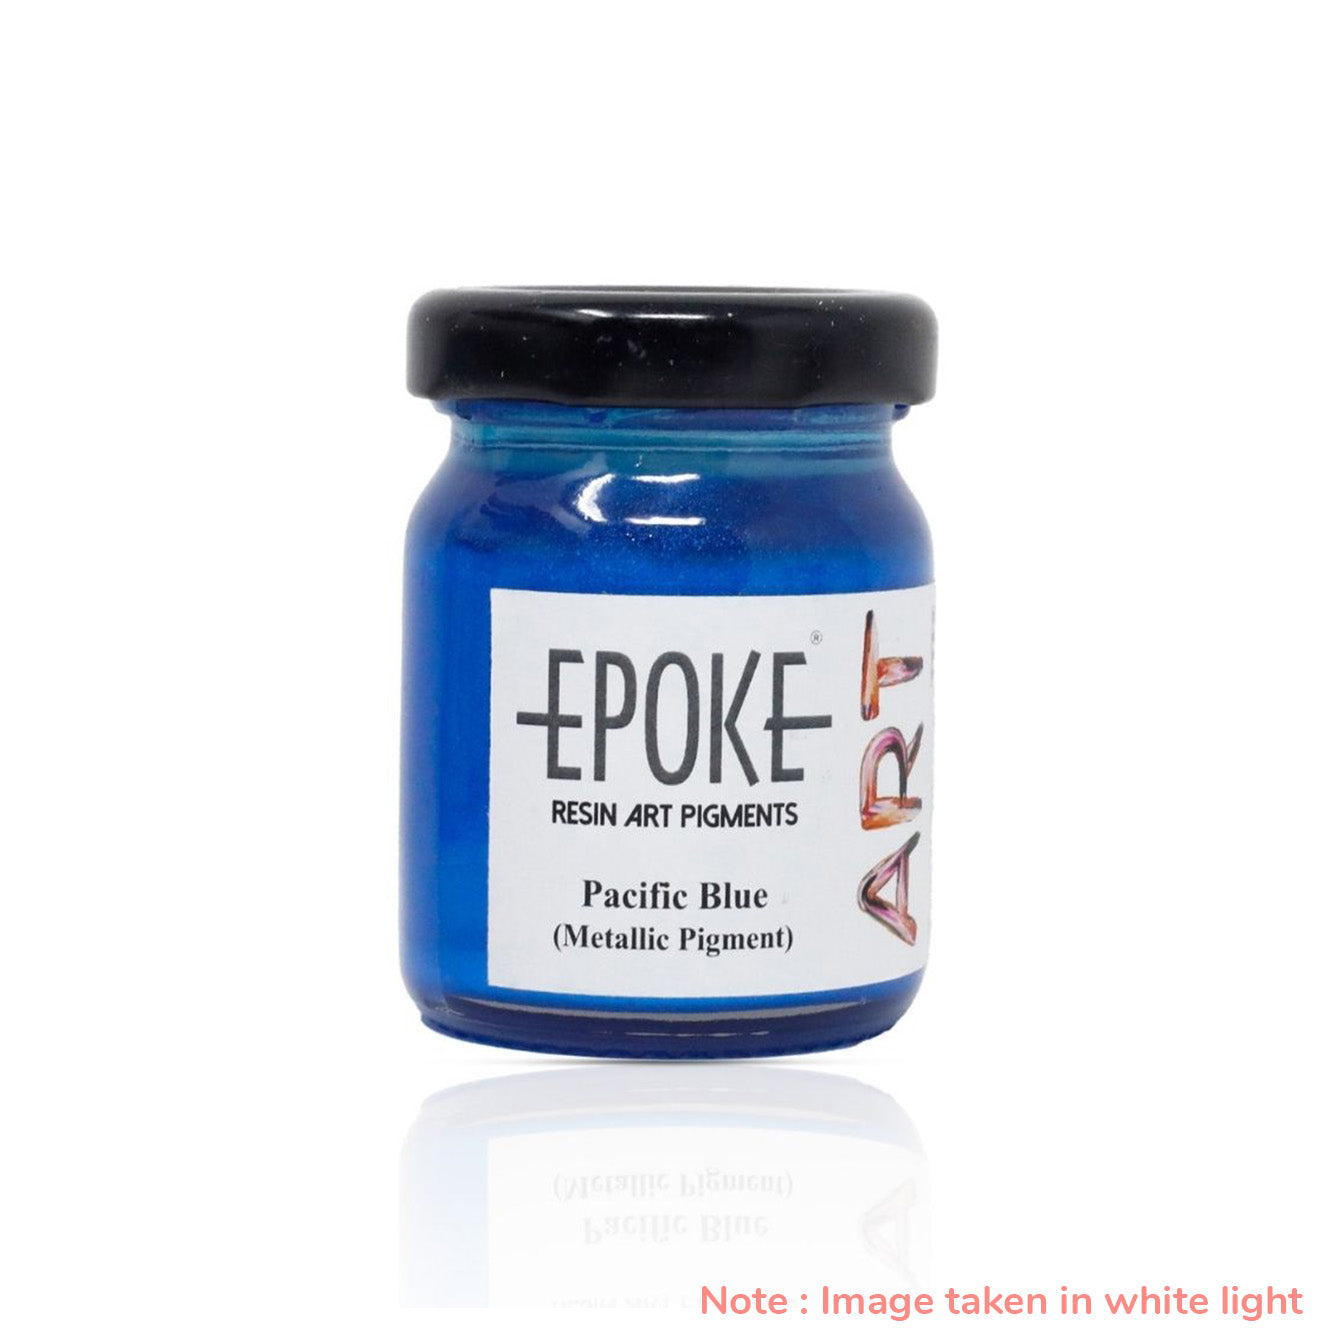
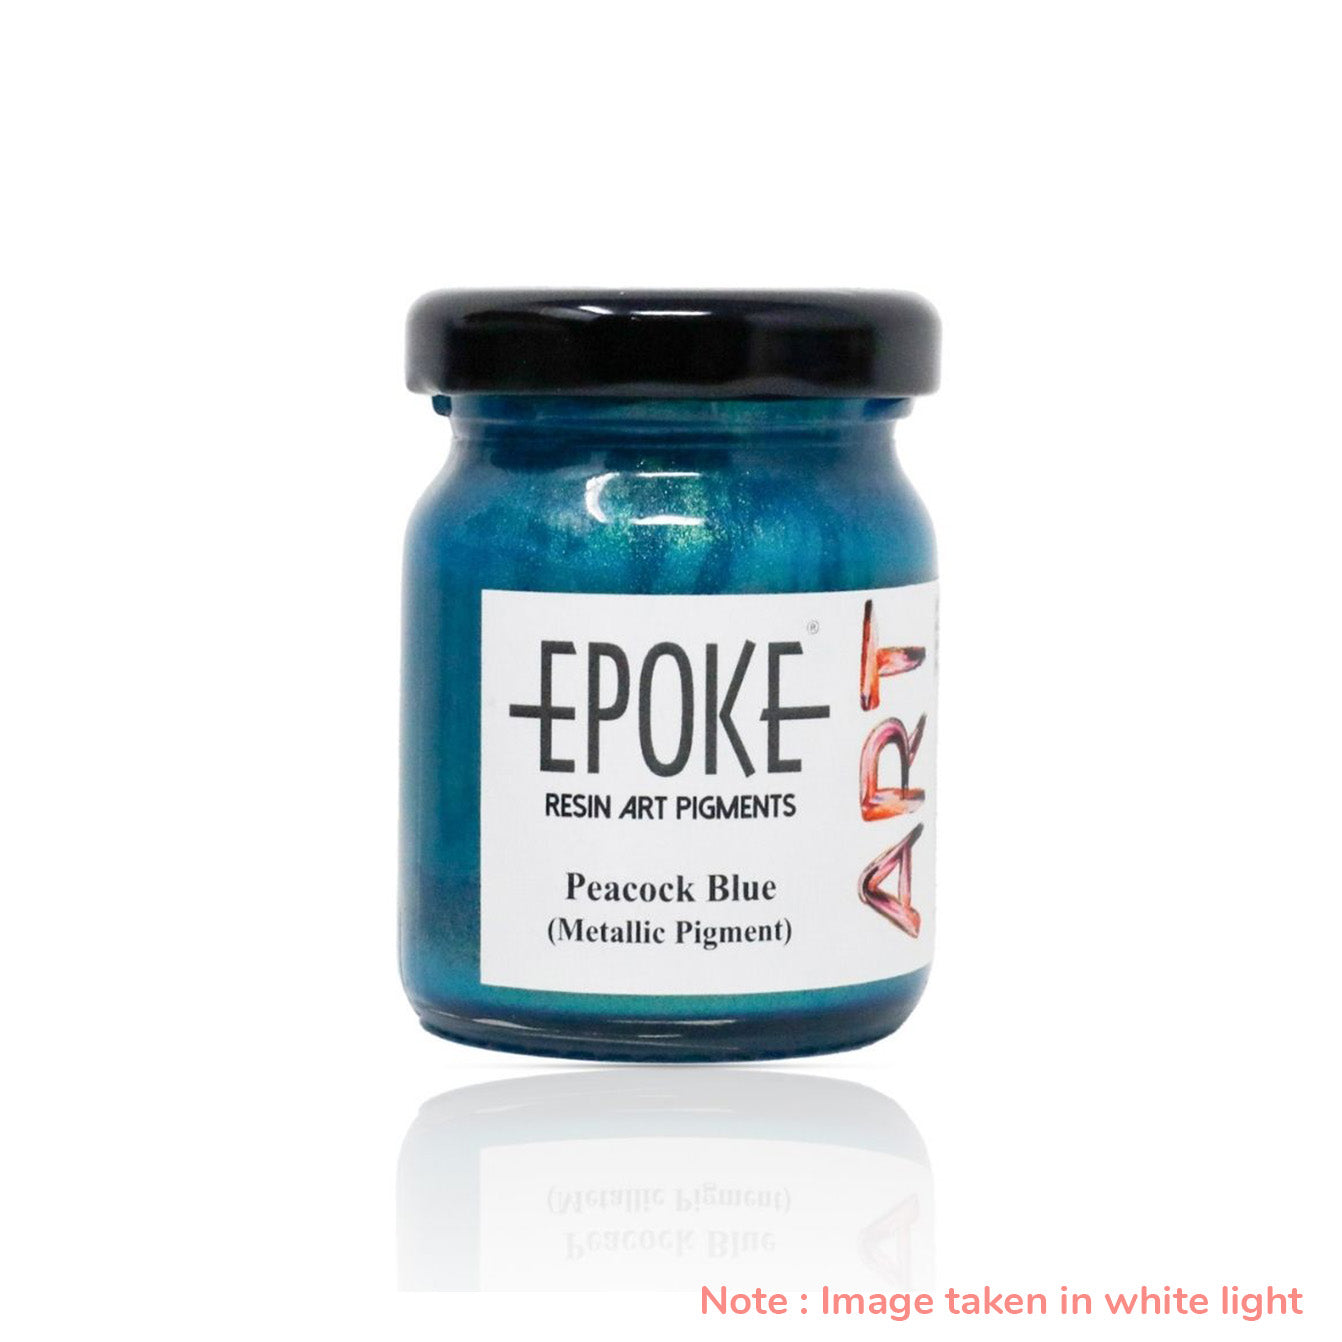
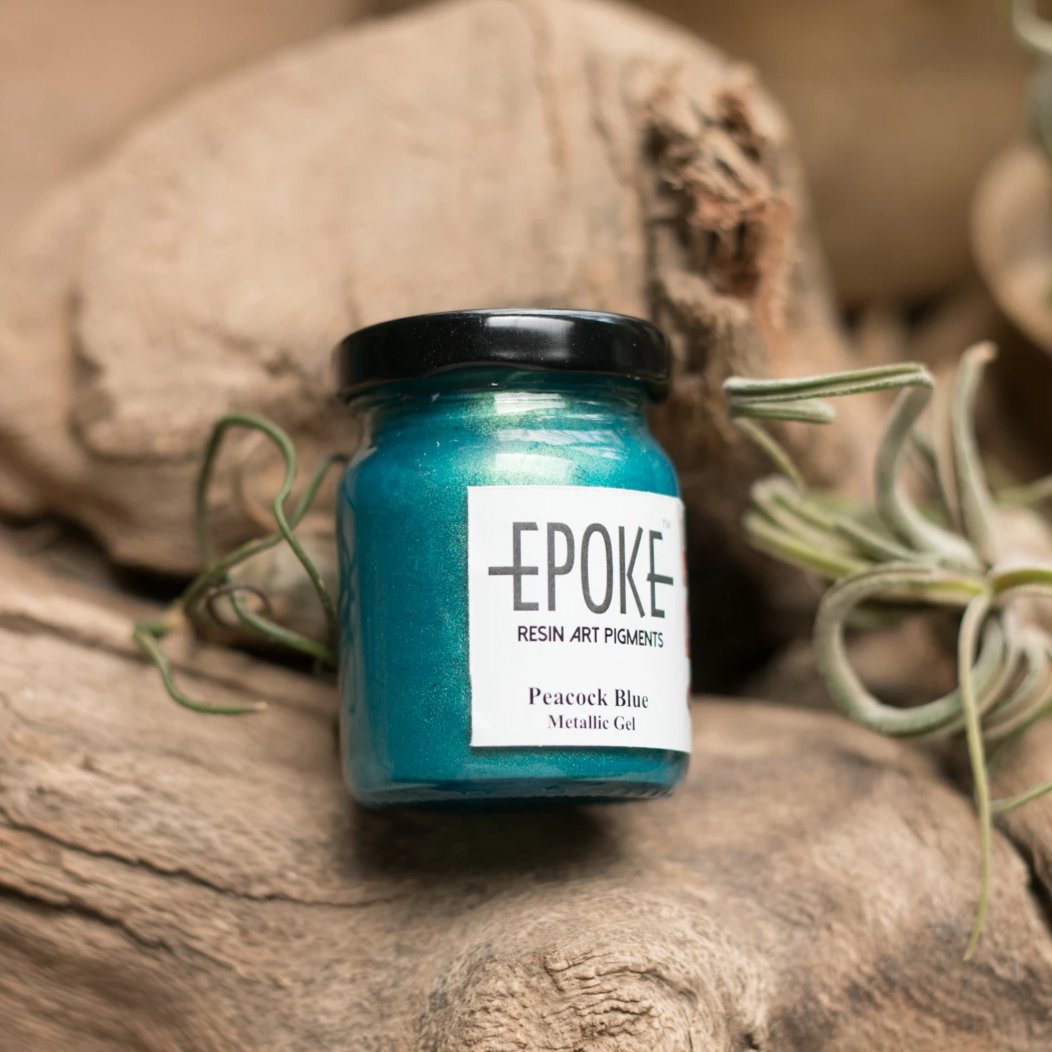
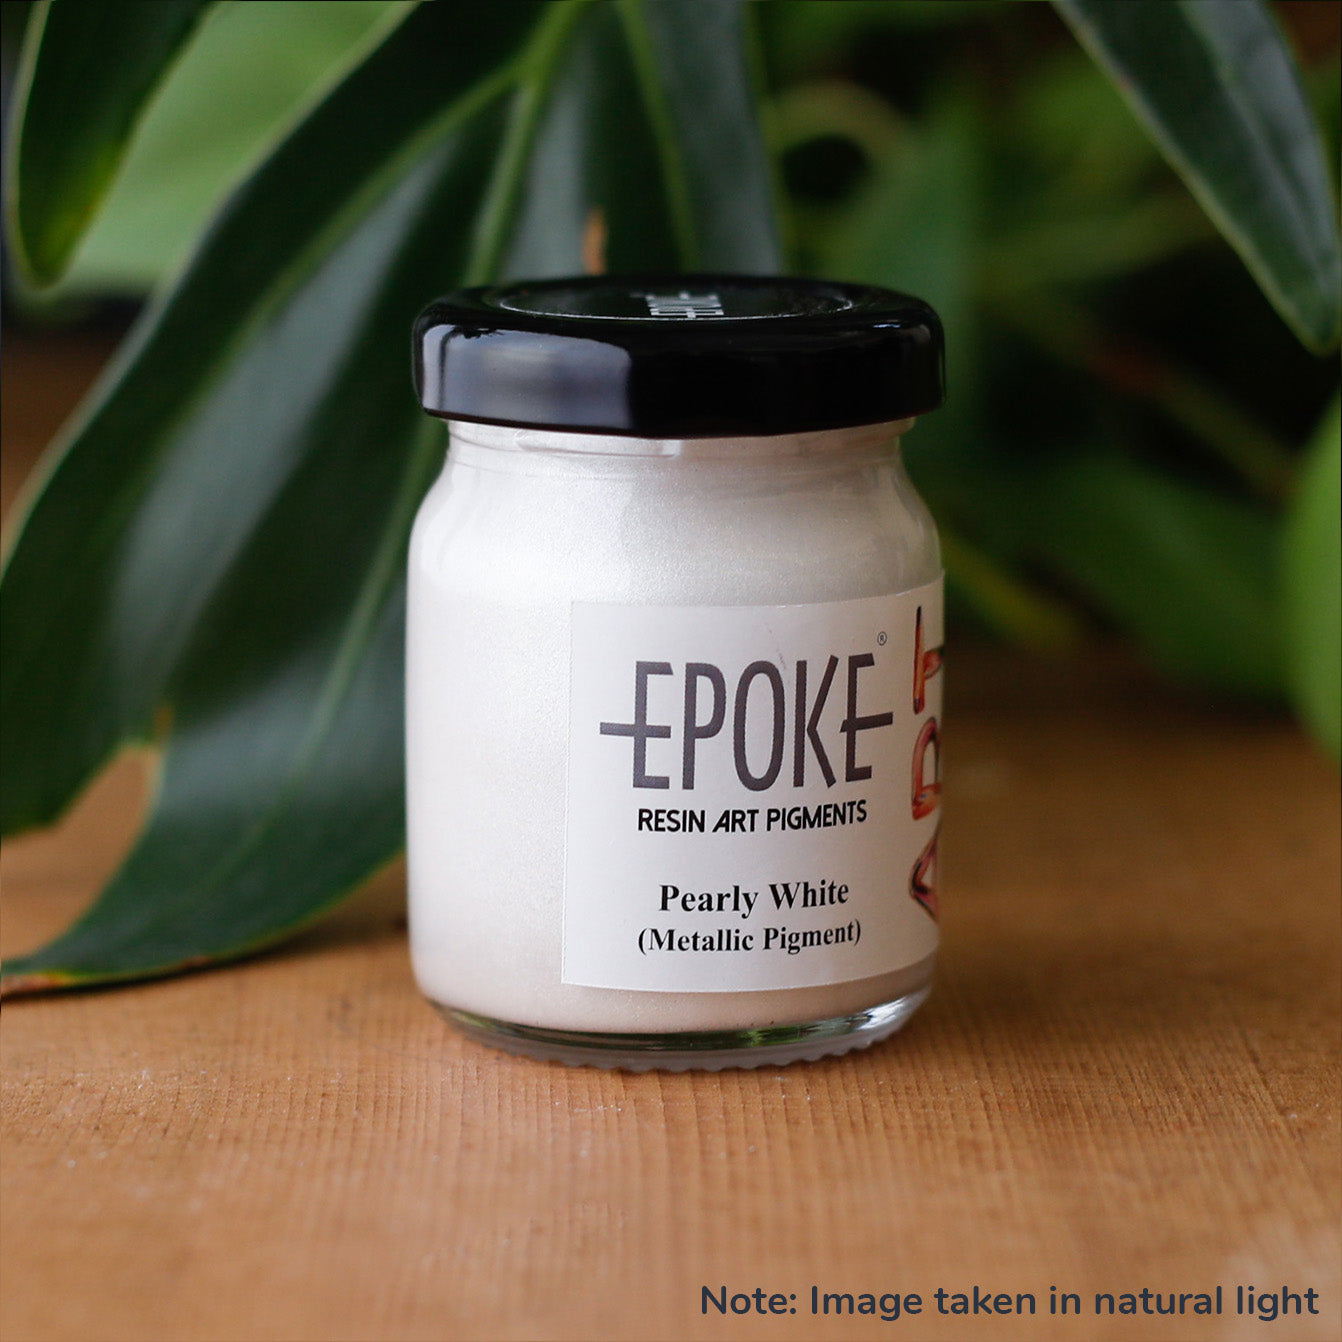
Resin Pigments for Beginners: A Complete Guide 2026
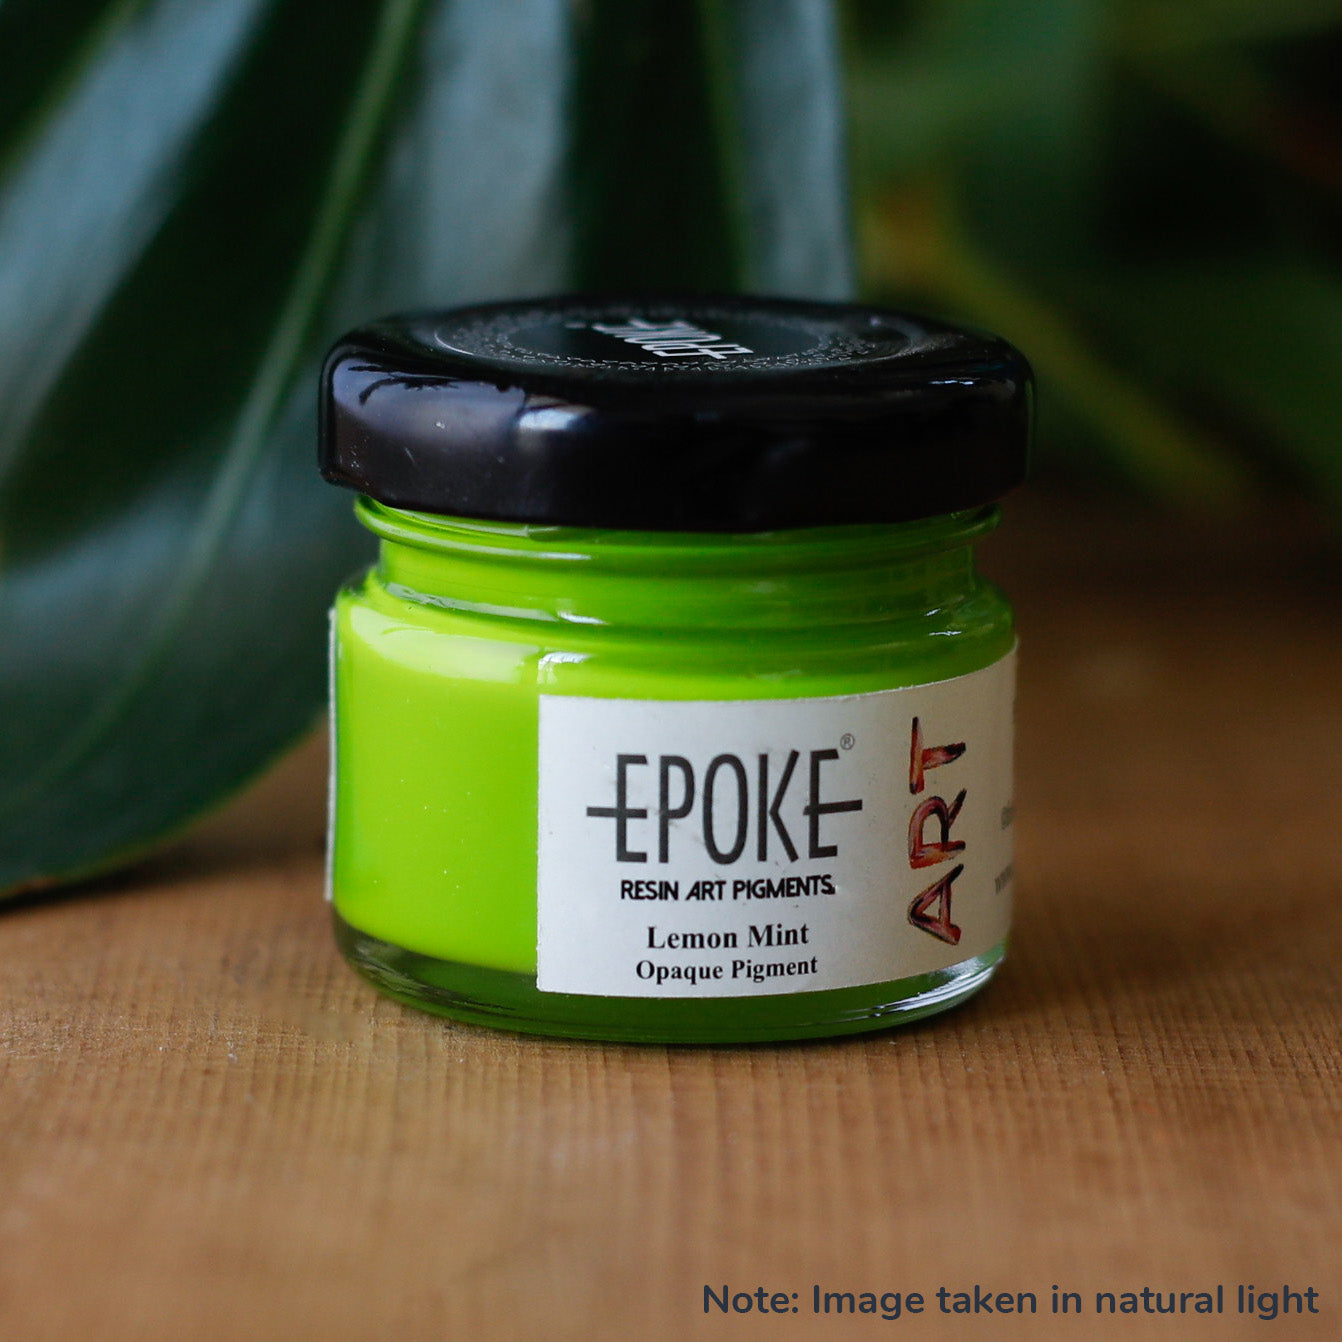
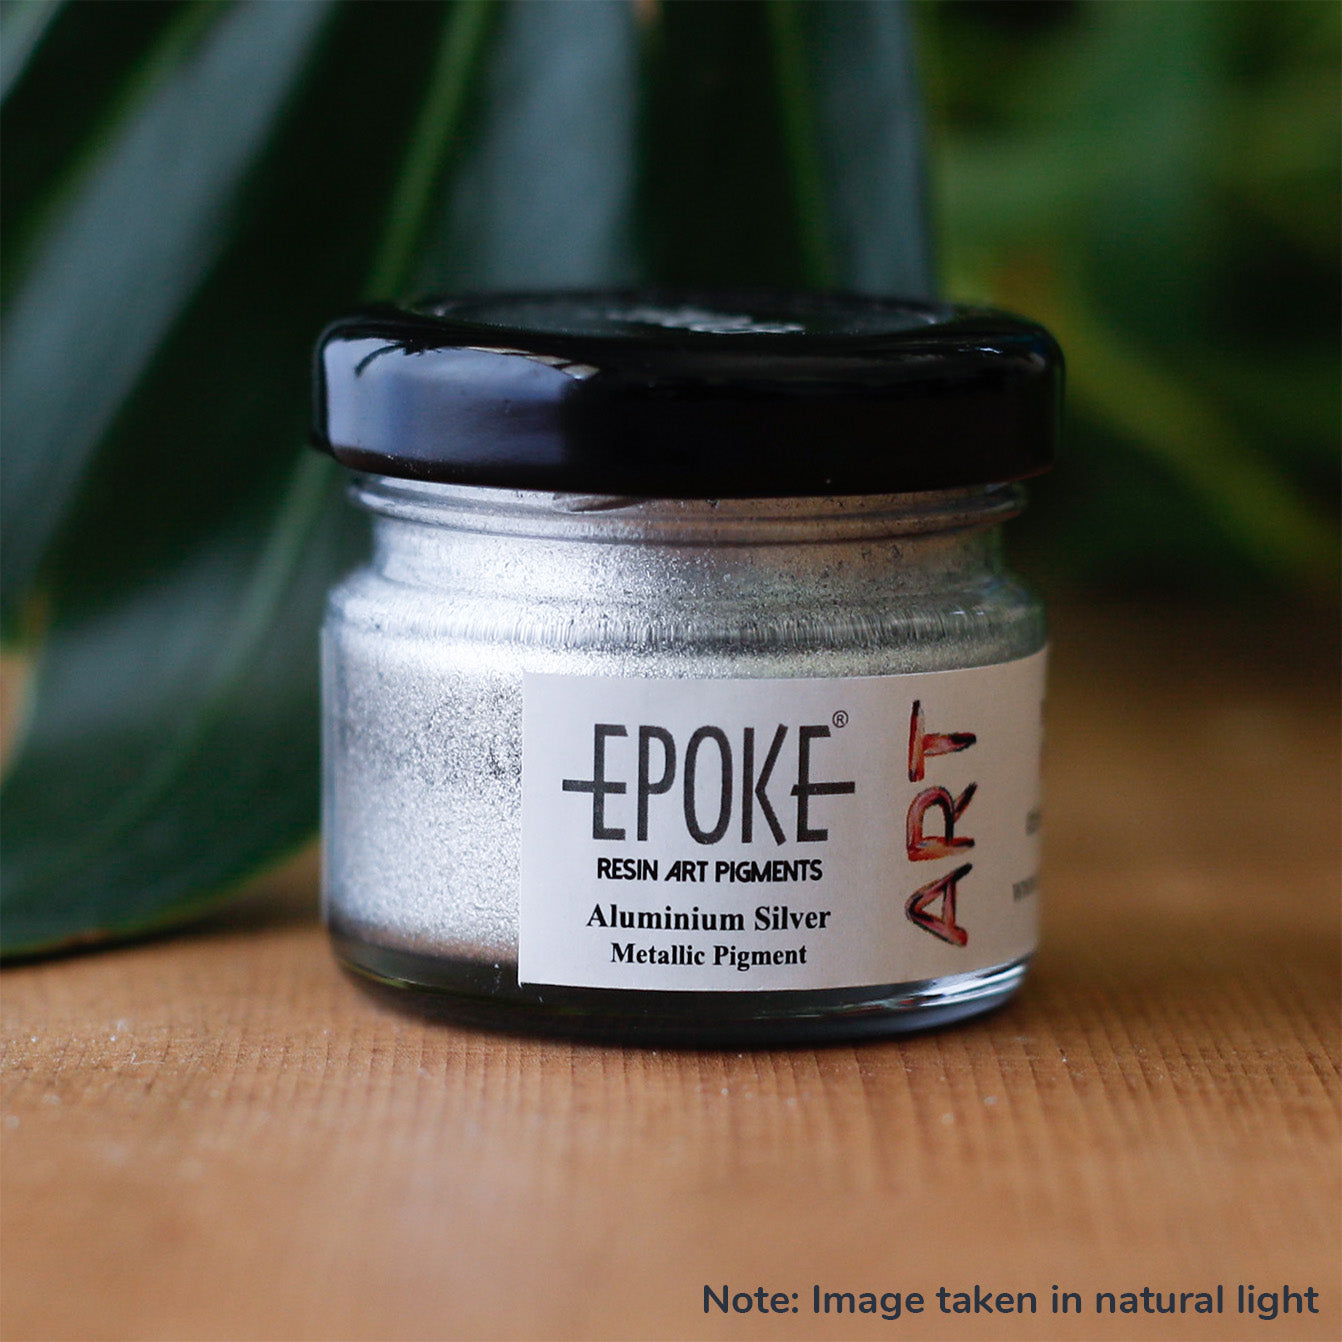
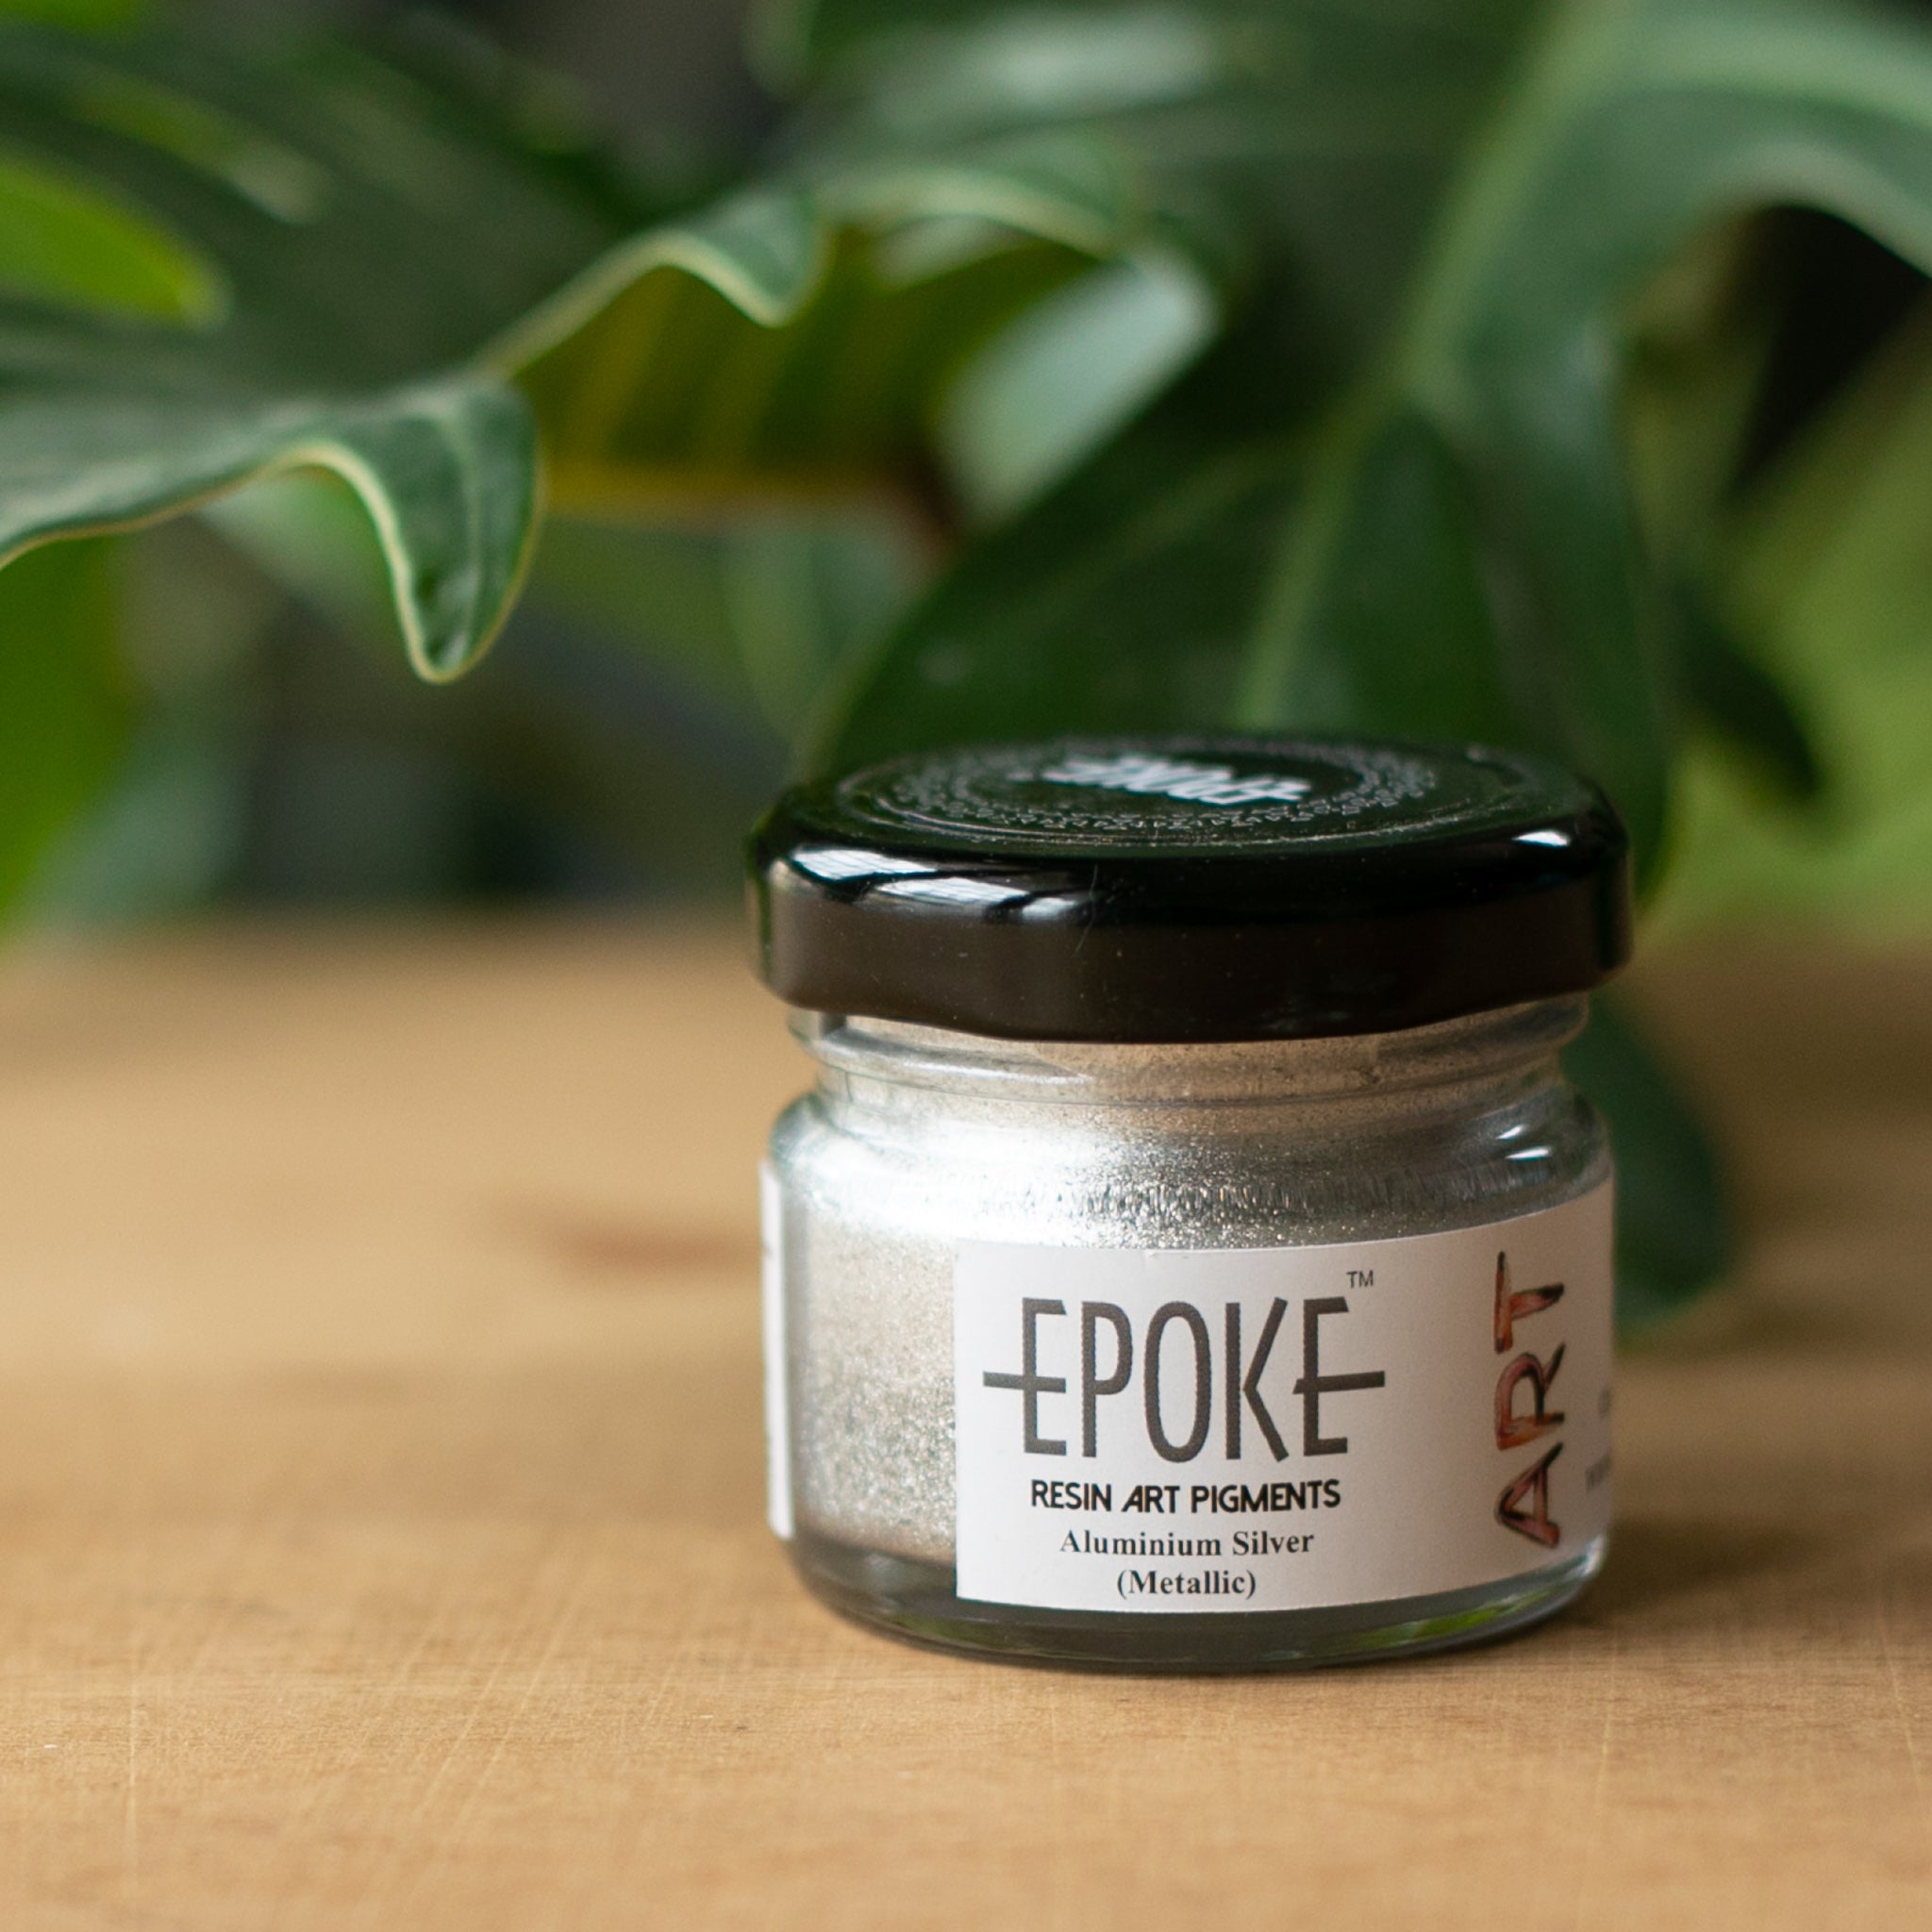
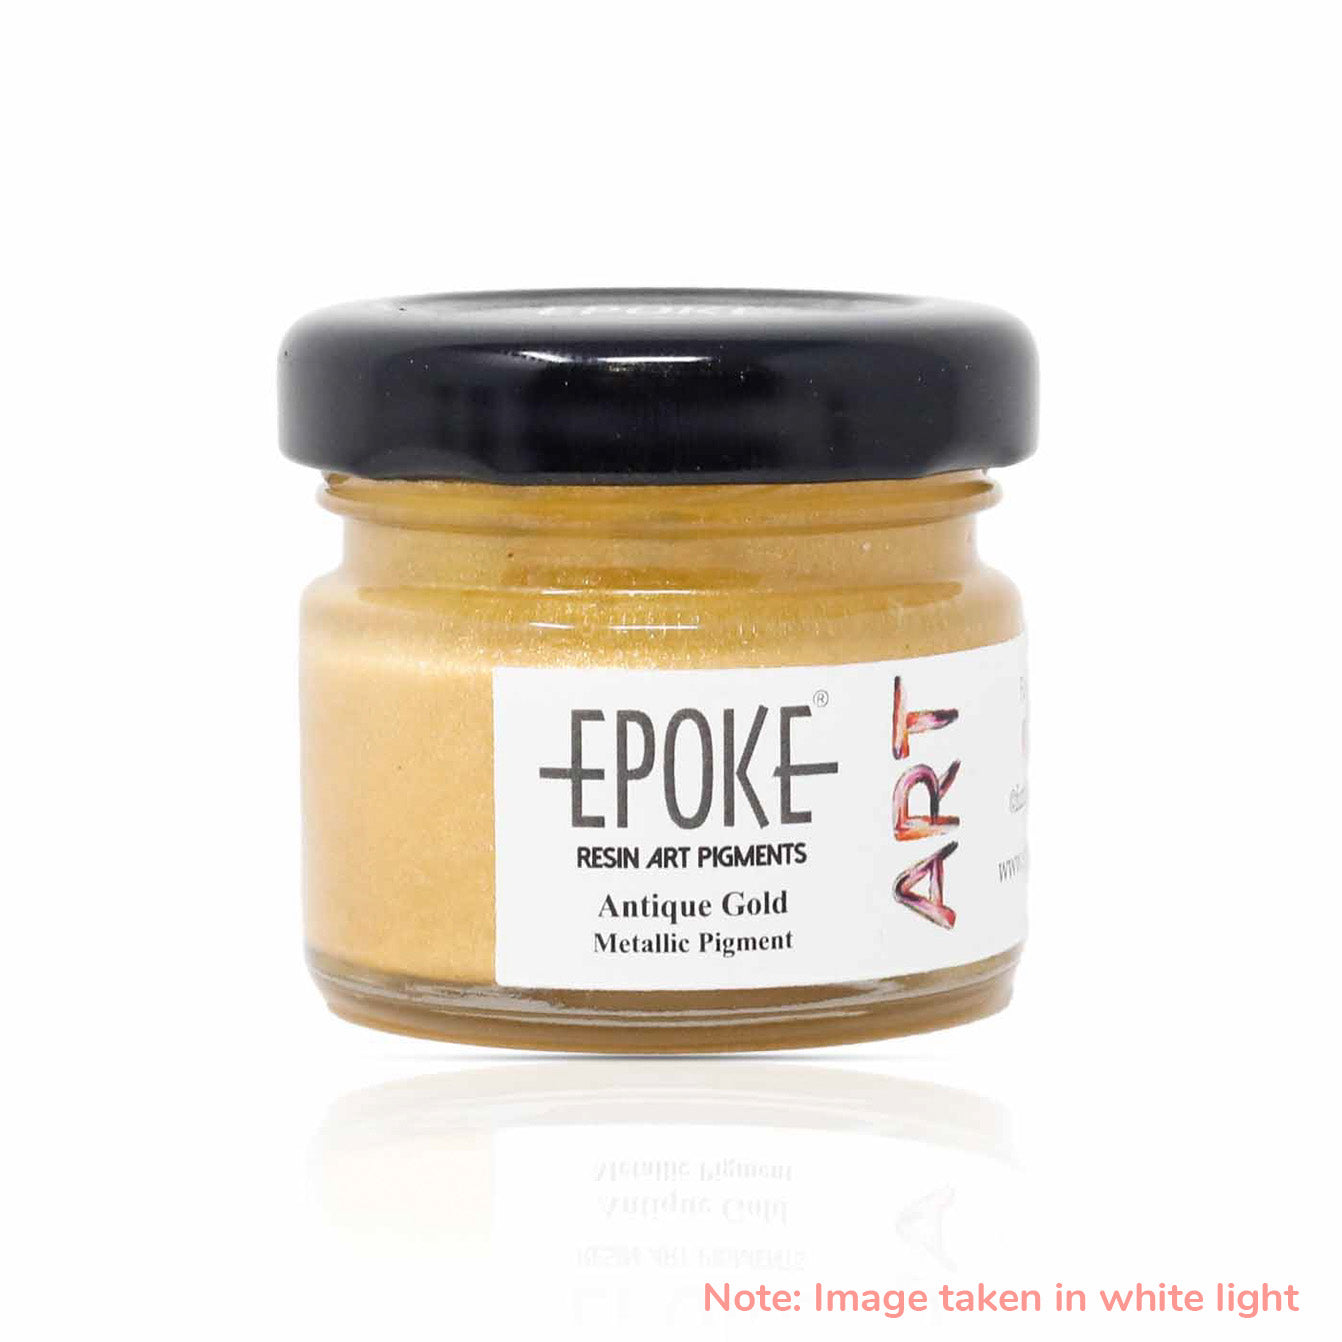
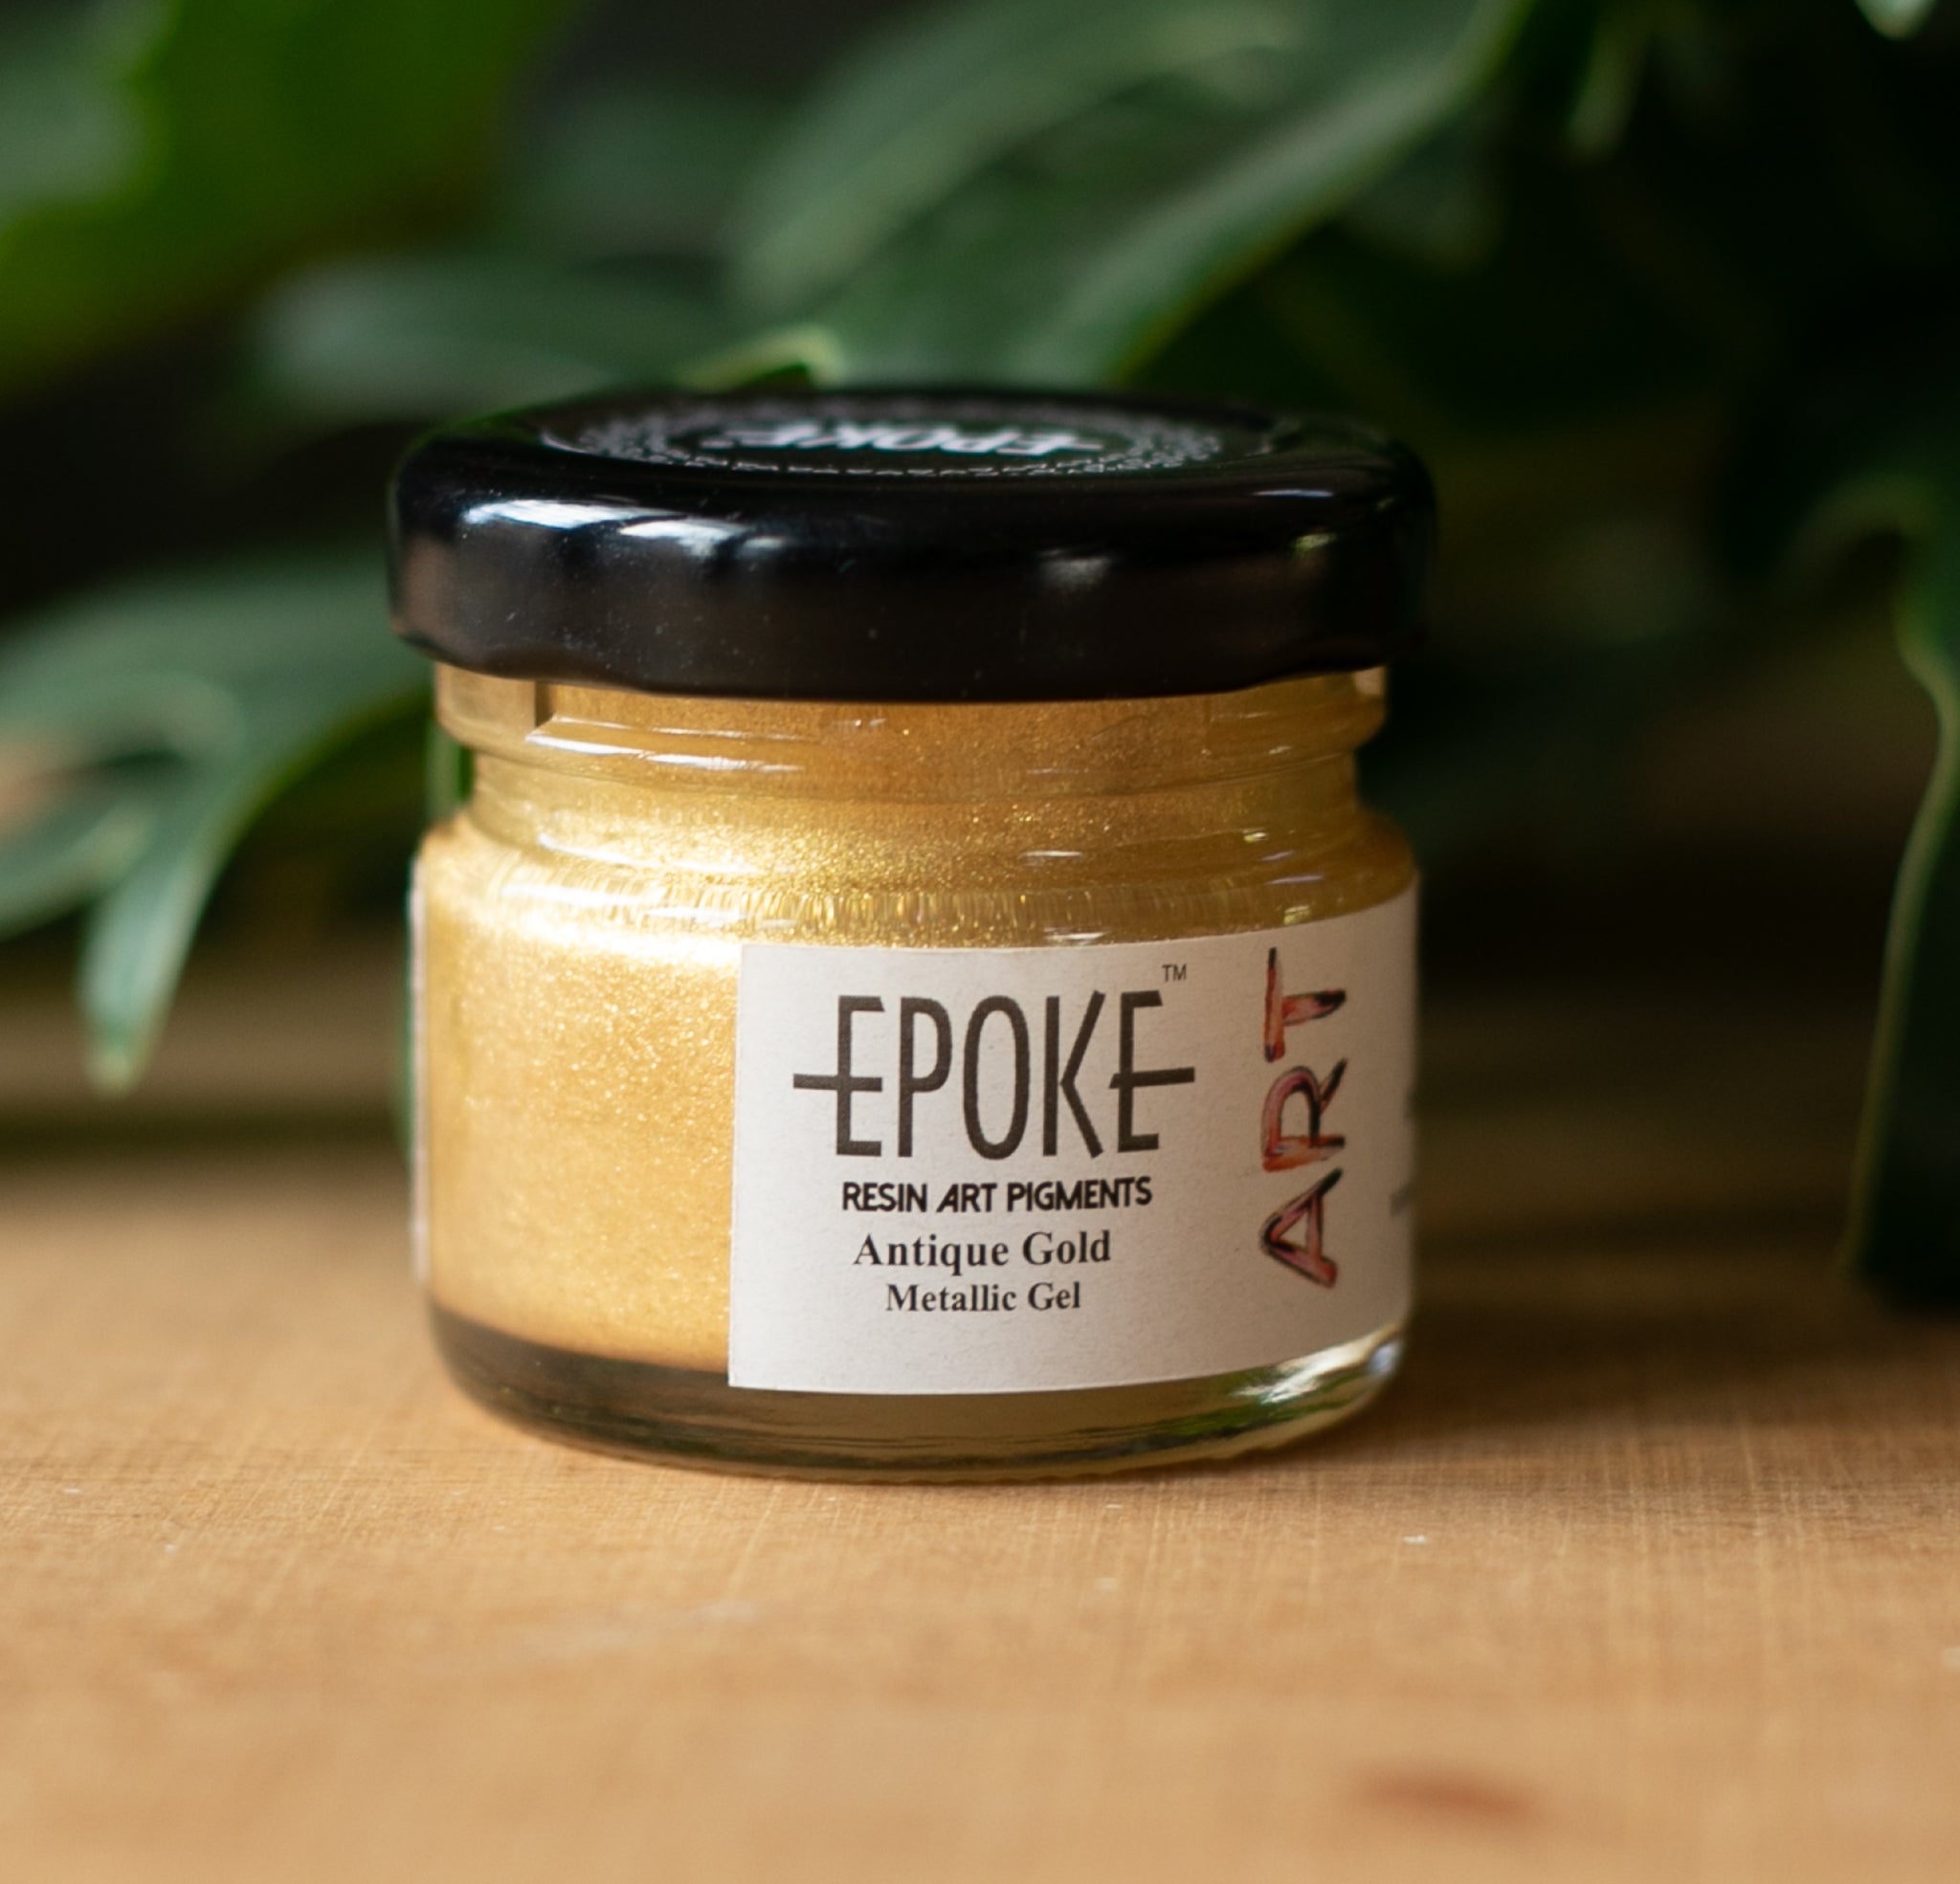
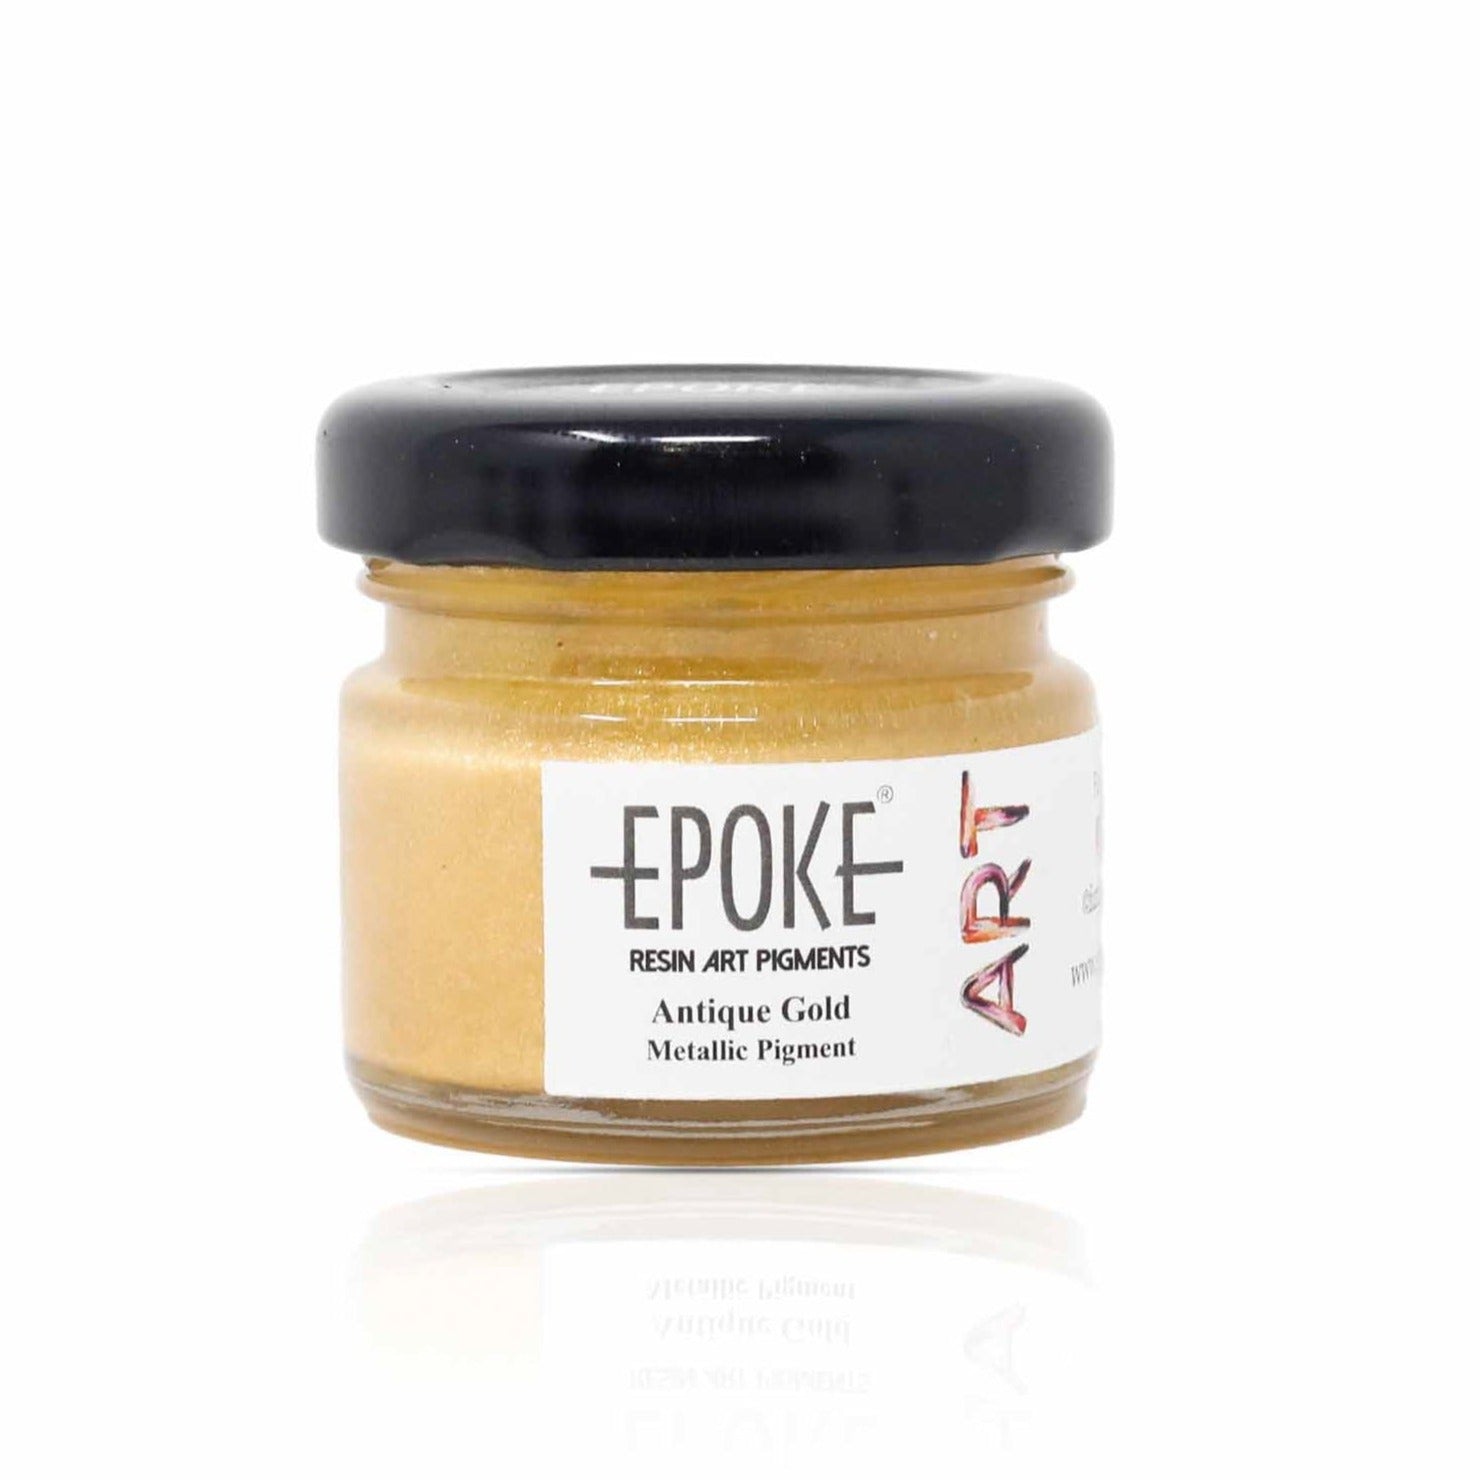
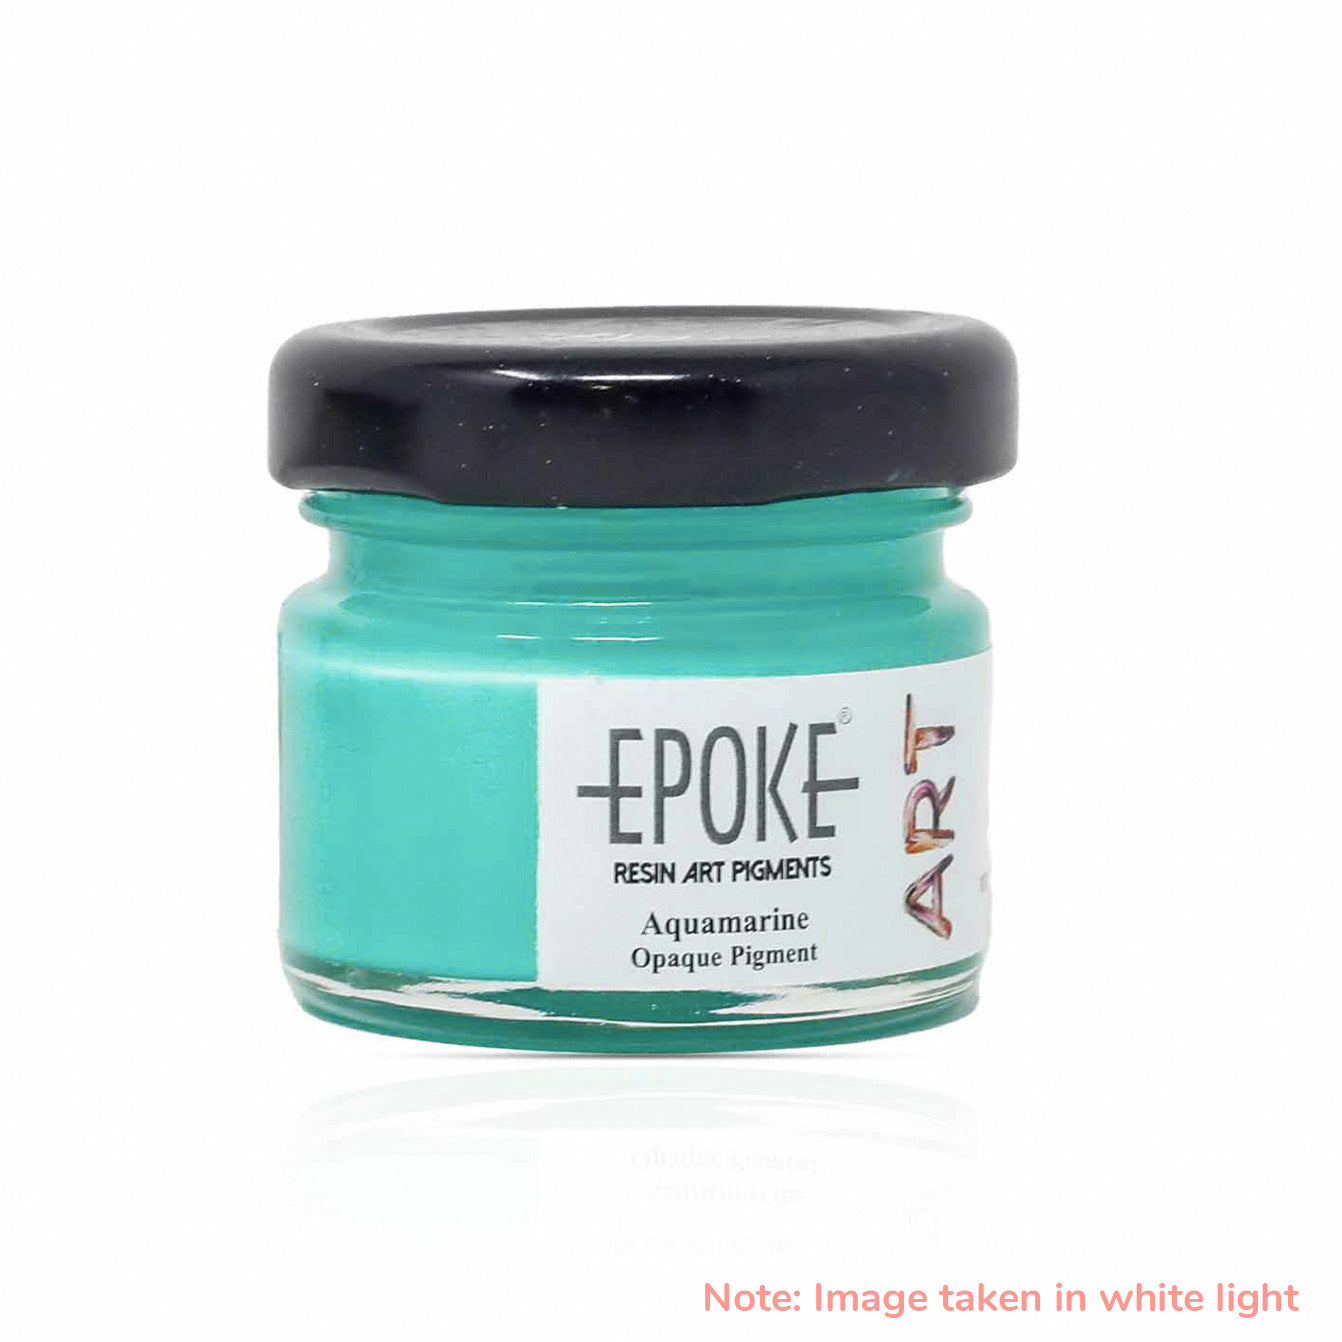
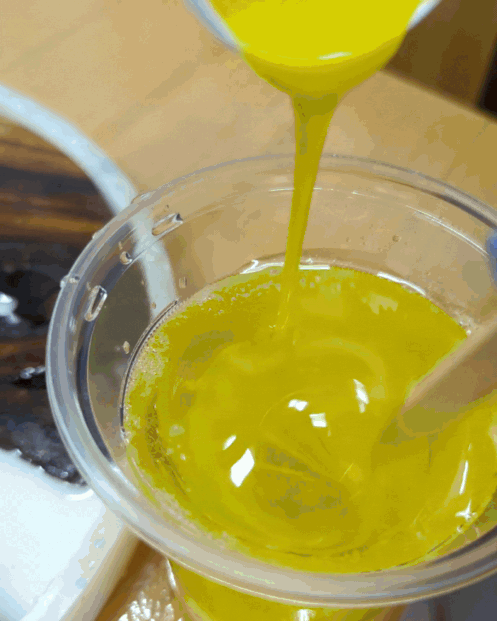
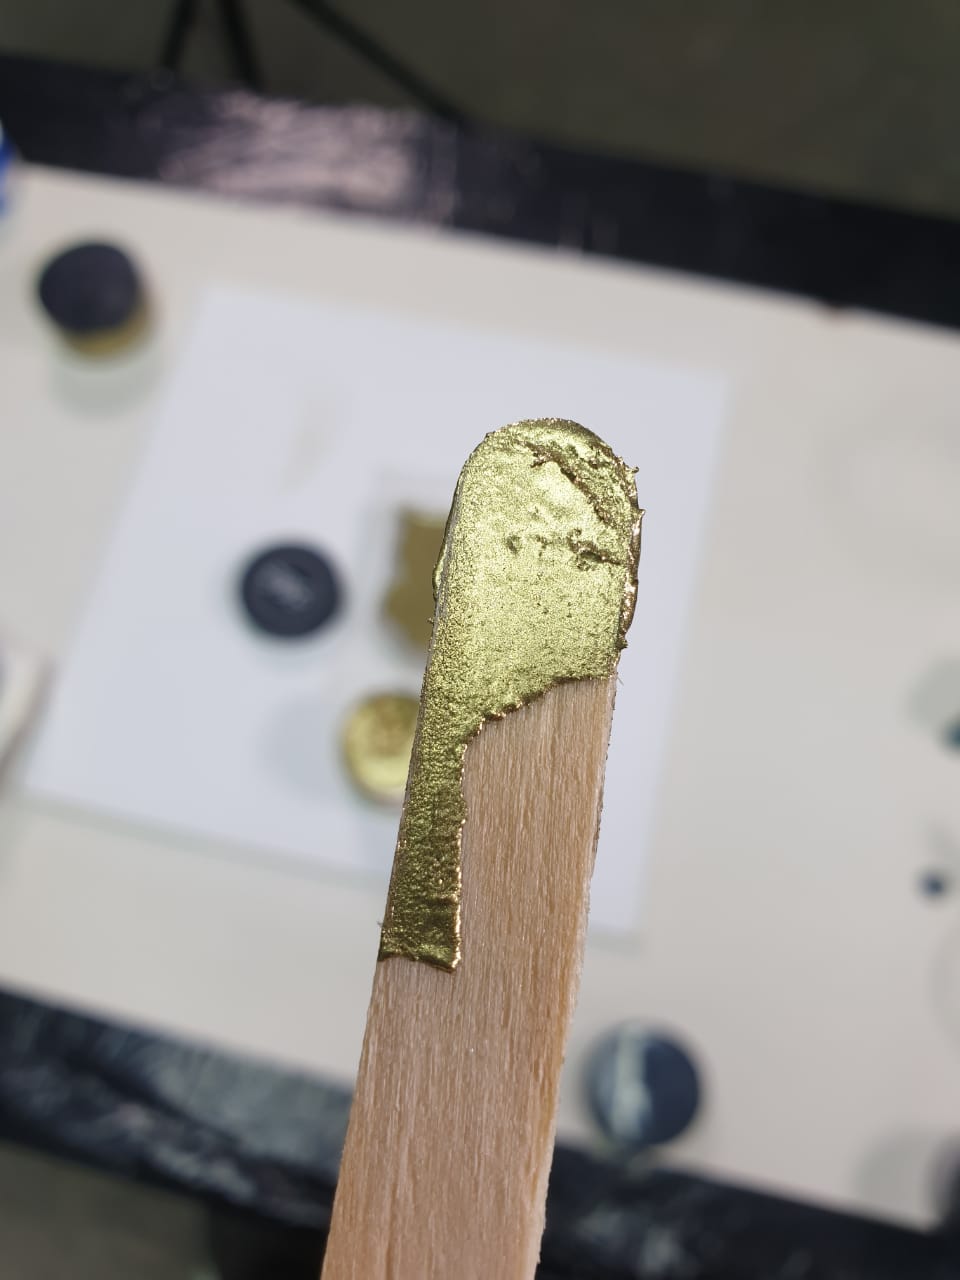
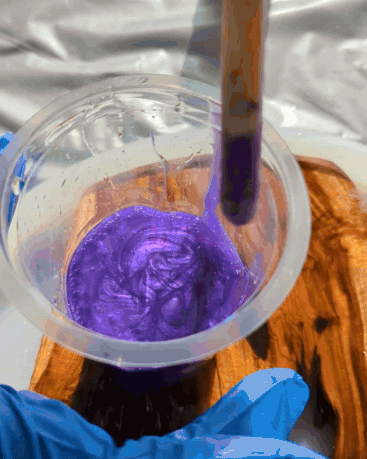
Introduction Resin pigments can confuse beginners fast. Too many colors, too many textures, too many choices. Most new resin artists waste resin or end up with muddy results because they...

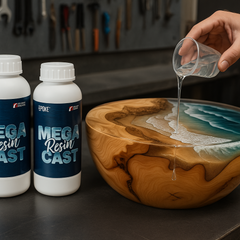
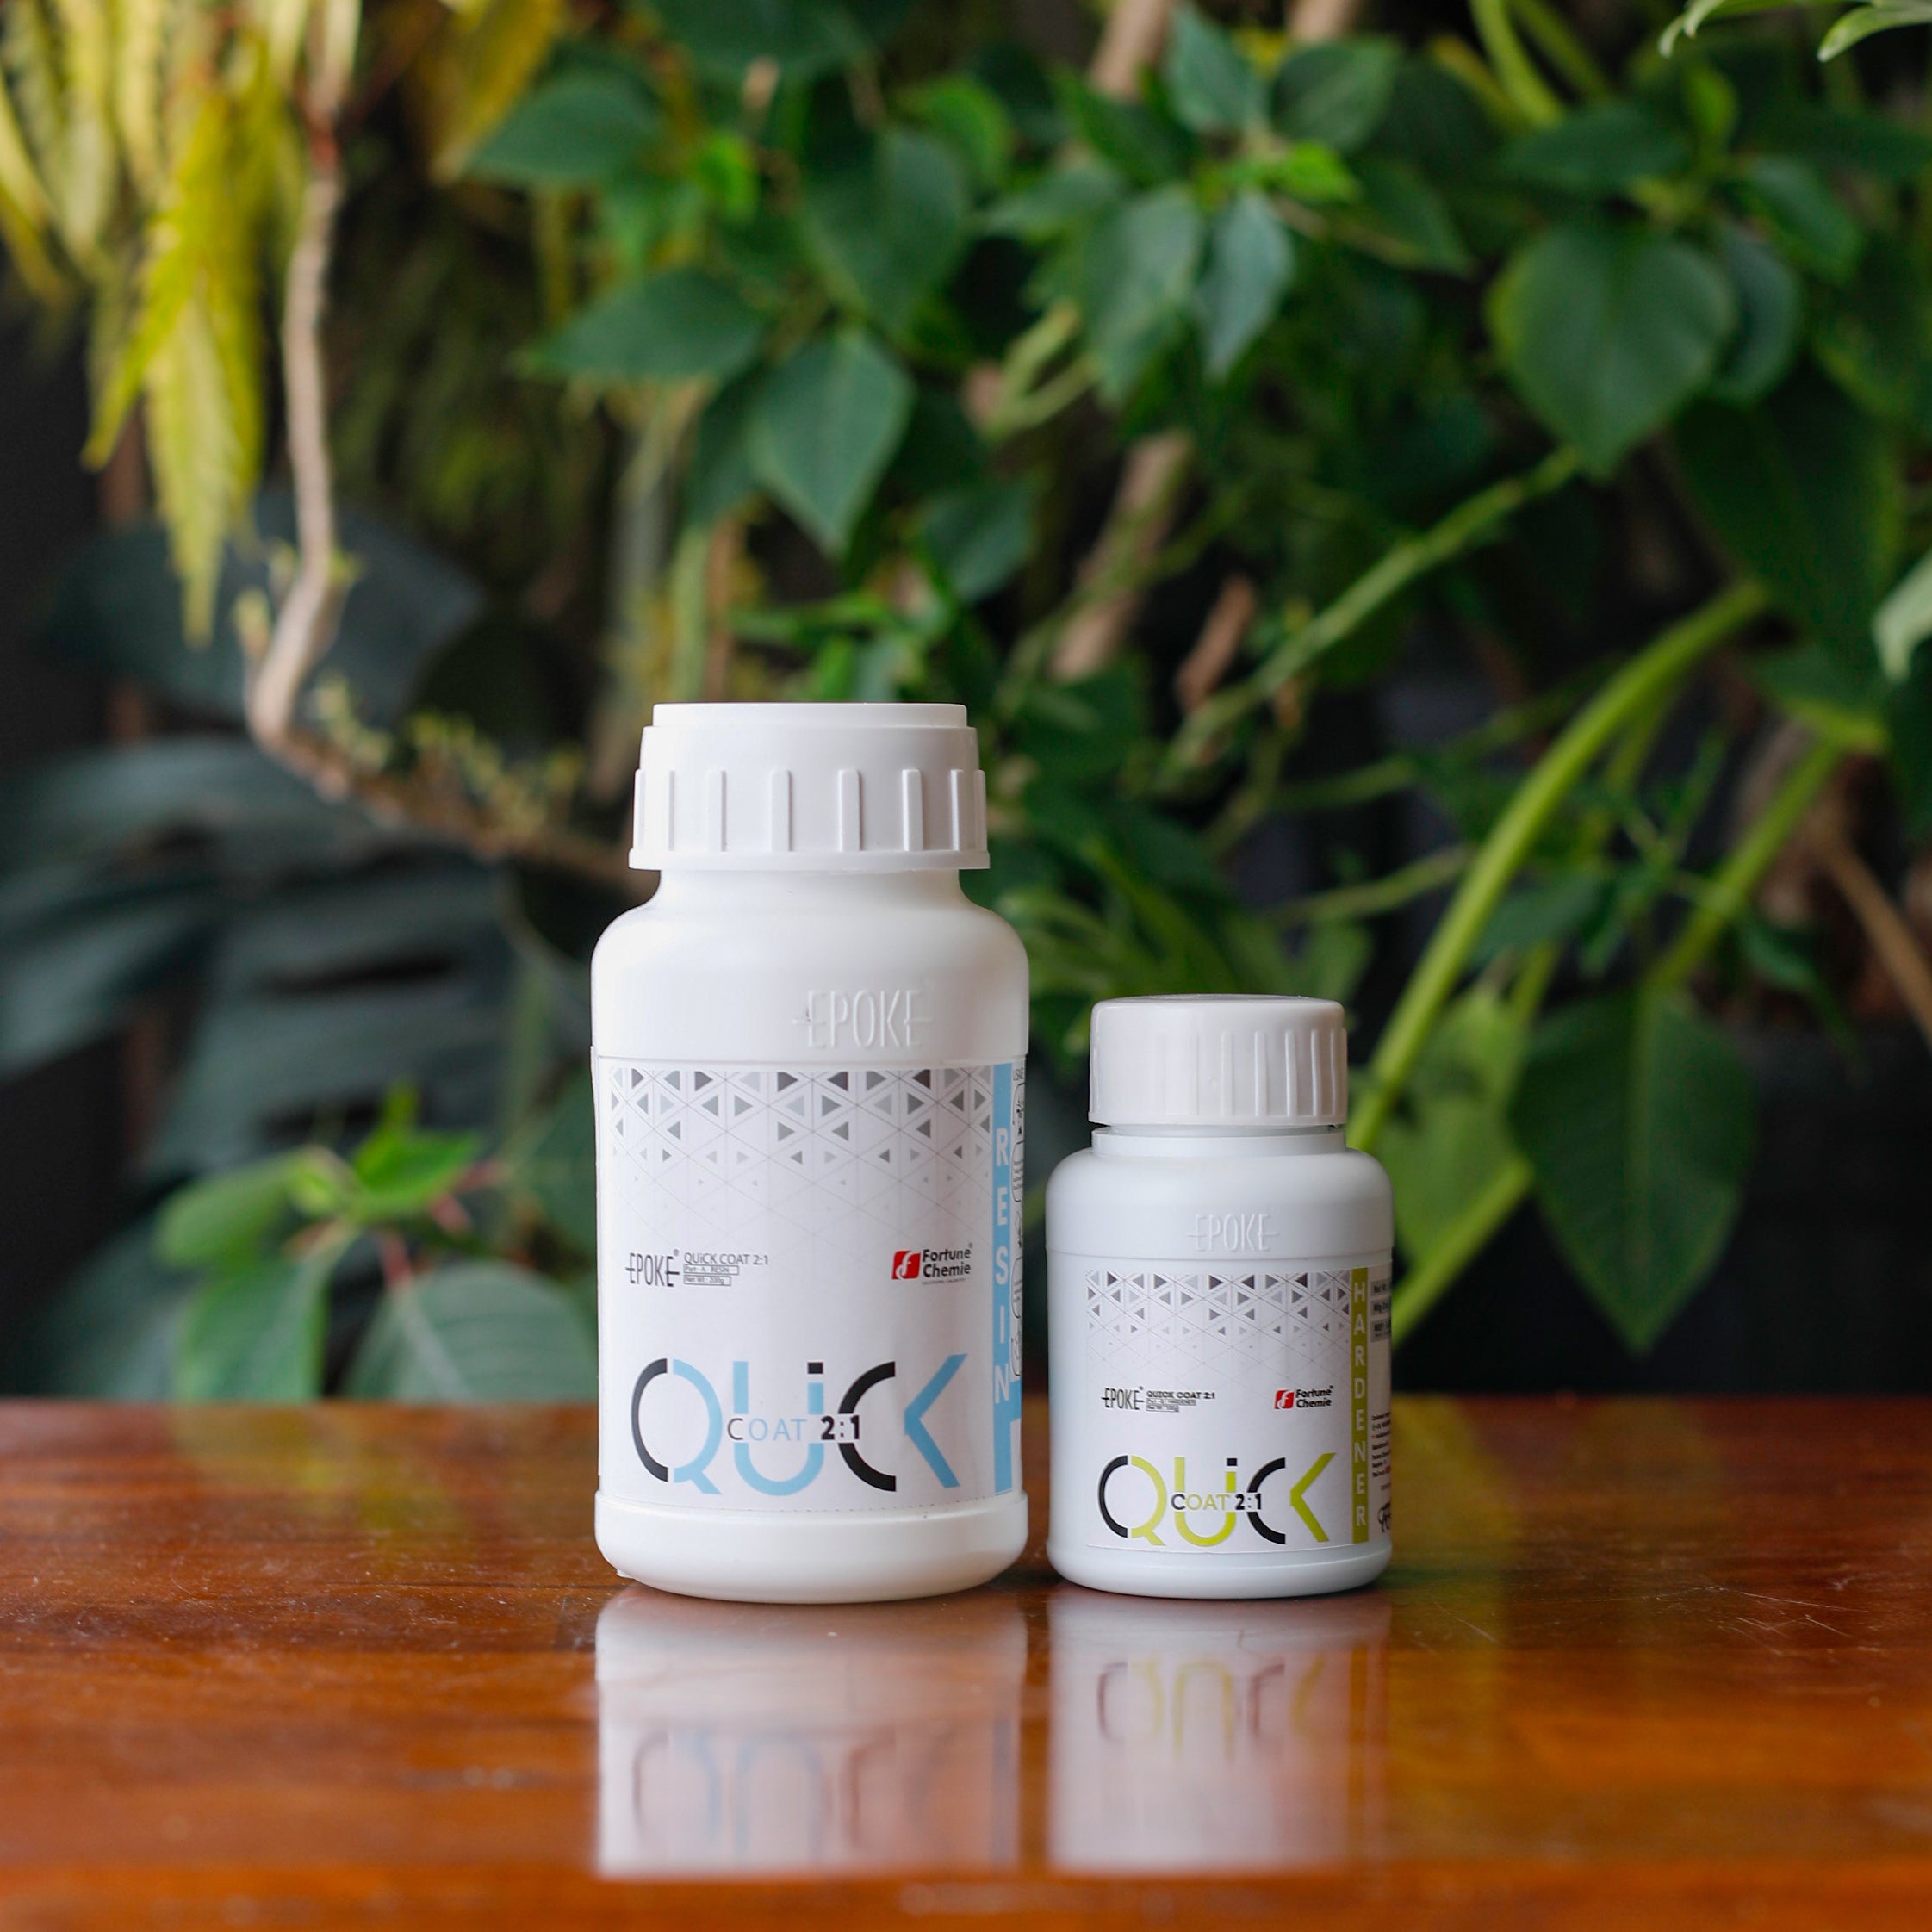
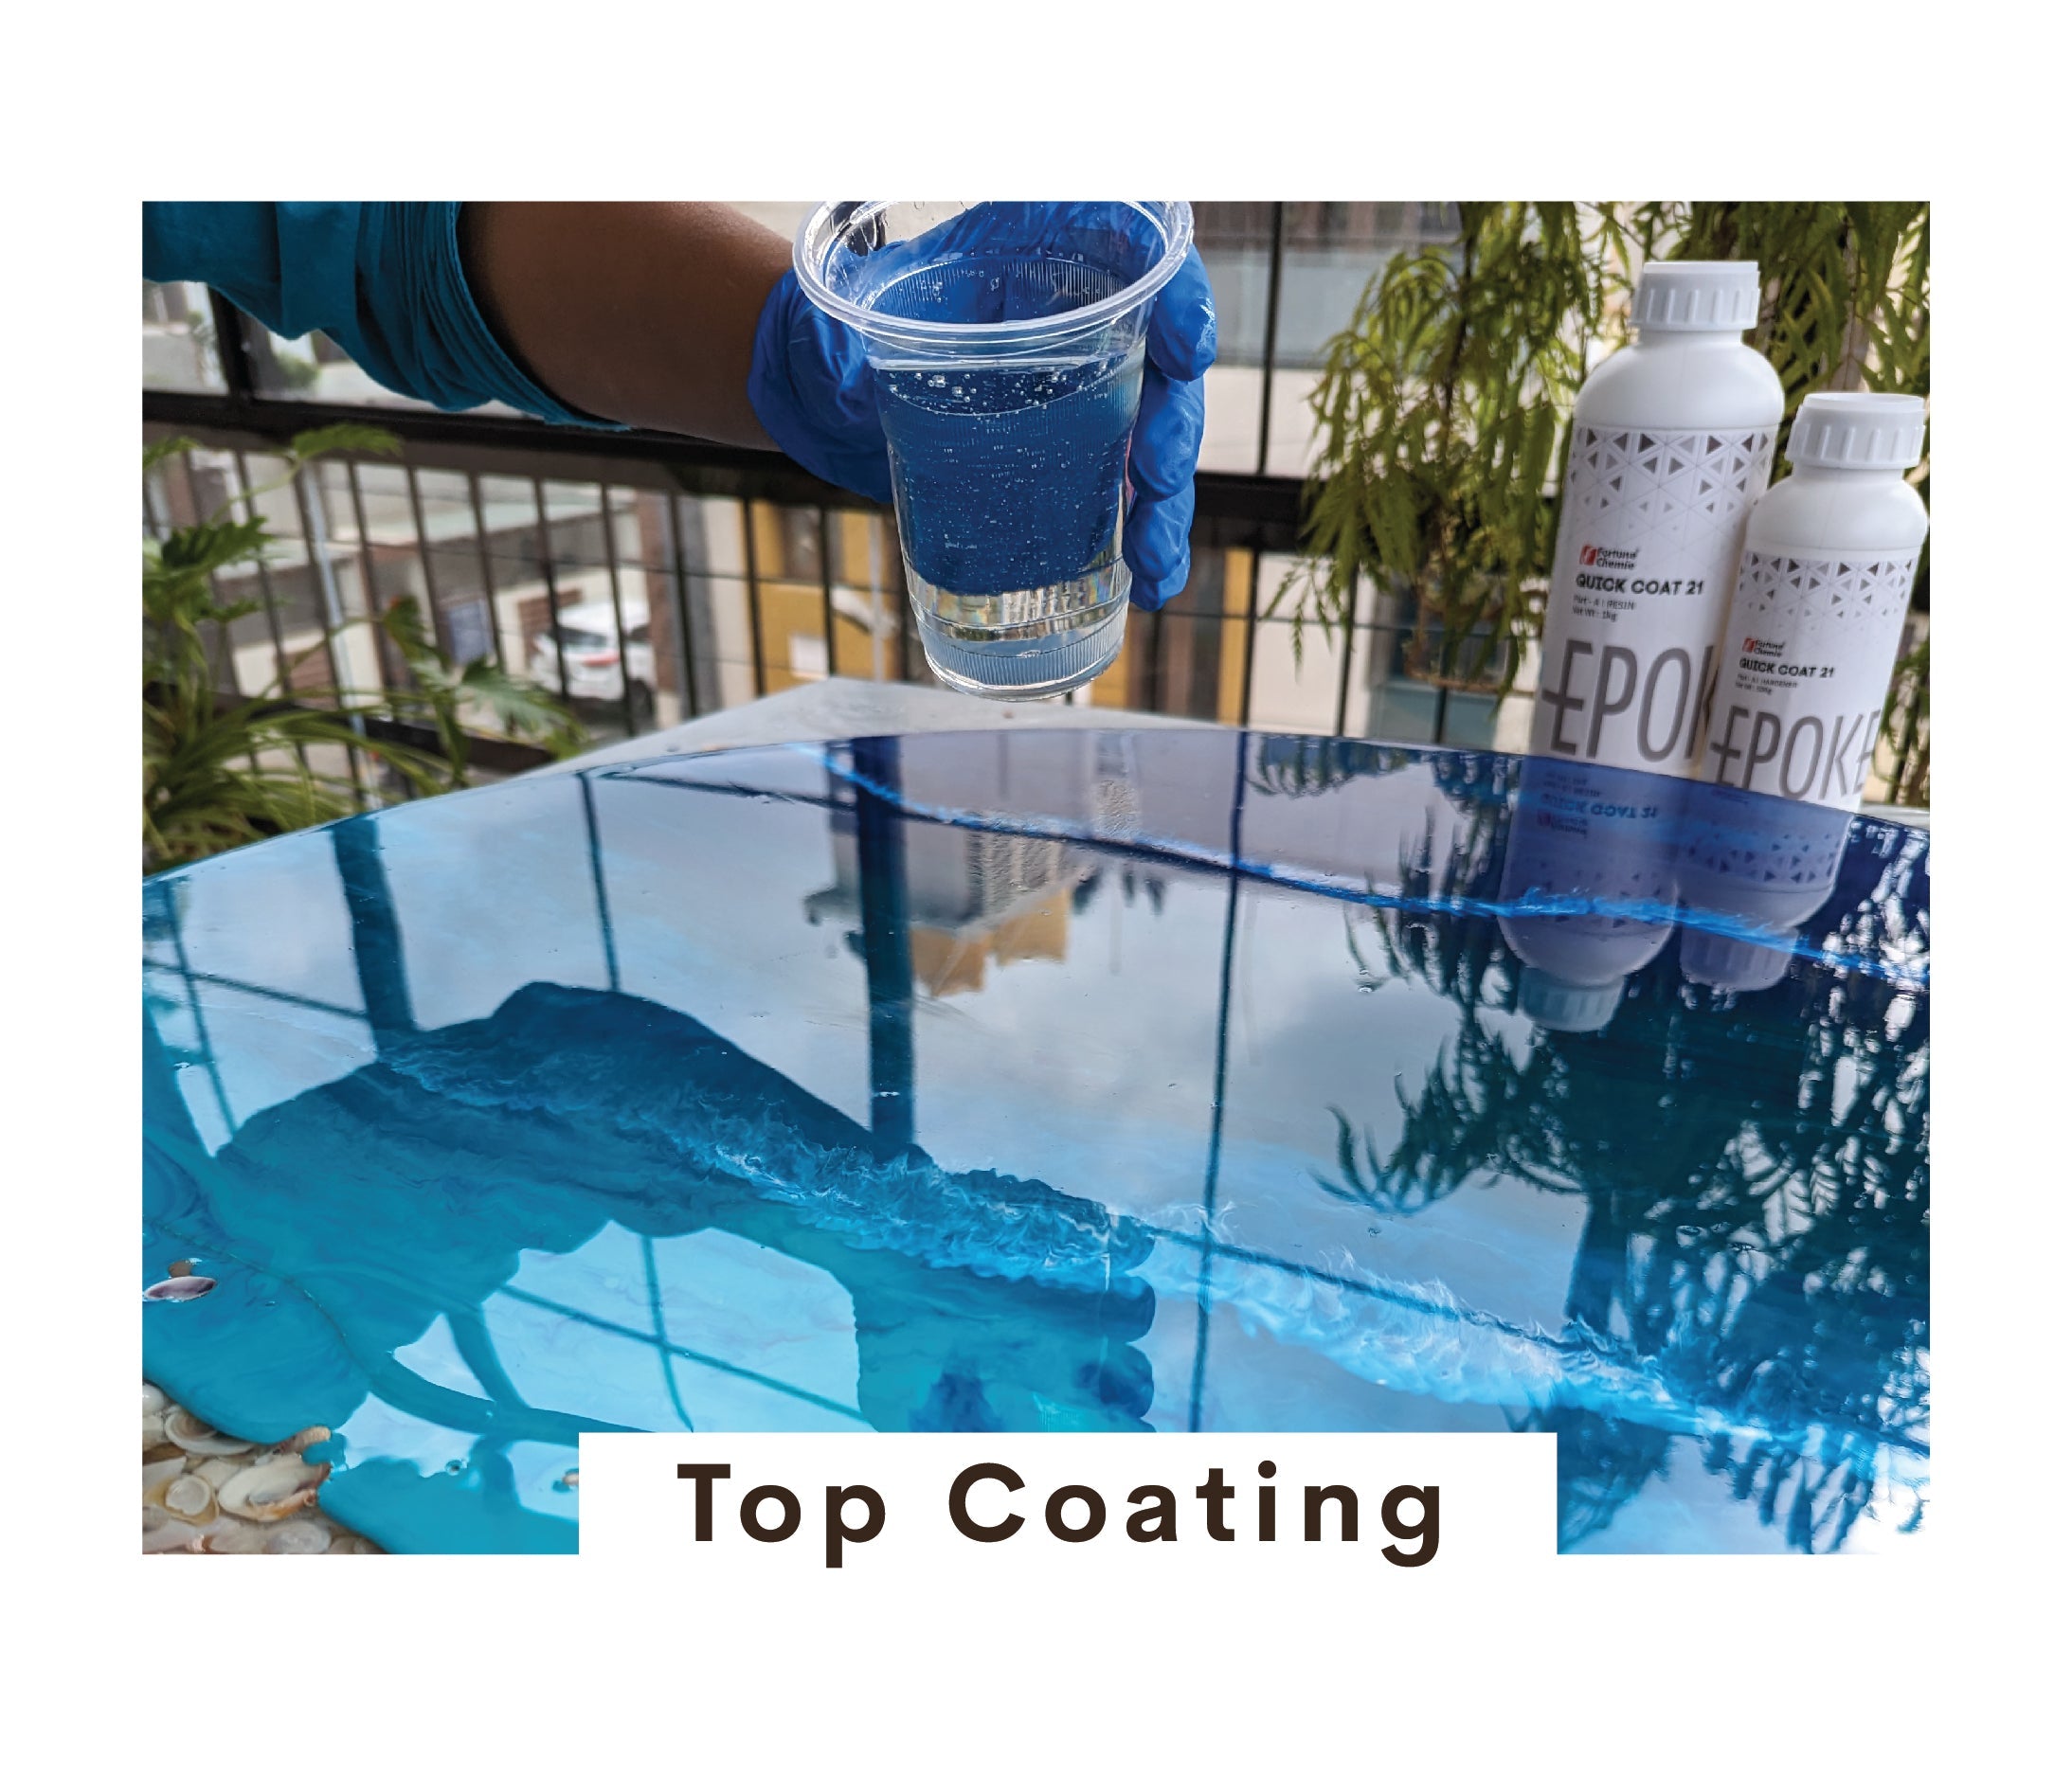
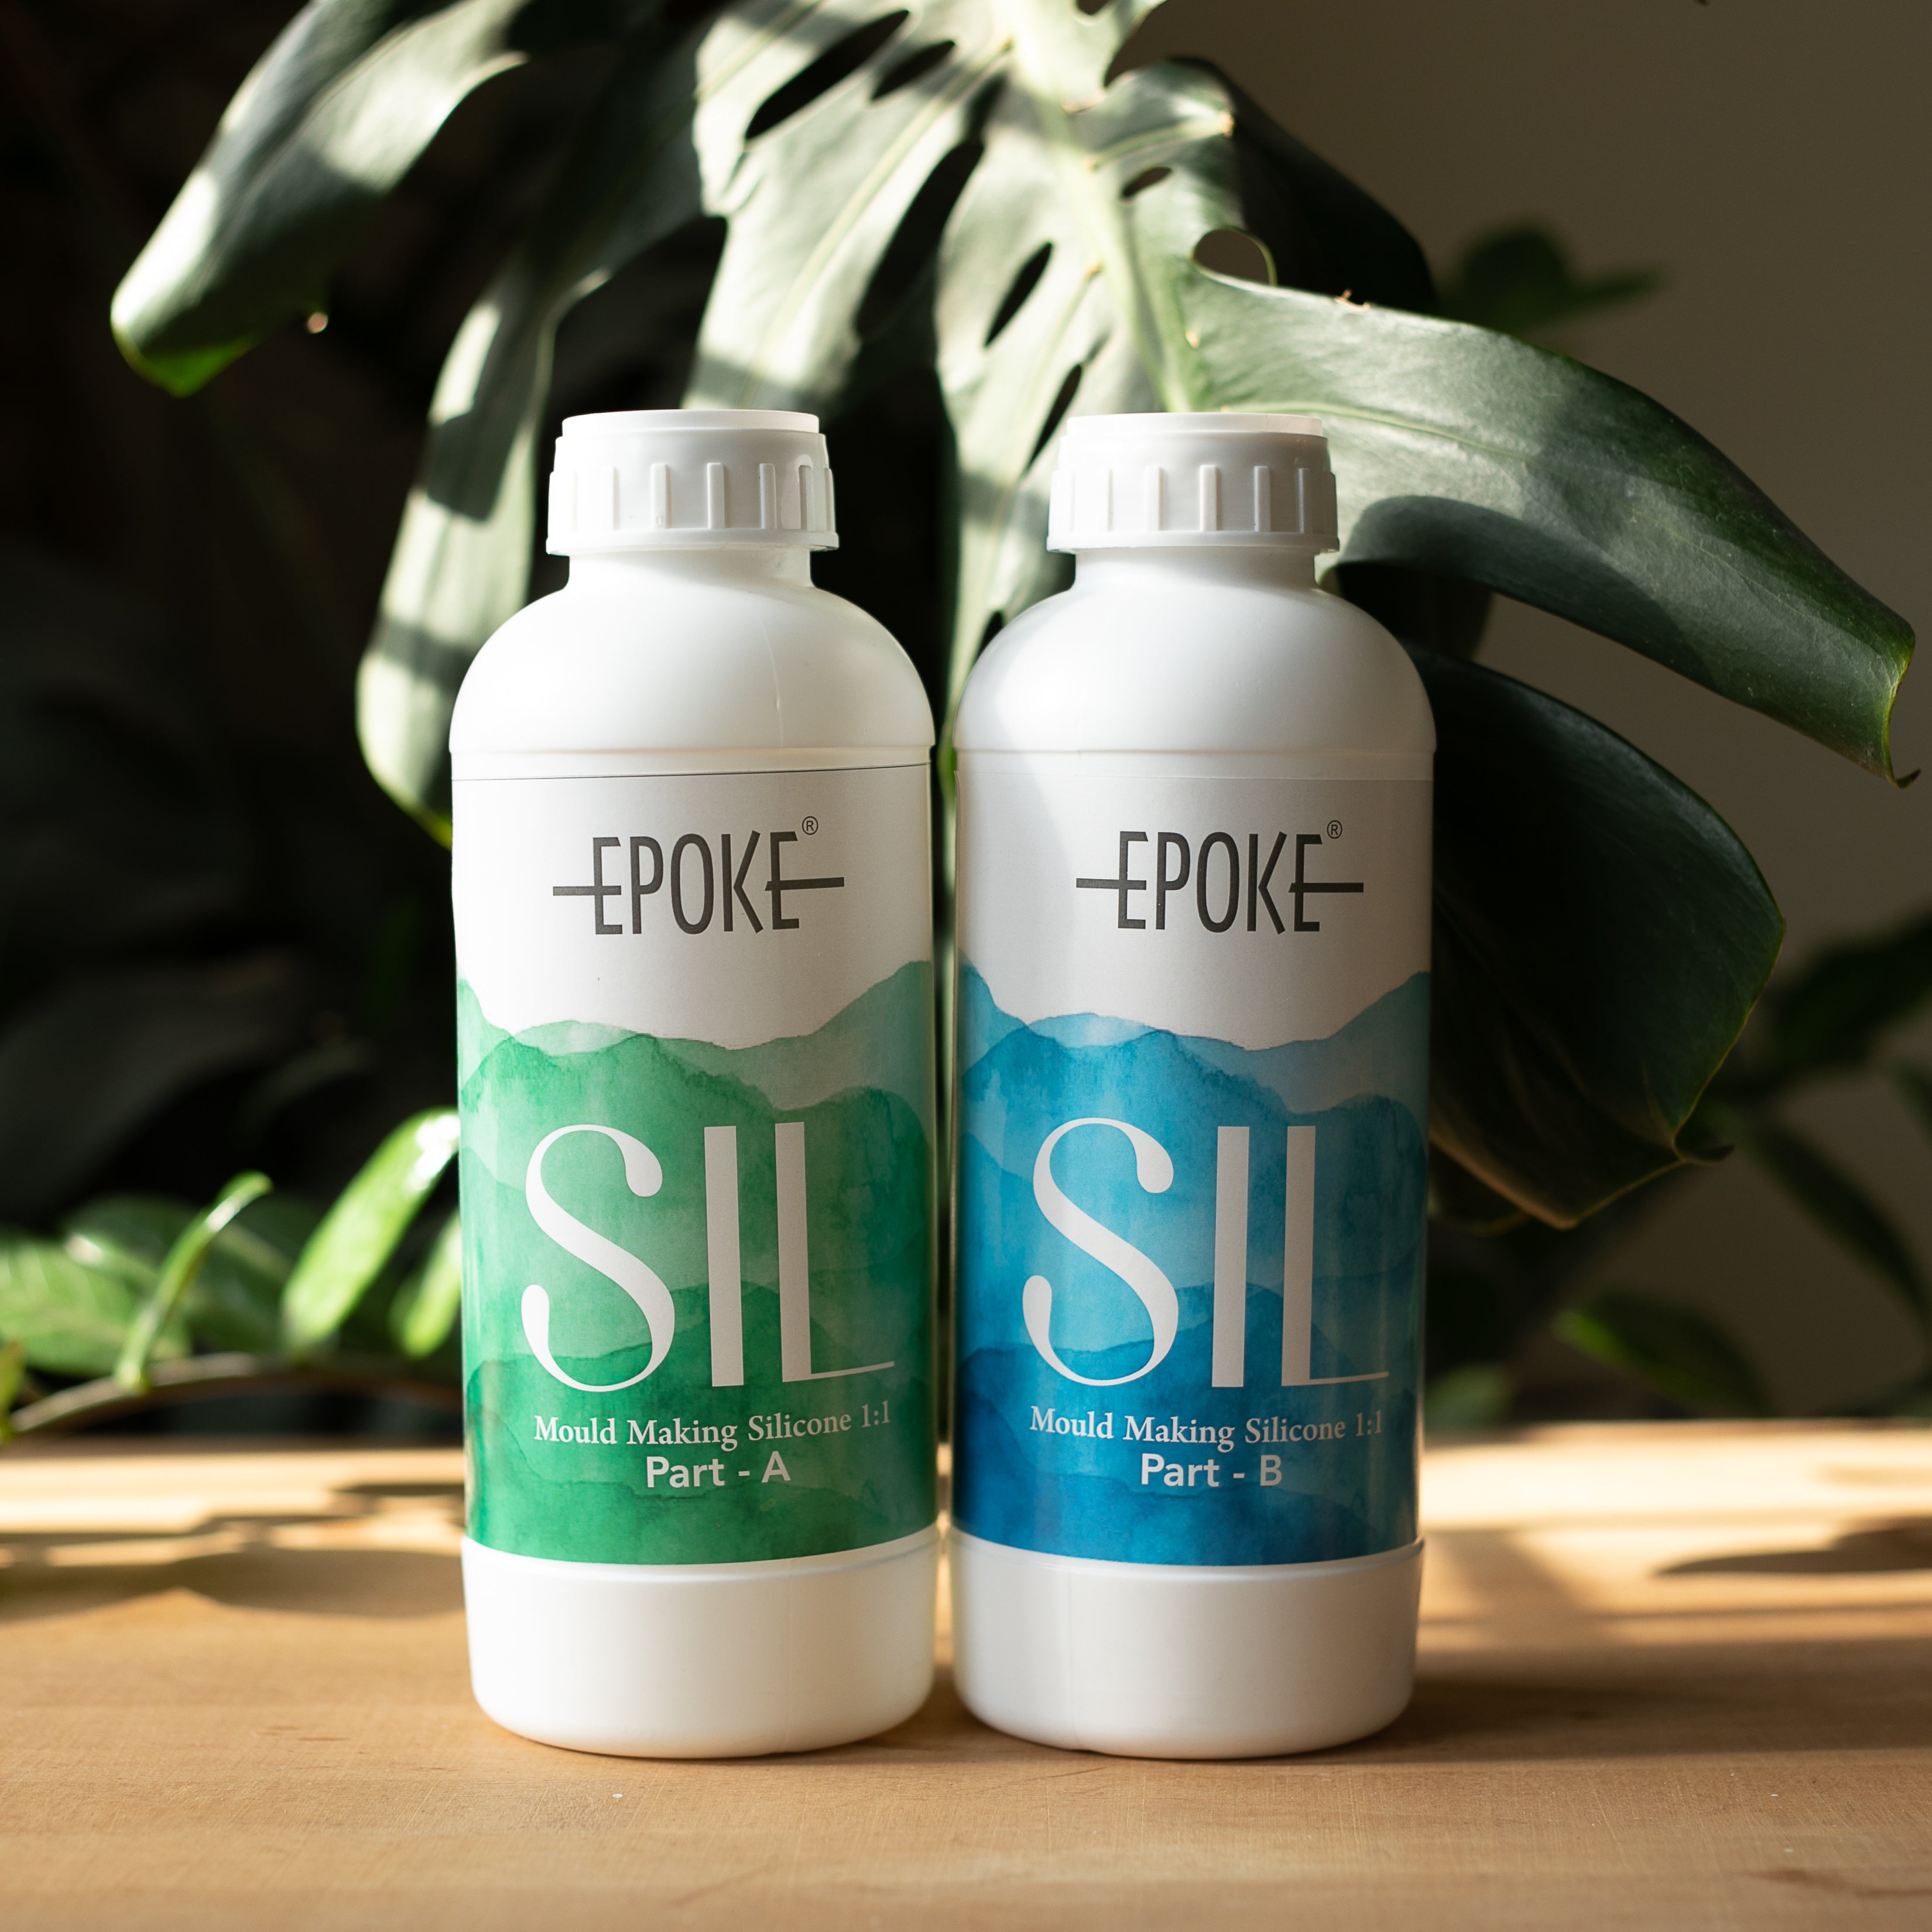
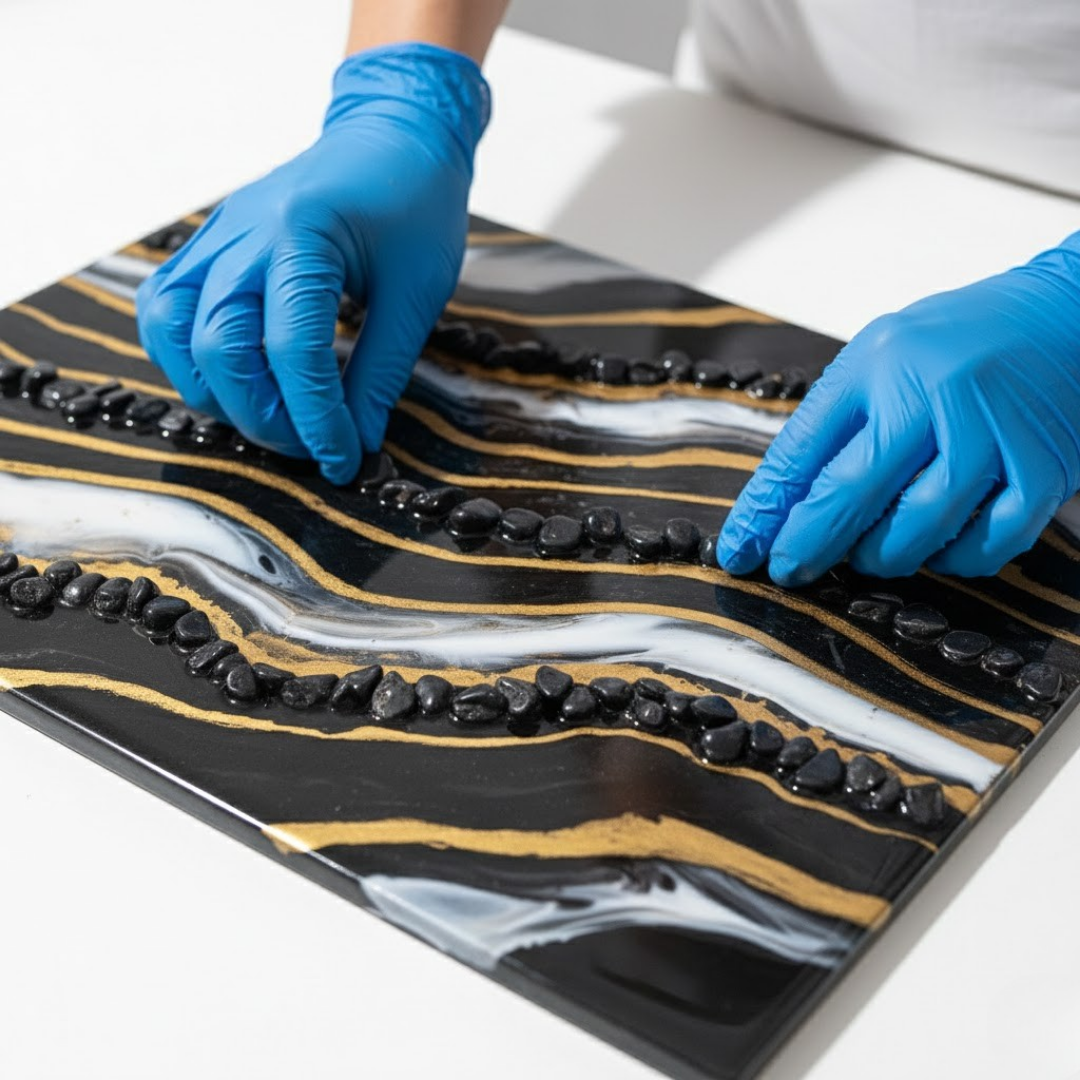
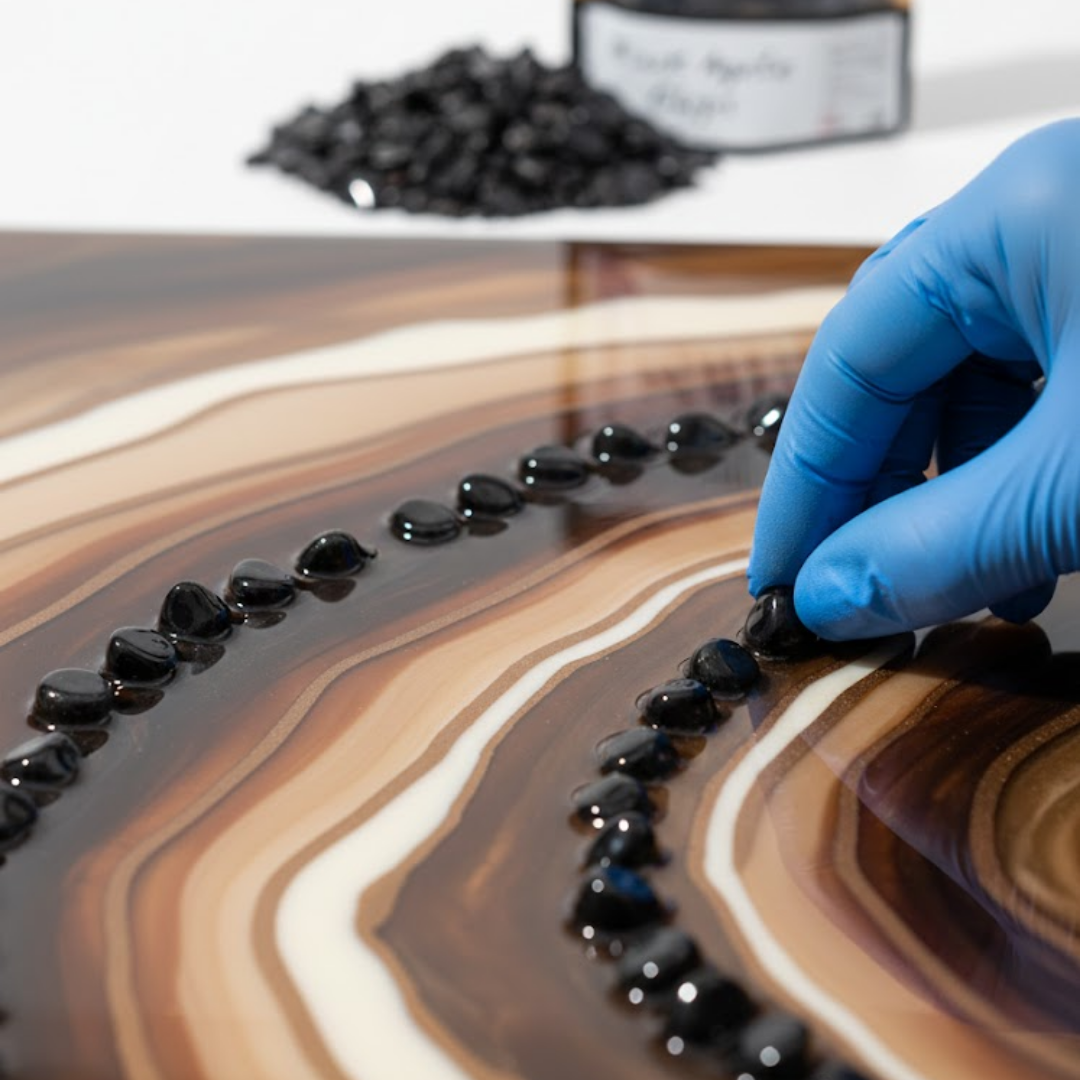
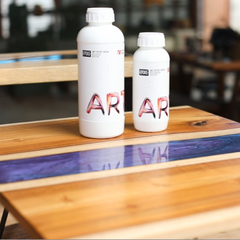
Art Resin vs Casting Resin vs Coating Resin: Which One Do You Actually Need?
Here's what nobody tells you when you're starting out with resin art: not every epoxy resin works the same way. You pick one up at a craft store, mix it,...
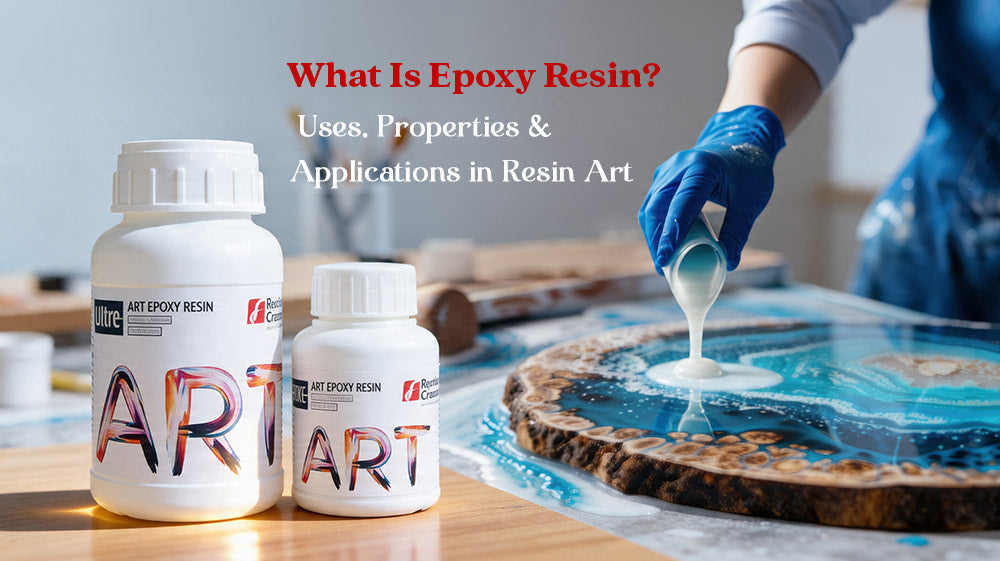
What Is Epoxy Resin? Uses, Properties & Applications in Resin Art
Epoxy resin has become one of the most popular materials in modern art, crafts, and industrial applications. From stunning resin paintings and jewelry to furniture and protective coatings, epoxy resin...

Types of Epoxy Resin: A Complete Guide
Epoxy resins are among the most versatile industrial and commercial polymers used today. From construction and electronics to woodworking and aerospace, epoxy systems offer exceptional strength, durability, and chemical resistance....
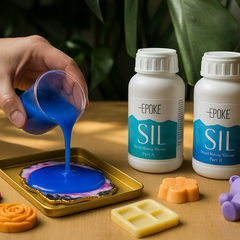
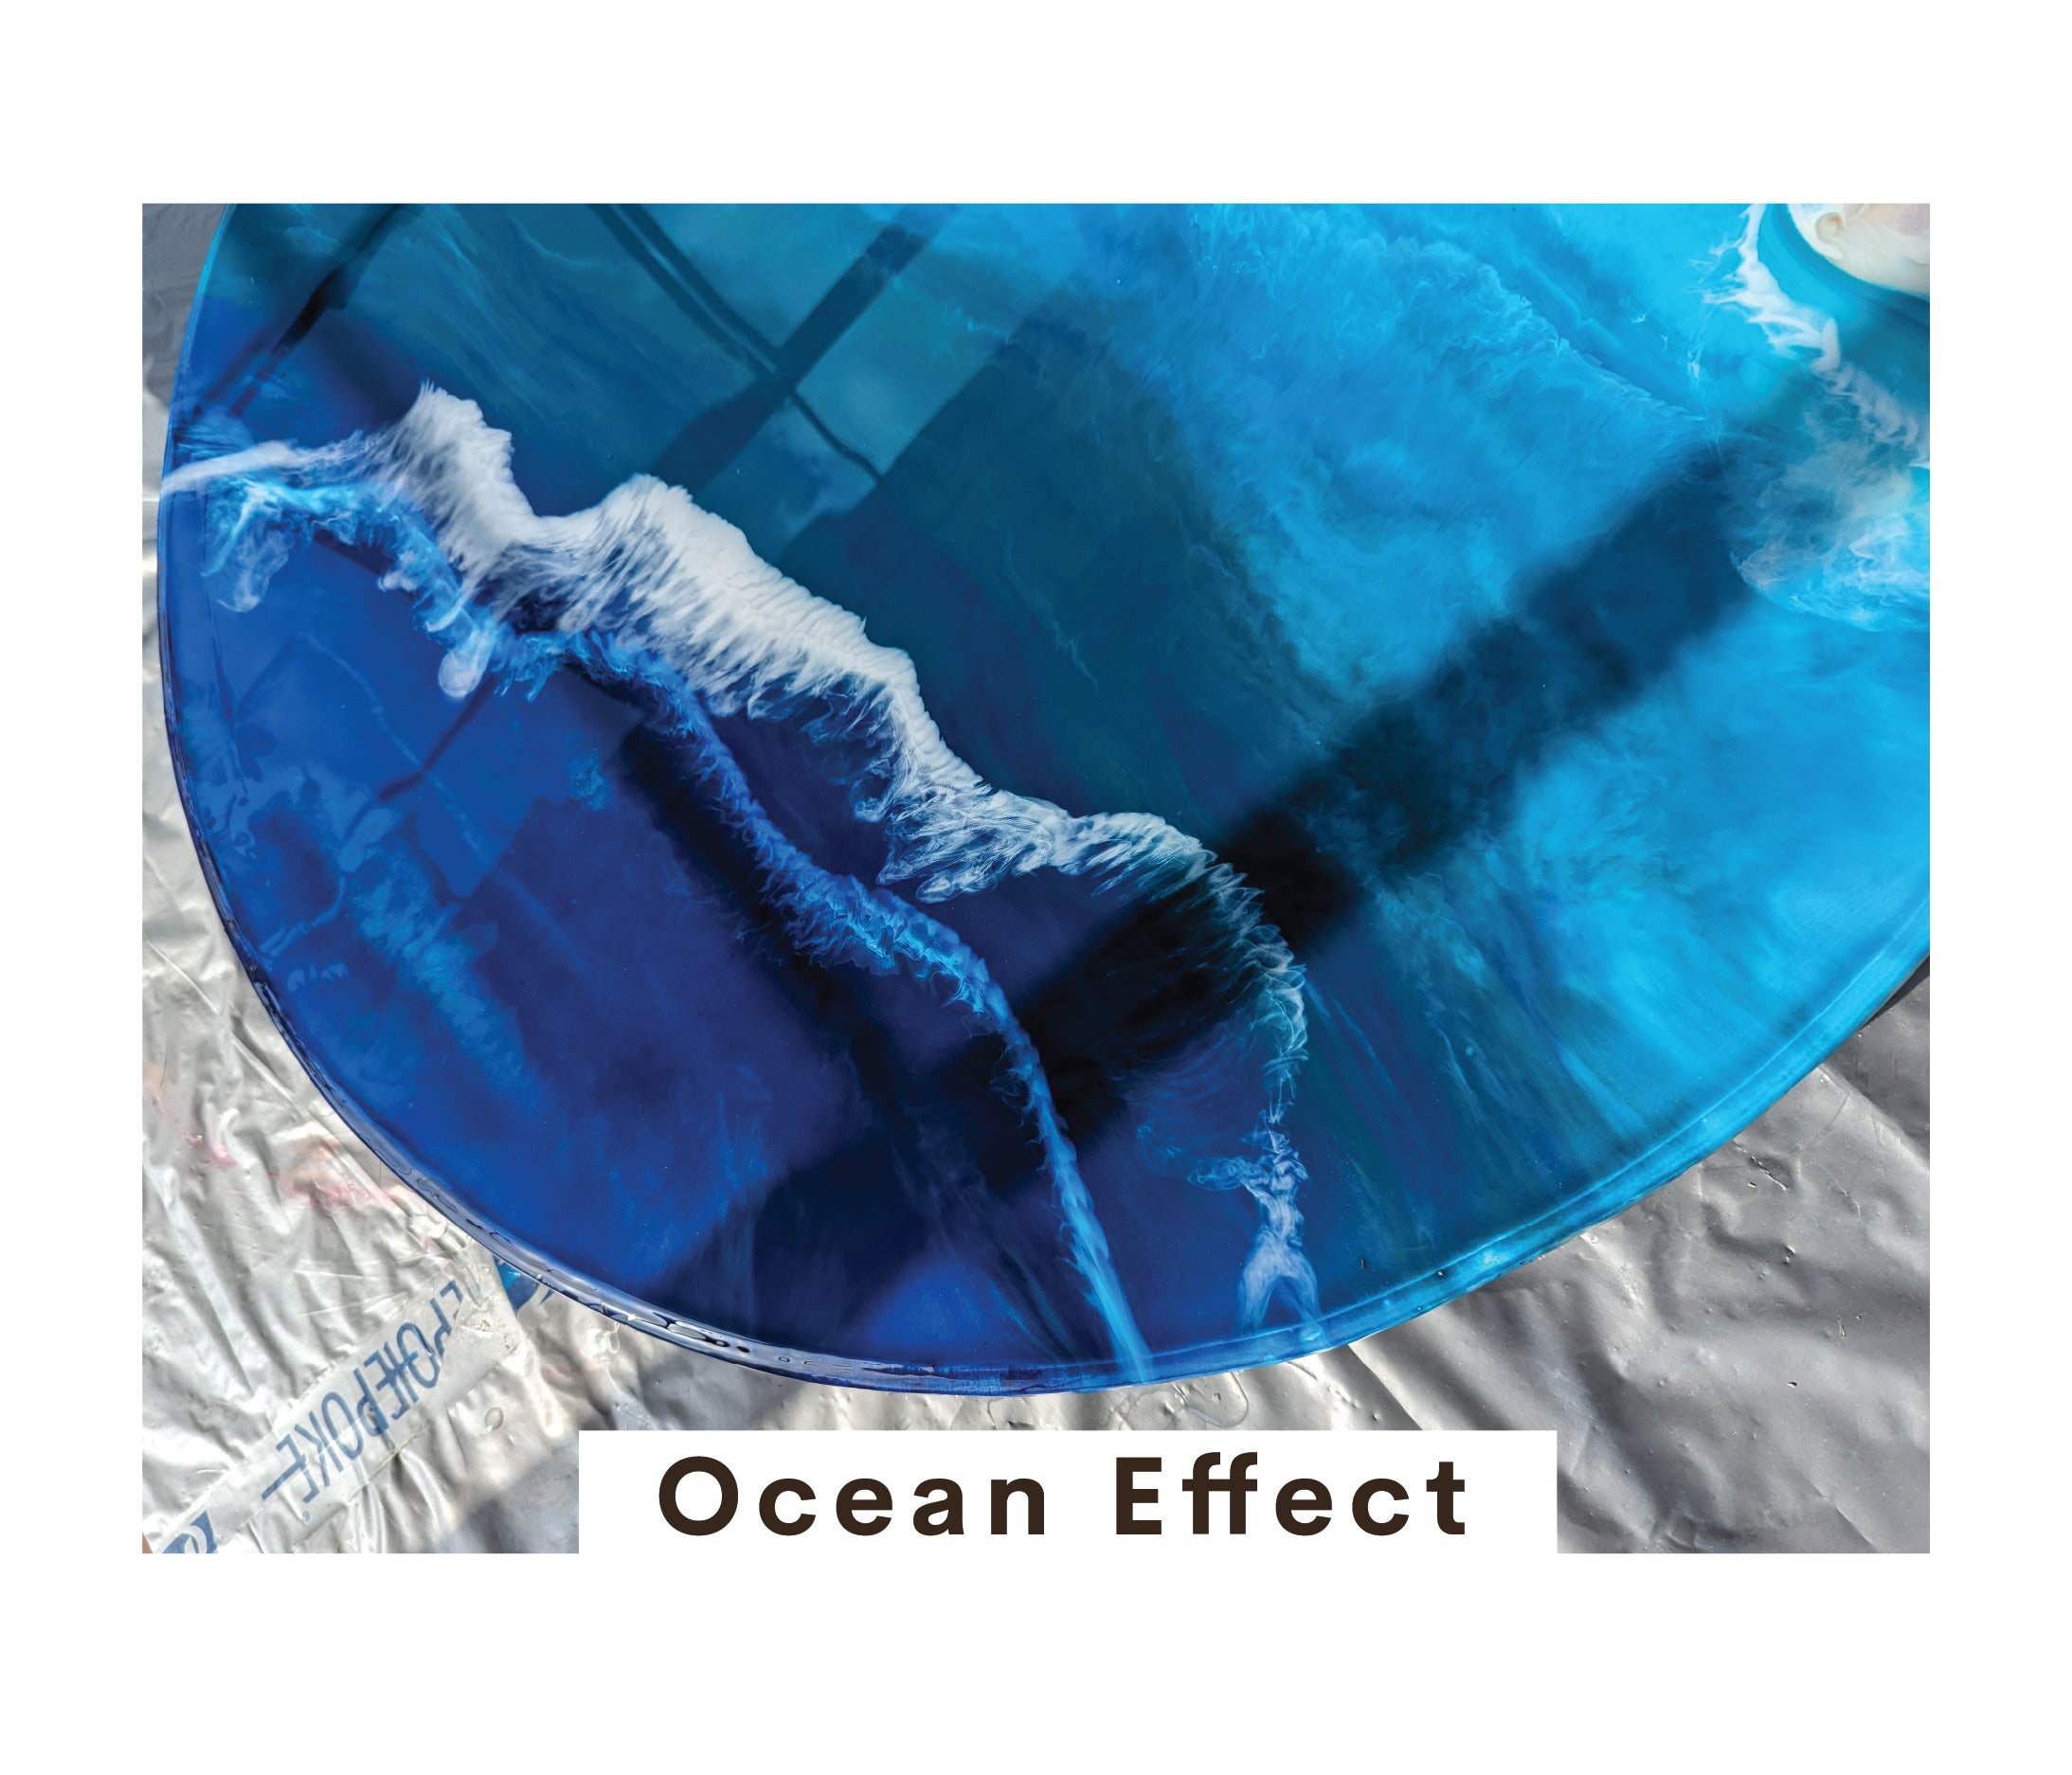
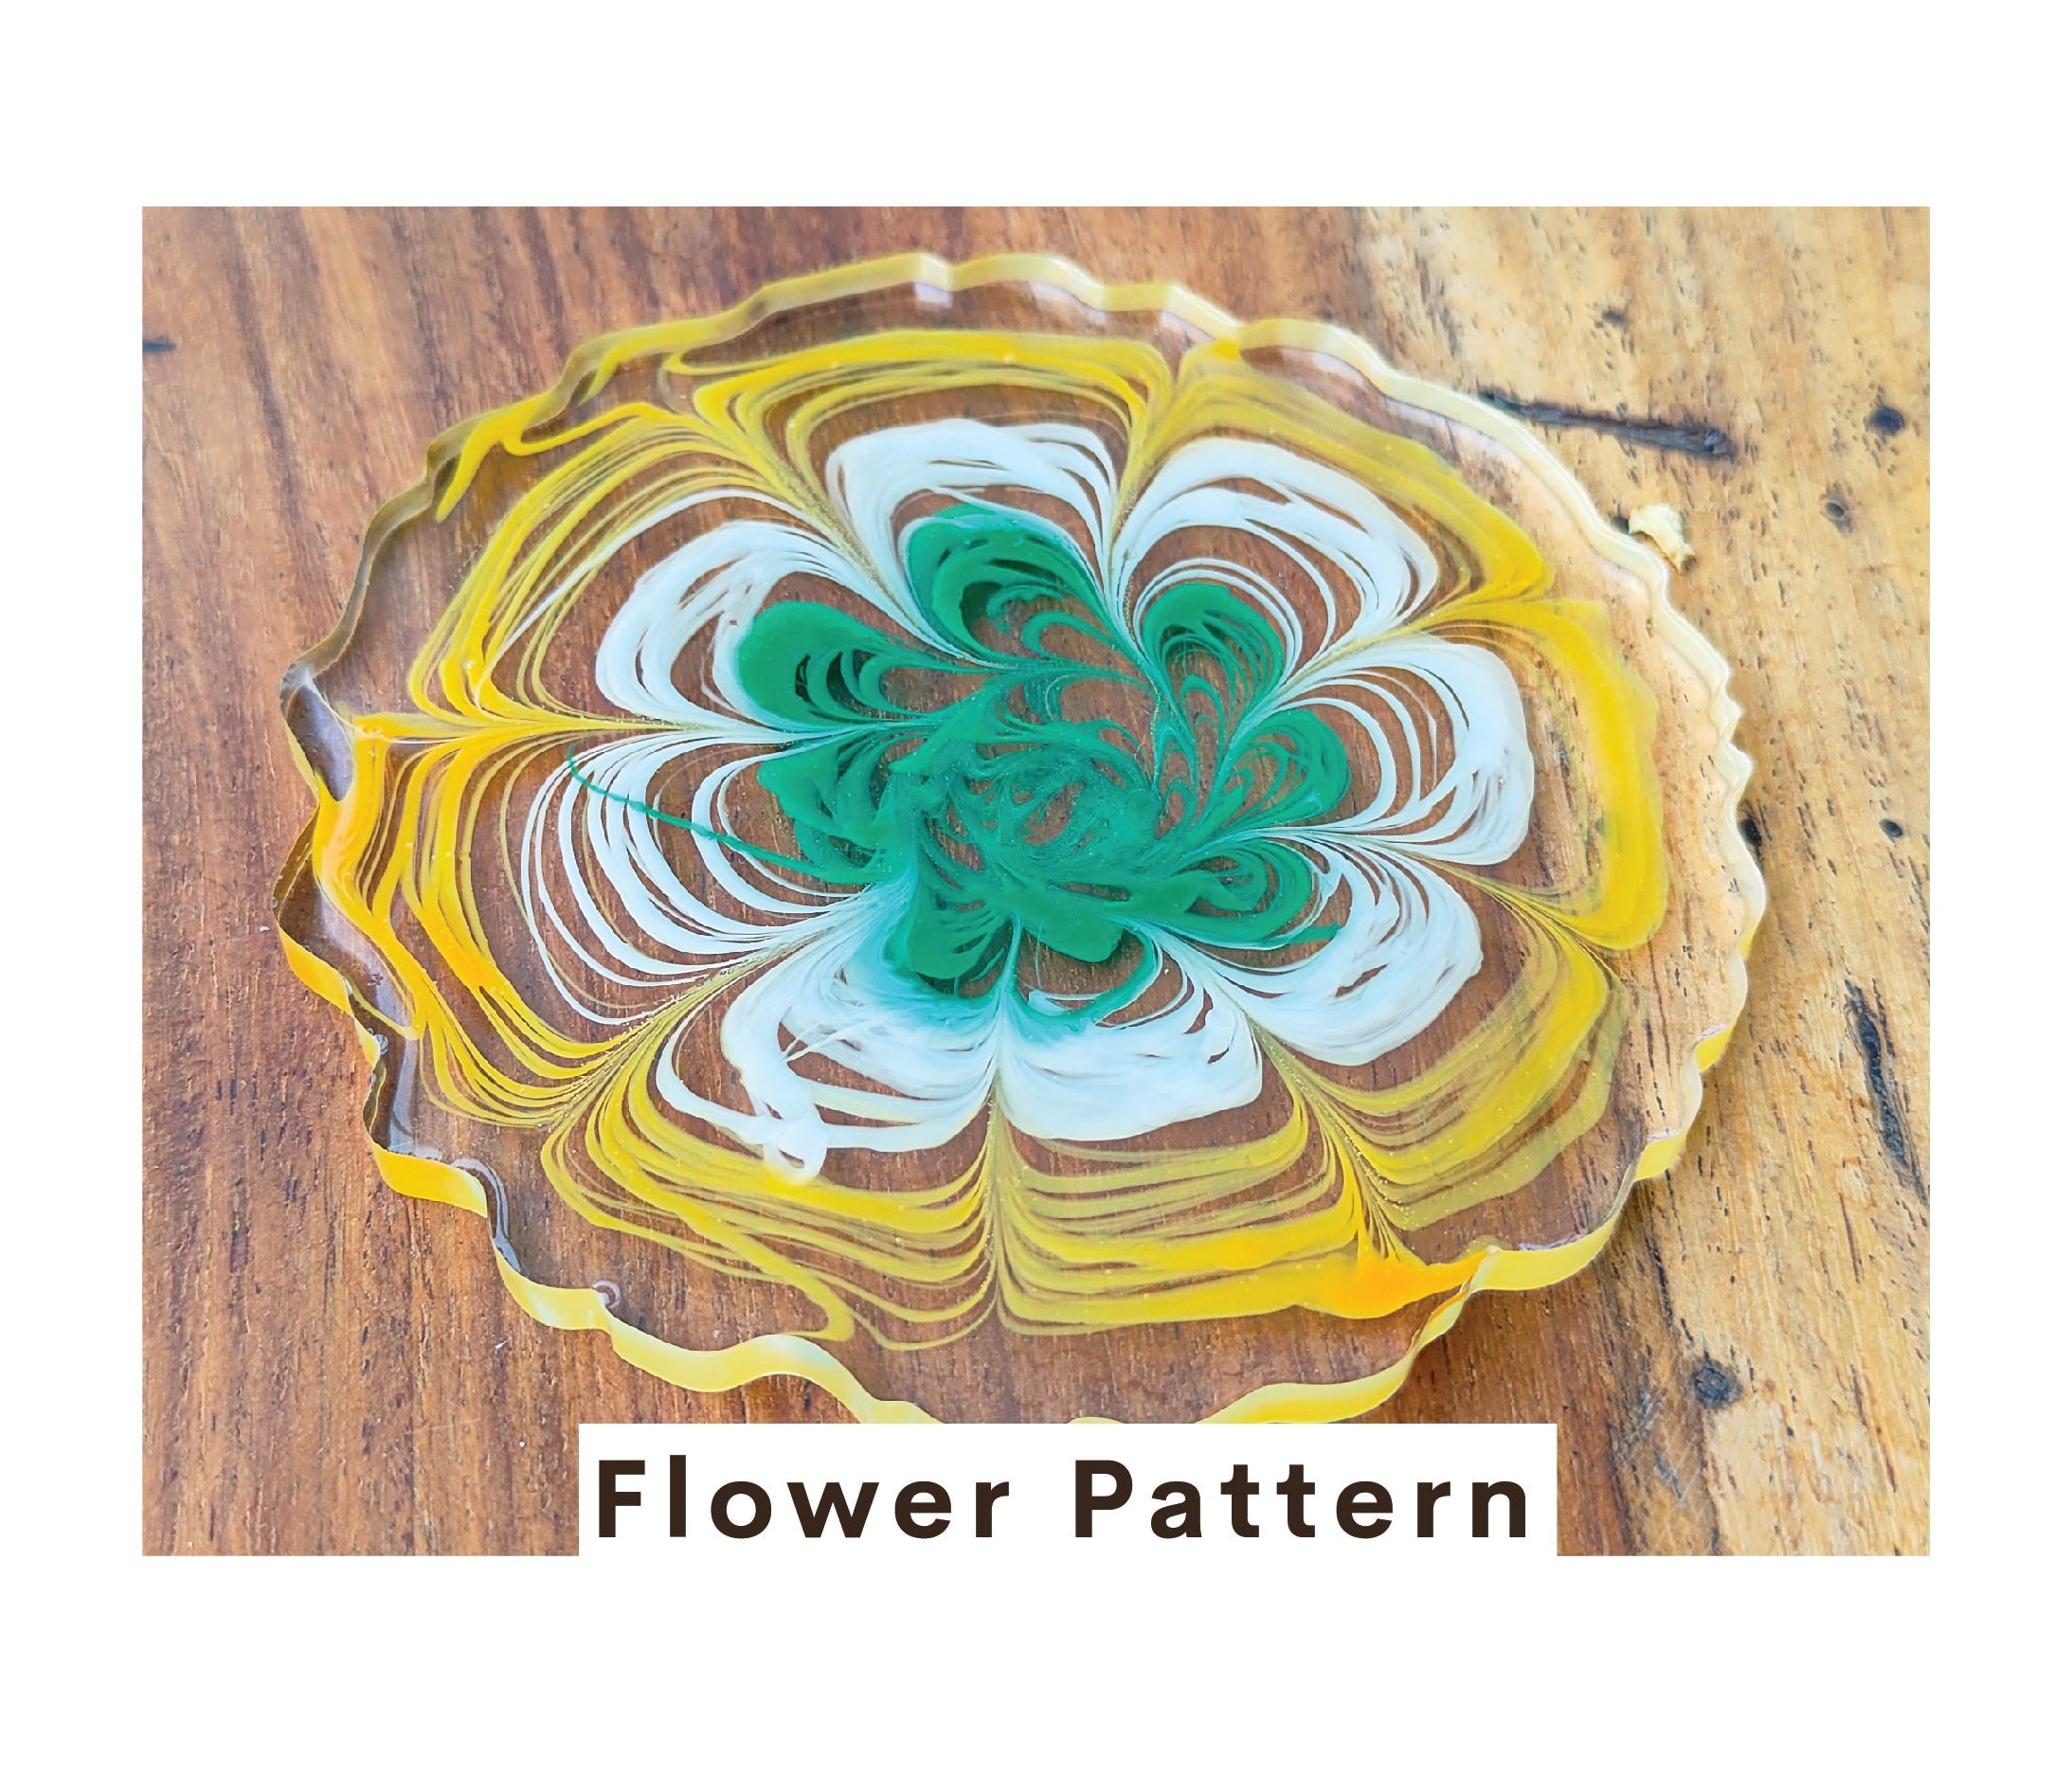
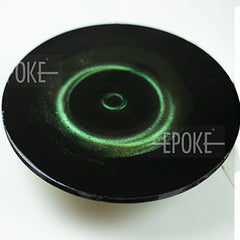
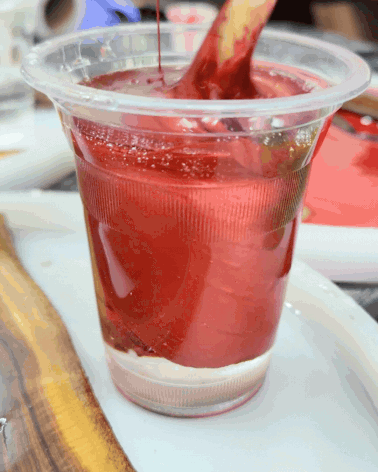
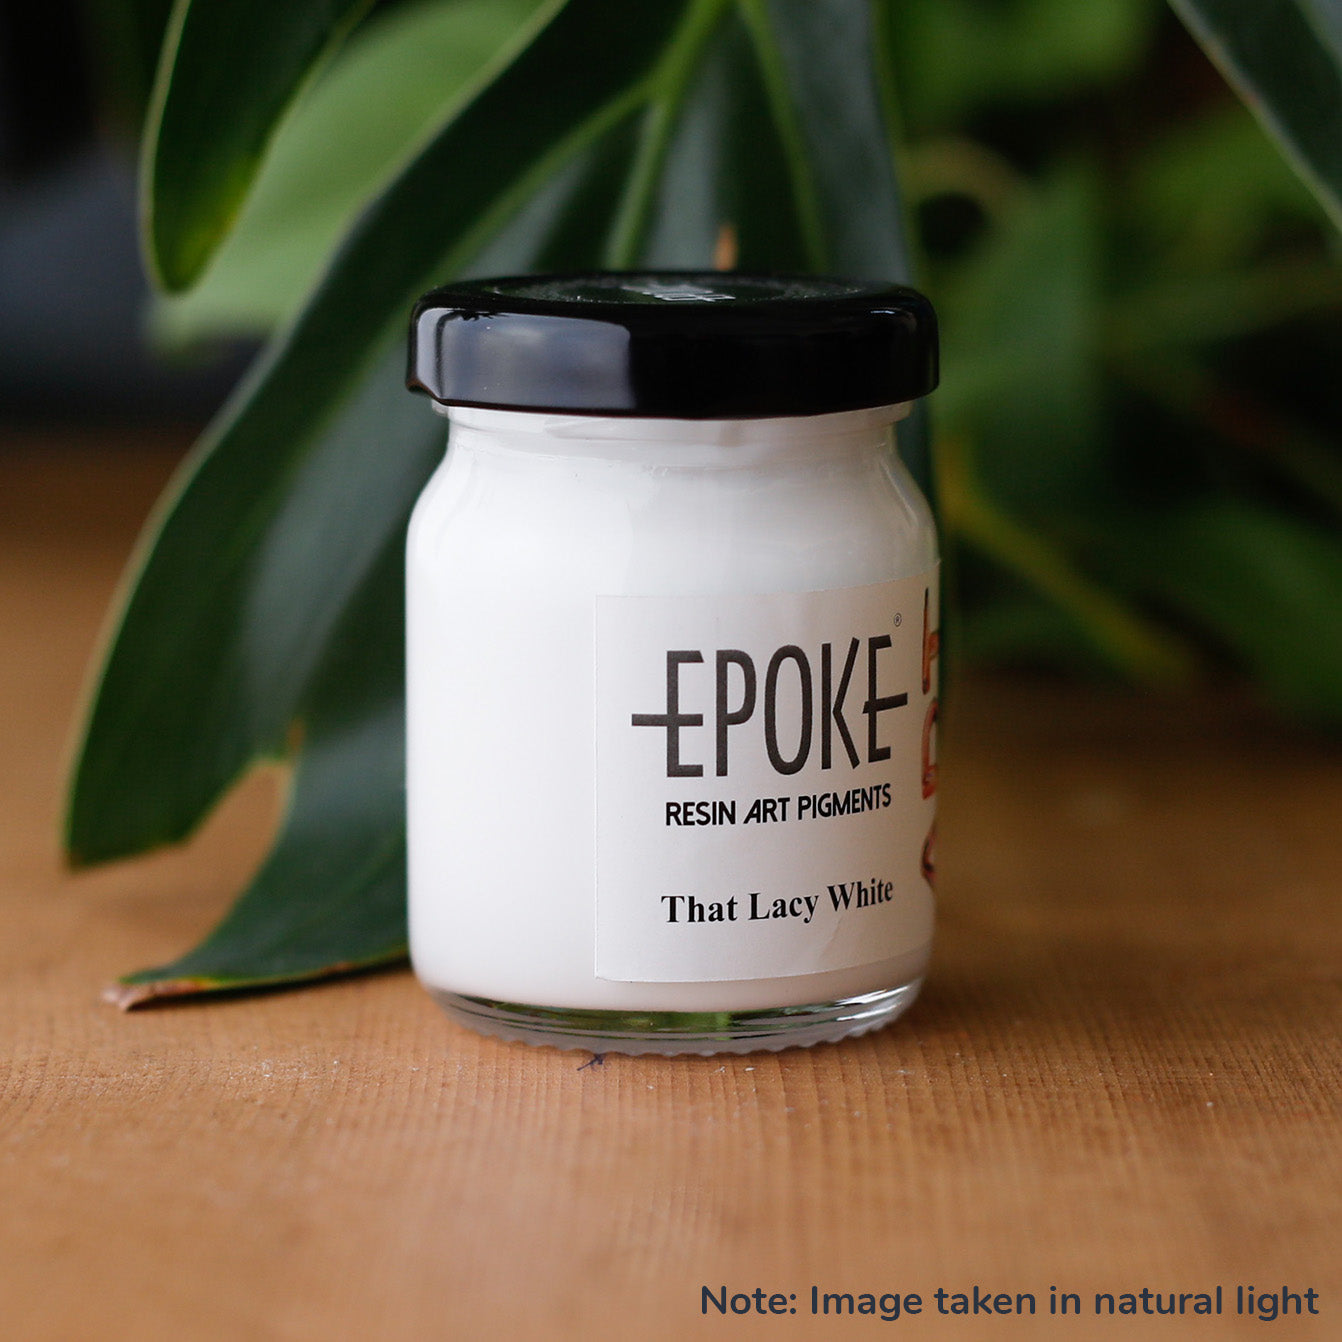
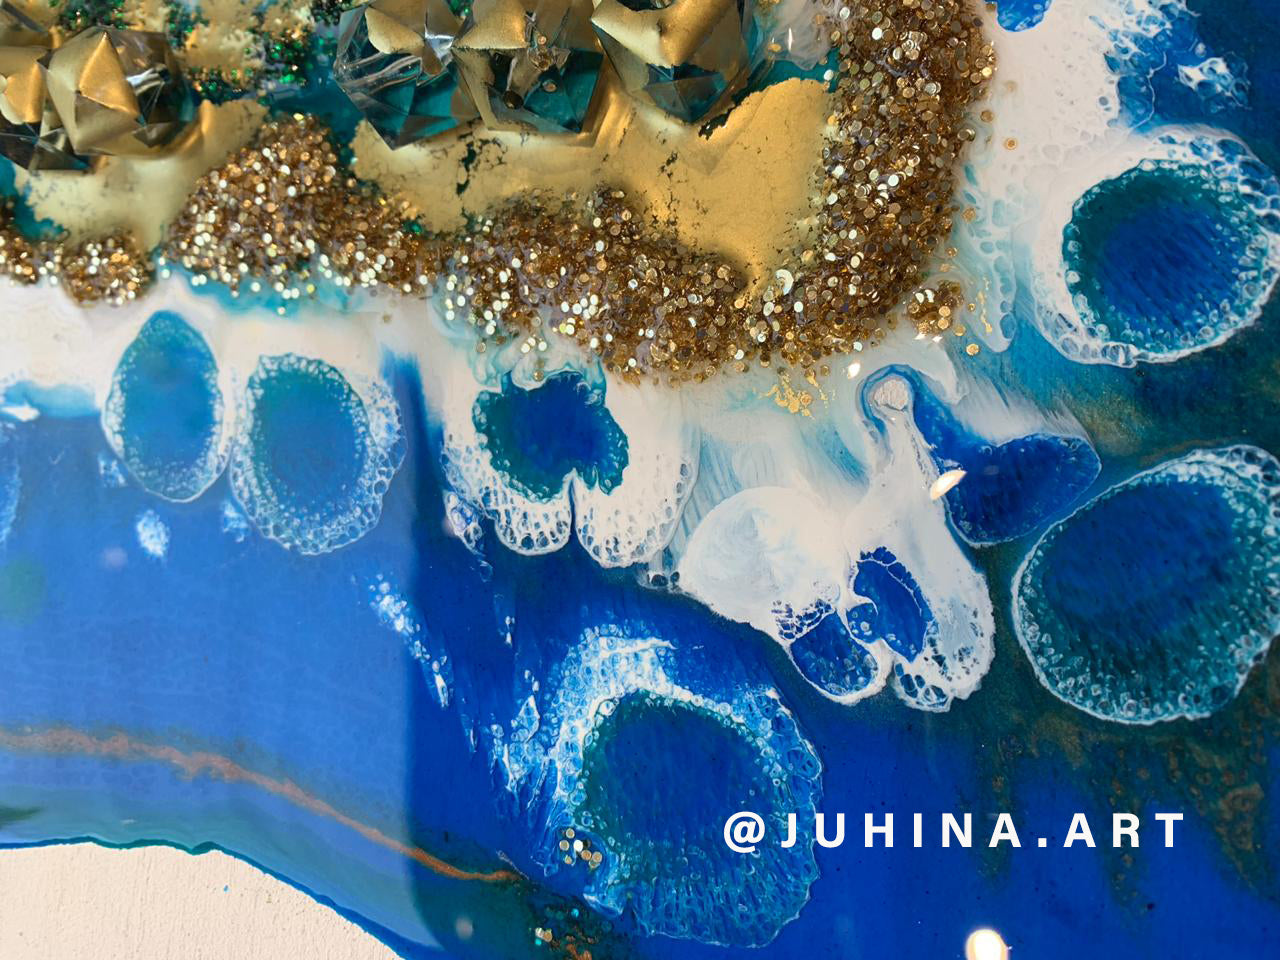
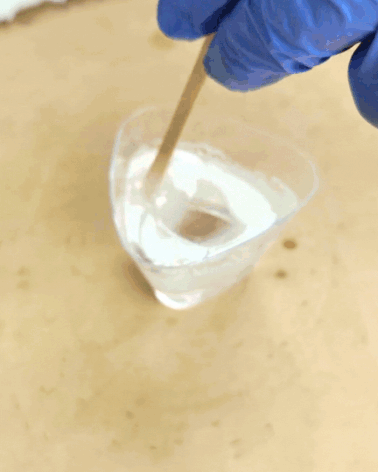
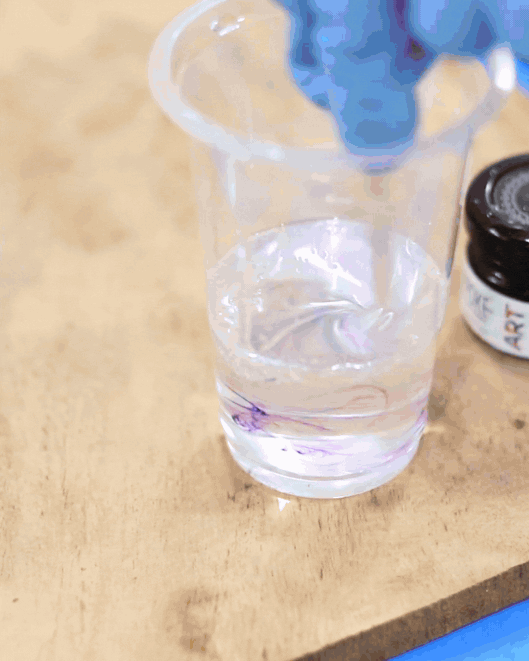
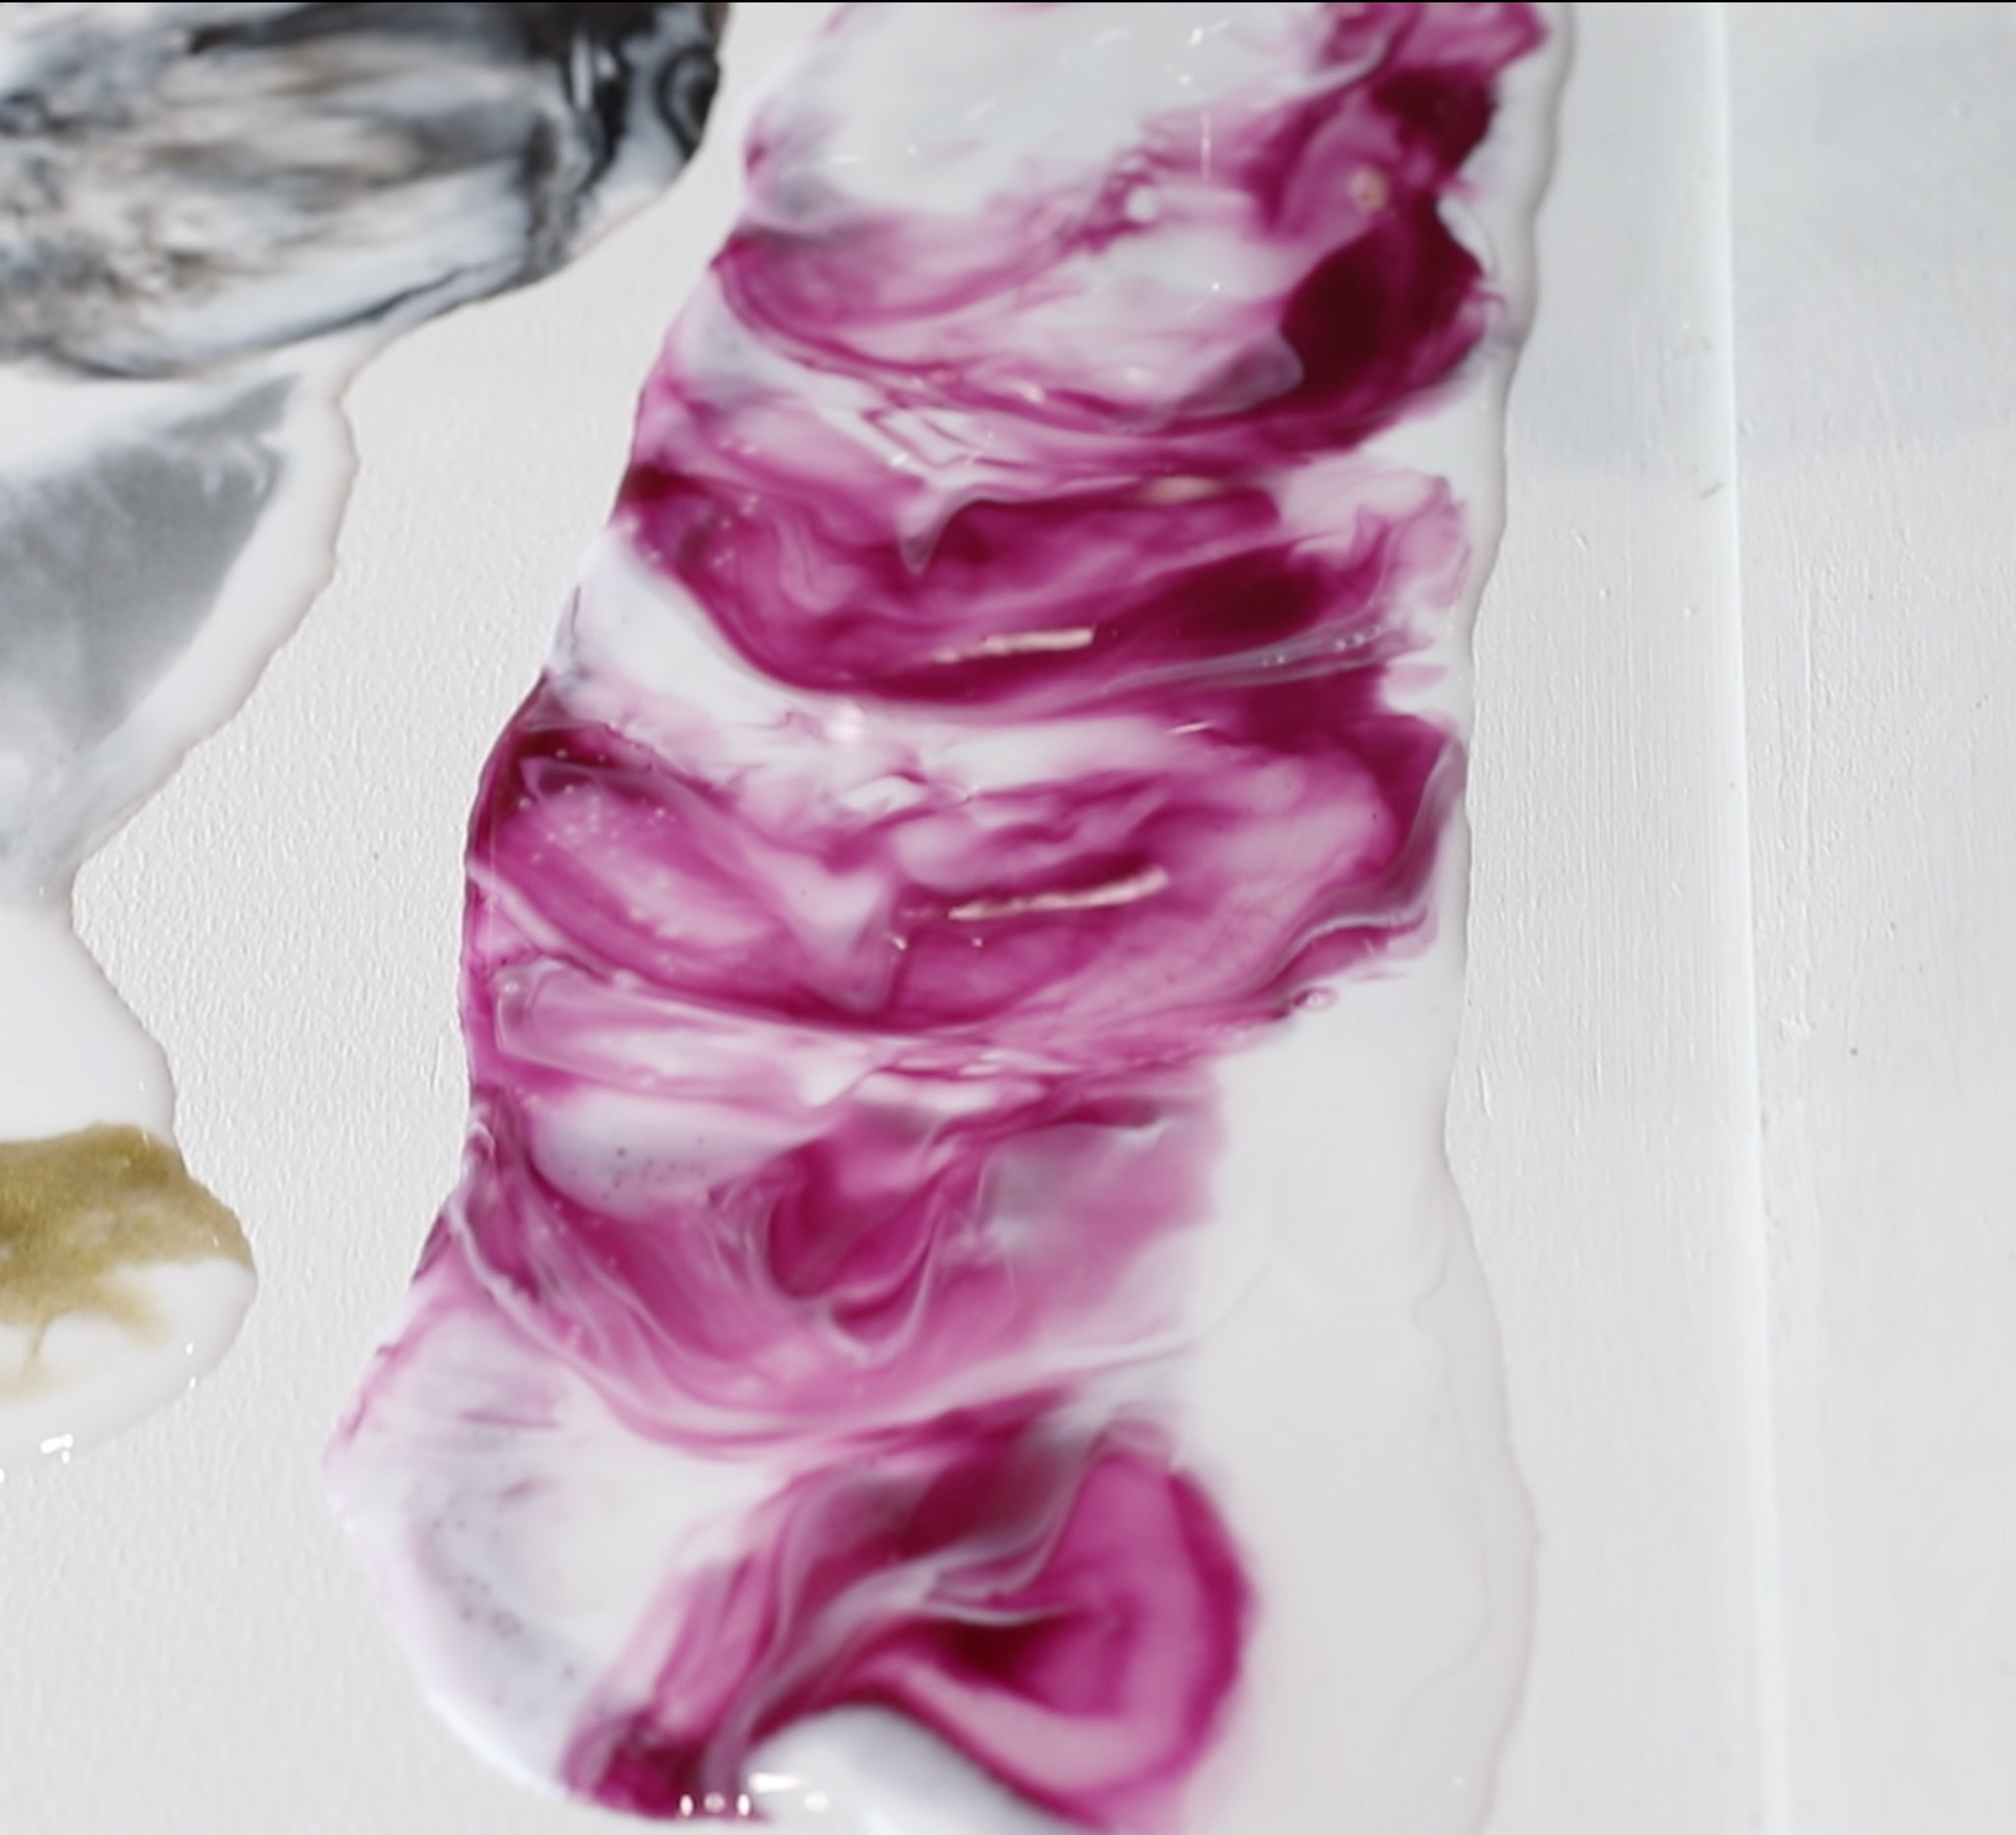
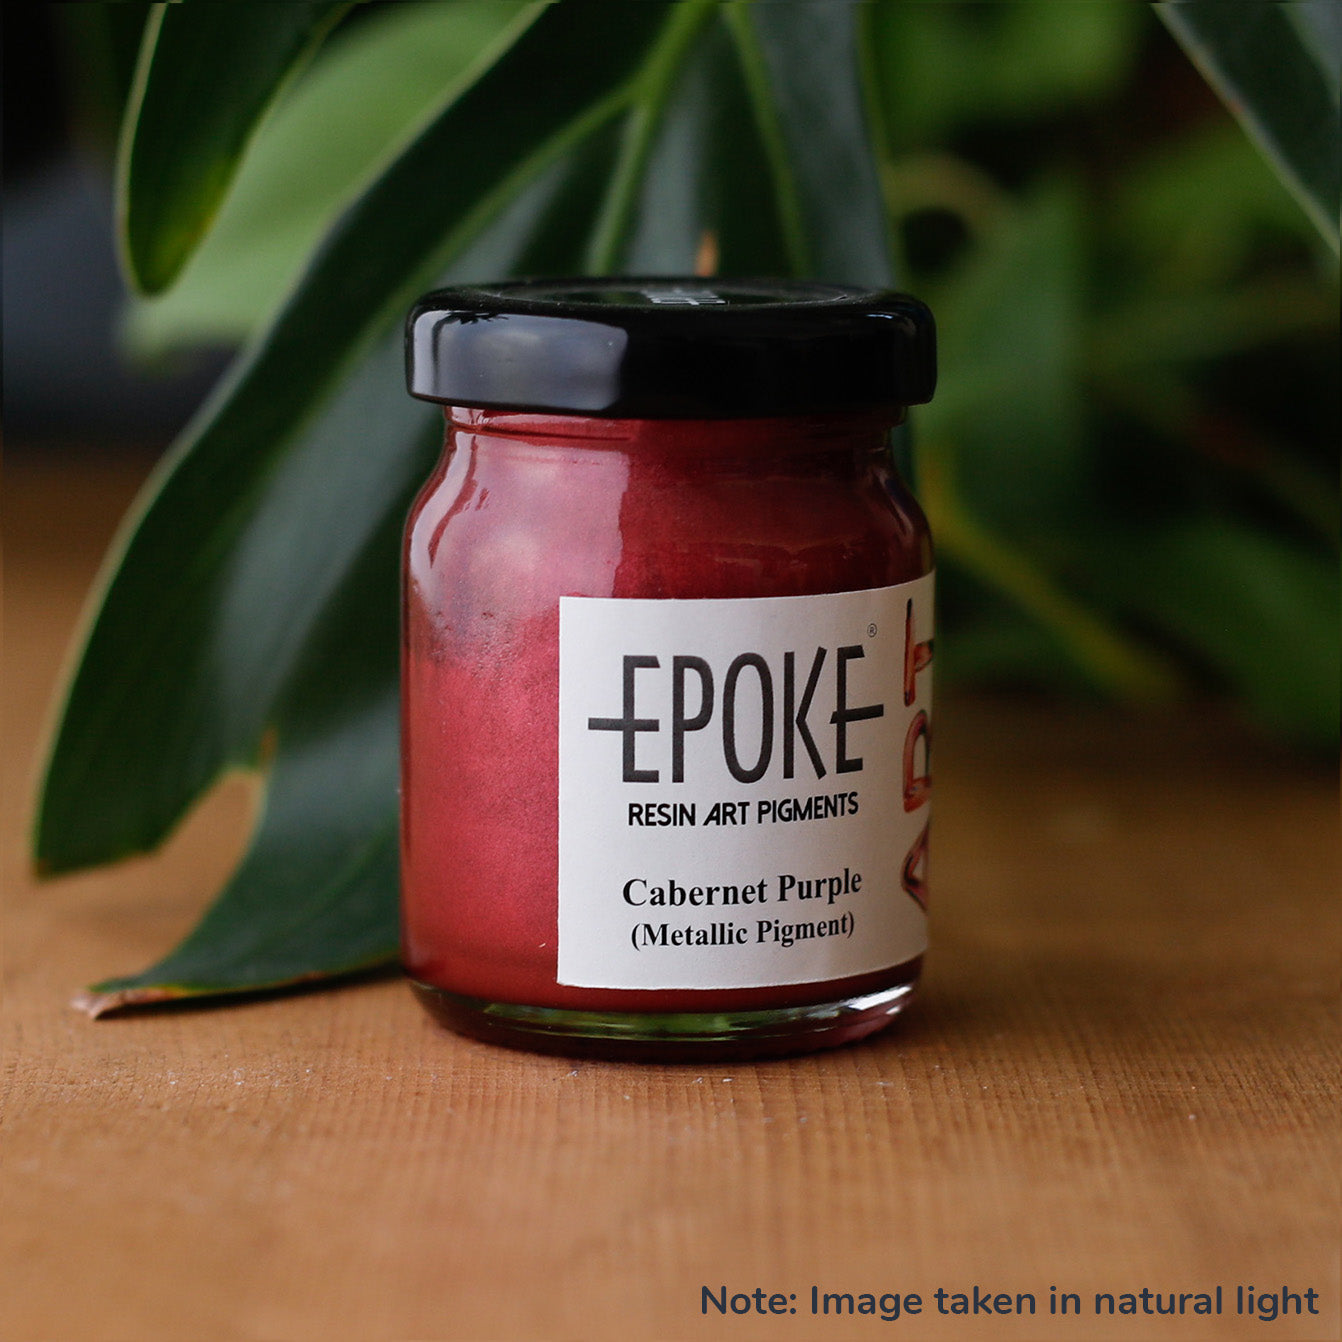
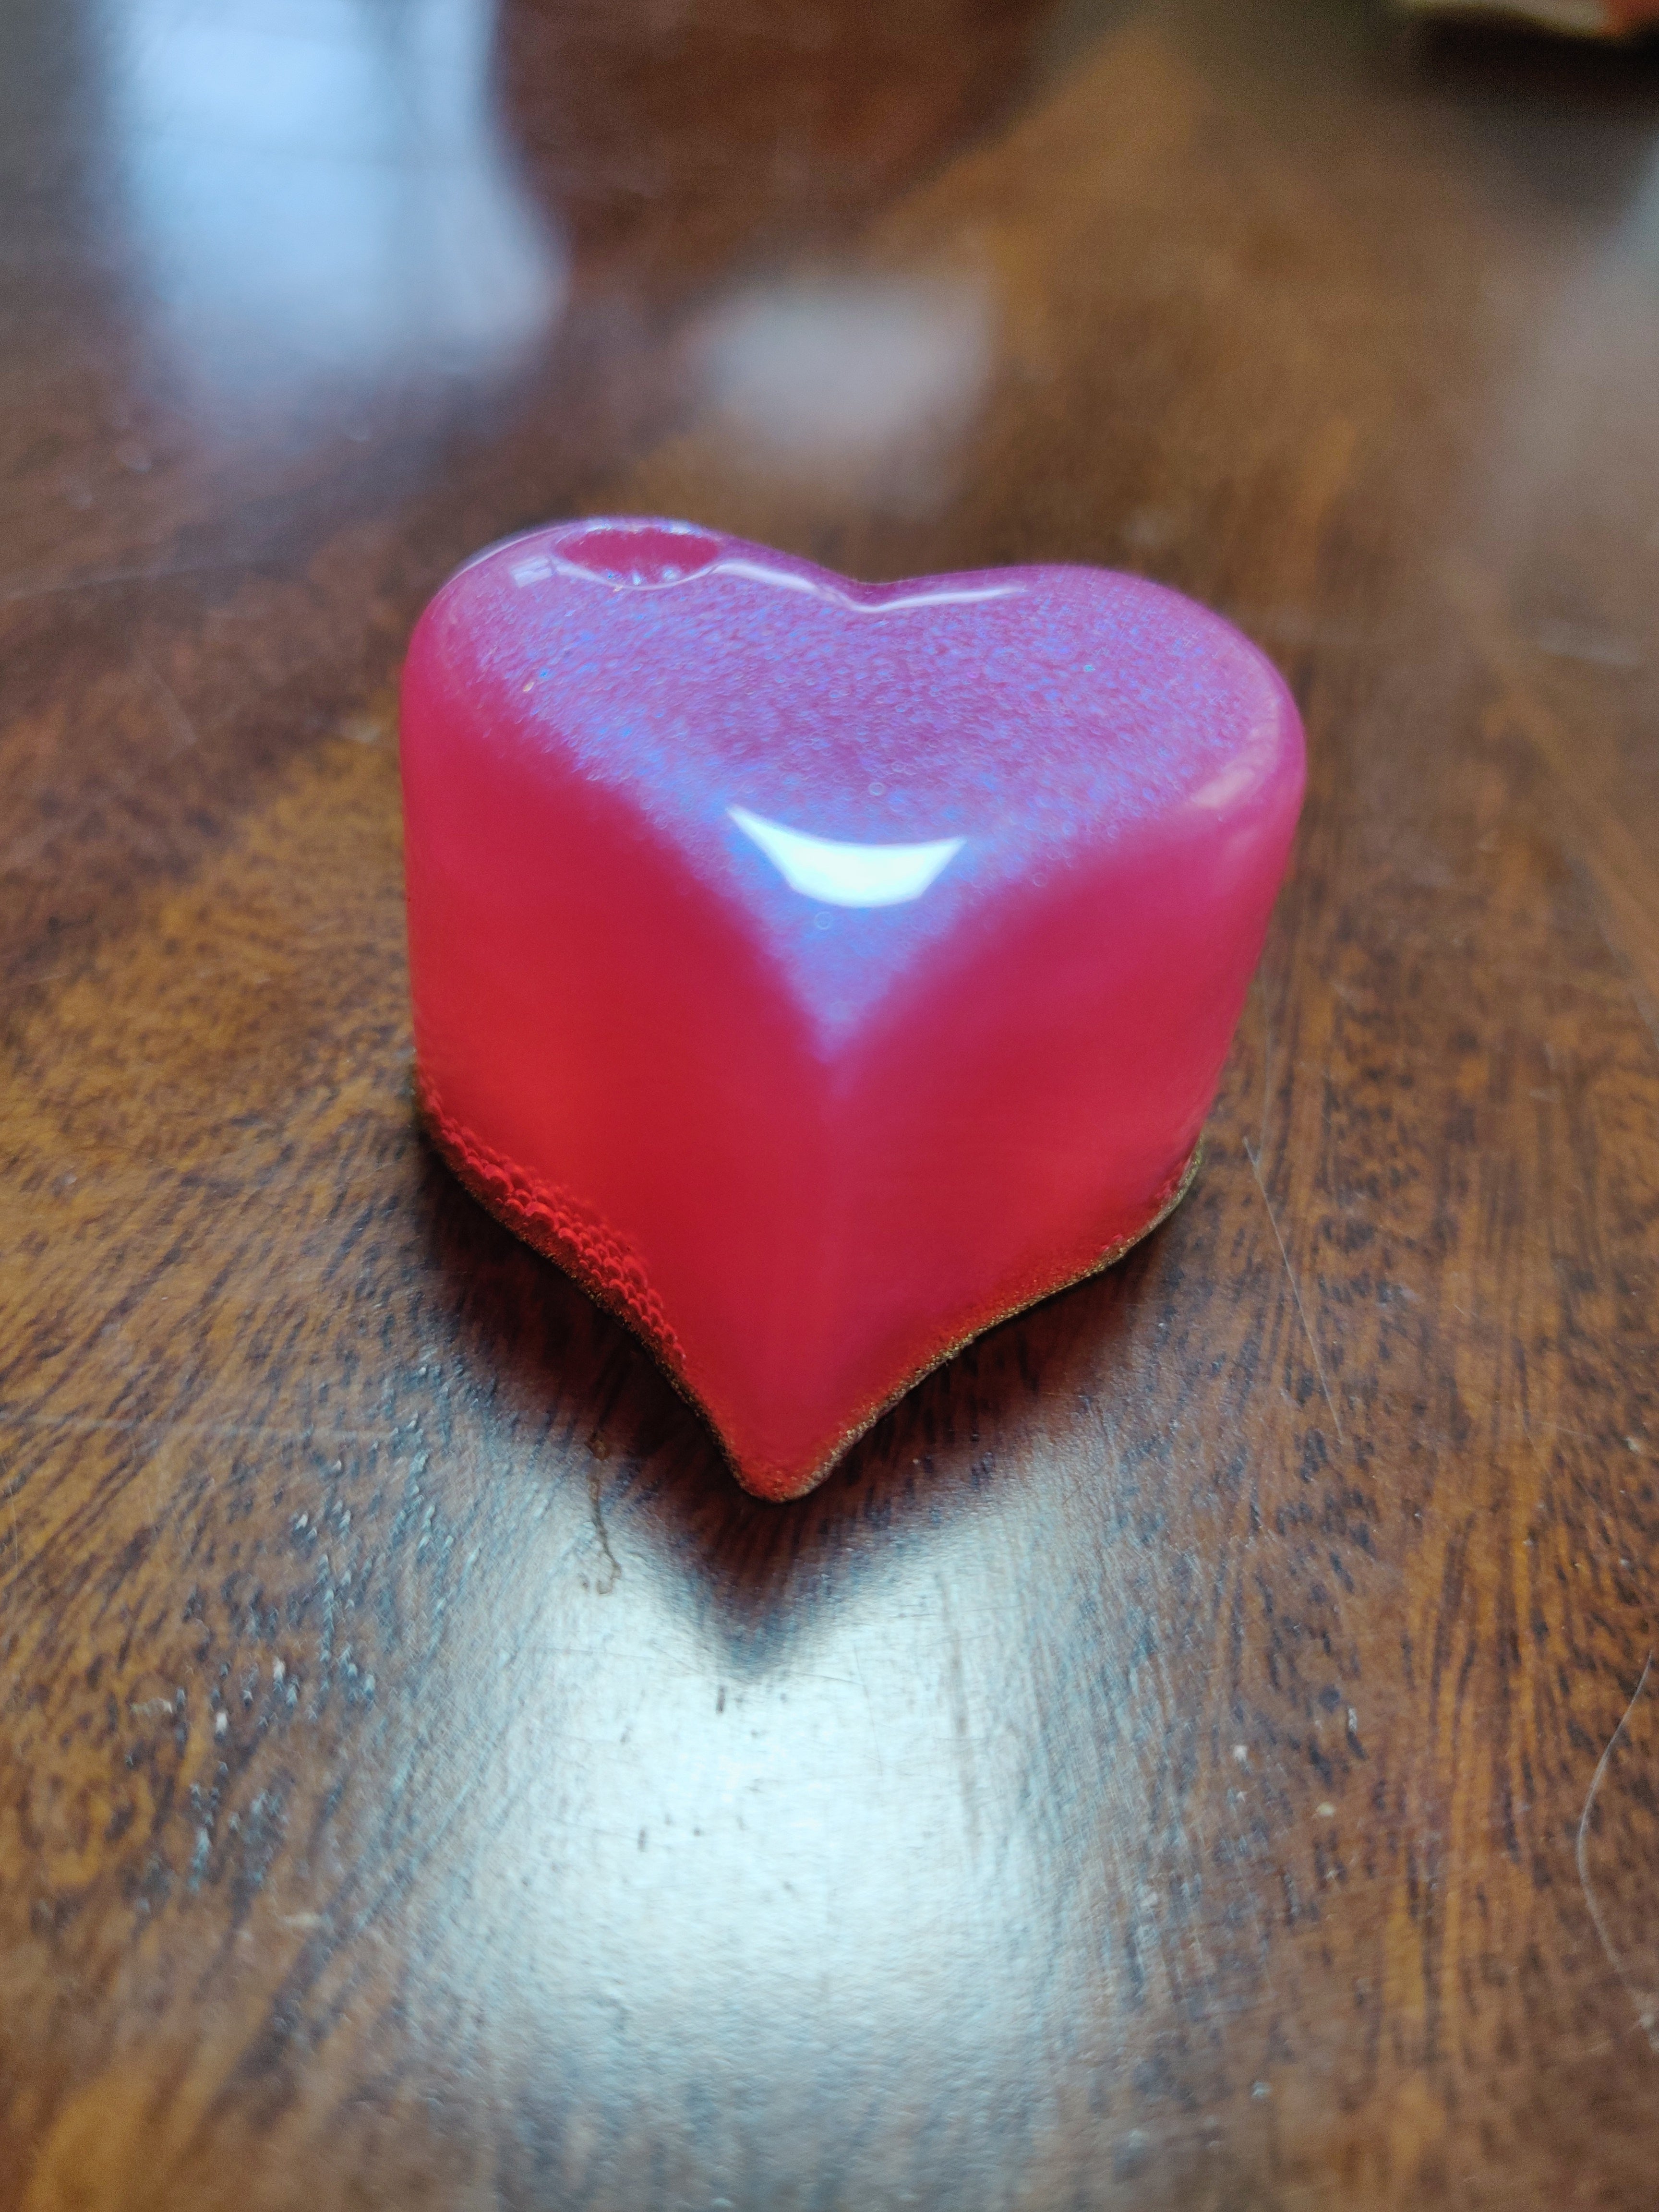
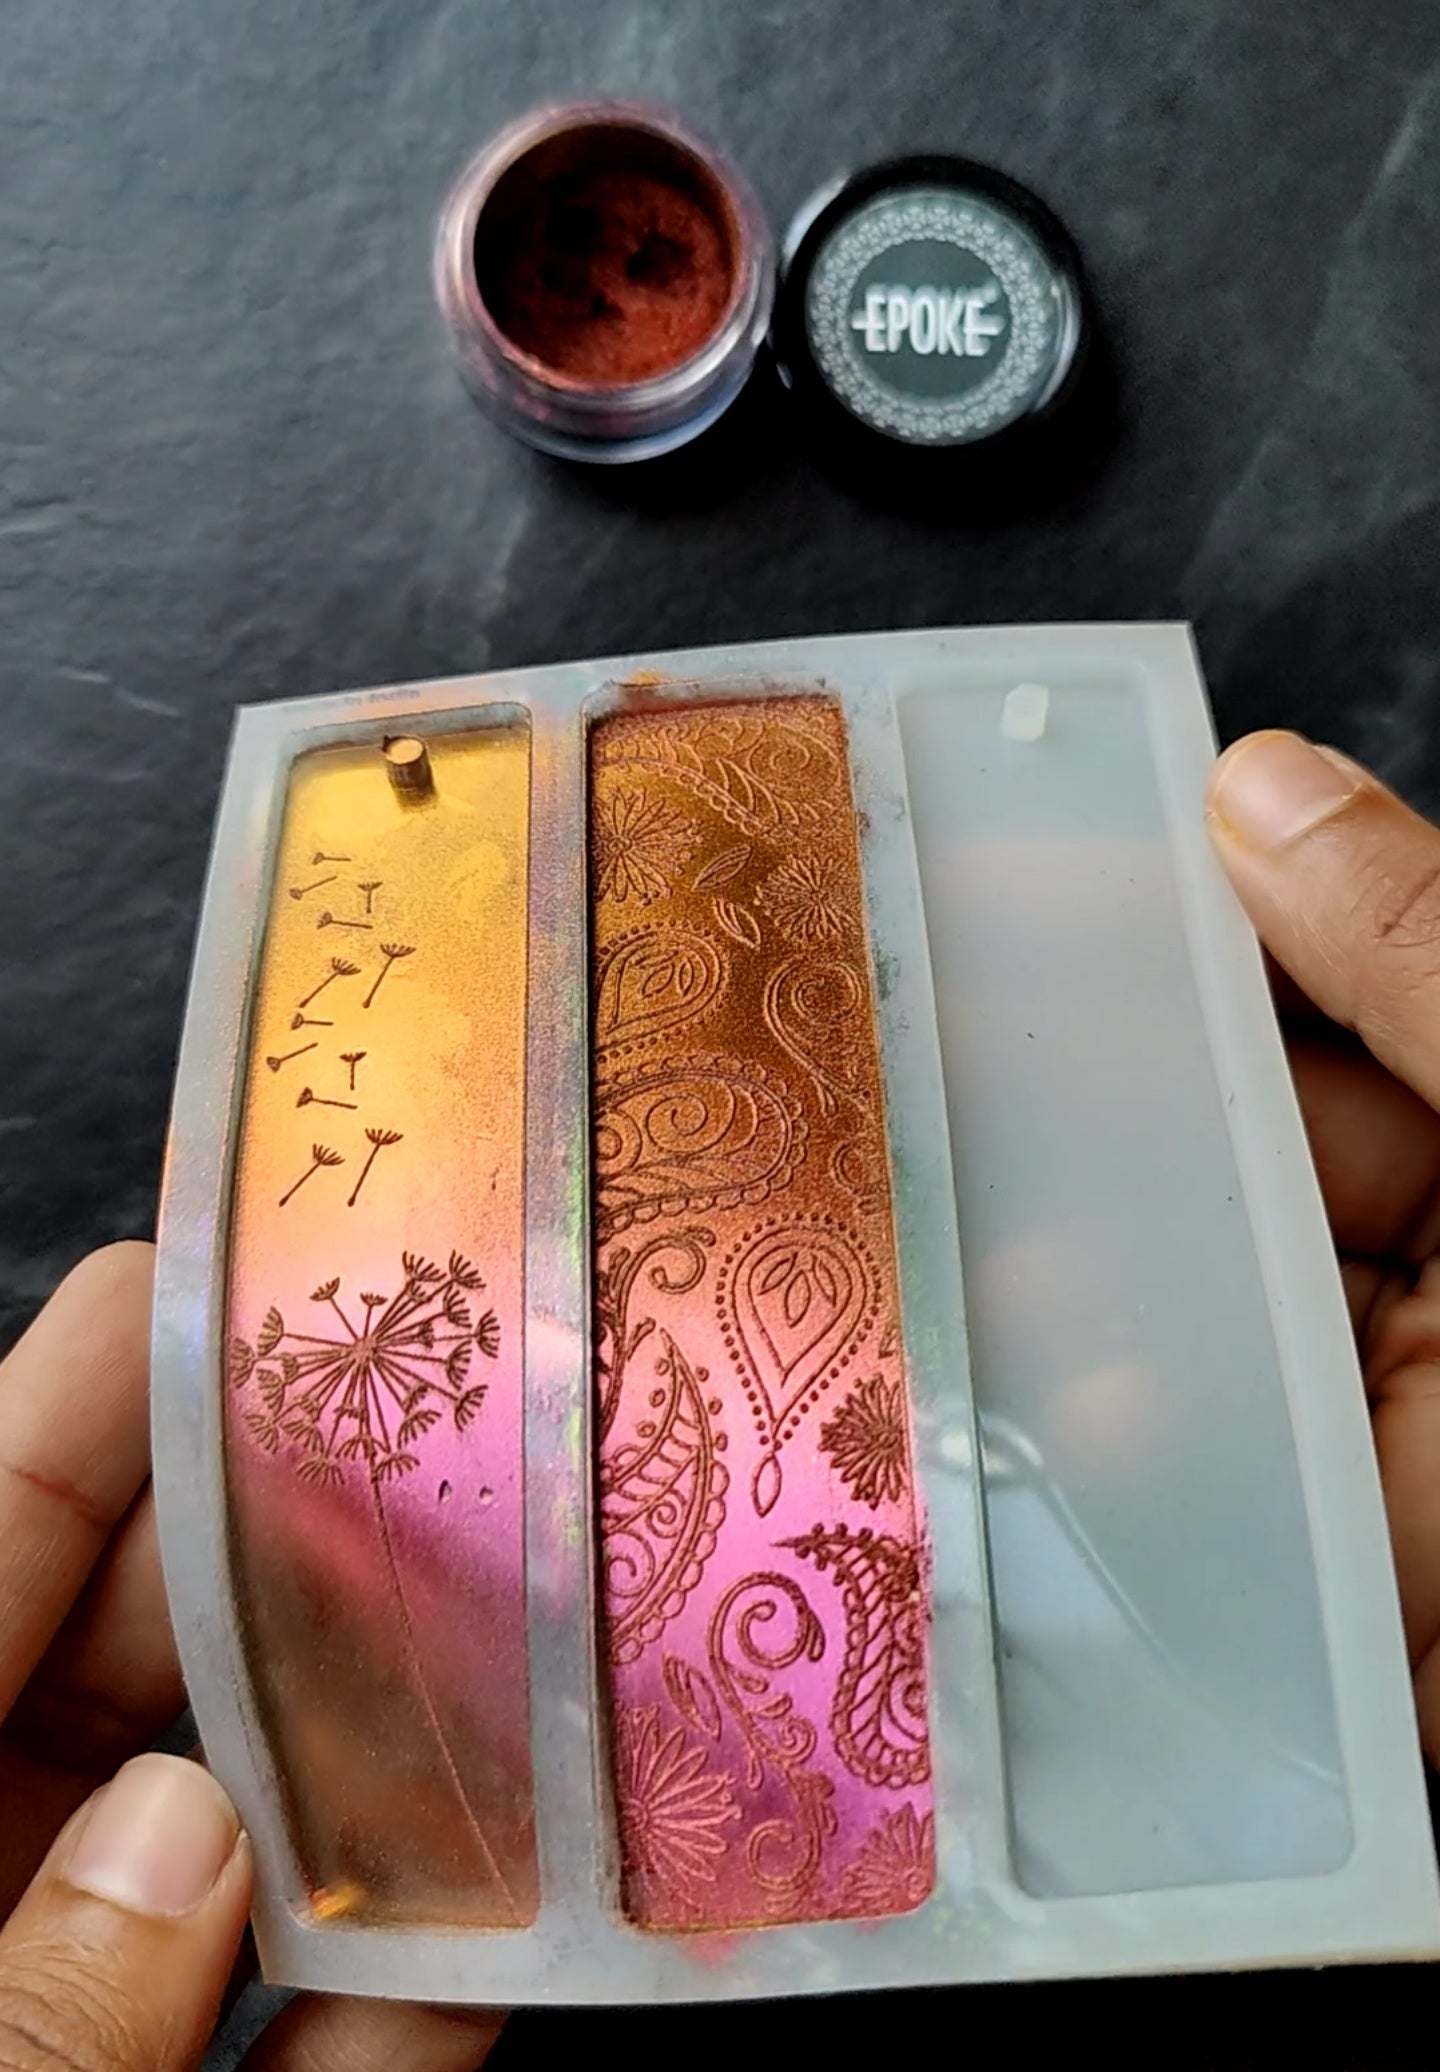
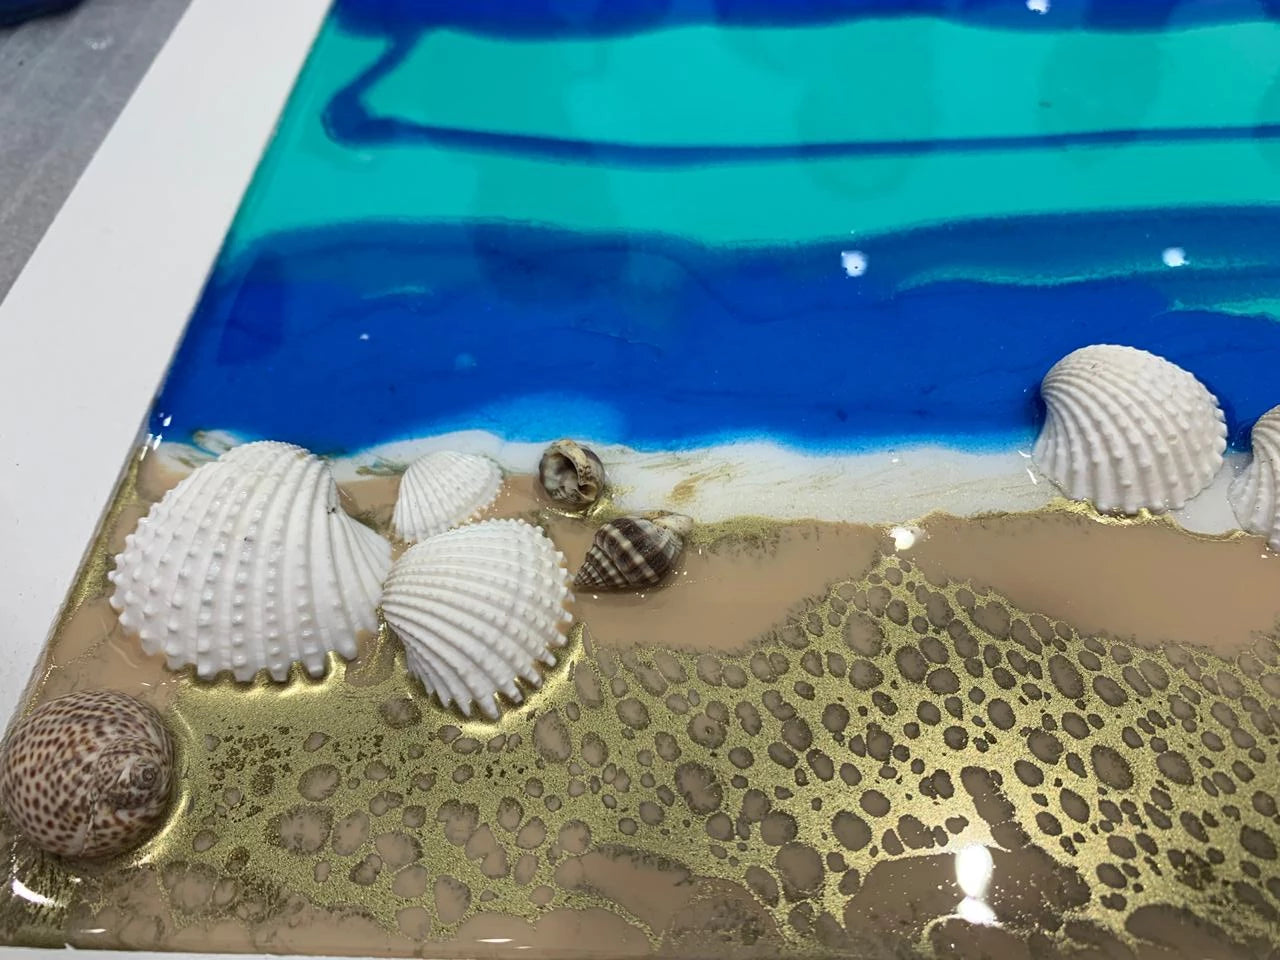
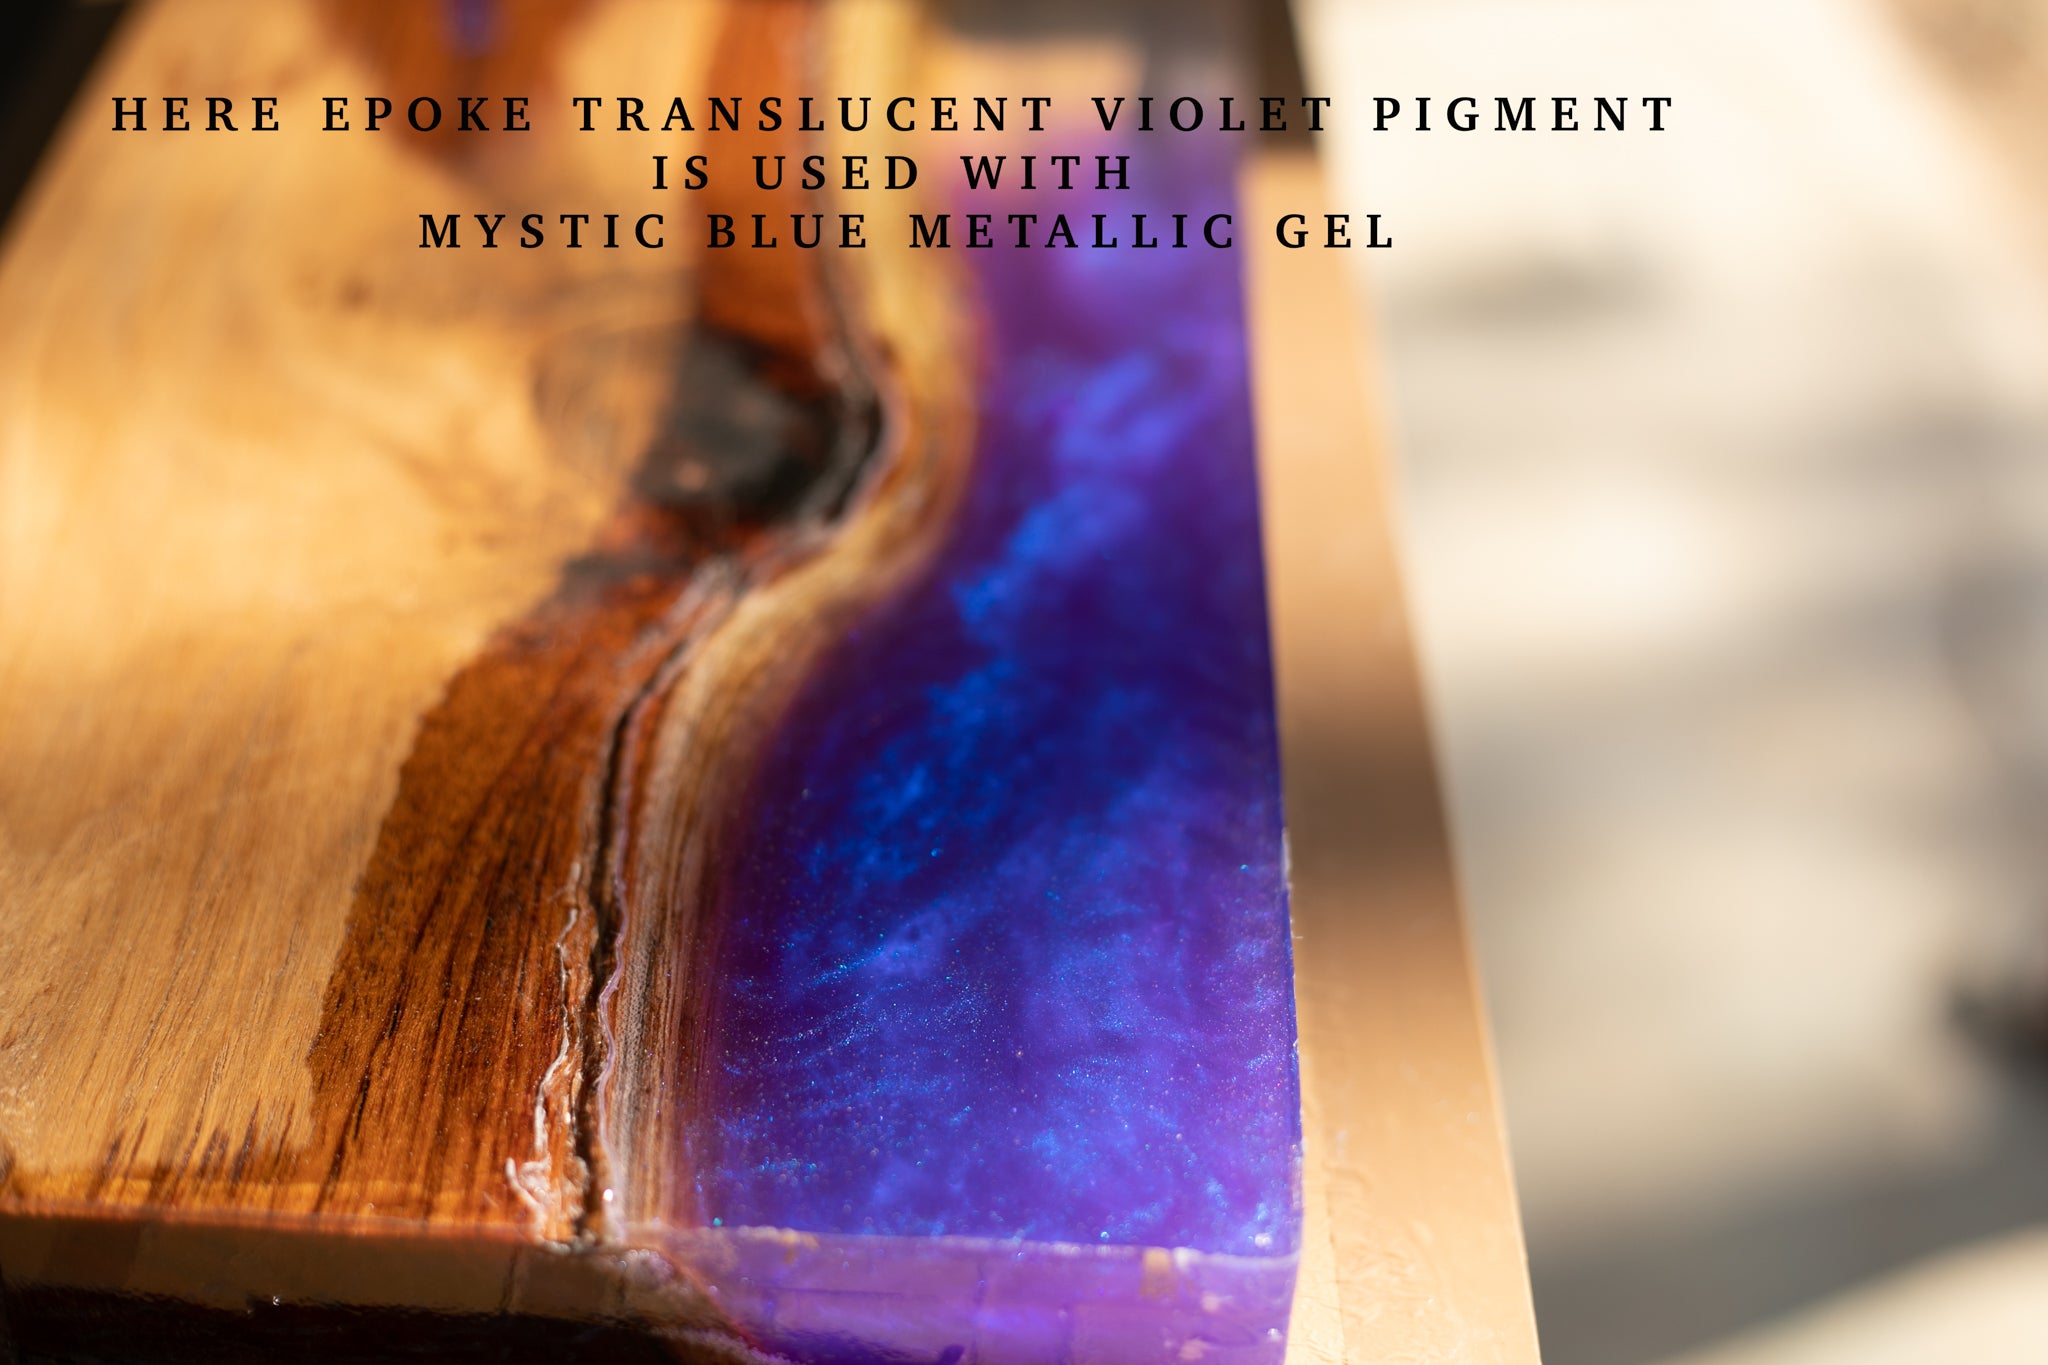
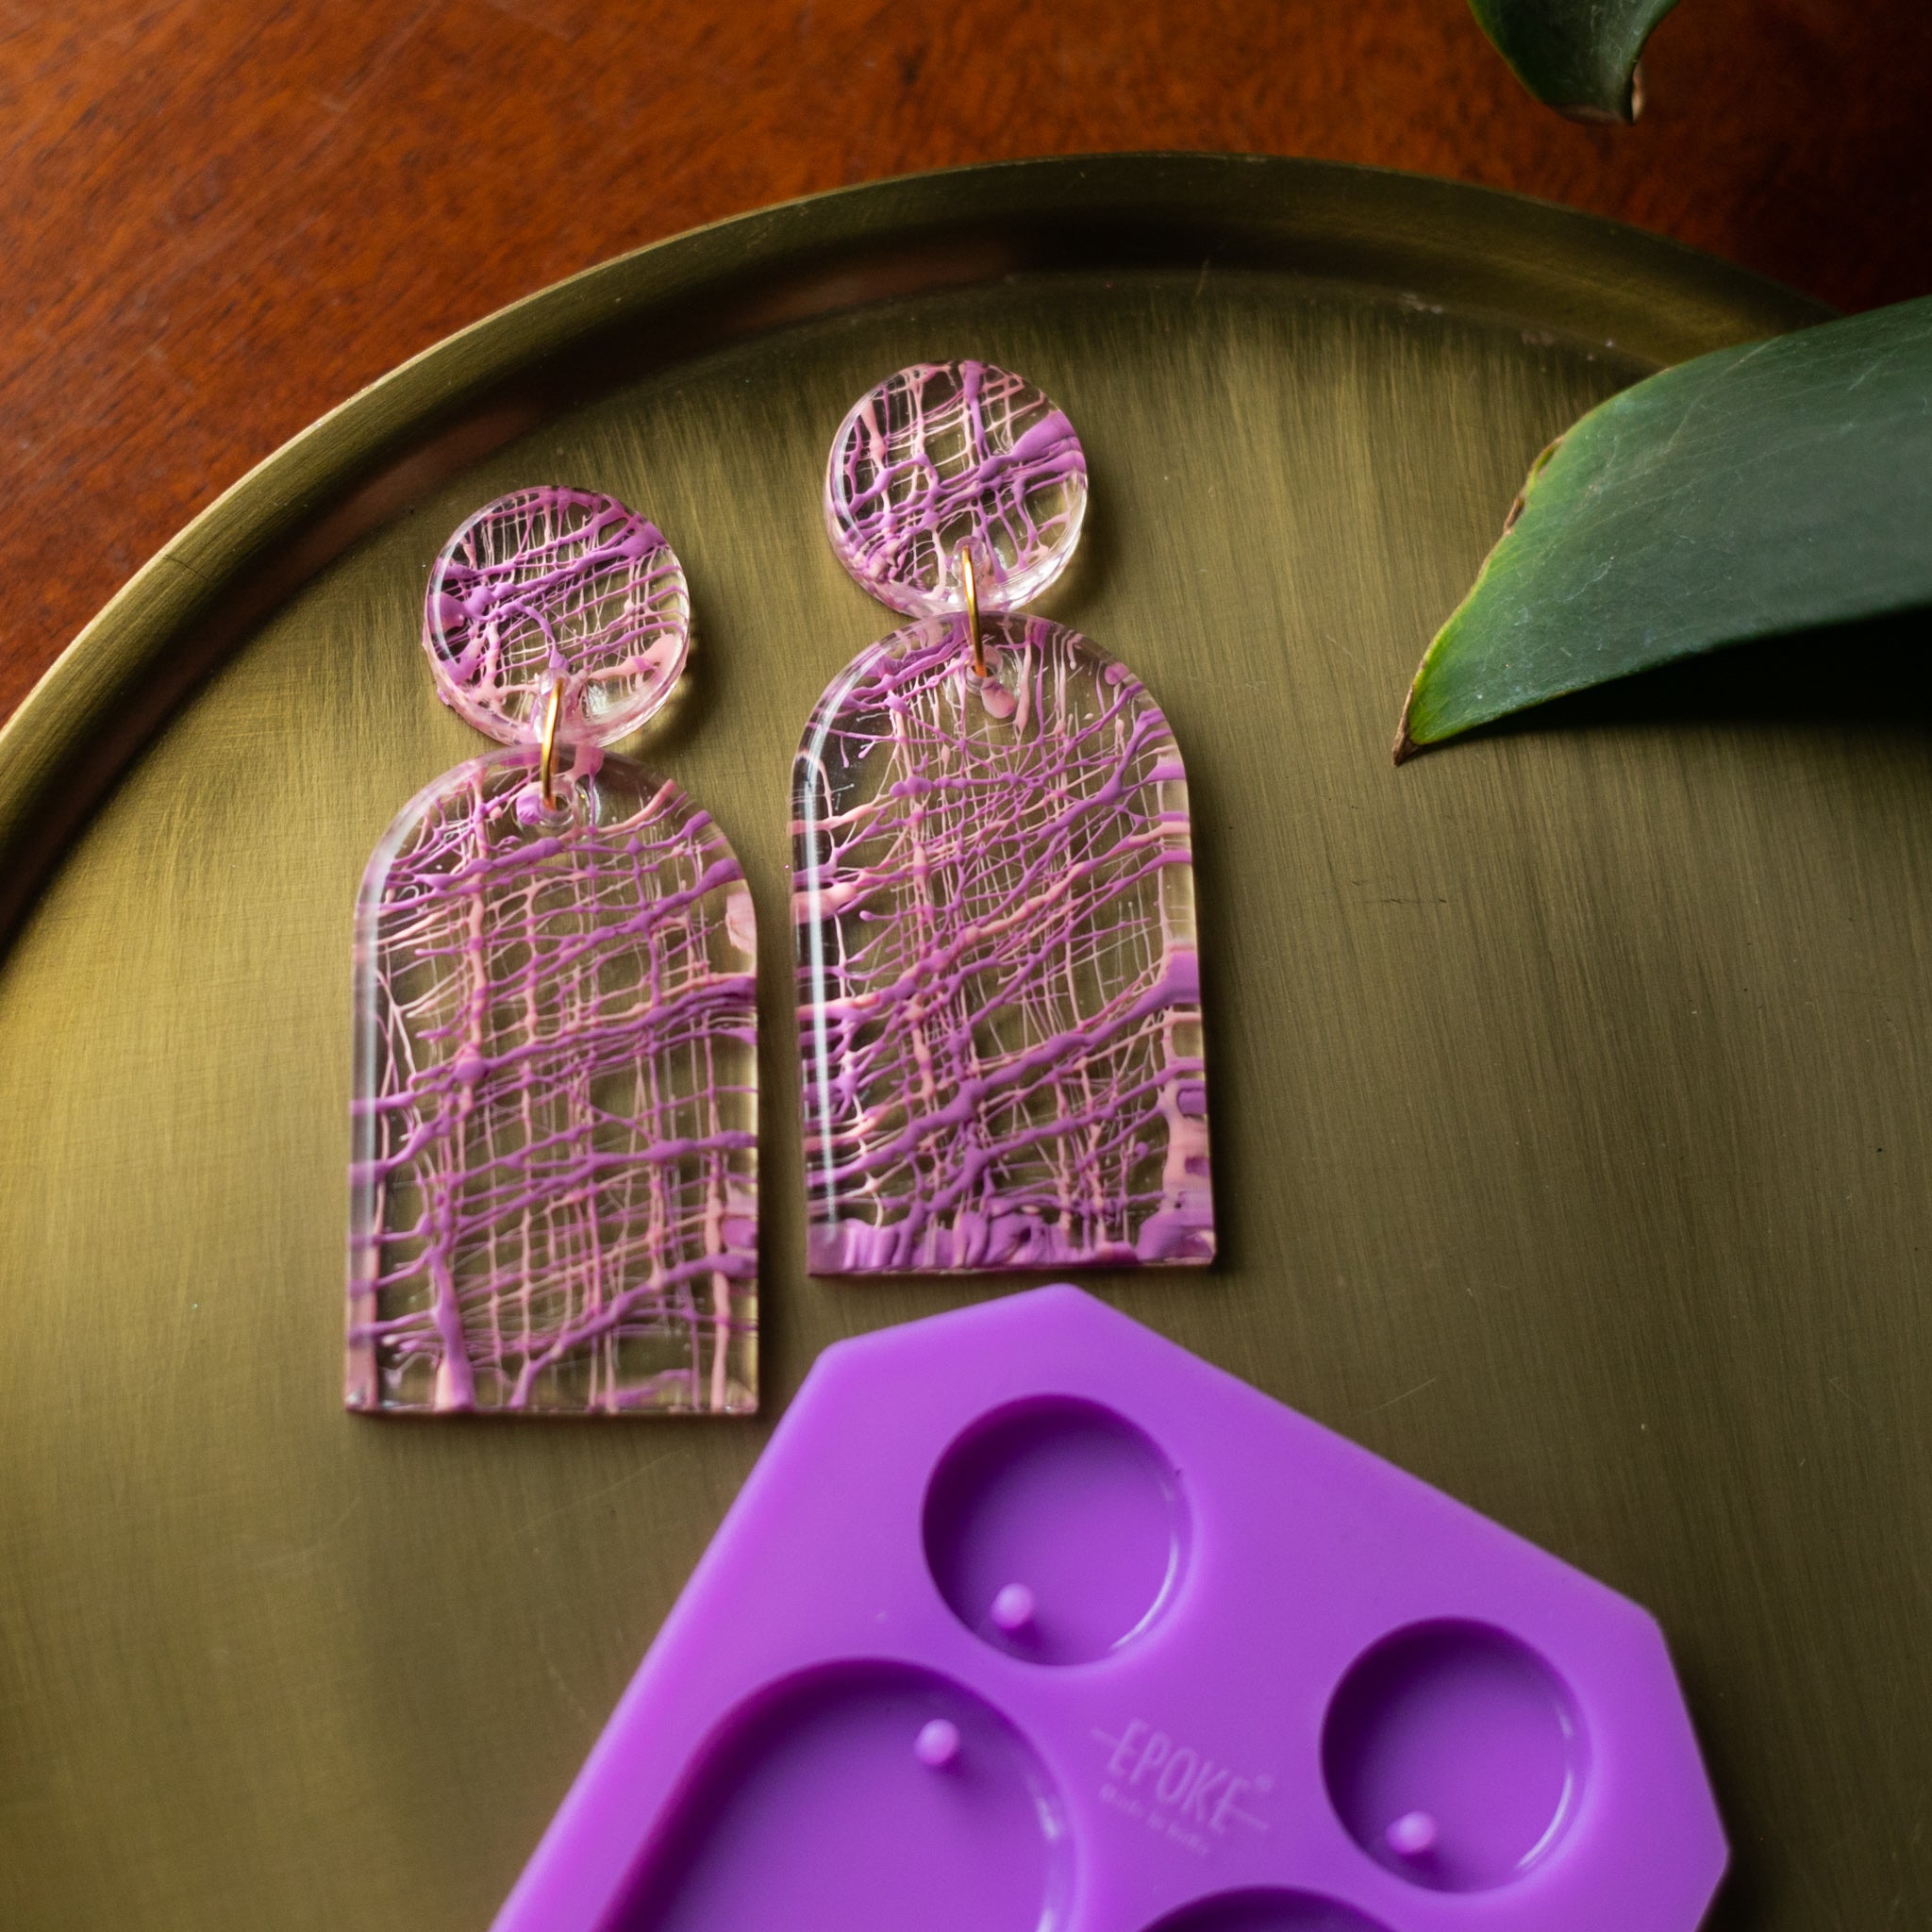
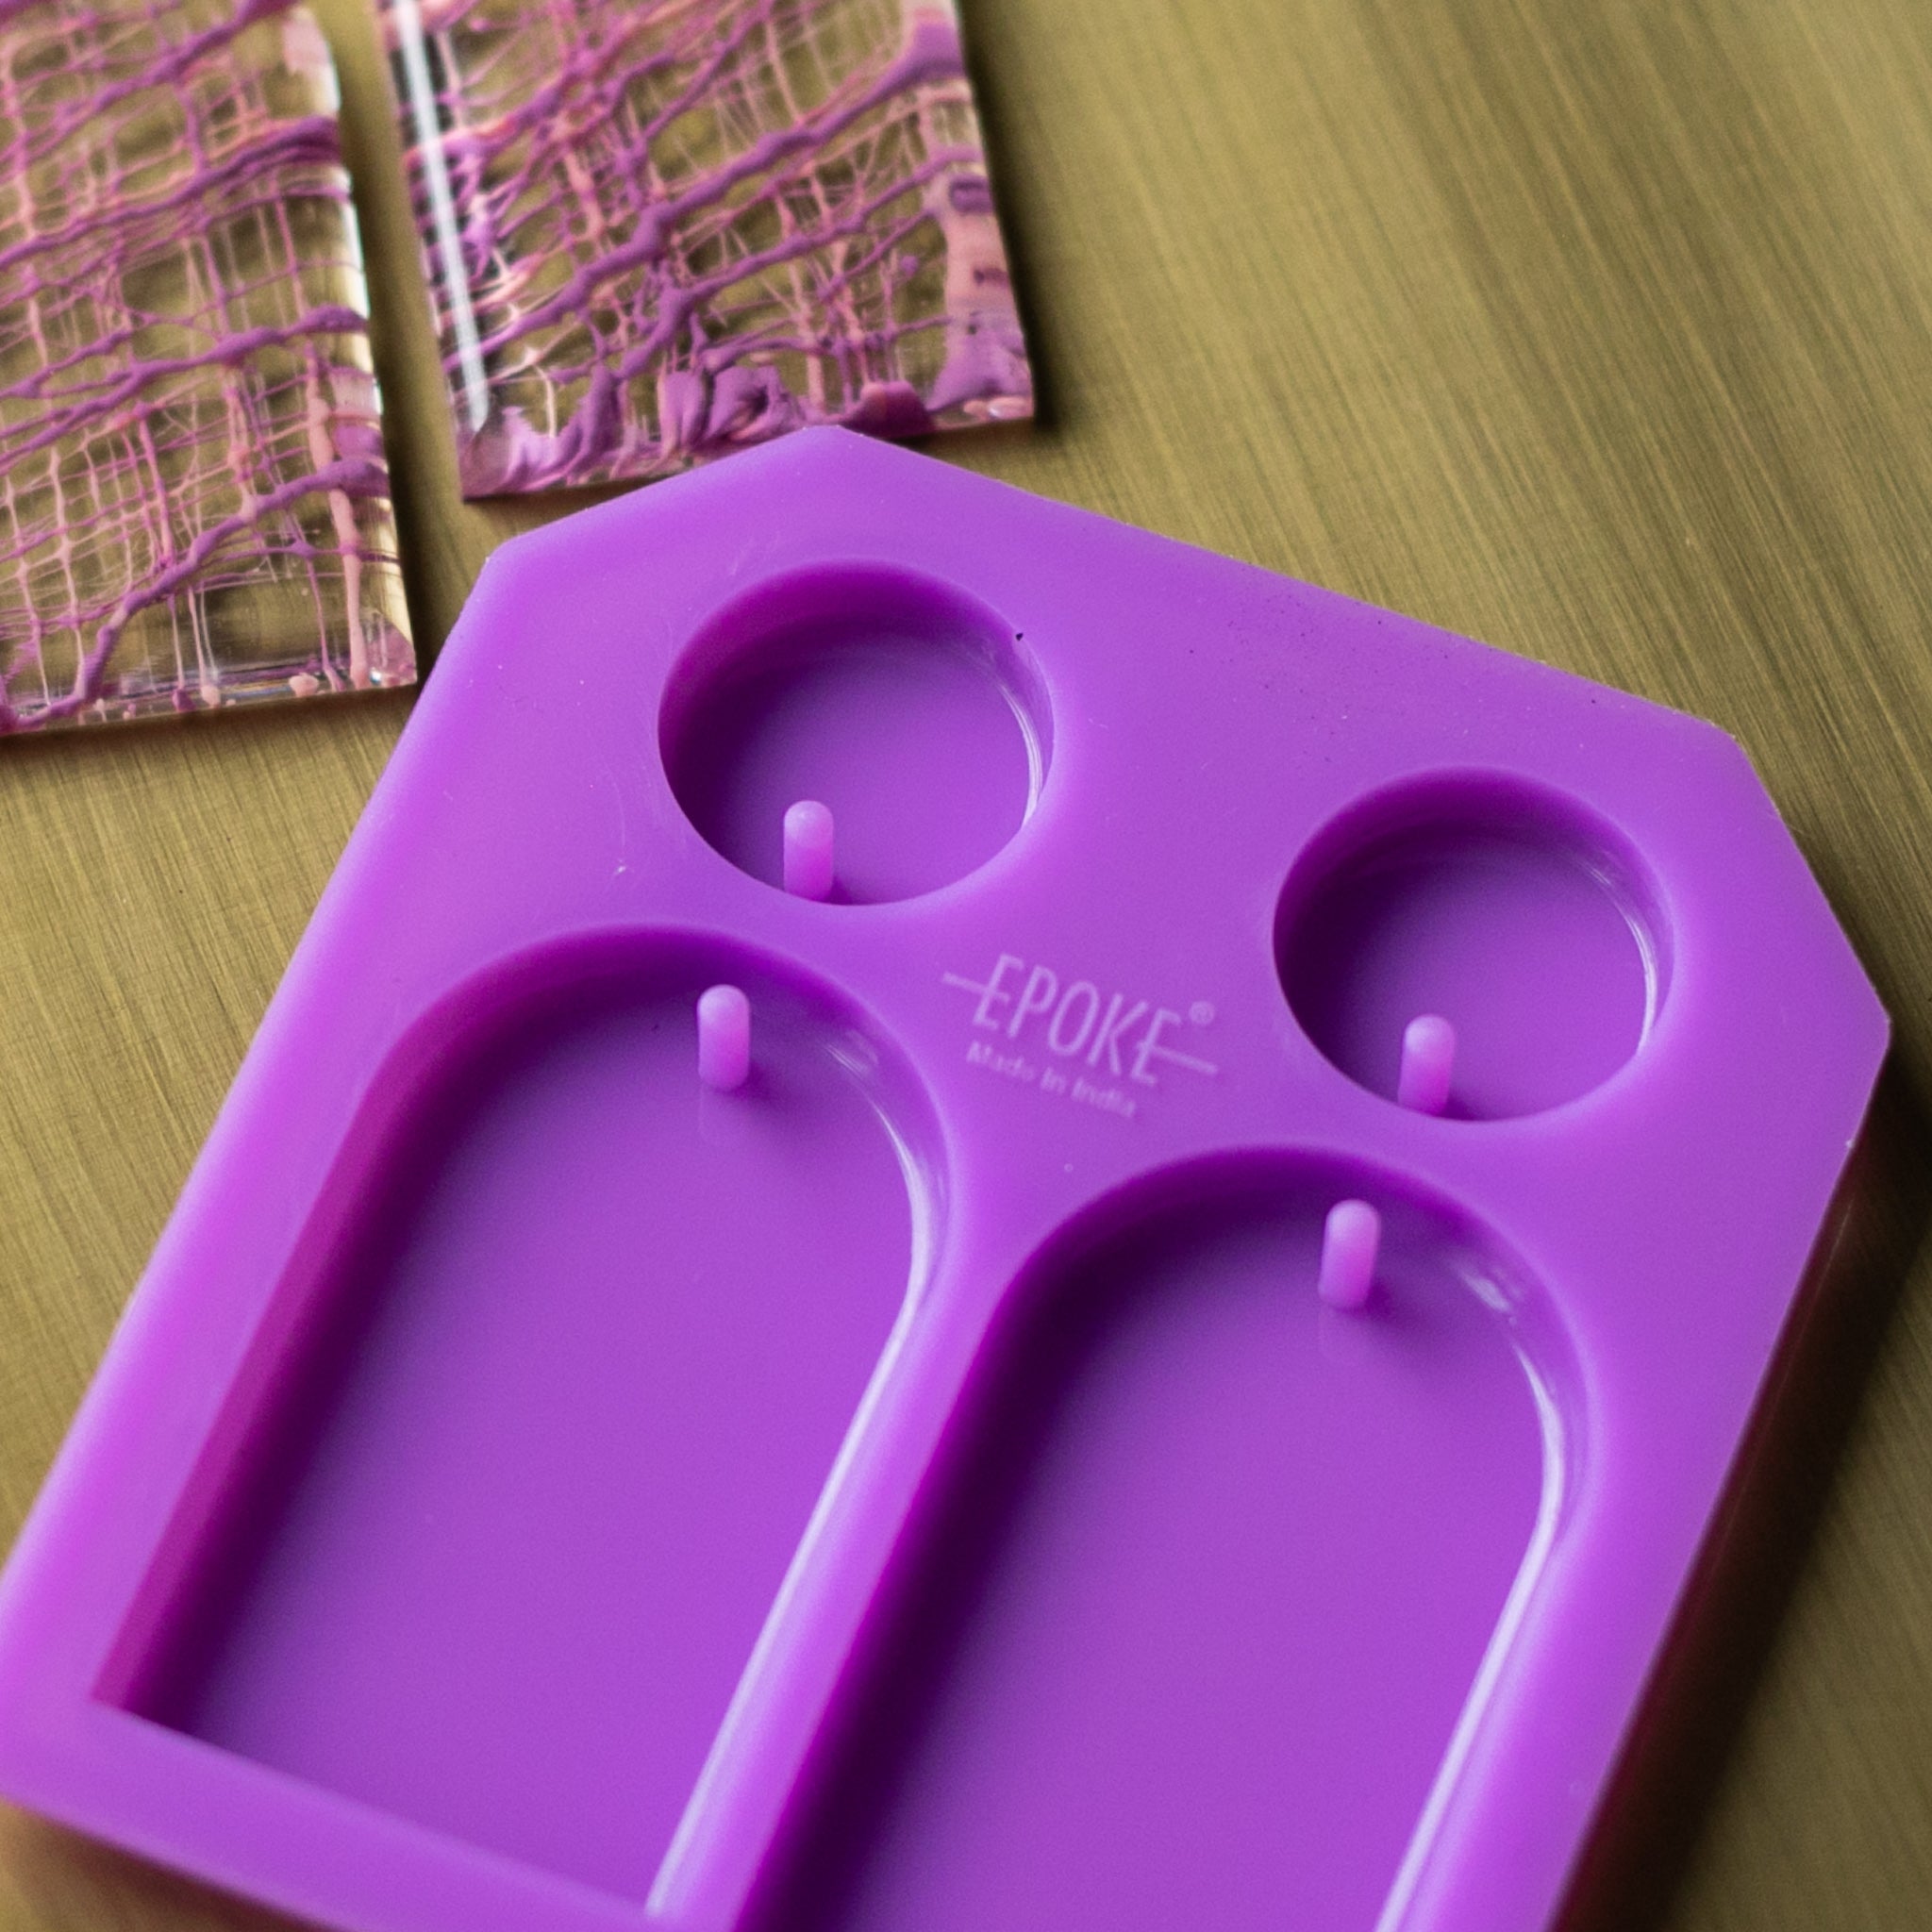
How to use “That Lacy White” pigment paste to get the desired effects!!
We would like to address the elephant in the room right away. Lacing effects in resin are not something that can be controlled or be achieved in any specific pattern....
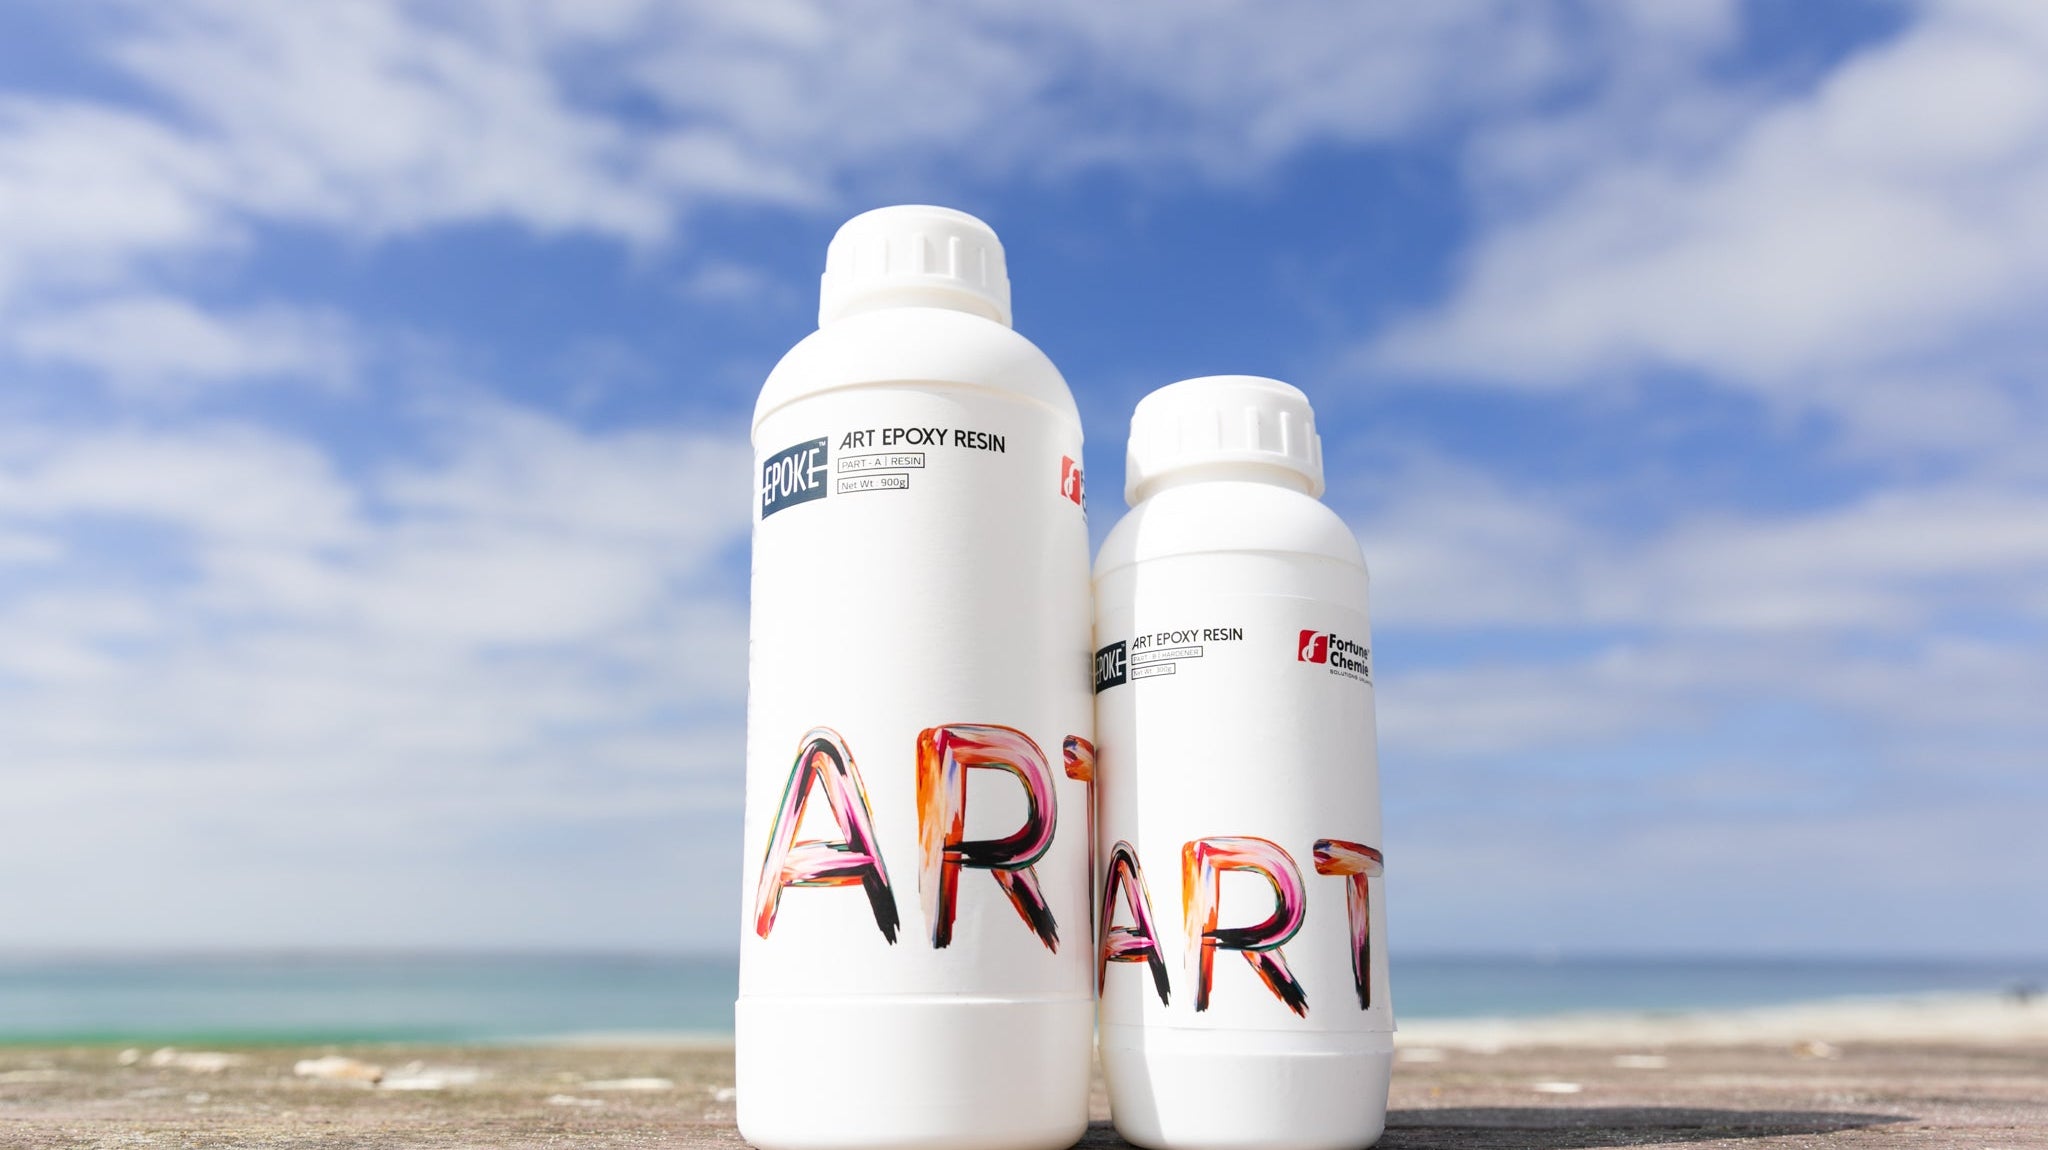
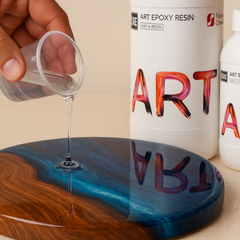
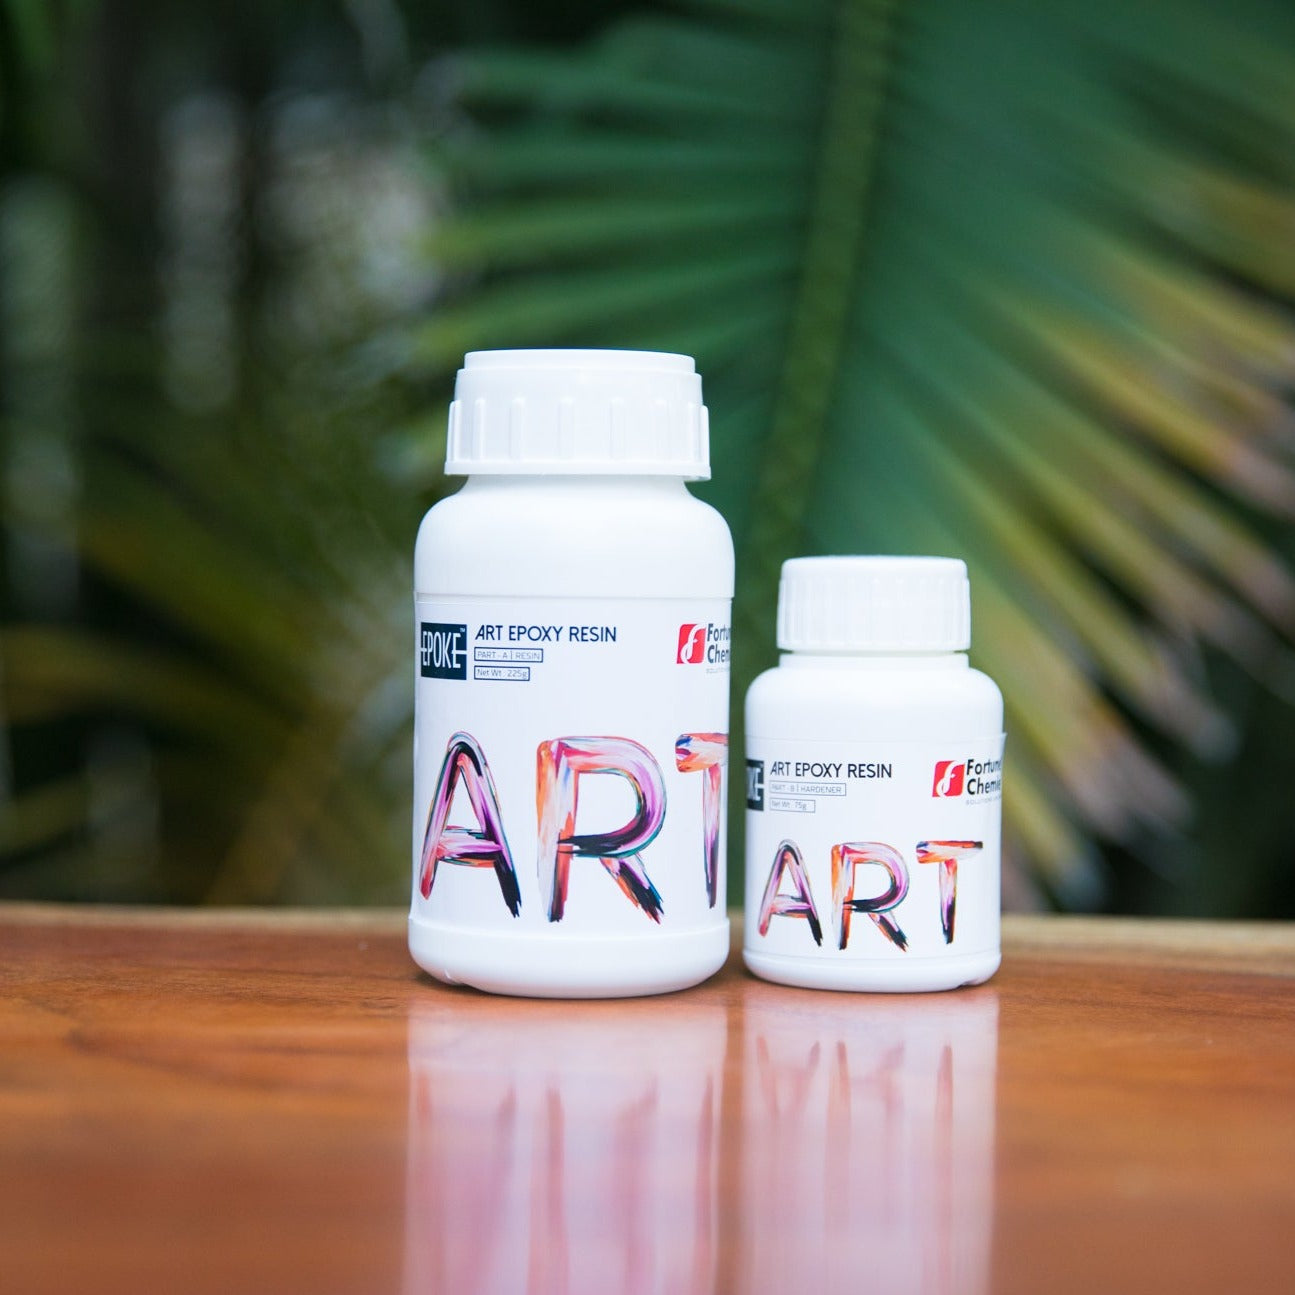
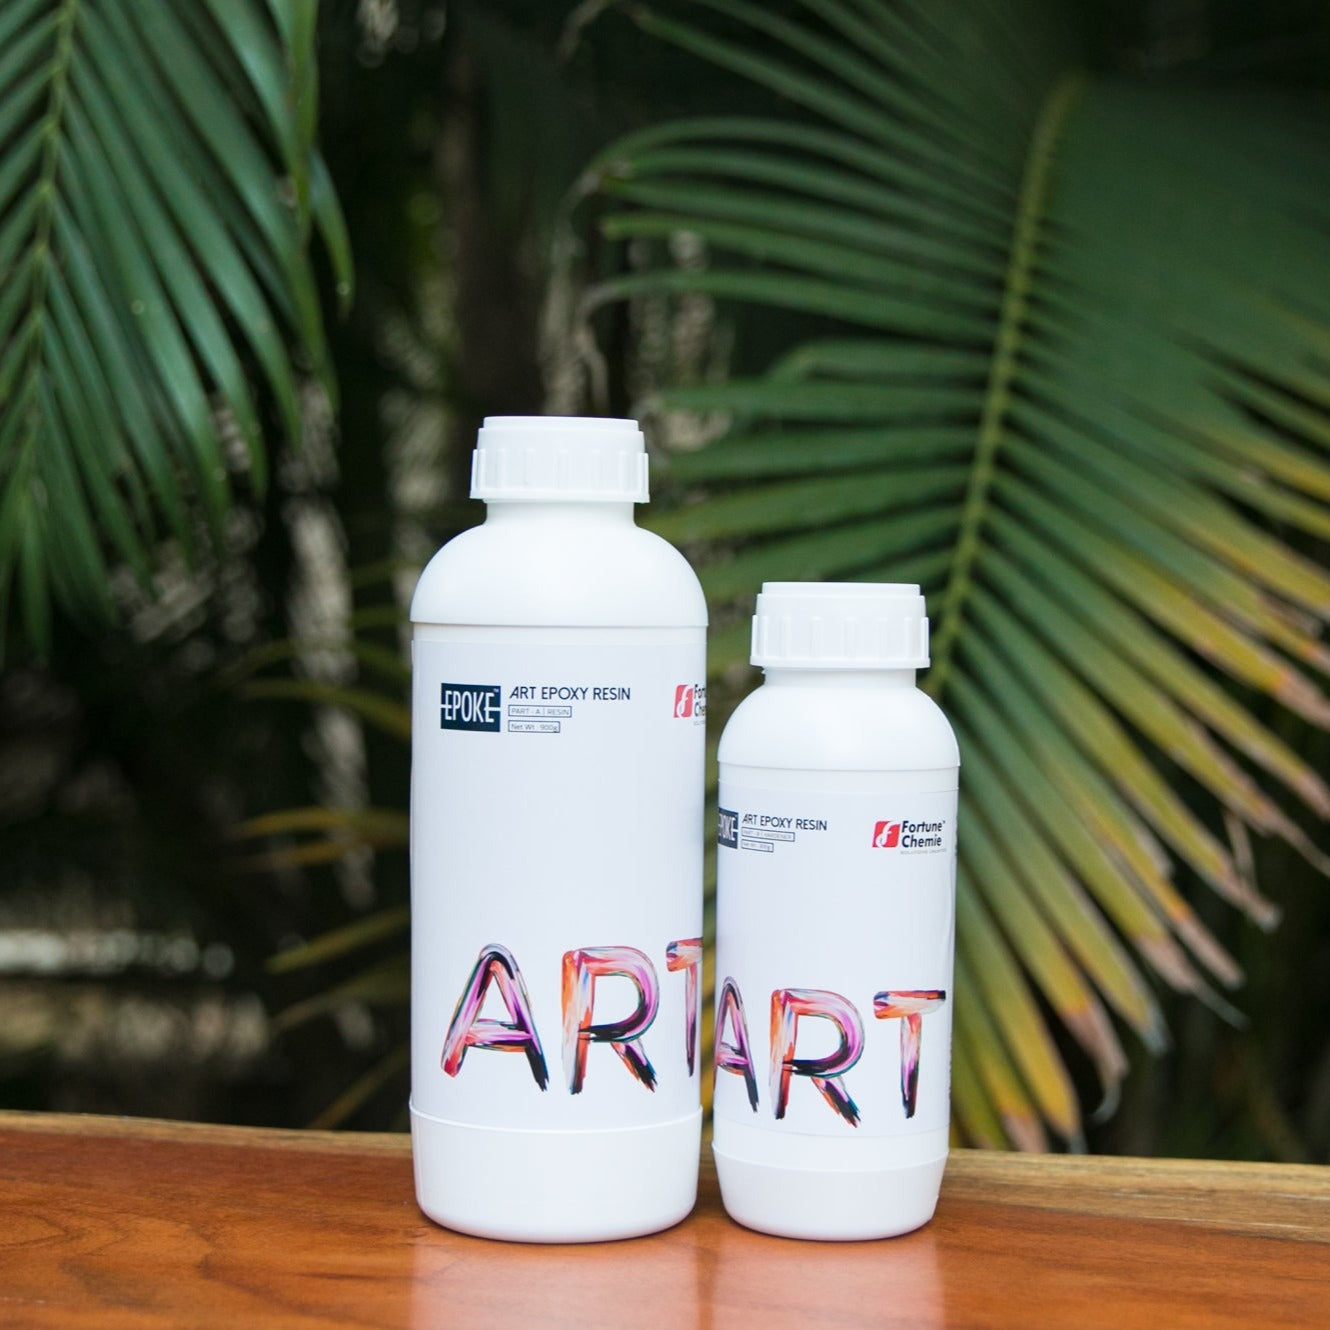
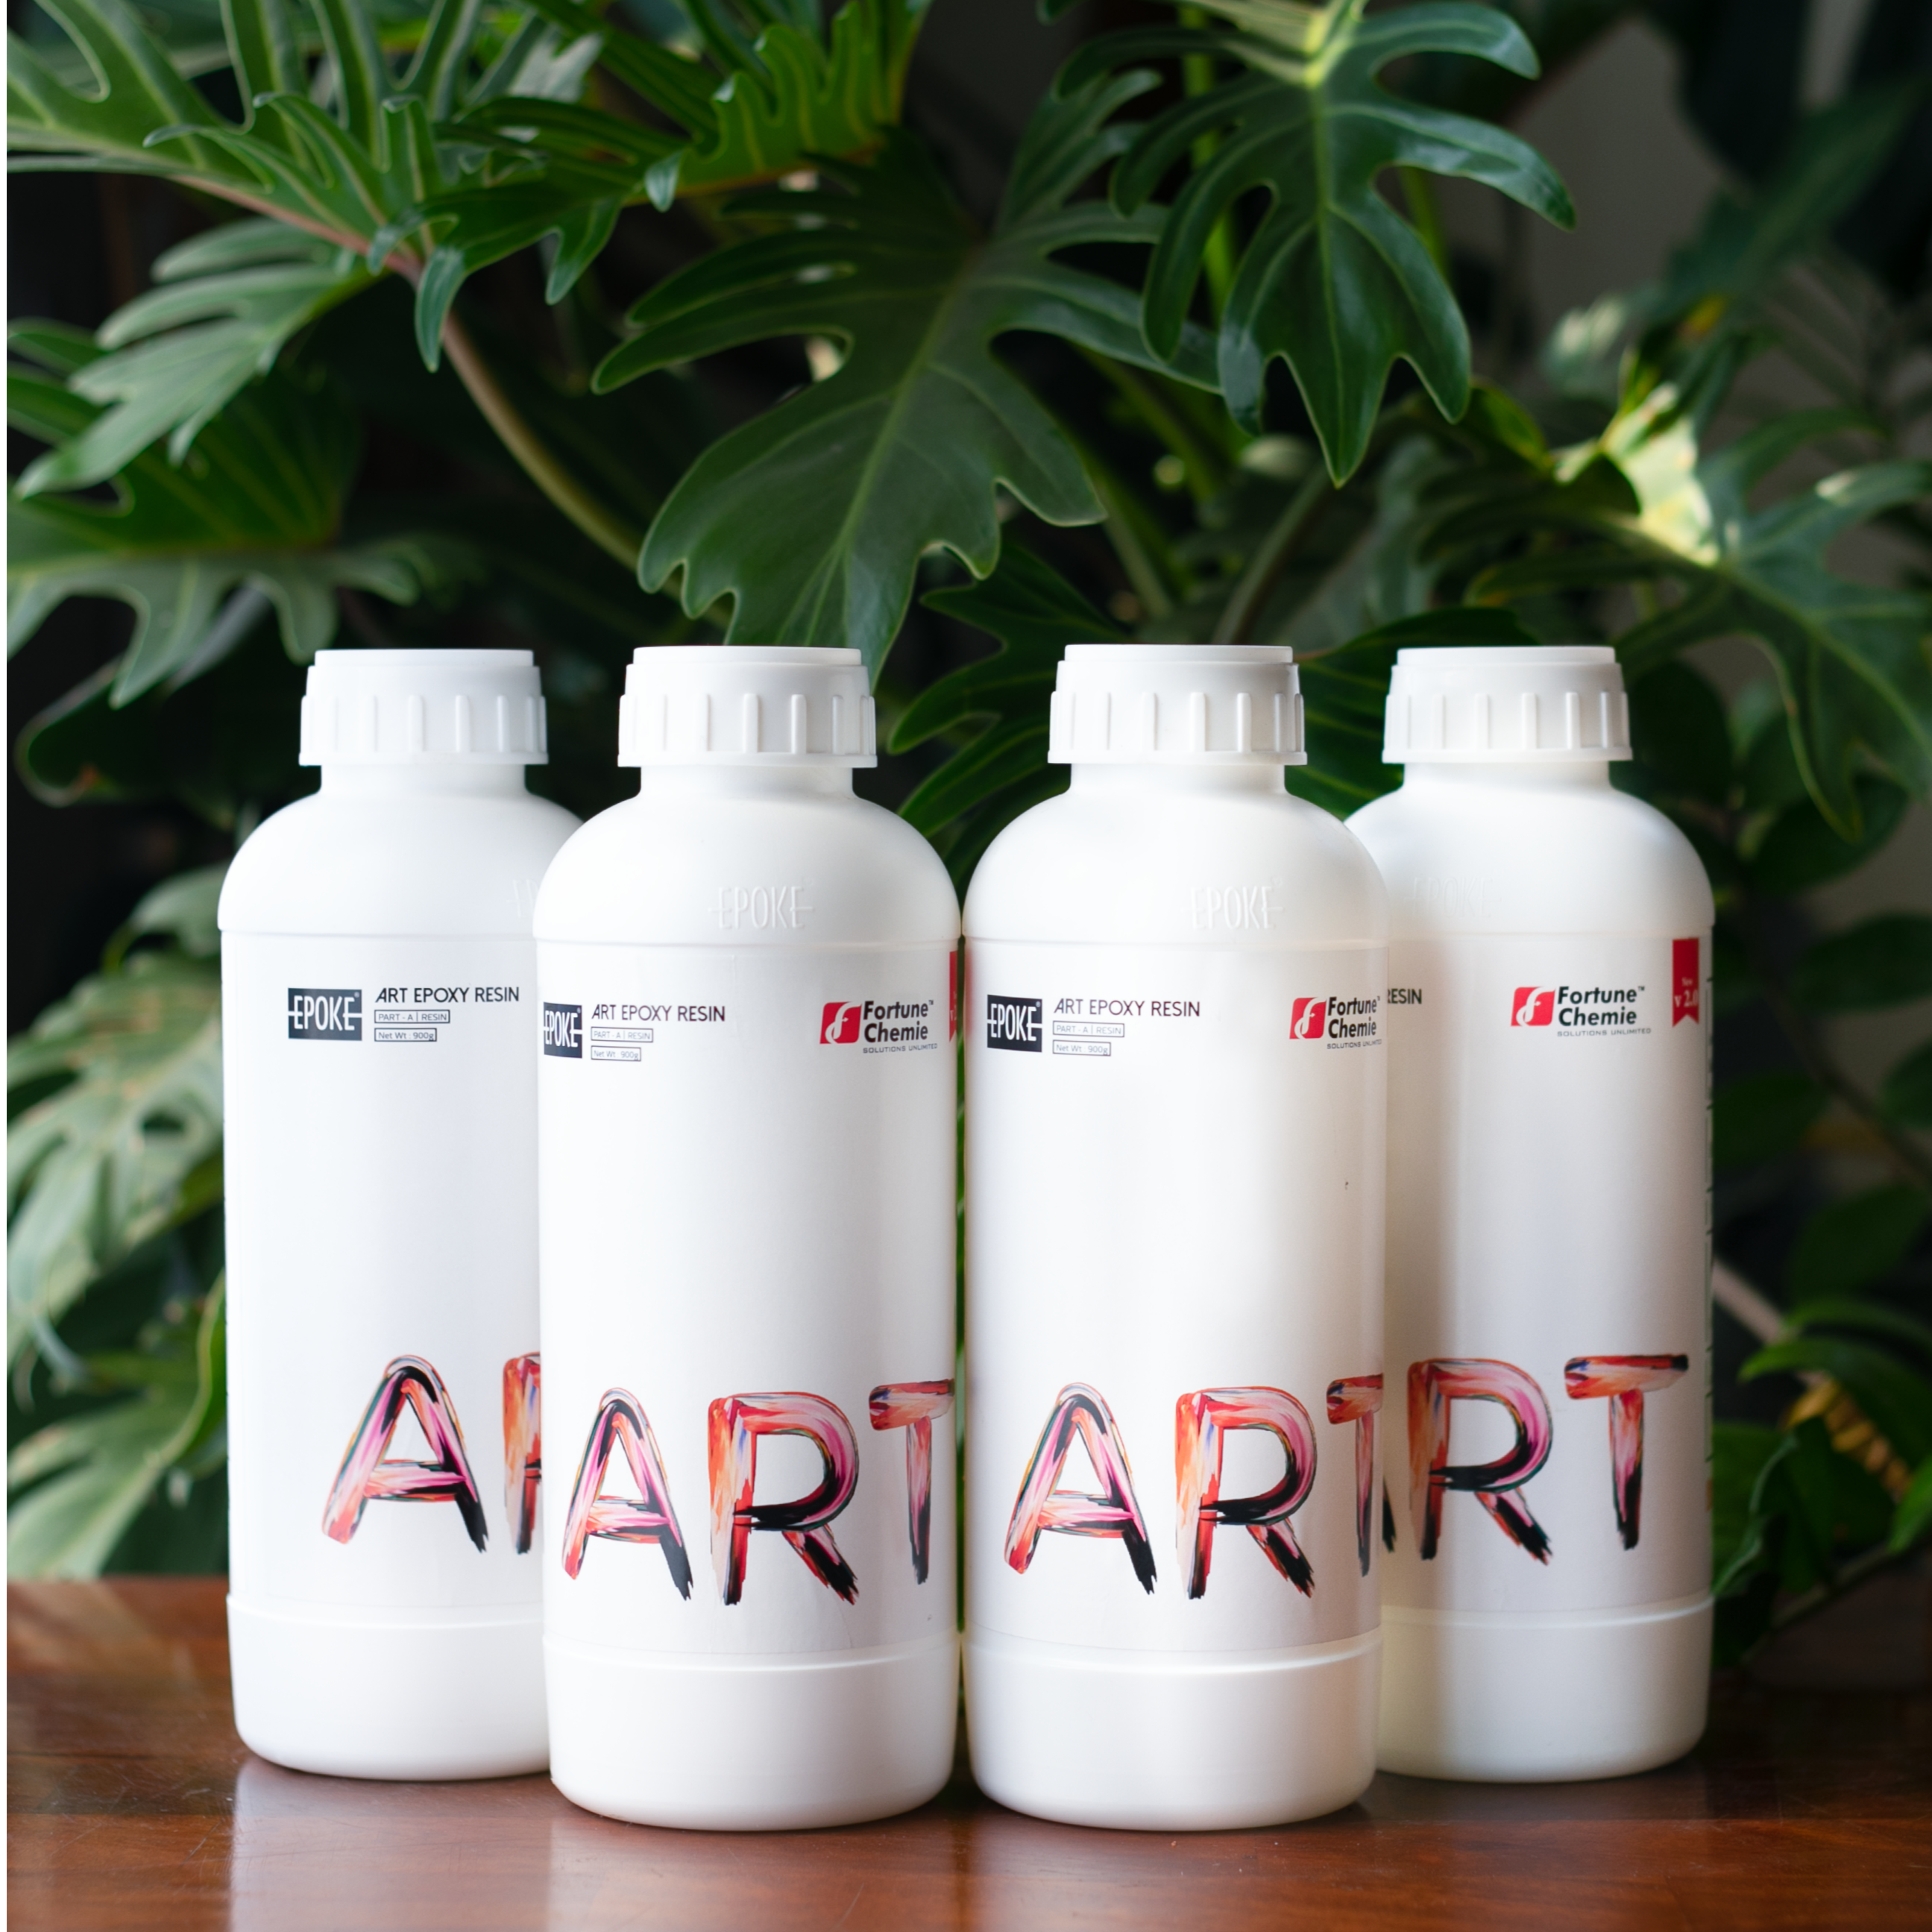
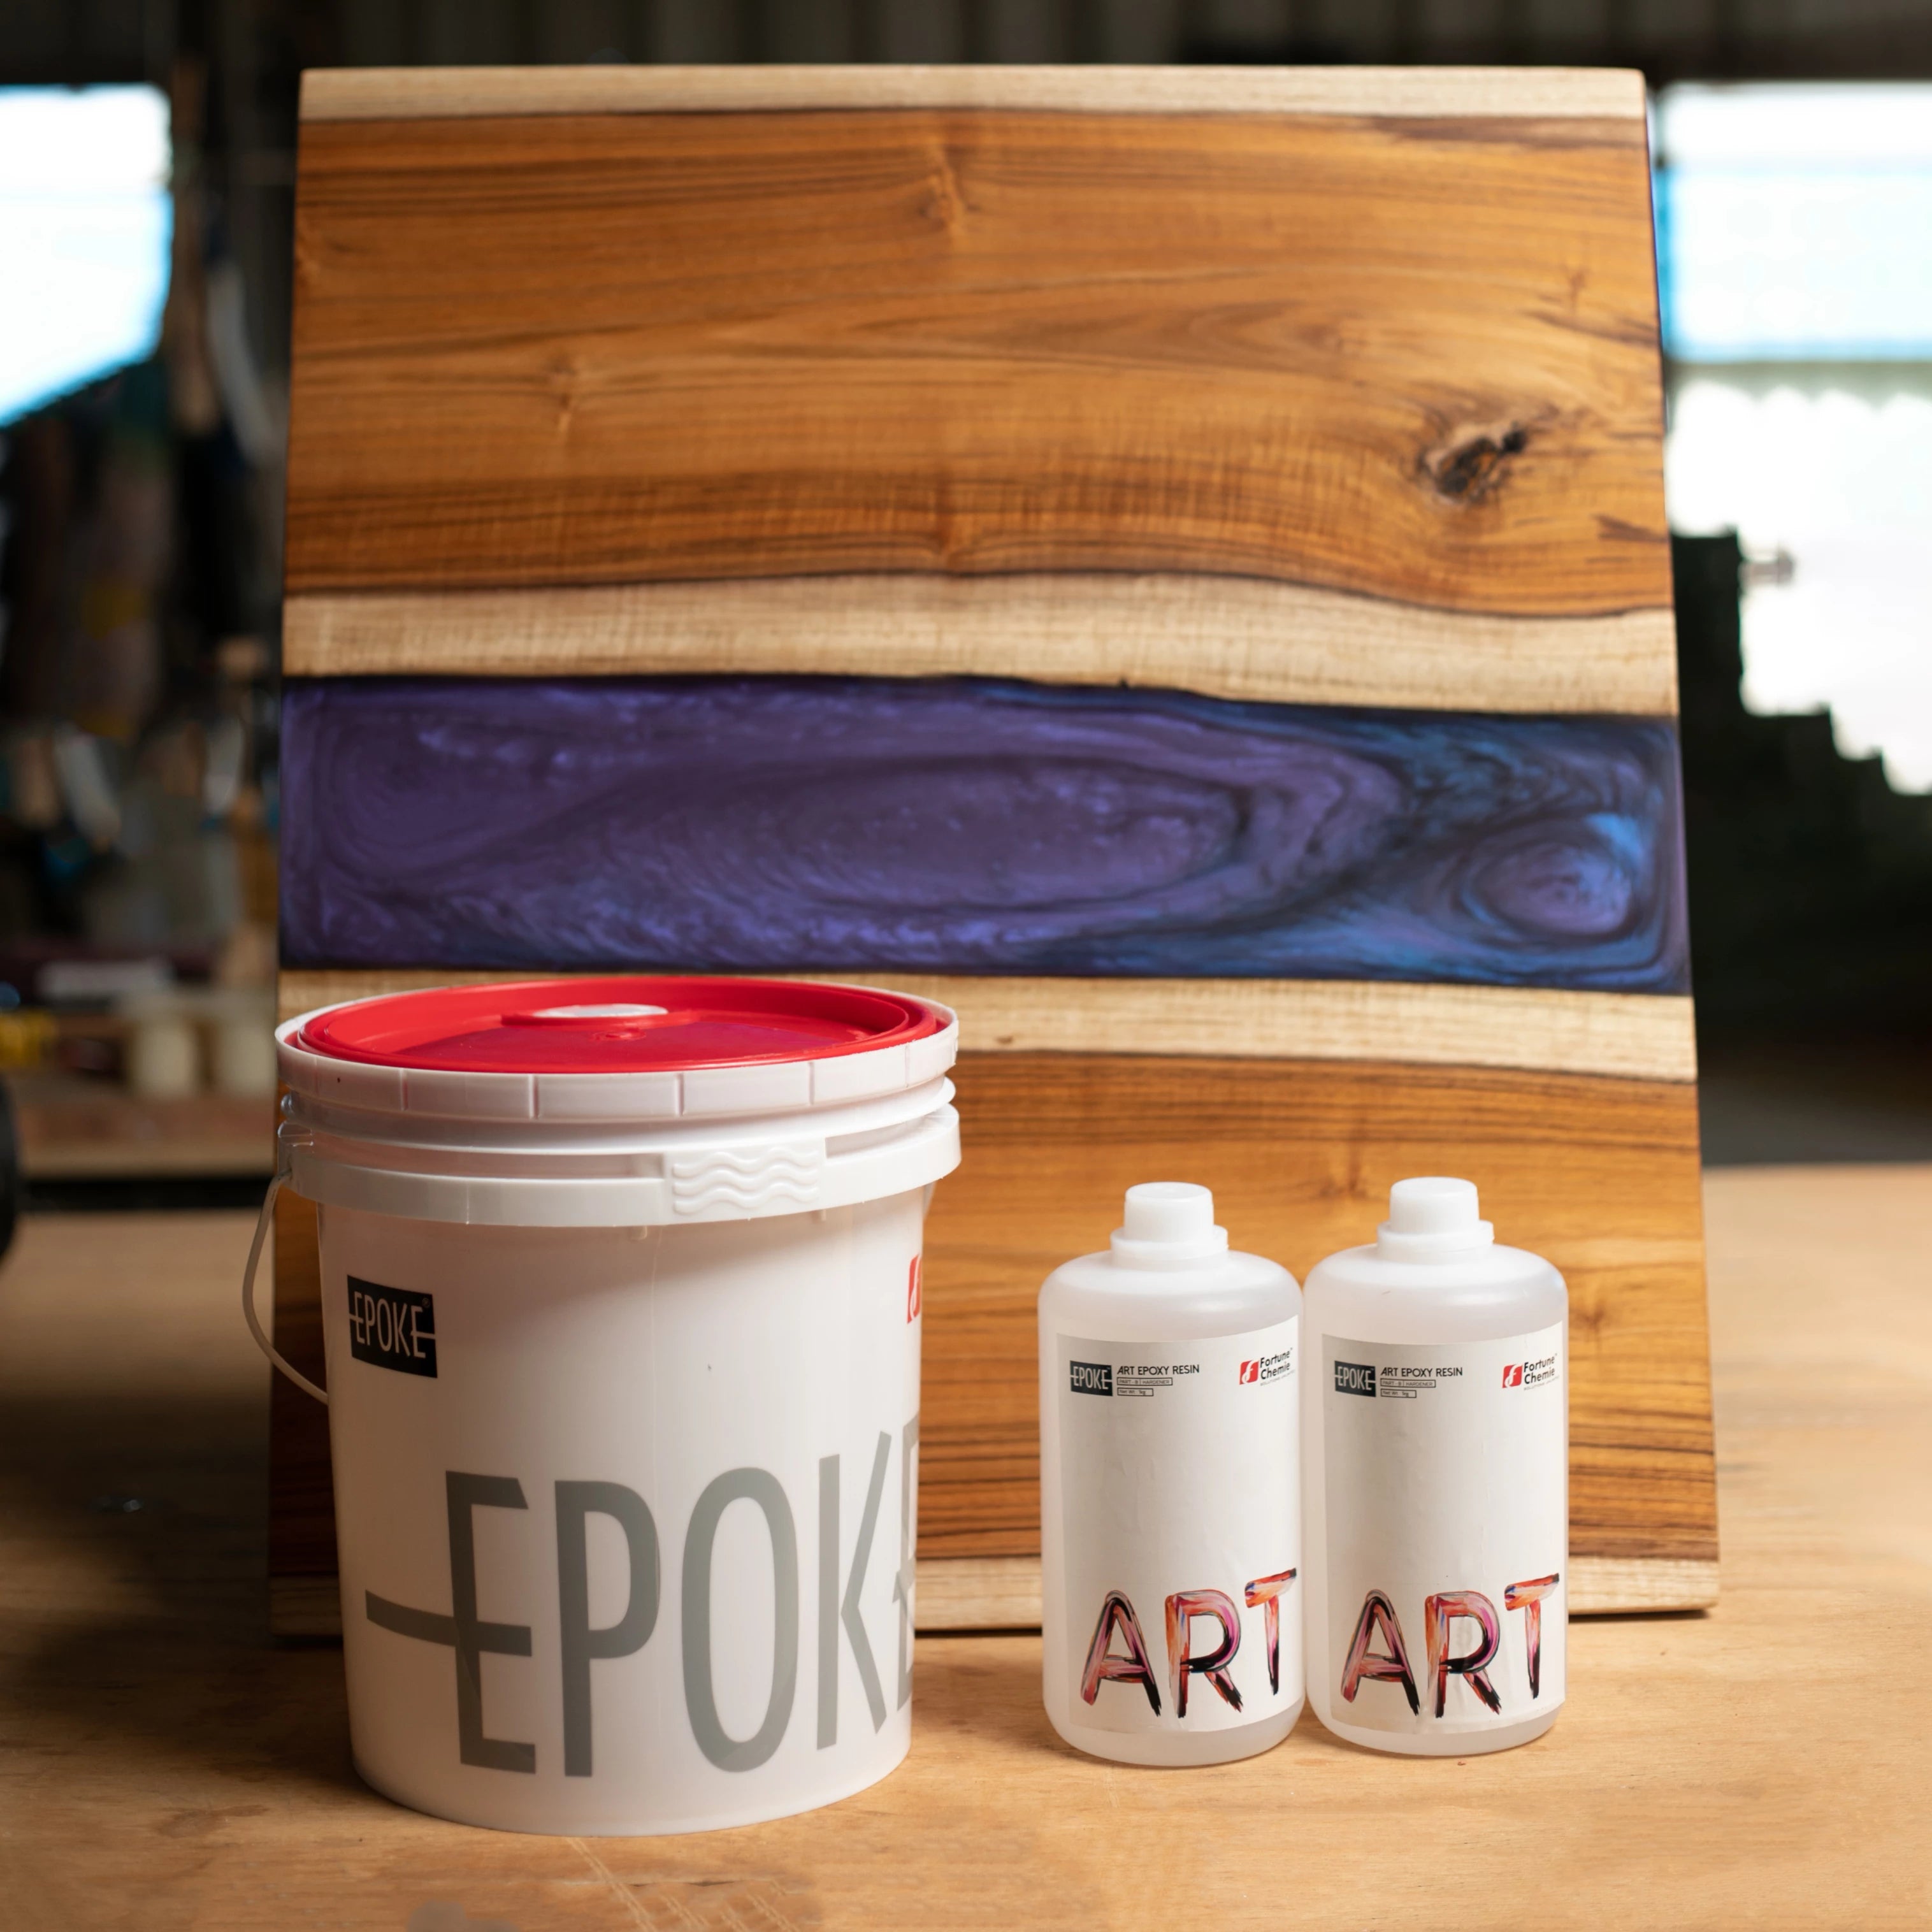
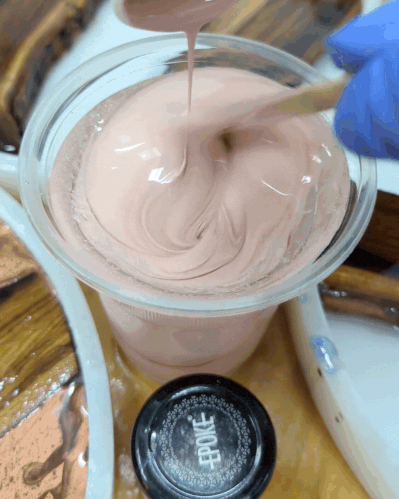
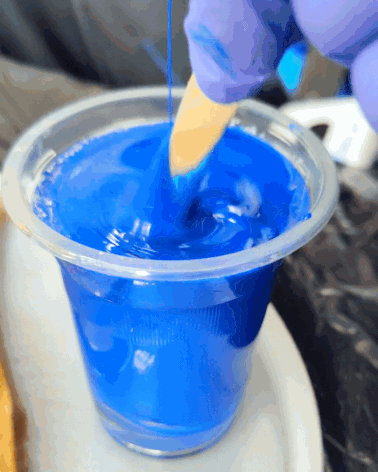
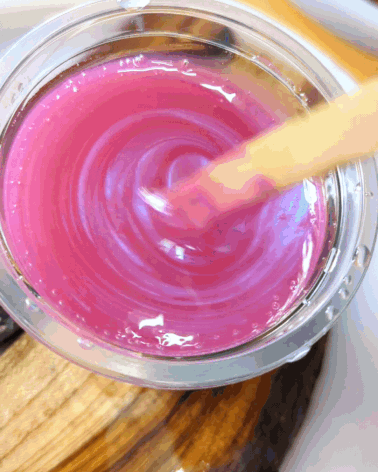
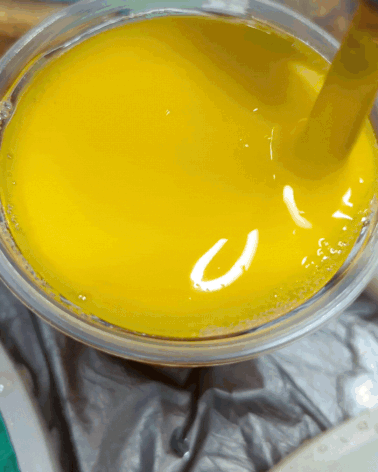
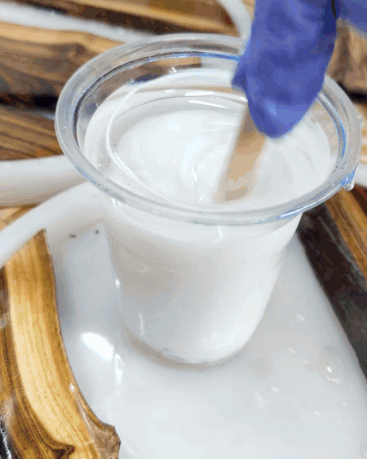
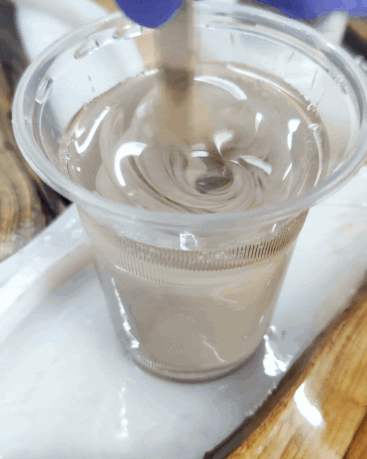
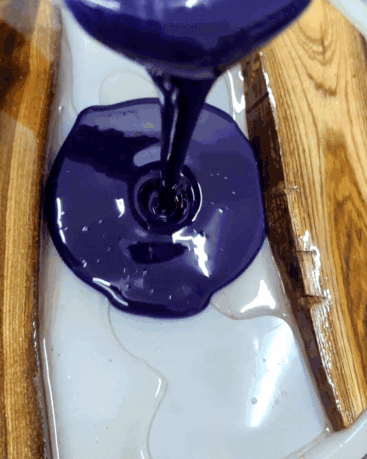
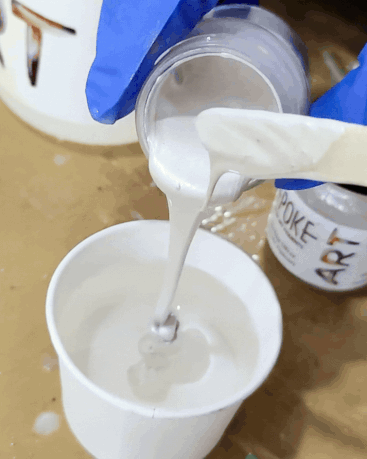
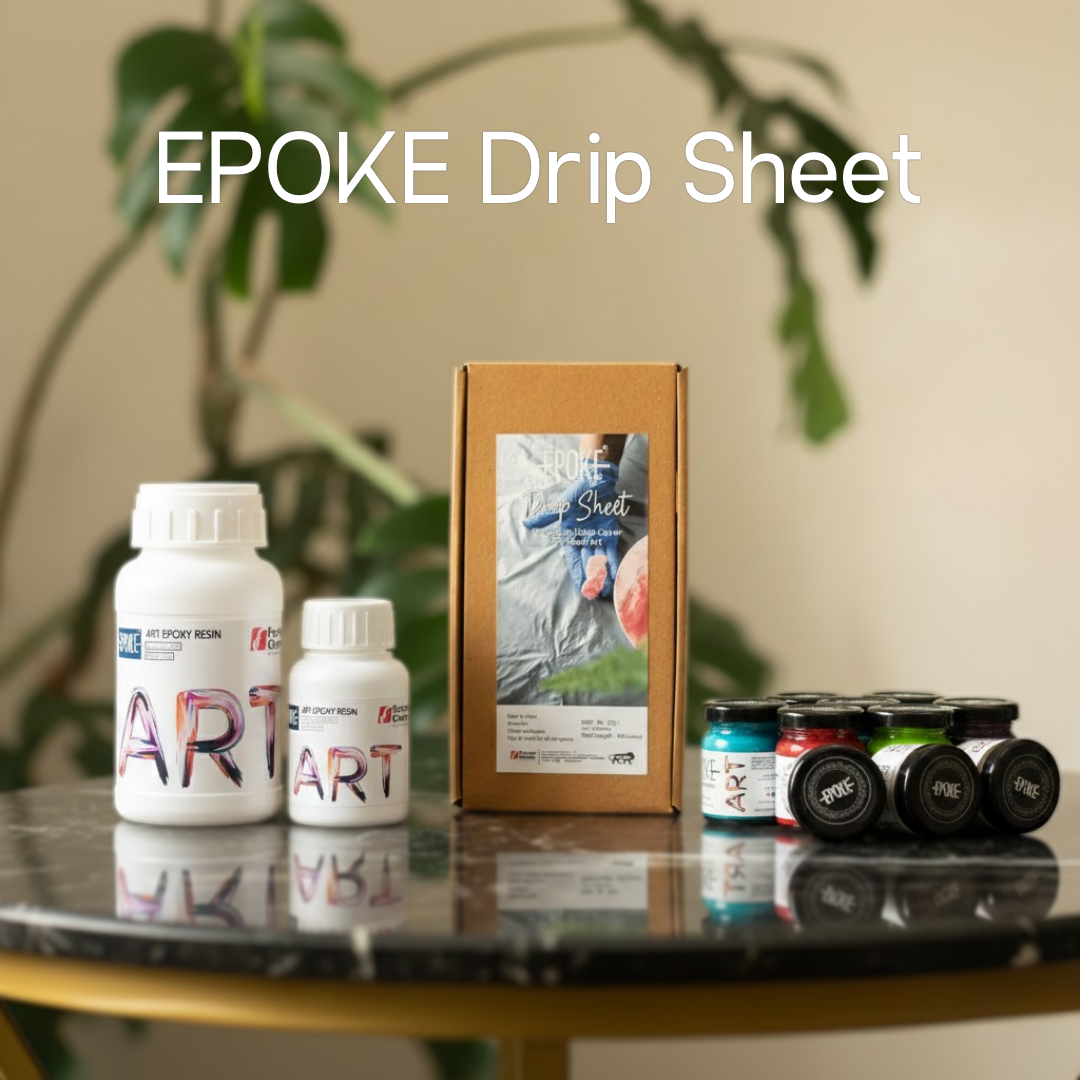
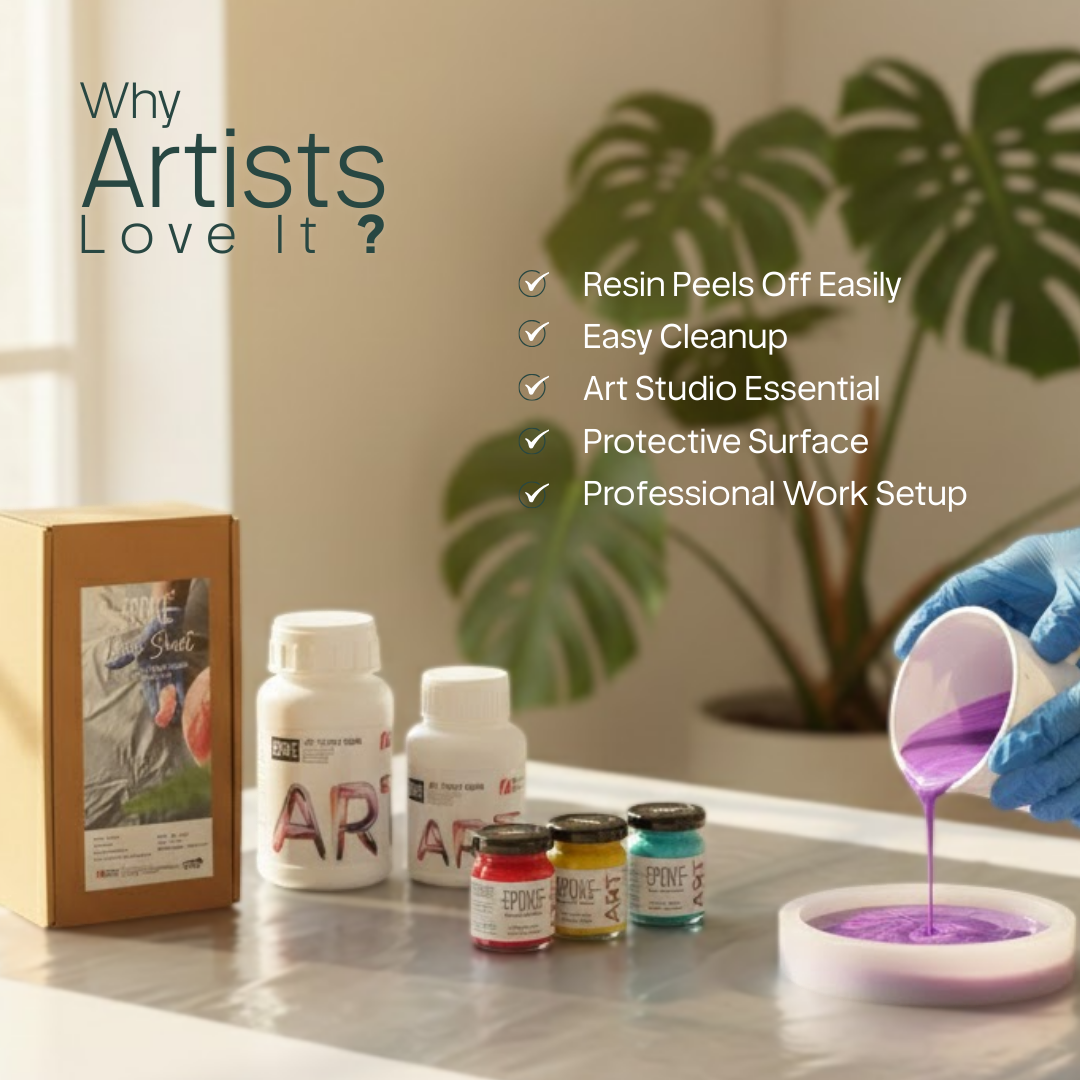
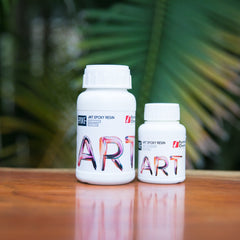
How to use EPOKE Art Epoxy Resin?
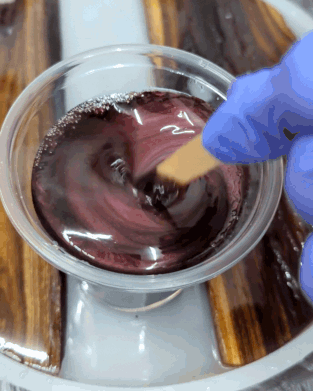
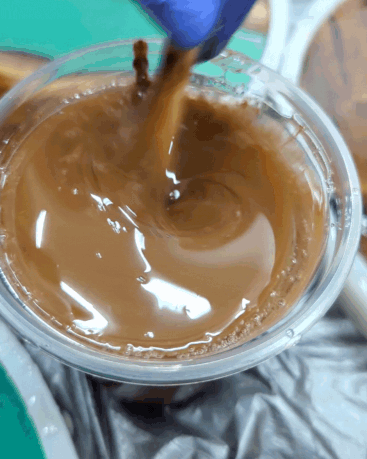
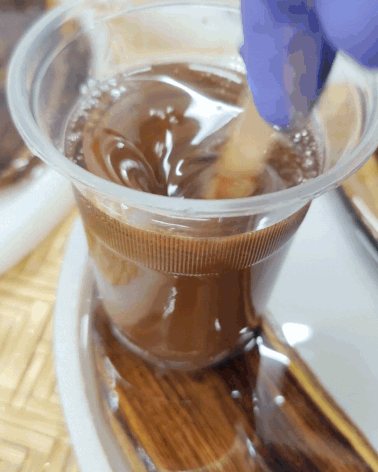
Measure Measure and pour the resin and hardener into a mixing cup, in the ratio 3:1 by weight. Mix Stir well for at least 5 minutes. Try not to incorporate...
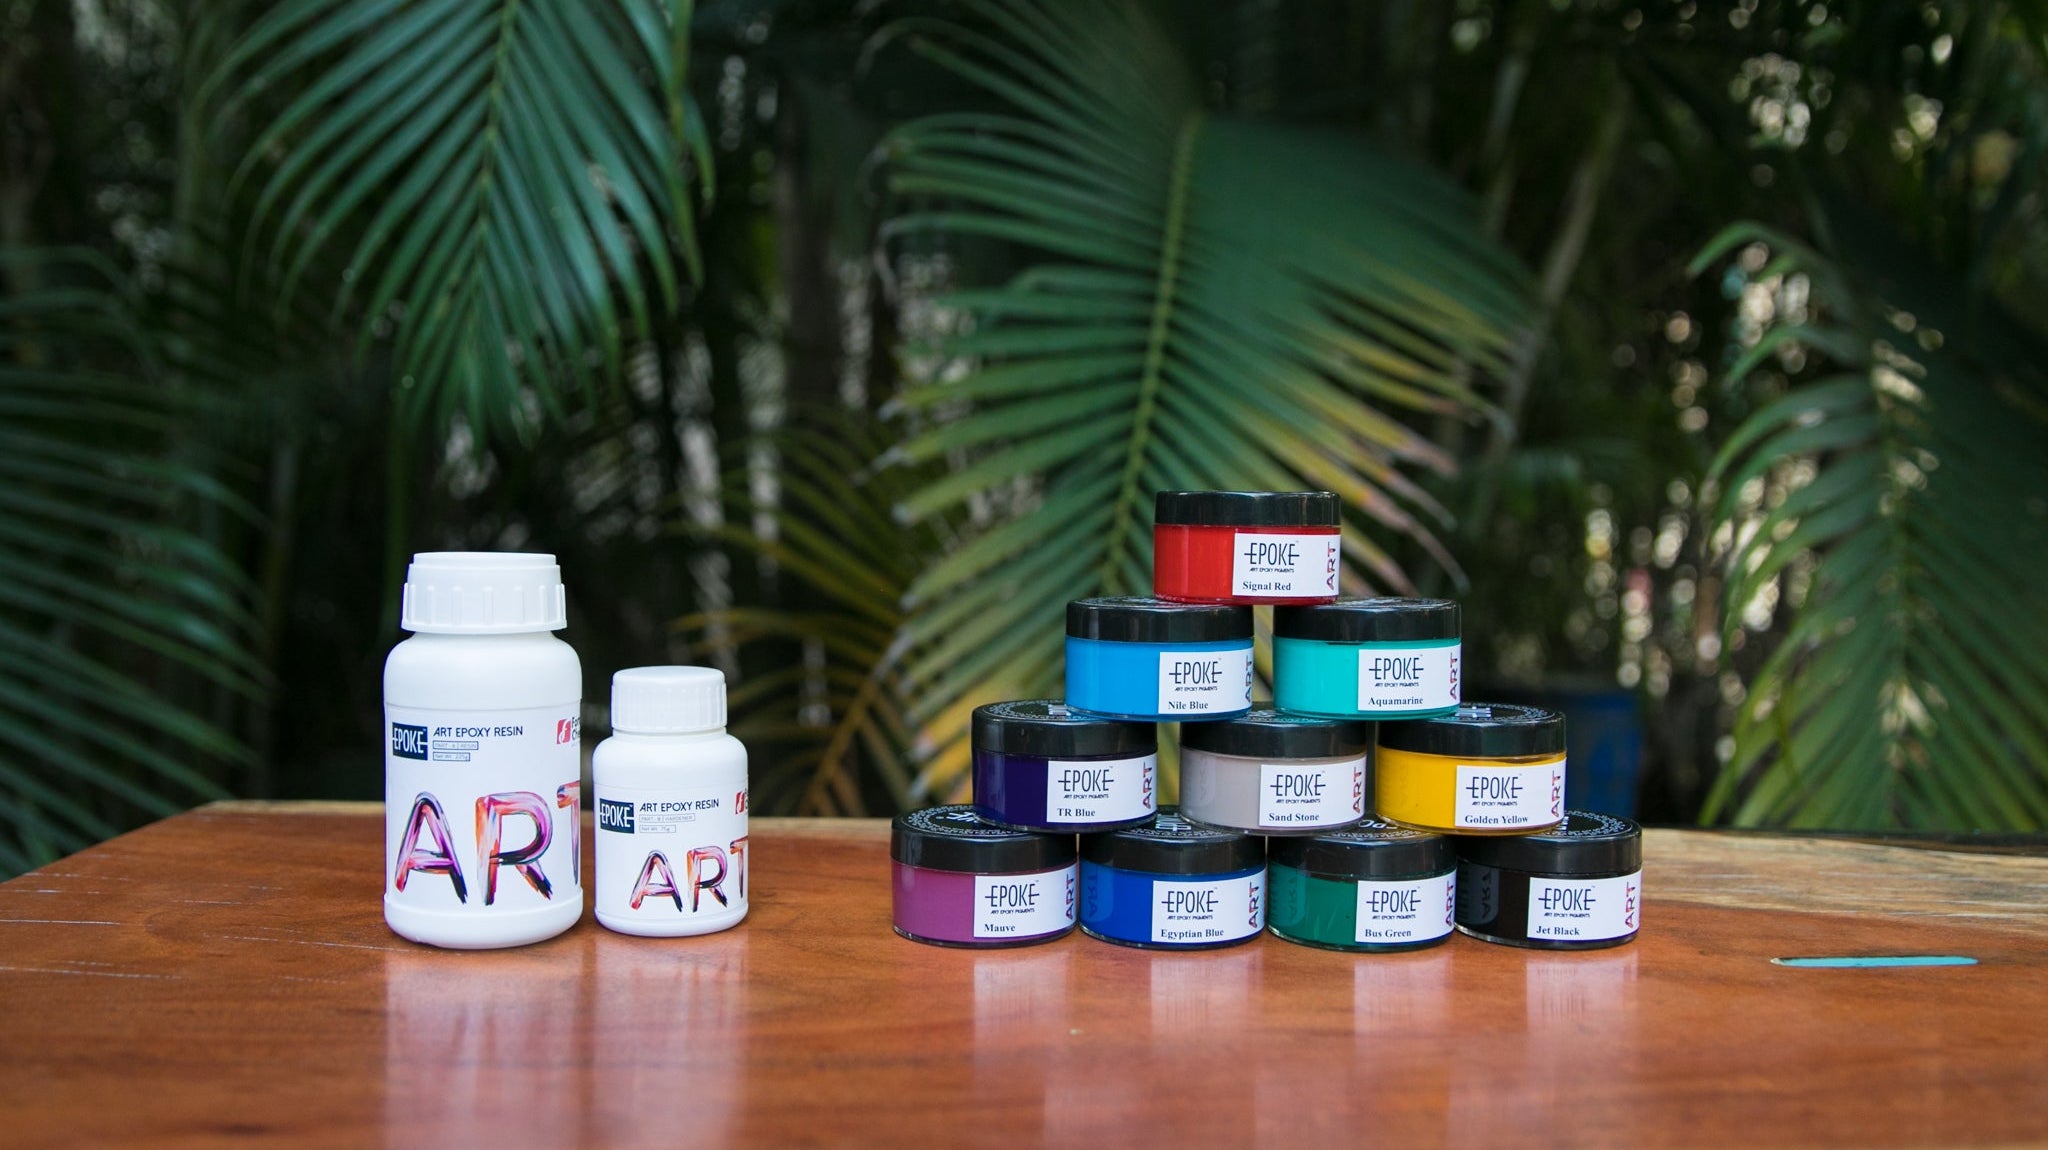
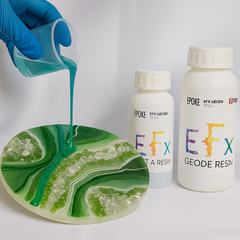
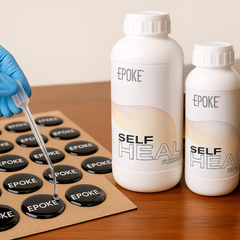
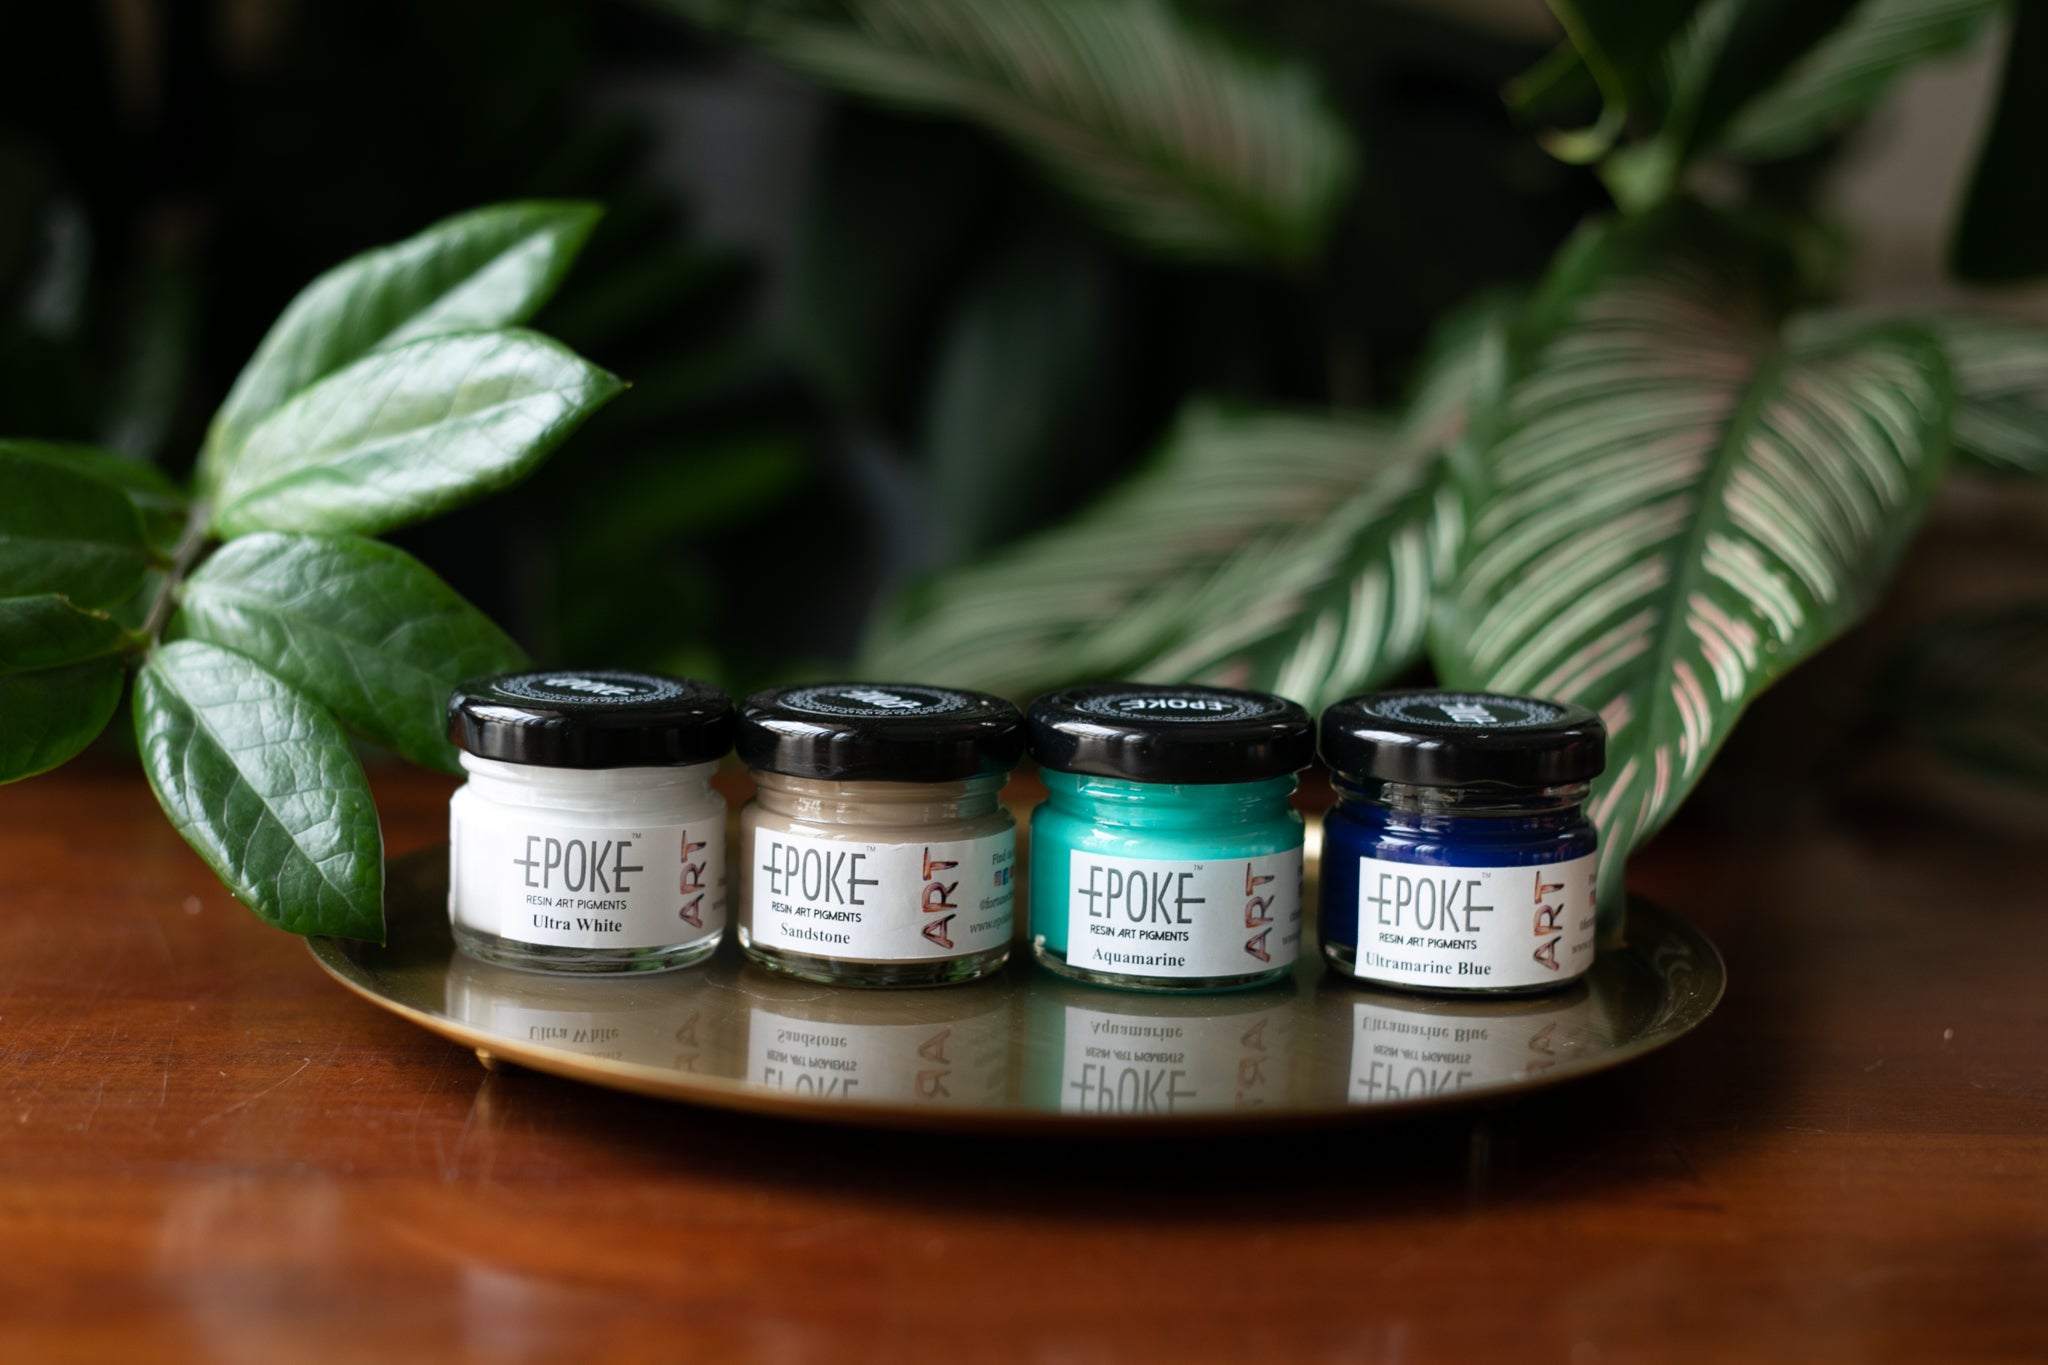
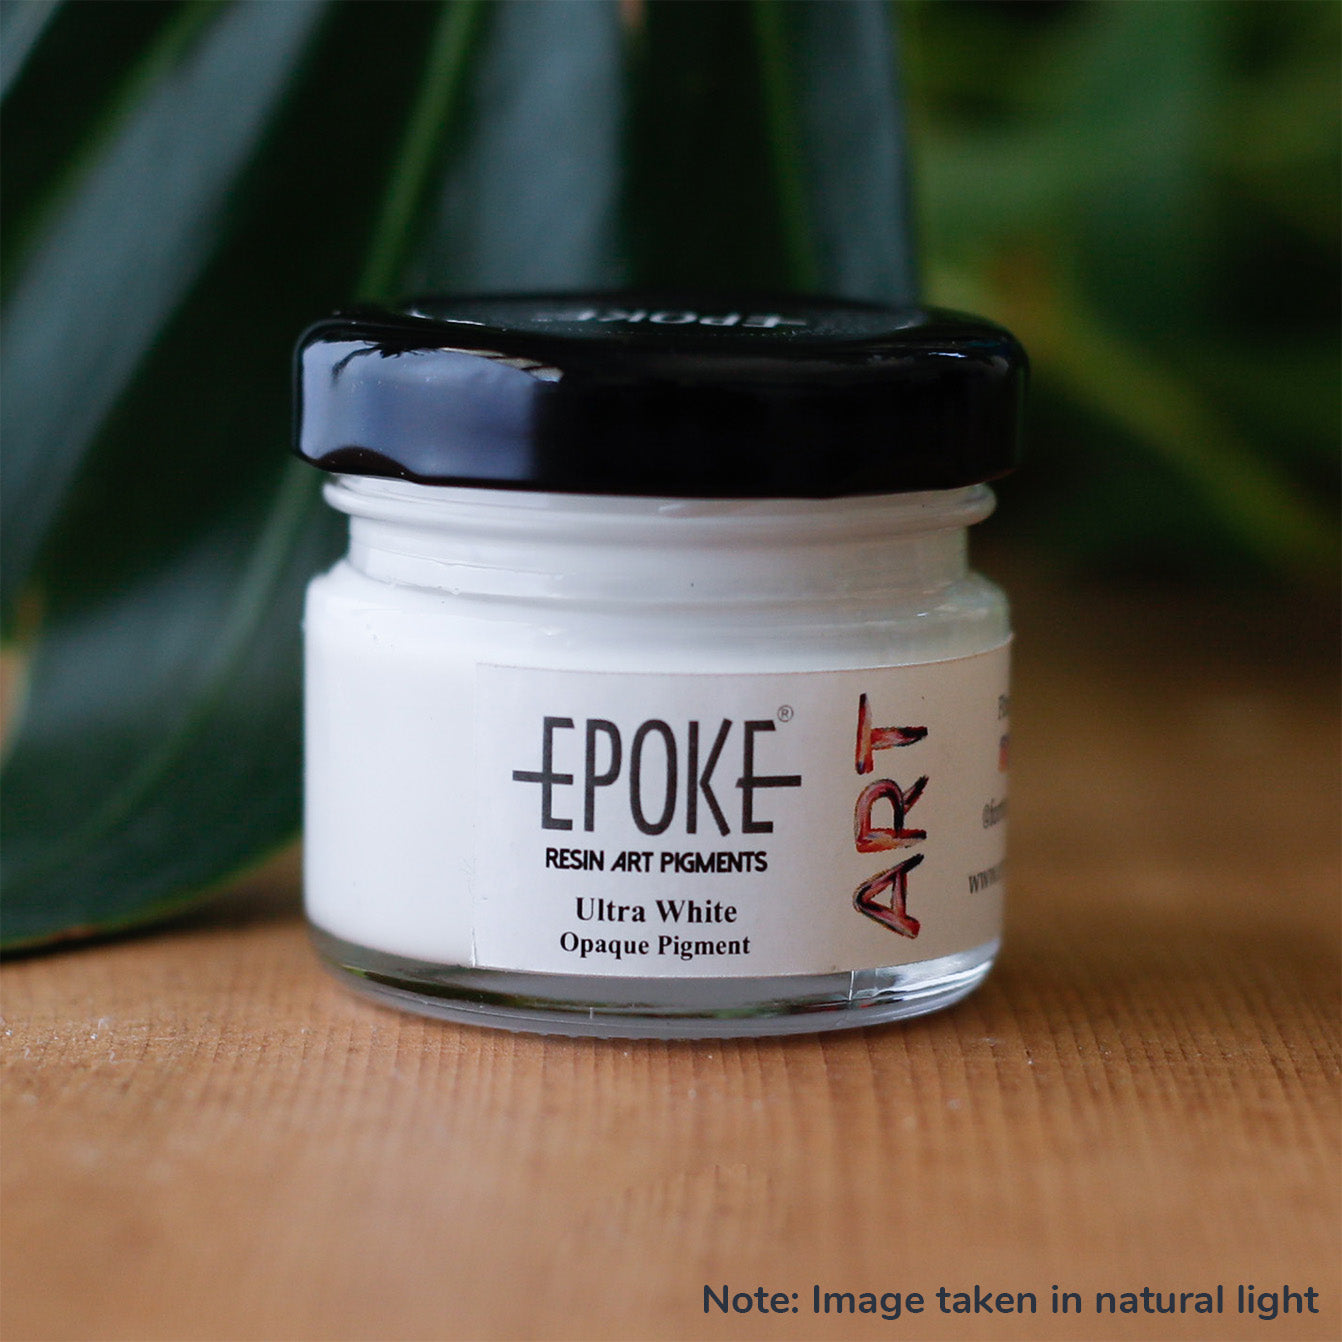
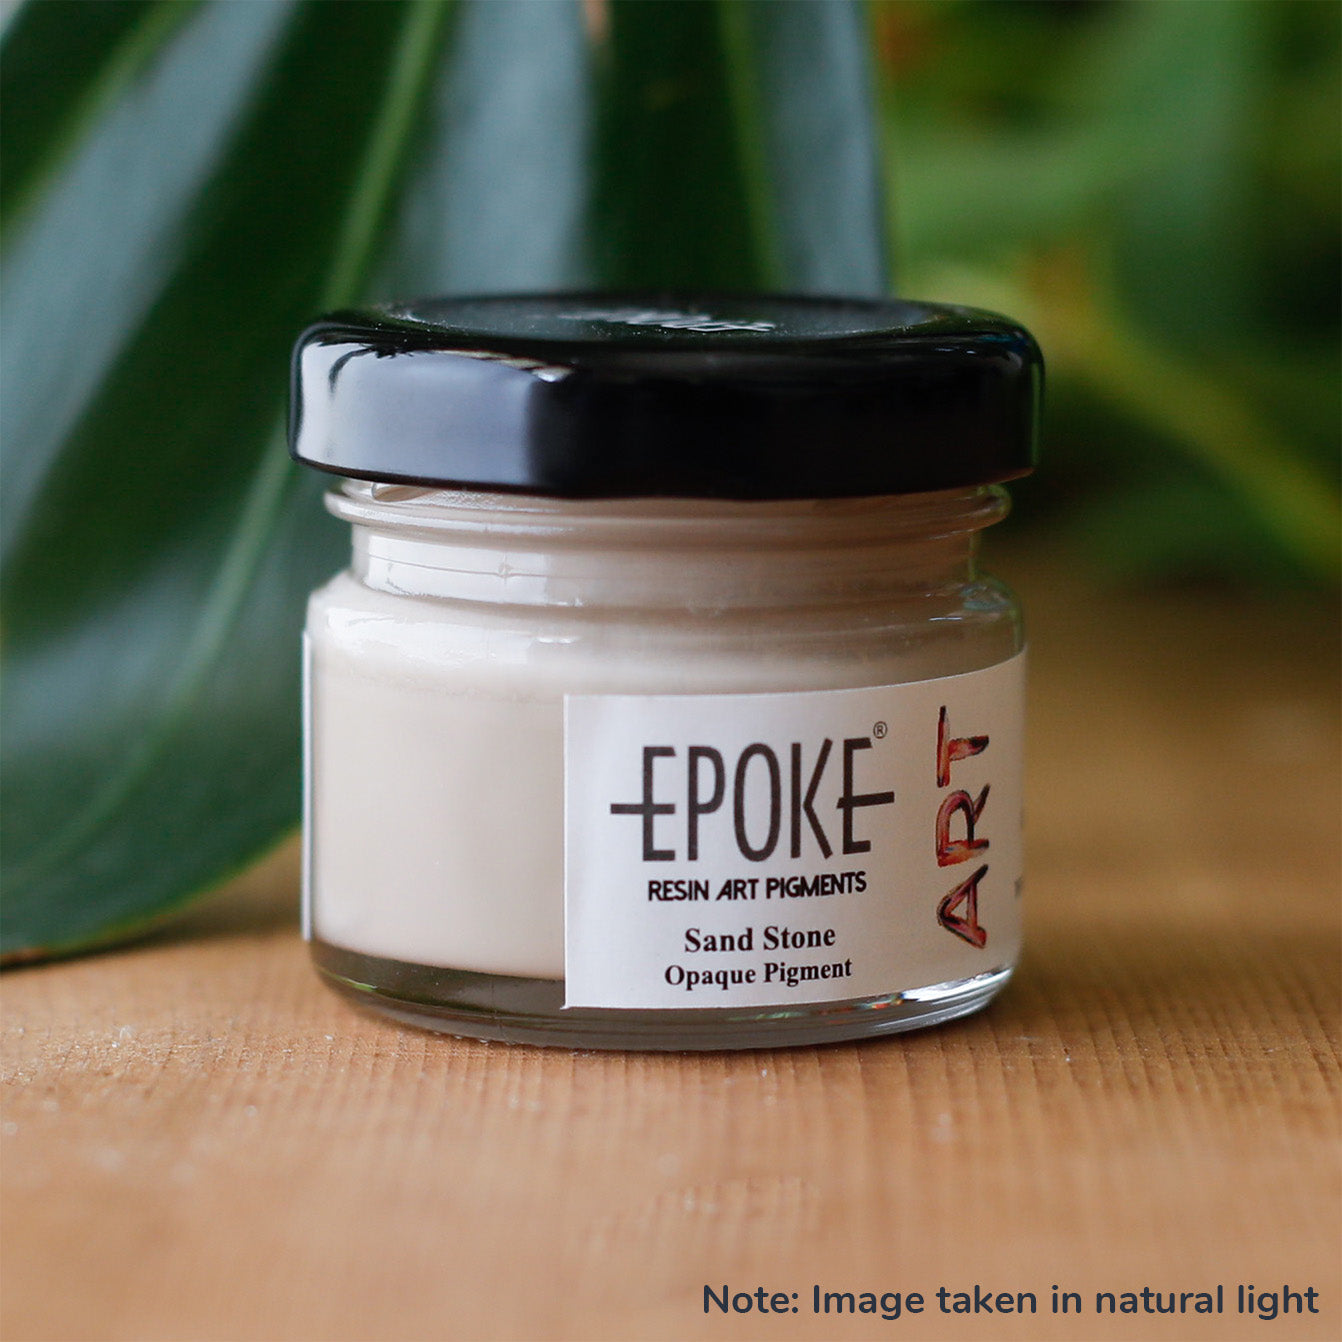
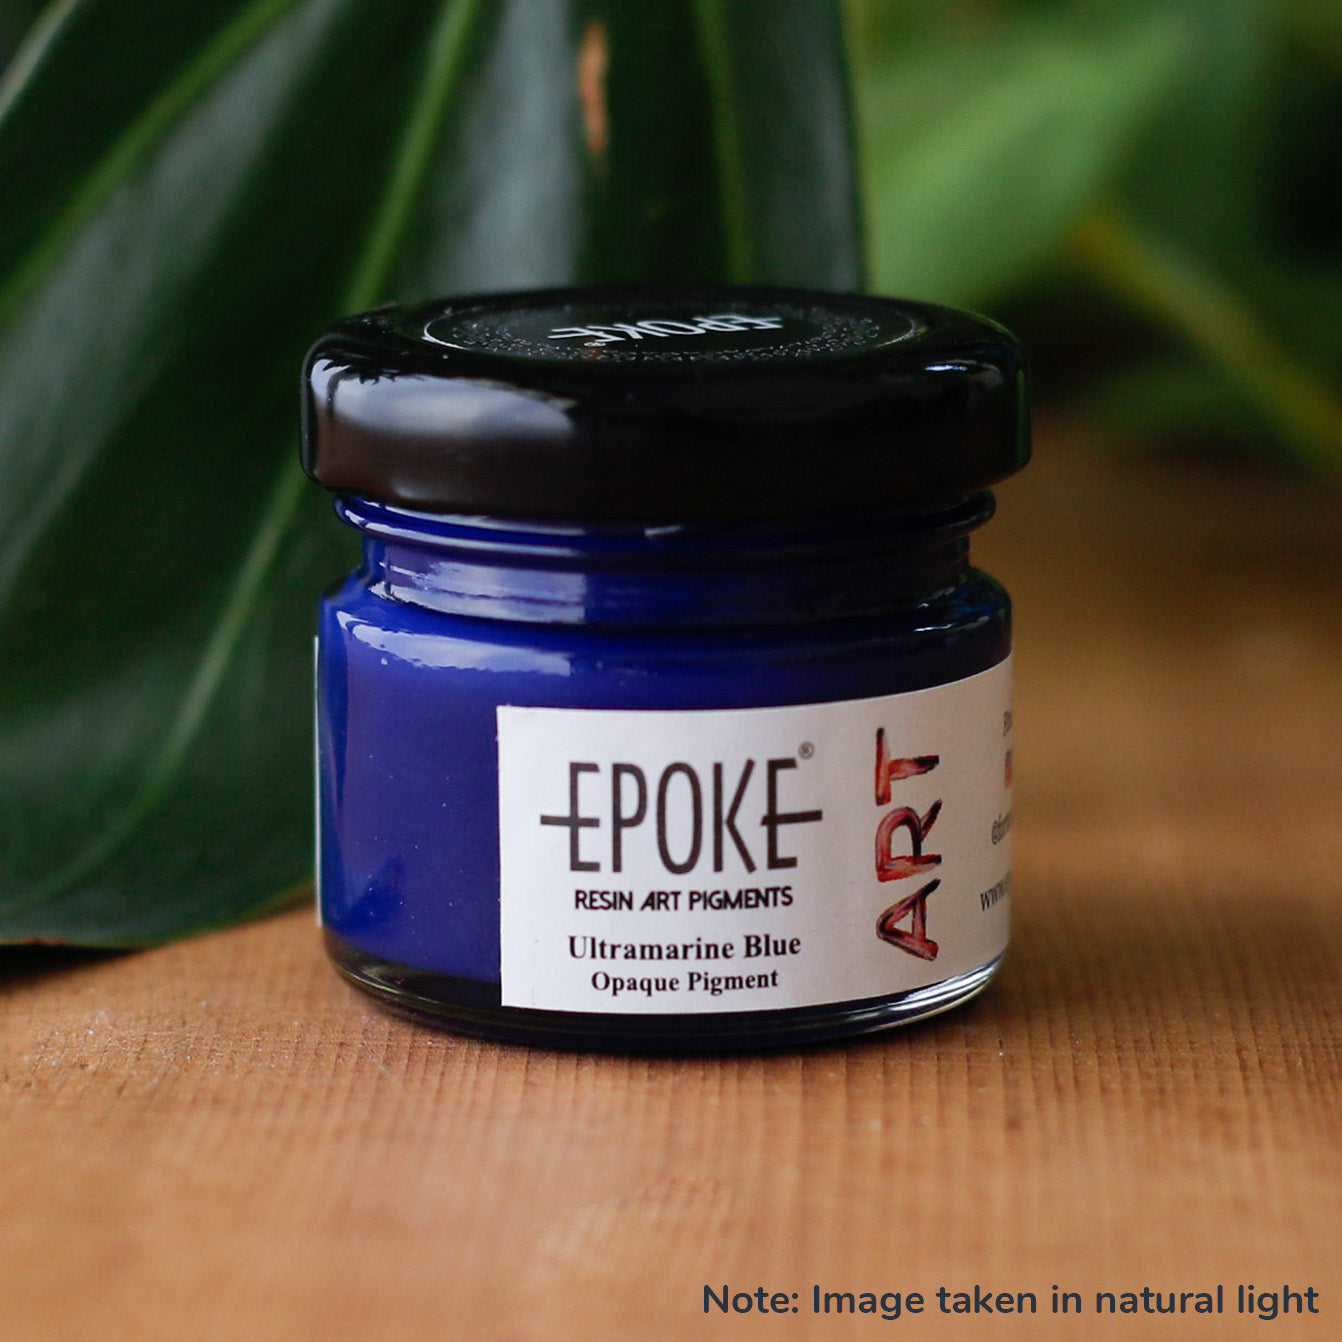
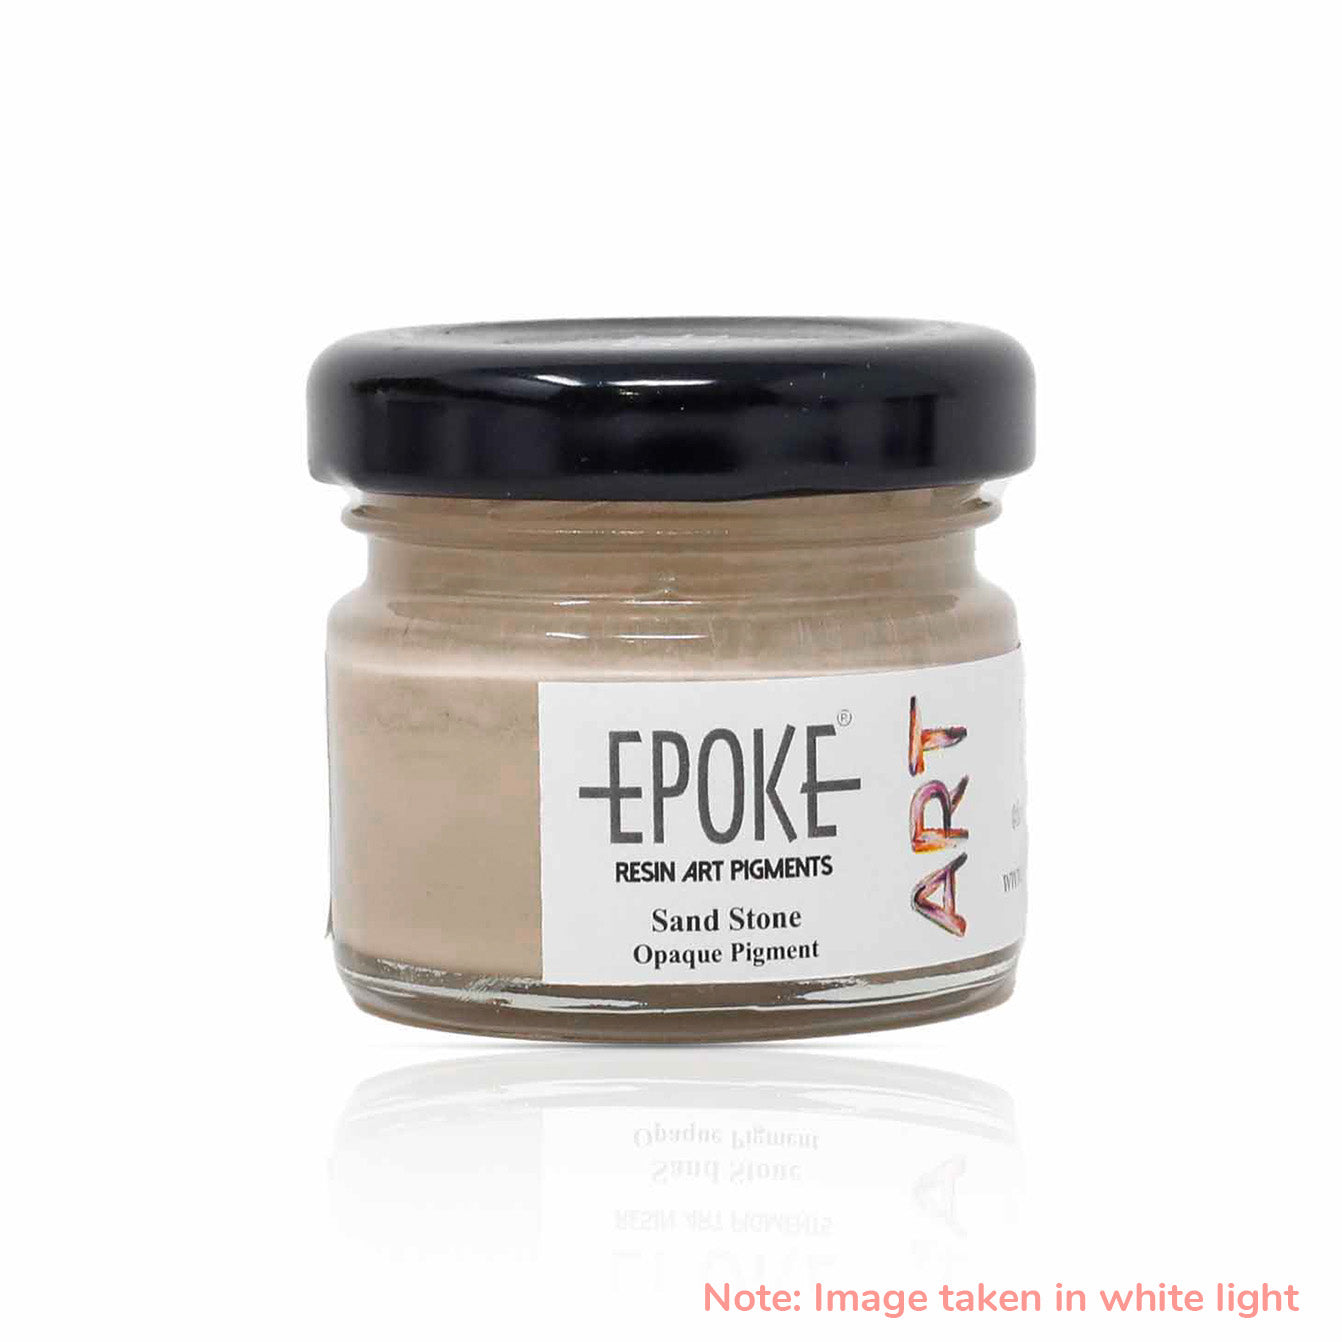
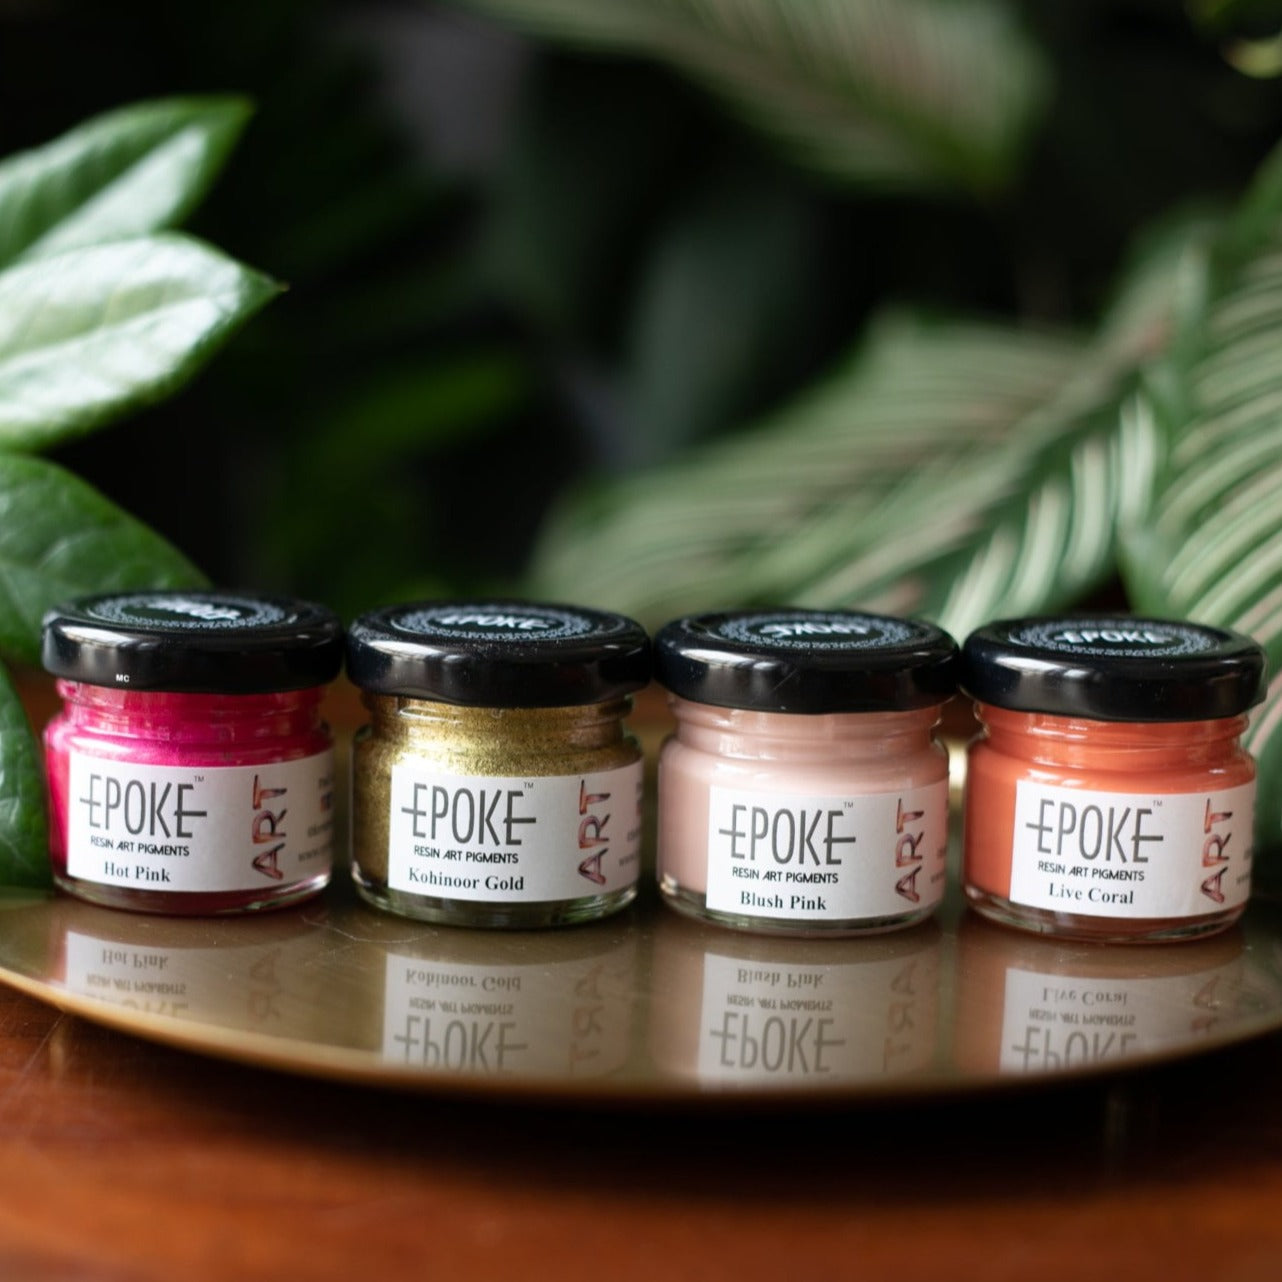
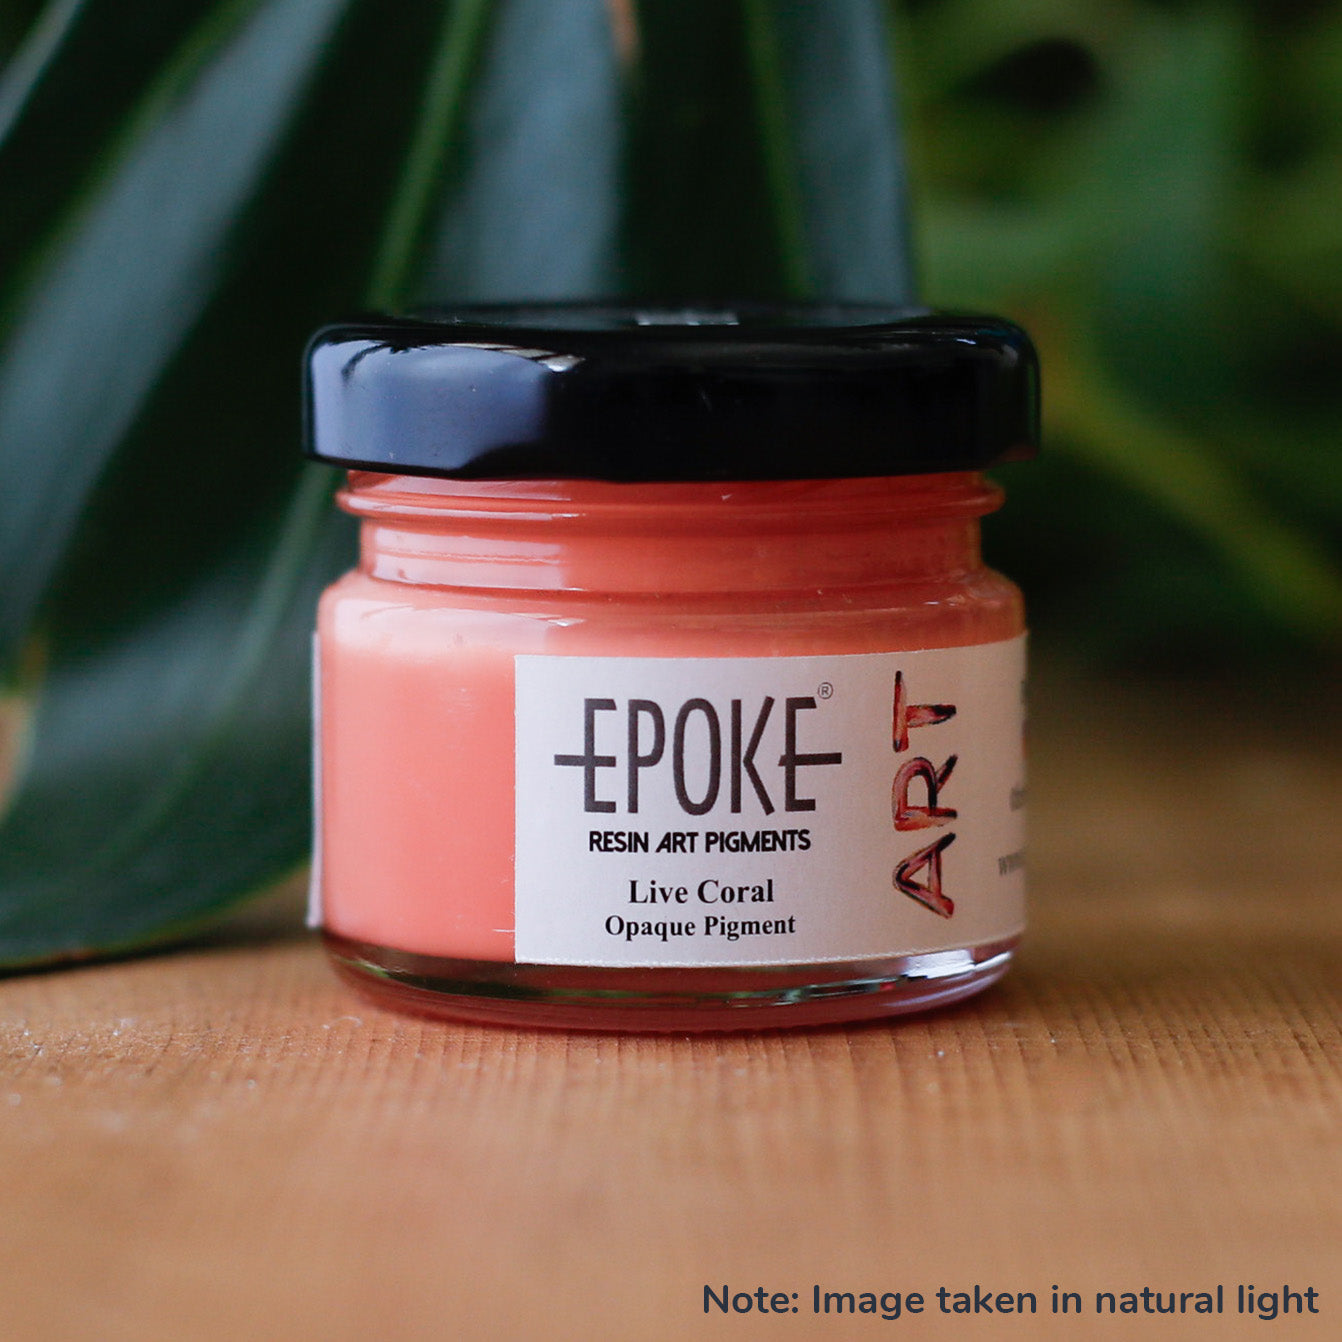
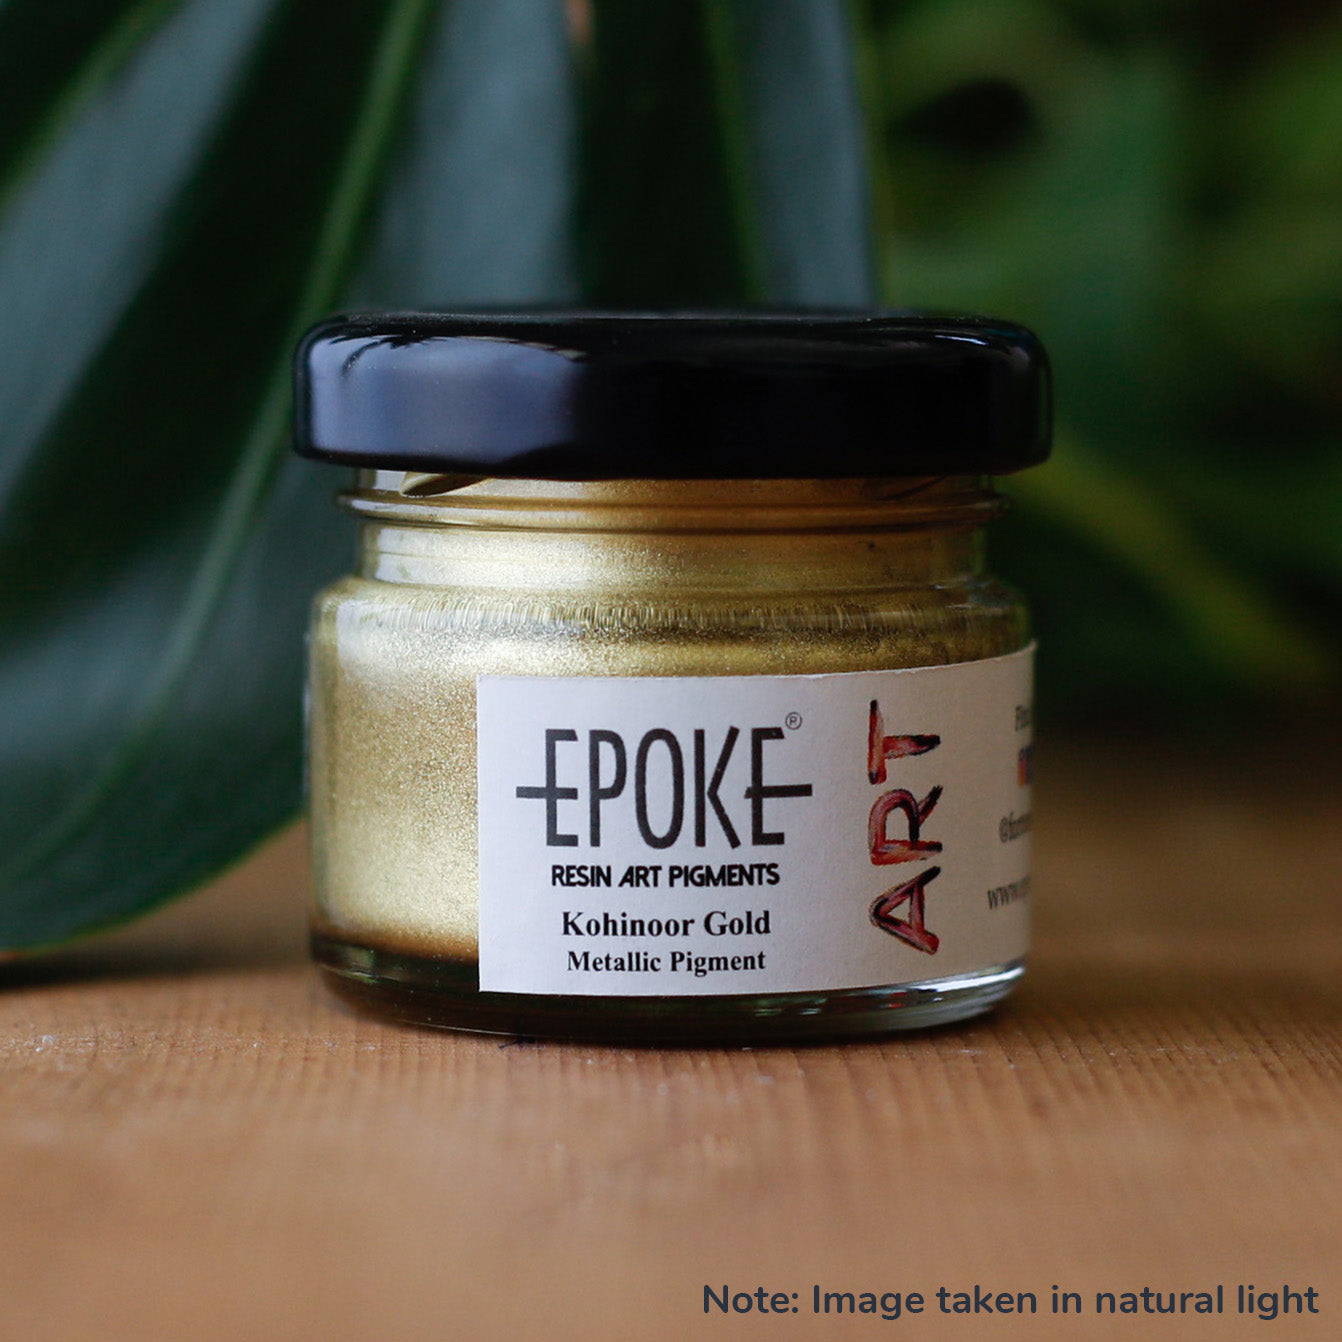
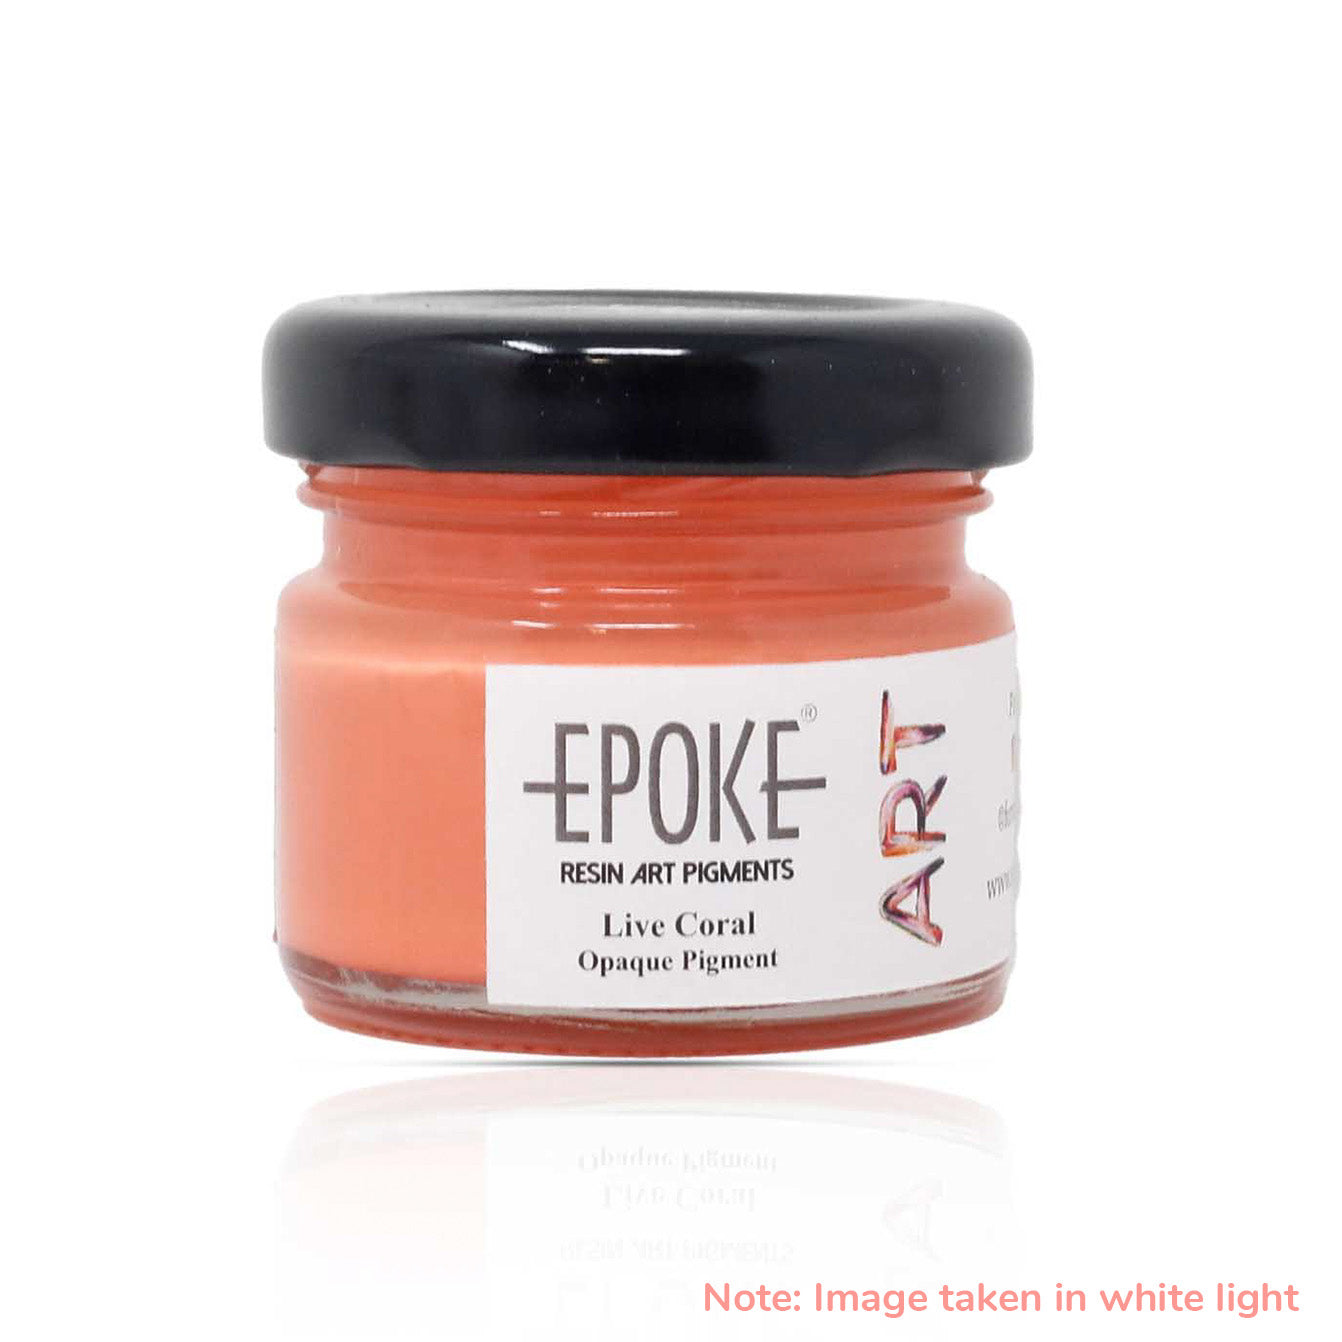
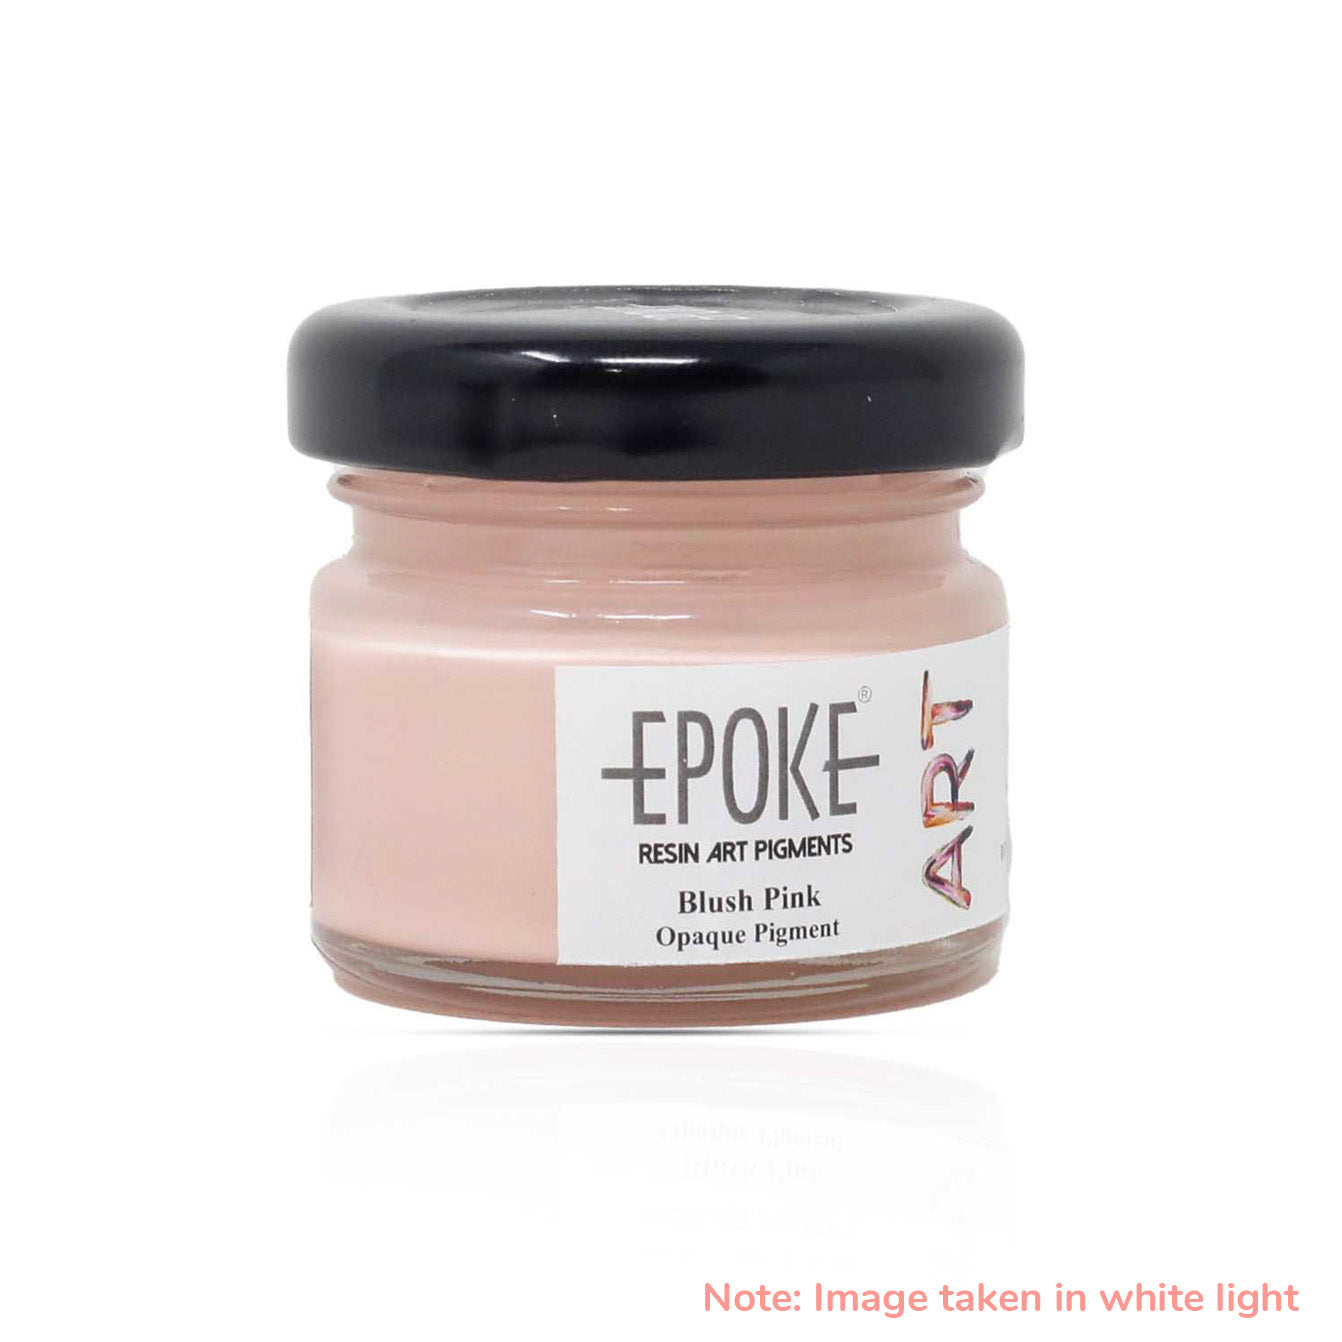
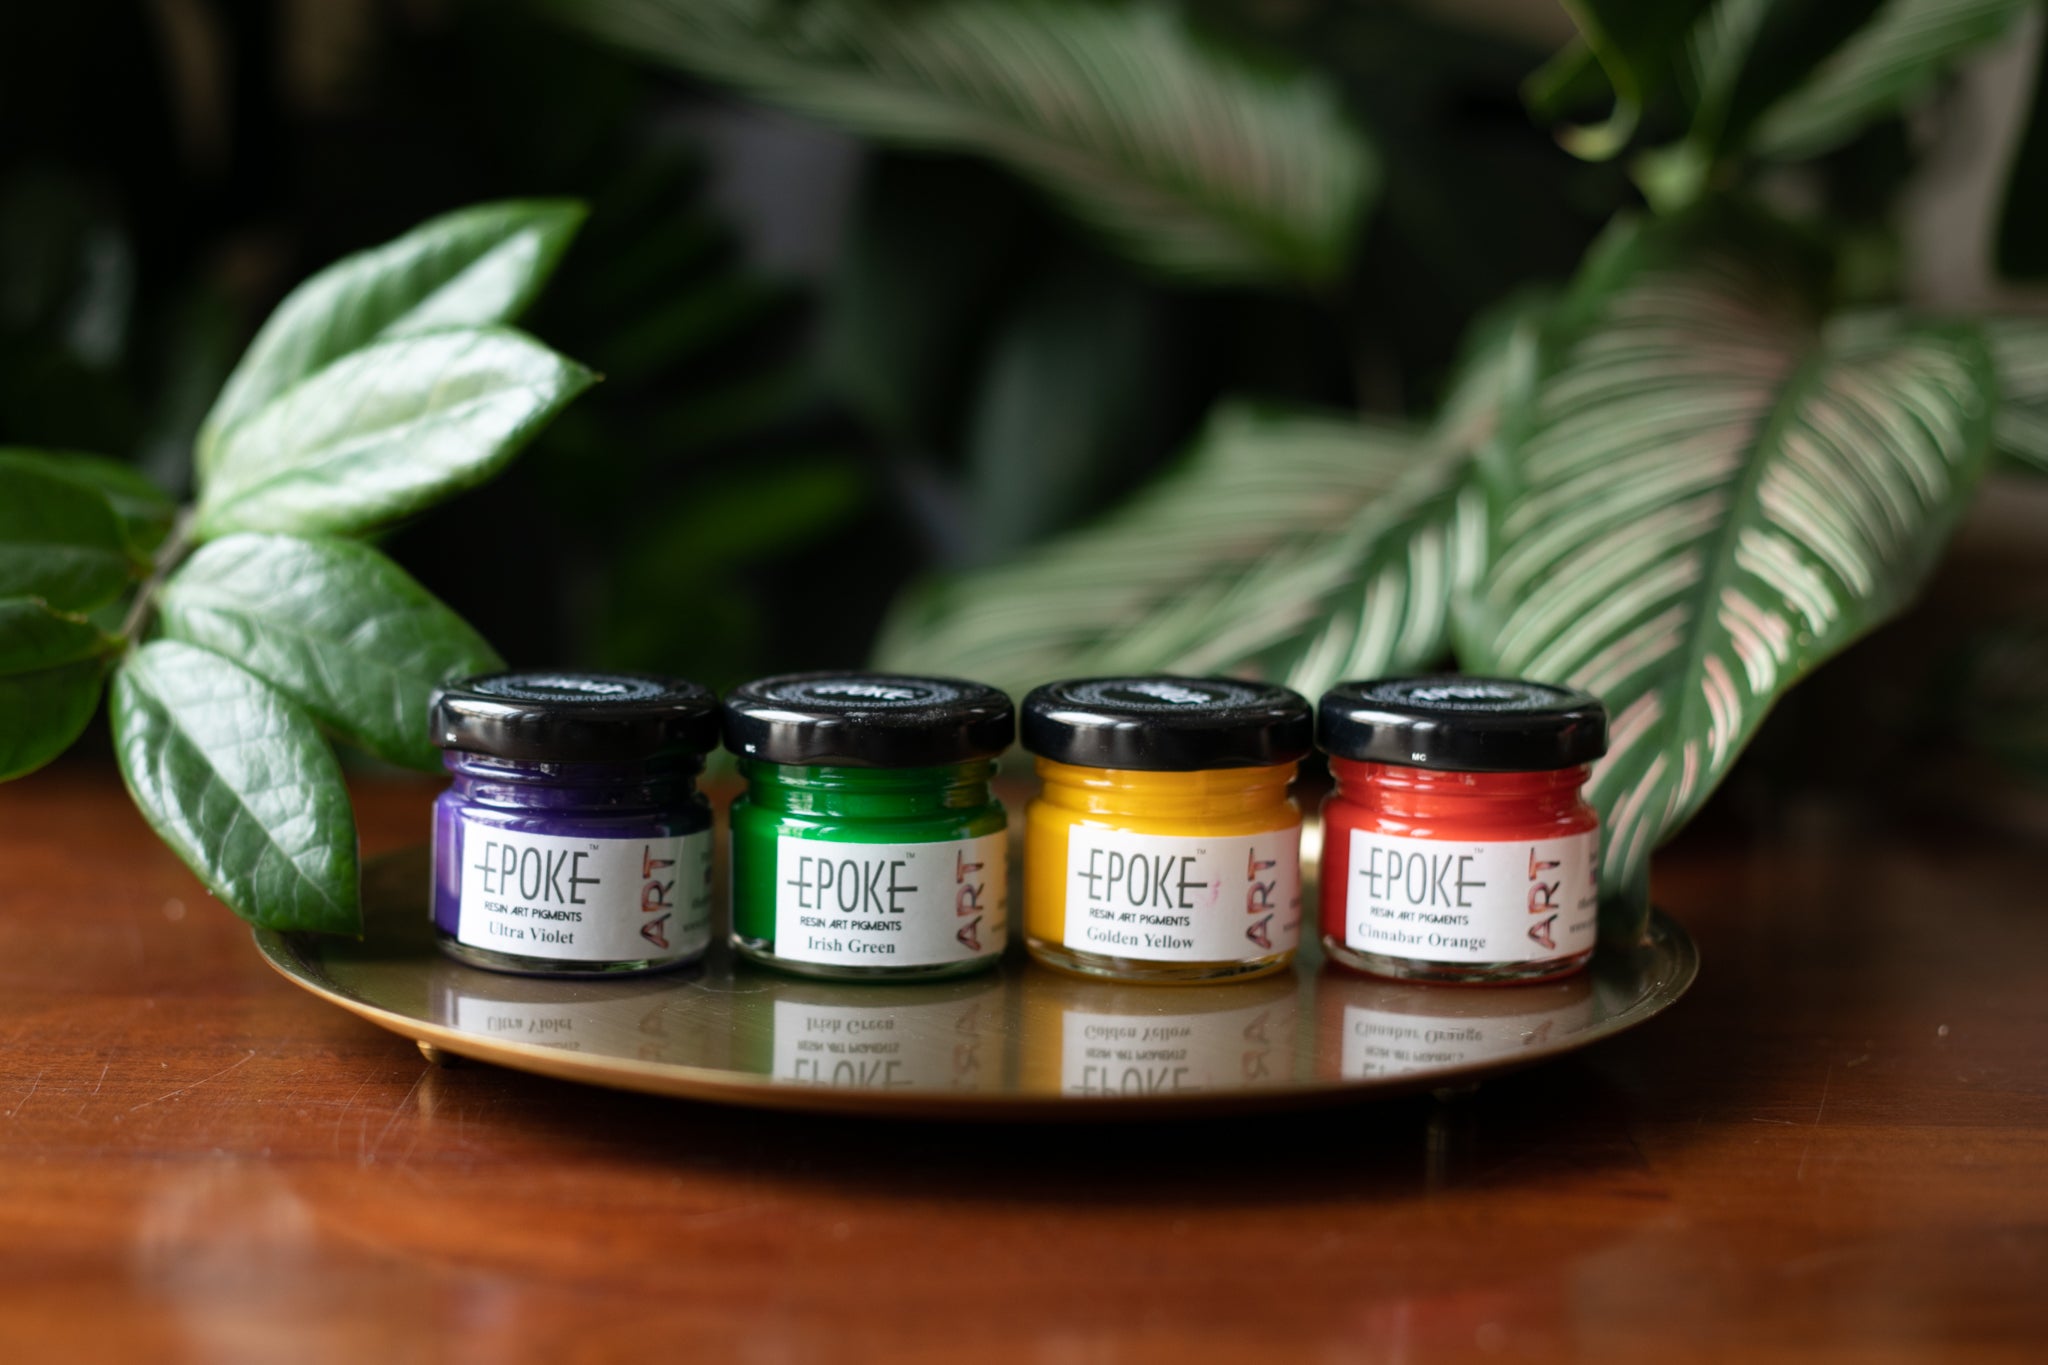
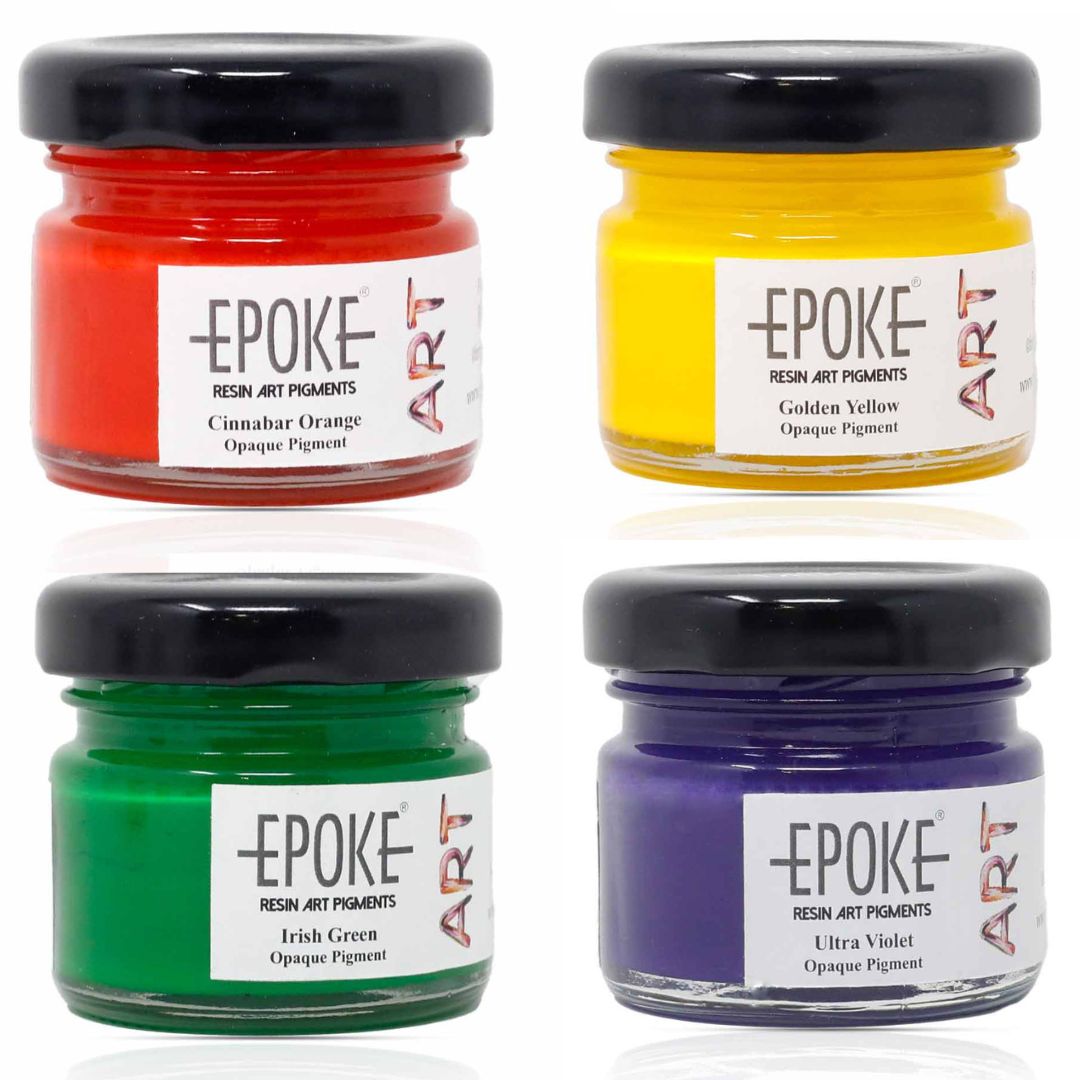
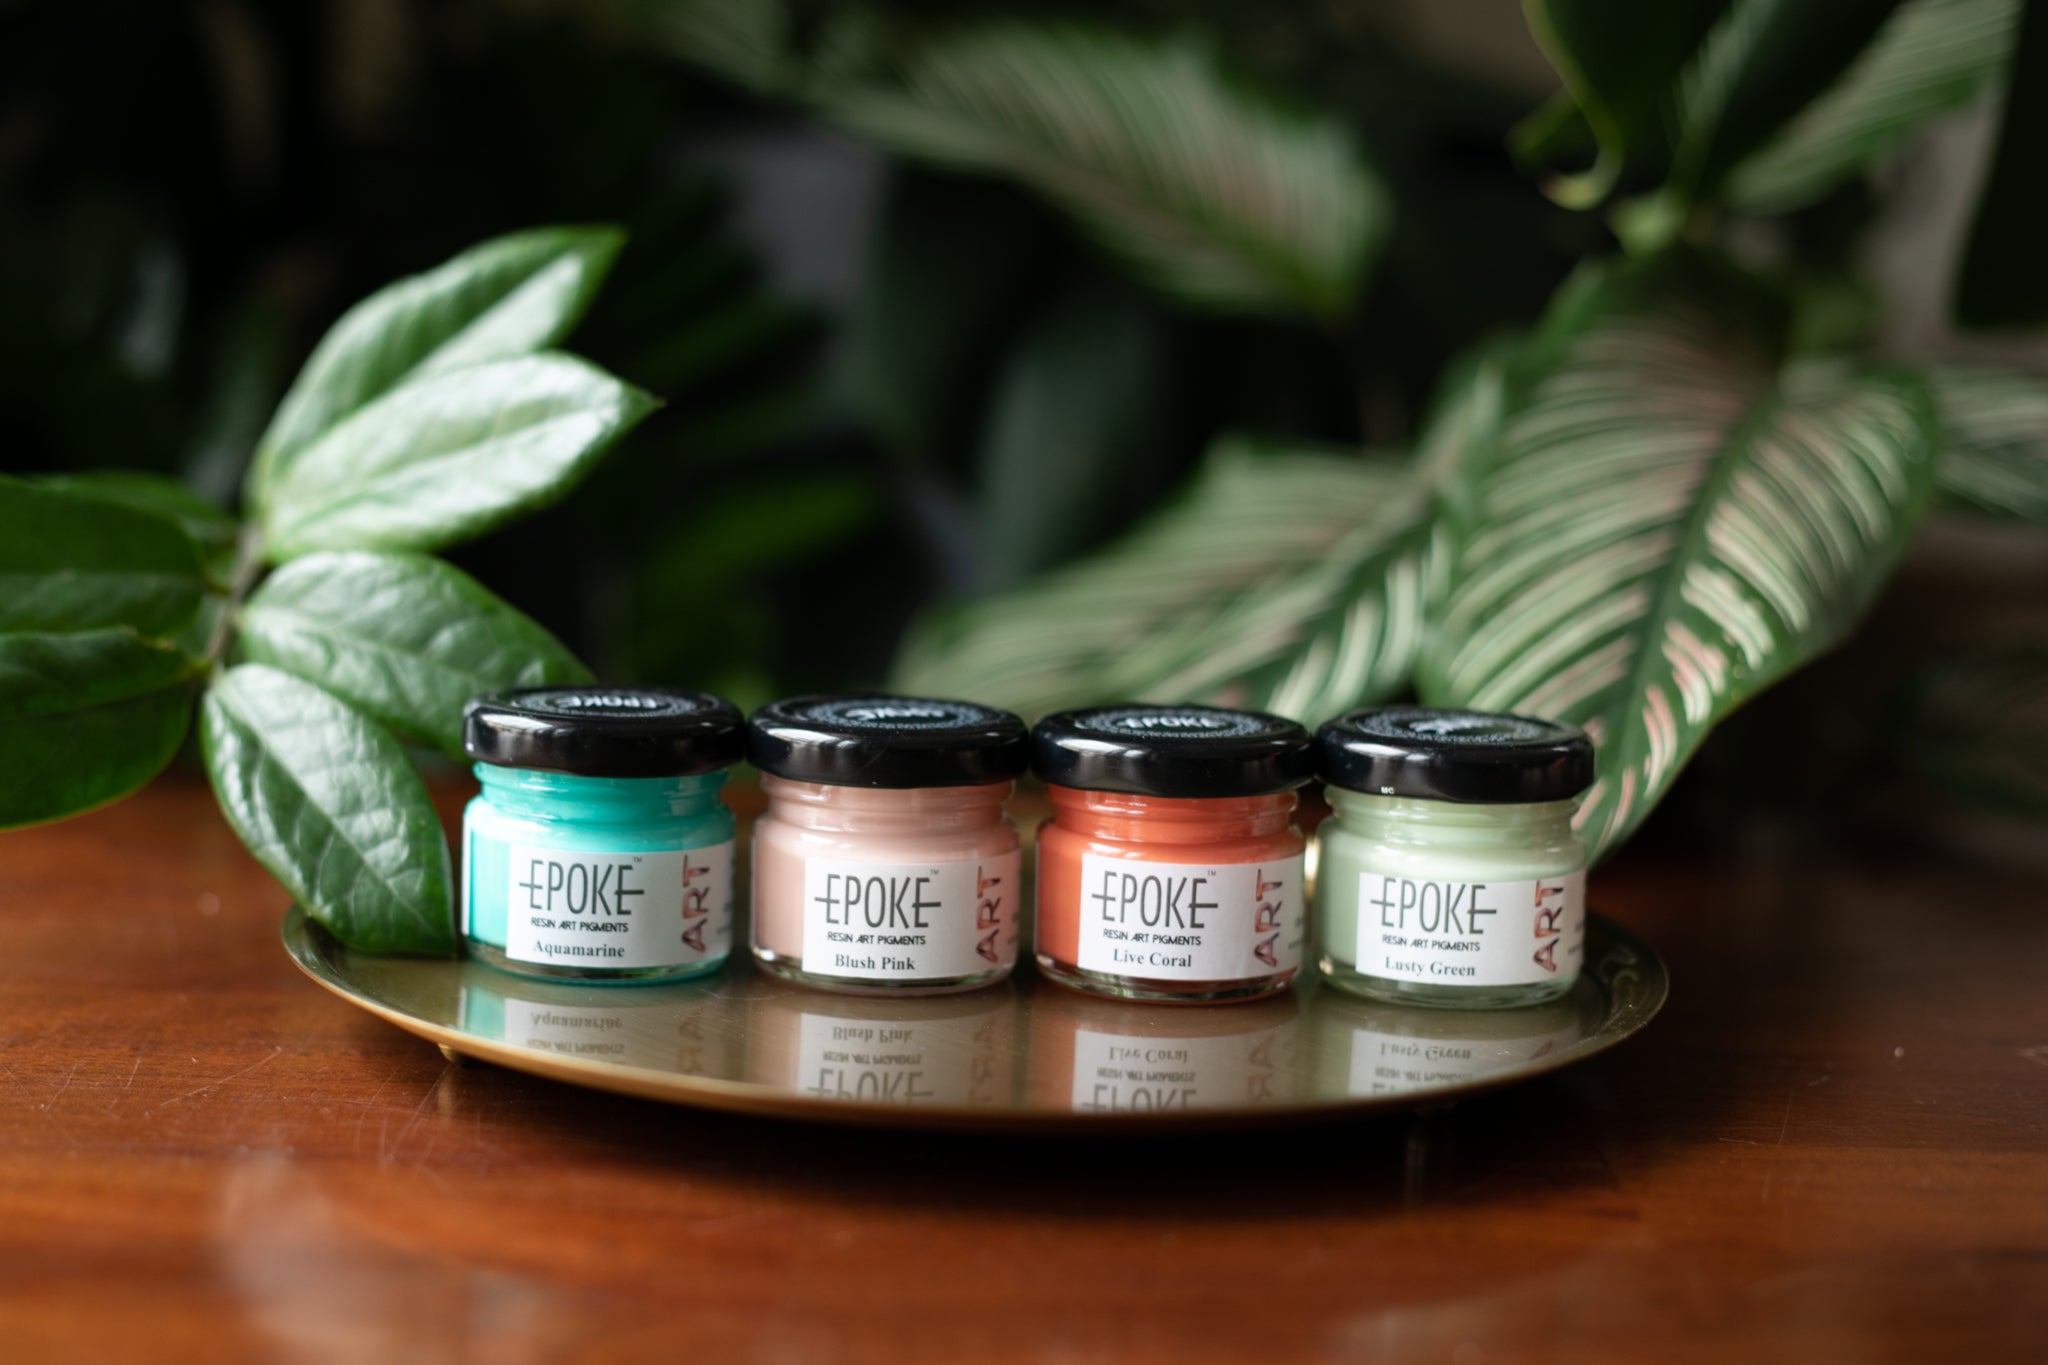
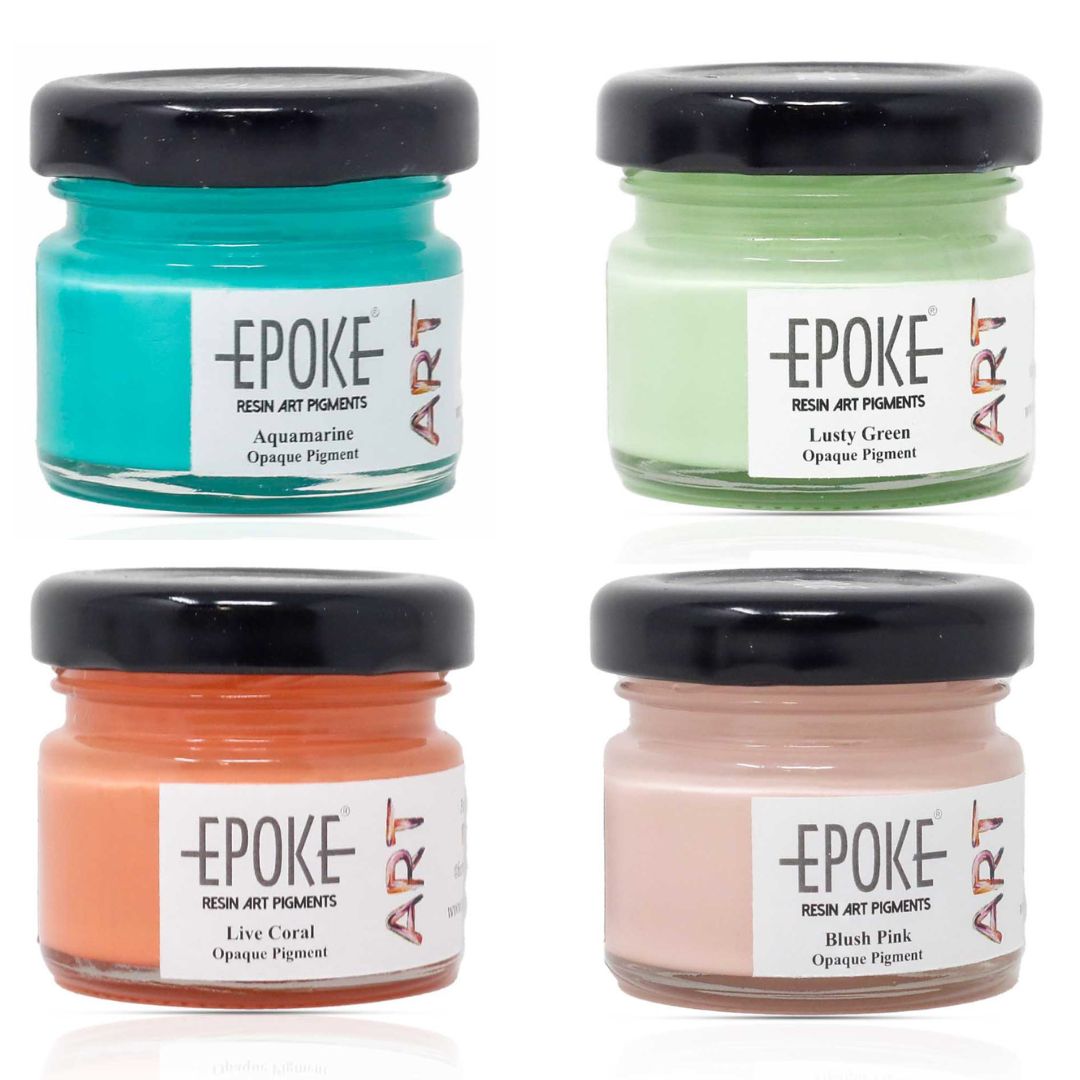
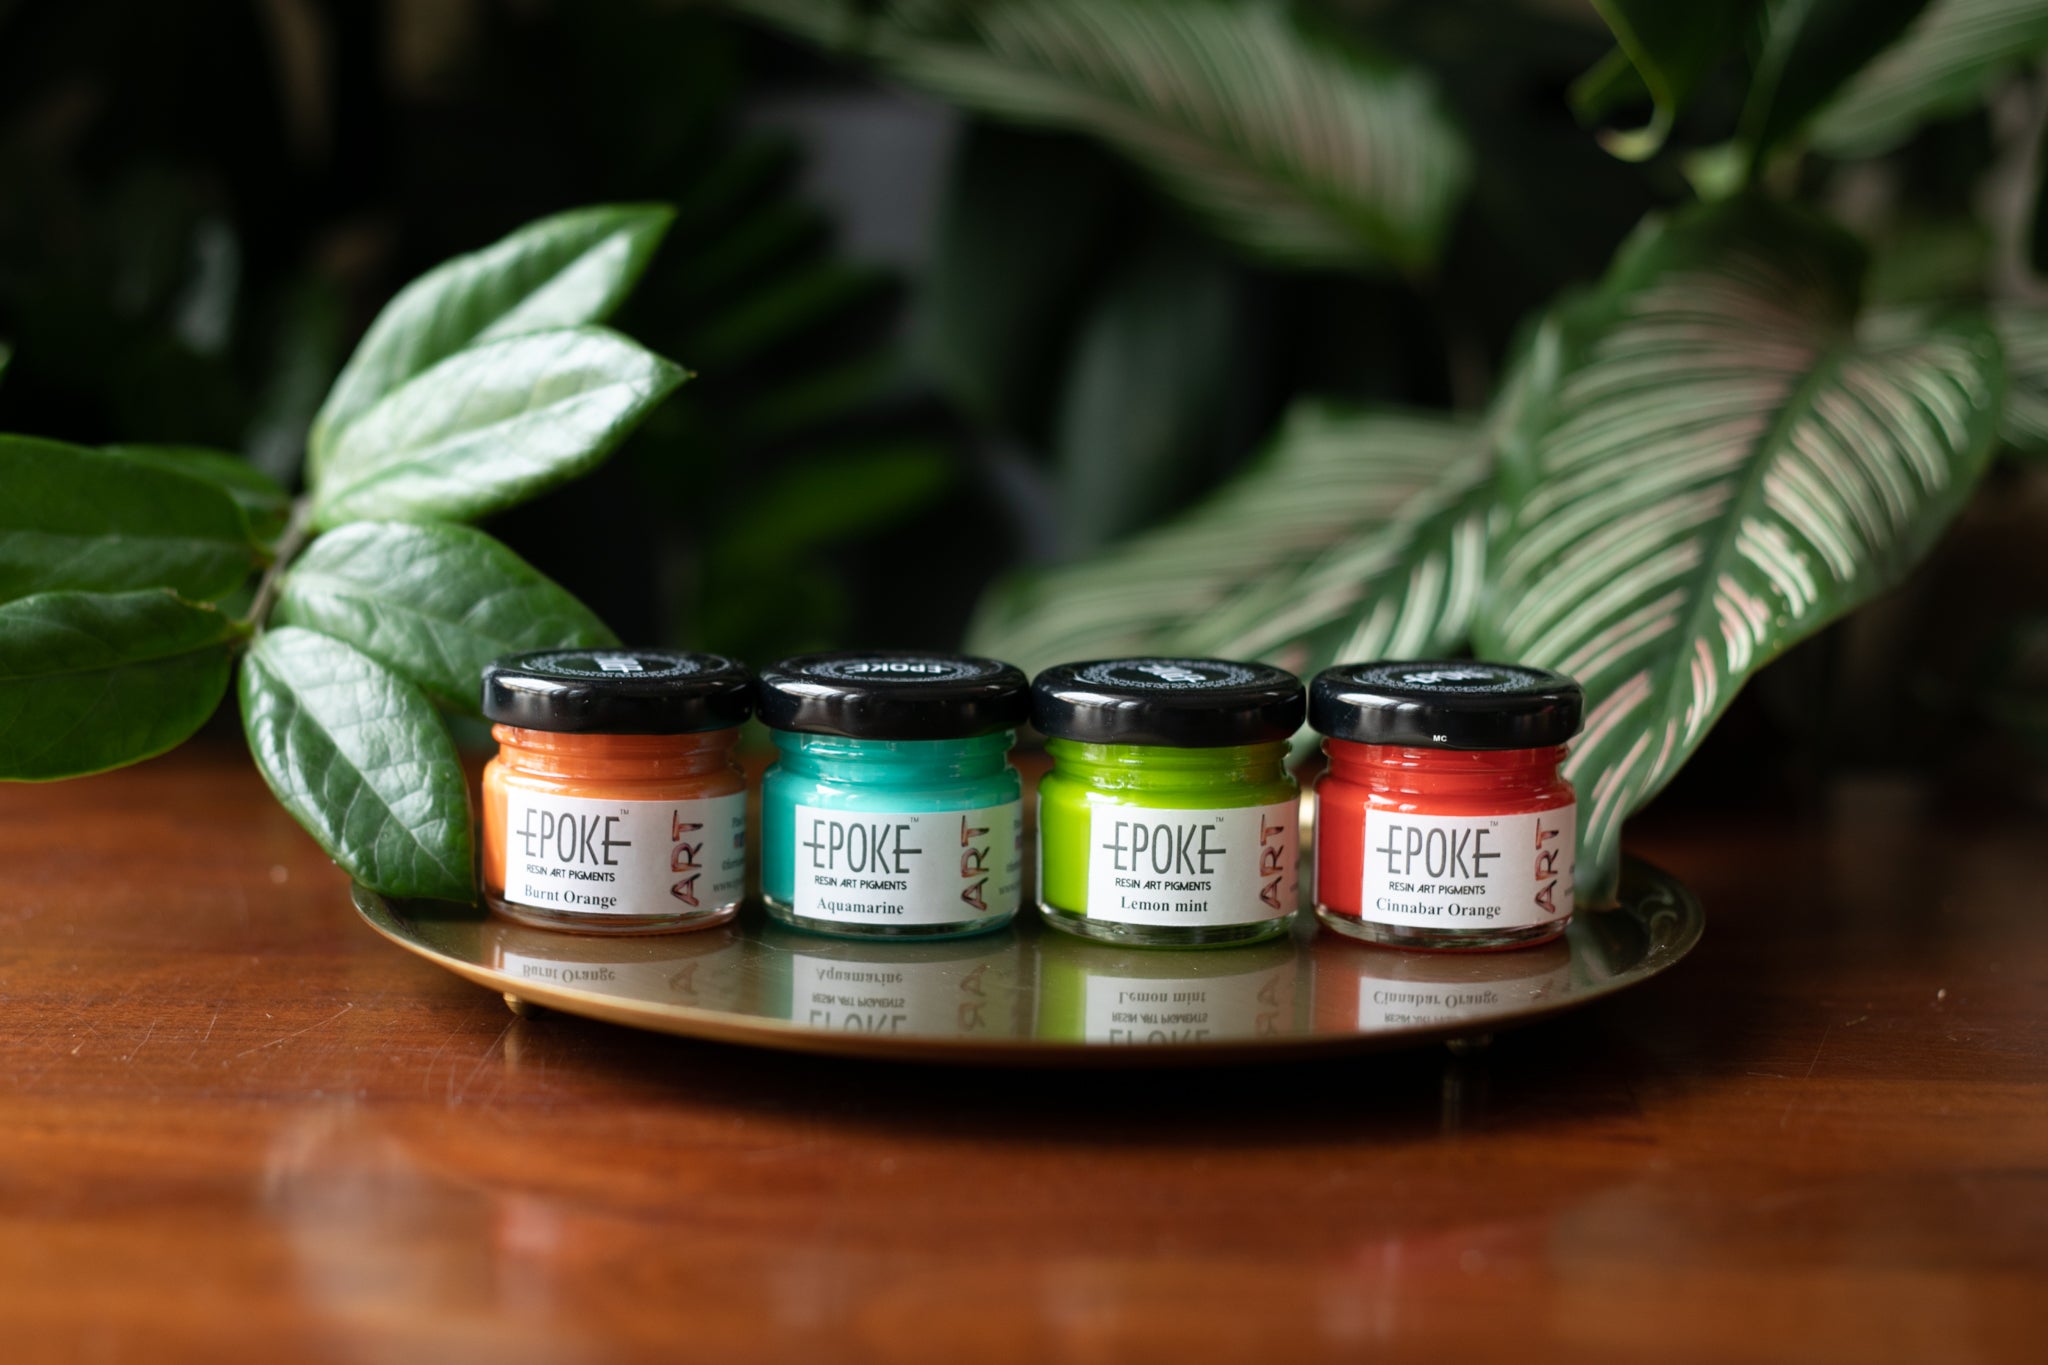
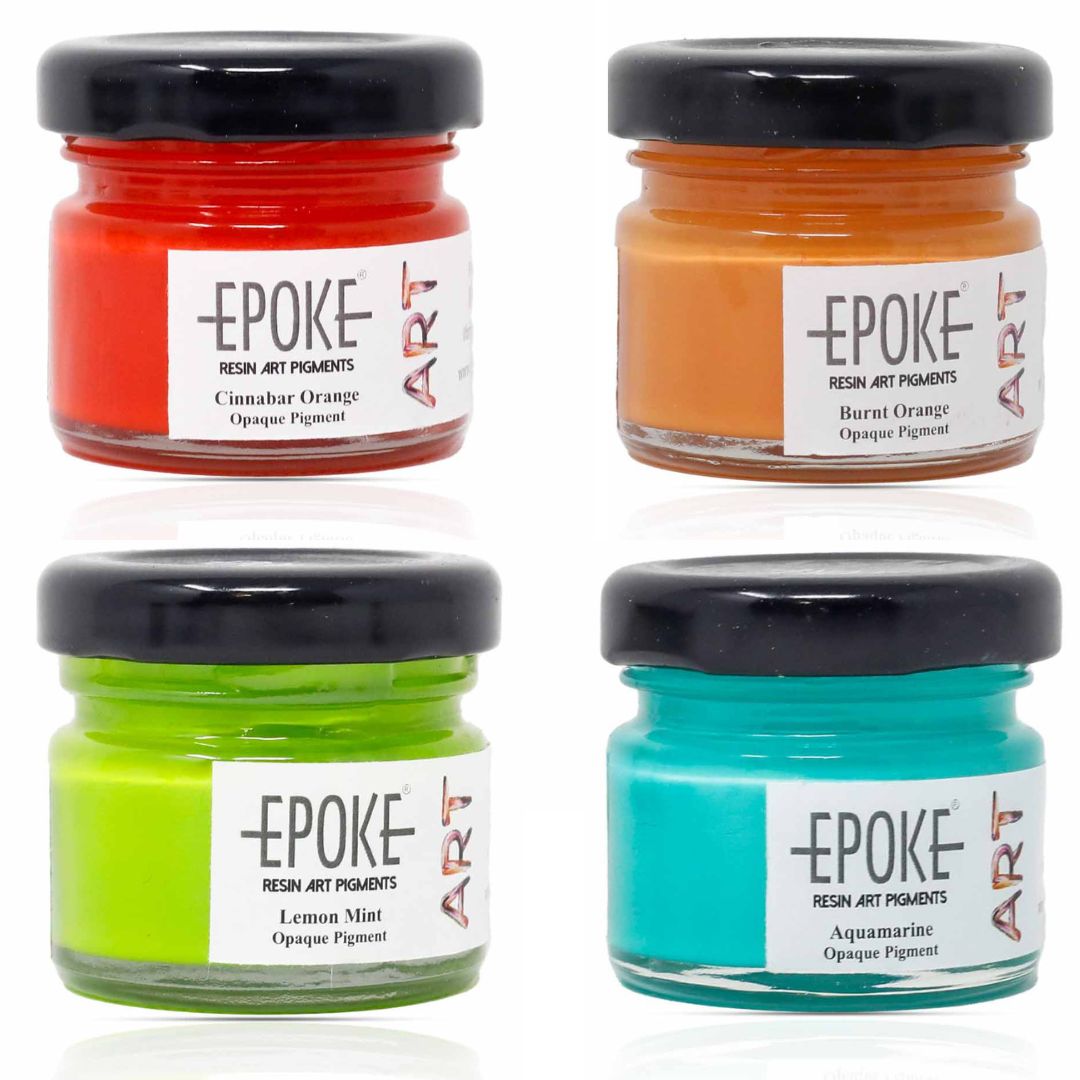
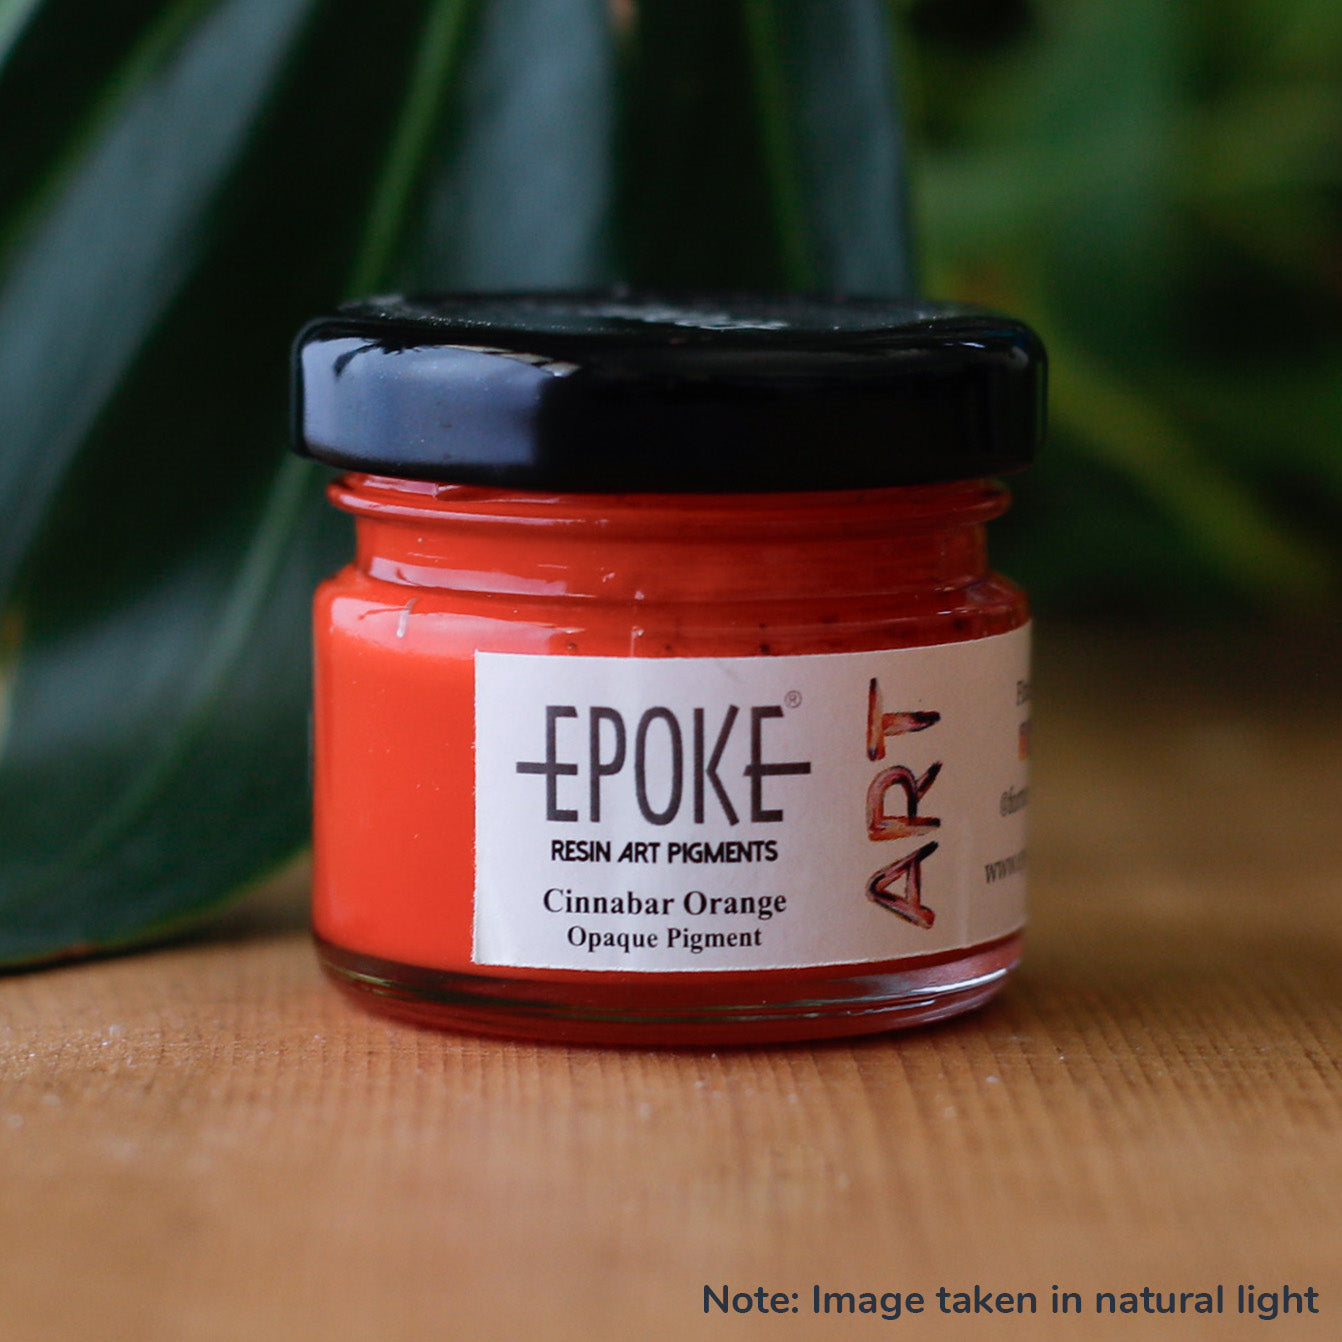
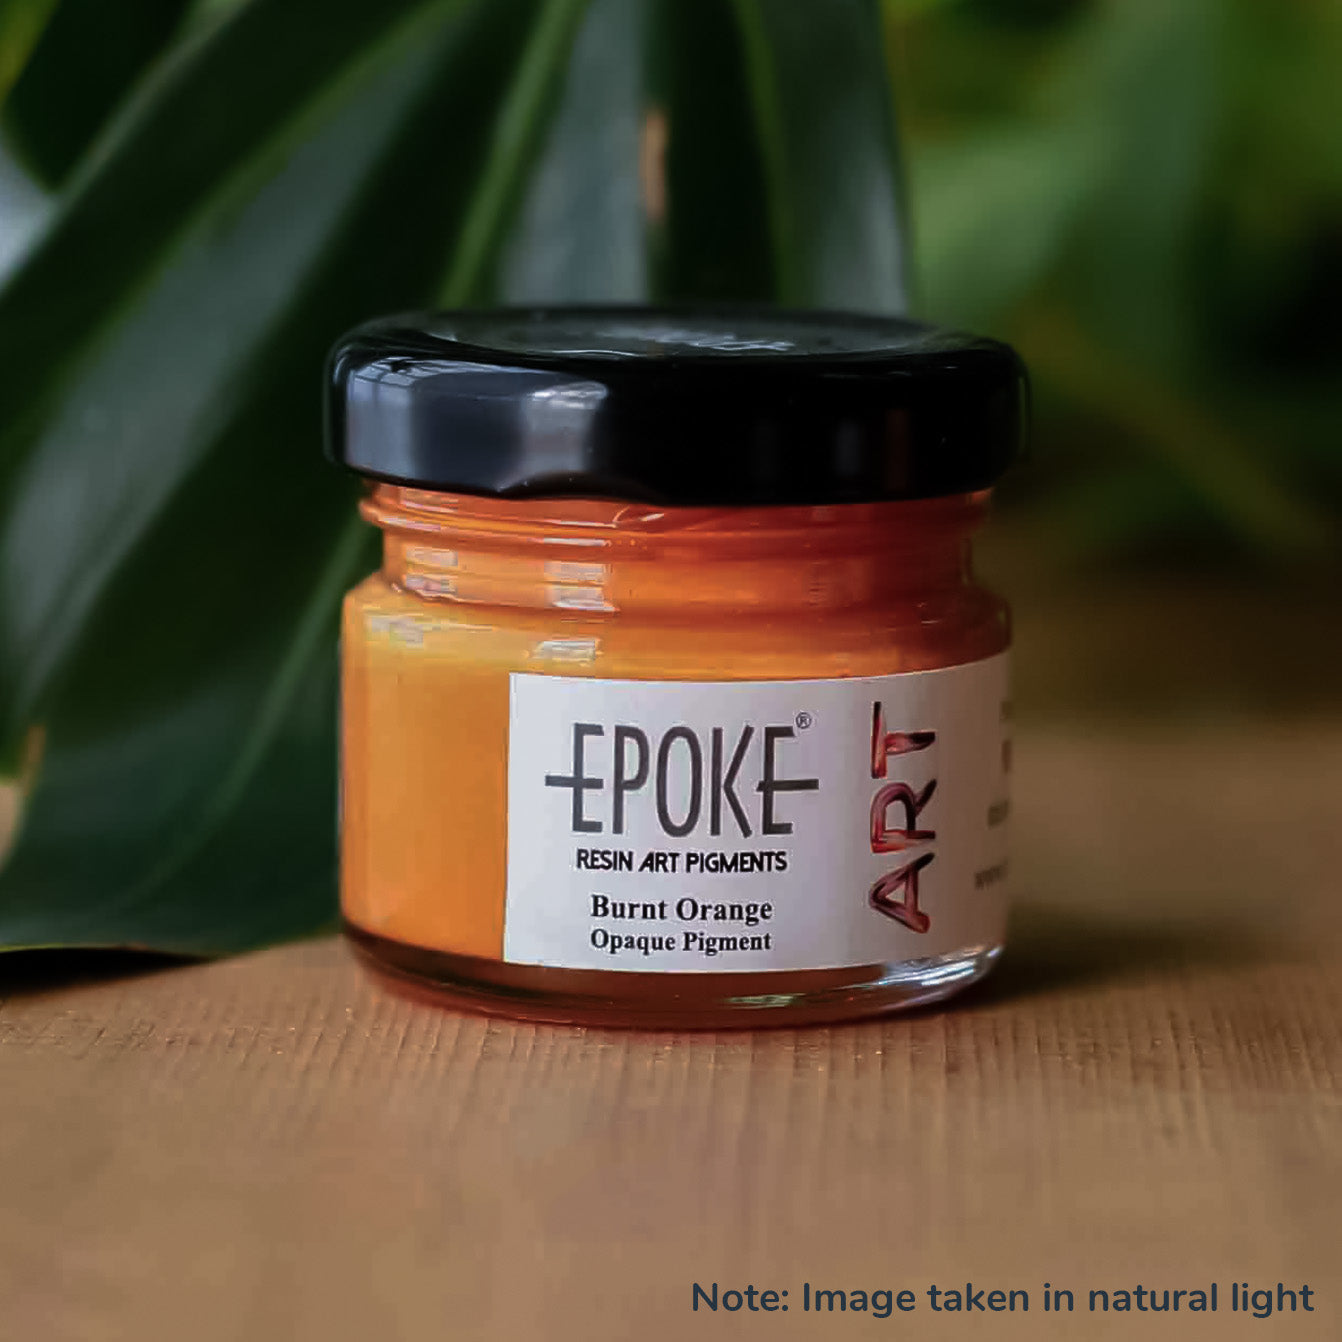
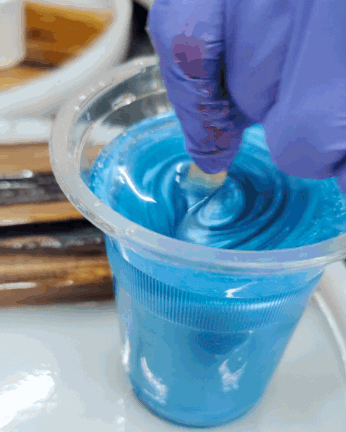
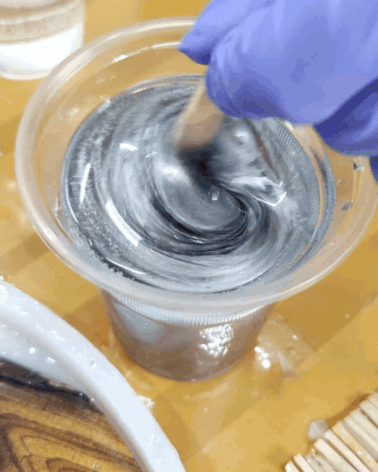
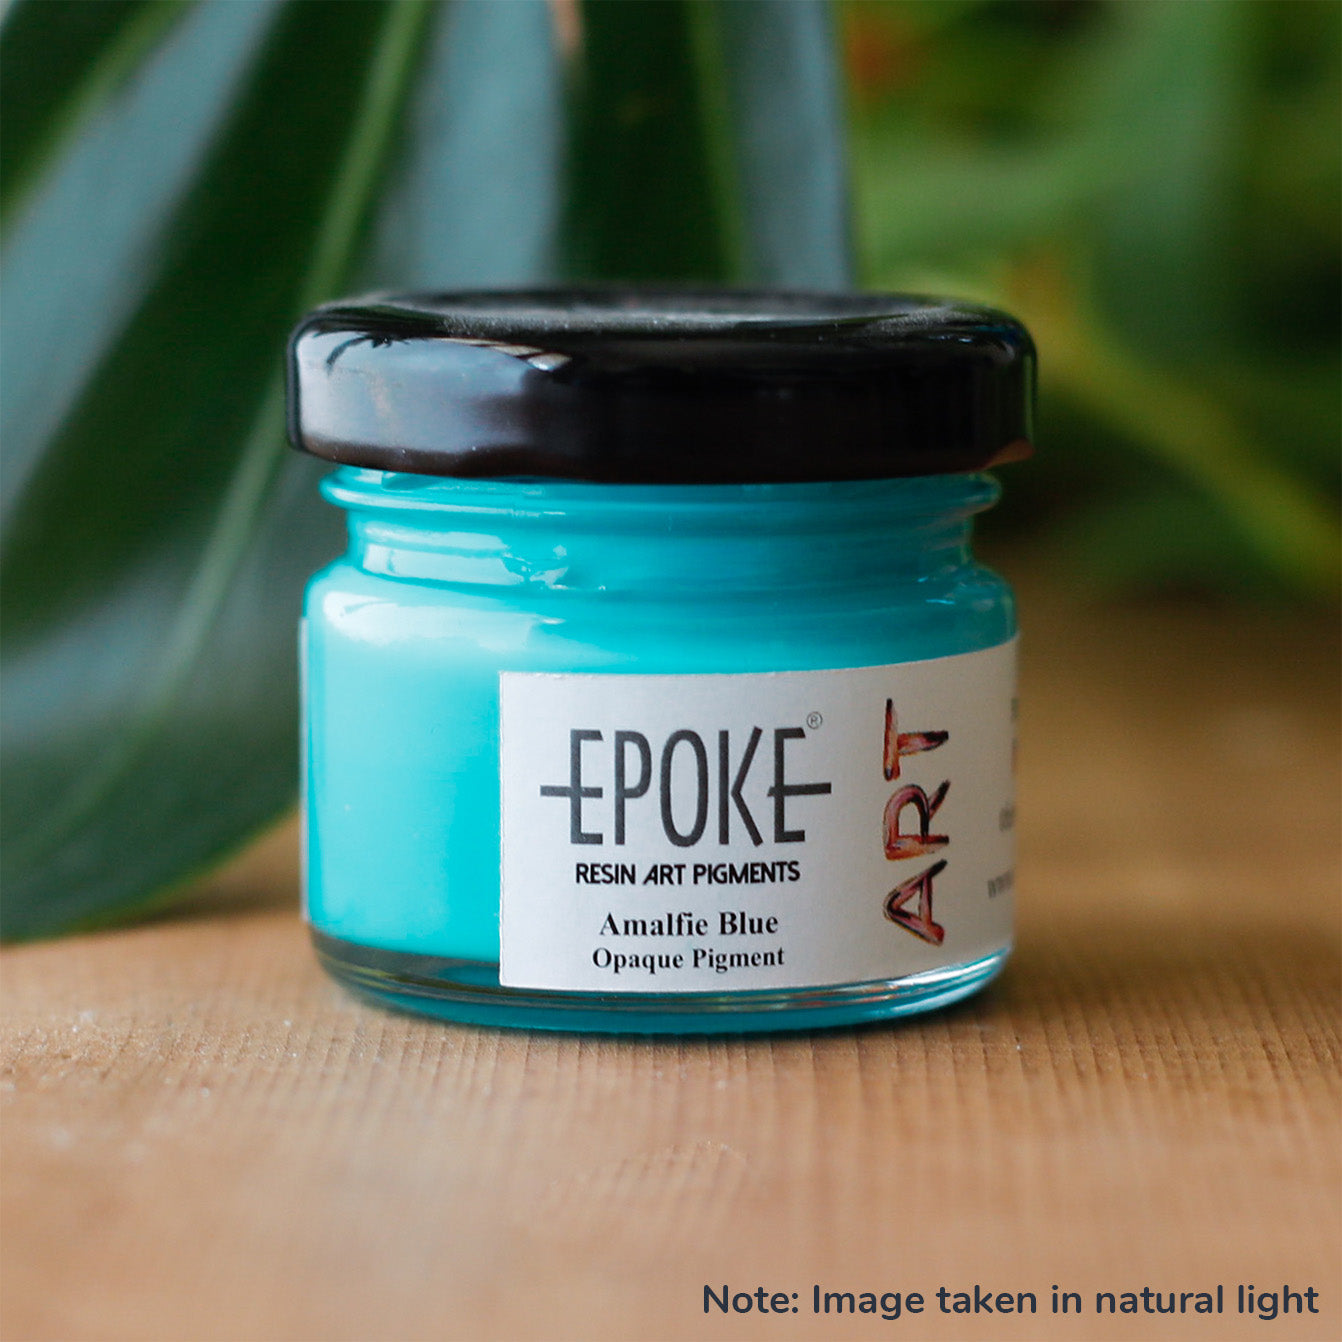
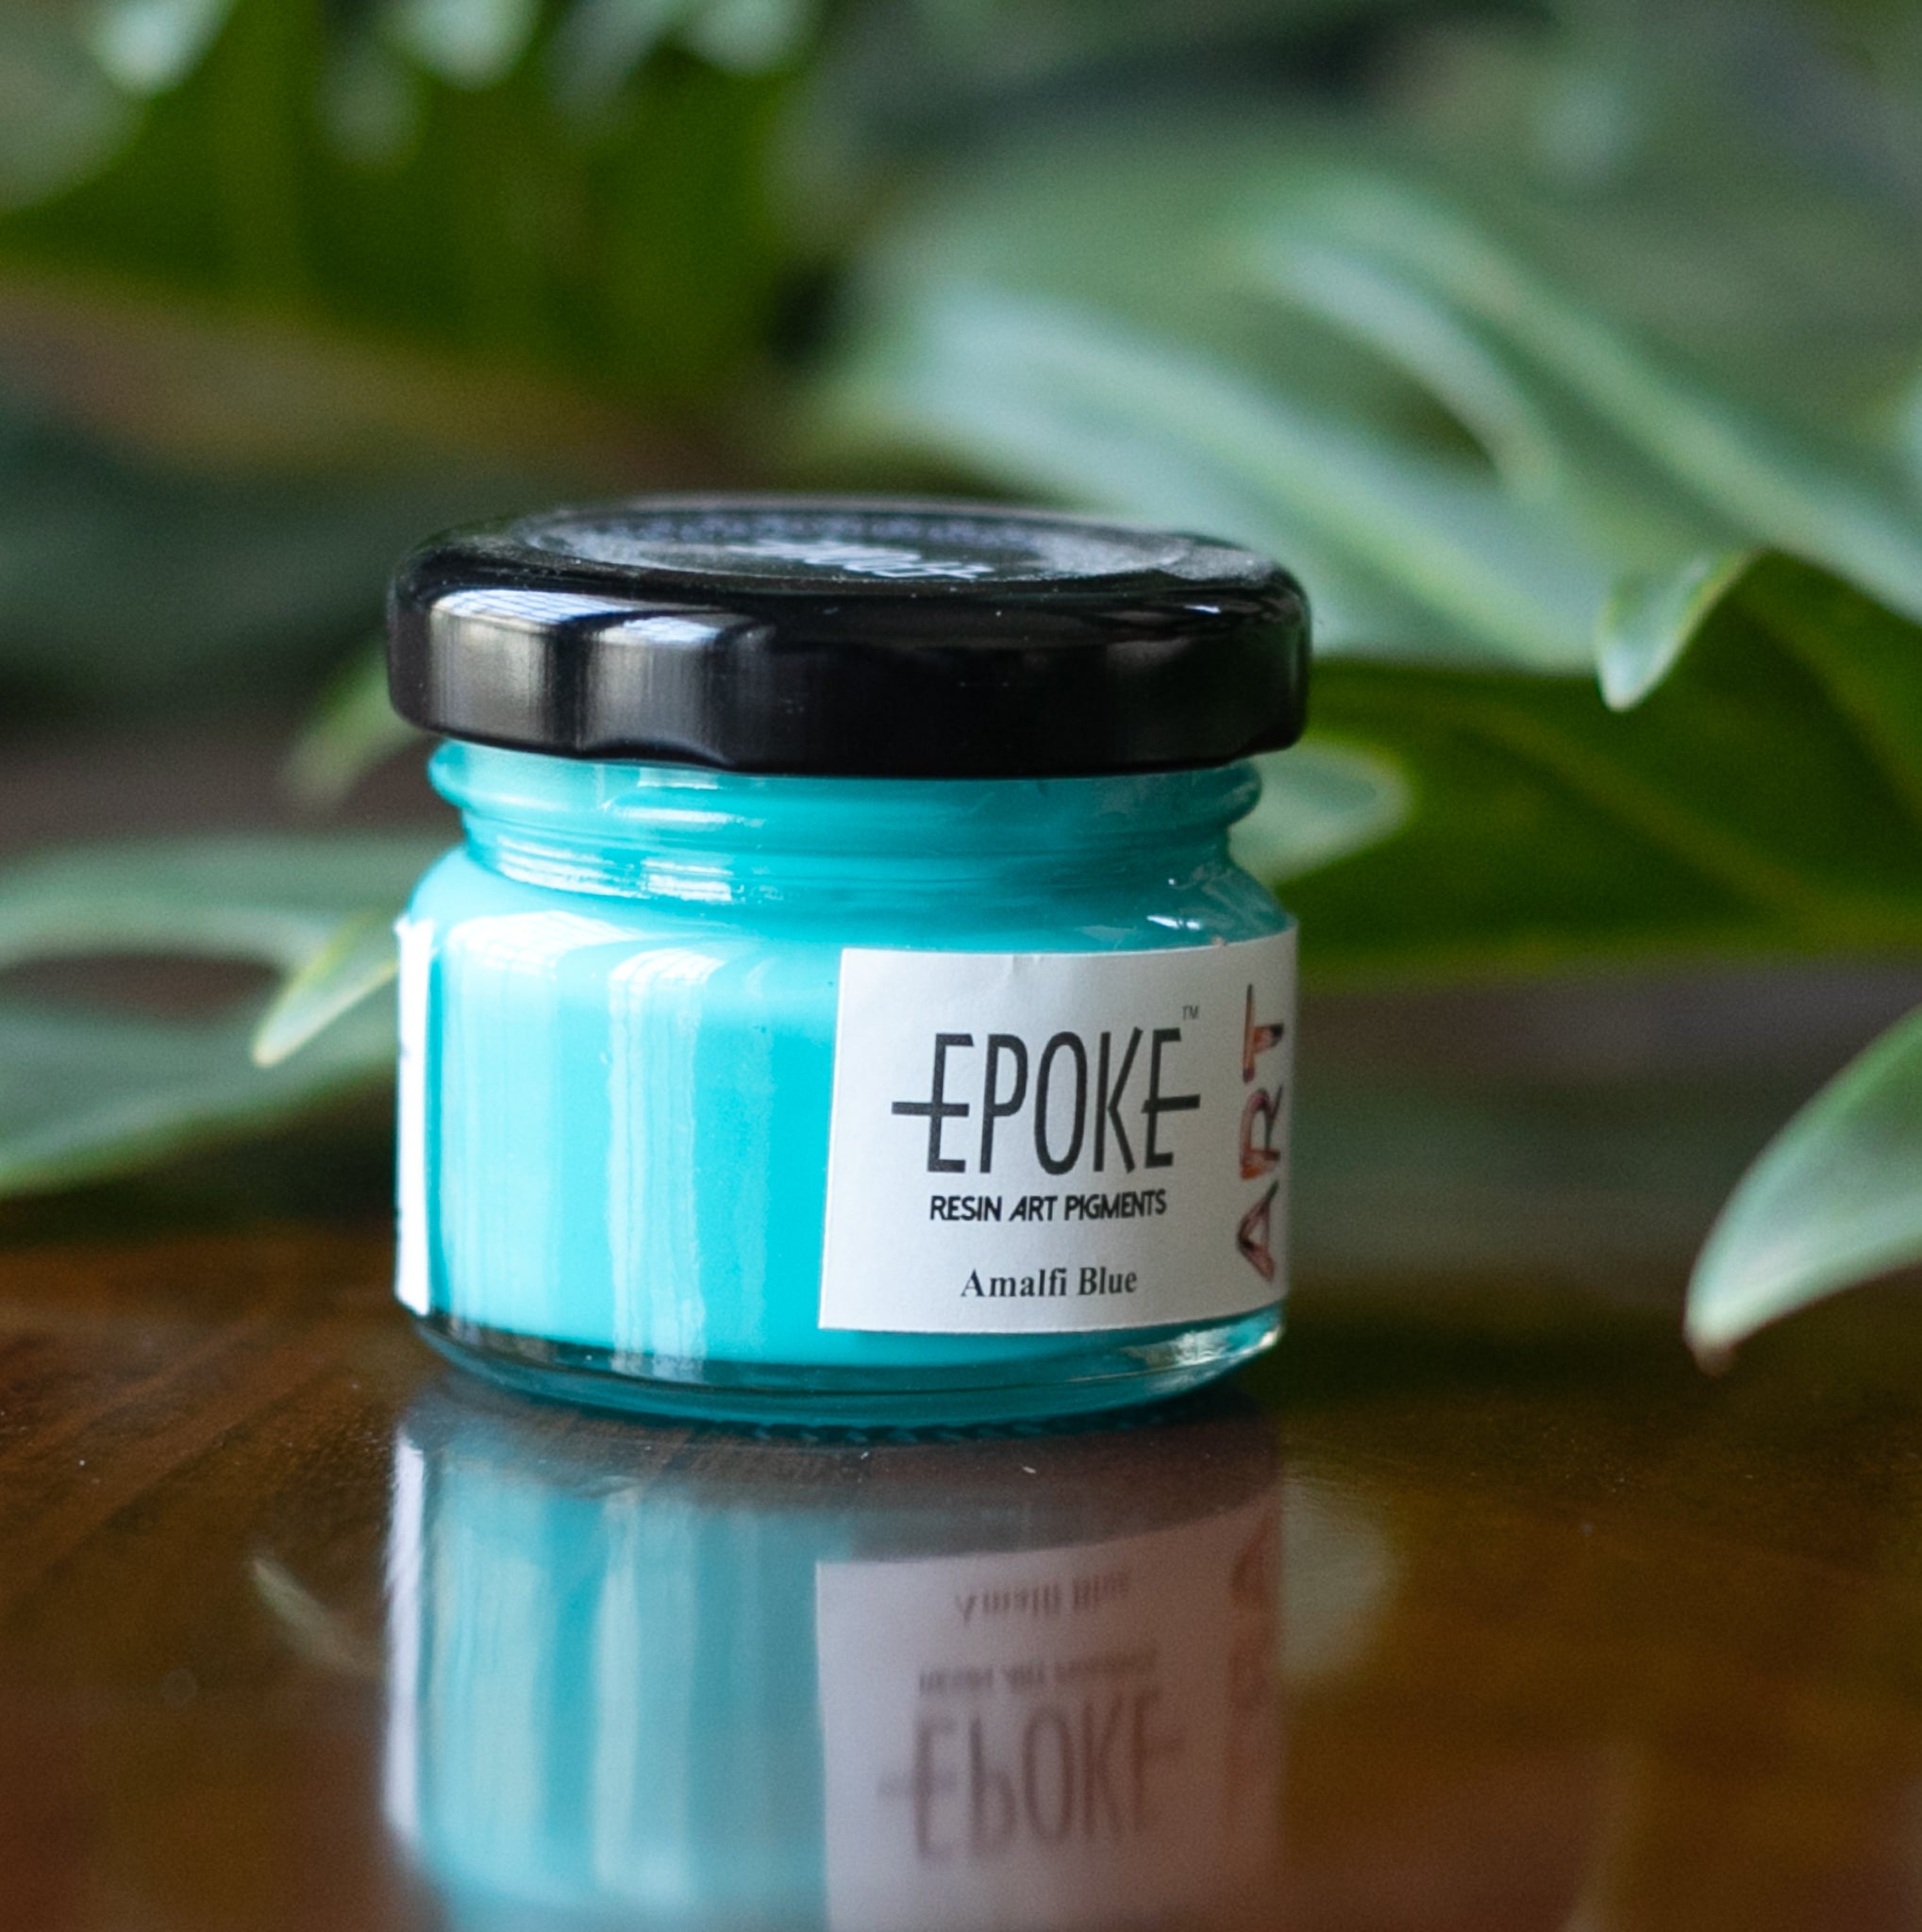
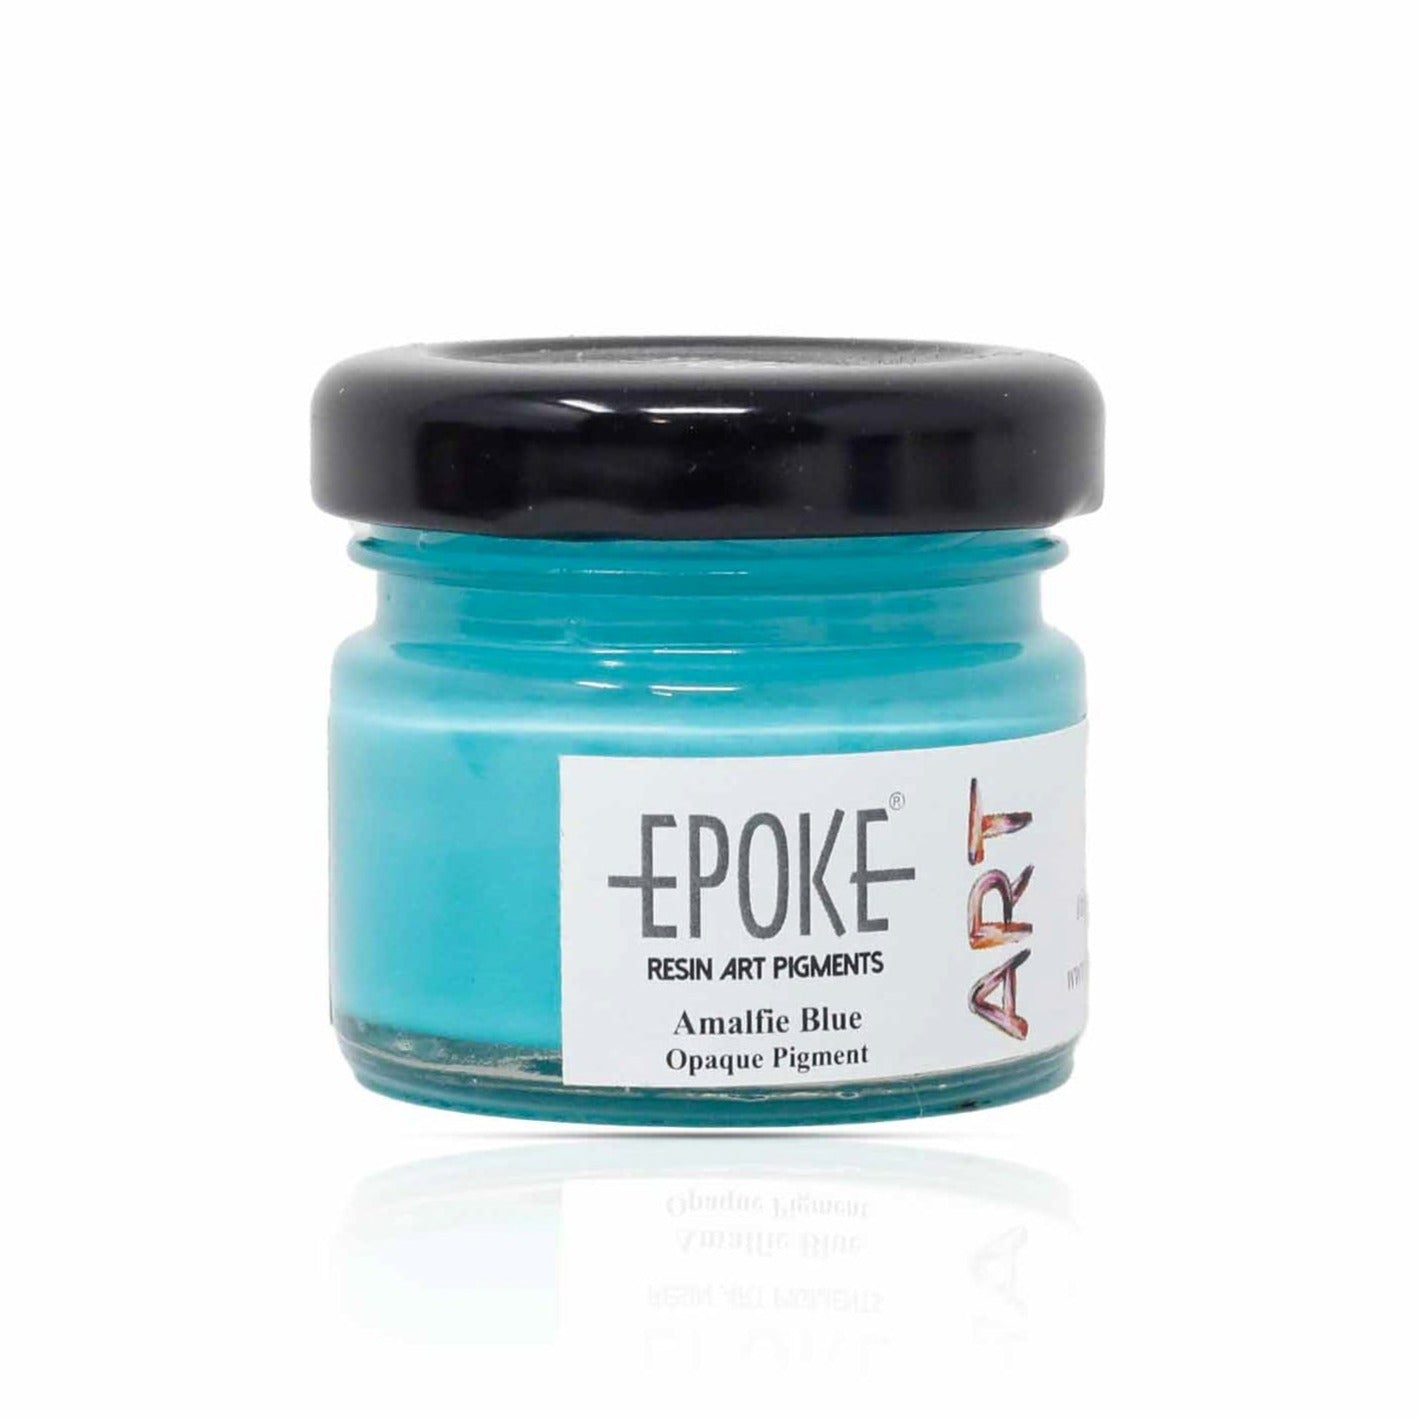
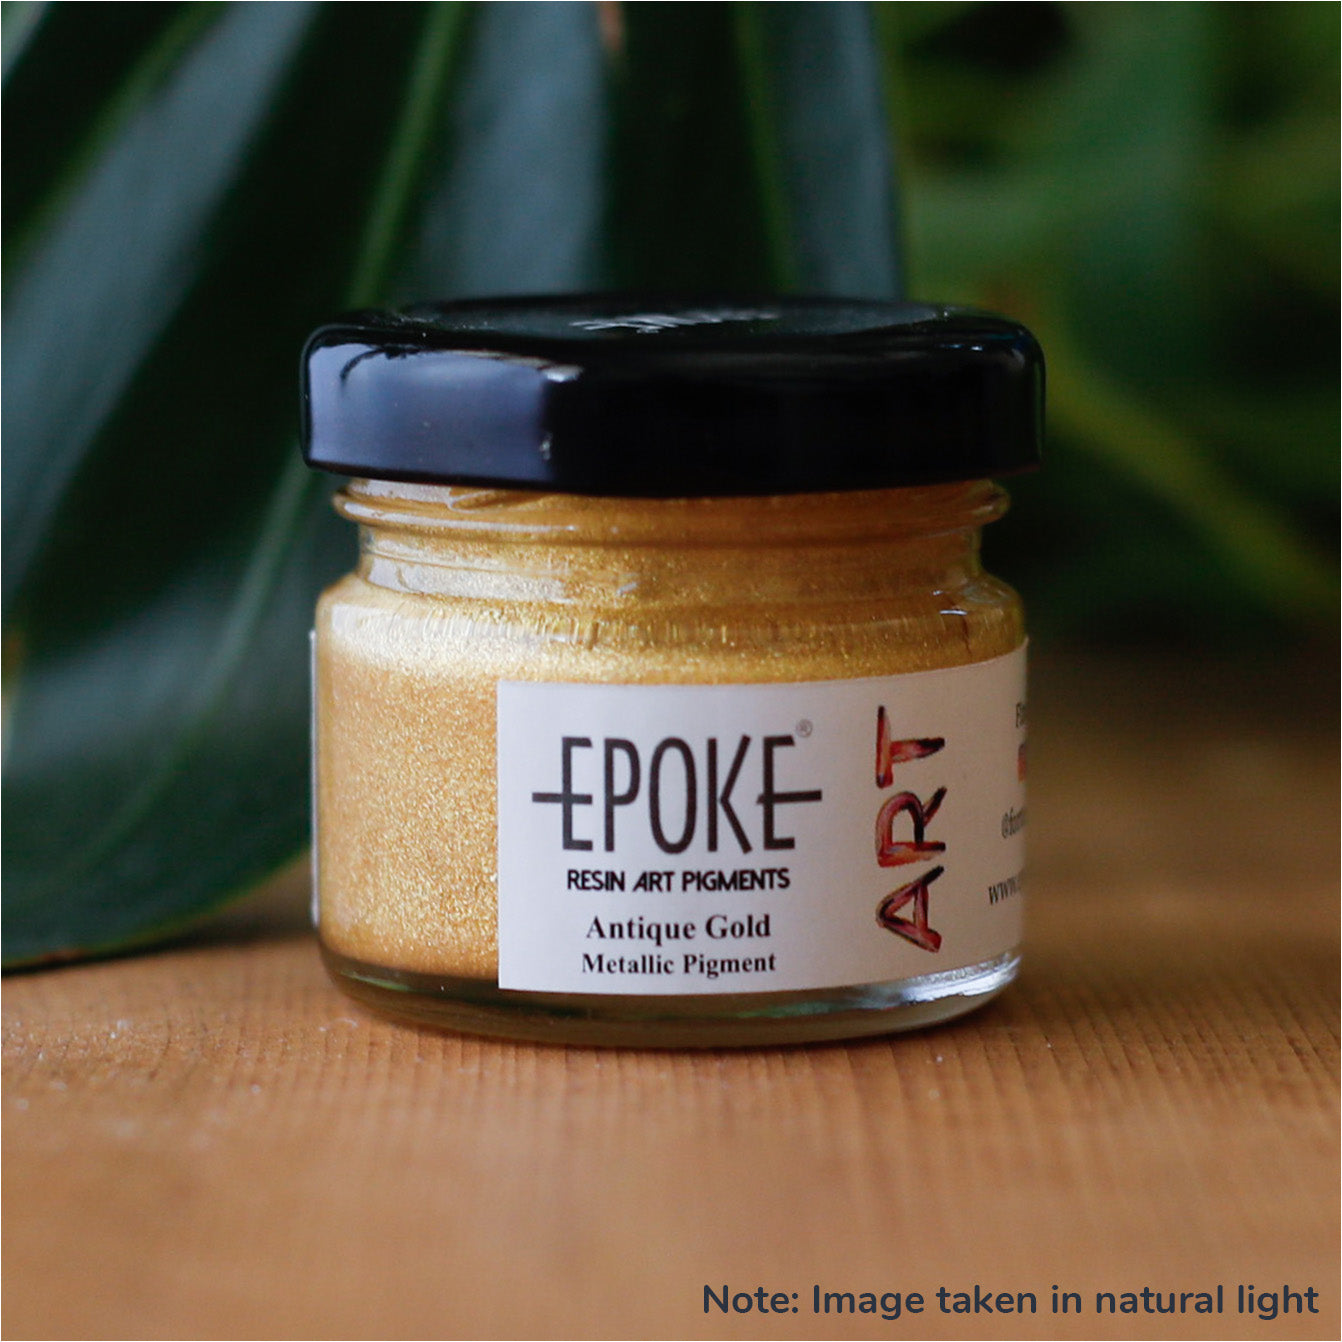
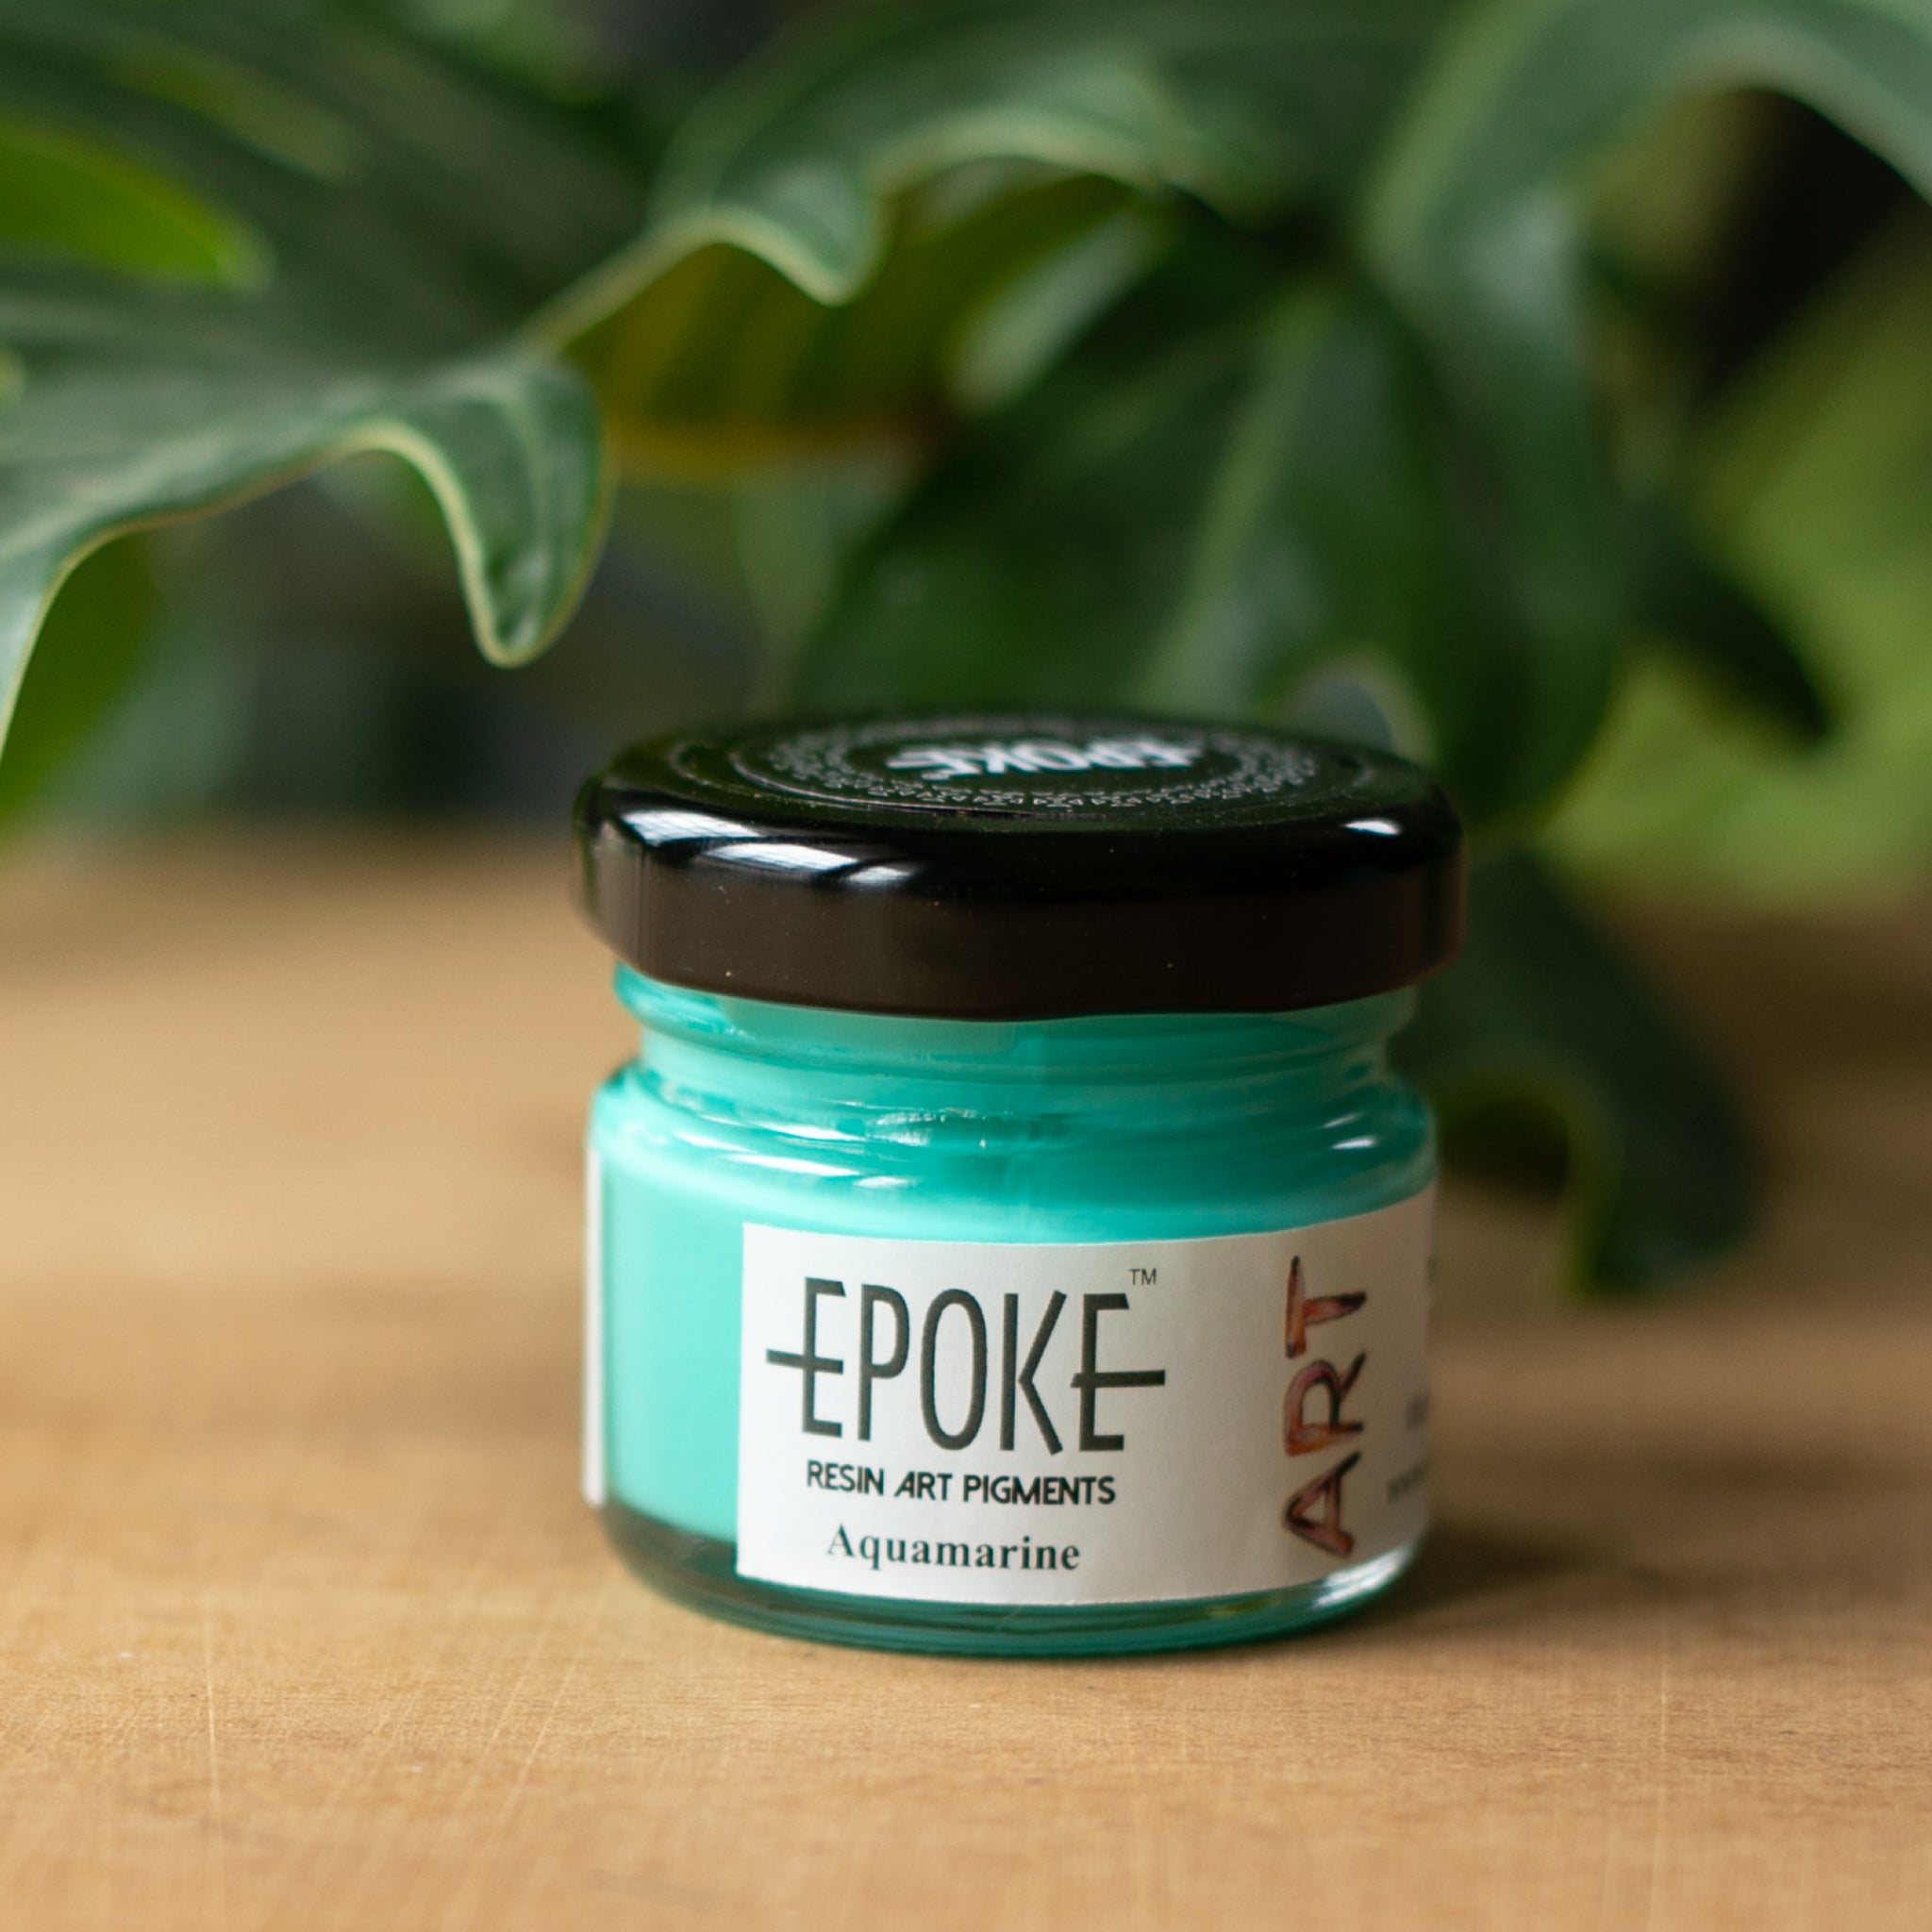
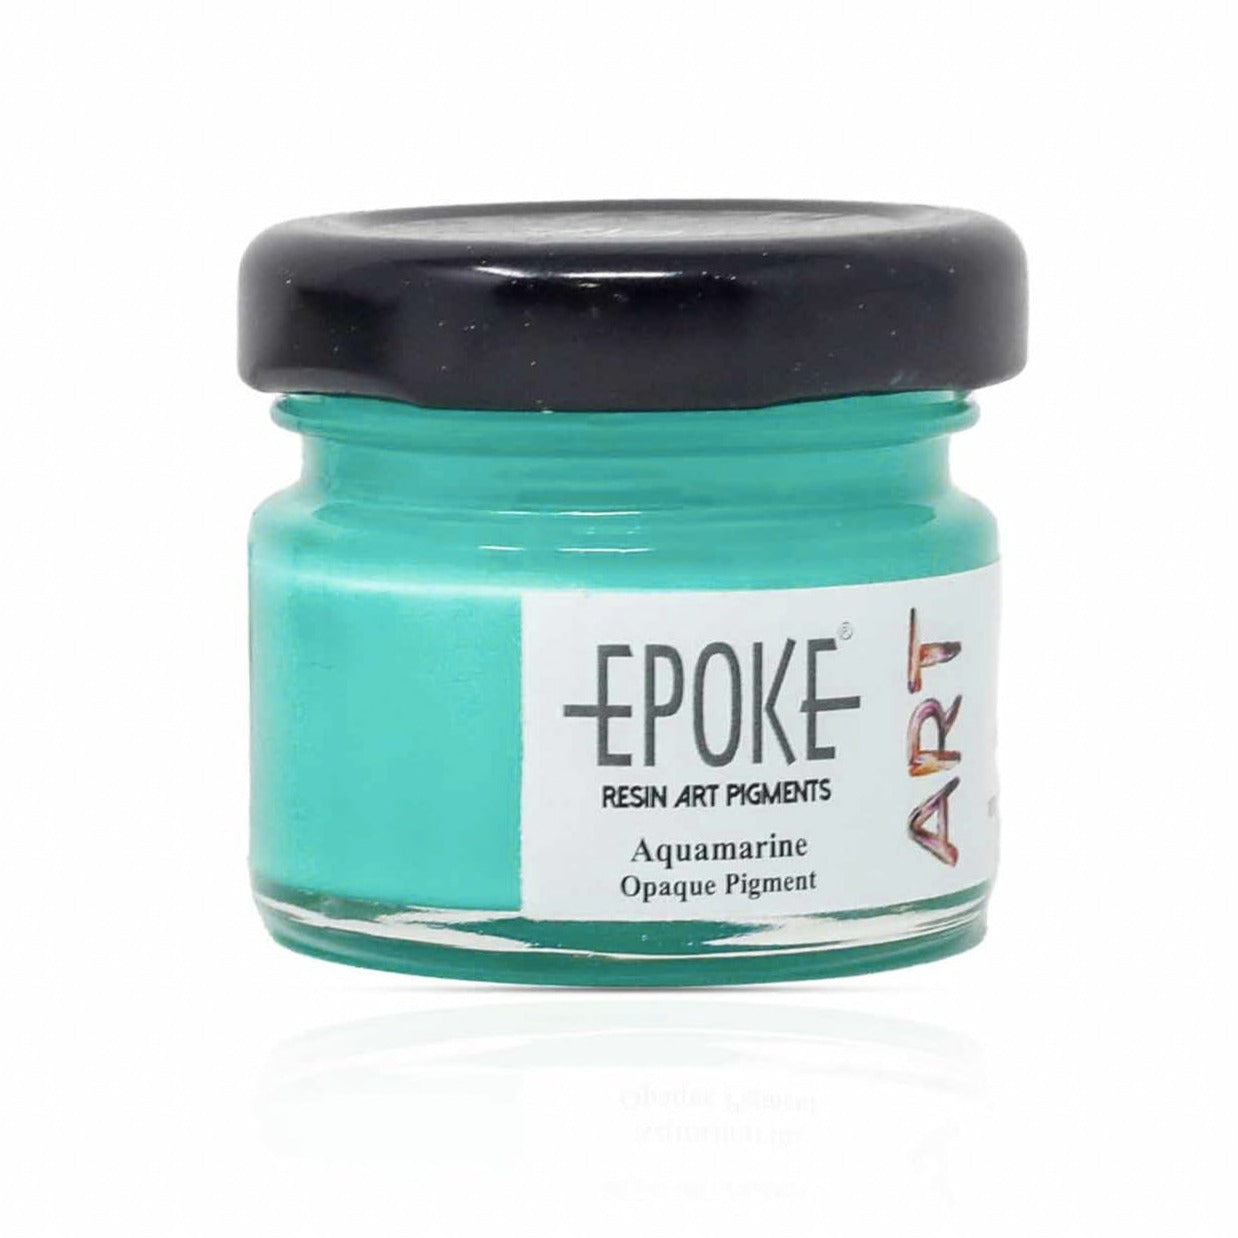
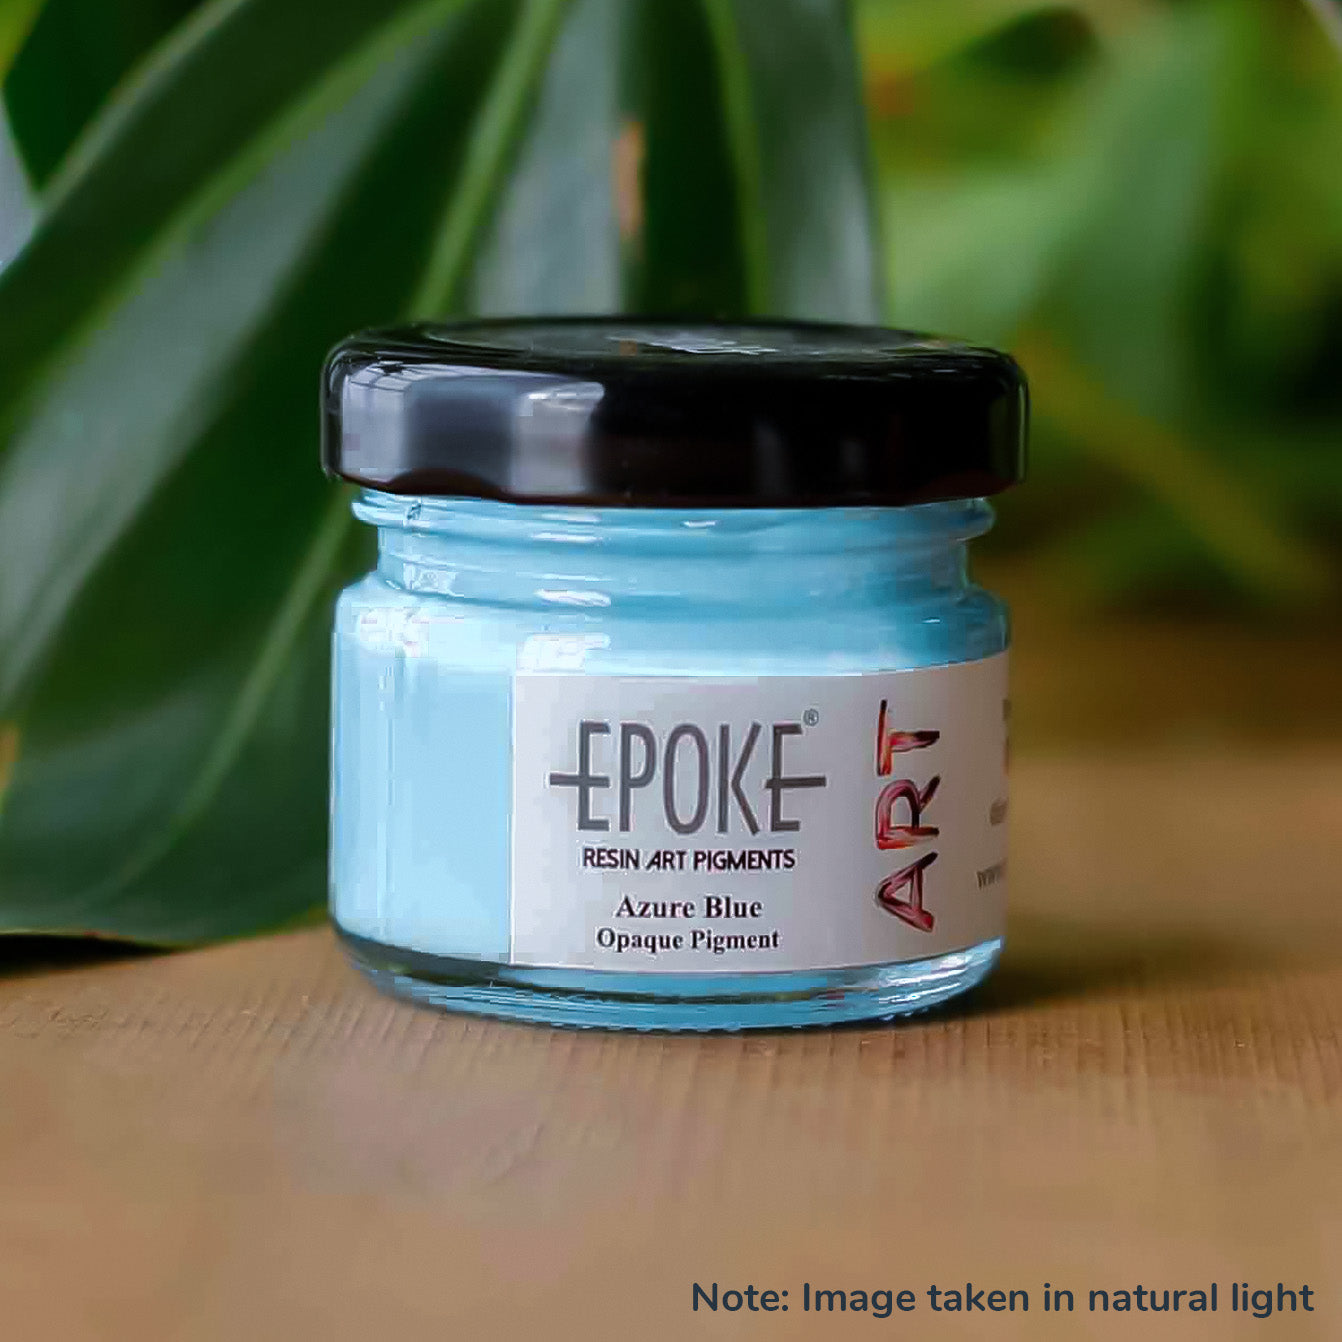
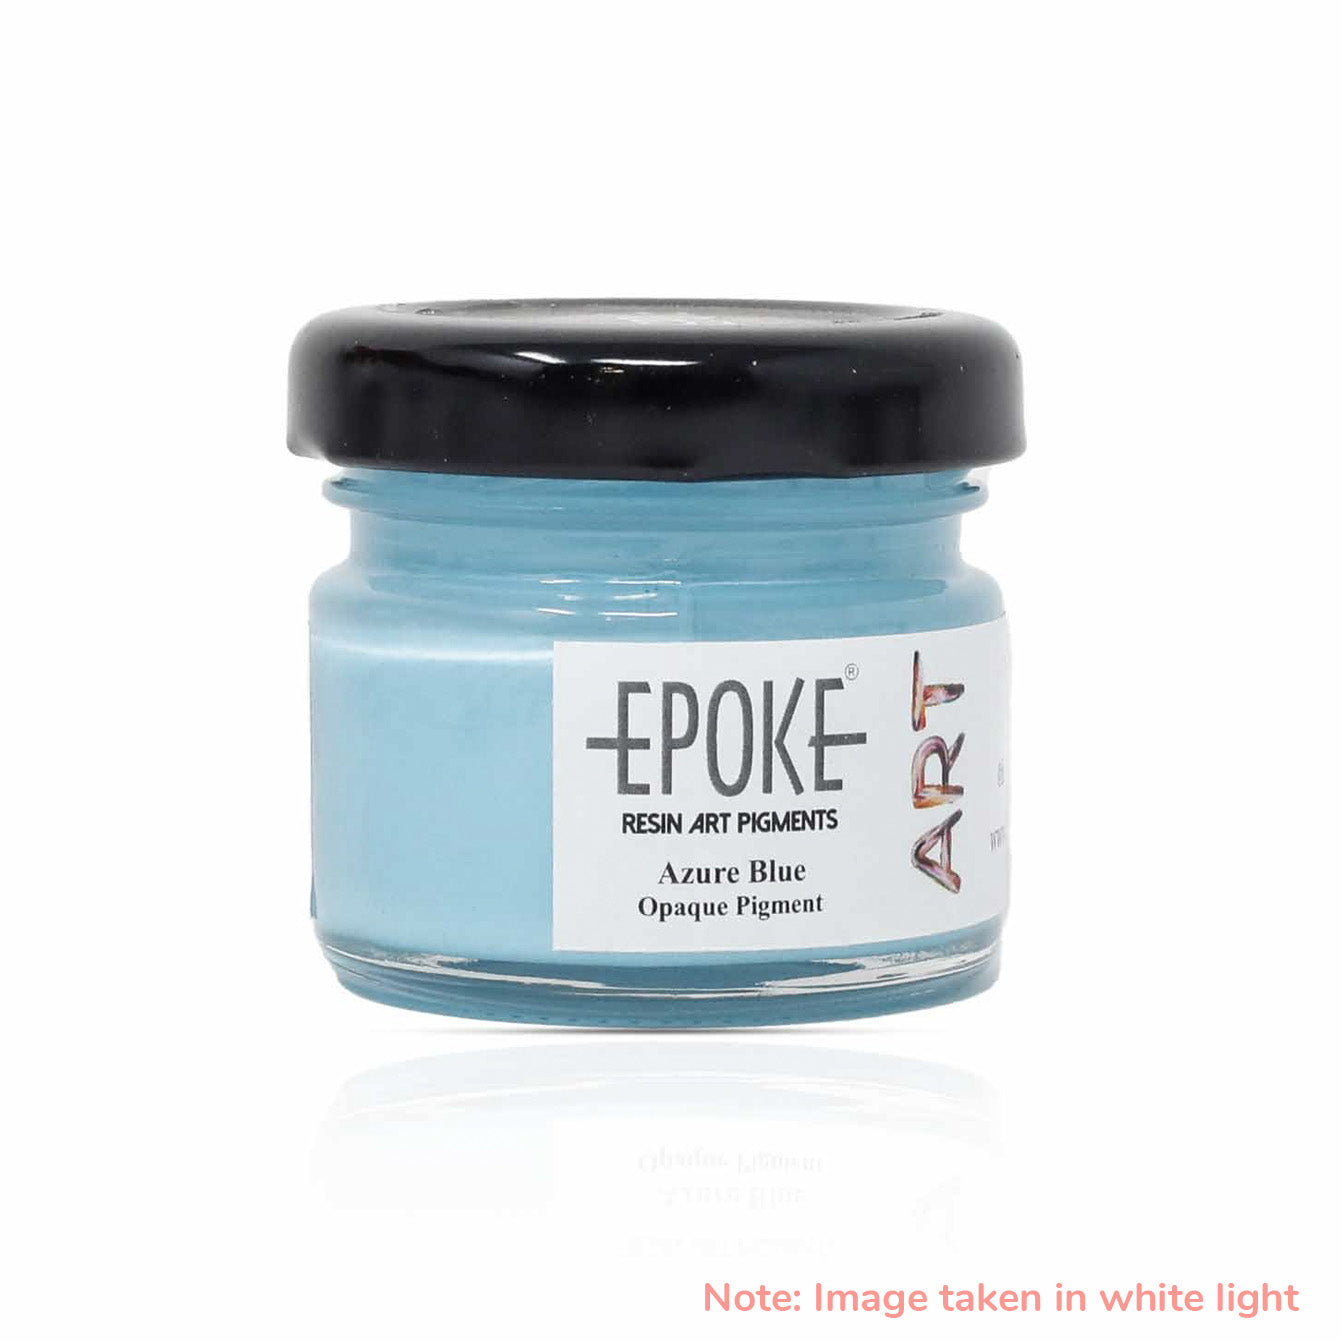
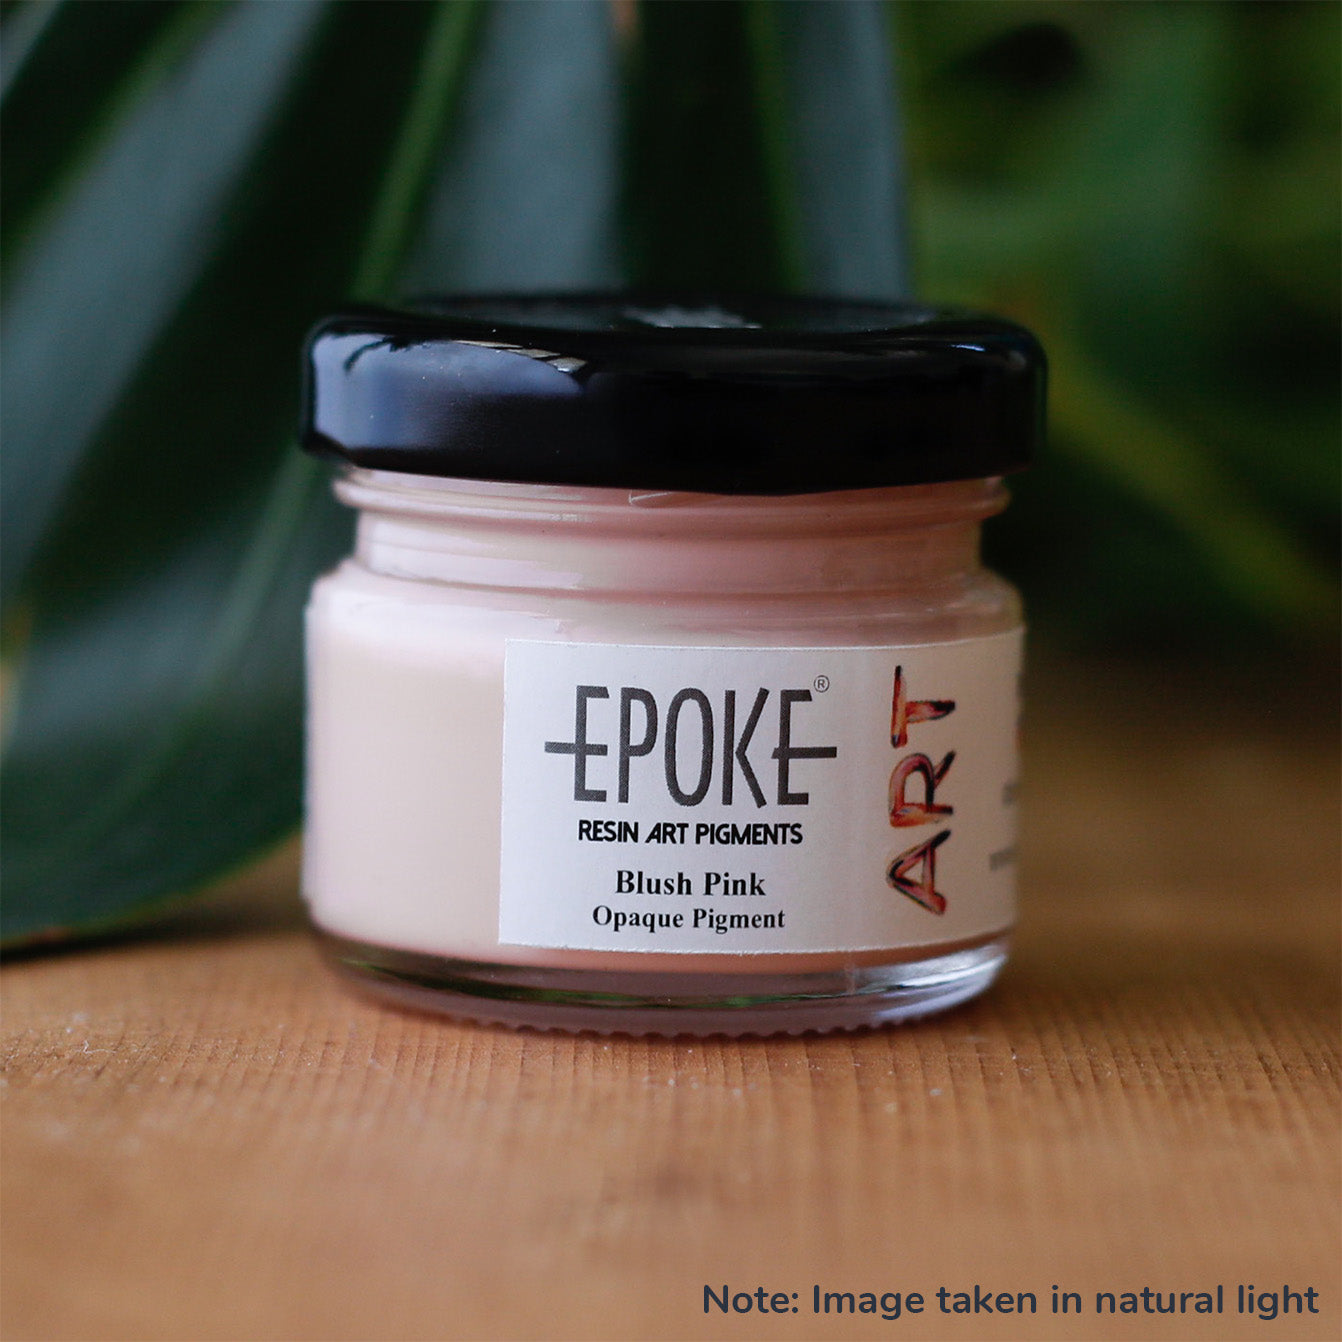
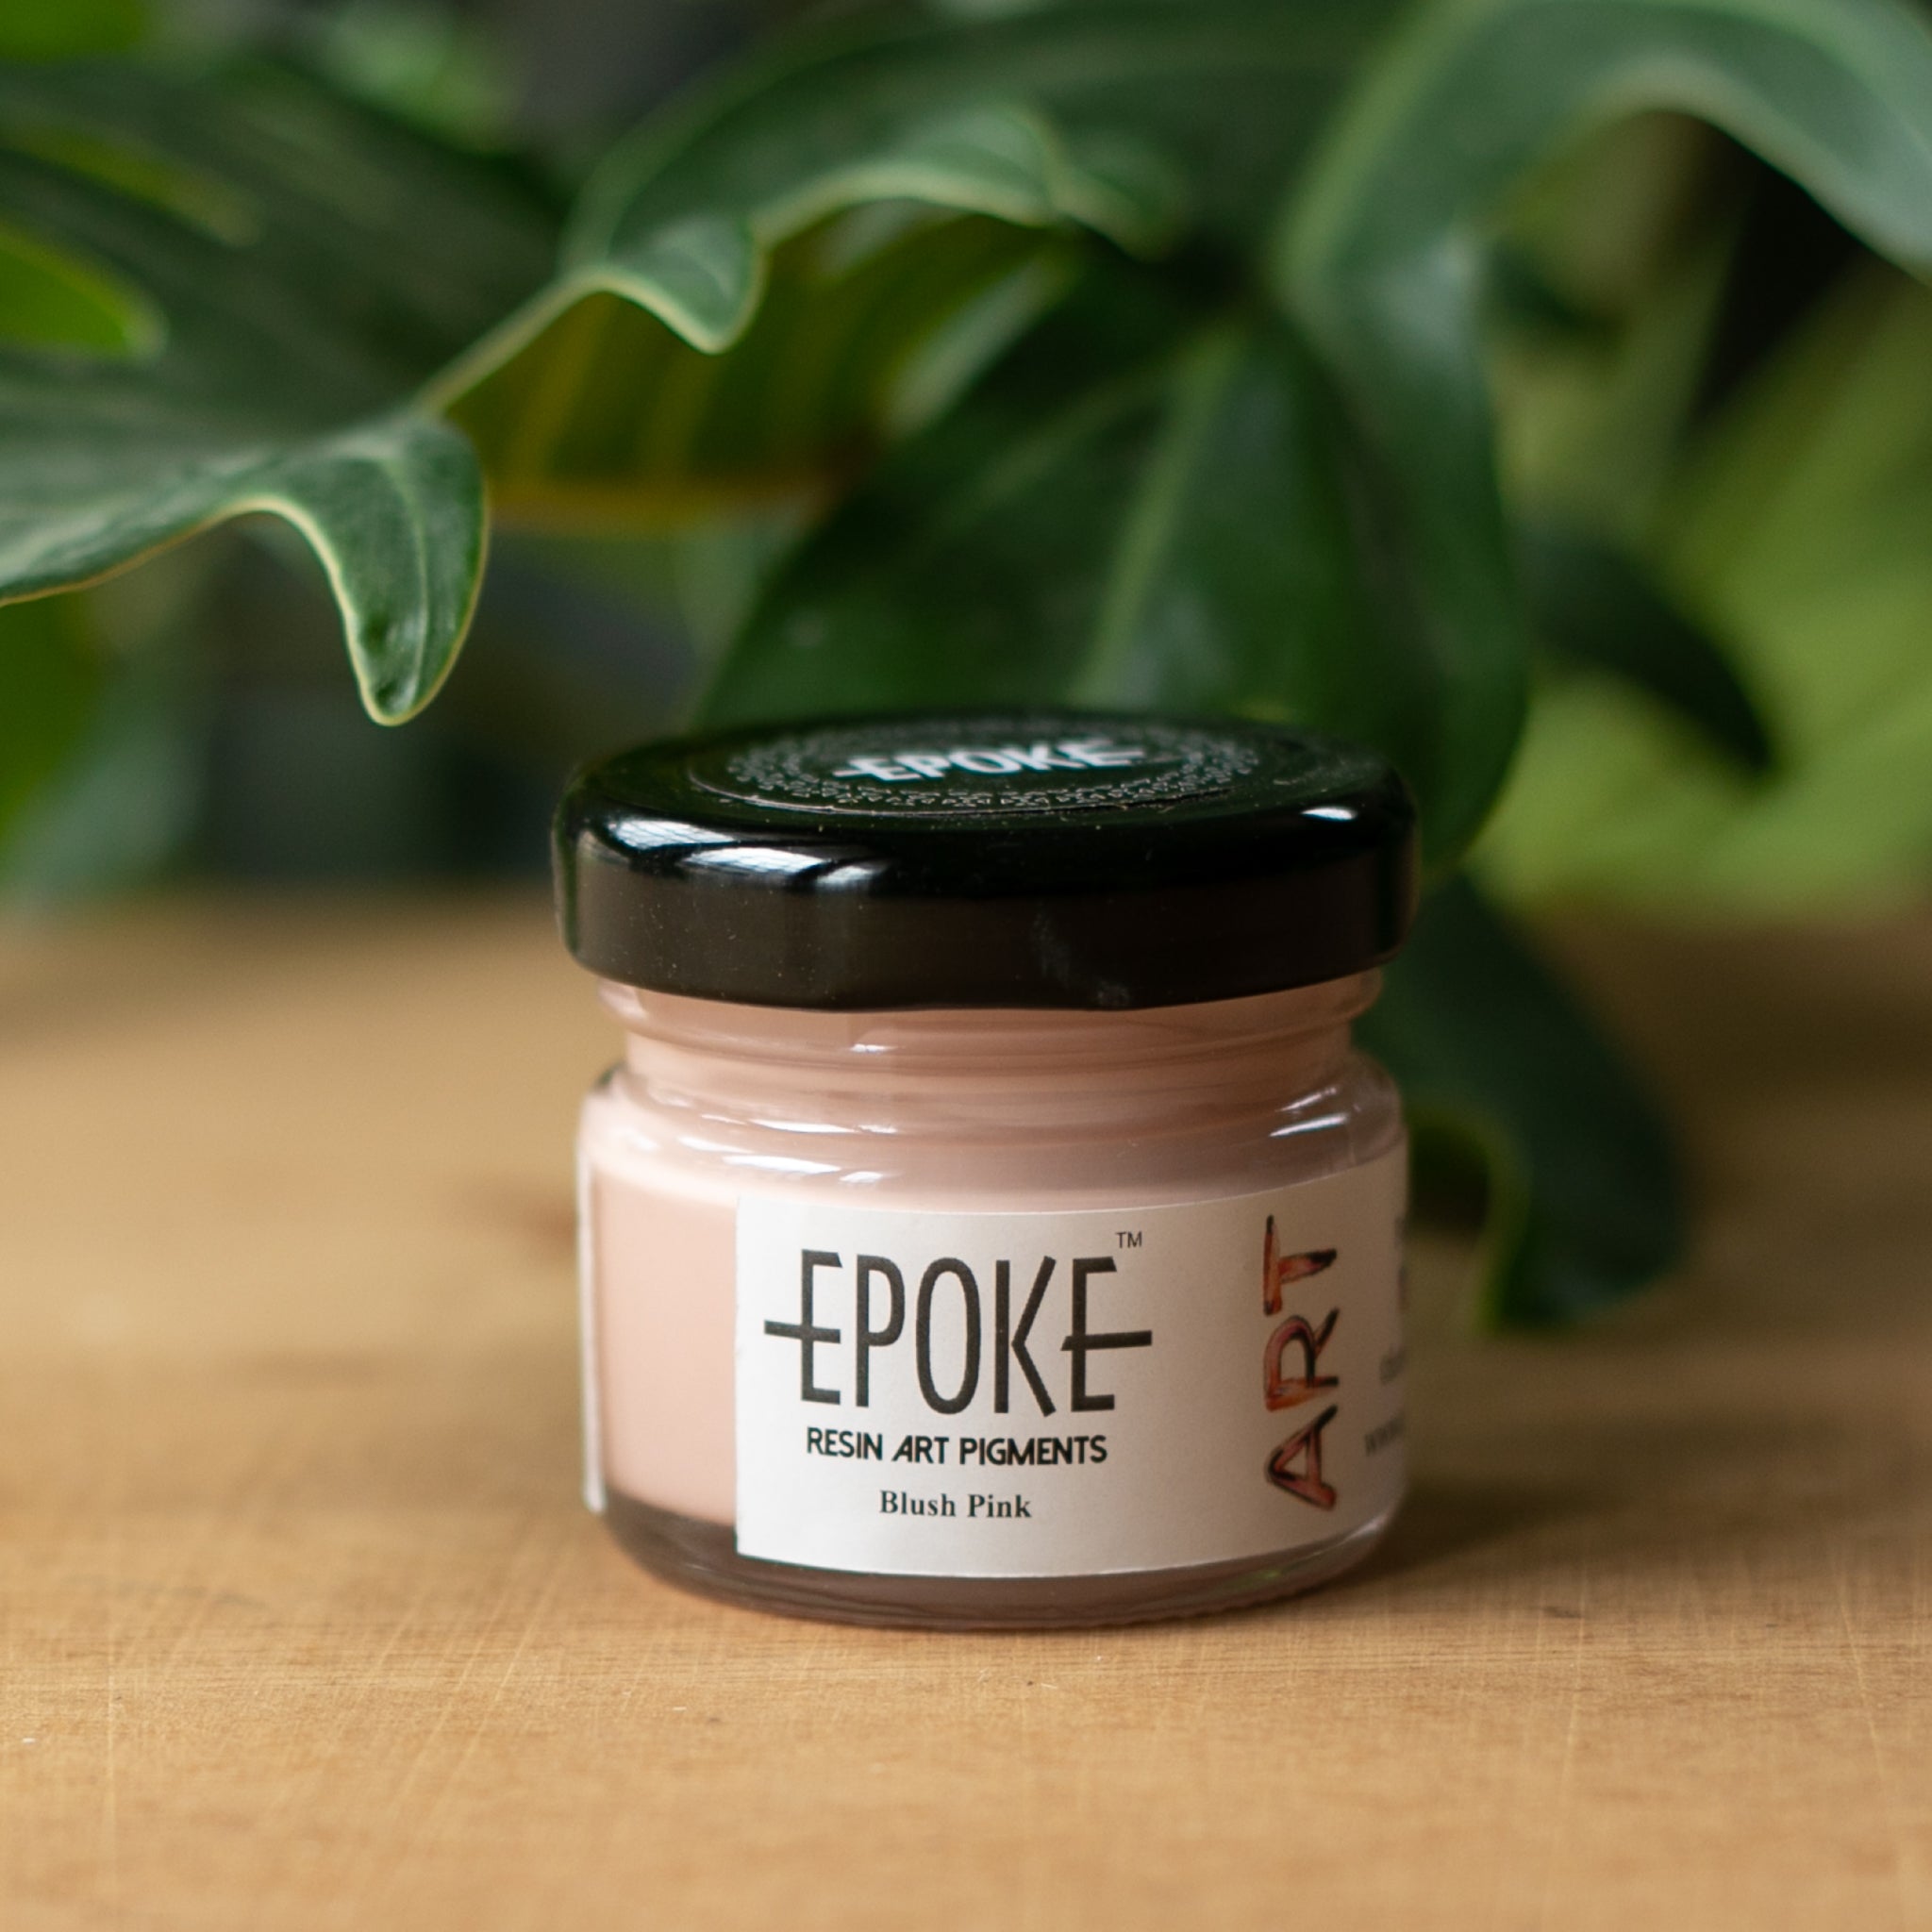
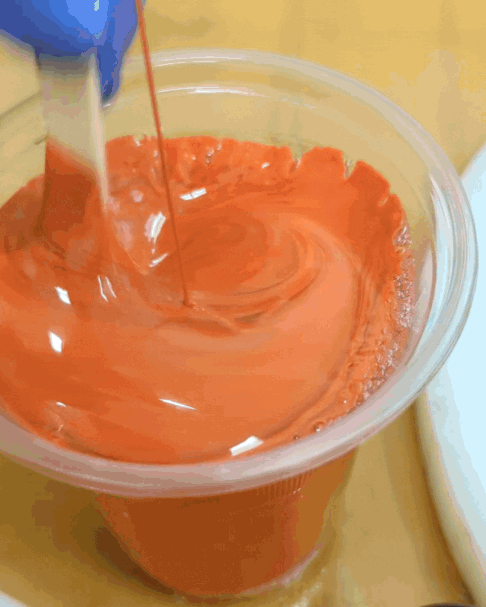
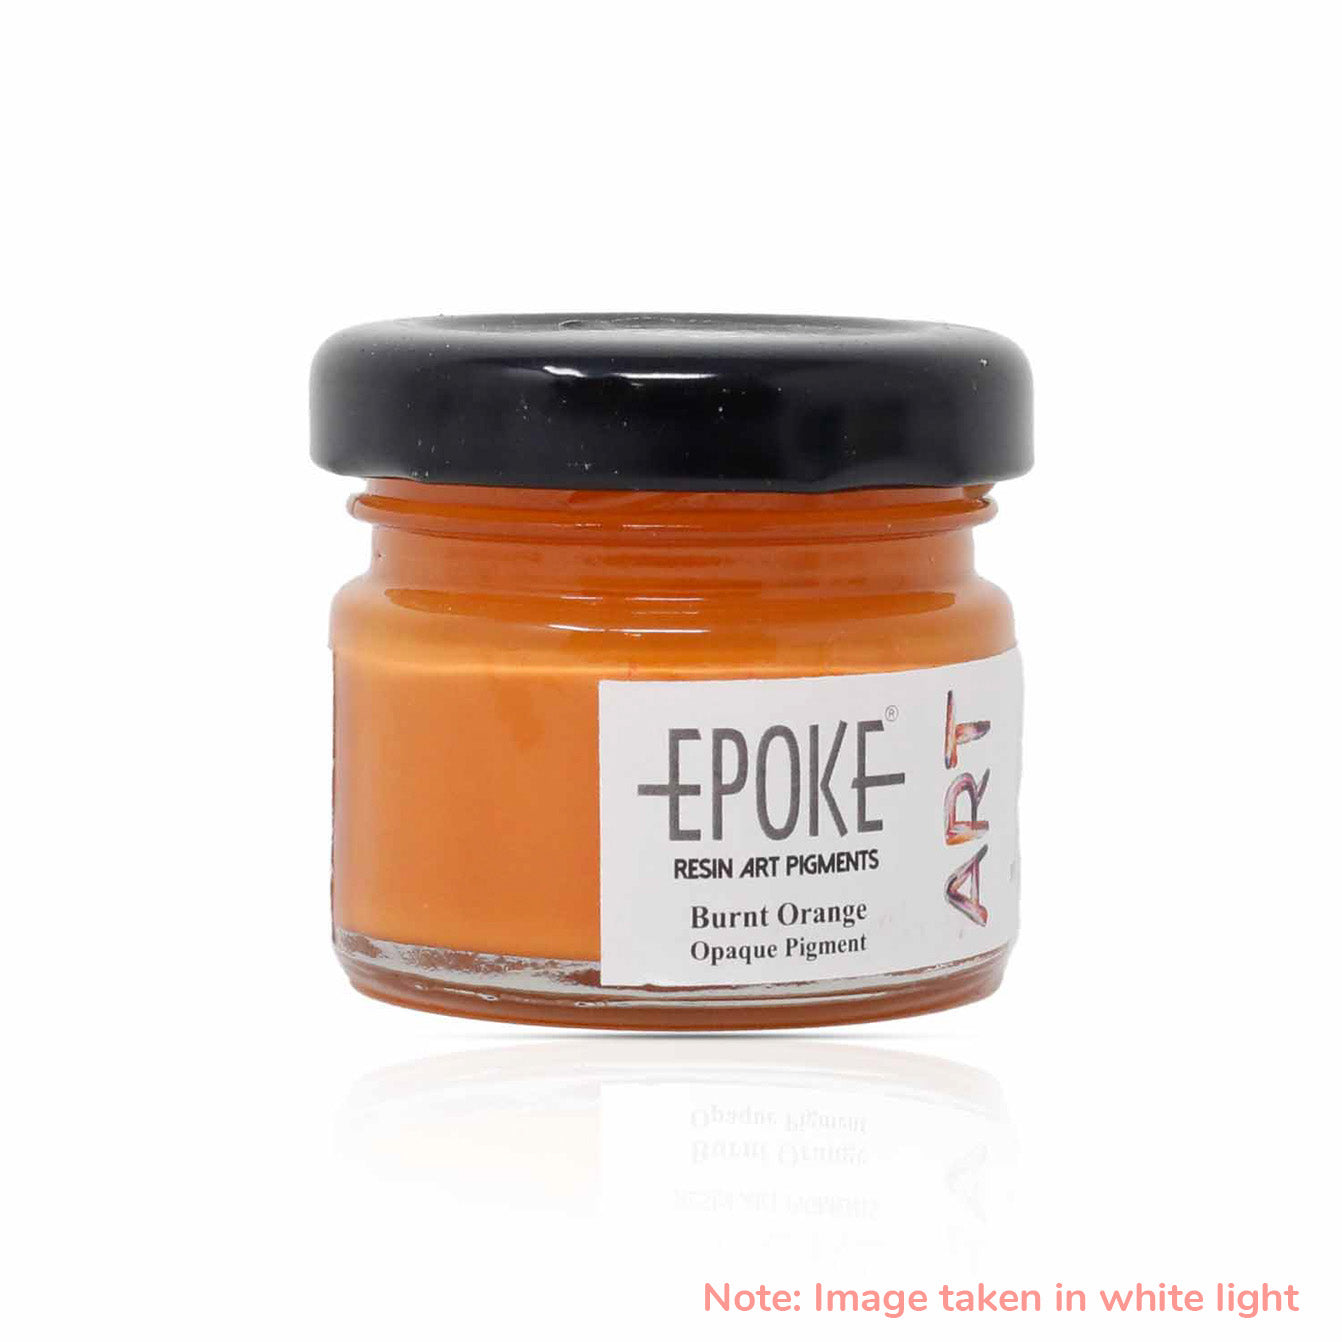
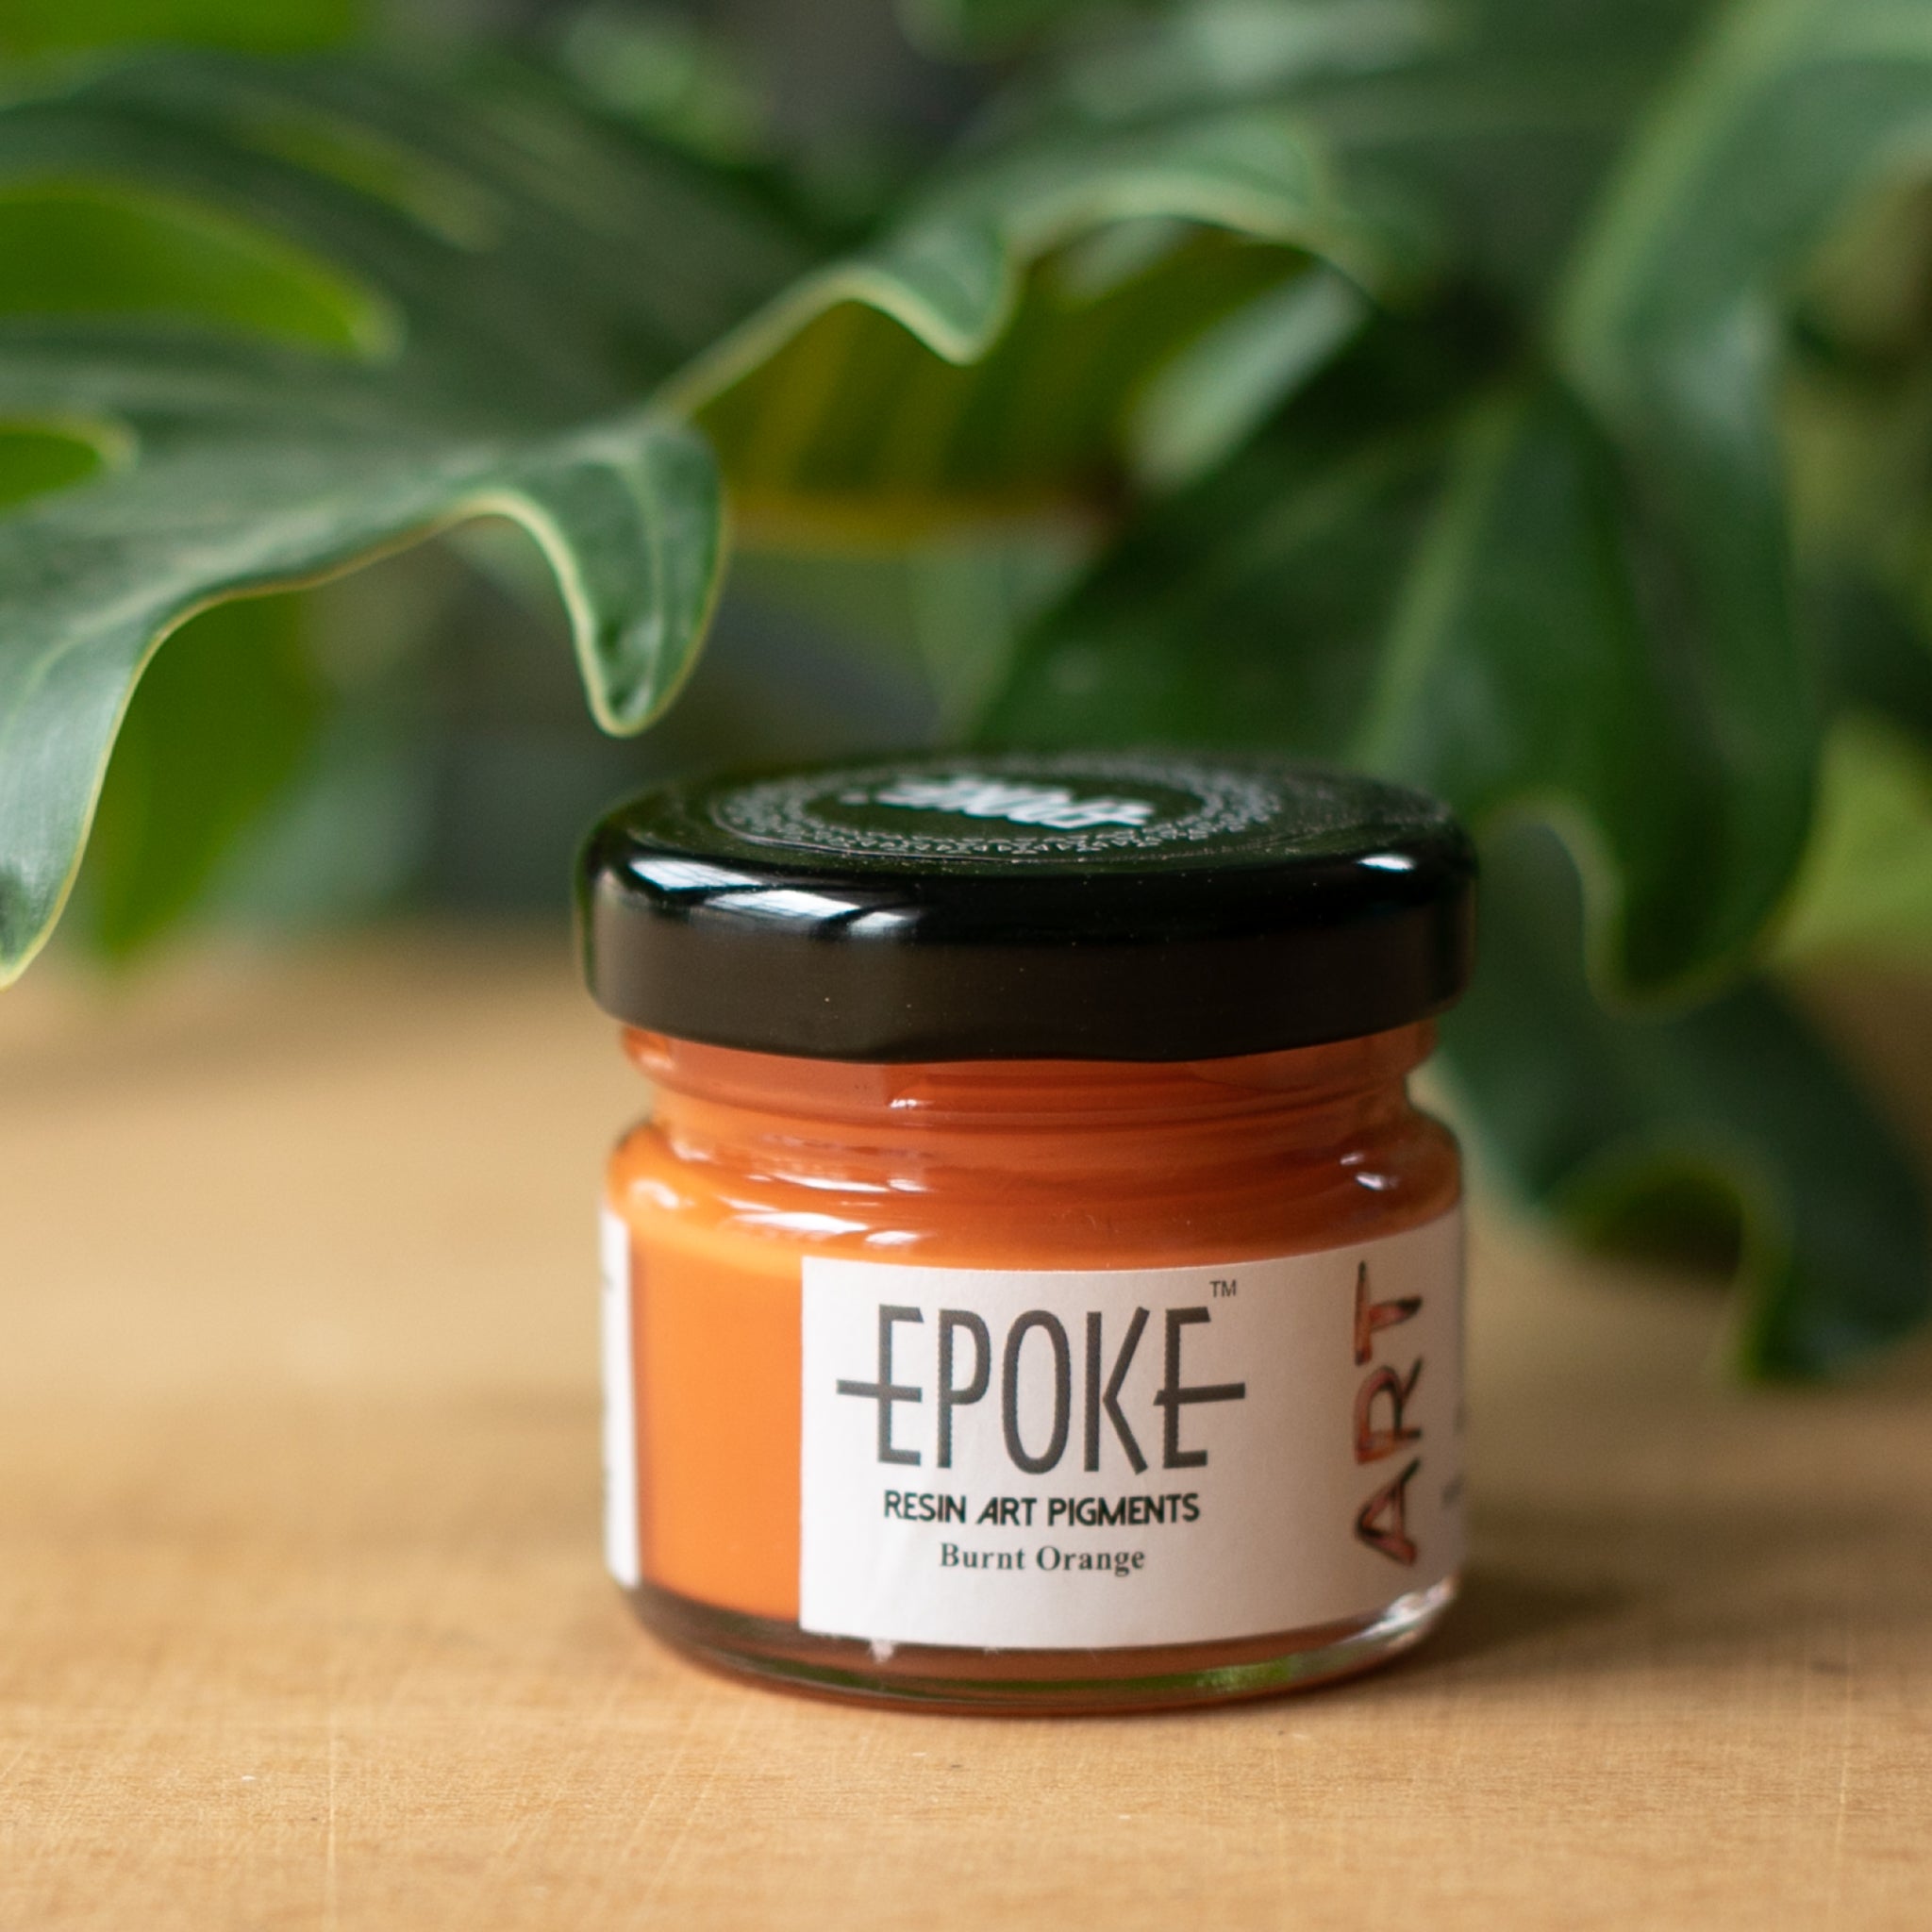
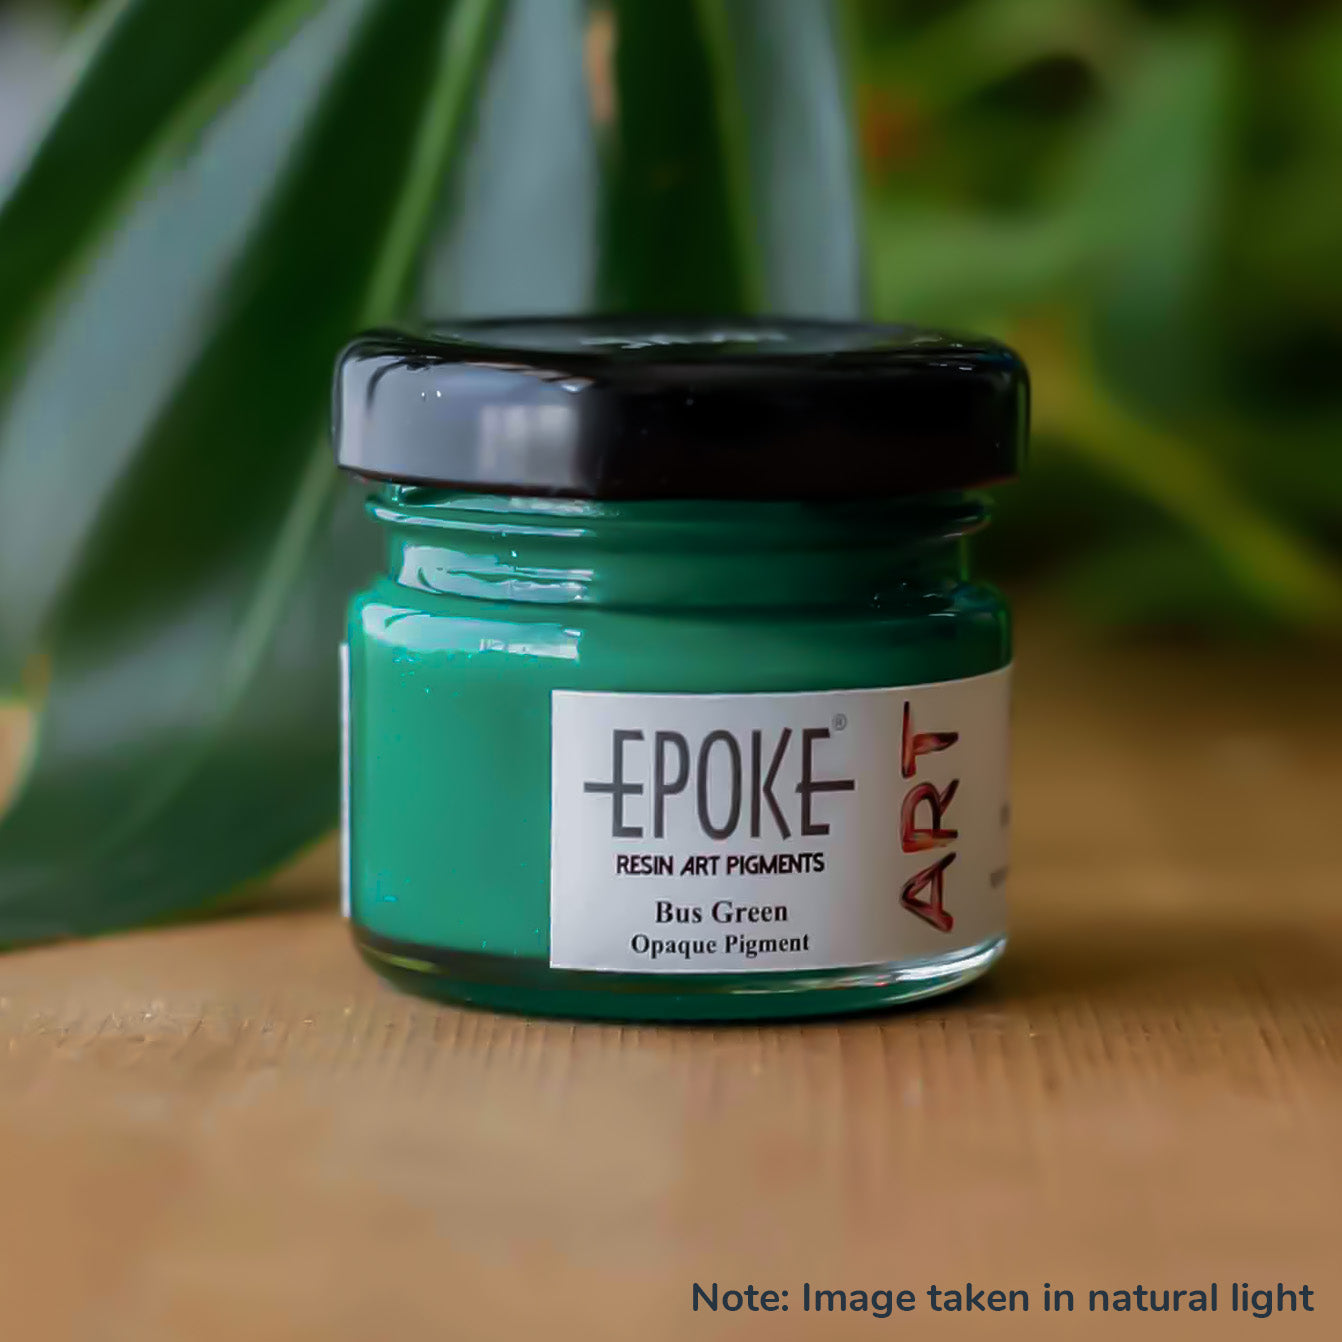
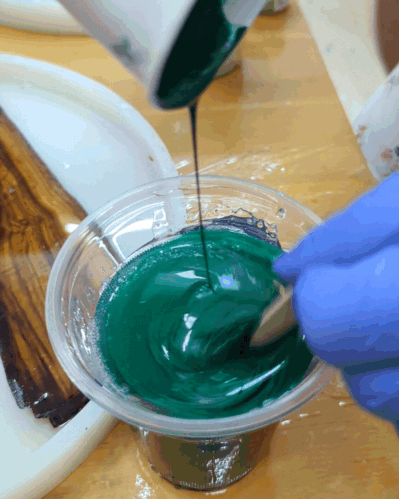
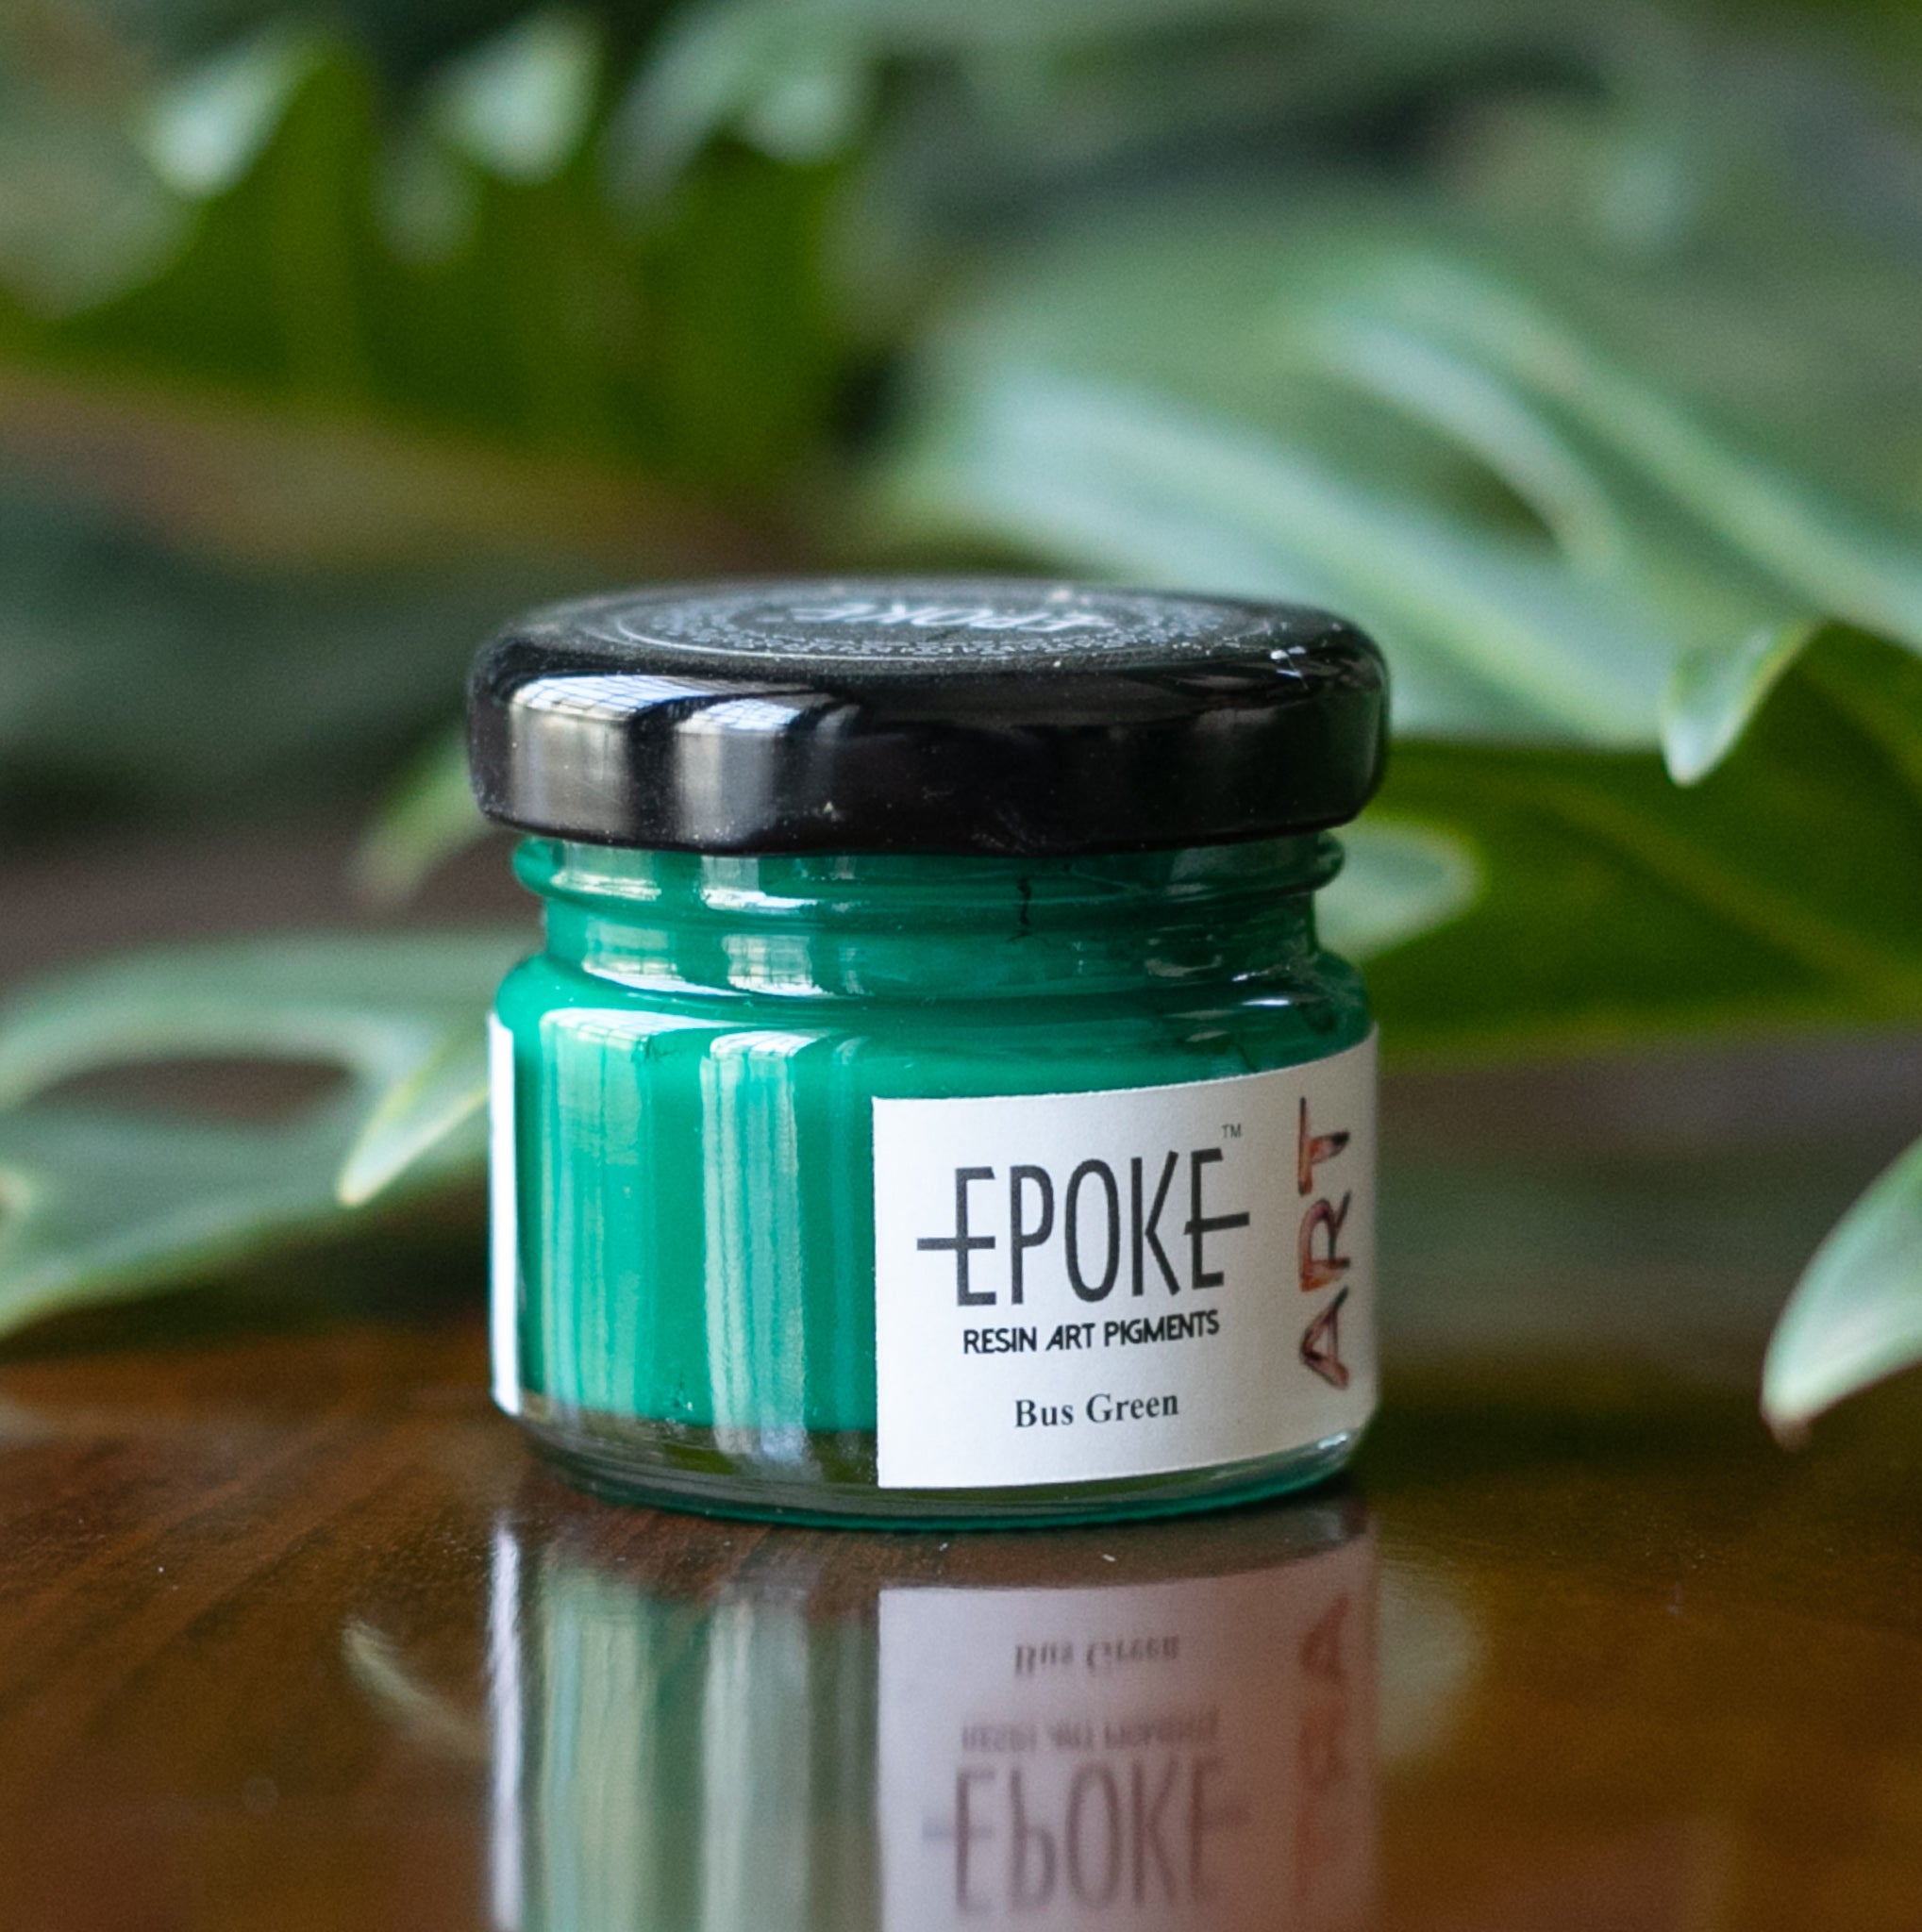
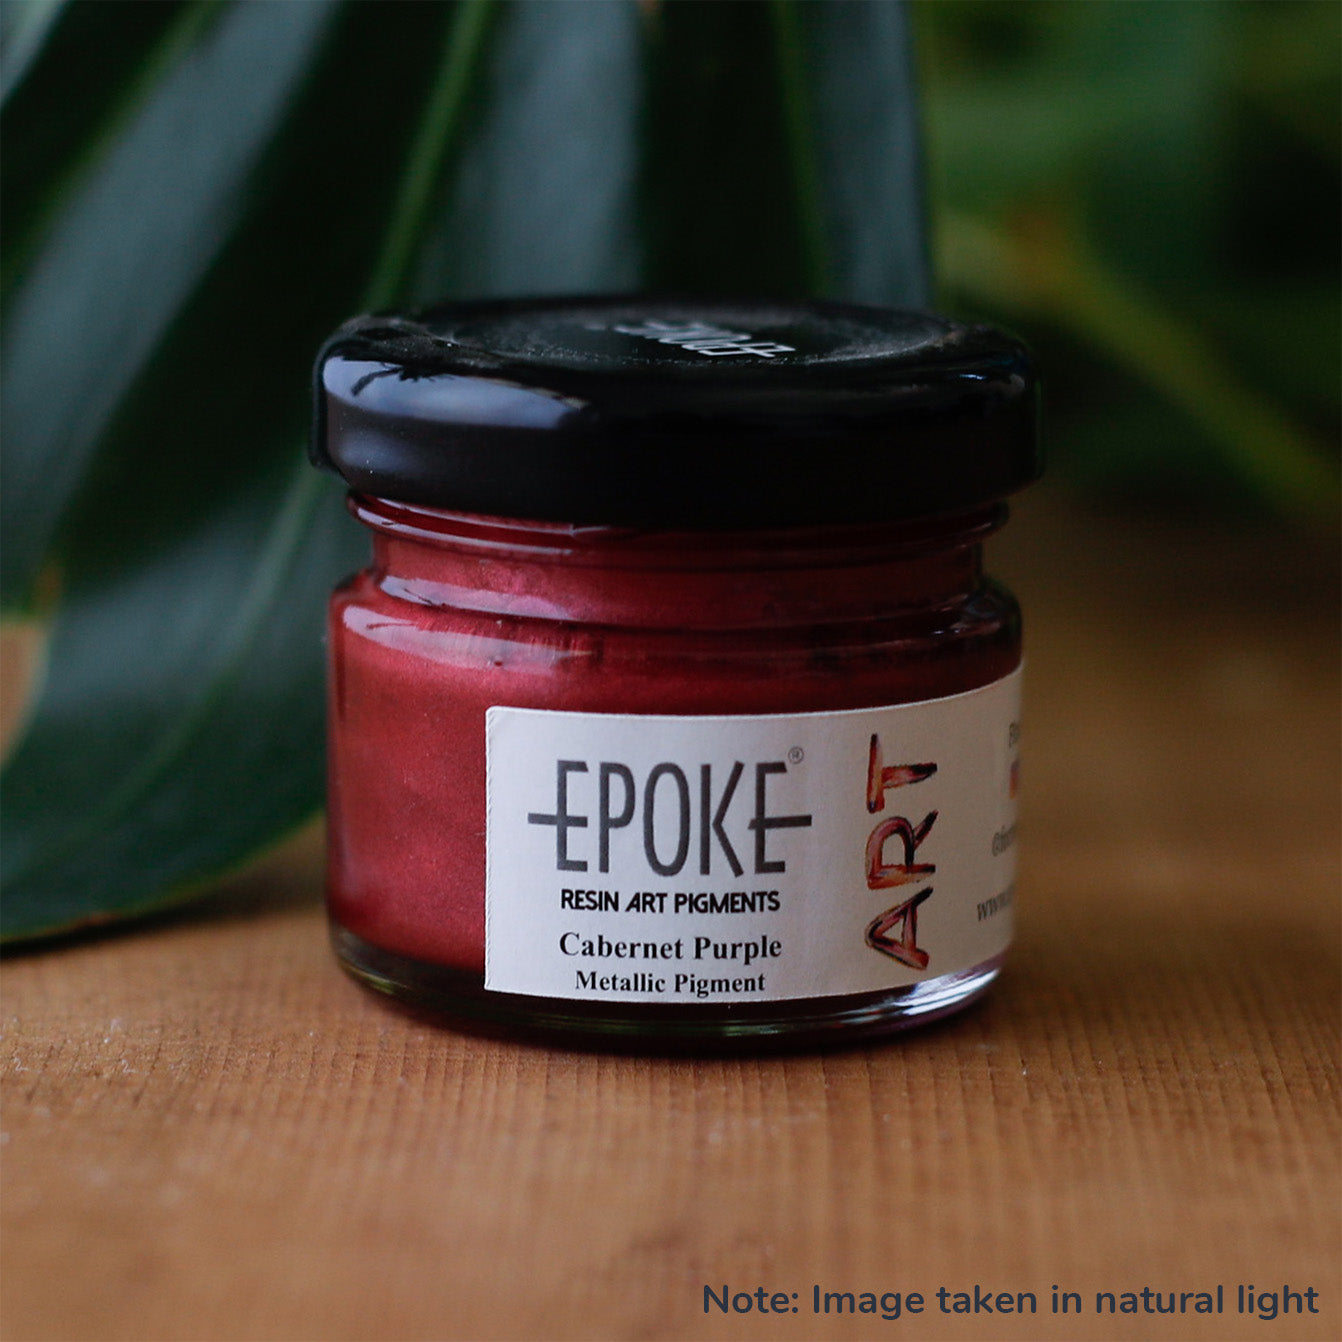
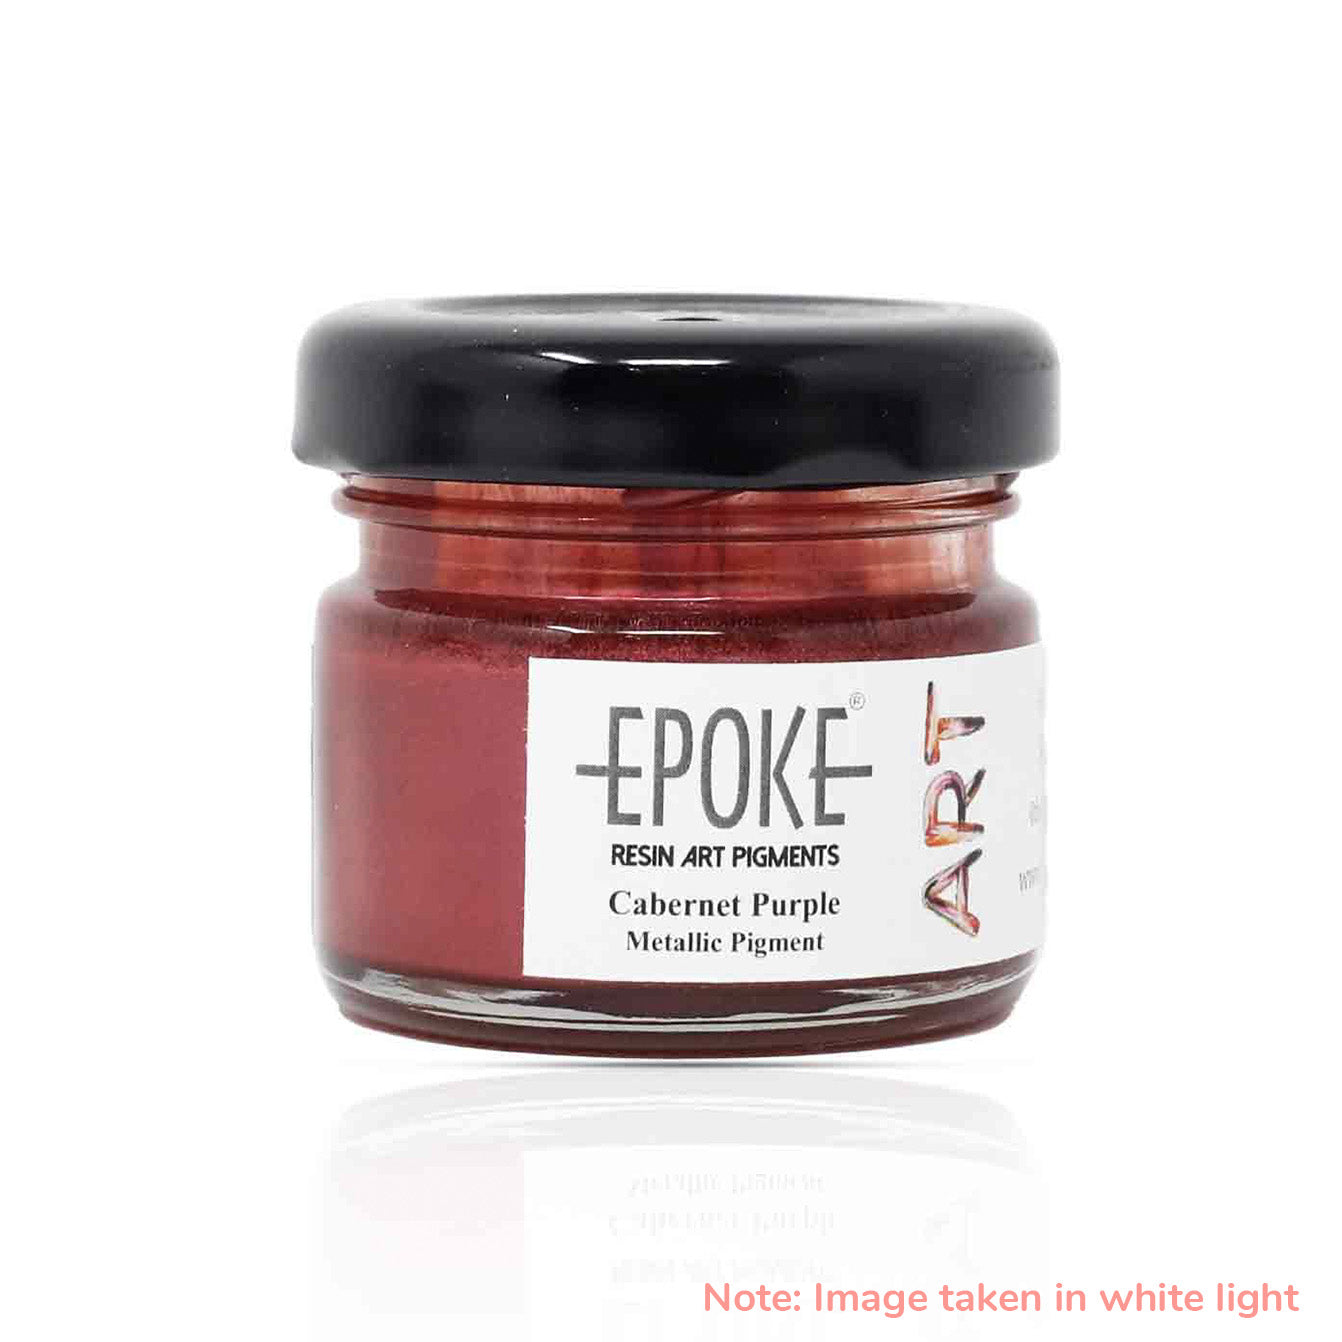
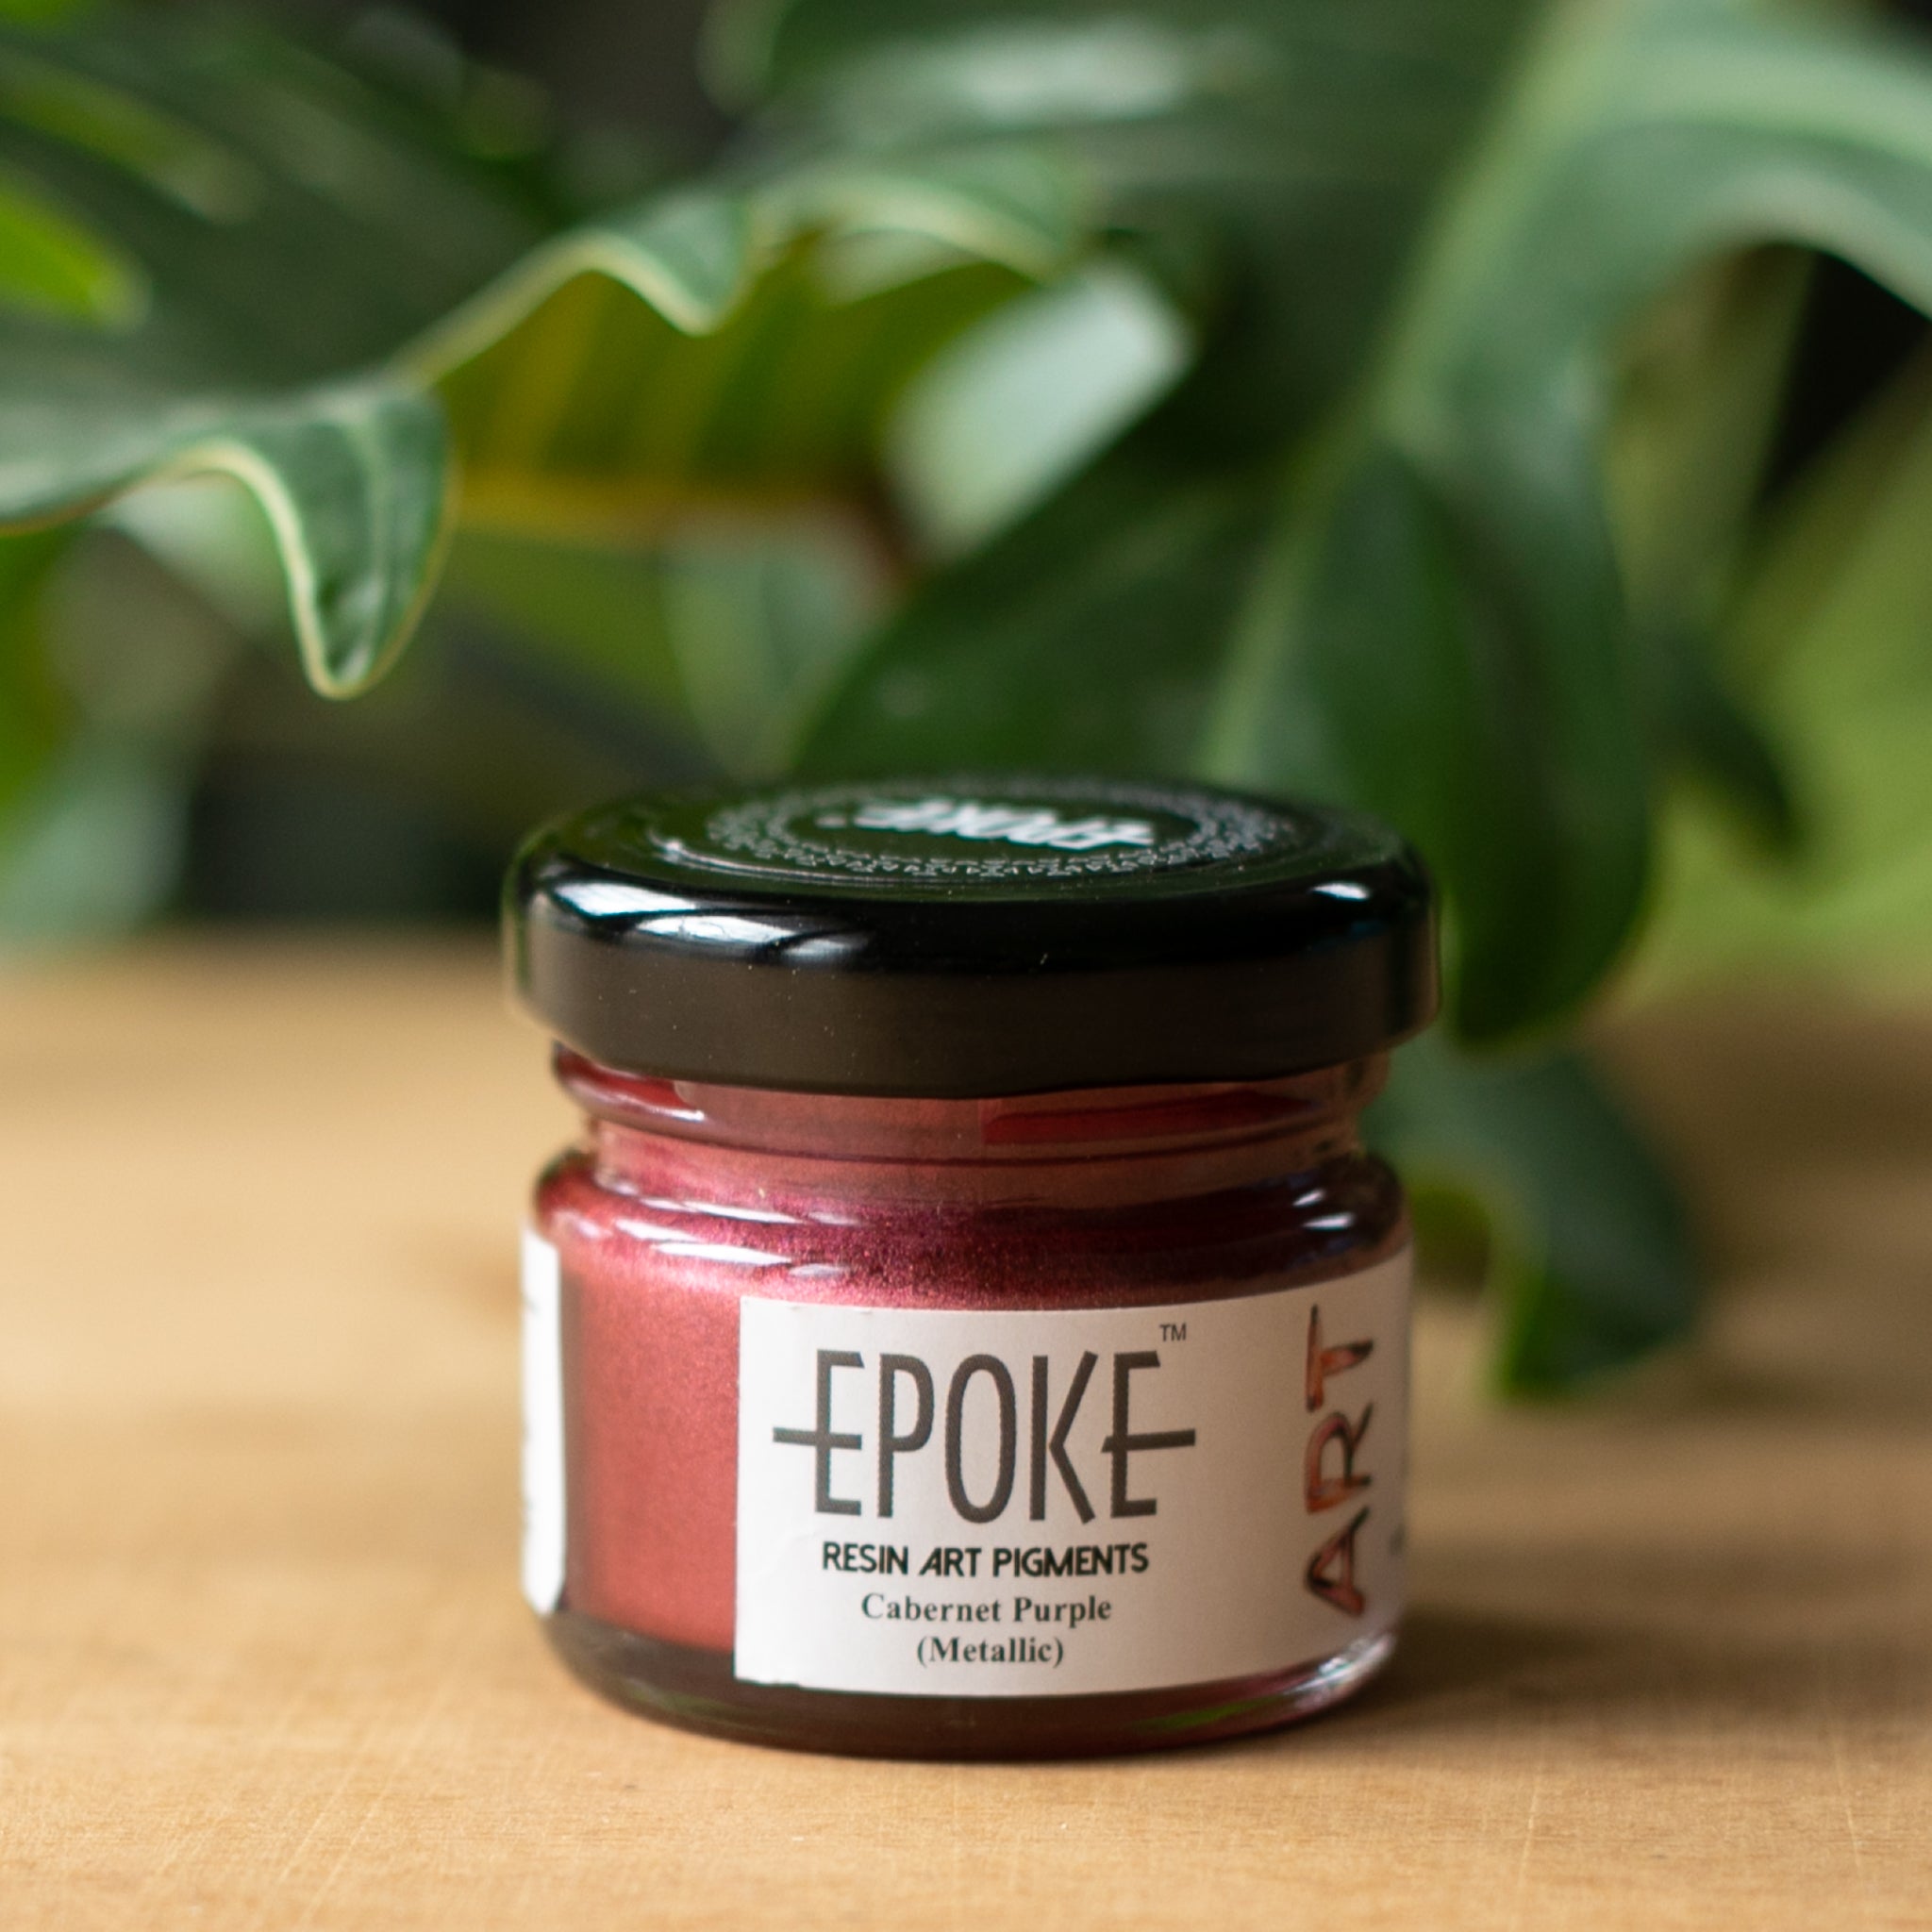
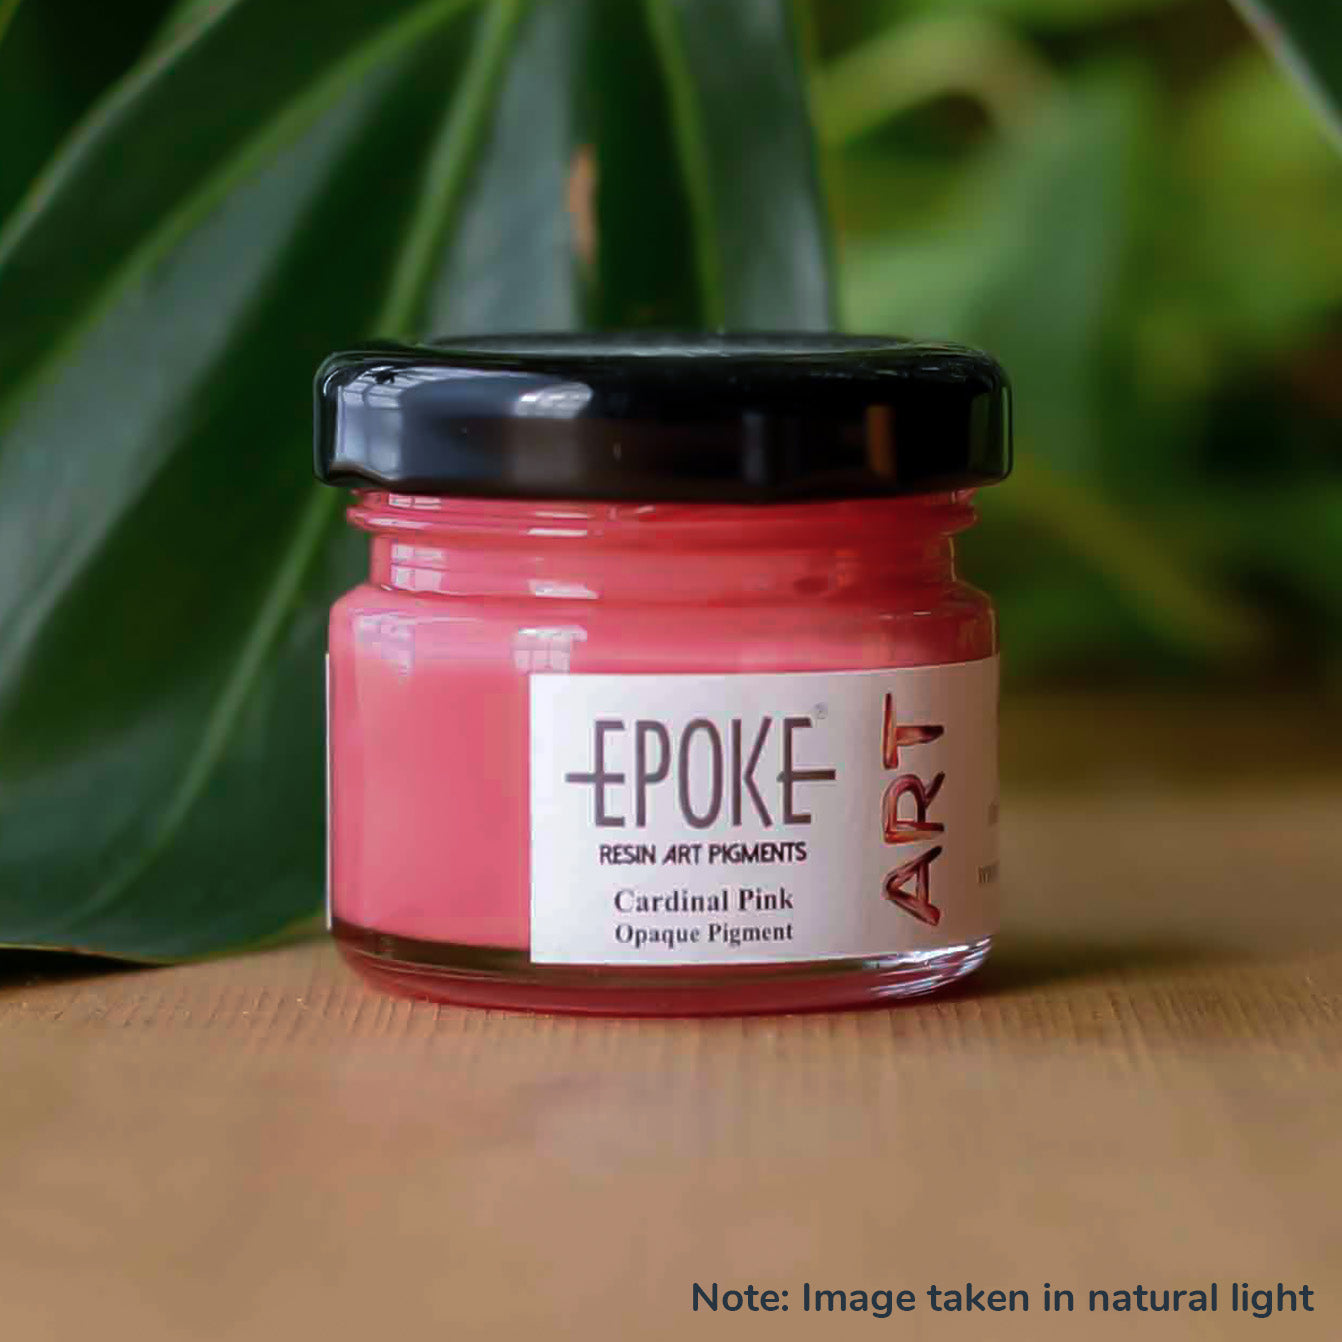
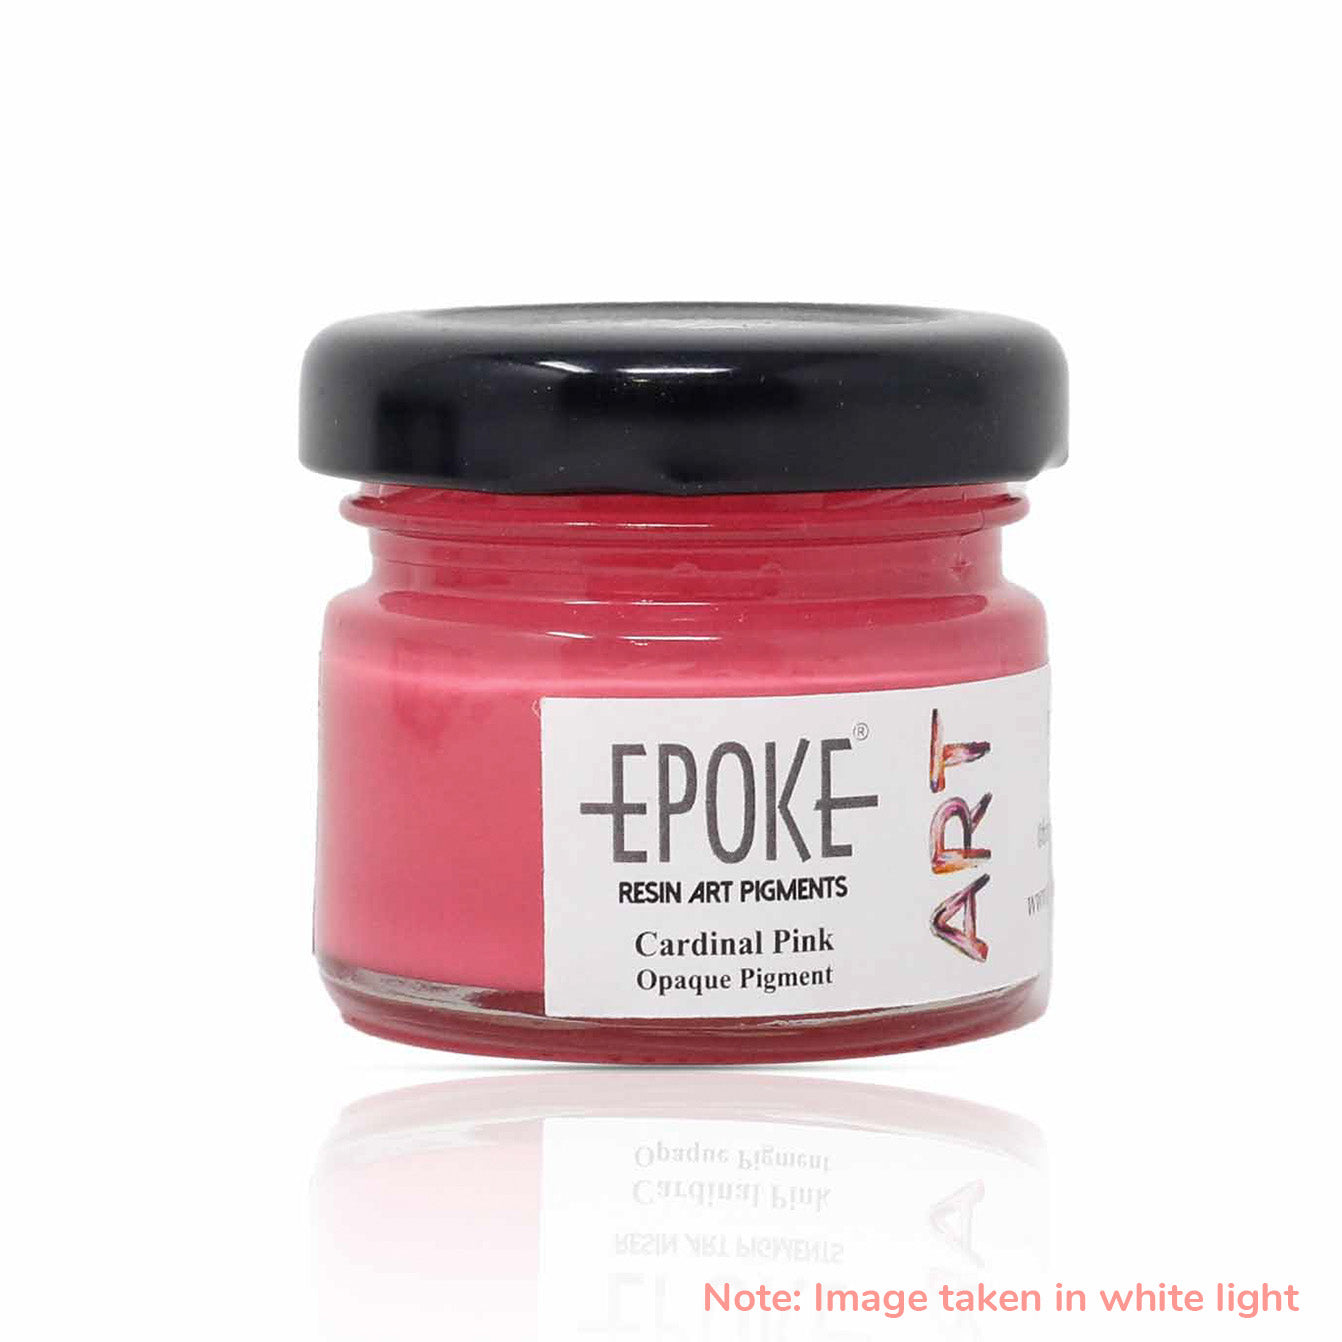
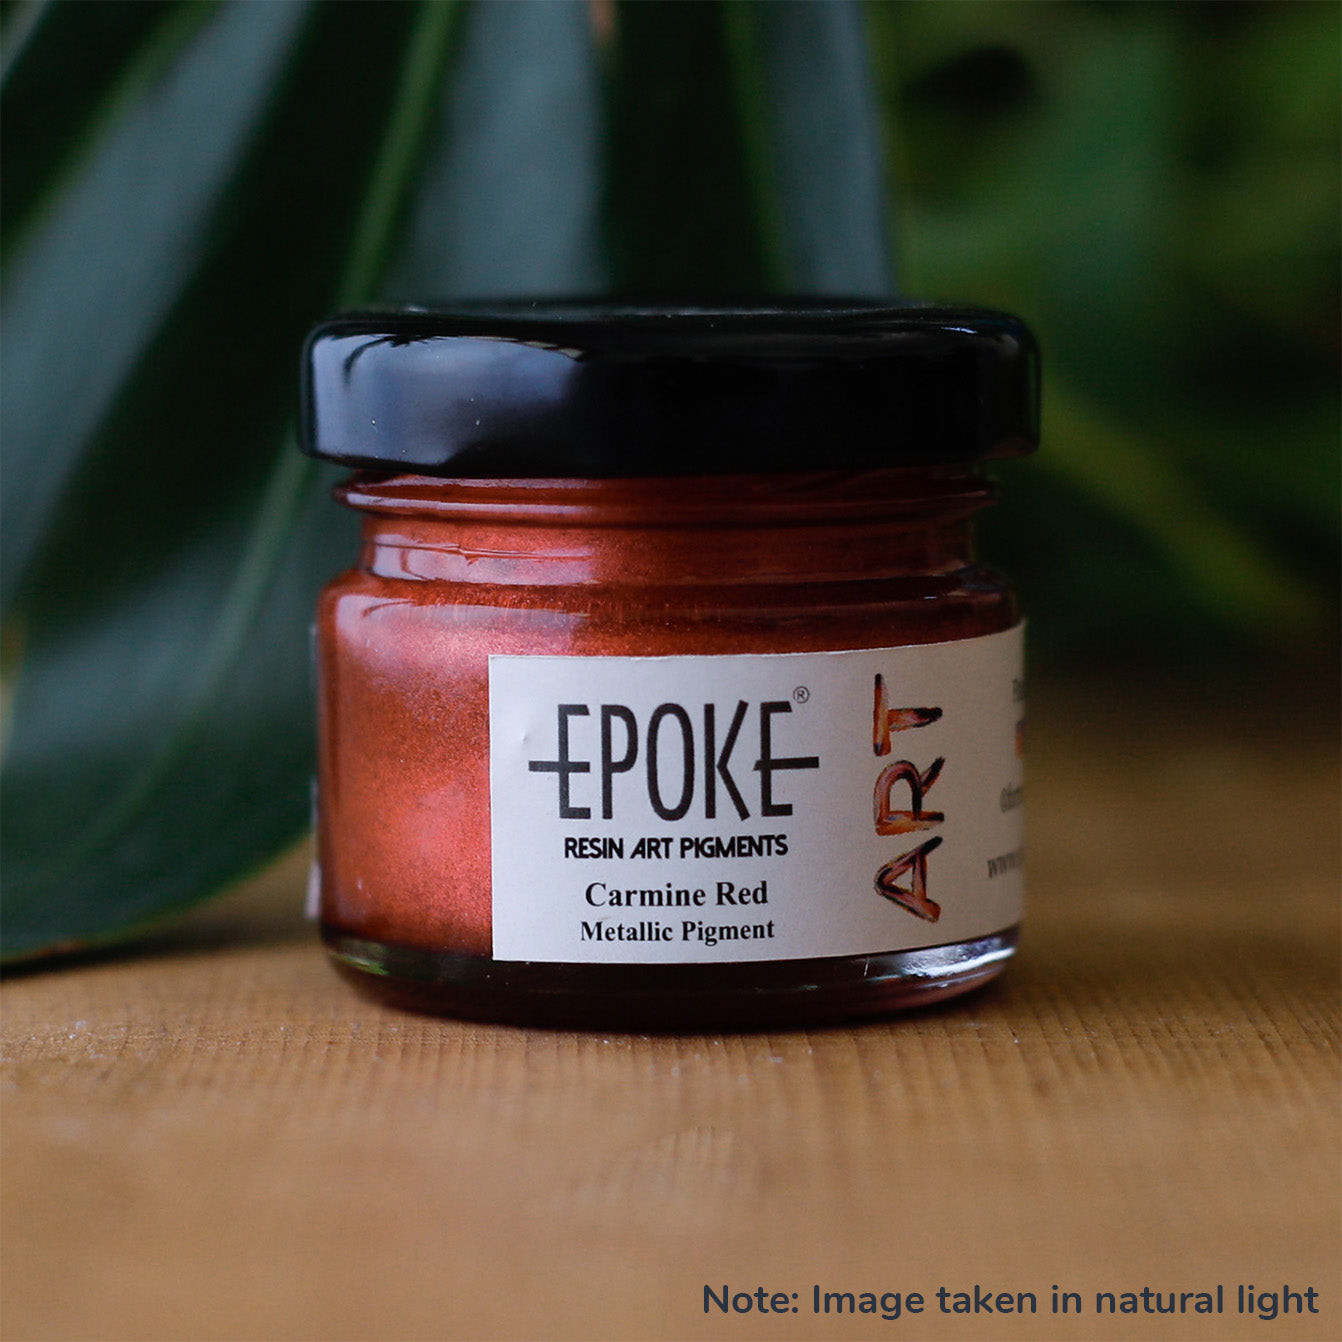
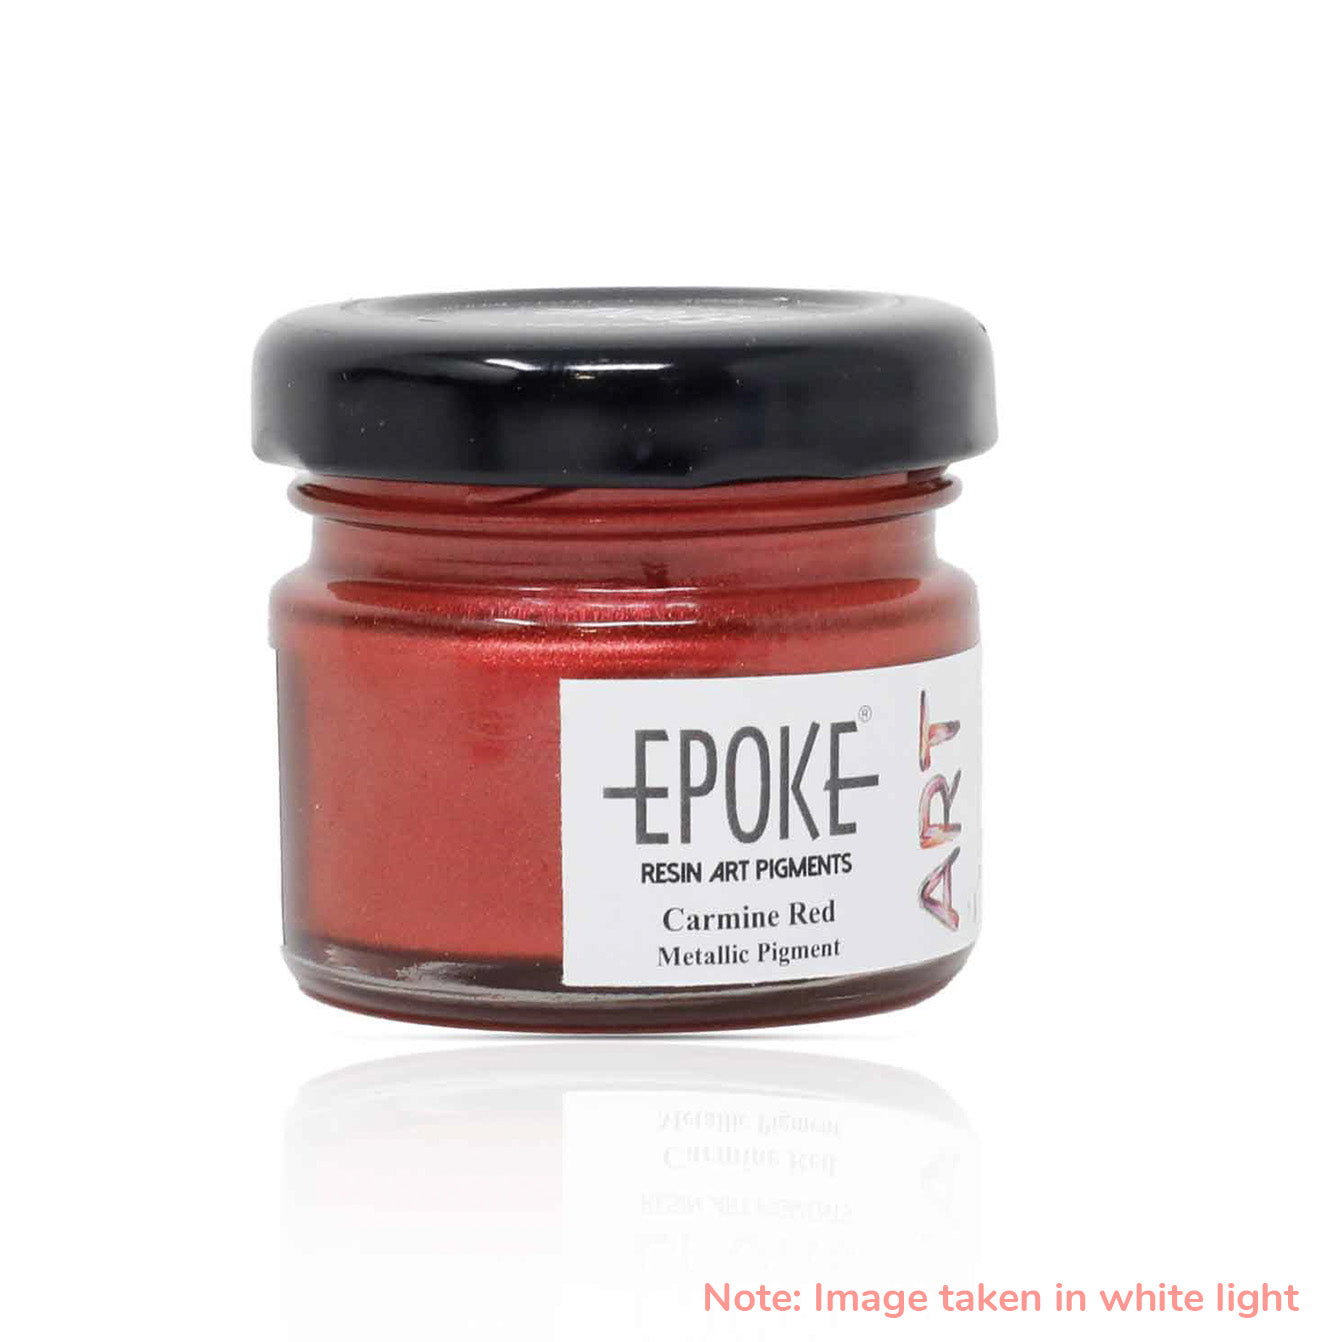
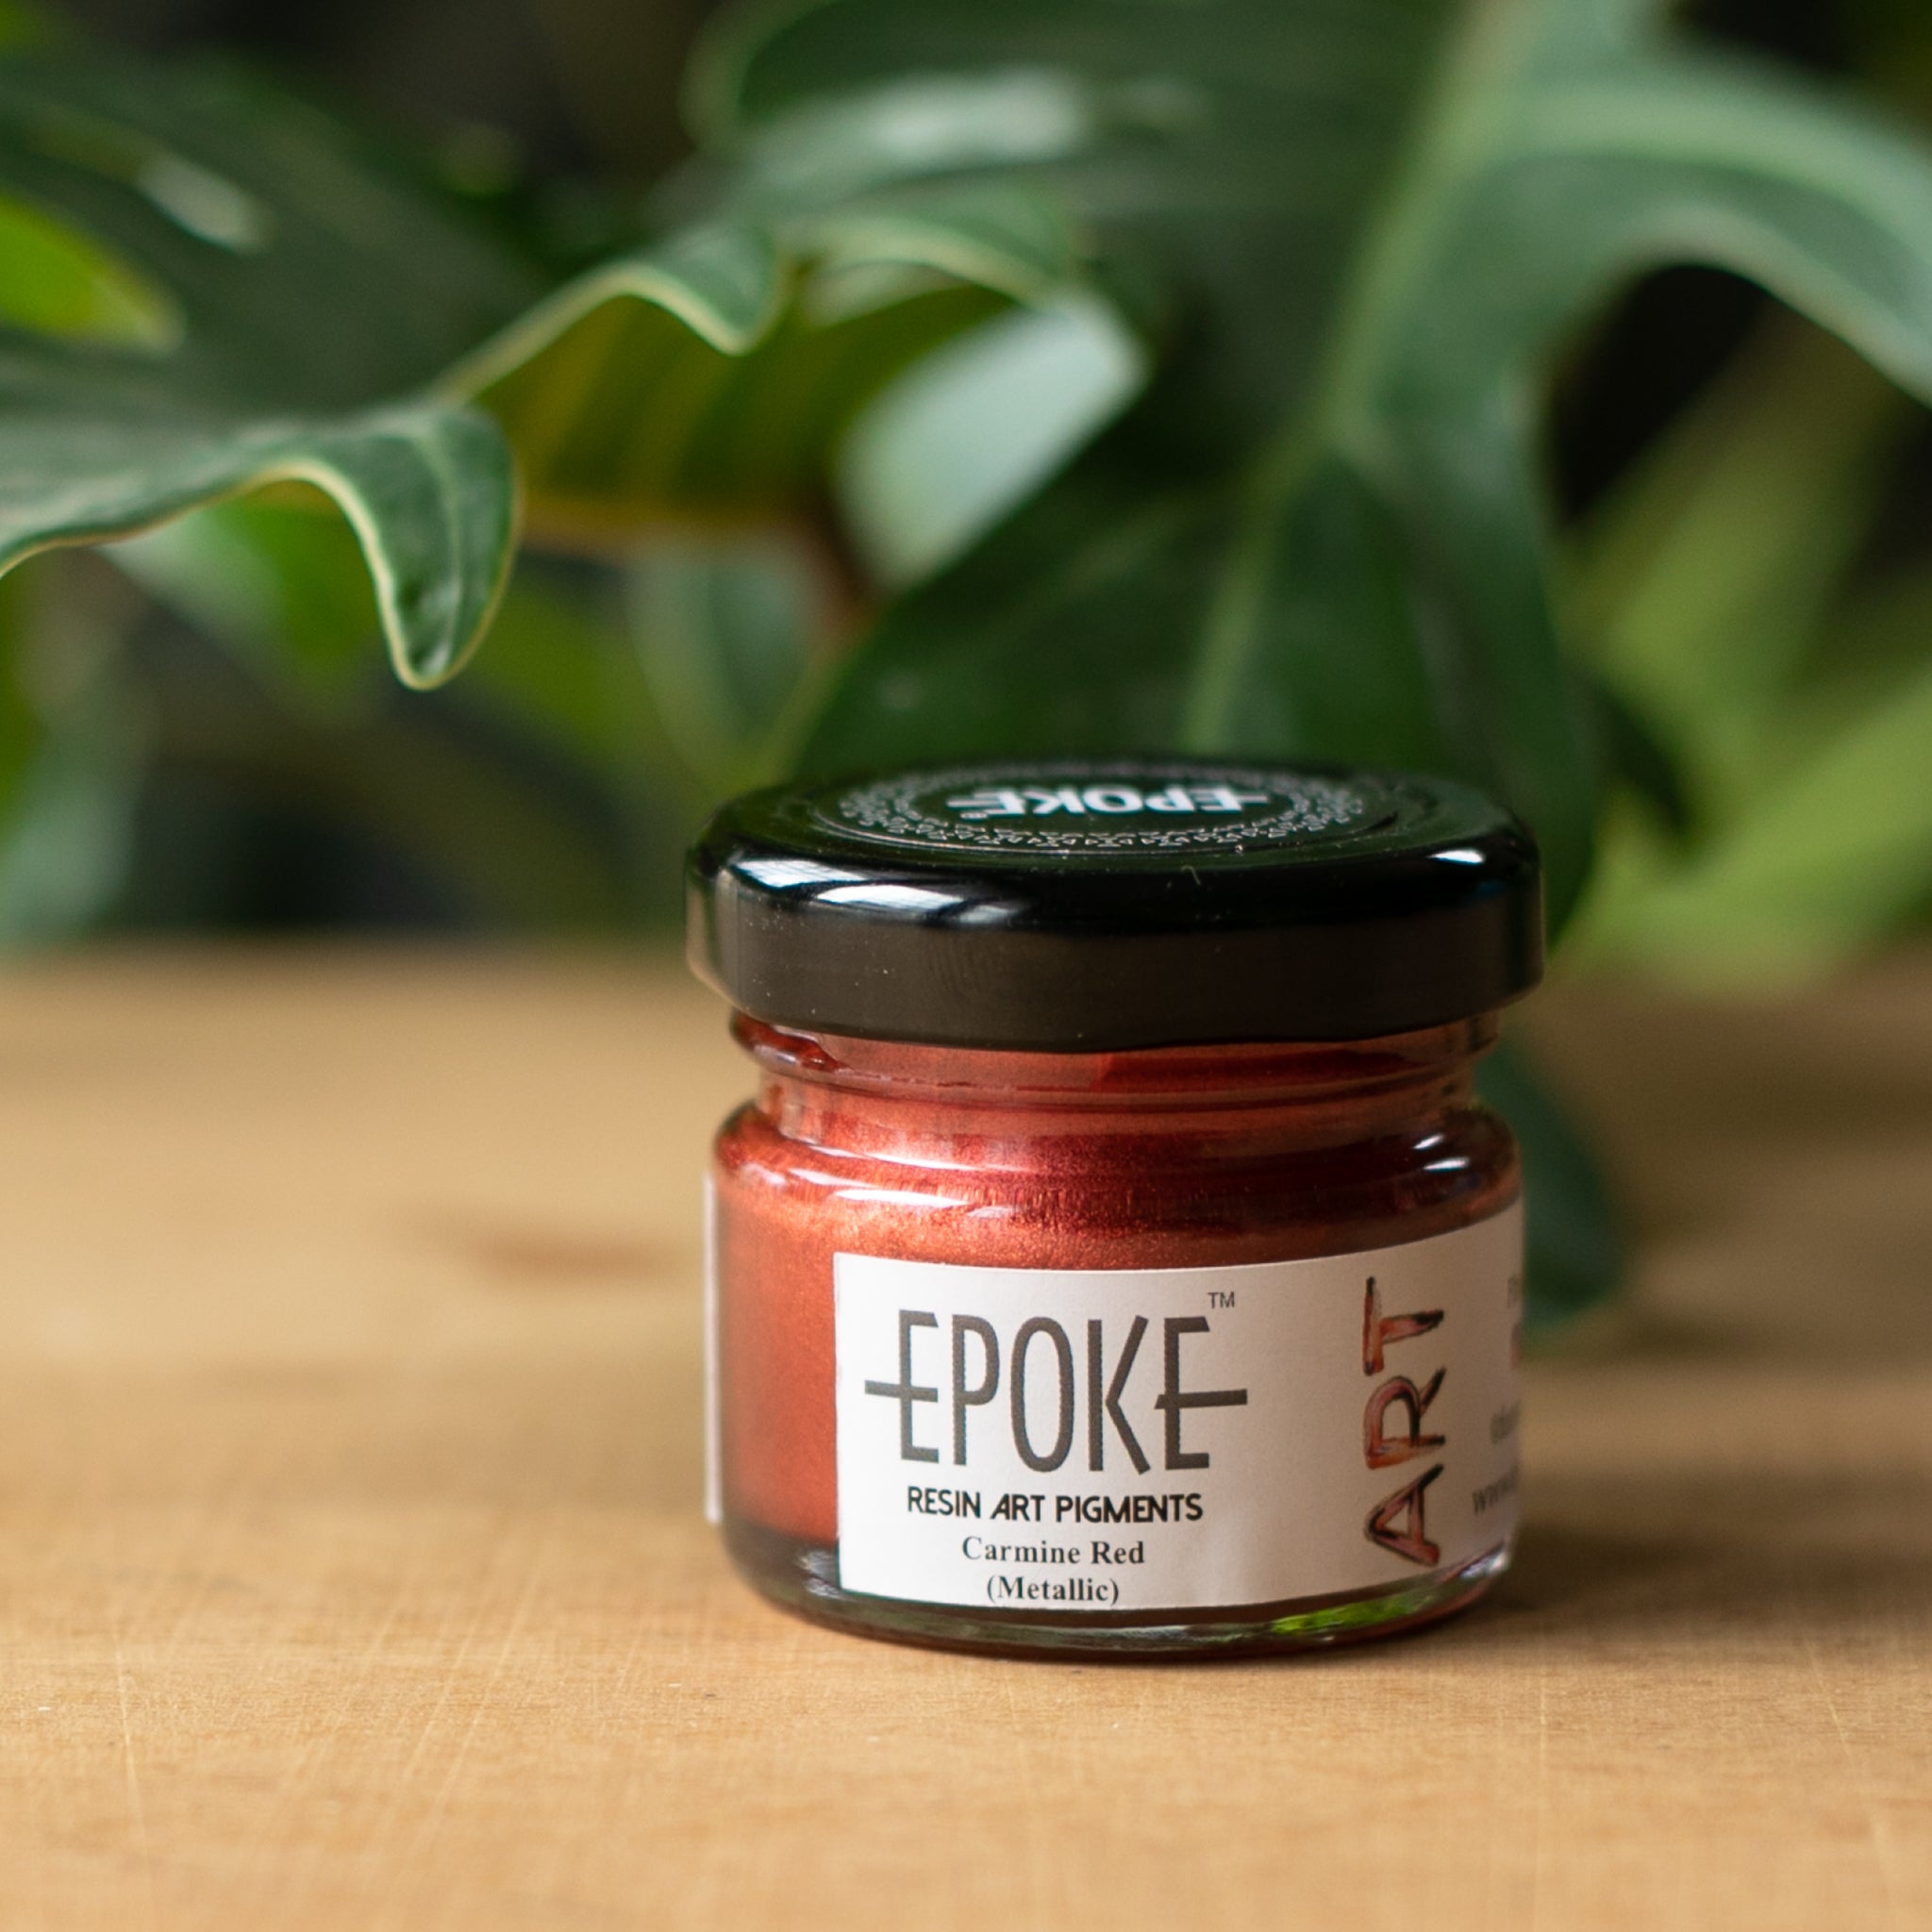
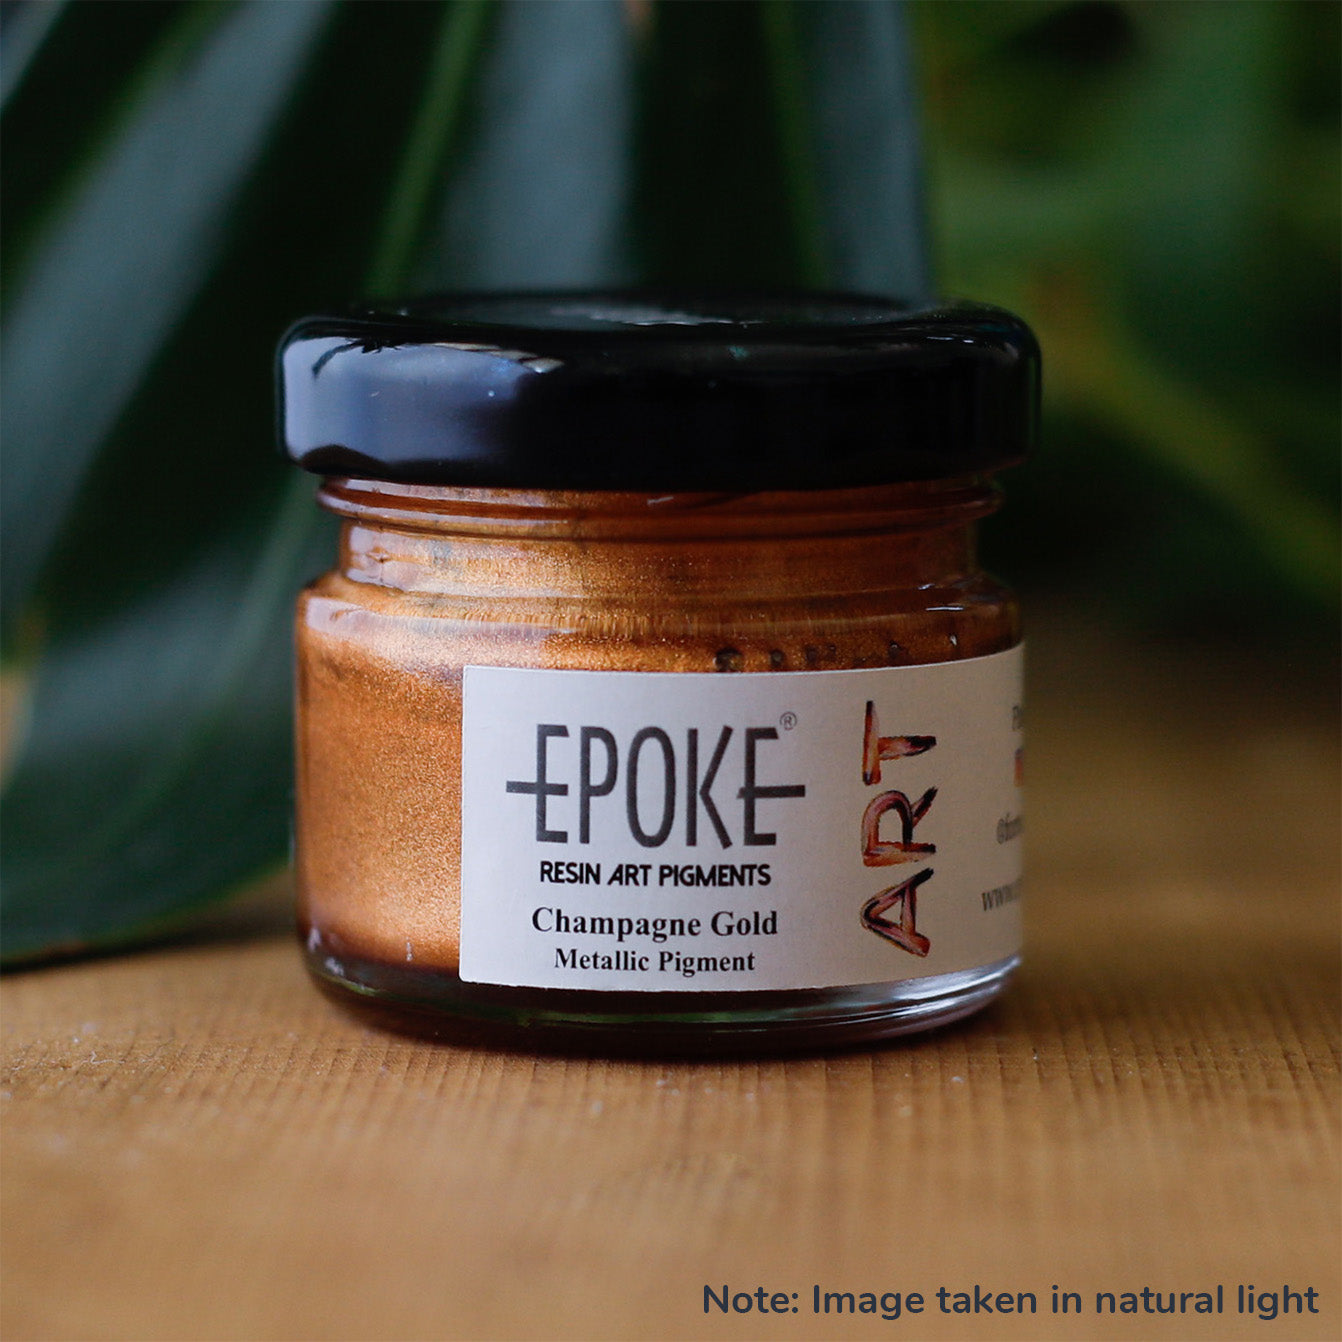
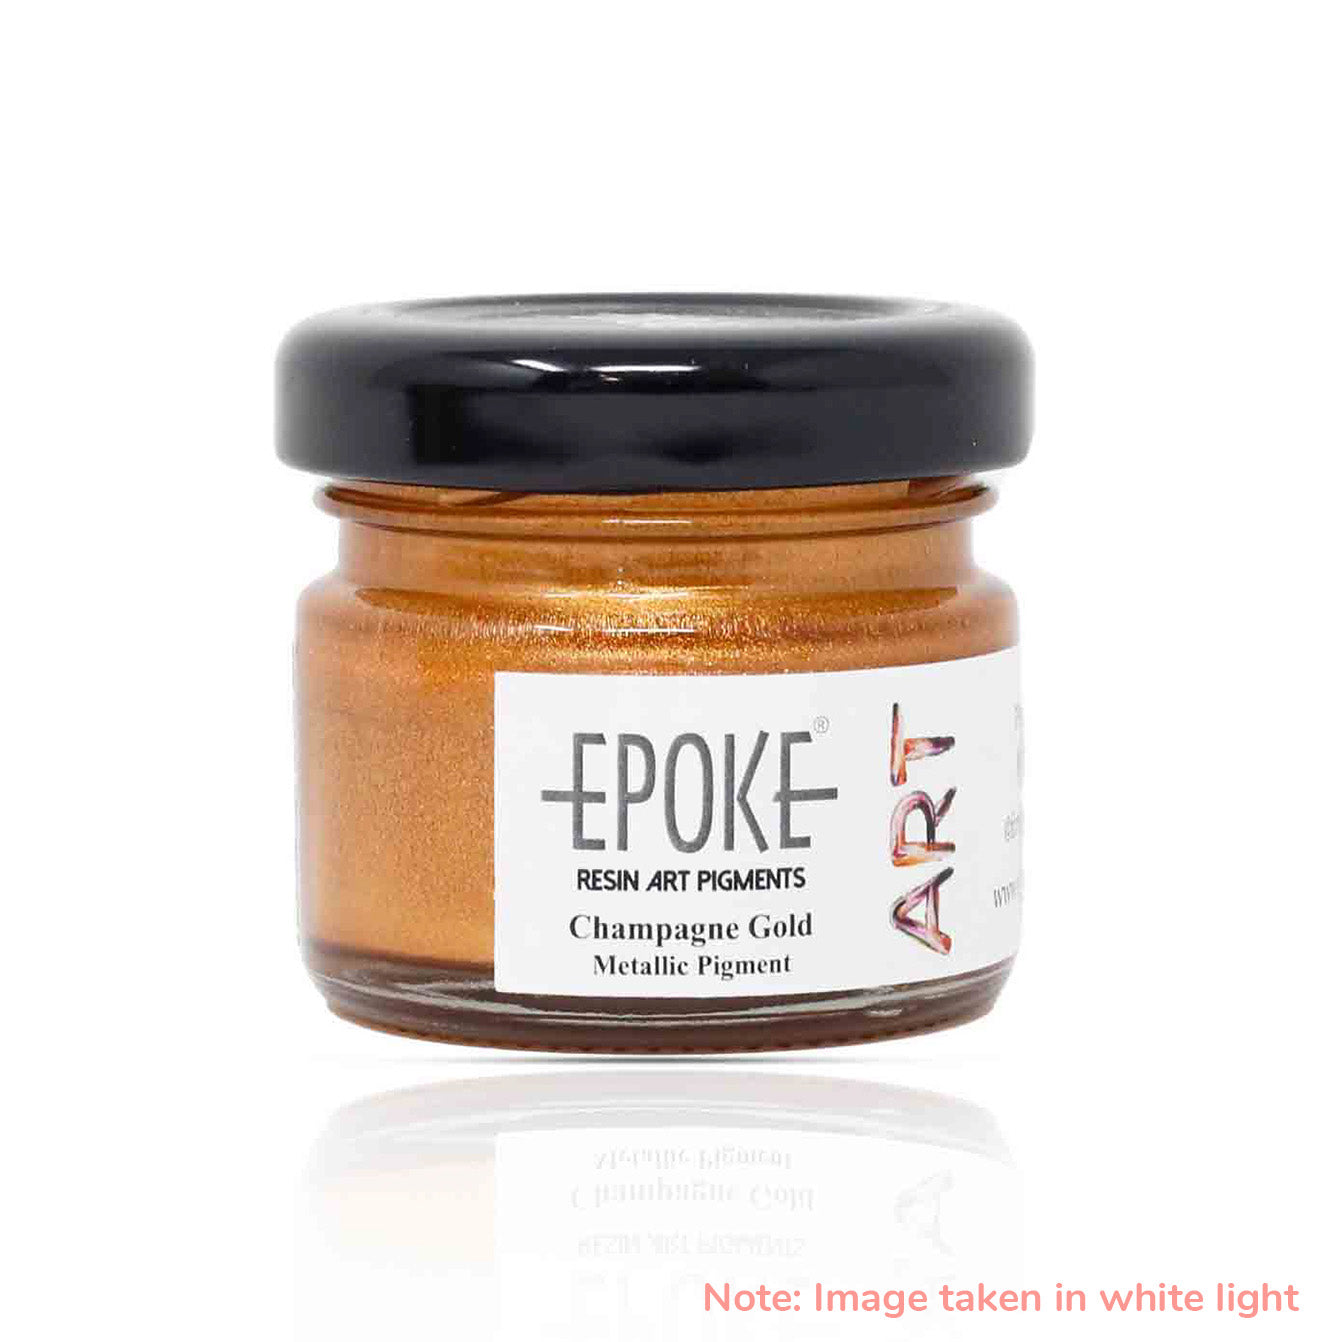
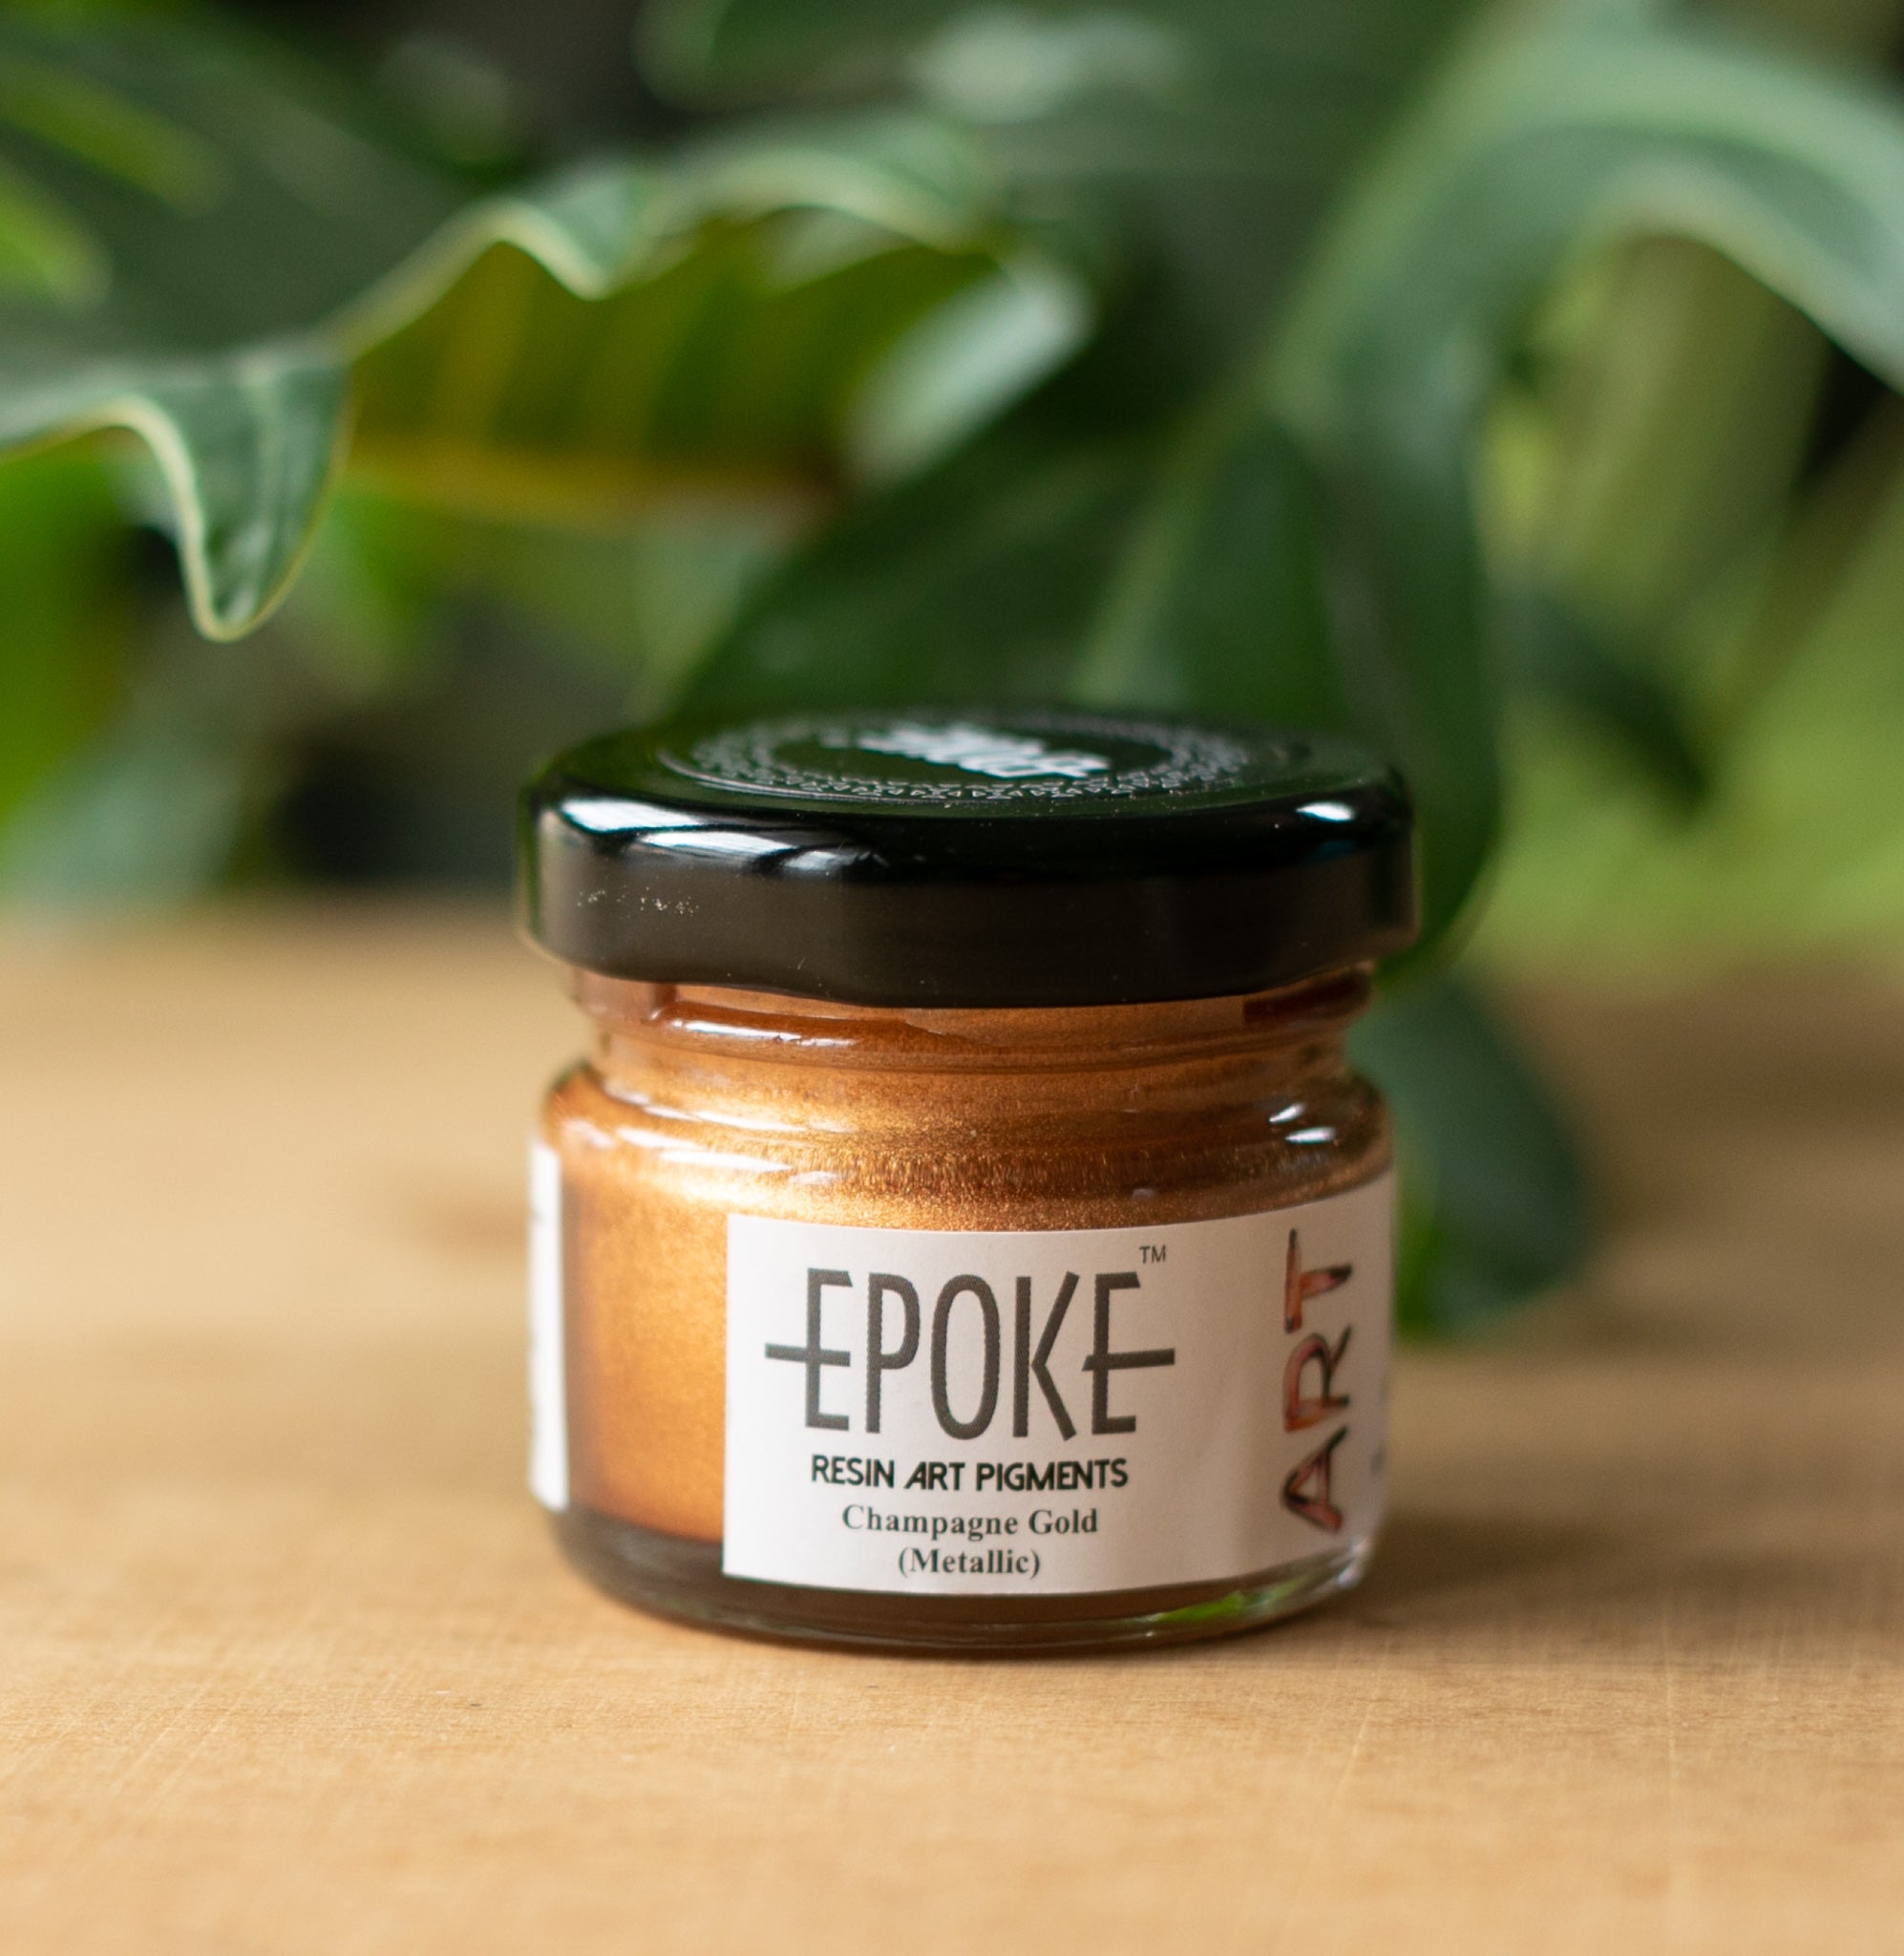
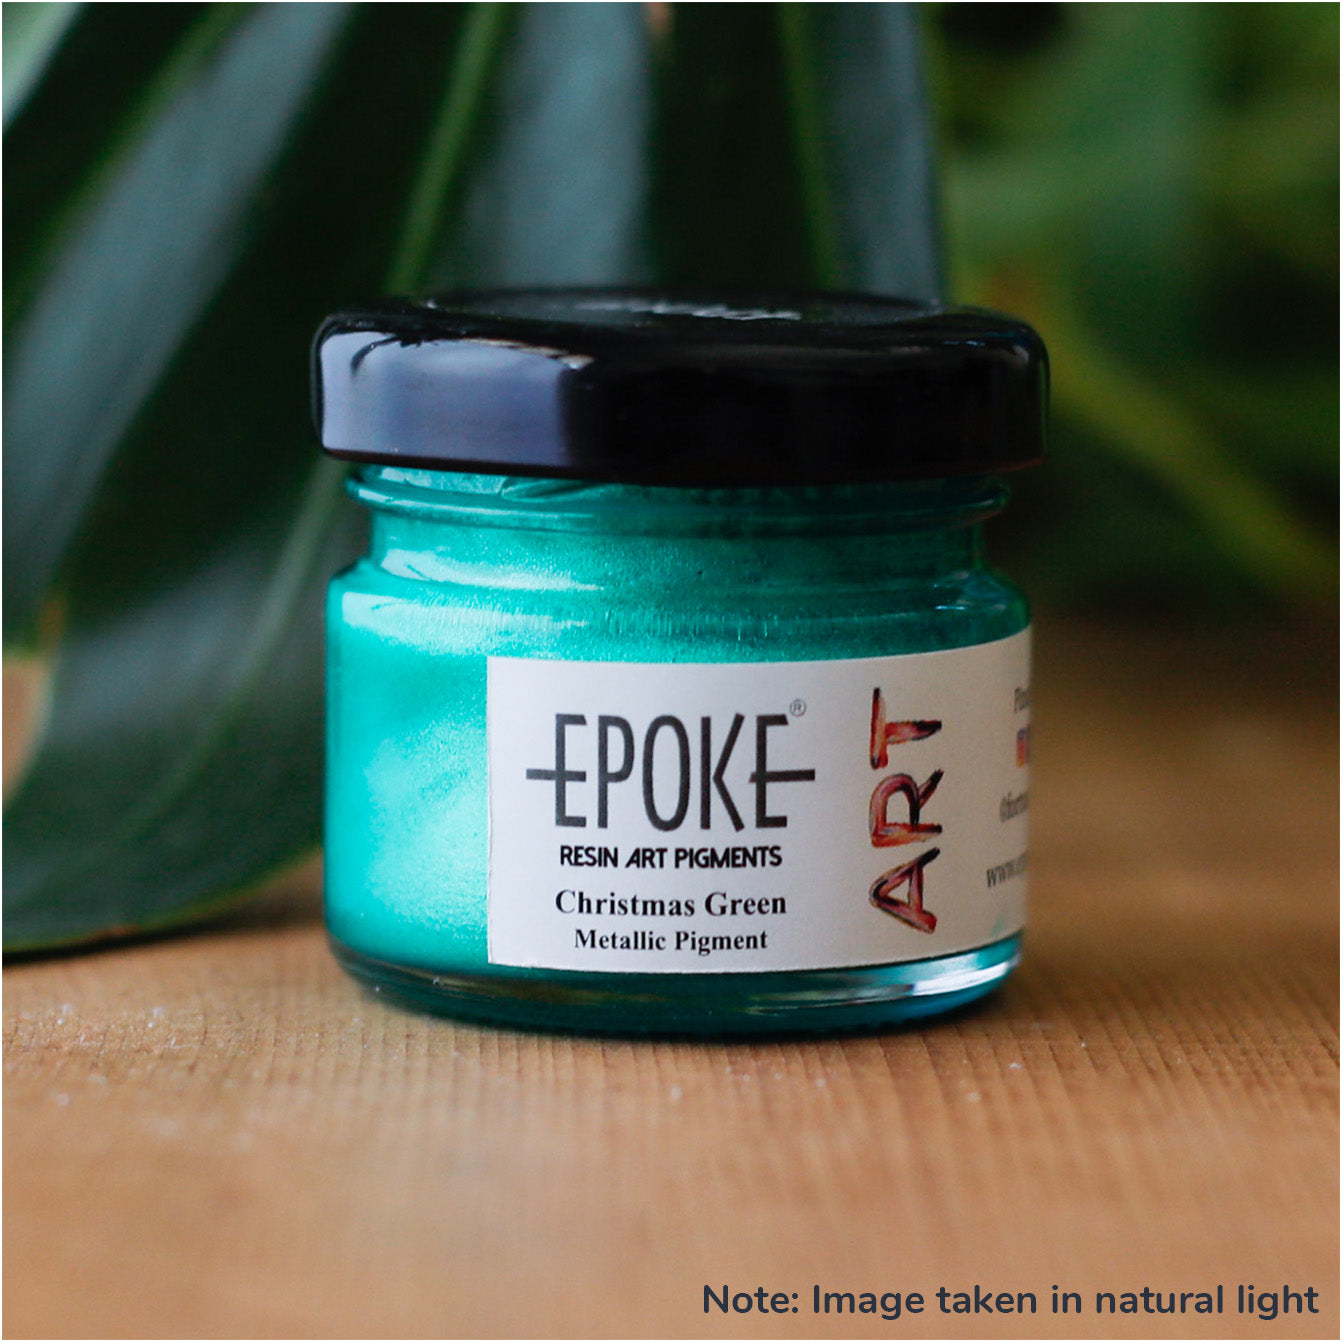
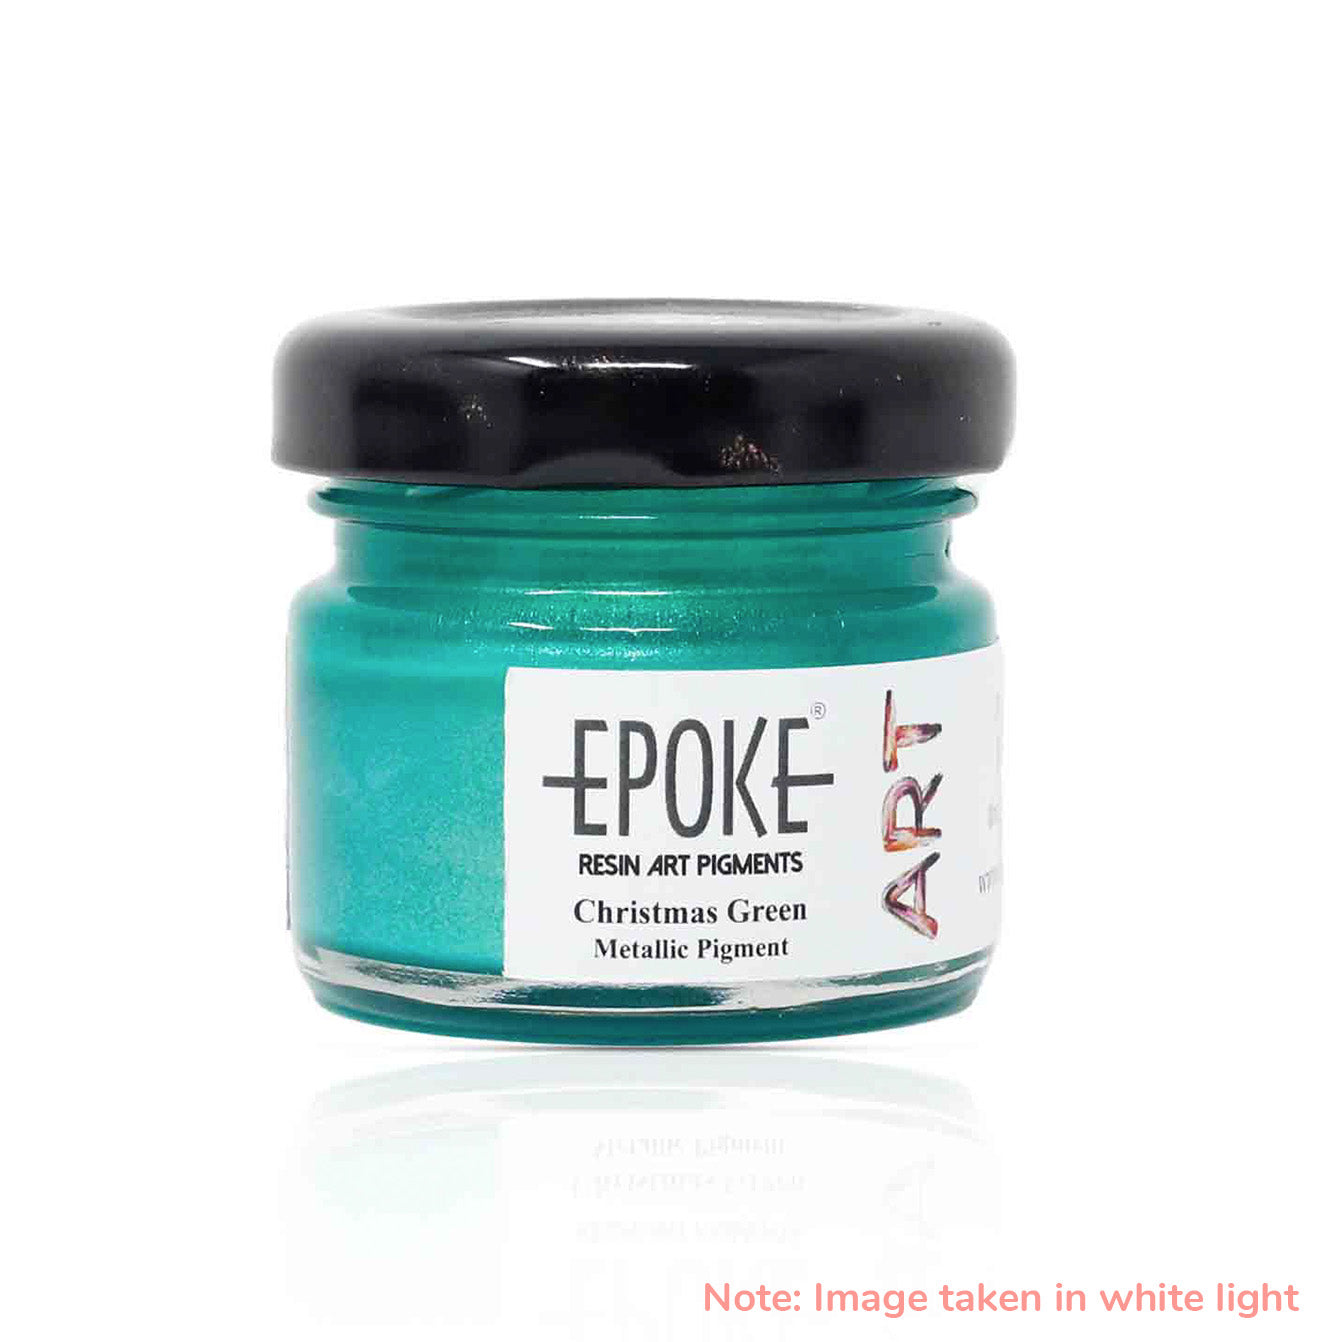
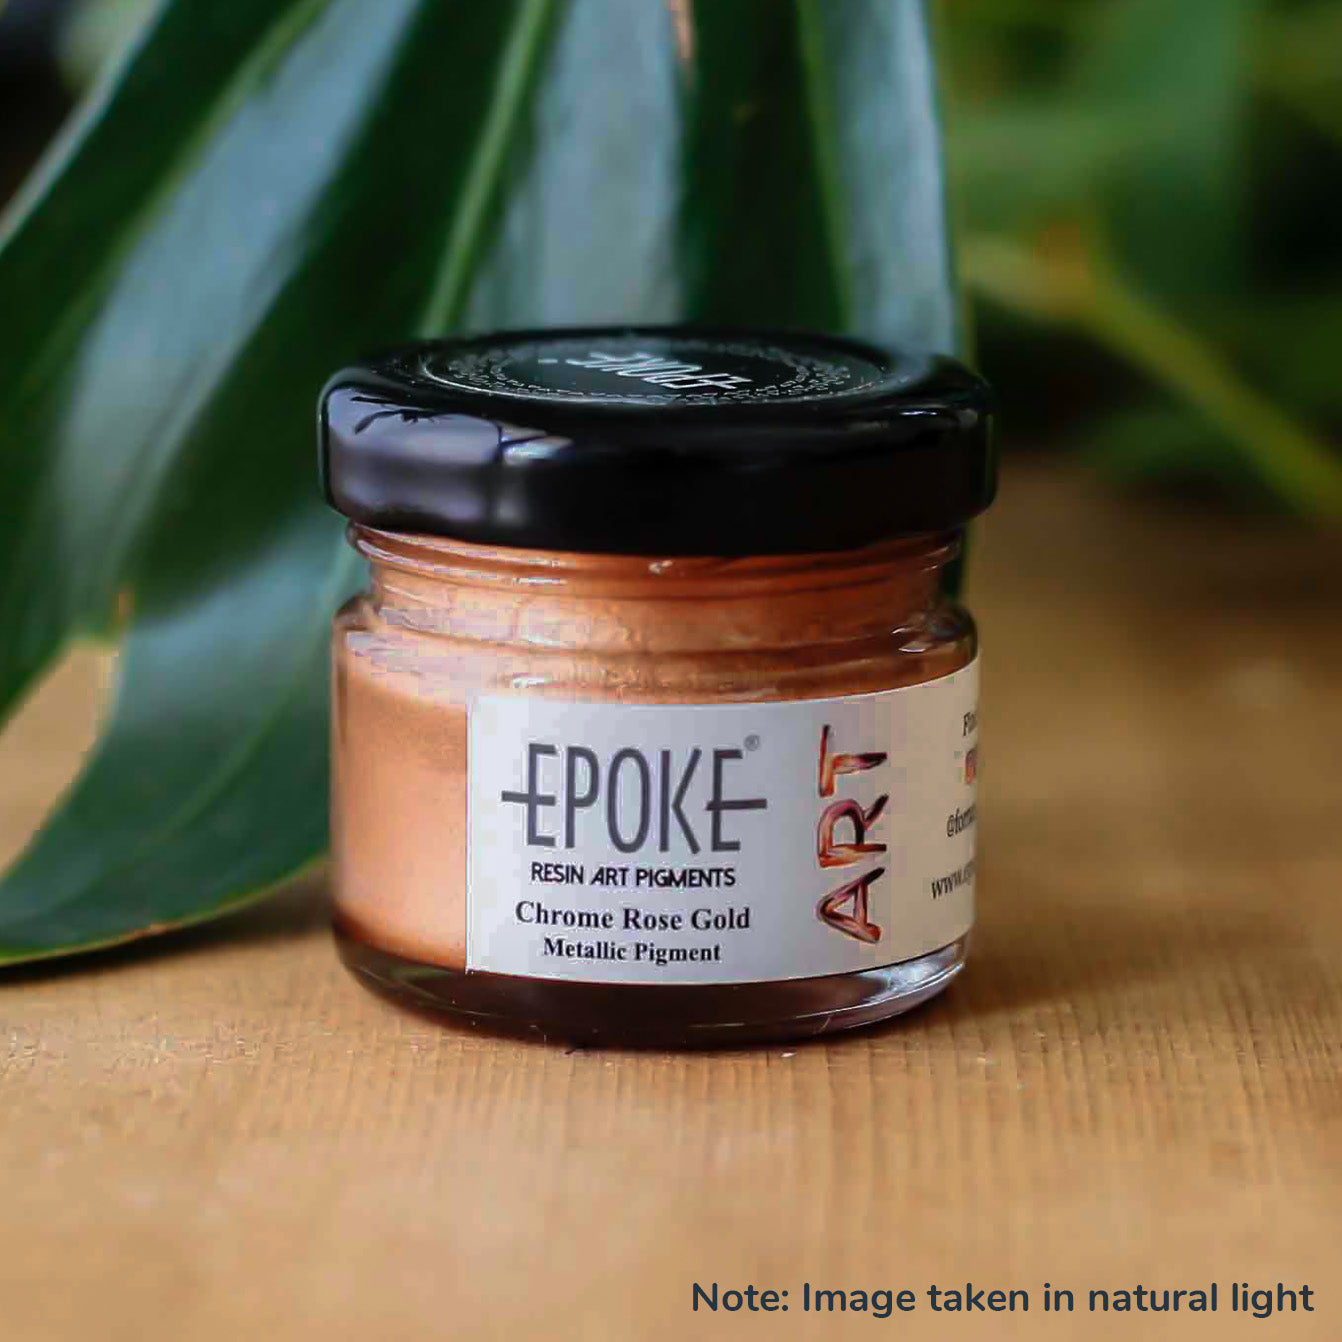
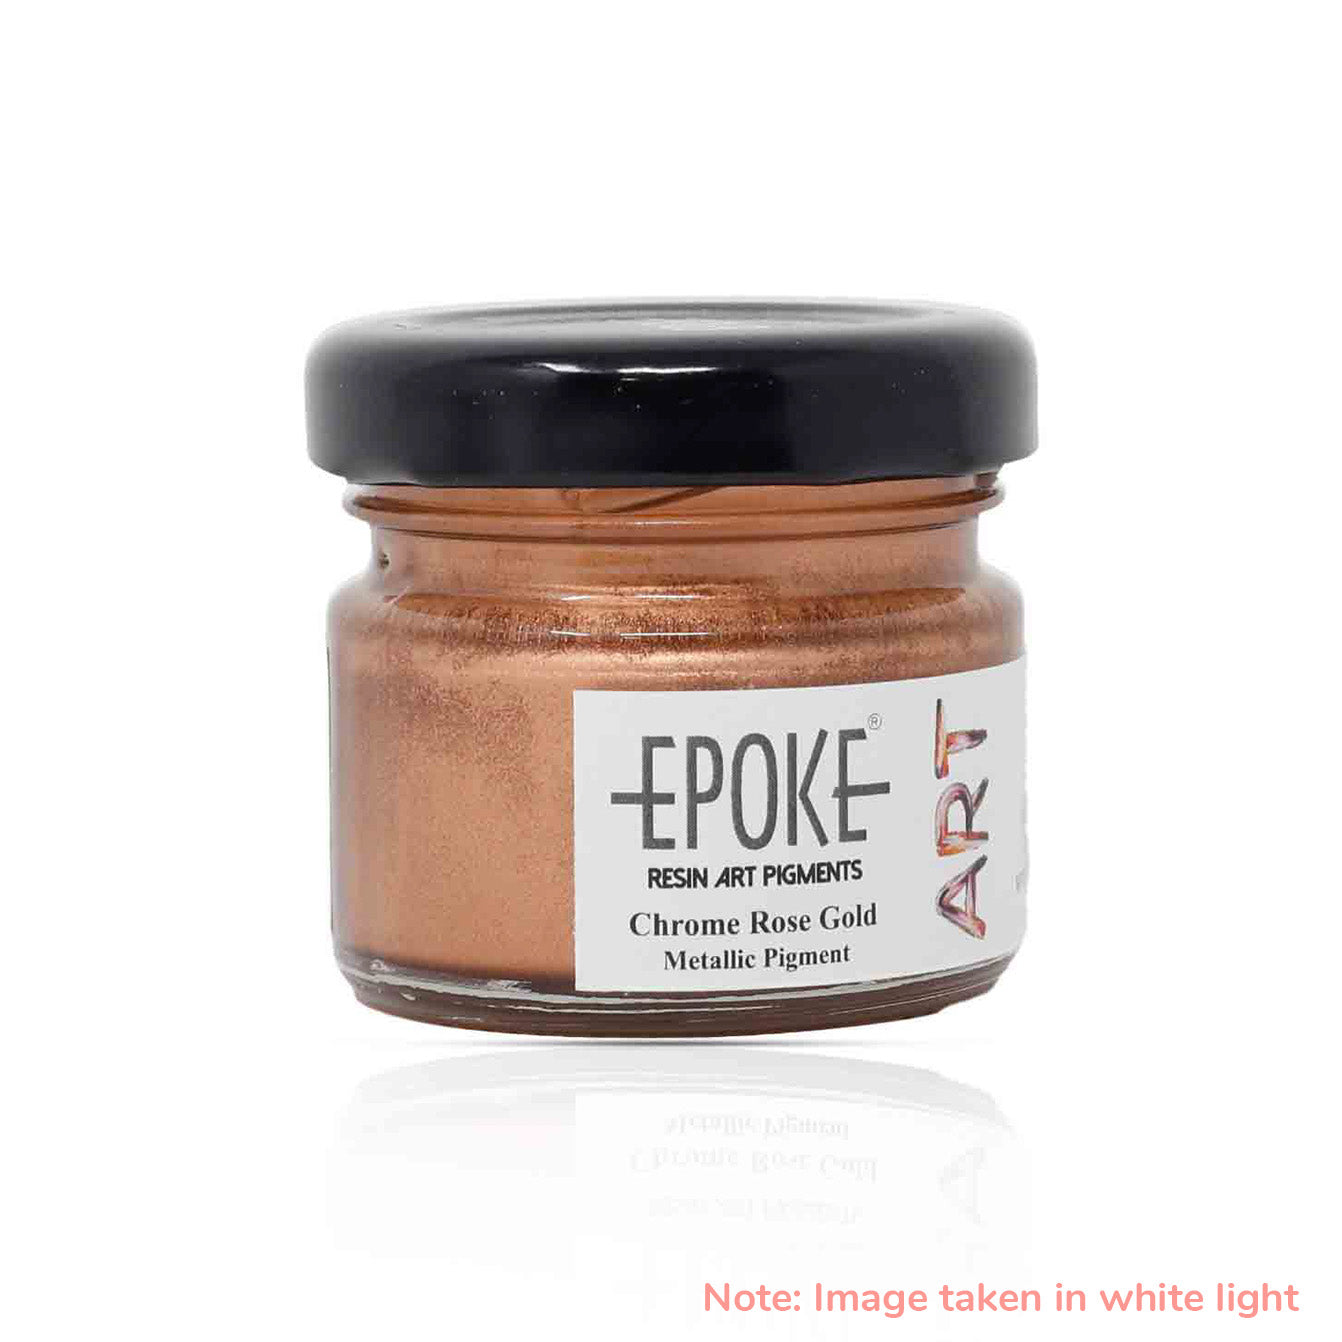
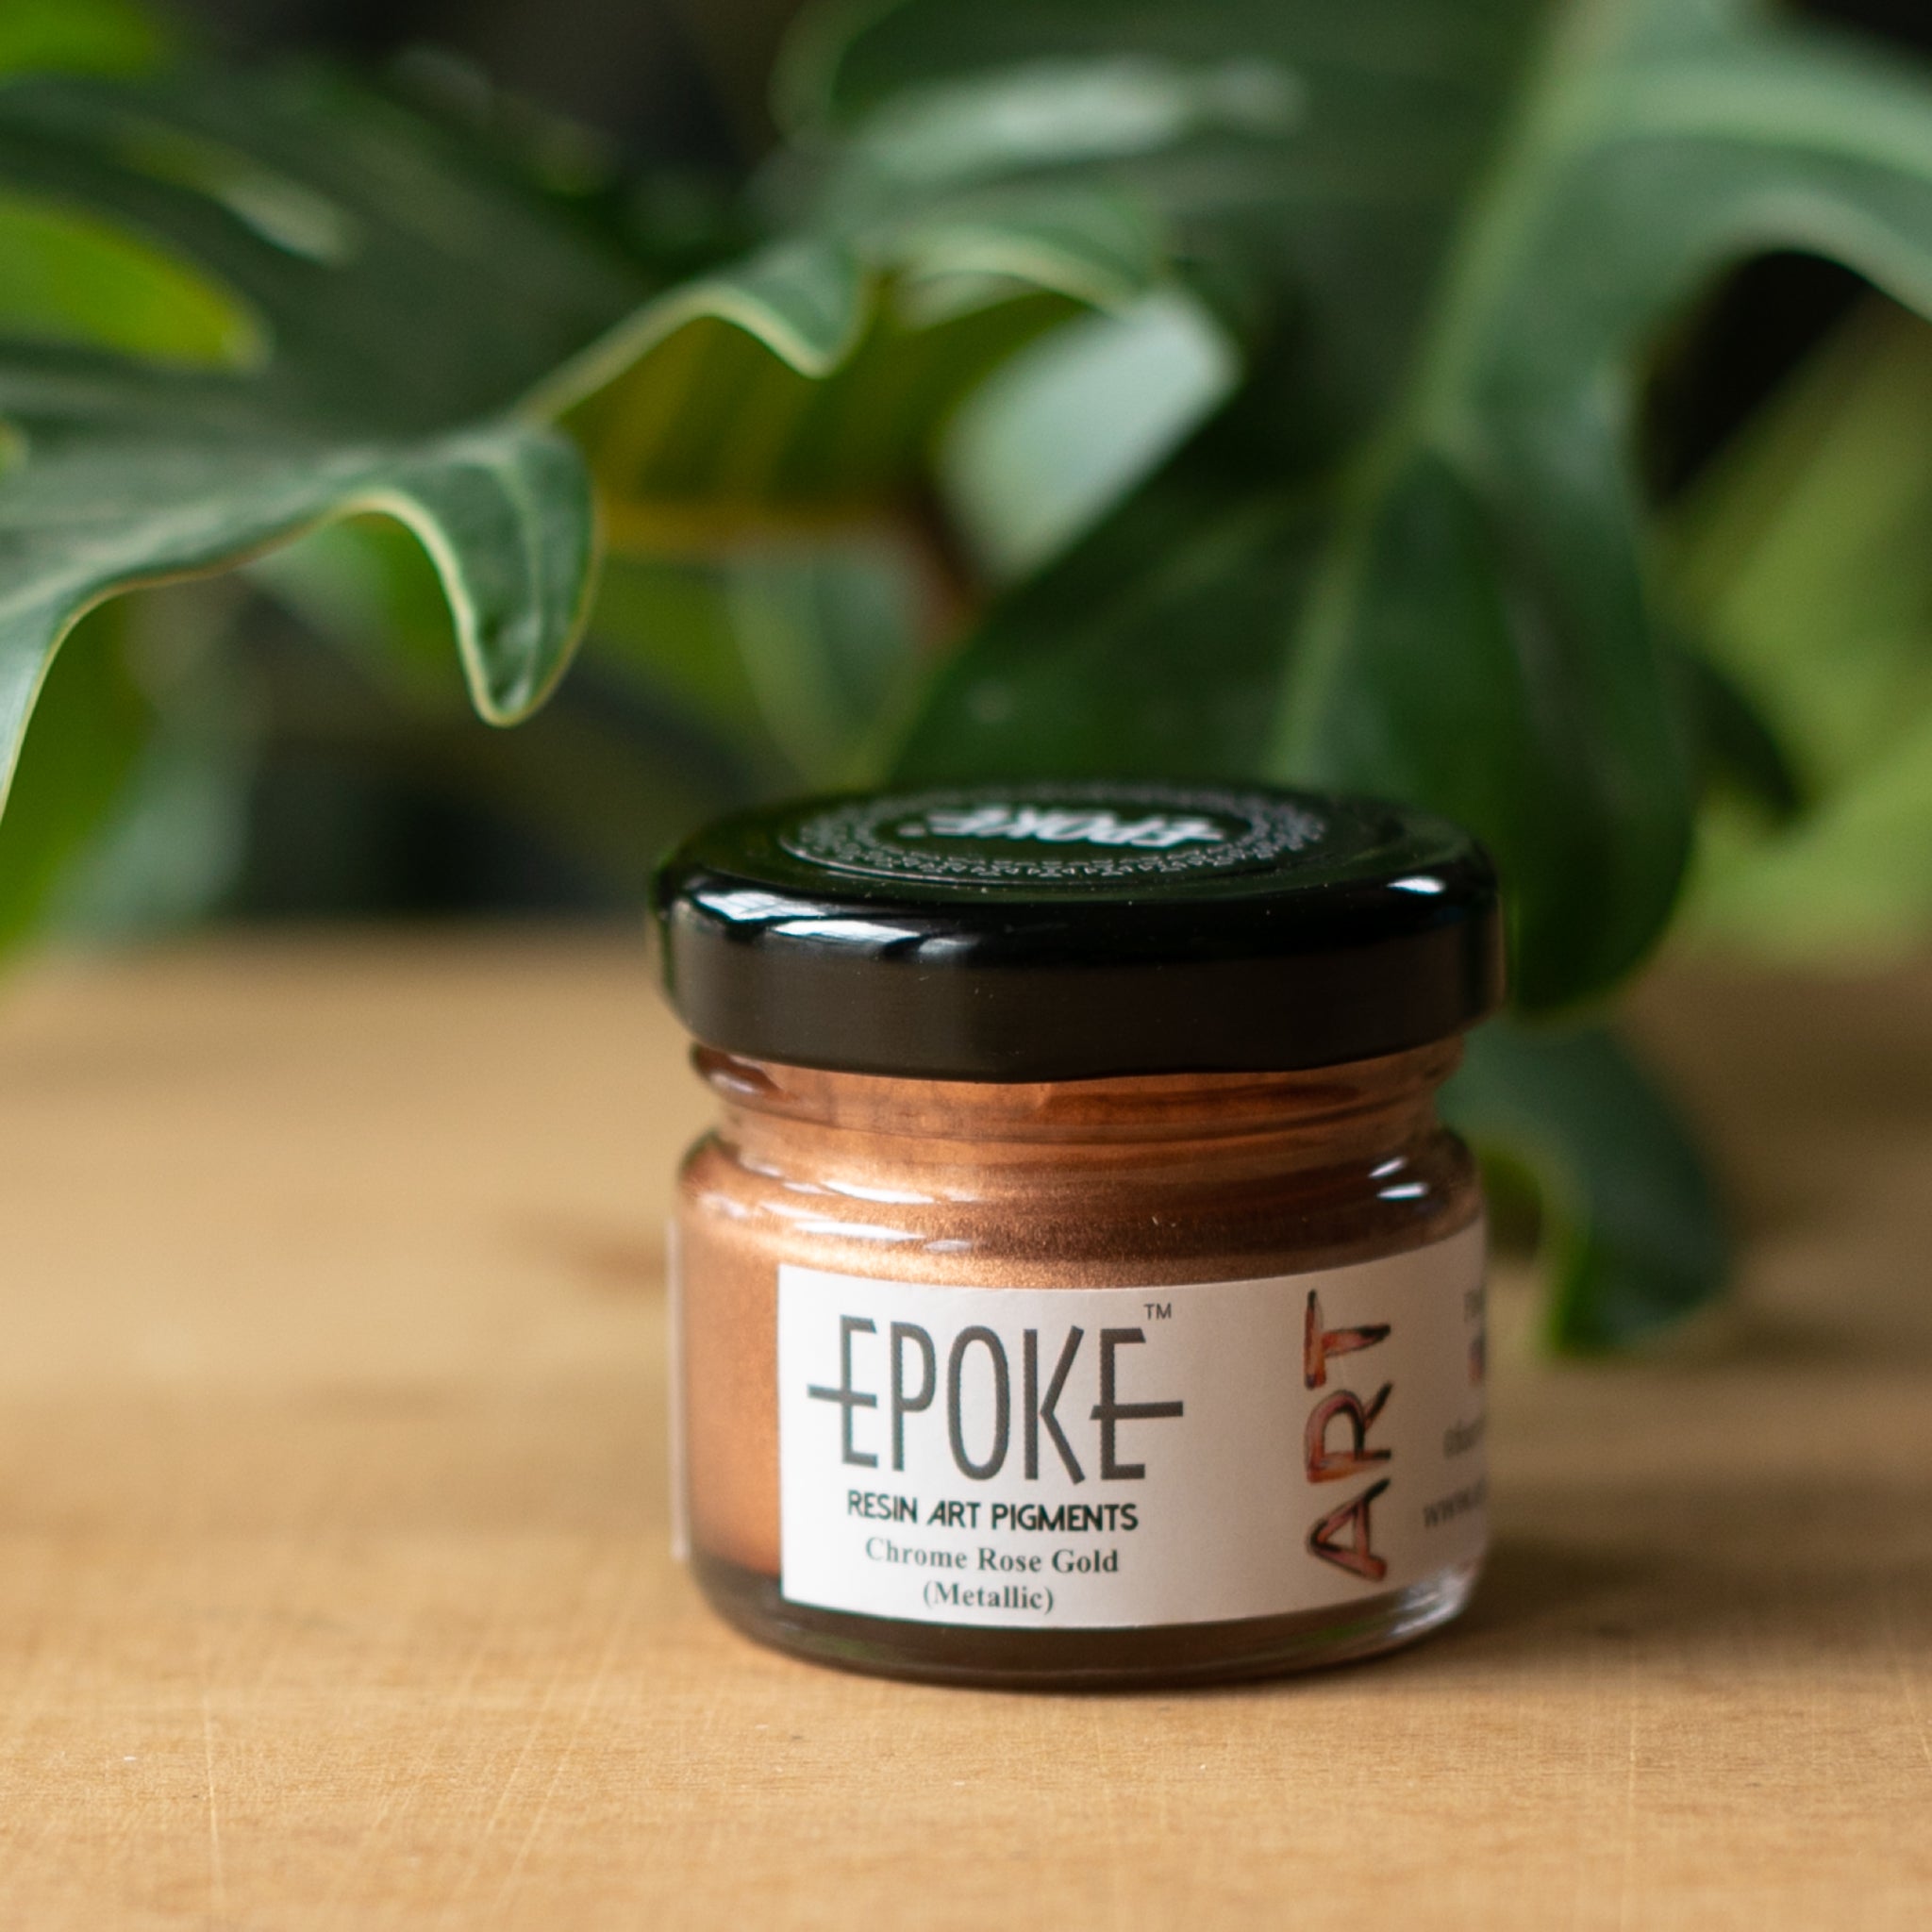
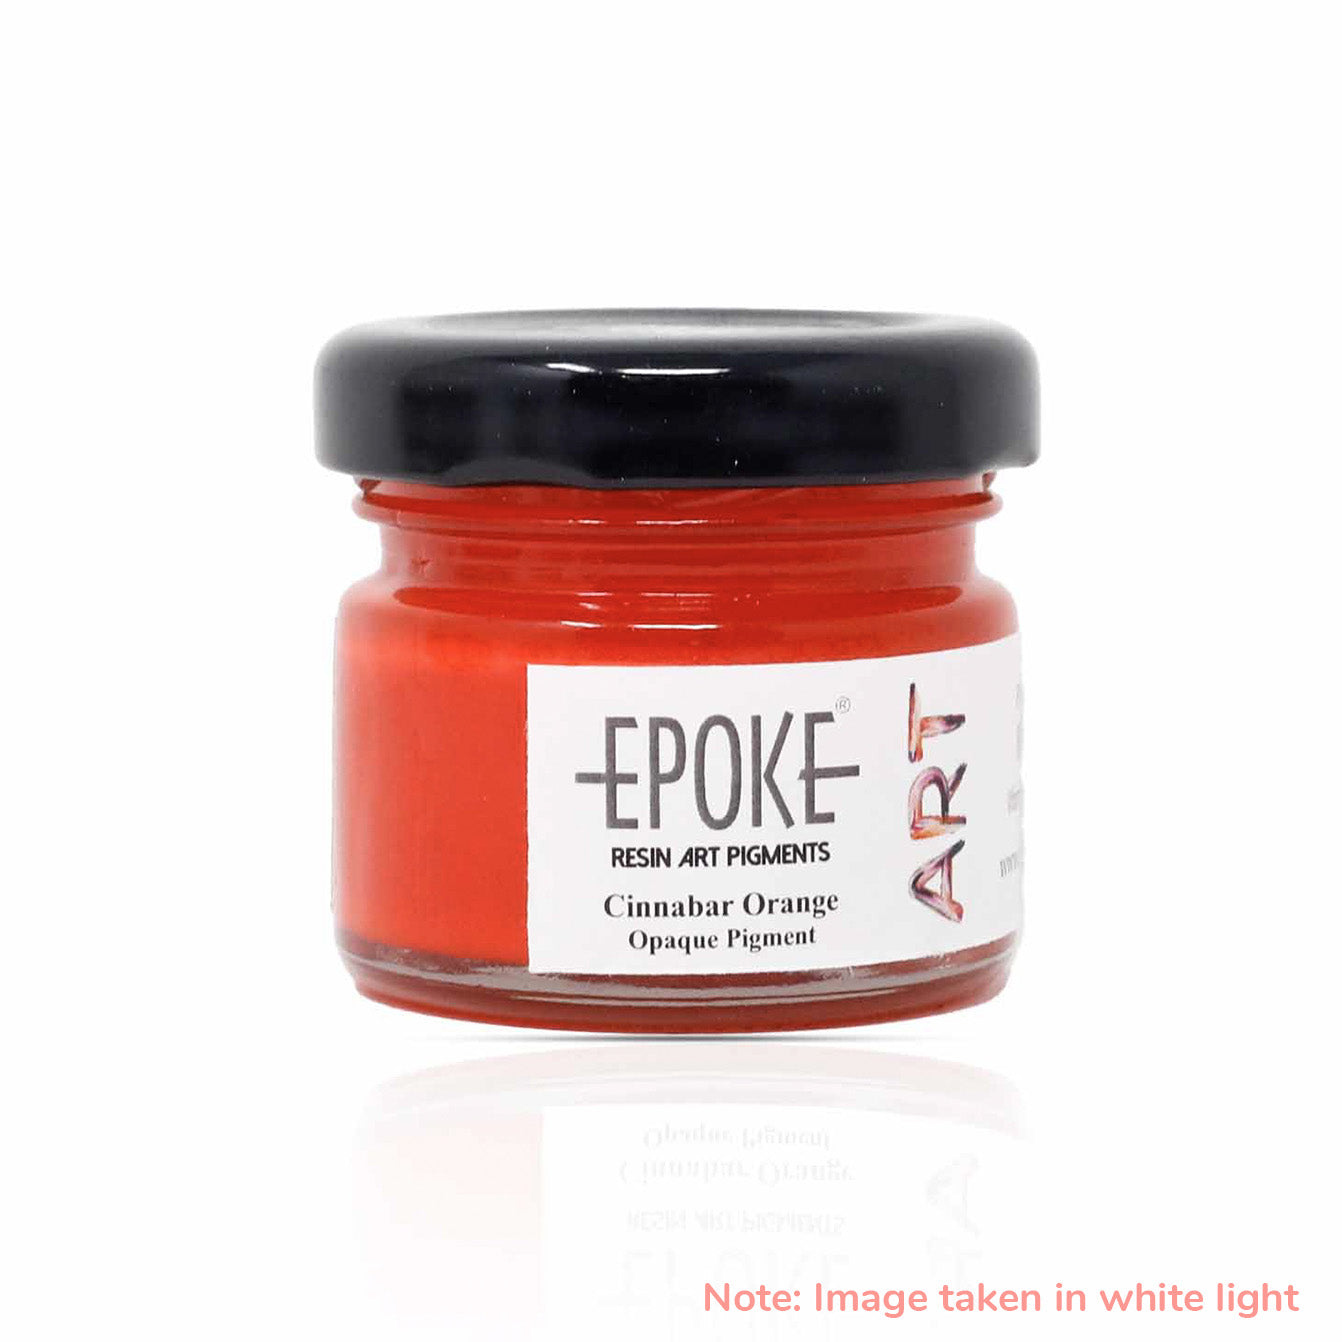
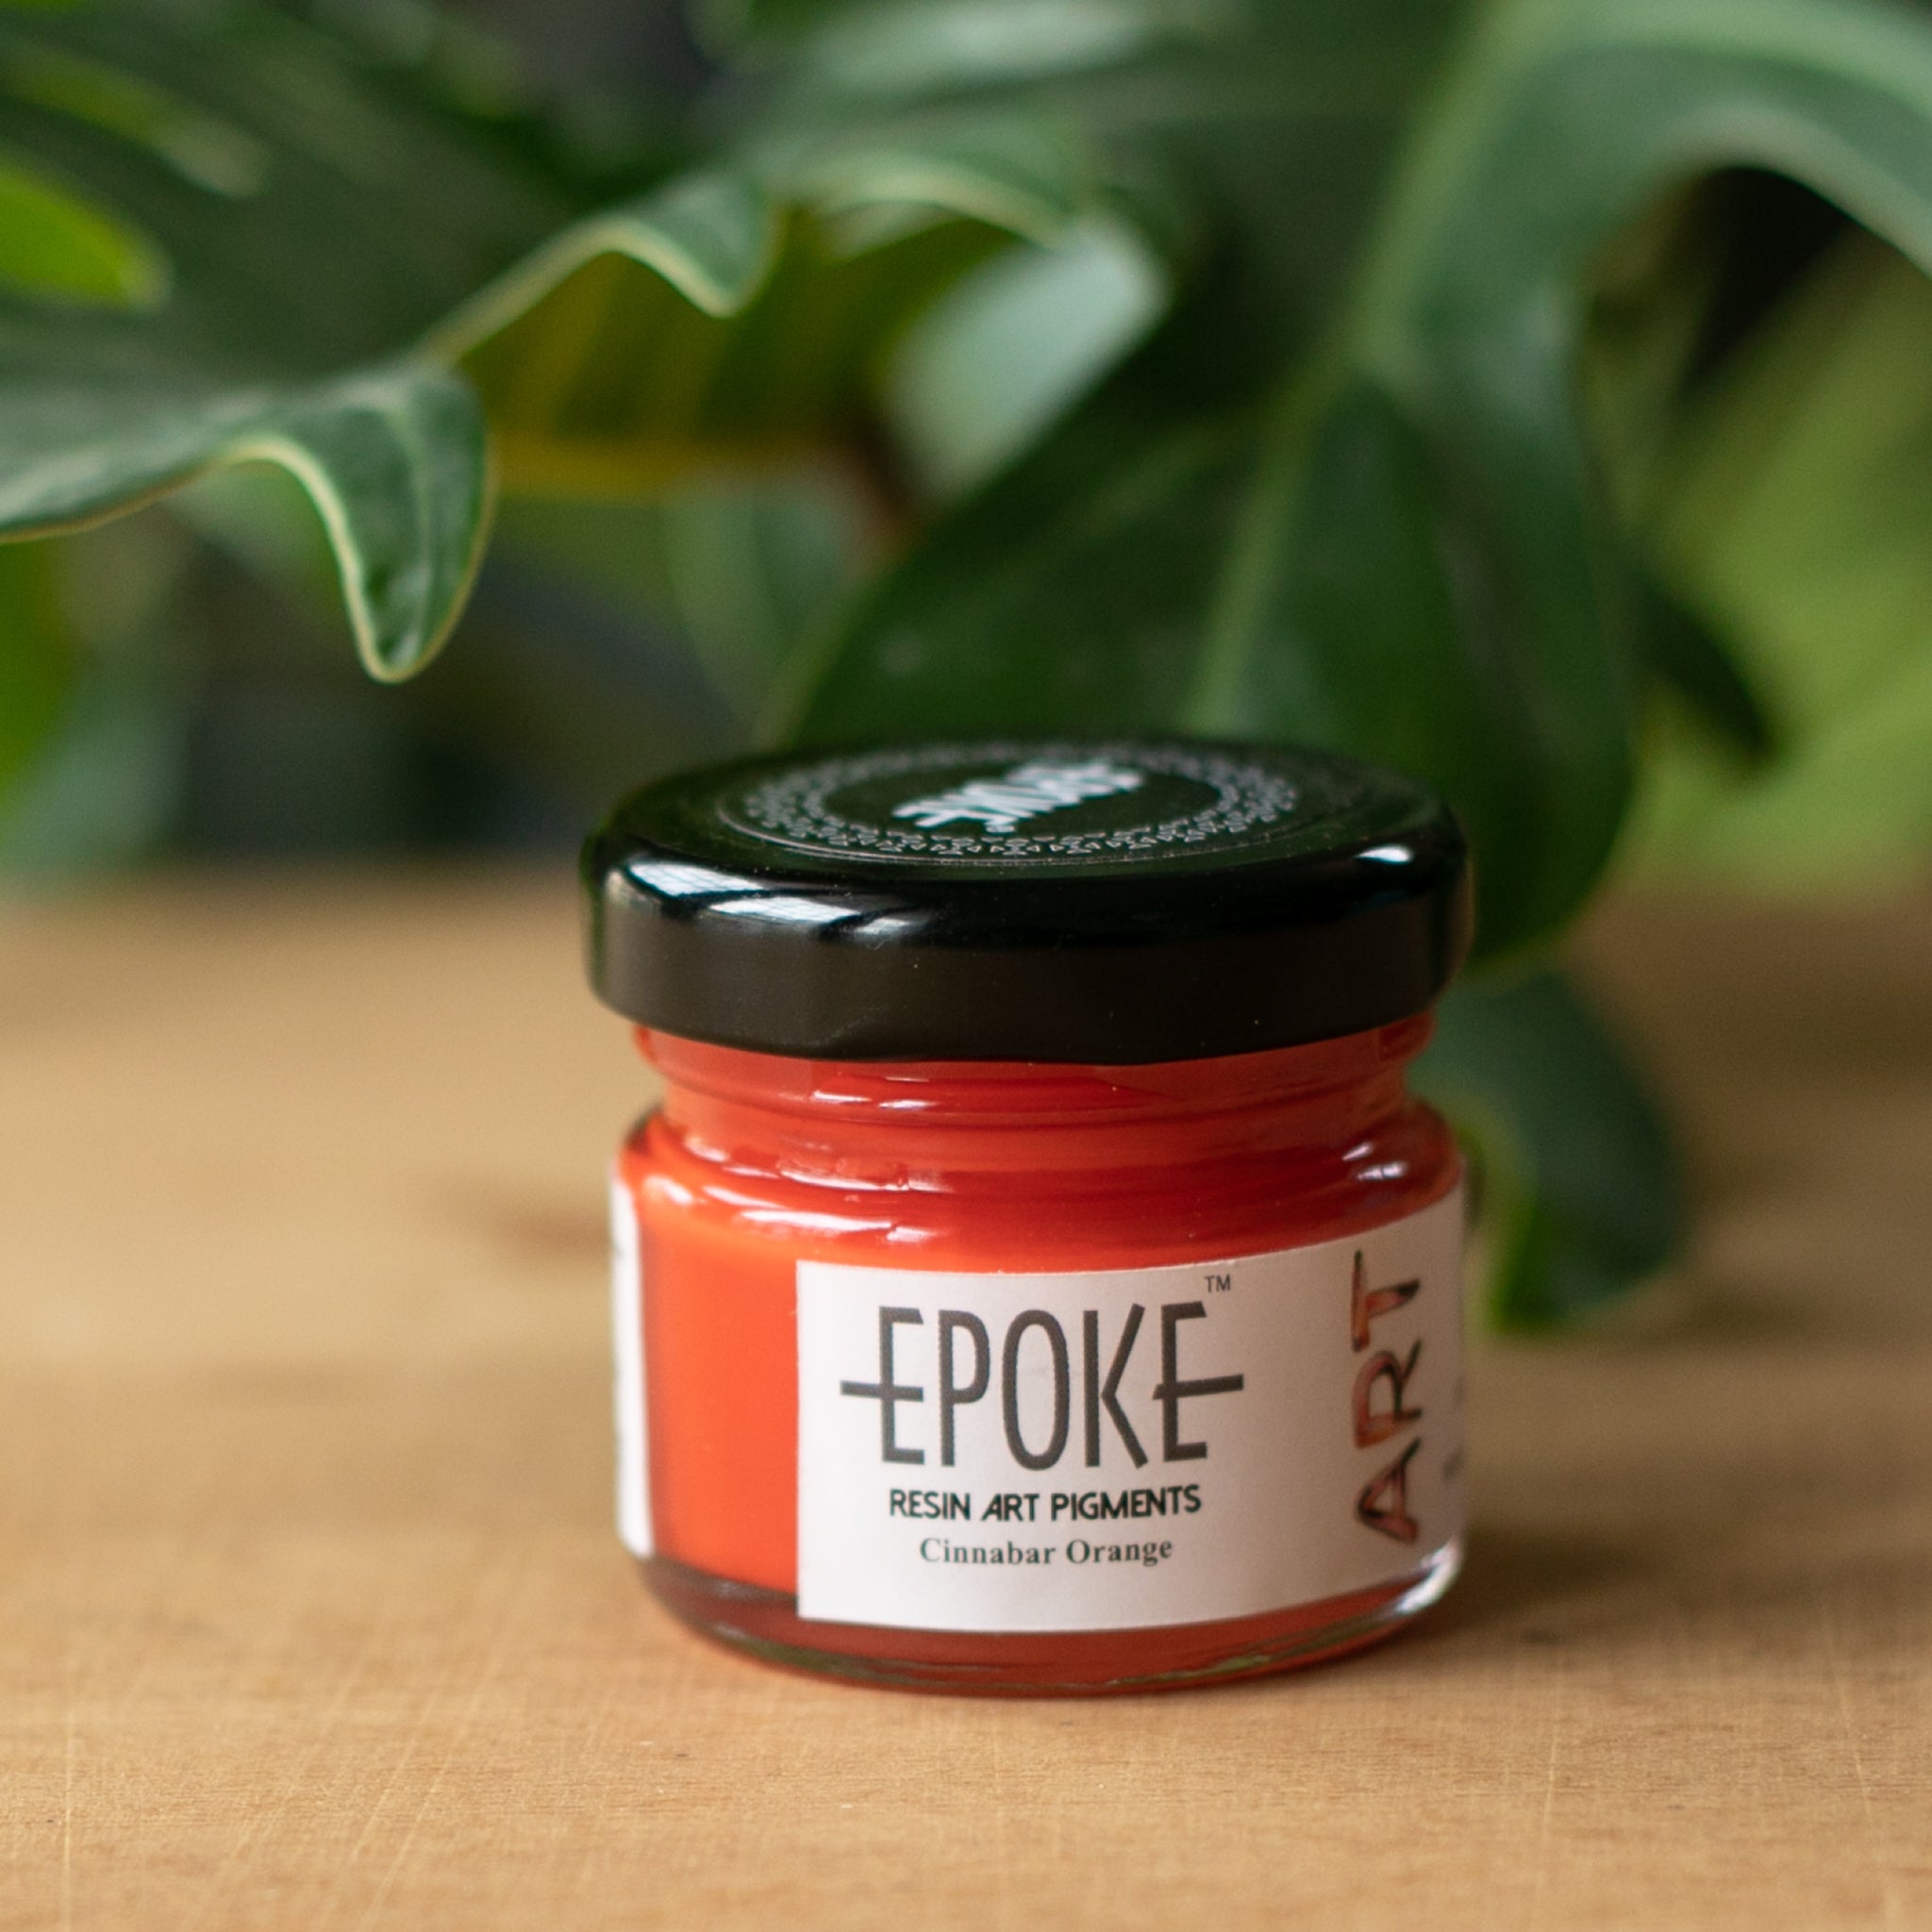
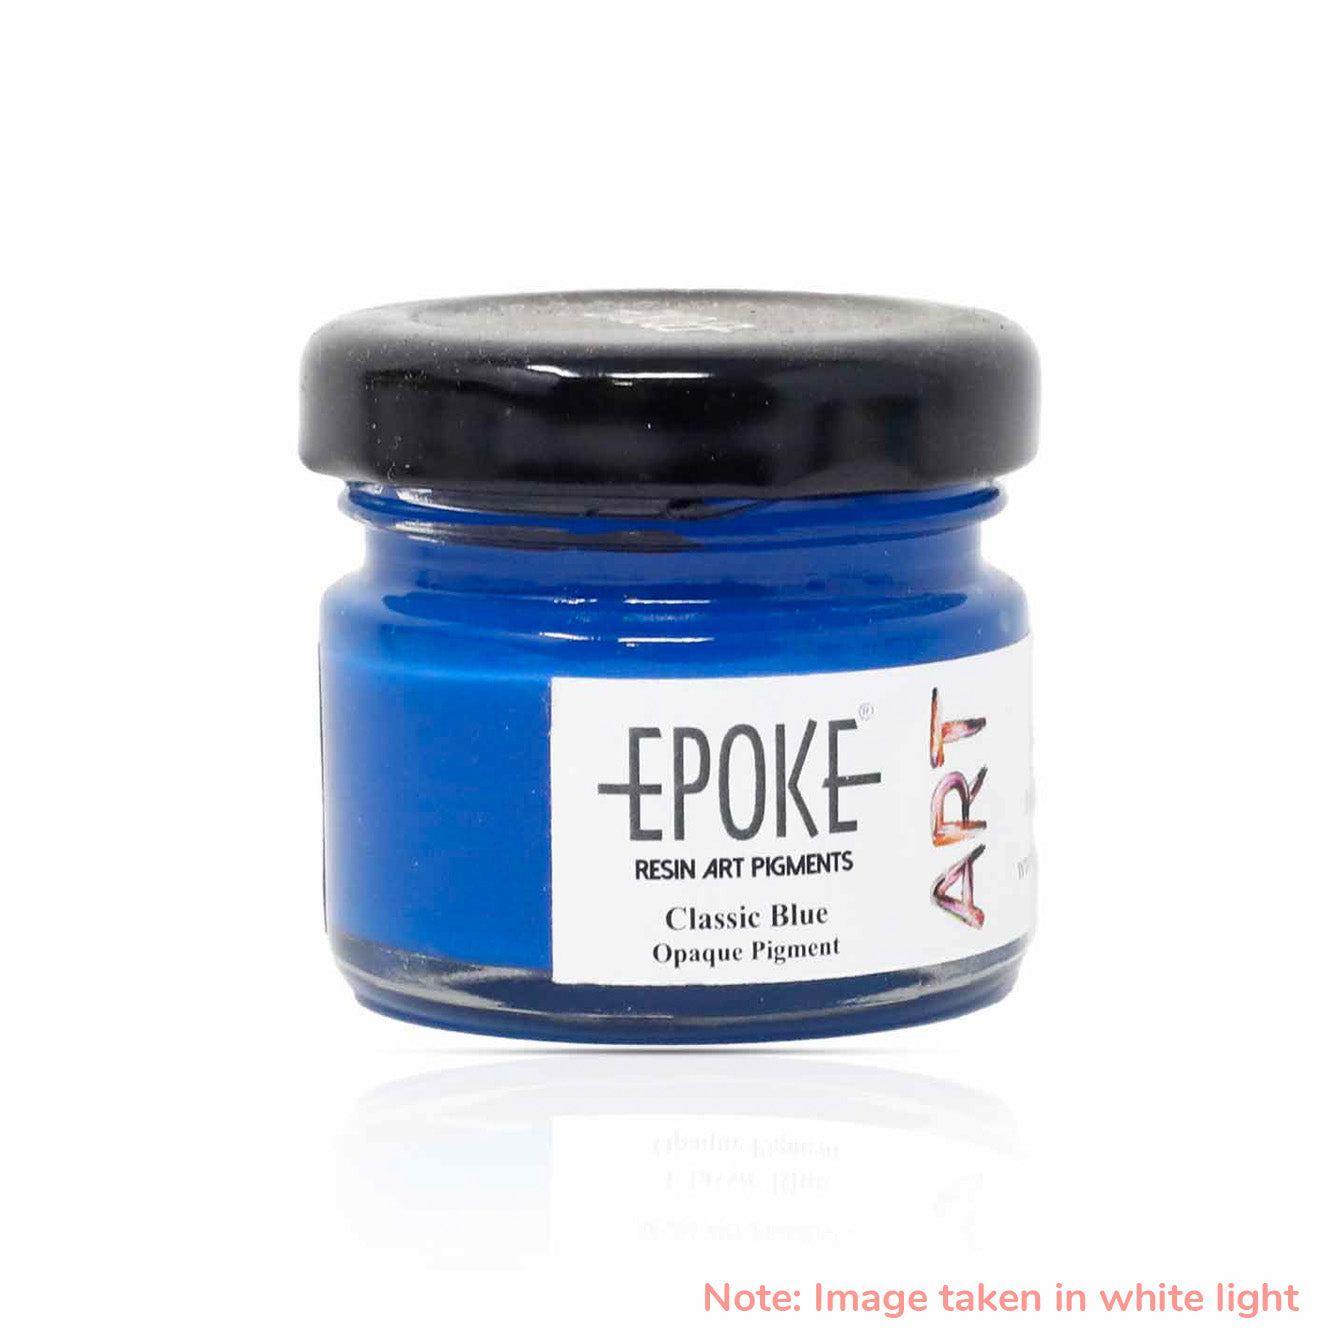
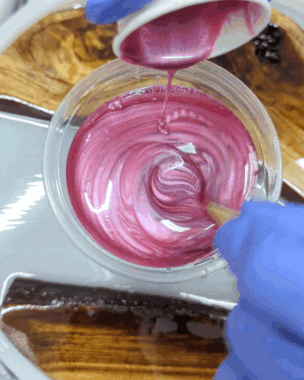
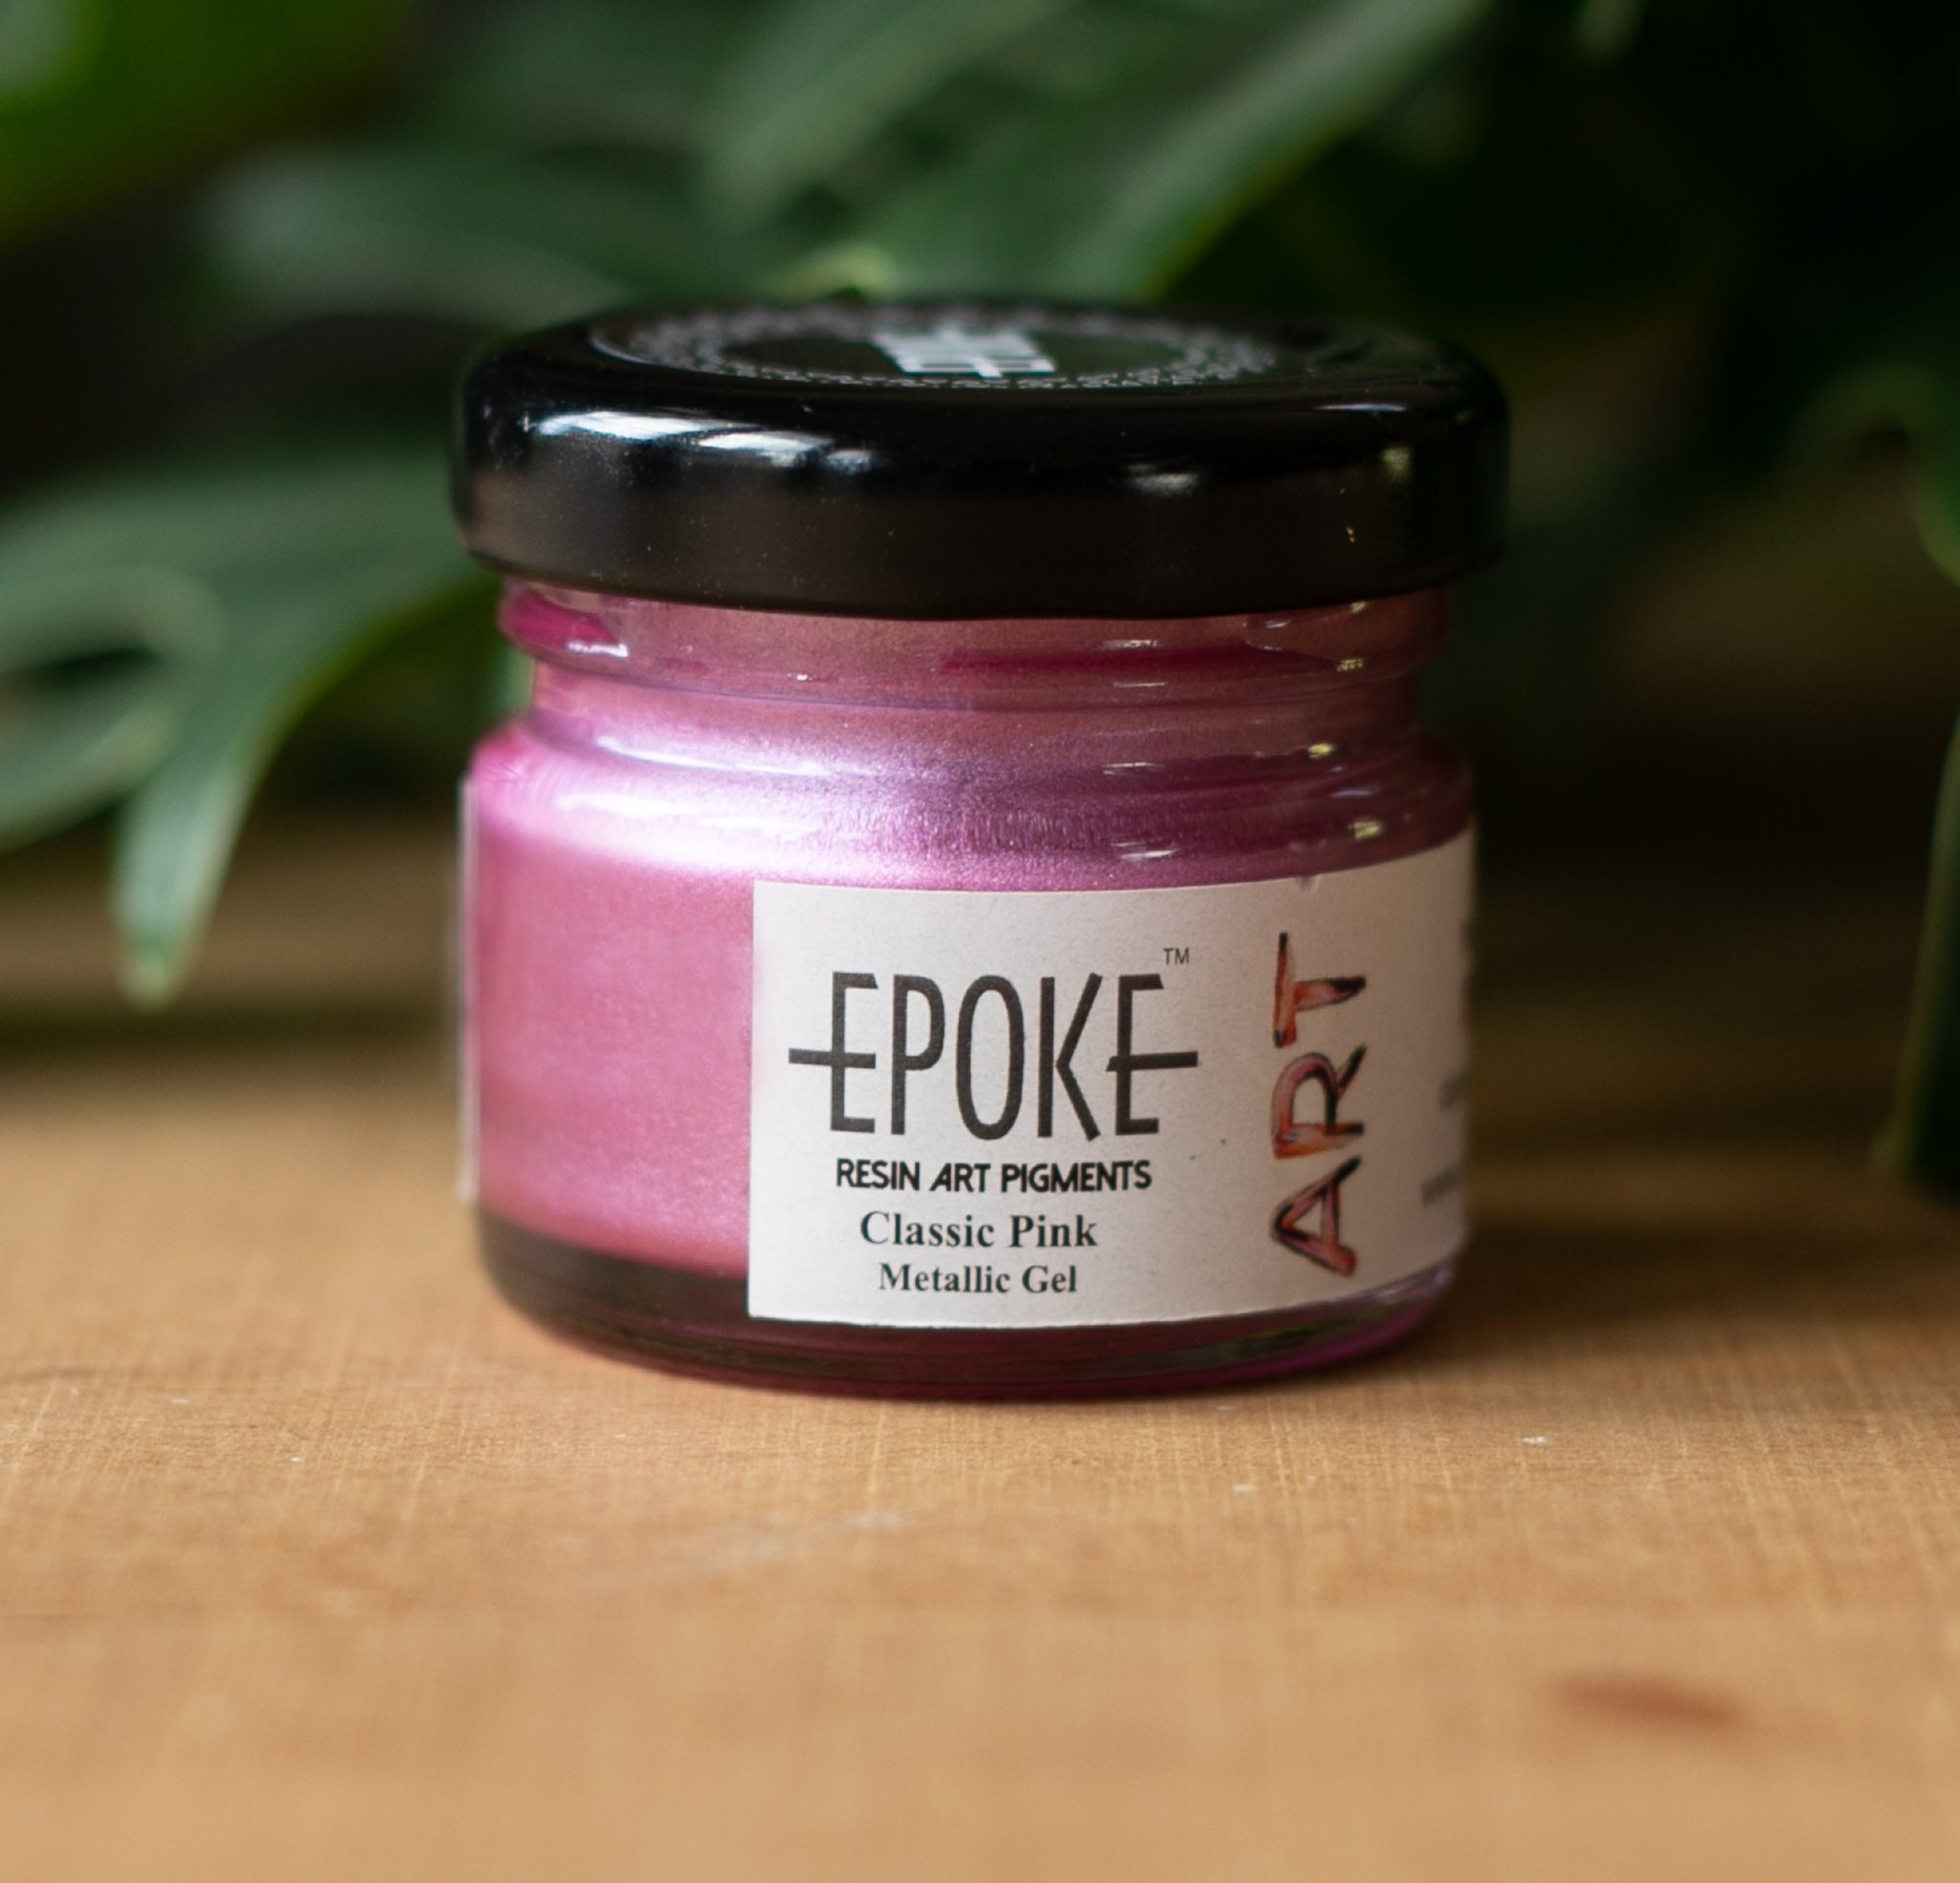
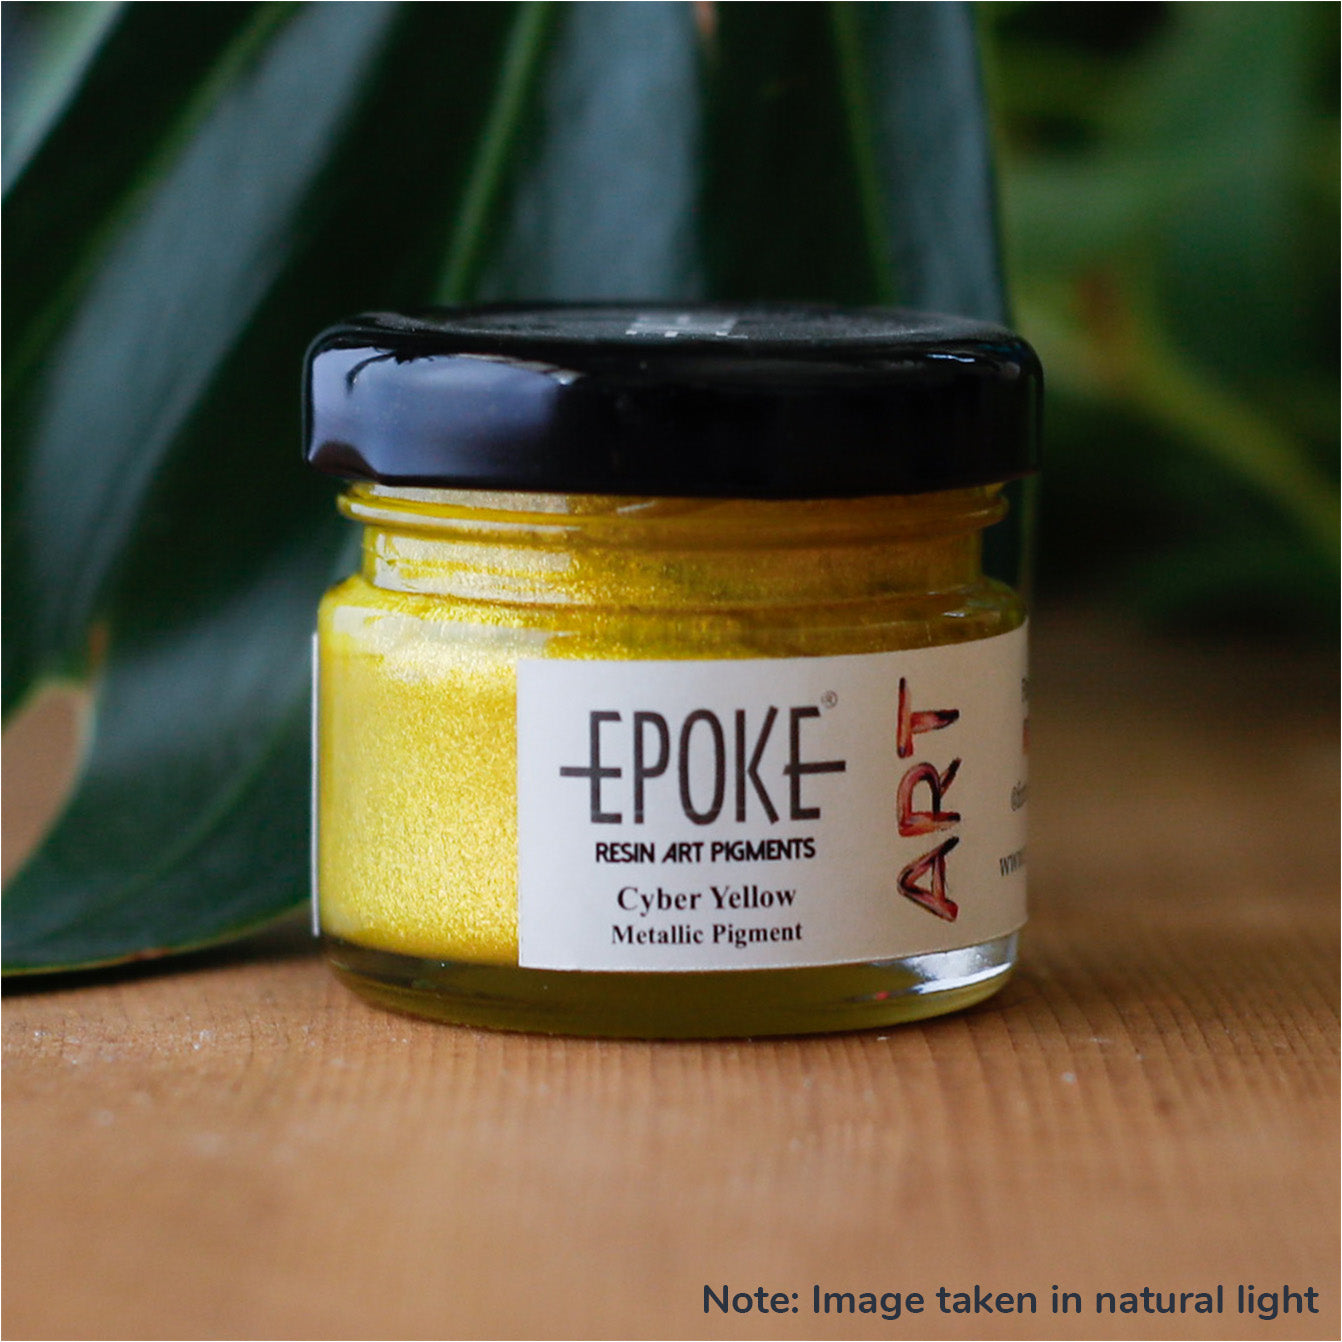
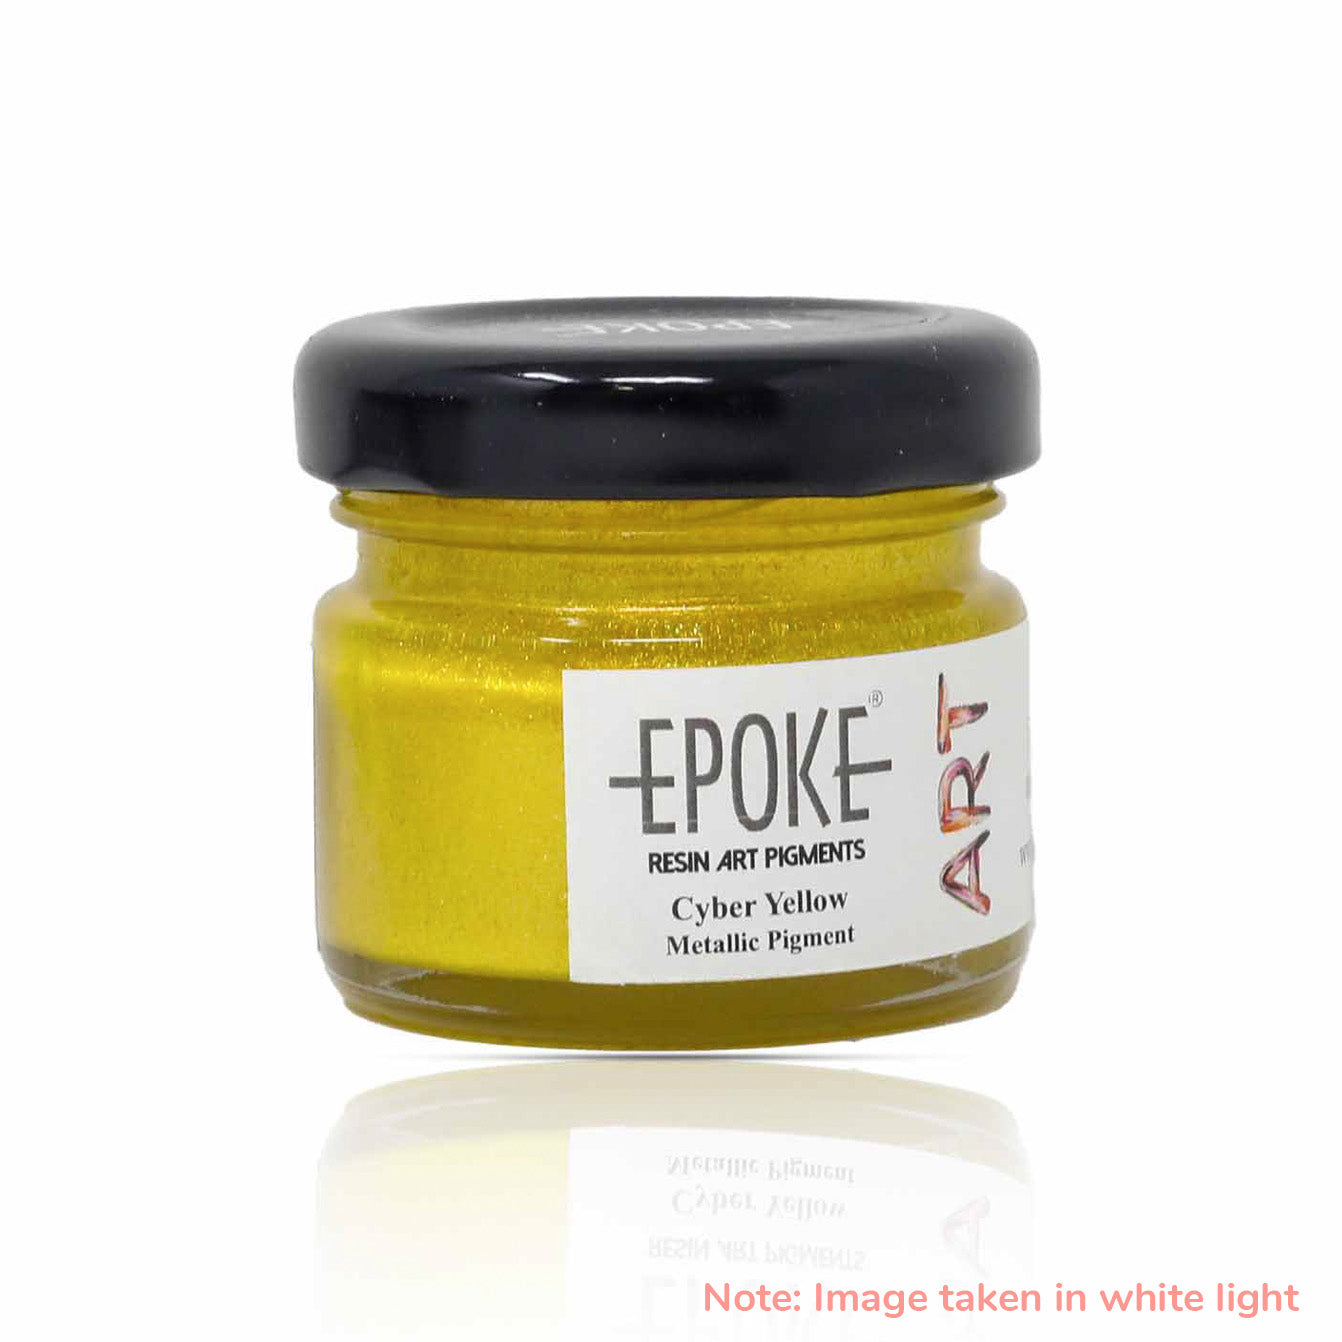
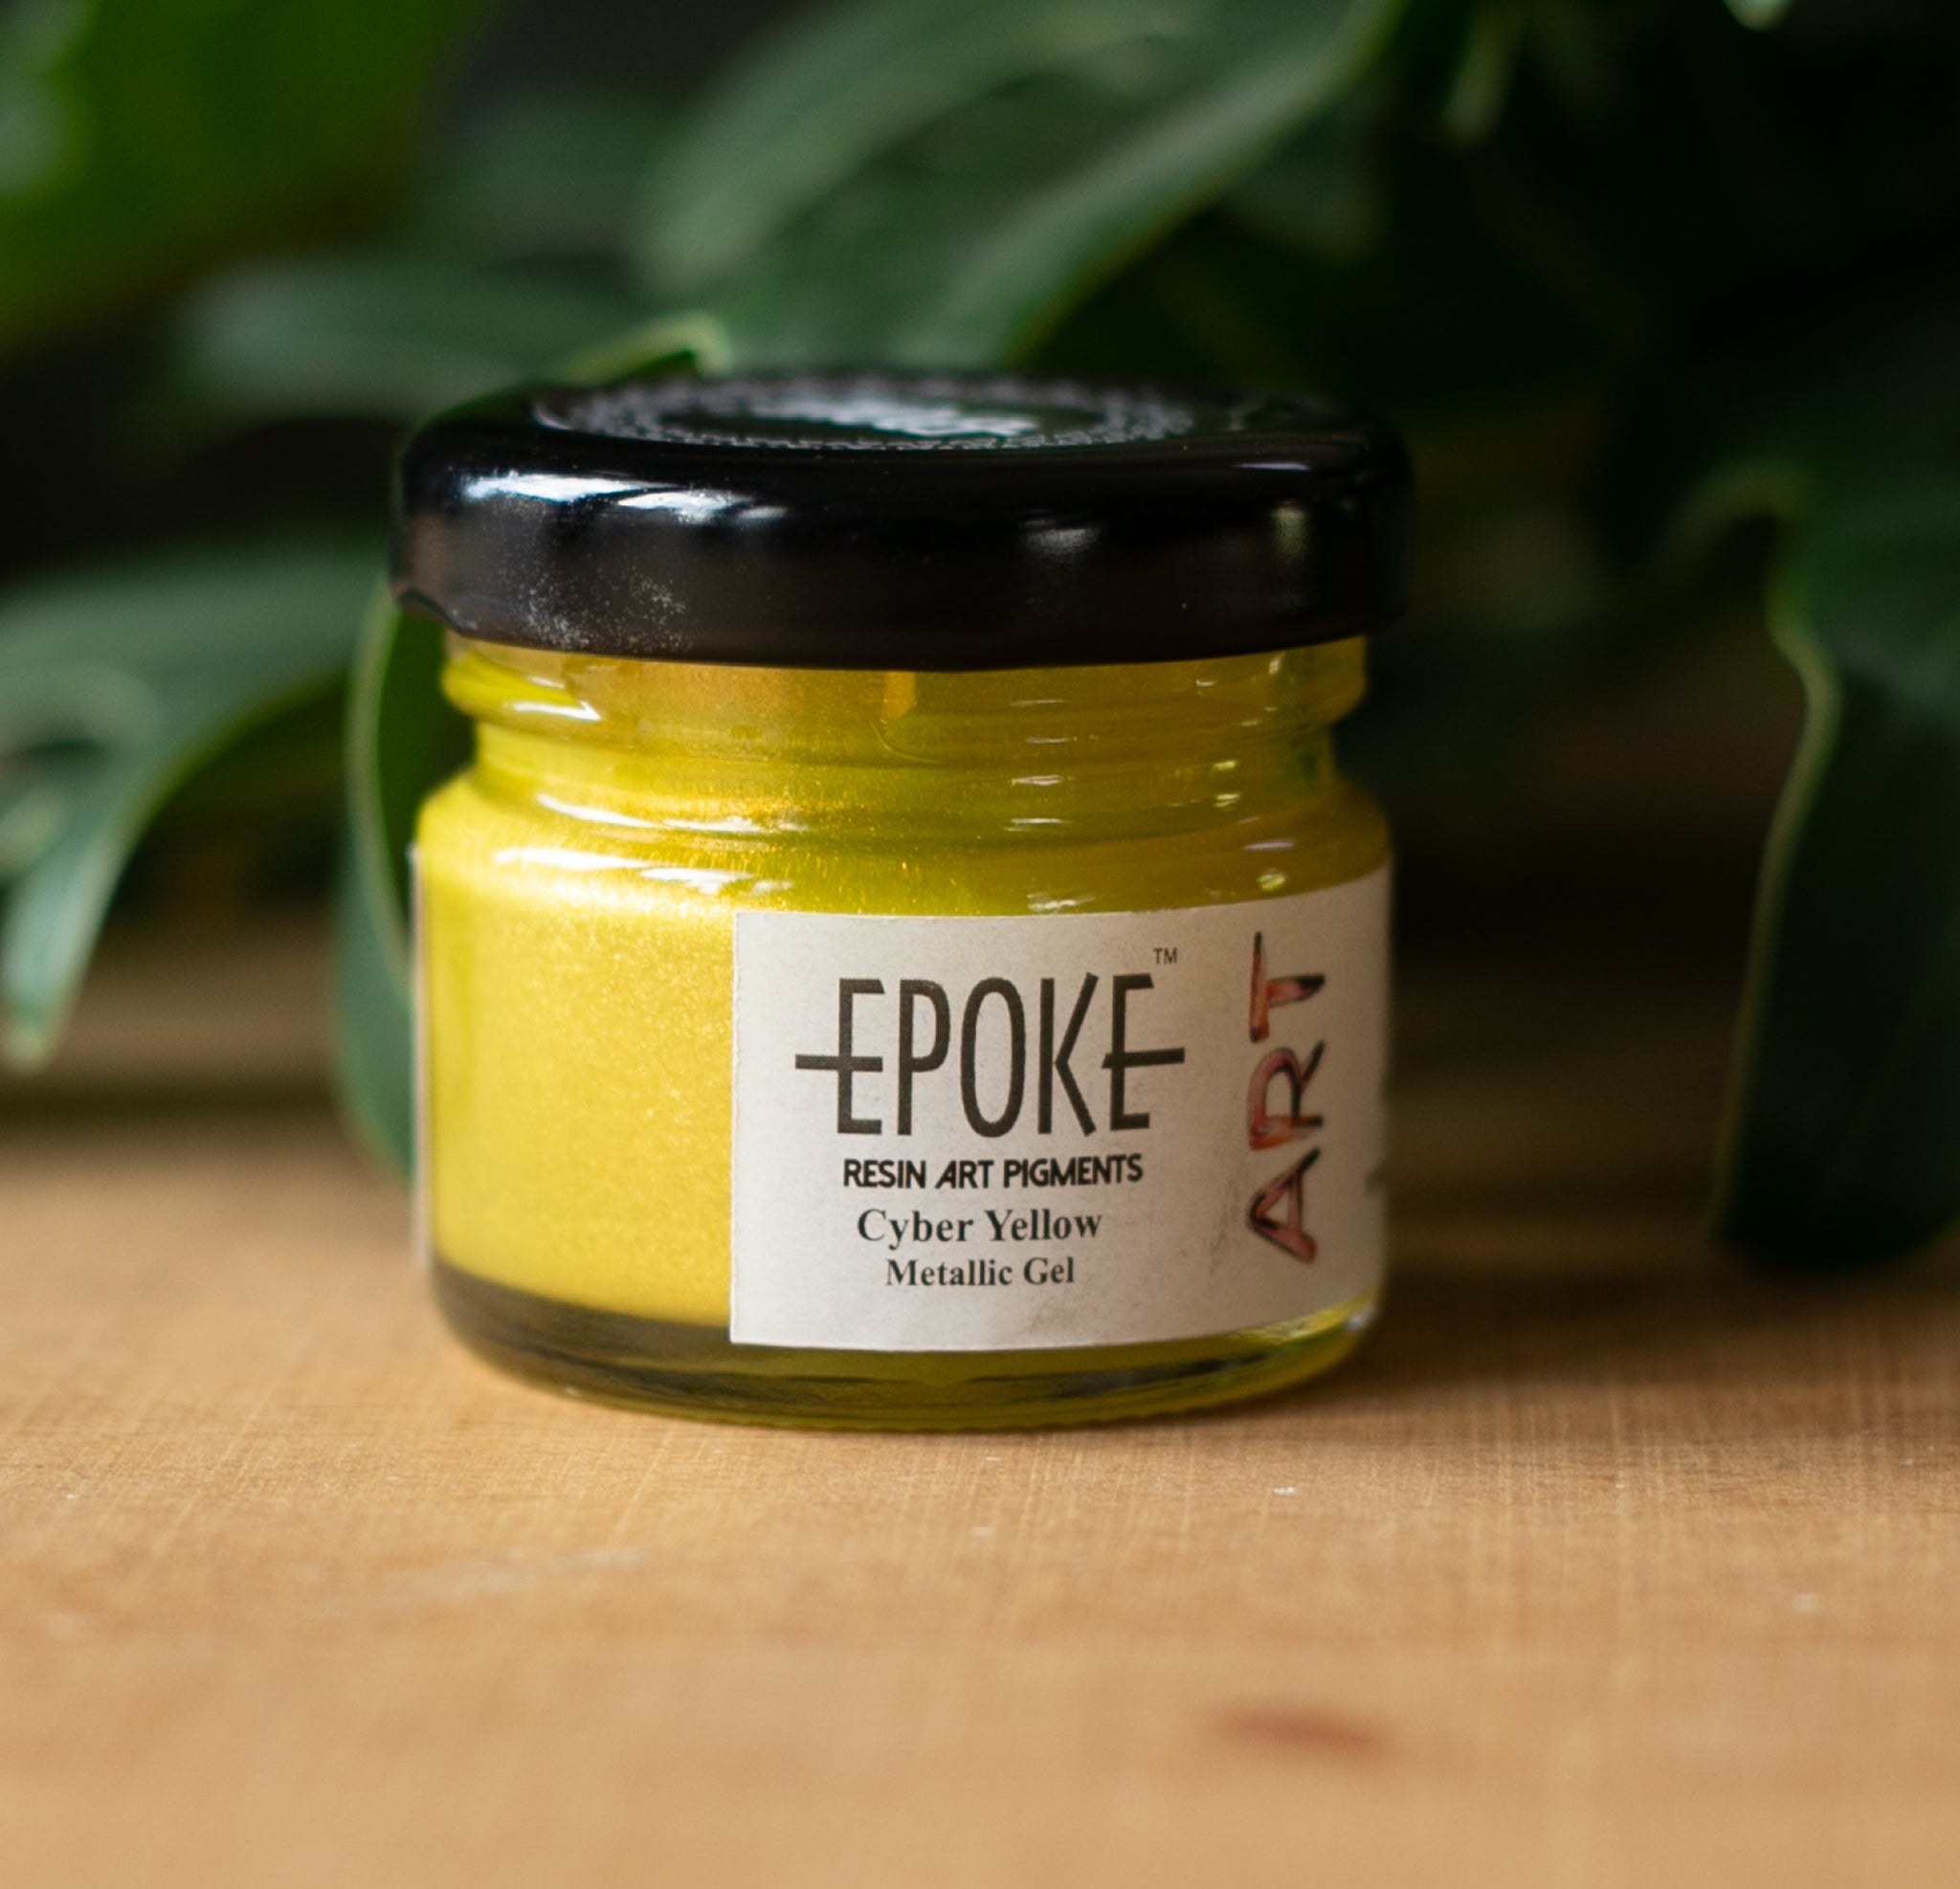
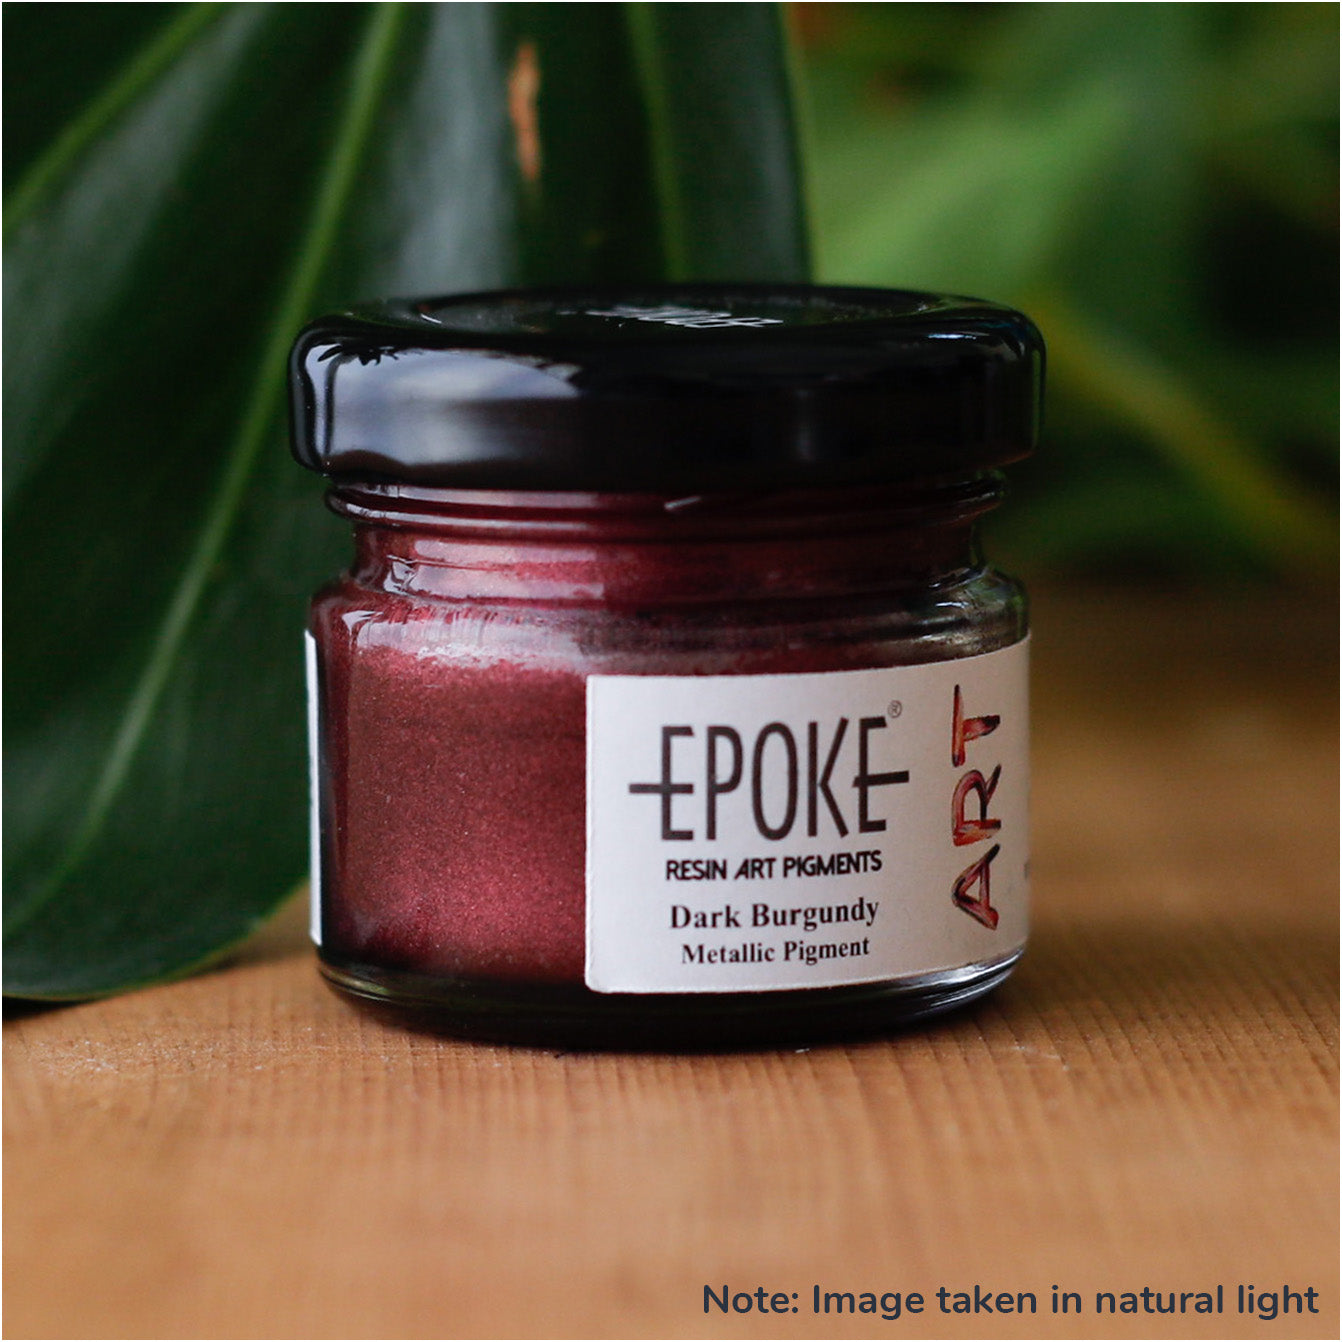
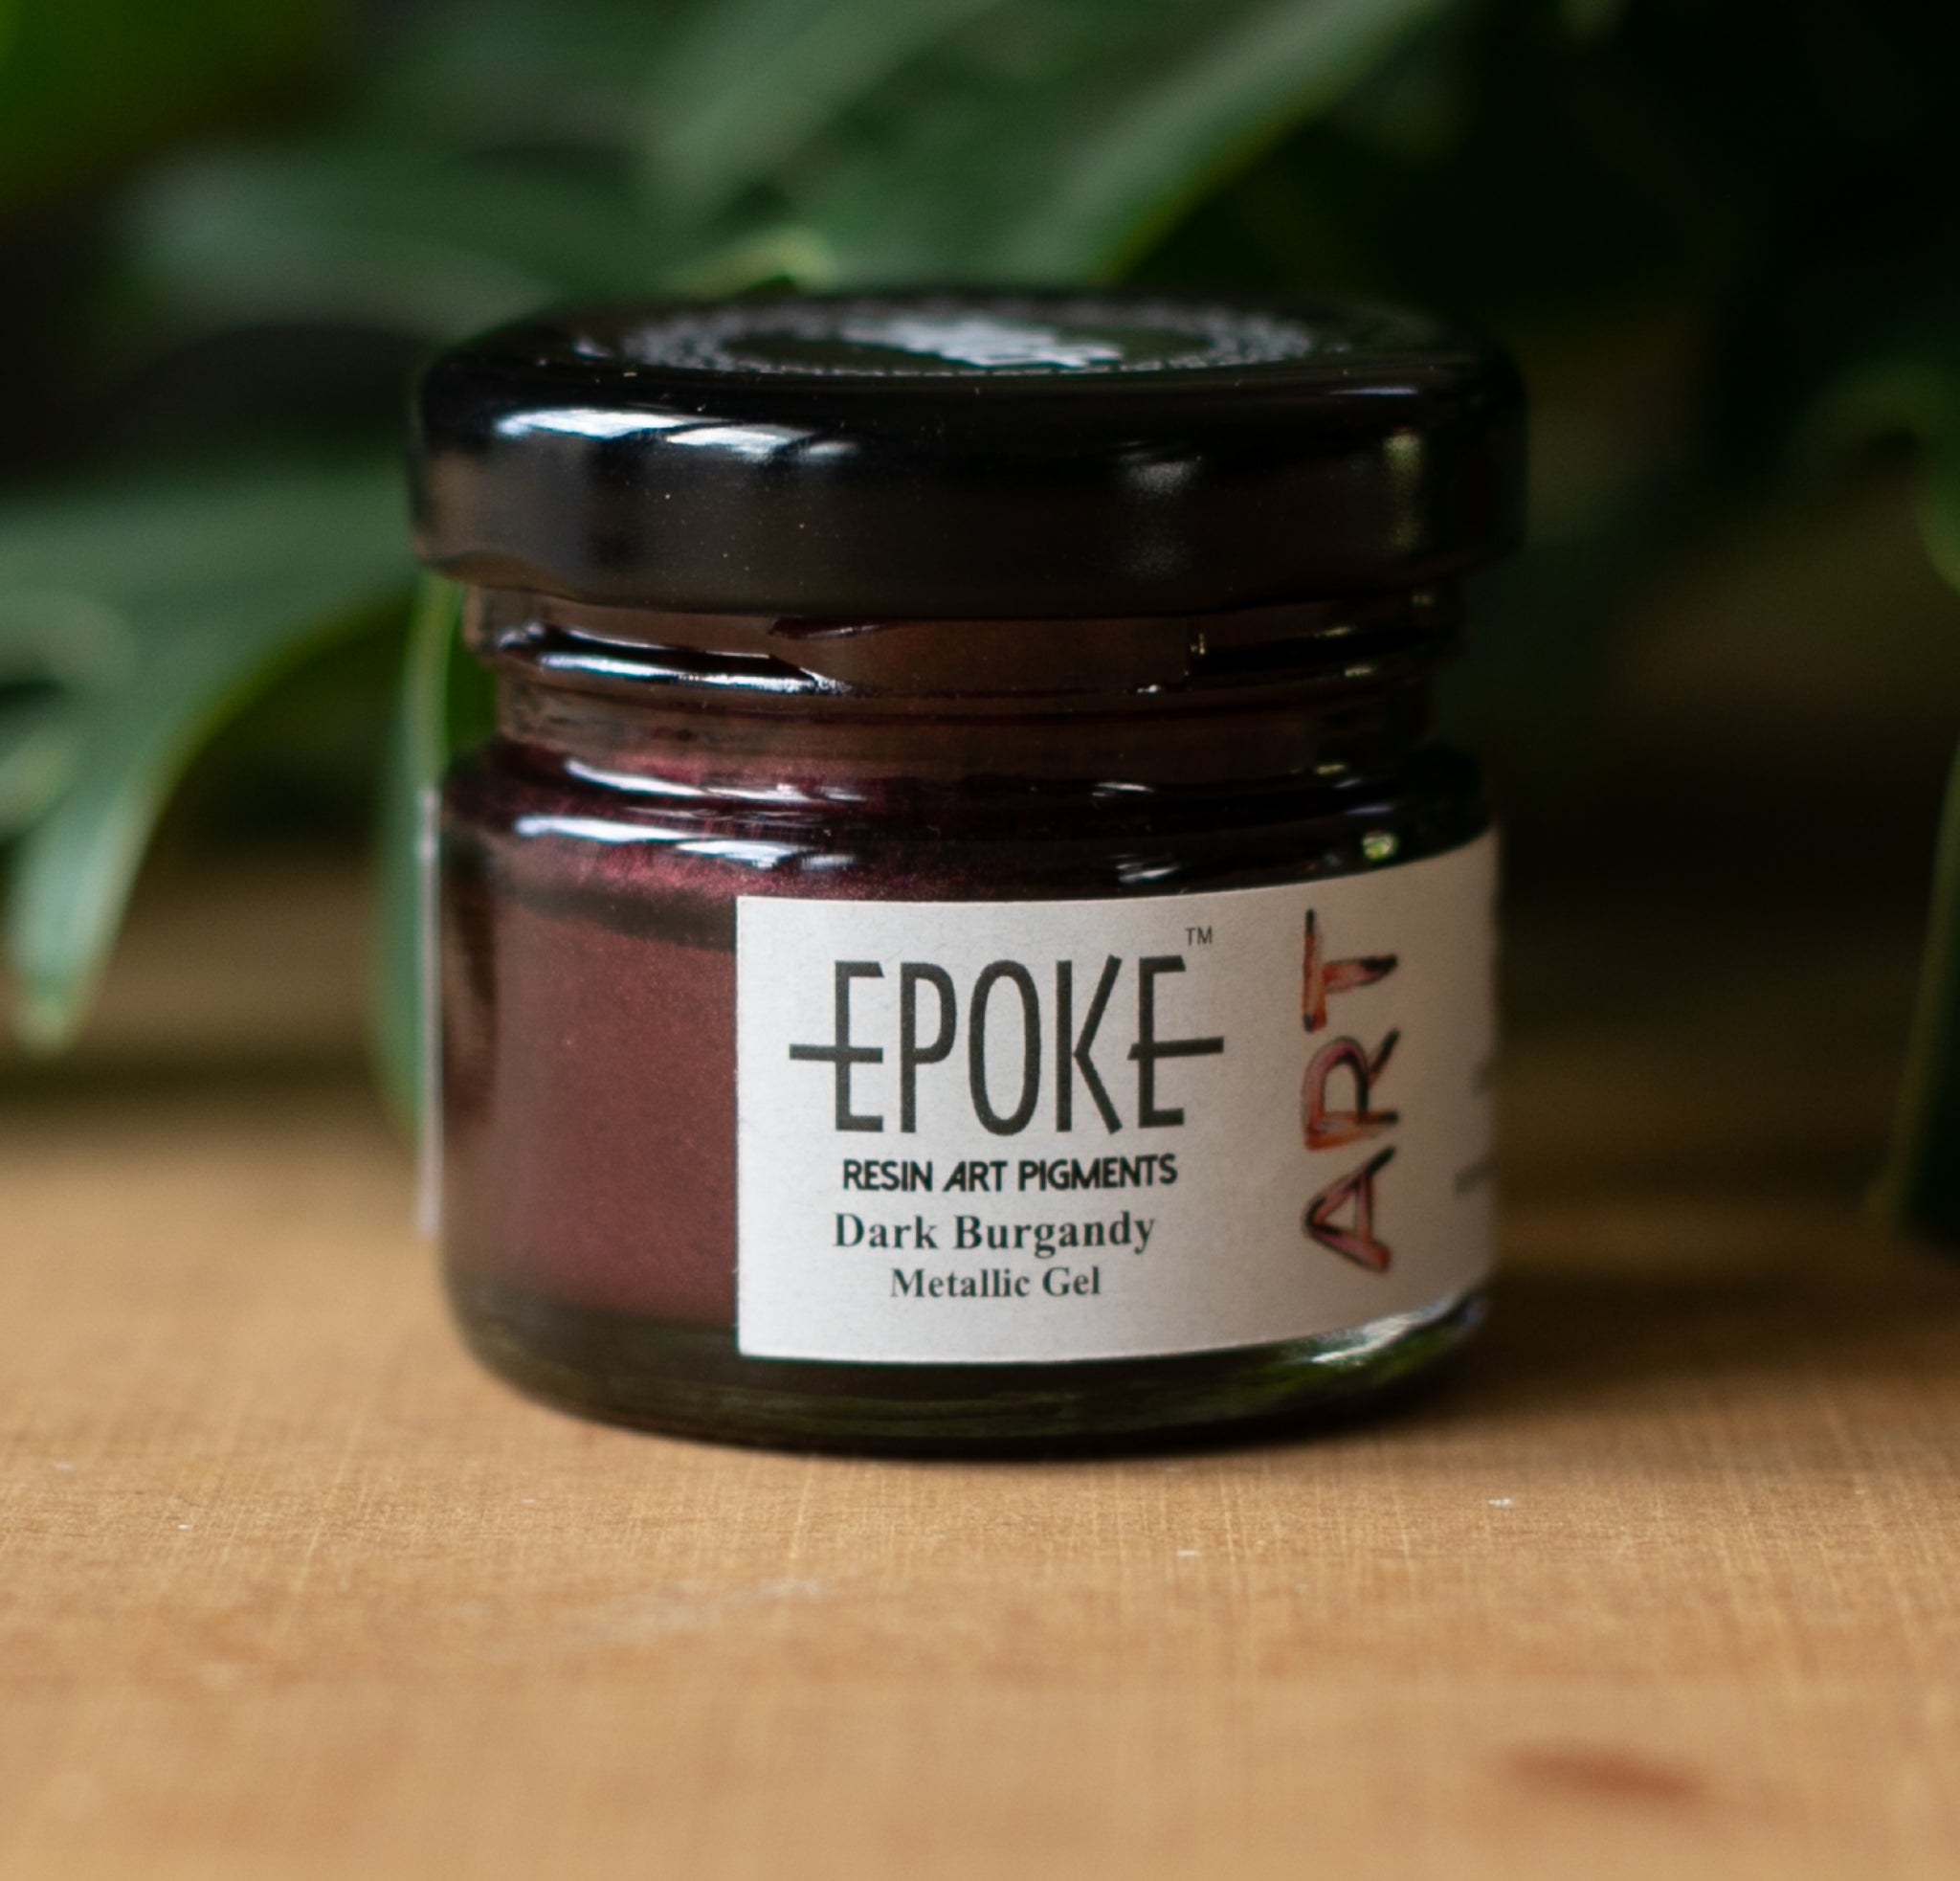
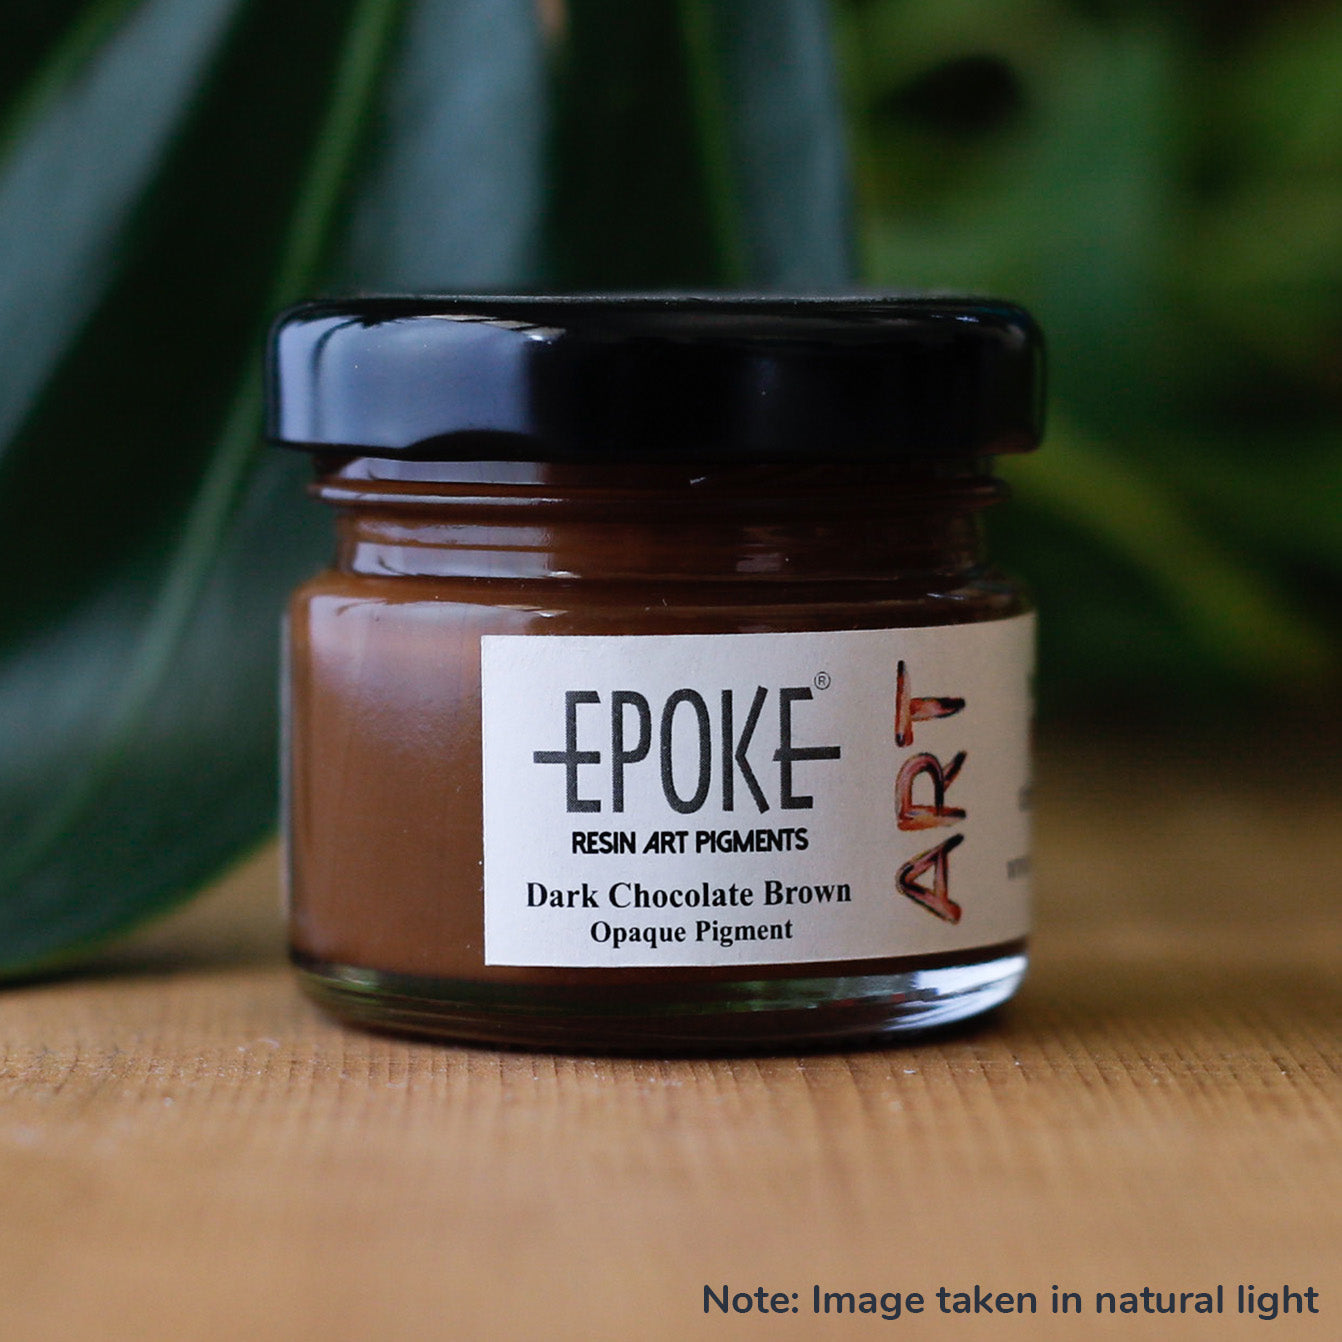
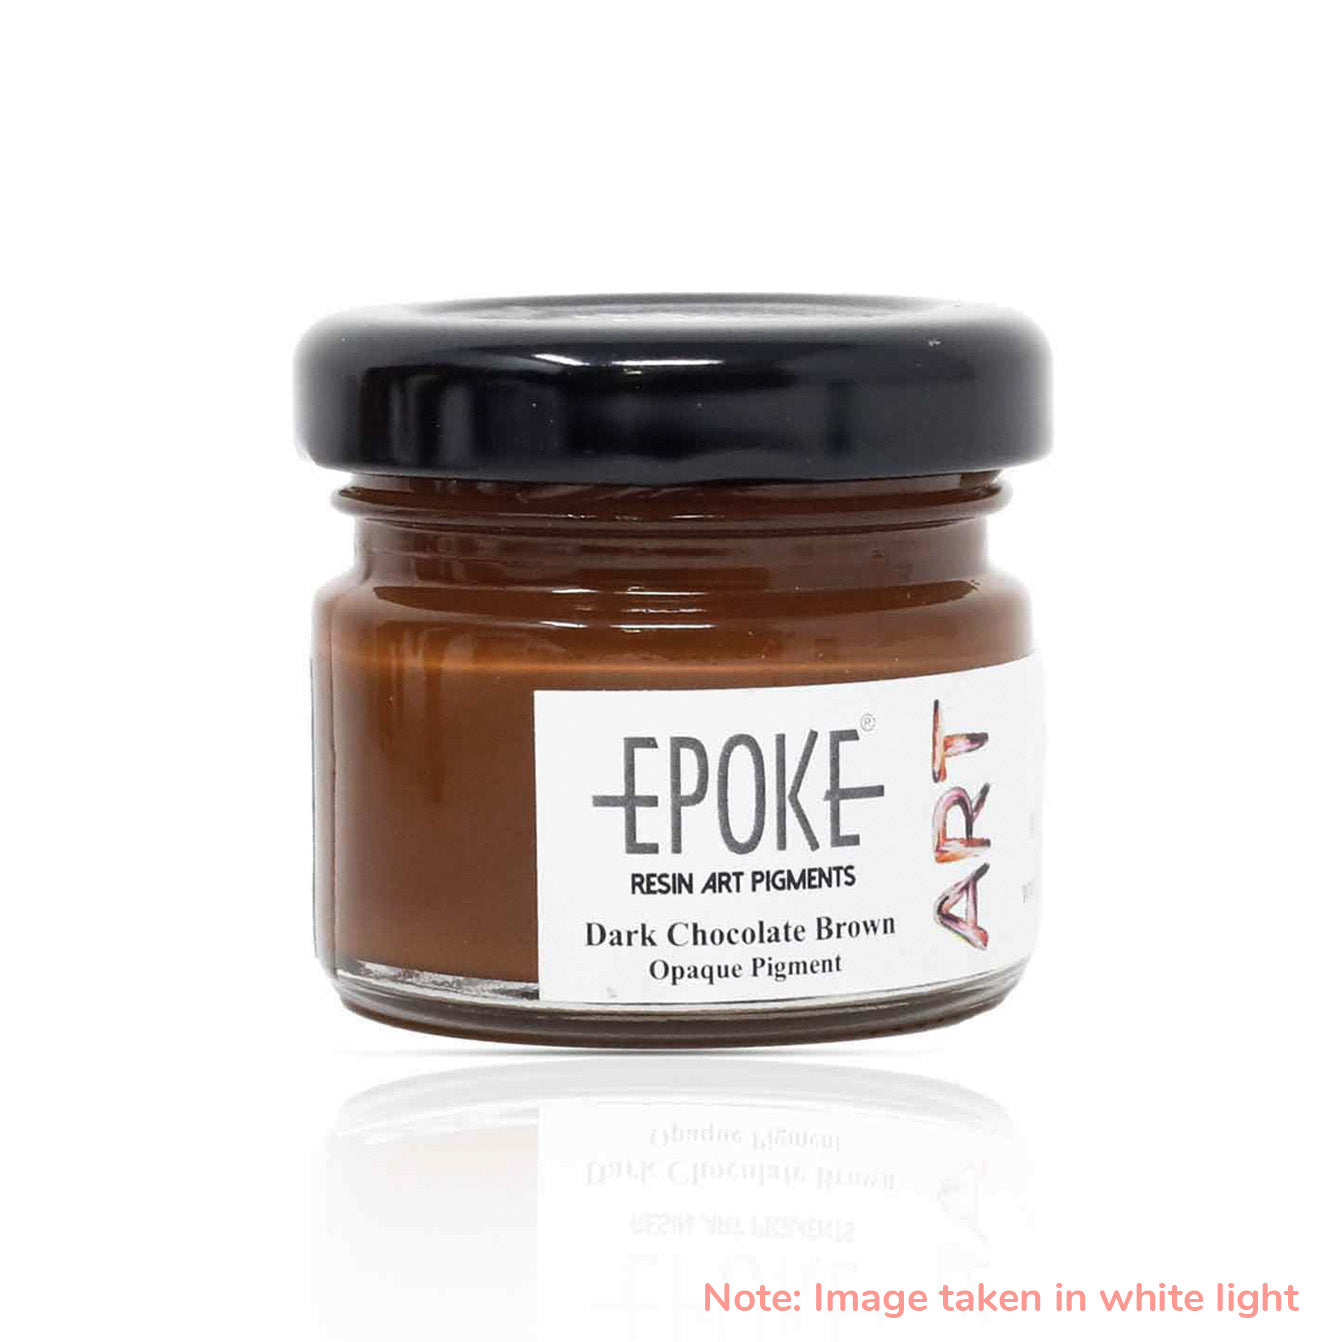
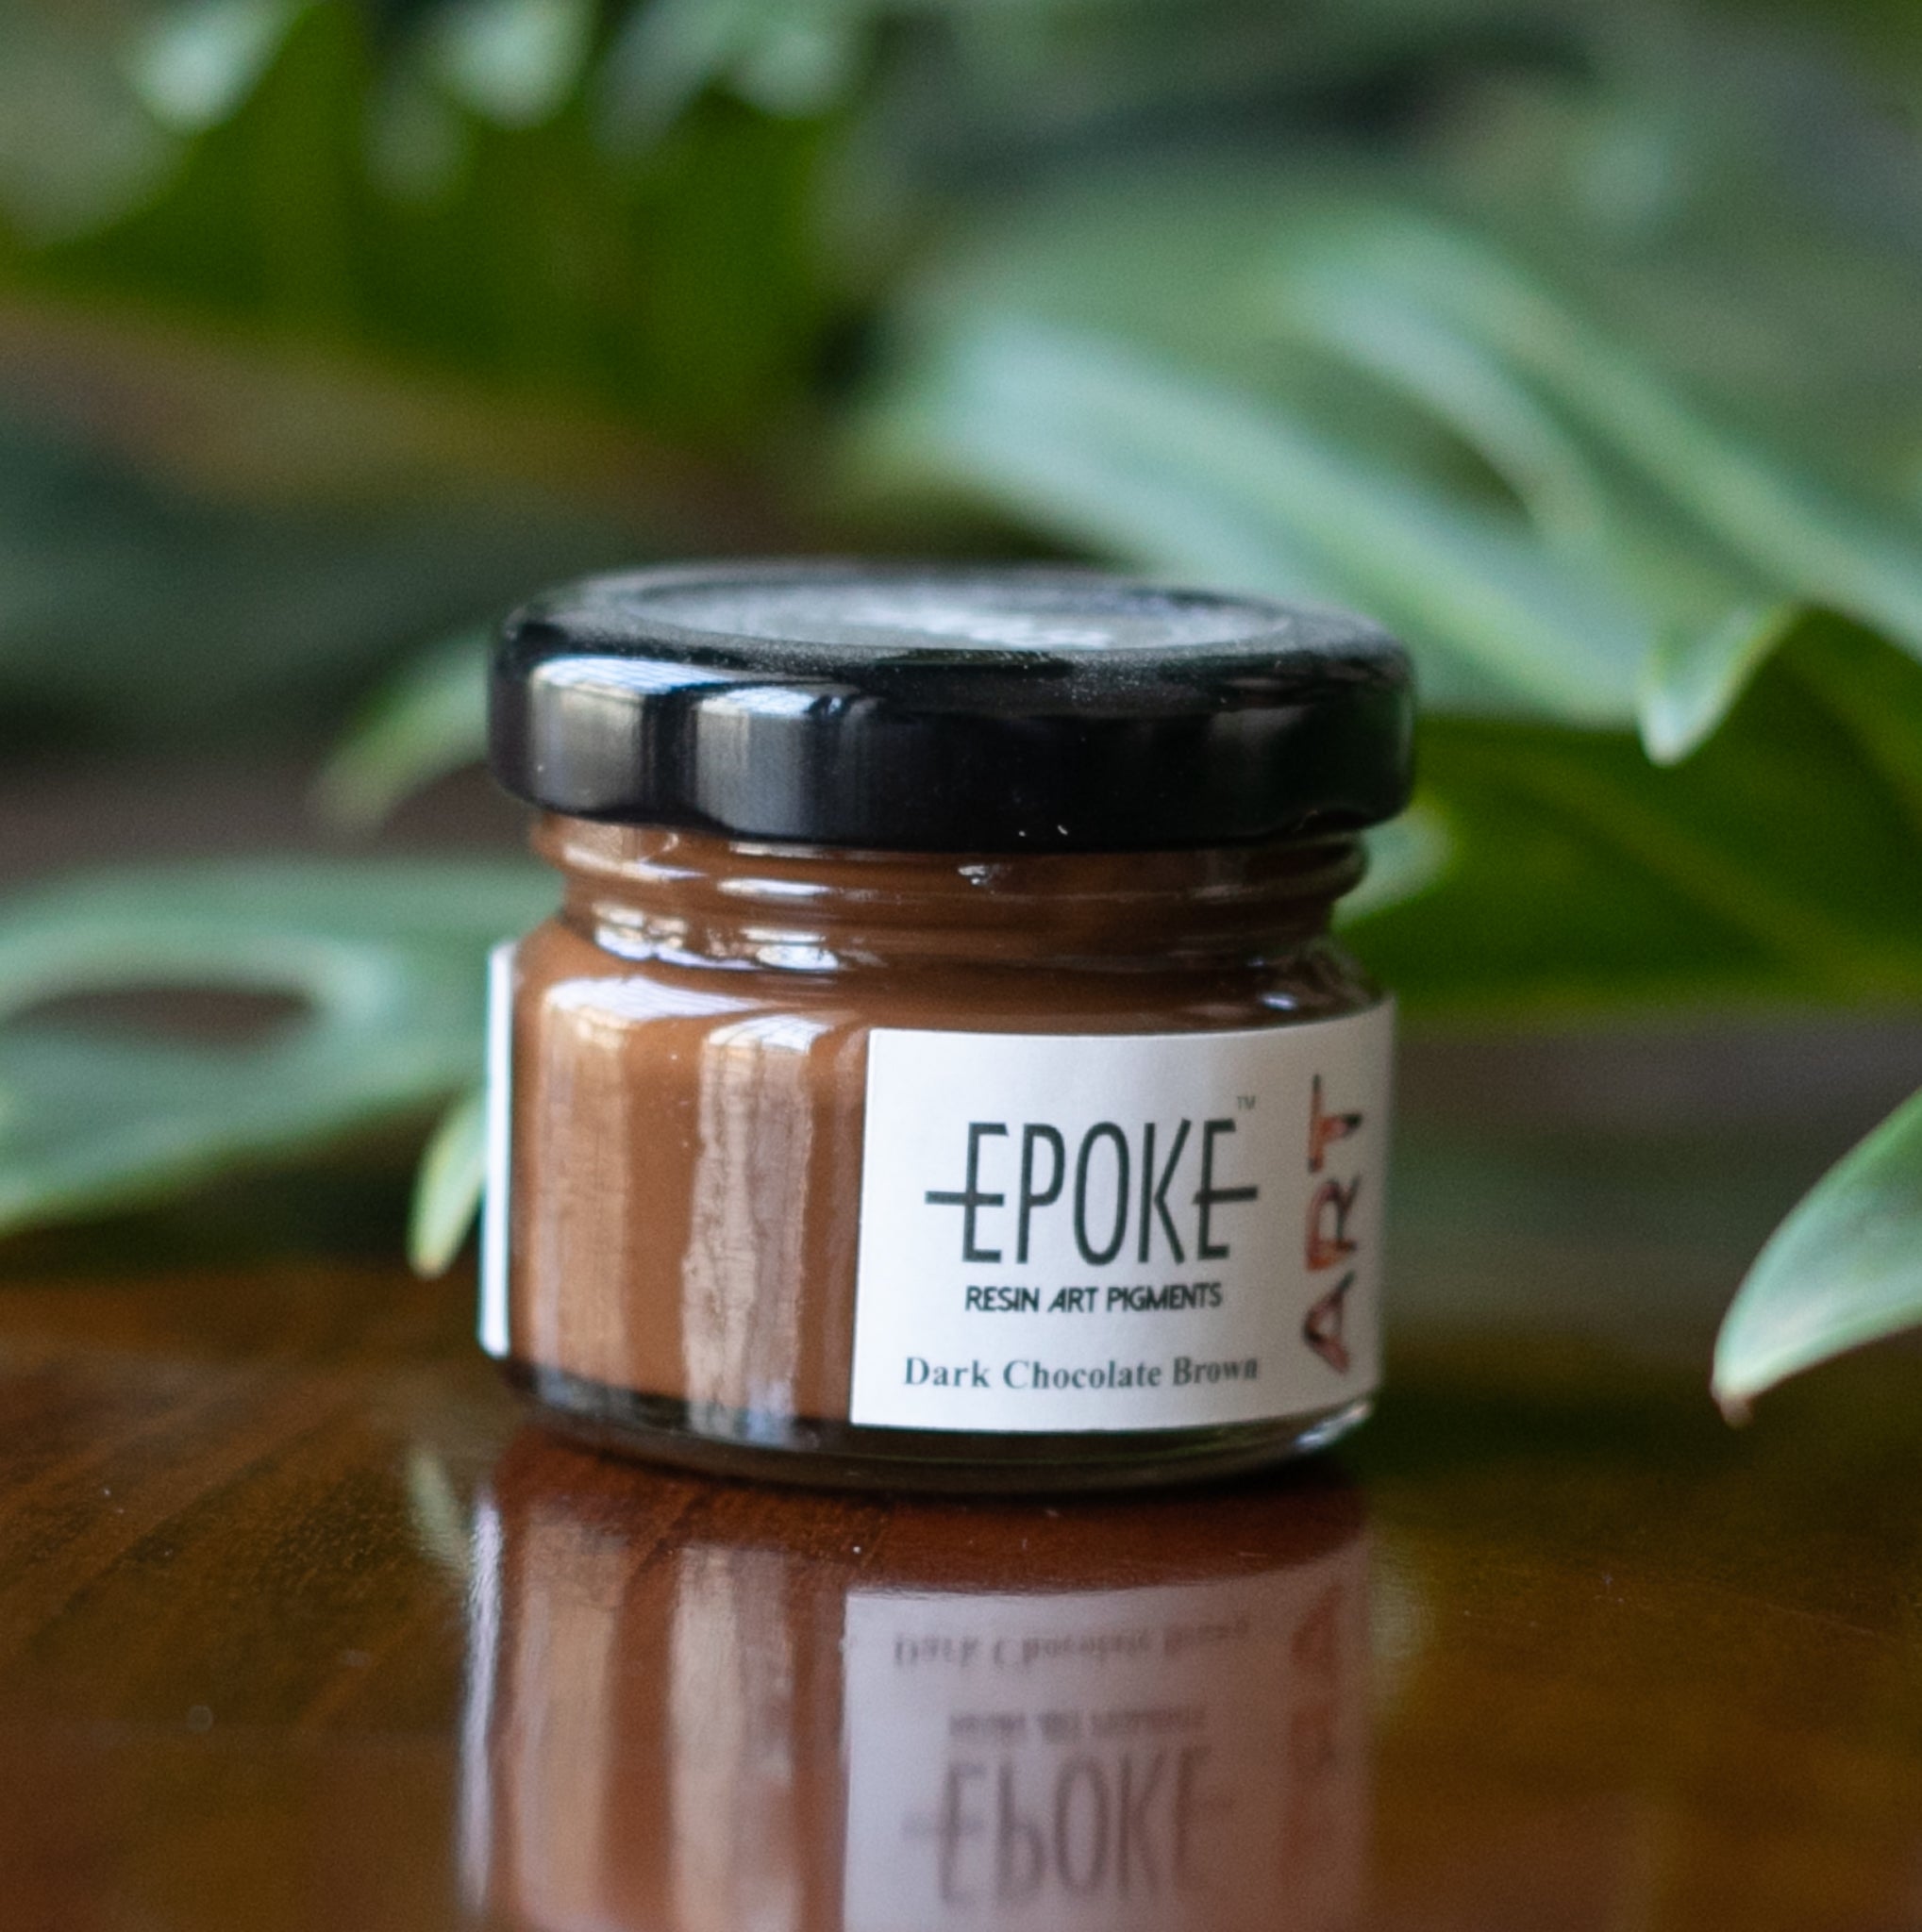
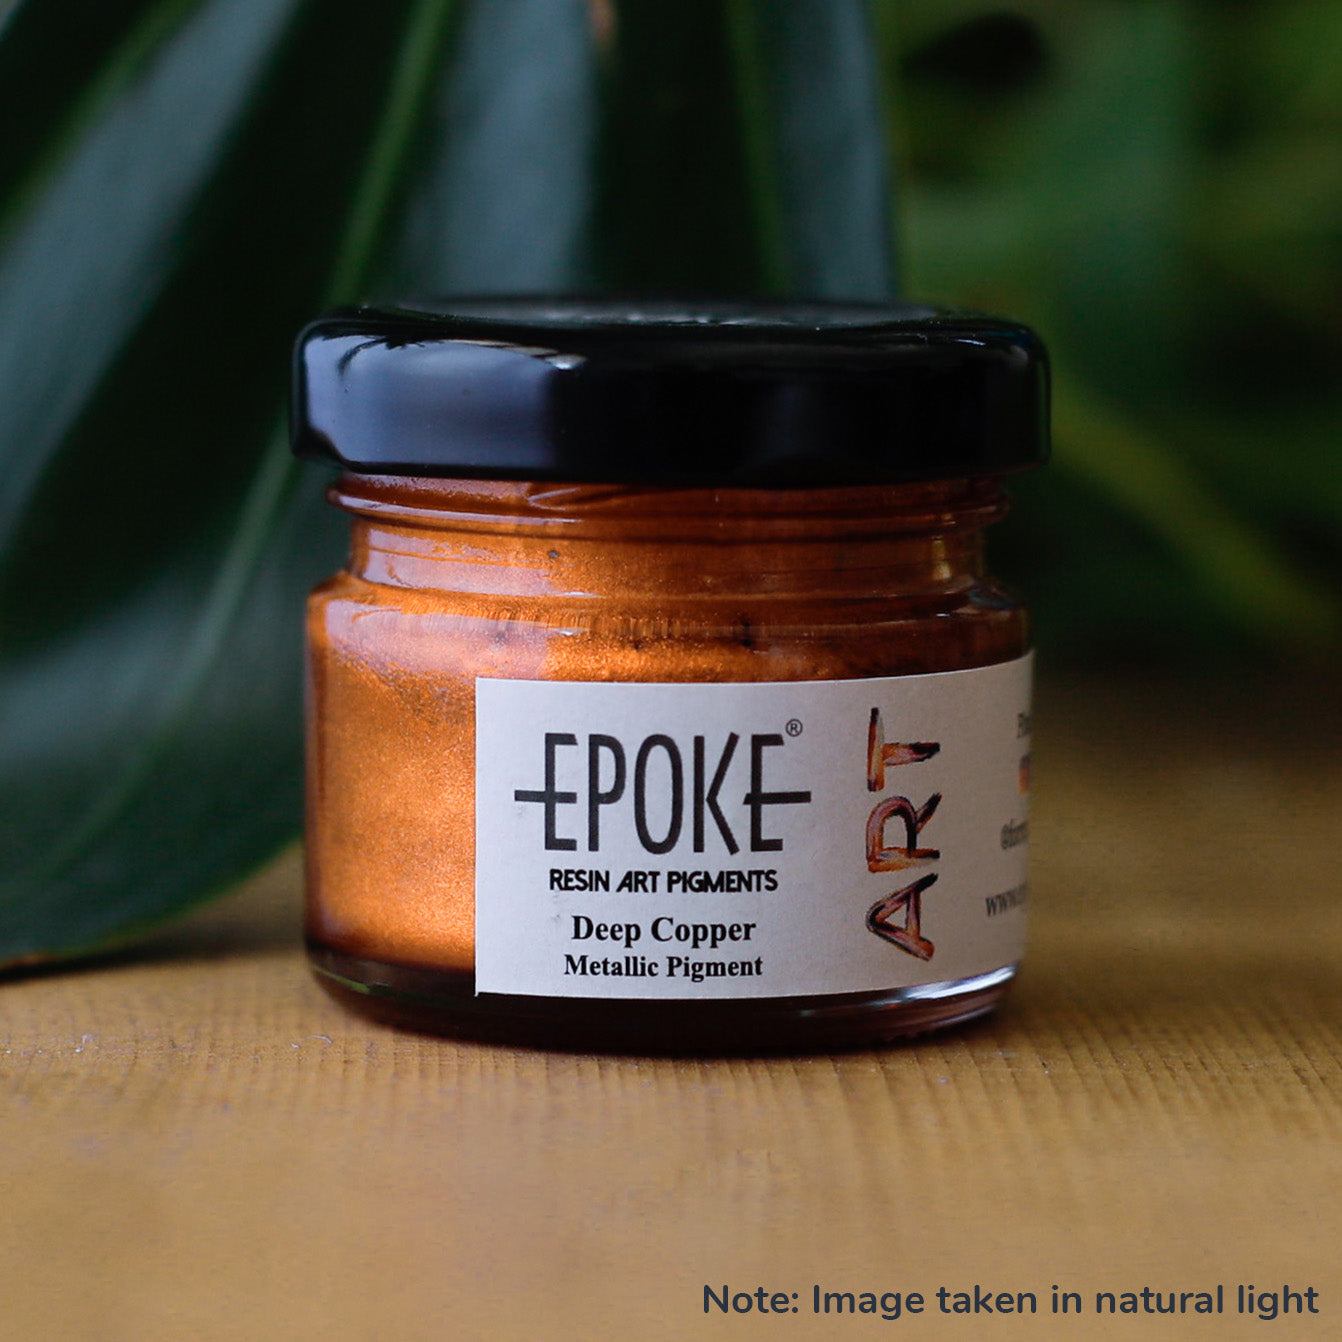
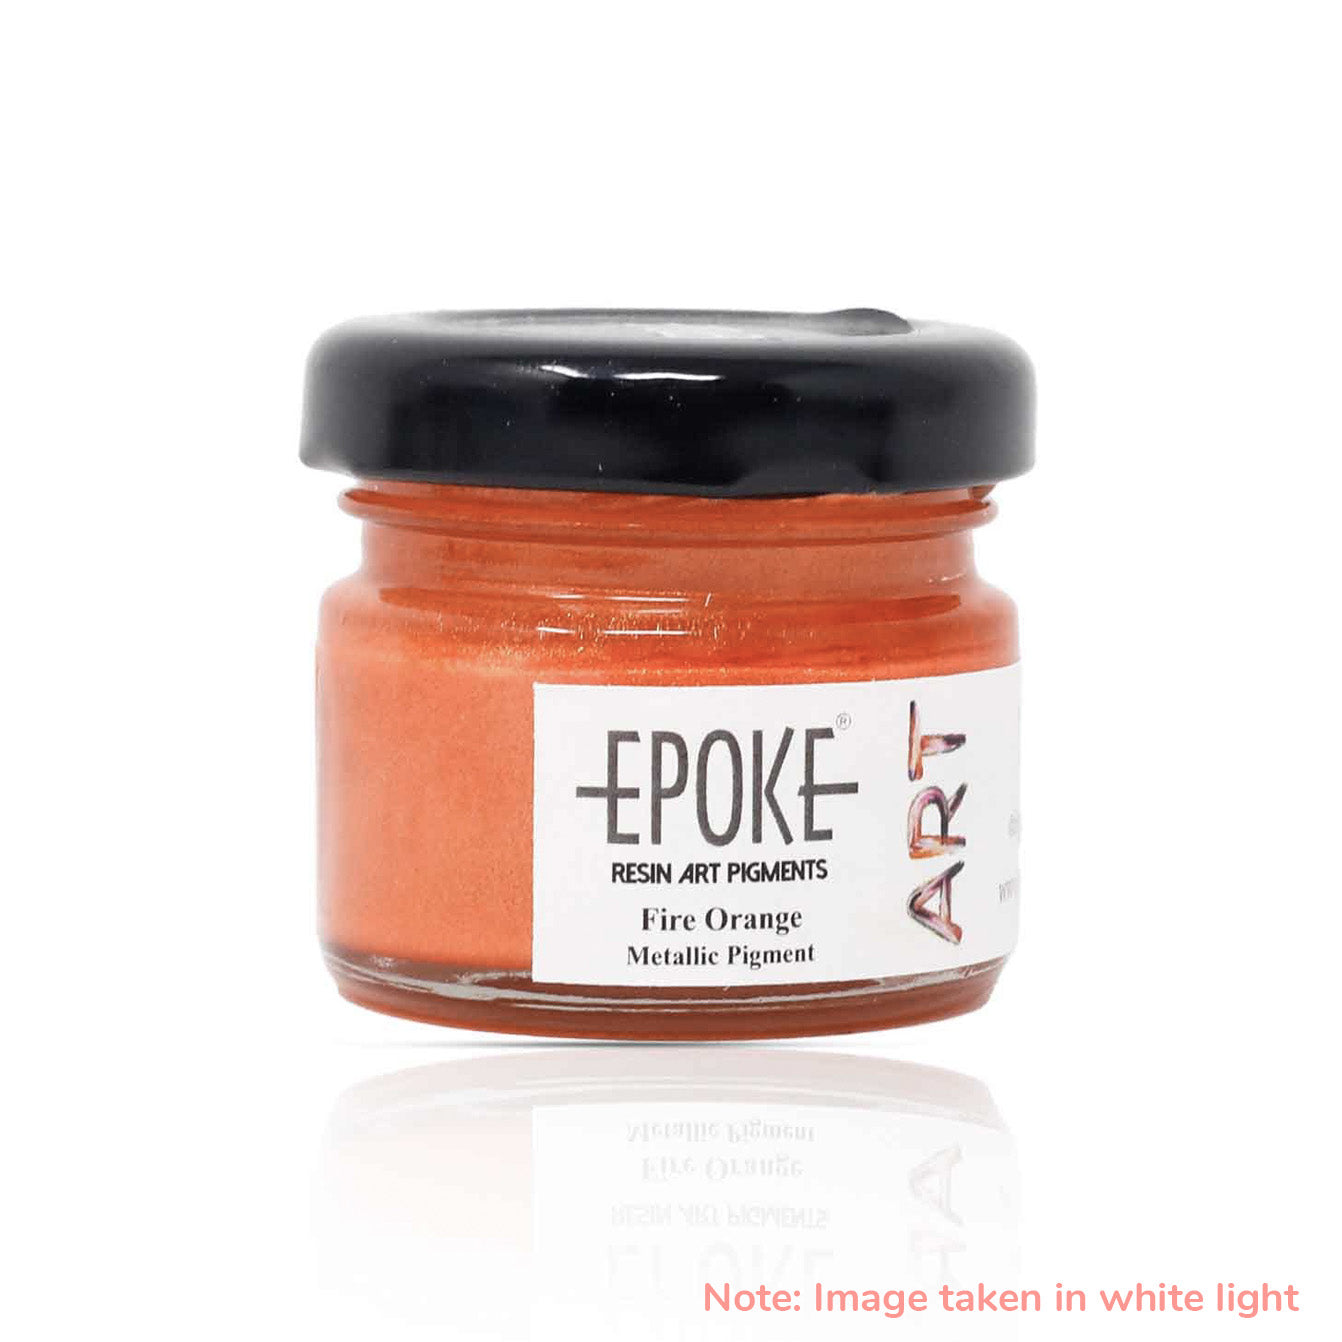
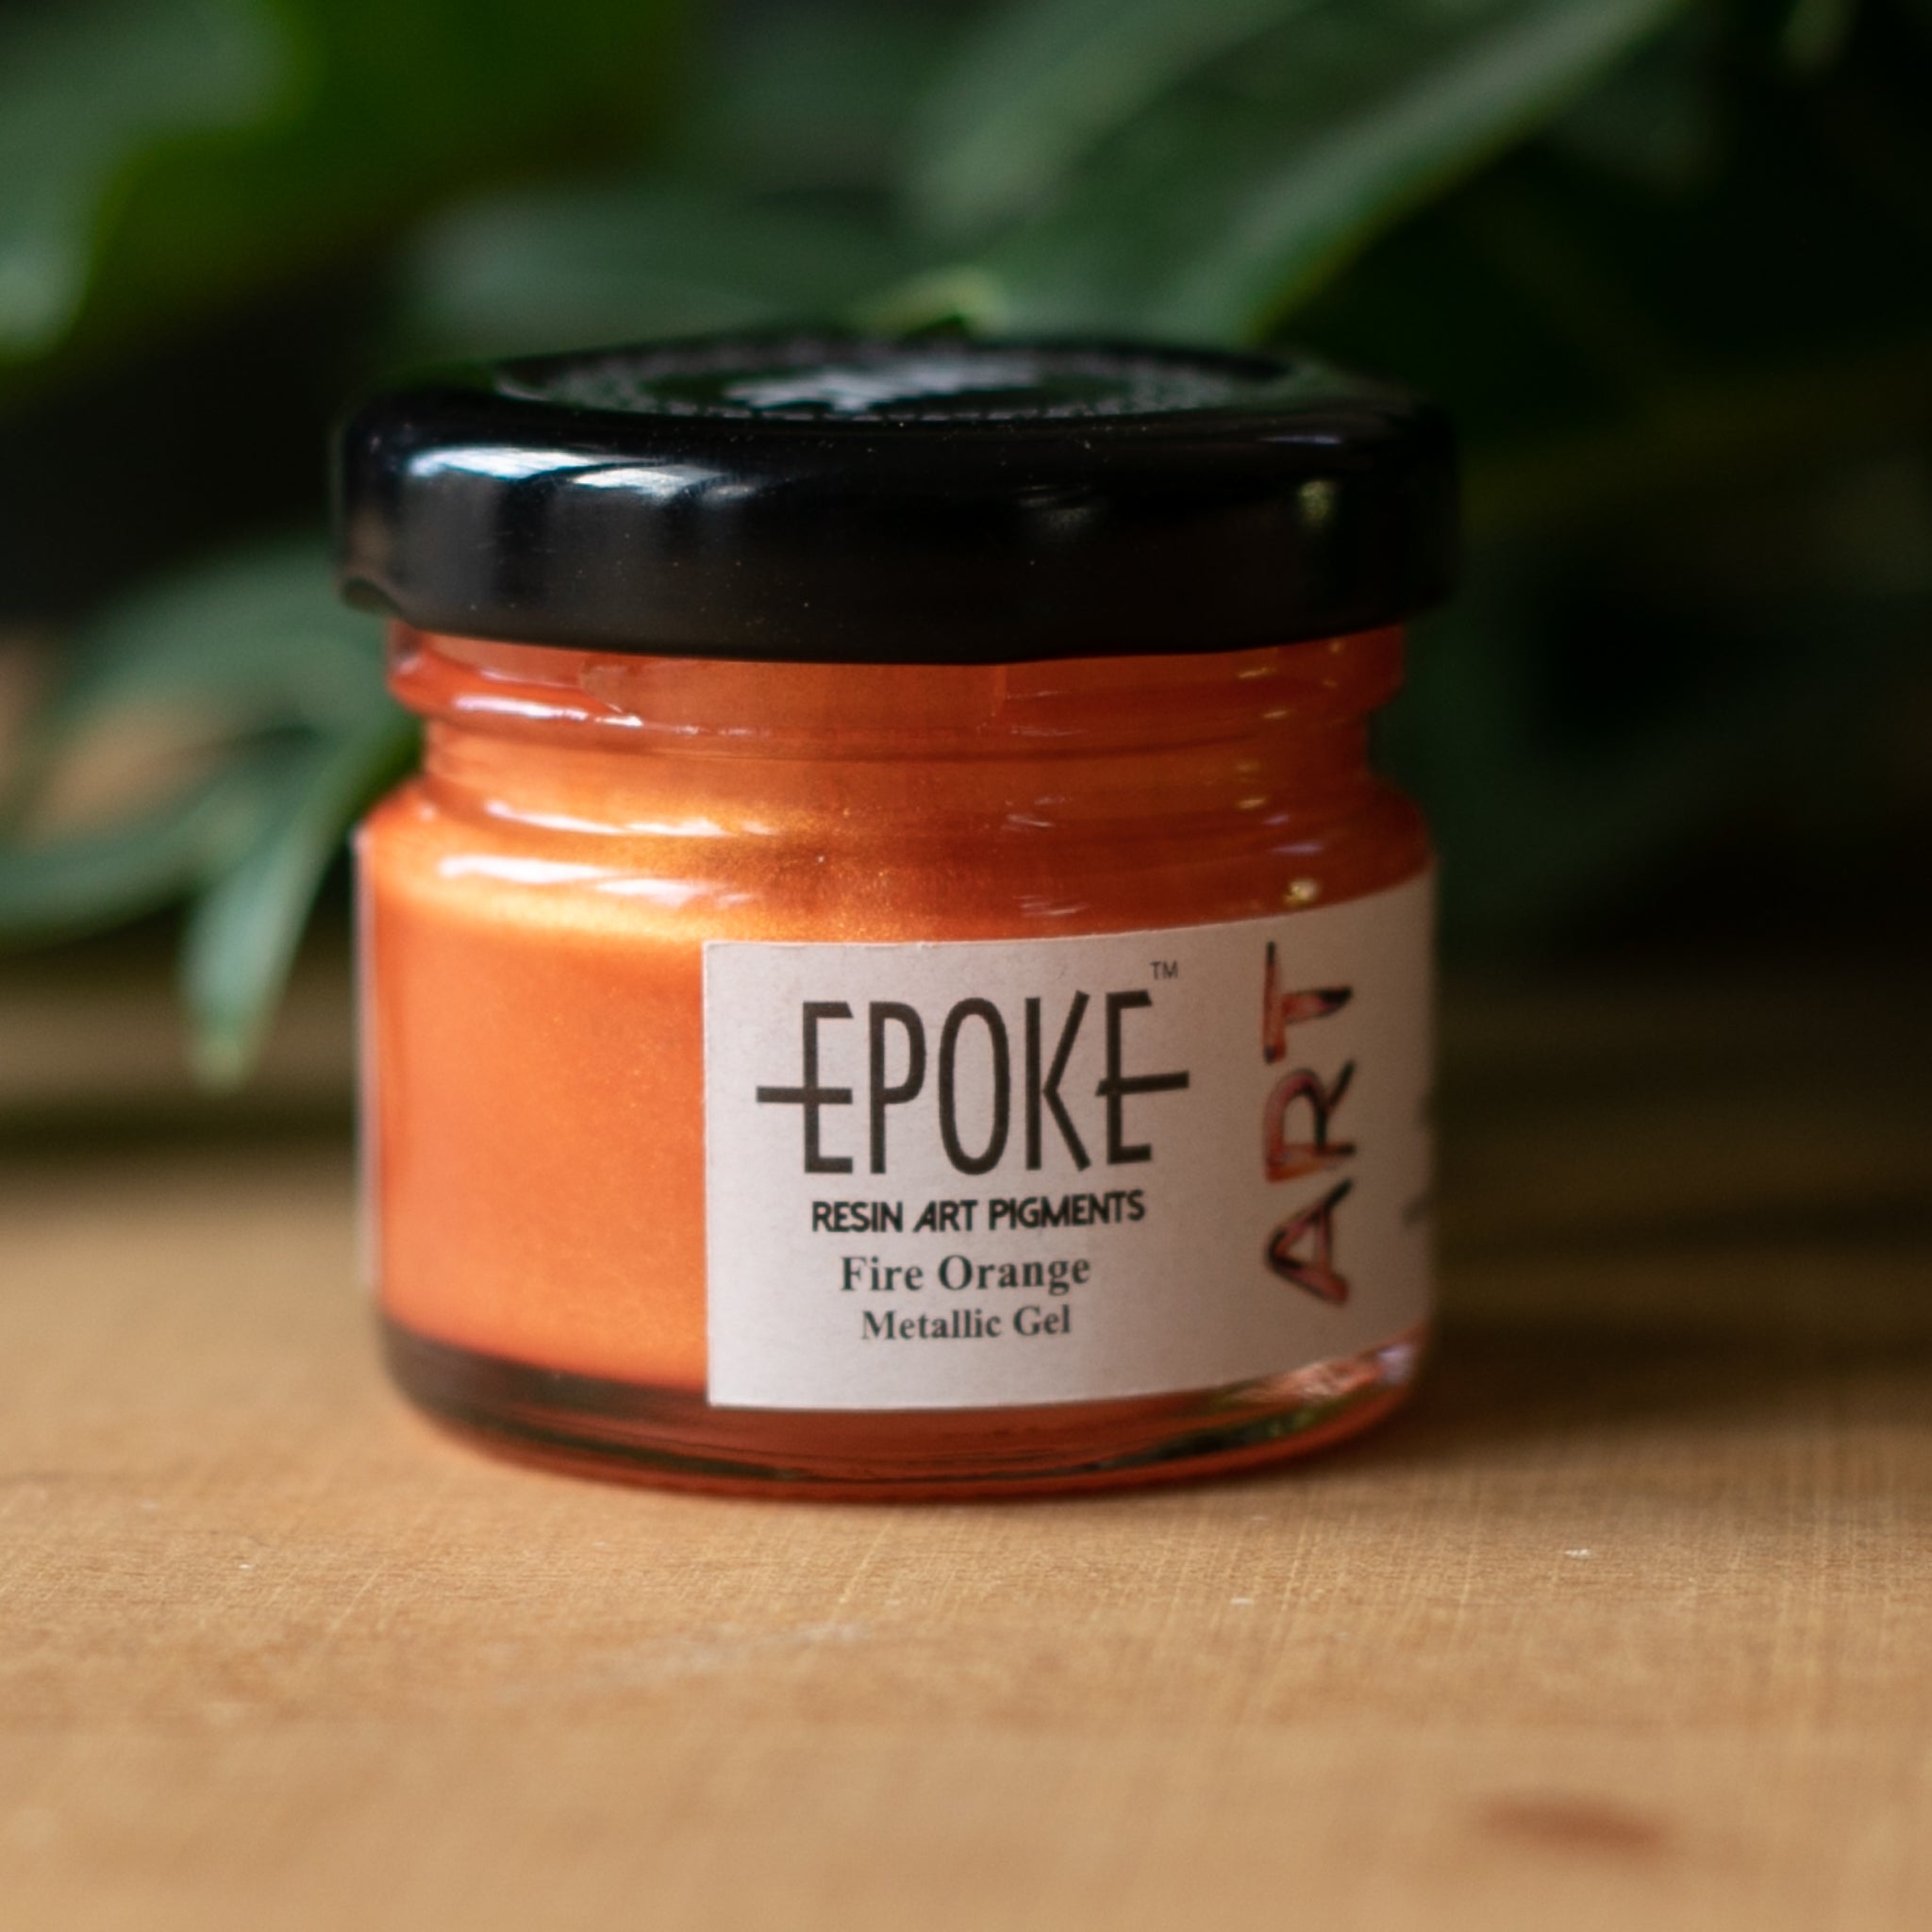
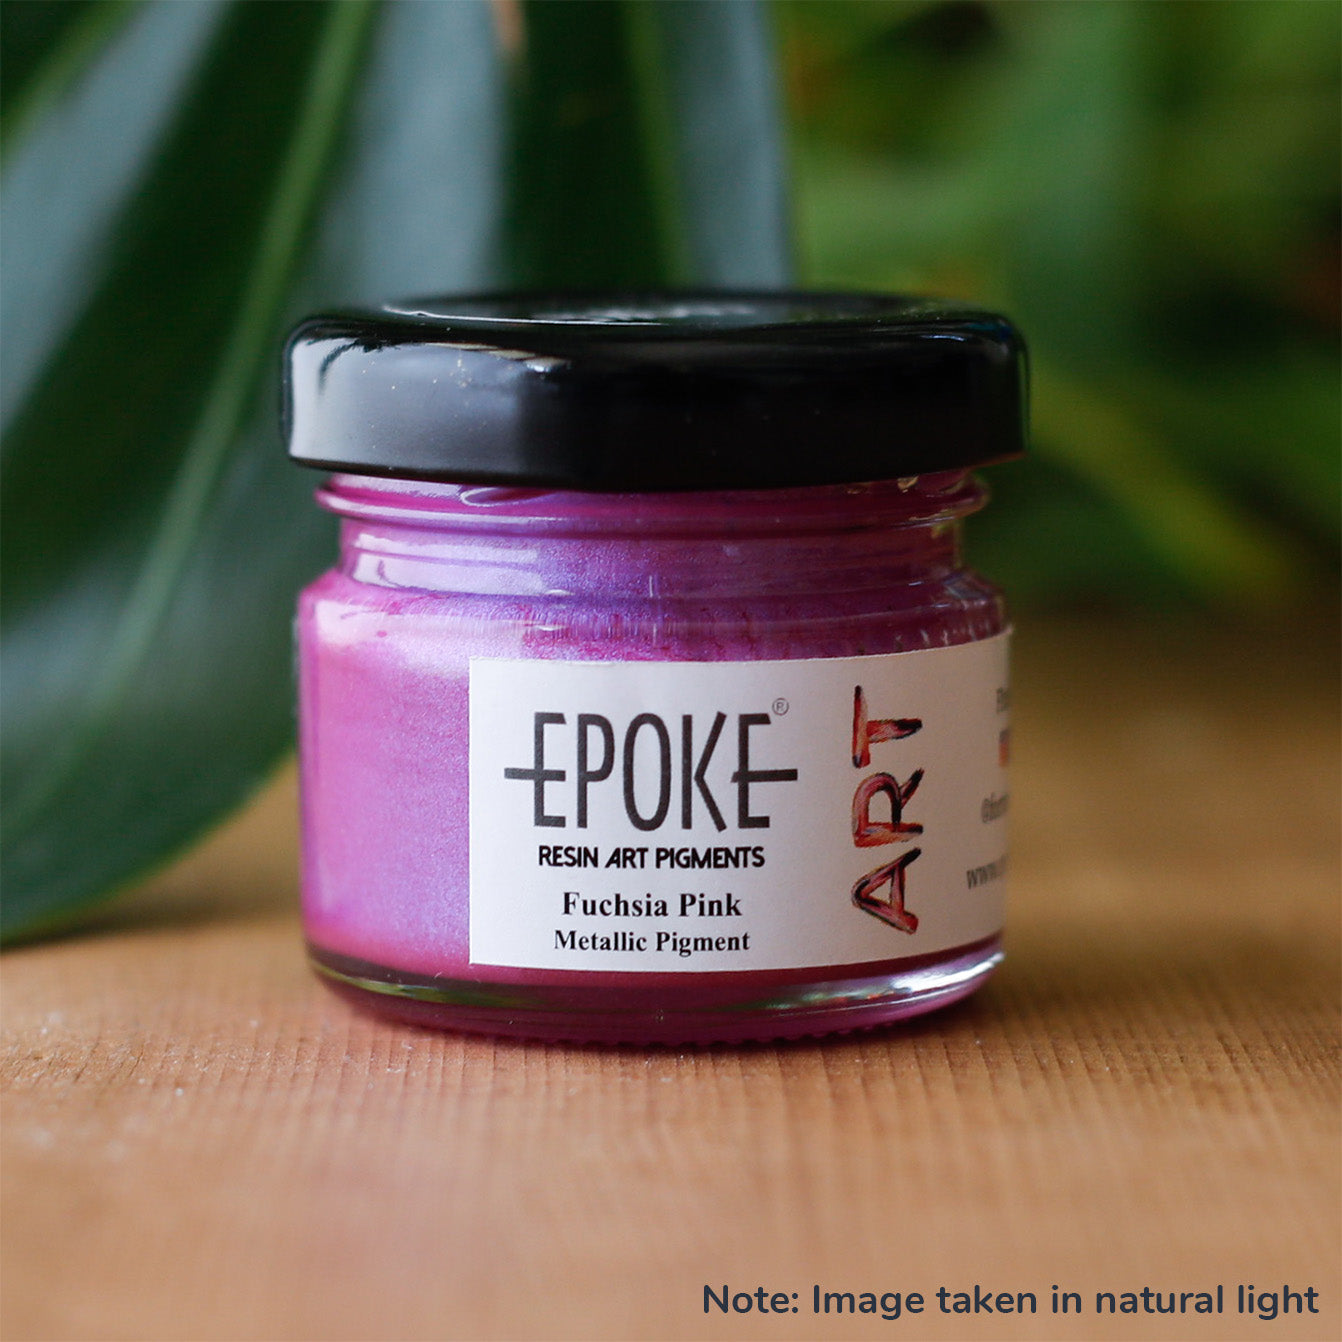
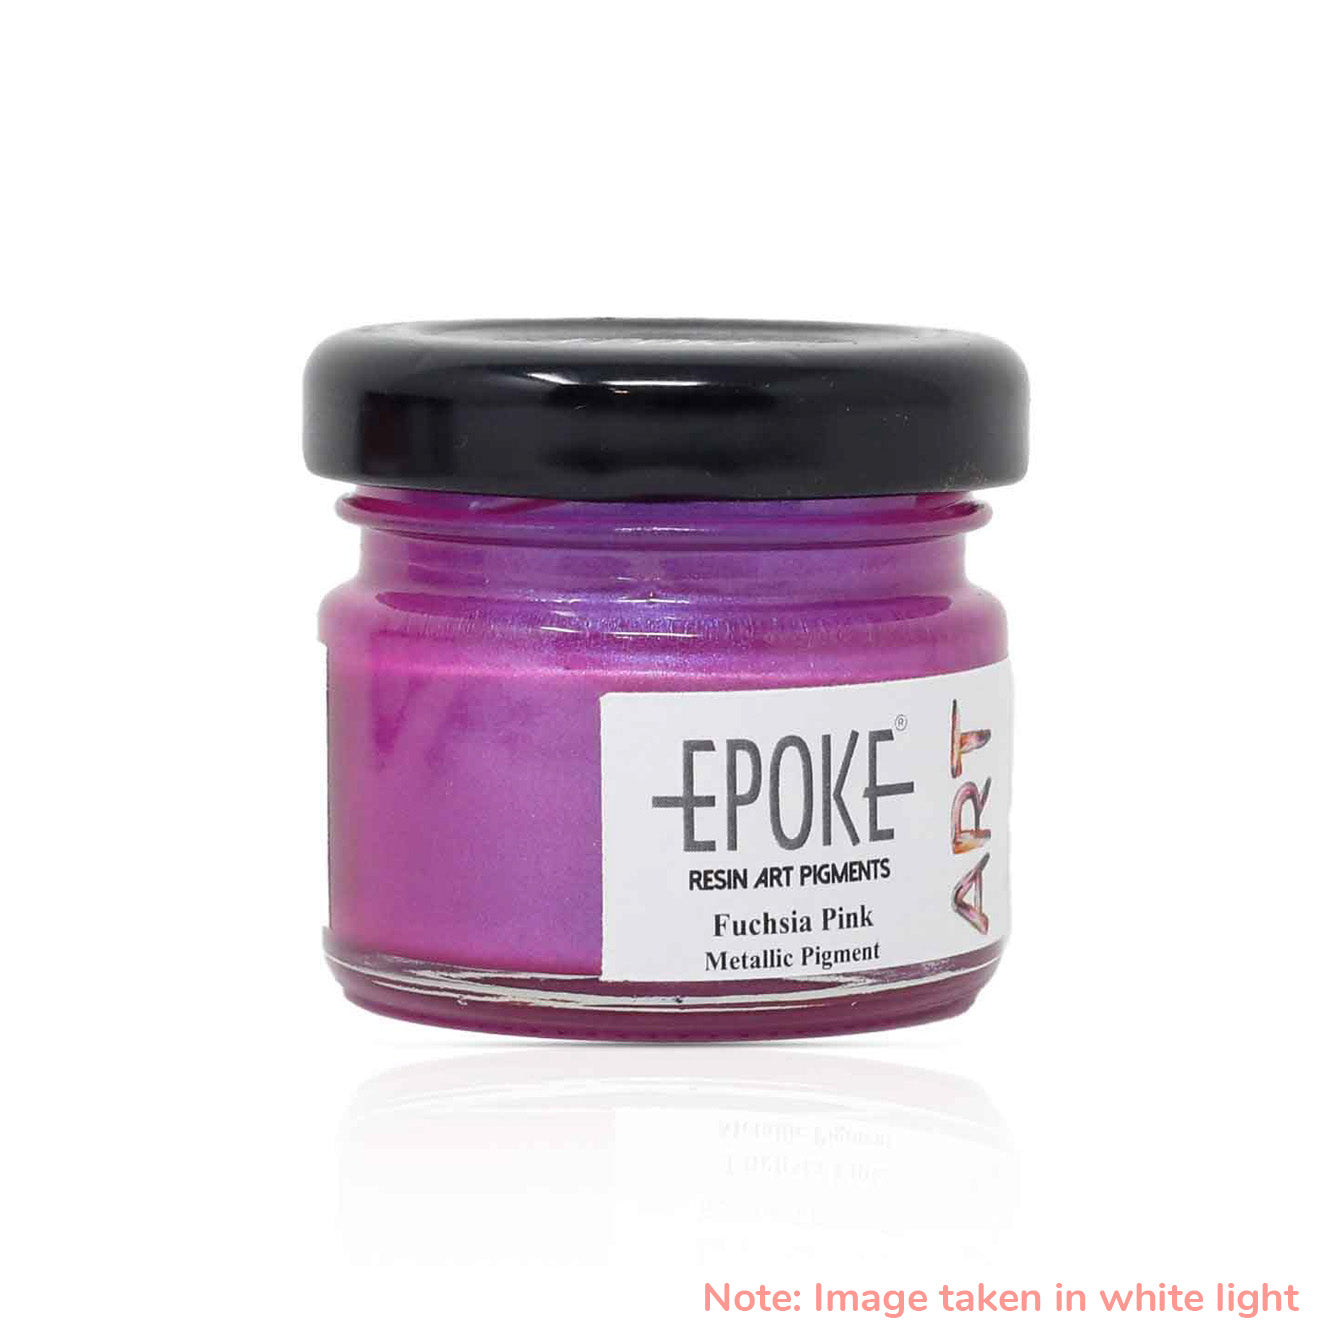
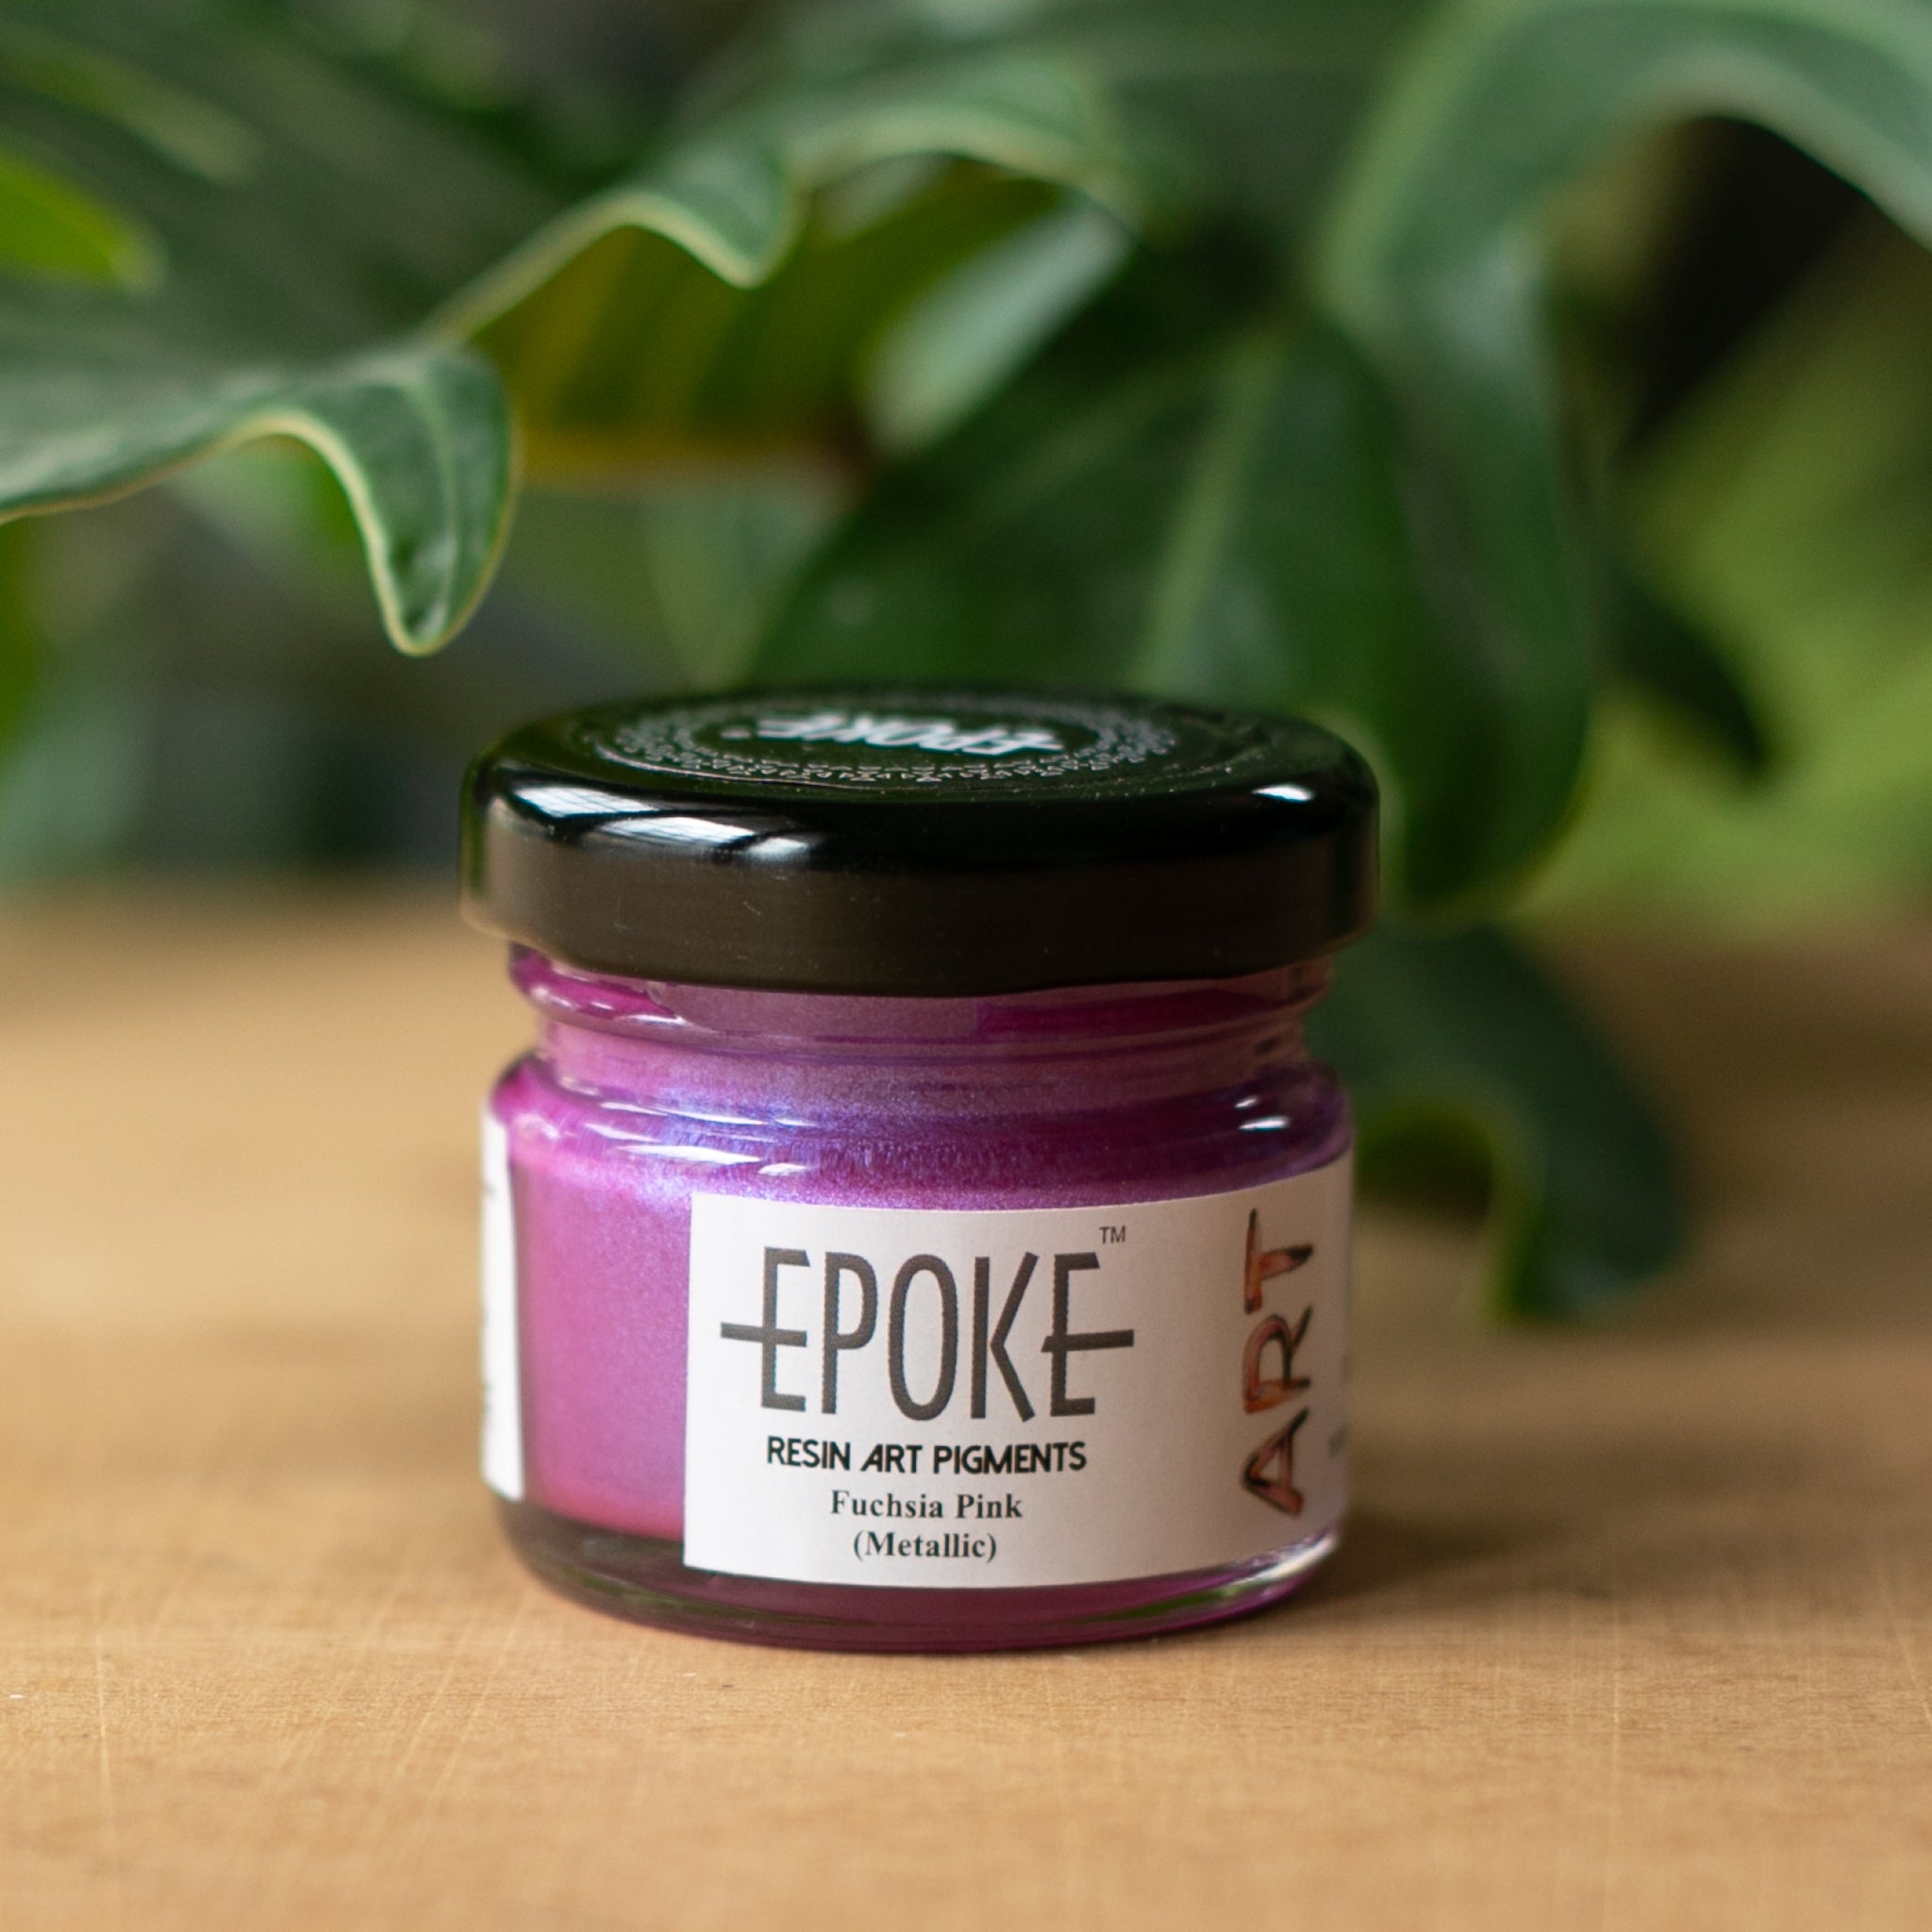
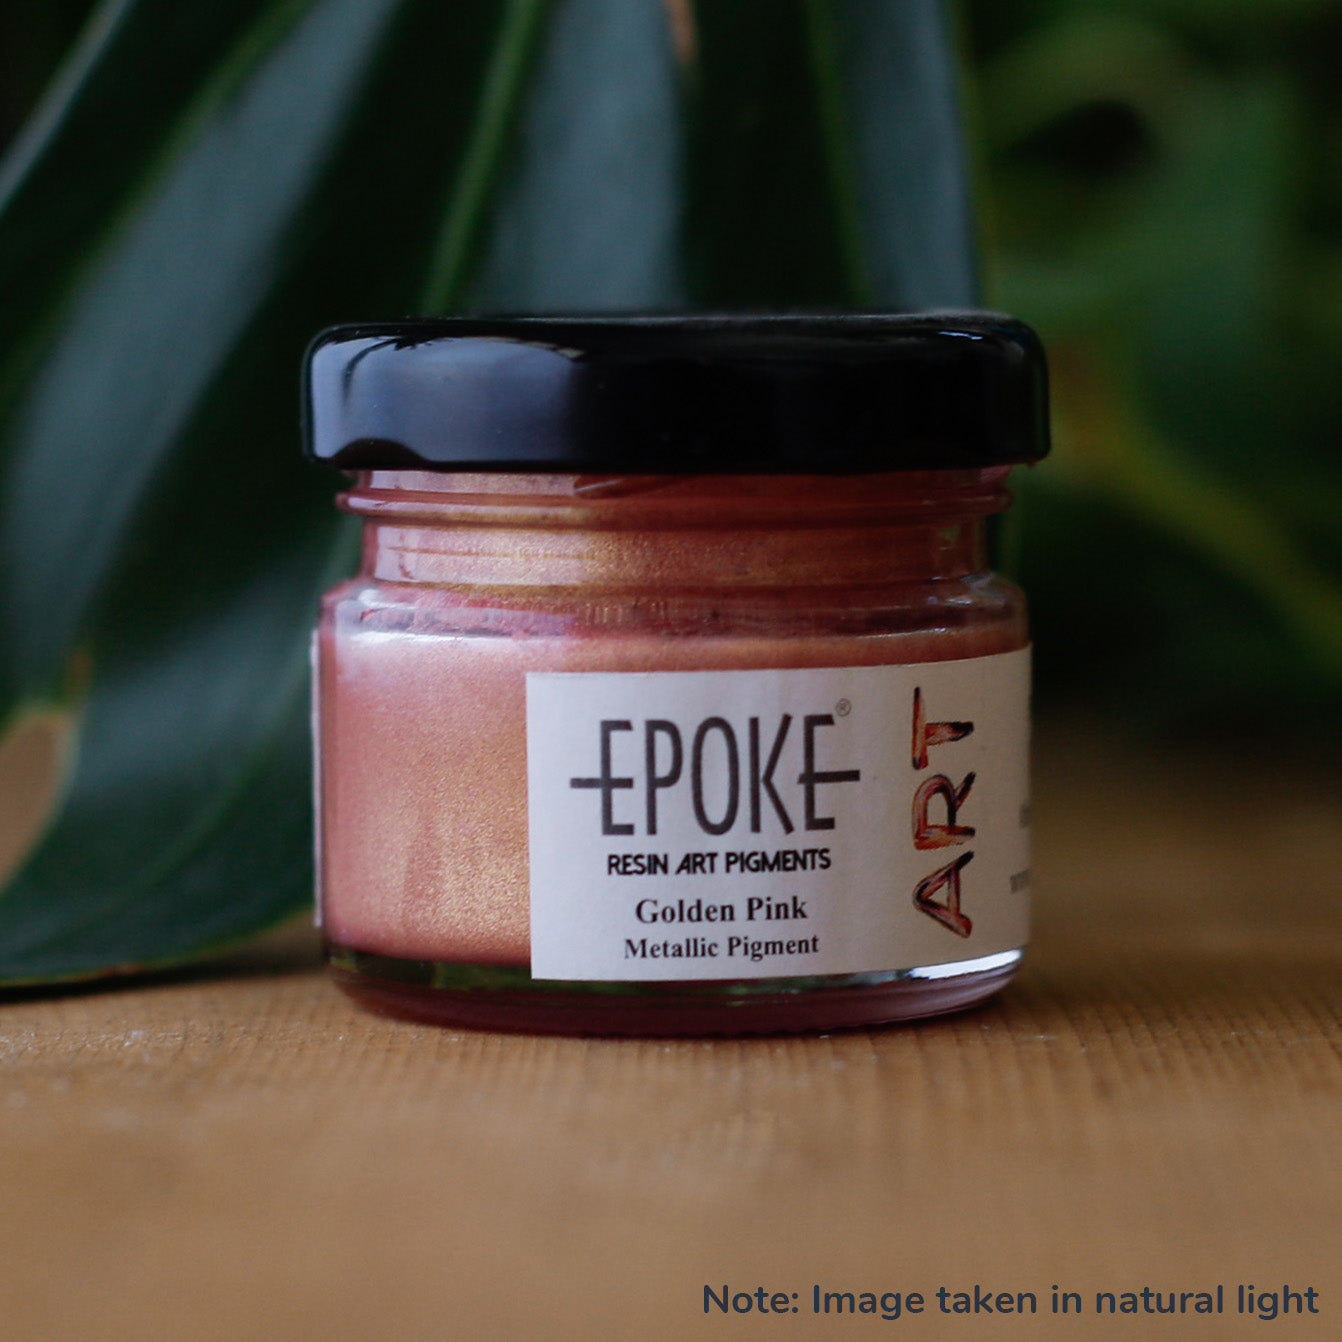
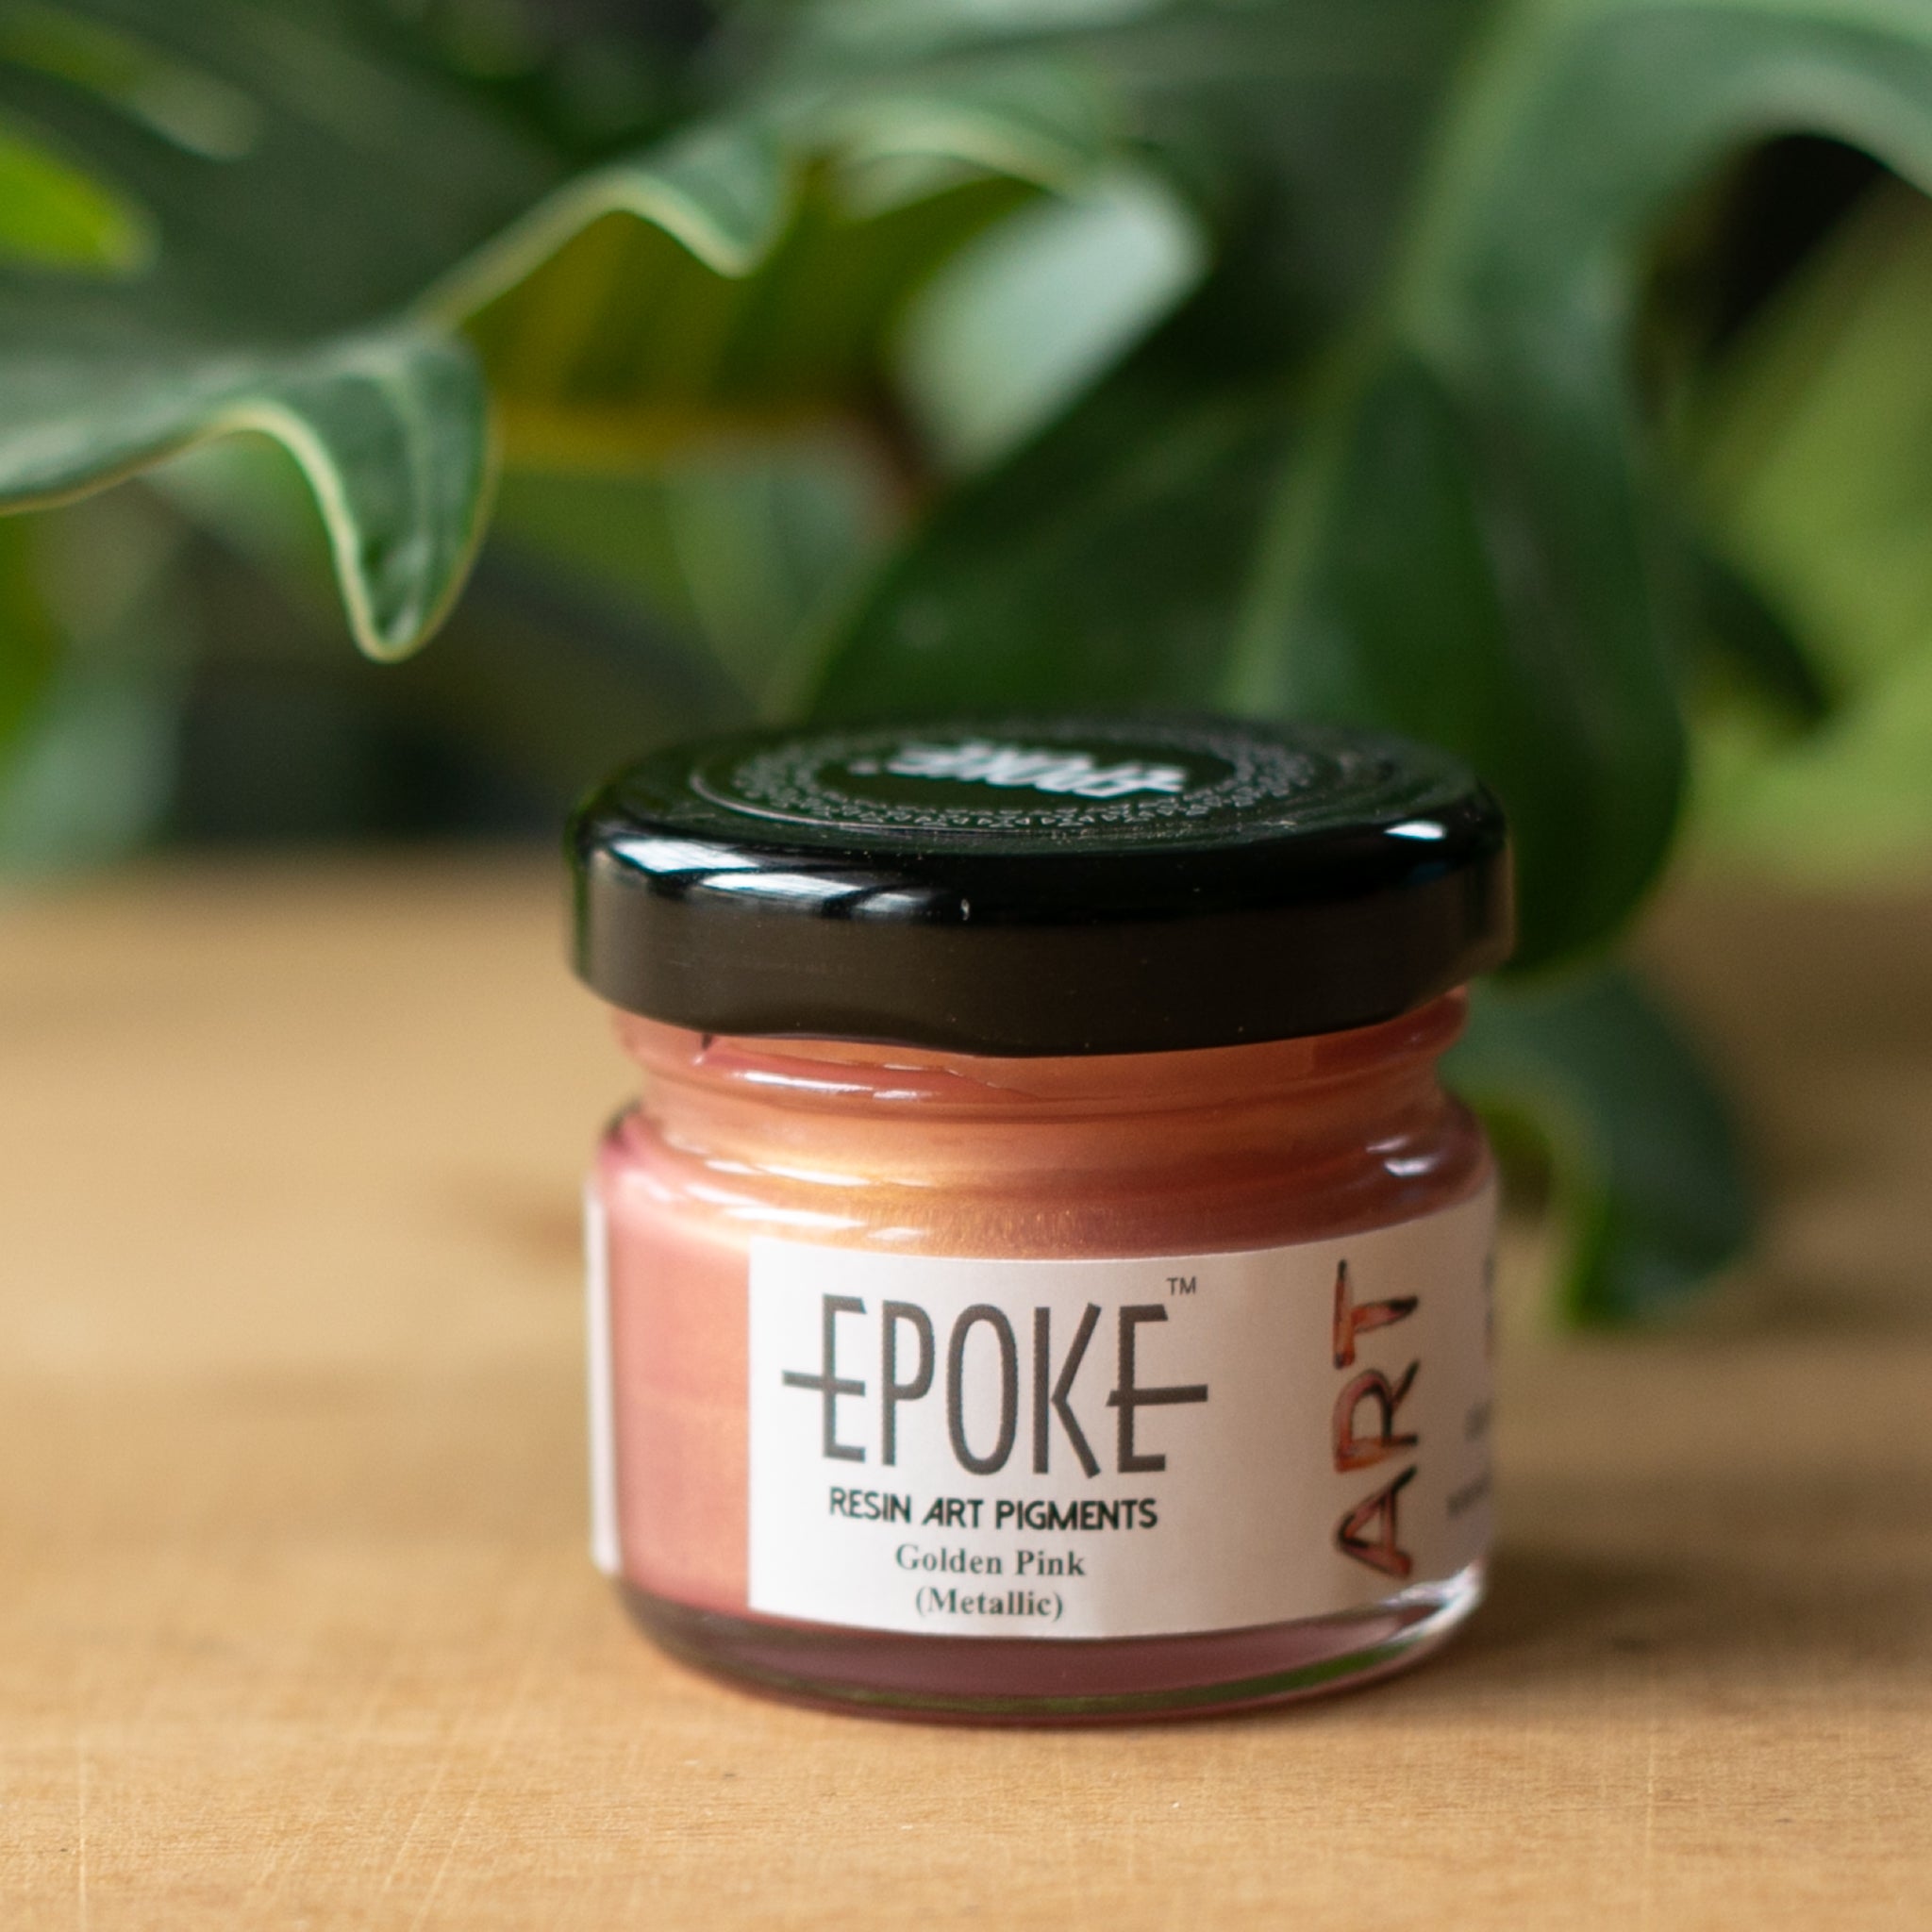
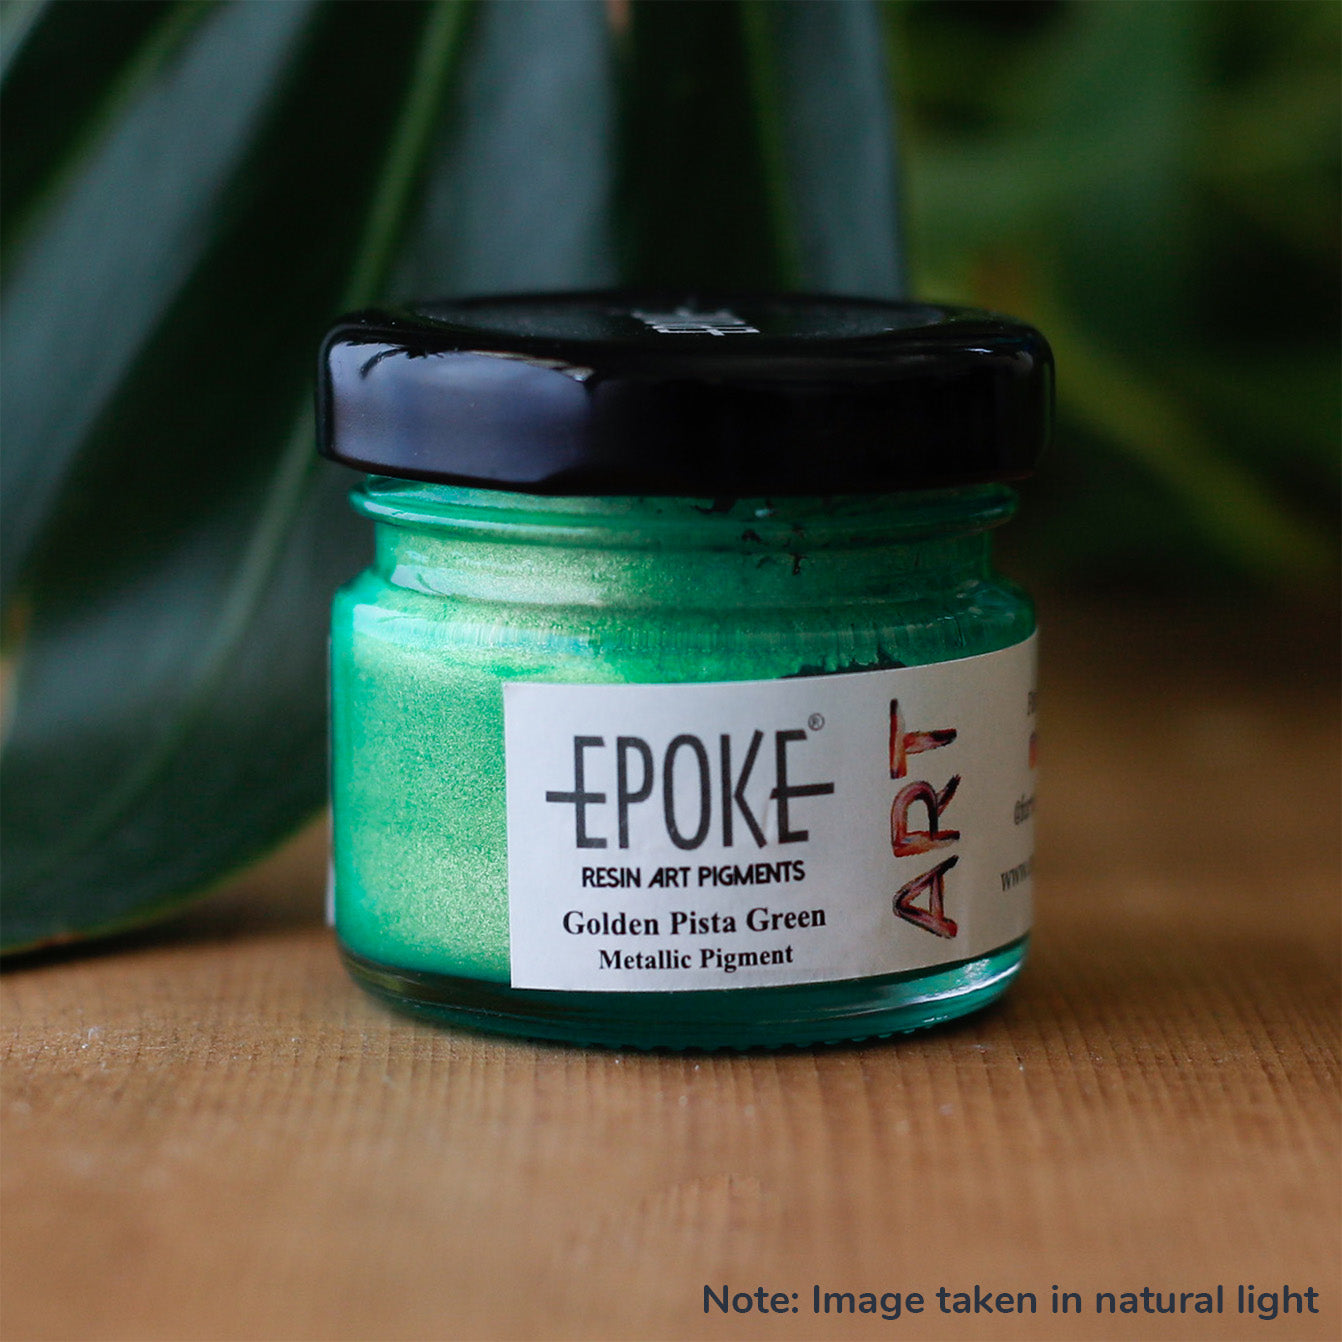
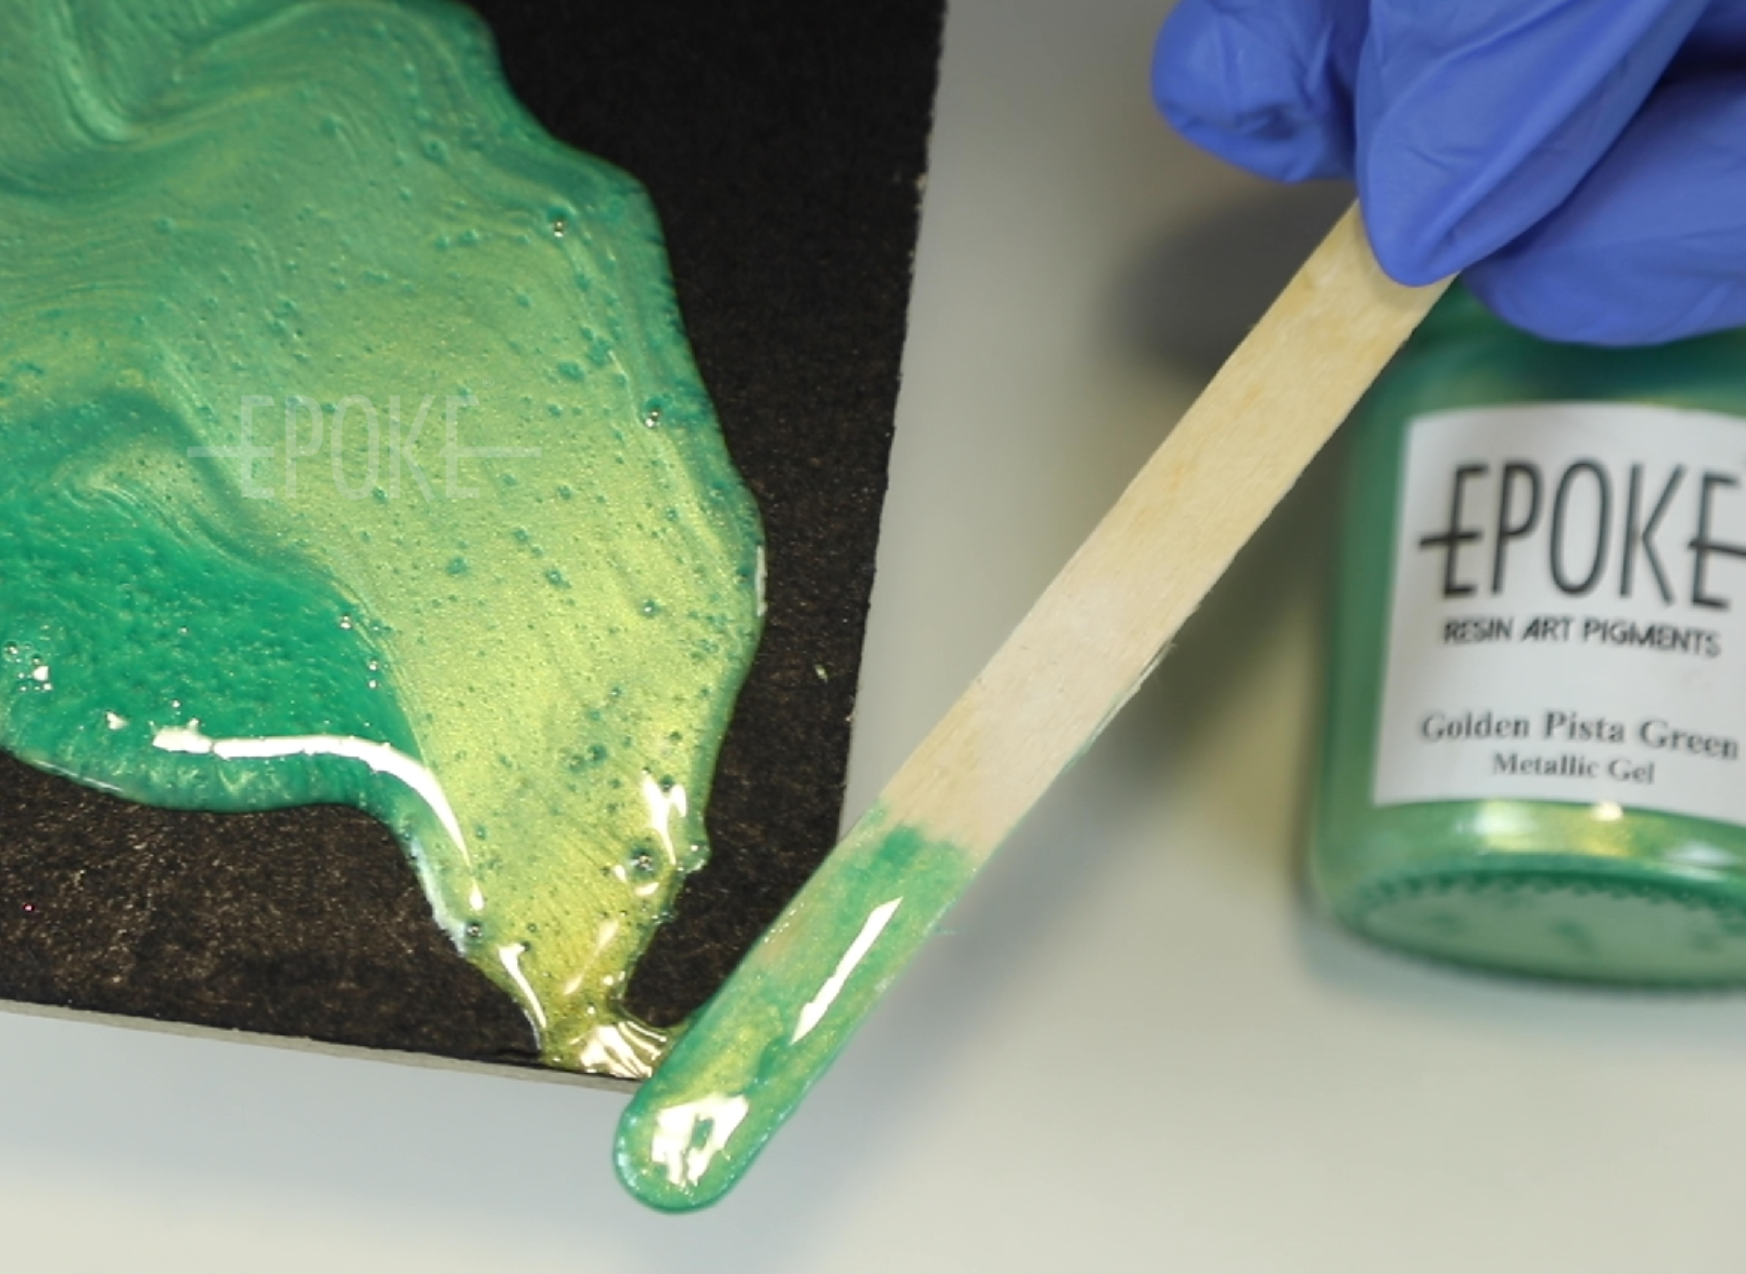
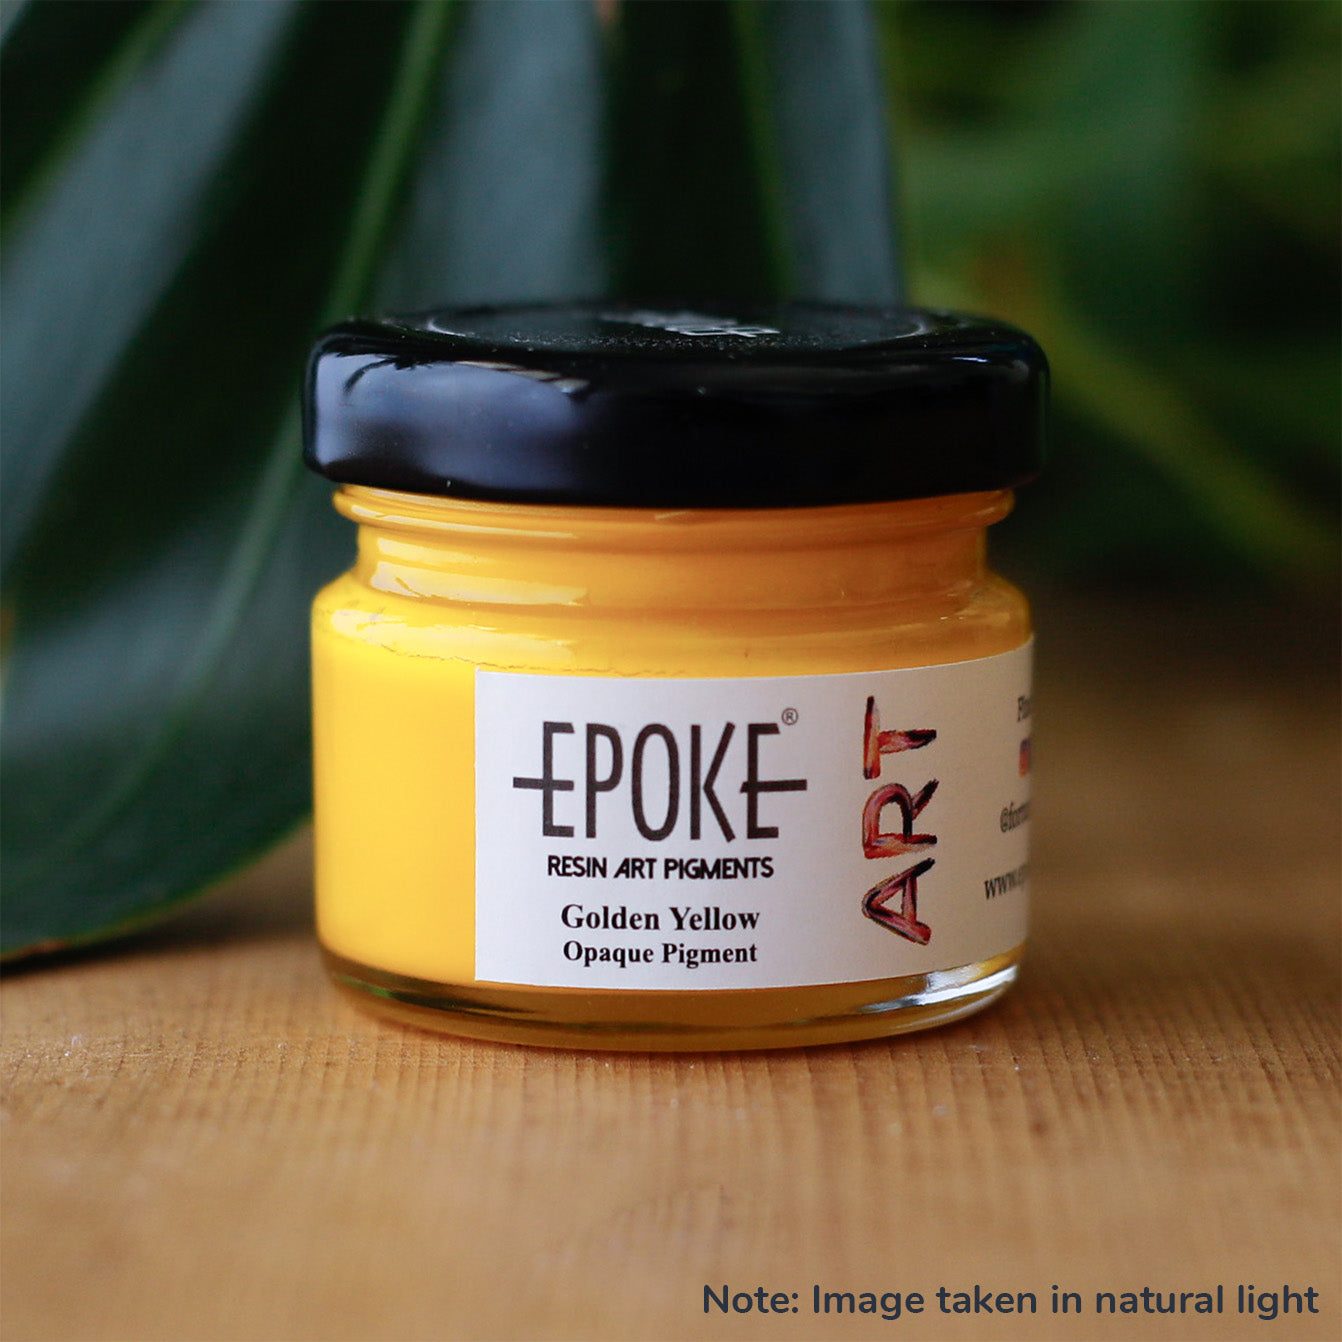
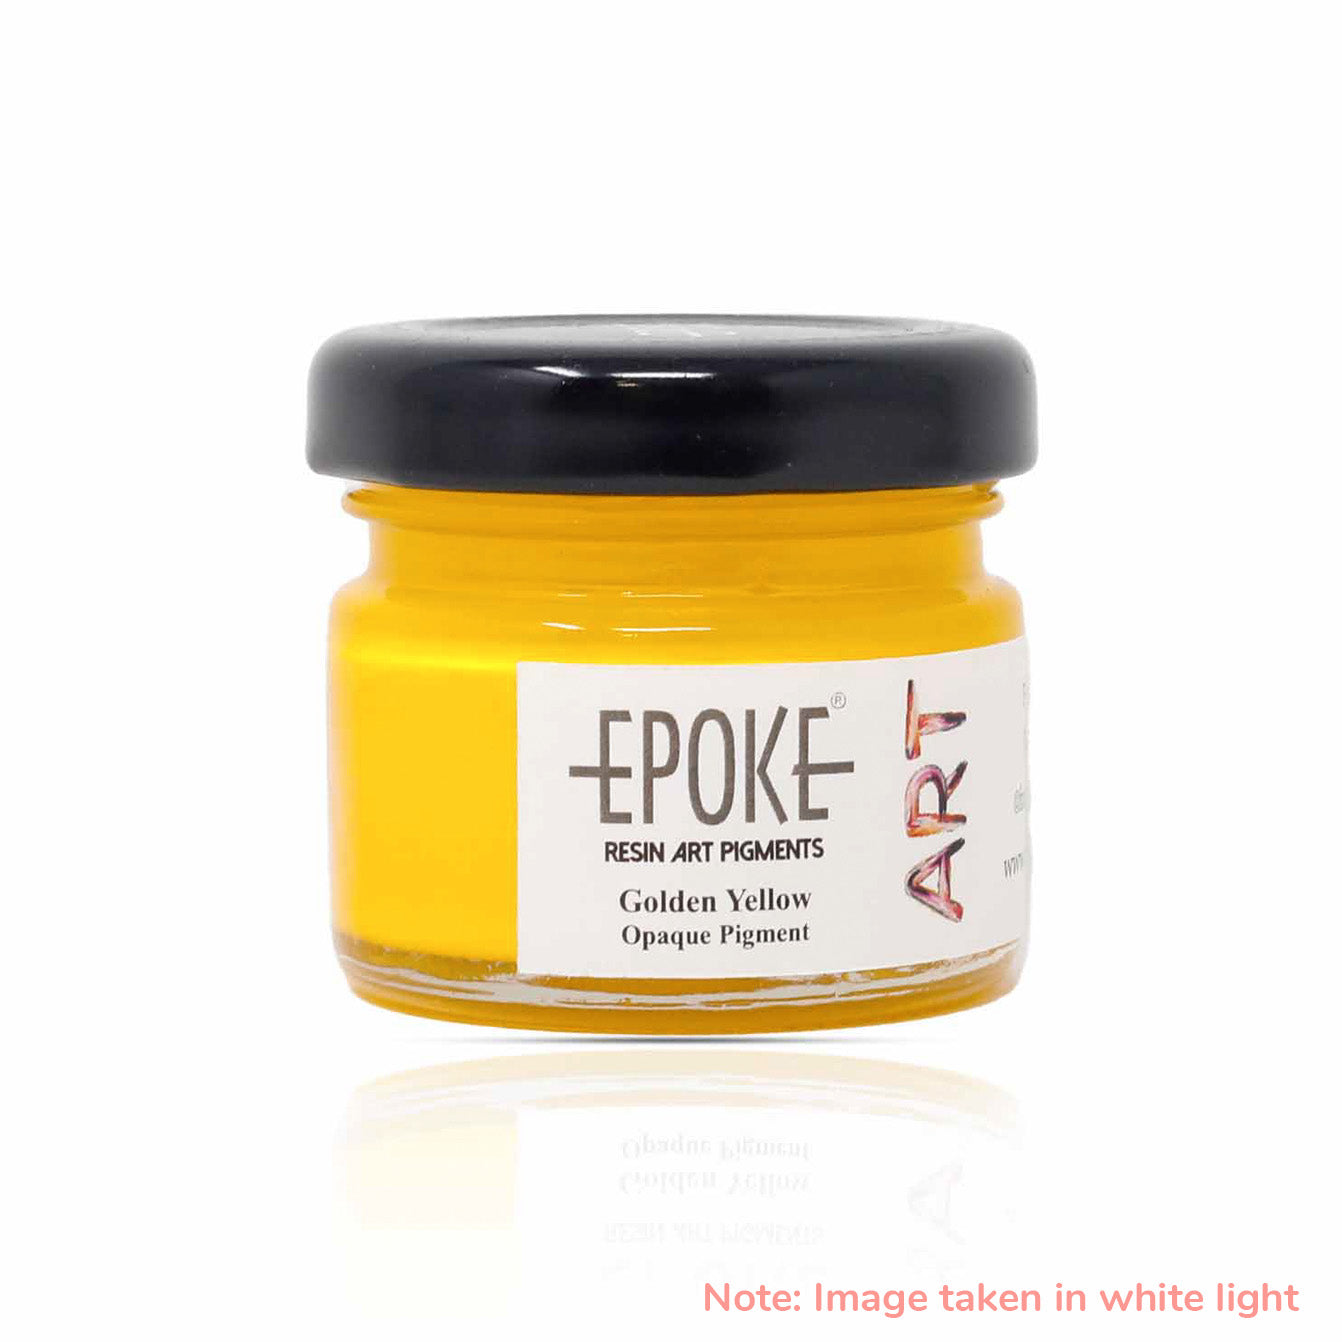
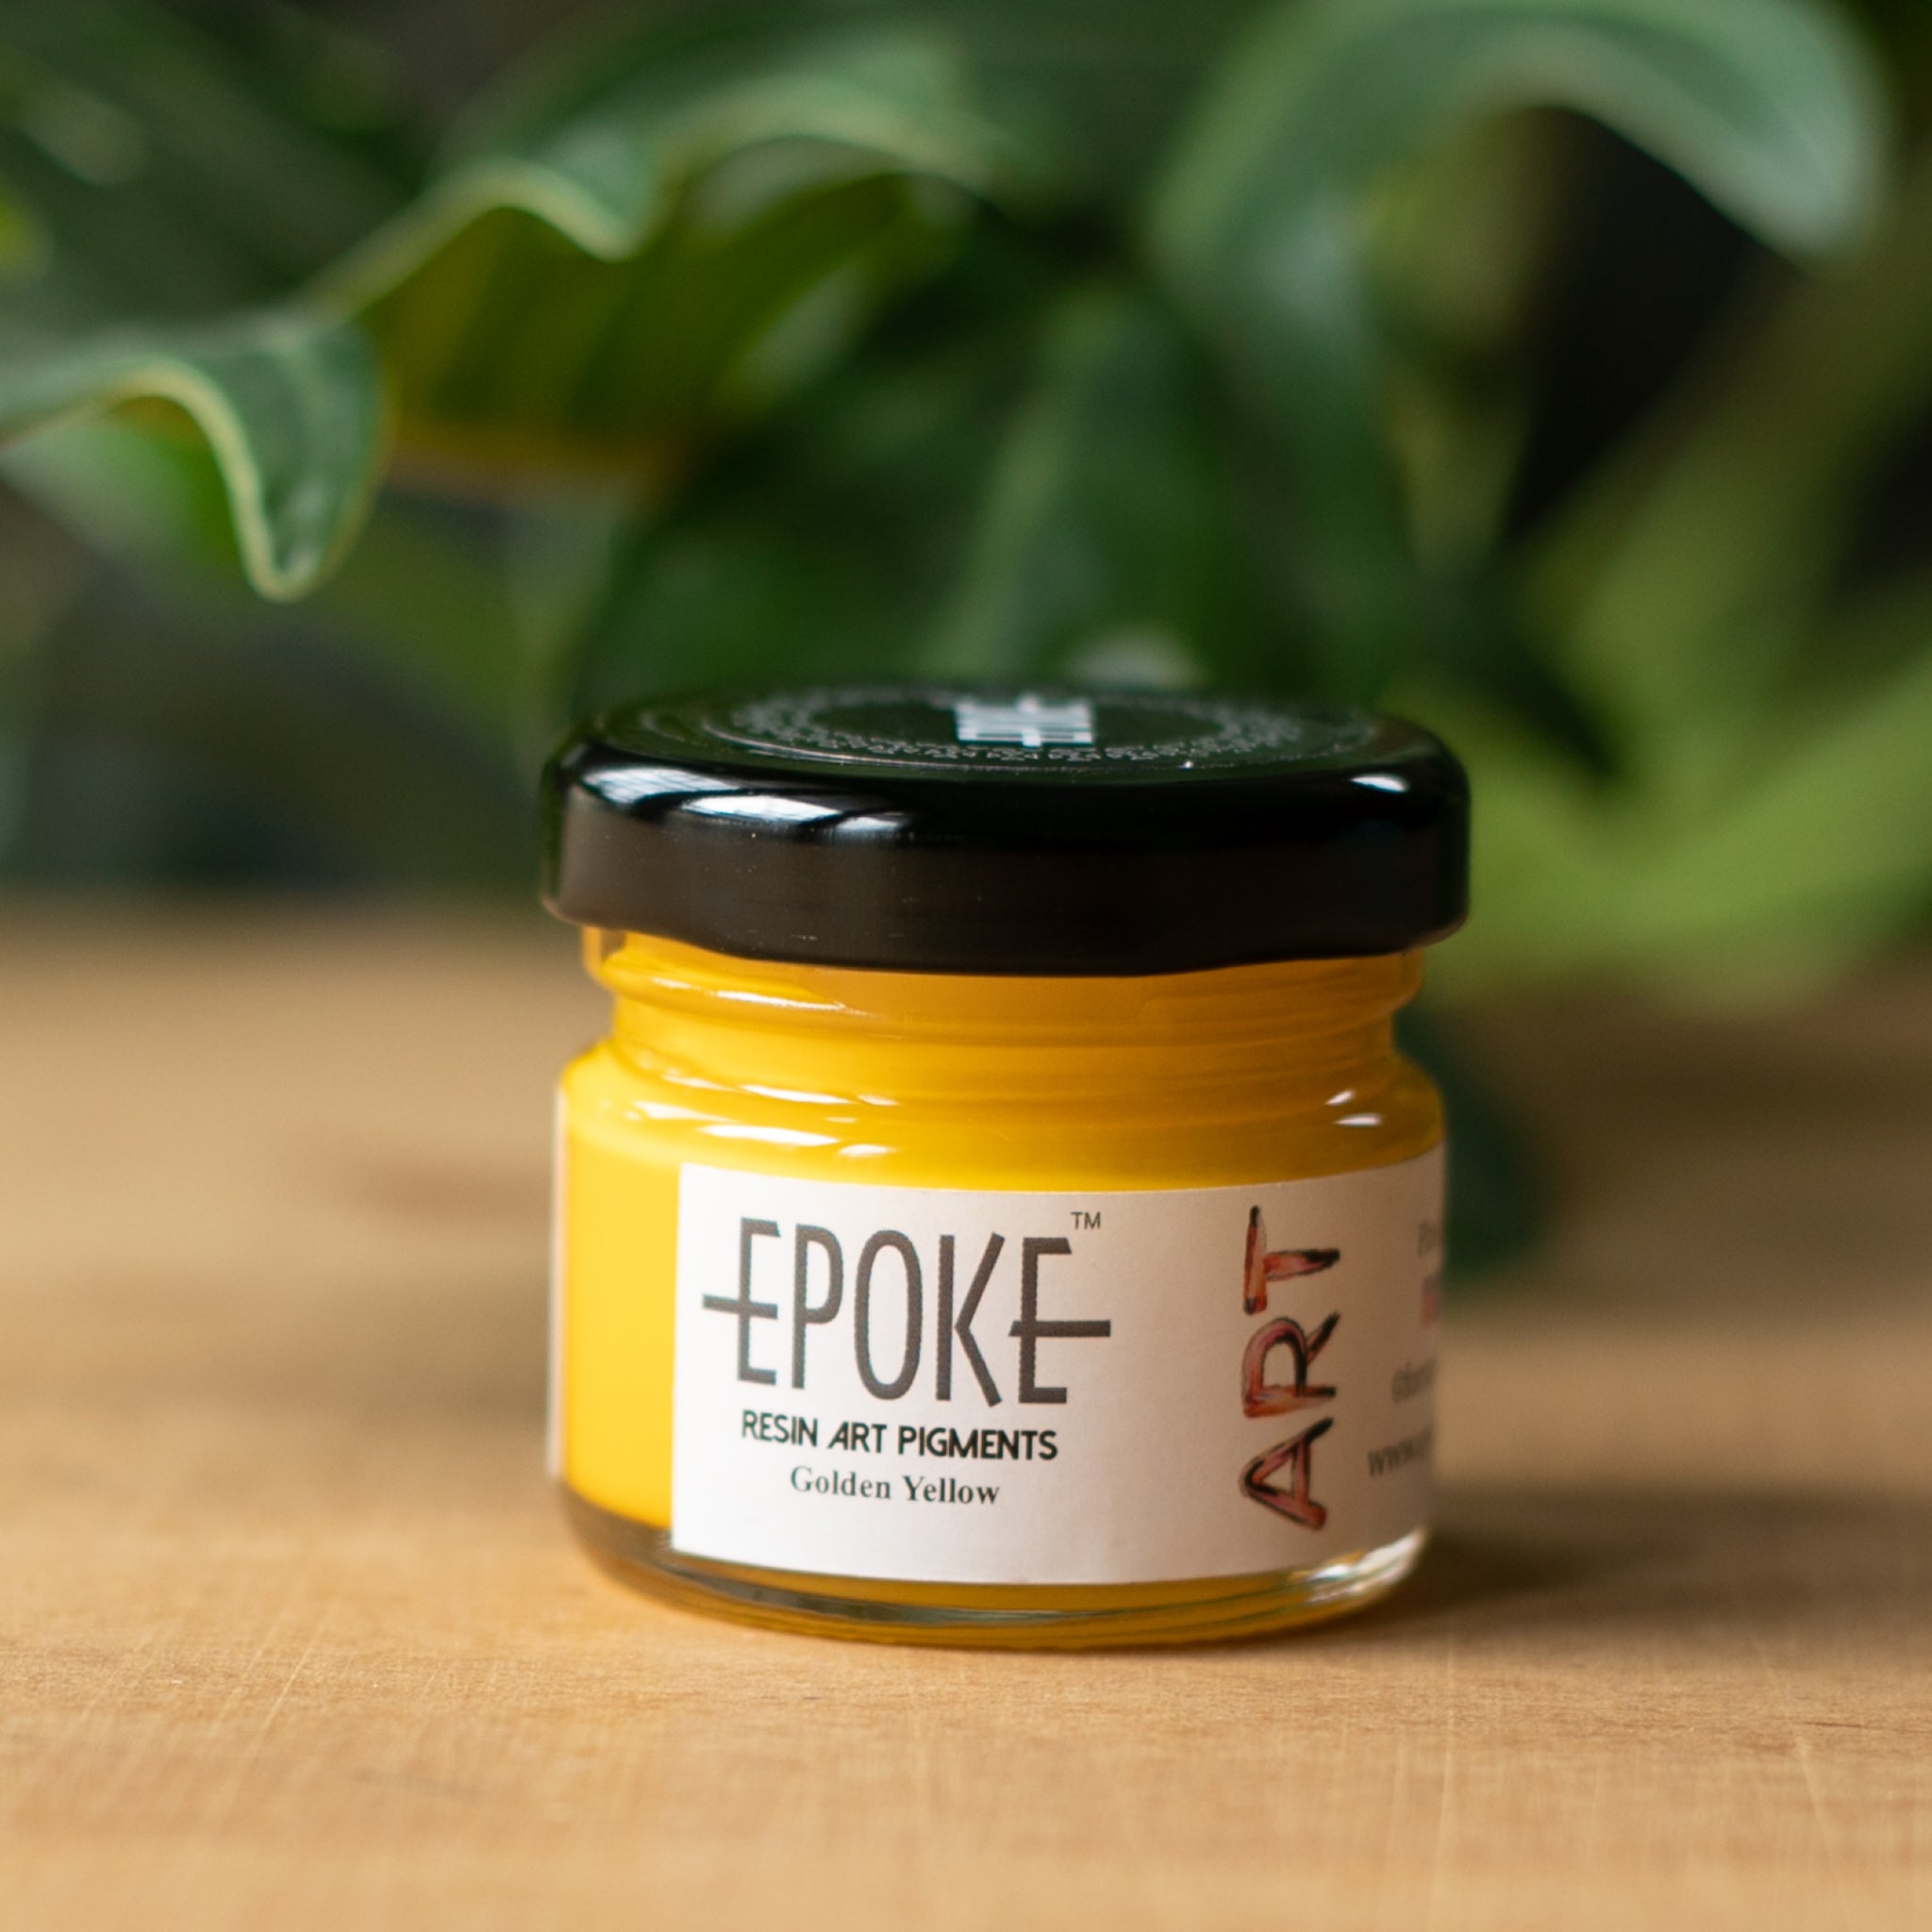
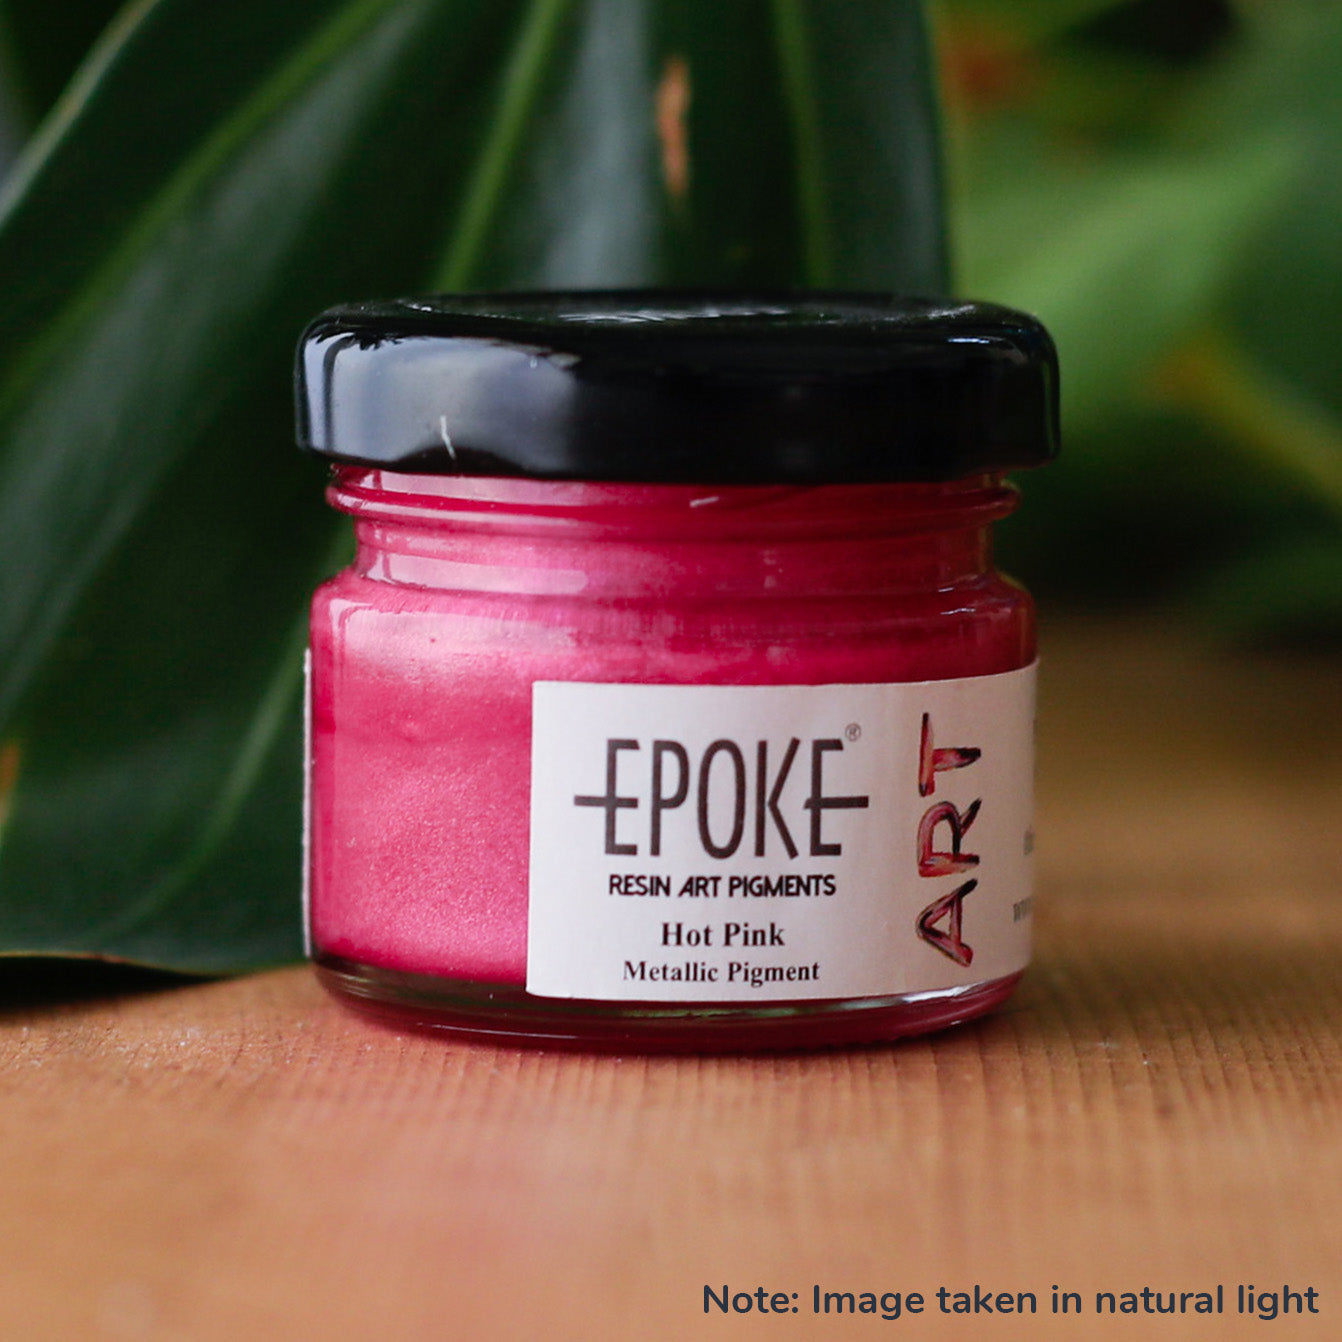
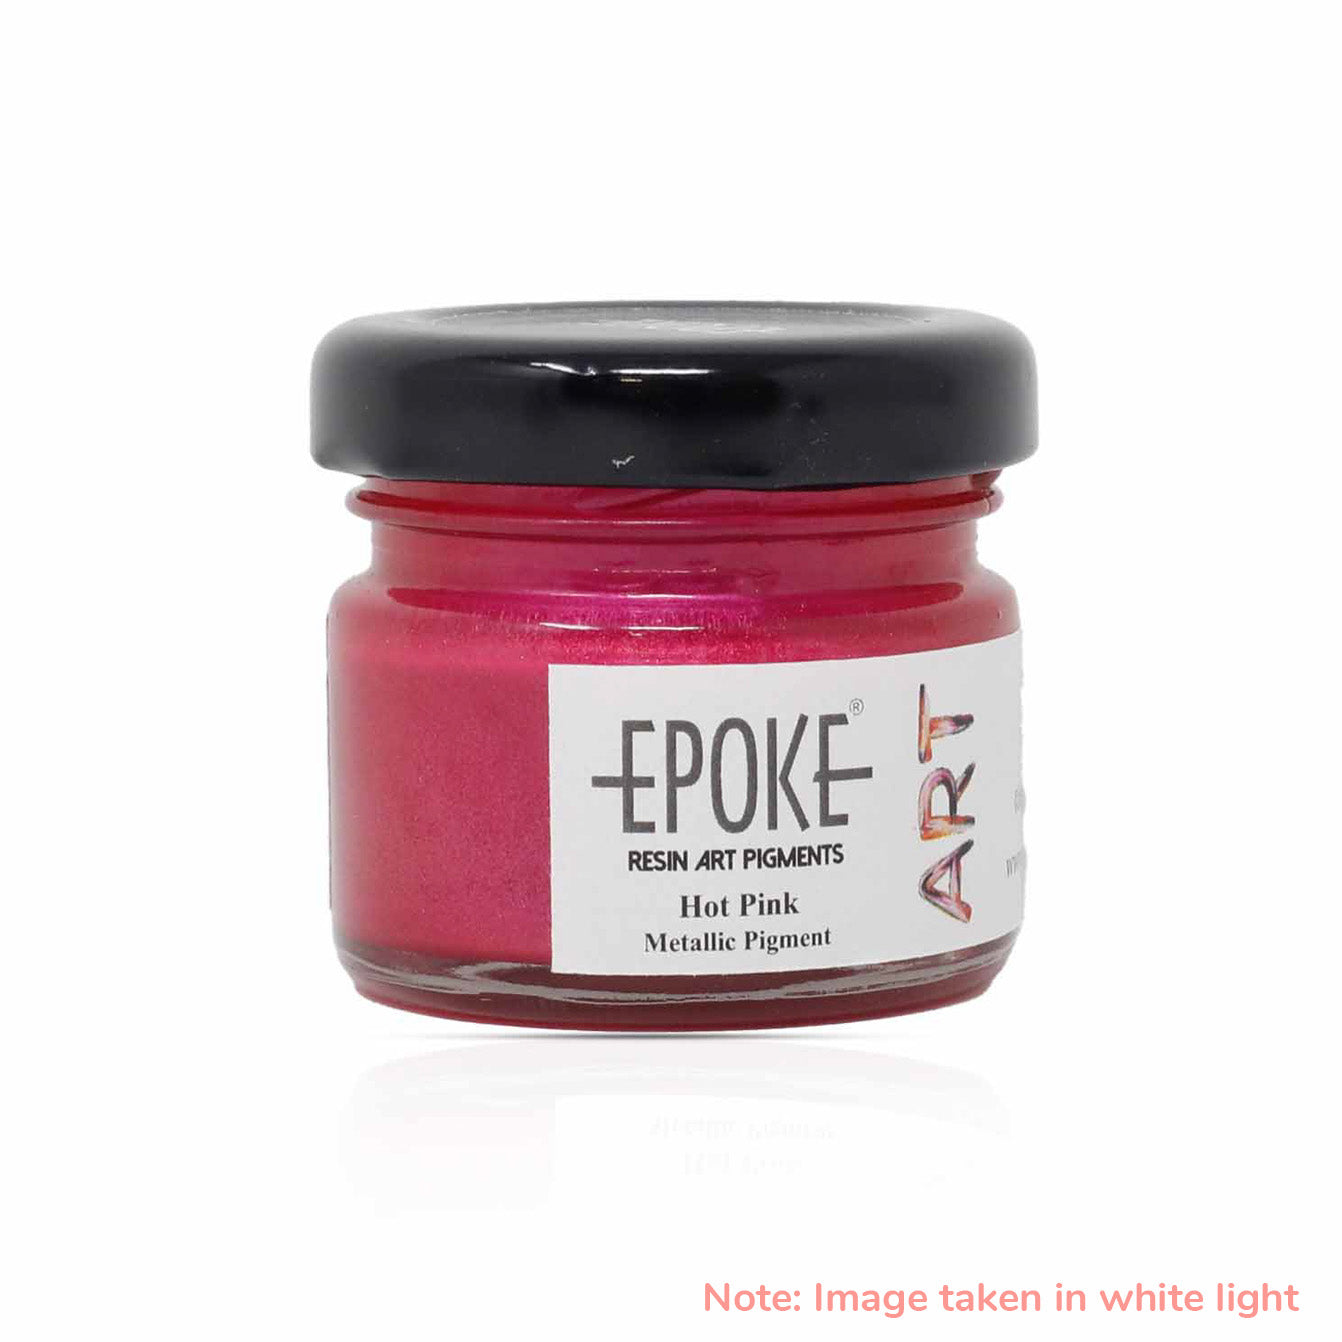
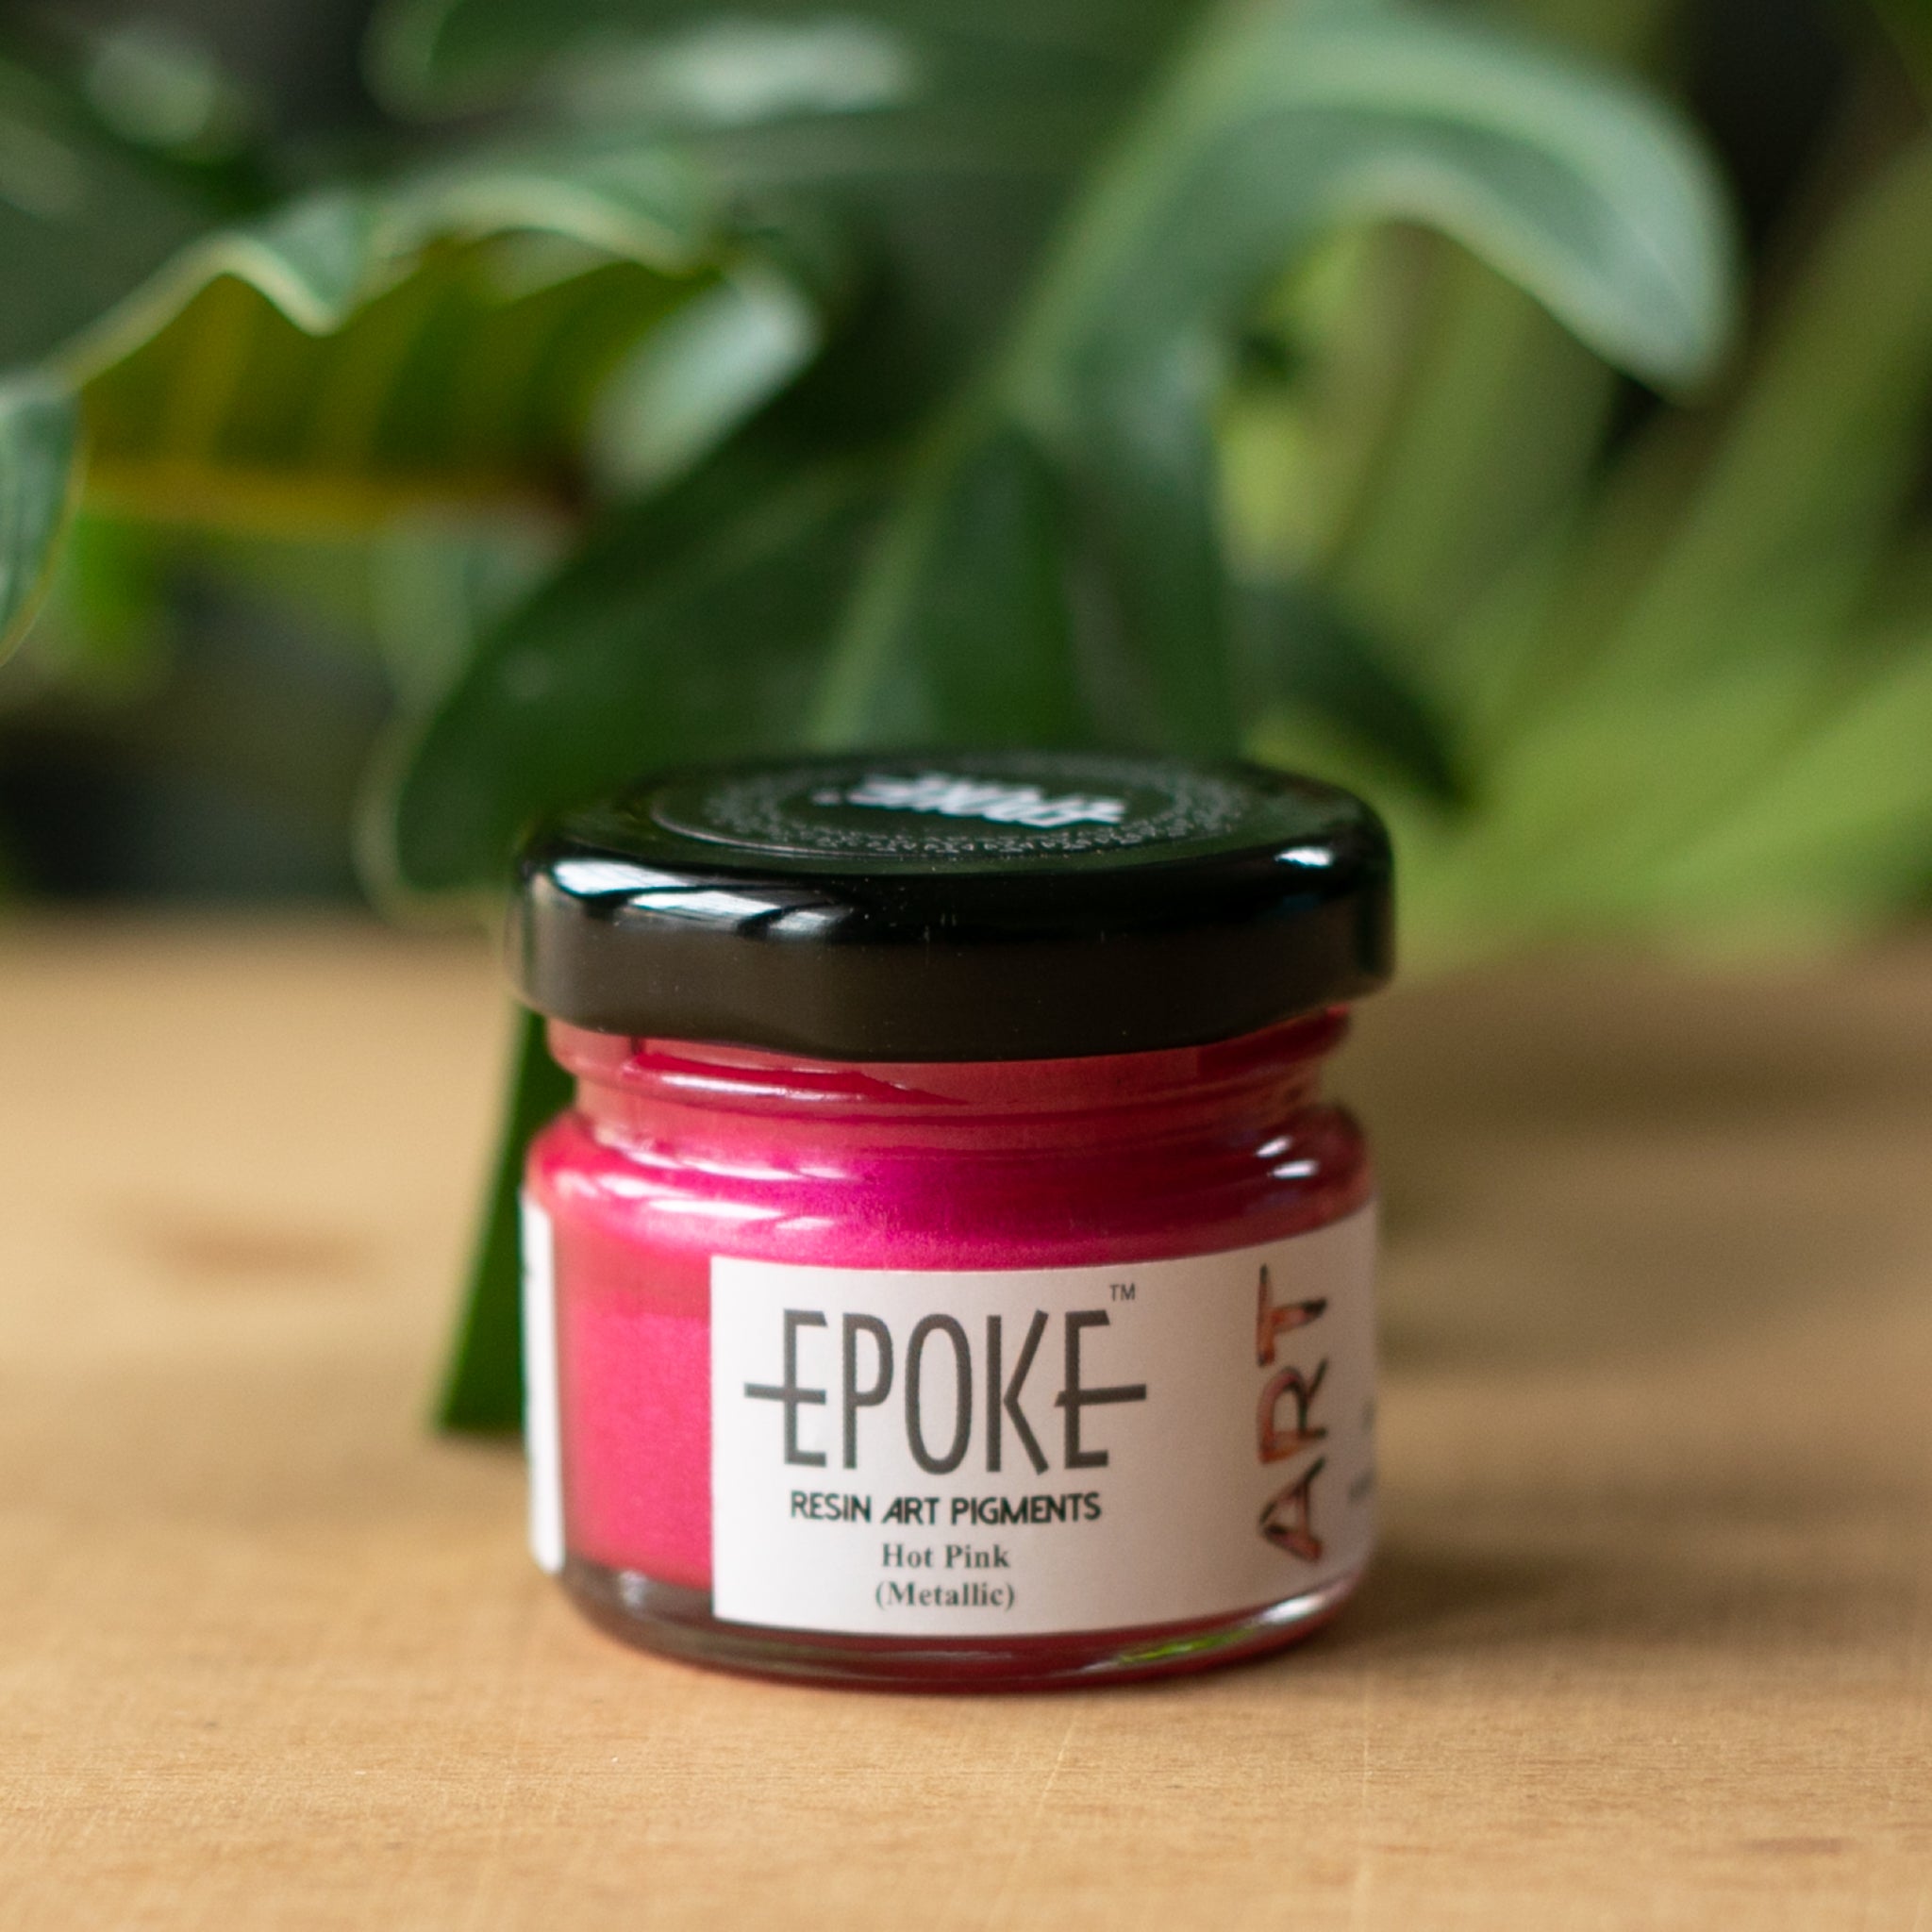
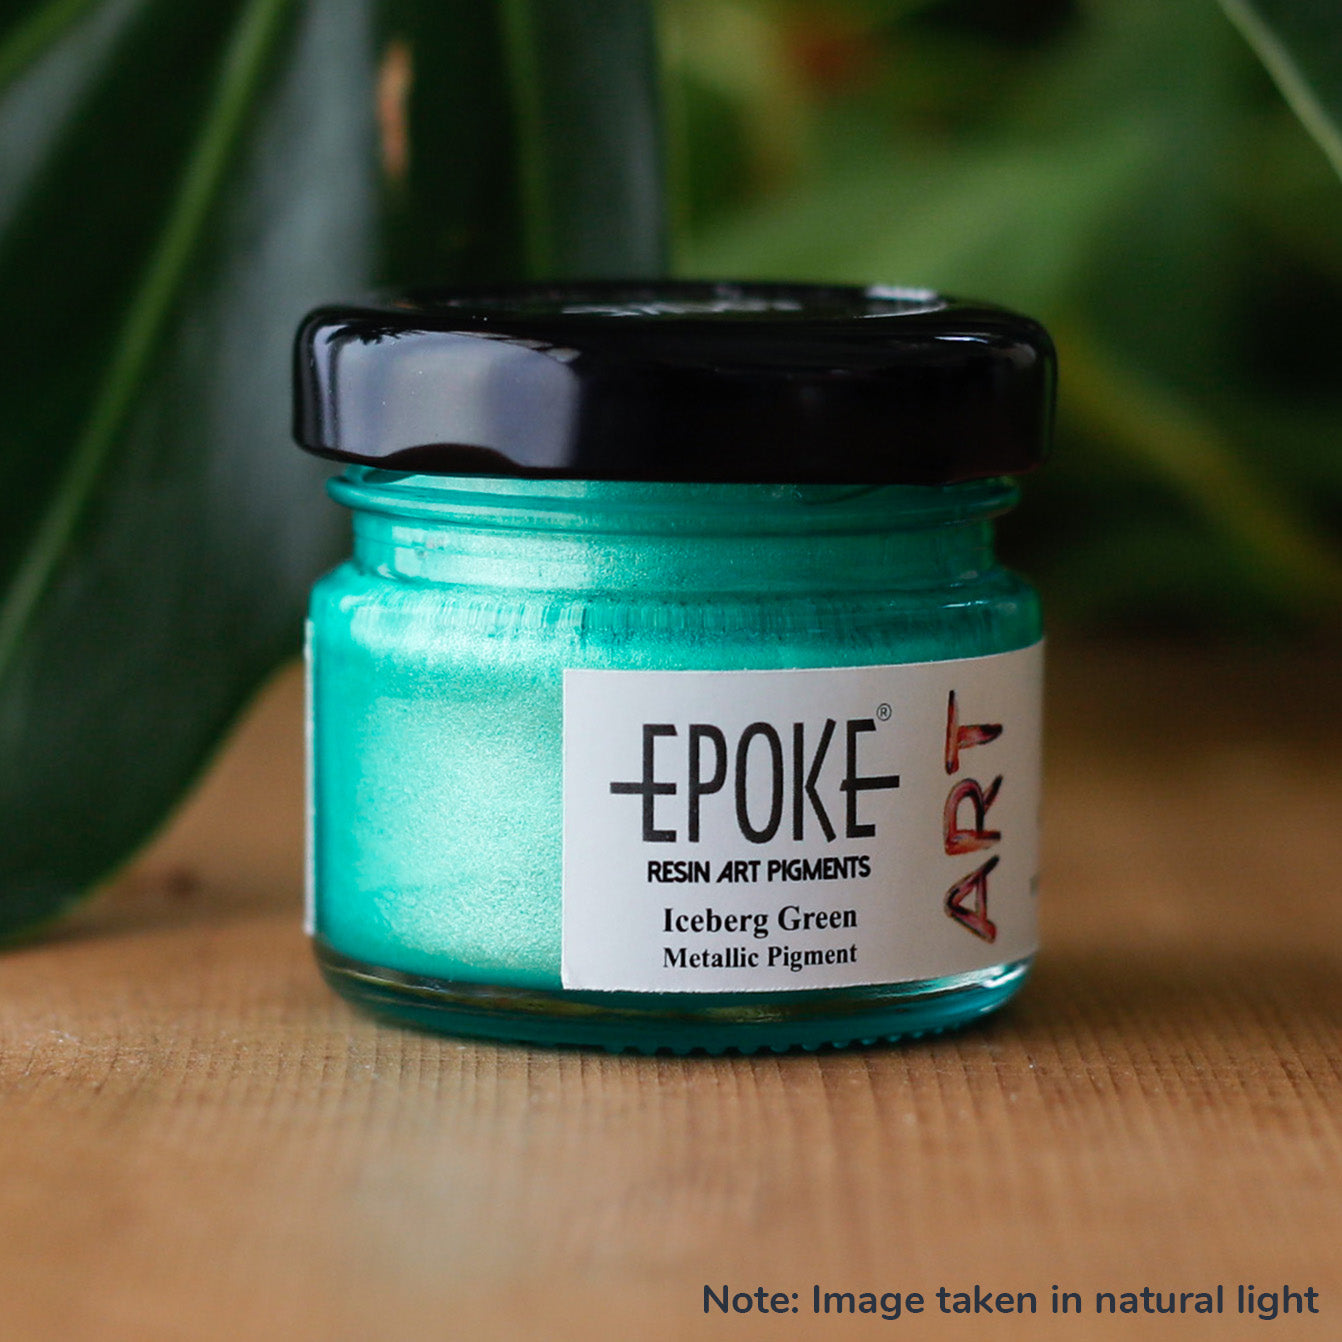
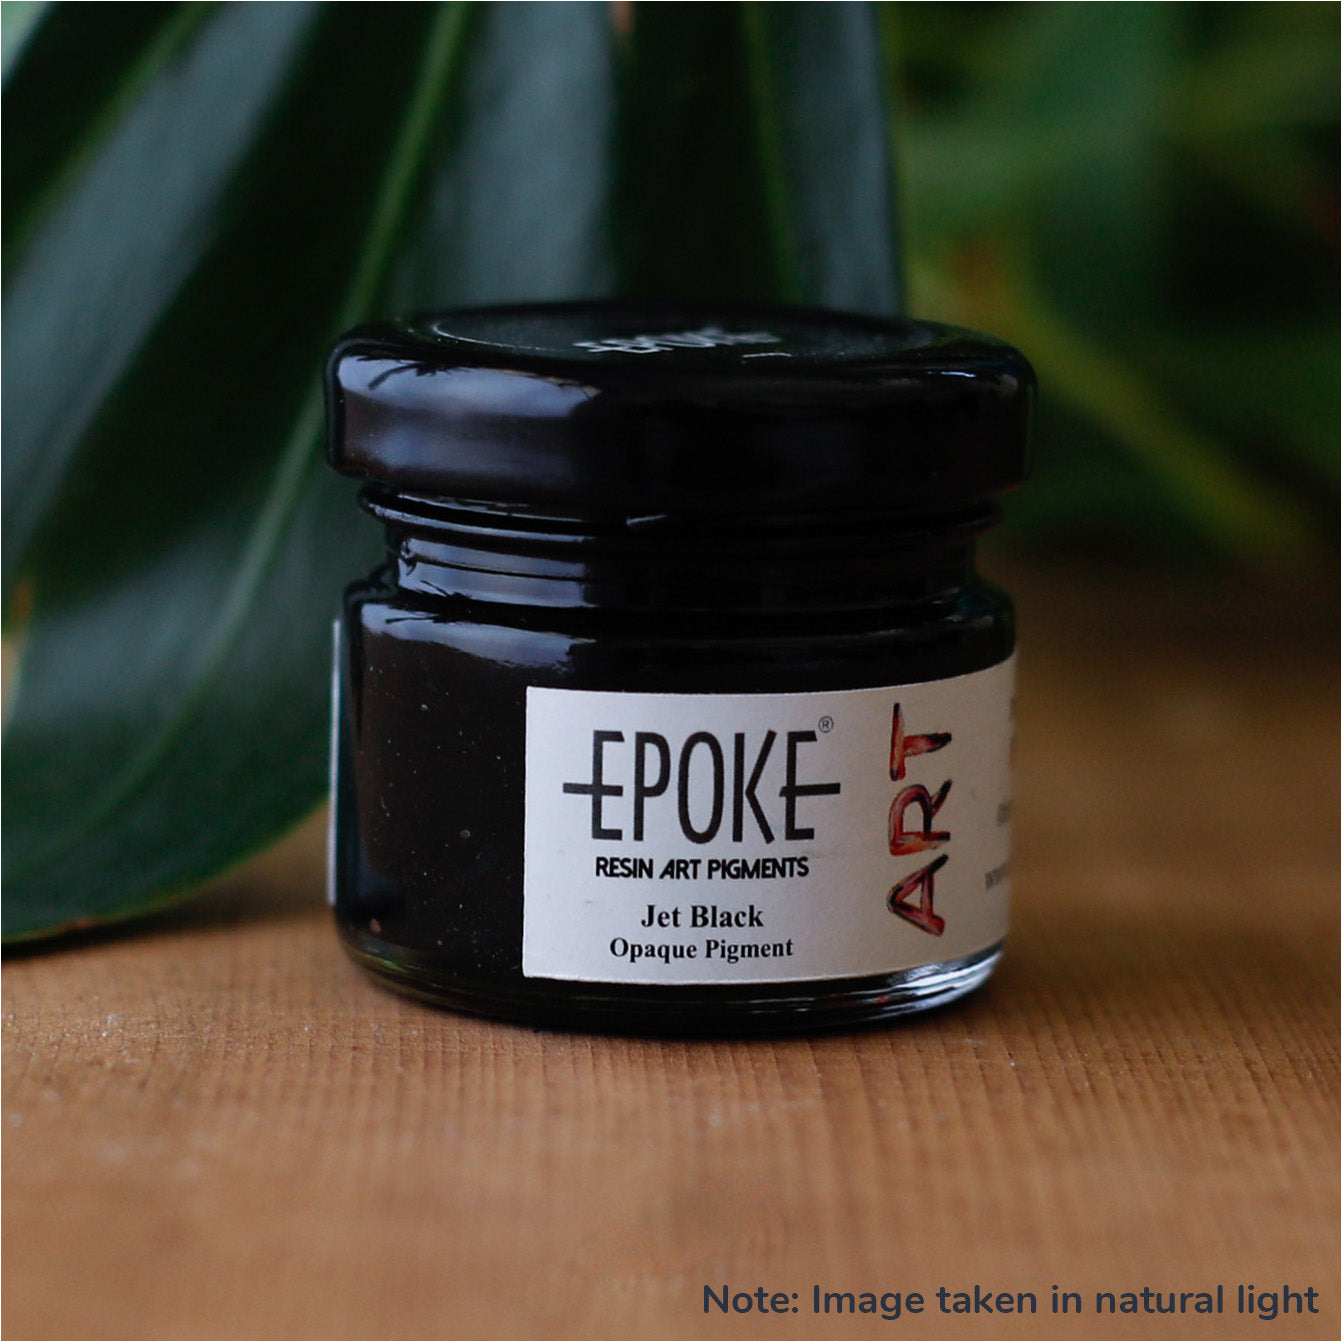
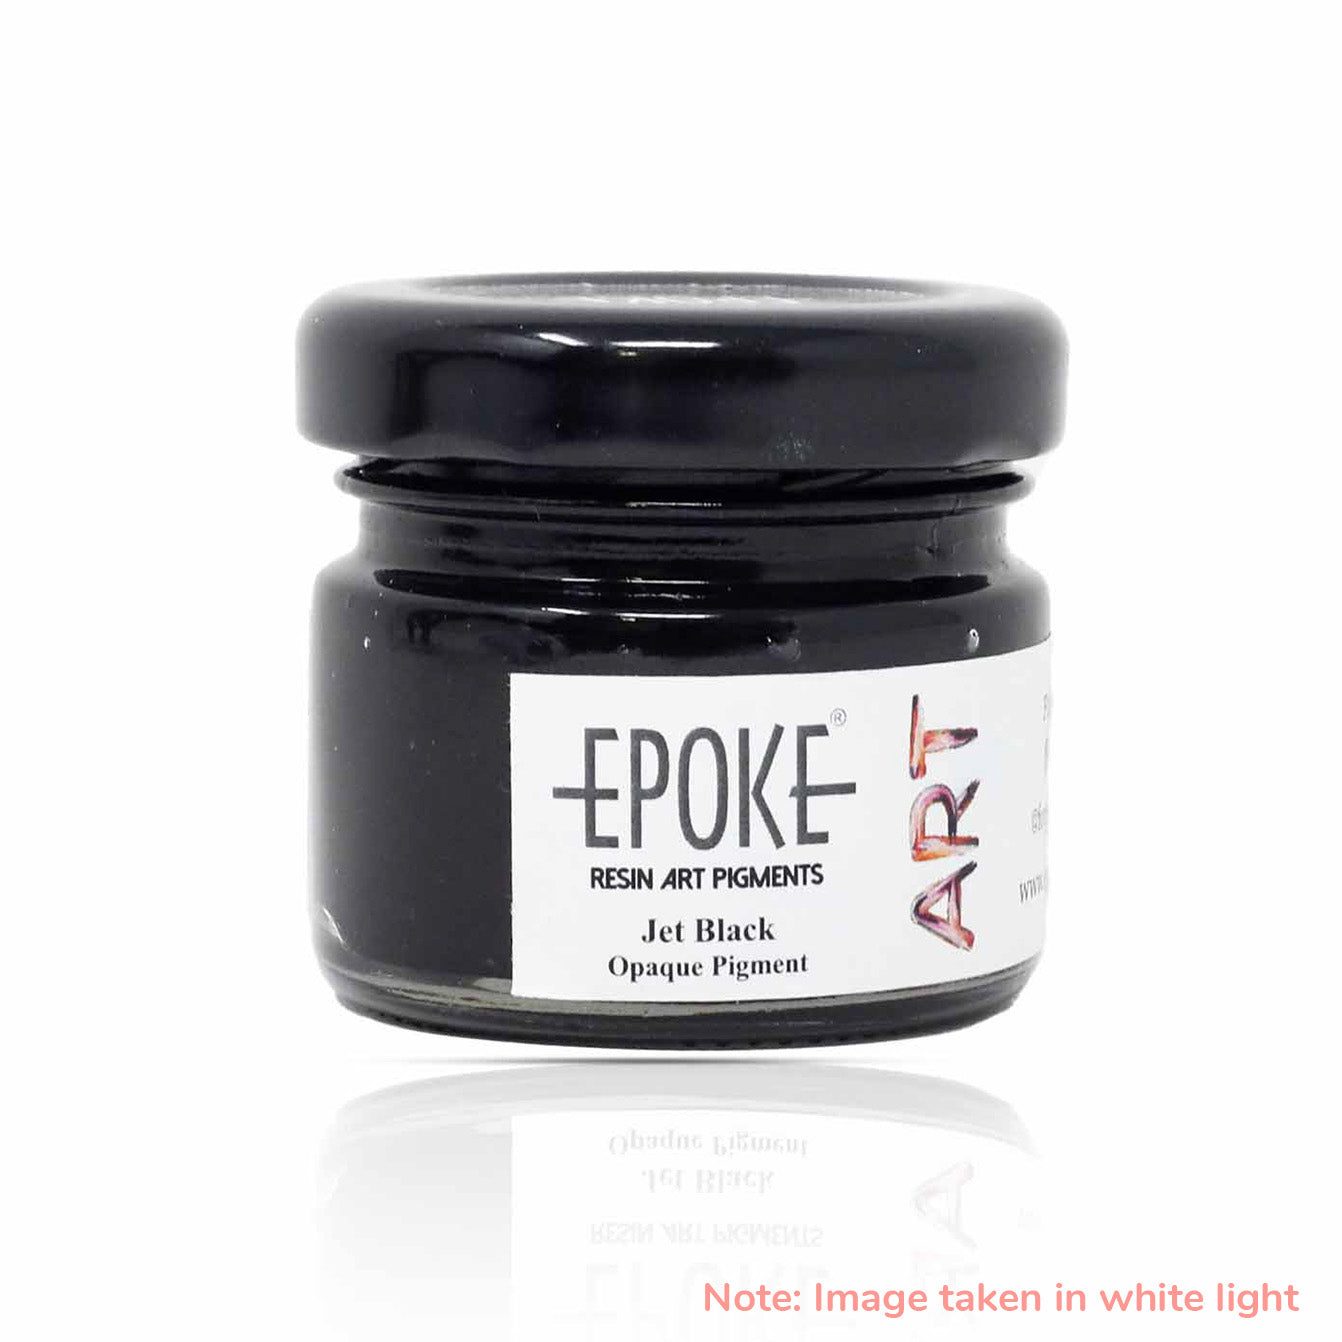
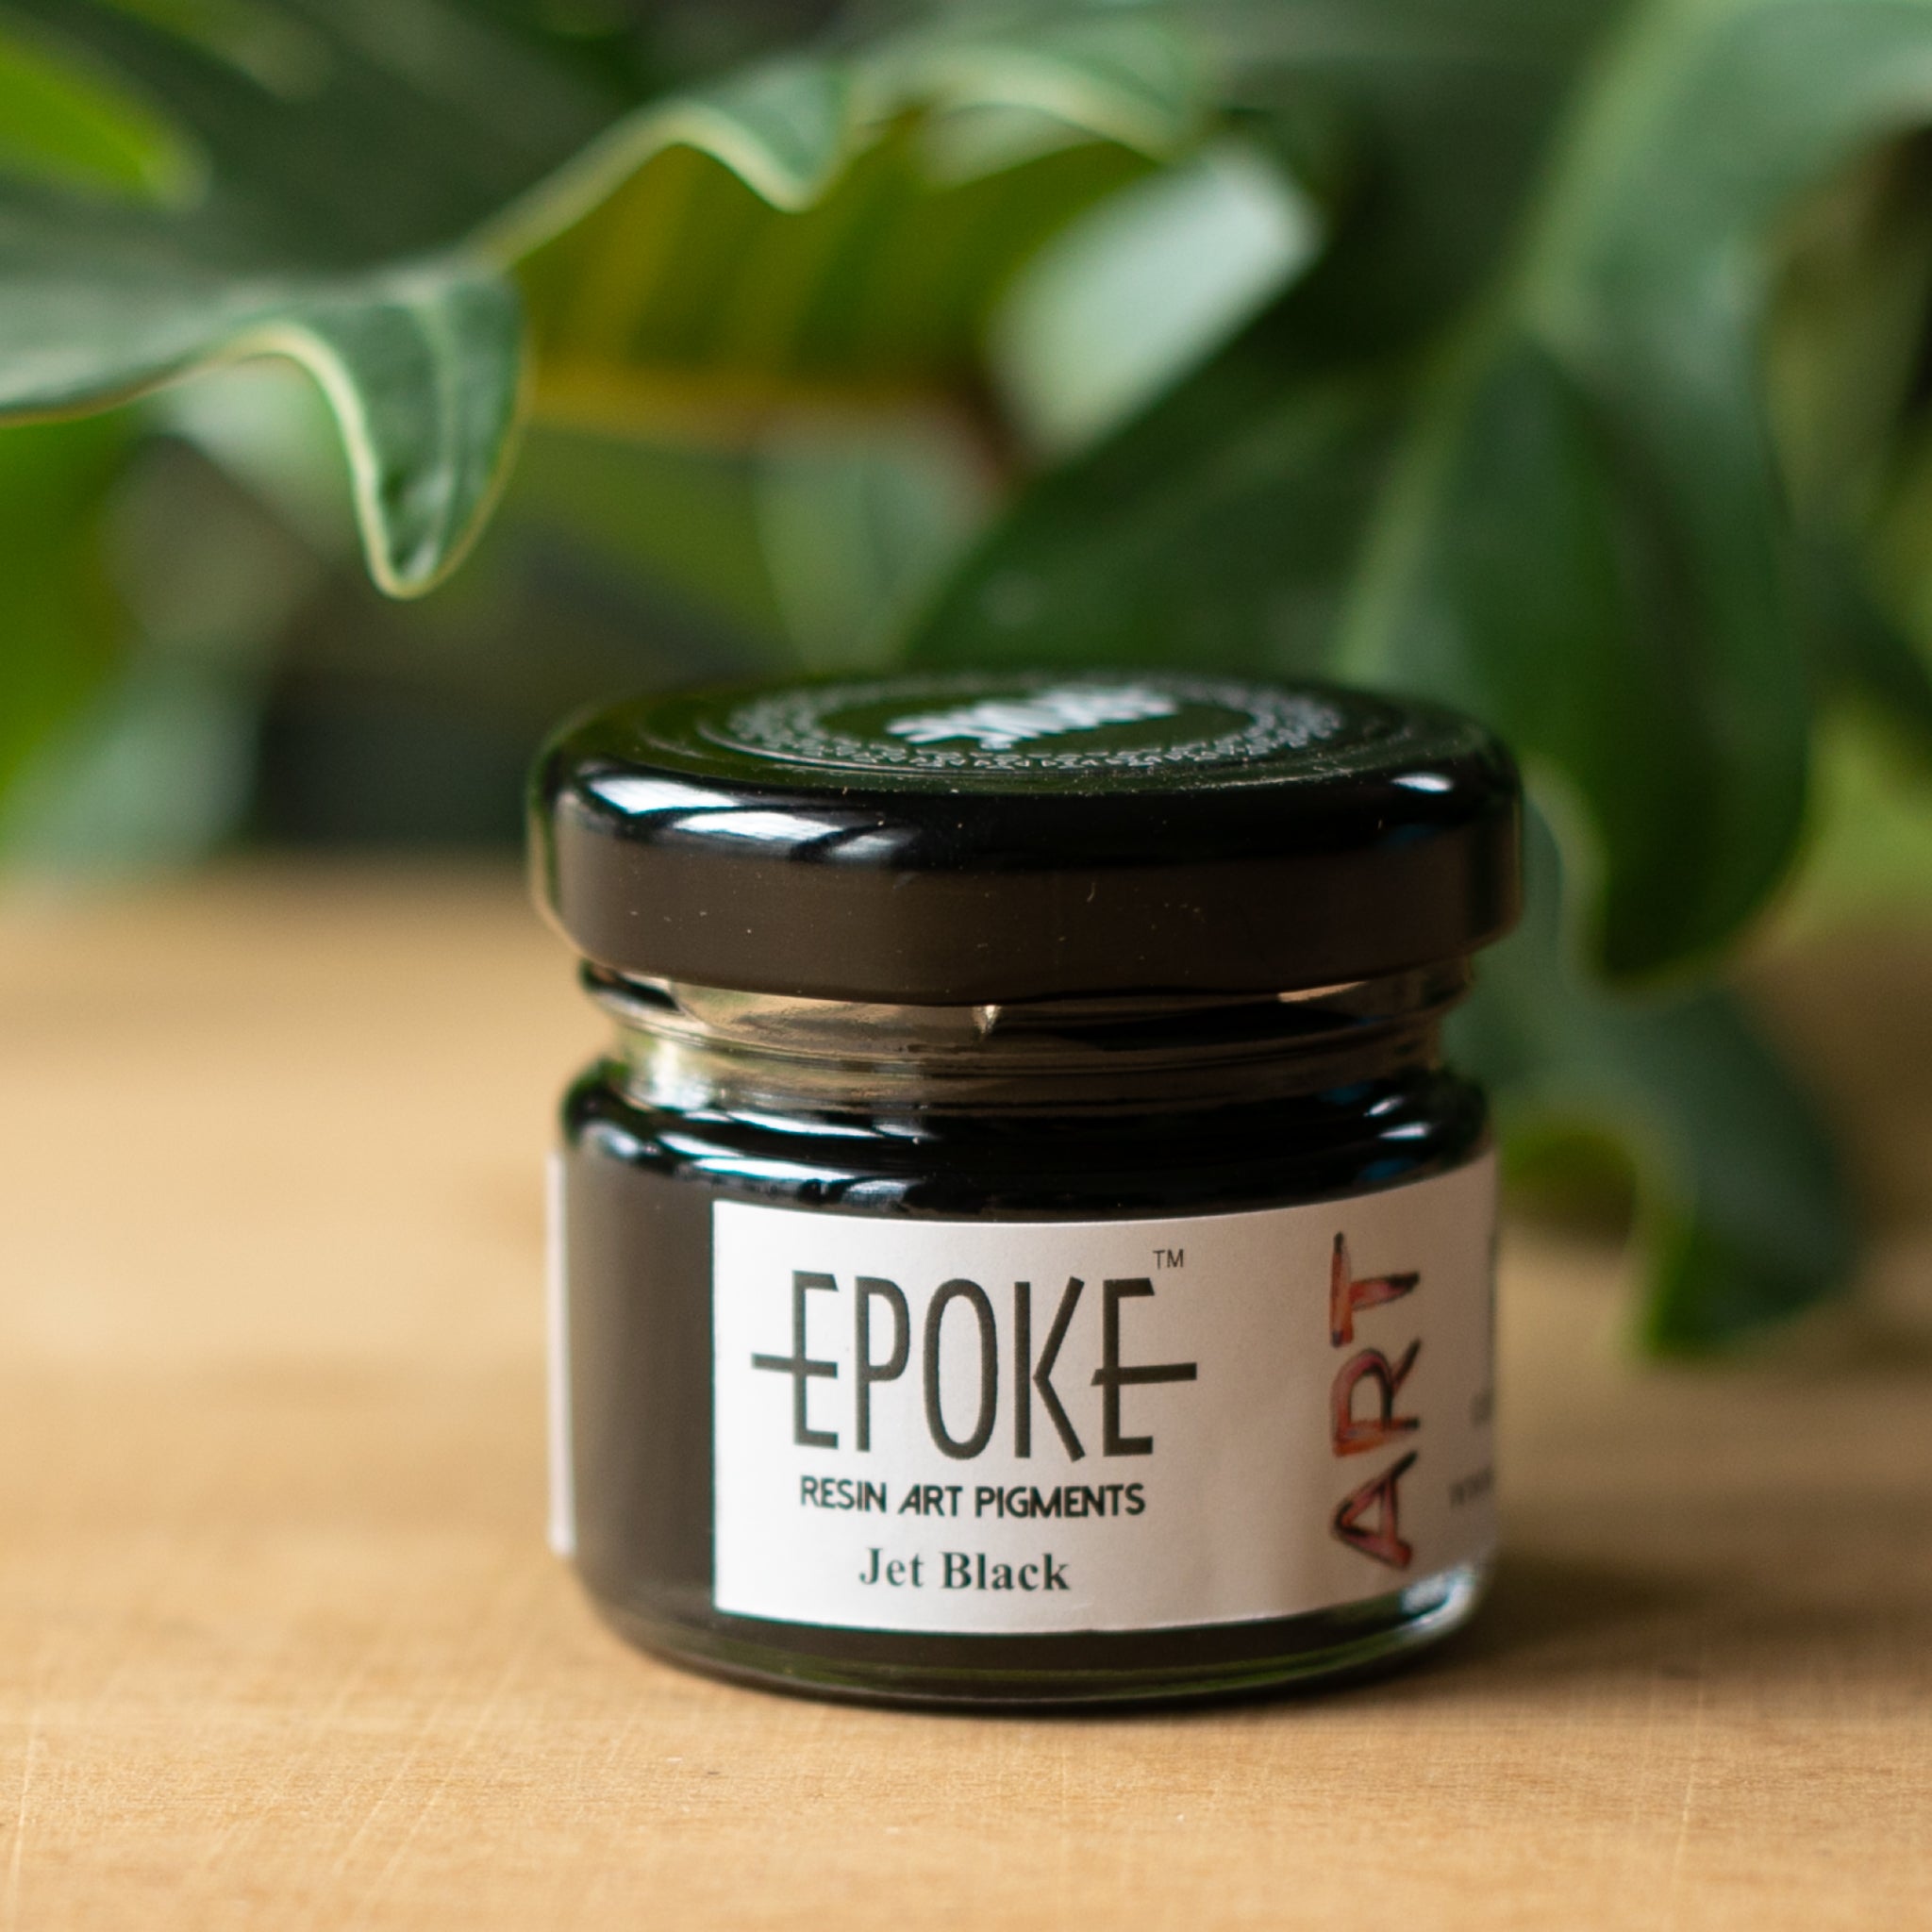
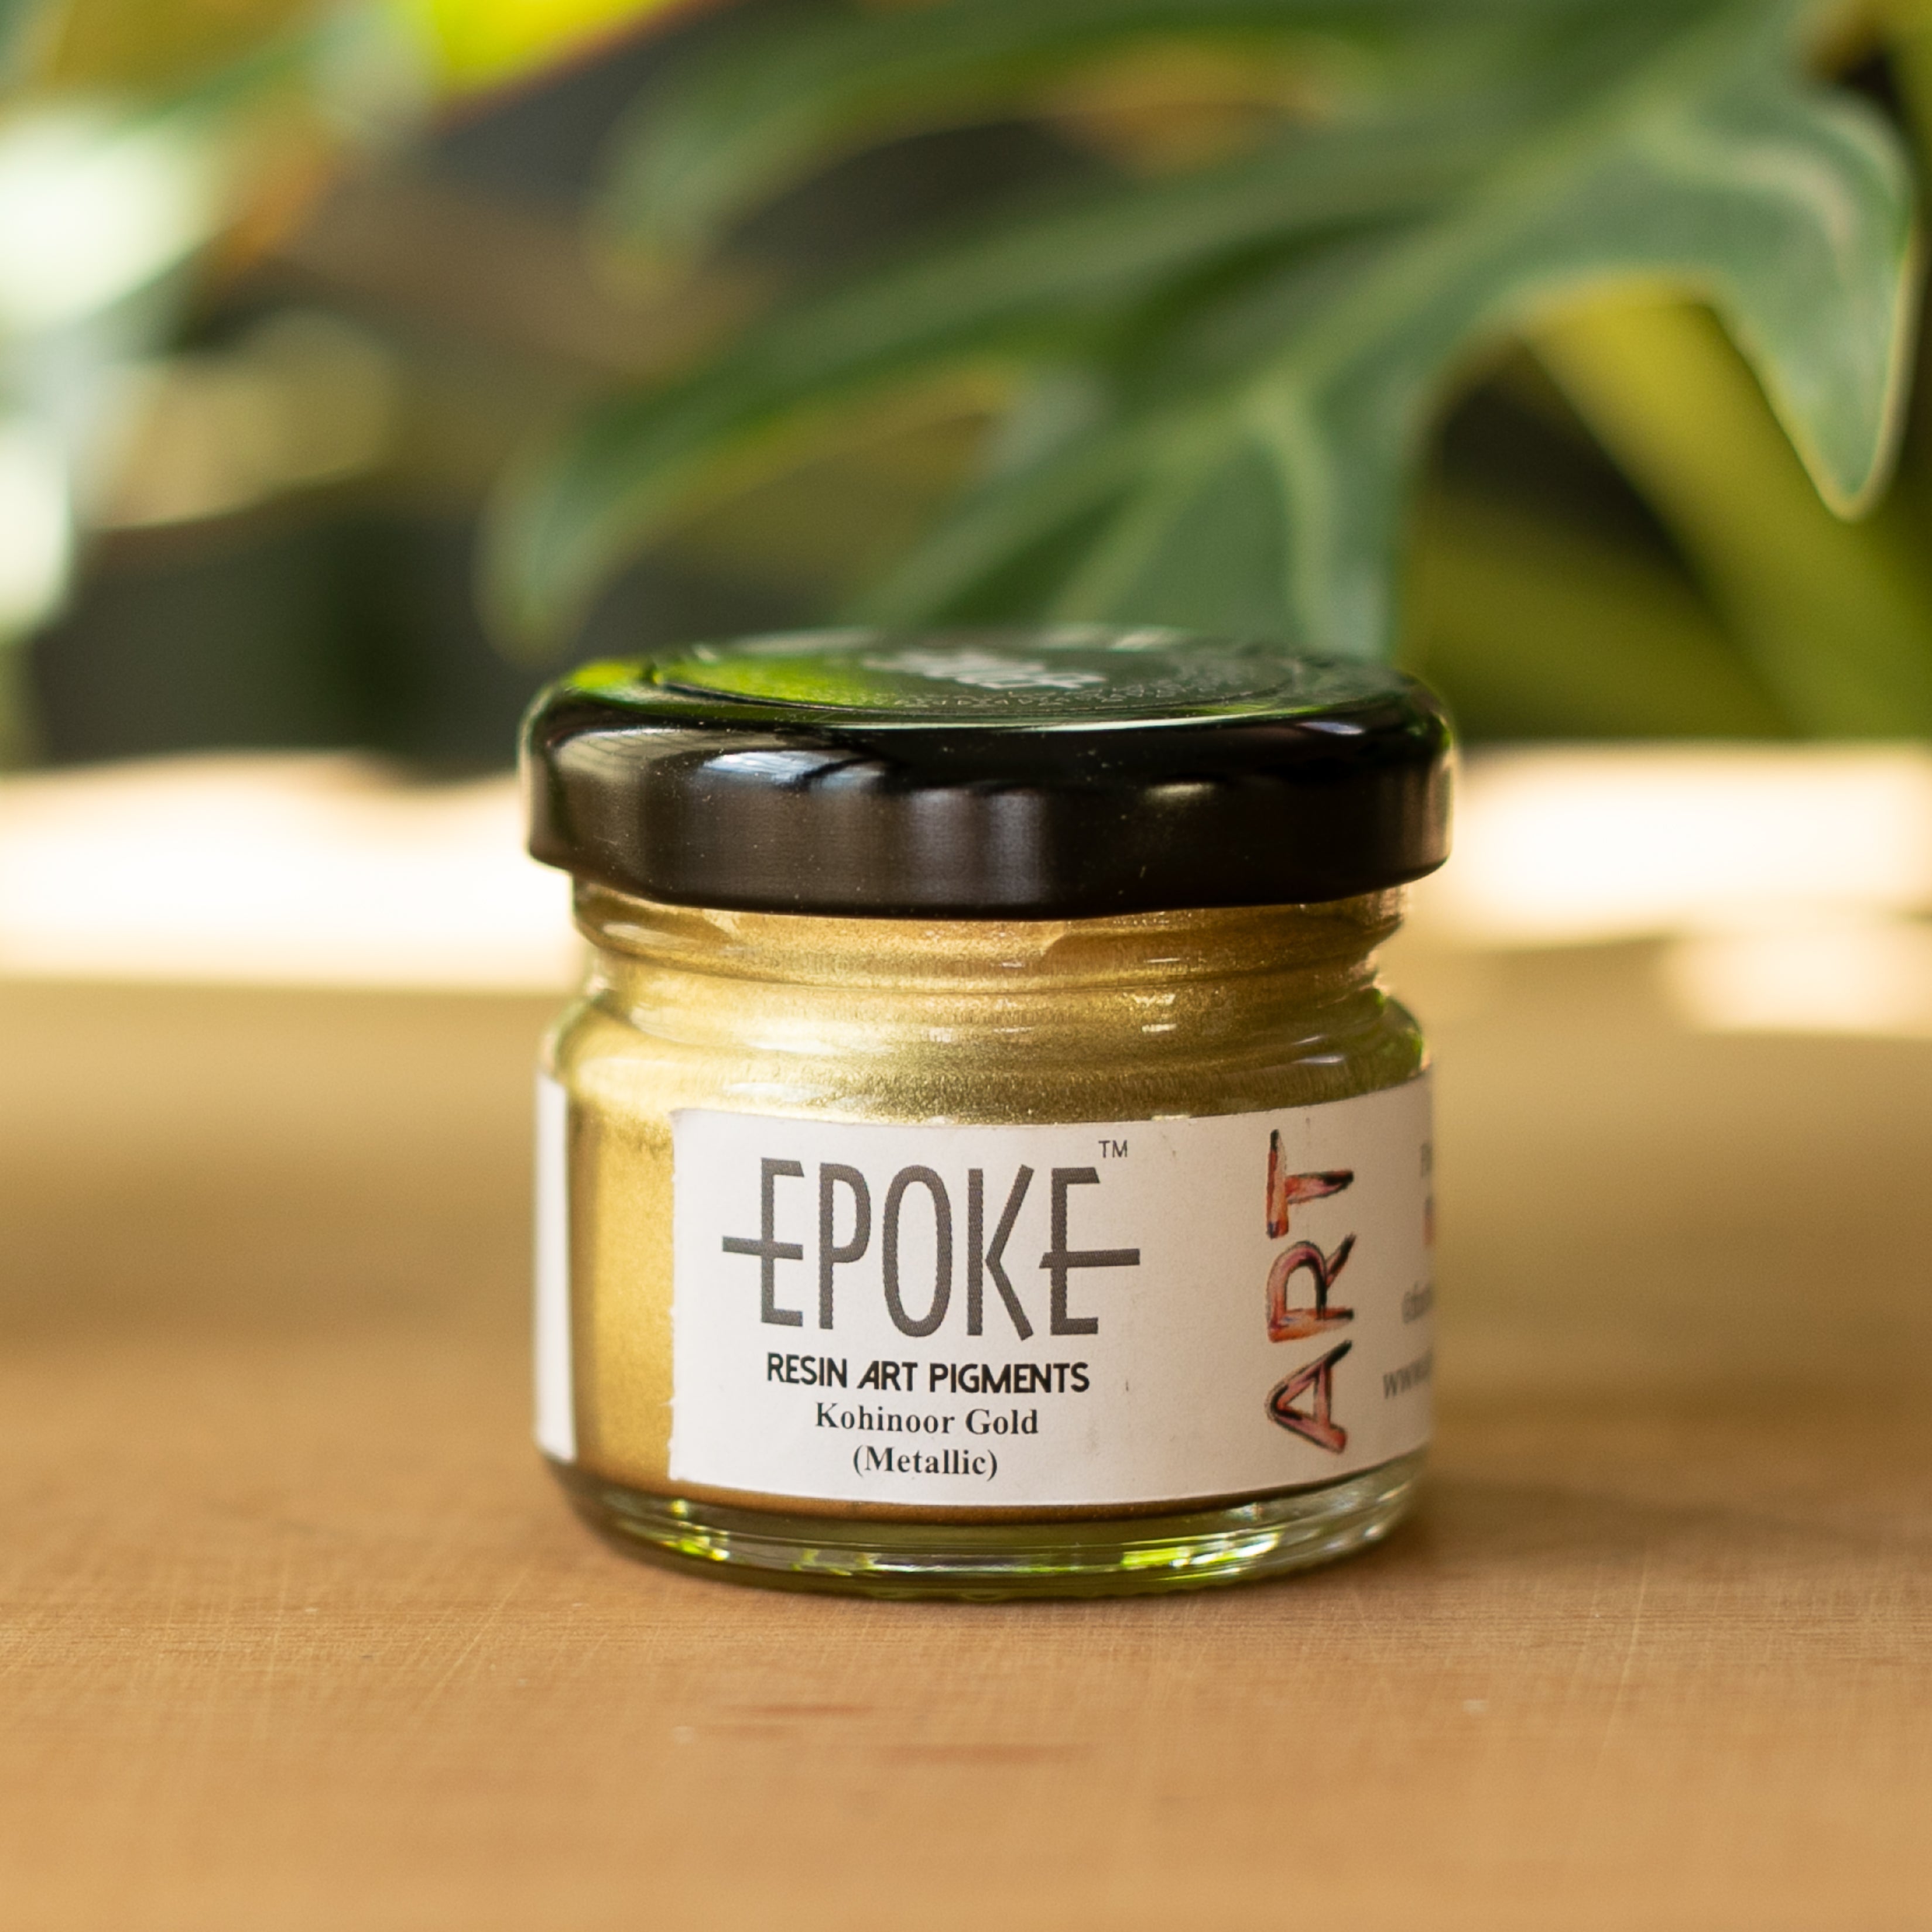
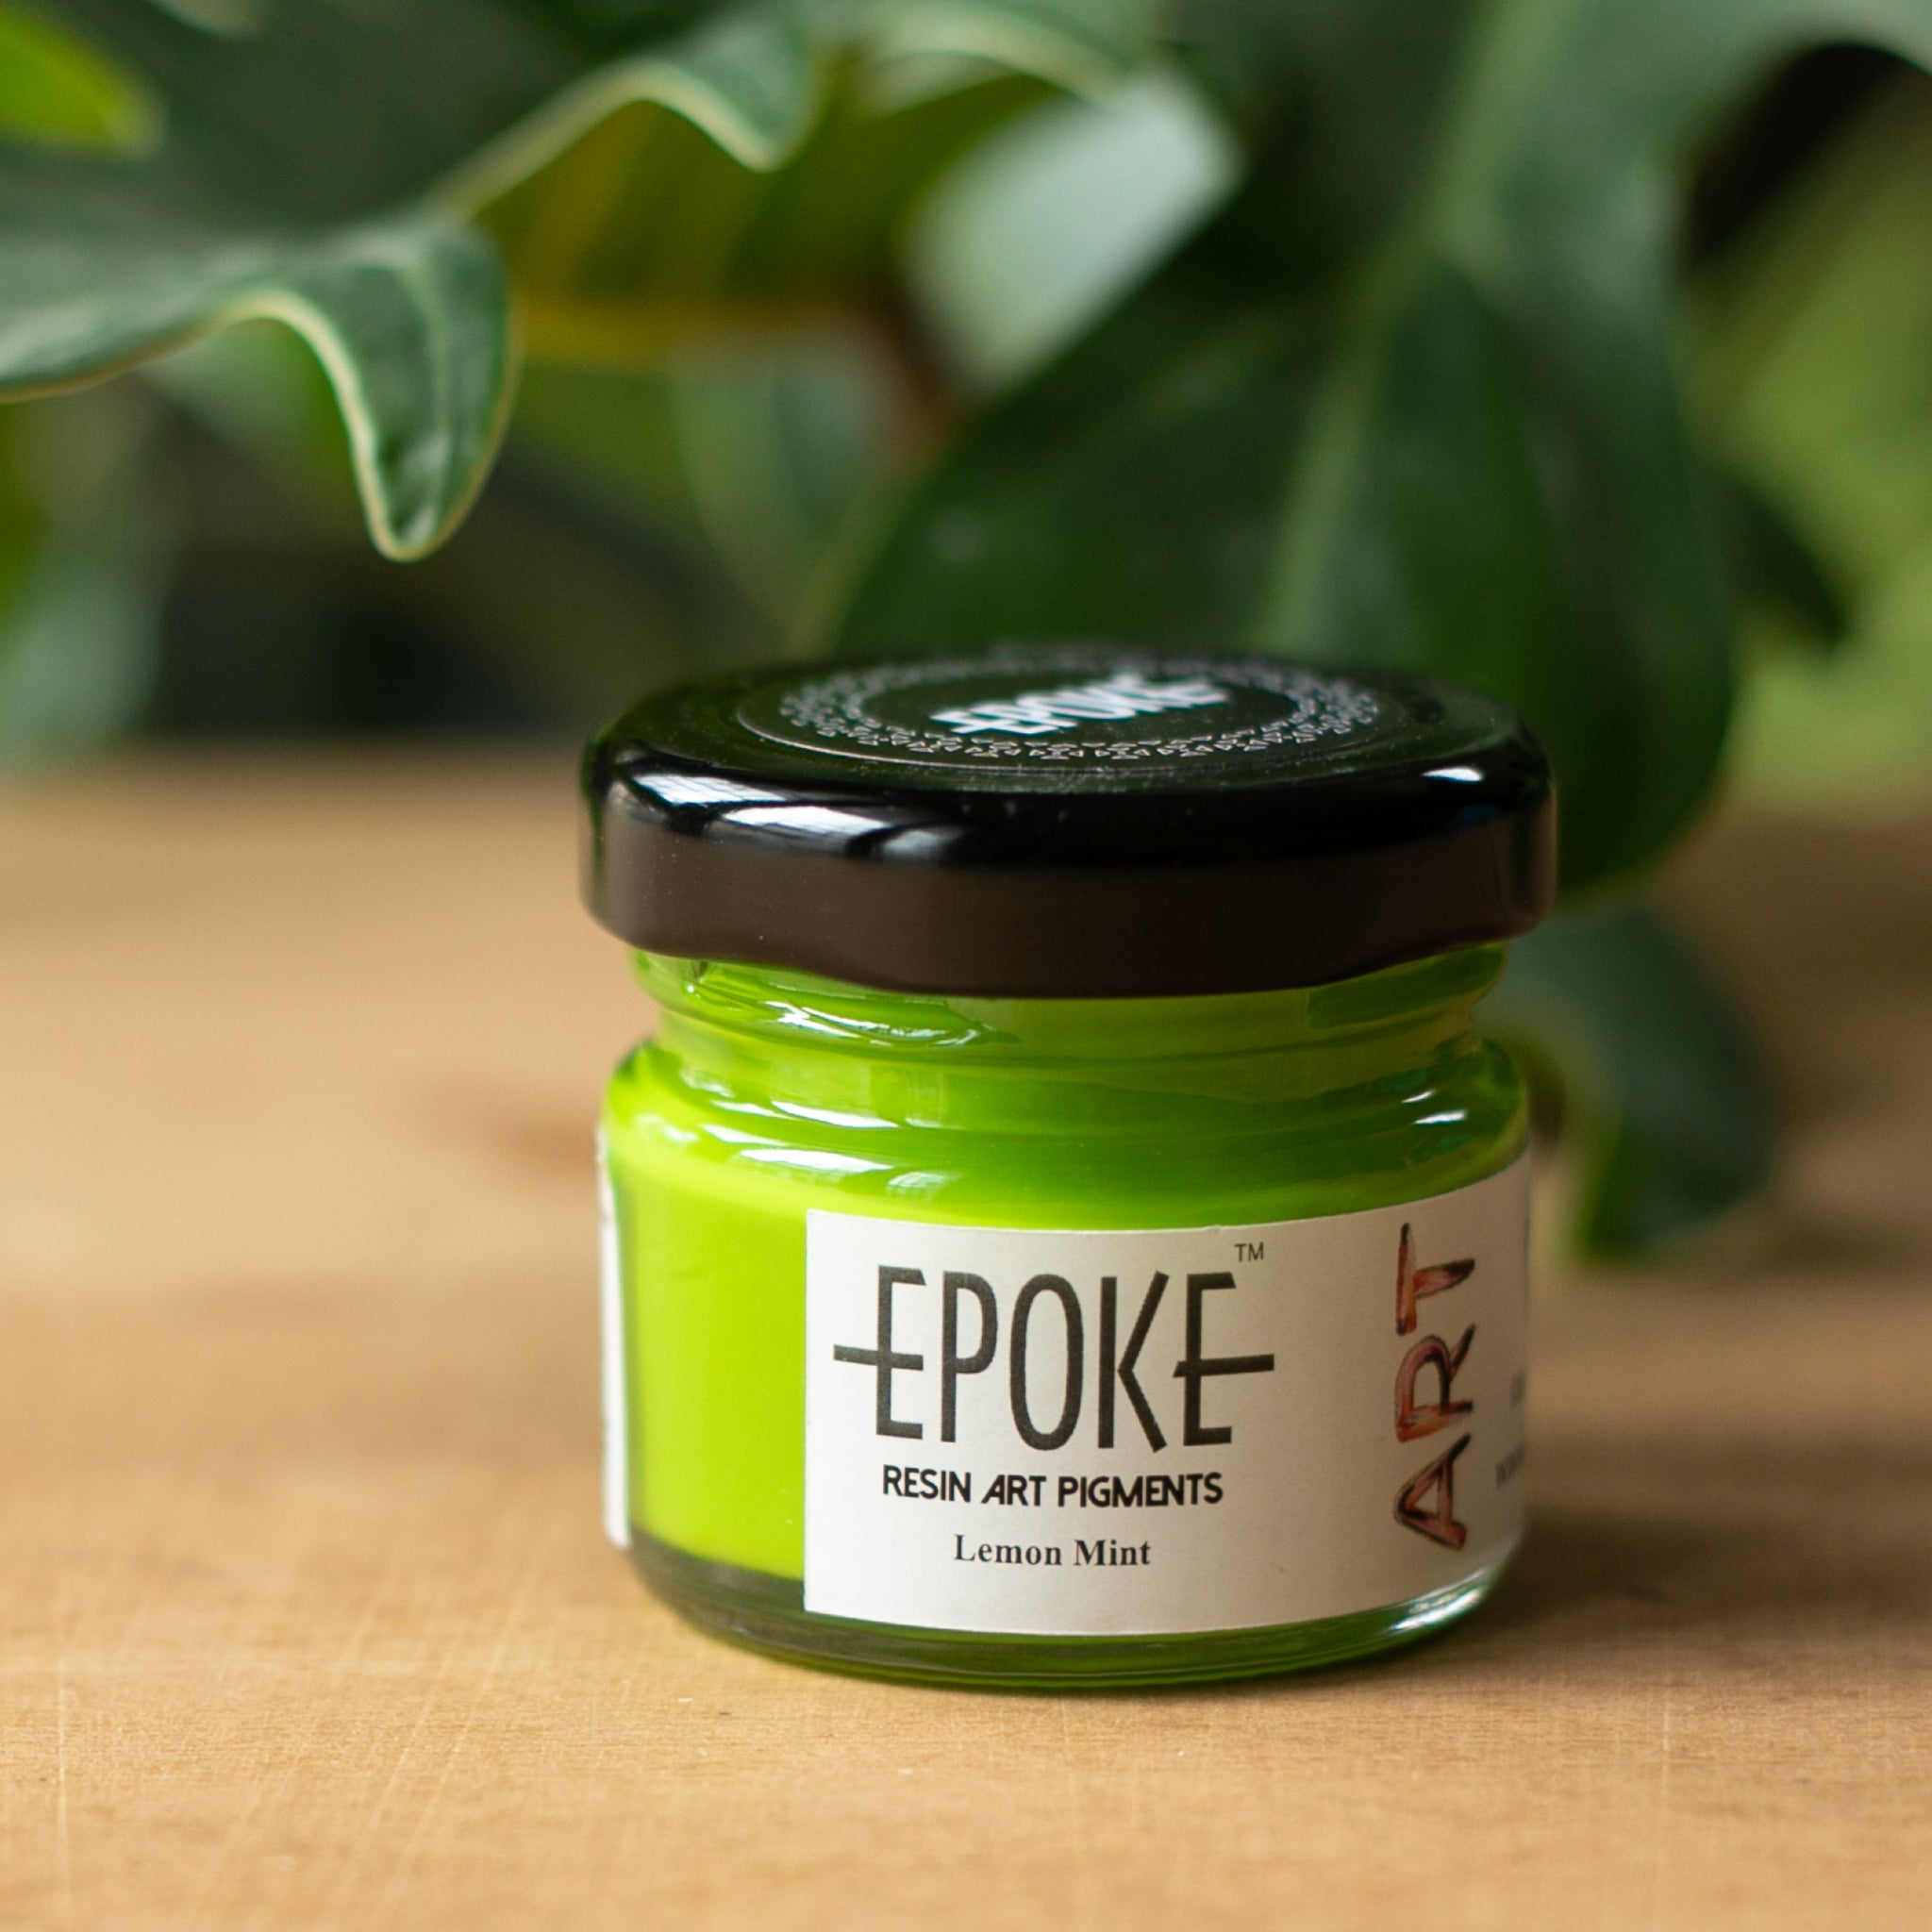
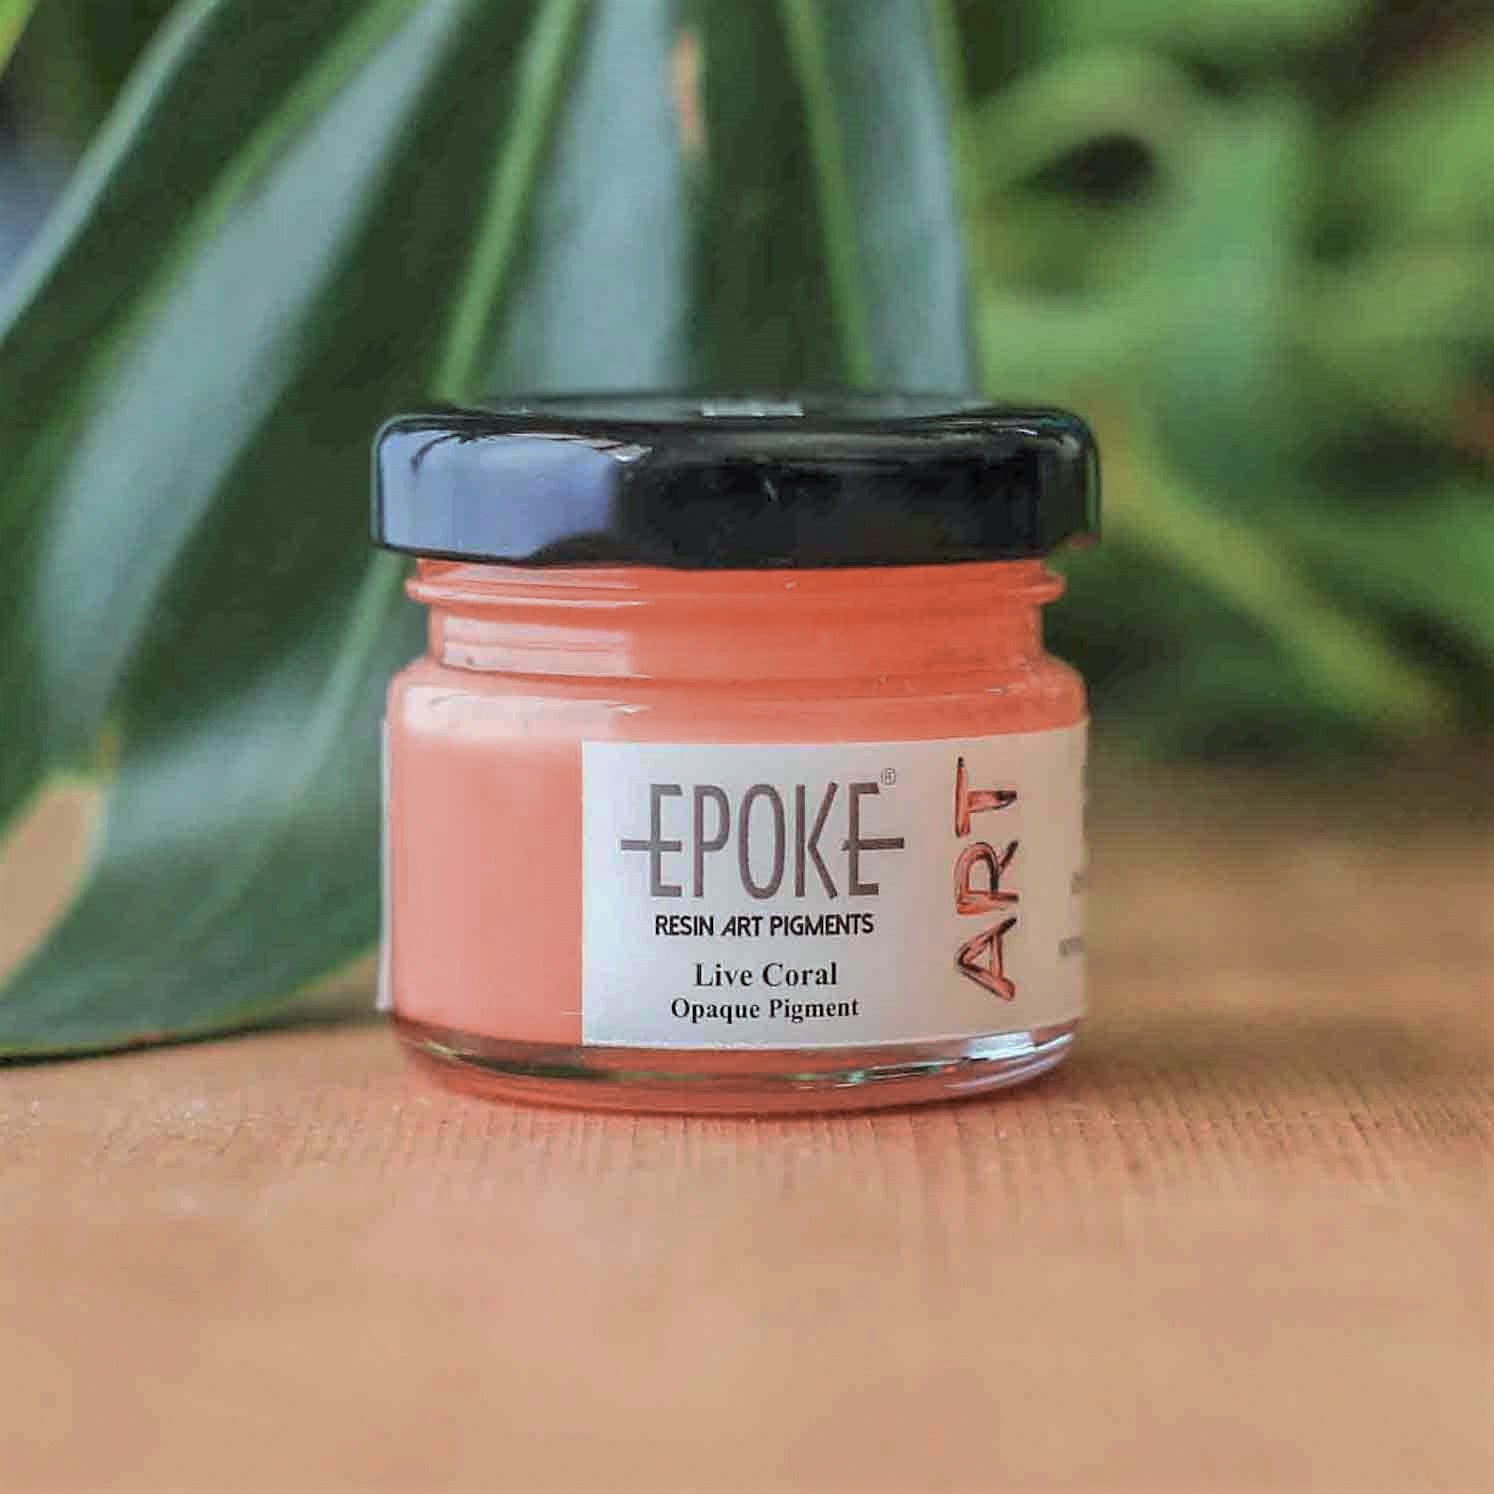
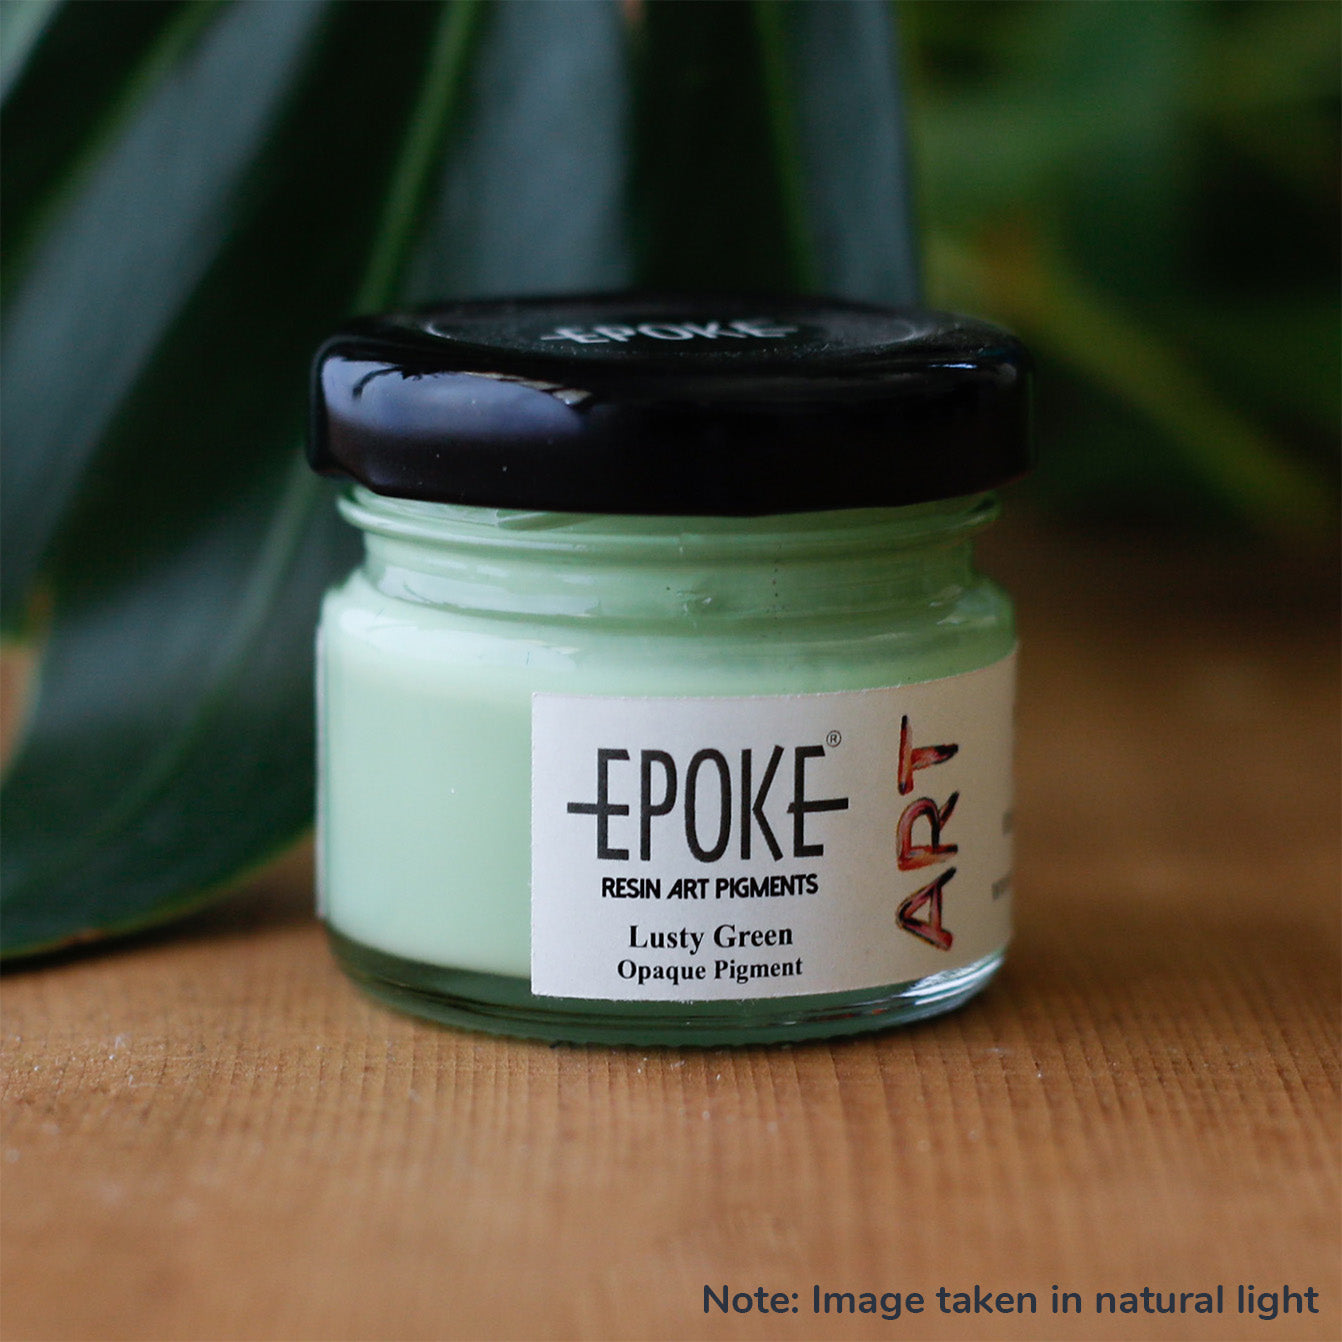
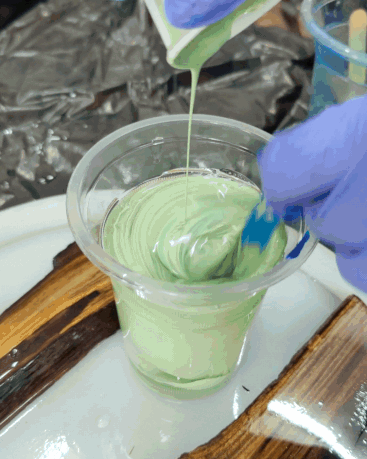
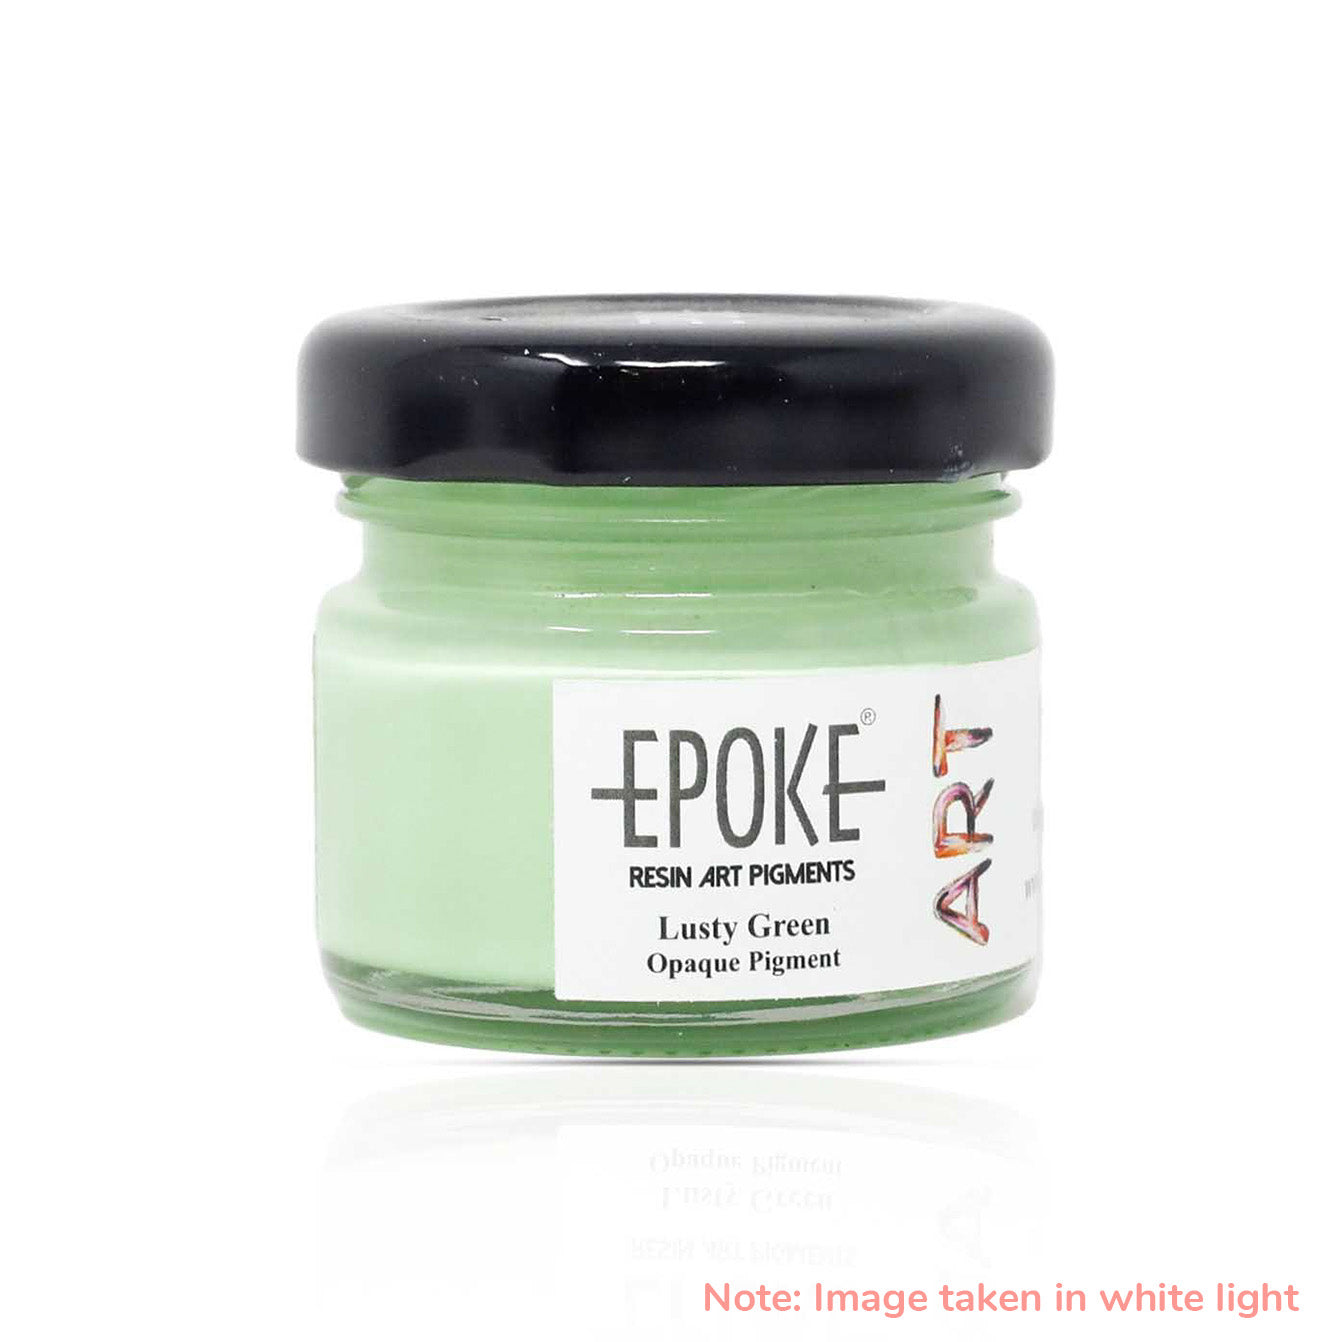
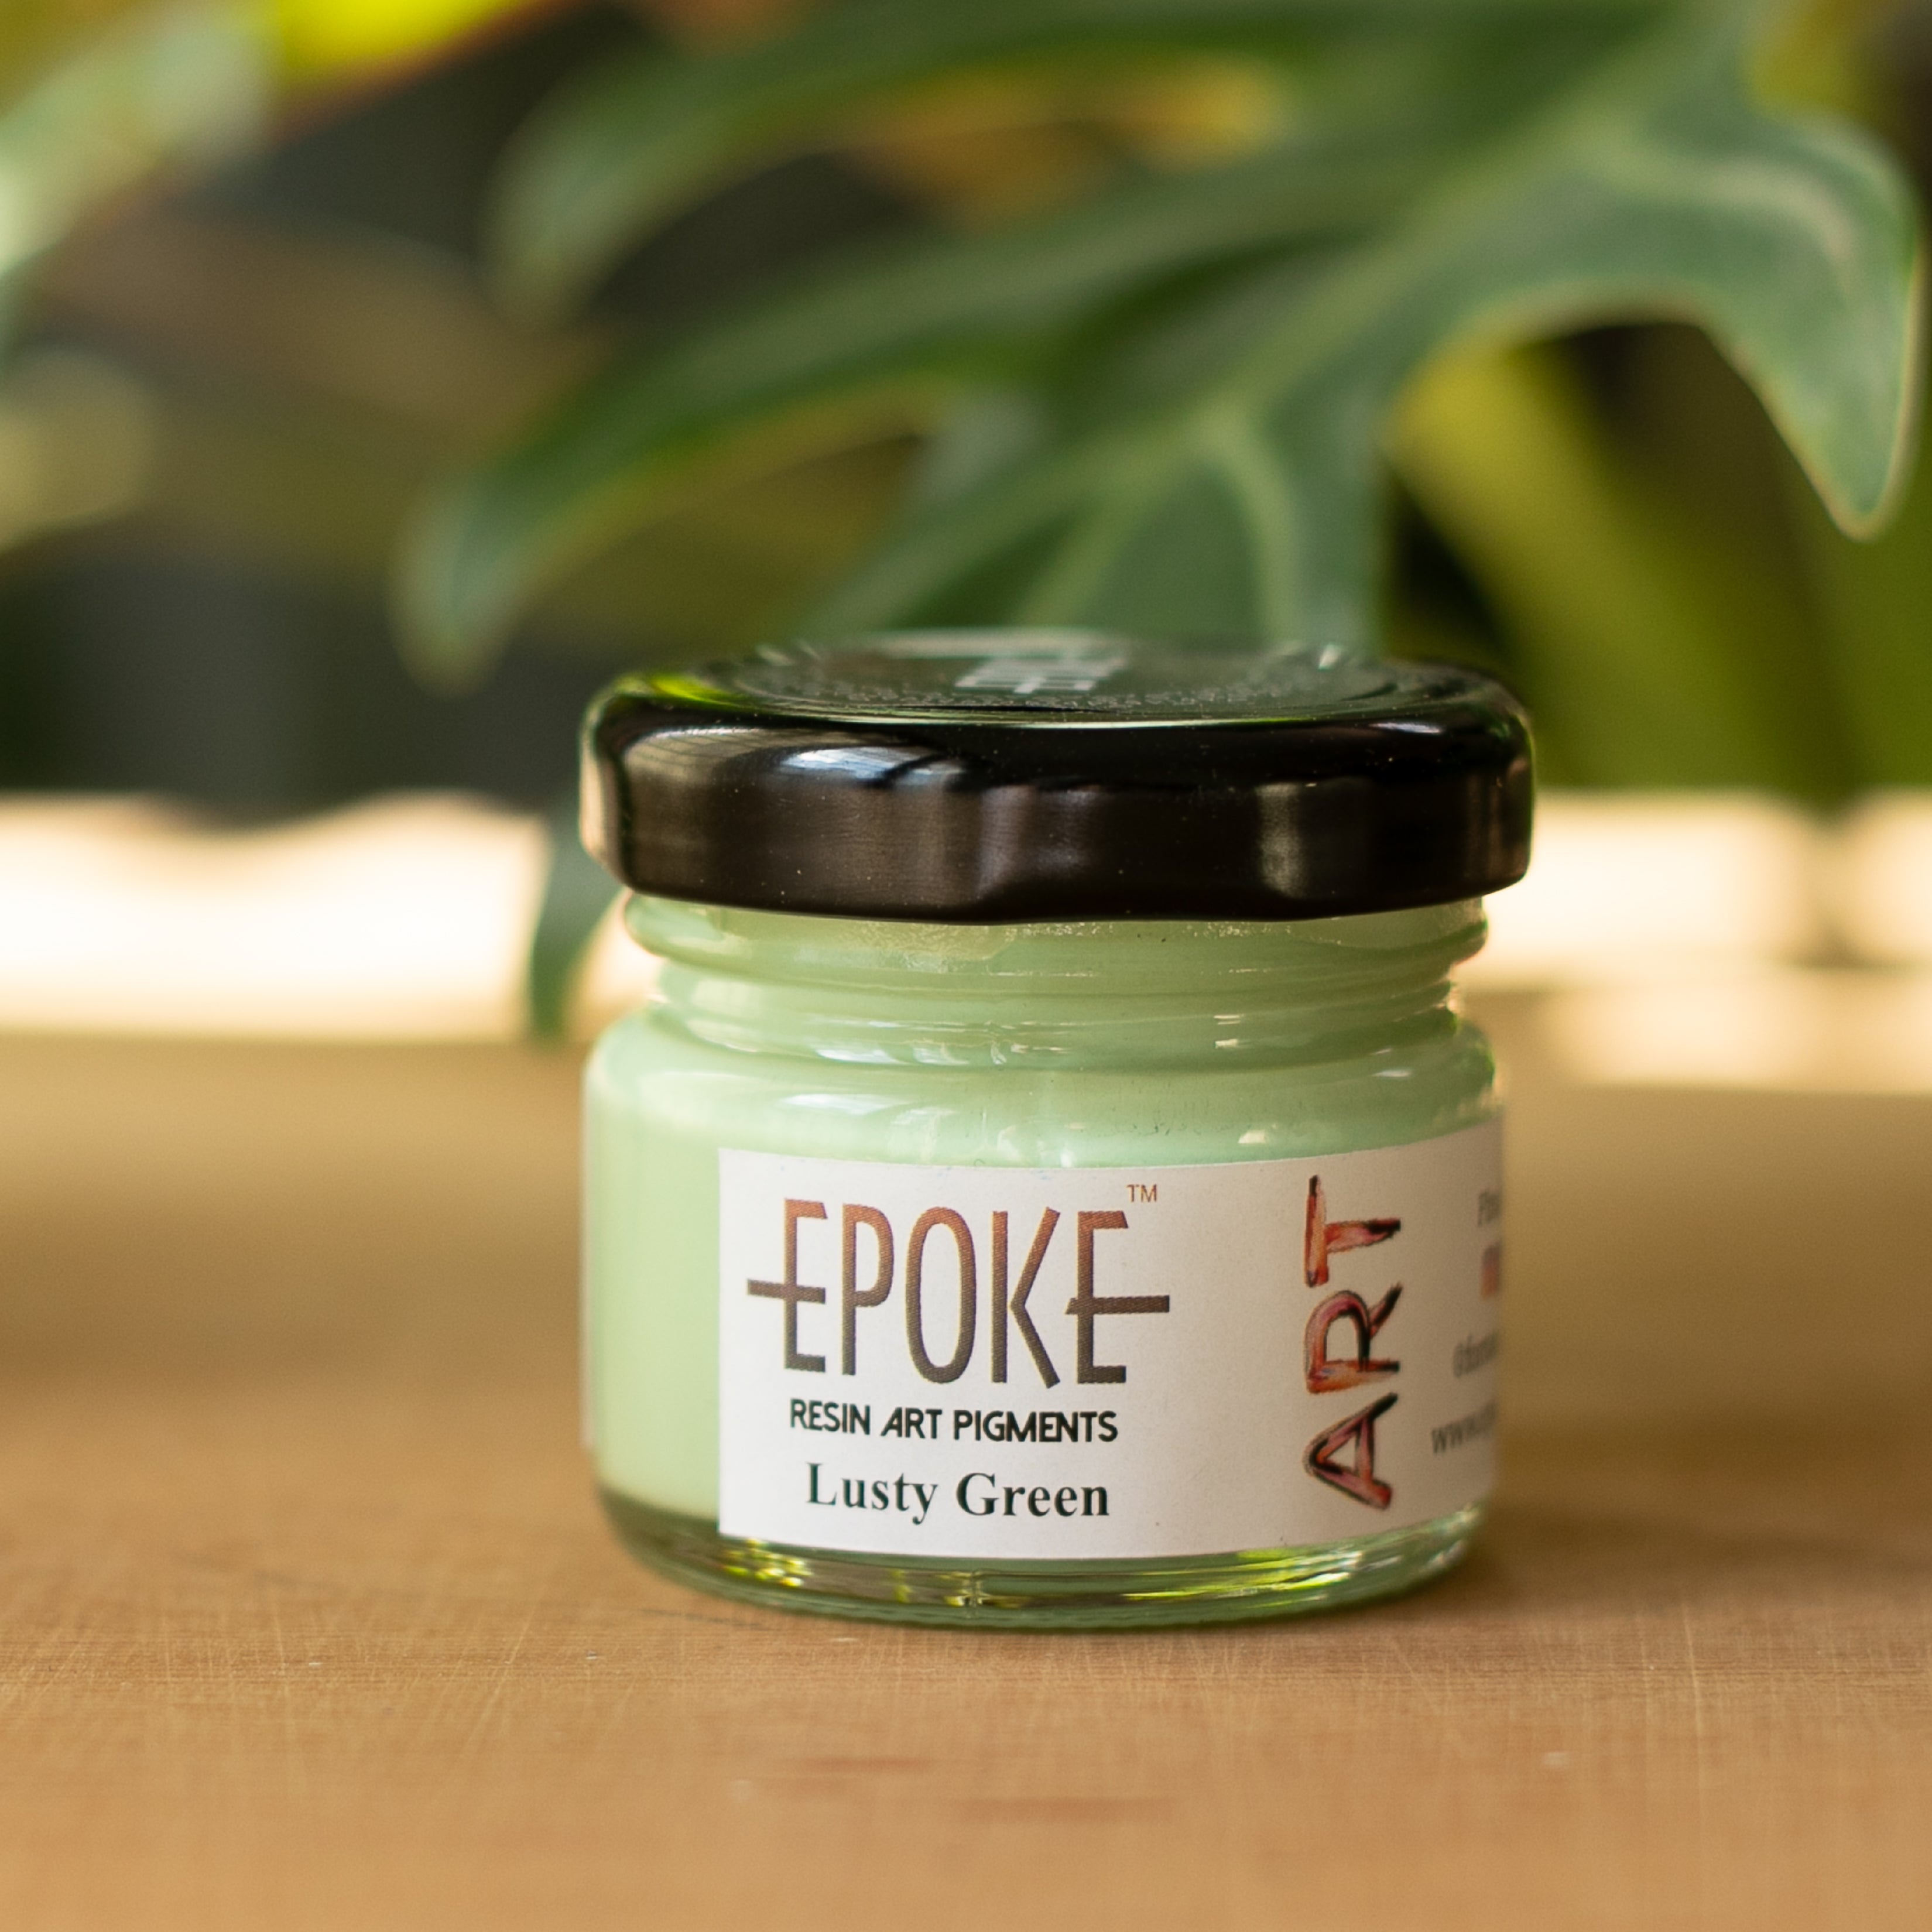
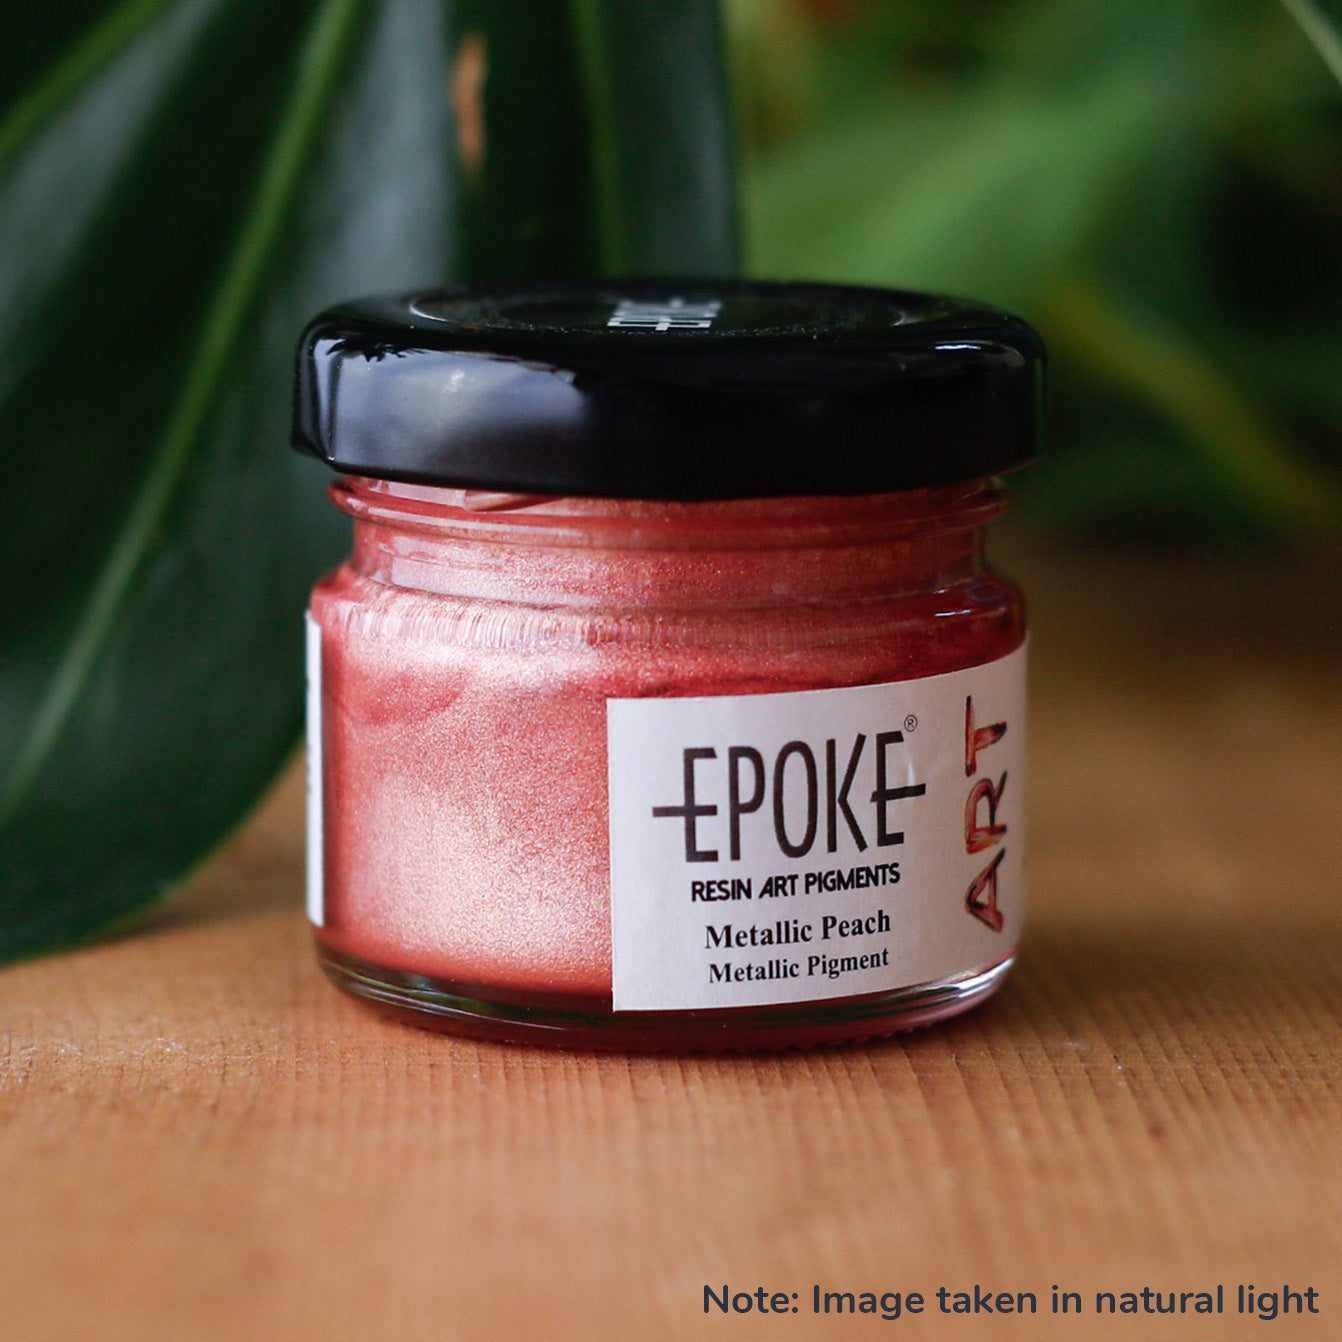
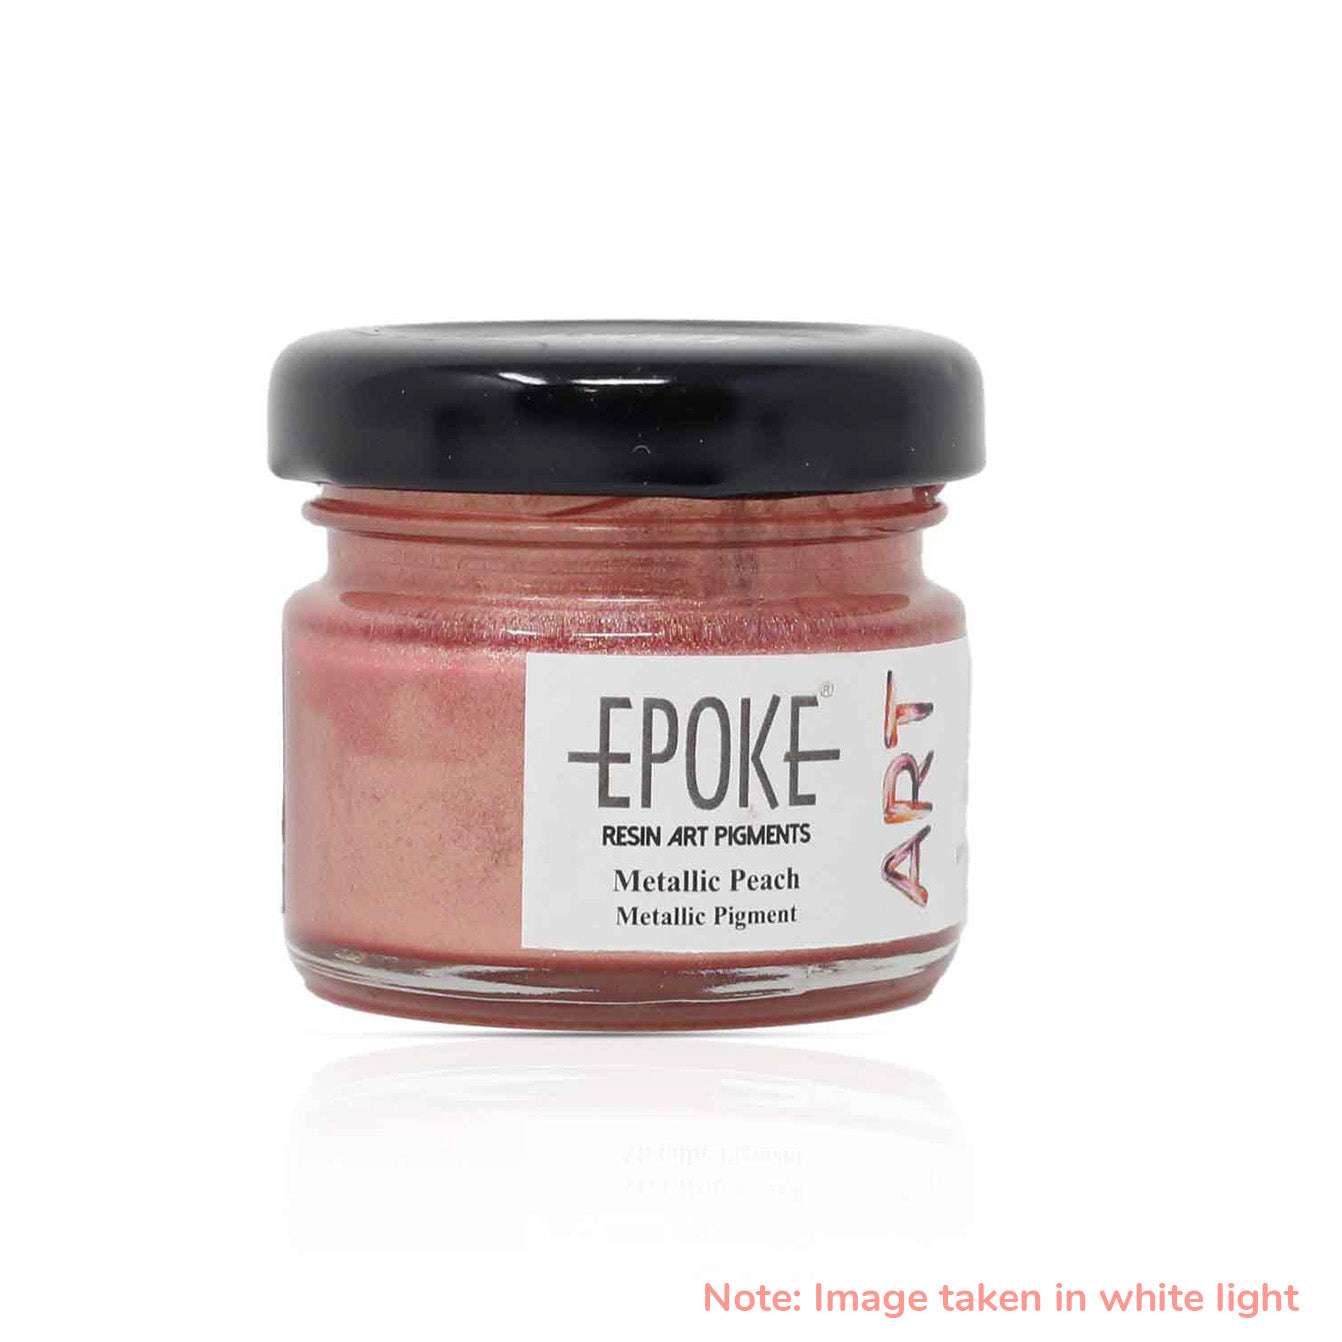
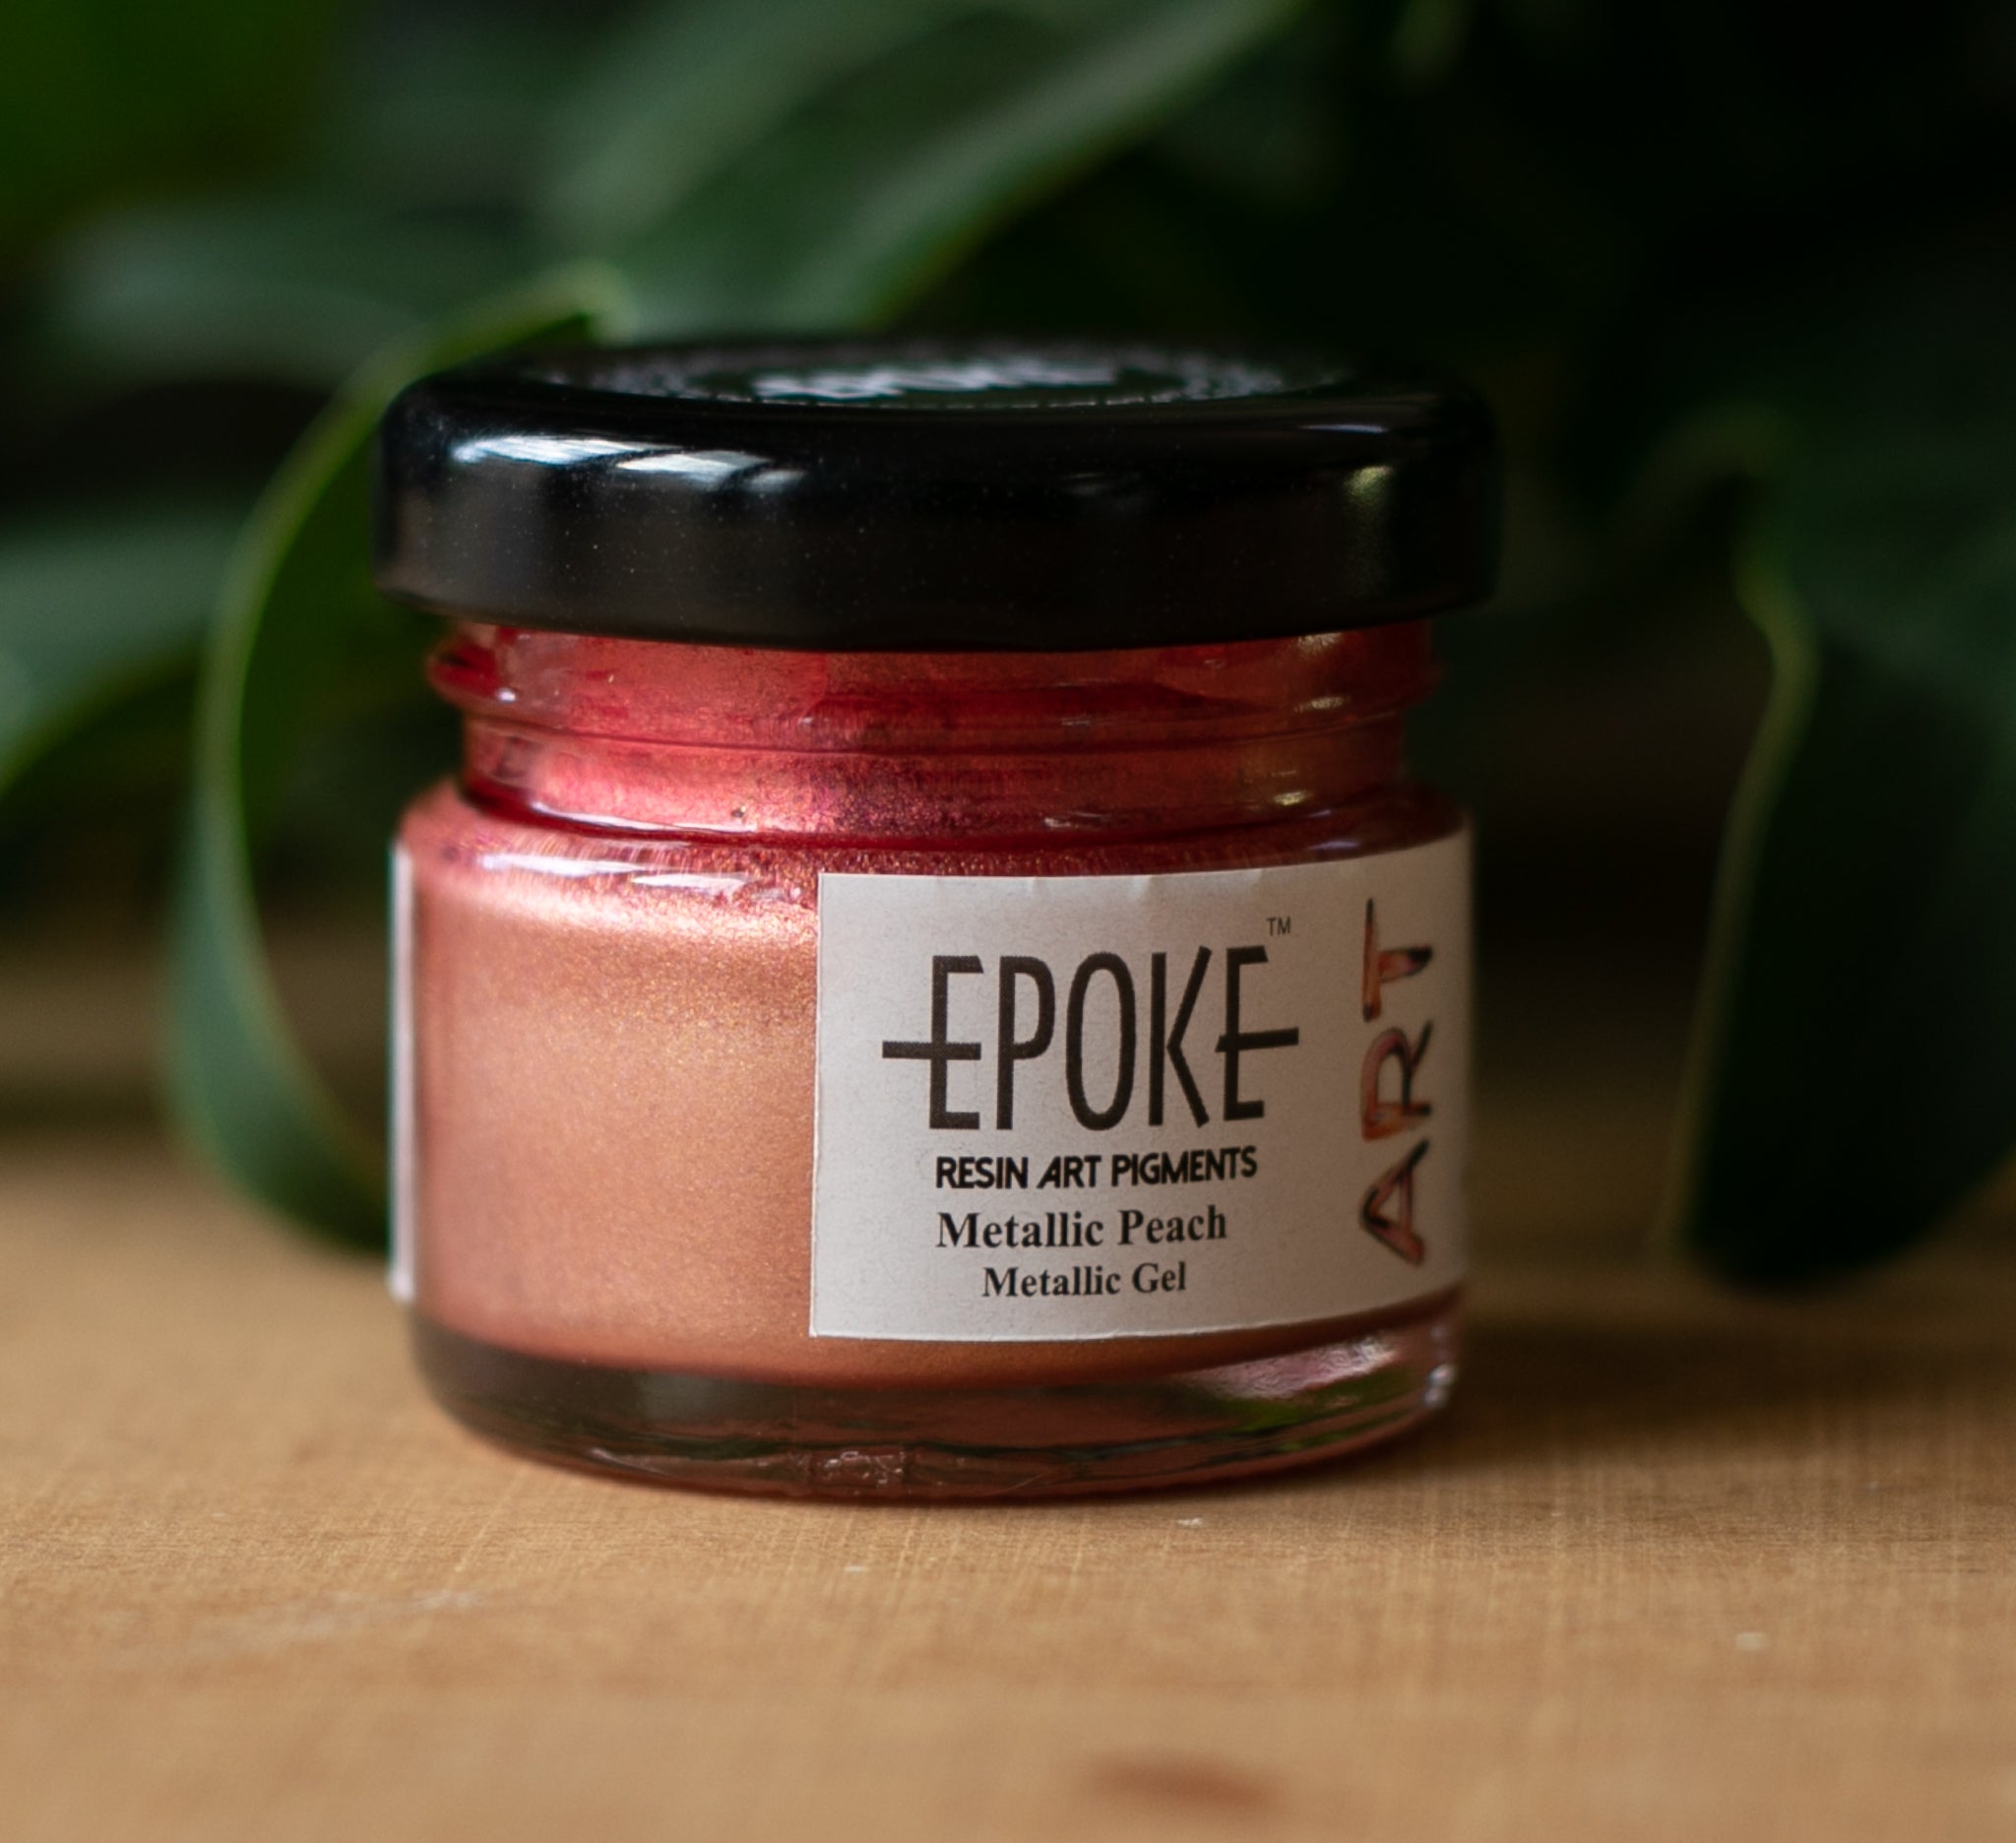
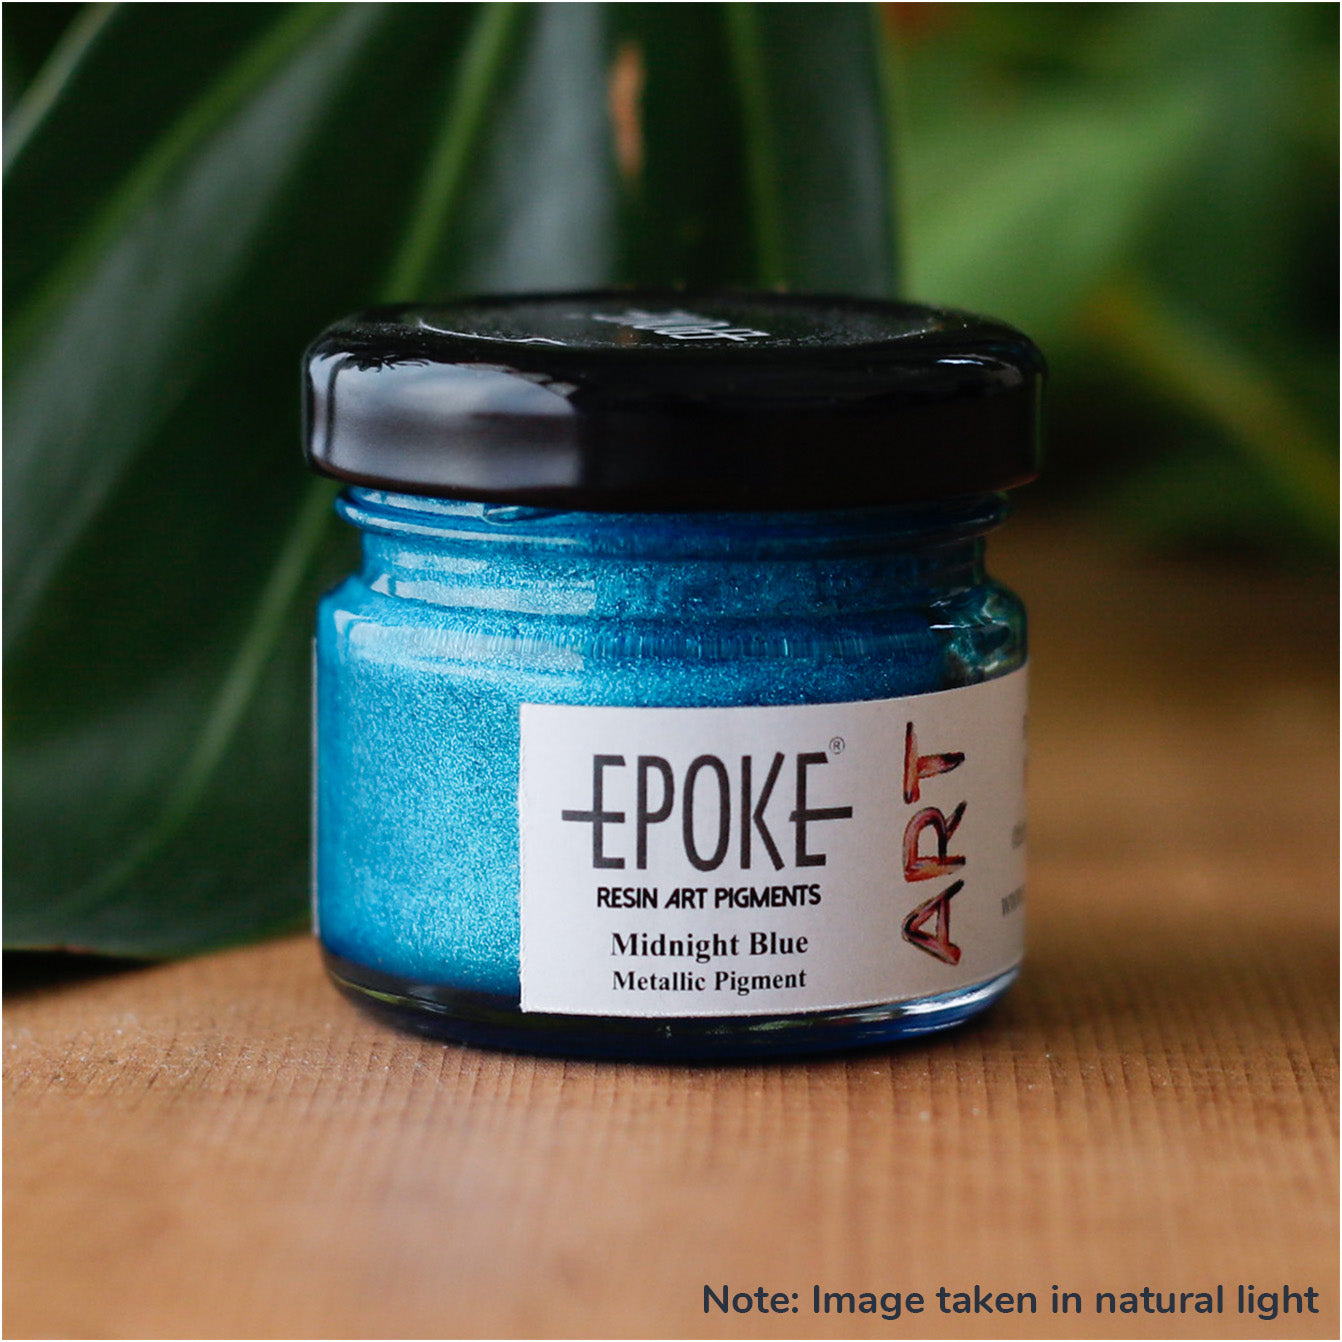
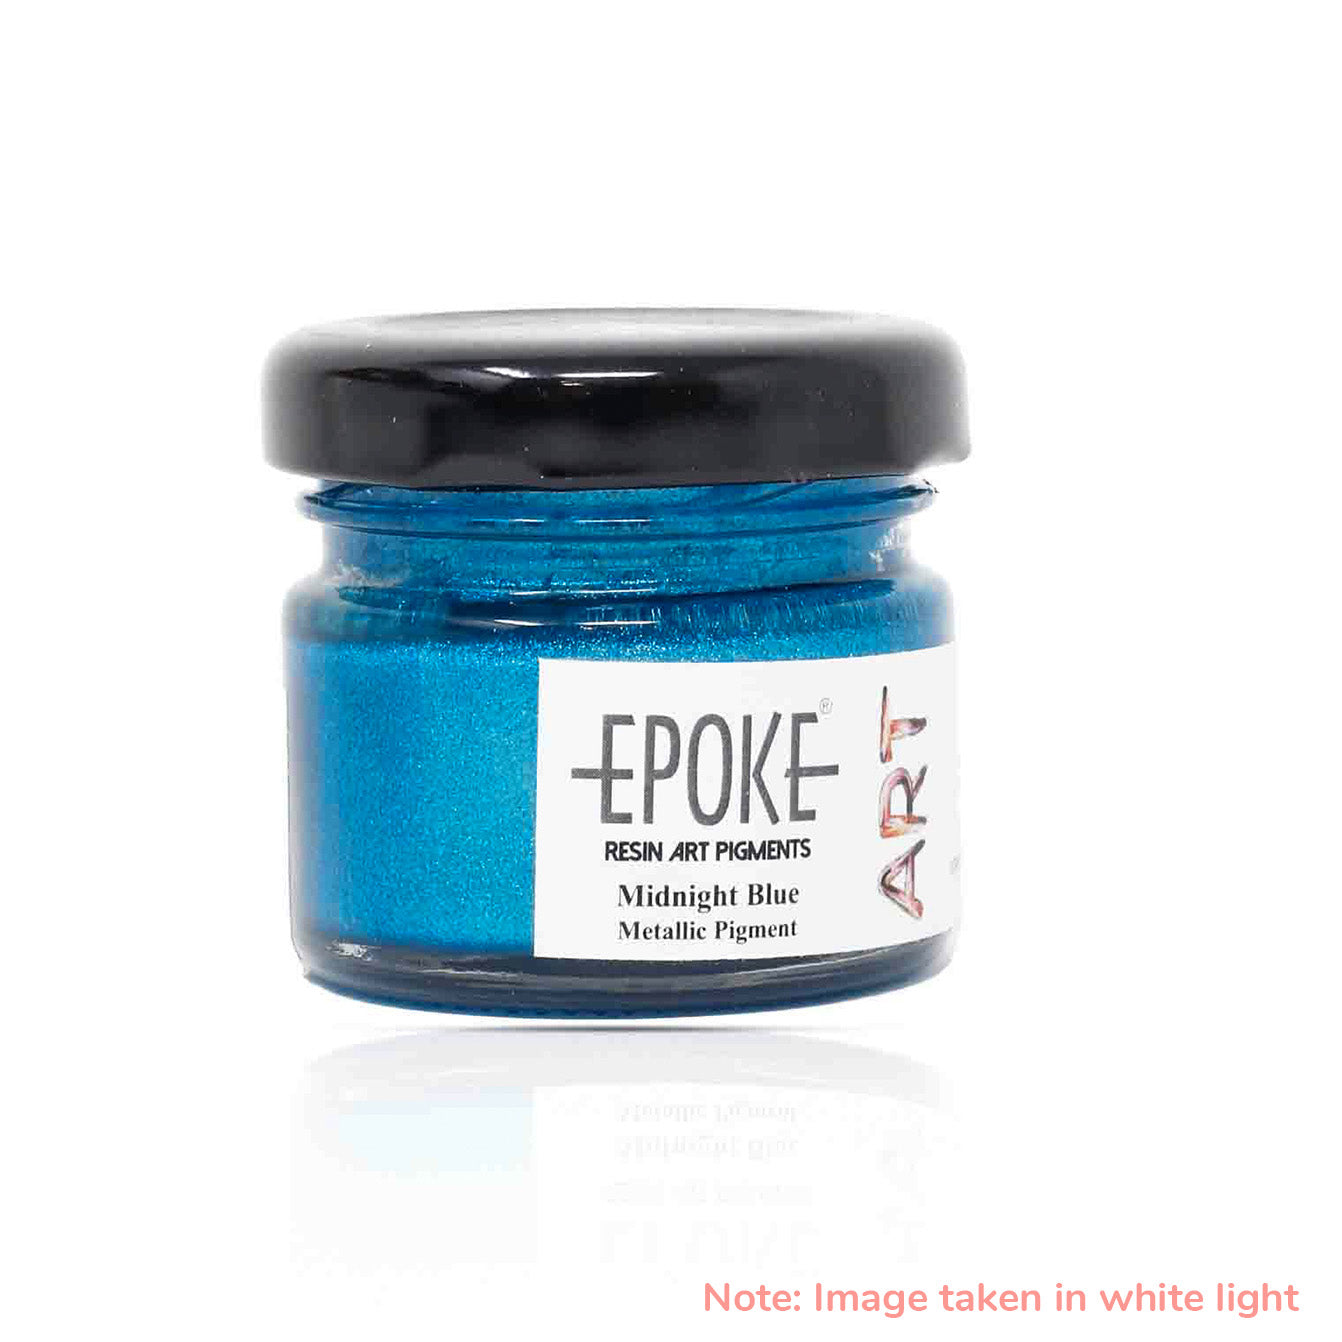
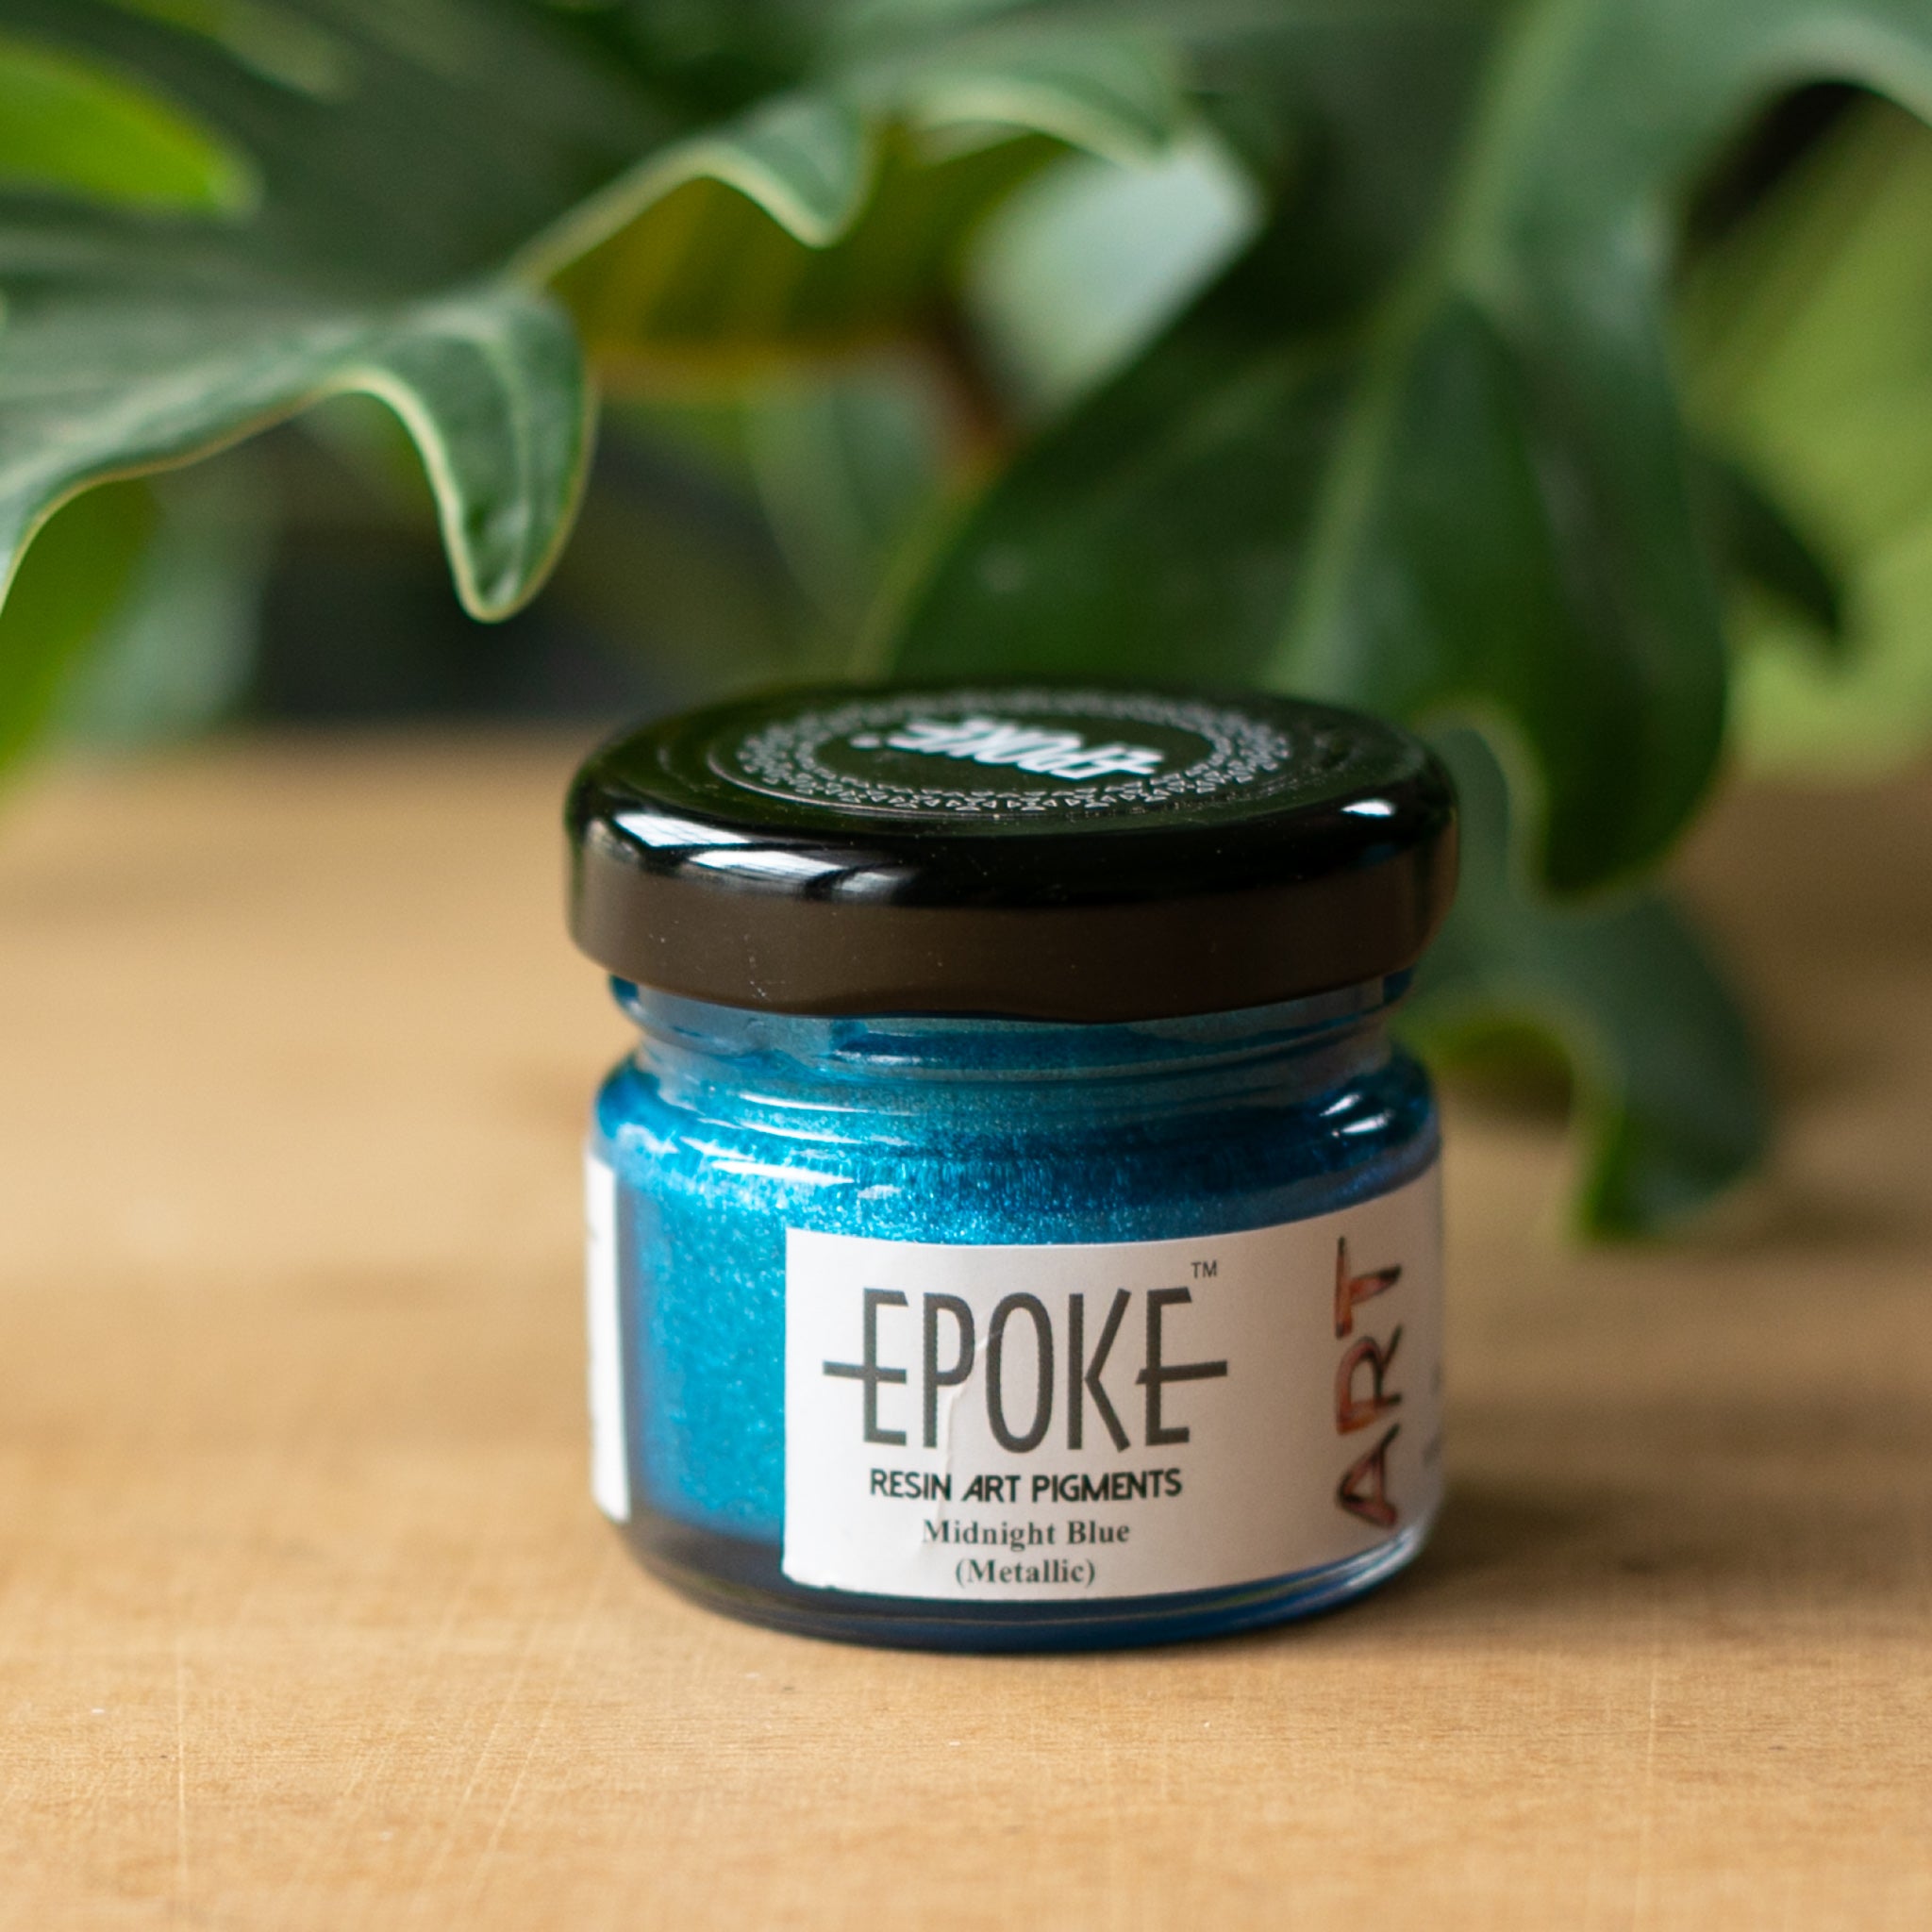
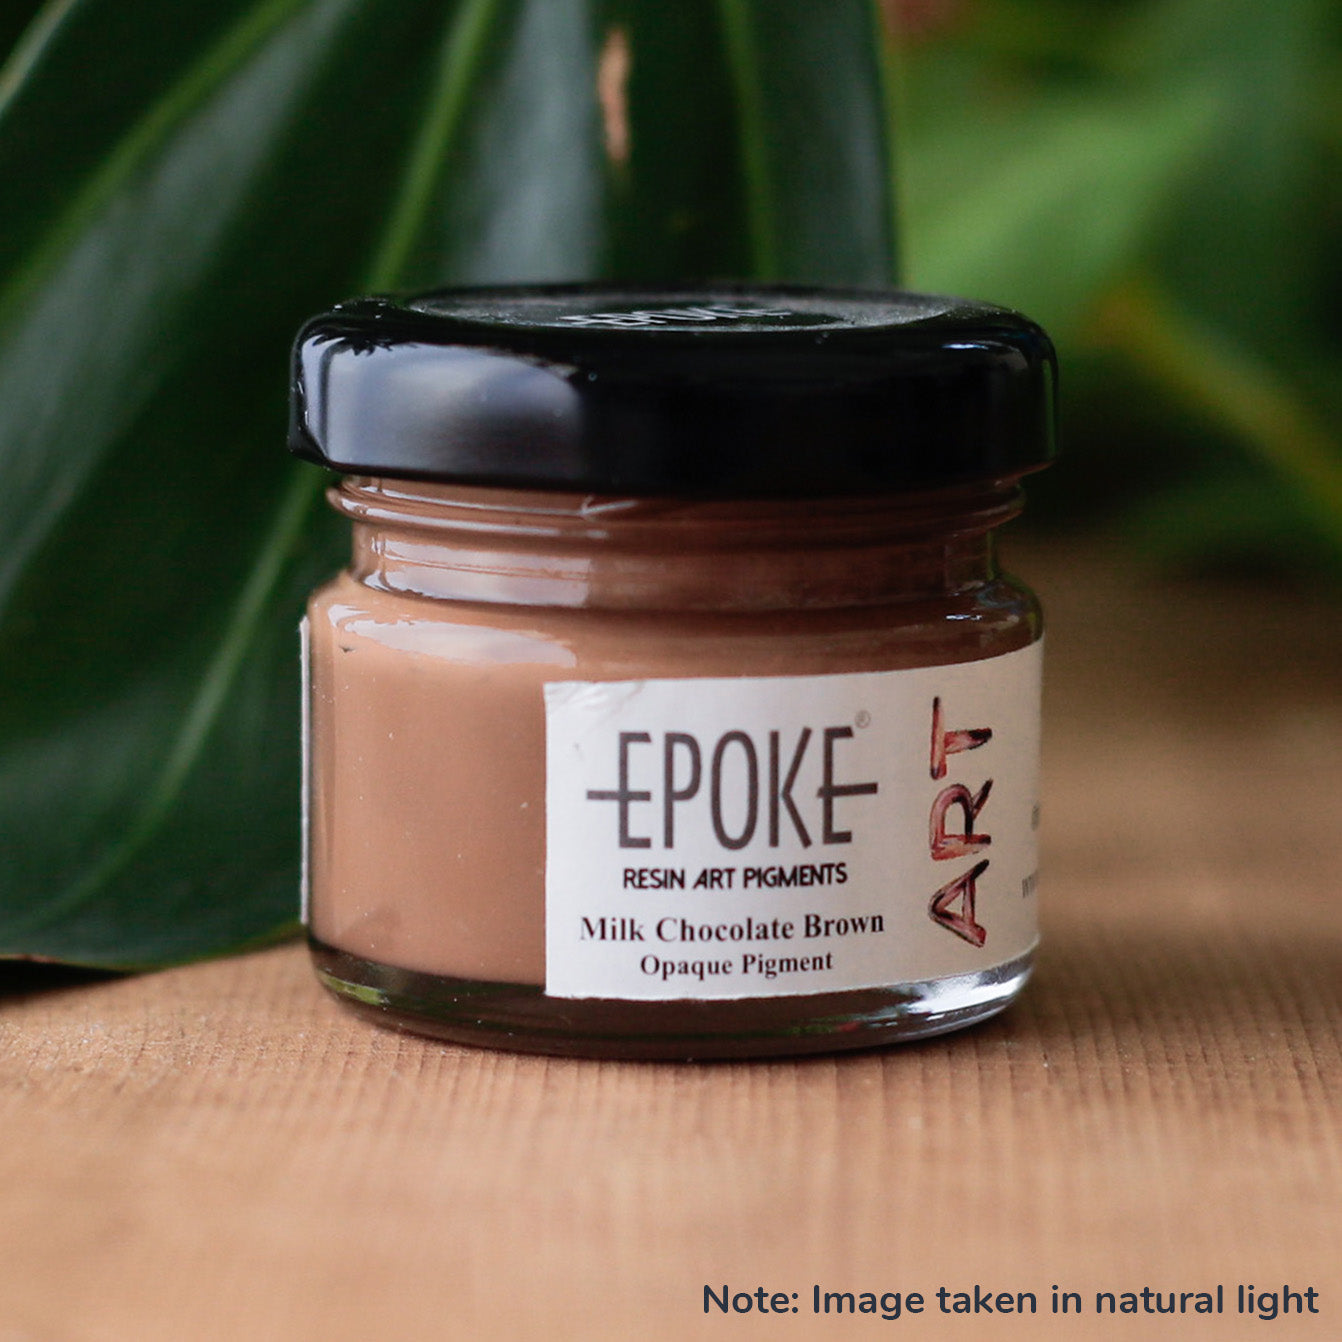
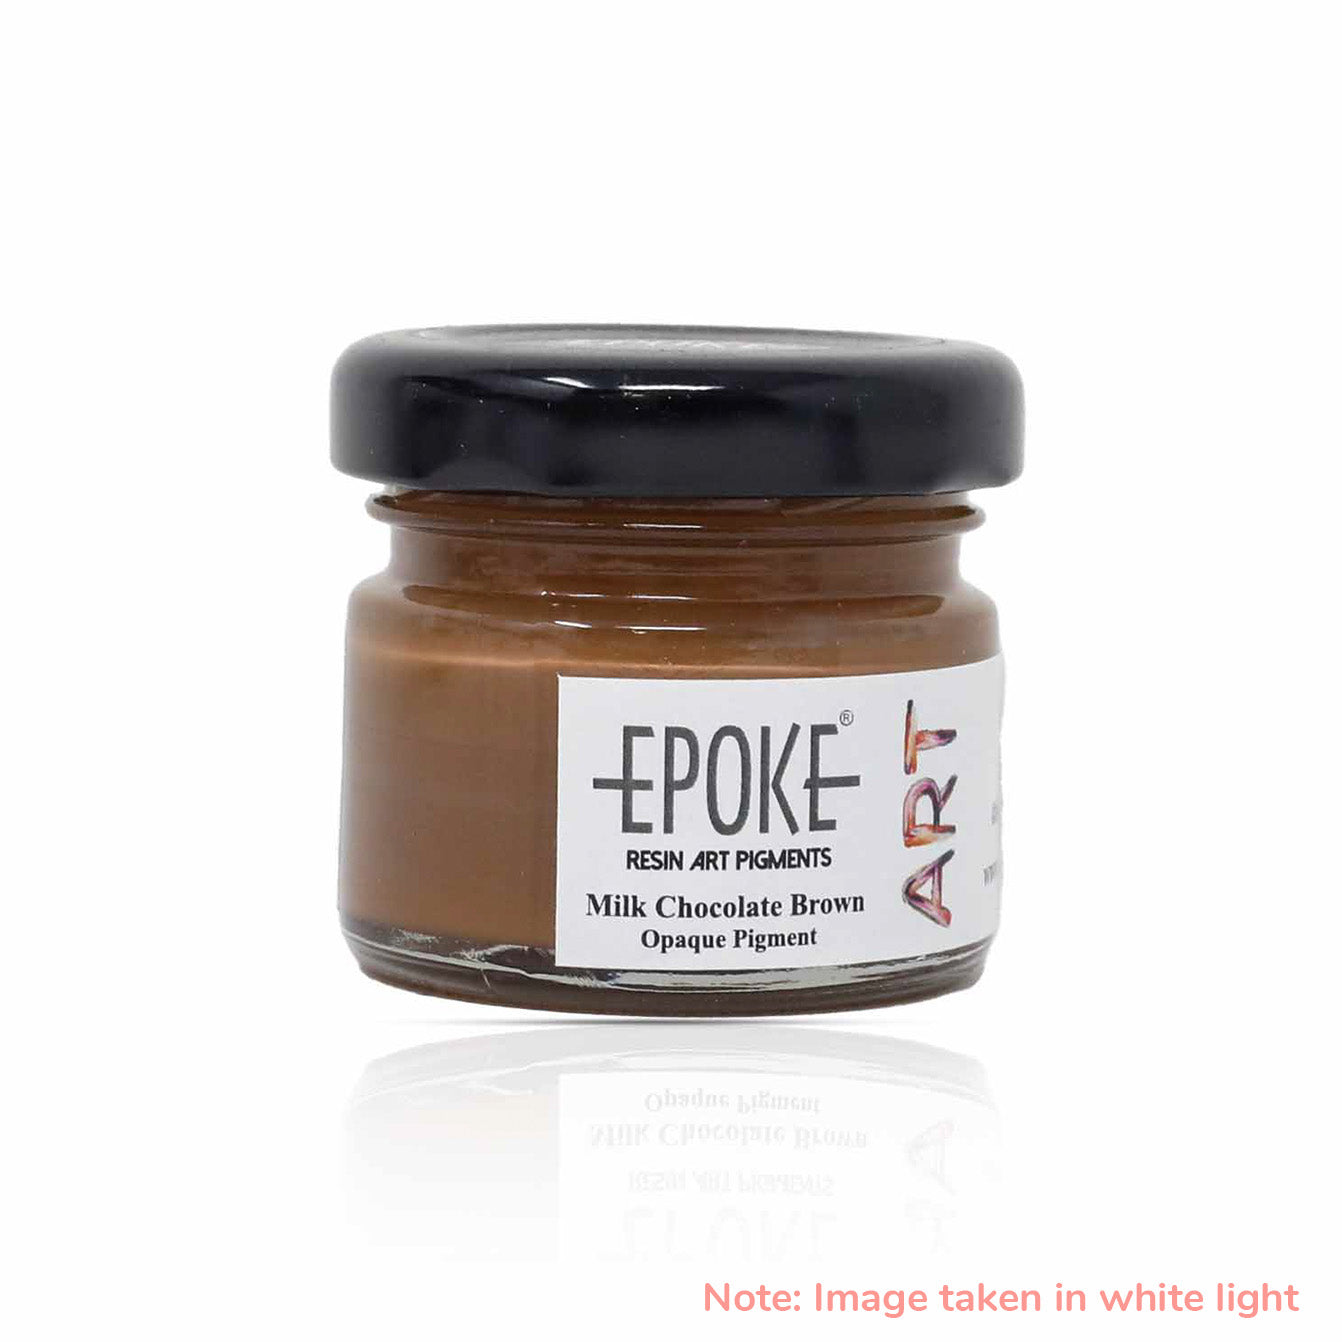
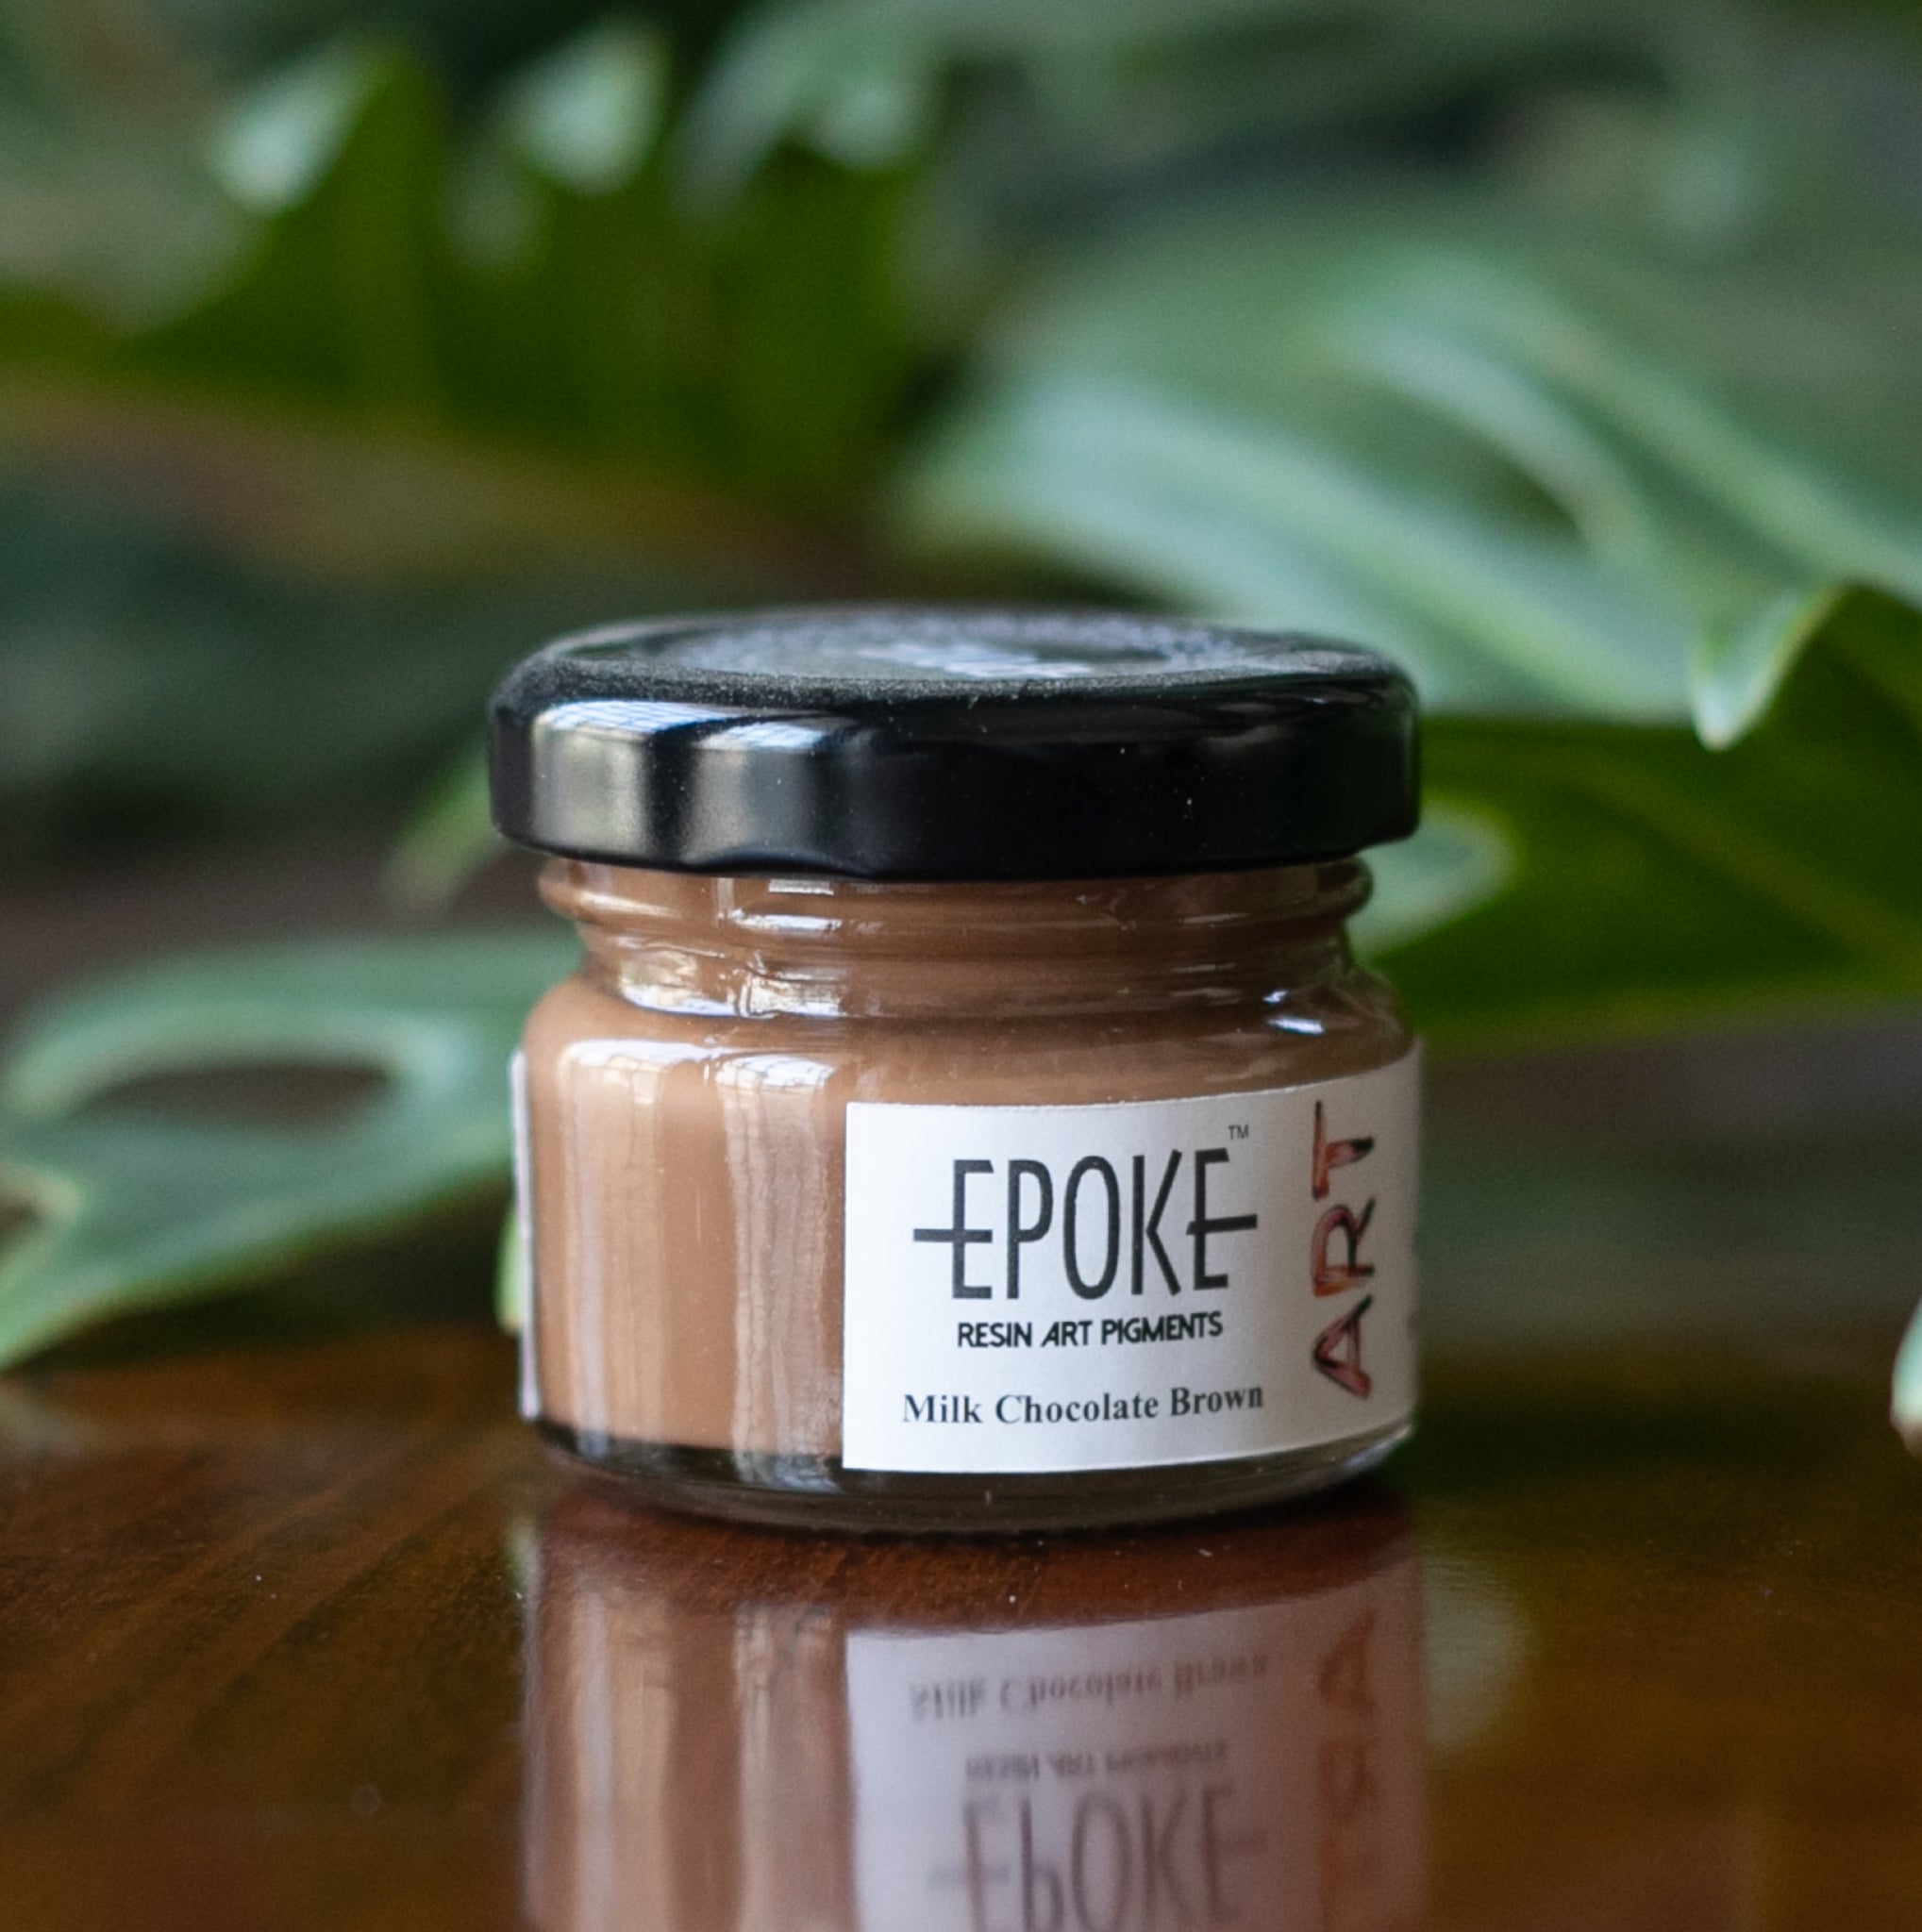
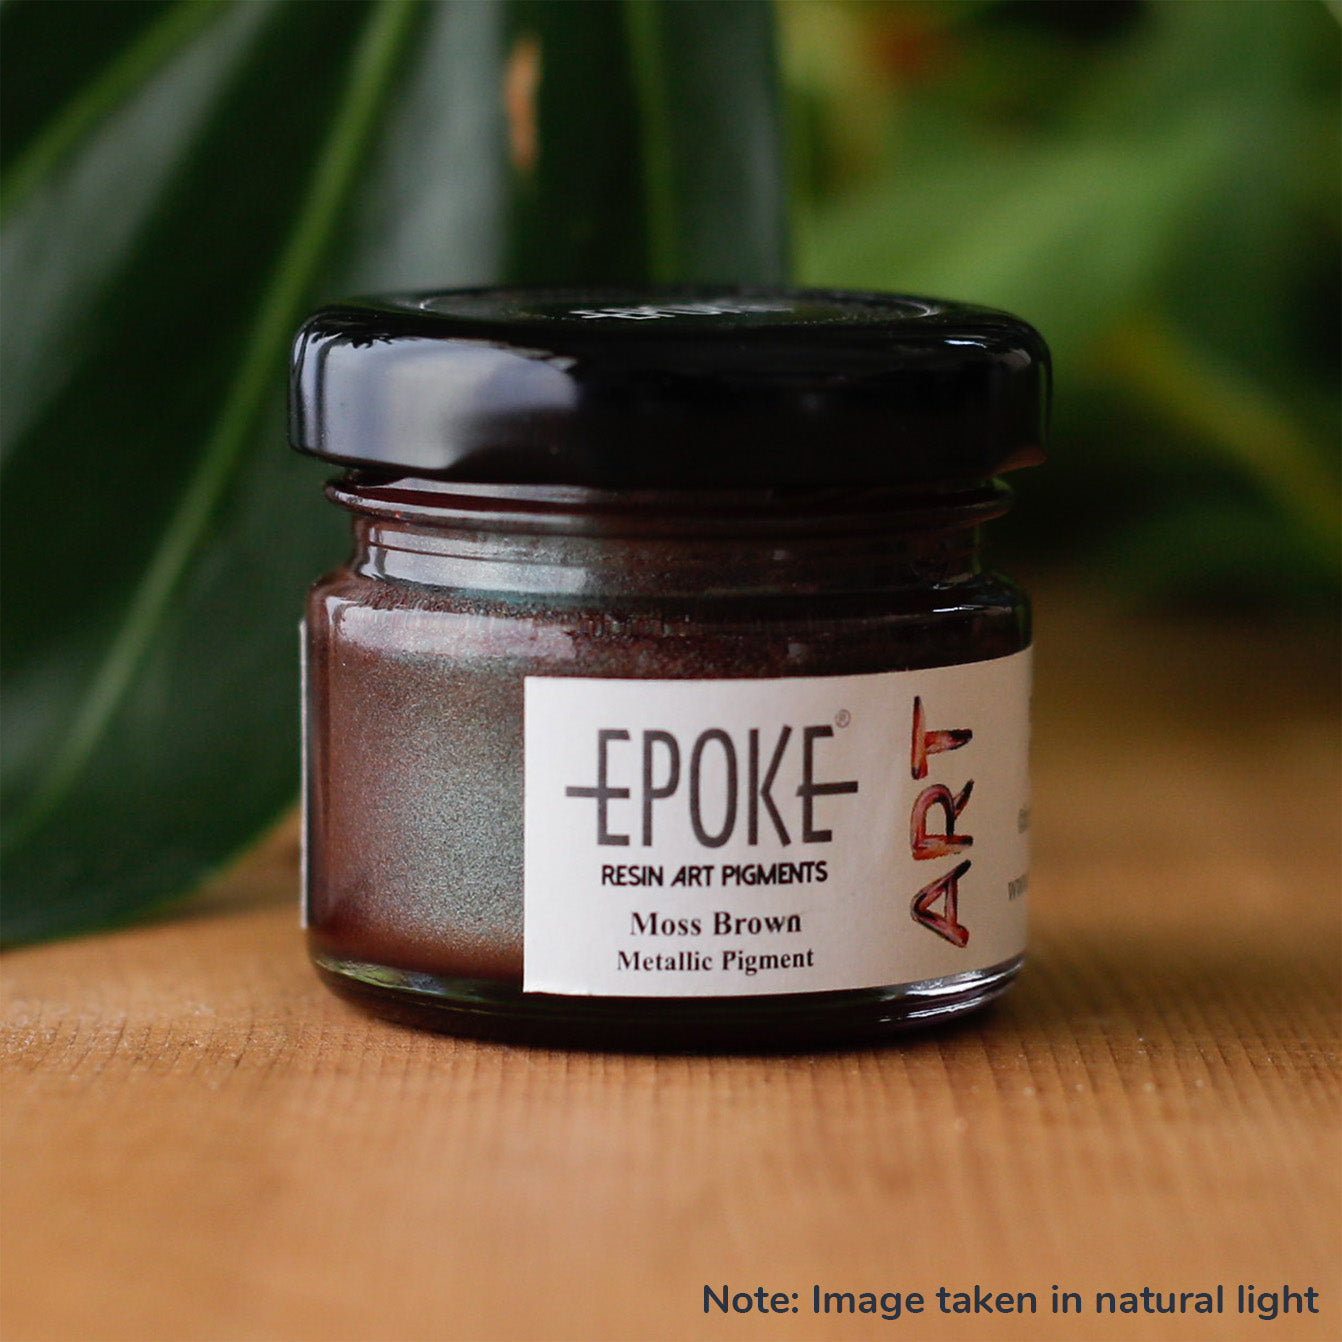
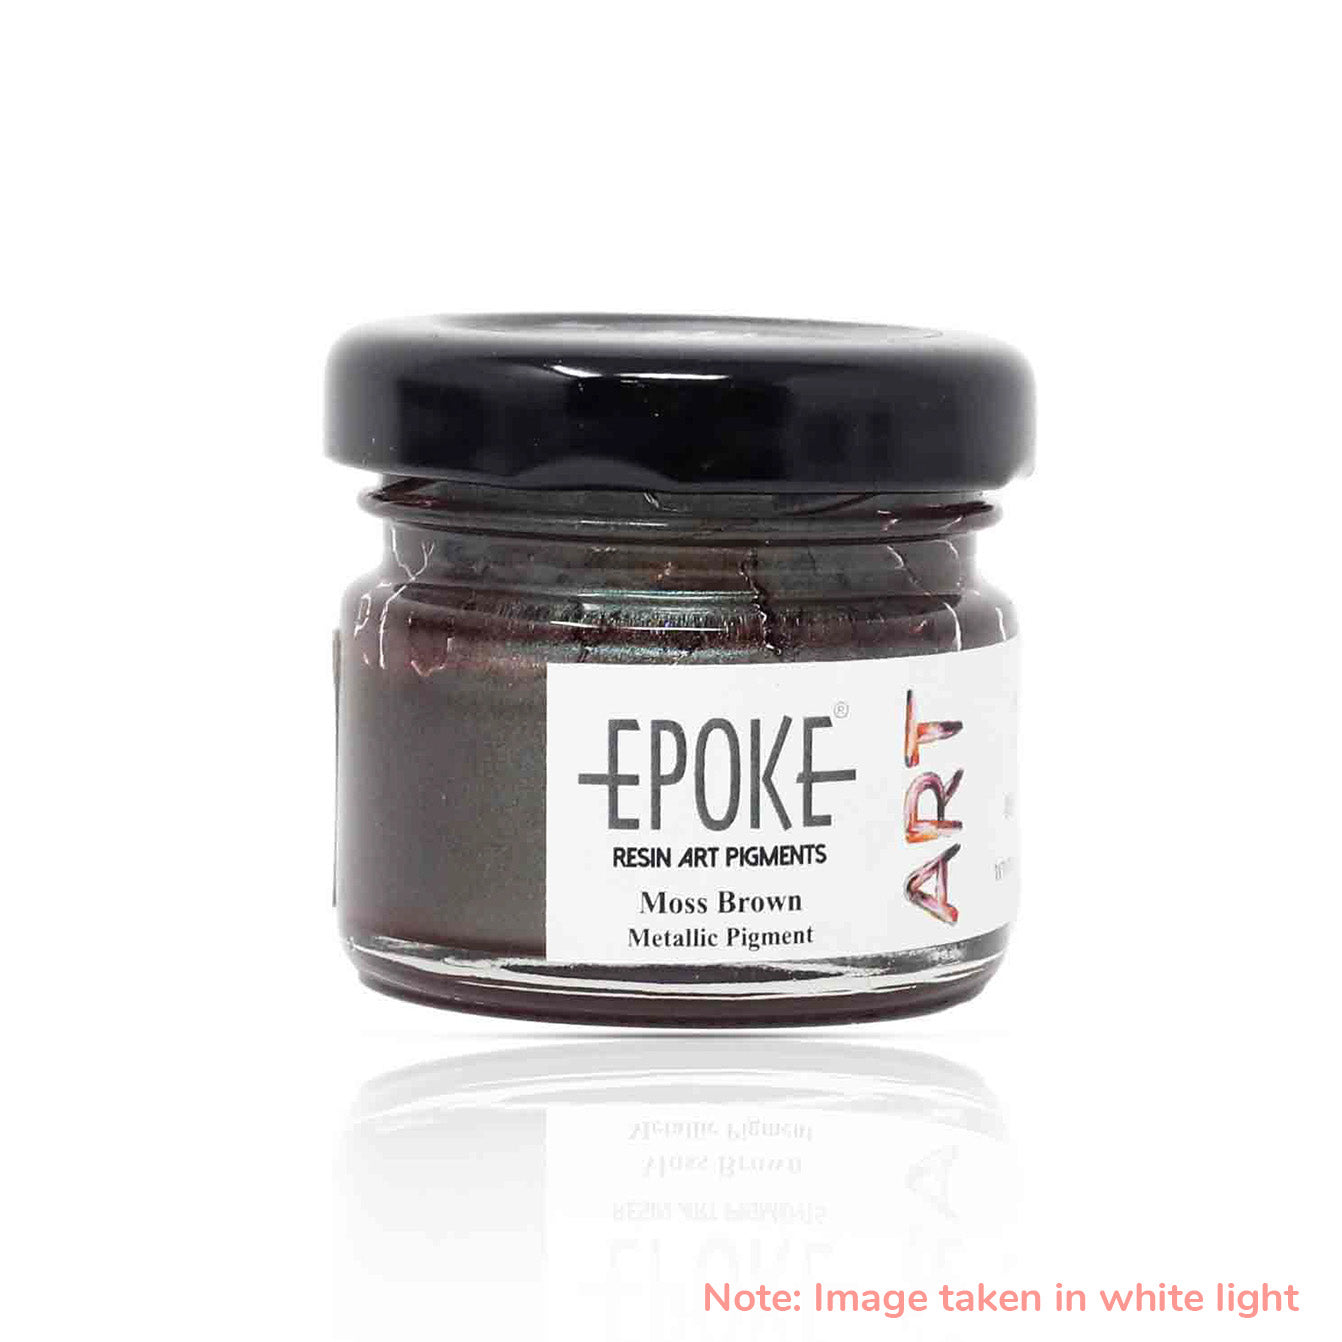
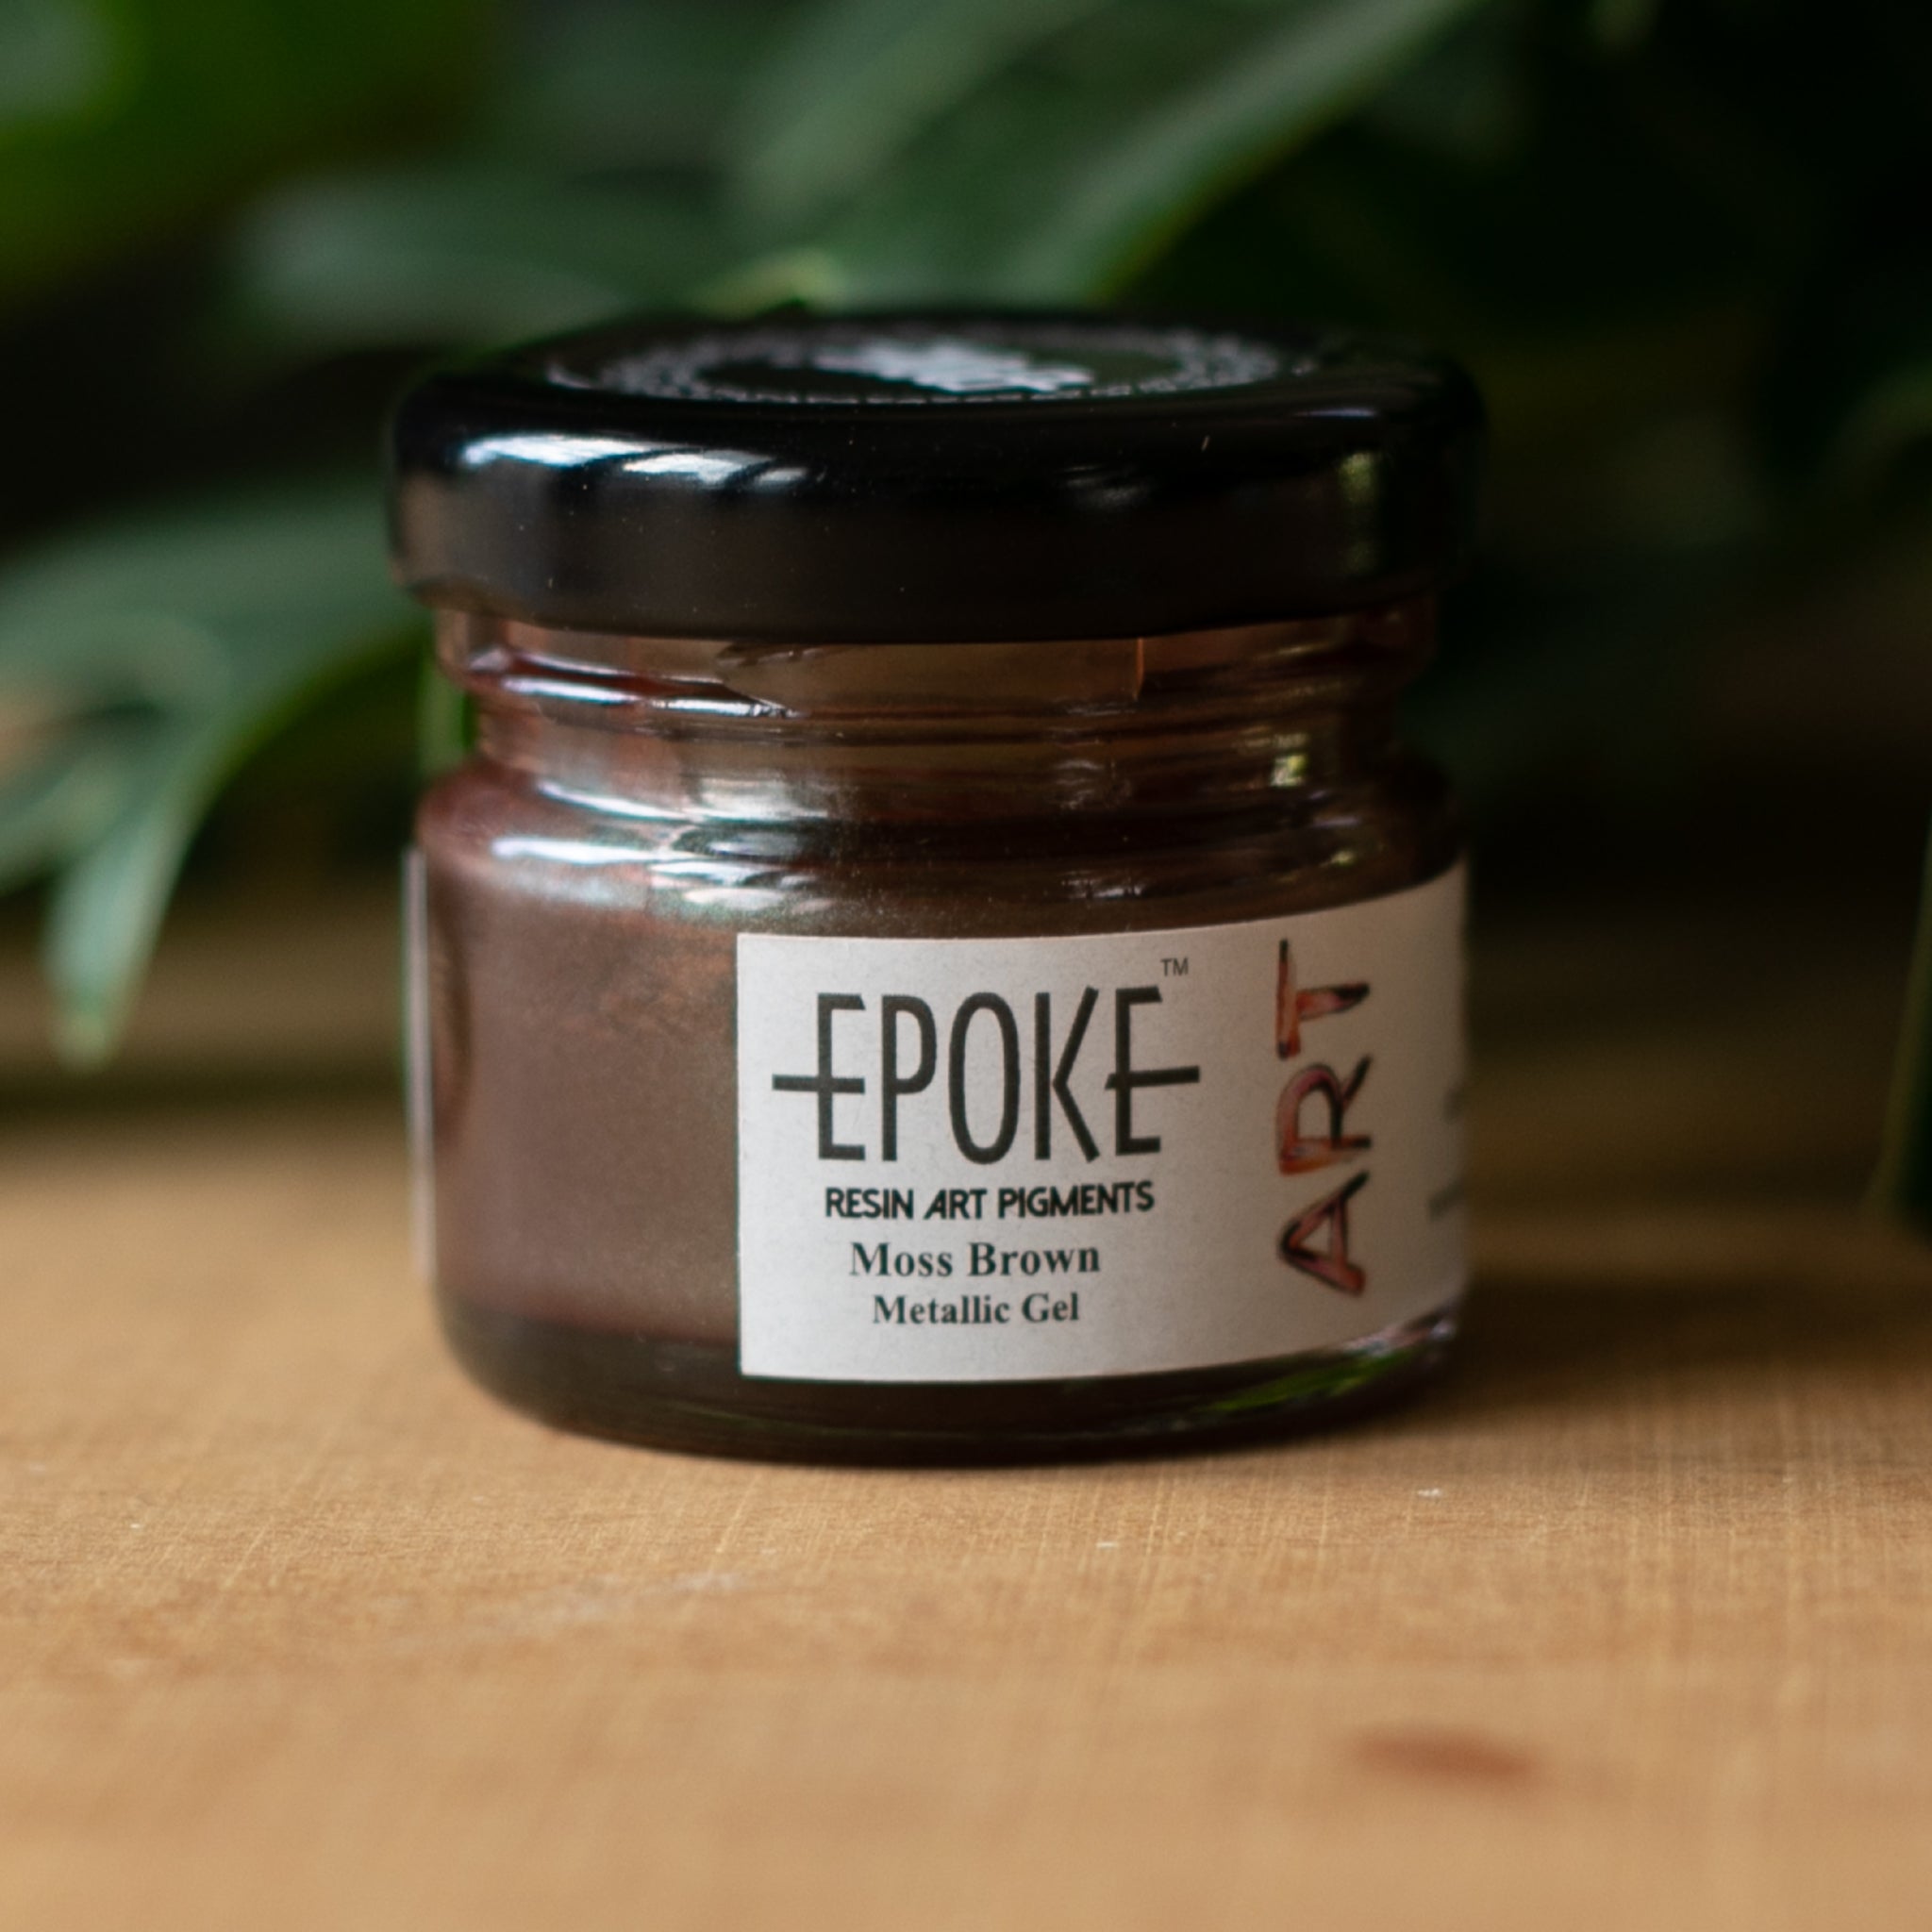
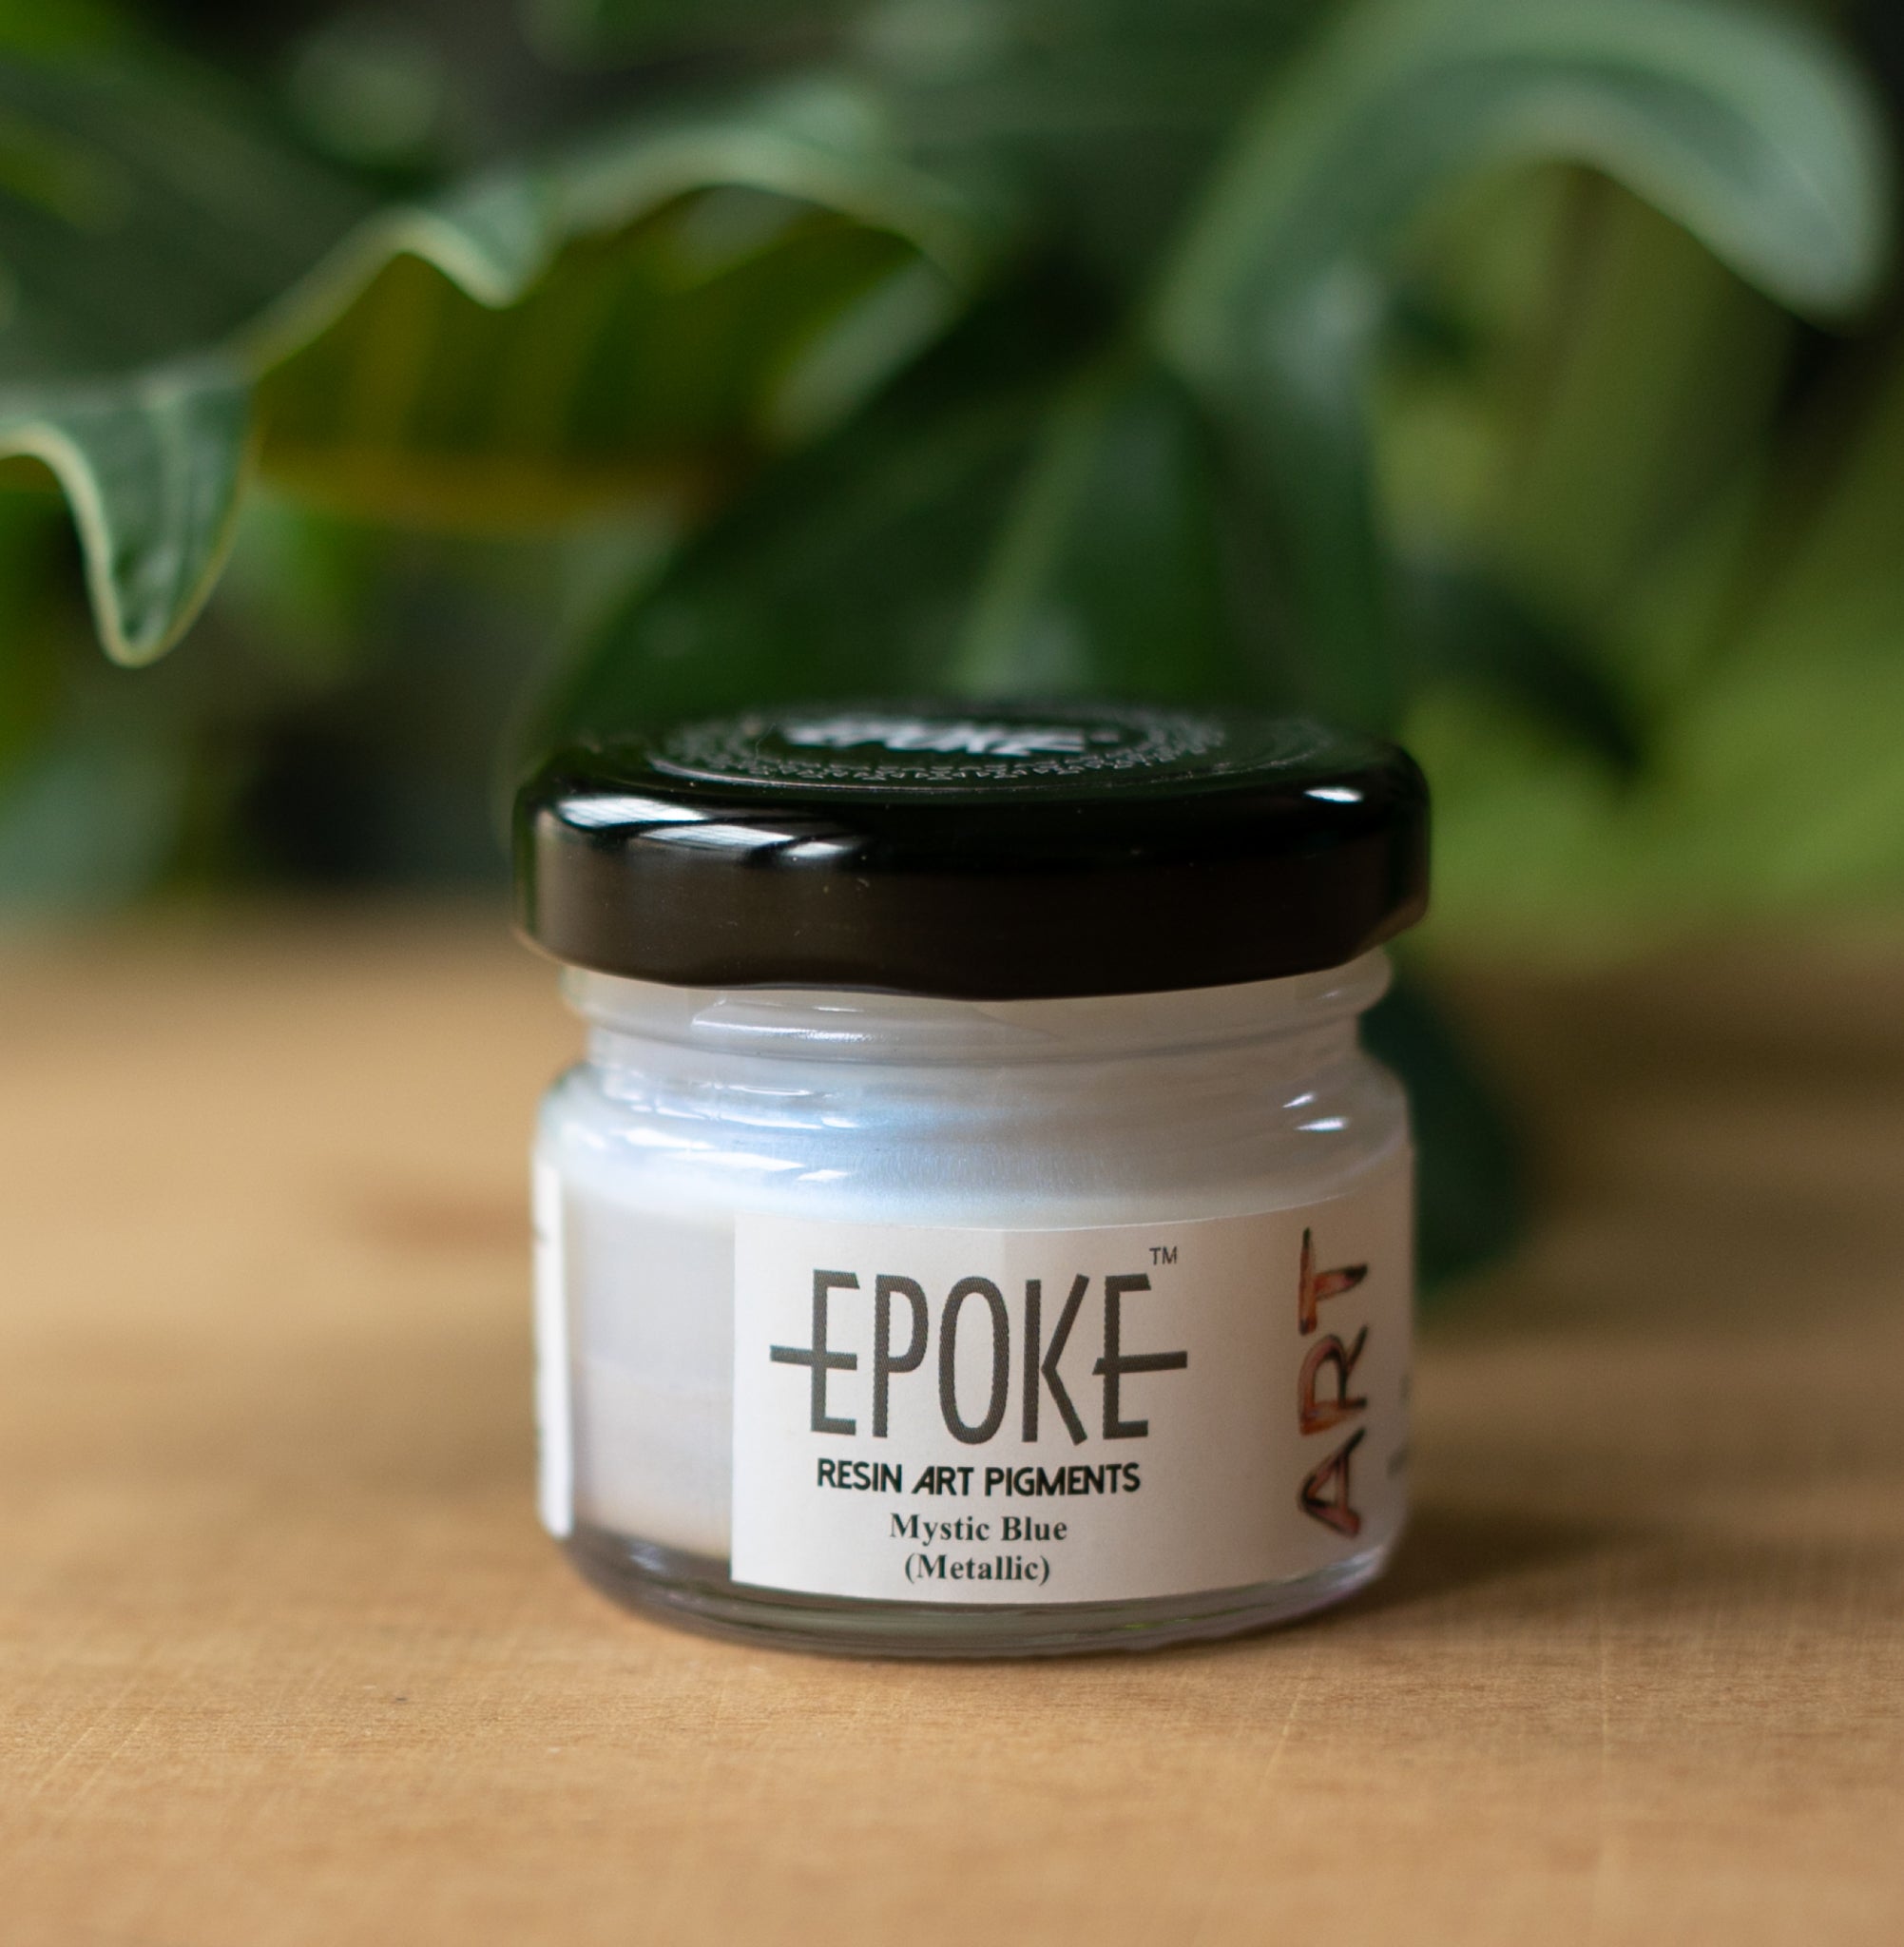
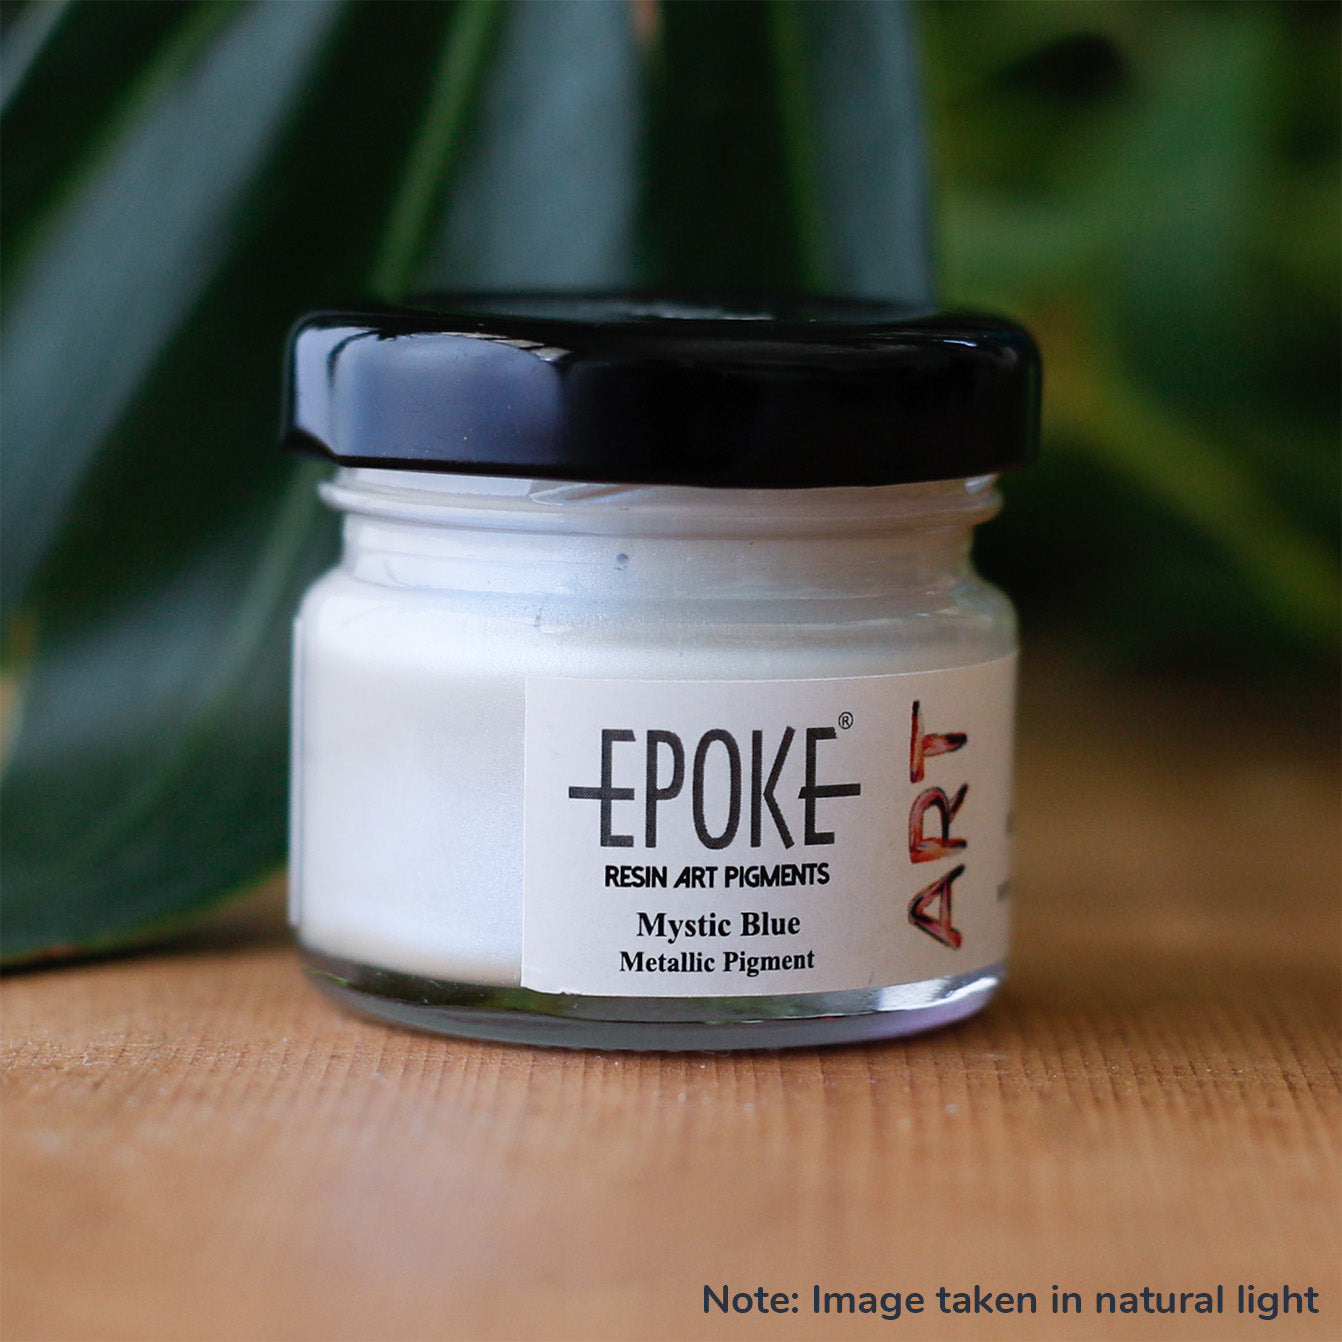
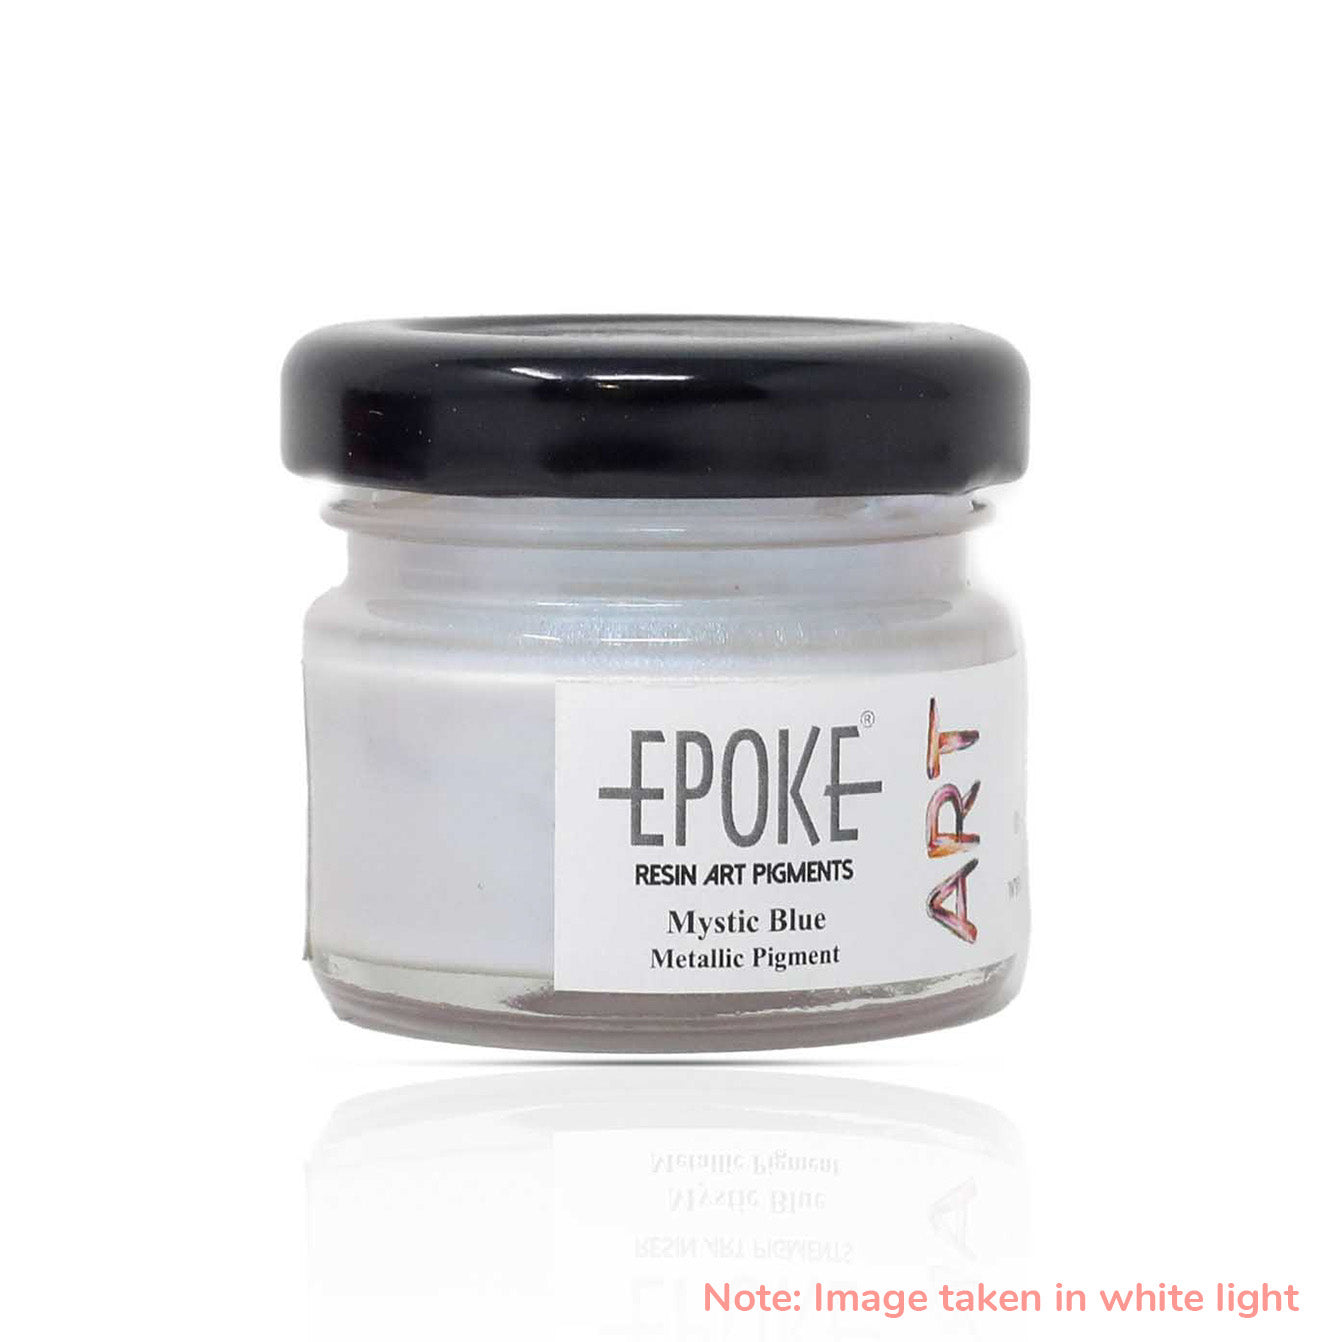
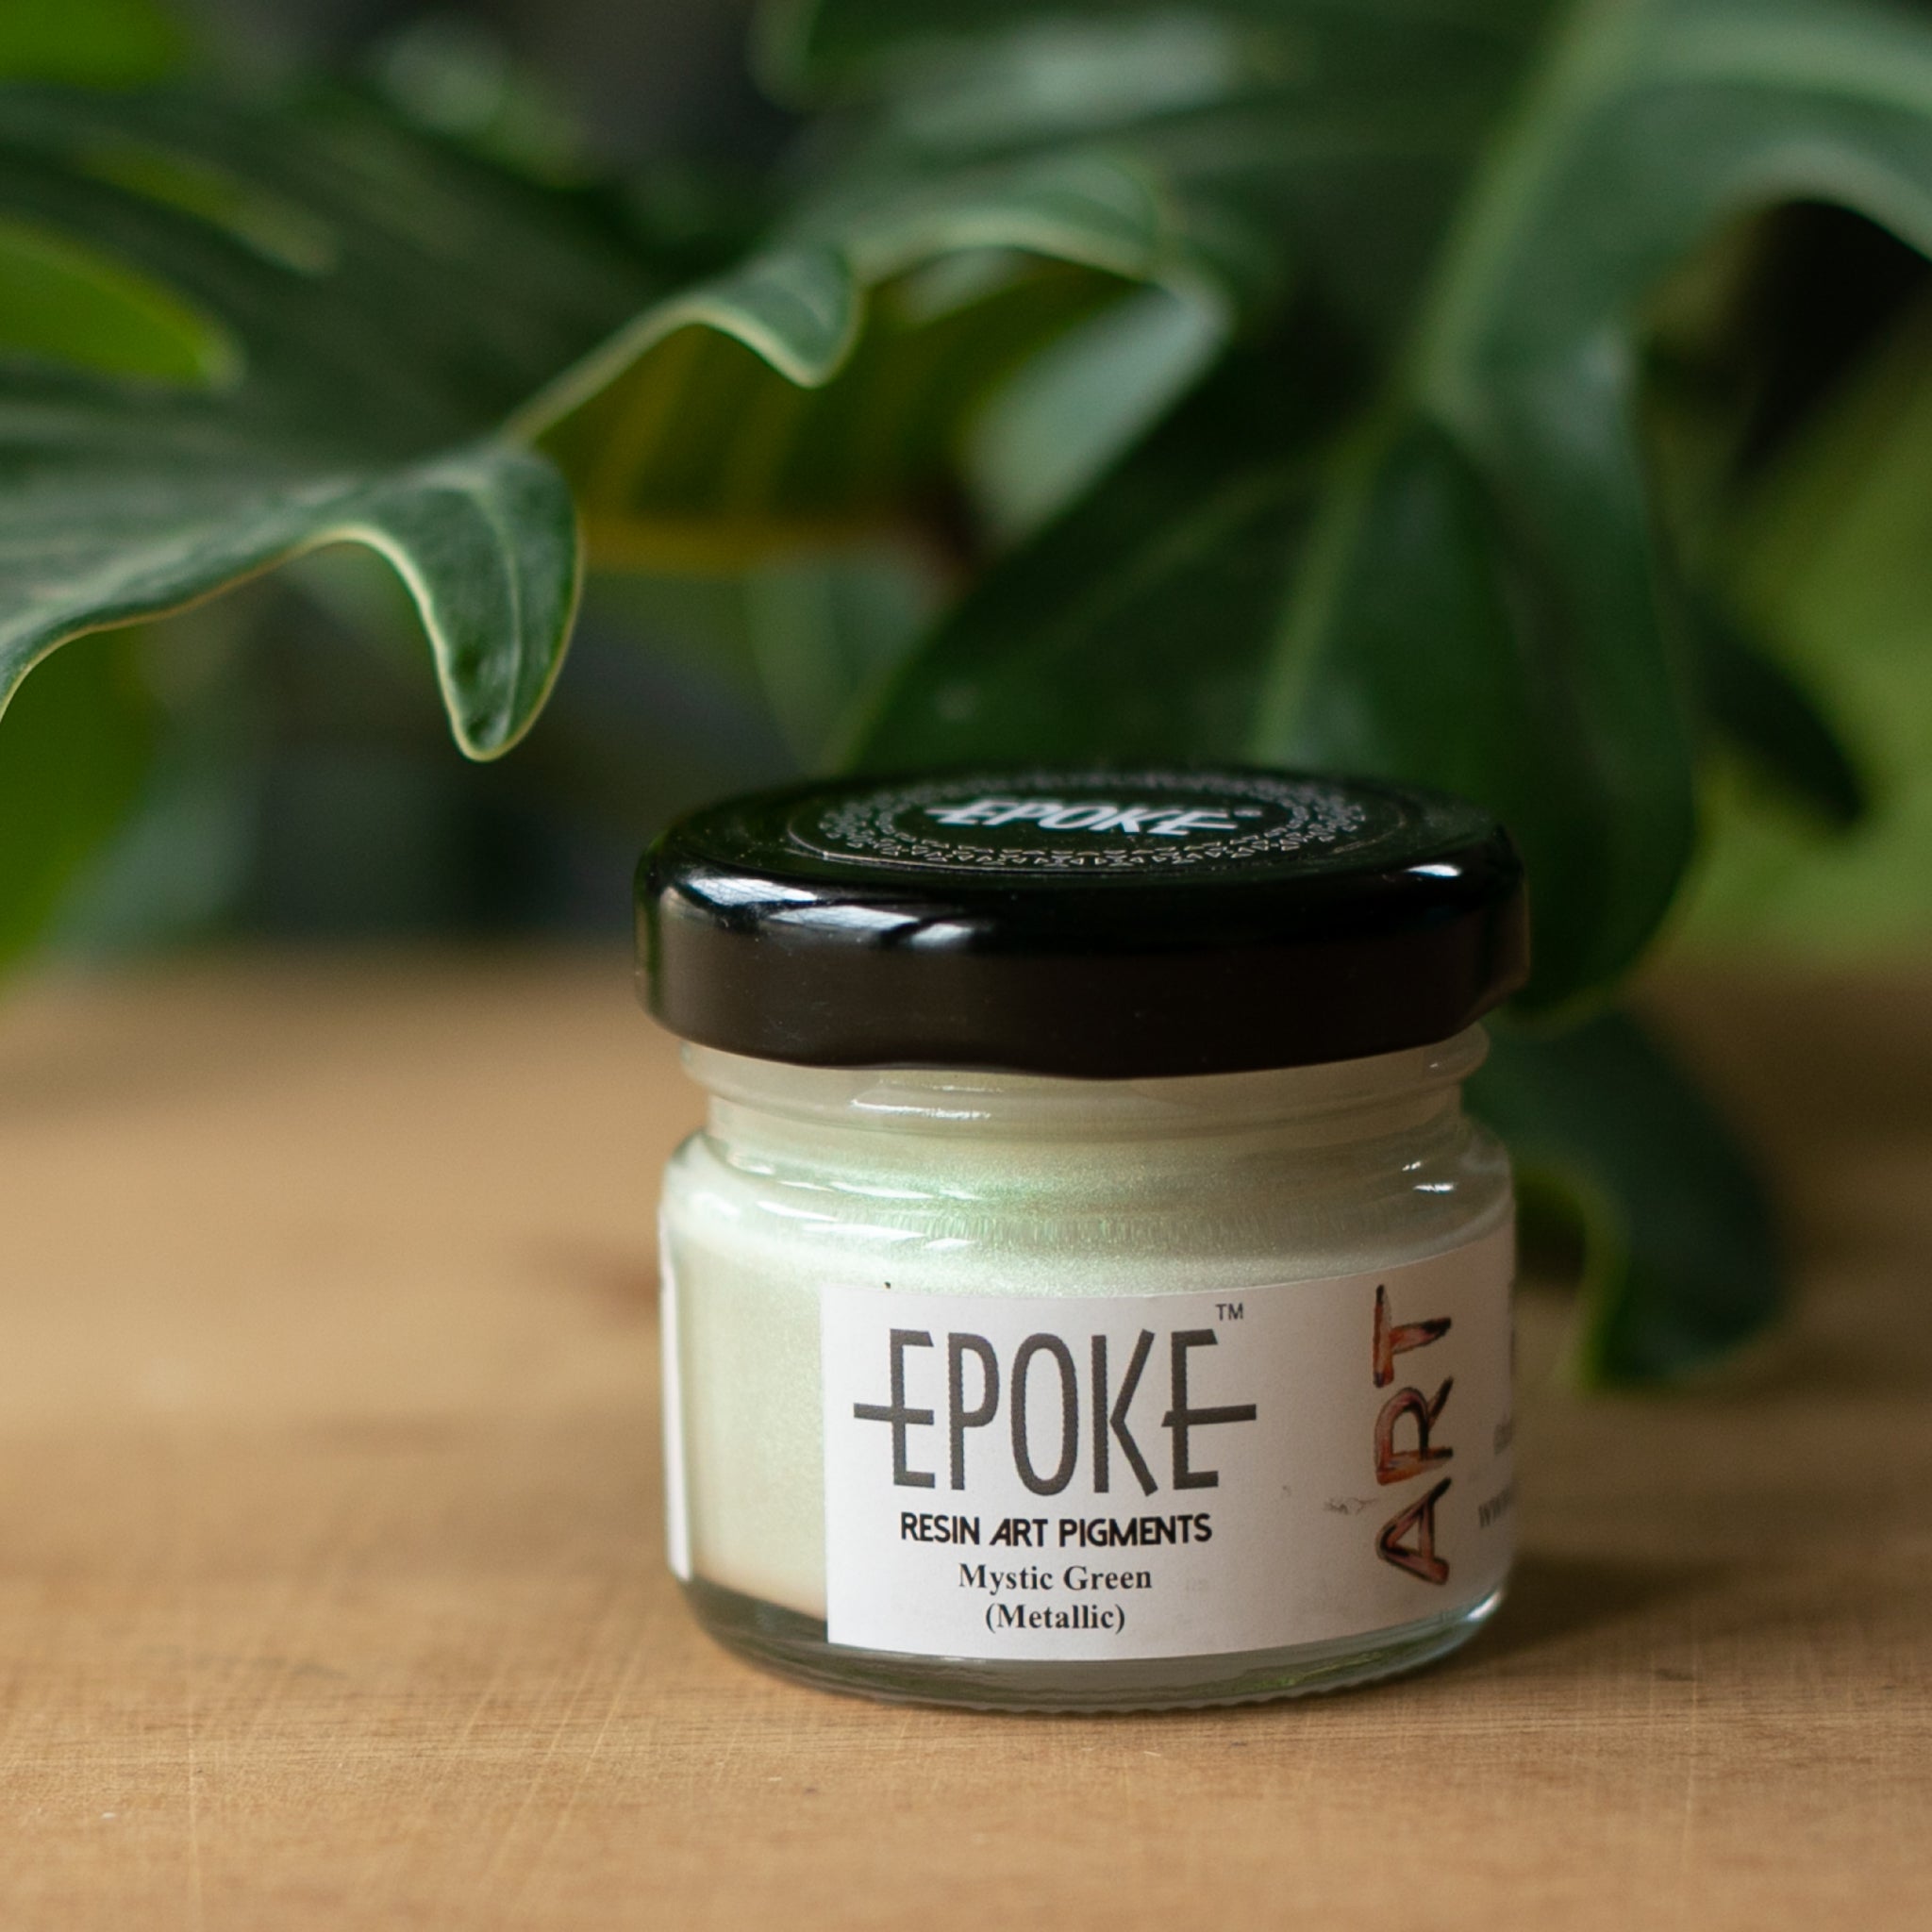
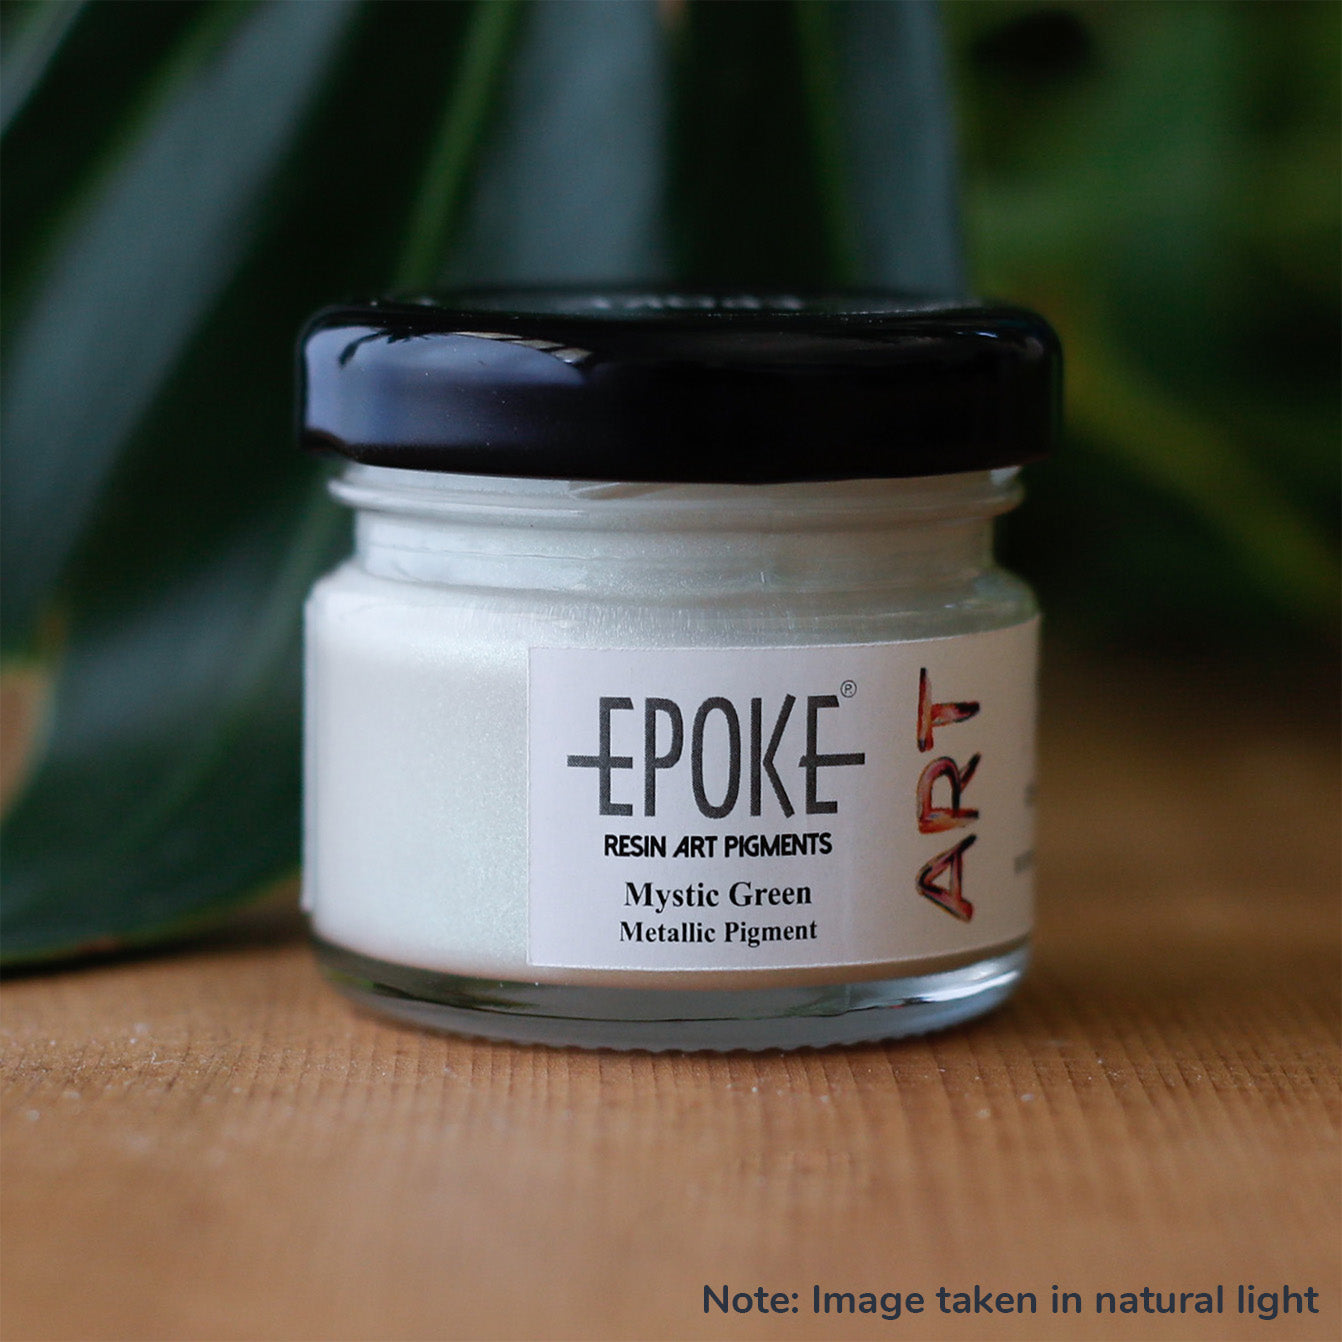
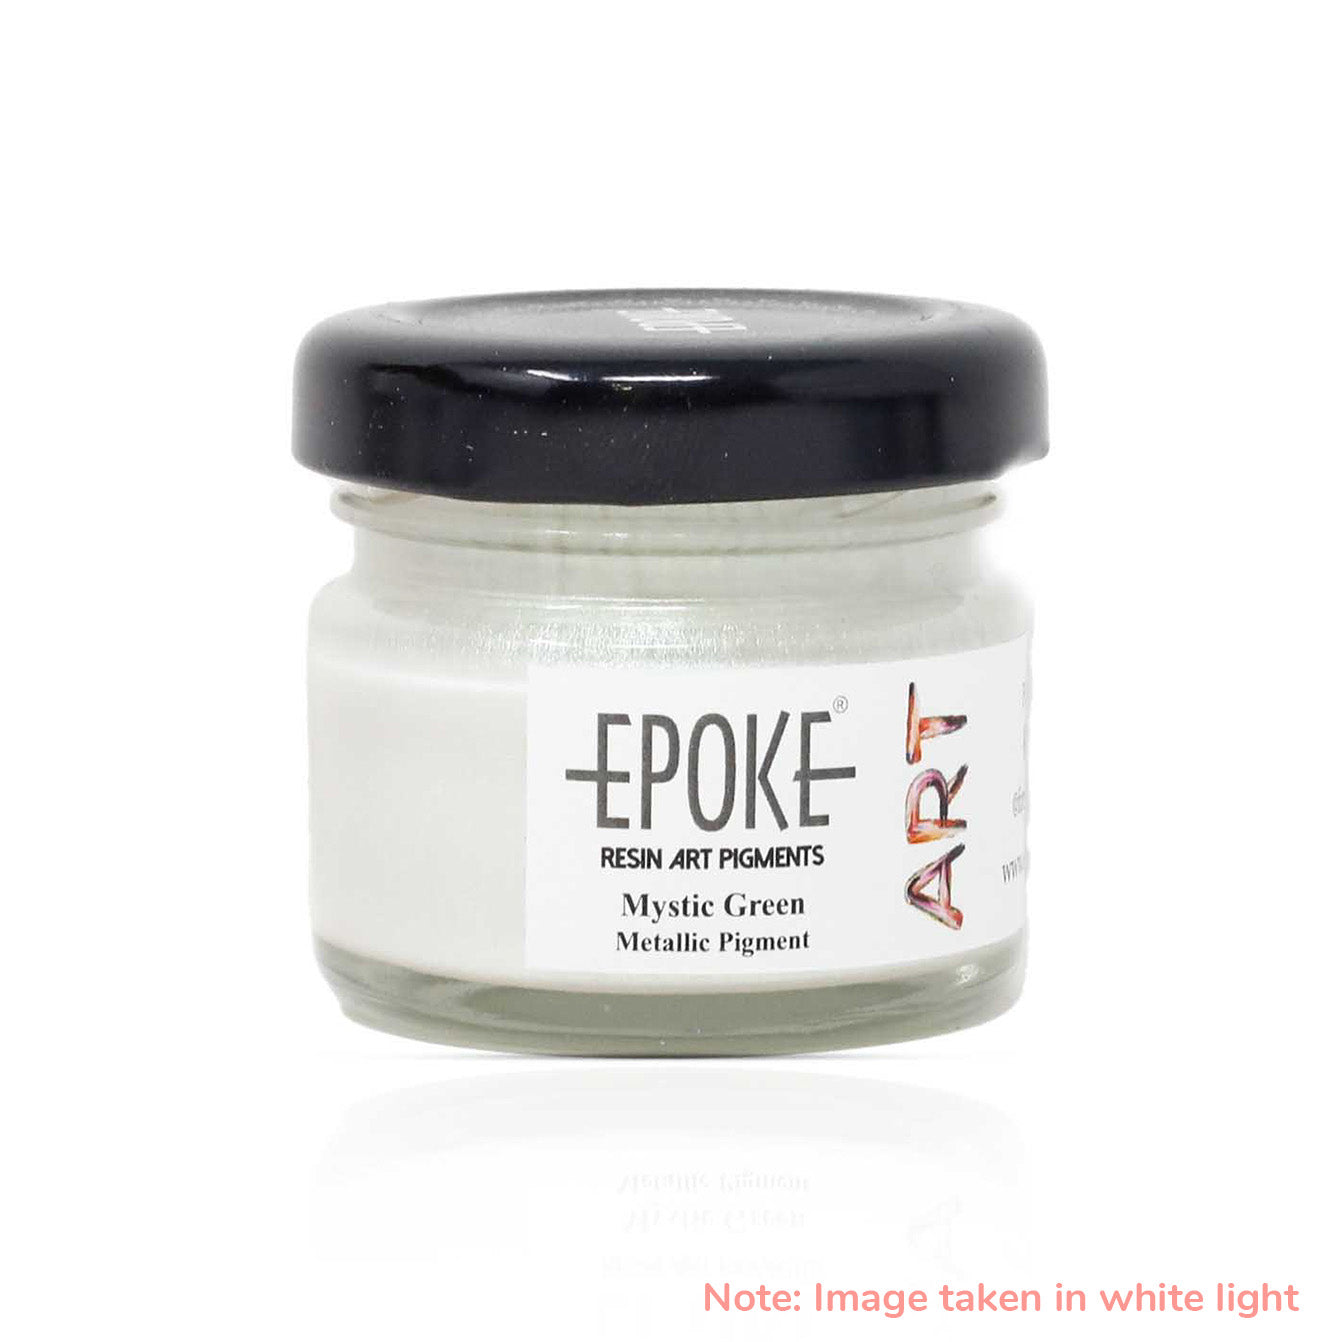
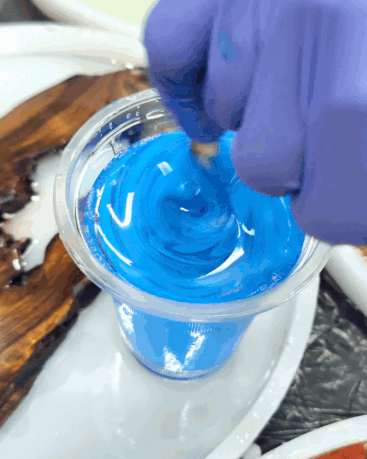
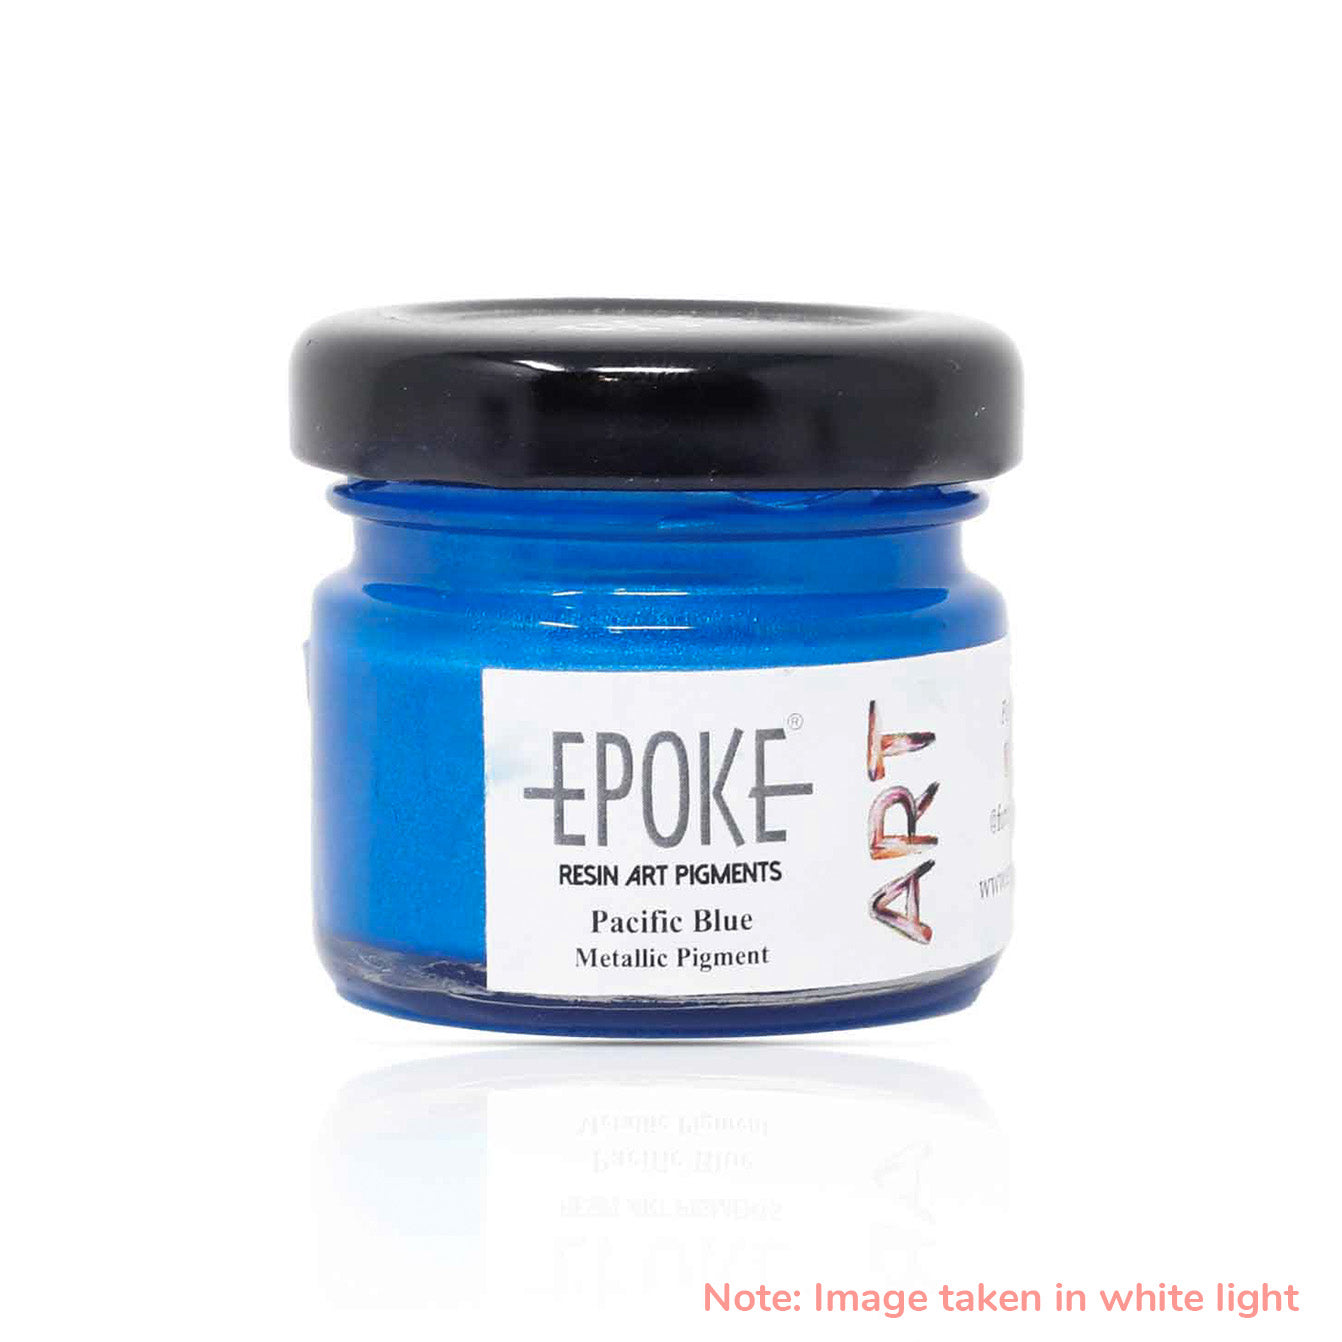
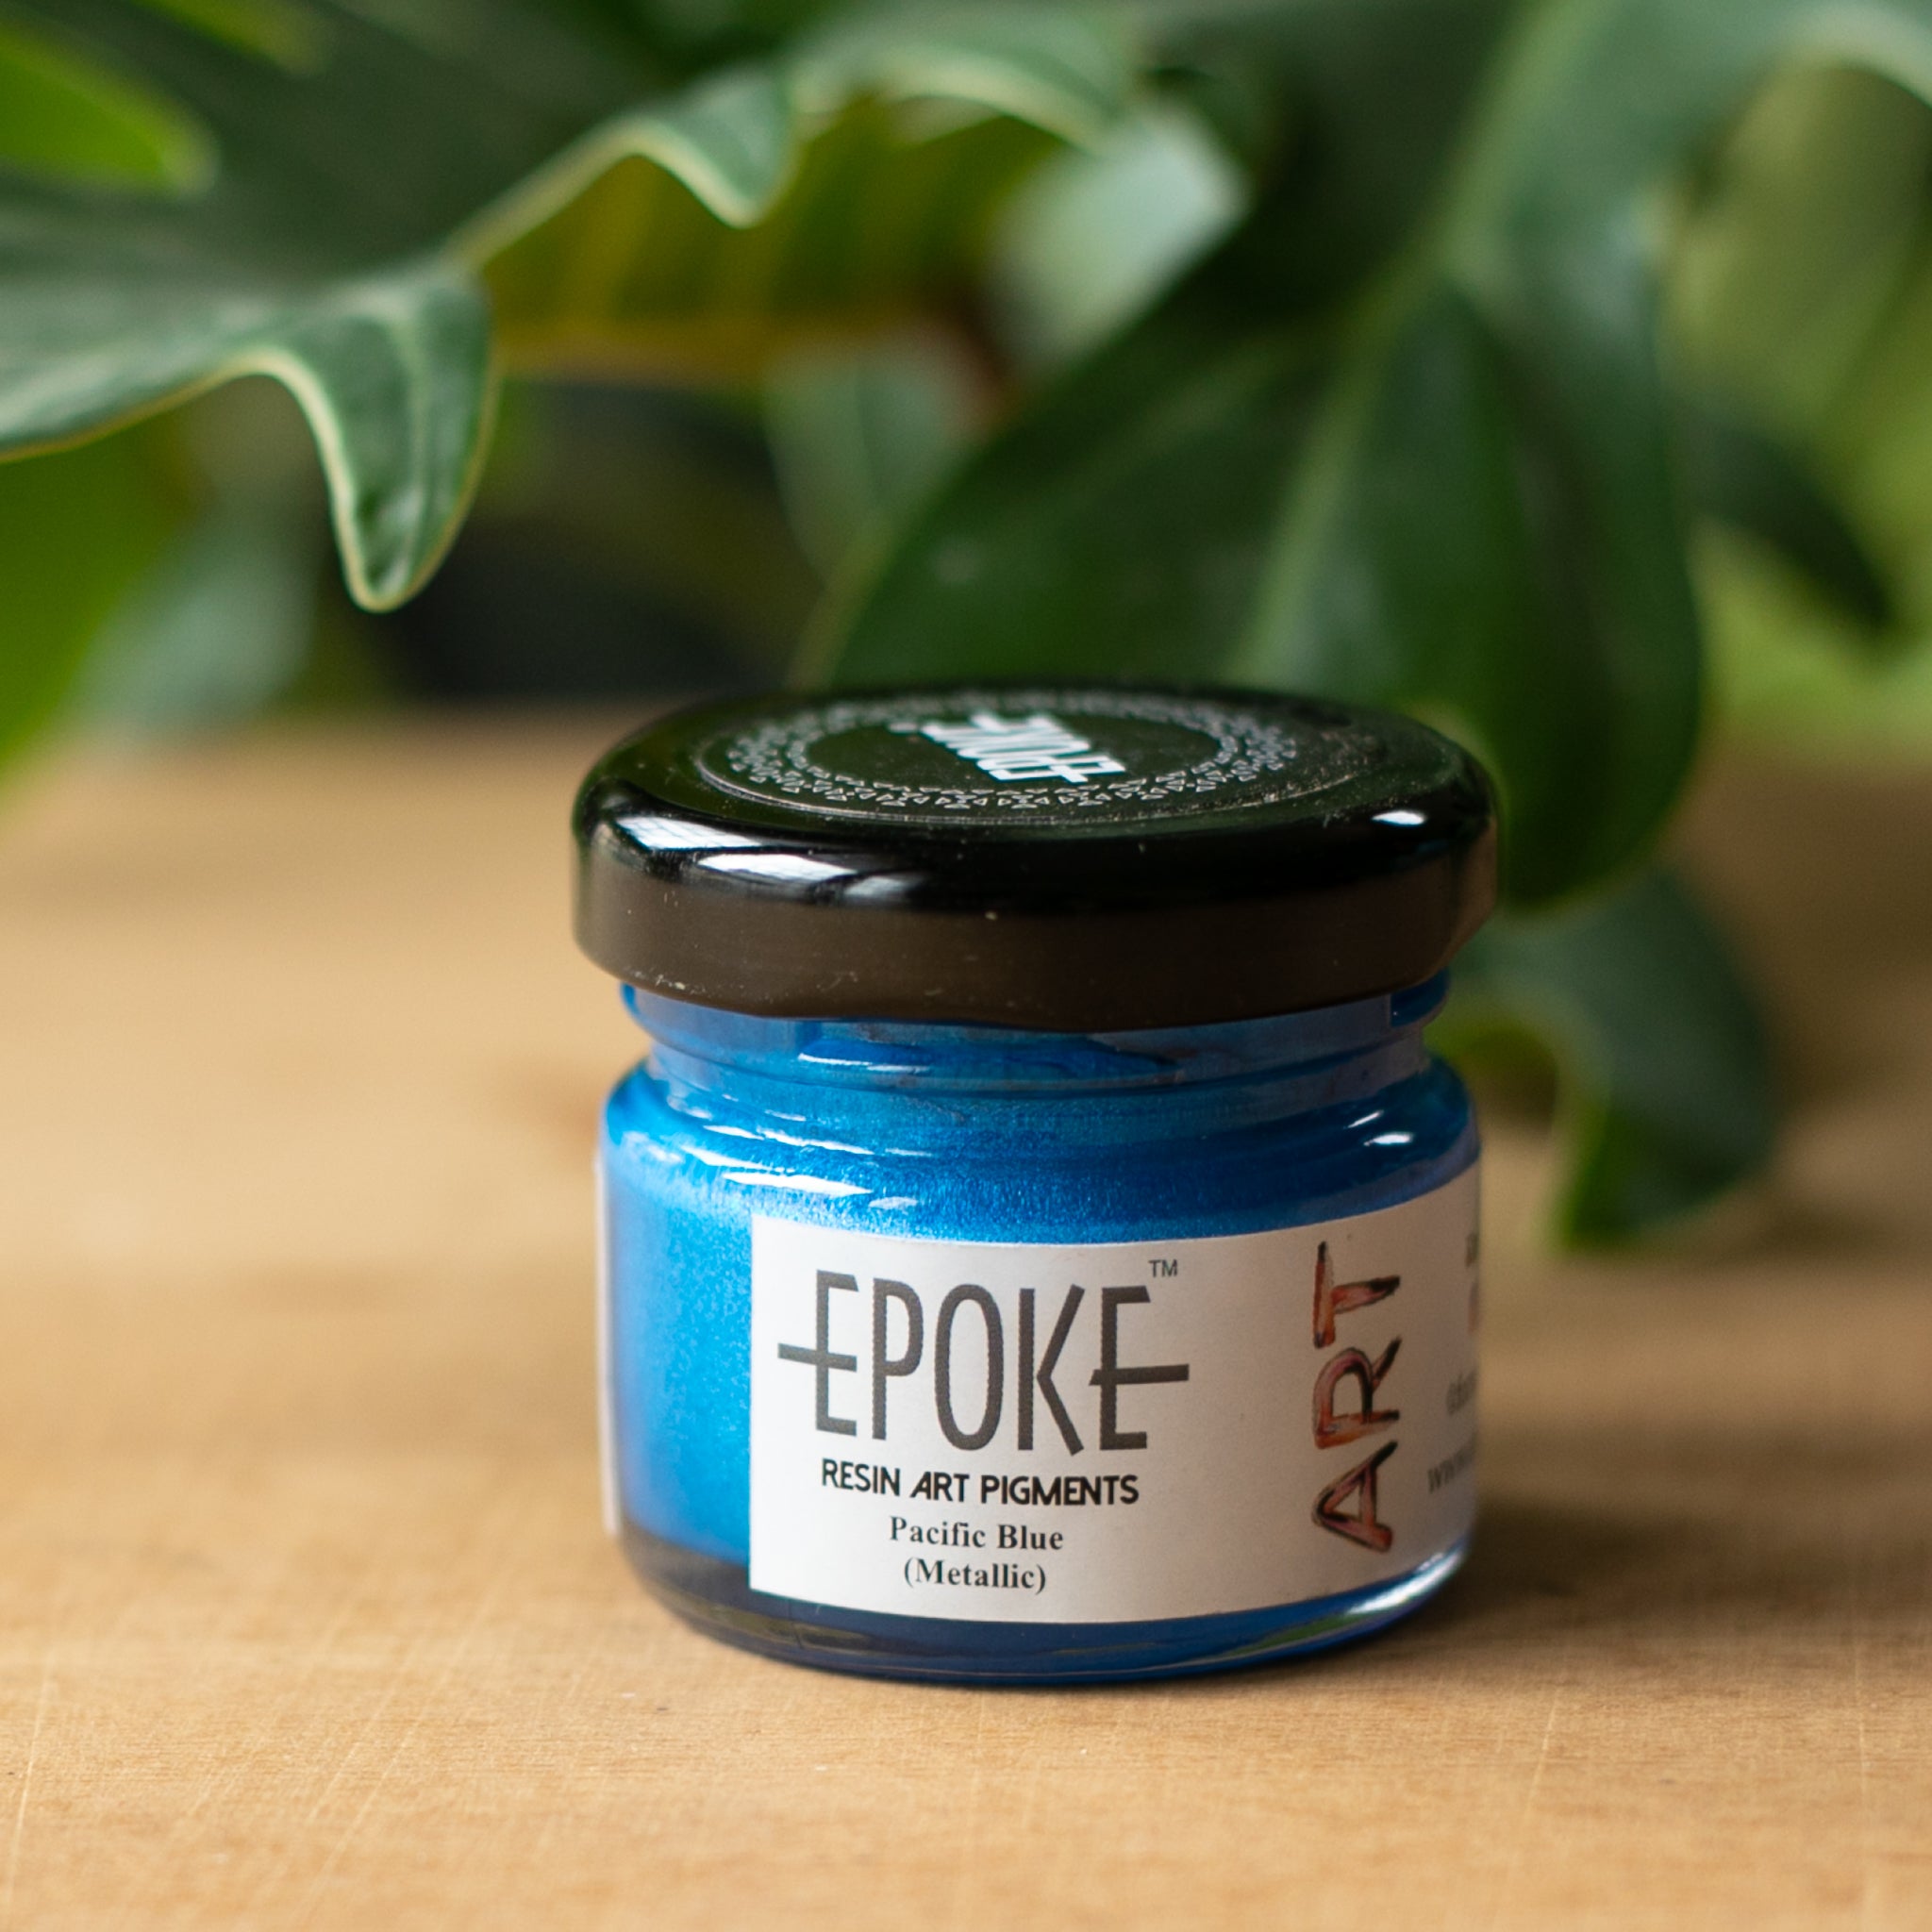
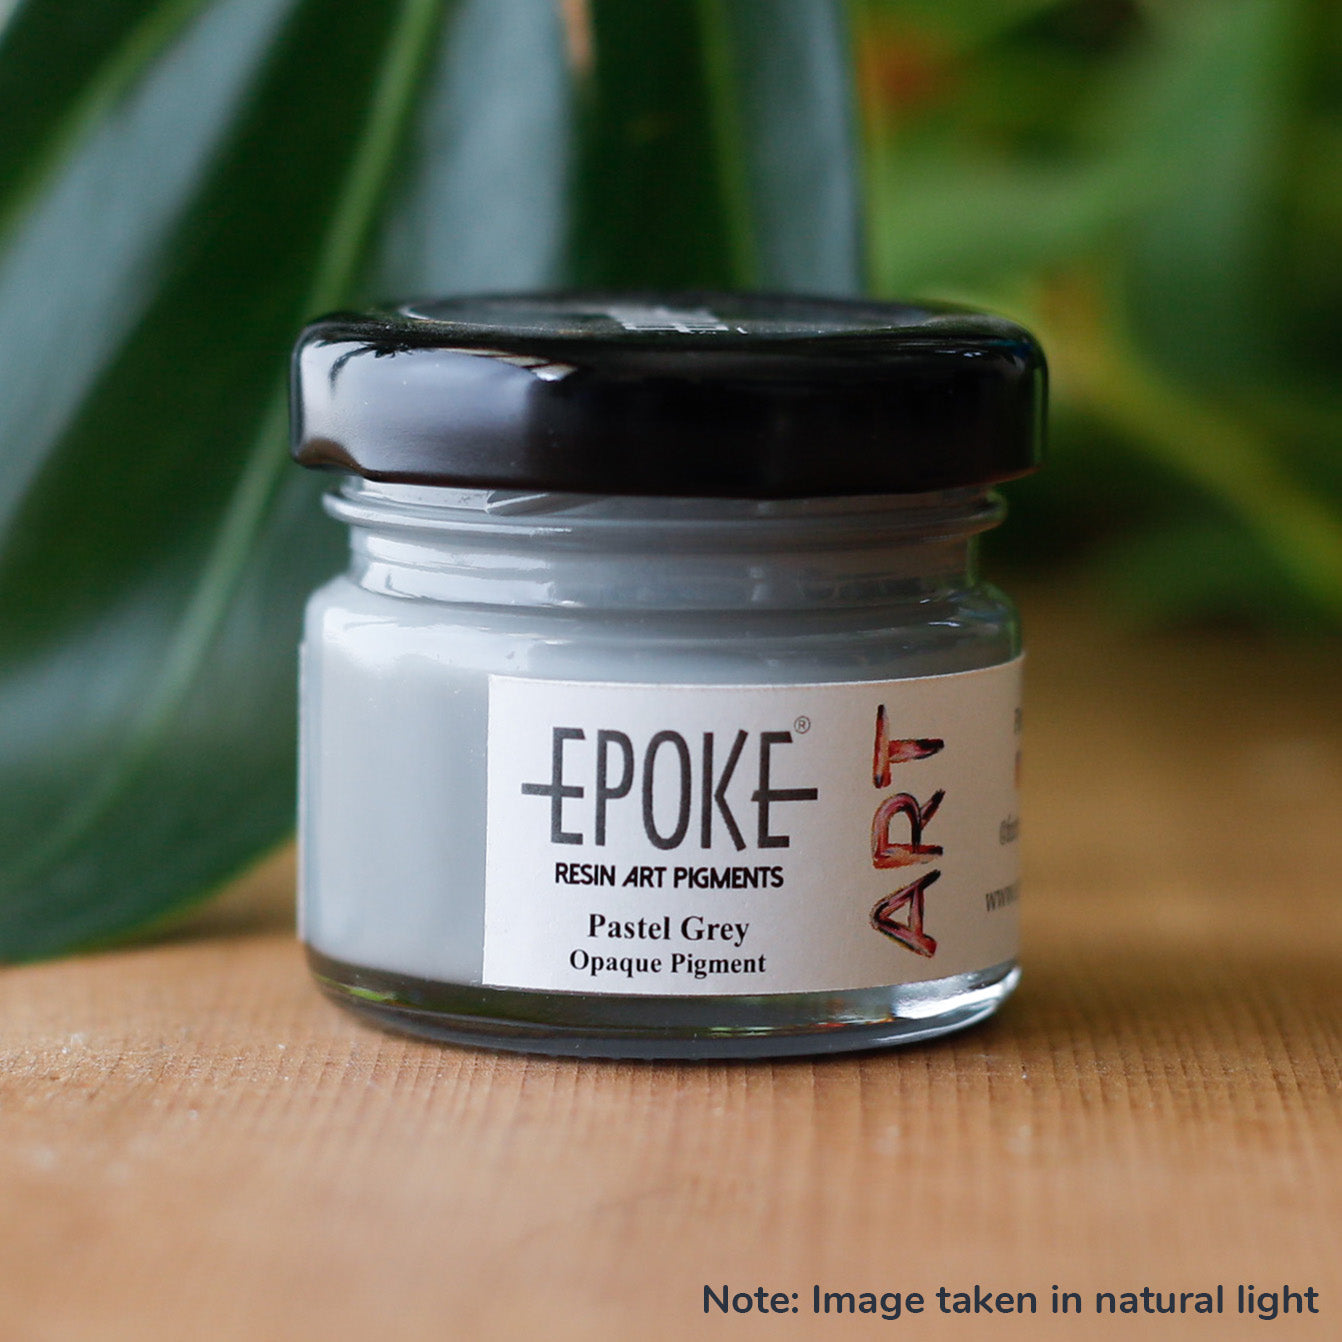
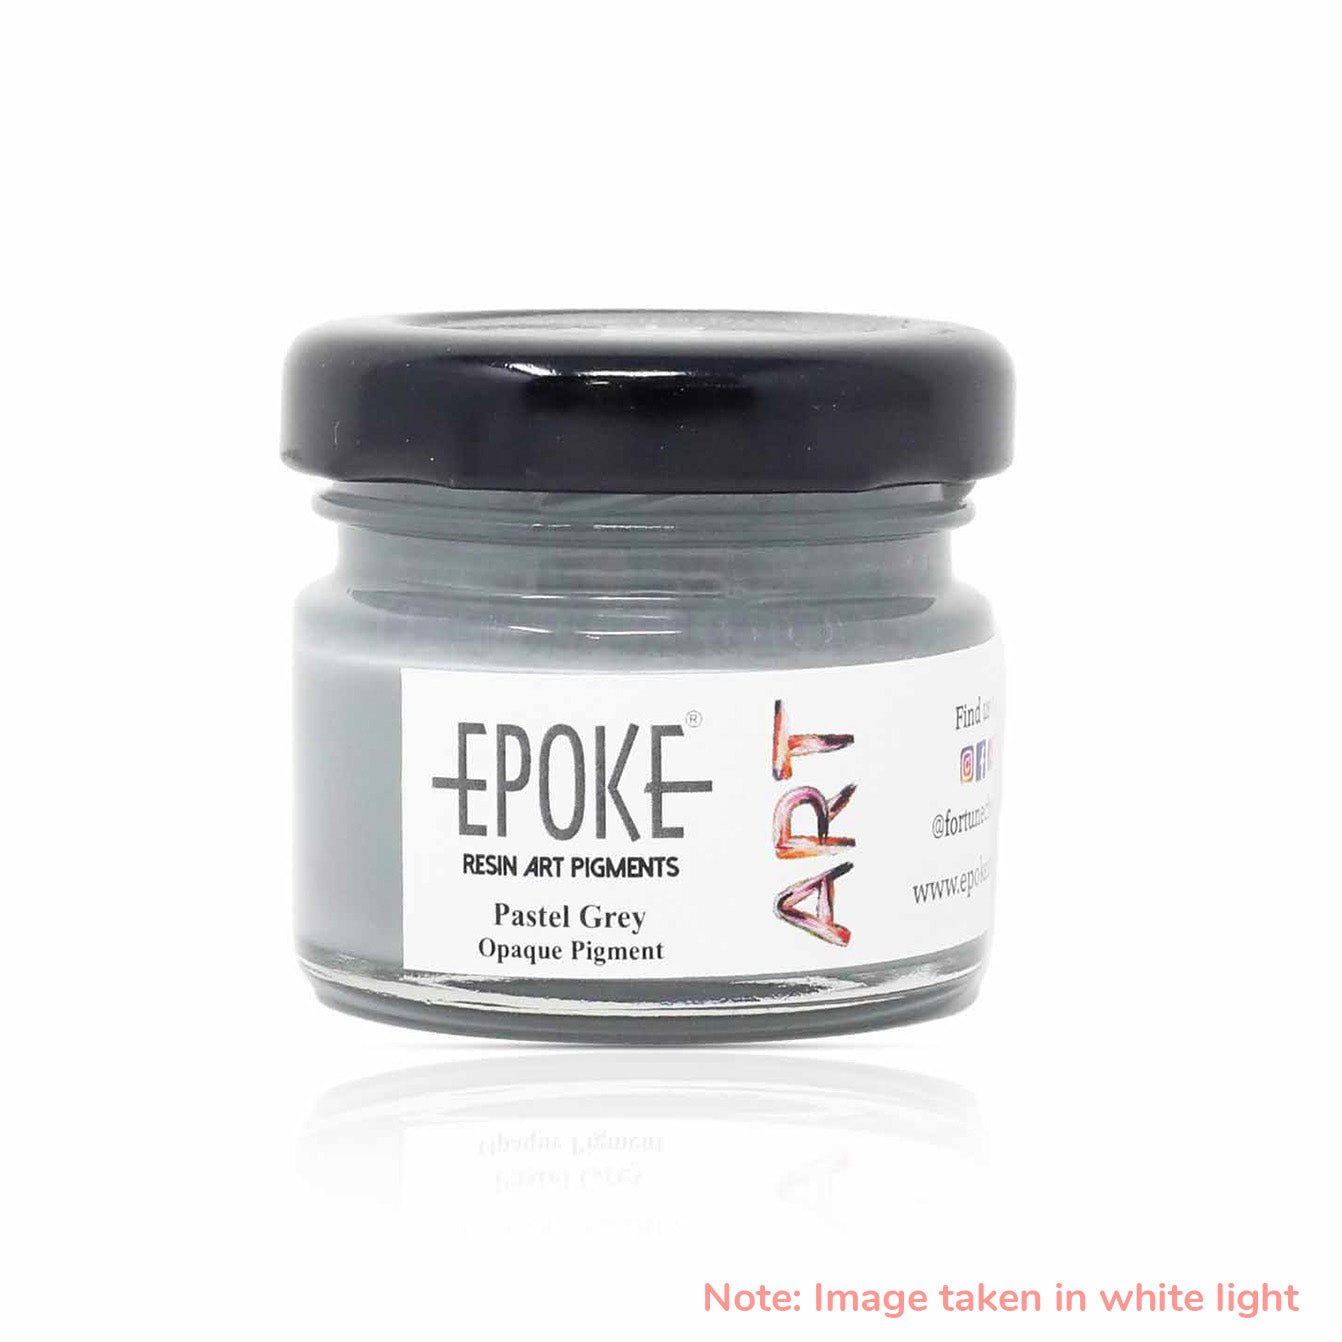
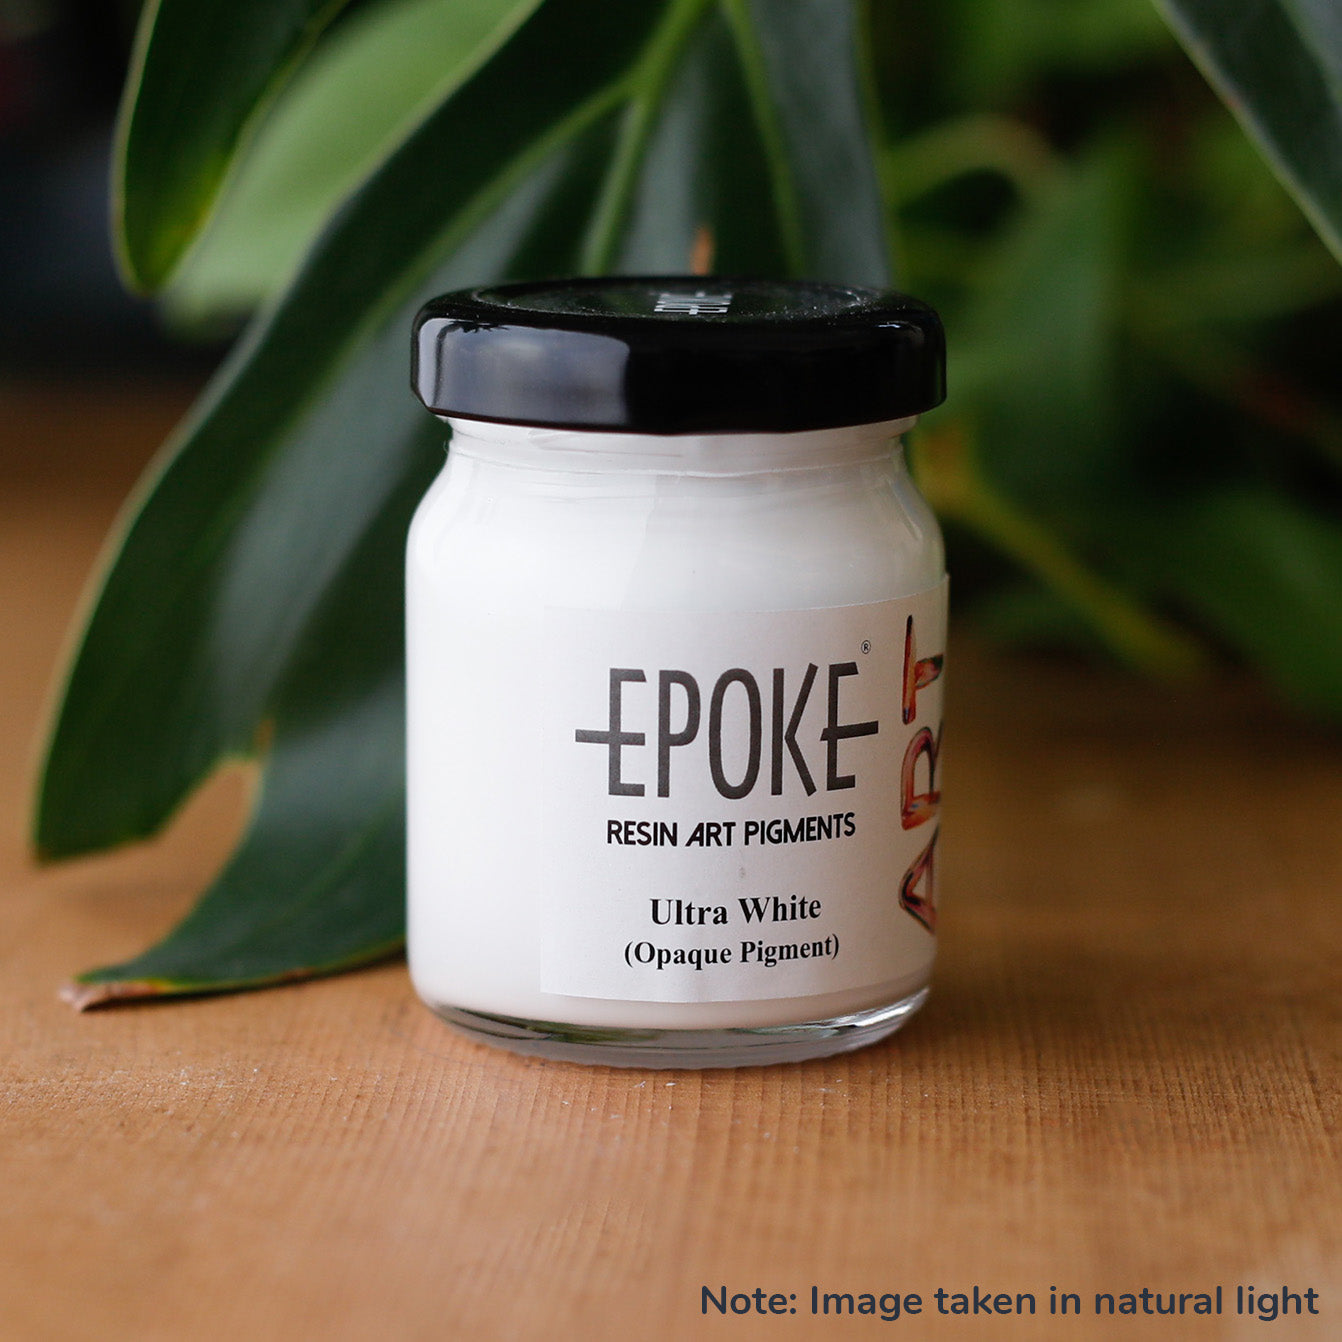
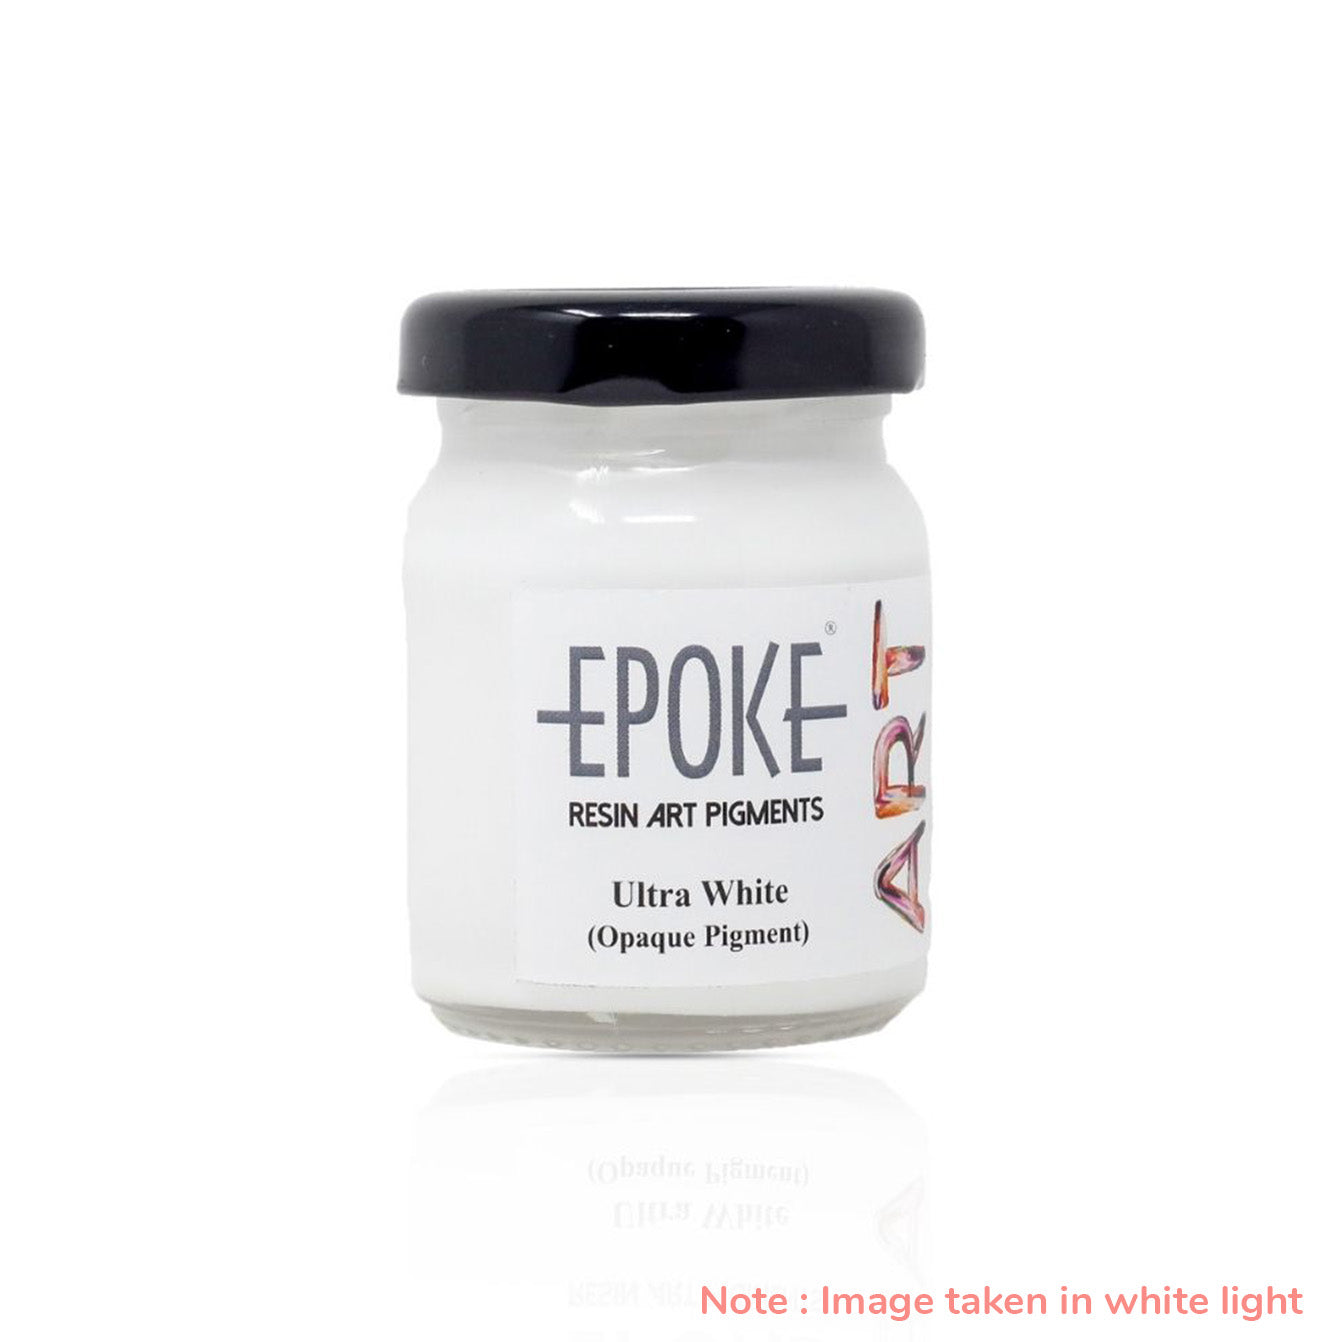
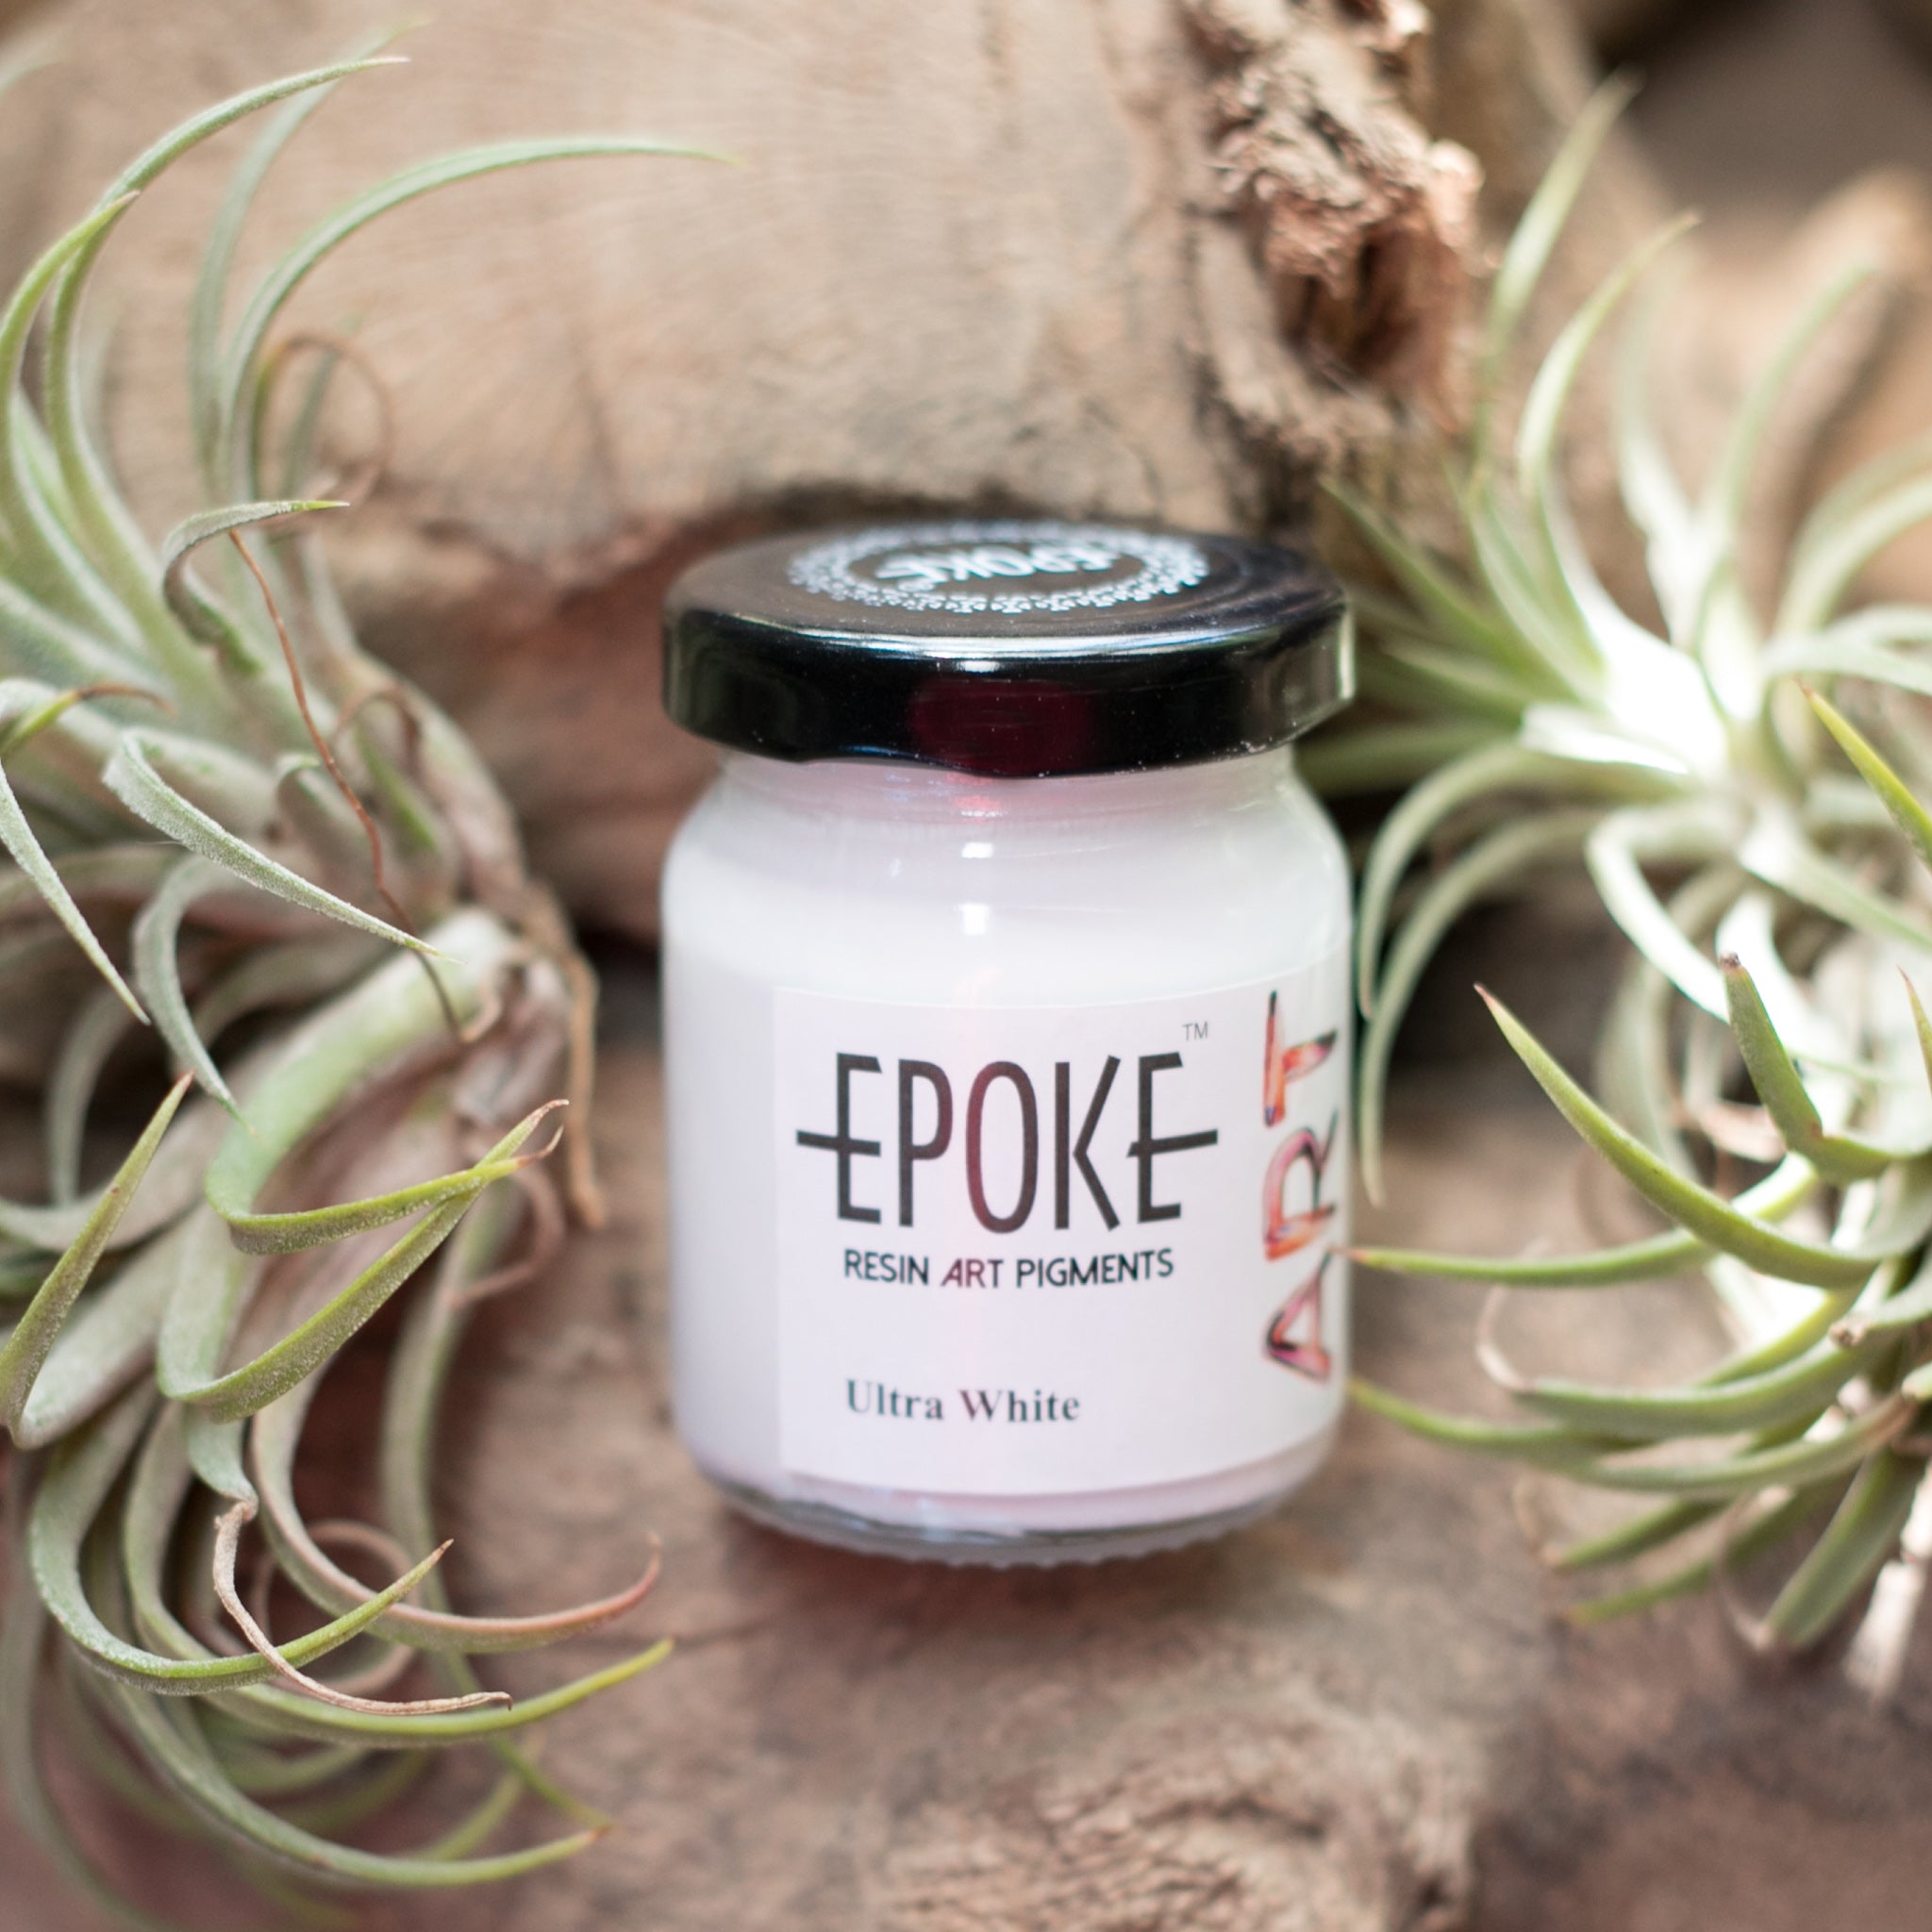
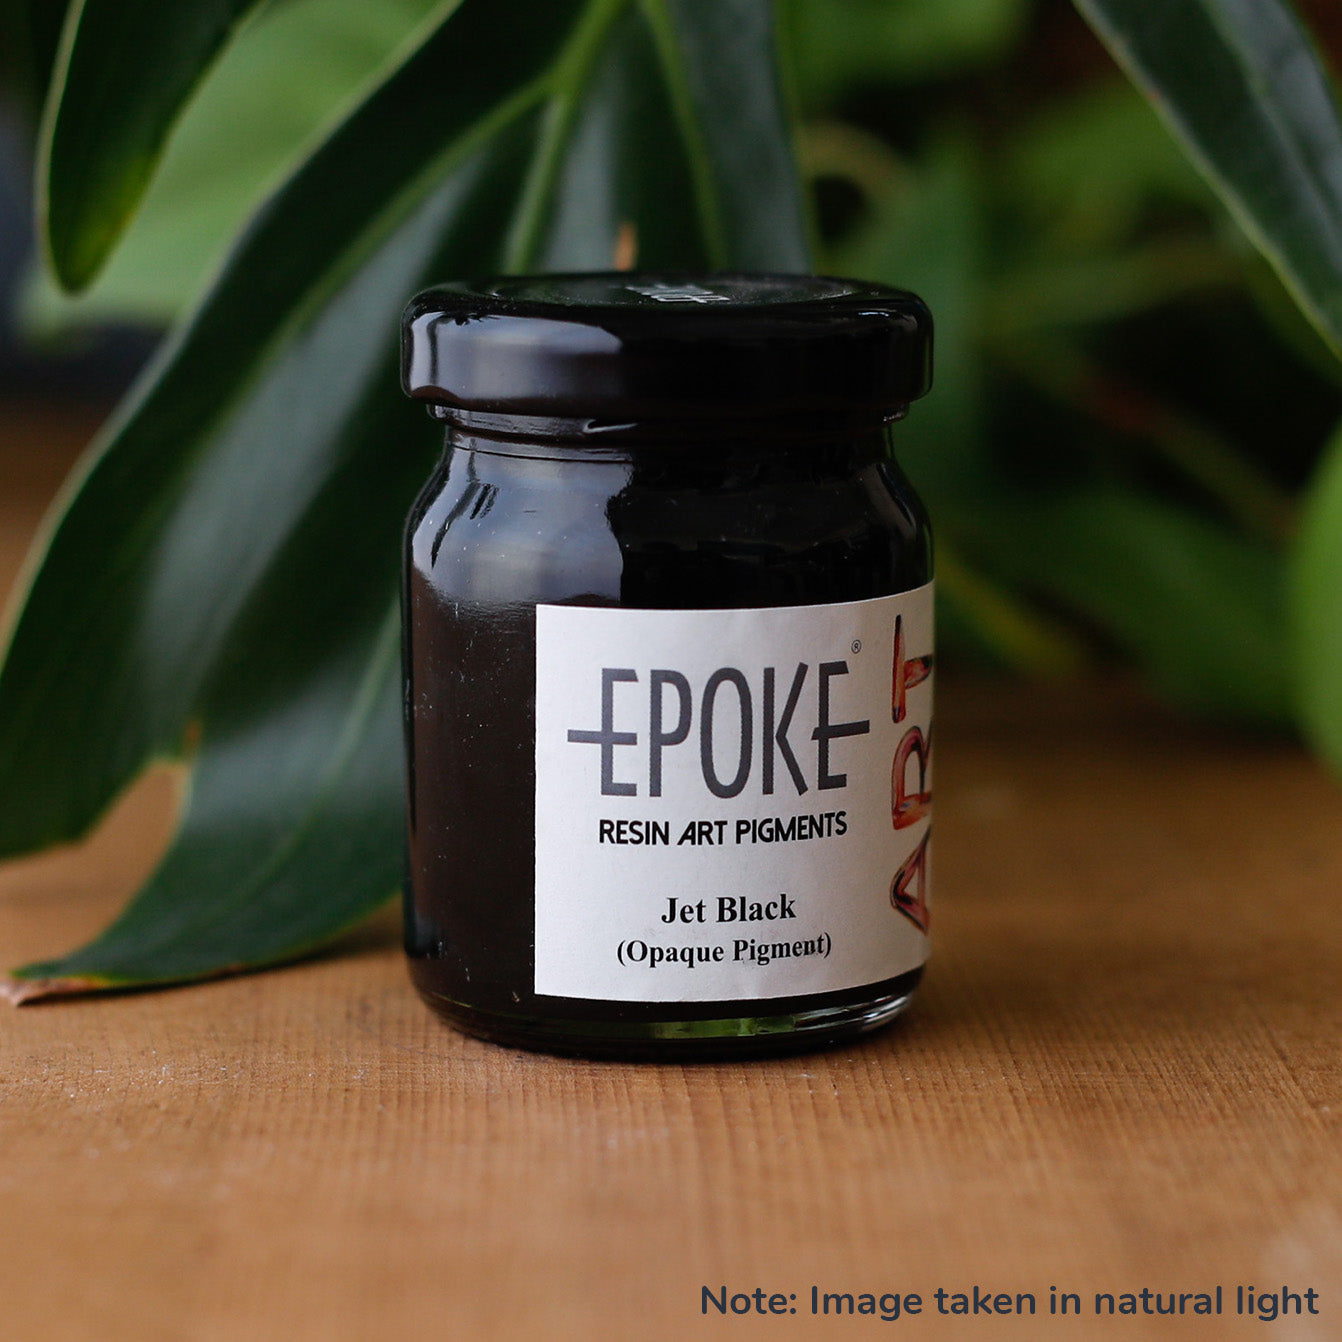
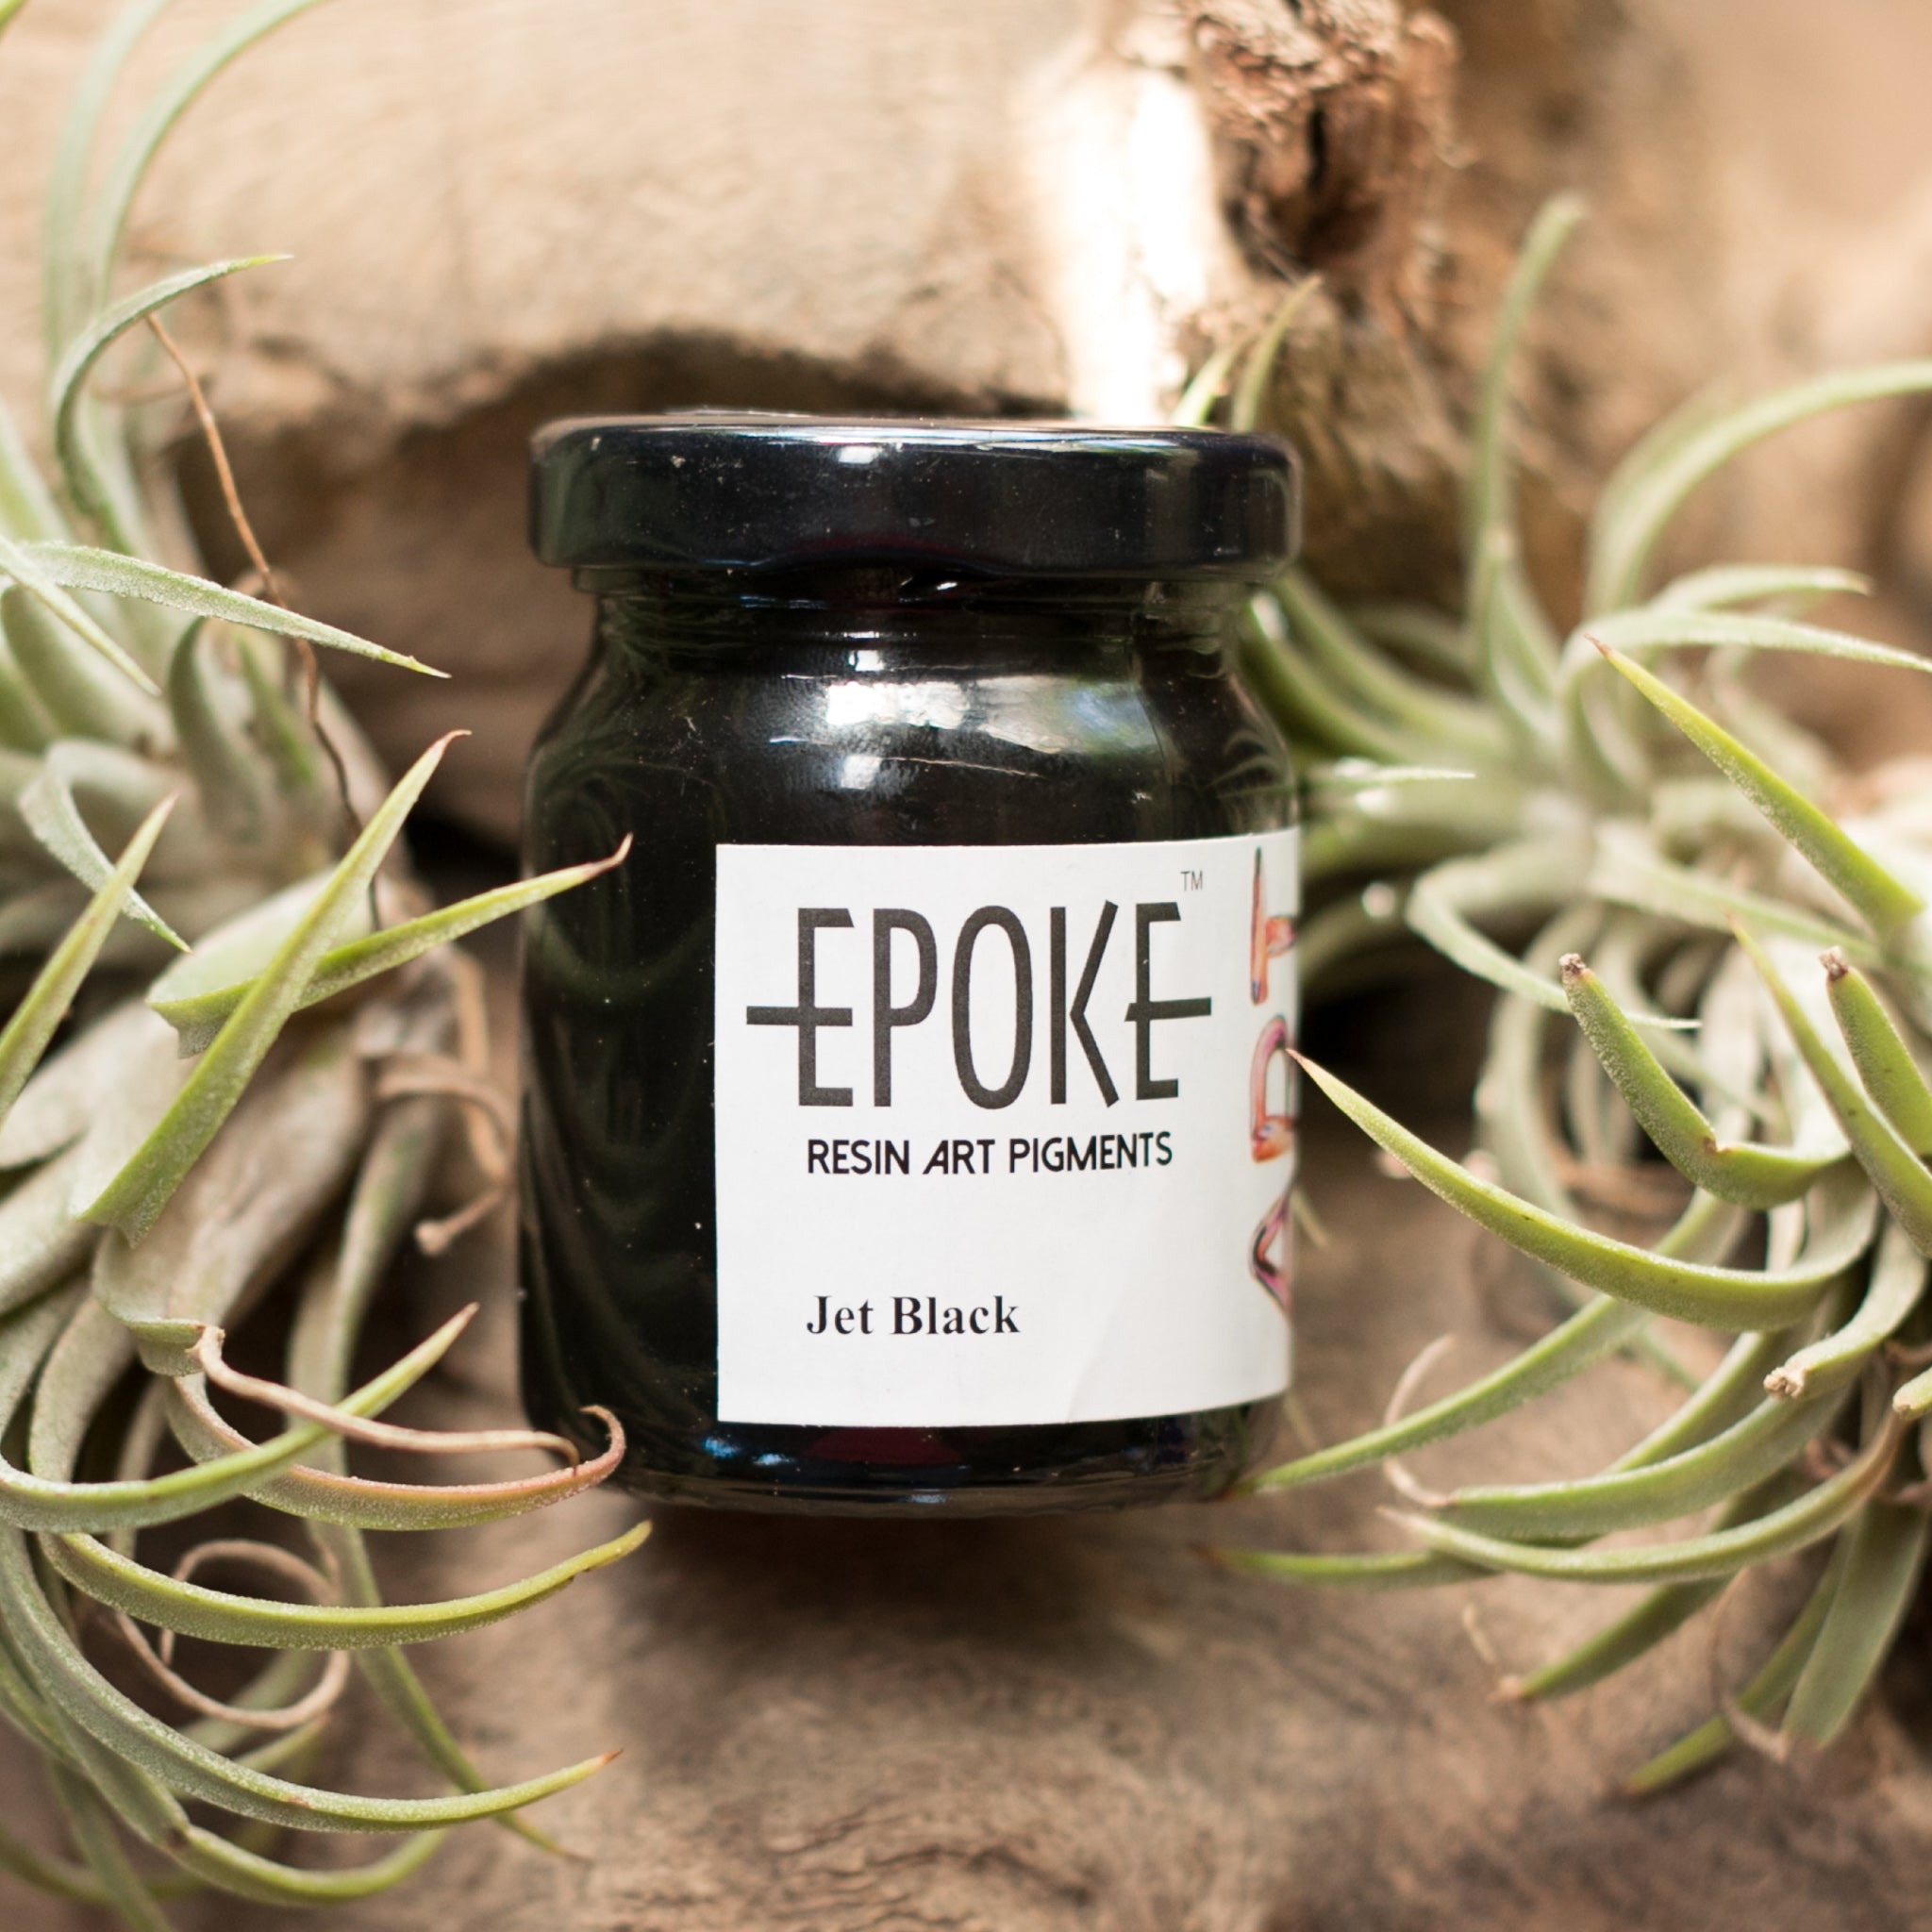
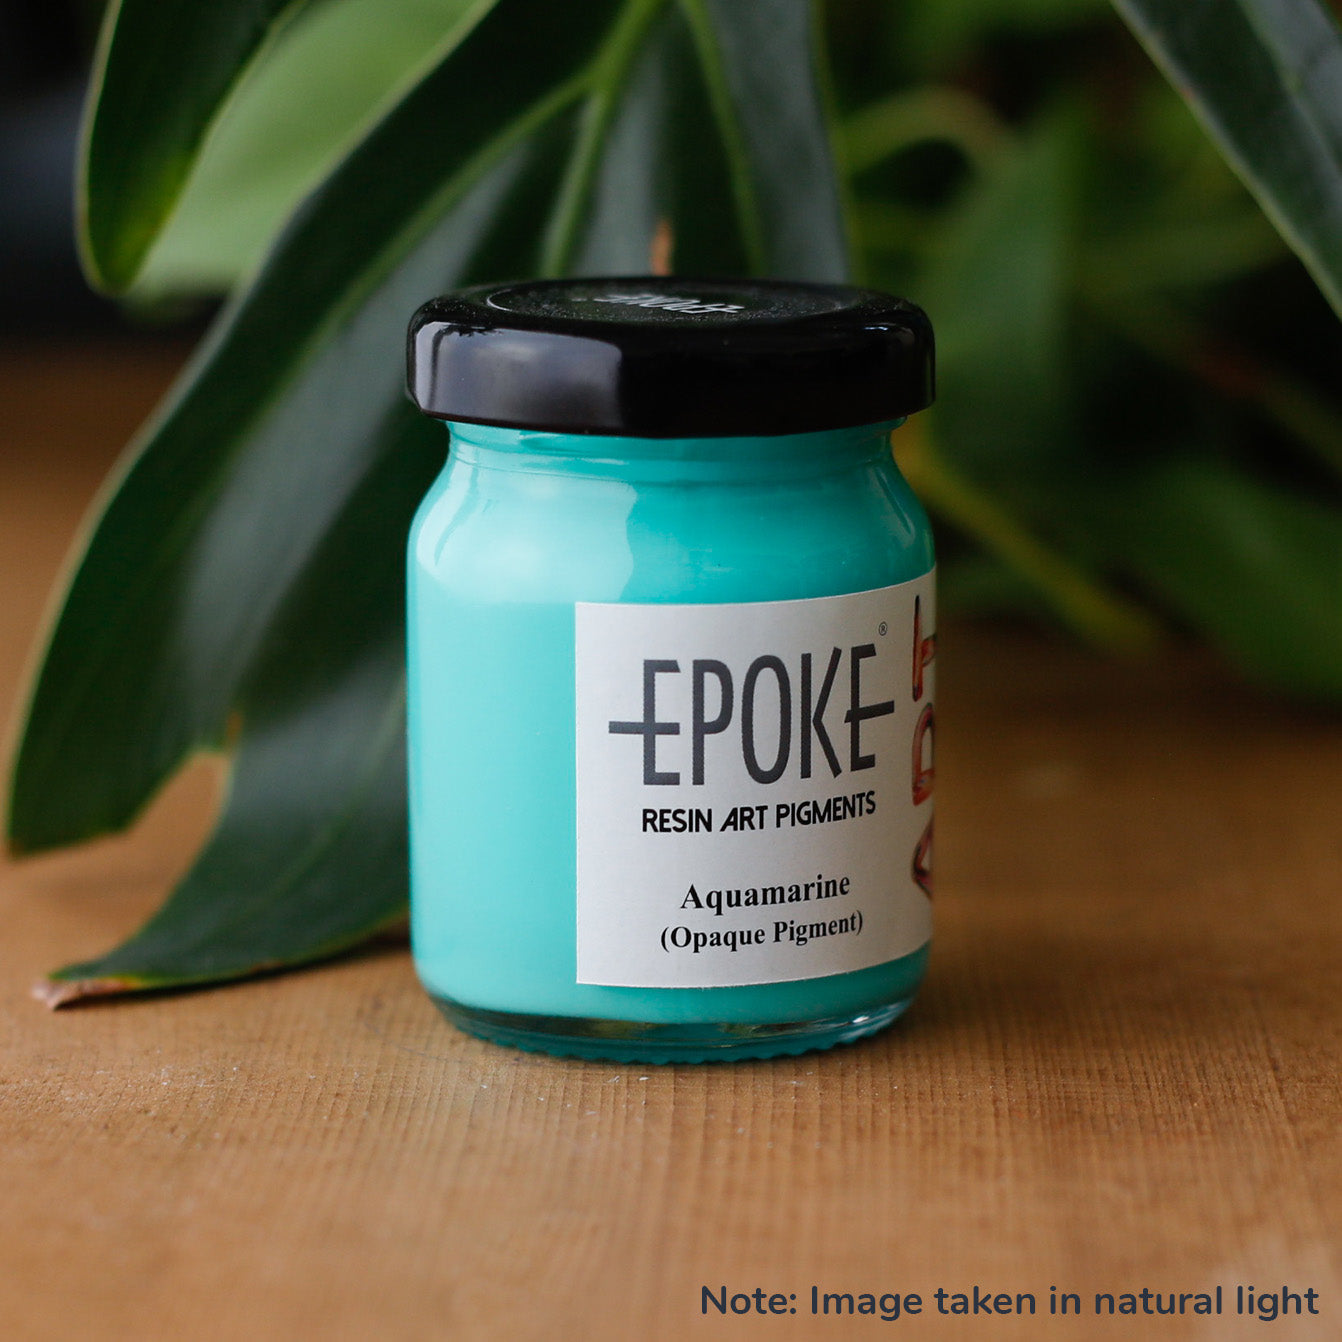
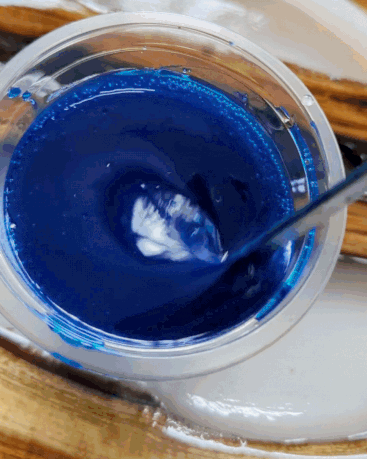
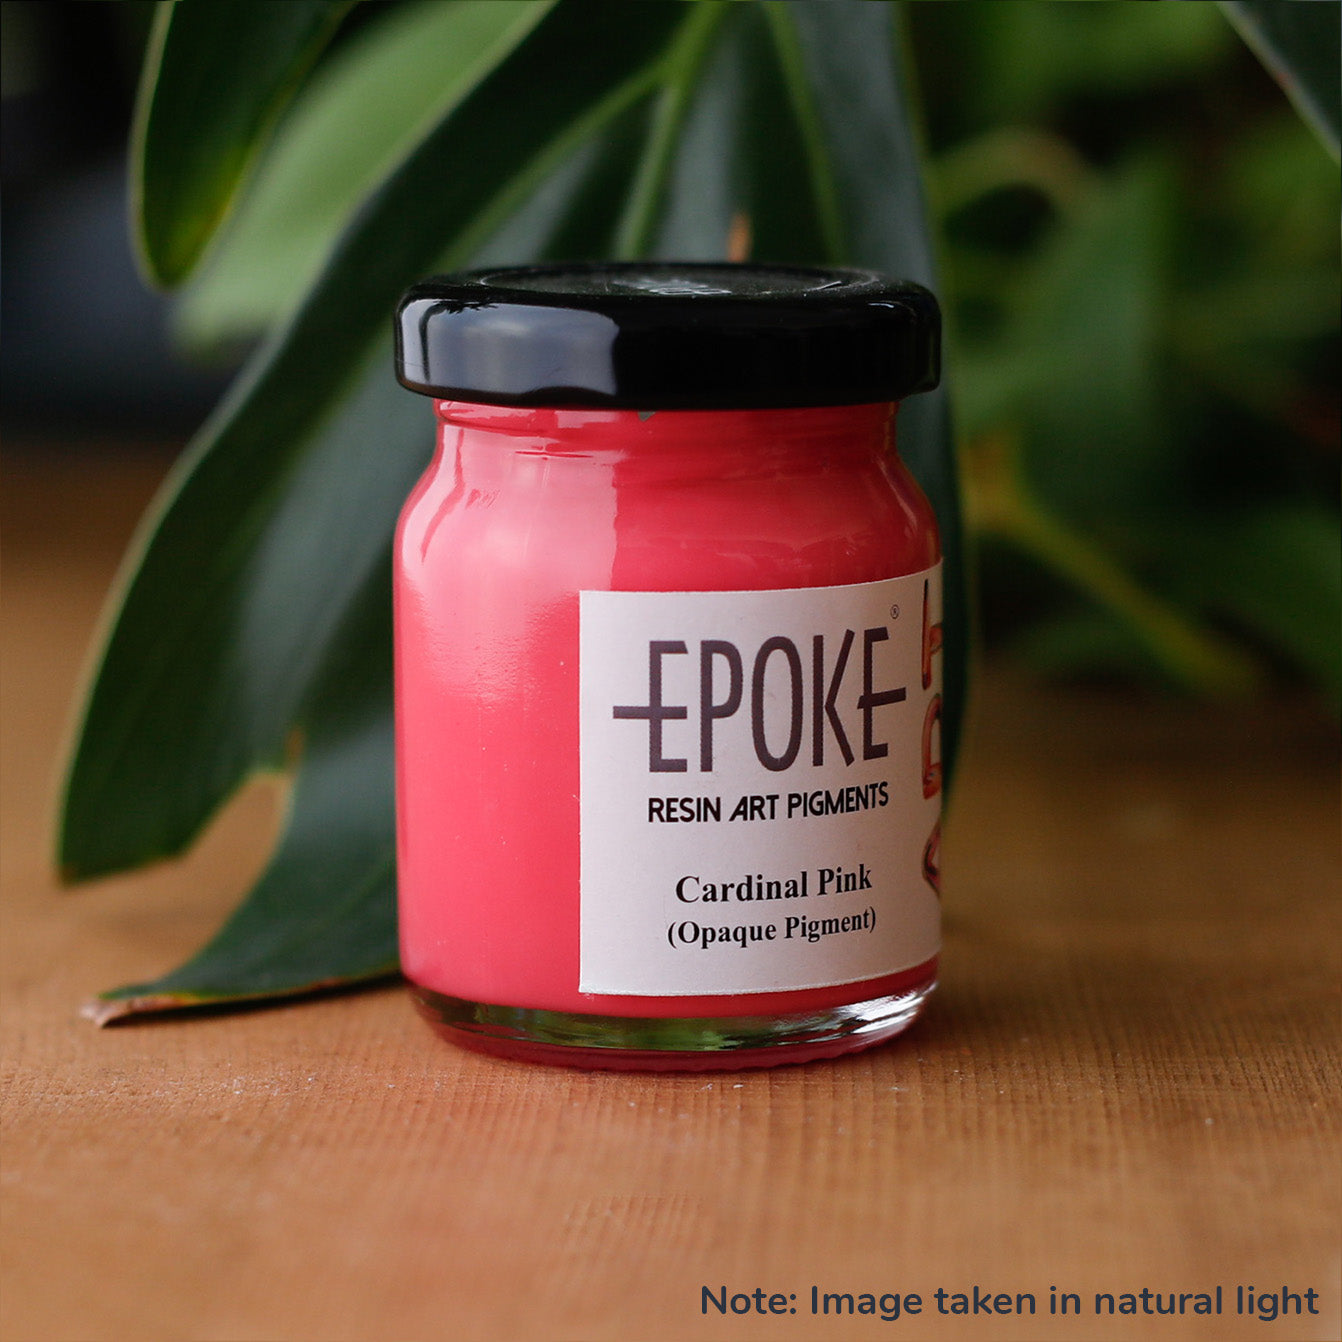
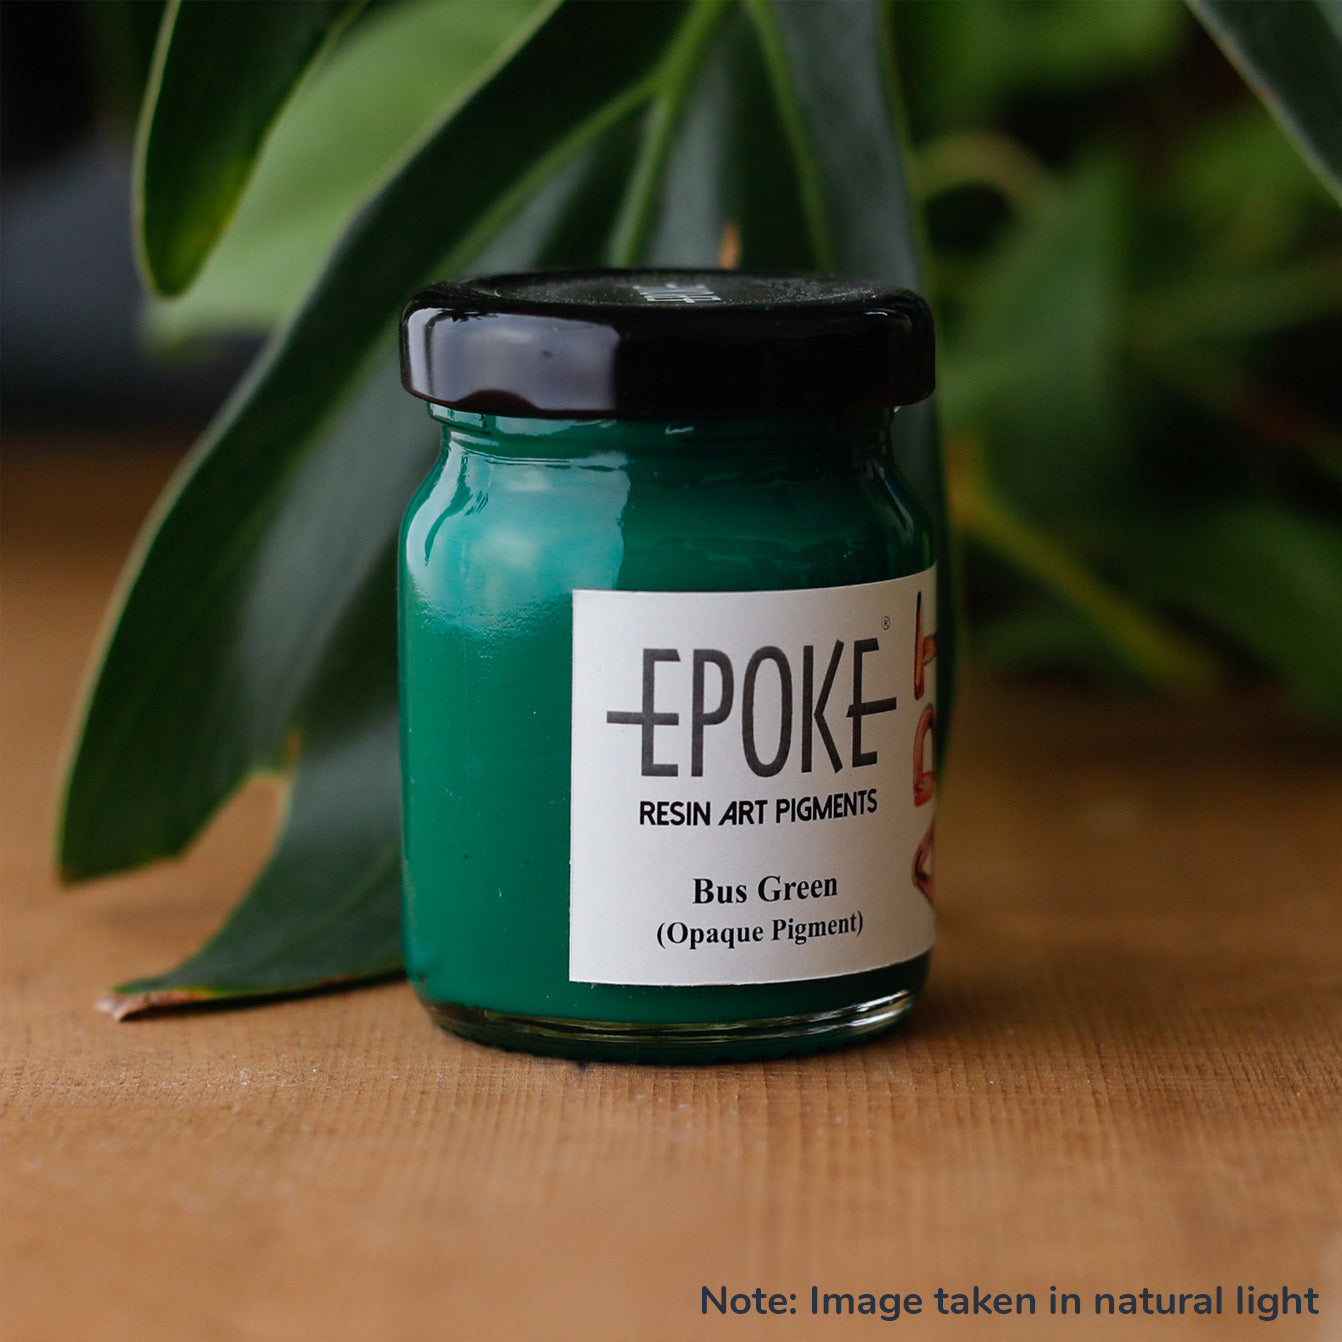
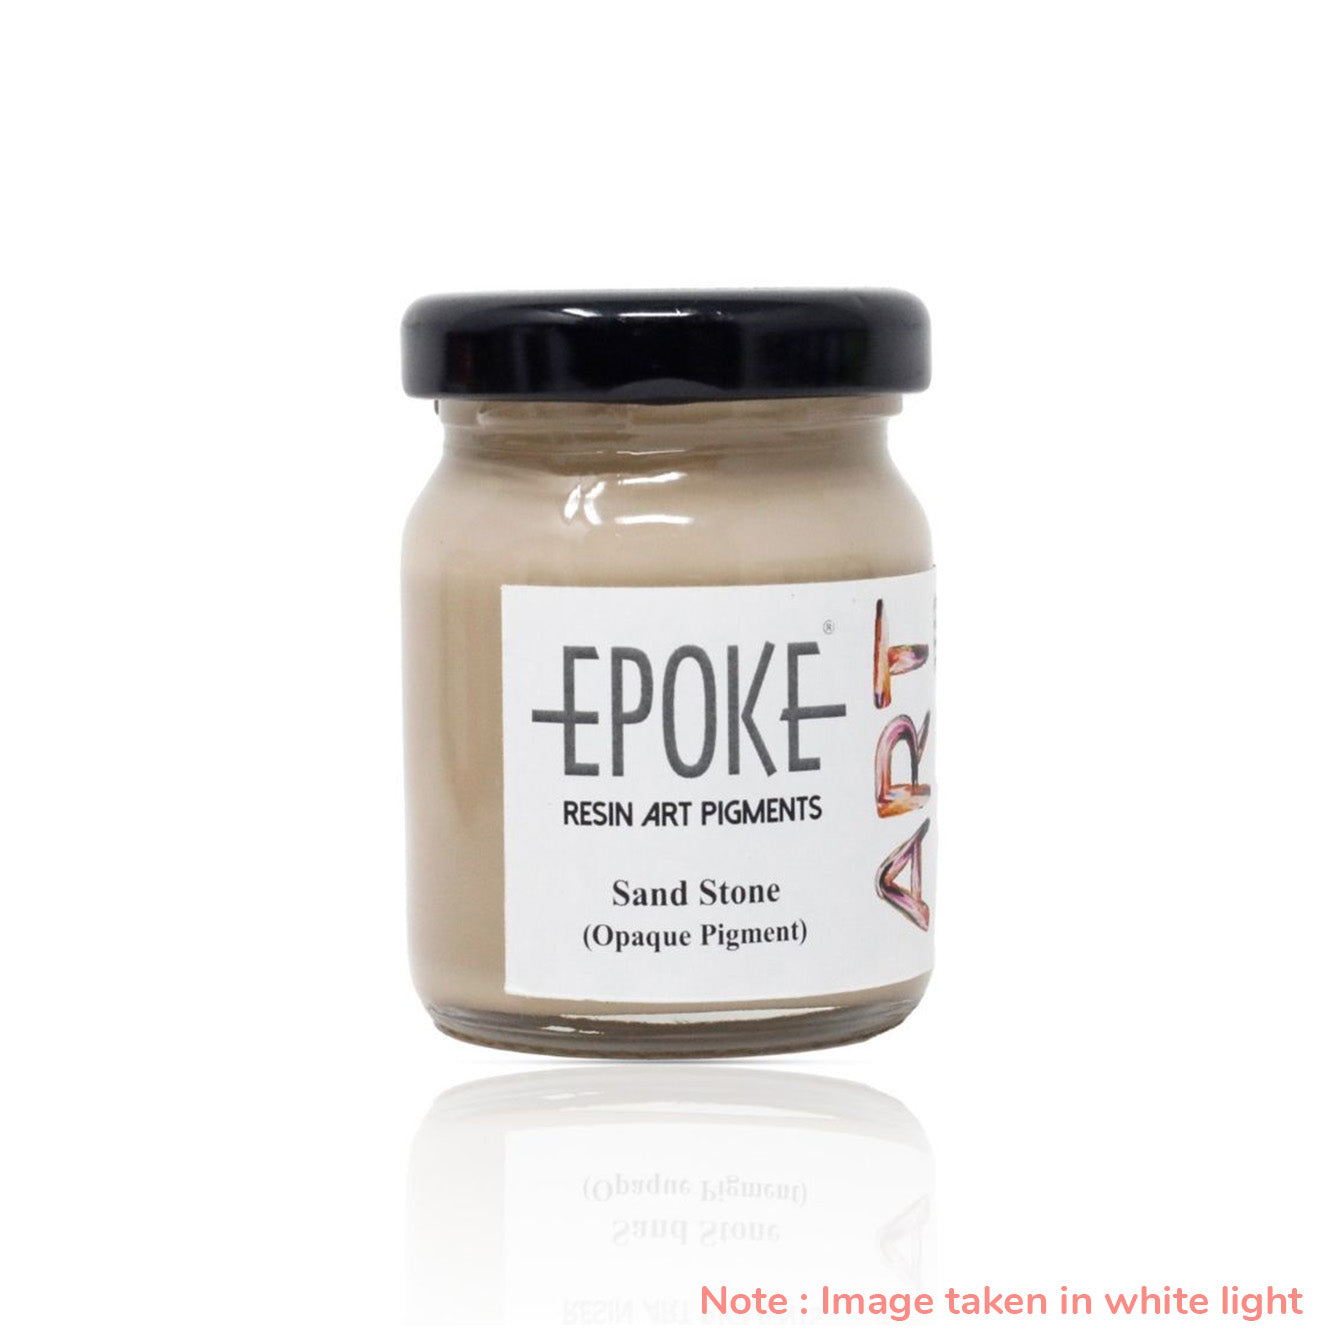
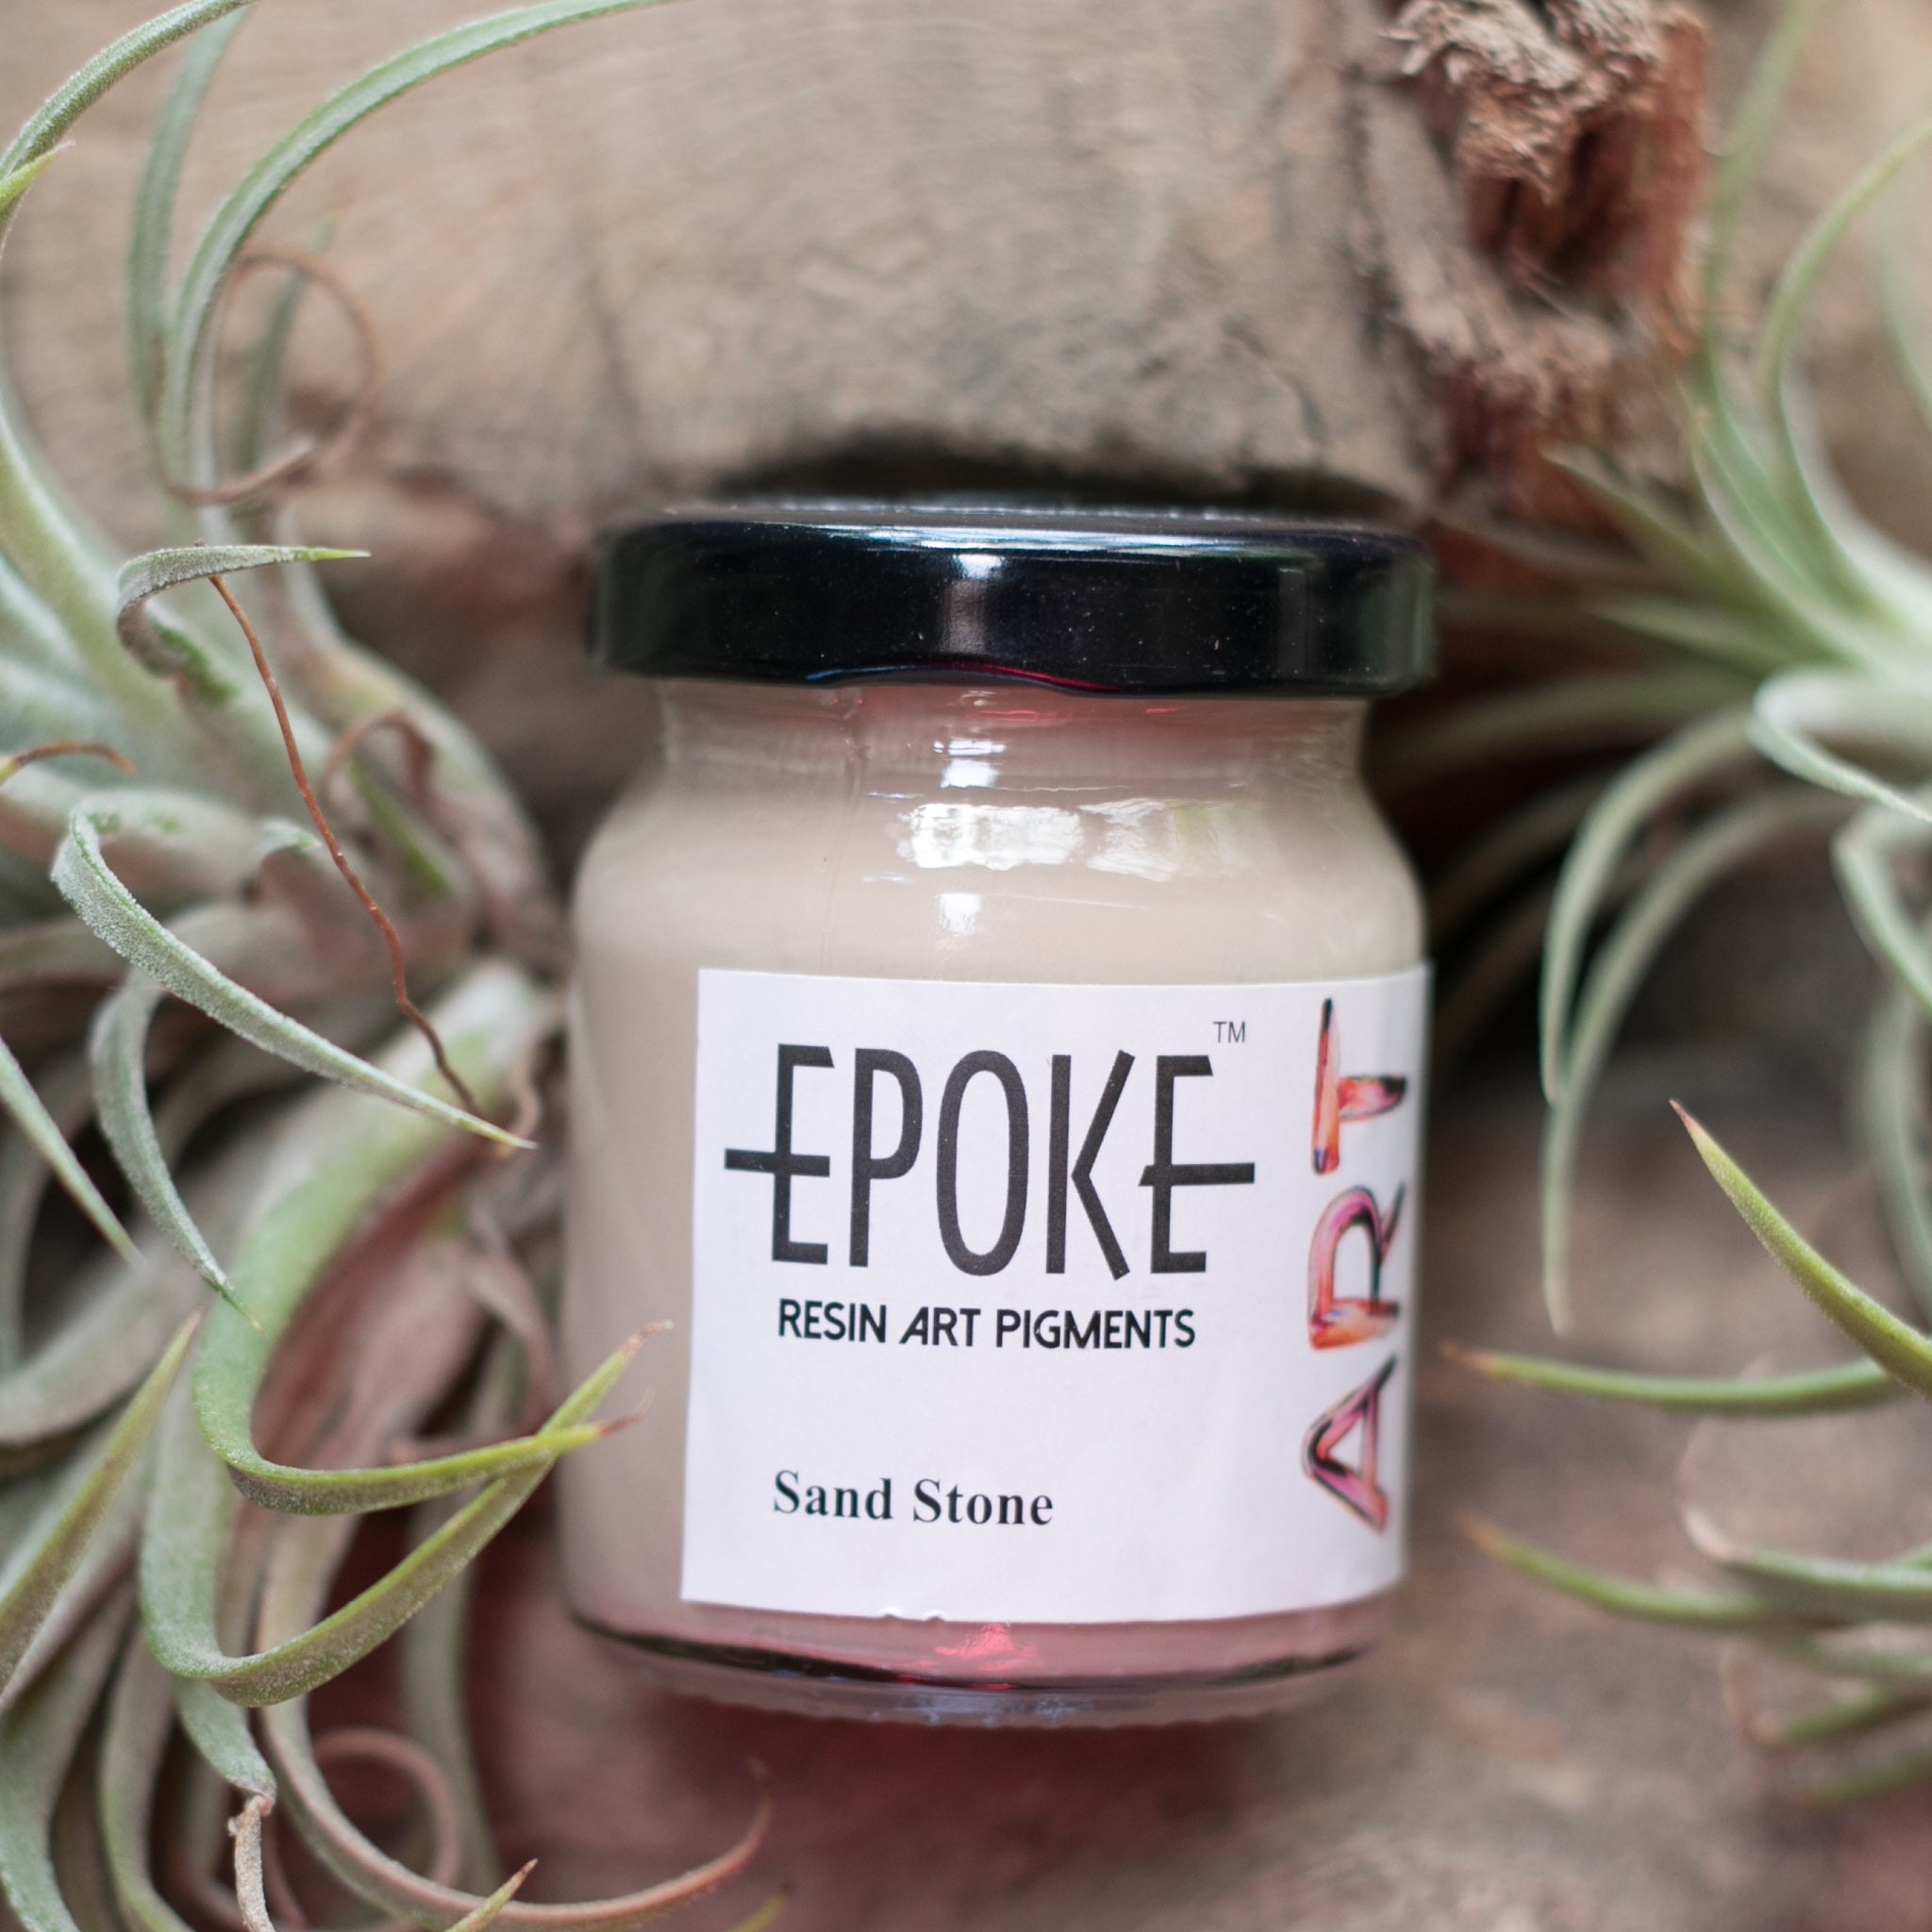
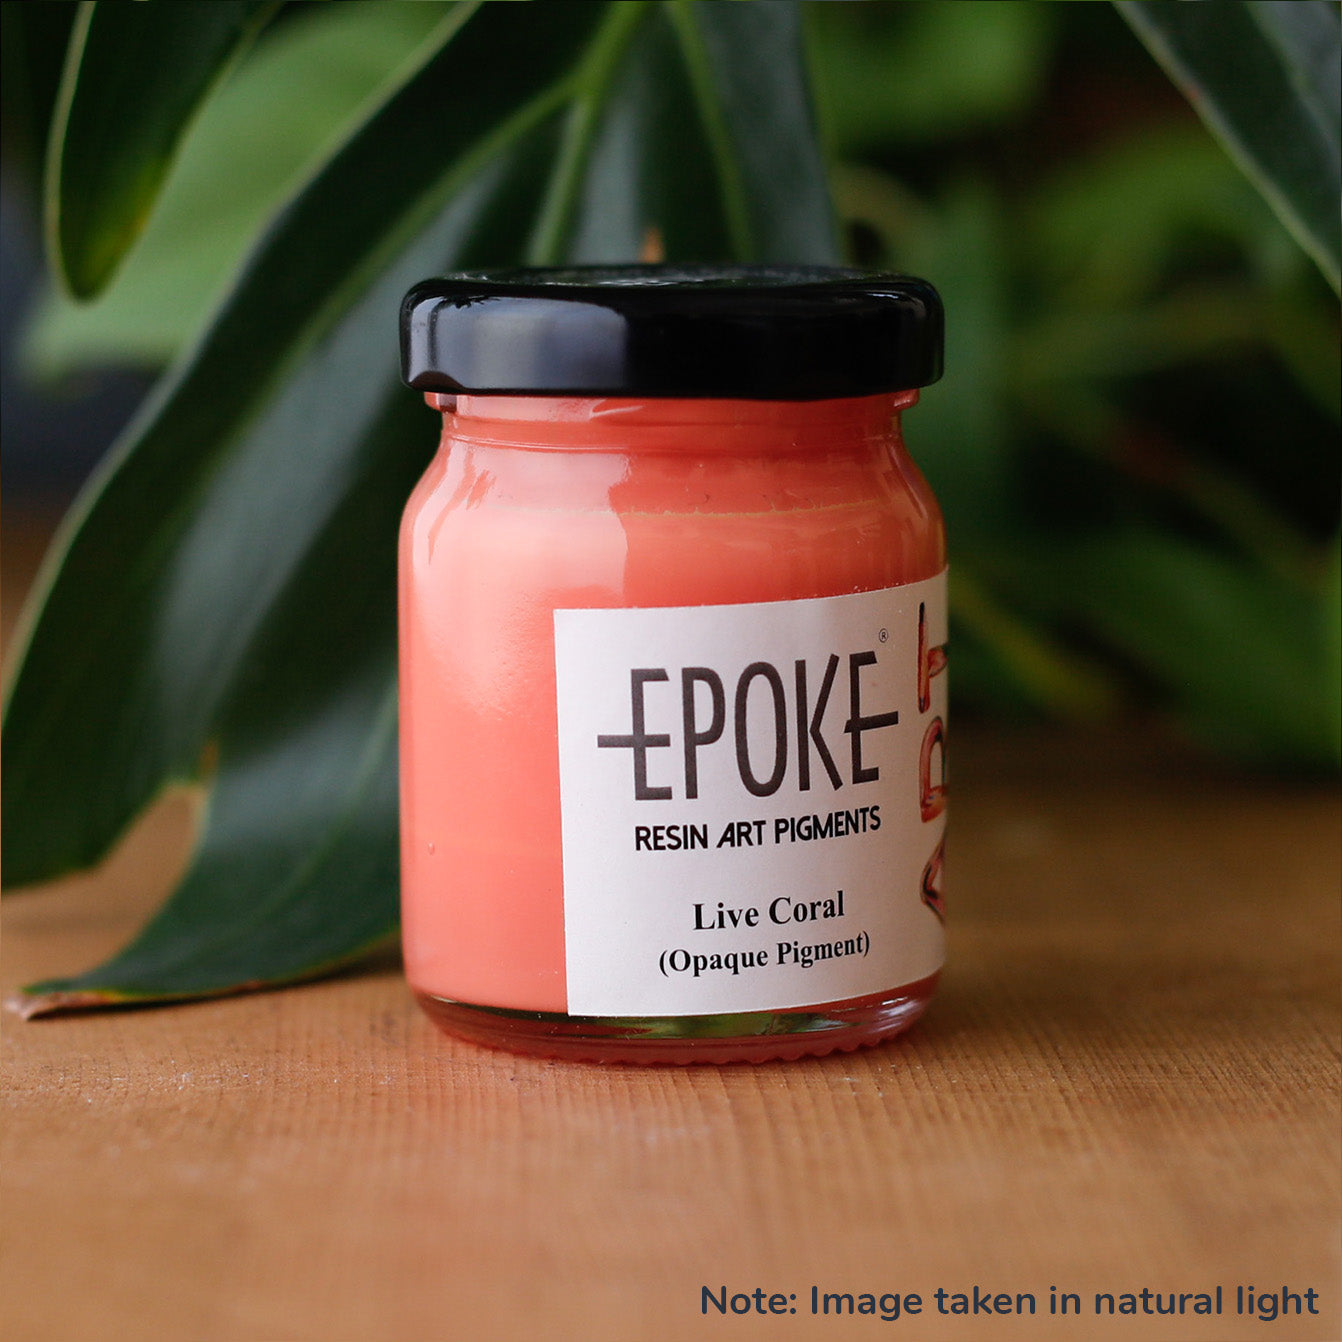
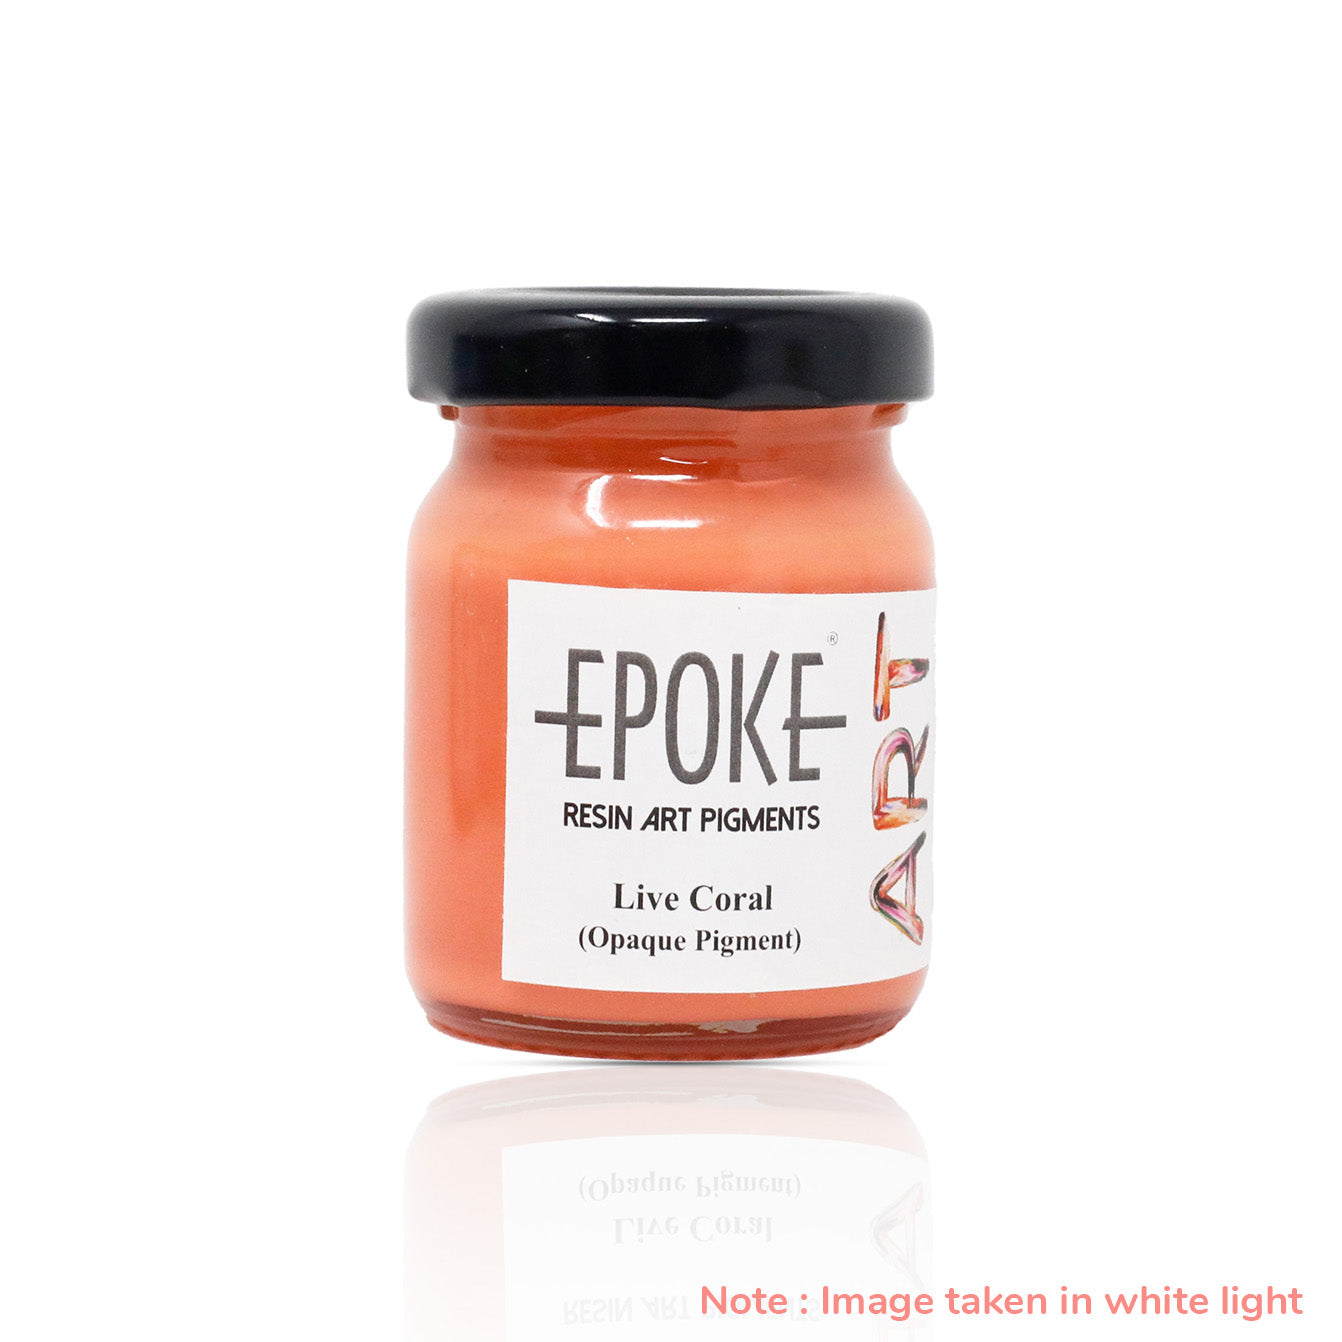
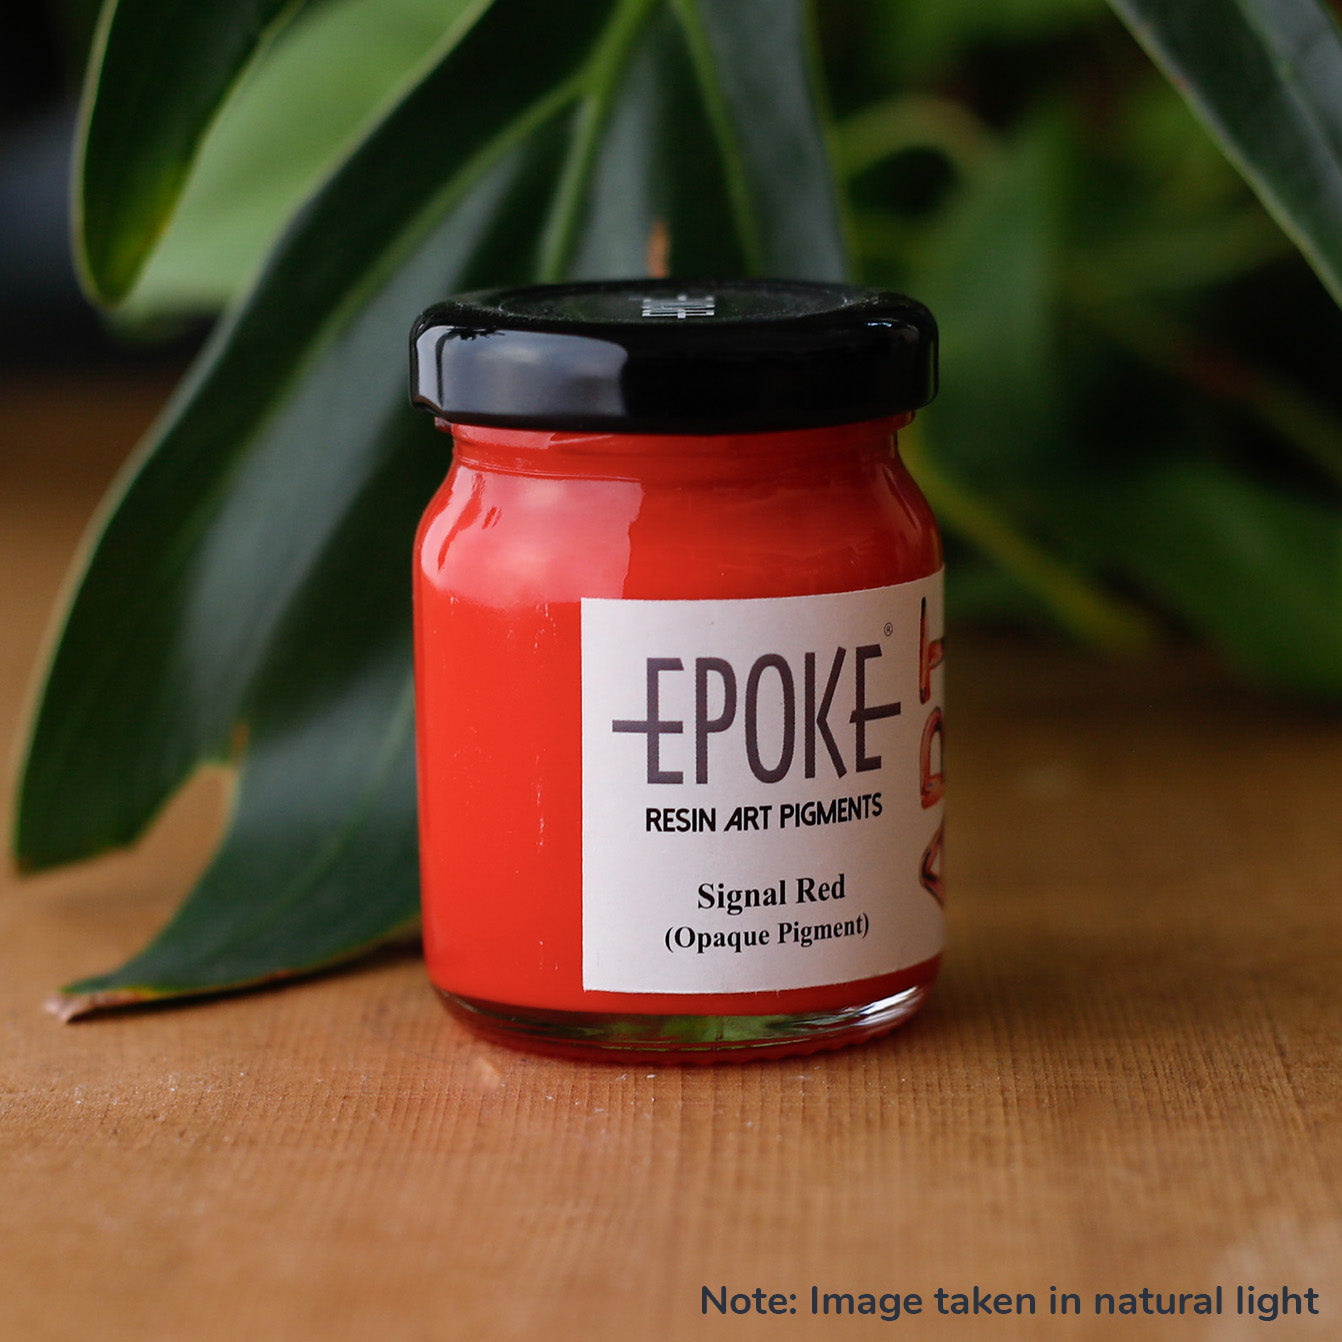
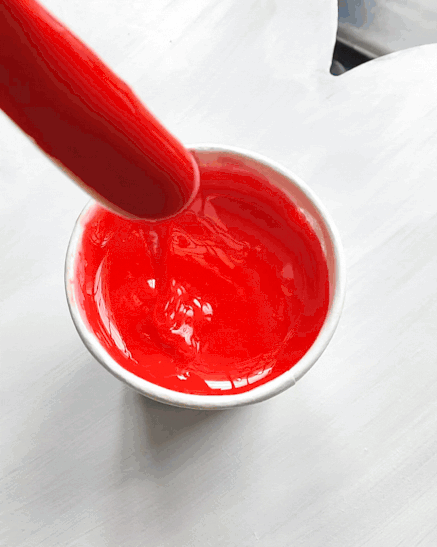
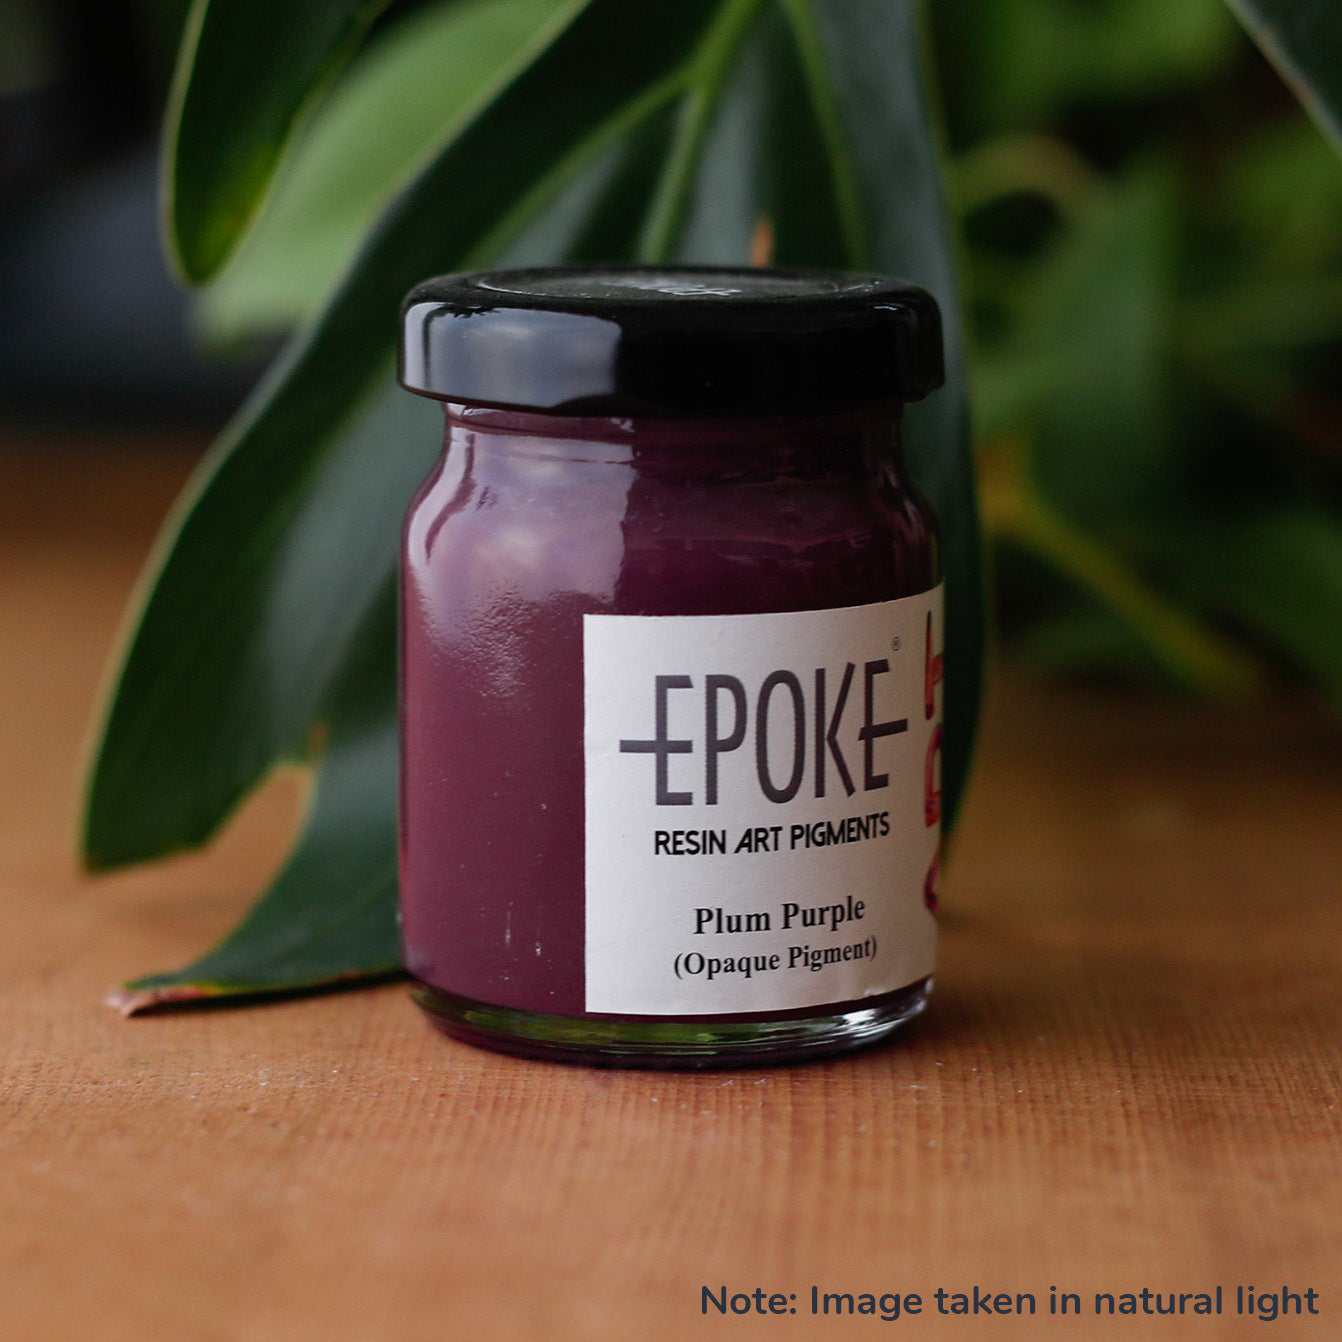
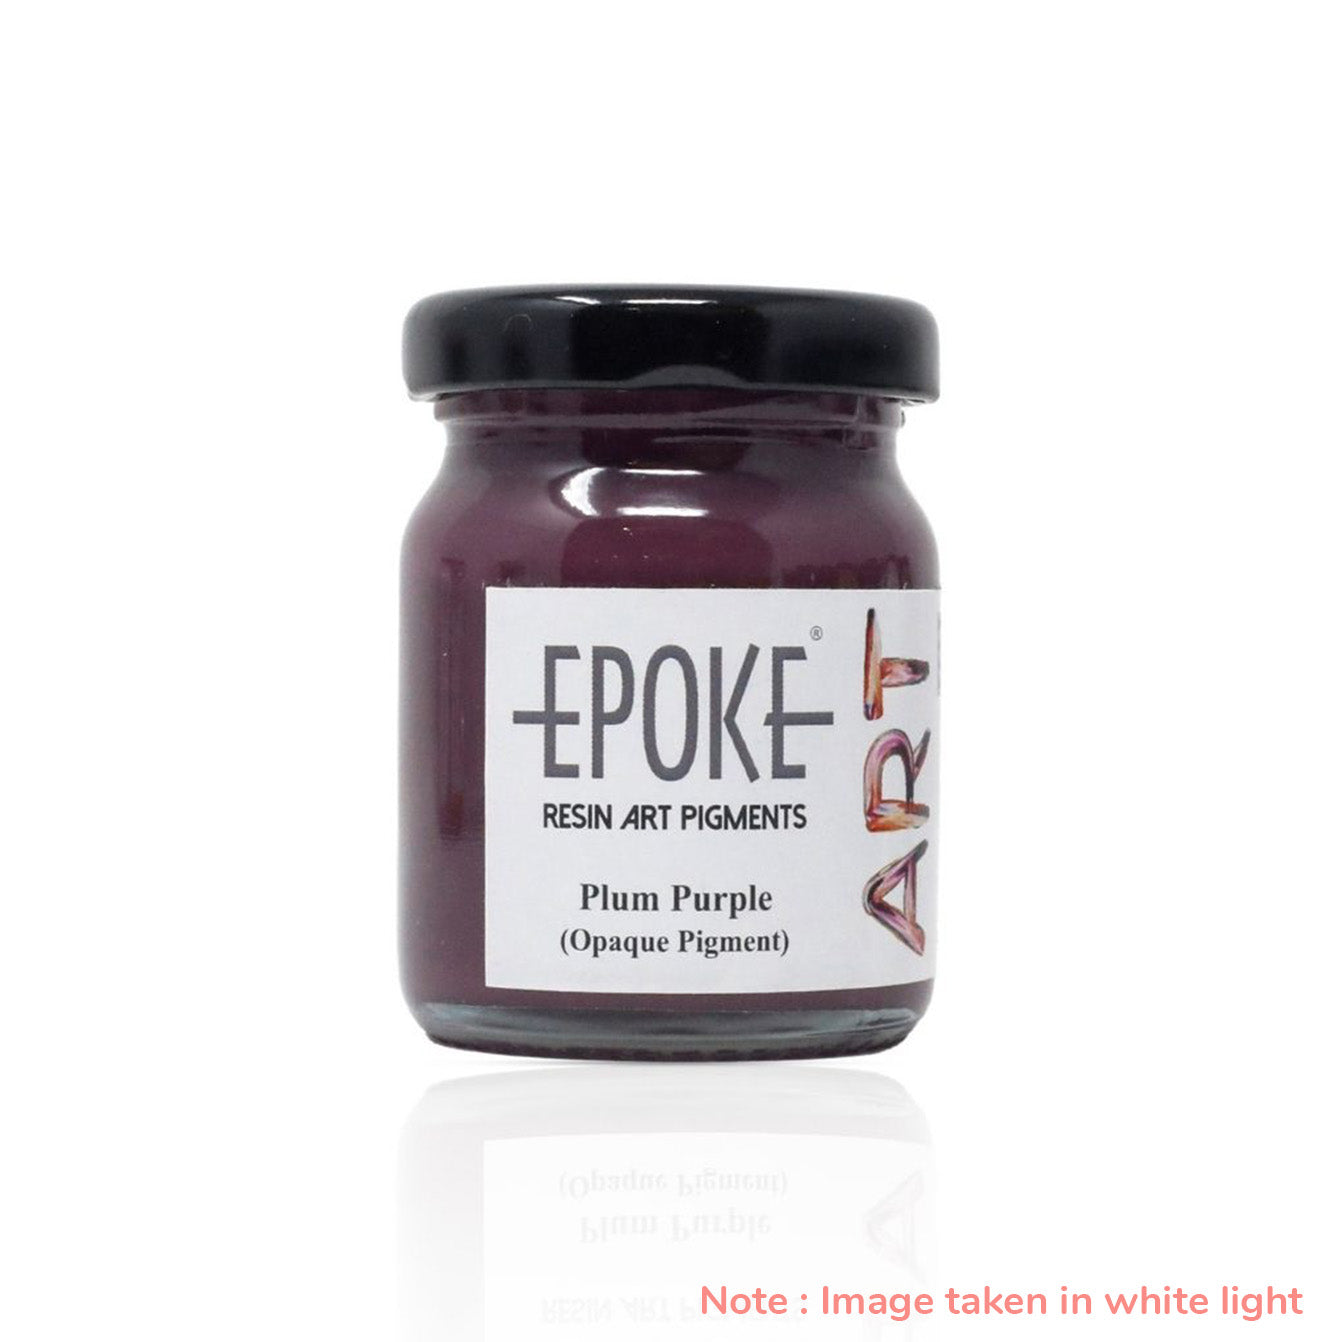
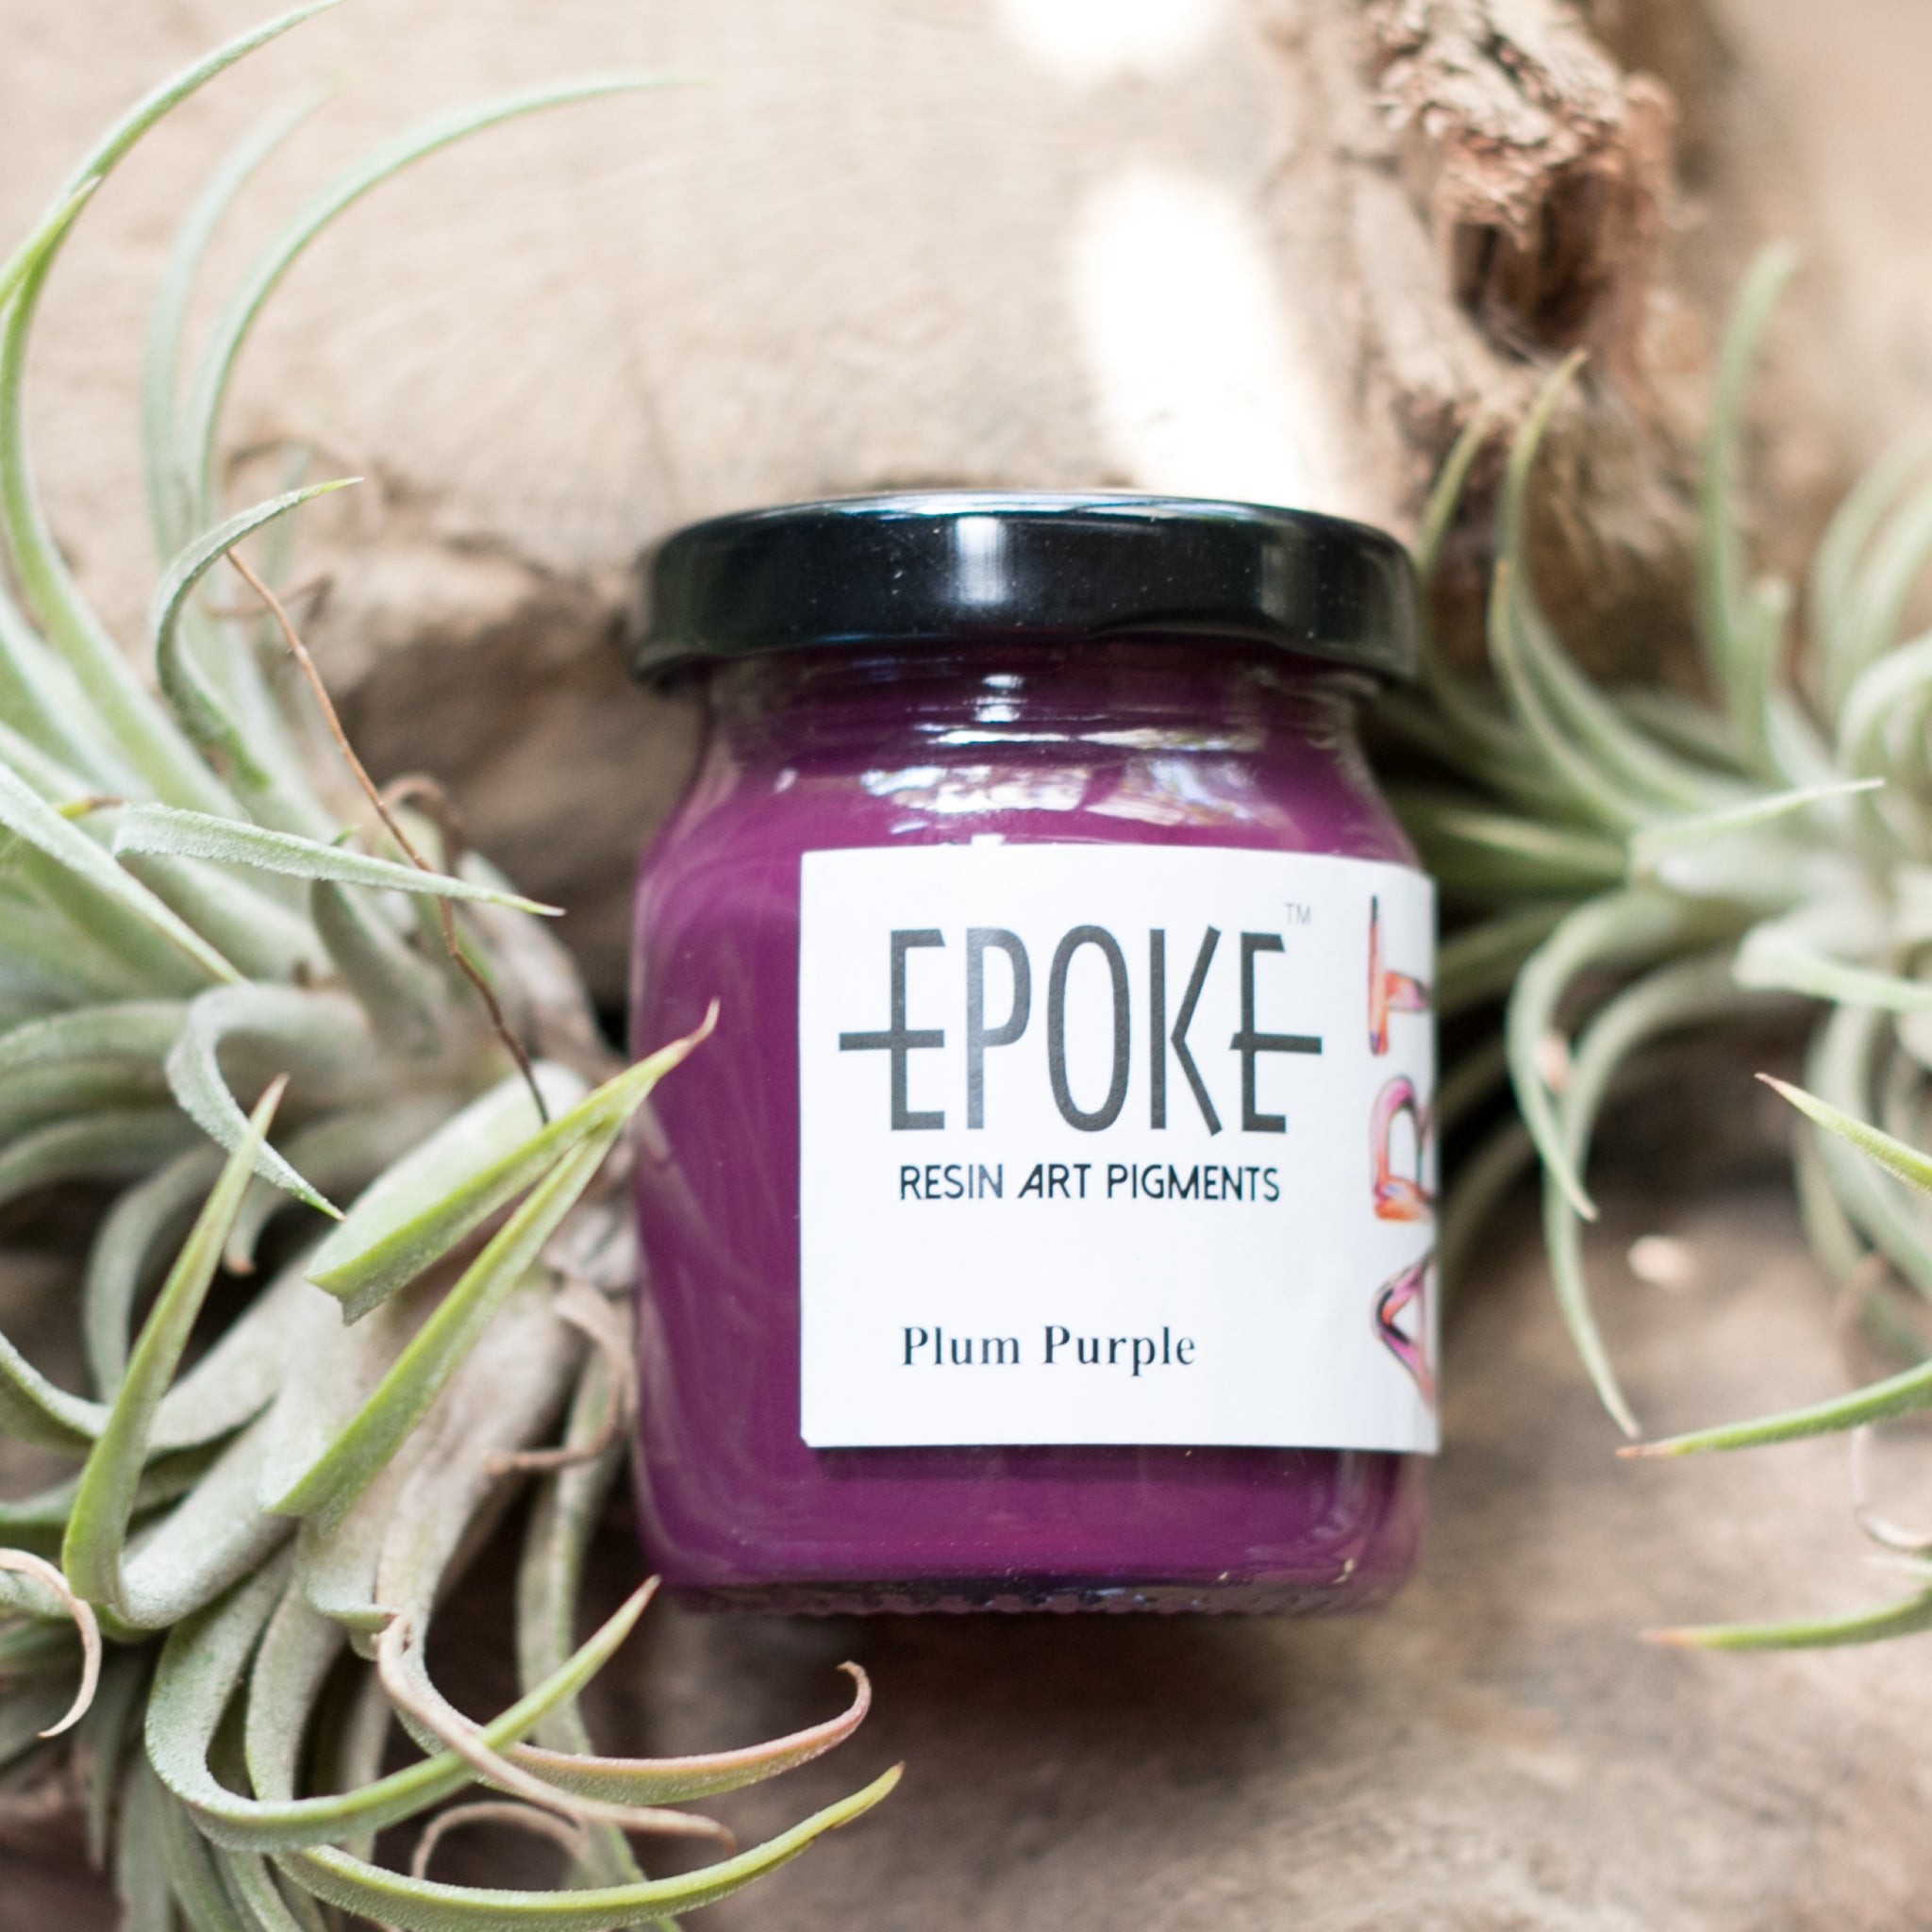
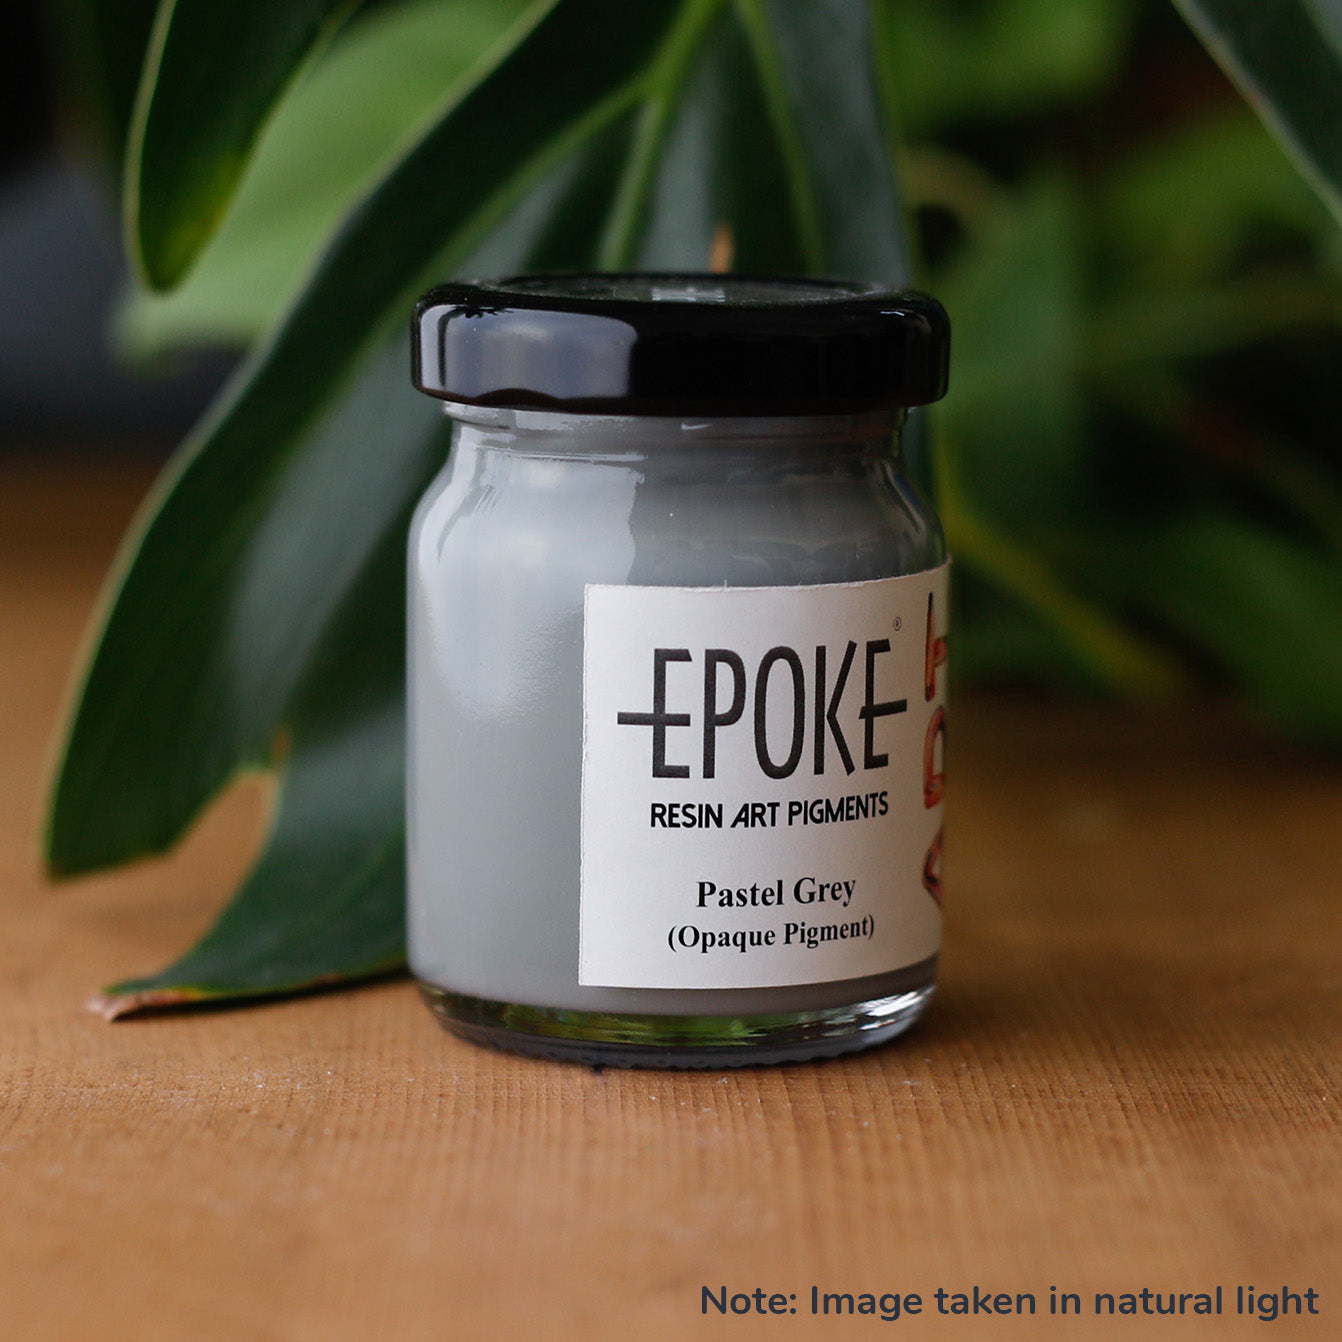
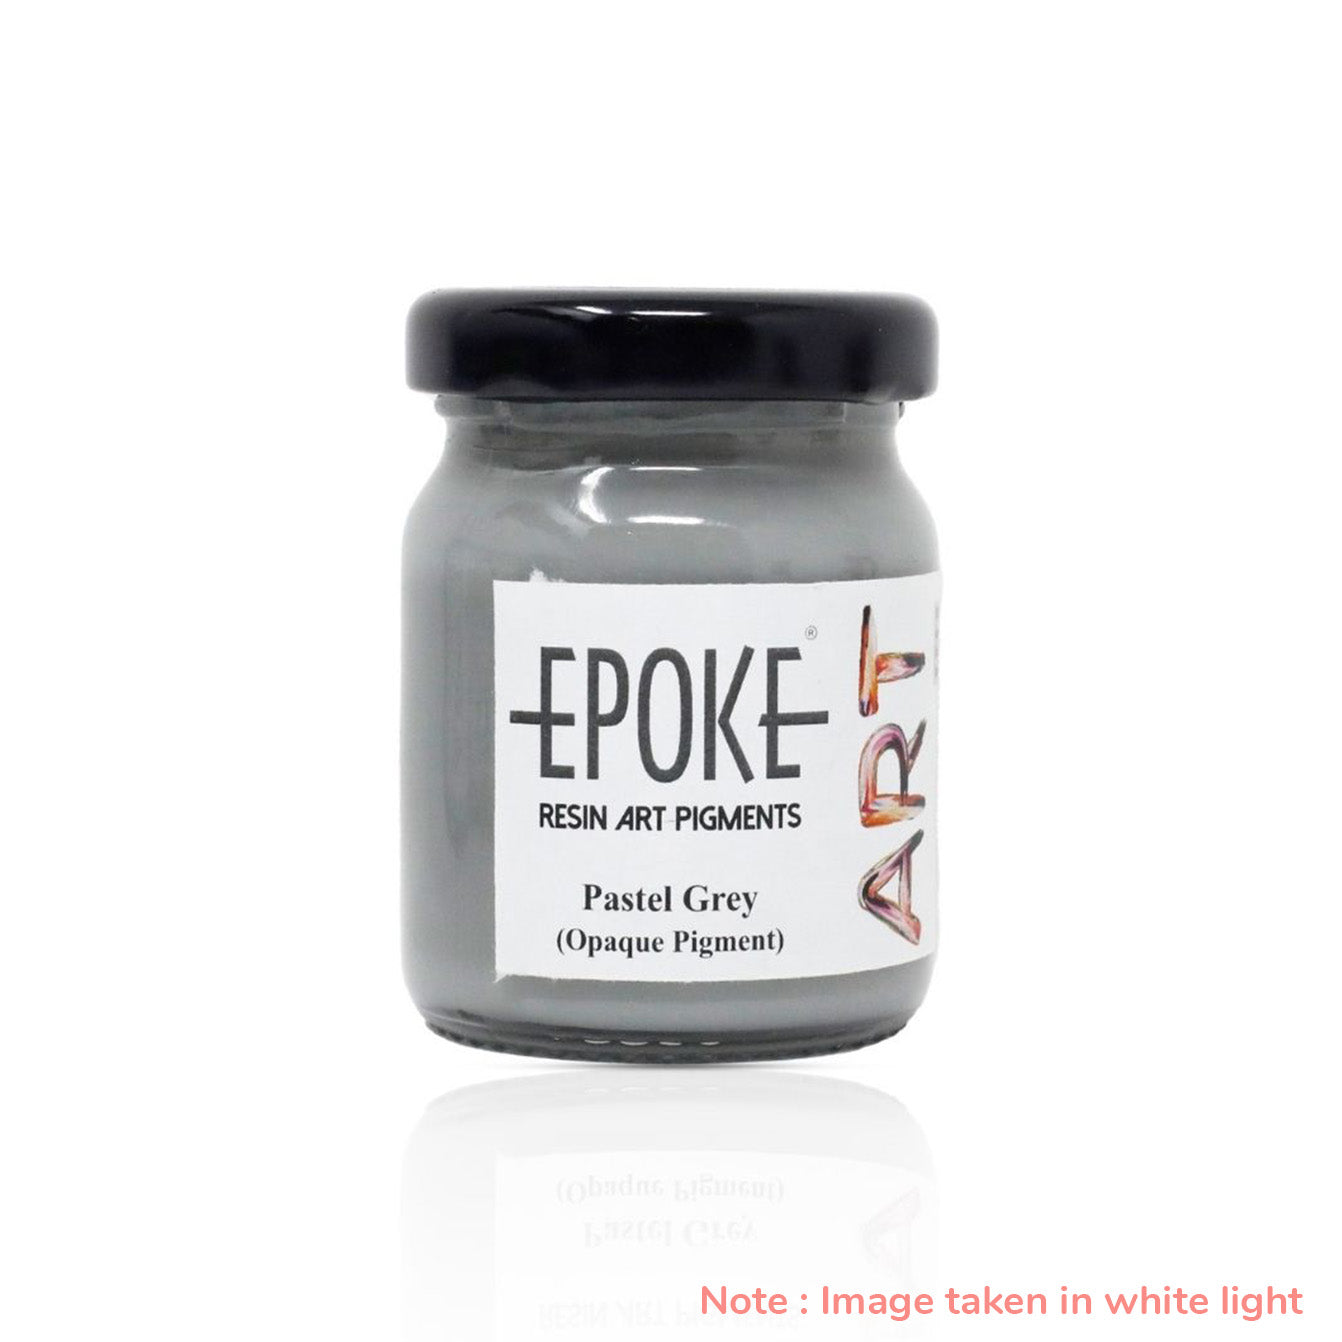
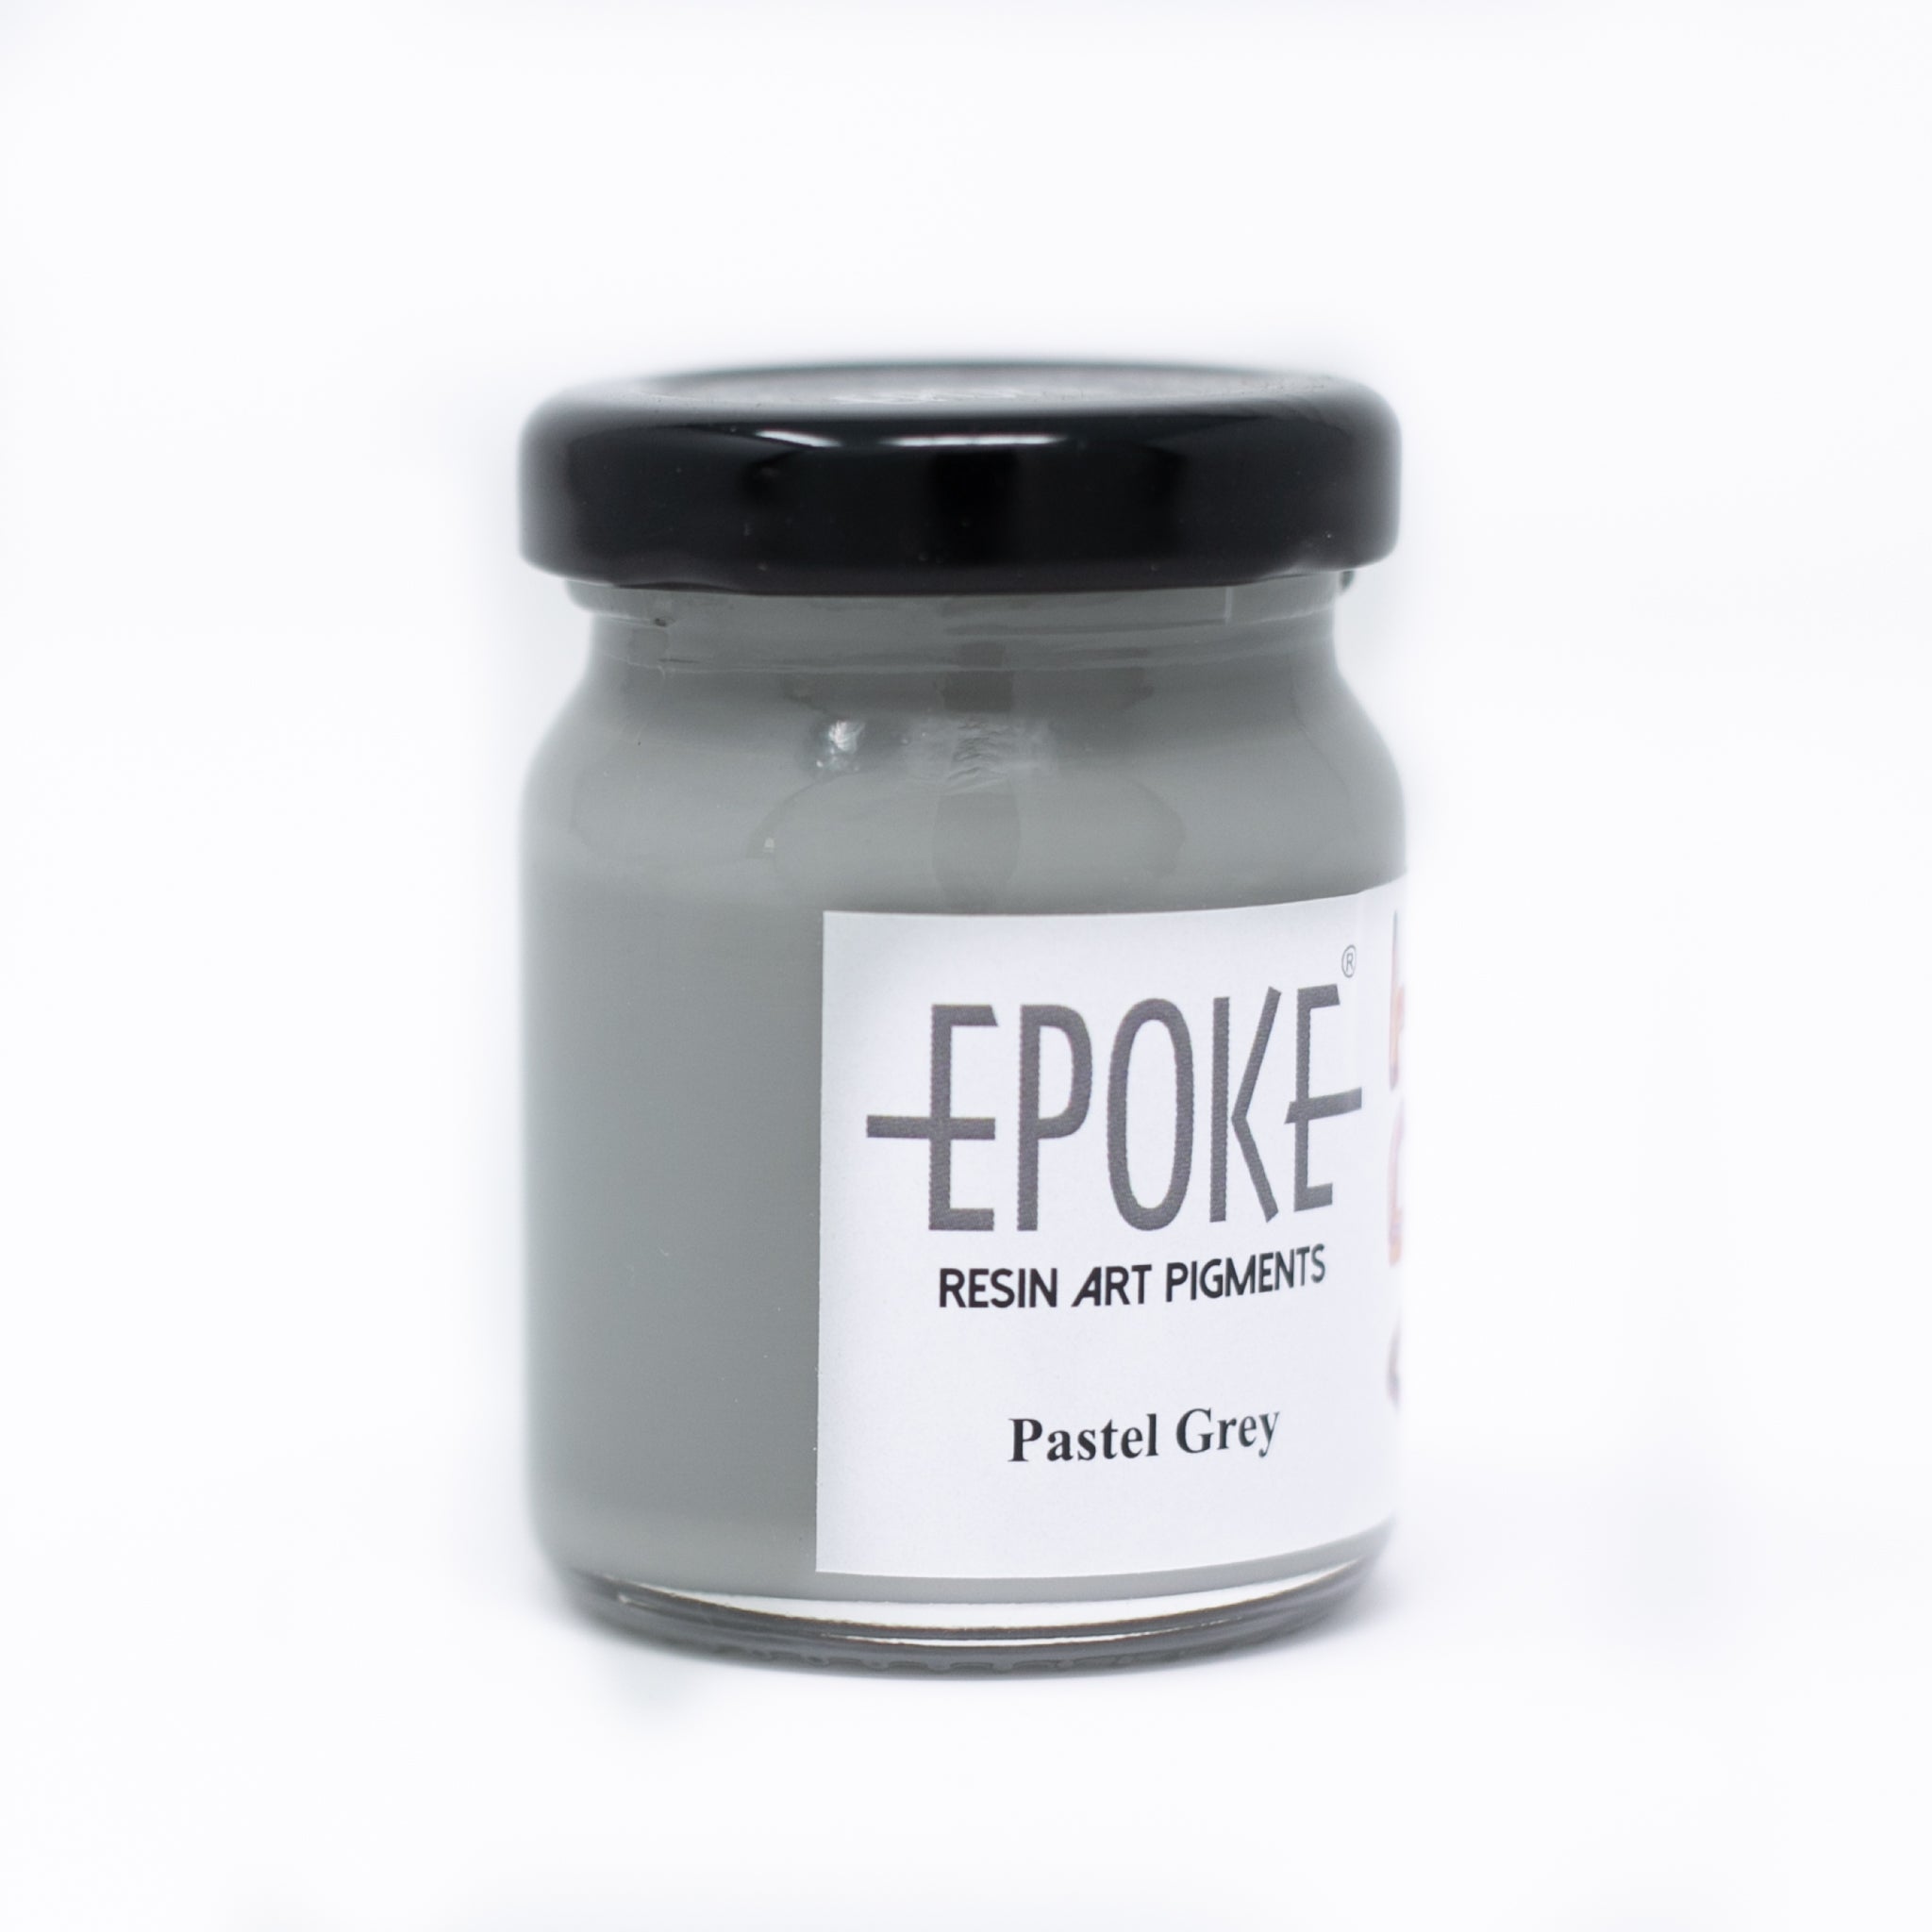
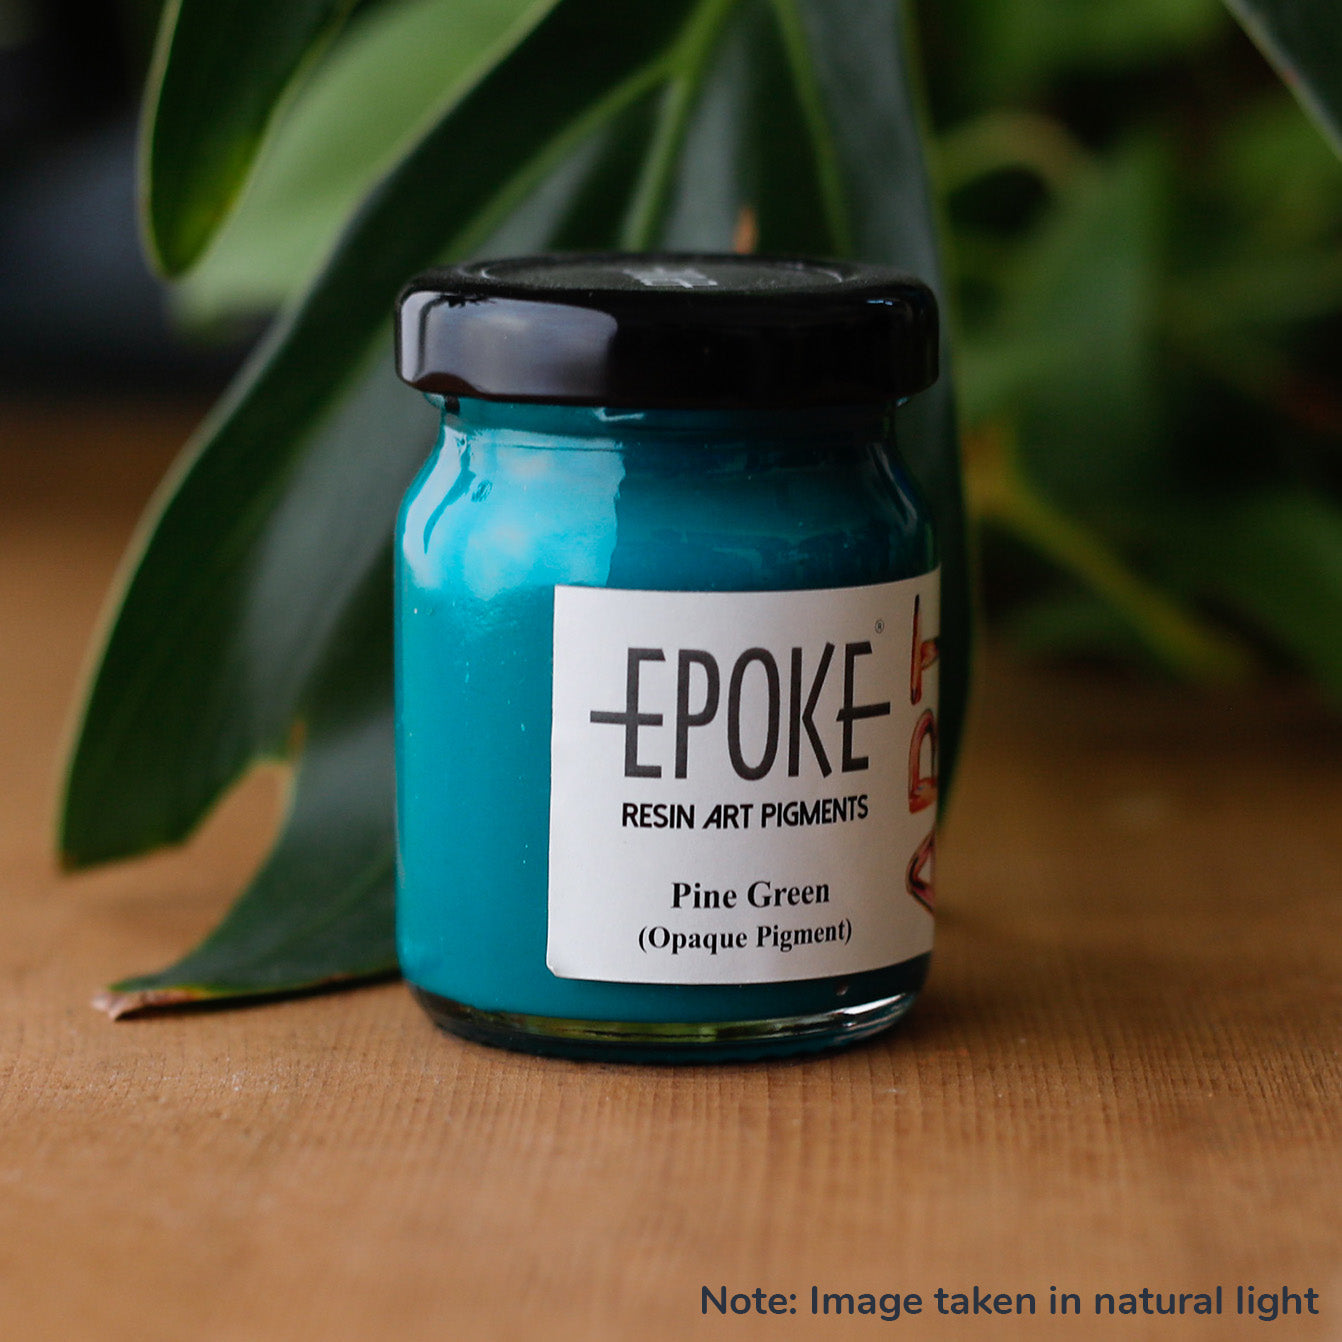
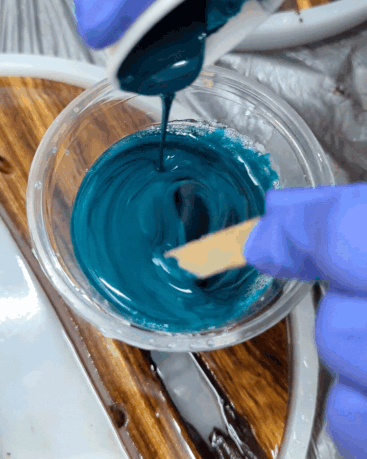
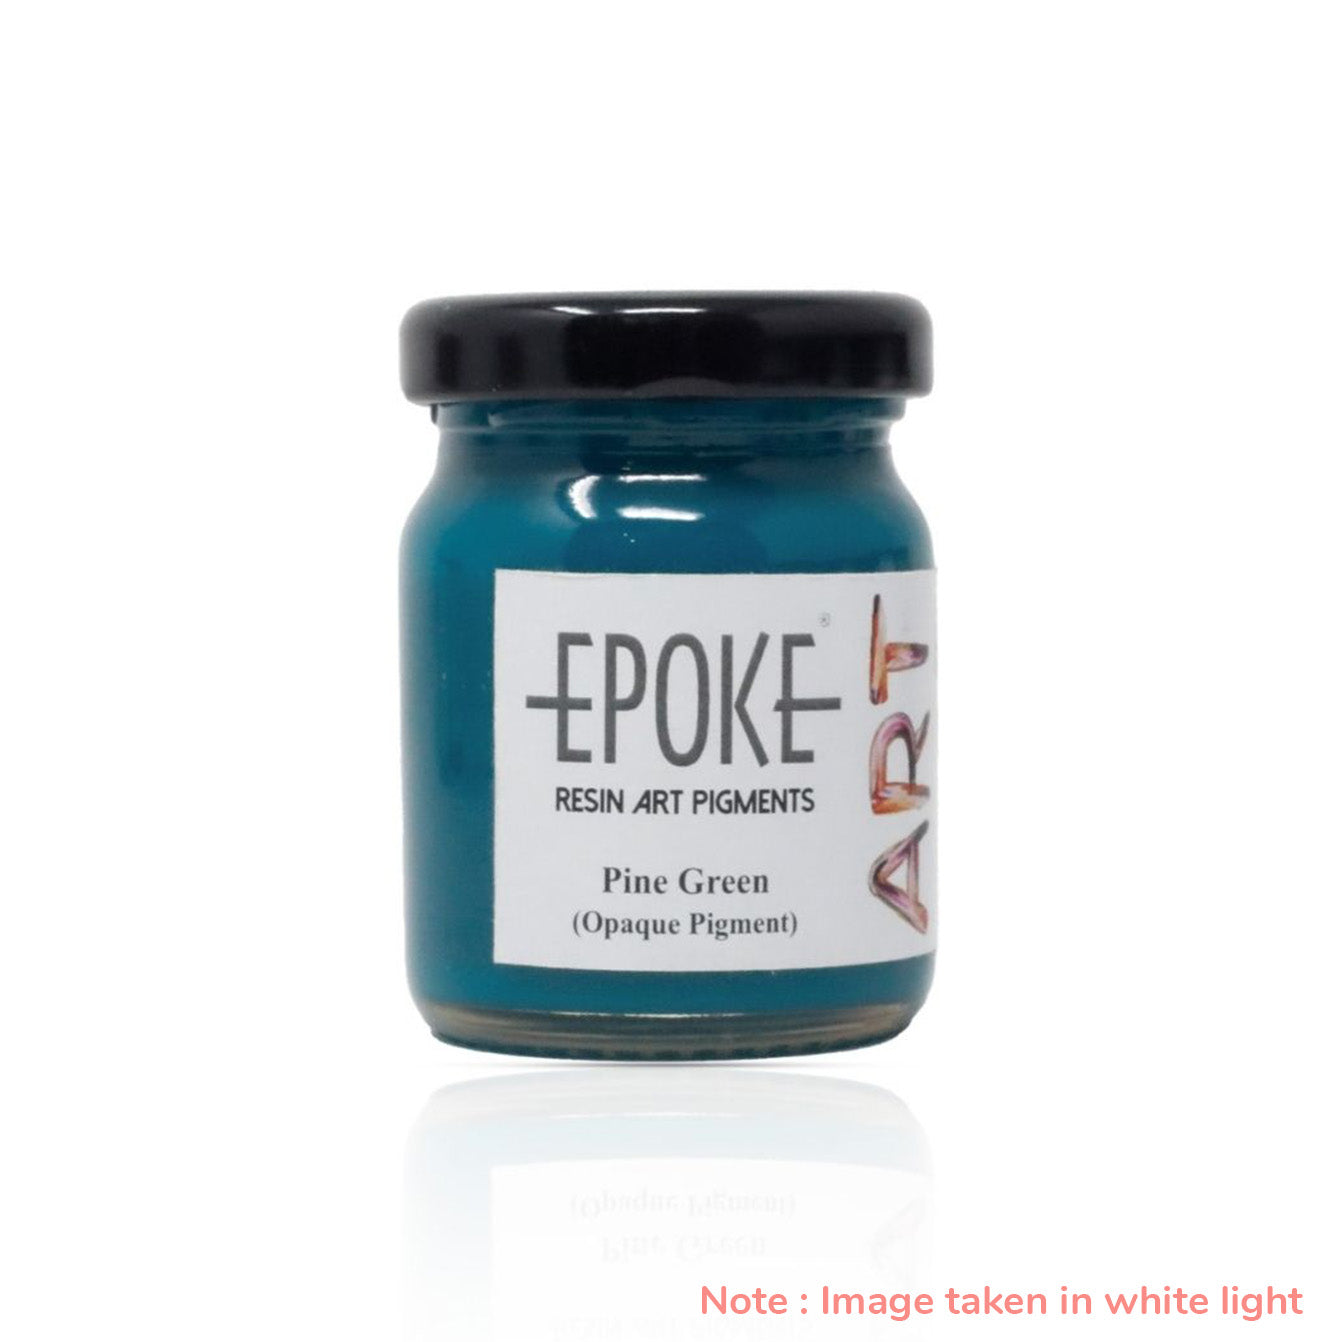
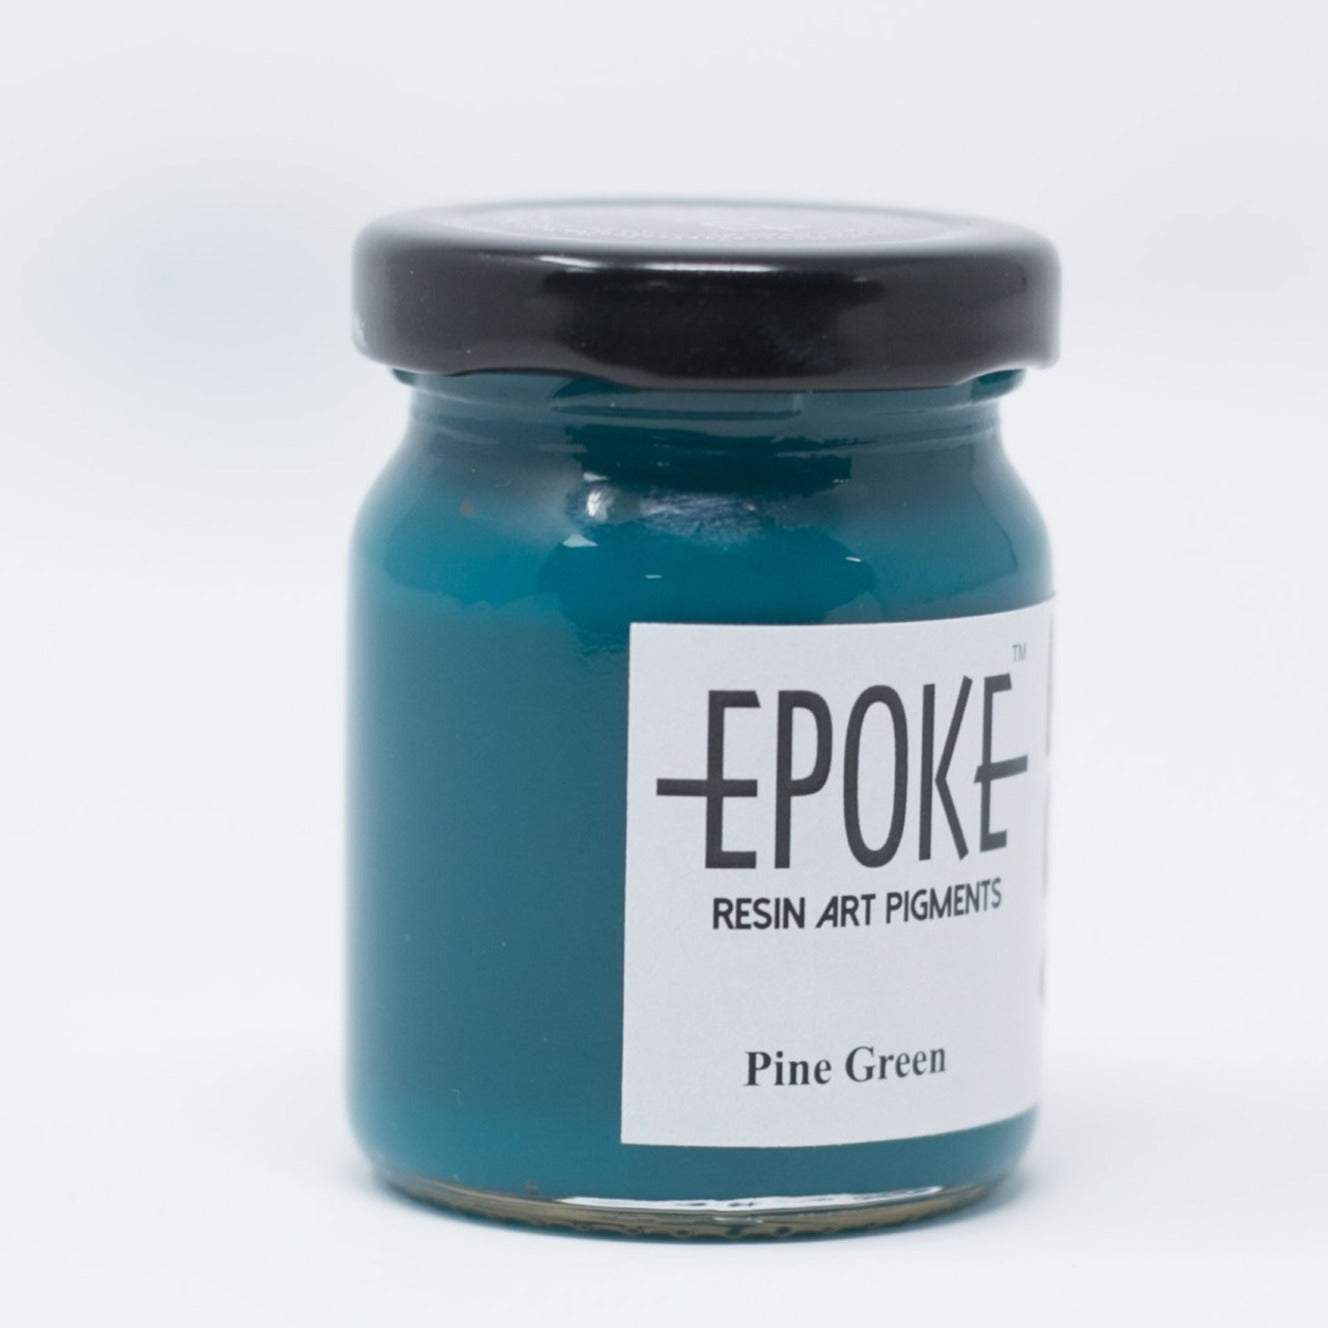
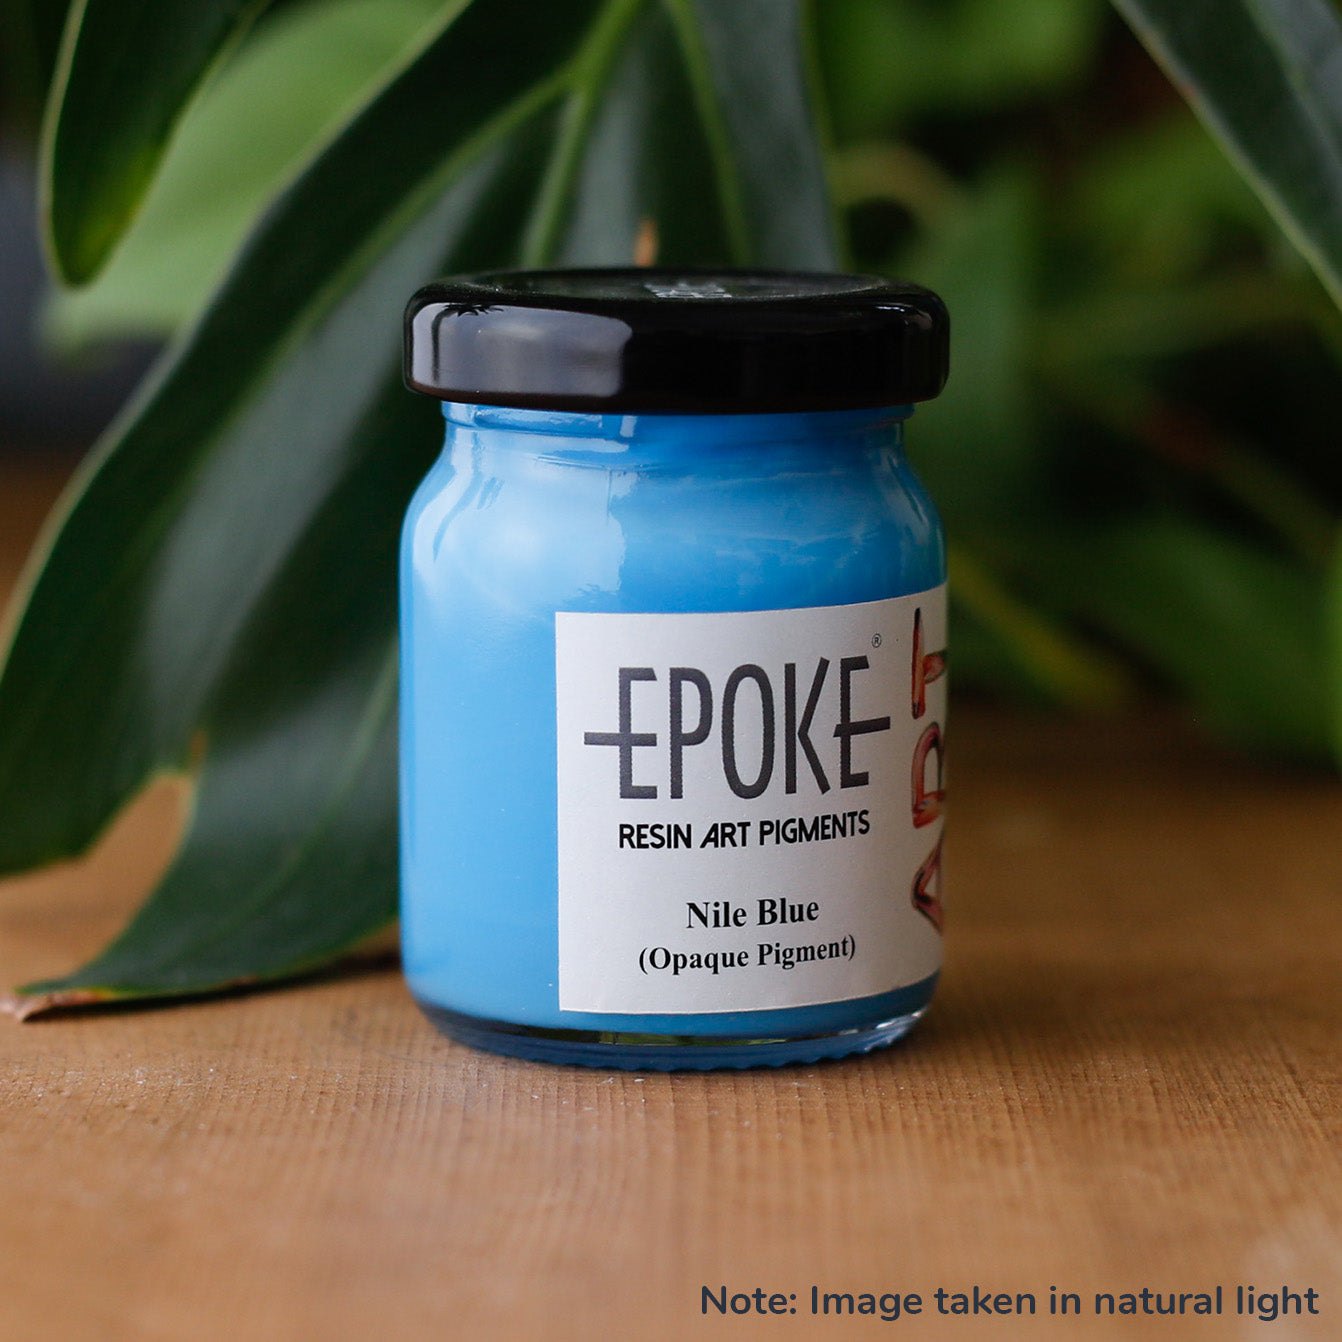
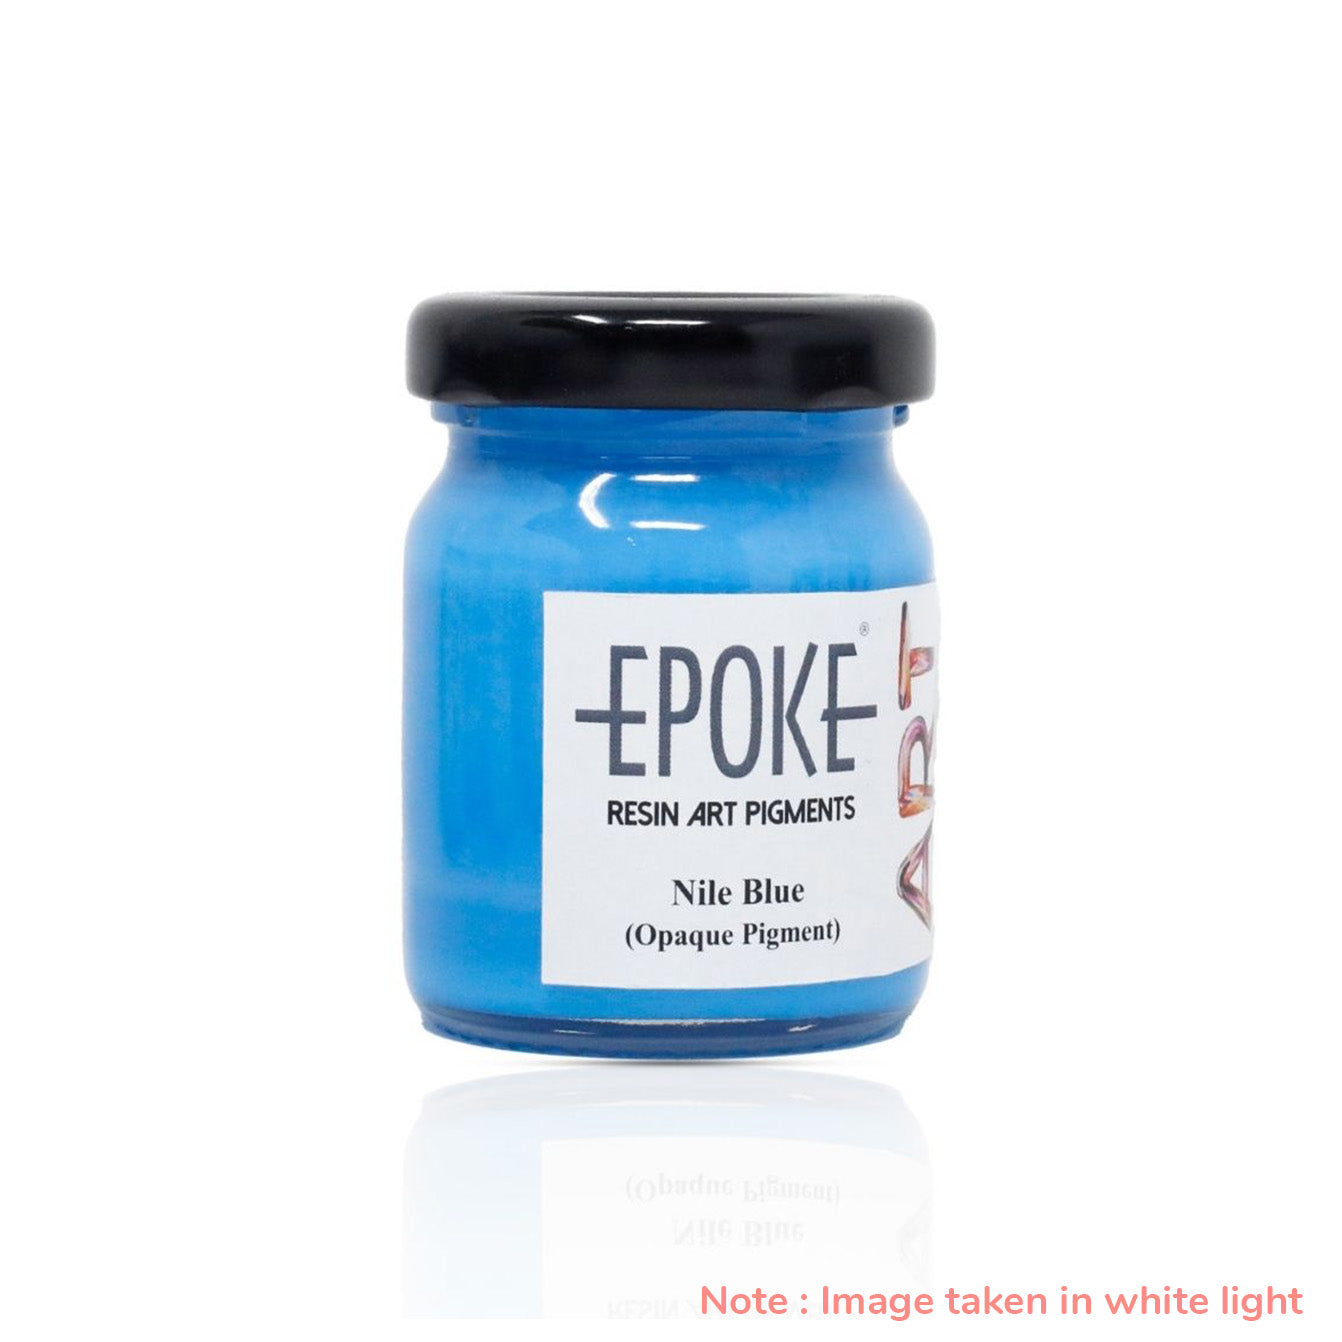
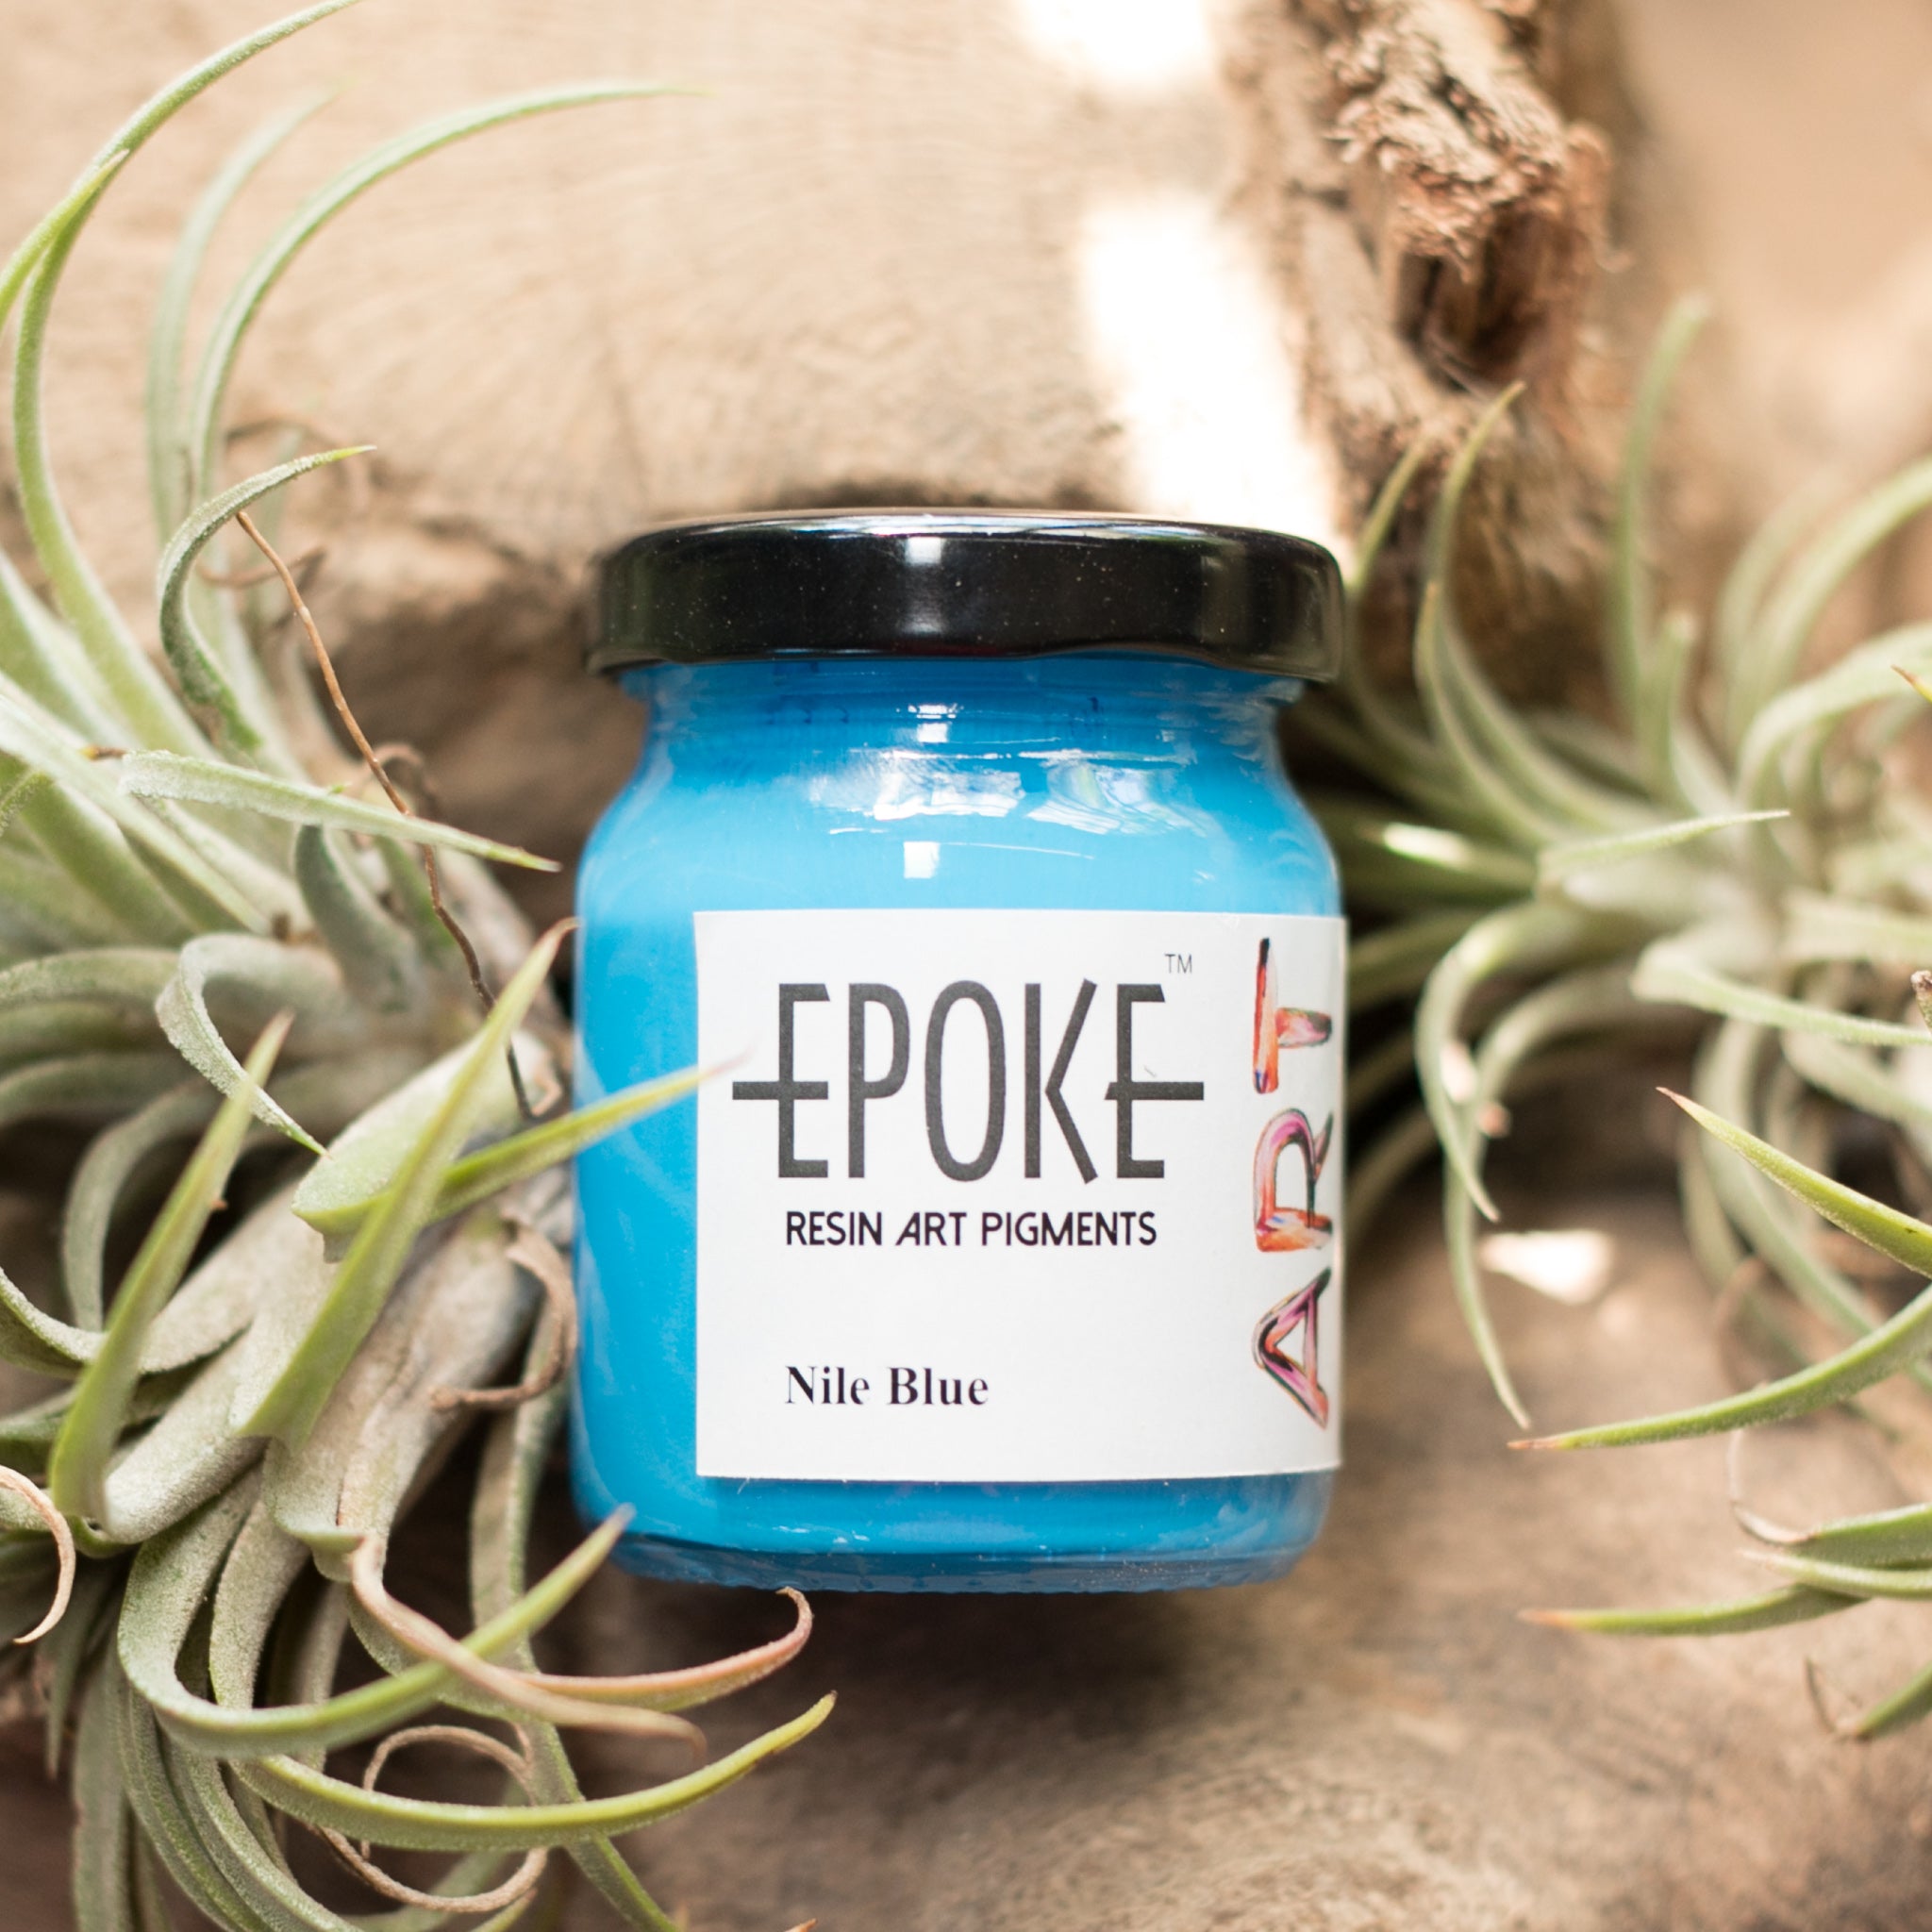
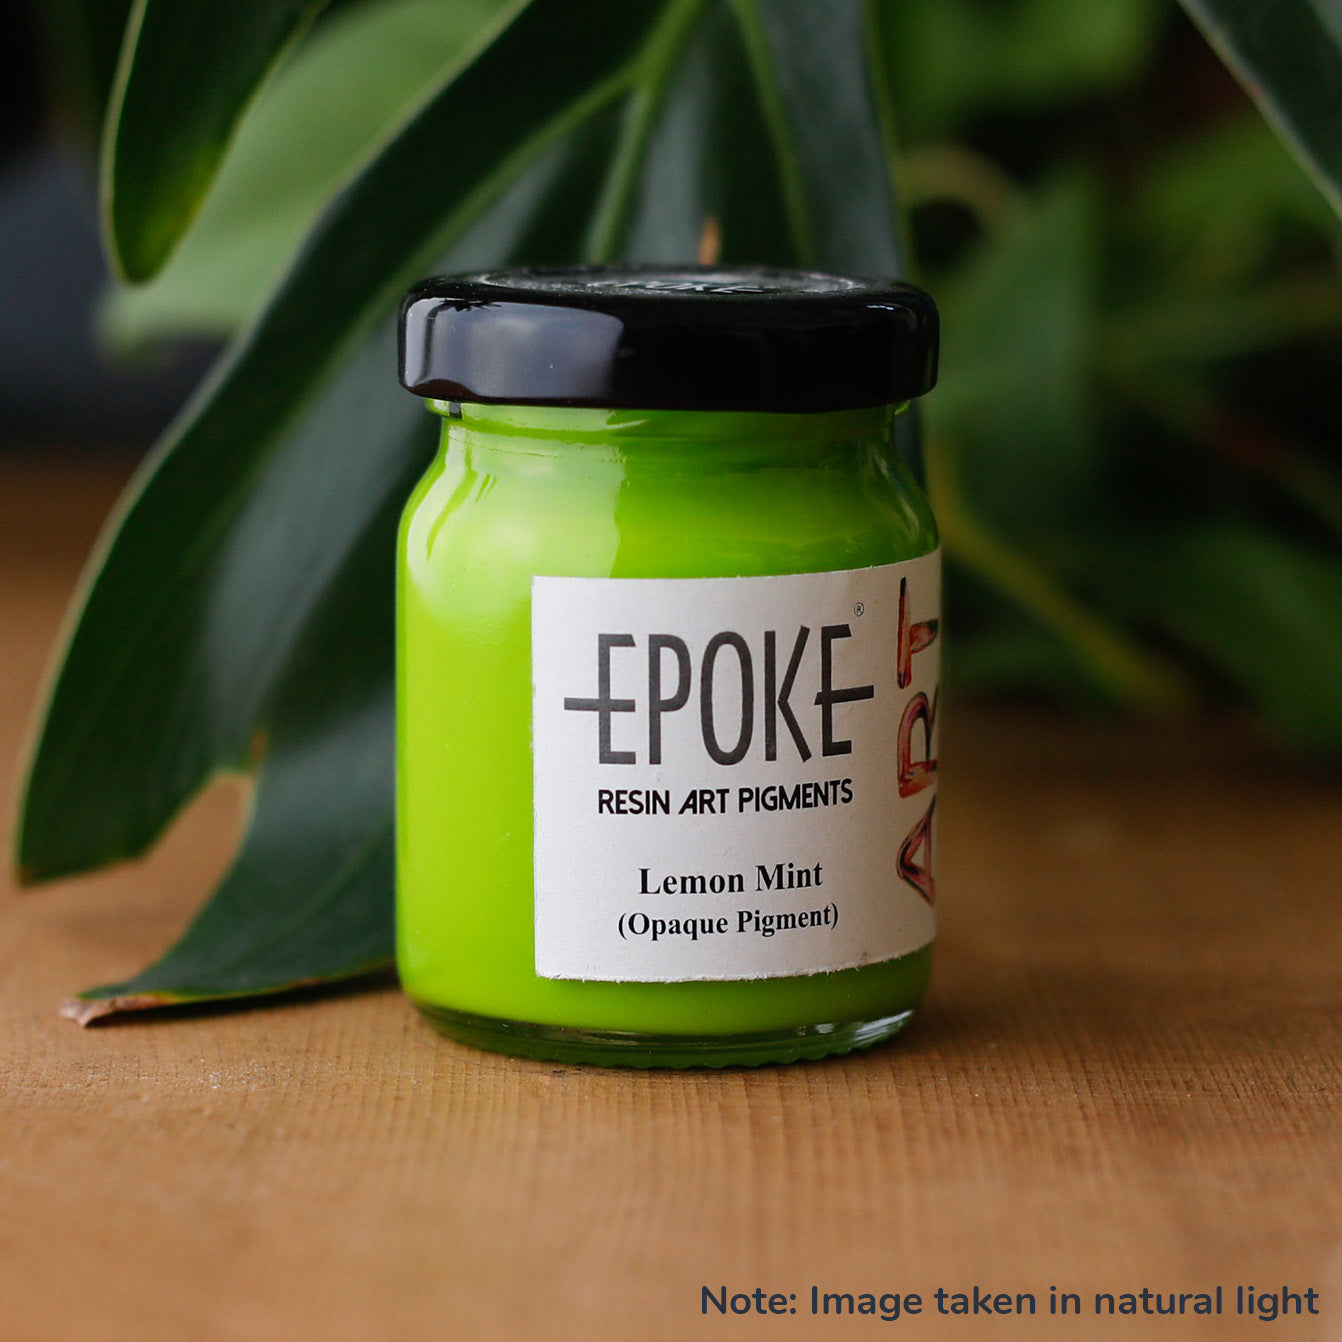
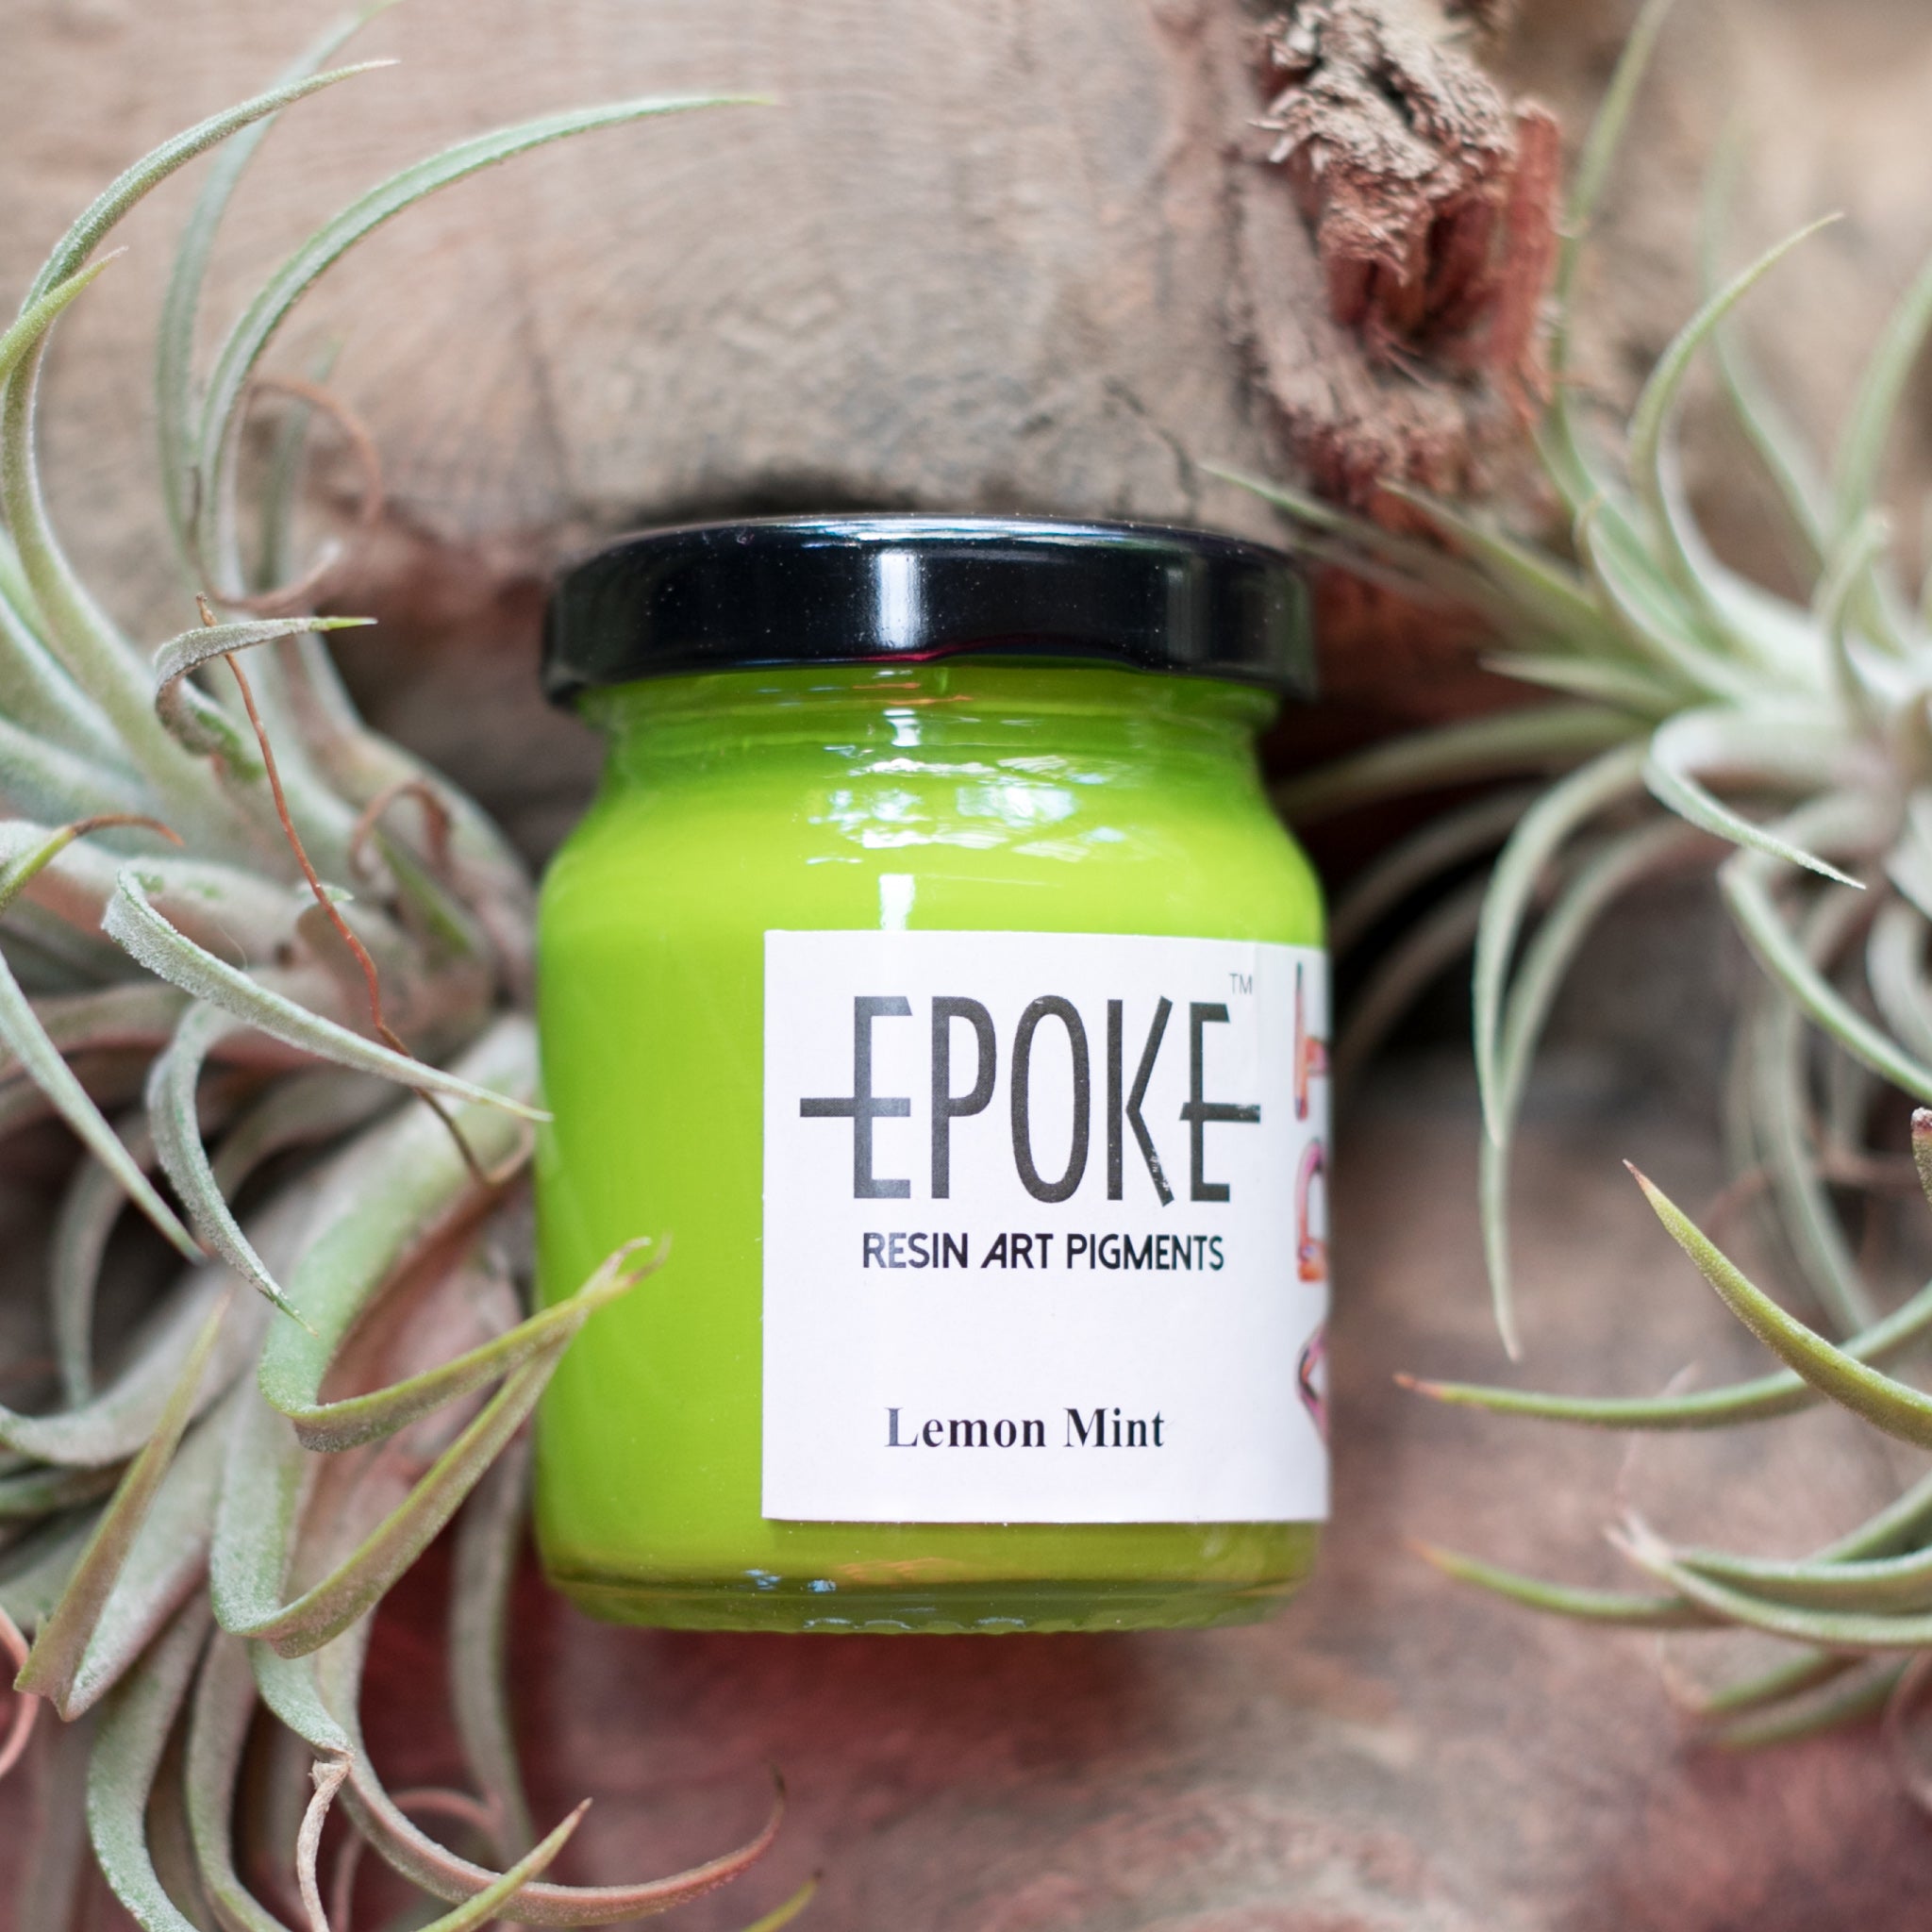
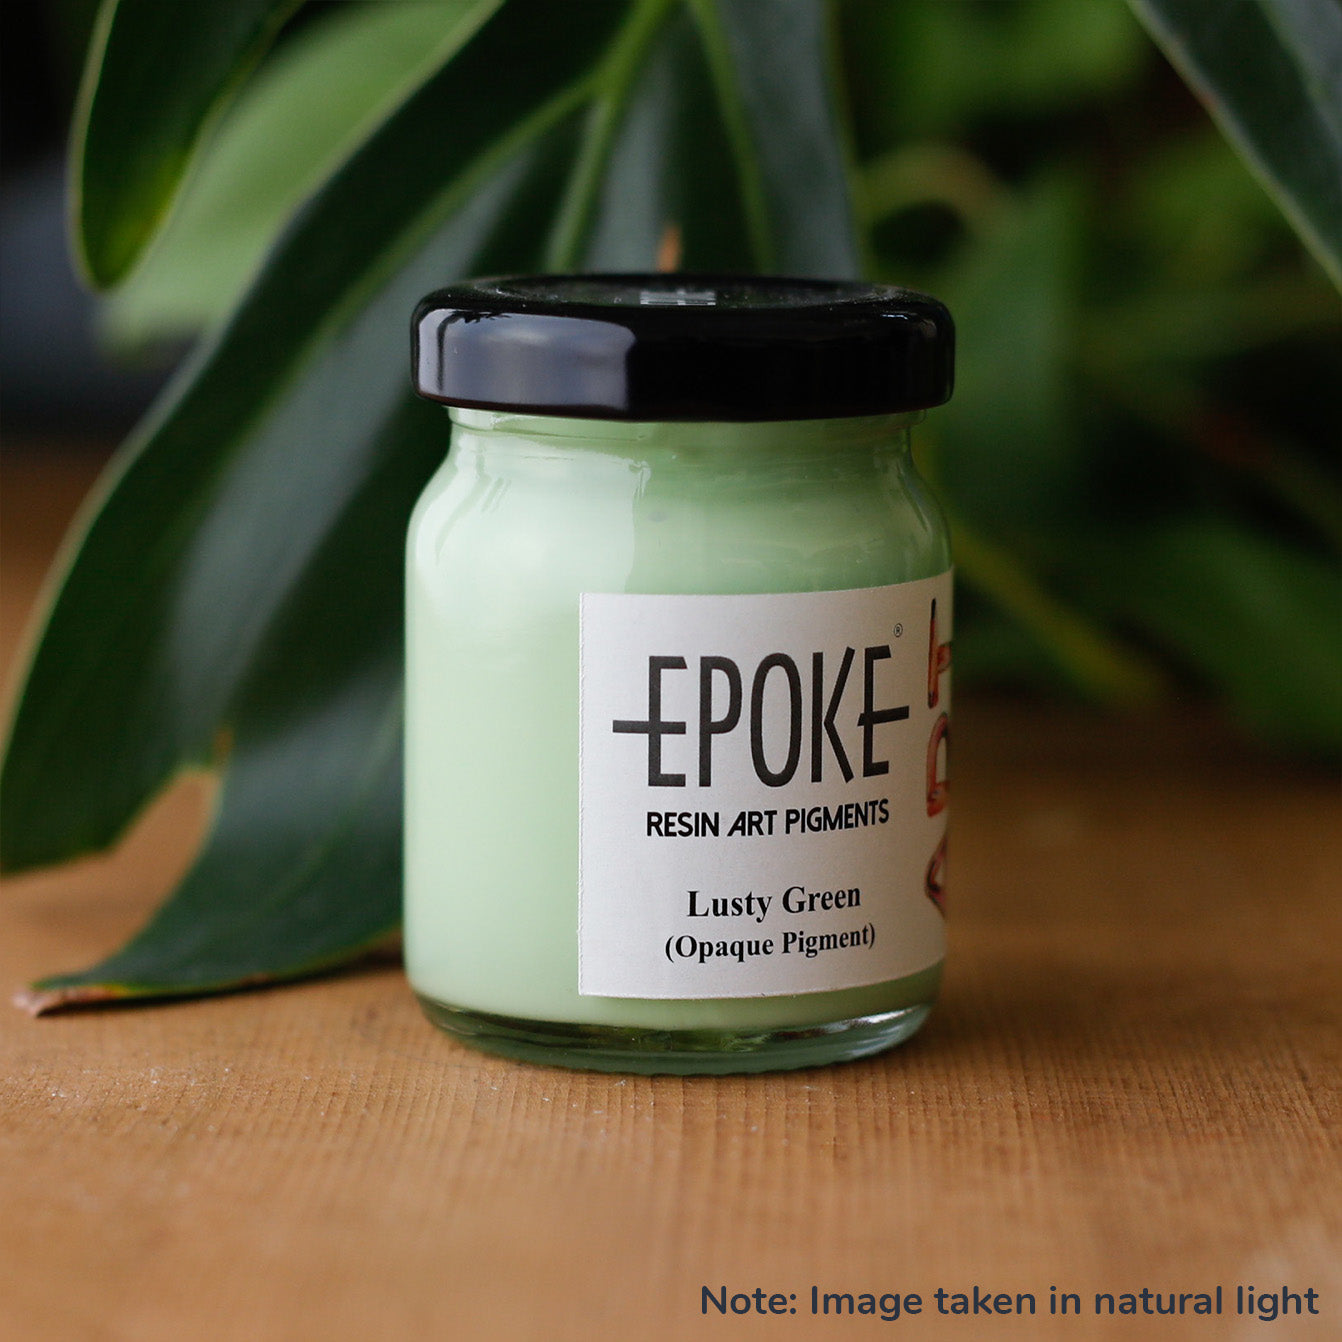
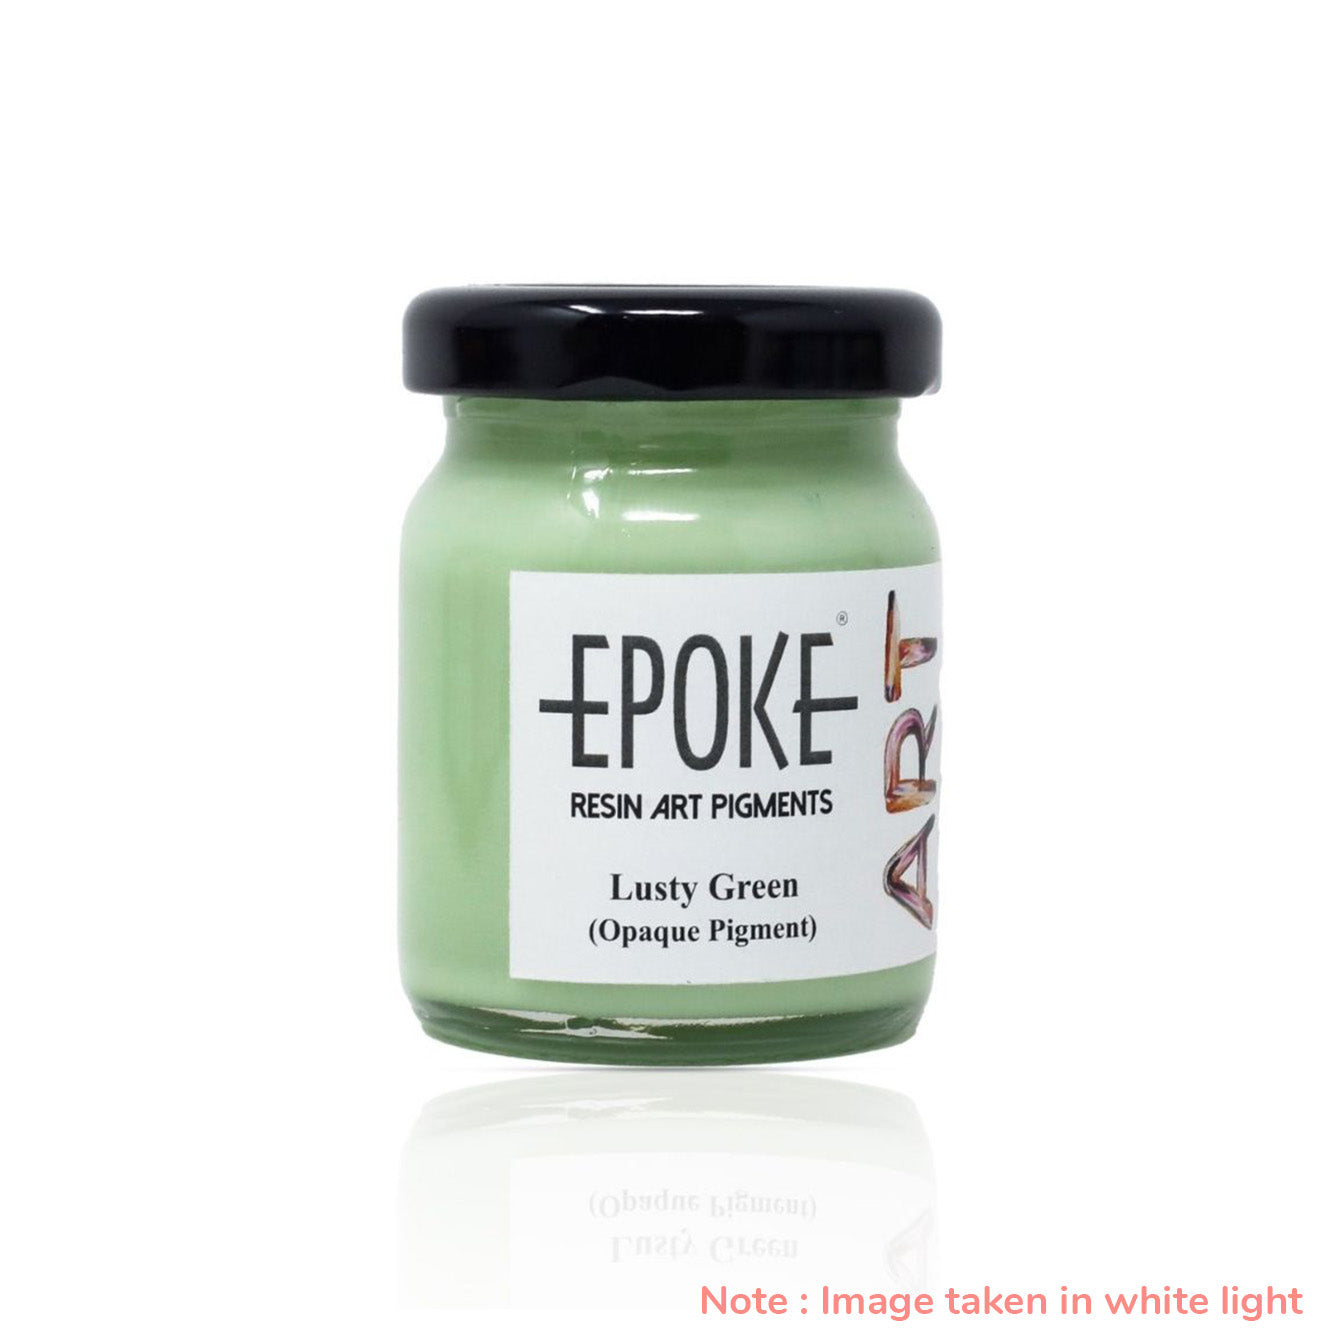
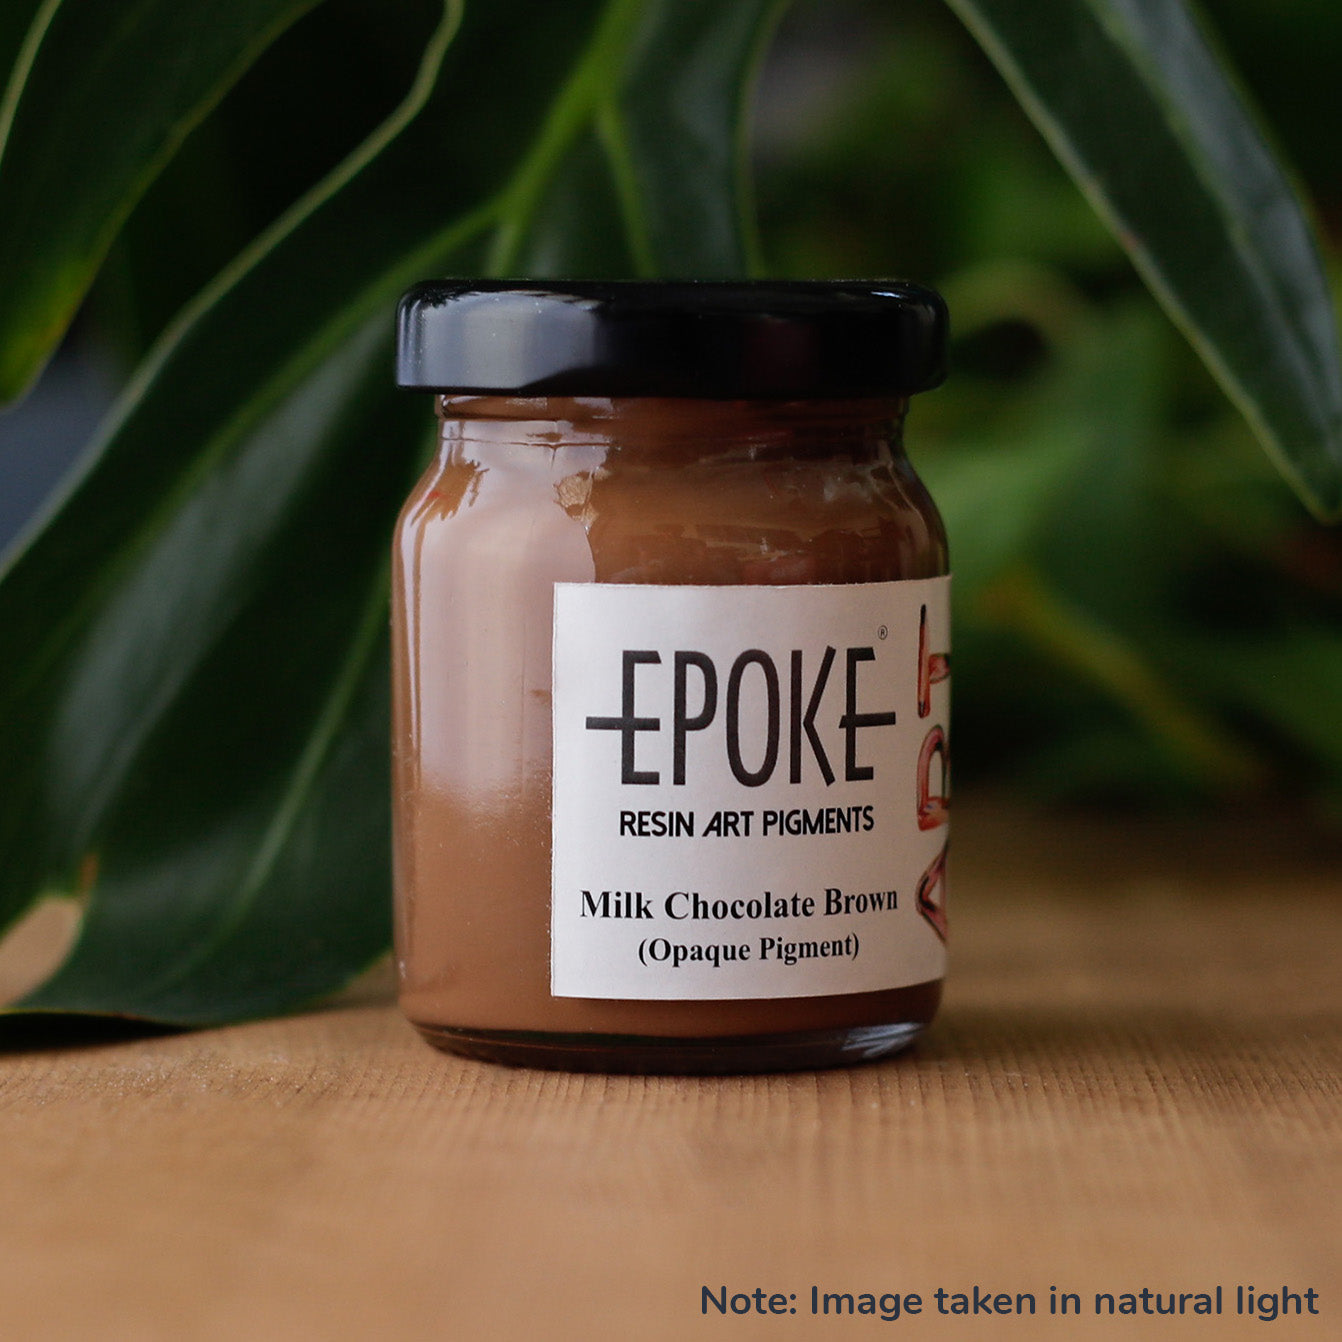
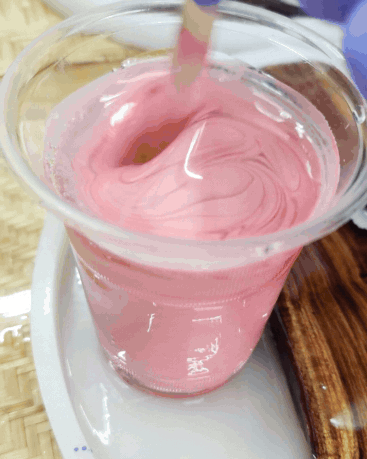
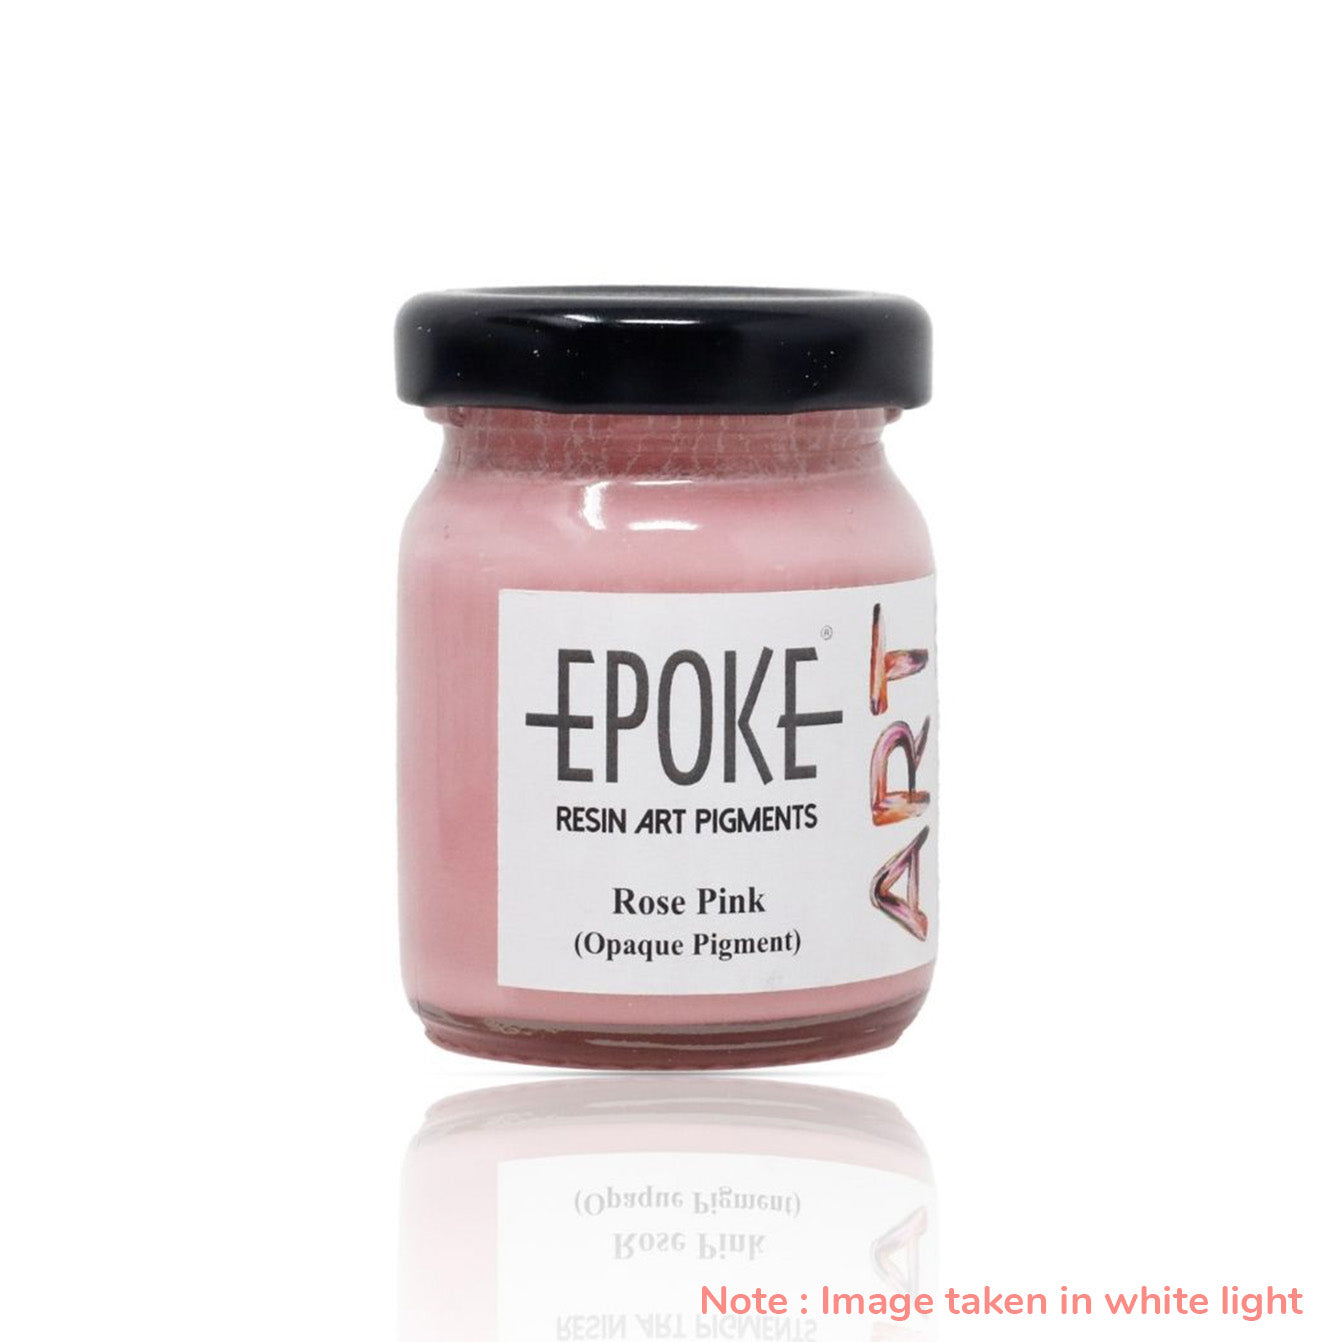
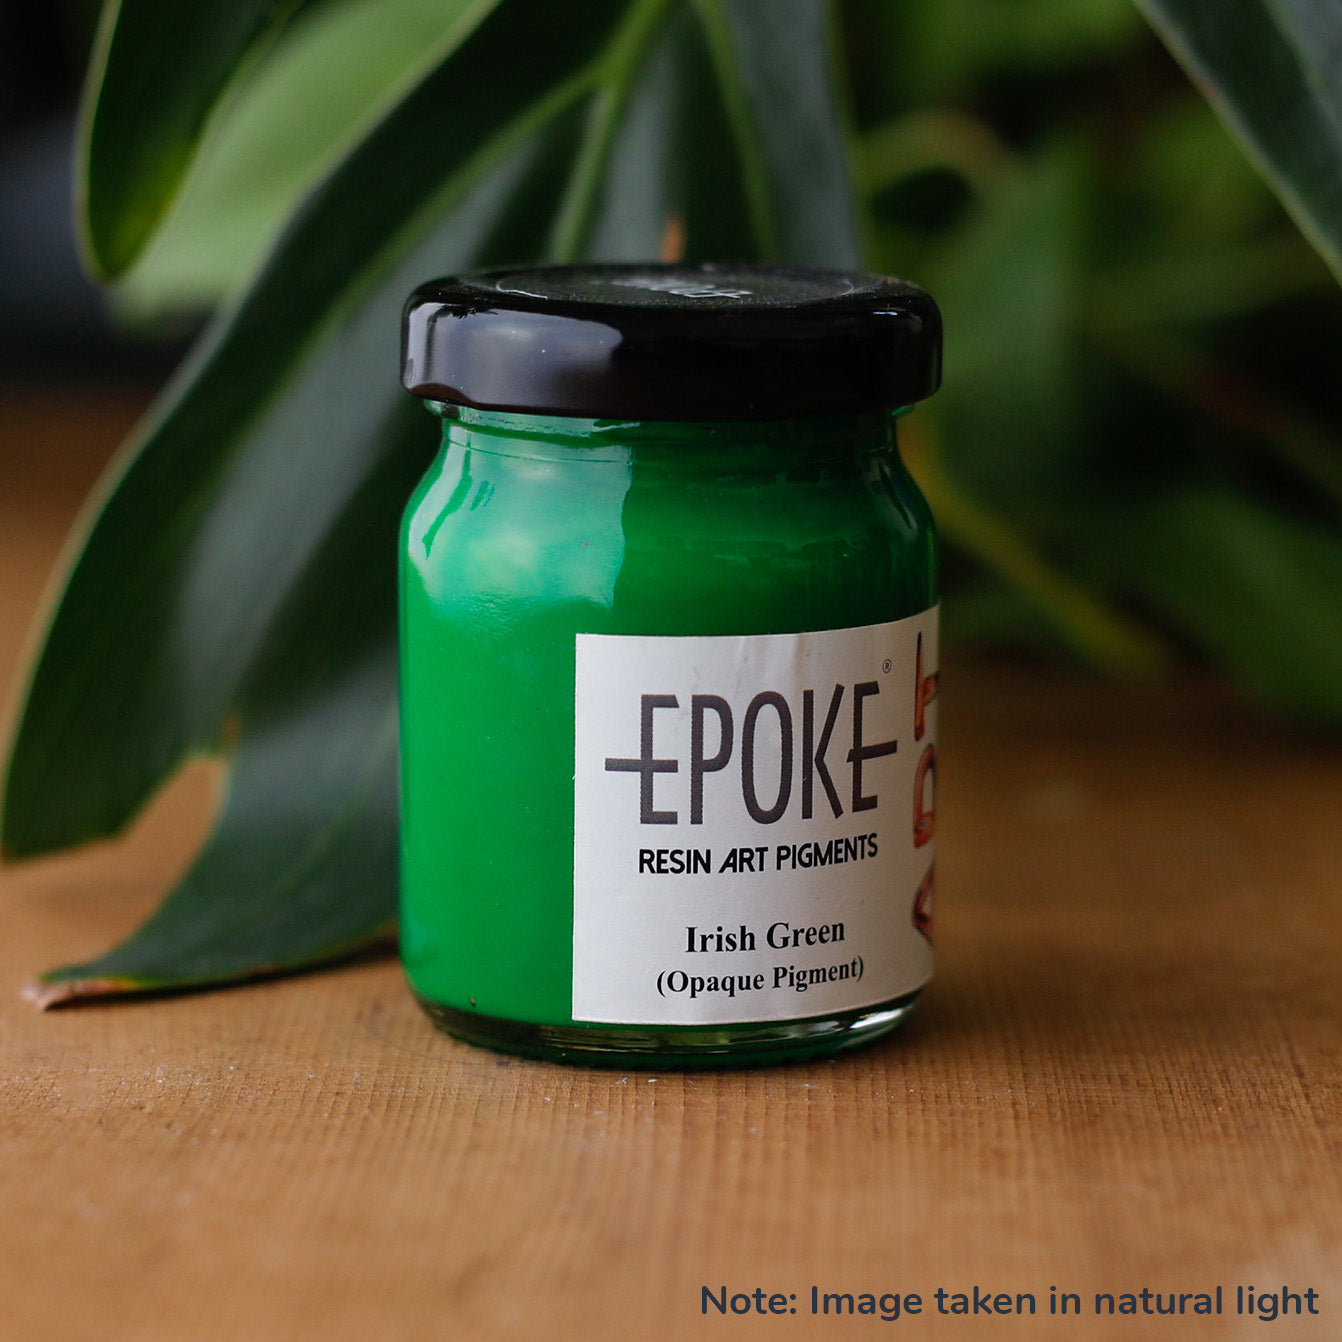
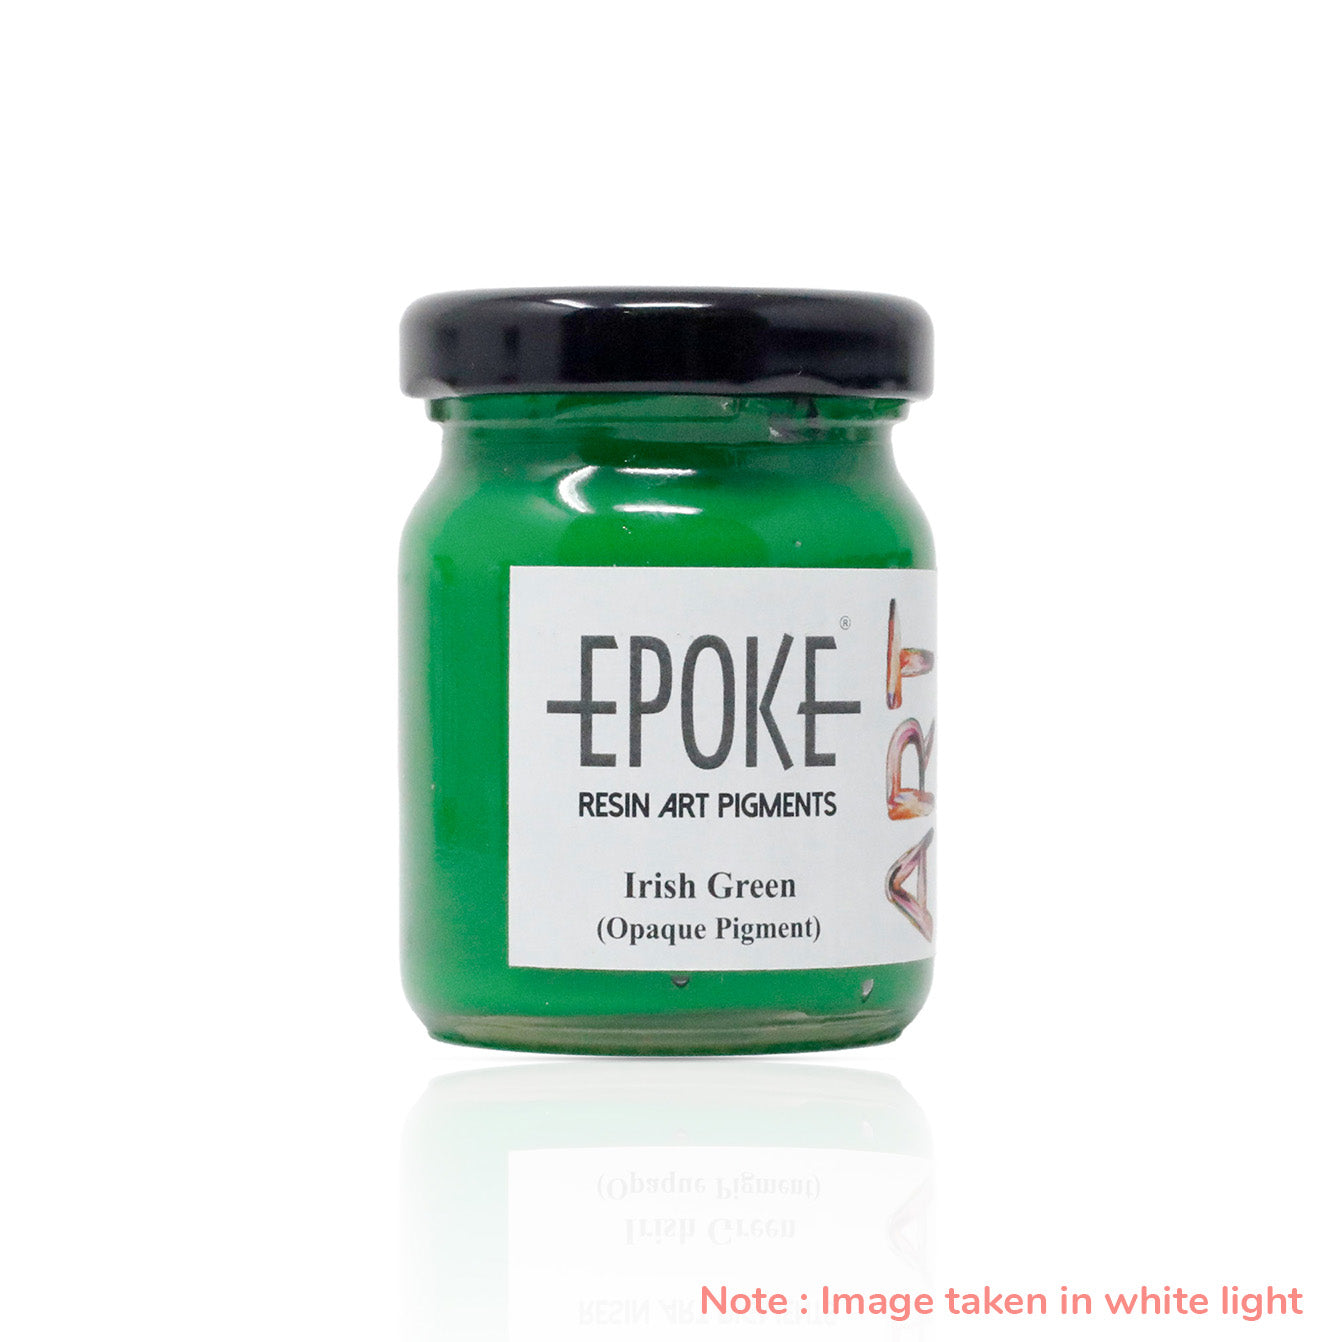
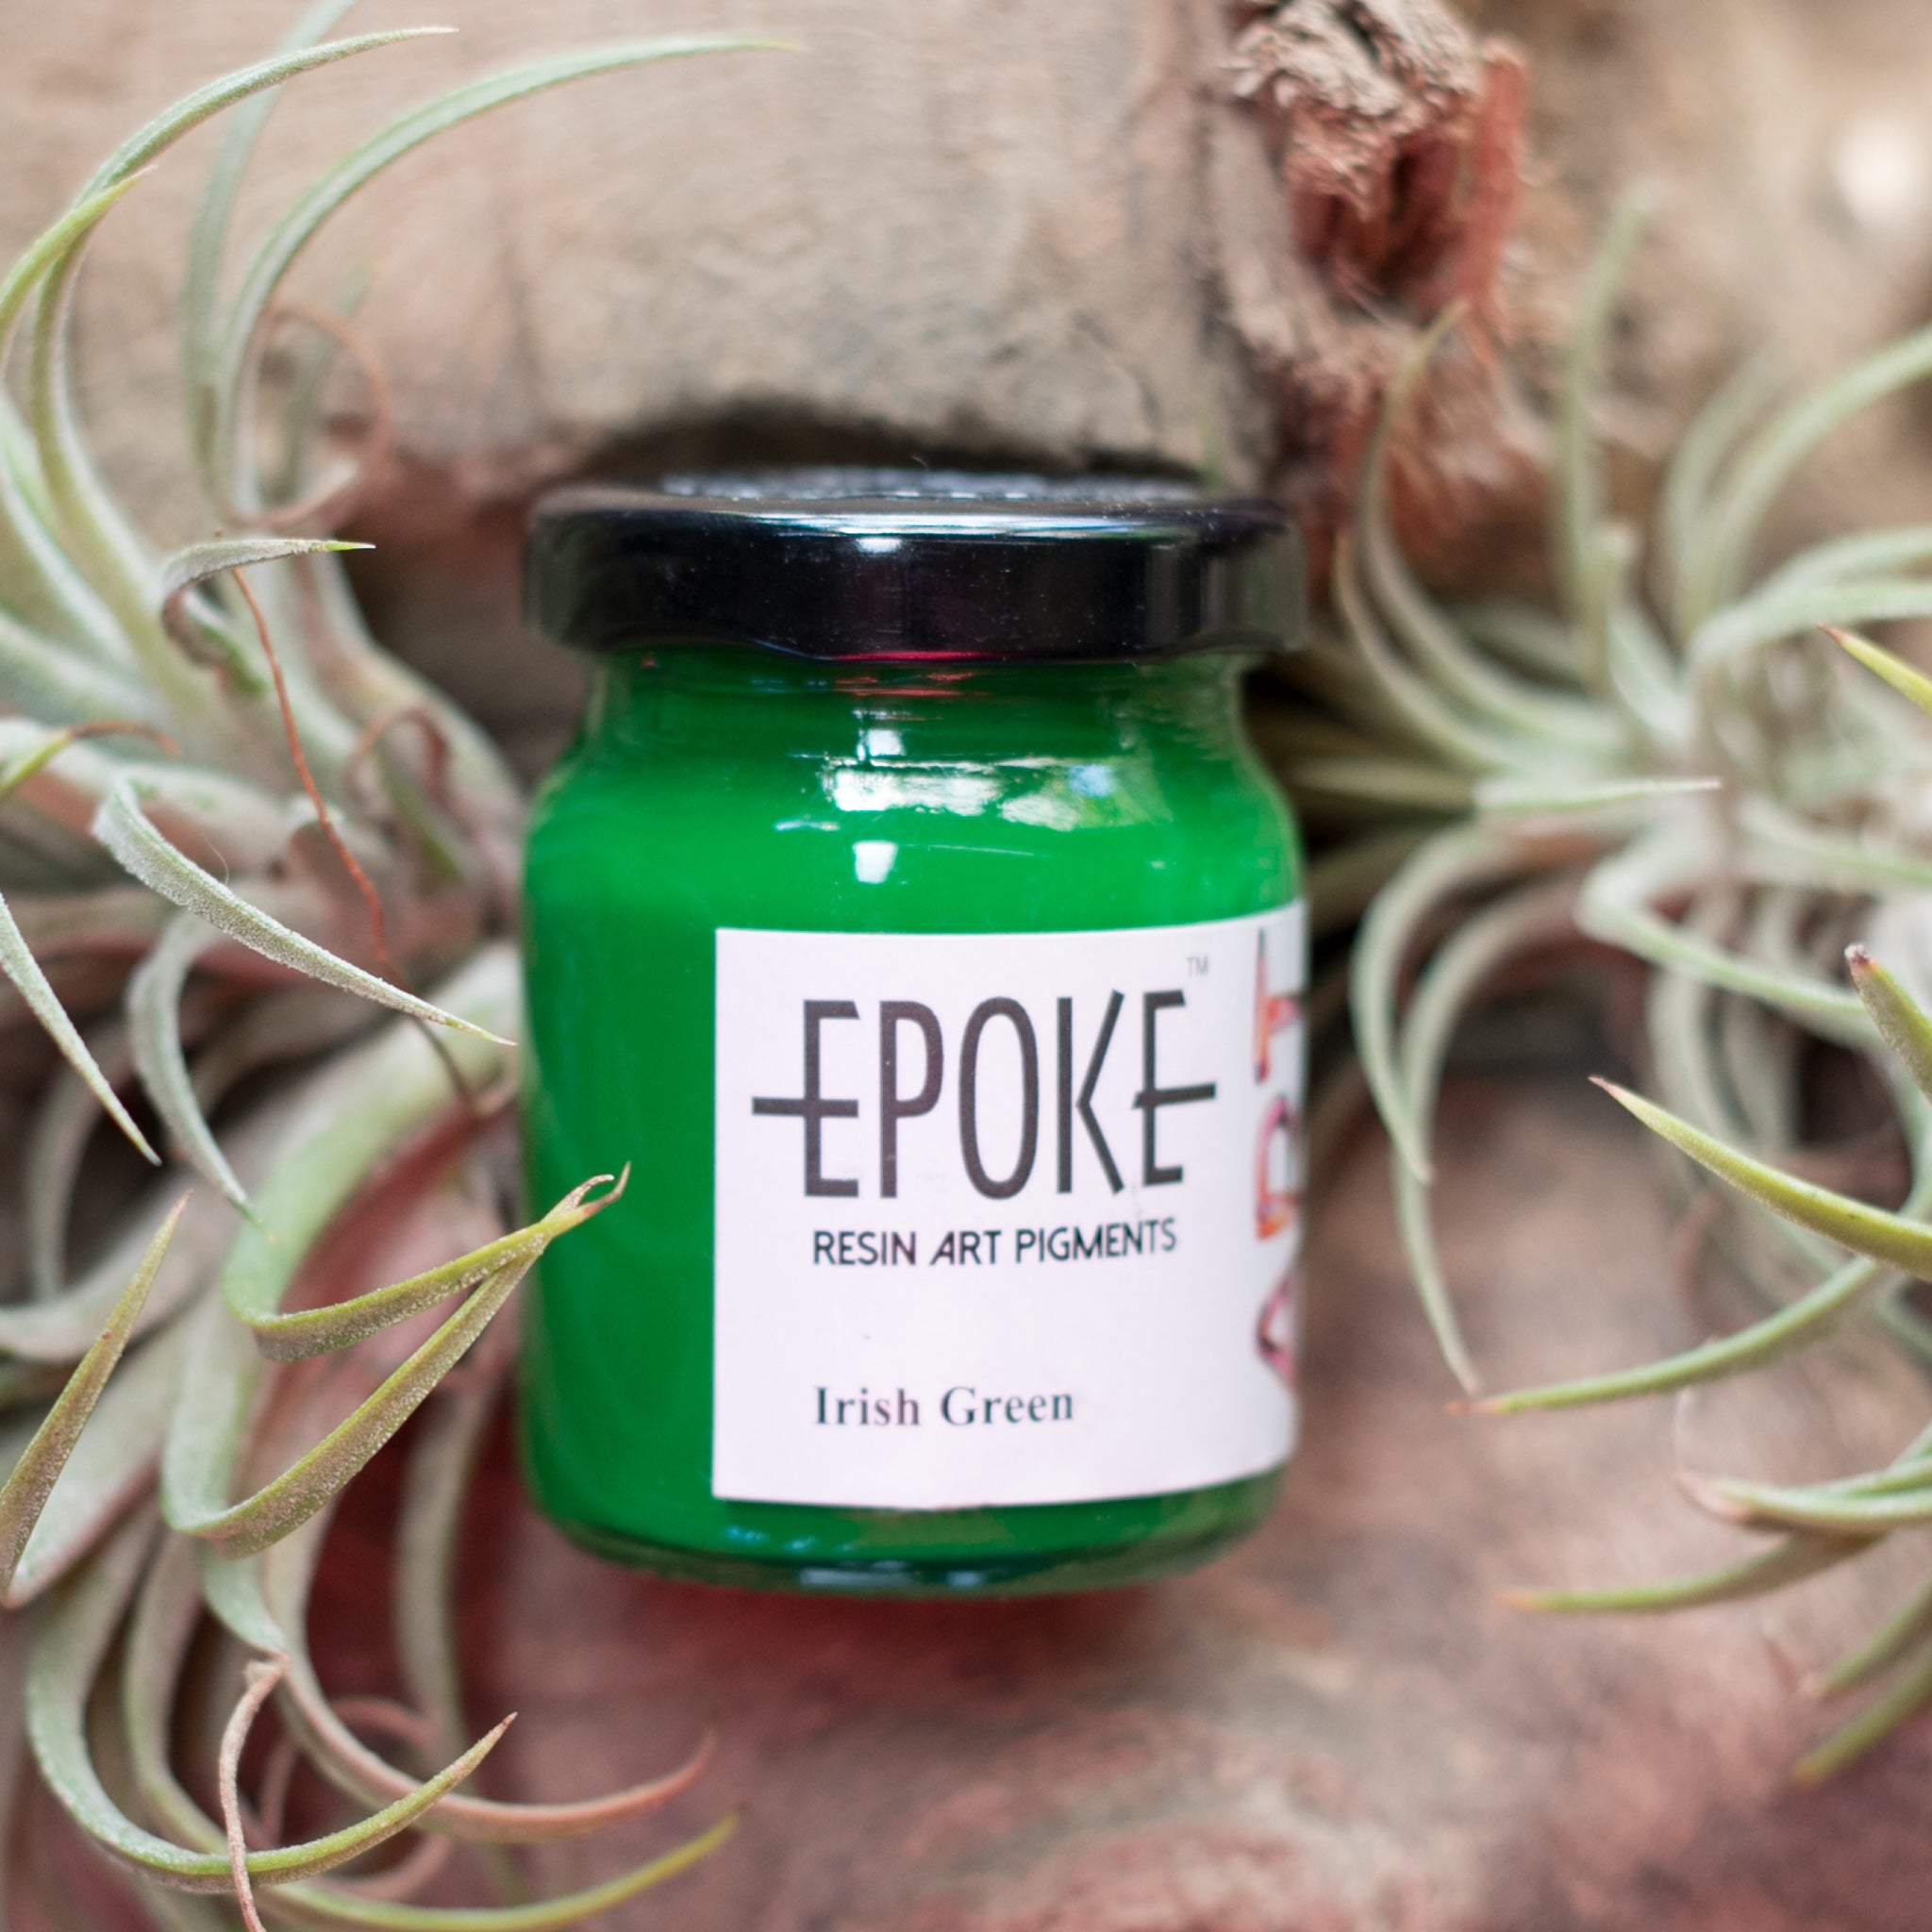
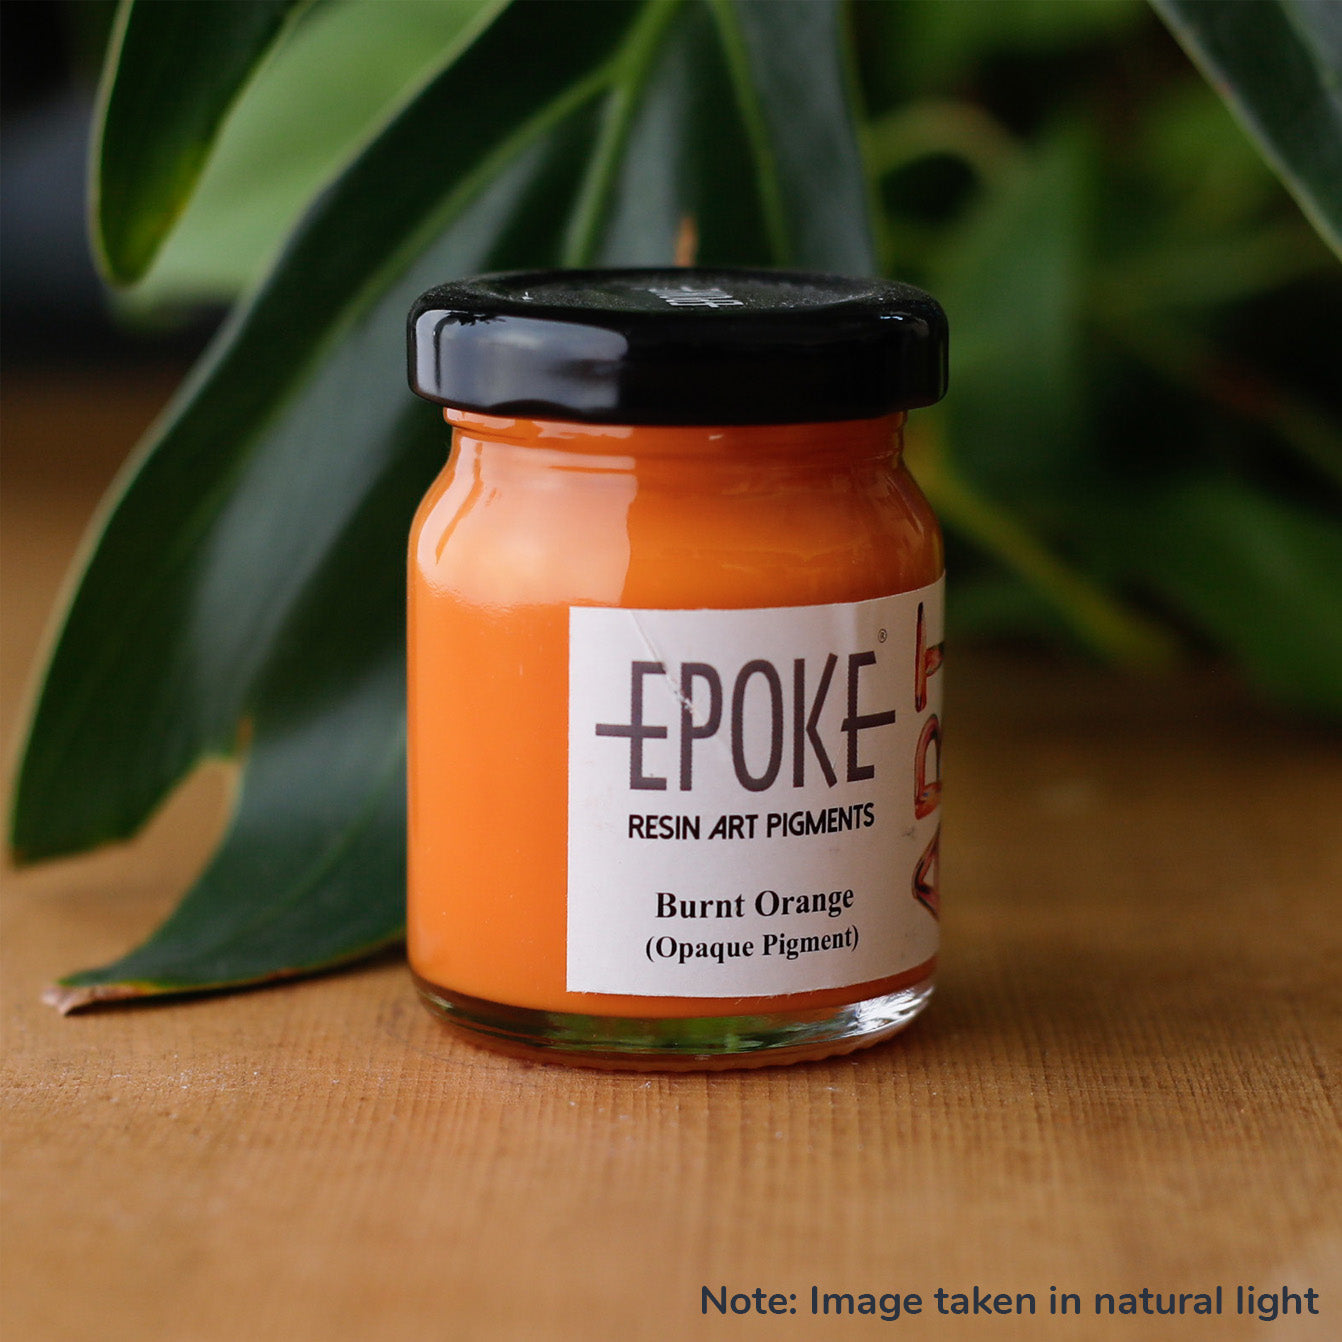
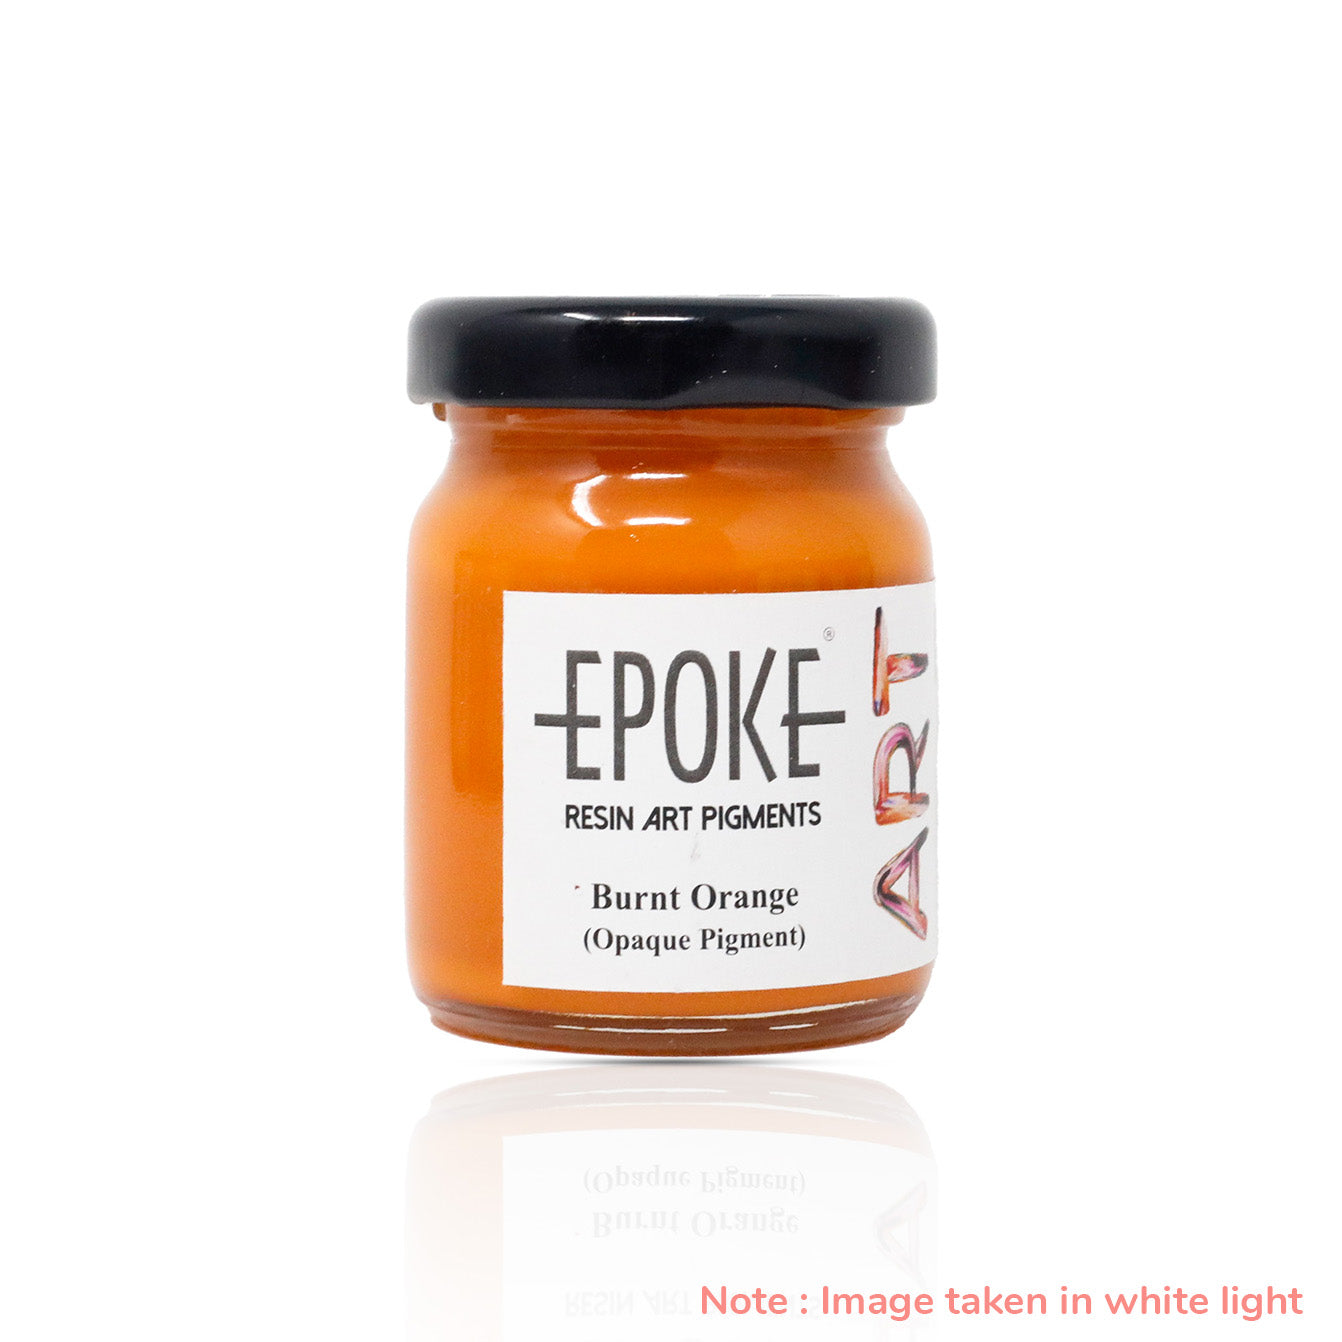
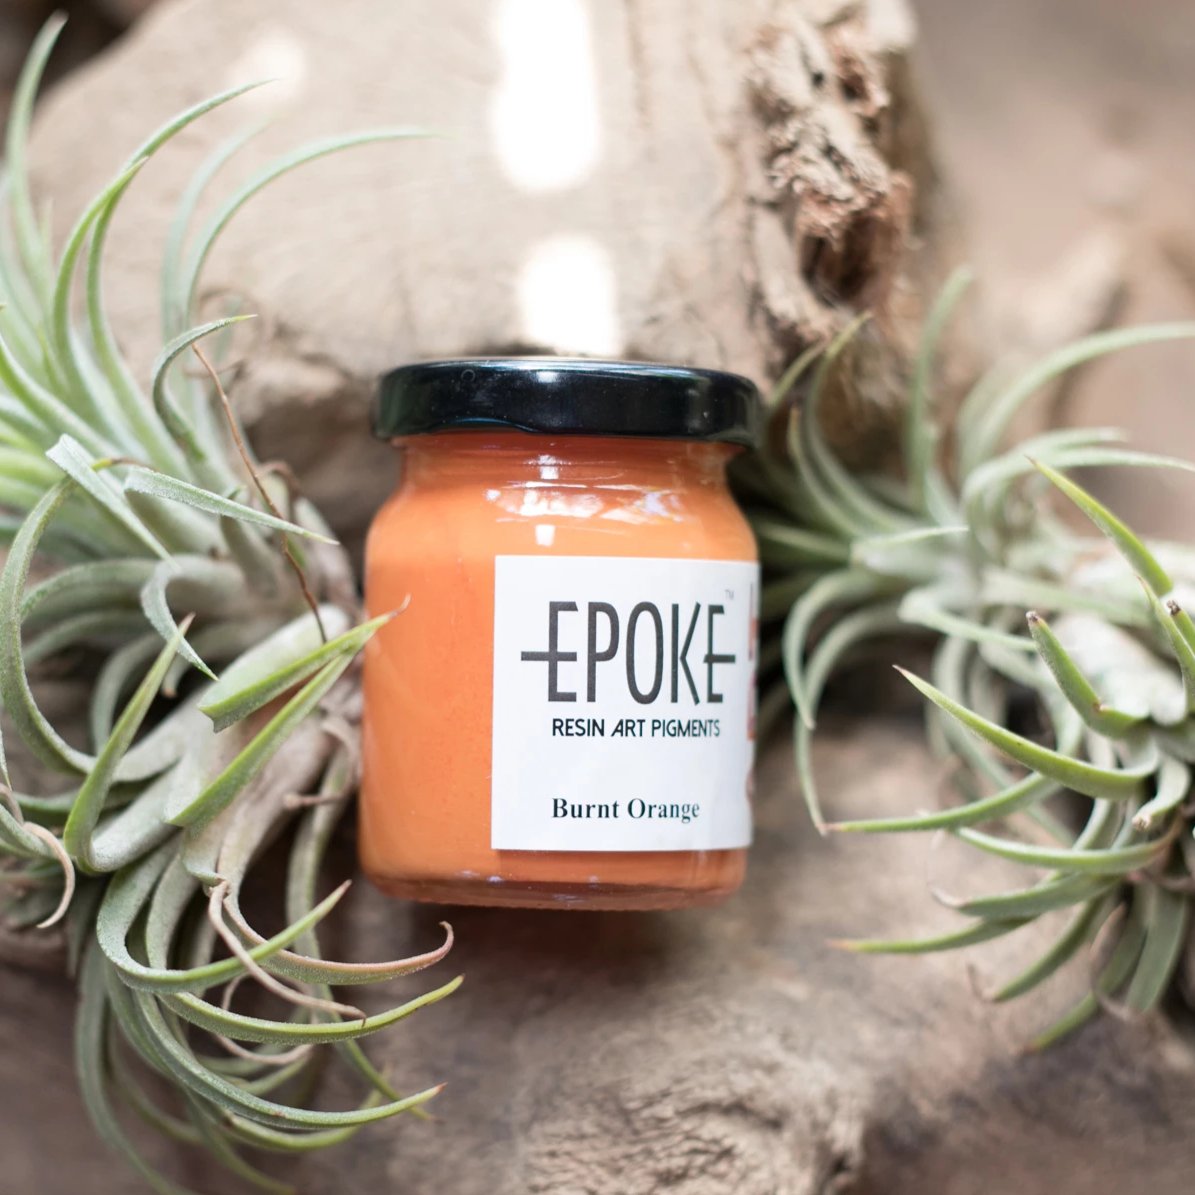
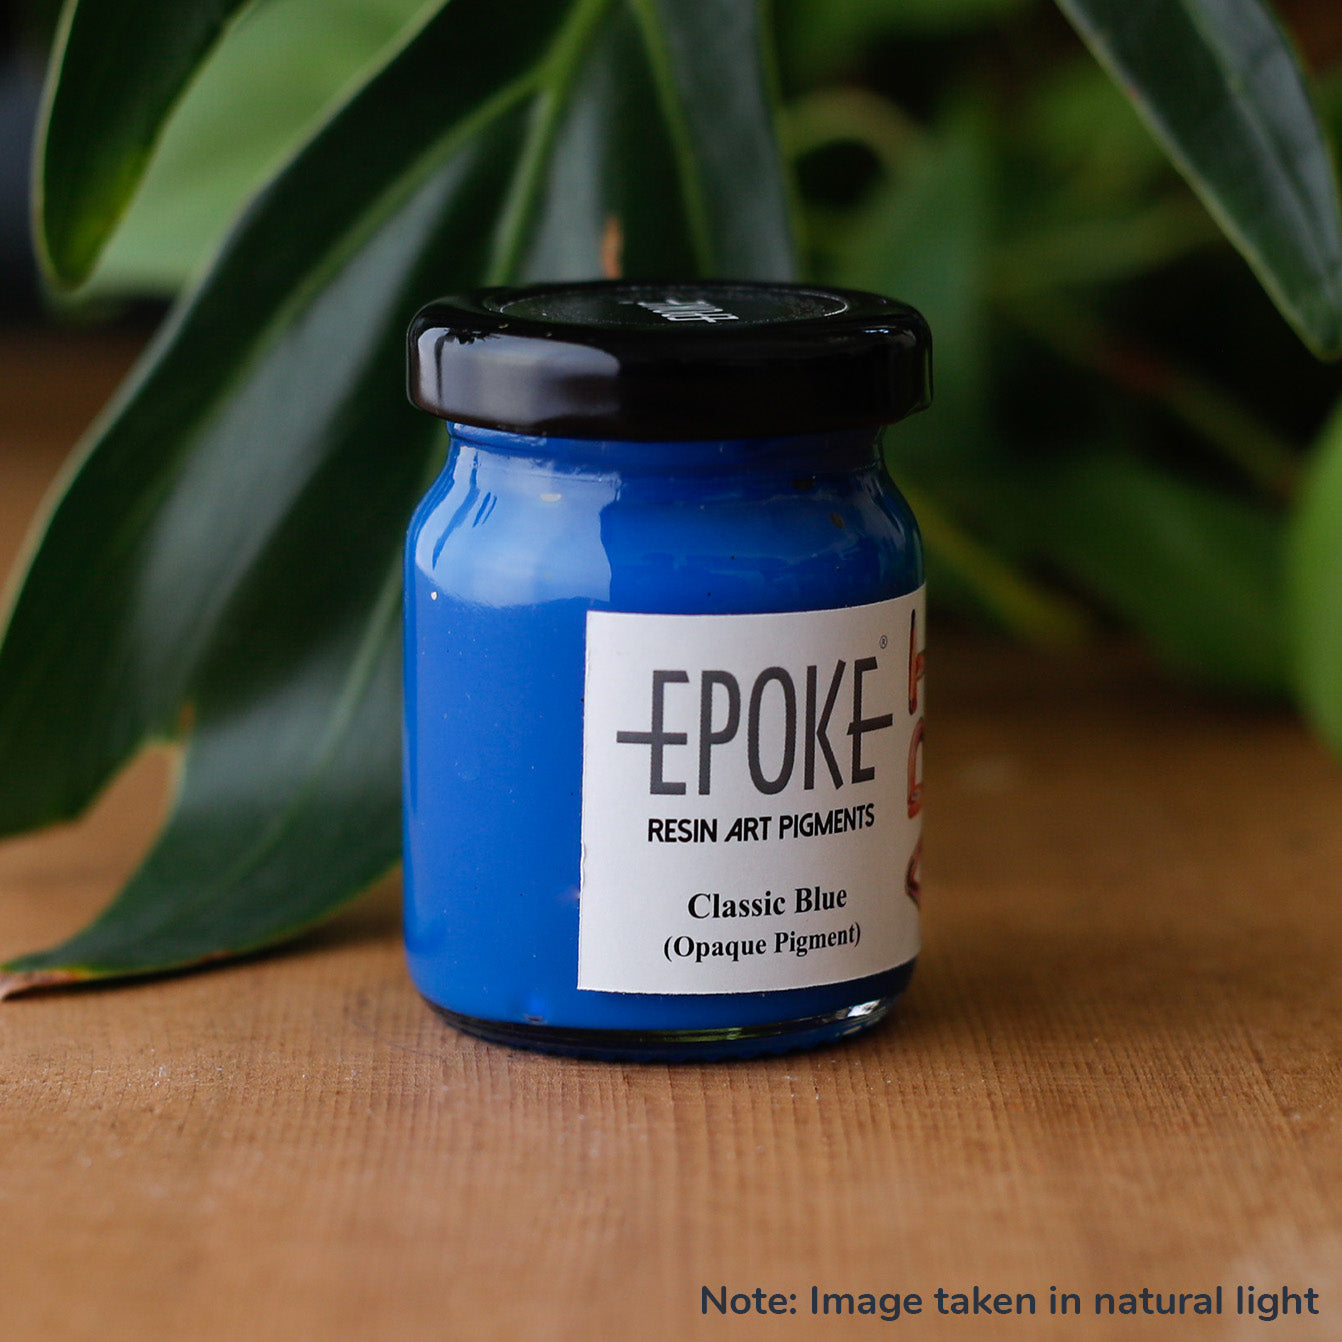
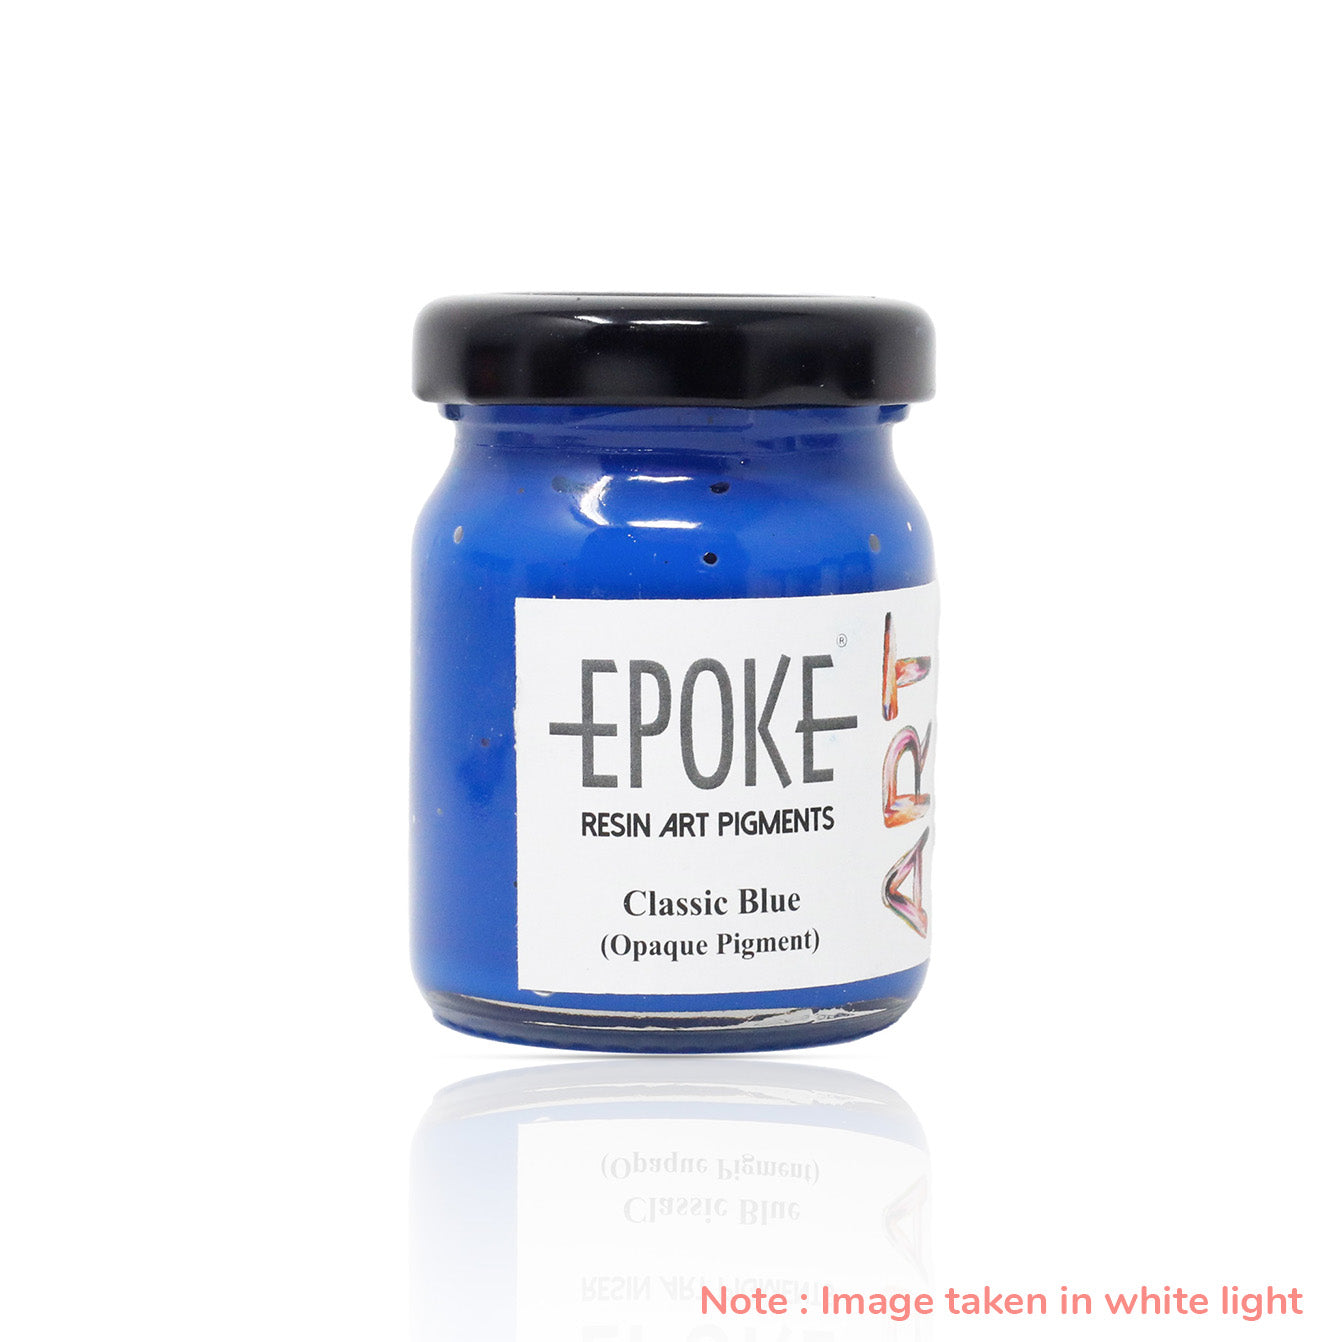
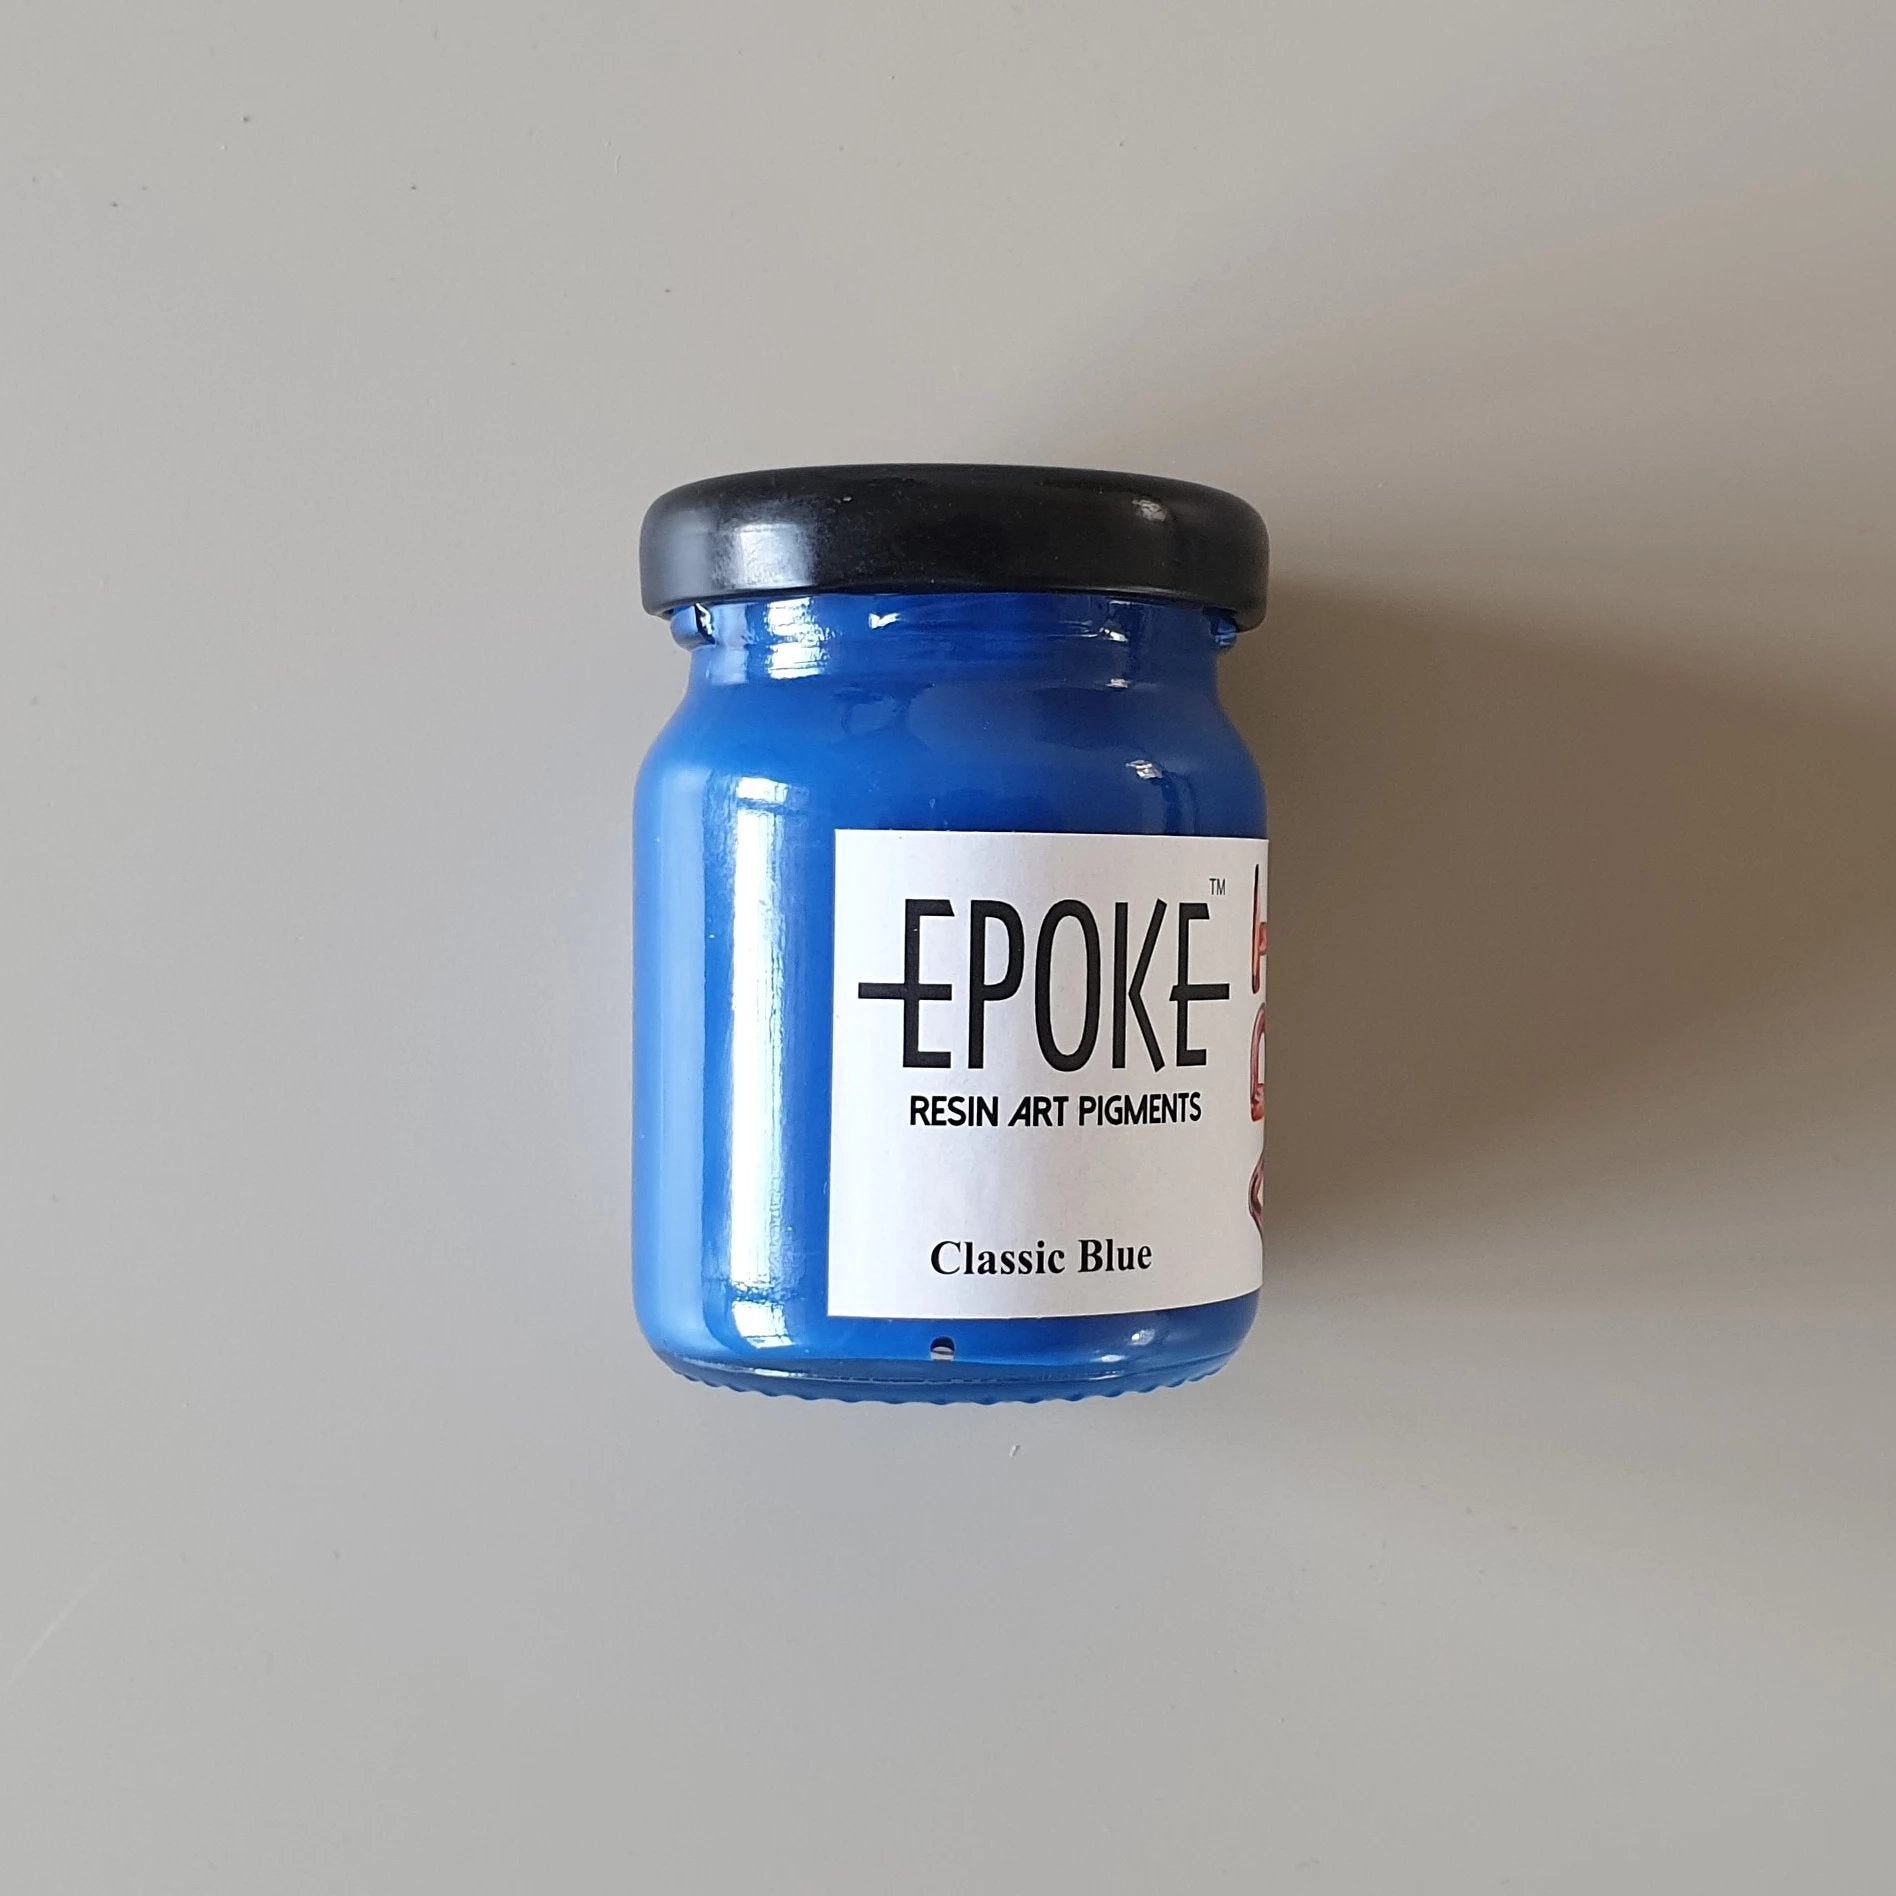
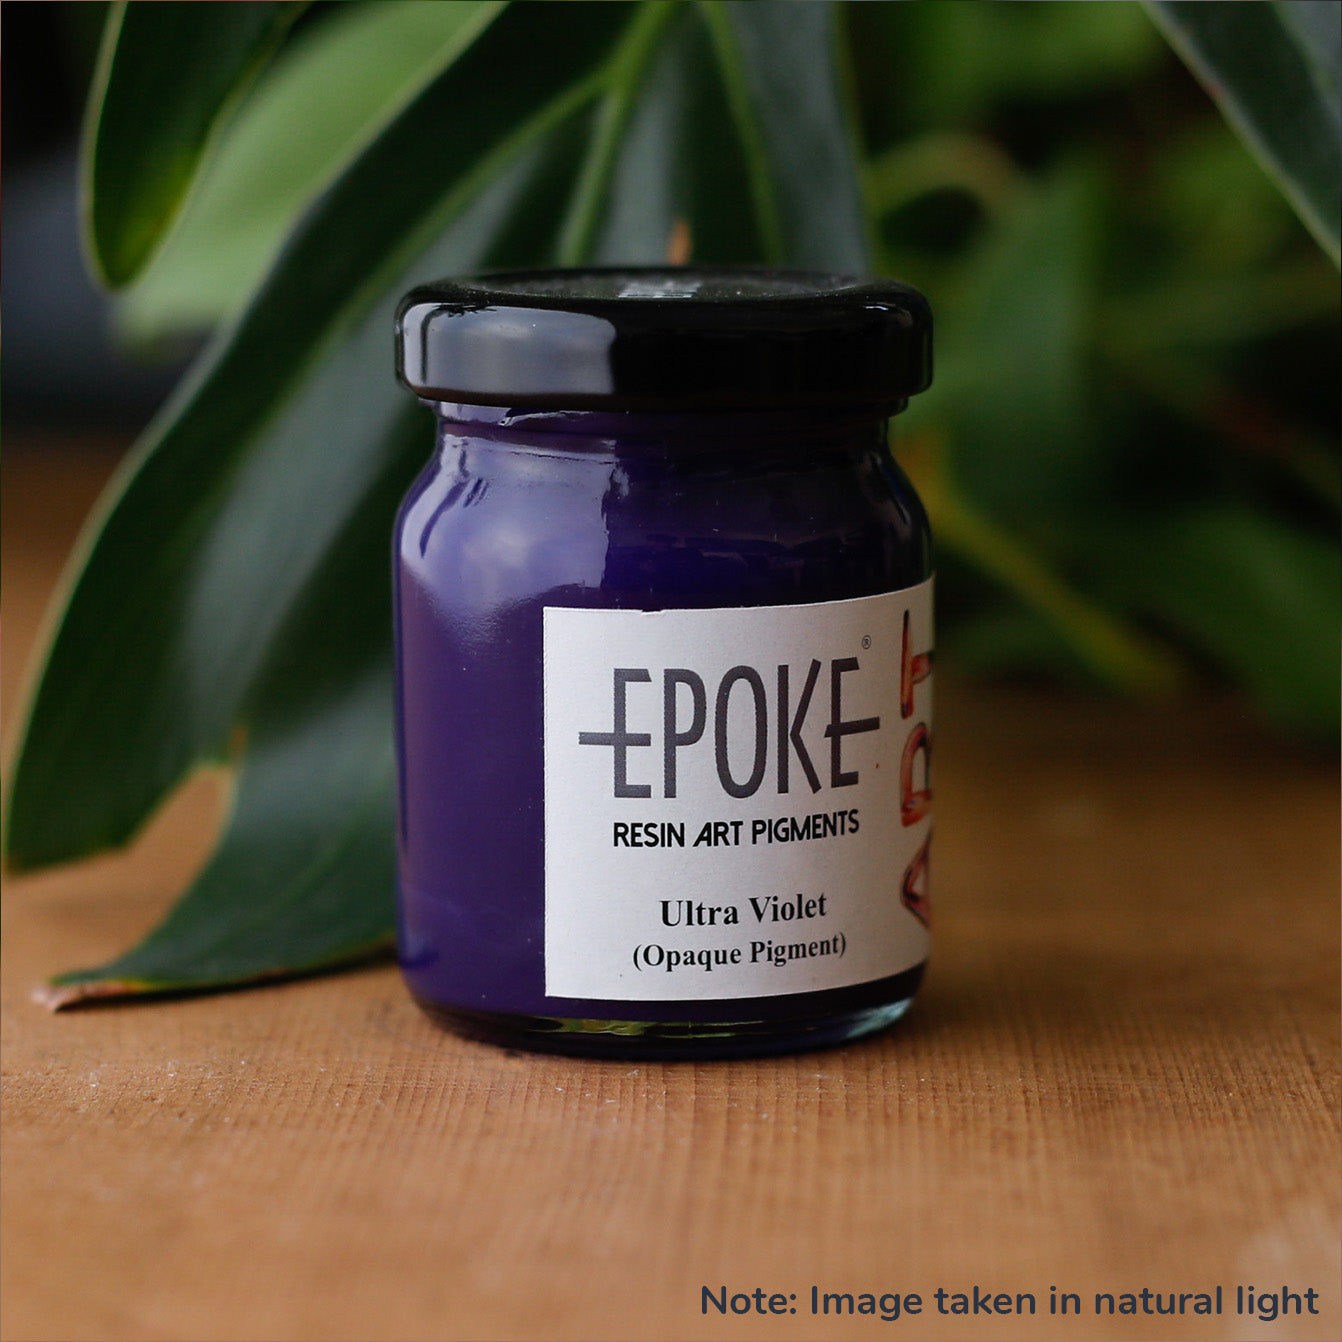
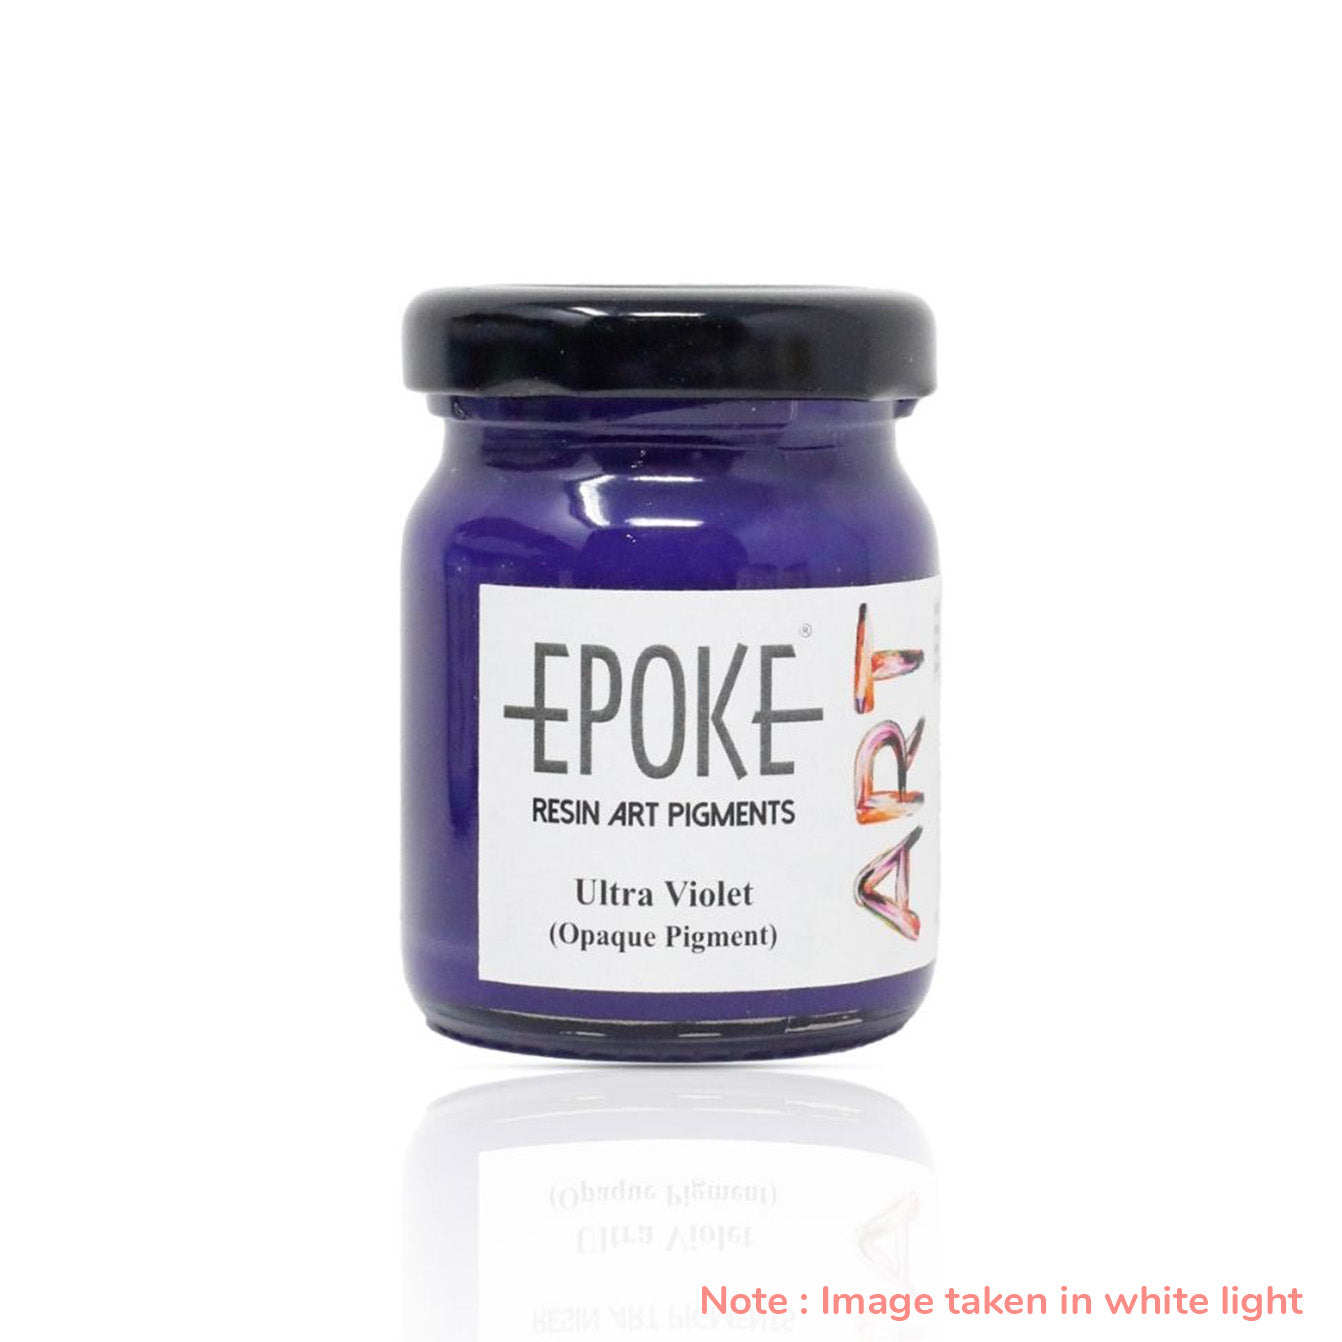
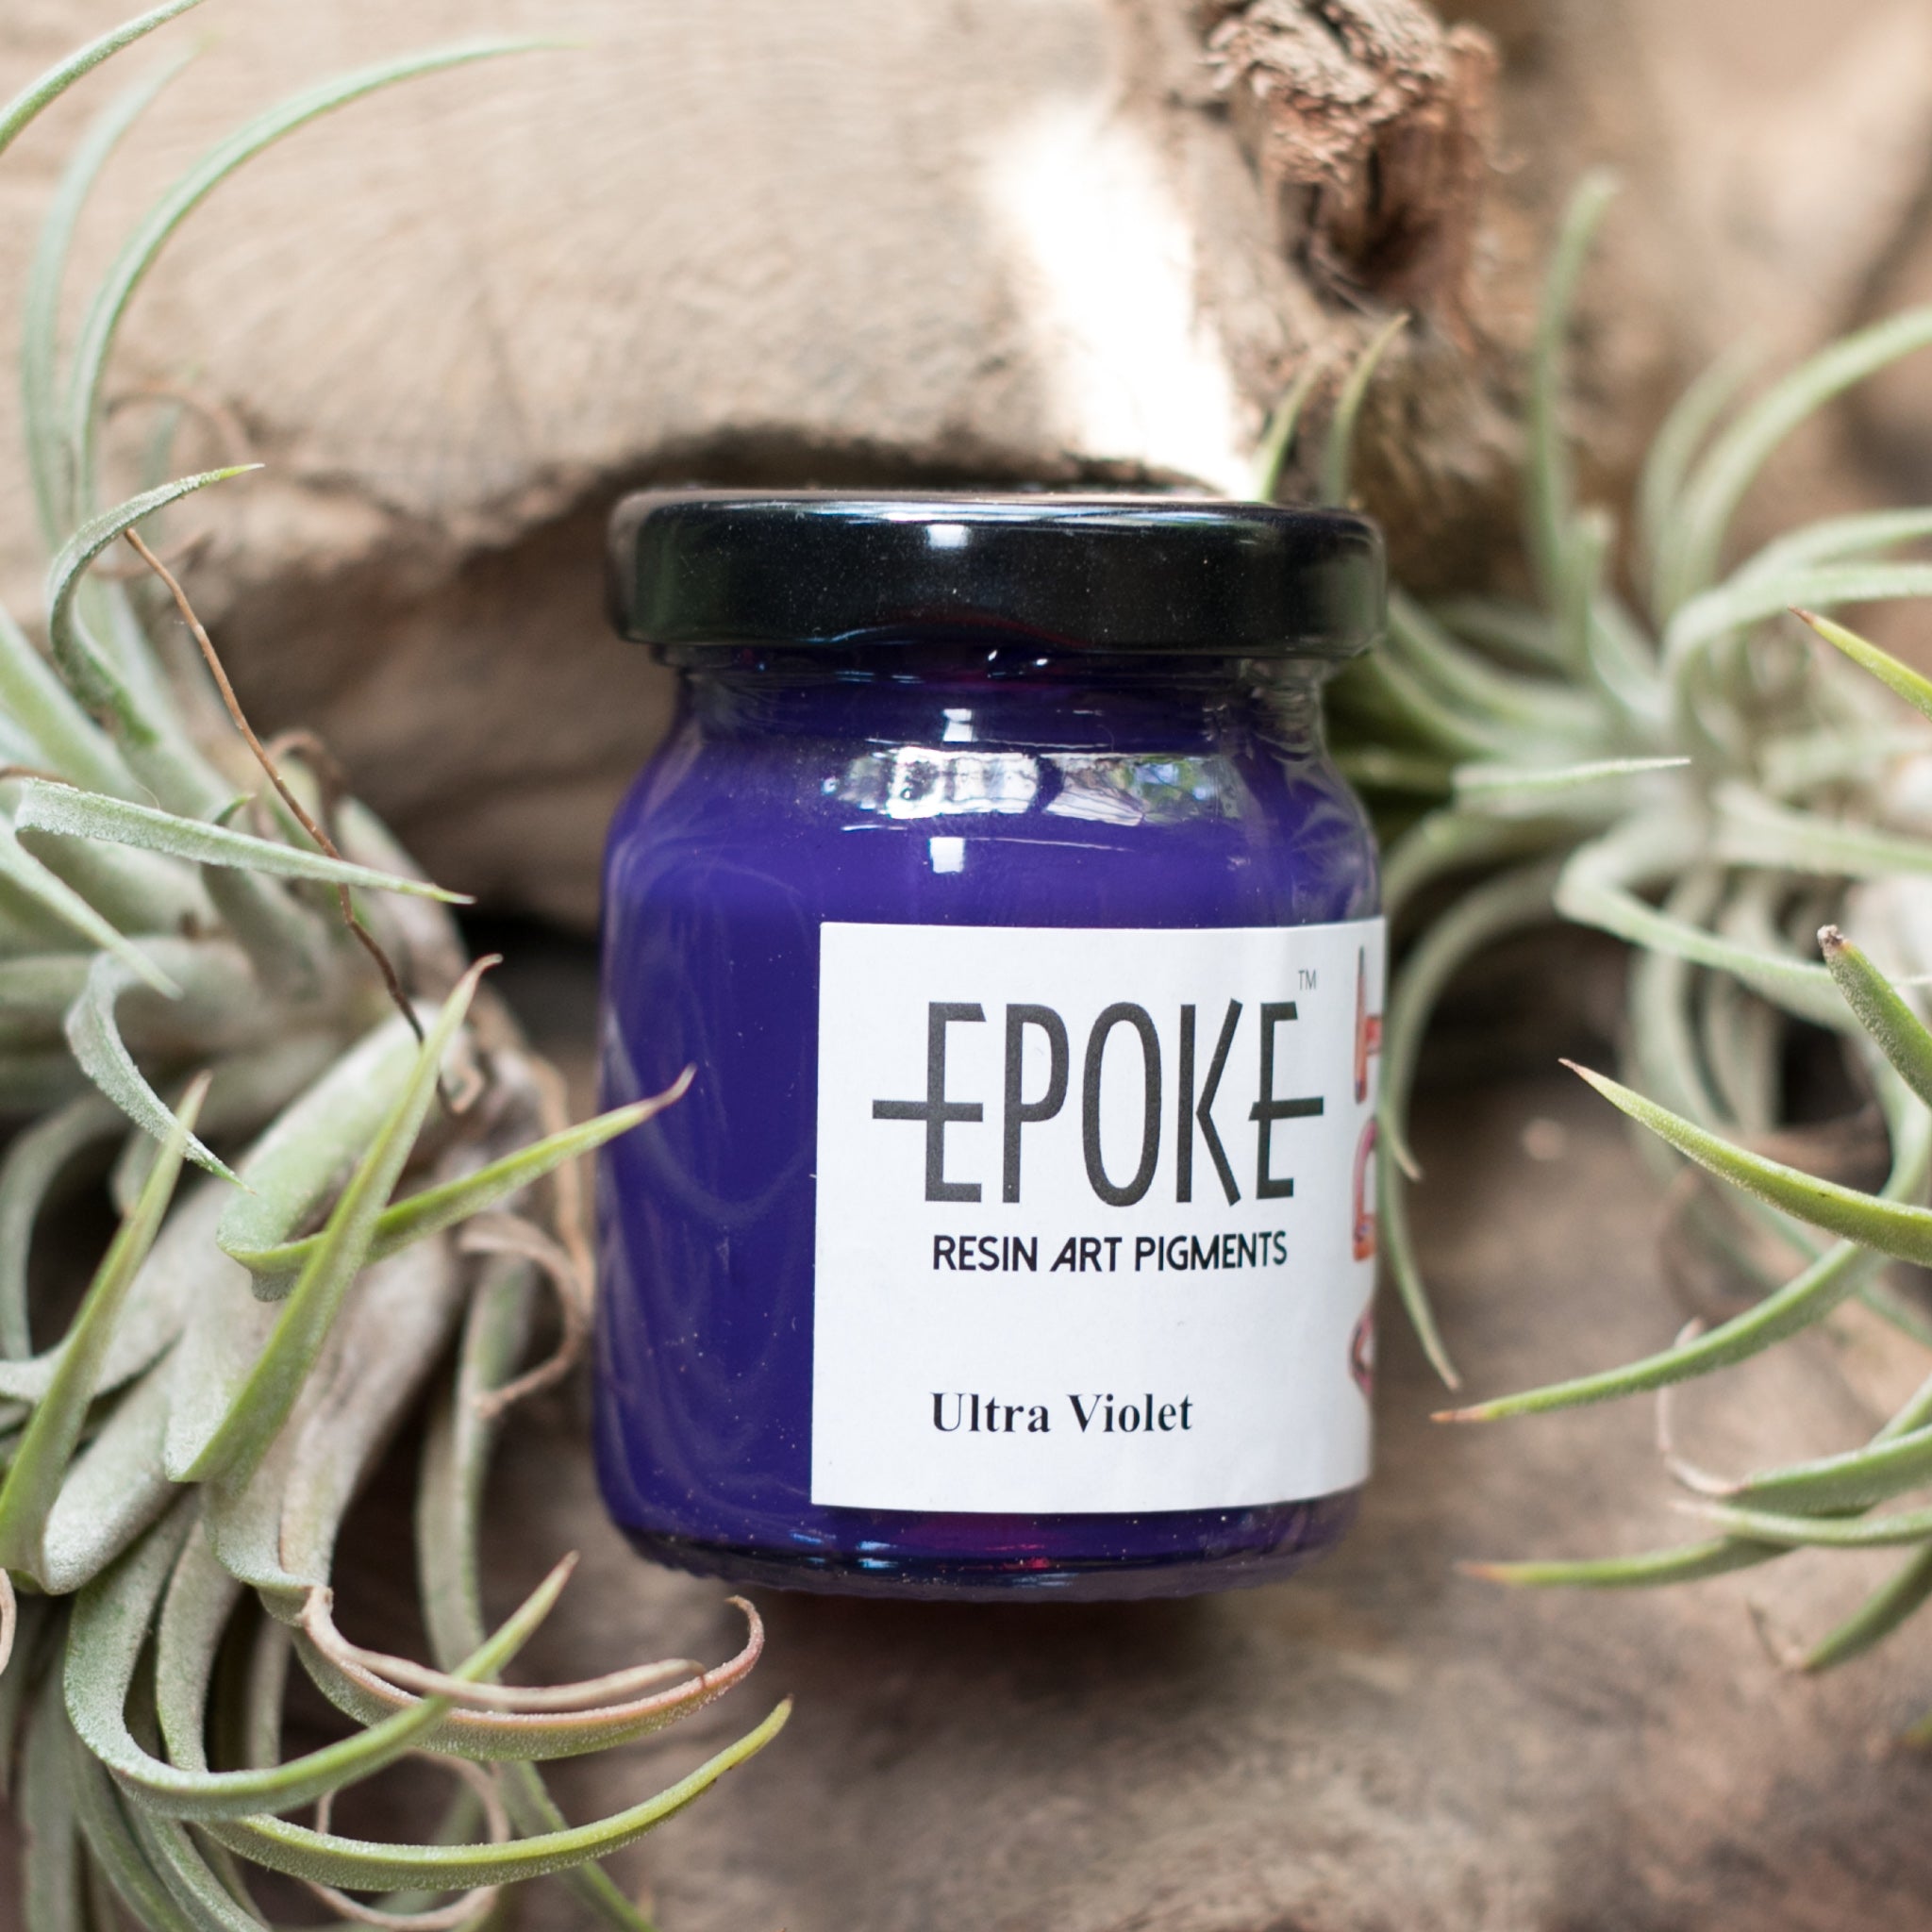
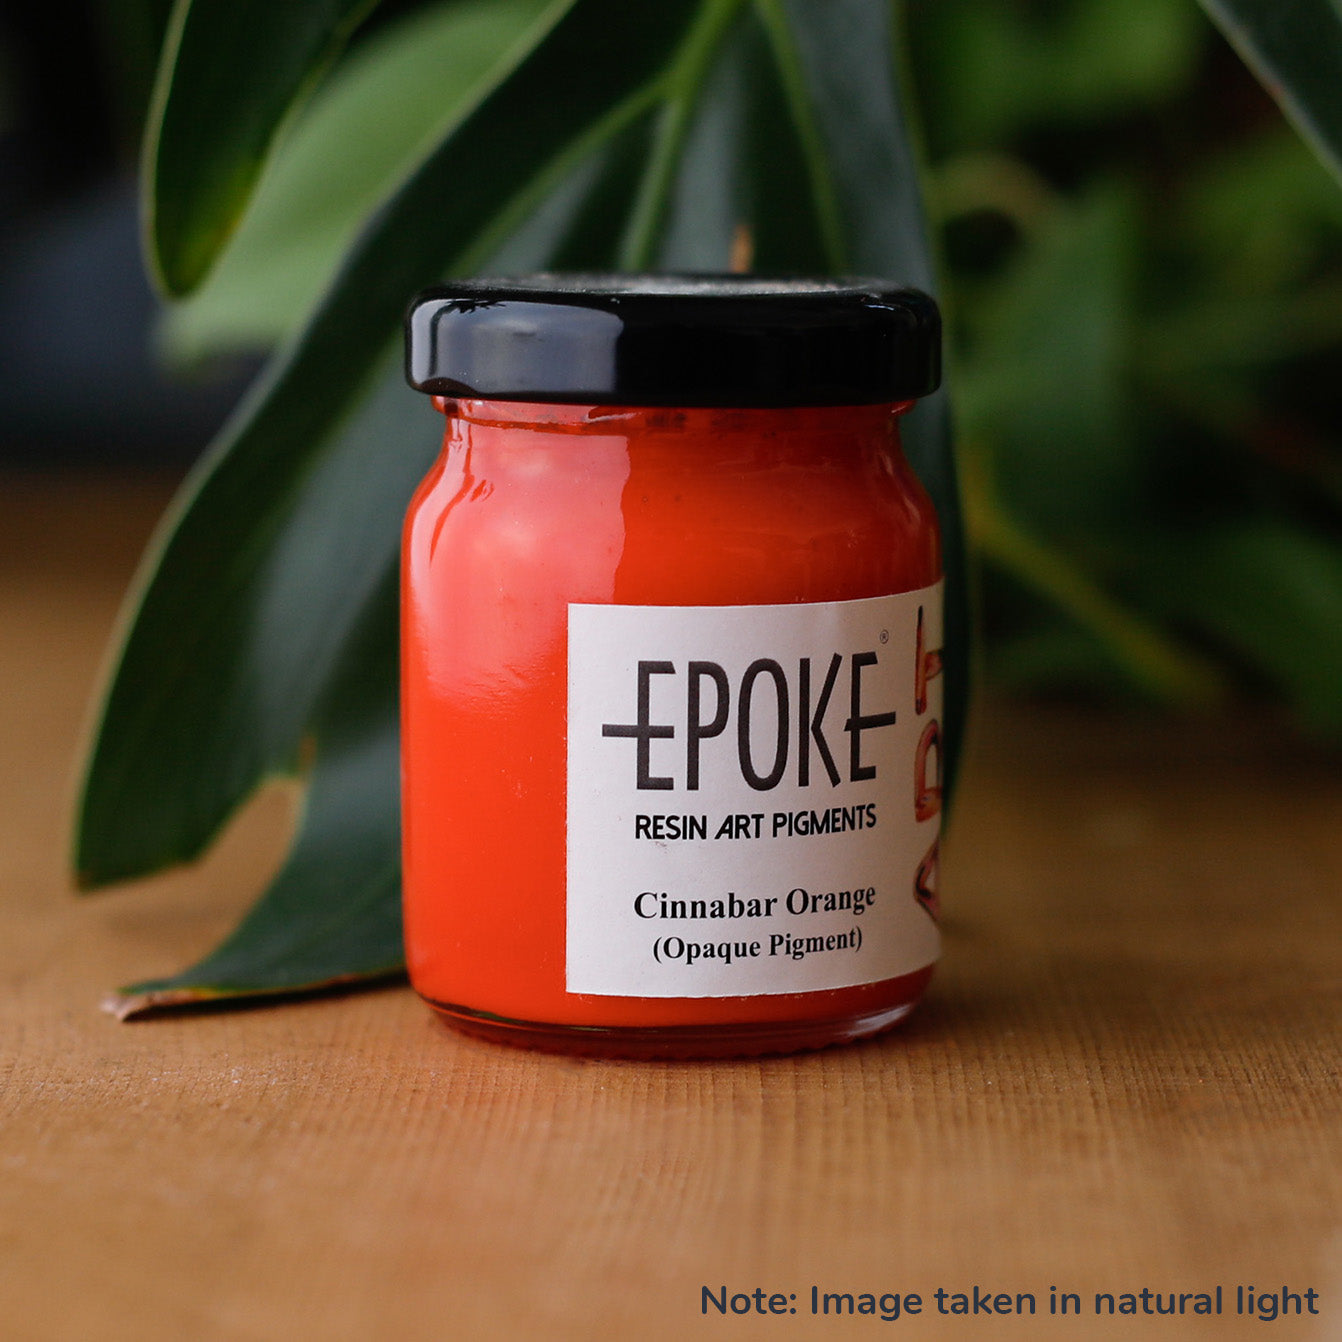
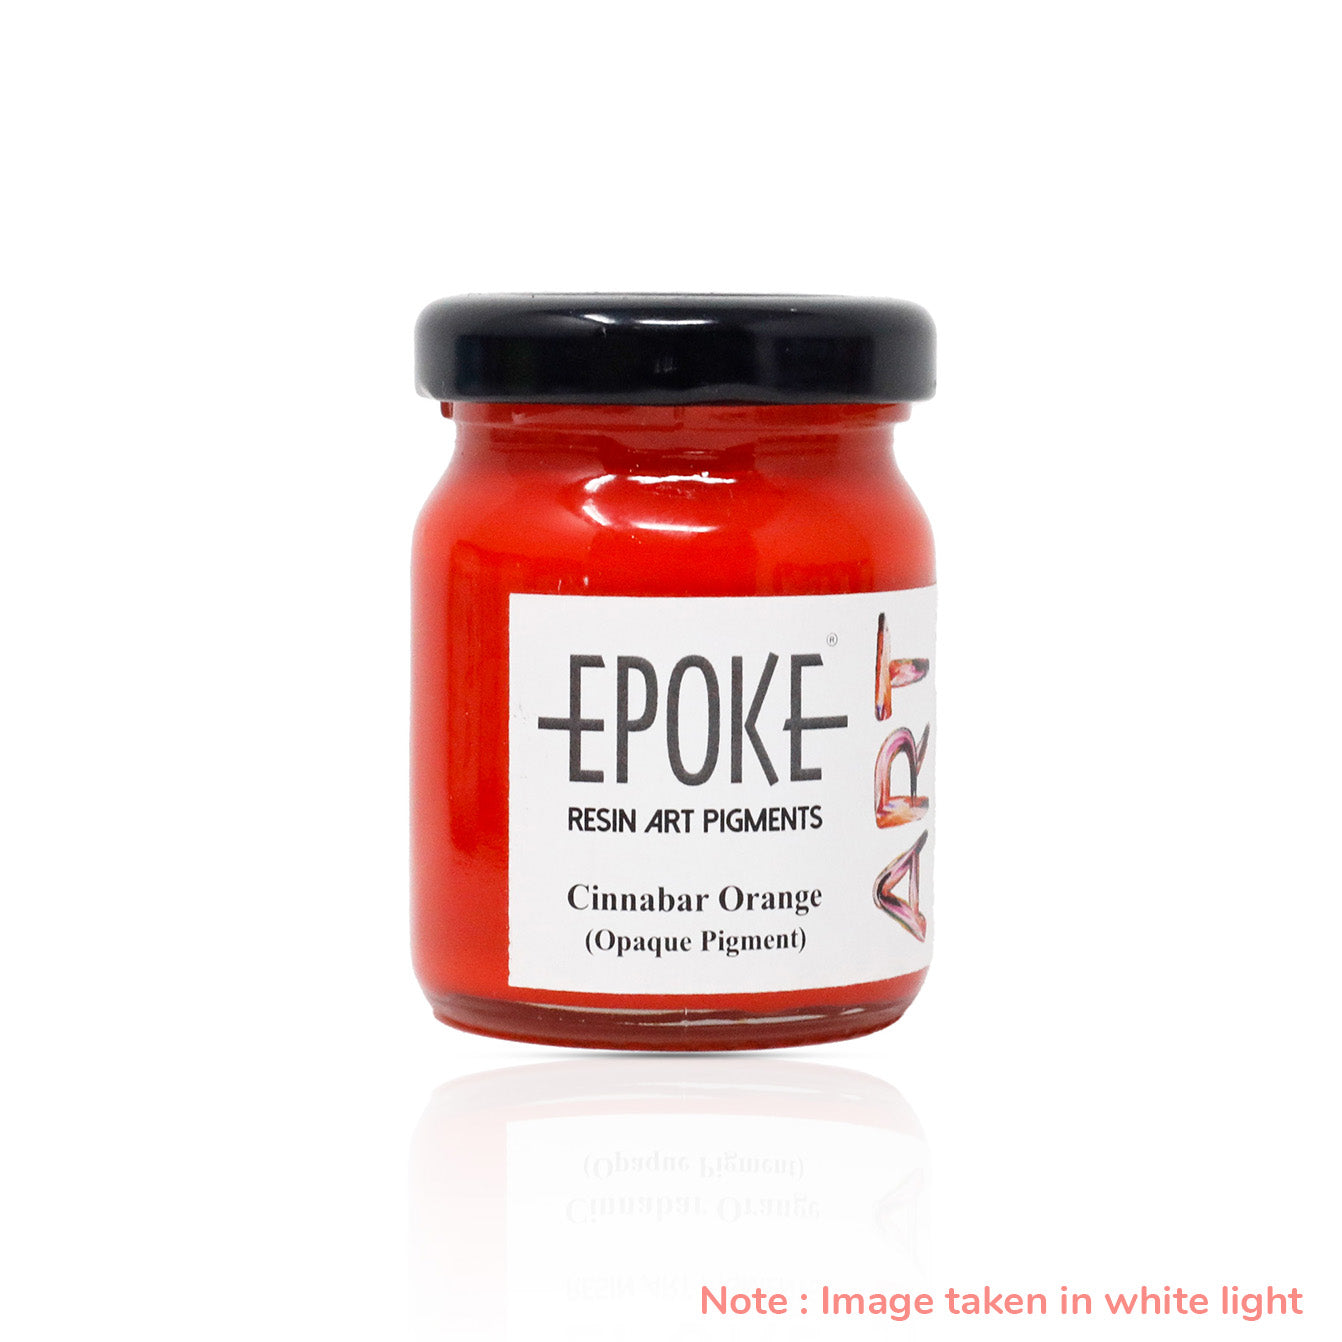
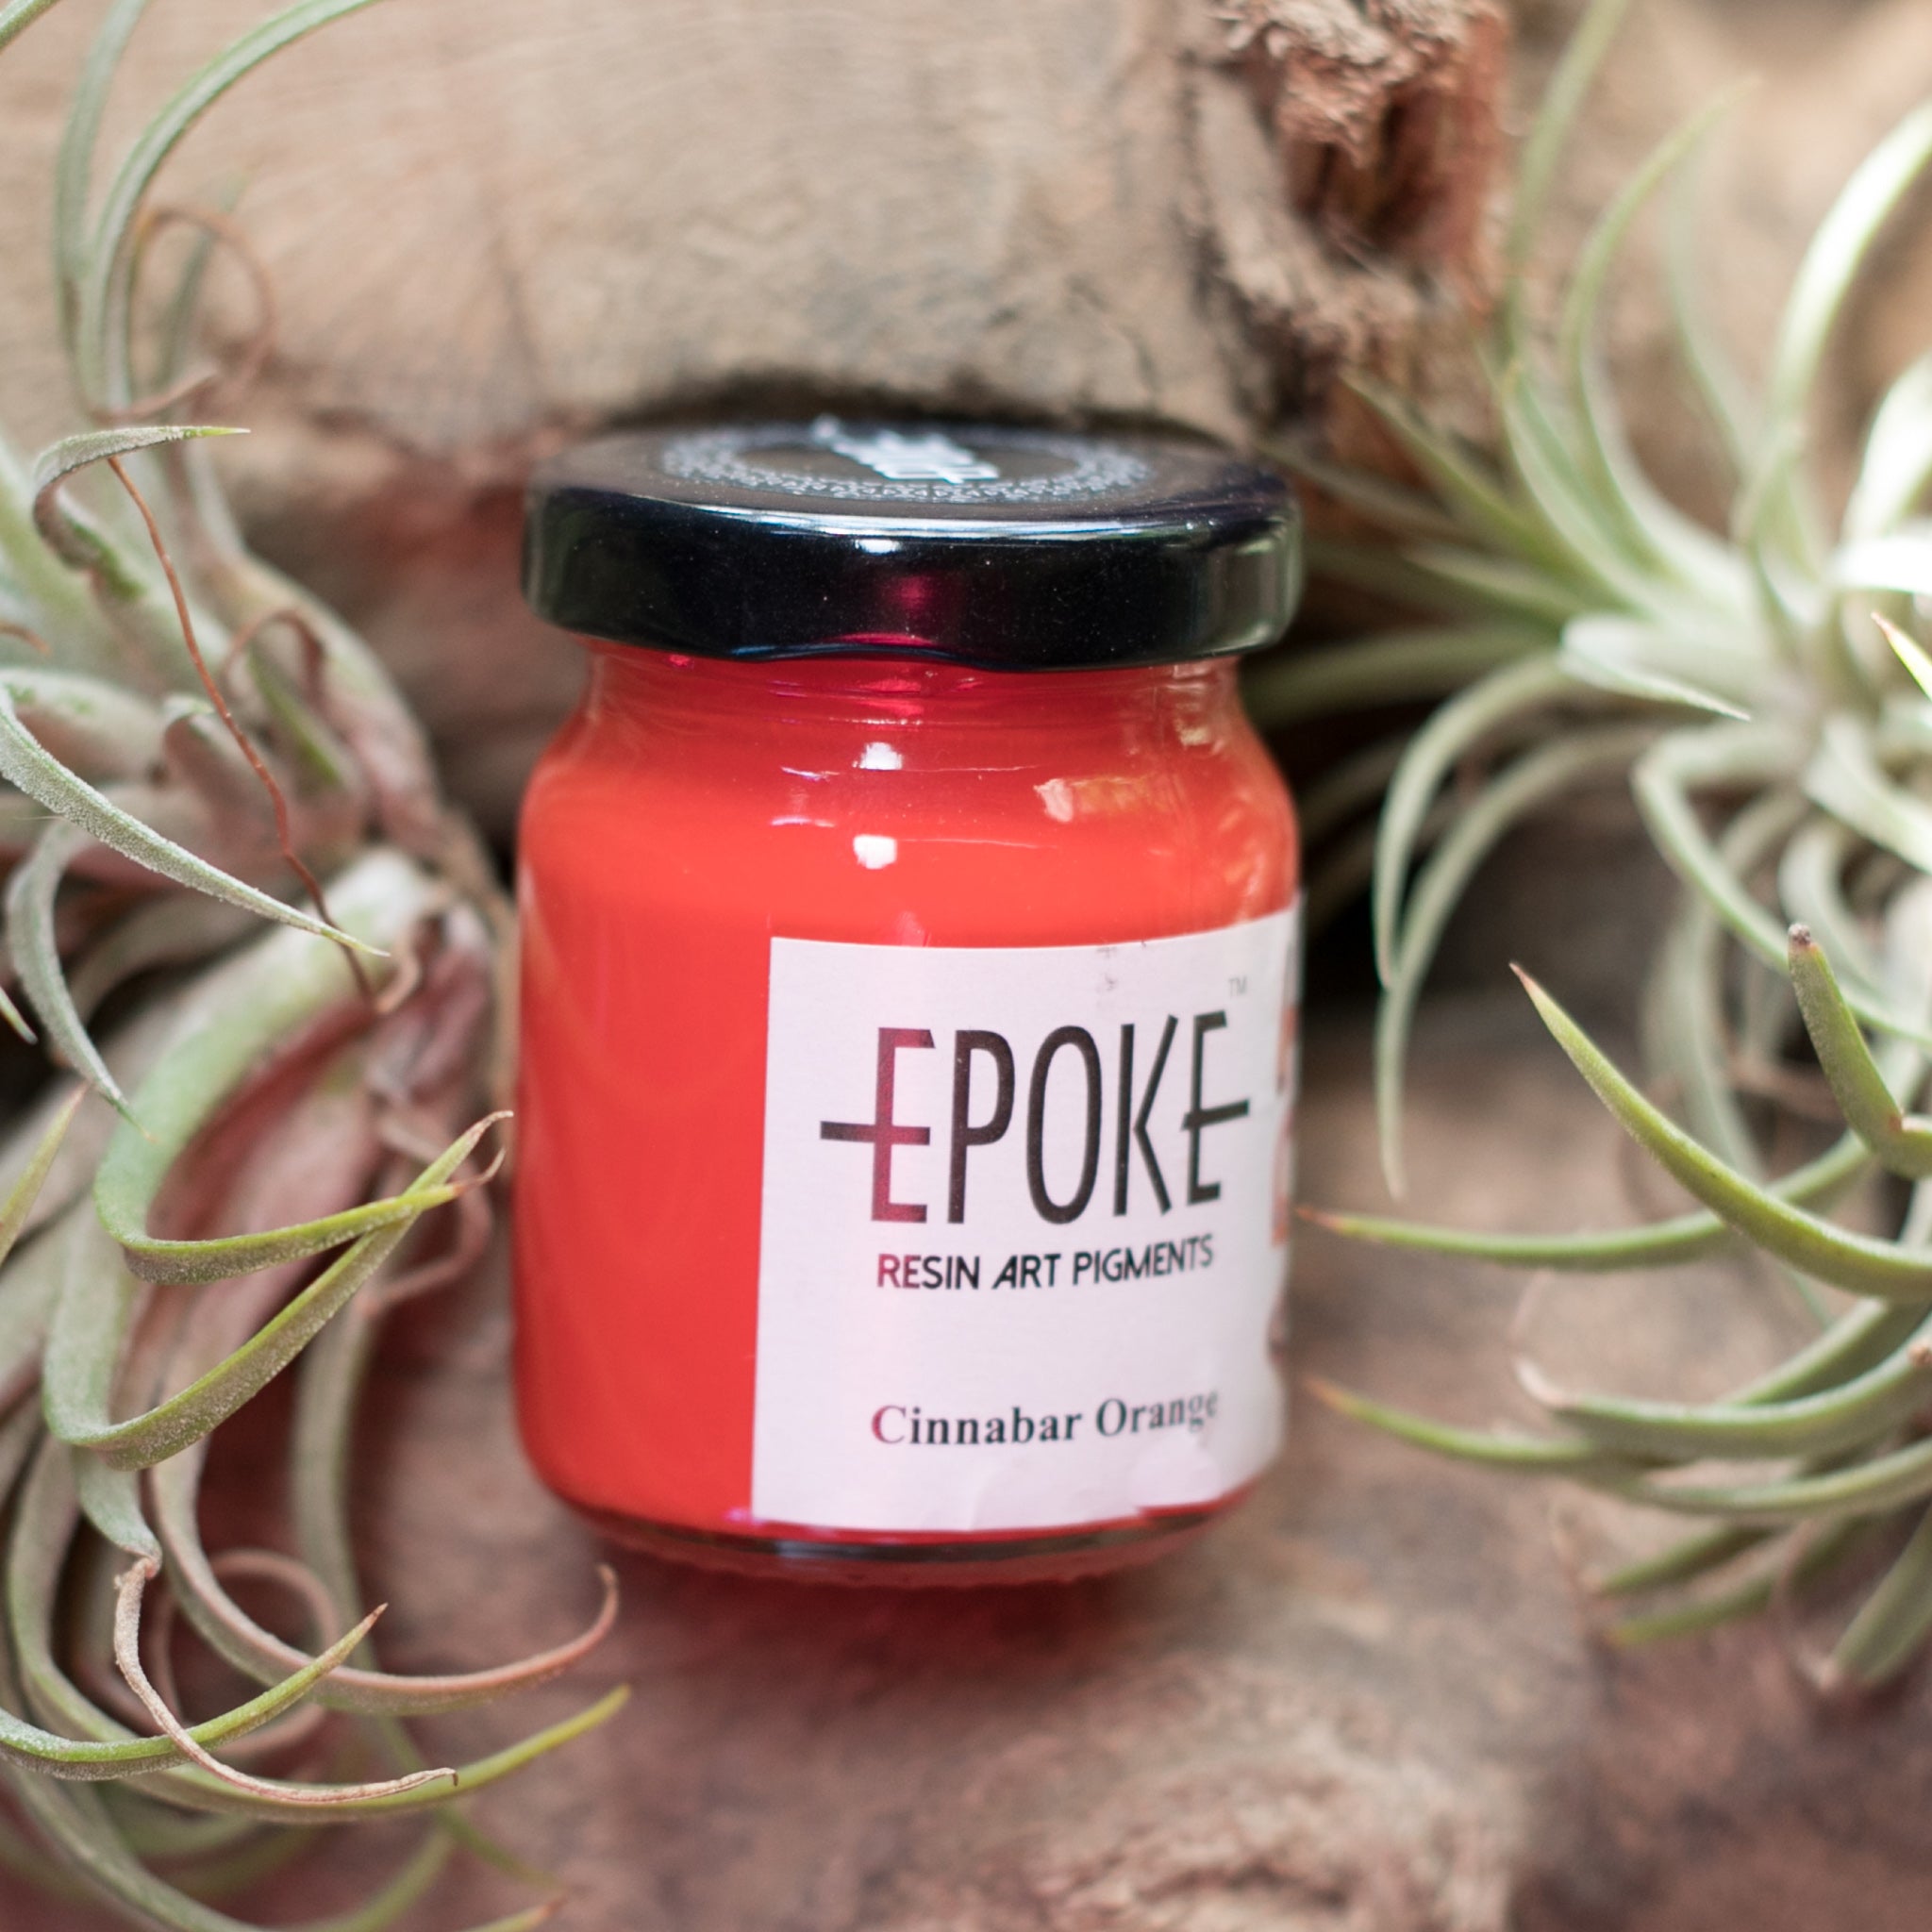
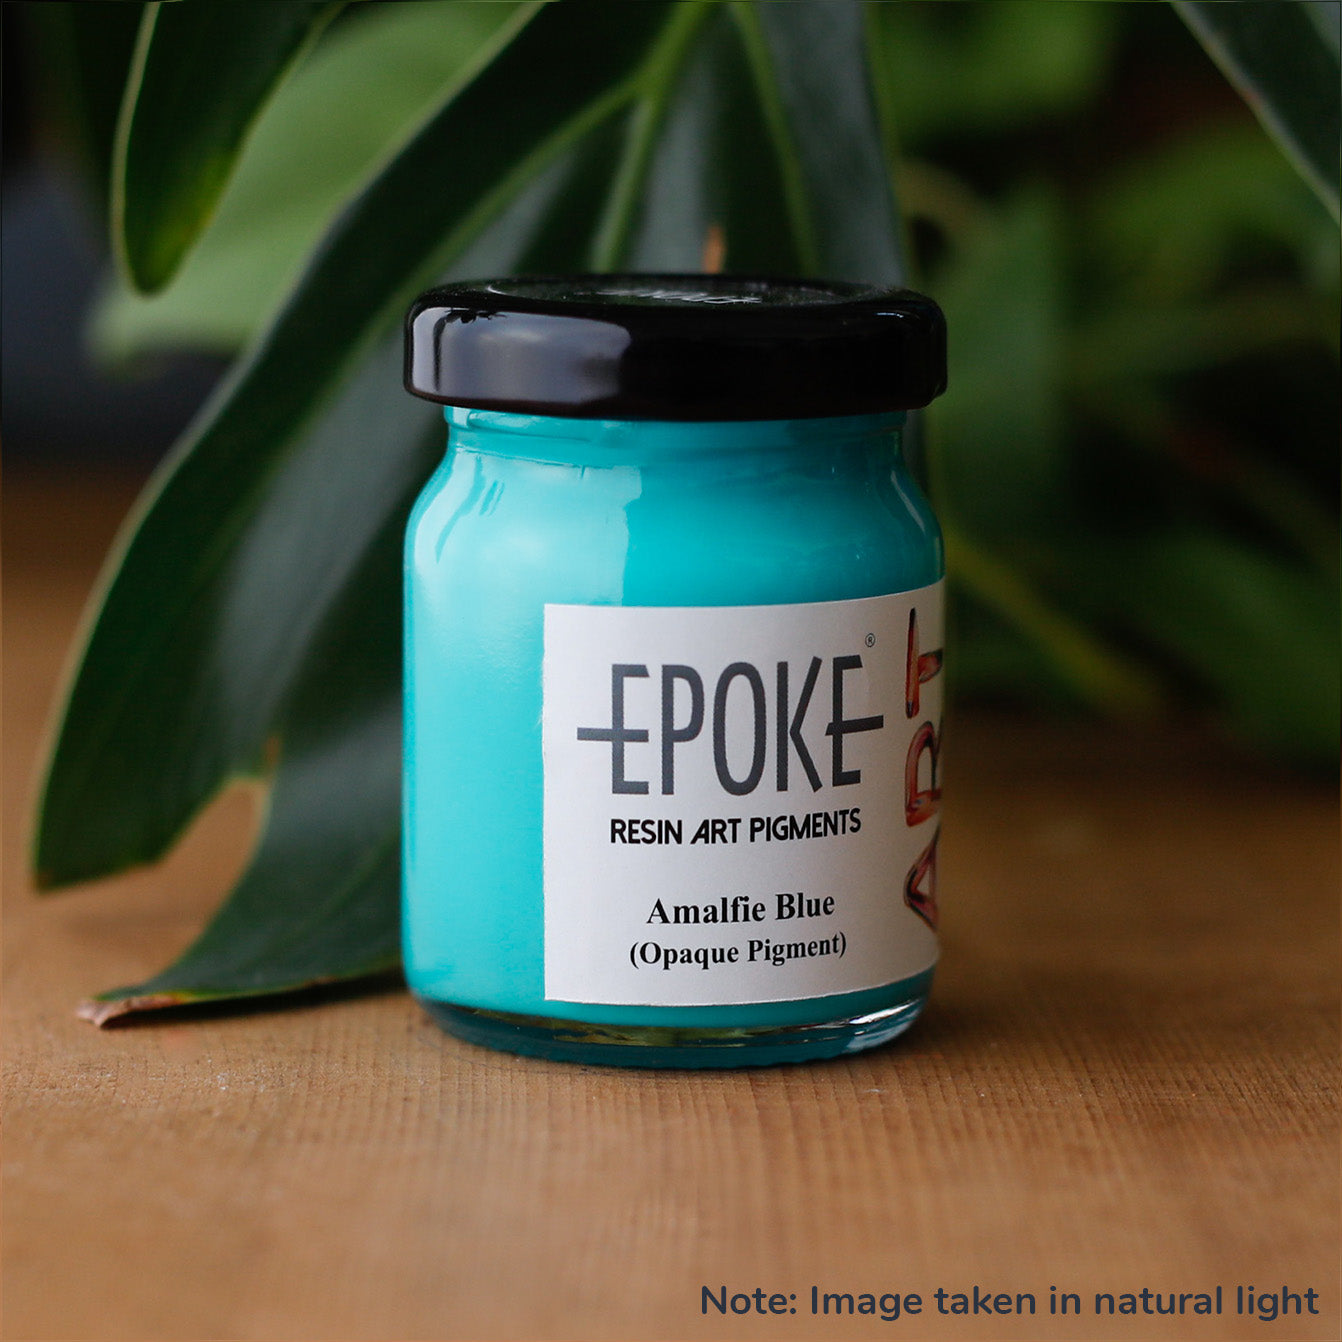
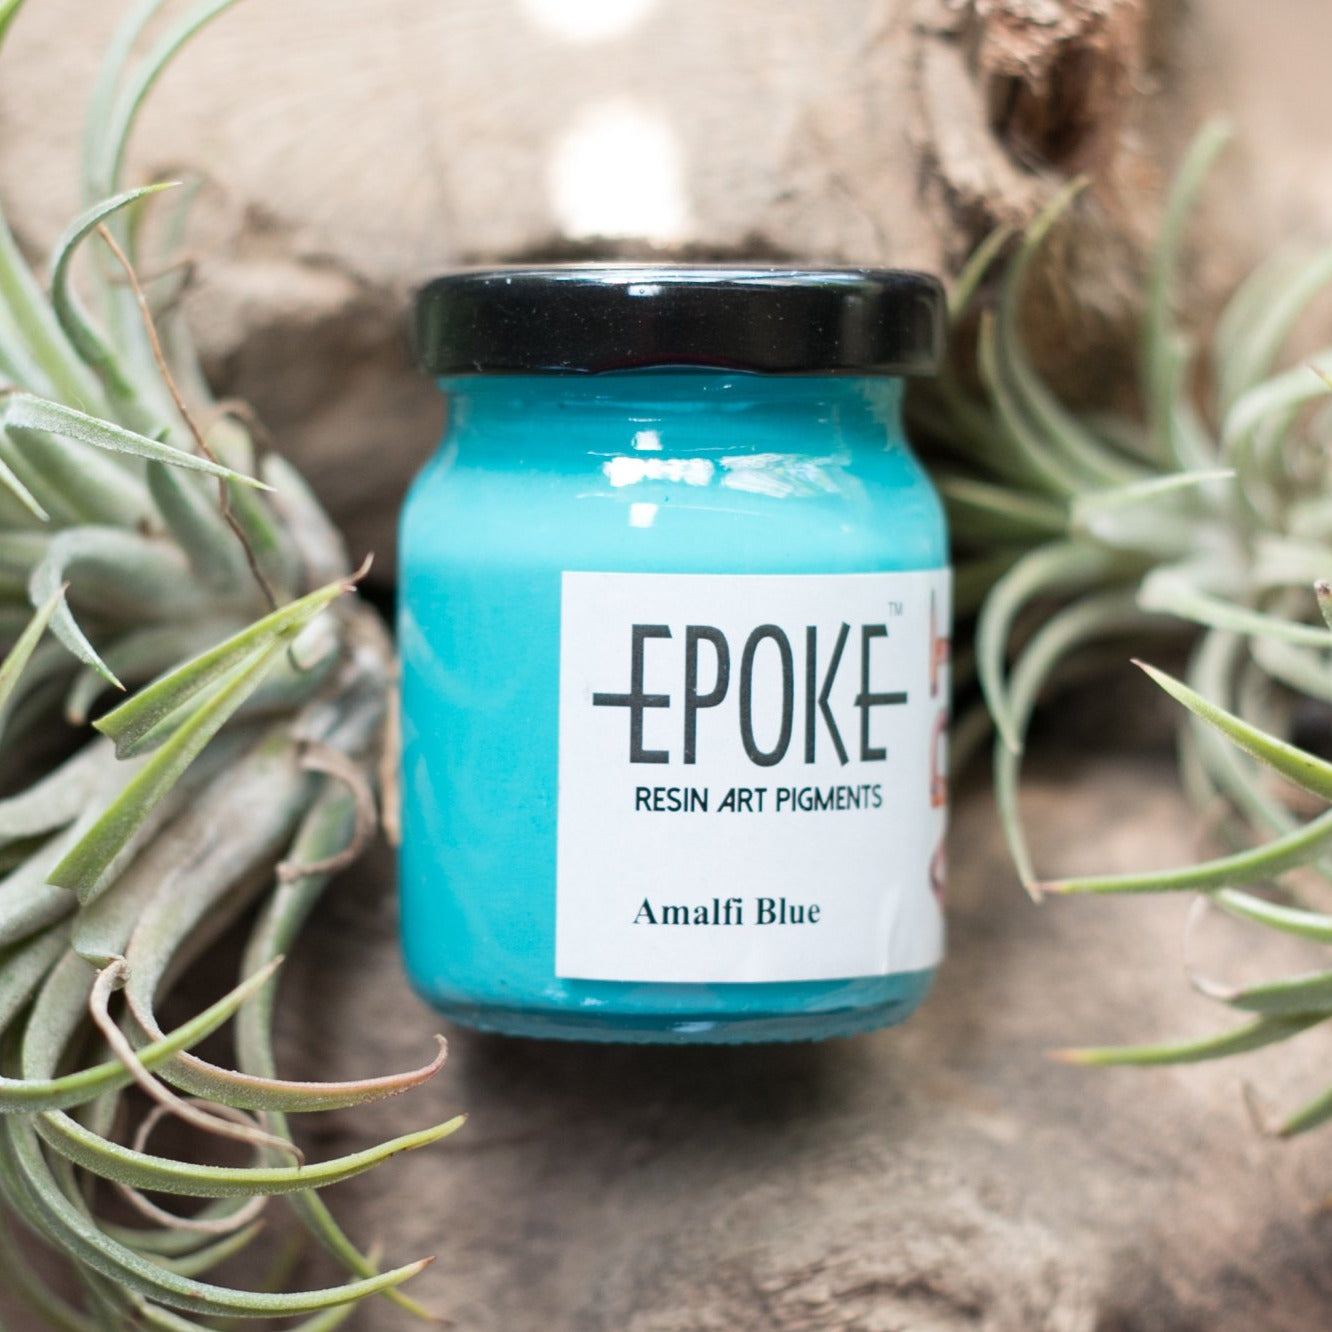
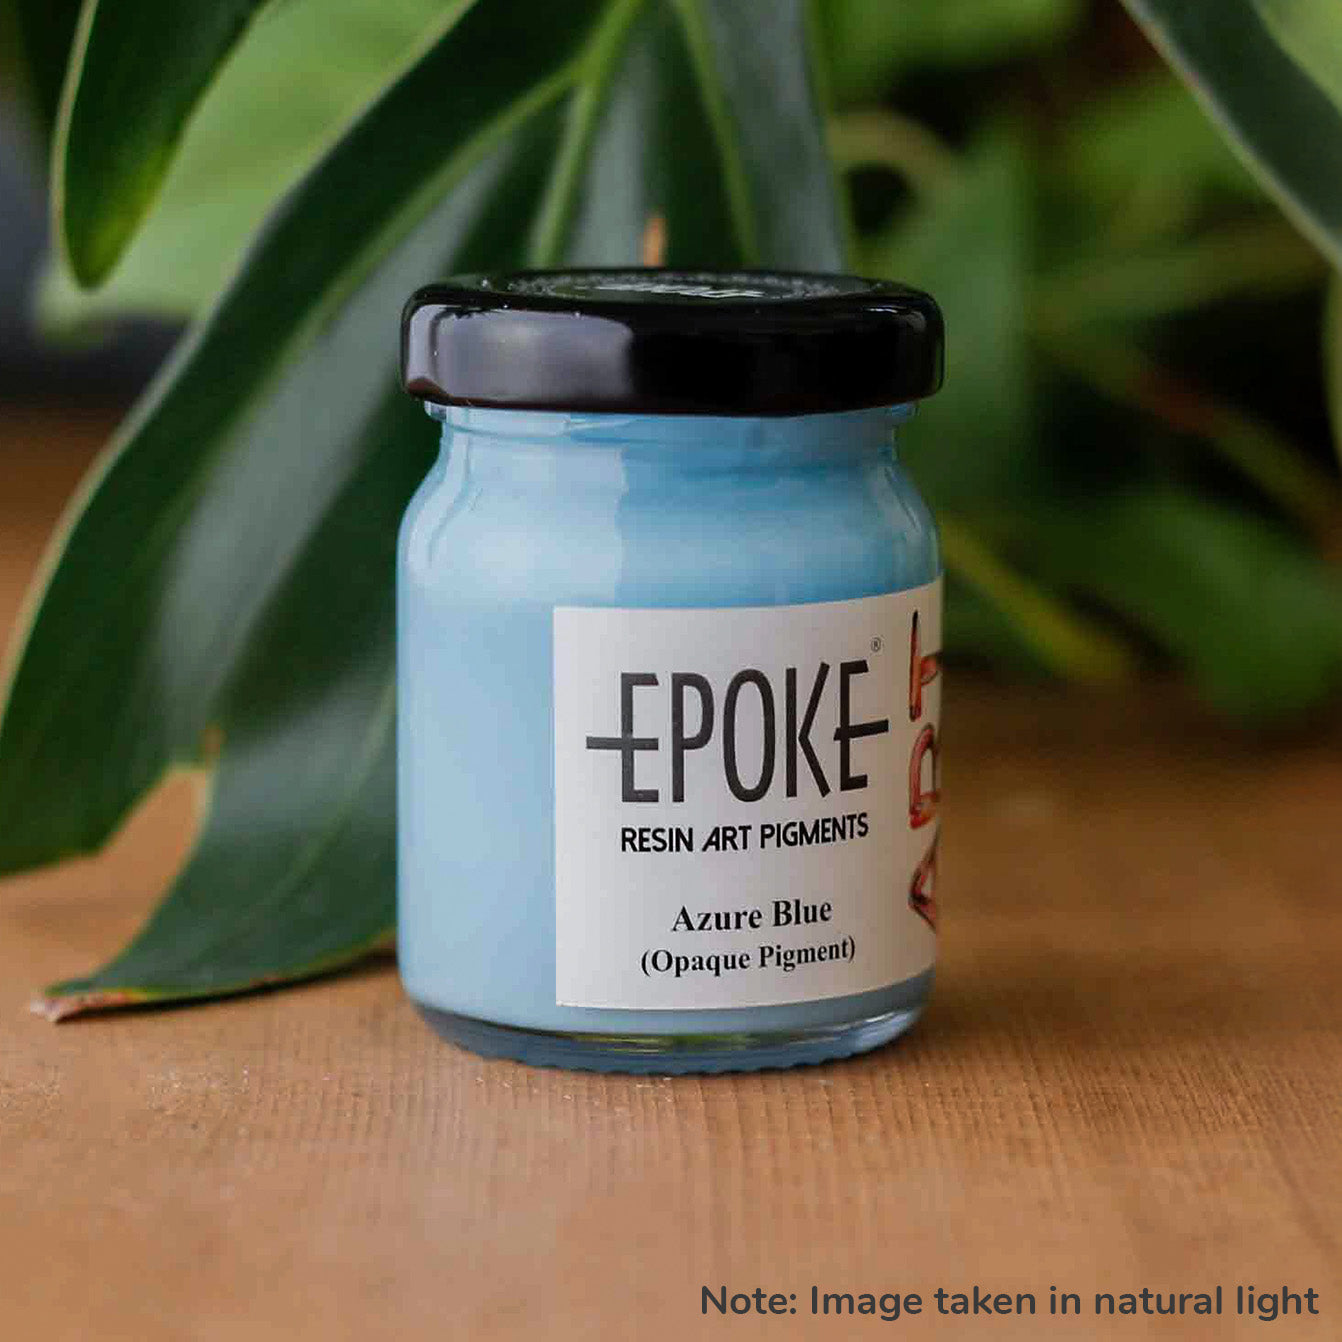
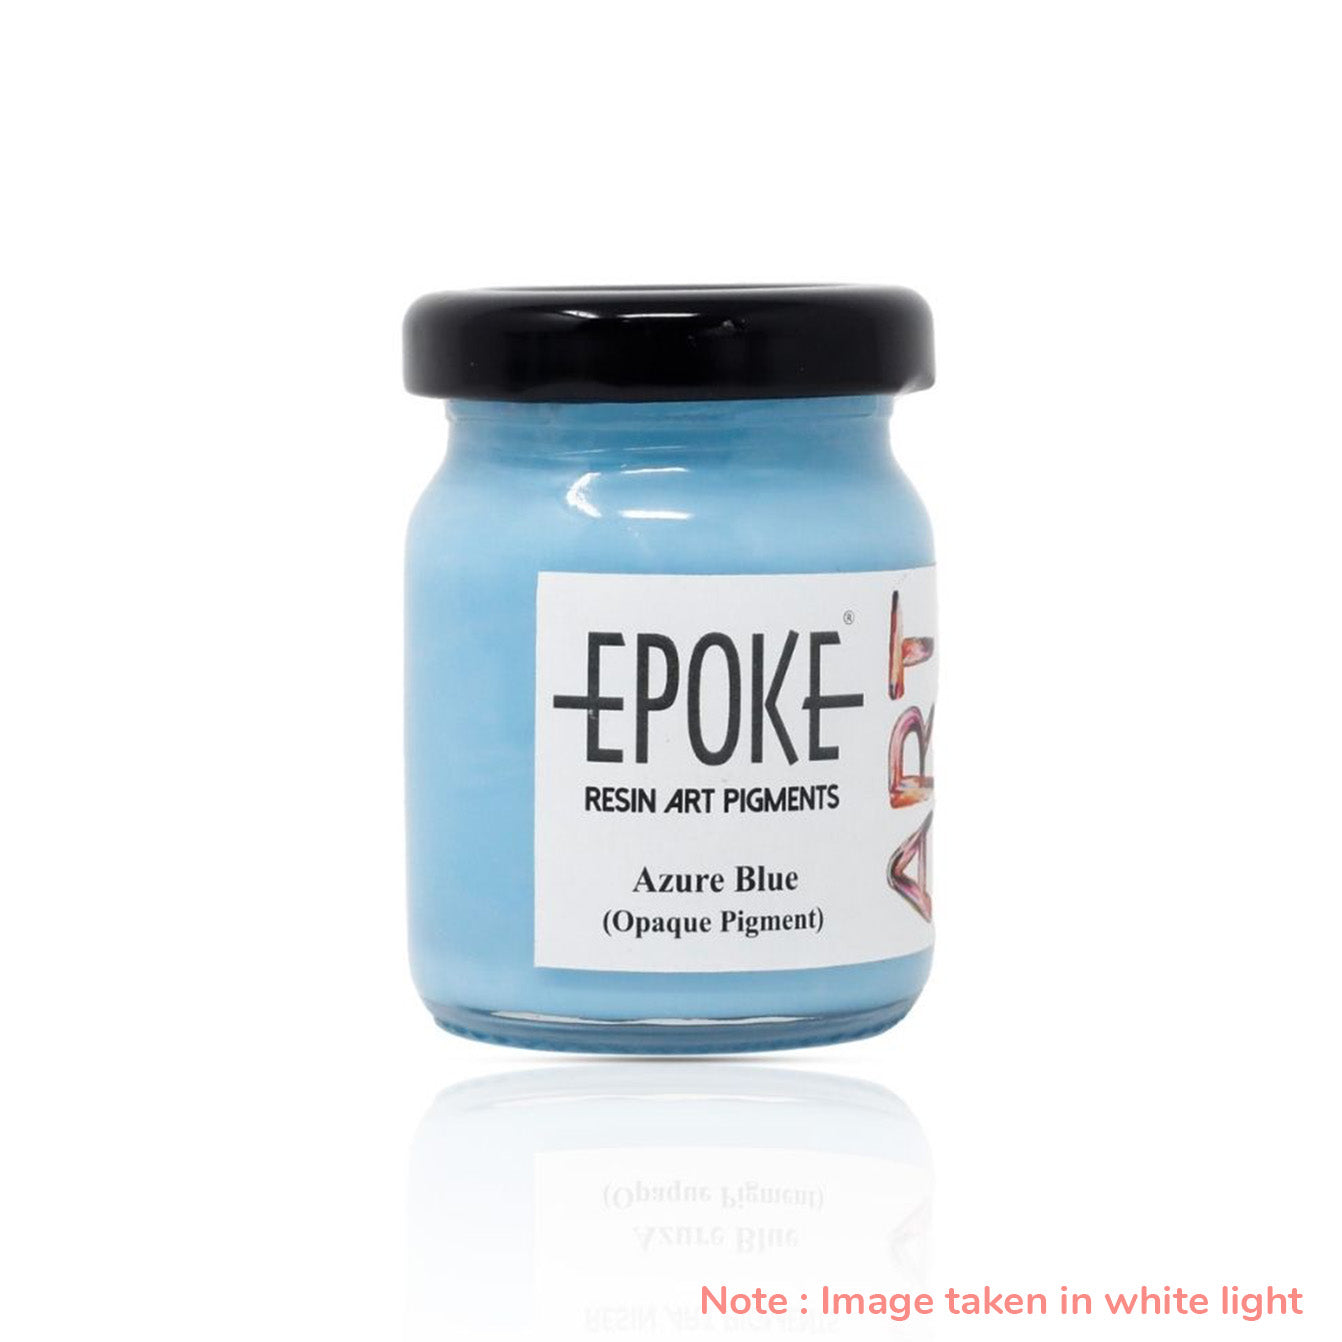
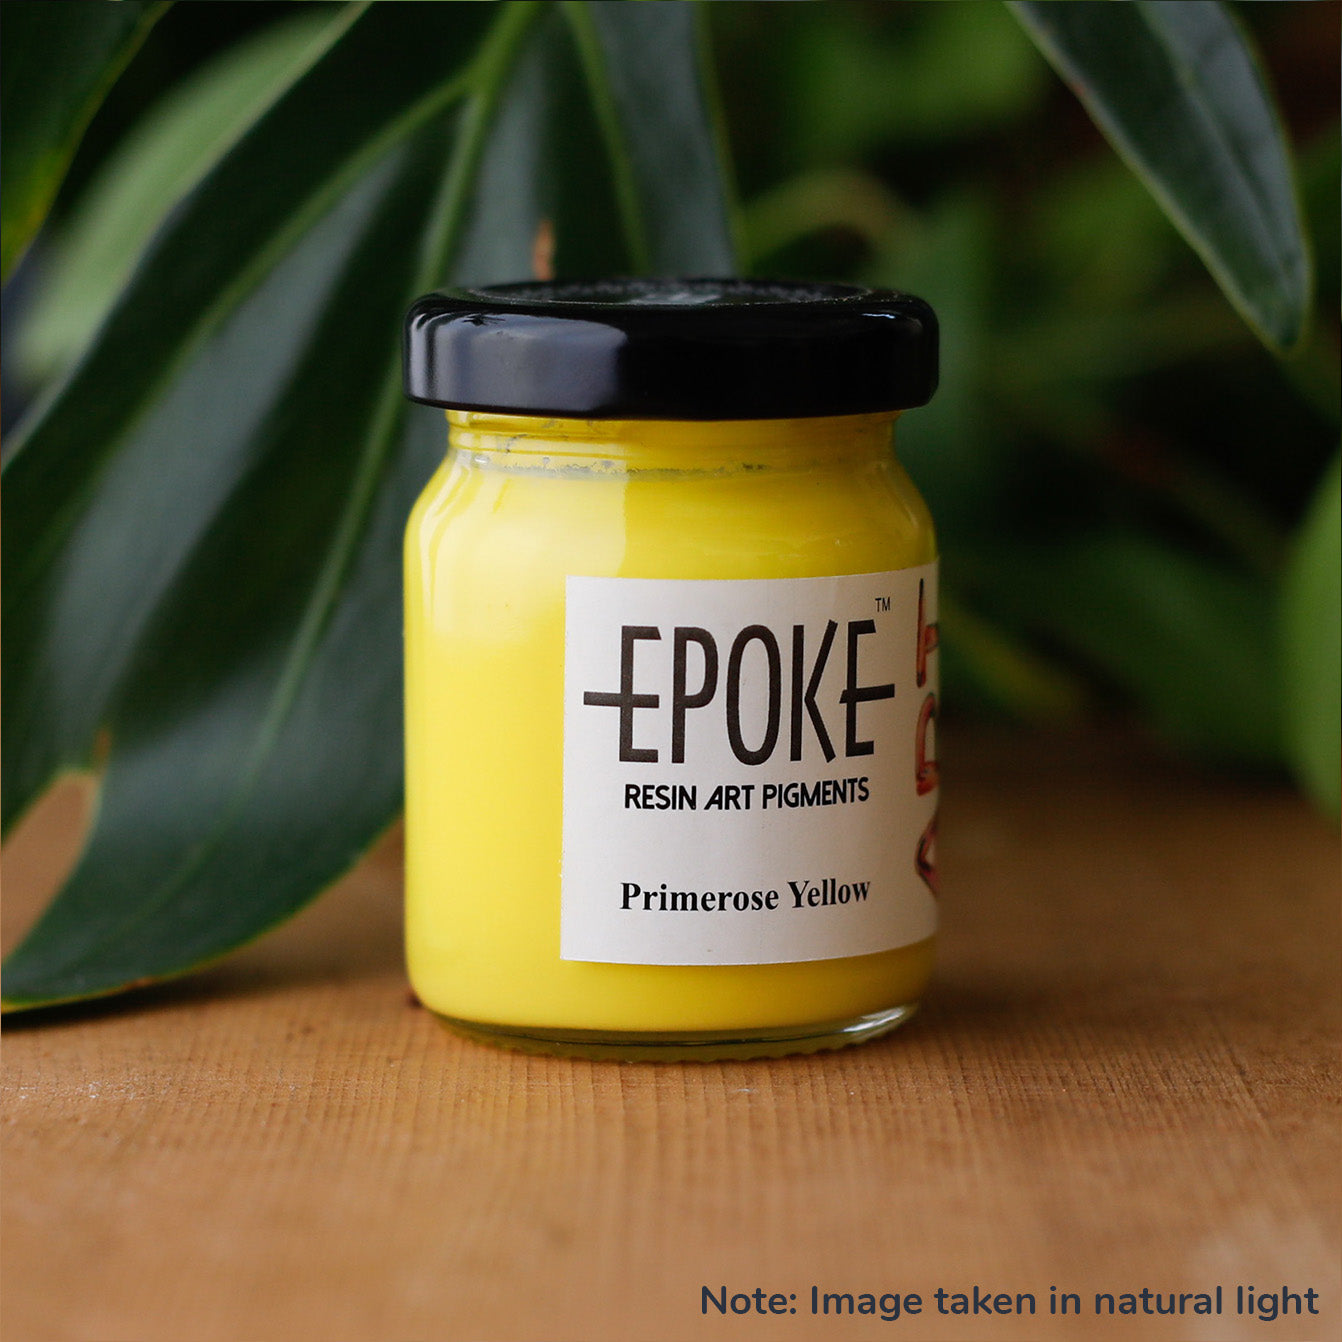
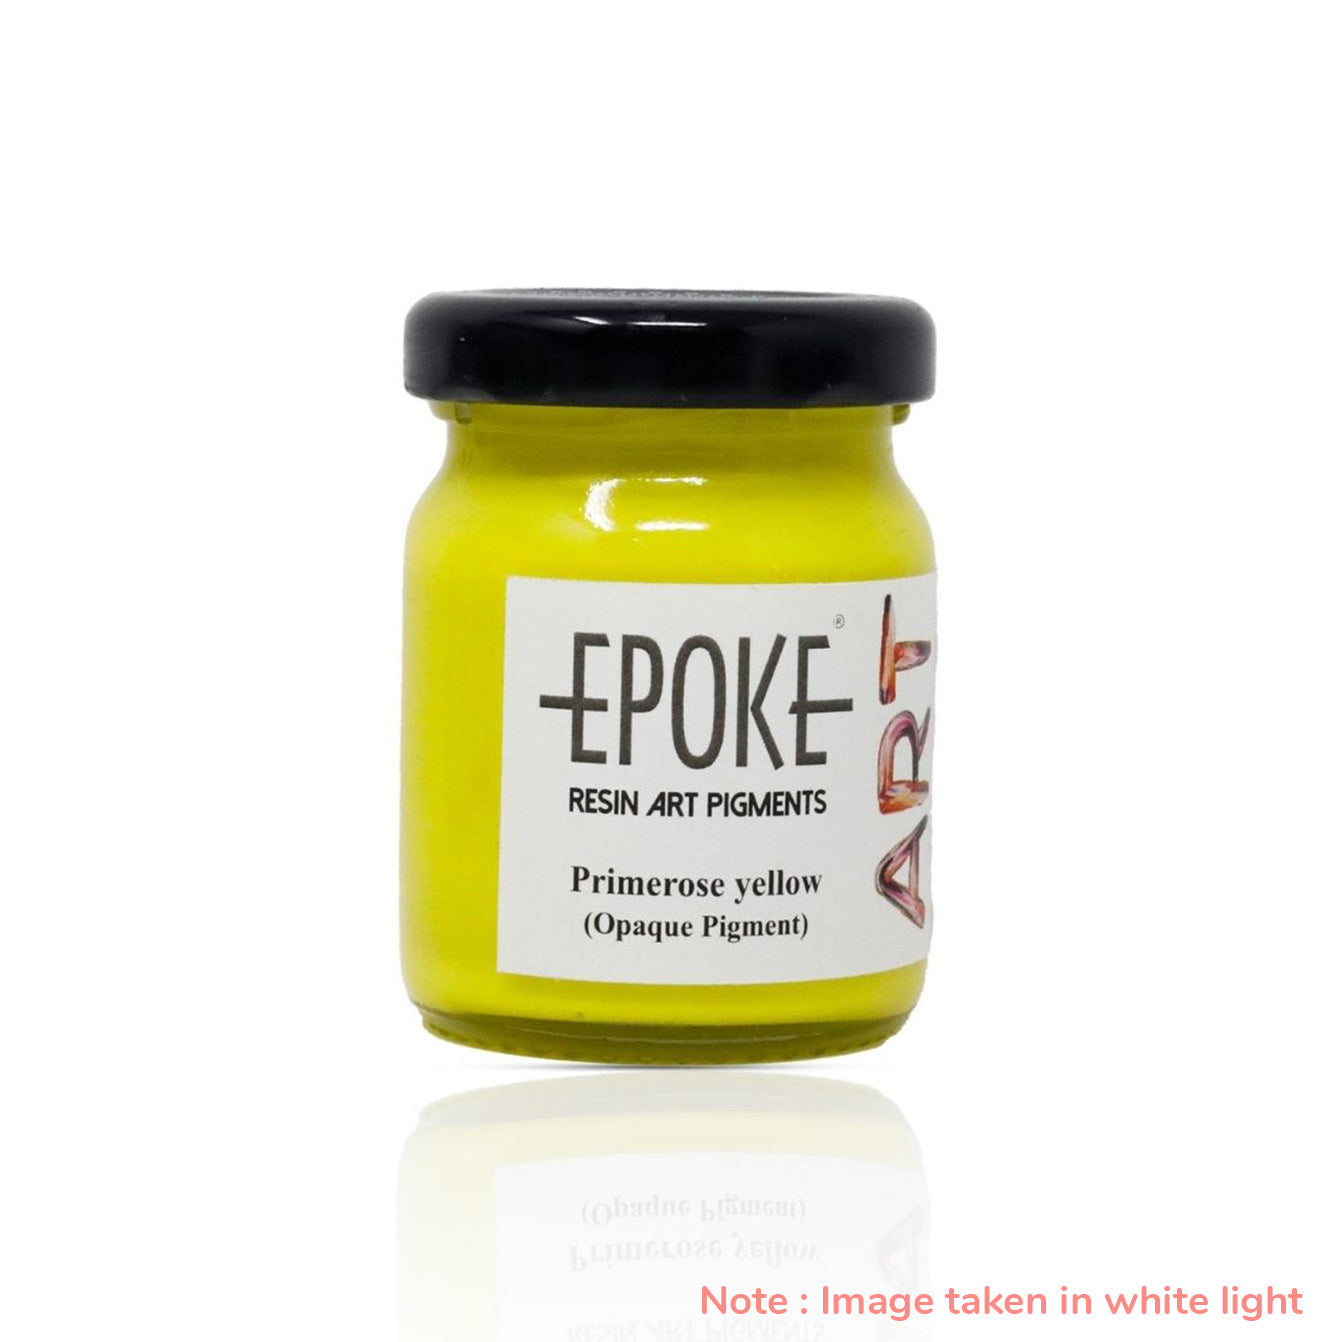
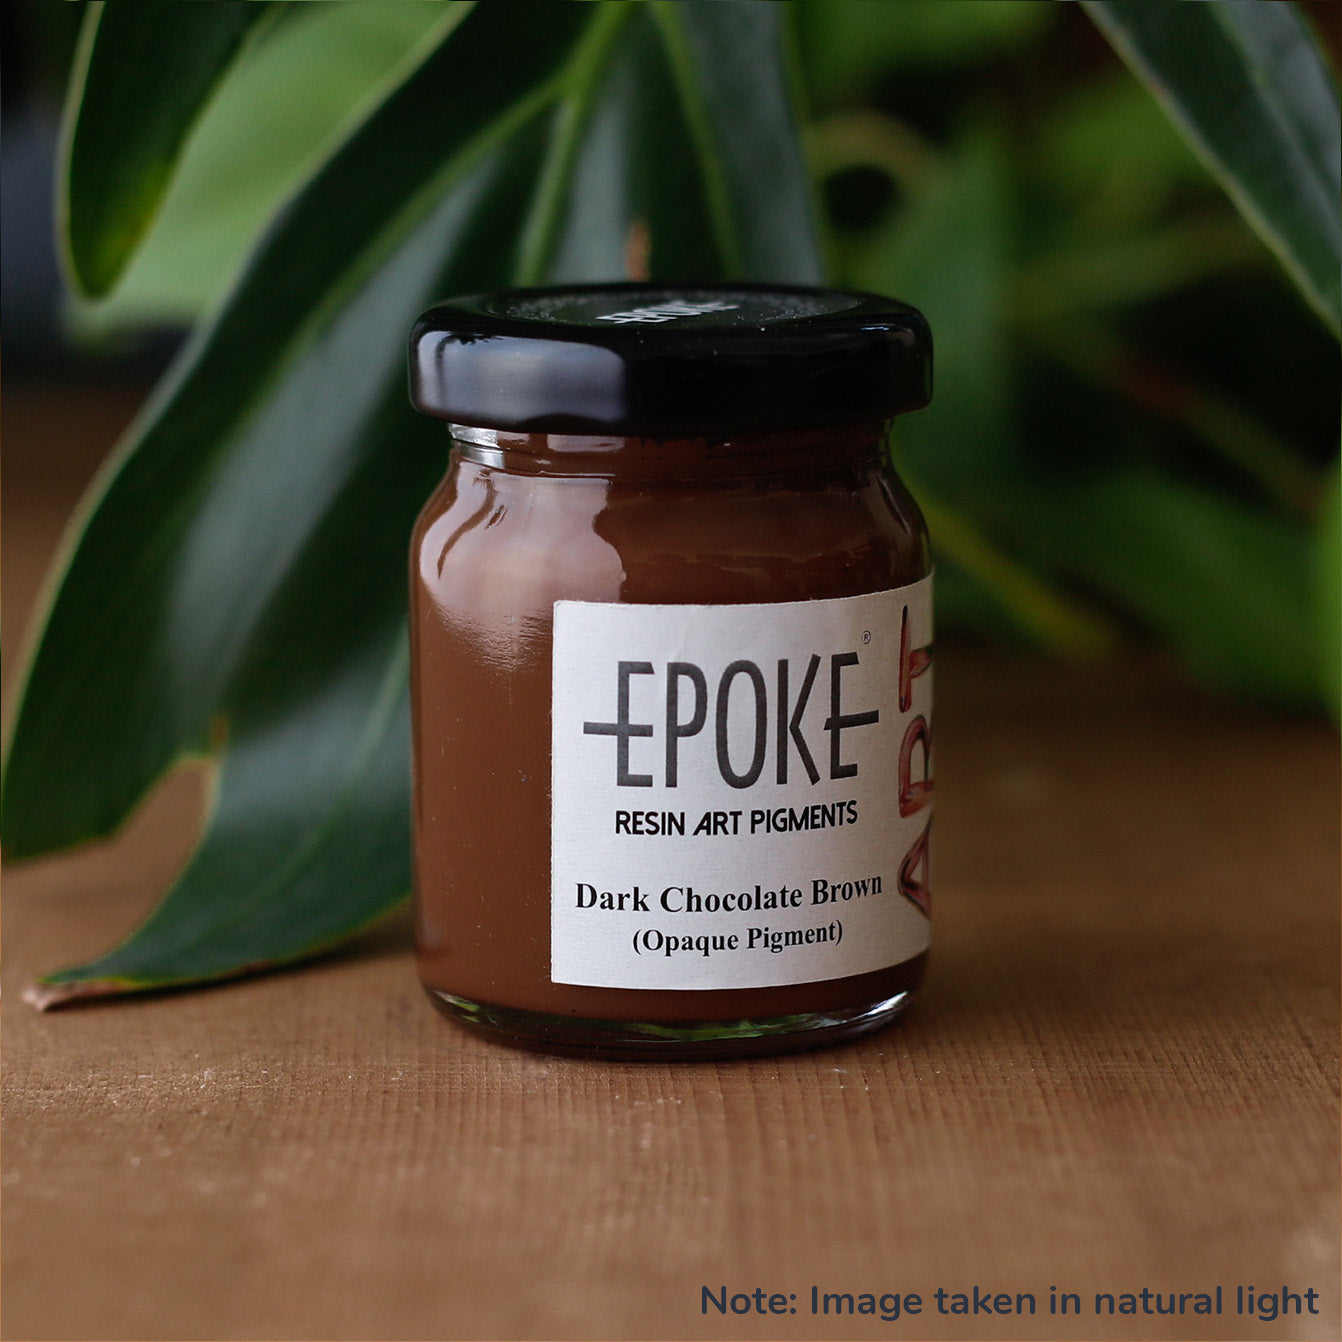
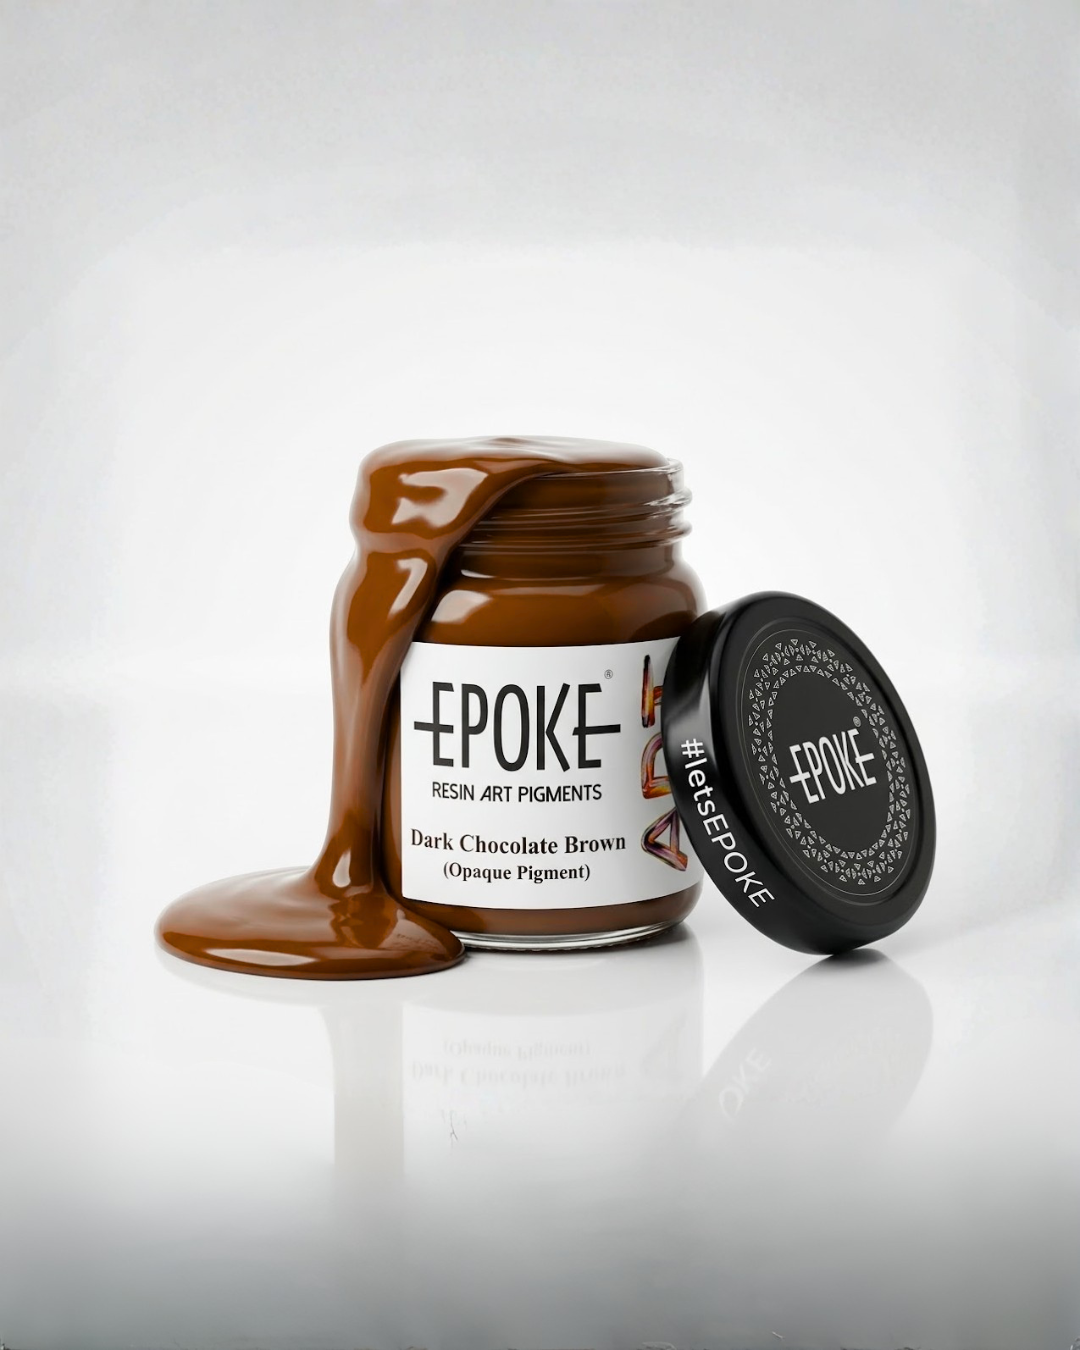
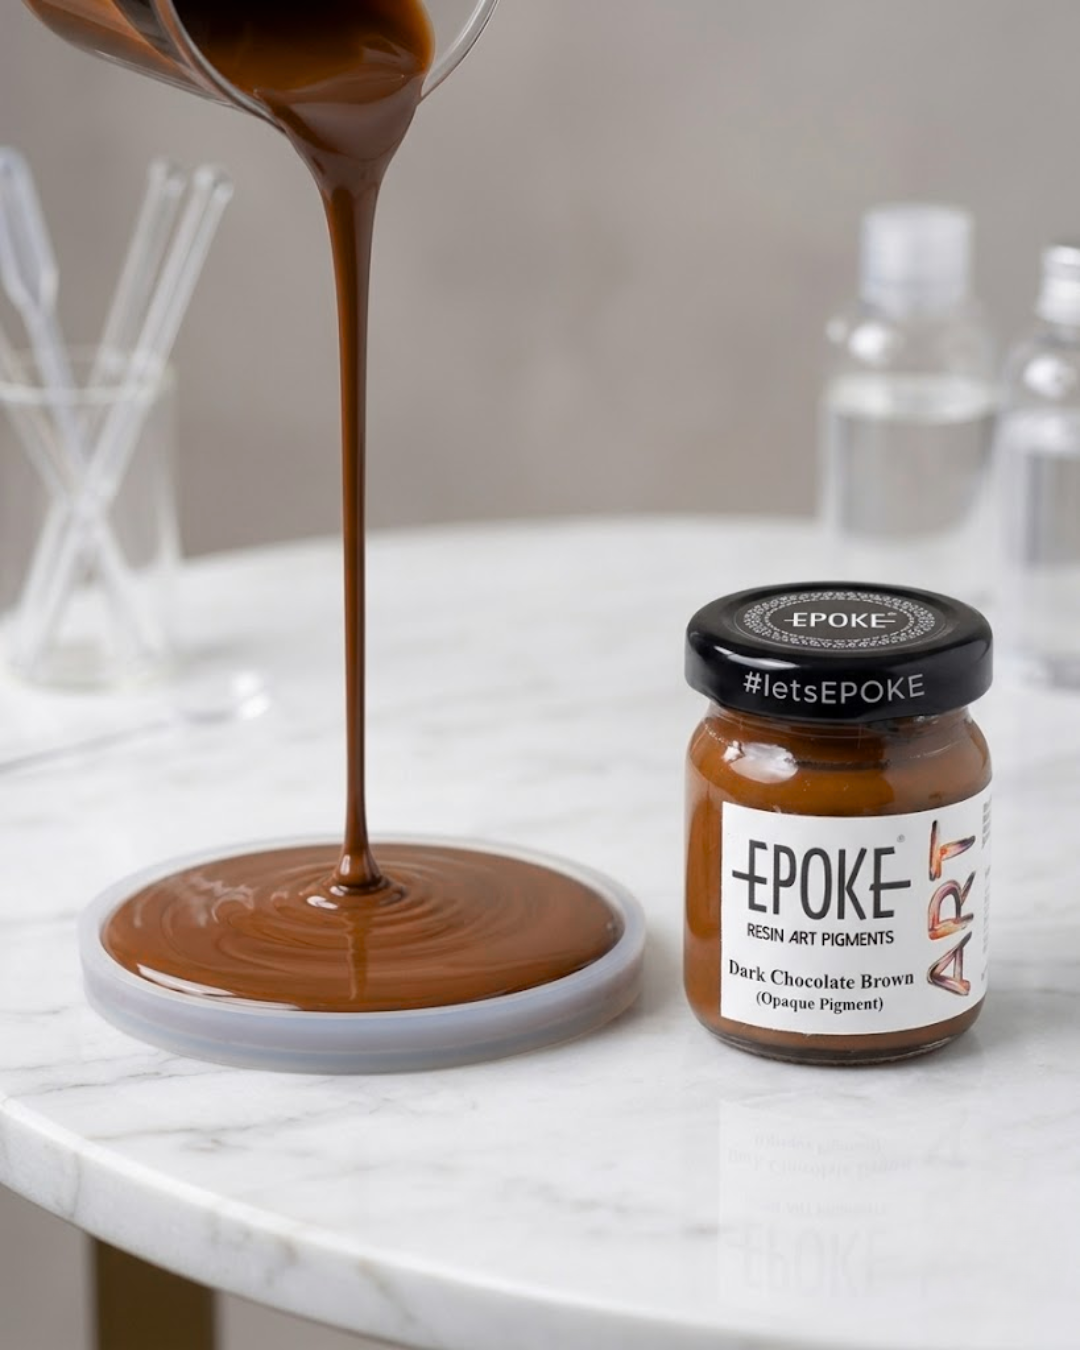
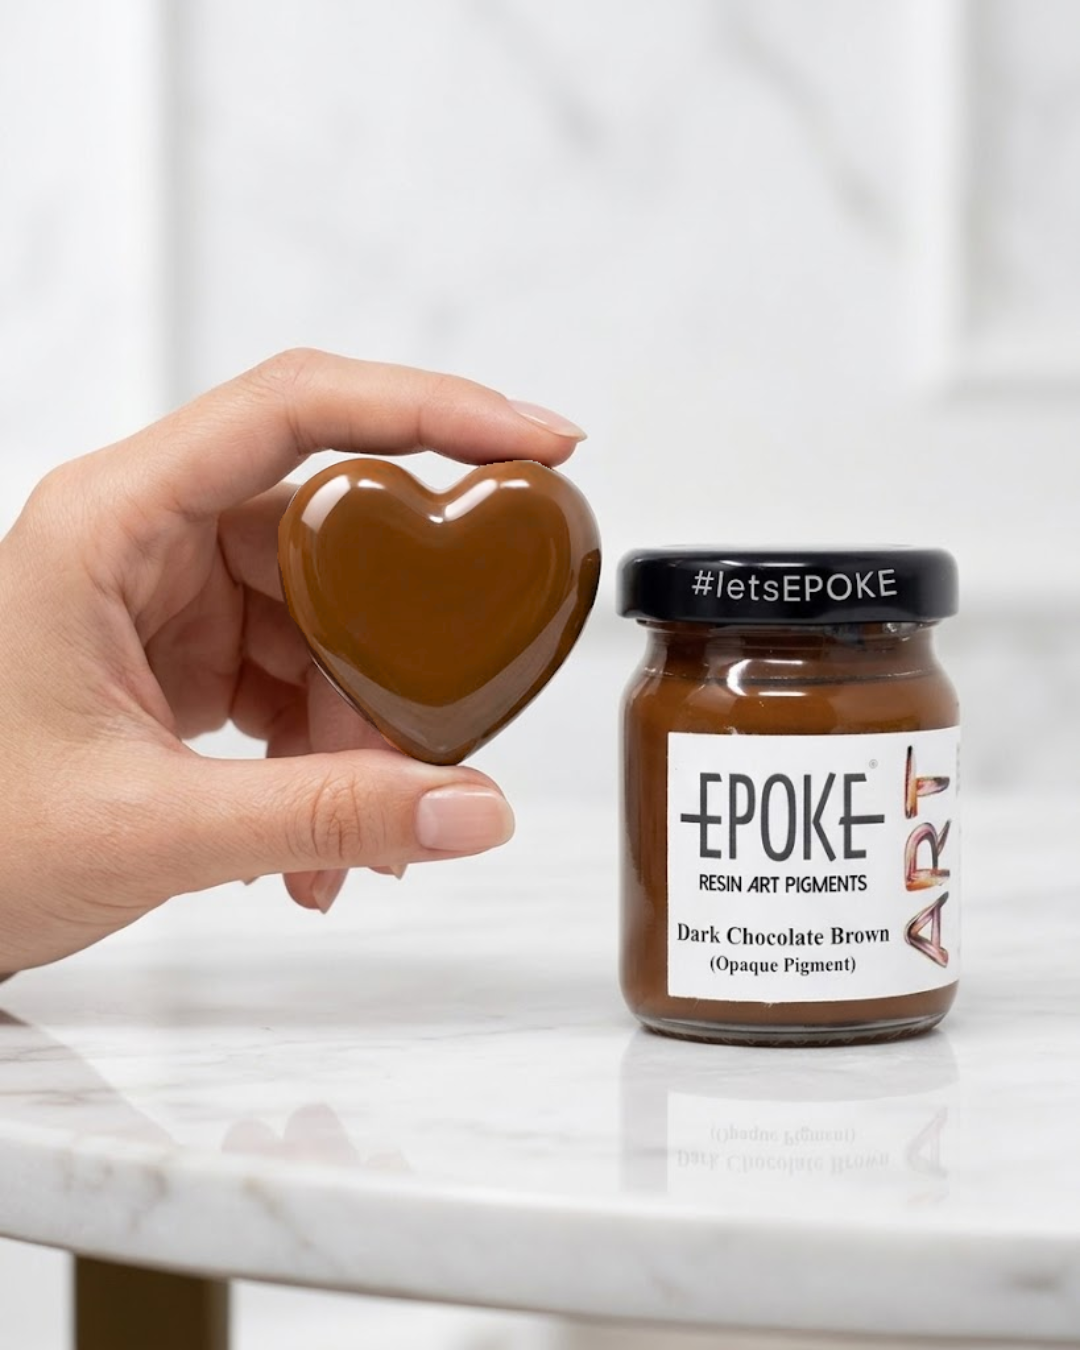
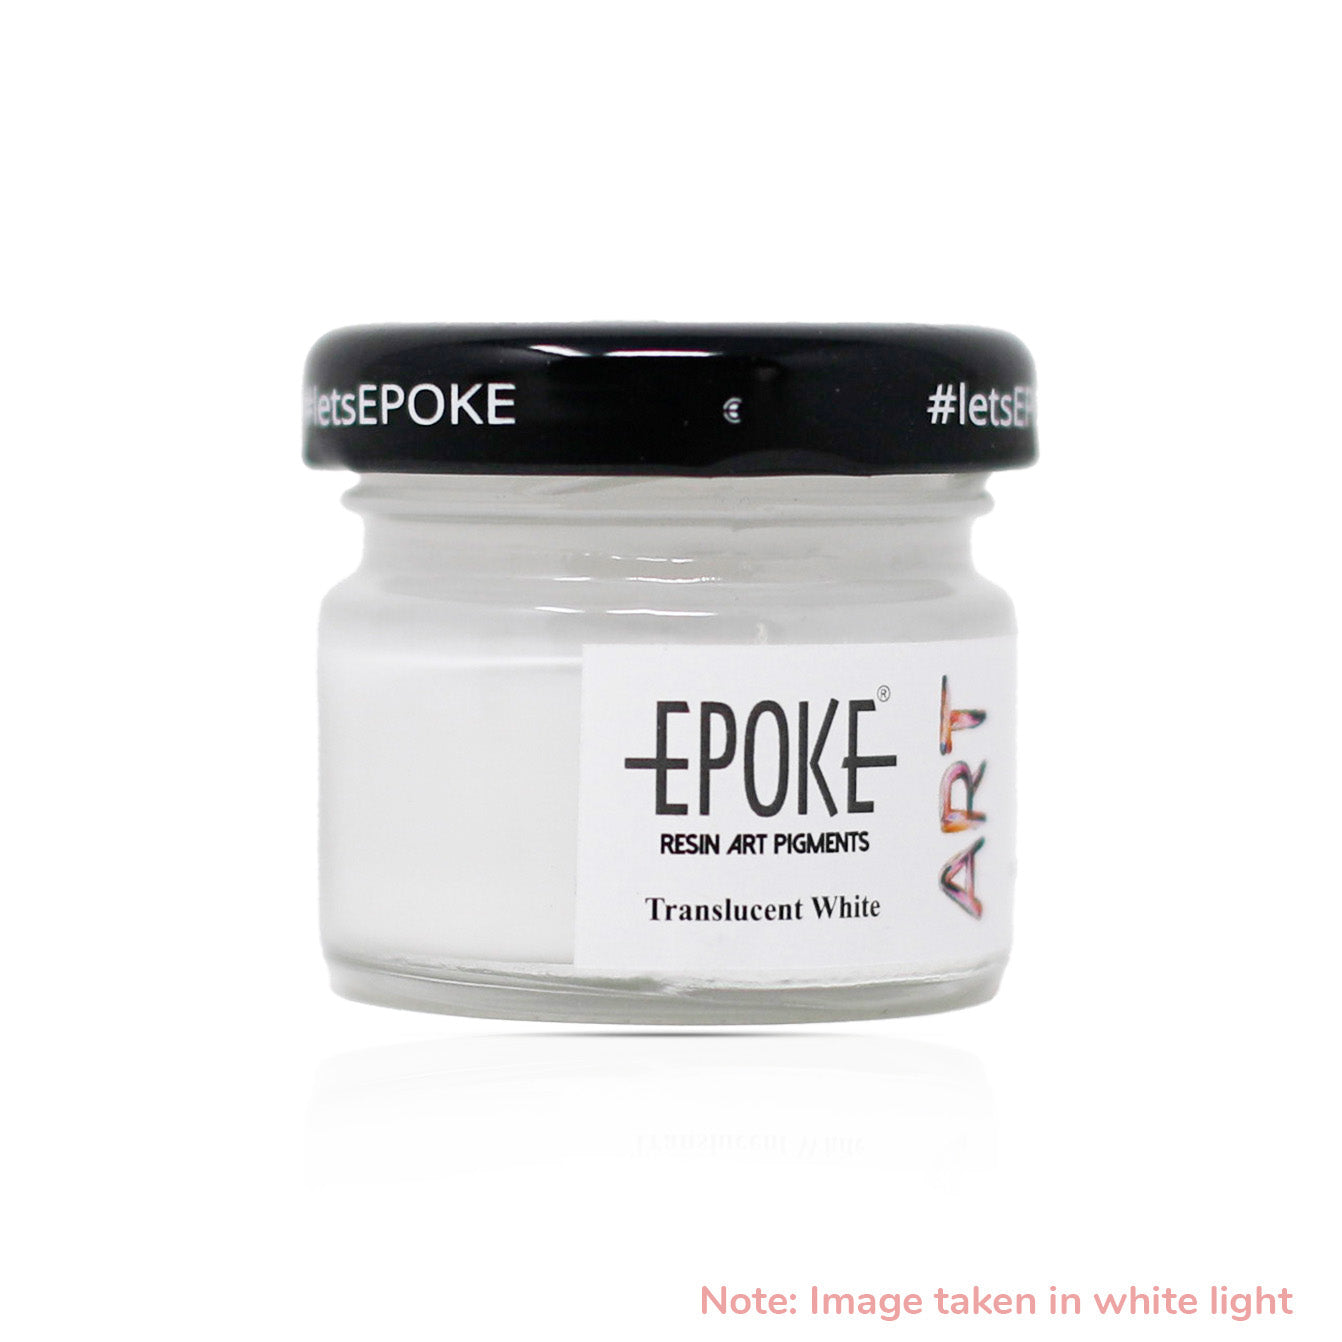
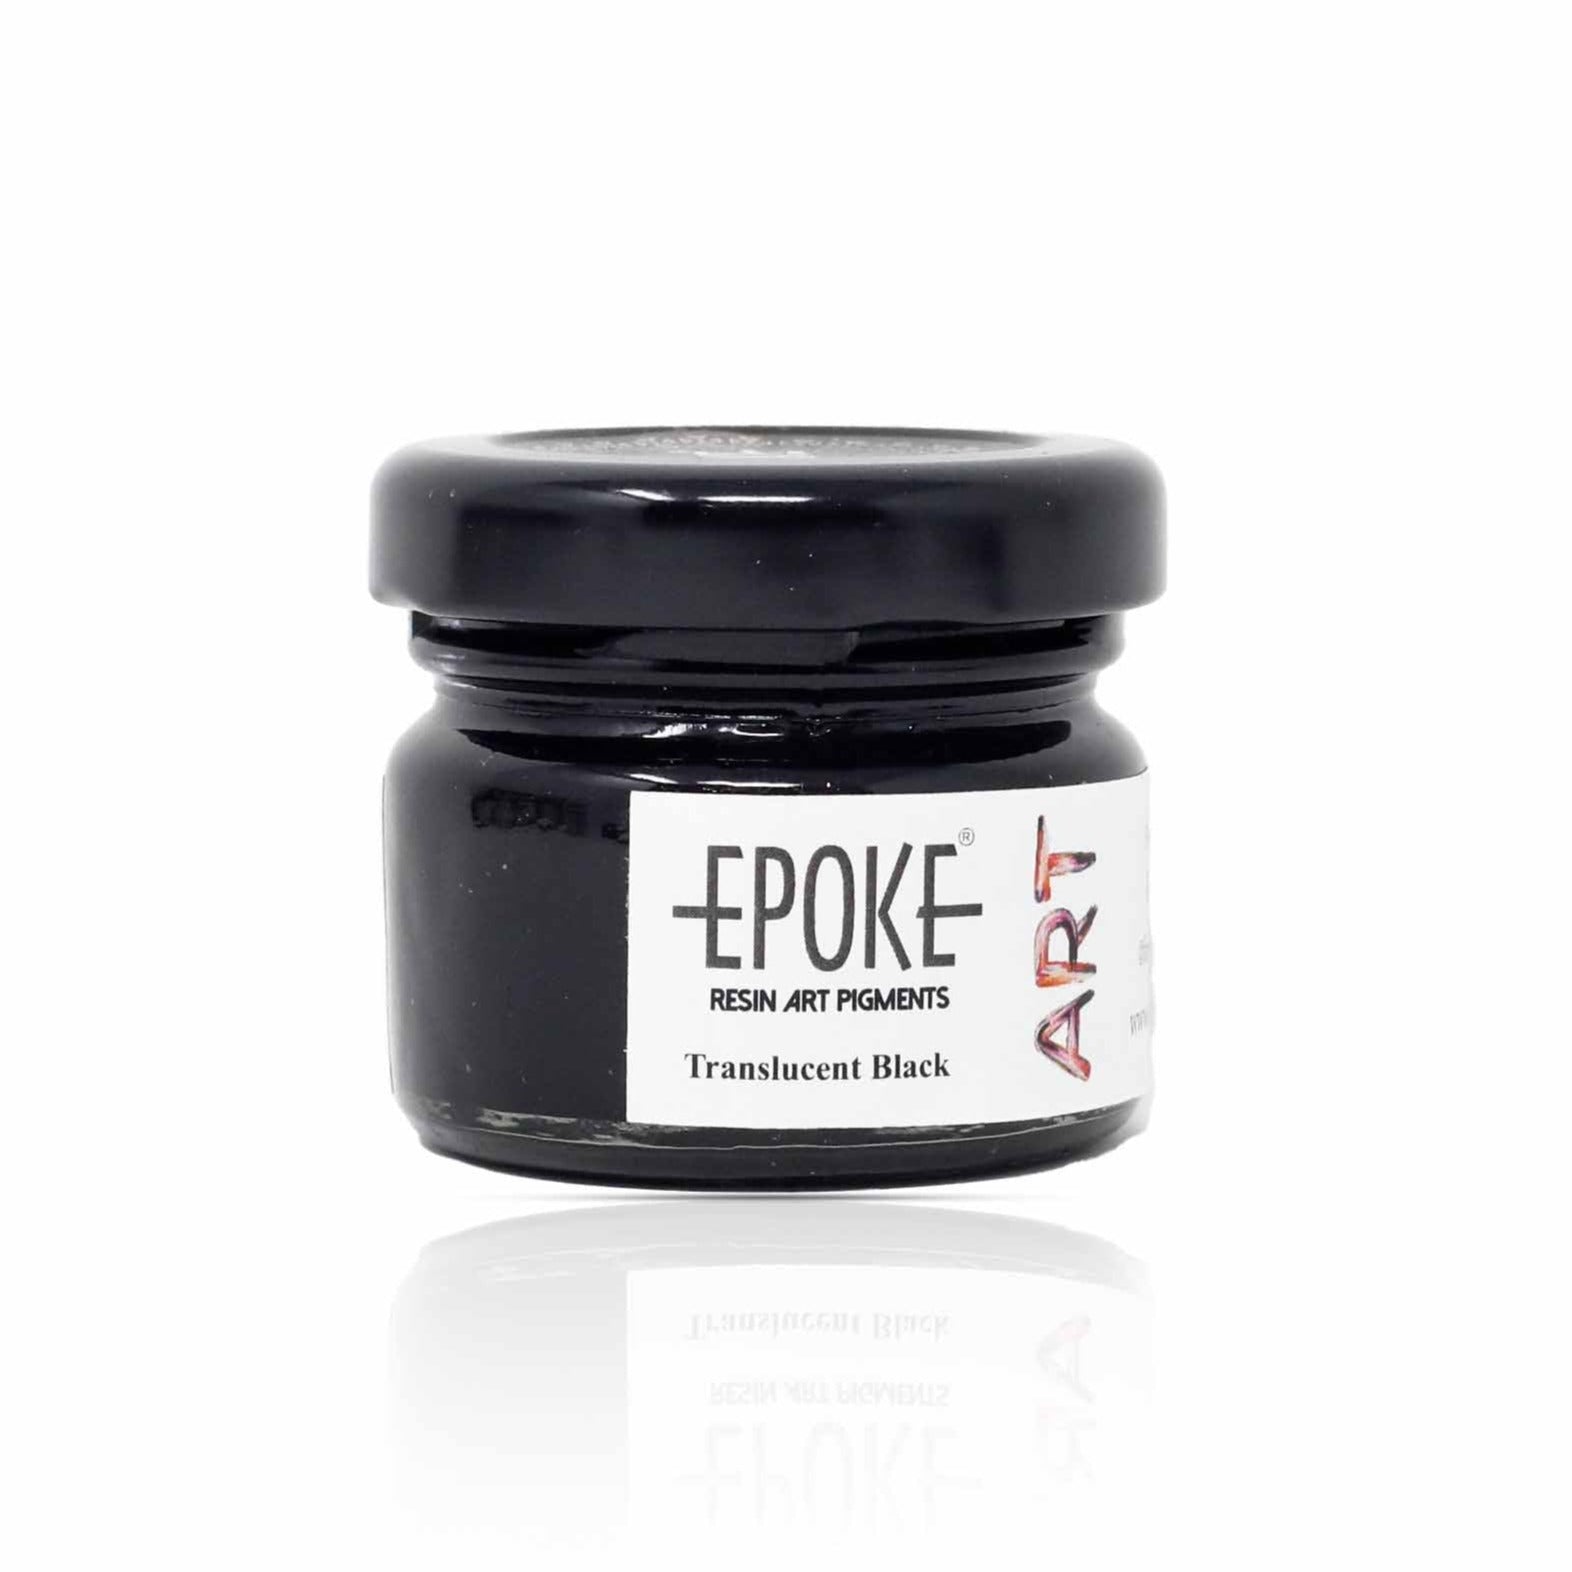
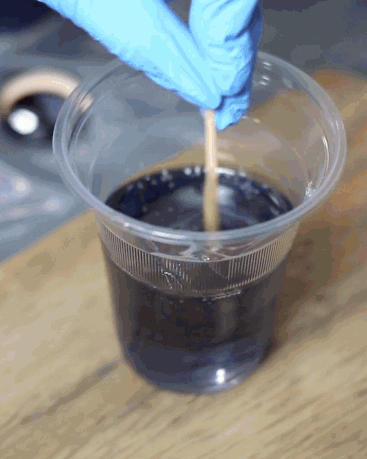
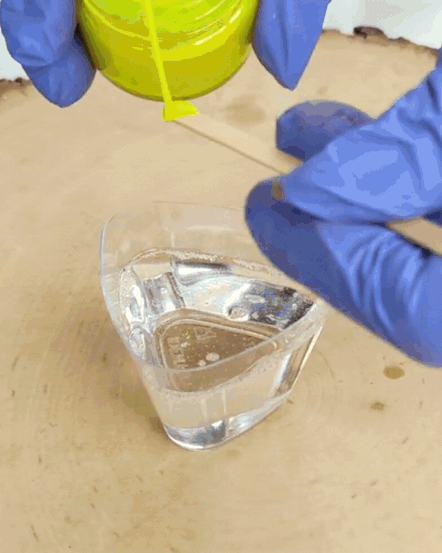
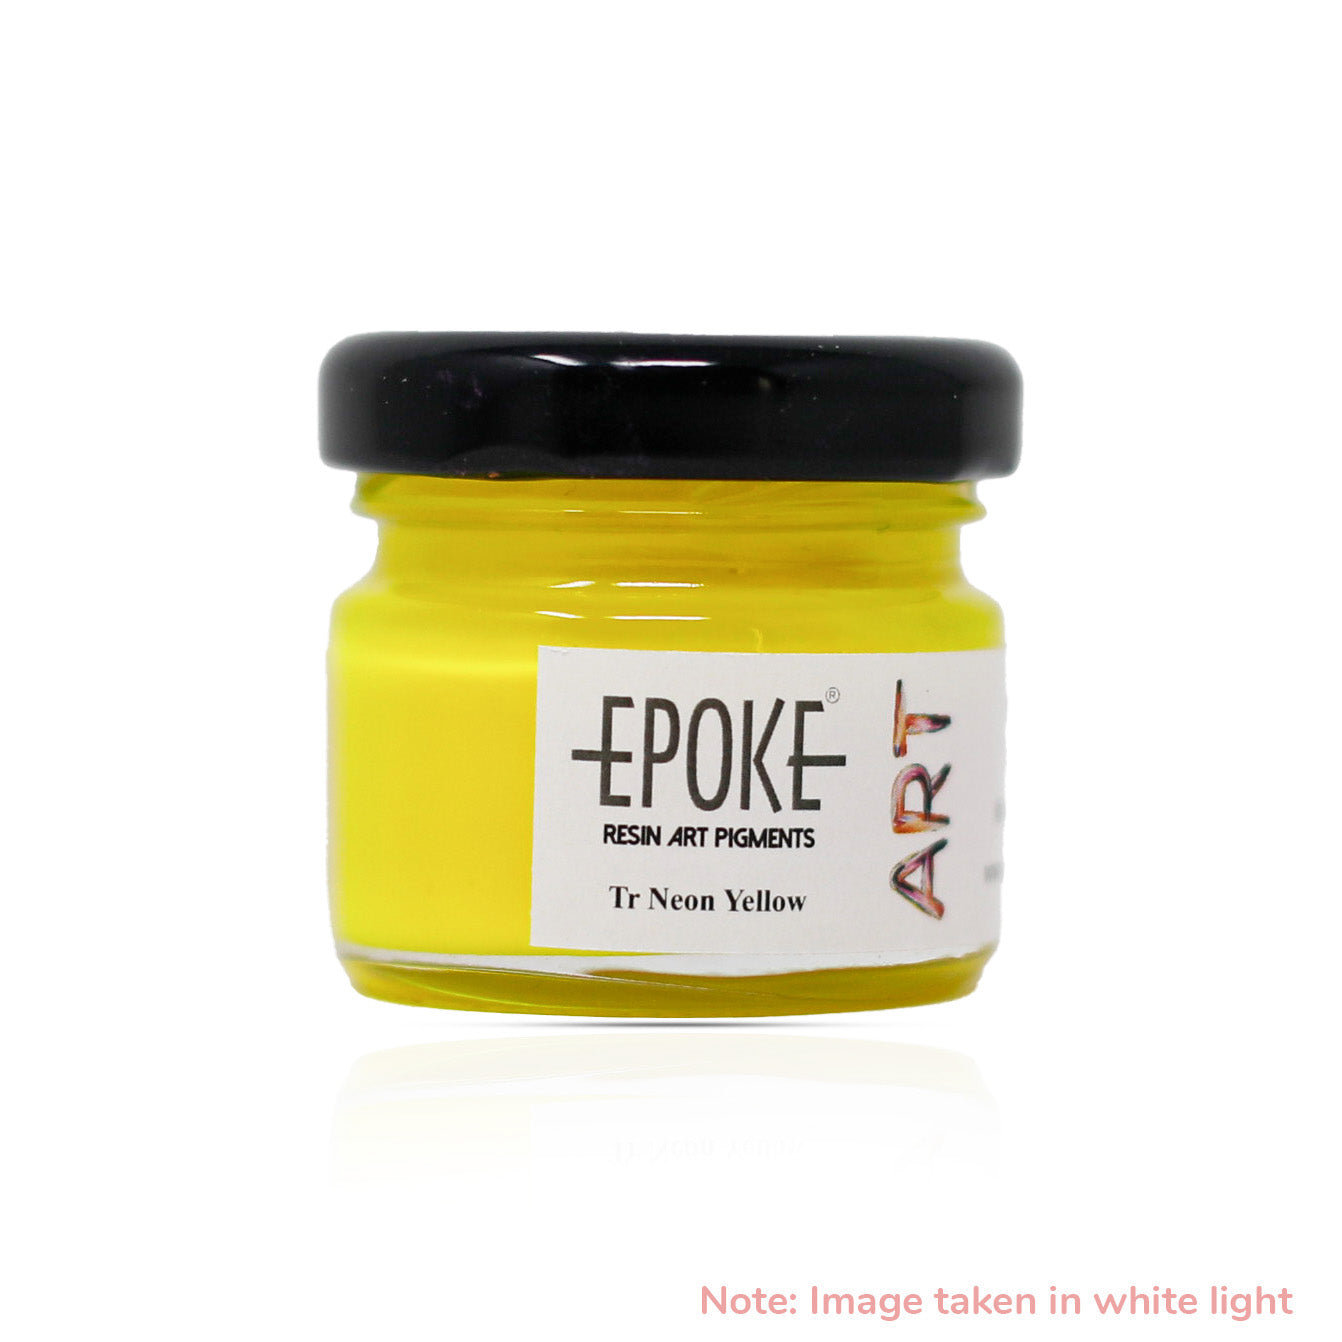
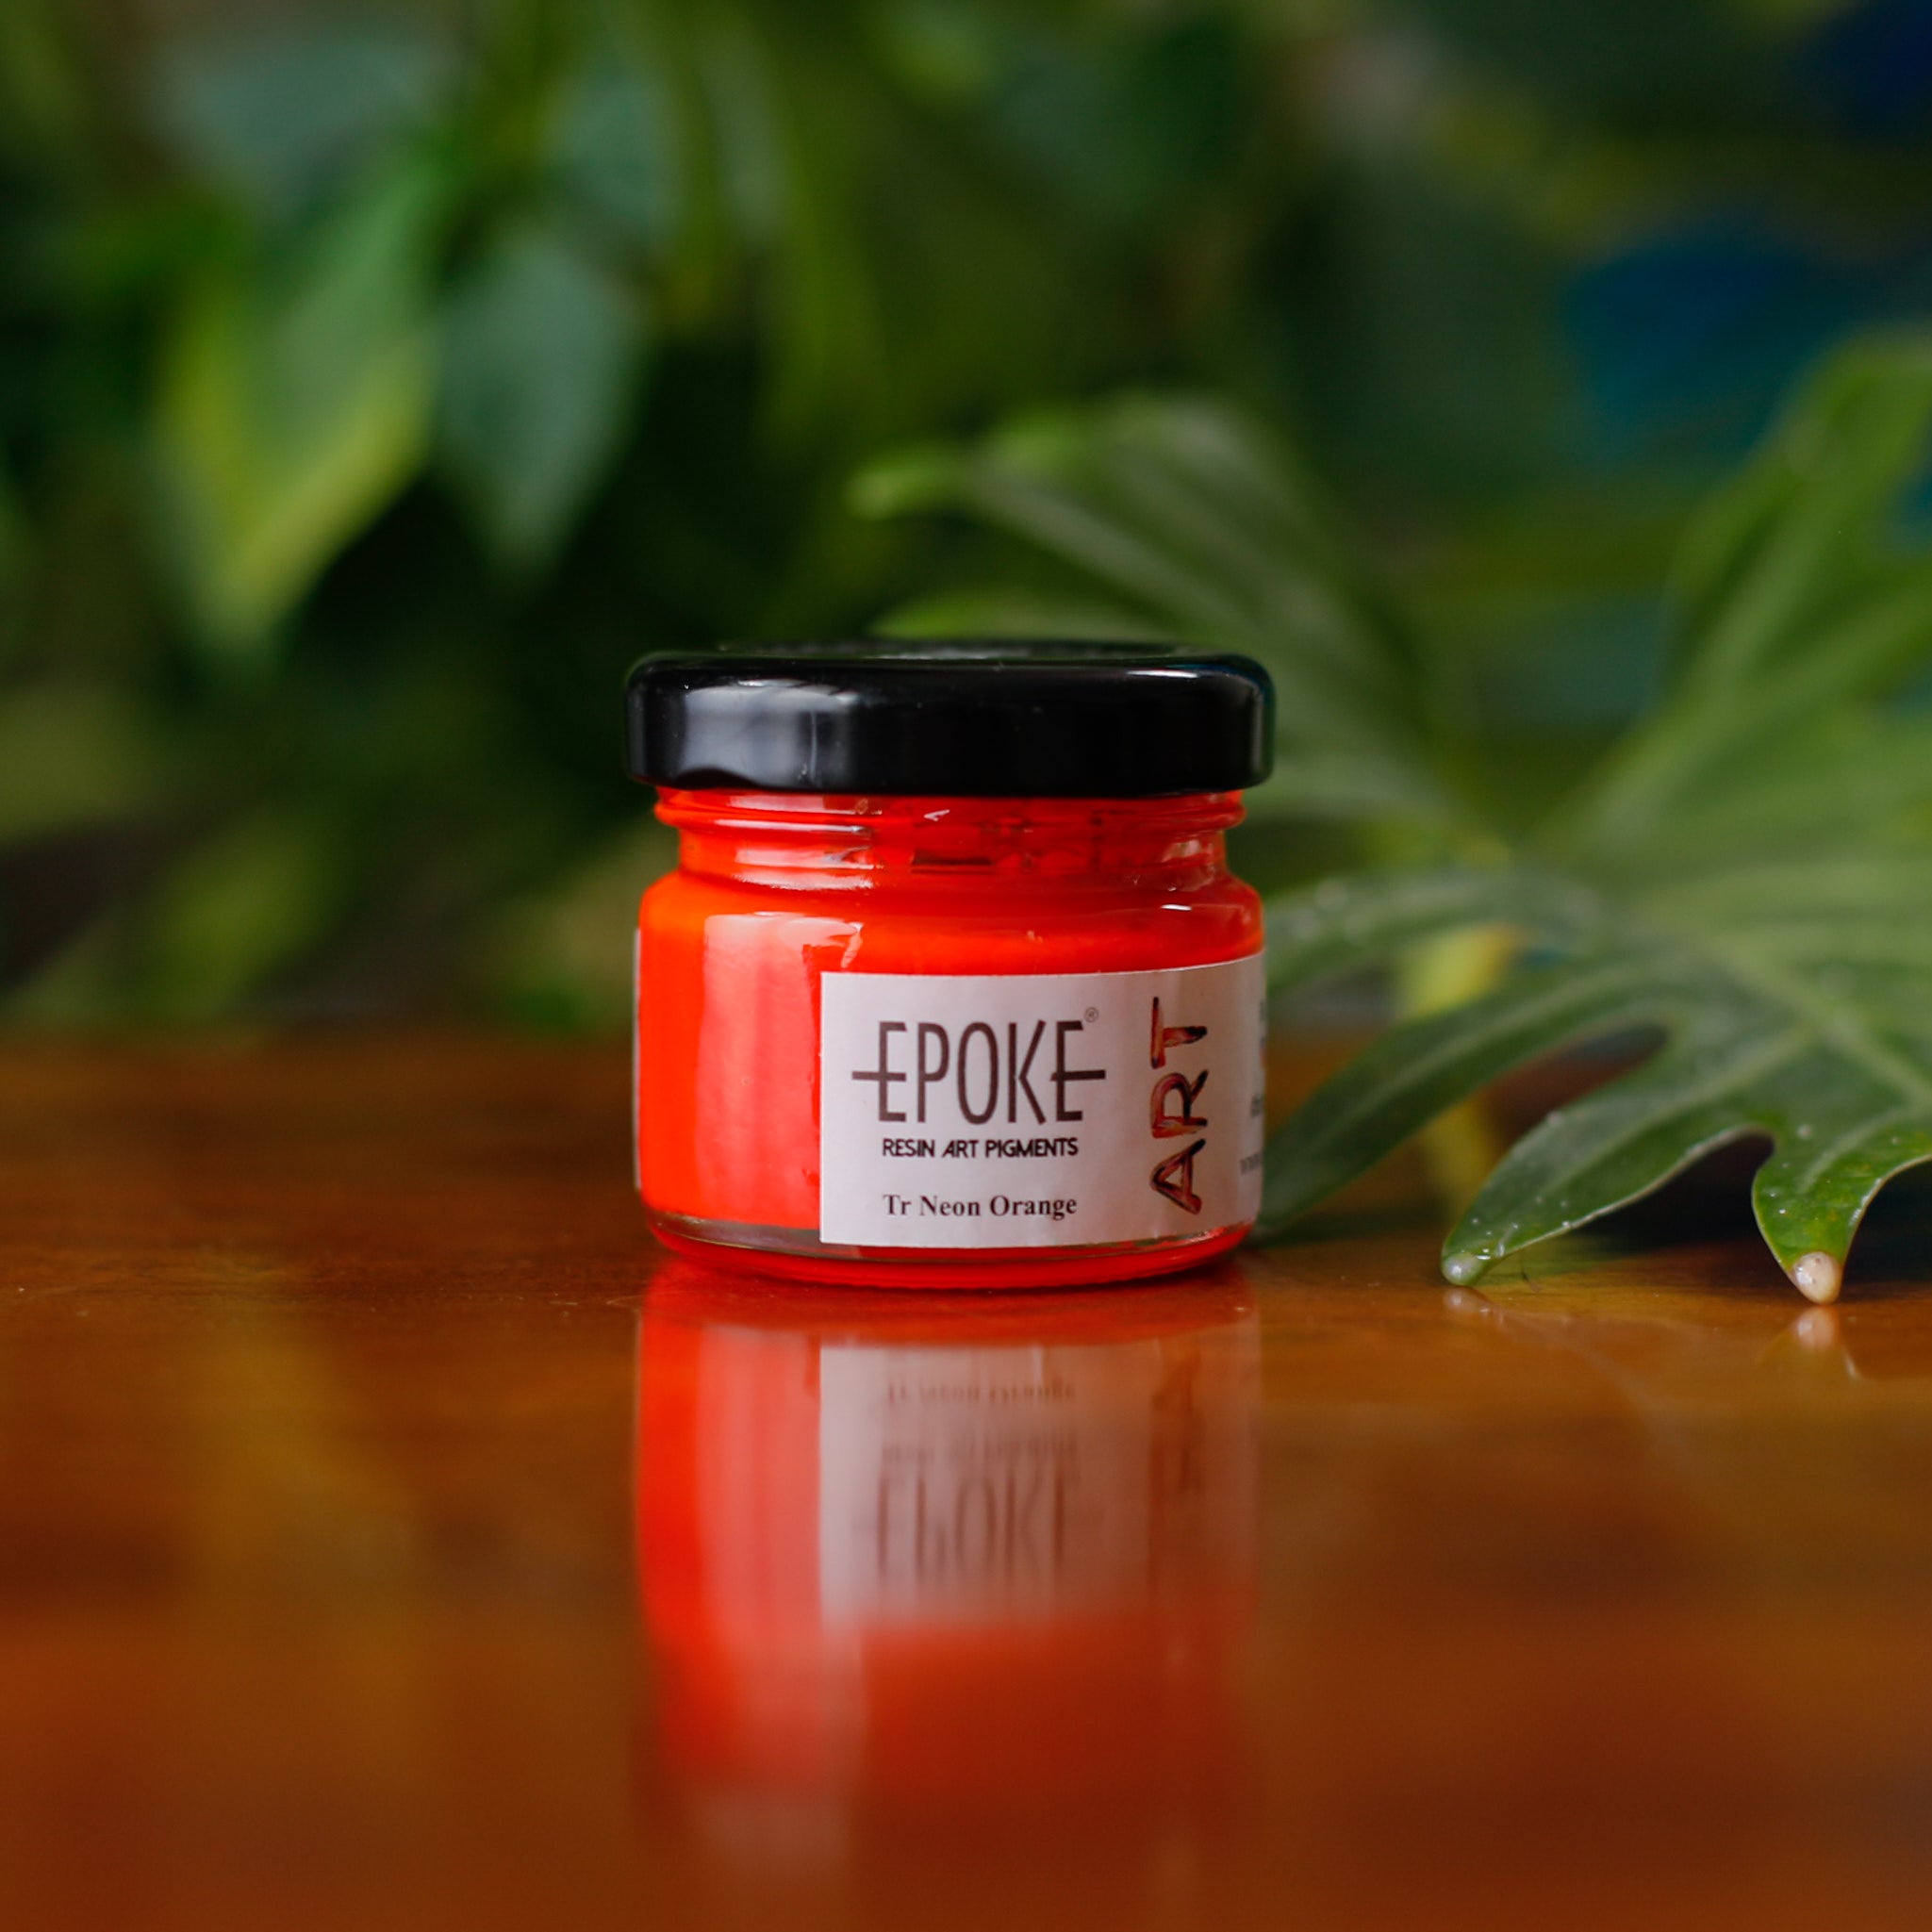
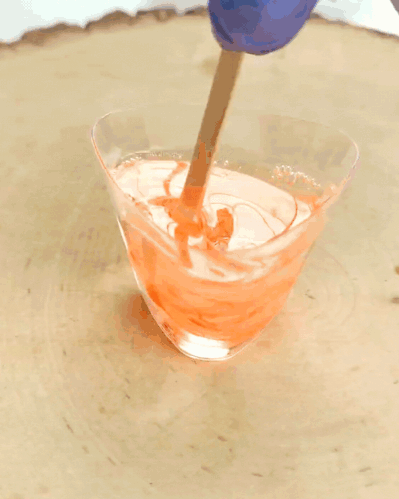
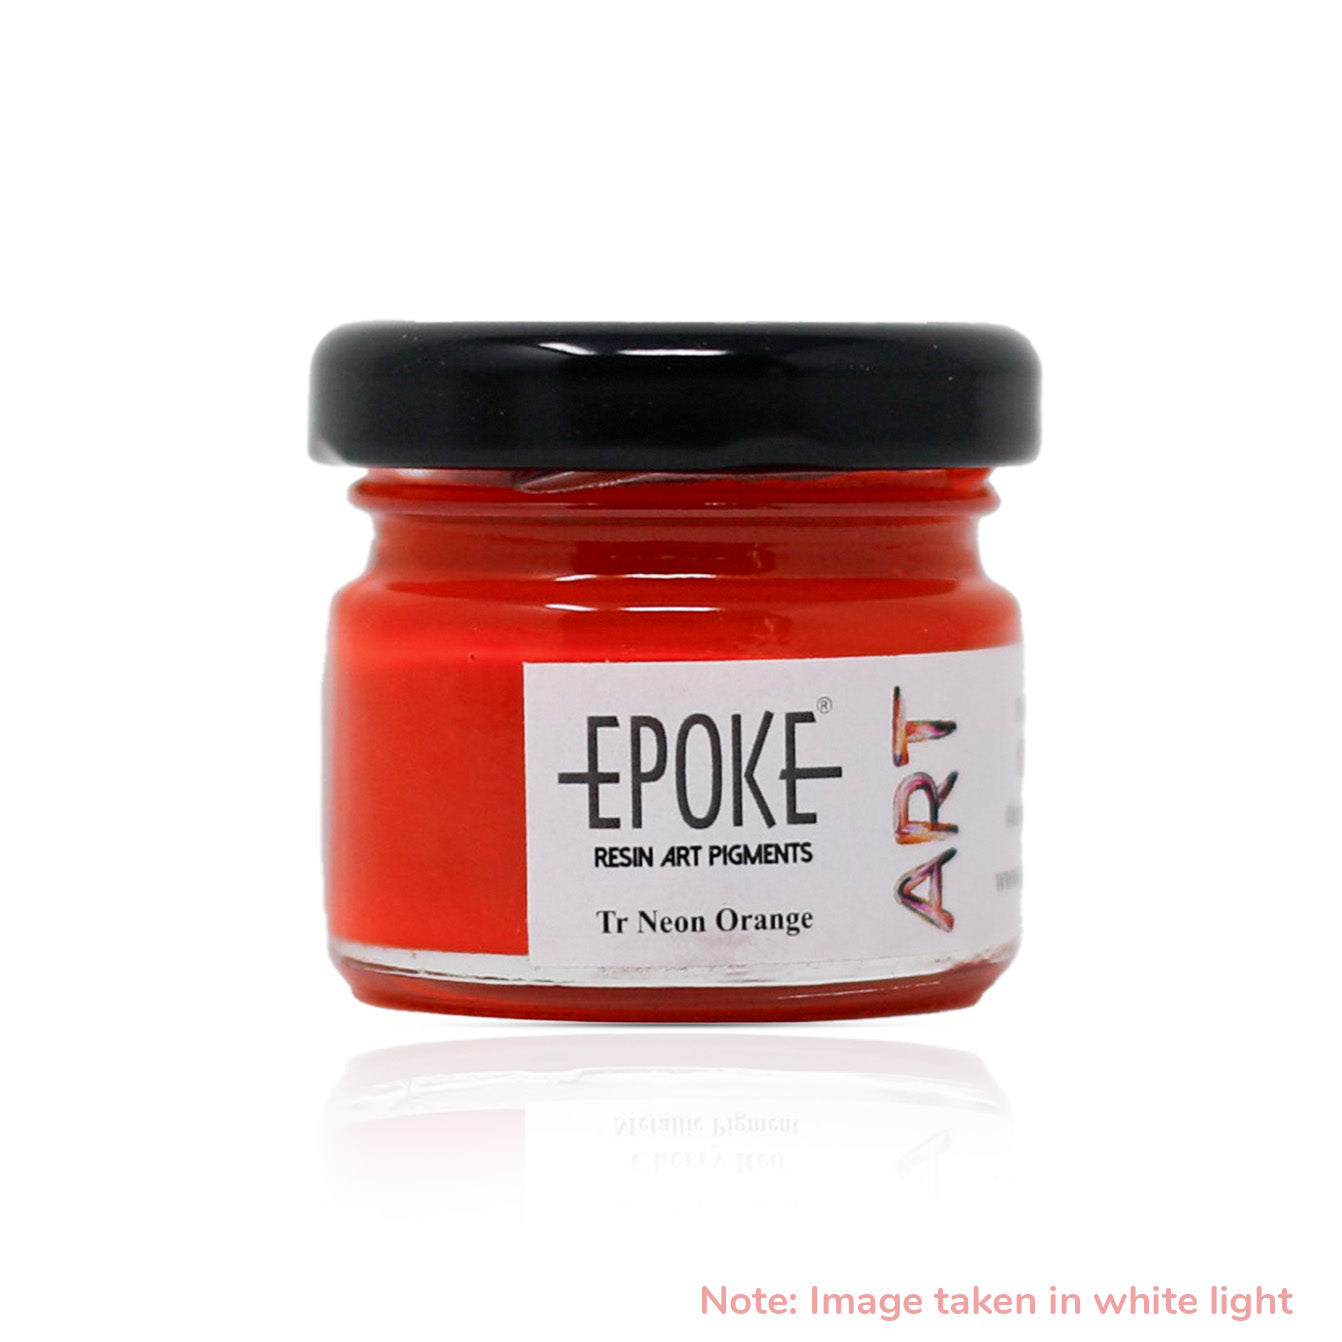
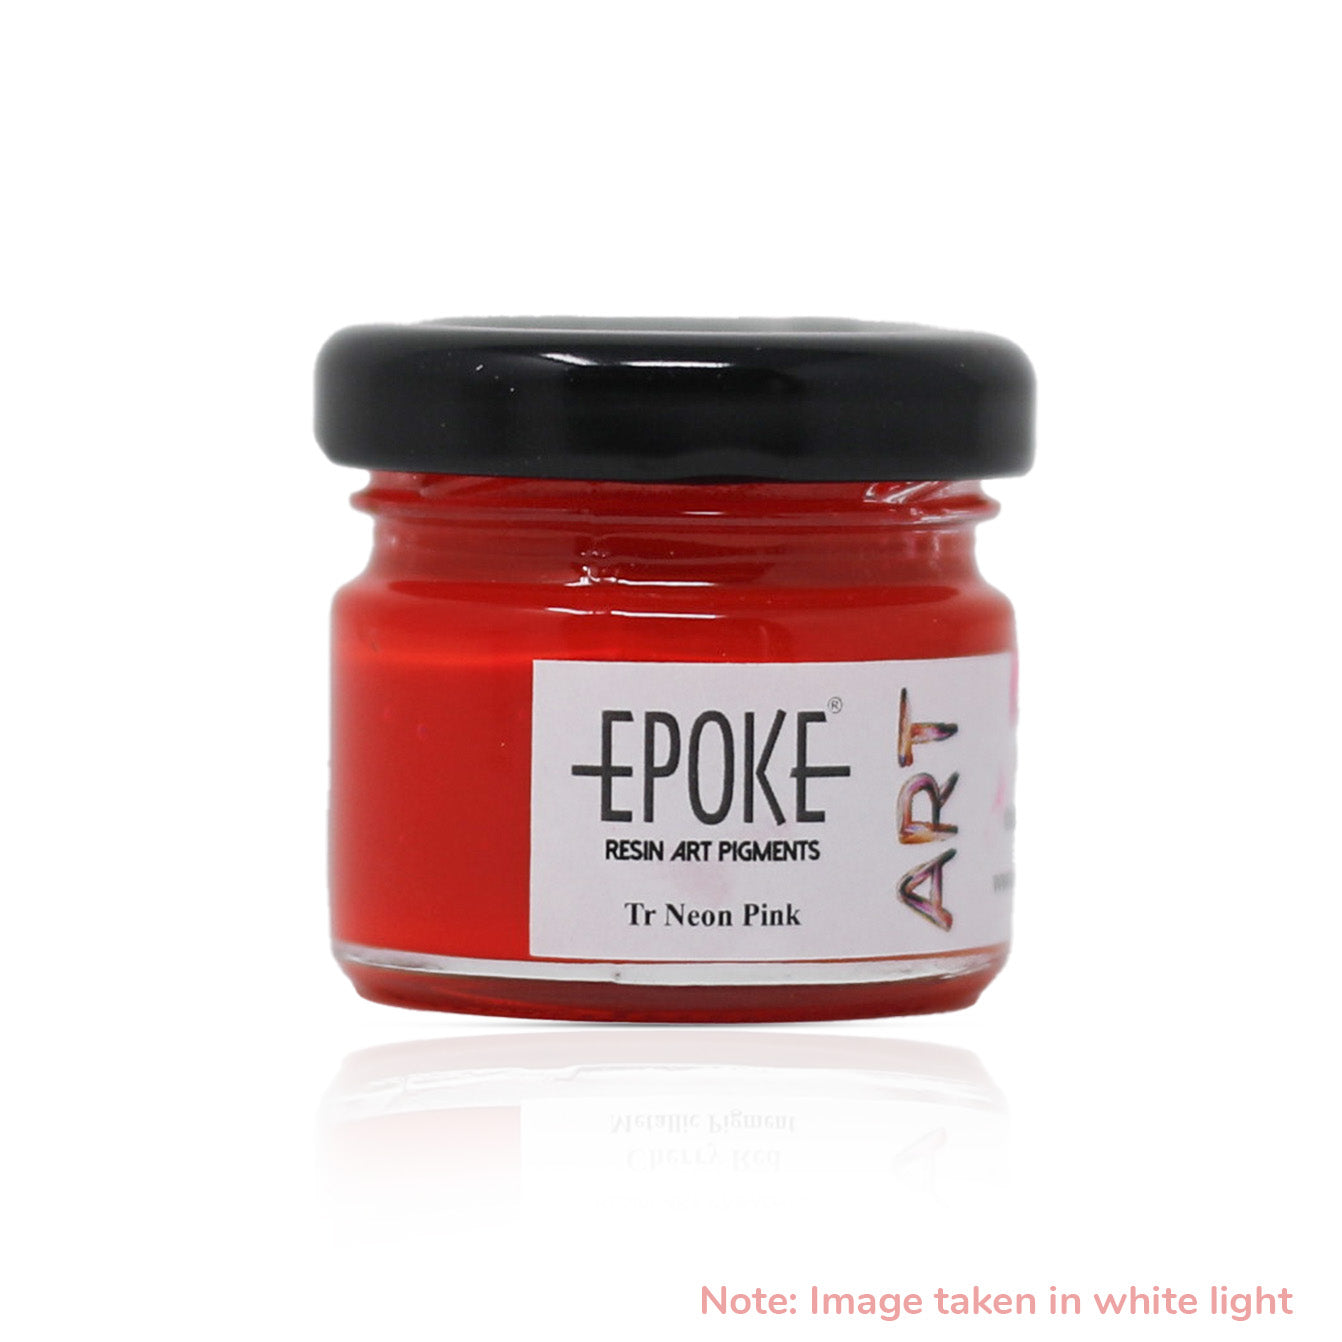
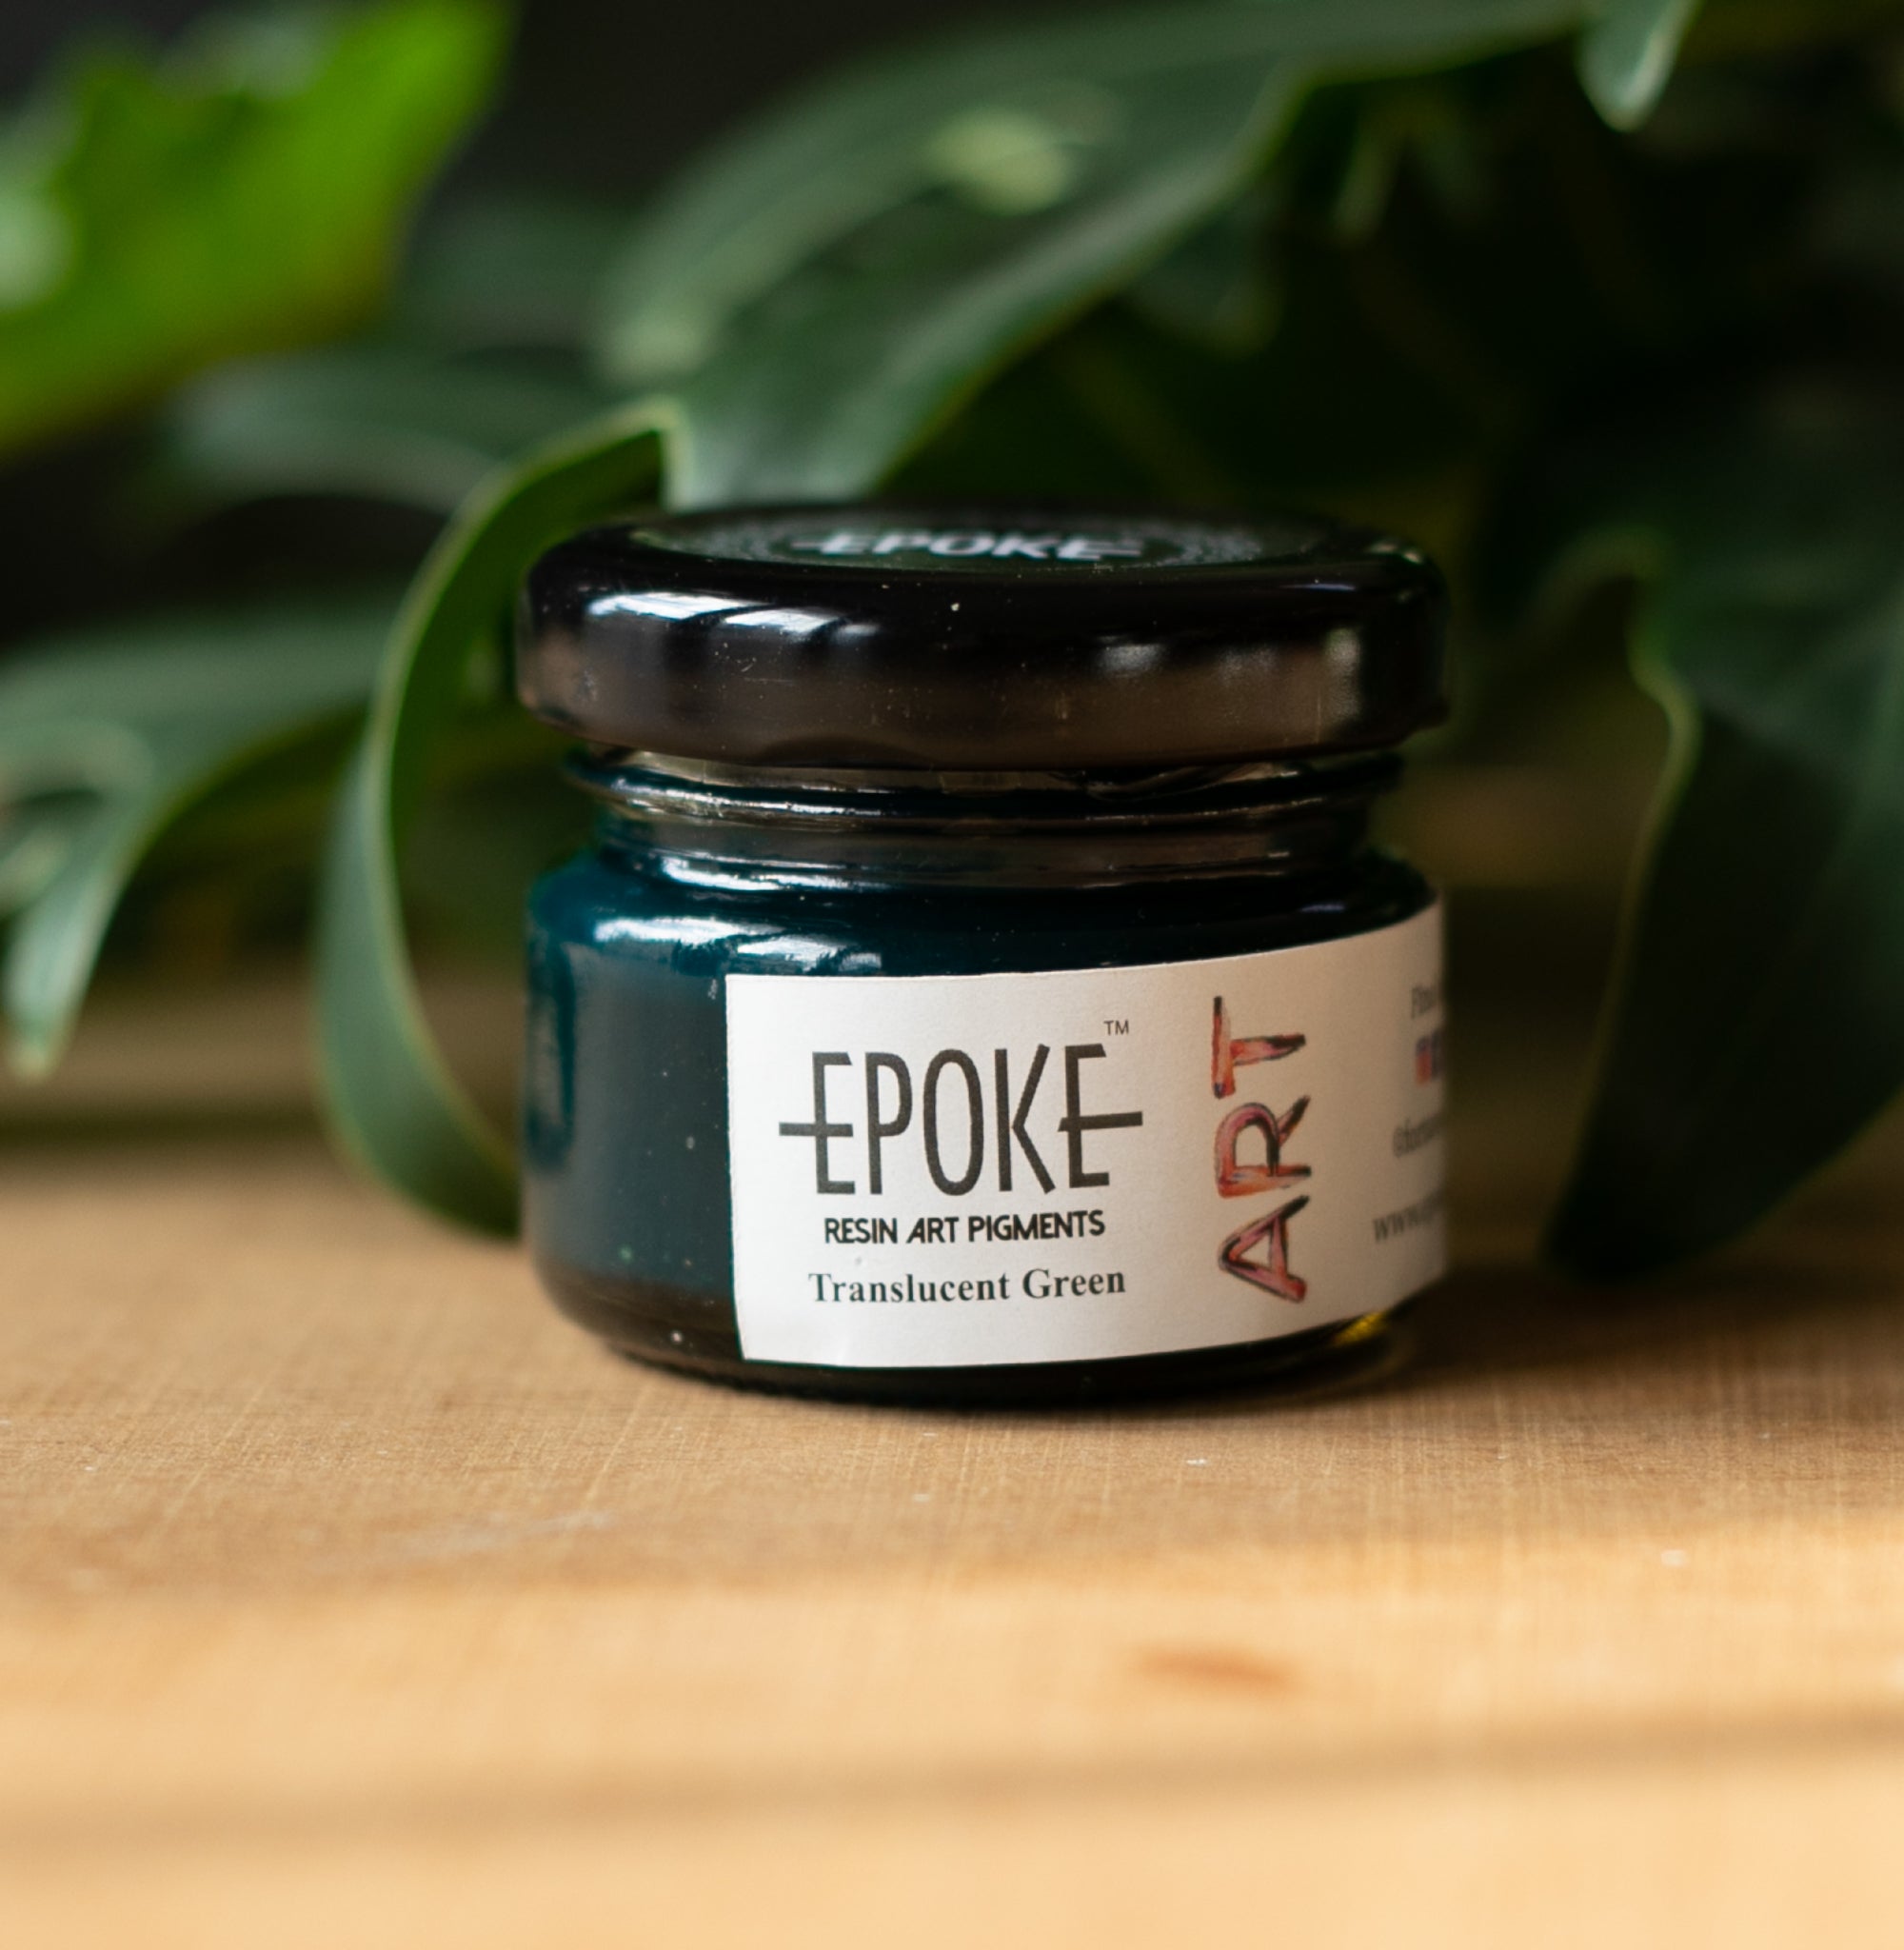
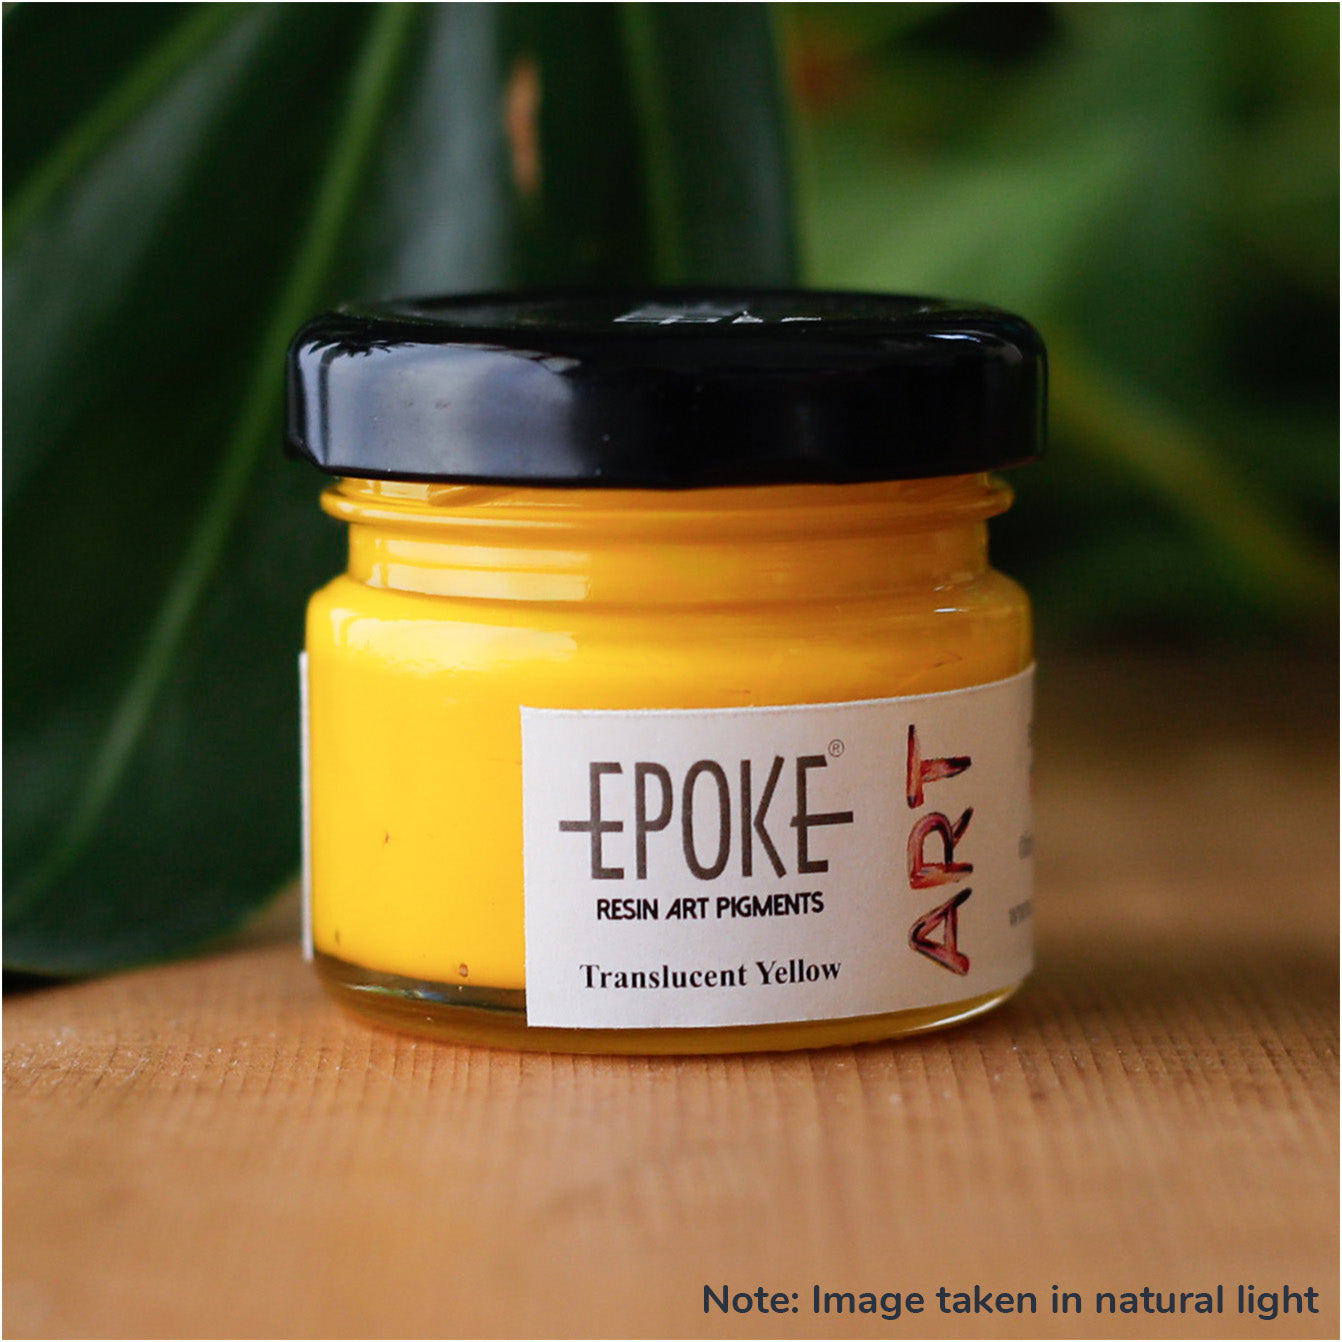
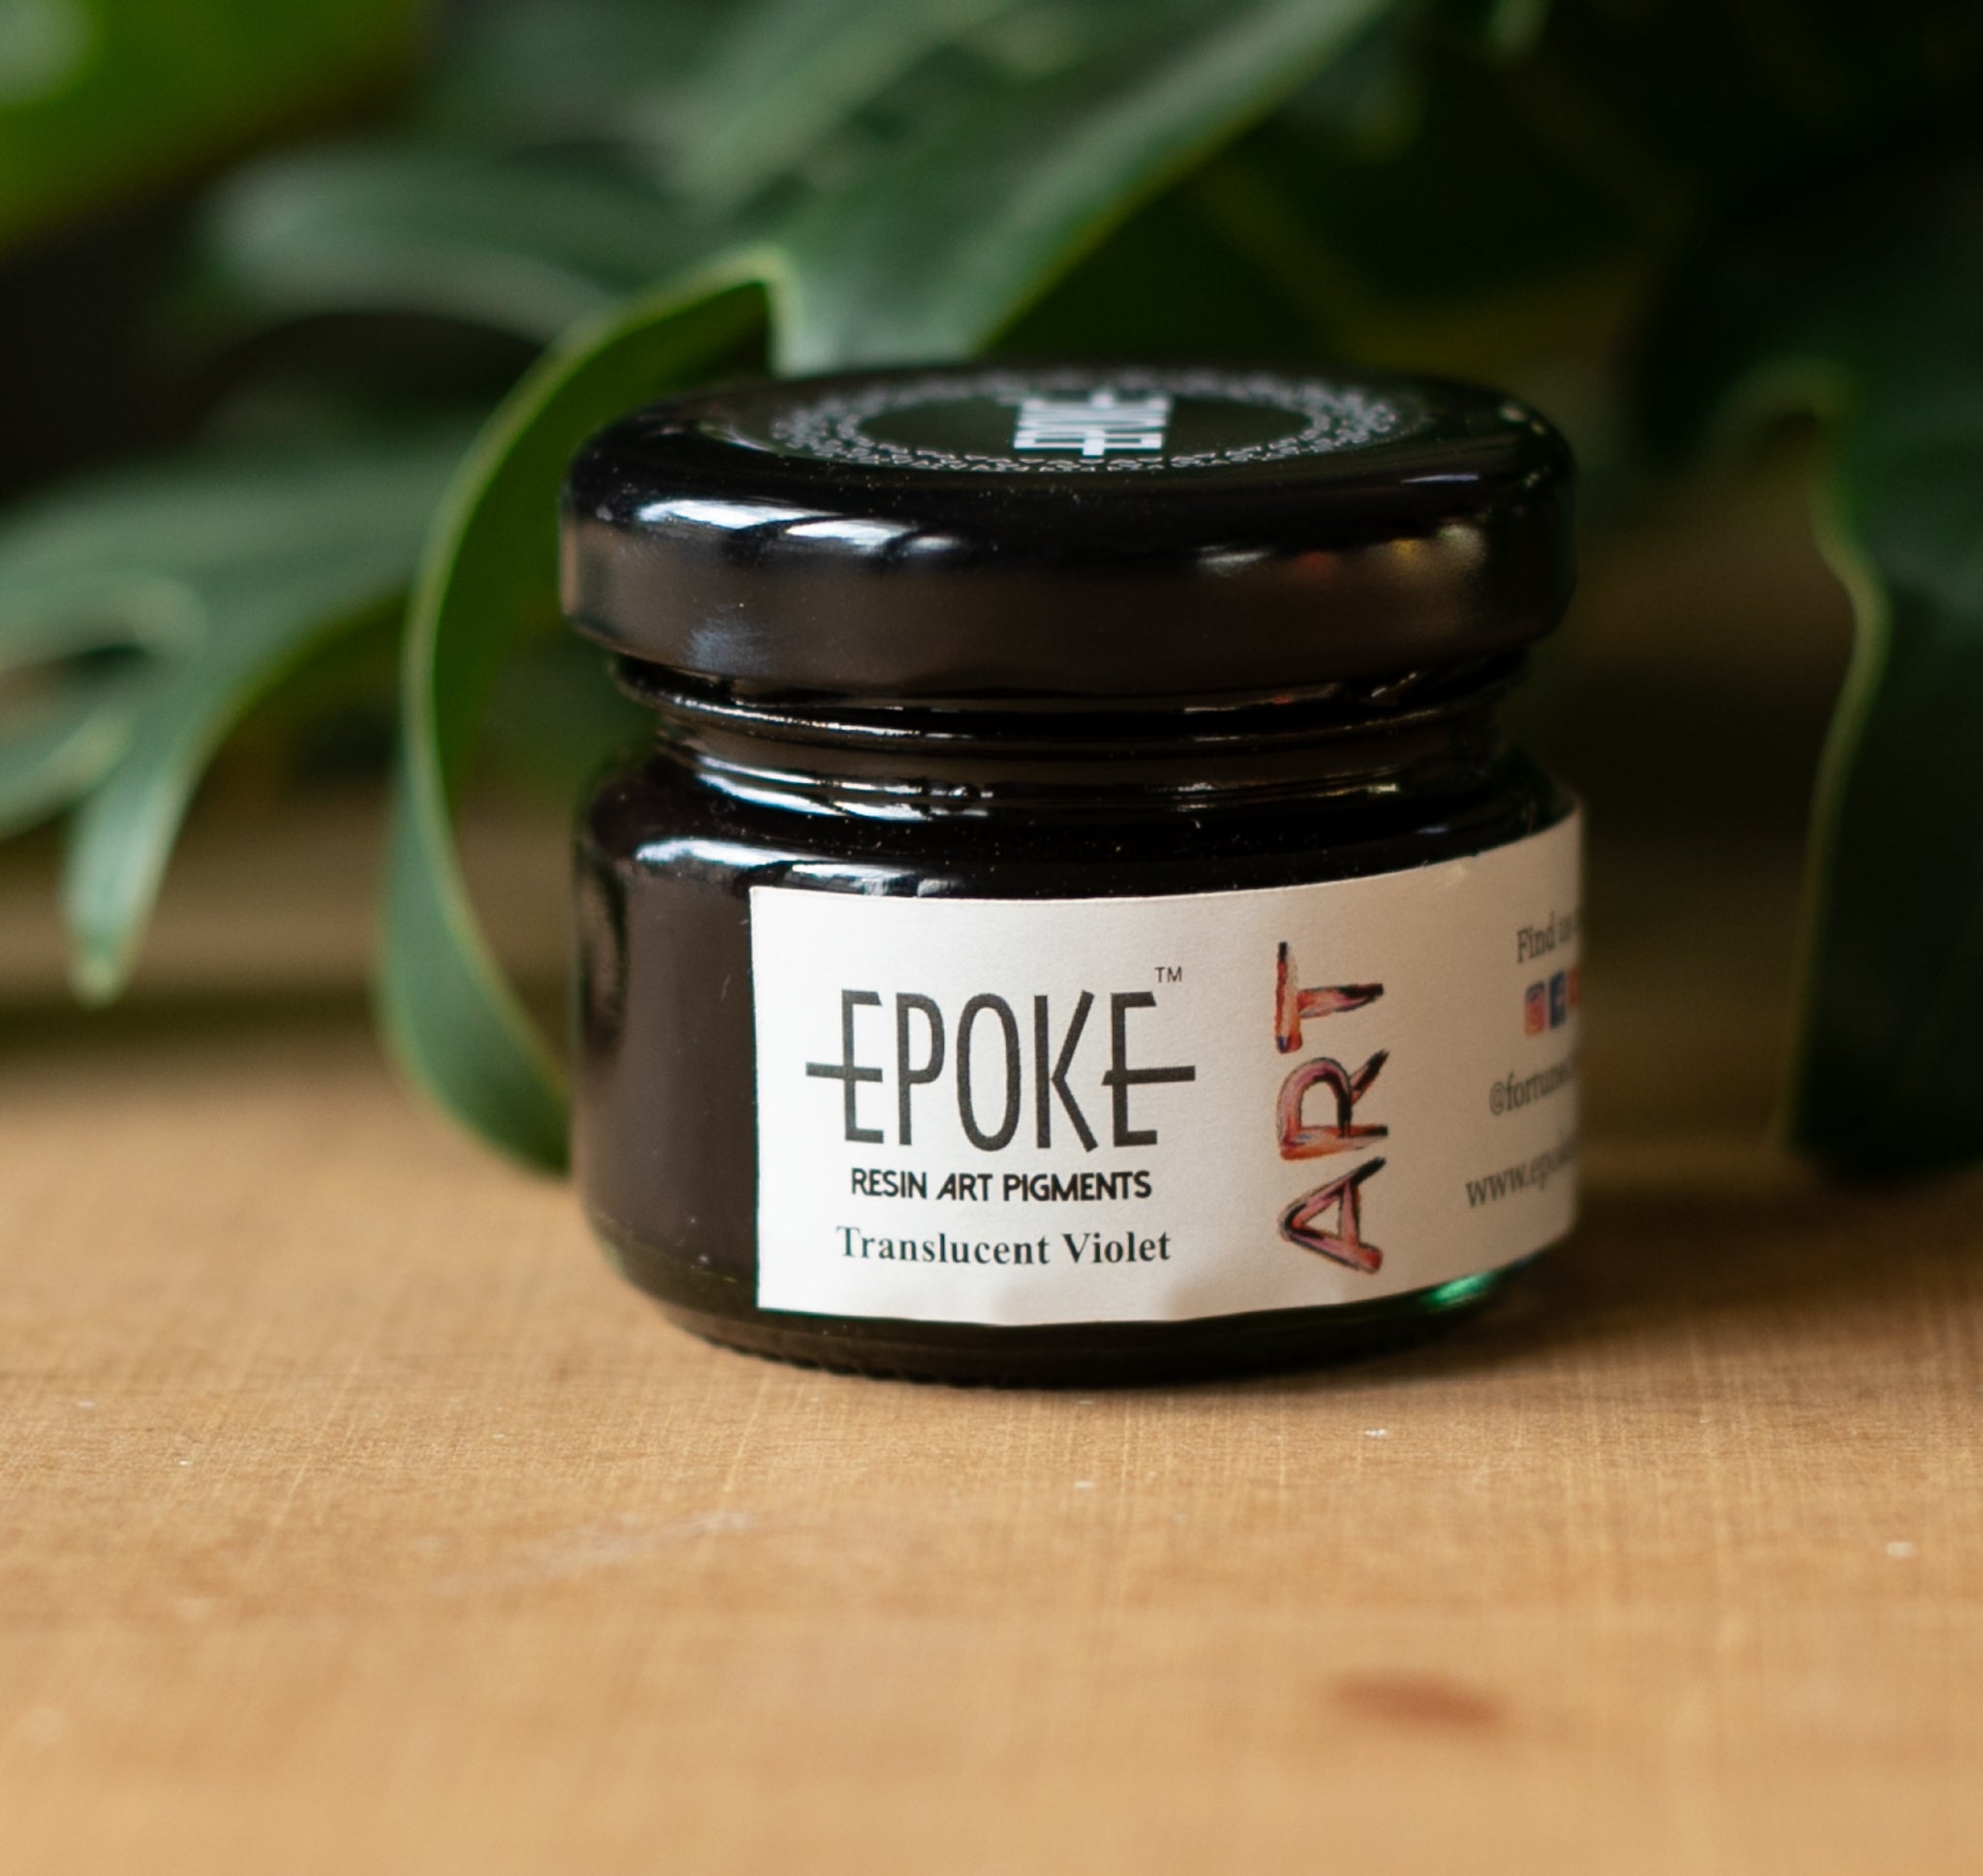
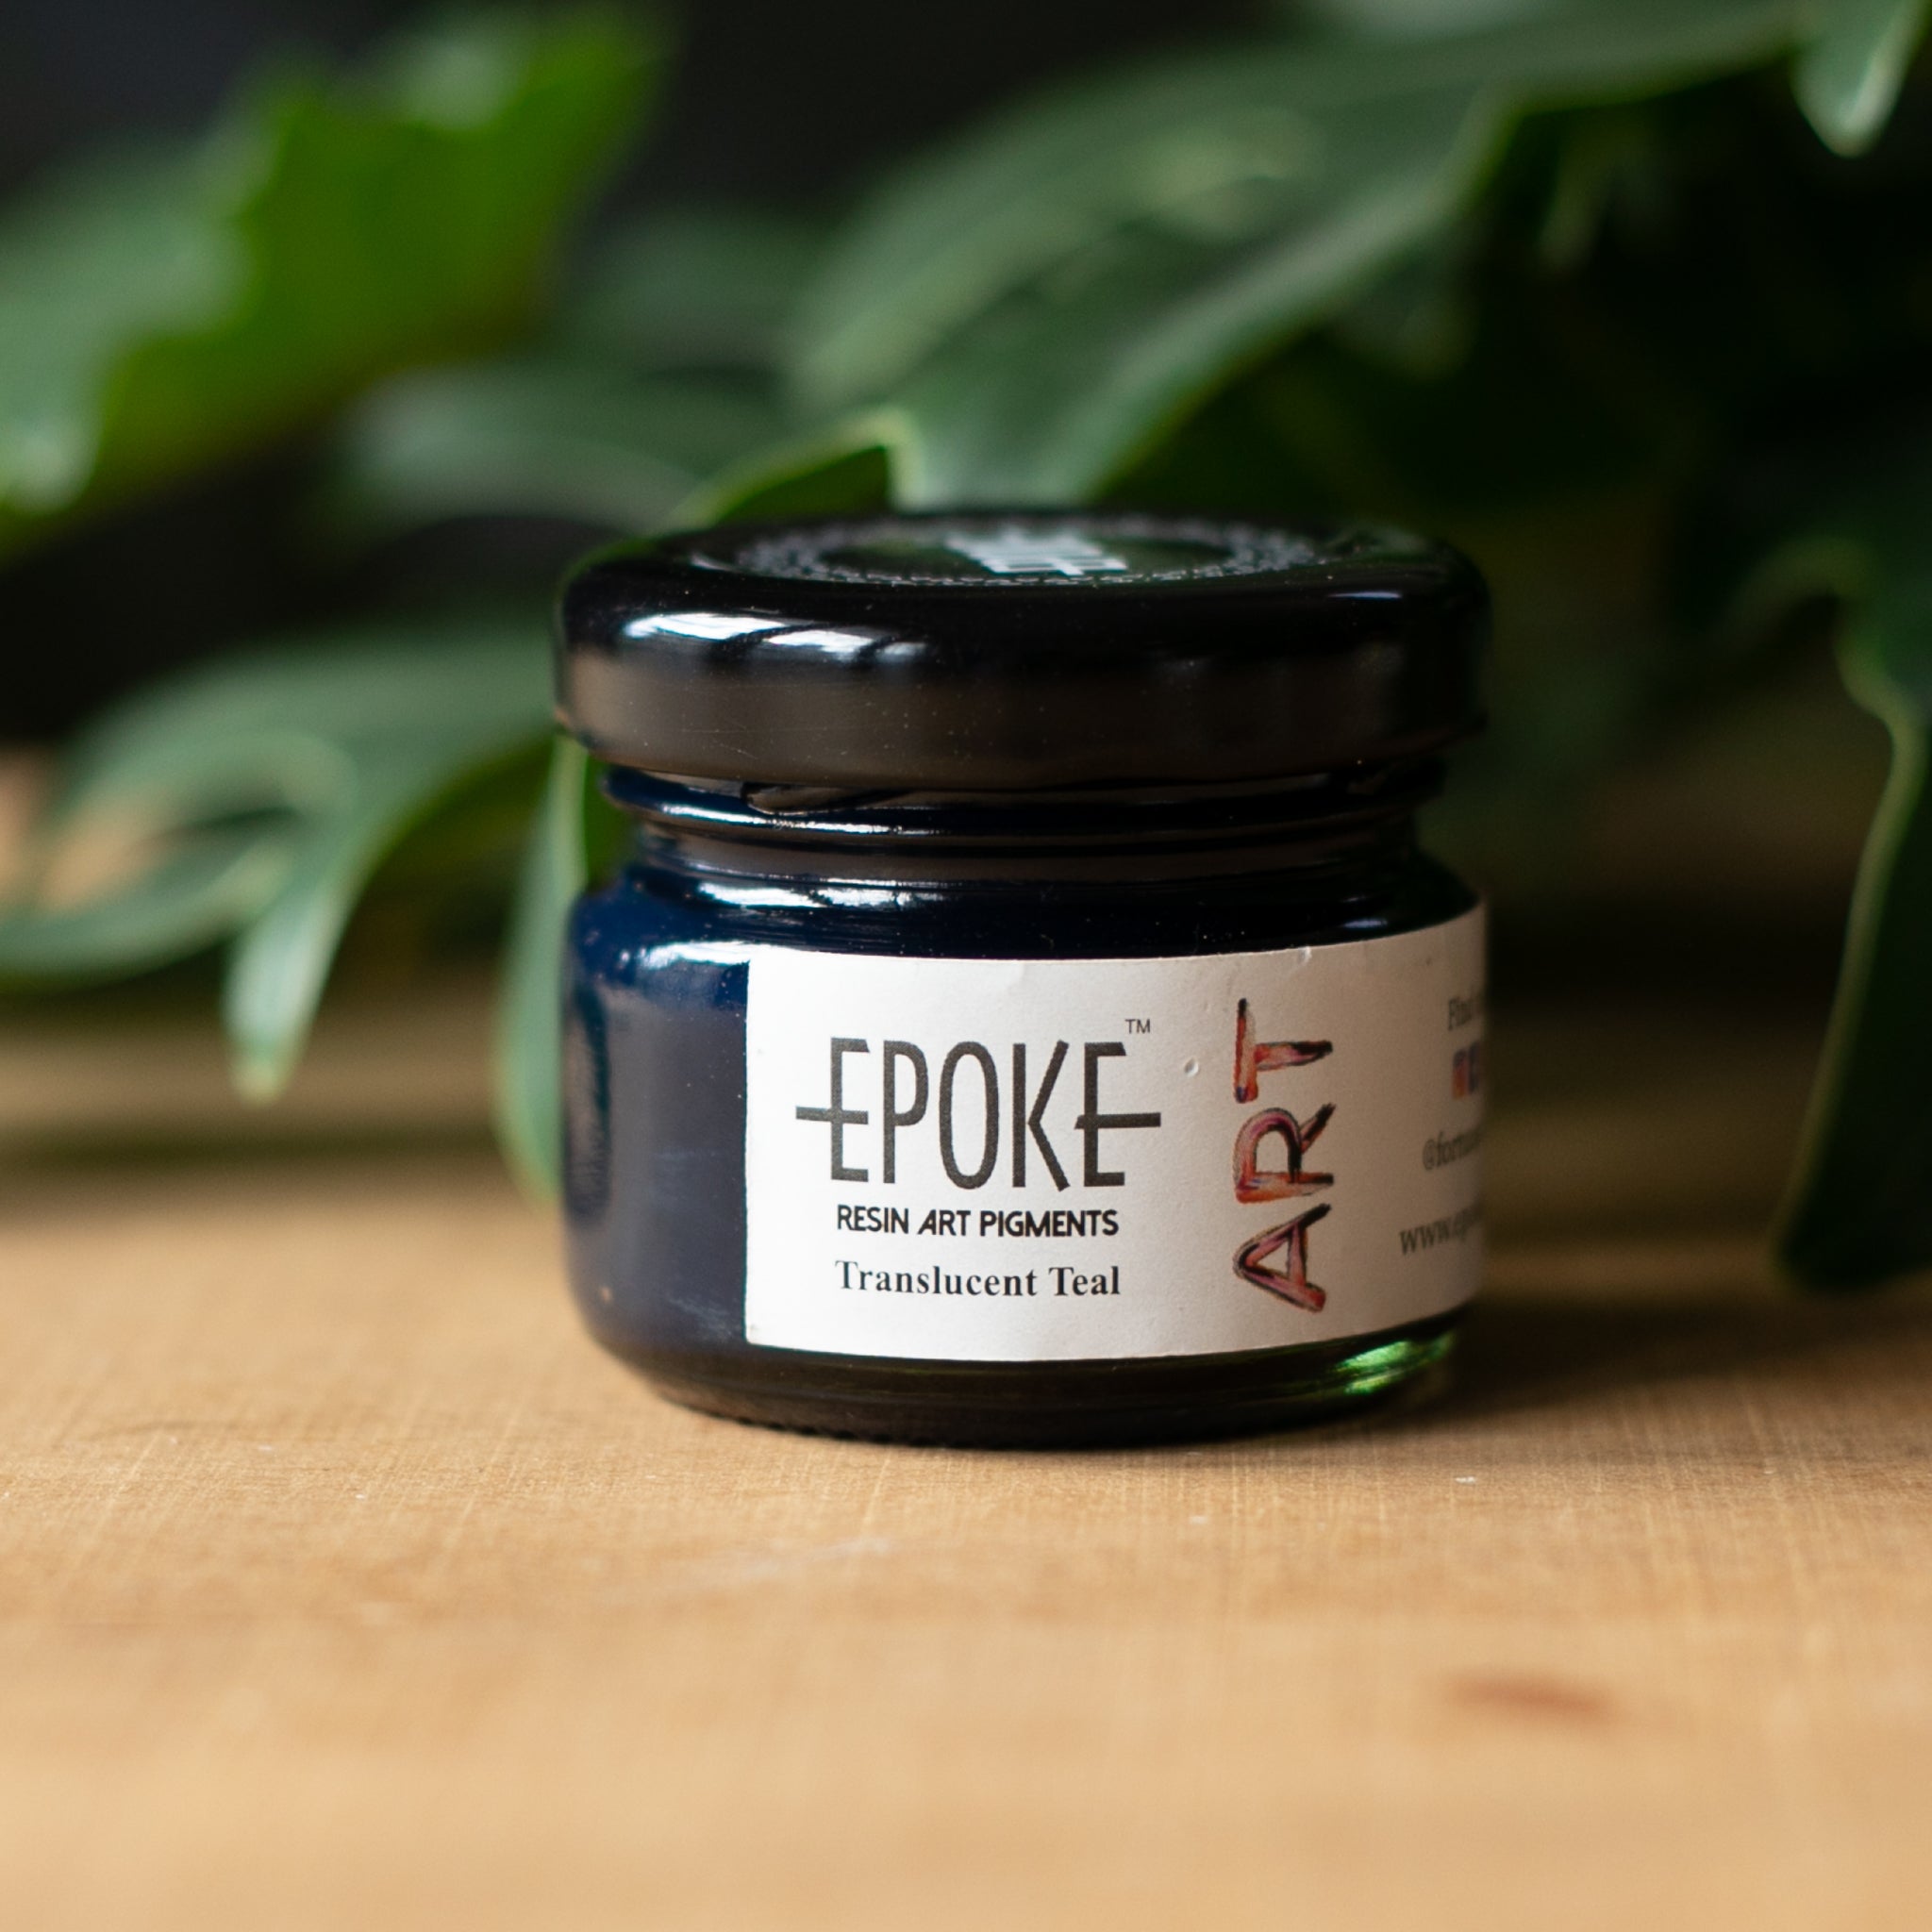
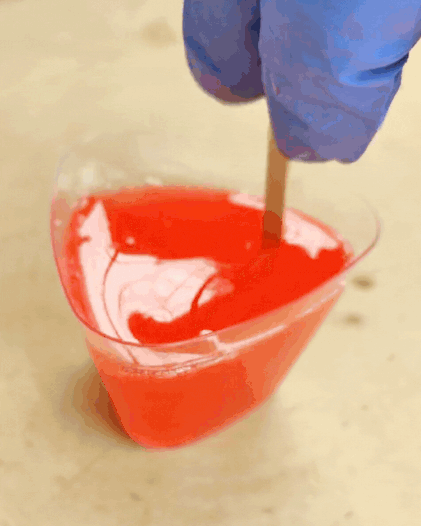
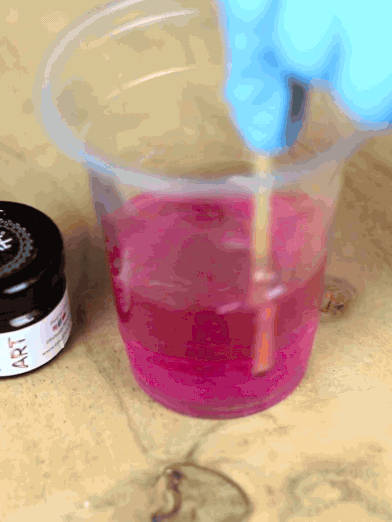
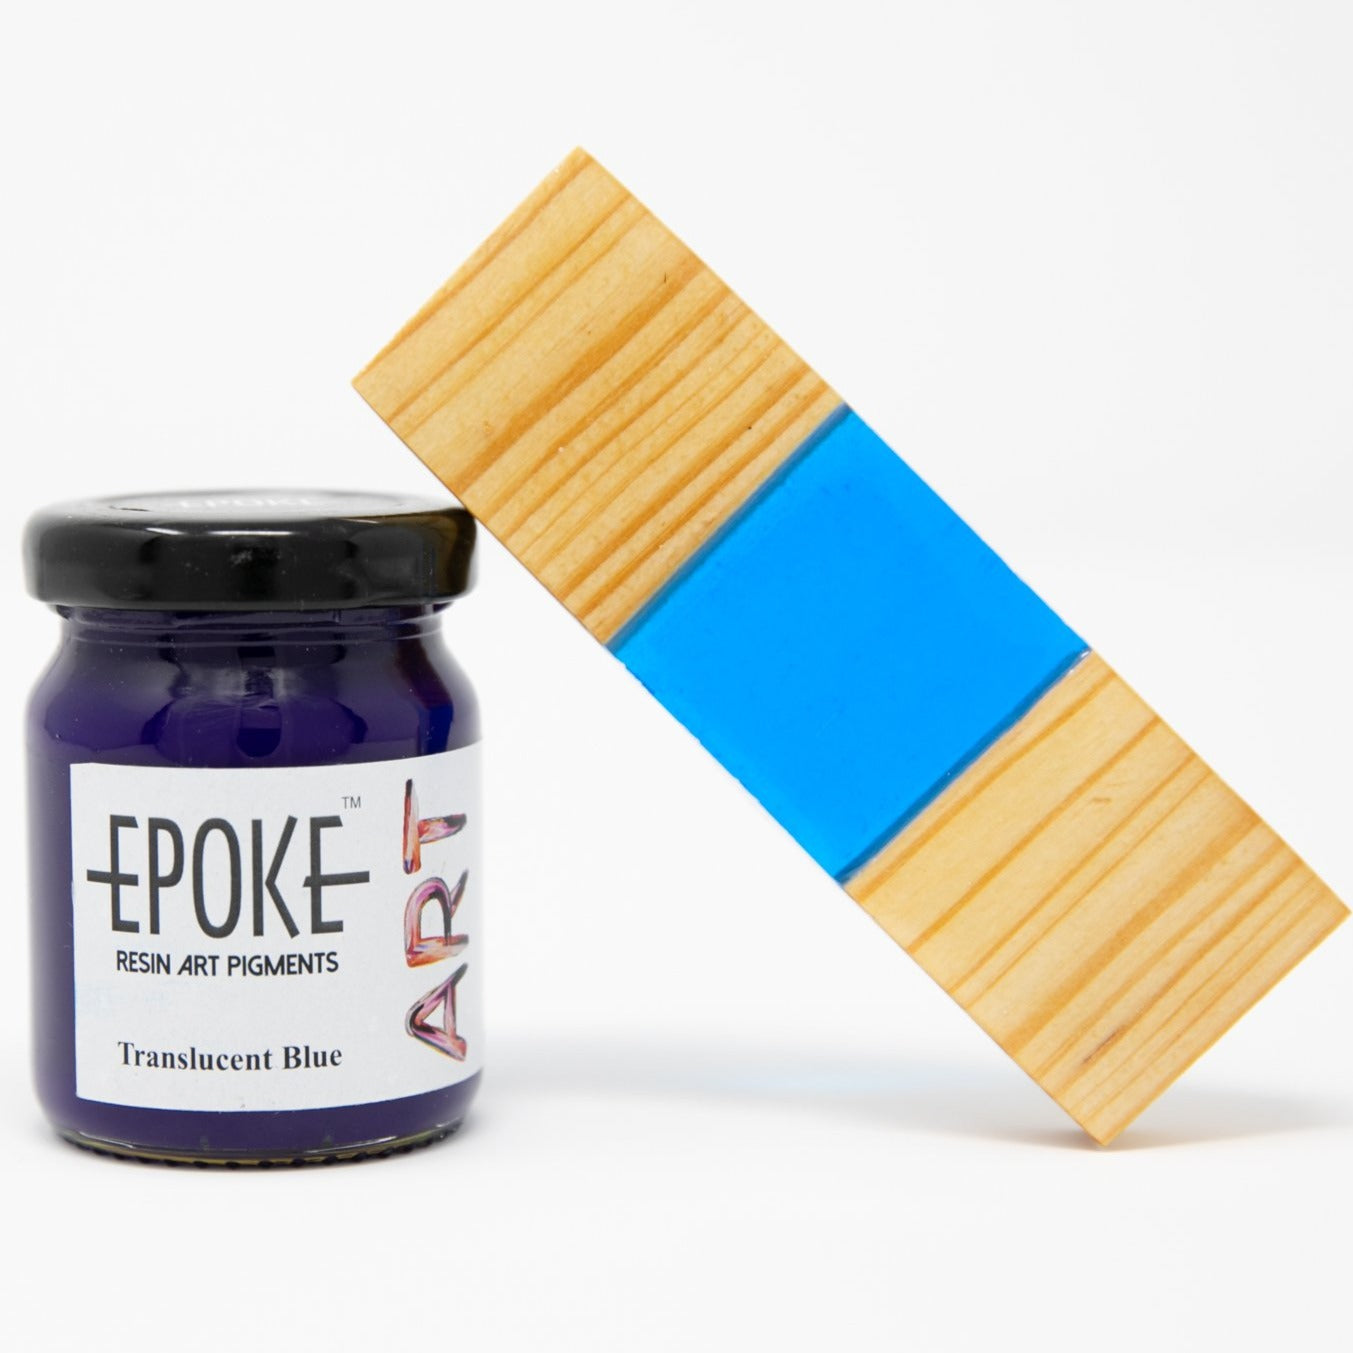
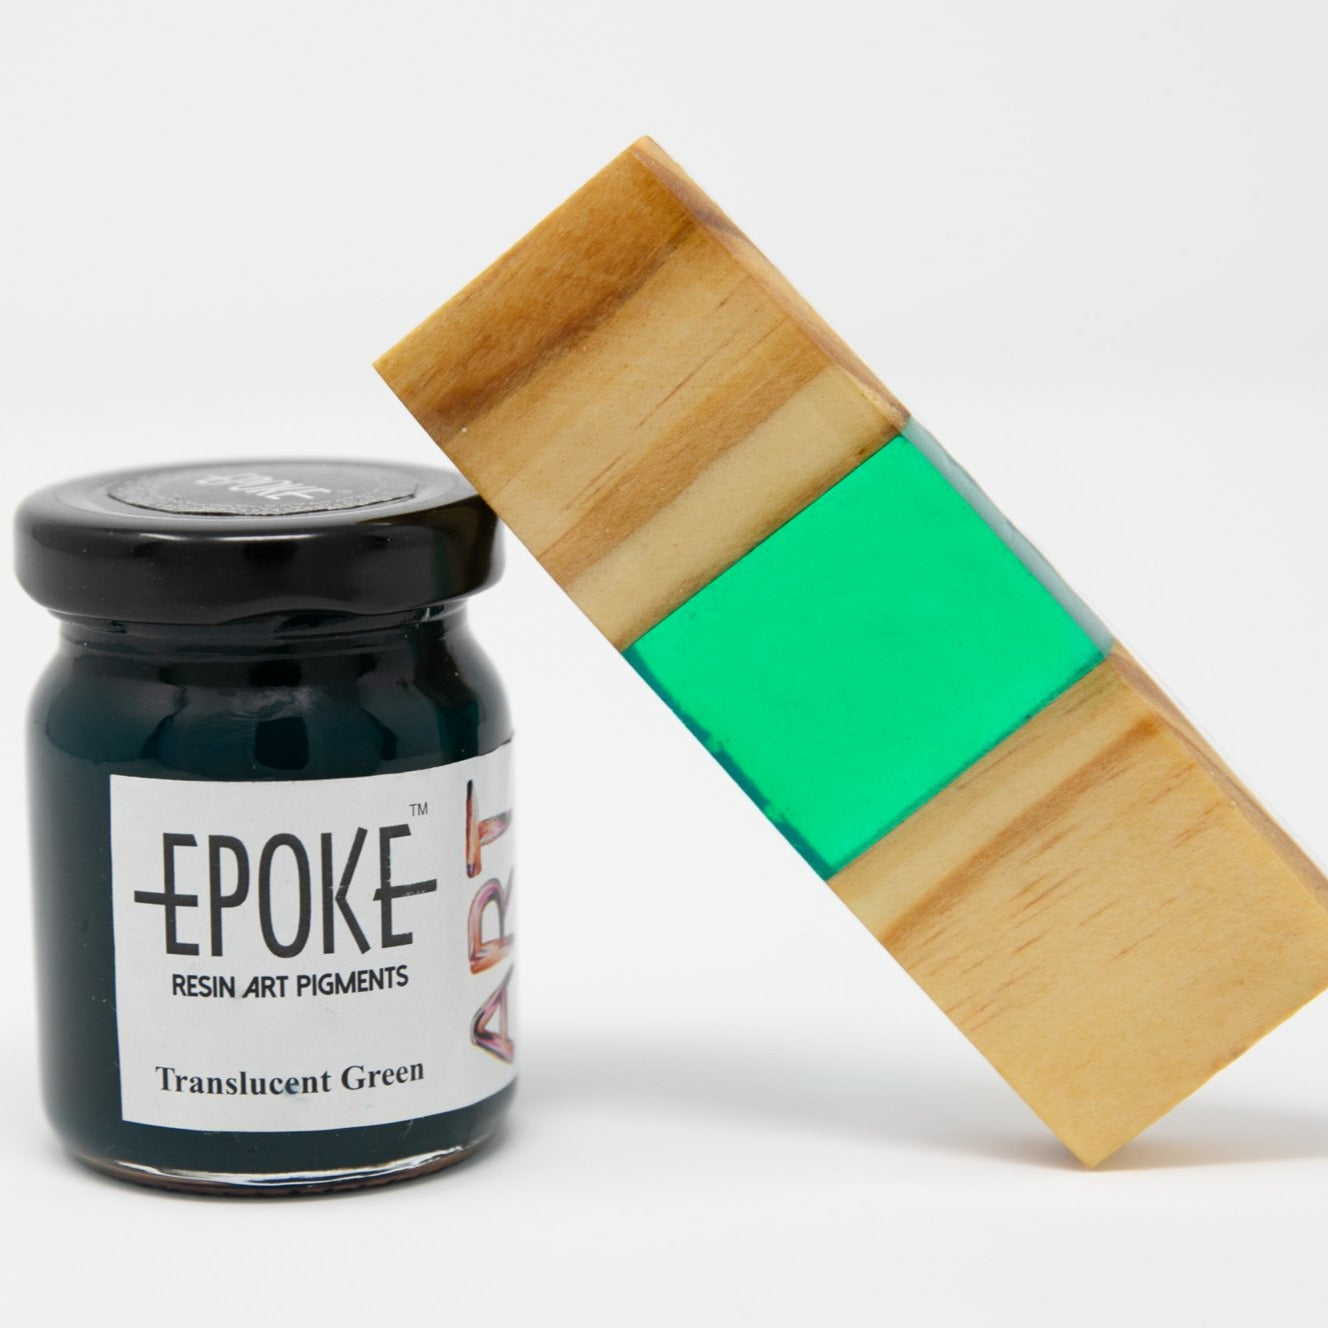
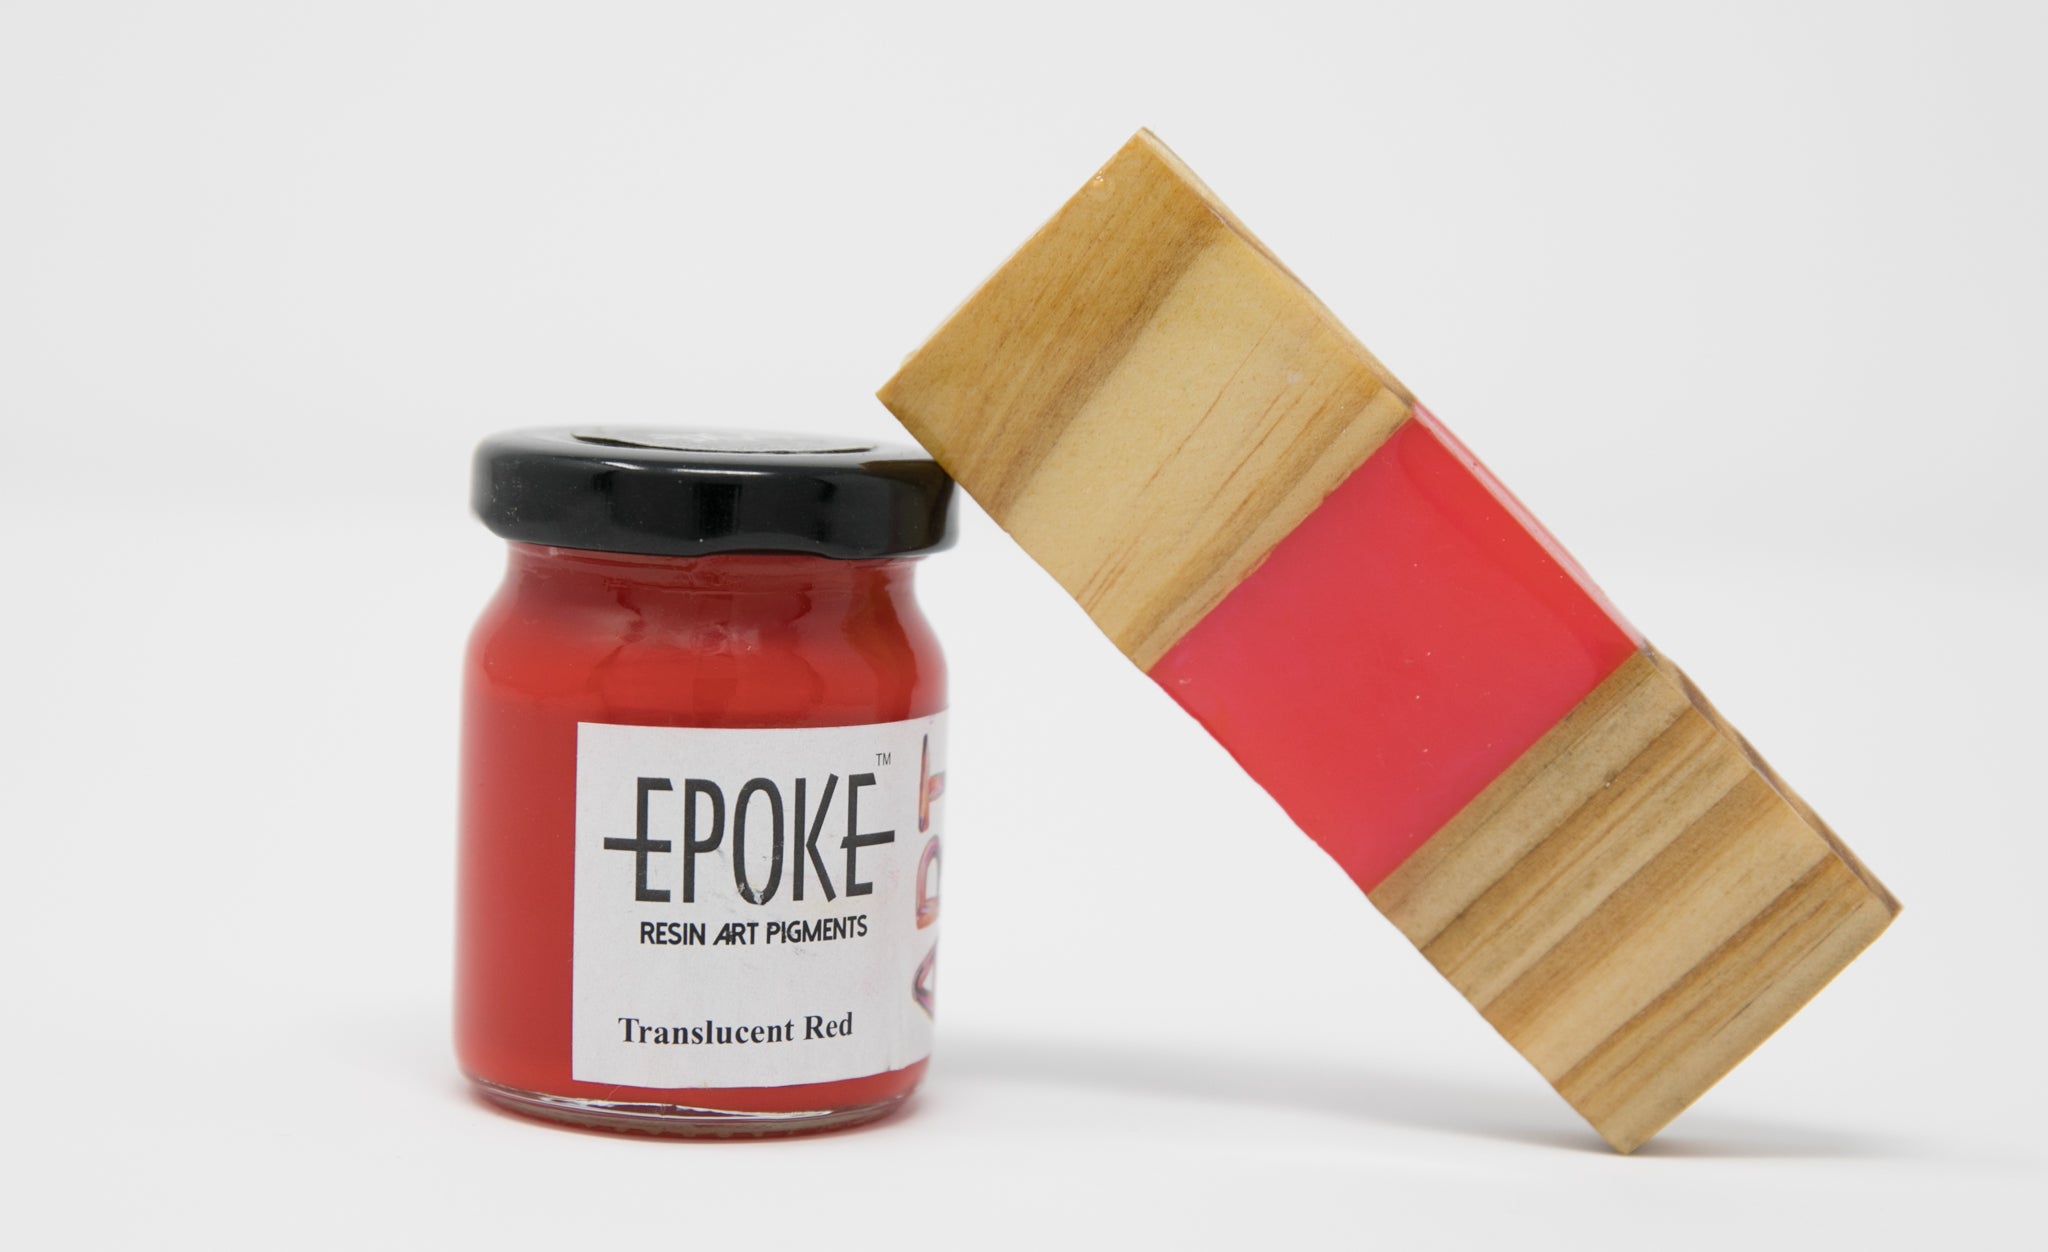
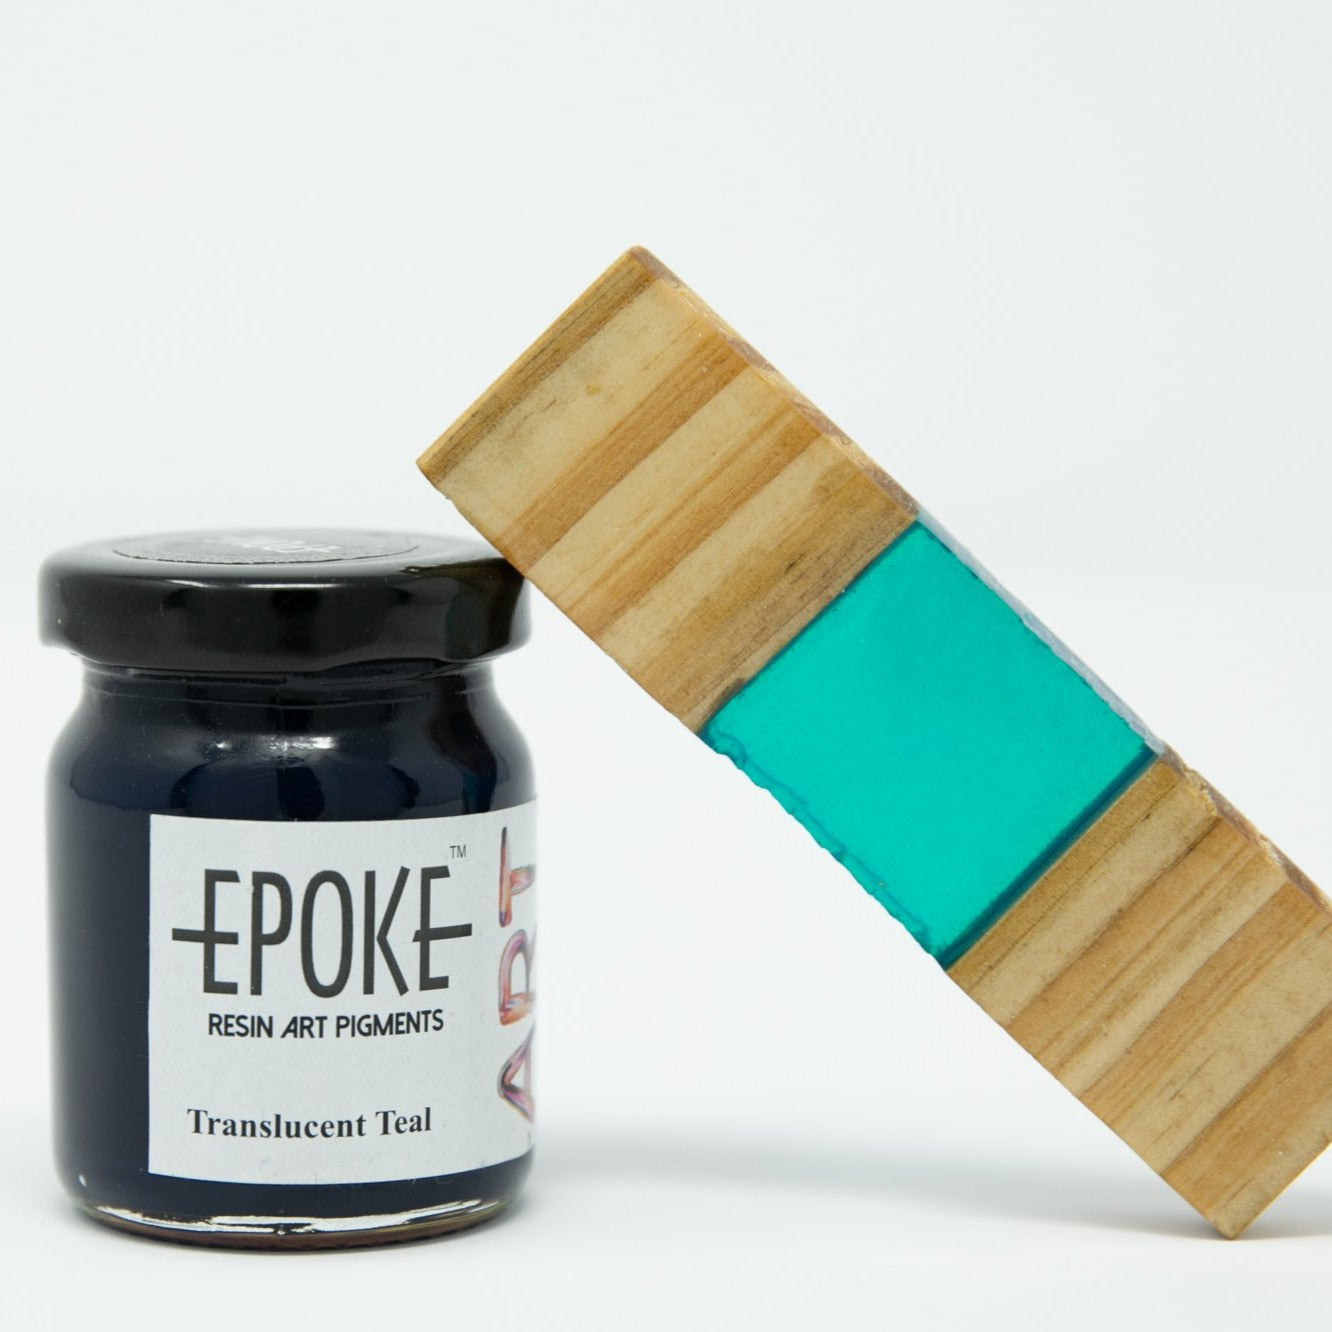
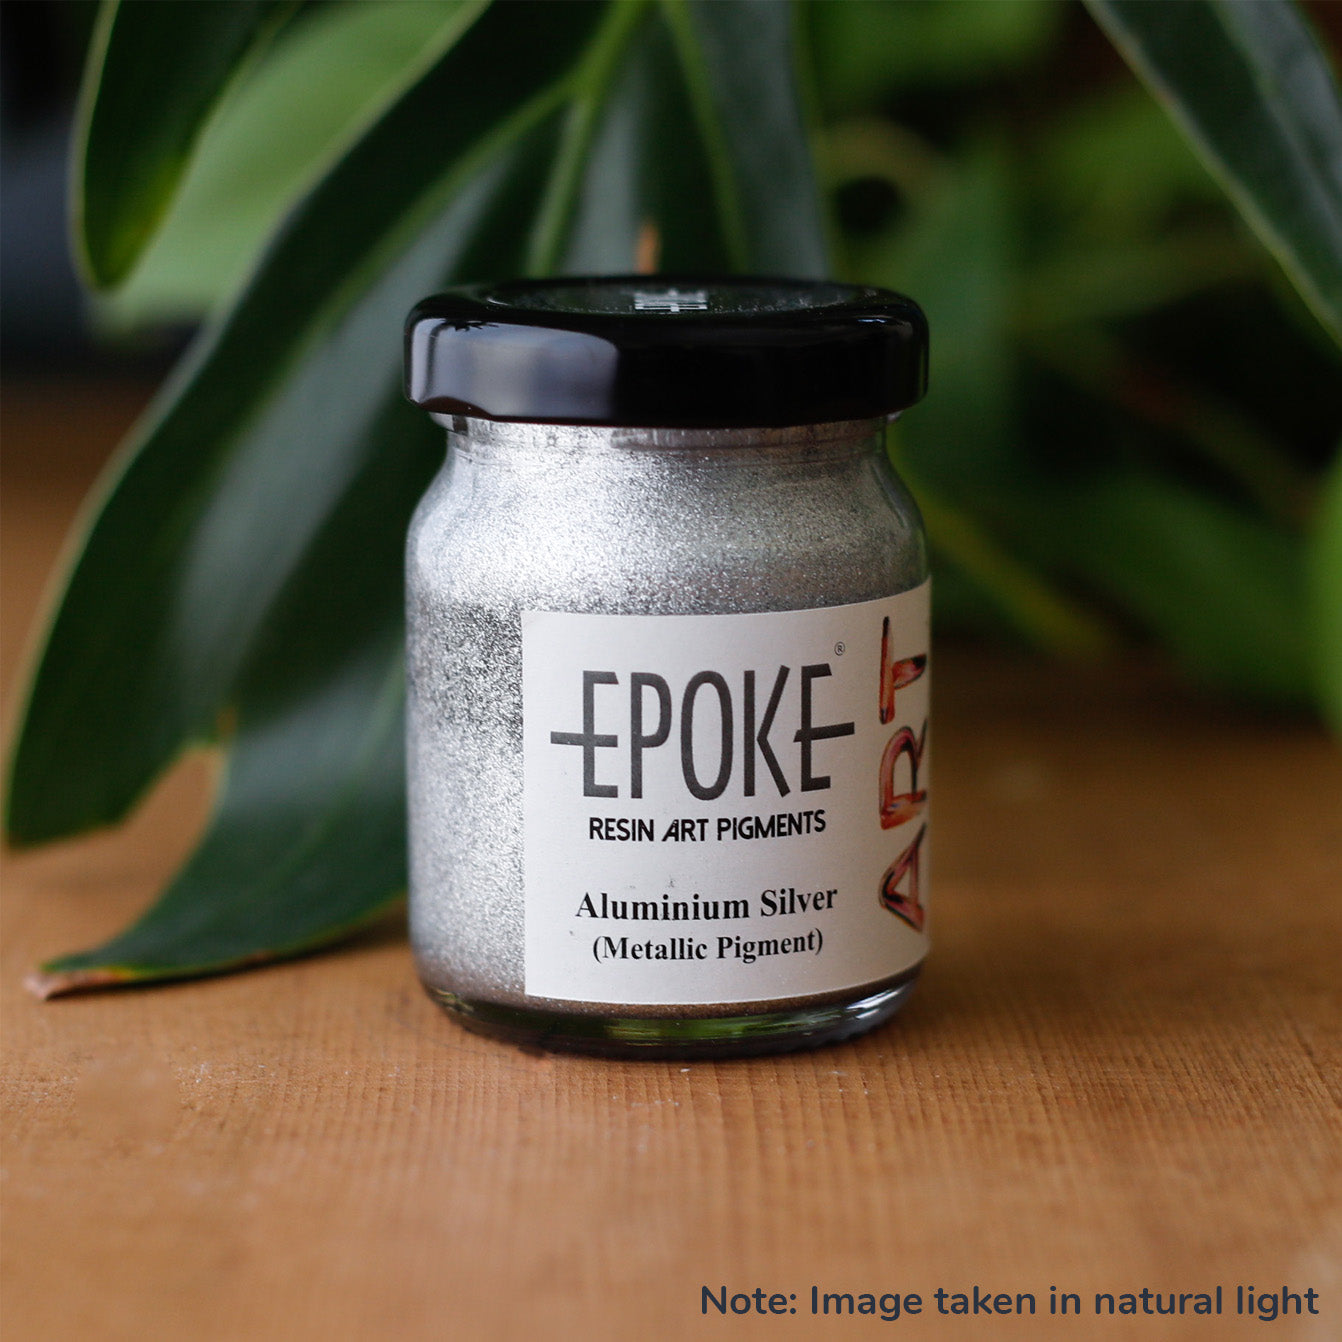
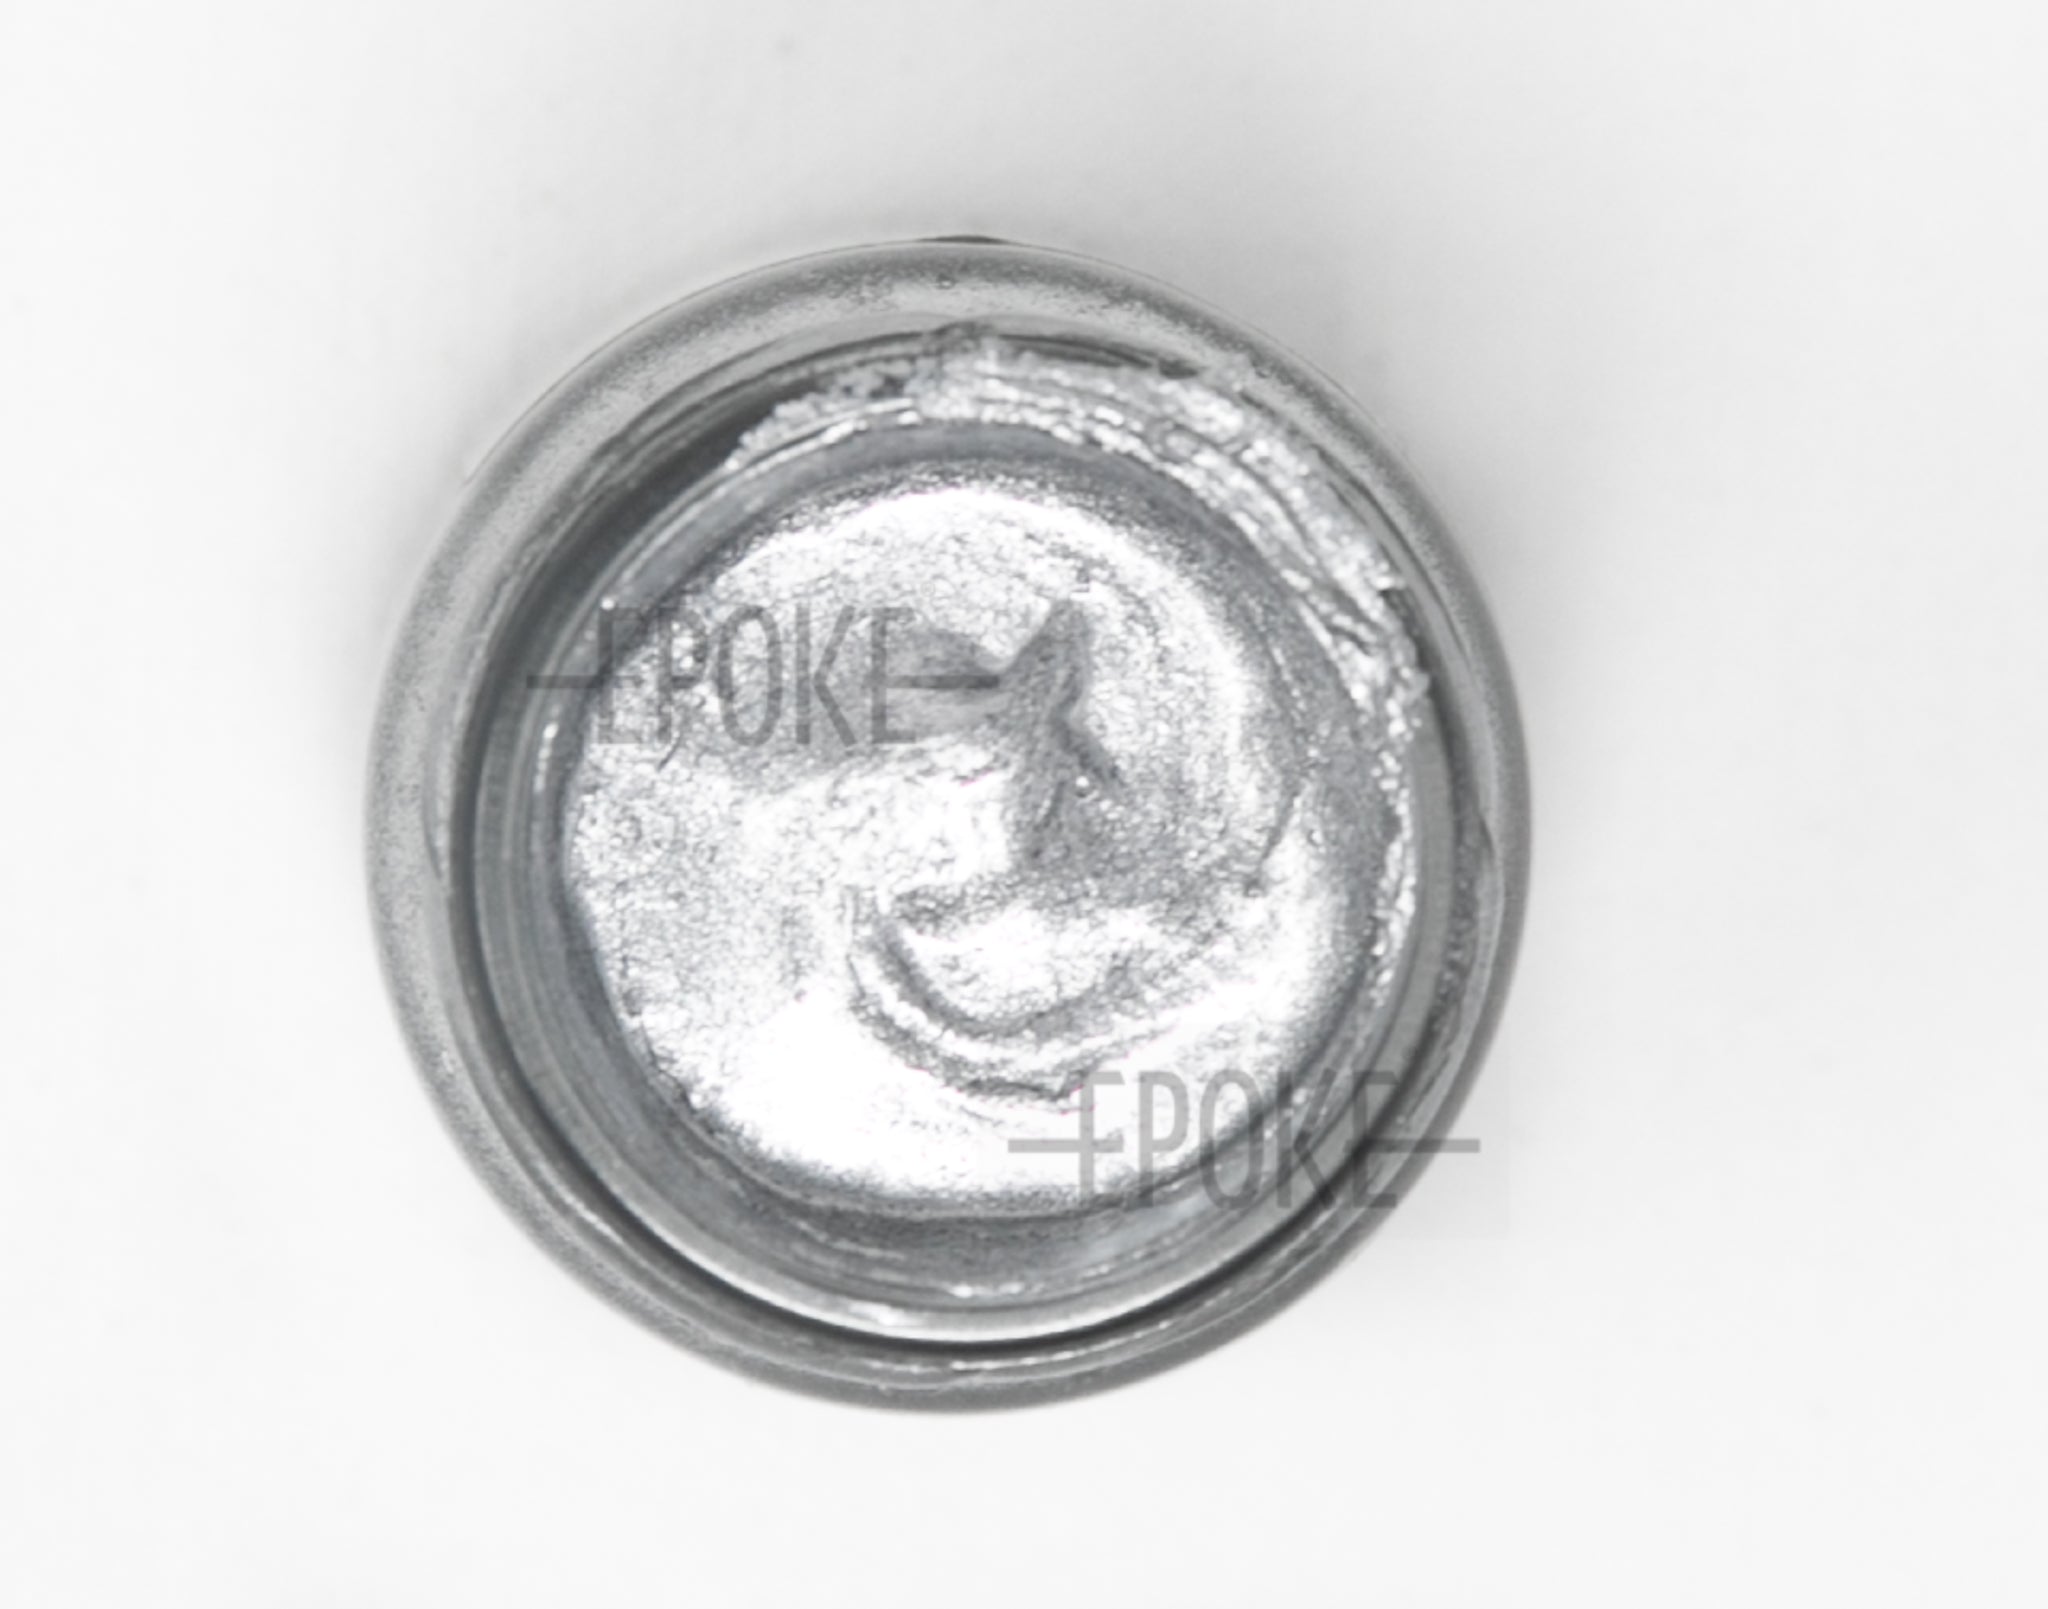
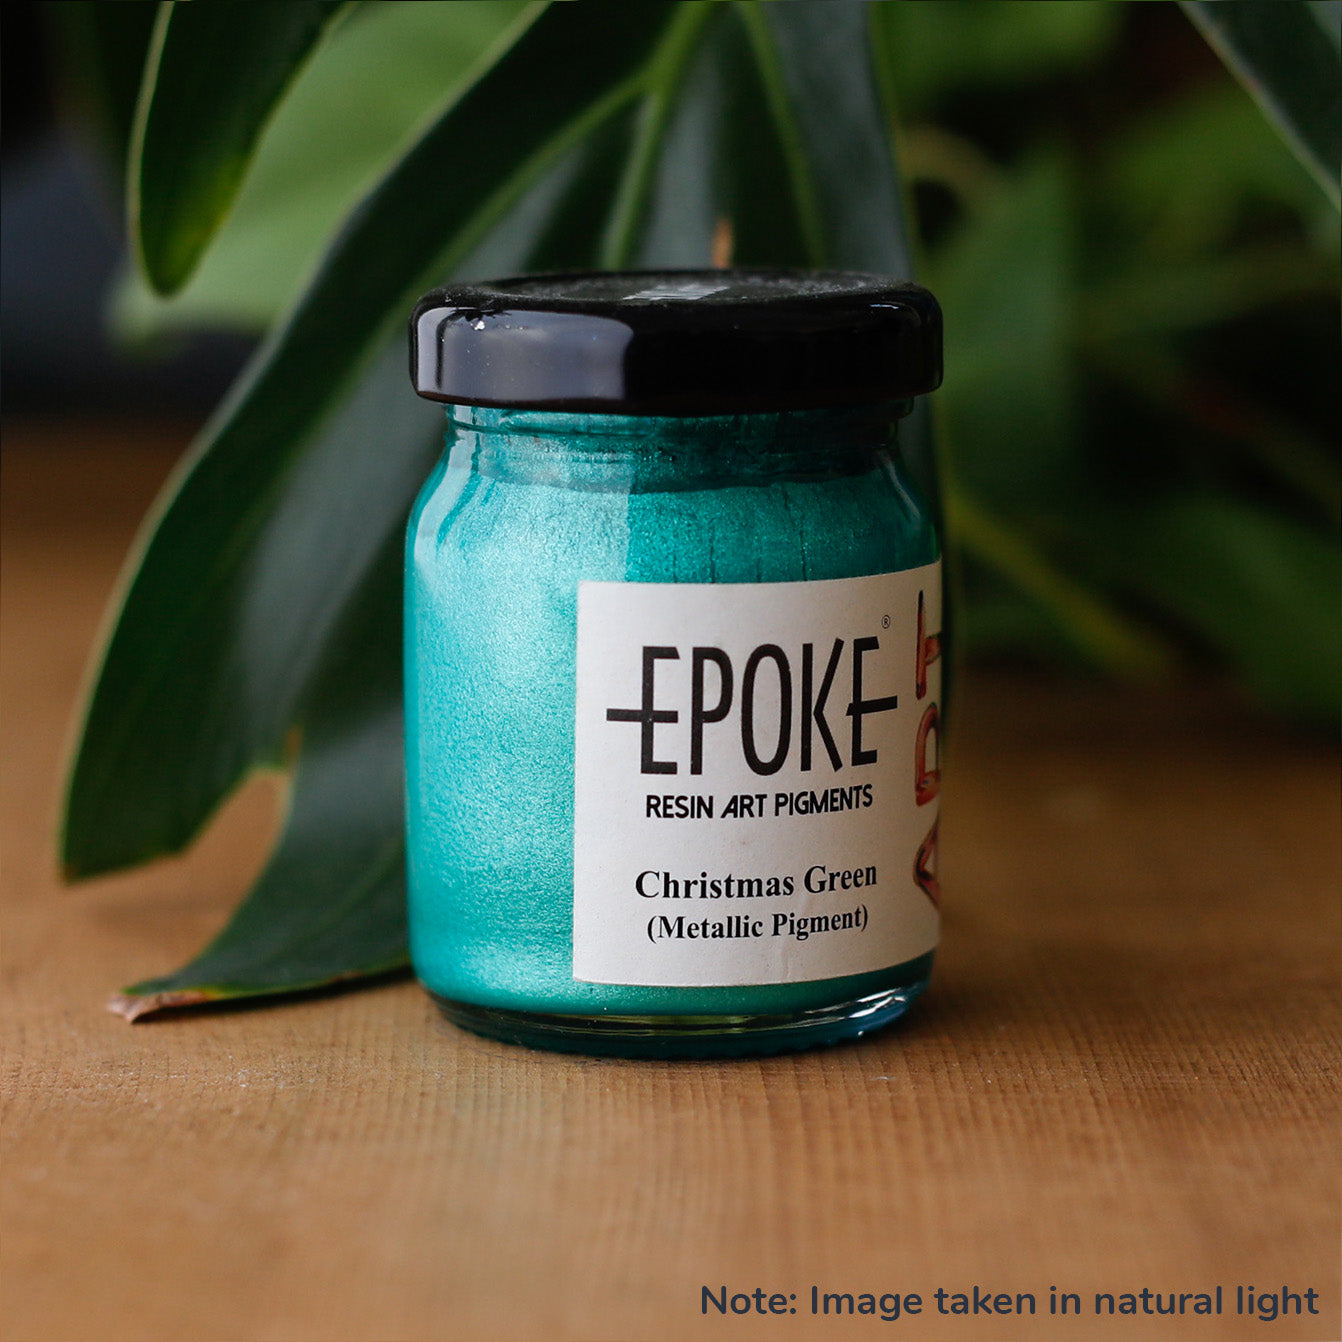
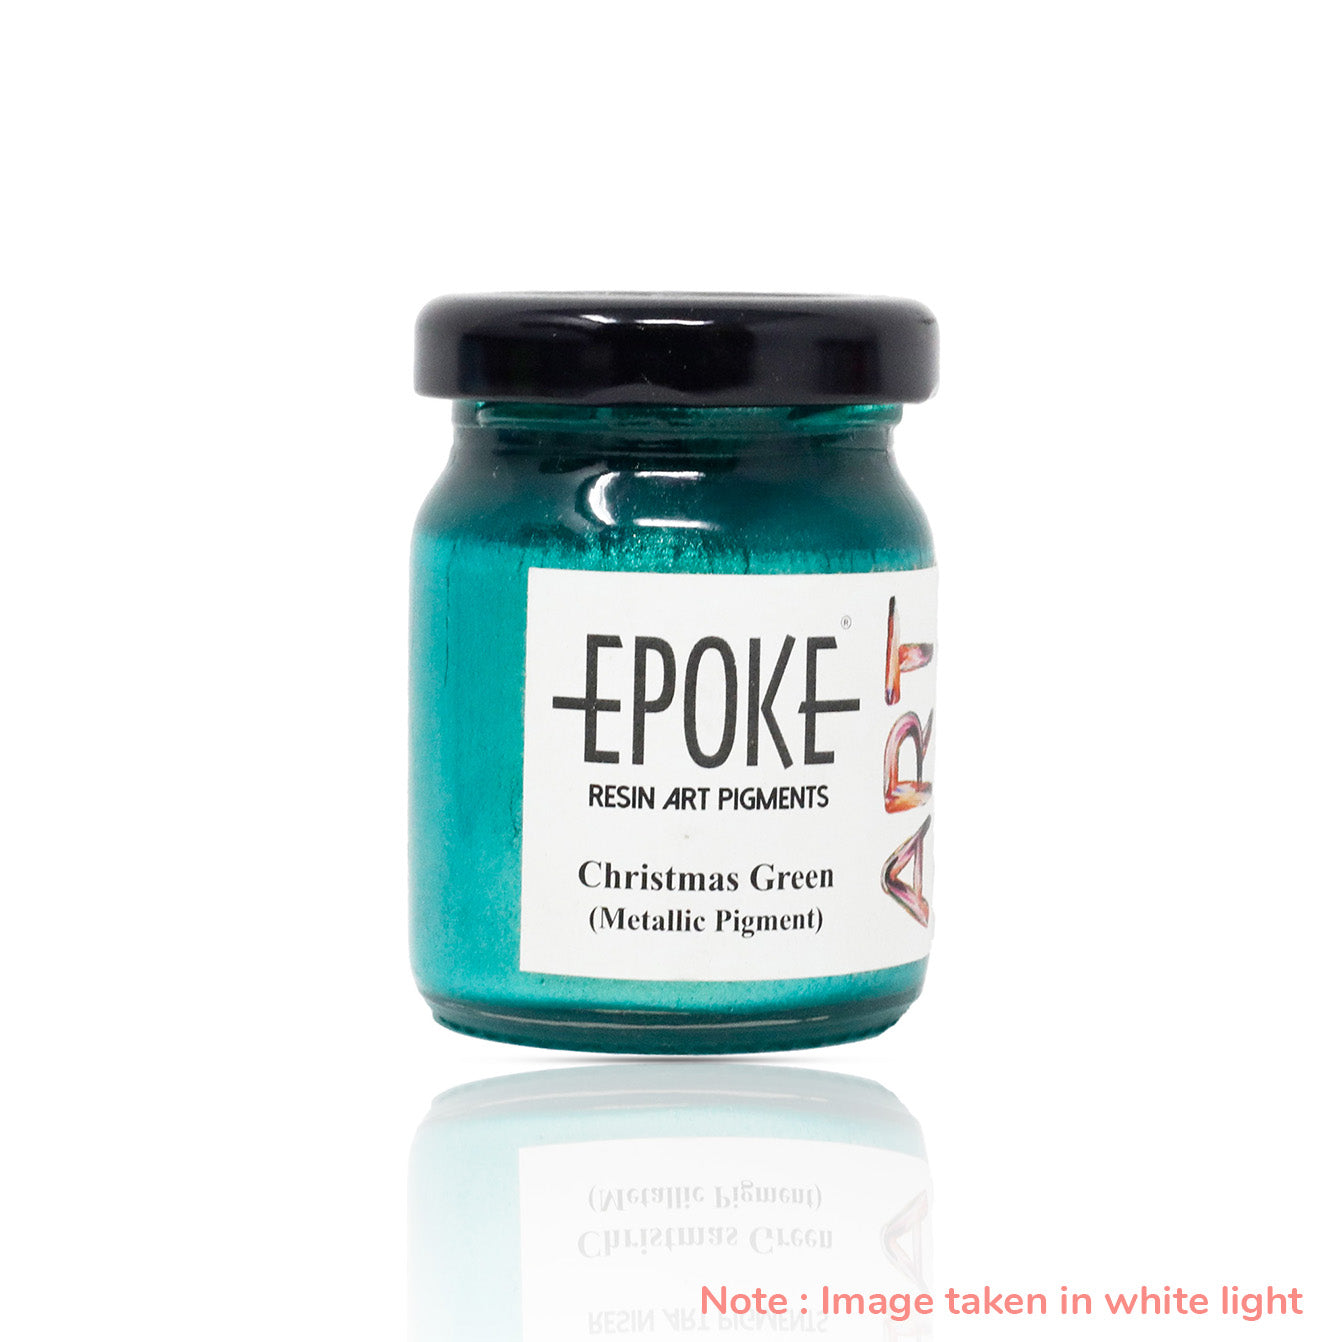
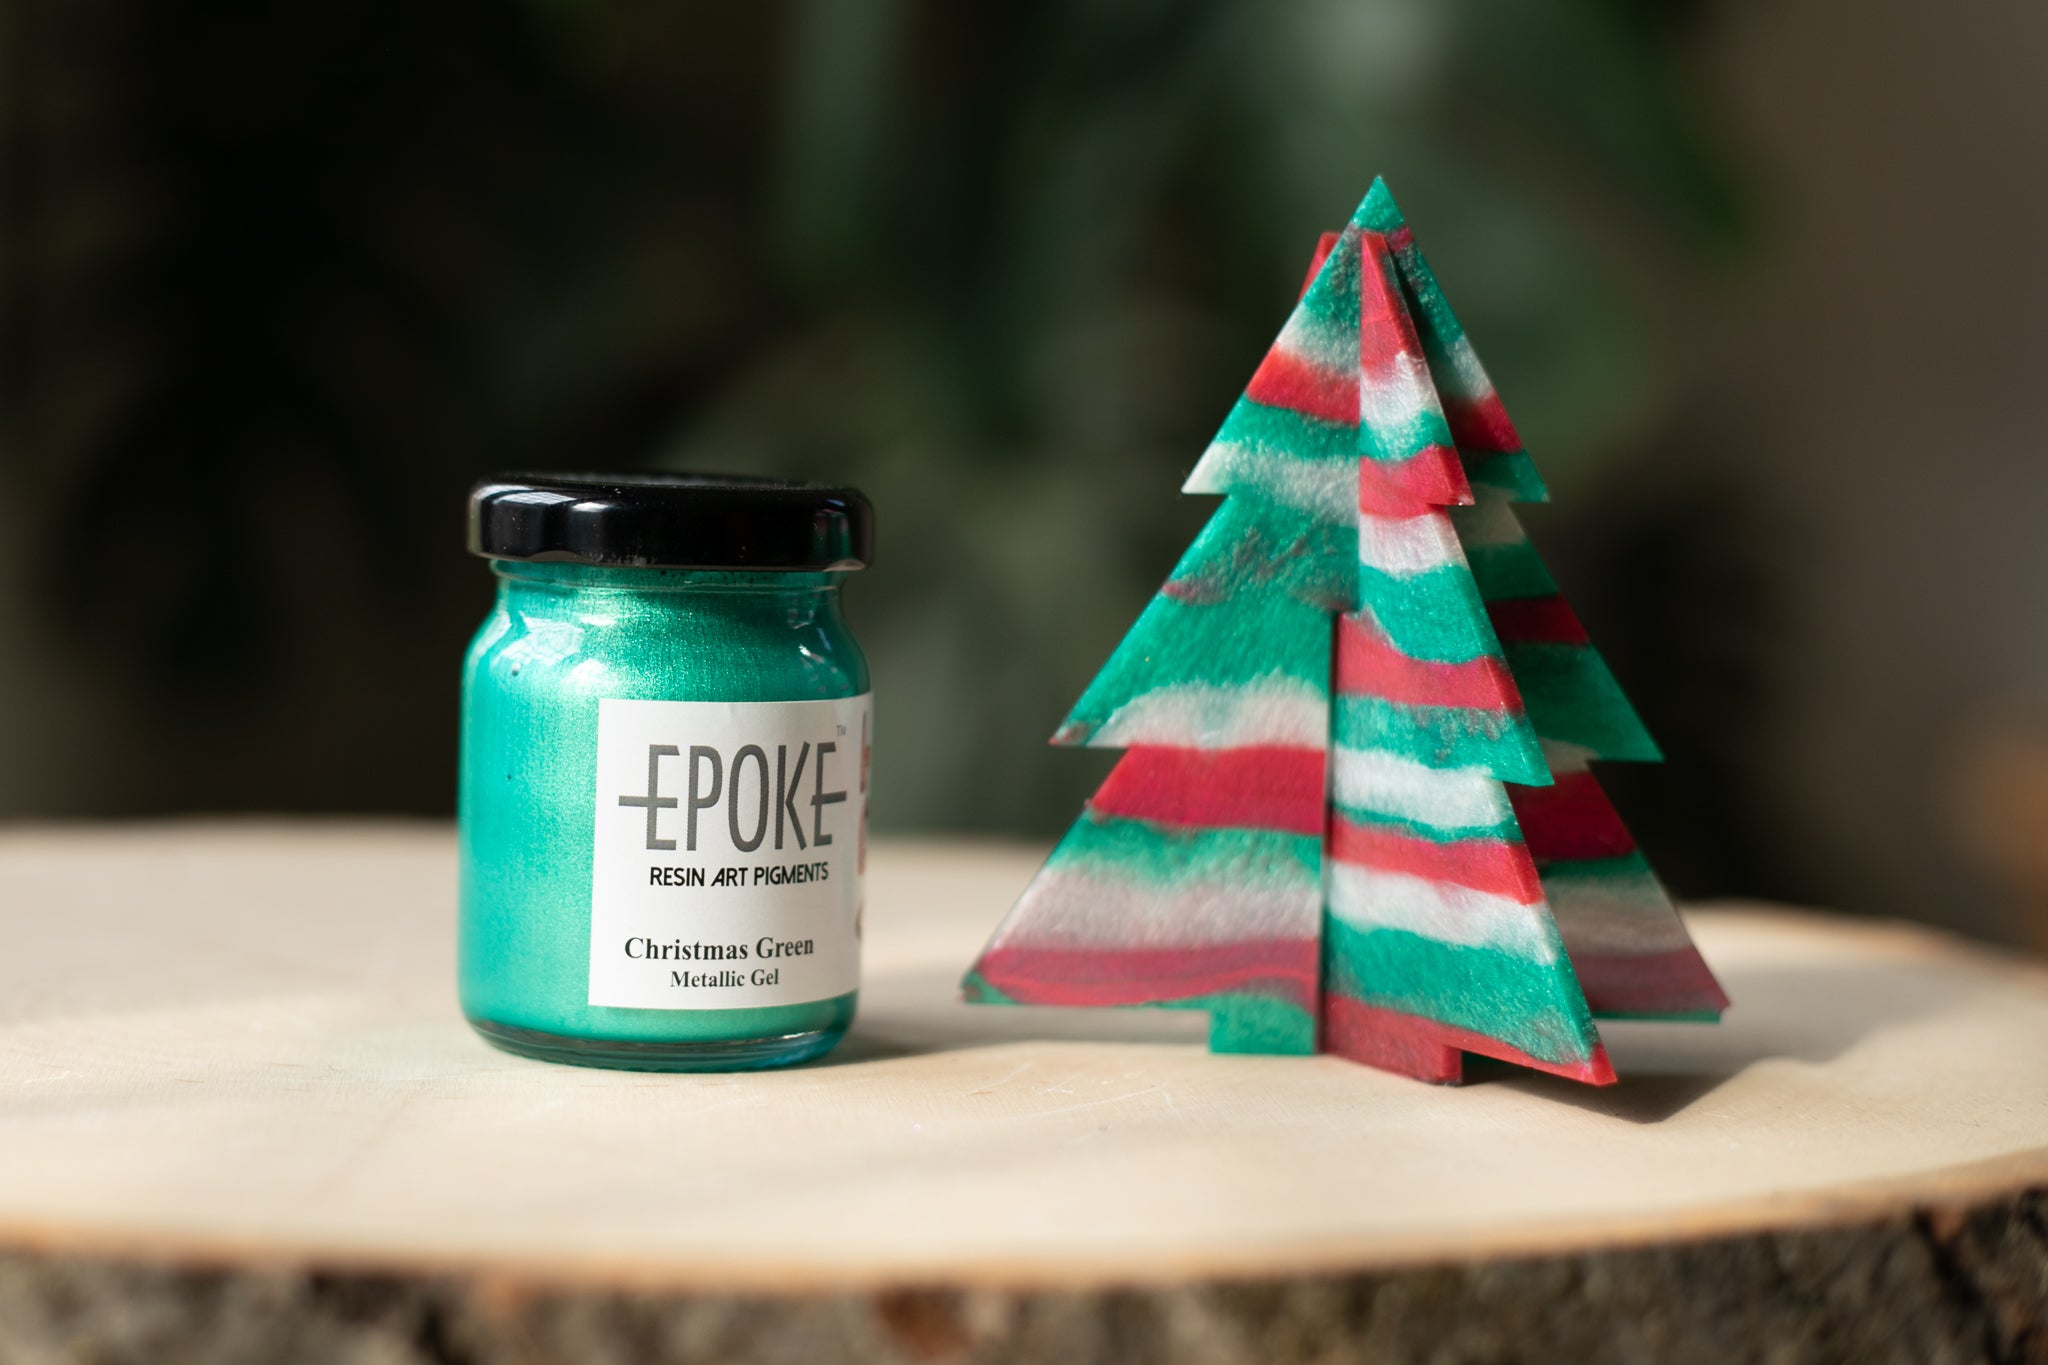
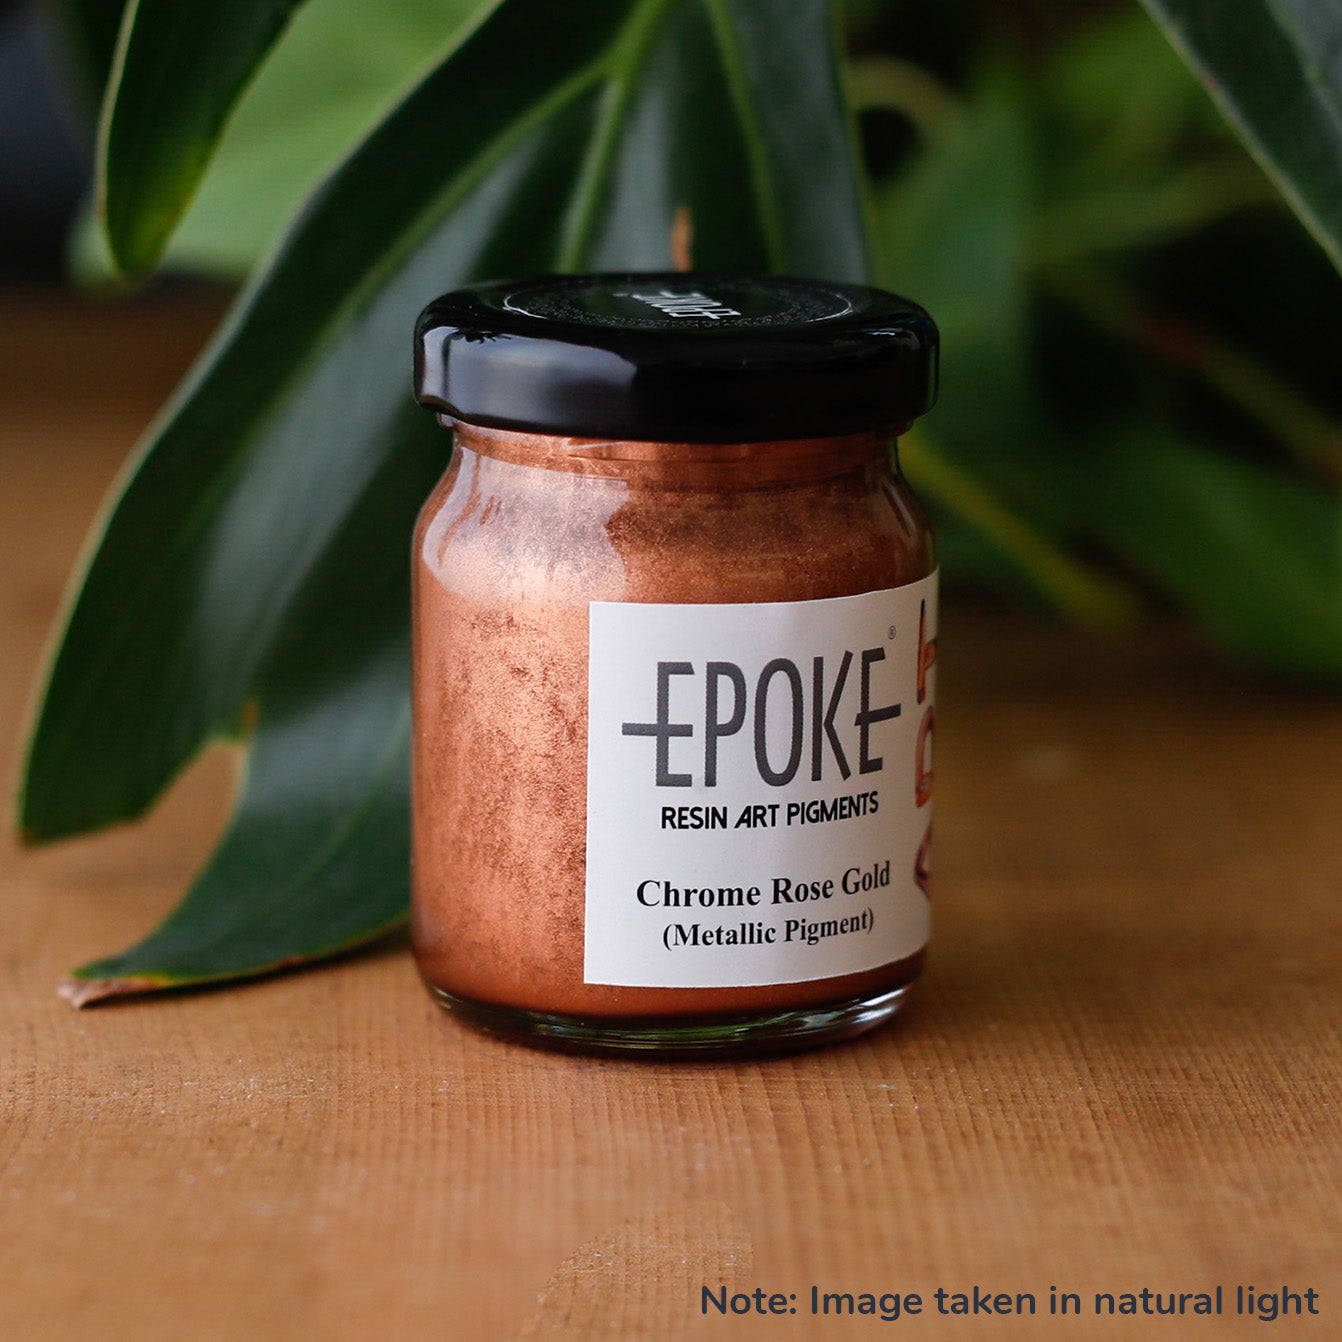
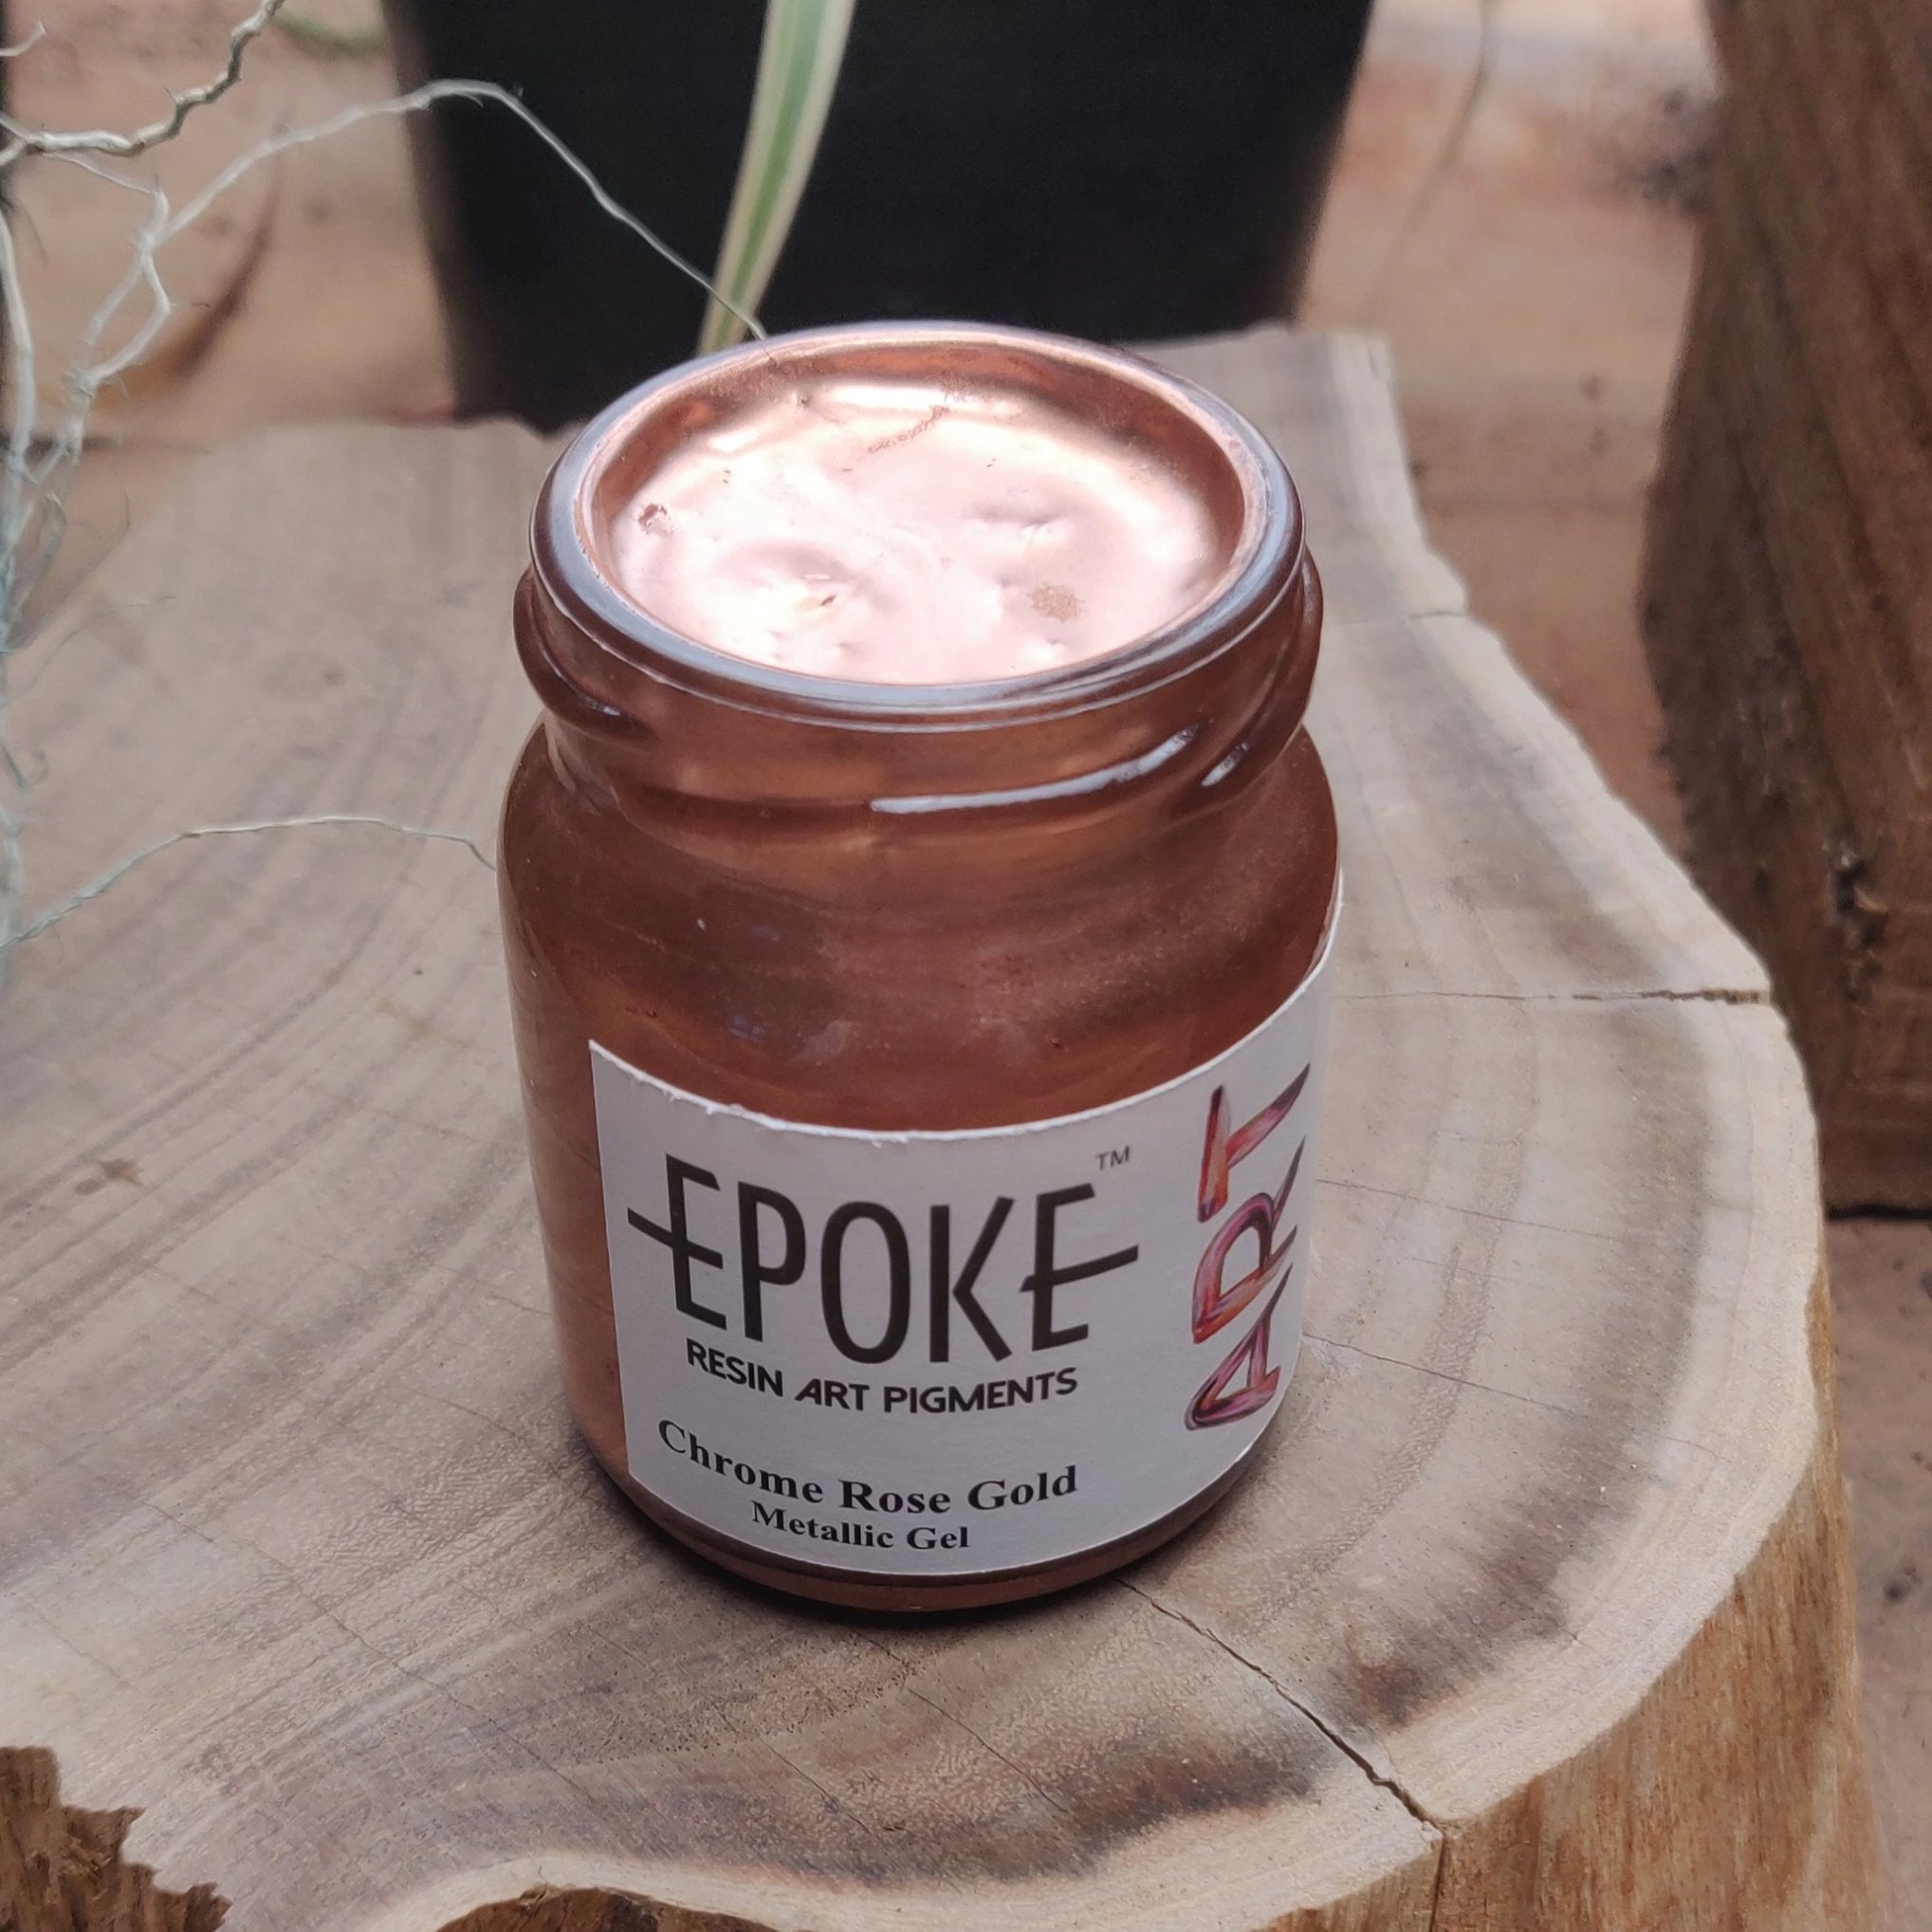
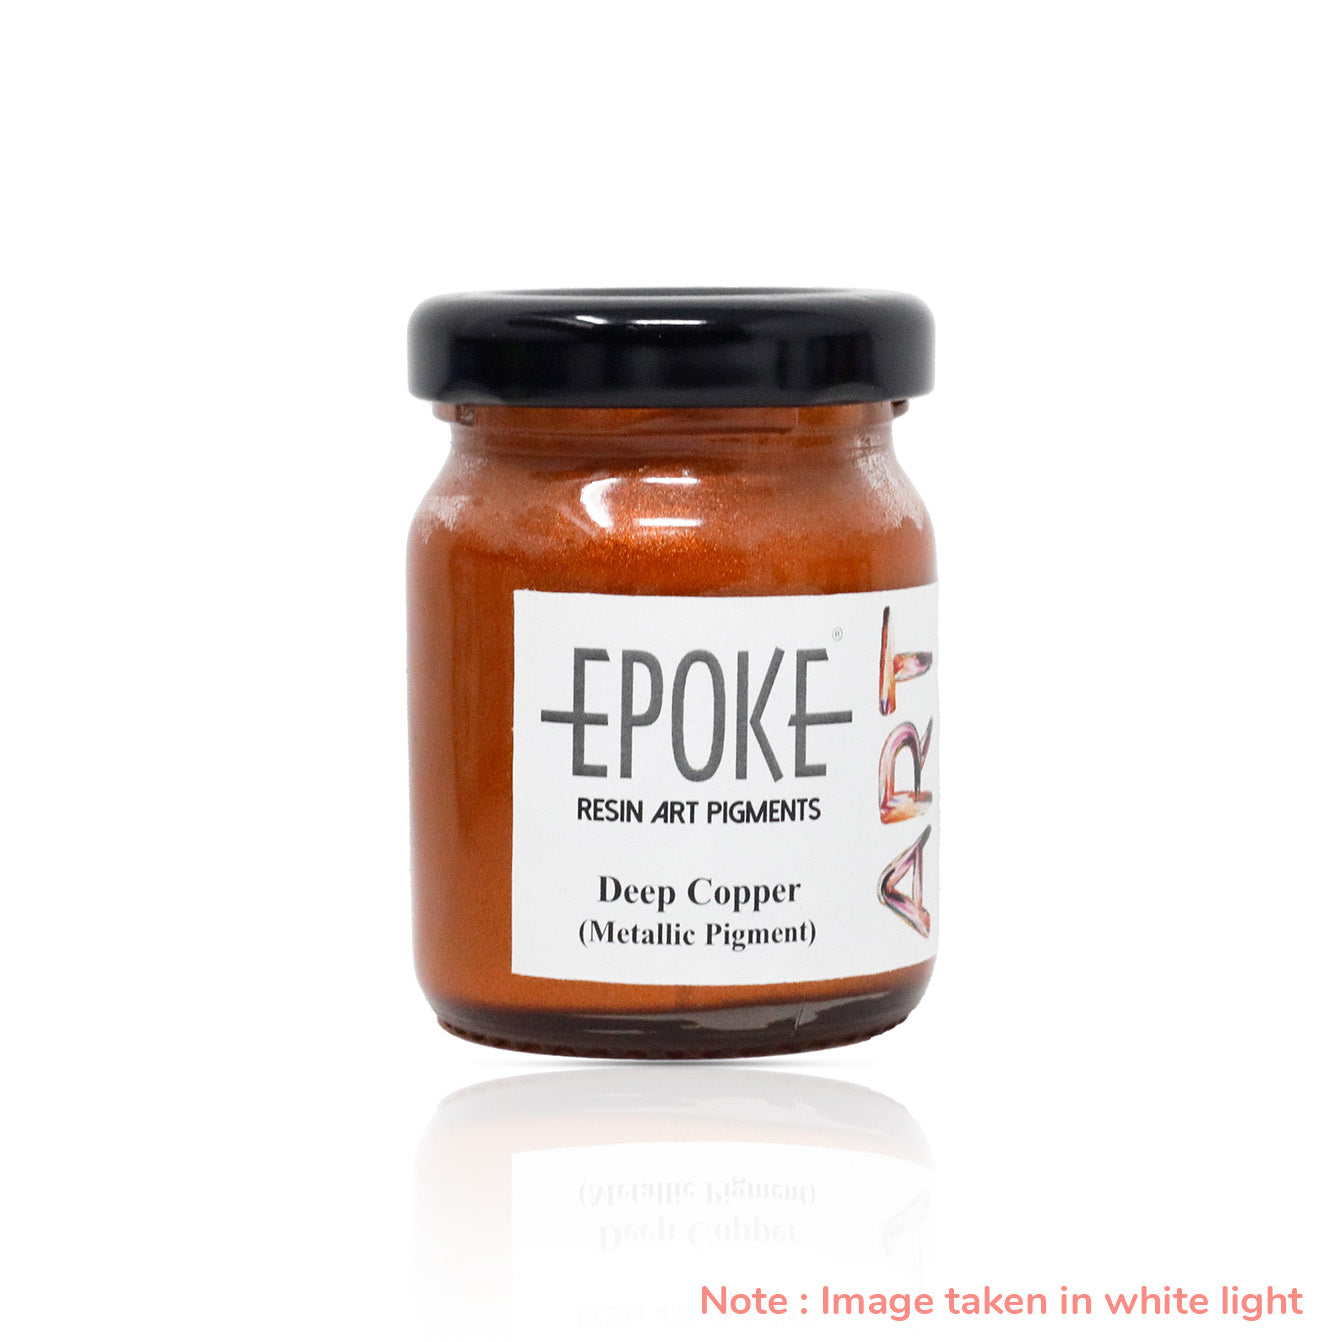
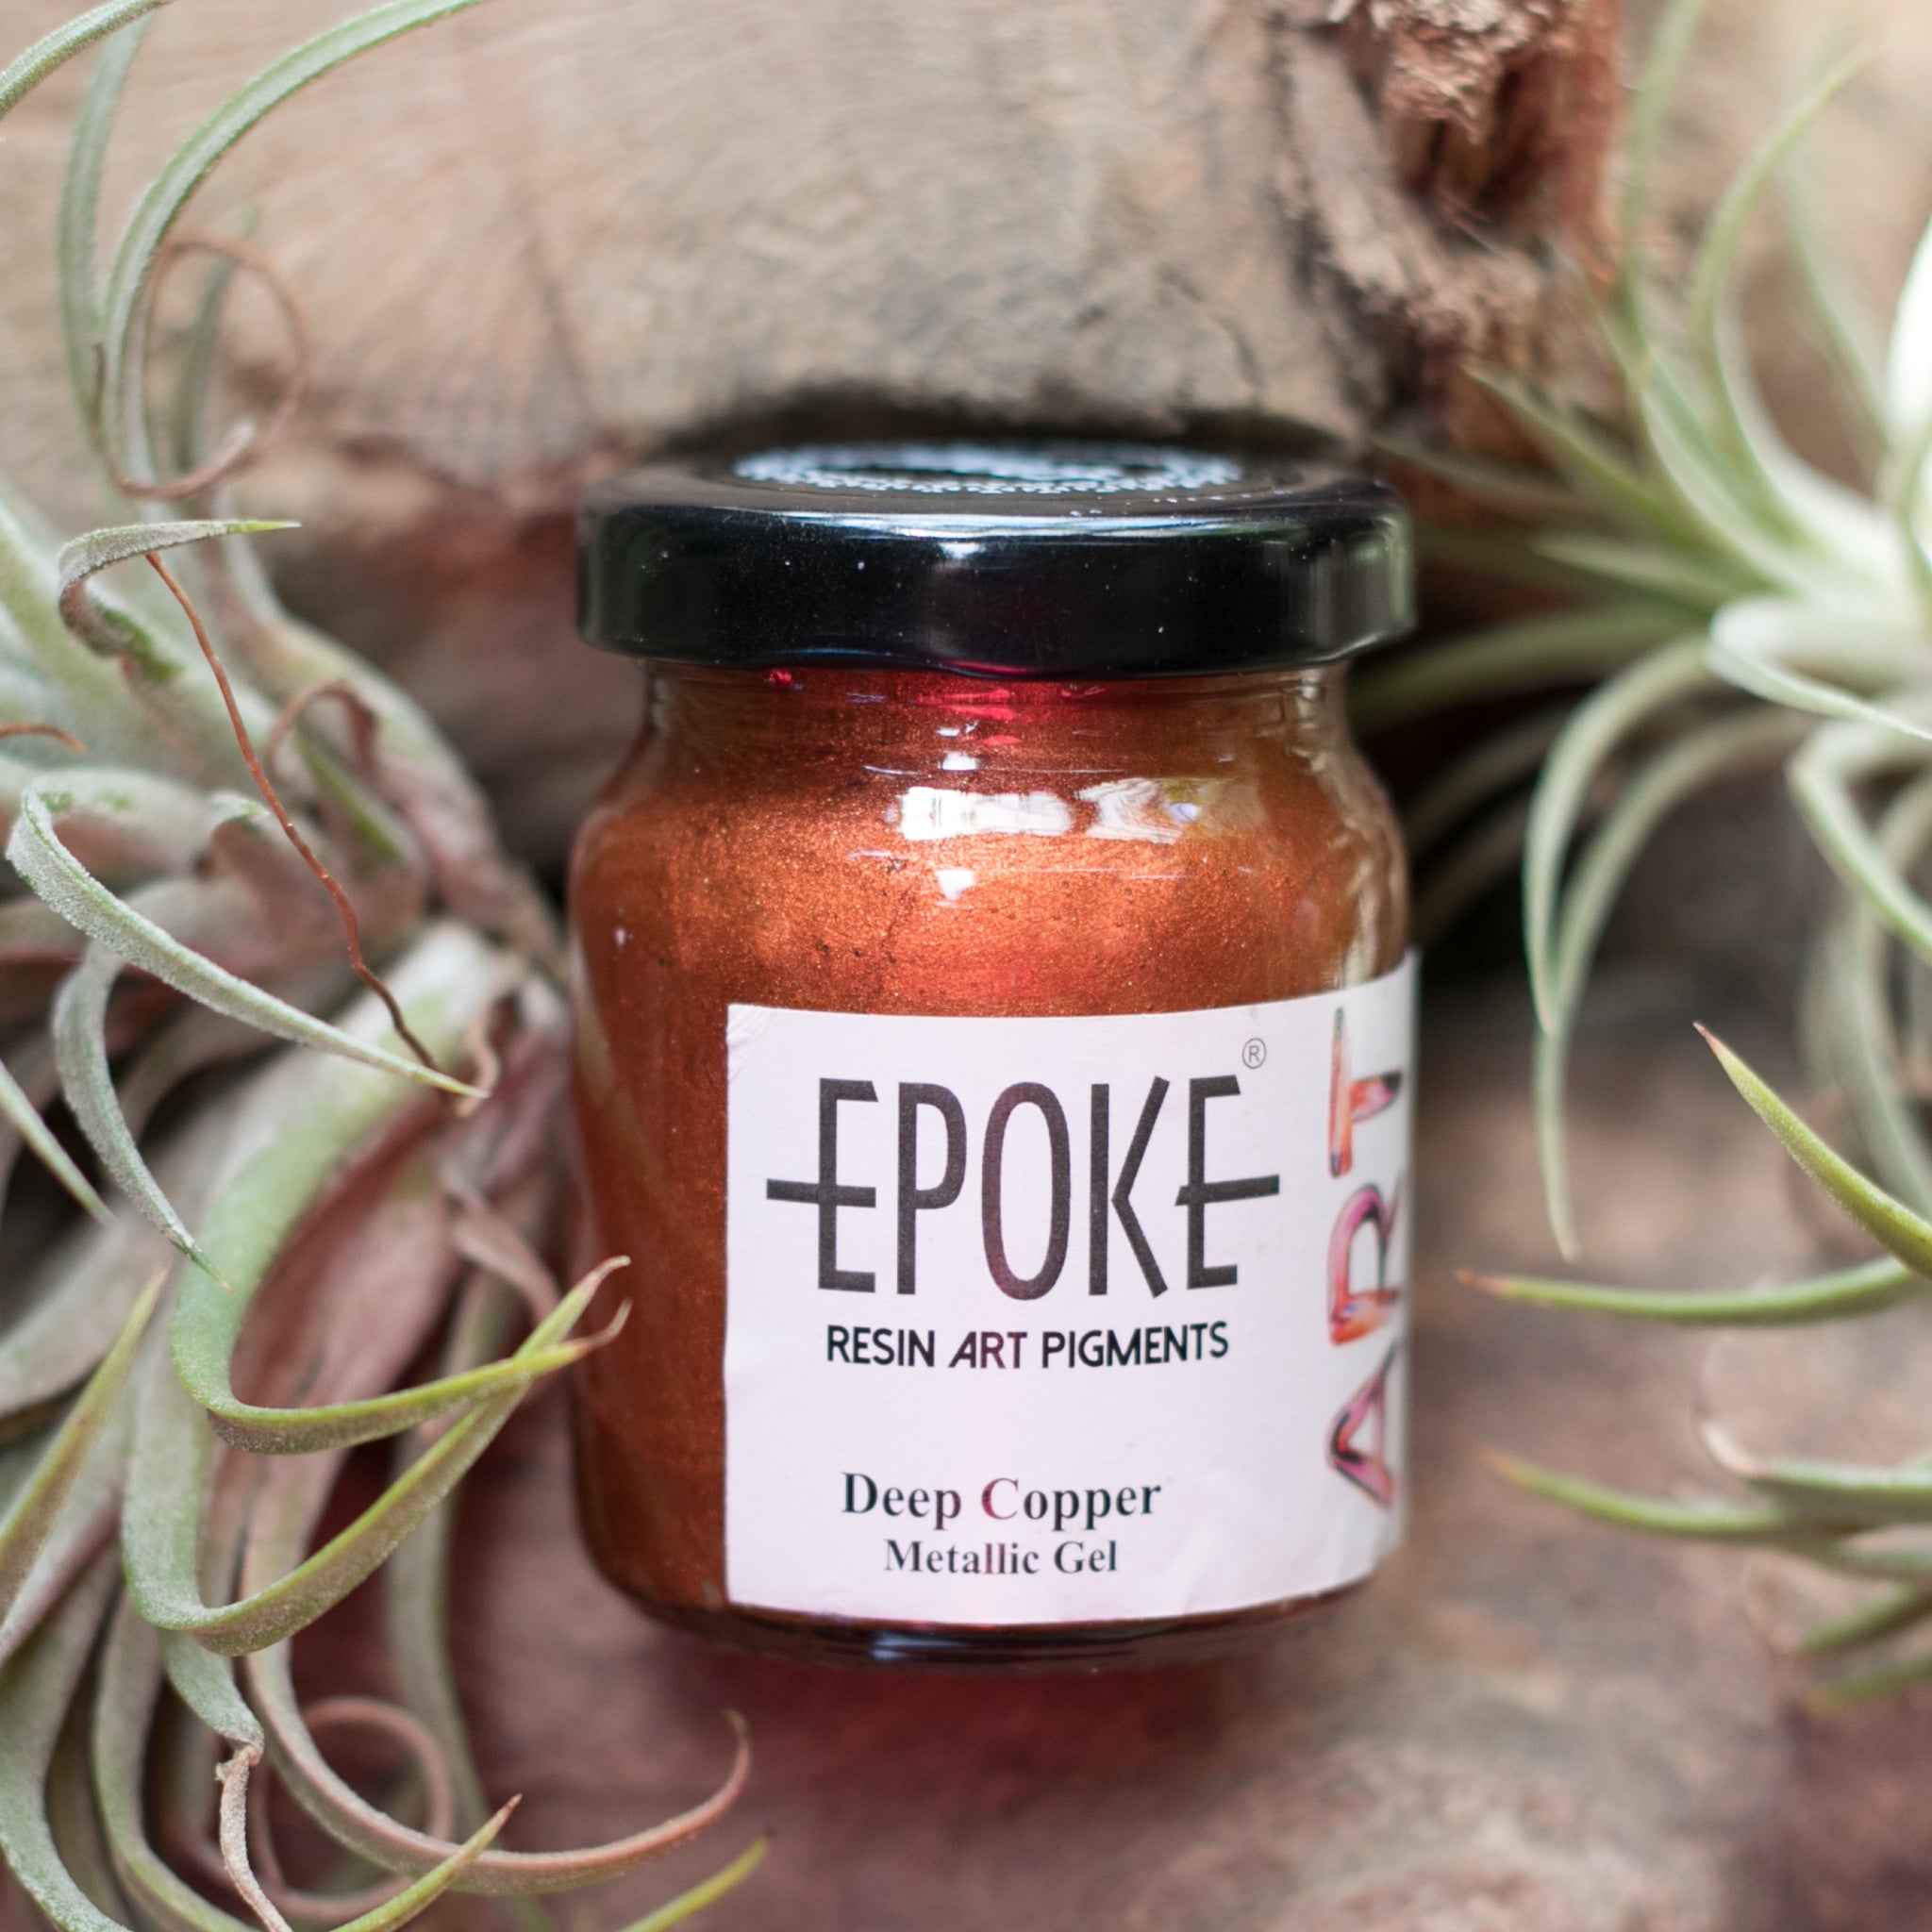
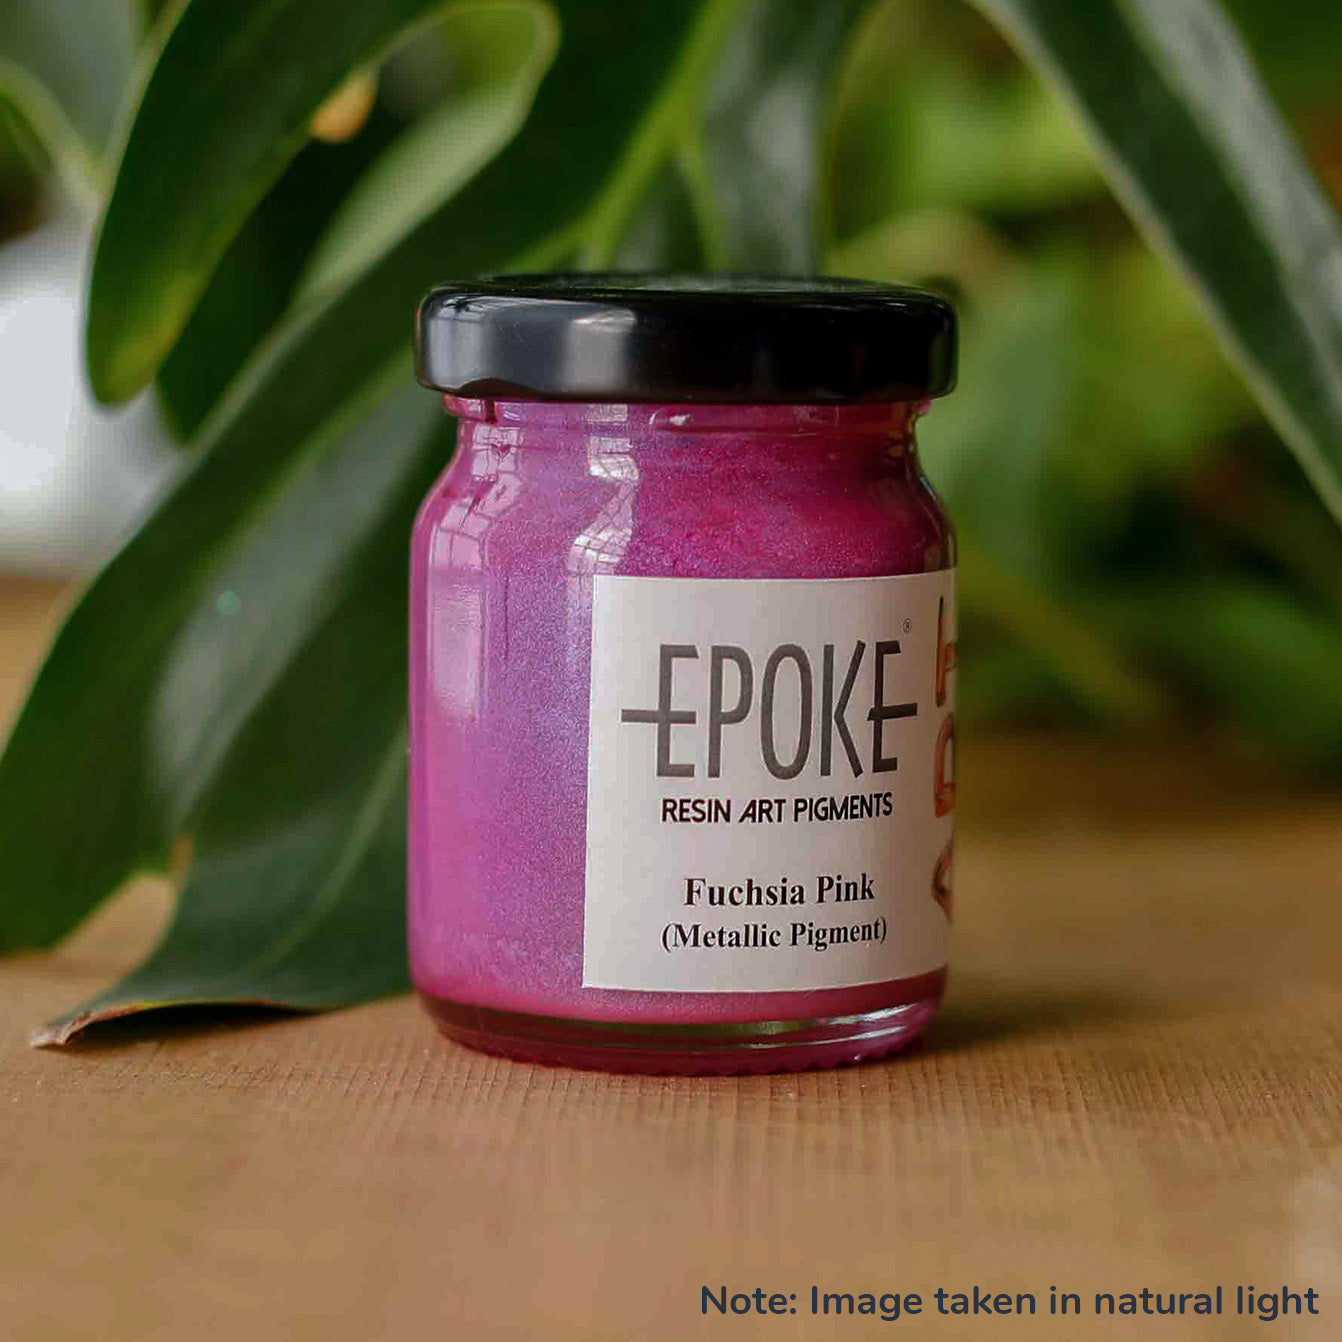
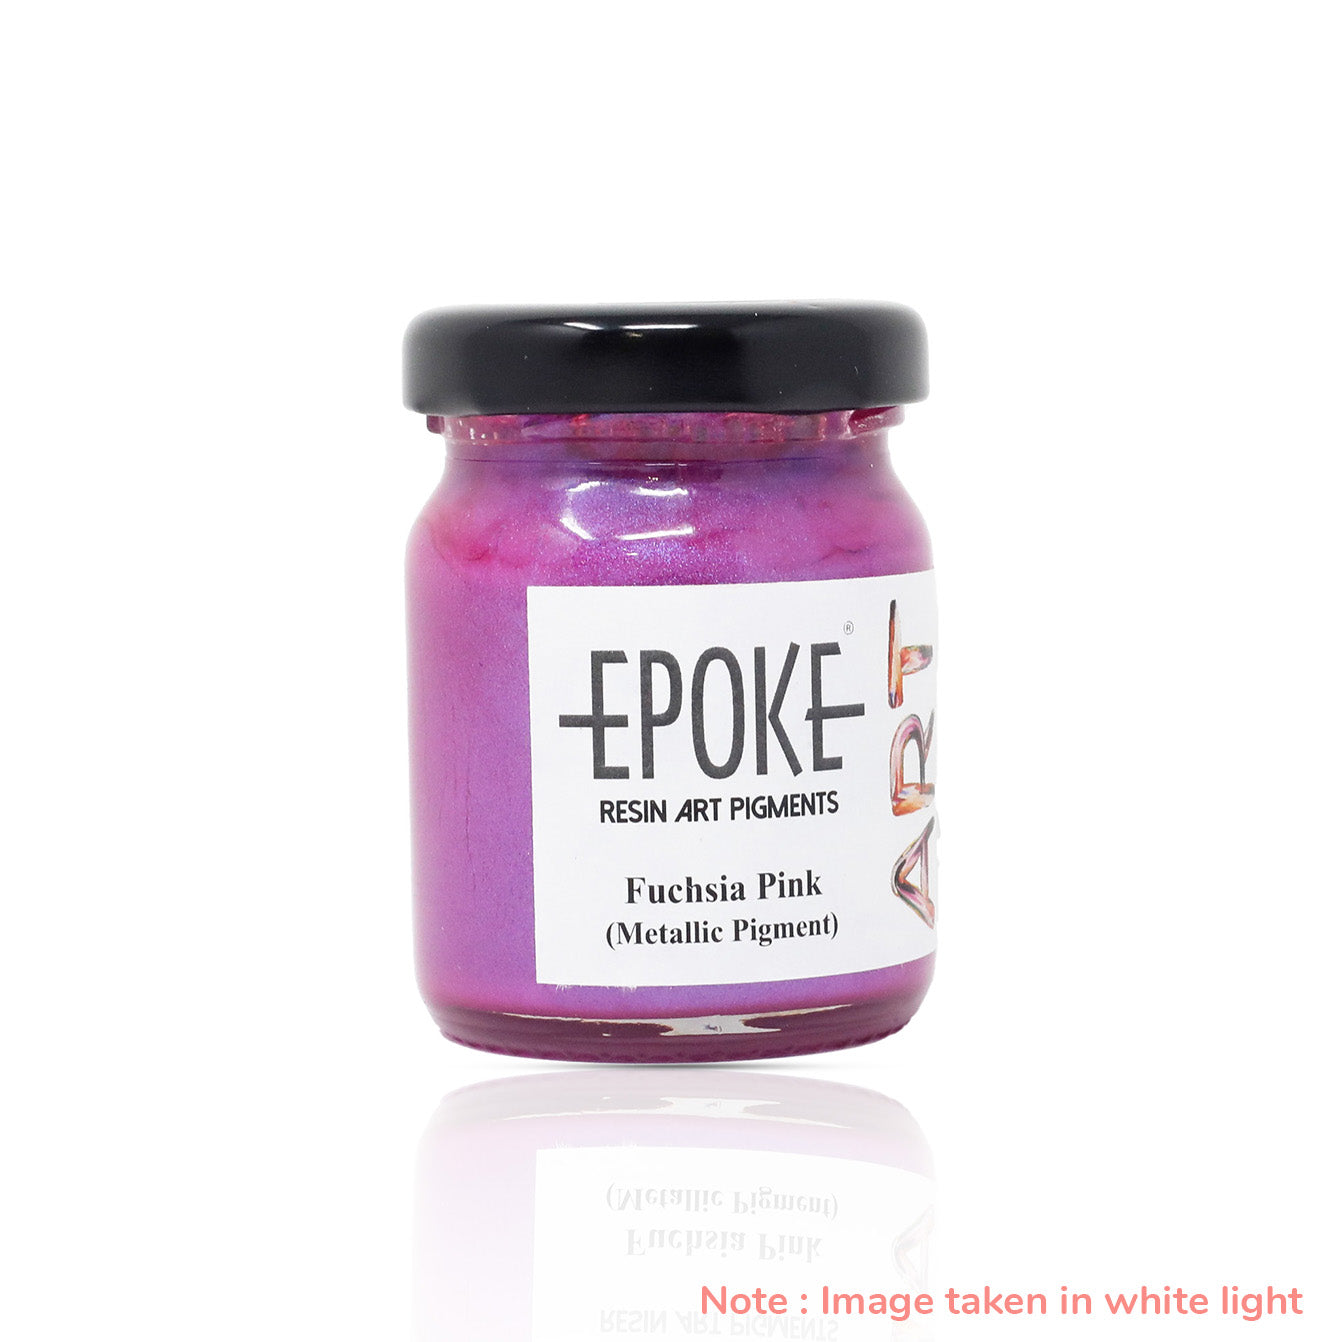
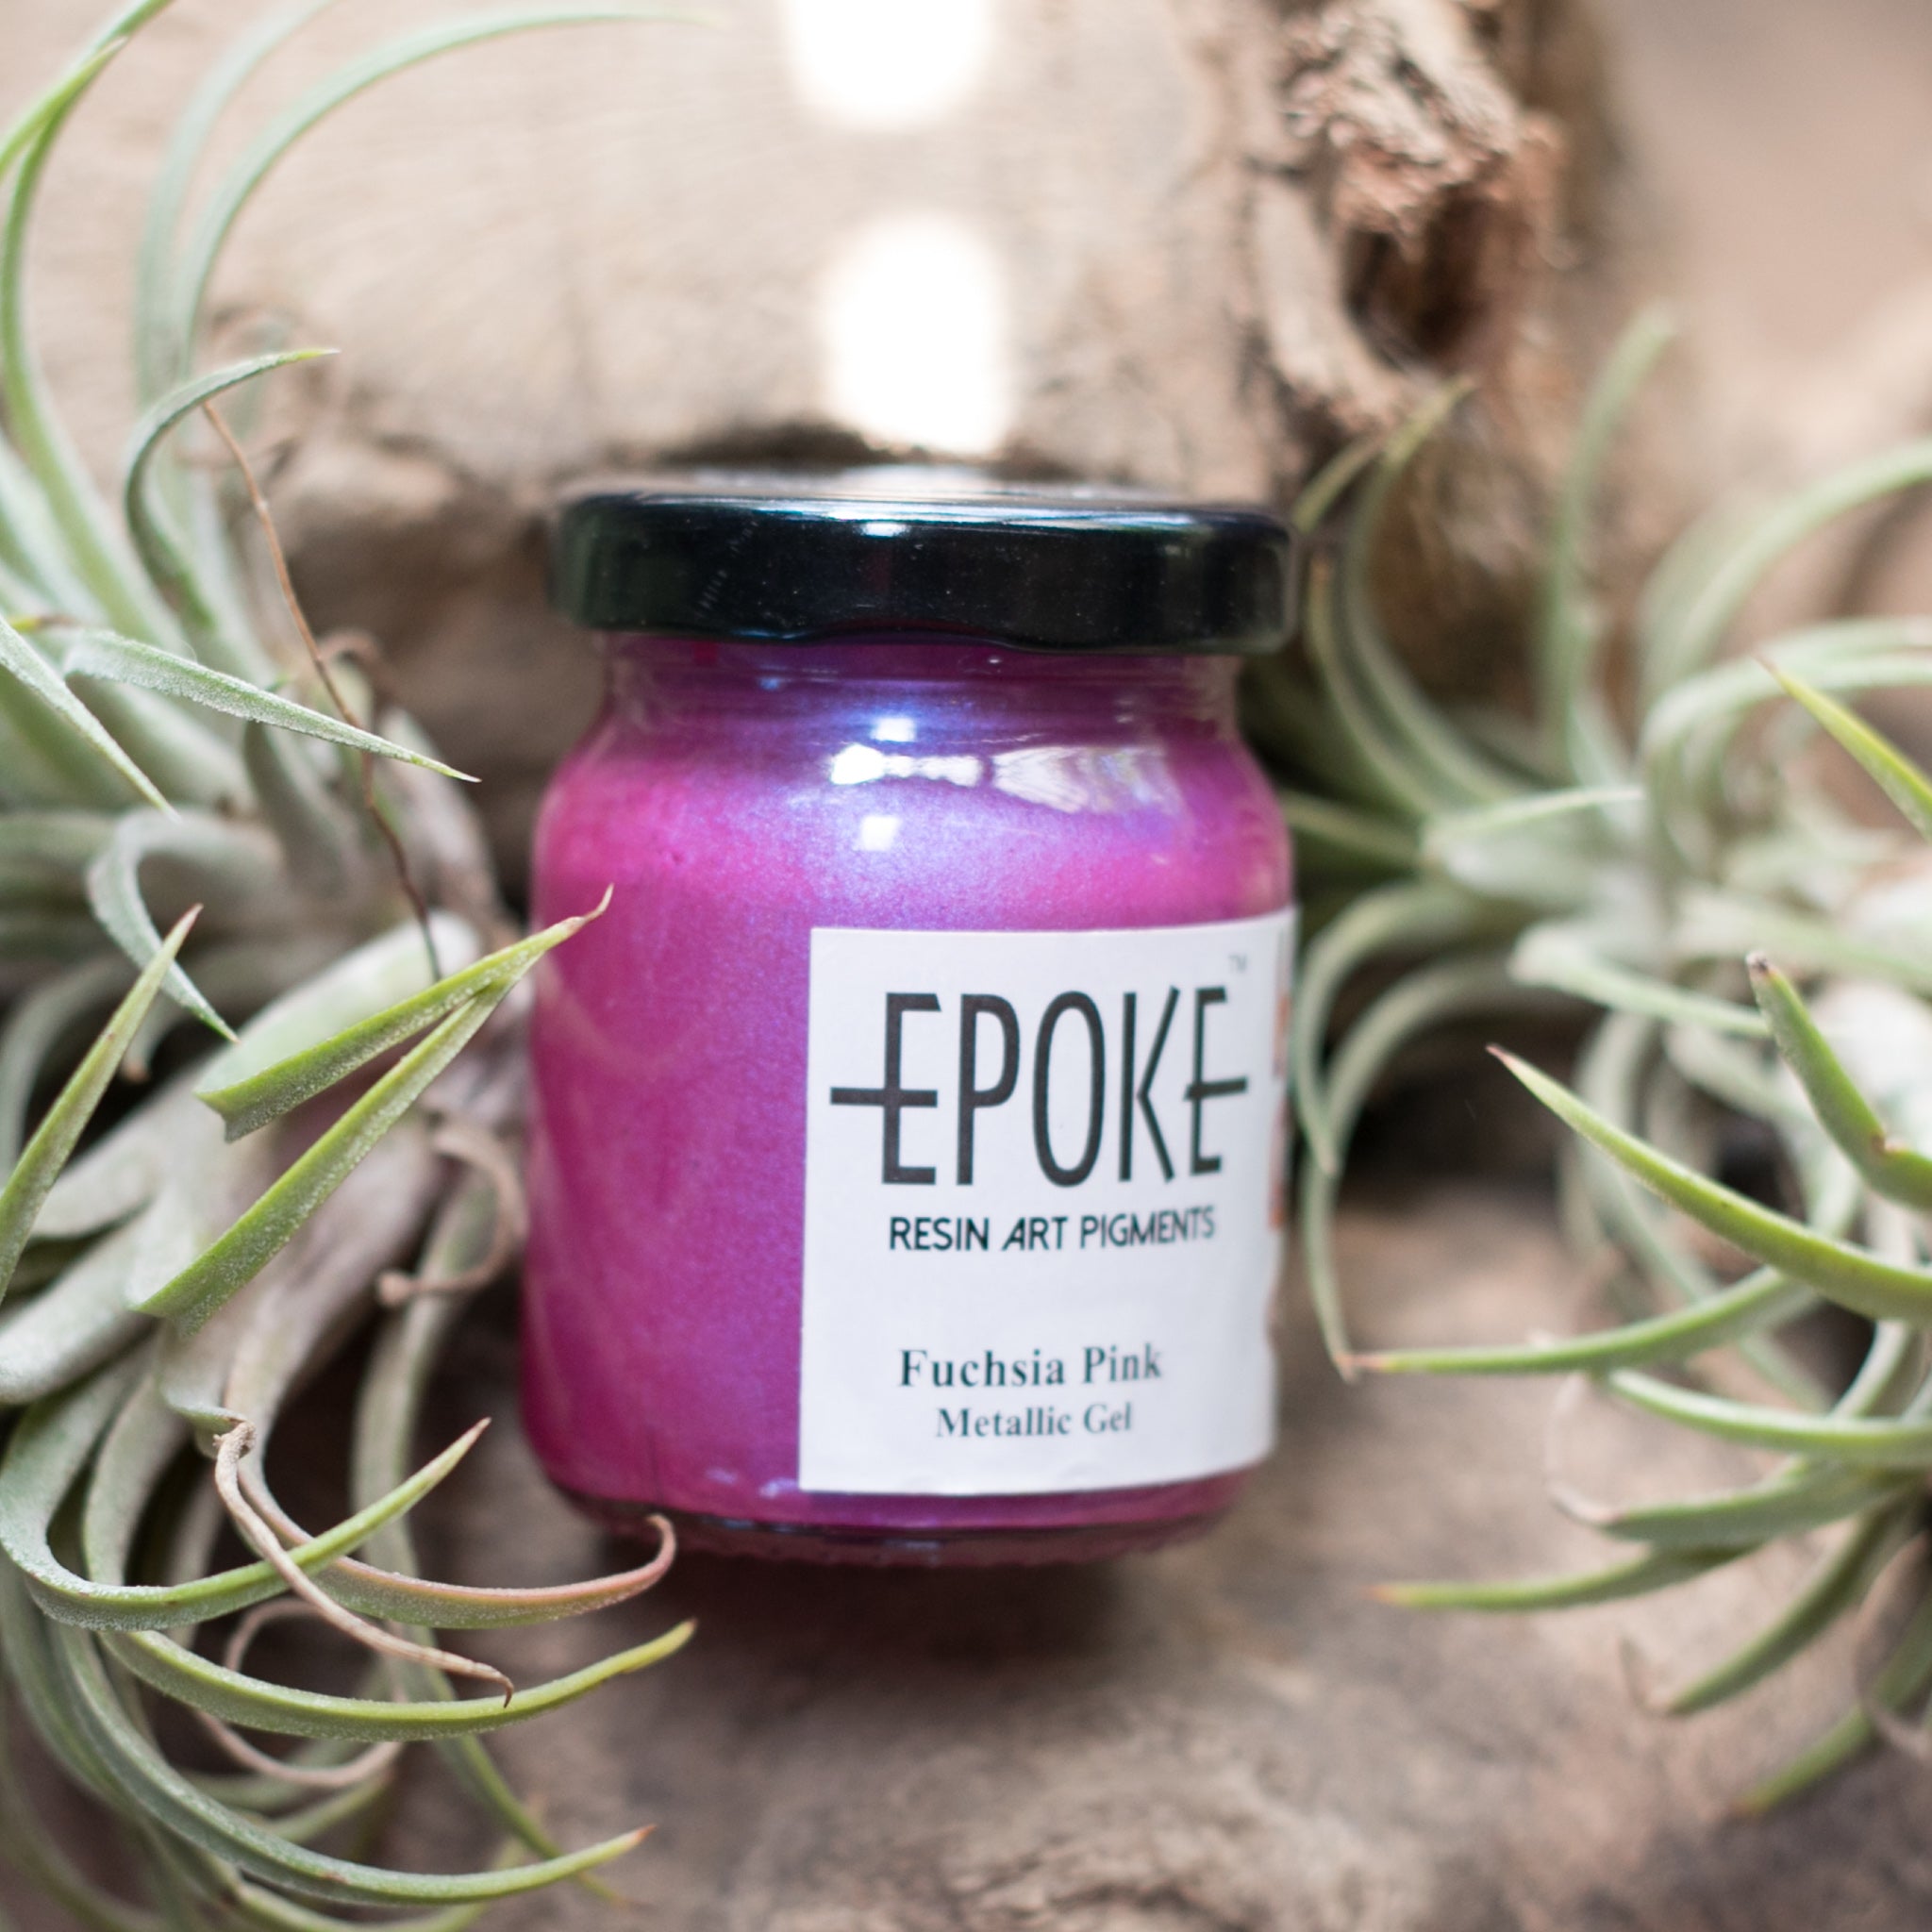
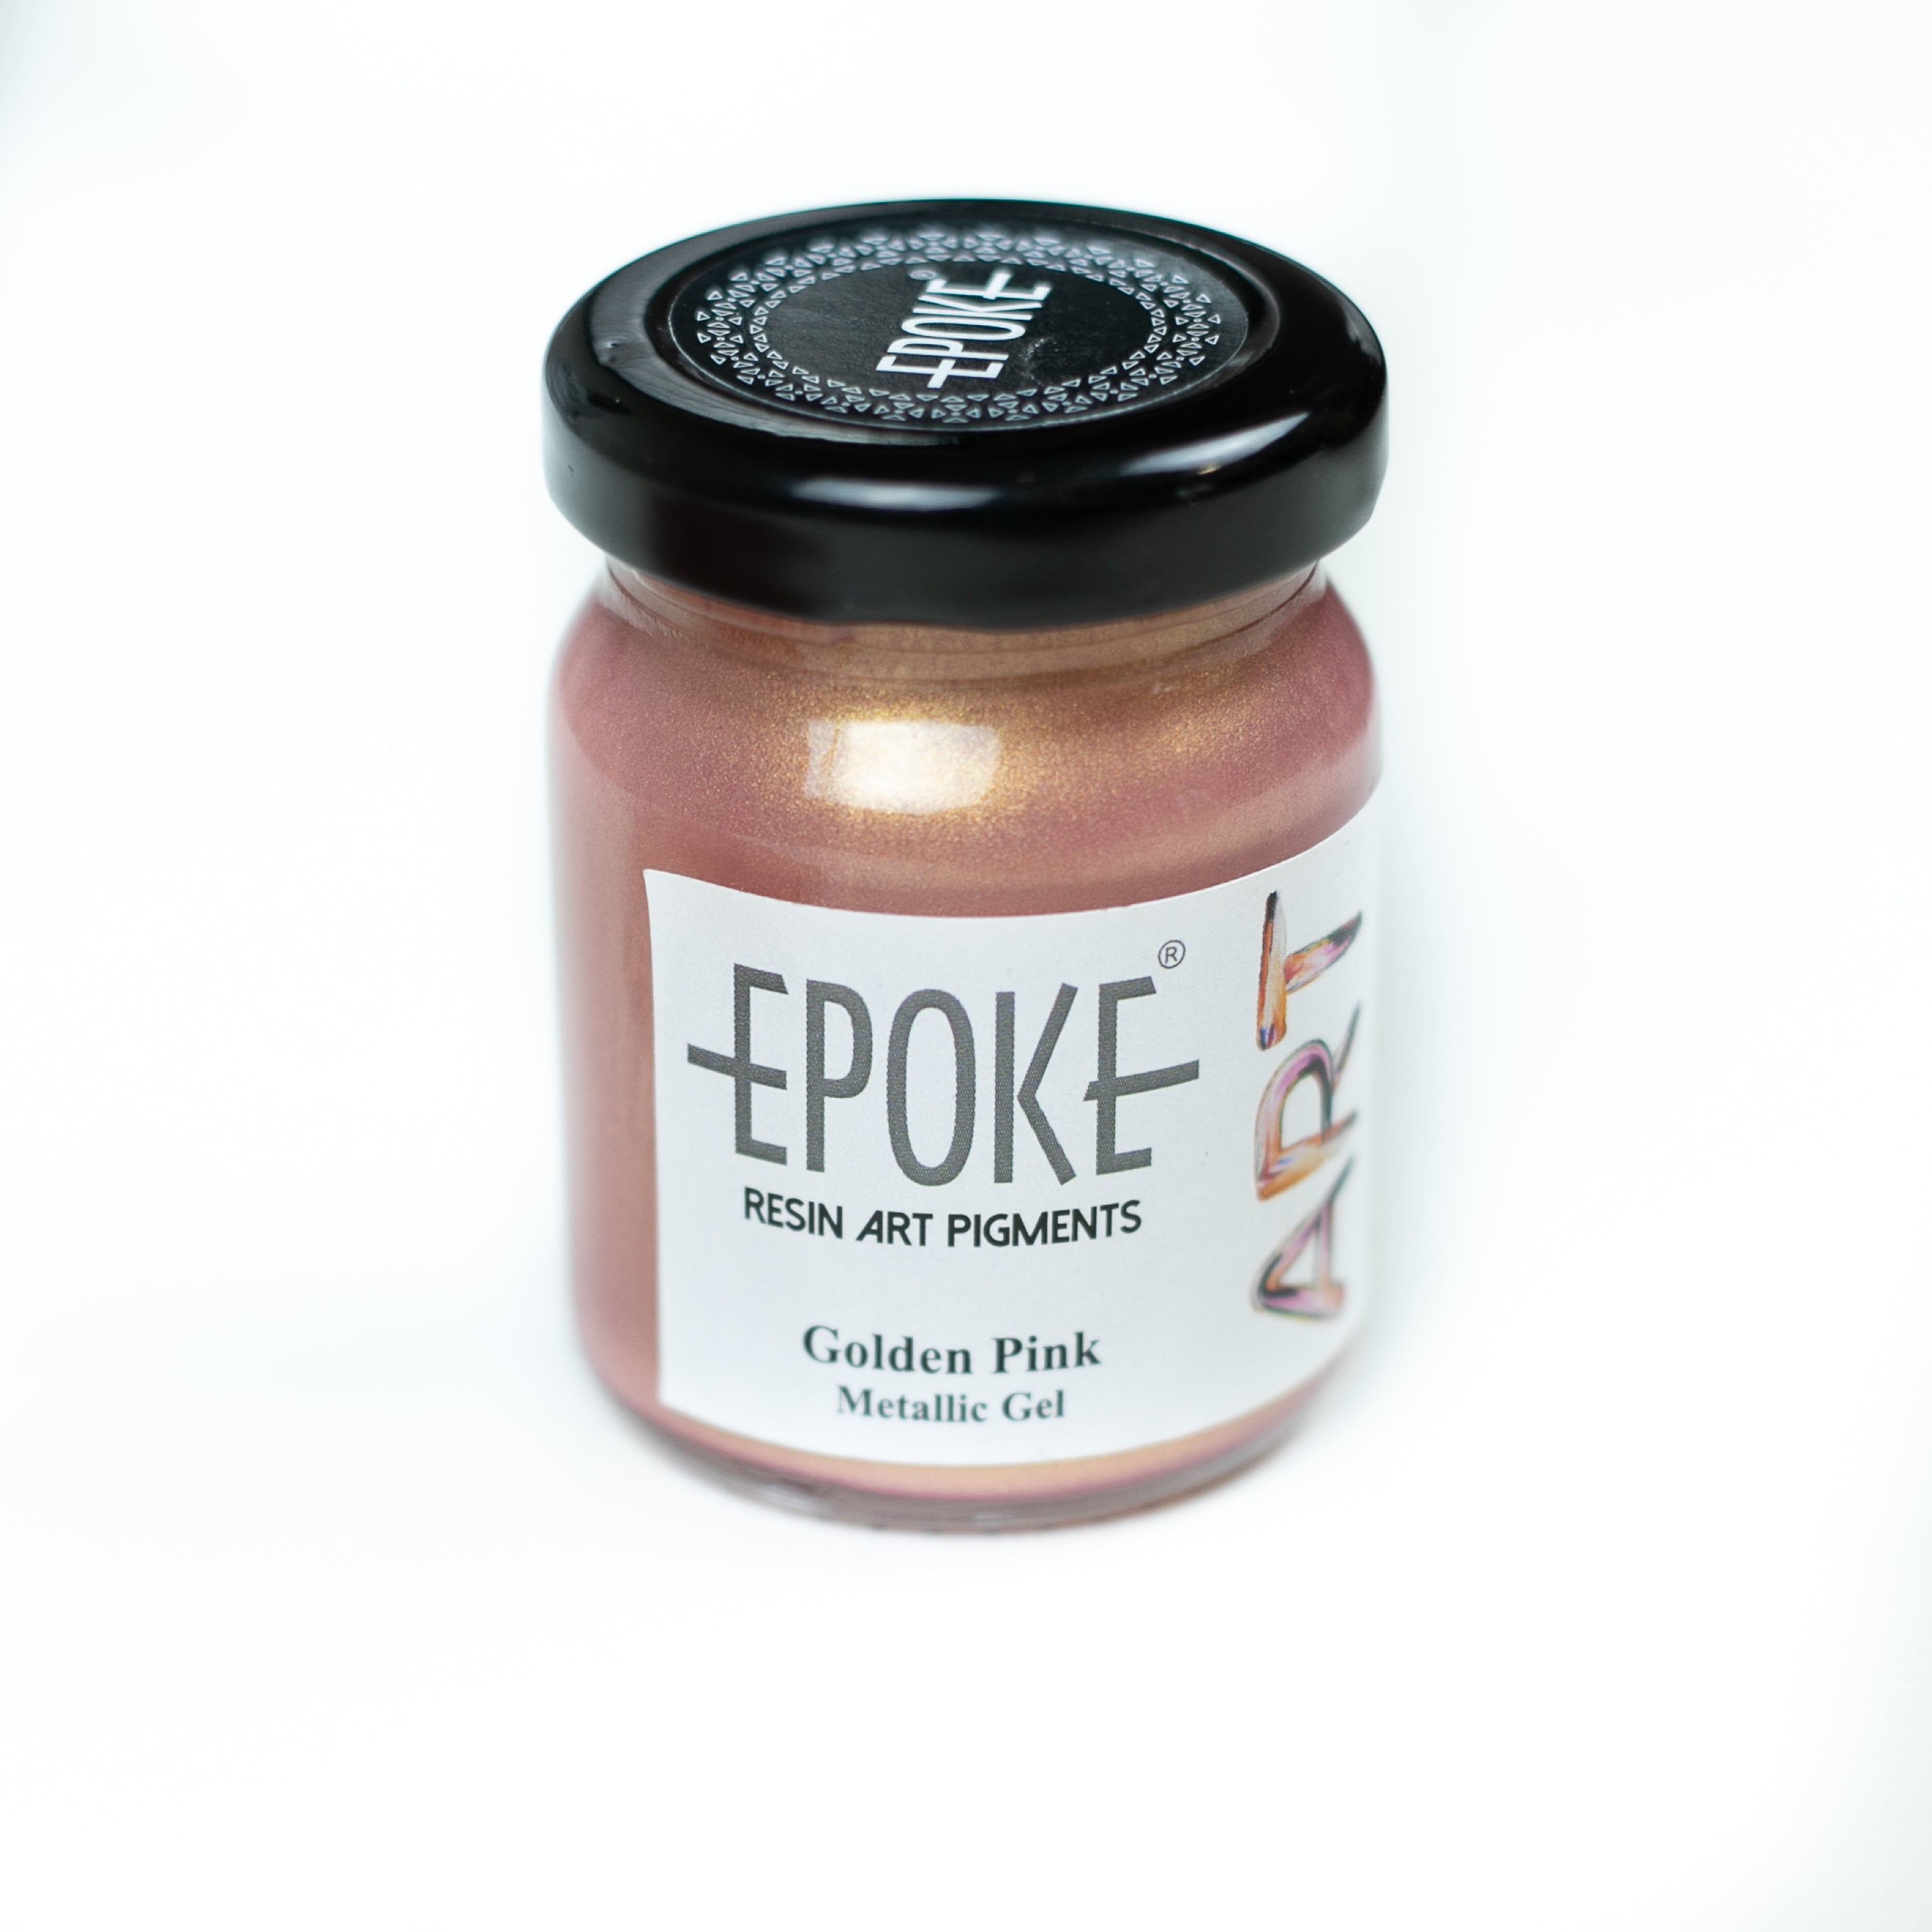
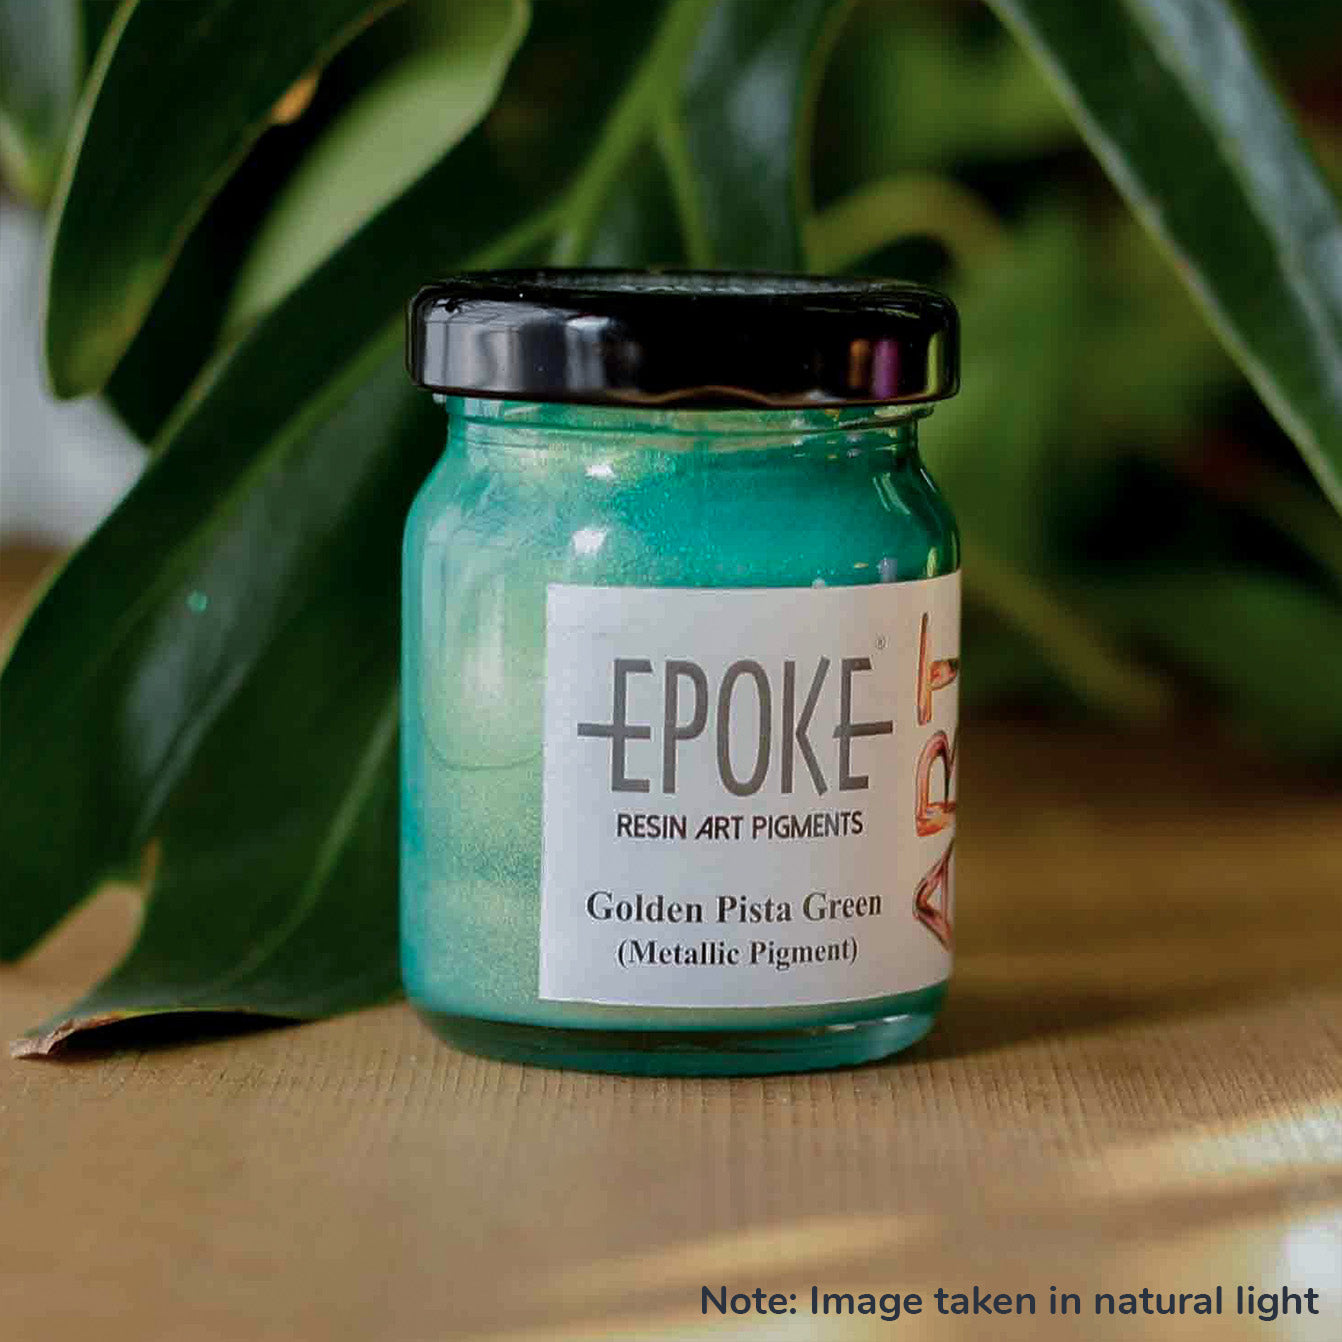
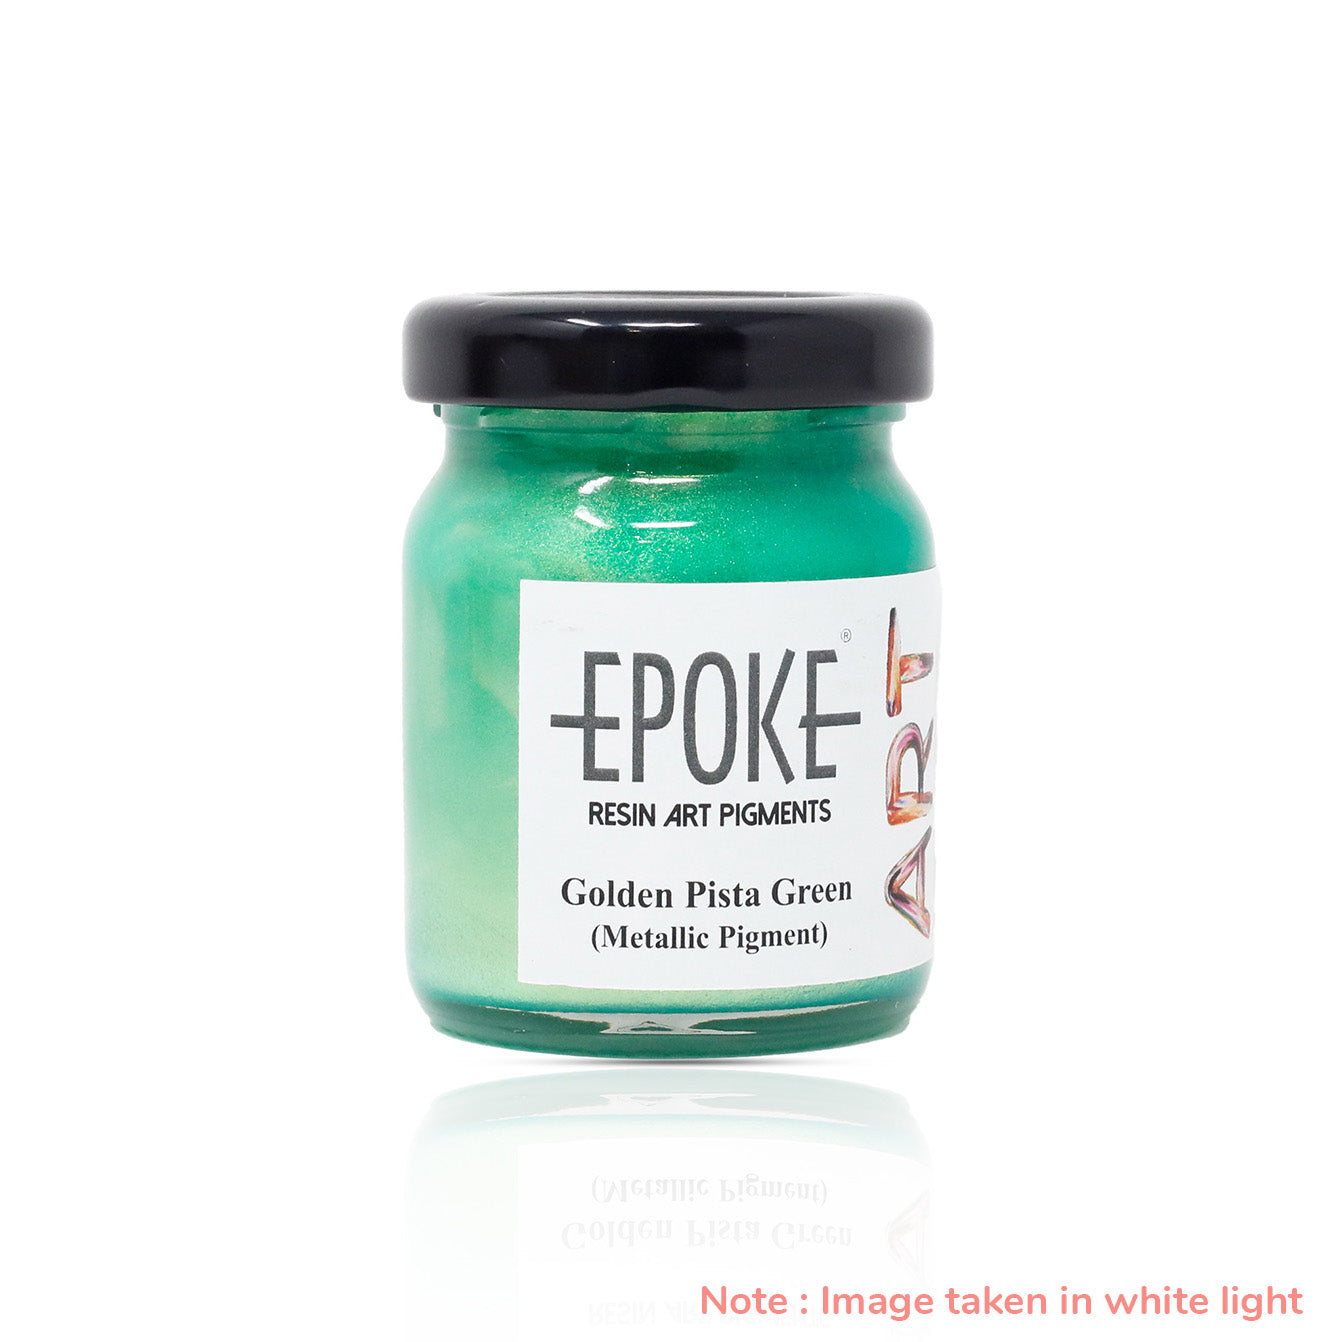
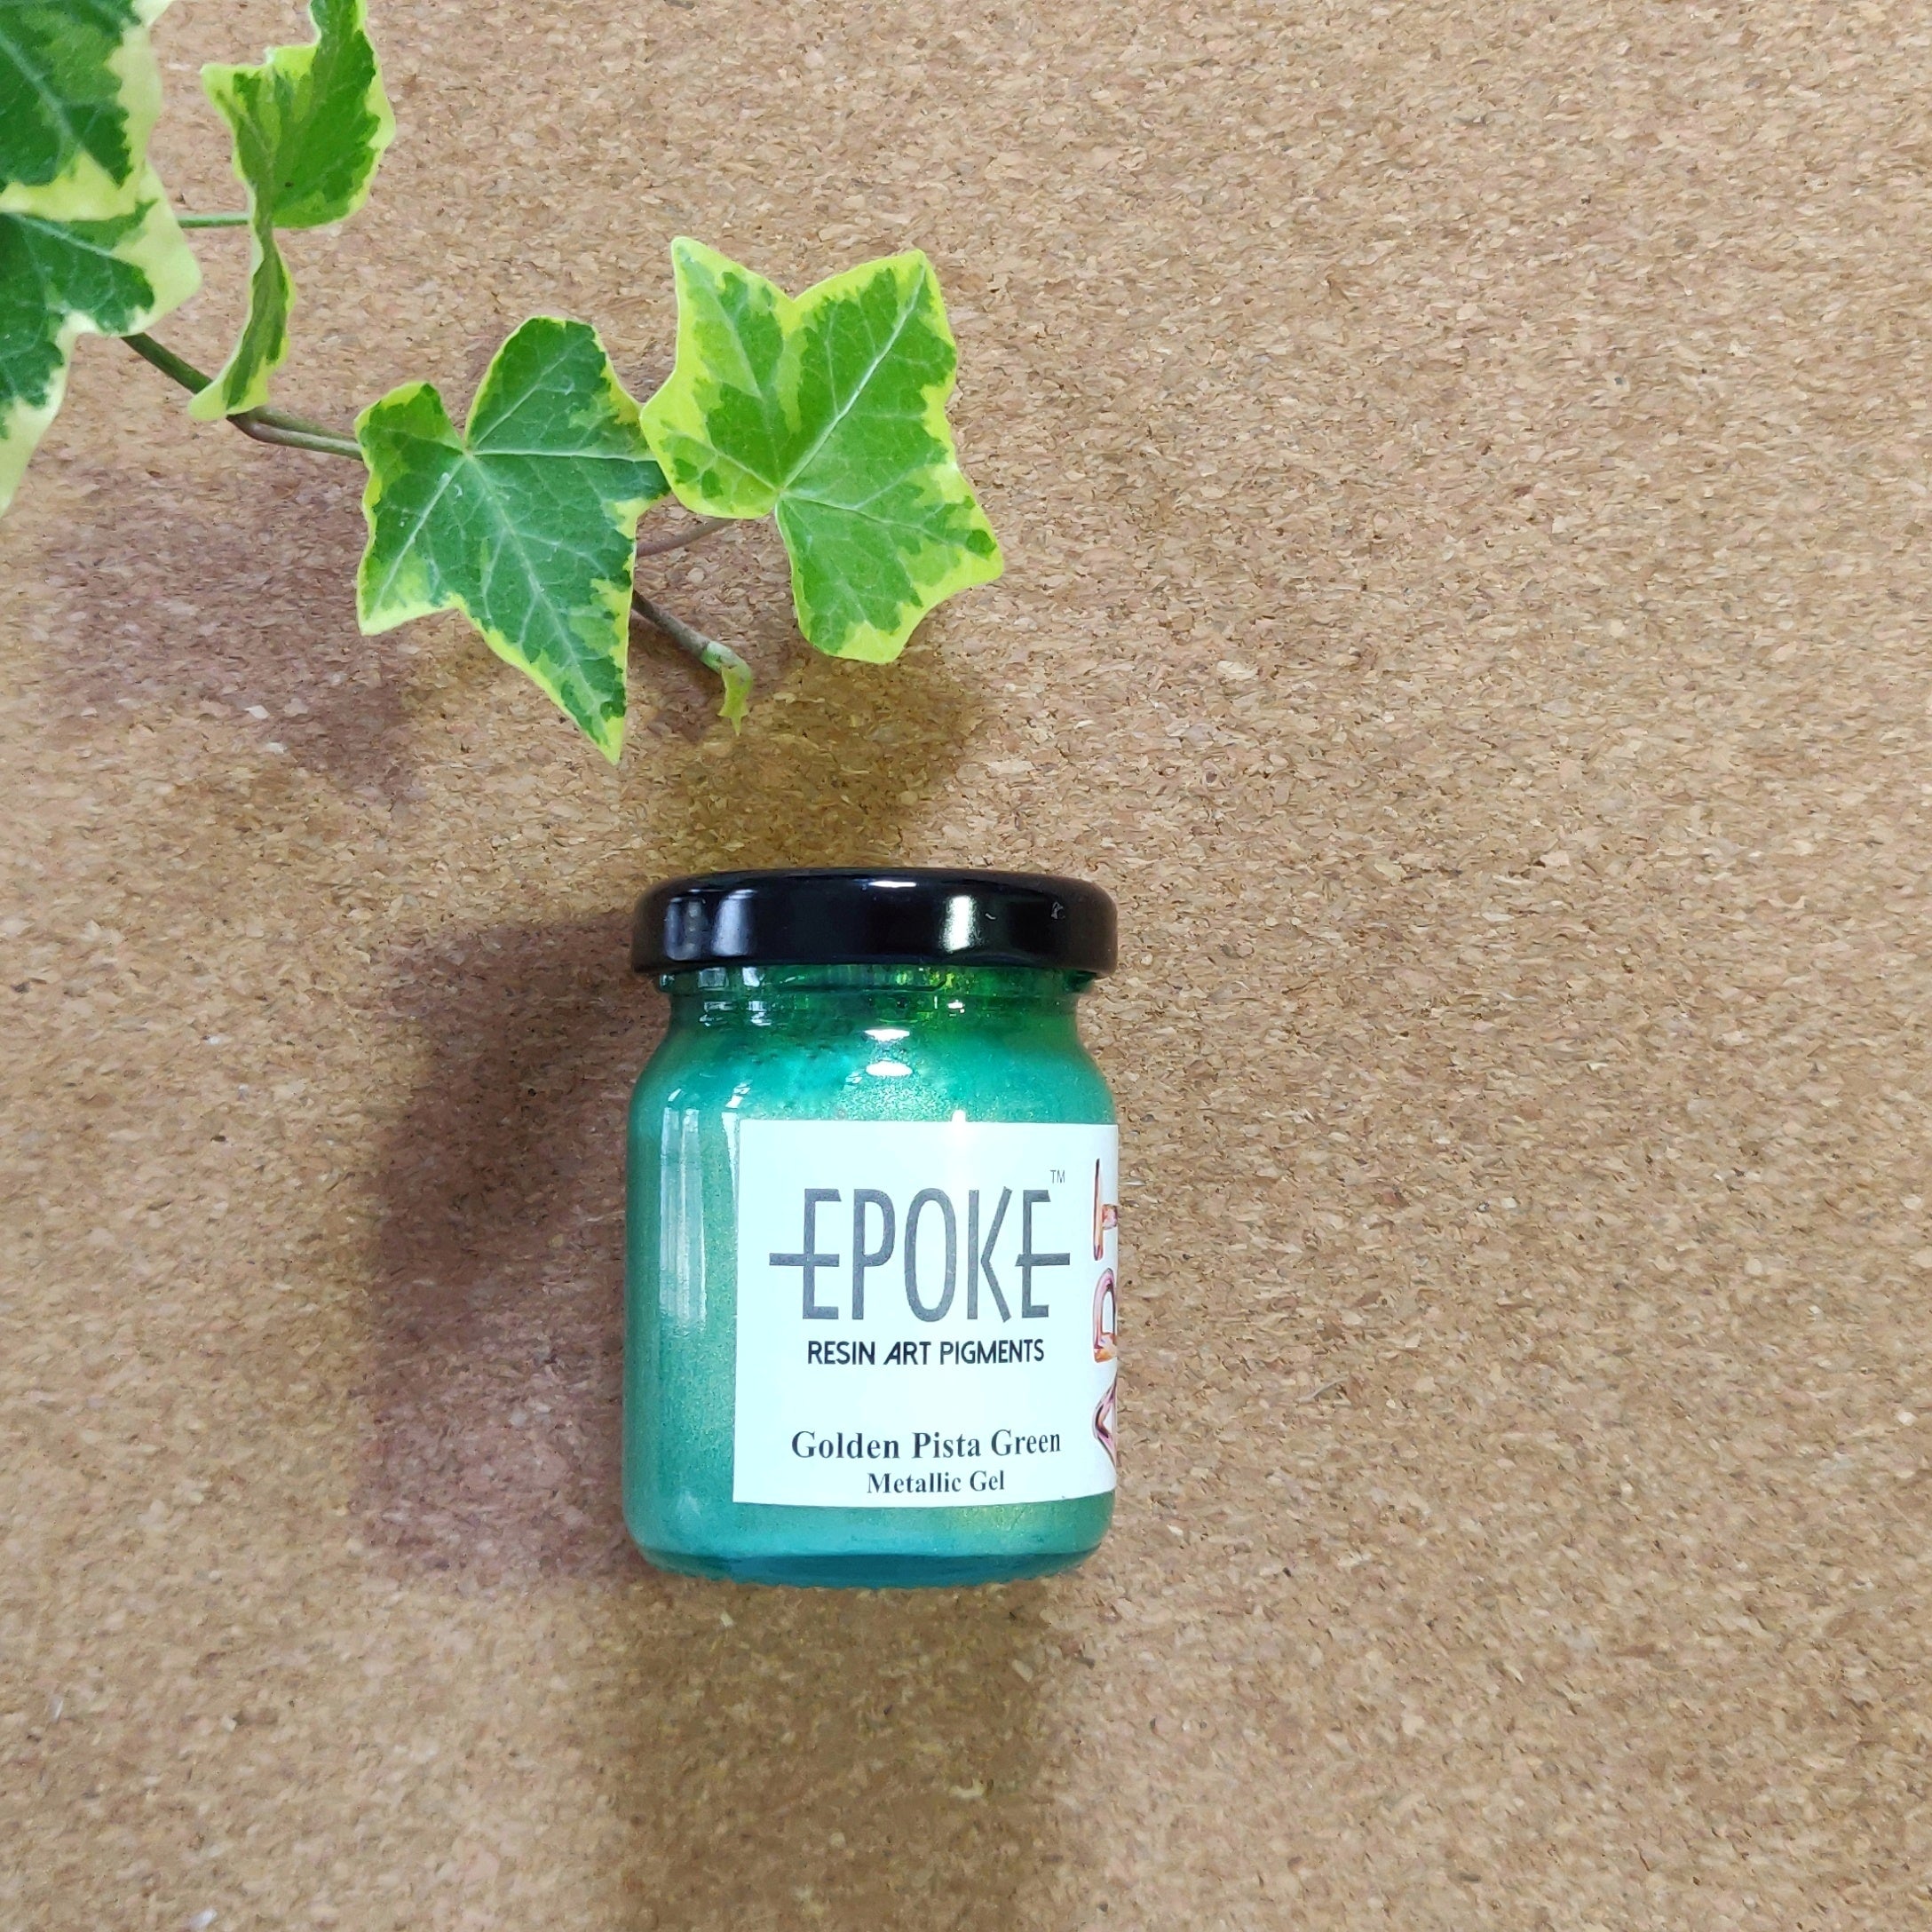
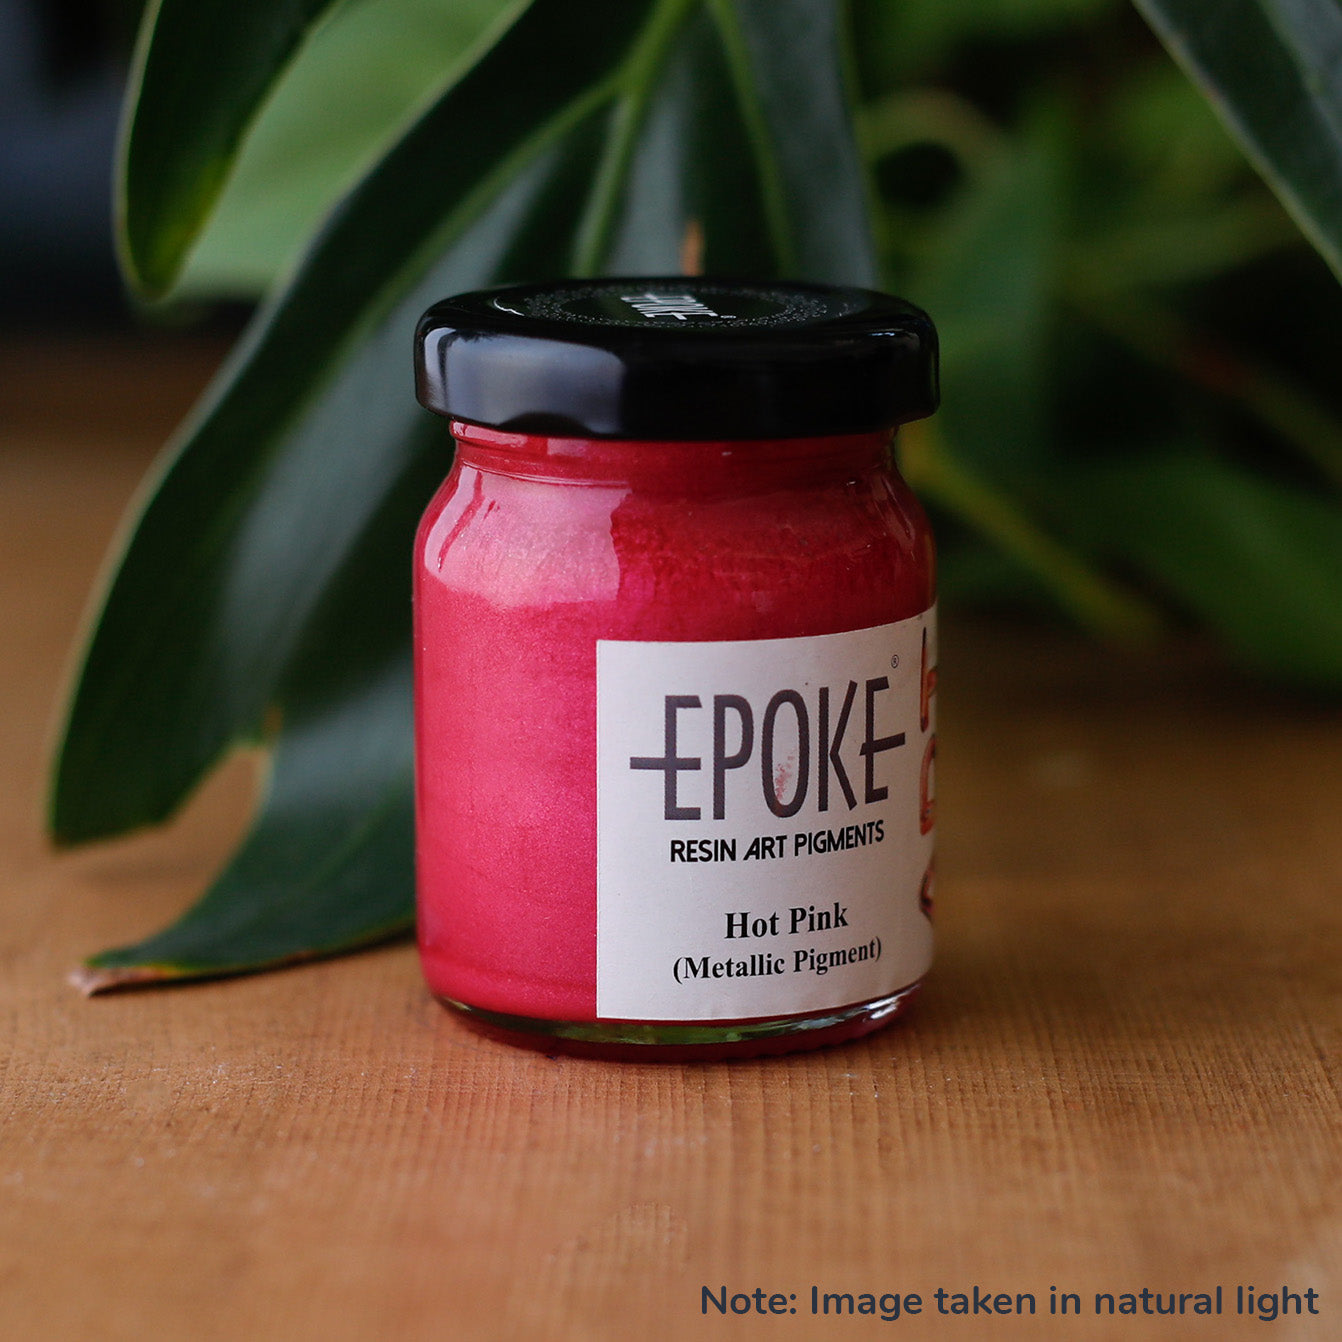
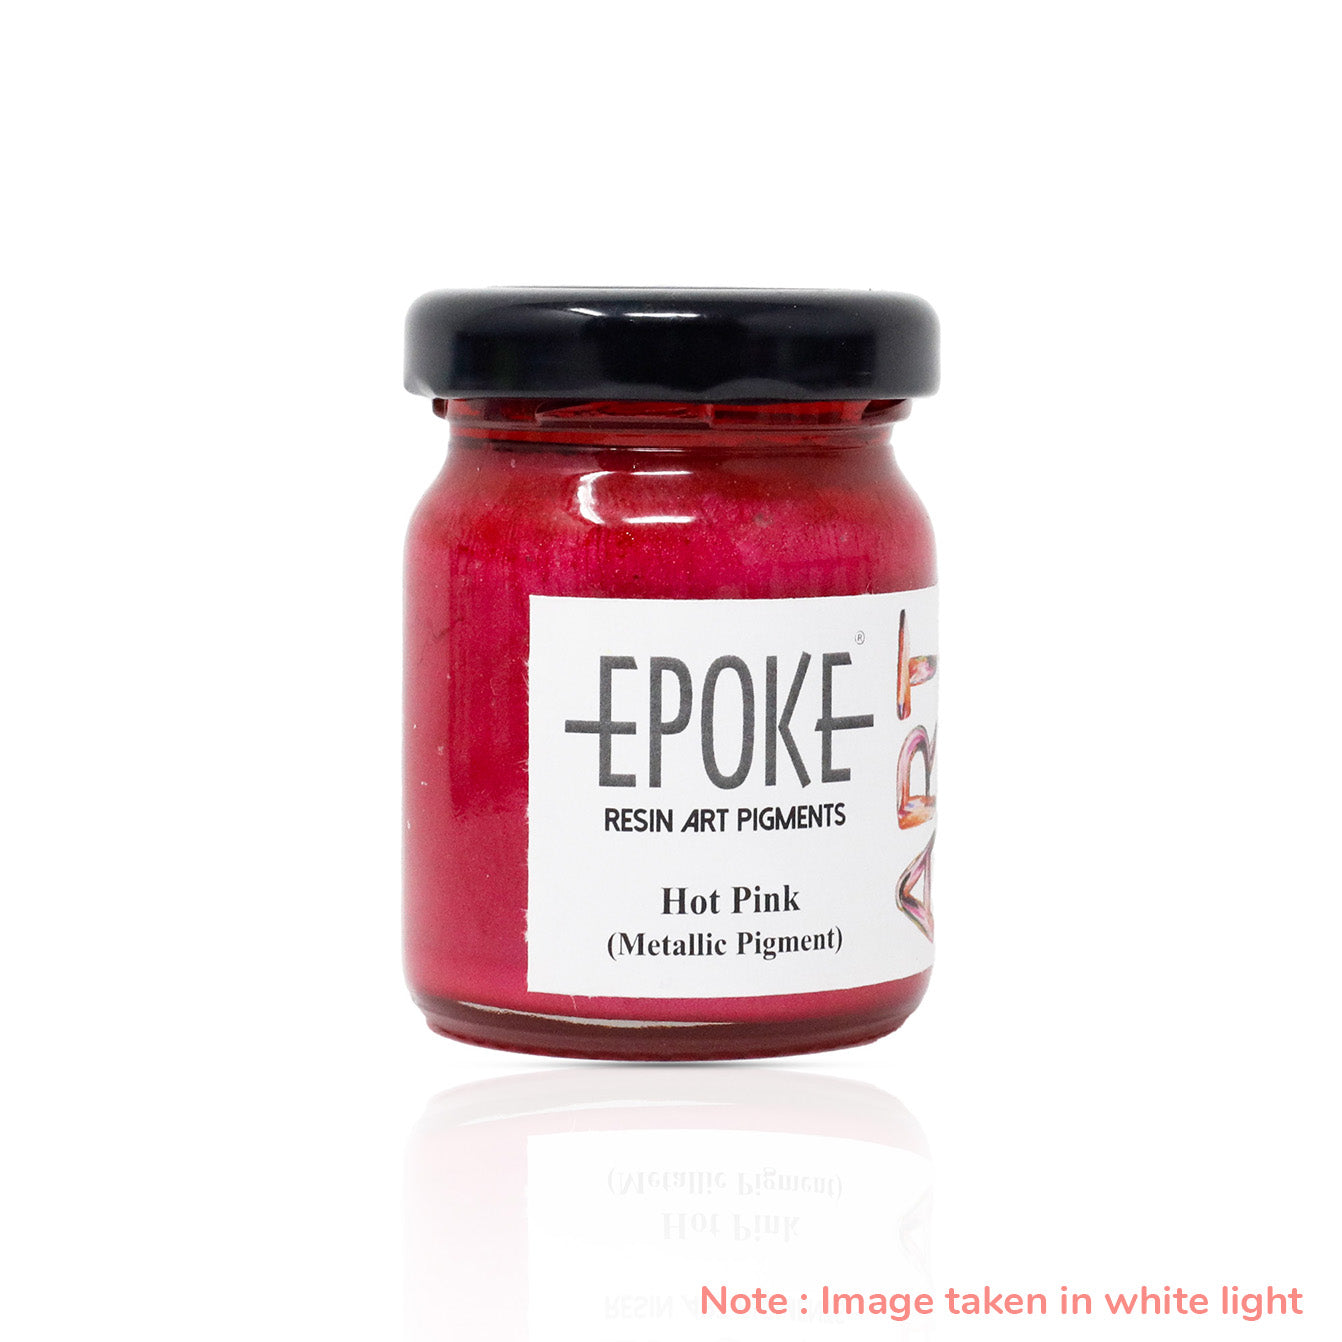
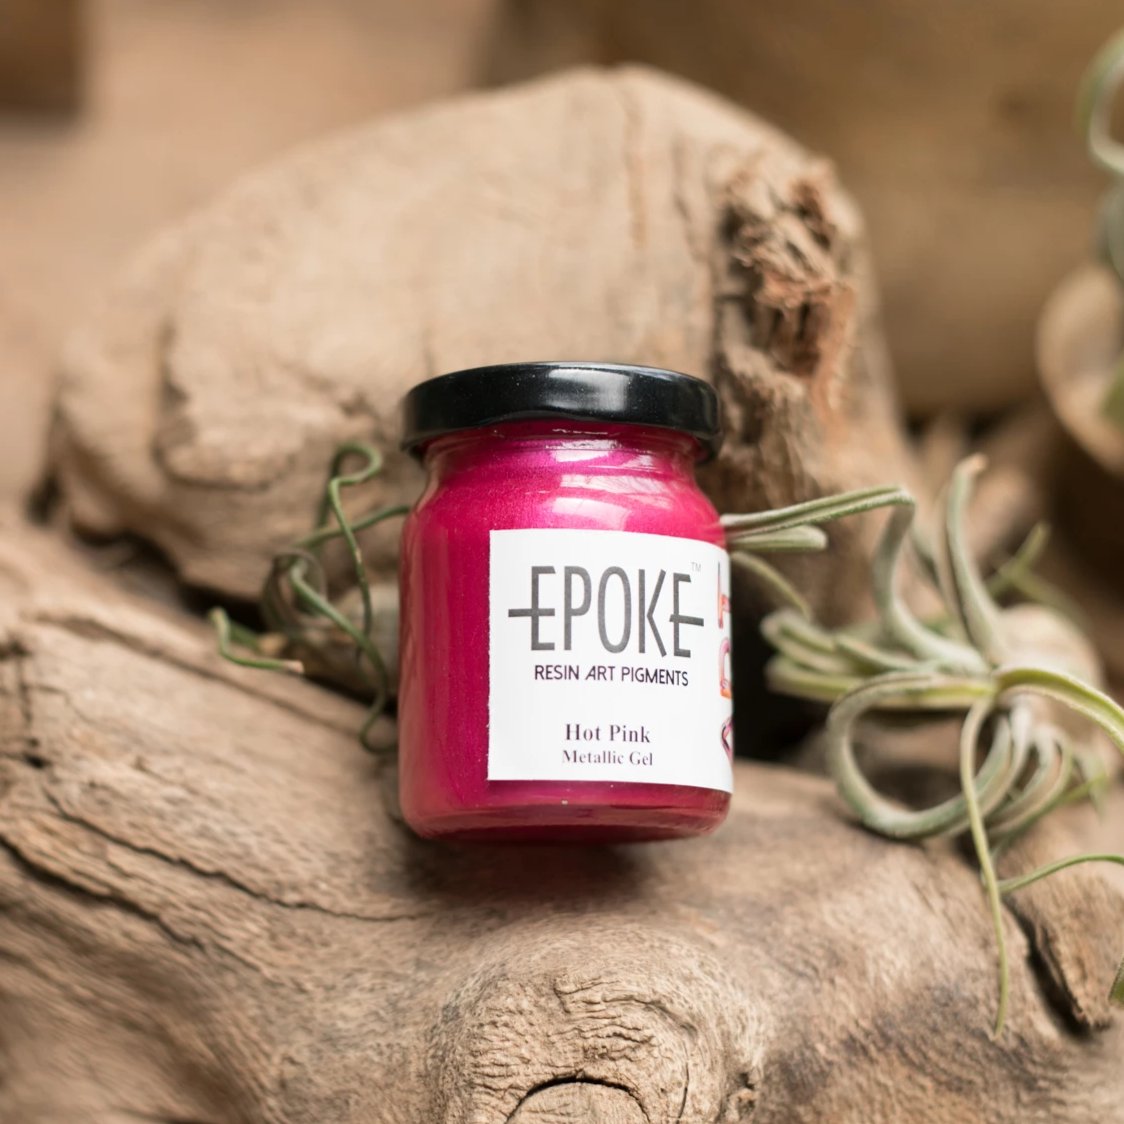
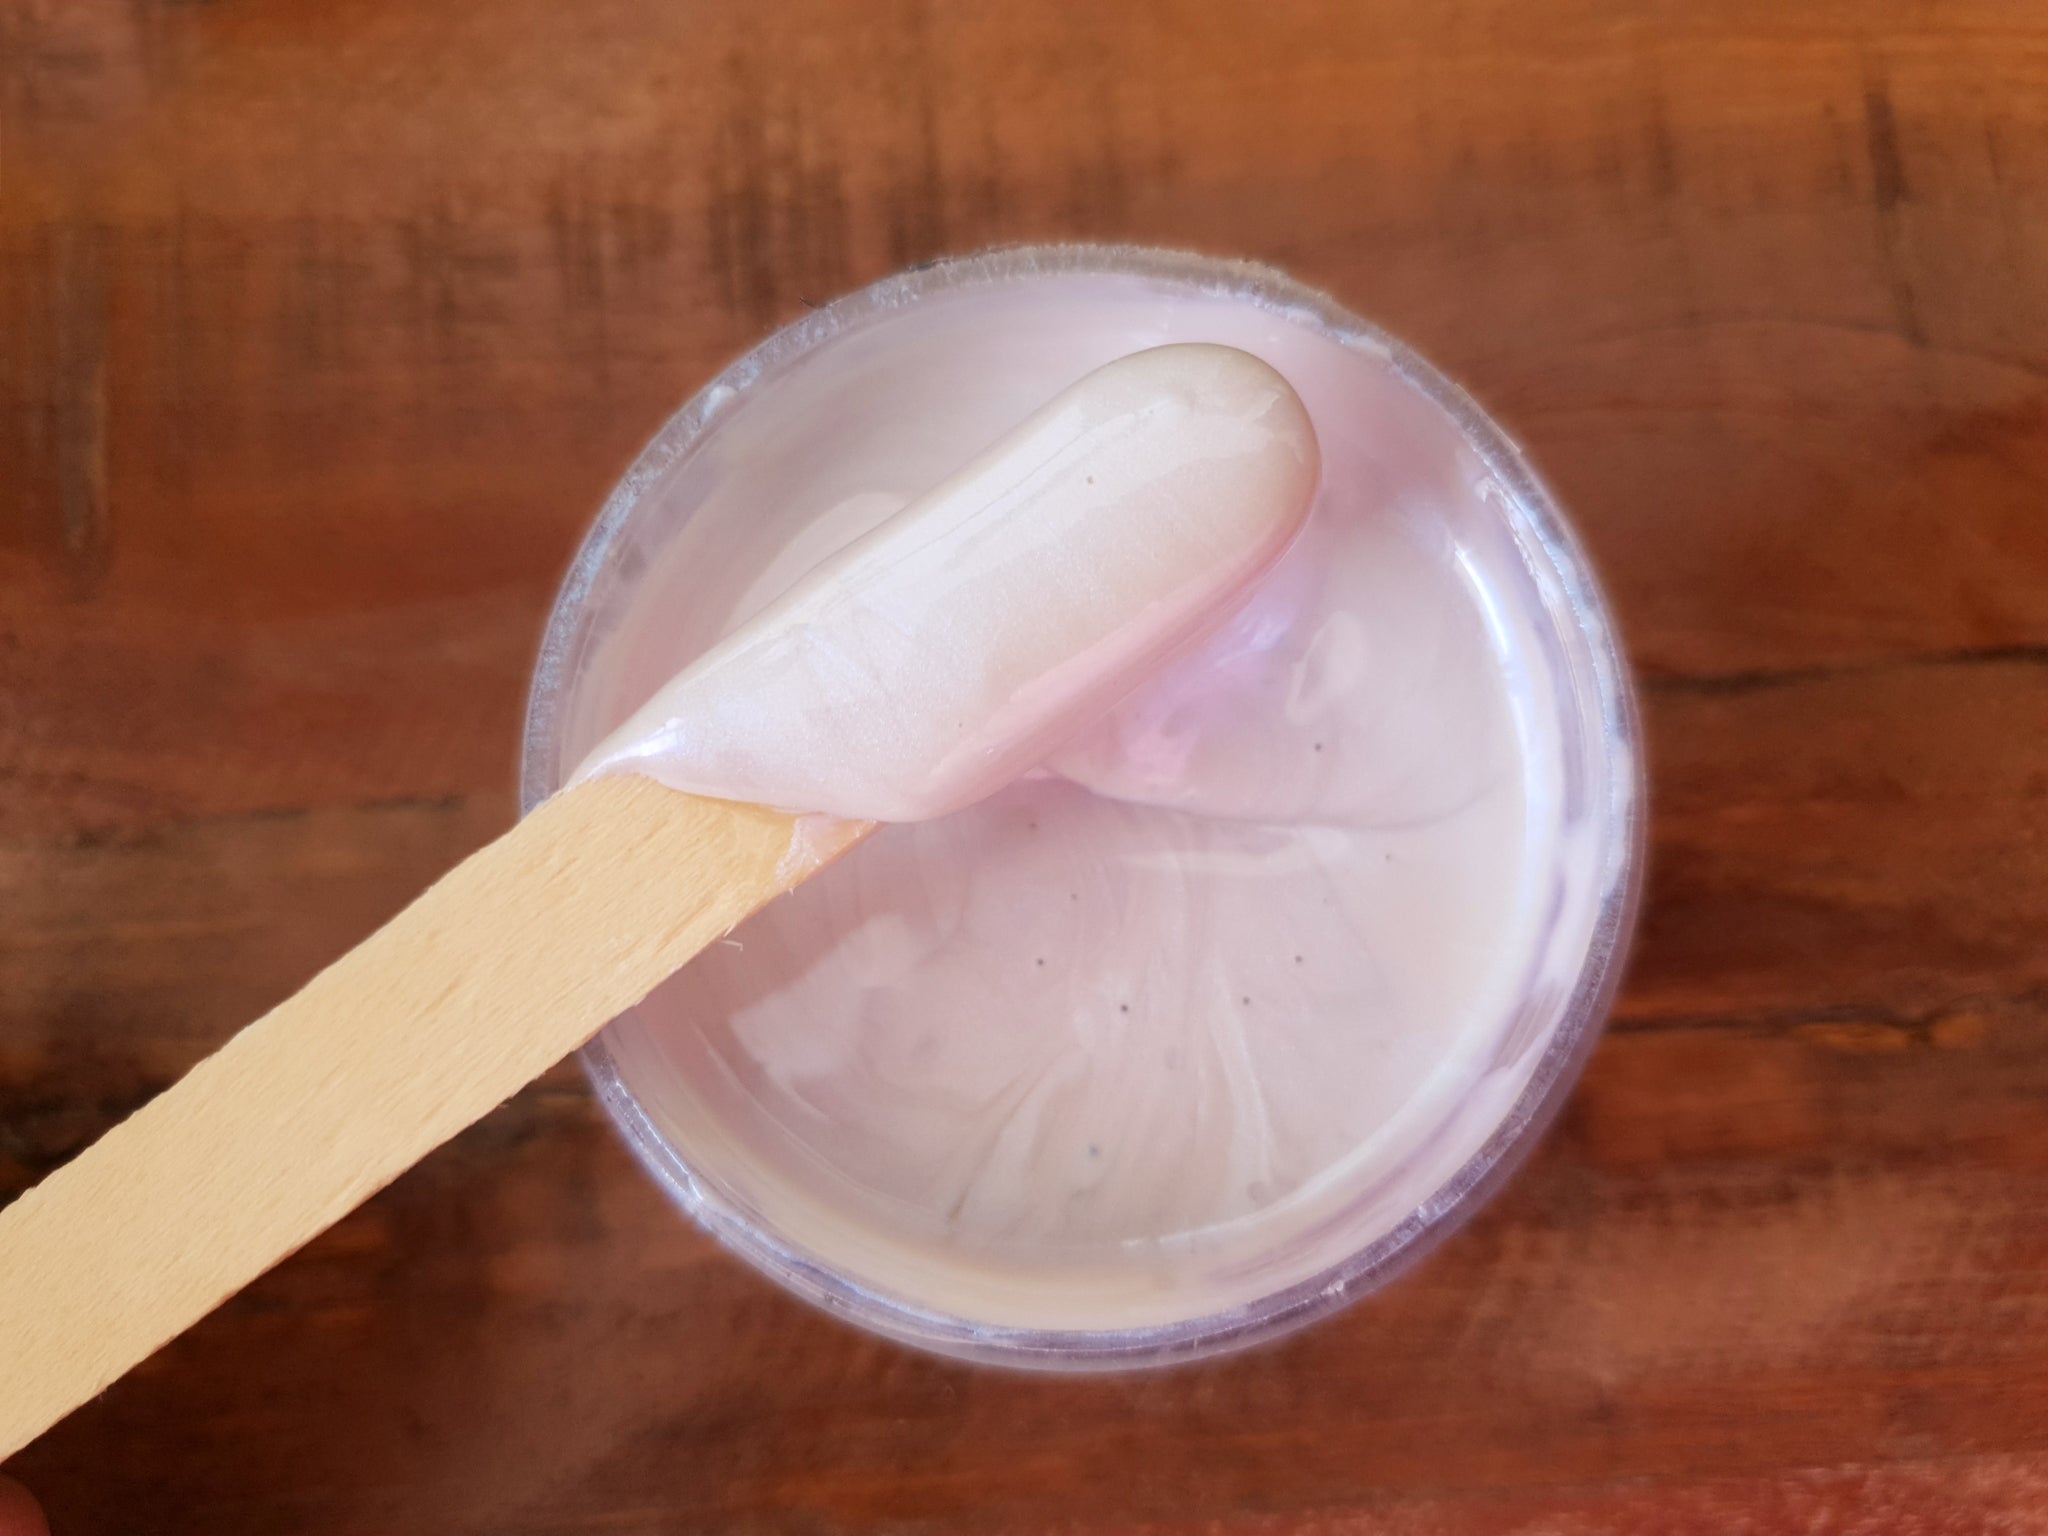
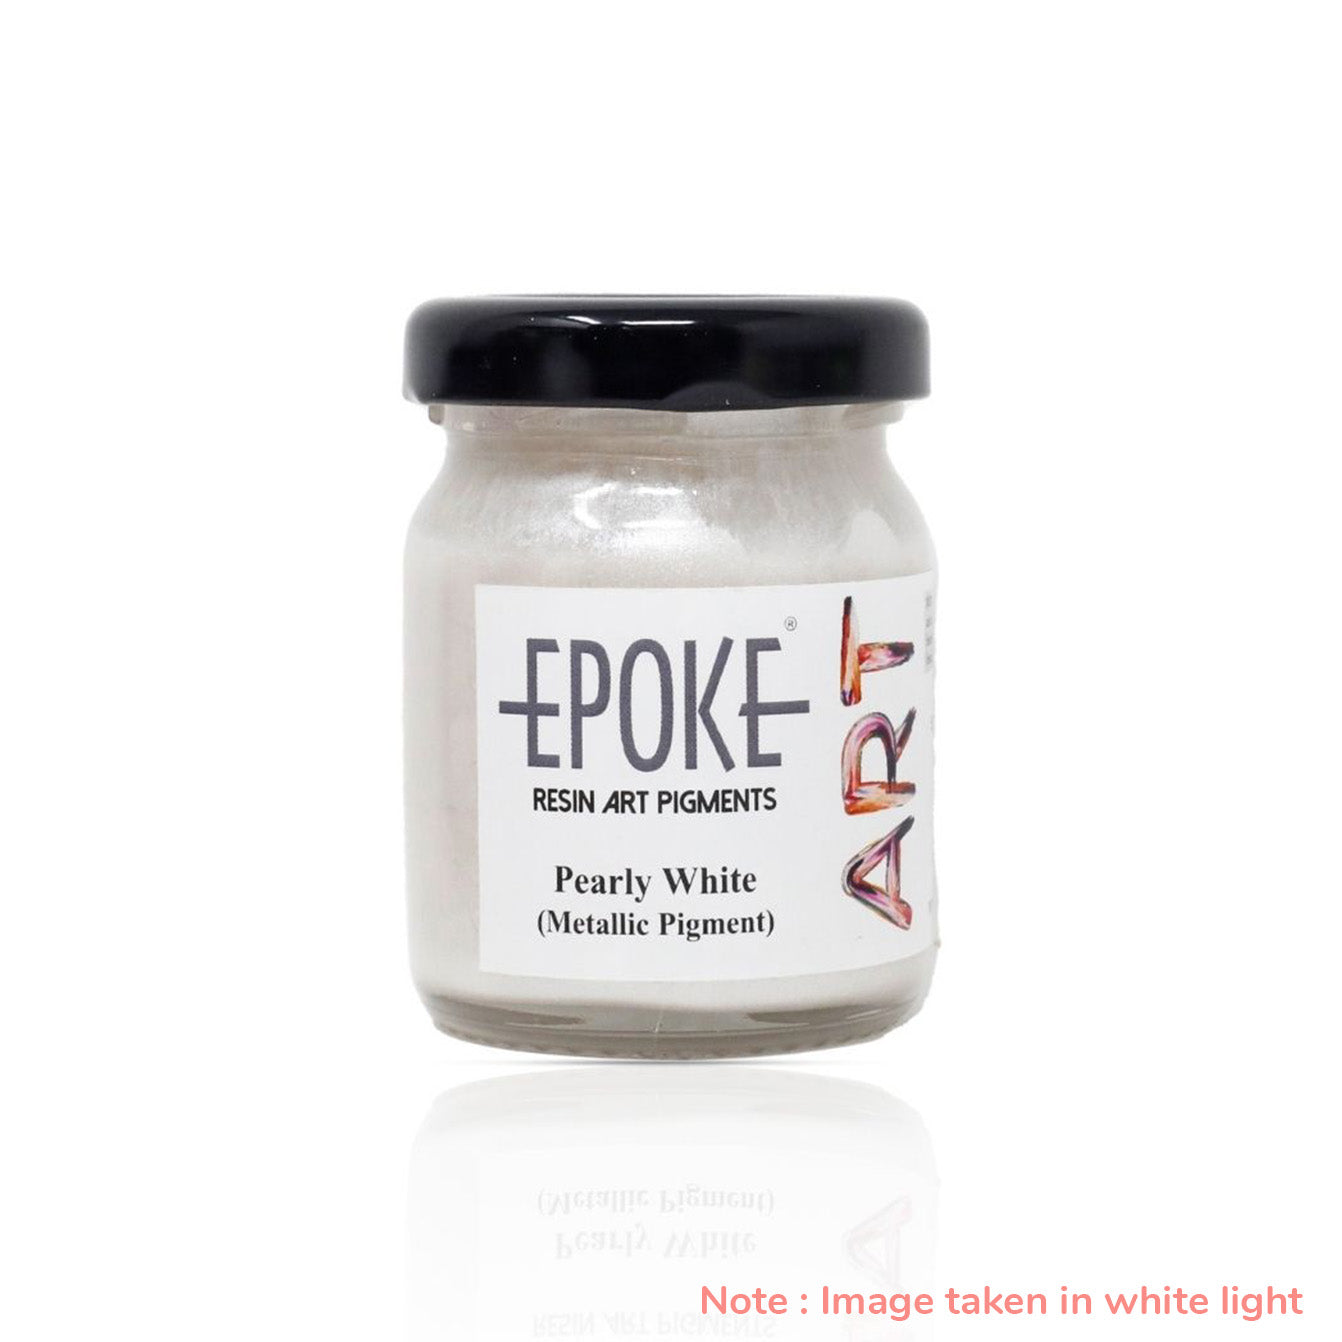
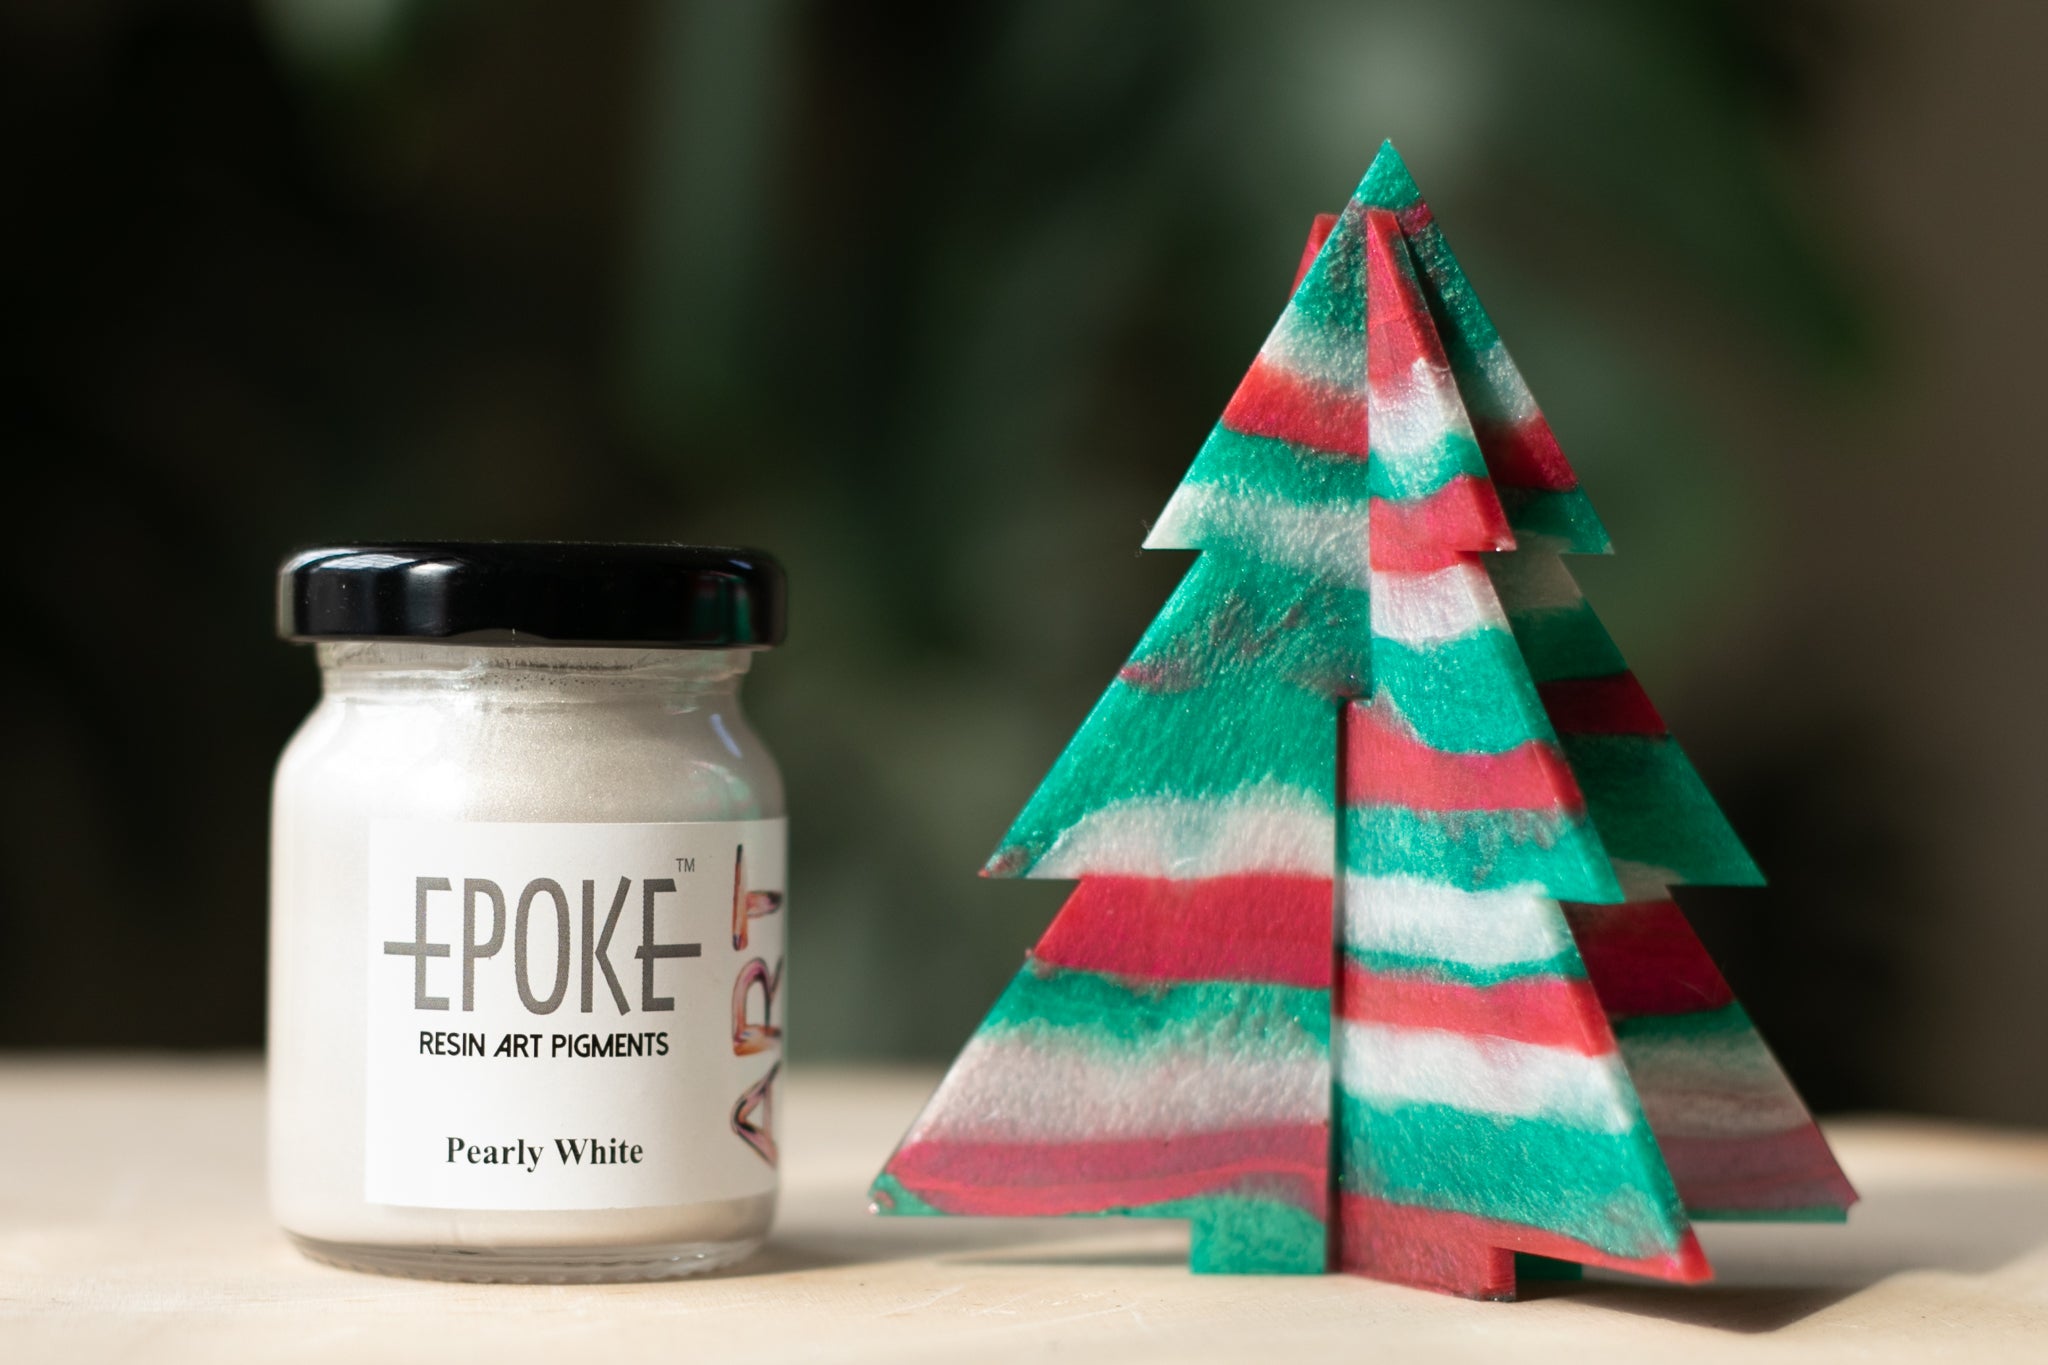
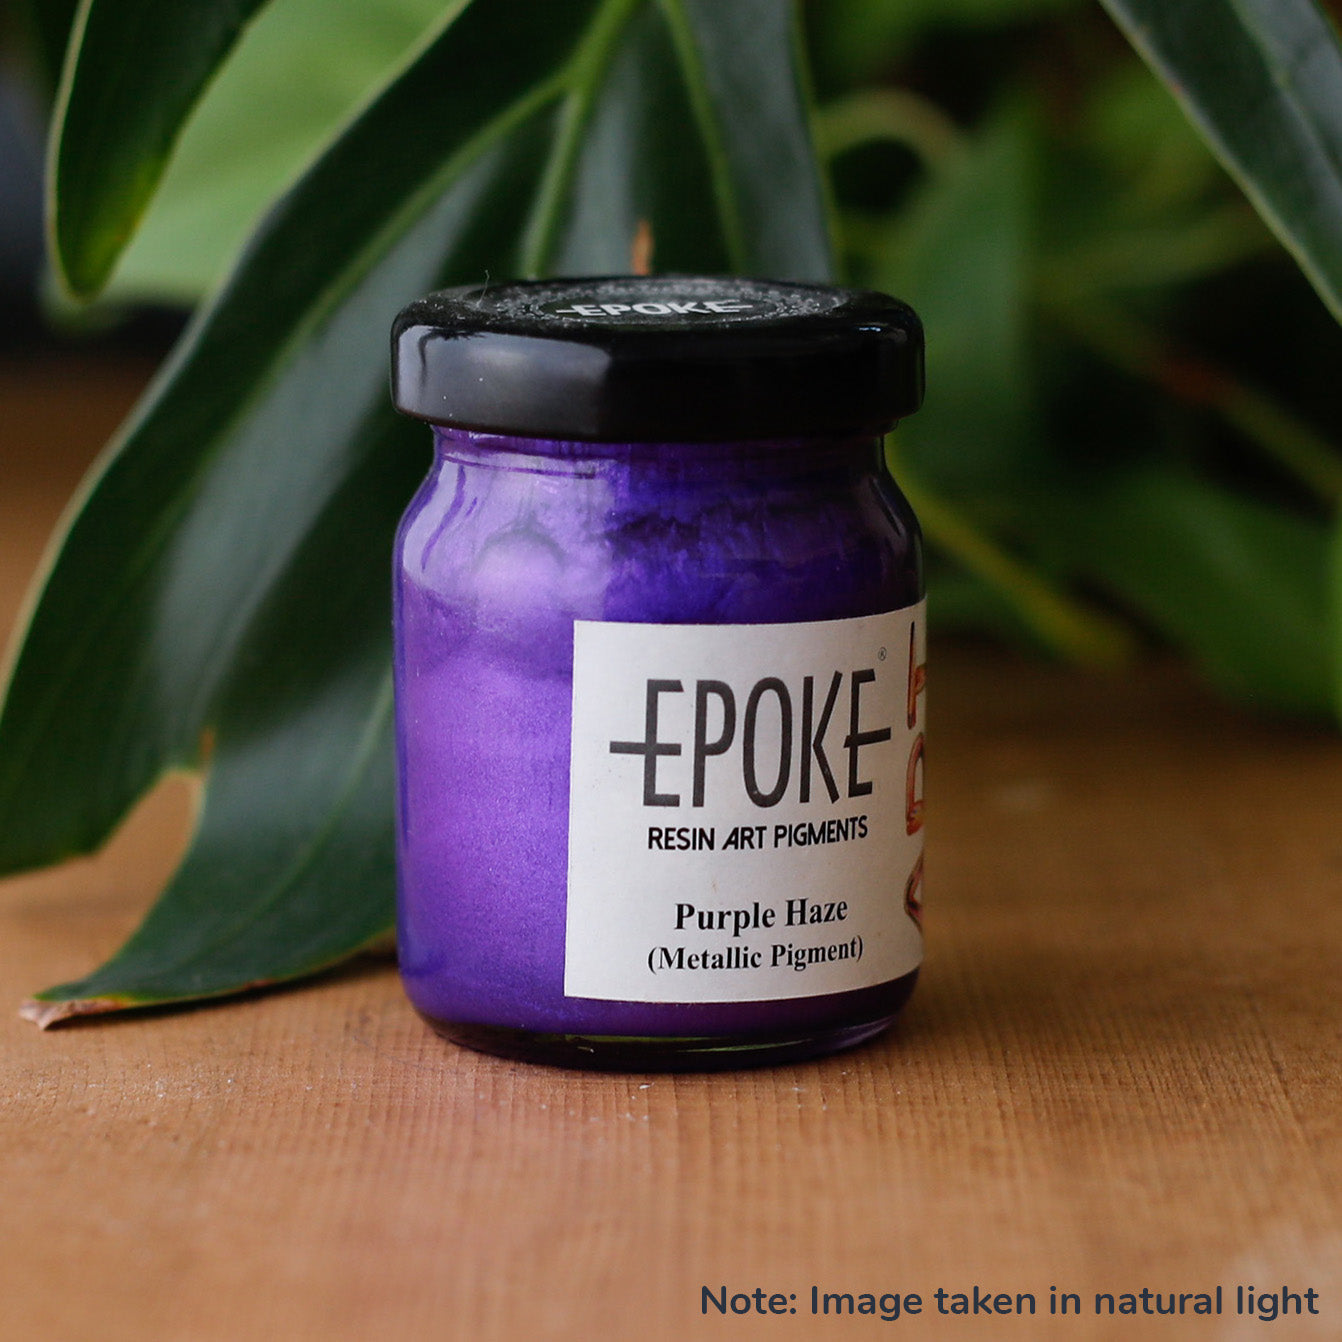
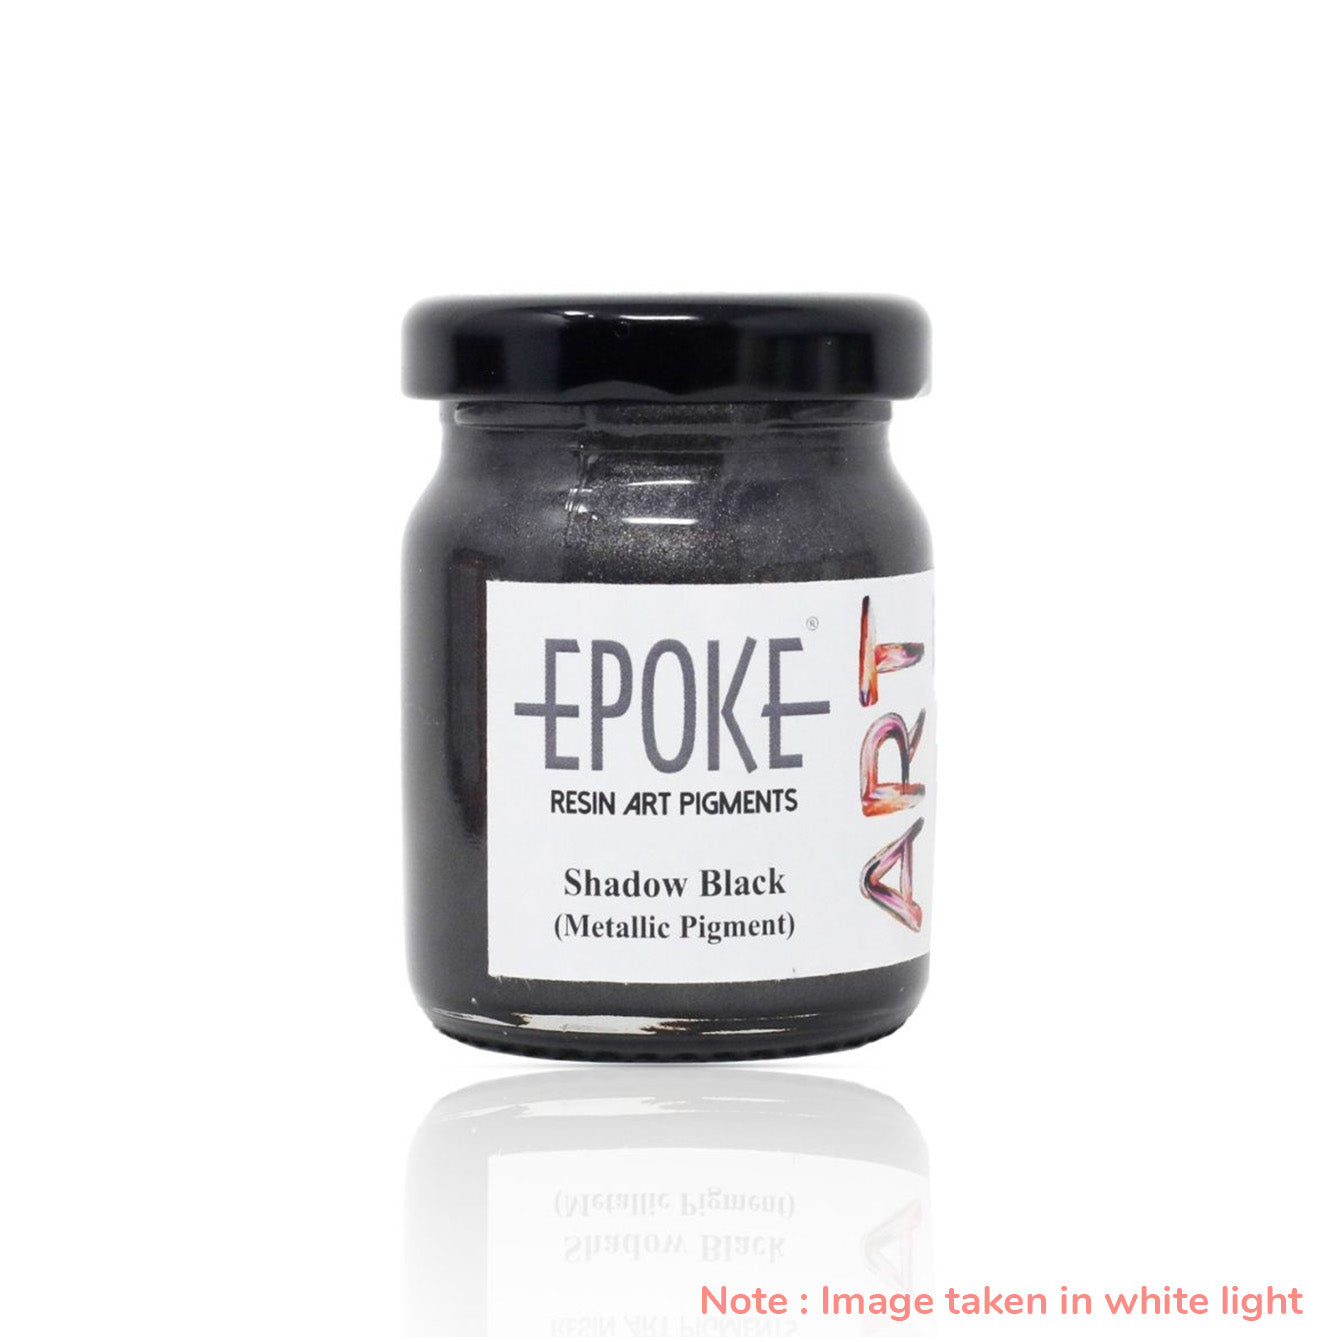
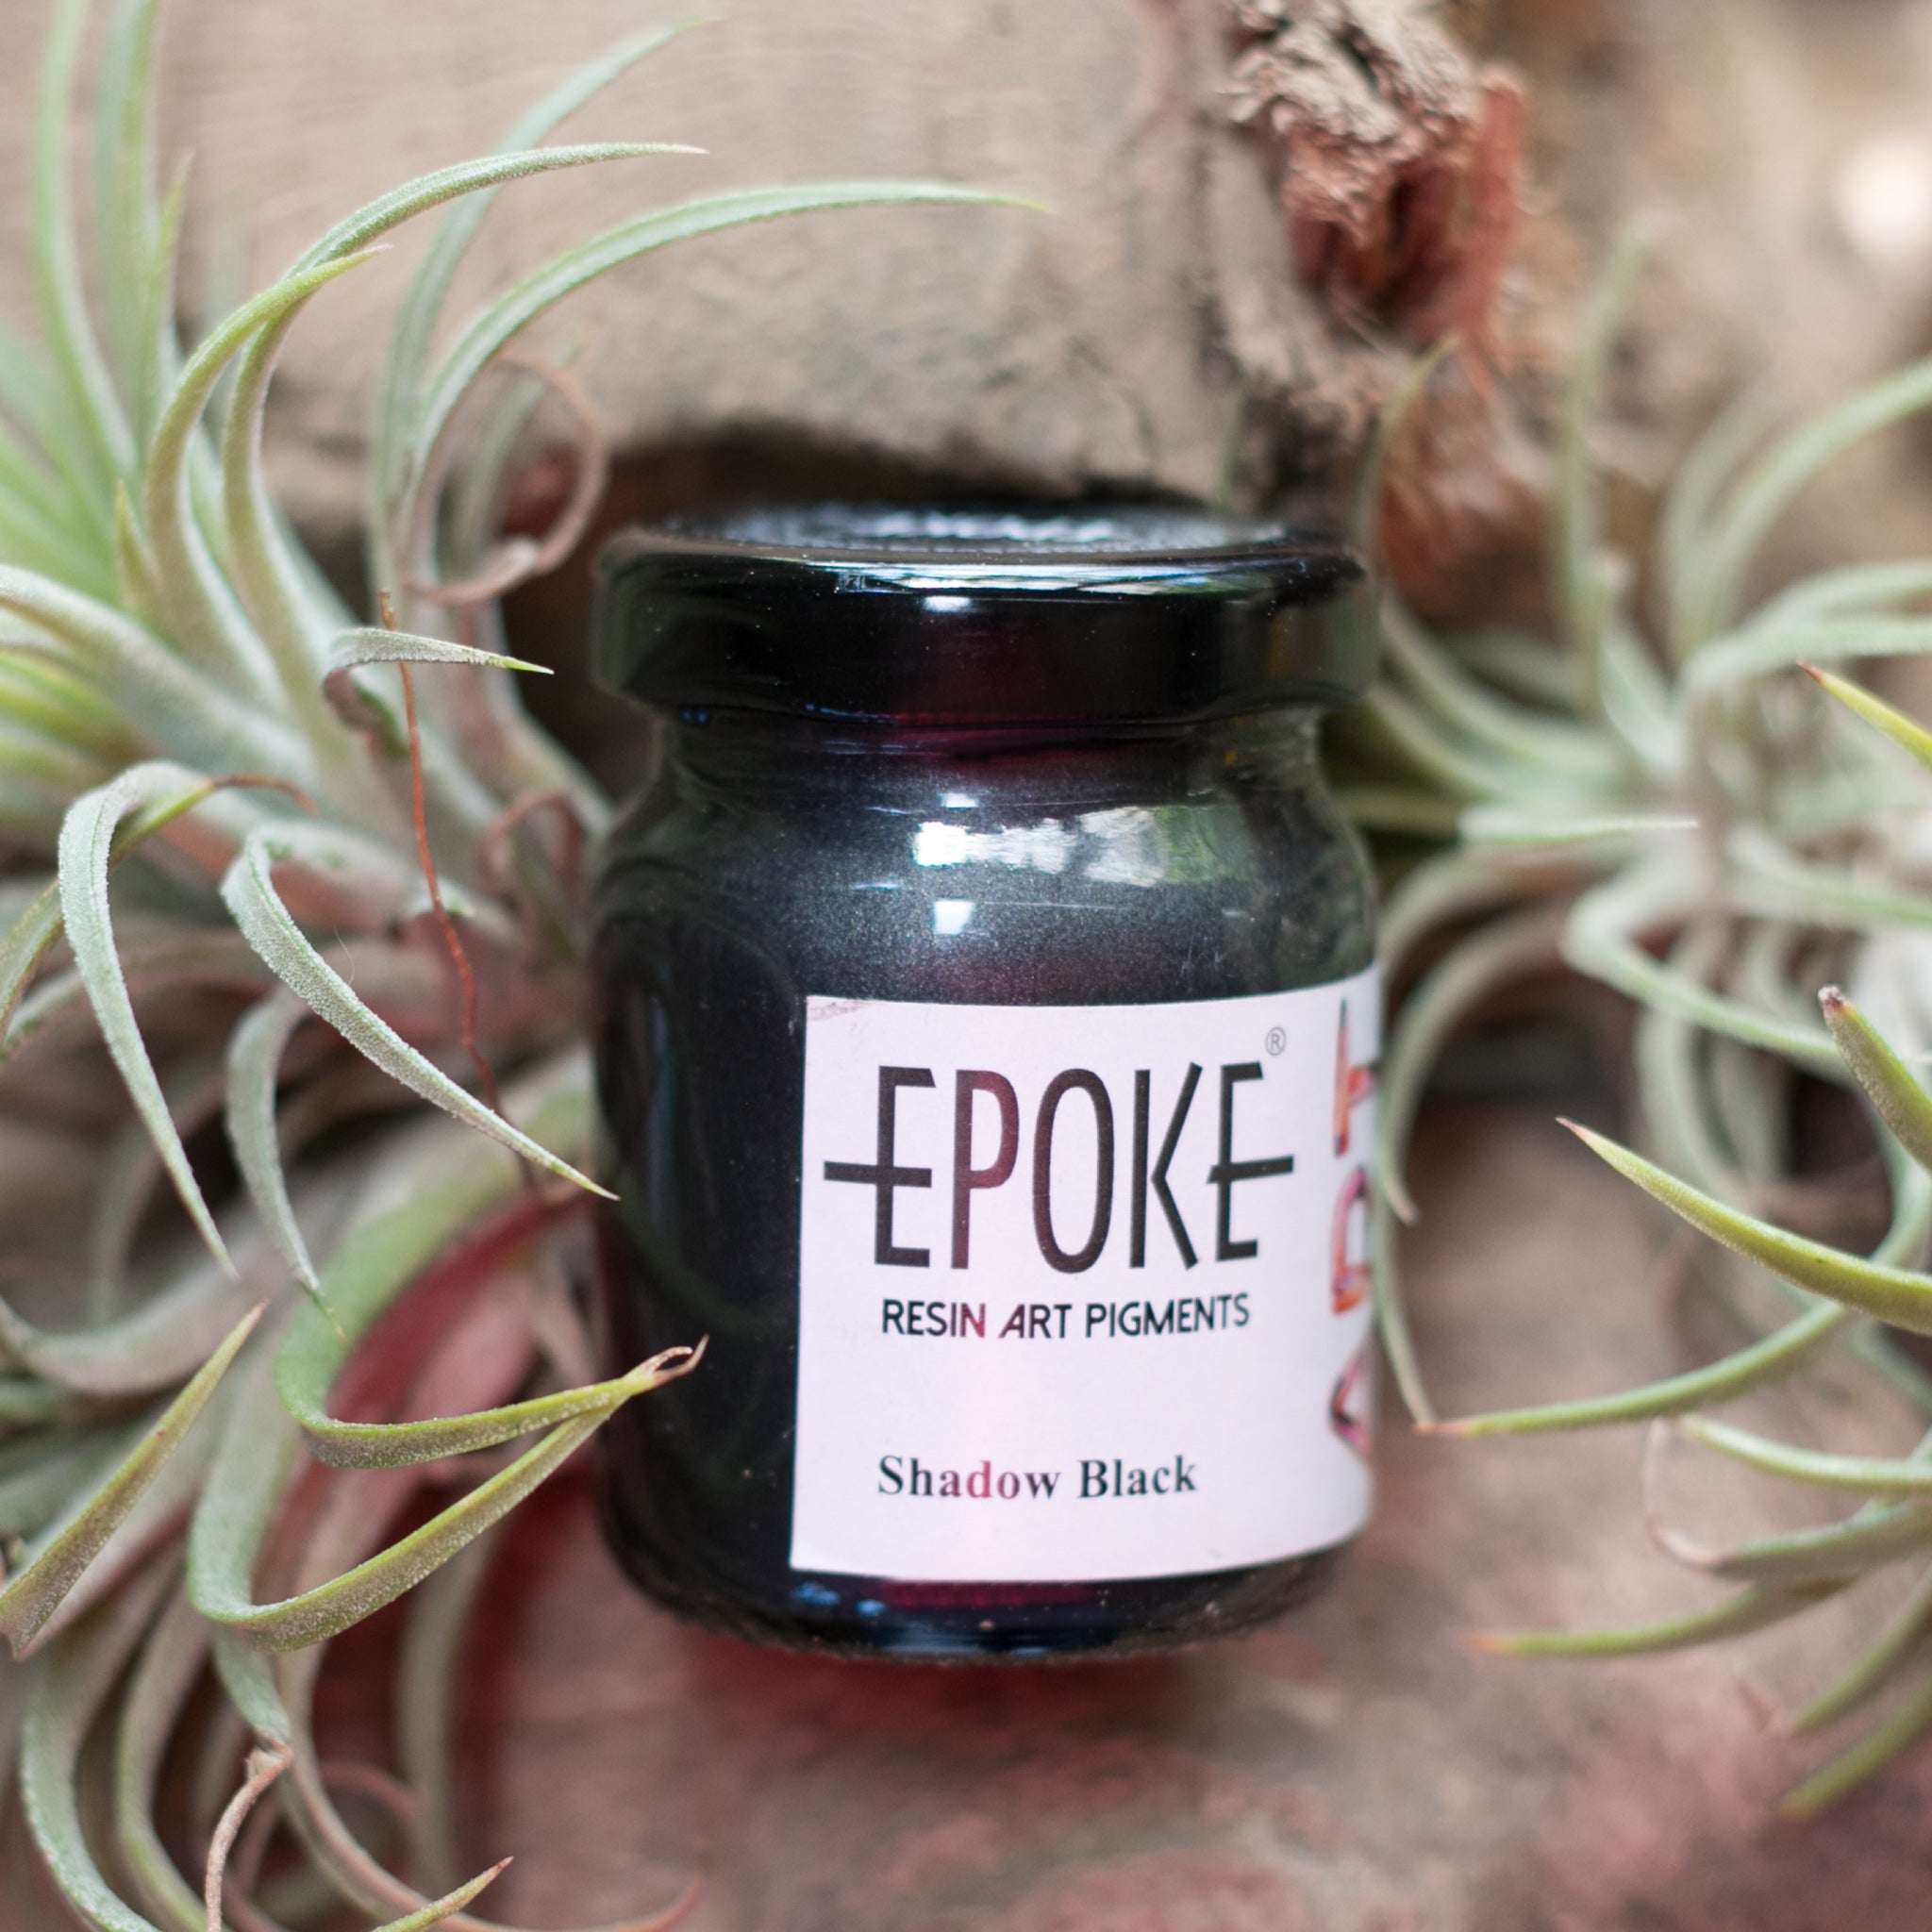
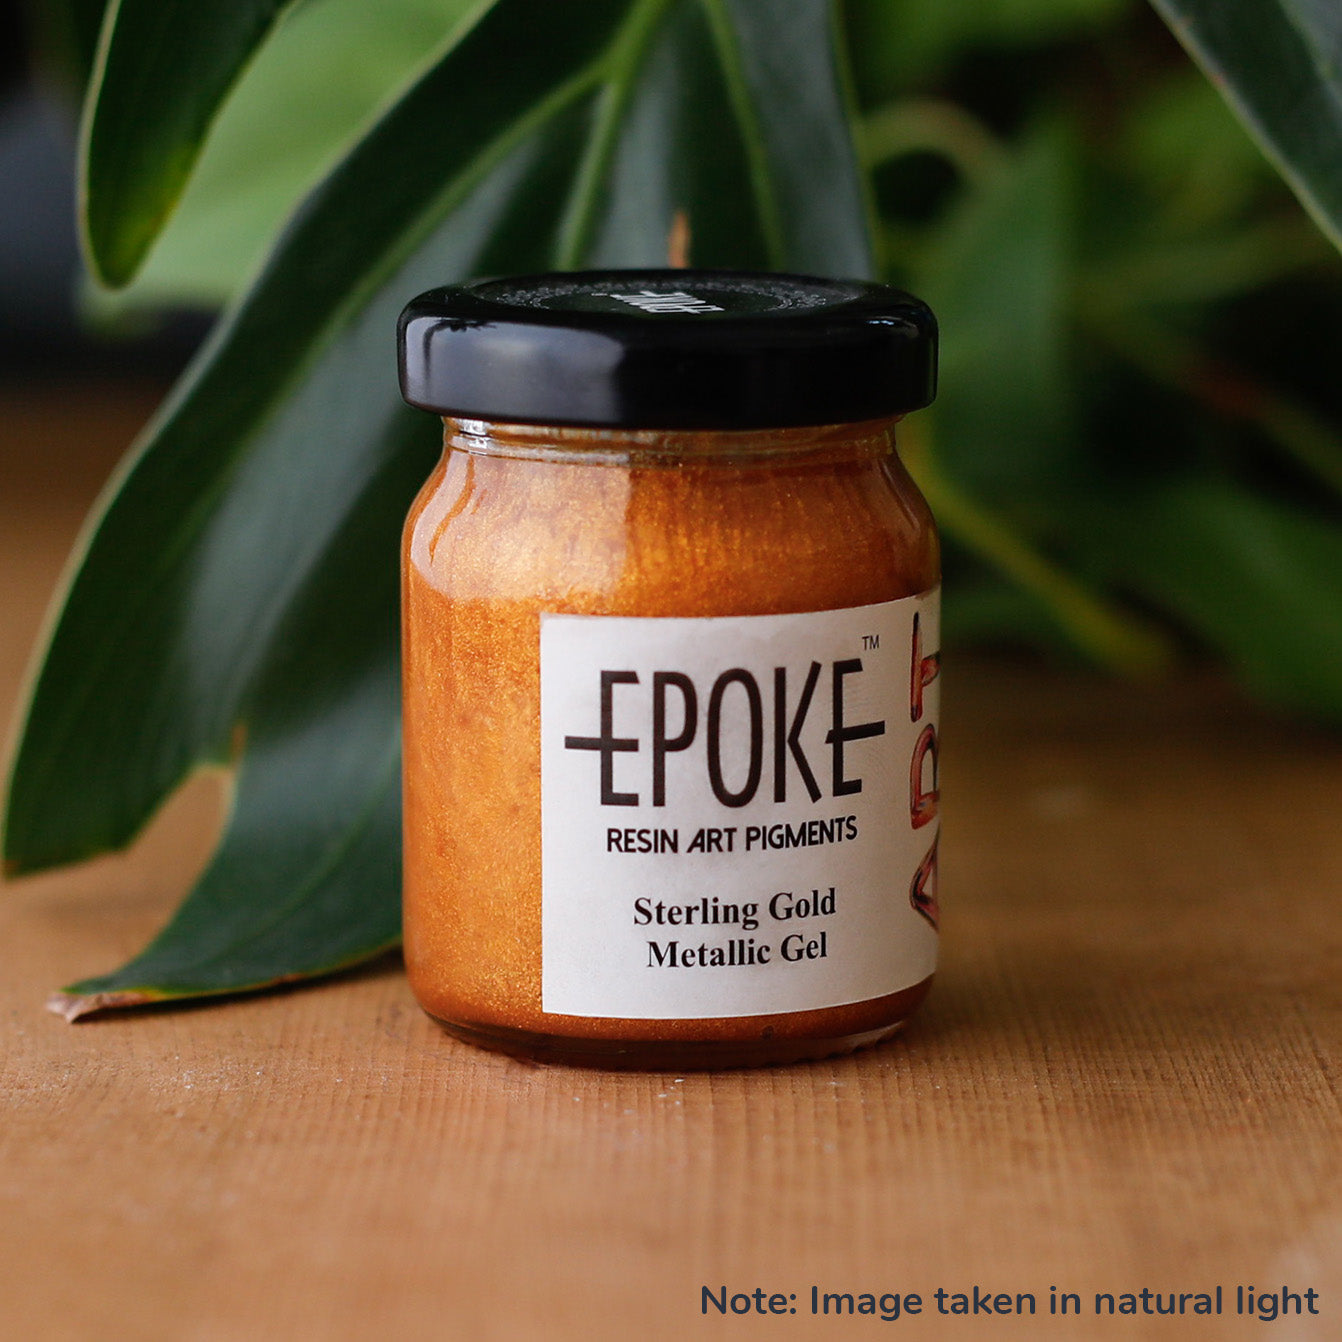
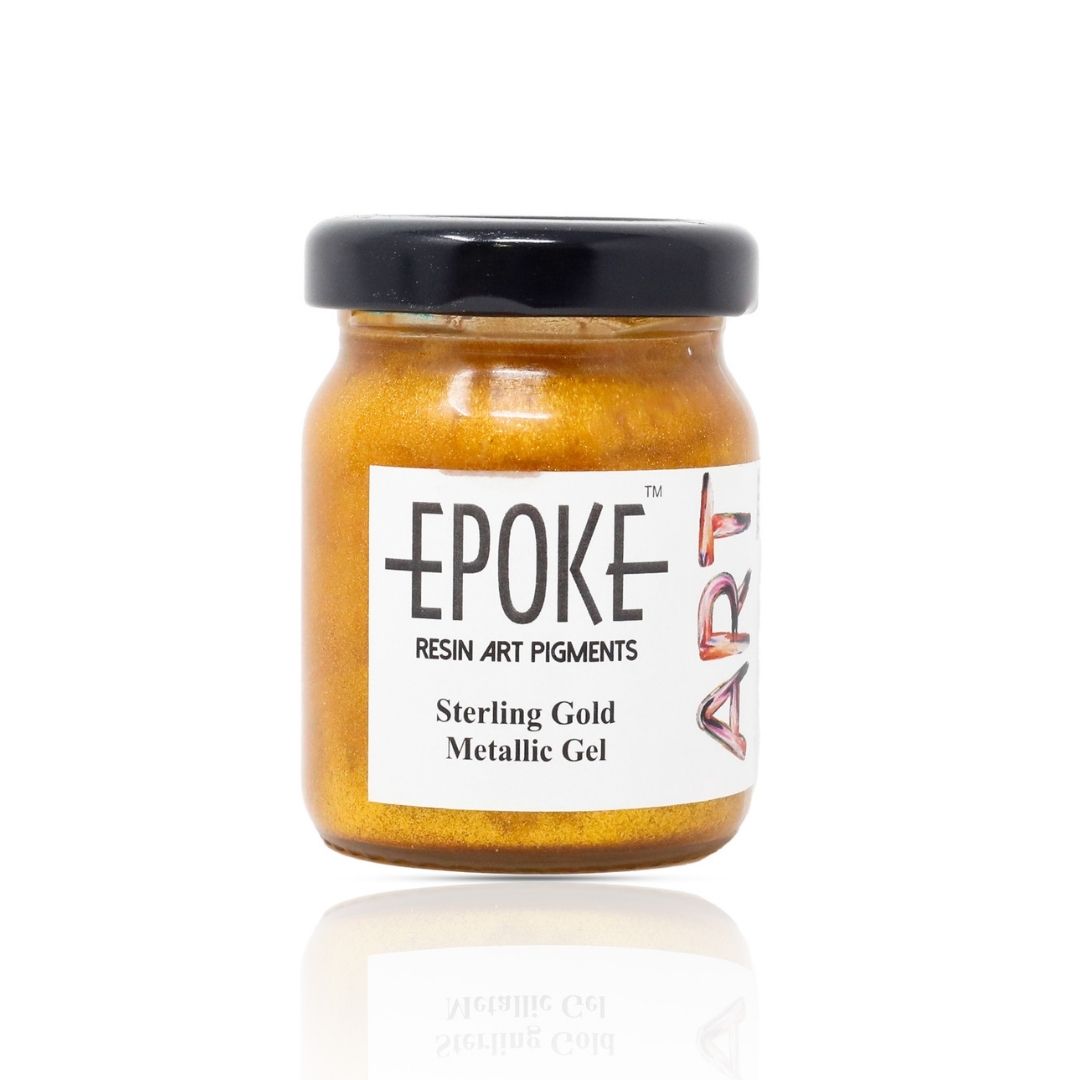
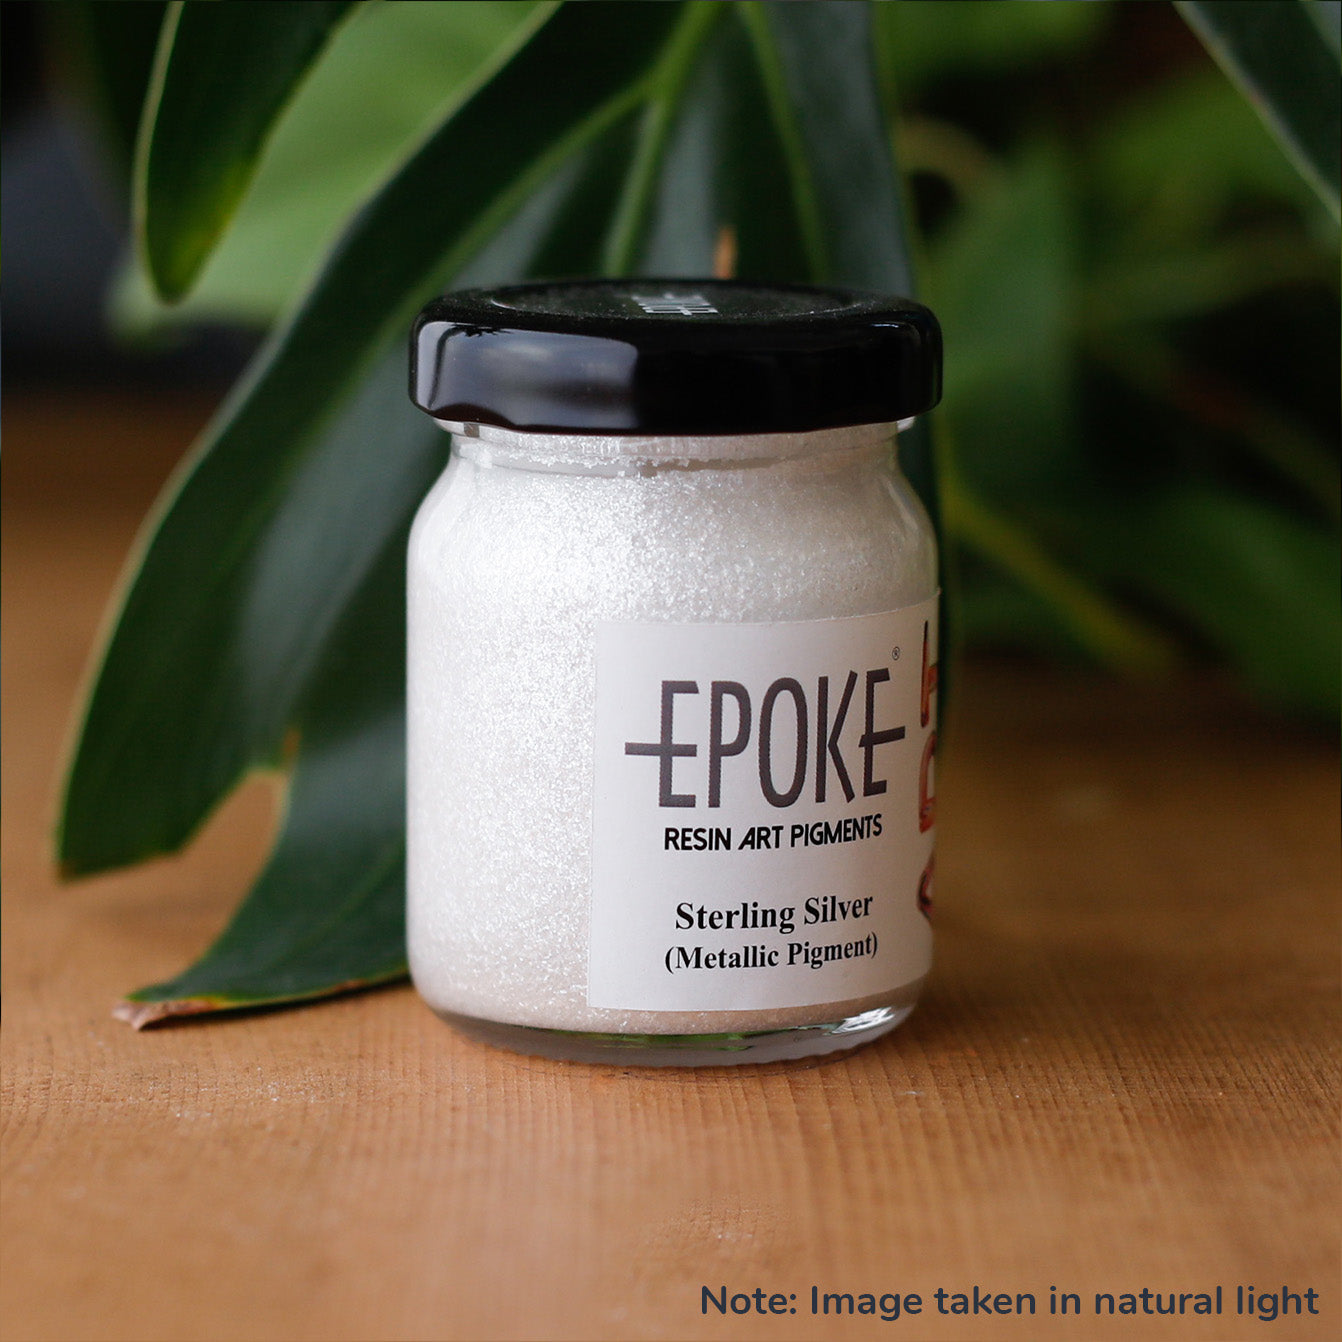
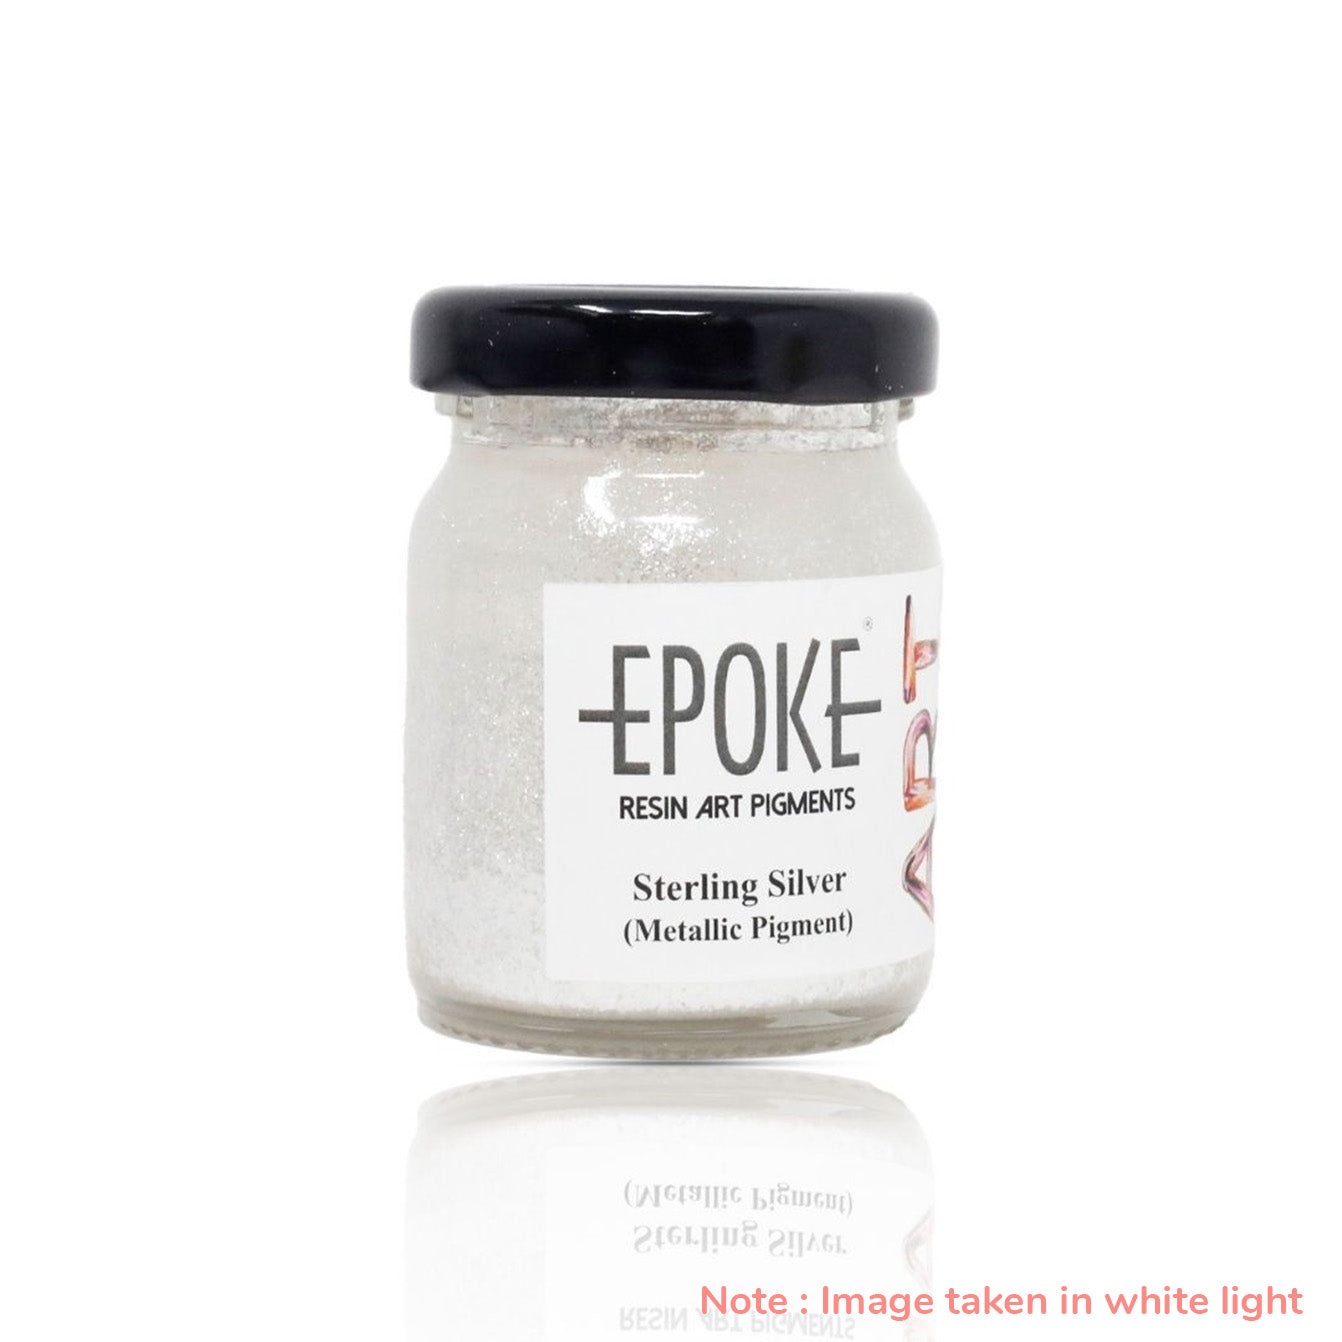
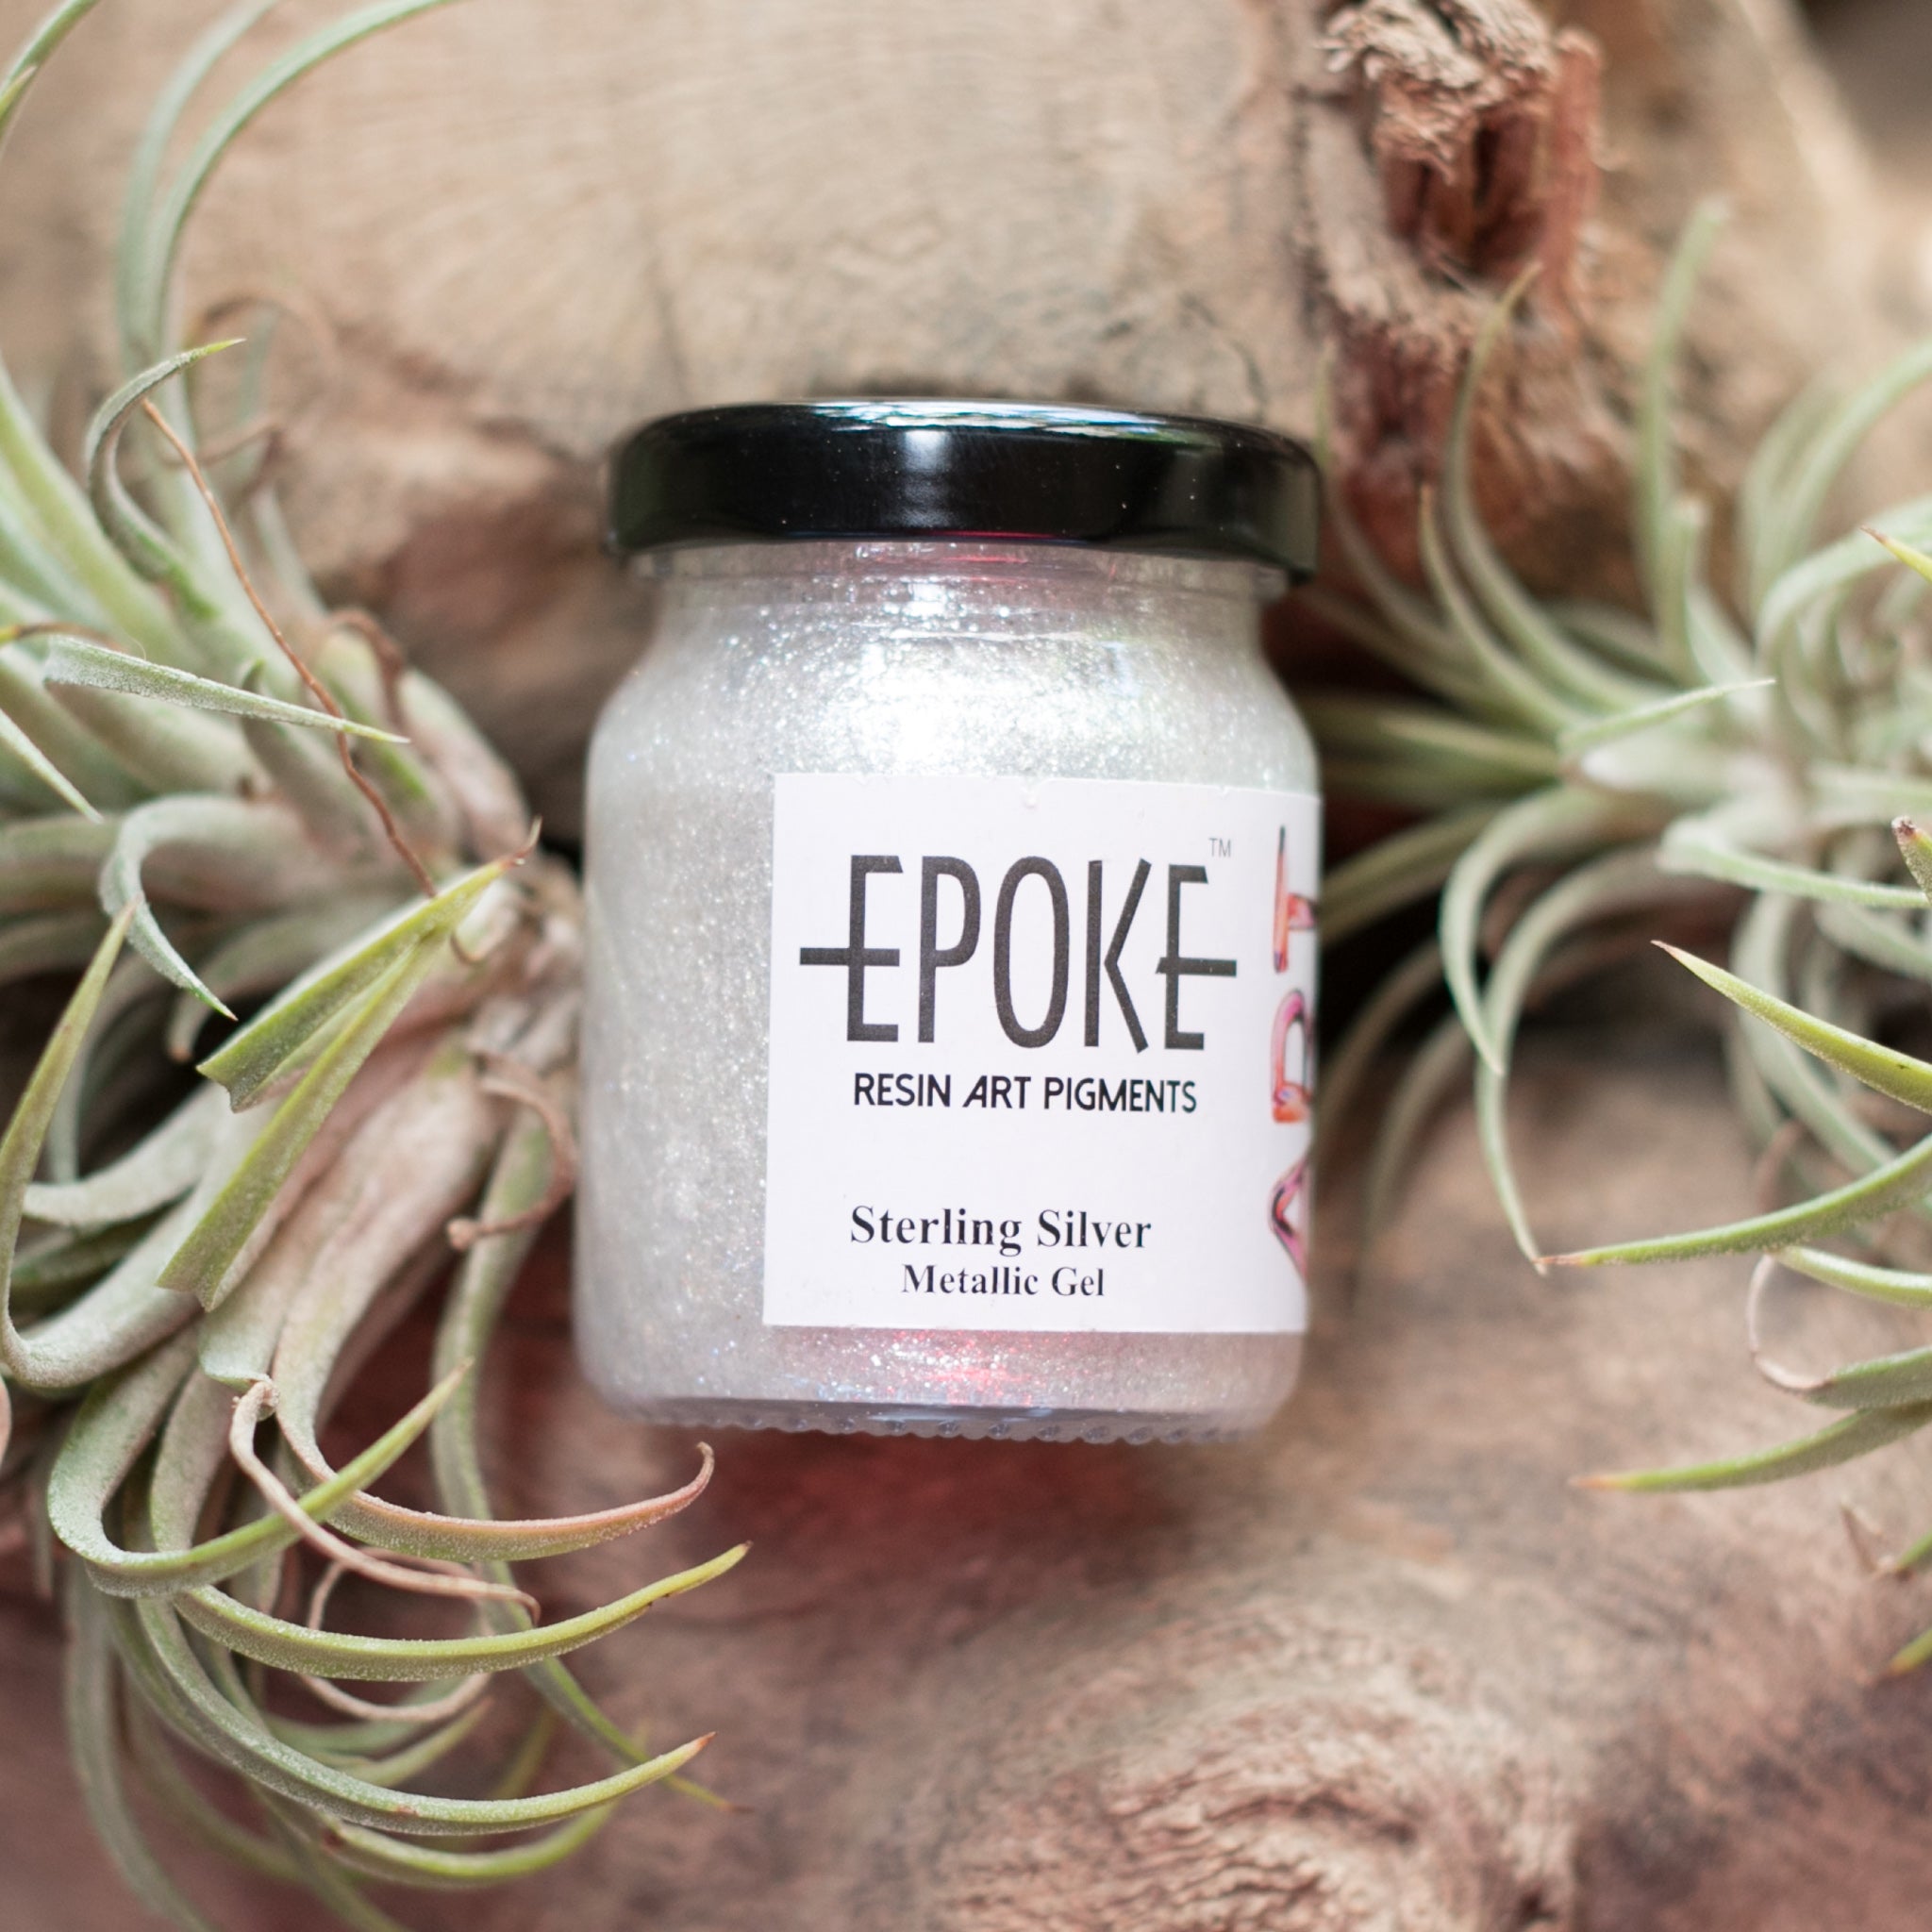
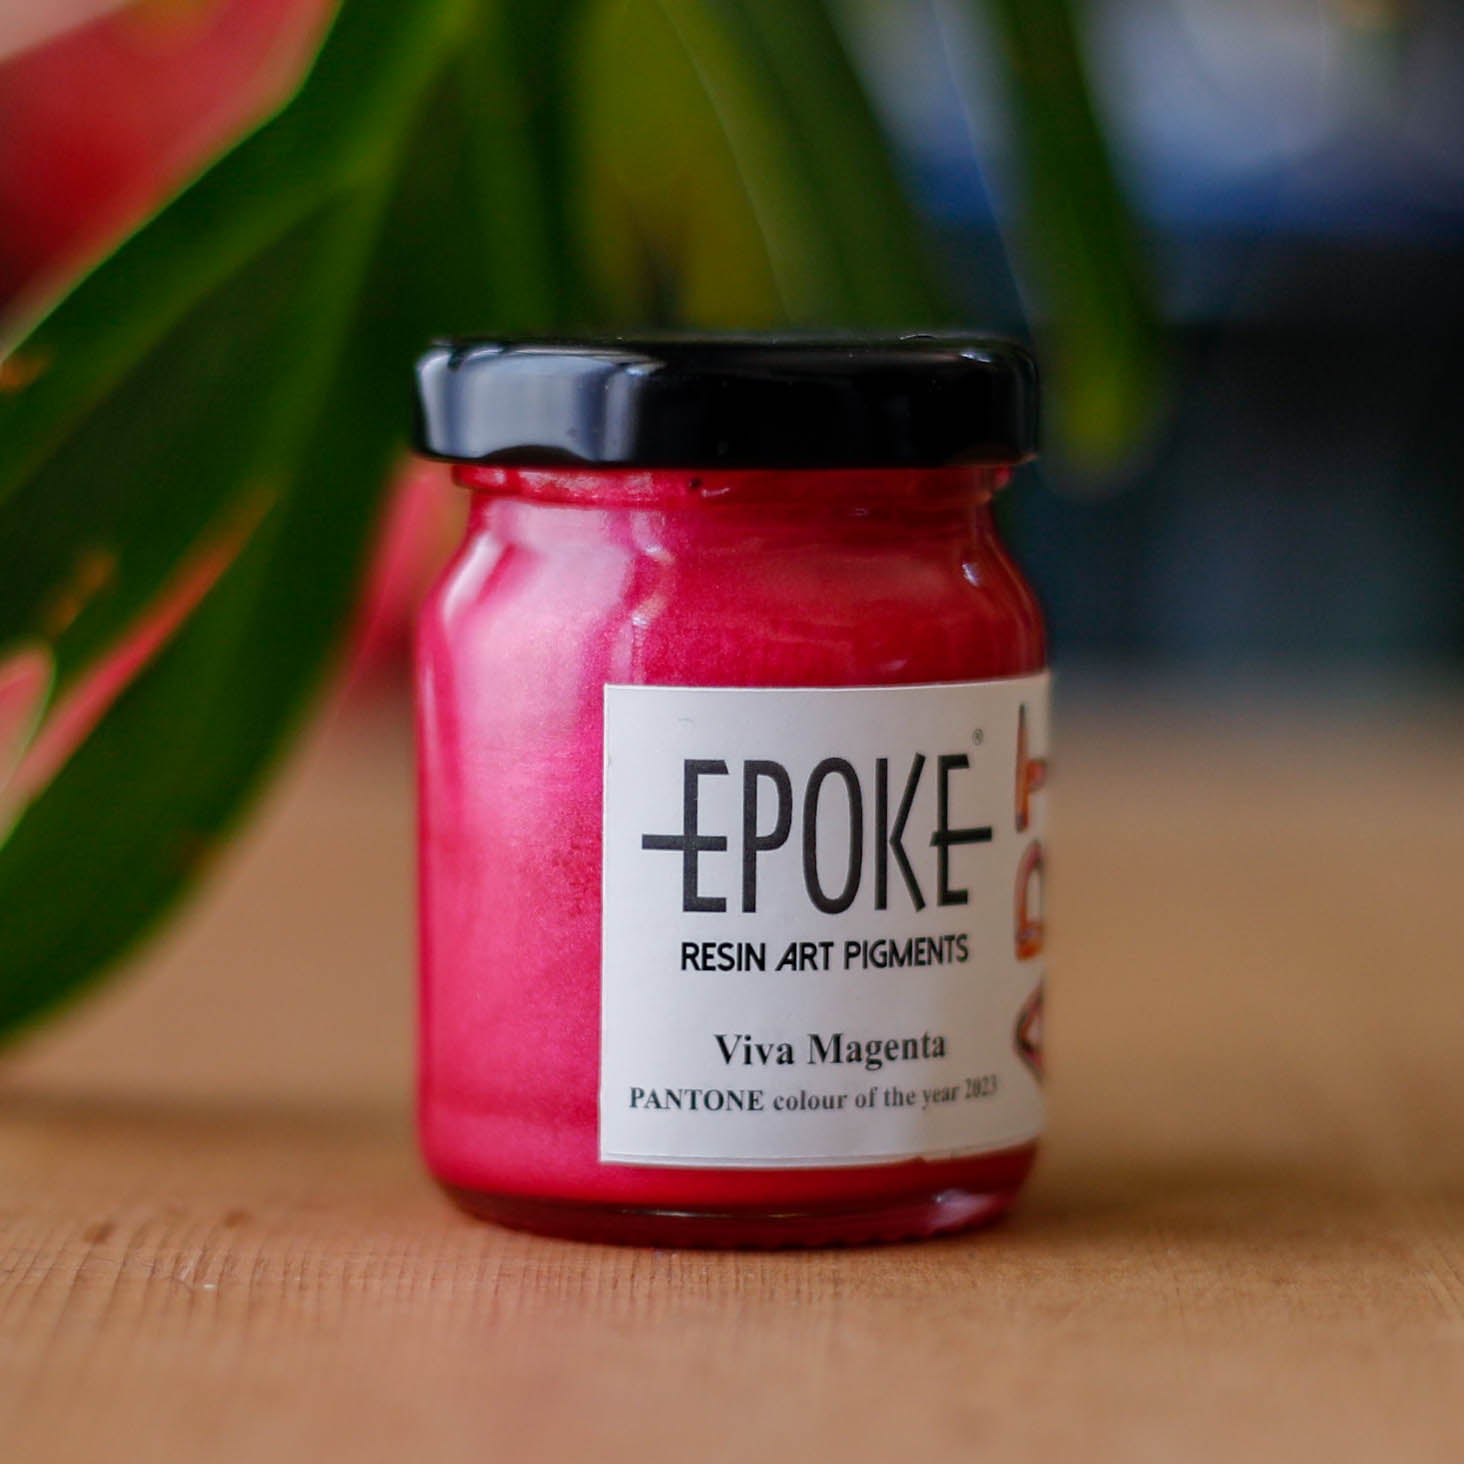
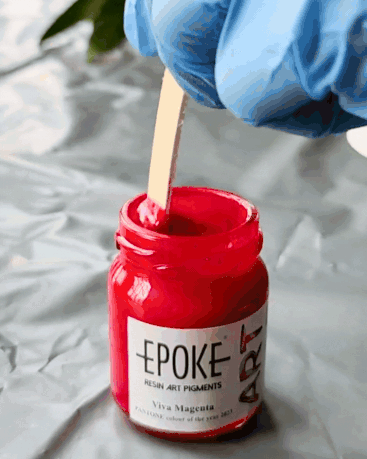
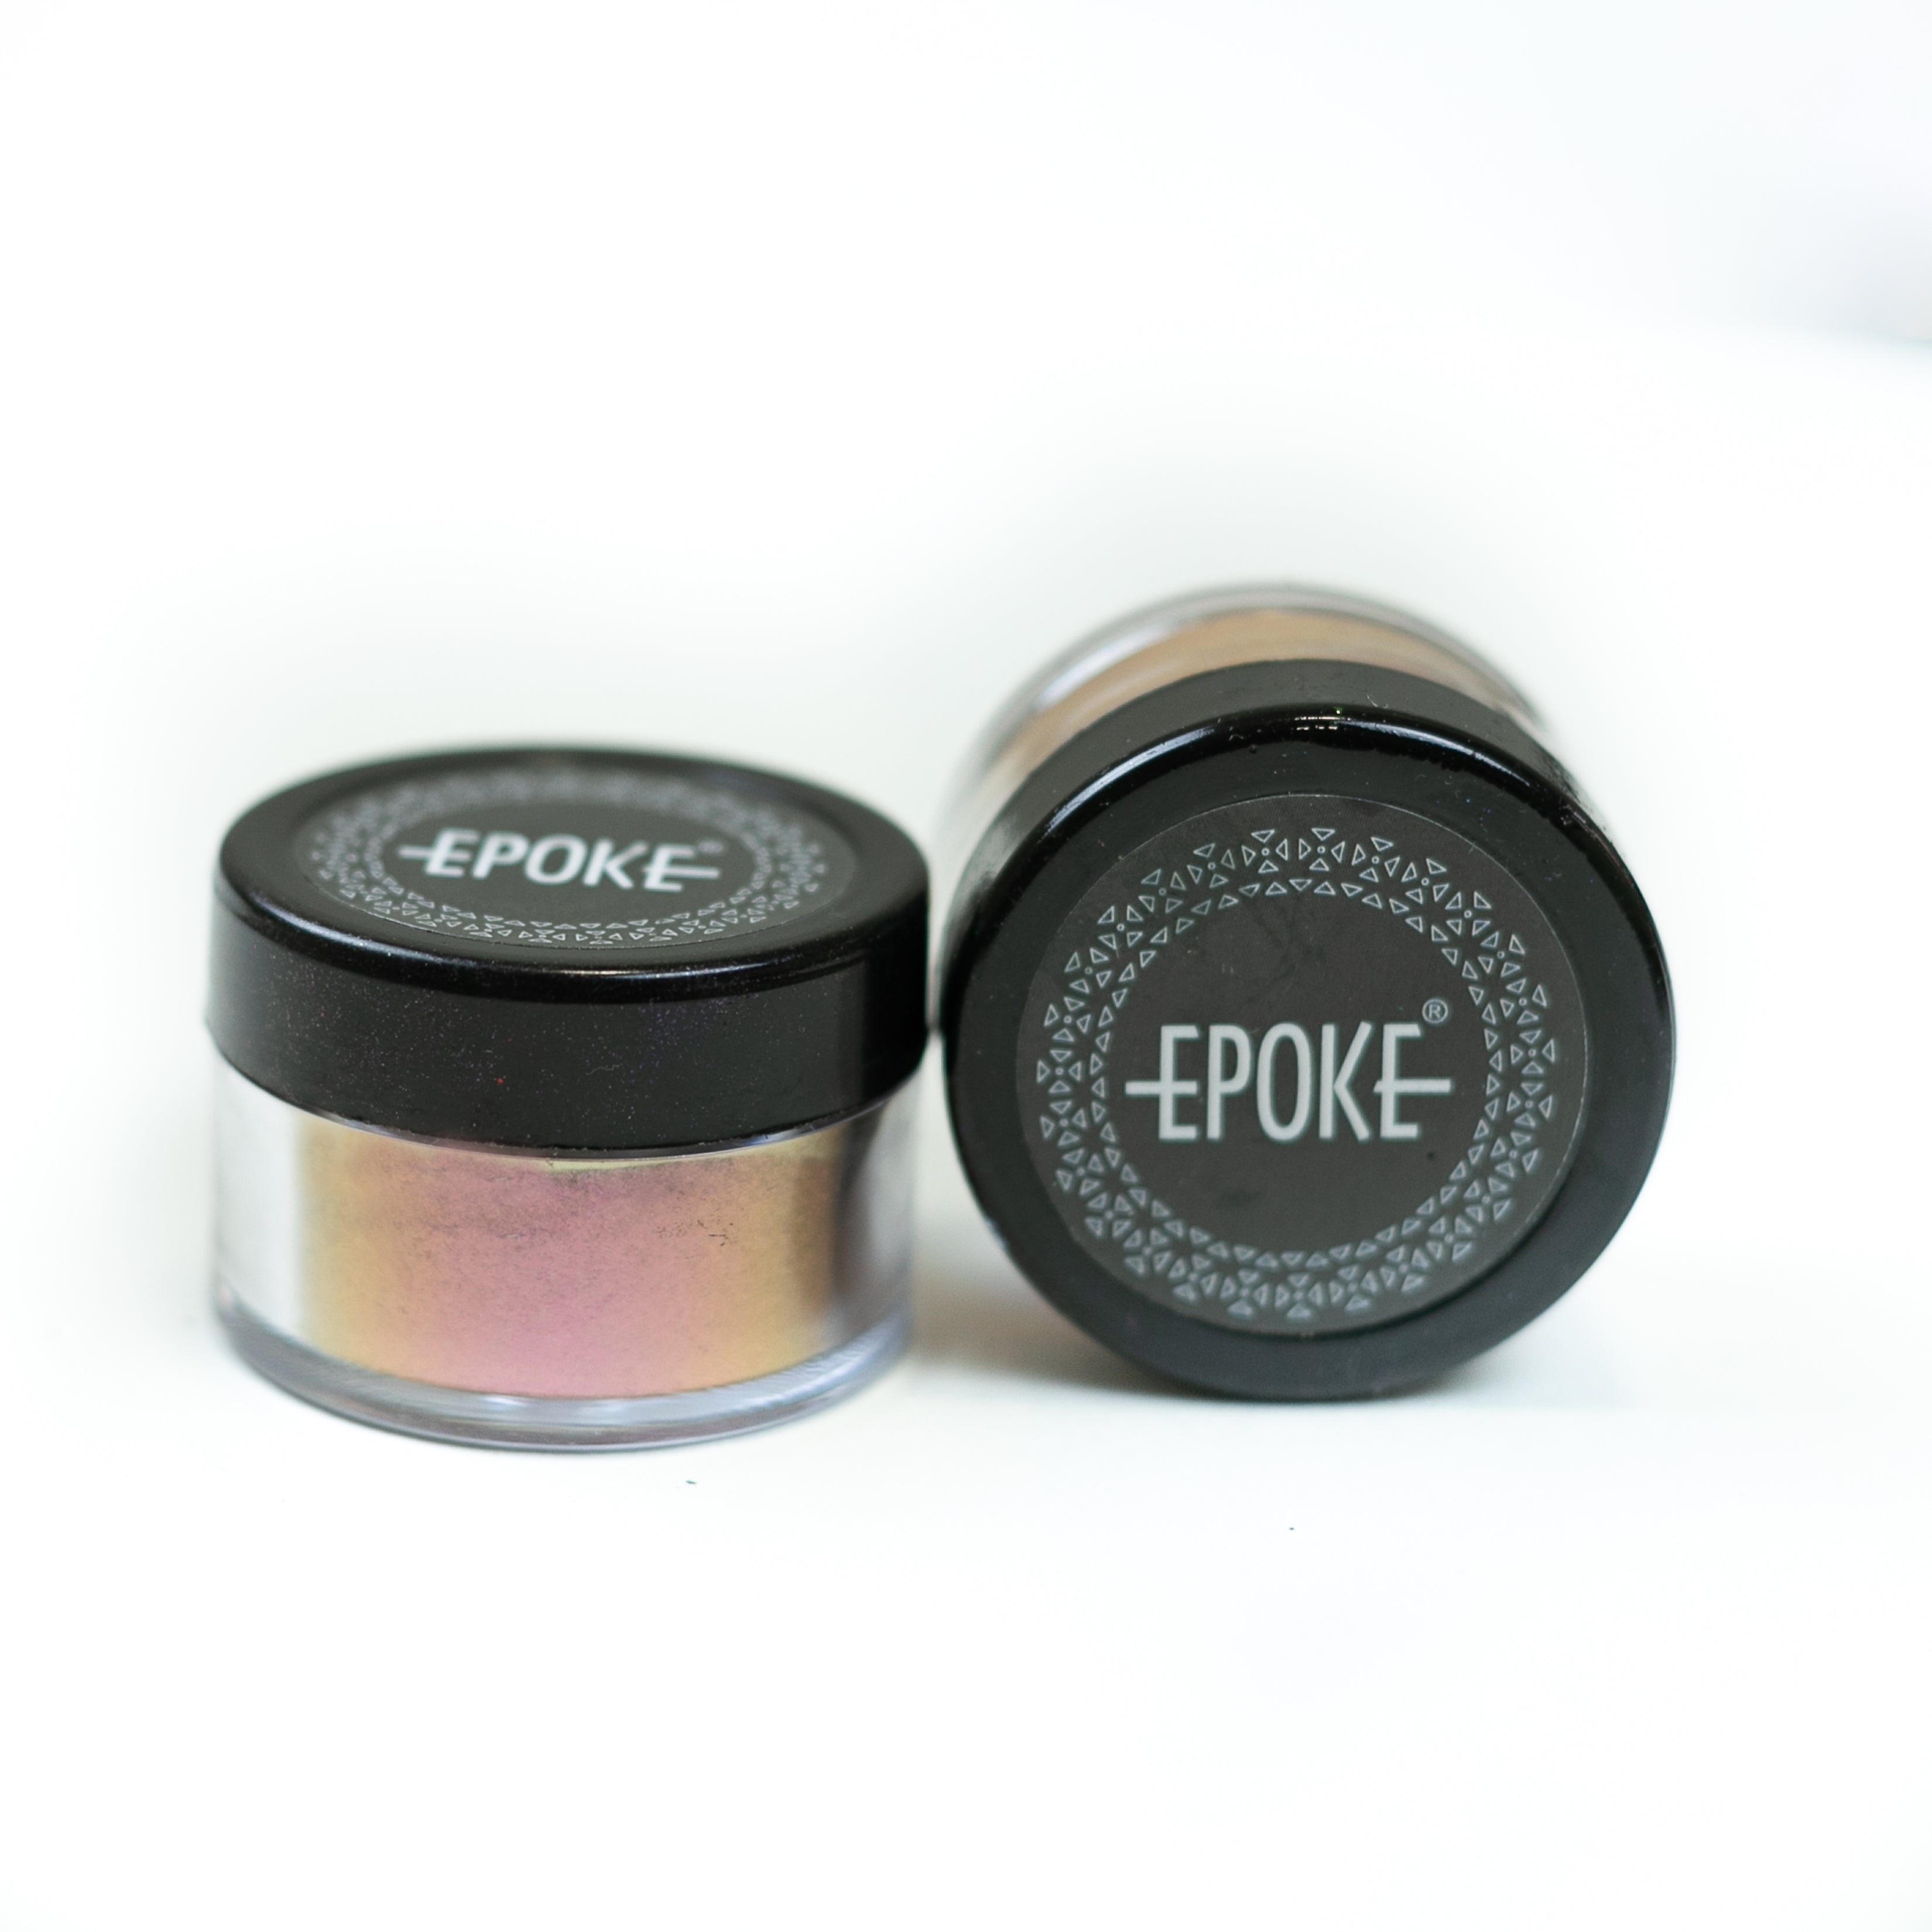
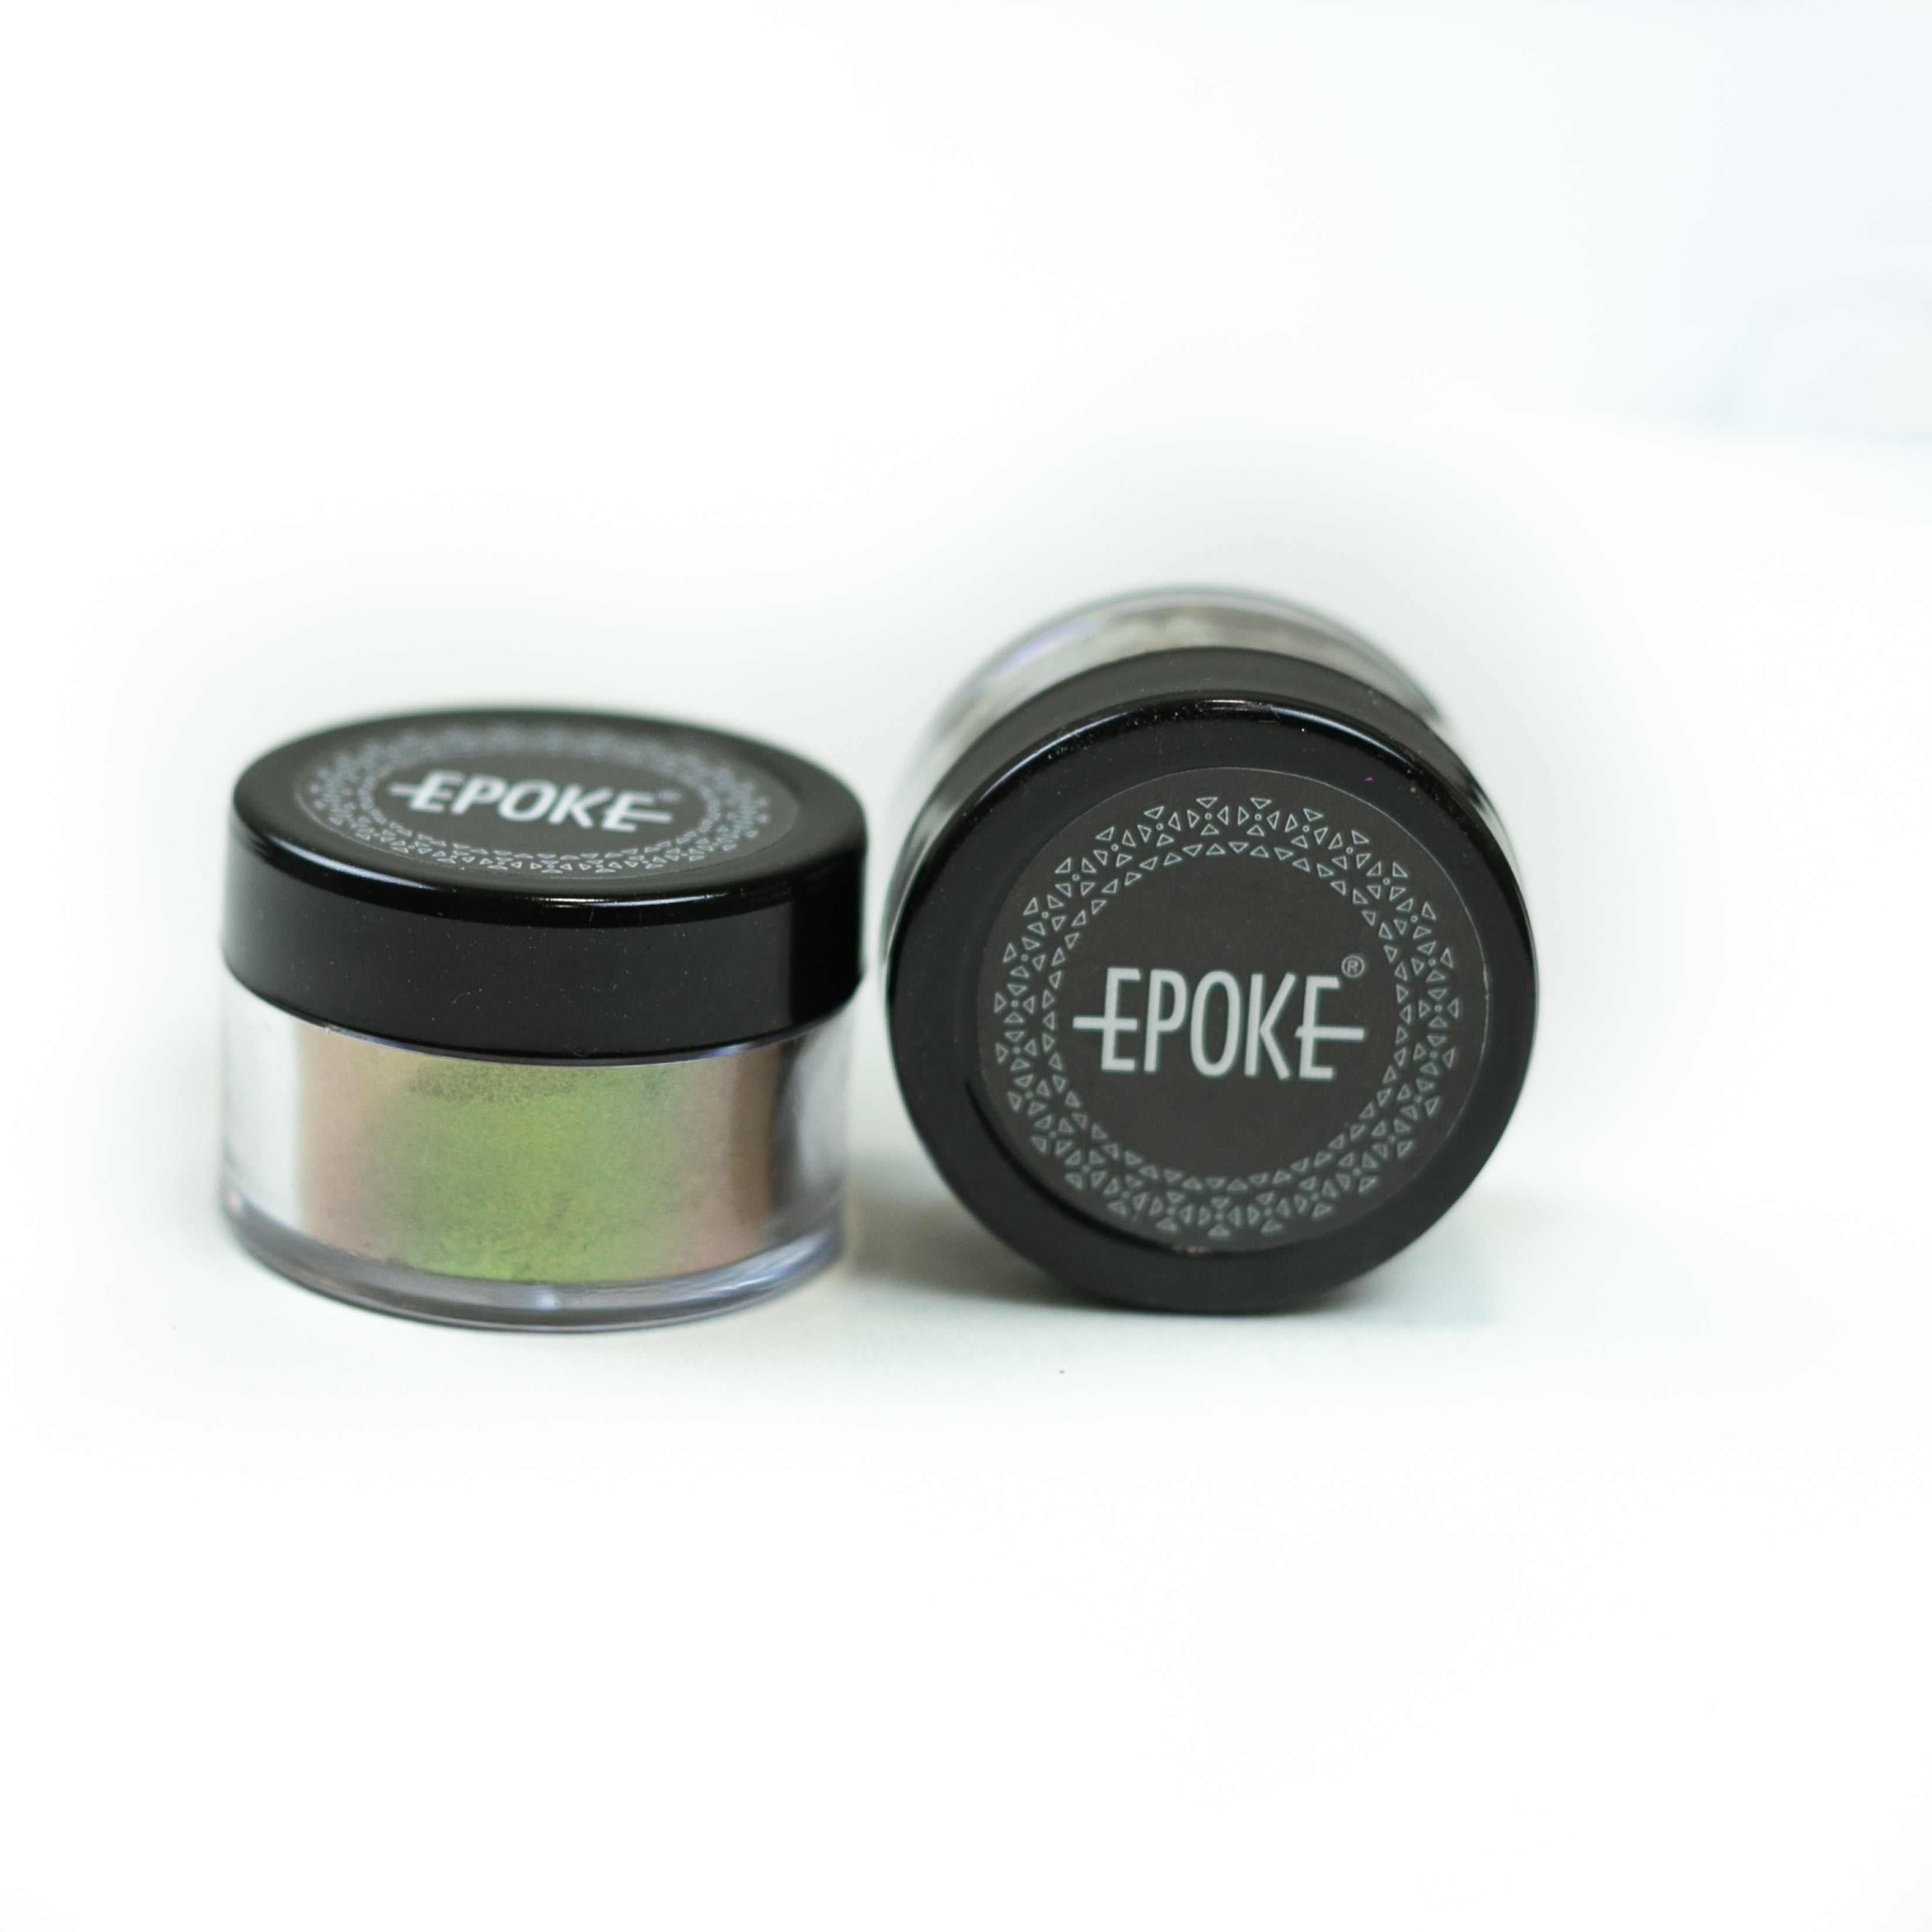
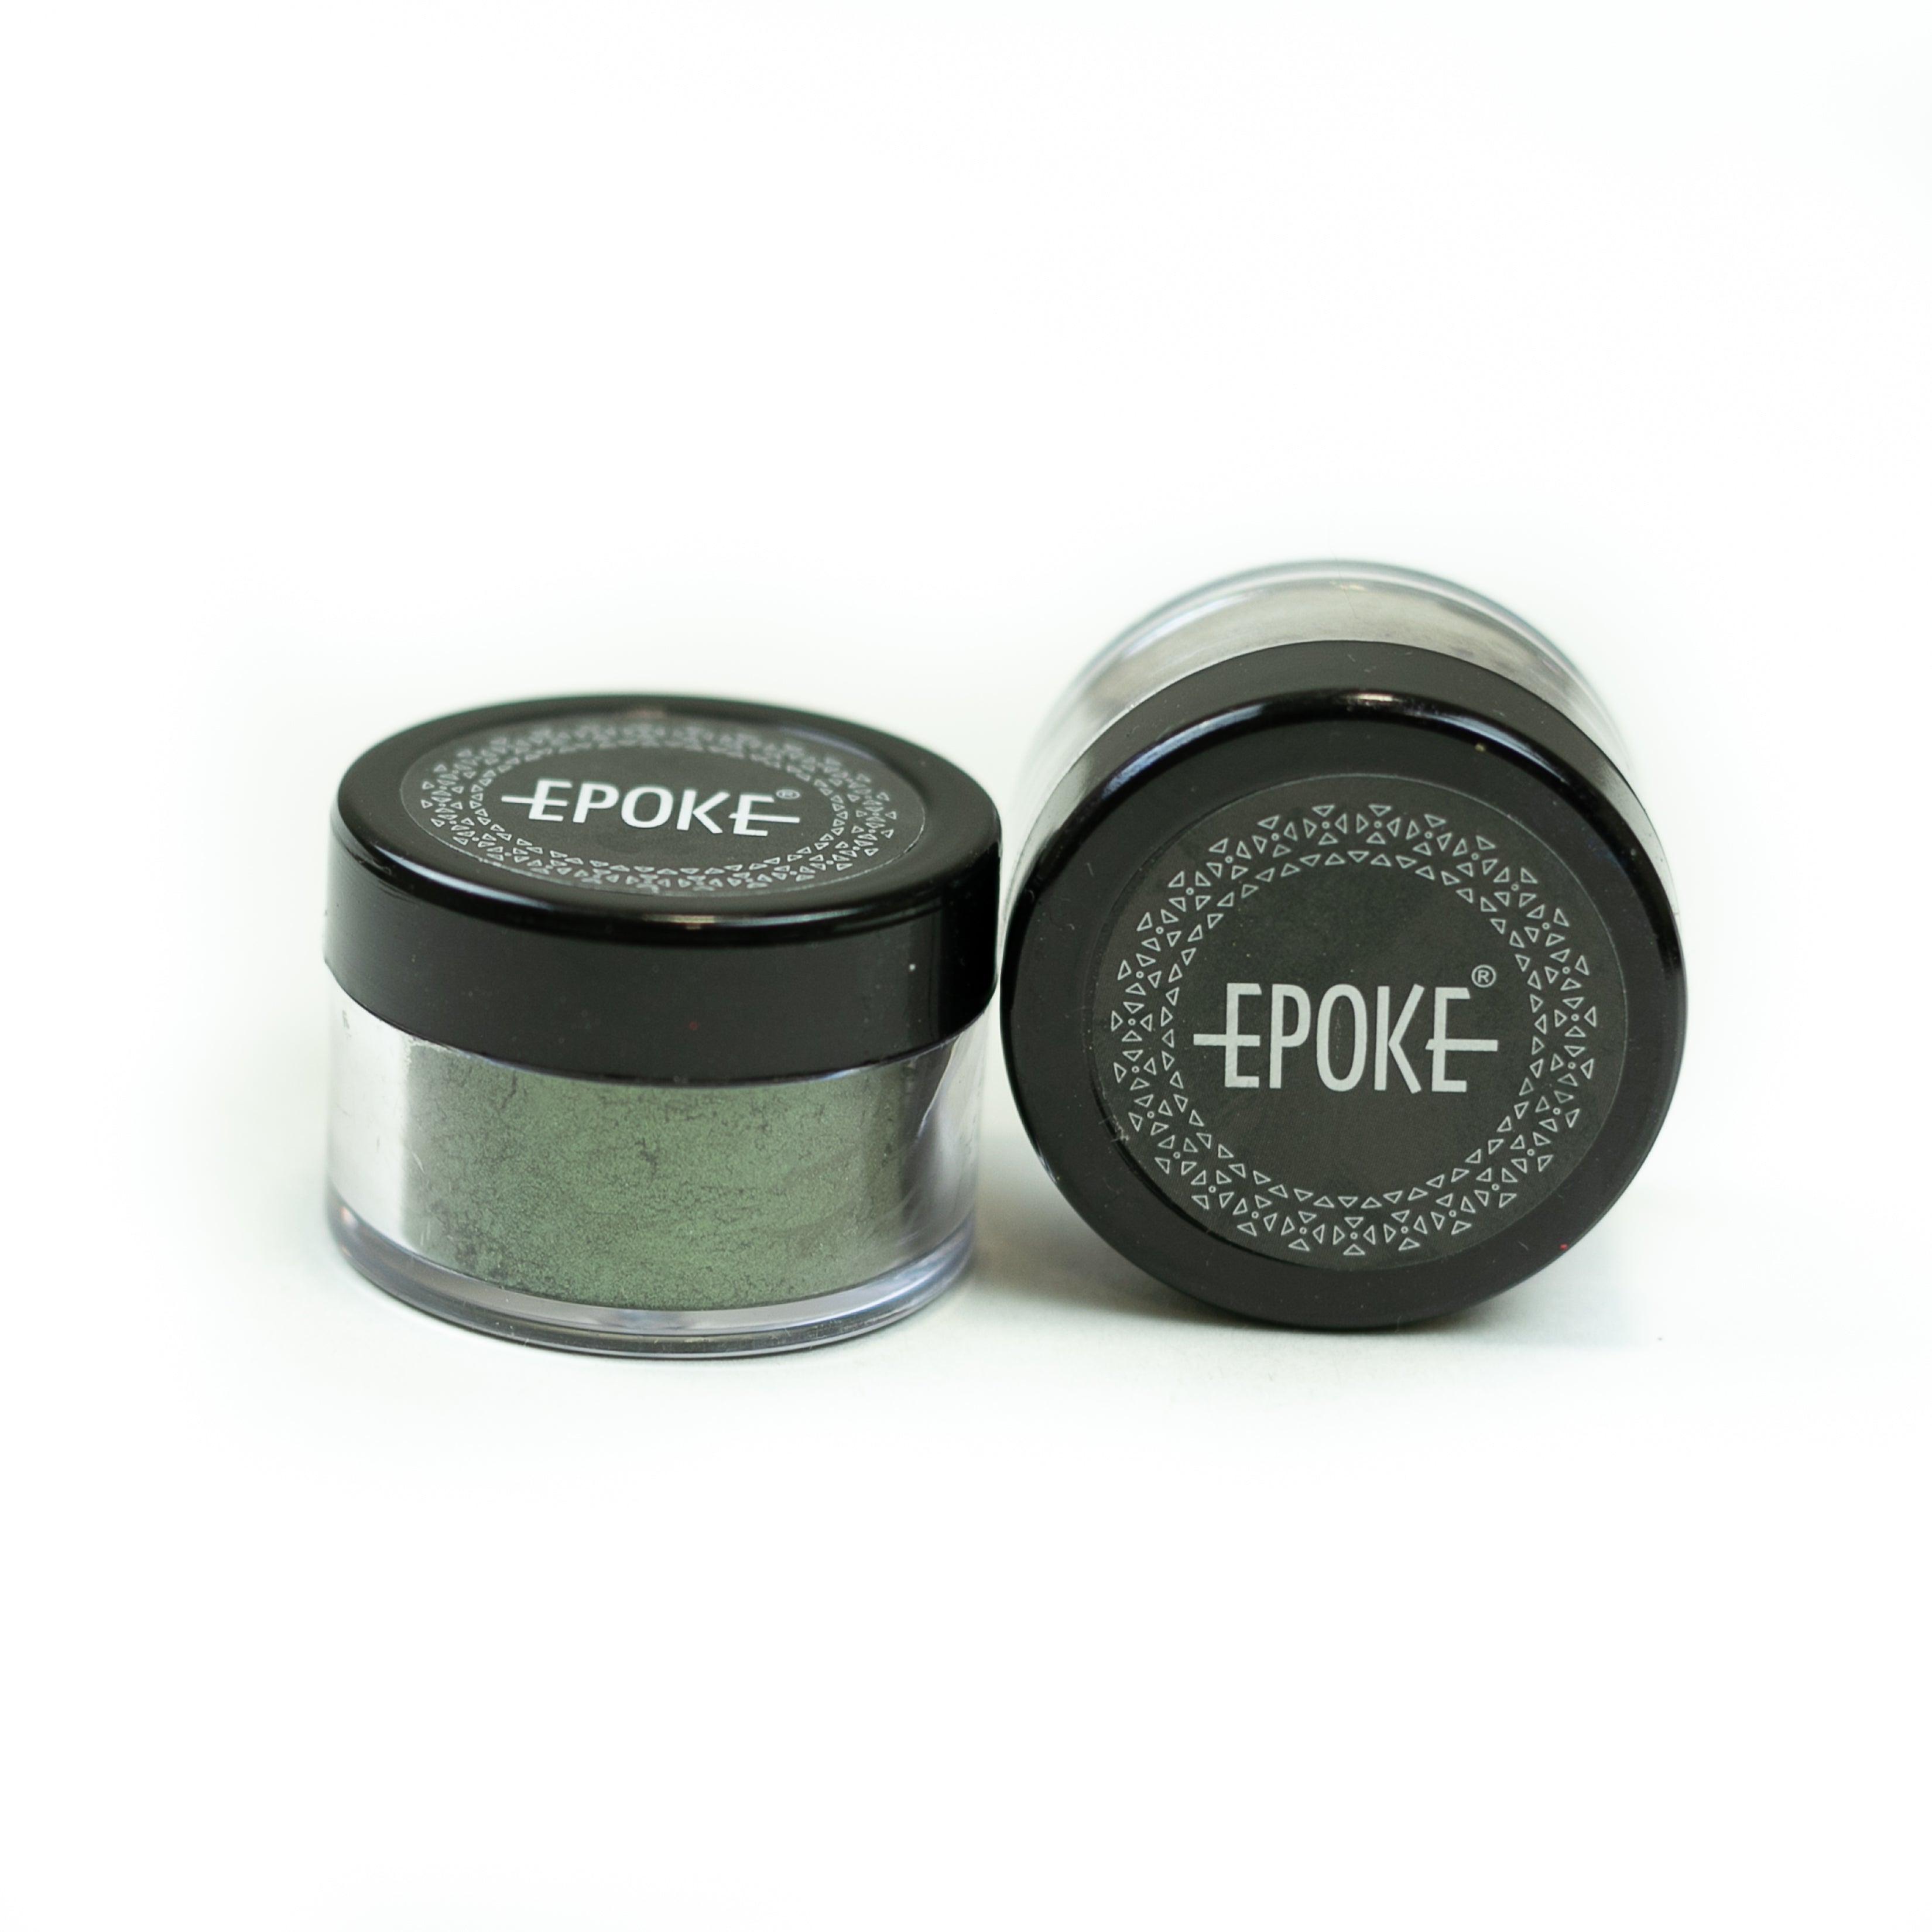
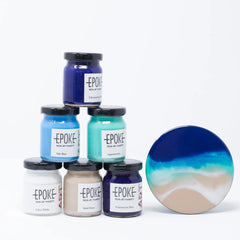
How to use EPOKE Art Epoxy Pigments?
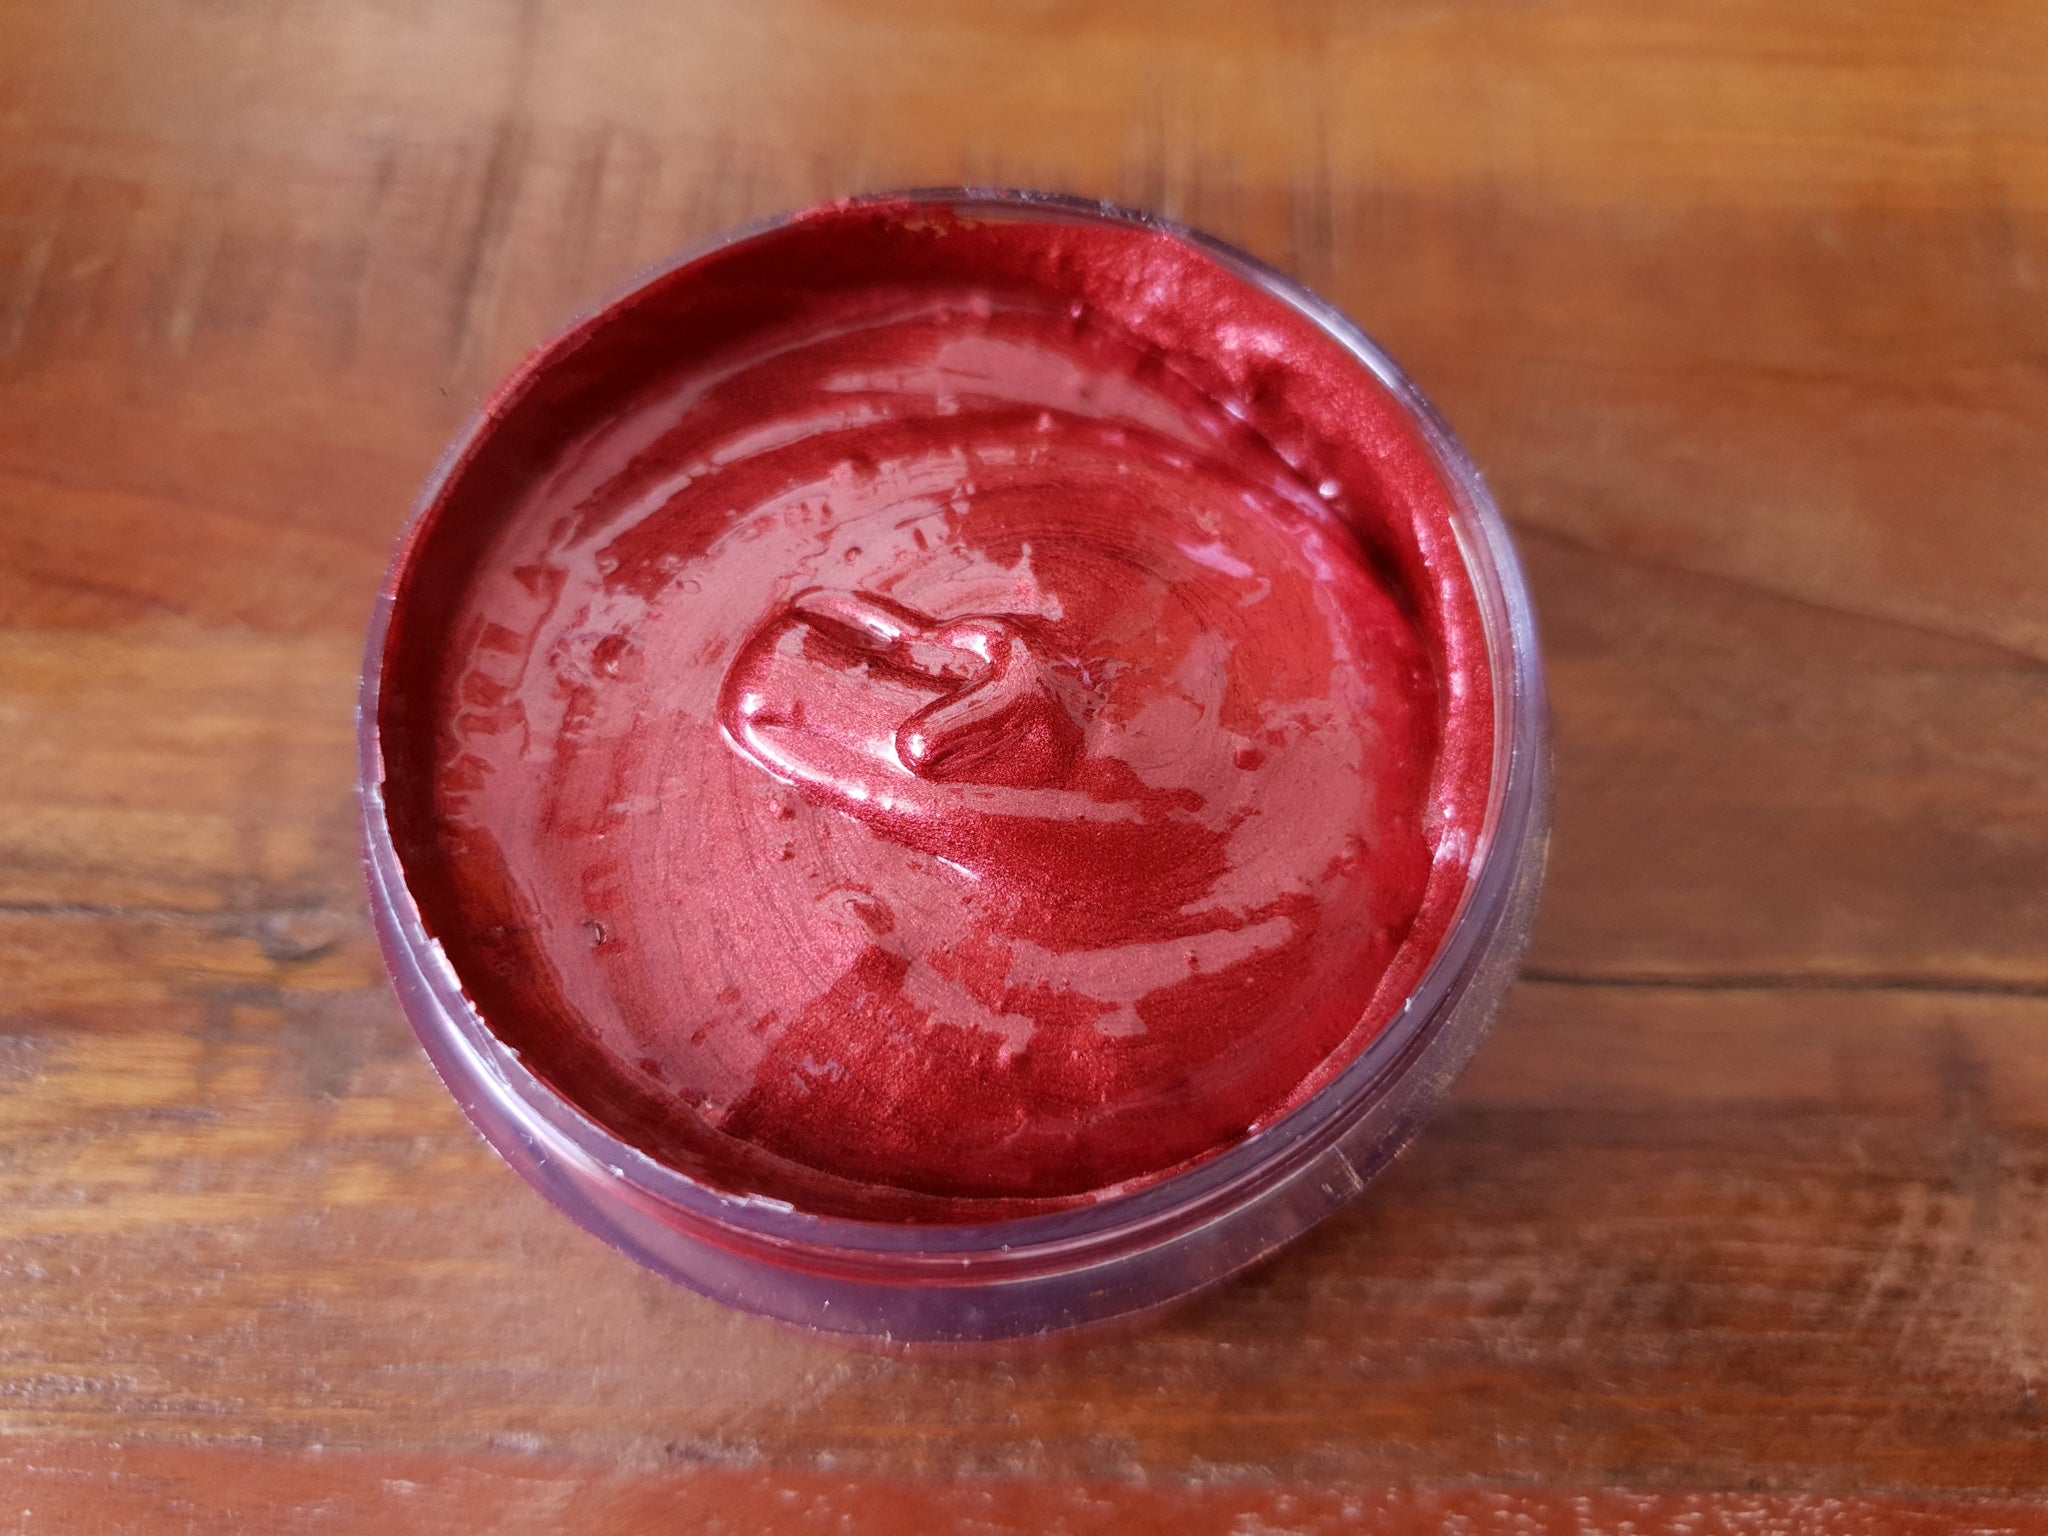
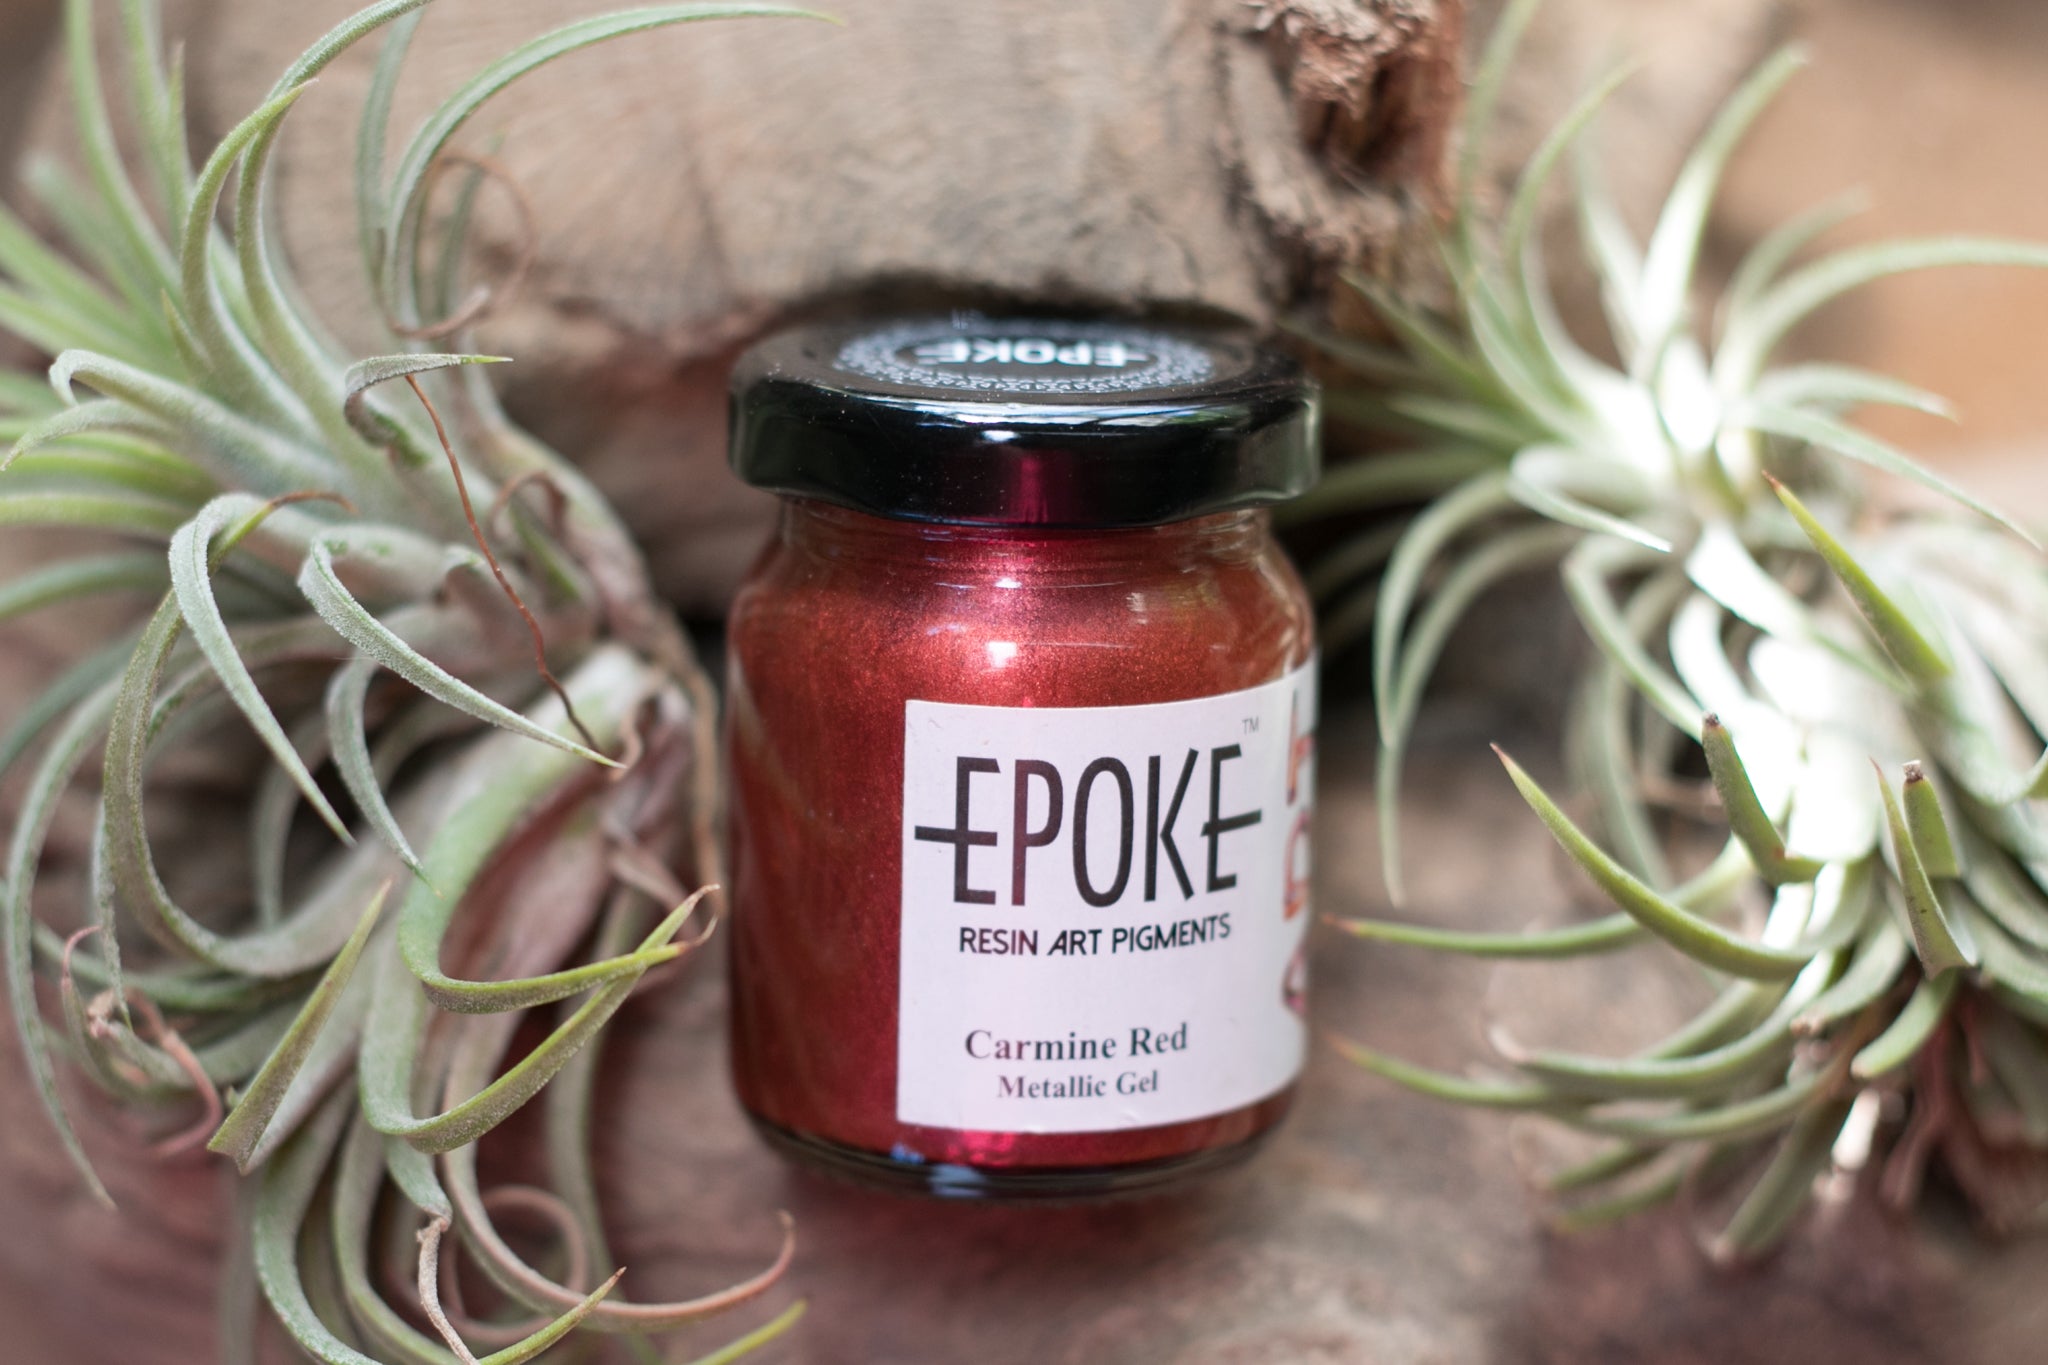
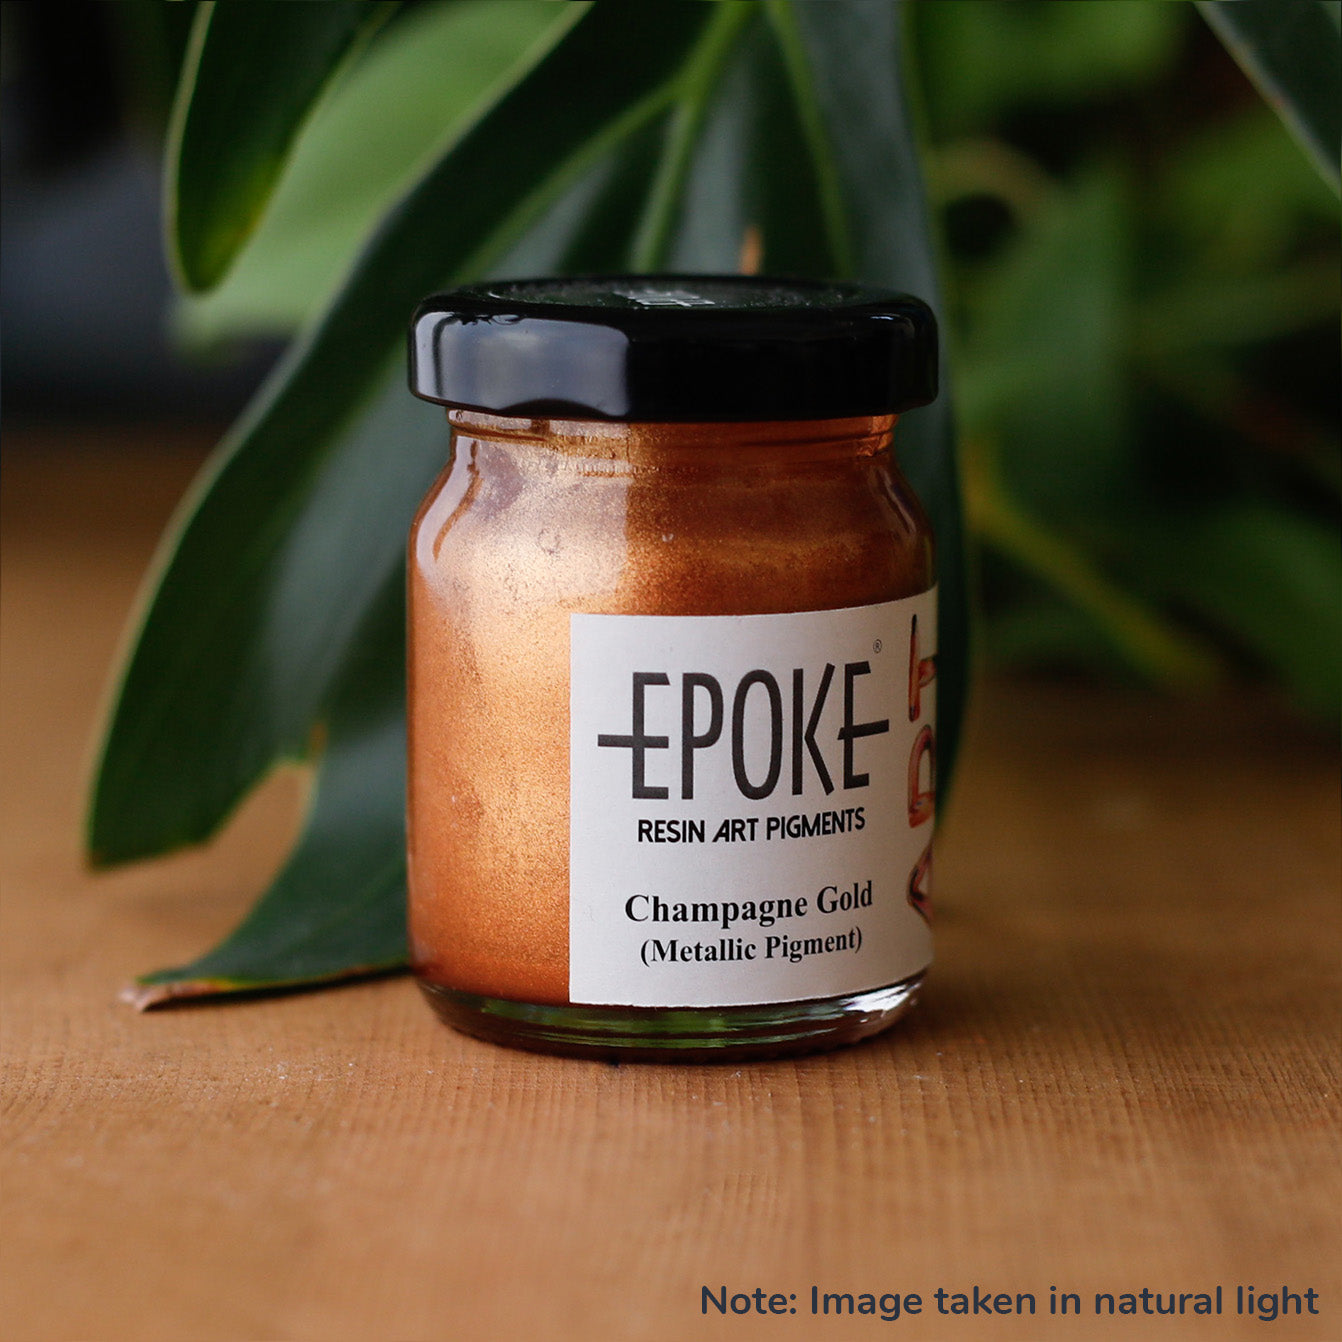
A Little Goes A Long Way!! EPOKE Art Epoxy pigments are high concentration pigment pastes and hence colour dosage can vary from as little as 0.5% upto 10% of the weight...